* I did this as part of a 2 day hike, so my mileage and elevation gain aren’t included here. CalTopo says my mileage to the top of Arrow Peak was 15.23 miles.
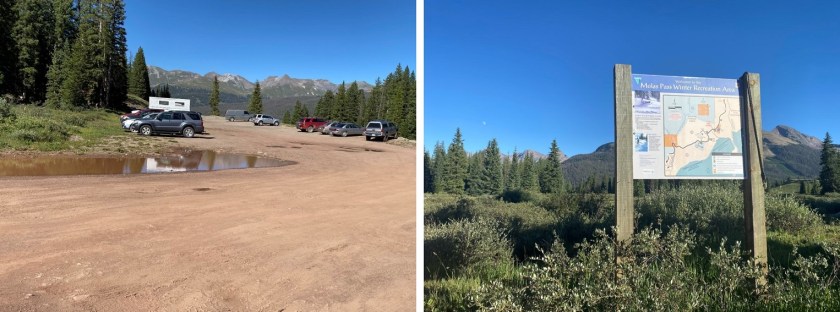
My son is in the Air Force and came home for some unexpected leave. I haven’t seen him in over a year, so I was thrilled to spend the past couple of weeks with him. This also meant it’d been a few weeks since I’d done any serious hiking, so it was so nice to get out hiking again this weekend. I drove to the Molas Pass trailhead and parked the night before the hike so I could start early the next morning. I’ve done this approach before for Vestal Peak, so I already knew what to expect. I drove in, parked, and walked around a bit to stretch my legs after that 6.5 hour drive. It was a beautiful day, and I kind of wished I could just start hiking now.
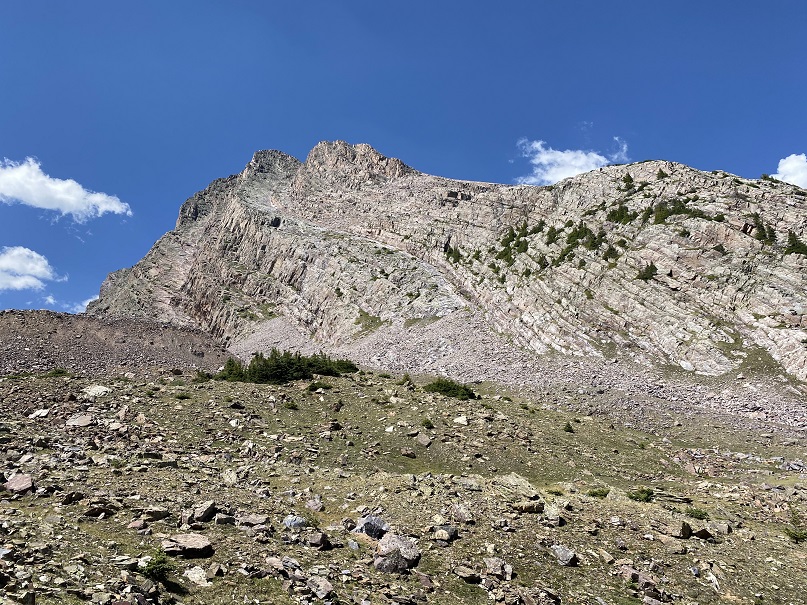
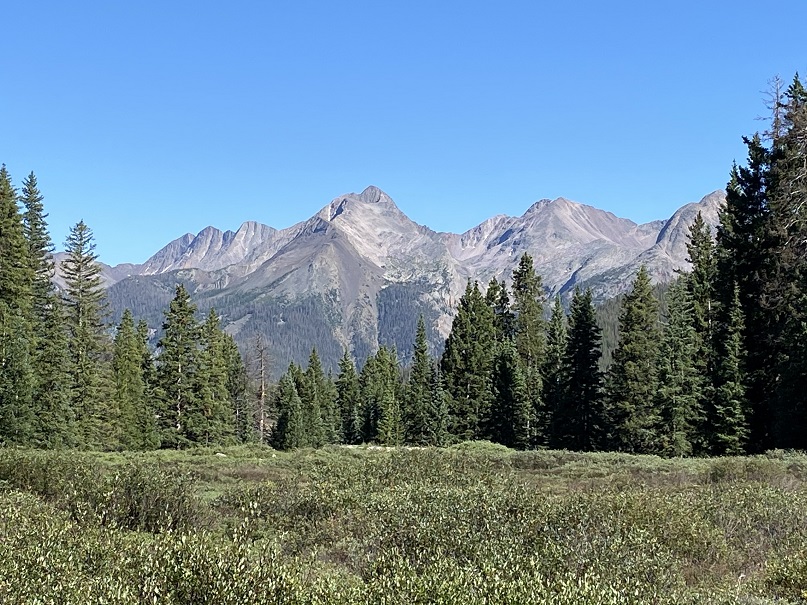
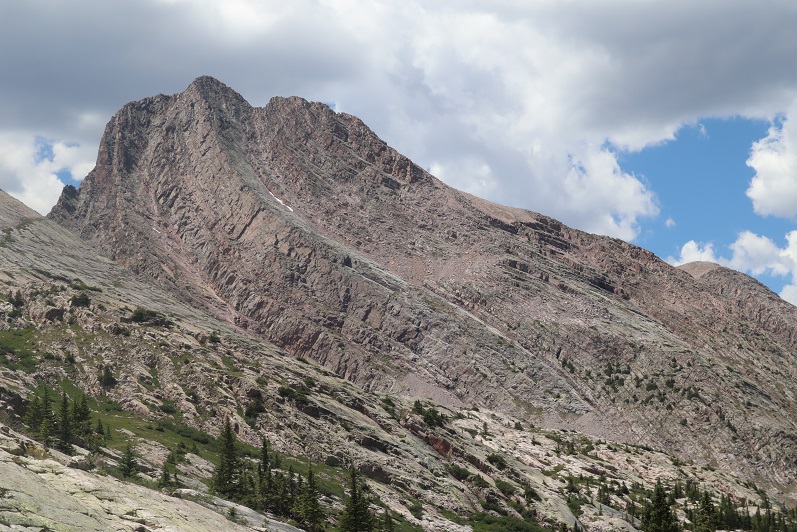
Here’s a look at the peaks from the trailhead
There’s limited cell service at the Molas Pass Trailhead. Unfortunately, I saw evidence of two separate vehicles having their windows smashed.
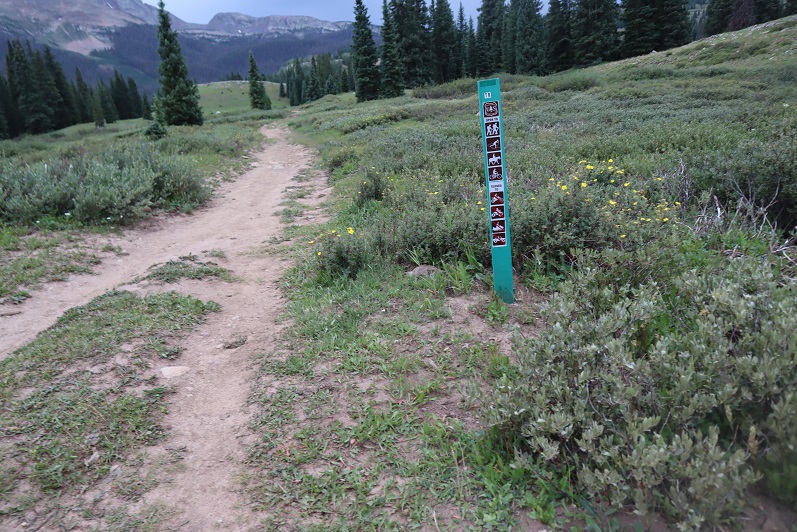
I spent an hour or two in the back of my truck relaxing, looking at topo maps, and eating dinner. I saw another hummingbird fly by, so the record held of seeing a hummingbird at every trailhead I’ve slept at so far this year. I went to bed and was up and on the trail by 2am. The trail starts at the south end of the parking area.
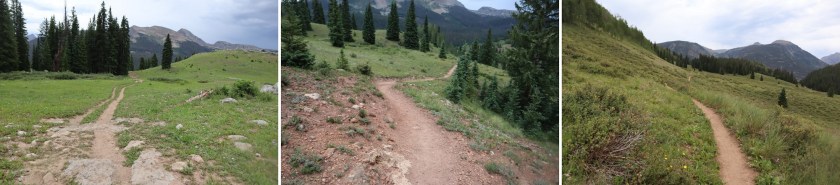
From there the trail is easy class 1 all the way down the 4 miles and 1700’ to the Animas river, and back up to Vestal Basin (9.6 miles total).
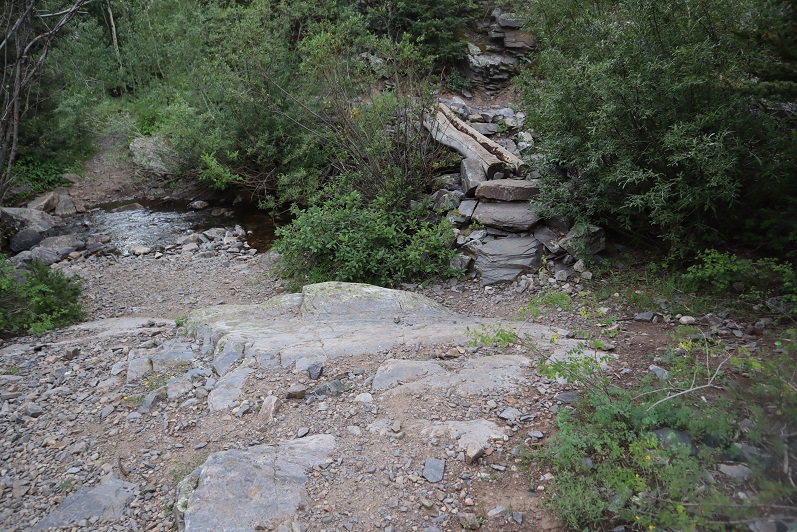
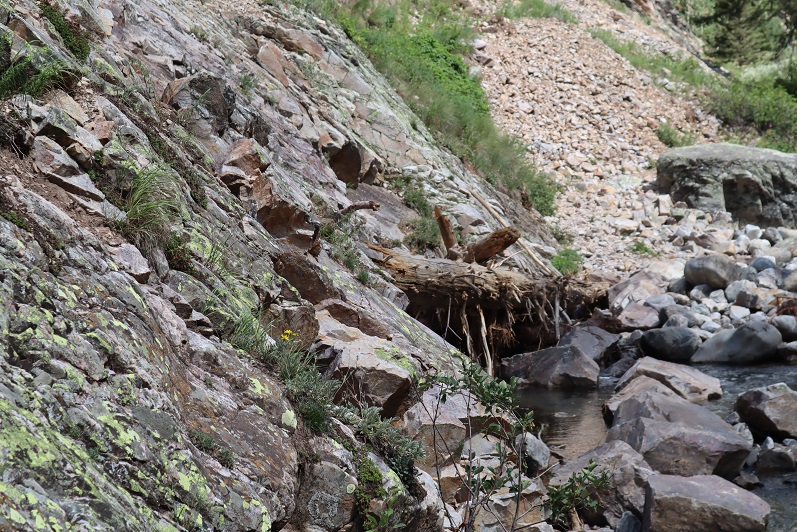
Just before the river there’s a creek crossing
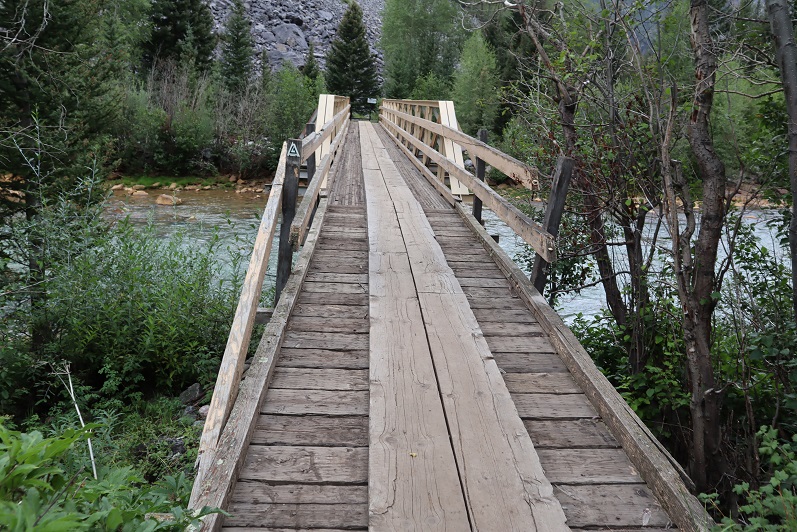
Then a solid bridge across the Animas River
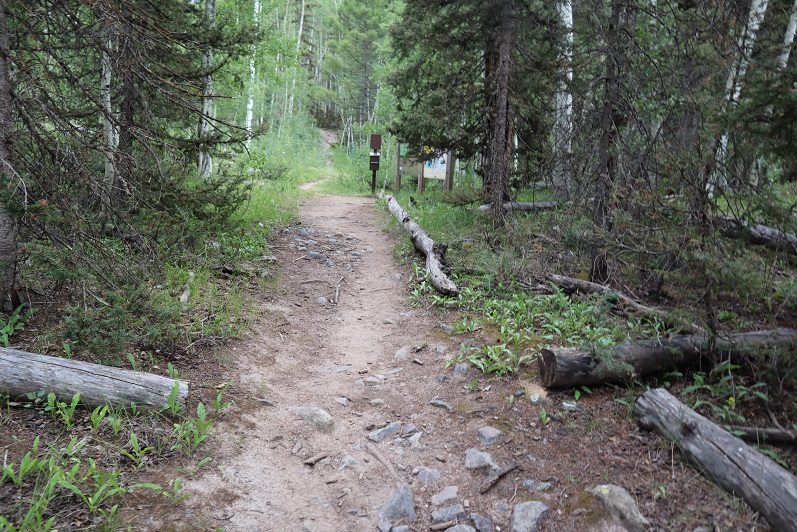
Then I followed the train tracks (very briefly) and took the obvious trail up to the Vestal Basin.

At 4.7 miles there’s a trail register (a trail register that’s legit: it actually looks like they track the pages here)
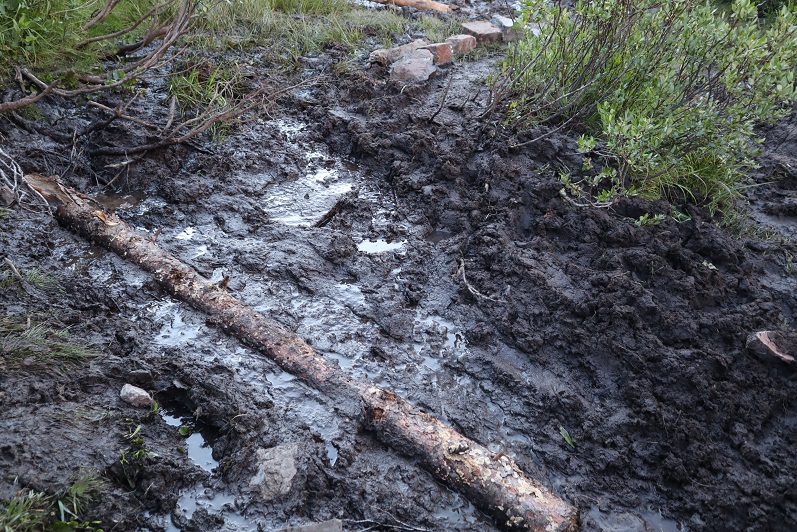
Note: I crossed this area in the dark, and it seemed as if I needed to use the log to make this part of the trek. In the dark the rocks didn’t look close enough together to cross. So instead of taking the rocks across I sat down and scooted across the log until I made it back to the trail. On my way back I realized I was wrong: take the rocks 😊
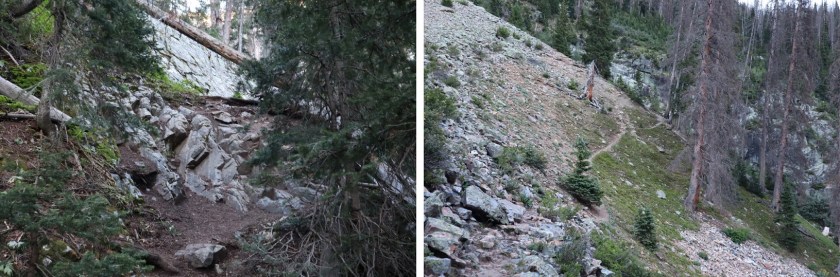
The avalanche area was much easier to pass this year than last year: there are triple the amount of surveyors’ tape markings in the area. However, I still managed get off track at the last and final crossing. I wanted to stay high on the ridge and in the dark couldn’t locate any more tape. I should have stayed lower.

At the beaver ponds I took a right behind the boulder by first going through two logs onto an unmarked trail (it seems counter intuitive, but it’s the correct path), and followed the rocks until I once again caught up with the trail.

I followed the class 1 trail up to Vestal Basin.
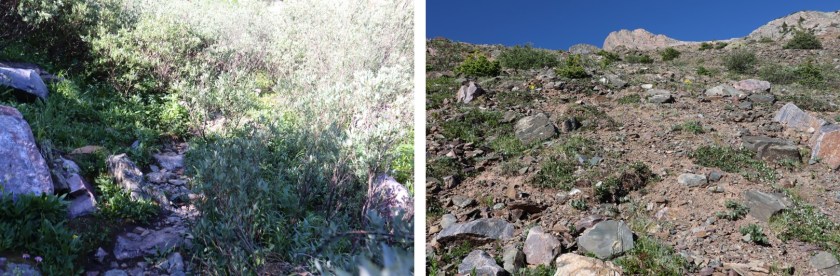
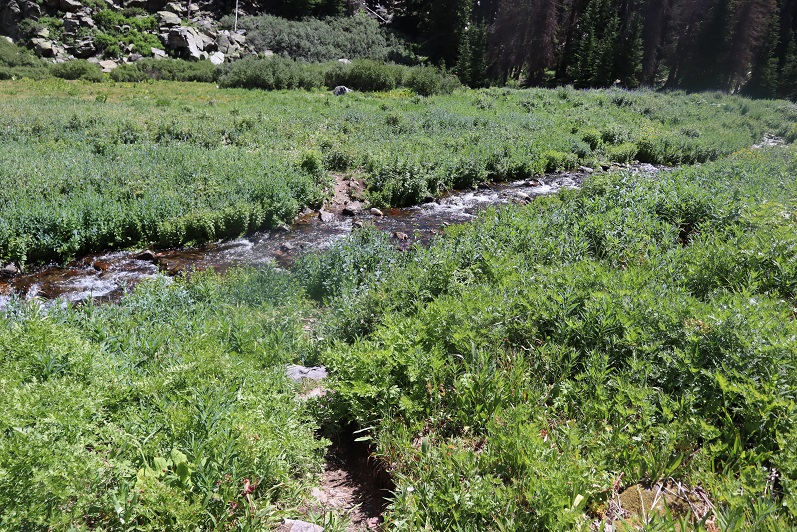
There are willows to contend with here, and water, which equals mud. Prepare for your shoes to get muddy (or throw rocks/sticks down to walk over the muddy areas)
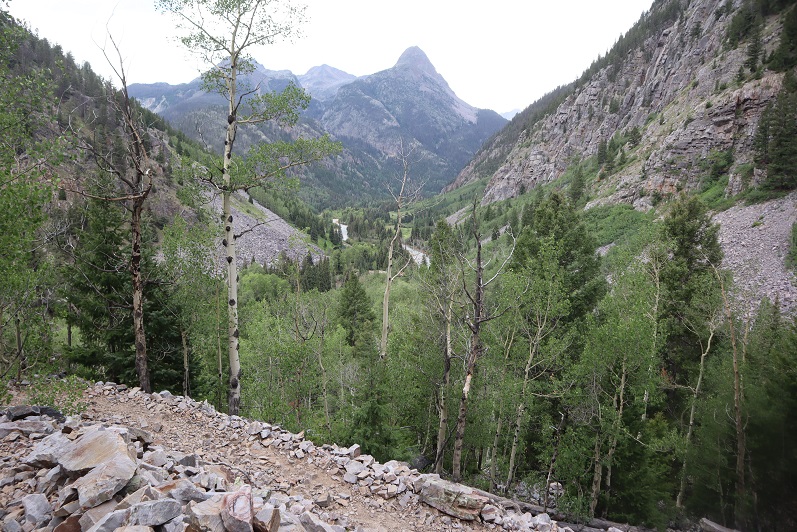
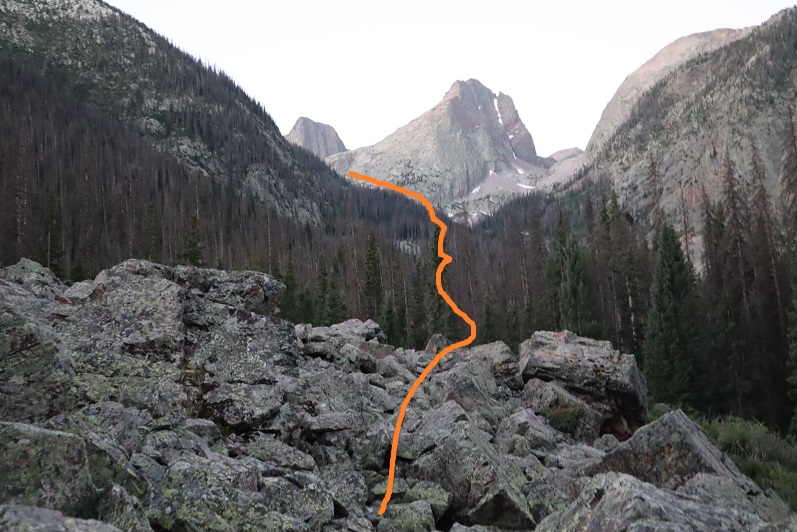
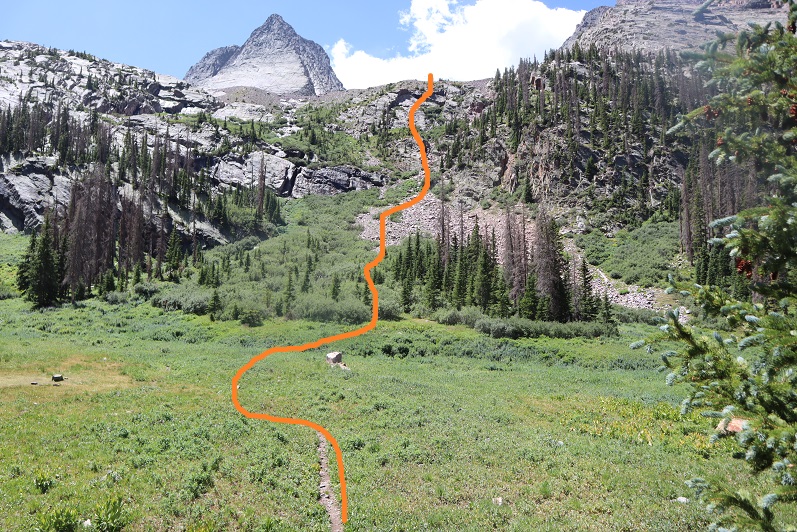
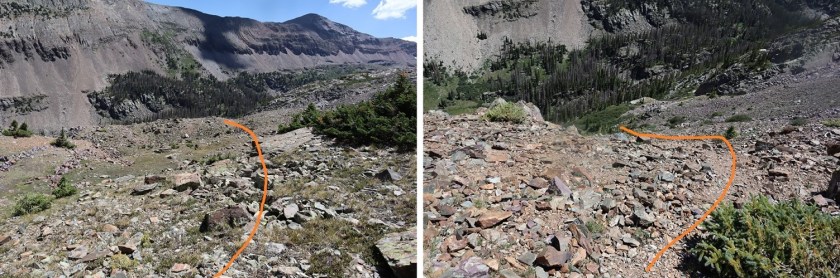
There is a really good campsite in the Vestal Basin, just where you turn off to hike both Vestal and Arrow Peak. I stashed my pack here behind a tree, filtered some water, and packed only what I needed in a small sack before heading up and tackling Arrow Peak. Here’s the route to the upper basin
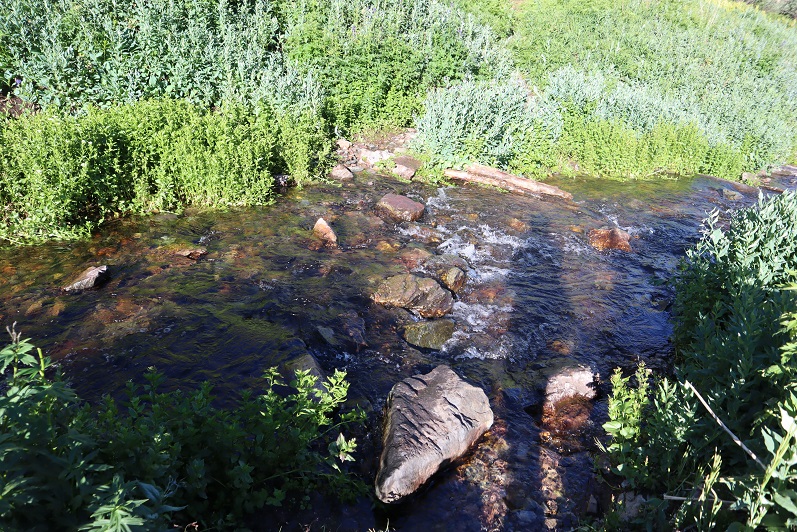
The creek crossing was easy. I took off my shoes but didn’t need sandals
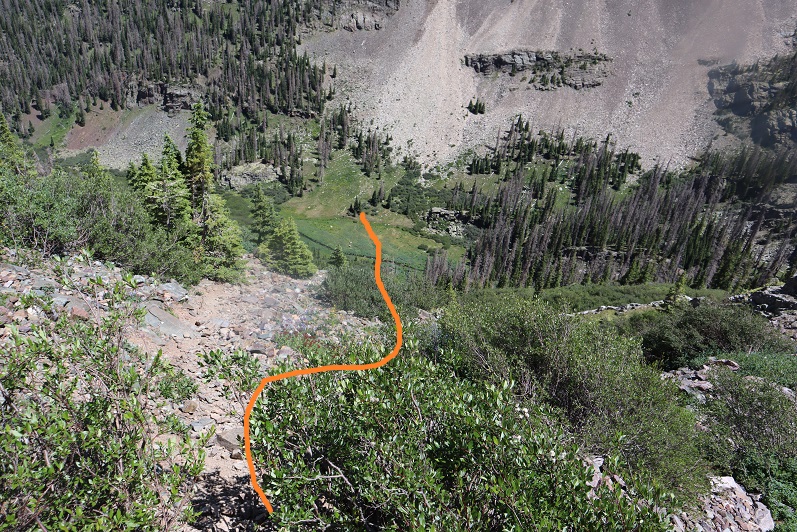
There’s a semi-well defined trail to the upper basin, through willows to begin with, and then scree.
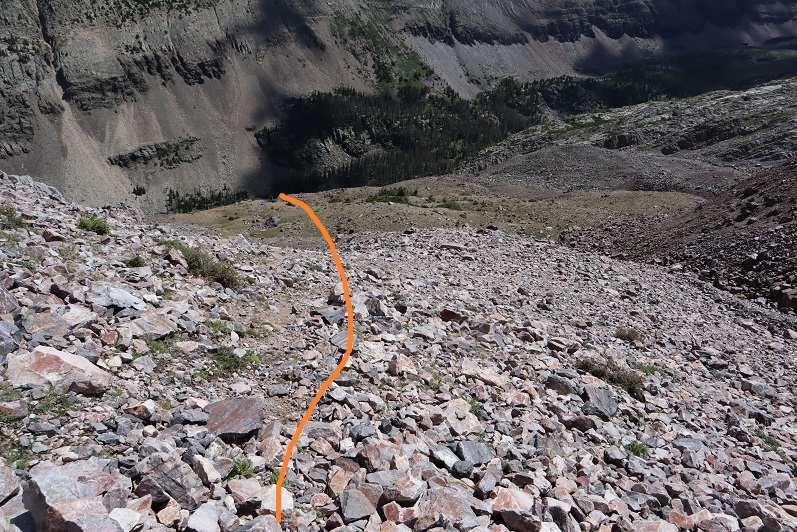
In the willows I lost one of my gloves. I realized it about 50 feet after I’d lost it, but wasn’t in the mood to go back and get it (I didn’t want to re-gain any elevation today if it wasn’t absolutely necessary). I hoped it would be there when I went back. There’s a cairn at the top to indicate the upper basin. Here’s an overview of the route from there.

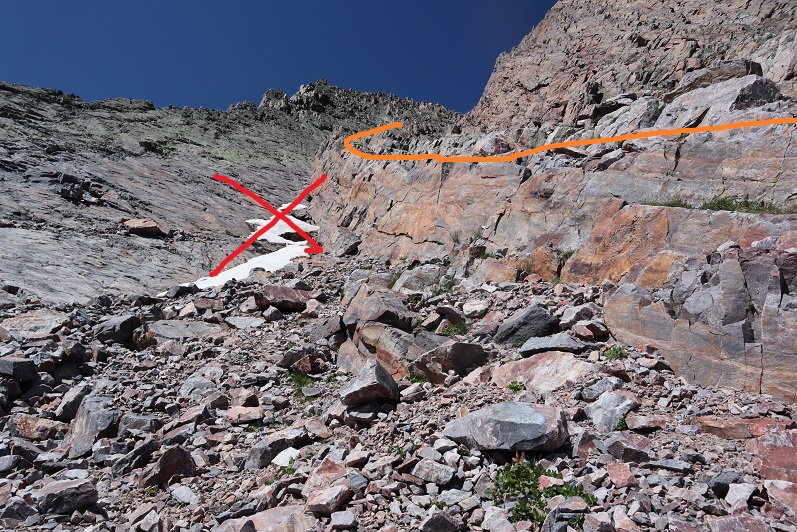
Note: For some reason I thought Arrow Peak was class 2, so I didn’t do much research on this peak. Luckily, I’d brought my helmet, because this is definitely class 3 and requires some route finding. The first objective is to find the access area to the rib that will lead you most of the way up. There’s a cairn indicating the way. Aim for the greenery, head up and right, then left. I stashed my trekking pole at the entry point and headed up, as it was obvious I’d be doing scrambling from this point on and a pole would just get in my way.
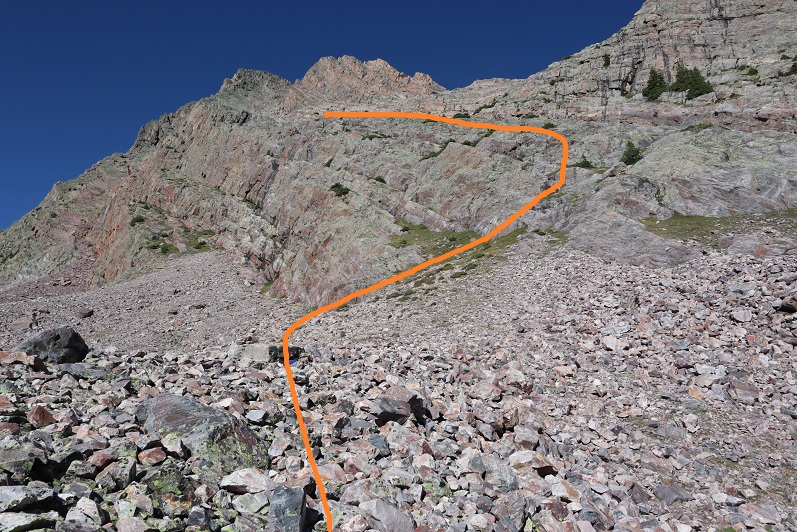
It looks more difficult than it is. The rock is solid and grips nicely. Be sure to pick the largest rib (it’s obvious and is a good 50+ feet wide)
I followed the rib as is ascended
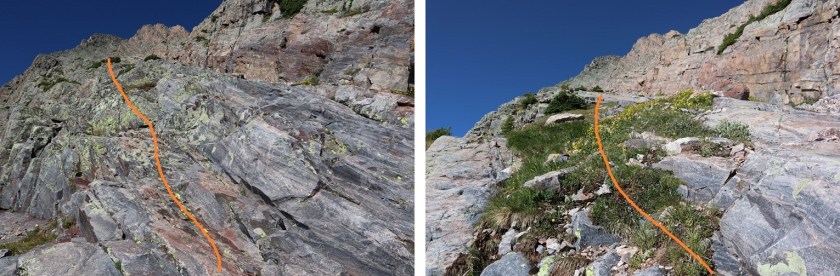
There will be a point where the rib will become more prominent. Stay right. It looks like going left may be doable to go left later in the year, but at this point (July 31st) I opted to go right and that worked well (avoiding the snow).
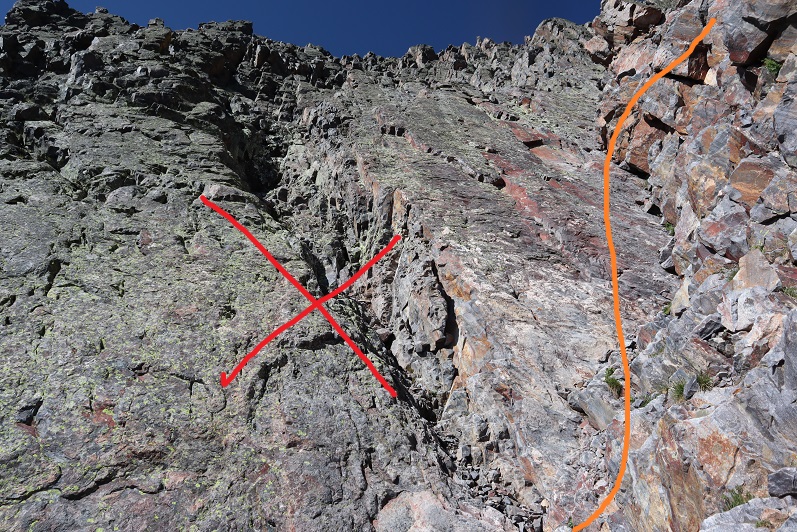
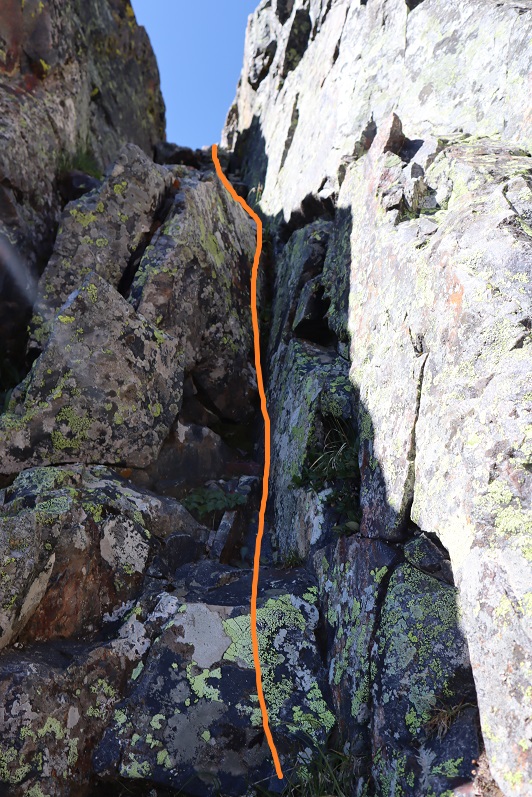
It’s hard to tell in the picture below, but I’m following the rib. There’s a point where it’s hard to tell if you go left or right (circled in red), but you go left here and then right. If you look closely you’ll find cairns here indicating the way (they’ll be above you).

Going left you’ll see a gully on your left. It looks doable (and probably is) but it’s easier to ascend by going right. This is pretty well cairned.
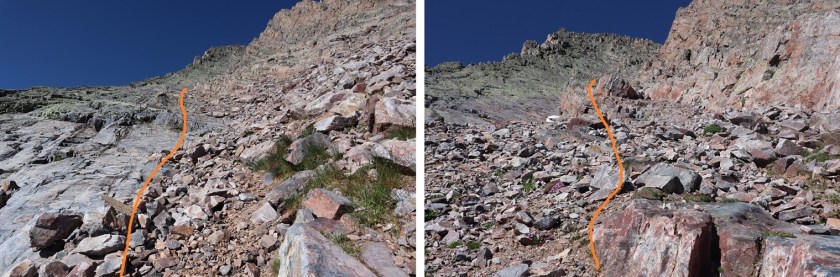
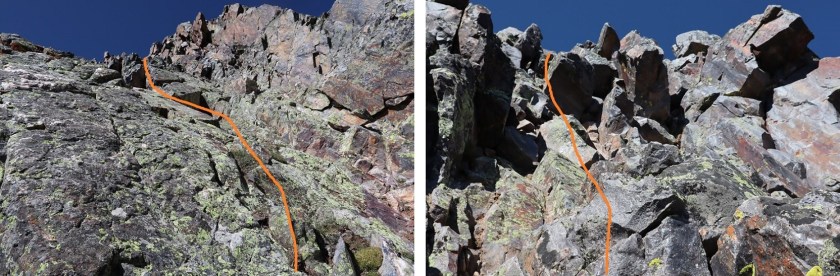
Going right will lead you to a short ledge
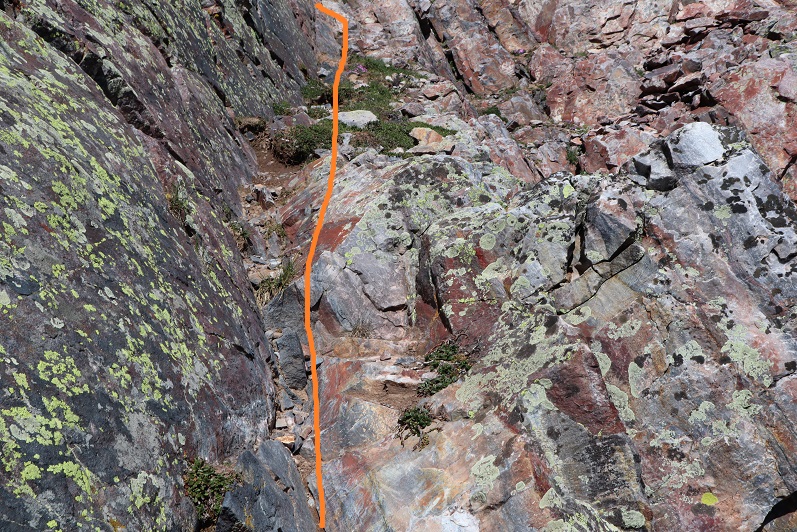
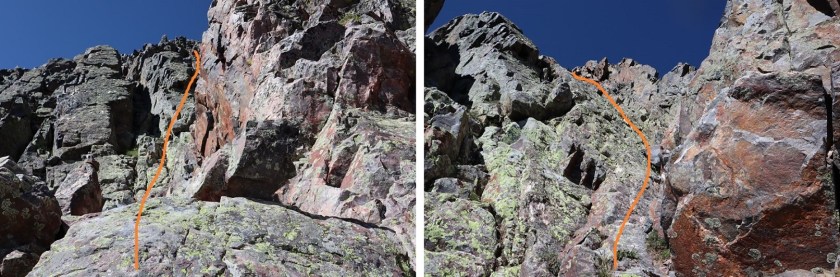
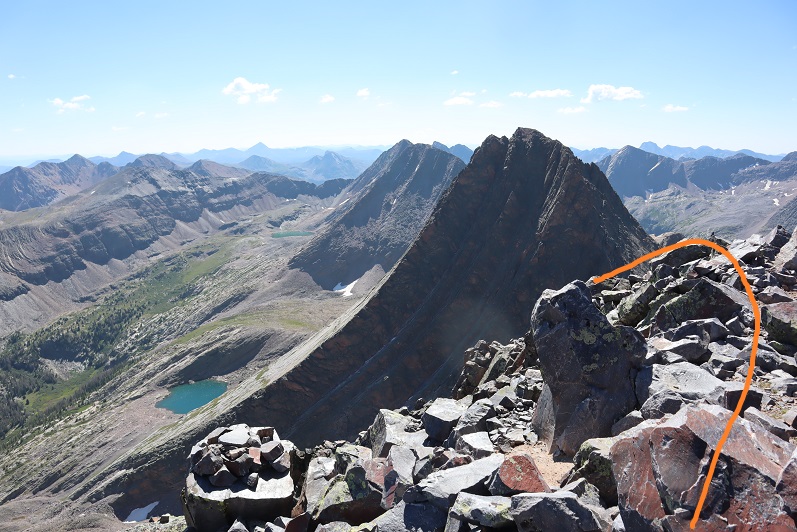
at the end of the ledge go left (following the cairns) and then head northwest up some serious class 3-4 climbing to the summit.
I reached the summit at 10:15am, after 15.27 miles and just over 8 hours of hiking

Arrow Peak:
The trek down was much easier than the trek up, as it was easier to see the cairns and I already knew which direction I was headed. Here are the basic highlights:

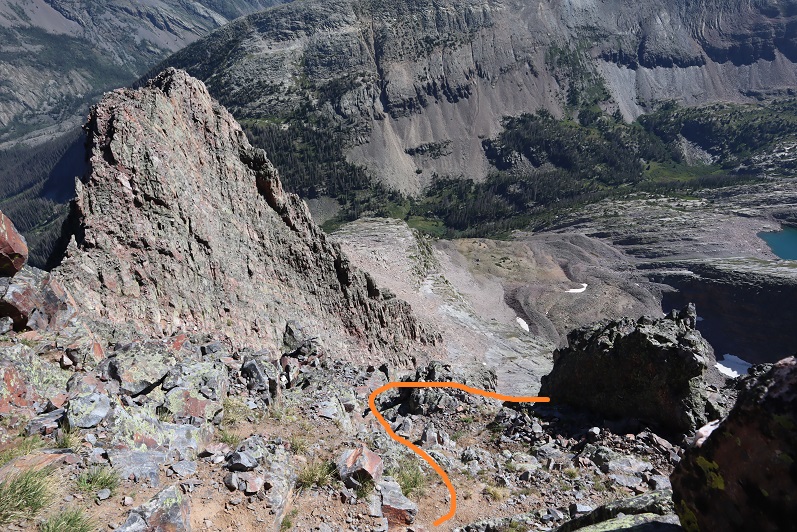
Back down to the ledge, then following it to the right and then left (the cairns are very helpful here)


And then following the ridge back to the basin, sticking to the solid rock whenever possible because the scree was slippery and the rock was stable (but would have been slippery in the rain)


I made it back down to the basin, and check it out: someone (or a marmot) stole my trekking pole! I looked all around for it and was unable to find it. I had passed about 10 people on the way up/down, so it could have been one of them, but that would’ve been poor form and not cool, especially since I talked with all of them and they seemed super nice, so I’m assuming it was an animal. From the basin there’s a trail back down to the camping area
Someone had found my glove and made it super easy to find by sticking it on a branch right in the middle of the trail. Thank you!!! (they’re expensive gloves…). Then it was a quick creek crossing and I was back at my gear.
Total mileage will be with my Trinities Report, but the mileage from Molas Pass, up to Arrow, and back to the camping area where I’d stashed my pack was 17.71 miles according to CalTopo, 12.7 miles according to Strava (to be discussed in my next trip report: gotta love app discrepancies). Here’s a picture of the route from my camping area the next day (without route markings)
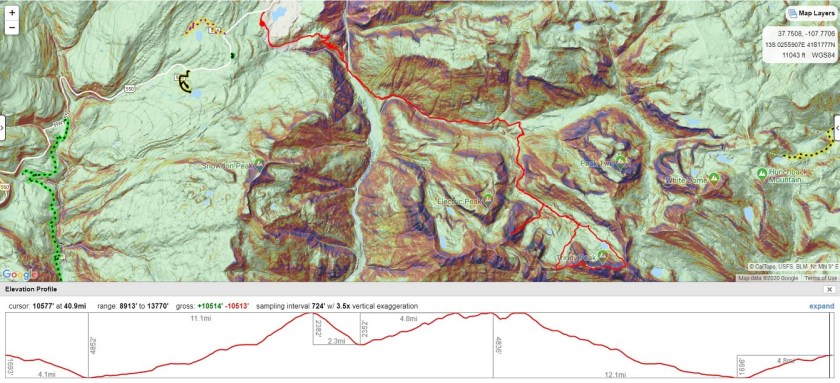
Here’s the CalTopo of the entire route, including the hike the next day up the Trinities.

One thought on “Arrow Peak – 13,817”