RT Length: 19.98 miles
Elevation Gain: 5159’
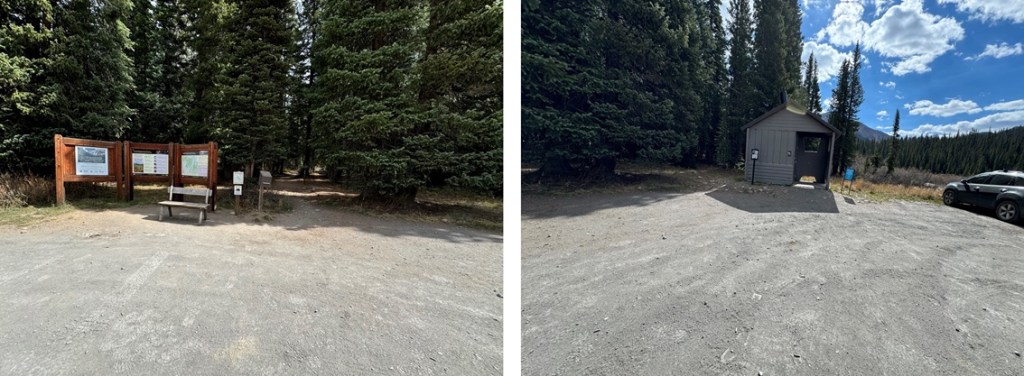
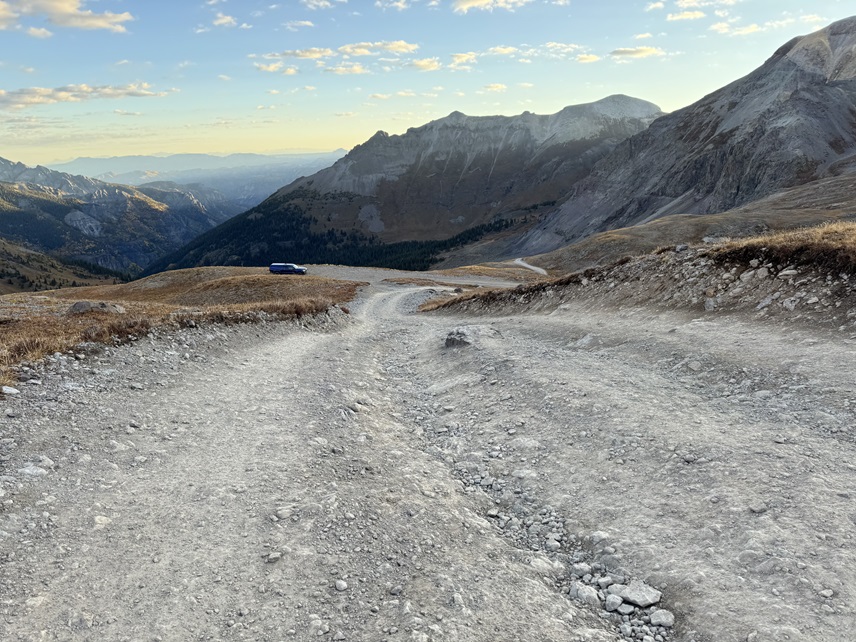
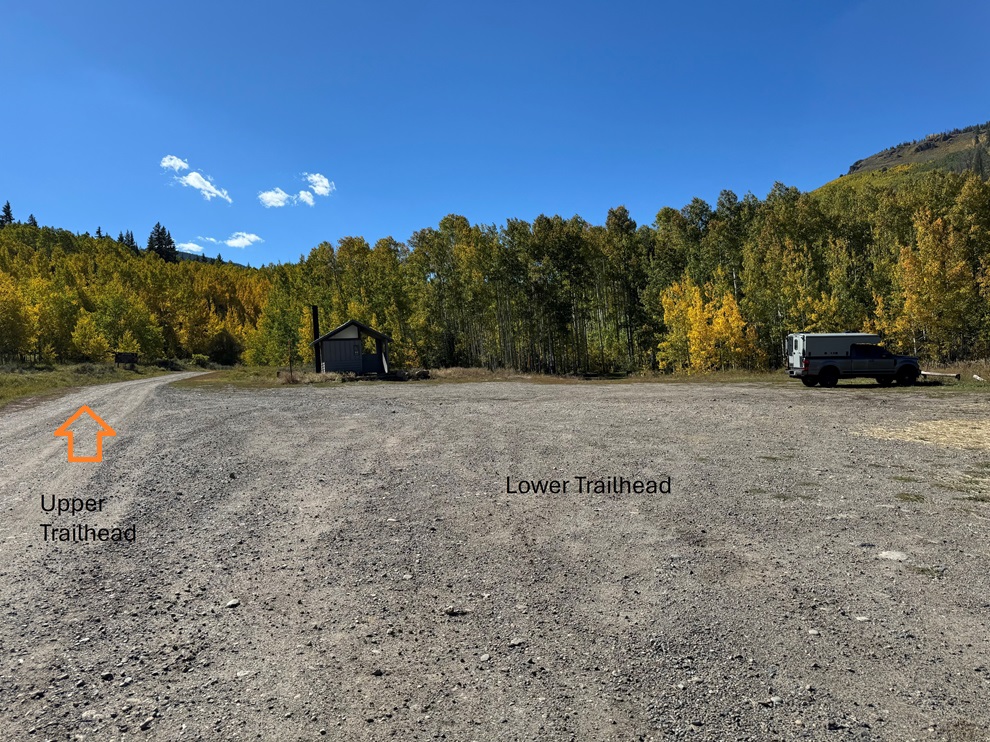
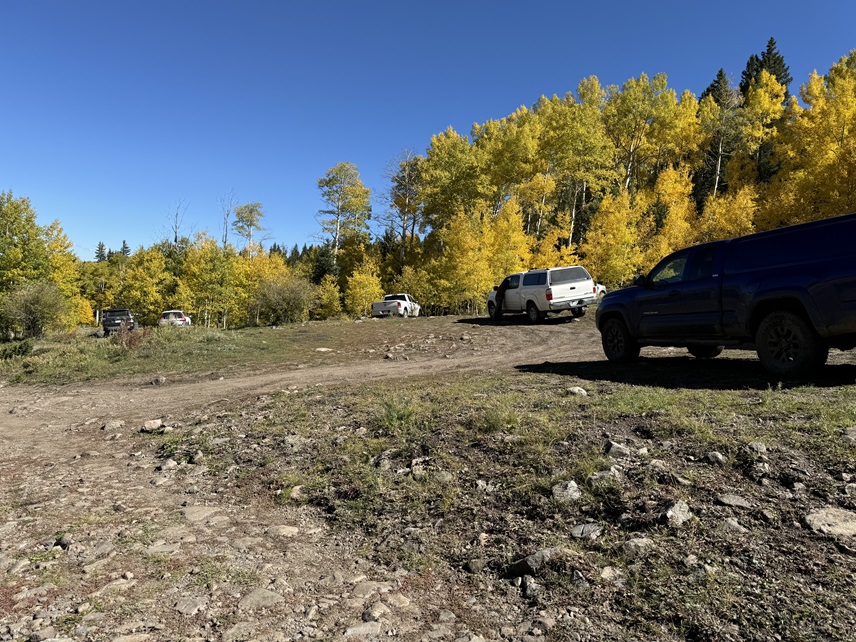
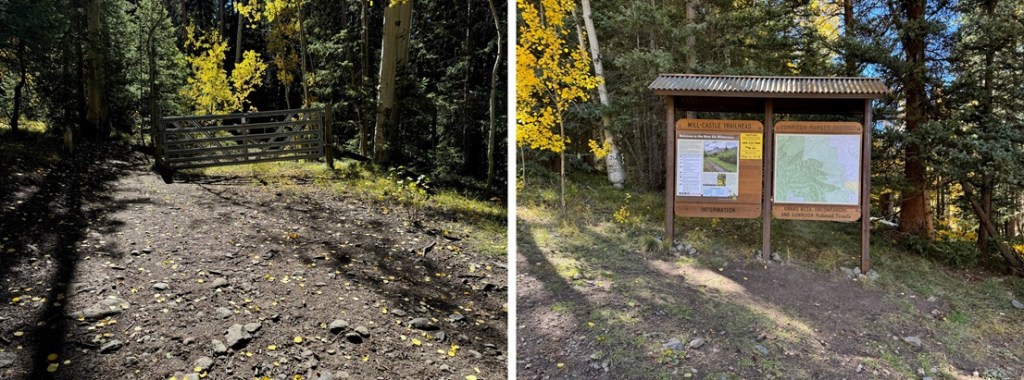
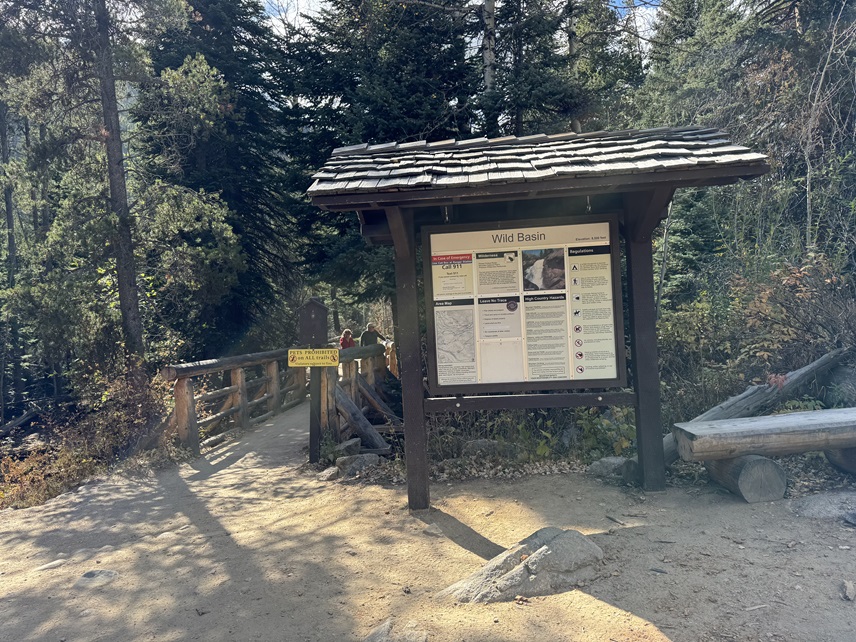
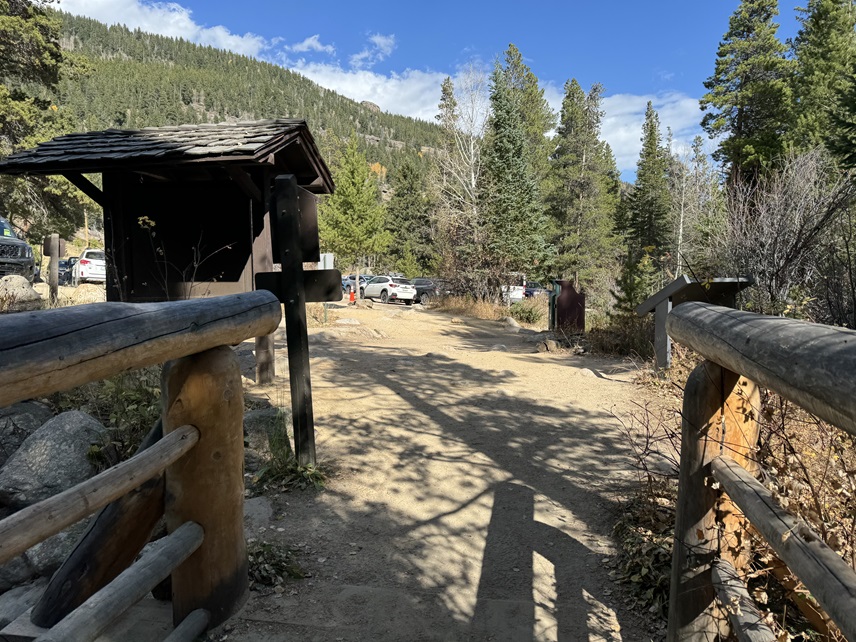
This hike, while long, was much easier than anticipated. I arrived at the Wild Basin Trailhead inside Rocky Mountain National Park and was on the trail at 4am. I’m sure most of you know this, but the park has an entrance fee, and timed entry for this trailhead between the hours of 9am-2pm. The trailhead holds dozens of vehicles, and there’s a bathroom there.

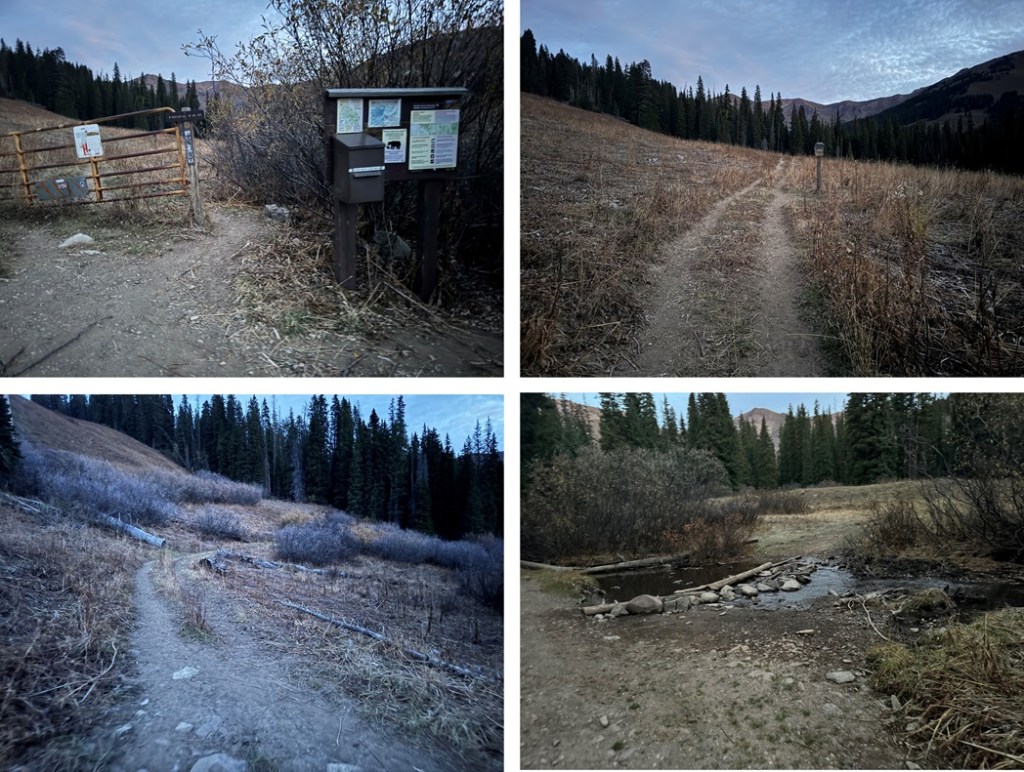
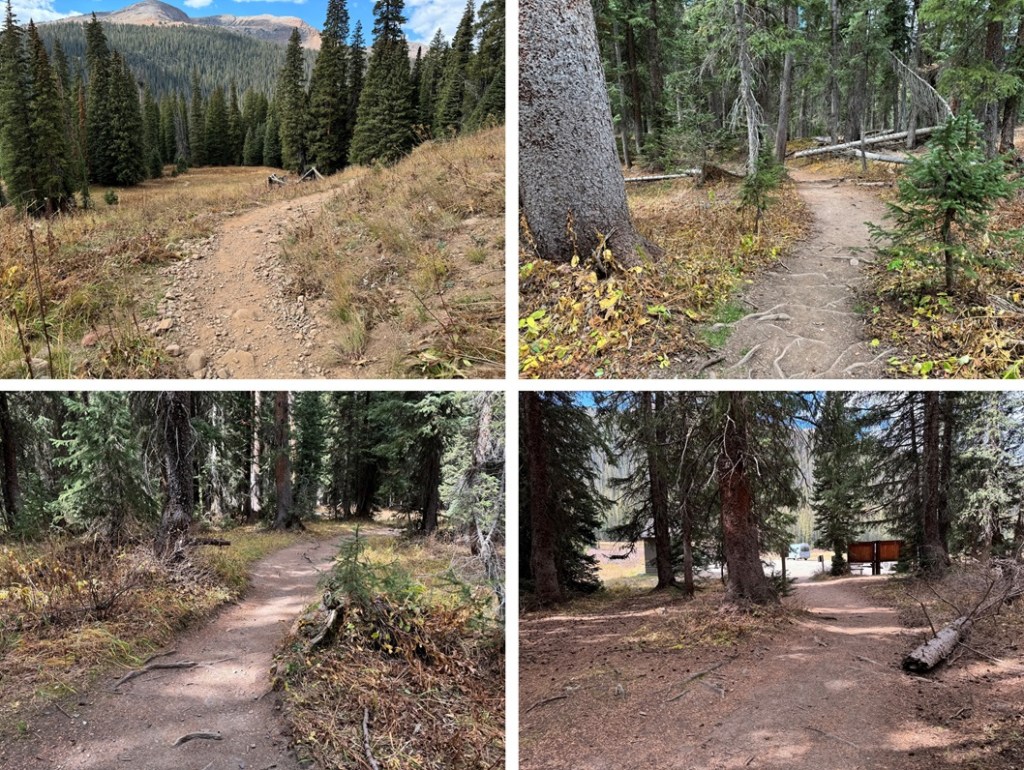
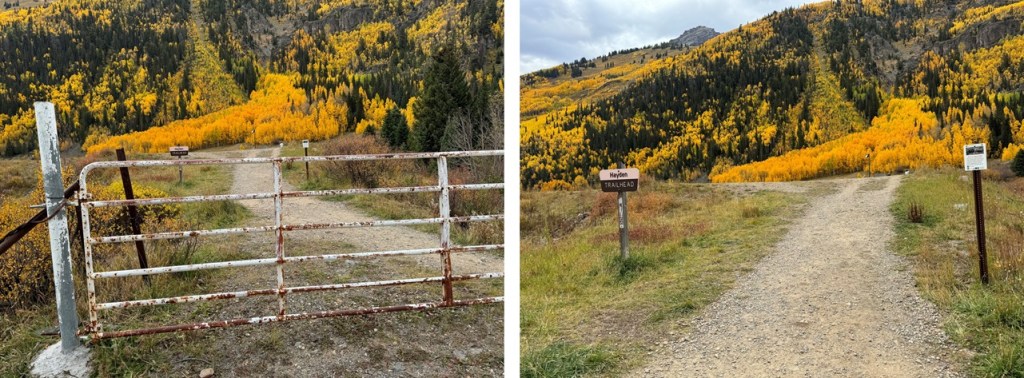
The trailhead starts at the west end of the parking area and is clearly marked.
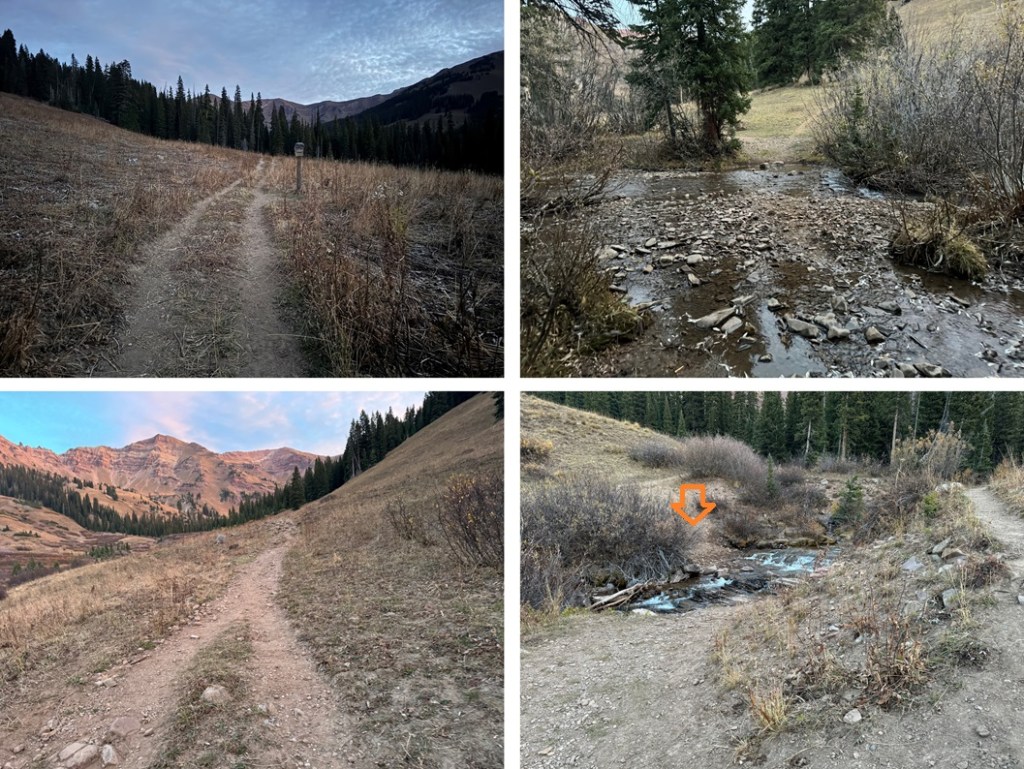
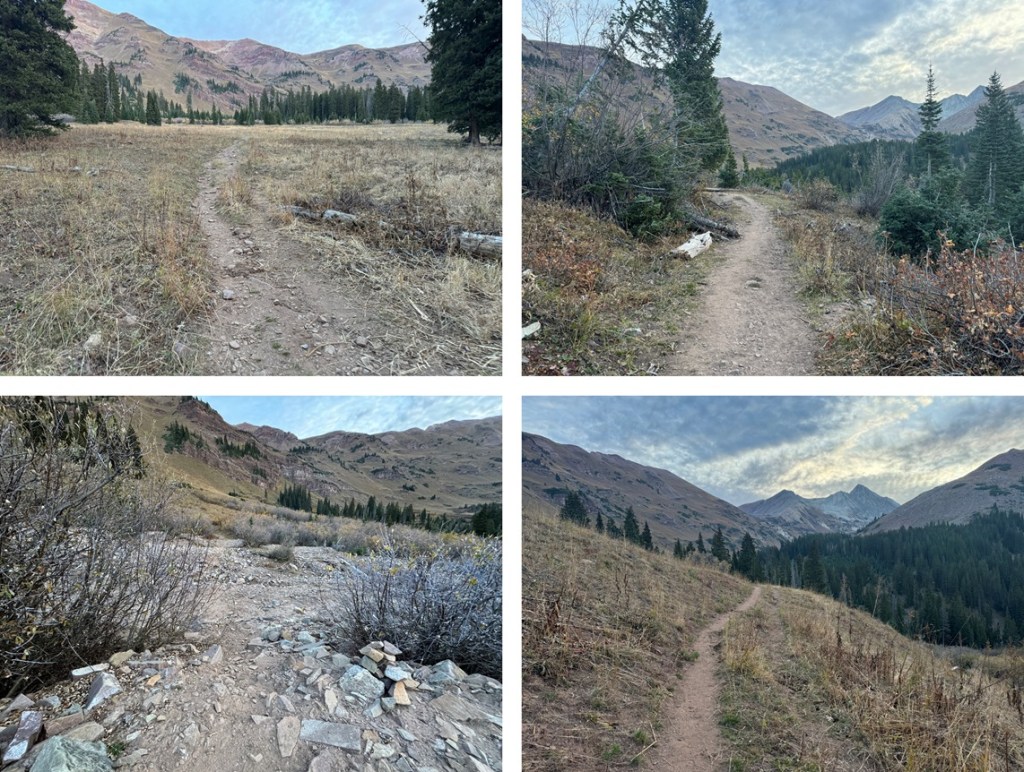
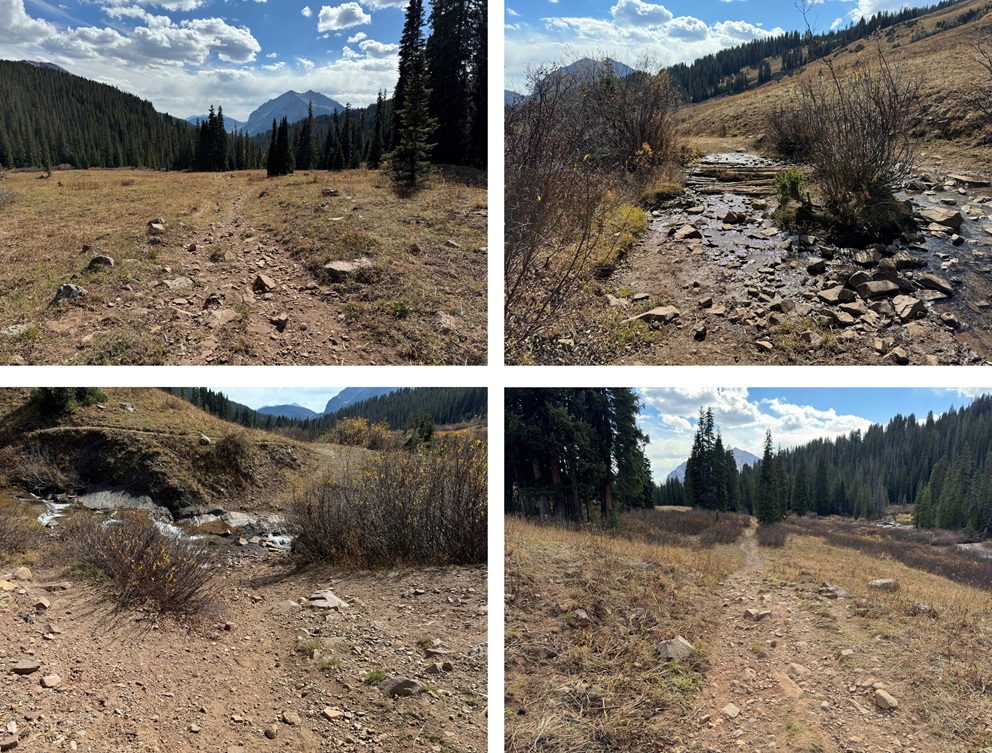
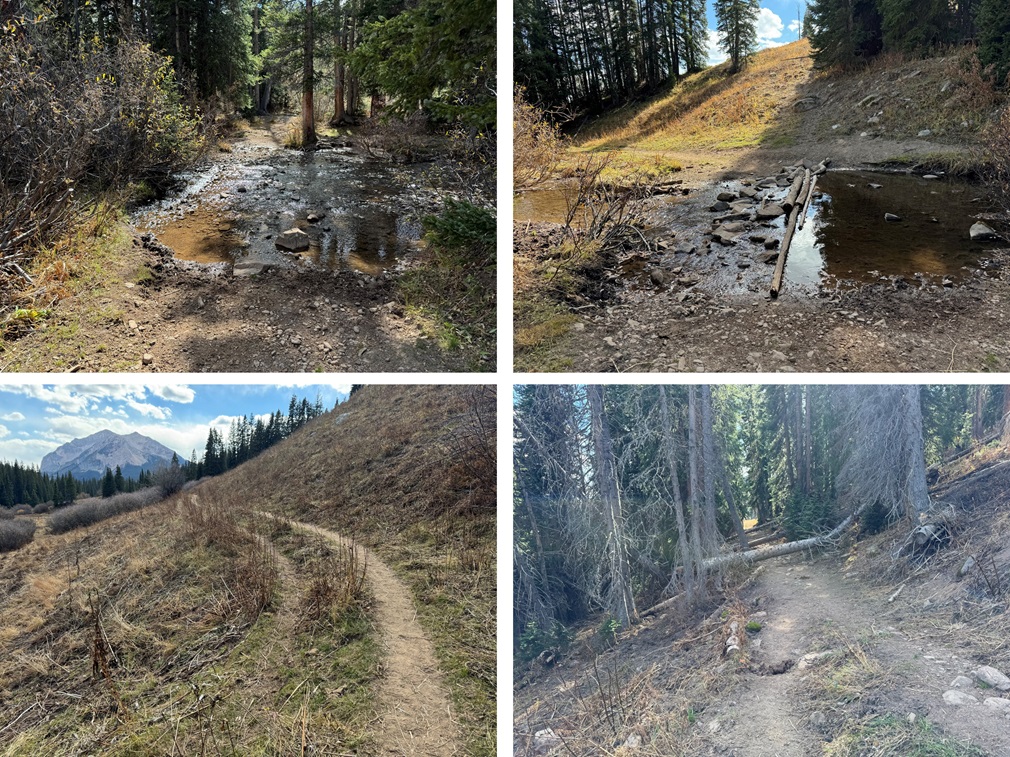
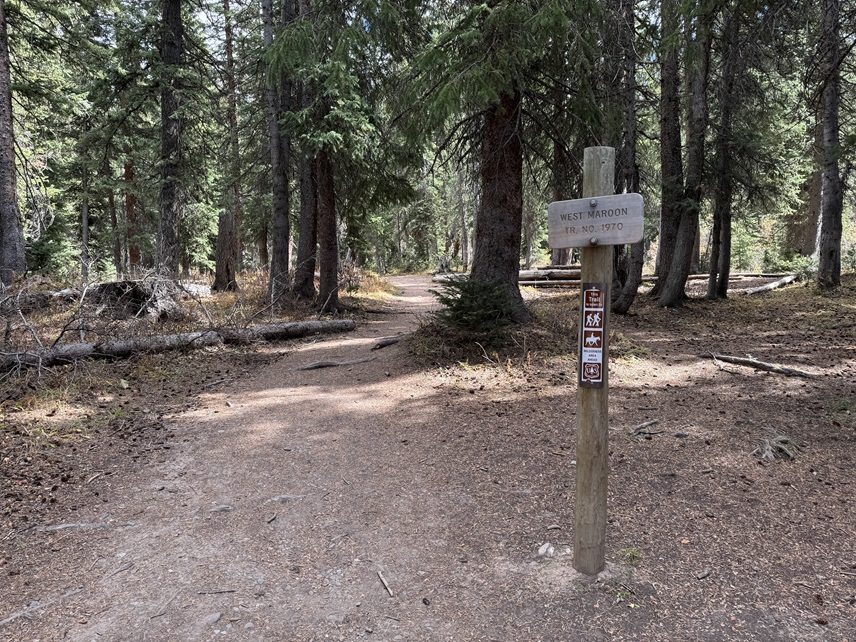
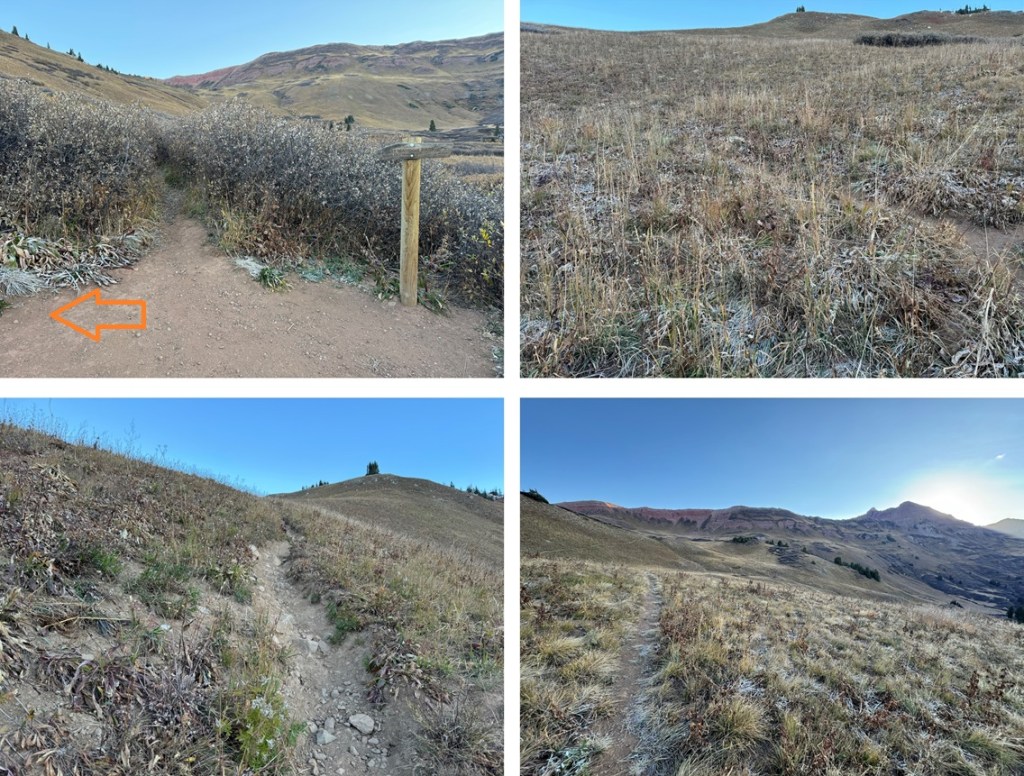
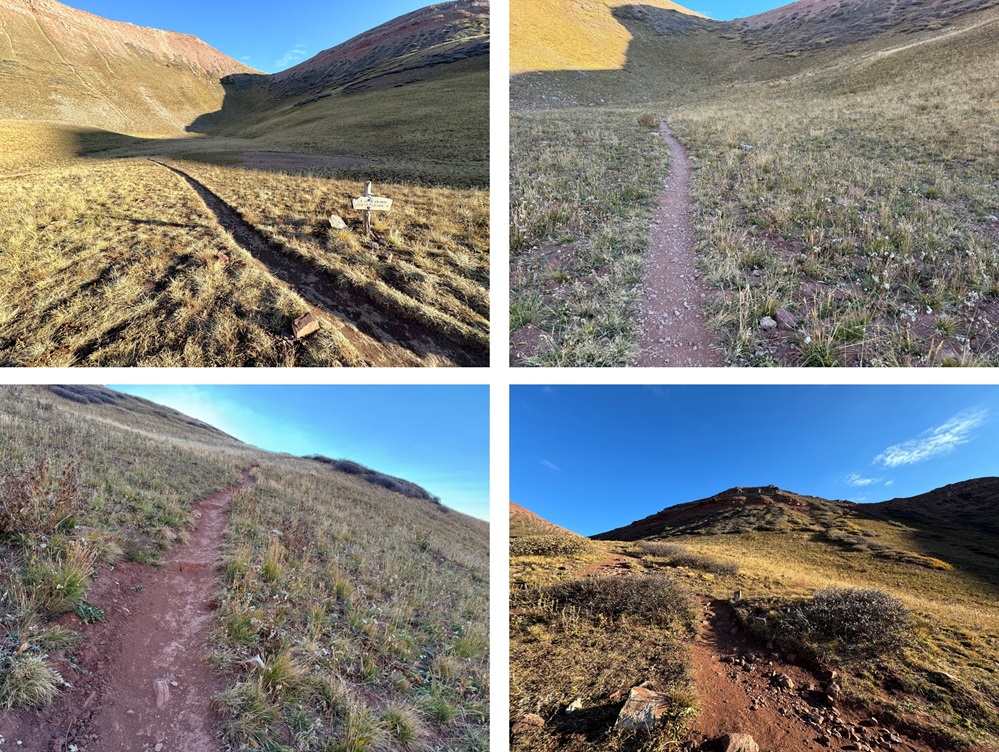
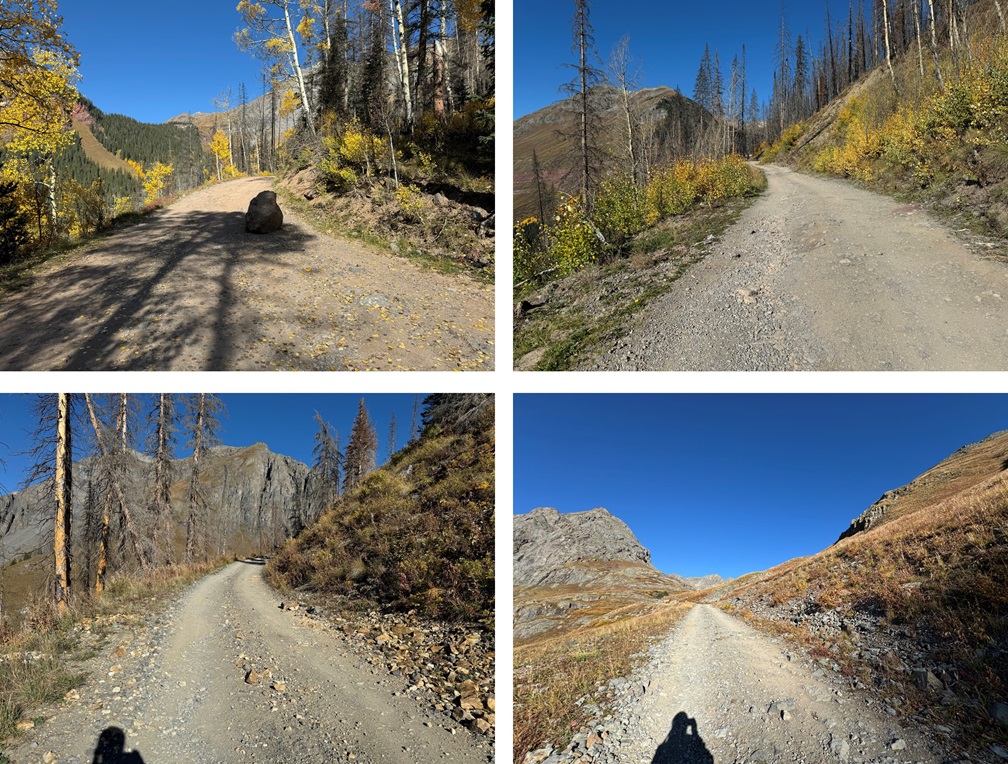
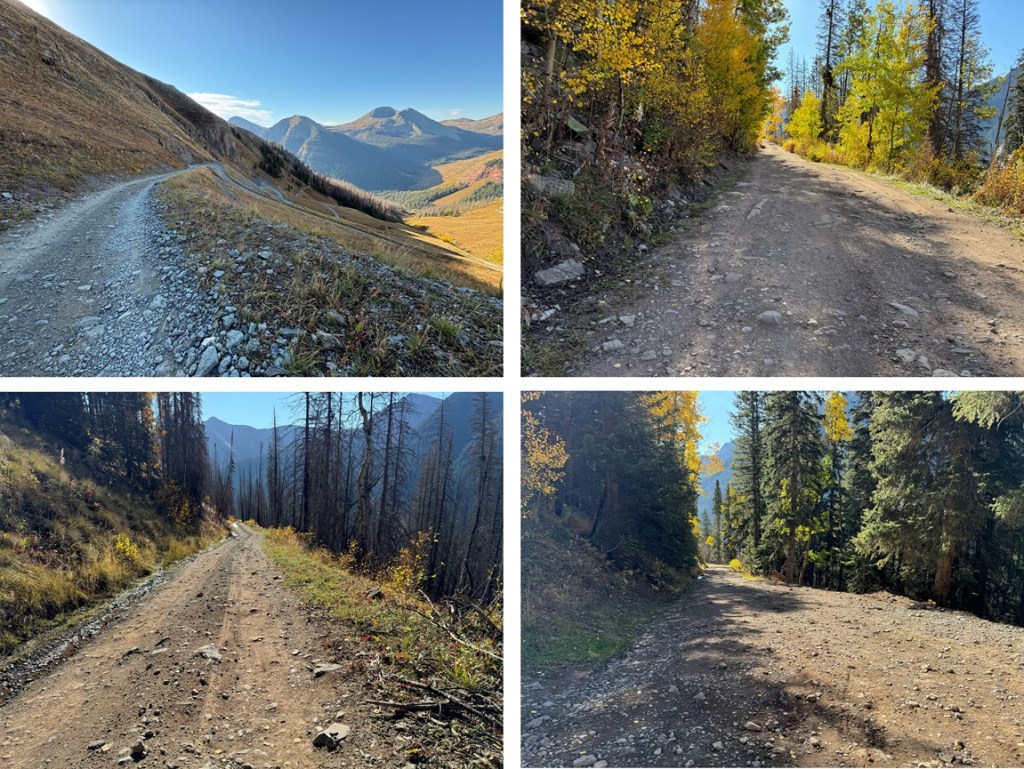
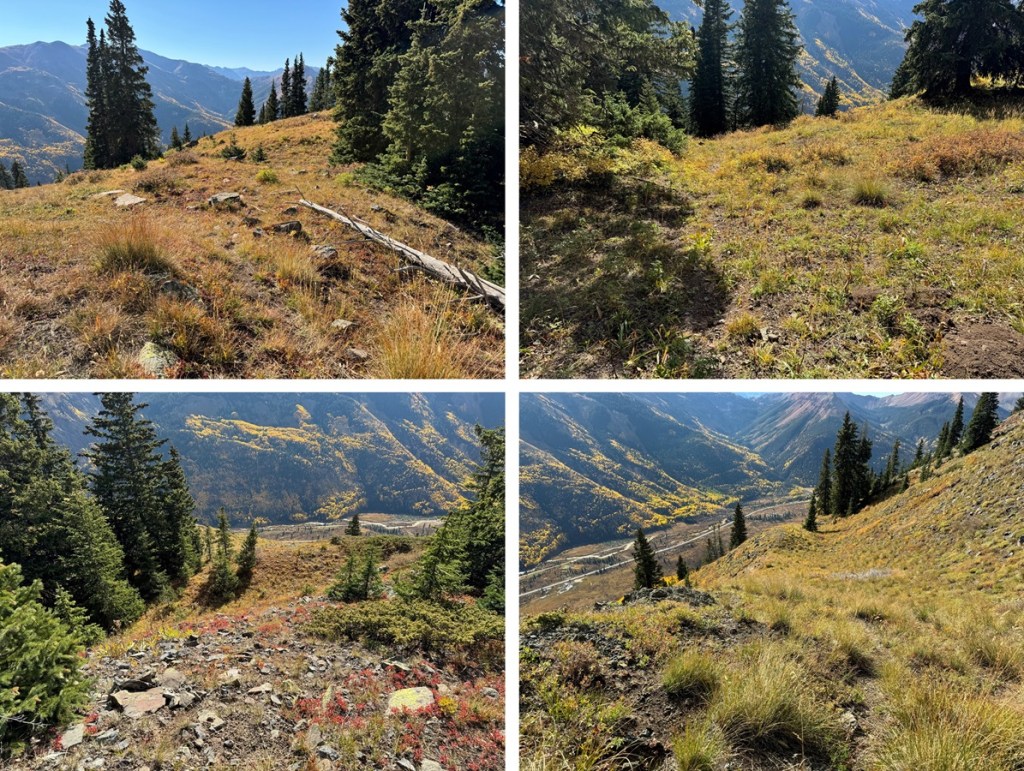
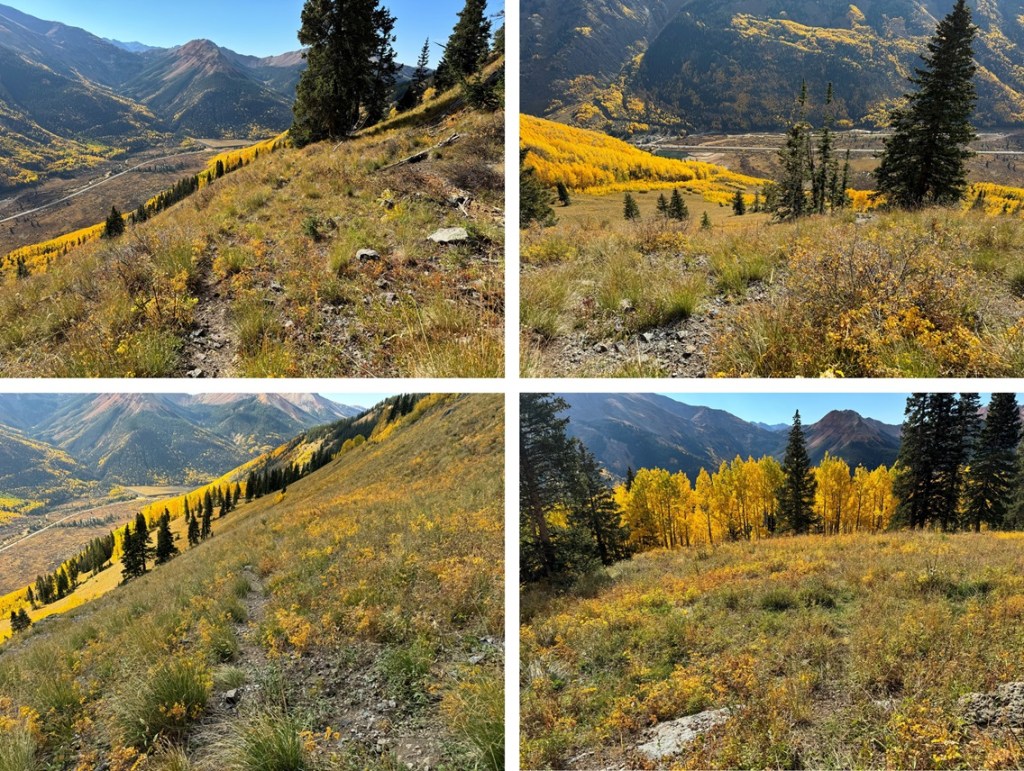
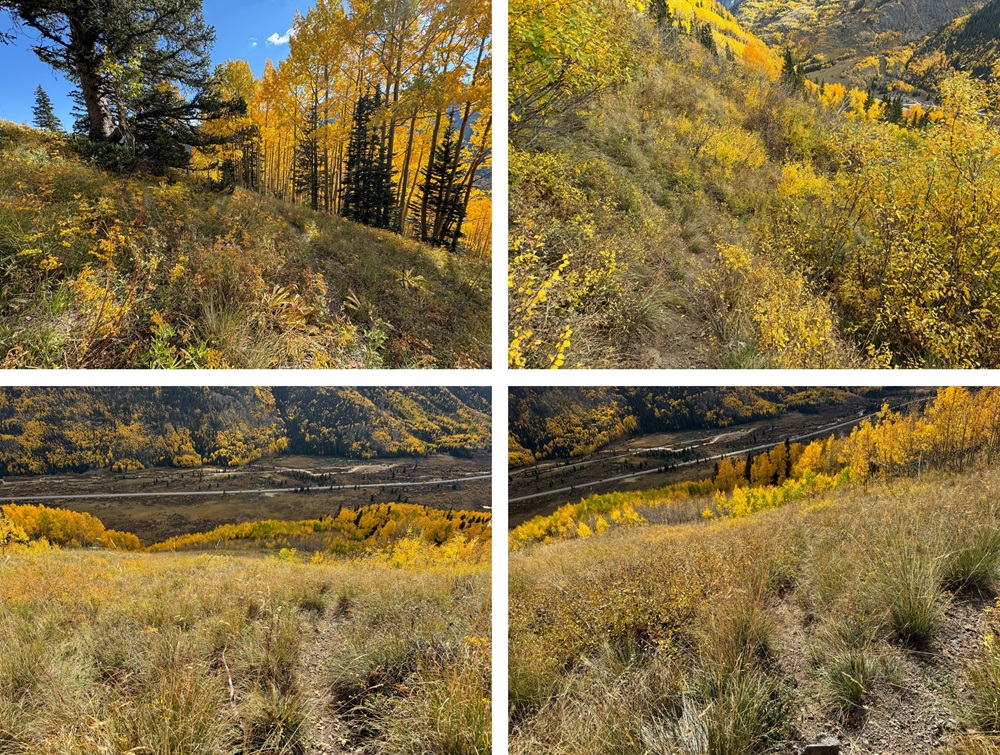
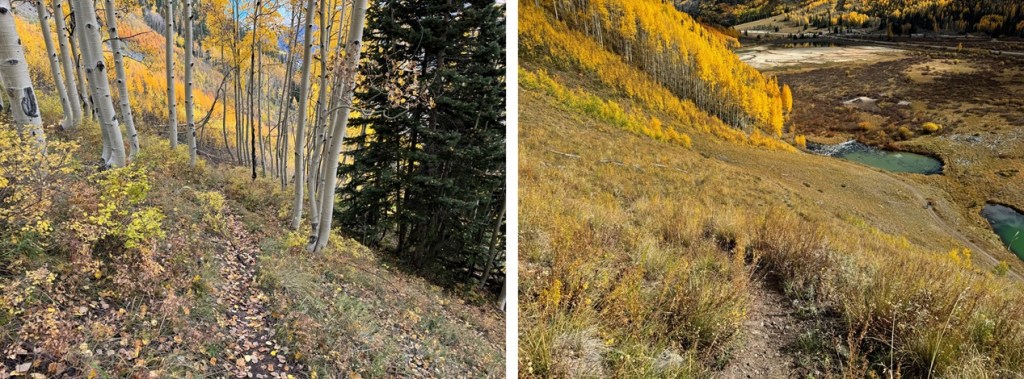
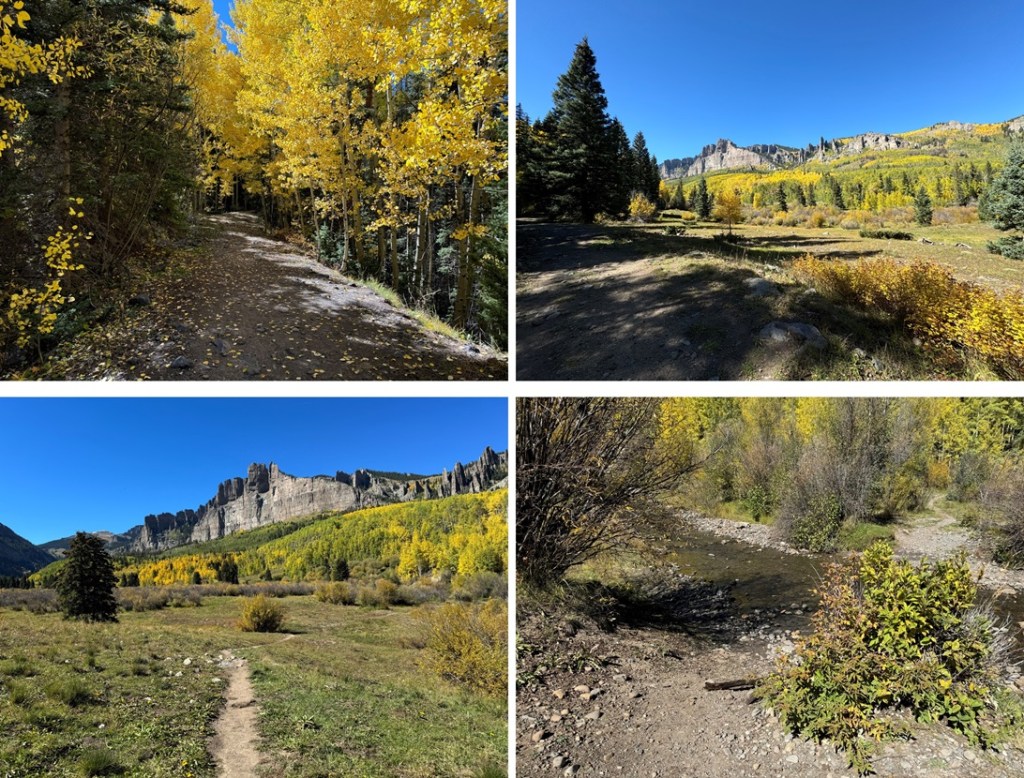
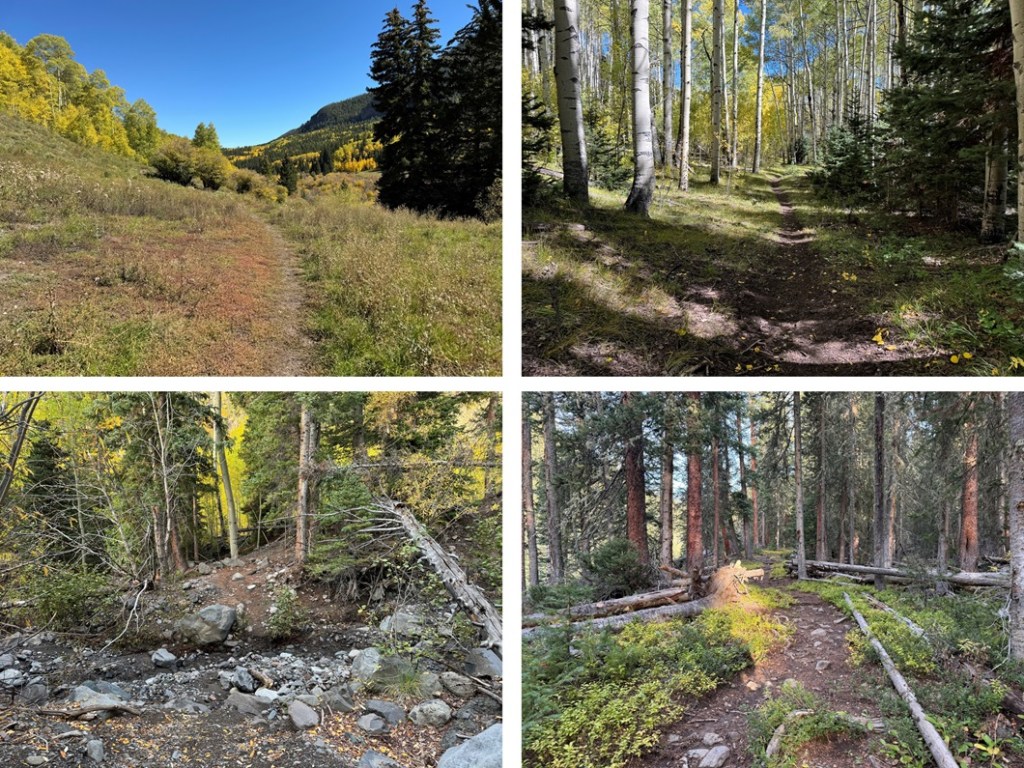
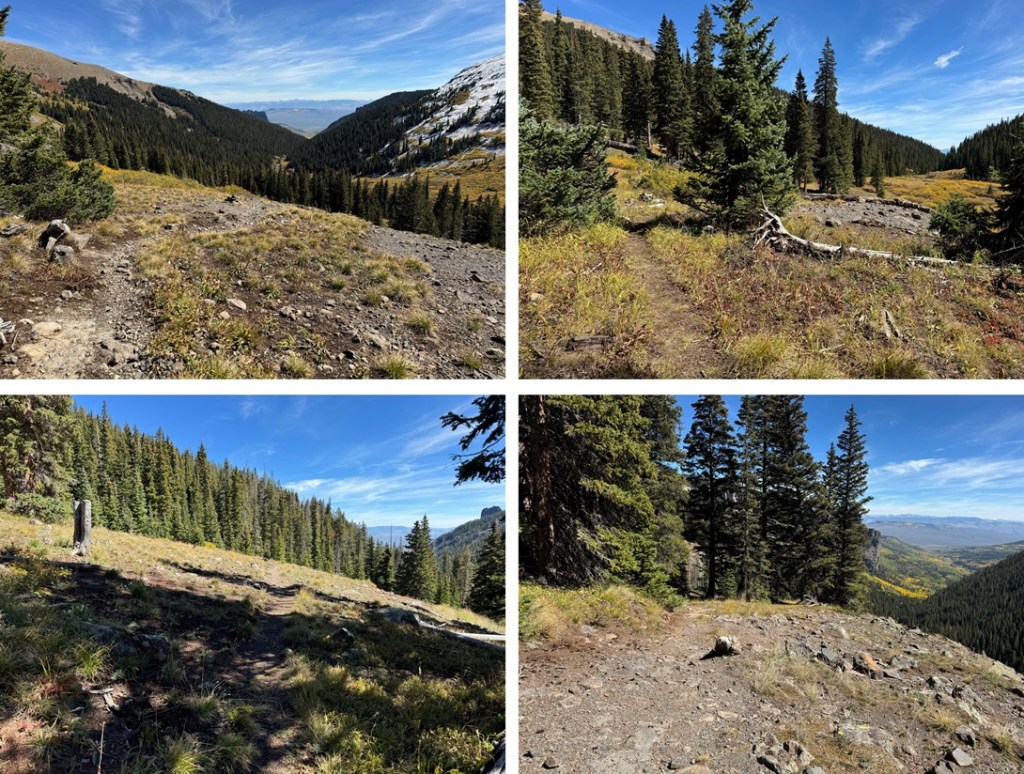
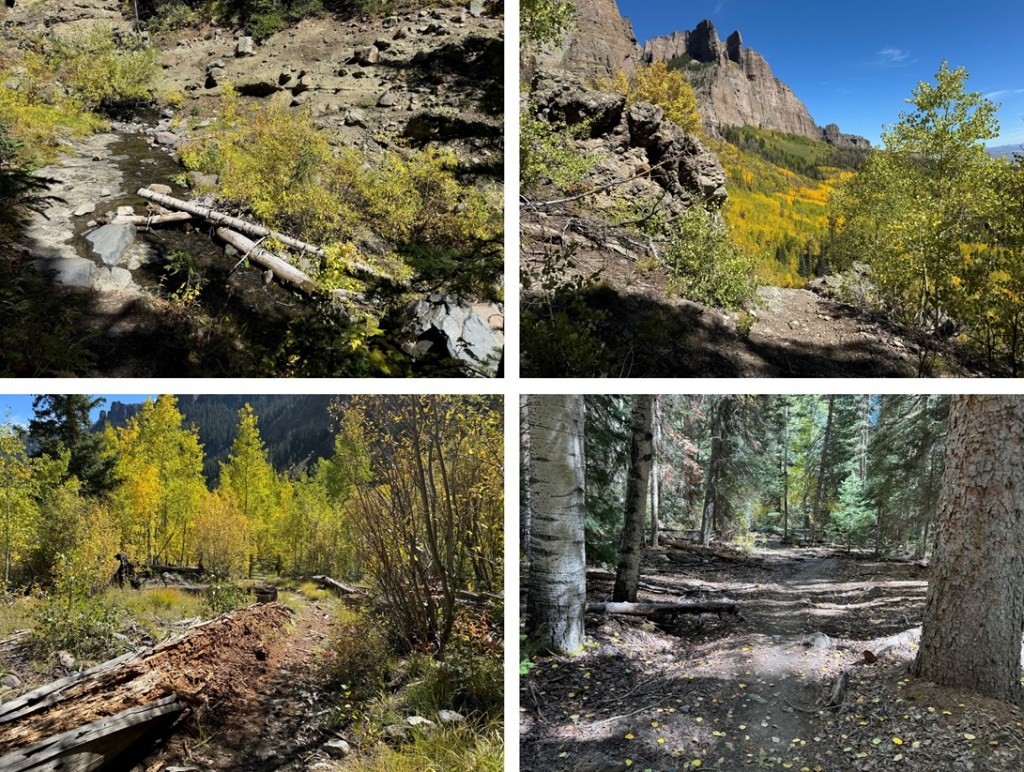
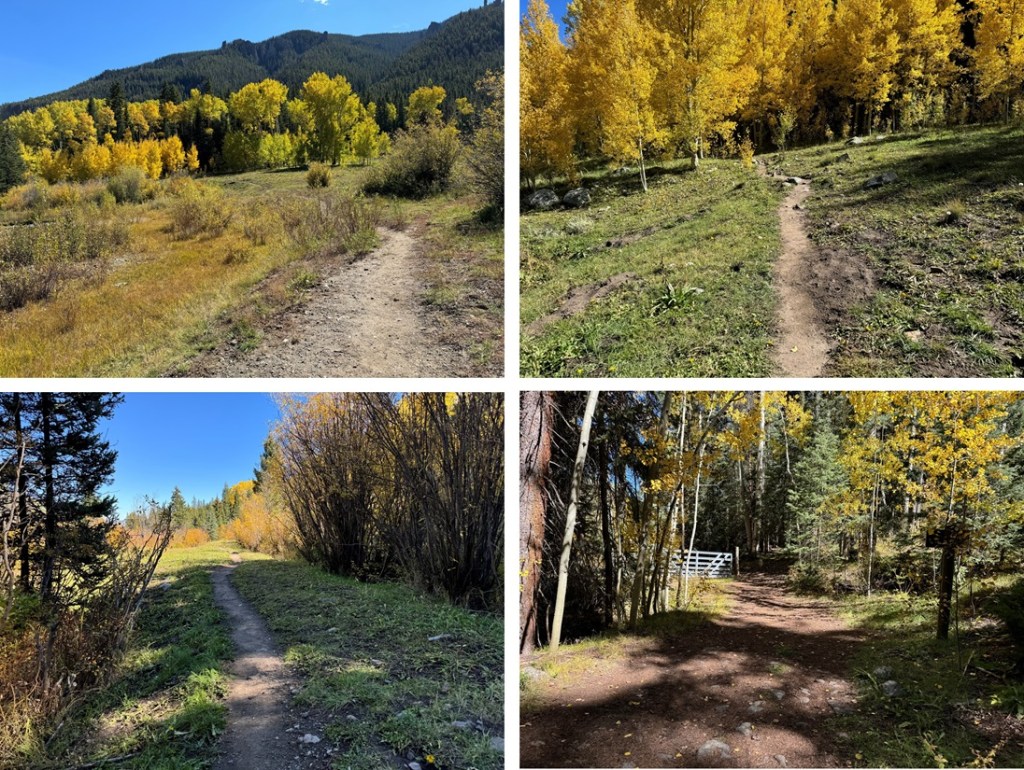
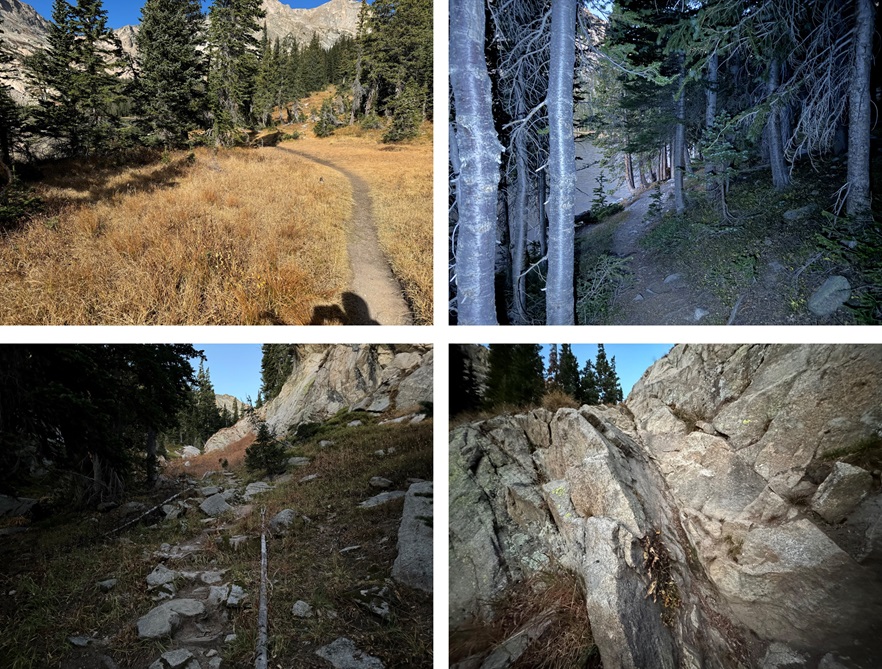
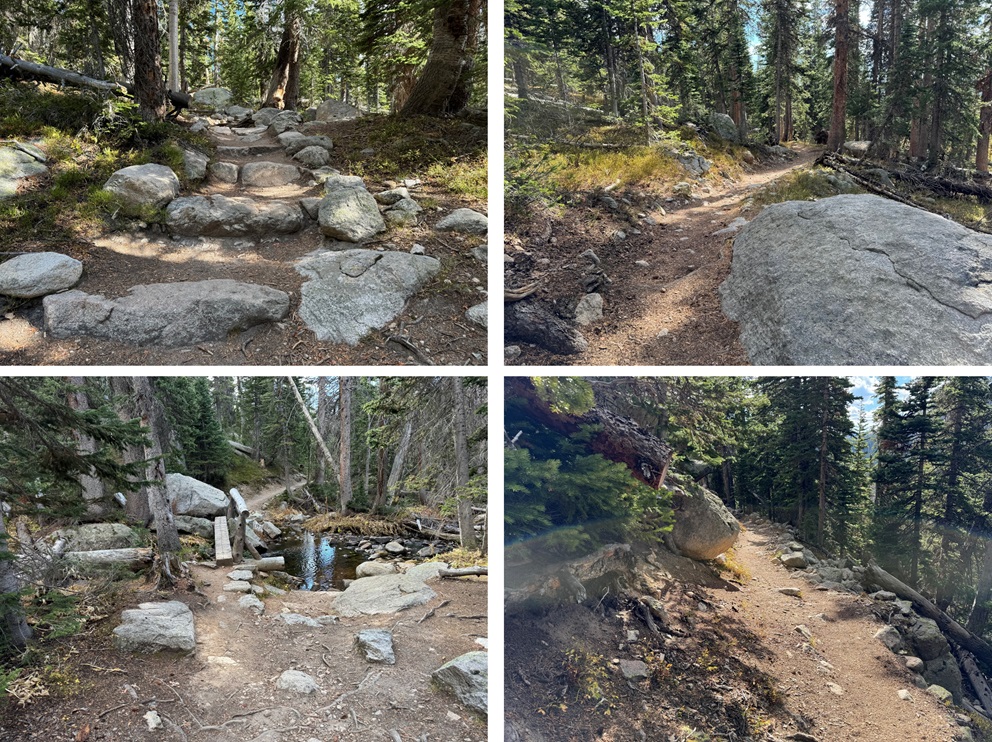
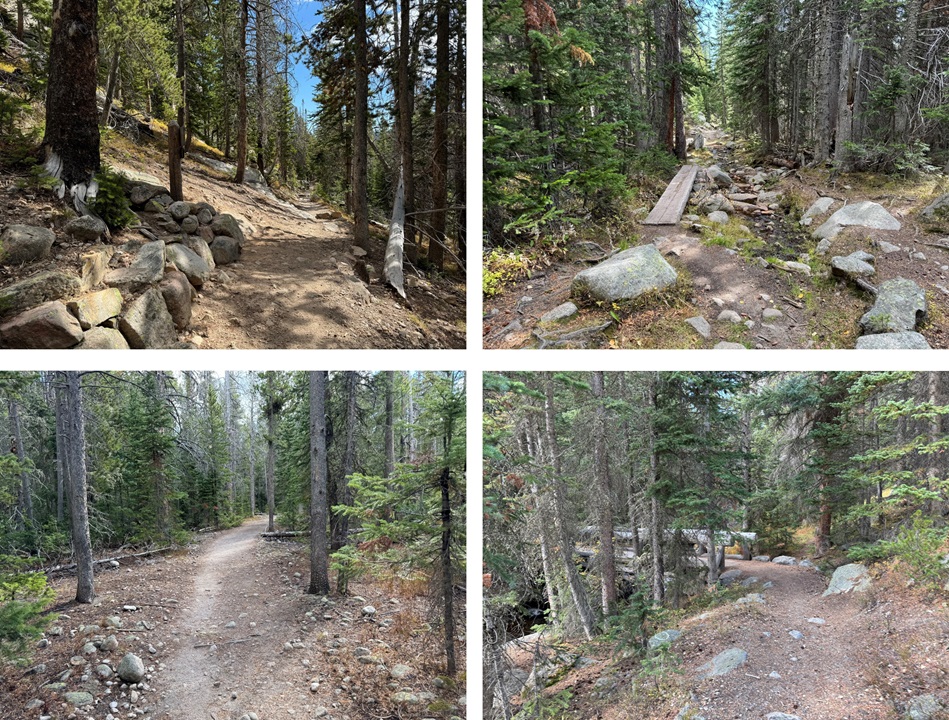
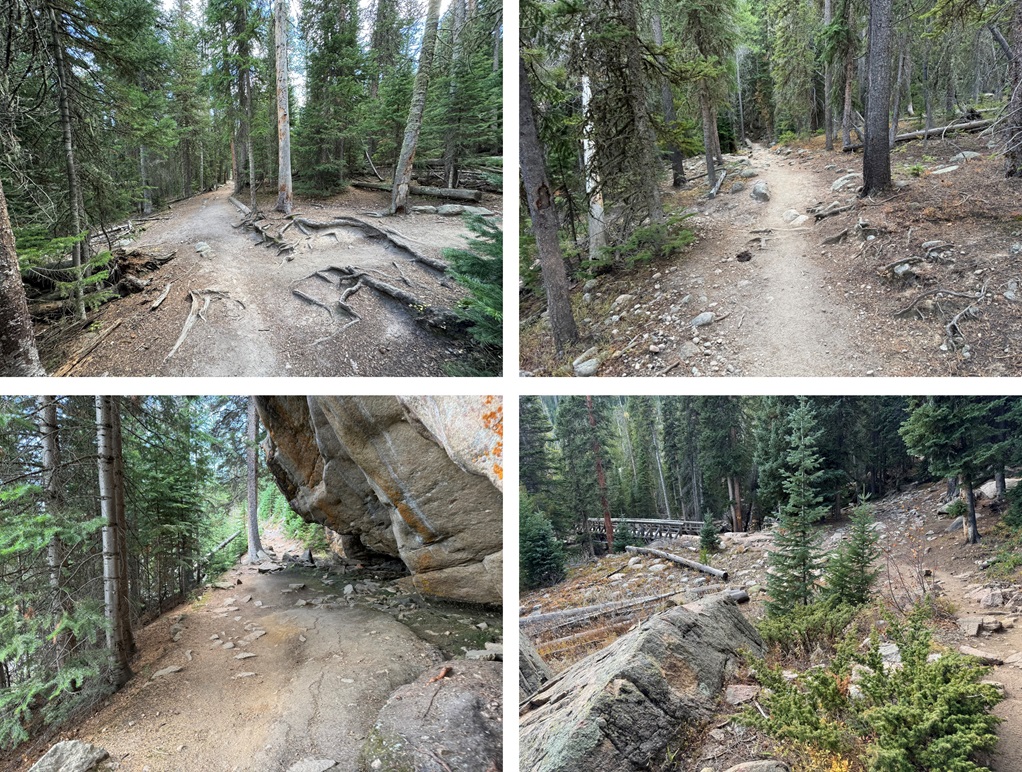
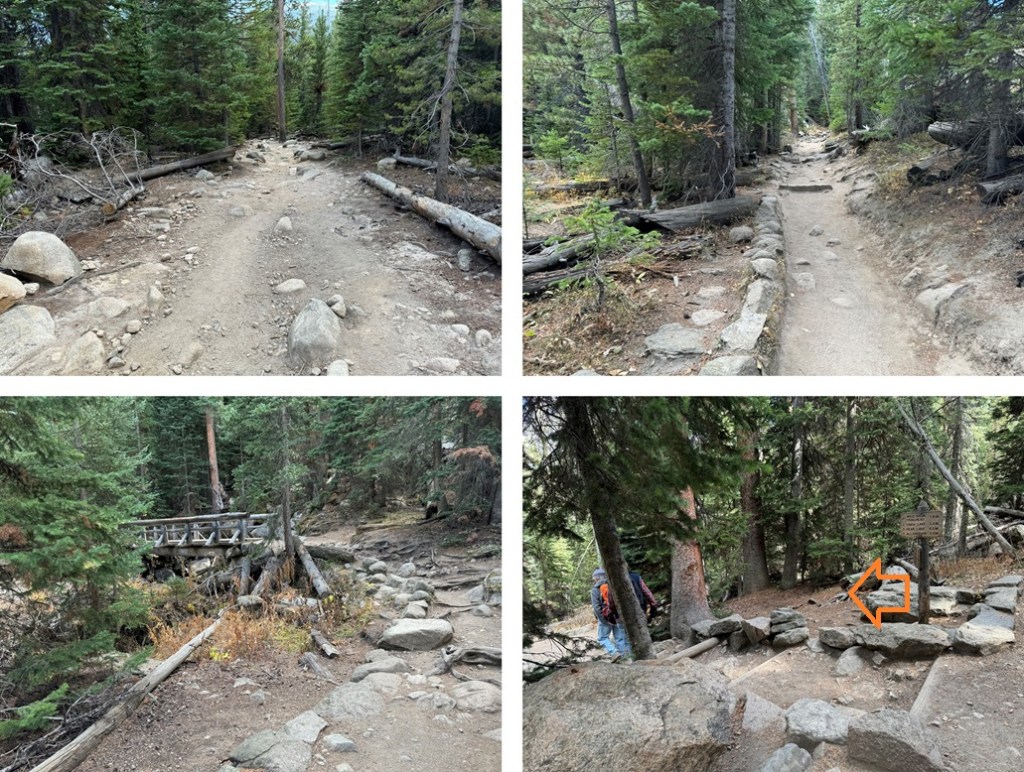
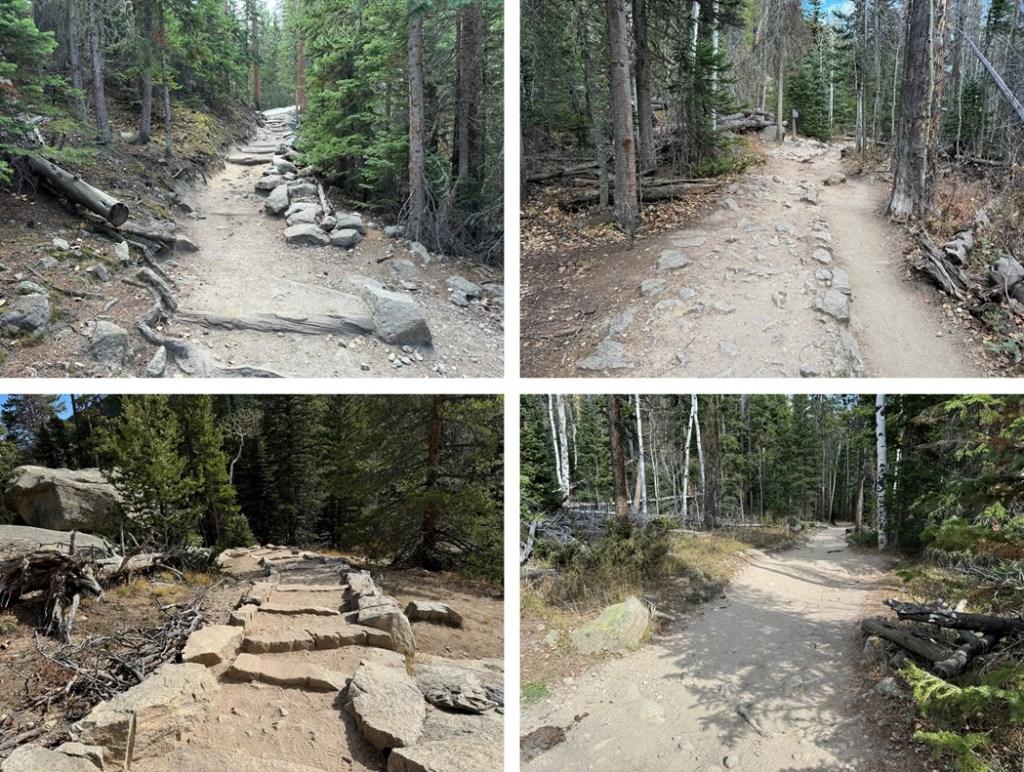
I followed the trail all the way to Thunder Lake. This is a class 1 trail with many junctions, but they are all clearly labeled. I just kept heading towards Thunder Lake, and if Thunder Lake wasn’t on the trail sign (which it wasn’t always), I followed the signs to Ouzel Falls, and then Thunder Lake was on all the rest of the signs. Along the way I passed Calypso Falls and Ouzel Falls. Here are some pictures of the trail and junctions to Thunder Lake:


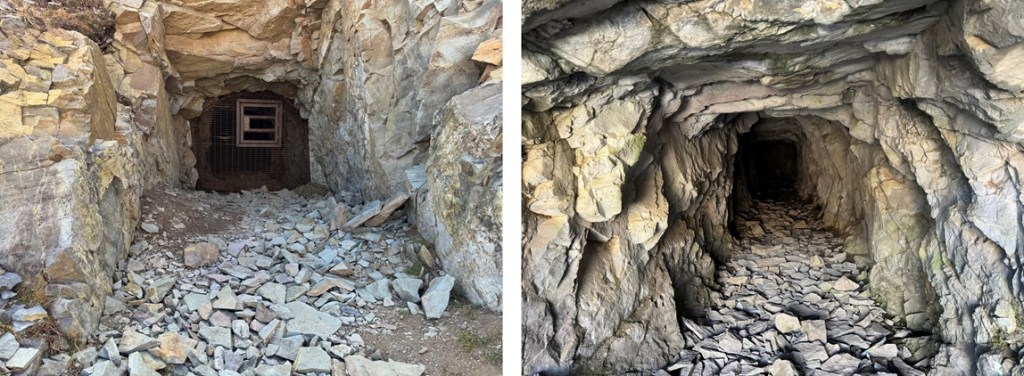
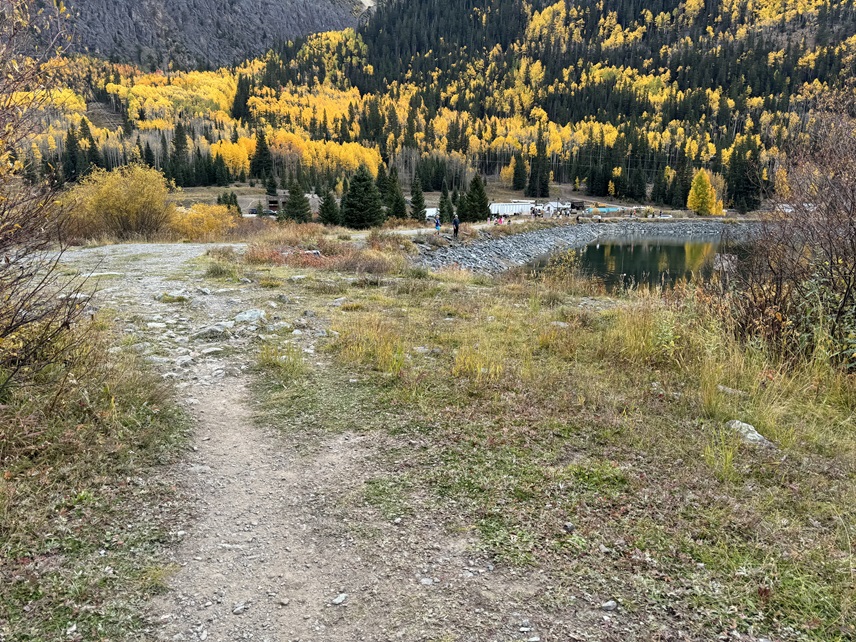
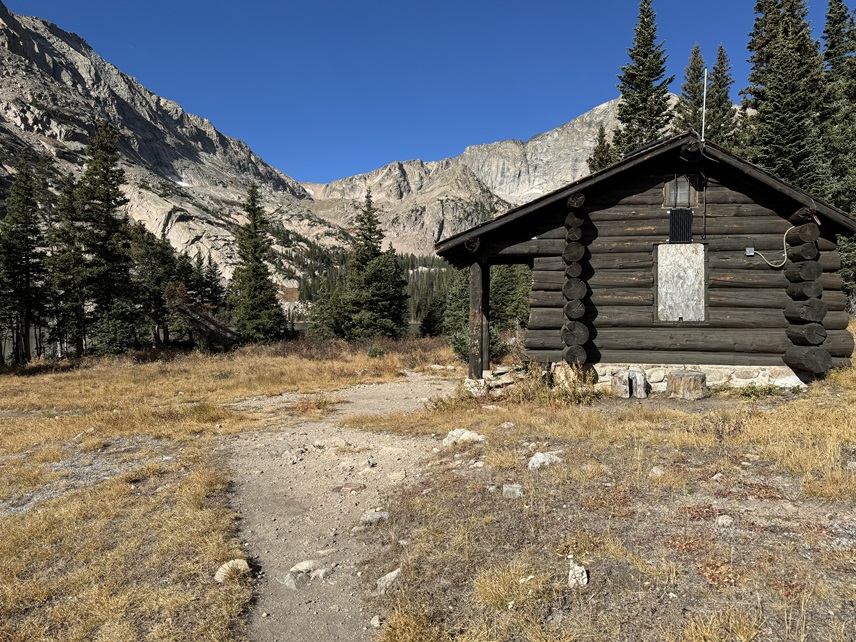
After hiking for a total of 7.2 miles I made it to Thunder Lake, and the Patrol Cabin (which was now boarded up for the winter).
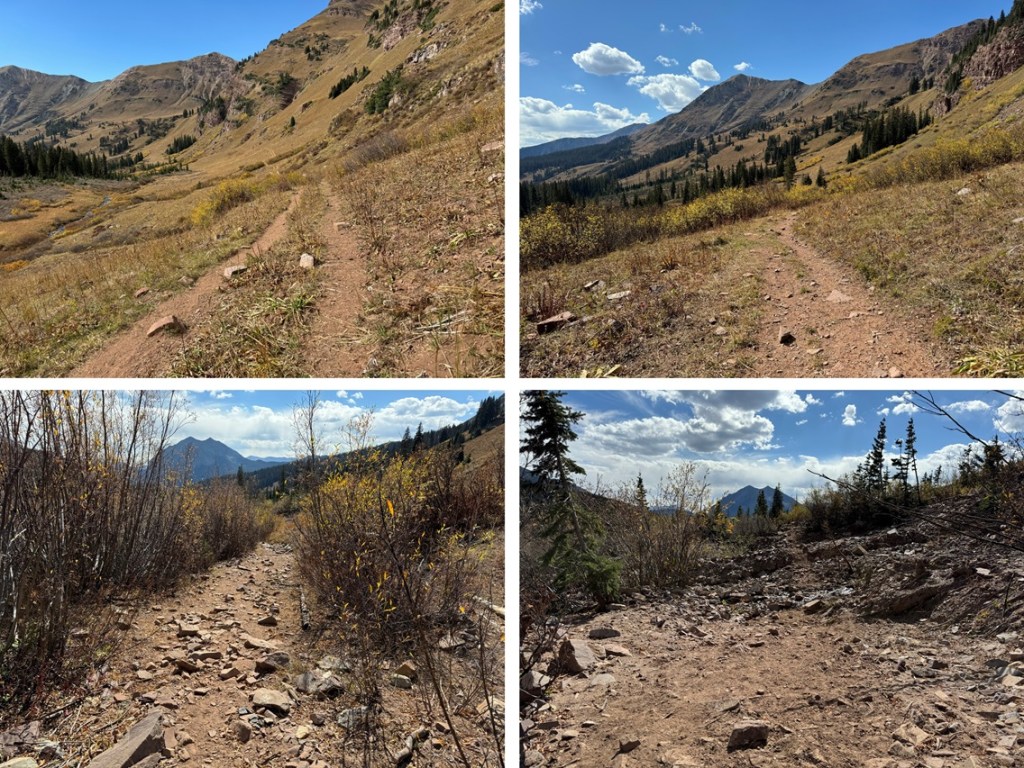
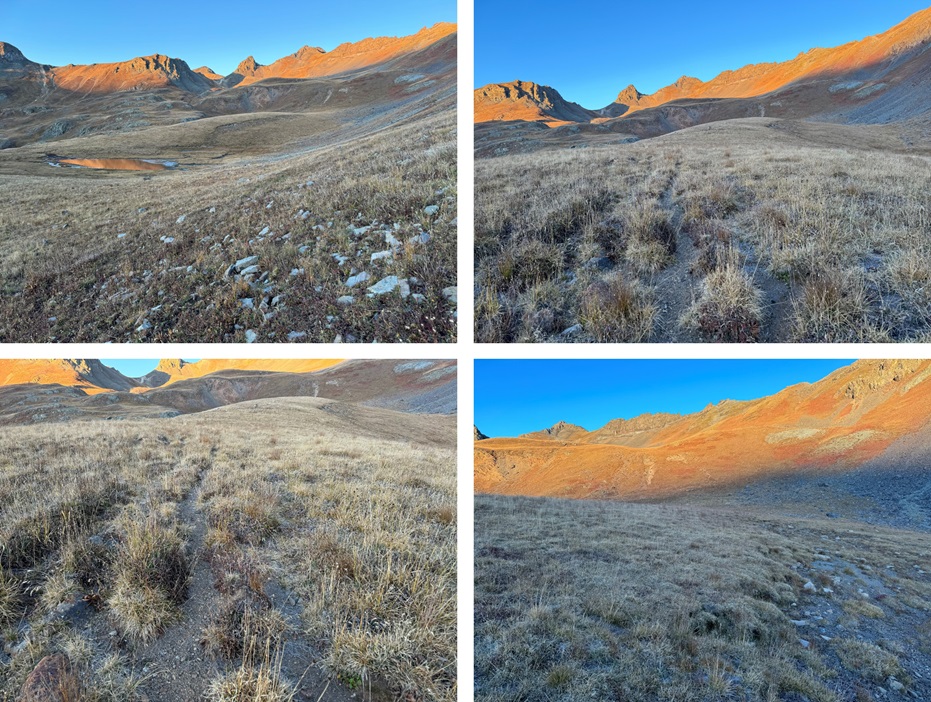
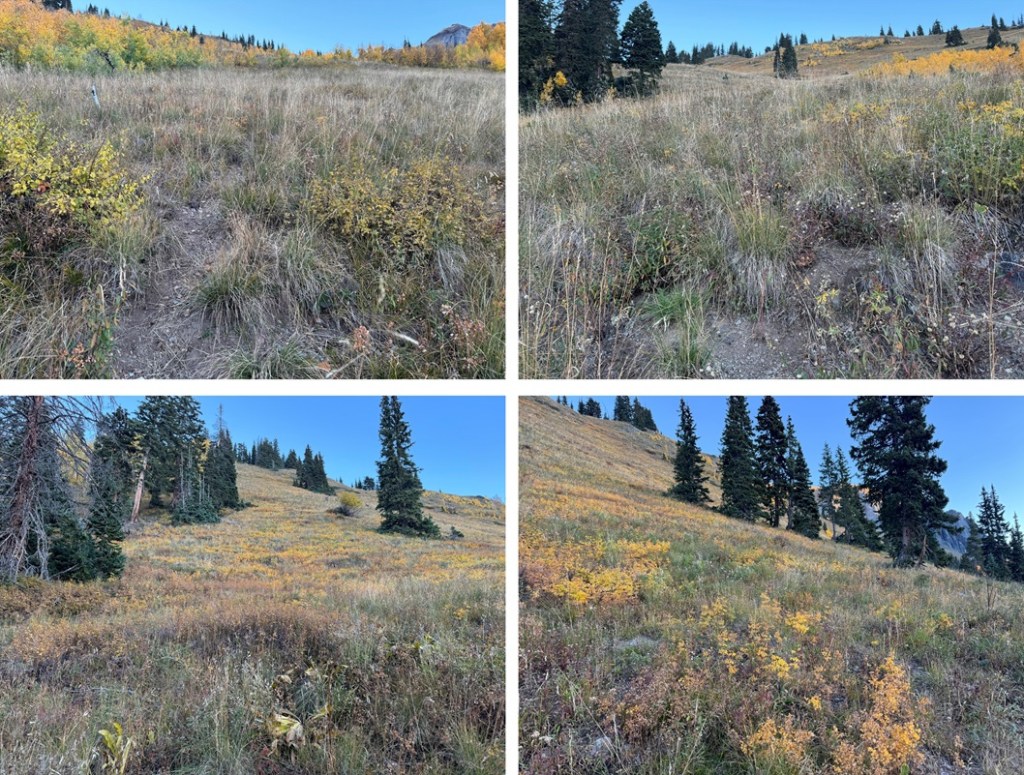
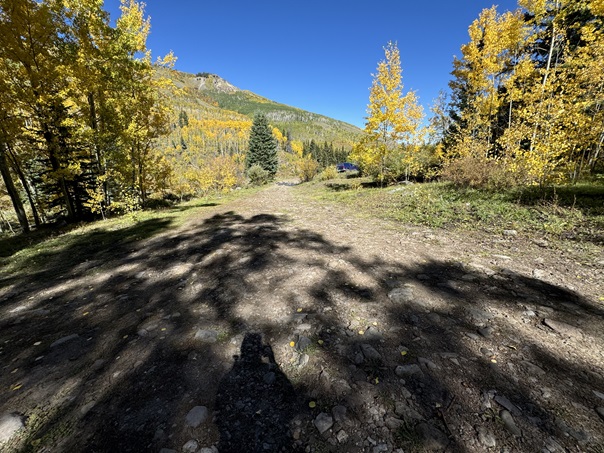
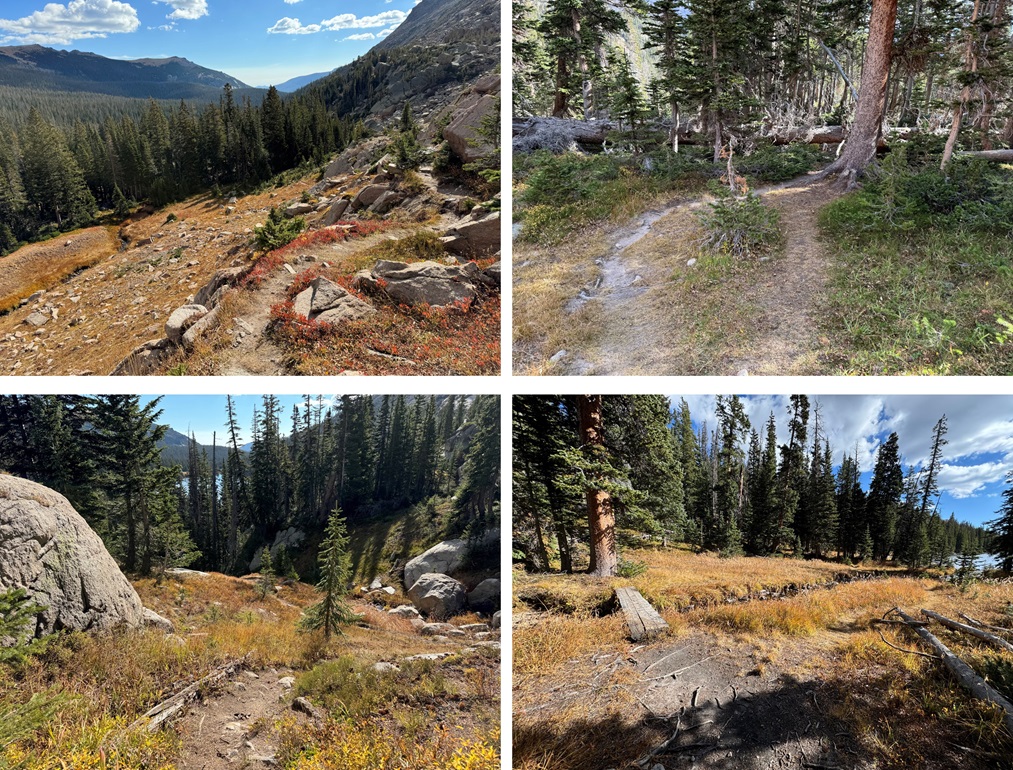
Here the trail continues, skirting the north side of Thunder Lake, then continuing into the trees, heading west all the way up to Lake of Many Winds.
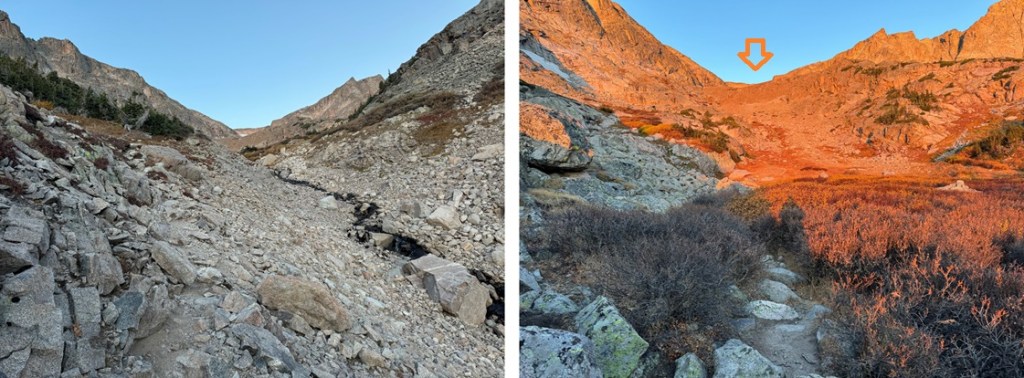
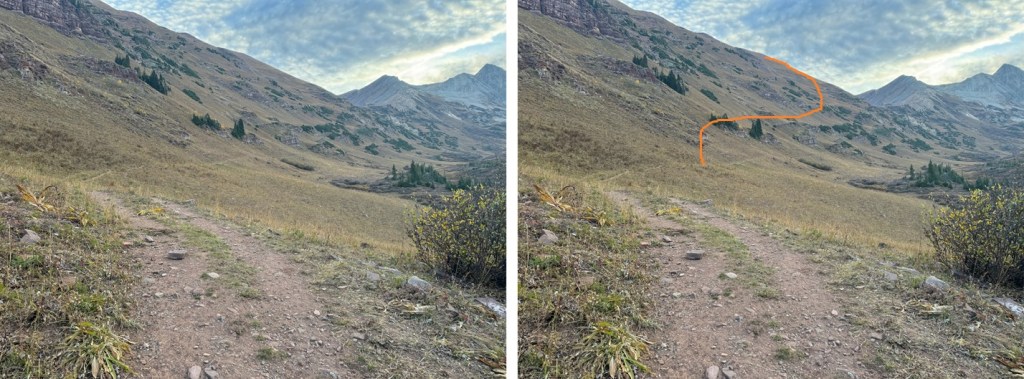
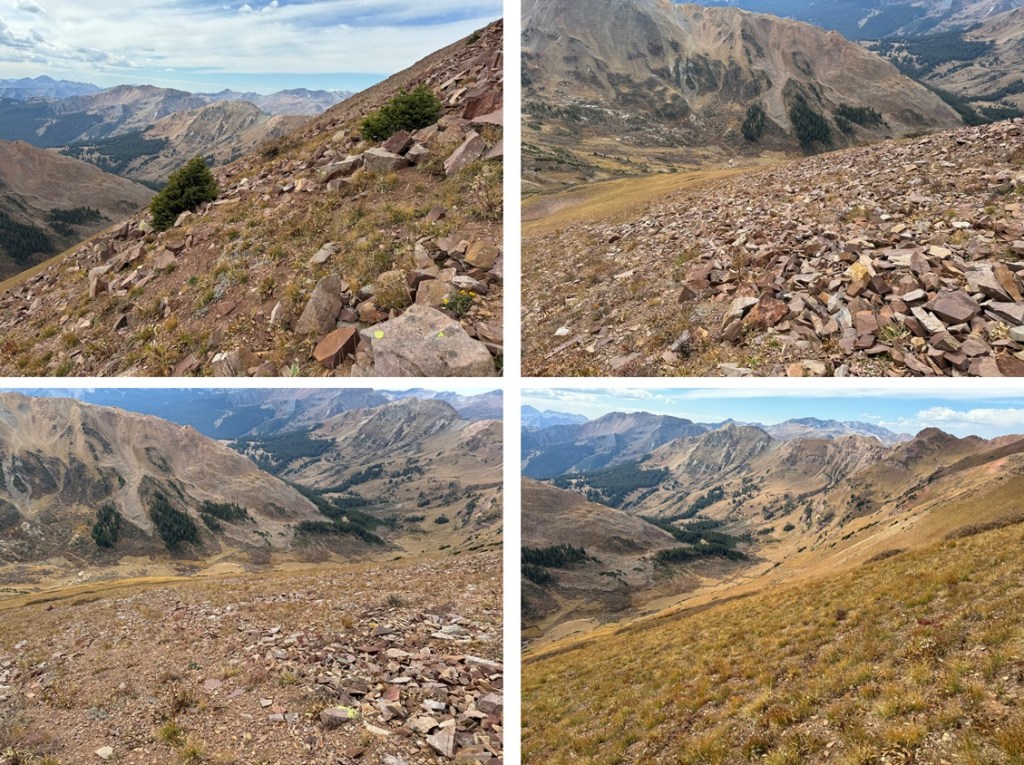
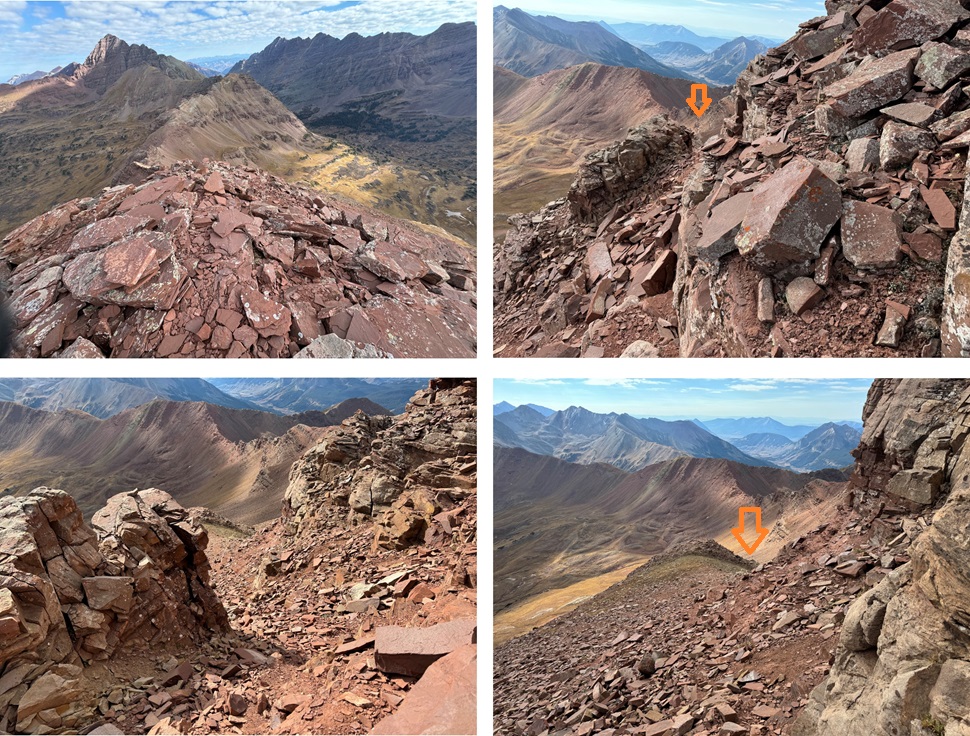
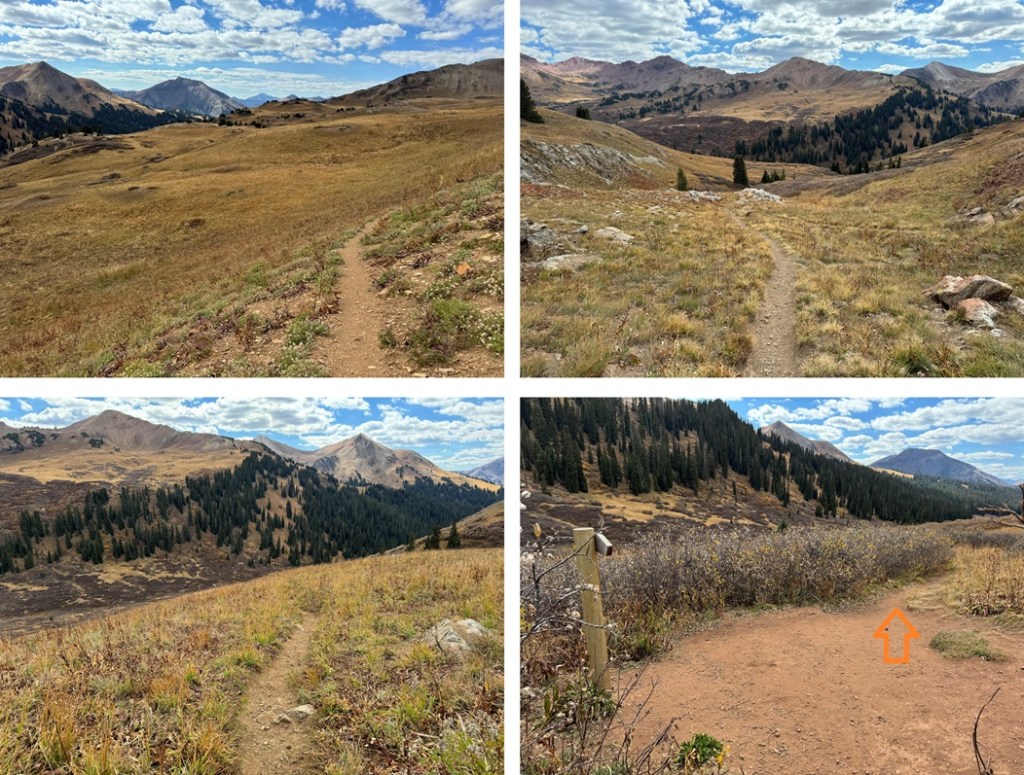
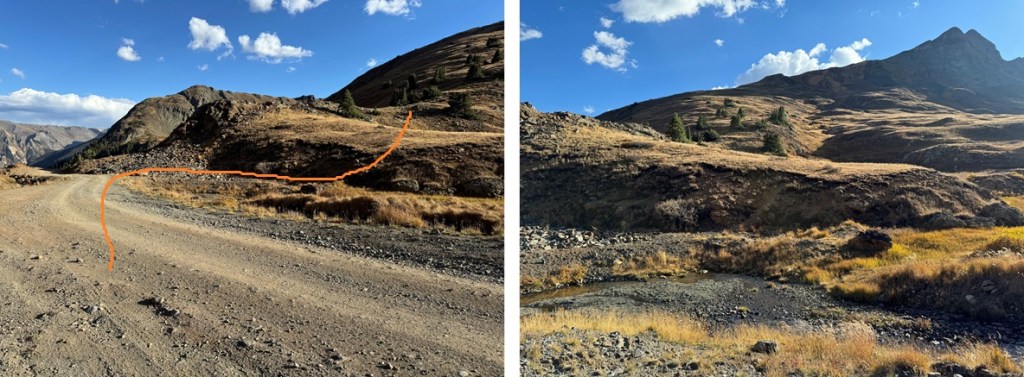
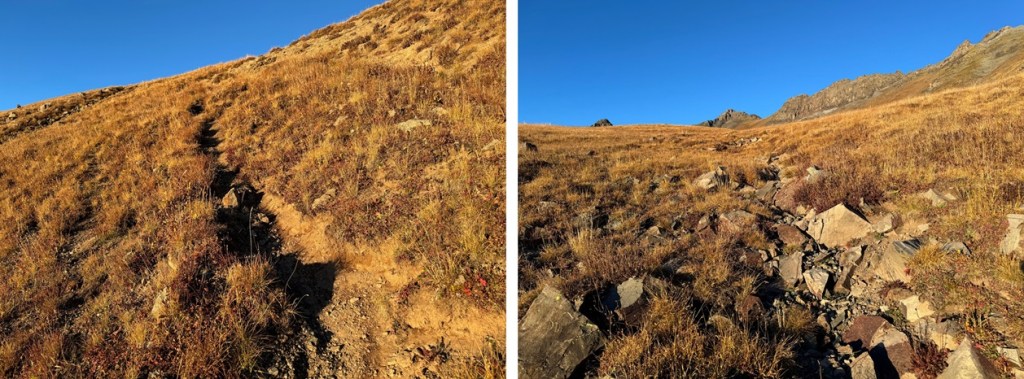
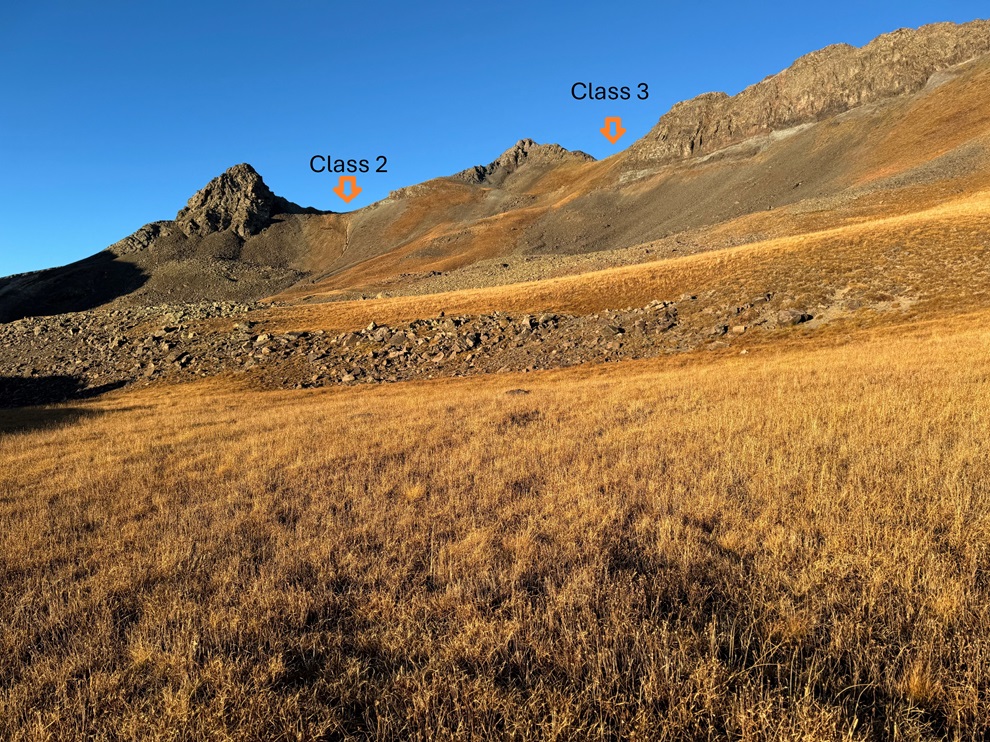
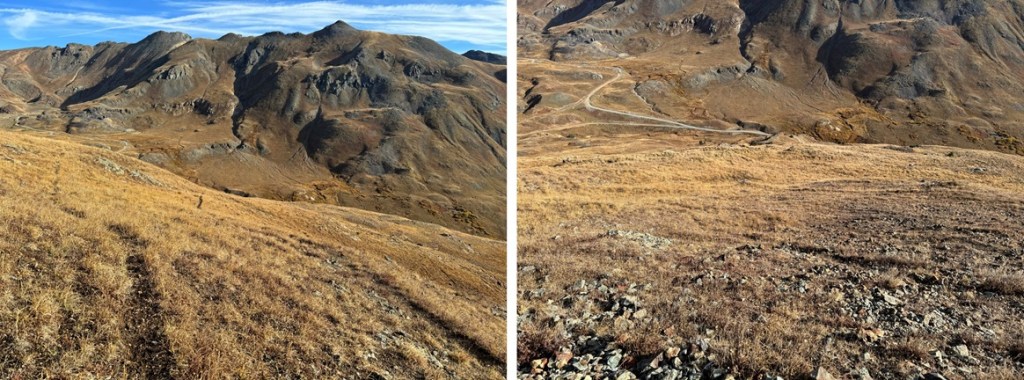
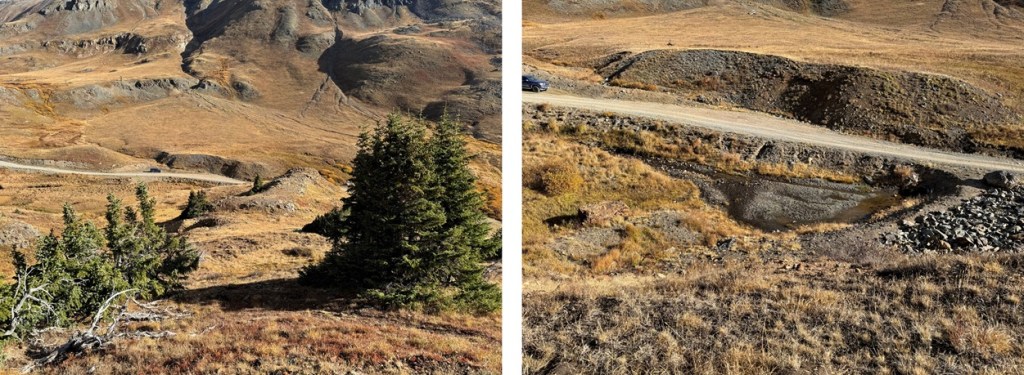
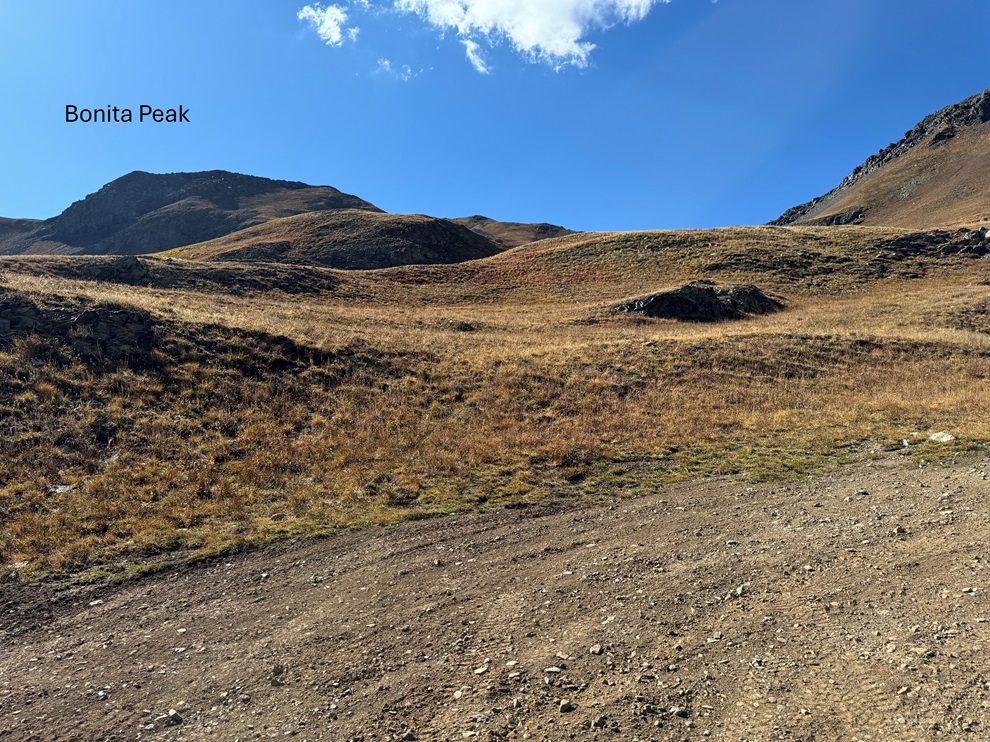
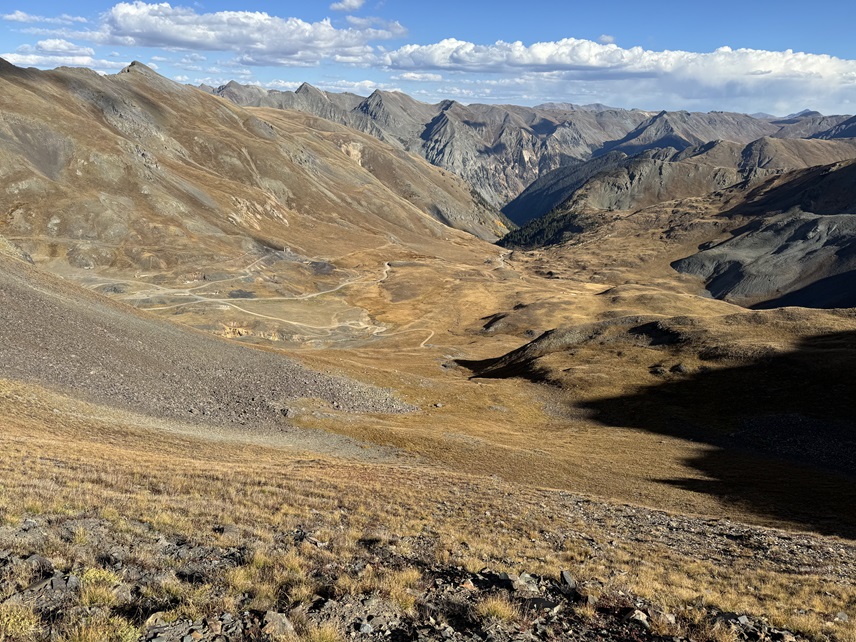
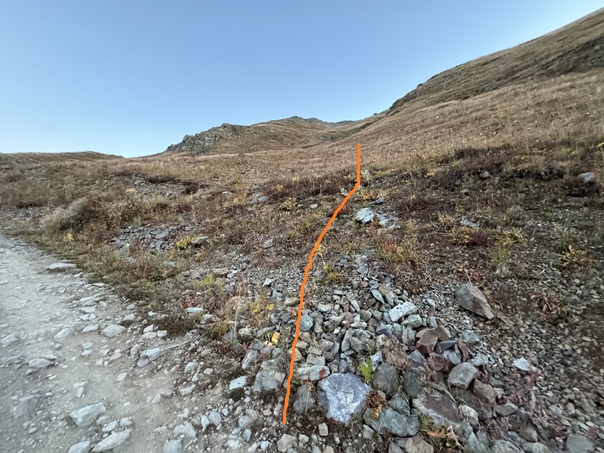
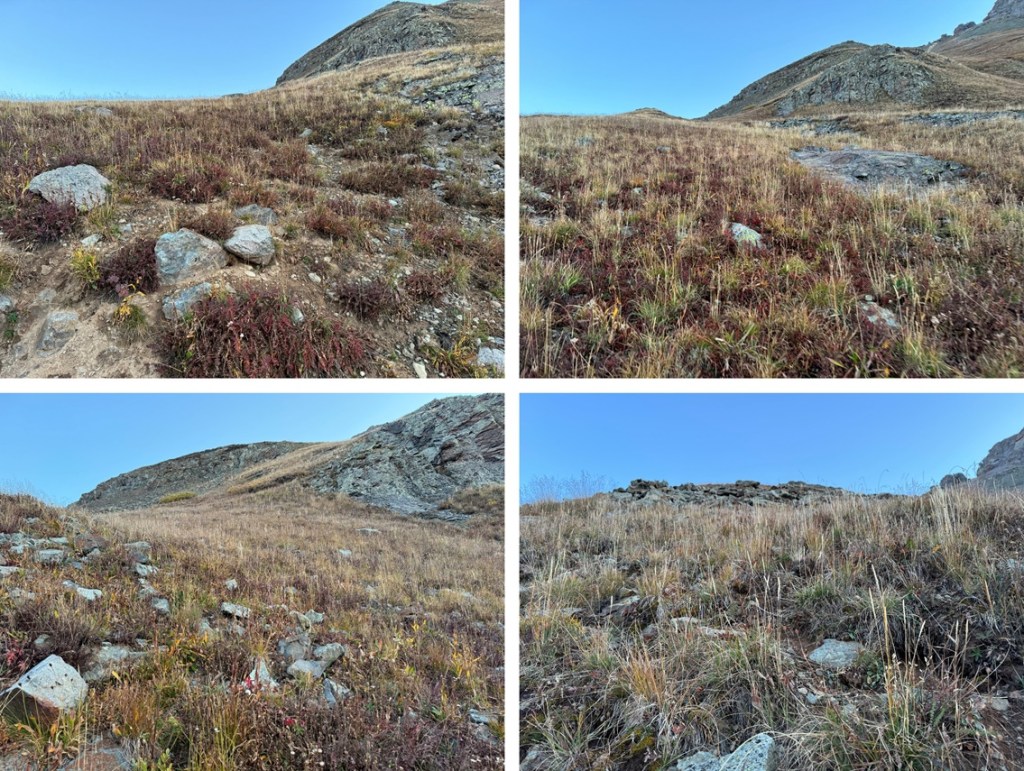
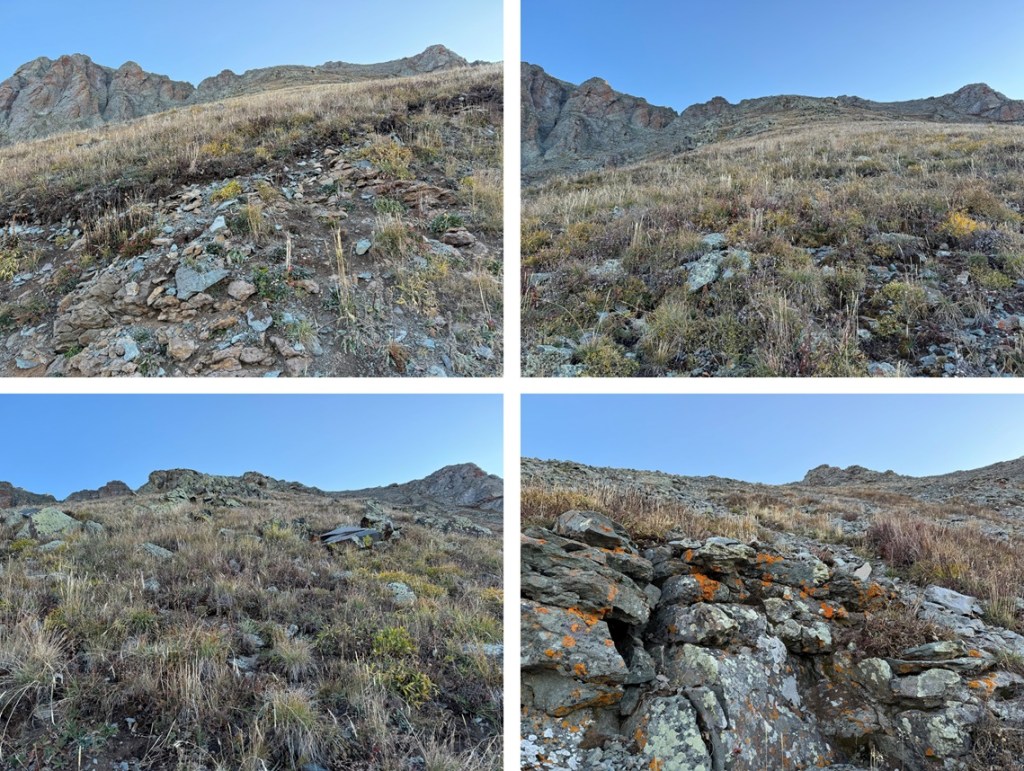
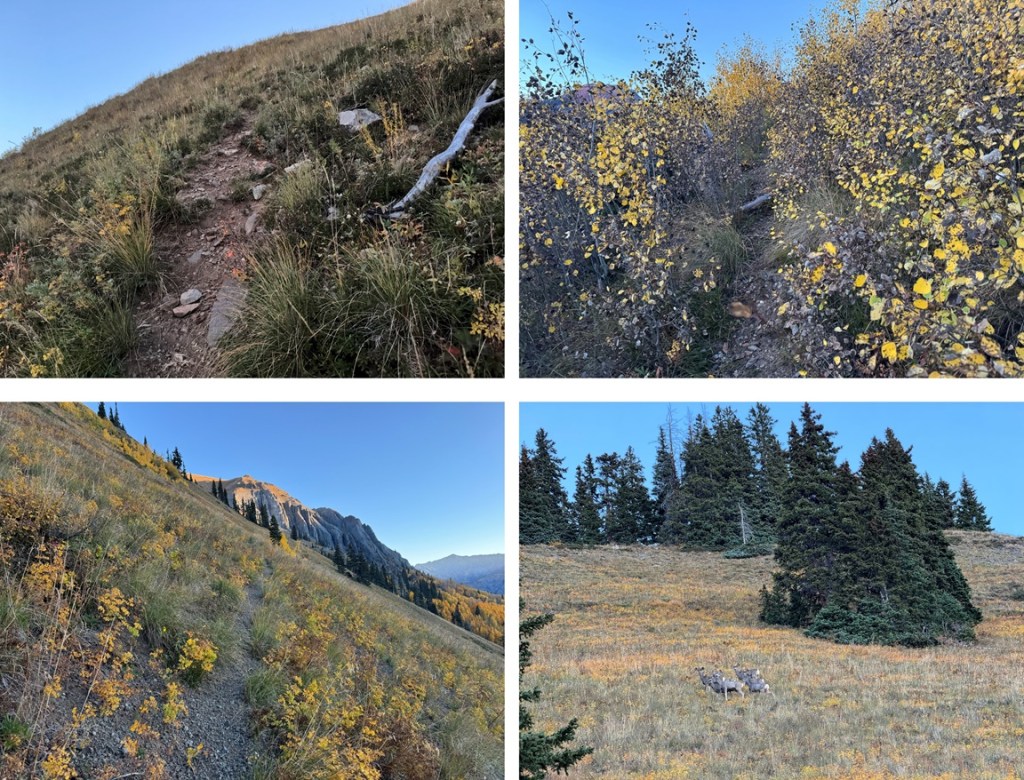
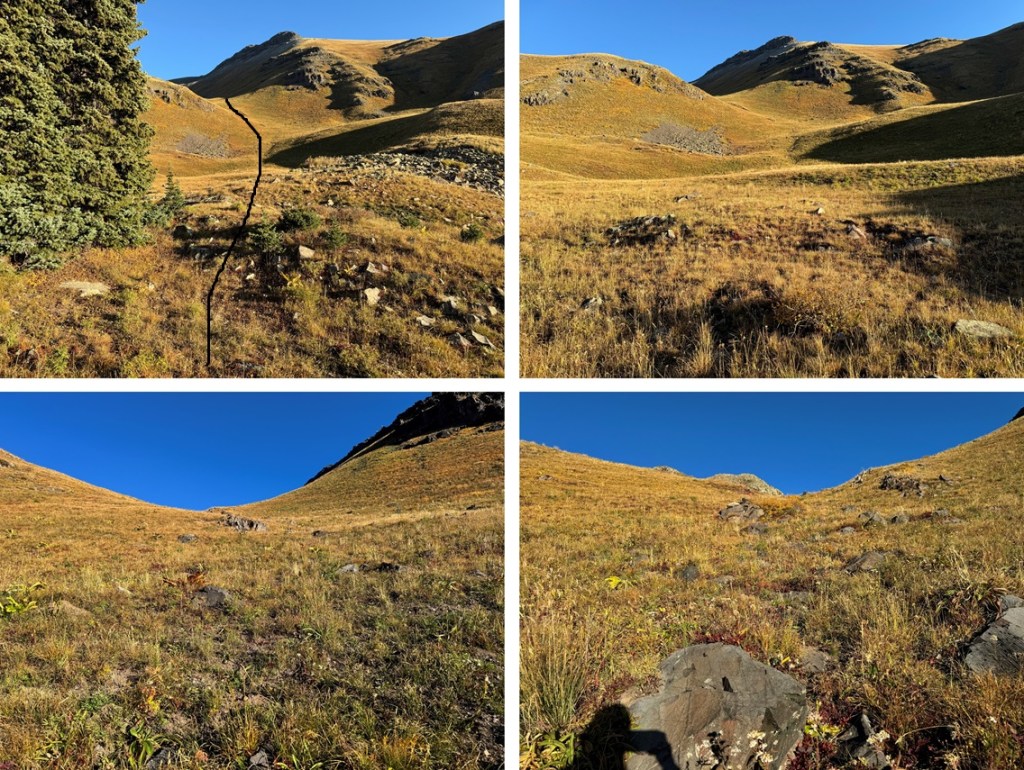
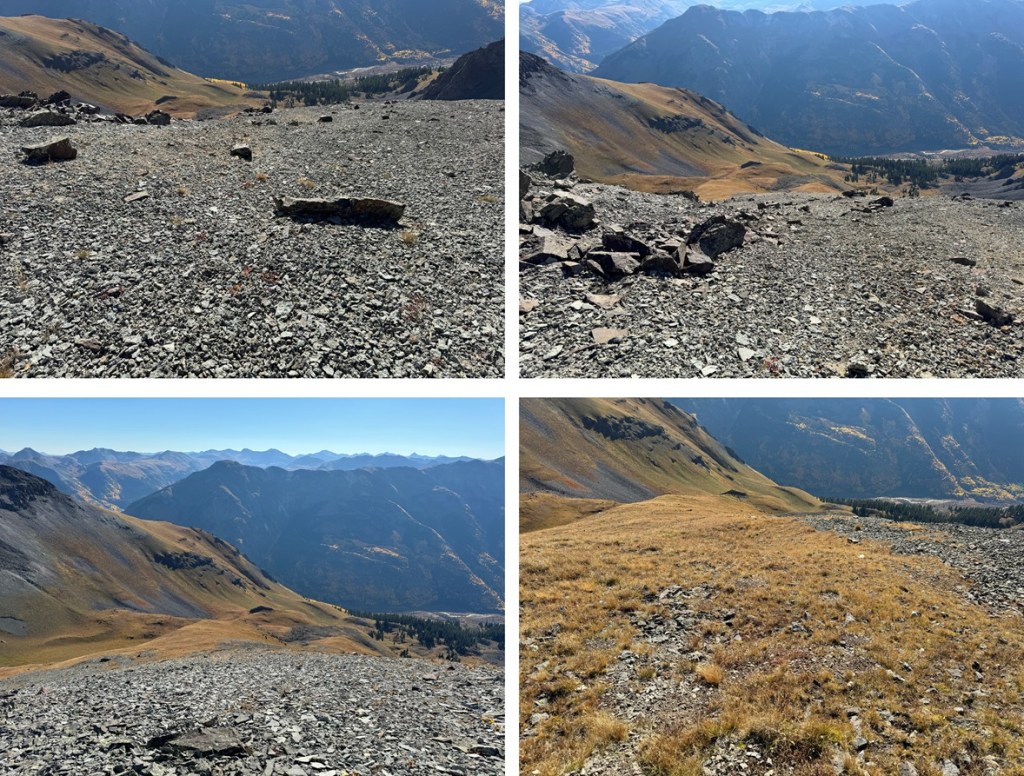
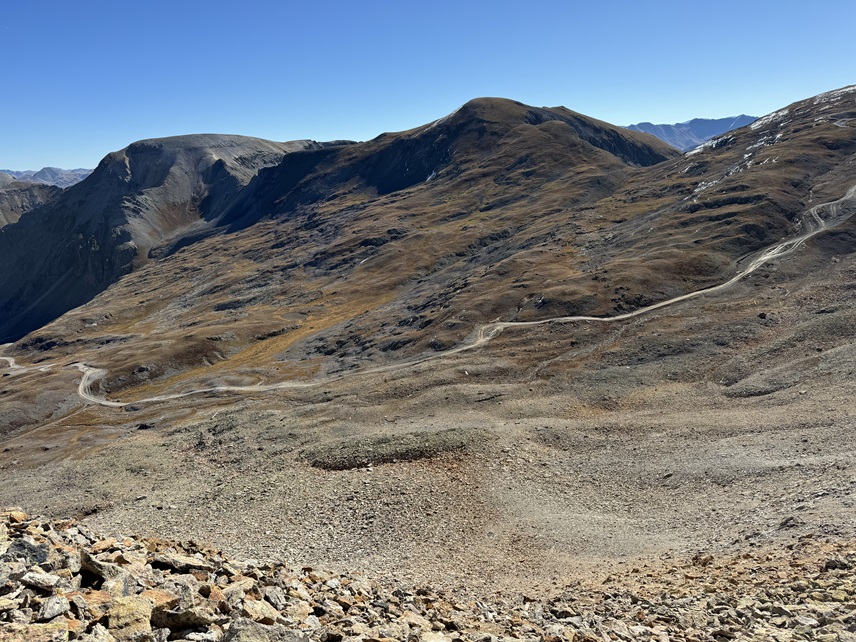
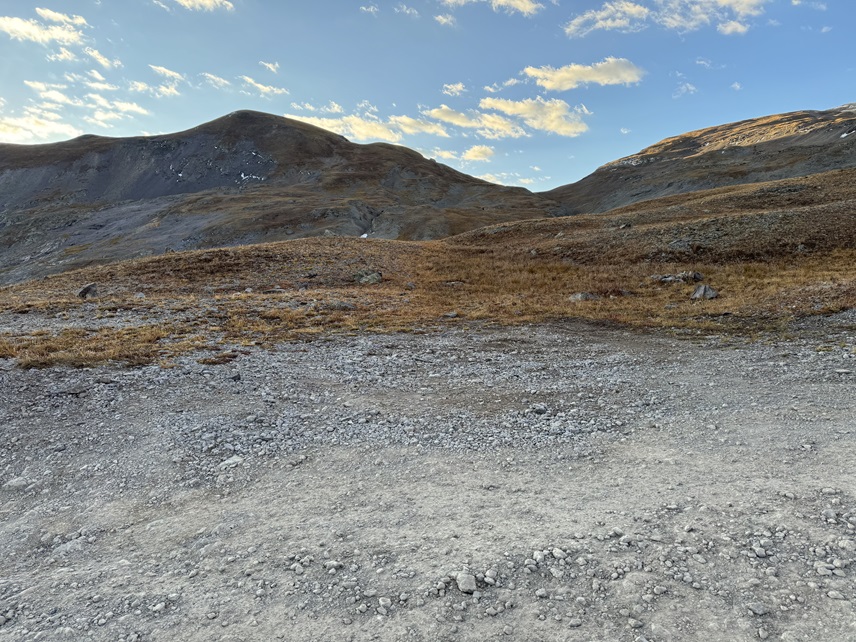
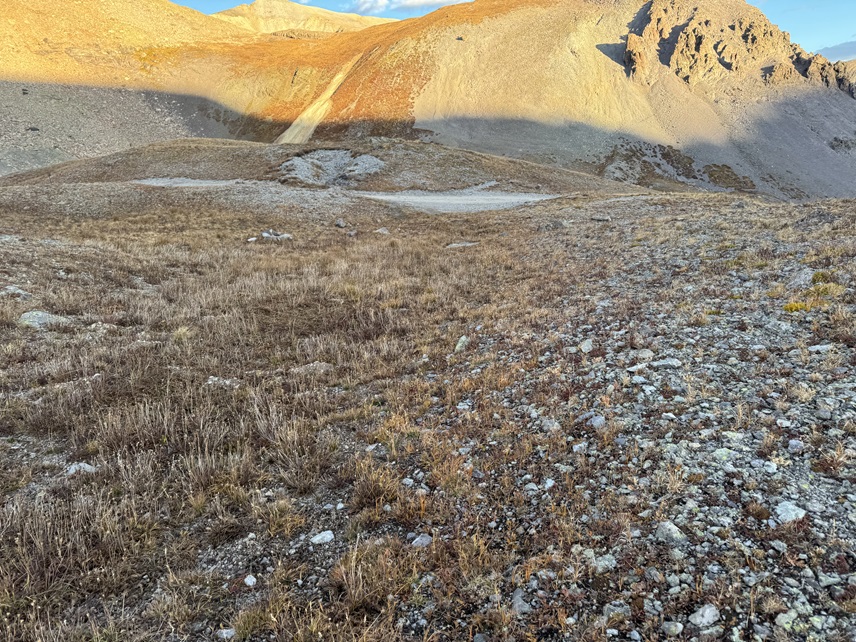
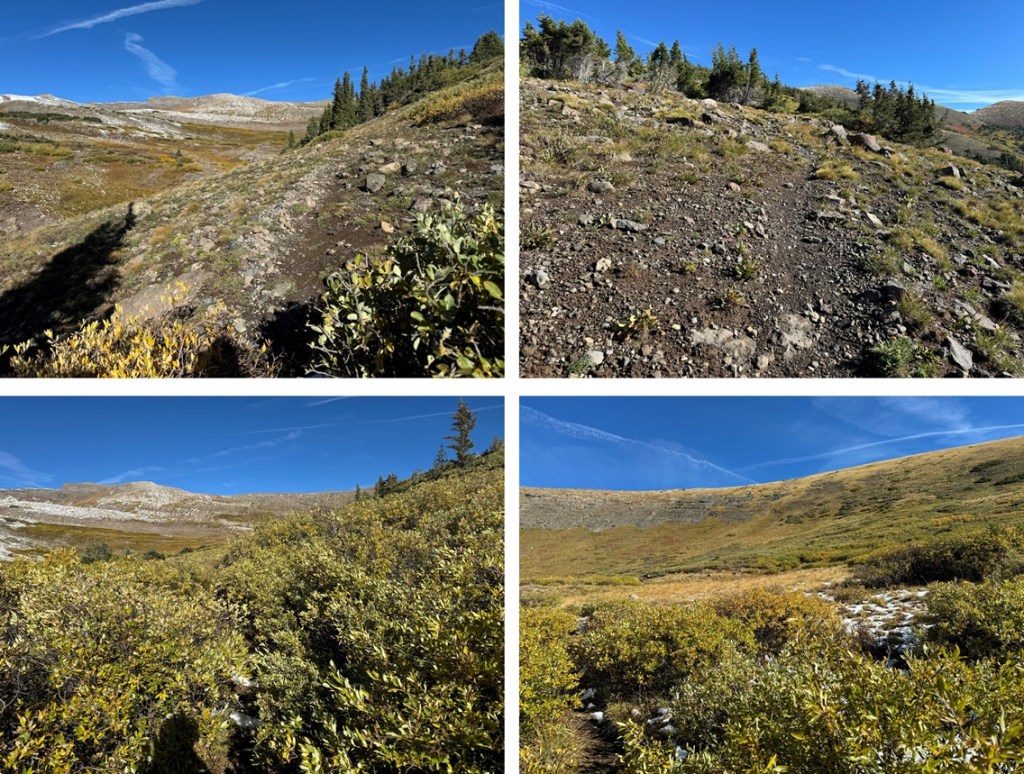
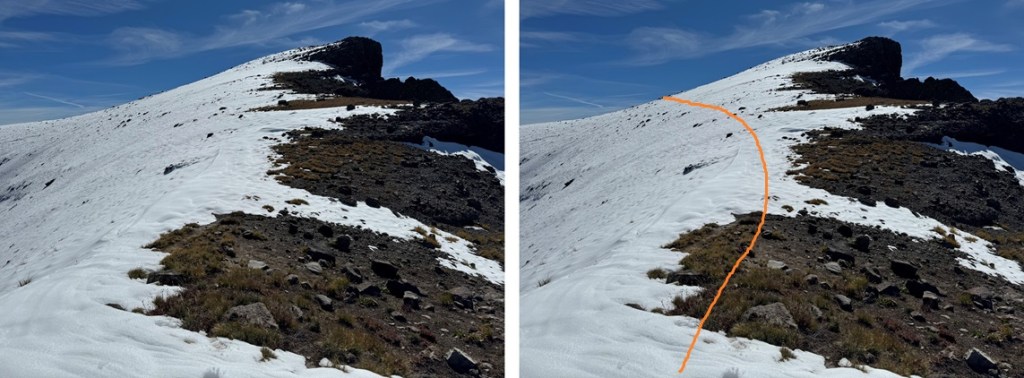
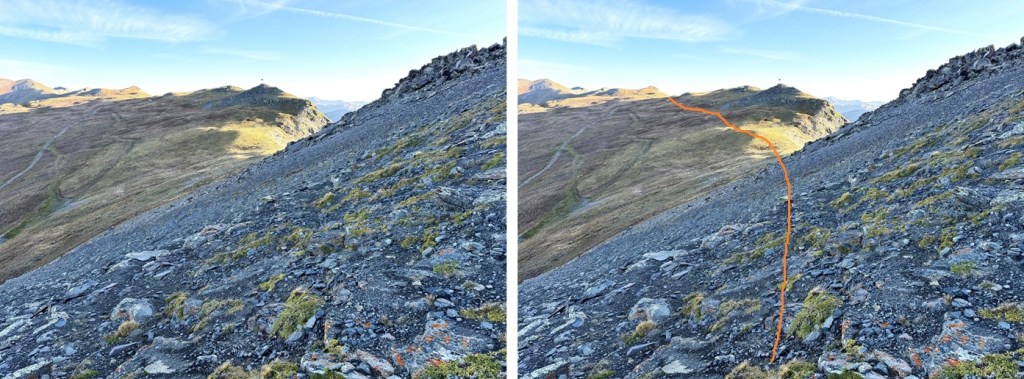
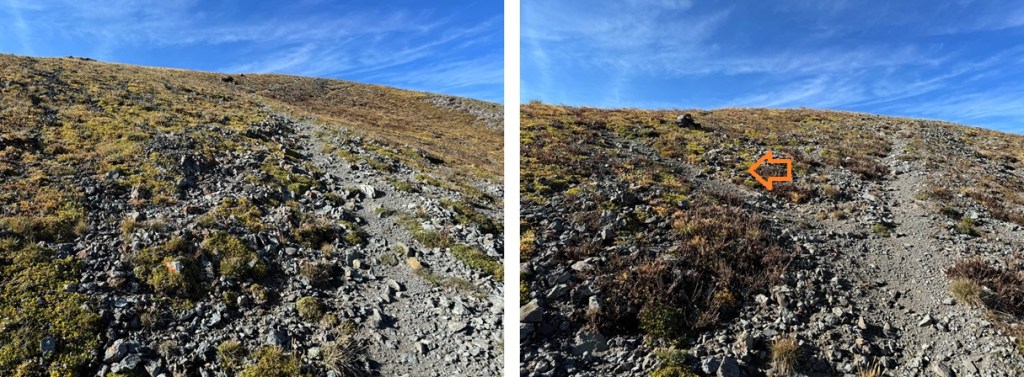
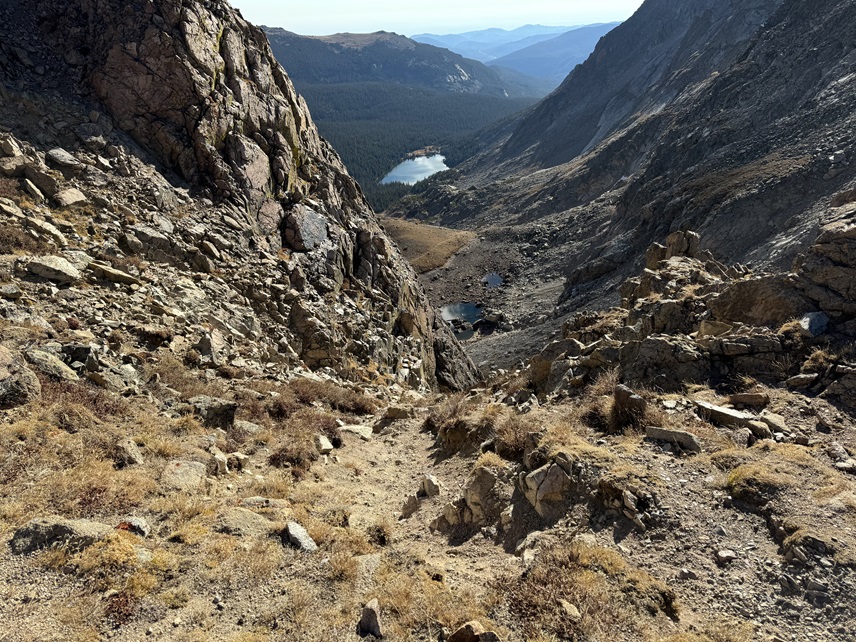
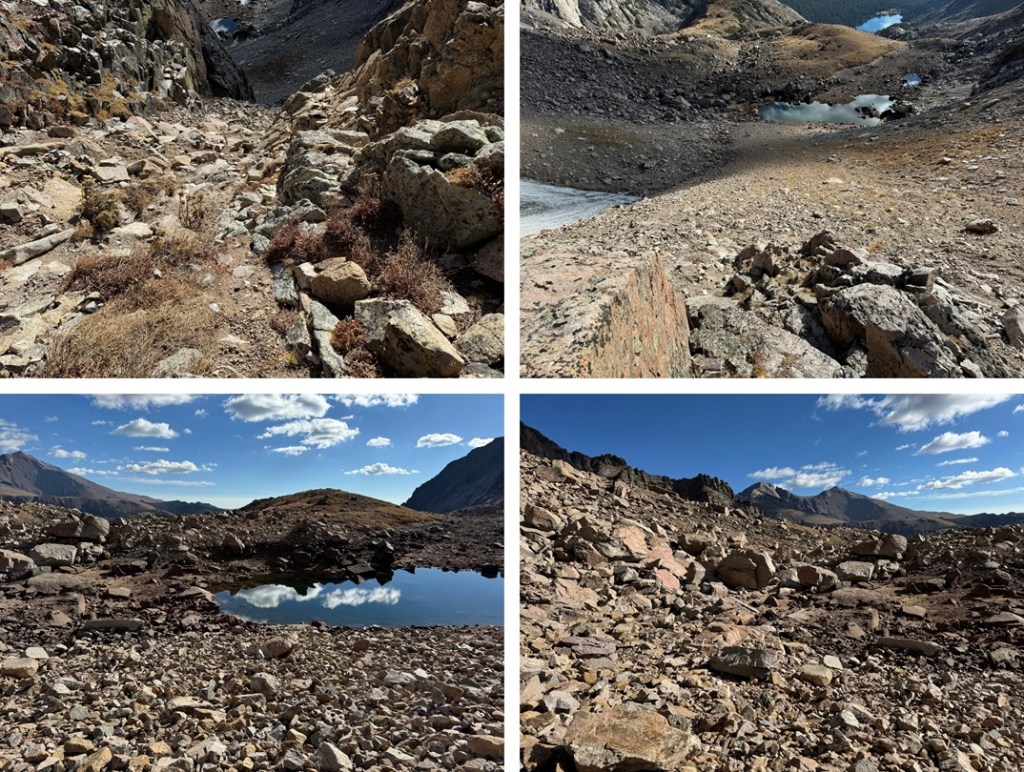
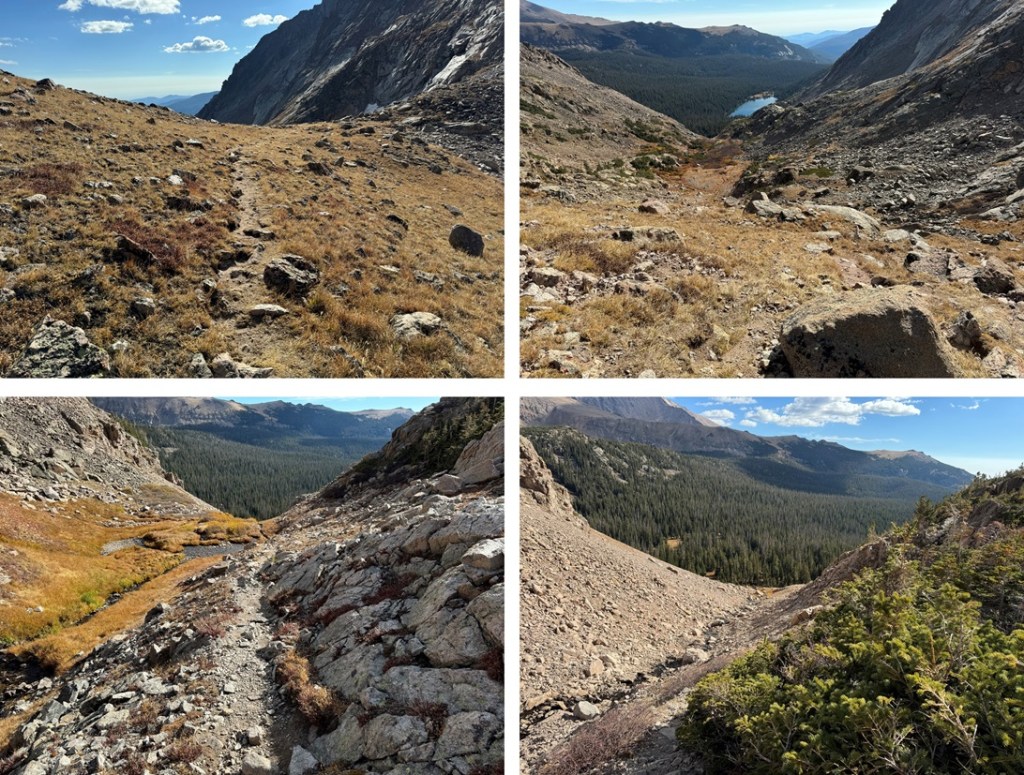
At Lake of Many Winds the trail stops, but the route finding is class 2 and easy to figure out. I kept heading west, aiming for the saddle between 12er Tanima and Mt Alice, otherwise known as Boulder-Grand Pass.
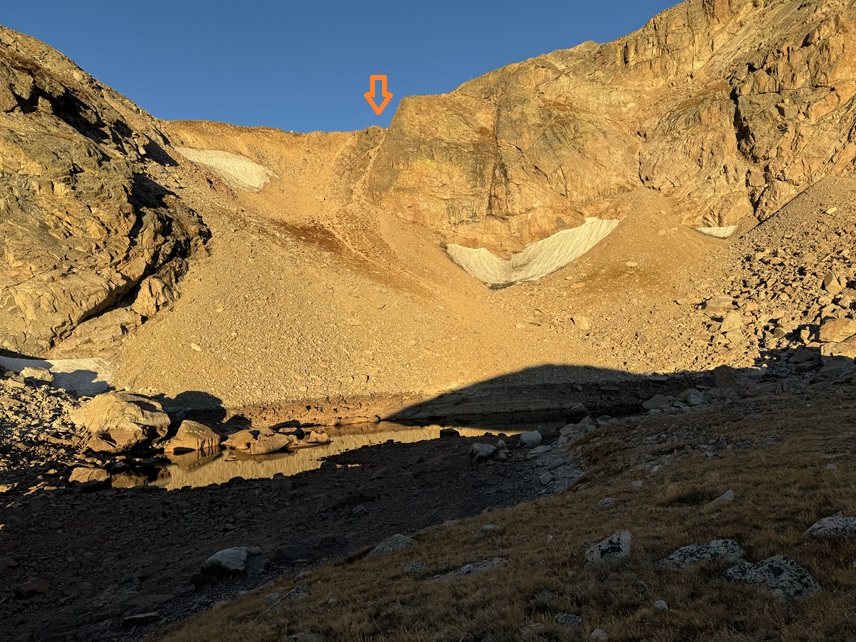
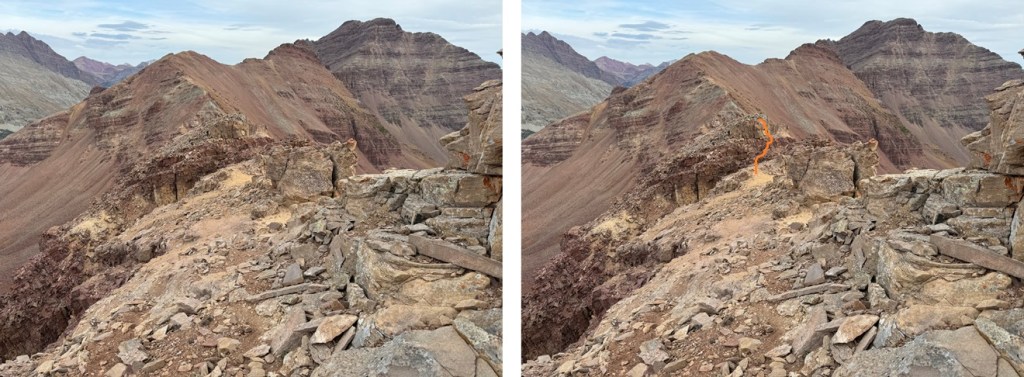
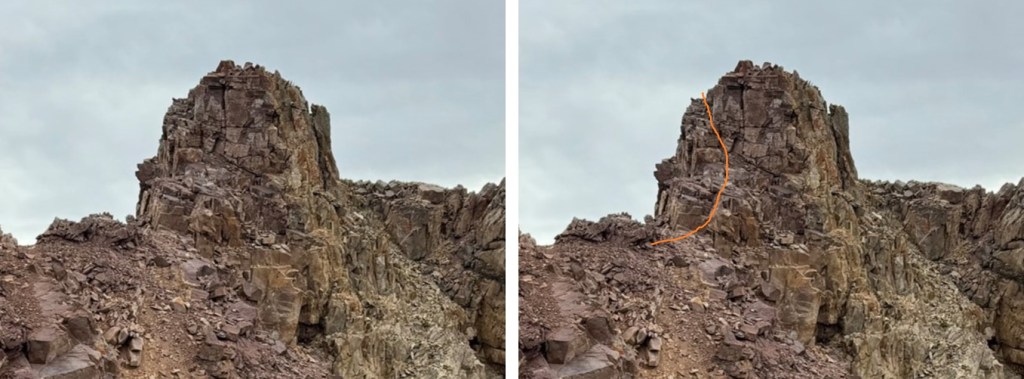
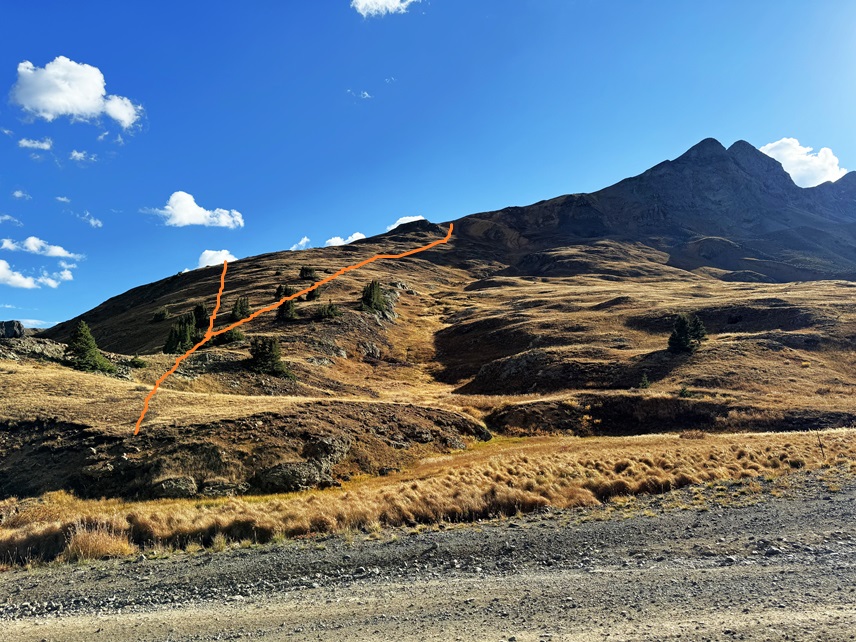
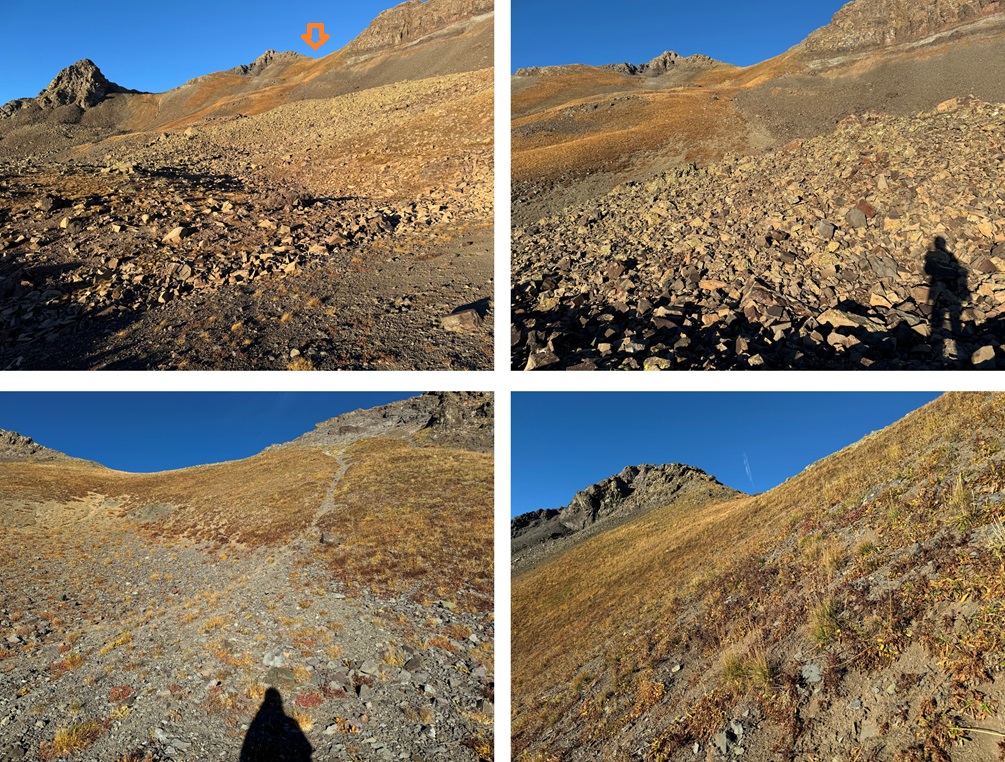
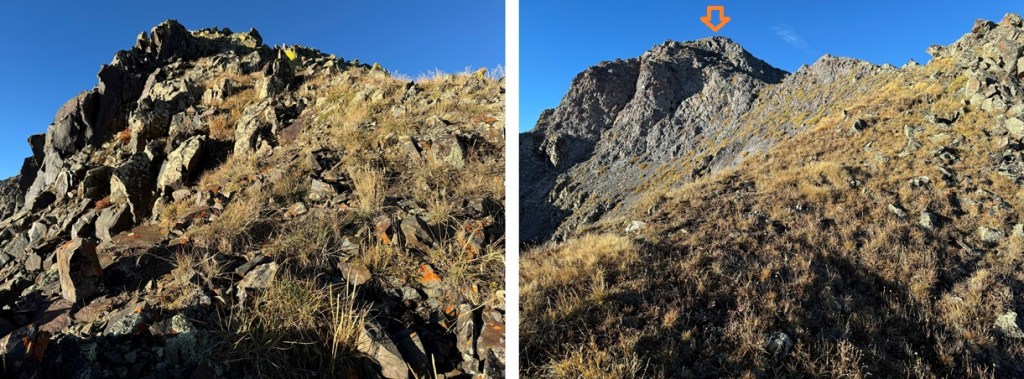
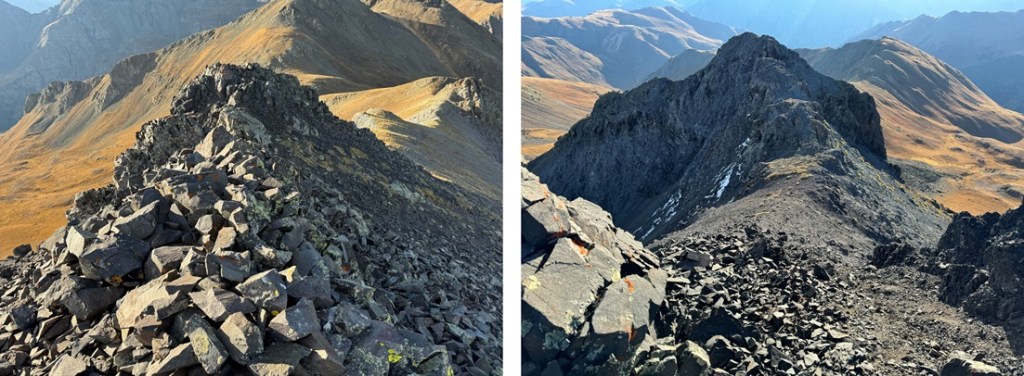
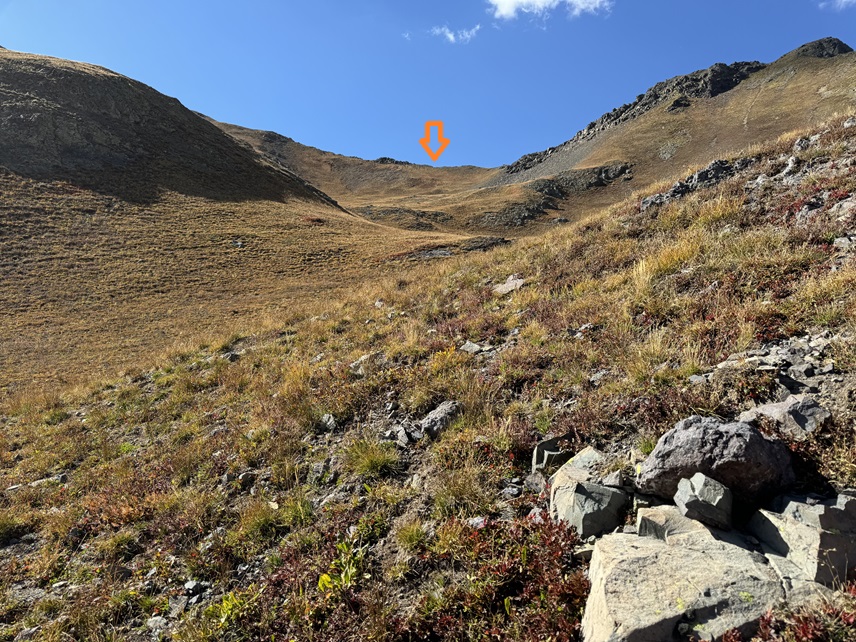
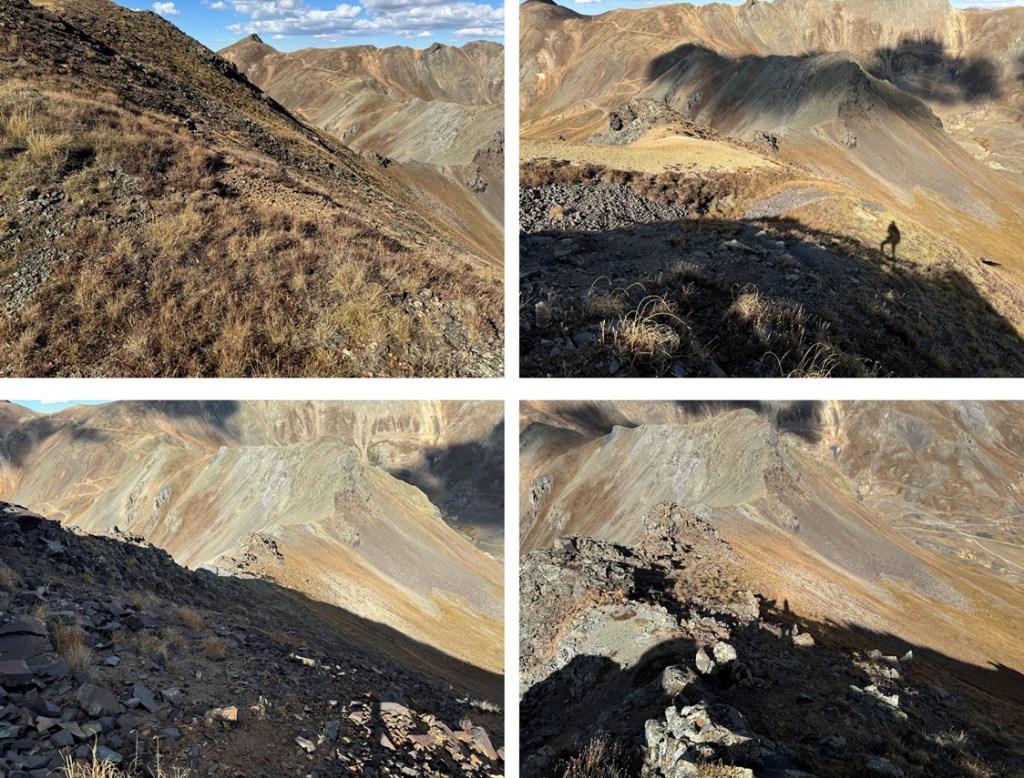
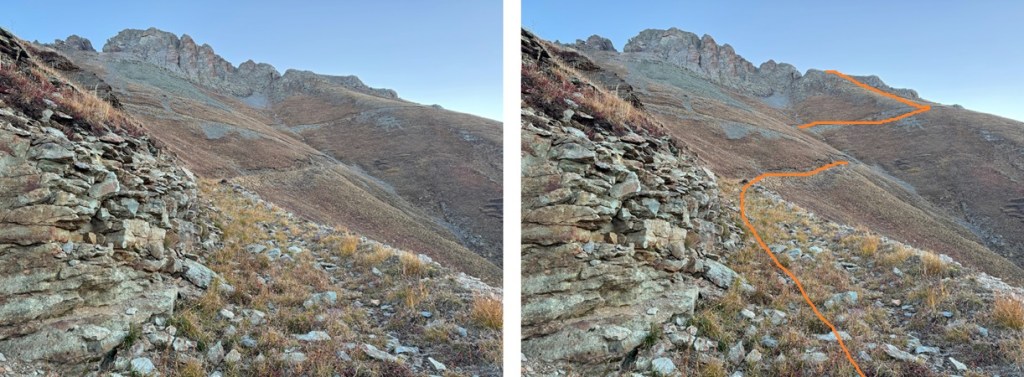
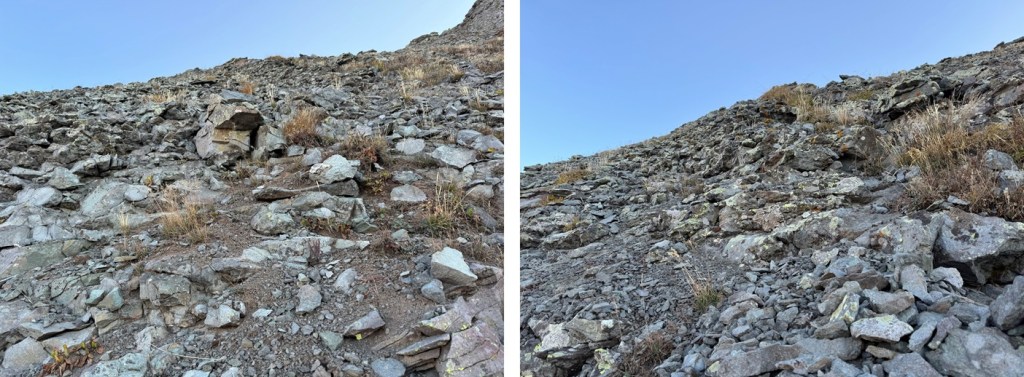
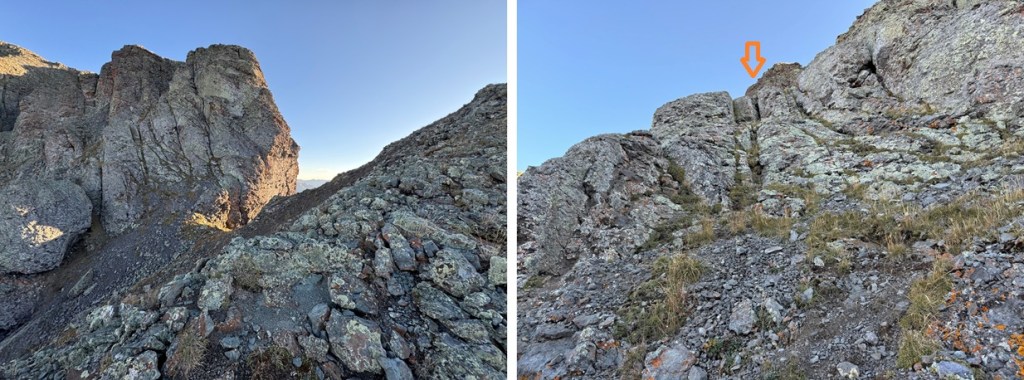
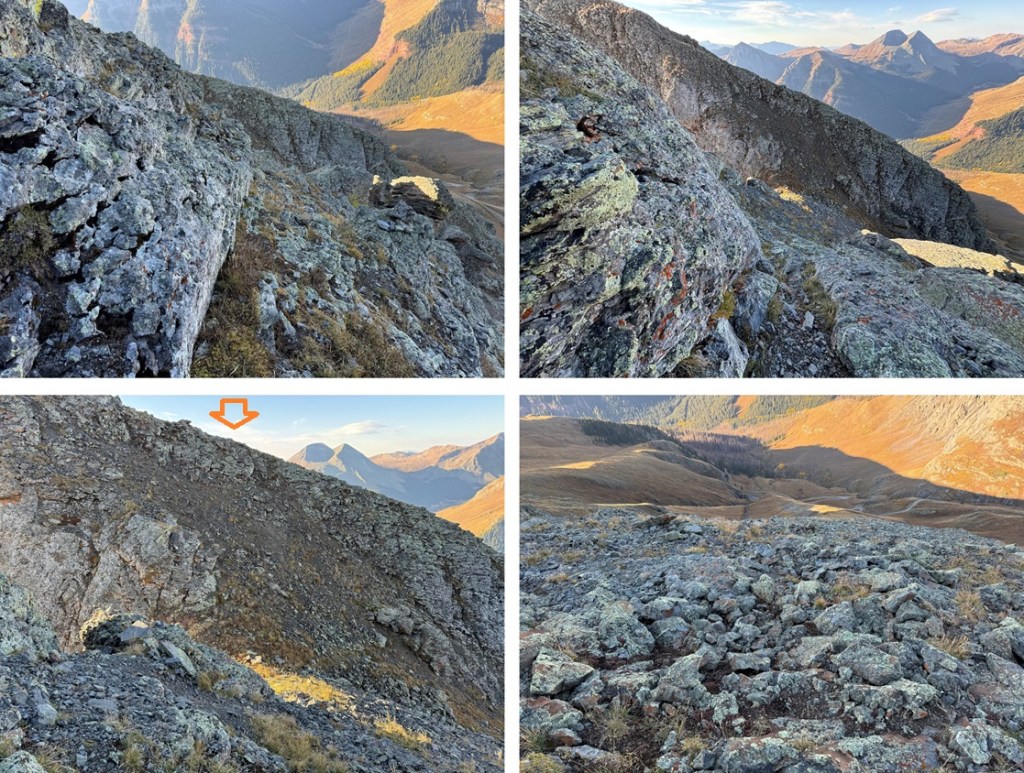
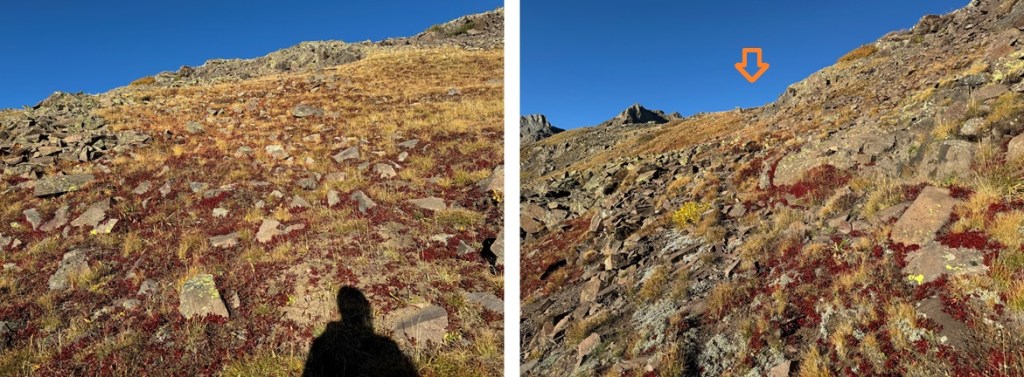
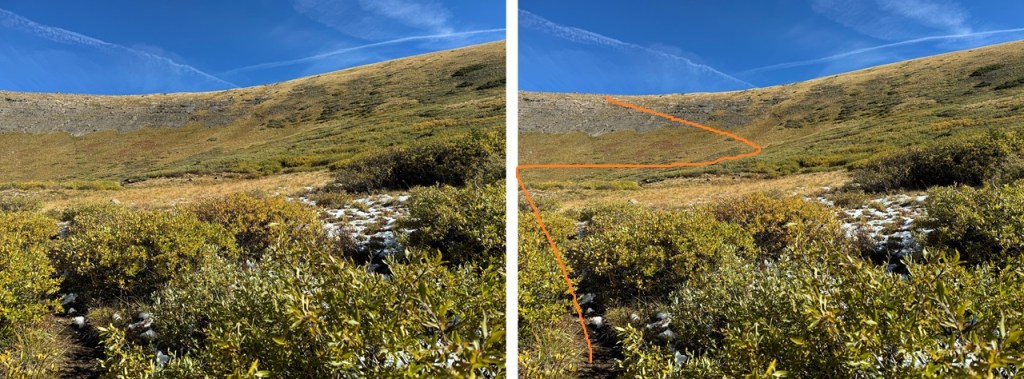
This part is choose your own adventure, but the remainder of the hike is class 2. You’re just trying to gain the saddle. I’d been here before (when I was climbing Isolation), and just went down the scree, which worked well. However, this morning I wanted to try the gully to the right. It was more solid than the scree and offered hand and foot holds. You can take the scree up as well, as all routes here lead to the same place.


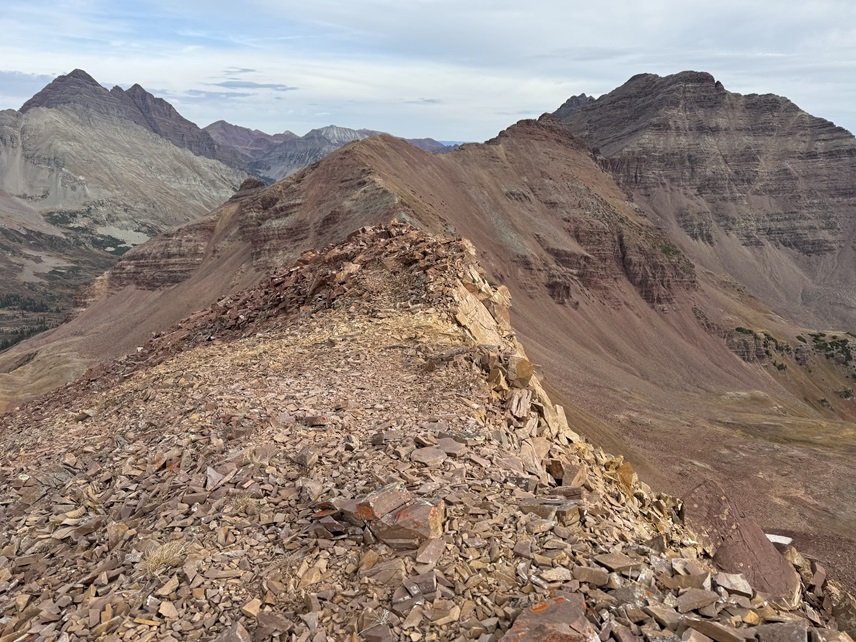
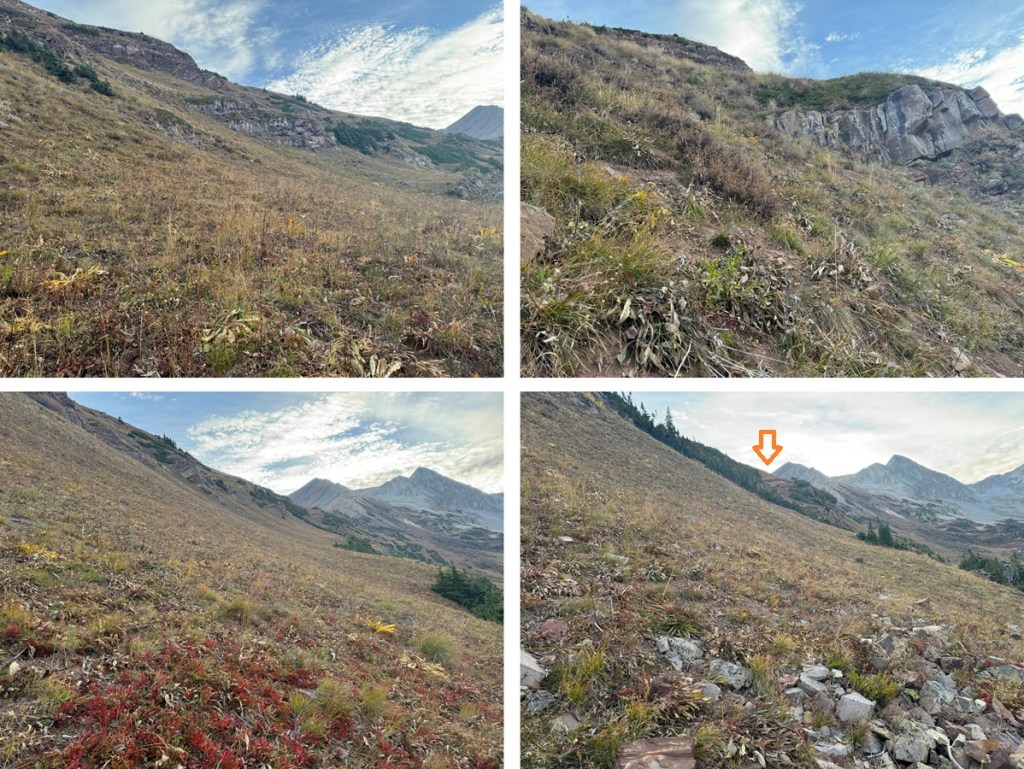
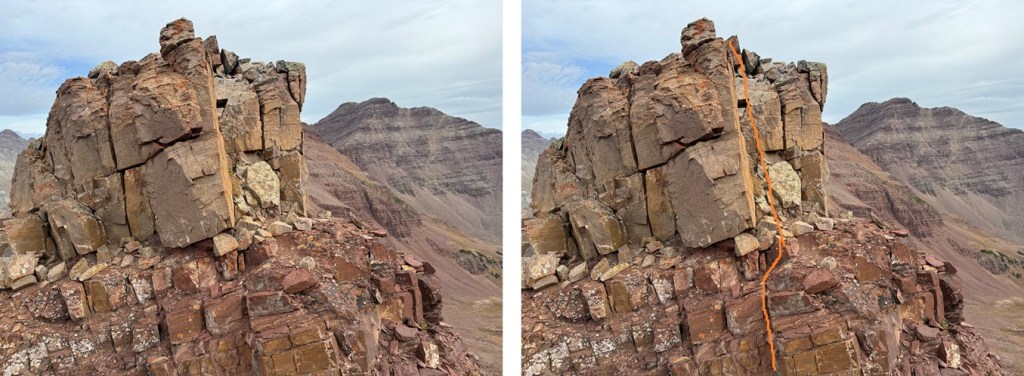
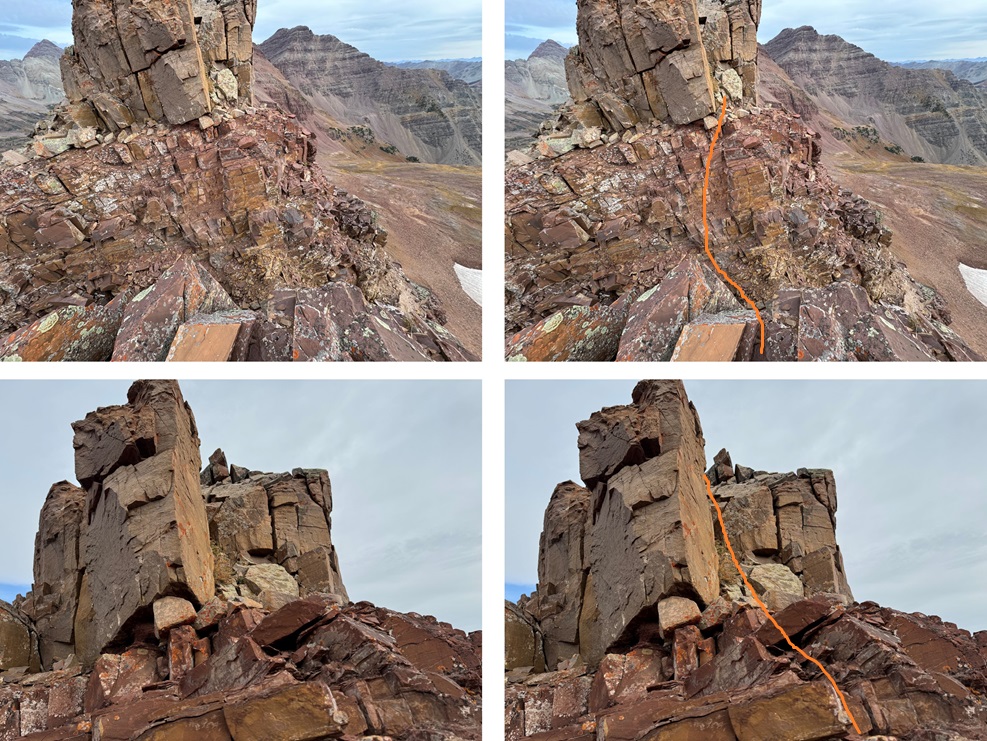
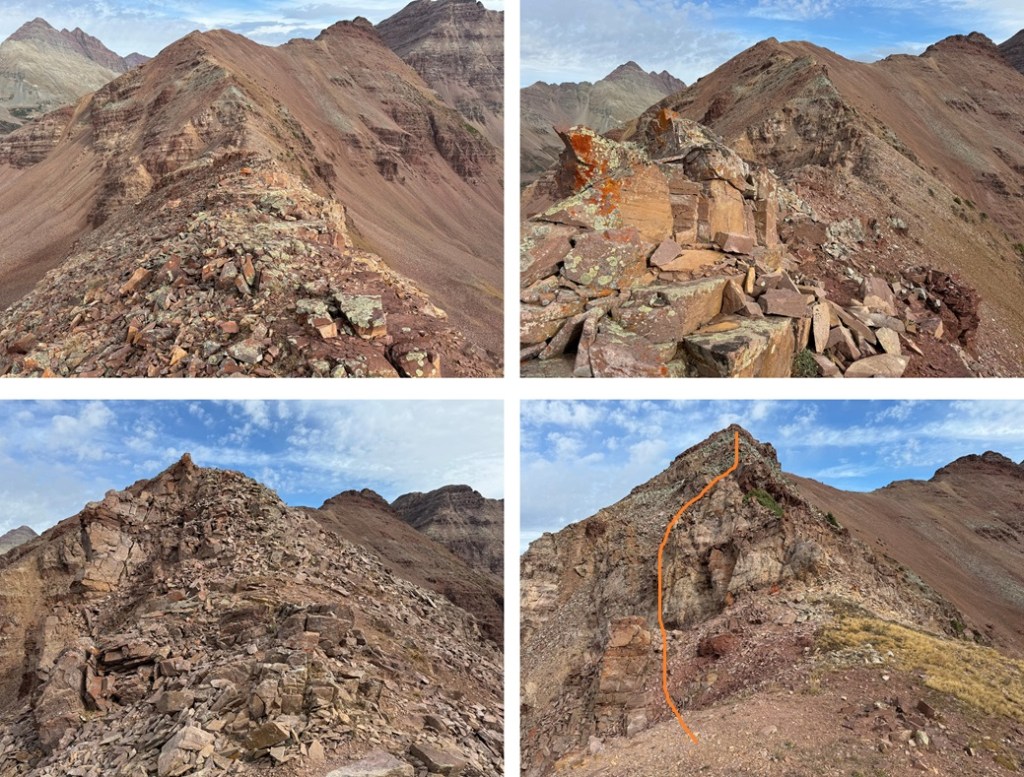
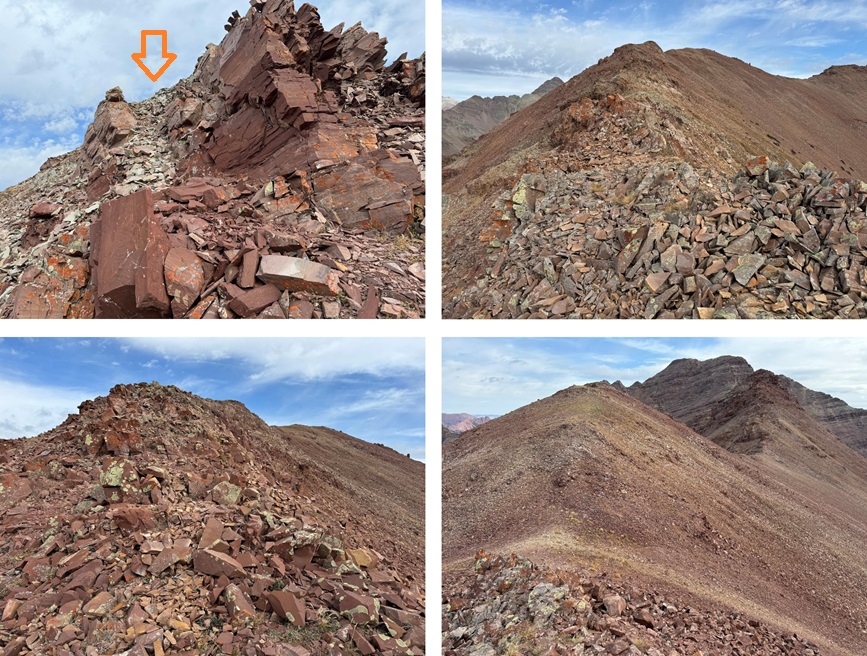
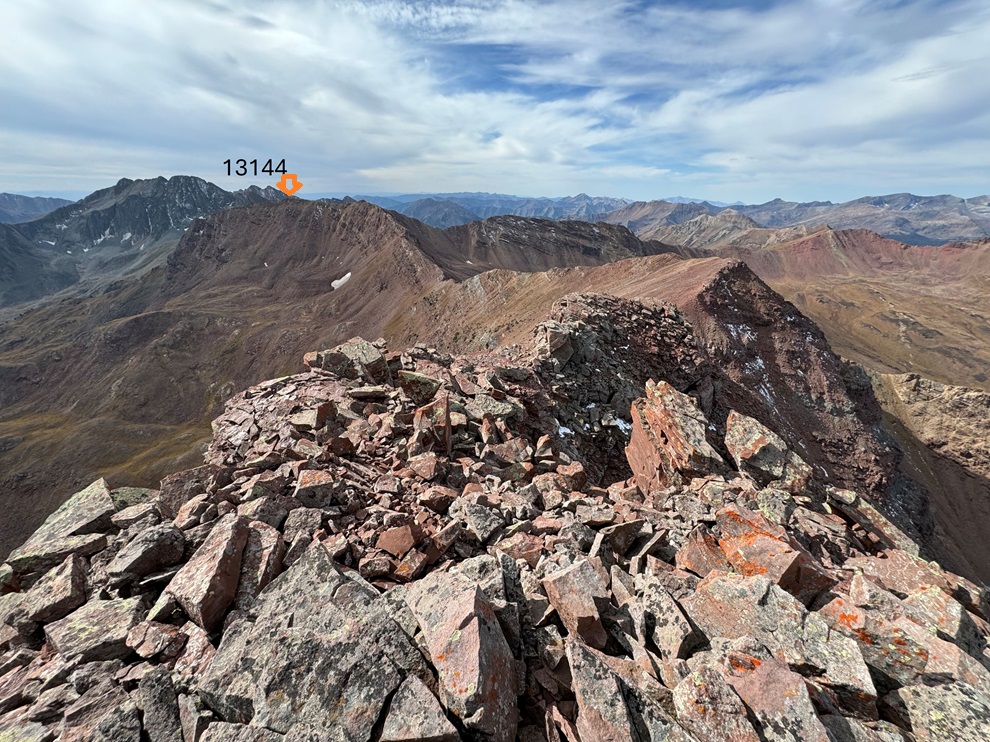
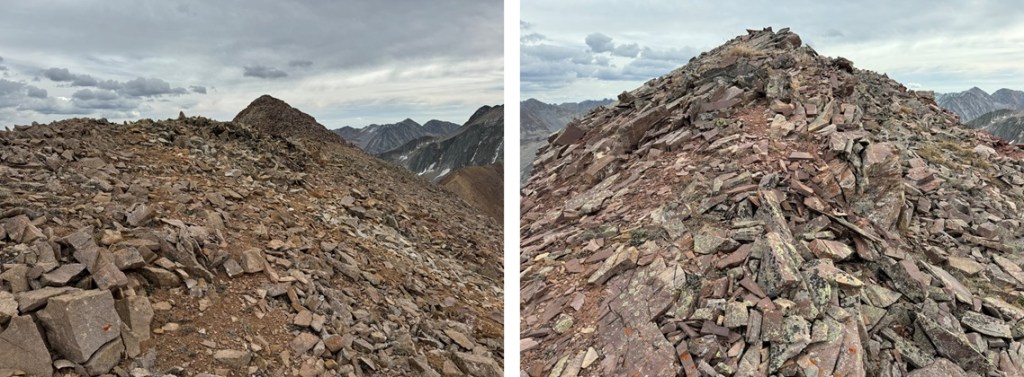
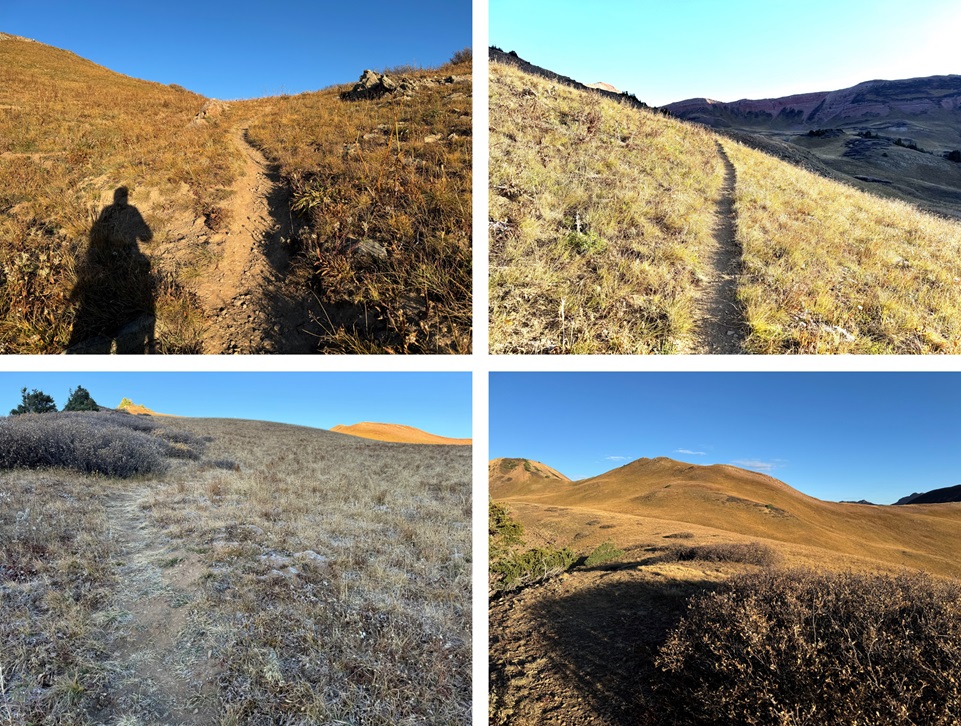
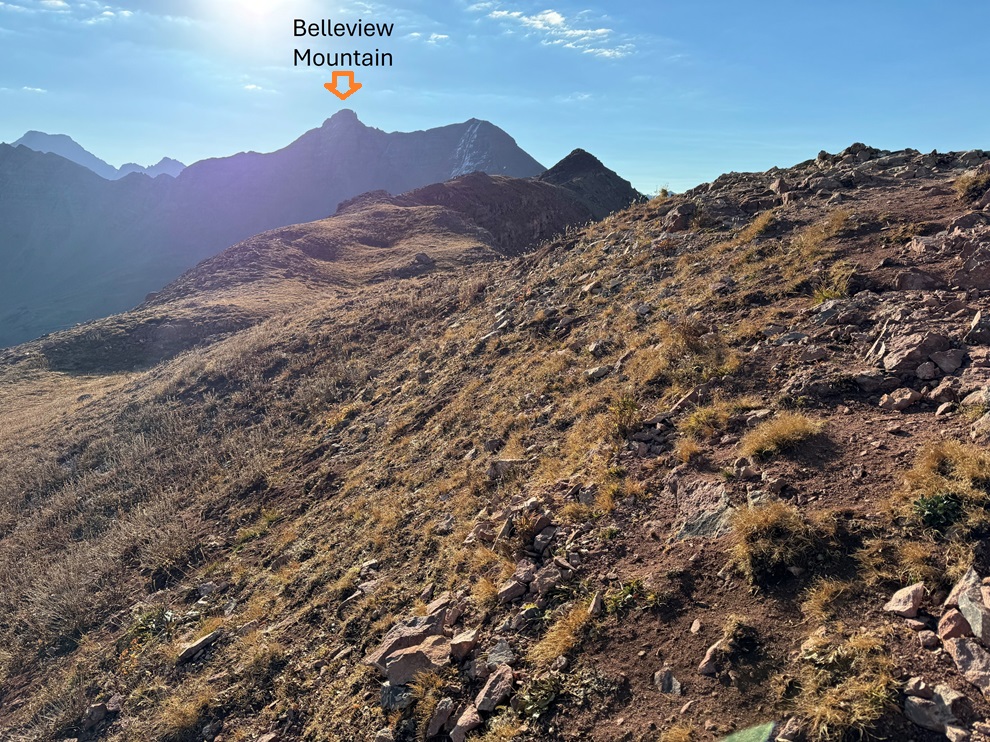
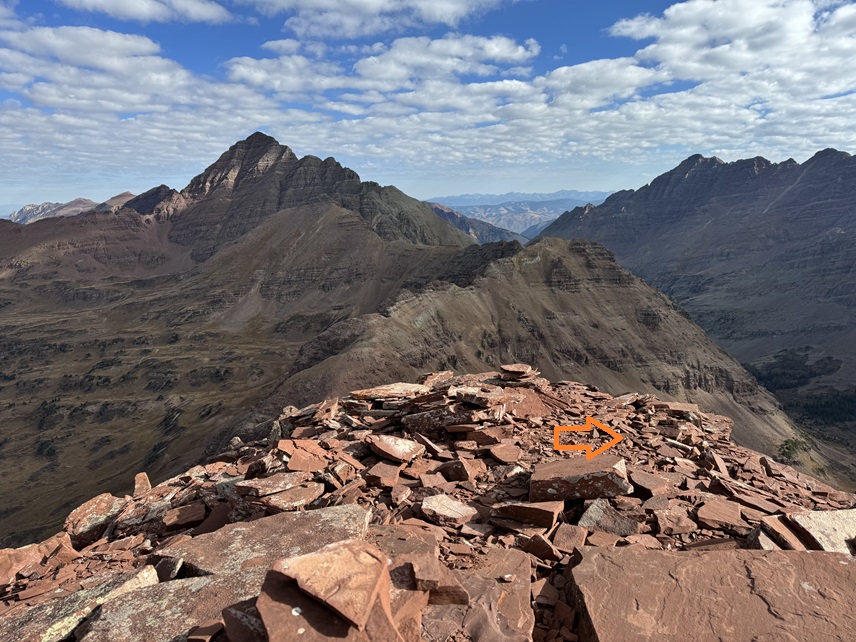
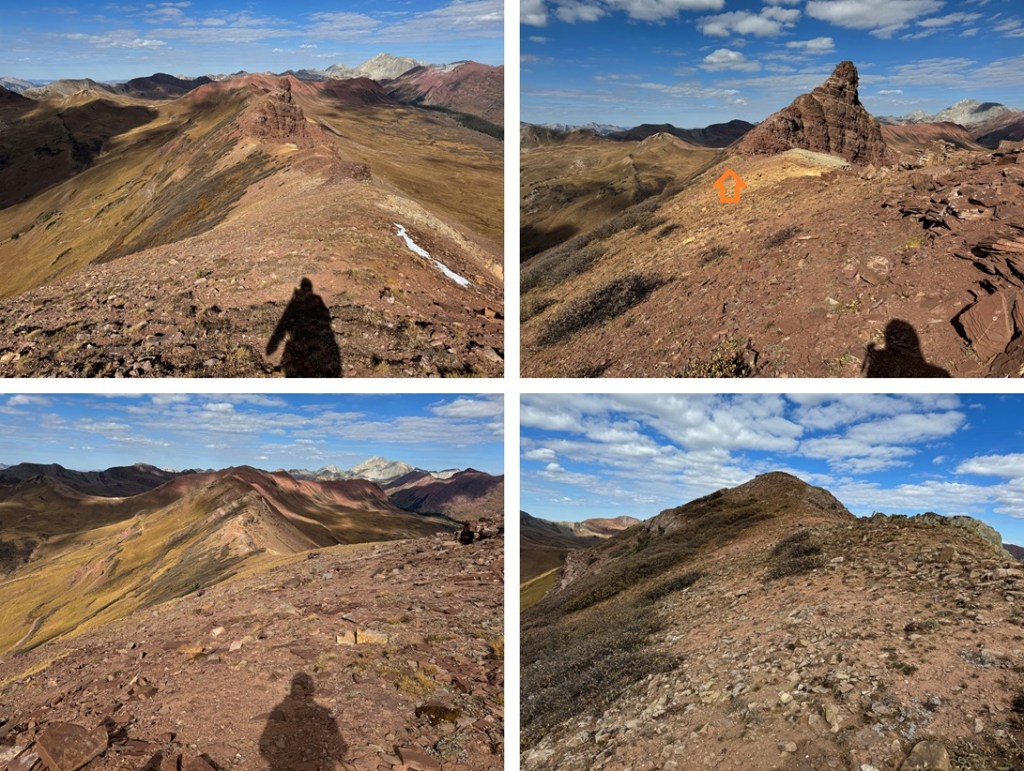
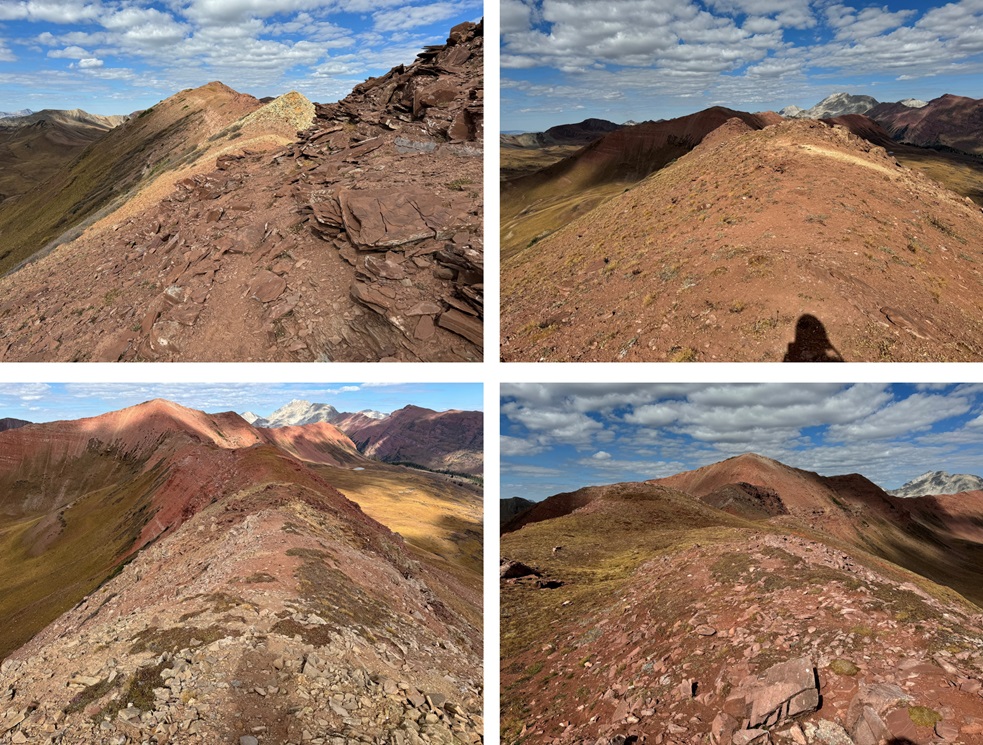
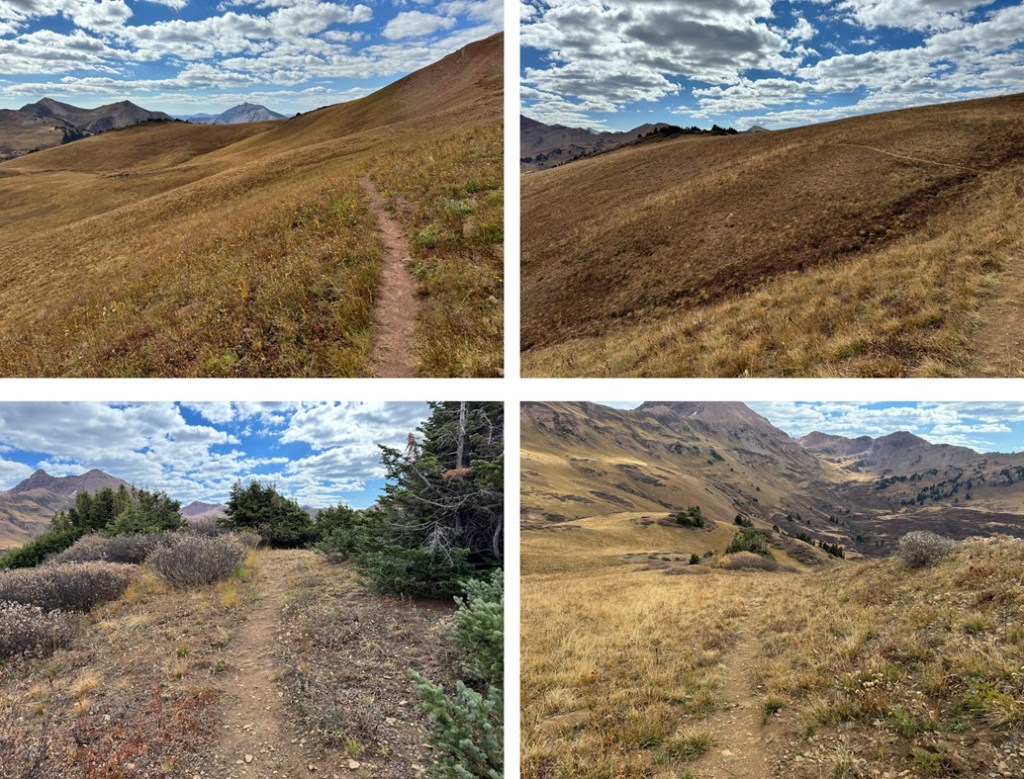
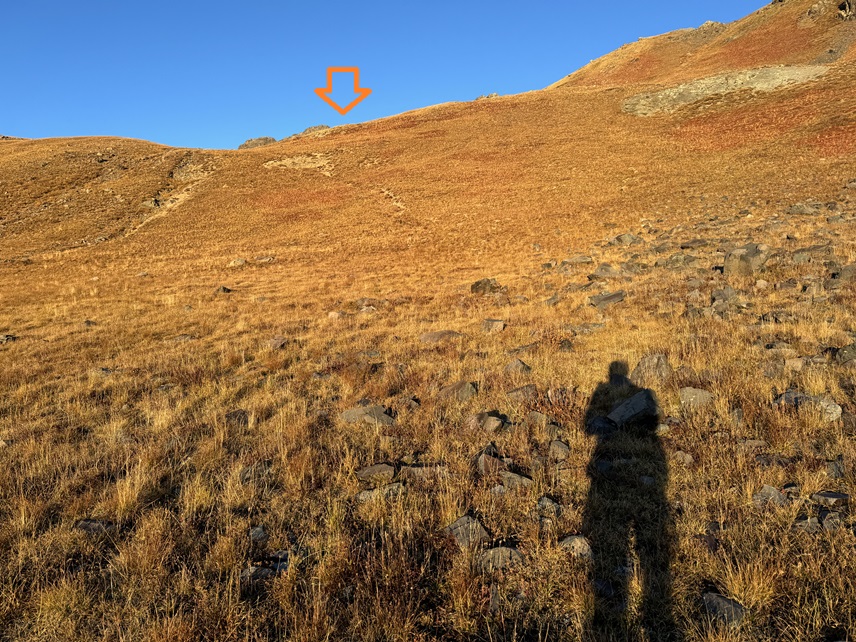
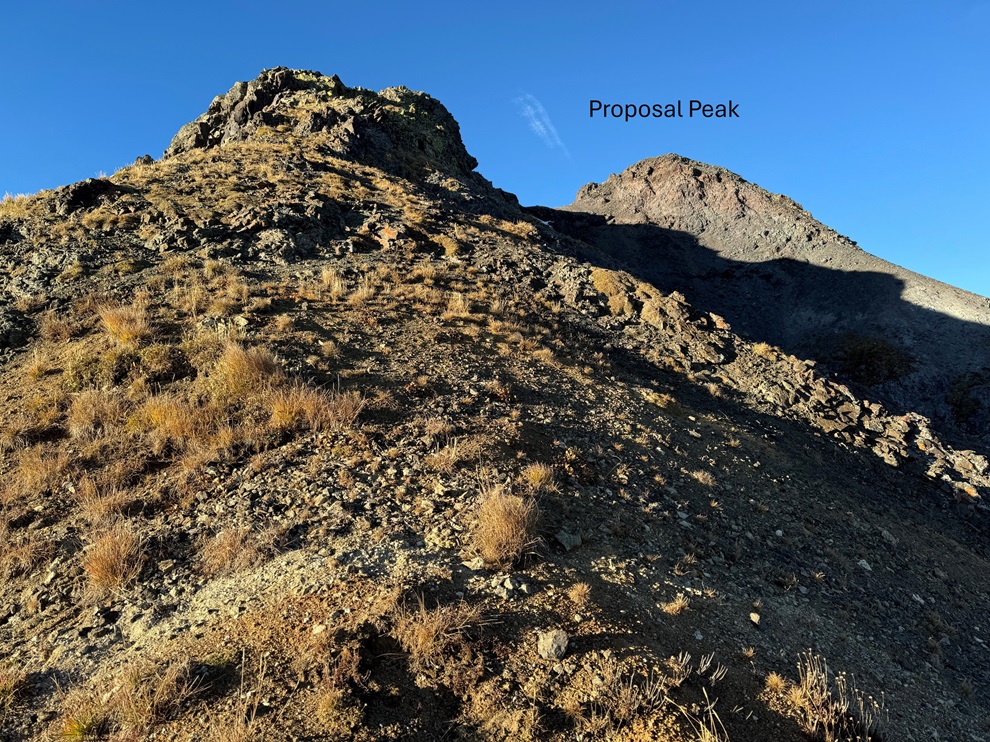
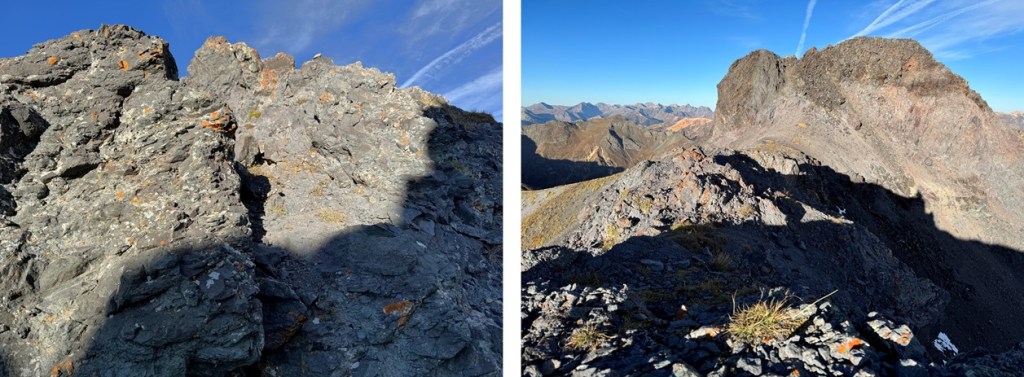
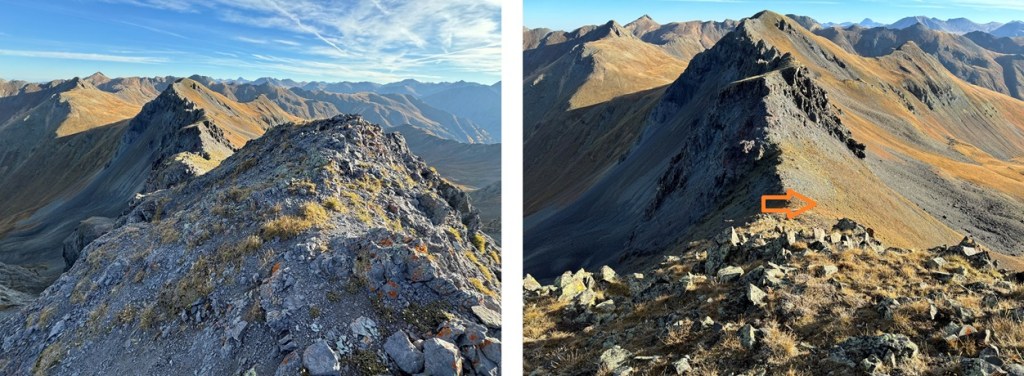
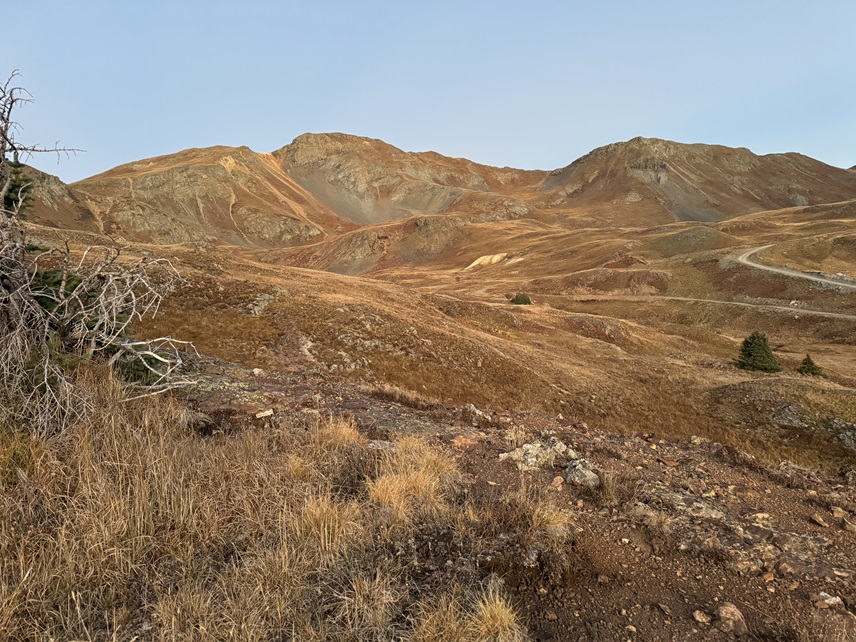
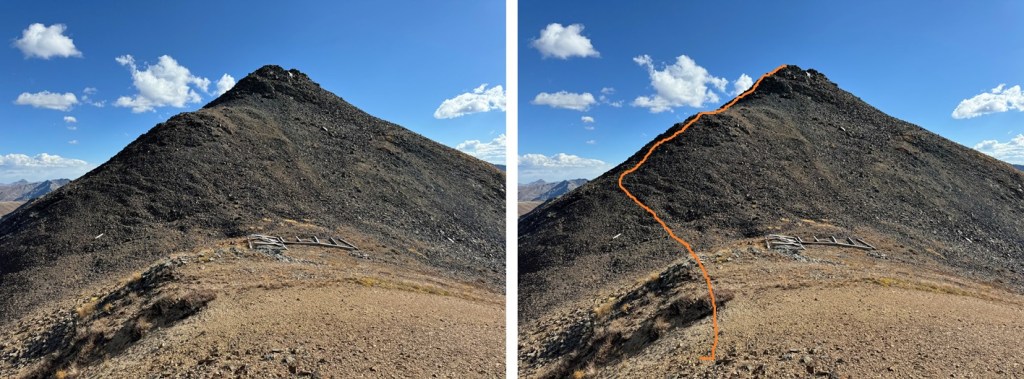
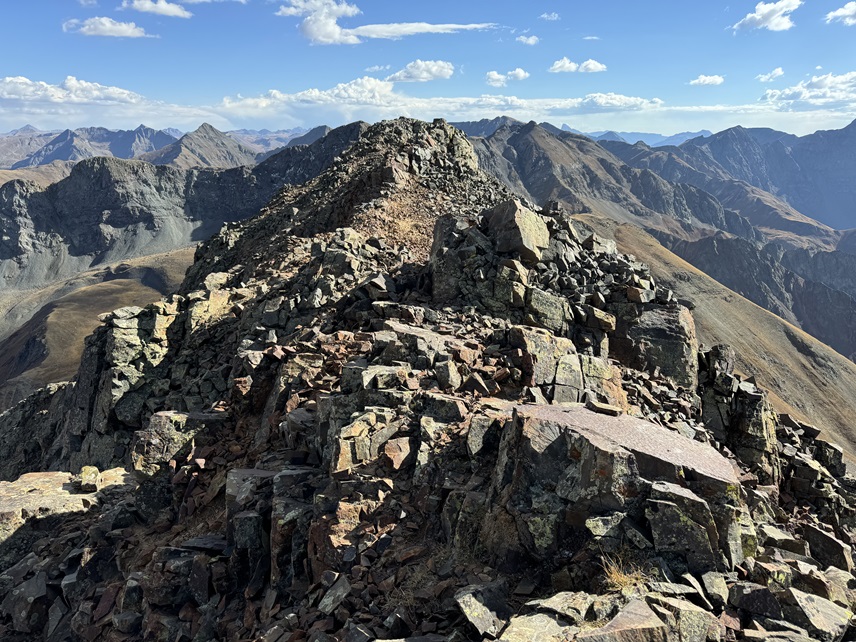
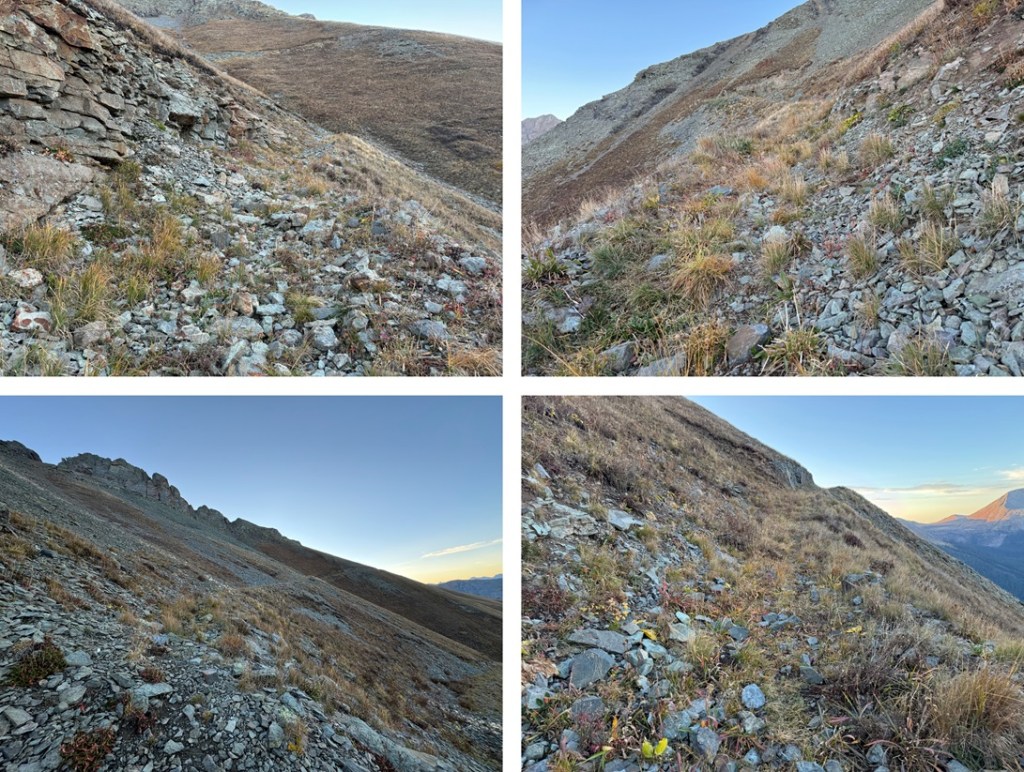
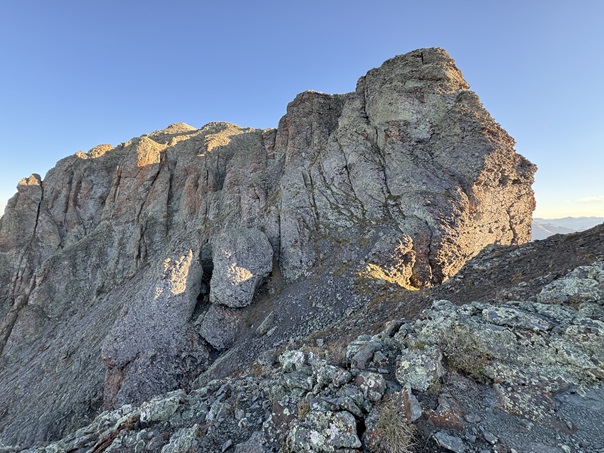
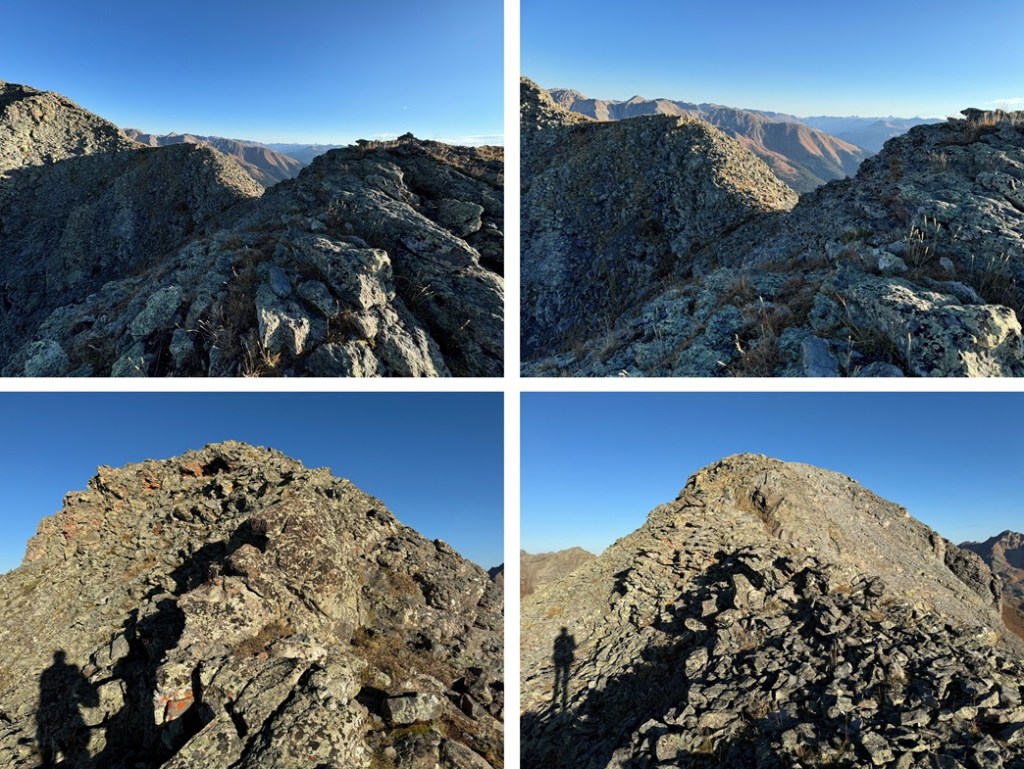
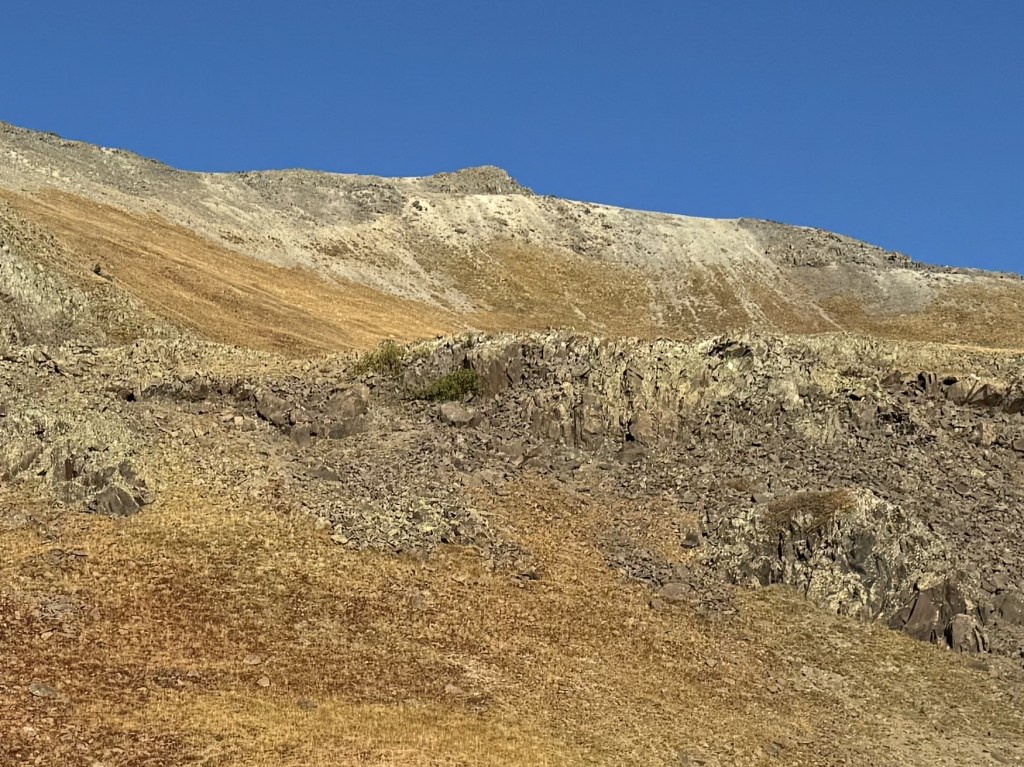
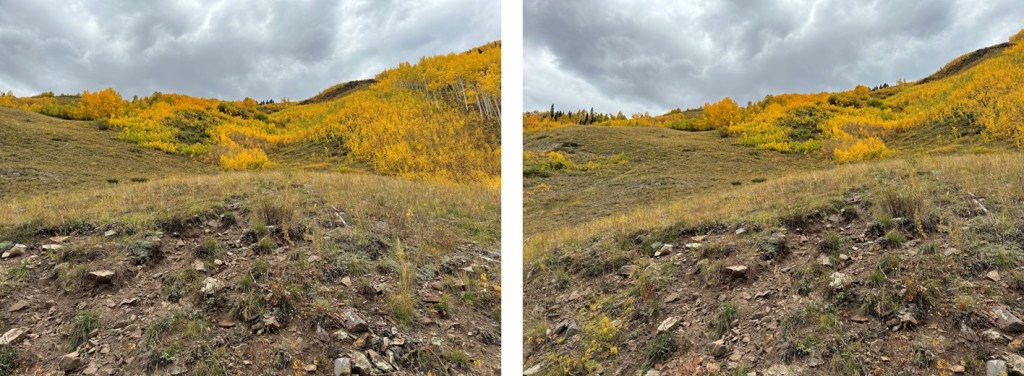
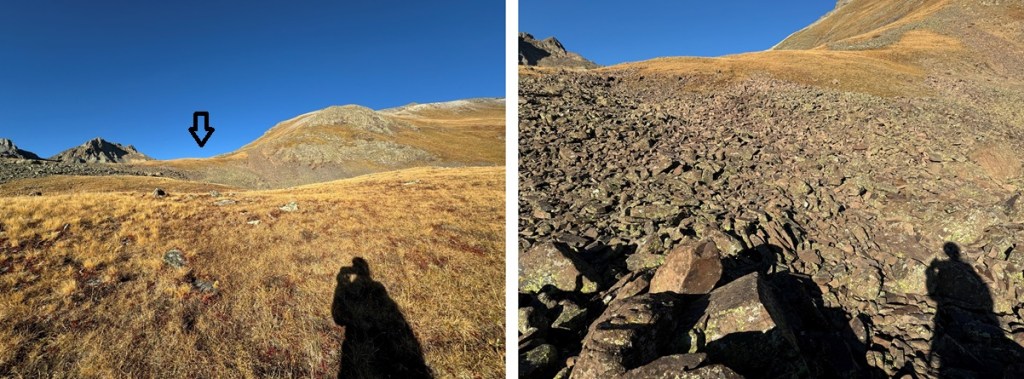
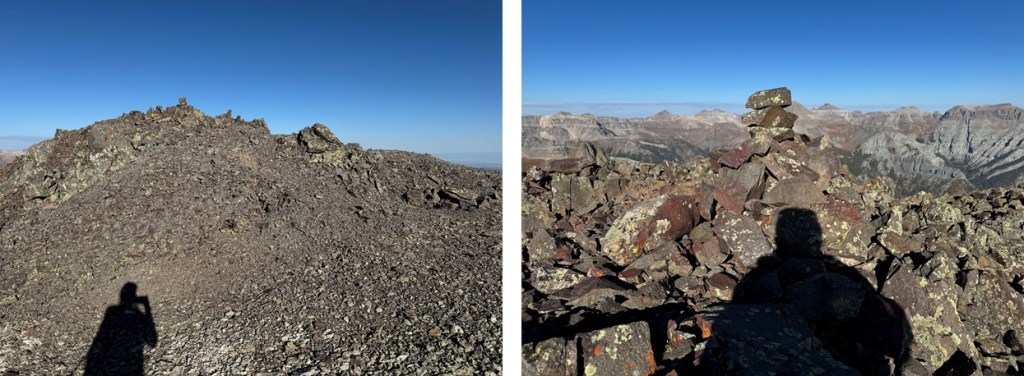
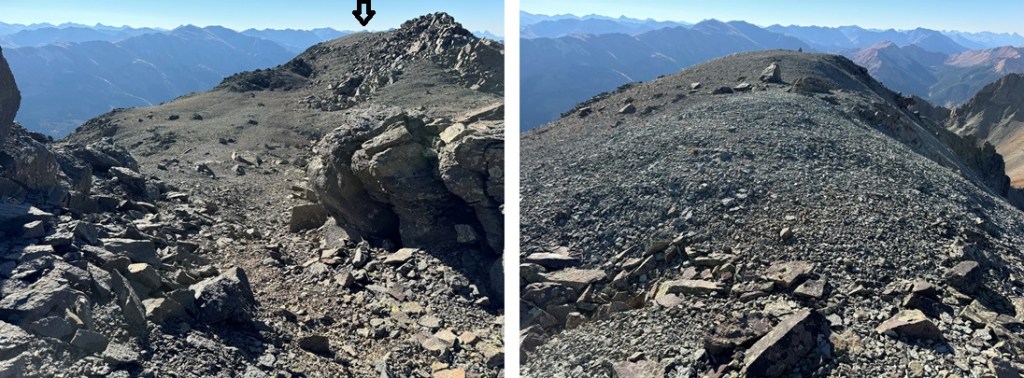
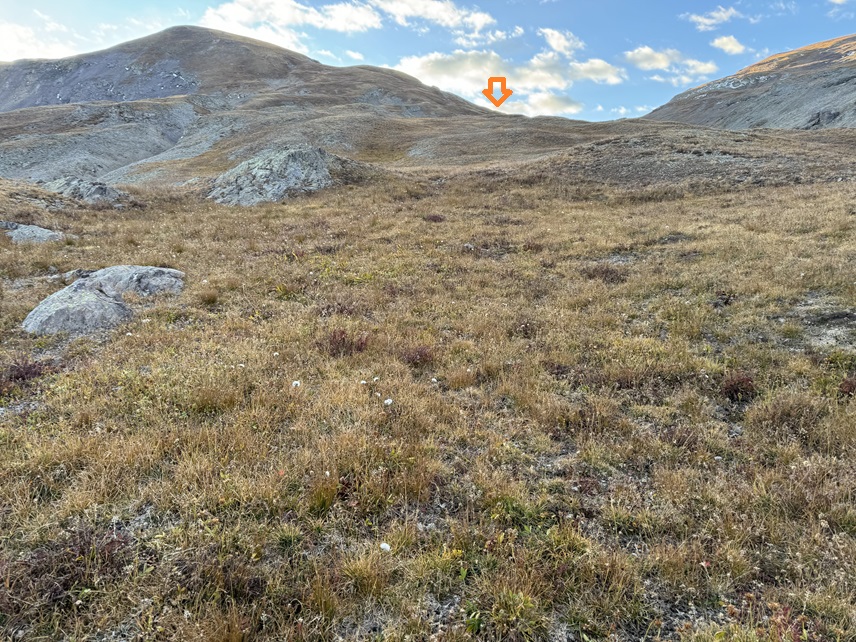
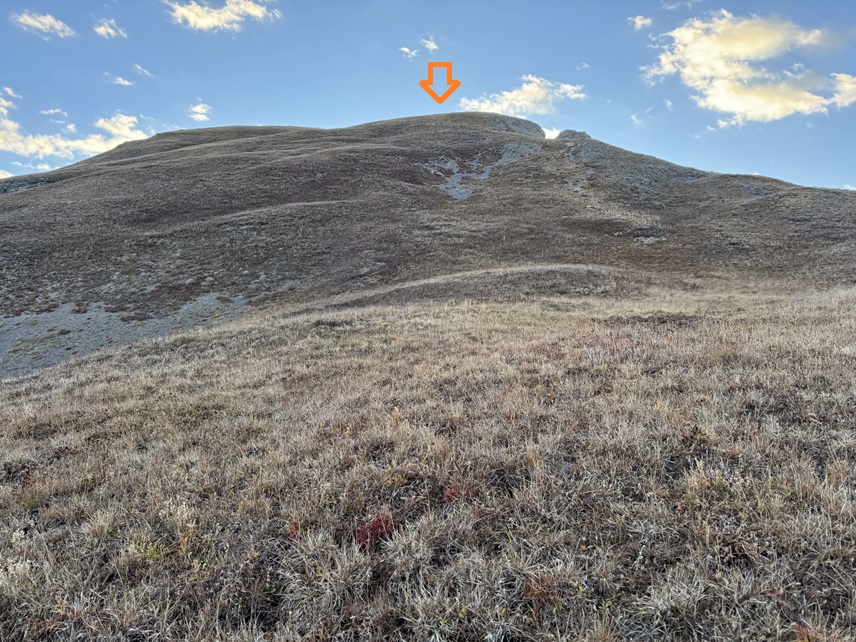
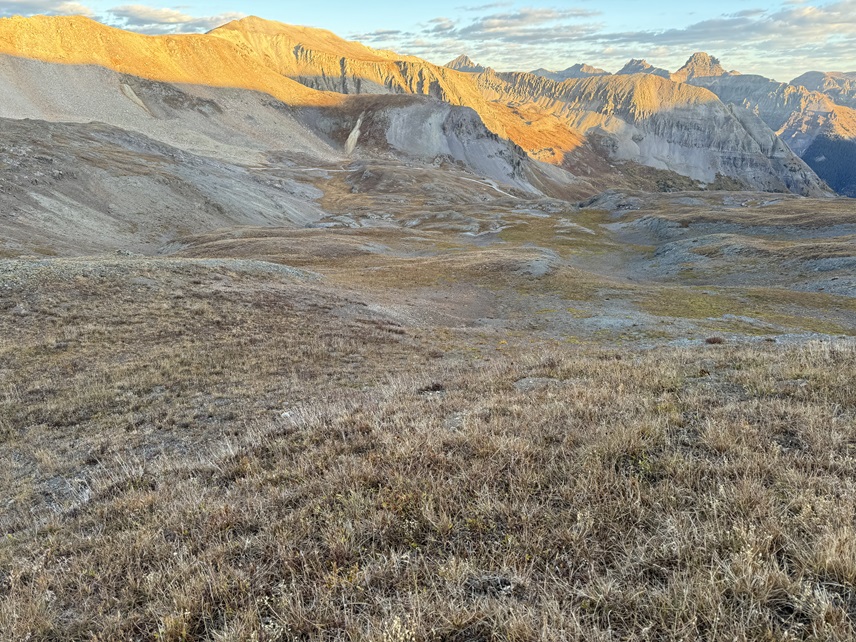
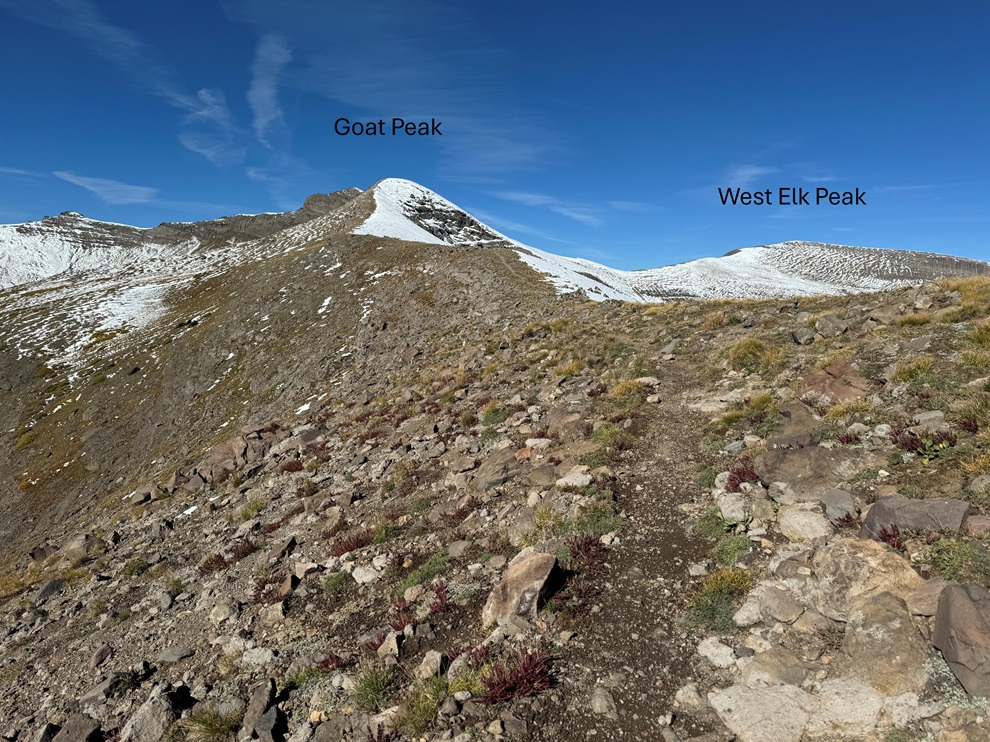
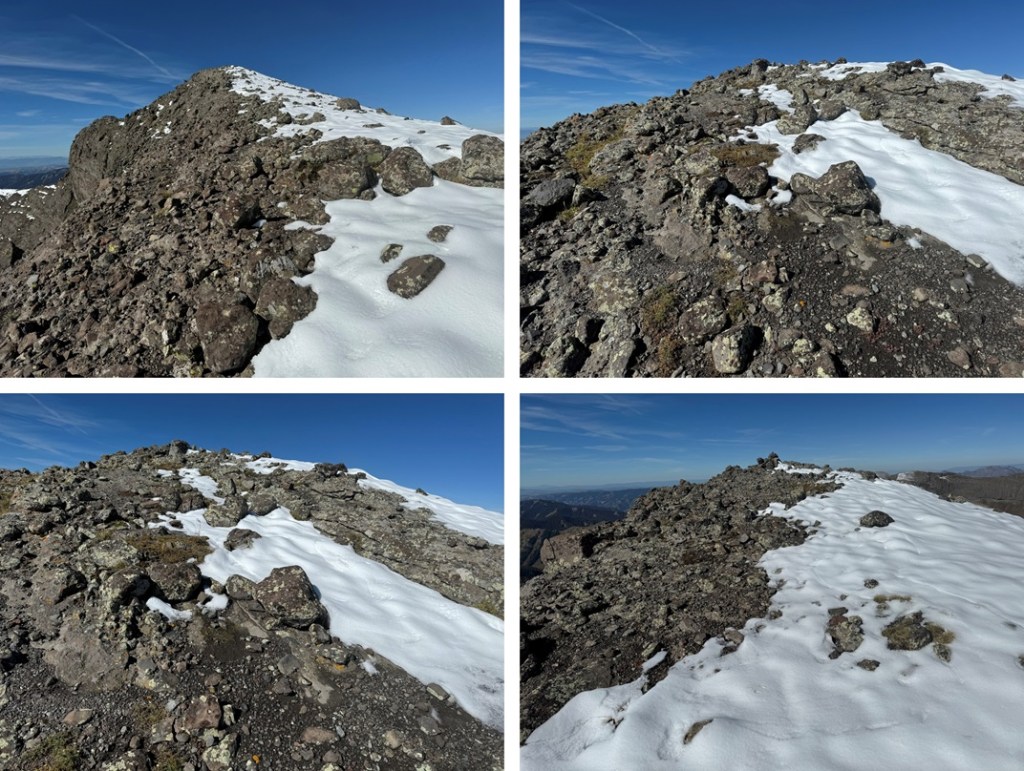
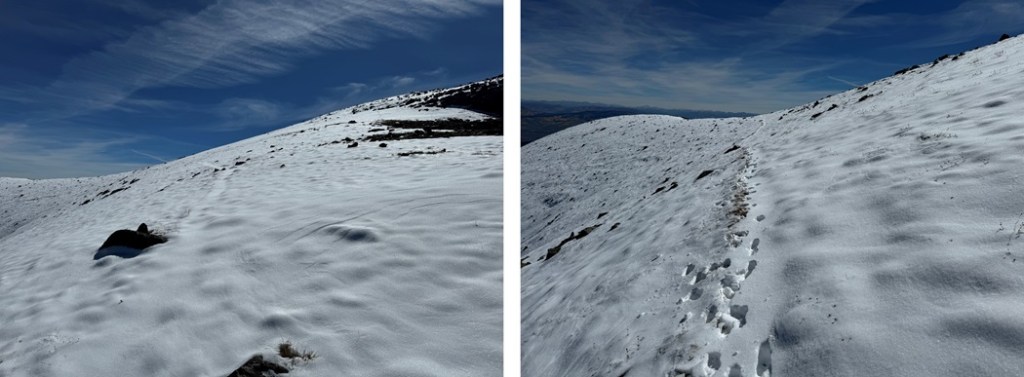
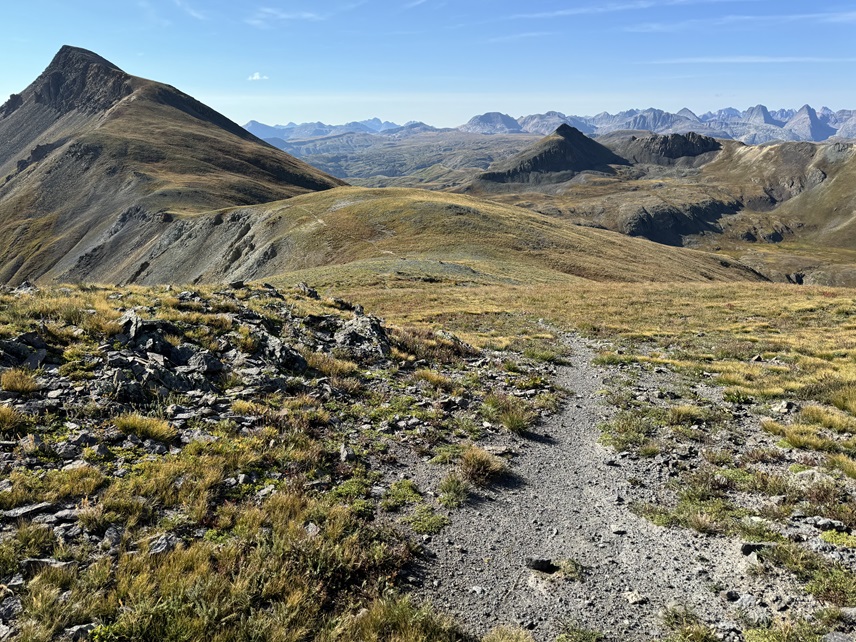
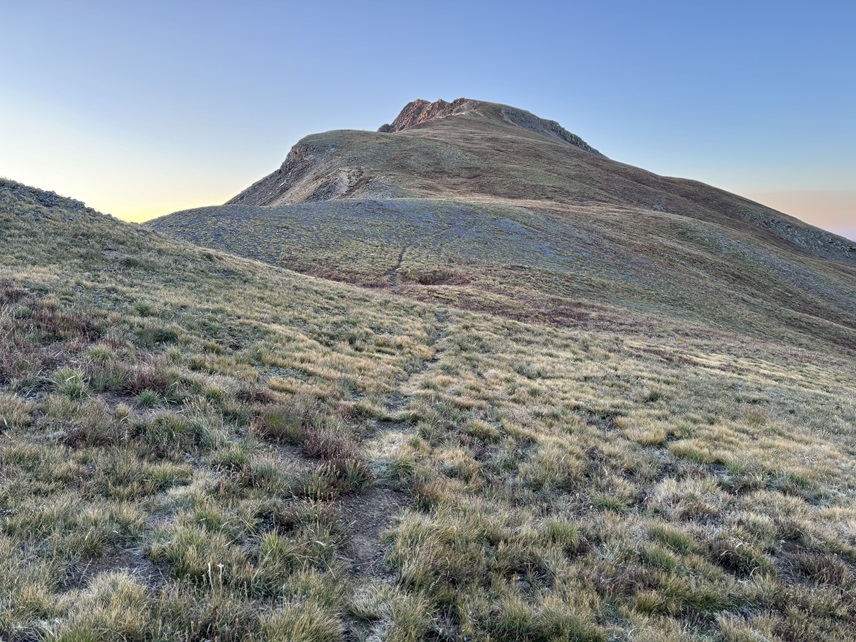
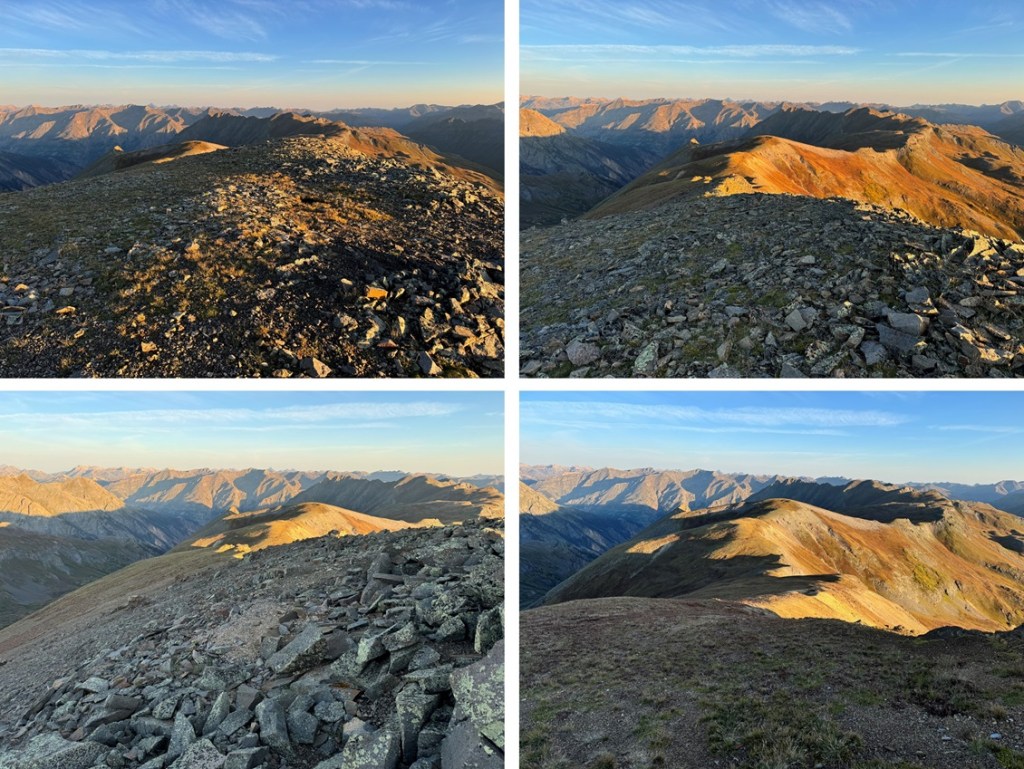
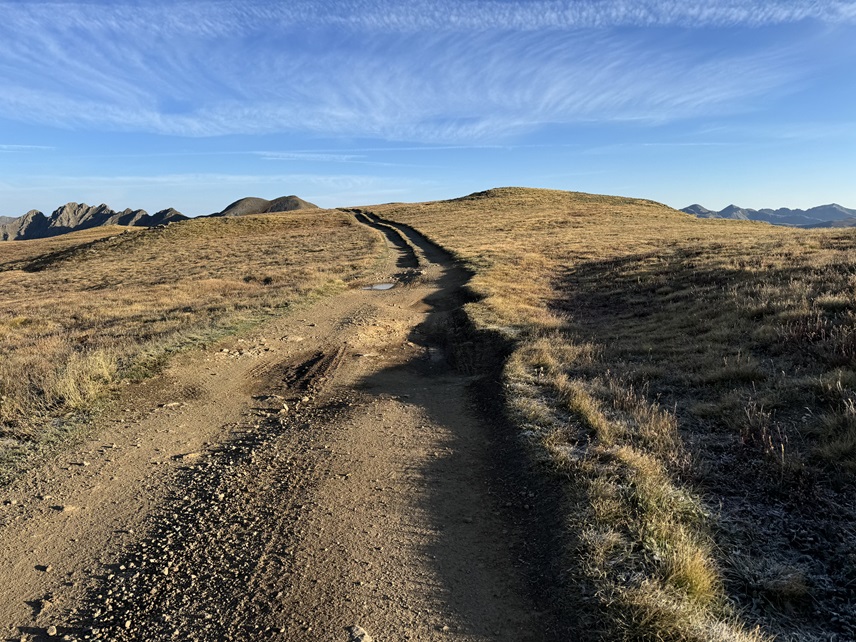
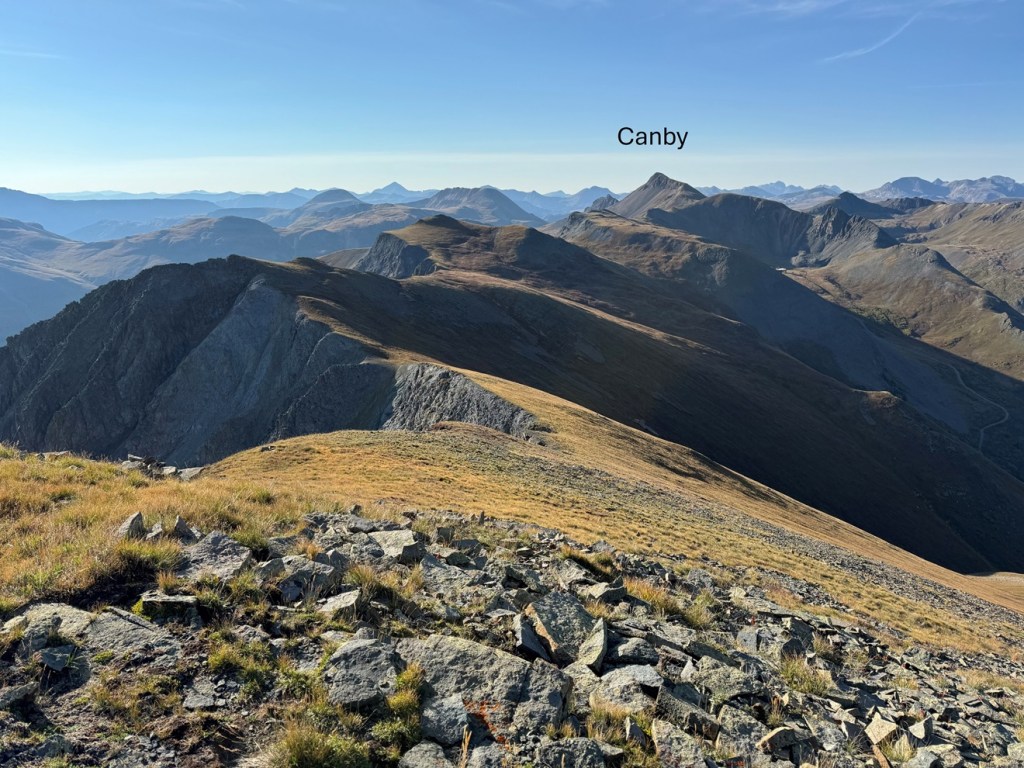
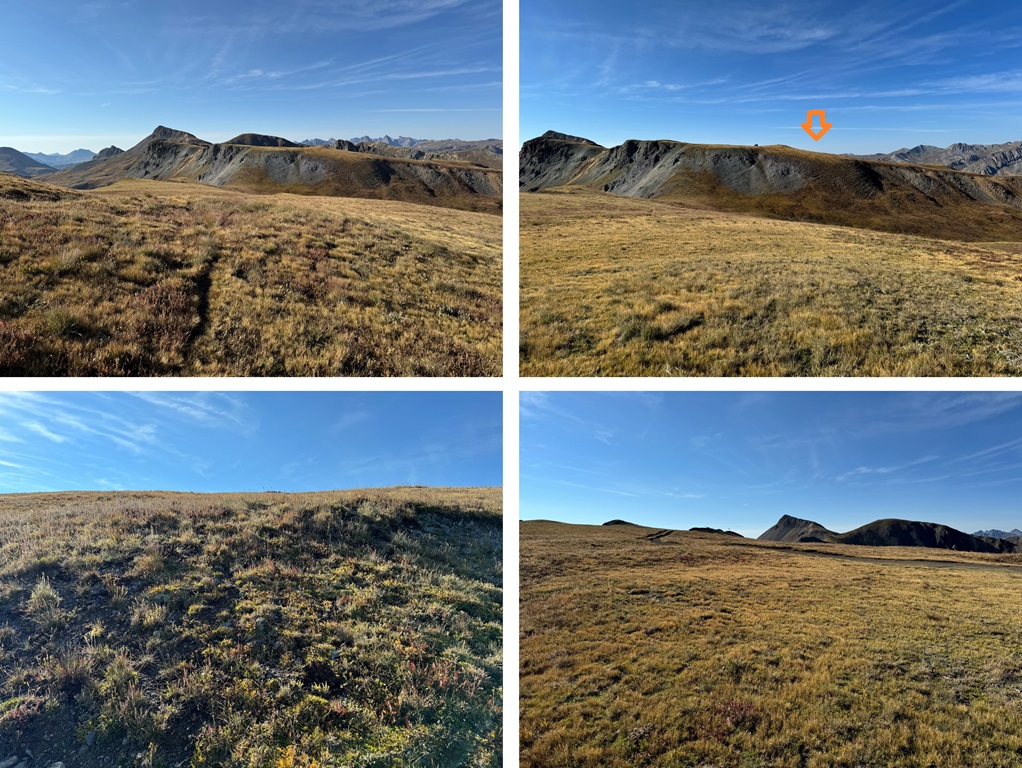
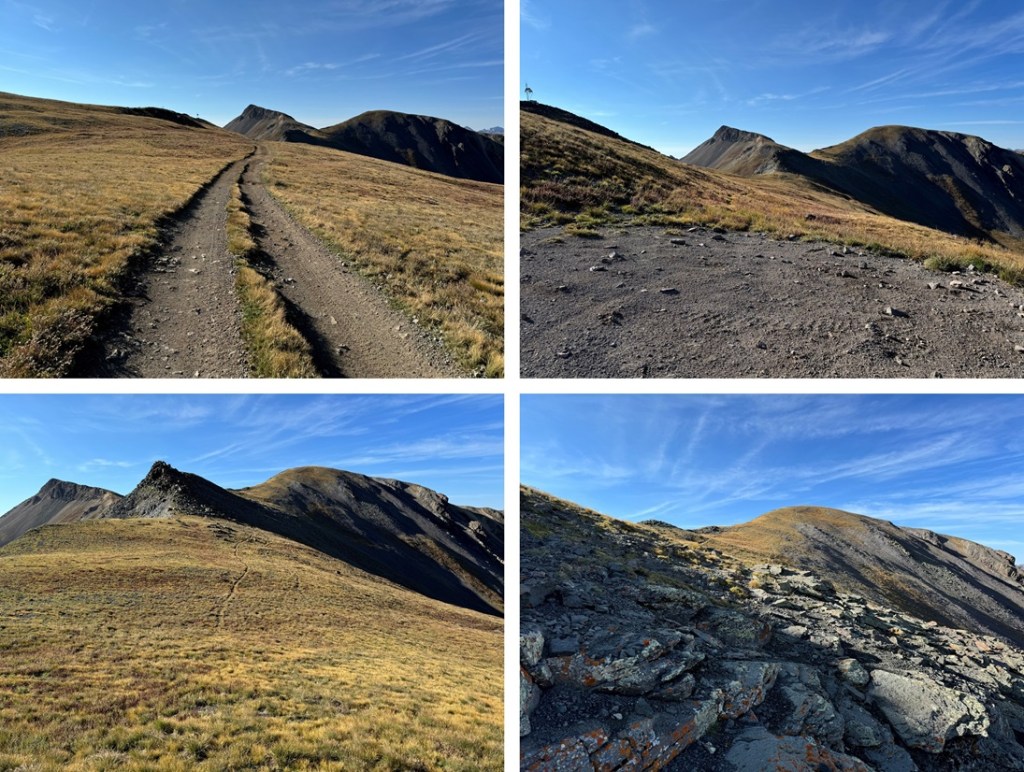
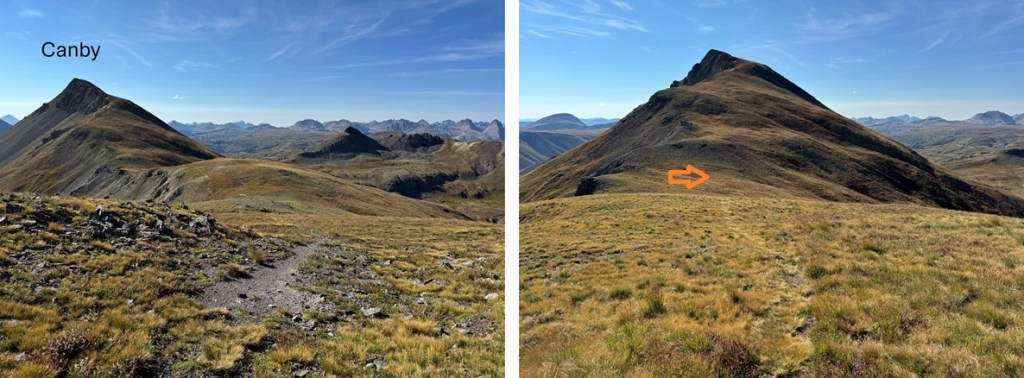
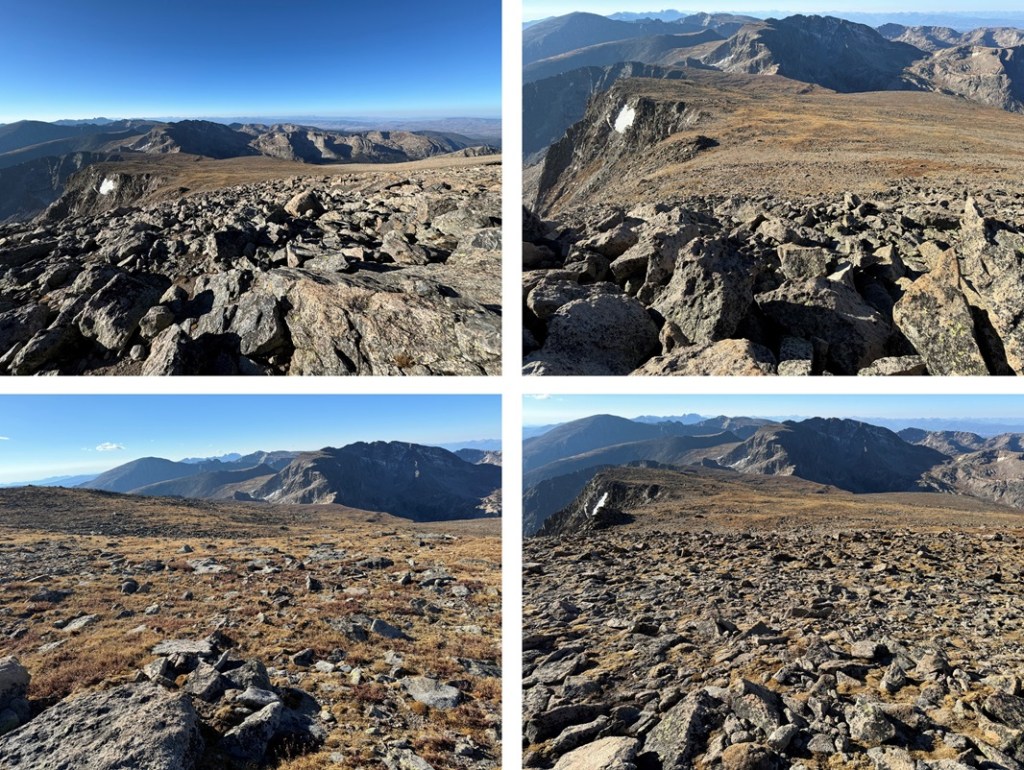
Once at the saddle, I turned right and ascended the ridge north. The true summit is to the west (as per LoJ and my Peakbagger app, and summit register placement).
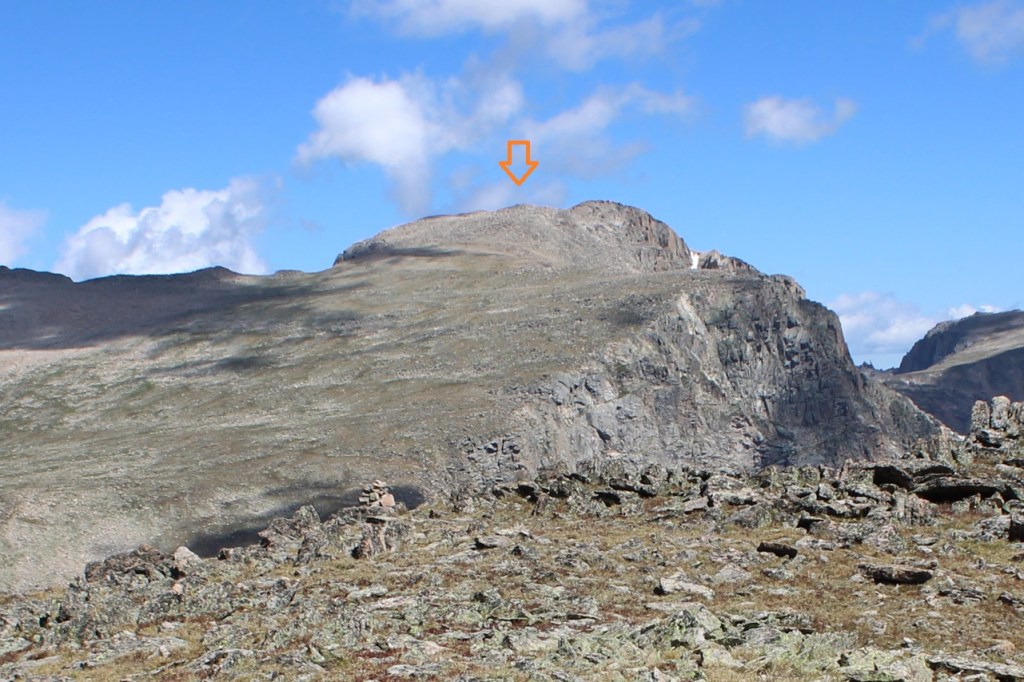
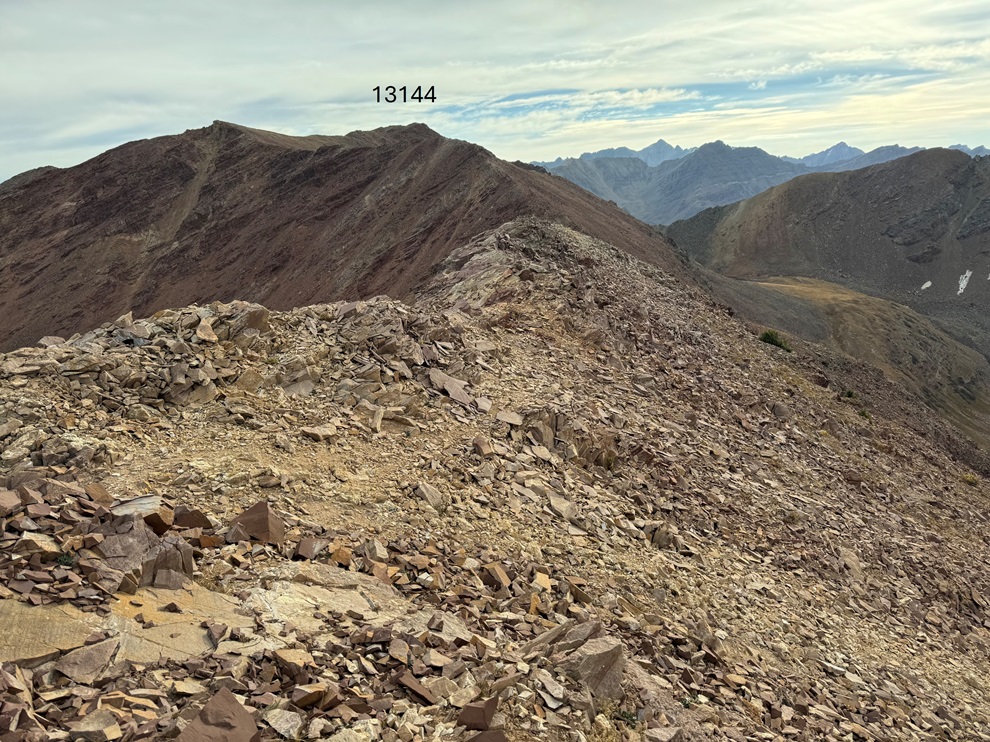
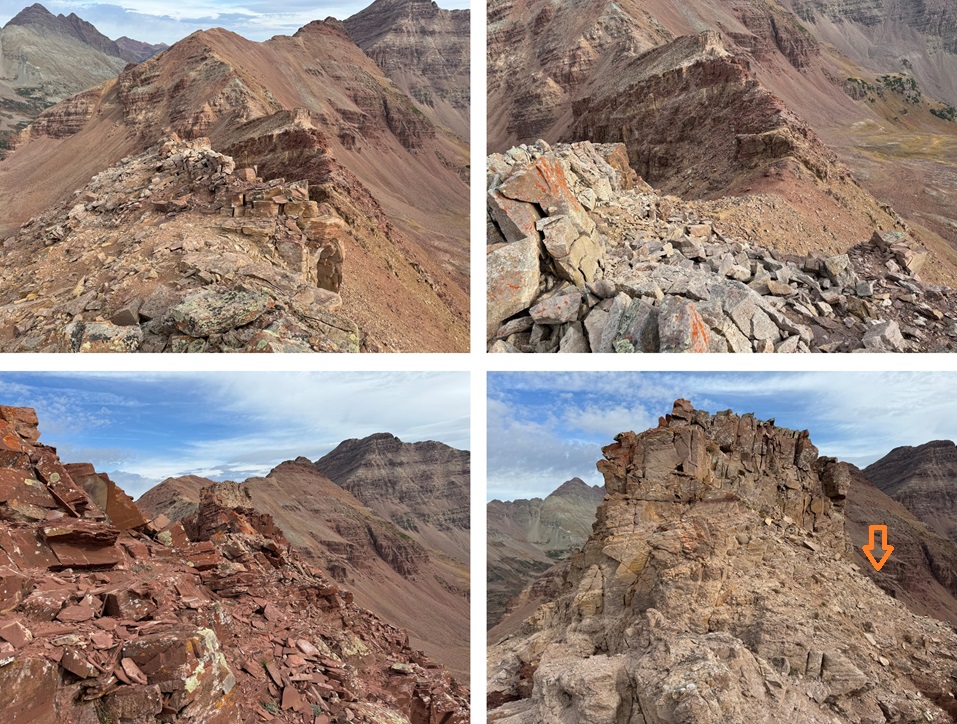
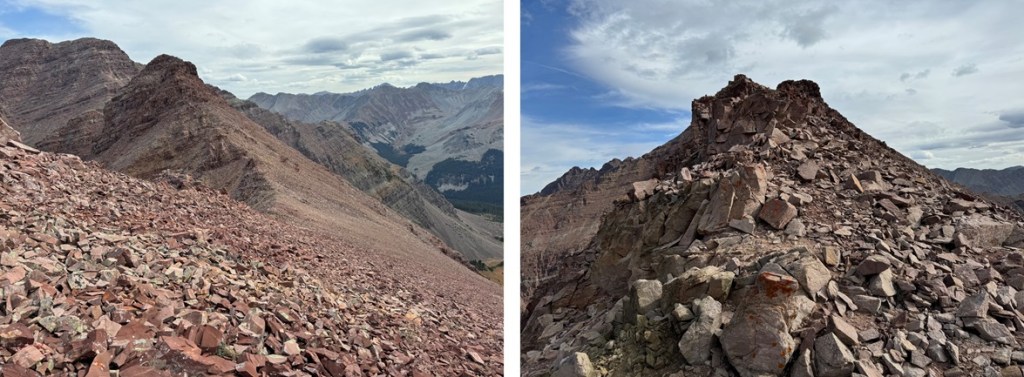
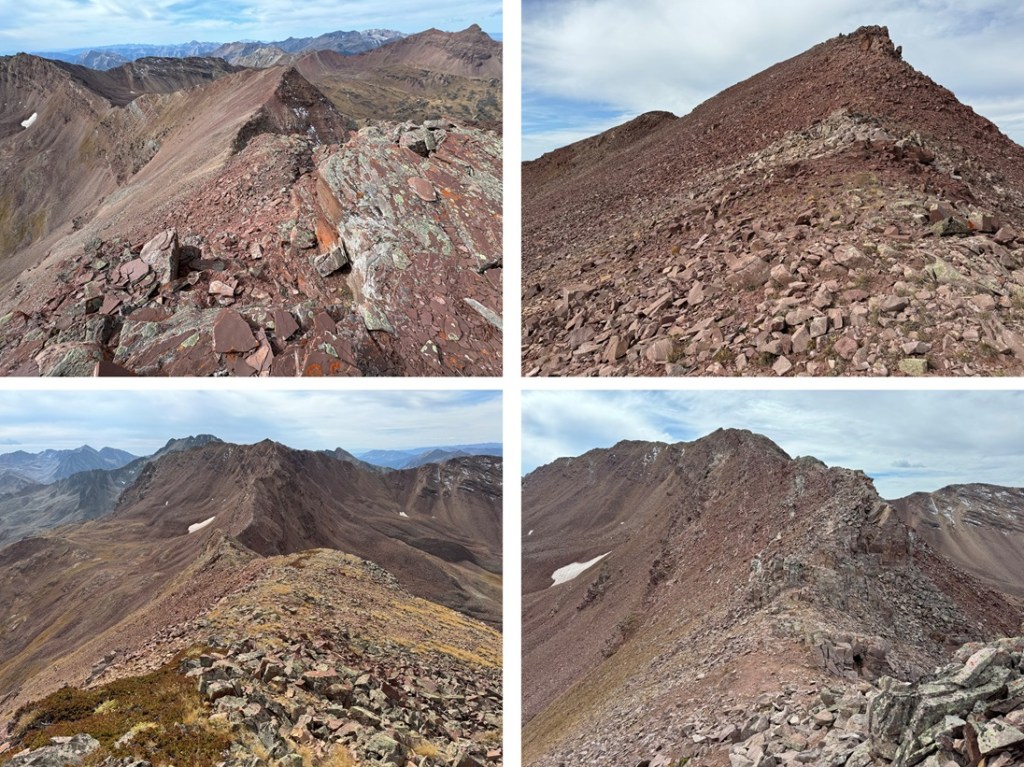
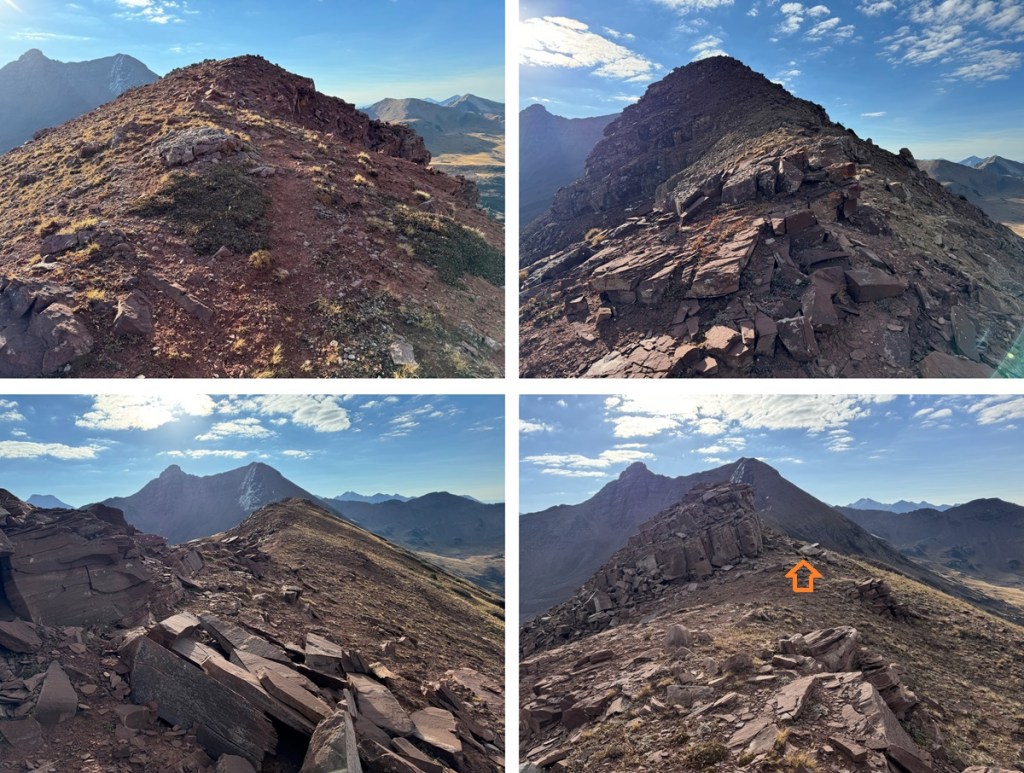
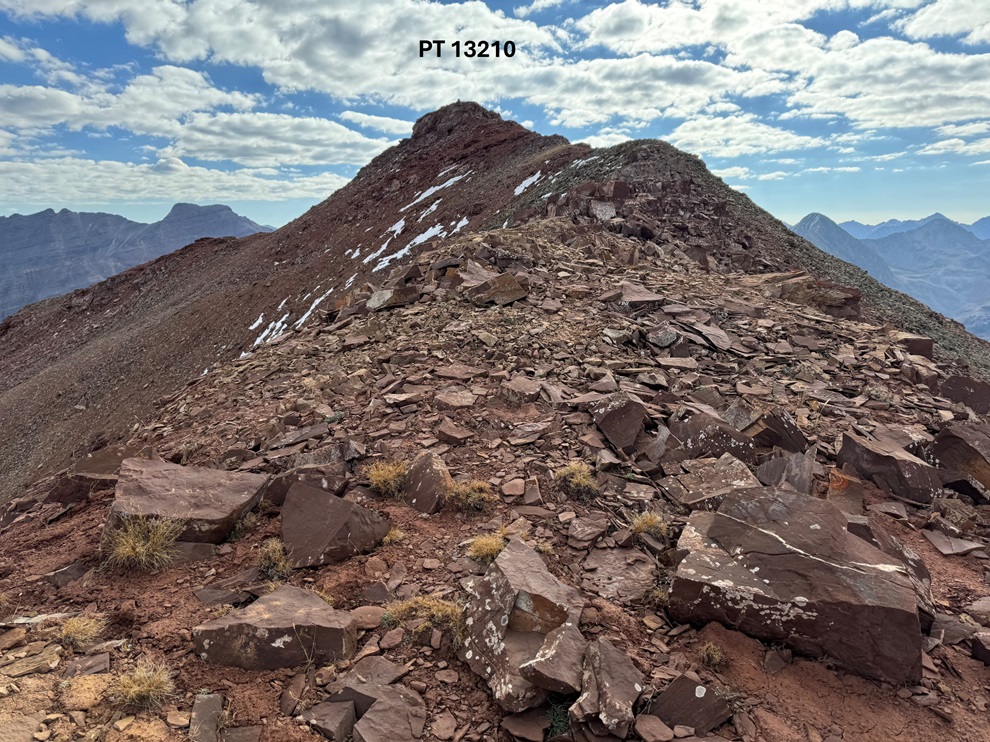
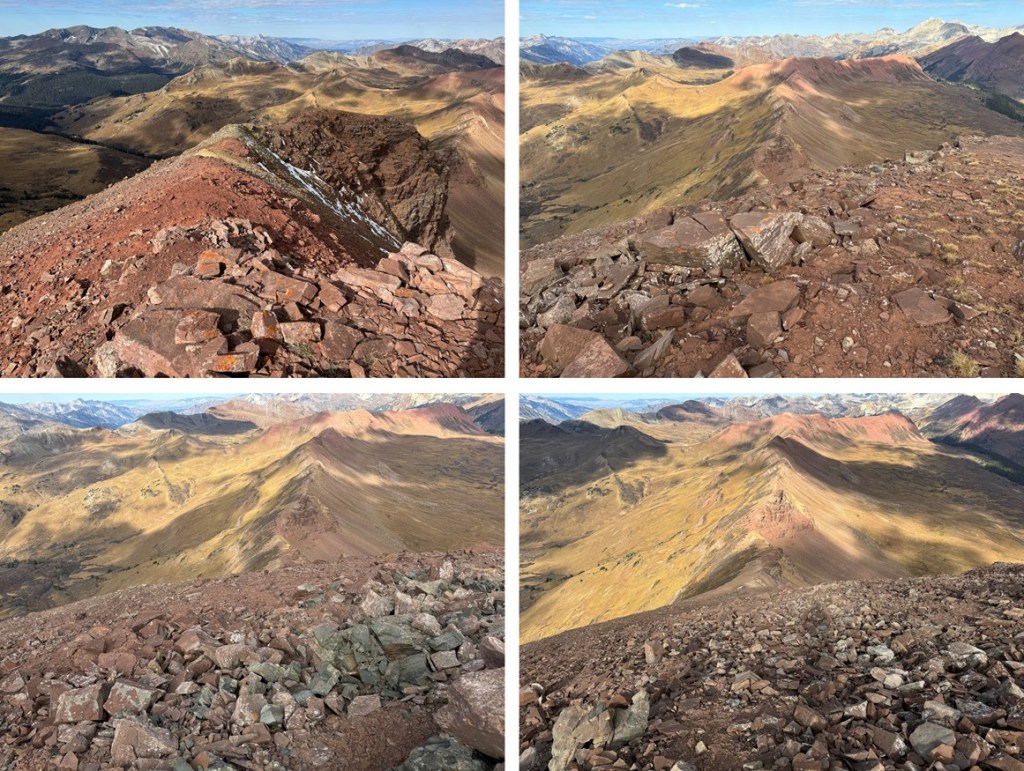
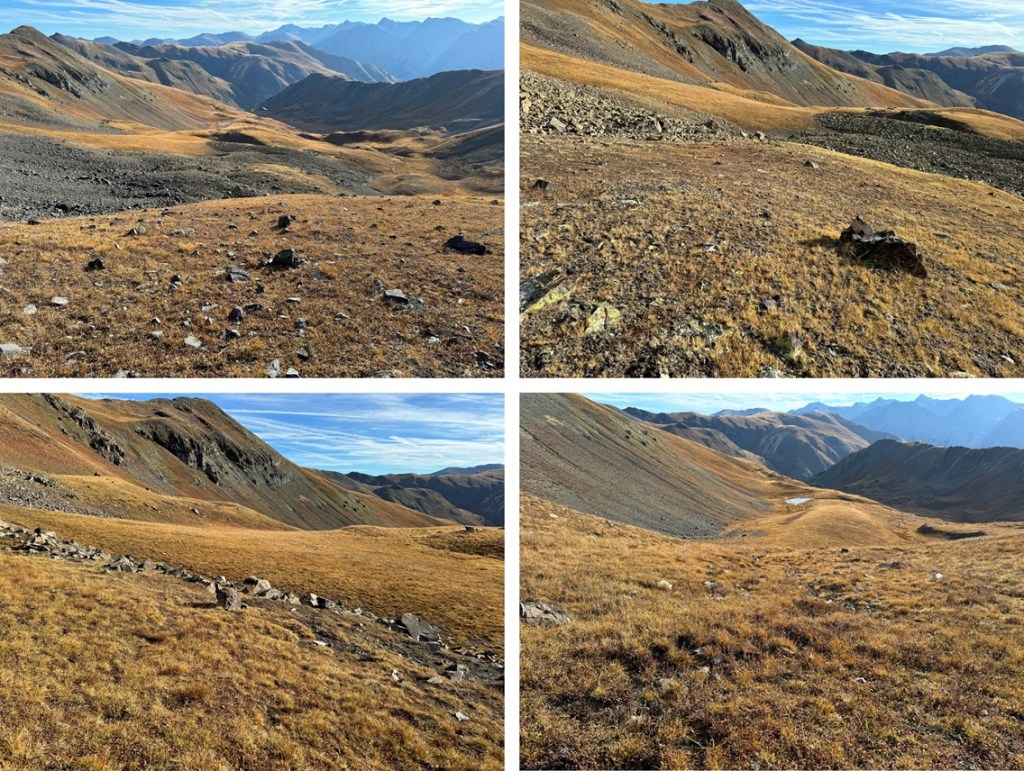
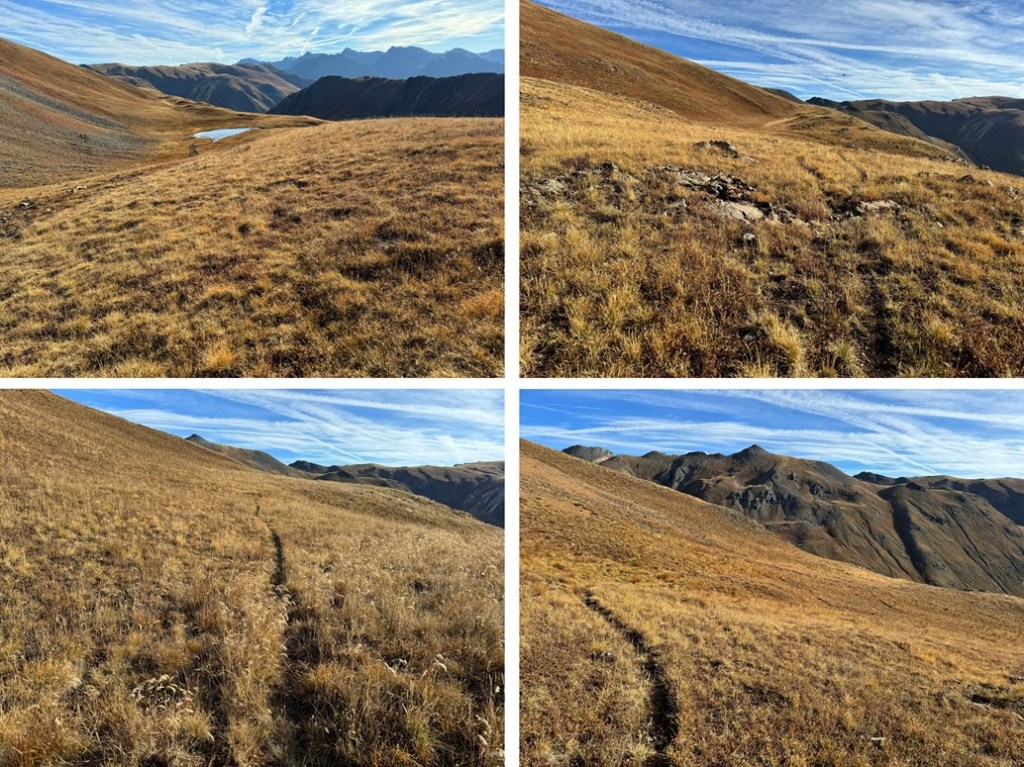
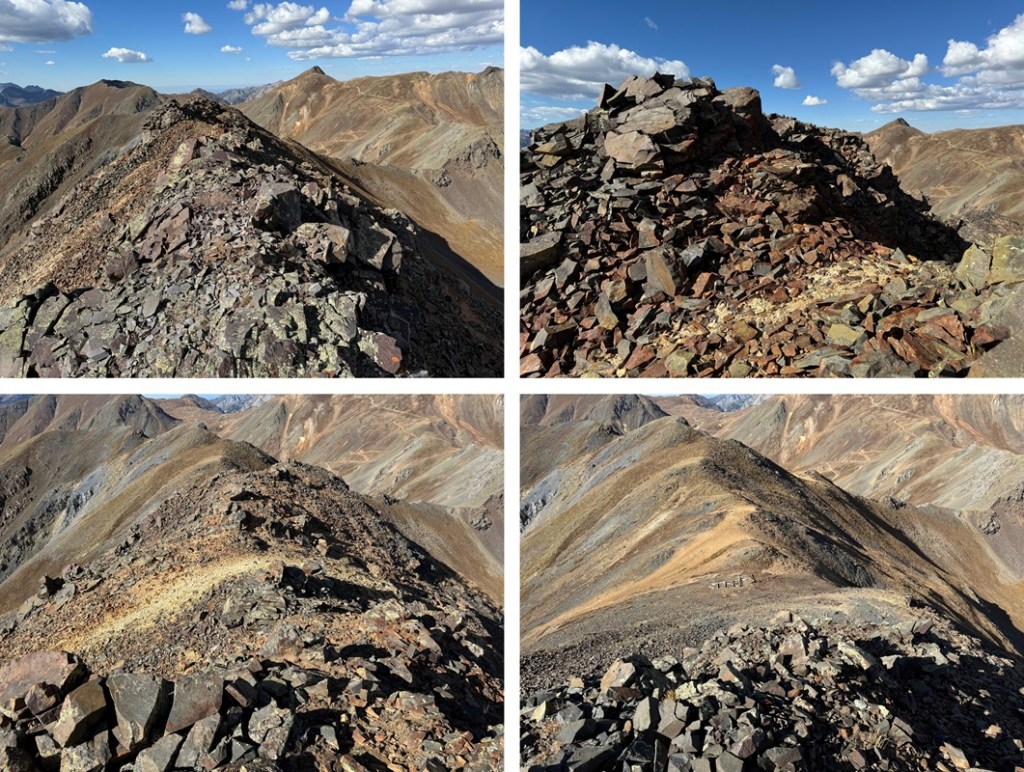
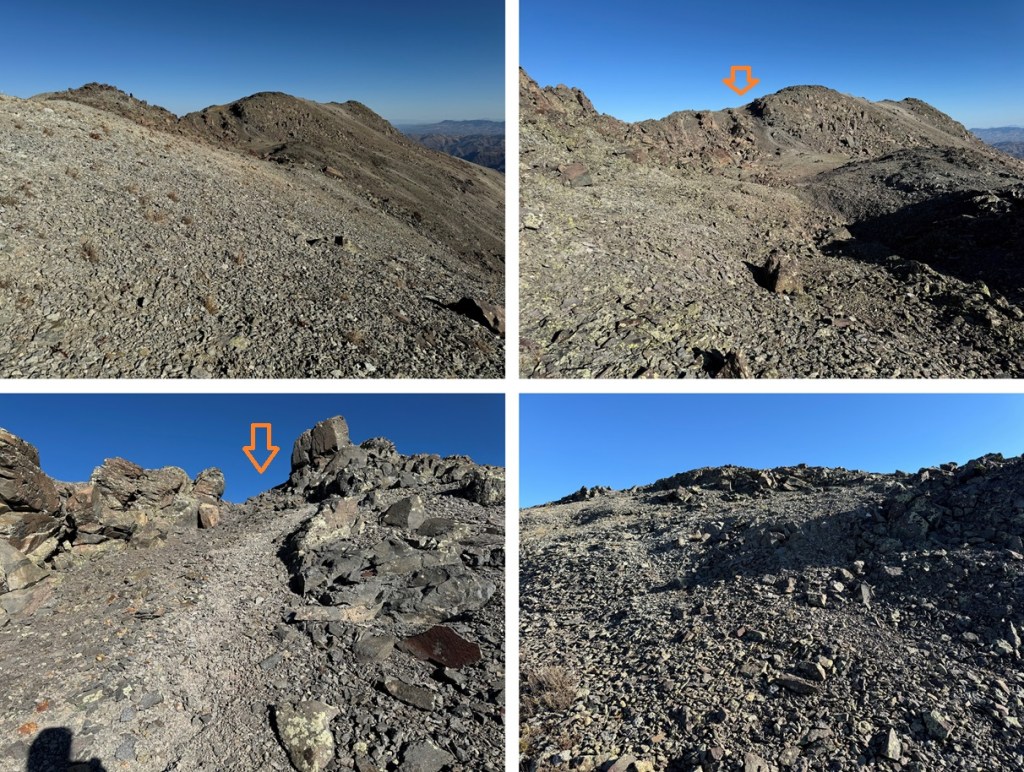
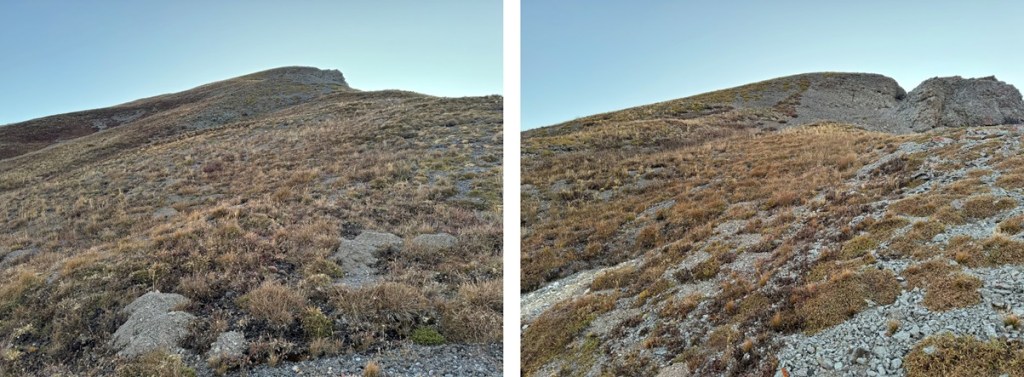
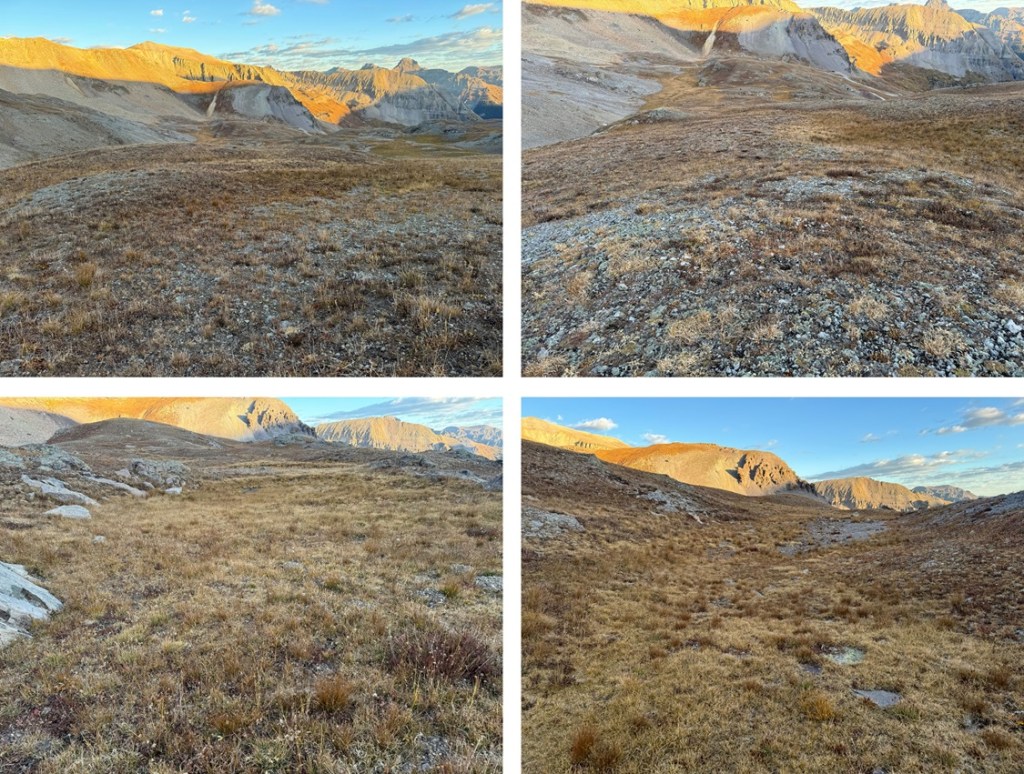
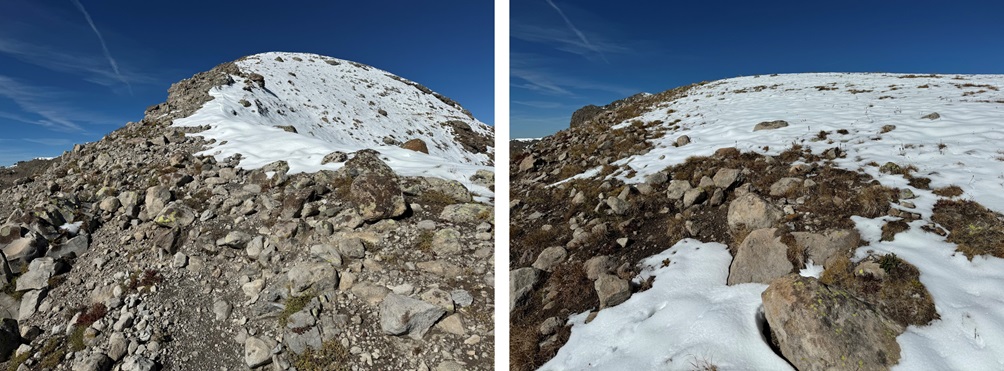
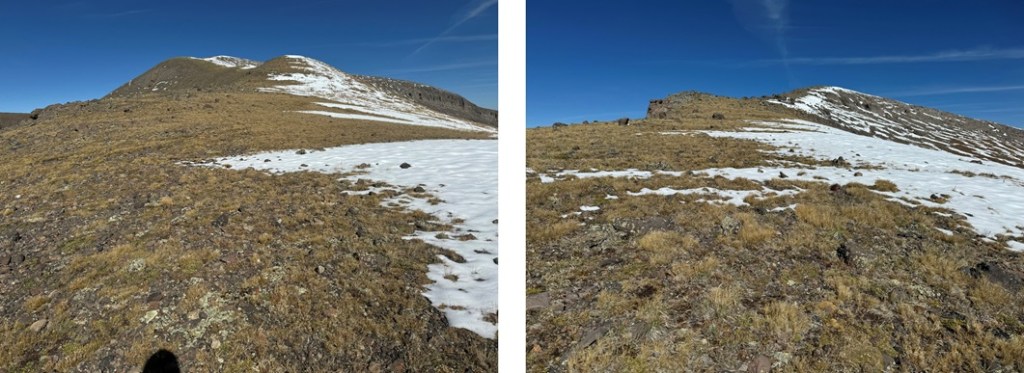
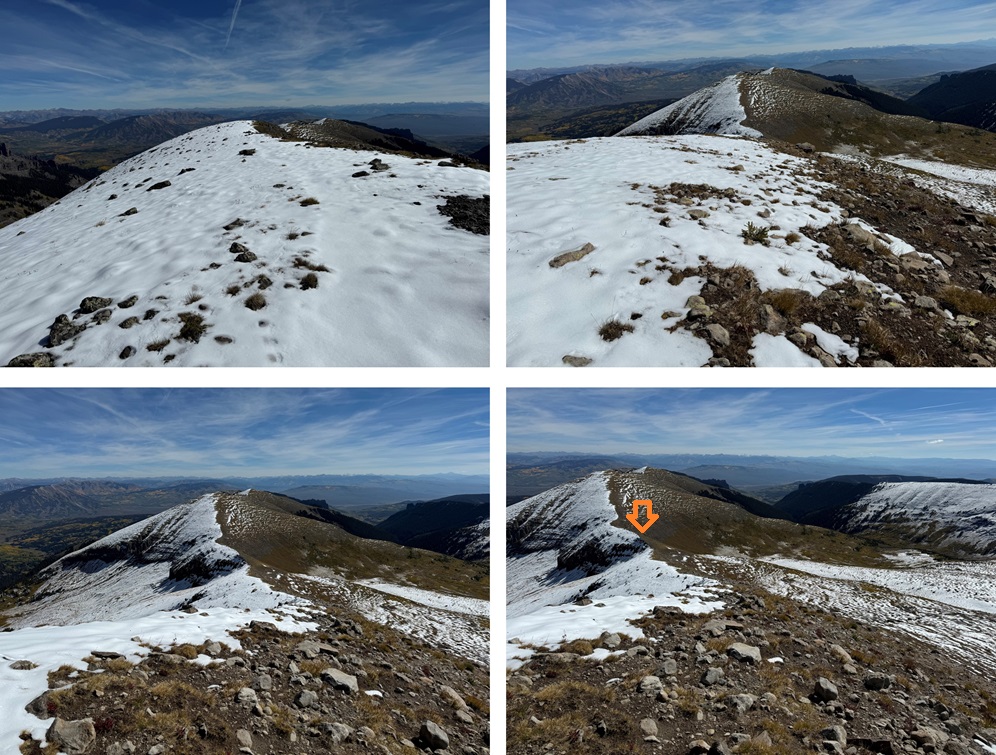
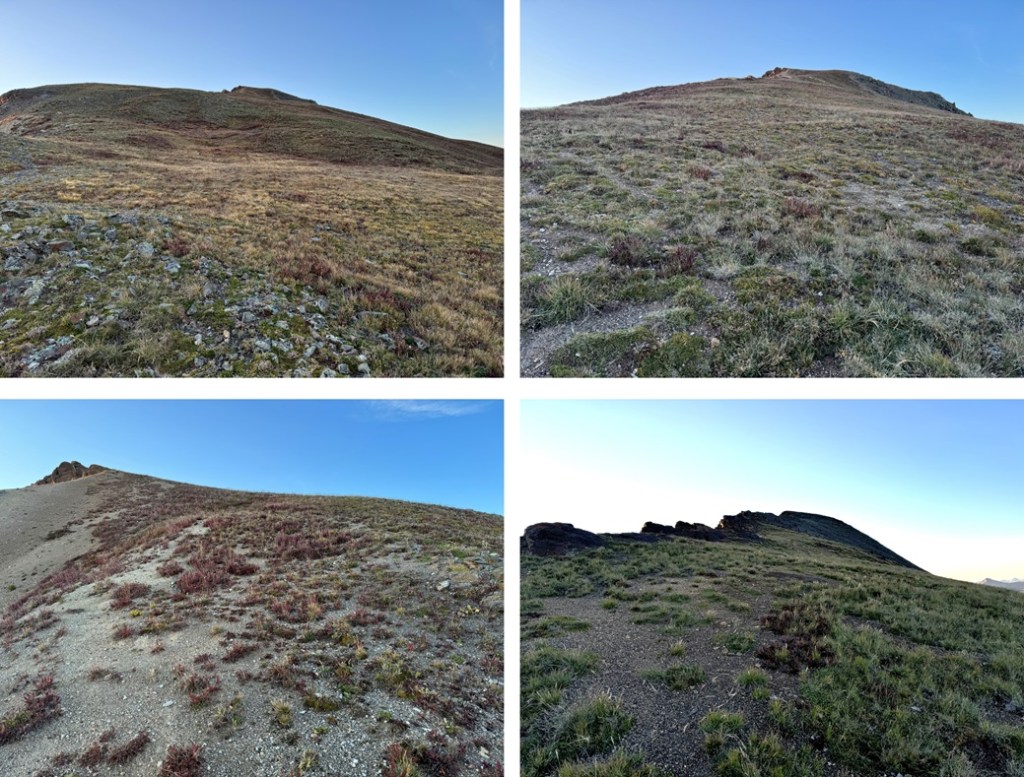
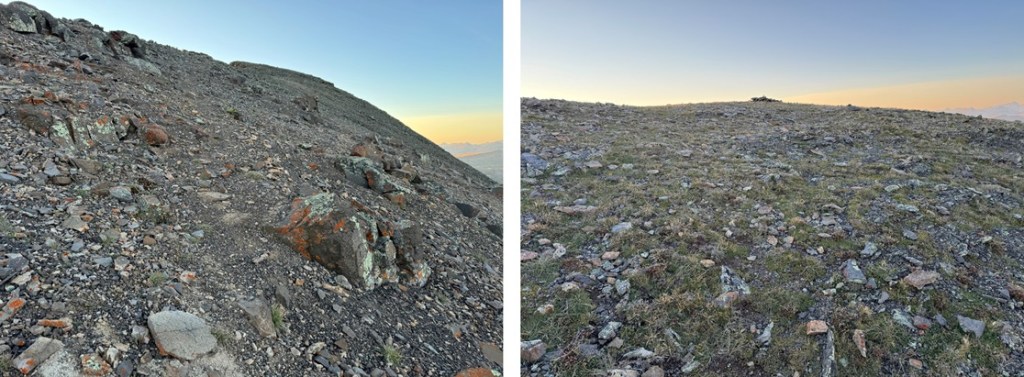
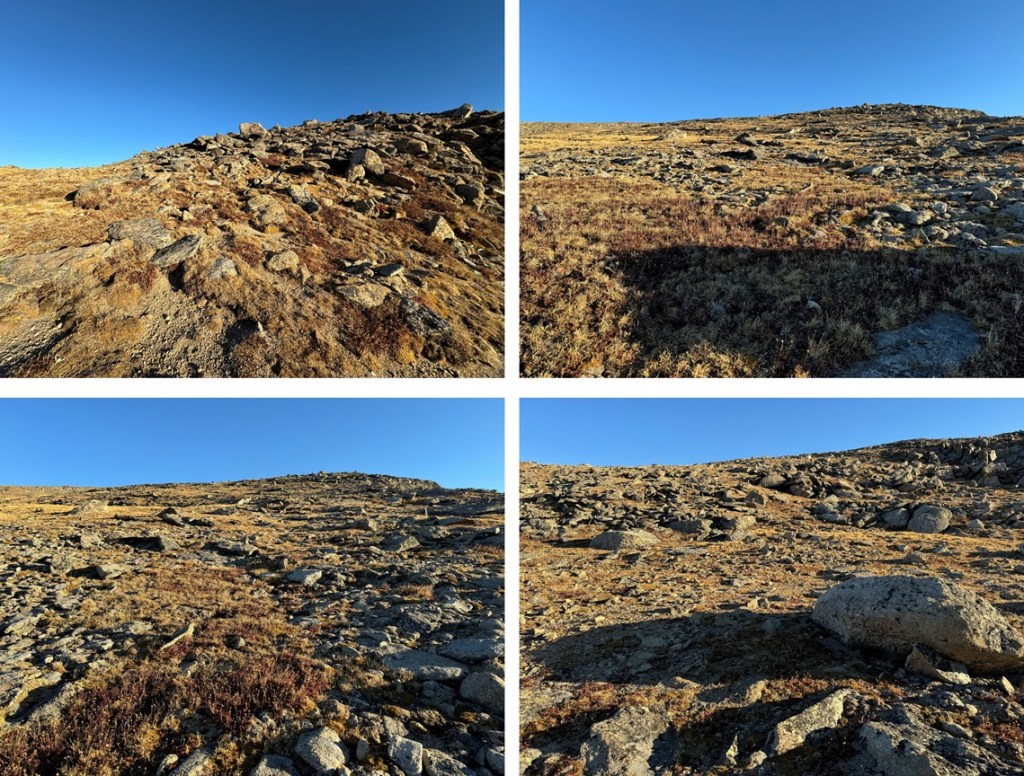
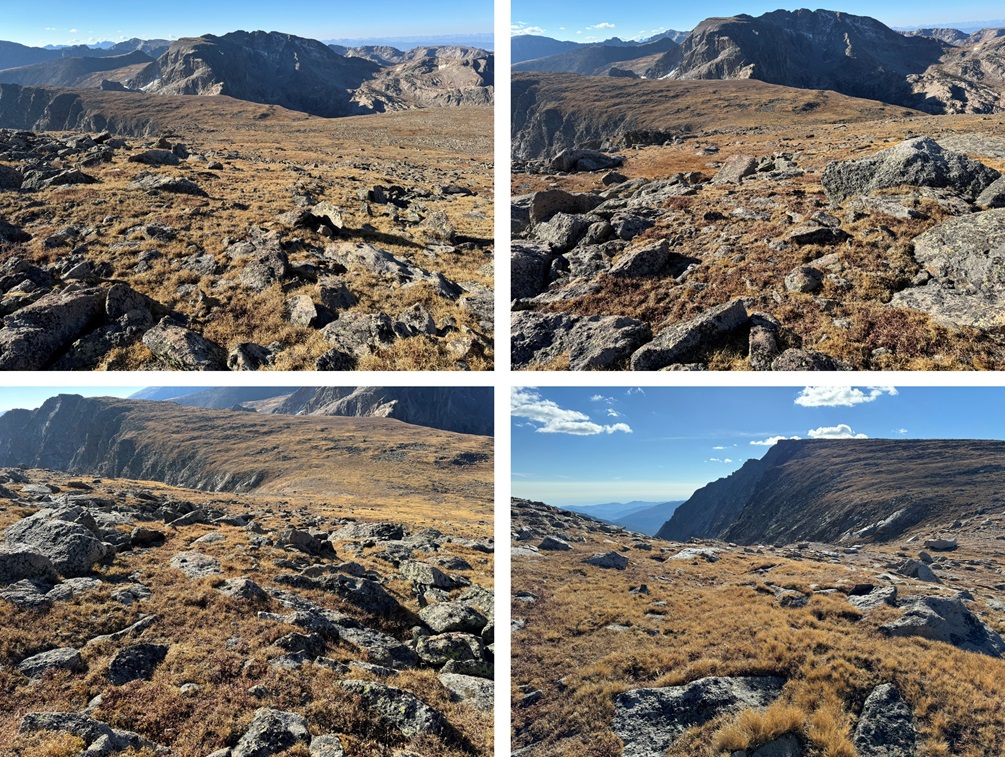
This ridge has a gentle slope and is filled with tundra and large boulders. I was easily able to navigate around the boulders, staying on tundra most of the way. I just kept heading north. I gained 1250’ of elevation in about 1.1 miles to the summit from the pass.
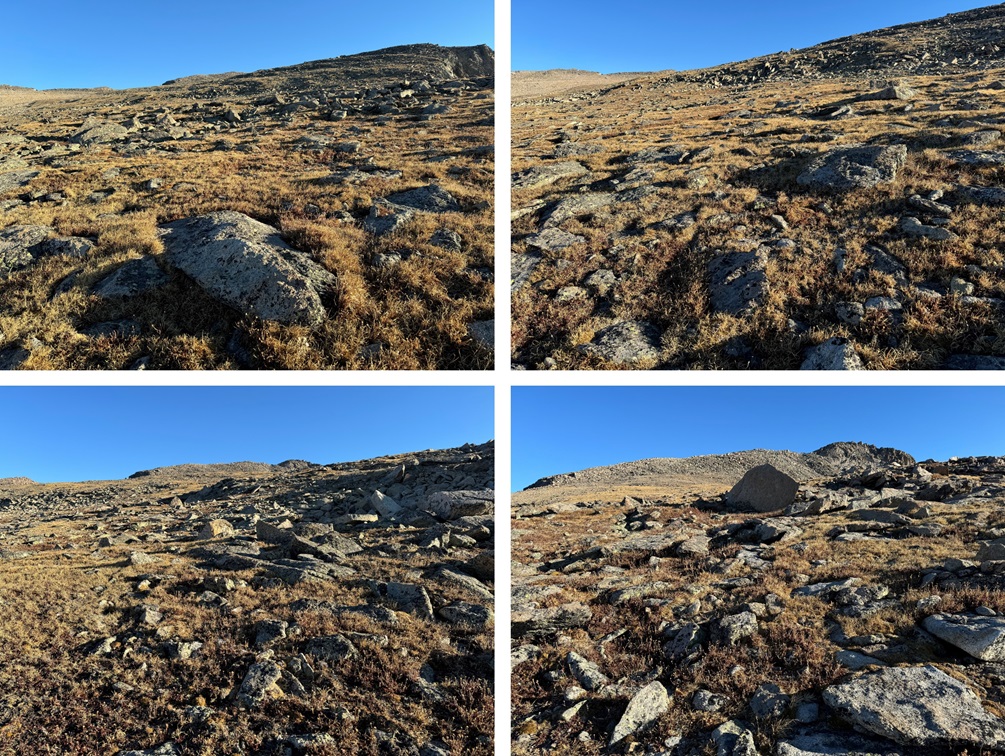
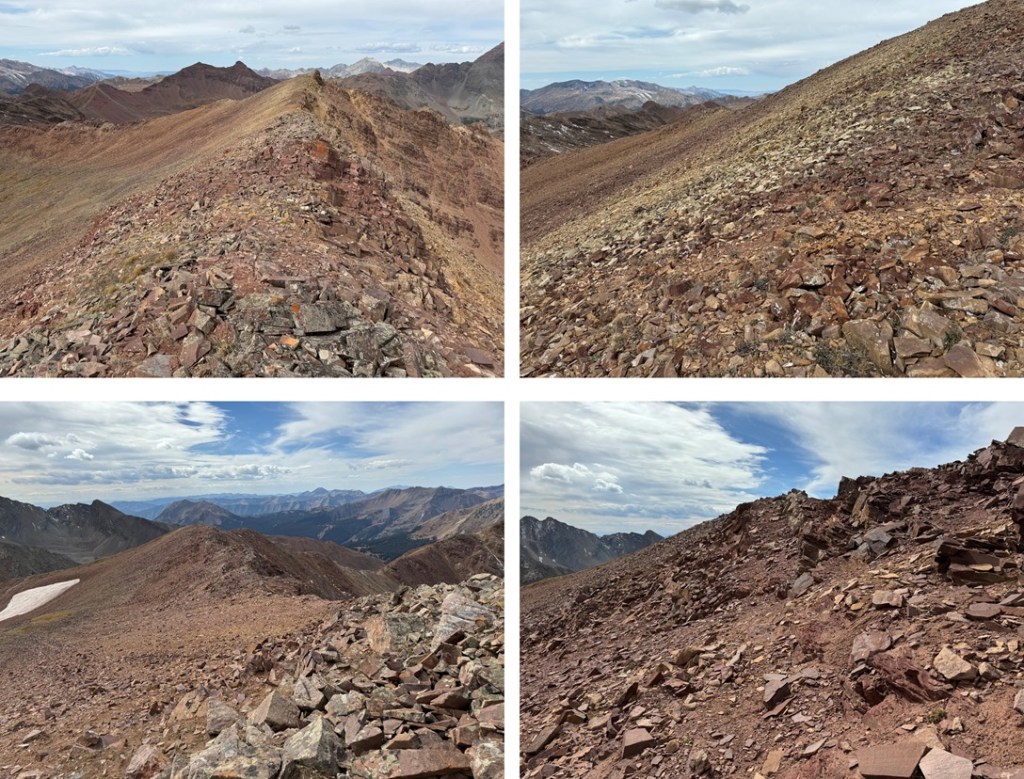
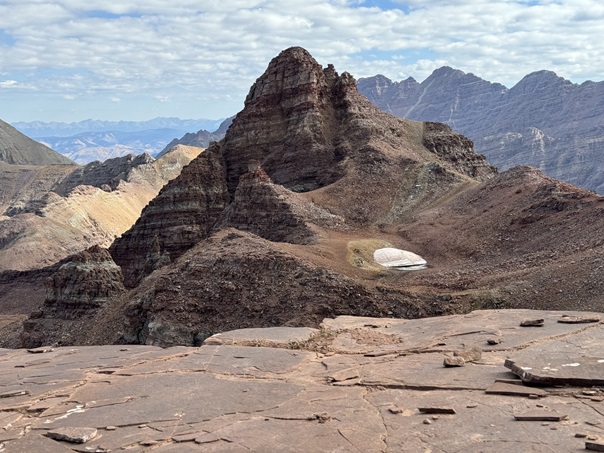
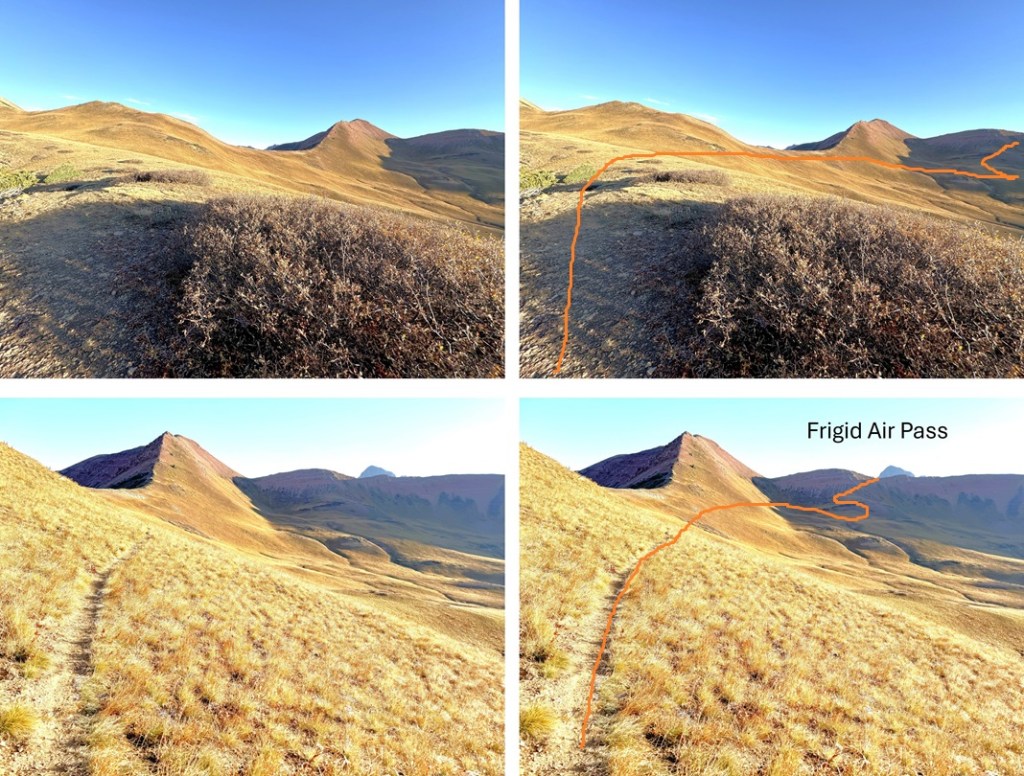
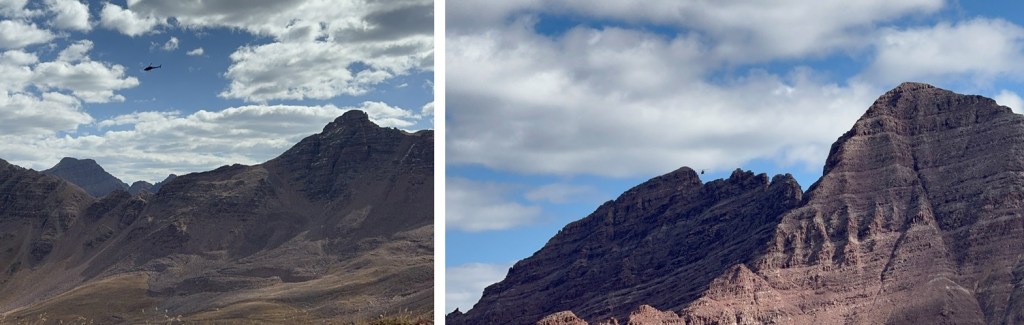
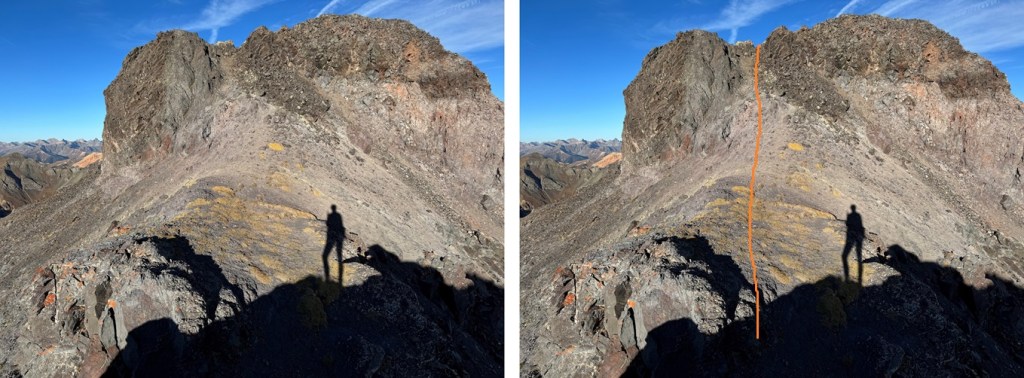
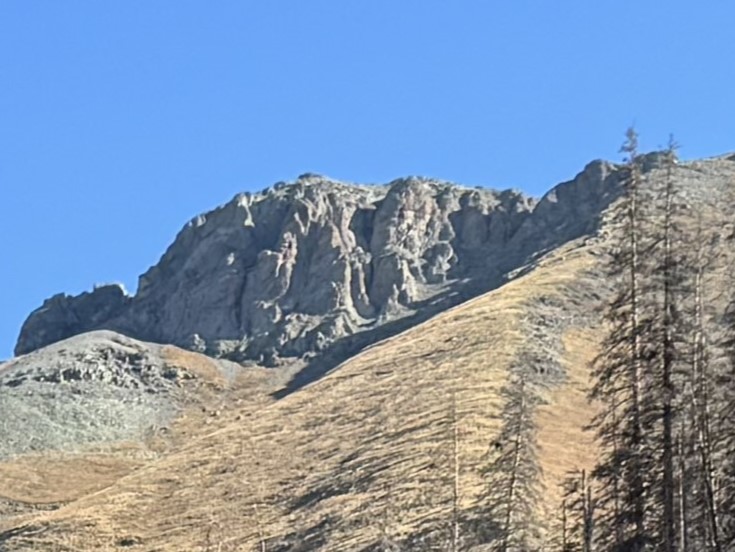
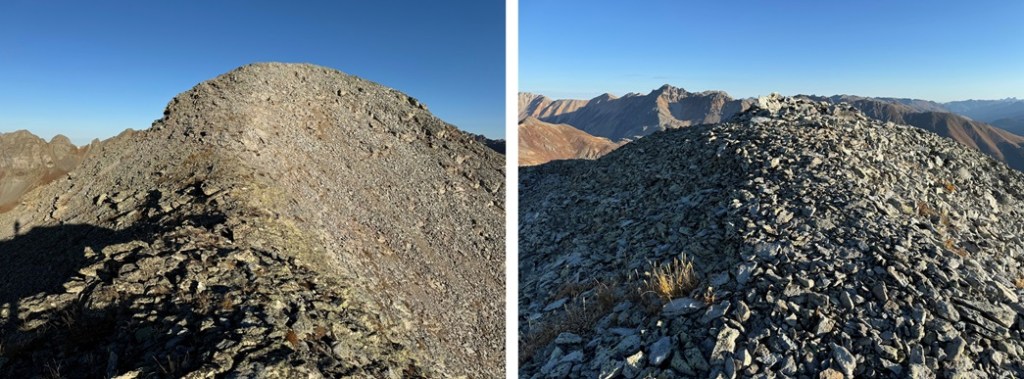
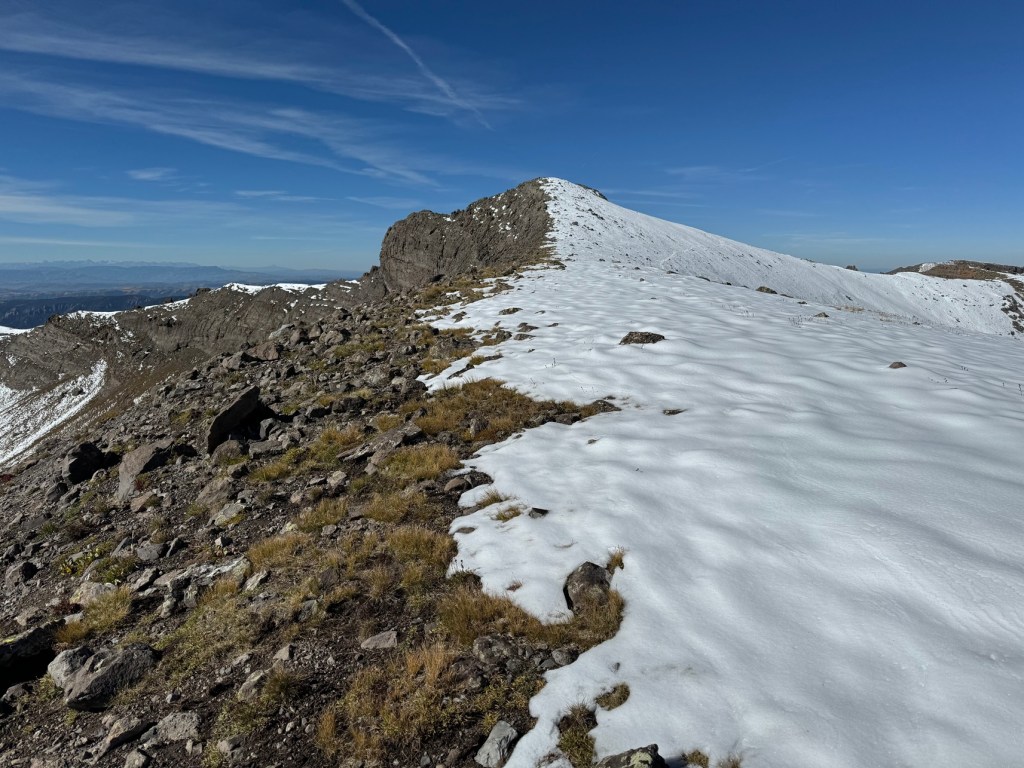
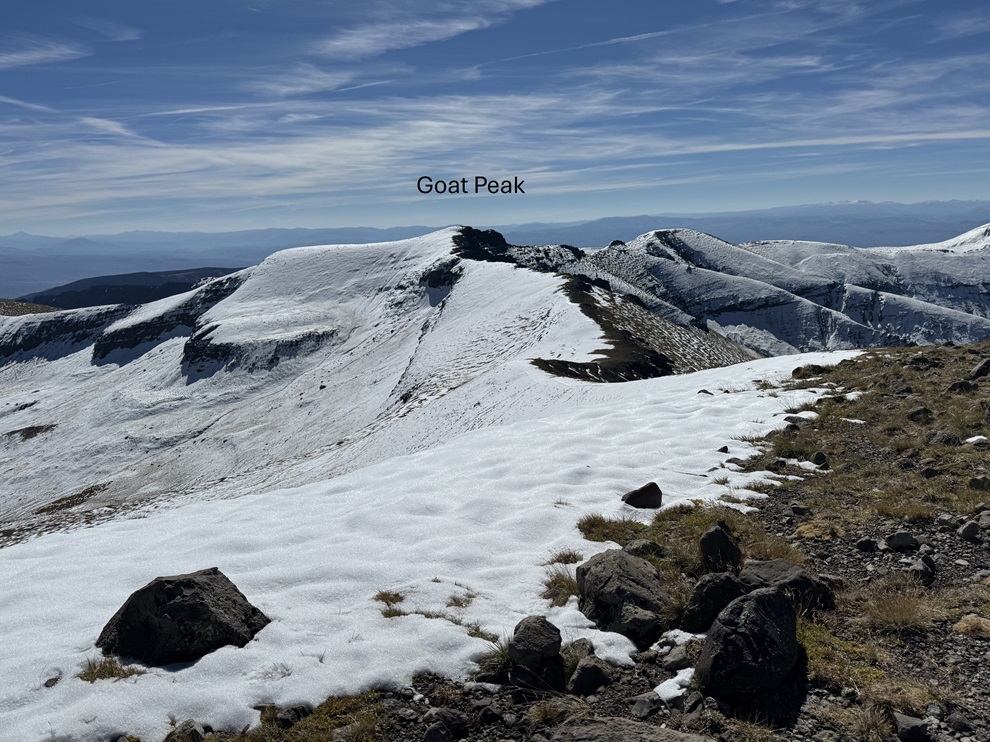
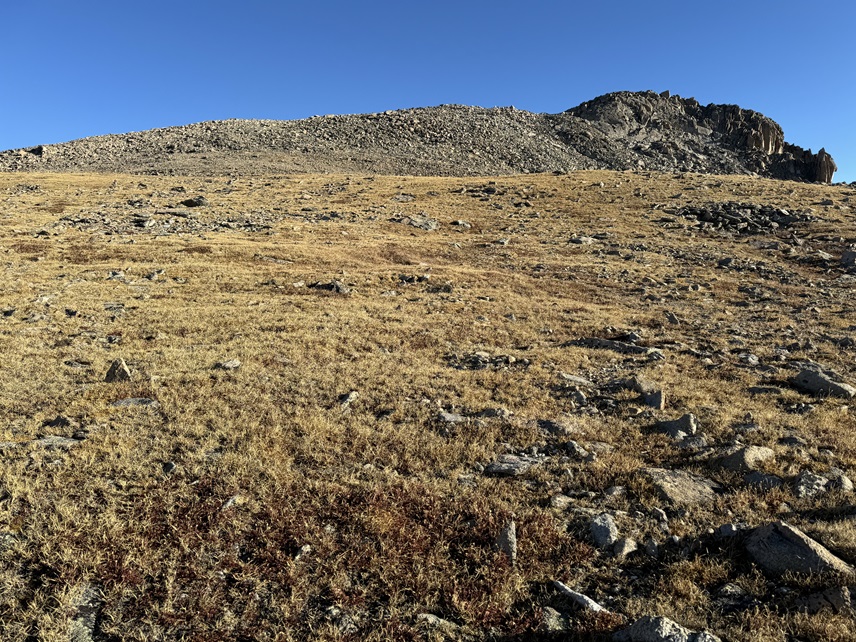
Eventually I could see the summit of Mt Alice come into view
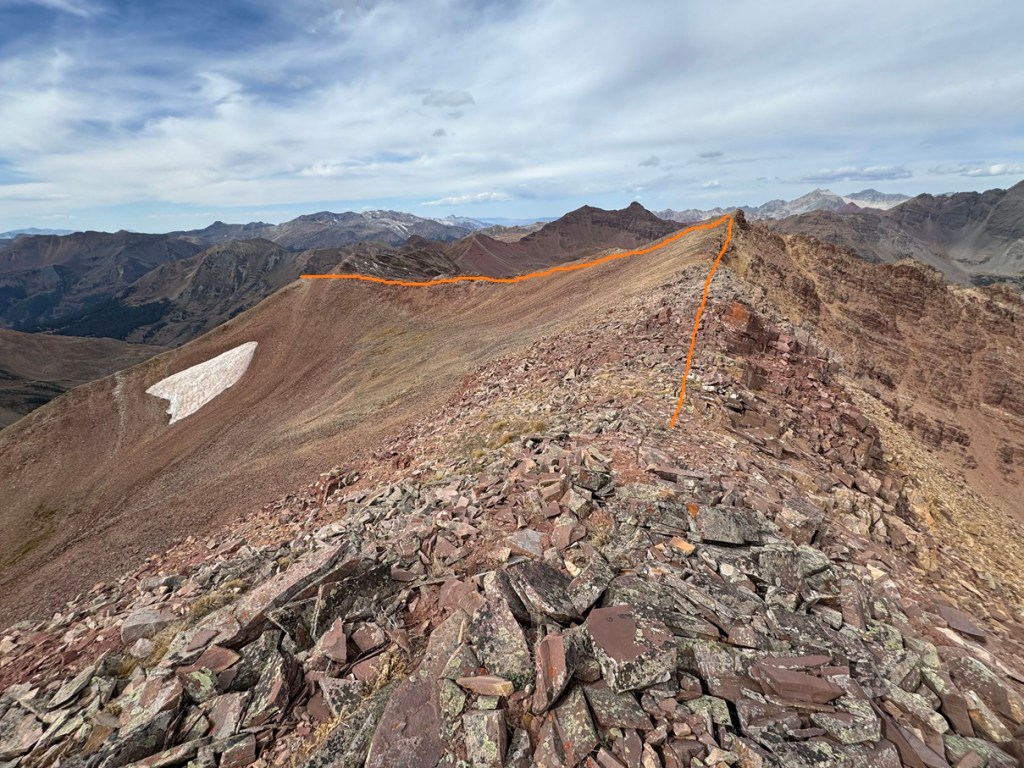
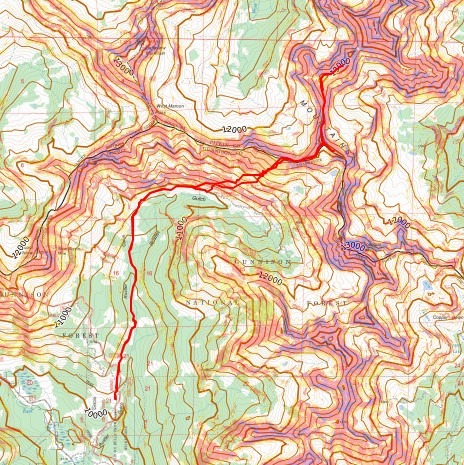
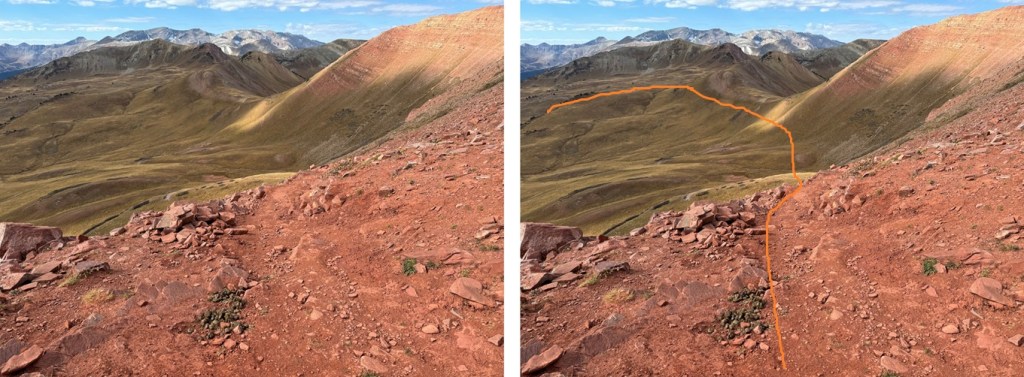
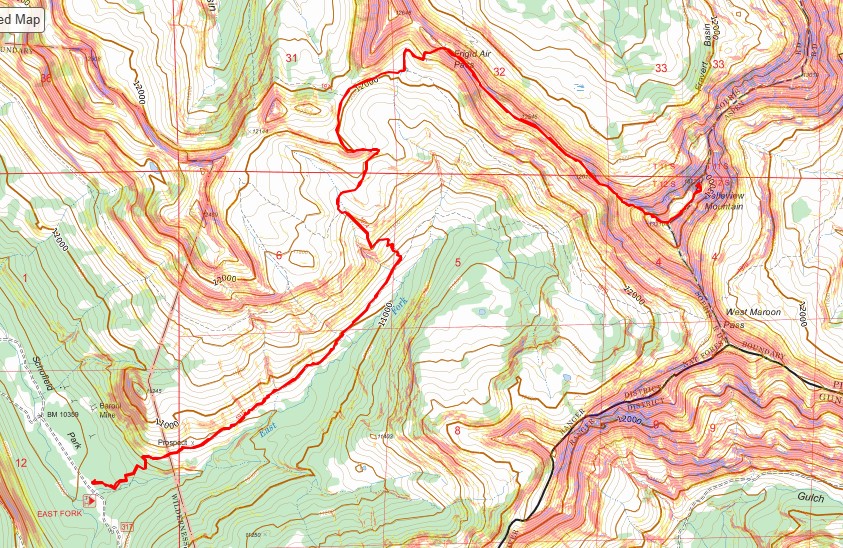
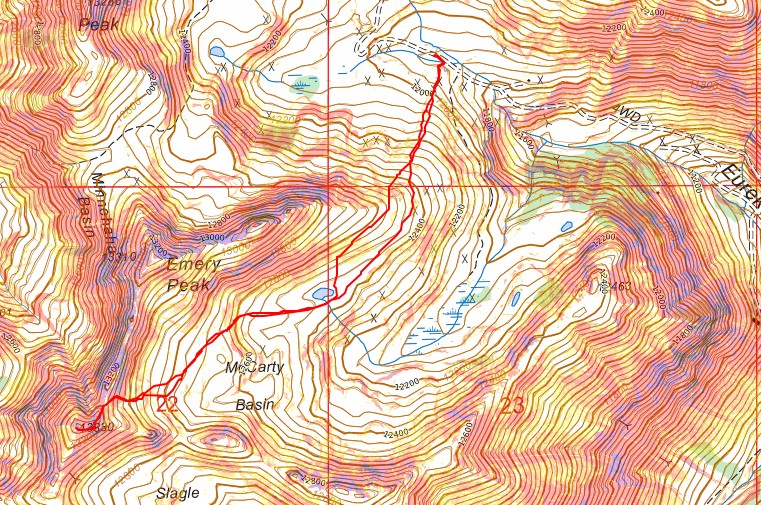
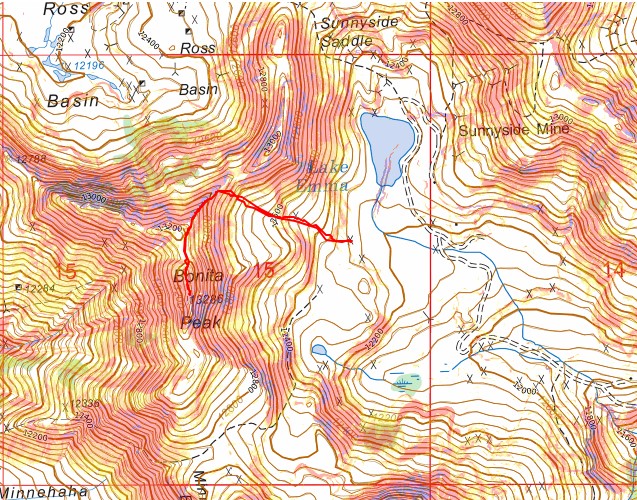
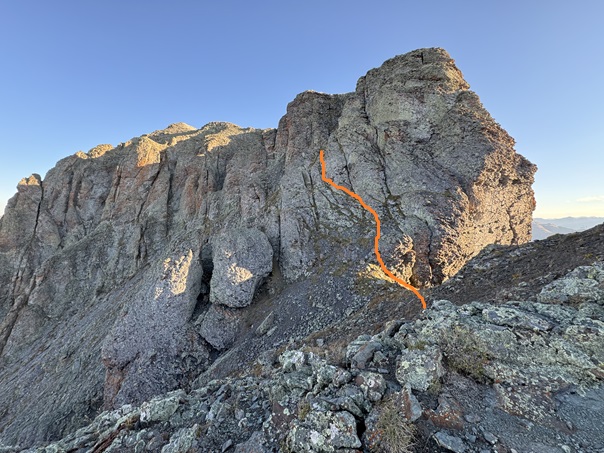
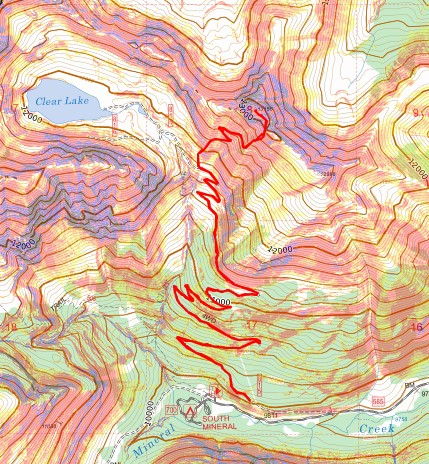
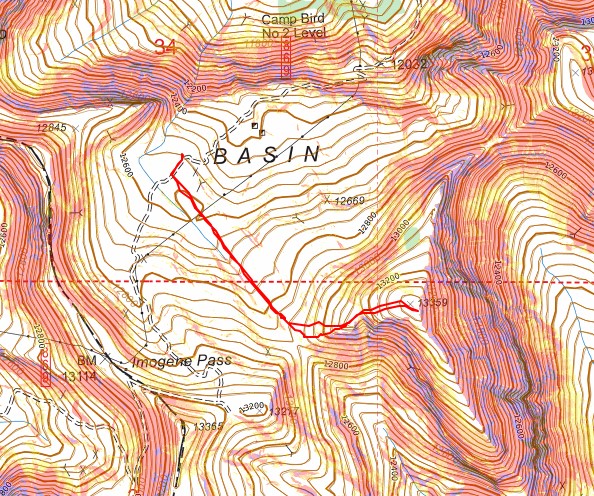
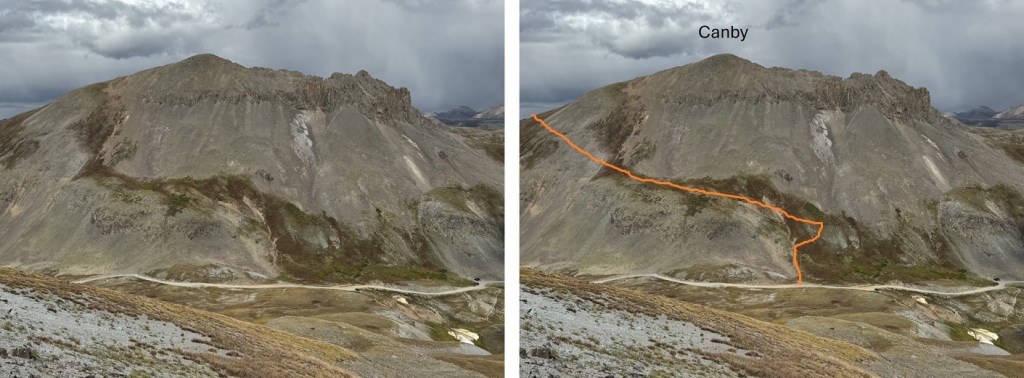
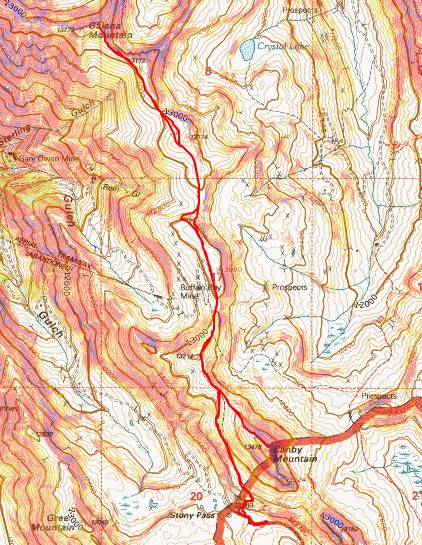
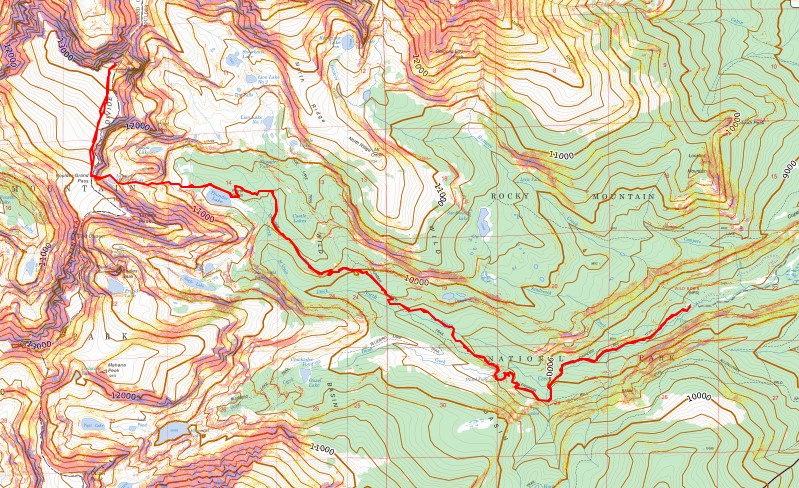
This is the overall route I took to get there

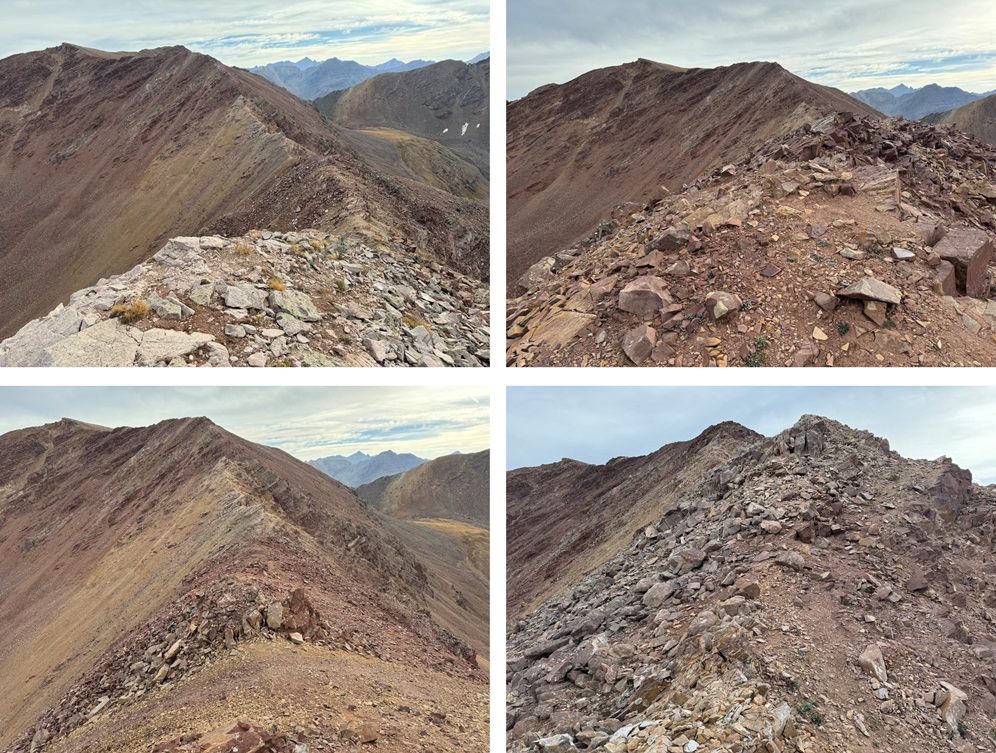
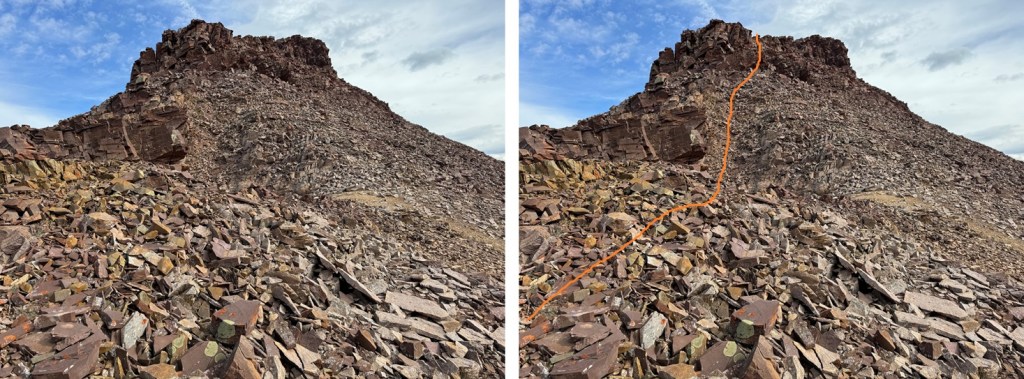
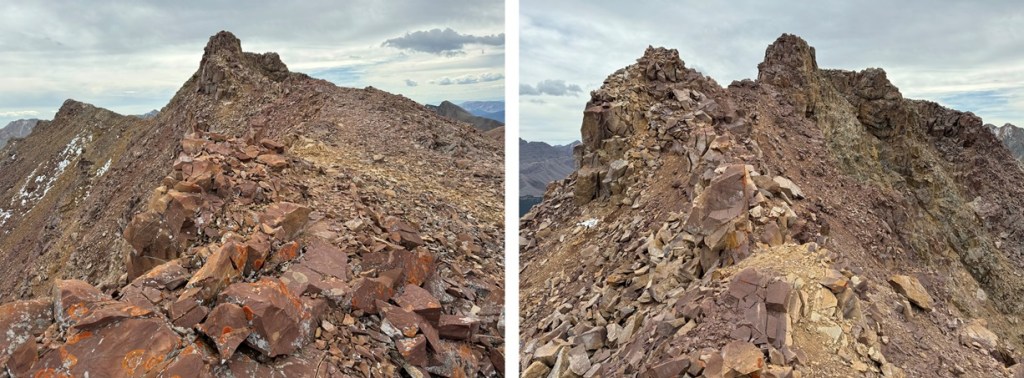
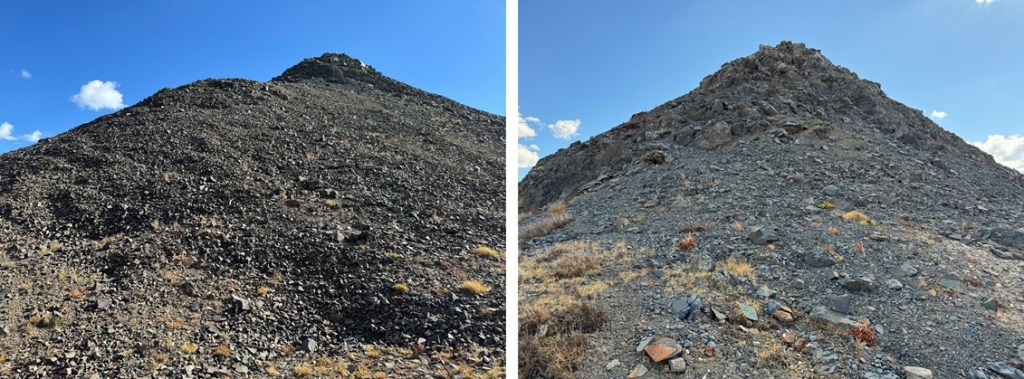
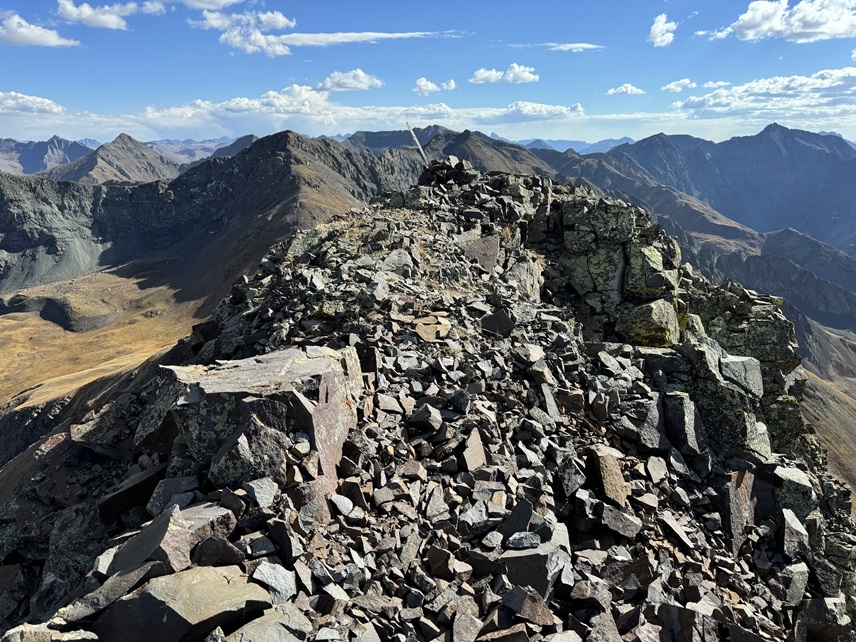
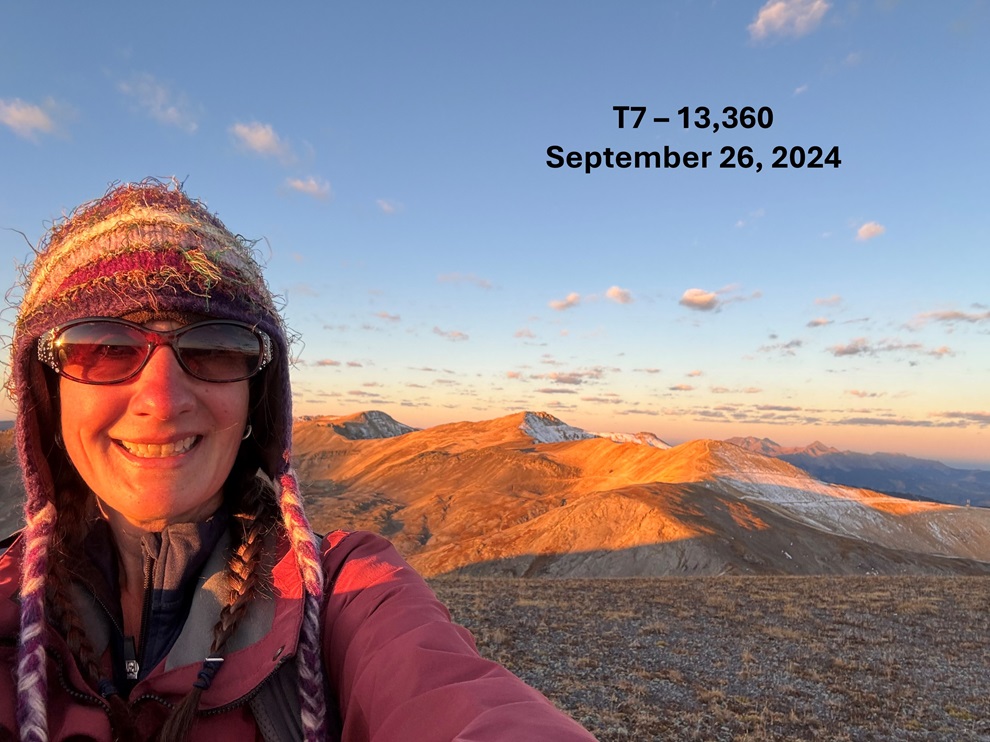
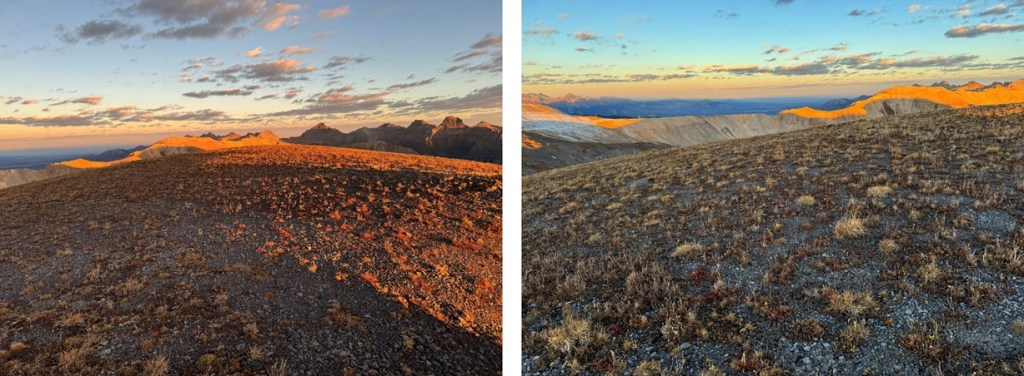
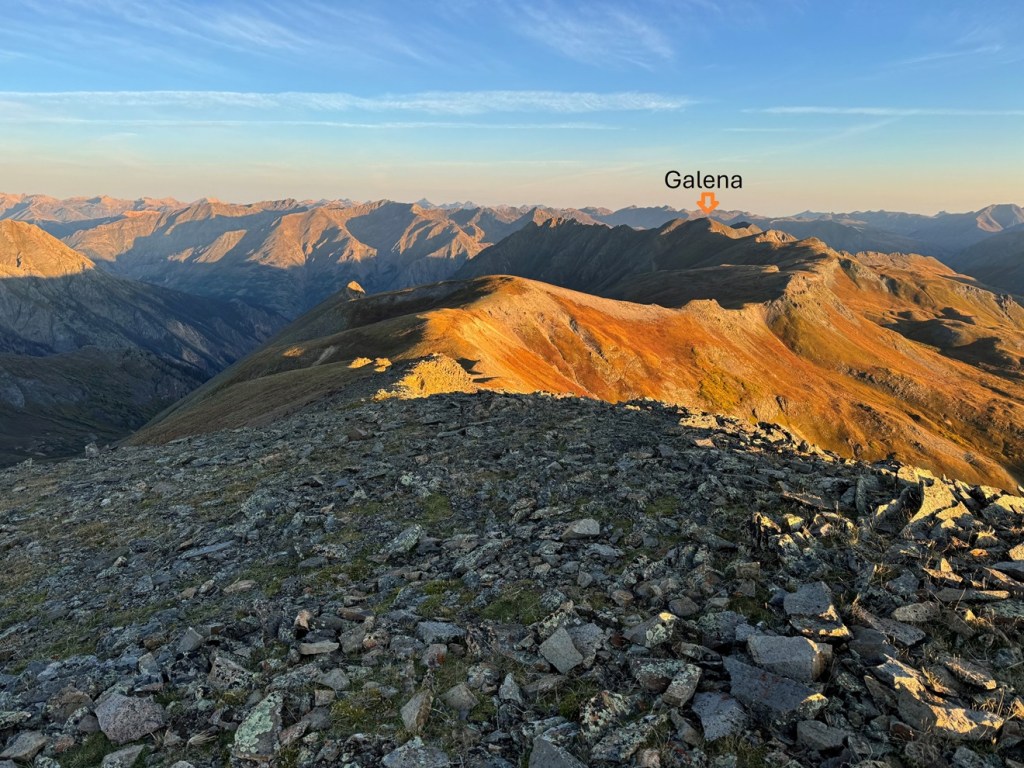
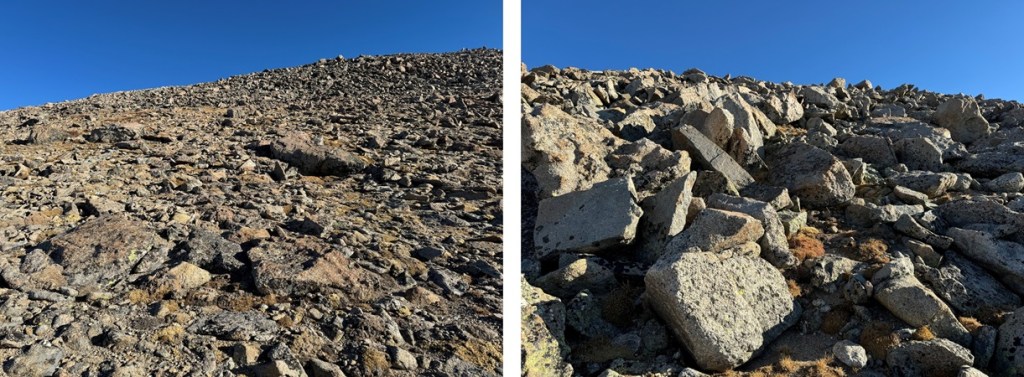
The boulders here were stable, and rock-hopping was quick. Before I knew it, I was at the summit of Mt Alice (which had a cairn and a summit register, but the register was open and empty).


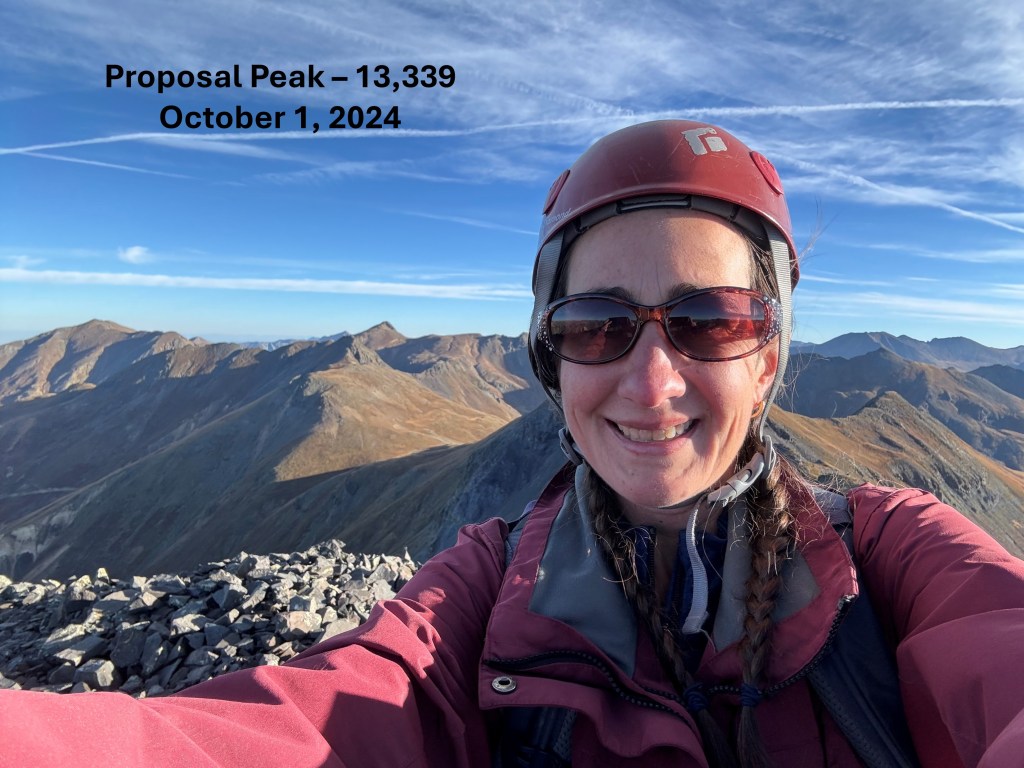
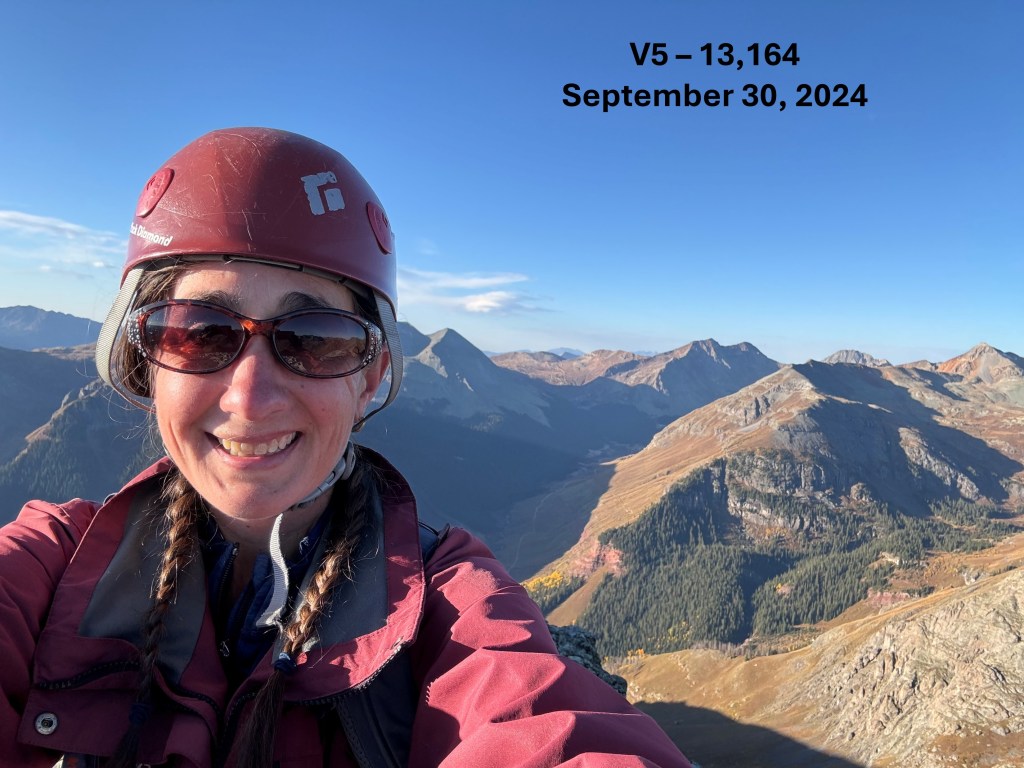
I summited Mt Alice at 9am

Mt Alice:
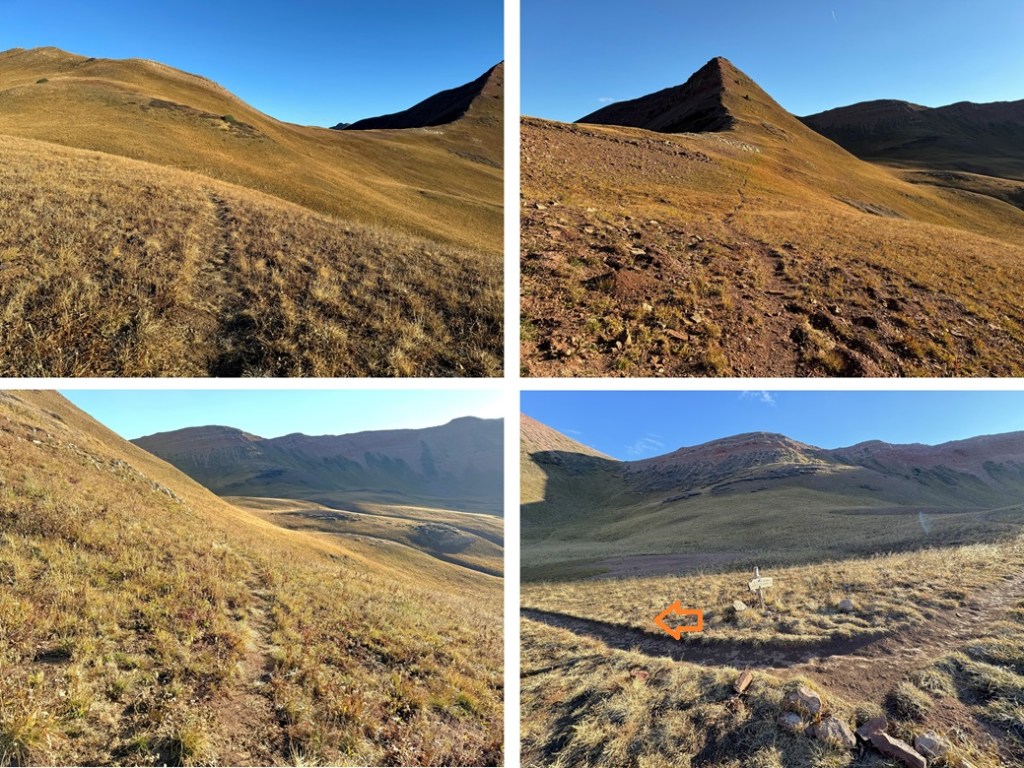
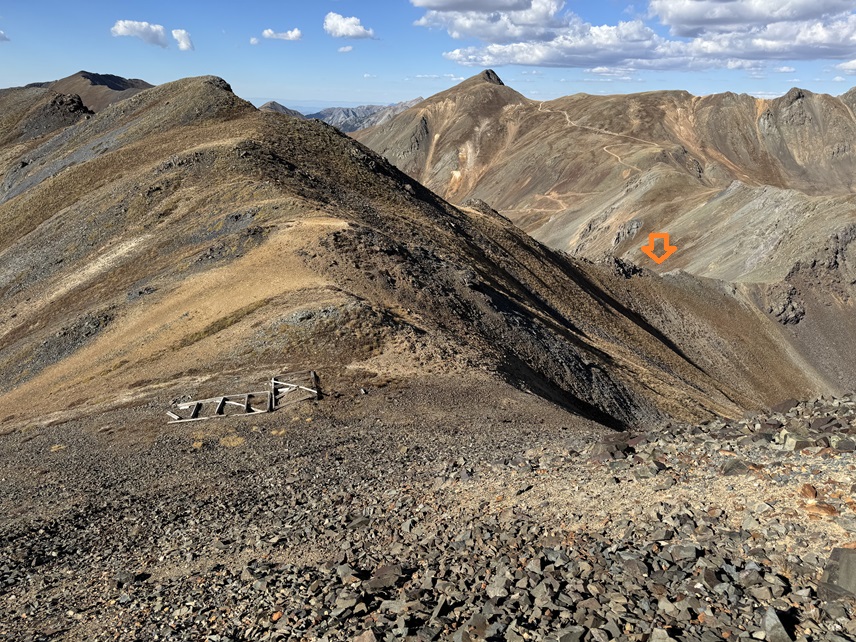
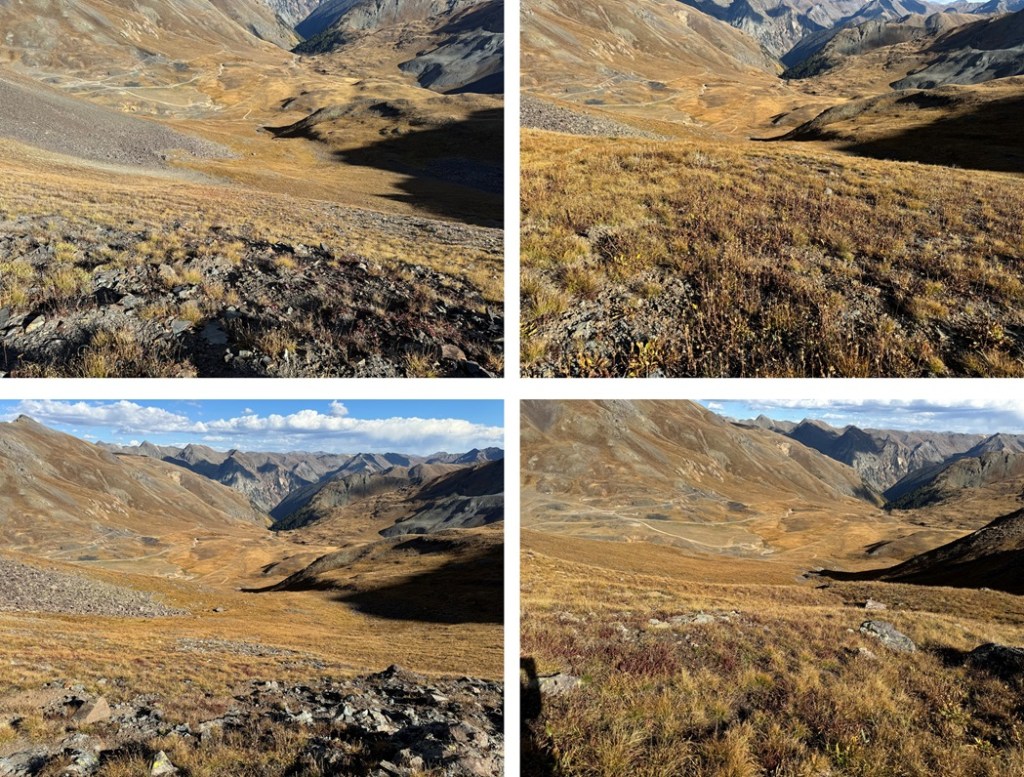
Now to head back to Boulder-Grand Pass, I turned around and headed south, back the way I’d ascended.
I took the same gully back down to Lake of Many Winds
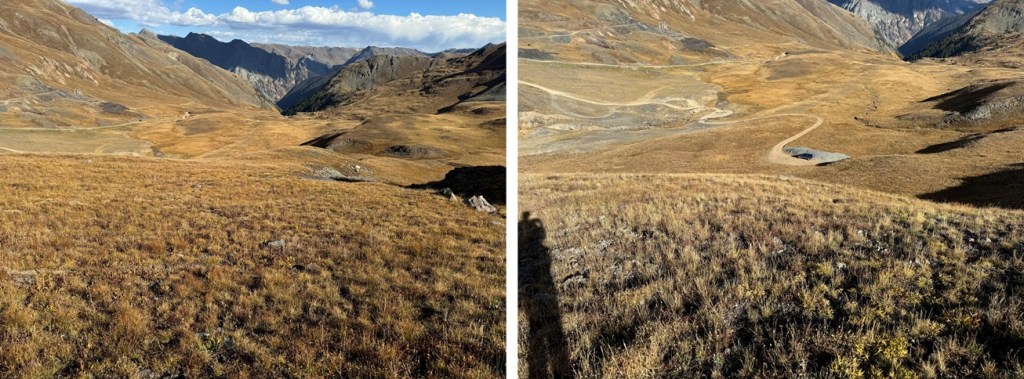
And then picked up the trail that would lead me back to Thunder Lake.
I skirted Thunder Lake to the north, then followed the clearly marked trail signs for the Wild Basin Ranger Station back to the Wild Basin Trailhead

I made it back to my truck at 12:45pm, making this a 19.98 mile hike with 5159’ of elevation gain in 8 hours, 45 minutes.
On to the next trailhead!