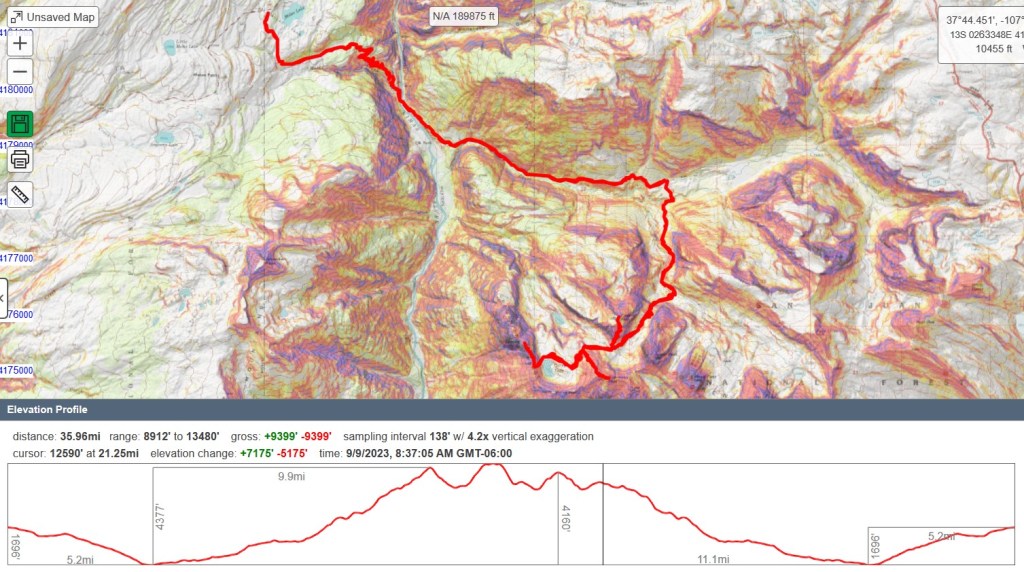
RT Length: 35.96 miles
Elevation Gain: 9399’
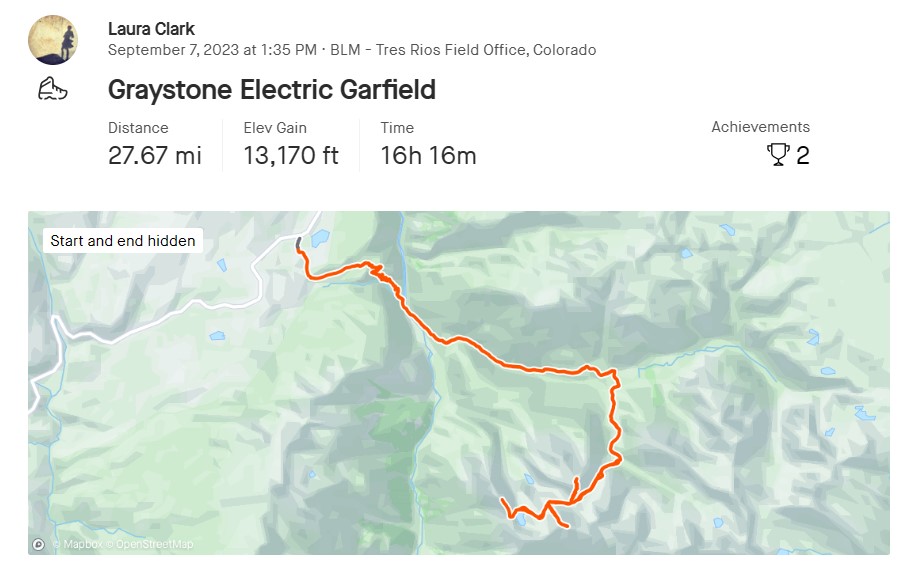
I started from the Molas Trailhead parking area. This trailhead has plenty of parking, and is a popular spot among CT hikers.
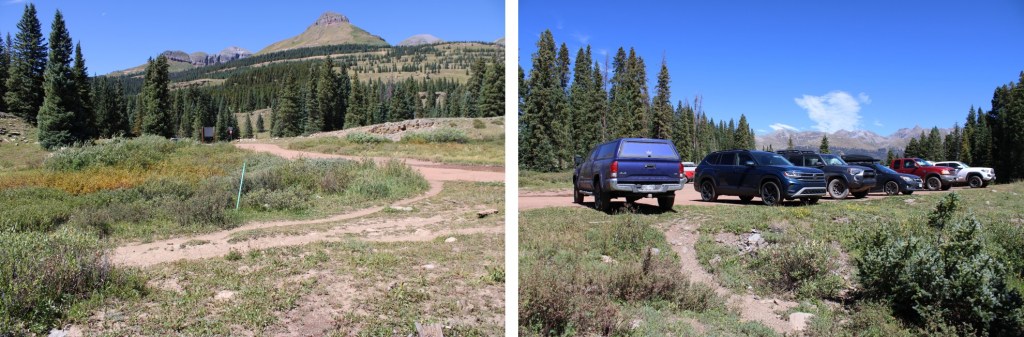
The trail starts at the south end of the parking area.
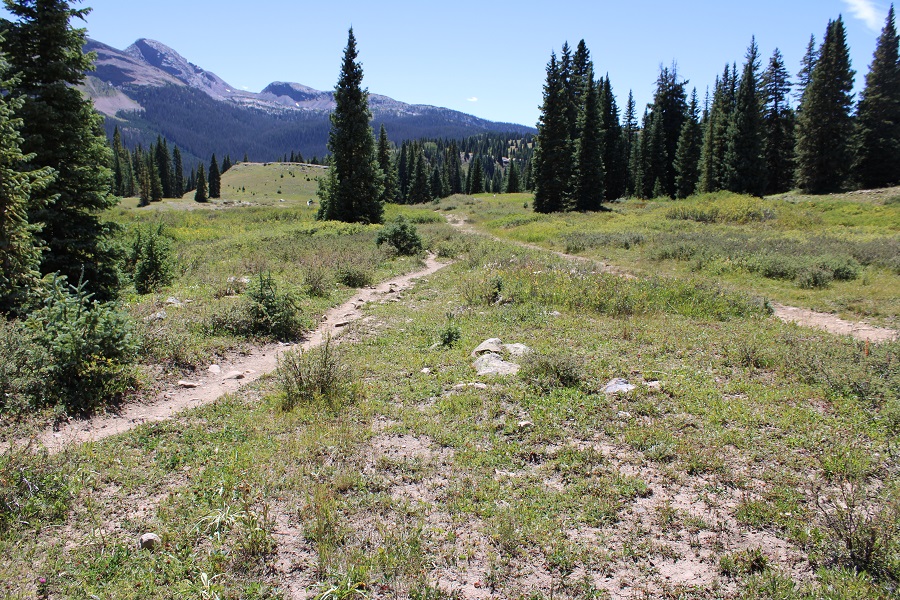
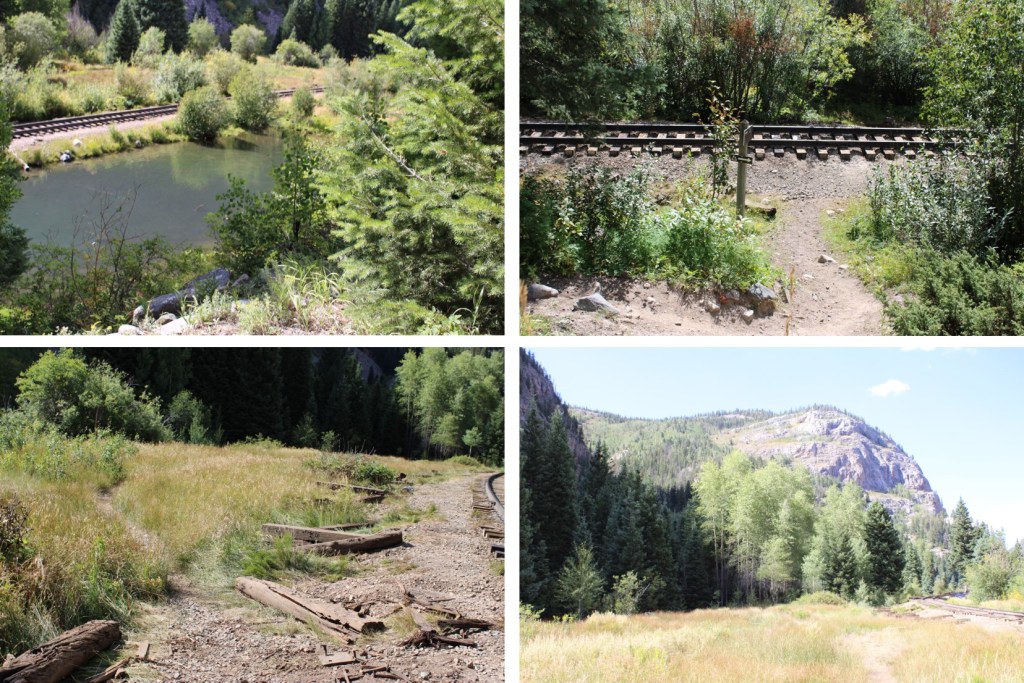
Much of the approach route follows the Colorado Trail, so it’s well maintained and easy to navigate. I followed the trail as I descended 1700’ to the Animas River.

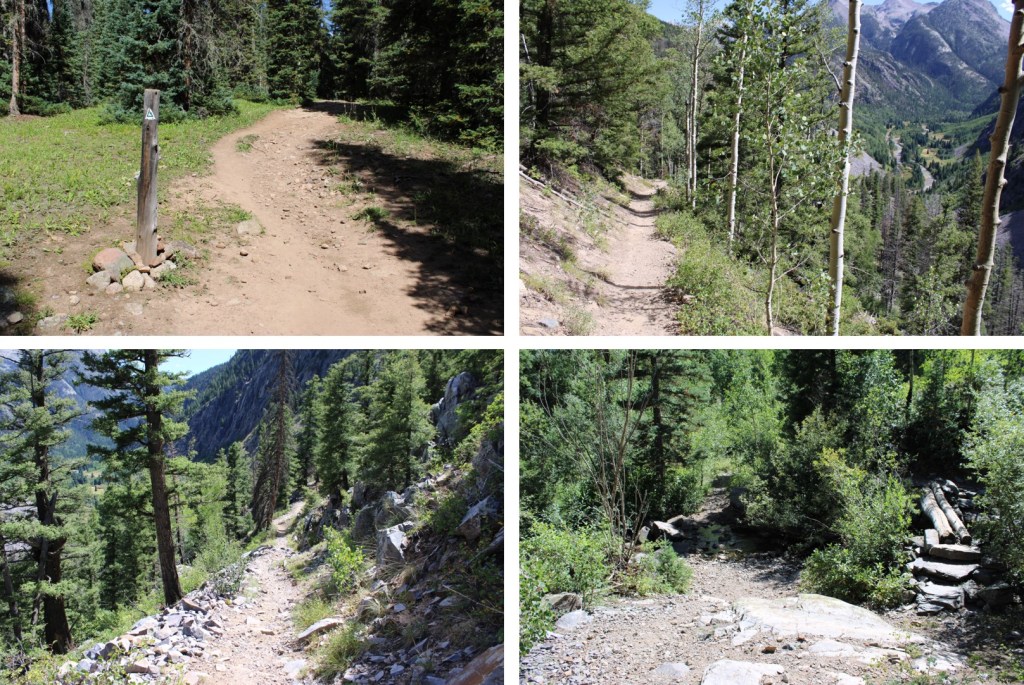
I crossed the river on a well-maintained bridge, and then followed the trail as it crossed the railroad tracks
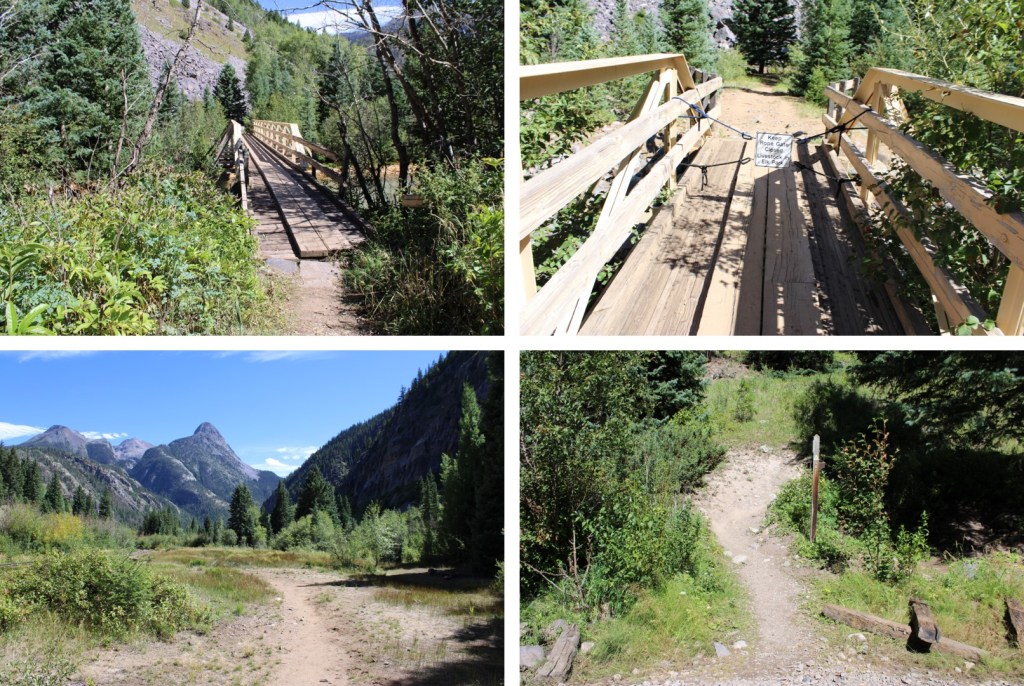
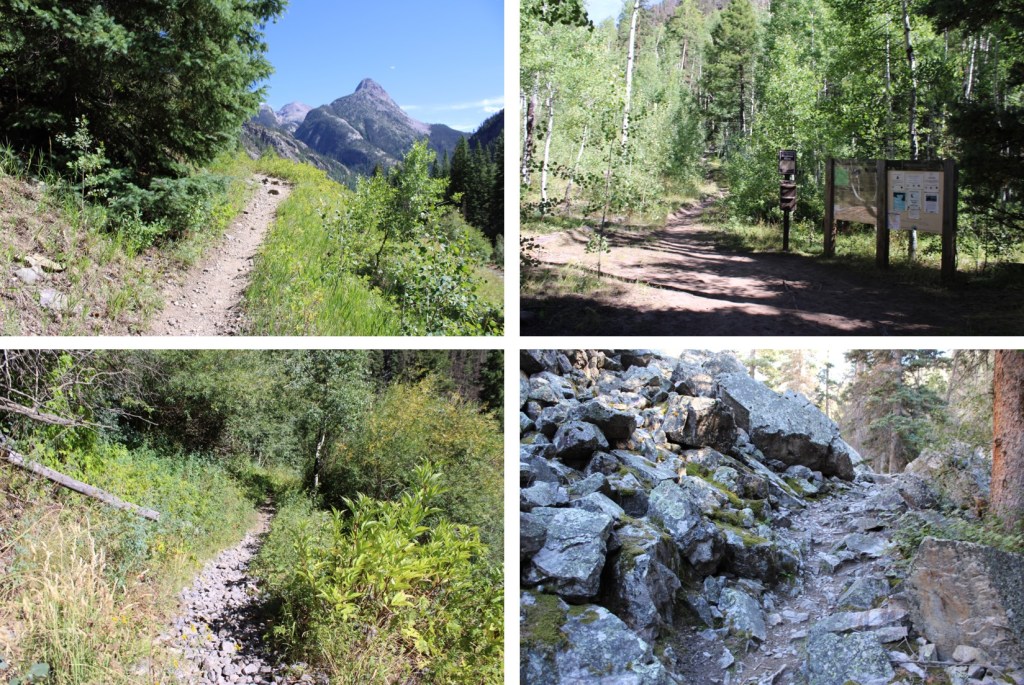
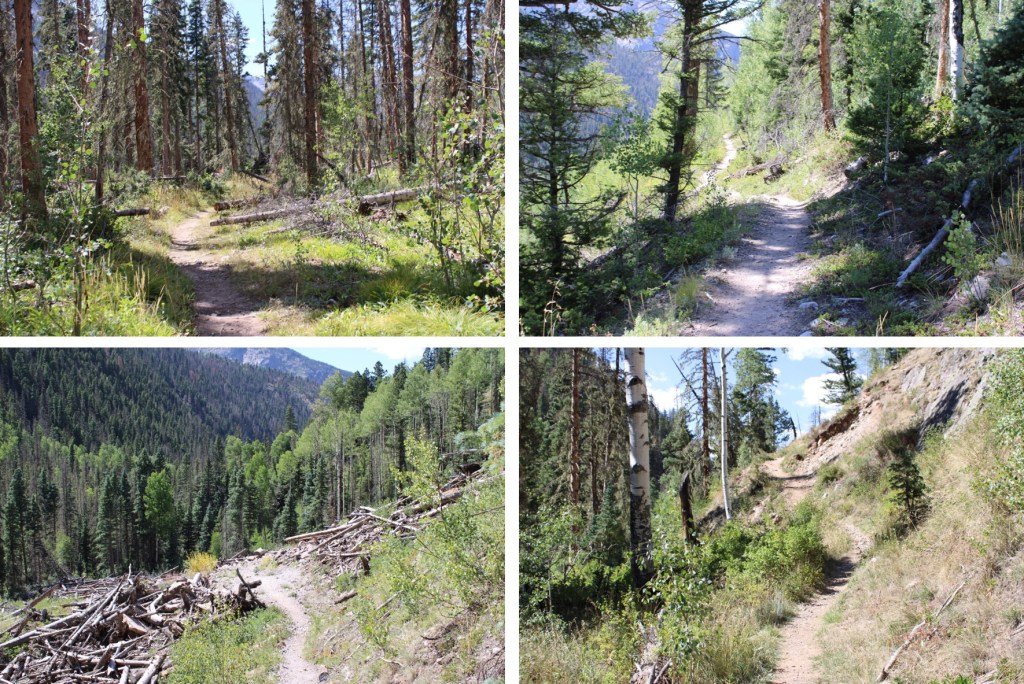
Here is where the elevation gain begins. I hiked along the Colorado Trail east to the Beaver Ponds, following Elk Creek and passing through a couple of cleared avalanche areas. This trail is easy to follow, with no trail junctions.
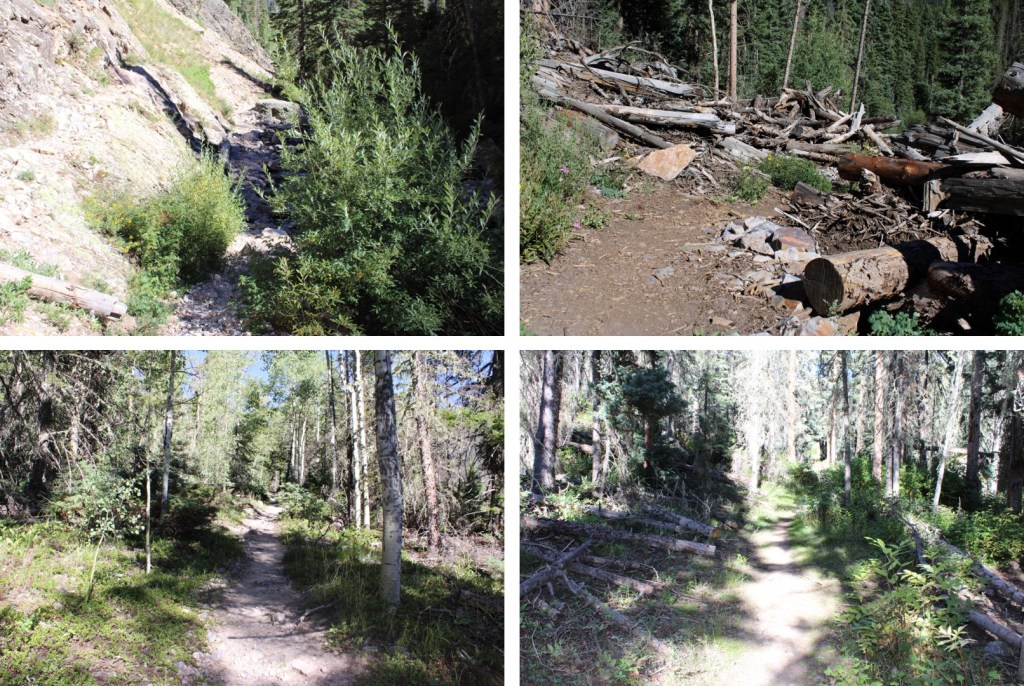

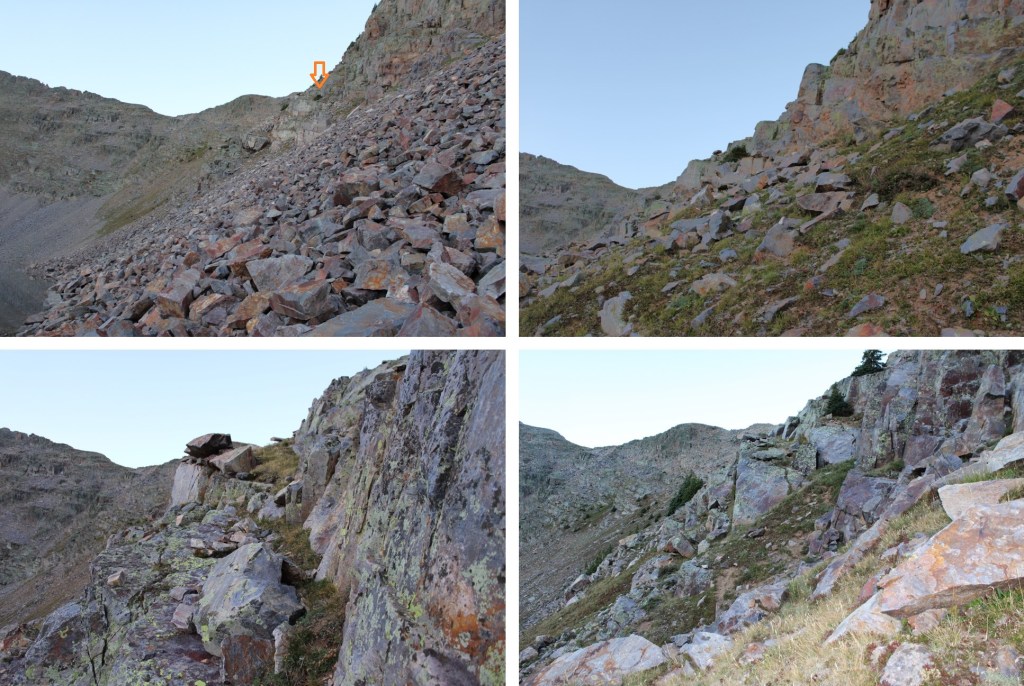
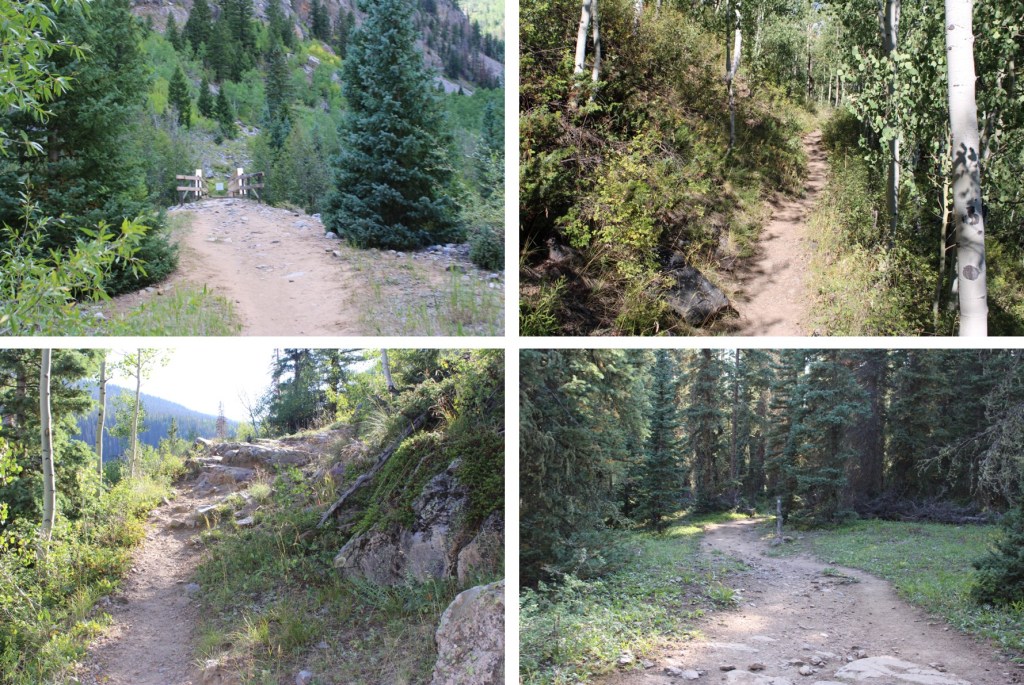
This part trips people up all the time when headed towards Vestal Basin: Once at the beaver ponds, I turned right off the trail and traversed behind this large boulder. There’s a faint trail here that picks up again once you’re past the ponds.

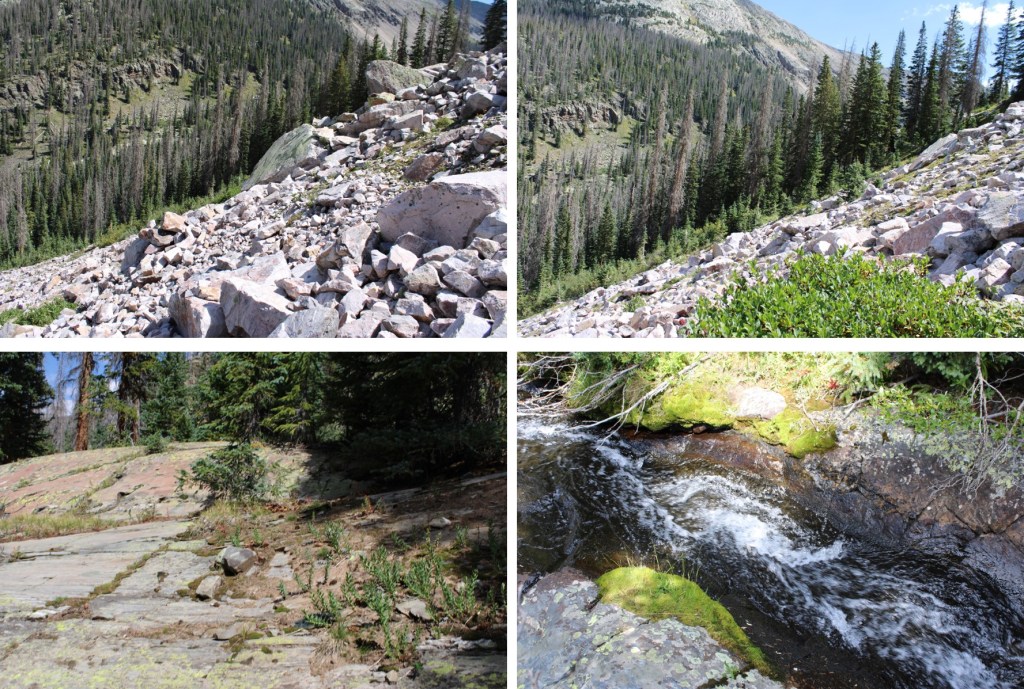
The trail picks up again after the beaver ponds, but it’s no longer as well maintained as the Colorado Trail. There are fallen trees to navigate, but the trail is easy to see. I followed the trail as it crossed a beautiful creek and headed south.


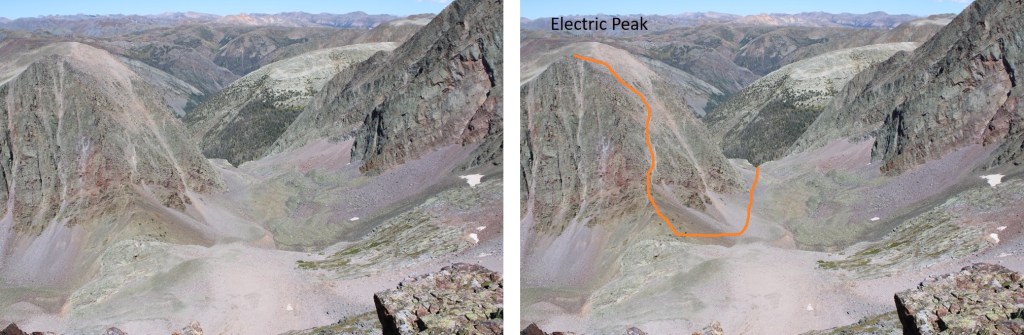
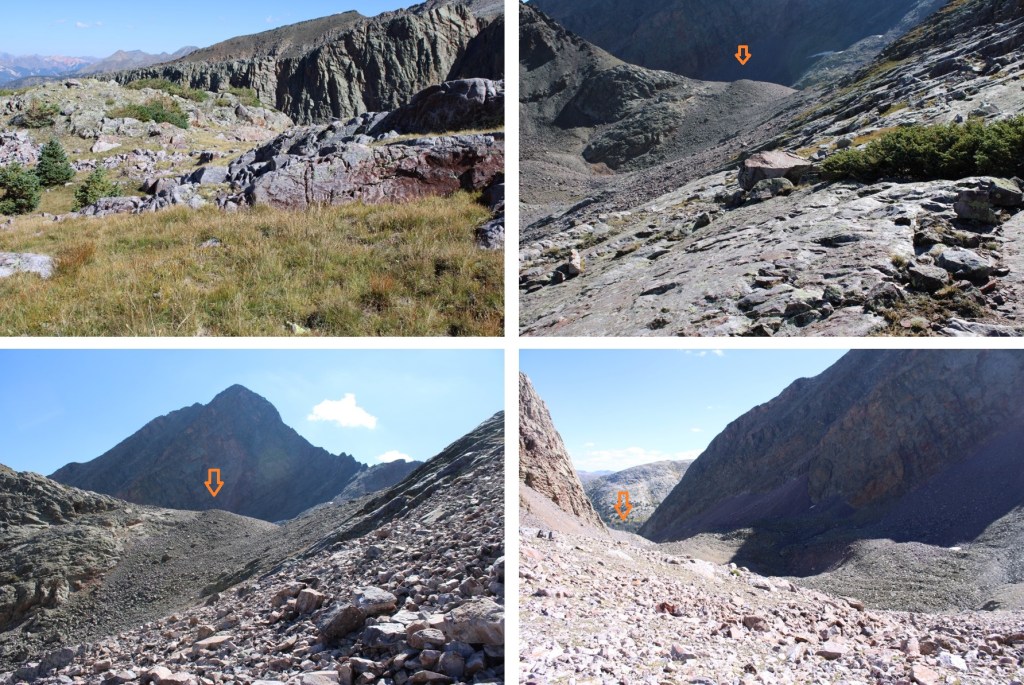
At 11260’ of elevation I left the trail. There are several options to do this, but here’s a visual of where I was headed.

This is the route I took:

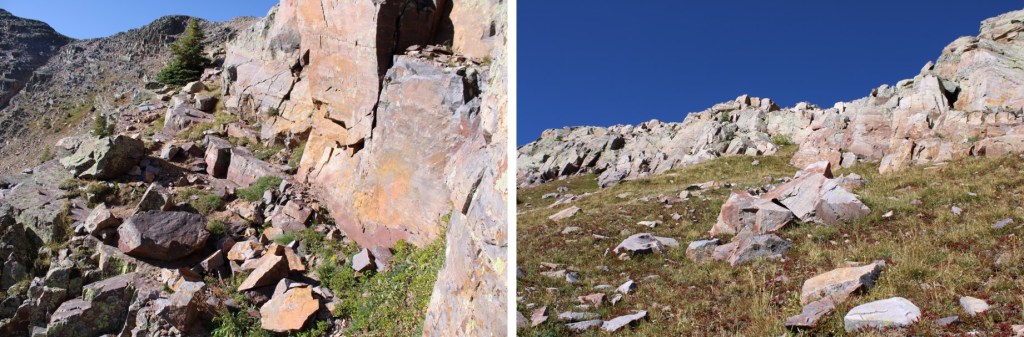
I headed a little further up the trail, crossed the creek at an easily accessible spot, and headed southwest up the slope. However, this is choose your own adventure, and you can climb straight up the talus/scree if that’s your choice. I decided to skirt around it.

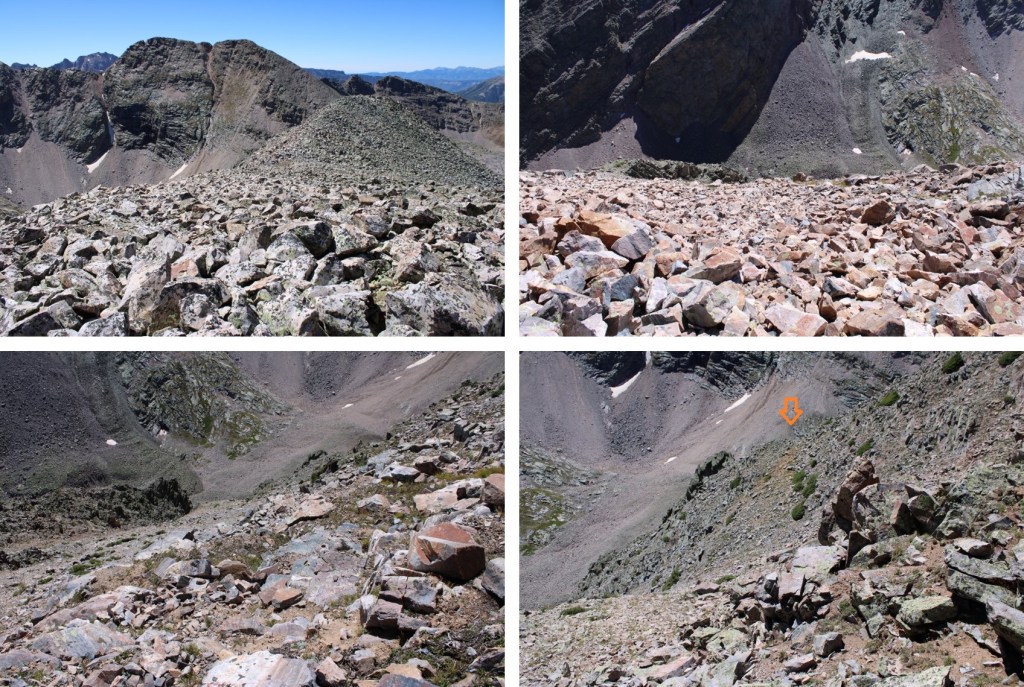
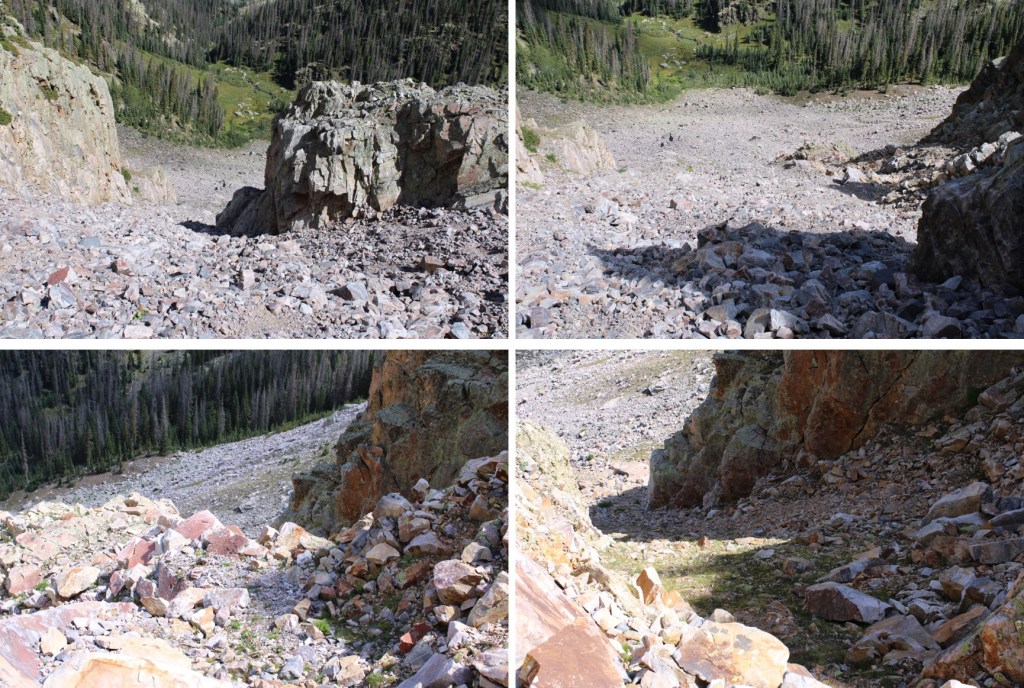
This gully wasn’t too bad as far as gullies go, but I put on my microspikes anyway.
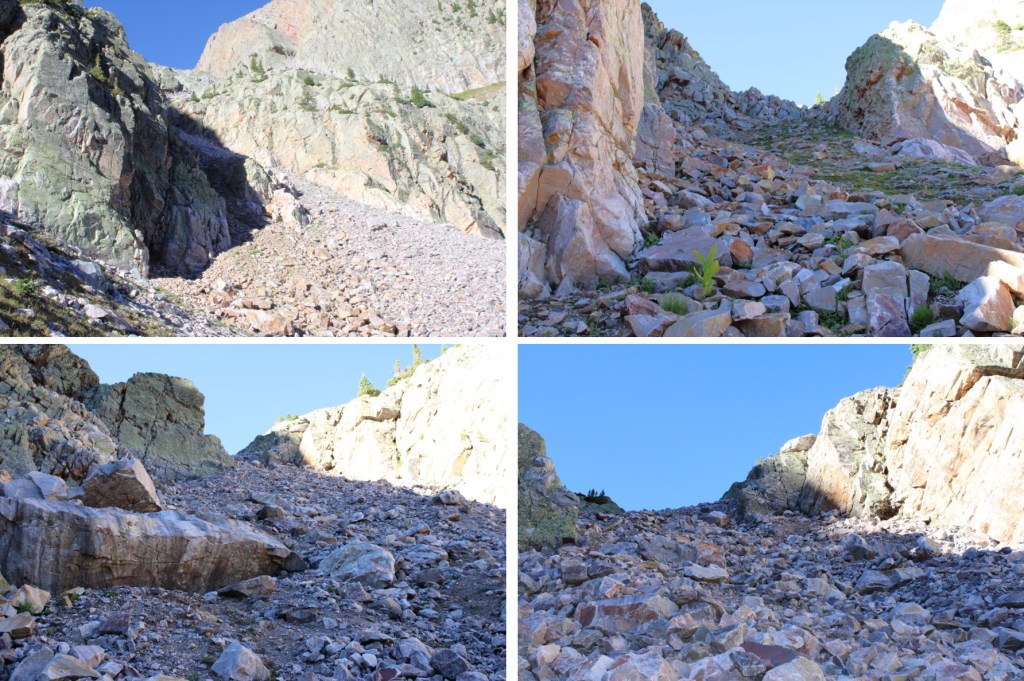
Towards the top I could see quite a bit of snow still left in the gully.
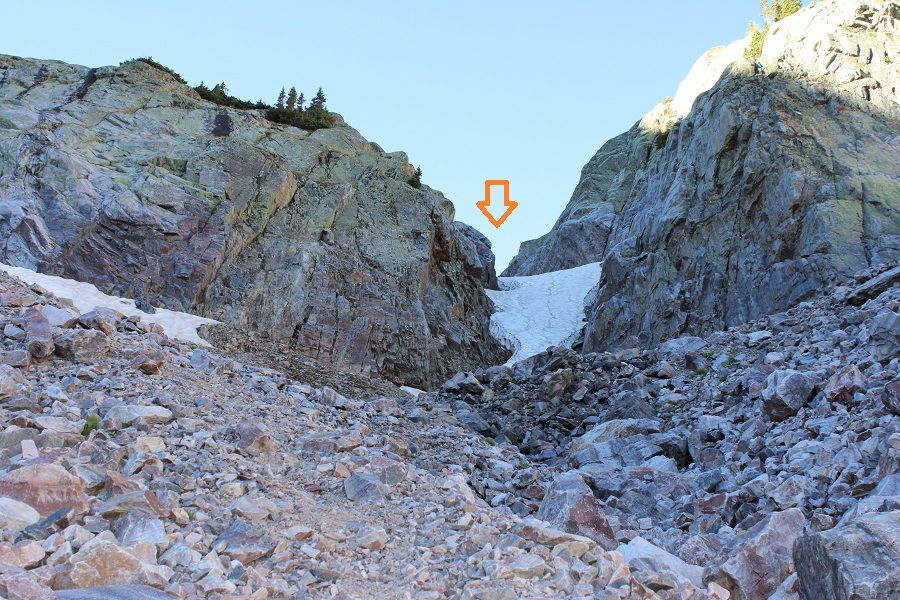
I traversed the gully to the right, finding there was about 2 feet of space where the snow had melted away from the rock. The snow was avoidable until the last 30 feet or so, when I climbed on top of the snow and walked to the top of the gully on several feet of rock-solid snow.

However, if this is outside of your comfort zone, you can also traverse to the left and make it to the top of the gully on more scree. Both routes lead to the same place (I took this route on my way down).

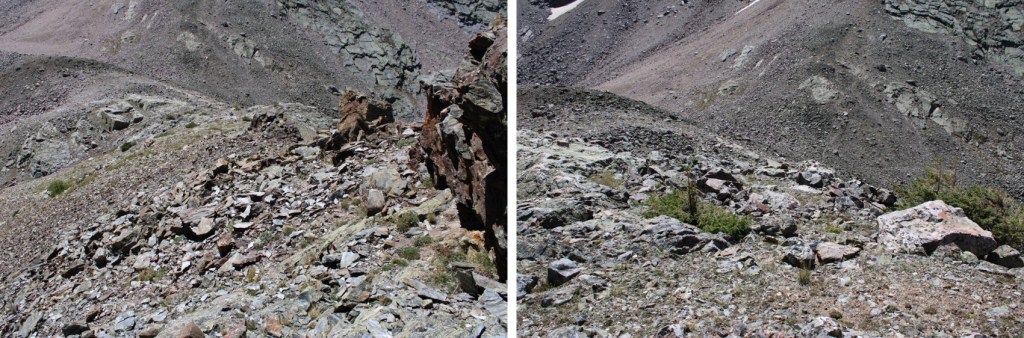
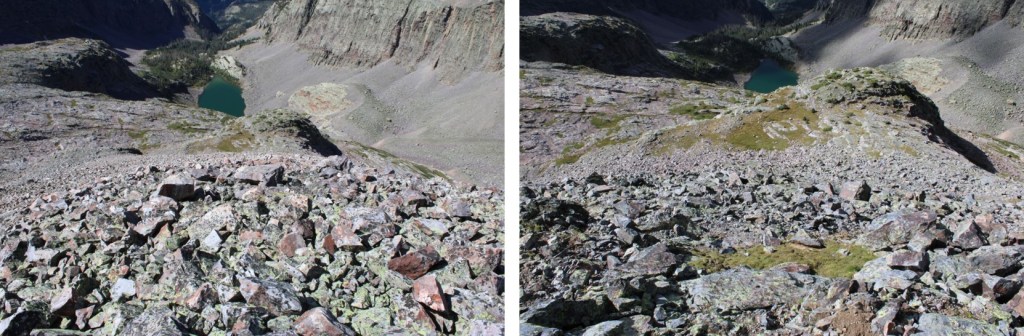
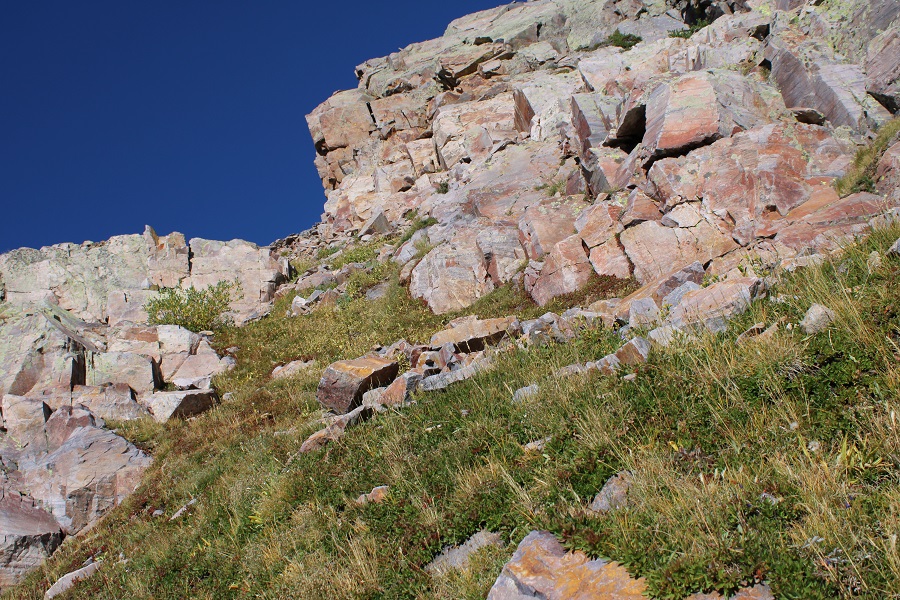
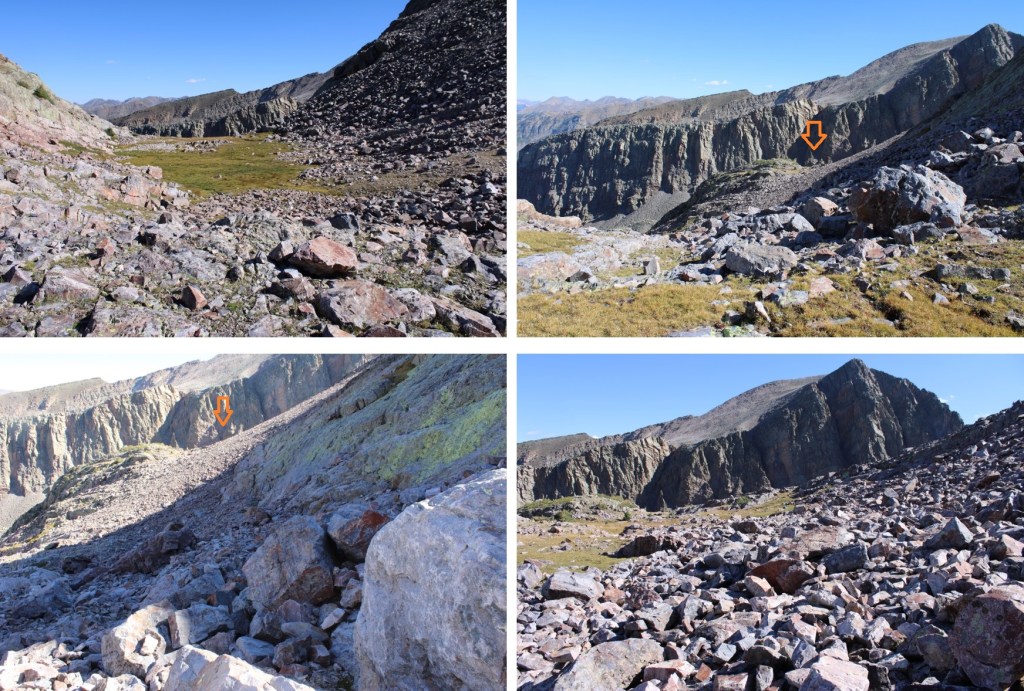
I was now in an upper basin, full of all different sizes of loose rocks. This wasn’t difficult to navigate, but it was extremely time consuming. I was headed southwest, staying to the right.
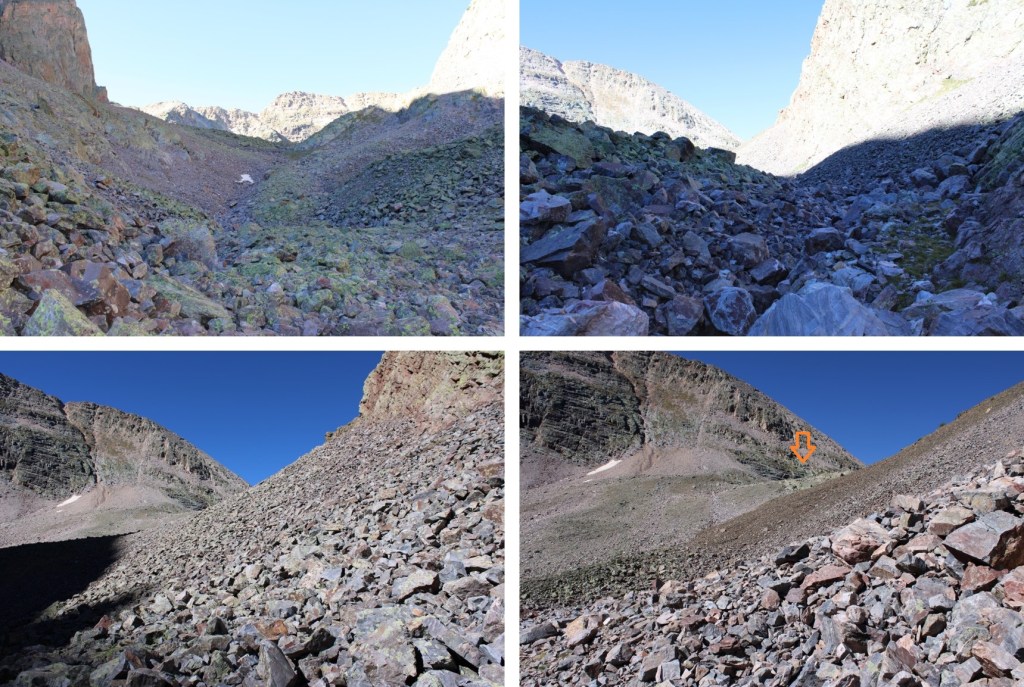
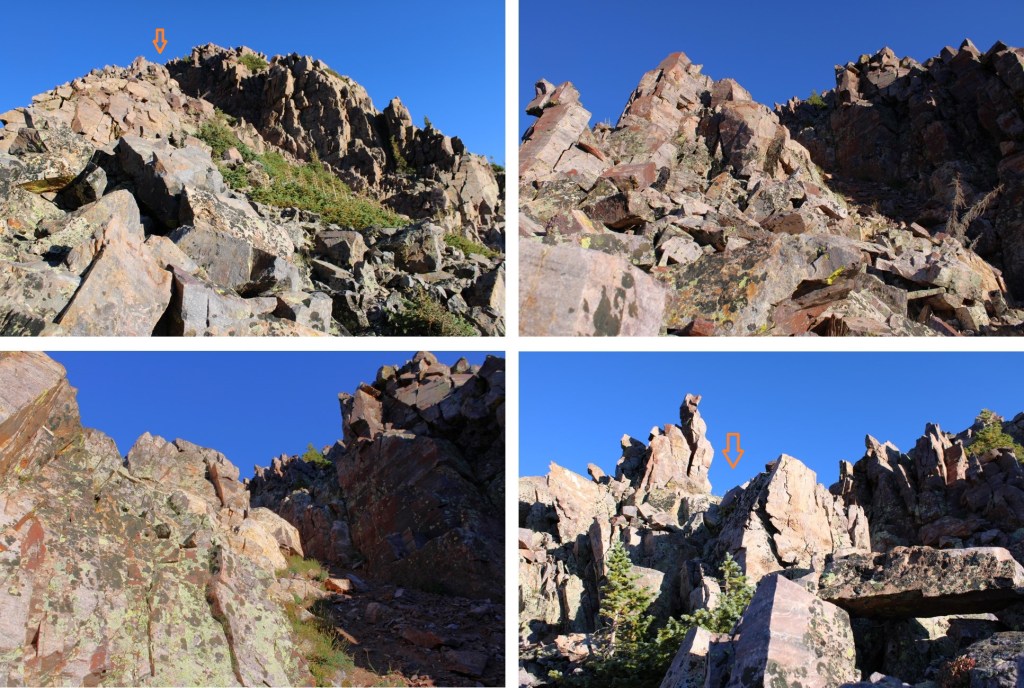
At 12500’ of elevation I turned right to start my climb up Electric Peak’s south side. If you don’t already have your helmet on (I usually put them on for scree-filled gullies) now is the time to do it.
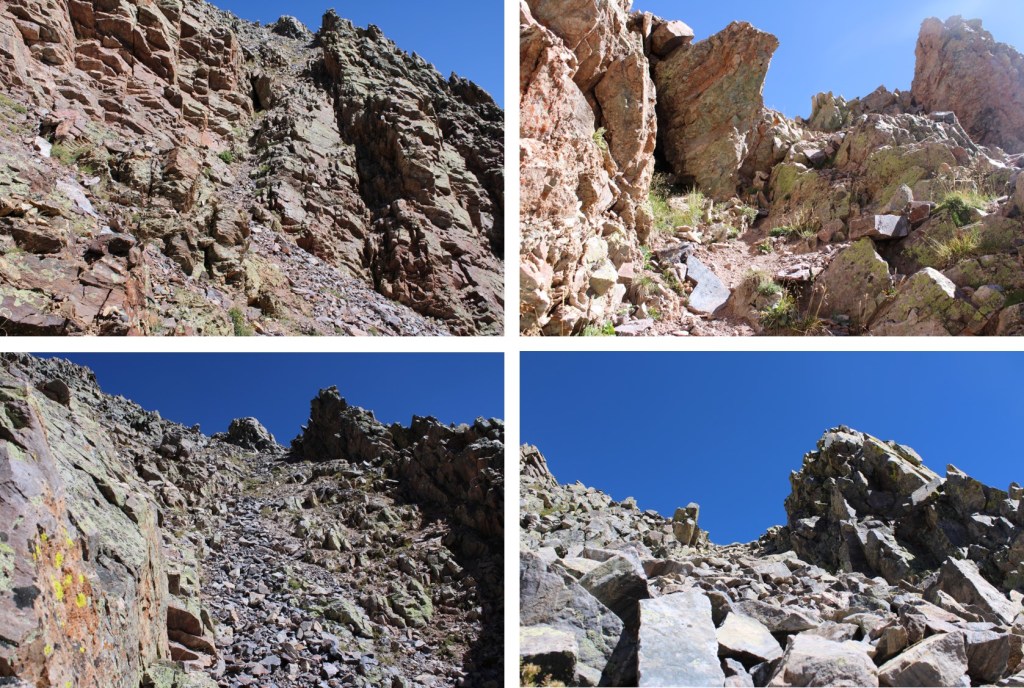
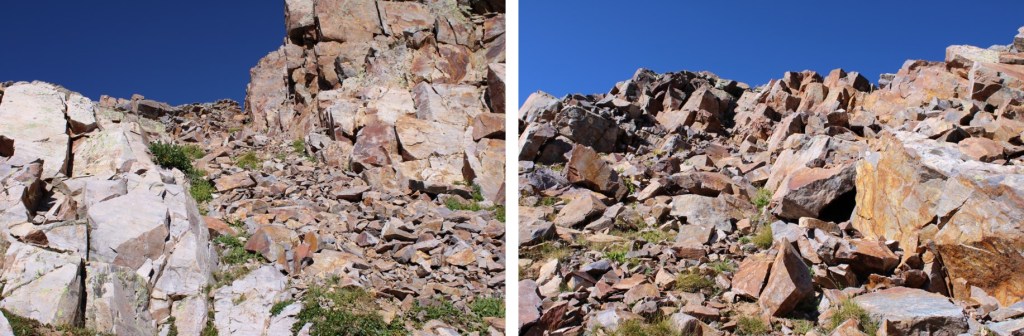
Much of the route to the summit is hidden at this time. I started by climbing up a class 3 gully to the right

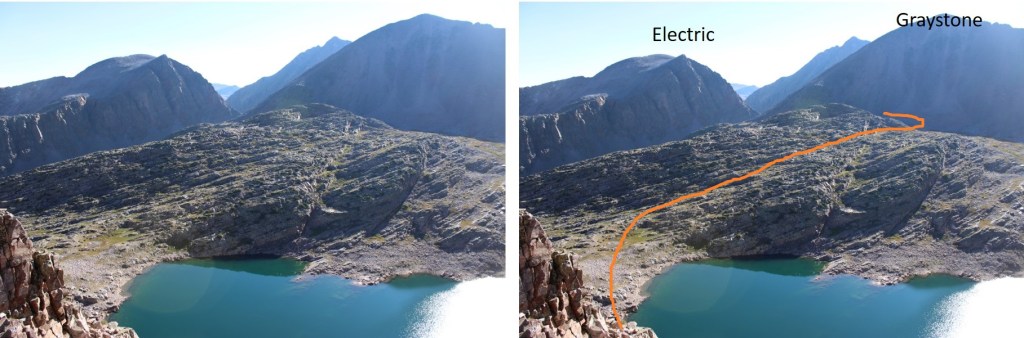
From Graystone Peak, I had a good visual of the route I took, keeping it mostly class 2 after the initial class 3 gully
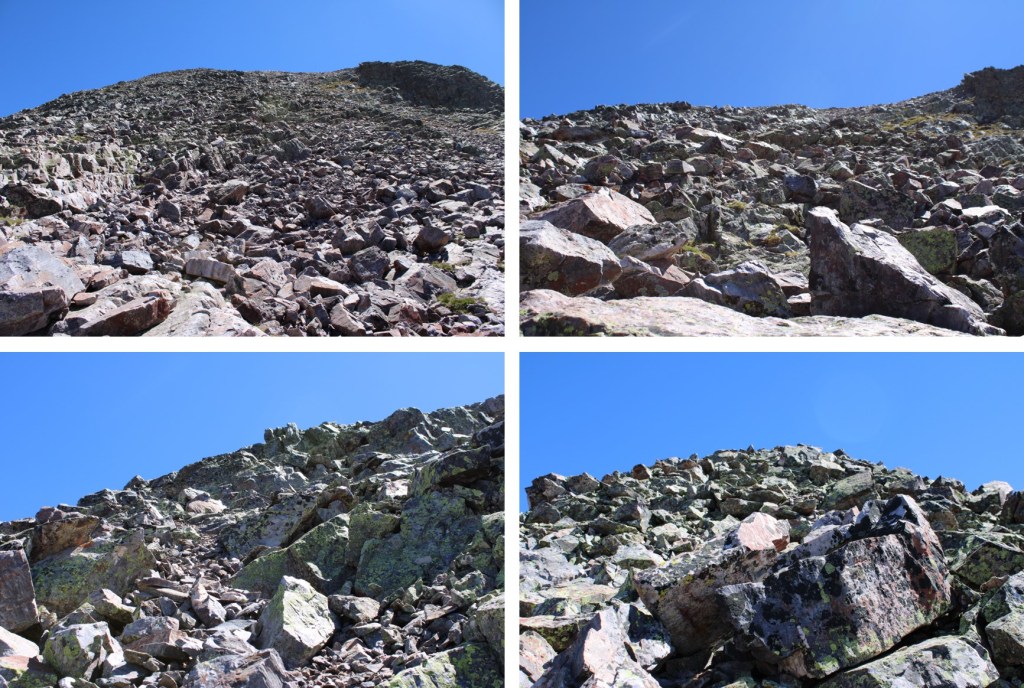
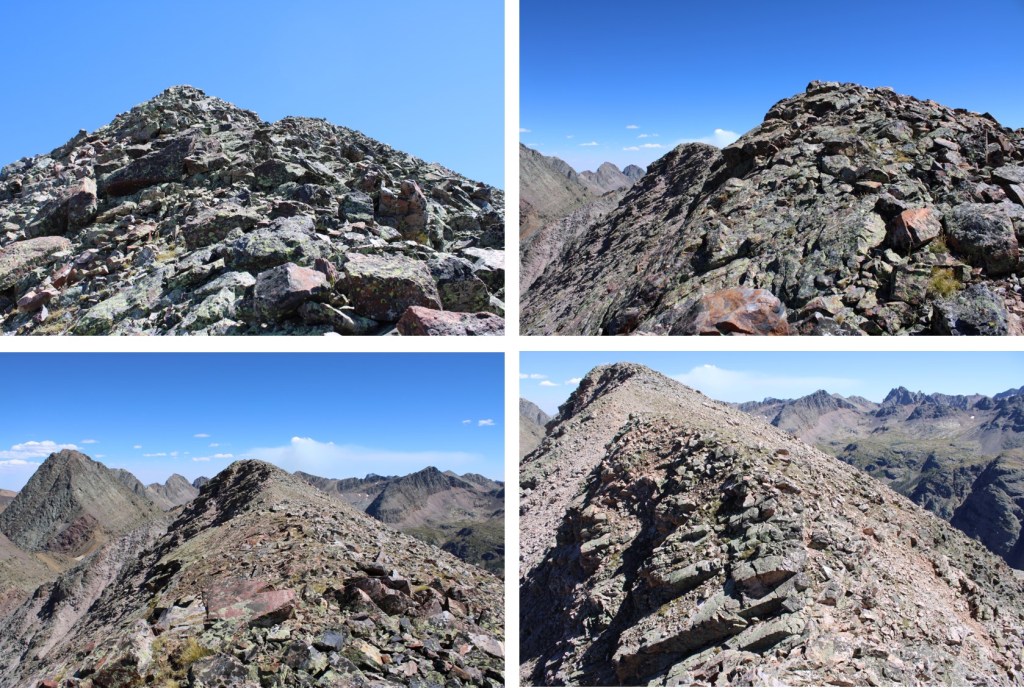
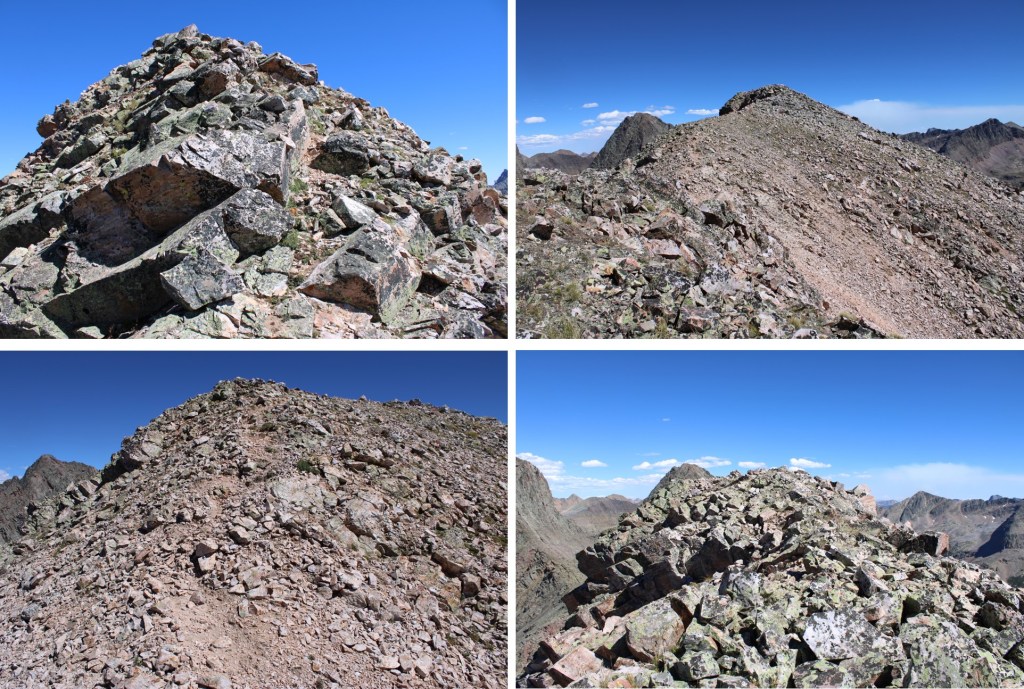
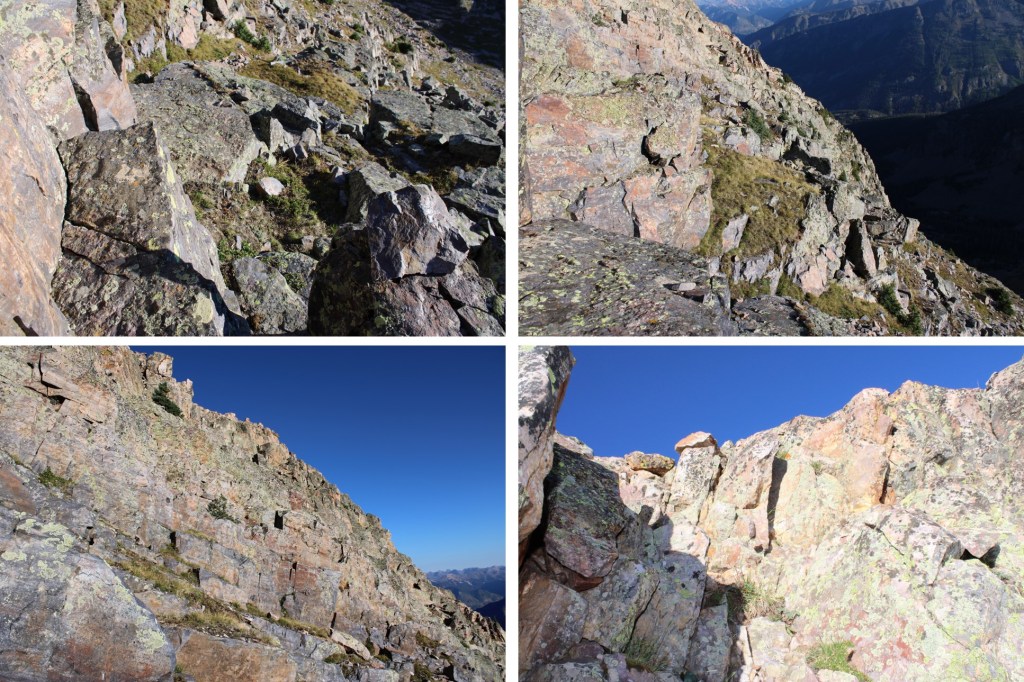
Once on top of this gully, there are several options to make it to the summit. Here are some on the ground pictures. The terrain was rocky most of the way to the summit.


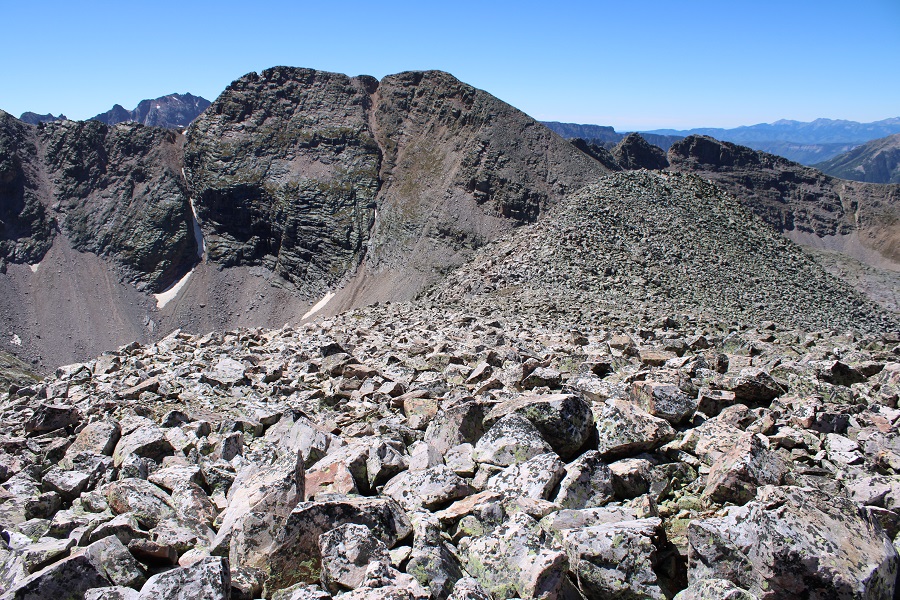
The summit was fairly flat and rocky.
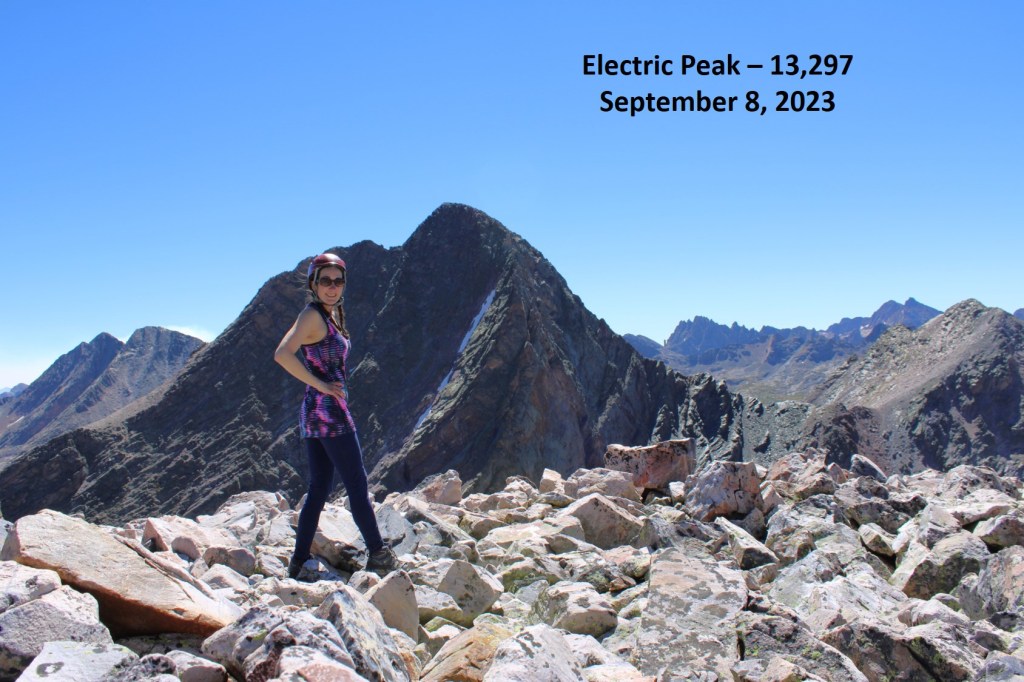
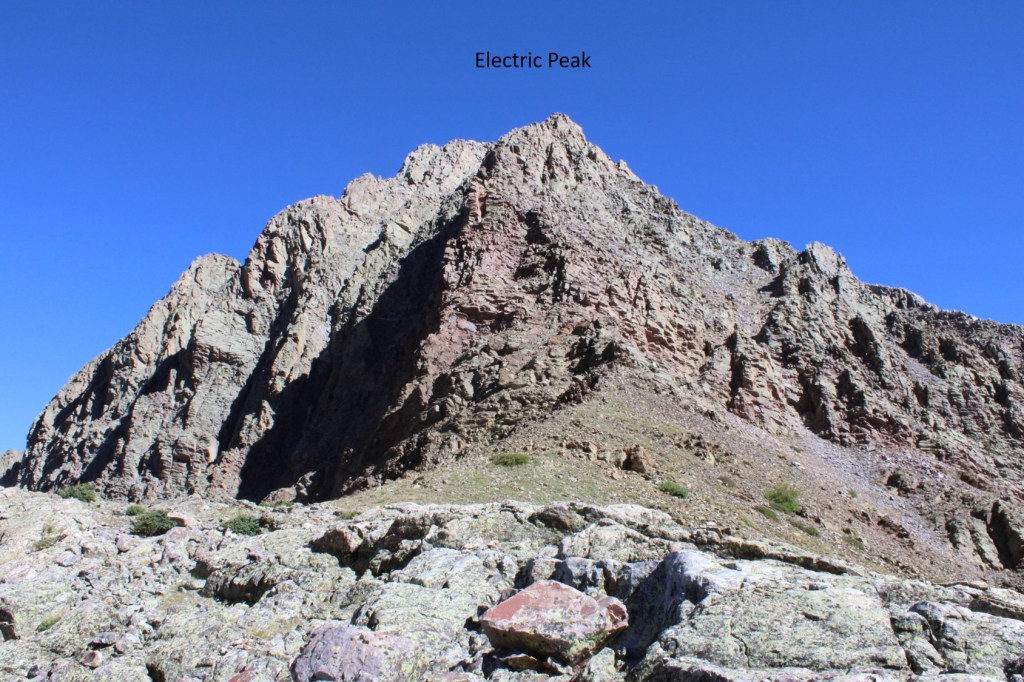
Electric Peak:
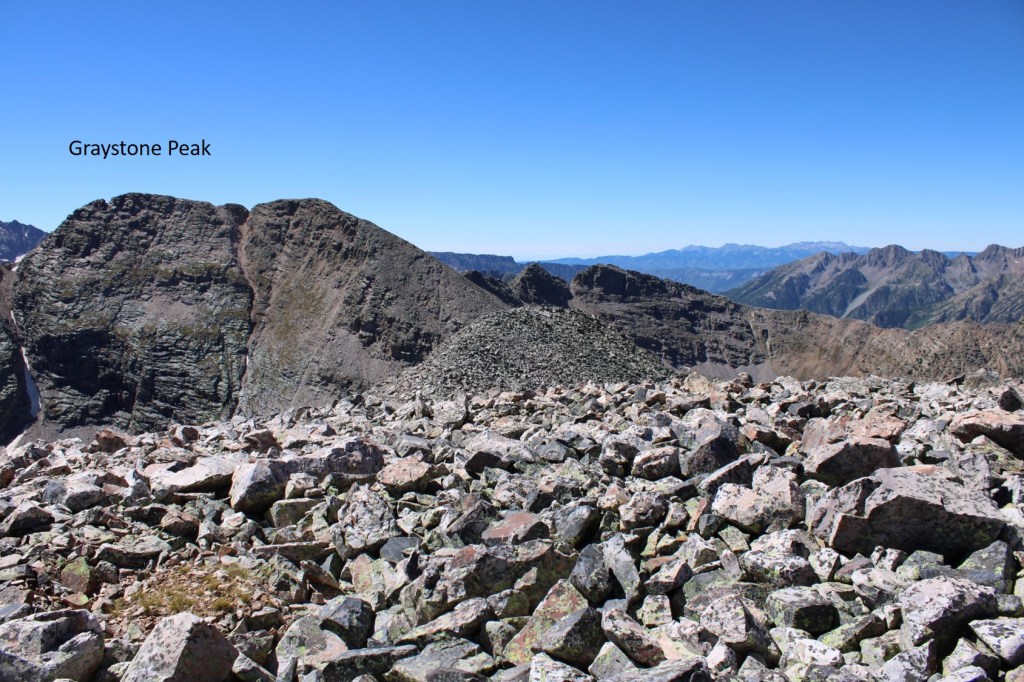
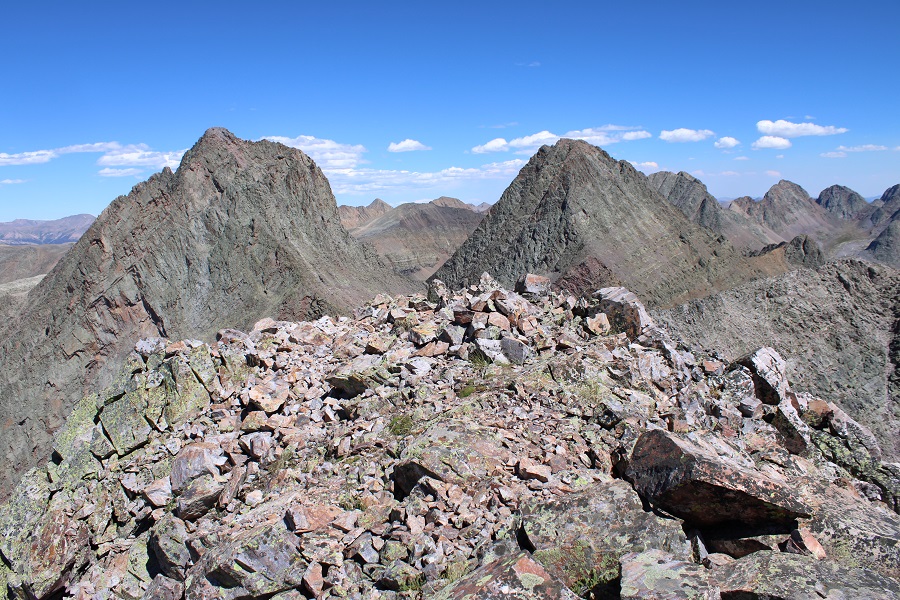
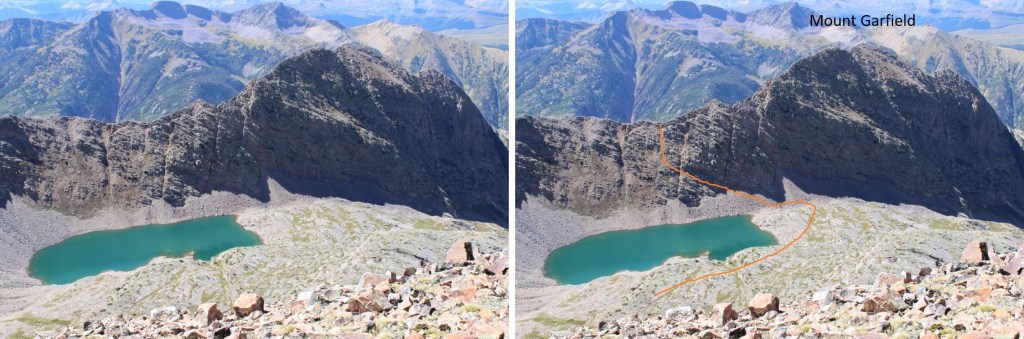
From the summit of Electric Peak, I could see my next objective, Graystone Peak, to the south.
I re-traced my steps back to the saddle

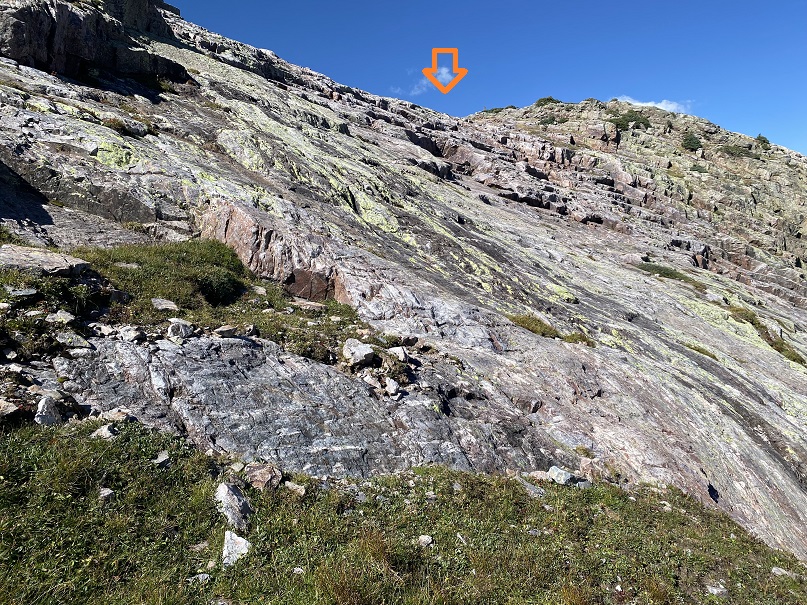
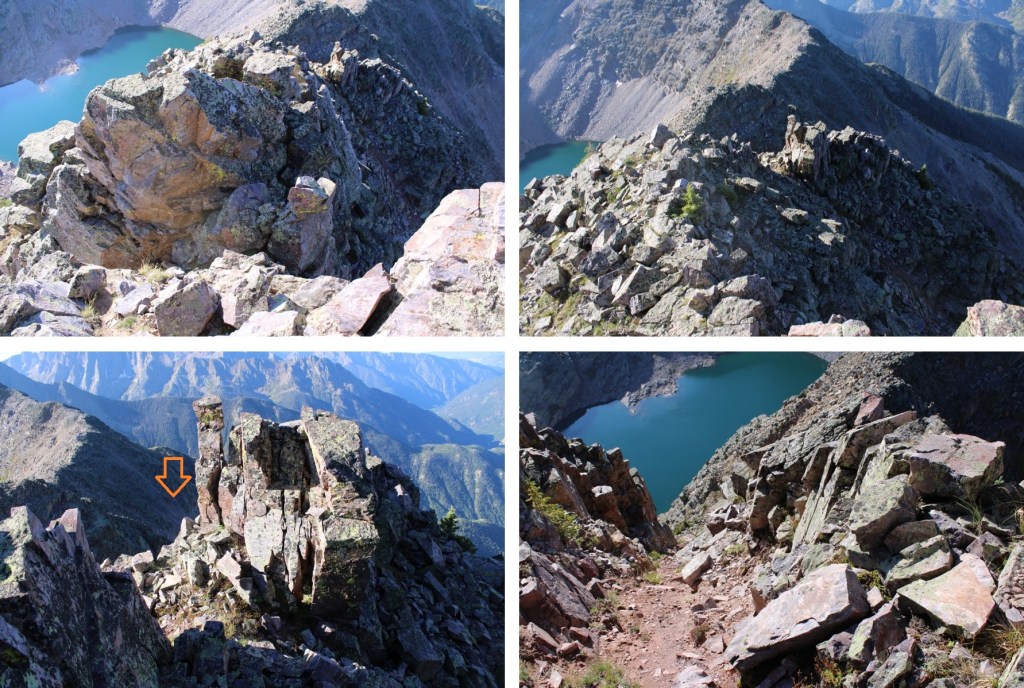
Now to head over towards Graystone Peak. I looked east, and saw these wonderful rock slabs.

Traversing up and down large rock slabs is mostly a mental exercise in not freaking out. I kept telling myself “My shoes have got this, trust your shoes. Also, don’t look down”. This is the route I took. There’s no avoiding the slabs.

Another view of the rock slabs, with a little bit of climbing towards the end (which was favorable to the smooth slabs)

After making it up the rock slabs, I turned left, now ready to scale Graystone Peak
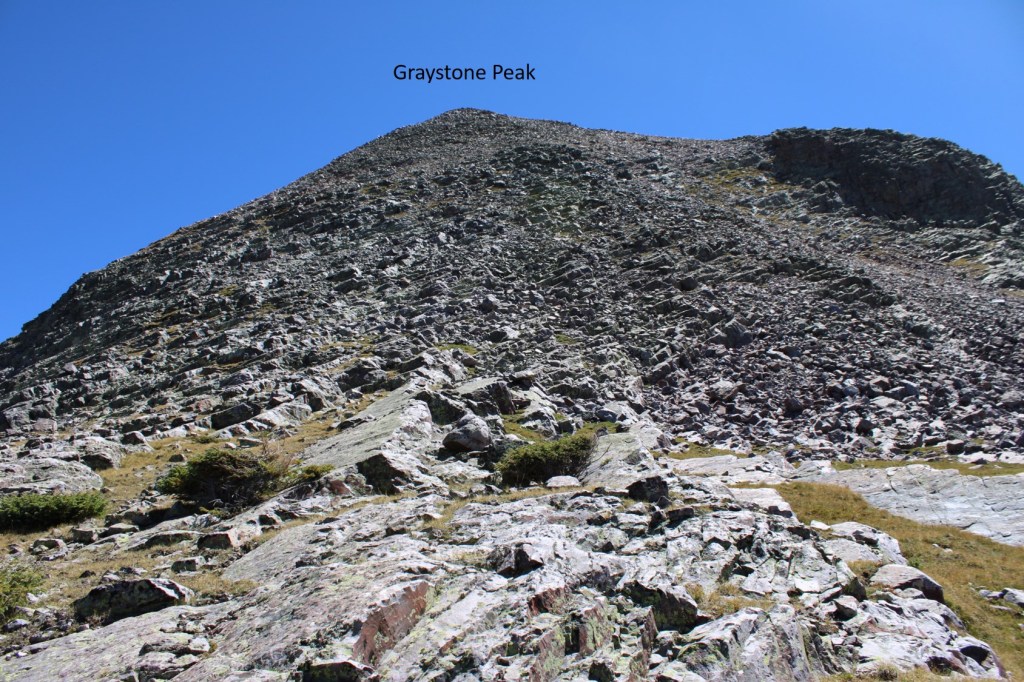
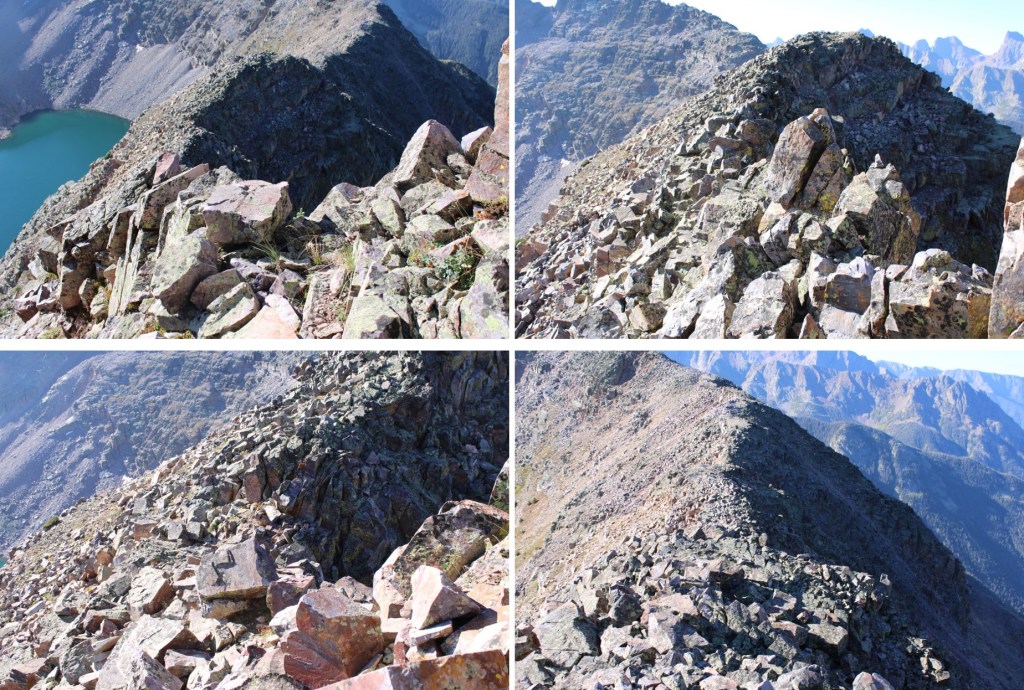
Scaling this peak is exactly what it looks like: straight up the side with a lot of various sized rocks to traverse that are loose. I headed southeast up the mountainside.
Once making it to the ridge, I stayed on the ridge proper to the summit, with some easy class 3 ups and downs along the way.
There was a large cairn at the summit
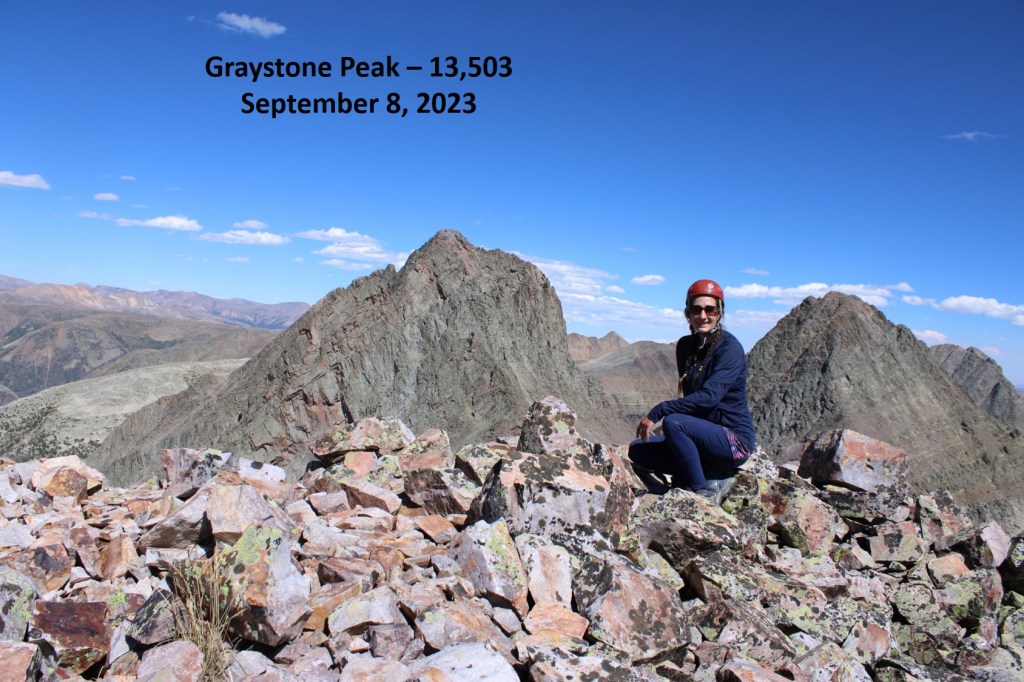
Graystone Peak
I turned around and headed back down the peak the way I’d ascended, doing my best to keep my balance and navigate the loose rocks.

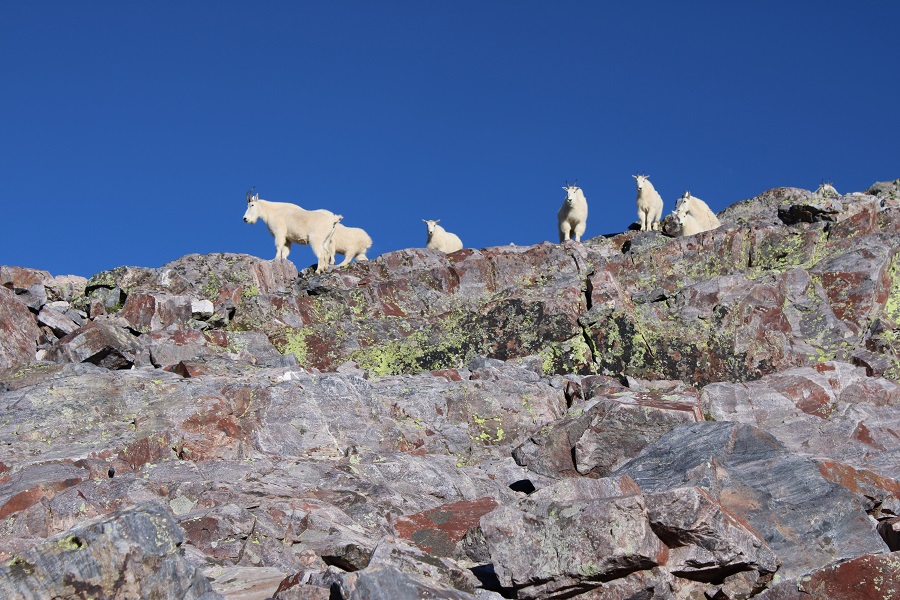
It had been a long day, so once I made it back down to the little patch of grass at the base of Graystone Peak I decided to call it a night and set up my bivy. I dried out my clothes, ate some dinner, and wrote notes down in my journal. Just before settling down for the night, I heard rocks tumbling and then skidding to a halt behind me. I turned around, and about 30 mountain goats were standing on the ledge, about 20 feet away. Most of them dashed away before I got a picture, but they seemed just as surprised to see me as I did them. They were probably headed towards the patch of grass I was using as a bivy site, and seemed a little disappointed to find me already occupying the space. I wish I could have told them I wouldn’t bother them and they were free to stay, as there wasn’t any other grazing areas around, but they all bounded away to find another site.
I was up early the next morning and on route to Mount Garfield. Even though this was the shortest of the peaks I was doing this weekend, it was by far the most challenging. Once on the ridge it was consistent class 3 the entire way. I started out by heading southeast around the base of Graystone Peak. I was headed here:
This was a quick and easy gully to climb. Once out of the gully, I passed through an open grassy area and then descended over 300 feet down grassy slopes to the right, towards Garfield Lake.

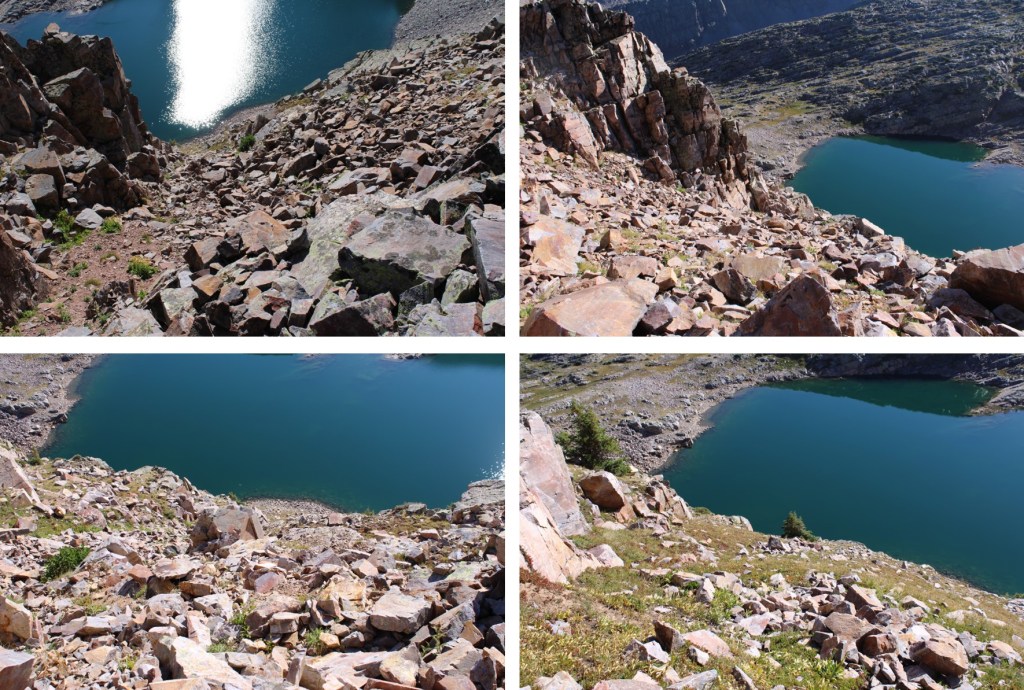
Once at Garfield Lake, I needed to gain the ridge. This can be done in several ways, but this is the overall route I took. There were a couple of nicely placed trees I used as a guide on the ledges. I just aimed for one tree, and then the next. Here’s an overview of the route to the ridge as seen from Graystone Peak
From Garfield Lake, I aimed for the rock ledge with two trees on it, spaced about 300 feet apart. It was class 2 to the ridge.

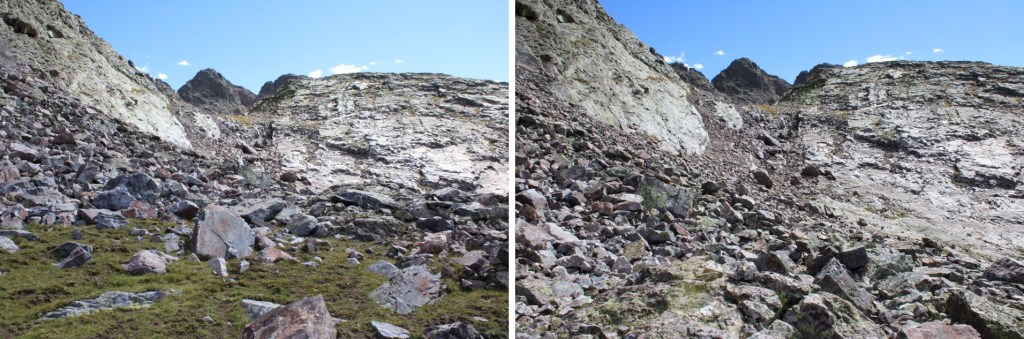
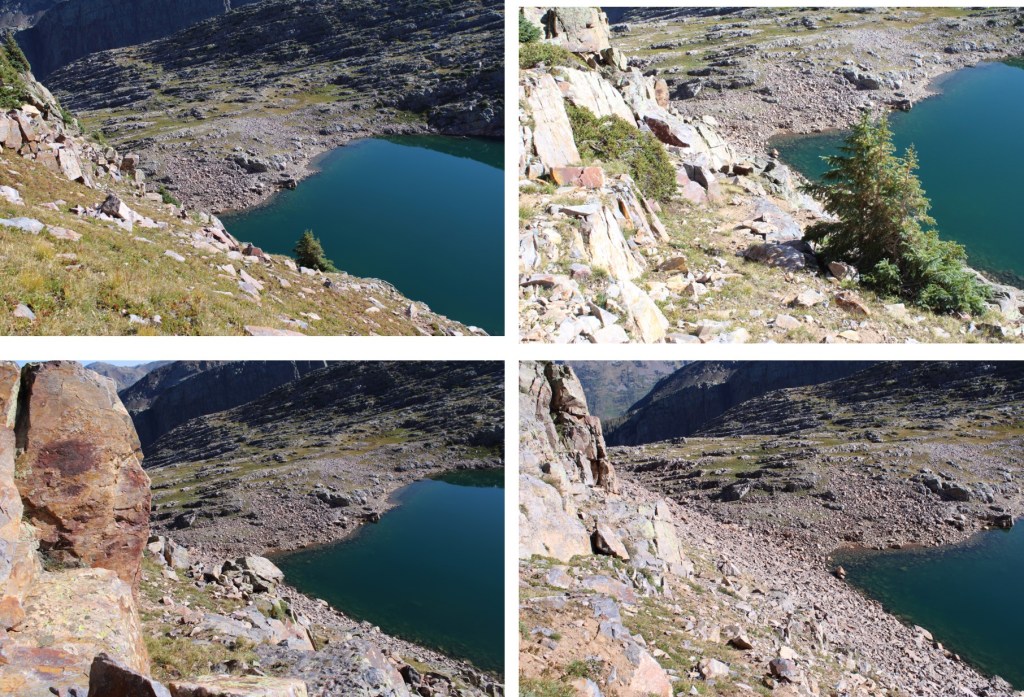
When I’d passed the two trees, I looked up and saw this gully.
I made my way straight up the gully to the ridge.
Once on the ridge I turned right, and this became a class 3 ridge hike all the way to the summit. I was able to mostly stay on the ridge, dipping to the right one time. If you encounter a class 4 move, you’re off route. Here are some pictures of the ridge.

I stayed to the left of this gully, climbing up the rocks instead of on the scree.

At the top of the gully I turned right, and continued following the ridge.

The only time I dropped off the ridge was when I came to this large rock. At this point I dropped to the right and descended about 30 feet before re-gaining the ridge.

Back on the ridge, I followed it to the summit, class 3 the whole way


Mount Garfield
Here are some pictures of the route back down the ridge


Then back down the gully to Garfield Lake
Back at Garfield Lake, I took the same route back to the base of Graystone Peak, this time going up the grassy ledges

This was an out and back hike, so I re-traced my steps down the rock slabs, across the rock field, and back down the gully to the trail.
This time, instead of going down the snow-filled gully I went to the right, and descended on scree

Back on the trail, I followed it back to the Beaver Ponds


Then I followed the Colorado Trail back to the Animas River

I crossed the train tracks, and trudged back up to Molas Pass, something I timed just right so I’d be doing later, during the cool part of the day.
I usually go by CalTopo stats to keep things consistent. CalTopo gave me 35.96 miles with 9399’ of elevation gain, but Strava gave me 27.67 miles with 13,170’ of elevation gain. Take your pick!

On to the next trailhead!
