I didn’t summit the way I’d intended. The place I’d wanted to park and hike had a bunch of “No Parking” signs, and there wasn’t another good place to park for miles, so I turned around and headed to the Copper Mountain Ski Area. I found a parking spot just under the lifts, and before entering Lewis Ranch, but there was a sign that said “Tow Away Zone from 10pm-6am”, so I waited around until 6am, and hit the trail from Copper Mountain Ski Area.
I’d planned on hiking up the road for as far as I could get, but as I started heading up the road, I noticed several pieces of large equipment being driven up the road ahead of me (think cranes, bulldozers, etc.). It’s been my experience that when these vehicles are in operation, the operators tend to ‘kindly’ ask you to leave the area (or escort you down). Being a solo female hiker who’s encountered this type of thing before, I don’t like to get into these types of situations. Instead, I went with Plan C: I’d hike the Colorado Trail for as long as I could, then start ascending ski runs. So, if this isn’t the conventional way to summit Jacque Peak in the summer, please forgive me, as it was my third option.
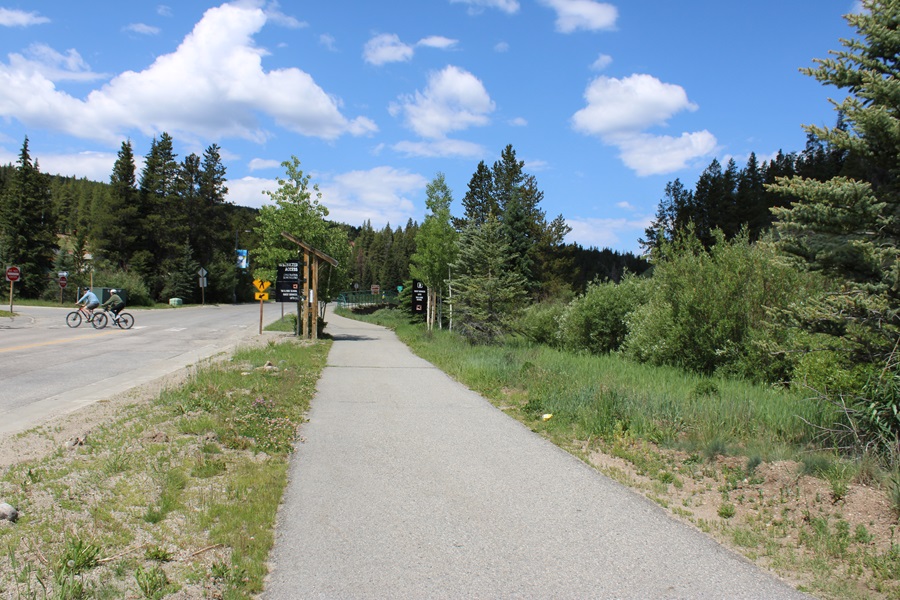
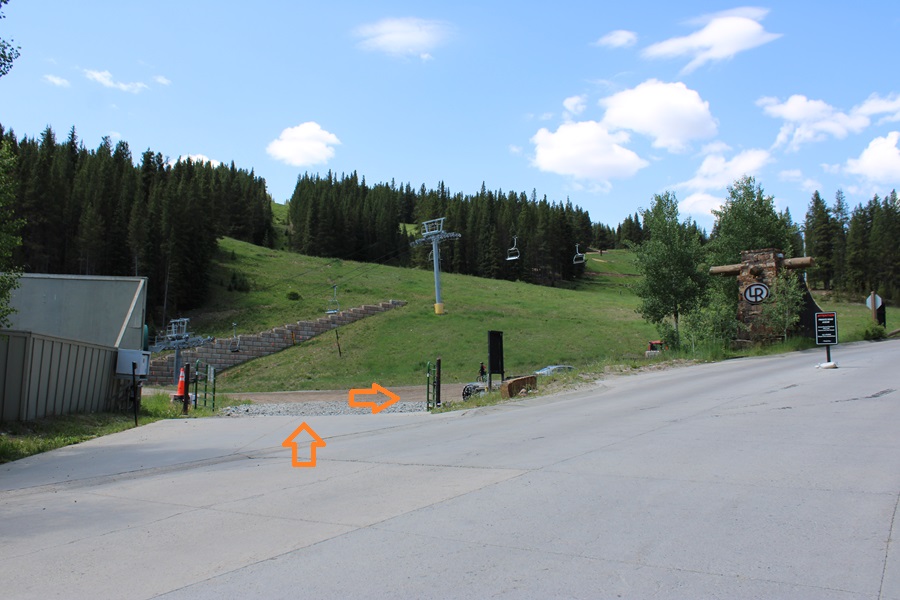
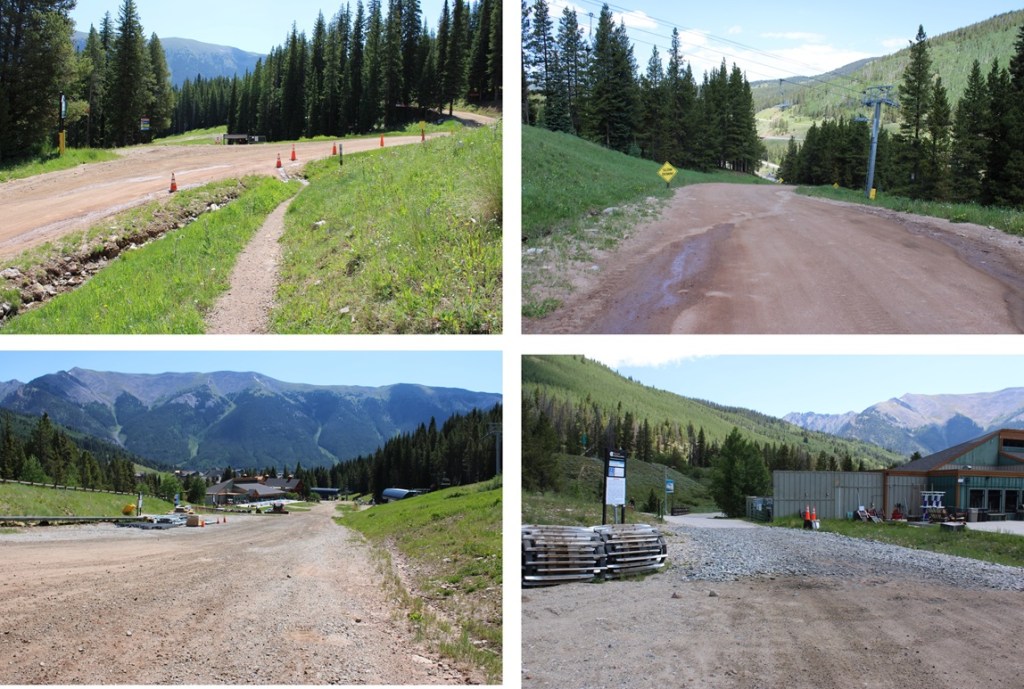
I left the parking area at 6am, and headed west toward the ski lifts.
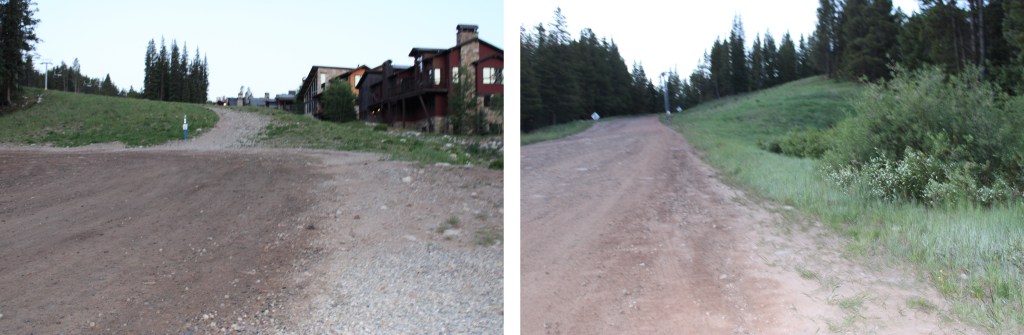
I walked through this gate, and started following the dirt road as it wound west and then southeast.
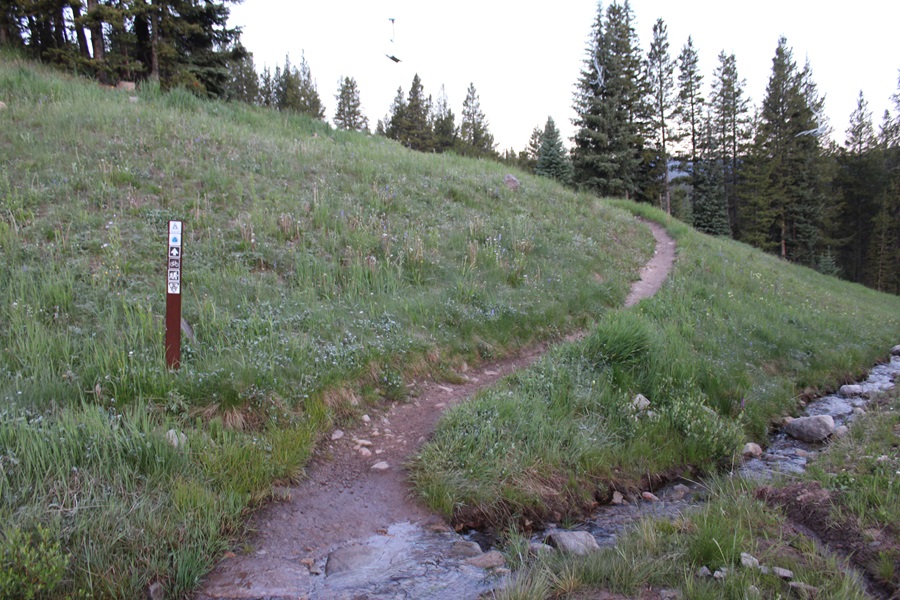
I quickly came to the junction for The Colorado Trail. It’s on the right side of the road, and clearly marked. I turned right.
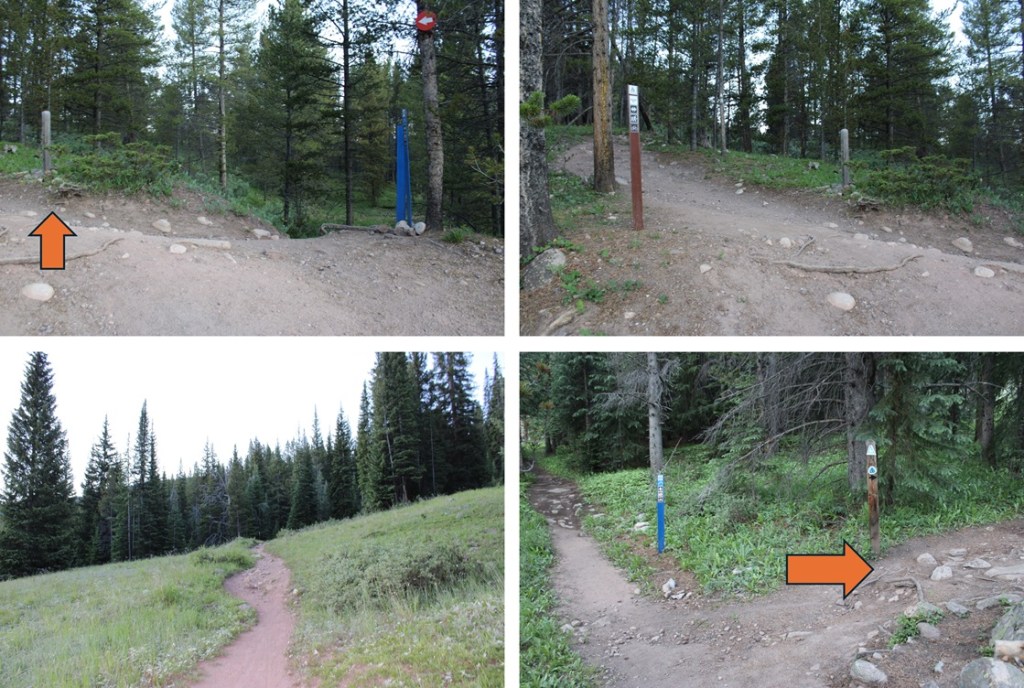
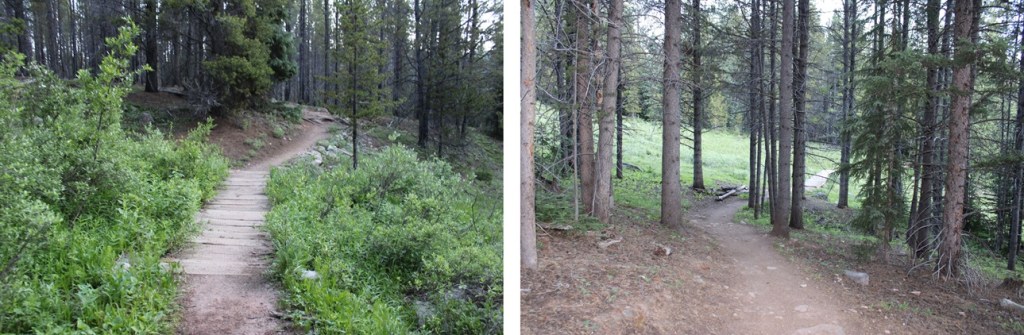
I followed The Colorado Trail for just under 2 miles, staying on The Colorado Trail at junctions.
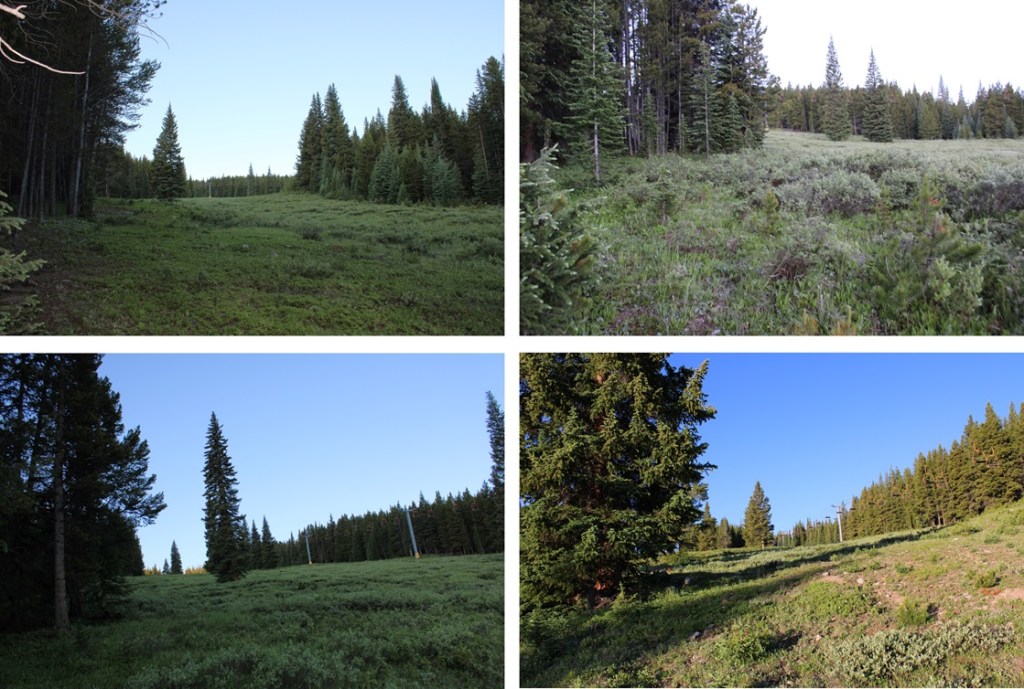
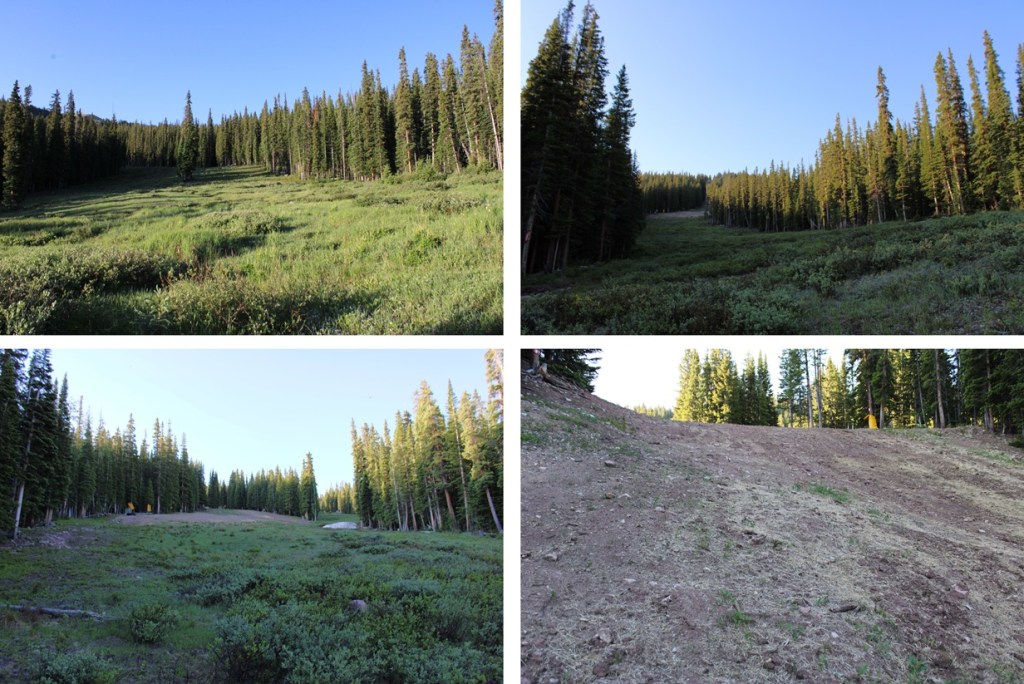
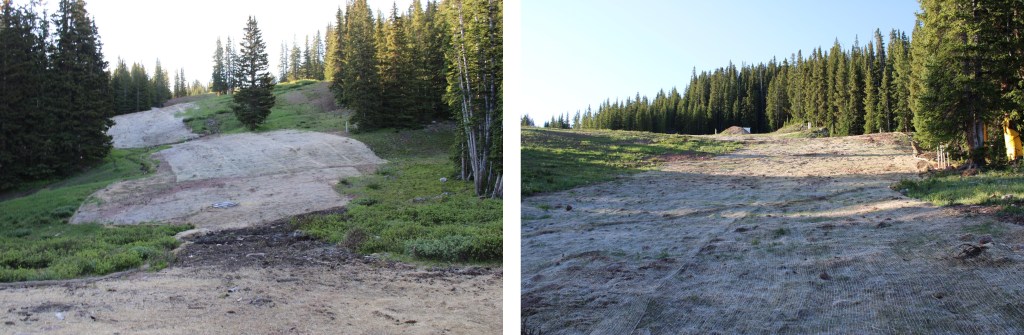
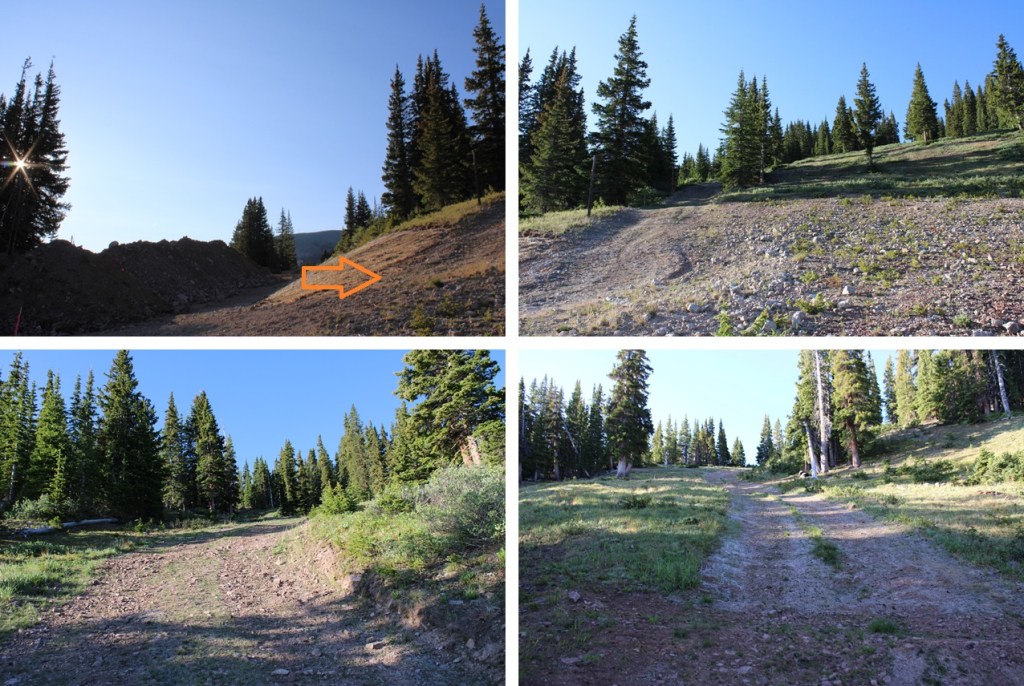
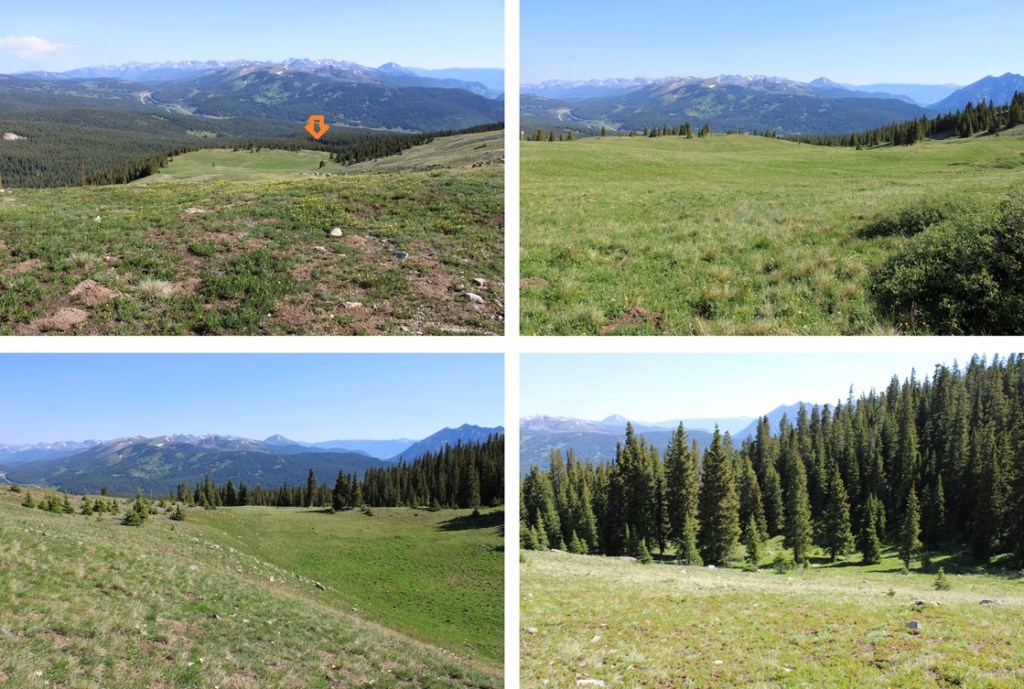
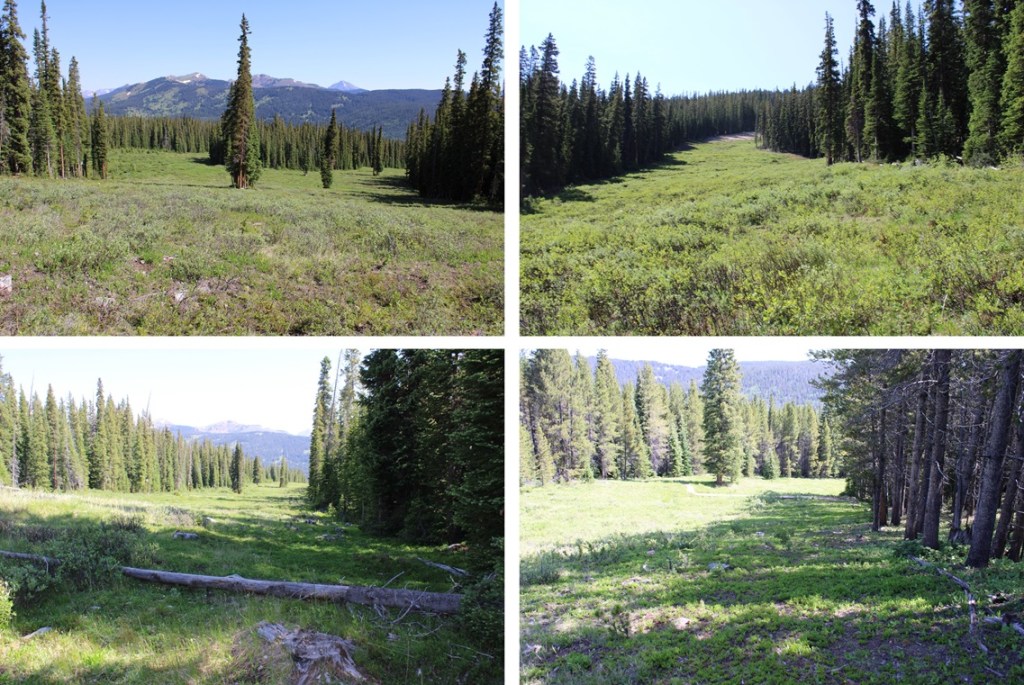
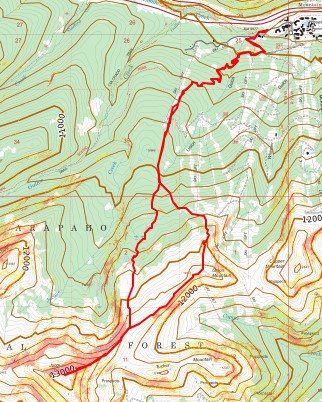
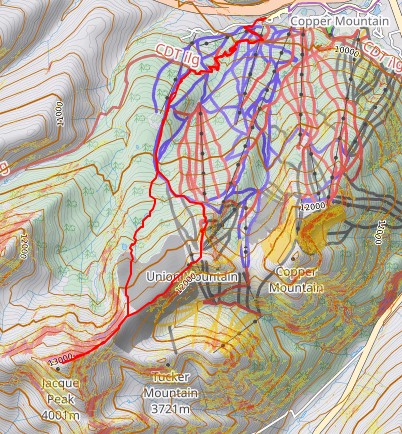
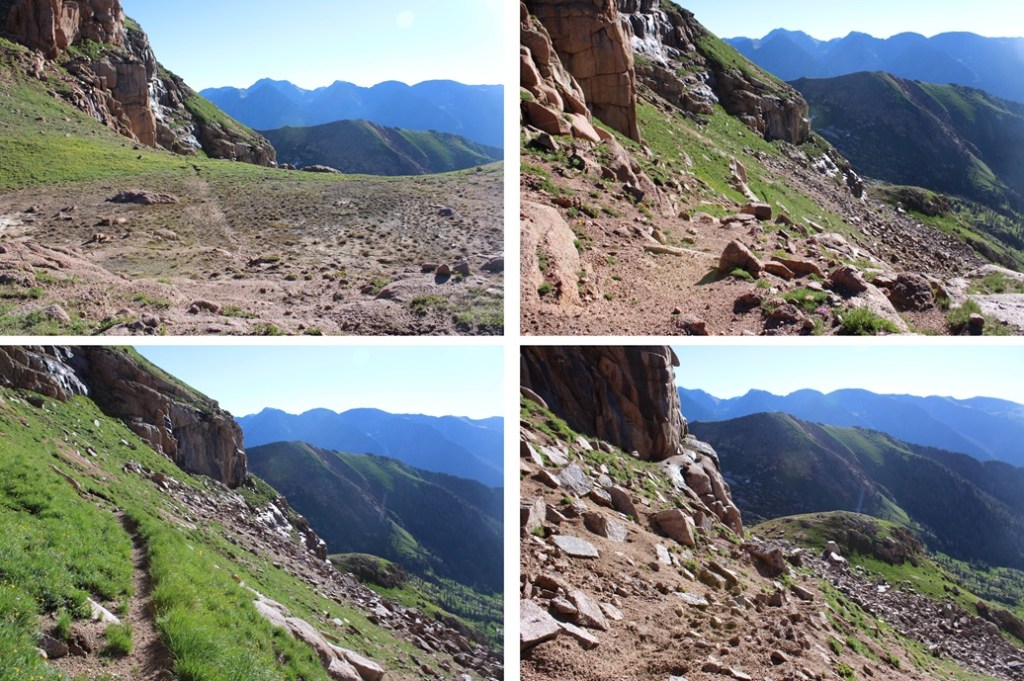
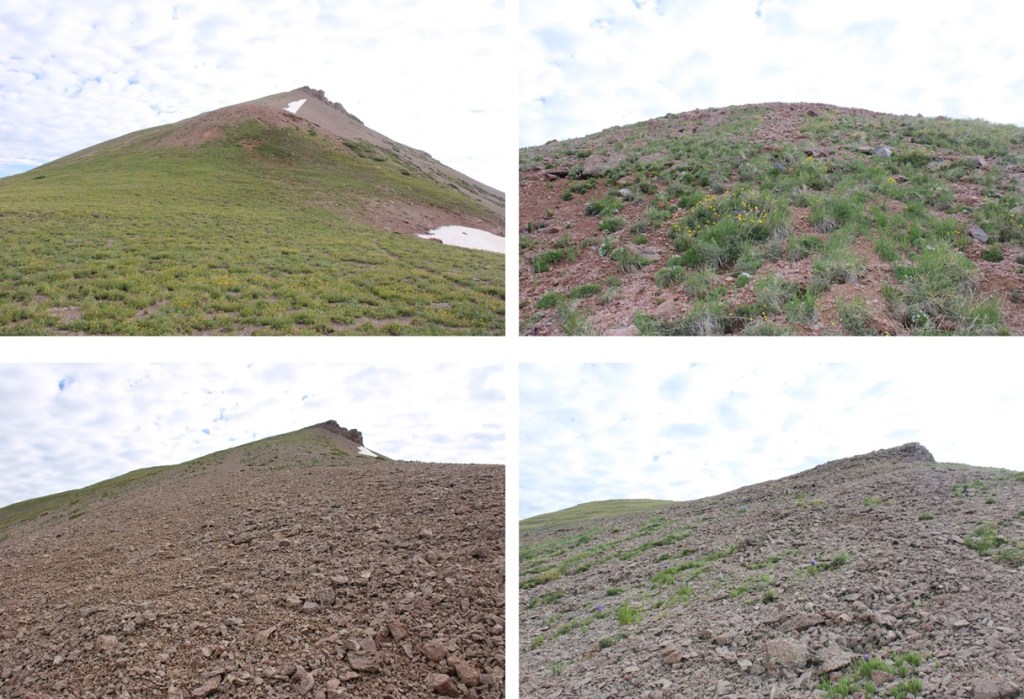
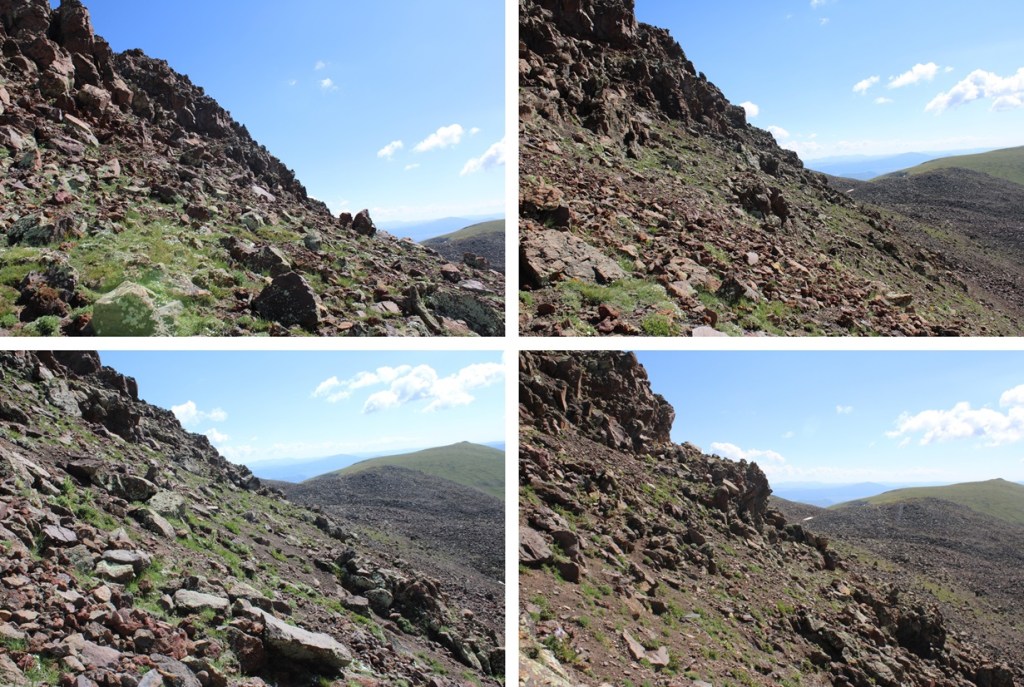
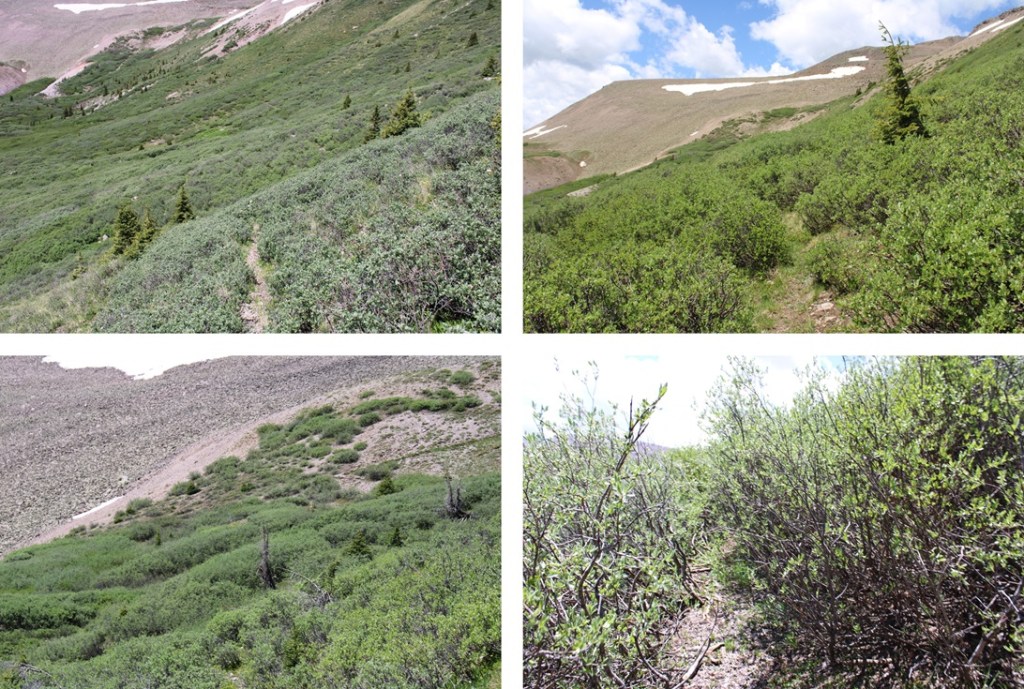
When I came to the Fairway Ski Run, I left the trail, and headed southwest up the run. For those of you skiers out there, or anyone with a map of the runs, I took Fairway to Roundabout to Soliloquy to the ridge. There were nice game trails to the hikers left of the runs that I was able to follow to stay out of the willows. I just kept following the runs up and southeast. Here are some pictures of the route:
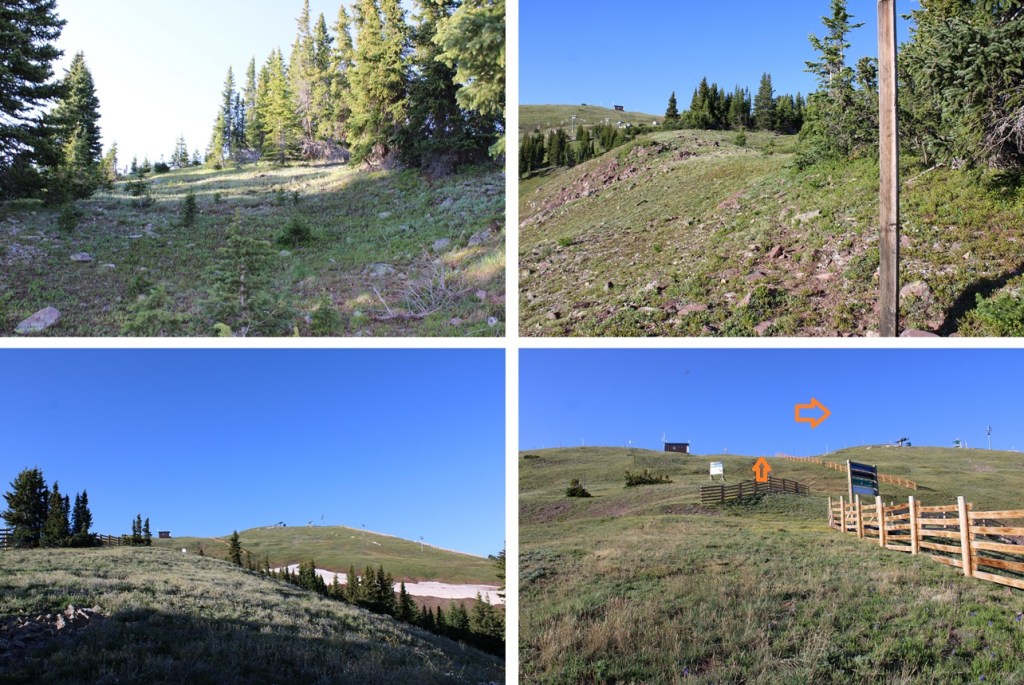
When I came to 11600’ there was a big dirt pile and a bulldozer moving the dirt. Not wanting to get in their way, I turned right and headed up the ridge, following the road south to the ridge.
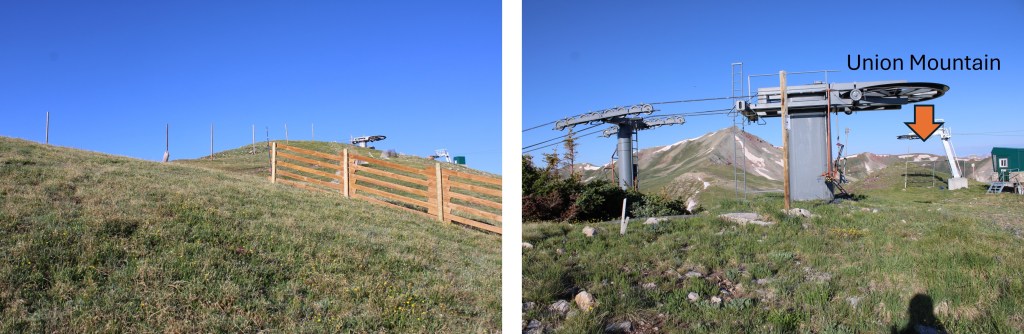
Then continued following the ridge south towards Union Mountain, which is just to the west of the last ski lift.
I summited Union Mountain at 7:30am
Union Mountain:
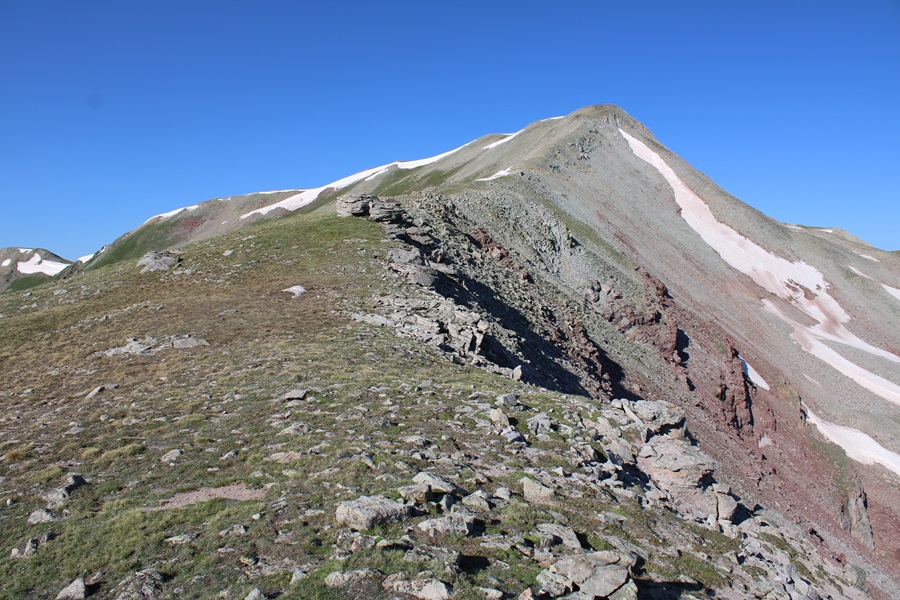
From Union, you can clearly see Jacque Peak looking to the southwest.
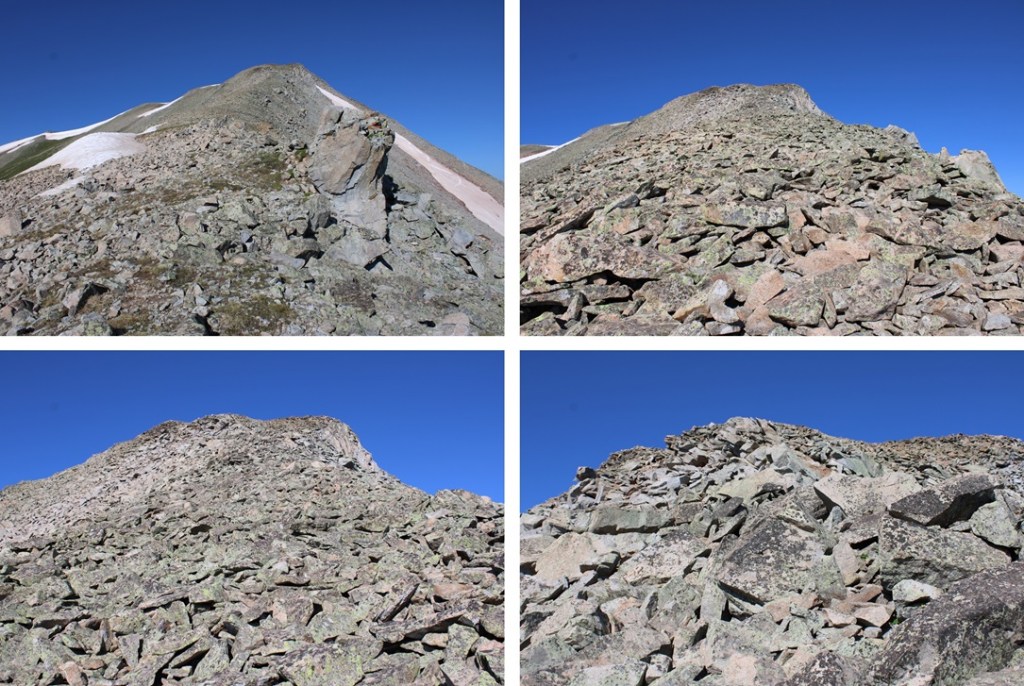
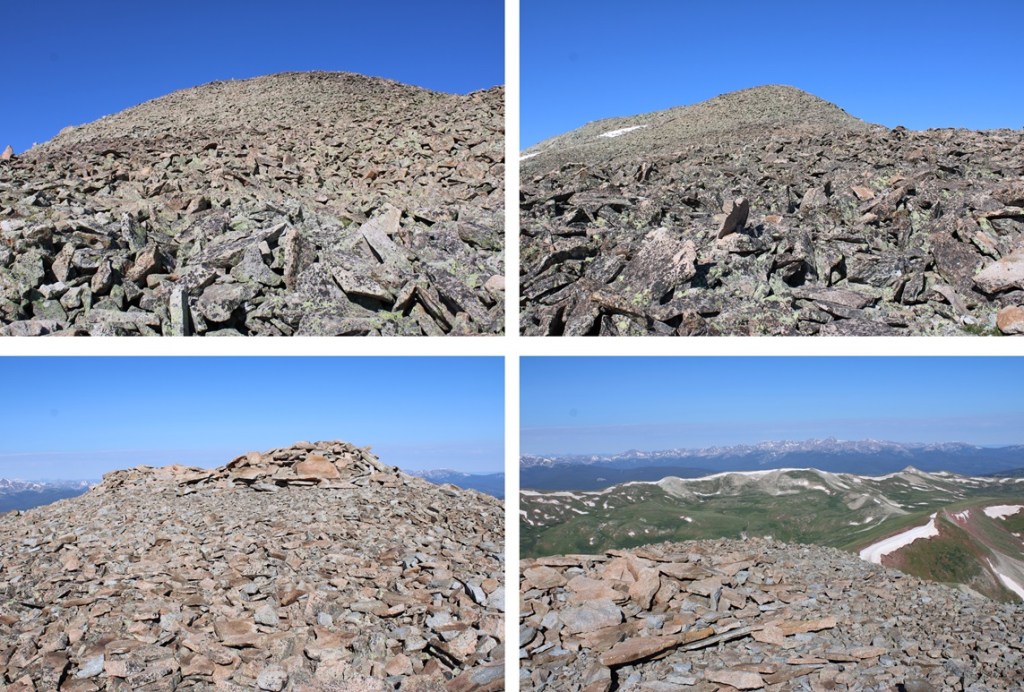
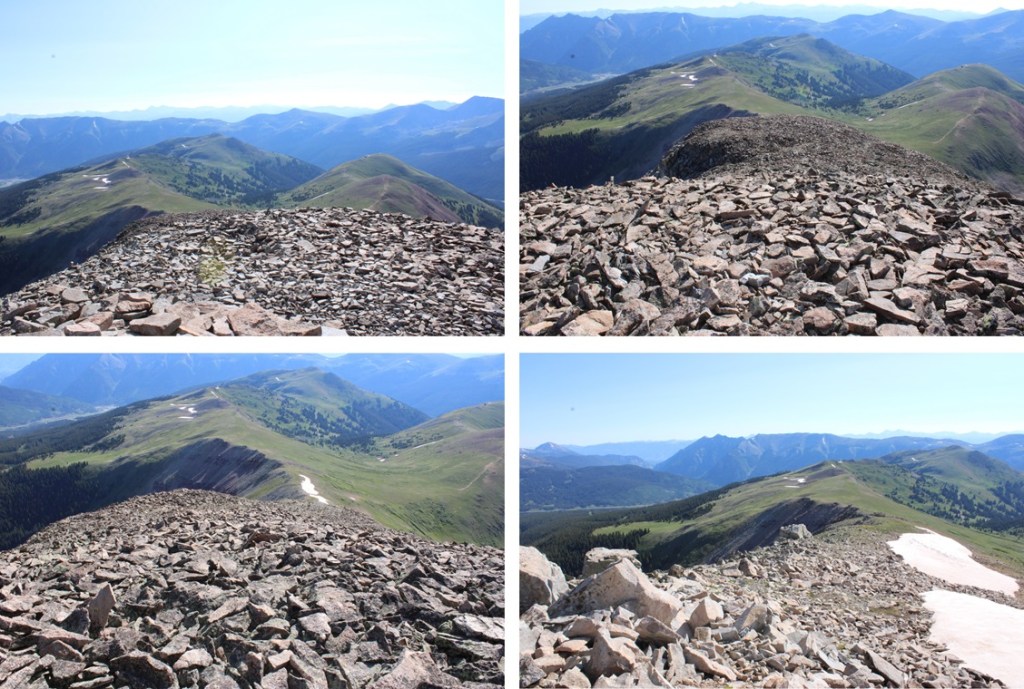
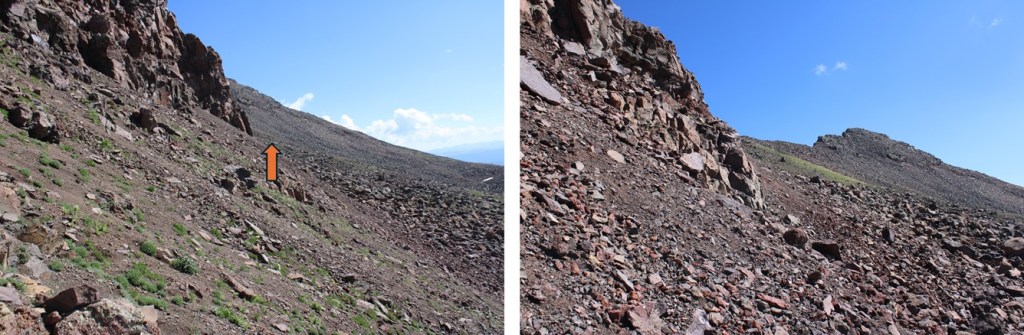
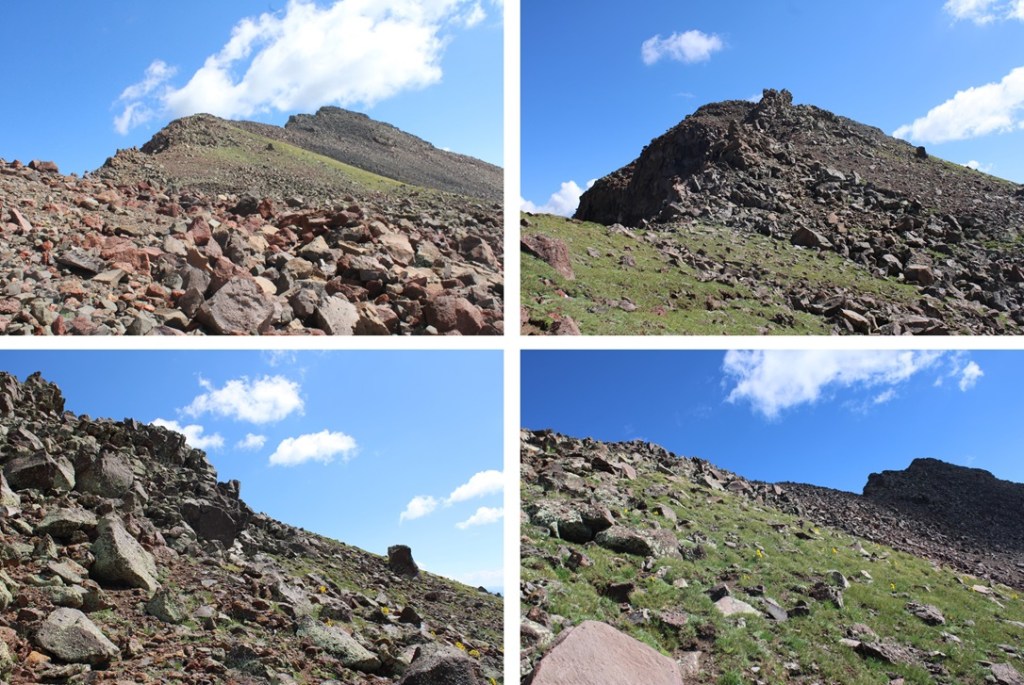
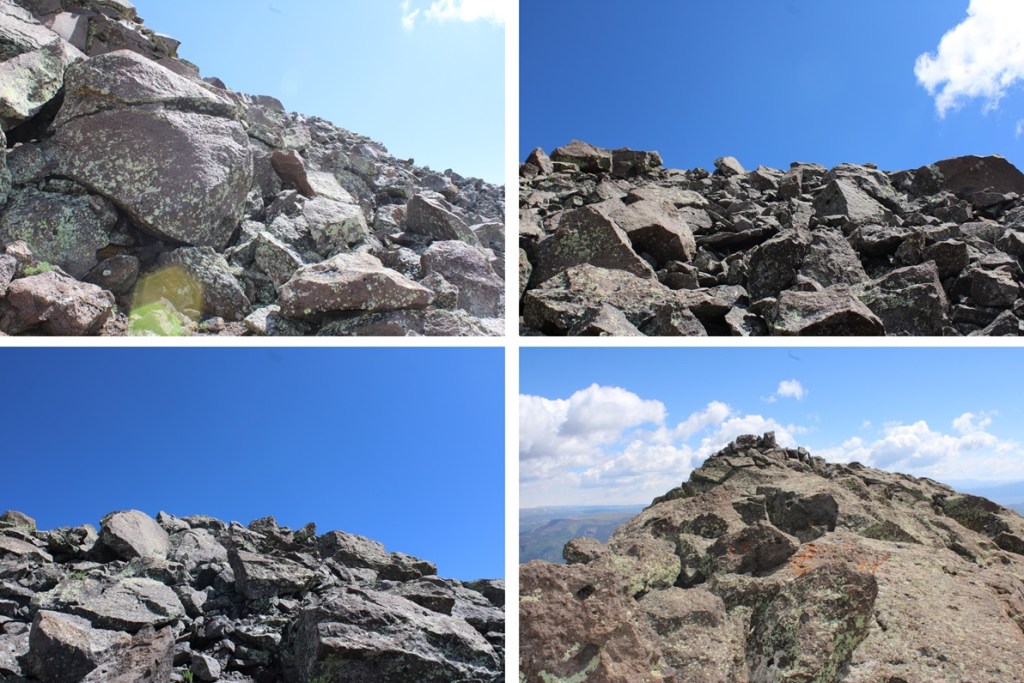
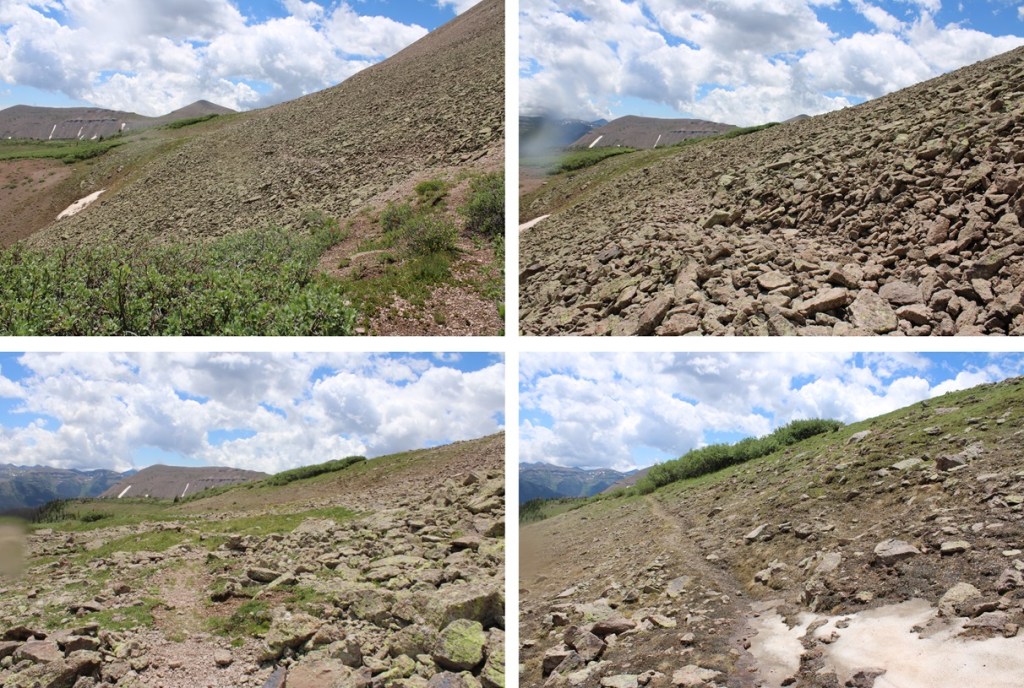
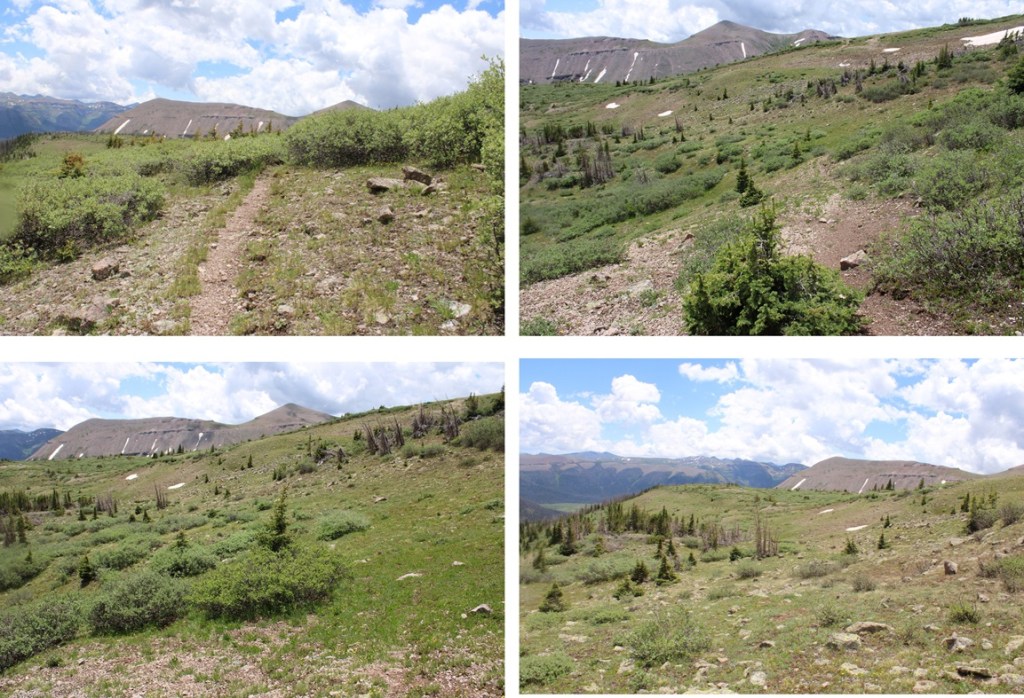
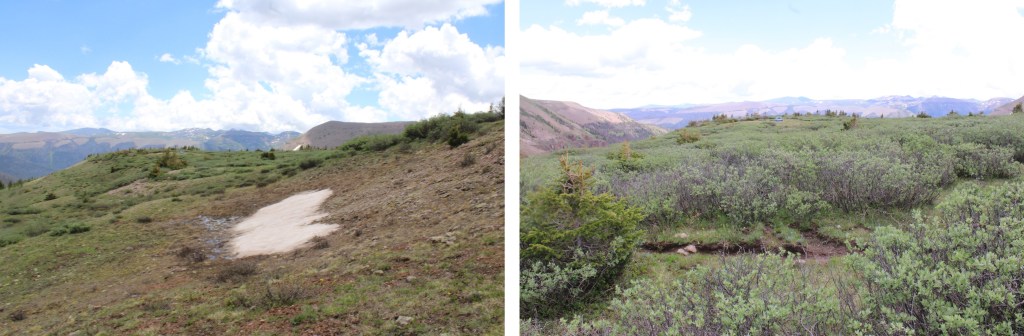
As you can imagine, this was a straightforward ridge hike to the summit. From Union, I gained about 900’ to the summit of Jacque. There were a few rocky areas in the beginning, then tundra, then more rocks. All the rocks were loose, so watch your footing, especially as you near the summit. This was all class 2, with no trails.
Oh, and there’s a false summit
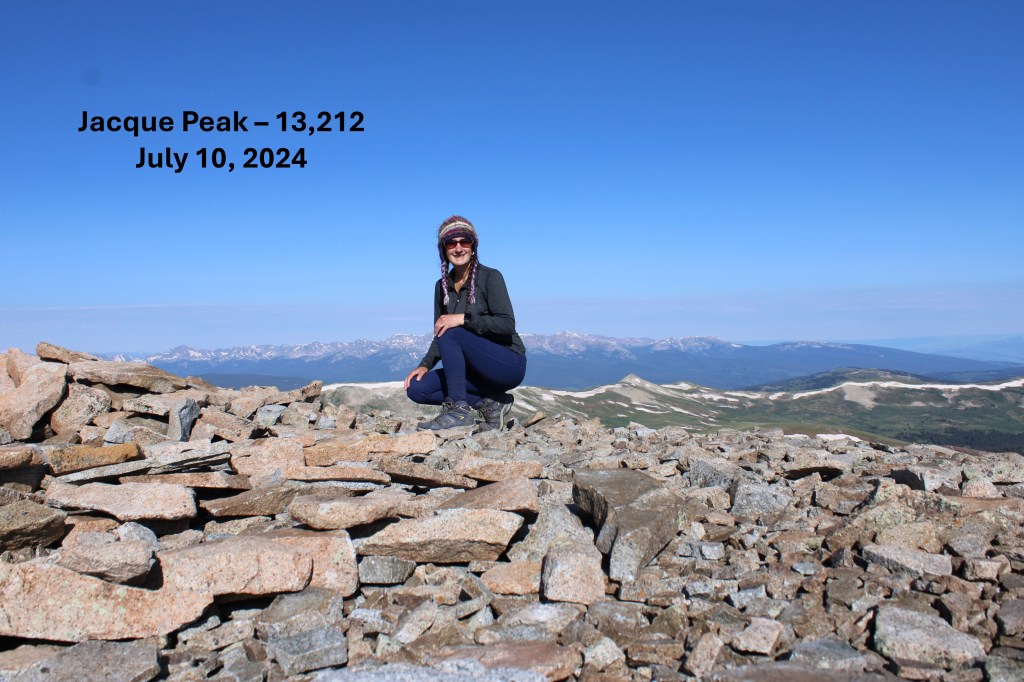
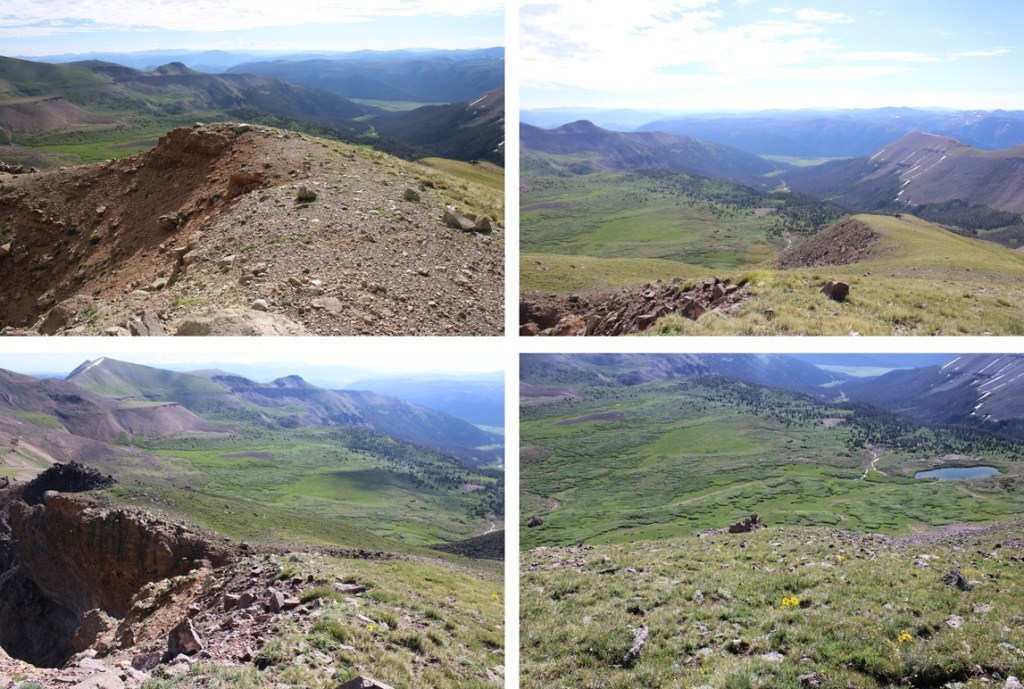
I summited Jacque Peak at 8:40am
Jacque Peak:
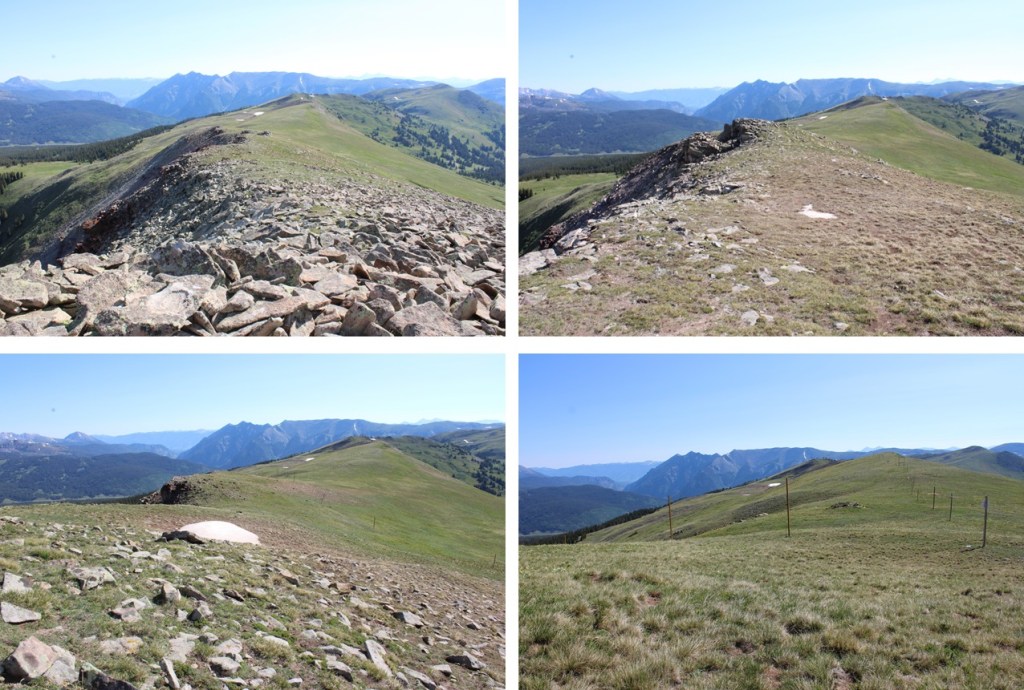
I turned and headed back down the ridge.
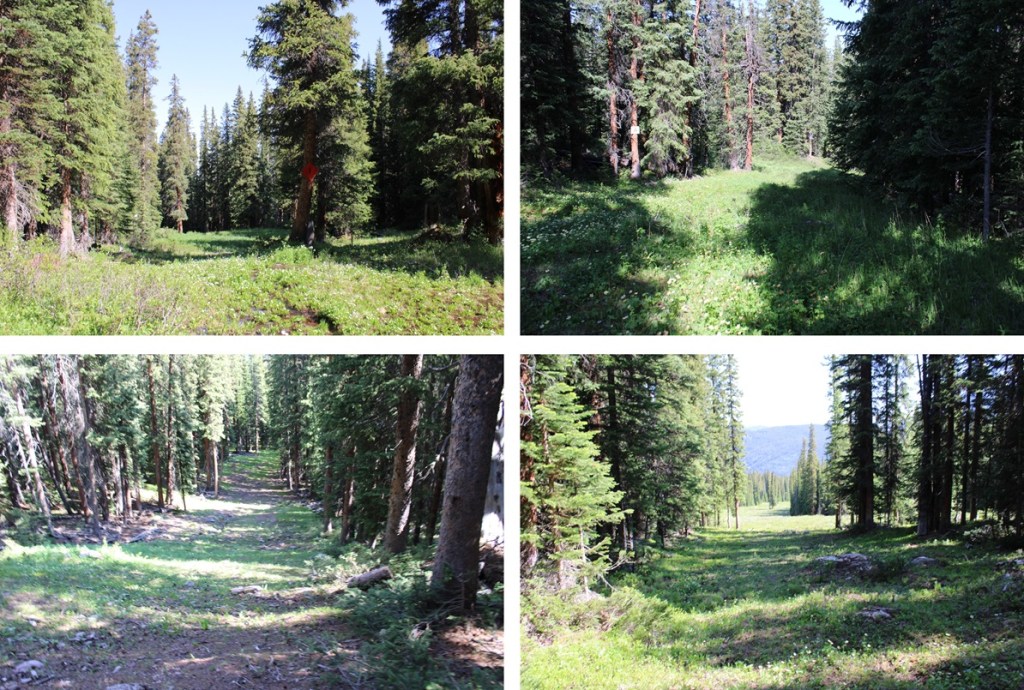
But I didn’t descend entirely the same way I ascended. Instead, about halfway along the ridge between Jacque and Union, I turned left and headed north down the West Ridge Traverse Route. I took West Ridge Traverse to Soliloquy to Roundabout, then Fairway to The Colorado Trail. It sounds daunting, and at times the runs get narrow, but I just followed the wooden posts initially, then the Ski Area Boundary signs and little pieces of pink surveyor’s tape heading down and south (there are signs every 30 feet or so), staying on game trails to the right of the runs. And you don’t need to take the same route I did. As long as you’re headed down on a ski run, it’ll take you back to the lifts.
I made it back to The Colorado Trail, turned right, and followed the well marked trail back to the dirt road, then back to my parking spot. The lifts were running on my way down, carrying visitors/hikers to the top.
I made it back to the trailhead at 10:45am, making this a 12.45 mile hike with 3551’ of elevation gain in 4 hours, 45 minutes.
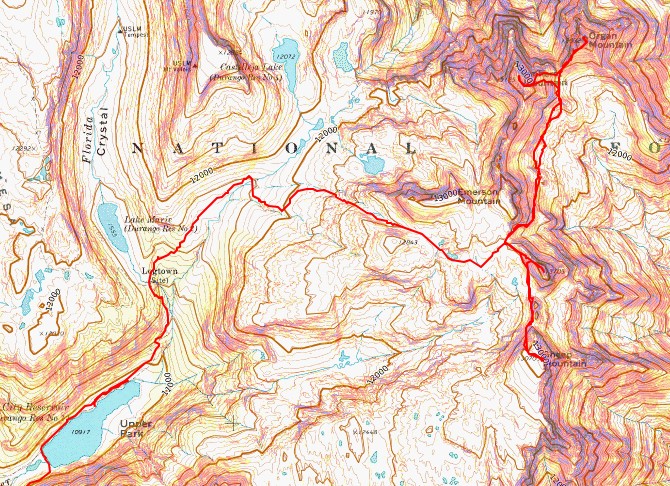
The approach to the saddle between Emerson and Peak Twenty Two is a total of 11 miles and 3250’ of elevation gain from Endlich Mesa Trailhead and City Reservoir. You can view the approach to the saddle here.
From the saddle of Emerson and Peak Twenty Two, I continued following a scree-filled game trail northeast skirting the east side of Emerson, losing 450’ of elevation as I wound my way towards an upper basin.
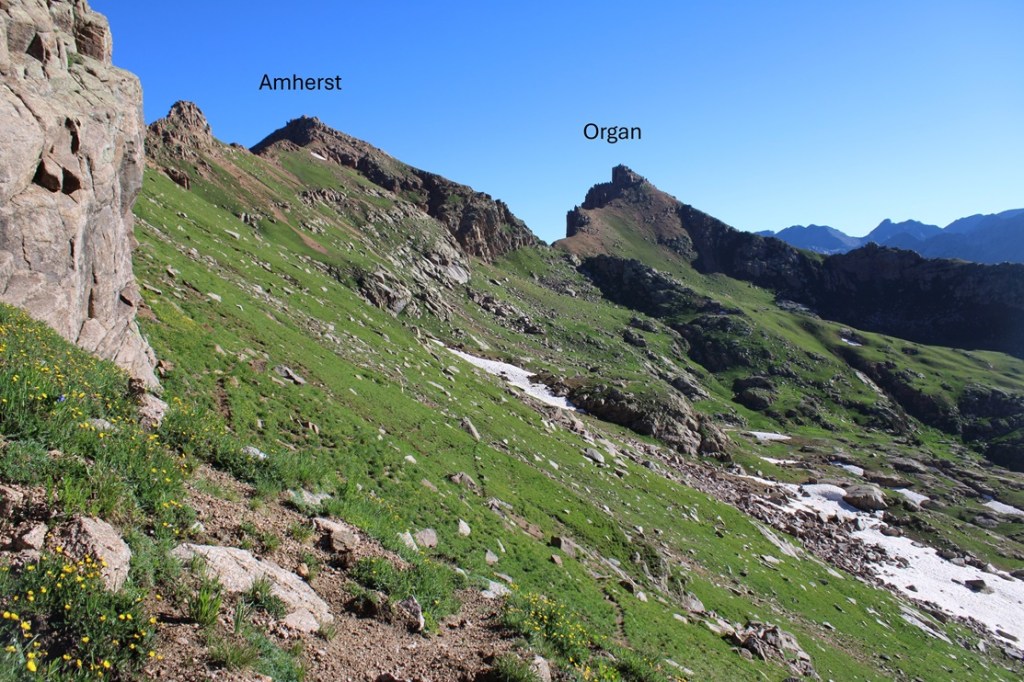
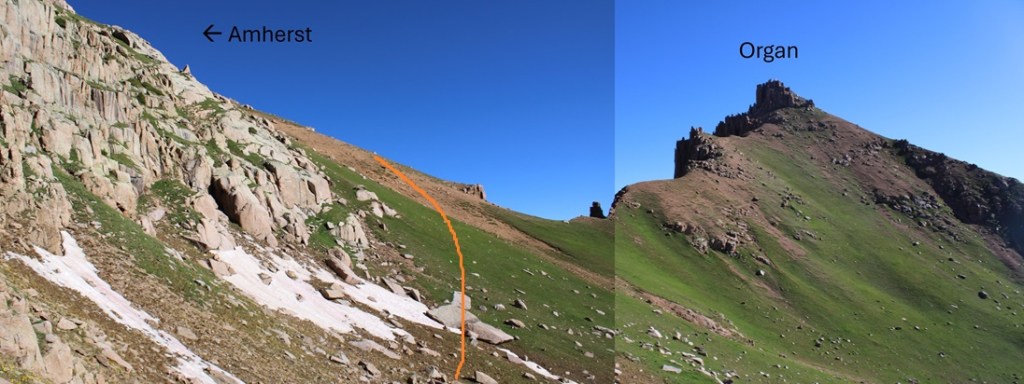
Here you can see Amherst and Organ
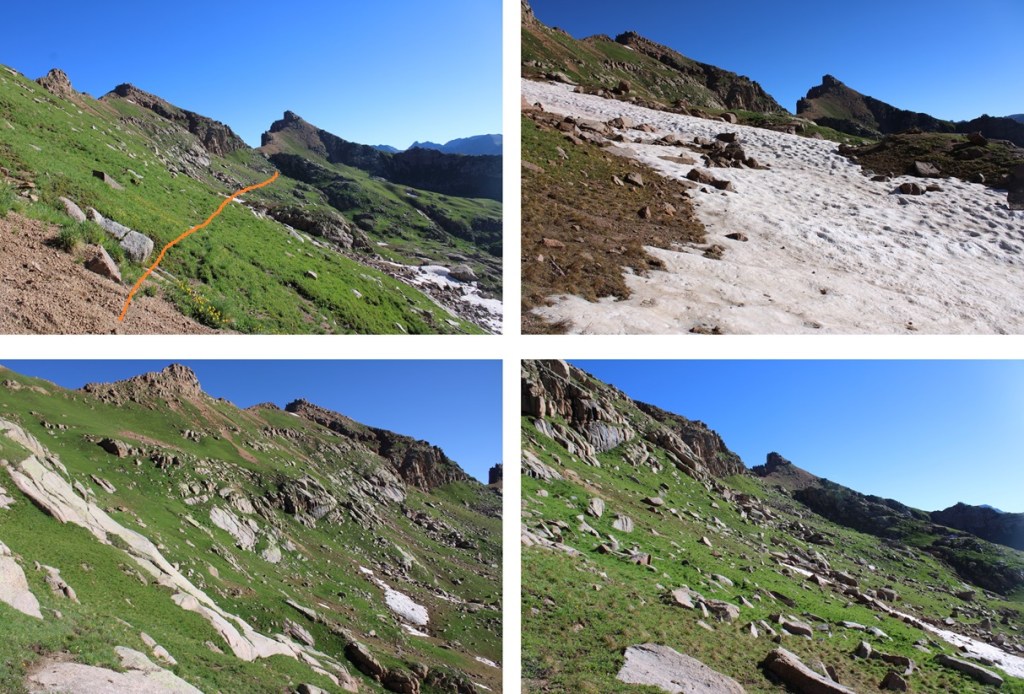
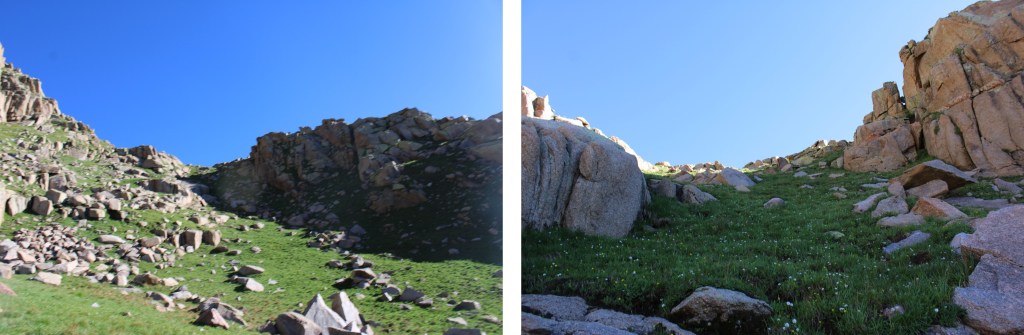
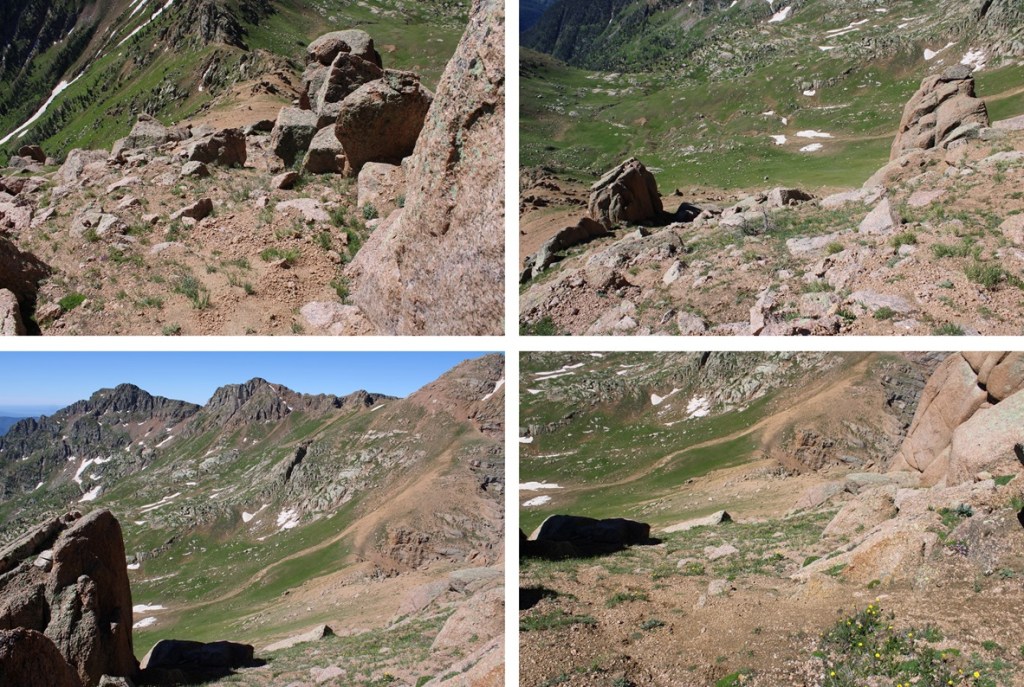
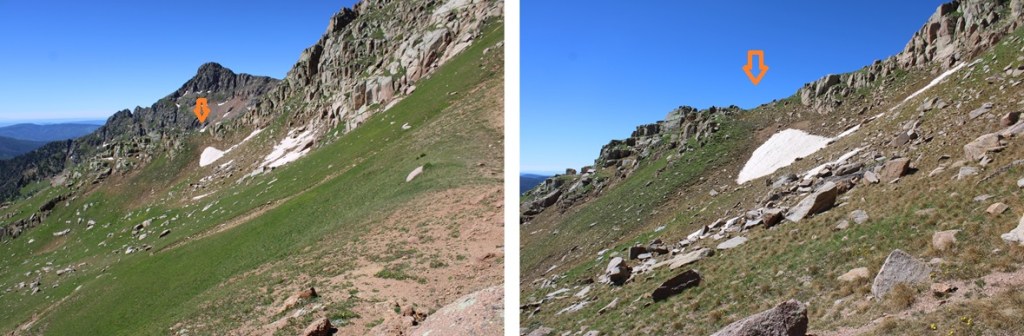
I continued following this trail until I kind of lost the trail, then stayed at about 12400’ of elevation as I made my way towards this gully
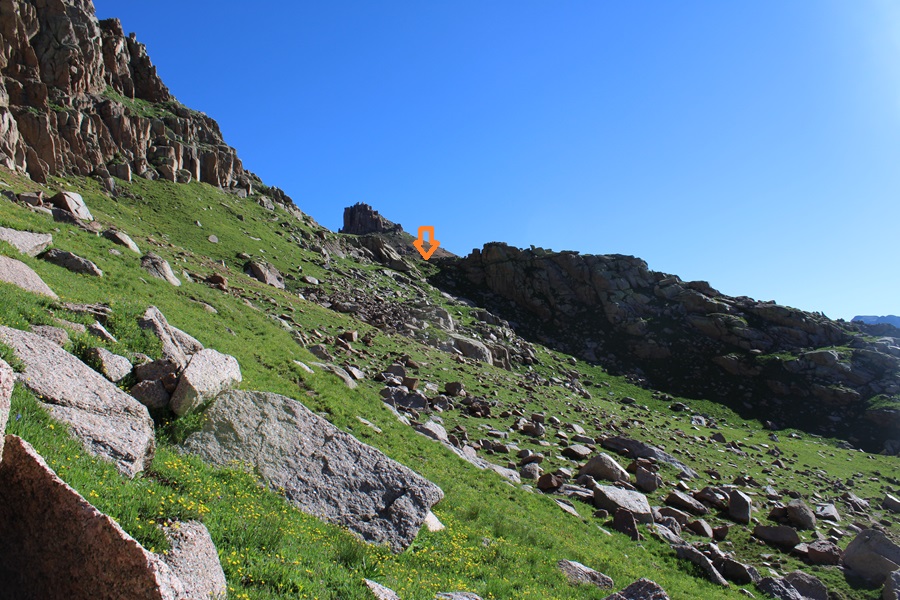
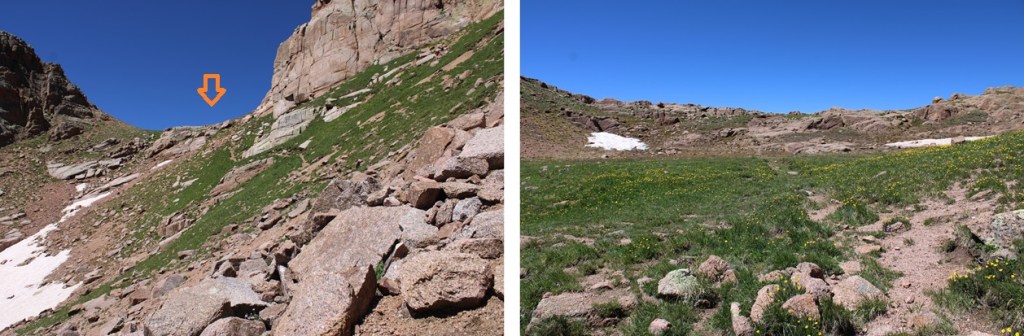
I aimed for this gully, and ascended it.
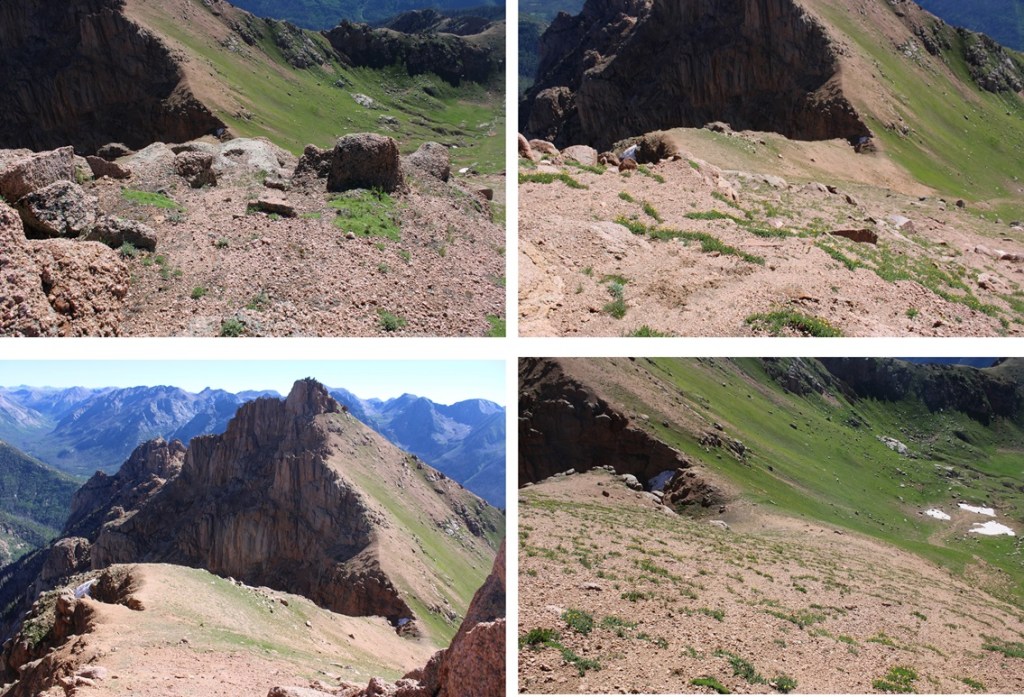
At the top of the gully I could see the saddle between Amherst and Organ. You can aim for the saddle, or just turn left and ascend Amherst. I aimed left, and ascended 800’ on very steep tundra terrain, which eventually gave way to rocky class 2 terrain.
At the top of this rocky area I looked right, and it looked like the area to the right was higher than I was, so I continued following the ridge north.
But when I got to the other side, it looked like where I had been was the highpoint, so I headed south back to the other side.
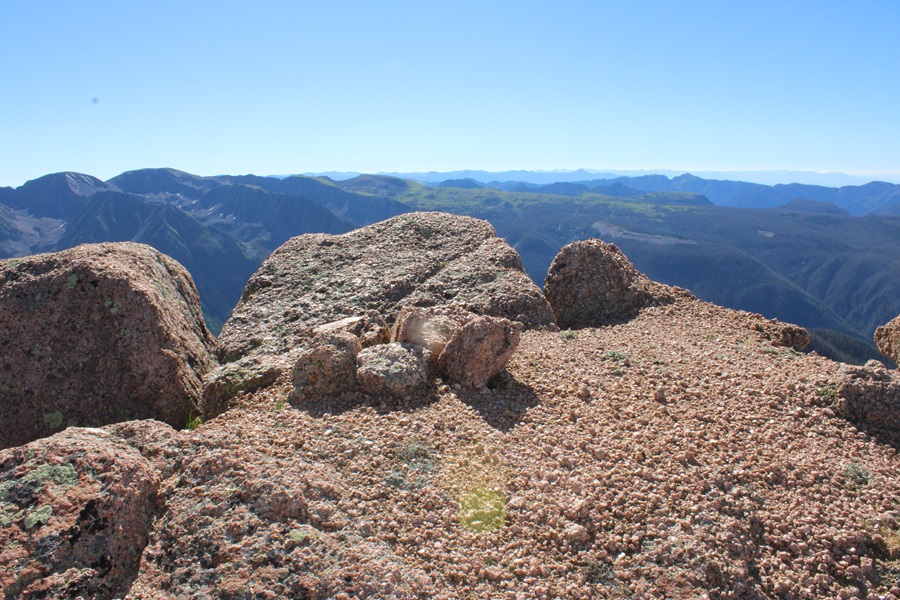
My altimeter gave both points equal height, and there wasn’t a summit register, so I’m not entirely sure which is the true summit. There was what you could call a cairn on the first summit. In any event, they are both easy to tag.
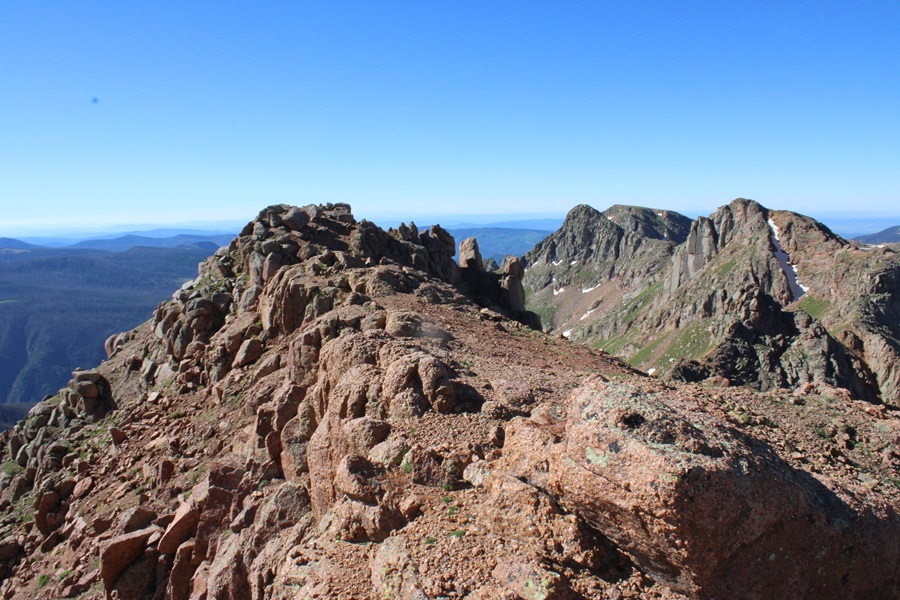
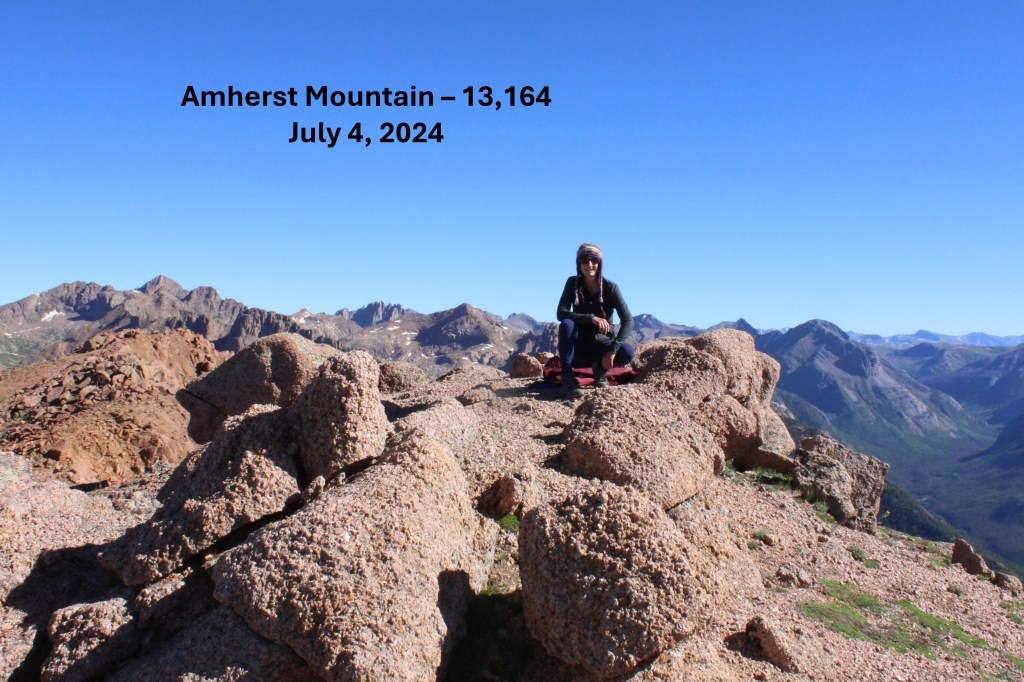
I summited Amherst Mountain at 9am
Amherst Mountain:
From the summit I could see Organ Mountain to the northeast
It looked like it would be a simple ridge hike, so I headed down to the Amherst/Organ saddle.
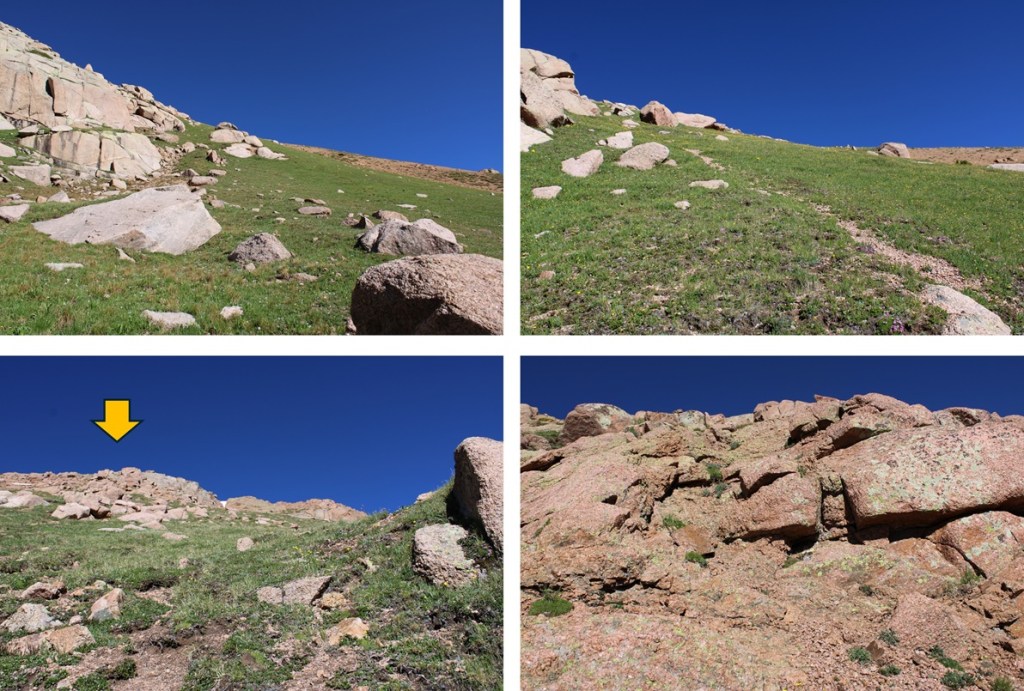
From the saddle, this is the route I took to the summit, aiming for the ramp to the right. This initial part was all class 2 on either scree or tundra.
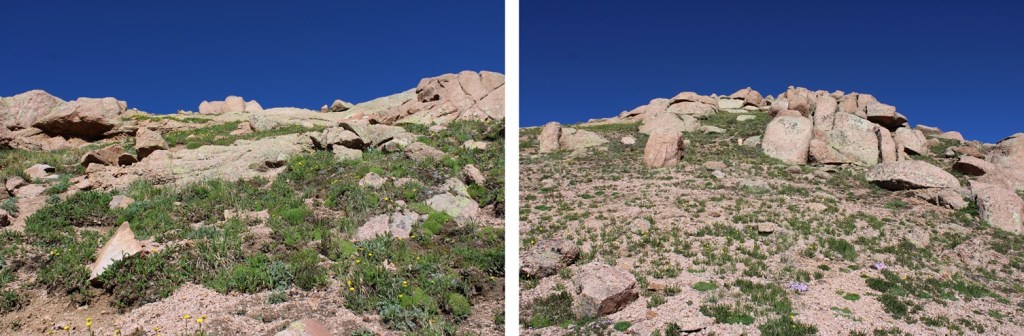
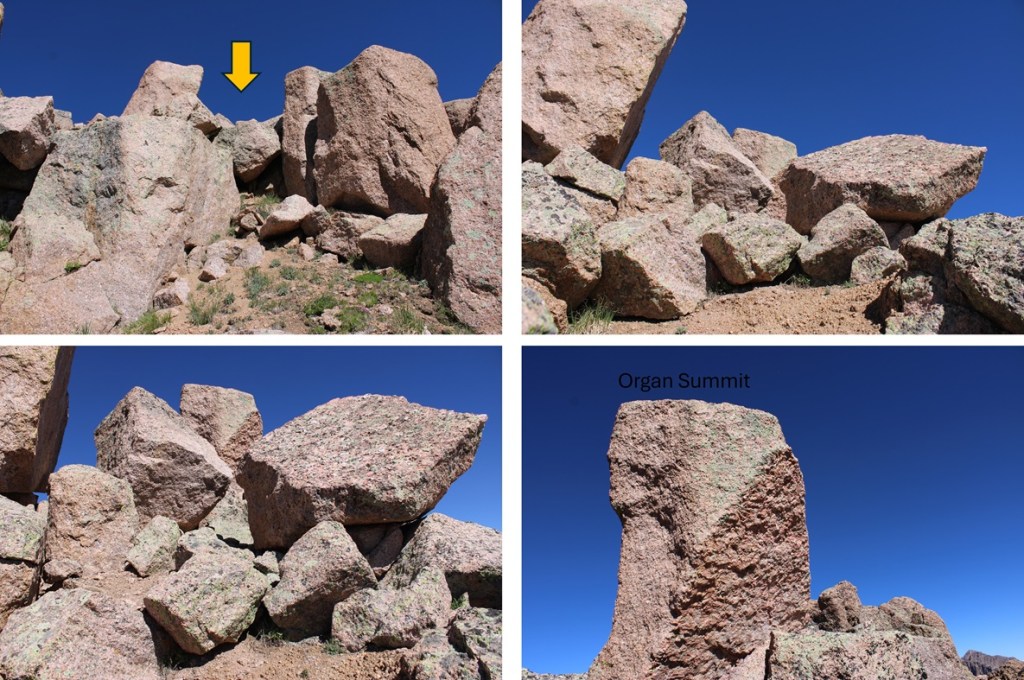
Once reaching the top of the ramp however, it became choose your own adventure, with some short class 3 climbing included at the very end. I hopped over a few rocks, and could see the summit boulder to the north. Climbing this was class 3, and a little airy, but easy access was found to the right of the summit block.
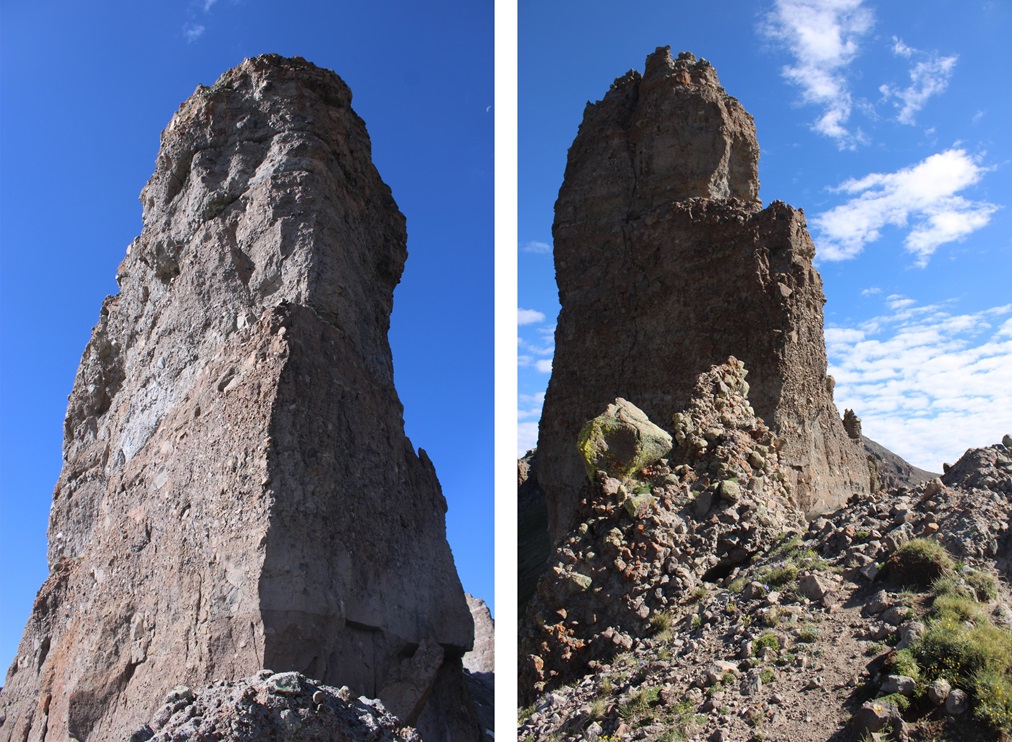
The summit block
I summited Organ Mountain at 10am
Organ Mountain:
I turned around and headed back down to the Amherst/Organ saddle.
From the saddle of Amherst/Organ I made my way back over this gully, then descended to around 12400’ as I wound my way back around the basin and up to the saddle of Emerson/Peak Twenty Two.
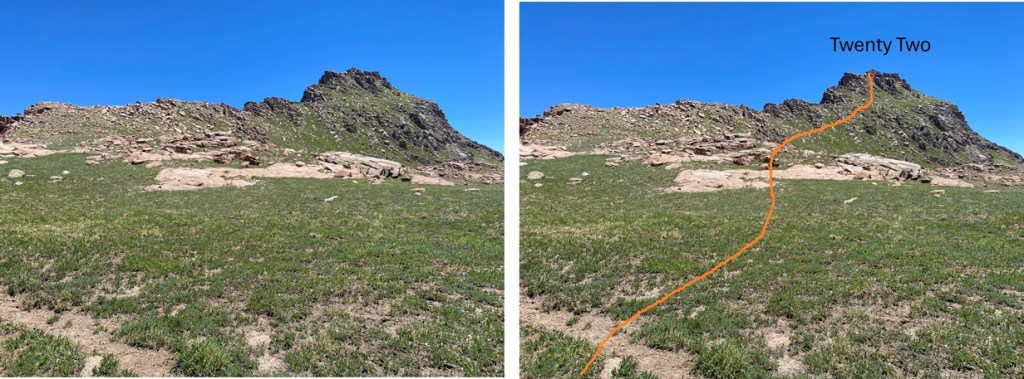
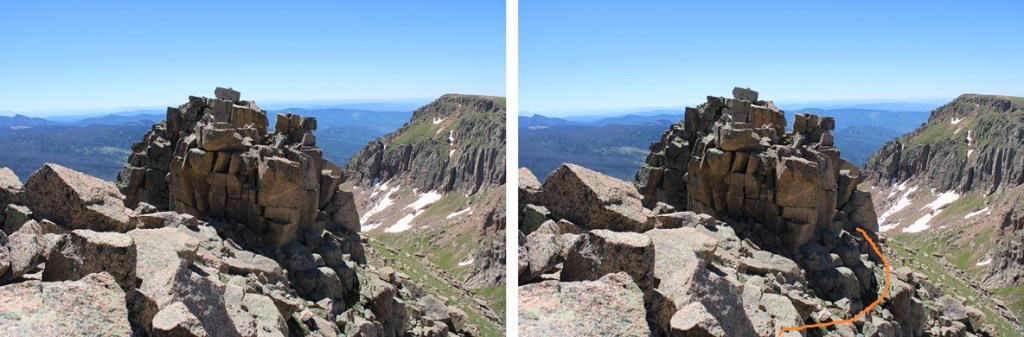
Now to head over towards Peak Twenty Two. From the saddle, I turned left and headed southeast towards Peak Twenty Two. I bypassed most of the ridge, and instead took a grassy gully towards the summit. Here’s the overall route I took to gain the summit.
This part was easy. I just followed the tundra line up the ridge.
At the top of the tundra I thought I’d be at the peak, but I turned right and could see a rocky formation in front of my. I descended a few feet to the right, and skirted the rocky area.
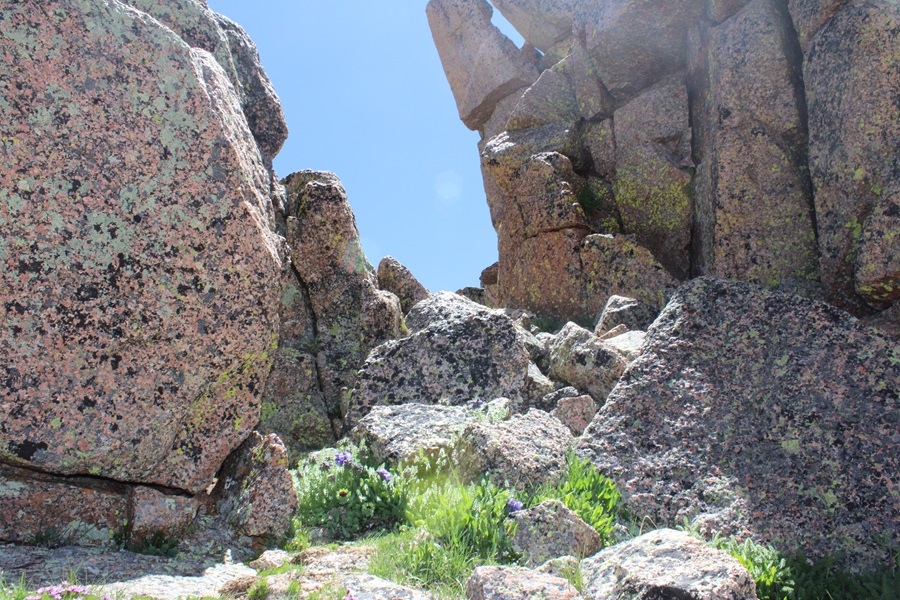
I then found a ramp and climbed up.
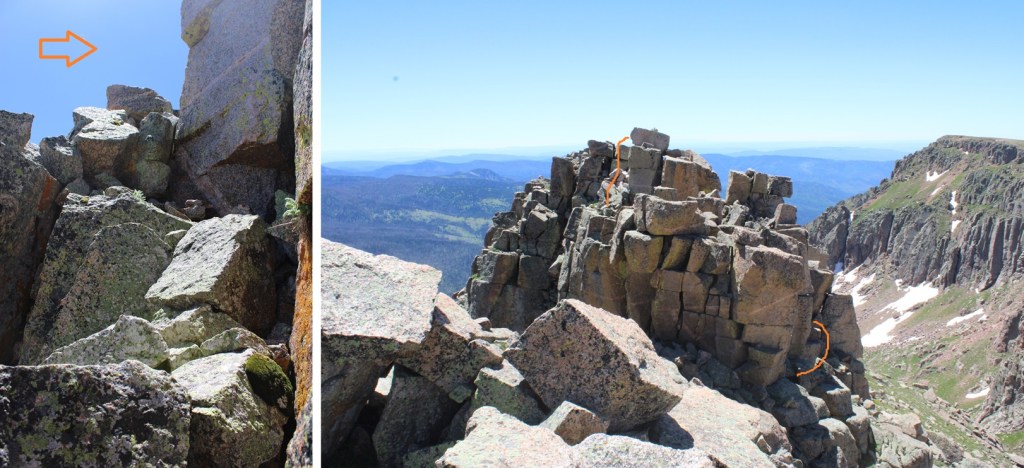
This is where it became class 3, or maybe class 4 depending on which route you take. There are two more rocky ramps you can ascend. One to the right, and one to the left. I looked at both, and liked the one on the left better. They were both very exposed and required scrambling, but the one on the left felt “less” exposed. Here’s the ramp I took:
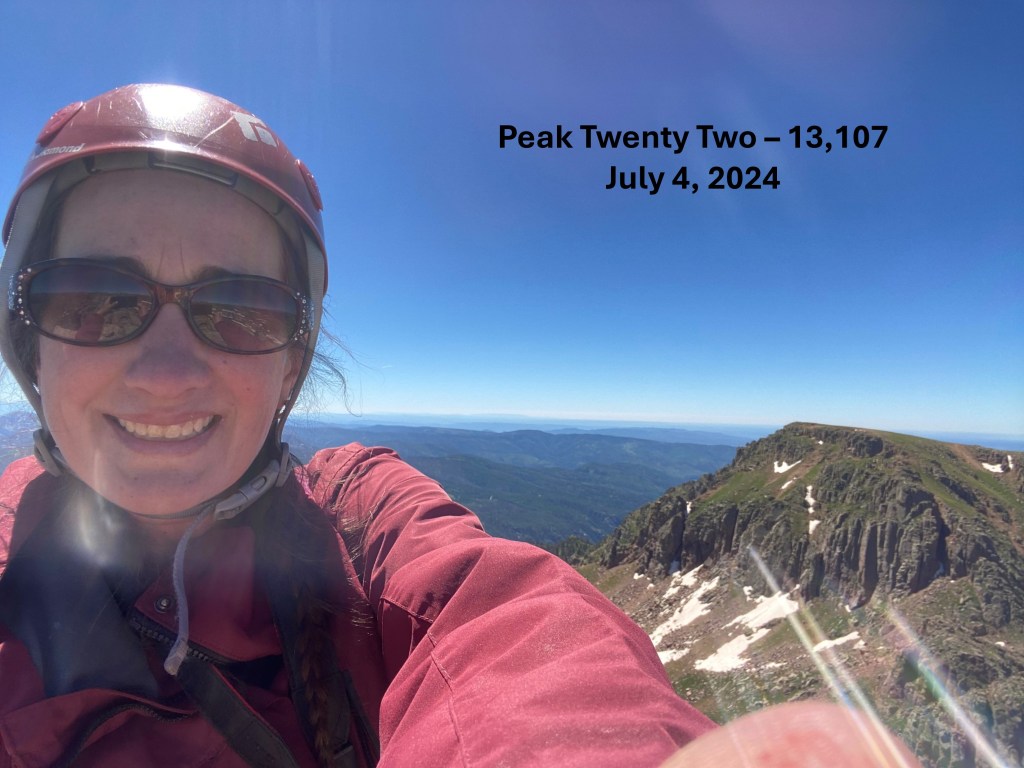
I summited Peak Twenty Two at 11:45am
Peak Twenty Two:
I could see sheep mountain to the south, but first I was going to need to descend the way I’d come and head back towards the grassy access ramp.
I gingerly left the summit, and headed back towards the grassy ramp.
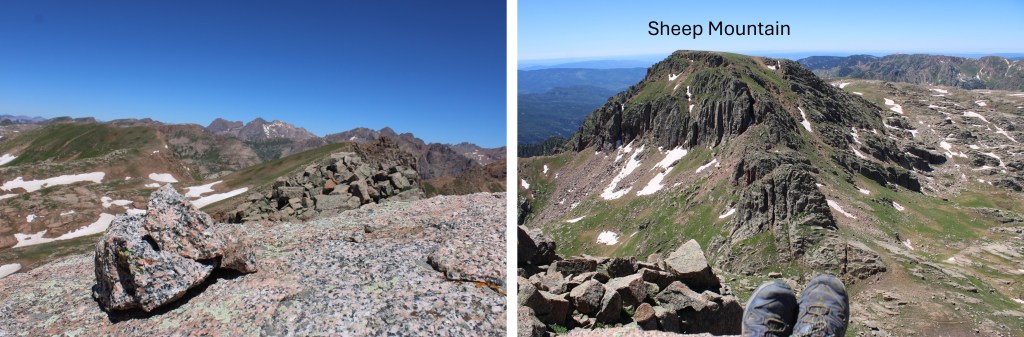
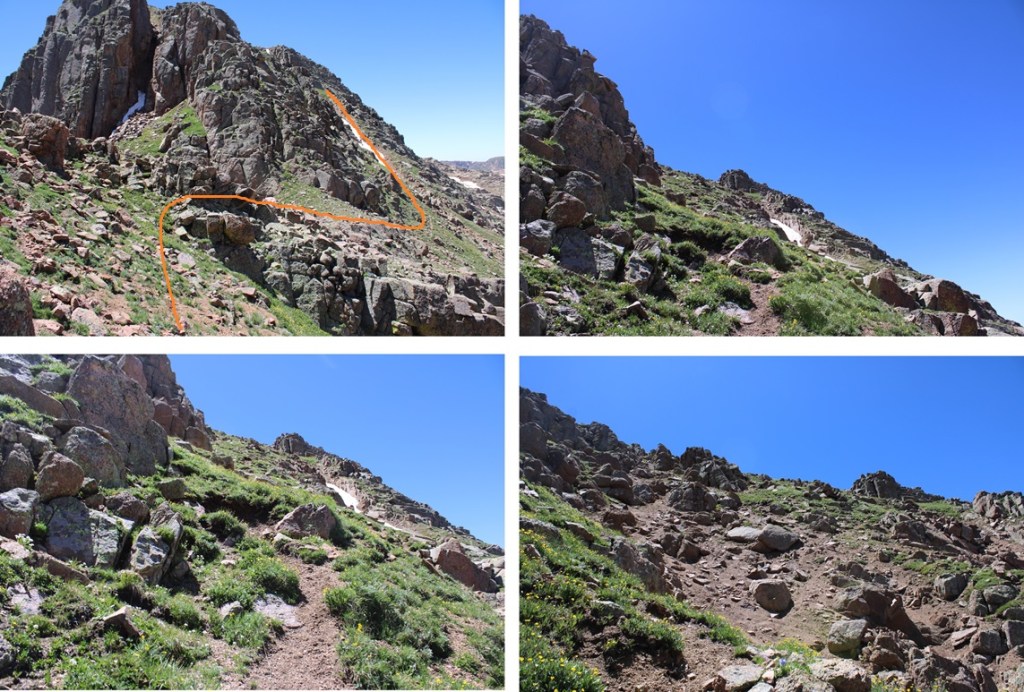
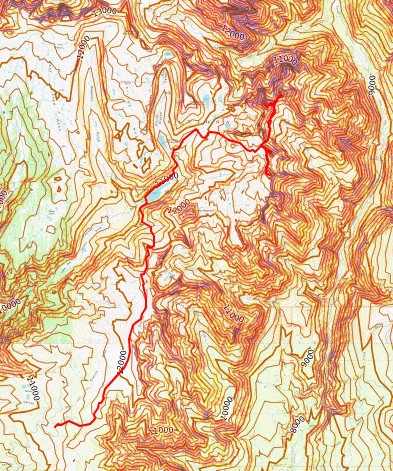
When I’d descended to about 12800’ I turned left and headed south towards Sheep Mountain. This peak was much easier to ascend, all class 2, with a few game trails thrown in. This is the route I took to gain the ridge:
And some step by step pictures, first heading south along the tundra, then looking for a grassy ramp.
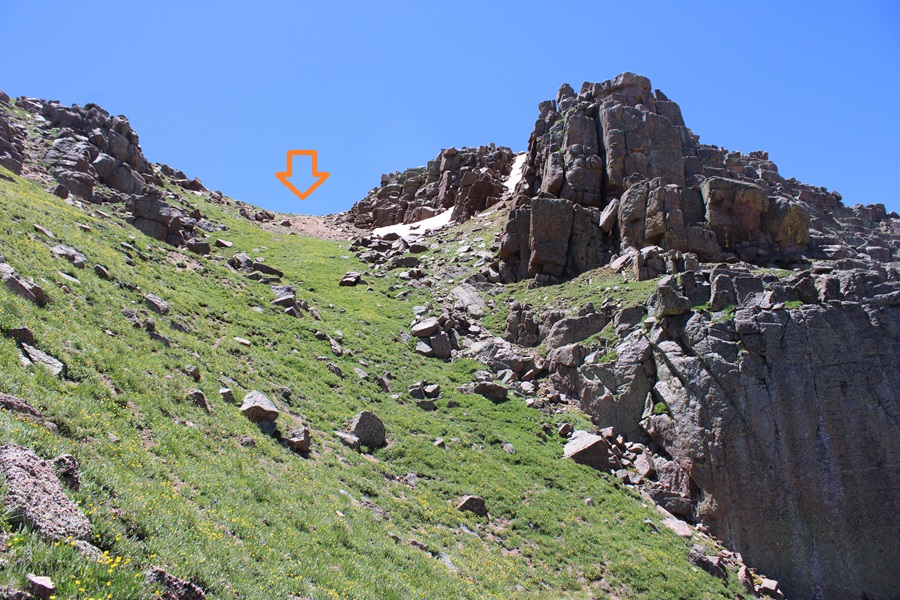
I then dropped a little in elevation, and gained the gully to the ridge.
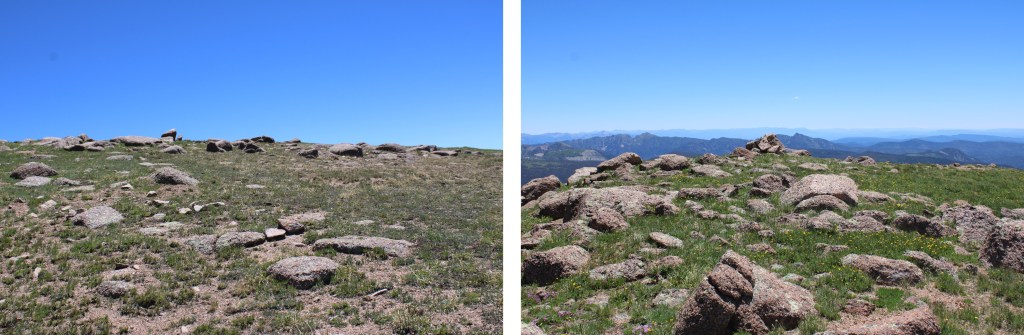
Once on the ridge, it was very flat. I aimed east and up towards the summit.
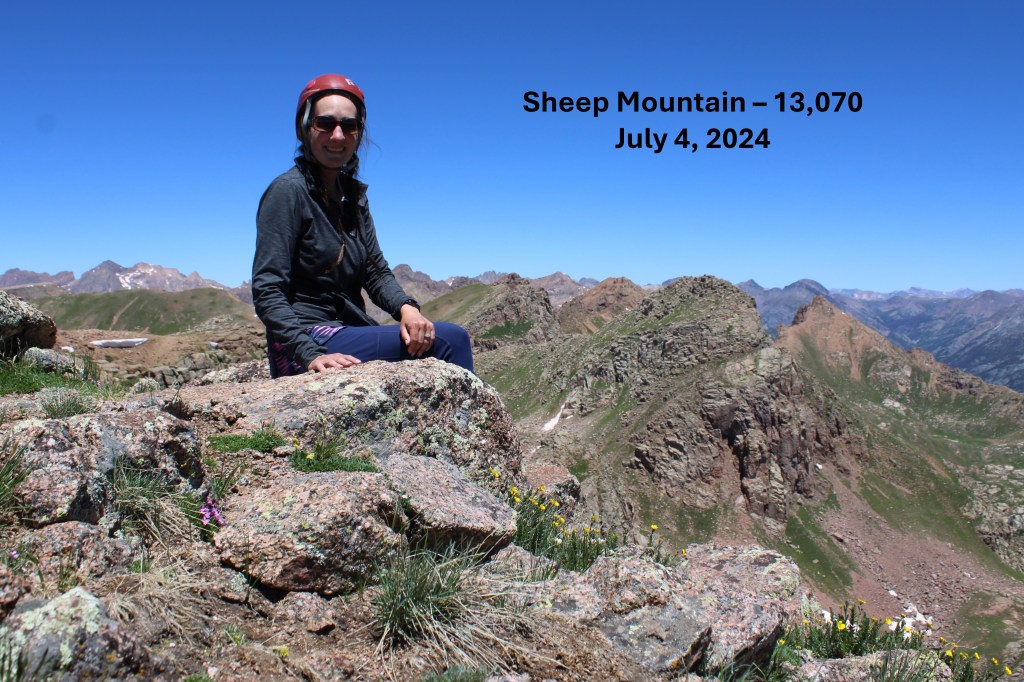
I summited Sheep Mountain at 12:30pm
Sheep Mountain:
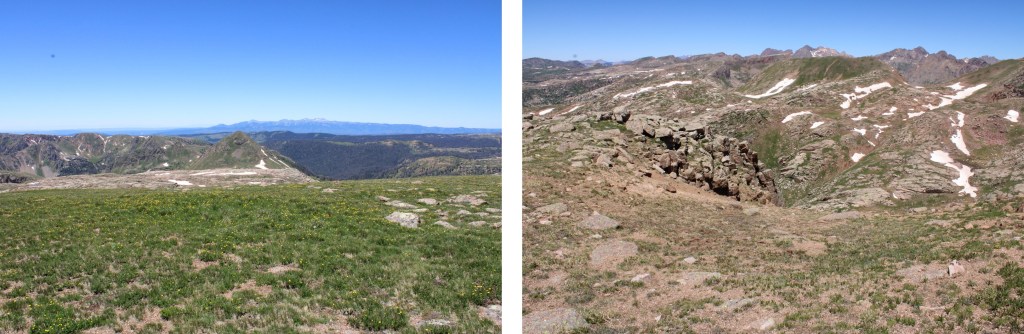
Now to head back to the Emerson/Peak Twenty Two saddle. I descended back down the gully, then headed north towards the saddle.
Round trip from the Emerson/Peak Twenty Two Saddle to Amherst, Organ, Peak Twenty Two, Sheep, and back to the saddle was 6.57 miles with 2550’ of elevation gain. From City Reservoir, it was 13.5 miles with 4495’ of elevation gain.
Note: there’s a long approach for these peaks, so I decided to make this a backpacking trip. I found a great basecamp for the Rio Grande Pyramid 13ers (and others). The approach is about 10 miles and 3100’ of elevation gain, coming from Thirtymile Campground. The approach can be found here.
I’d hiked up to 12210’ the day before, summited some peaks, and spent the night at my camping spot, so I was able to get up early and refreshed the next morning to hit the trail at 5:30am.
This time, I was heading southwest on the Continental Divide Trail.
This trail was easy to follow, and well established. I followed it for just under 2.5 miles to the saddle of 13022 and Window Peak.
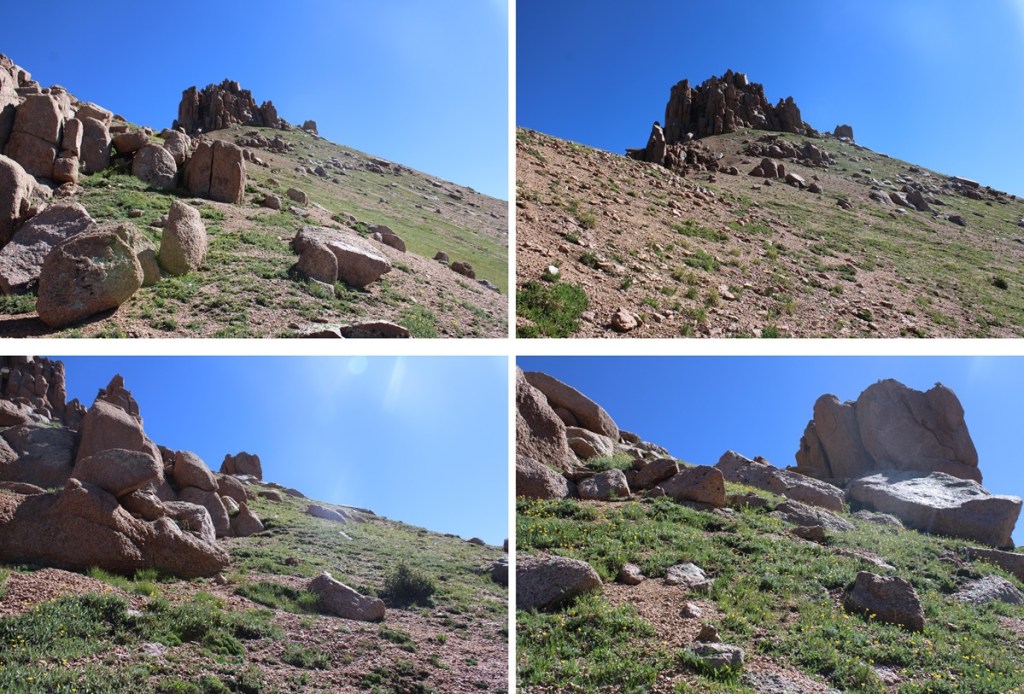
From the saddle I turned left and headed towards PT 13022. I did not follow the saddle, but instead cut across to the rocky basin.
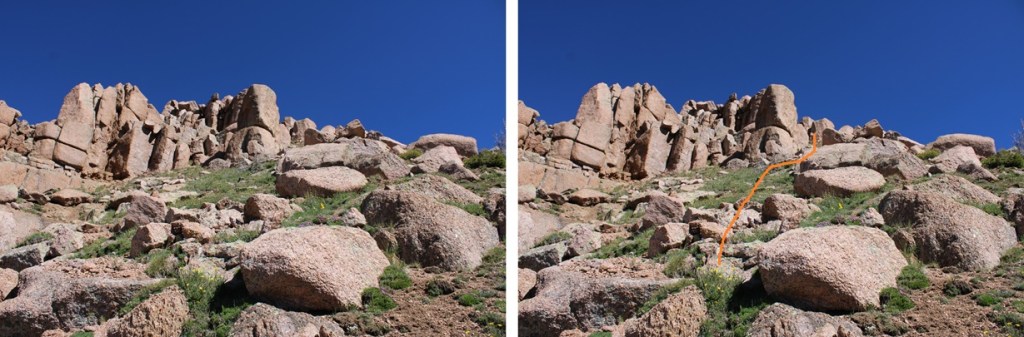
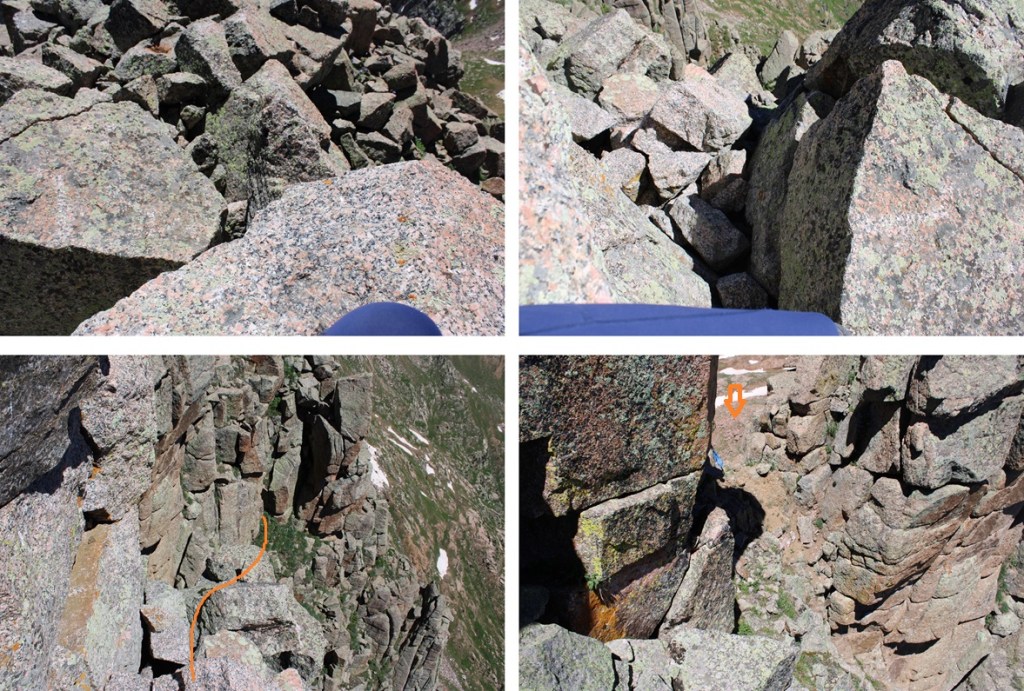
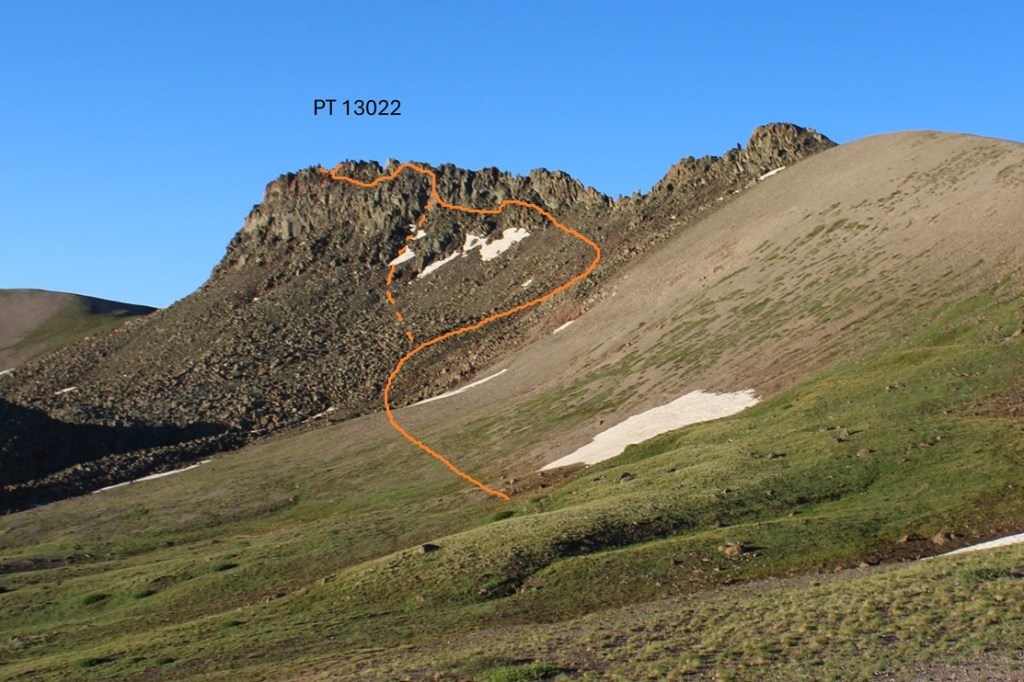
There wasn’t a trail here to the summit, and it looks like a viable route changes from season to season due to rockslides, etc. This is the basic route I took to the summit, and back down. The solid line is the route I took up, the dotted line is the route I took down. I’d recommend taking the route I took down both ways. The climbing here was class 4. In fact, I saw a (very old) anchor set up along my route, so people at one point at least used ropes to descend.
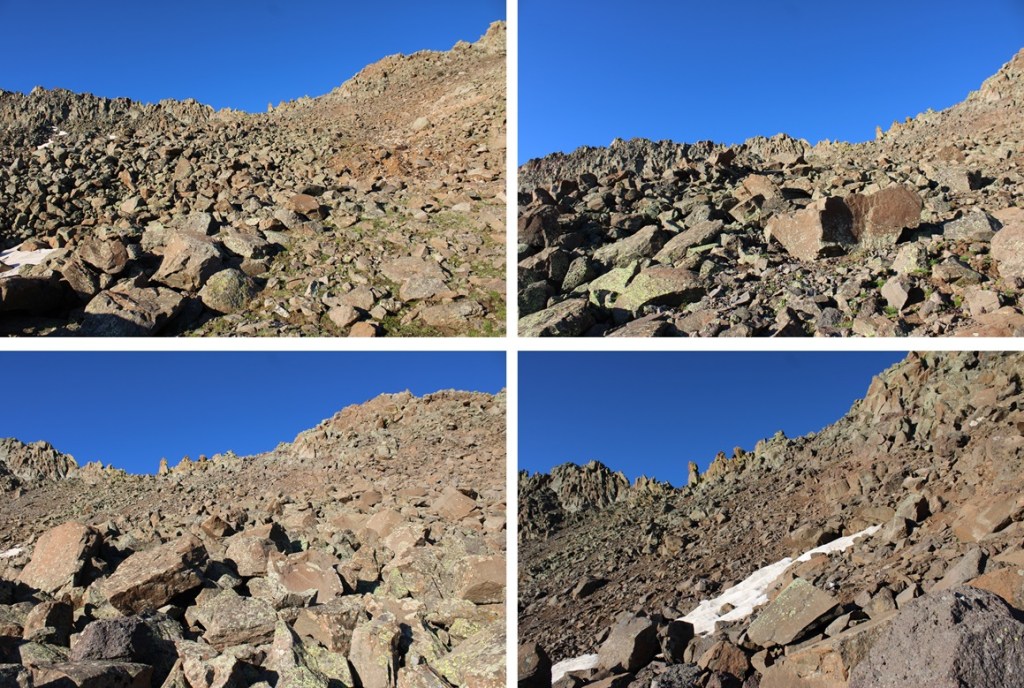
First, I made my way up the rocky basin.
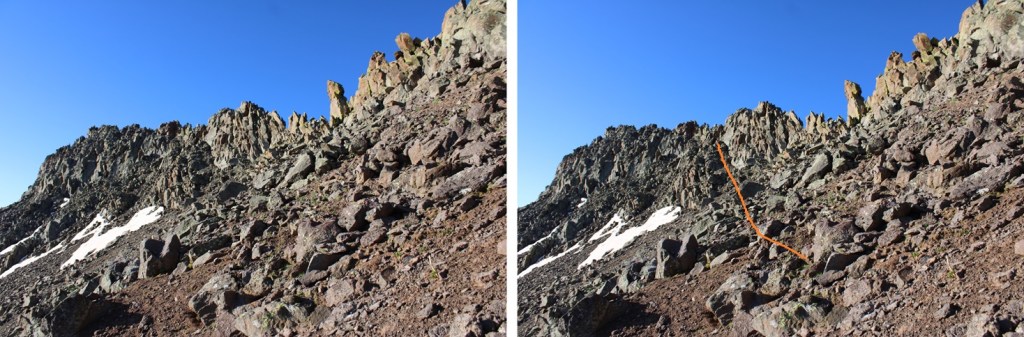
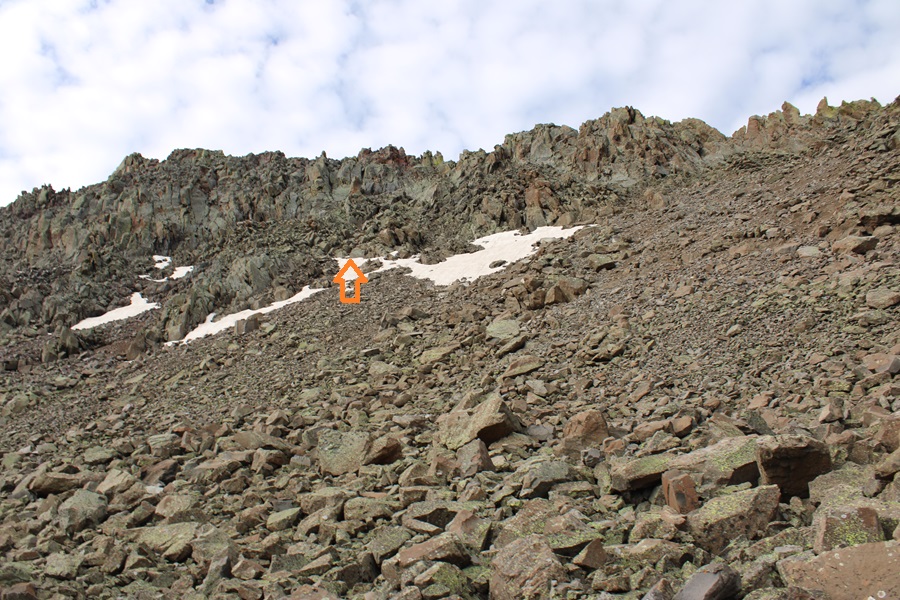
Then I headed towards and up this rocky ramp
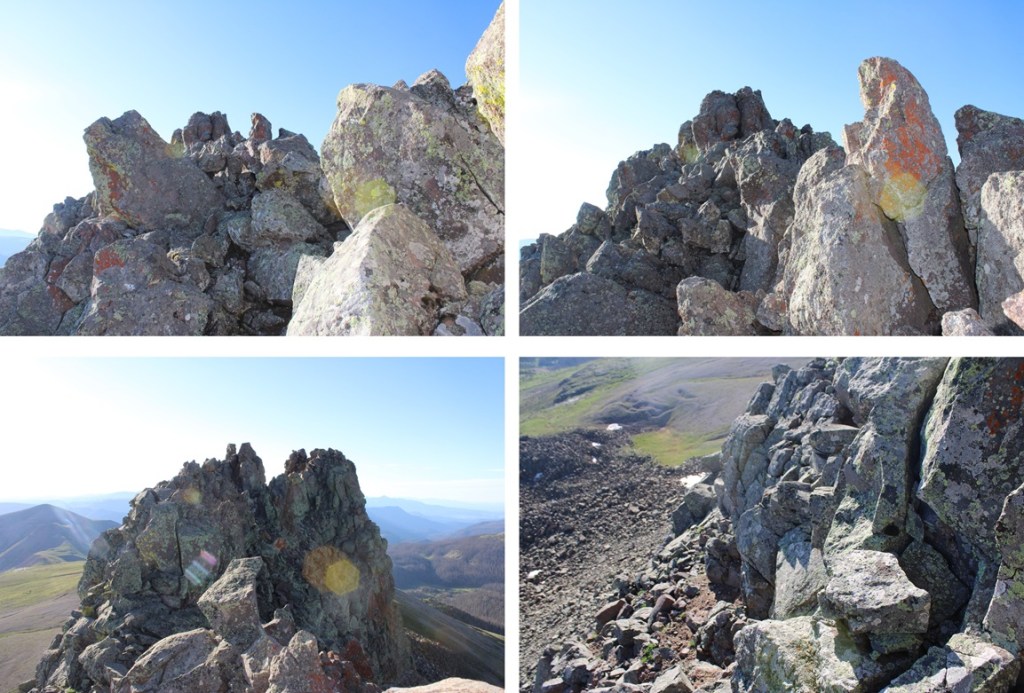
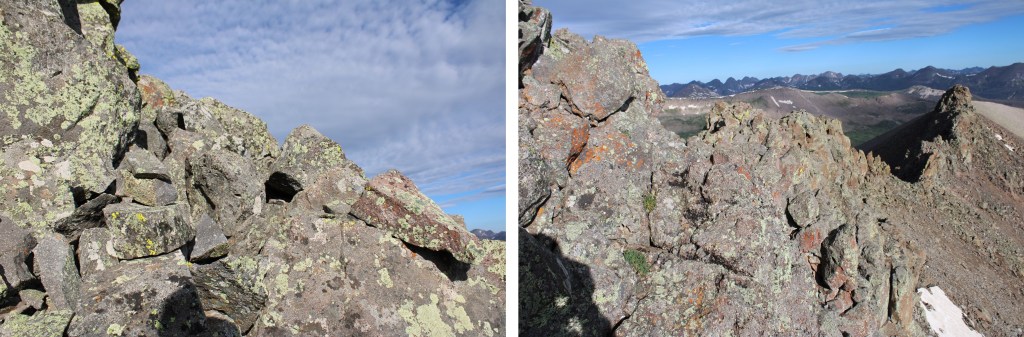
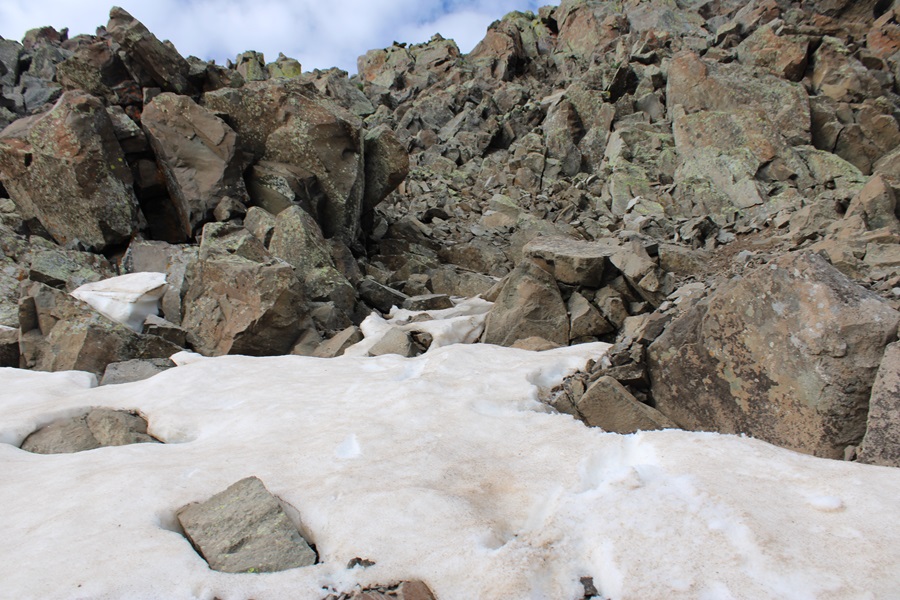
At the top of the ramp is where it really got interesting. There were a few cairns here, but as I said earlier, it looks as if the route changes. I scrambled my way up to the ridge, had about 20 feet of ridge climbing, then had to descend to find a viable route east.
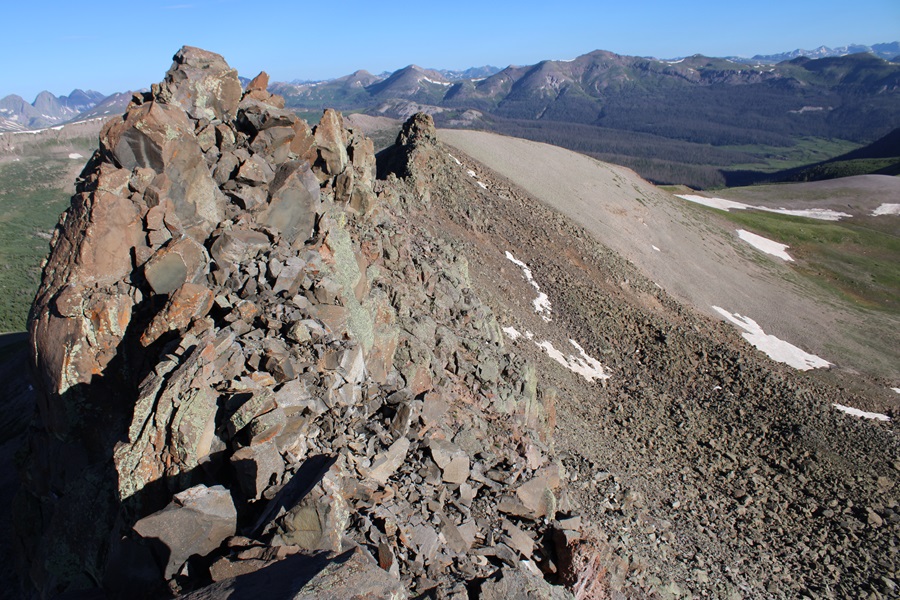
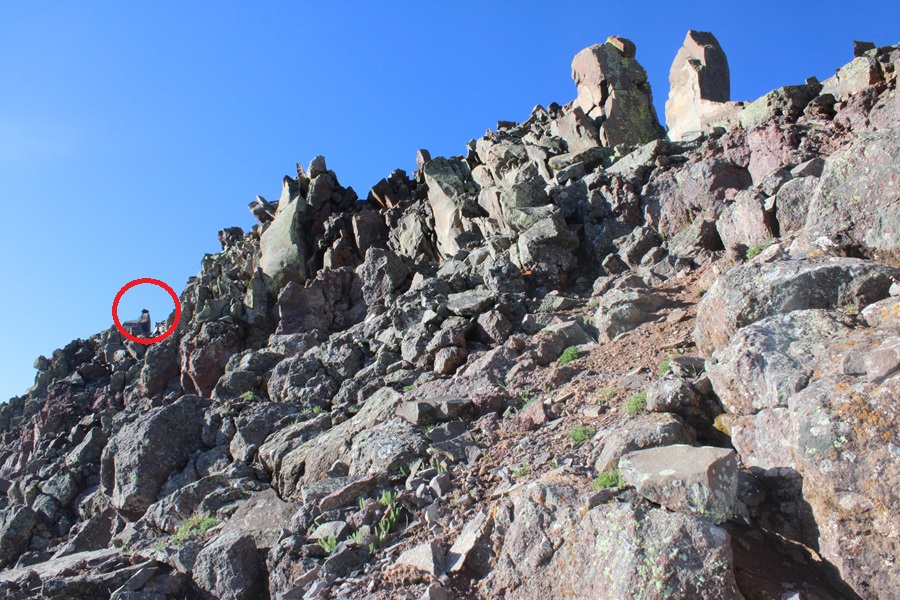
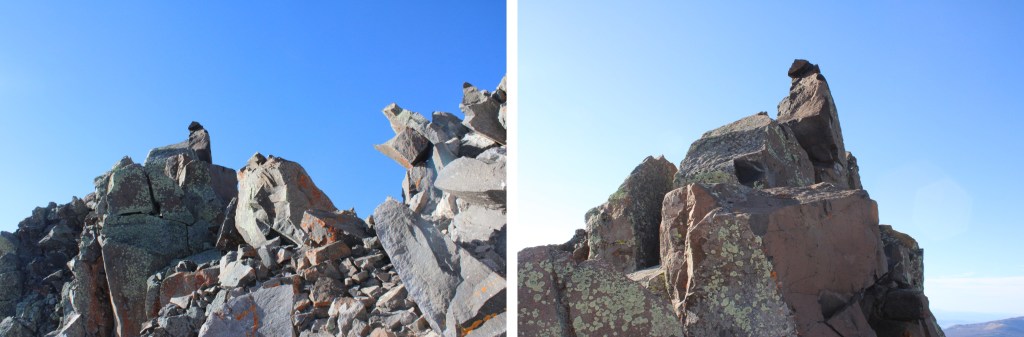
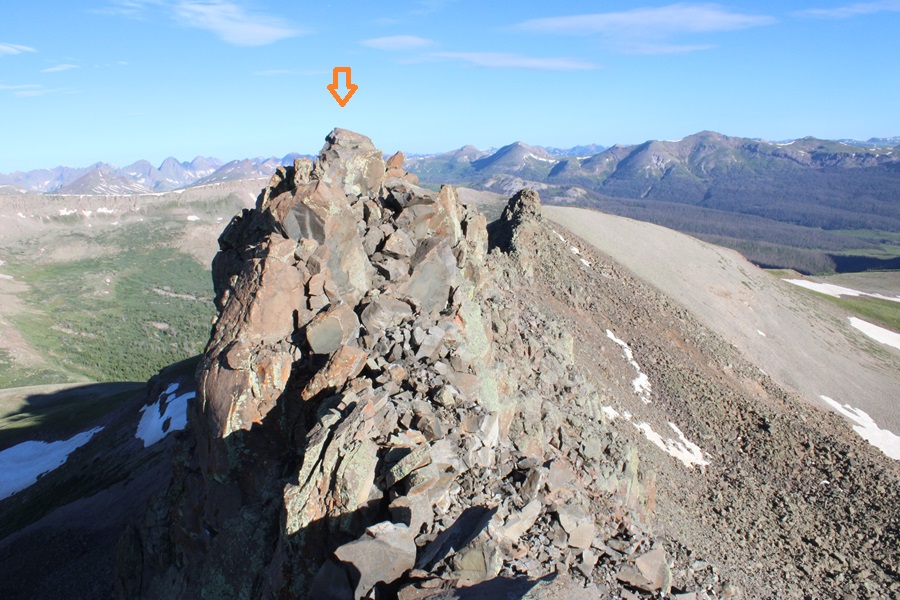
Ahead of me there was a rock perched atop a spire that looked like a cairn, and I assumed this was the summit. Here is where I was aiming.
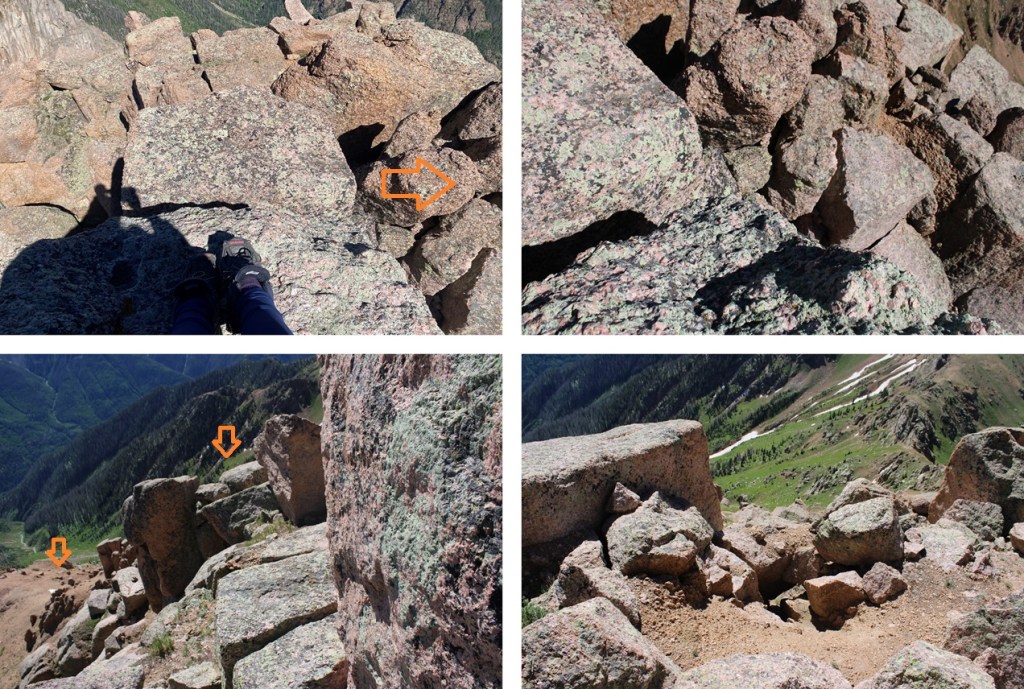
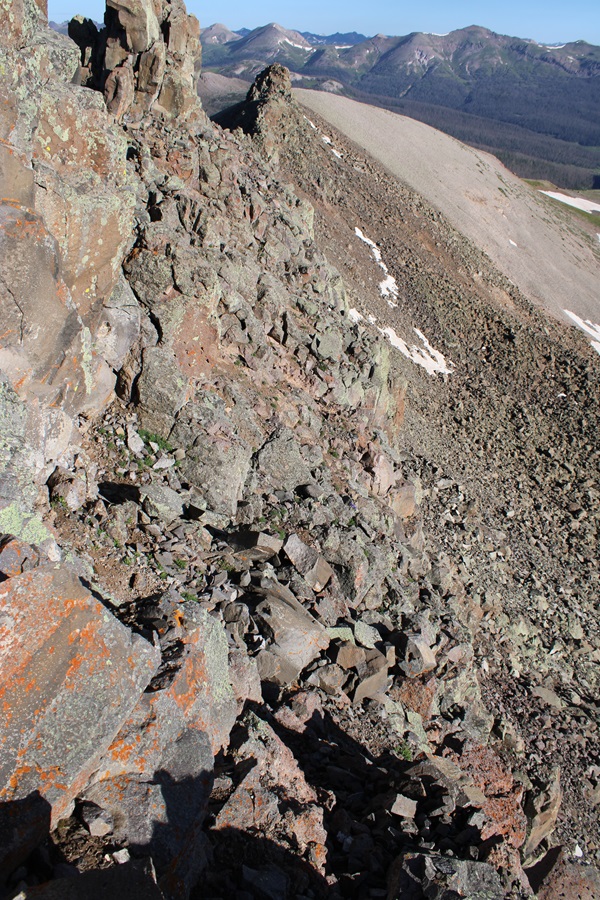
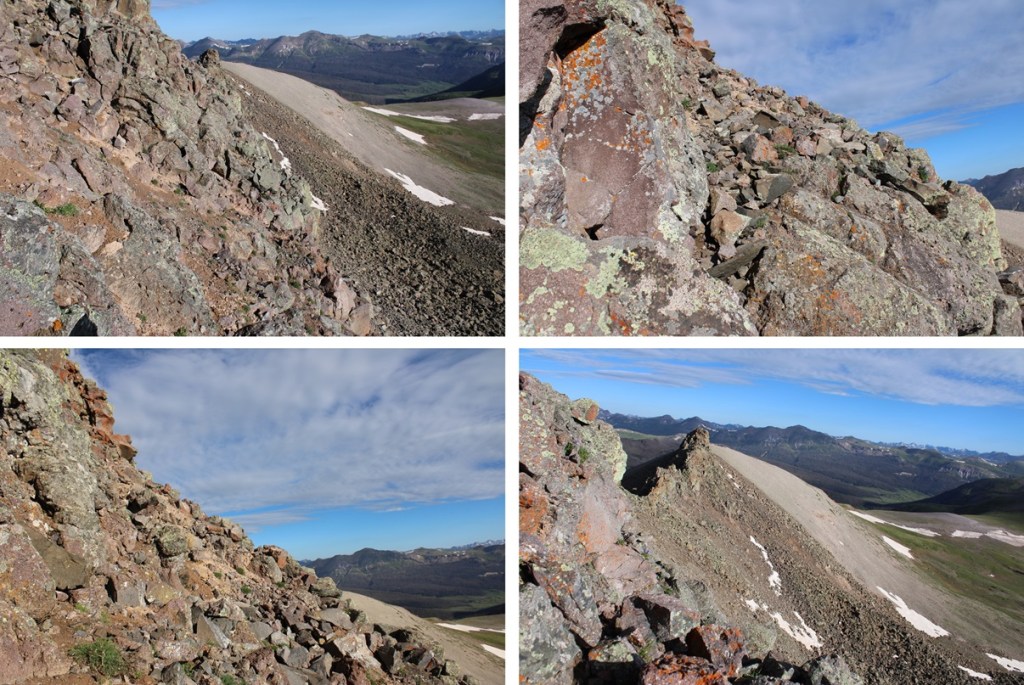
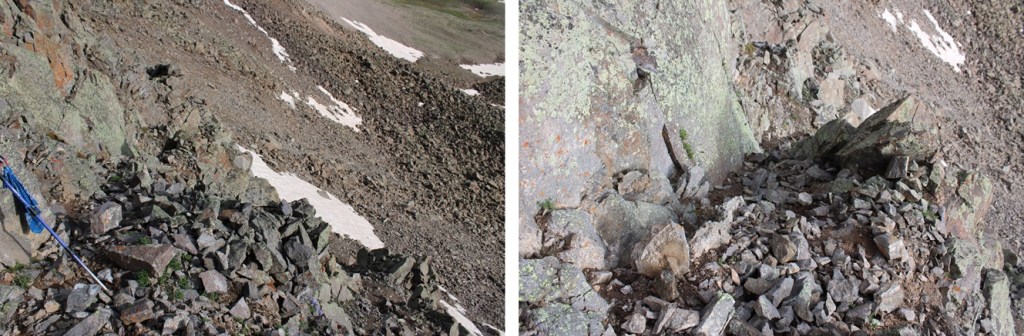
I did my best to follow game trails and cairns where I could find them, staying below the ridge, doing my best not to fall down the loose gullies, making my way east. Yes, there were times I had to crawl around rocks with serious exposure to avoid climbing the ridge. I did not feel the ridge ‘went’.
Here’s that anchor I was talking about
I kept aiming for the cairn
I made it to the cairn, scrambling up some class 4 rock to get there, sat and took a video.
I turned and looked to the west, and it seemed as if the point just a few yards away was higher, so I scrambled my way over there as well.
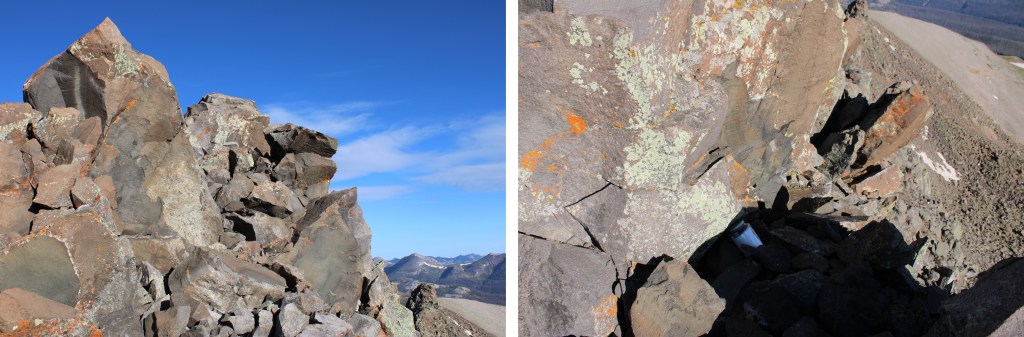
When I got there, I found a summit register (which I couldn’t open) so I’m guessing it’s the true summit, although both points looked to be of equal height.
I summited PT 13022 at 7:30am
PT 13022:
Now to make my way down. On my climb up I had a better view of the mountain, and found a gully I thought looked safer to descend. I downclimbed from my perch and started out by heading back the same way I’d summited, west.
Hey look! A cairn!
Just for perspective, here’s a photo of where I left my trekking pole. I scrambled around this rock to get back there. If you look closely, you can see a cairn on the rock to the left of the trekking pole. This was the crux of the route for me, both in and out.
I continued west, found a gully that looked stable-adjacent, and headed down.
Here’s looking back up at the gully I descended
And now to head back down the rocky basin and make my way back to the saddle with Window Peak.
Window Peak isn’t ranked, but I needed an easy win, so I headed north, and followed the grassy slopes, which changed to rocky slopes, to the summit of Window Peak
There was a bit of a false summit here, so I just kept following the ridge
There were also some pretty cool rock formations along the way
I summited Window Peak at 8:50am
Window Peak:
I wanted to hike to the actual window, so I continued north along the ridge, descended a grassy gully until I was at 12900’, and then traversed north to The Window.
Now to head back to my campsite. This was actually fairly easy. There was a solid trail that descended from The Window, which eventually went away. I followed the trail as far as I could, then just aimed east for the Continental Divide Trail, which I could see located by the pond in the distance.
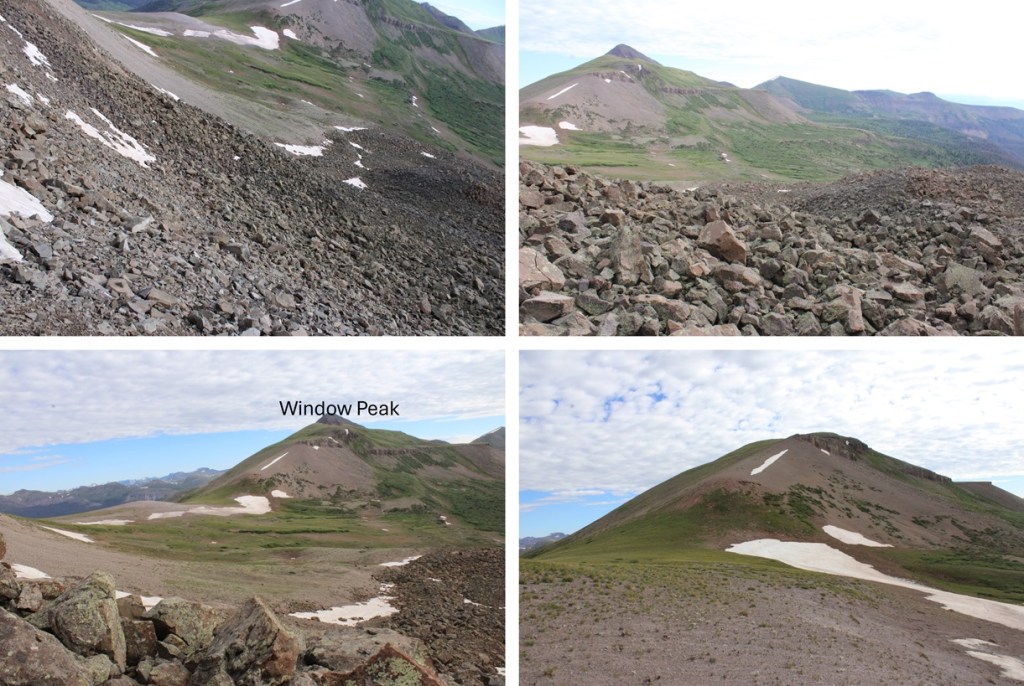
Here’s a view of Window Peak
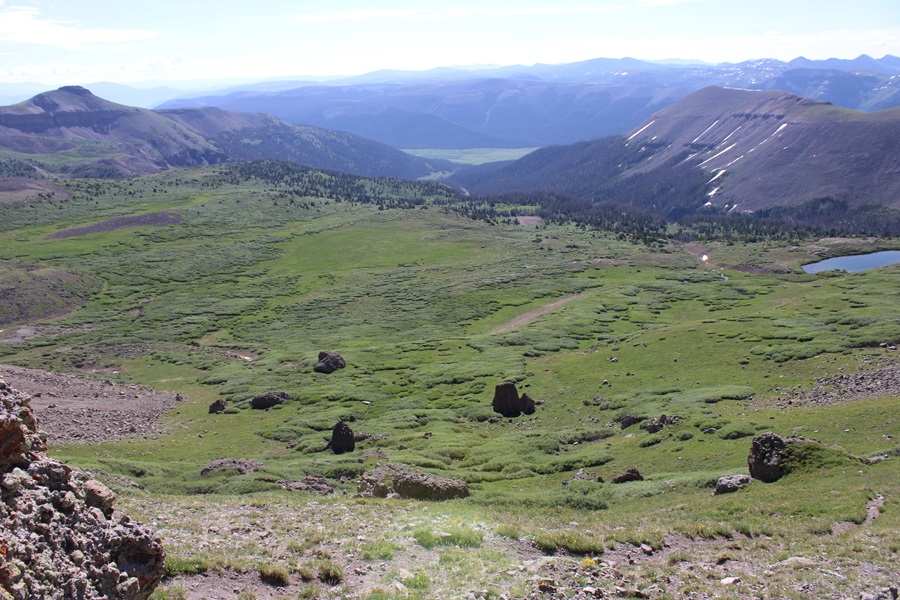
And my route back to the trail
Back on the Continental Divide Trail, I followed it northeast back to my campsite.
I made it back to my campsite at 9:45am. This was a 6.88 mile hike with 1471’ of elevation gain from my campsite at 12210’.
Note: there’s a long approach for these peaks, so I decided to make this a backpacking trip. I found a great basecamp for the Rio Grande Pyramid 13ers (and others). The approach is about 10 miles and 3100’ of elevation gain, coming from Thirtymile Campground. The approach can be found here. I started from Thirtymile campground at 2:30am and made it to 12210’ at 7:30am.
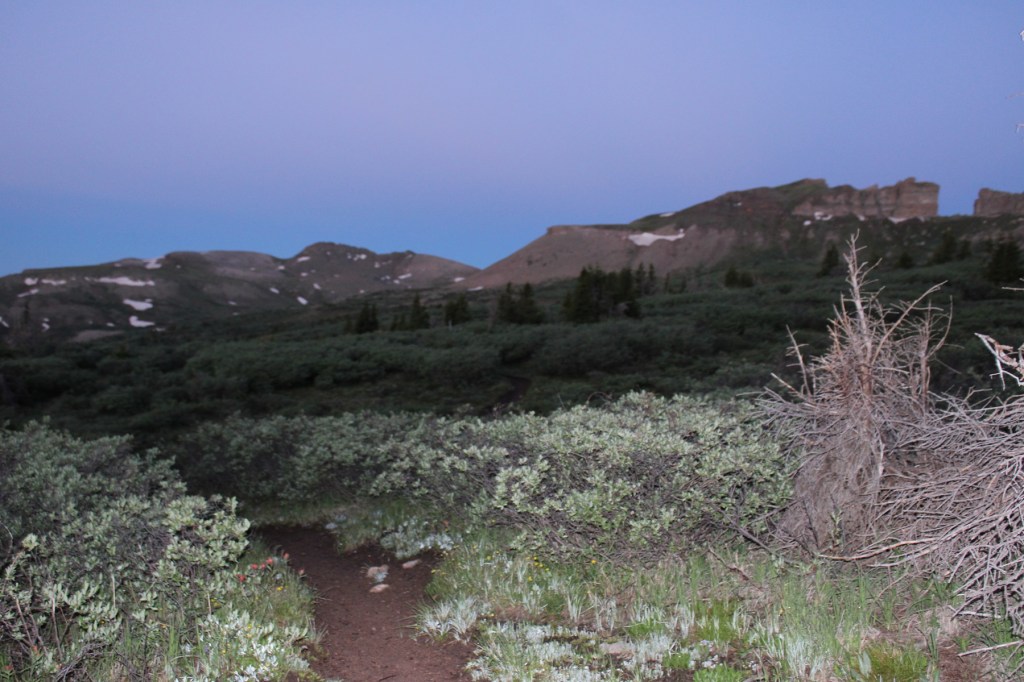
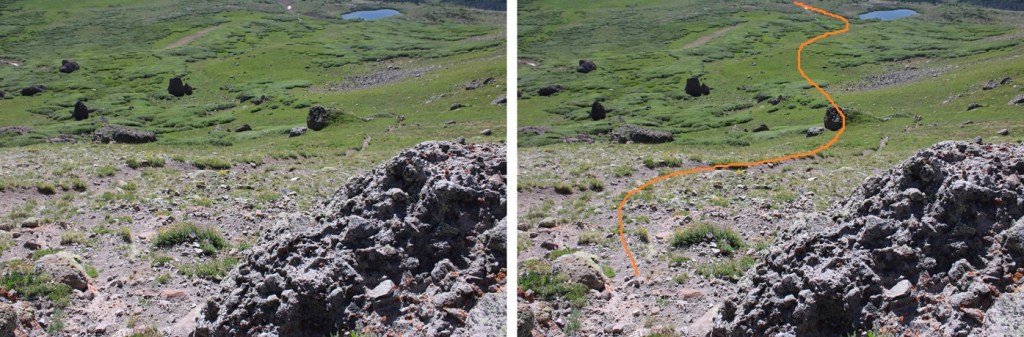
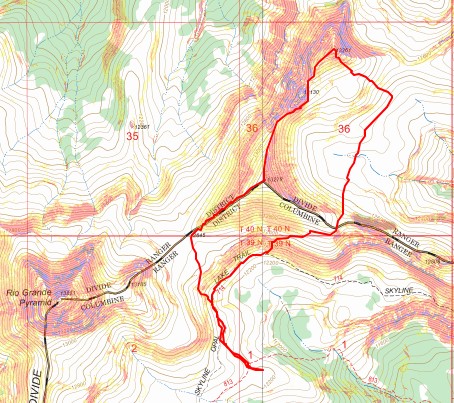
I took some time to set up my campsite, and was on the trail again at 8:30am. From my campsite near the Continental Divide Trail I headed northwest. Maps show a trail here (Skyline Opal Lake Trail), but it was difficult to find. Much of the trail was overgrown with willows and grass, so when I couldn’t find a trail, I kept heading northwest, and eventually found it again.
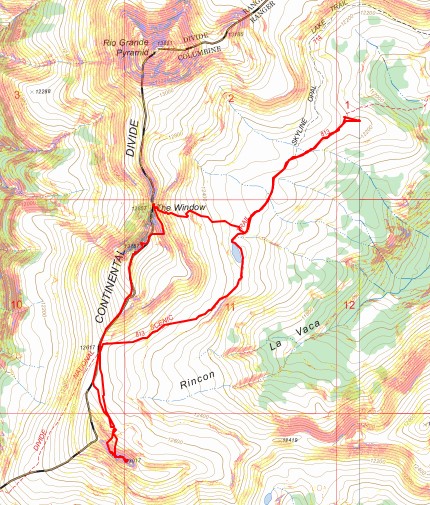
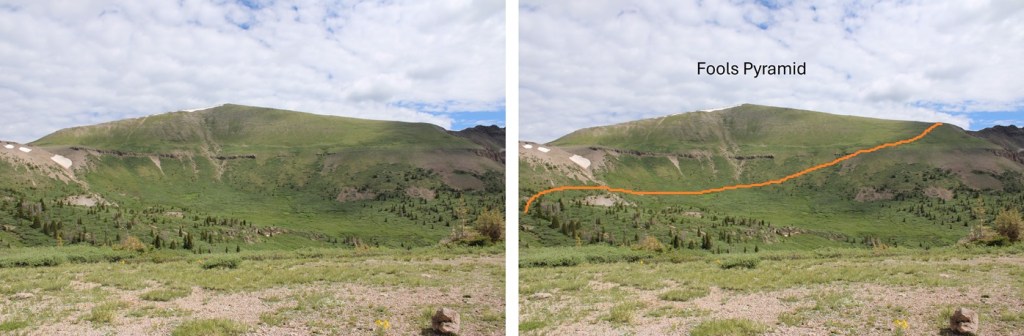
This is the overall route I took to gain the saddle between Rio Grande Pyramid and Fools Pyramid:
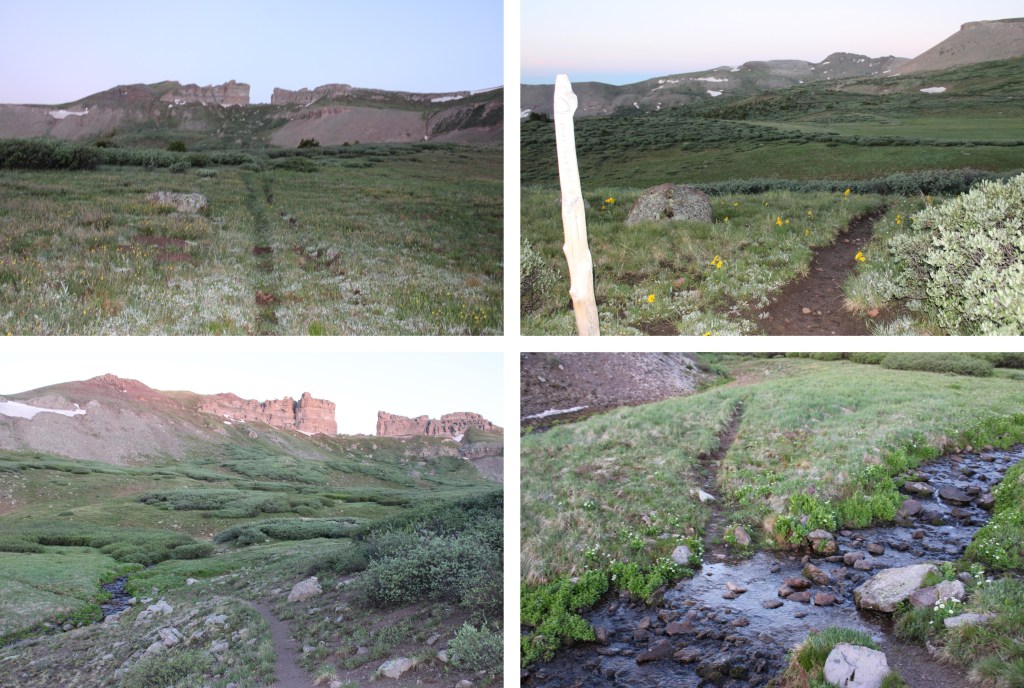
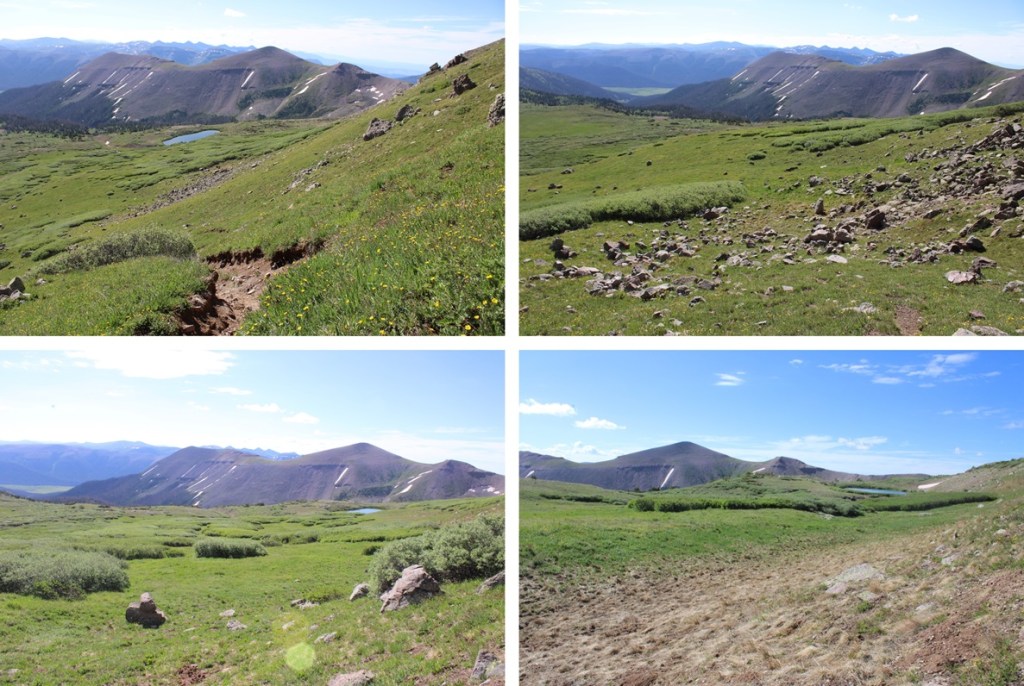
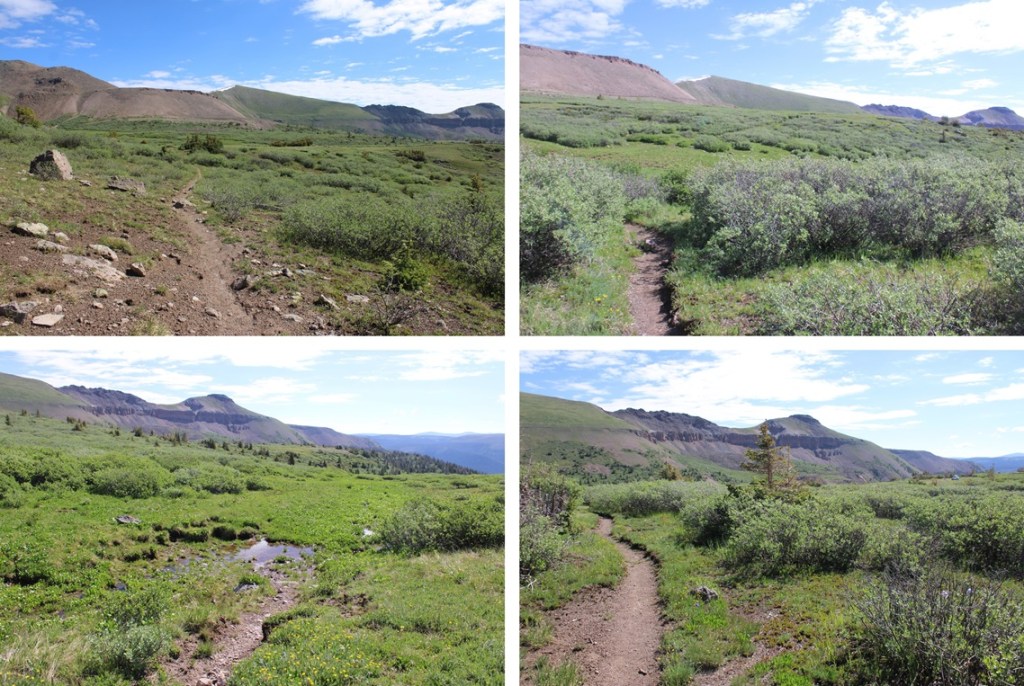
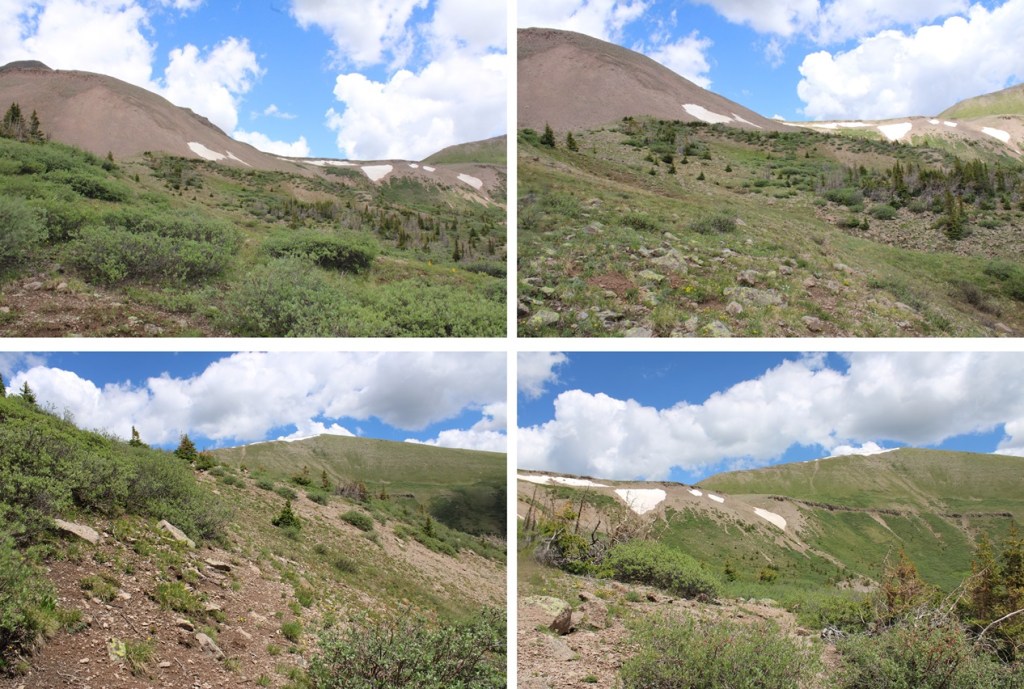
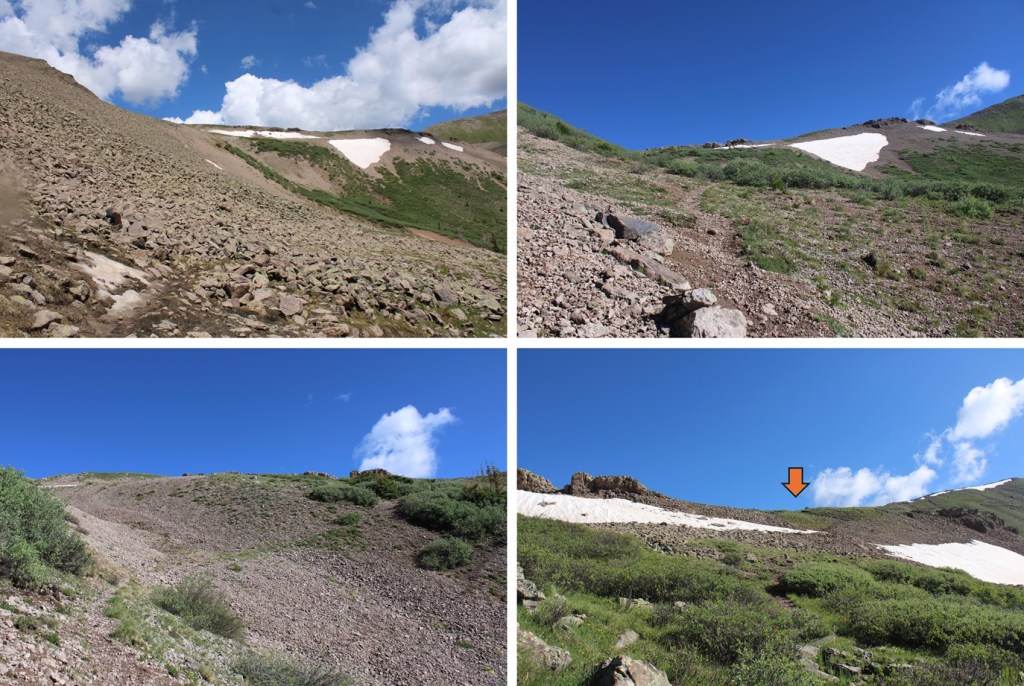
There is a point where you have the option to go east through the willows, or north on the gravel. It’s a difficult junction to see, but if you see it, go north (it’s the way you’ll want to go anyways, because it’s a more defined trail. Here are some pictures of the route to the saddle
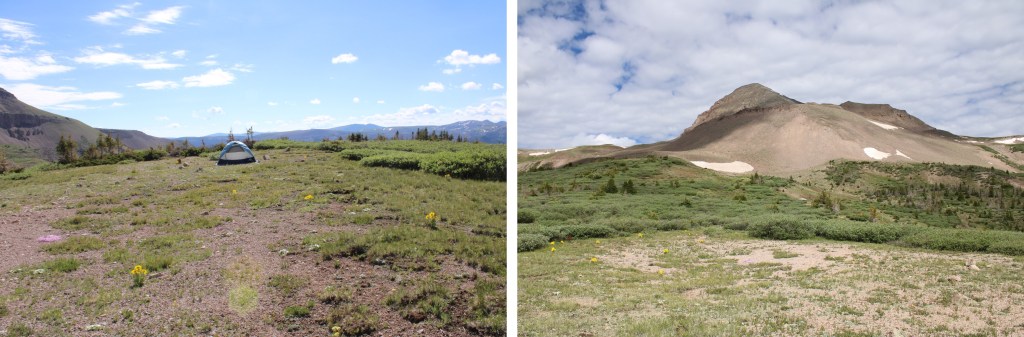
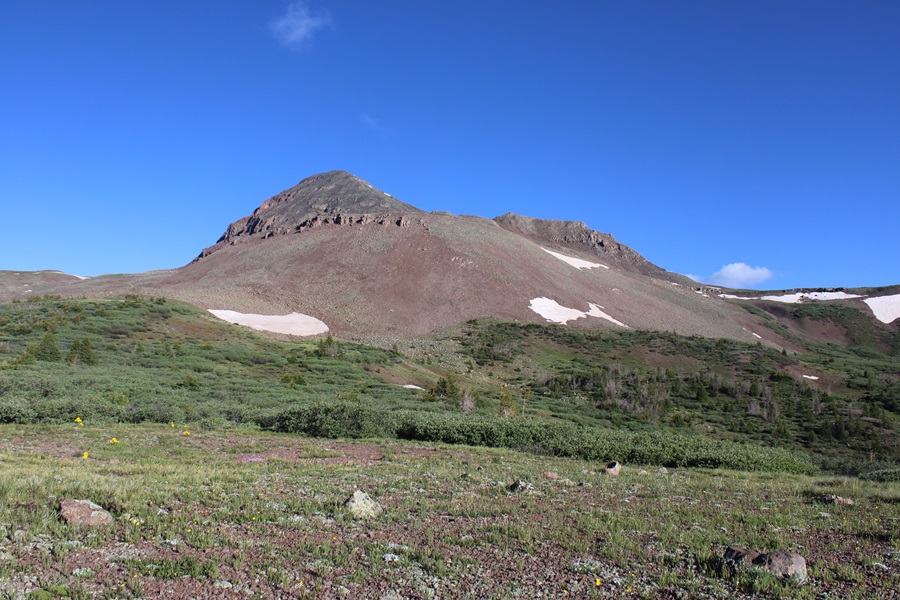
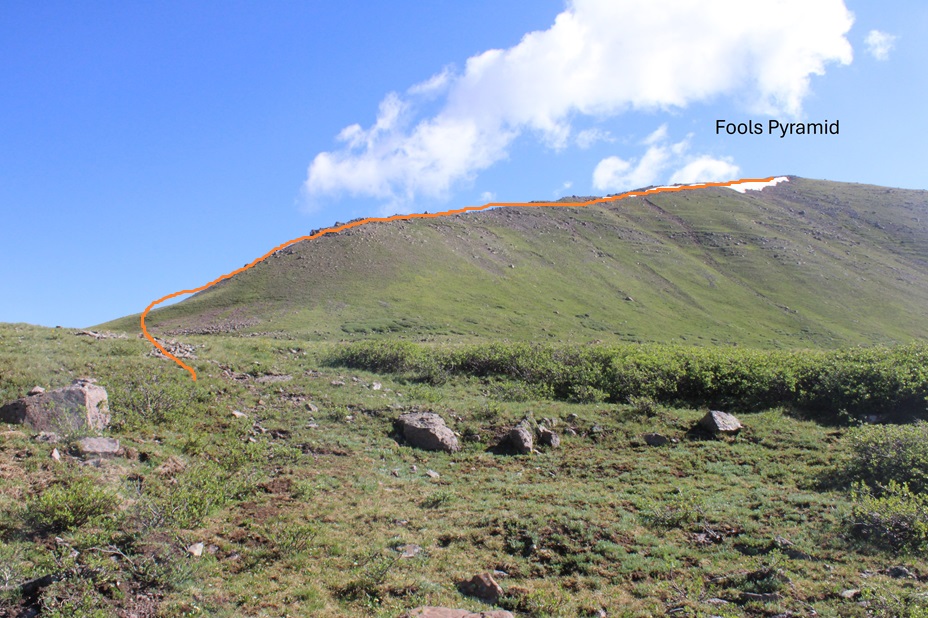
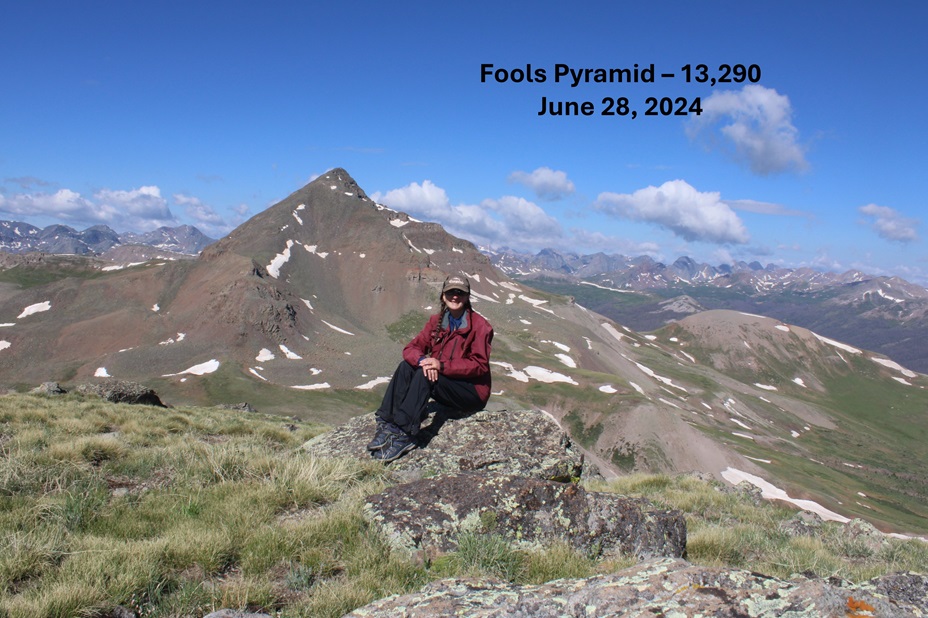
Once at the saddle, I had a clear view of Fools Pyramid
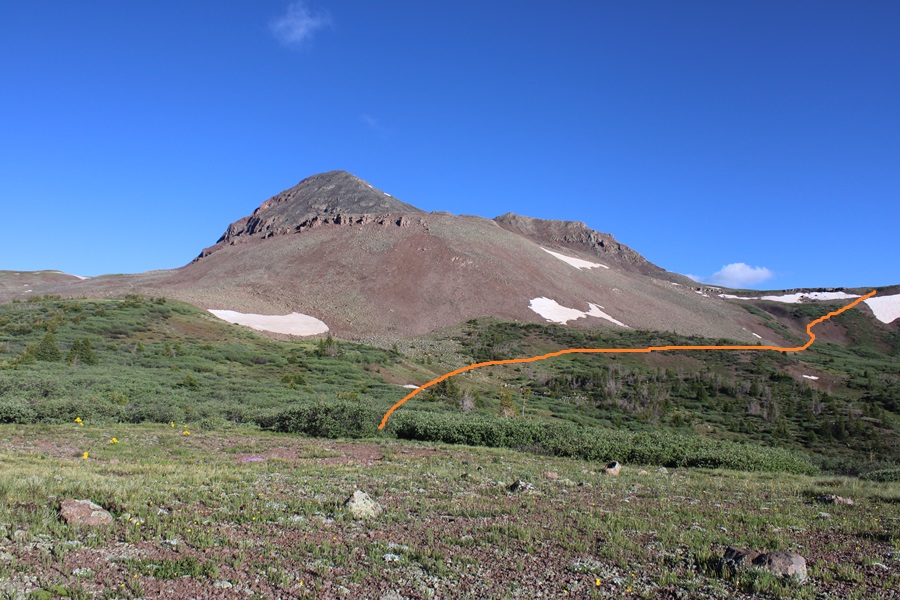
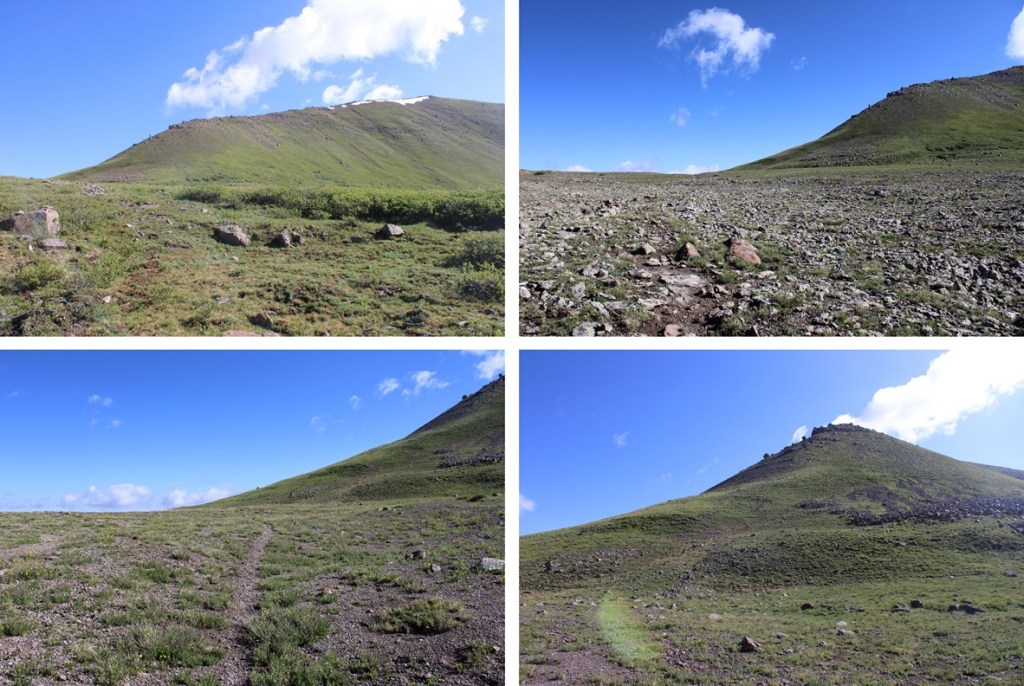
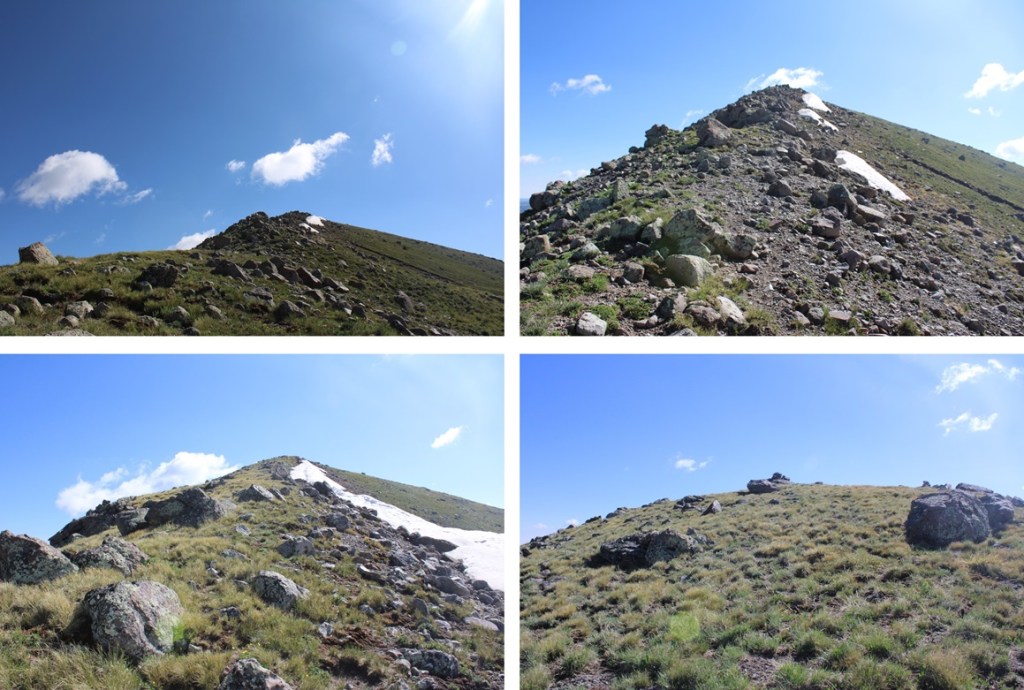
As you can imagine, it was an easy class 2 tundra walk to the top, with some rocks thrown in. Here’s the overall route I took, heading straight for the ridge and then climbing the ridge to the summit:
I summited Fools Pyramid at 9:30am
Fools Pyramid:
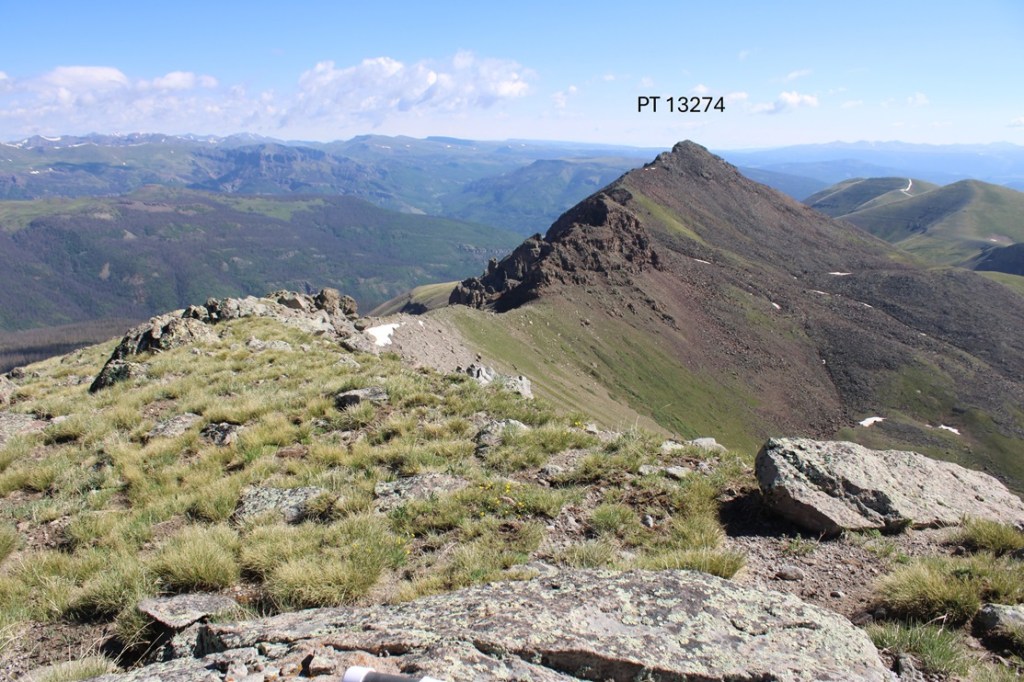
To the northeast I could see PT 13274
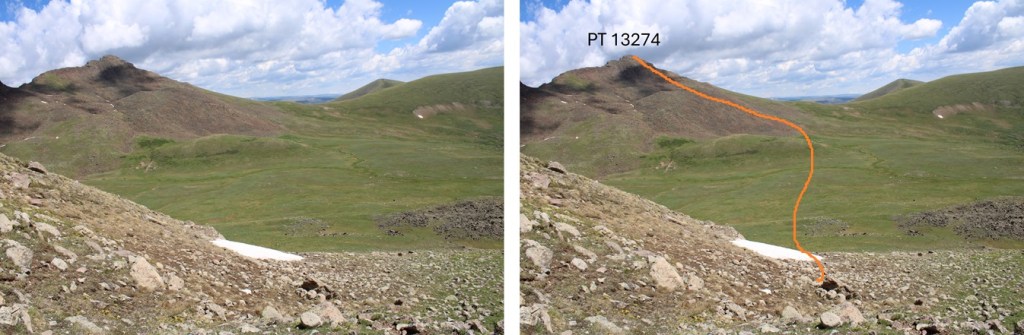
This looks daunting, but the route can be kept class 2 if you skirt the ridge. Here’s the overall route I took:
First, I headed north towards the Fools Pyramid/PT 13274 saddle
At the saddle I skirted the crumbly rock formations to the right, dropping down to about 12990’
Then I found a gully and re-gained the ridge.
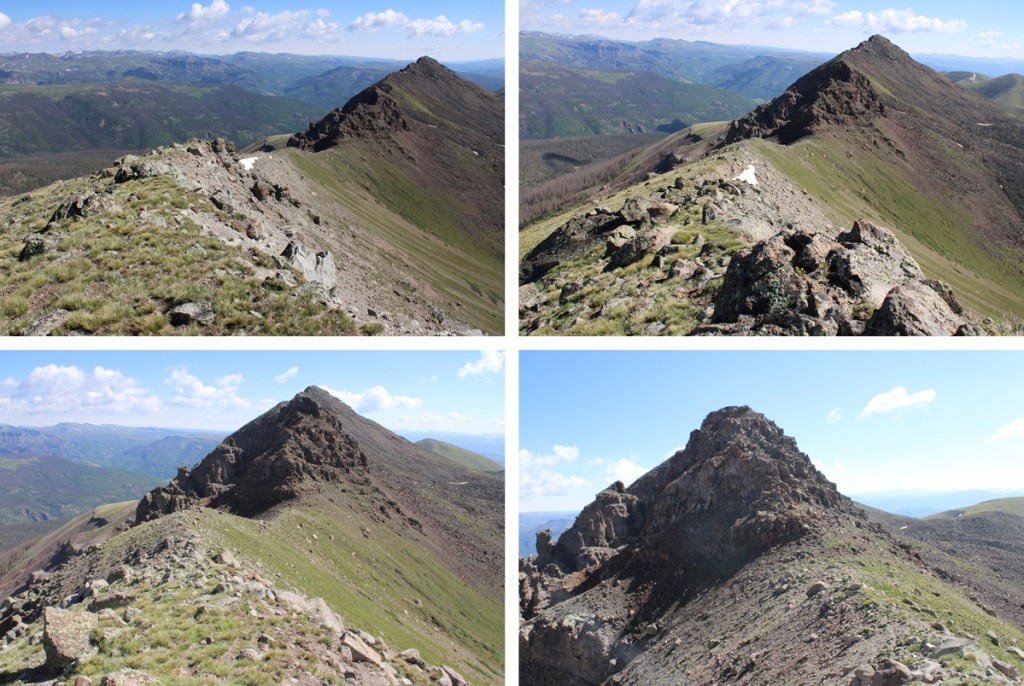
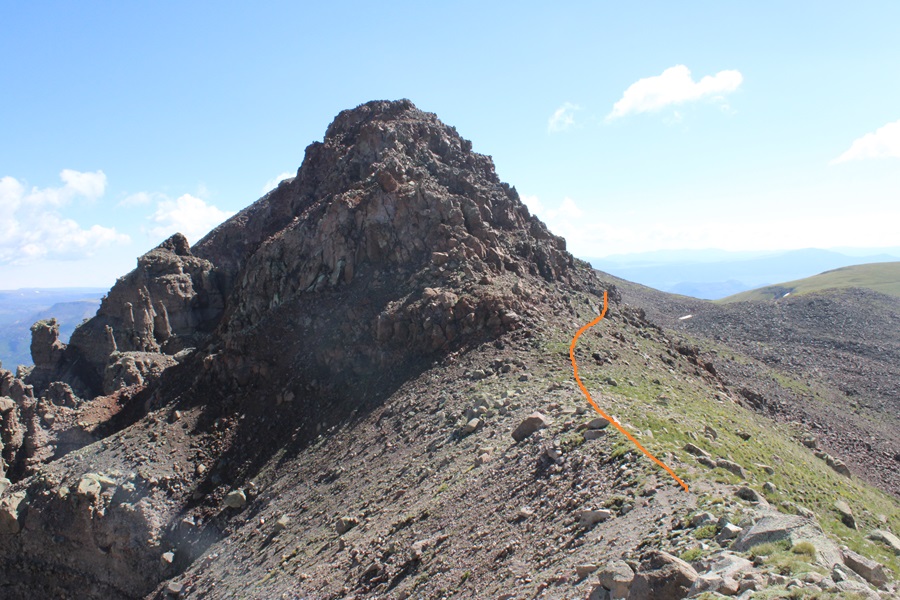
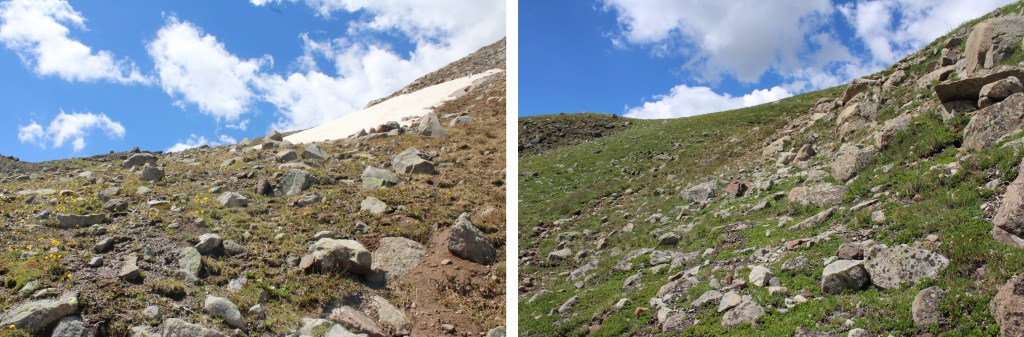
I then followed the ridge to the summit. Even though it’s rocky, this can be kept class 2. If you’re in class 3 territory, you’re trying too hard. Here are some pictures of my route to the summit. I stayed to the right of the ridge the entire time.
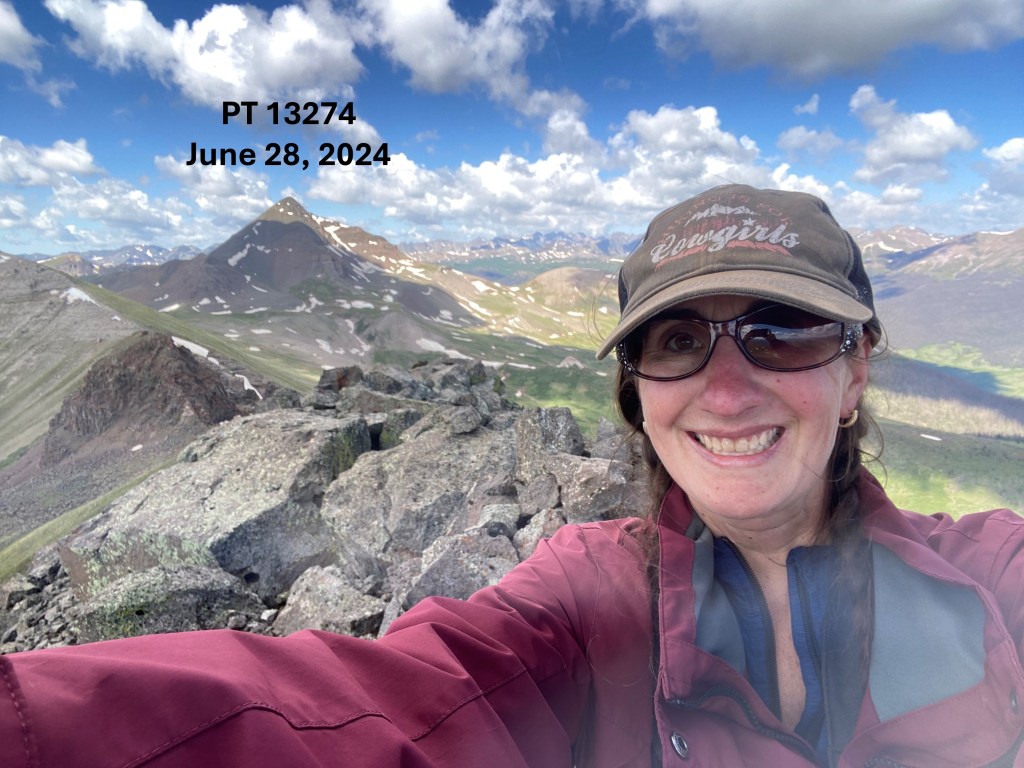
I summited PT 13274 at 10:30am. Funny story, I didn’t realize I’d lost one of my lenses until about 20 minutes after taking this picture. I later found and replaced the lens (which had popped out in my pocket).
PT 13274:
From the summit, here’s looking back on Fools Pyramid and Rio Grande Pyramid
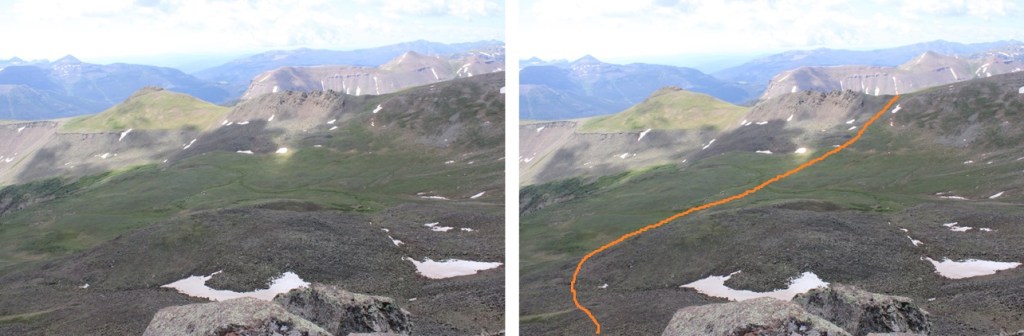
I was making this a bit of a loop. From the summit of 13274, this was my overall route to the saddle to the south. This was choose your own adventure, but the route was obvious.
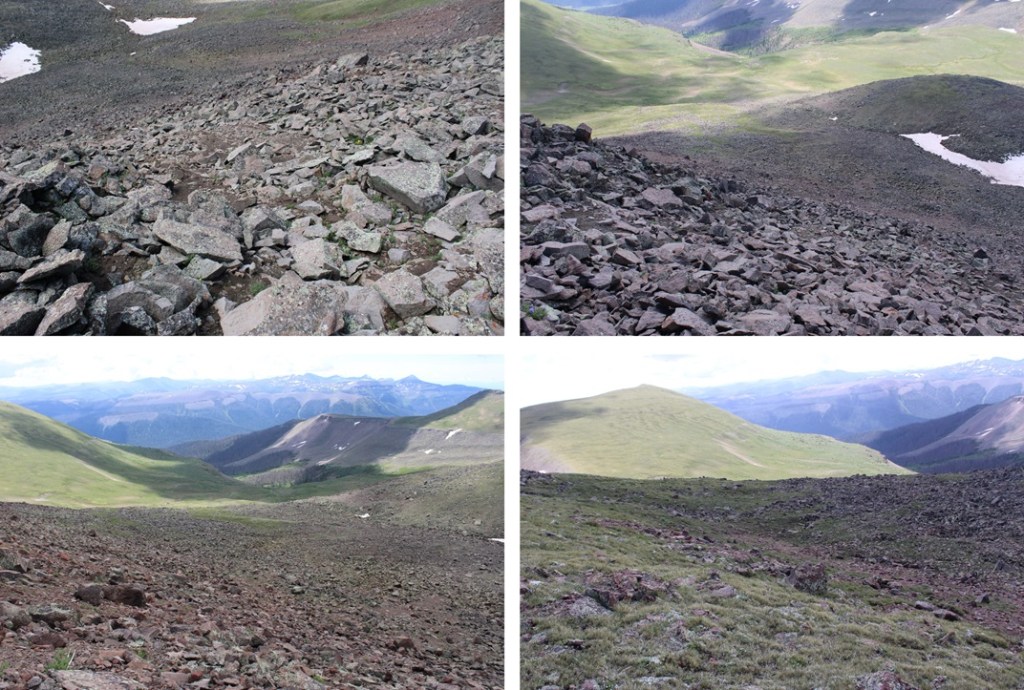
I found a lot of game trails here to get me down into the basin. I lost 770’ of elevation heading down into the basin, then re-gained 340’ of elevation up the saddle.
From the saddle, here’s a look back at my route down from PT 13274
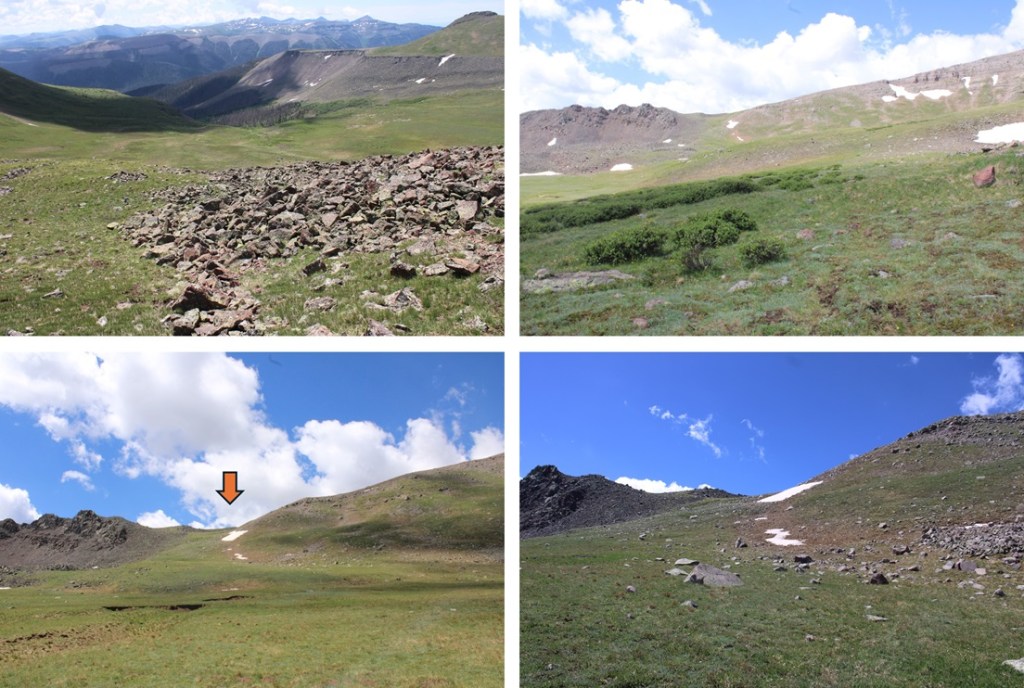
The saddle was wide, so I headed a bit to the right, staying on the tundra.
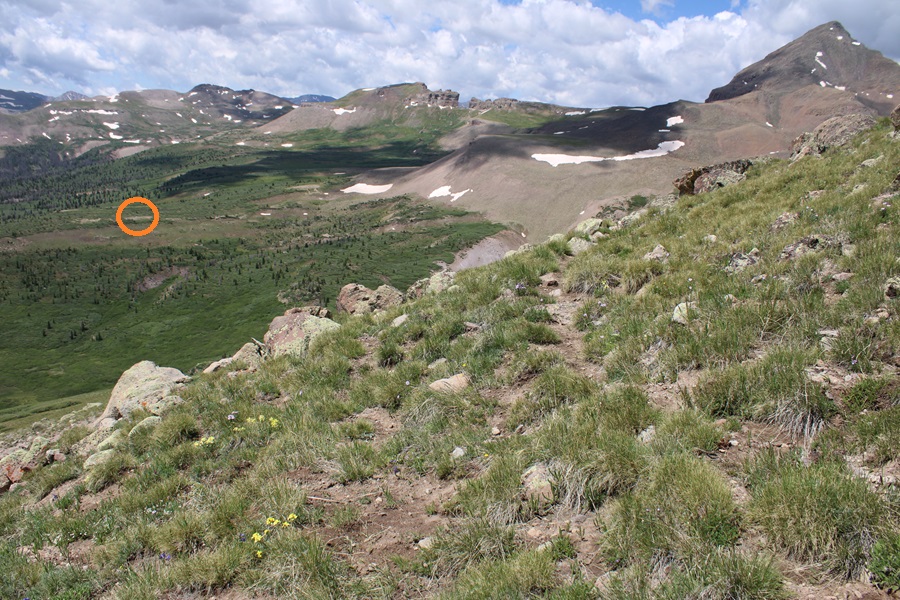
From the here, I could see my campsite to the southwest.
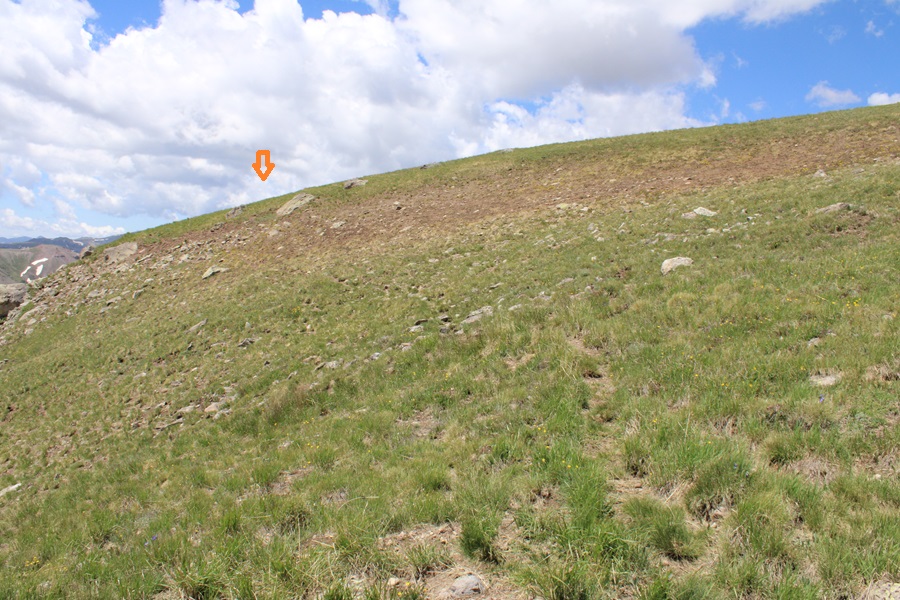
There are several ways to make it back down into the basin. I considered just staying parallel with the ridge at about 12600’ and picking back up the trail I came in on at the saddle of Rio Grande Pyramid and Fools Pyramid. There are no established trails here, but I knew the Skyline Opal Lake Trail was directly below me, so I decided to do my best to make it back down to the trail. If you look closely, you’ll see the trail below you.
I headed east and south down the slope to find the Skyline Opal Lake Trail
Now on an established trail, I followed it as it hugged the side of the basin, losing it every once in a while and finding it again through the willows.
This brought me back to the trail I came in on, near the rocky area
I followed the trail south as best I could back to my campsite at 12210’
From my campsite, here’s a view of my descent from the saddle back to the Skyline Opal Lake Trail.
I made it back to basecamp at 12pm, making this a 5.12 mile hike with 1858’ of elevation gain from 12210’
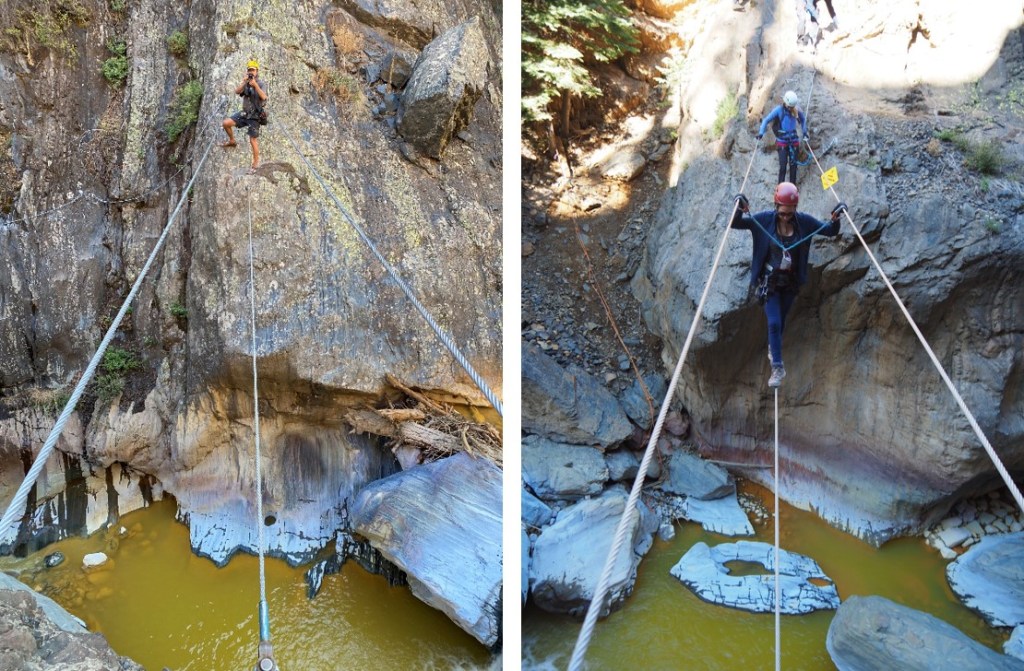
Have you ever done a Via Ferrata? If not, you totally should! This side trip worked nicely into our weekend plans, but to be honest, I was a little worn out by this point. Driving the entire weekend took longer than expected and due to some noisy dispersed campers I didn’t get a lot of sleep the night before. We met the team at the Box Canyon Trailhead at 9am and hiked up to the staging area.
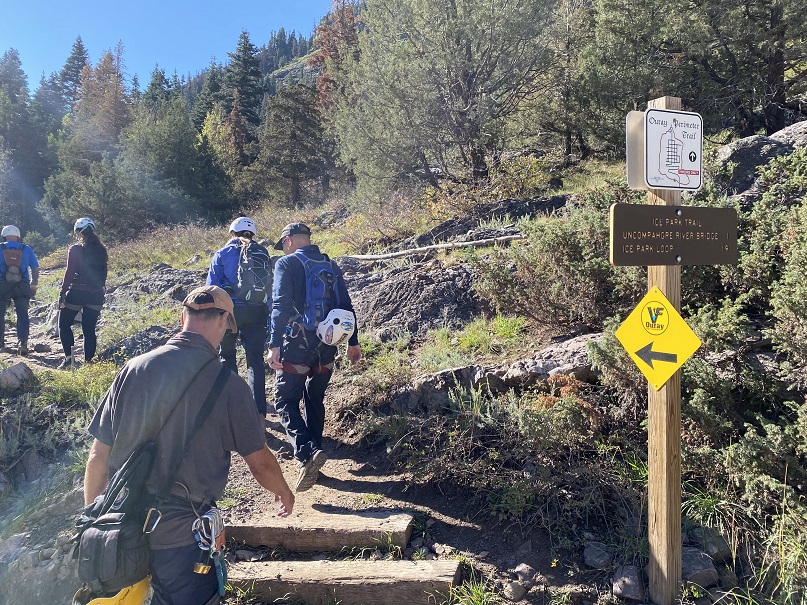
This was an unguided climb, but there was still someone at the entrance to make sure we had all the proper gear (closed toed shoes and helmet… looking at you Eric). We’d stopped and rented lanyards but had our own harnesses and helmets. Important signage:
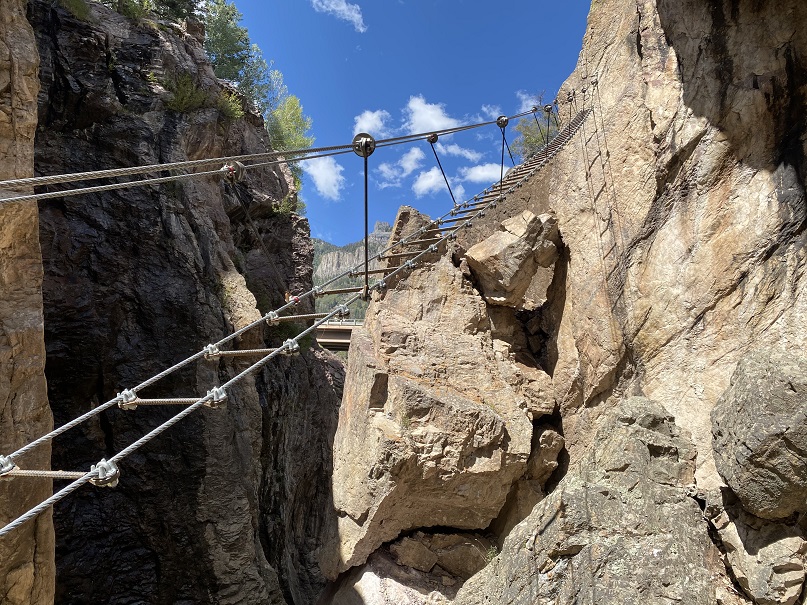
Eric went first to take pictures, and I went second. The course started with a wire bridge (and ended with one too).
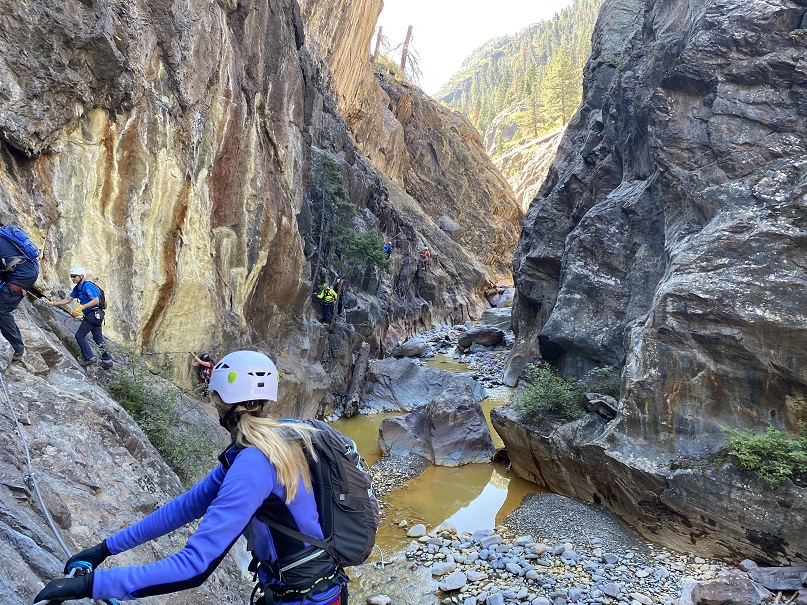
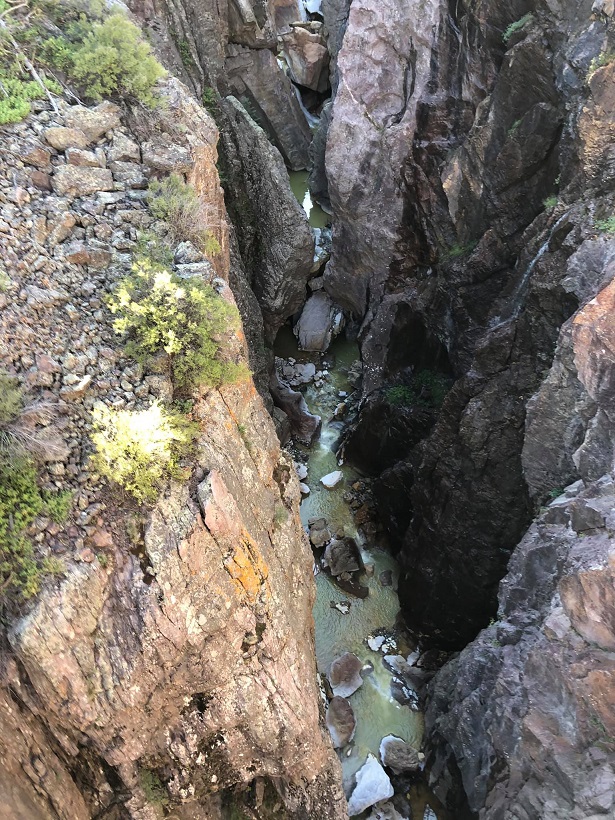
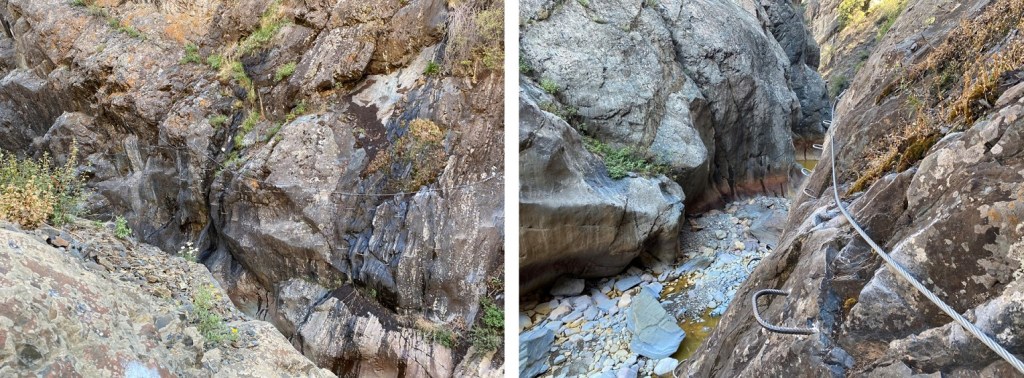
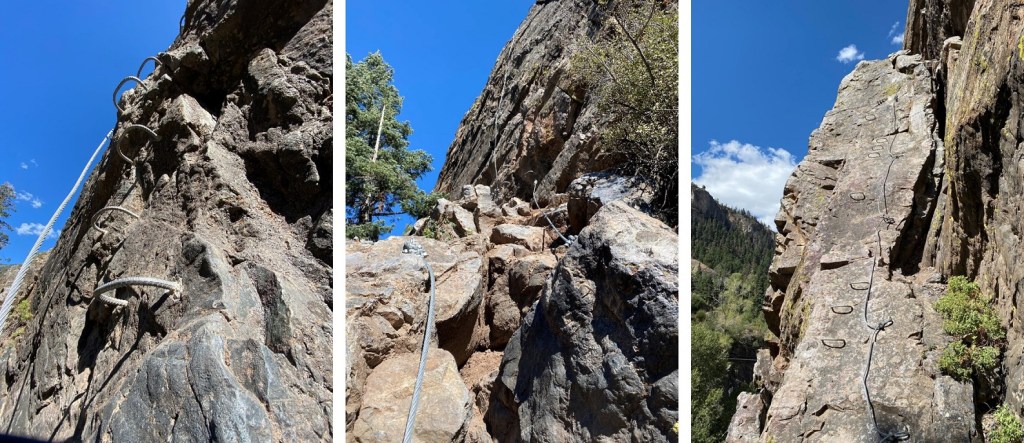
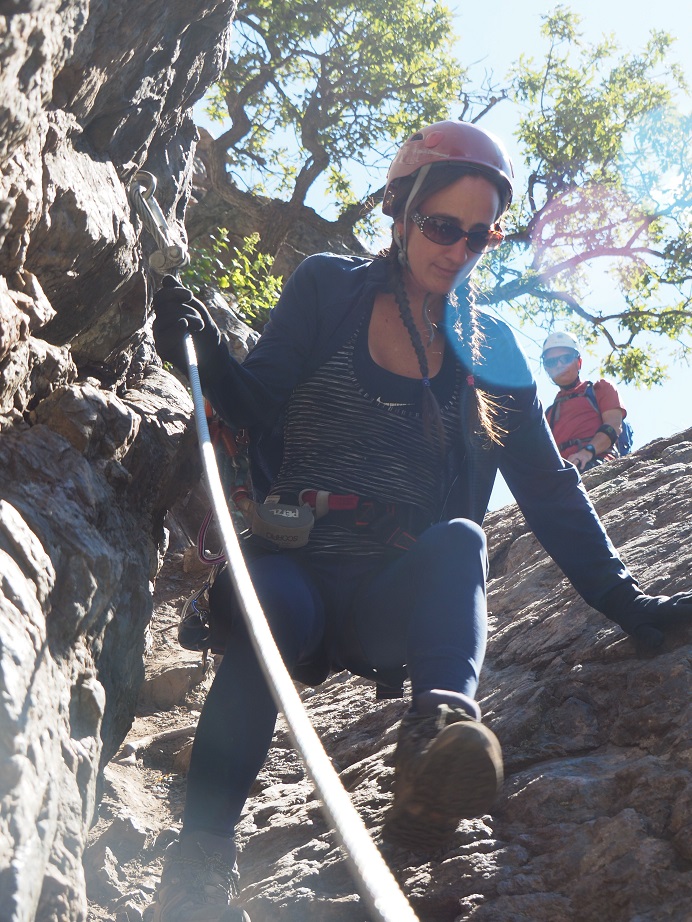
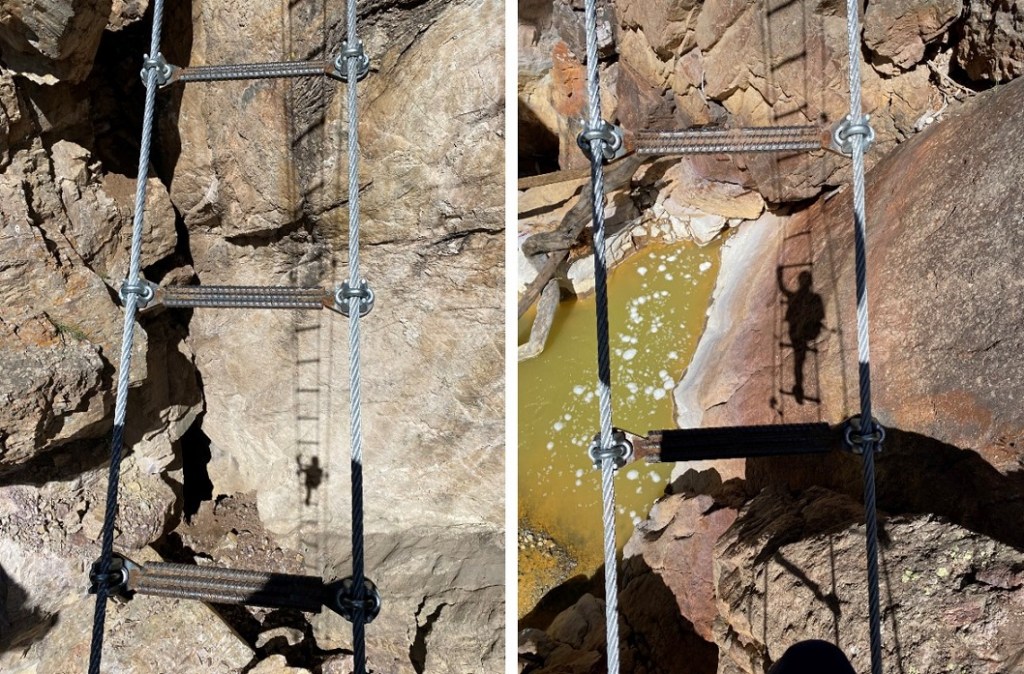
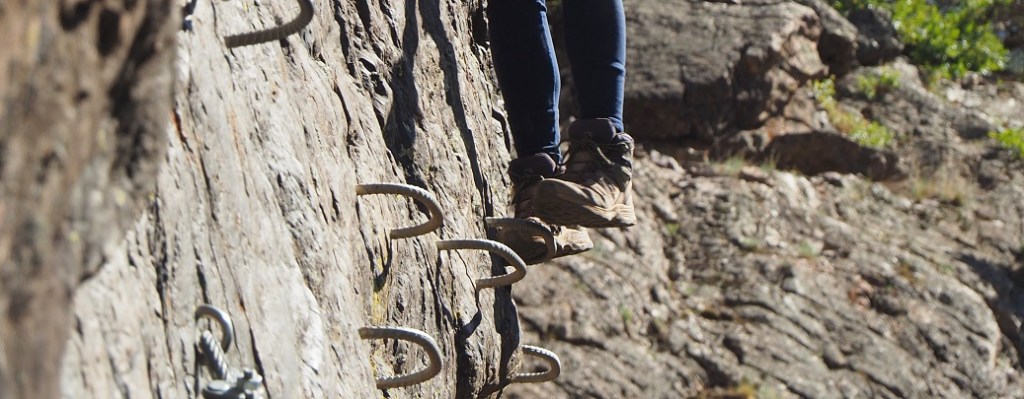
Then there was a lot of traversing, up and down and sideways. We were clipped in the entire time, so no worries if we were to fall (we didn’t fall). Here are some pictures of the course
It’s a long way down
More route pictures
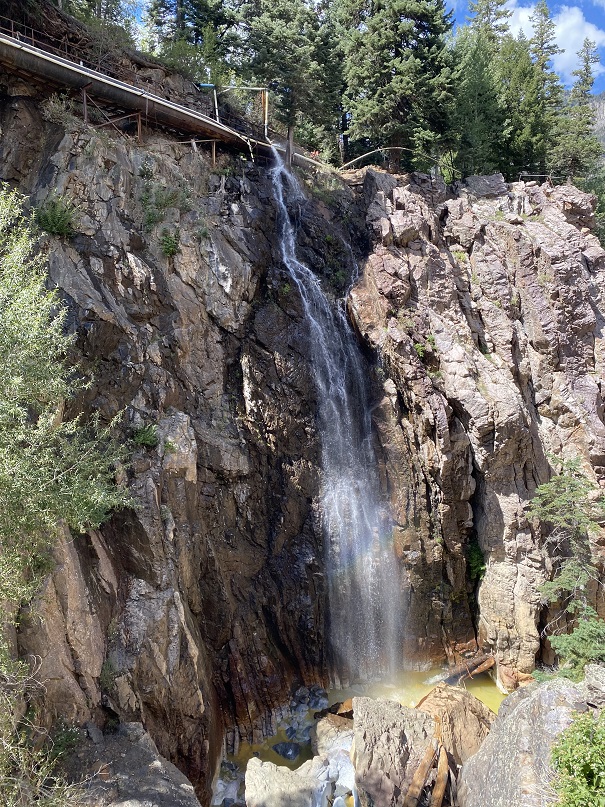
There’s a waterfall they use for ice climbing in the winter
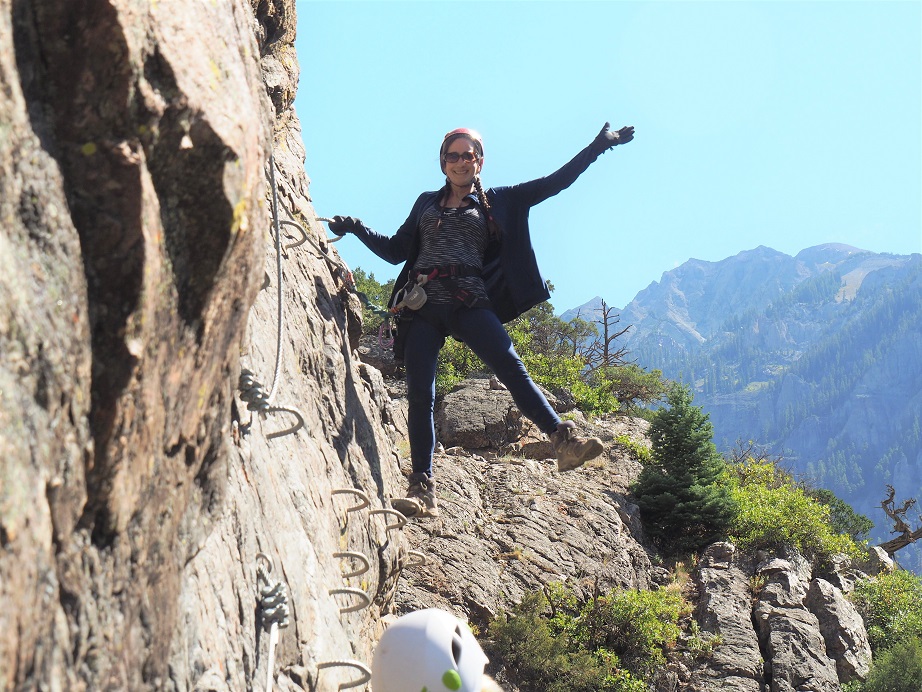
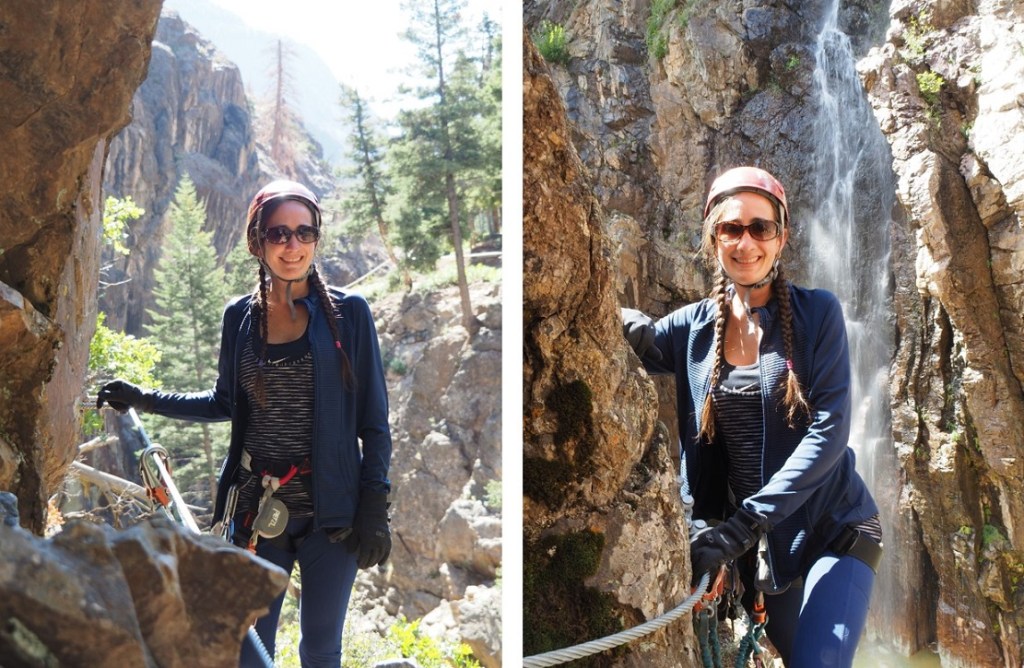
Some fun shots…
And the rope bridge at the end
All in all it was a great day. It ended a few hours later than it probably should have (the course took 4 hours instead of 1, due to the photo shoot) but I was still able to make it home by about 7pm. To find out the new water heater was leaking gas. Ha! What a way to end the birthday celebration weekend.
I know this trip report won’t sound like a big deal to most serious 14er hikers, but I have Raynaud’s, which means my body completely shuts down in the cold. My fingers and toes turn white, they lose function, and I can’t walk, talk or use my hands or feet. No, foot/hand warmers don’t work. Neither does layering. The fact I was able to complete a winter 14er, even an easy one in an easy year, was a huge accomplishment for me. Here’s the trip report:
Devil’s Playground – 13,070
Little Pikes Peak 13,363
Pikes Peak 14,115
Elevation Gain 4300’
RT 14 miles, 7.5 hours
Starting from Crags Campground
Brought microspikes but didn’t use them (I probably should have though). They will be useful in the next few days.
I’ve been trying to do this hike for months, but the weather forecast is always terrible in the winter at the top of Pikes Peak (today said 55mph wind gusts and -10* wind chill). However, last weekend I used a new jacket my mom got me, and while I was hiking I was actually hot and had to take it off, so I figured even though the weather was terrible it was a great chance to see what this jacket could do!
Also, I’d just picked up a pair of men’s work gloves (fleece) at Walmart for $6 that indicated they worked even in the worst of weather. I was seriously skeptical but willing to try anything: my fingers are always the first to lose function, and I can never get them warmed up again until I go back down in altitude (kind of like altitude sickness for my extremities).
My goal was to hike to Devil’s Playground, and possibly hike up Little Pikes Peak. I was thinking I’d check a couple of 13ers off my list (I know they aren’t ranked, etc.) I had no intention of hiking Pikes Peak today. I’ve hiked it 12 times (from Barr Trail) and had no need to do it again. I just wanted to see what this jacket and pair of gloves could do.
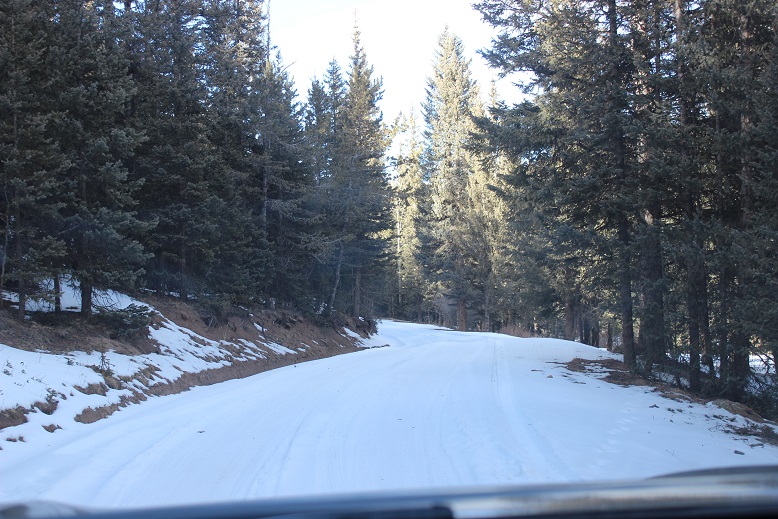
I used the Crags Trailhead. The gates were open but the 3 mile dirt road was covered in a layer of packed down snow.
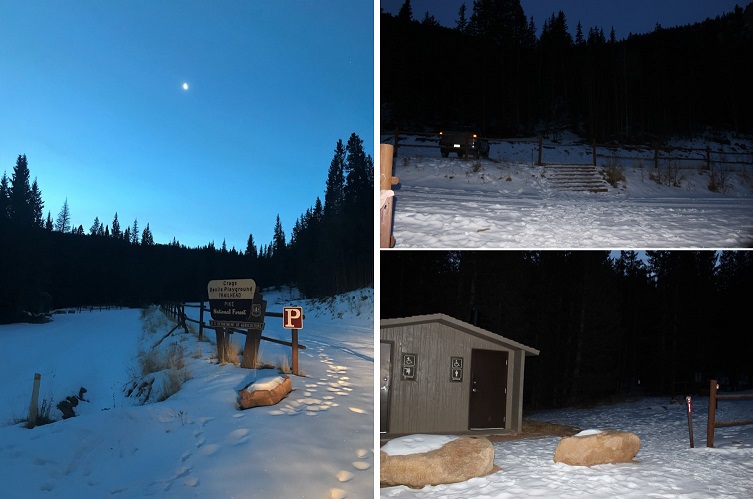
I arrived at 6:45am and was the only one in the parking lot. The bathrooms were locked (presumably for winter) so I got my gear together and started at 7am. It was 21*.
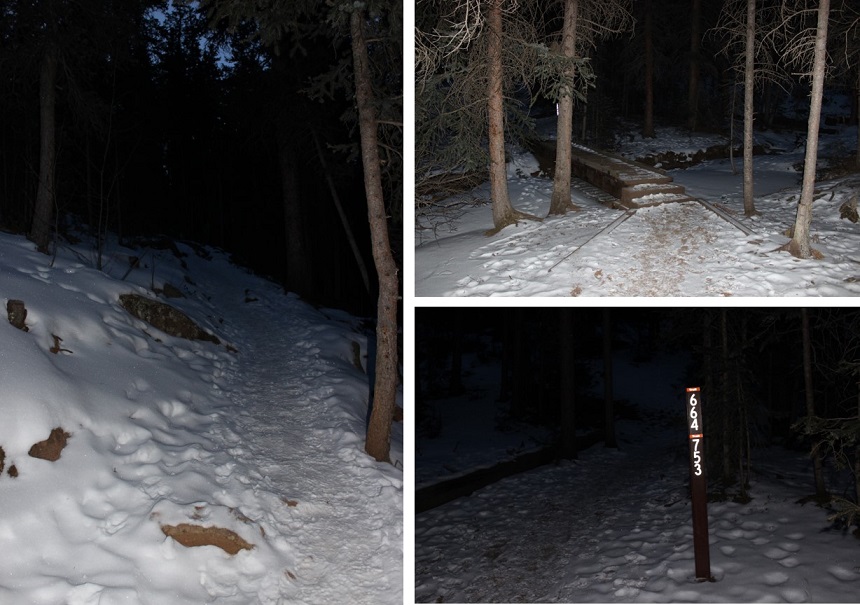
The trail was very well marked (I love that!). It was also easy to follow, even with the snow. It looked like someone had tried to cross country ski in the area. I’m pretty sure it didn’t end well.
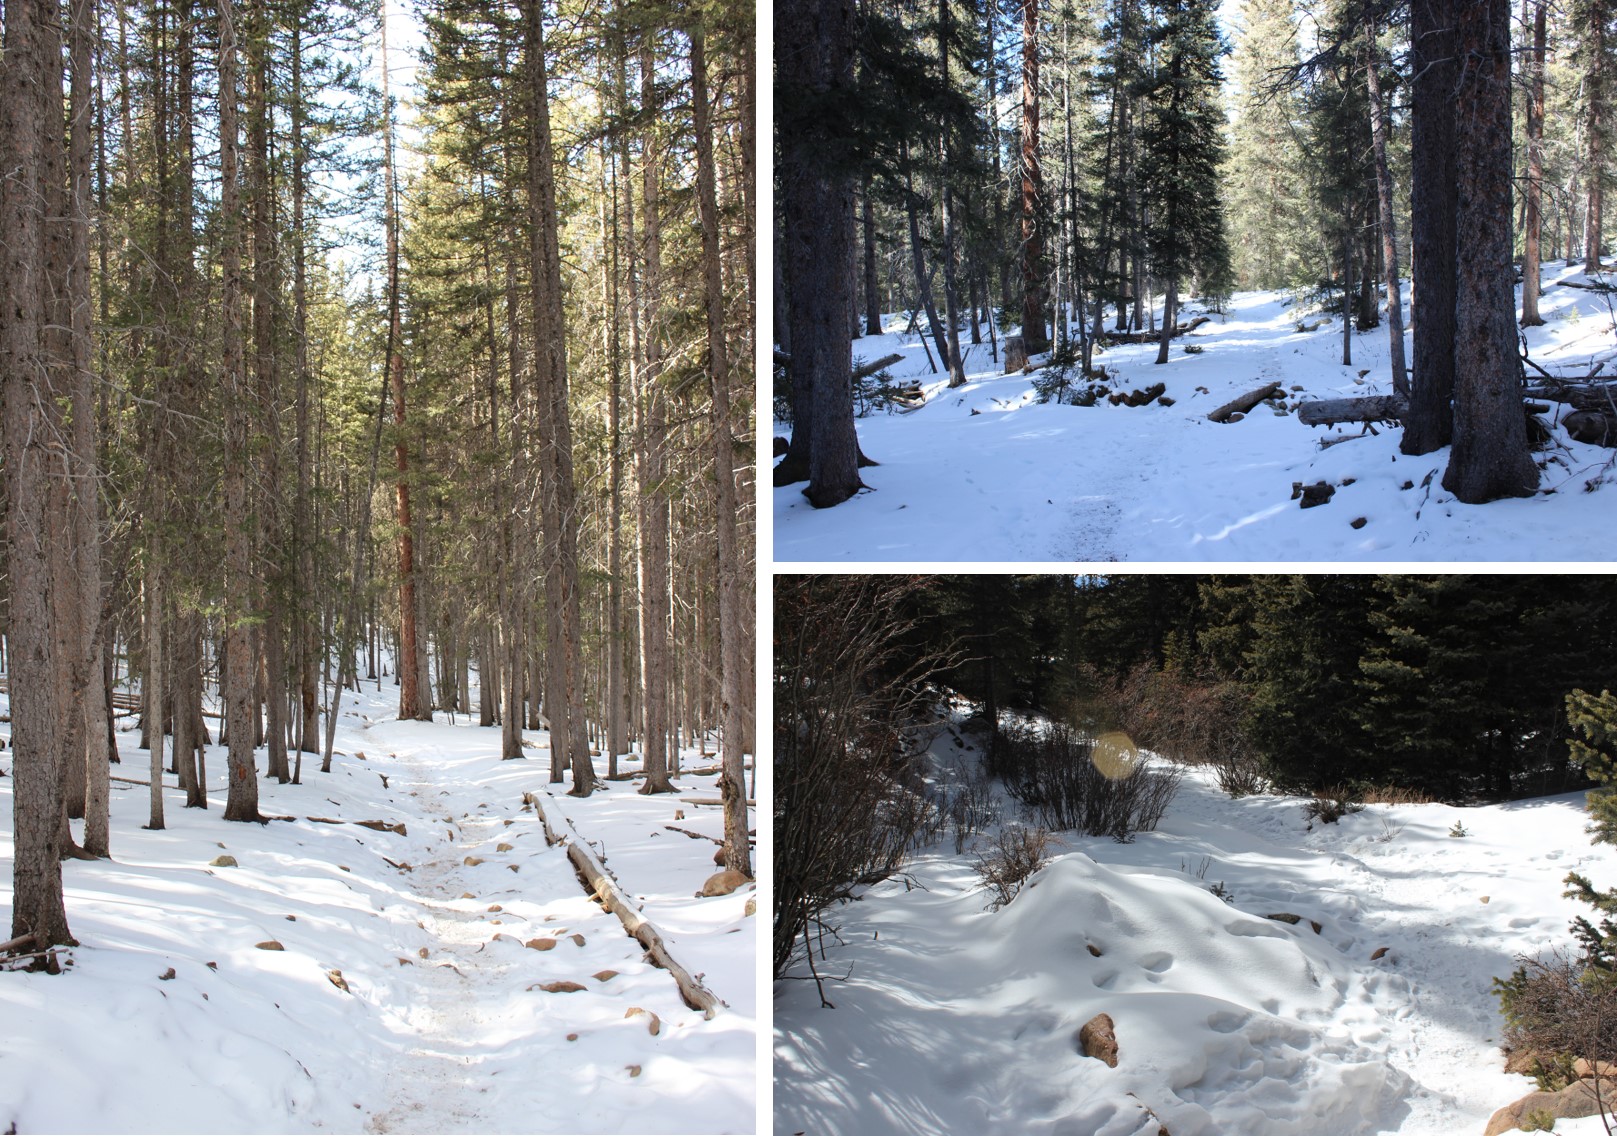
I took trail #664A for what seemed like forever before making it to treeline. I mean forever! The entire trail was covered in about 3-6 inches of packed snow (more in the drifts) and while I could hear the wind the trees blocked it from reaching me. It was slow going because the snow was a bit slippery and I had to watch each foot placement in the rocky areas. I had microspikes but didn’t use them because I didn’t think they’d make me any faster/more secure.
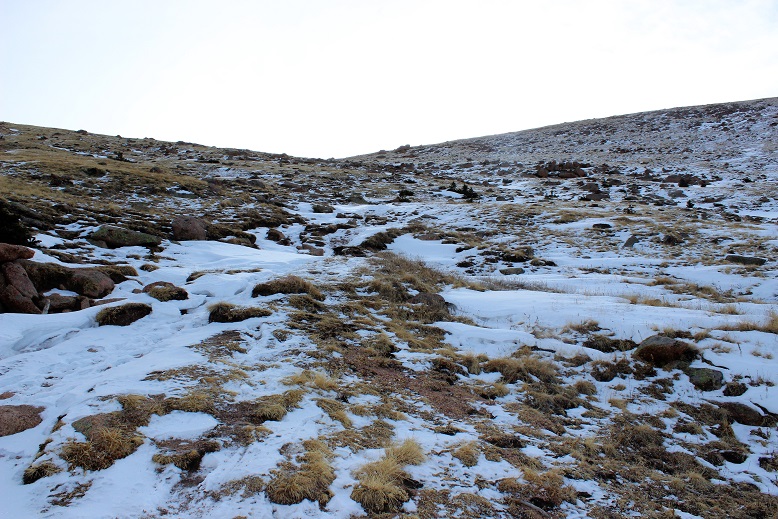
Here’s a photo of the trail as soon as you get above treeline: It’s straight up a mild, well maintained, snow covered drainage/gulley. This is where the temperature dropped and the wind picked up. It didn’t stop until I reached this point again on my way back down.
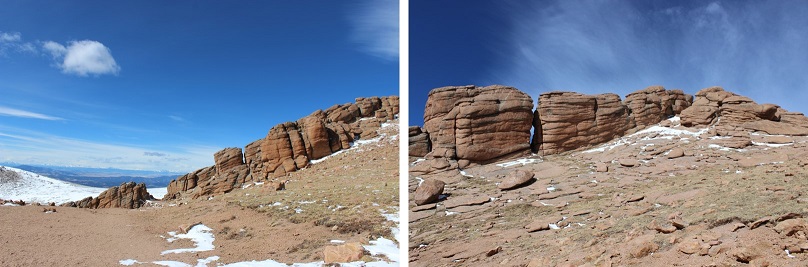
I continued hiking around some large rock formations and then areas of heavy snow.
The snow was beautiful, and had a sound. I’d say it sounded like glitter, but since that’s not possible I’ll instead say it sounded like very small chards of glass bouncing off the floor. But to me it had the sound of glitter.
I wasn’t cold yet, but I wasn’t at a high elevation either. I was at 11,500 feet. Eventually I got to the Pikes Peak Highway. I crossed the road and this is where the wind really picked up. I could see it blowing from the west, up and over the ridge.
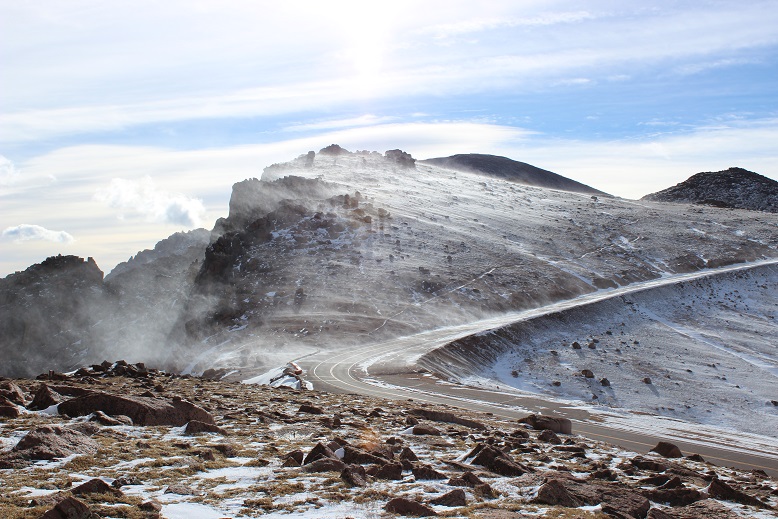
It was phenomenal to watch! I could see the wind as it ascended the basin, and follow it as it blew up and over the ridge. I knew when to brace myself for impact, which was important because it knocked me over a few times.
A scarf was necessary. The only place I was cold was where my skin was exposed (woot! High five for the jacket and gloves!). I had to tuck my scarf into my jacket because the wind kept causing it to unravel. Wind was probably 25mph here.
Devil’s Playground was dry of snow except for when the wind blew… It was about 15* here (without wind).
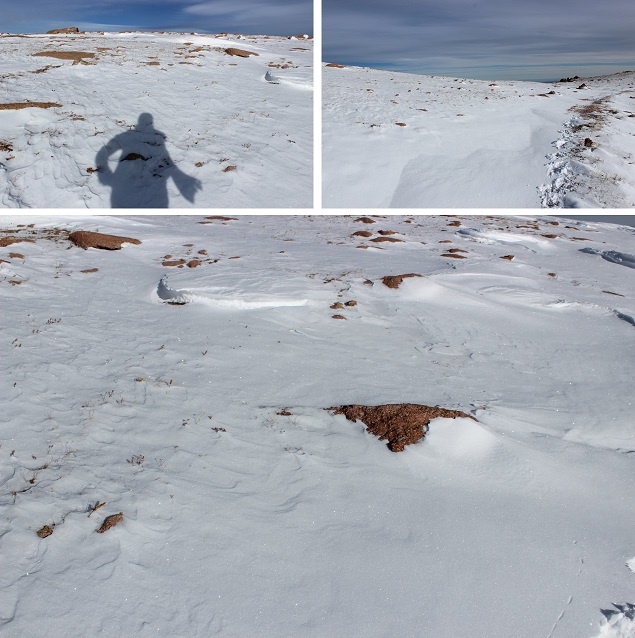
The trail following the Pikes Peak Highway was easy to follow because of the snow drifts. I either avoided them or sank into them and trudged on. I was miserable due to the wind, but I was doing this!!! Still not cold!
The highway was completely devoid of snow, and curiously there was someone with a plow going up and down the road. They stopped twice to watch me, presumably because I was CRAZY to be out hiking in this WIND. I figured they weren’t taking any chances with icy roads either in all this wind. This also told me they were opening up the summit house today. Woot!
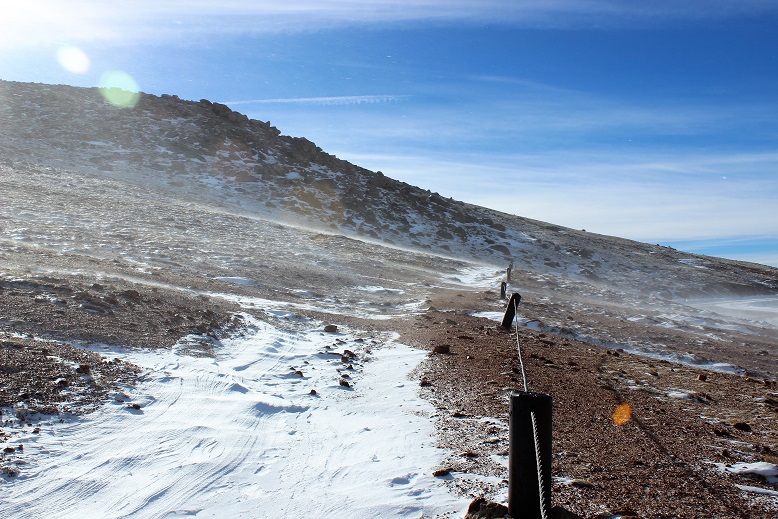
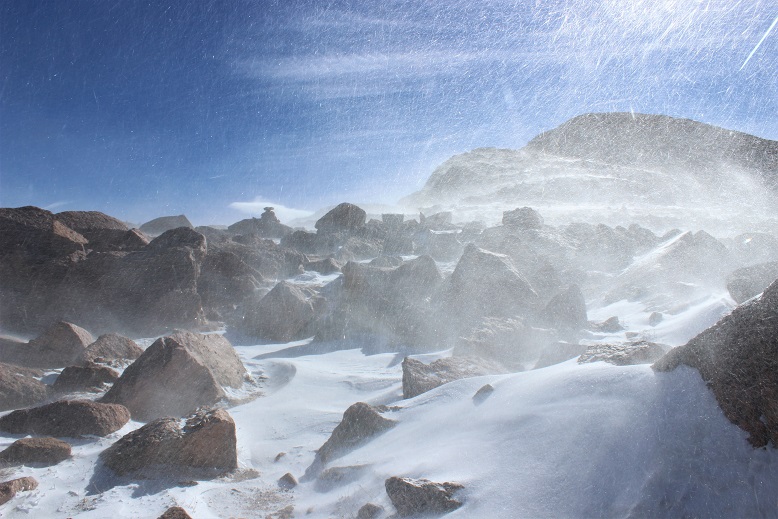
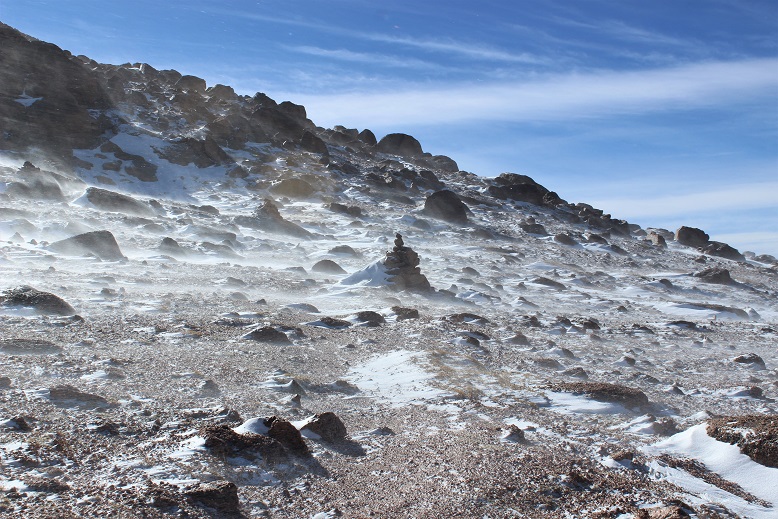
The pictures just don’t do this wind justice. It was intense and insane (and mostly invisible).
Here’s where the wind became intense for the first time. Gusts were about 55mph and sustained. I’d stand there for 30 seconds waiting for the ice intensity to pass. The wind made it cold, but not so cold I needed to stop.
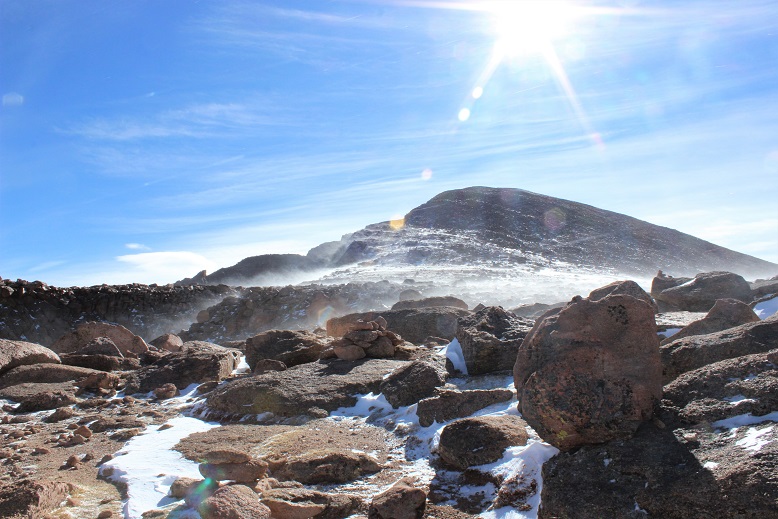
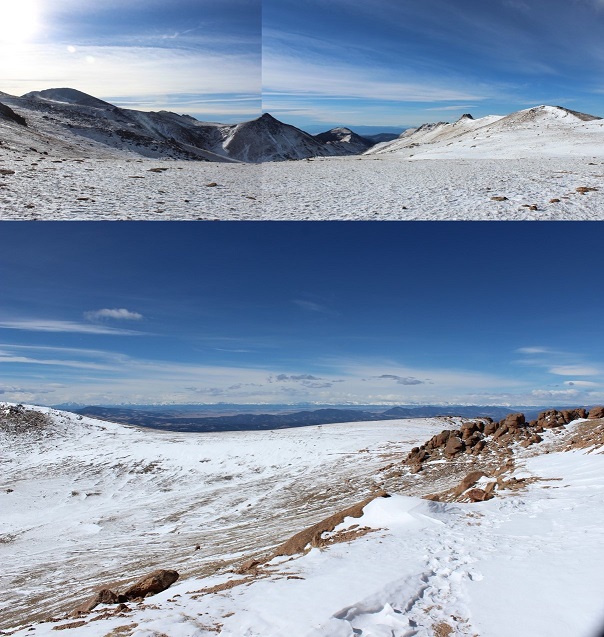
Here’s a view of Pikes Peak (center) and Little Pikes Peak (right). Little Pikes Peak was the reason I was taking this hike. There’s no path to the summit, so I’d have to just find a route and follow it. Here’s where I made my first mistake.
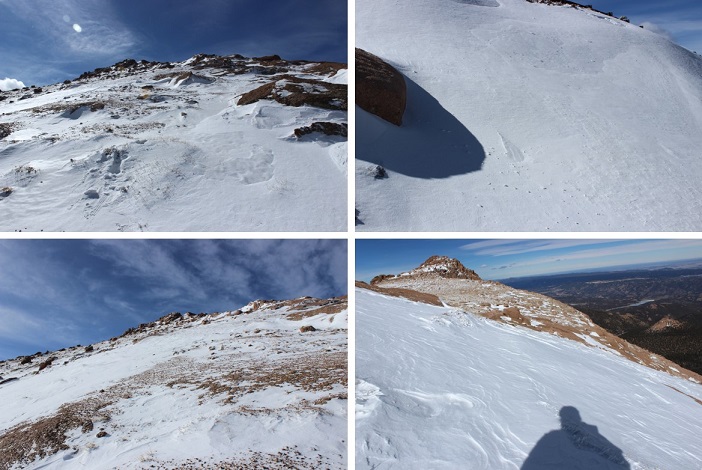
I was coming from the North, and could only see one side of the mountain. I picked a route that looked hikeable and followed it. I stopped to breathe for a bit and take in my surroundings and realized I’d almost hiked to a place I couldn’t hike down from! The snow was heavy, and I’d have to say if there’s any avalanche danger (yes, I know it’s small) it’d be here. This snow was loose and I was in a precarious position, jumping from rock to rock: If I missed one I’d be sliding for quite a ways! I quickly hiked back the way I’d come and decided to scout out a better route up.
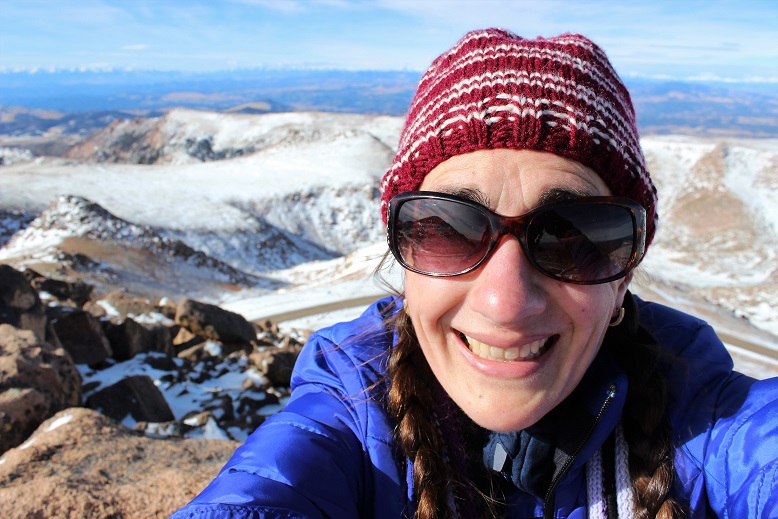
I found a much drier route to the south and made it to the summit of Little Pikes Peak after falling through and hitting just a few small boulders hidden in the snow (no big deal, I kind of expected this to happen). Here’s a summit selfie of me trying to smile (my lips were frozen). Moral of this story… summit Little Pikes Peak from the South! That side had snow, but no where near as much as the north side (I know, common sense…)
I sat on the summit and looked at Pikes Peak. It was much closer than I’d assumed. It couldn’t be much more than a mile or a mile and a half away. I was intrigued. For some reason I really wanted to summit from this route. I’ve summited 35 peaks solo, but Pikes was my first summit and I did it with a group and on another route. I kind of wanted to be able to say I’d summited this peak solo as well. And I’d never done a winter 14er (several winter 13ers, but no 14er in winter). The only problem was I could tell the toughest weather was ahead of me. I knew the temperature would drop as I ascended, and that wind blowing snow looked insane! I was already cold (but not as cold as I’d anticipated). I hate regrets, so I decided to go for it: I could always turn back if it got too difficult, right?
I stashed my trekking pole and began the final push to the summit. I was right, this was the most difficult part of the hike: The temperature dropped and the wind picked up. Here’s what it looks like just as the wind and snow hits you at -10* and 55mph…
Unfortunately, the wind didn’t come in gusts: it just kept coming. I’d brace myself, look for a cairn, note its position, put my head down and trudge towards it with the wind blasting me from the front. It was miserable and slow going but I had a plan. And while I should have been a popsicle in this weather I wasn’t! This was doable!
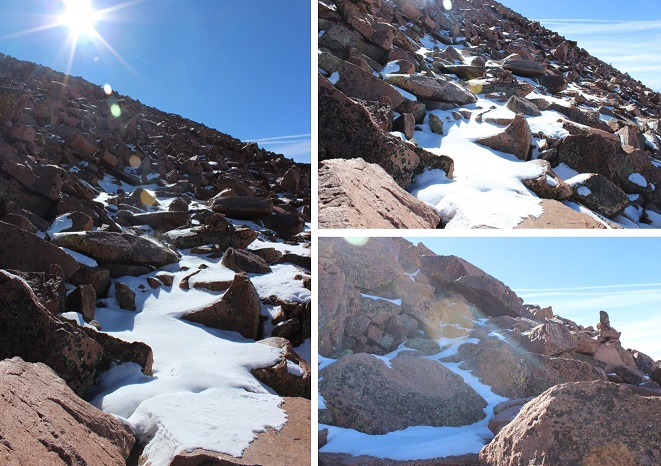
The cairns were extremely helpful since the route was covered in snow. I knew others must have hiked this trail in the past few days, but as I looked back at my tracks they were quickly covered by snow blown by wind just seconds after I’d passed. This meant I had to watch every step forward because I was kind of ‘breaking trail’ and didn’t know the best route. The rocks were slippery and again there were times I’d misjudge and my shin would get bruised from falling through snow and hitting rock. I thought about but didn’t use my microspikes yet again.
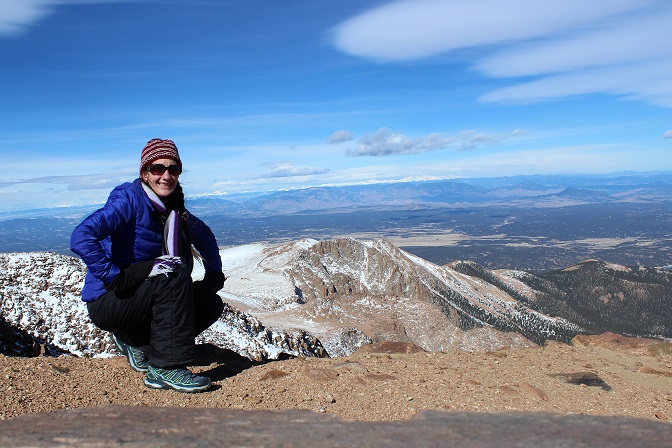
The wind didn’t stop, but as I gained the final pitch the ice and snow was taken out of the mix. This was a nice surprise! I summited at 11am. I still couldn’t feel my lips but was able to force an awkward smile for a summit selfie!
The summit was disappointingly dry for winter, but I’m pretty sure that’s normal for a summit (due to wind). Almost no one was there (3 cars in the parking lot?) so I walked across the parking lot and into the summit house. I briefly thought to myself it was cheating to go inside and get warm, but my water had frozen on the hike and I wanted a drink from the water fountain. The pipes had frozen in the summit house as well so I bought a Gatorade and immediately started feeling overheated. This was not good. It was way too hot in there and I was getting a headache. I had to get back down that mountain. I remarked to the cashier how I was shocked they were open today. Her reply told me she’s obviously had other plans besides work today and was surprised as well.
I met a group of three guys from Texas who’d driven to the top. They were impressed to hear I’d hiked up in this weather, and confused when I told them I was heading back down: “That’s the only way to get back to my truck”…
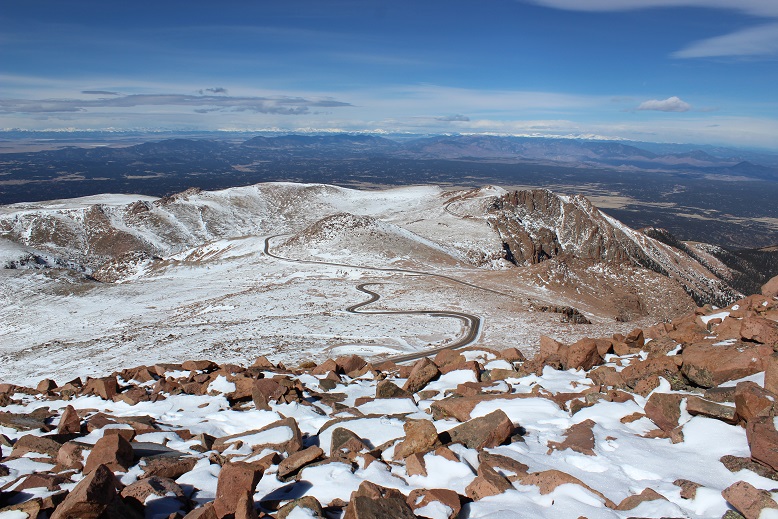
I bundled back up and headed outside. My path back down looked amazing.
The wind was constant during the hike back down, but the jacket and gloves had done their job: I still had full function of my fingers! Success!
The hike back down seemed much longer than the hike up. I kept thinking to myself it was crazy I’d hiked all this way straight up! I like elevation gain and tend to forget how much uphill I do on the way up until I’m on the way back down…
I marveled at the south side of Pikes Peak, and totally understand why they want to make this area into a ski area: It would totally work (if we forget about destroying tundra and wildlife).
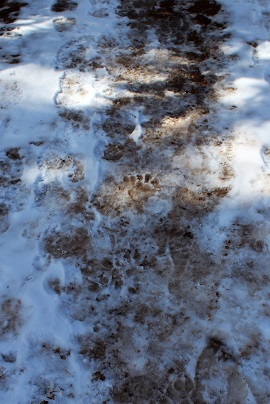
Just before making it back to the trailhead I noticed prints that looked like bear tracks. They were obviously not fresh, but I was pretty sure that’s what I was seeing and they’d been created within the past few weeks or so. Hmmm… it seems someone woke up early and hopefully went back to bed. This doesn’t surprise me, due to our unseasonably warm winter and the fact I was hiking near a campground.
The last 3 miles of the hike I was roasting. I wanted to take off my jacket but was too stubborn to stop, so instead I took off my hat, gloves, and scarf while I was hiking and just carried the items. I was curiously pleased I was so warm in 30* weather I was taking off accessories. I made it back down at 2:30pm, making this a 7.5 hour hike. Slow for me, but I blame the wind…
All in all today’s adventure was a total success! The weather was brutal but having the right gear made all the difference. I wasn’t nearly as miserable as I’d anticipated I’d be. I learned a lot about my abilities, did a reality check on things I already knew but ‘forgot’, and can now say I’ve hiked a winter 14er! Woot!