Fishers Peak – 9,637’

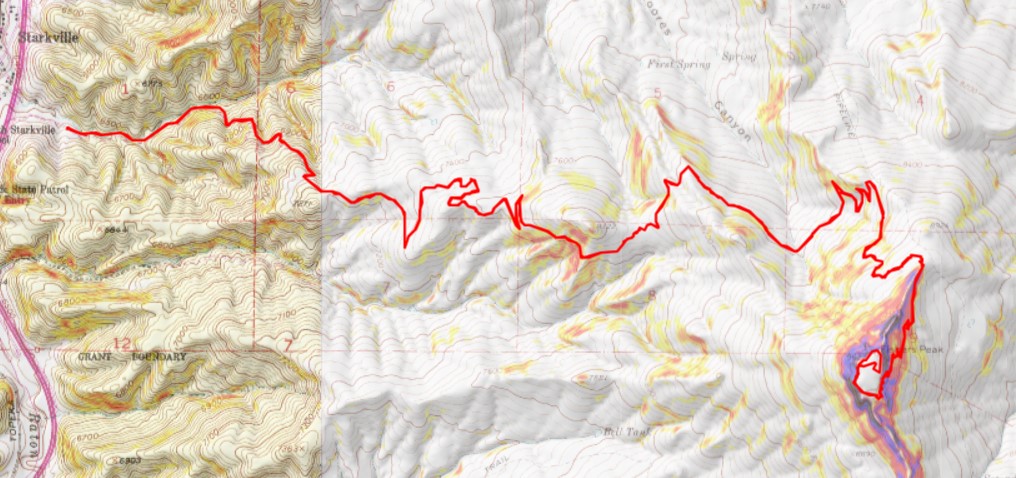
RT Length:  15.3 miles

Elevation Gain: 3588’

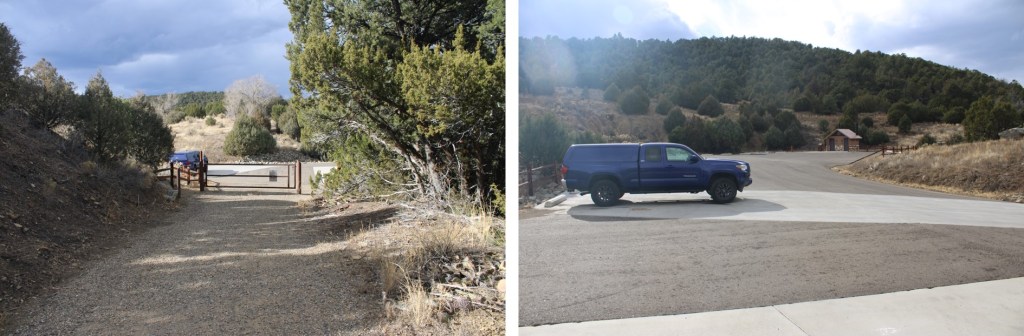
This peak has been on my bucket list for a while, but it was located on private property.  Recently this property became a Colorado State Park (currently you need the Colorado State Parks Pass or to pay the $10 to park at the kiosk), and I was able to legally climb the peak.  The park is open sunrise to sunset, so I didn’t get my usual pre-dawn start.  There is plenty of parking at the trailhead, along with vault toilets and trailhead signs.

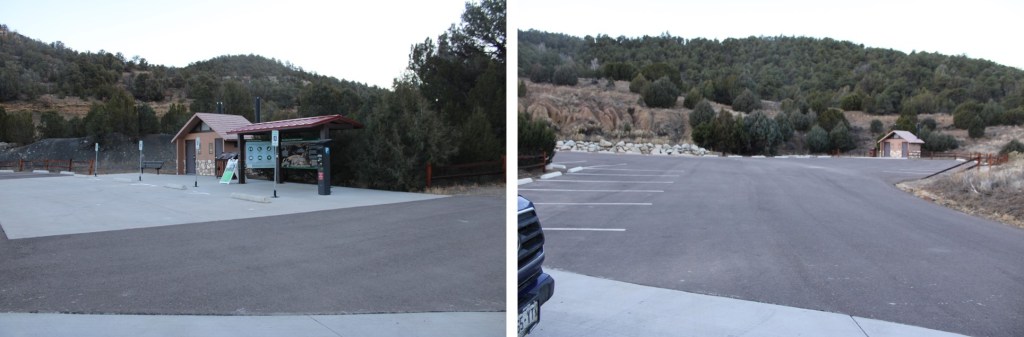
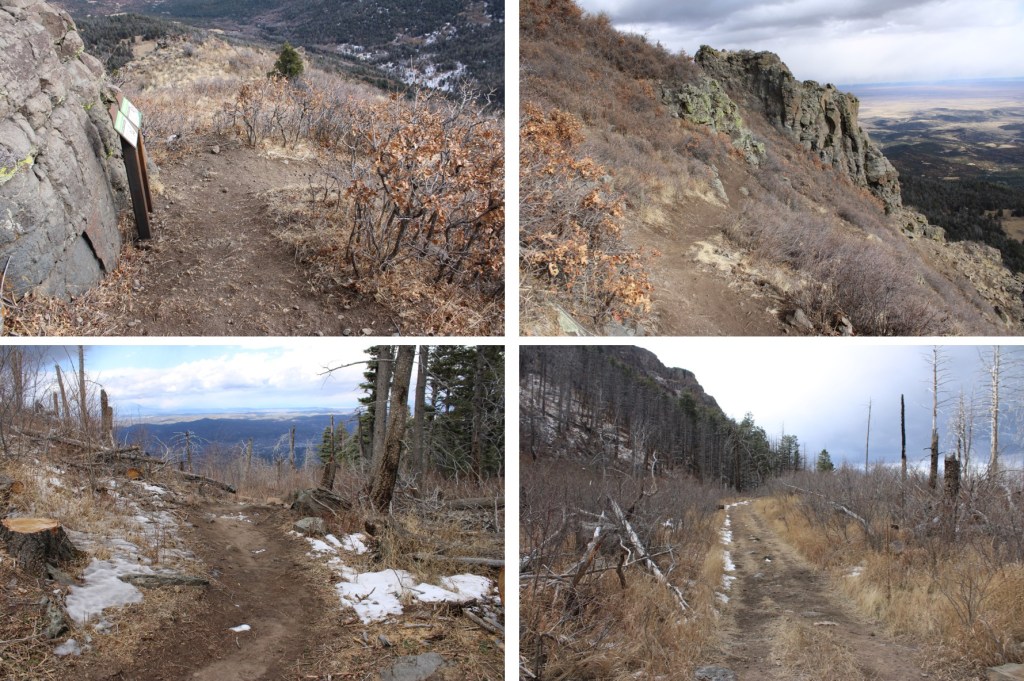
I parked at Fishers Peak Trailhead (the only trailhead in the park) and was on my way at 7am.  The trailhead is obvious, at the east end of the parking area.

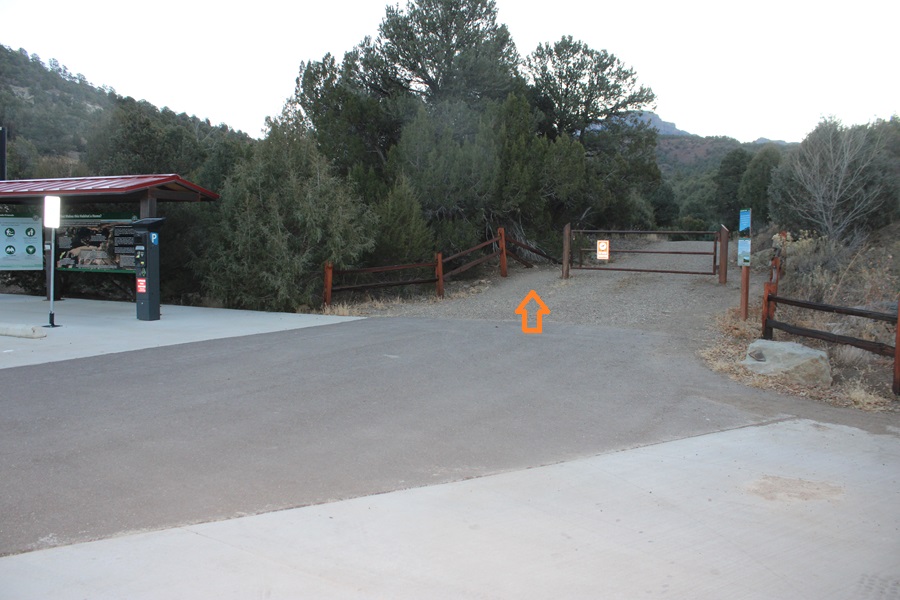
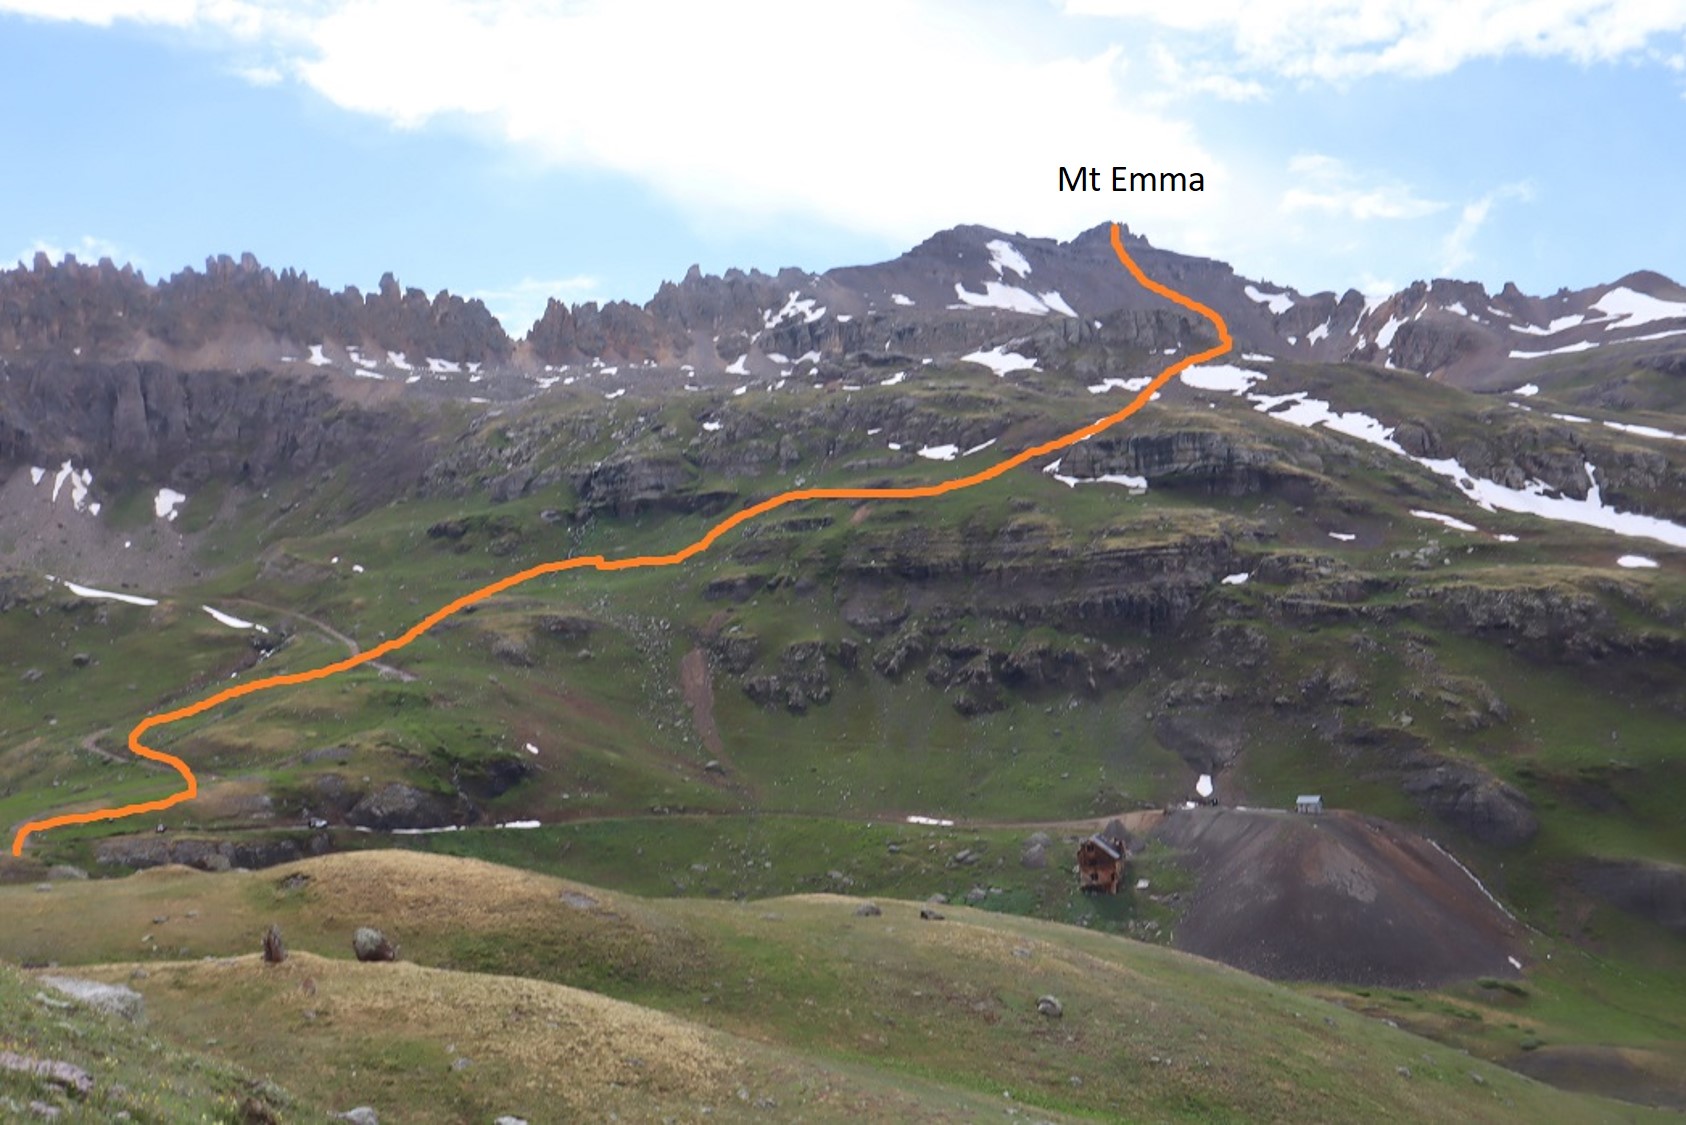
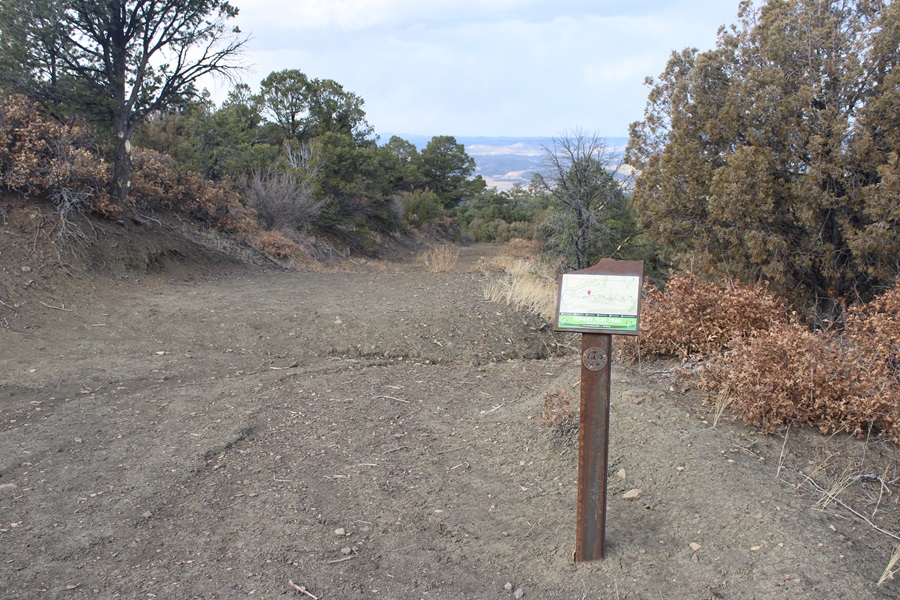
There were a limited number of trail maps at the trailhead, and I snagged one.  If there isn’t one there, here’s a copy.  I can tell you this isn’t the best map, and the signs can be confusing, but you basically want to take trail 1 to trail 2 to trail 3, then 4, 5, and 6.  This may sound obvious, but trail 8 and 10 and 9 all lead to trail 2 as well (they just meander a bit). 

Trail 1: Navy Blue on Map, Challenge Hill Section

Trail 2: Dark Magenta on map (as opposed to light Magenta), Osita Ridge Section

Trail 3: Blue on map (as opposed to Navy Blue or light blue), Shady Forest Section

Trail 4: Green on map, Stone Guard Section

Trail 5: Light blue on map (Peak Approach Section)

Trail 6: Brown on map (Summit Loop Section)

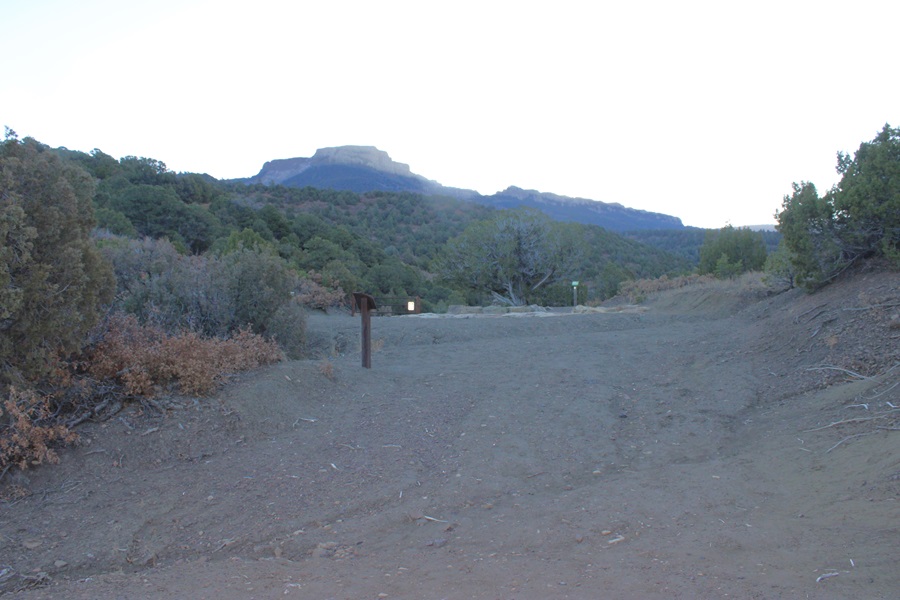
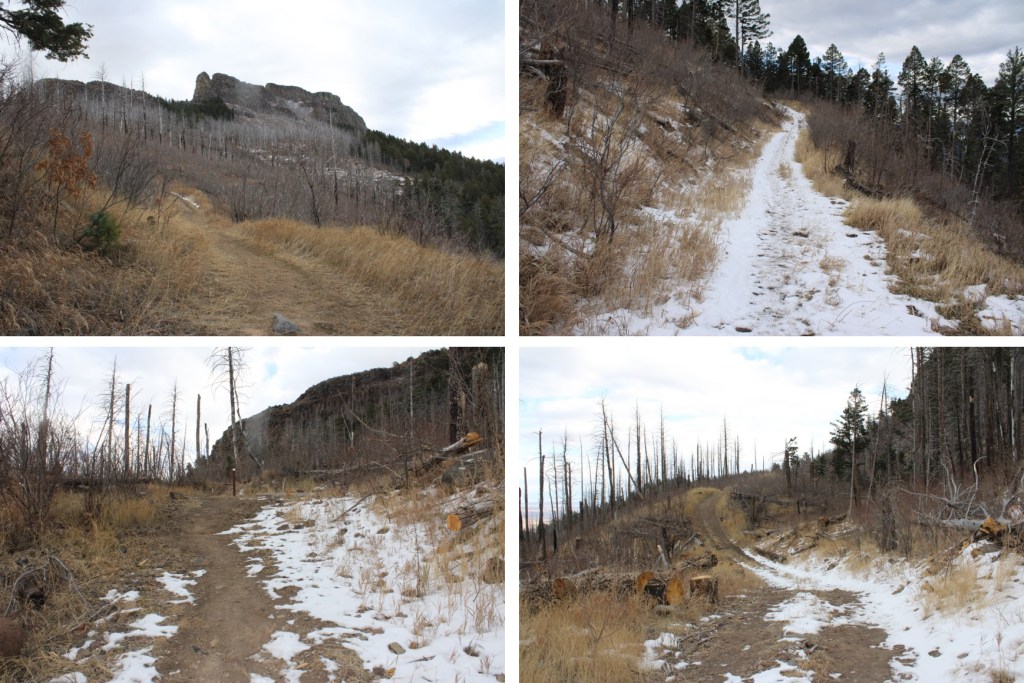
I followed the Challenge Hill section for a short while (maybe 100 yards) before coming to a junction with several other trails.  I could see Fishers Peak from the parking area.

At the junction I stayed on the Challenge Hill Section, which is the wide path that goes straight (yes, this can be confusing, stay on the road).

The road quickly begins to gain in elevation.  I gained 770’ of elevation in just under 1.5 miles.

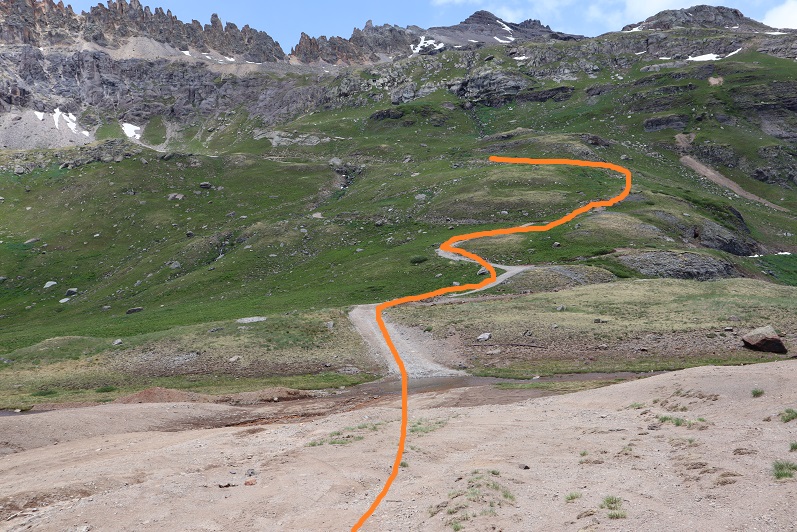
After hiking for about 1.3 miles, I came to another junction.  If you accidentally took trail 10 or 8 or 9, you’ll end up here as well.

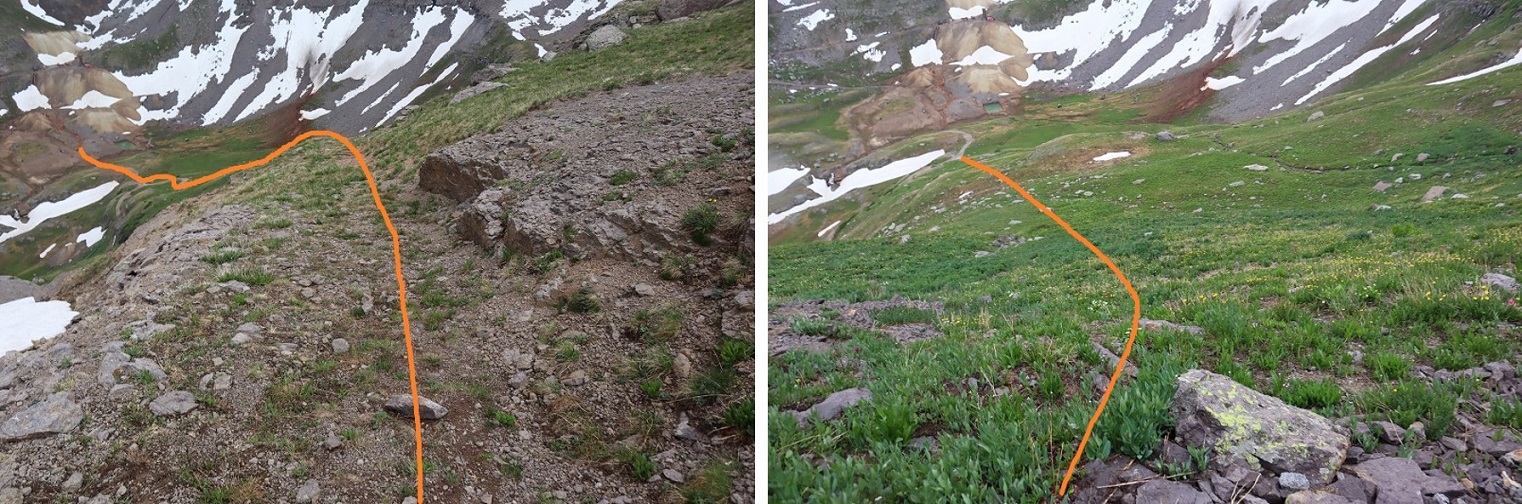
I continued east, taking the Osita Ridge Section

Now the trail became more of a bike trail than a hiking trail.  It meandered around mountainsides instead of over them, and had a lot of small ups and downs, which I’m assuming make biking up hill easier?  I can see problems in the spring with rain and runoff collecting in pools on this trail, but for now it was just mildly annoying. 

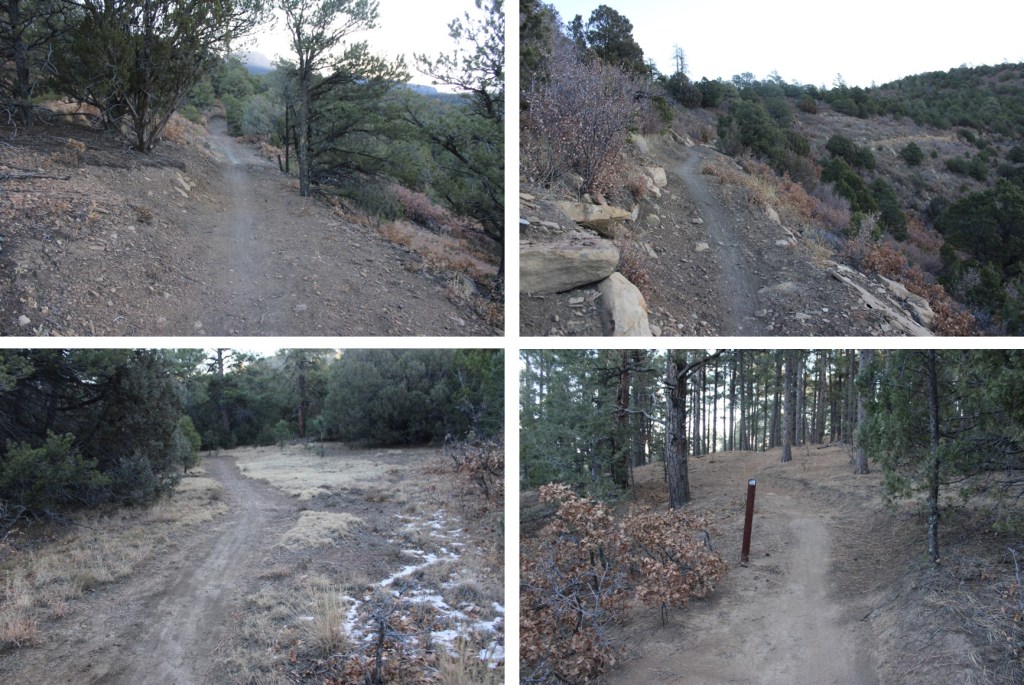
After hiking for 3.85 miles I came to a junction, which congratulated me for making it halfway.  I like how the sign asks the hiker if they are truly prepared for the second half of the hike.

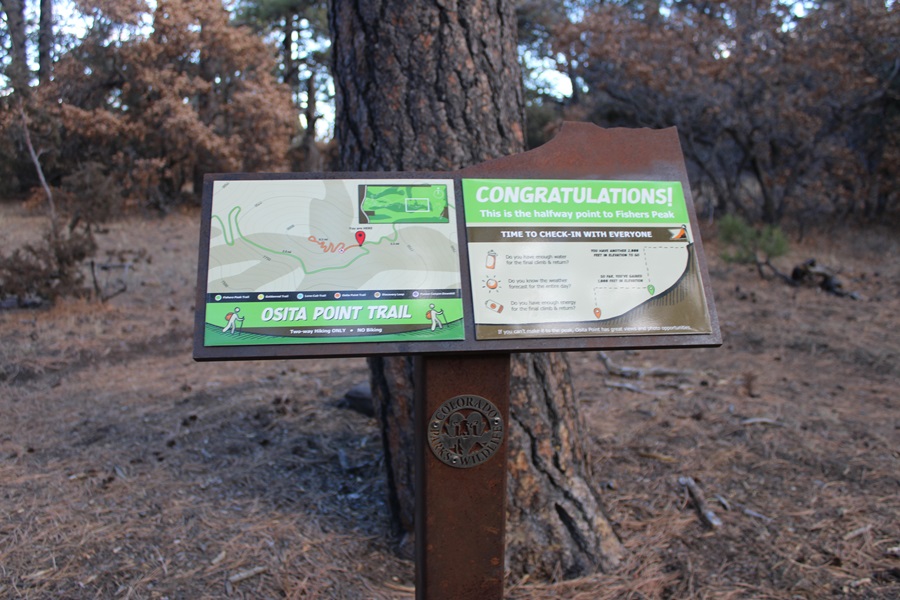
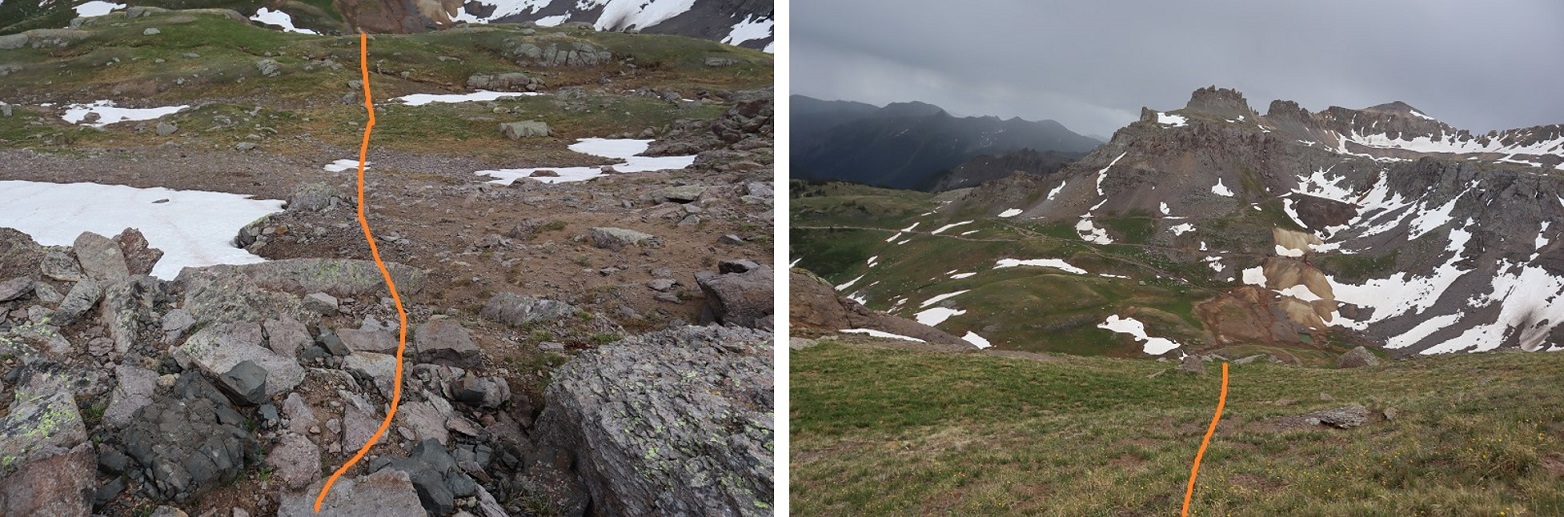
At this junction I turned right, and followed the Shady Forest Section.  If you go left, you can hike .4  miles up to Osita Point.

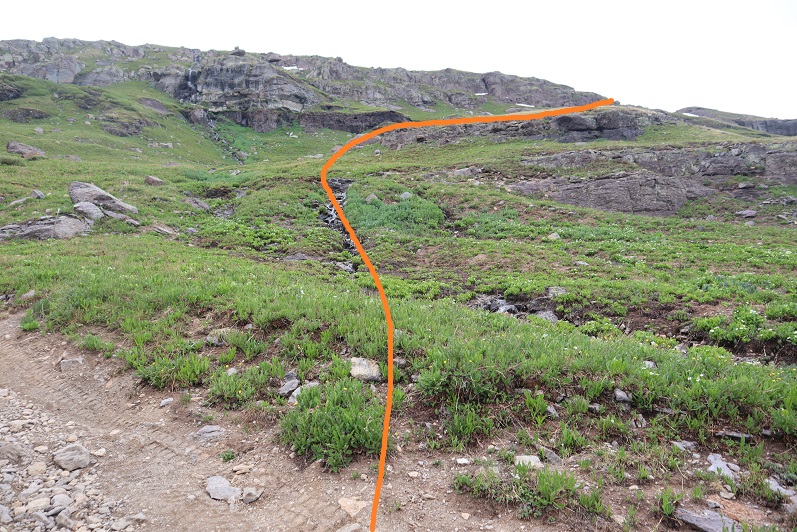
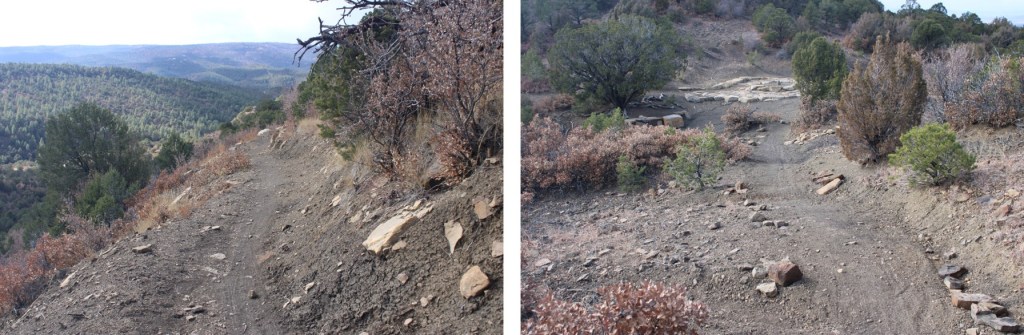
About 2 miles of hiking brought me to a gate.  The sign says this portion of the trail is closed March 15-July 31 for Raptor breeding season.  So if you’re going to do the peak, don’t plan on coming during that time.  This is also a good place to leave your bike if you rode one, as the trail becomes much more rocky and there are stairs involved. 

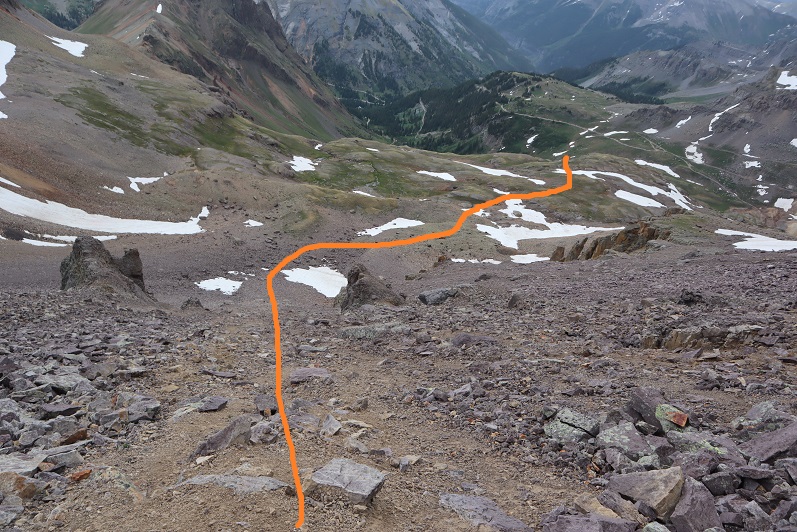
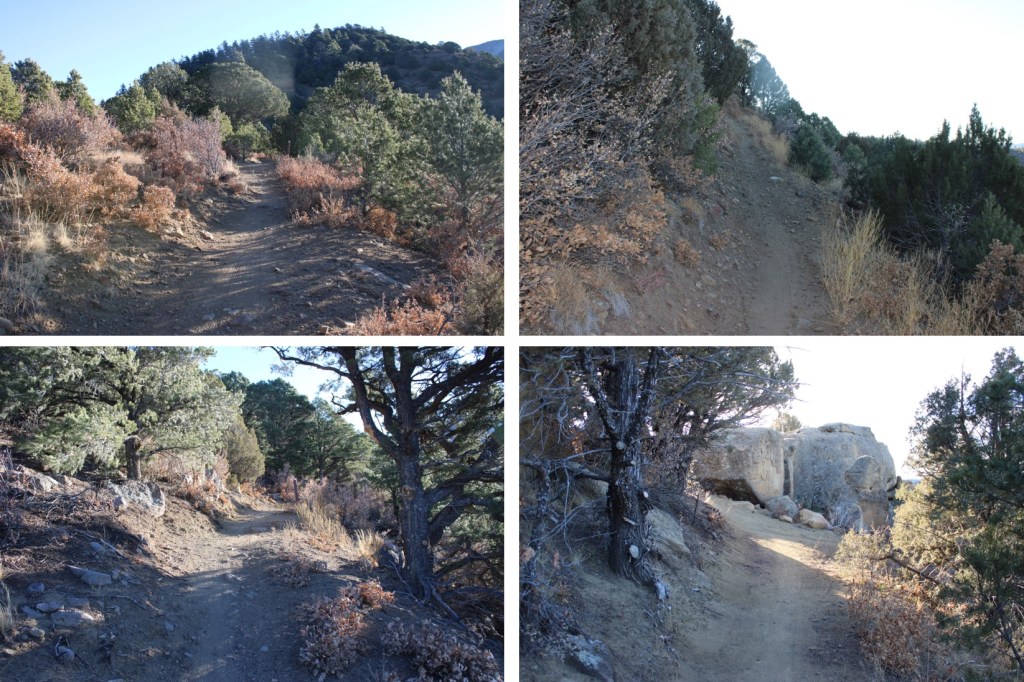
I was now in the Stone Guard Section, and followed the class 1 trail south as it gained the ridge.

There are a couple of gates here, but the trail doesn’t intersect them, and the path is obvious

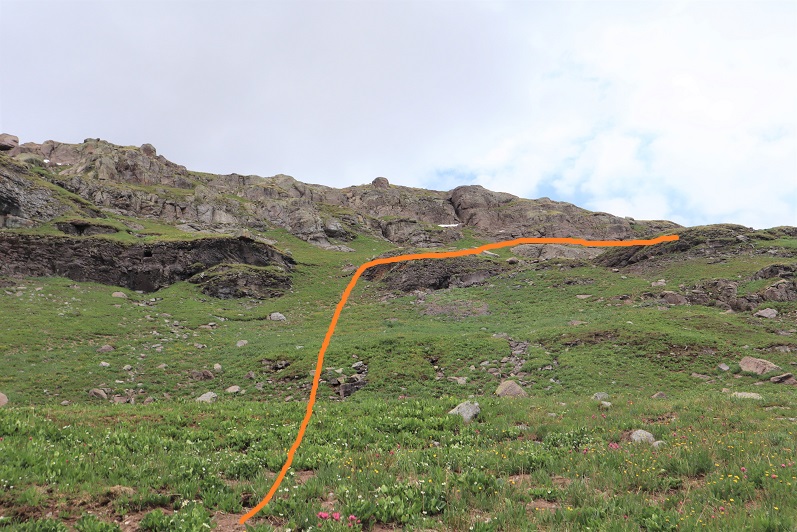
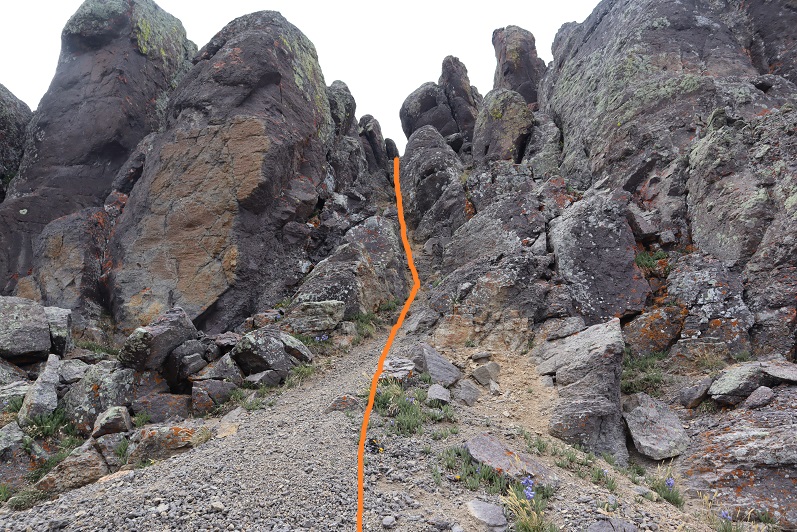
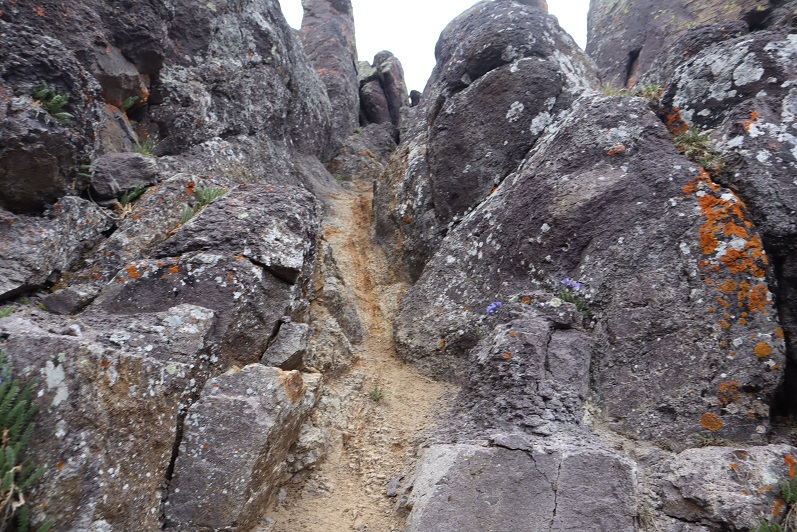
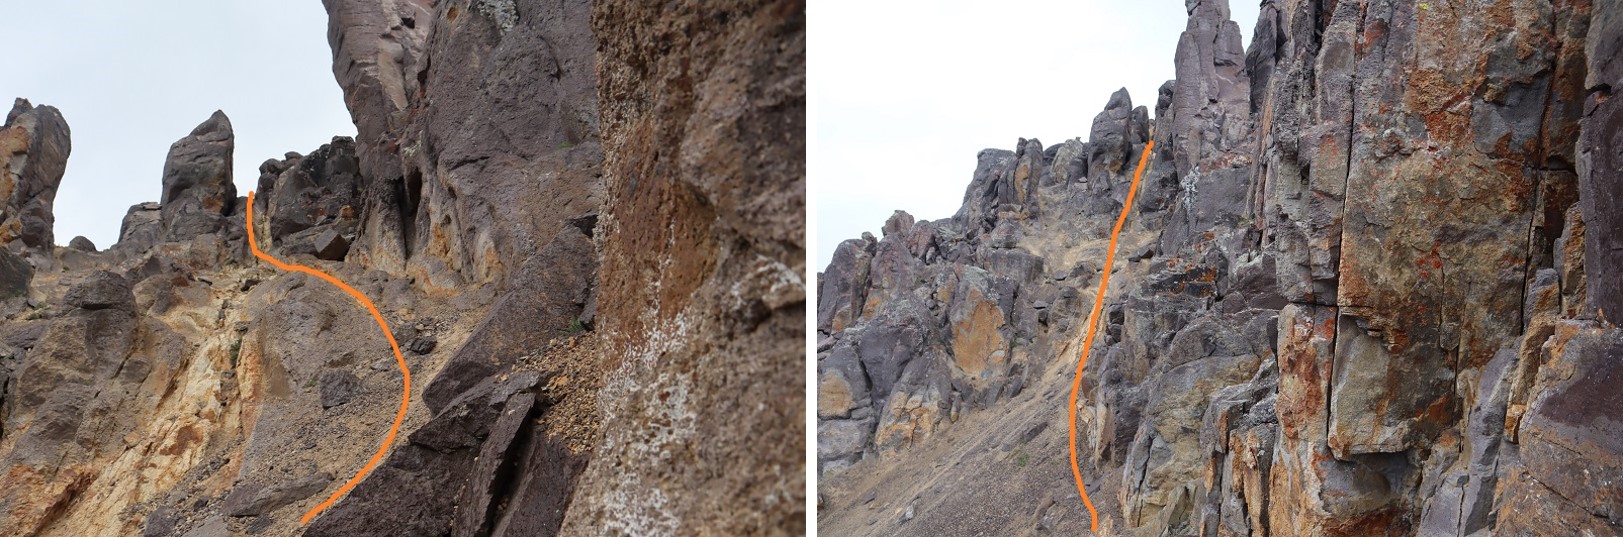
I came upon some stairs, which is the beginning of the ‘hard’ part of this climb.  This is a fairly new trail, but the workmanship in the stair and narrow areas doesn’t look like it will last long.  I can see it eroding in a year or two, or even after this winter/spring season.  Although this is a class 1 trail, care should be taken not to dislodge a rock or slip off the side of the trail.

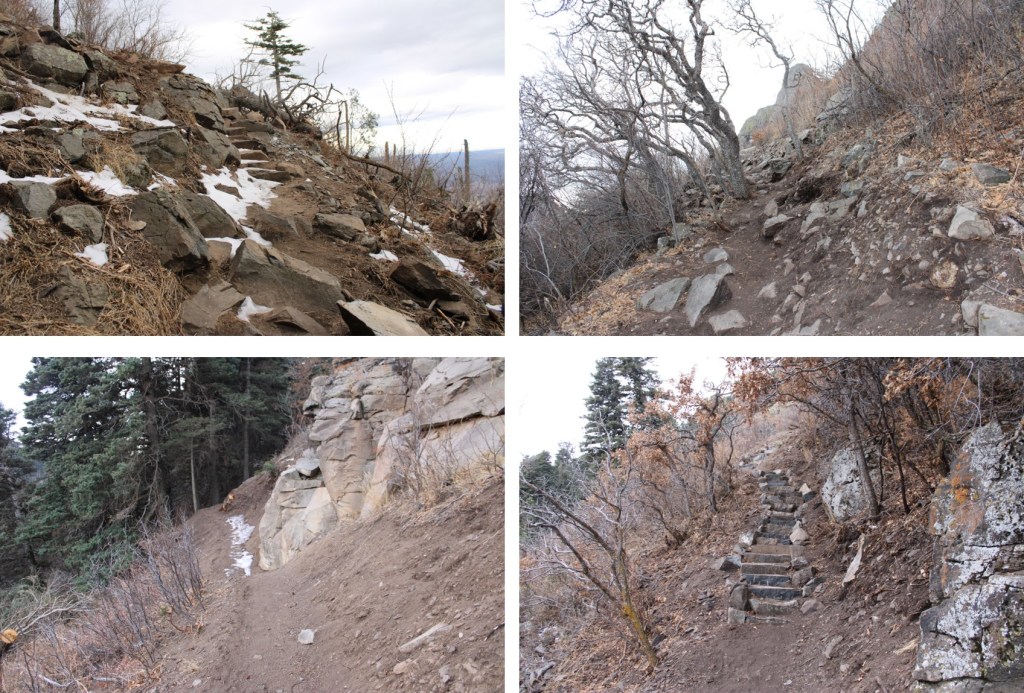
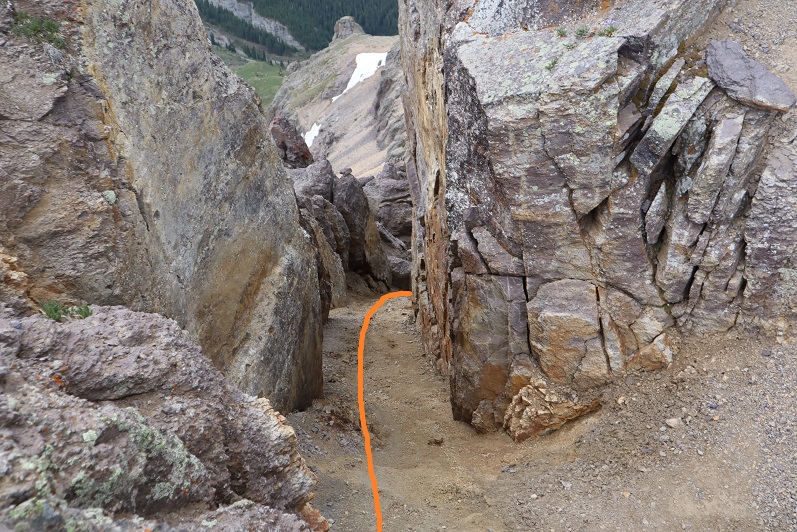
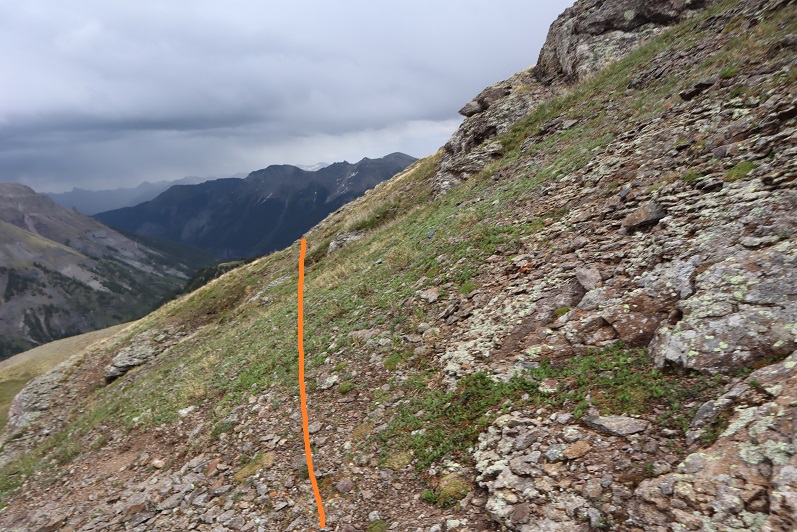
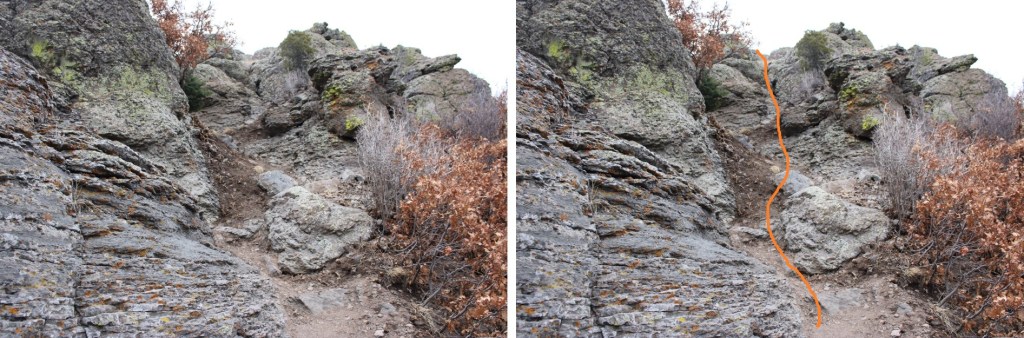
When you see these signs, you’re almost to the summit. There’s a little bit of scrambling here, but only for about 20 feet or so. 

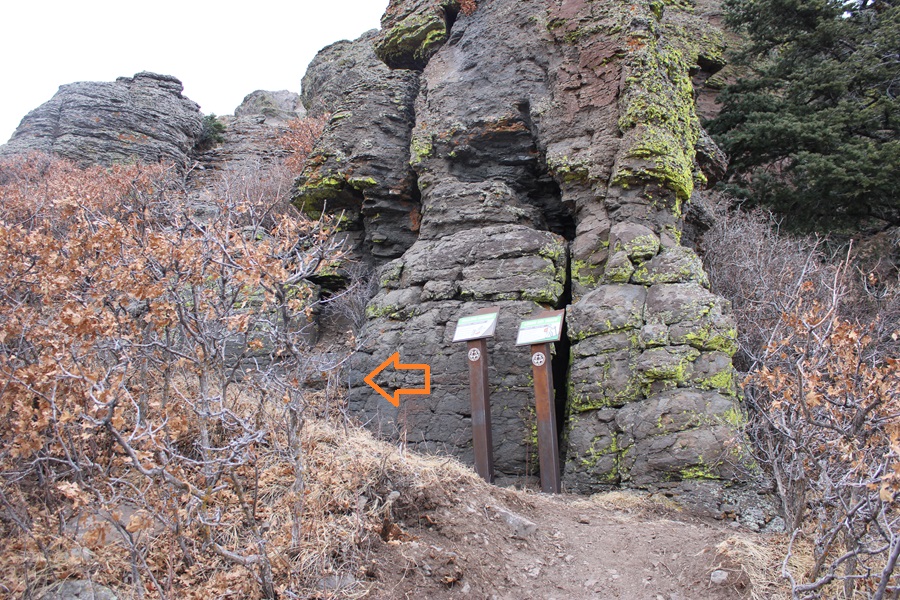
The trail here is not obvious, but you’re trying to ascend these rocks.

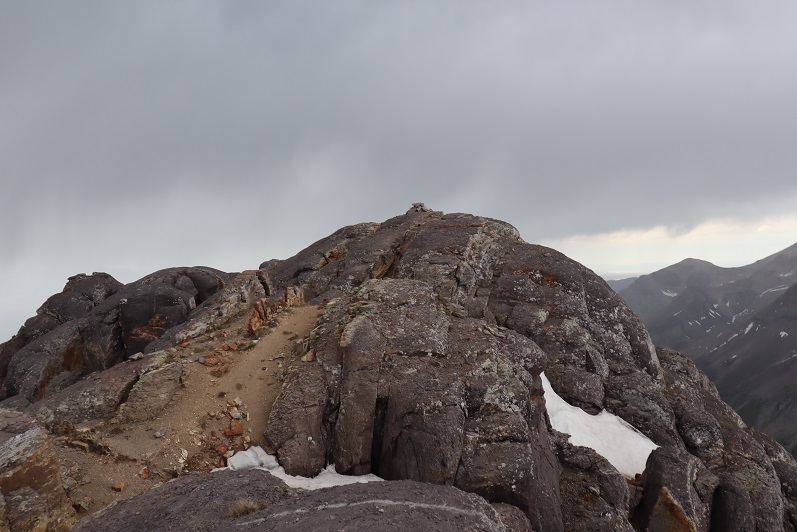
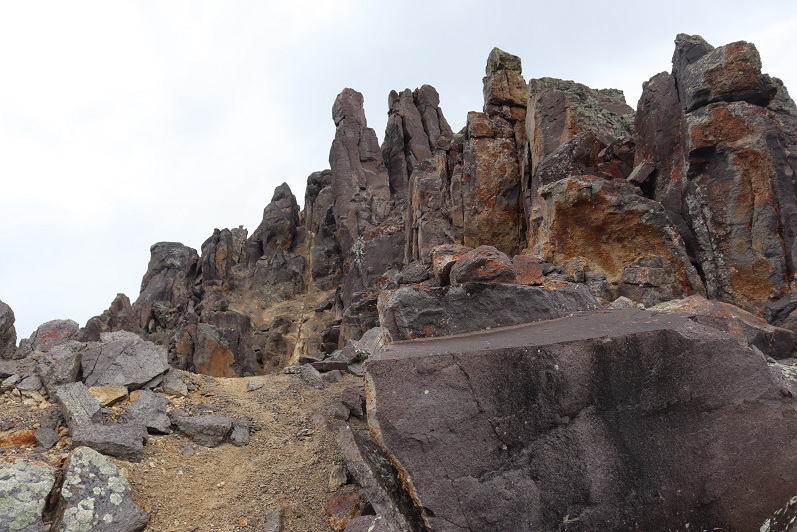
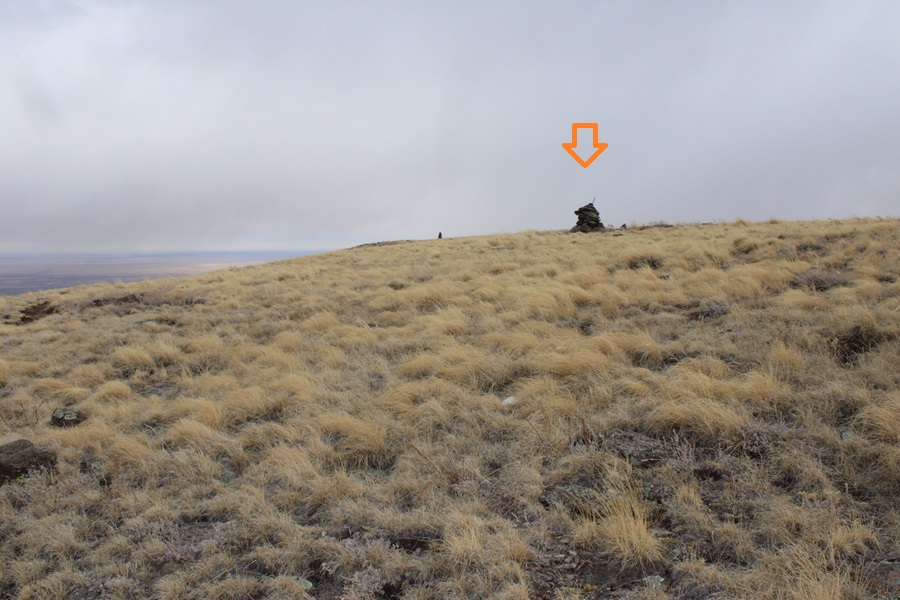
At the top of the rocks I was surprised to be greeted by a mesa.  There is a well-established trail here, that goes around the mesa.  You can go either left or right.  I went left.  This is the Summit Loop section of the trail.

The actual summit can be difficult to discern, as there are multiple large cairns that look like the summit.  It you go left as I did, the summit will be the first large cairn you come to.  Because I wasn’t sure at the time, I went all over the mesa to make sure this was indeed the true summit.

I summited Fishers Peak at 10:15am.  This video is from the middle of the mesa.

Fishers Peak:

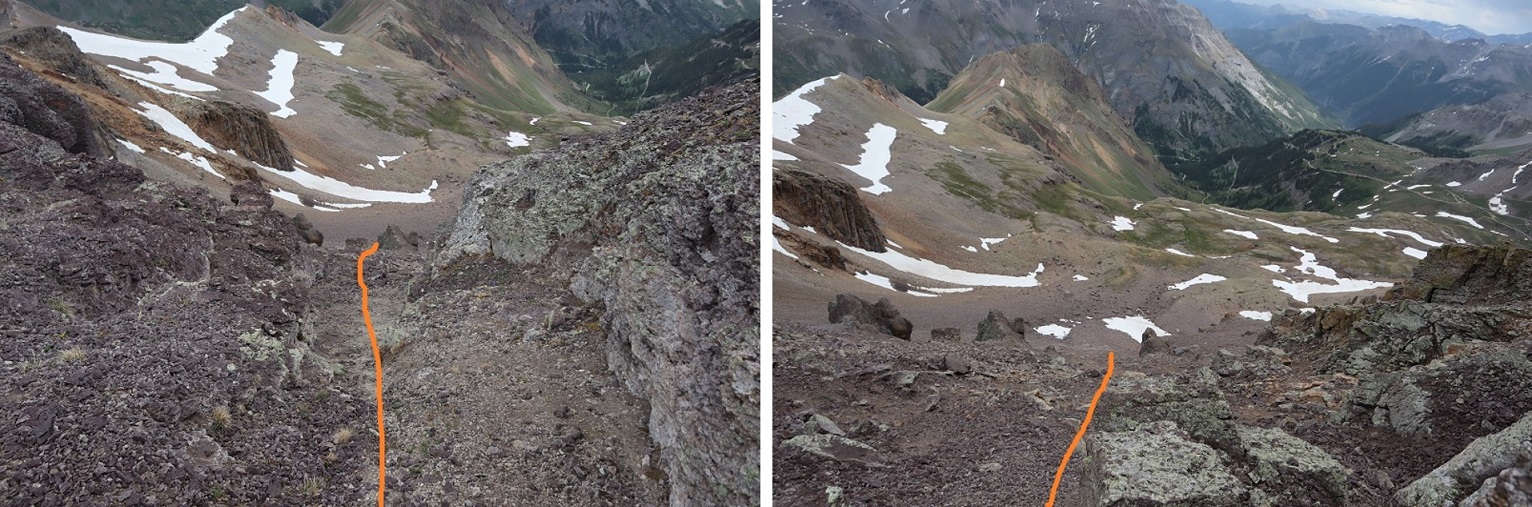
Now to head back down.  I simply re-traced my steps back the way I came

Back down the rocky area

Then I followed the trail backwards, taking sections 5-4-3-2-1

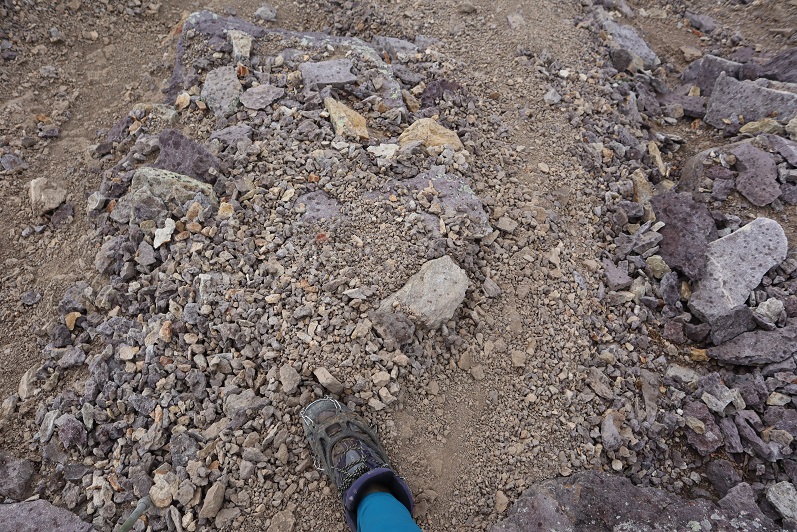
It wasn’t supposed to start snowing for another two hours, but mountains have a way of making their own weather.  It started graupeling pretty heavily.

Graupel:

I continued on through the graupel, following the well established trail

At the junction of trail 1,2,9 & 10 I followed trail 1, the Challenge Hill Section (the one that’s a dirt road), back to the trailhead.  You can take any of the routes, the others will just be longer.

When I got back to the trailhead, my truck was still the only vehicle in the lot, leading me to believe not many people know the park is open

I made it back to my truck at 12:45pm, making this a 15.3 mile hike with 3588’ of elevation gain in 5 hours, 45 minutes

On to the next trailhead!

Mt Emma – 13,592

1

RT Length: 4.48 miles

Elevation Gain: 1861’


After summiting Cirque and Gilpin it was still early in the day and the weather seemed to be holding so I decided to try and get one more bicentennial in. I drove down from Yankee Boy Basin to the junction with Governor Basin Road and took that 4WD road all the way up to Governor Basin. This is a narrow road and 4WD but luckily I only had to pass OHVs.

2

3

Originally, I parked at the top of the hill and started walking down into the basin, but when I saw other vehicles parked below I got back in my truck and drove all the way to the bottom.

4

Here’s an overview of the entire route:

5

From the parking area I crossed a small creek and followed the 4WD road.

6

When the 4WD road intersected with a small waterfall/drainage I turned right and headed northwest up the side of the mountain

7

8

This led me to a faint game trail that brought me around the mountain

9

There was a neat cave here that looks like it used to be a mine but now belongs to an animal (hence the game trail)

10

I rounded the corner of the mountain and Mt Emma came into view

11

12

I walked across the basin, crossing a small area of firm snow, and then continued hiking up the scree filled gully

13

14

This gully was very loose and for every two steps I took forwards I took a step back sliding down scree. I tried to stick towards the larger rocks when possible because they afforded me more traction hiking up.

Towards the top of the gully the scree changed to rocks and I did a little scrambling to gain the ridge.

15

Once on the ridge I turned right and headed northwest towards the summit towers, putting on my helmet as I went.

16

There seem to be endless ways to summit Mt Emma from this area, all class 3 and above.  I summited by going right first, up a small gully and then back down another before ascending a third to summit. I took a different, more direct route on my way back. These gullies ranged from bare, solid rock walls to being filled with soft sand. Microspikes helped here. I wore them until I made it back down to tundra later in the day.

Route on the way in:

17

18

Back down another gully

19

And back up a third gully

20

As soon as I went up this last gully I could see the summit

21

That had been easier than I’d expected. I snapped a picture, took two giant steps towards the summit, and felt it: Zzzzzzp! Zzzzzzp! Two quick buzzes just under my helmet accompanied by a tingling sensation. Even though I’d never felt this before I instantly knew what it was: indication of an imminent strike of lightning. I was just feet from the summit but I immediately turned and bolted for the gully I’d just ascended.

Well, that was unexpected! Sure, there were clouds and mist all around me, but none of the clouds looked threatening. As I sat there in the gully, looking at the summit just a few yards away, it started graupeling. Then raining. Then graupeling again. I sat and considered my options.

22

I could hike back down the mountain, but as soon as I left these gullies I’d be exposed for the rest of the hike. I did not want to be the tallest thing above treeline. I licked my finger and held it in the air to test the wind and watched the clouds: the storm was moving away from me. I looked all around and no, the clouds didn’t look menacing (even though it was raining all over). I decided to sit and wait the storm out. After about 30 minutes of sitting on the summit, not seeing any lightning or hearing any thunder, I tried again.

I quickly left my spot and scrambled the last few yards to the summit

23

I summited at 2:15pm. I was still very scared of lightning and instead of taking the time to set up my camera I took a selfie with my cell phone and a very quick summit video. That’s a nervous smile by the way: I still didn’t completely trust the weather and wanted to get out of there.

24

Mt Emma:

Despite my earlier plan of taking the time to check out the conditions of the peak for tomorrows hike I didn’t spend more than 30 seconds on that summit. I quickly turned around to head back. Circled in red is where I’d spent the past 30 minutes waiting out the weather. This is also the access point to the gully I descended on my way back.

25

From the summit I could see a more direct route back through a different gully and decided to take that route down. It’s still class 3, but you can see your objective the entire time. I went back down the last gully I’d ascended

26

And east towards the small saddle

27

28

Here’s looking back for those of you who want to ascend this way (I’d recommend doing so, it’s entrance is to the left of center of the summit area)

29

30

Back on the saddle the weather looked to be improving. I found the access point and headed back down the gully.

31

While descending I stuck to the areas of dirt and scree. My microspikes helped tremendously. At times the scree would give way and there would be sections of 10 feet or so where all of the rocks would loosen and slide together for a few yards. At one point my leg became buried in scree past my shin. My shoes had so much scree in them I had to take them off and shake them out twice before making it to the bottom. Tons of fun!

32

33

I retraced my steps out of the basin back down to my truck

34

35

36

37

38

The small waterfall/creek/runoff is a great visual for how to make it back to the 4WD road

39

40

I made it back to my truck at 3:10pm, making this a 4.48 mile hike with 1861’ of elevation gain in 3 hours (including the half hour spent waiting out the weather). It was raining as I made it back to my truck. Here’s a topo map of my route

41

On to the next trailhead!