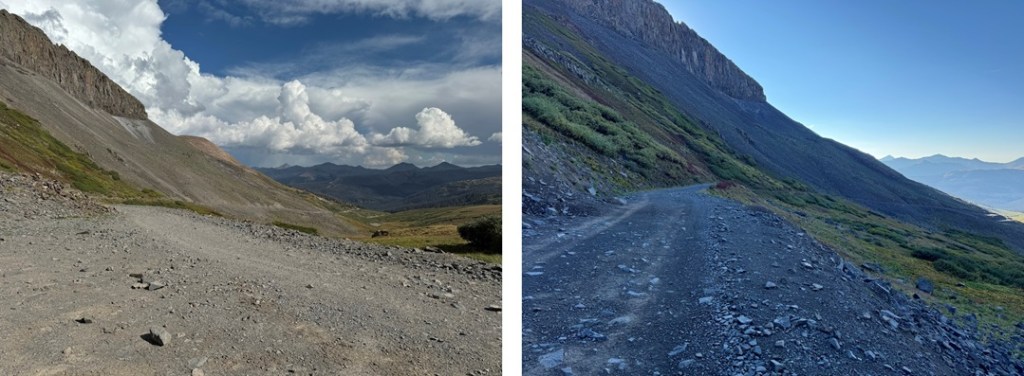
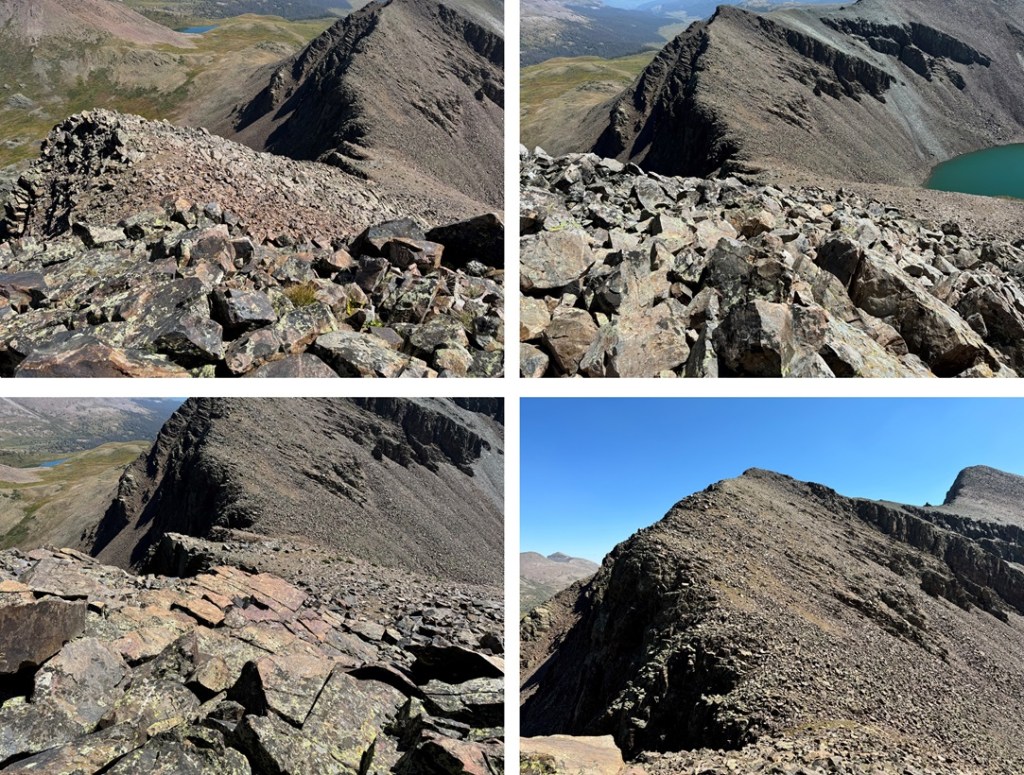
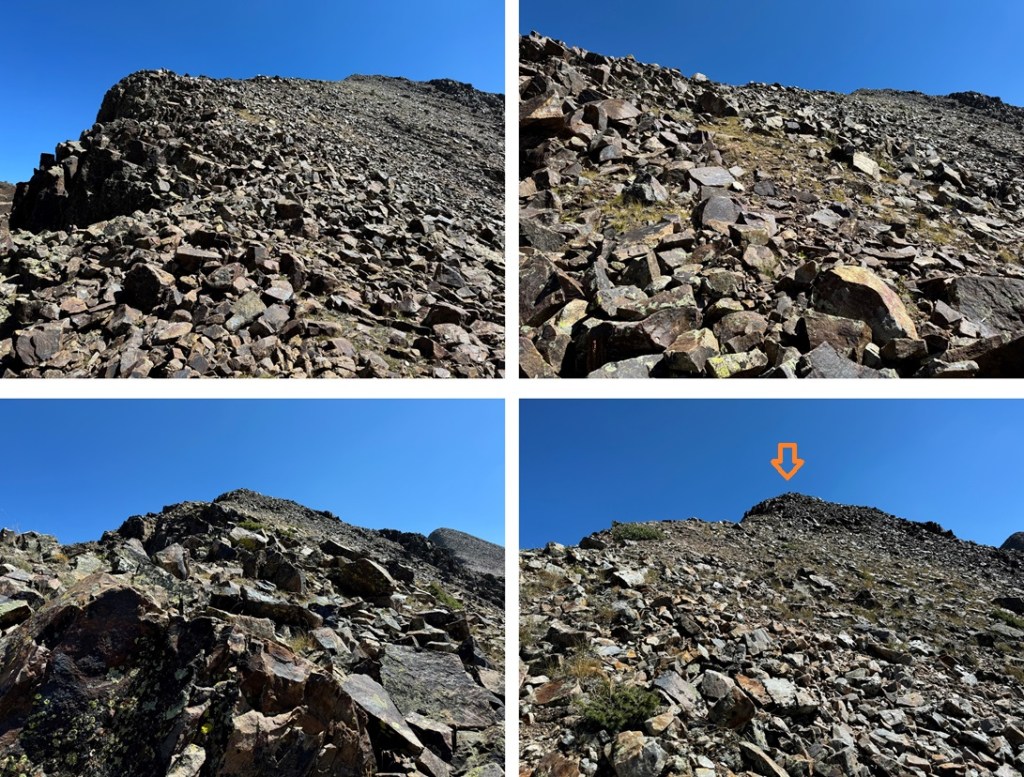
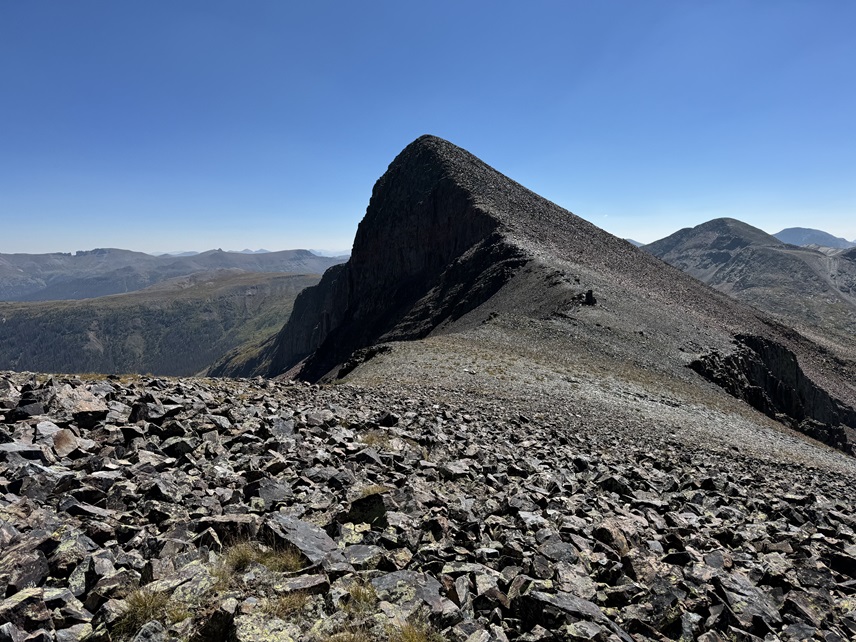
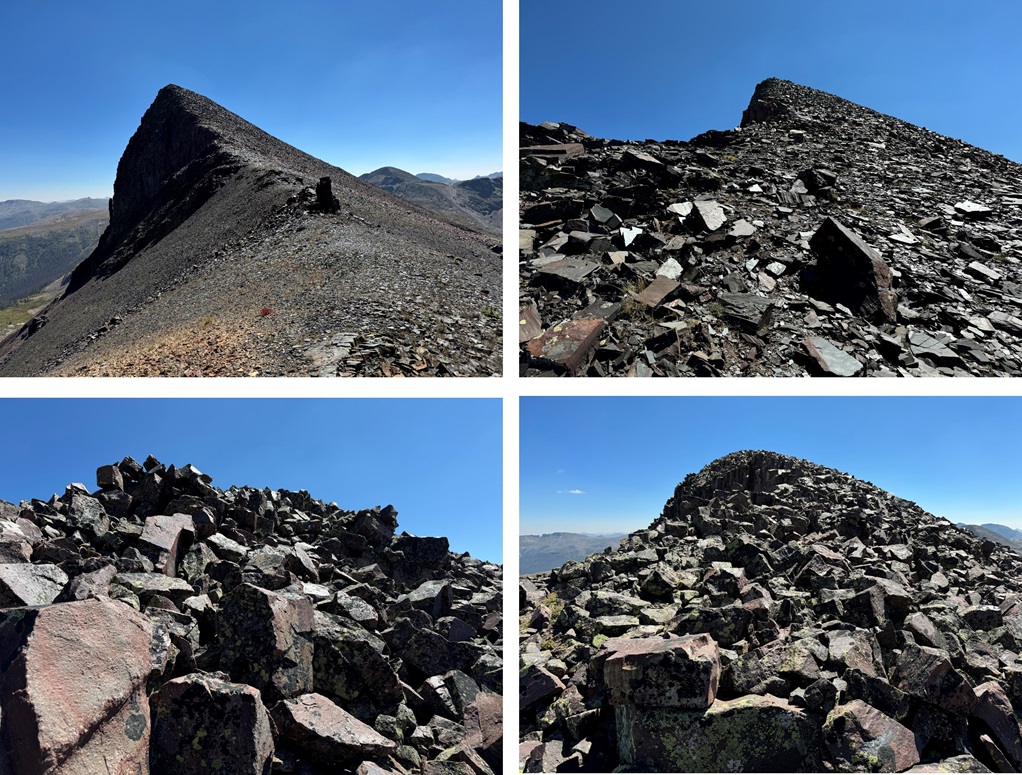
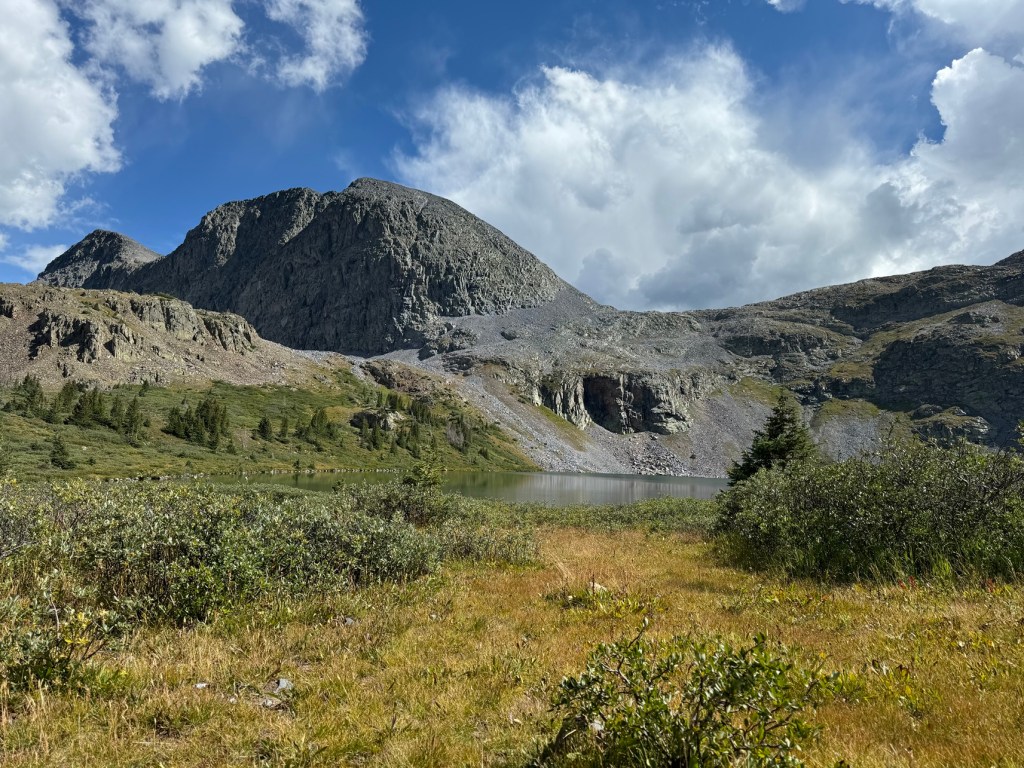
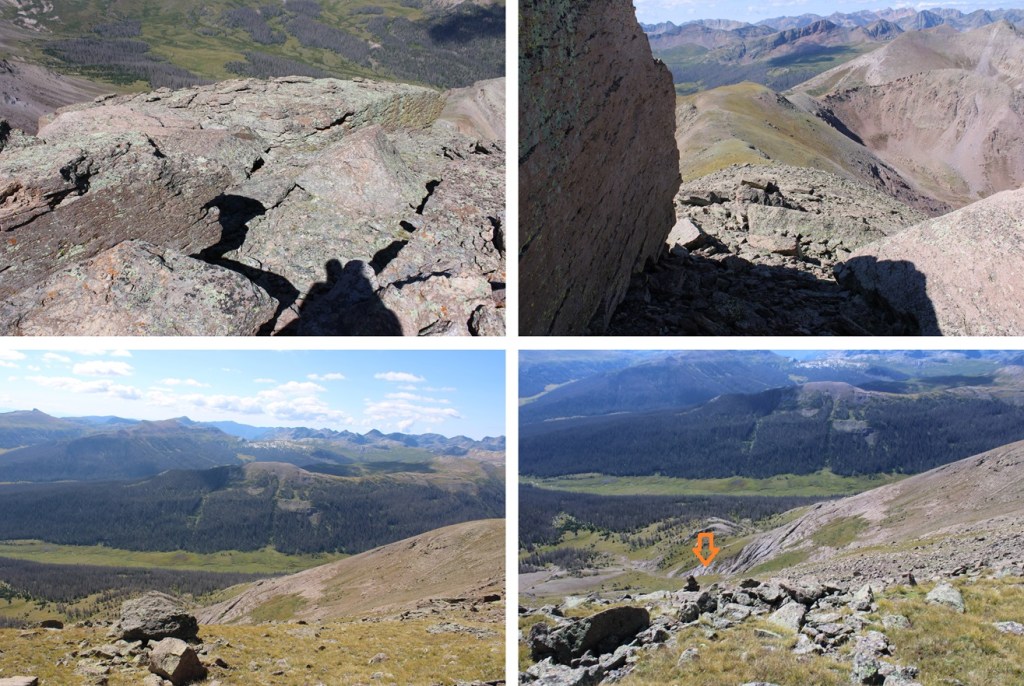
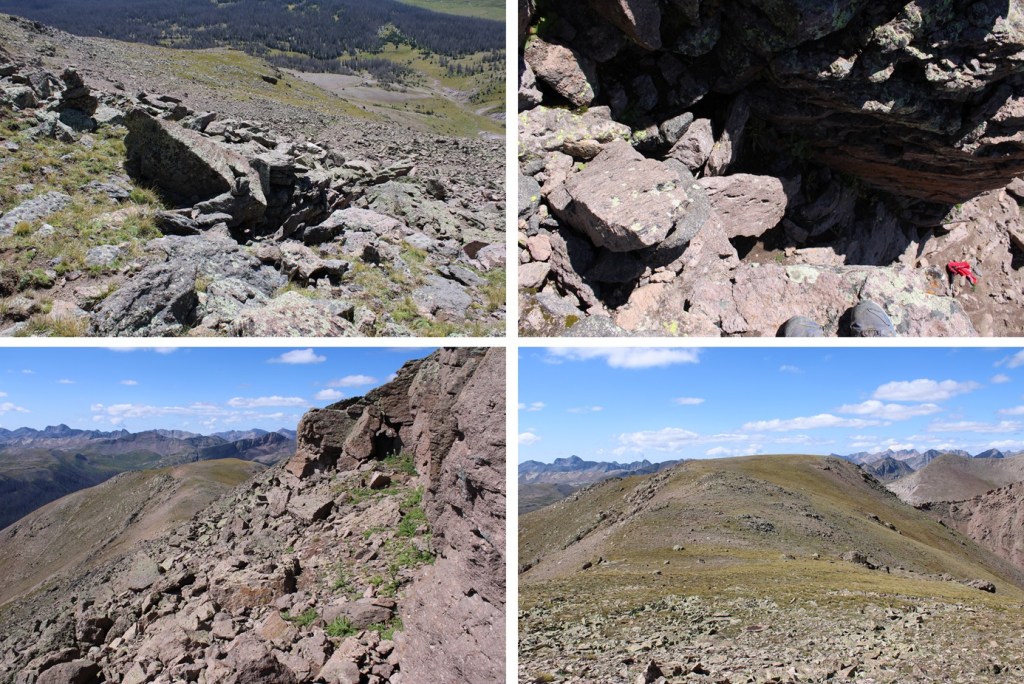
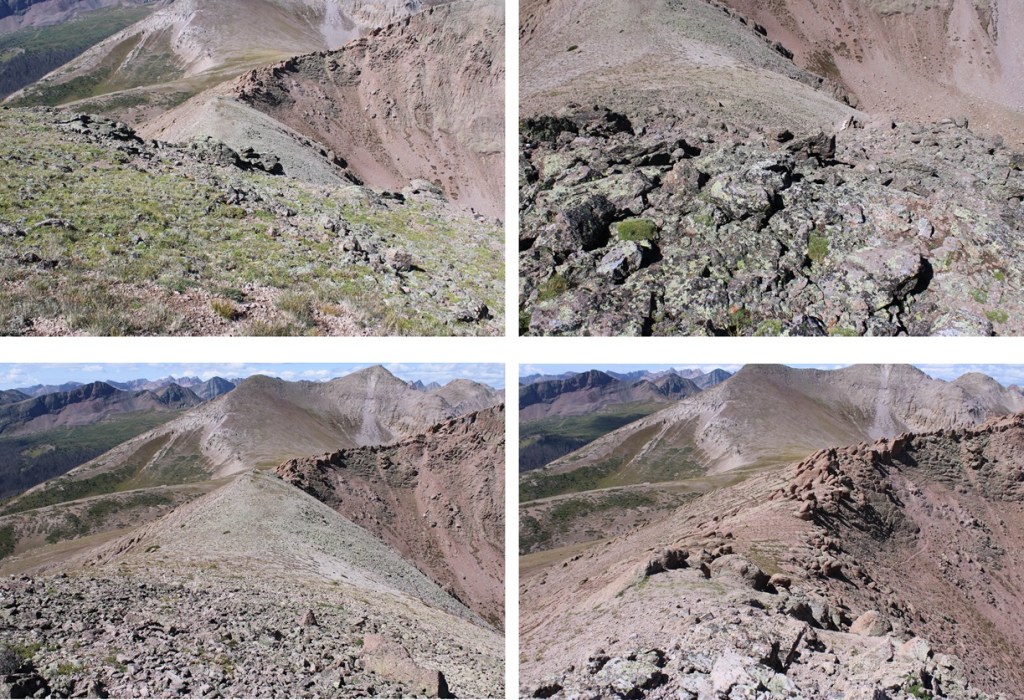
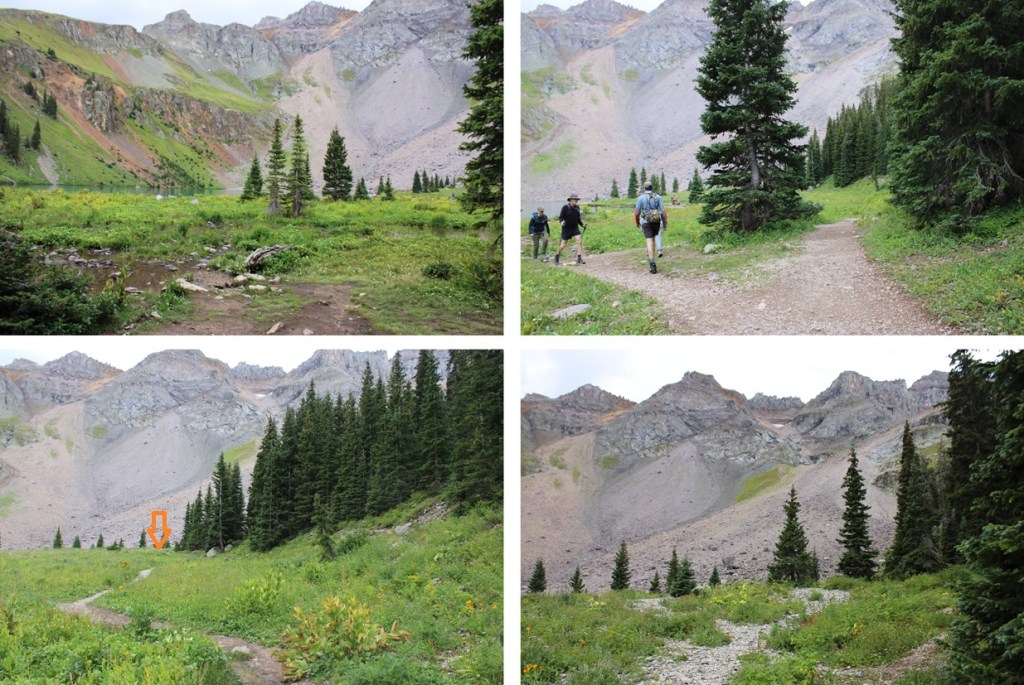
Canby Mountain – 13,487 and Galena Mountain – 13,307

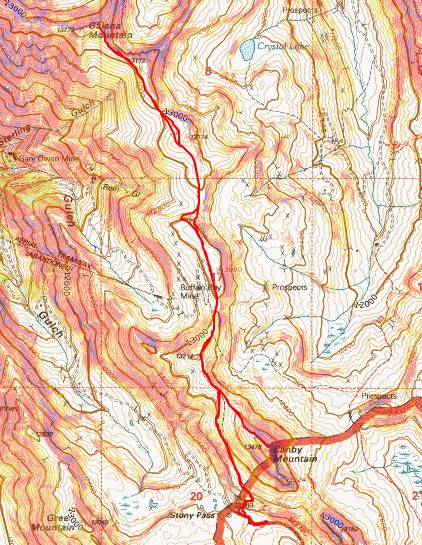
RT Length: 6.65 miles

Elevation Gain: 2084’

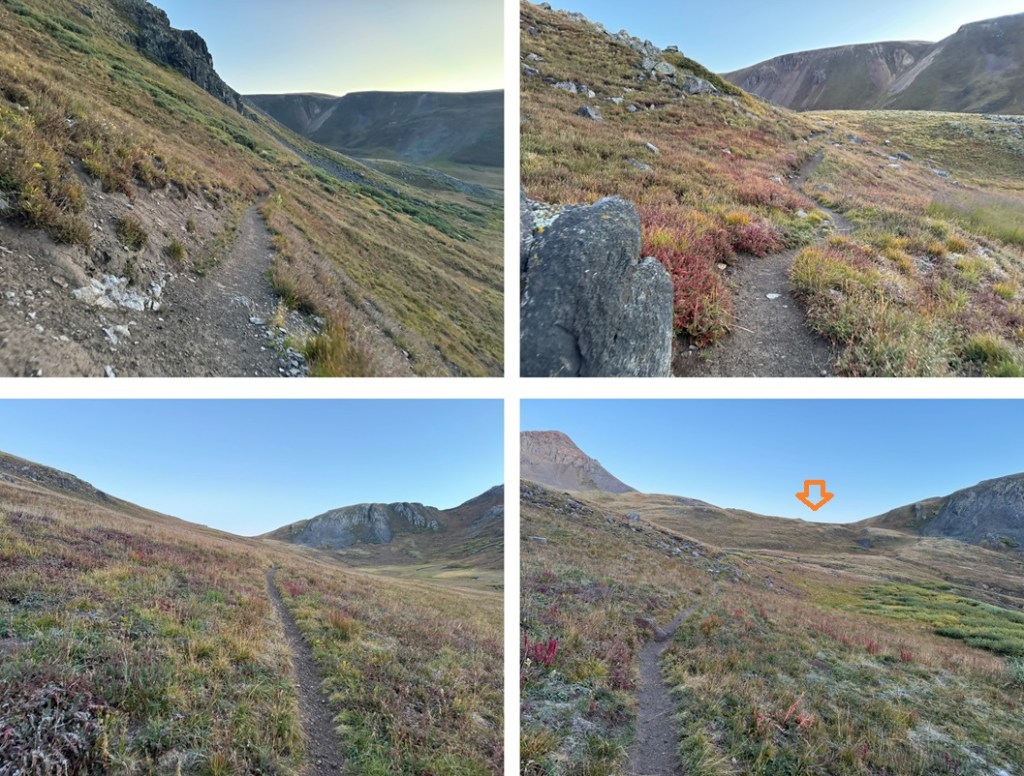
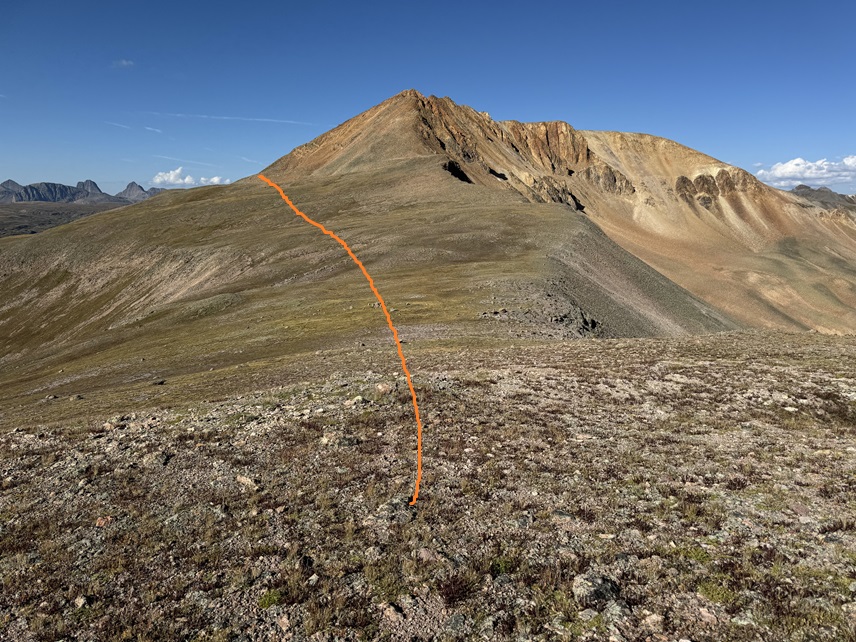
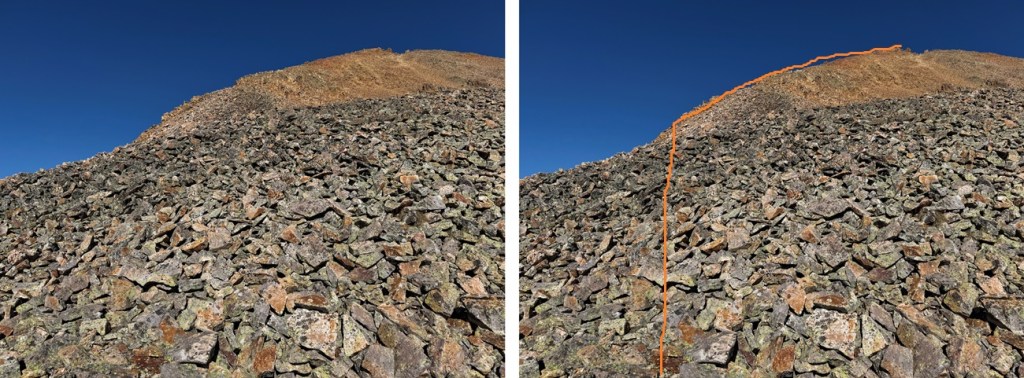
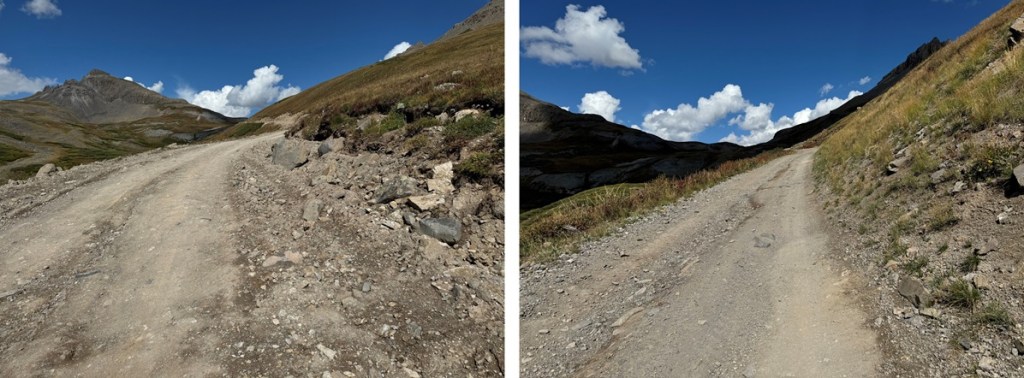
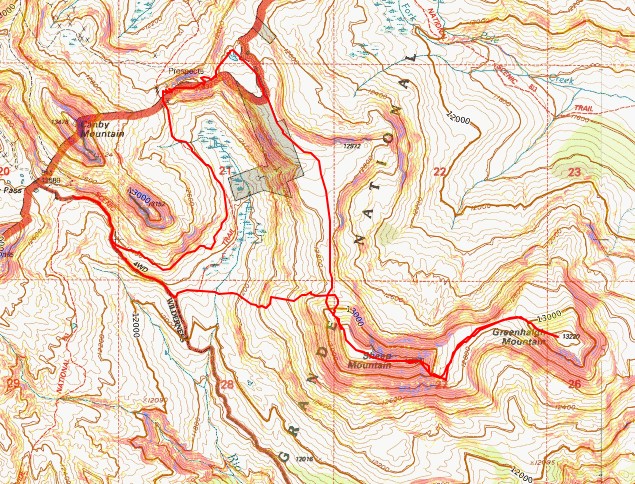
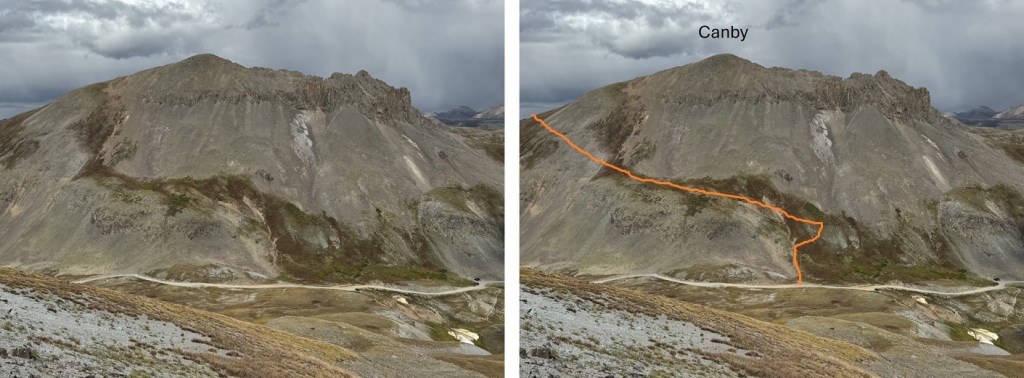
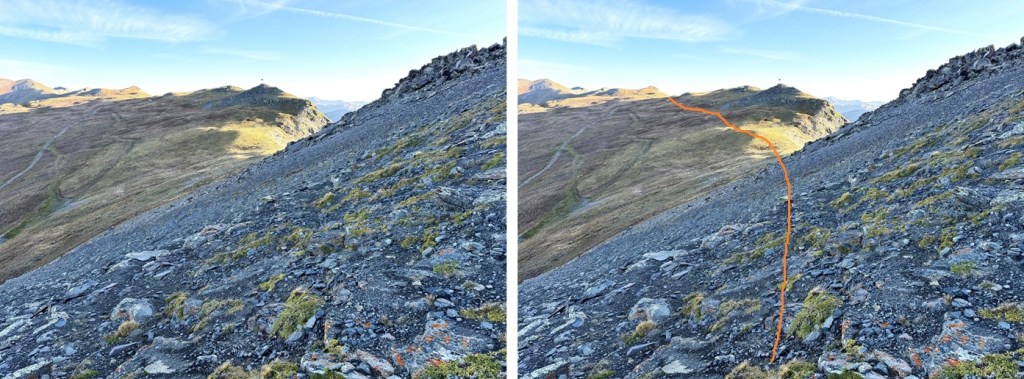
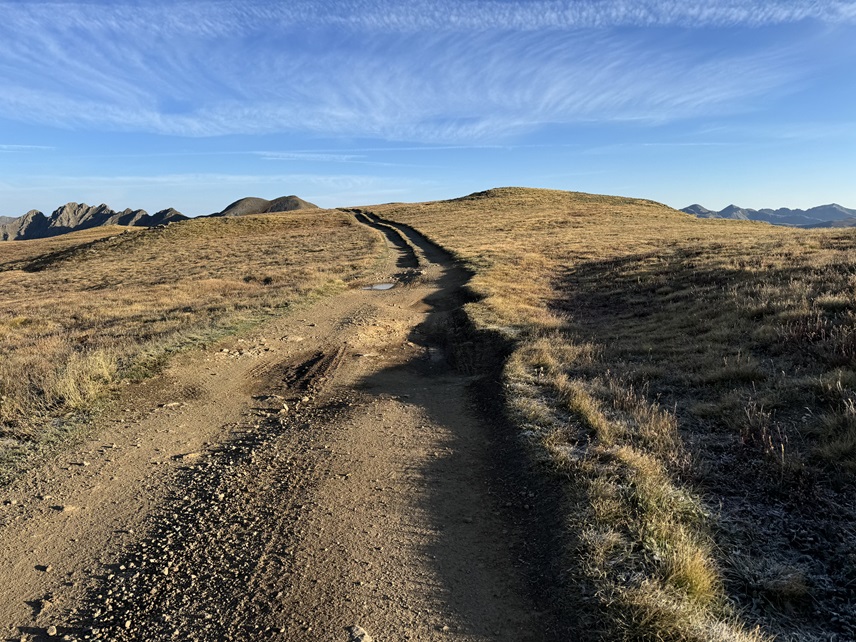
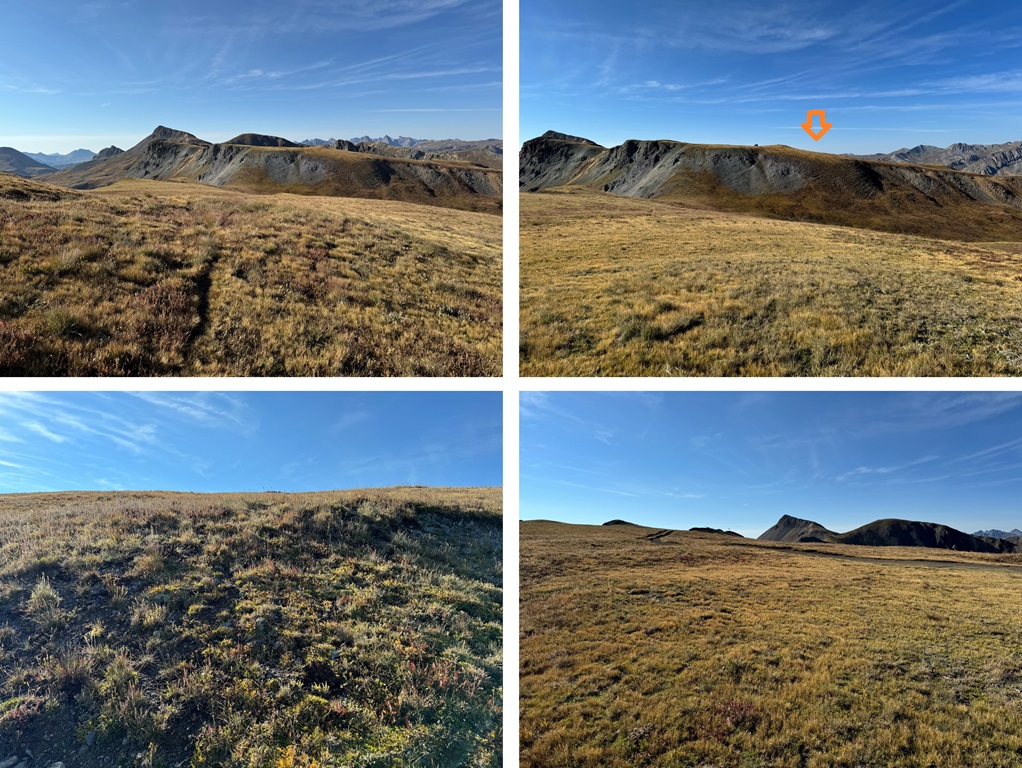
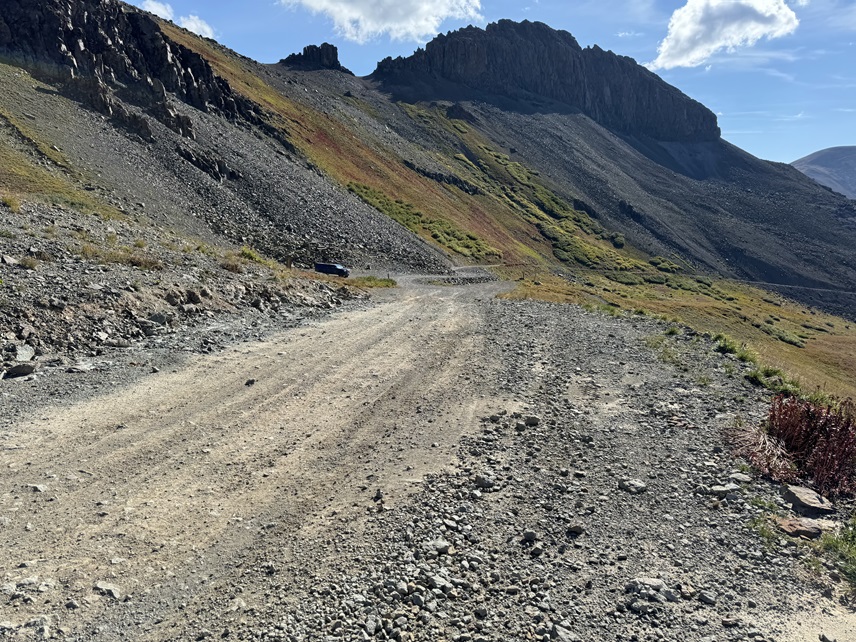
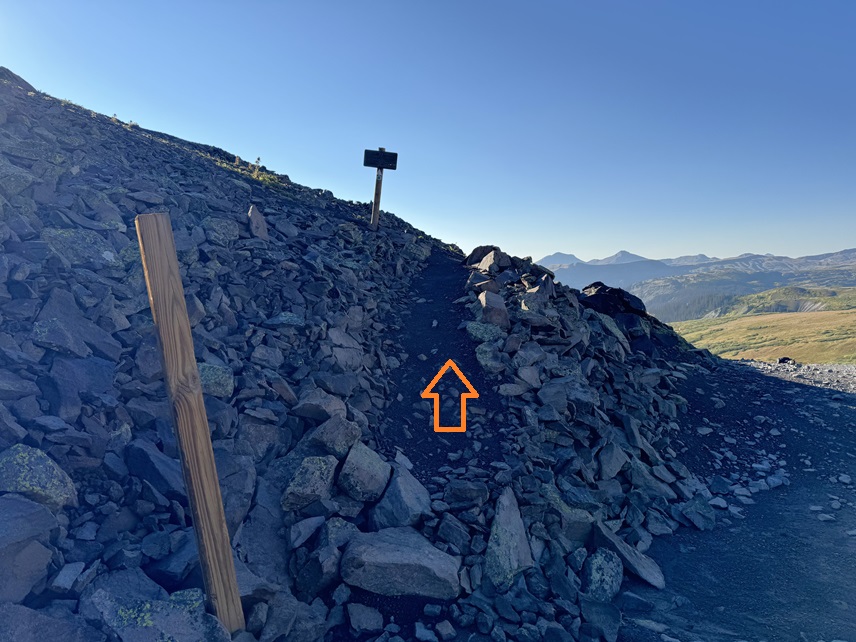
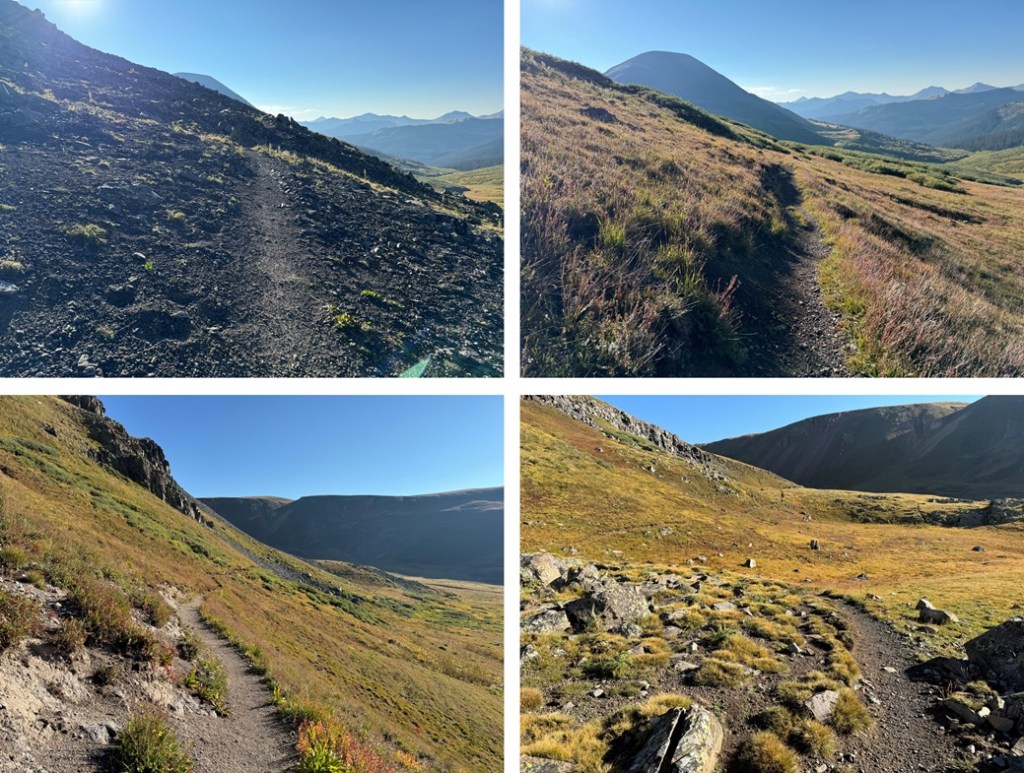
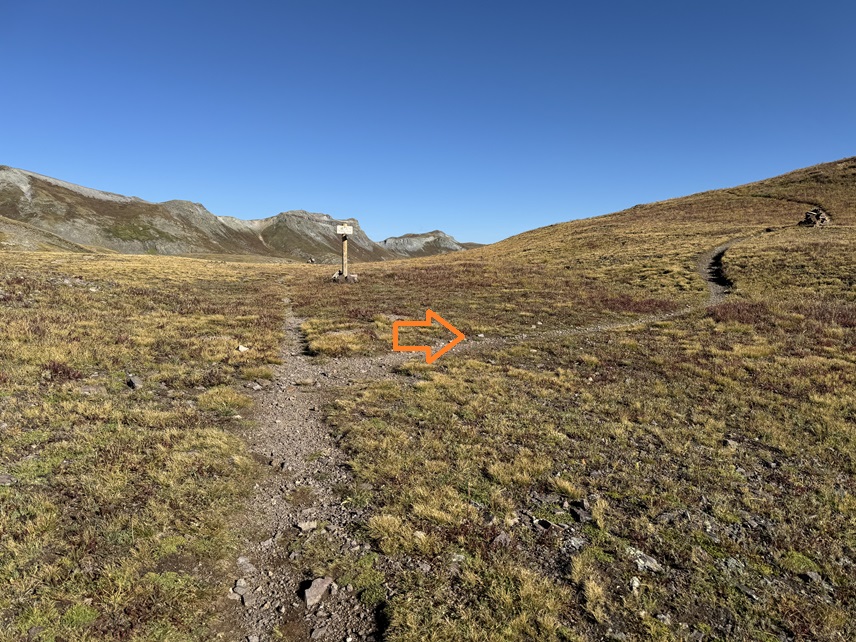
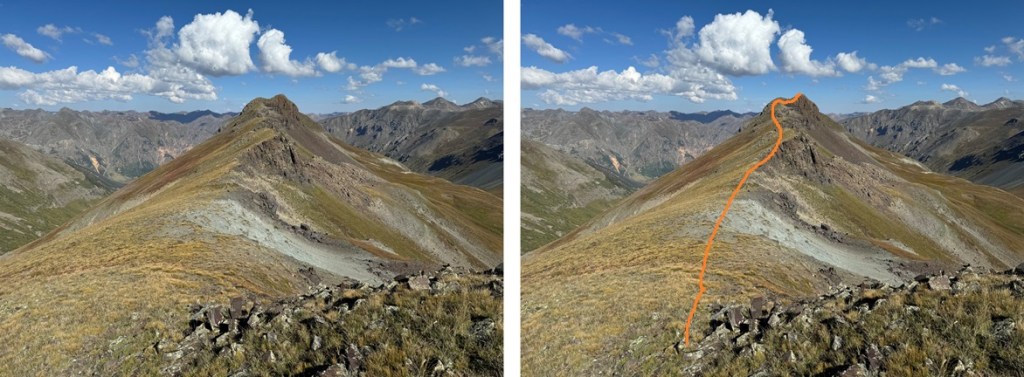
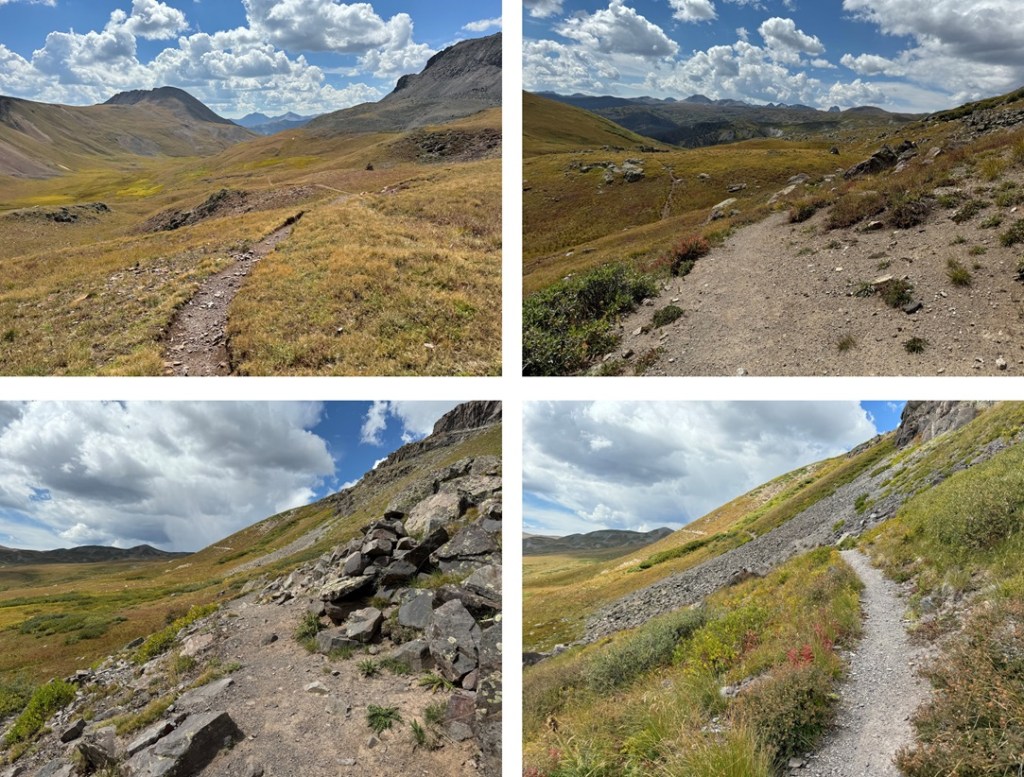
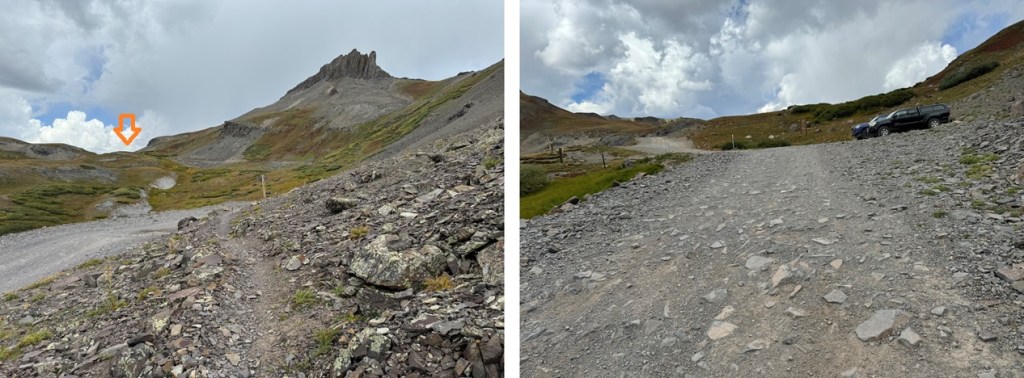
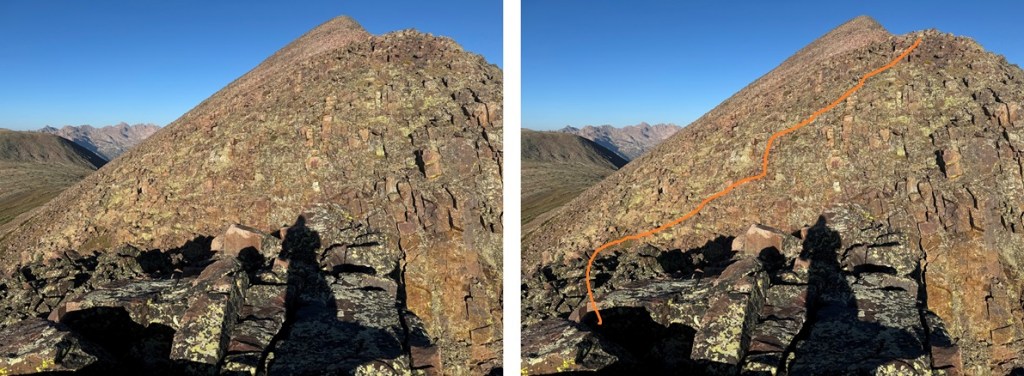
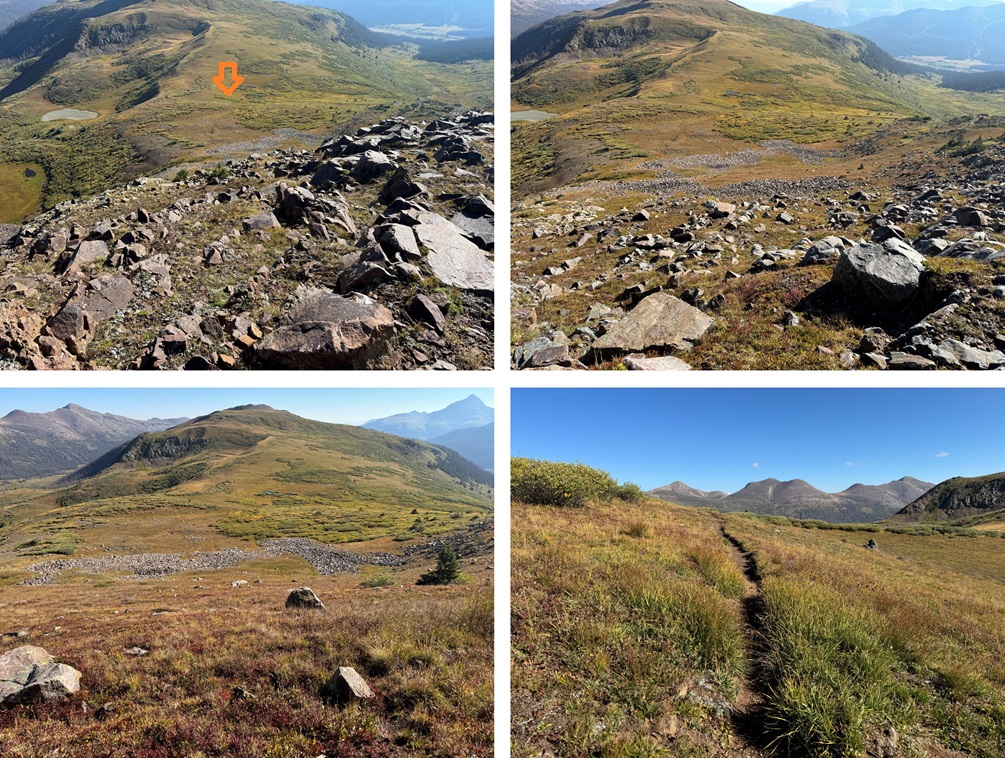
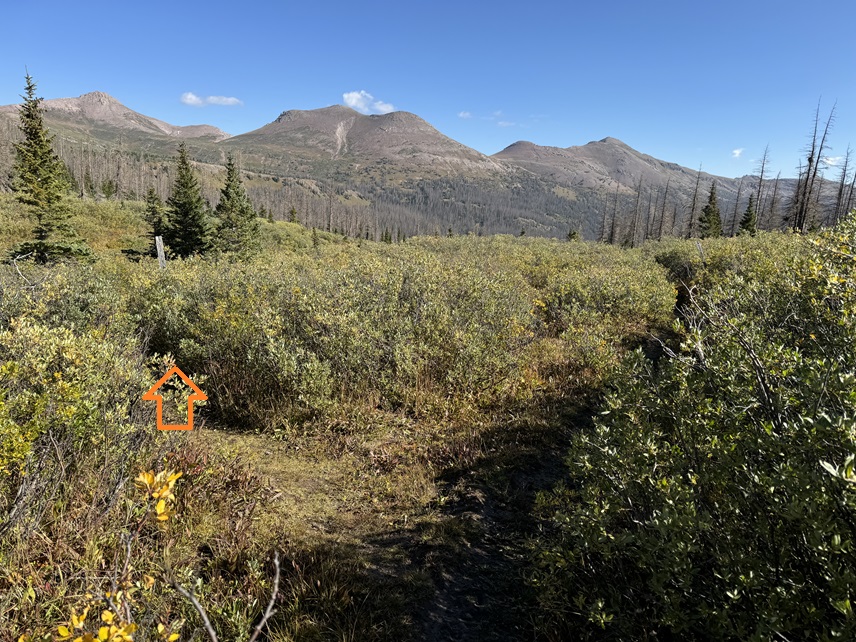
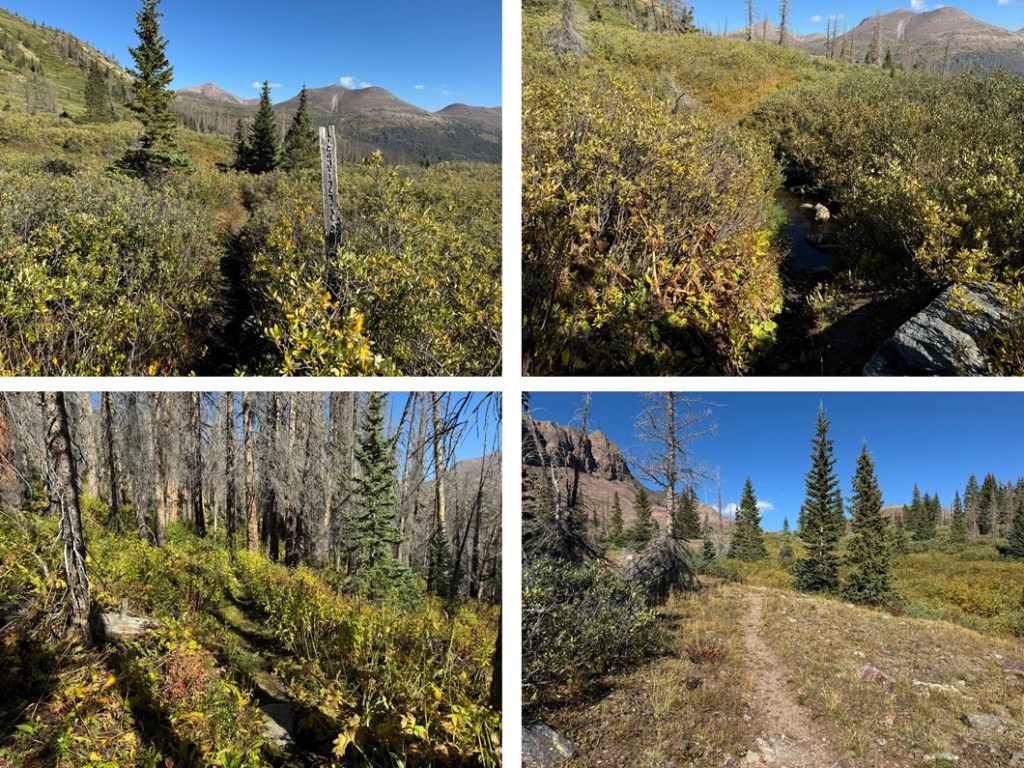
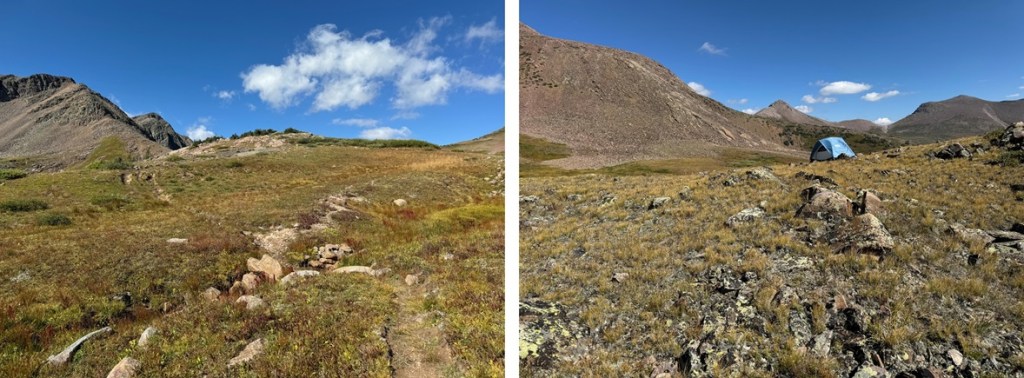
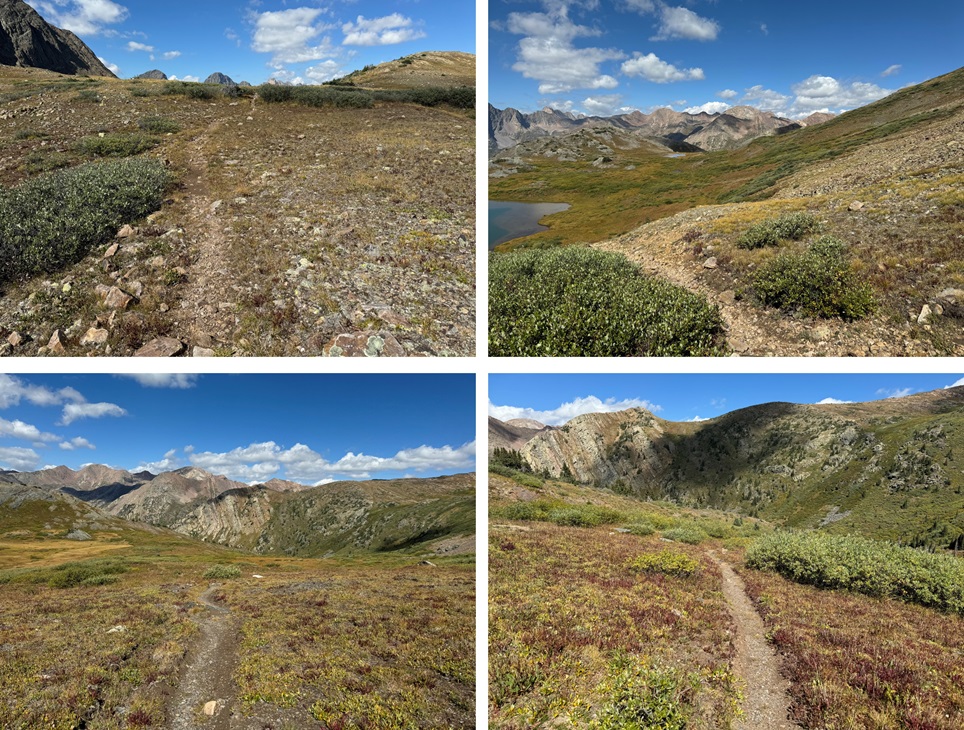
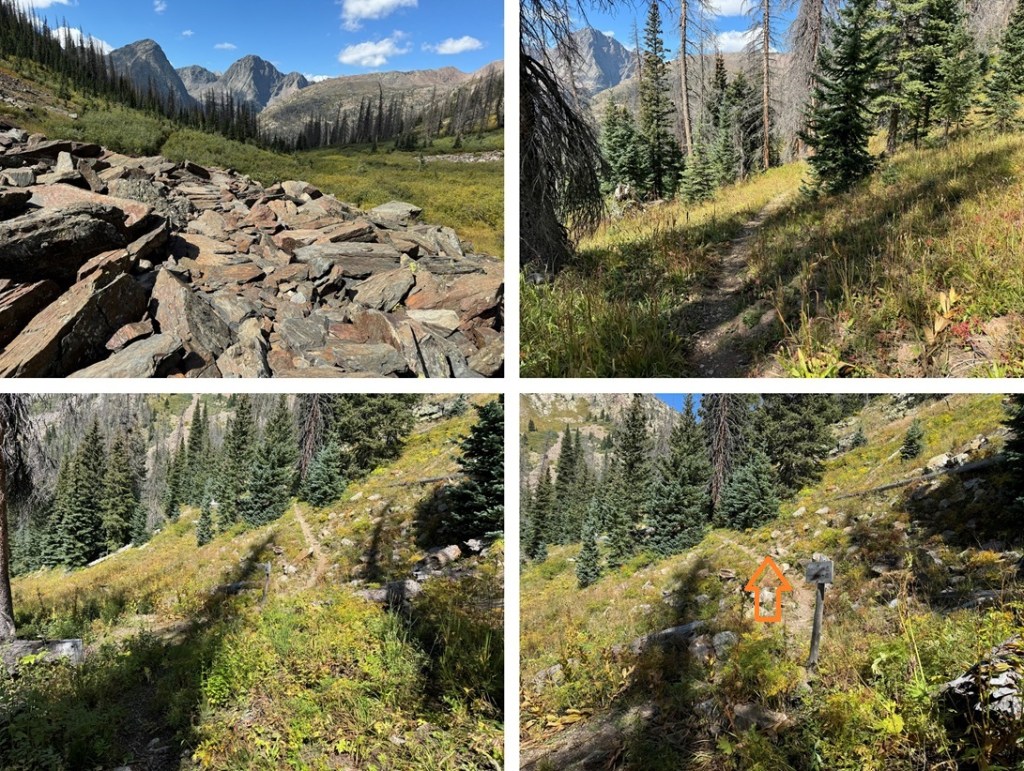
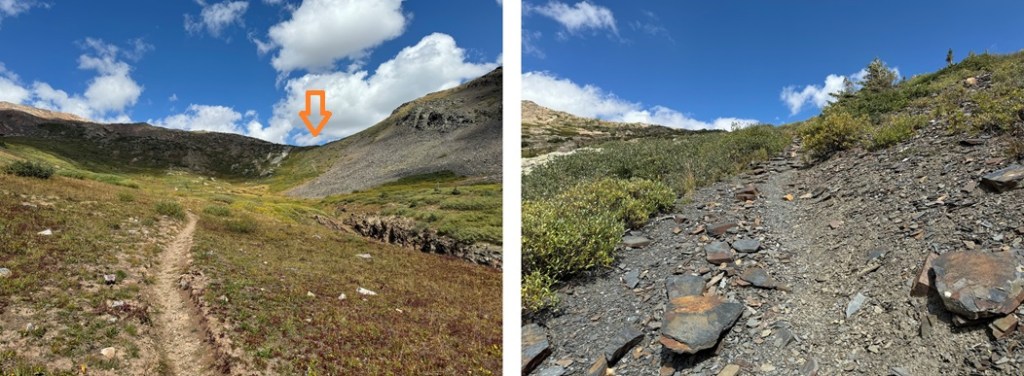
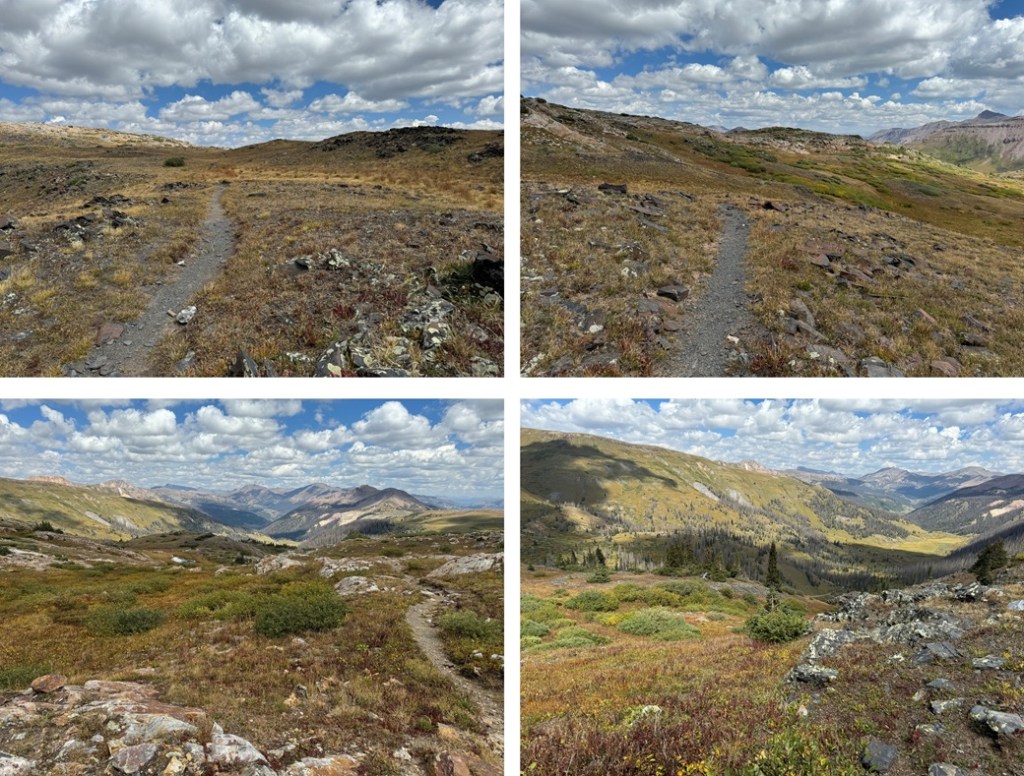
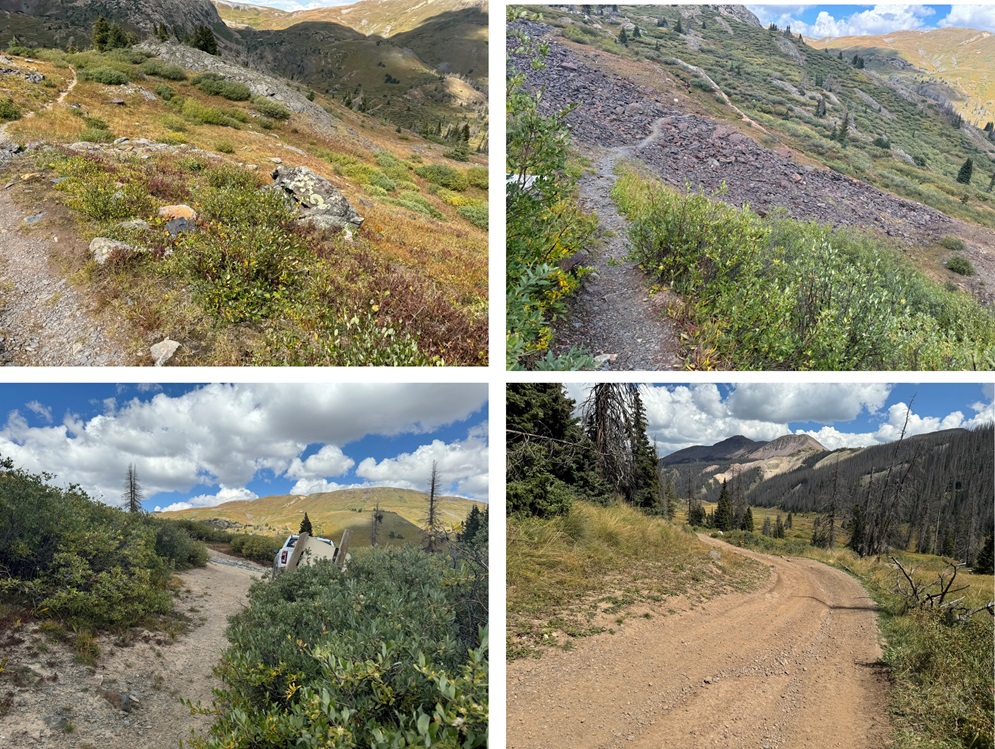
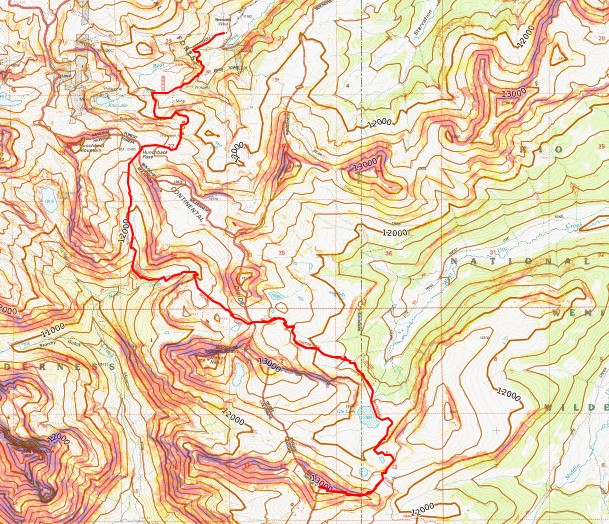
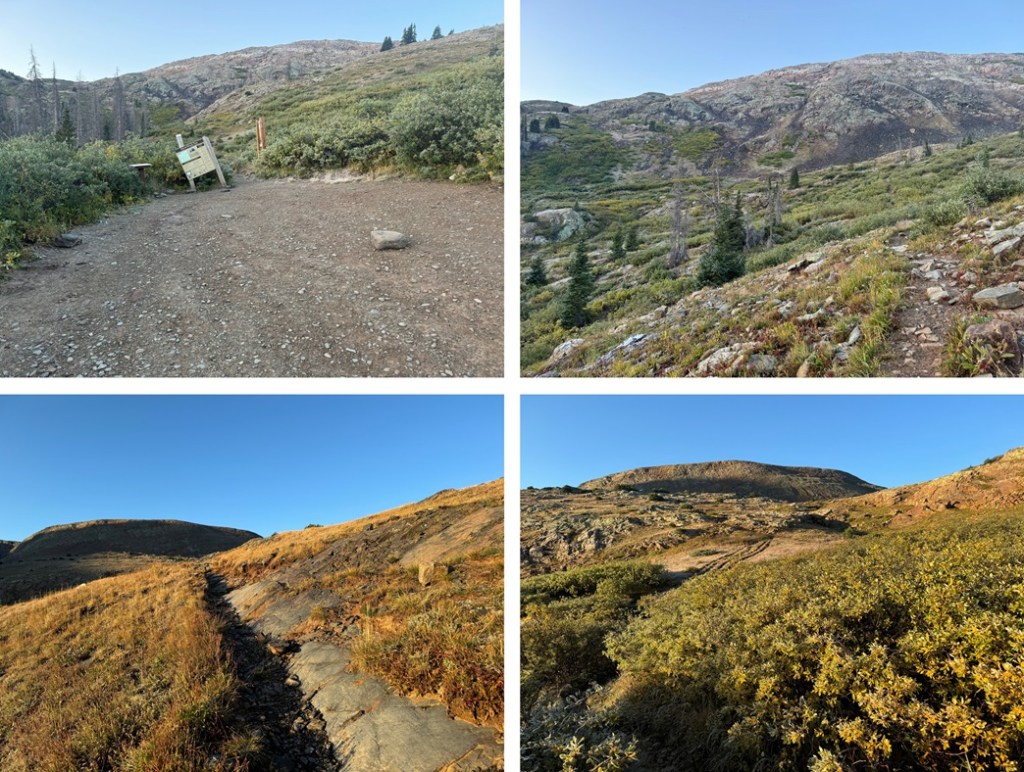
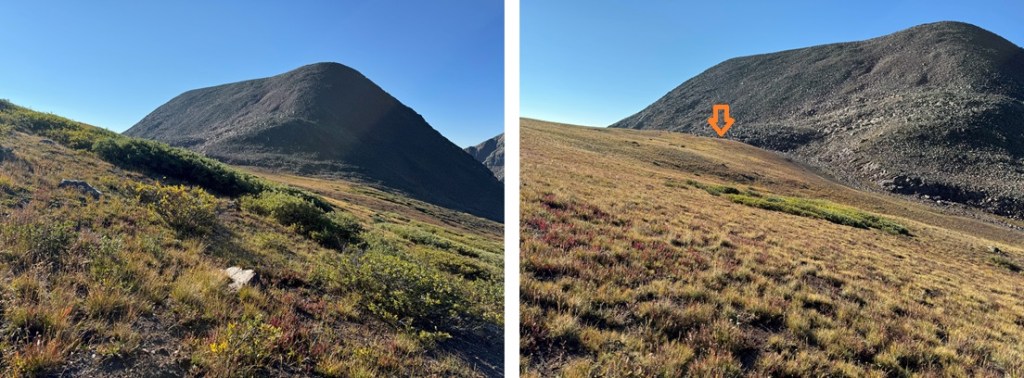
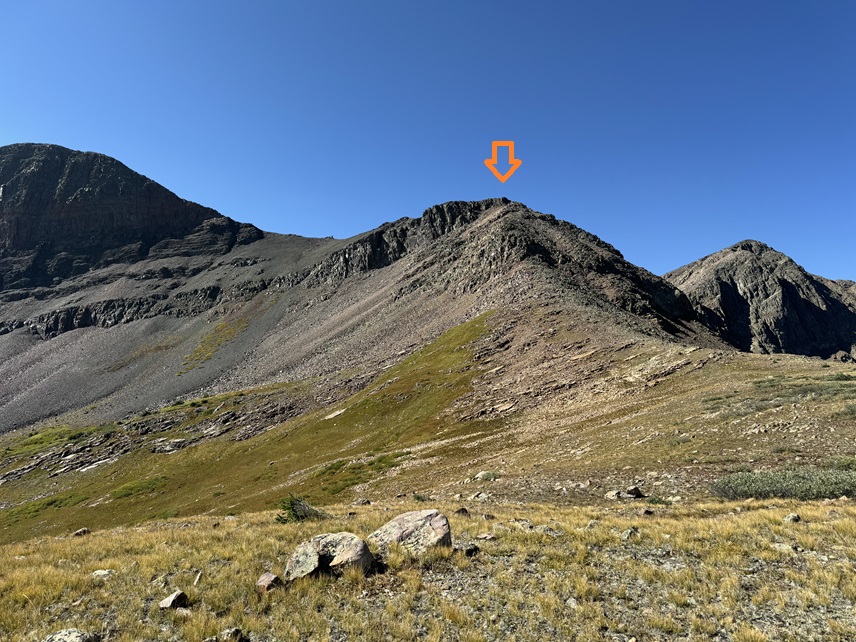
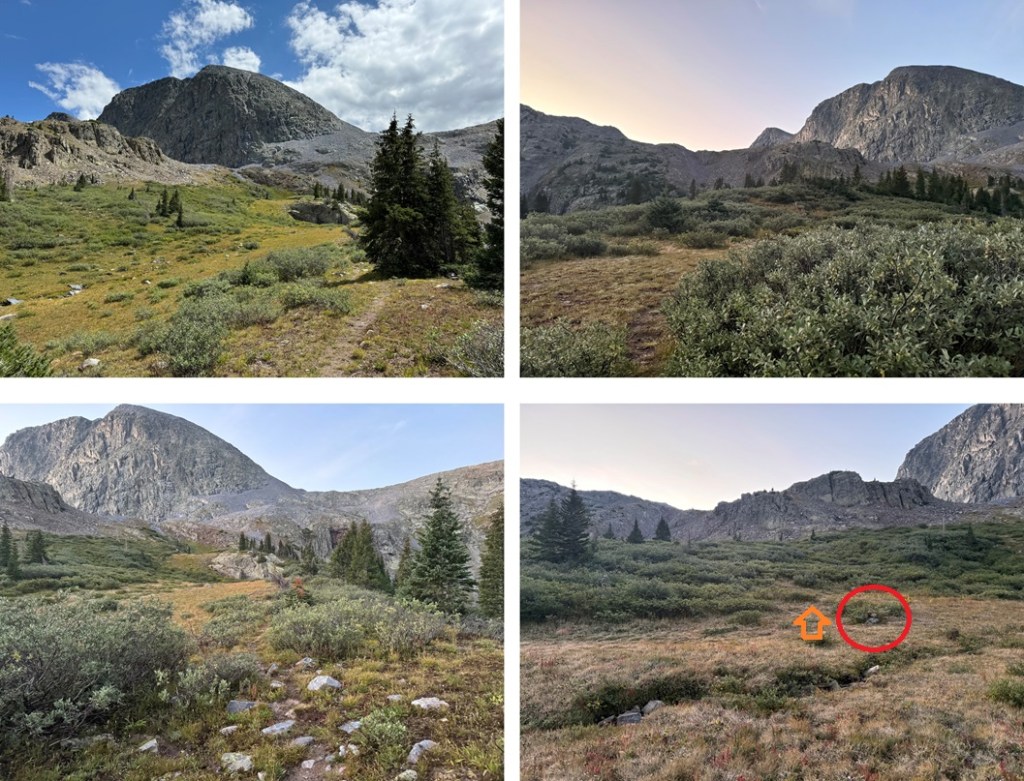
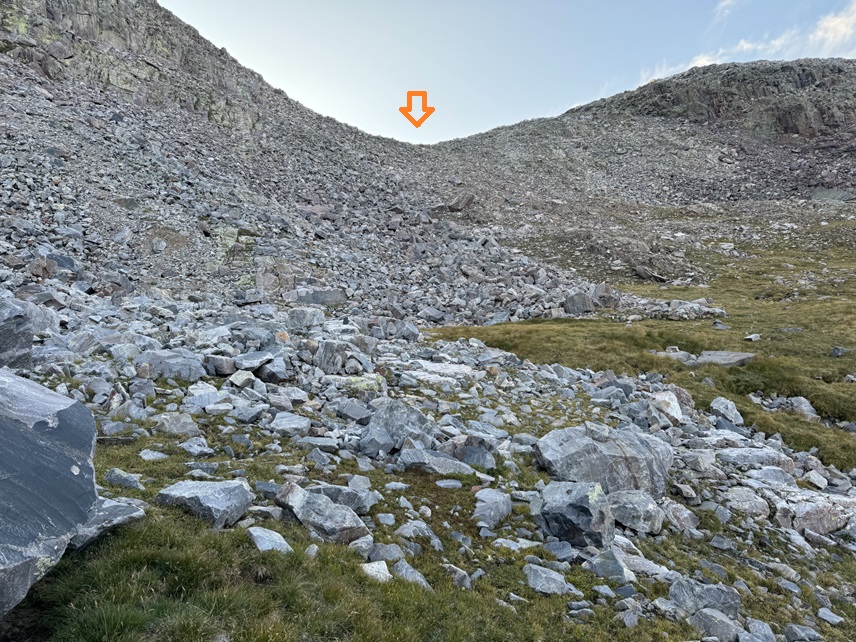
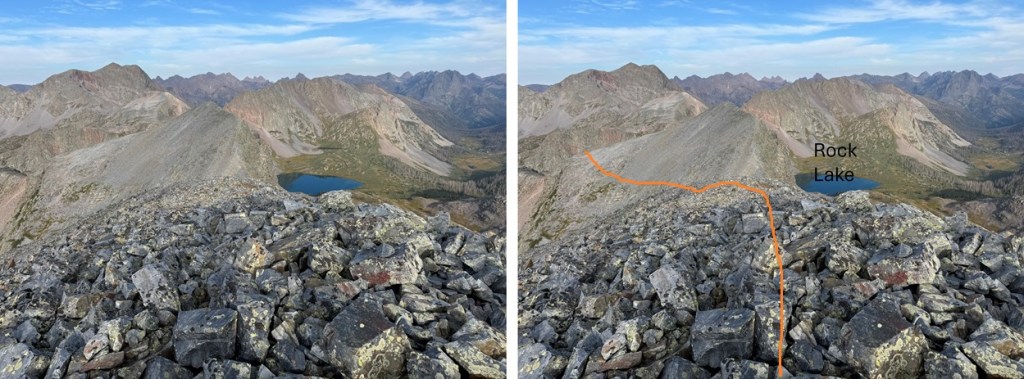
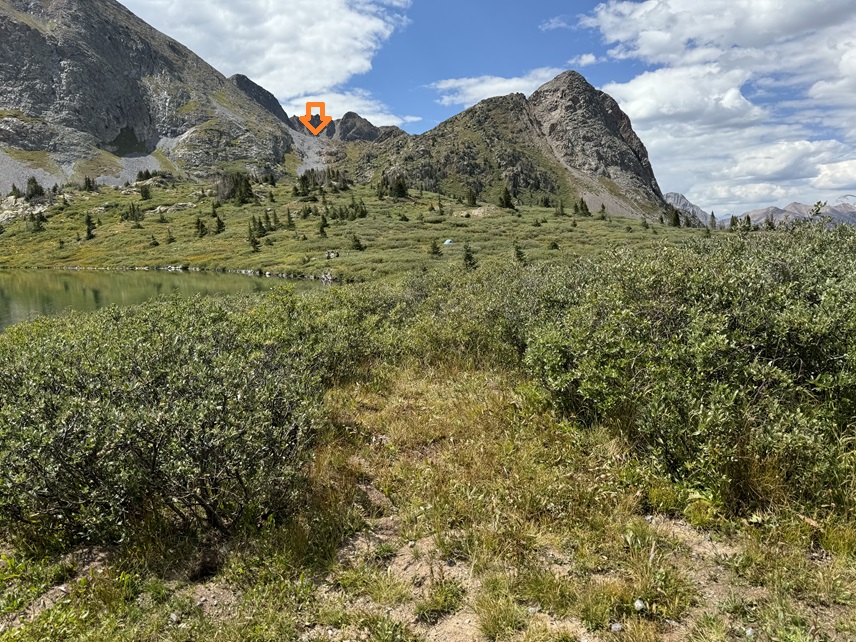
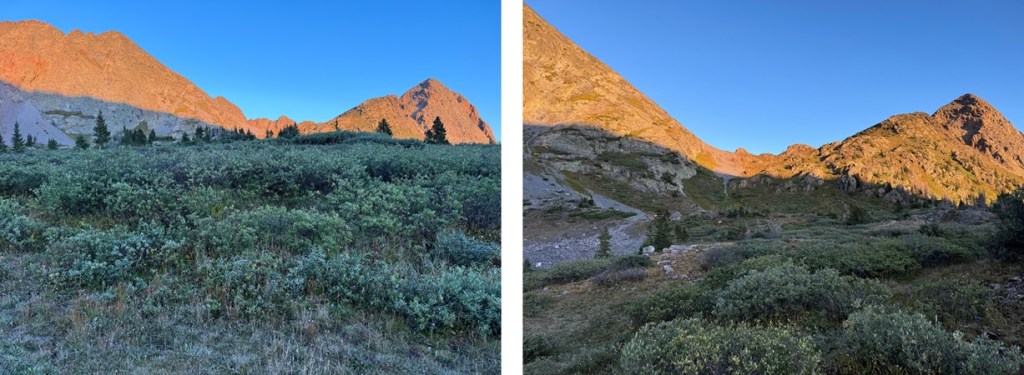
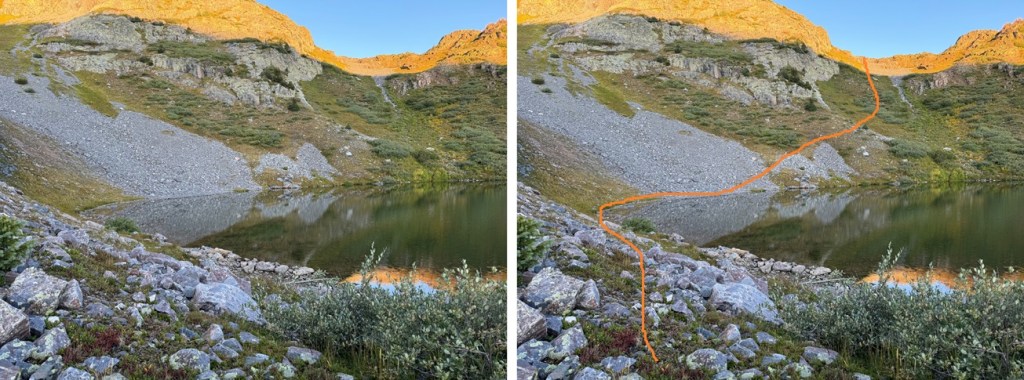
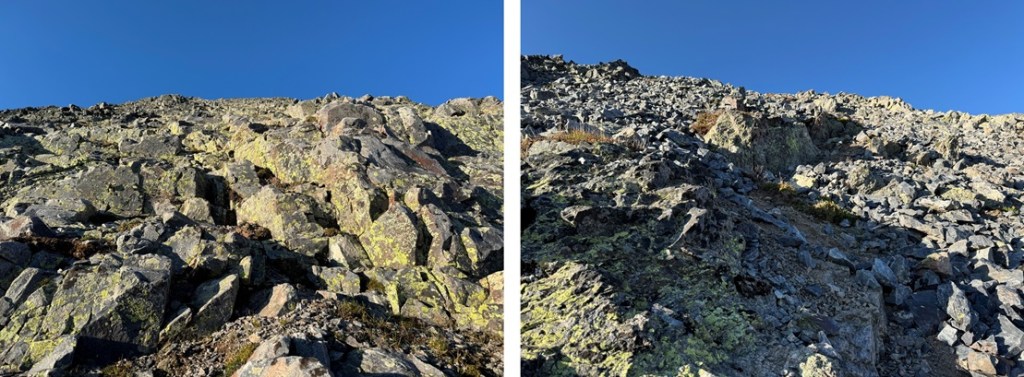
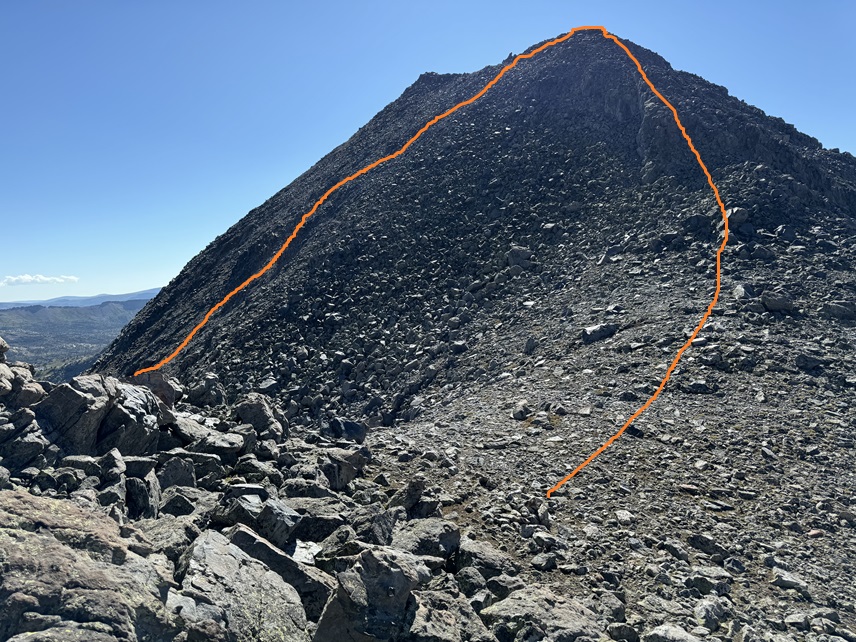
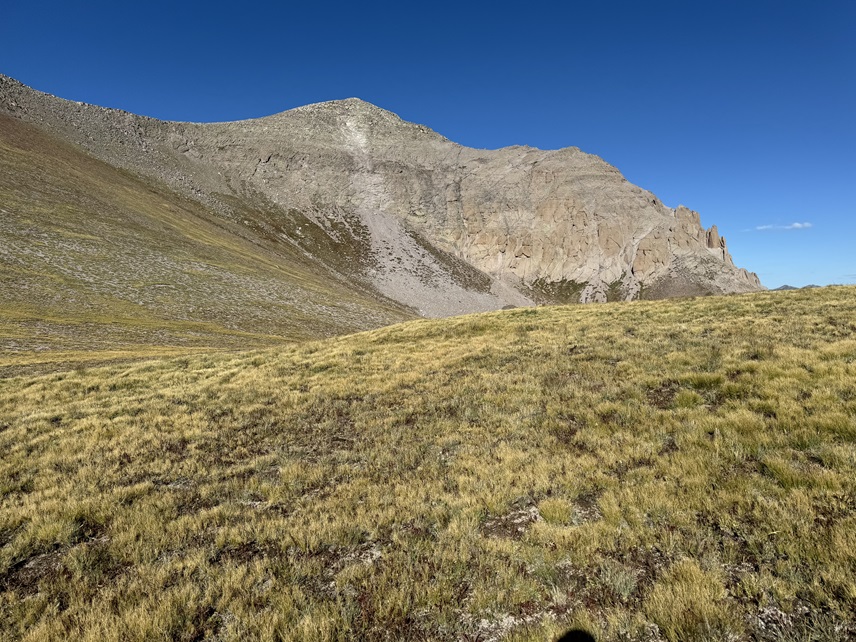
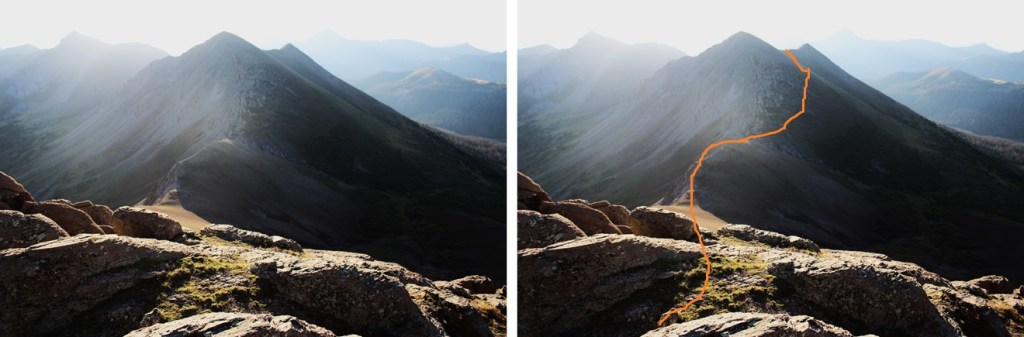
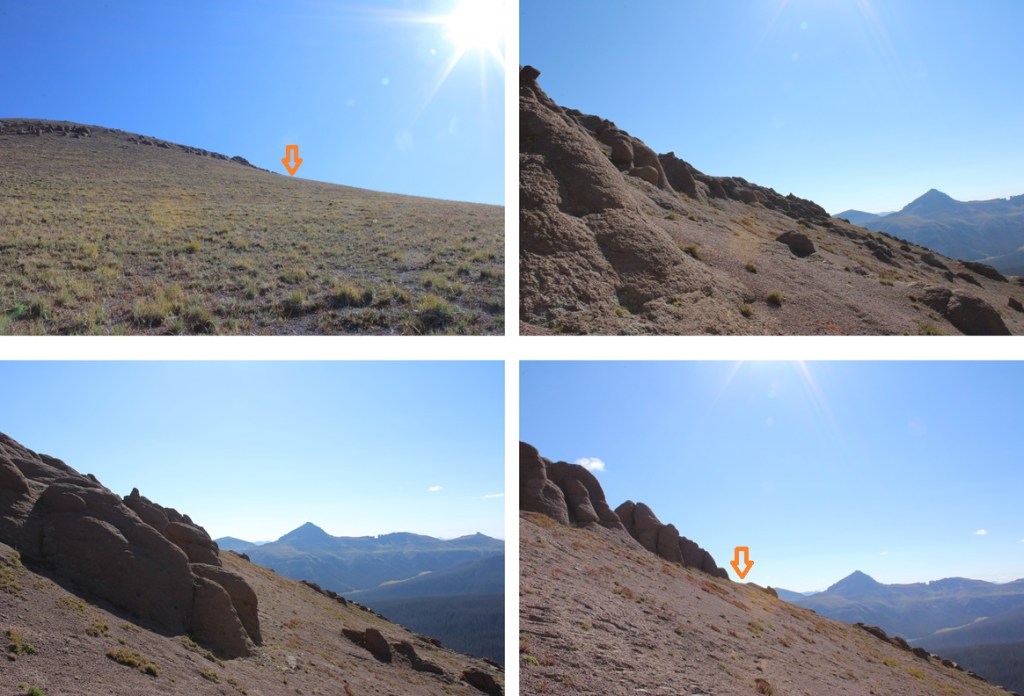
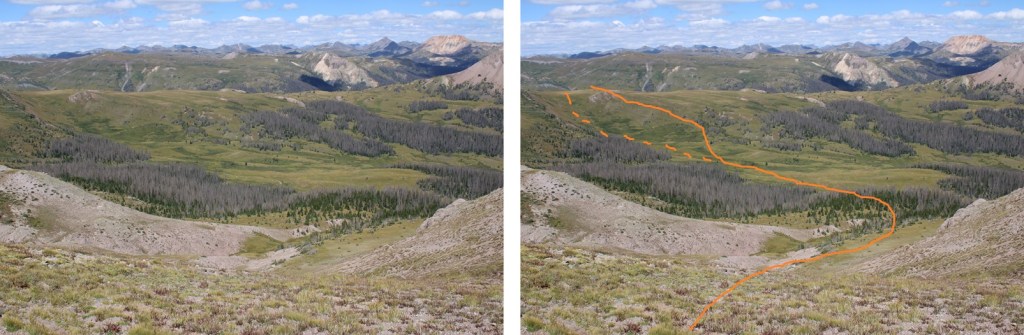
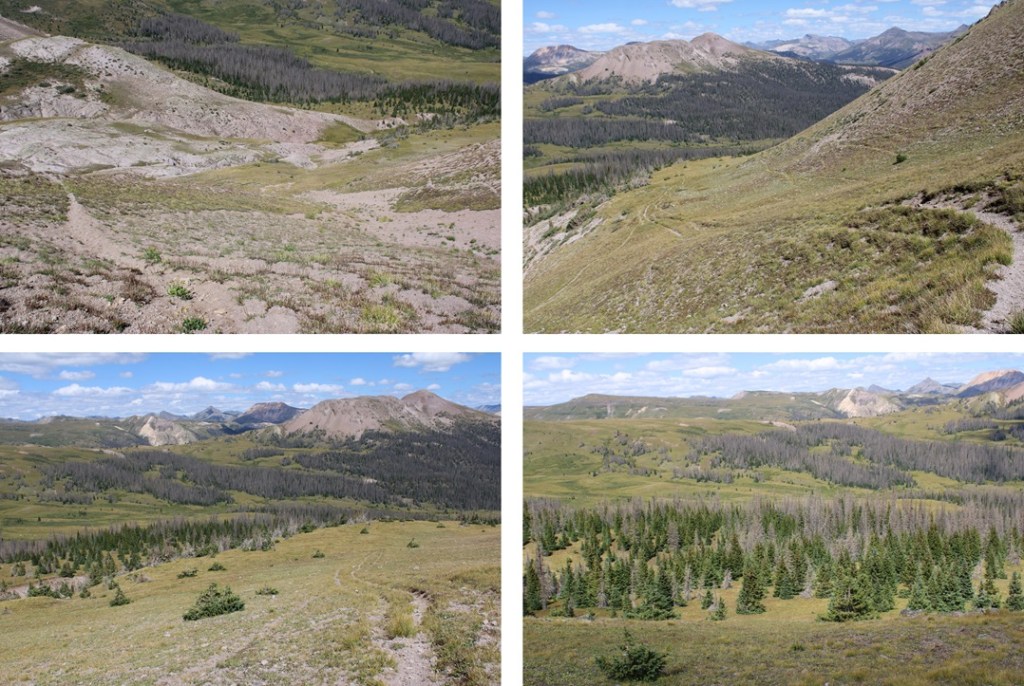
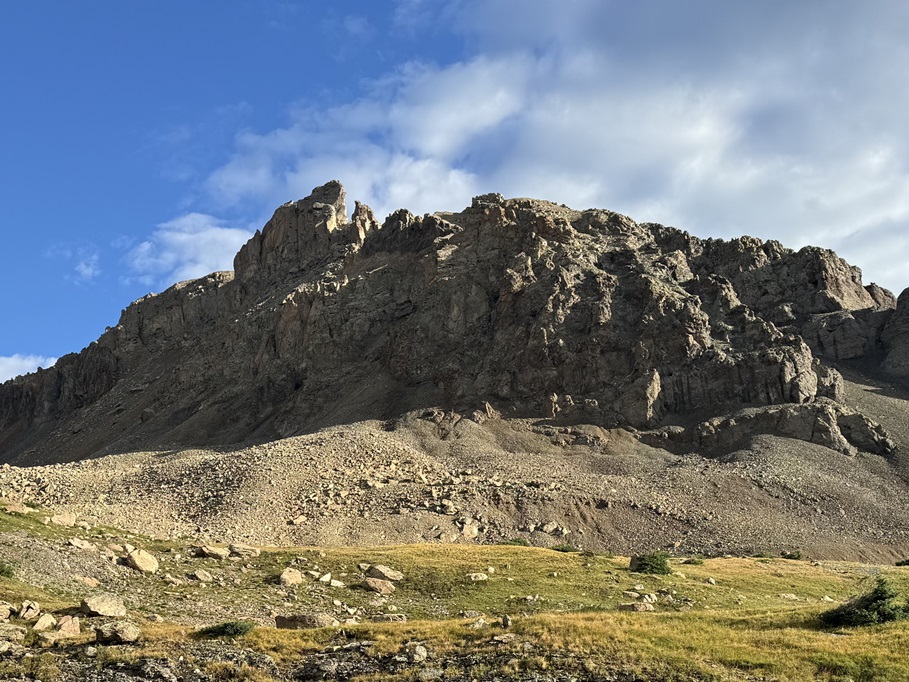
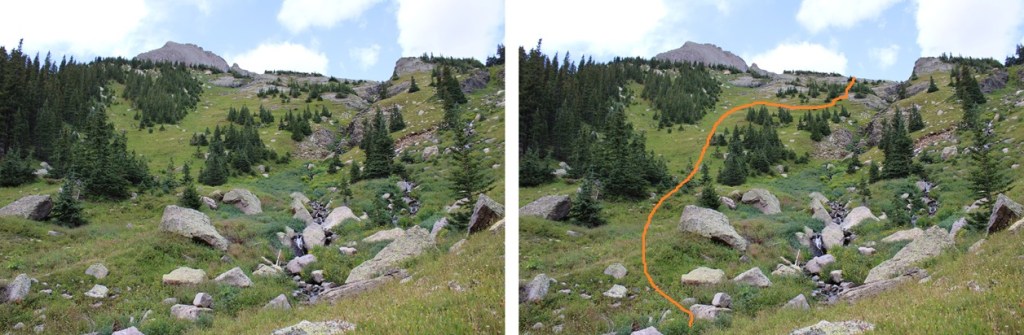
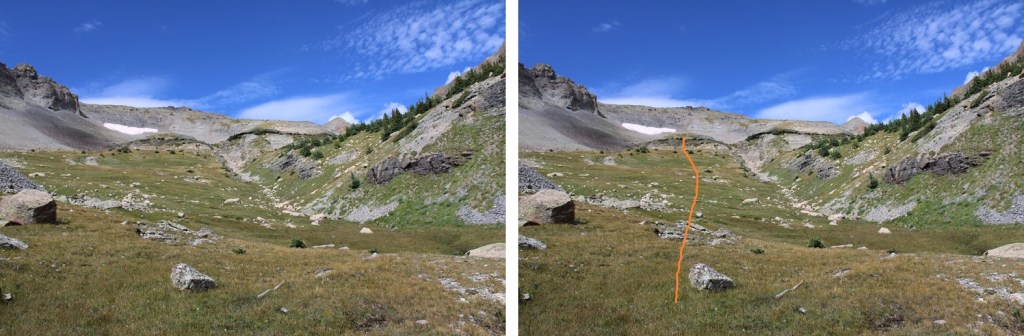
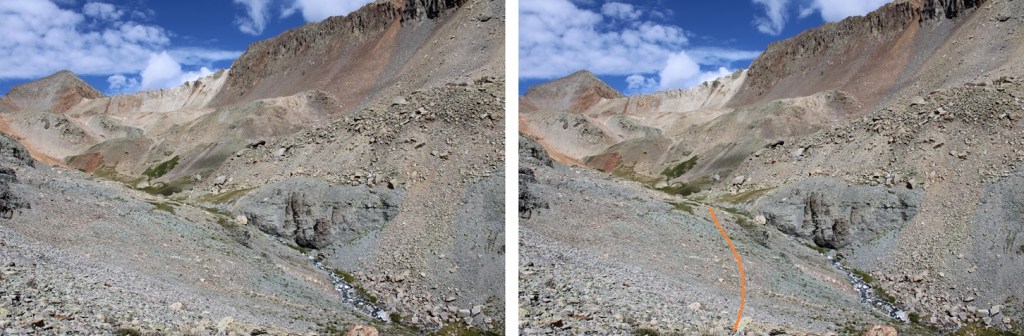
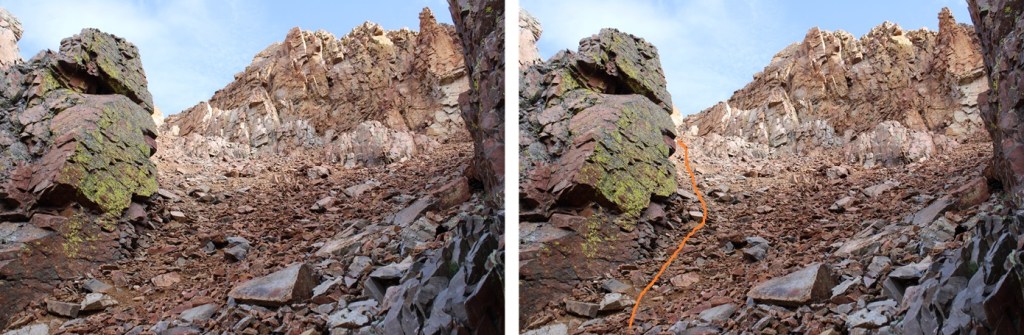
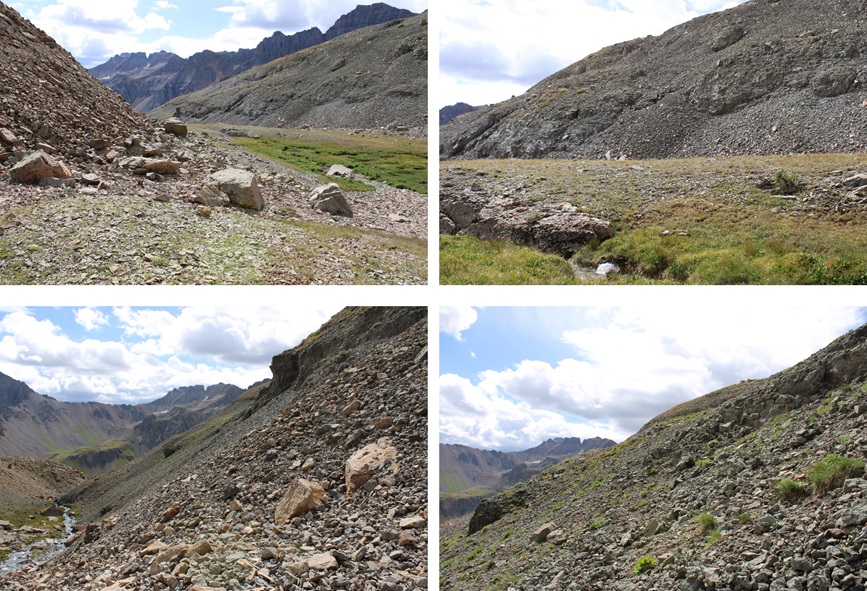
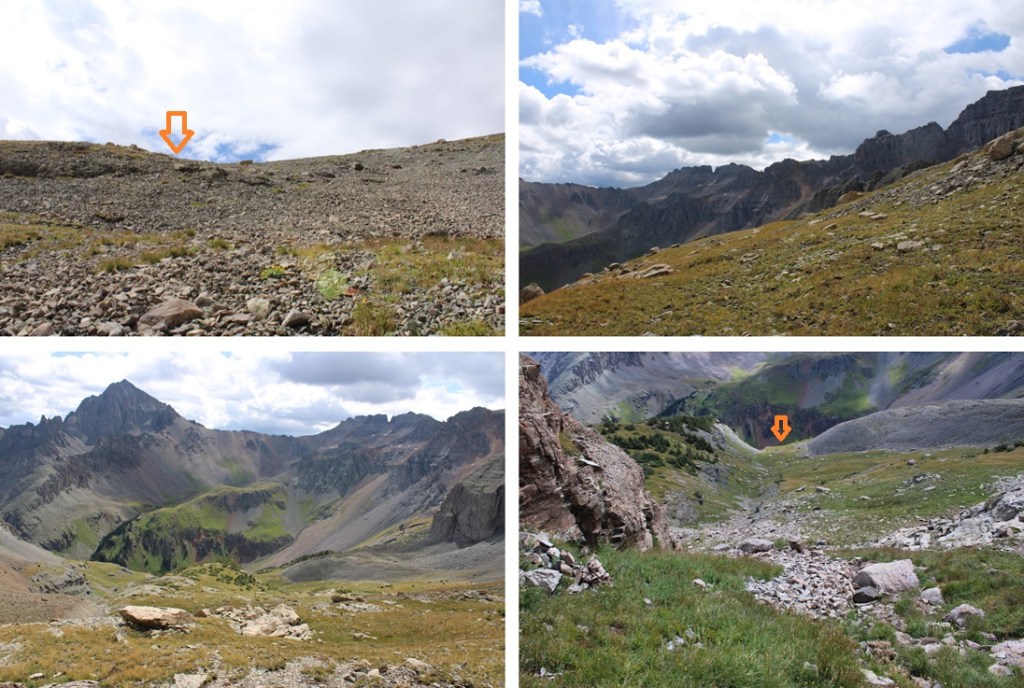
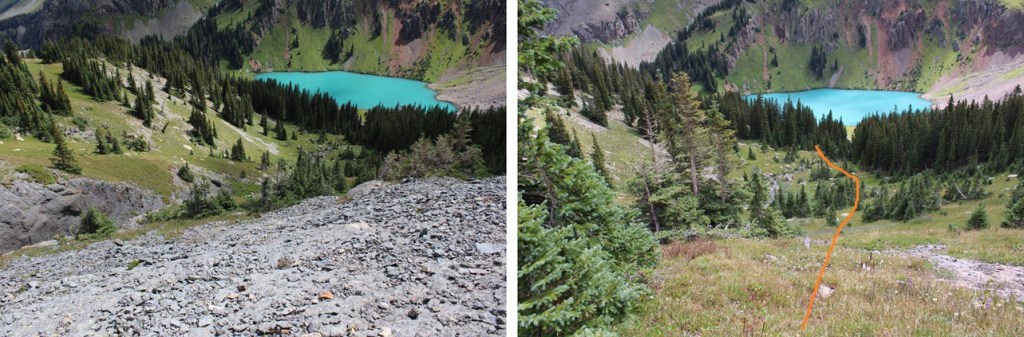
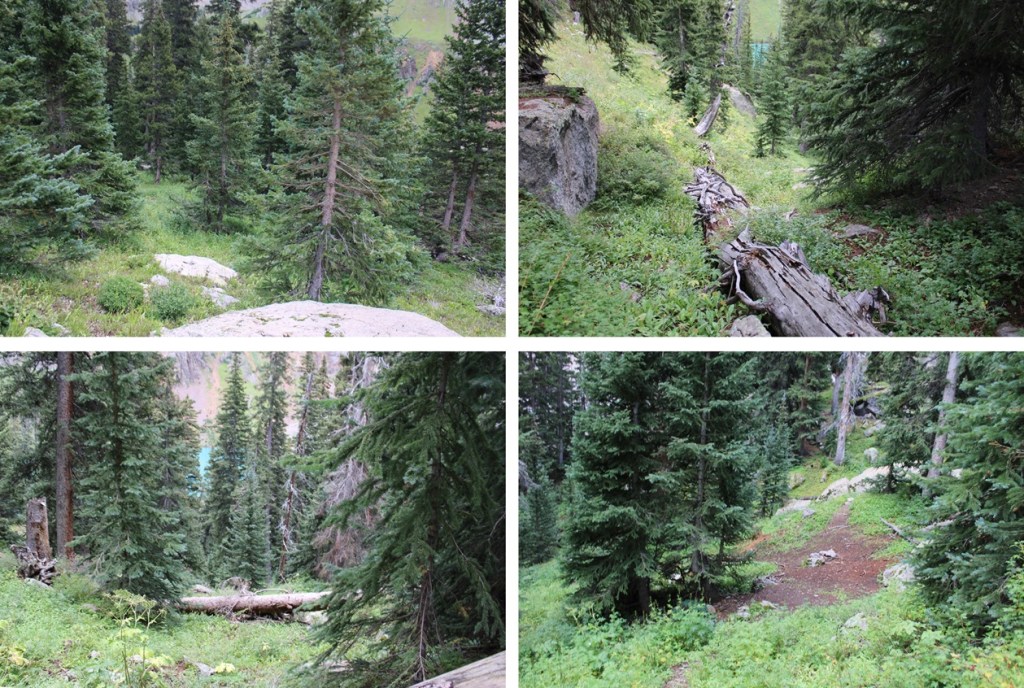
From my parking spot at Stony Pass I was on the trail at 6:30am, following the 4WD road west until the tundra met the rocks, and I was able to find a game trail that picked up on the other side.  This trail starts out difficult to find, then becomes a solid trail for most of the hike.  Here’s what the route looks like from below:

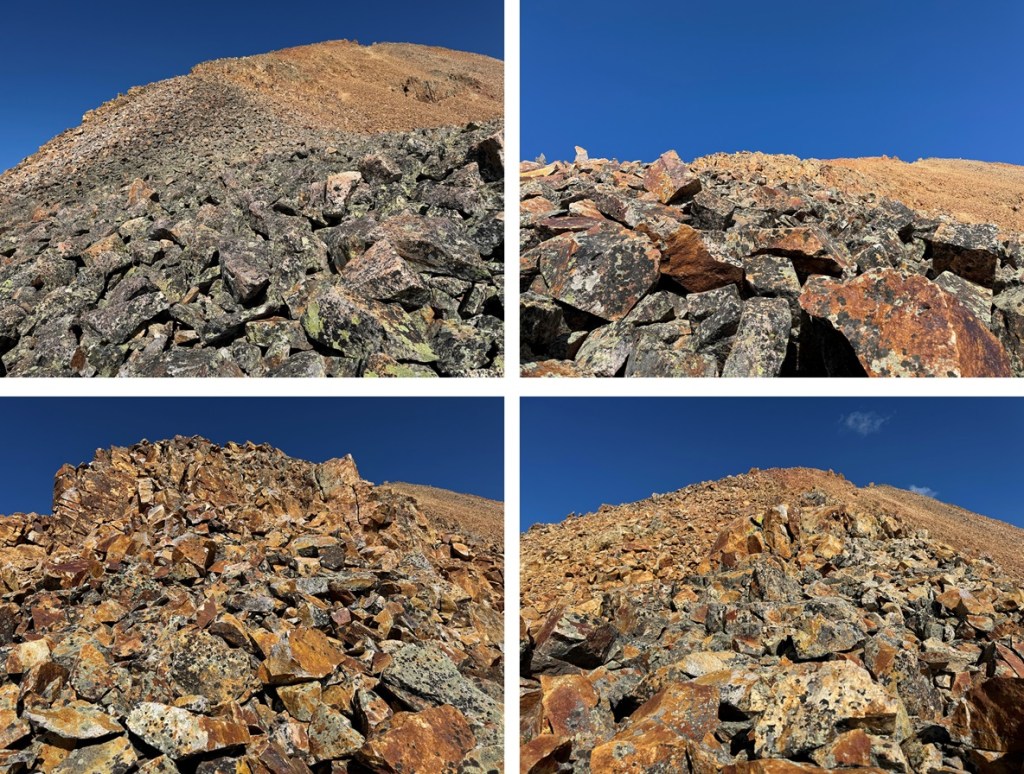
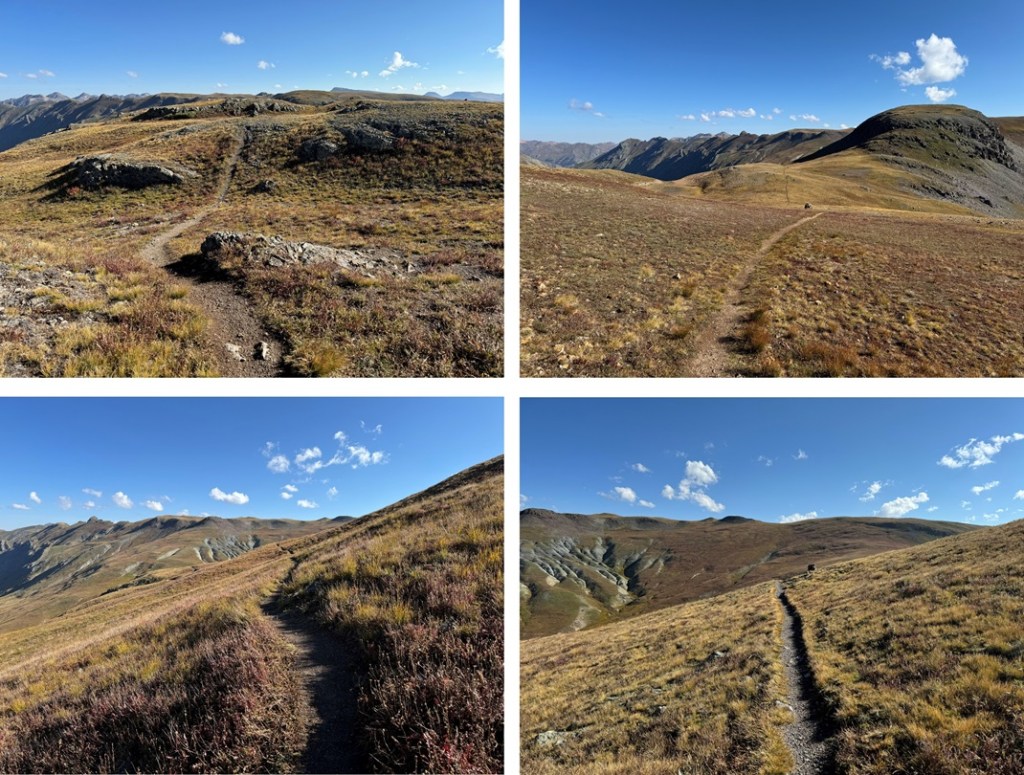
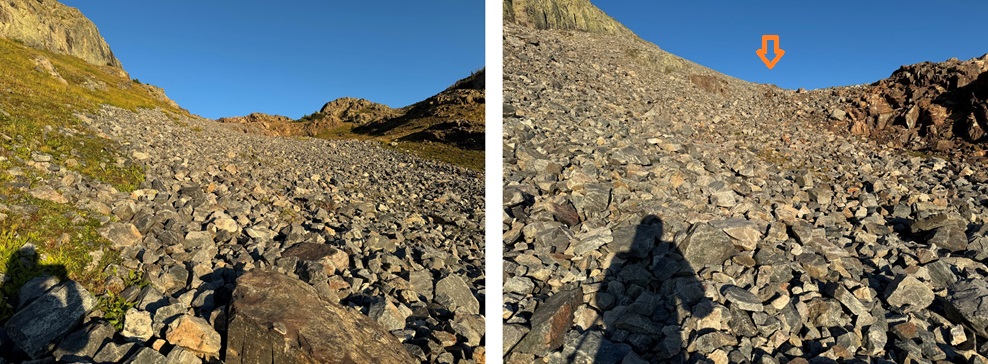
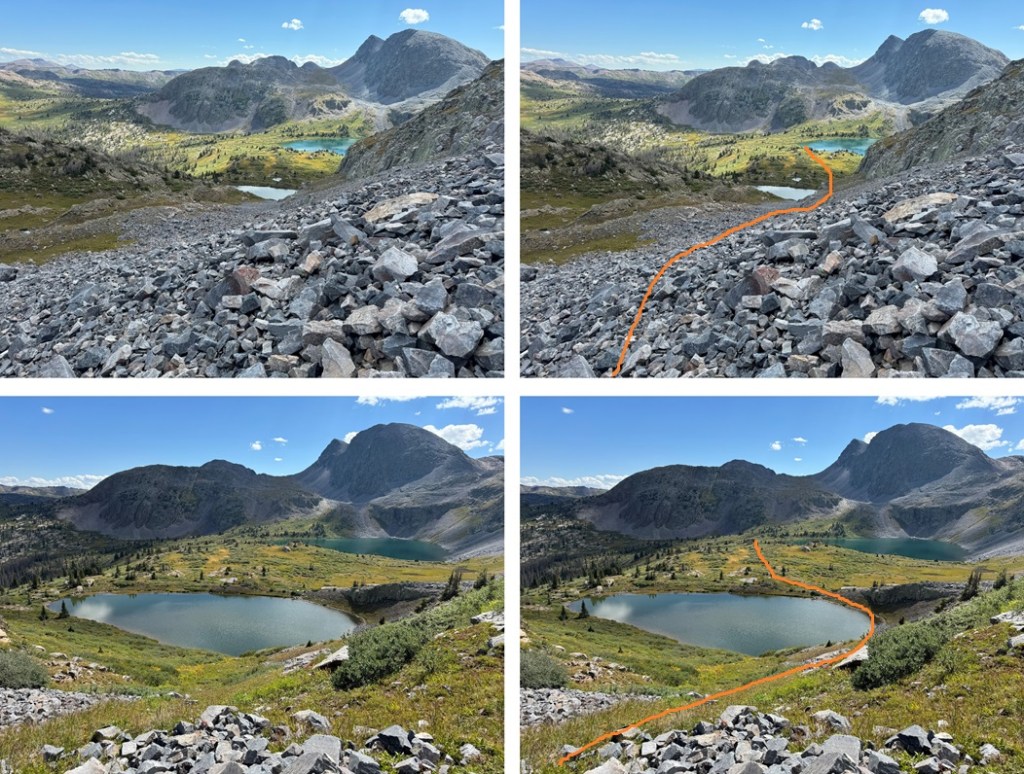
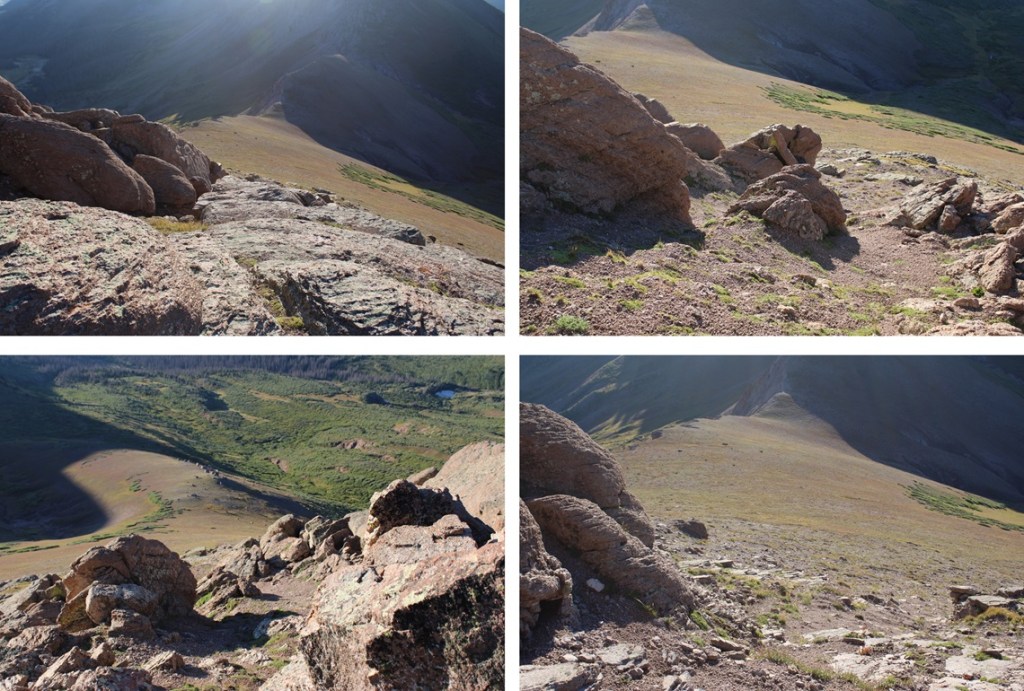
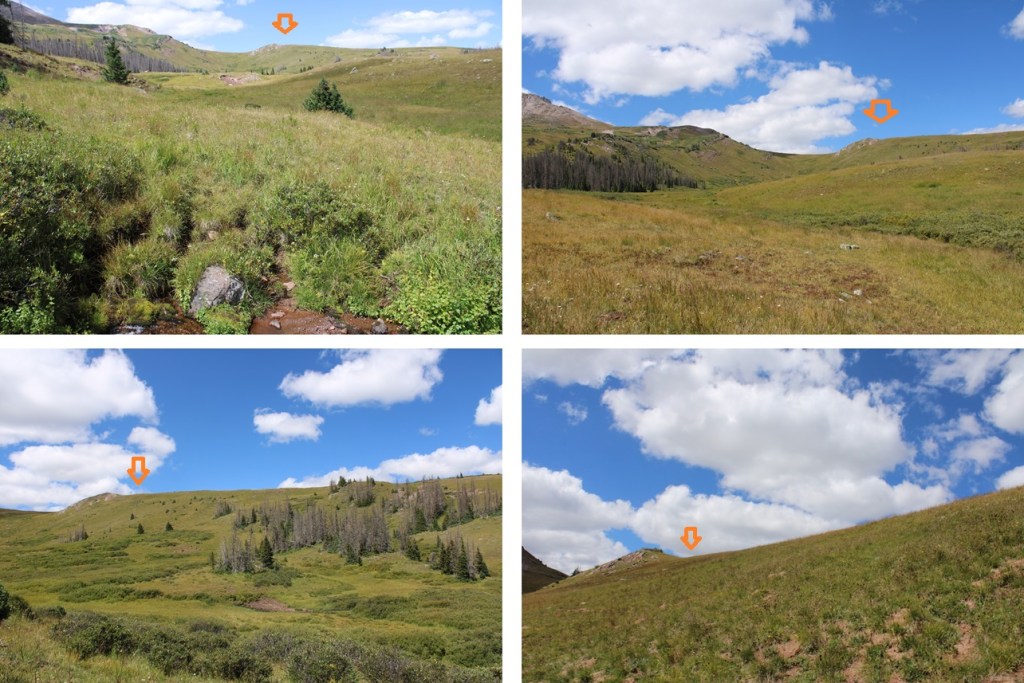
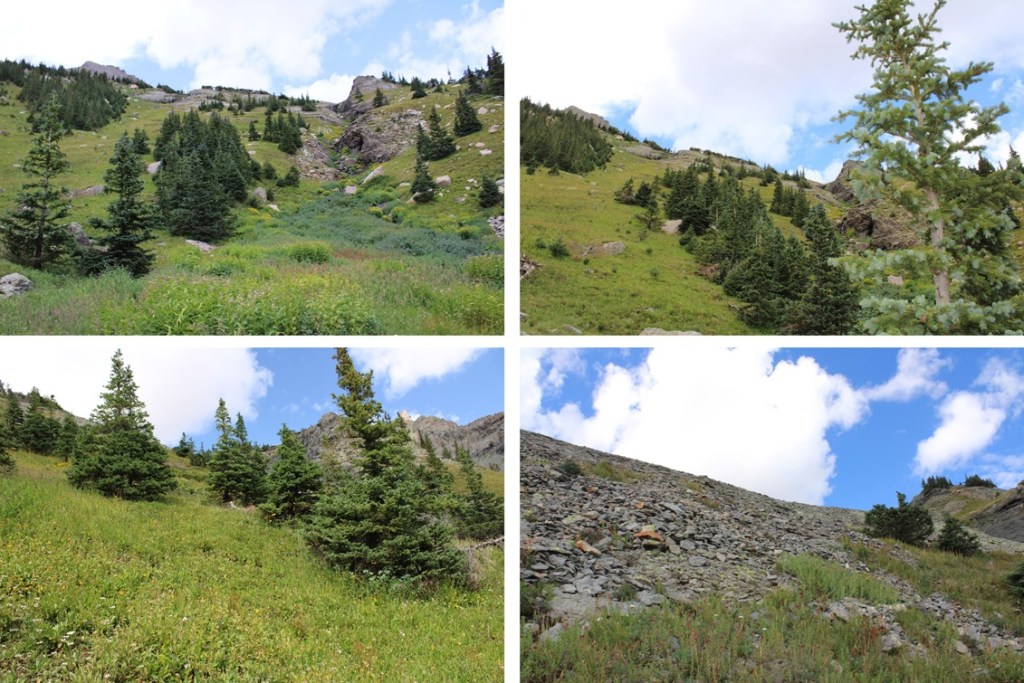
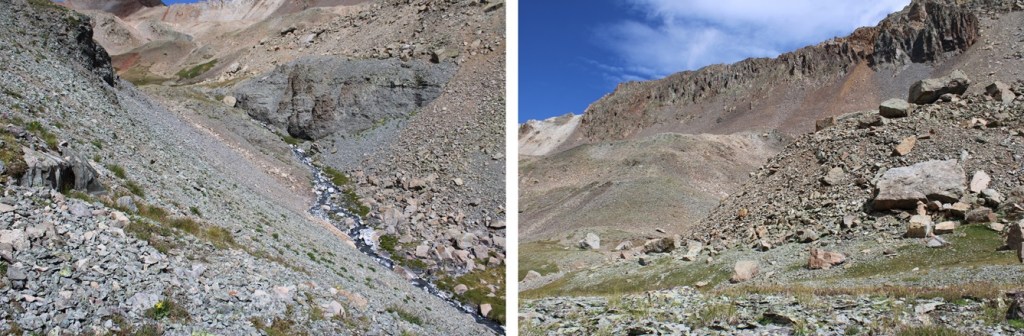
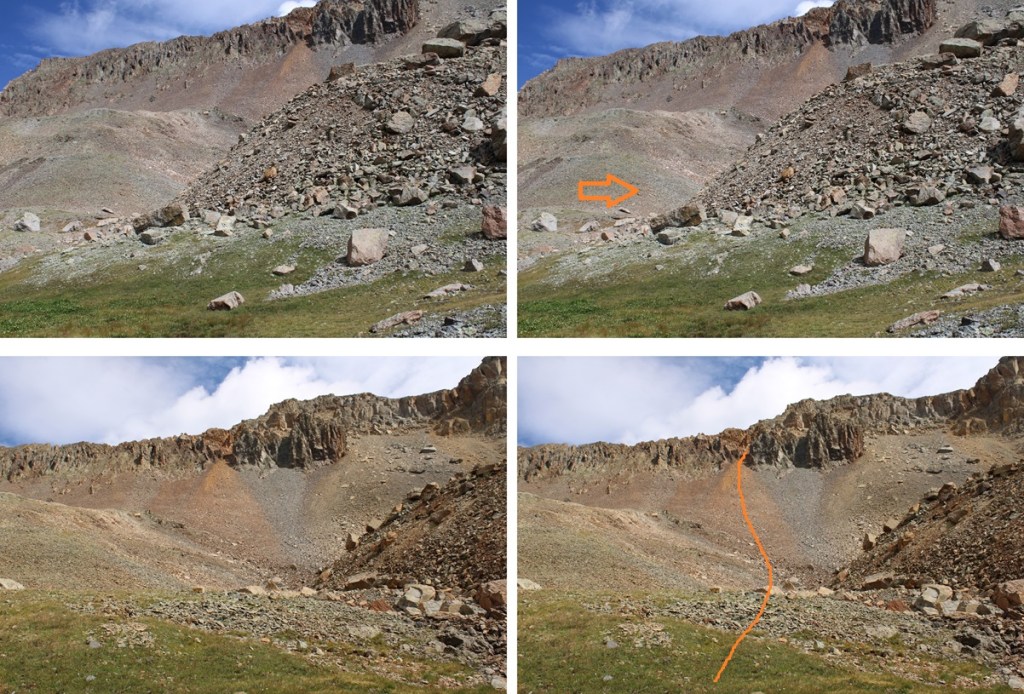
I followed this trail for .85 miles, until I made it to the ridge

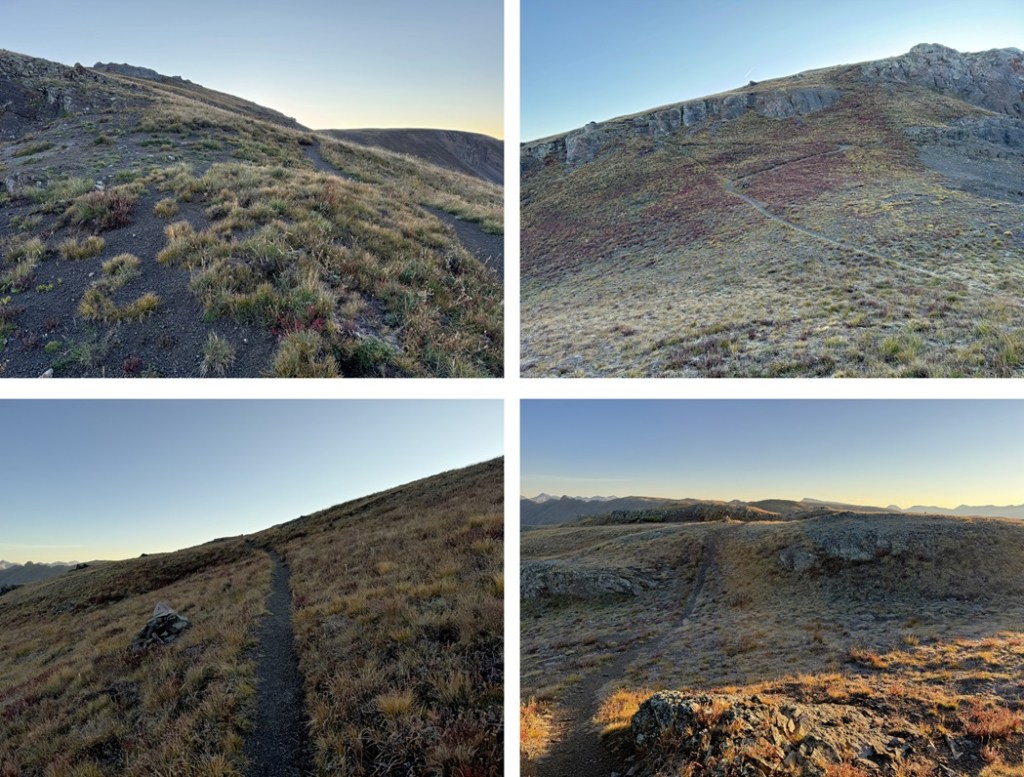
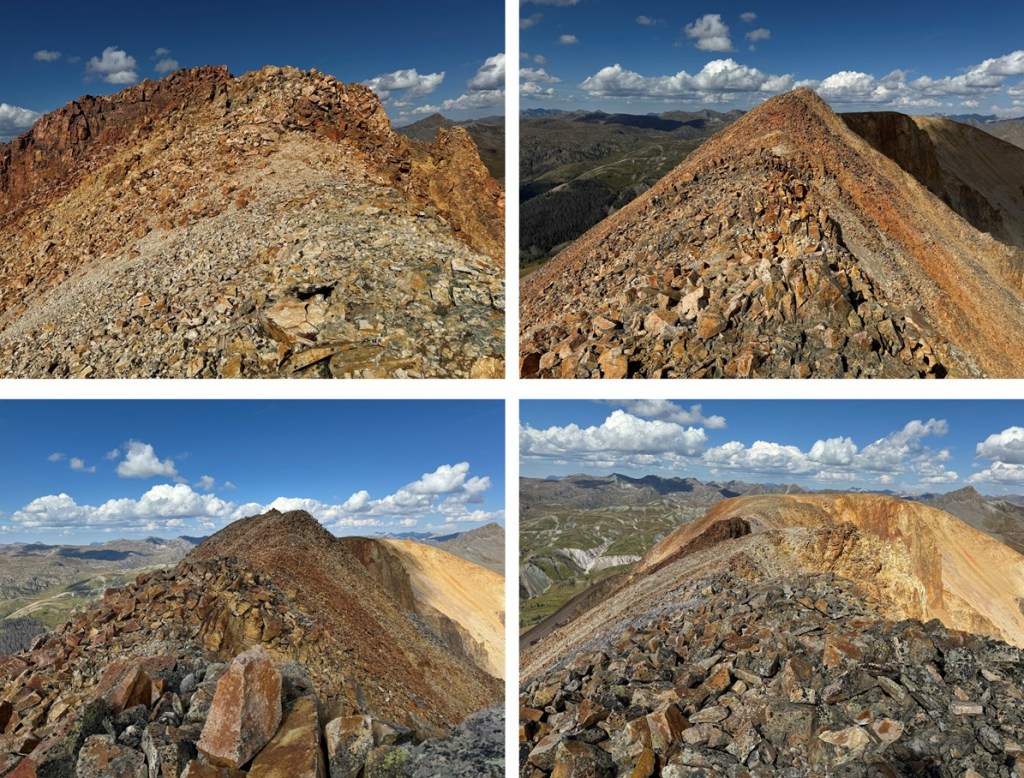
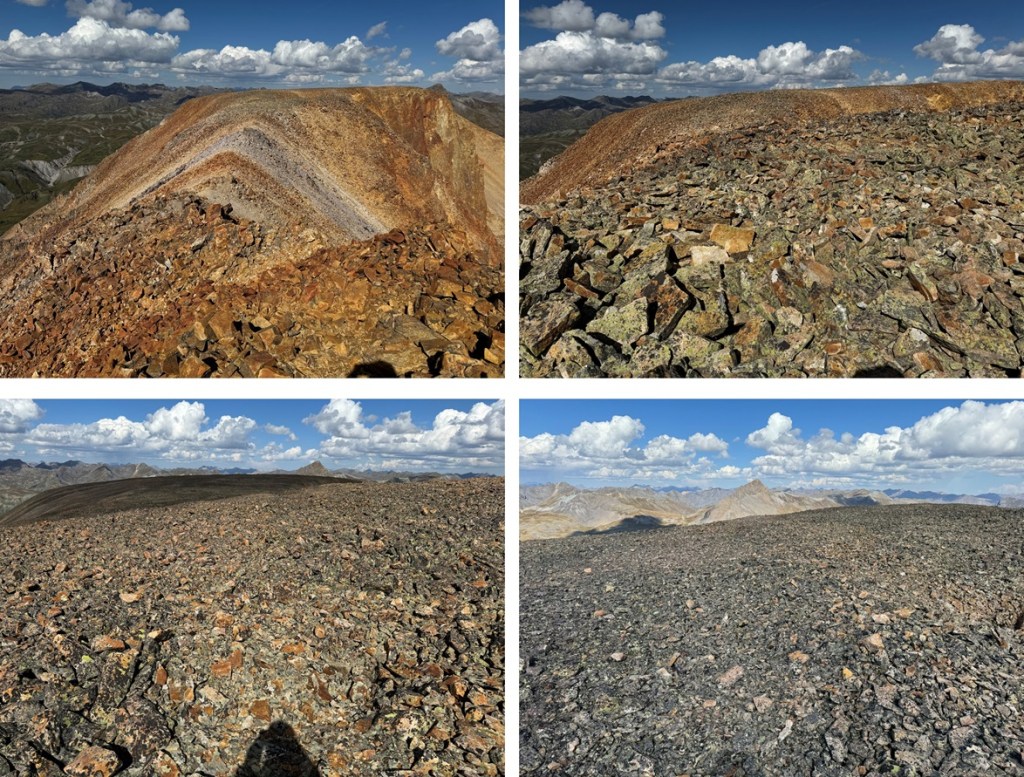
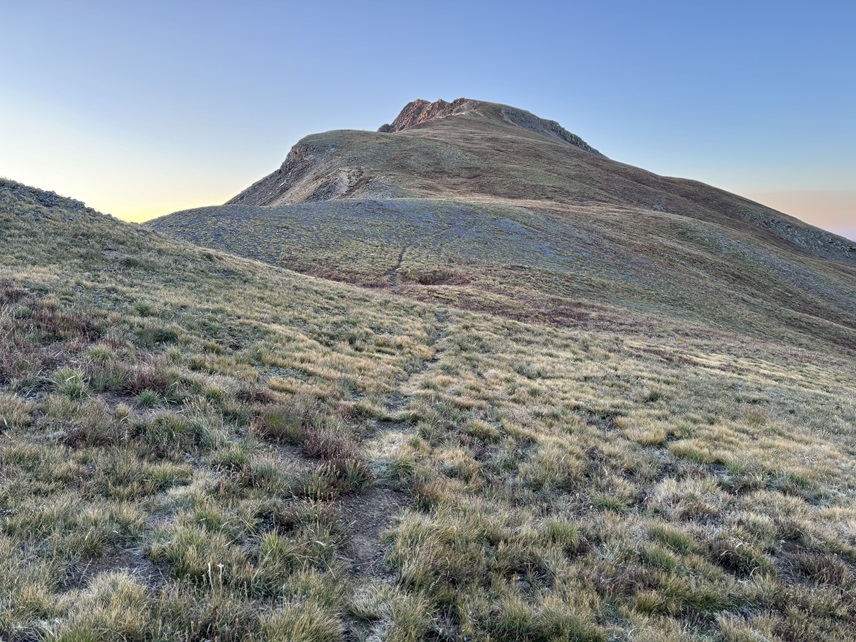
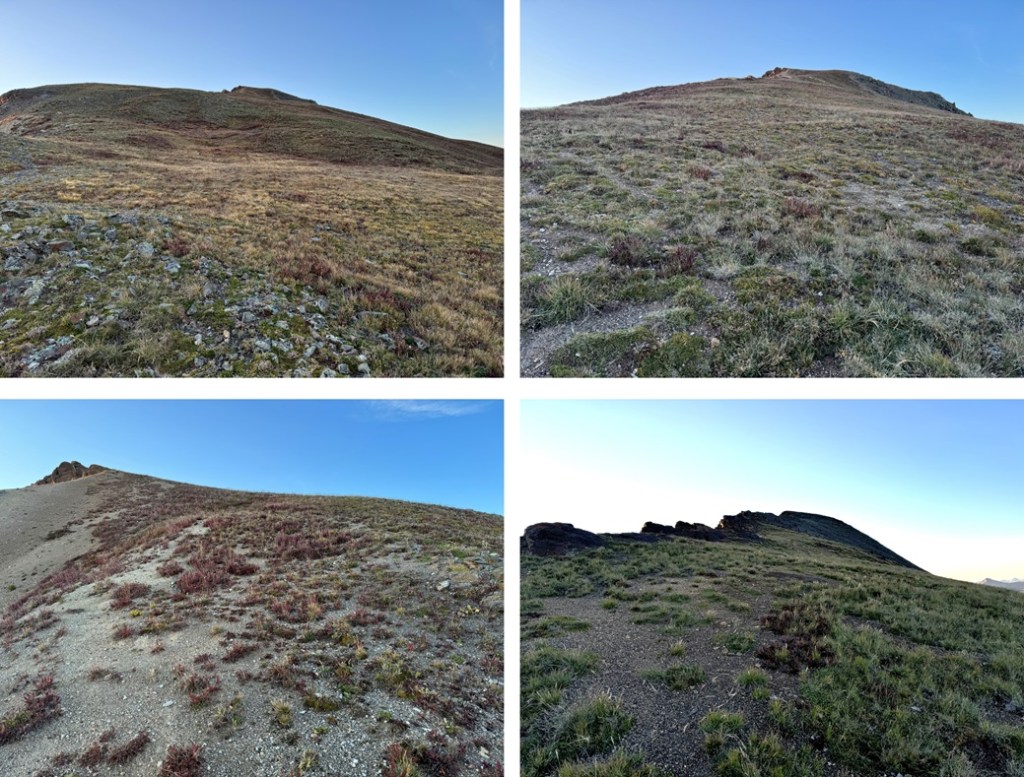
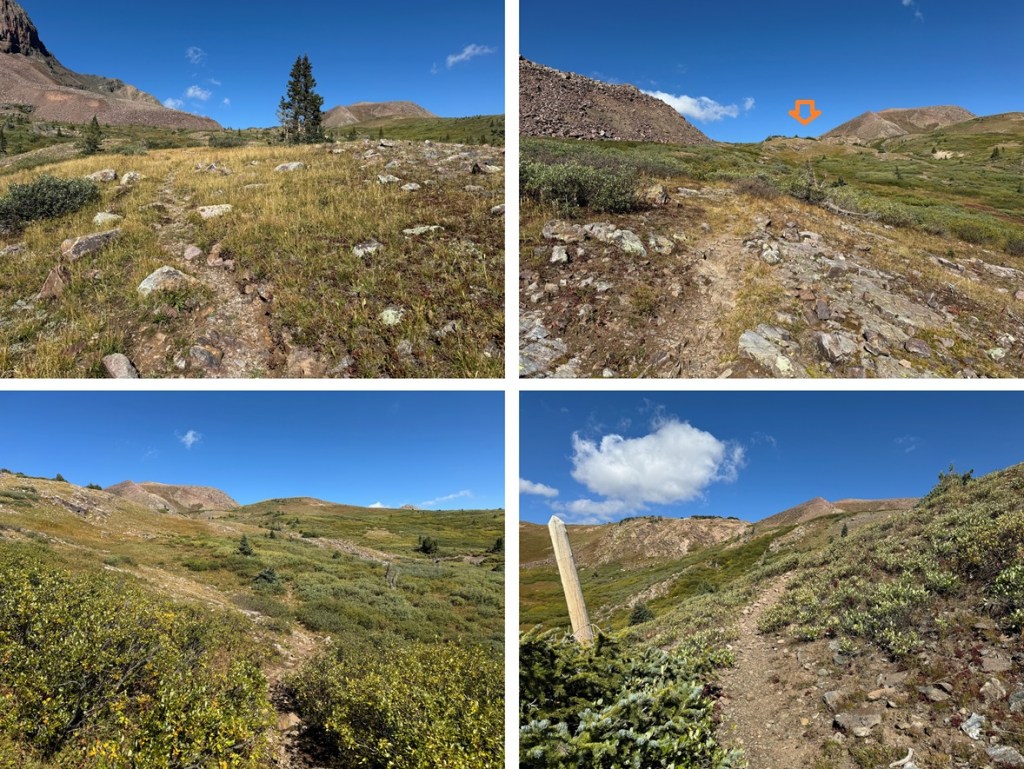
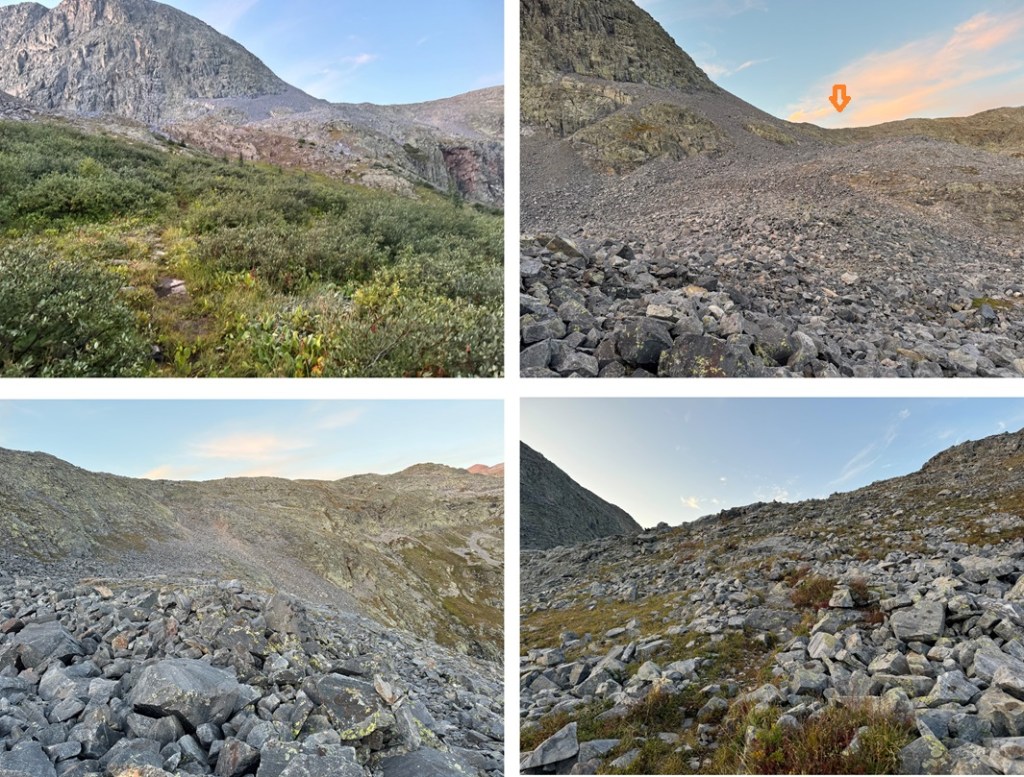
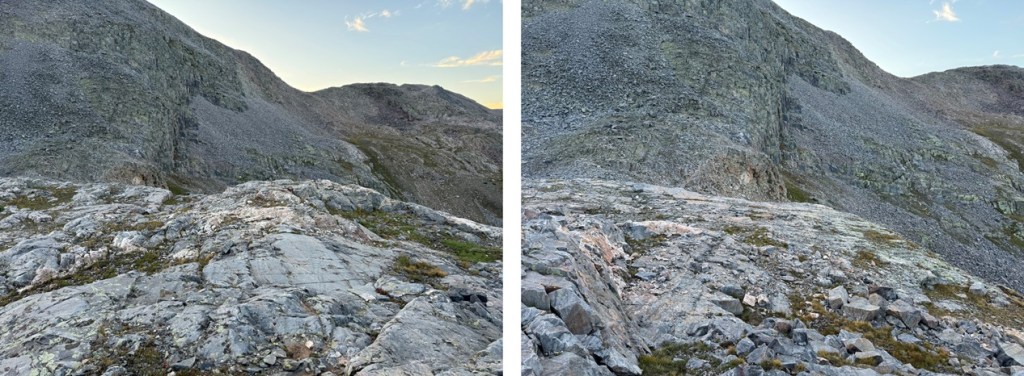
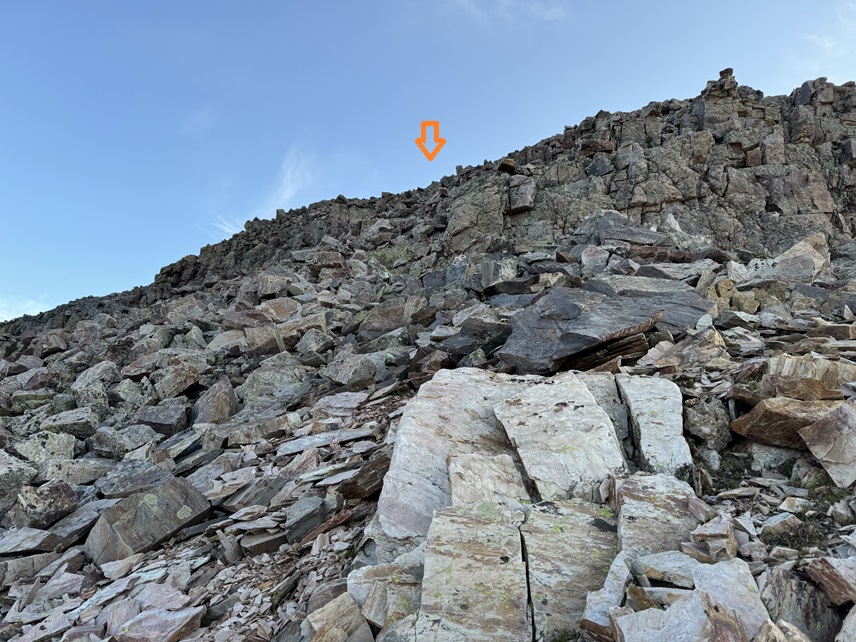
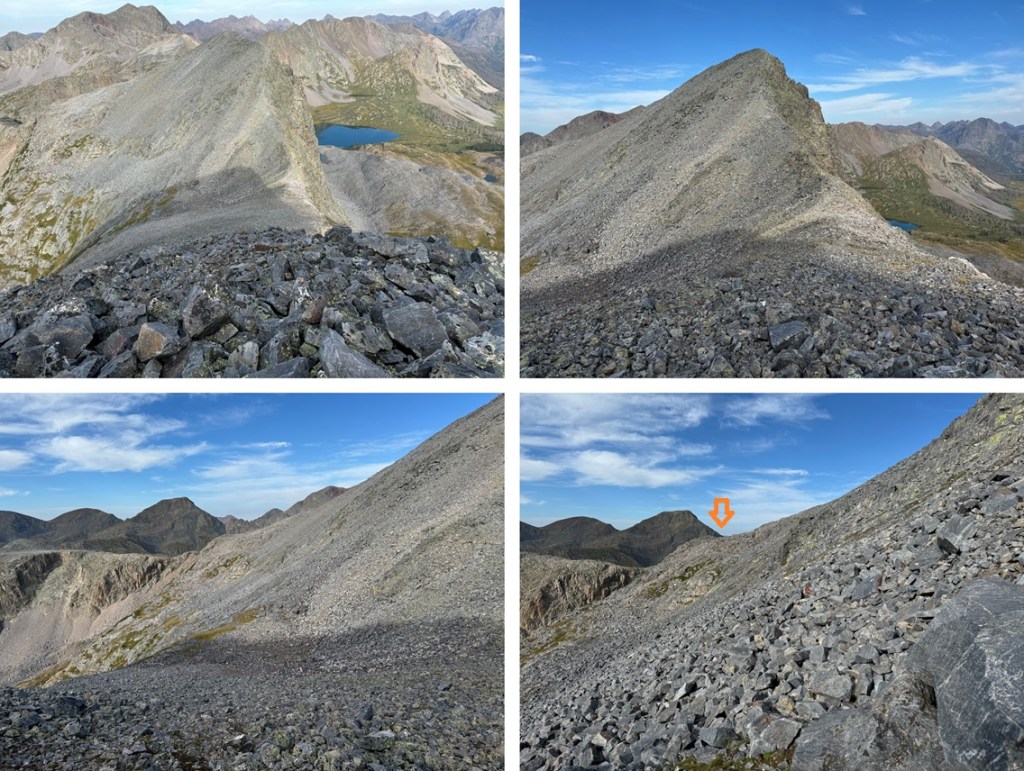
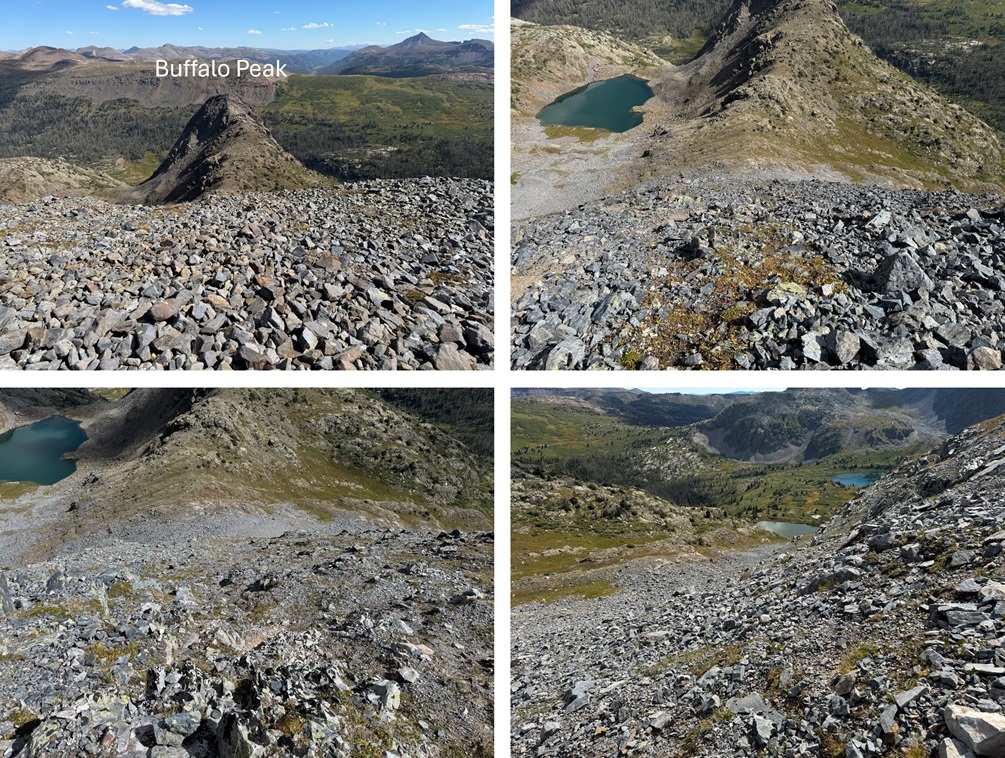
At about 13085’ I hit a saddle, turned right, and followed the ridge to the summit.  This was class 2, but there are a few social trails in the area.  I just kept following the ridge southeast.

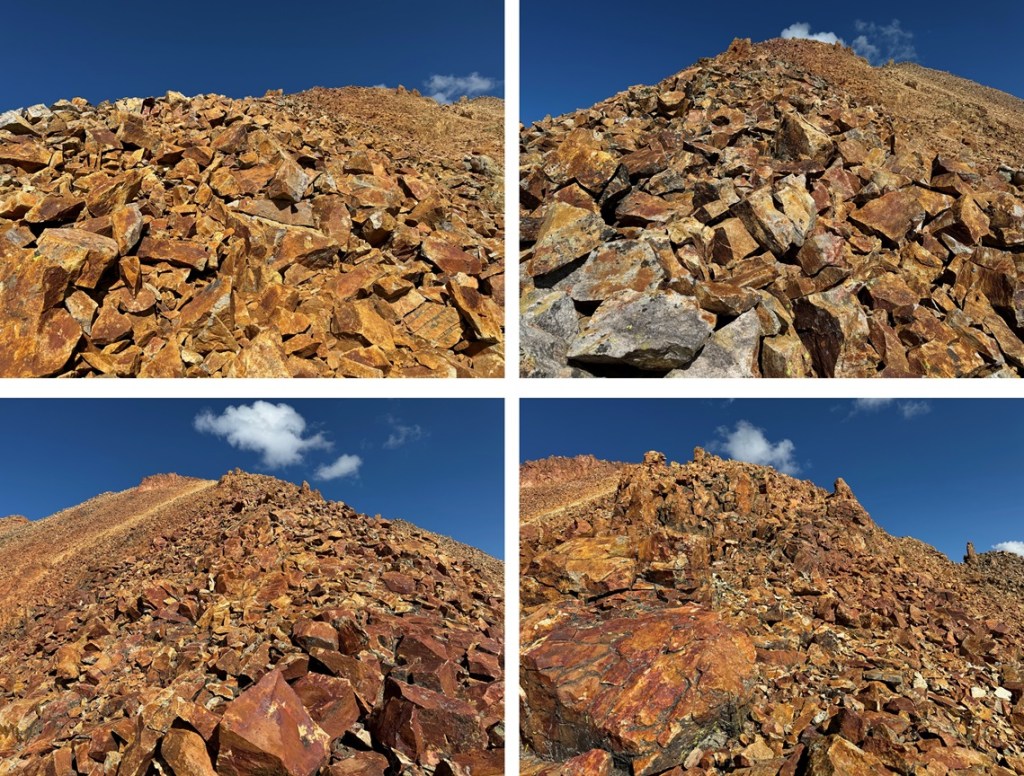
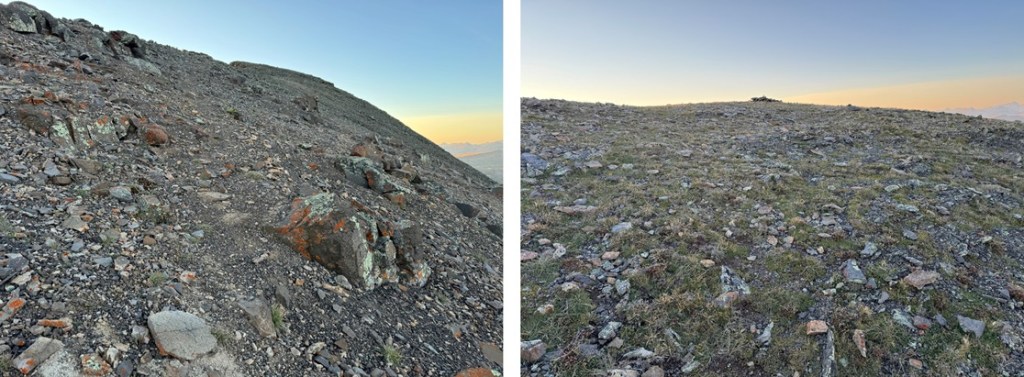
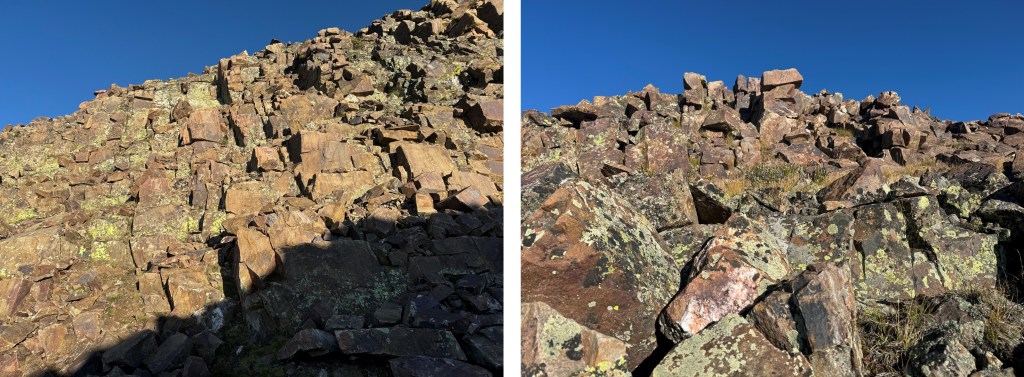
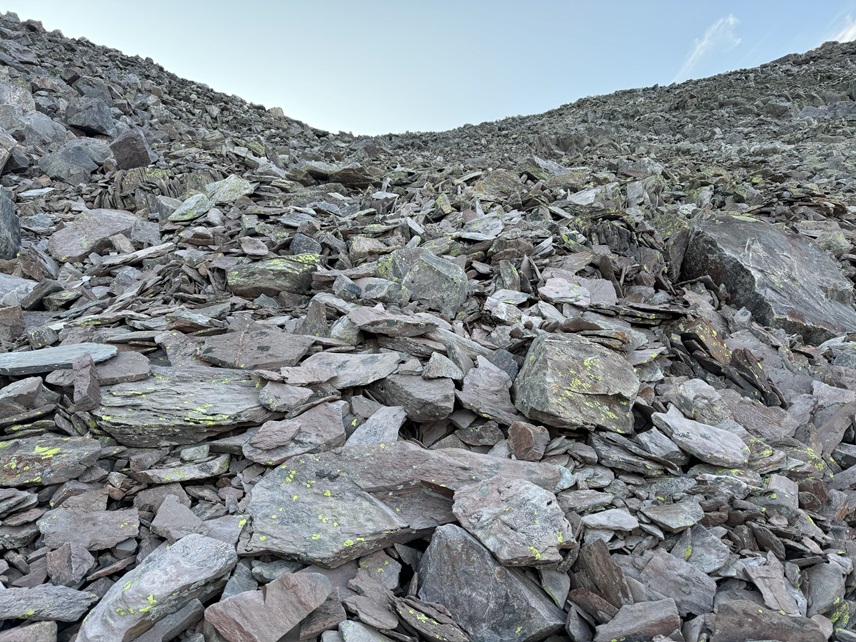
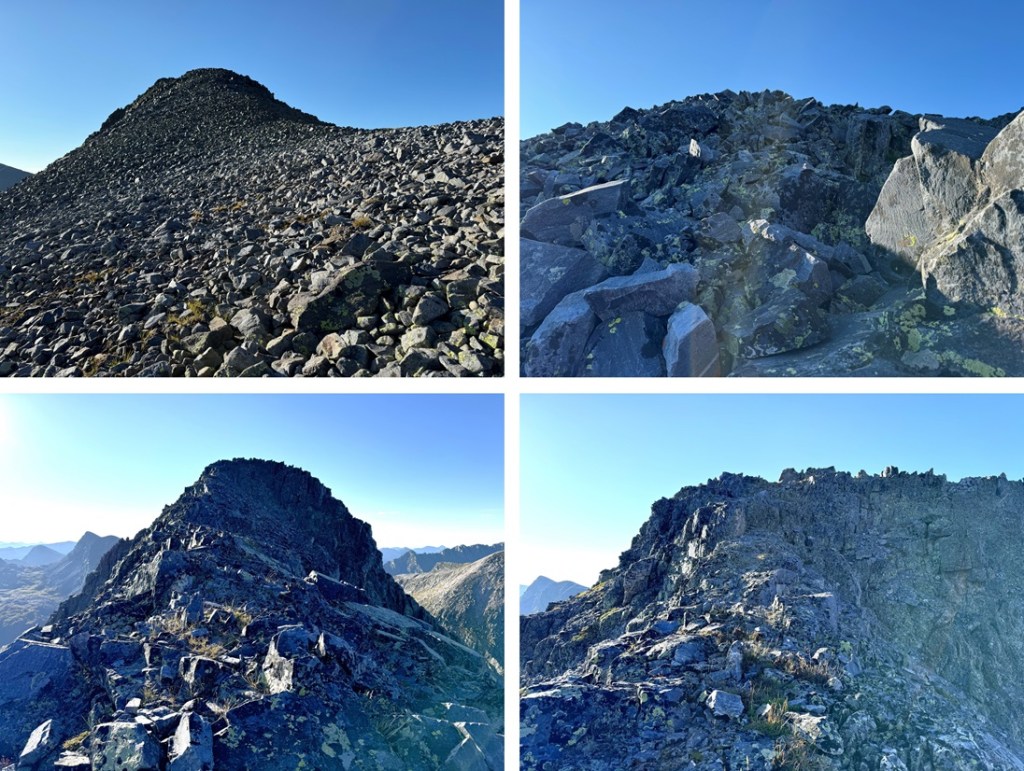
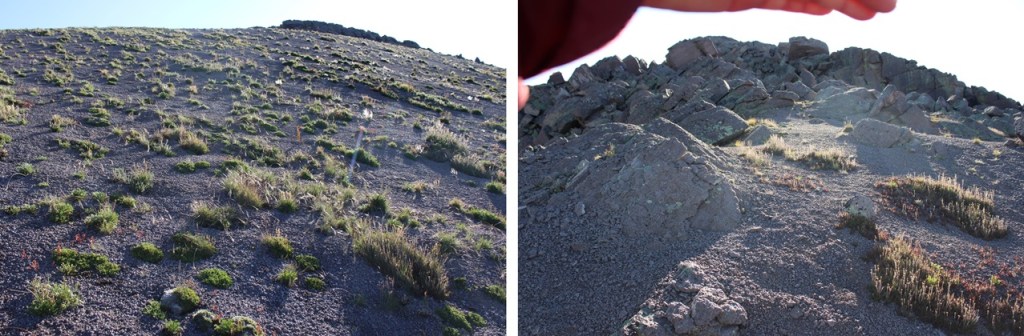
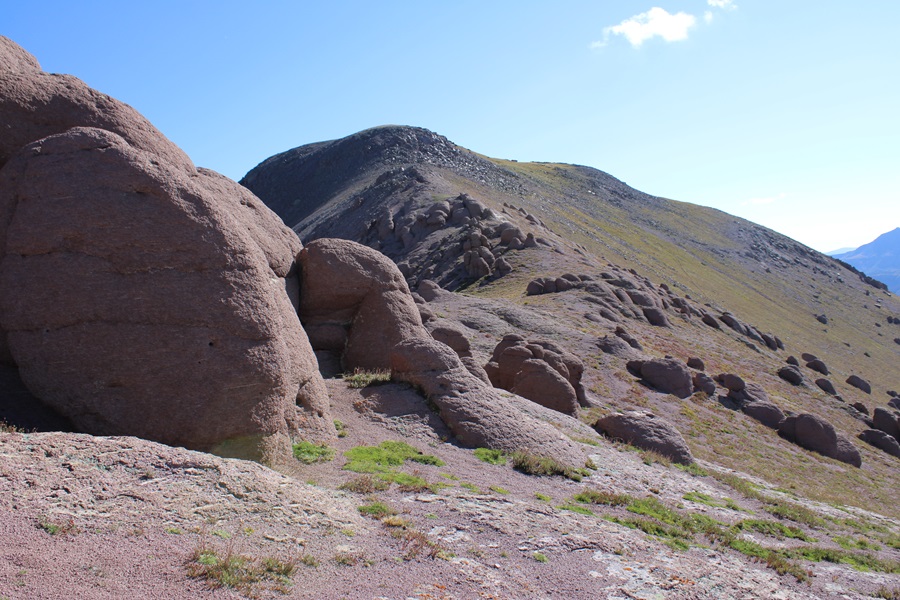
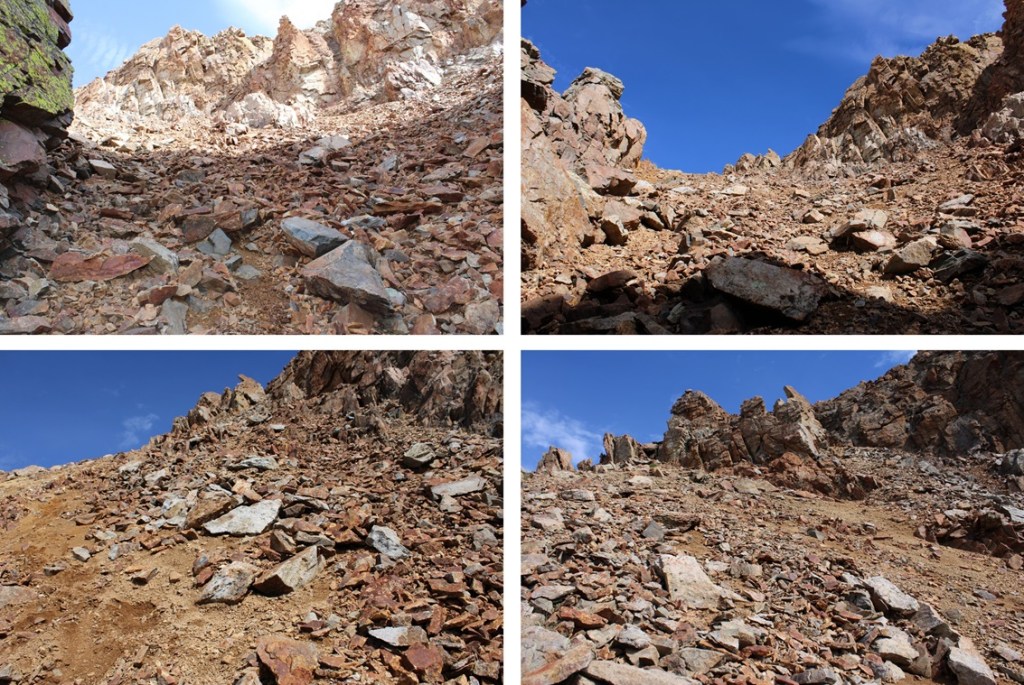
Eventually the ridge became filled with scree, but the angle wasn’t difficult, and it all remained class 2

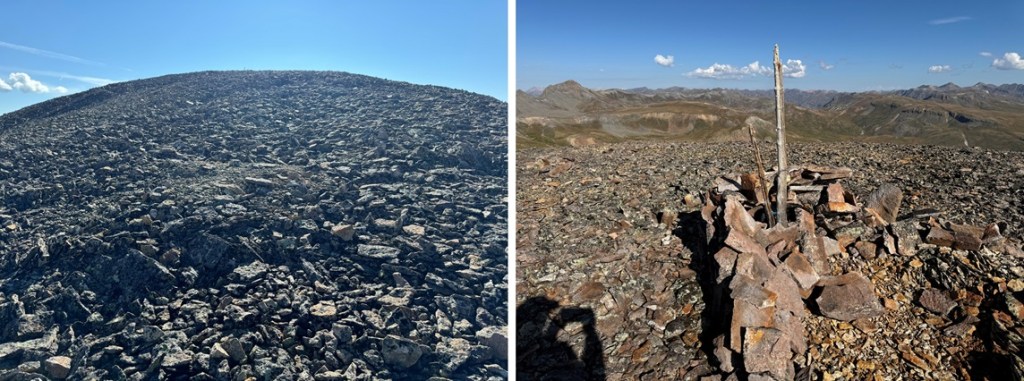
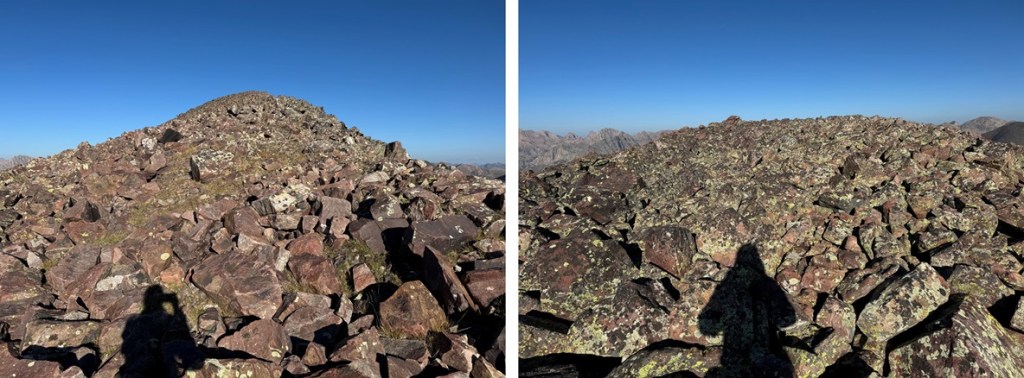
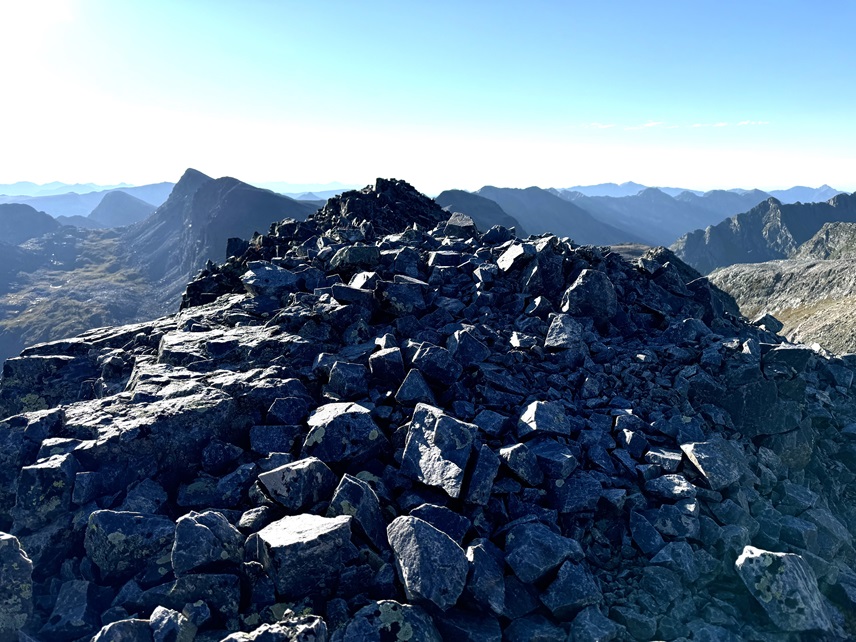
I summited Canby Mountain at 7:10am

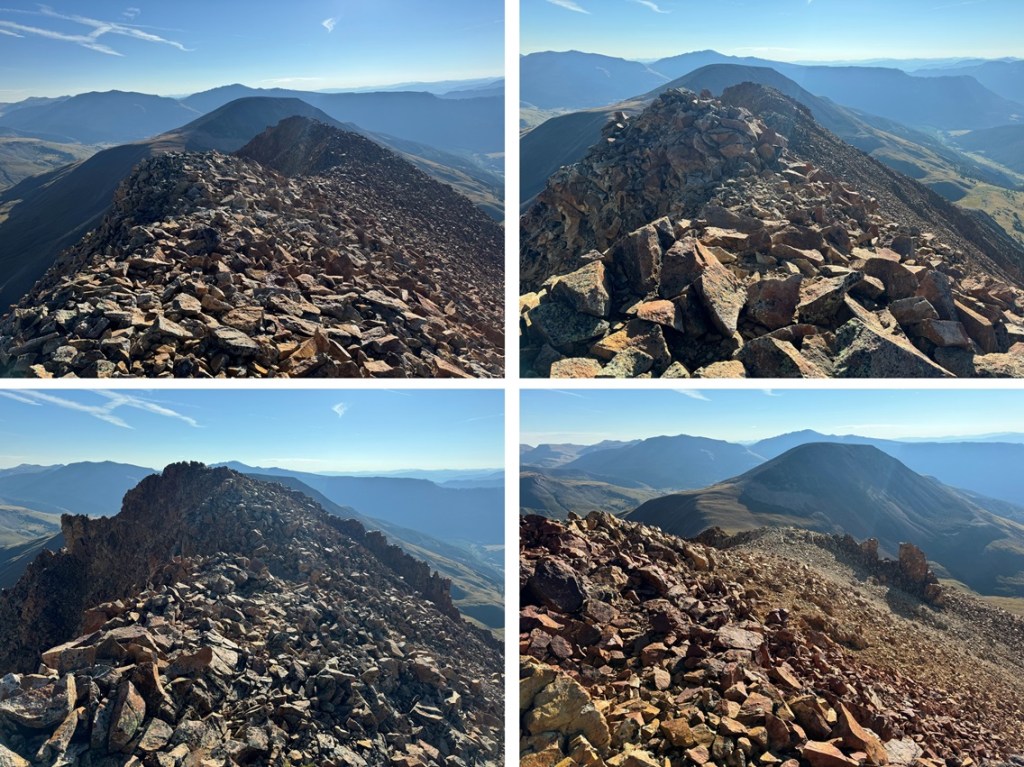
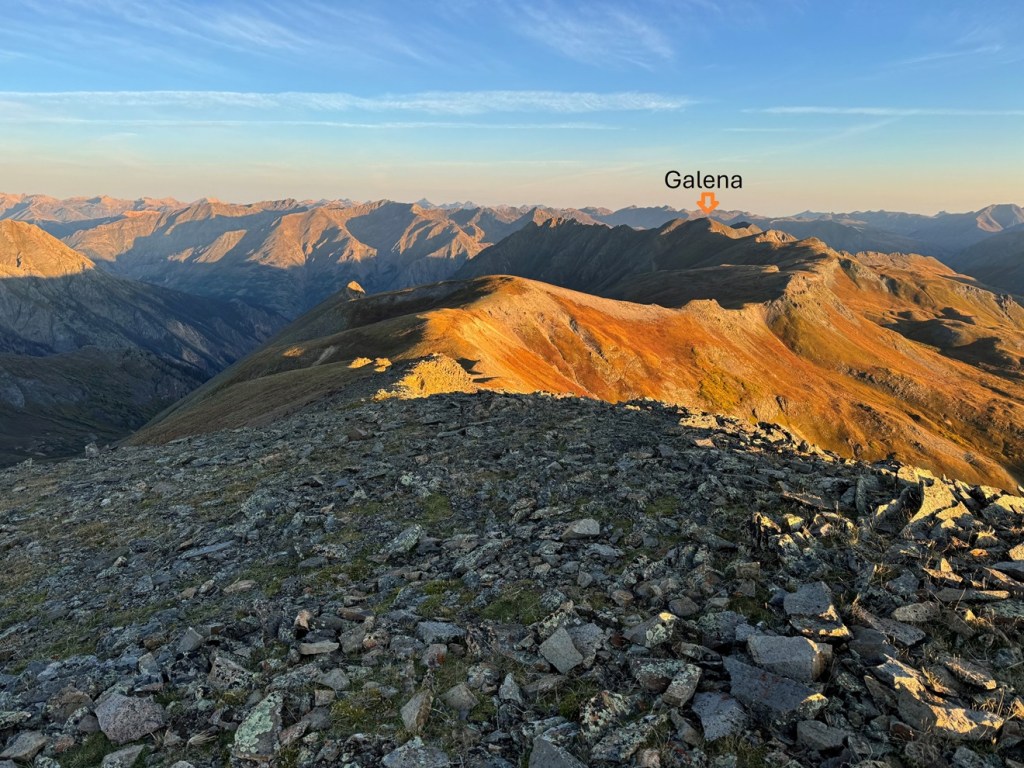
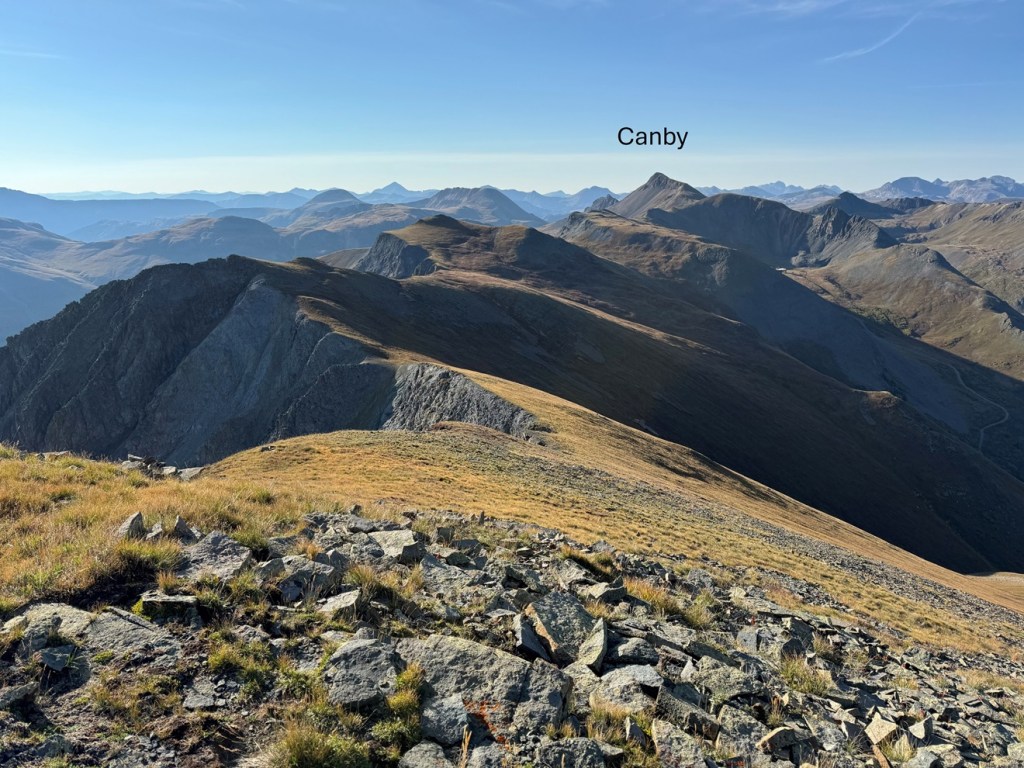
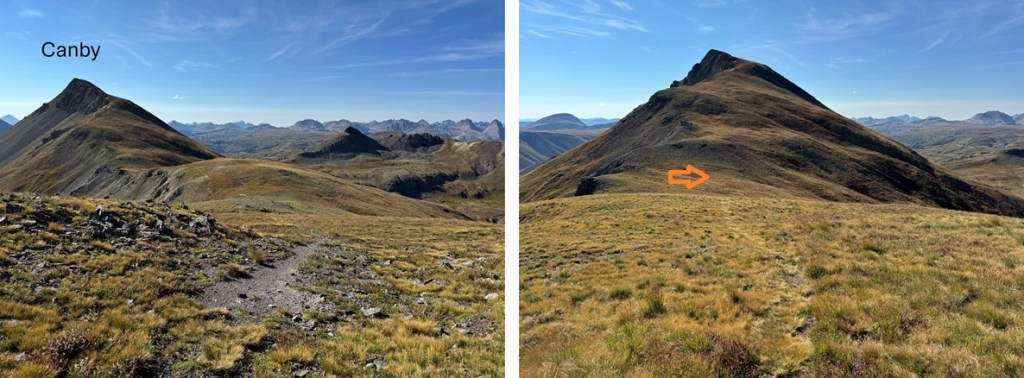
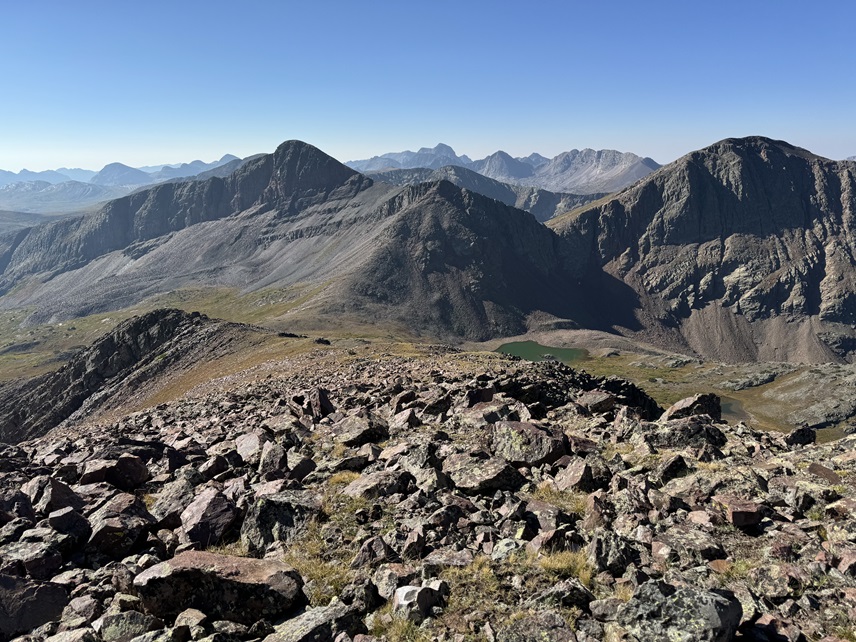
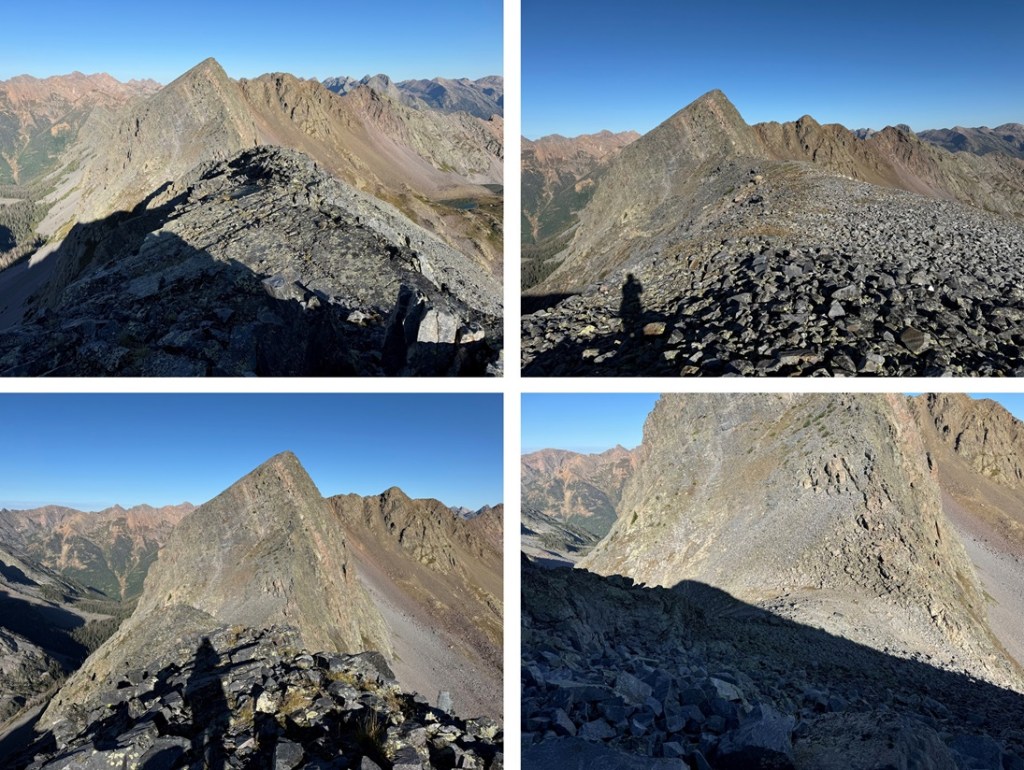
Canby Mountain:

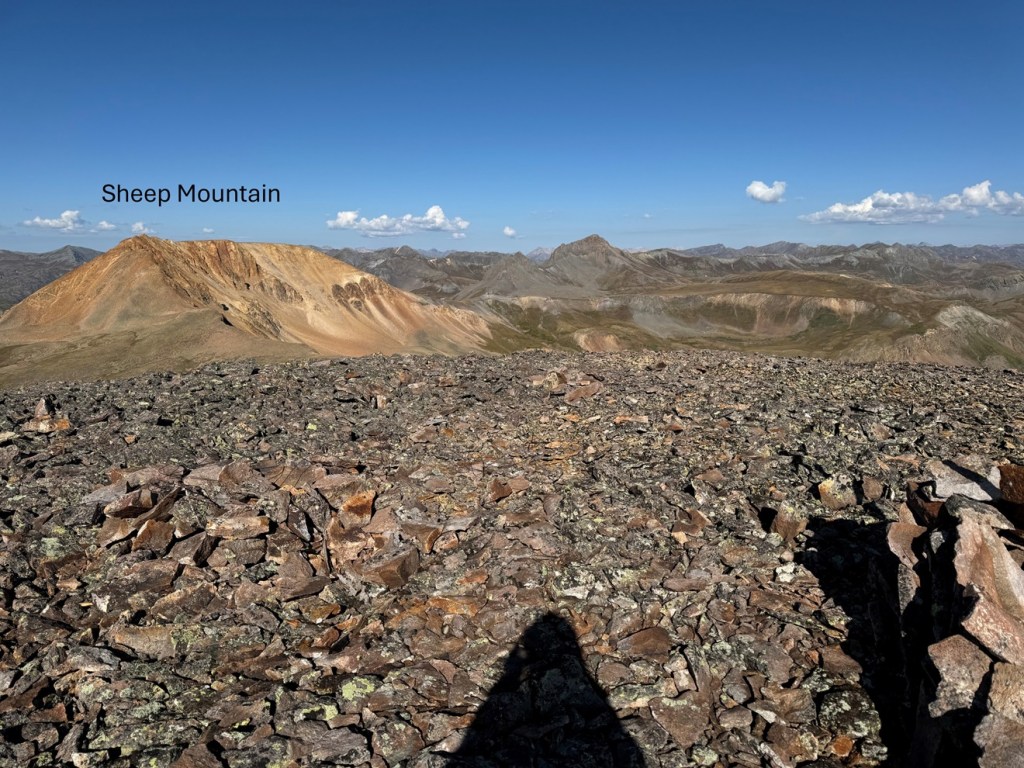
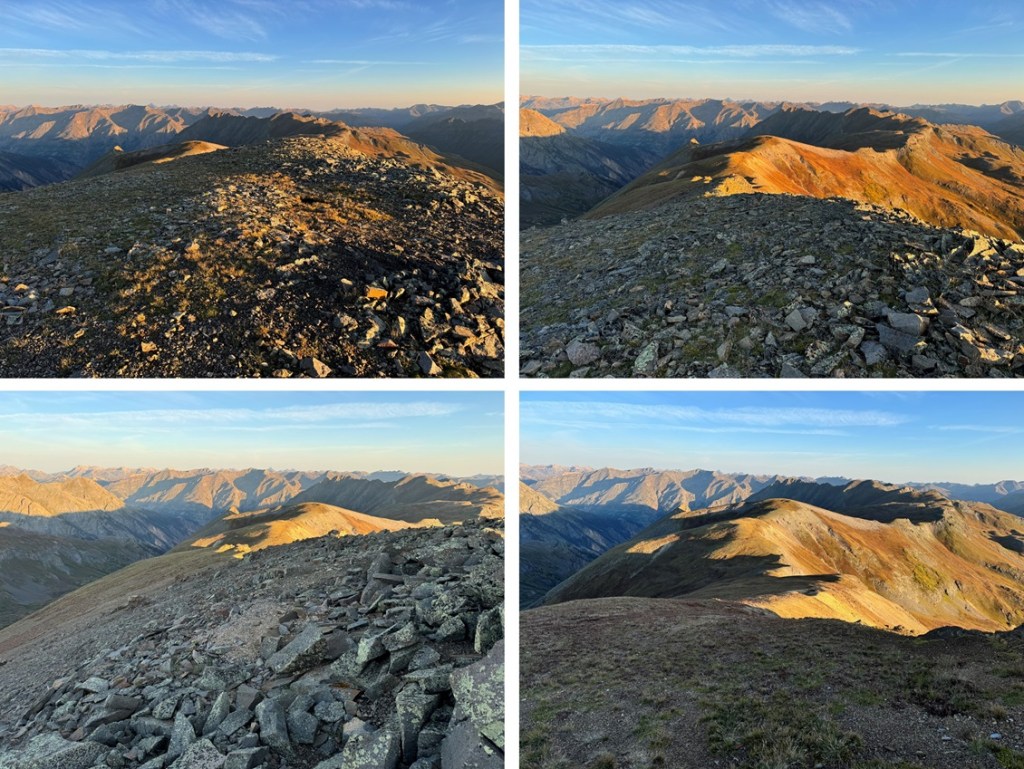
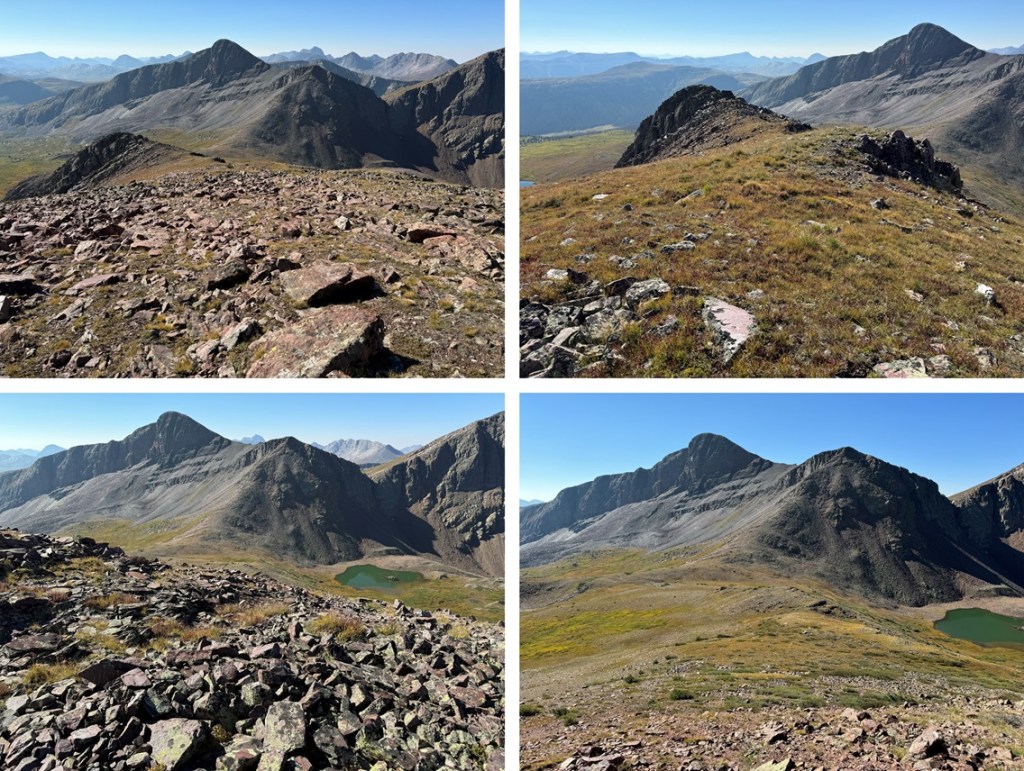
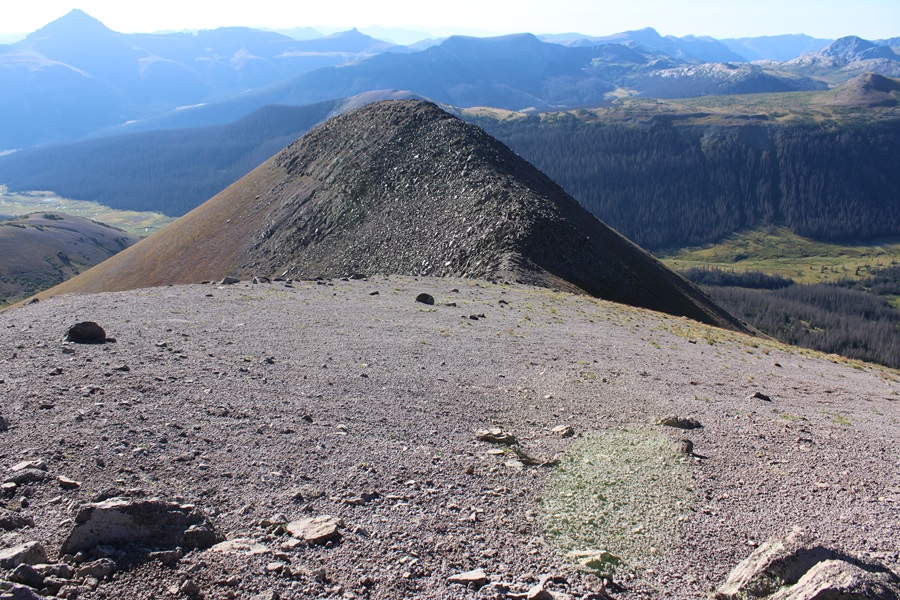
From the summit of Canby Mountain I could see Galena Mountain to the north/northwest.

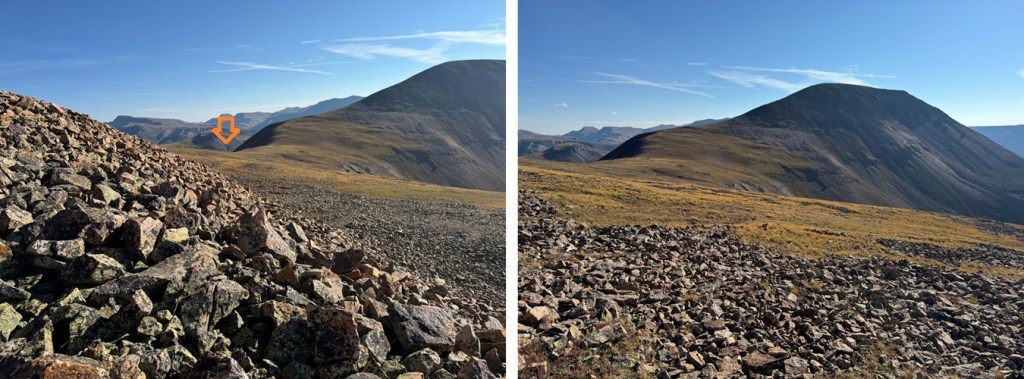
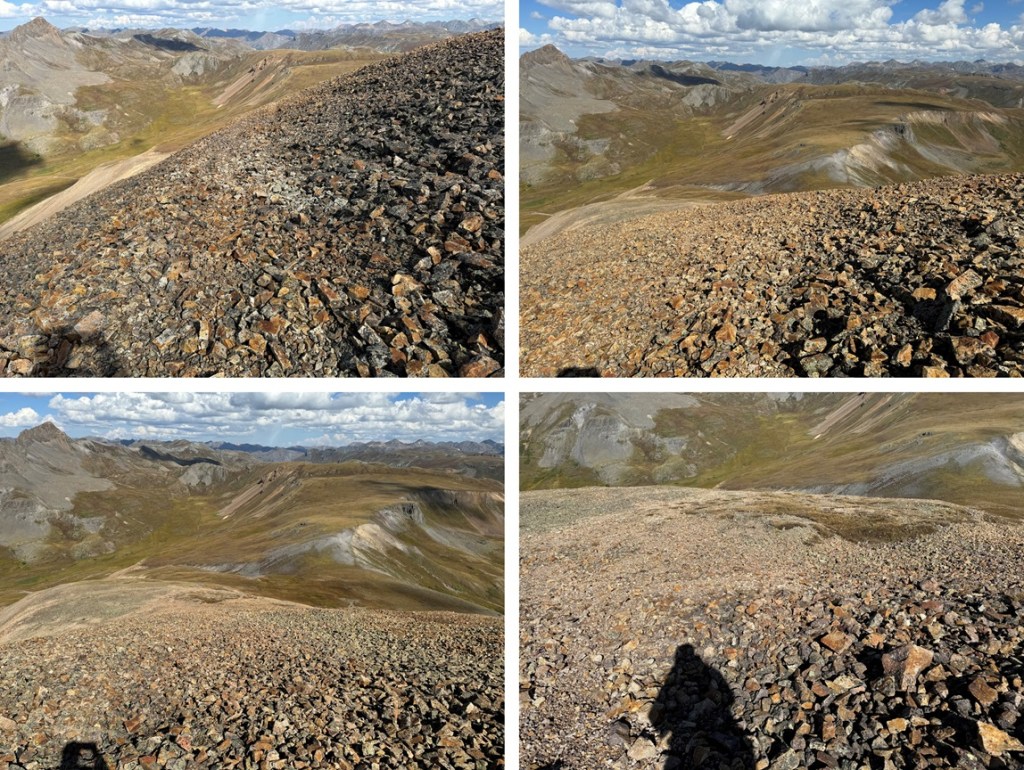
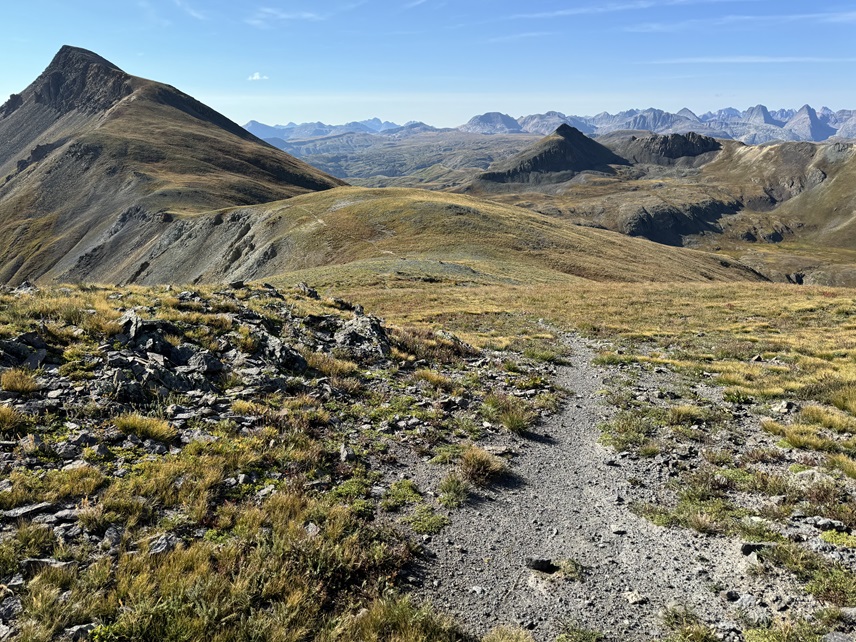
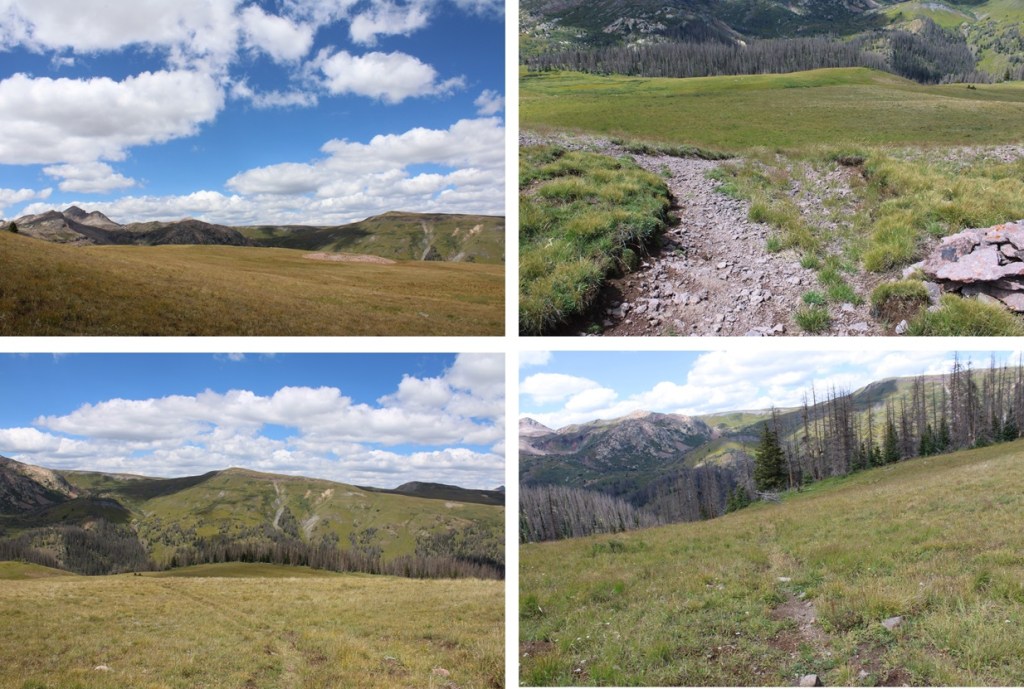
It was a ridge hike on tundra to get there, and all class 2.  I headed back down to the small saddle, and picked up the trail that follows the ridge.

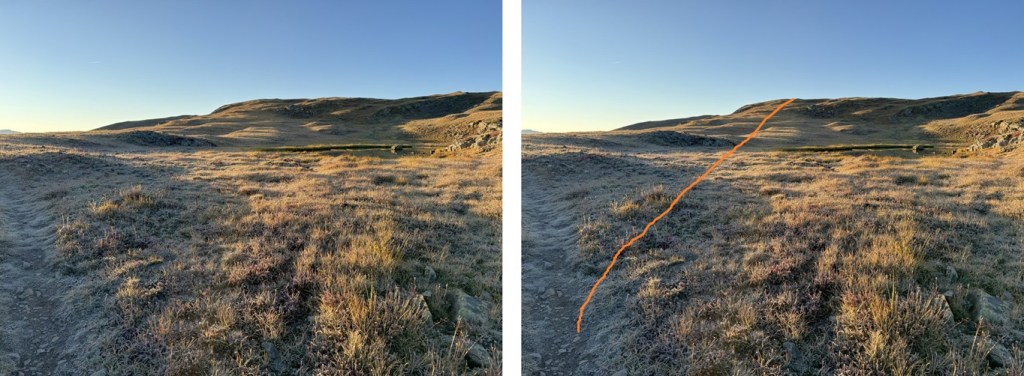
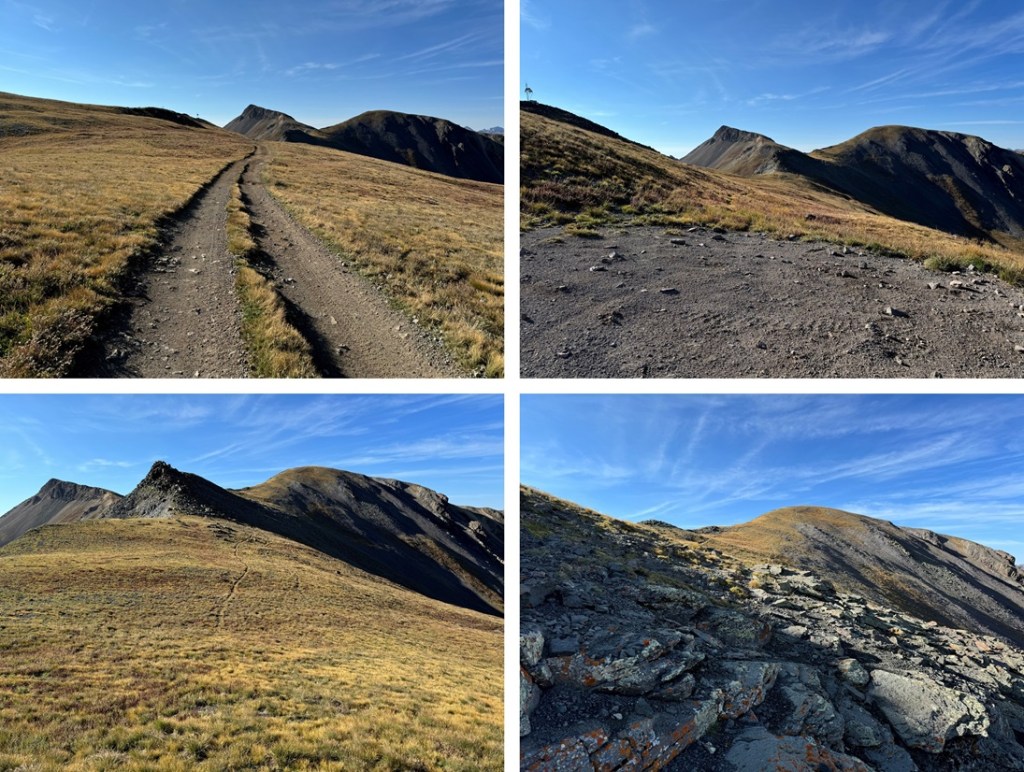
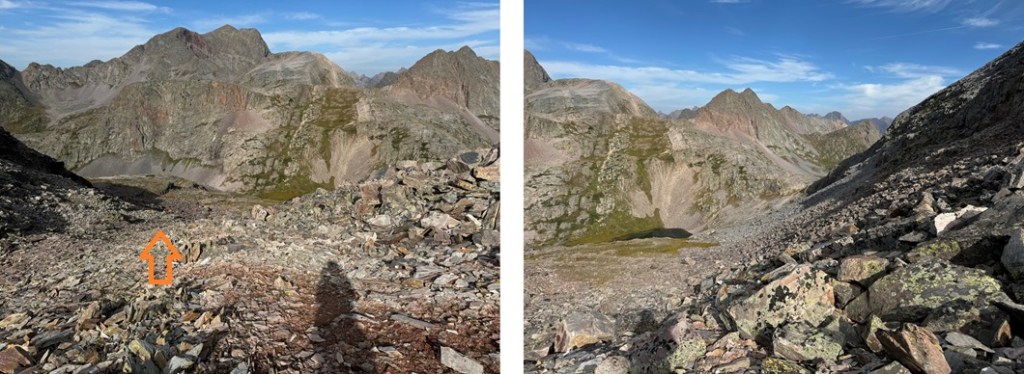
By sticking to the ridge, following it northeast, eventually the trail ends.  You can continue to follow the ridge, however, when I came to the scree area (it’s obvious), I stayed at about 13000’ and skirted the ridge.  There’s an obvious dirt road in the distance you can aim for, and some game trails here.  I aimed for the highest point of the dirt road, and then followed it along the ridge until it ended.

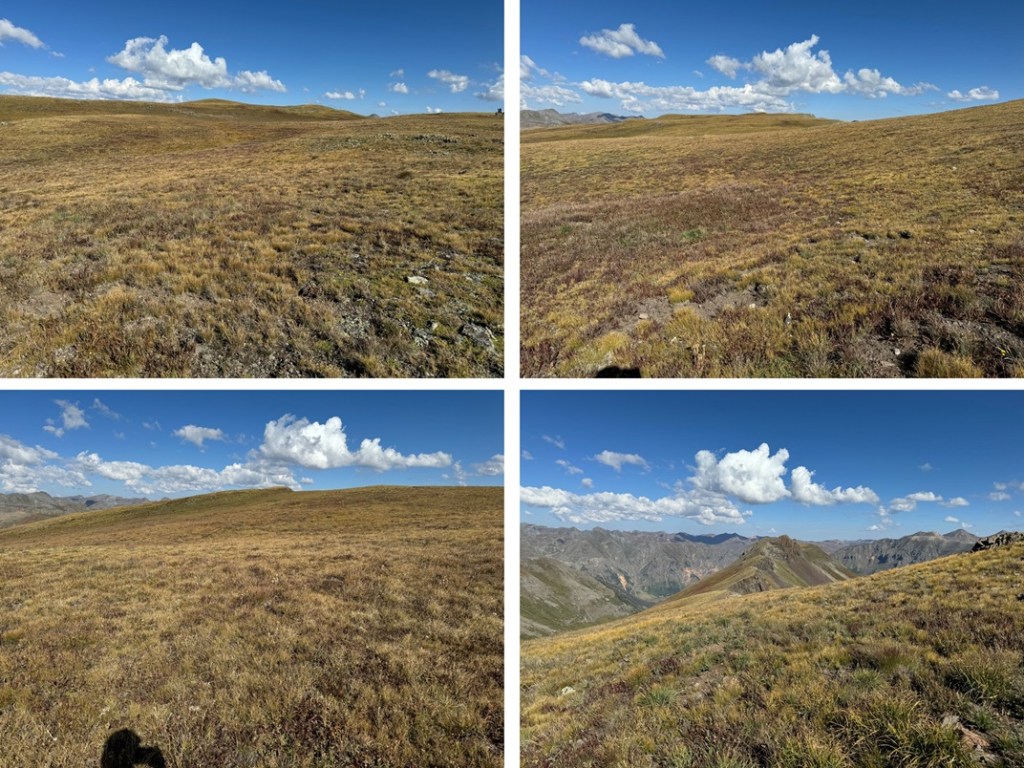
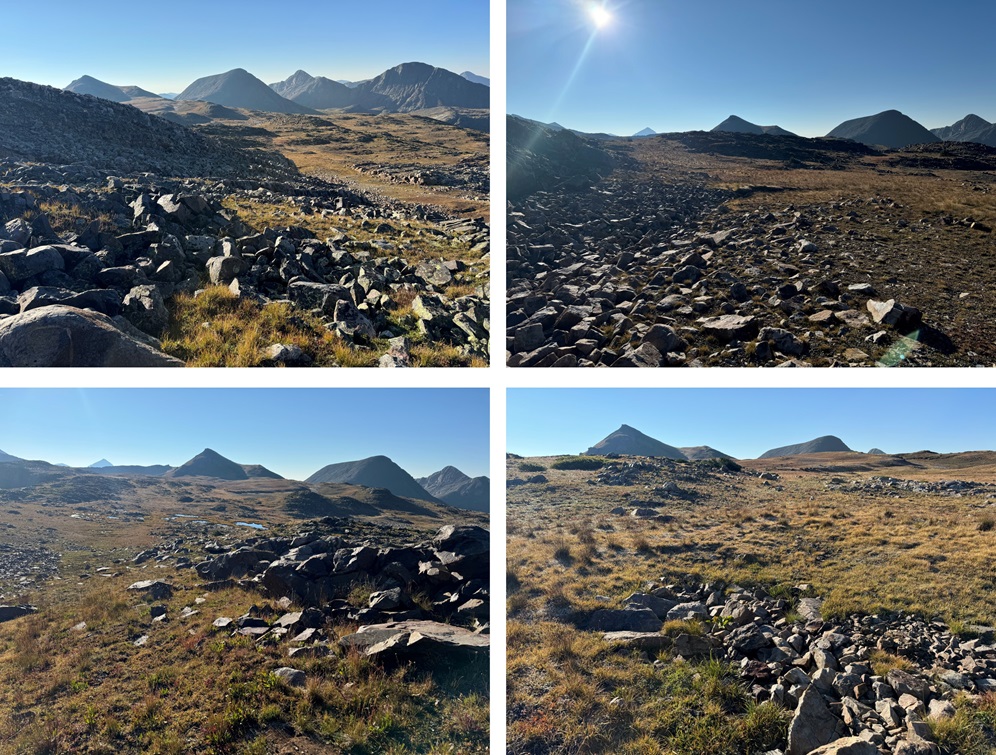
It ended in a roundabout circle, and from there I left the road and continued following the ridge northwest.  This is all tundra, and there are a lot of elevation gains and losses along the way.  Every once in a while I’d pick up a game trail, and follow it to make the route finding easier.

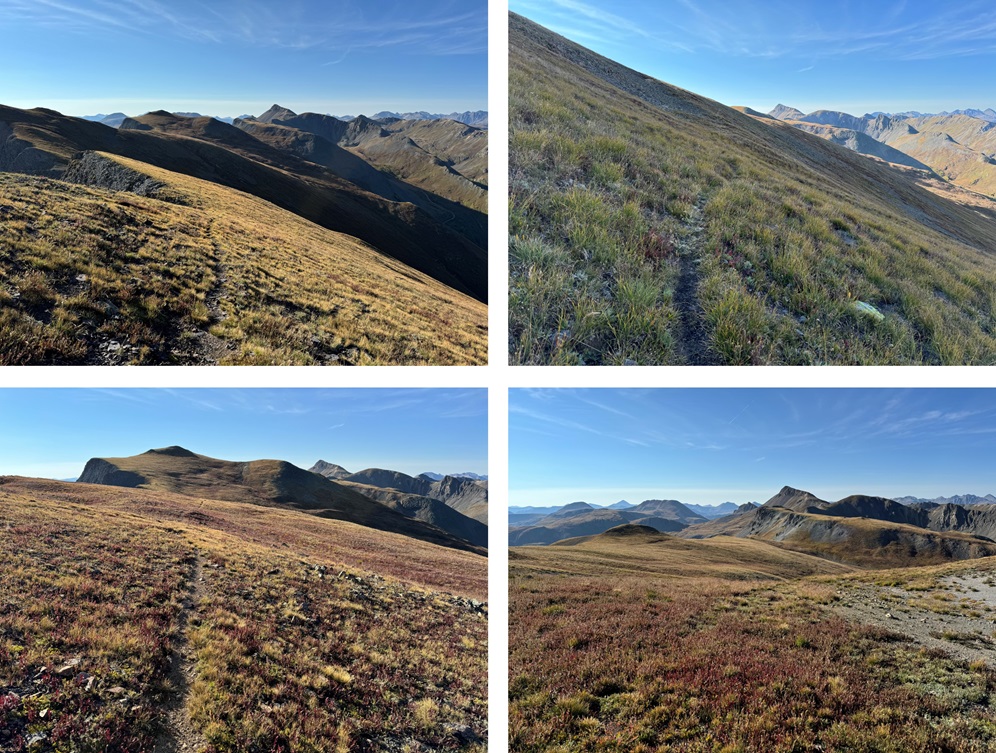
The final trek to the summit was all on tundra and included a faint game trail for part of the way. 

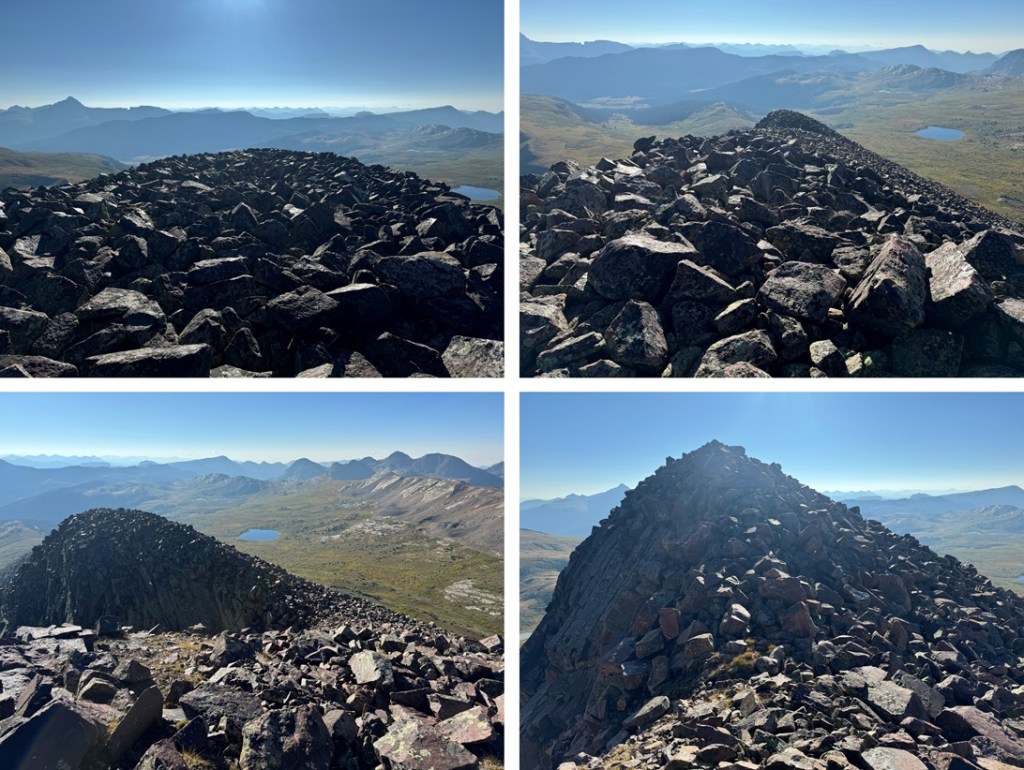
I summited Galena Mountain at 8:35am

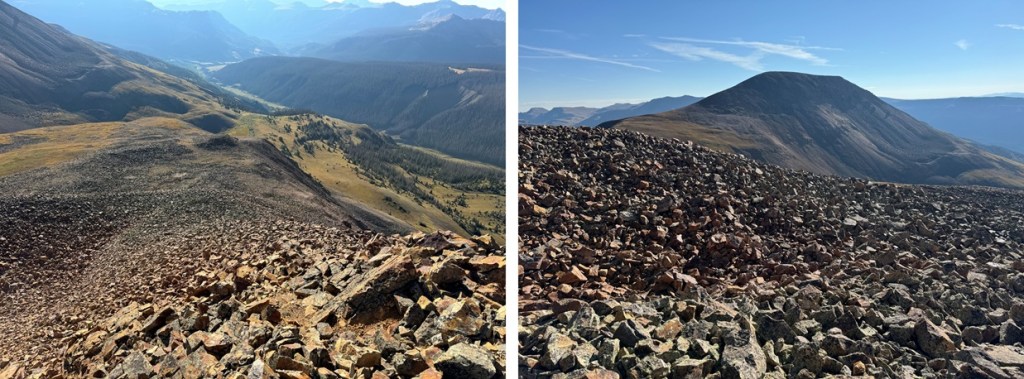
Galena Mountain:

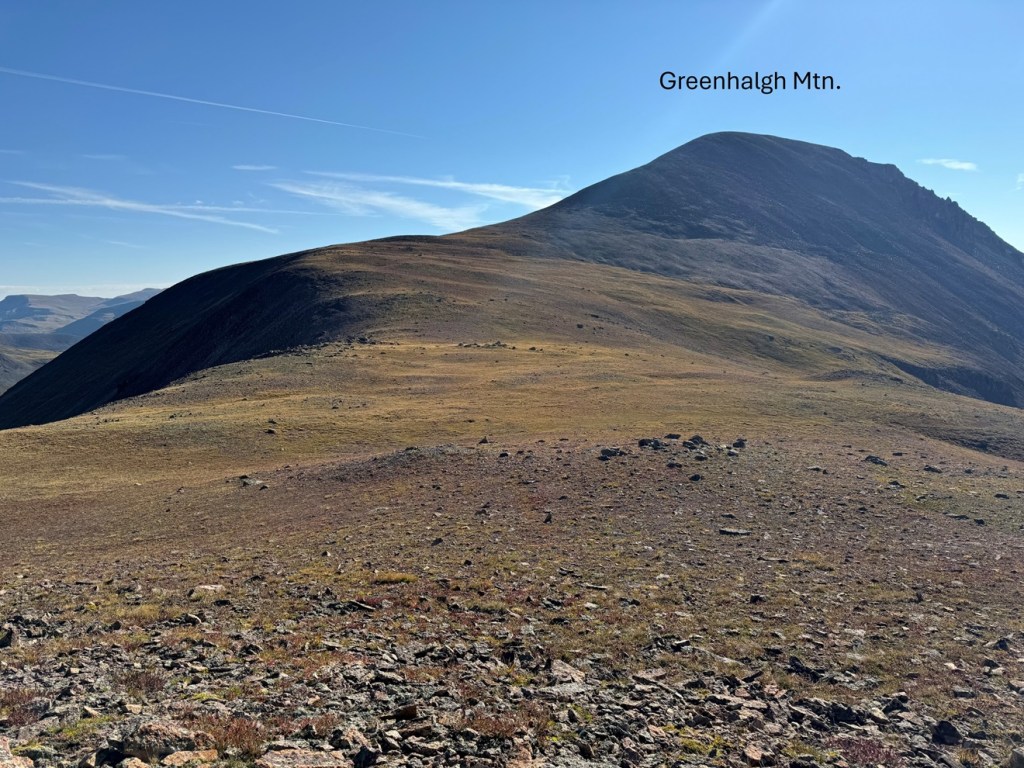
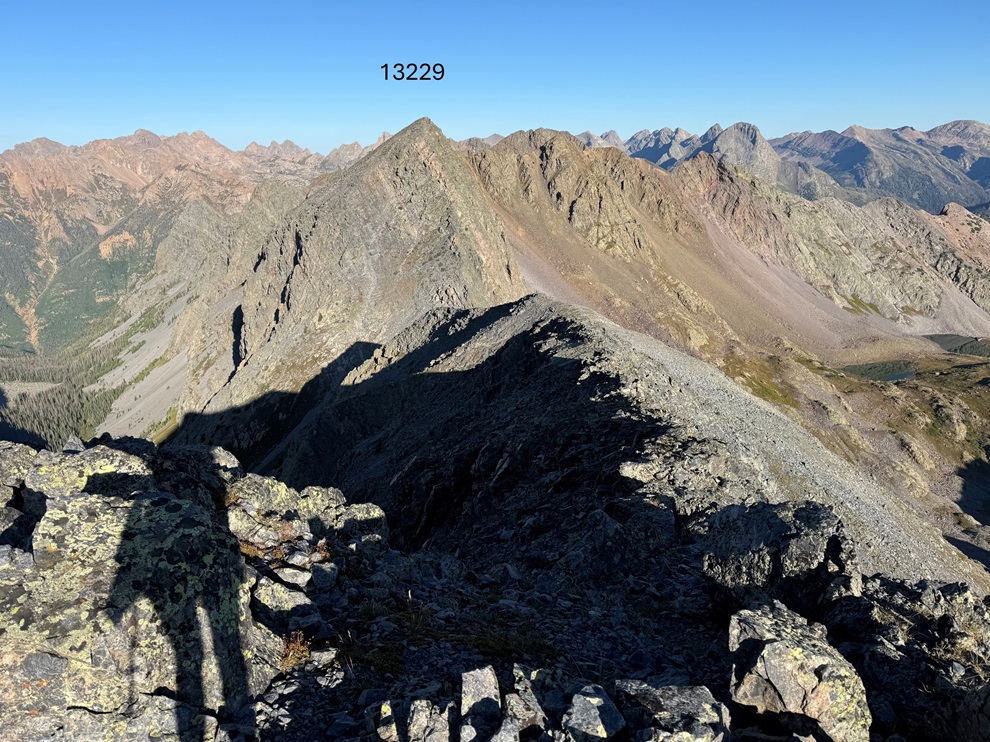
From Galena Mountain, I could see Canby Mountain, and that long ridge, to the south/southwest. 

I needed to get back to Stony Pass, so I descended Galena and followed the ridge back the way I’d summited, aiming for the Canby saddle.

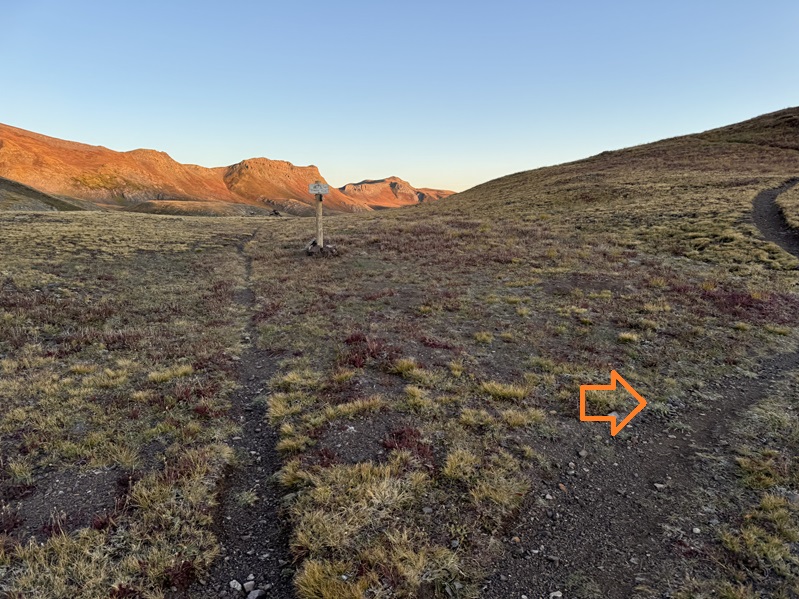
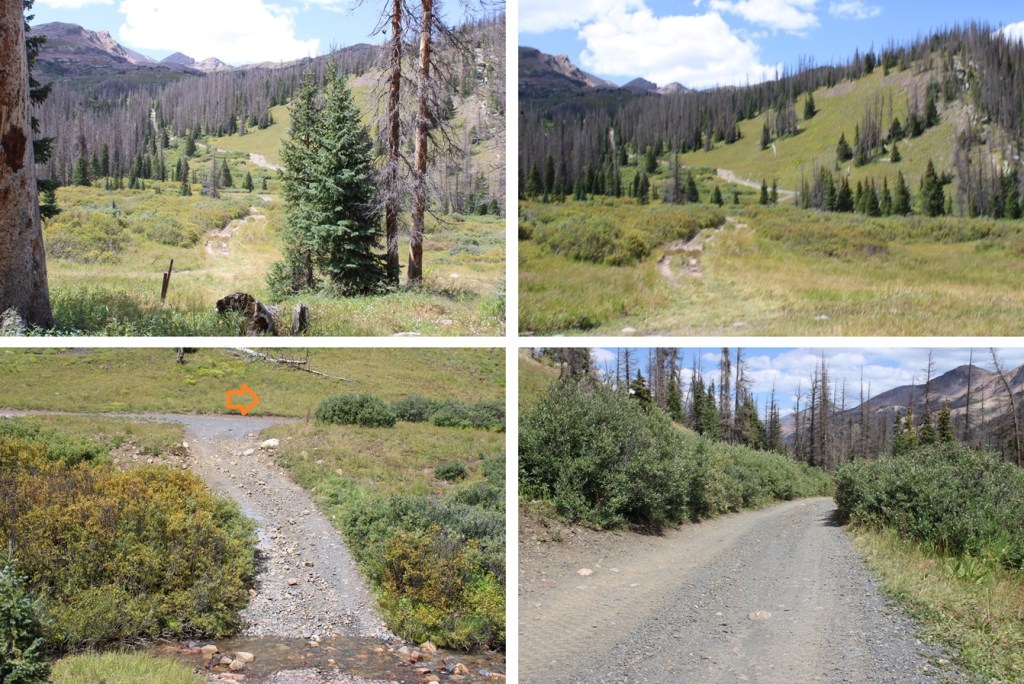
Back on the road, I followed it a short distance, and then aimed for the ridge once again.

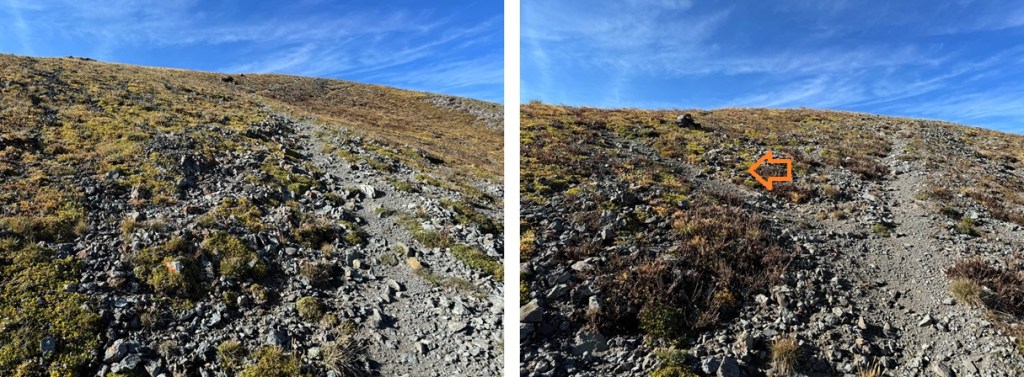
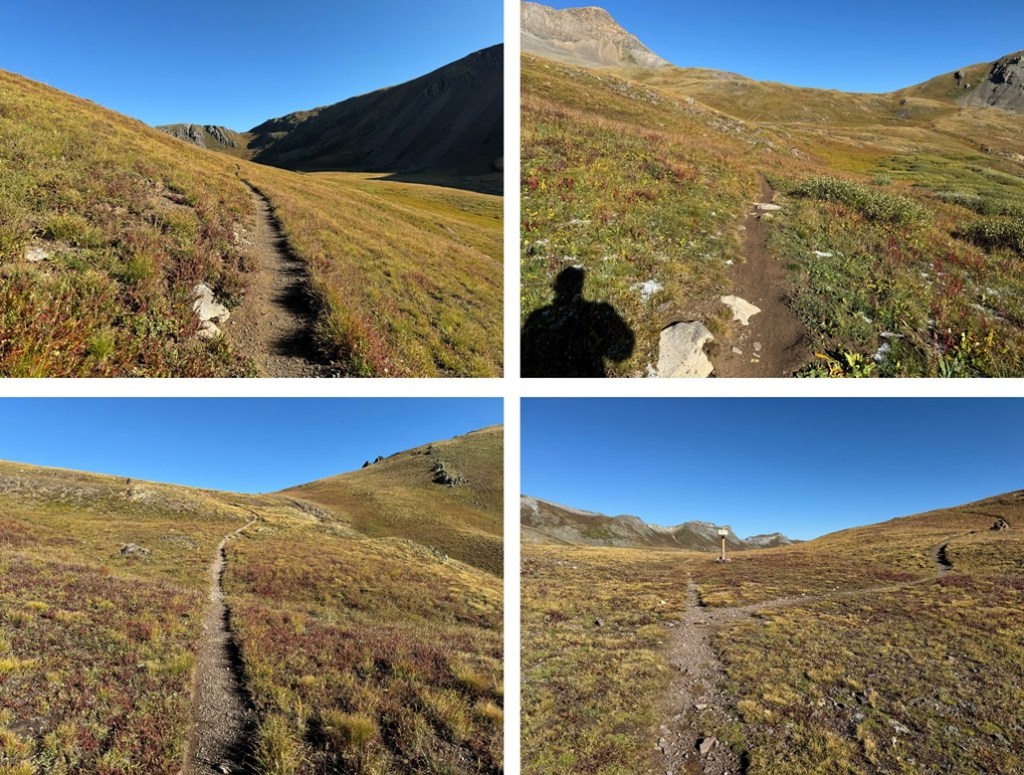
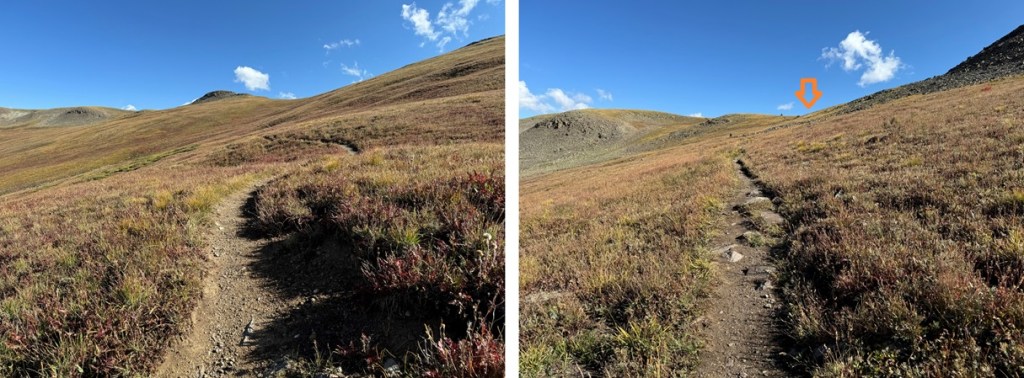
This time, when I was on the ridge, I noticed there was a “y” in the trail.  Go left here, towards Canby Mountain

Following this path led me back to the saddle with Canby Mountain

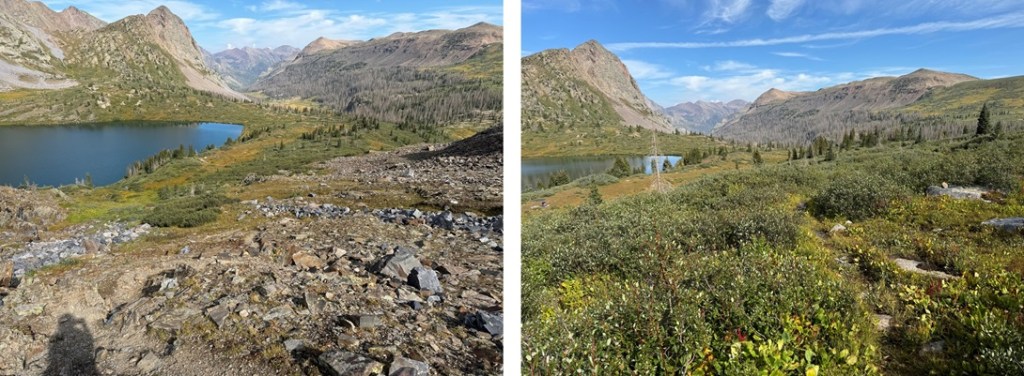
At the saddle I turned right, and followed the trail back down to the dirt road.

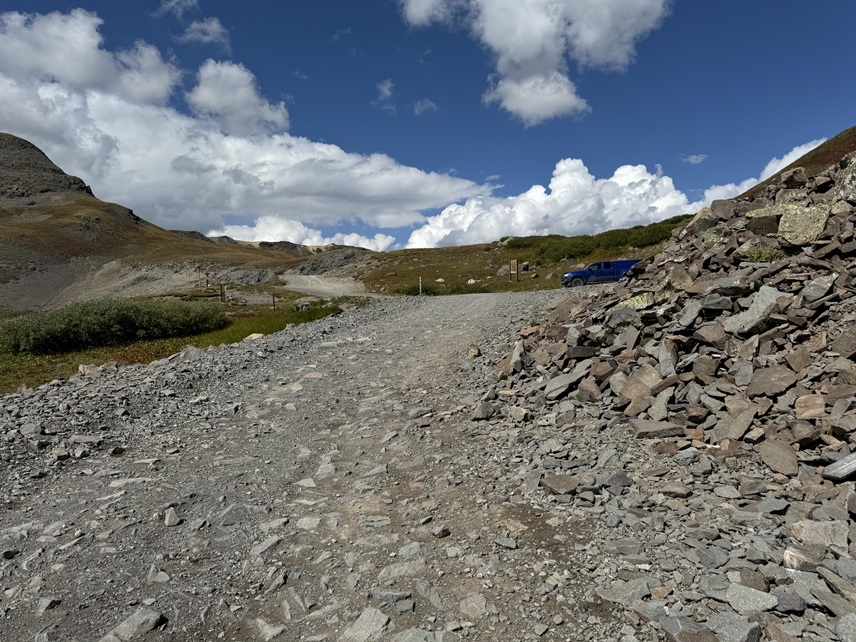
I then followed the dirt road back to my truck.

I made it back to my truck at 9:45am, making this a 6.64 mile hike with 2084’ of elevation gain in 3 hours, 15 minutes.

Stony Pass Peak – 13,172

RT Length: 1.5 miles

Elevation Gain: 618’

I had just gotten back from summiting PT 13076, and I wasn’t feeling it today.  I was tired and achy and sore, and just wanted to rest.  I had some lunch, and about 2 hours later decided to do some scouting on Stony Pass Peak, to figure out how I wanted to summit it the next day.  Well, suddenly I had a burst of energy, because instead of scouting it, I just summited the peak.

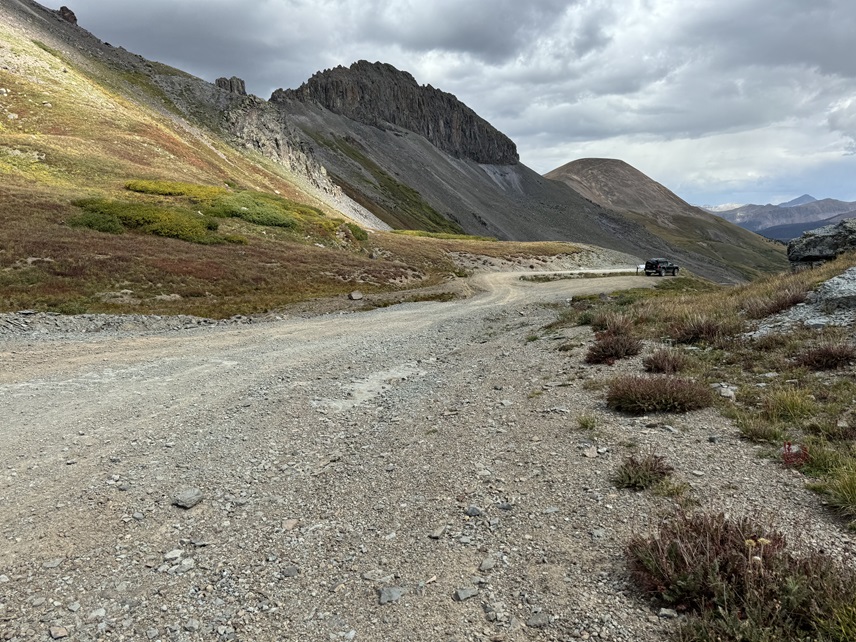
I could see Stony Pass Peak from my parking spot at Stony Pass. 

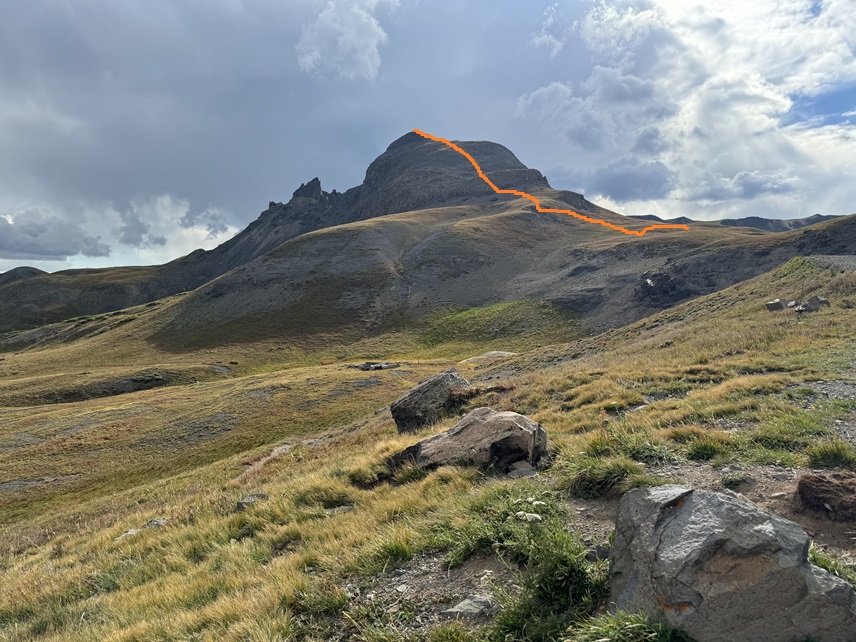
I headed towards Stoney Pass Peak around 2pm.  This is the overall route I took to get to the summit.

First, I headed southwest on the tundra towards the ridge

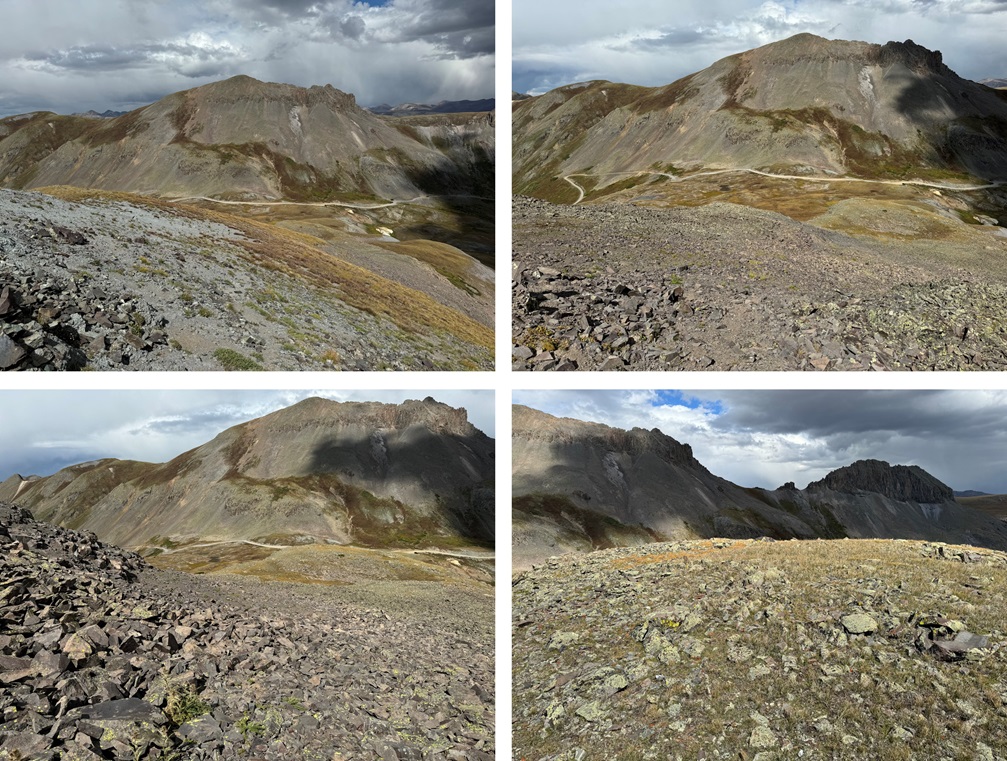
The terrain became rocky, but there were various social trails in the area, making navigation easy. I just kept heading southwest and up, following the social trails to the summit.  There was talus, and it became rocky, but this was all class 2.

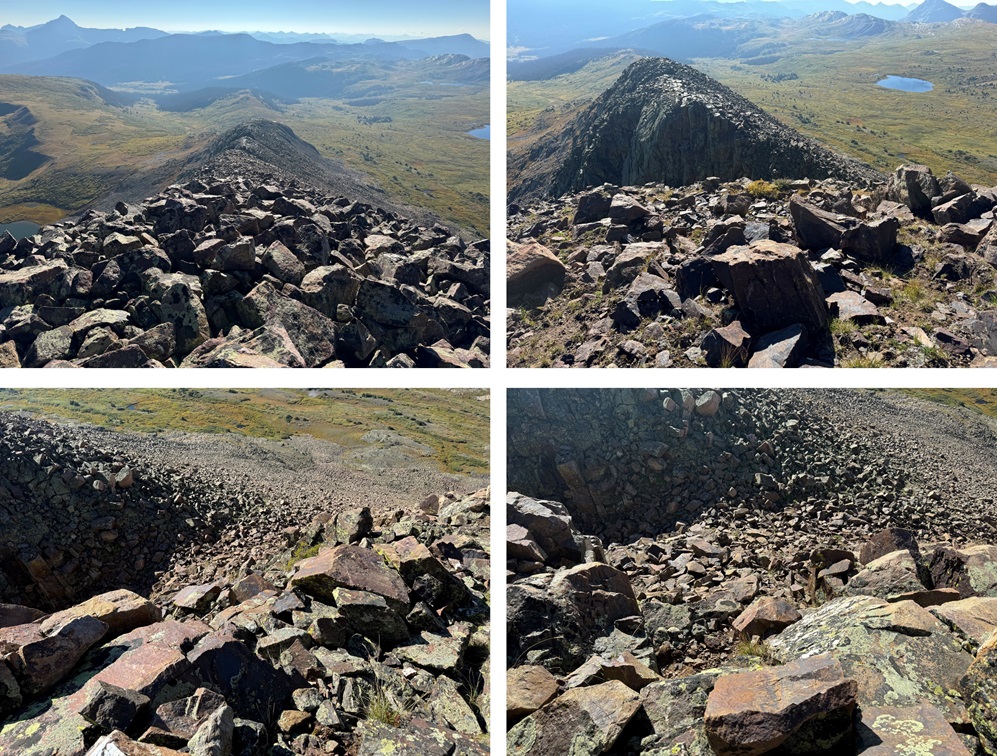
I summited Stony Pass Peak at 2:35am

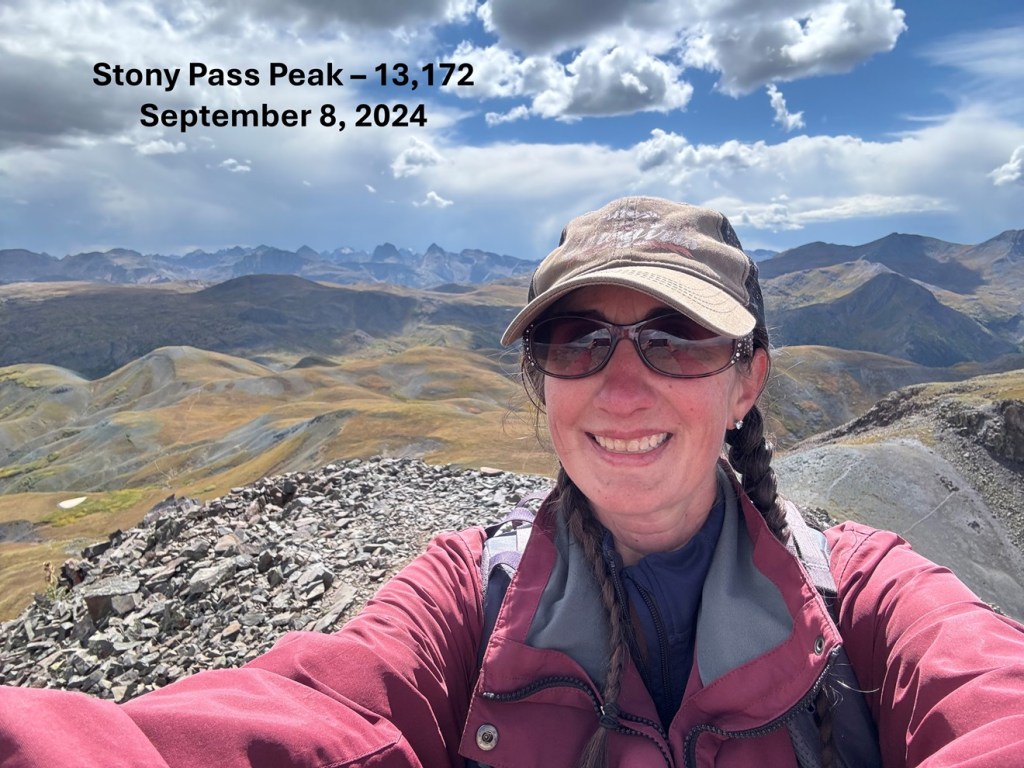
Stony Pass Peak:

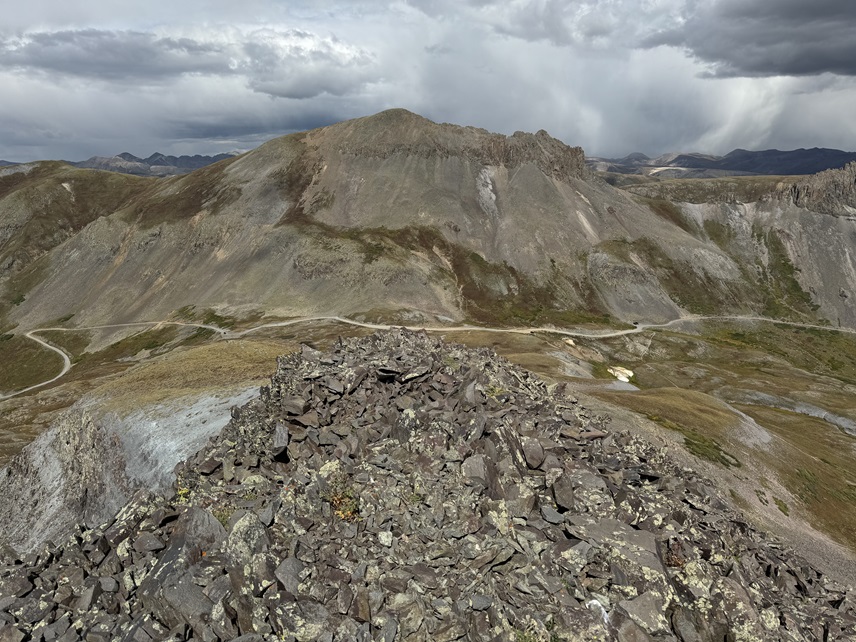
From the summit I could see the road and my truck parked below.

I made my way back down towards the road.

Then followed the road to my truck

I made it back to my truck at 3pm, making this a 1.5 mile hike with 618’ of elevation gain in 45 minutes.

PT 13076

RT Length: 9.64 miles

Elevation Gain: 2129’

I woke up nice and cozy in the bed of my truck and sat there in the dark waiting for my alarm to go off.  After waiting quite a while, I looked at my phone and noticed it was 8:15am!  My alarm hadn’t gone off, and I was late getting on the trail.  I was ready 15 minutes later, following the 4WD southeast towards the CDT trailhead.  Doing this meant I lost 160’ of elevation in .3 miles, which I would need to regain at the end of my hike.  There is one parking space near this trailhead, but when I got there the day before there was an ATV parked there, taking up the entire spot.

Once at the CDT trailhead, I followed the CDT north for a total of about 3.5 miles, gaining and losing elevation as I went.

At the top of a small pass I came to a junction for the CDT and Moose Gulch, and turned right, continuing on the CDT.

I continued on the CDT until I made it to 13000’

I then turned left, and walked across the tundra northwest, following the gently sloping tundra on the ridge.

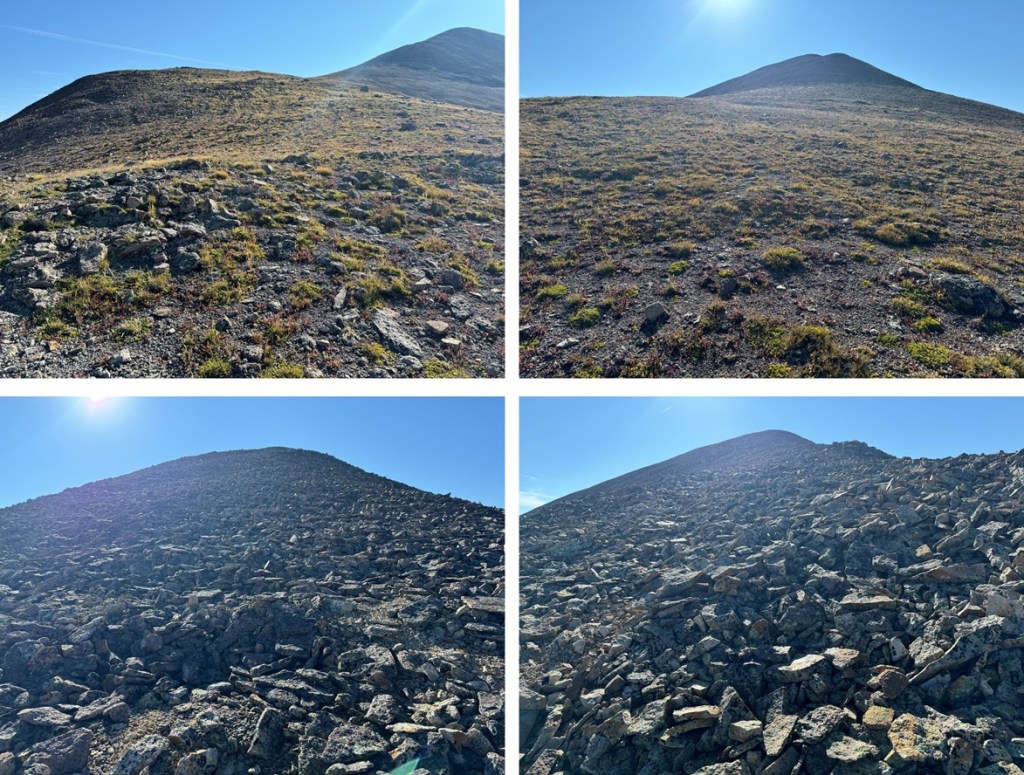
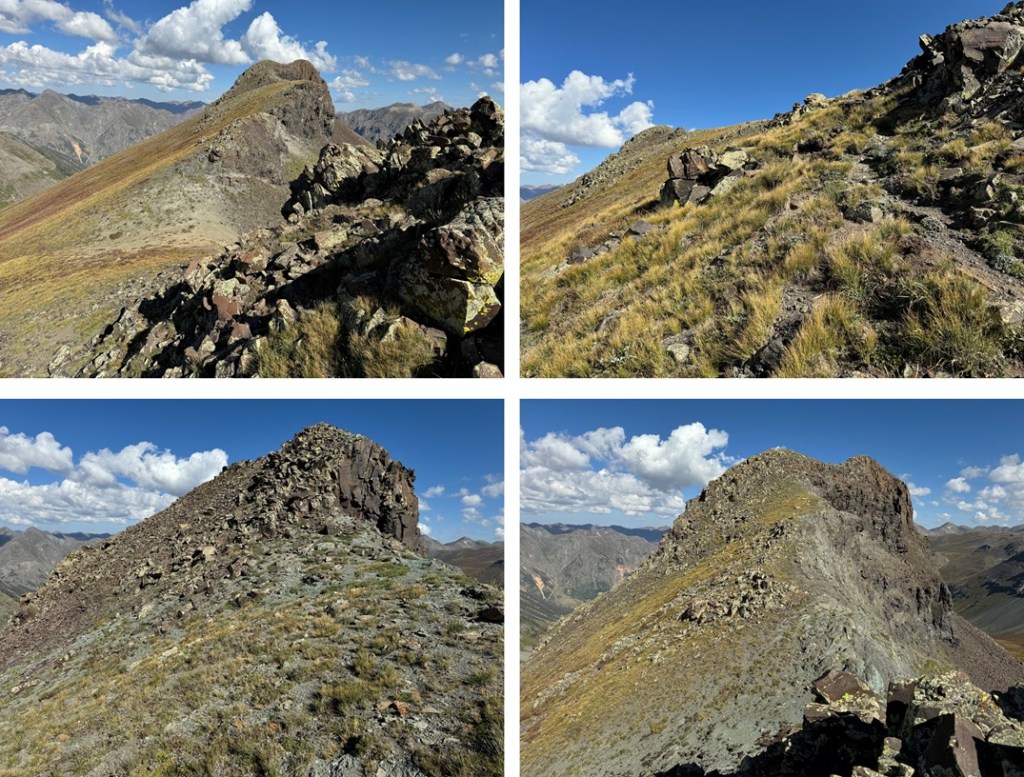
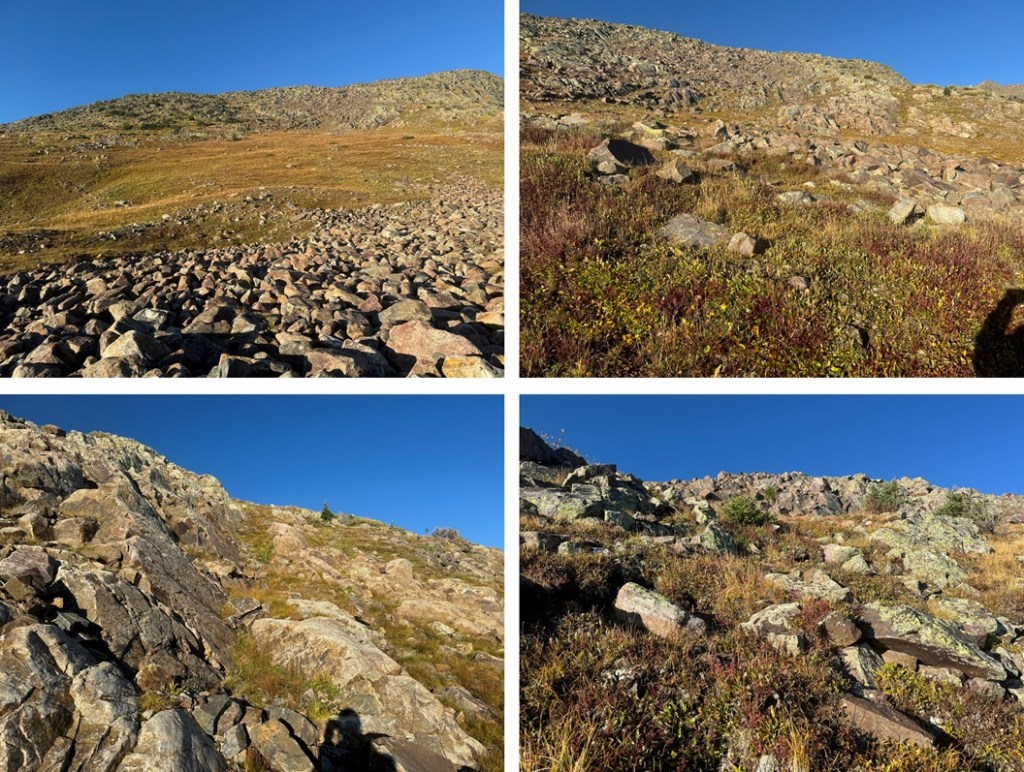
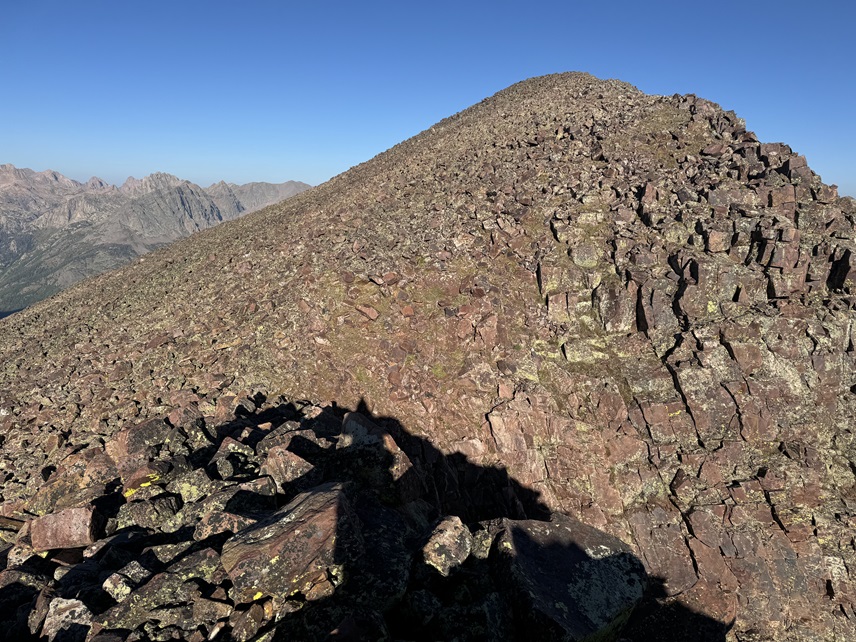
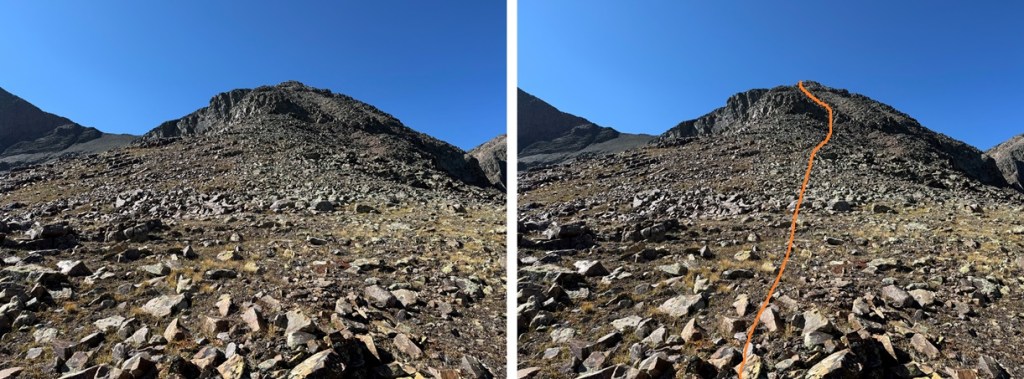
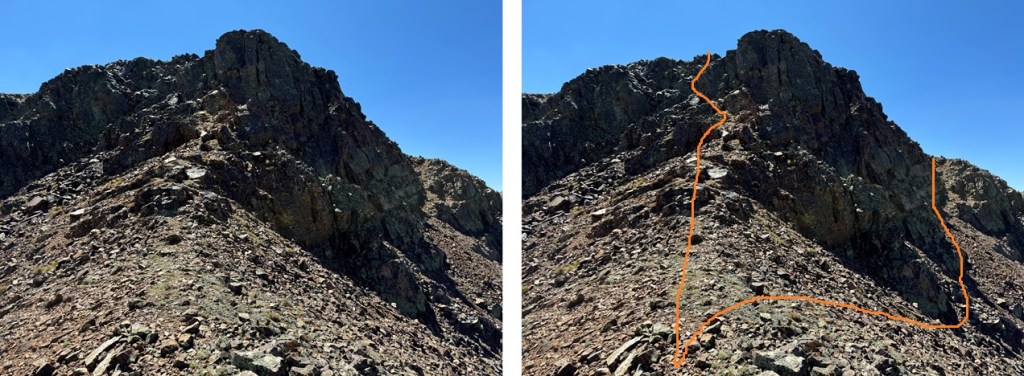
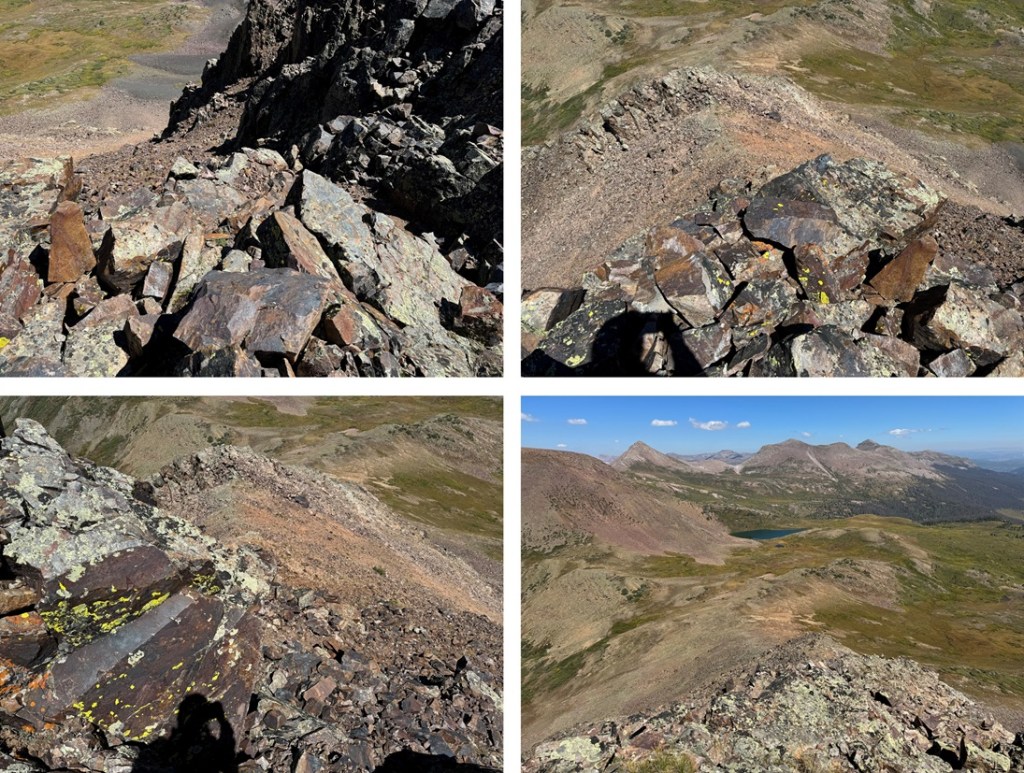
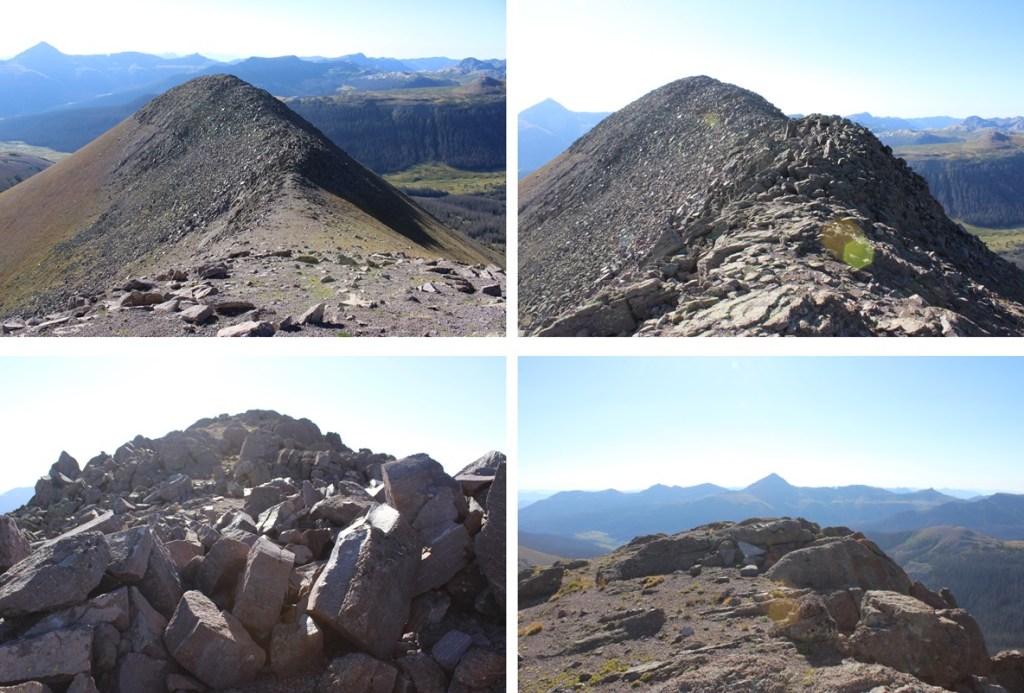
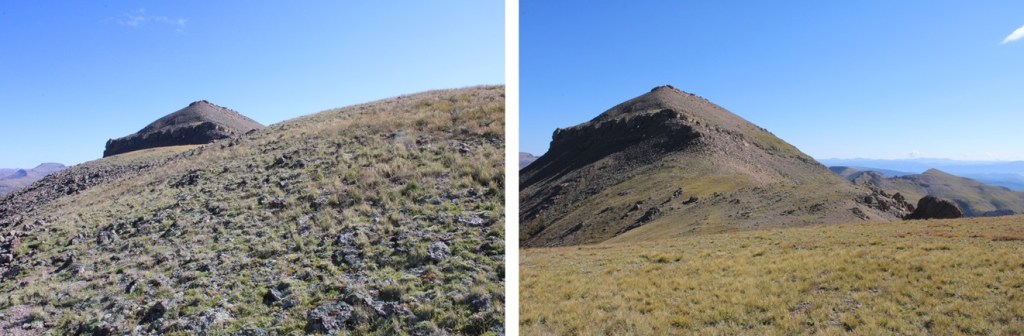
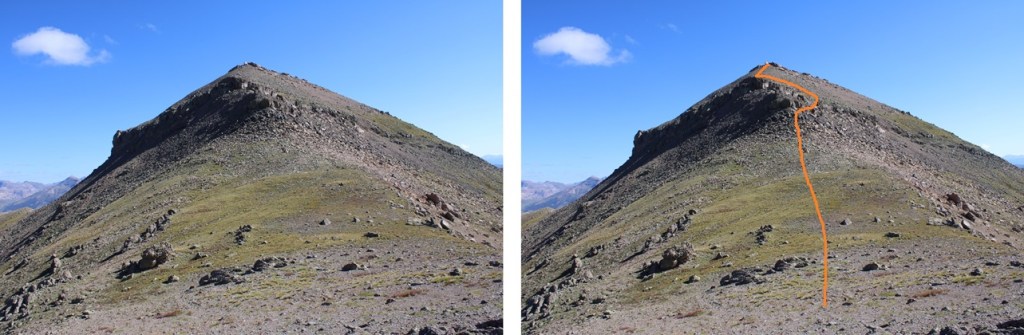
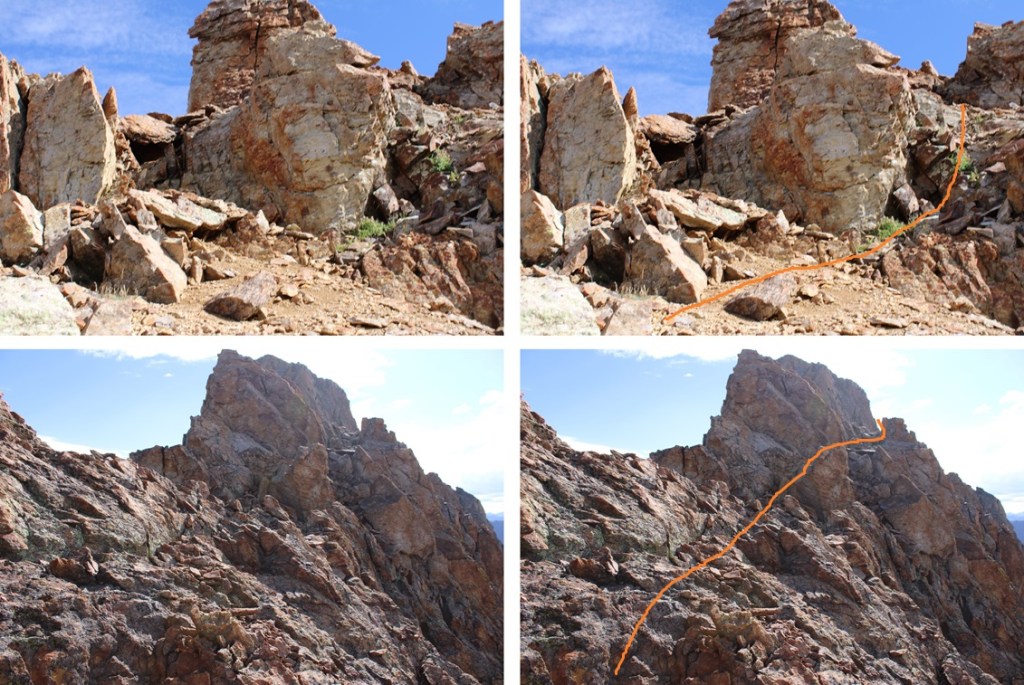
Eventually, the peak came into view.  This looks harder than it is.  By sticking to the ridge, this is all class 2.

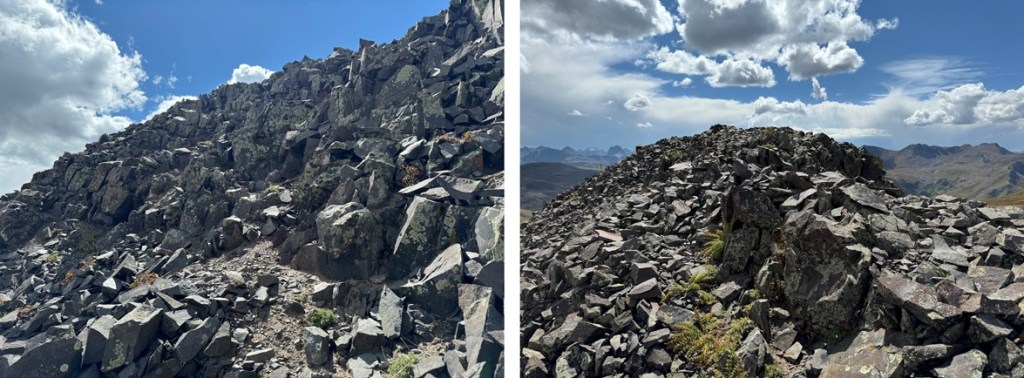
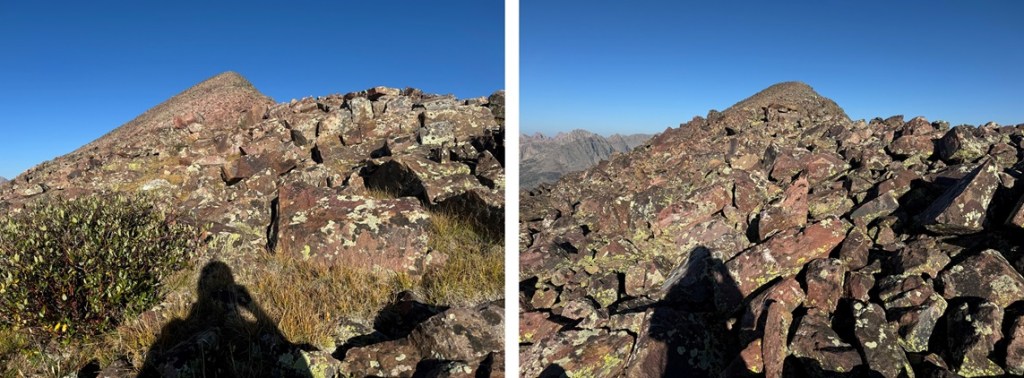
Here are some pictures of the class 2 ridge to the summit.

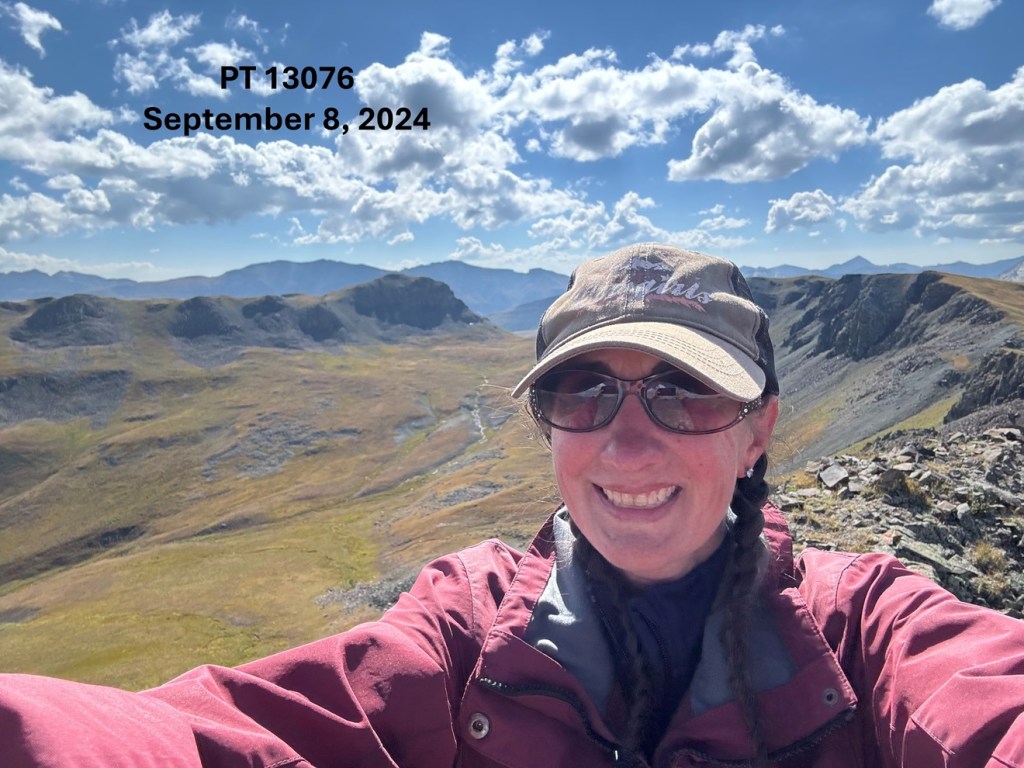
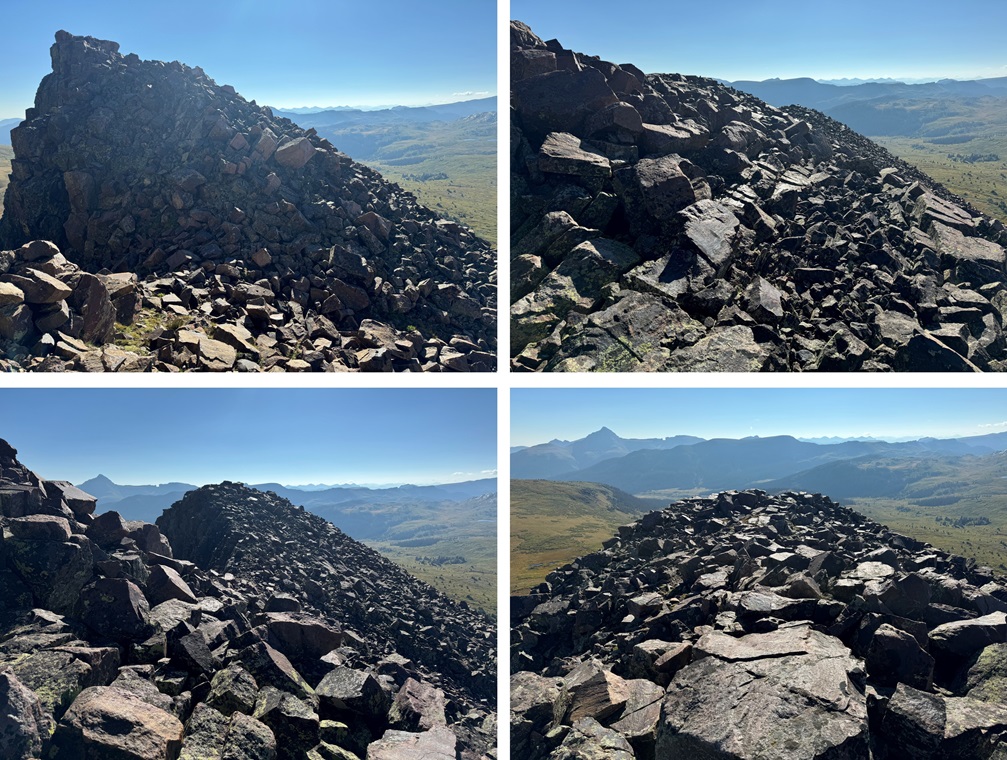
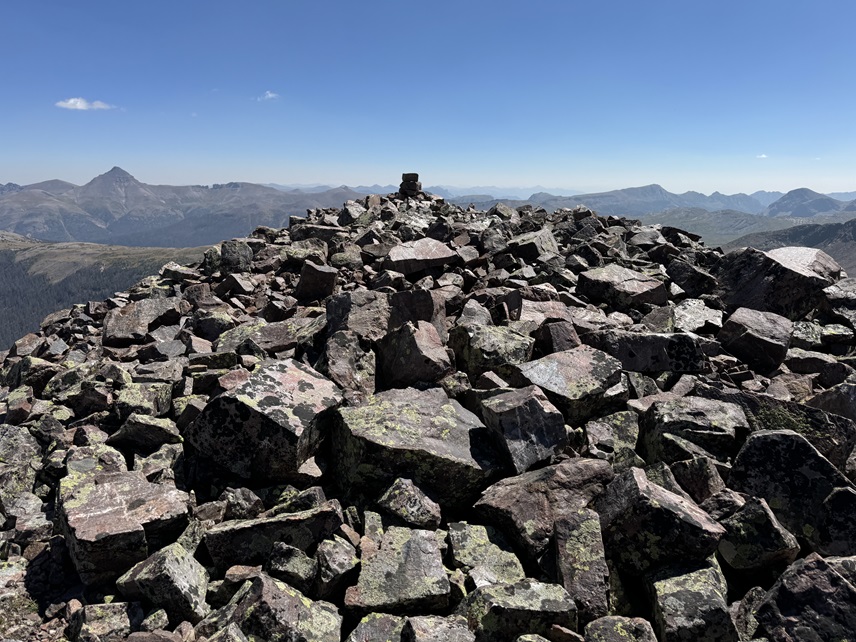
I summited PT 13076 at 10:15am

PT 13076:

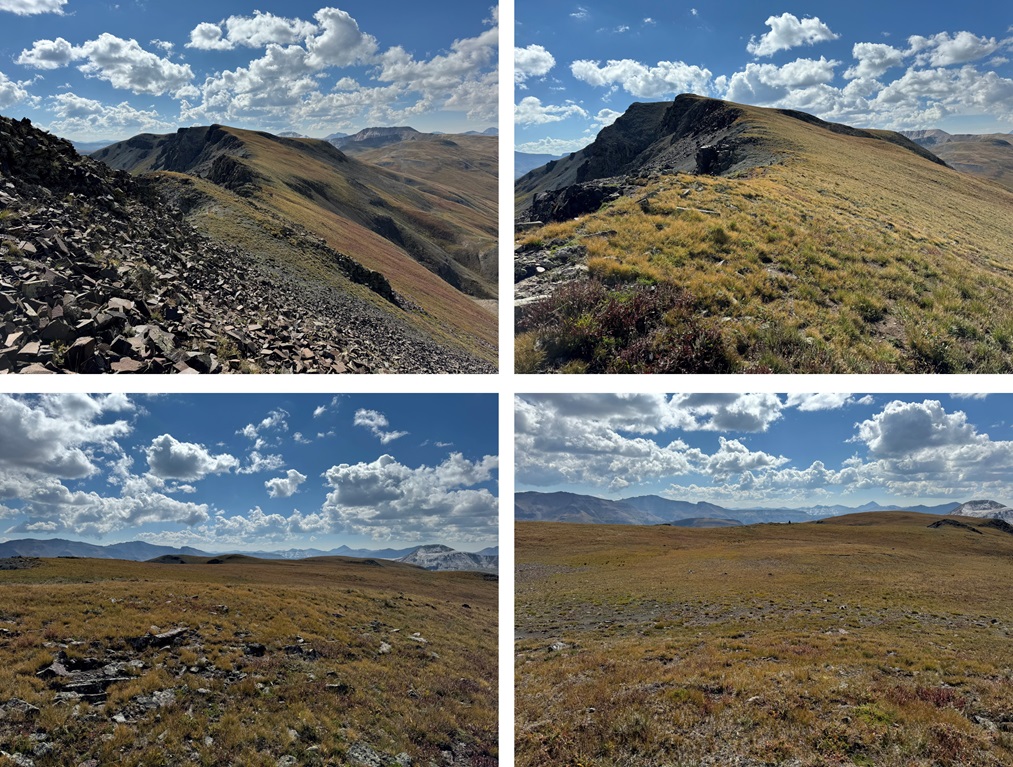
This was an out and back hike for me, so I turned around and followed the ridge southeast back to the CDT.

Once back to the CDT I turned right, and followed it south as it wound back to the 4WD dirt road.


I then followed the dirt road back to my truck, parked at Stony Pass.

I made it back to Stony Pass at 12:30pm, making this a 9.64 mile hike with 2129’ of elevation gain in 4 hours.

I was exhausted, and decided to take a lunch break at my truck.

PT 13171

Route Length: 13.85 miles

Elevation Gain: 3207’

To see the approach, view my previous post of Mt Nebo from Beartown, as this was the second day of my trip.  Or, if you’re only doing this peak, the hike in from Beartown to the Nebo Creek Trail is easy to follow, and described on my descent.

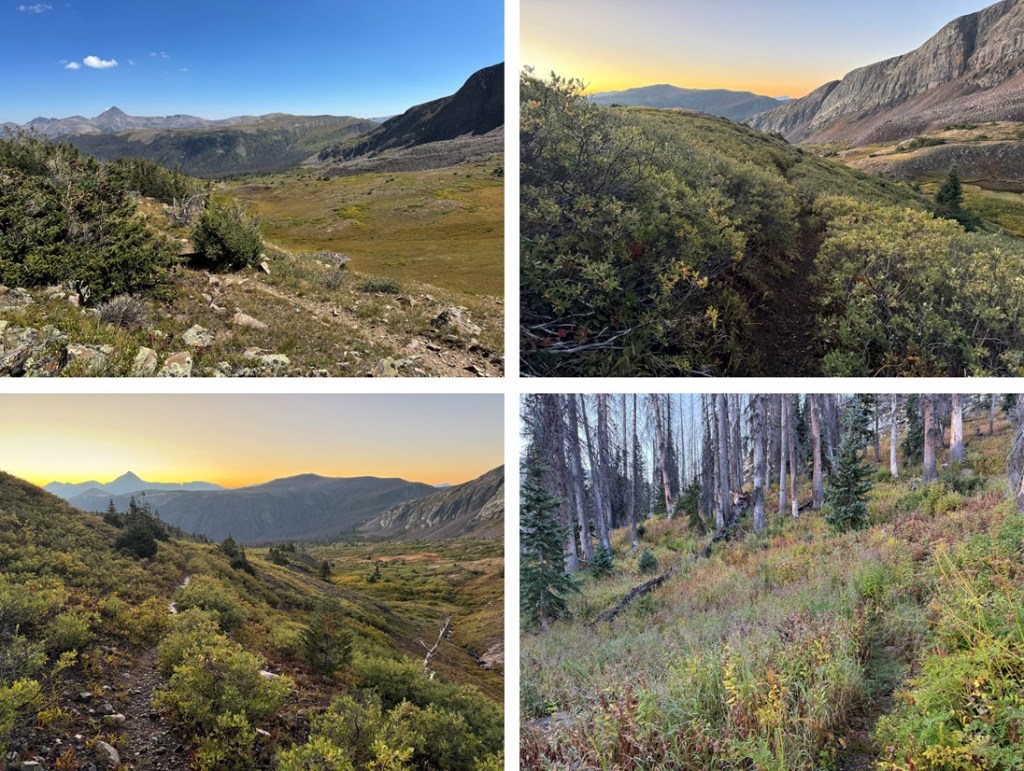
I was up and on the trail at 6:30am, startling a small herd of elk as I opened up my tent.  I continued following the CDT east, down towards West Ute Lake.  I lost about 700’ of elevation as I headed back down to treeline.  This is an easy to follow, class 1 trail.

From West Ute Lake, I could see PT 13171, and I followed the trail up to the saddle.  From this vantage point, you can see 3 notches in the ridge to the peak.  The first notch is class 2, the second is class 3 or 4 (depending on the route you choose), and the third is class 2. 

At around 12250’ of elevation I left the trail, and headed for the ridge, doing my best to avoid the willows.  The route here is all class 2, and you can pretty much pick any line of tundra and it will get you to the ridge. This is the route I took:

Once on the ridge, I turned right and followed it west.  The ridge was rocky, but went at class 2 (except for the second notch).  The first notch was an easy class 2 walkaround.

The second notch was an easy downclimb, then a choose your own adventure upclimb.  I kept it class 3 by staying to the right of the white rock.  The rock was solid, but there was also a lot of talus littering the solid rock. This is the route I took:

I made my way back to the ridge

Here’s a look at that third notch, another easy class 2 workaround by going left

Then it was a rocky, class 2 hike to the summit

I summited PT 13171 at 8:30am

PT 13171:

This was my only peak for the day, so I re-traced my steps back down the rocky ridge

Then I navigated my way down off the ridge, back to the CDT

Back on the trail, I followed it forth (then northwest as it curved)

There was one point where the trail intersected with the West Ute Trail, just after West Ute Lake.  I didn’t notice it on my way in, but if you notice it here, go left.

I made it back to treeline, then gained 725’ of elevation back to my campsite at 12500’

I took down my tent, and continued hiking west on the CDT, towards Vallecito Trail.

Once I made it to the Vallecito Trail, I turned right, and followed it north to Hunchback Pass, gaining 955’ of elevation up to the pass

Then I continued following the trail back down to Beartown, and my truck.

I made it back to Beartown at 1:30pm, making this a 13.85 mile hike with 3207’ of elevation gain, including campsite tear down, in 7 hours.

On to the next trailhead!

PT 13121, Mt Nebo – 13,209, and PT 13232

Route Length: 8.55 miles

Elevation Gain: 3732’

I was up and following the 4WD road towards the Hunchback Trailhead at 6:30am.  It was cold because it had rained the night before, and everything was covered in a film of ice.  I followed the road for 1.5 miles to Hunchback Pass Trailhead.

I then followed the trail another 1.5 miles to Hunchback Pass

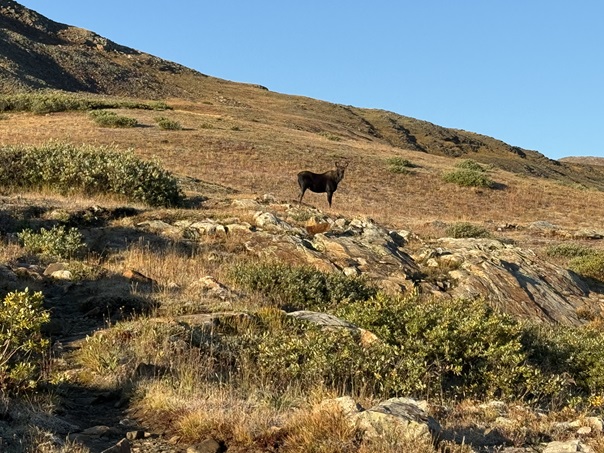
Oh, and I saw a moose along the way.  Well, actually two moose, but the male got scared and ran away before I could get a picture.  The female wasn’t too bothered.

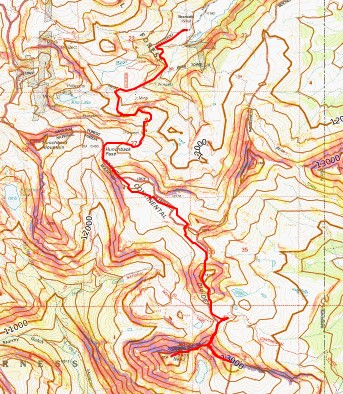
Once at Hunchback Pass, I turned left, and followed the ridge south, then southeast. Here’s the general route I took.  This is choose your own adventure, and this morning I went slow because the rocks were icy.

At the top of the ridge I could see PT 13121, Mt Nebo, and PT 13232 in the distance.  I followed the tundra towards PT 13121.  If you are following my GPX file, you’ll notice it’s a little erratic here.  That’s because my compass kept doing crazy things.  Just keep heading towards the base of 13121.

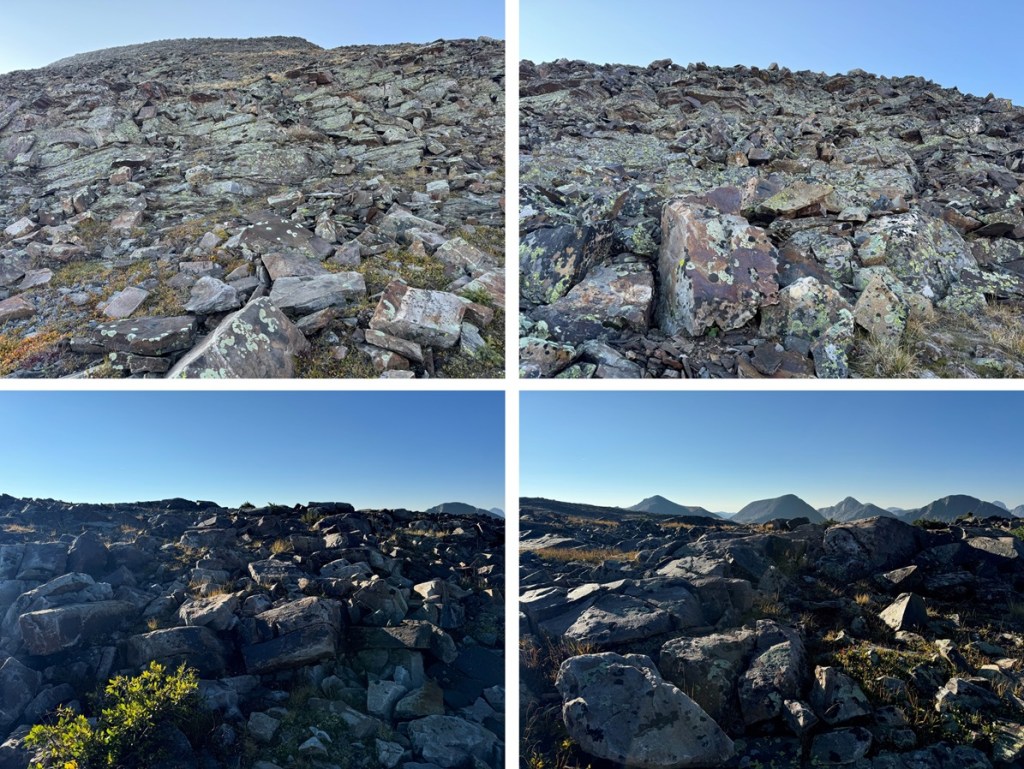
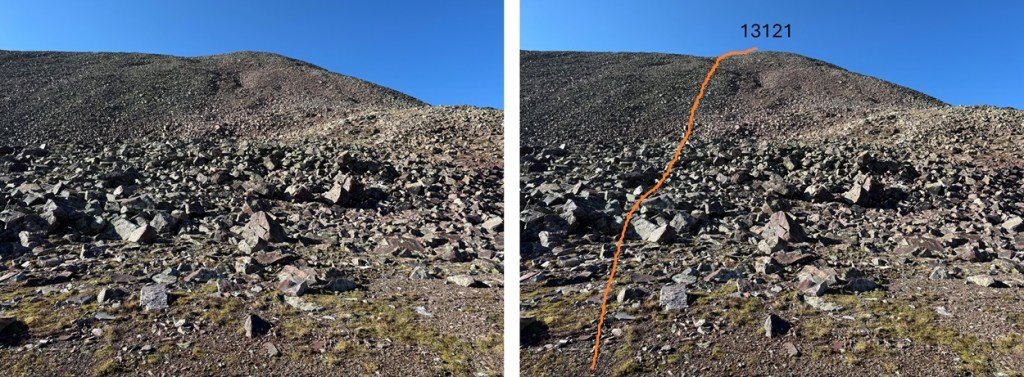
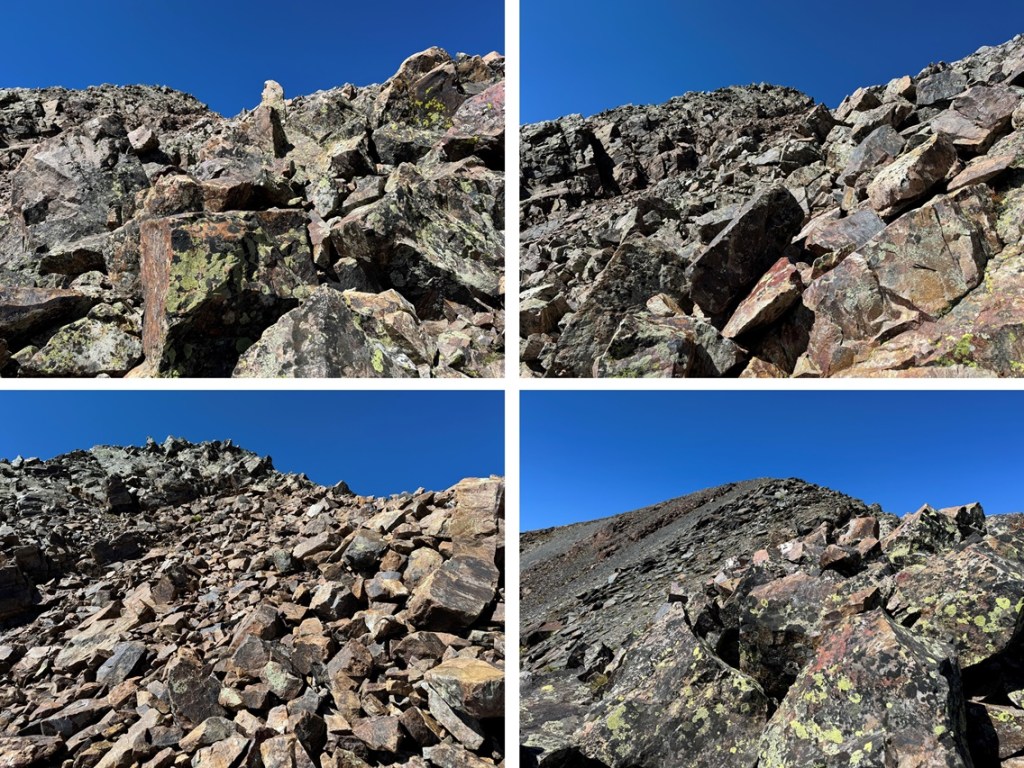
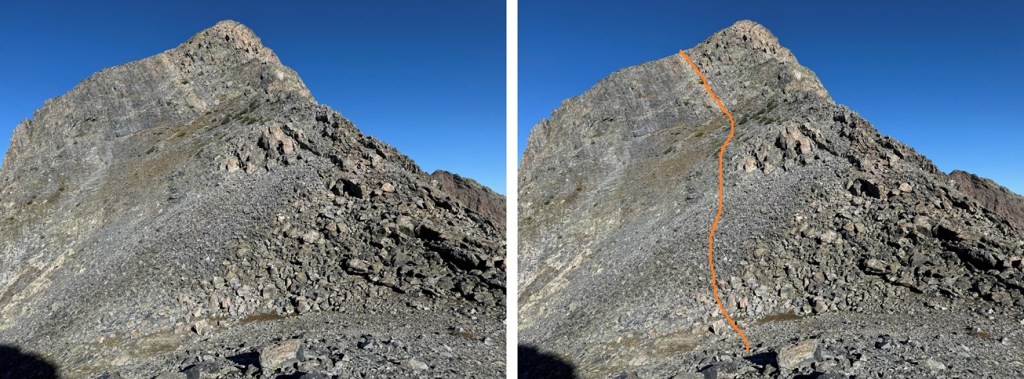
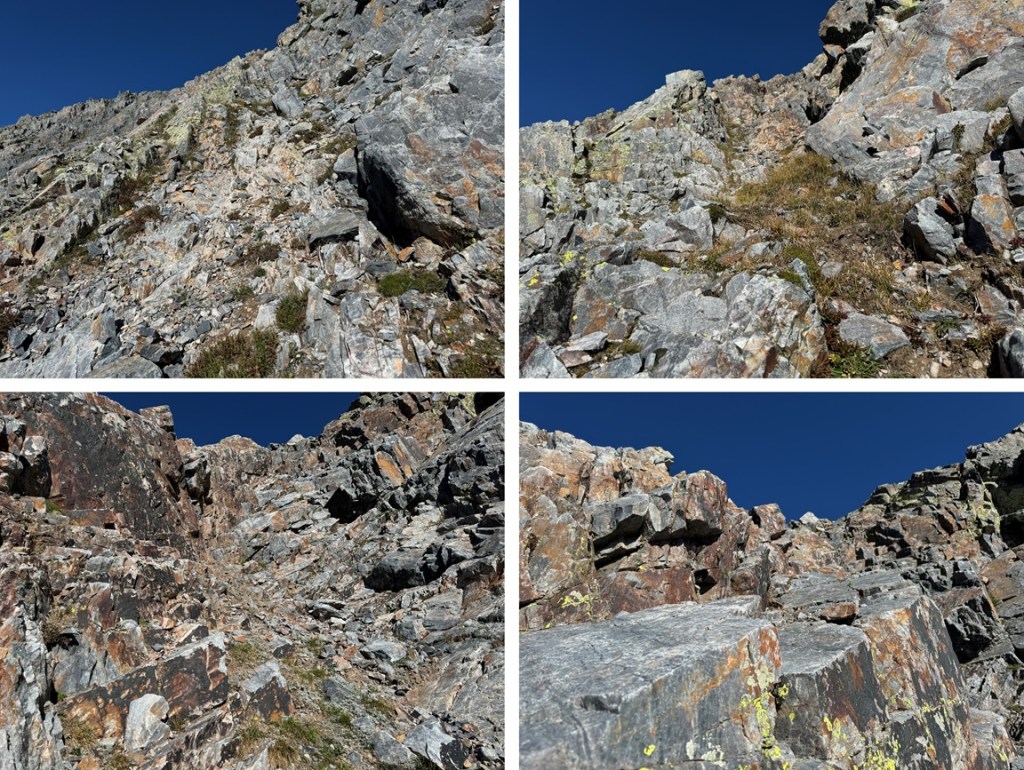
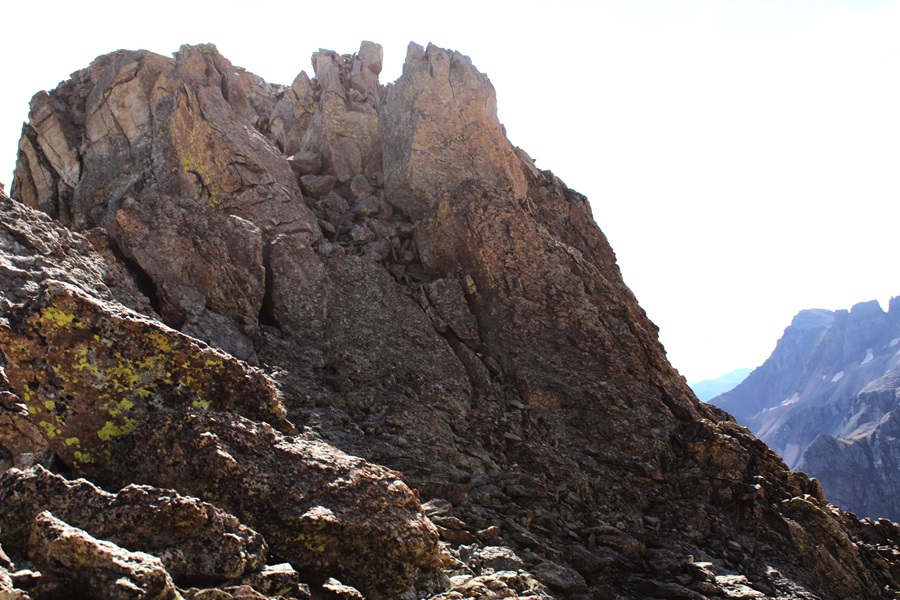
From the base of PT 13121, I headed south on the rocks towards the summit. I would gain 400’ in .2 miles to get to the ridge.  The rock here was loose and steep and not fun to climb at all.  If you have the option, I’d summit this peak from the way I descended.  However, I did not do that, so here is my route, and a few pictures of the rock mess towards the ridge.

When I made it to the ridge I turned right, and walked the short distance to the summit

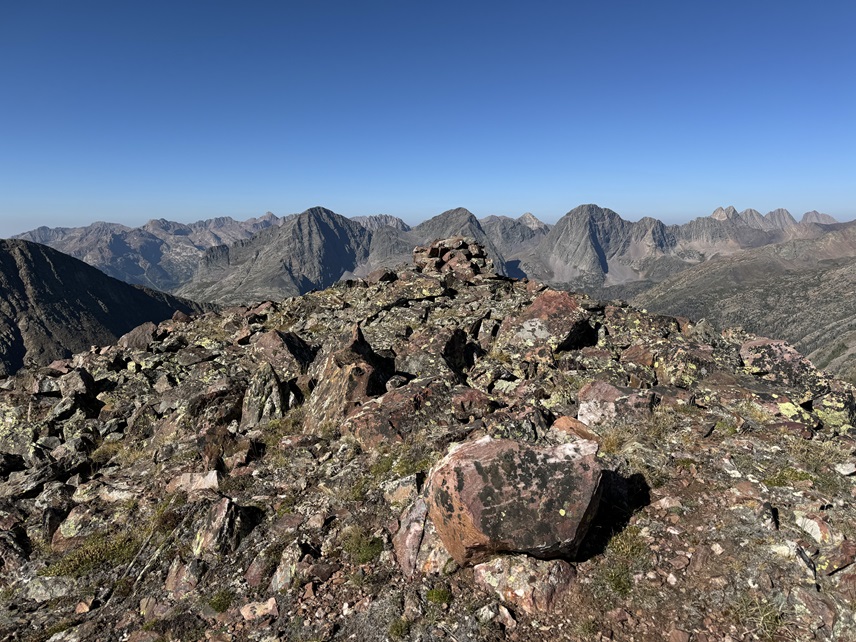
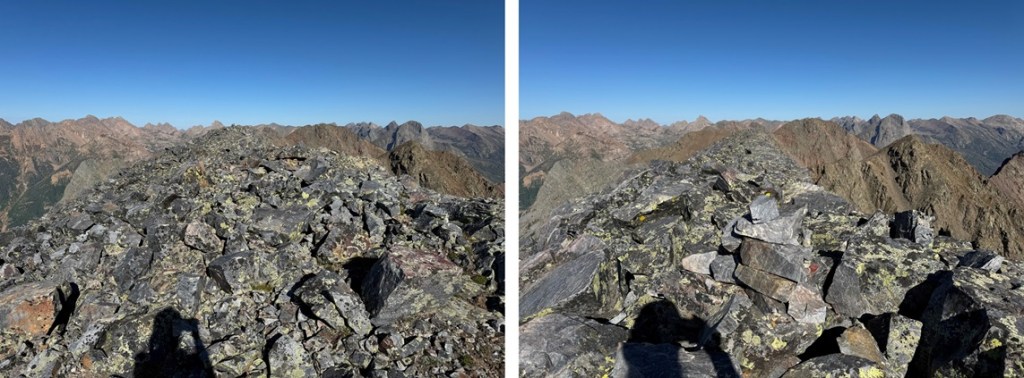
I summited PT 13121 at 9:40am

PT 13121:

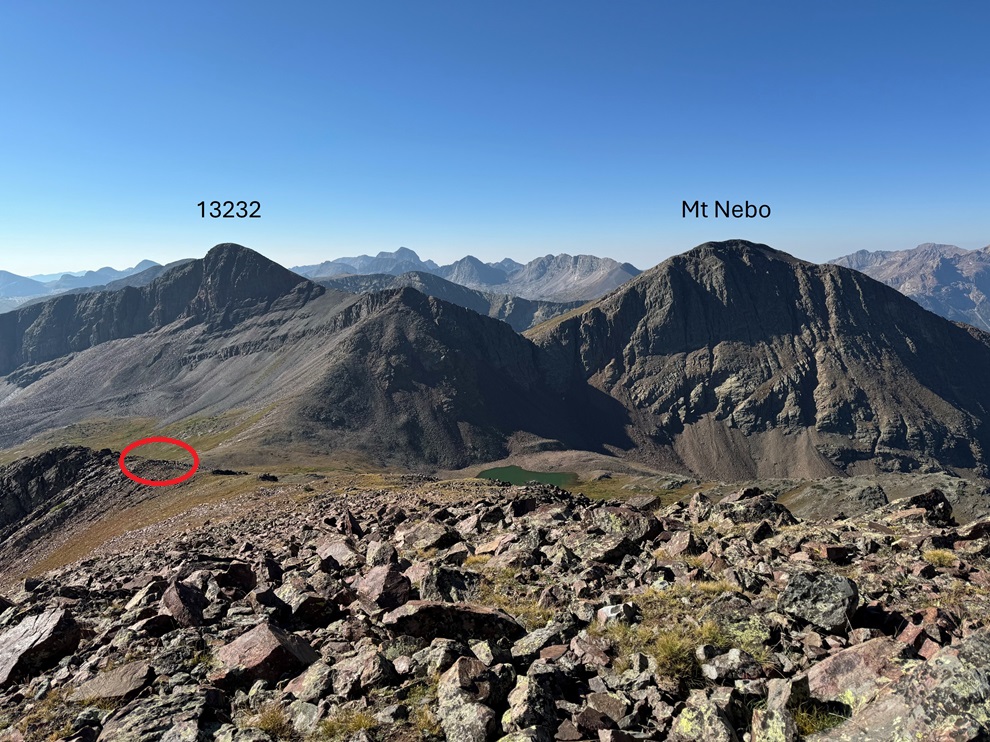
I could see PT 13232 and Mt Nebo to the south.  I descended the rocky and tundra ledge towards the PT 13121/Mt Nebo saddle.   Circled is where I set up camp for the night.  That’s where I was headed.  It’s adjacent to the CDT.

I took some time to set up my tent, then I was on my way again, headed up this ridge

There was a lot of scree and talus here, but it’s all class 2+.  There’s a bulge in the middle I skirted to the right, then headed back to the ridge proper, and towards the top you can go either to the left or the right, and I chose right for the way up (towards Nebo), and left on the way down. 

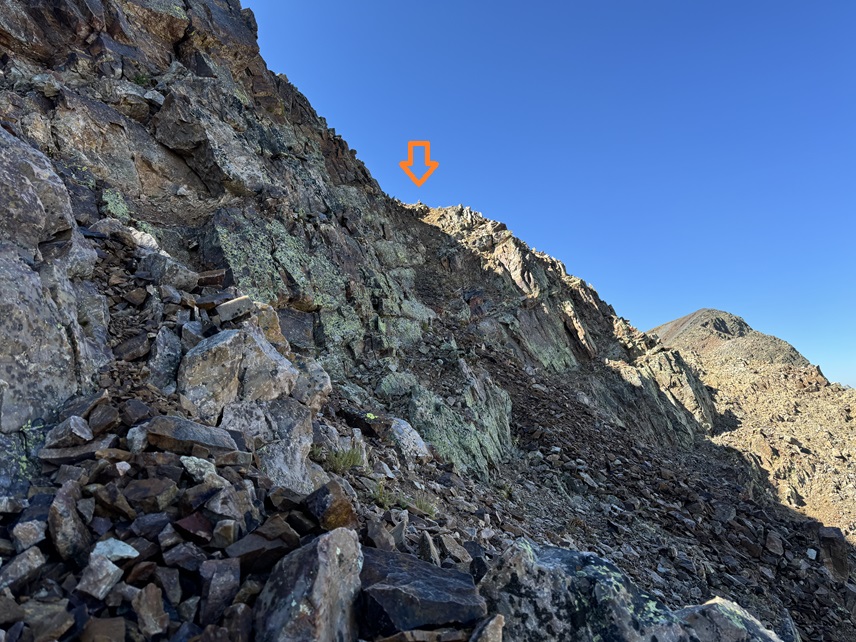
Here’s the option to go either right or left.  Both class 2, but the left is on more solid rock.

I chose to go right (there’s a cairn where the arrow is)

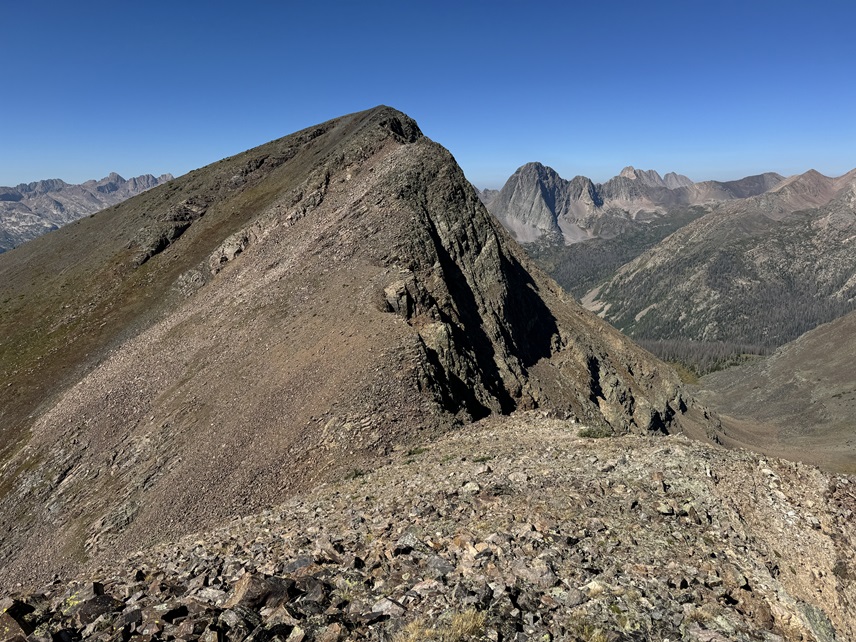
From here I could see Mt Nebo to the west

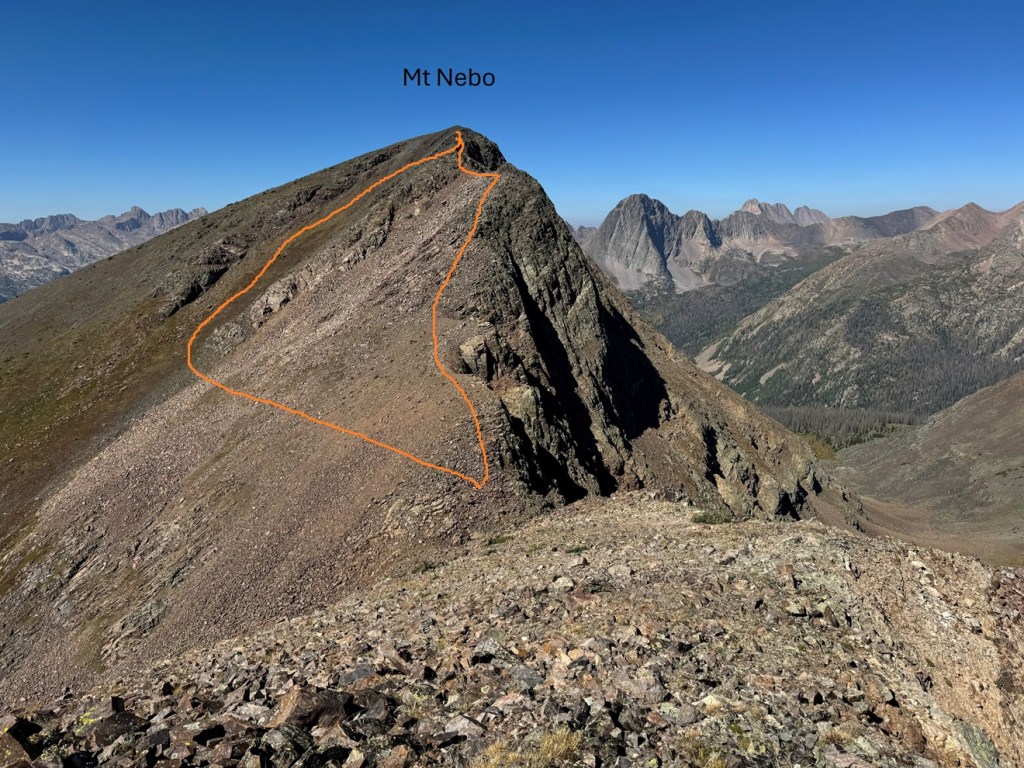
I needed to make my way towards the saddle, but now is a good time to choose your route,  You can go up the tundra that turns to talus on the left, and keep this route 2+, or you can take the ridge to the right, which goes at difficult class 2, maybe some easy class 3, and includes a lot of rock/boulder hopping.  I chose to stick to the ridge.

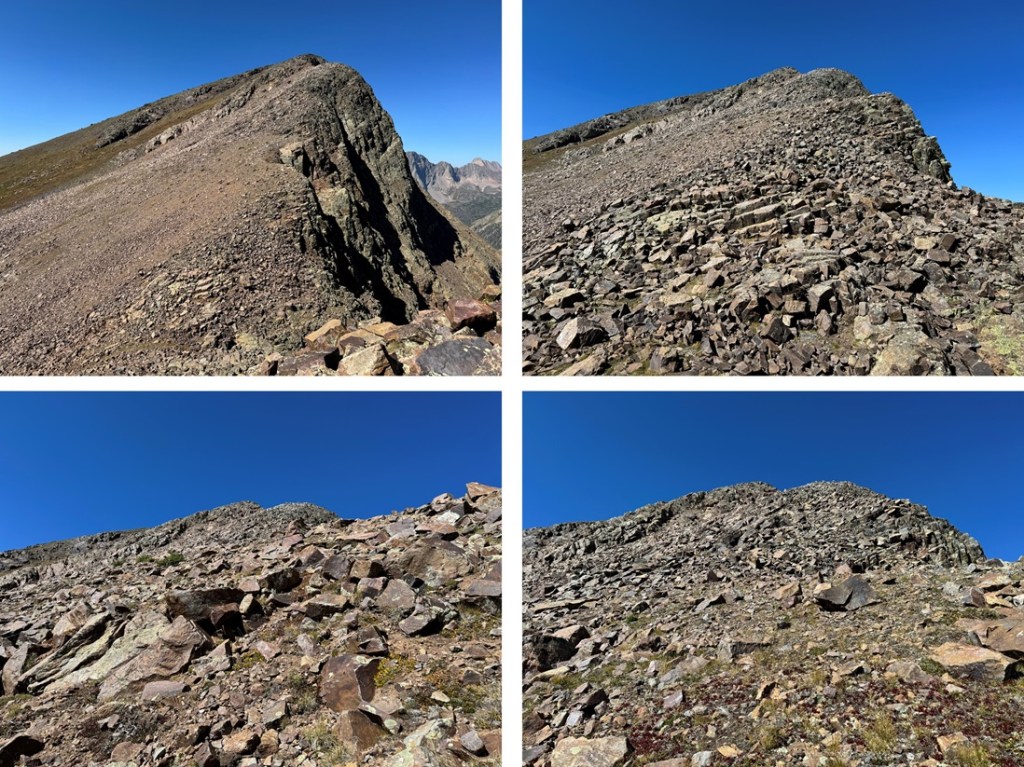
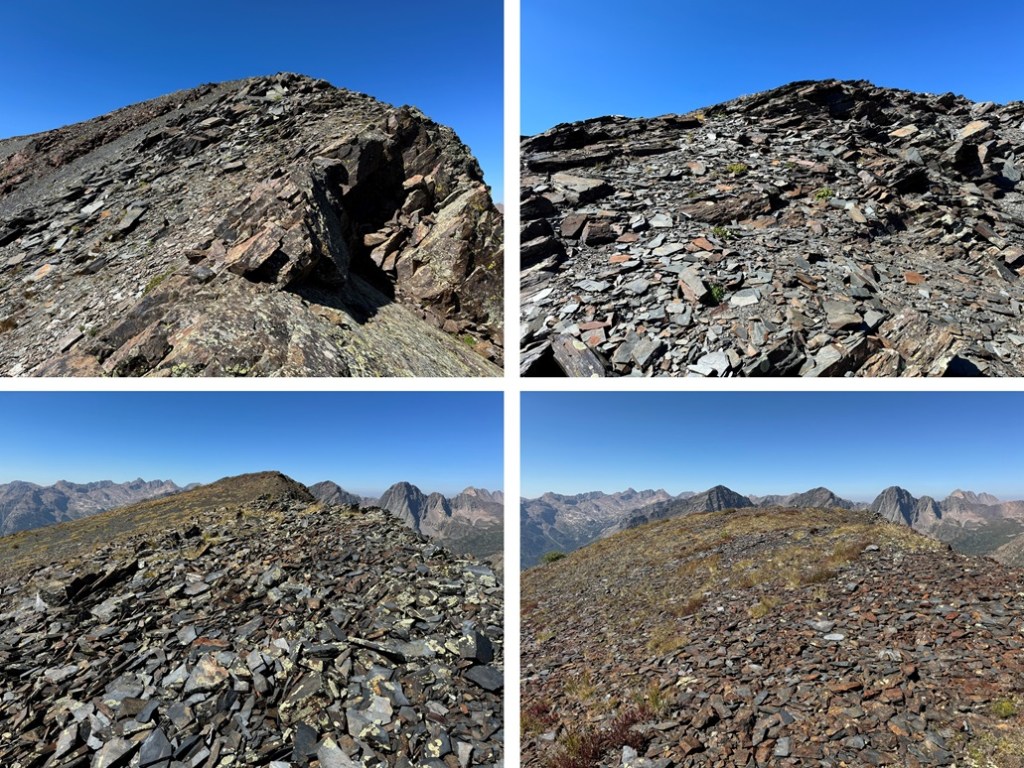
But first, descending down to the saddle. This was rocky, but class 2.  From the saddle, here are some pictures of the route up the ridge towards the summit

There was one ledge section that went at class 2 but had some exposure.  I crossed the ledge, and it was an easy hike up talus to the summit.

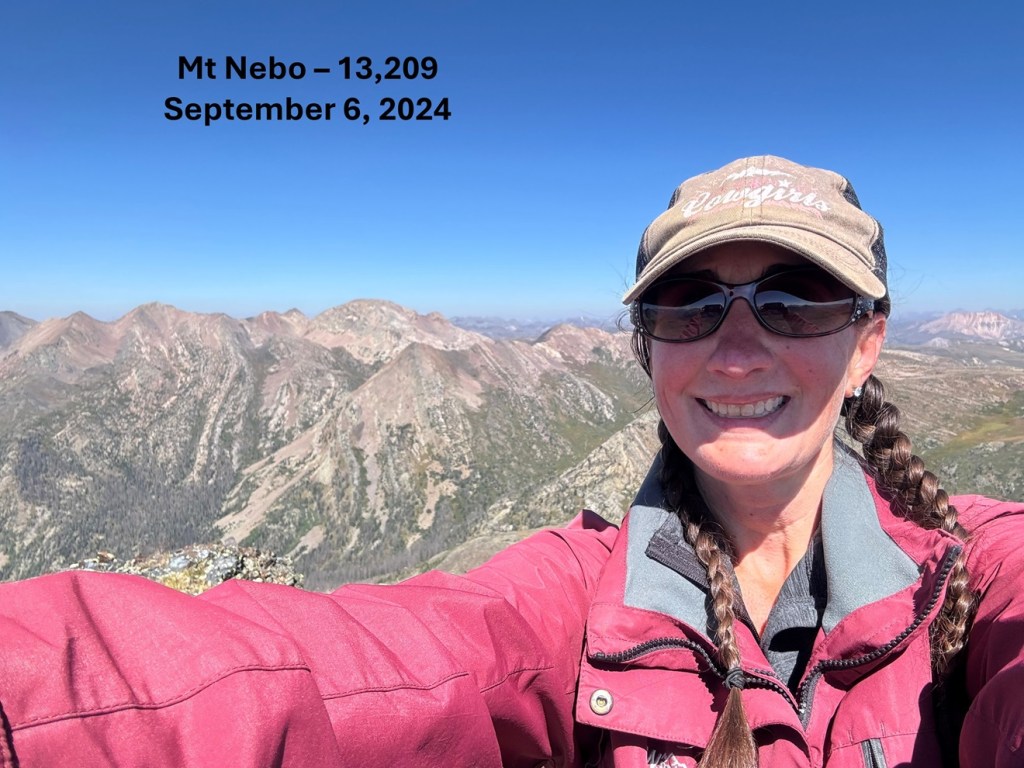
I summited Mt Nebo at 11:30am

Mt Nebo:

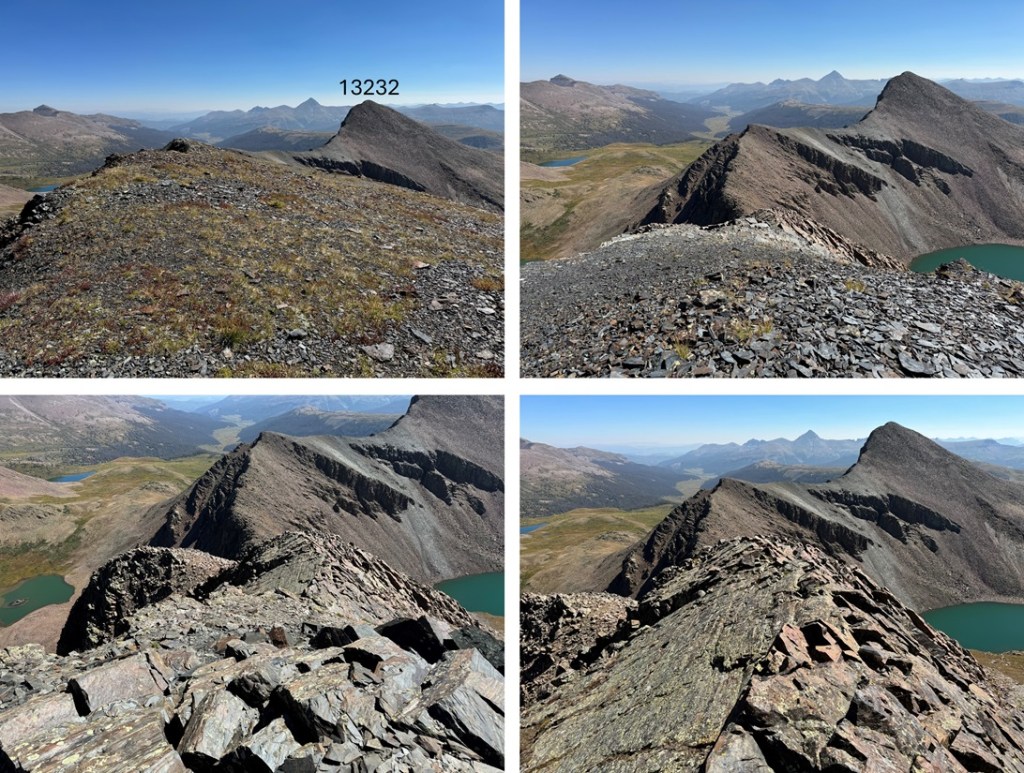
To the east was PT 13232.  I descended back to the saddle.

Then it was back up the rocks, following the ridge.  The rest of the hike was all class 2 to the summit, mostly boulder/rock hopping.

Once back on the rocky point that splits the two peaks, it was now easy to hike southeast to the summit.  I followed the talus to the rocks, and kept ascending.  The ridge proper goes at class 2.  Here are some pictures of the route.

I summited PT 13232 at 12:30pm

PT 13232:

Now I was headed back to my campsite.  I turned around, and followed the ridge as it descended northwest.

I then went right when I made it to the bump in the ridge, descending on talus and rocks before making my way back to the ridge.

I then followed the ridge back to my campsite and the CDT, being careful to go left to avoid the steep sections.

I made it back to my campsite at 1:15pm, making this a 8.55 mile hike with 3732’ of elevation gain in 6 hours, 45 minutes, including time to set up my camp and eat lunch.  This report continues with PT 13171 the next day, along with a hike out back to Beartown.

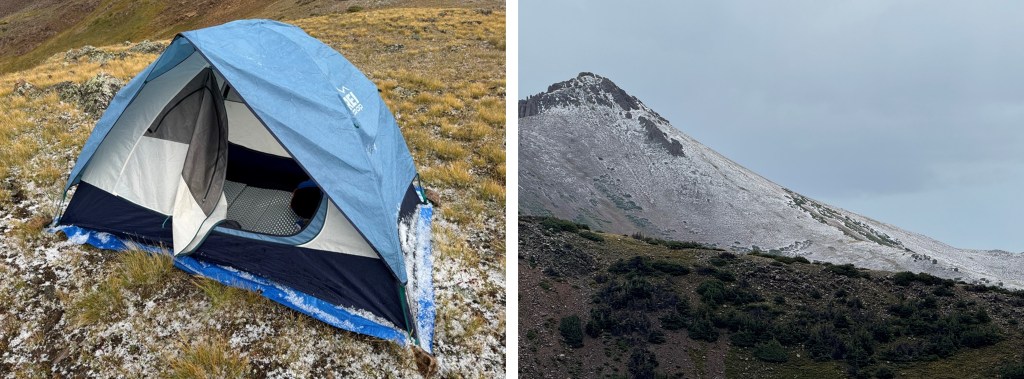
Oh, and it rained and hailed and graupled that night.  For hours. I kept punching the top of my tent to get the slush off so it wouldn’t freeze overnight.  Here’s a picture from about half an hour into the 4 hour storm, when I got a little break.  Gotta love late summer storms above treeline!  Good times!

Weminuche Peak – 13,240

RT Length: 4.16 miles

Elevation Gain: 1550’

From my base camp at Rock Lake, I was up and on the trail at 6:30am, headed for the pass that leads towards Moon Lake.  There’s a nice trail that will lead you all the way from the left side of the lake to the pass.

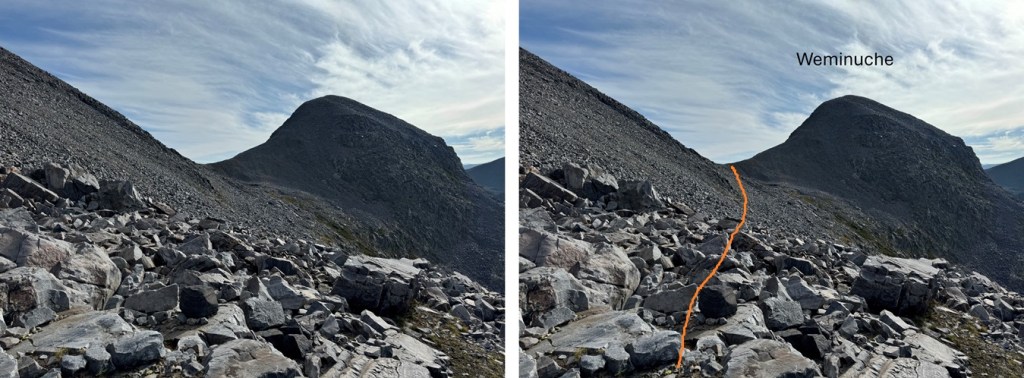
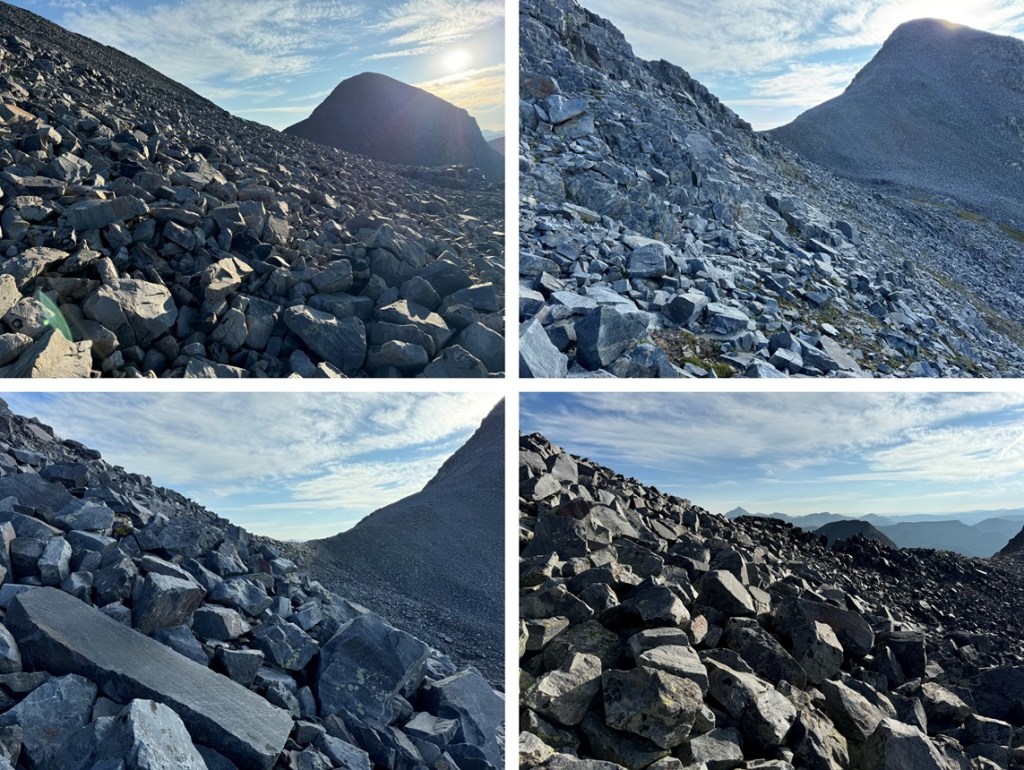
Once at the top of the pass, I looked left, and found the route I wanted to take to get to the gully.  I aimed for the white strip of rock in the middle, staying on tundra and solid rock most of the way.  This was all class 2.

Once in the gully, I followed it east towards a saddle. There was a lot of loose rock in this area, but it was all class 2.

Once at the top of the gully, I turned left and headed north up to the ridge.  The rocks here were large, loose, and easy class 3 terrain.  The rest of the route to the summit would be rocky.

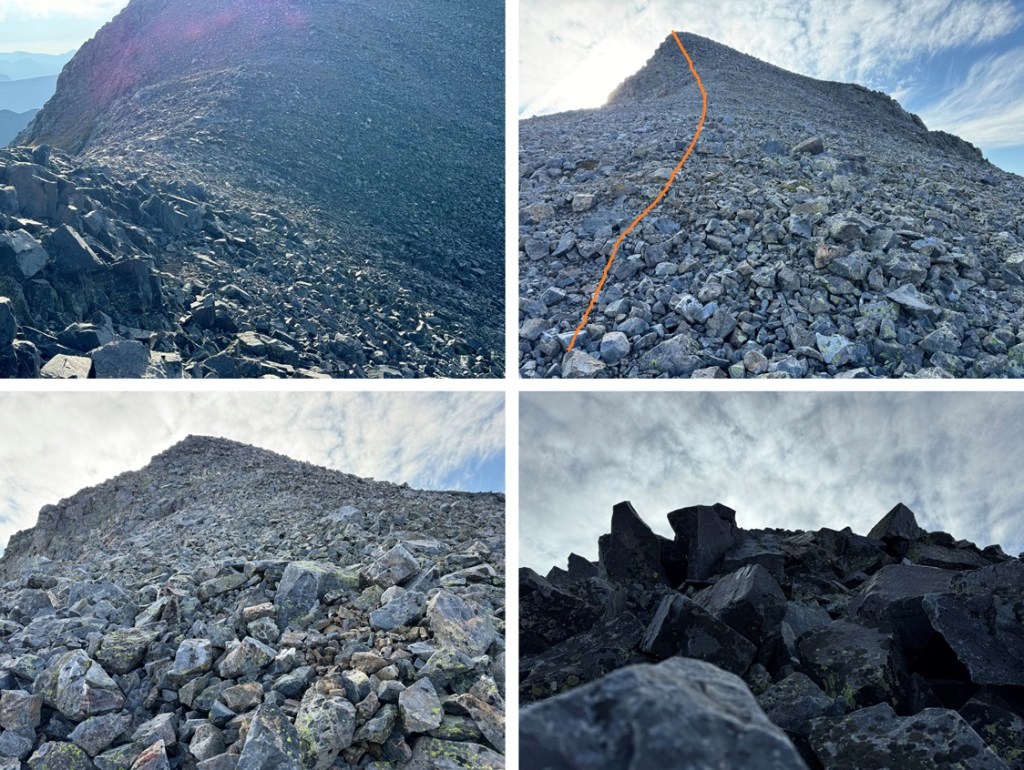
I could now see Weminuche Peak to the east.  To get there, I’d need to gain another saddle.  This is choose your own adventure, but this is the route I took to the next saddle.  Very rocky terrain here.

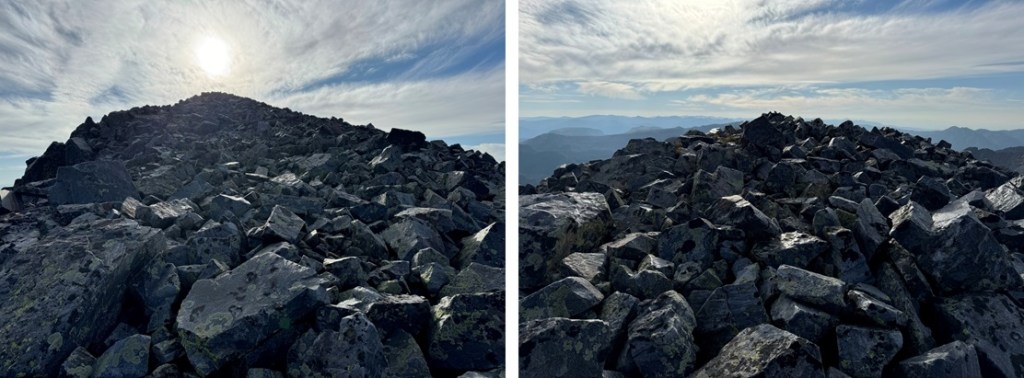
Once at the next saddle, I followed the rocky ridge east to the summit.  This is class 2+. The rocks are the size of microwaves, and many of them are loose, or surrounded by talus.  There are no game trails here.

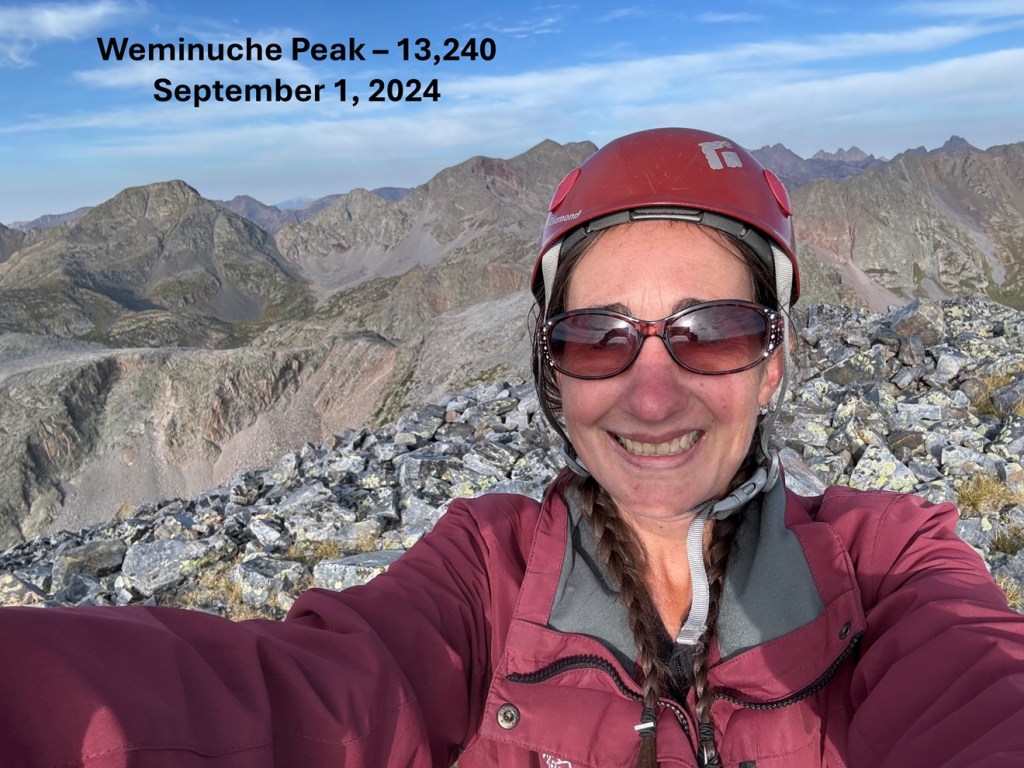
I summited Weminuche Peak at 8:20am

Weminuche Peak:

This was an out an back hike for me, so I turned around and retraced my steps back to Rock Lake.  Here’s my overall view of the route back down.

First, heading west down the ridge to the saddle

And then heading southwest towards the next saddle

Back down the short but mighty rocky section

And then northwest down the gully until I could see the pass to my right that would lead me to Rock Lake.

I headed towards the pass, staying mostly on rocky tundra.

Once at the pass, I picked up the cairned trail that would lead me back to Rock Lake

I made to Rock Lake at 10am, making this a 4.16 mile hike with 1550’ of elevation gain in 3.5 hours

On to the next trailhead!

Peters Peak – 13,138 and PT 13229

RT Length: 4.1 miles

Elevation Gain: 1897’

From my campsite at Rock Lake, I was up and on the trail at 7am, heading west towards the pond at 12000’

I skirted the pond to the left, and ascended on the tundra parallelling the small rock pile

At the top of this small pile of rocks was a much larger pile of rocks.  I continued following them west to the Peters/Buffalo saddle.

At the saddle I turned left, and headed southwest up the slope to the ridge.  This was 600’ of elevation through kitty-litter scree and talus in .2 miles.  This was class 2+ choose your own adventure, but this is the basic route I took:

At the top of the ridge I turned left, and rock-hopped to the summit.  This was all class 2 or easy class 3.

I summited Peters Peak at 8am

Peters Peak:

From Peters Peak, I could see PT 13229 to the northwest.  I turned and headed back down the ridge, but not to the Buffalo Peak saddle.  Instead, I followed the ridge west, all the way to the saddle of Peters Peak and PT 13229.  This was rocky, but could all be kept class 2

From the Peters/13229 saddle, I looked for a yellow gully in the rock, and aimed for it.  This is the basic route I took, all class 2 until the gully.

The gully itself goes at class 3, but you can find more stable (also class 3) rock about halfway up to the left.  The gully itself was pretty stable, but there was scree littering the rocks.  The goal is to gain the ridge.  

Once on the ridge, I turned right, and followed it a short distance north.  There were cairns here.  It was rocky, and the rocks were loose.

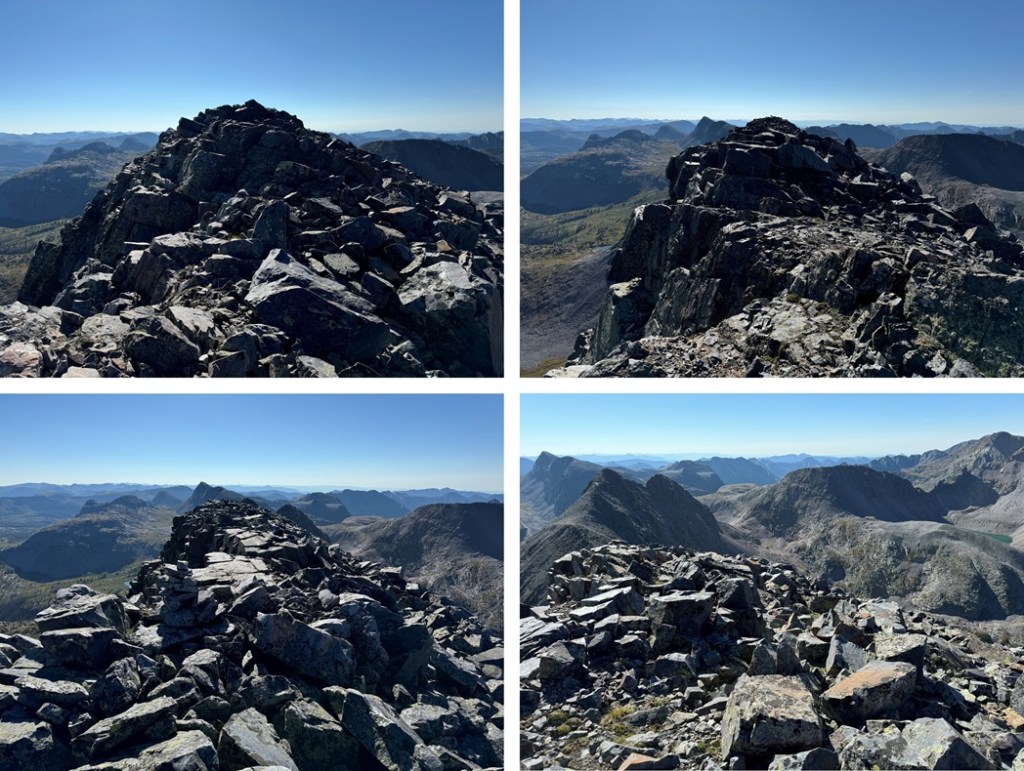
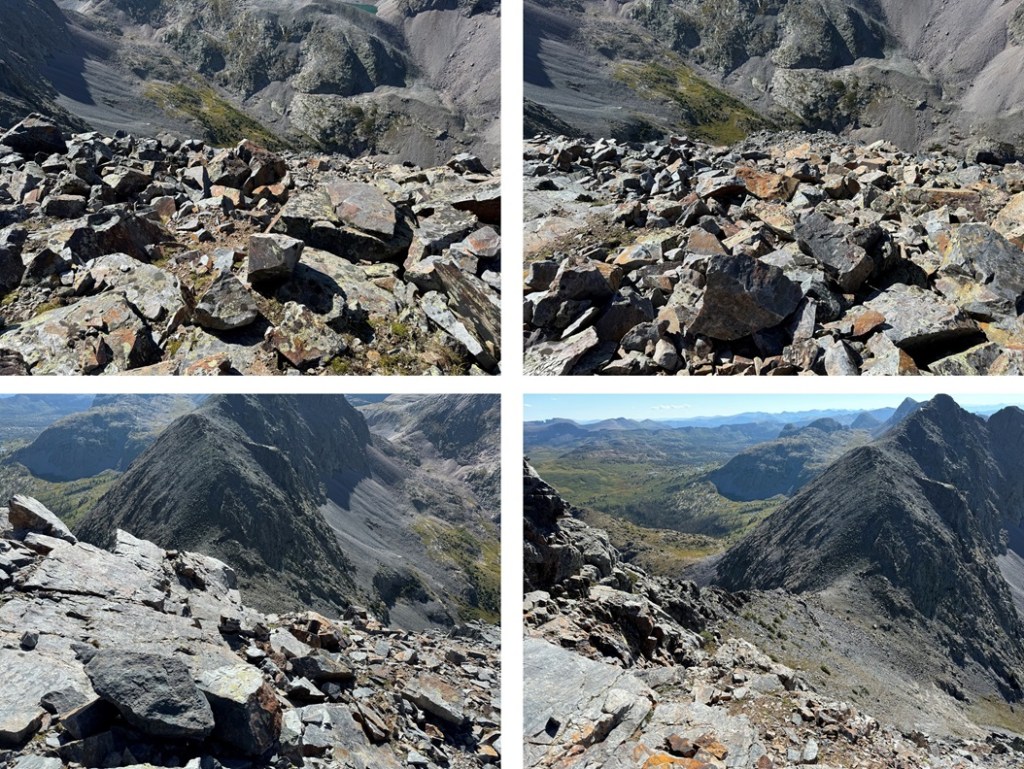
At the top of the ridge there were more cairns, all going left, following the ridge west.  The ridge was pretty flat, and there were several large cairns (most likely for the traverse).  I wasn’t able to tell where the actual summit was, so I just hiked the entire rocky, class 2 ridge.

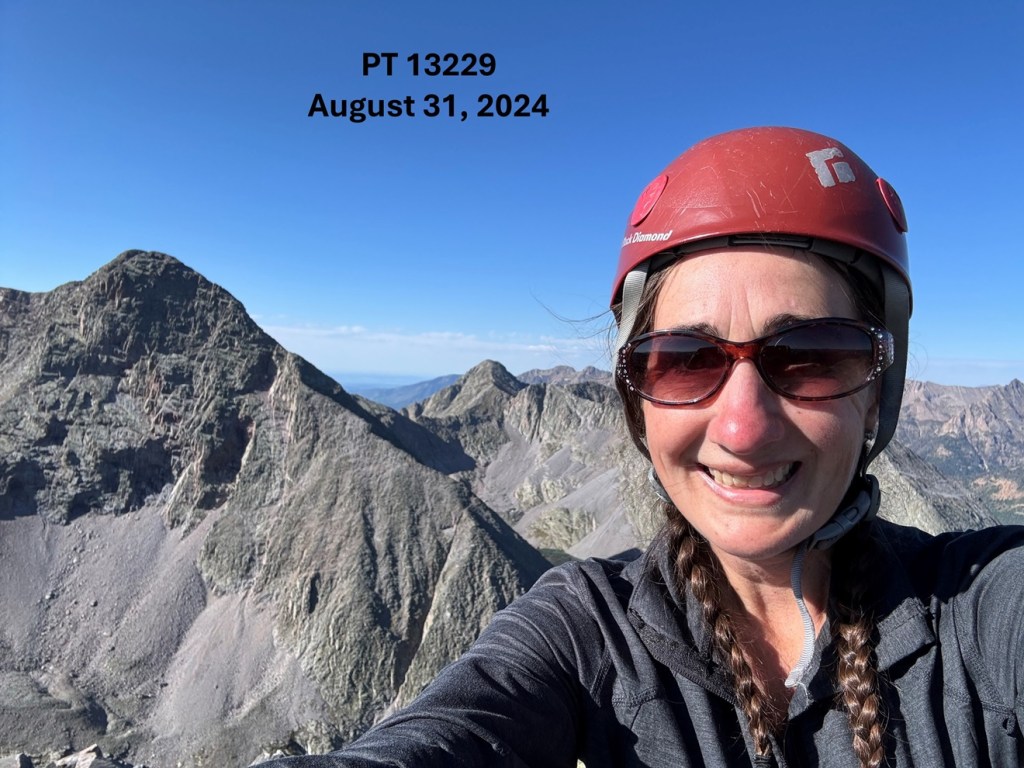
I summited PT 13229 around 9:15am

PT 13229:

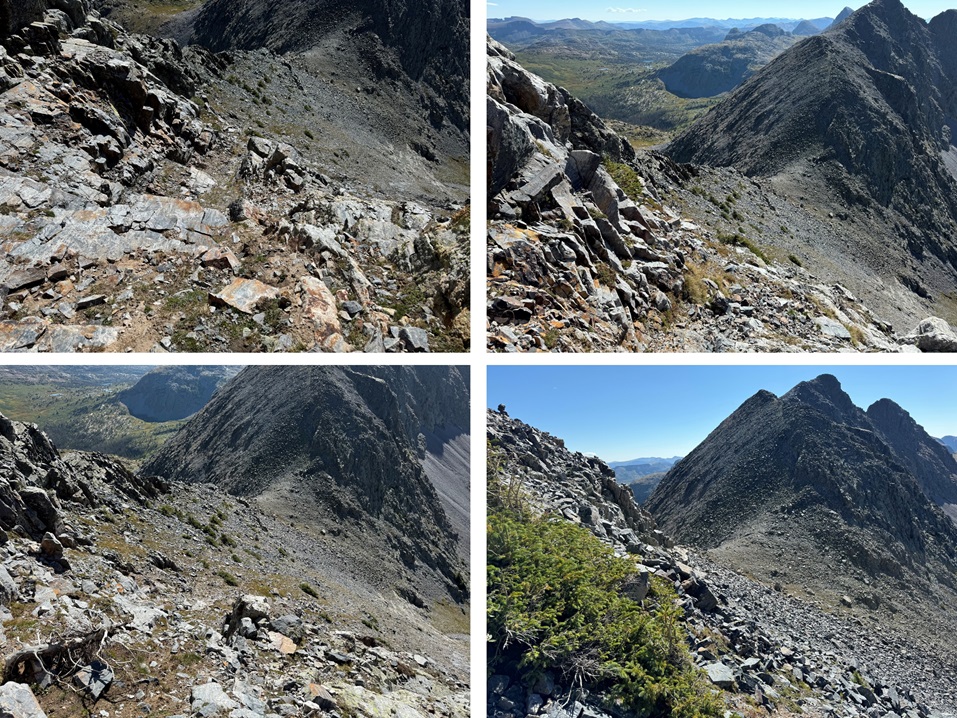
I was not doing the traverse today.  While the skies were currently clear, it would be pouring down rain in another 2 hours, and I knew I had to get back to camp.  So, I turned and headed back towards the Peters/13229 saddle.

I headed south towards the yellow gully

Then took the yellow gully down to the 13229/Peters saddle

Once at the saddle, I re-ascended much of the ridge to Peters Peak, then descended to the northeast, avoiding cliffing out below the Peters/13229 saddle. 

First, up the ridge

Then, down to the Buffalo/Peters saddle

Once at the saddle I turned right, and followed the drainage east back towards Rock Lake

I made it back to Rock Lake at 11am, making this a 4.1 mile hike with 1897’ of elevation gain in 4 hours.

13,318, 13,351, and Ute Ridge – 13,466

RT Length: 12.29 miles

Elevation Gain: 4438’

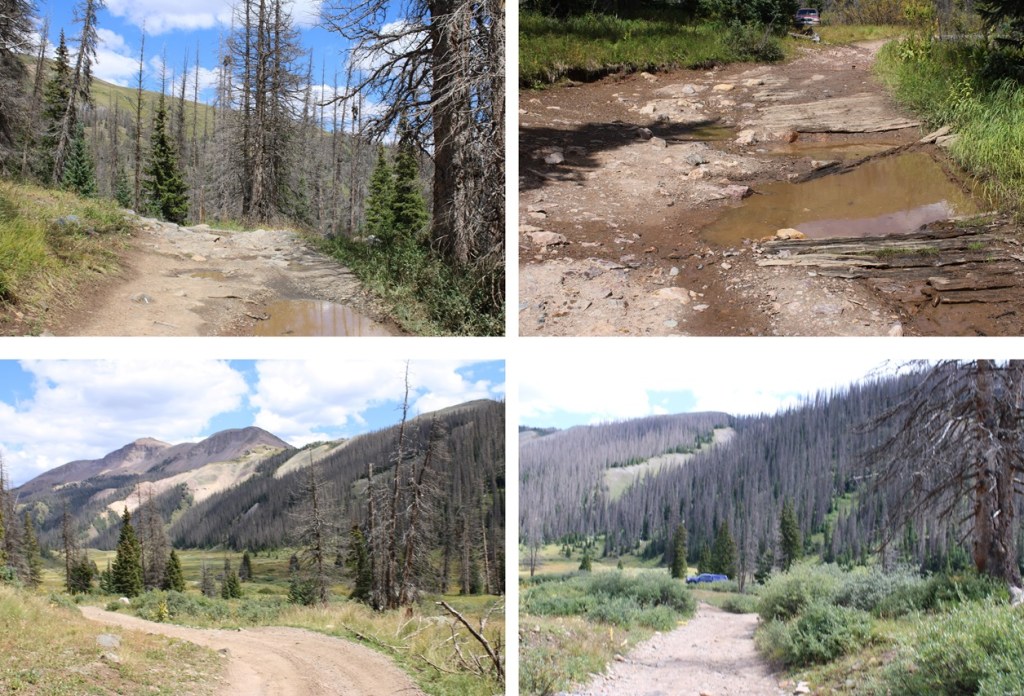
I started this hike from Beartown.  I’ve made the drive into Beartown now 4 or 5 times, and from what I remember, the road and river crossings were better this time than my previous visits, but once I made it after the river crossings the road was much worse.  It has rained a bunch recently, and all of the potholes were now lakes.  From my parking spot at around 11250’, I headed southwest, following the 4WD road. 

After hiking for about .4 miles, I came to a junction and turned left, heading towards the actual trailhead.

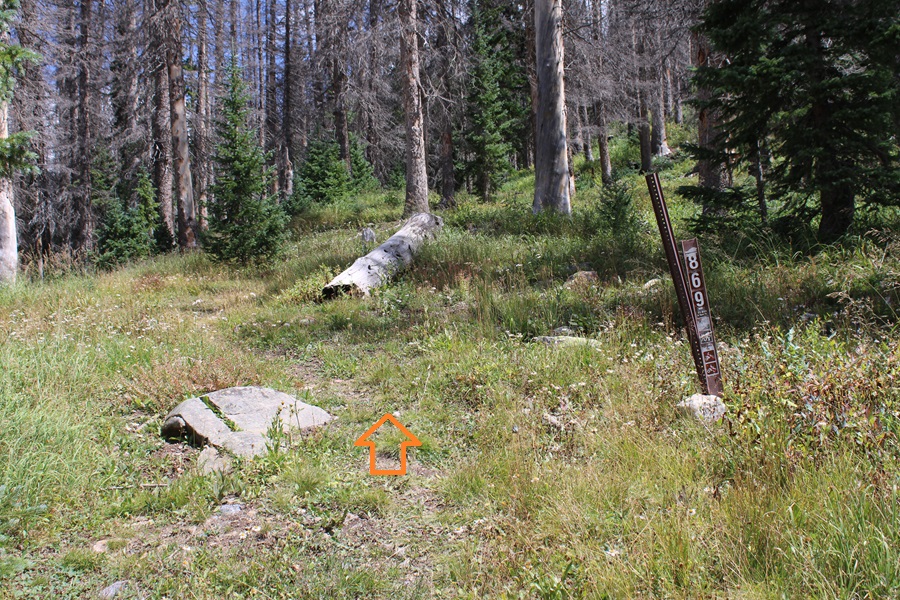
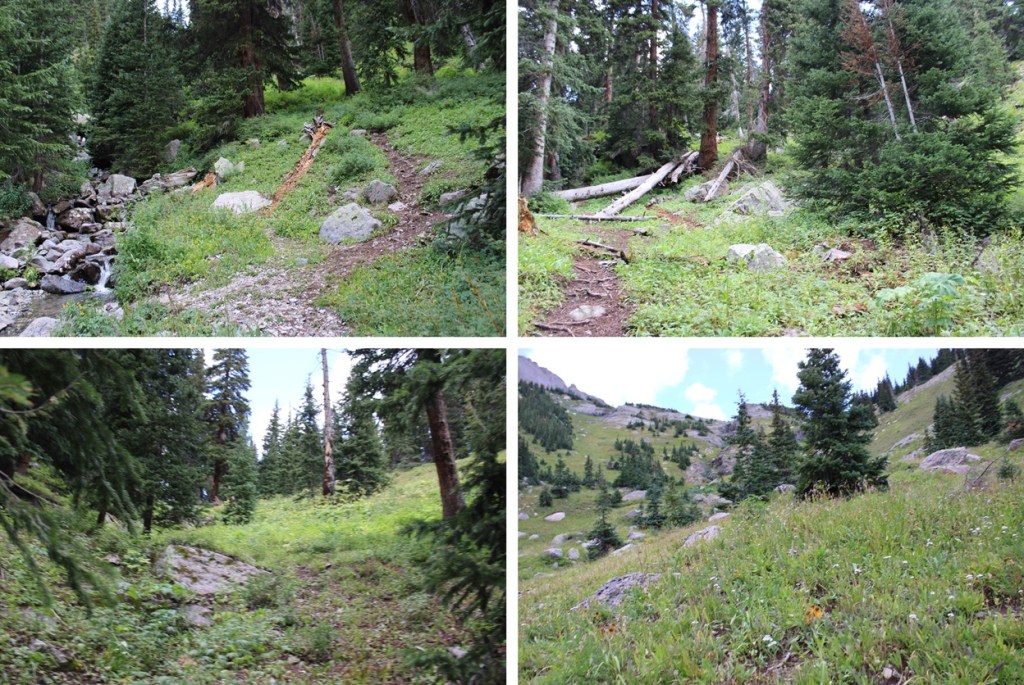
I was now at the trailhead for Trail 869.  I followed this trail to treeline.  The trail is class 1, except where there are downed trees and overgrowing vegetation covering the trail.  Then some route finding is required, but the trail always picks back up again.  Once above treeline, the trail is easy to follow.

At treeline, I continued following the trail south

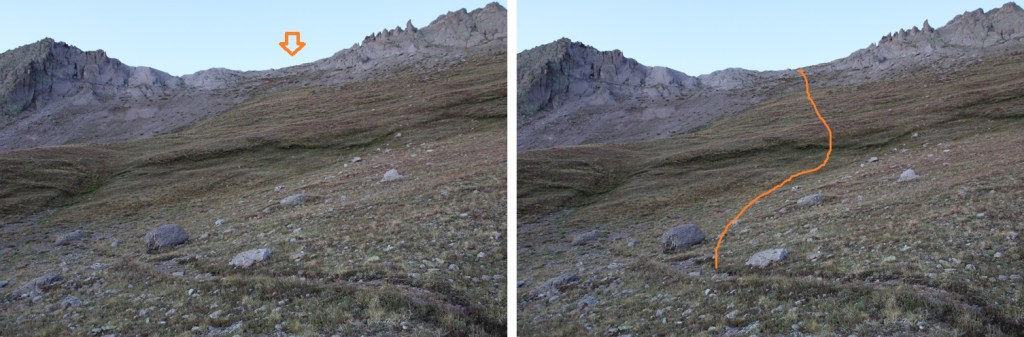
The trail was headed towards the saddle of 13318 and 13351, but before reaching the saddle I aimed for this point in the ridge.  There are game trails to get you there, but the route is pretty obvious.

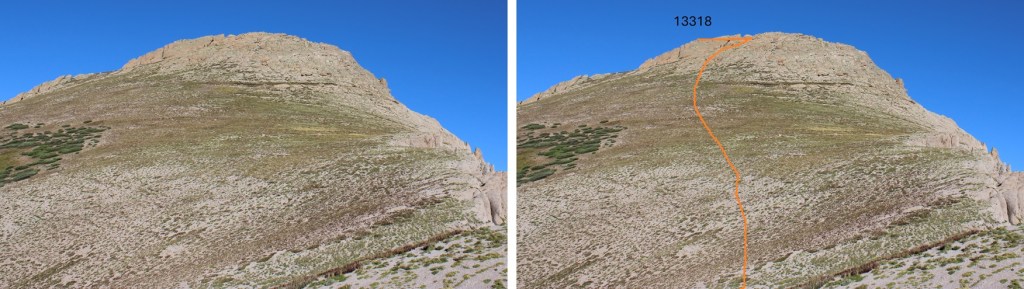
Once on the ridge, I turned right and headed west.  Here’s my overall route to the summit.  This is all class 2, with some scree mixed in.  The boulders can be avoided on class 2 terrain, but be prepared for lots of kitty litter.  Look for an access route to the left and center of the boulders, and you’ll find a scree path.

When I made it to the ridge, I realized I was at a false summit, turned left, and boulder-hopped to the true summit.

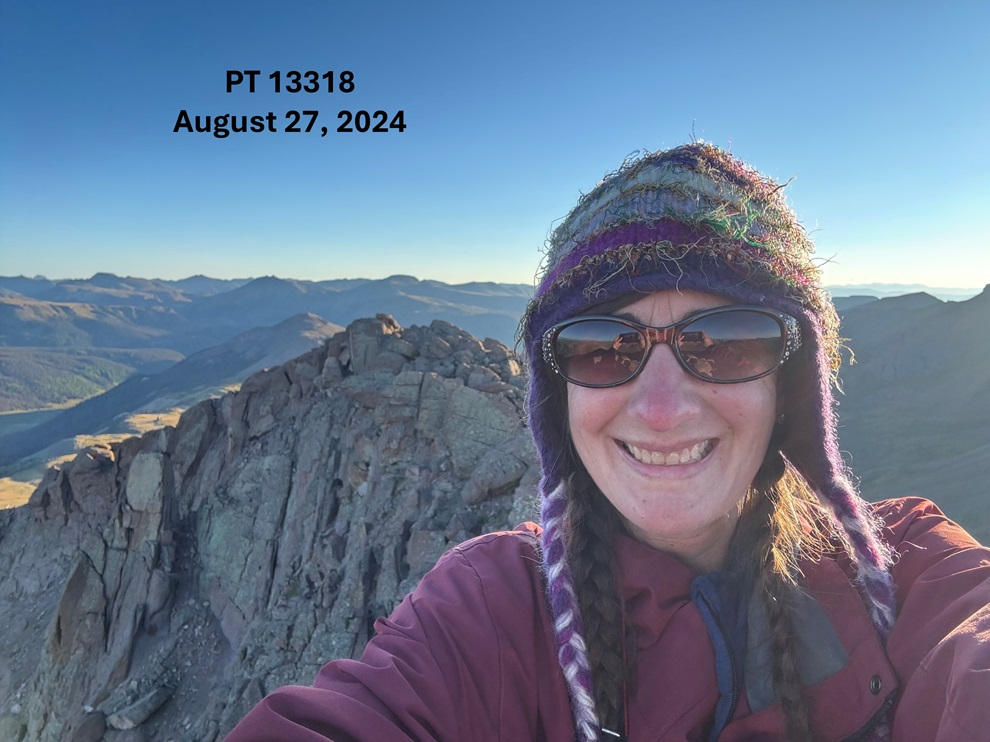
I summited PT 13,318 at 7:15am

PT 13,318:

My next goal was PT 13351, to the east.  The summit is hidden in this picture by a false peak, but this was my route to the summit.  I curved to the right of the peak, avoiding the rocky areas by staying on tundra, then headed for a small saddle.

First, to make my way down to the 13318/13351 saddle.

Then I headed up the slope, staying on tundra, circling around until I could see a small saddle at the ridge.

Once on the ridge, I turned right, and headed east towards the rocky area.

This rocky area was class 3, and once again choose your own adventure.  The rocks were loose, and there seemed to be many options to make it to the summit.  This is the route I chose:

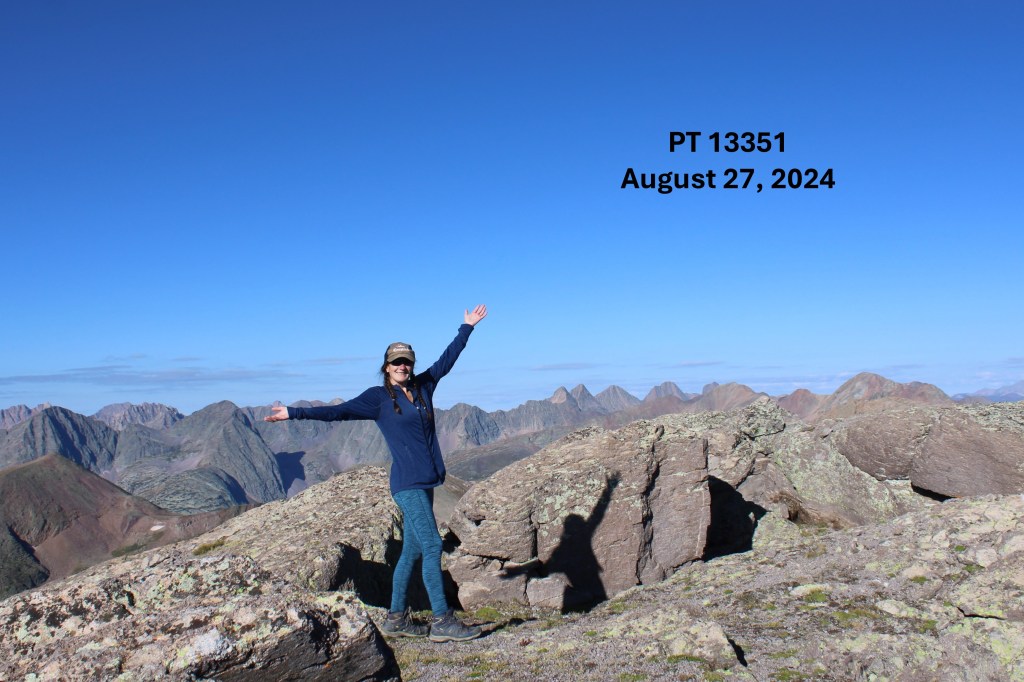
I summited PT 13,351 at 8:30am

PT 13,351:

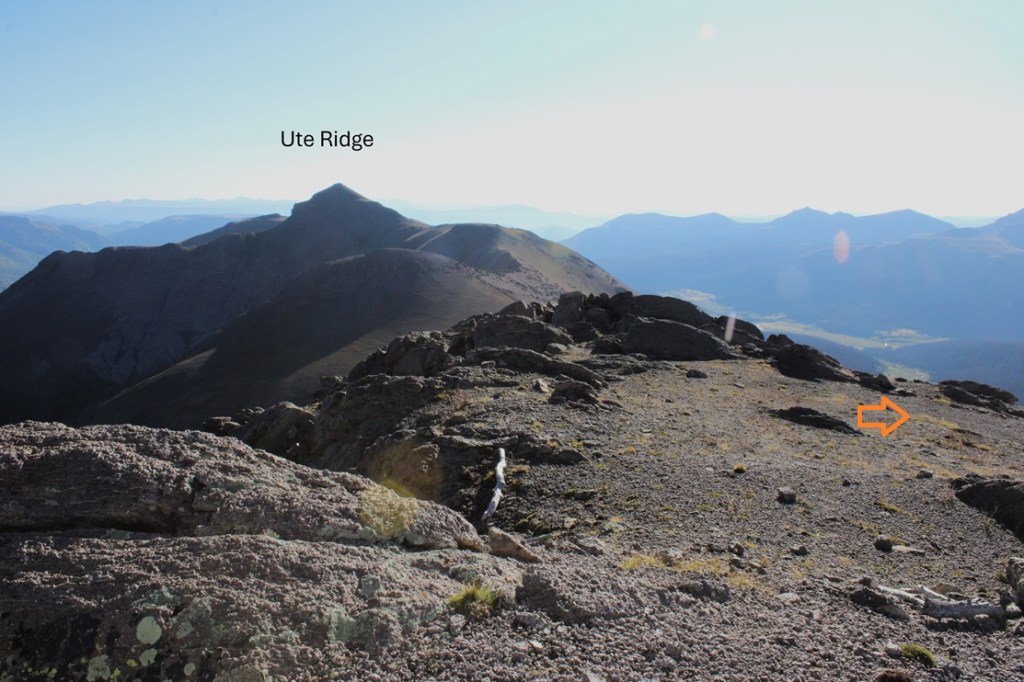
My next goal was Ute Ridge, to the northeast

Fist, I’d have to follow the ridge southeast and gain this point before heading down to the 13351/Ute Ridge saddle. 

I headed towards the unnamed point.  A few thoughts on this ridge:  It’s rocky, and loose.  It can be kept class 2 if you stick to the right of the ridge, class 3 ridge proper.  Once again, ALL of the rocks are loose.

I was able to follow scree and tundra down to the 13351/Ute Ridge saddle. Now is a good time to look at the route you want to take to gain the ridge.  I stayed below the rocks, but was able to find game trails through the scree to the ridge.  The ridge proper has a lot of unavoidable rock formations, so I wanted to stay below them until they were gone before gaining the ridge.

And now to gain the ridge while avoiding the rock formations

And then following the ridge proper. 

I came to a rocky area, and found a game trail up to the left

Then I continued following the tundra towards Ute Ridge

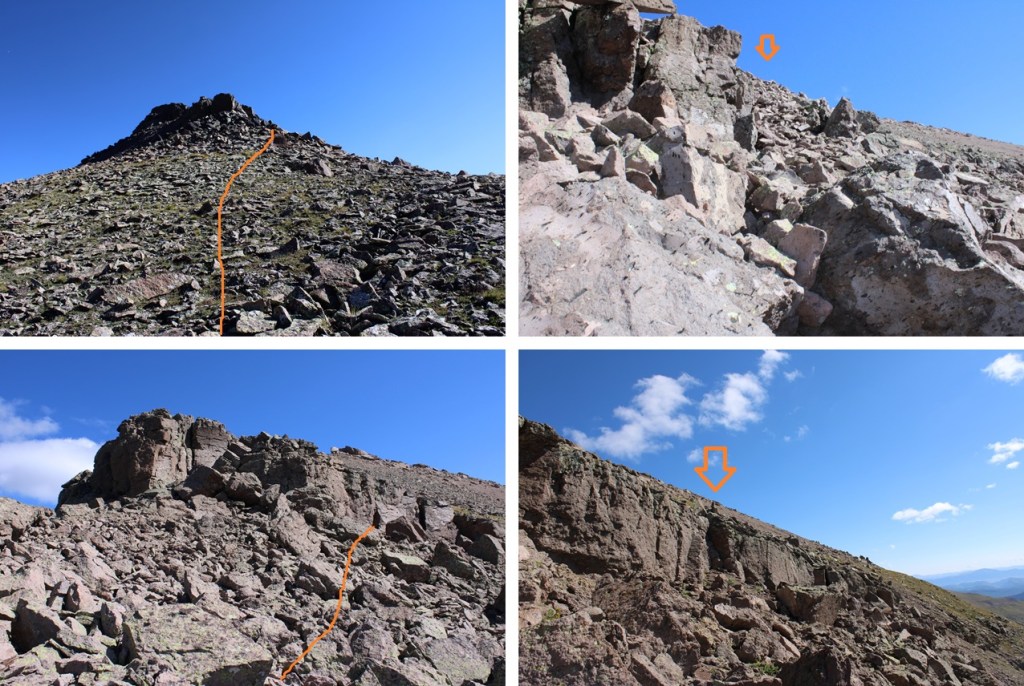
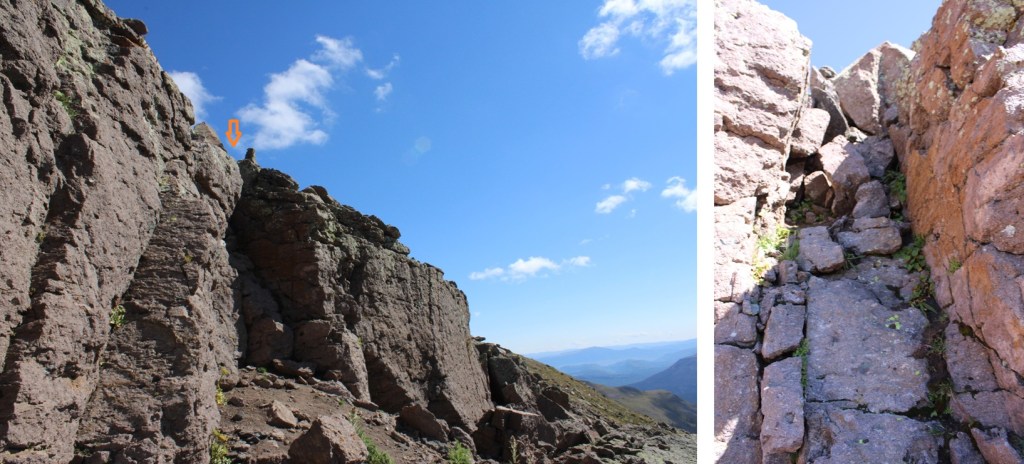
This next section is a little tricky when you’re down in it, so now’s a good chance to take a look at your route.  The rocks here are loose.  I chose to go right of the ridge when I had the chance.  Just before the summit is a large rock band.  There were several chimneys there to use as access.  I ended up choosing the third chimney I came to, although they all had cairns indicating they “went”.  If you want to avoid the chimneys altogether, you can continue further right and use class 2 terrain (although it looks like steep scree is involved). 

Here’s the route I took:

This is the chimney I took:

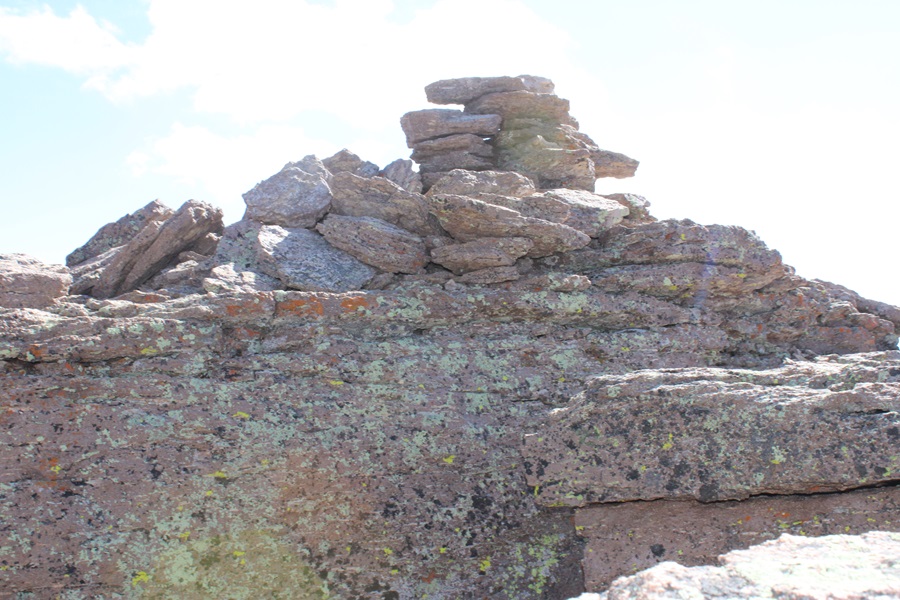
At the top of the chimney I headed back towards the ridge, and followed the rocks to the summit.  The boulders at the top are so large you can walk around them to the summit.

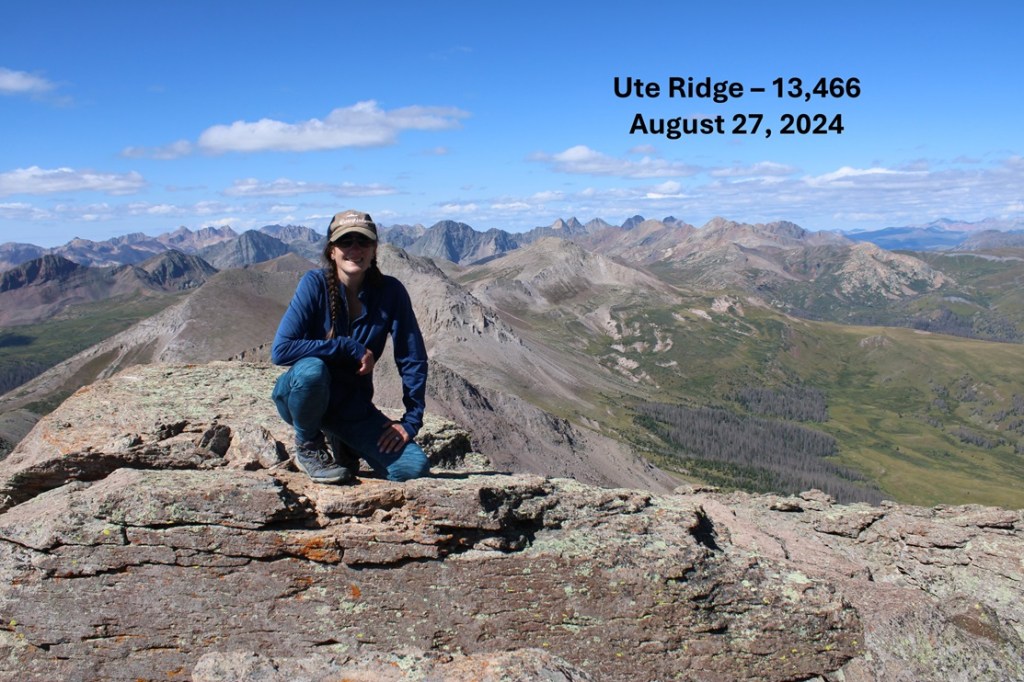
I summited Ute Ridge at 10:30am

Ute Ridge:

And now to head back down towards the chimney

Down the chimney, and back towards the 13551/Ute Ridge Saddle

From the saddle of 13551/Ute Ridge, my intention was to make it back to the ridge and the trail I’d hiked in on from Beartown.  The trail goes along much of the ridge, so I just needed to aim for the ridge.  You can do this by aiming for the gully, or taking the slope.  I took the slope to avoid the willows. Once I was down in the gulch, I gained about 950’ to the ridge. 

Here are some pictures of the route:

Heading west on the tundra eventually brought me back to the easily identifiable trail that would lead me back to Beartown

Once back on the 4WD road, I followed it back to my parking spot

I made it back to my truck at 1:15pm, making this a 12.29 mile hike with 4438’ of elevation gain in 8 hours, 15 minutes

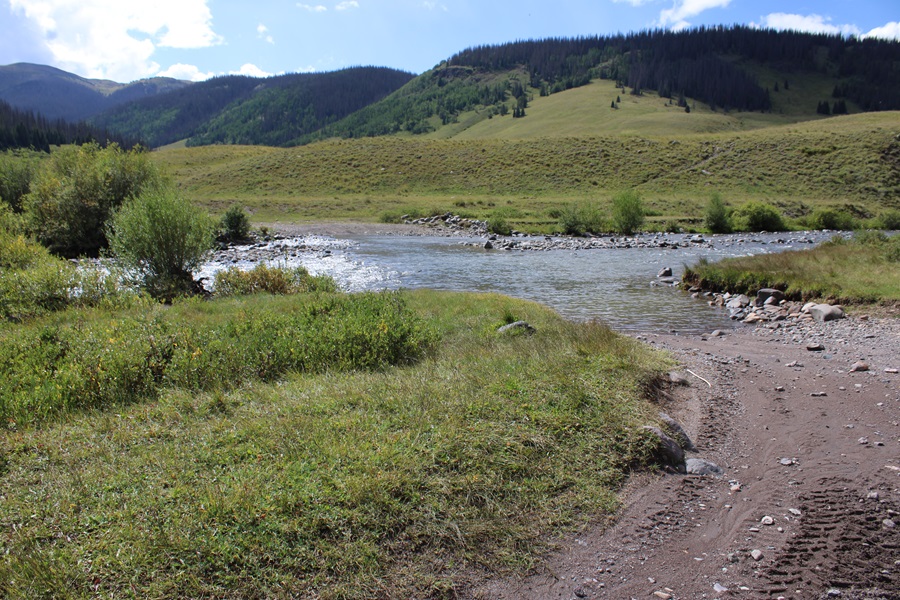
For those of you interested, this is what the second river crossing looked like in late August of 2024:

S4 – 13,256

RT Length: 11.57 miles

Elevation Gain: 4082’

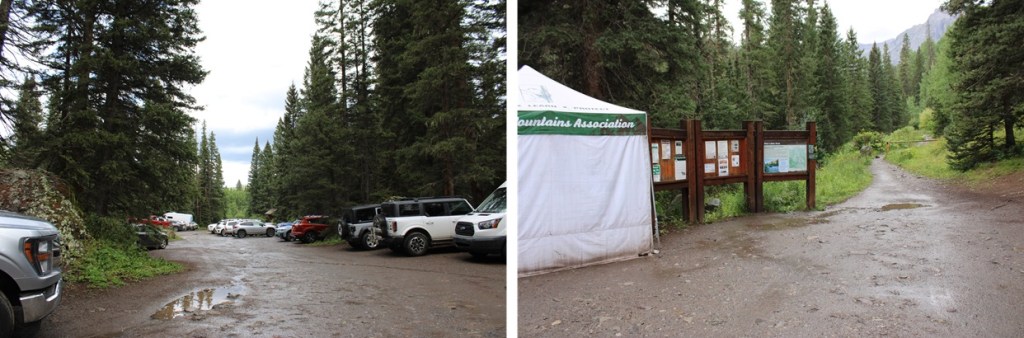
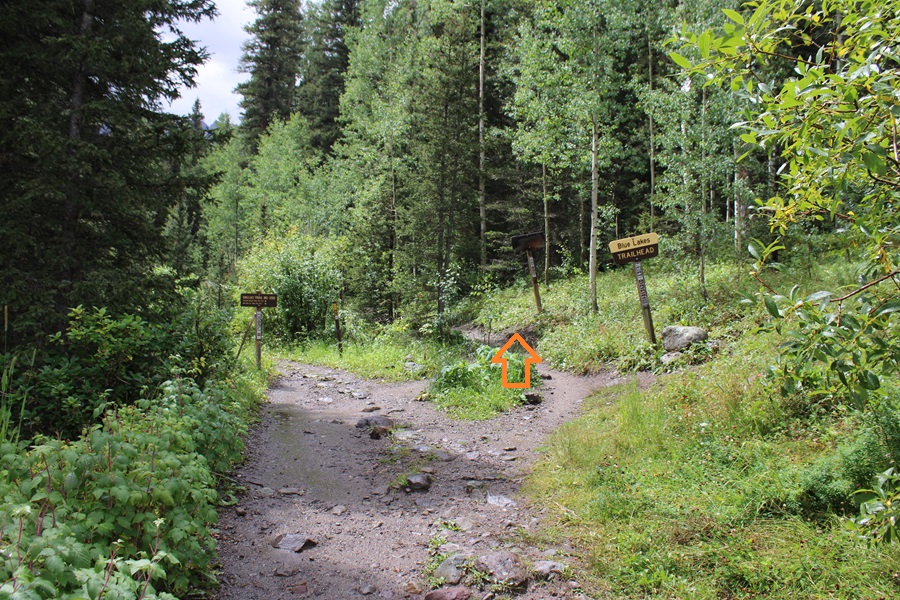
There were only two other vehicles in the lot when I parked at the Blue Lakes Trailhead.  It was raining, so I waited for the rain to stop, and was on the trail at 5am.  The trailhead starts at the south end of the parking area, and is clearly marked.

Immediately after the trailhead there’s a junction.  I went right, taking the Blue Lakes Trail.

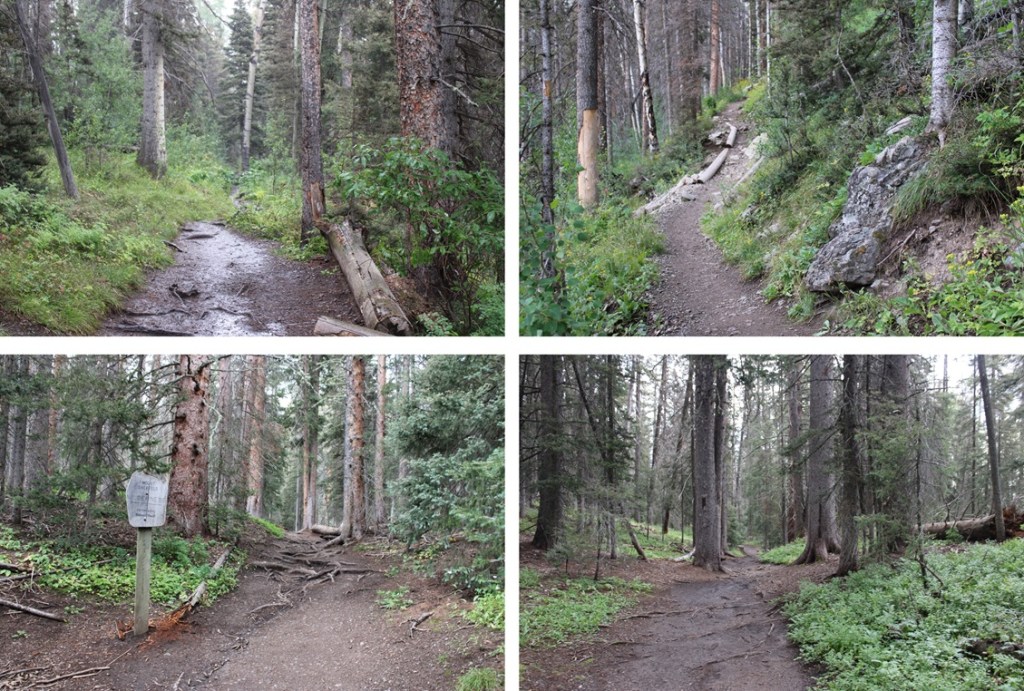
This was the only junction until I made it to Blue Lakes.  I followed the trail 3.5 miles to Blue Lakes.  About 2.5 miles into the hike it started raining again, and I had to take shelter for a bit under a tree.  However, the trail was class 1, and easy to follow the entire way.

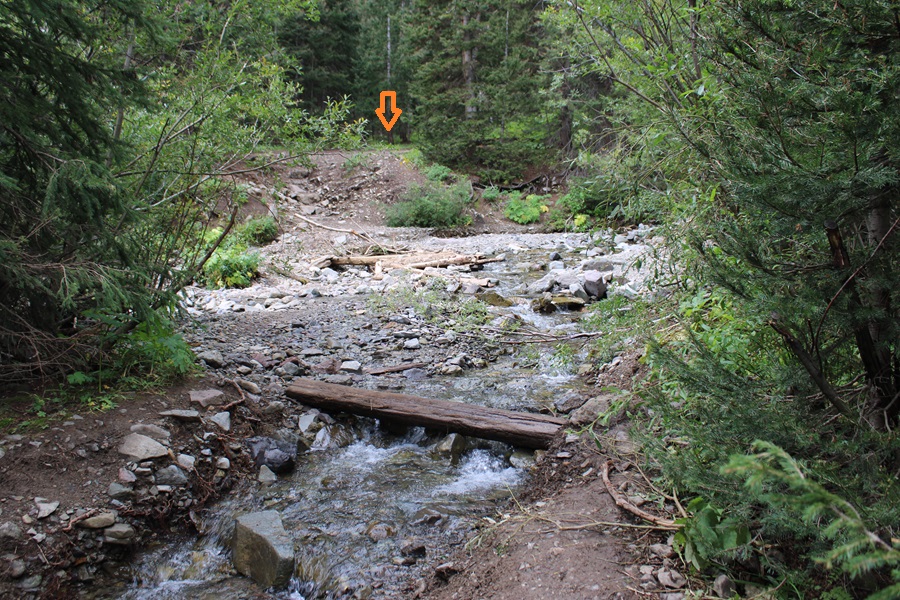
There was an easy creek crossing

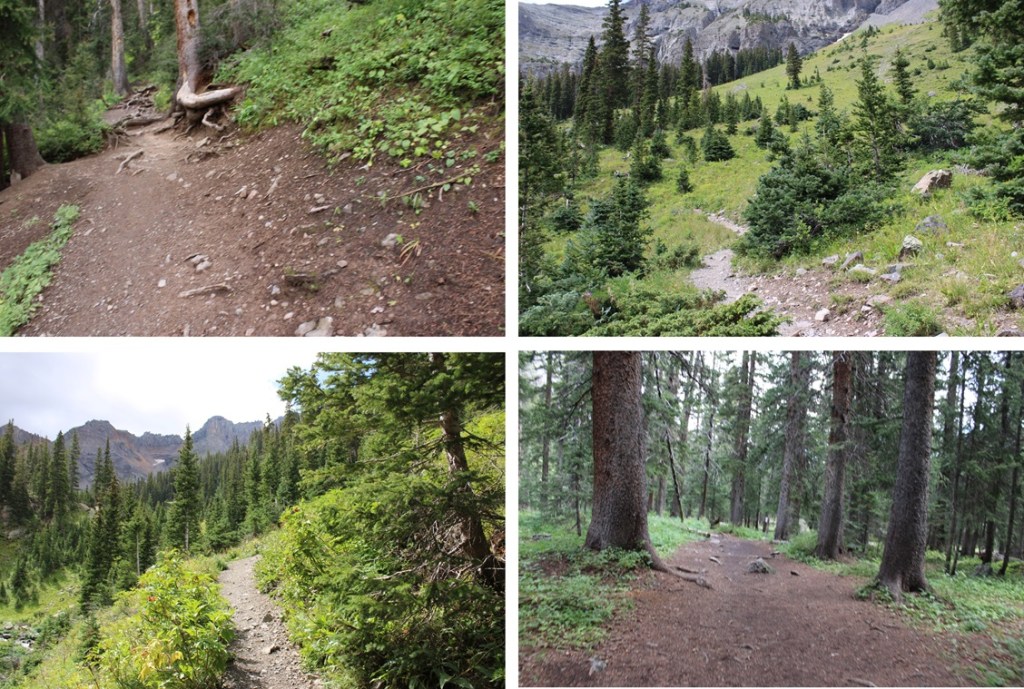
And then I continued my way up to Blue Lakes

Once I arrived at Blue Lakes, there were several social trails to campsites.  I stayed on the trail closest to the lake, skirting the west side, towards a creek flowing into Blue Lakes.

At the last campsite before the creek, I followed the drainage on the right side of the creek up to treeline.

Once at treeline, or at least very close in a wide open space, I crossed the creek and headed west up the slope, keeping the creek to my right.

At the top of the slope I continued heading west, staying on the tundra.  You can go right and use the talus, but it’s going to be a LONG day of talus, and I’d rather use the tundra when available. 

At about 12330’, I went right and dropped about 50 feet down to the talus.  There is a game trail here on the talus that will bring you to the upper basin.

Once in the upper basin, there will be an obvious drainage to the right.  I went through the drainage, rock hopped for a bit, and then ascended 600’ of the worst talus ever to a gully.  I put on my helmet and started up.  Here’s the overall route:

As I ascended further up the gully, the talus became looser, but there were also areas of sand mixed with scree.  The rain that morning had turned the sand into a thicker substance, which gave me some much needed traction.  When you enter the gully, stay to the LEFT.  I tried to stay to the right because it looked more stable, but found I was unable to cross over to the left when the time came, because I was now in an hourglass, and traversing it meant rocks above and below me would give way in a rockslide towards the base of the gully, like a funnel (or an hourglass).  After the first few attempts at traversing from up high and sliding several feet before stopping, I downclimbed and re-traced my steps up this part of the gully, sticking to climbers left.  Also, if you’re doing this with other people (in your group or not) stay clear when someone is in the gully, and even if you don’t think anyone is below you on your descent, yell to see if anyone is there. Large rocks will fall as you ascend and descend (there’s nothing you can really do to prevent it). 

Keep heading left, until the scree ends

Once the scree ends, if you haven’t already, now is the time to put on your helmet.  The rest of the summit is class 3 and class 4 on the loosest terrain I’ve ever experienced.  NOTHING is stable.  Trust nothing above, in front of, or below you without attempting holds several times to make sure they are solid.  There is large kitty litter on solid rocks, loose talus, and rock slabs that look stable but are hanging precariously, especially from above. 

From the top of the gully I headed east, to follow the ridge.  Here’s the route I took:

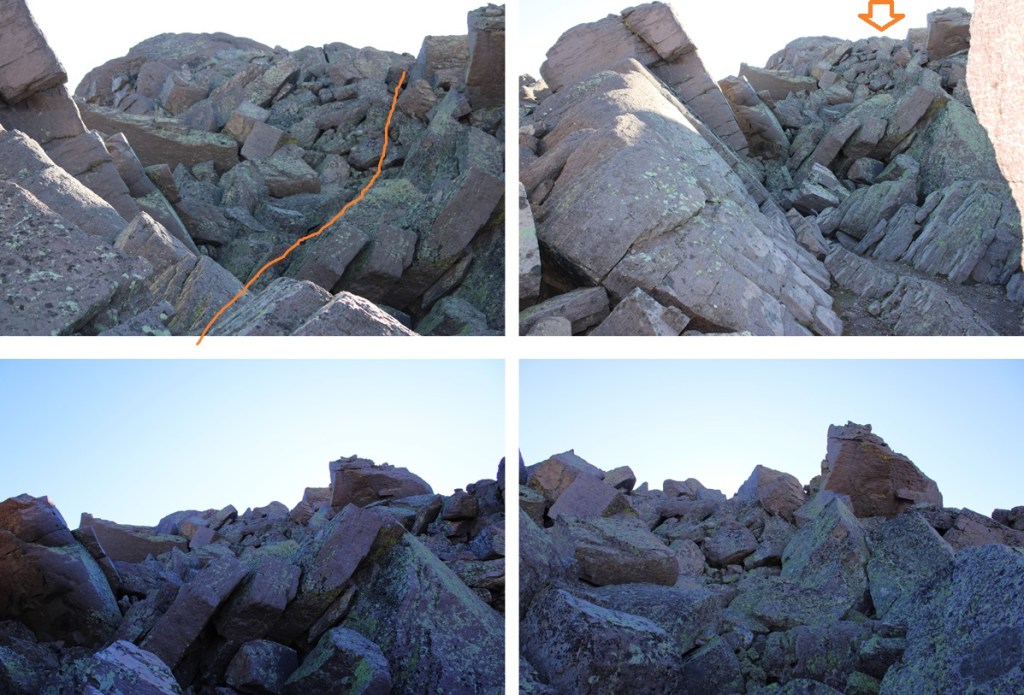
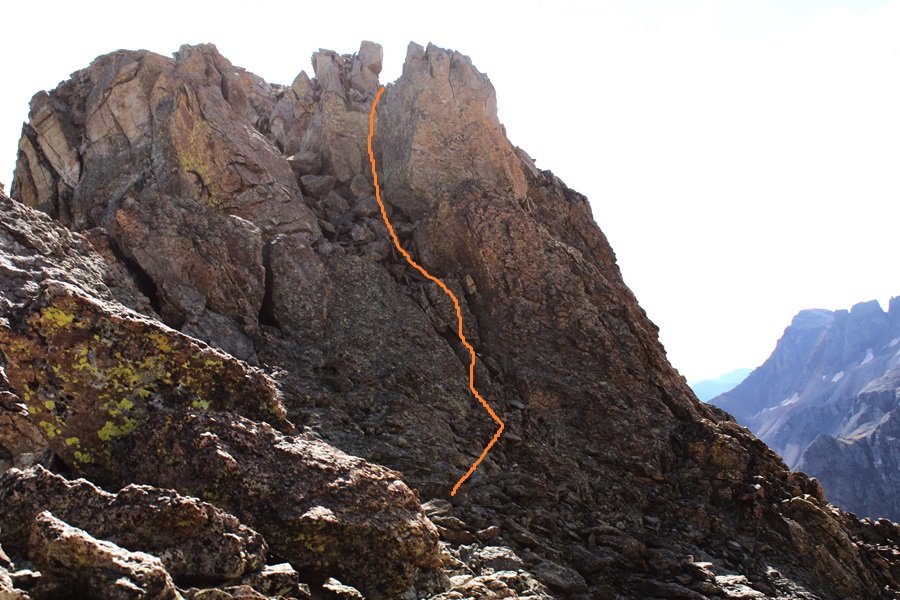
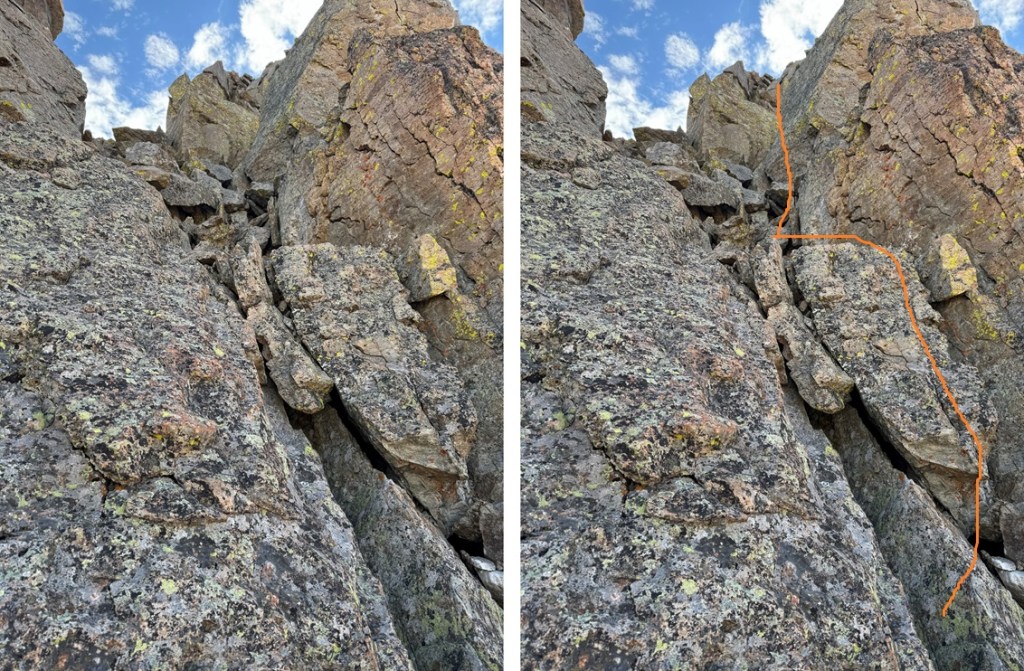
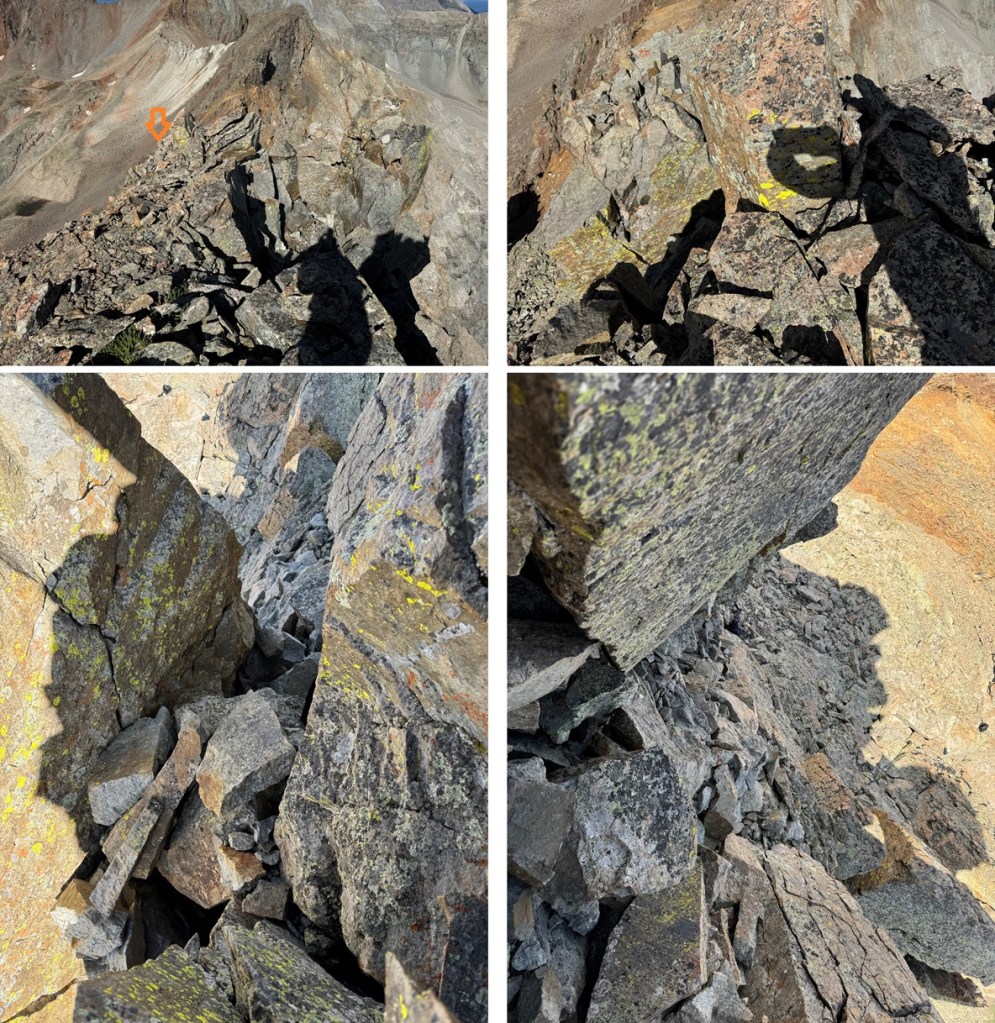
You should now have a good view of the class 4 chimney to the summit.  This is a very loose chimney, and it stops halfway and starts again.  Even the large boulders are loose, so be careful with hand and footholds until you’re sure it won’t move.  I started out by climbing straight up the center, until I came to a “y” where both sides looked perilous.  I decided the right side looked more protected.  The were both loose, sometimes with just large wobbly boulders stacked on top of each other to climb, and sometimes what looked like 10 foot boulders sitting atop rocks the size of a microwave.  Between the two chimneys, there’s probably 40 feet of climbing.  I wouldn’t trust an anchor here:  to many of the boulders are loose.  (There weren’t any anchors set up).

Here’s the overall route I took:

And some closer pictures of the chimney(s)

Chimney 1:

Chimney 2

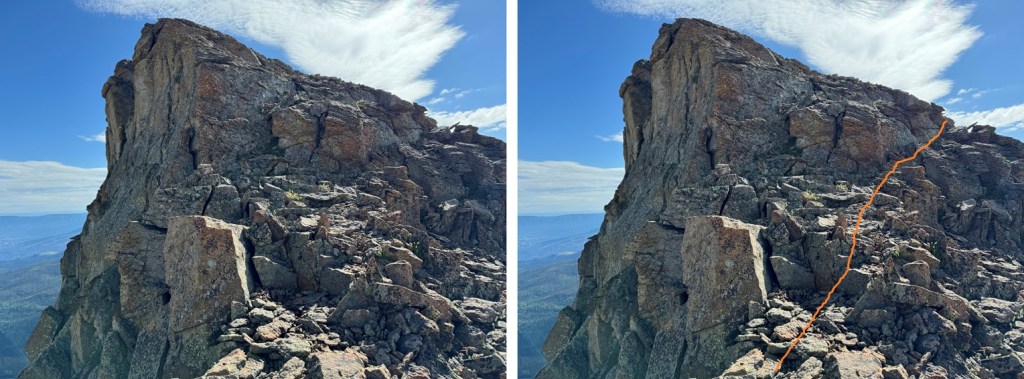
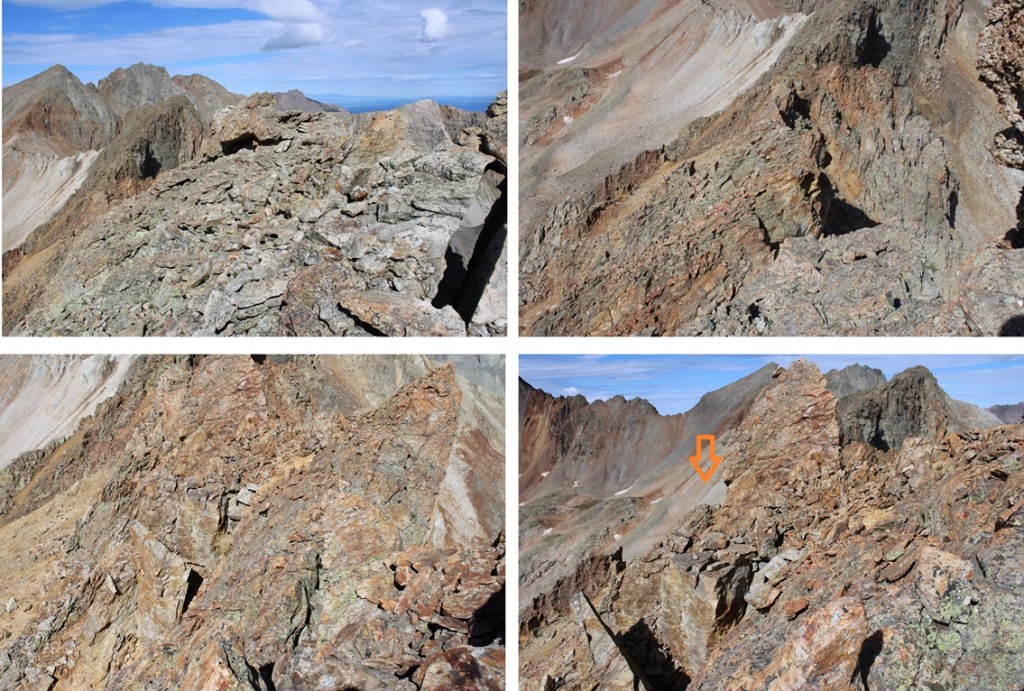
From the top of the second chimney to the east you can see the route you scramble up to the summit

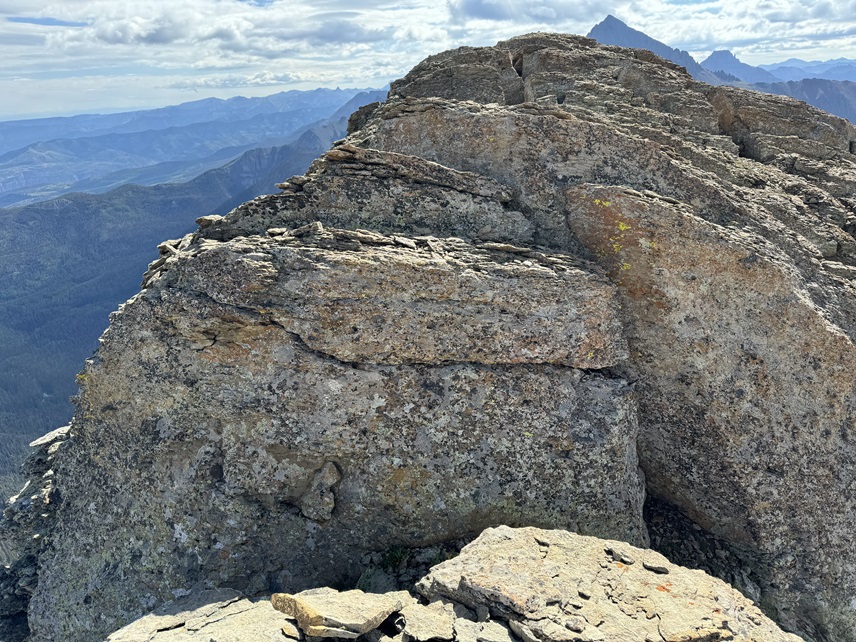
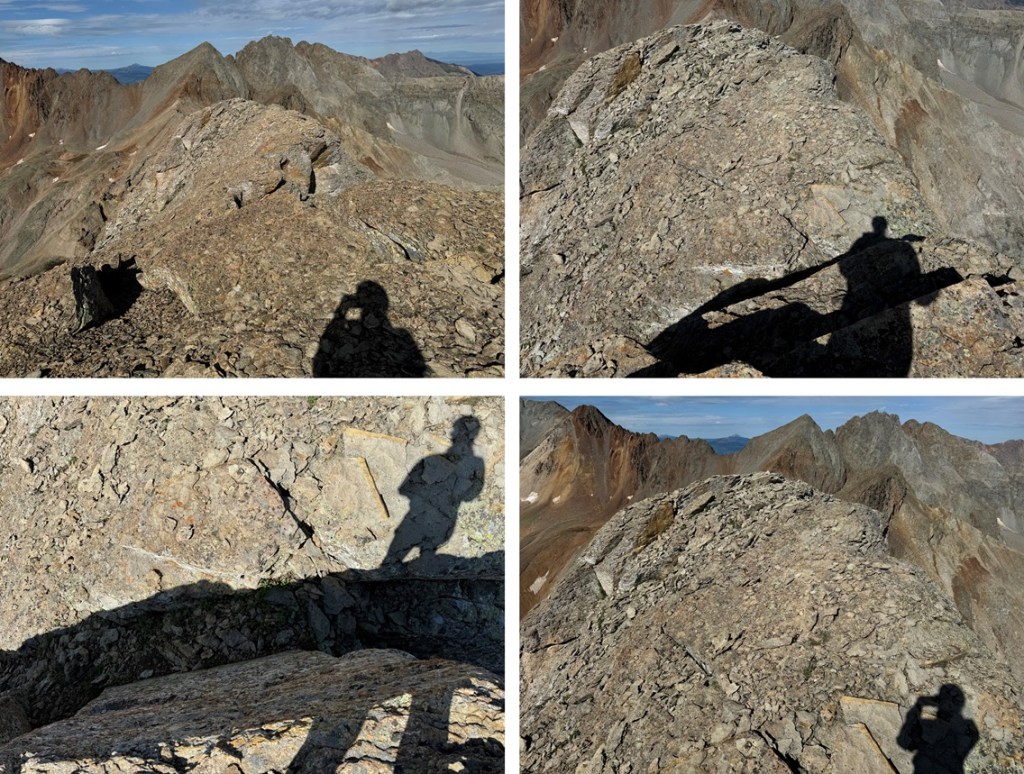
But wait!  There’s more!  Keep heading east, and climb down and then up this rock slab covered in kitty litter.  It’s not tall, maybe 7 feet, but another fun surprise!

And then it’s a quick walk to the actual summit, on… you guessed it, more talus!

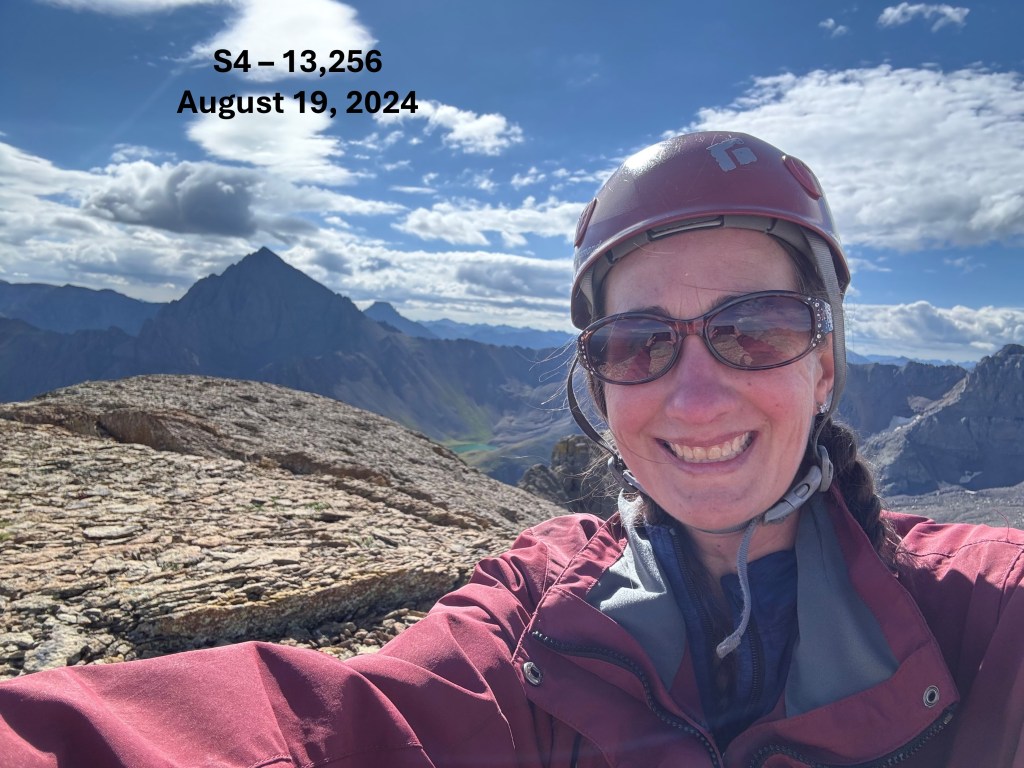
I summited S4 at 9:40am

S4:

And now to head back.  I re-traced my steps to the chimney(s)

Safely down the chimney(s), I made my way back to the top of the gully.

Here are some pictures of the descent down the gully

And the route down into the basin

Once in the rocky basin, I stayed to the right of the creek and descended on the talus to the tundra towards Blue Lakes.

I headed east back to treeline and crossed the creek

Then headed north back towards the Blue Lakes Trail

And followed the trail in the rain all the way back to the trailhead

I made it back to the trailhead at 12:30pm, making this an 11.57 mile hike with 4082’ of elevation gain in 7.5 hours

On to the next trailhead!

Paiute Peak – 13,094

RT Length: 11.32 miles

Elevation Gain: 2781’

I was parked at the Brainard Lakes parking lot.  I already posted about why I was parked there, and not the Mitchell Lakes trailhead, so I’m going to skip that part this time. 

I was on the trail at 4:30 am.  My first order of business was to hike the 1.3 miles to the Mitchell Lake Trailhead. 

From the Mitchell Lake Trailhead, I followed the Blue Lakes Trail west towards Blue Lake. This is a well defined, class 1 trail with no junctions, so I was able to follow the trail the entire way.  From the Mitchell Lake Trailhead, it was around 3 miles to Blue Lake. 

From Blue Lake I had a clear view of Paiute Peak.  Here’s an overview of the rest of my hike

First, I followed the trail around the north side of the lake

When I came to a grassy drainage, I left the trail and followed the drainage north

At around 11580’ I crossed the creek at a small waterfall, and headed northwest.

After crossing the waterfall I kept heading west, aiming for the ridge in the distance.  This was choose your own adventure.  I chose to go up and over the rocky gullies, doing my best to avoid the snow.  This can all easily be kept class 2.

At this point , the lake at 11833’ was to the north of me, on my right.  I kept heading west, to gain this ridge.  There are a couple of cairns here, and parts of a game trail, but the main goal is to head towards the gully.    

And now to head up the gully. I did this by heading north, staying to the right of the snow.   If there isn’t snow when you’re doing this route, you can aim for a rather large vertical rock sticking up straight (you’ll know it when you see it, as it stands out).  This gully had game trails leading to the top, and I’m sure you could take them all the way to the top of the gully.  However, I stayed to the right of the snow and then climbed up the rocky rib.  This was mostly class 2, with a few easy class 3 moves thrown in.

At the top of the rock rib, you’ll see what appears to be the summit of Paiute Peak to the north. It’s actually a false summit, but aim for it.

From here, the true summit is to the northeast.  Head towards two boulders that look like the summit (they’re another false summit)

From those two boulders, the summit of Paiute Peak is visible to the north.

To get there I downclimbed a difficult class 3 section (or easy class 4) with exposure.  This was much more difficult to downclimb than to upclimb.  And it was very windy this day, making this ridge extra spicy.  The route down and then up to the summit are obvious.  There was a cairn at the top, and a summit register.

I summited Paiute Peak at 7:30am

Paiute Peak:

From the summit looking back, it really, really looks like where those two boulders are is higher, but there was a register here, so I’m assuming it’s the true summit.  Now to head back.  This “v” was much easier to upclimb. I used the same route down as I did on my way back up.

I then made my way towards the gully.

I went southeast down the rocky rib

Then descended the gully

At the bottom of the gully I turned left, and made my way back towards Blue Lake

I aimed for the drainage, then followed it south towards Blue Lake and the trail below

Back on the trail, I followed it east back to the Mitchell Lake Trailhead, passing several lakes along the way.

Back at the Mitchell Lake Trailhead, I followed the road back to the Brainard Lake parking area.

I made it back to the Brainard Lakes trailhead at 10:30am, making this an 11.32 mile hike with 2781’ of elevation gain in 6 hours.

On to the next trailhead!