Storm Peak – 13,495

RT Length (from upper trailhead): 4.32 miles

Elevation Gain (from upper trailhead): 2191’

If you have a 2WD vehicle you can start from San Juan County Road 70 and County Road 35.  There’s a parking area there with information signs.

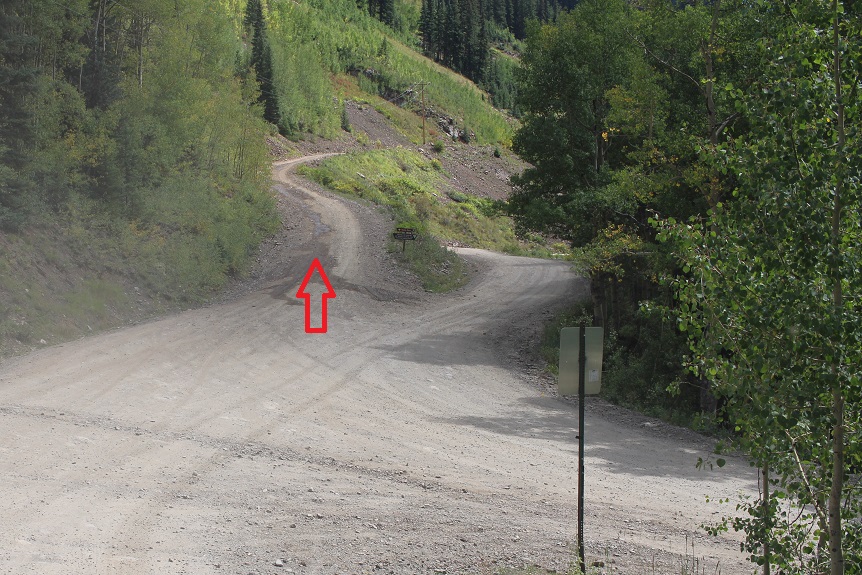
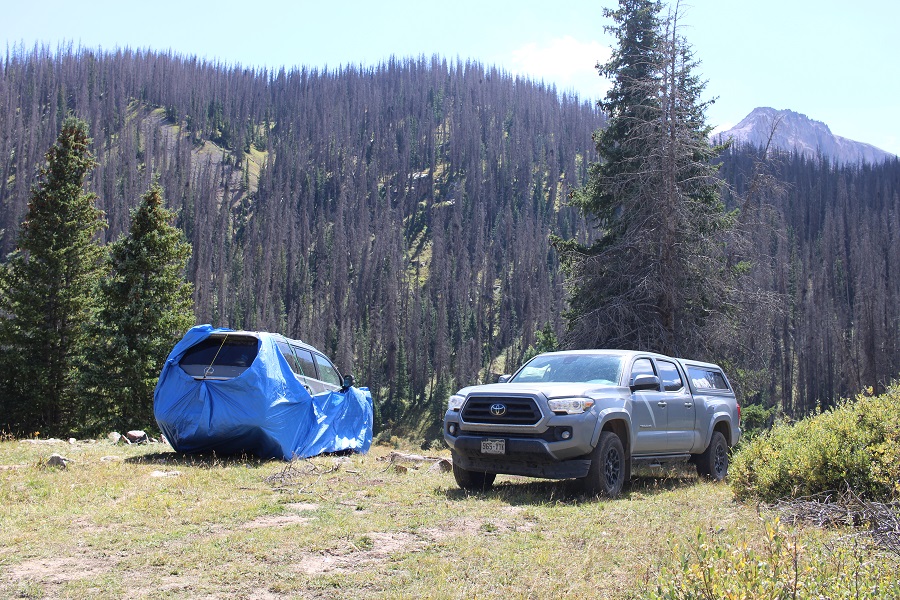
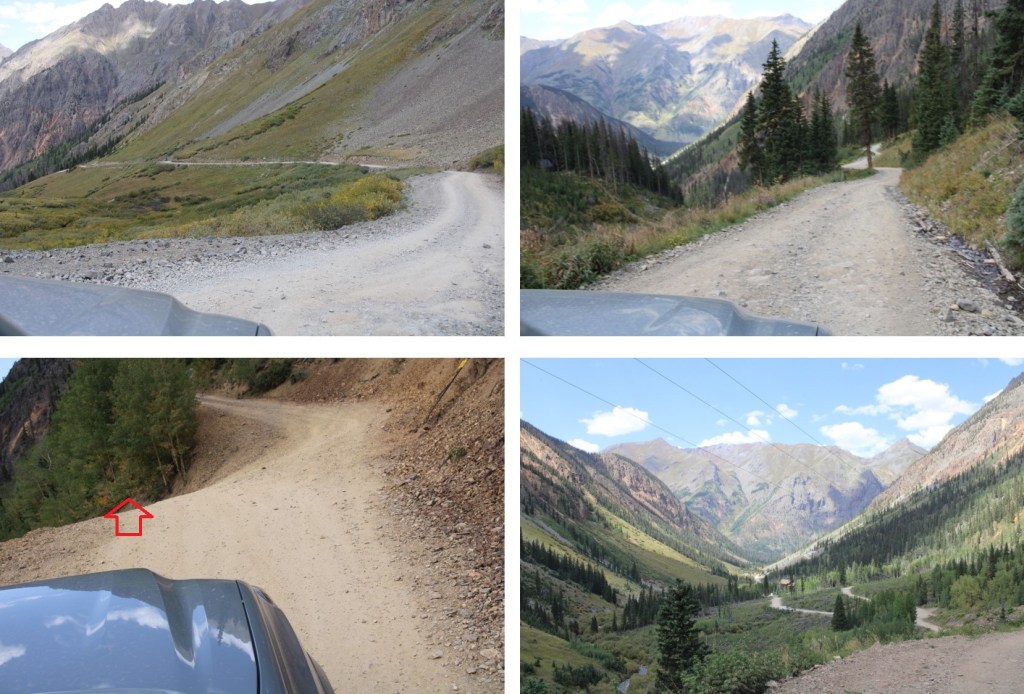
If you have a 4WD vehicle just drive 1.5 miles up County Road 70 to a small parking area (1550’ of elevation gain). About 3 or 4 vehicles will fit here if everyone parks nicely.  I have a 4WD vehicle, so I drove to the upper parking area at 11270’.  This is also the last turnaround on the road (not that there’s many to begin with… no real passing areas or places to park until you reach the upper trailhead).  There’s a small handmade sign just past the parking area letting you know it’s a private road ahead with a difficult turnaround. Also, beware of porcupines.  Make sure you take precautions if you park your vehicle here.

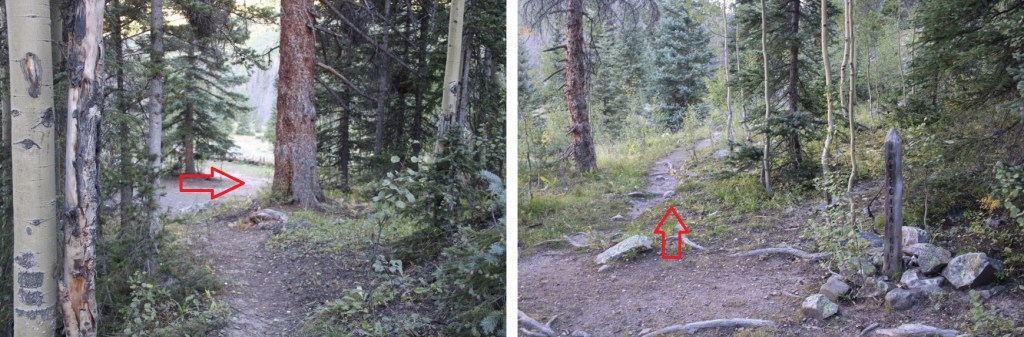
There’s no signage here, but the start of the trail is obvious.  I followed this trail up the small ridge. 

At the top of this little ridge the trail stopped, but I was going off trail anyway.  There was a great view of my first objective: gaining the ridge.  This is a choose your own adventure kind of deal, with lots of options. Here’s an overview of the route I took to the real ridge:

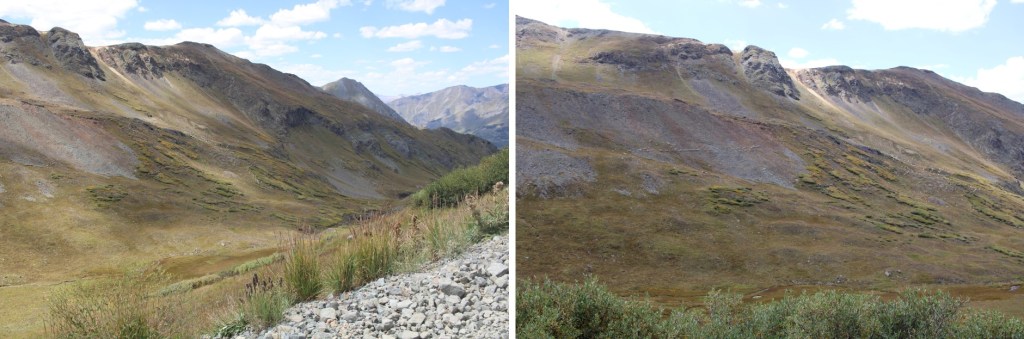
The route was obvious, with little to obstruct my view.  I headed northeast through grassy areas and tundra towards some abandoned mines.  There was a lot of evidence of Mountain Goats in the area but I didn’t see one.

After passing the mines I turned right and headed east up a tundra slope that turned rocky

At the top of this slope I was greeted with another tundra ridge that headed northeast.  I followed the ridge.

At the top of this tundra ridge I could clearly see Storm Peak to the east.  It was time to put on my helmet and get to work. 

The class 3 section is the entire remainder of the ridge and starts immediately.  However, in most sections it looks worse than it is.  I was able to follow the ridge proper at class 3 with exposure.  There weren’t any cairns here to guide the way so I set some up in the more difficult route-finding spots.  Here’s the overall route I took:

Here are some pictures of the ridge to Storm Peak.  All of the rocks were loose and unstable, with a lot of kitty litter and scree thrown in.  The moves just get more challenging as I went, with the crux at the end.  Be sure to make sure of your hand and foot holds and that the rock is solid (not much is) before committing to a move.

Here’s where I felt the crux of the route was, just before the summit.  It looks worse than it is, even from below.  It all looked tricky so put up several cairns so I’d remember the way back down. 

Once up this chimney it was an easy walk to the summit

There wasn’t a summit register, but there was a small marker

I summited Storm Peak at 9am

Storm Peak:

I had no aspirations to do the traverse over to East Storm Peak, so I turned around and headed back across the class 3 ridge, which doesn’t look too bad from the summit of Storm.

Here are some pictures of the way across back to the tundra. 

Once the class 3 section was done I was able to follow the tundra southwest back to my vehicle.  Here are some visuals:

Once I could see the mines I could also see my truck and the road in the distance.  I aimed for the road and navigated my best through the brush to get there.

I made it back to my truck at 11am, making this a 4.32 mile hike with 2191’ of elevation gain in 4 hours.

On to the next trailhead!

Rock Lake Approach from Silverton to Beartown

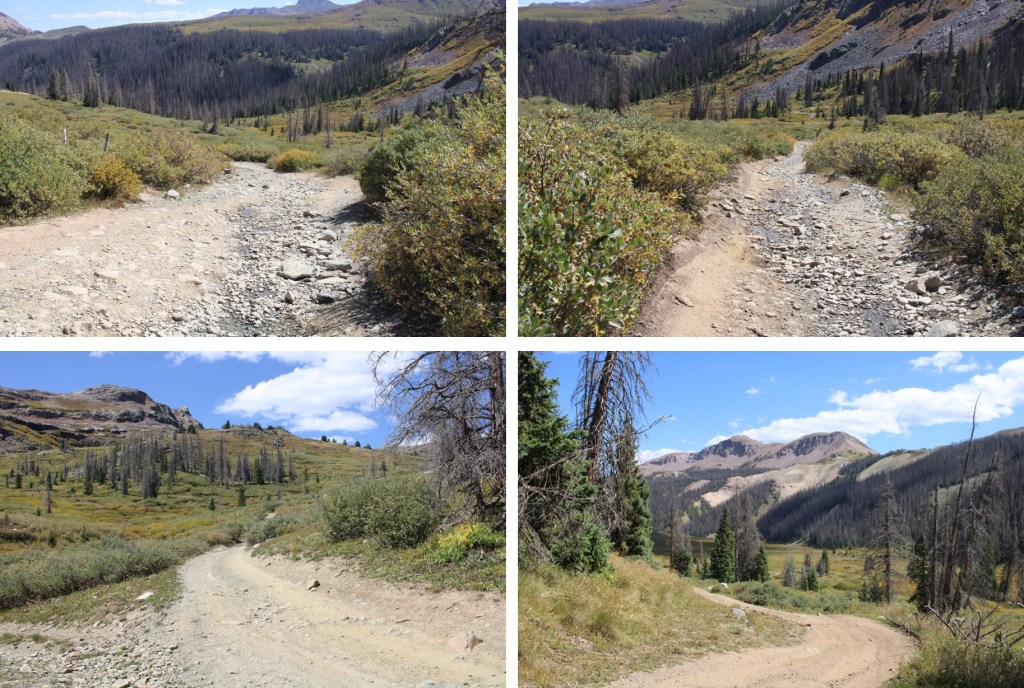
The approach drive is 21 miles from Silverton to Beartown, starting out on 110, then turning right onto 589, or the Alpine Loop, towards Stony Pass.  It’s a really good idea to make a gpx file for this drive, as I’ve encountered several people who got lost in the area while taking side roads.


At the fork in the road, keep left to head towards Stony Pass.

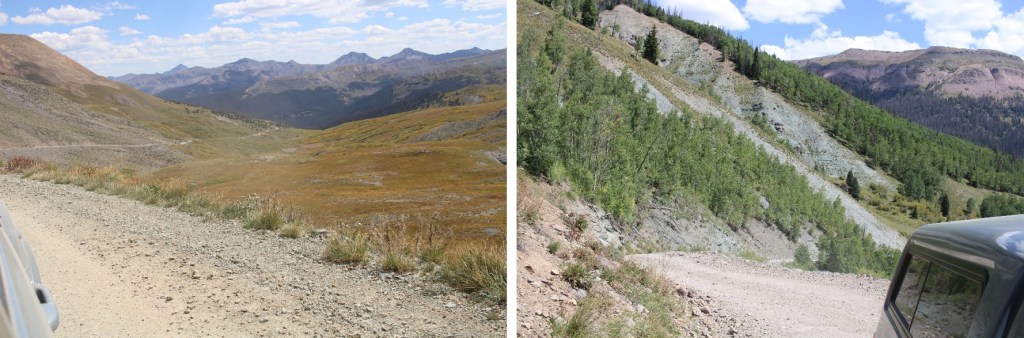
The 4WD road quickly begins gaining elevation, but is easy to follow.  There are several places to pass vehicles coming the other way.  After about 5 miles, you’ll make it to Stony Pass. 

From Stony Pass you’ll lose over 2000’ of elevation as you make your way east, towards the Rio Grande River.

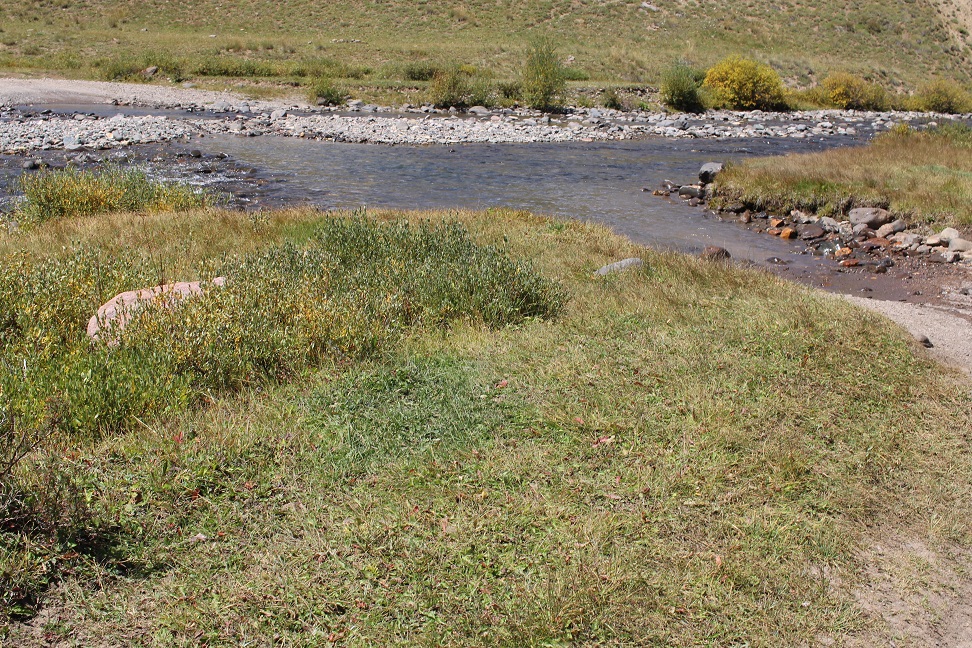
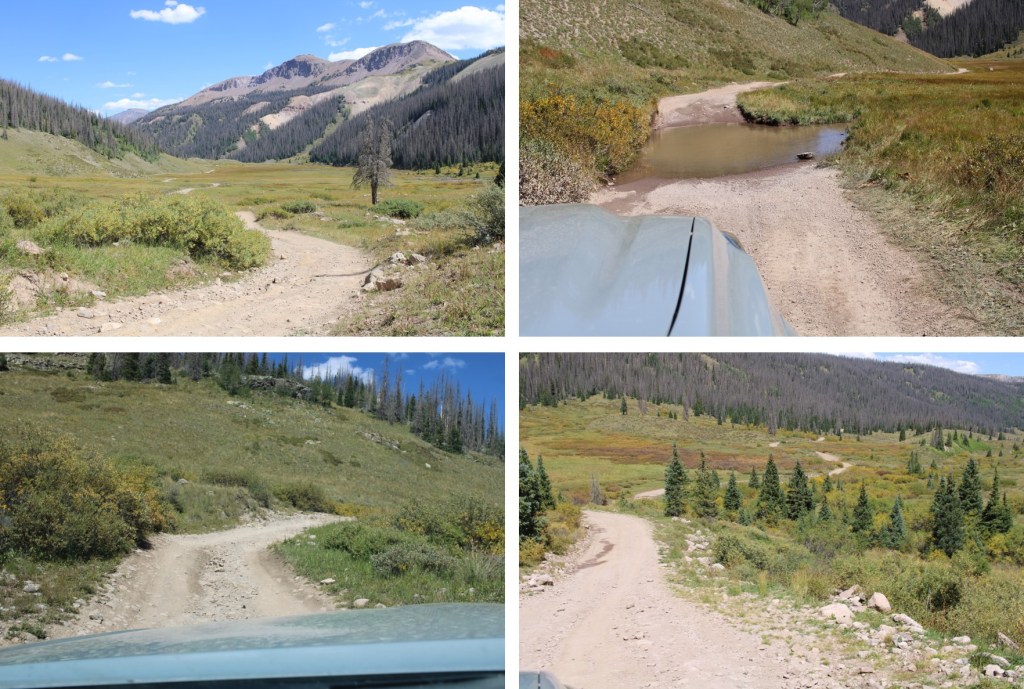
I did this hike in September, when the river crossings were low.  In fact, they were lower than I’d ever encountered them before, and my Tacoma had no problem crossing.

First river crossing:

Then there’s a junction.  Stay right, and take the road that goes towards Beartown

Second river crossing:

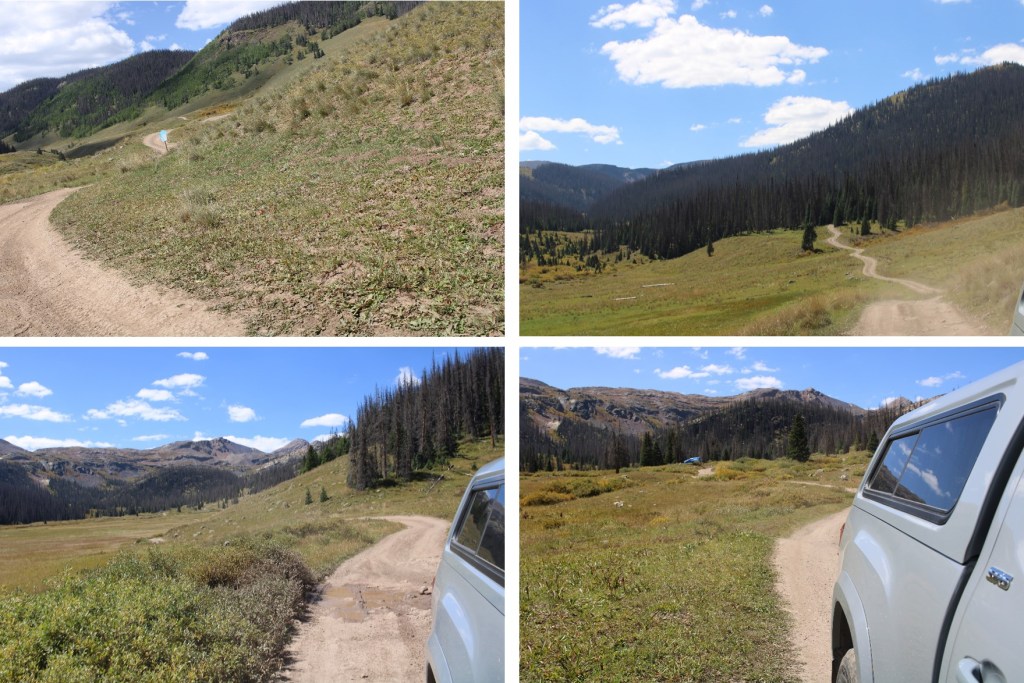
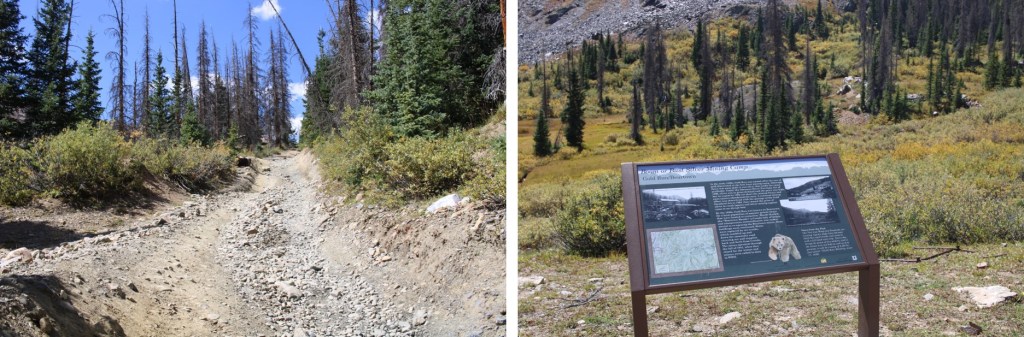
From here you are now on 3A, and the road gets more difficult.  It does feel like it’s been graded recently though, as it wasn’t as bad as I remember it being last year.

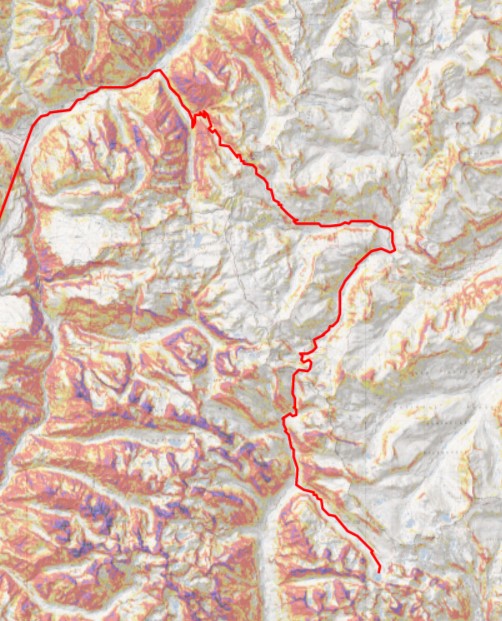
I parked at a nice campsite at 10890’.  My truck could have made it further, but I love my truck, and didn’t want to drive it further down the road. Here’s the topo for the drive in

Now for the approach to Rock Lake.  This entire approach is class 1.

Here are the stats: 

2.7 miles and 1263’ of elevation gain from my parking spot to the top of Hunchback Pass

5 miles and 2349’ of elevation loss from Hunchback Pass to the Rock Lake cutoff

4.8 miles and 1713’ of elevation gain from the Rock Lake cutoff to Rock Lake.

I started out heading southwest along the dirt road (3A), towards the actual trailhead, passing a sign for Beartown along the way.

There were many capable vehicles parked at the trailhead

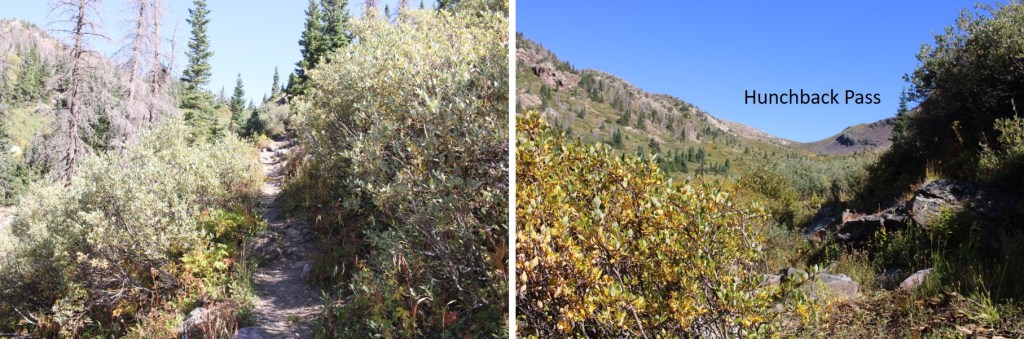
I followed the trail, 813/Vallecito Trail, as it wound its way up towards Hunchback Pass. 

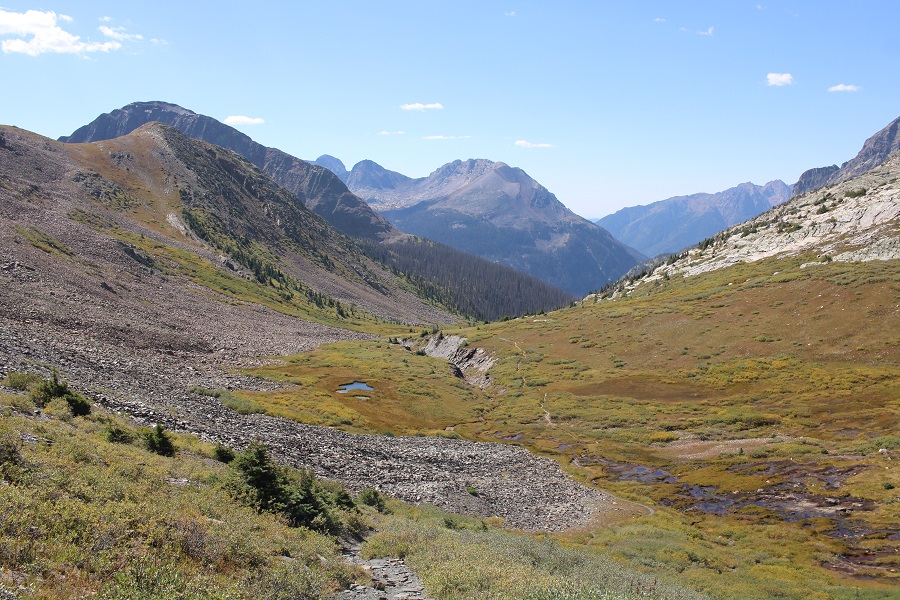
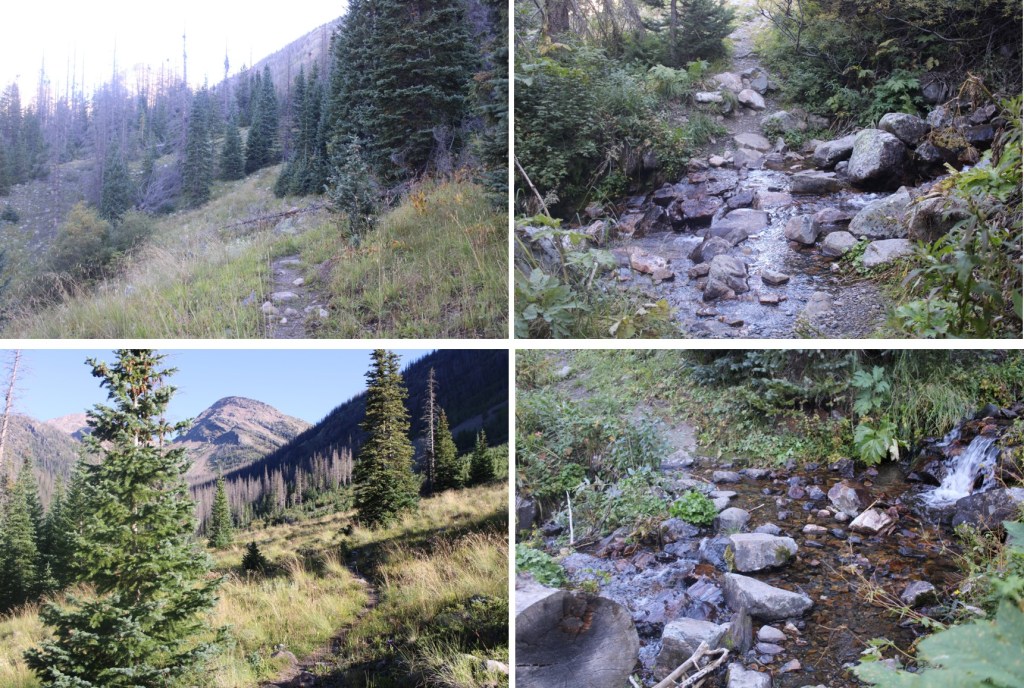
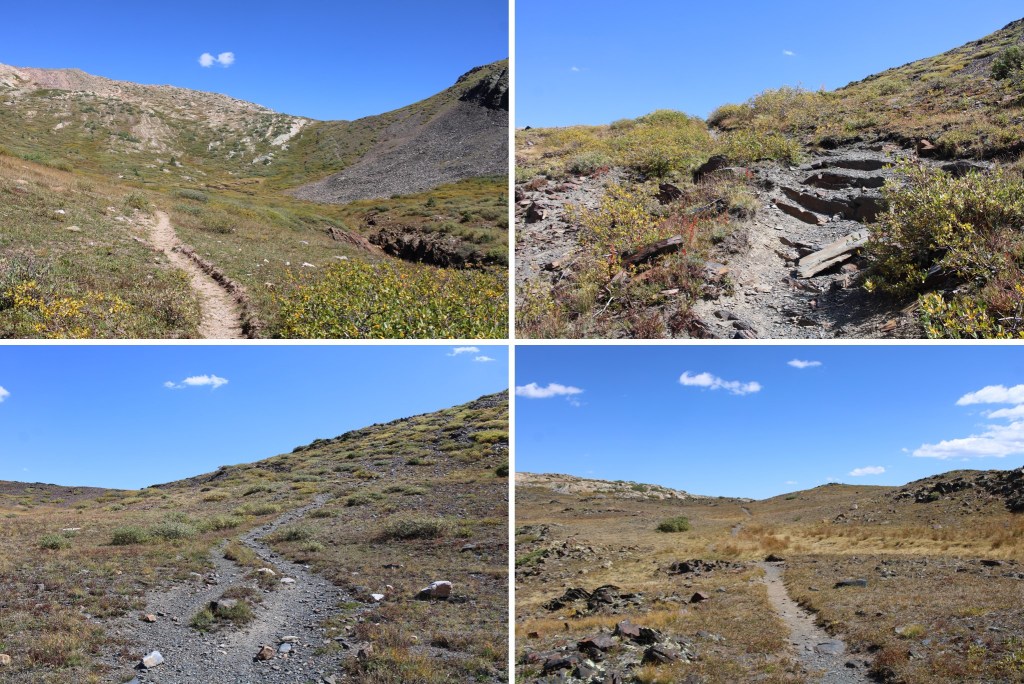
At this point I was above treeline, but that would soon change.  From the top of the pass I descended down into the basin

Encountering willows (bring your rain gear) and re-entering treeline.

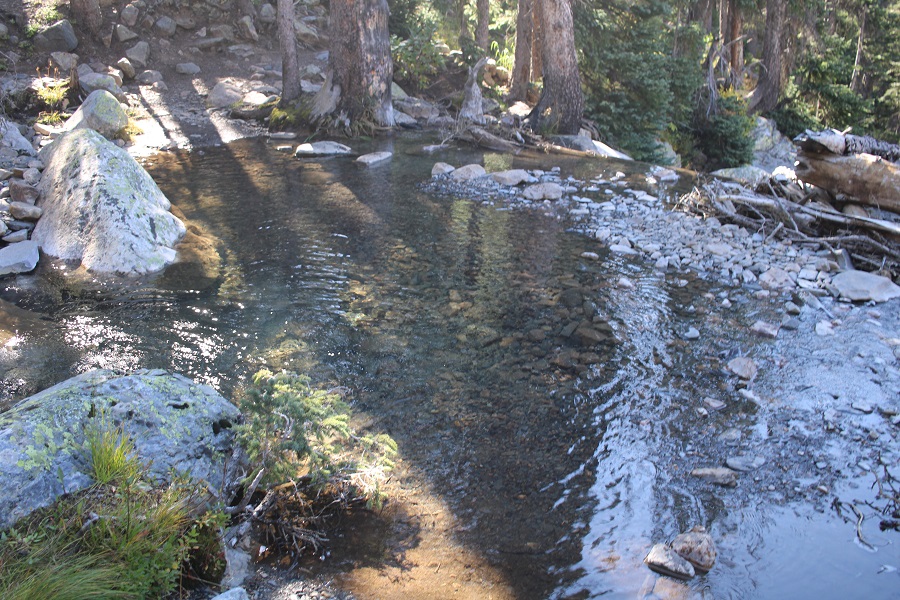
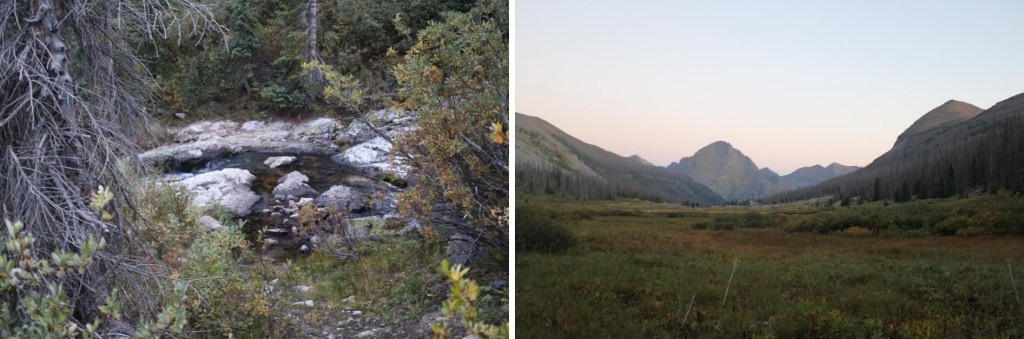
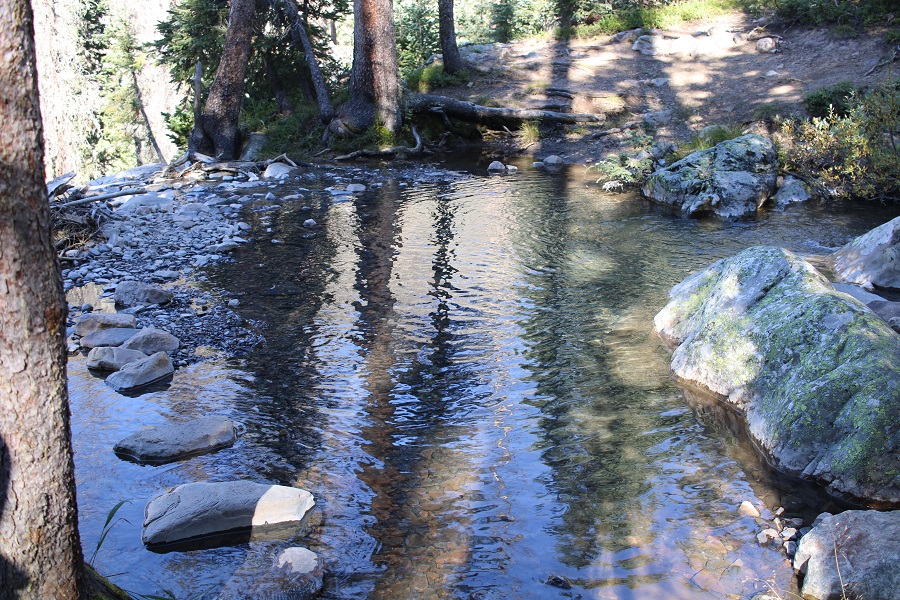
I crossed Nebo Creek, which is a great place to stop for lunch, or to filter water

This is where the downed trees began.  There were dozens of them, but luckily this is also a horse trail, so there were paths already beginning to form around the downed trees.

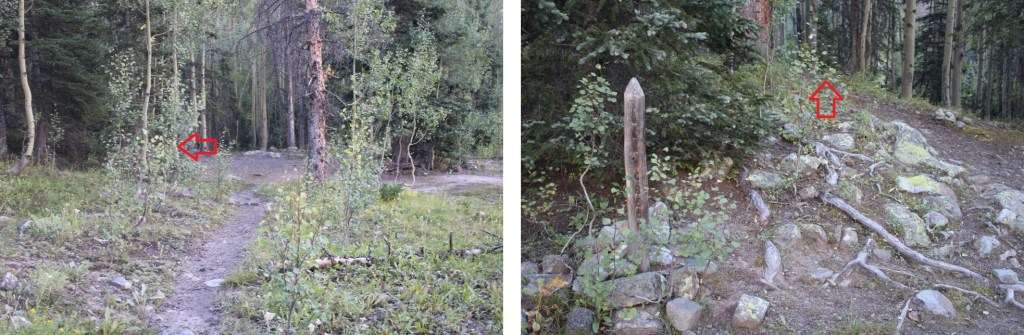
At around 10135’ I came to the junction for the Rock Creek Trail.  It’s marked by a wooden post, and easy to miss in the dark.

I turned left, and followed the Rock Creek Trail

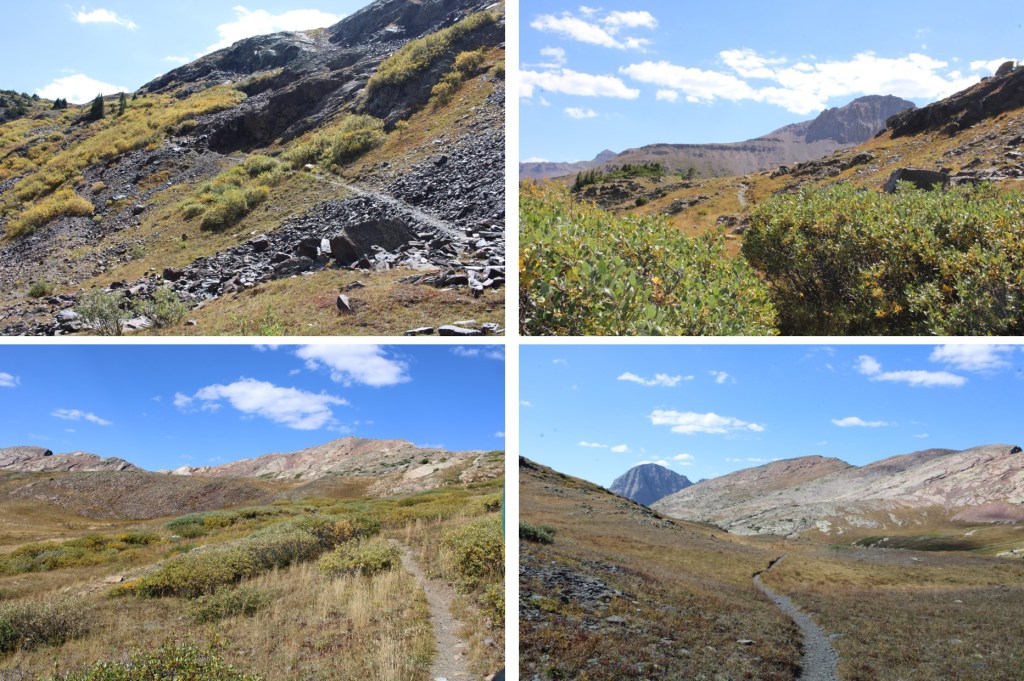
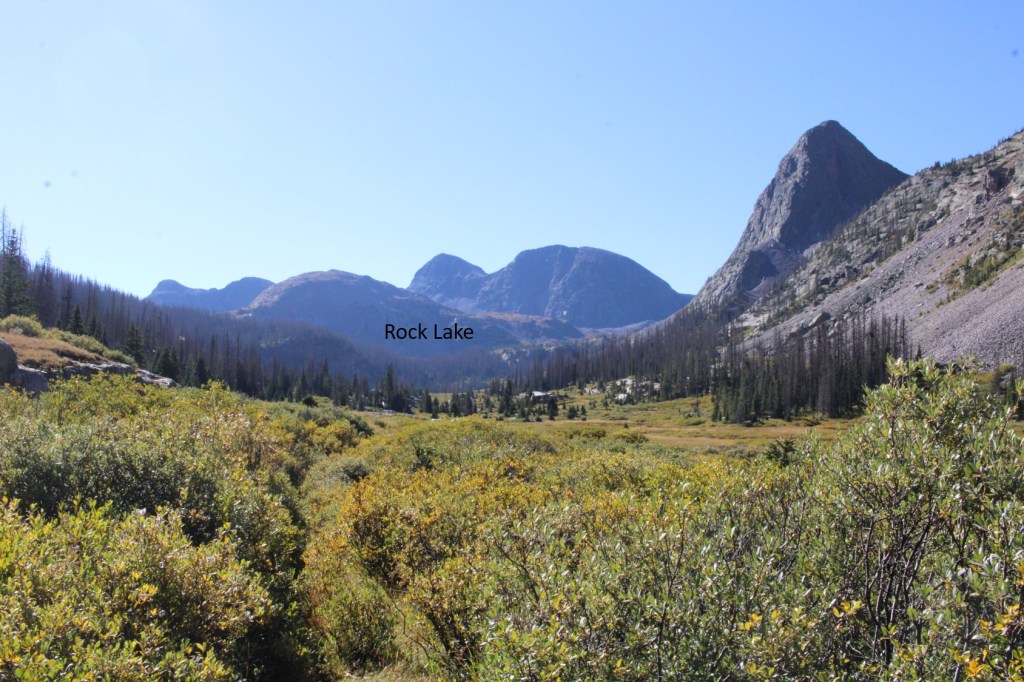
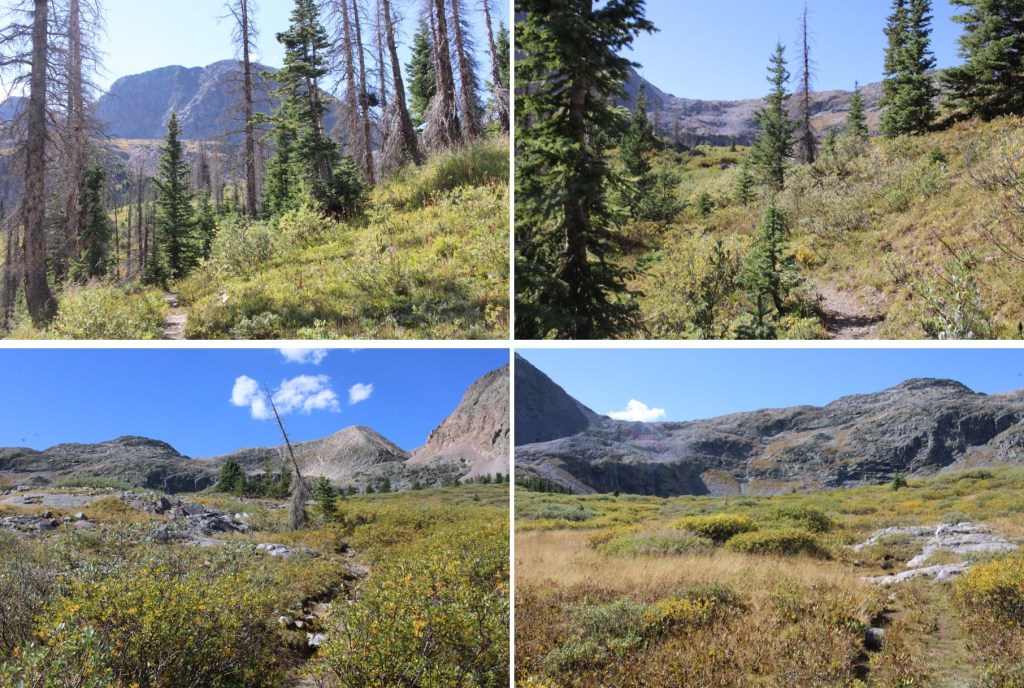
The trail was easy to follow as it gained elevation, heading southeast, paralleling Rock Creek. I entered a wide basin (where I’d been charged by a bull moose on a previous trip to the area), and headed through willows towards Rock Lake.

The willows gave way to trees and switchbacks

Which gave way to more willows

At the end of the willows, was Rock Lake.  From where I parked, it was a total of 12.51 miles with 3044’ of elevation gain to Rock Lake

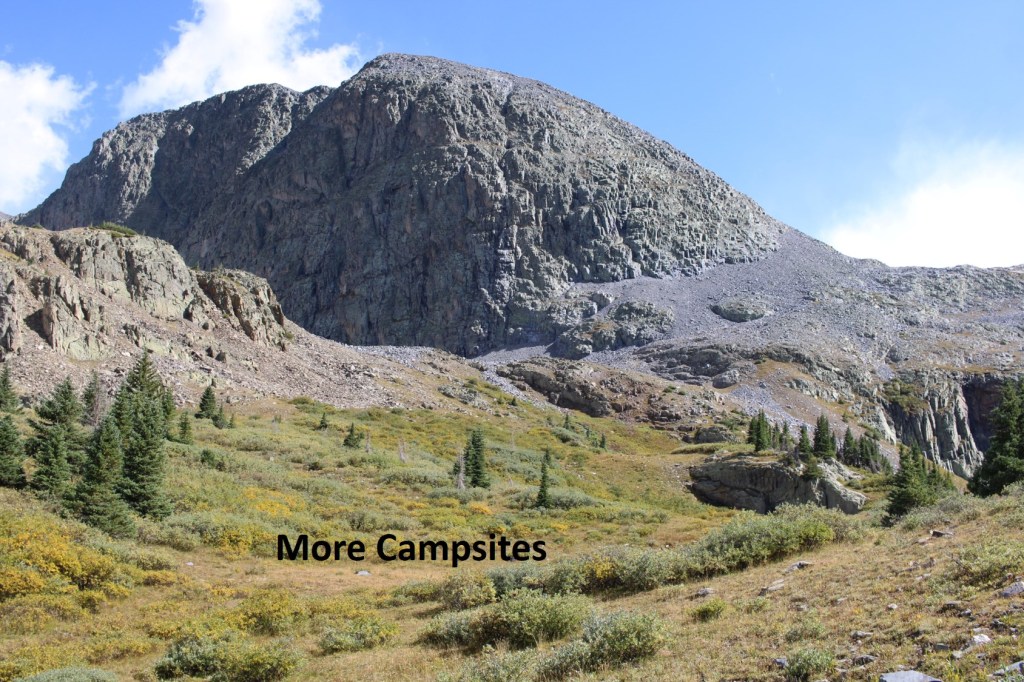
There are tons of places to set up camp directly in front of the lake, but also on its east side.  If you see campers set up on the north shore of the lake, realize there are many, many more along the trail ahead as well (hikers left).

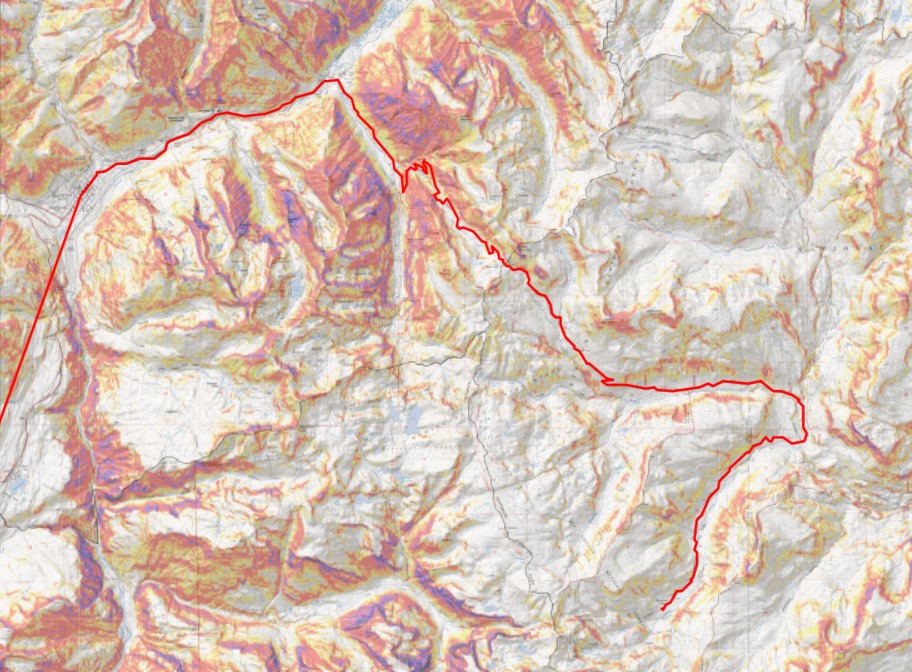
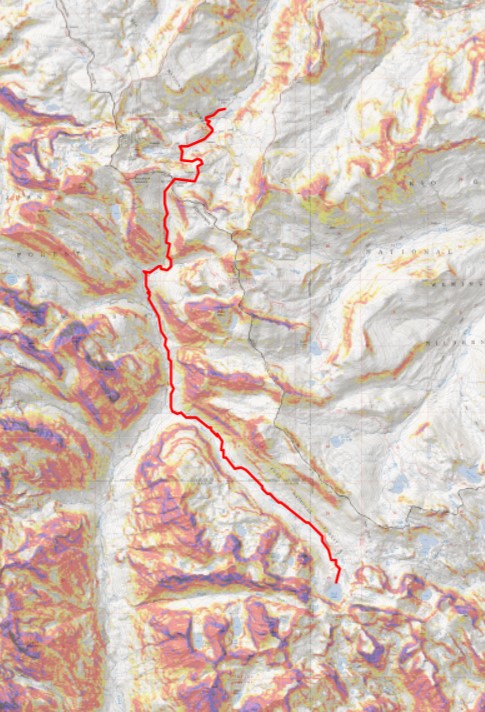
Here’s my topo map for the route in from Beartown

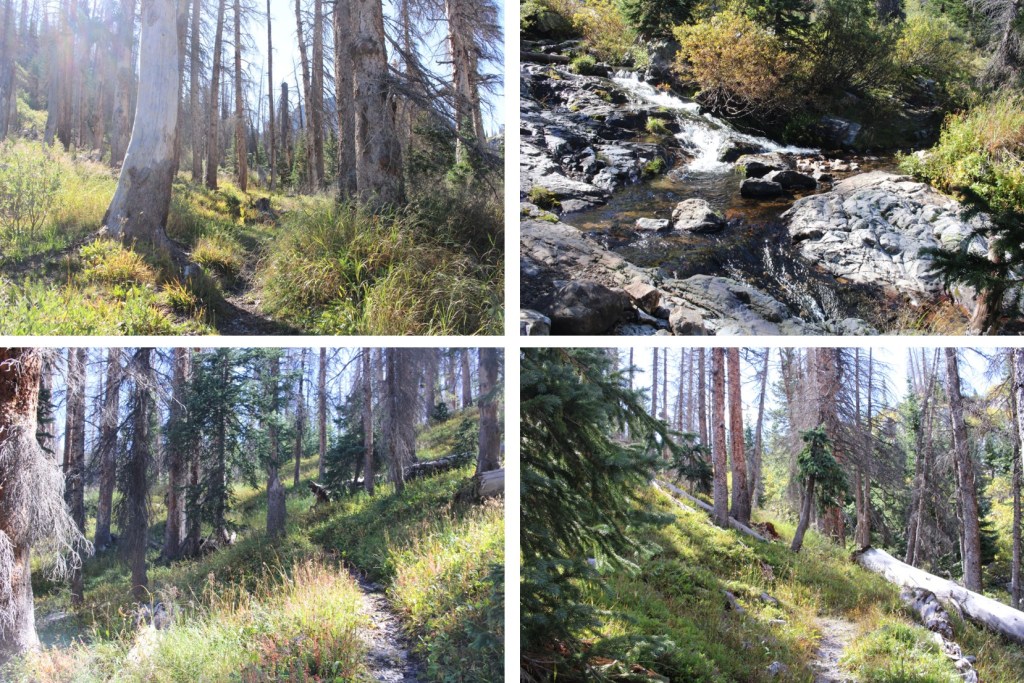
And now some pictures of the way out, from Rock Lake back to the Vallecito Trail.

Back at the junction I turned right, and followed the Vallecito Trail.  At this junction, there’s a great place to camp (if needed).

Now for the fun part:  2350’ of elevation gain back to Hunchback Pass

I re-crossed Nebo Creek

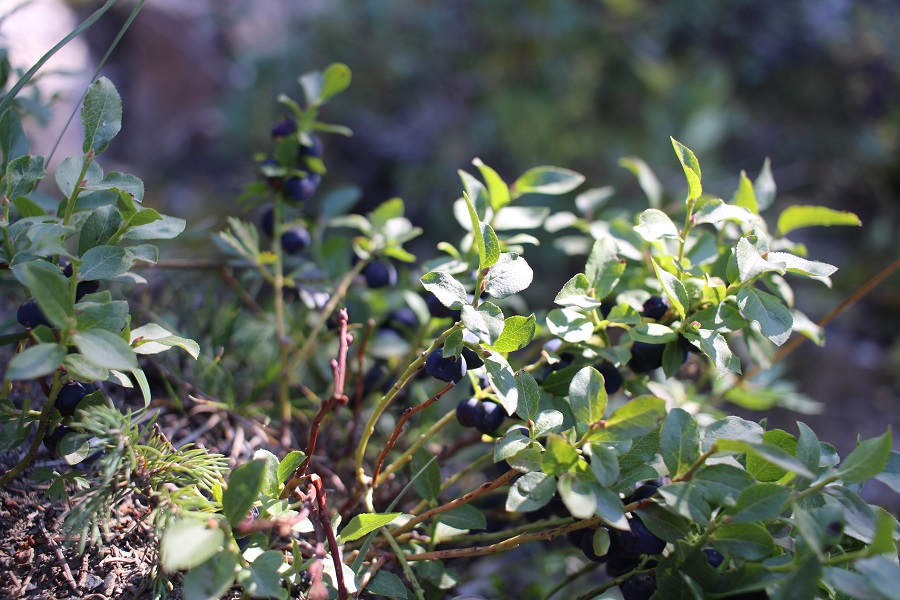
And came across tons of wild strawberries, raspberries, and blueberries.  Since it was September, they were all ripe, and a great snack halfway back up the pass

I re-entered willows, and followed them towards Hunchback Pass

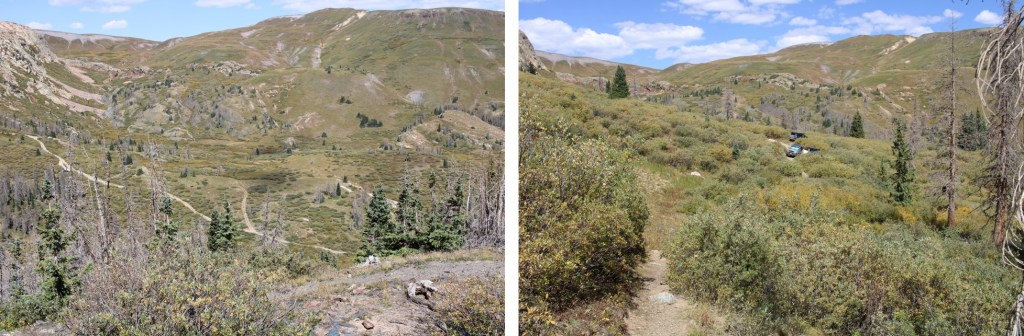
From the top of the pass, I headed back to the trailhead

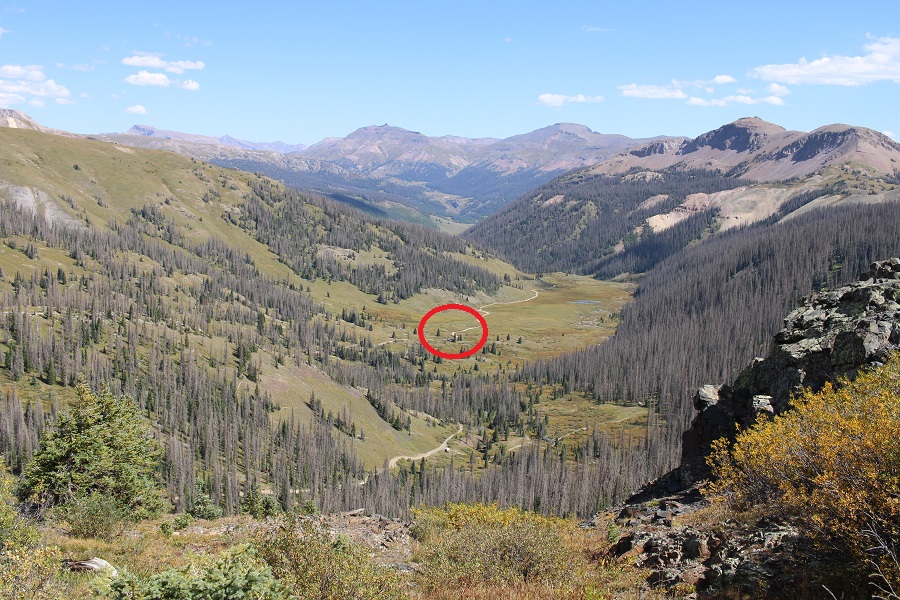
From here you can see where I parked my truck

Back at the trailhead, I followed the 4WD dirt road back to my truck

When I got back, I found another vehicle parked in the campsite alongside mine, ready to combat those pesky marmots (I saw several on my drive out).

Here are some pictures of the drive out.  Remember, it’s all left turns now to get back to Silverton.

After Stony Pass I came across a rather large herd of domestic sheep grazing on the hillsides

Here’s my topo map for the entire route

As always, please contact me if you’d like a gpx file for this route.