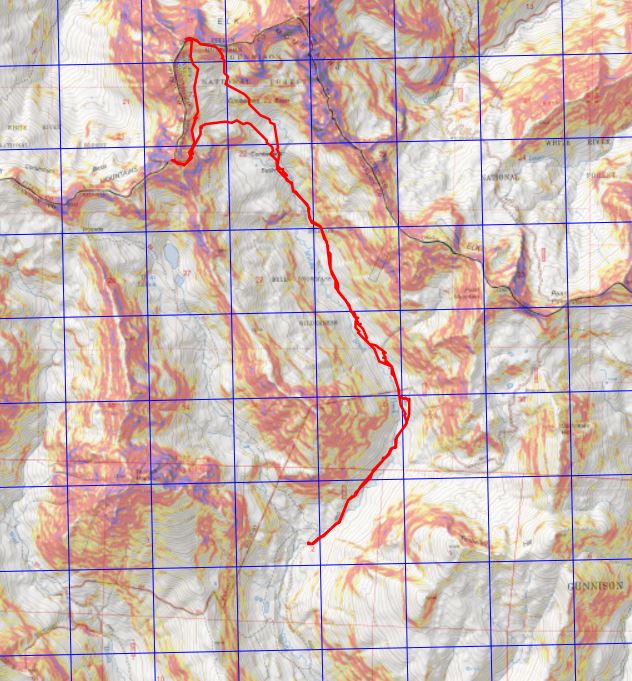
RT Length: 15.2 miles
Elevation Gain: 4393’
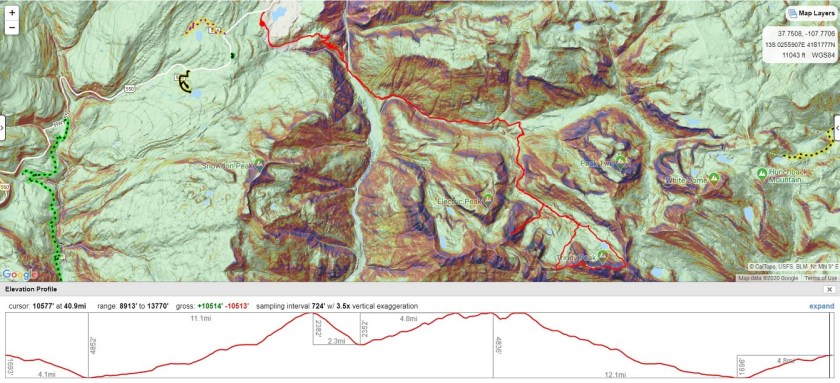
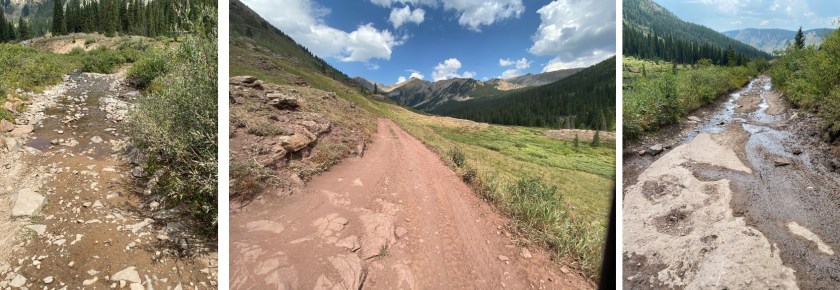
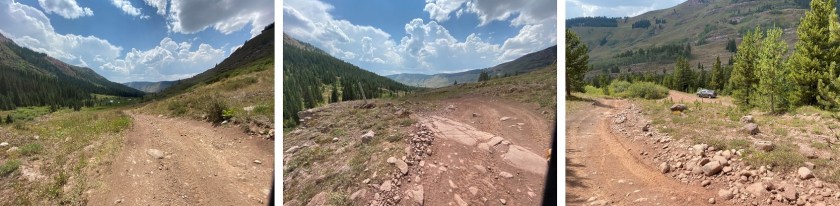
Peal Pass road is no joke. I drove up late at night (a little after midnight) because I had appointments until 7:30pm, and I was glad I’d decided to drive in so late: there were no other vehicles to pass on this road. Also, it was a Monday night, so I’d missed the weekend traffic. I would have been in trouble if I’d met another vehicle on this road: in the 10+ miles I only saw 2 or 3 possible turn out areas. There are many areas that are shelf road with no visibility of vehicles coming from the other direction. There were potholes several feet deep: more than once I got out to make sure my truck could handle the terrain. The stream crossings were only about a foot deep and easily crossable, but committing since you couldn’t see vehicles coming from the opposite direction.
Since it was night the shadows played tricks, but my truck was able to successfully make it to 10,420’ where I parked it for the night at the junction of 738/402. There was a 4Runner in the 2 vehicle lot and I backed in right next to it. My truck could have made it the last mile should I have chosen to drive further. Knowing I was only going to get a few hours of sleep tonight (it was almost 2am) I quickly went to bed and got up at 4:45am. I was no the trail by 5am. The trail heads up and northeast, following the 4WD dirt road.

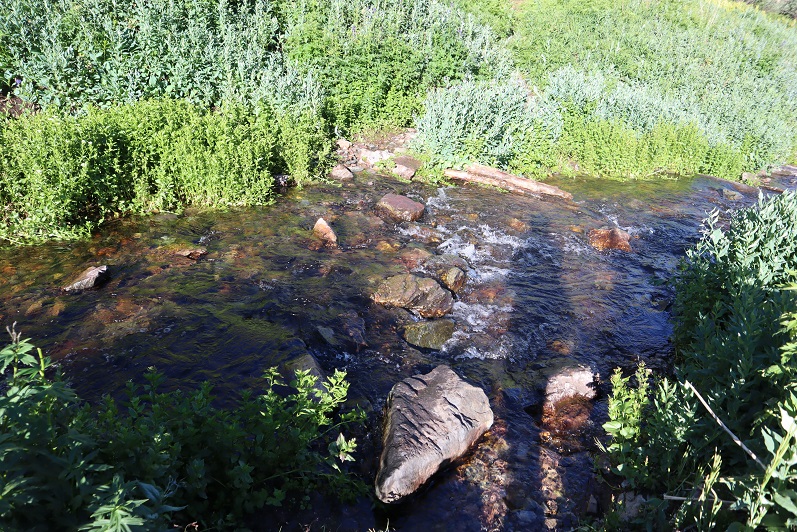
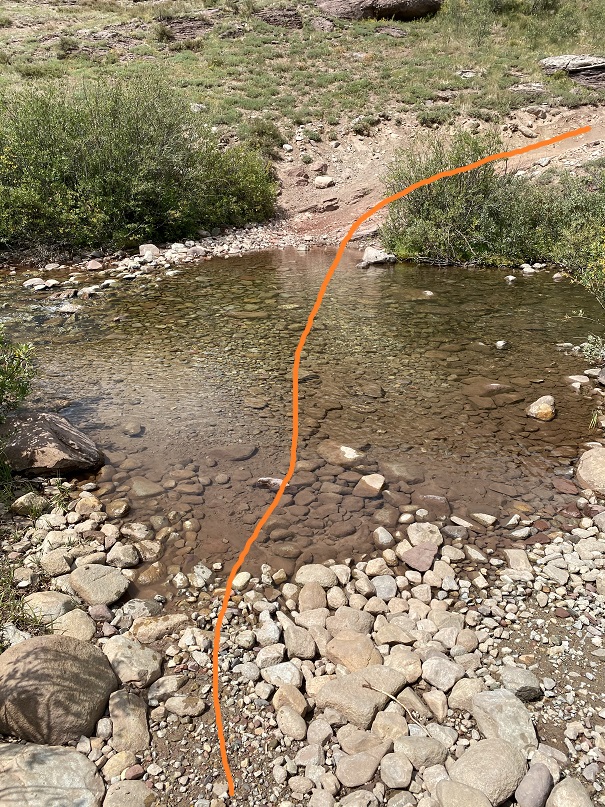
I came to another creek crossing and decided to take off my shoes to cross (I kept them on when I crossed on my way back, as I could see the rocks better)
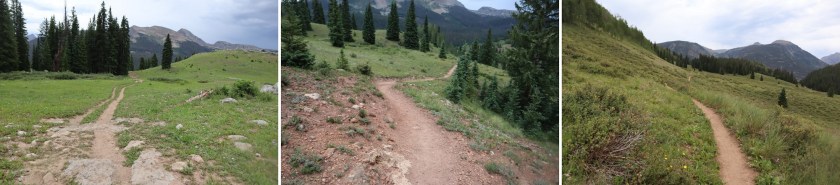
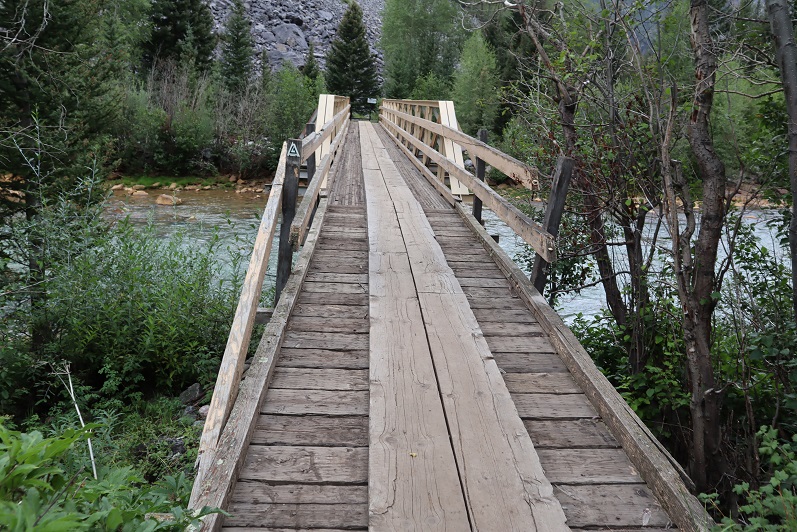
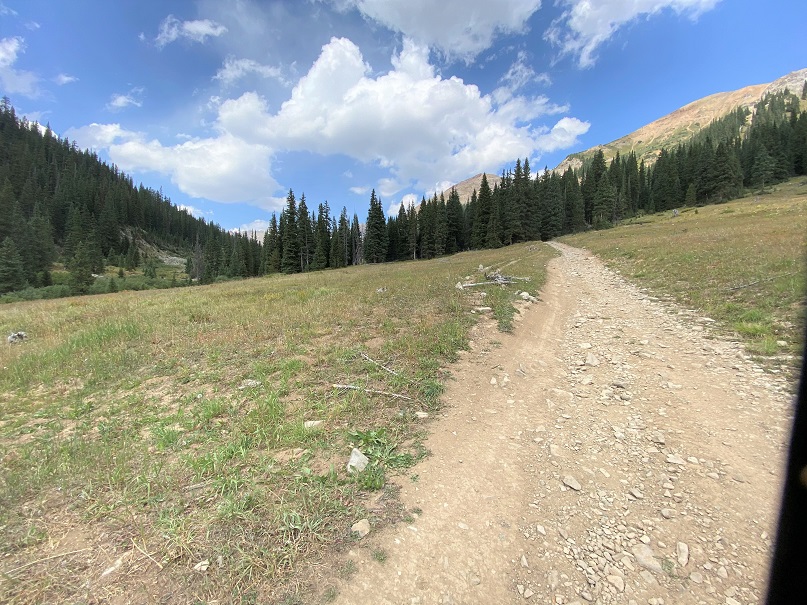
Here’s the rest of the 4WD road
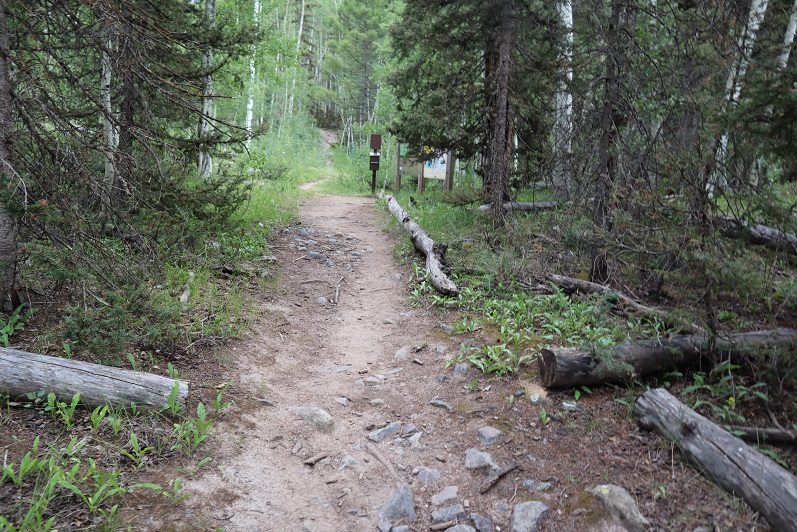
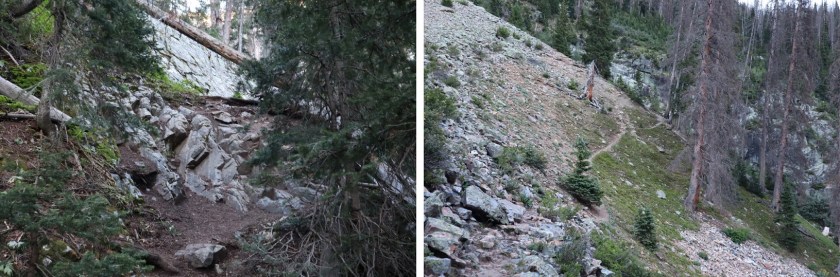
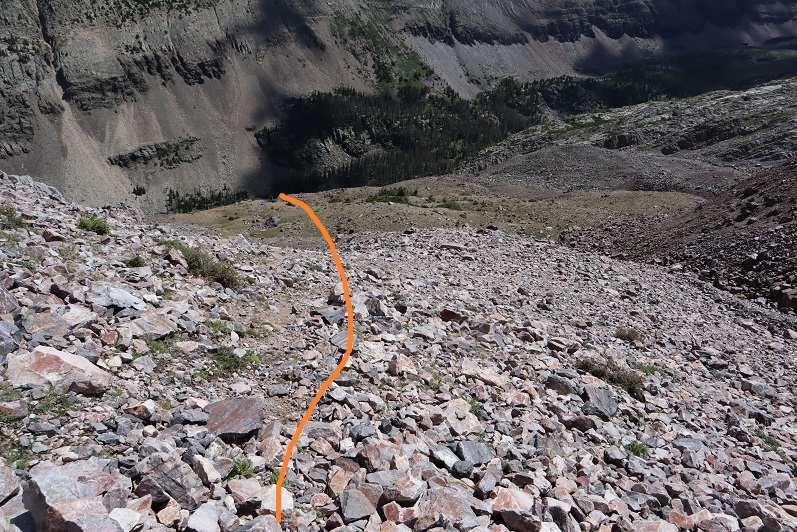
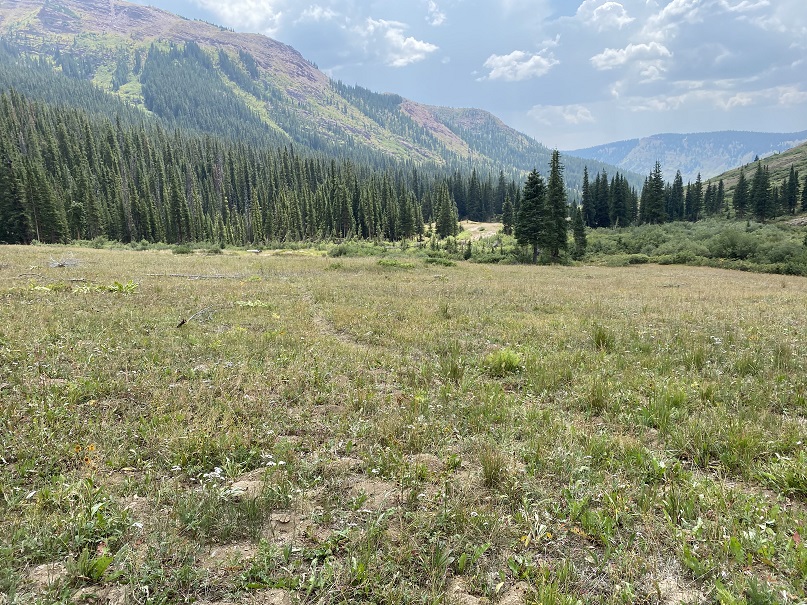
At this point I’d like to stress how much easier this hike would have been had I started in daylight: the trail is faint and hard to find/follow. See the trail?
In the dark I missed it, and continued to follow the road. No worries though, because it was easy to take the road back to the trail when I realized my mistake. Here’s the trail

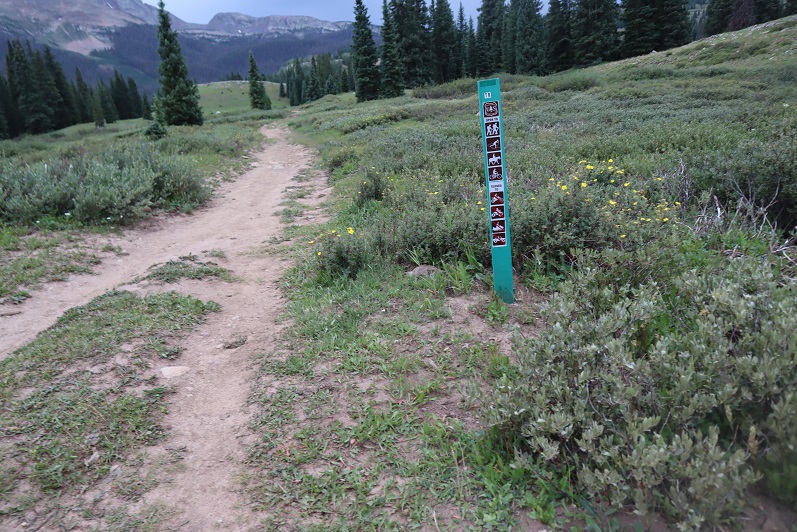
It aims towards the trees where there’s a registration box. It doesn’t look like this area gets a lot of use.

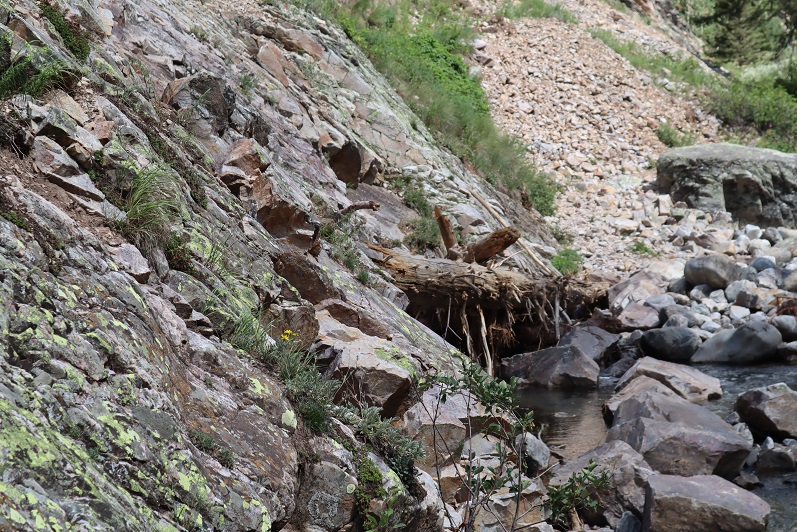
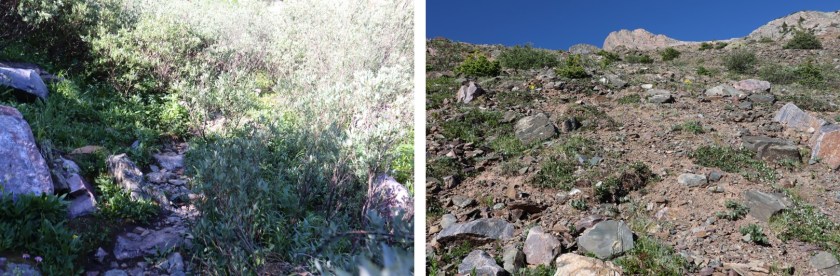
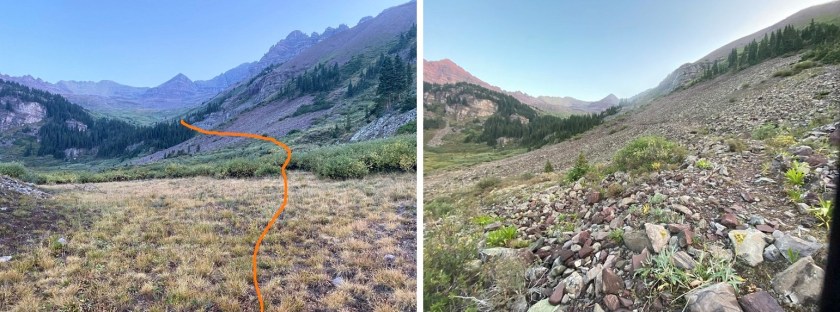
And now I was ready to hit the trail, but this is what I saw

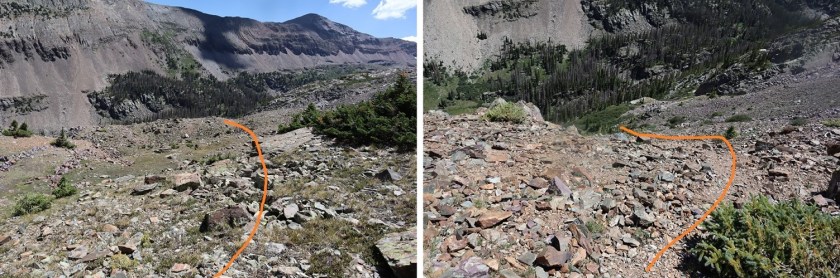
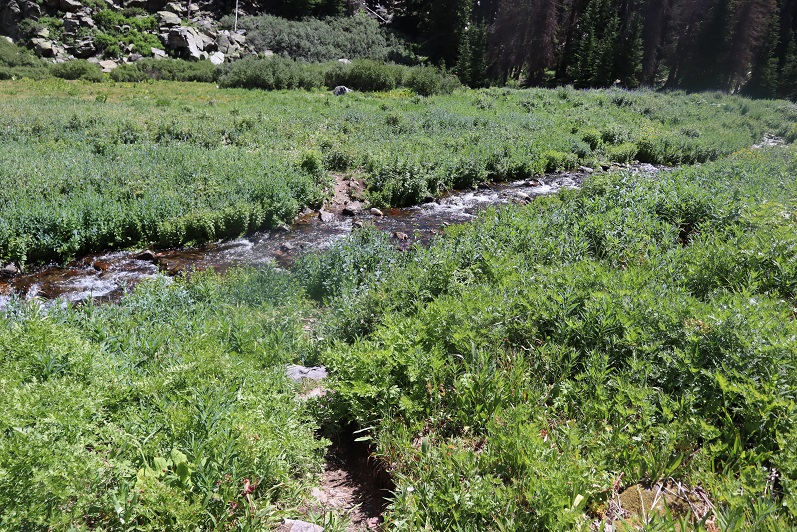
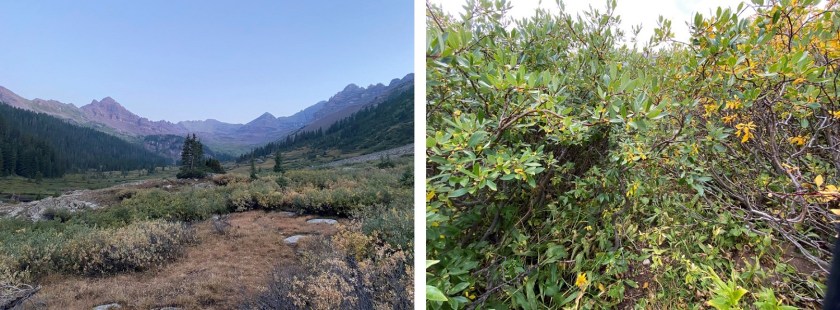
No real trail to speak of. There are a lot of game trails in the area, which can be both helpful and confusing. I’ll save you the misery I went through route finding in the willows/trees in the dark, and give you the description of the clearer trail I was able to follow on the way back. Basically, avoid the temptation to go right into the trees. Stick as close to Middle Brush Creek as you can for the first 1.3 miles after the trail register, keeping the creek and beaver ponds to your left at all times (you’ll never need to cross the creek, but you can stay close).

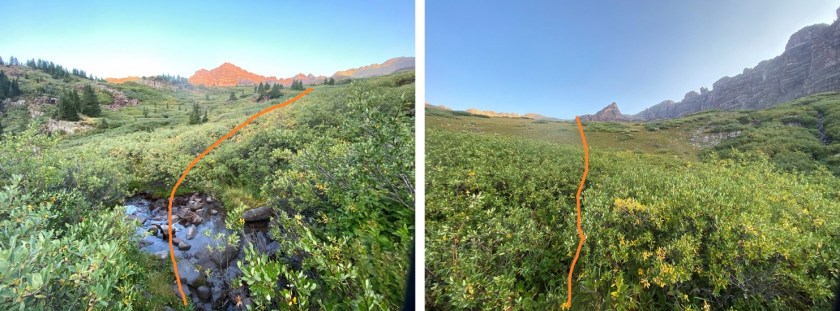
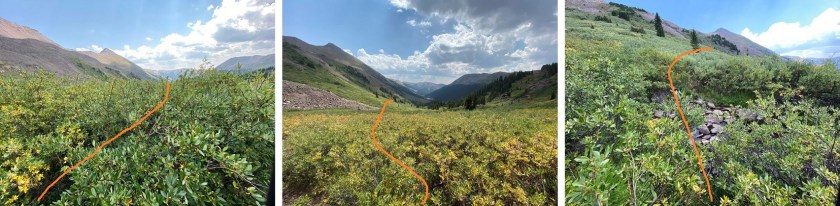
The willows become problematic around 11000’, and these willows don’t quit. They range from 2 feet tall to about 10 feet tall, and where they’re over 4 feet tall they grow over the trail towards each other. There is no clearly defined trail that remains constant, but a lot of game trails that weave in and out.
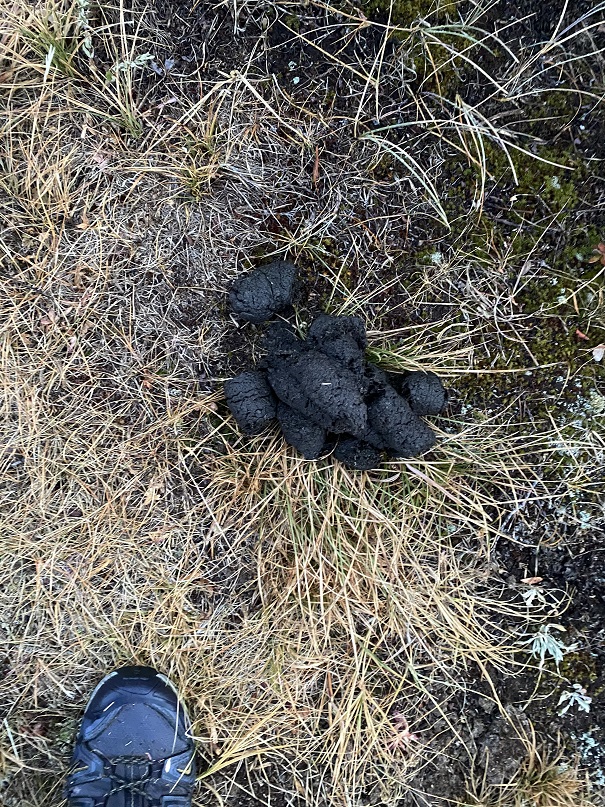
Bears don’t seem to have difficulty finding the trail however
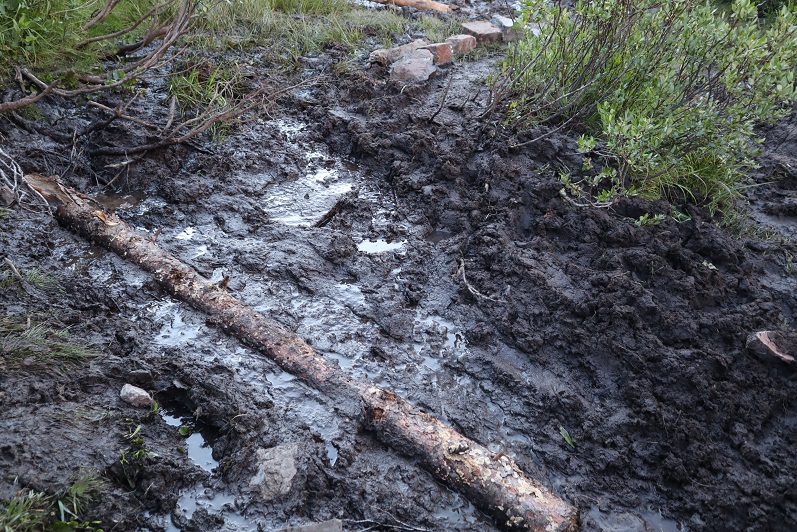
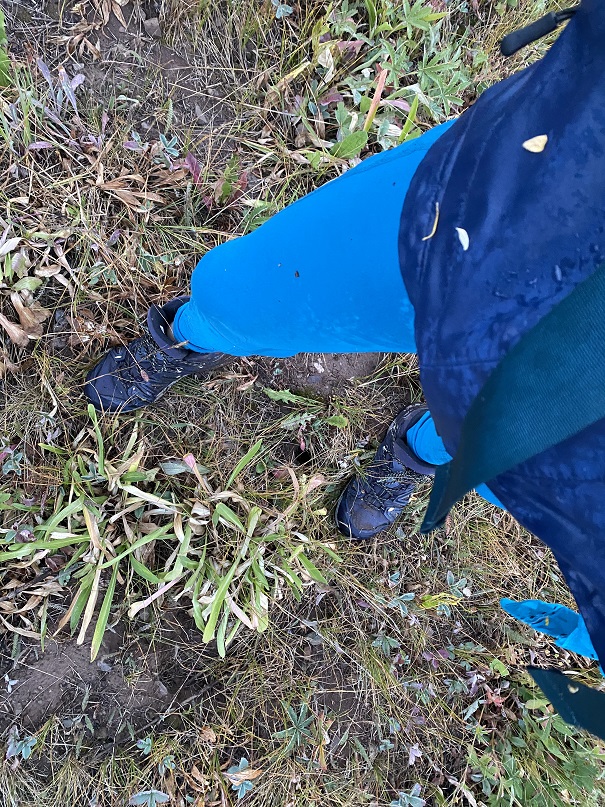
As soon as I entered the willows I started getting wet, and I was confused, as it hadn’t rained last night? Within a couple of yards I was dripping with water. My waterproof jacket was soaked, my pants spongy and my shoes were oozing water. I kept getting hit in the face with cold, wet branches and I had leaves covering my clothes. When I got home I noticed I had red streaks where the branches had whipped my legs. Have I mentioned I’m not a fan of willows? I was getting cold, and encouraged the sun to rise. Fast.
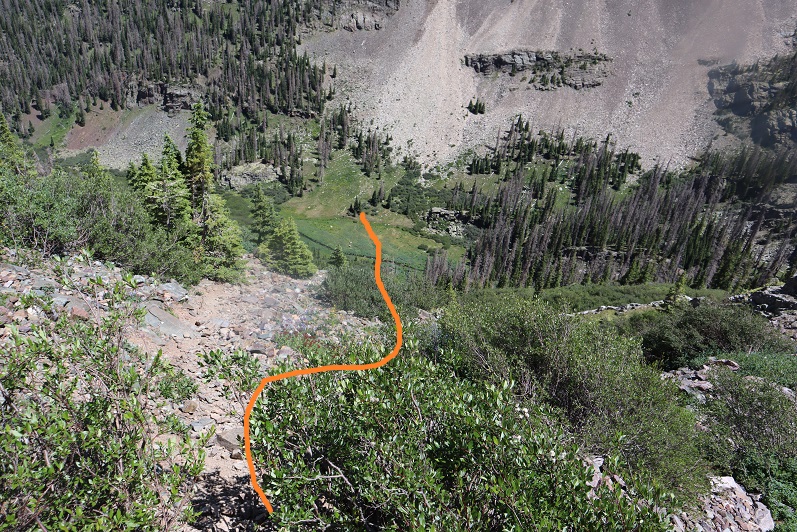
After wretchedly whomping through the willows, and after 4 miles of hiking I came upon a trail to the right (east). I headed towards the trail in the distance and followed it
This was a nice trail through the trees, and then once again, willows.

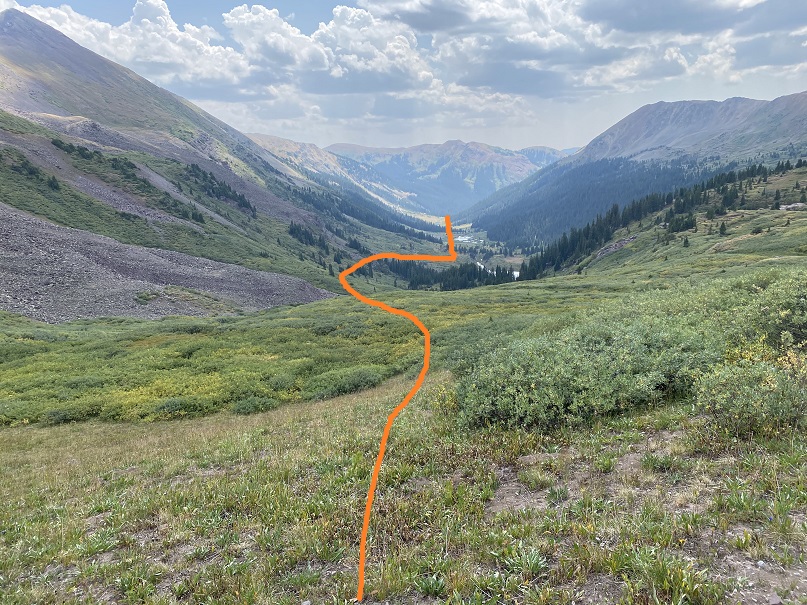
From here the trail is very obscure until you reach the upper basin. The willows have many, many game trails that make accessing the upper basin possible, but time consuming. I just kept aiming northwest, keeping the creek to my left and rejoicing when I found a game trail. I still got hit in the face with willows, but could see a trail below my knees.
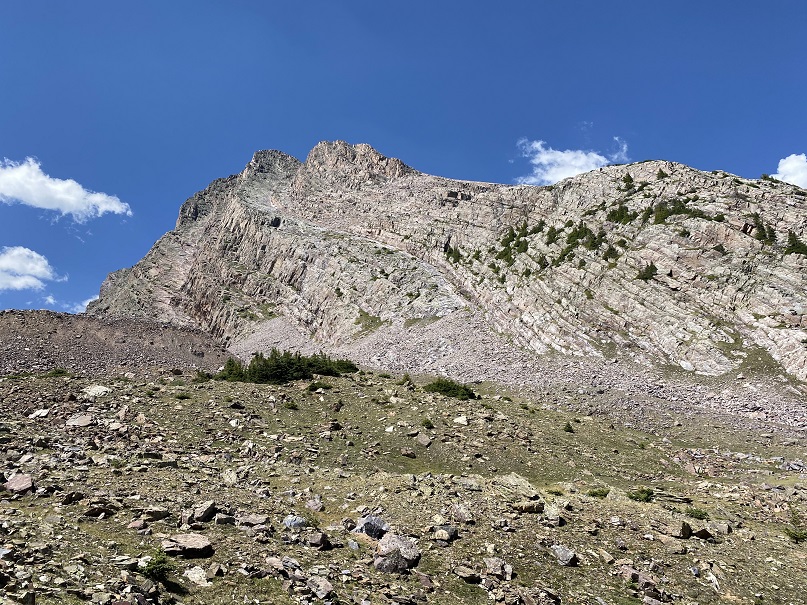
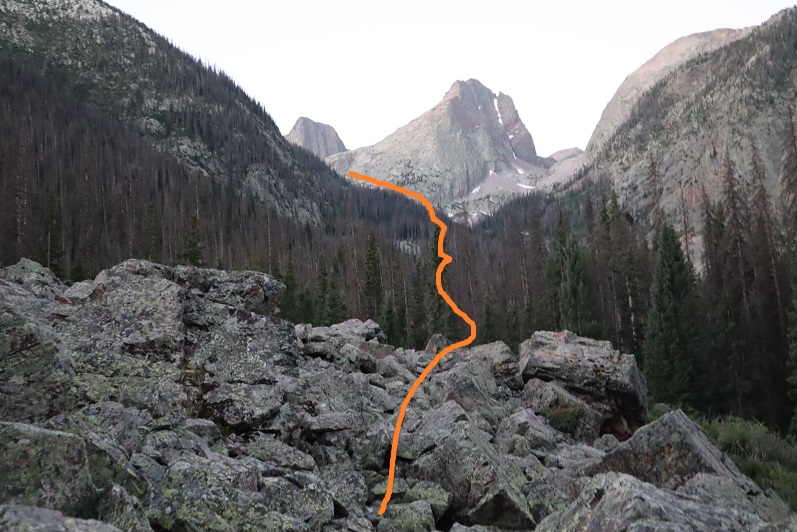
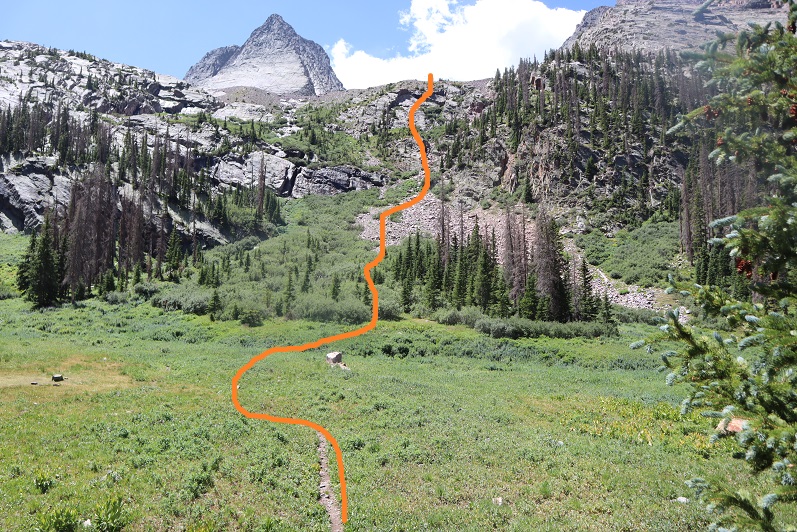
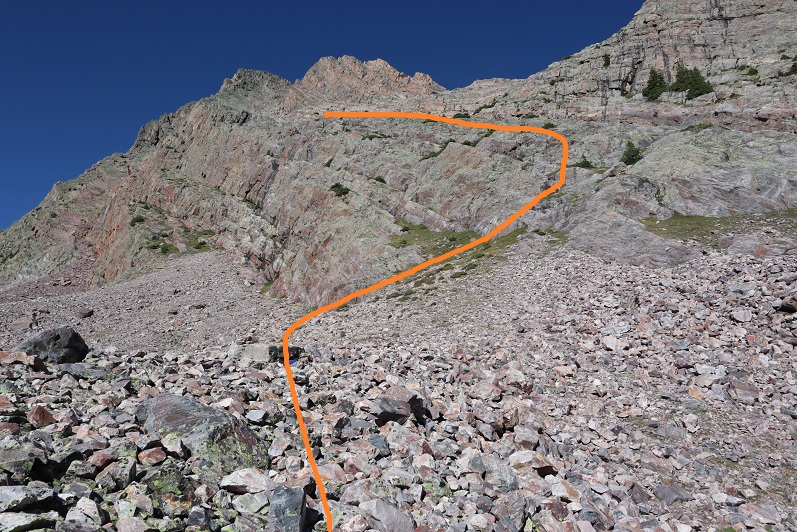
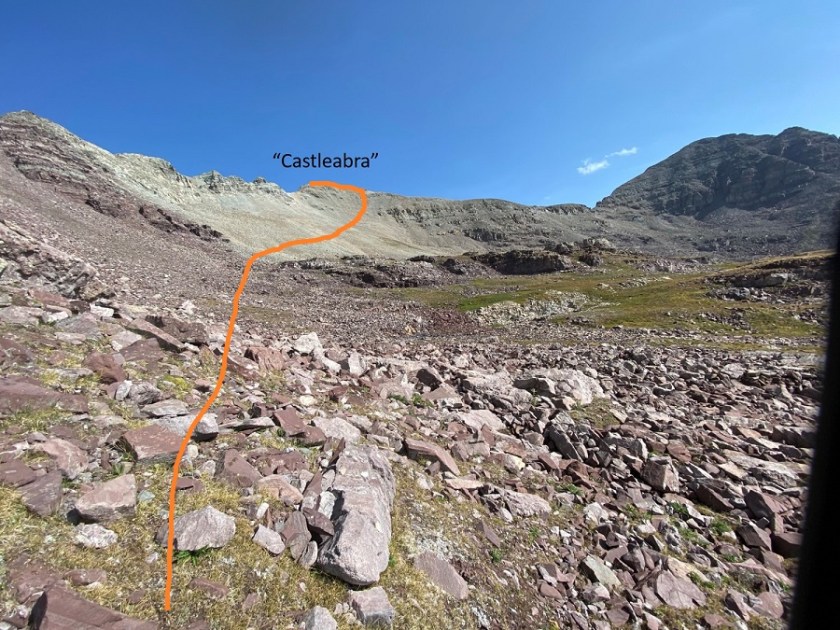
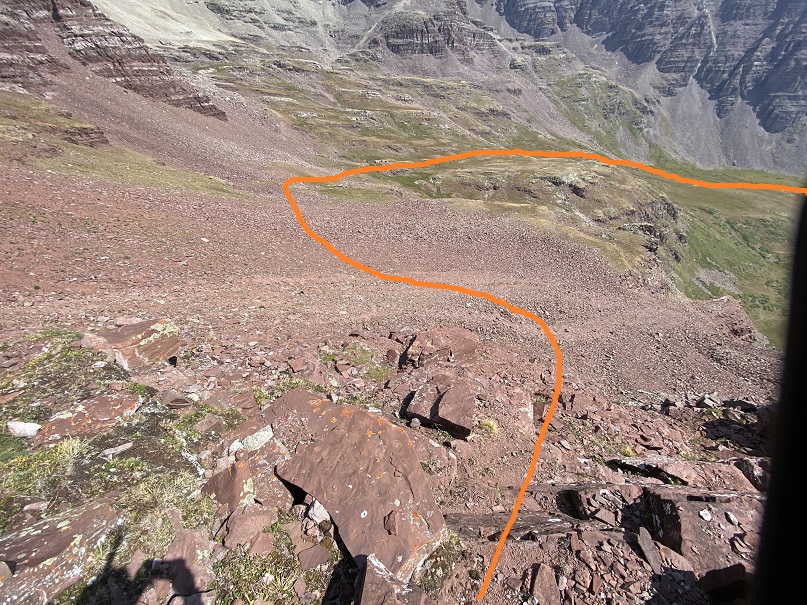
I finally made it out of the willows at 12000’. Here’s the overall route I took to get to “Castleabra”

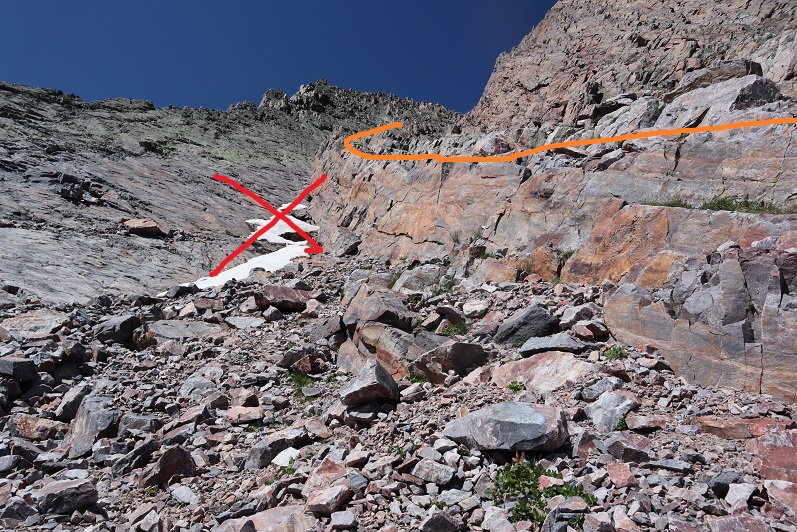
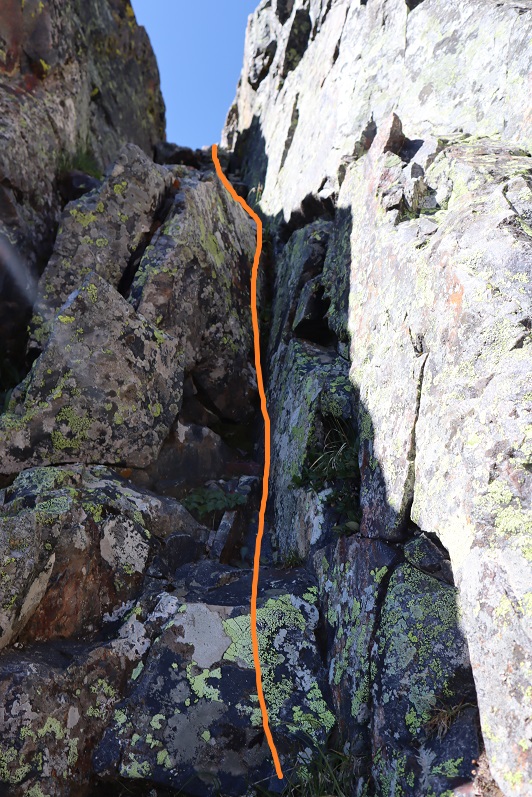
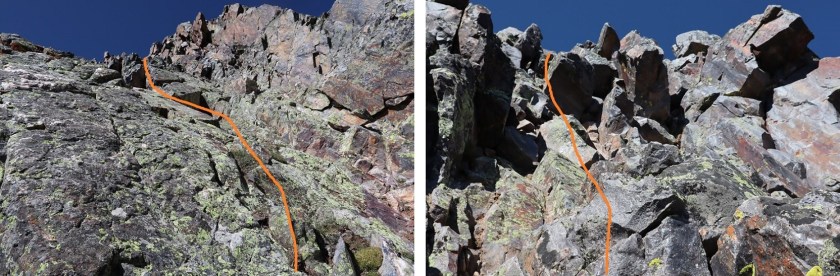
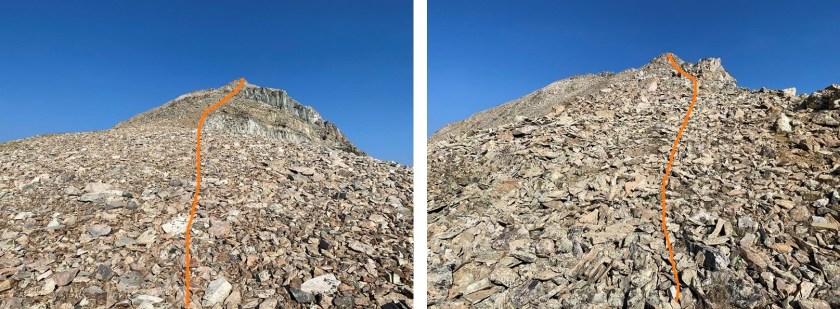
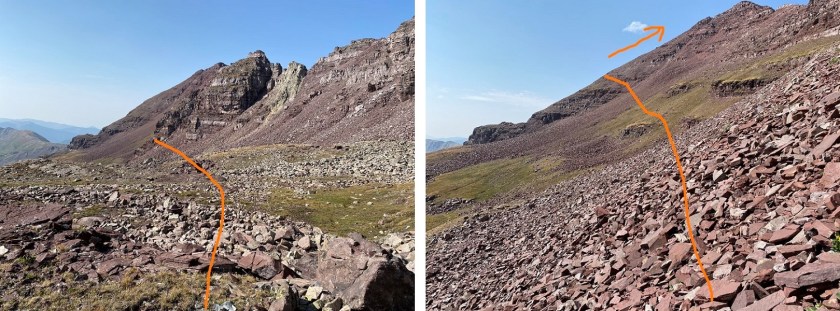
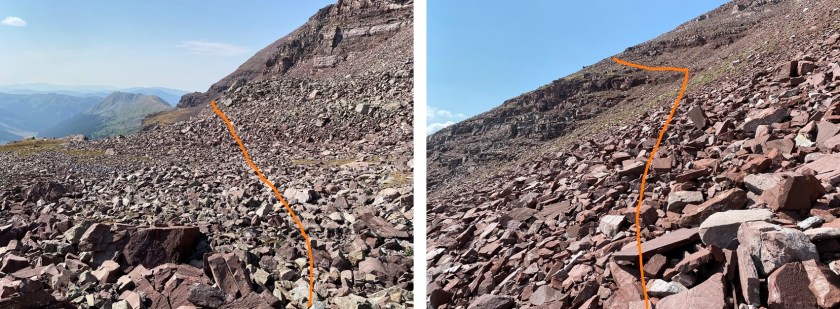
There are several ways to get to “Castleabra’s” ridge. I went directly up the south face, but could have also taken the gully to the right or left. I didn’t do this because there was a herd of about 30 goats having a grand old time kicking down rocks to the right and I didn’t bring my helmet. I was worried the scree would be brutal to my left going up, so I went straight up the middle. Here’s the route up the south face. This is all class 2 on unstable rock, and there are several access gullies. All go, just pick your line.
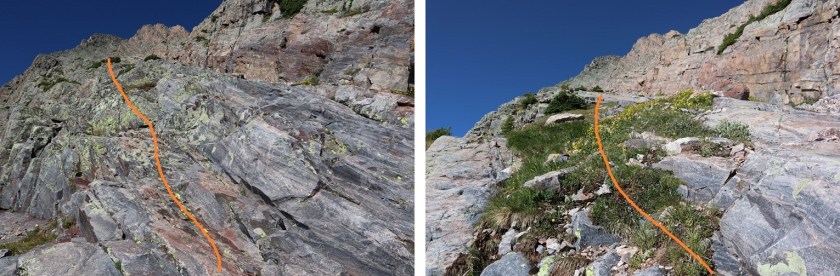
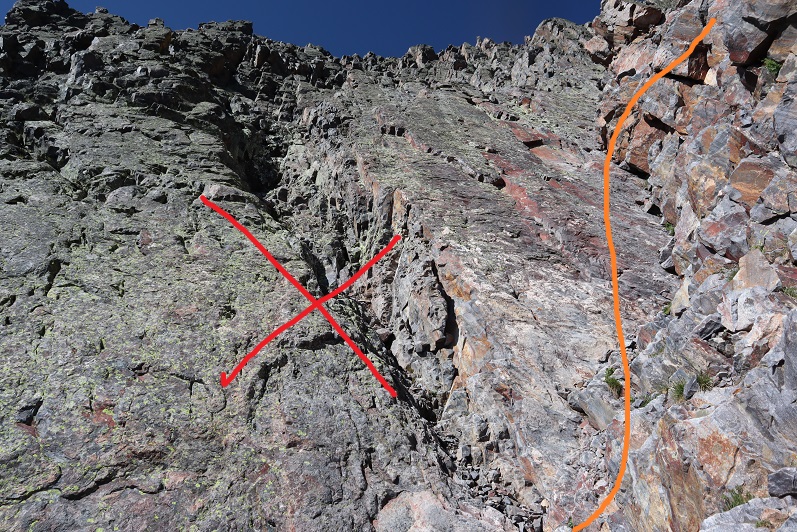
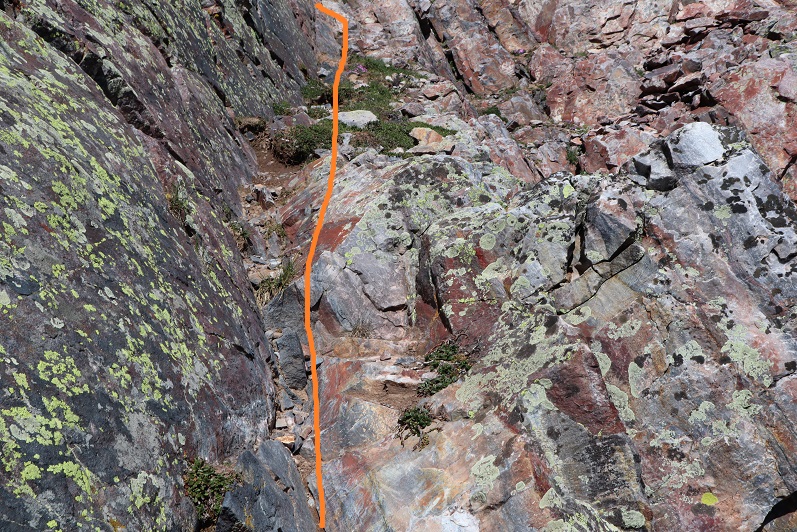
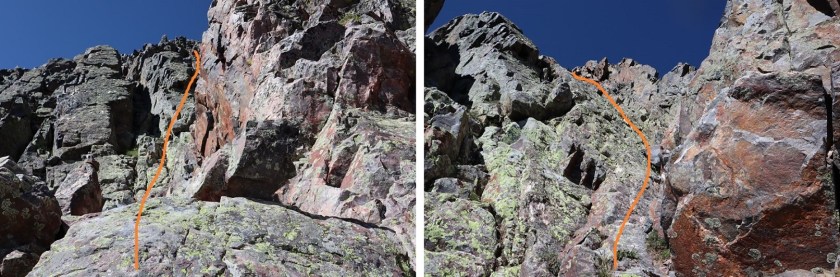
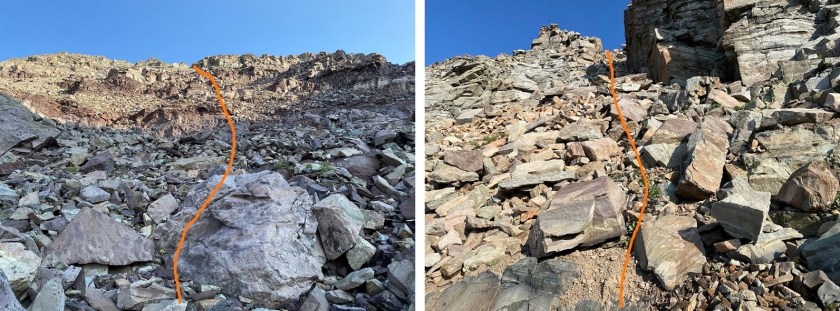 After gullies there’s some rubble to deal with to gain the ridge

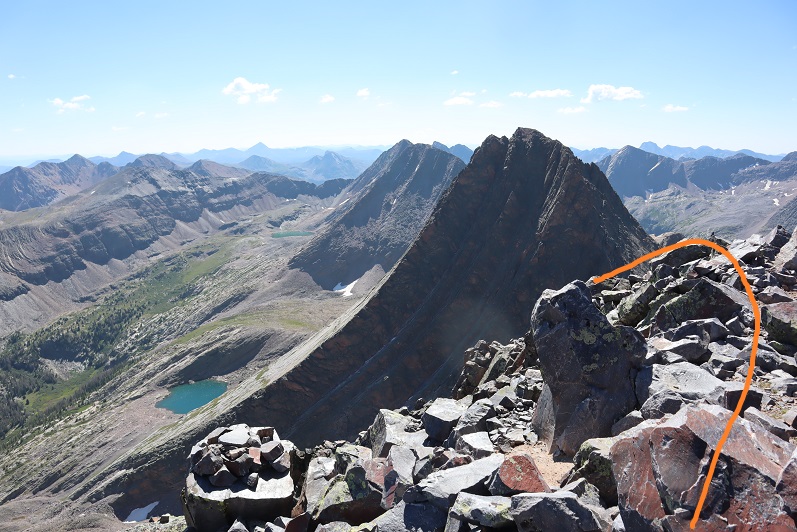
Once I’d gained the ridge I turned left and headed west

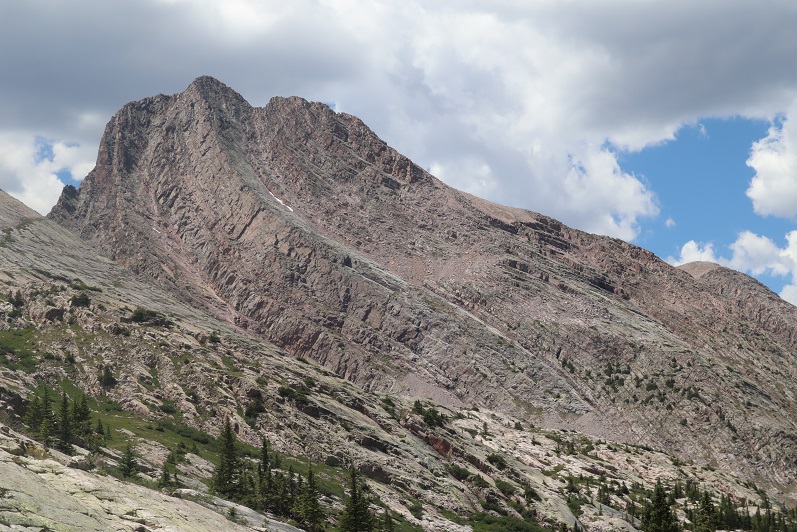
I summited “Castleabra” at 9am. Unfortunately, I’d forgotten my camera at home, so these are all cell phone pics and due to that you get selfies (and sometimes the side of my finger in shots).

Castleabra:
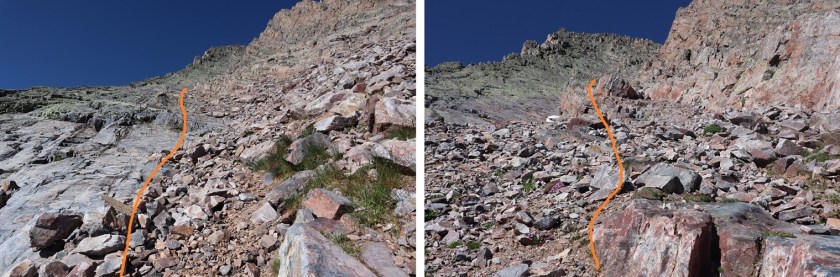
Here’s a look at the route I took in
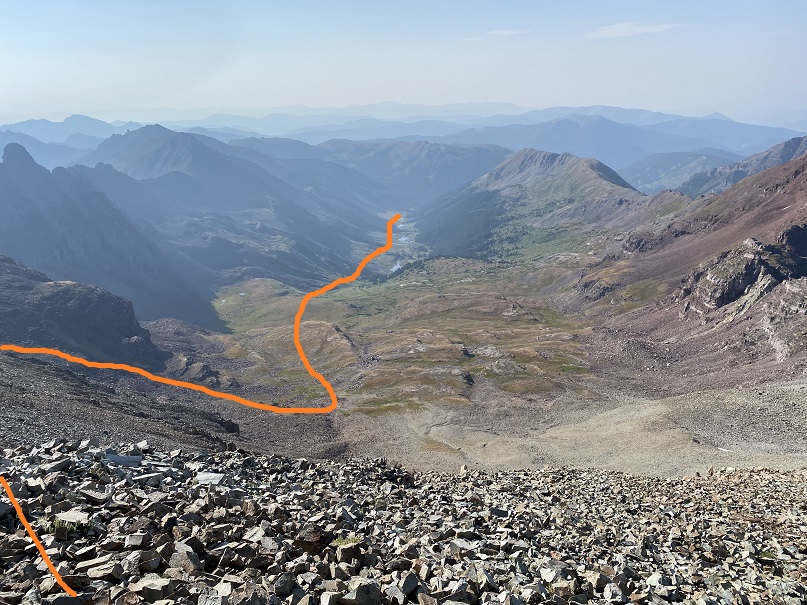
I was making this a loop, adding in PT 13550 as well. To do that I headed back the way I’d came, then angled down the scree towards the basin. There is no solid trail here, and none of the area cliffs out, so you can descend at any time and make your way scree-surfing towards the basin. Here’s the overall route I took
And step by step, back down the ridge

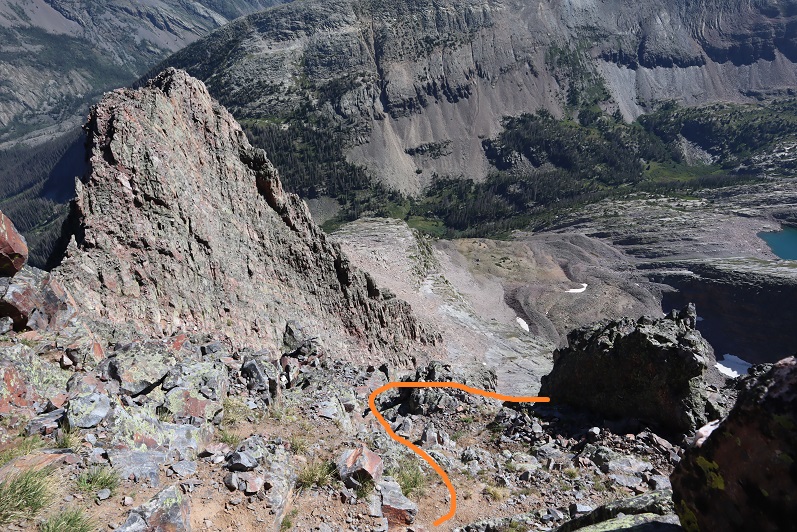
Here’s looking back up at the route I took down from “Castleabra”. As you can see from this photo, there are several options to gain the ridge for this peak, and the entire ridge is class 2.
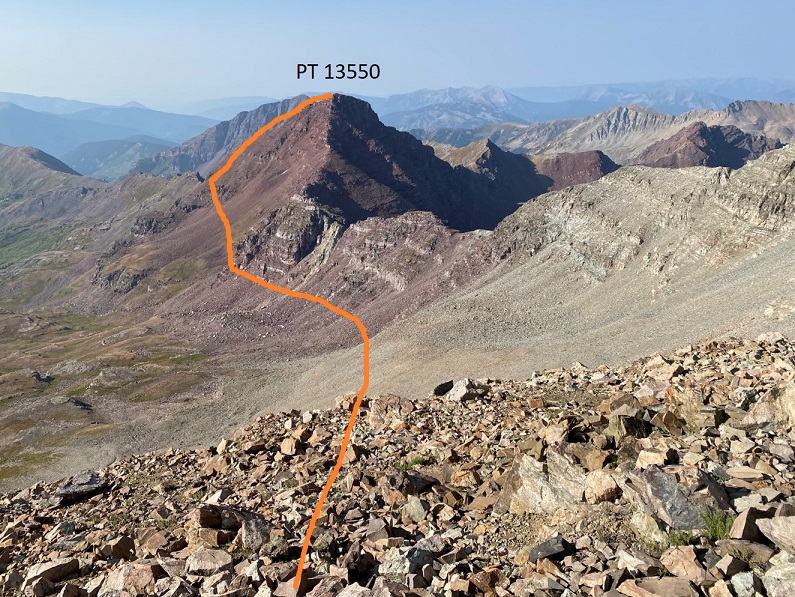
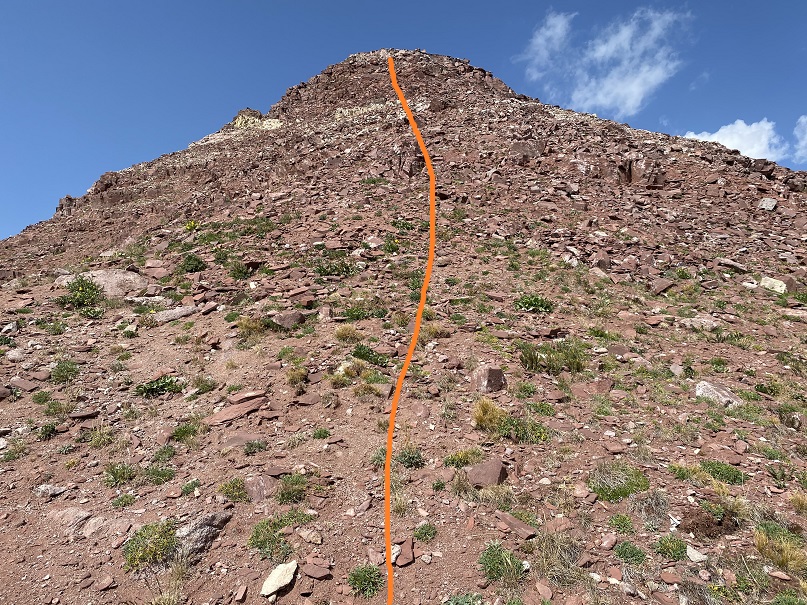
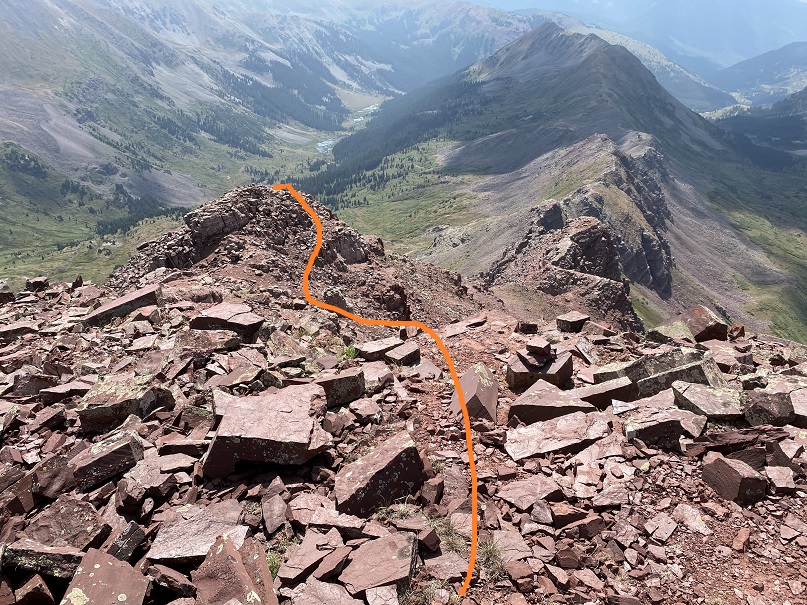
Now on to summit PT 13550. The trick is to stay high and gain the ridge as quickly as possible. Don’t dip down further than you have to, because you’ll just have to re-gain the elevation later.
Once on the ridge it’s loose and rocky but all class 2. I followed the ridge to a false summit

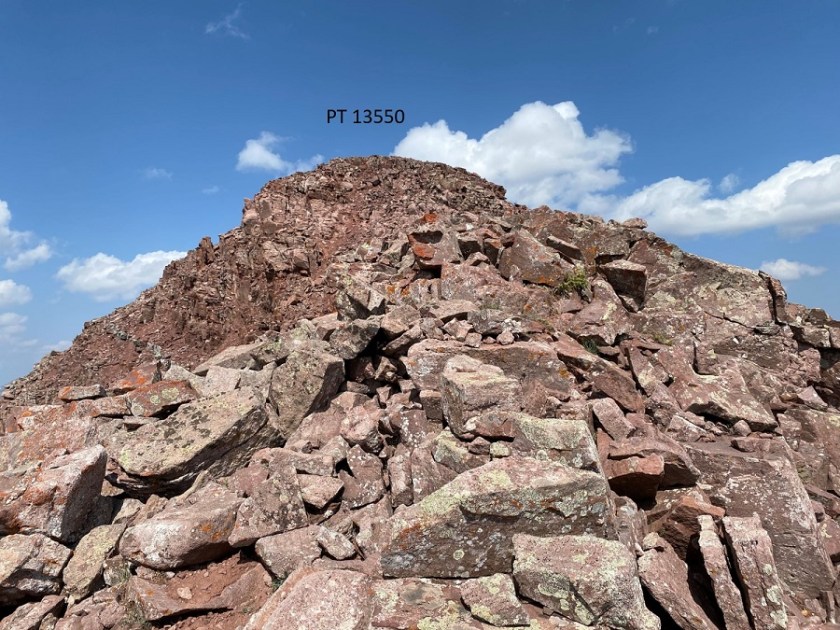
I summited PT 13550 at 11am
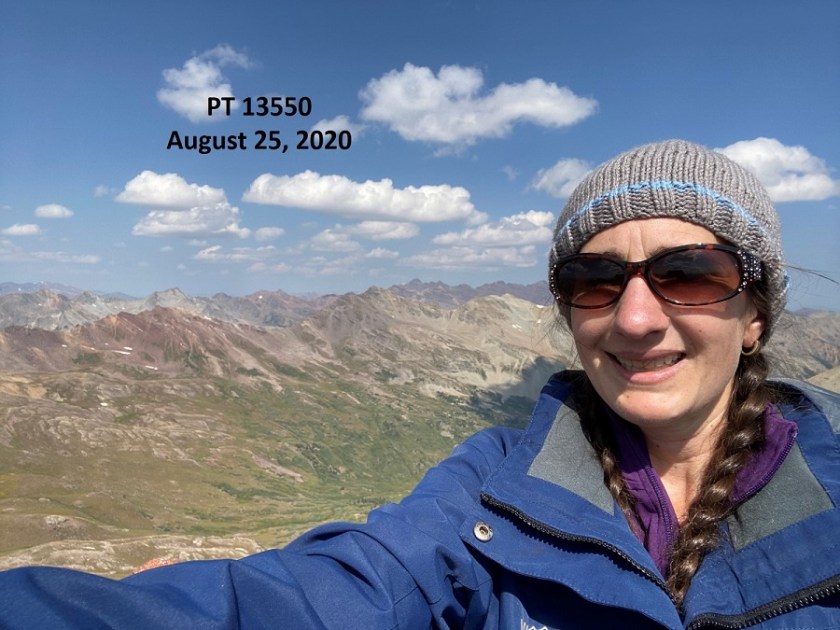
13550:
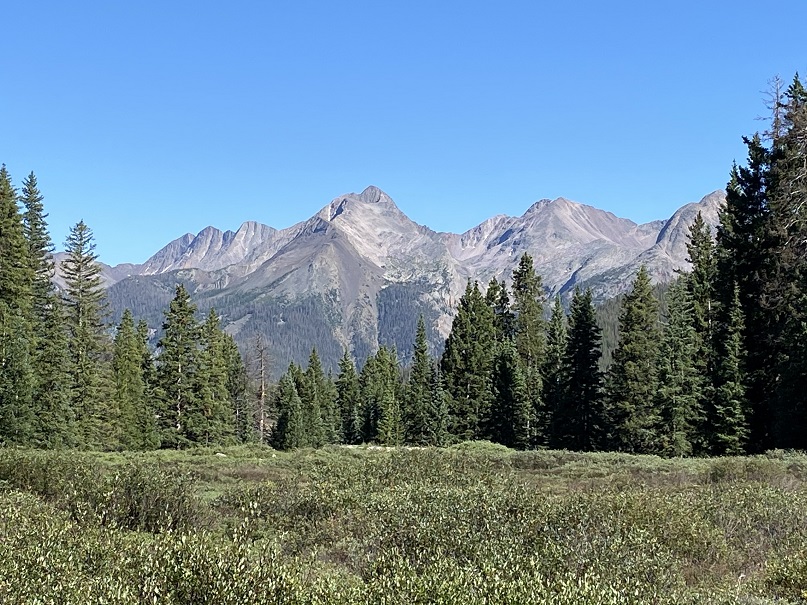
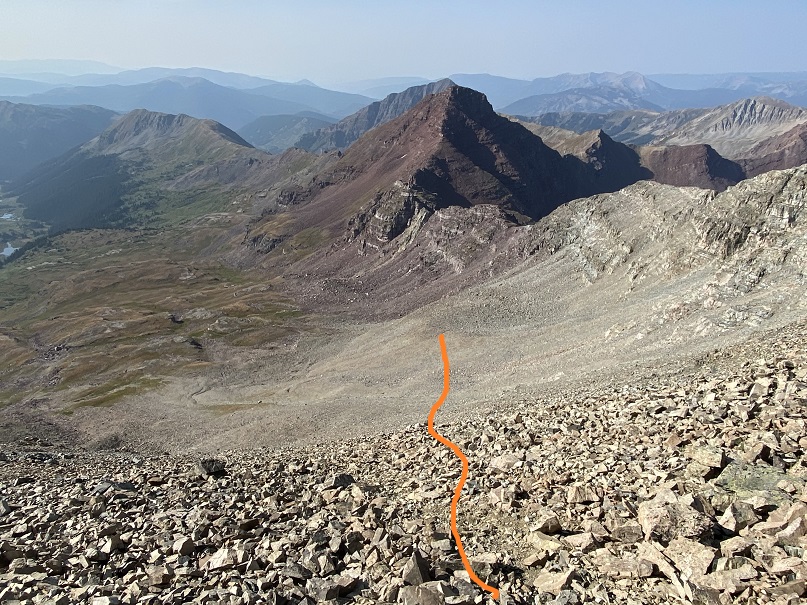
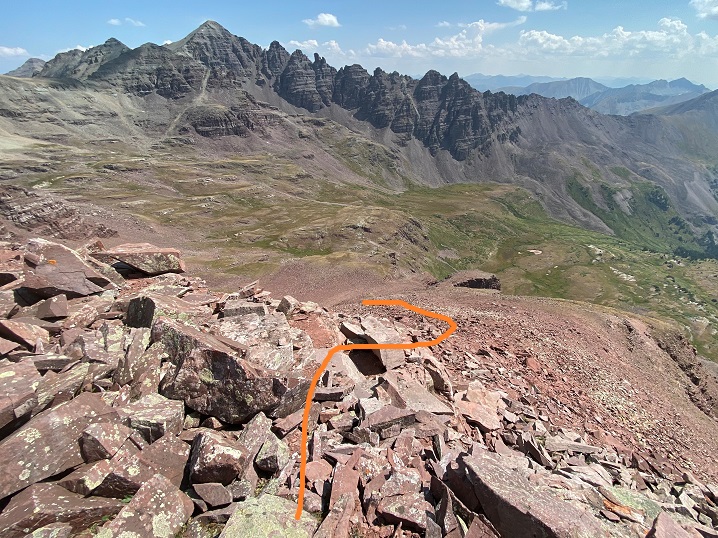
Here’s a look back over at “Castleabra” and Castle Peak

It had been a long day and I was tired. I hadn’t gotten much sleep last night, and I was hiking slower than usual in the heat (but at least it’s warmed up and I’d dried out). Time to head back down the ridge
Here’s the route I took down the ridge and through the upper basin

And back down to through the willows. Luckily, I had a good idea of where I was going and the willows had dried out in the afternoon sun, so they weren’t as miserable as on the trek in. Here’s the overall route through the willows
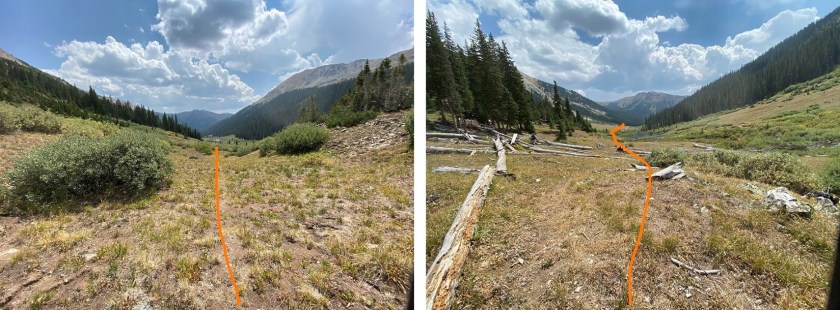
And step by step. Yes, I was on a trail. Anyone have a chainsaw?
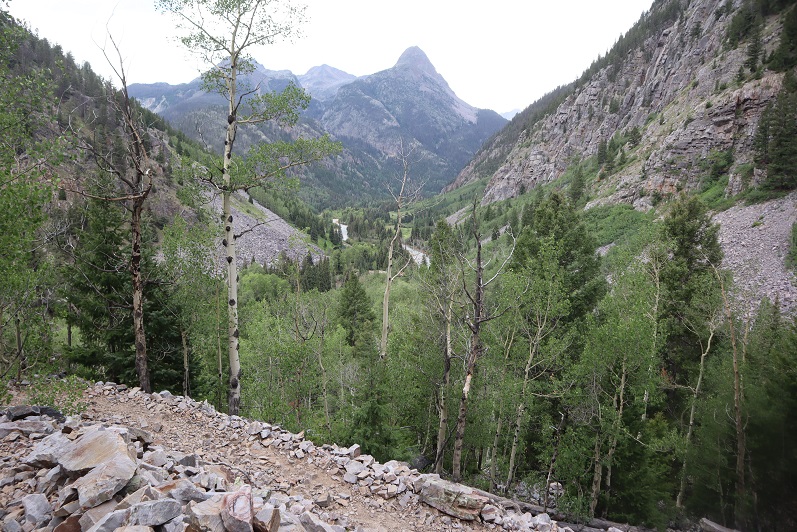
Back through the trees and across the talus trail

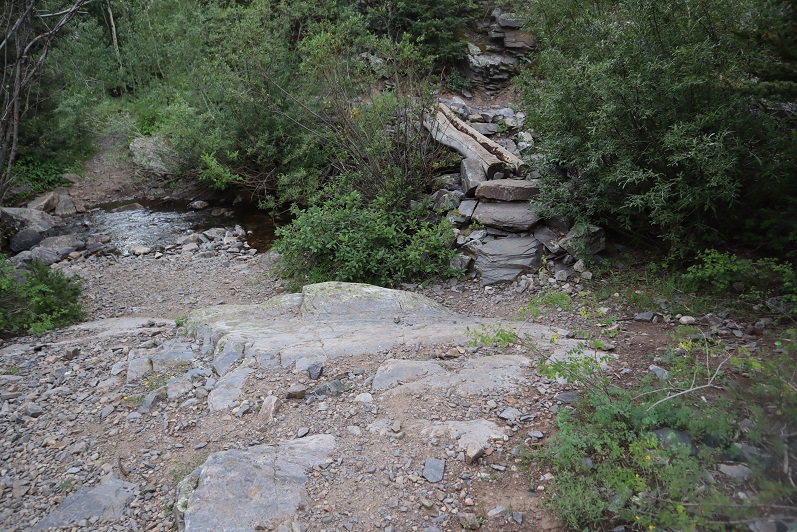
And back down to the creek/beaver ponds, following game trails where available
I picked up the faint trail that led back to the trailhead
And took the 4WD road back to my truck
I made it back to my truck at 2pm, making this a 15.2 mile hike with 4393’ of elevation gain in 9 hours.
When I got back to my truck I noticed a faint dusting of water droplets had landed on my truck last night. Just a few here and there on the dirt that coated the vehicle from the drive in. The skies had been clear when I went to bed, and I didn’t get more than 2.5 hours of sleep, but it must have sprinkled a bit in that time. Even a quick, light sprinkle of rain can cause the willows to turn into a nightmare. Next time I’ll wear my waterproof pants when willows are involved, no matter the weather.
Luckily, since it was a Tuesday I didn’t pass another vehicle on my way down (I’d been worried about that). Oh, and someone was moving cattle on my drive out. The wrangler was clicking and clucking to the cows and making swishing noises. She thanked me for stopping to let them by, and I thanked her for allowing me to take a photo and complemented her on her chaps (they were really cool). I miss farm/ranch life (kind of…). Time to head home and get more work done.