Babcock Peak – 13,161

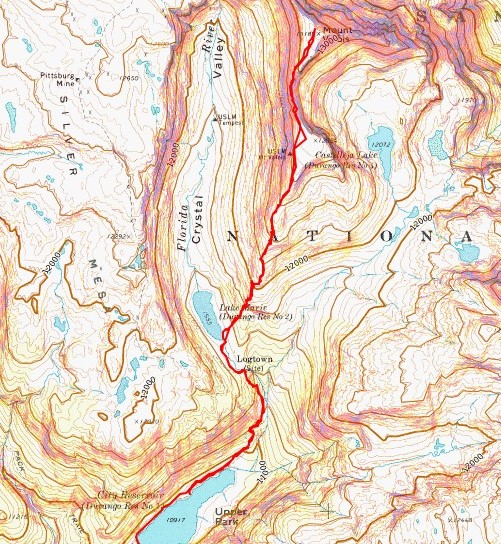
RT Length: 9.23 miles

Elevation Gain: 3868’

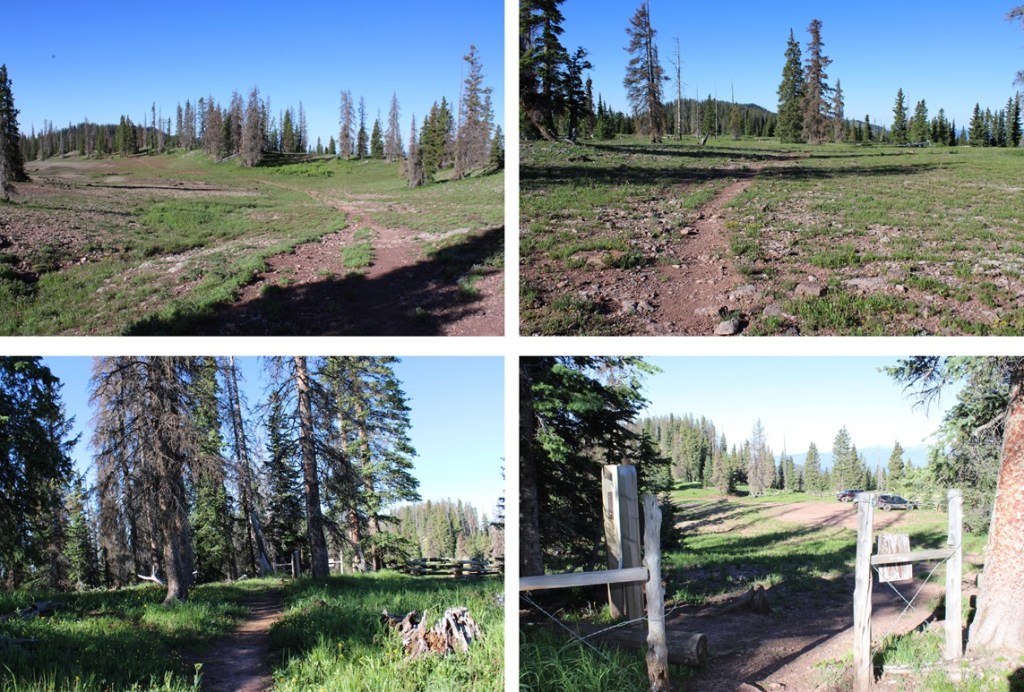
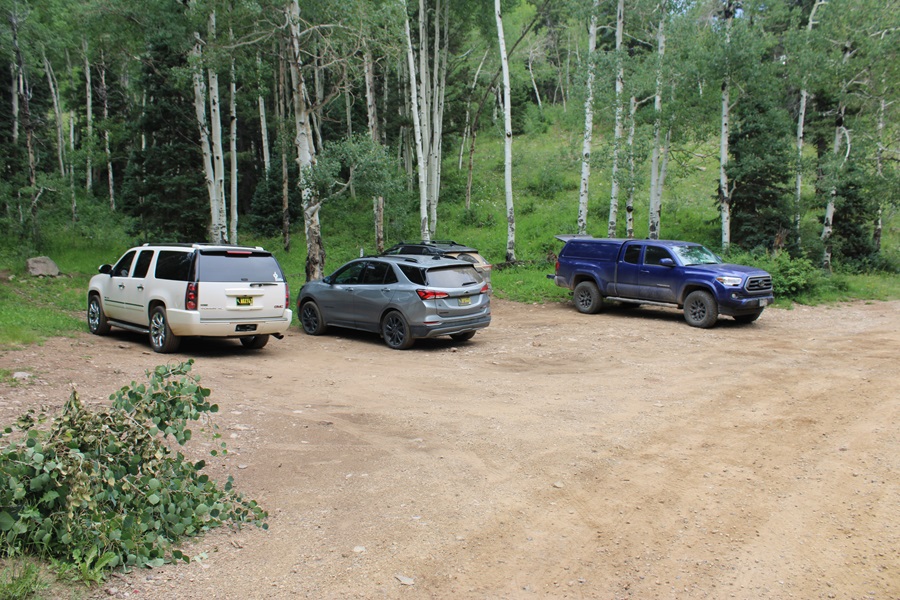
I parked at a turnoff near Boren Creek and124/794 with room for about 5 vehicles if everyone parked nicely.  The drive in is dirt 2WD.   I was on the trail at 4:30am.

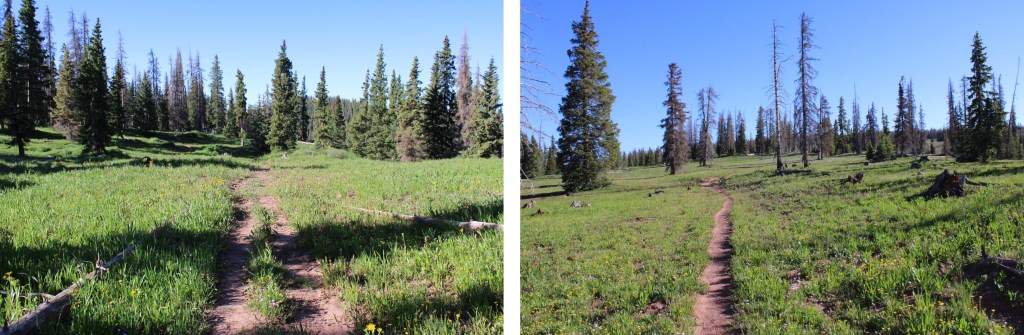
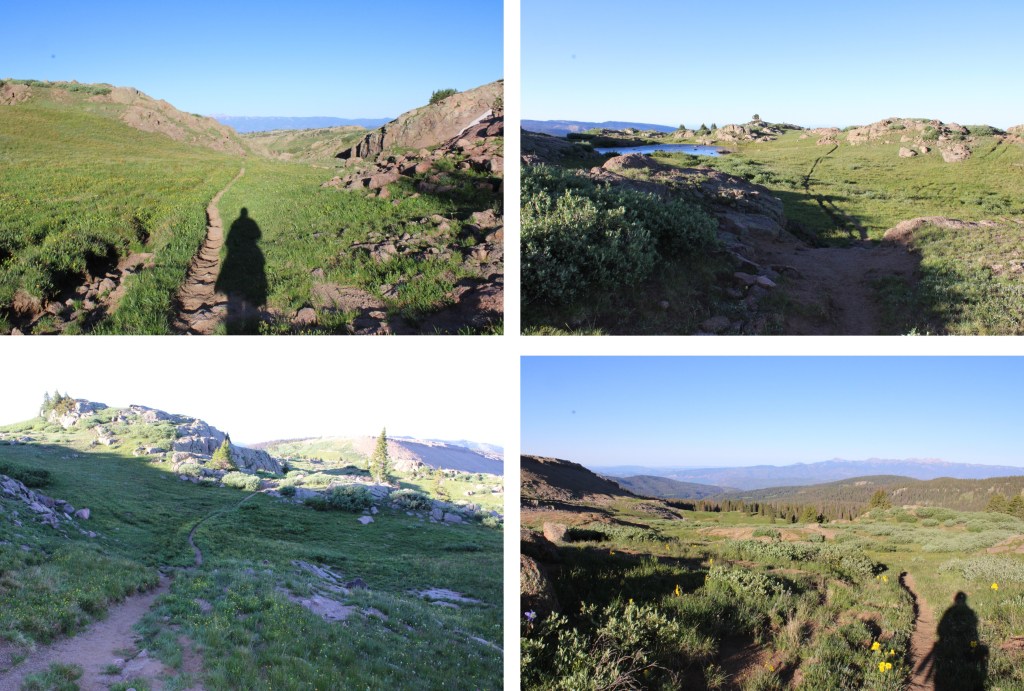
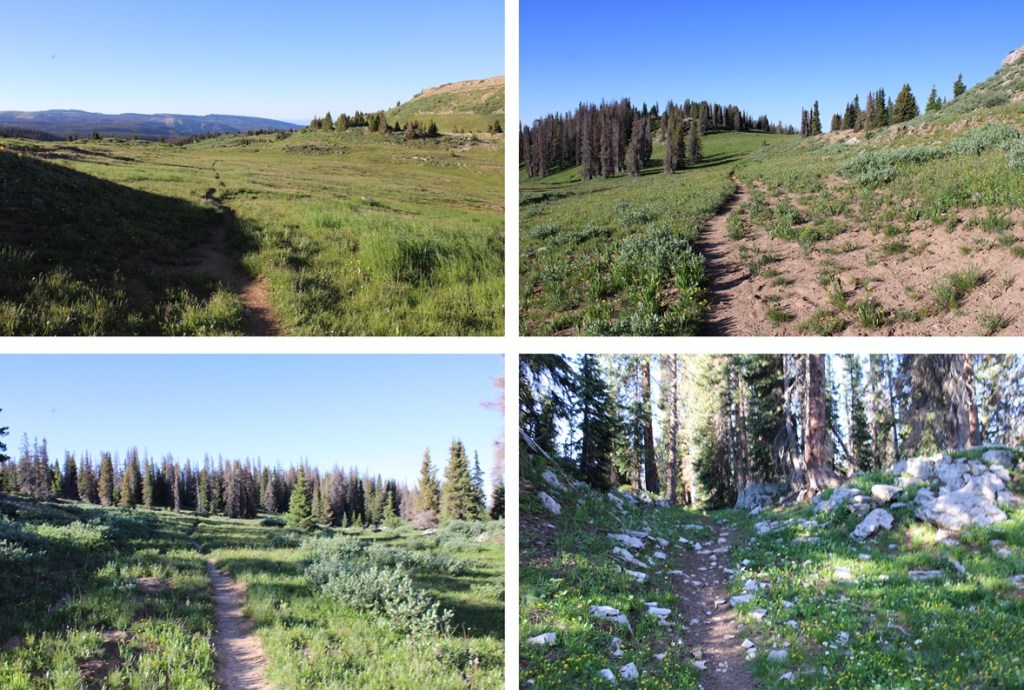
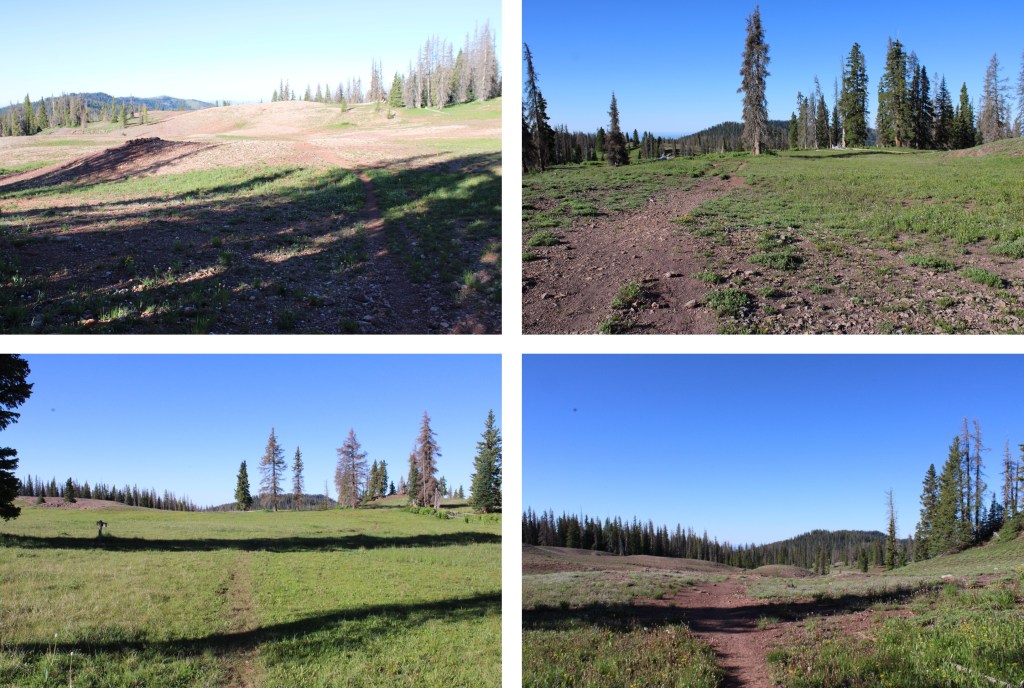
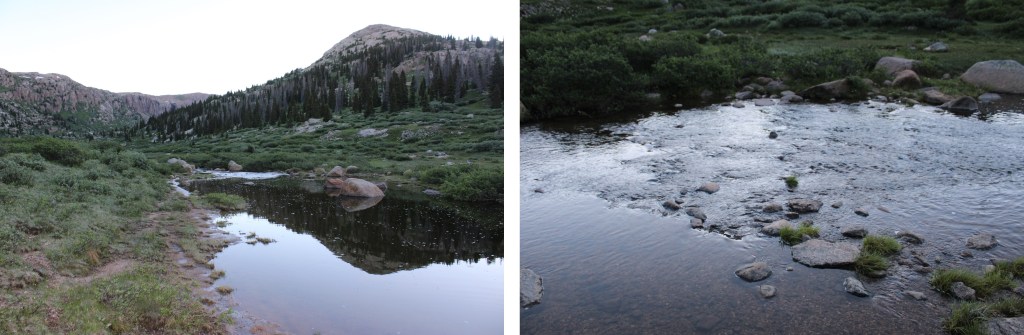
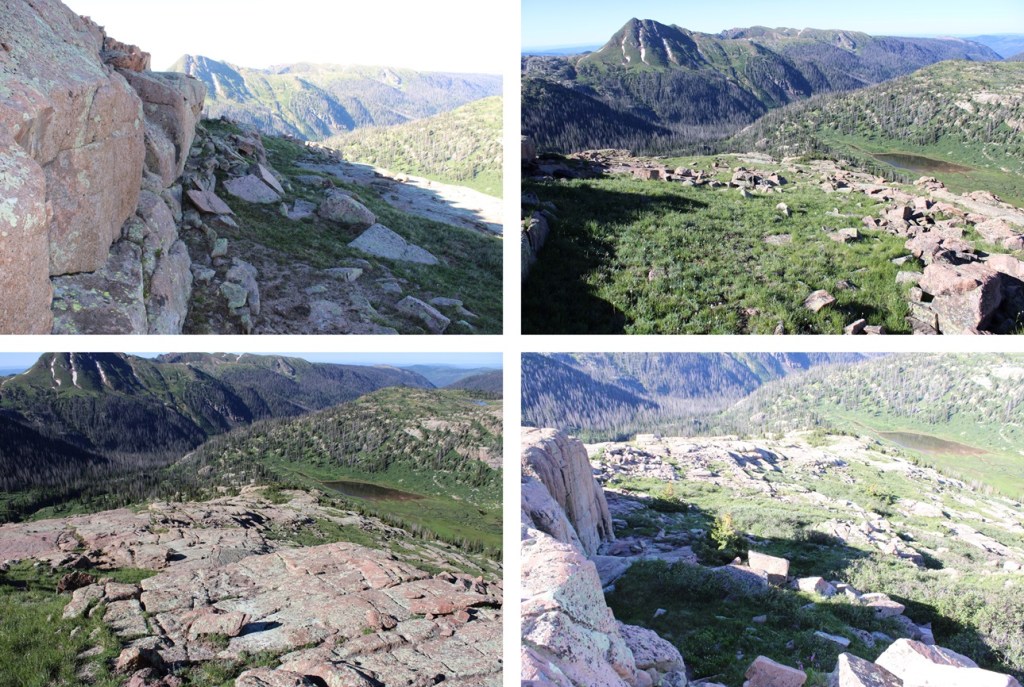
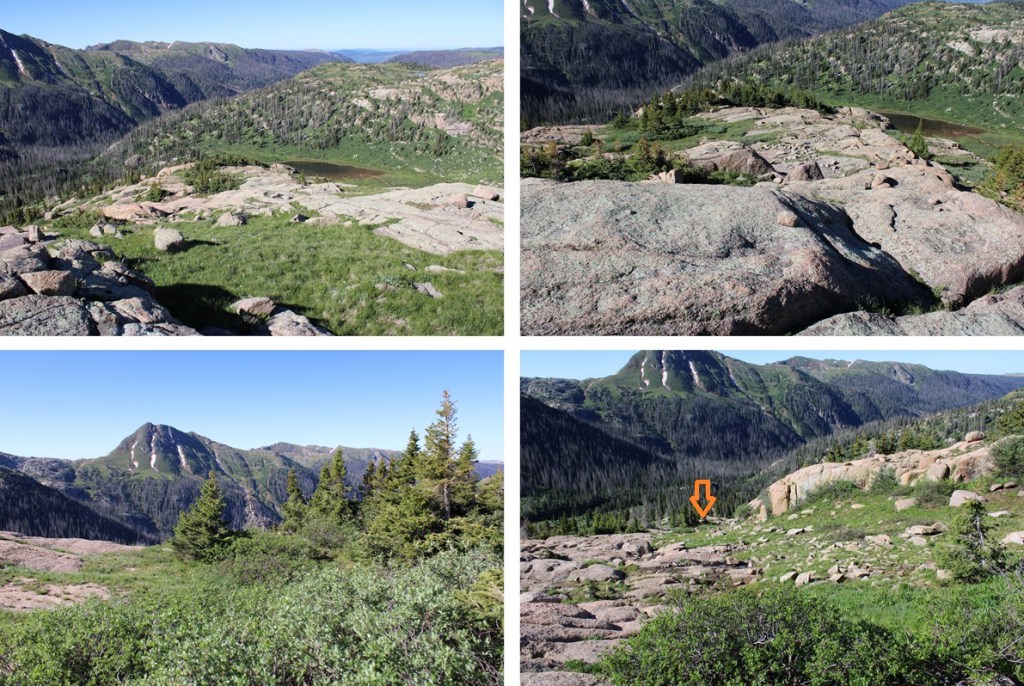
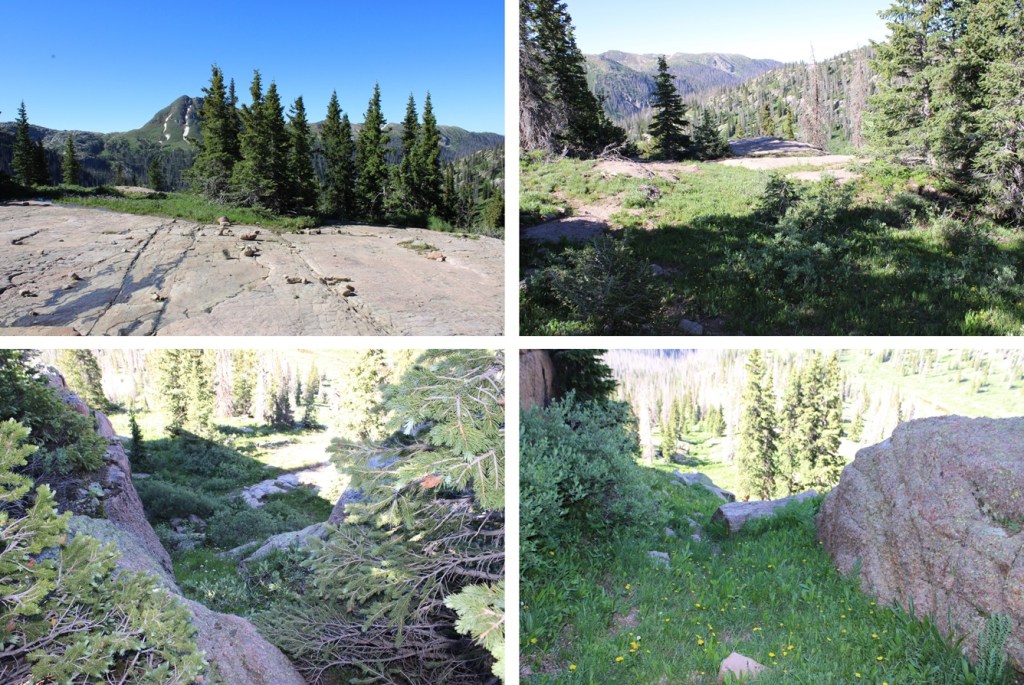
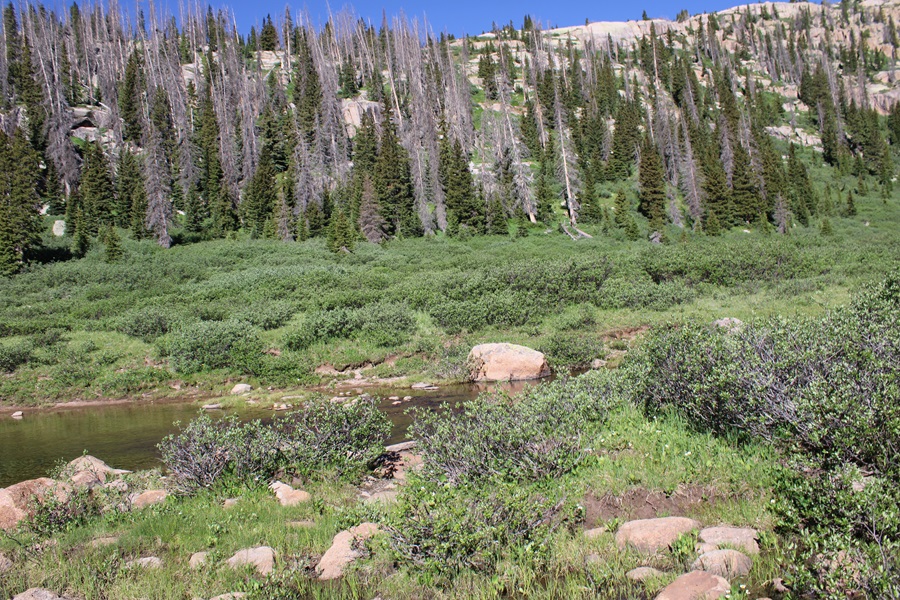
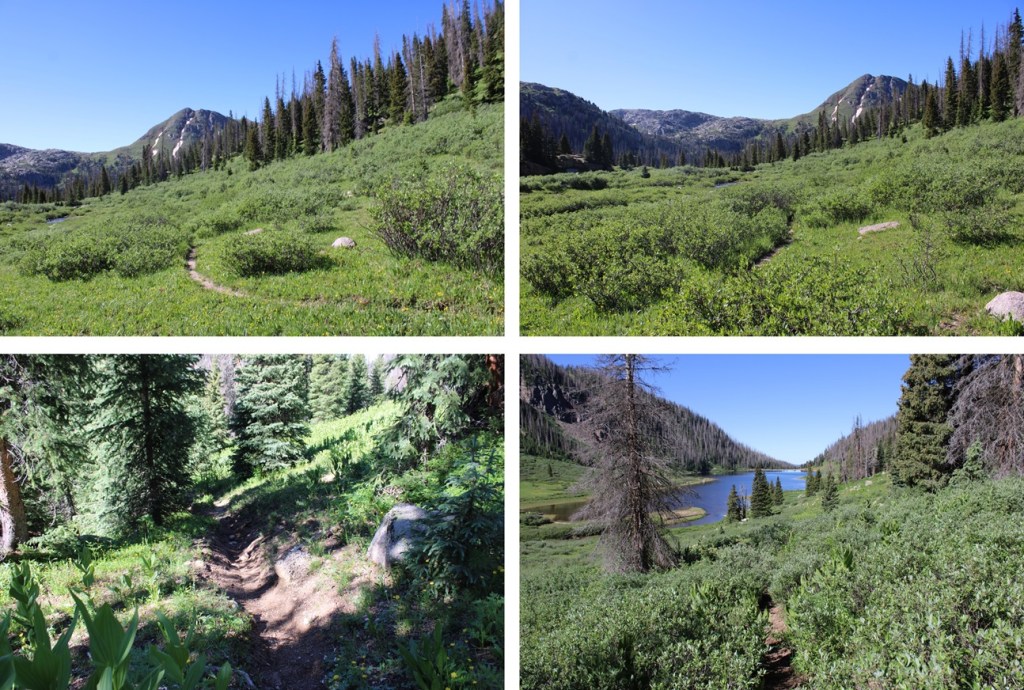
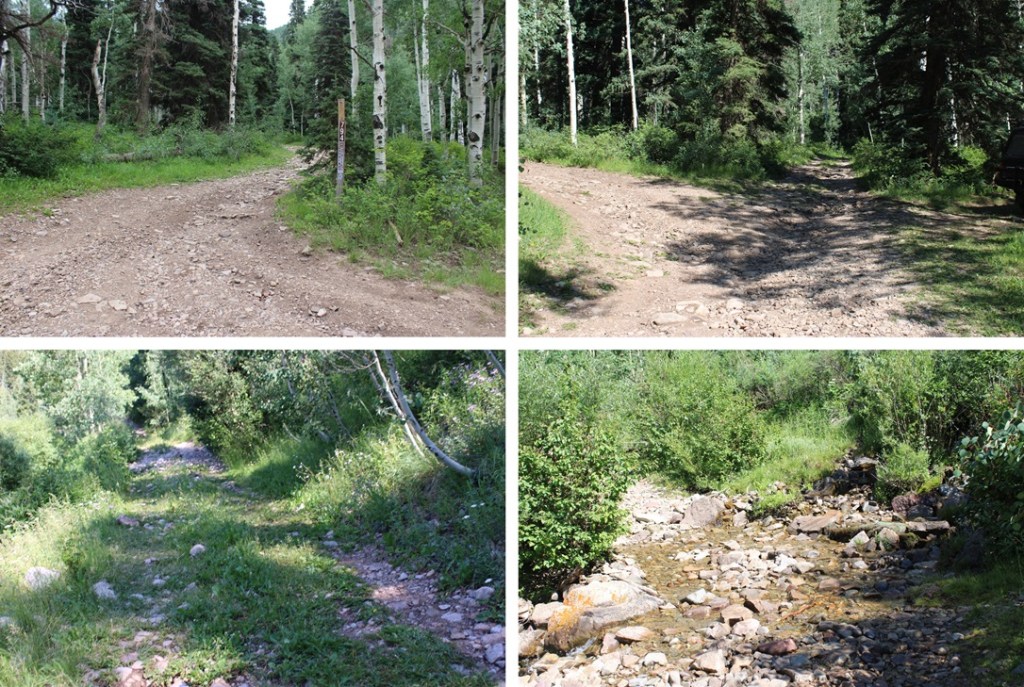
I followed 4WD road 794 for over 3 miles as it switchbacked it’s way northeast, following Boren Creek.

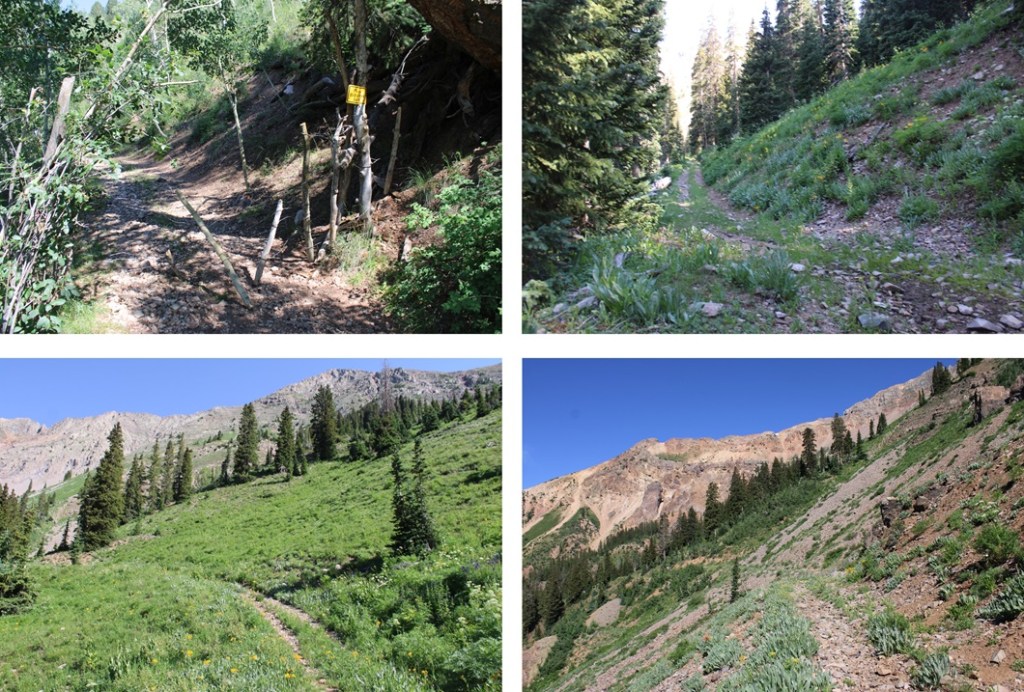
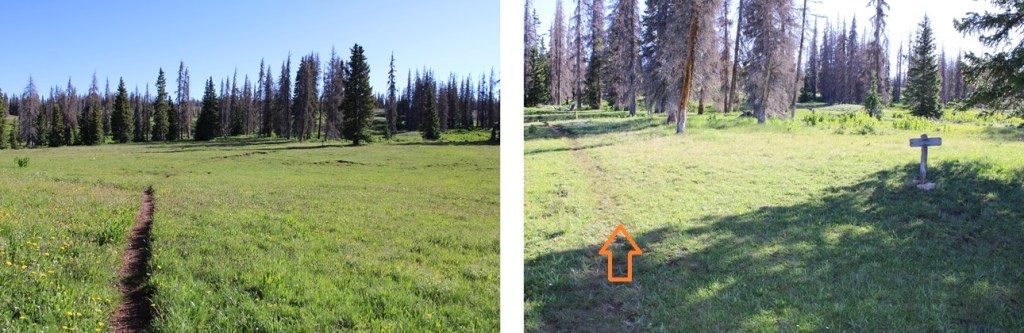
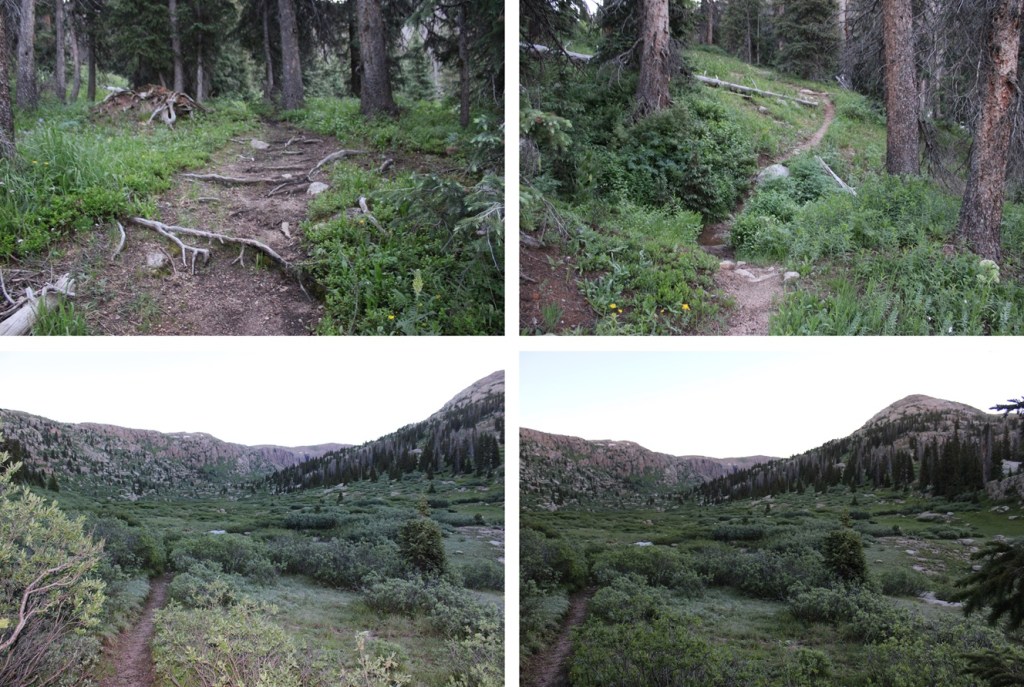
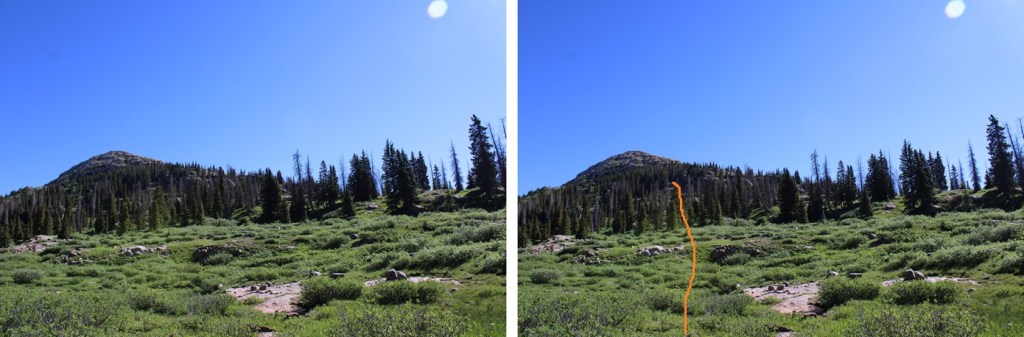
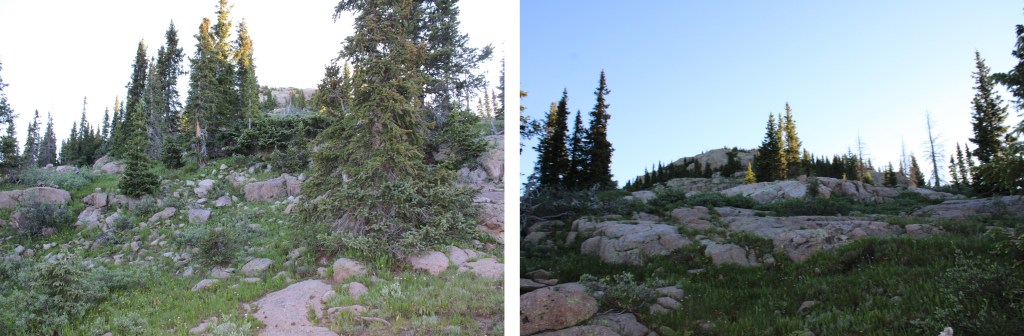
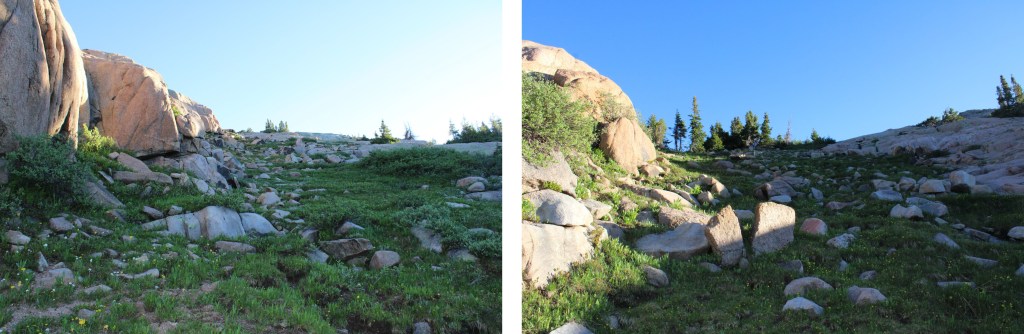
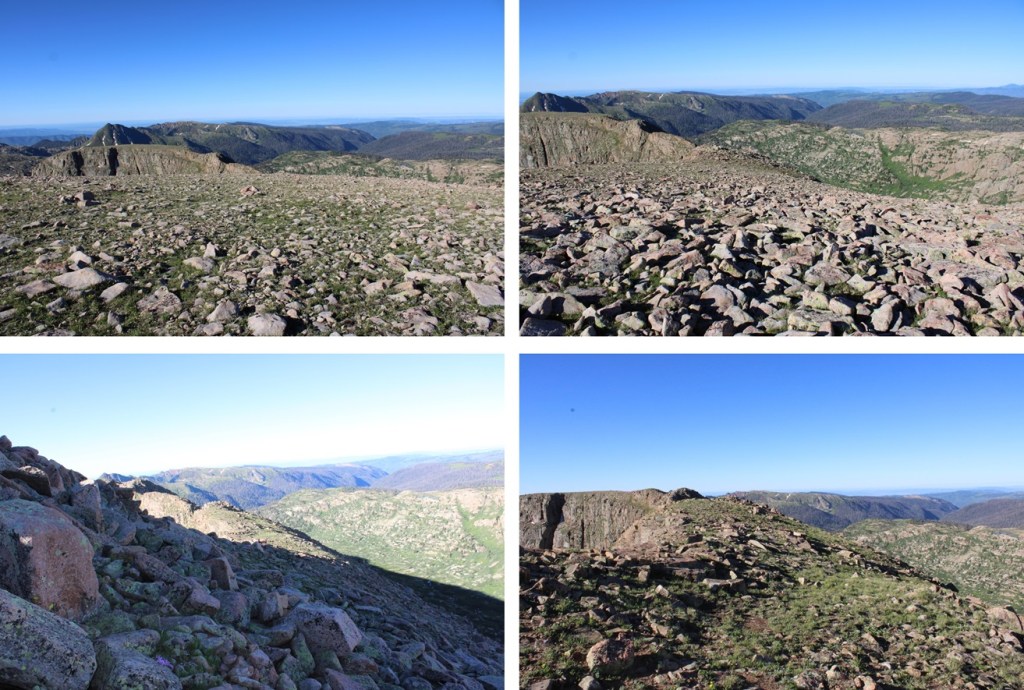
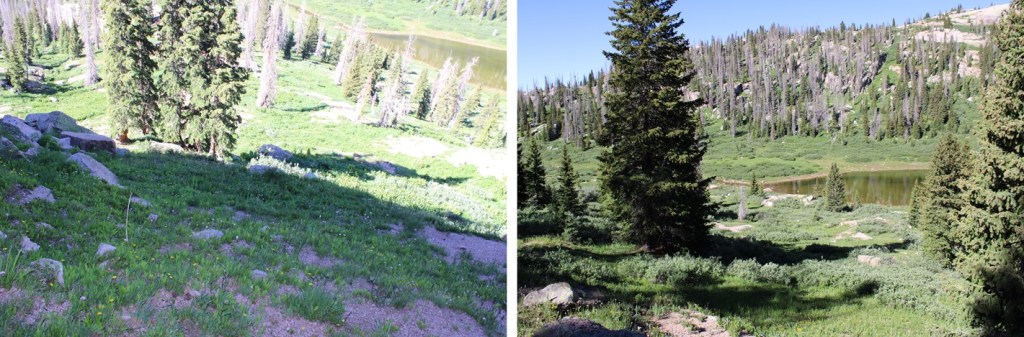
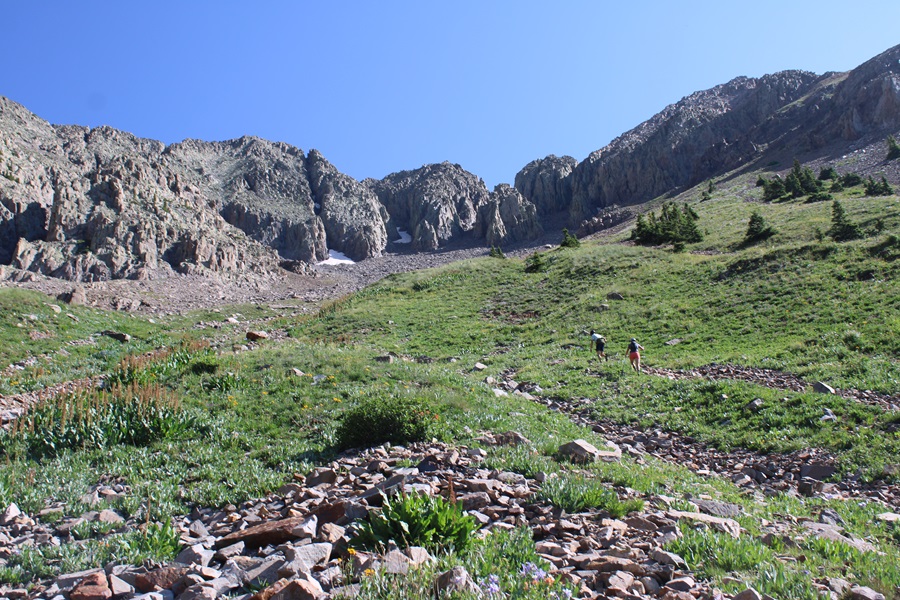
After hiking for around 3 miles I made it to treeline.

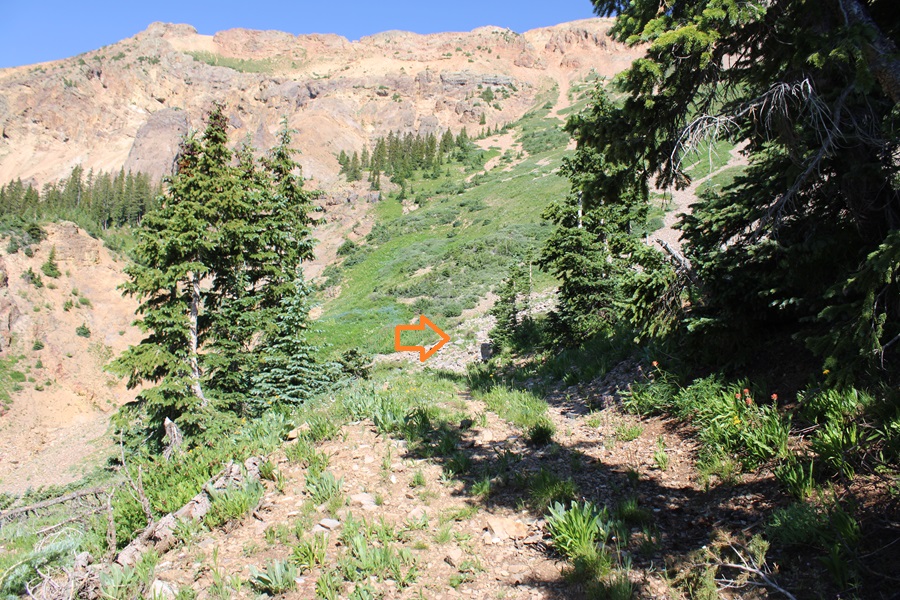
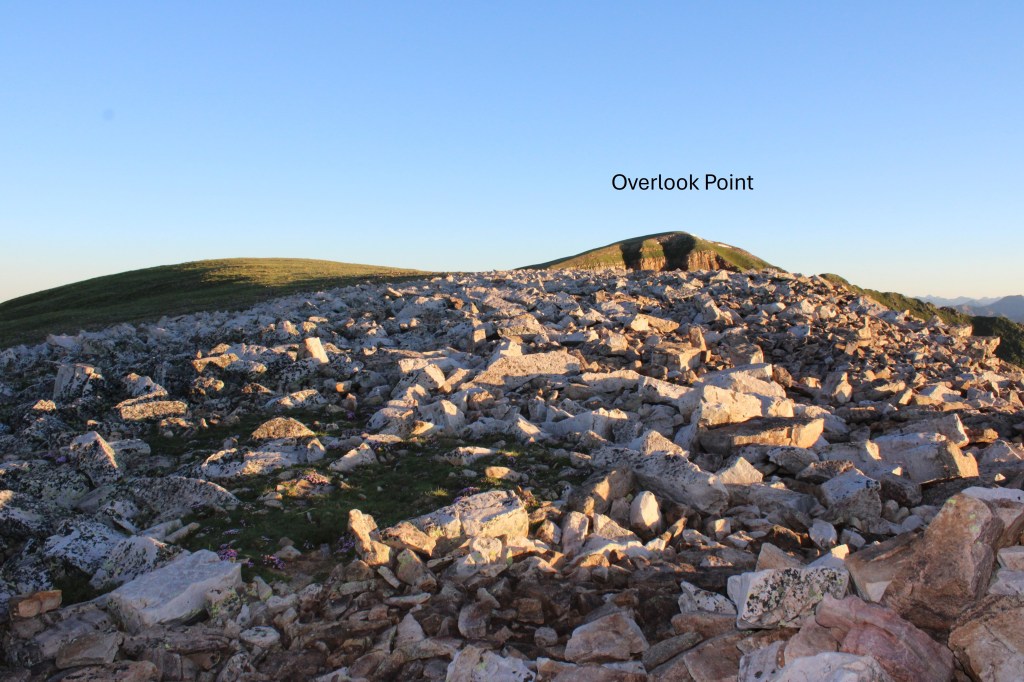
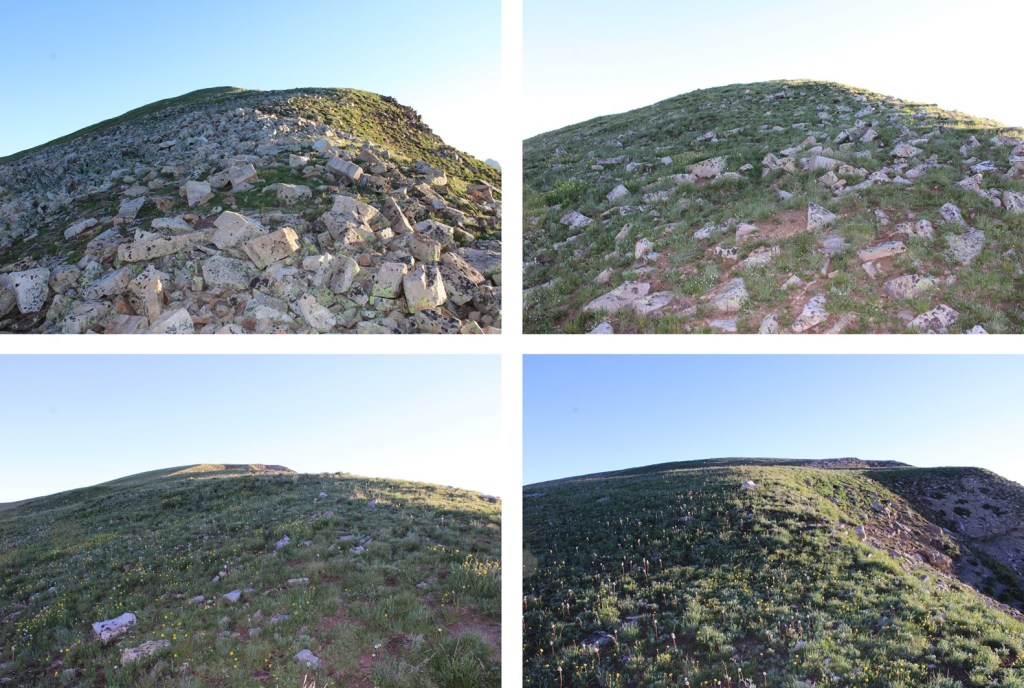
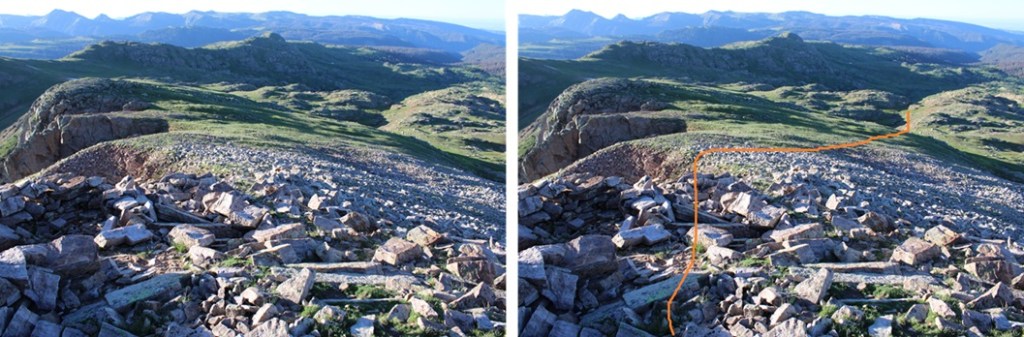
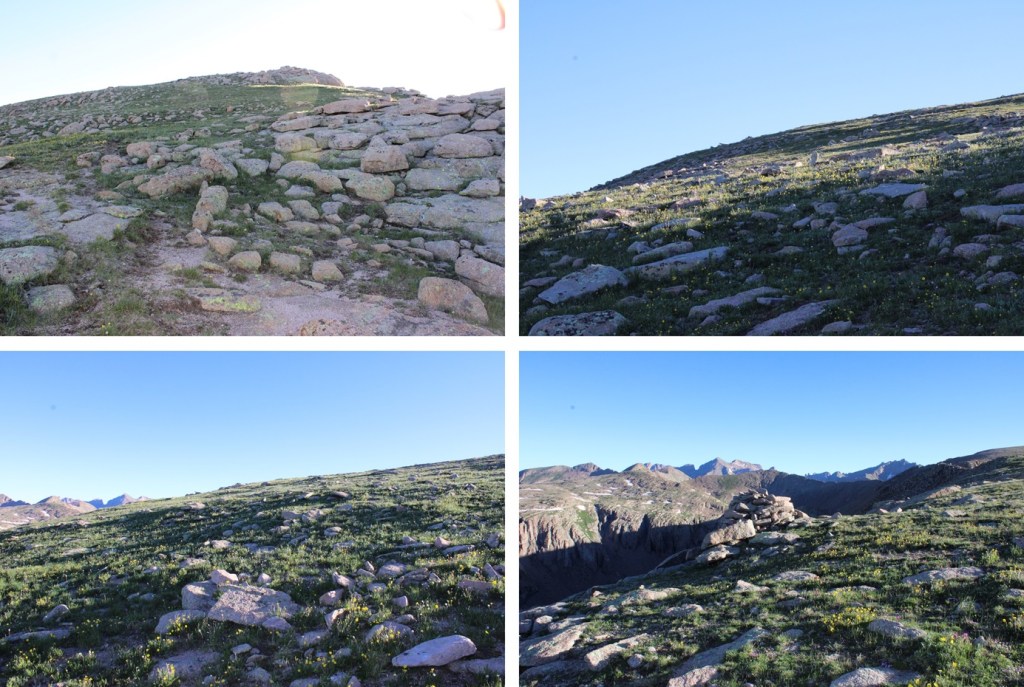
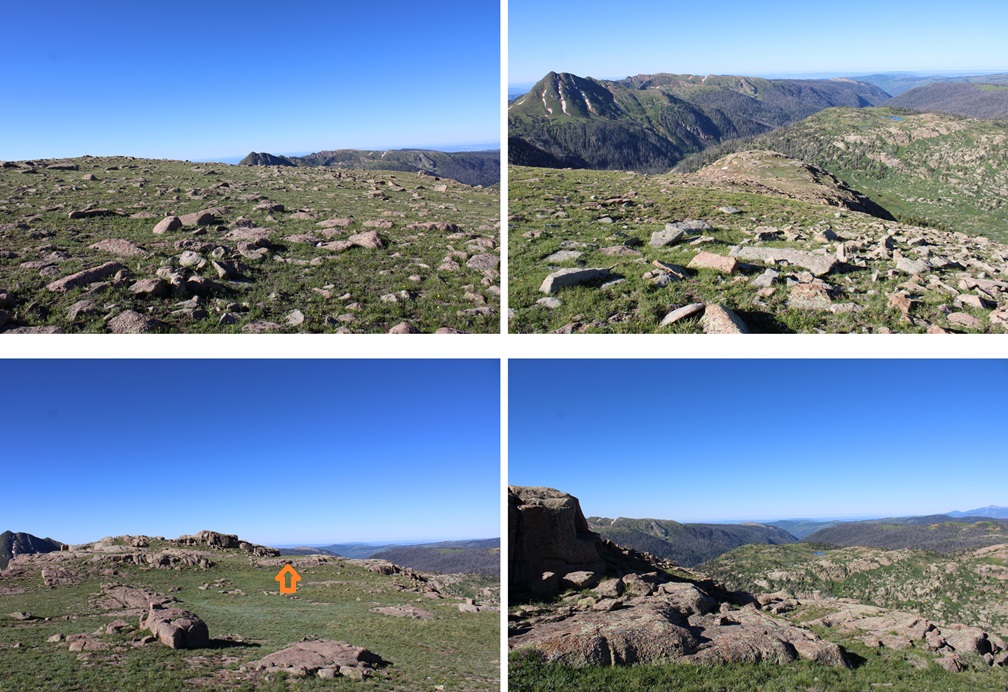
Here I turned right, and could see Babcock Peak to the north.

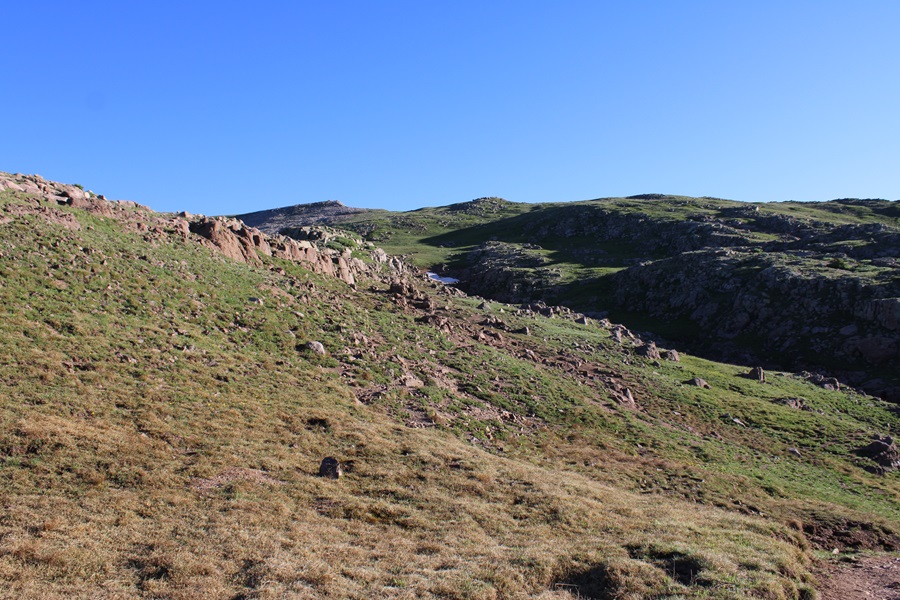
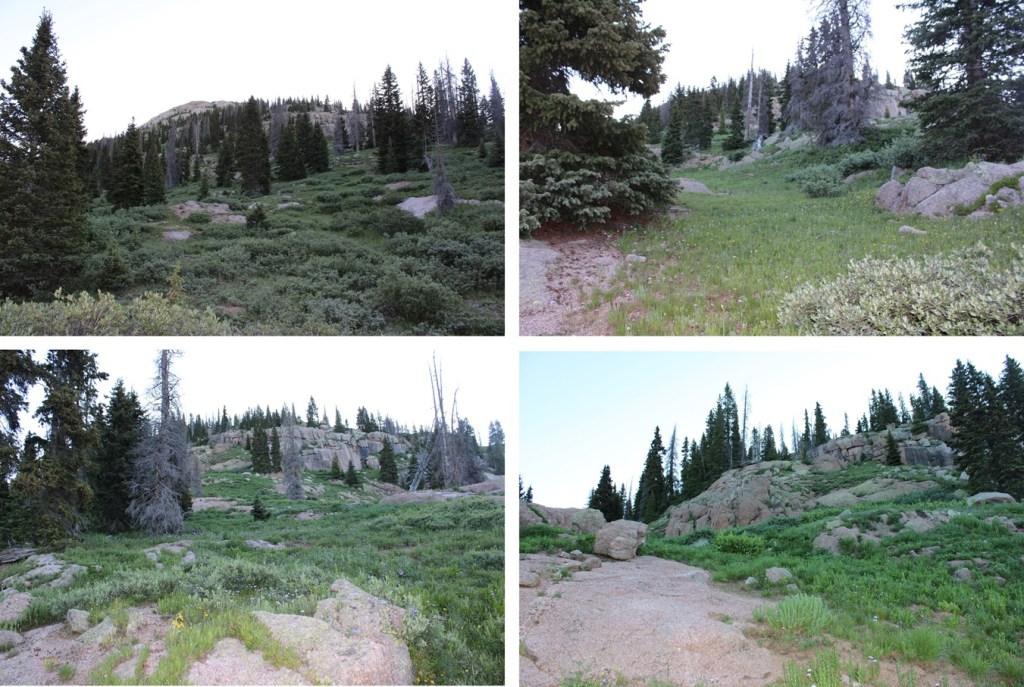
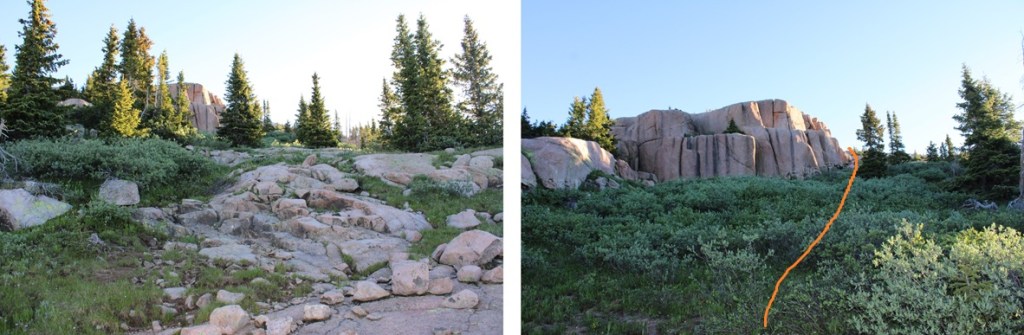
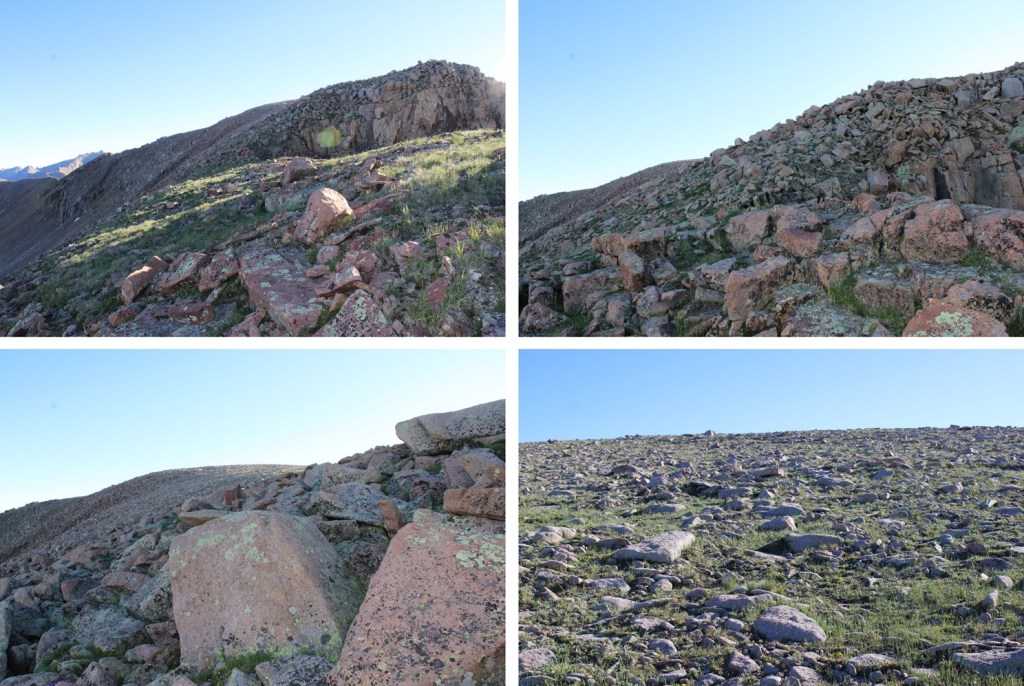
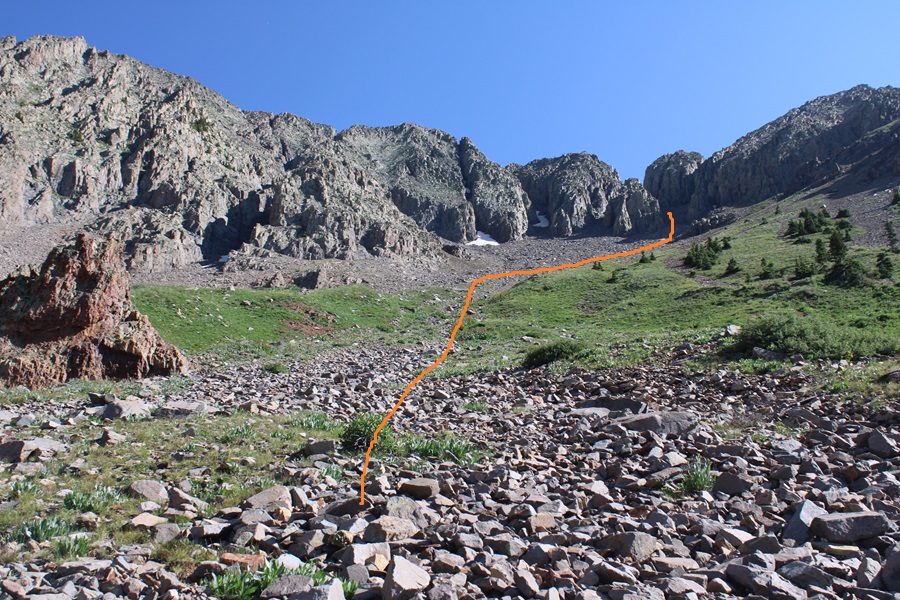
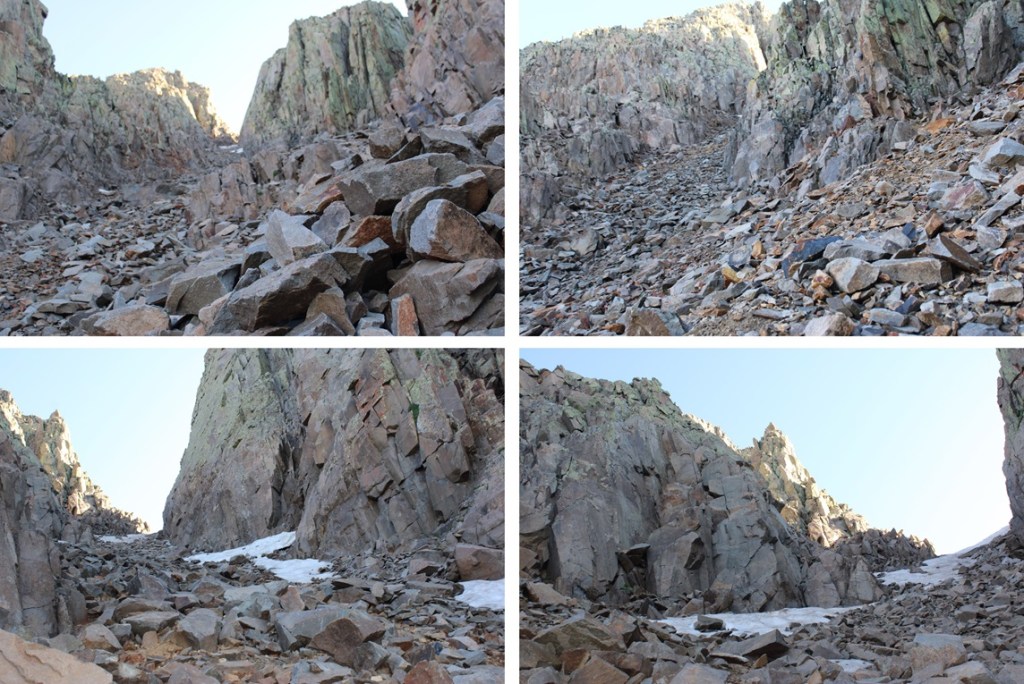
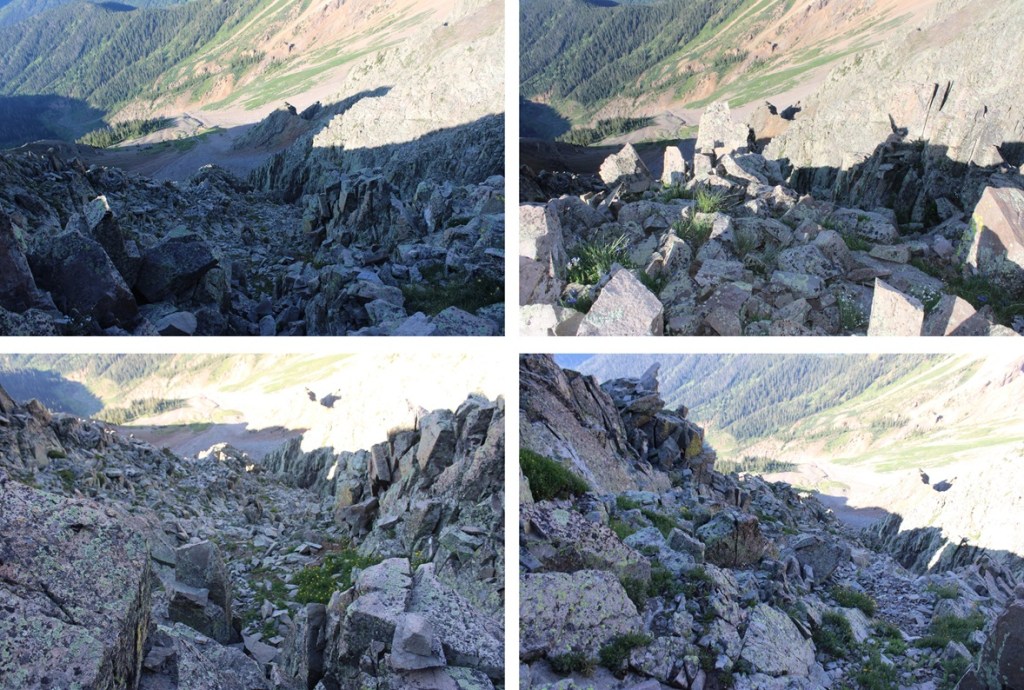
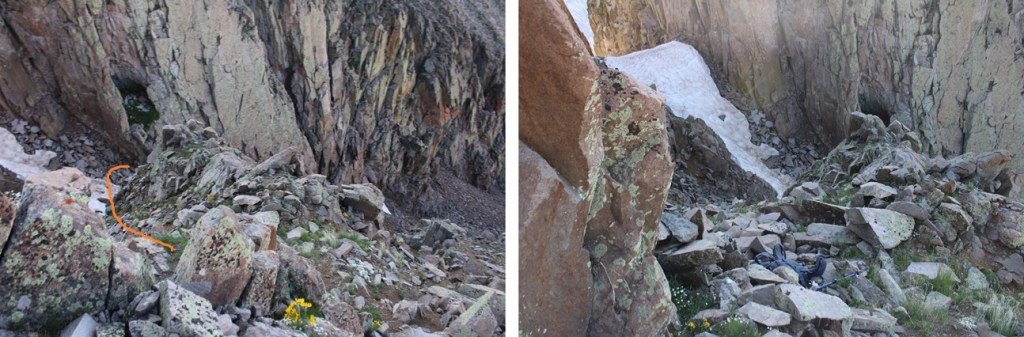
Route finding here was pretty easy.  I headed north towards the gully, aiming for the gully to the right.  I gained about 1500’ here to the summit in about a mile.  This gully is very loose, and full of all different sized rocks.  I didn’t stick to one side, but chose whatever route looked best.  Here are some pictures of the gully.  It’s pretty straightforward.

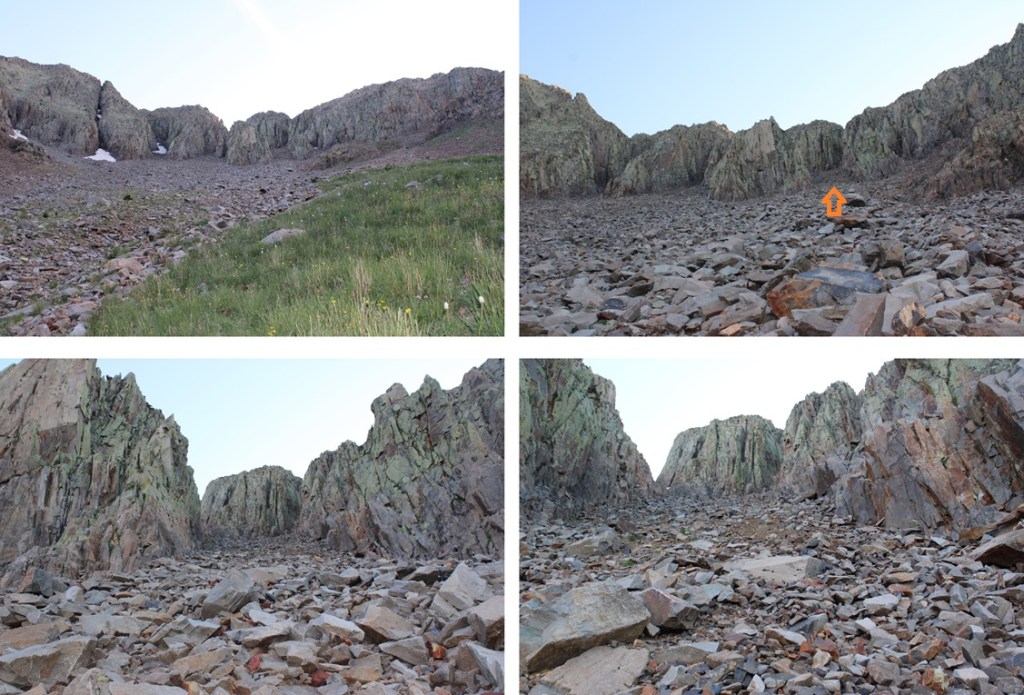
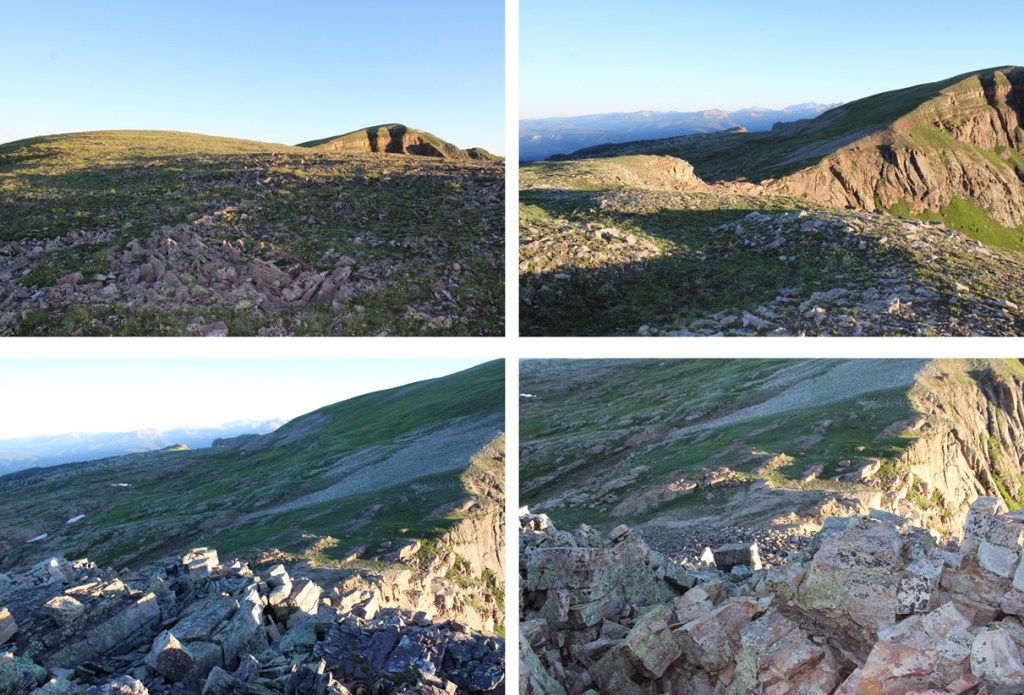
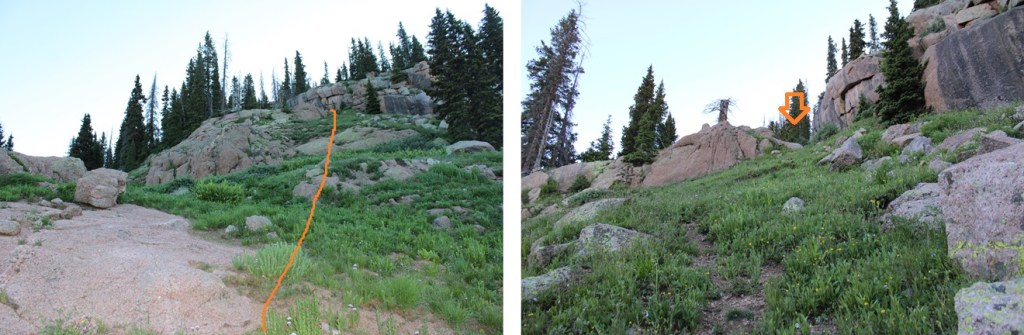
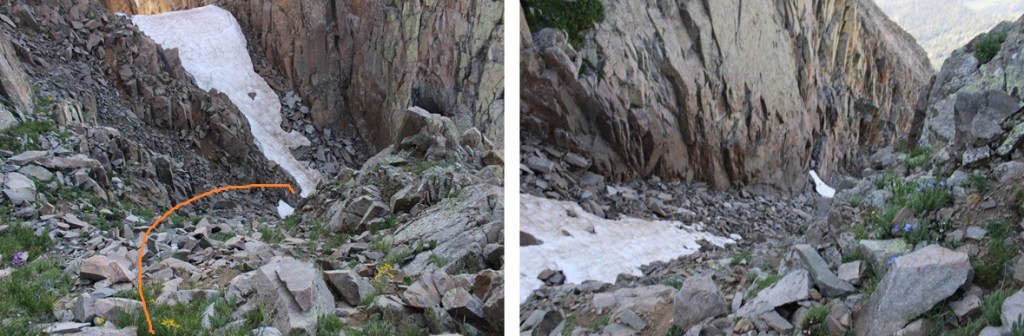
Just before reaching the saddle, I turned left, and ascended this much smaller gully

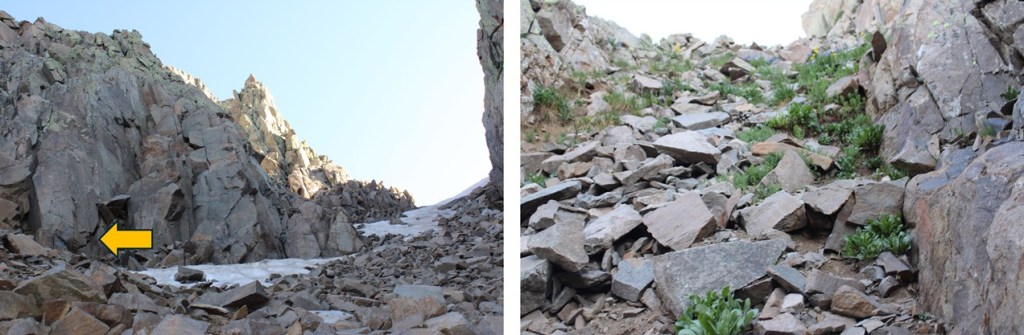
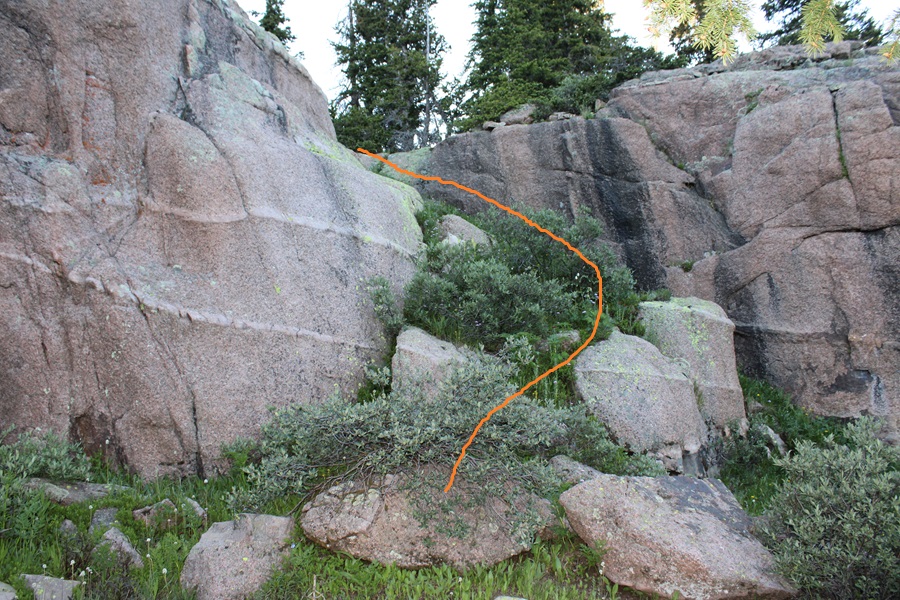
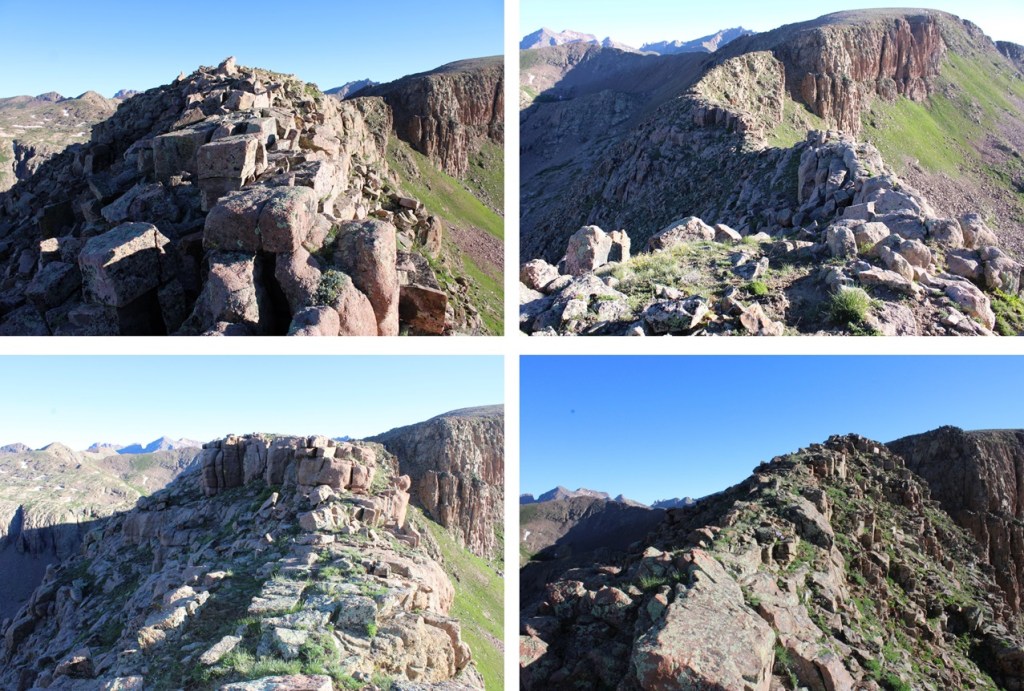
From here, it’s choose your own adventure to the ridge.  Everything is class 3 climbing, and I’m pretty sure there is no wrong way to get to the ridge, as long as you’re heading north/northwest.  I can’t say the same for heading down, so it’s a good idea to keep looking behind you for reference points for the way back.  Also, pictures were very difficult to put everything into perspective.  Right now you should be at the junction of the left and right gullies.  Take note of where you are, because this is where you’ll want to descend to on your way down, and as you can see by looking ahead of you, the initial climb to the ridge is steep and it can be difficult to know exactly where you are.  Here are some pictures as I made my way up to the ridge.

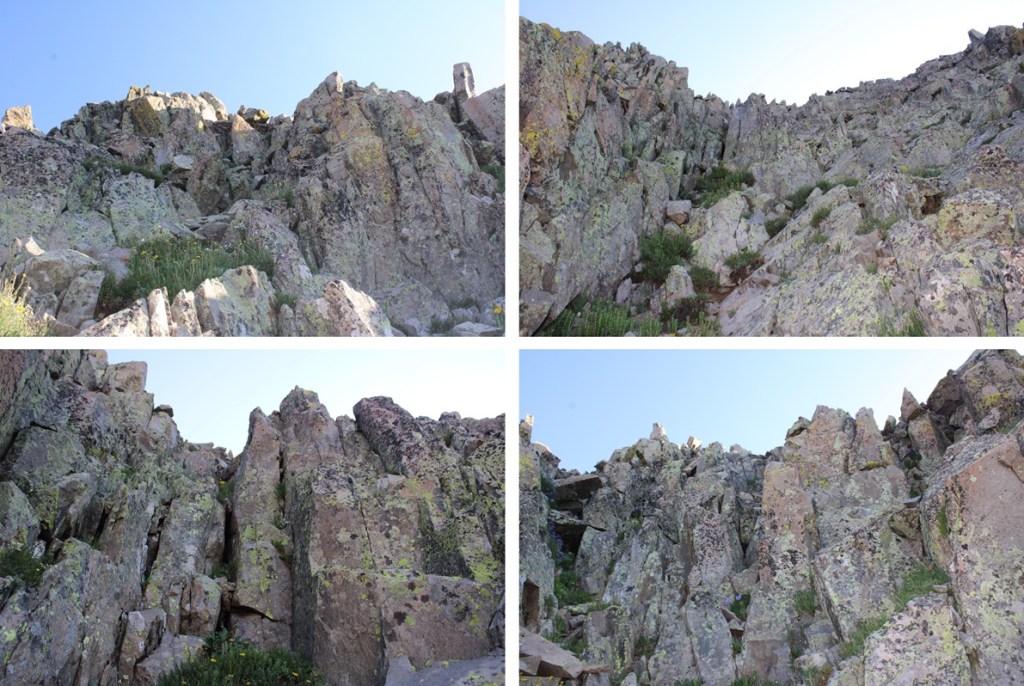
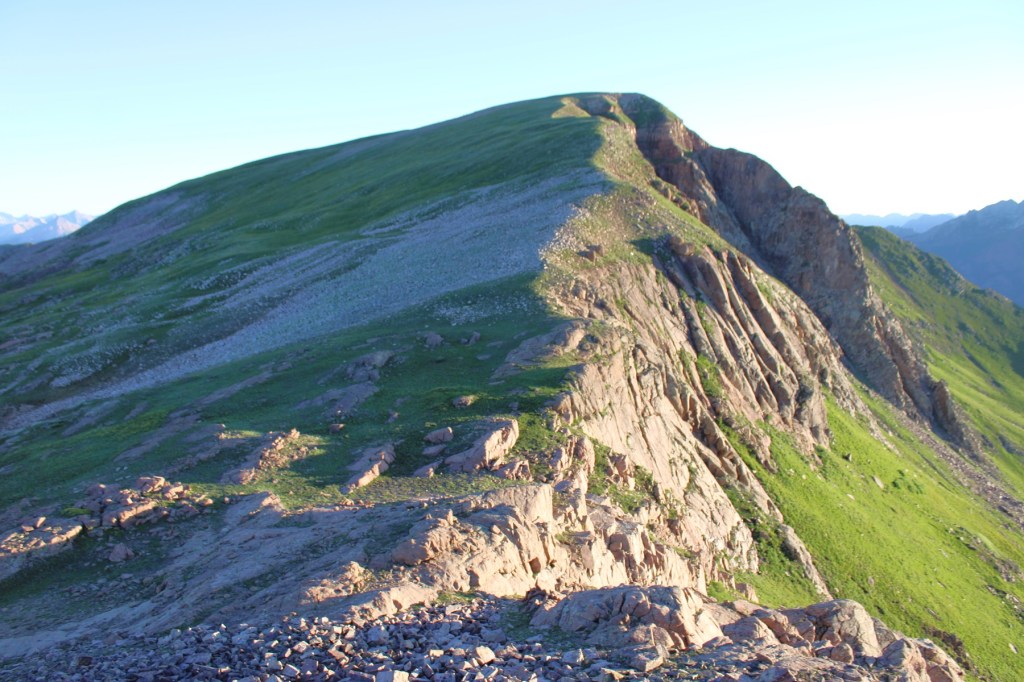
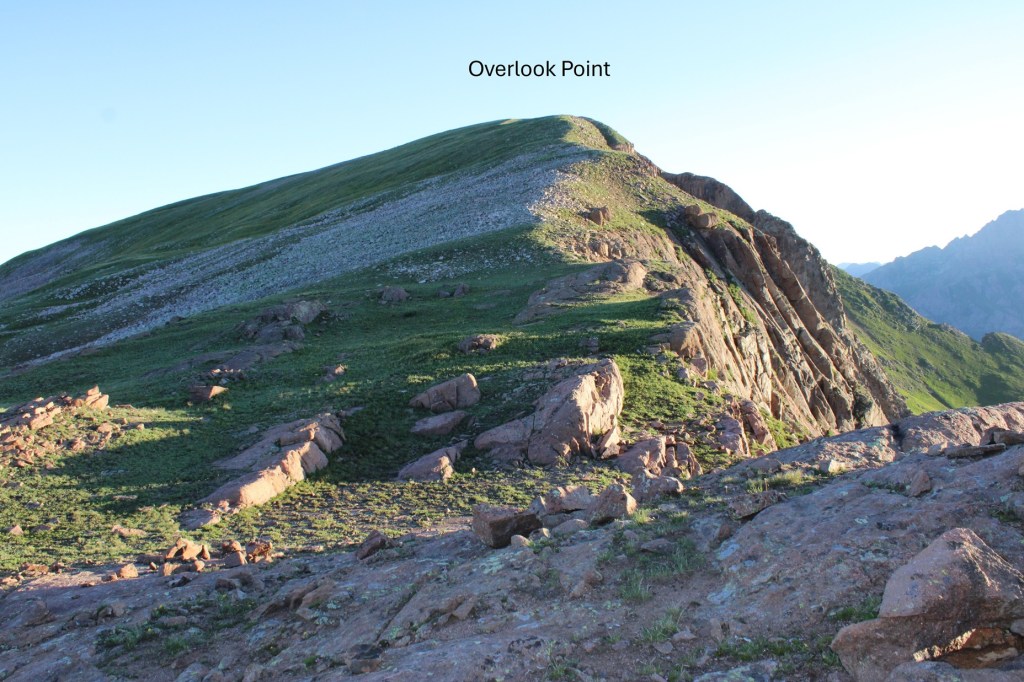
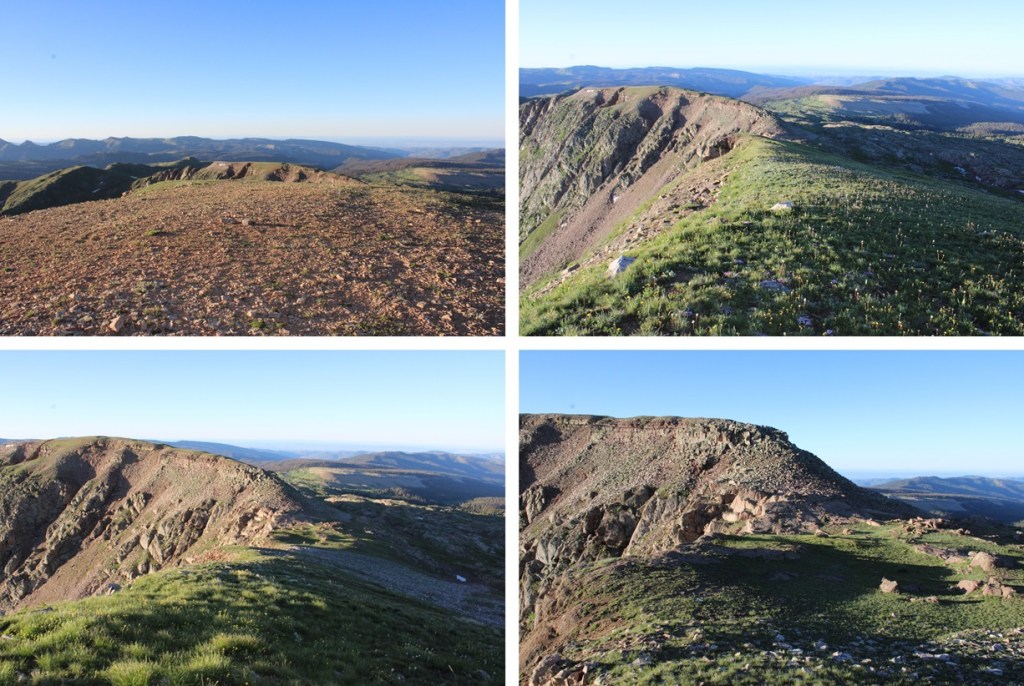
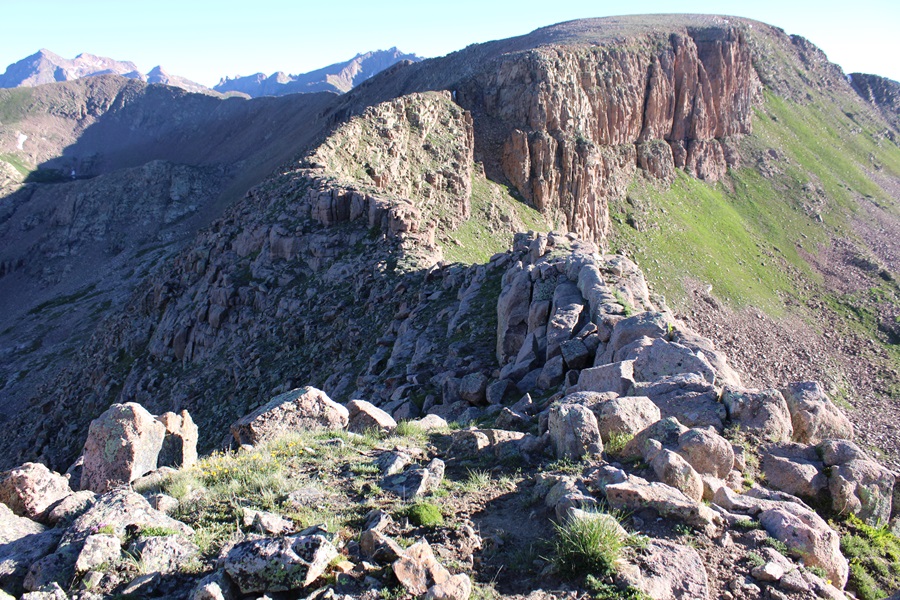
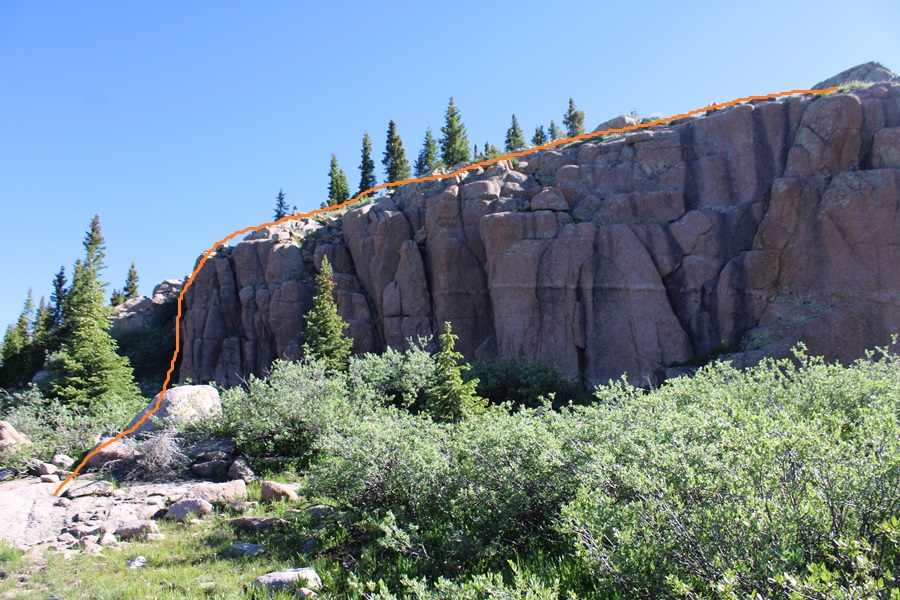
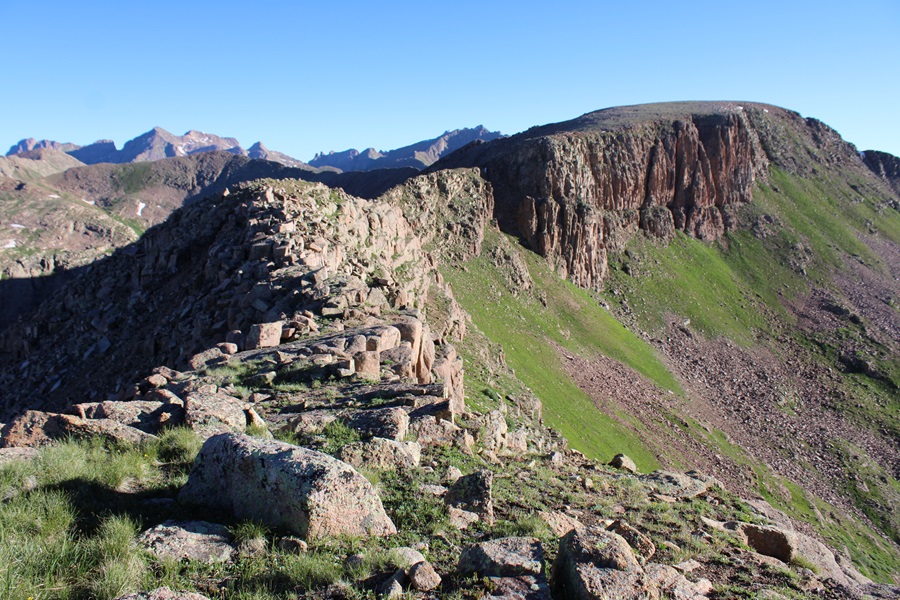
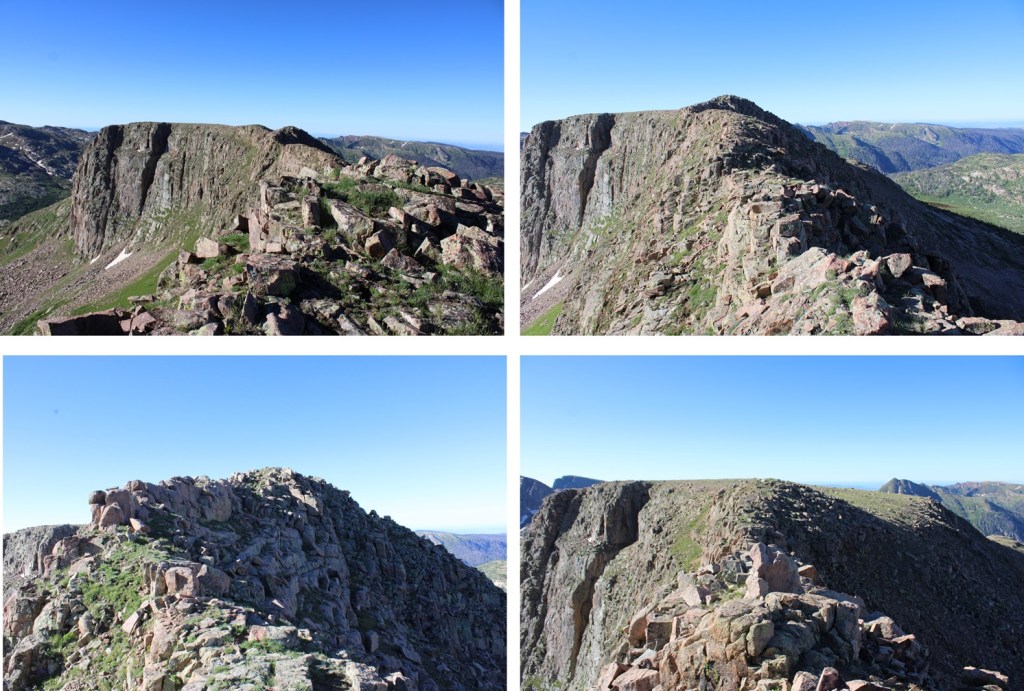
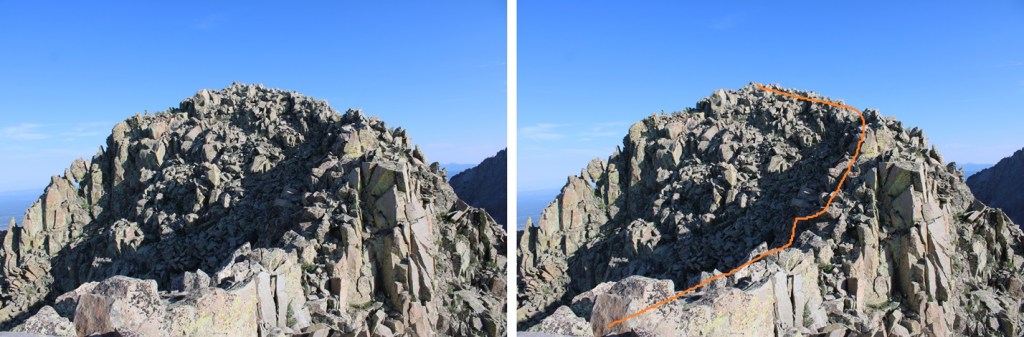
Once on the ridge, I turned left, and headed northwest towards the summit.  There was only one ‘tricky’ move, and the rest was class 2.

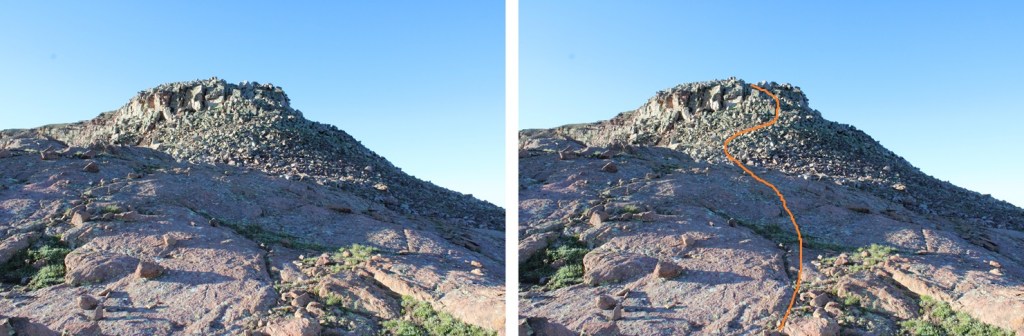
Here’s the tricky move.  Go right here to ascend the ridge.  It feels like difficult class 3 or easy class 4, with some exposure.

Then it was a quick ridge hike to the summit, staying on the ridge proper.

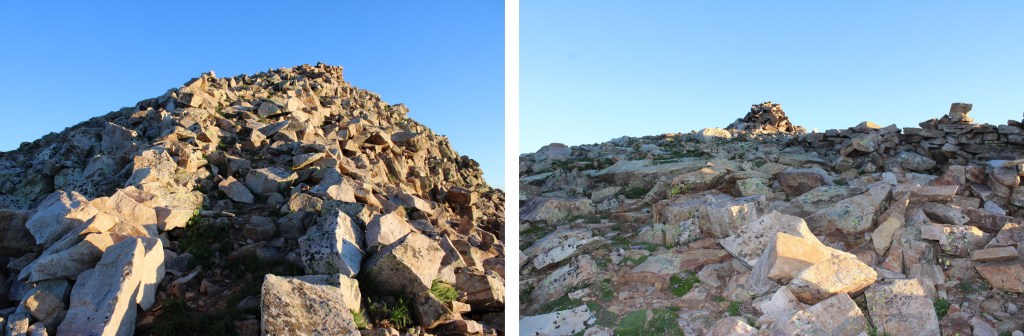
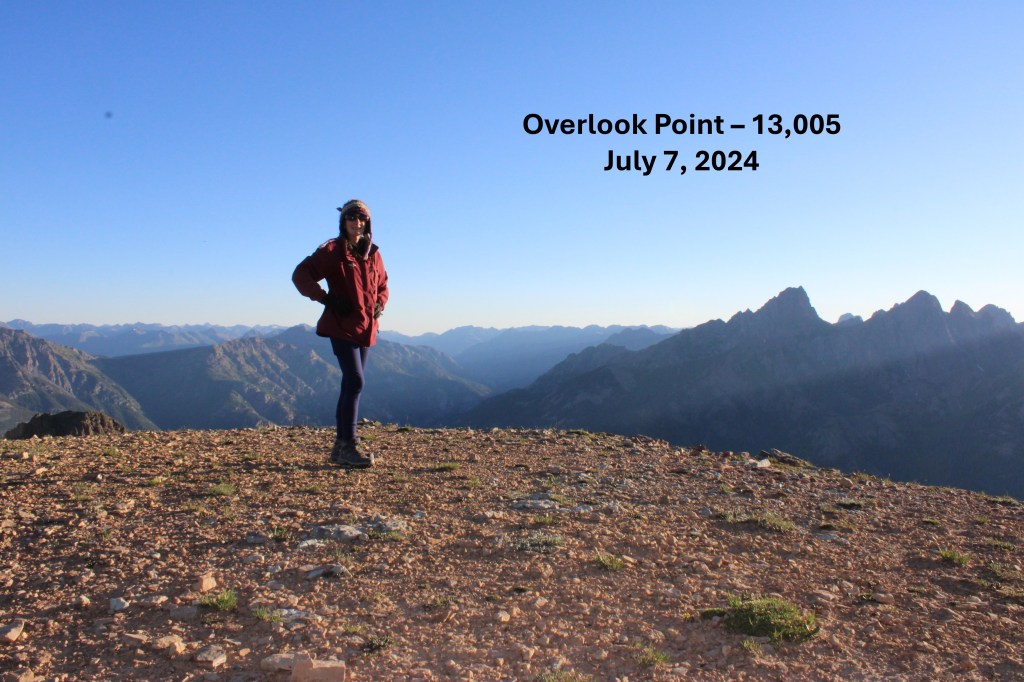
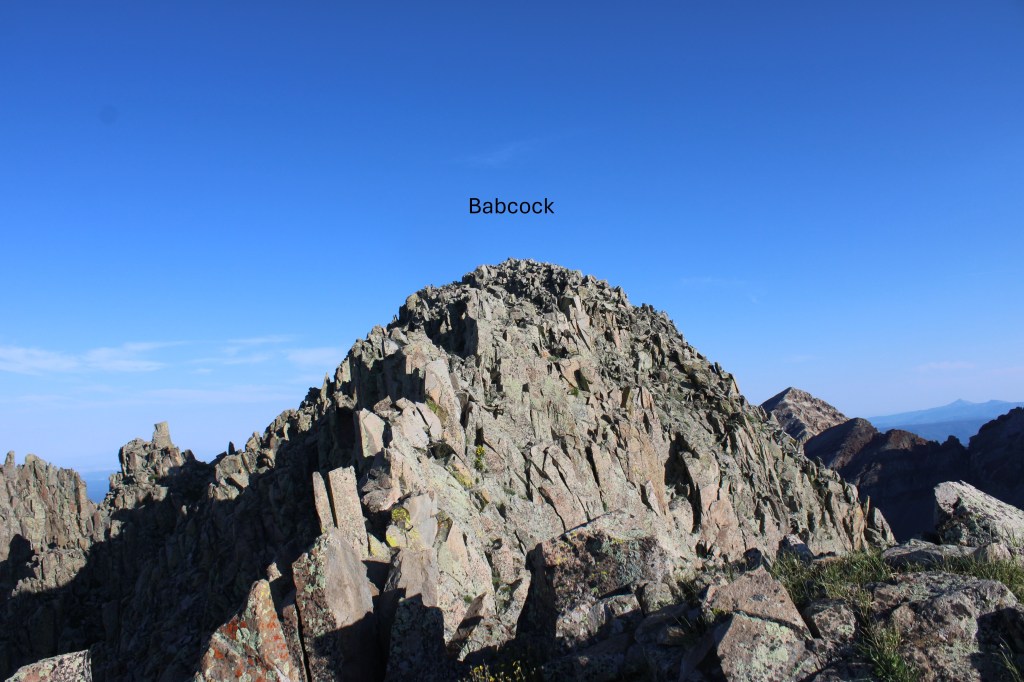
I summited Babcock Peak at 8am
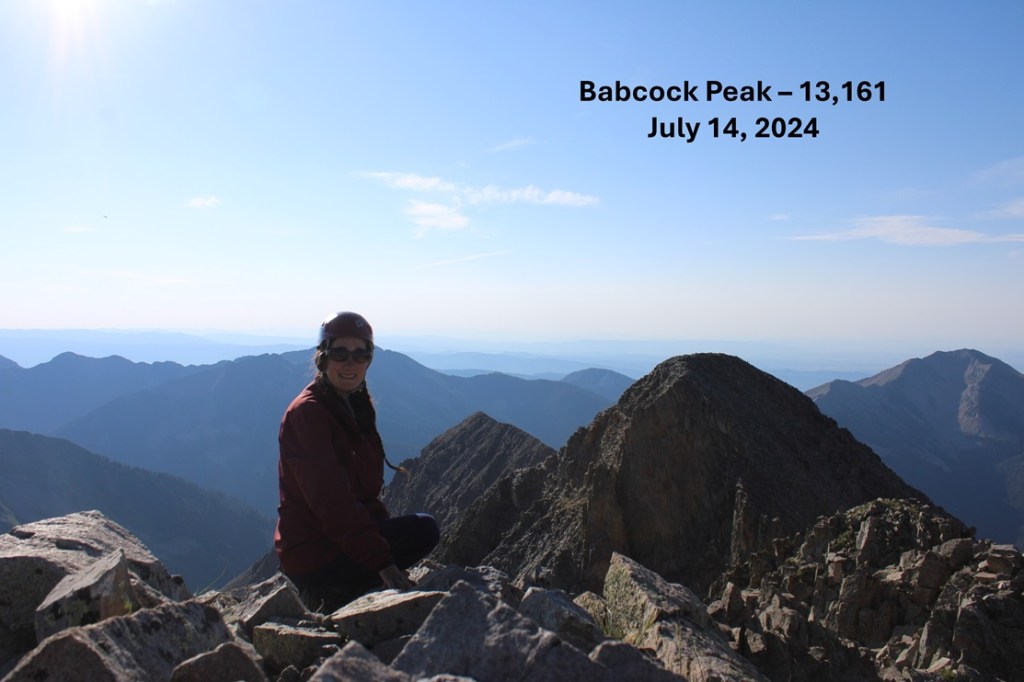
Babcock Peak:

Now to head back down. Here’s a picture of the ridge

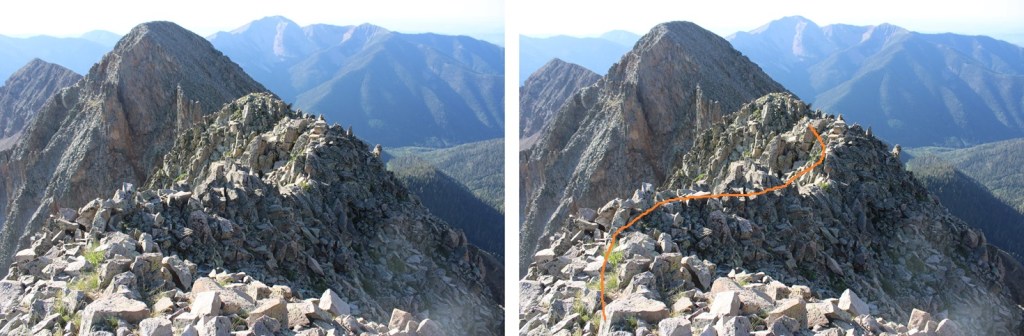
And the one tricky section

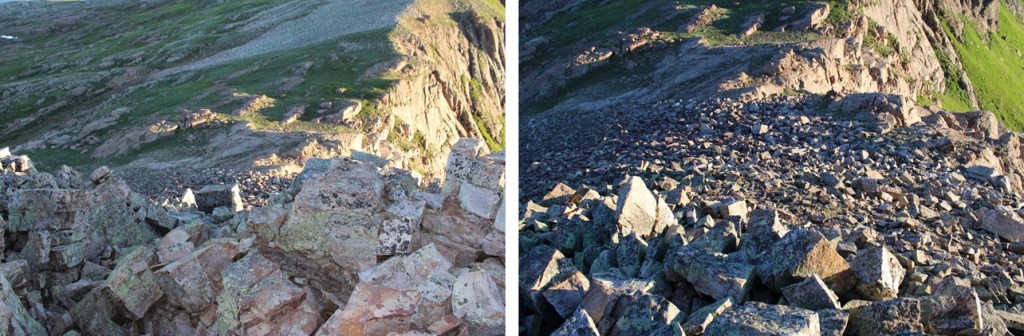
Now it was time to head back towards the gully.  Visuals are good here.  When heading down, keep moving to your left as you do so, making your way down to where the left and right gully meet up. 

Where the two gullies meet, I turned left and headed down the same gully I’d ascended.

And now, to descend the gully back to the 4WD road

Back on the road, I turned left and followed it southeast back to the trailhead.

I made it back to the trailhead at 10:30am, making this a 9.23 mile hike with 3868’ of elevation gain in 6 hours.

On to the next trailhead!

Overlook Point – 13,005

RT Length: 8.89 miles

Elevation Gain: 1872’

This one felt way too easy.  The most difficult part was the drive in.

The road to Lime Mesa Trailhead is mostly 2WD.  Mostly.  At the turnoff point just before Henderson Lake it’s another 5 miles to the trailhead.  The road stays 2WD for about 2.5 miles, then becomes 4WD.  The road just gets worse as you drive, so as soon as you feel uncomfortable with the conditions pull over and park.  There are several dispersed camping areas along the road. 

Henderson Lake:

Road after Henderson Lake:

The trailhead is obvious, and starts at the north end of the parking area,  I was on the trail at 5am.

I followed the class 1 Lime Mesa Trail North for 3.4 miles.  After hiking for about half a mile I came to a junction, and went left.

I kept hiking along the class 1 trail as it wound north through Lime Mesa

After hiking for a total of 3.4 miles, and at around 12420’ of elevation, I left the trail that had started going east and headed north.

This is where I was headed

I ascended a gully, then headed towards the ridge.  This was mostly tundra, until the end, when it became rocky.  All class 2.

There was a big cairn at the top of the ridge

When I got to the top of the ridge, I was at PT 12802.  I could see Overlook Point to the north. 

I continued following the ridge towards Overlook Point. Rocks became tundra, and then the tundra became rocky again.

Following the ridge, I eventually came to a rocky area.  This is easier to descend than it looks.  It can be kept class 2 if you just follow the gully down.  Here I lost about 100’ of elevation as I made my way towards the saddle.

And now to gain the ridge.  This was a fairly easy ridge hike, where I gained about 300’ of elevation to the summit.  I just kept to the ridge. 

I summited Overlook Point at 6:40am

Overlook Point:

And now to make my way back towards PT 12802. I turned around and descended the ridge to the saddle.

Then it was up the rocky sections.  This is the route I took

Then southeast following the ridge to 12802

And then back down to the Lime Mesa Trail

I turned right onto the Lime Mesa Trail, and followed it 3.4 miles south back to the trailhead.

I made it back to the trailhead at 8:15am, making this a 8.89X mile hike with 1872’ of elevation gain in 3.5 hours.

On to the next trailhead!

Mount Valois – 13,173

RT Length from City Reservoir: 6.75 miles

Elevation Gain from City Reservoir: 2310’

RT Length from Endlich Mesa Trailhead: 21.45 miles

Elevation Gain from Endlich Mesa Trailhead: 5078’

The approach to City Reservoir is a total of 7.35 miles and 1220’ of elevation gain (but also over 1500’ of elevation loss) from Endlich Mesa Trailhead and City Reservoir.  You can view the approach to the saddle here

I awoke from my campsite at City Reservoir and was on the trail at 7am.  I followed the Endlich Mesa Trail towards Lake Marie.

When I reached the south end of the lake, where a stream flows out, I crossed the stream

After crossing the stream I headed northeast towards the ridge and the rocky outcropping.  The ridge actually has a lot of route finding, so I’ll do my best to explain how to navigate it.  This is all class 2, with route finding below treeline.

At the first rock outcropping, head for the tree that’s cut in half at the top of the rocks

Next, ascend this small gully

And continue heading northeast

You will eventually come to this wall.  If you navigate around to the left, you’ll find a grassy ramp to ascend.  Ascend, then walk back towards the wall to navigate around the rocks. 

After going east around the large rock face, again head northeast along the ridge.  You’ll encounter another large rock face.  This time, go right, and ascend a grassy gully.

Now you should be looking at the rocky ridge, but at least you’re above treeline. I pretty much stayed to the center of the ridge, and kept heading northeast, following the ridge.  If you have an option to go left on grassy slopes, do that. 

From here on out, this is a straightforward hike.  I climbed northeast up this class 2 ridge to a rather large cairn.

From there I headed east towards this large cairn, but I could have just kept heading northeast along the ridge.

From this second large cairn I followed the ridge towards Mount Valois.  It may look daunting, but it’s all class 2.  The ridge goes, but if it feels sketchy there’s a way to drop down to the left and use game trails. 

Here are some pictures of the ridge. 

Then it’s an easy rocky tundra walk to the summit

I summited Mount Valois at 7:45am

Mount Valois:

Now to head back to City Reservoir.  I retraced my steps back down to the ridge

Then across the ridge

Here are some pictures of the route back down to Lake Marie

Back down the gully

And across the rocky ledge

Then southwest towards Lake Marie

I crossed the stream, and headed south on the Endlich Mesa Trail back to City Reservoir.

I made it back to City Reservoir at 9:30am, making this a 6.5 mile hike with 2310’ of elevation gain from City Reservoir in 3.5 hours. 

On to the next trailhead!