RT Length: 10.18 miles
Elevation Gain: 3534’
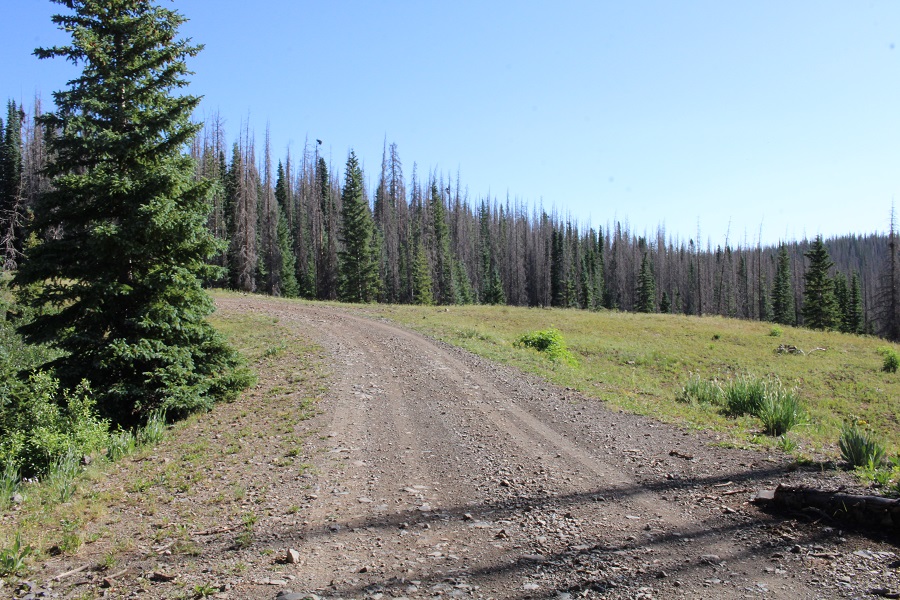
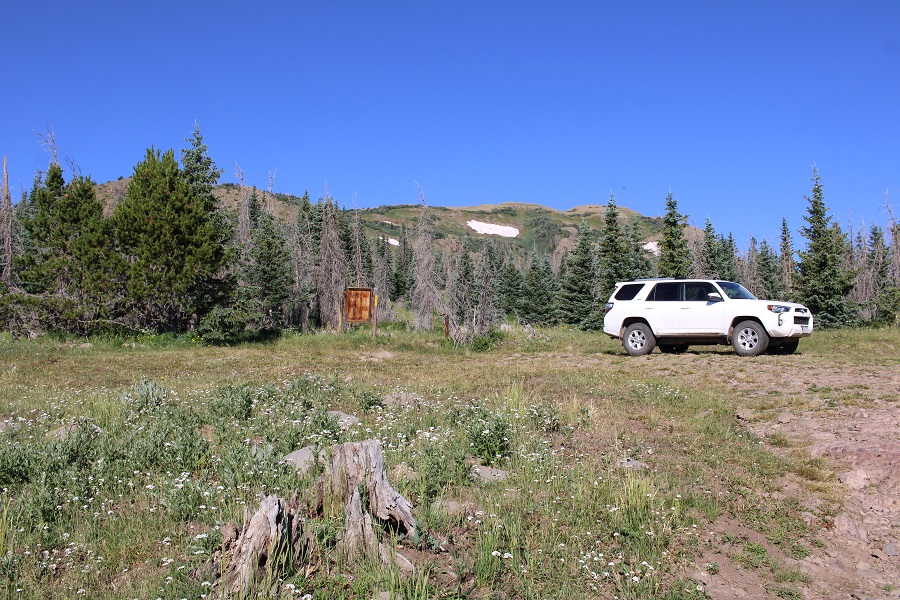
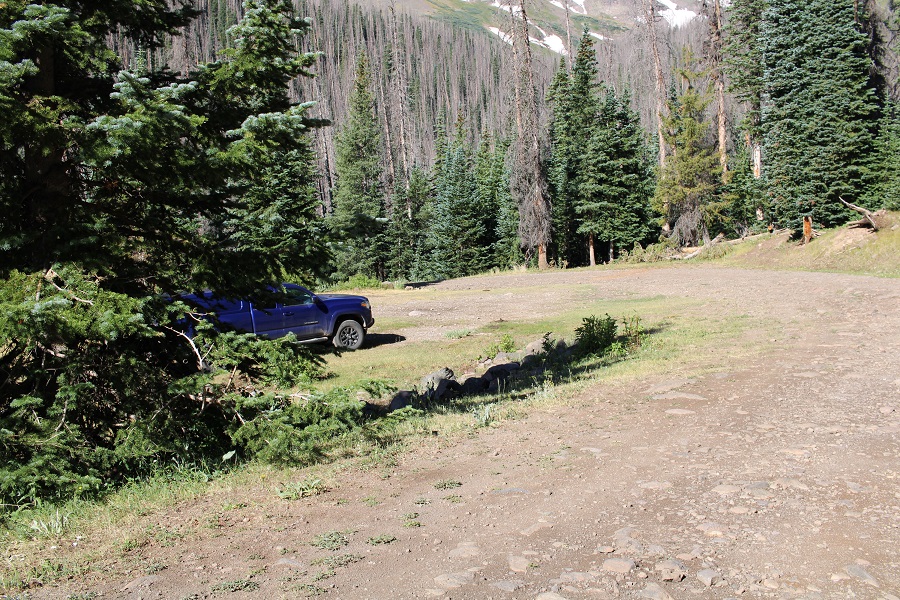
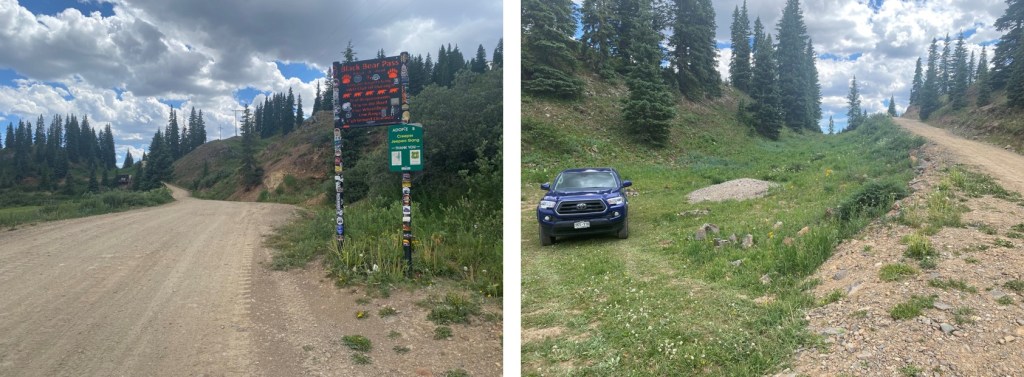
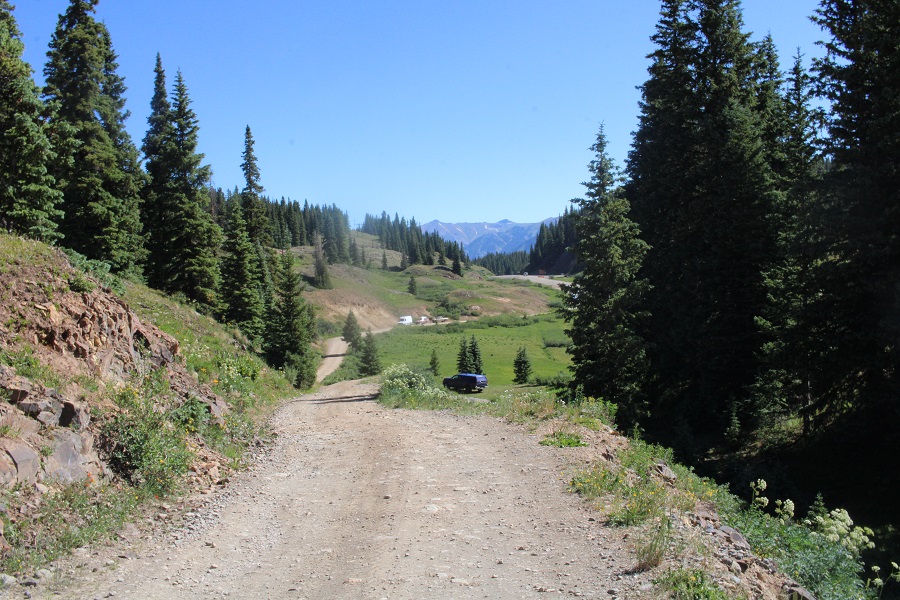
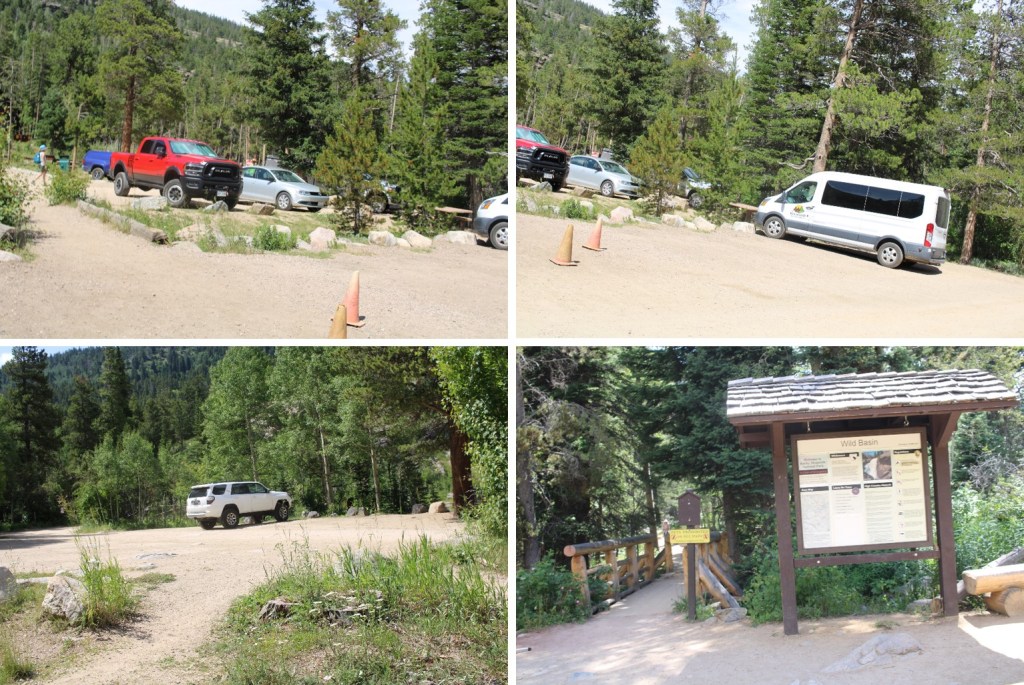
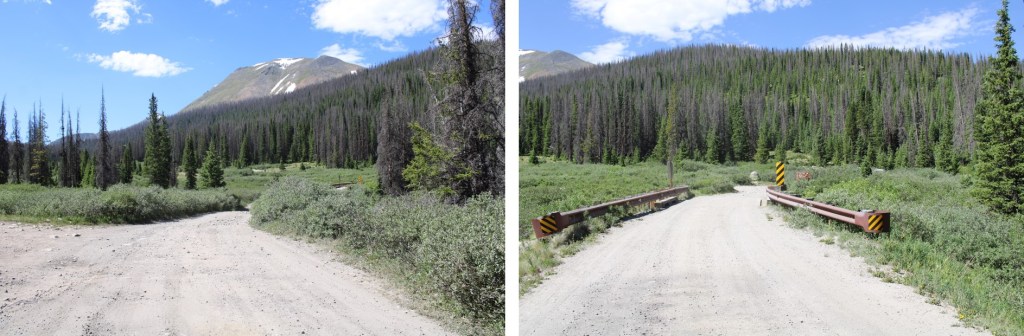
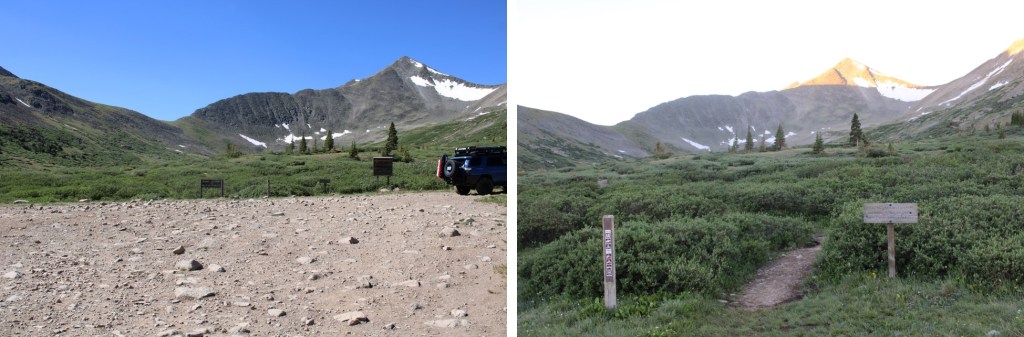
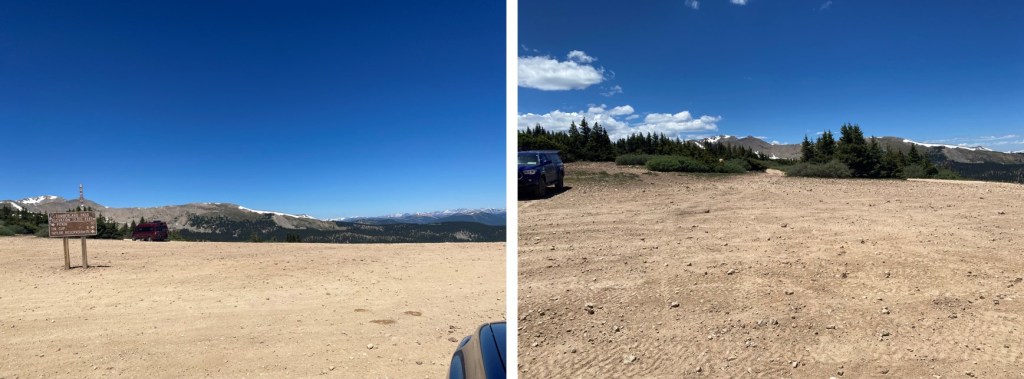
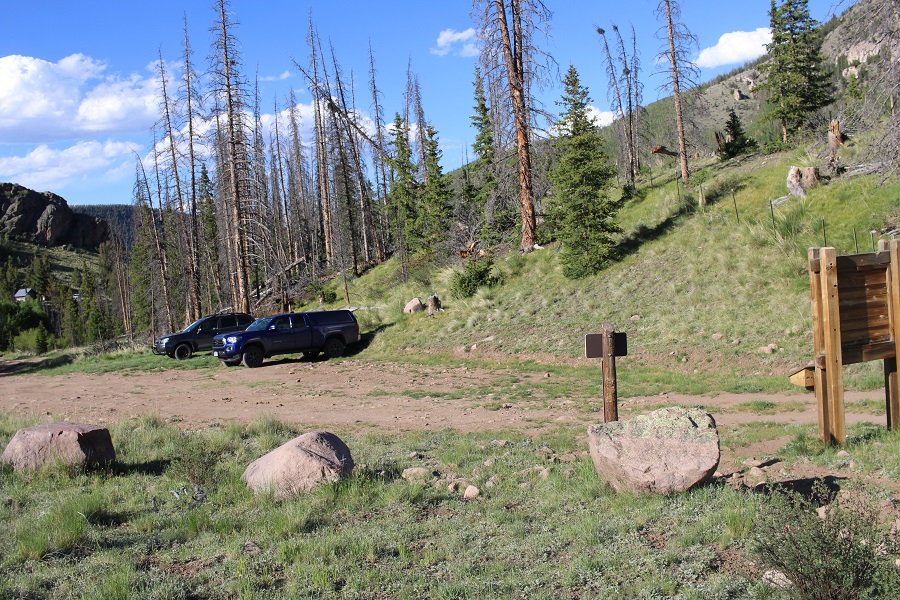
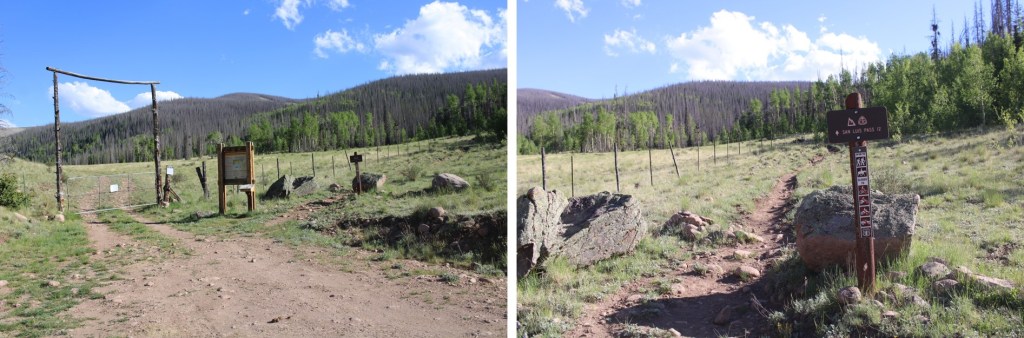
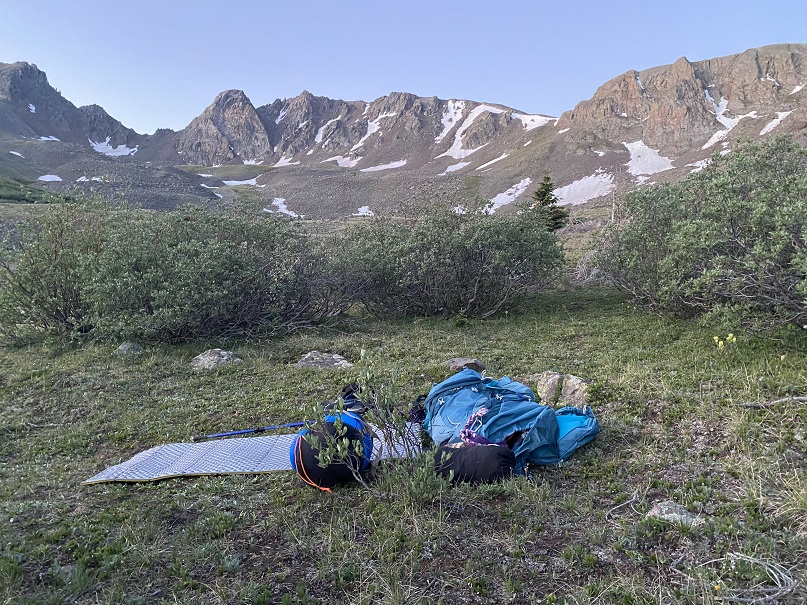
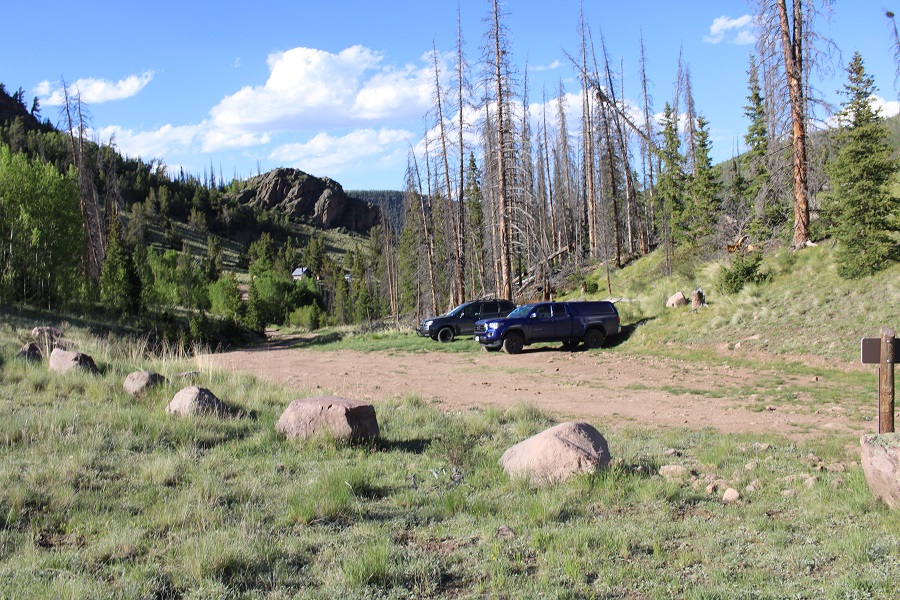
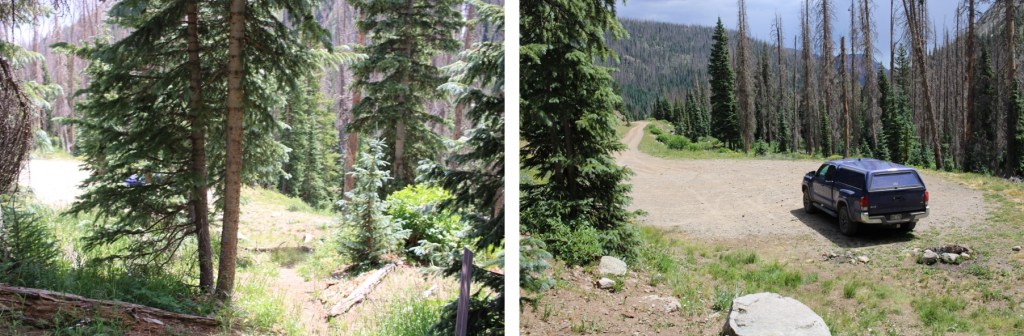
I parked the night before at the Summit Peak Trailhead and had the whole place to myself until I left the next day.

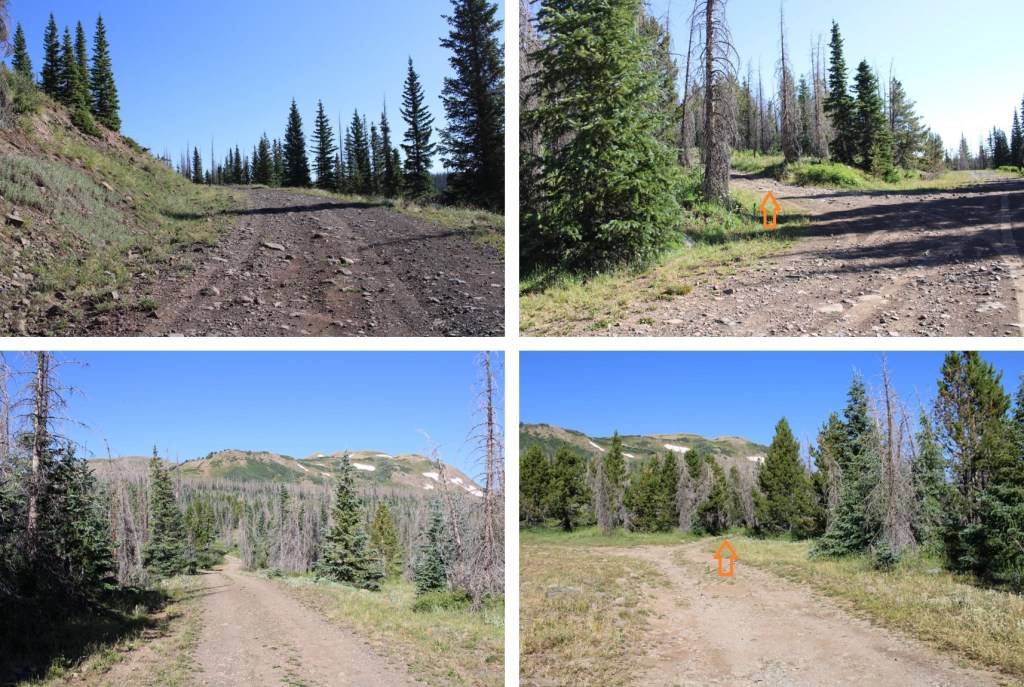
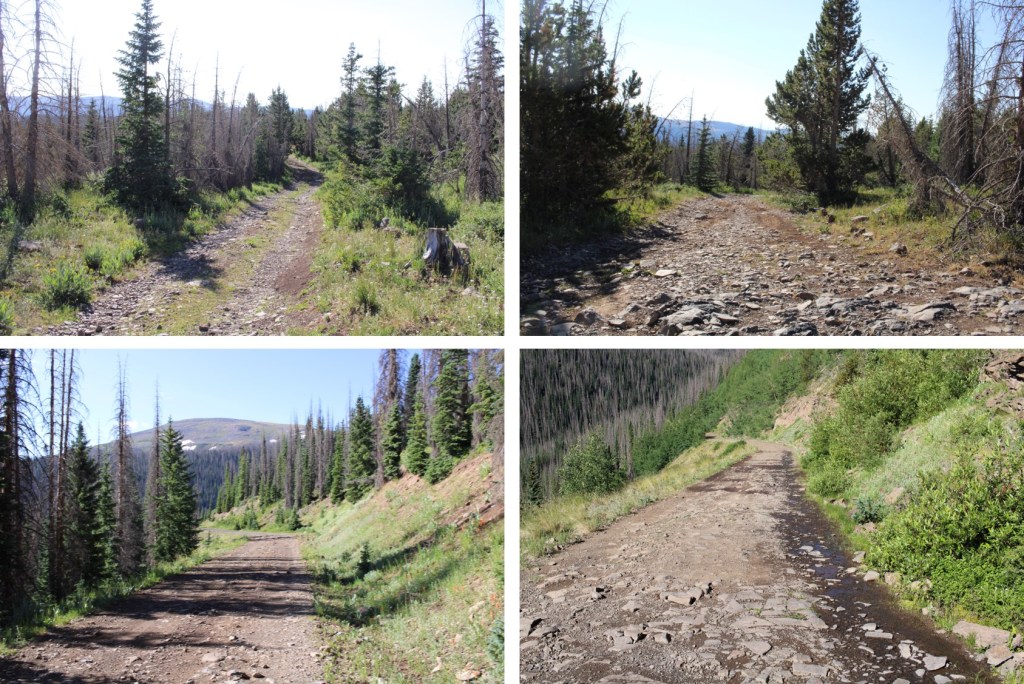
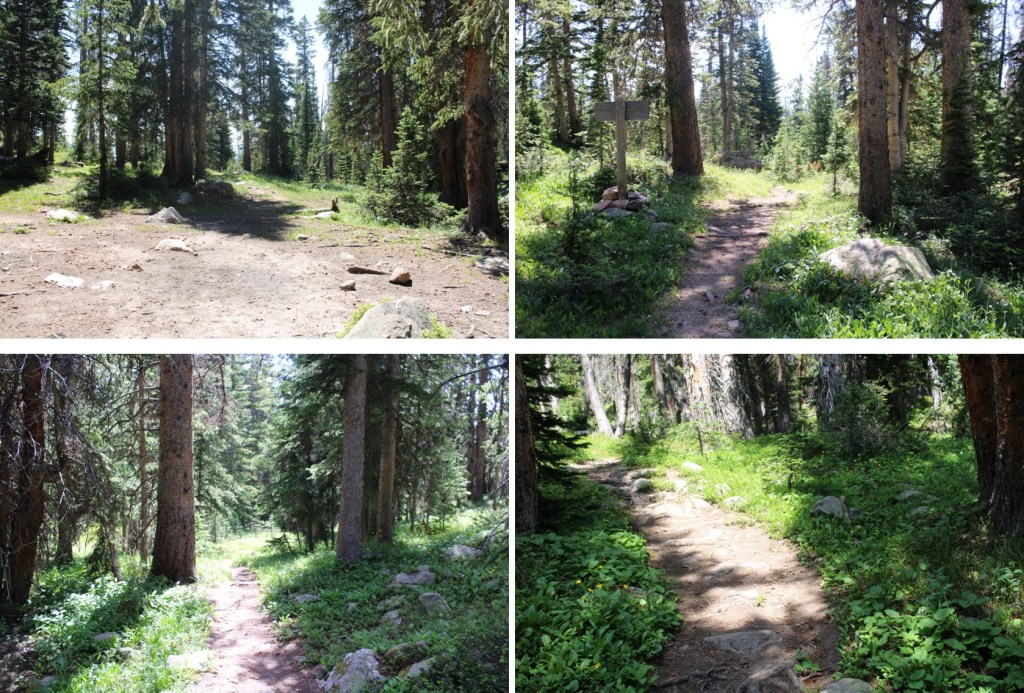
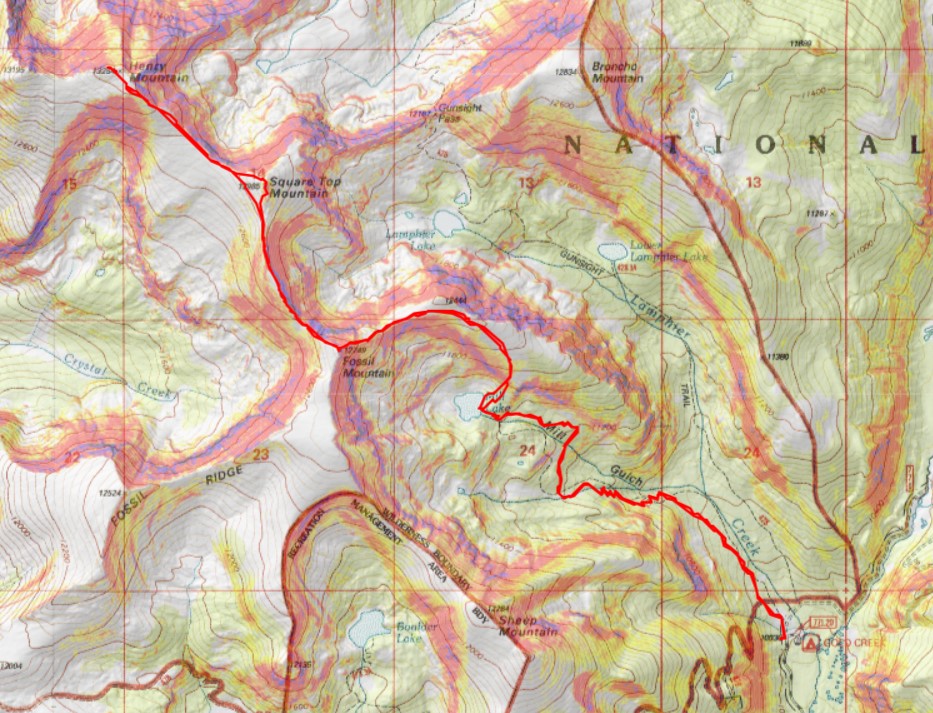
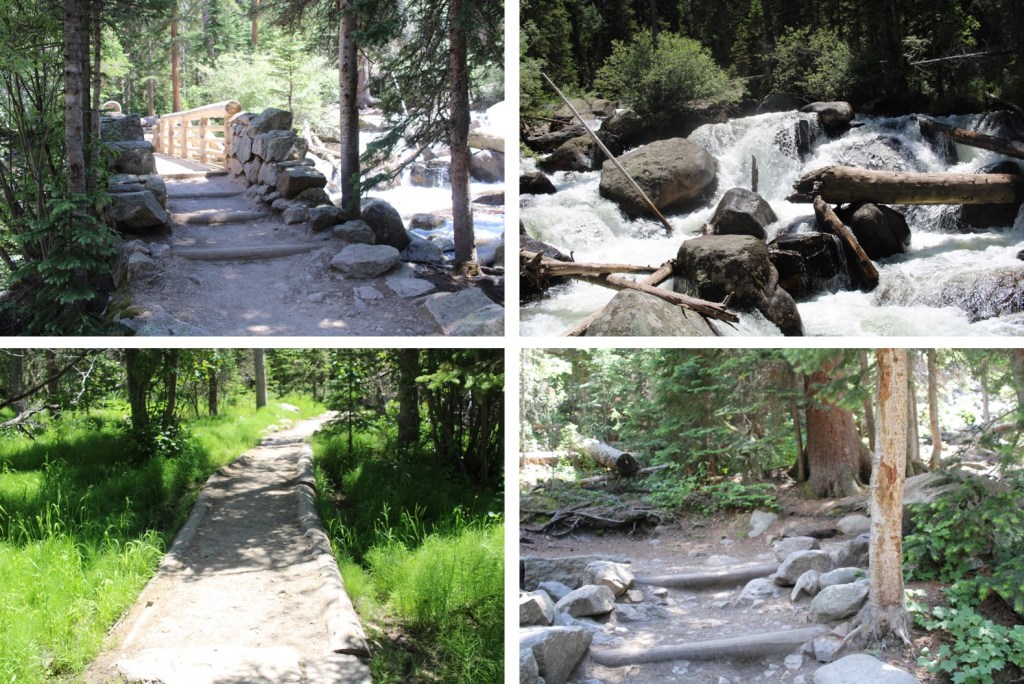
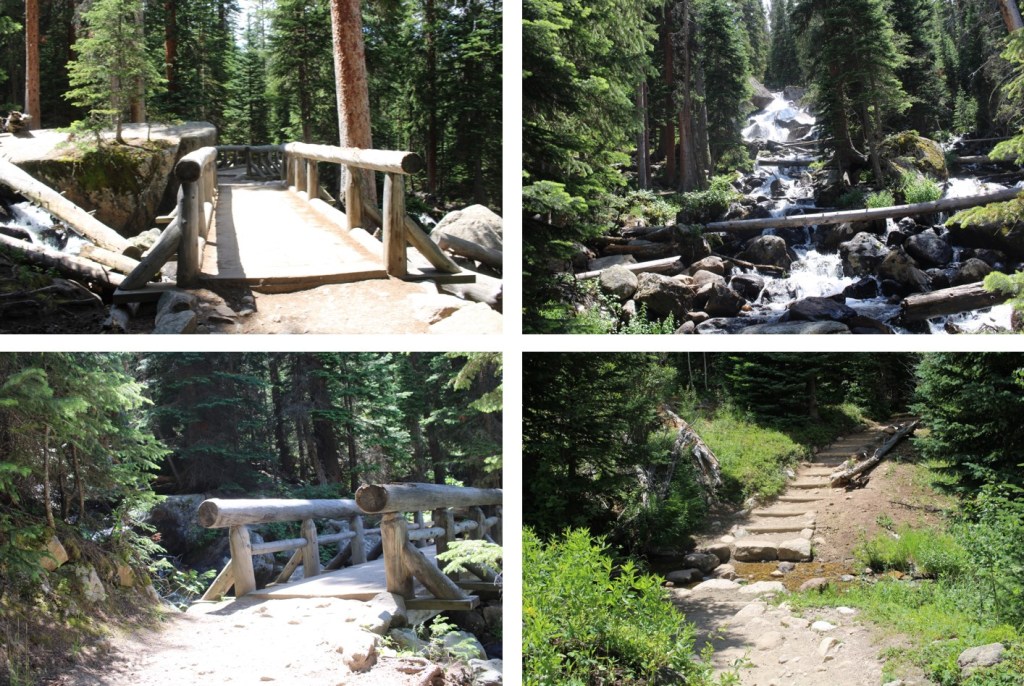
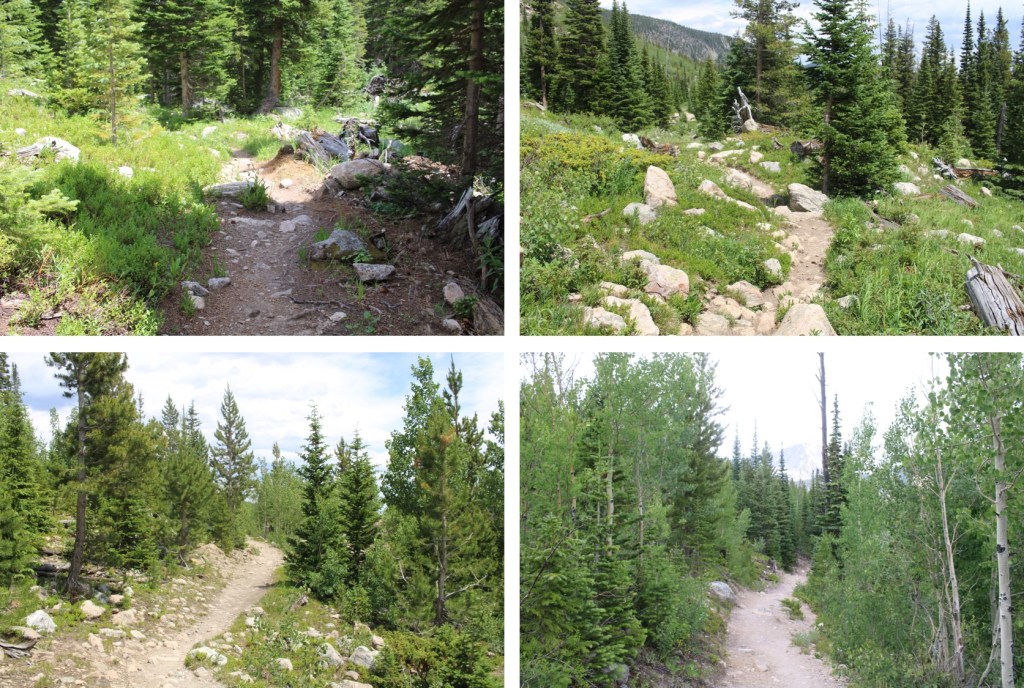
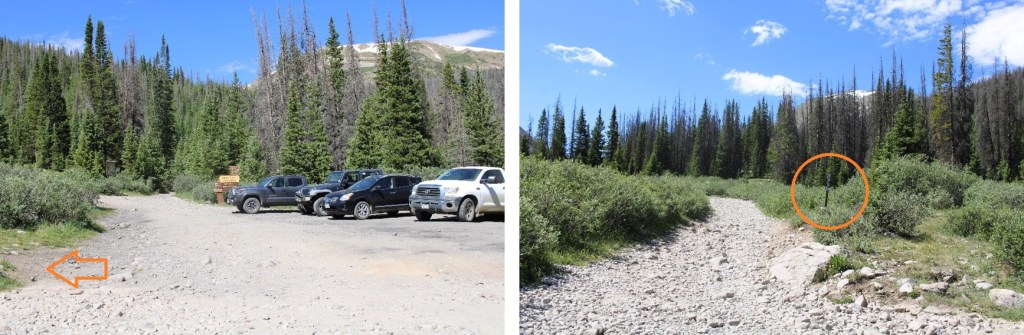
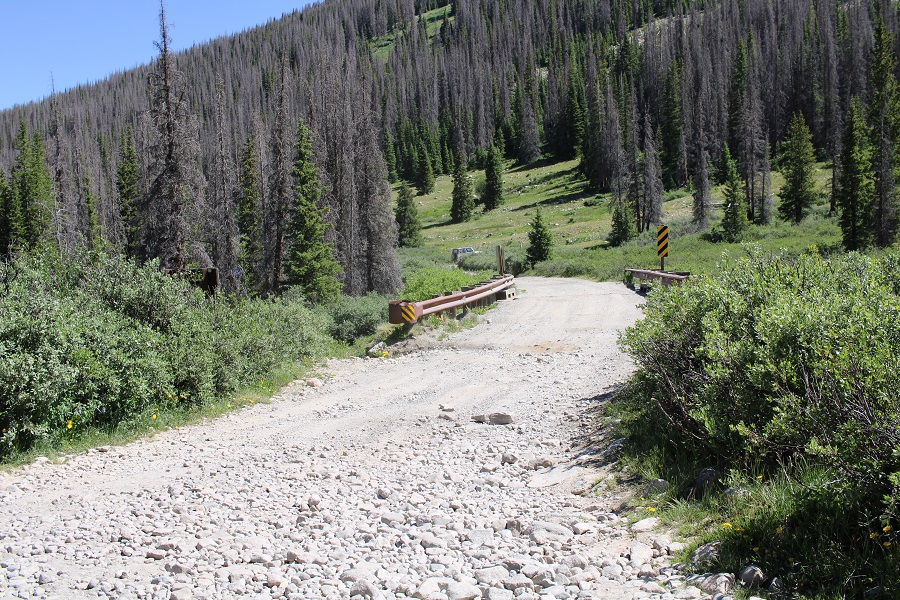
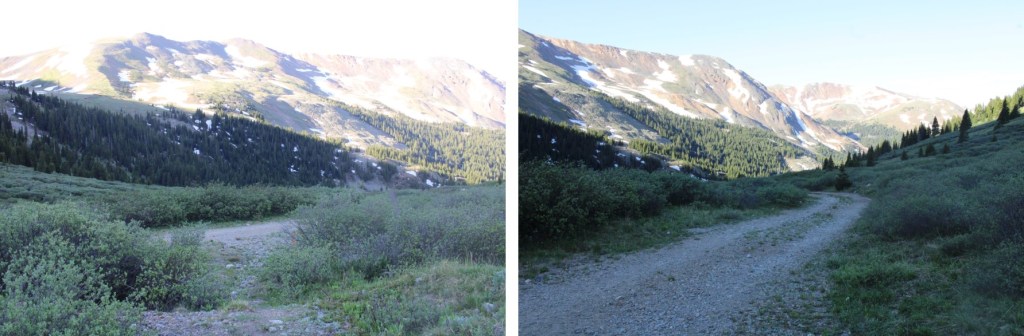
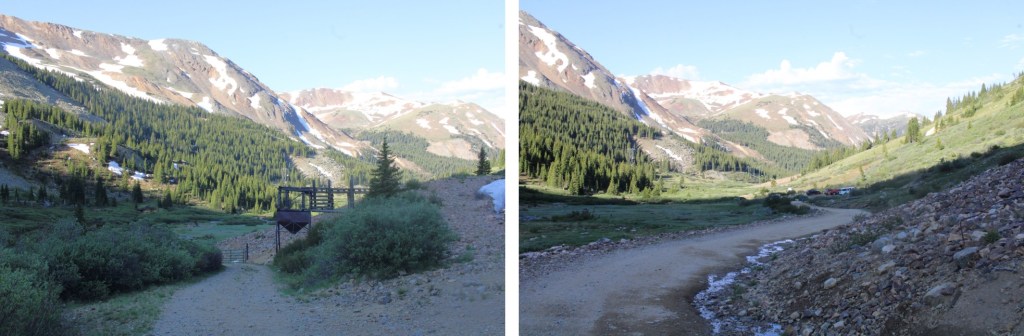
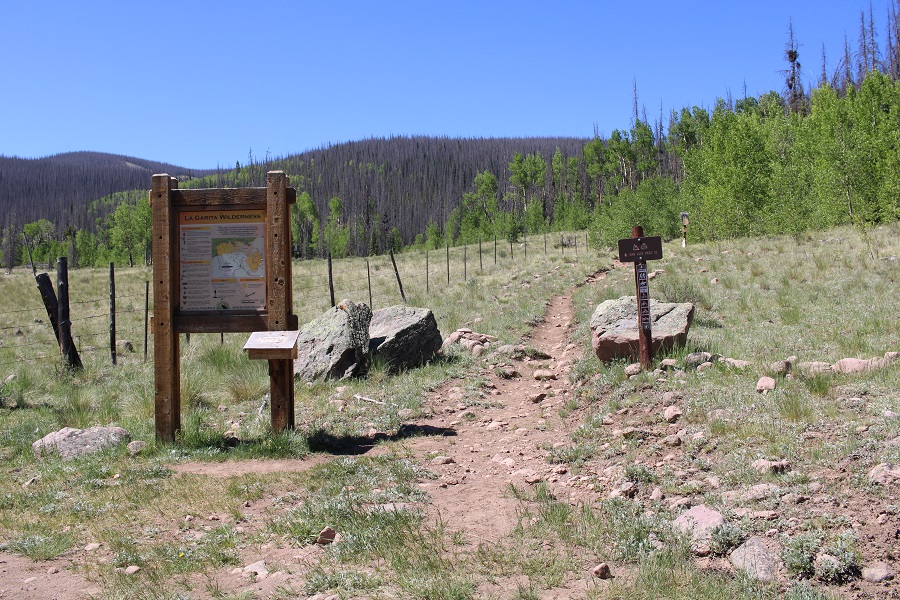
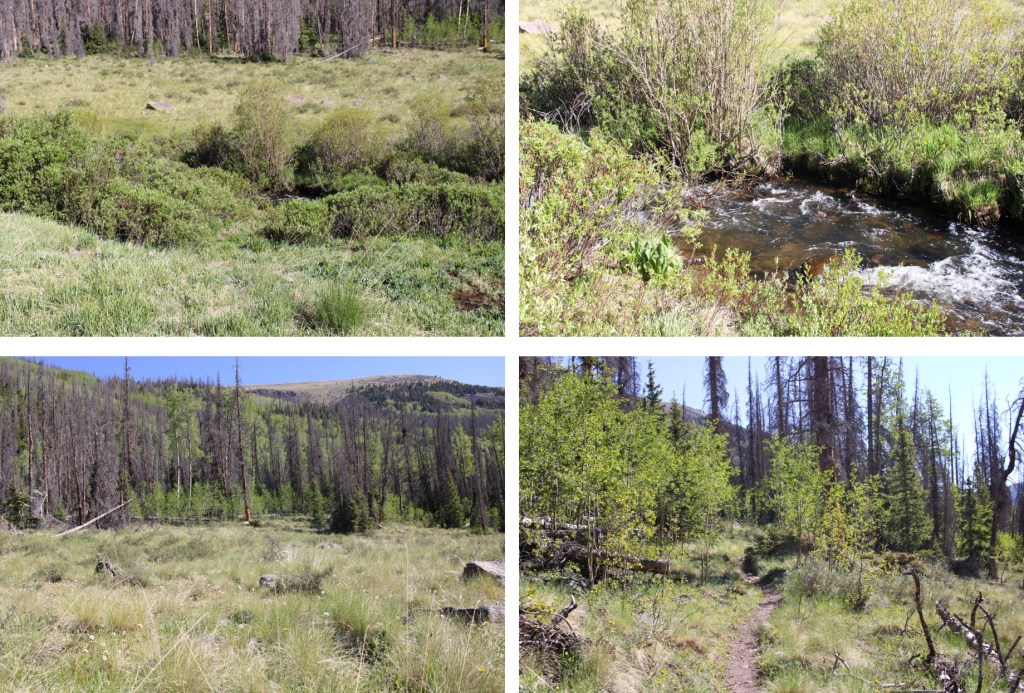
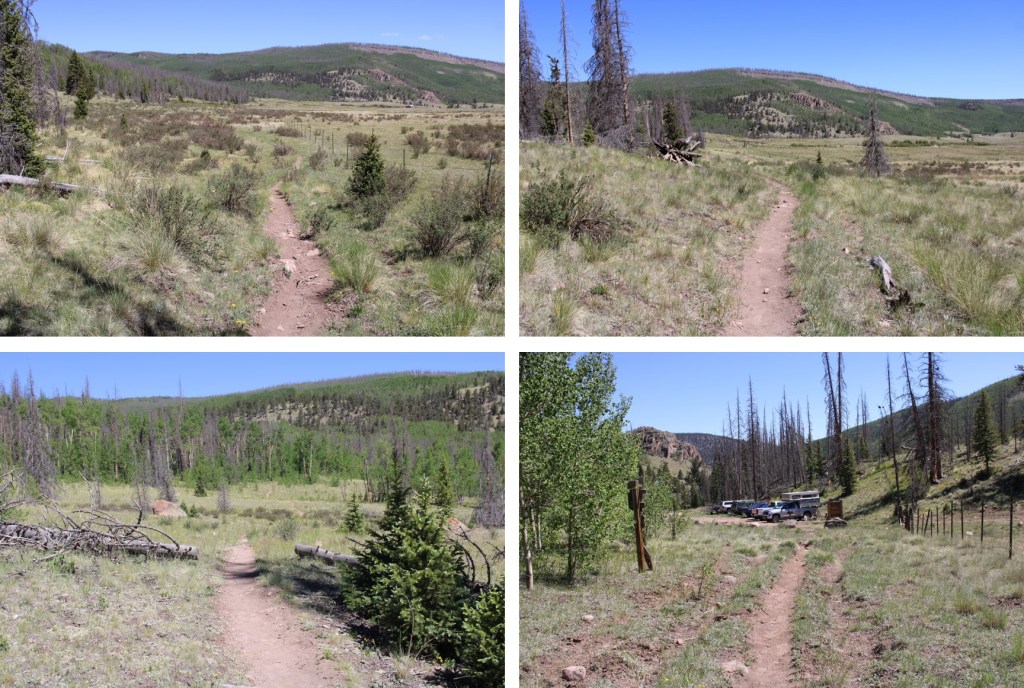
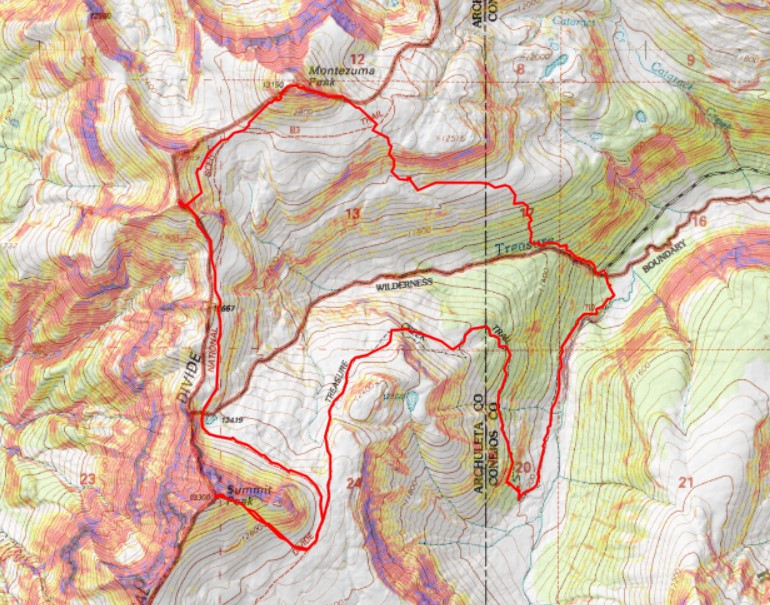
The 2WD dirt road in is in good condition, with plenty of areas to pass other vehicles. I got plenty of sleep, and was on the trail at 5am the next morning. I figured this trail would be easier to take clockwise, as in the dark it would start on an actual trail. This was good thinking, but the ‘trail’ was more of a game trail that I lost and found repeatedly. After the hike was over, I concluded this would still be the better way to go, and you’ll see why later. The trail starts at the south end of the parking area, immediately crossing a bridge over Treasure Creek and following Treasure Creek Trail 710.
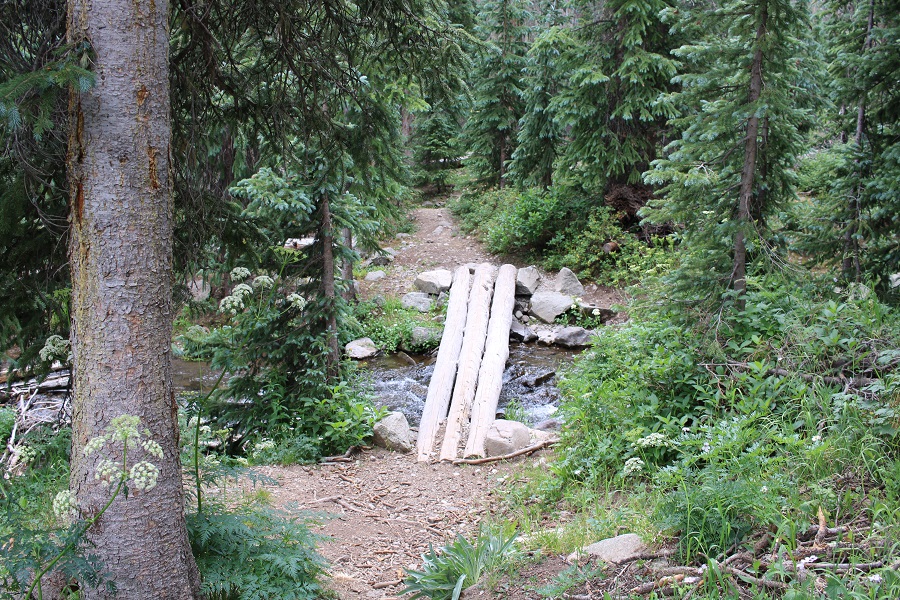
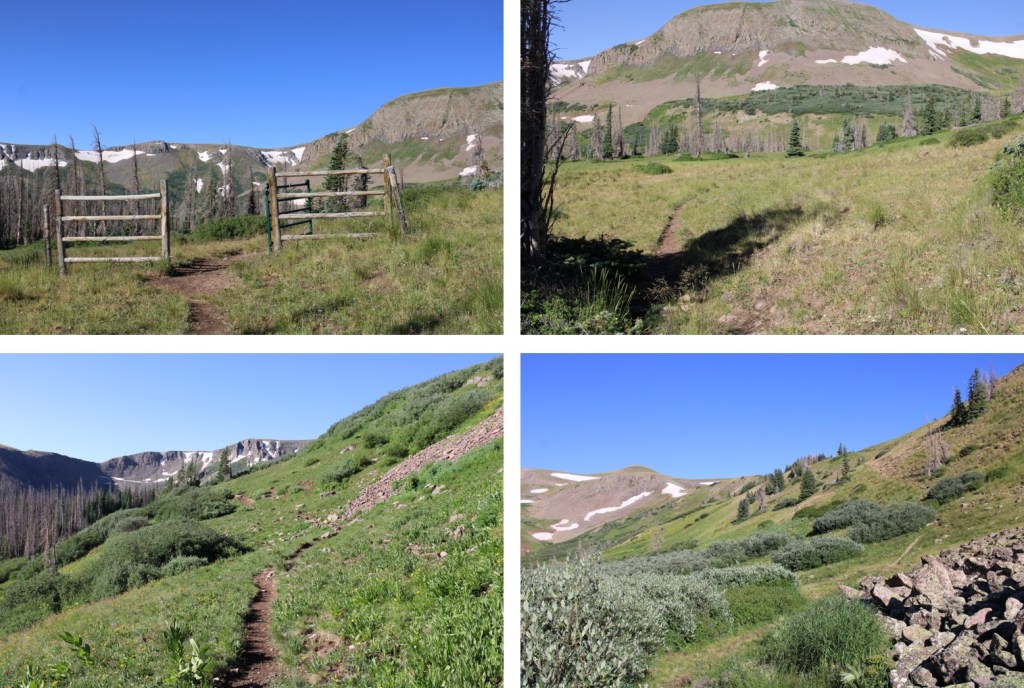
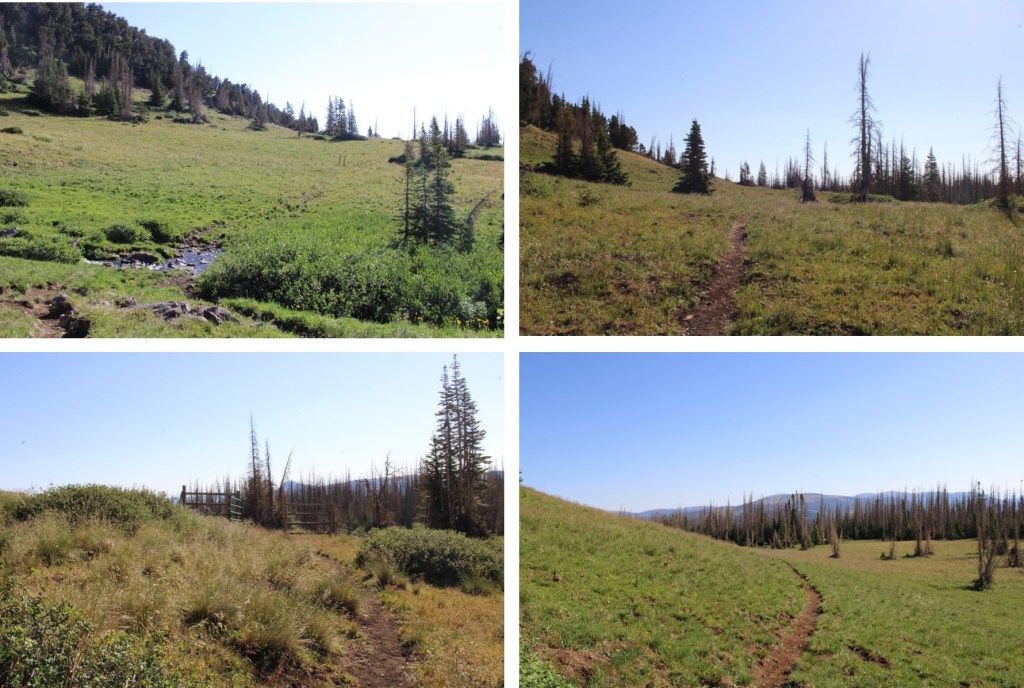
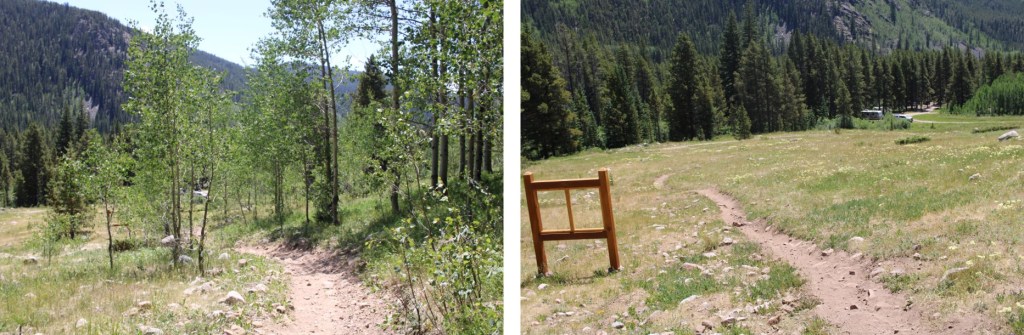
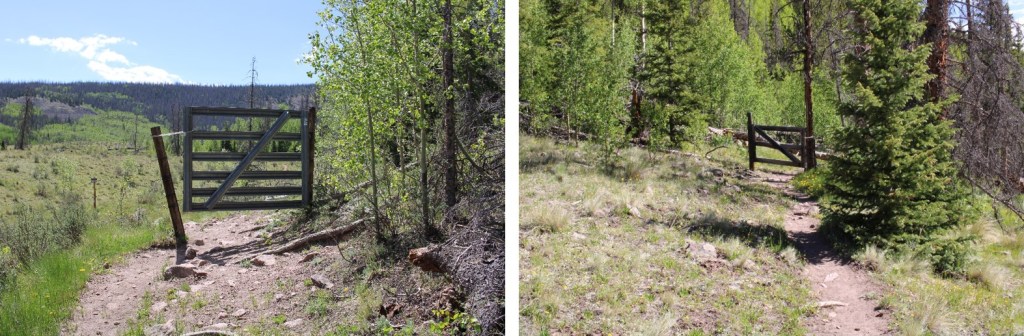
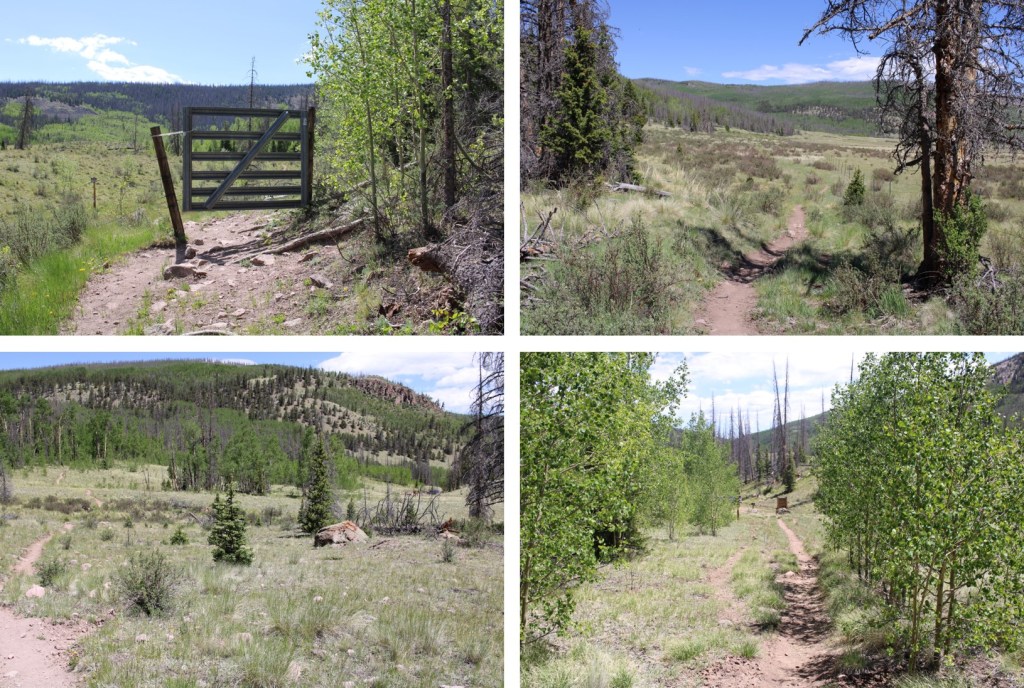
The trail quickly went through a flower filled meadow, and then headed south, through an open gate and open meadow. Here the trail was easy to follow, even in the dark.
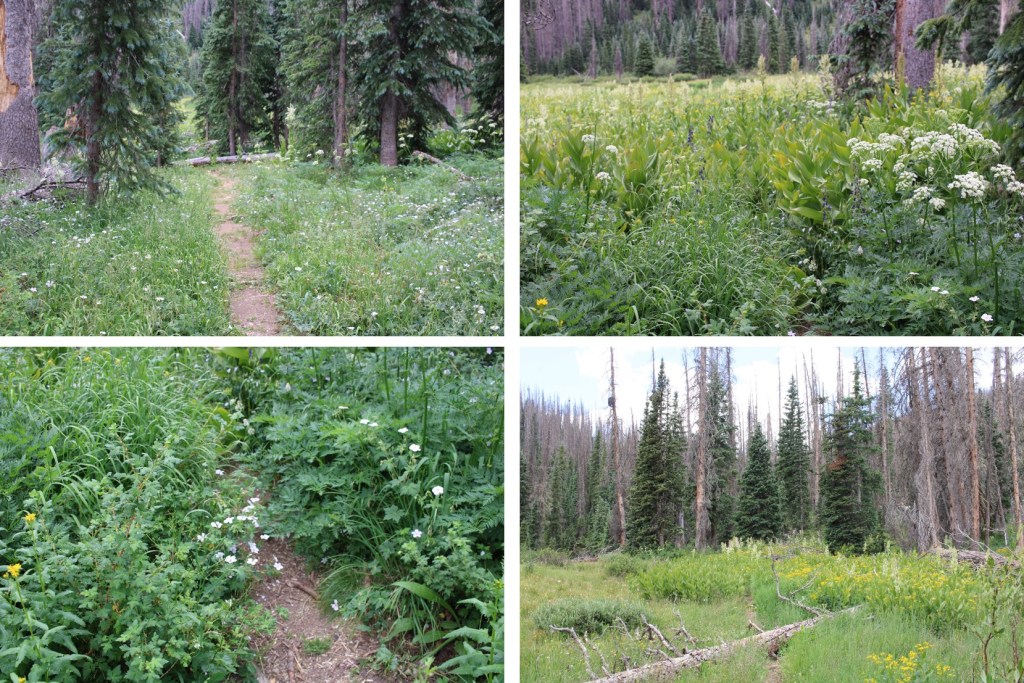

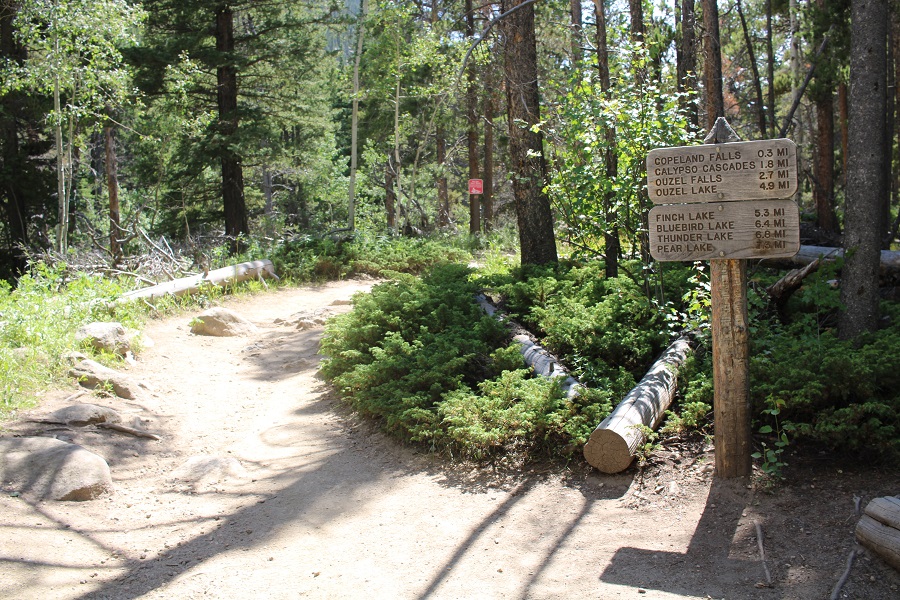
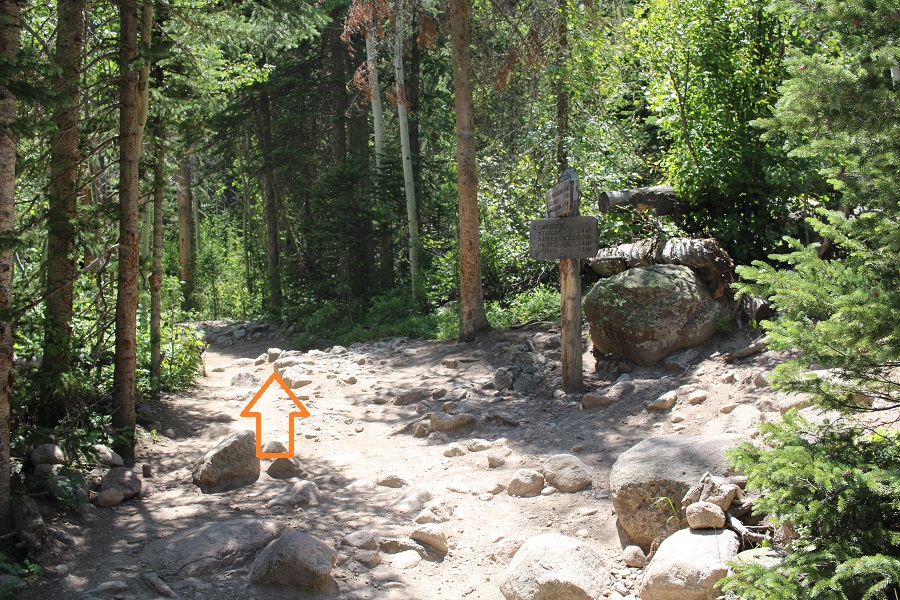
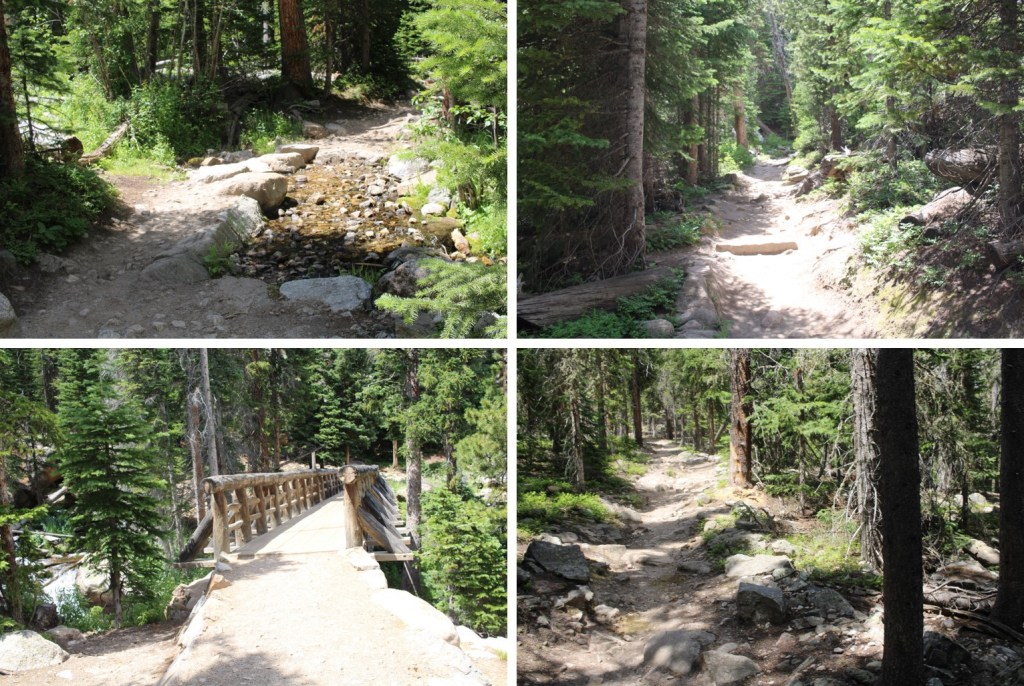
After hiking for 1.3 miles, I came to a cairn, turned right, and headed north up what was supposed to be Treasure Creek Trail. It was a faint trail for a bit, but it was easy to lose.

As I was hiking on this trail, I came across a rather fluffy ptarmigan. In fact, I almost stepped on her, and would have if I’d already put my flashlight away. I stopped for a second, and told her she could stay put and cover her babies if I could go around her. As soon as I said this she exploded. She jumped up into the air, and no less than 12 ptarmigan chicks cascaded out in all directions. A feather bomb had gone off, and I felt bad for her. A few seconds later I could hear her calling to the chicks, and watched them all make their way back to her. Sorry mama, but nesting in the middle of a trail, even a small trail, is a bad idea.

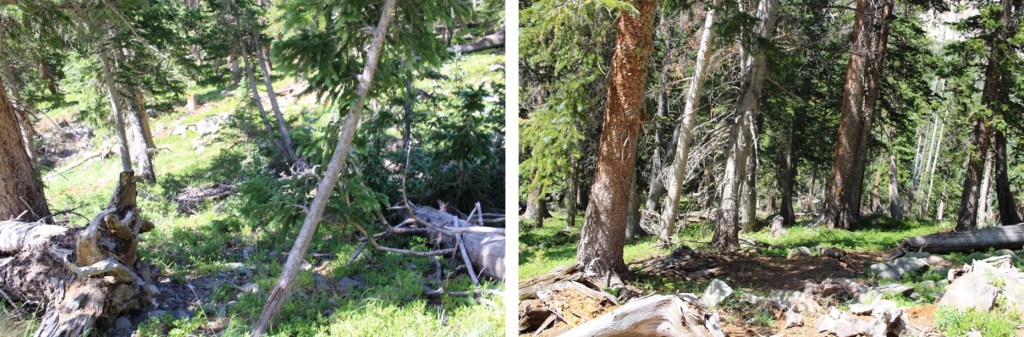
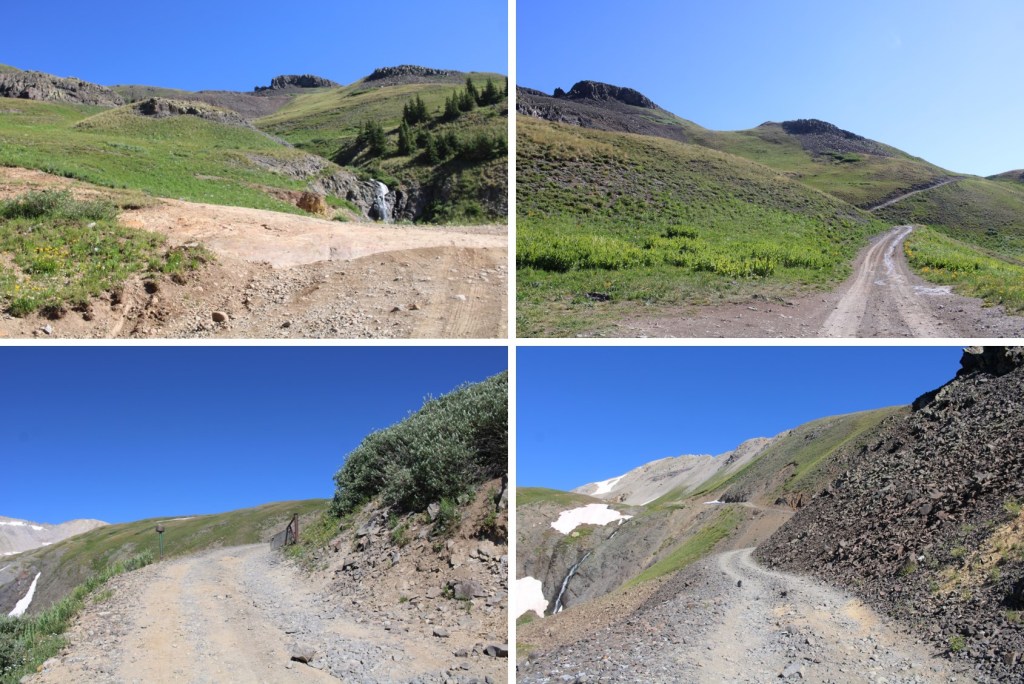
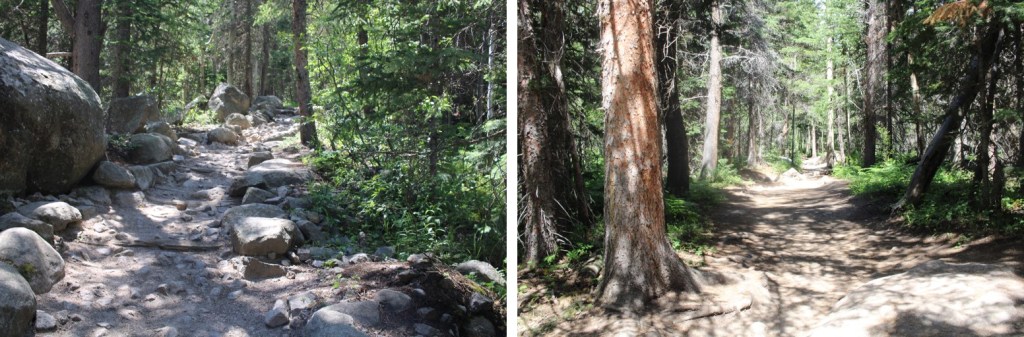
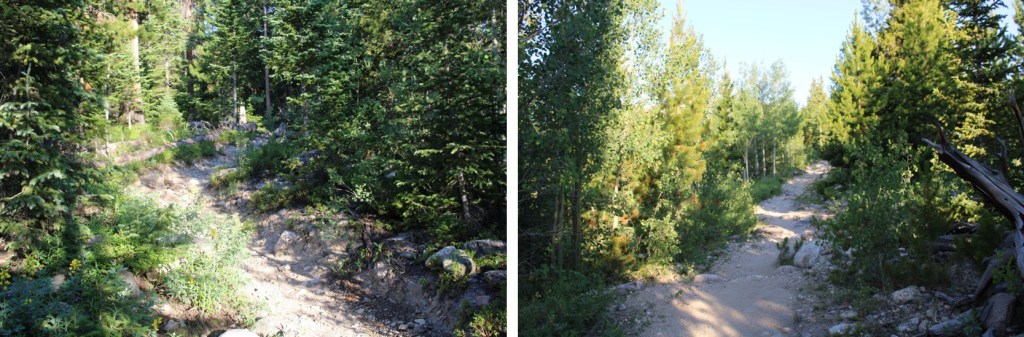
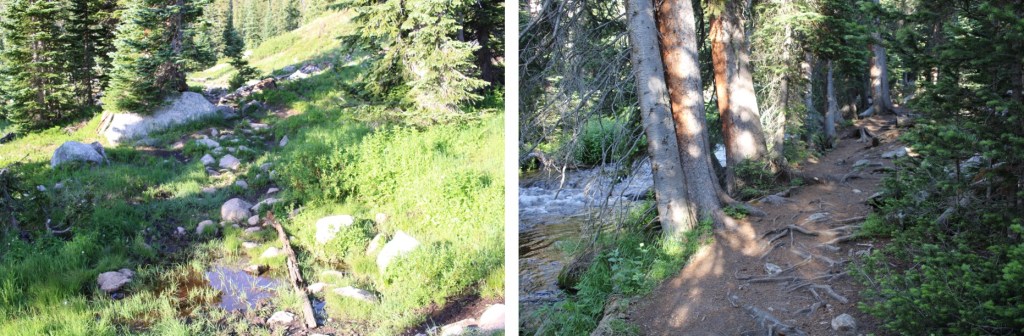
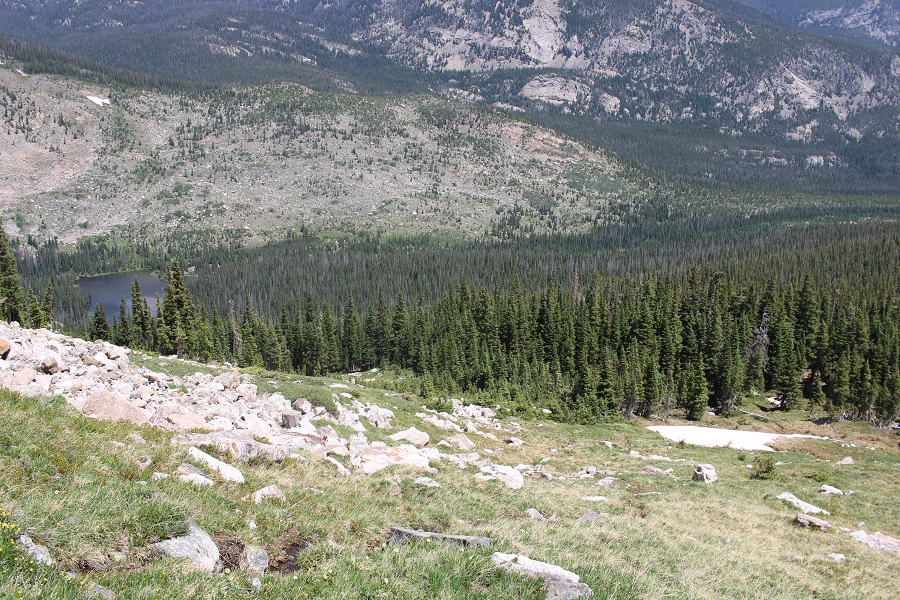
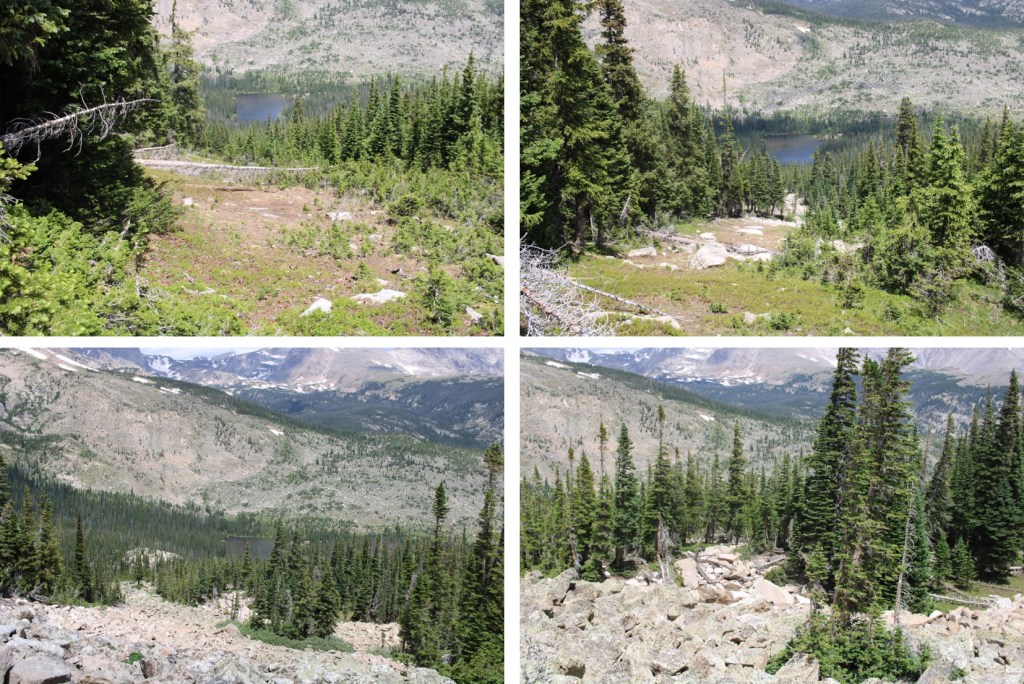
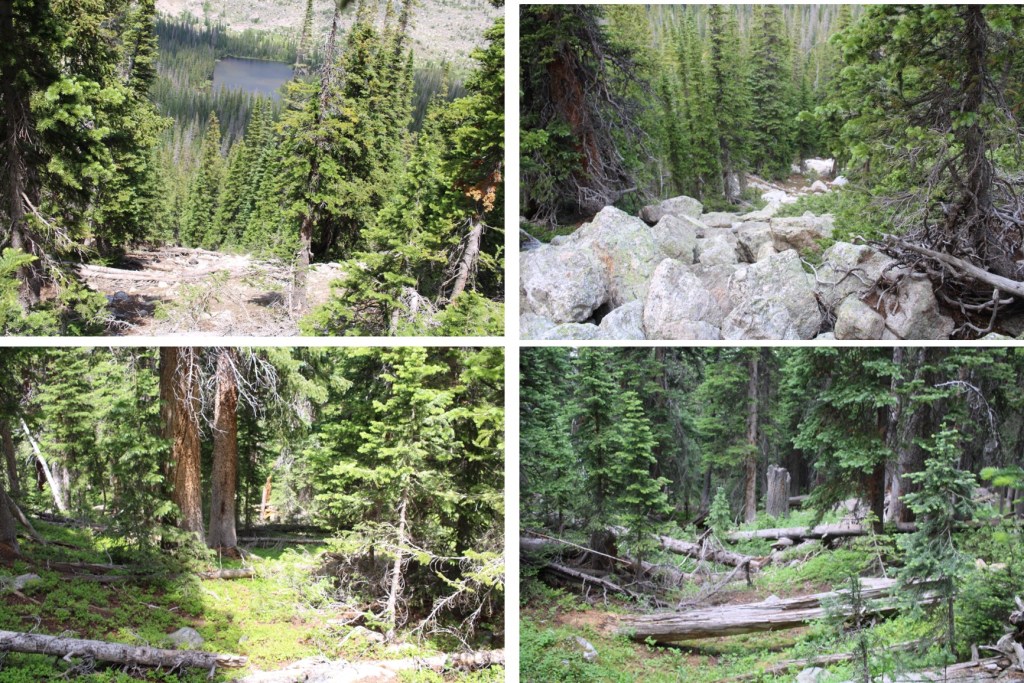
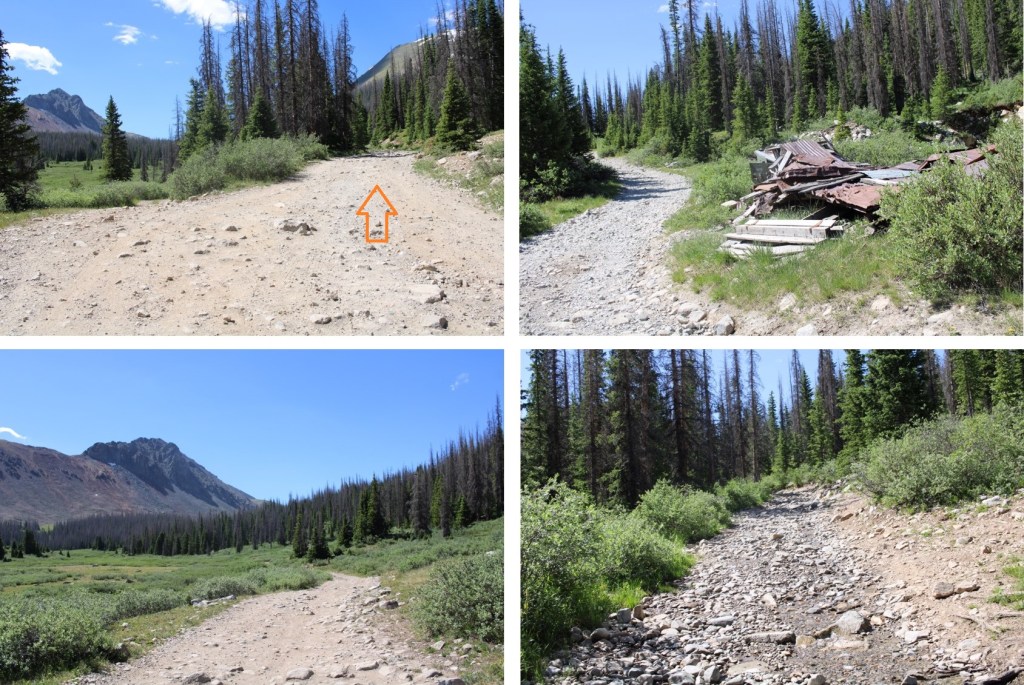
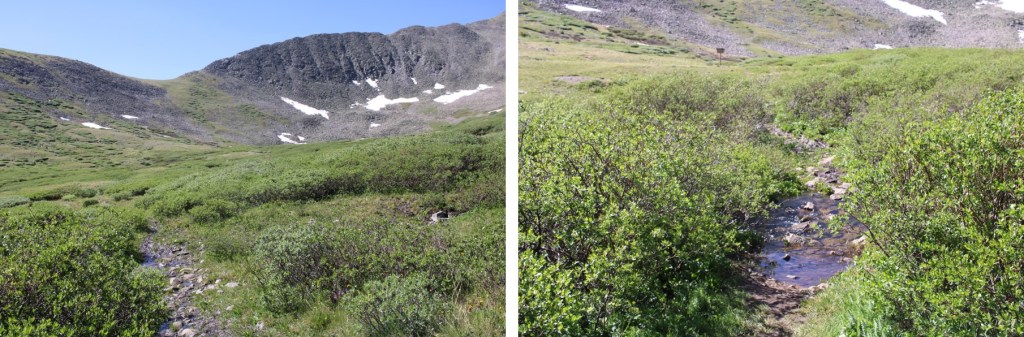
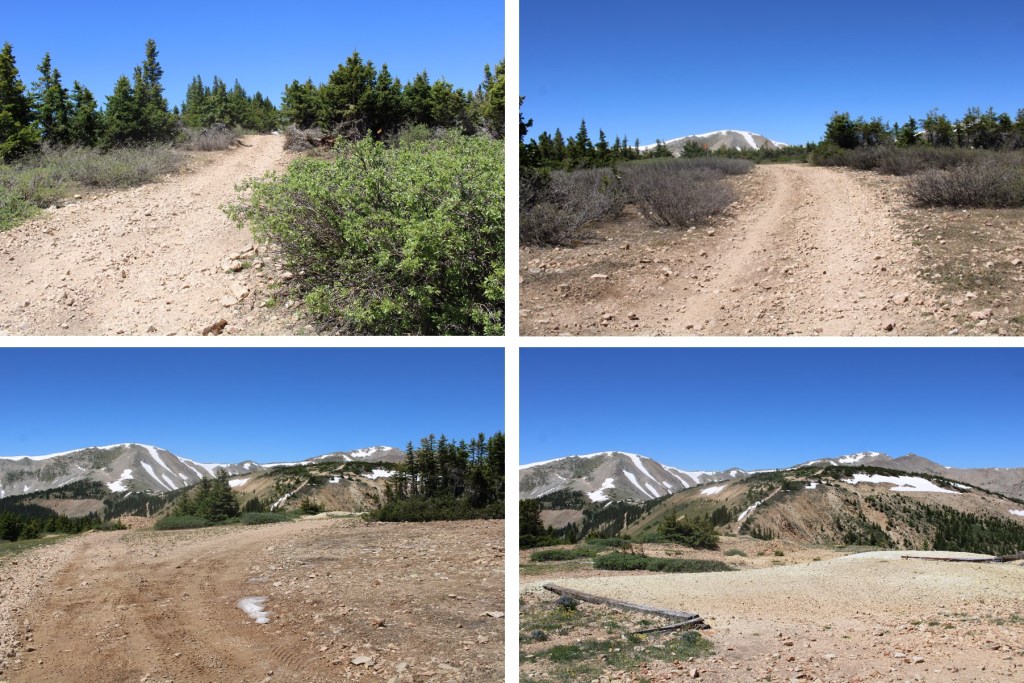
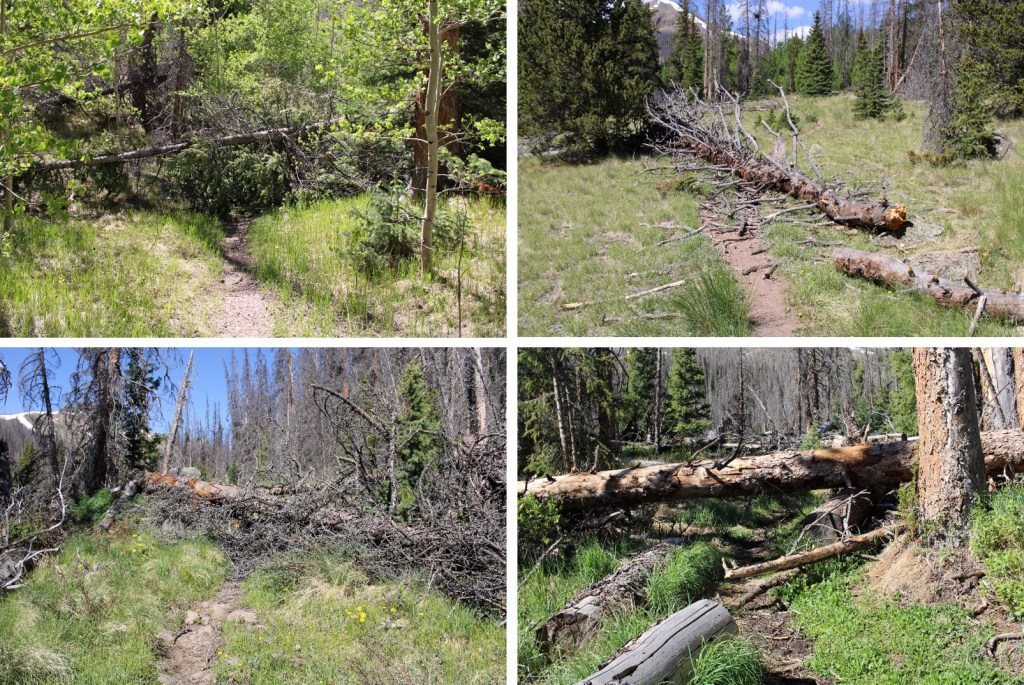
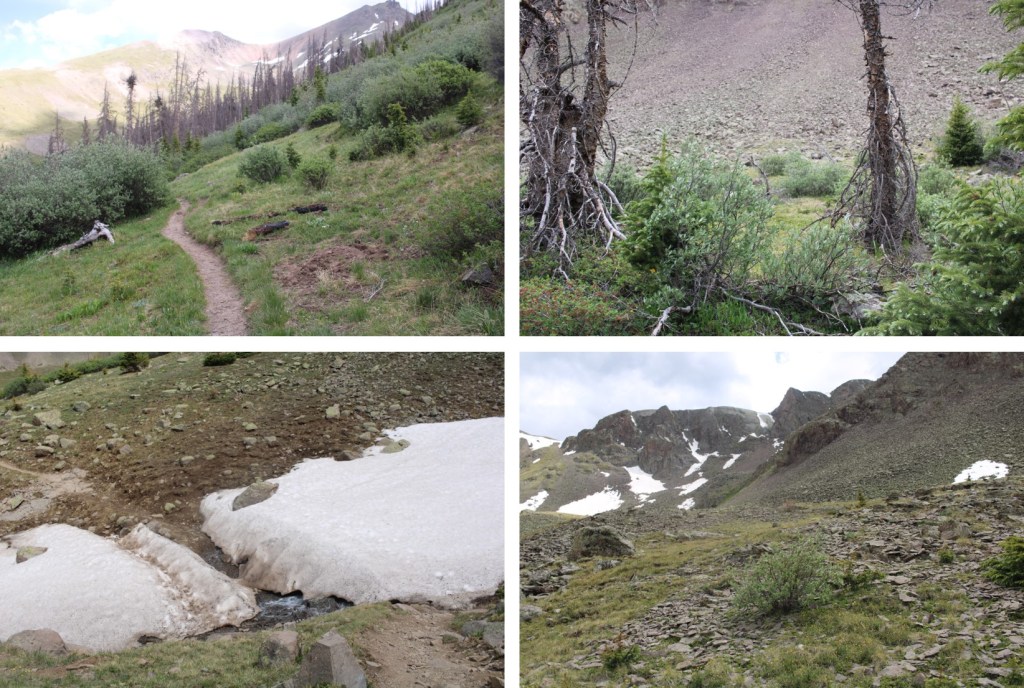
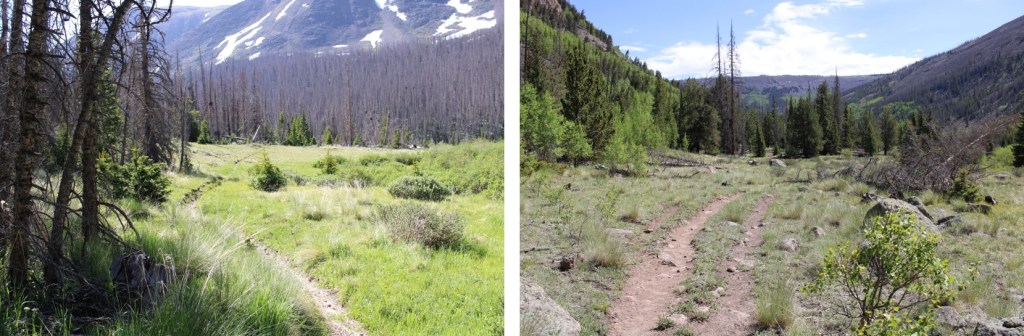
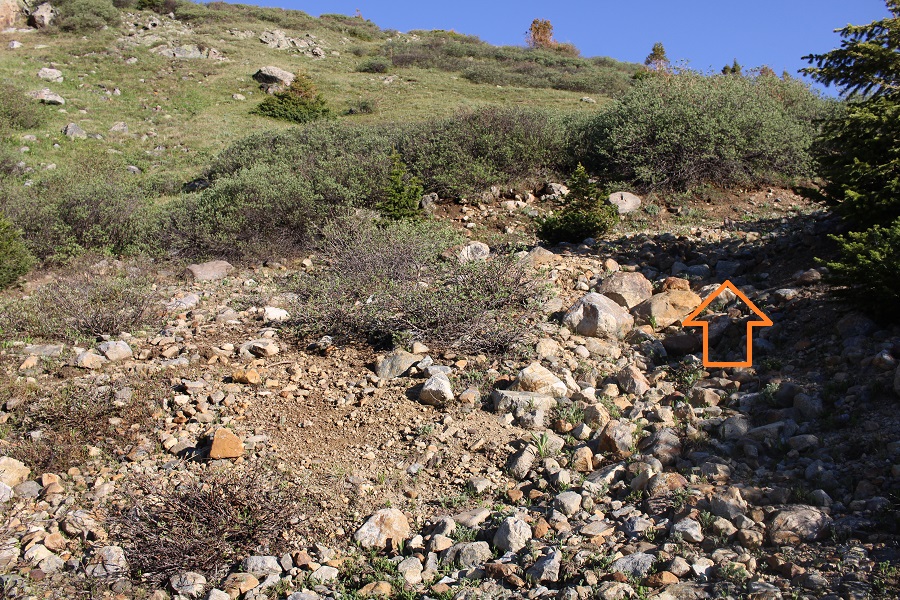
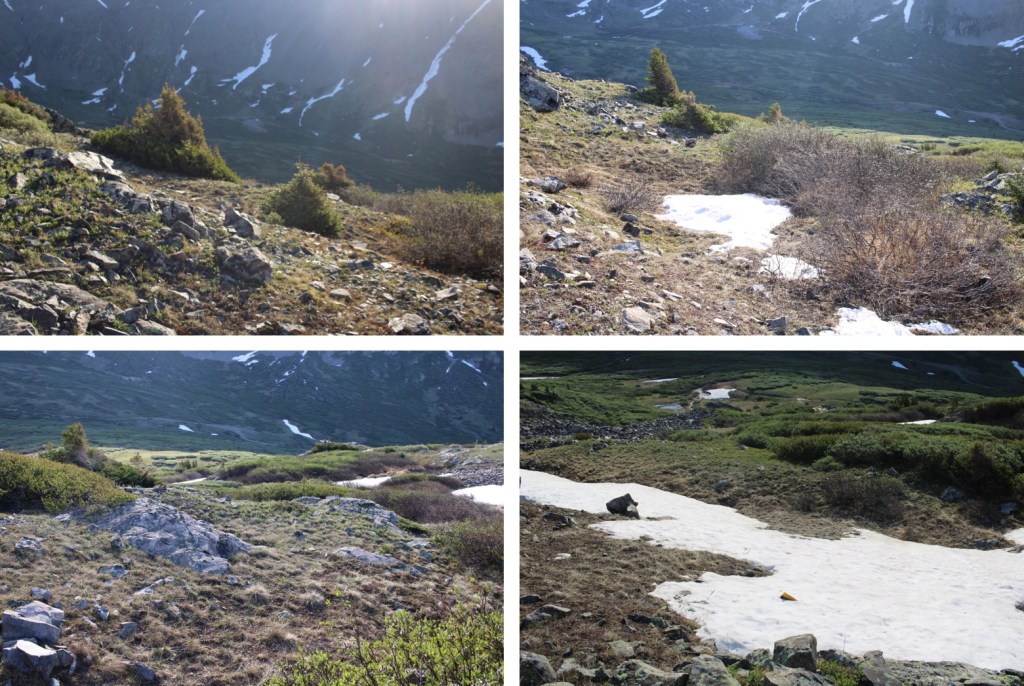
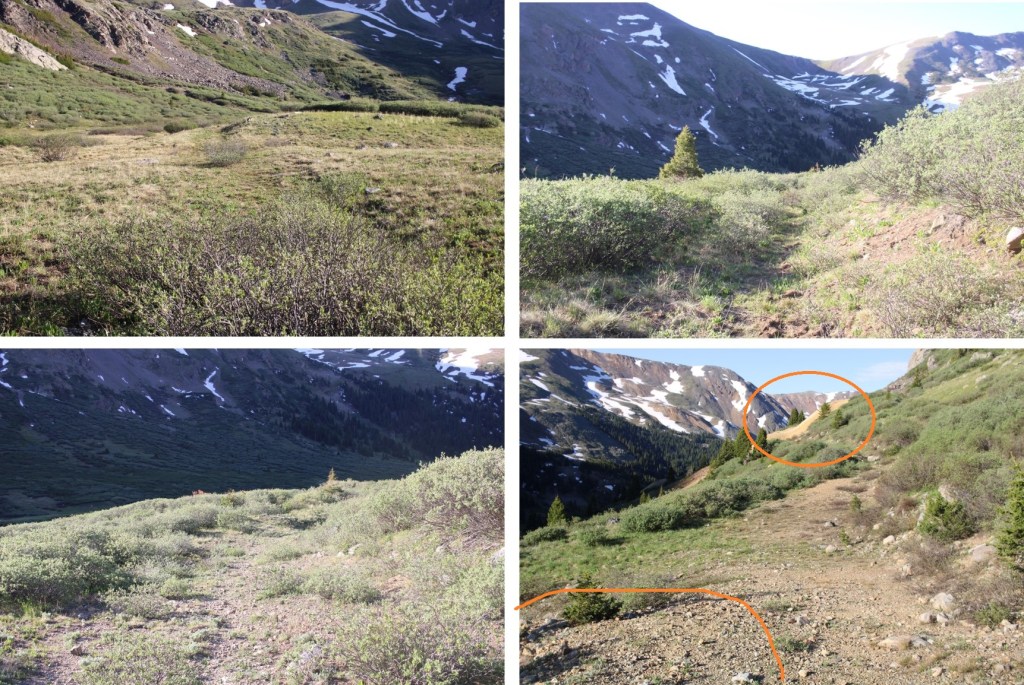
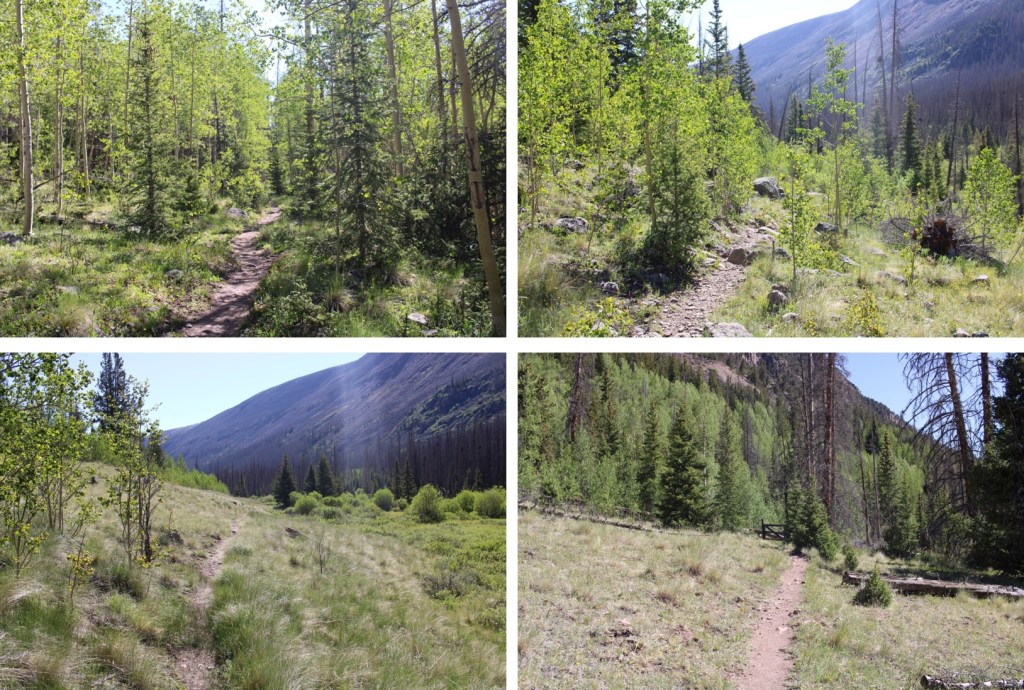
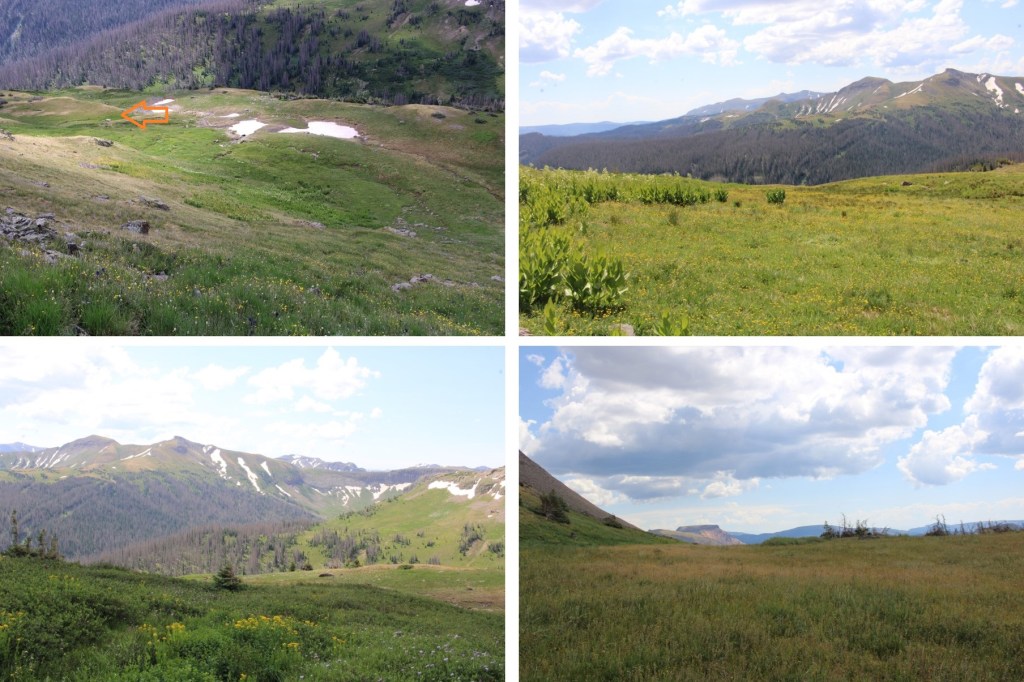
I continued through a faint trail that at times was a great trail, littered with flowers and pine trees

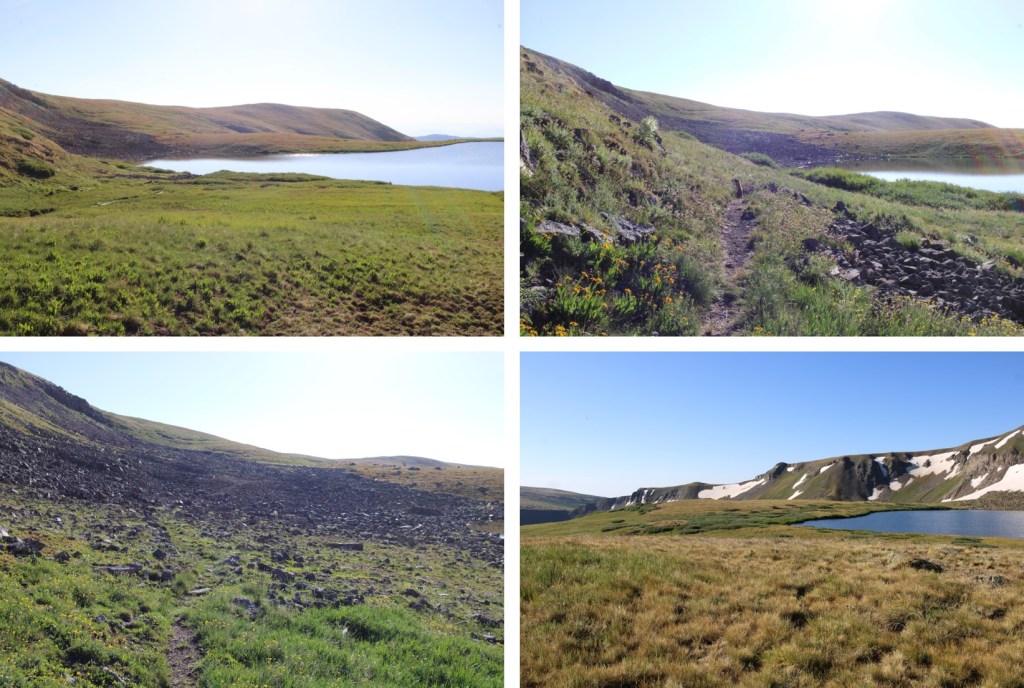
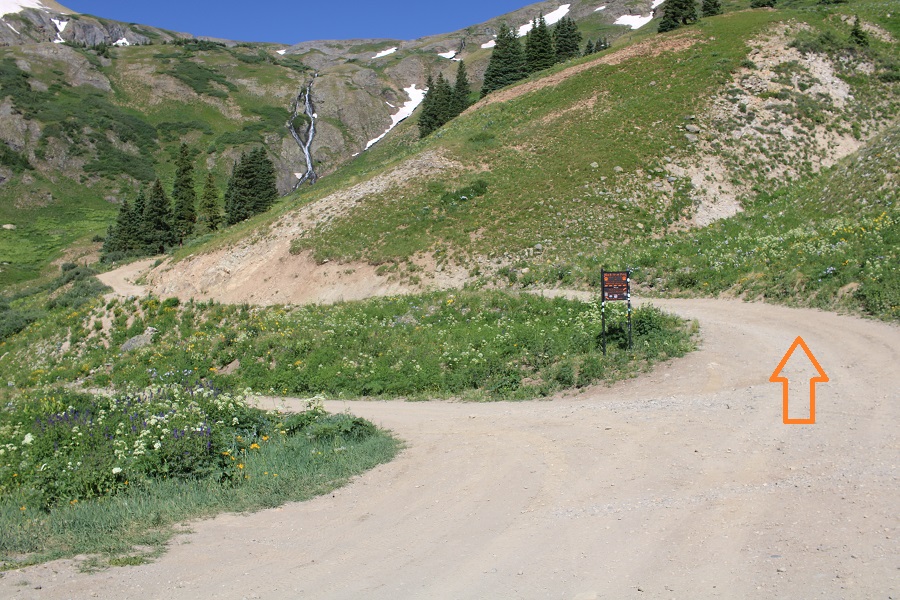
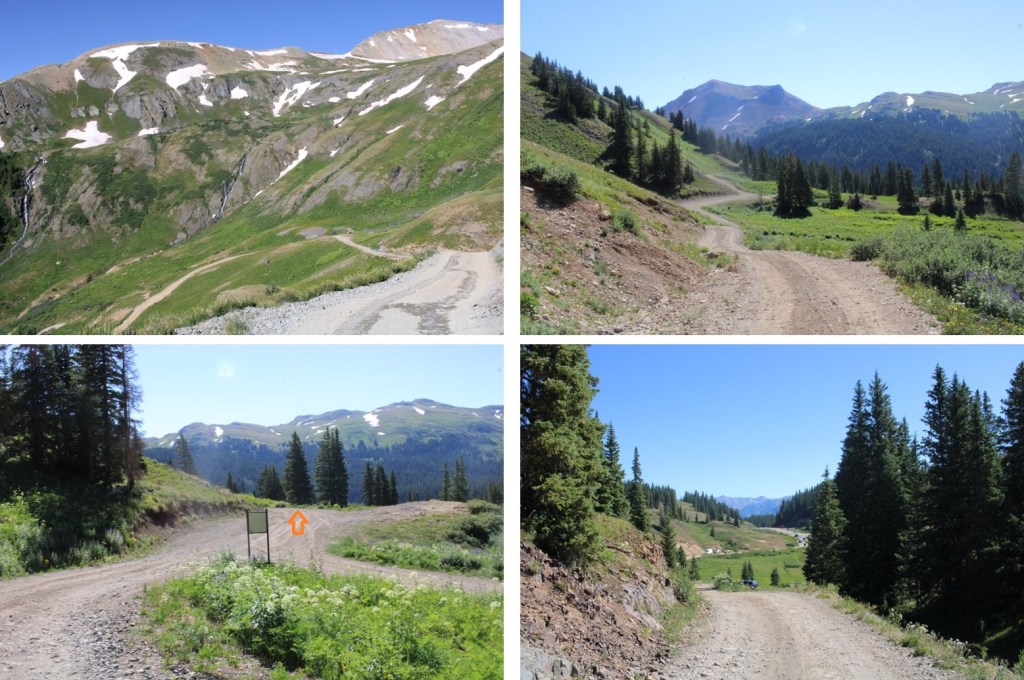
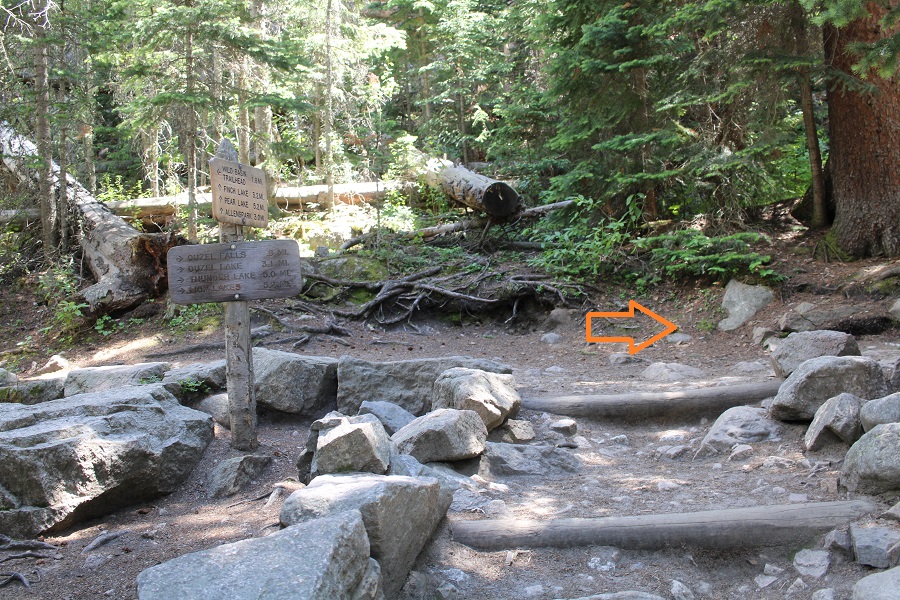
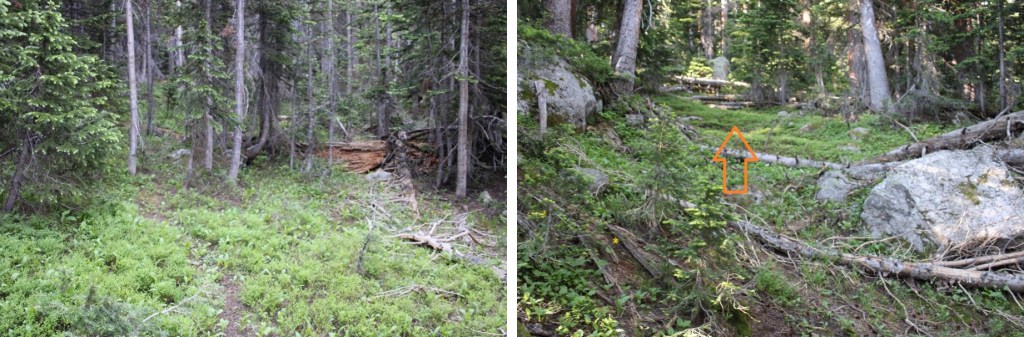
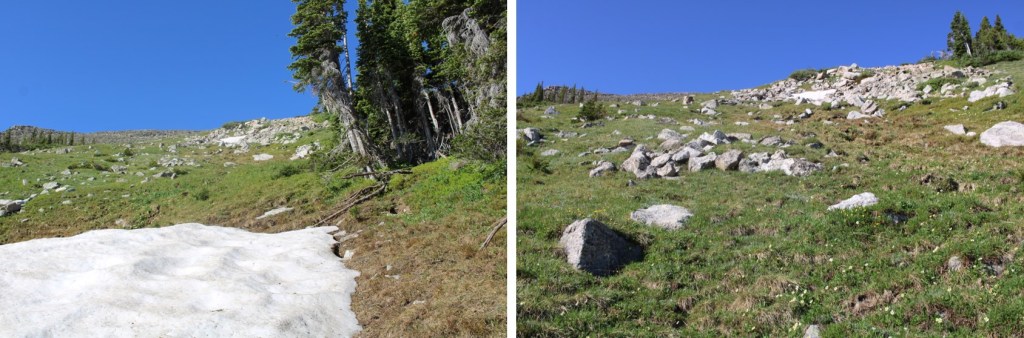
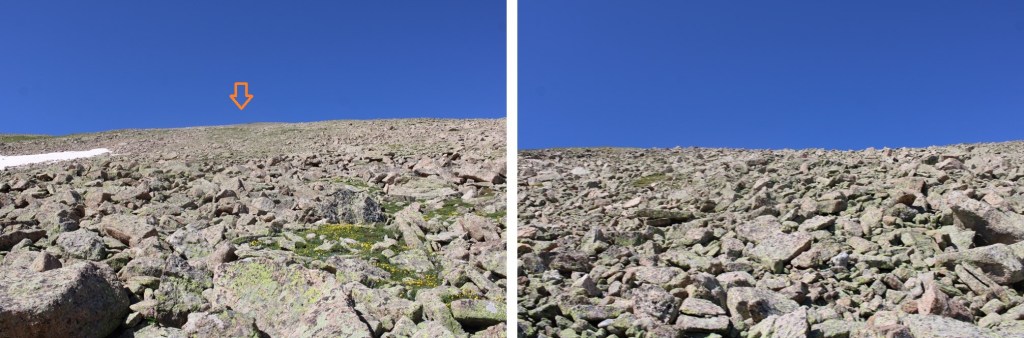
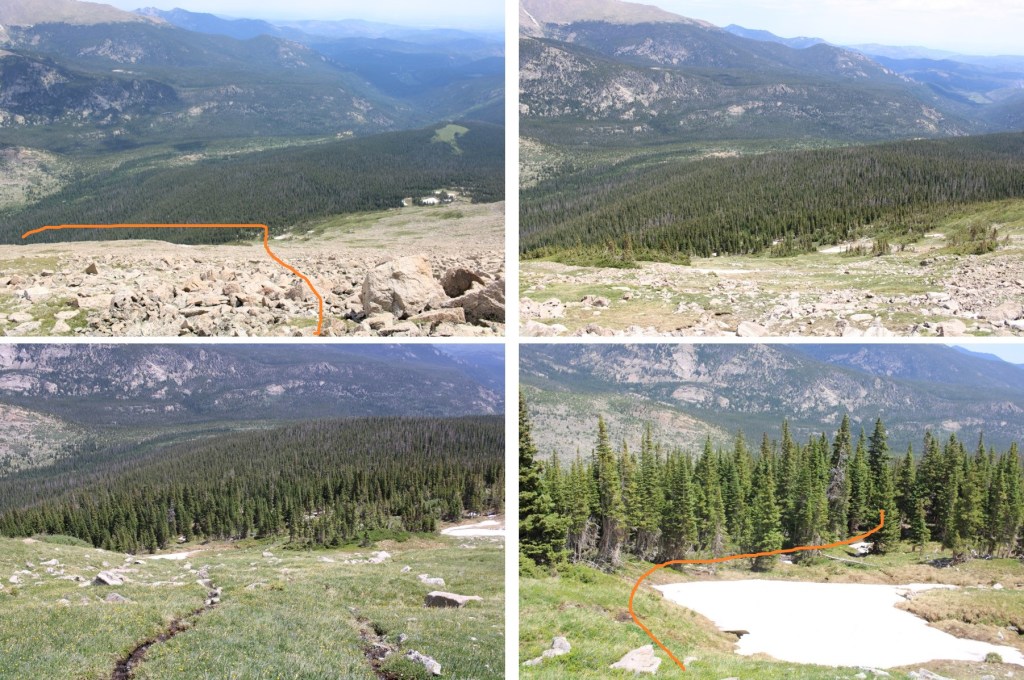
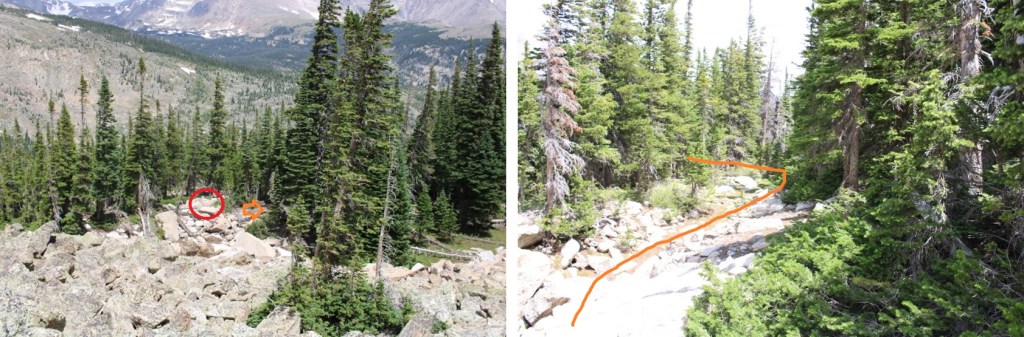
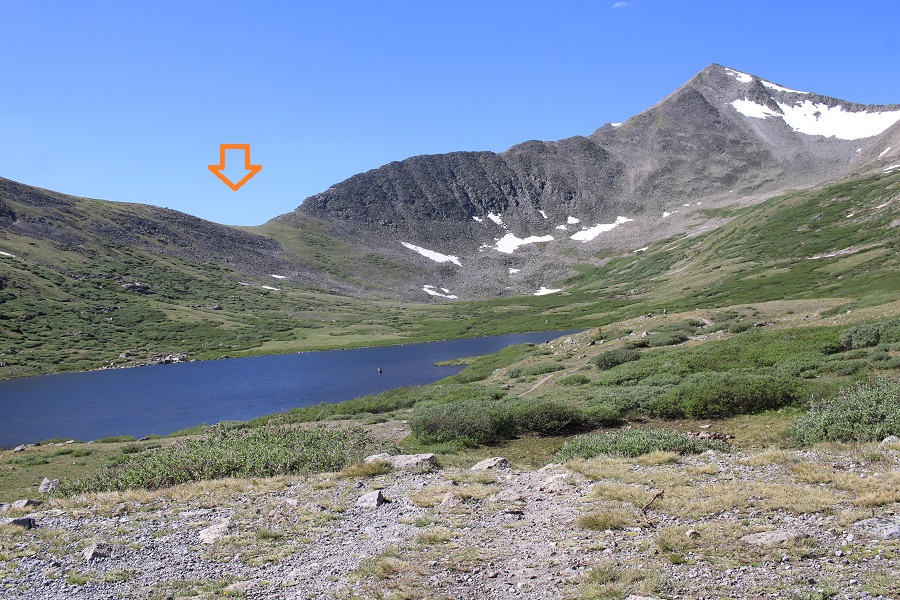
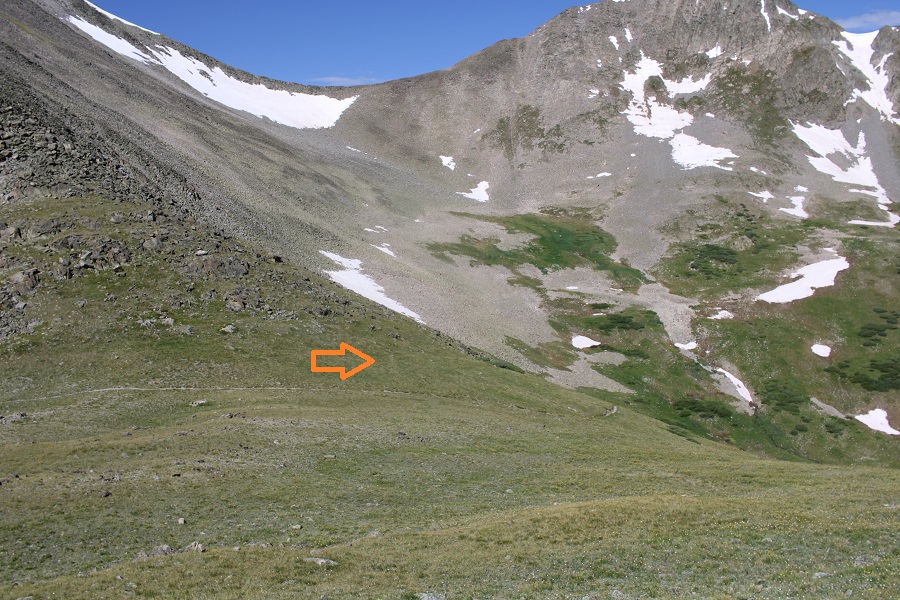
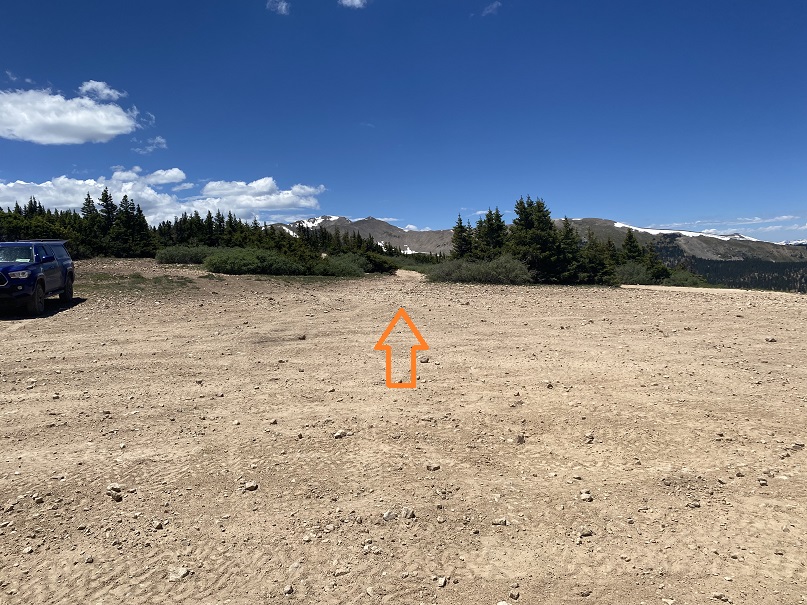
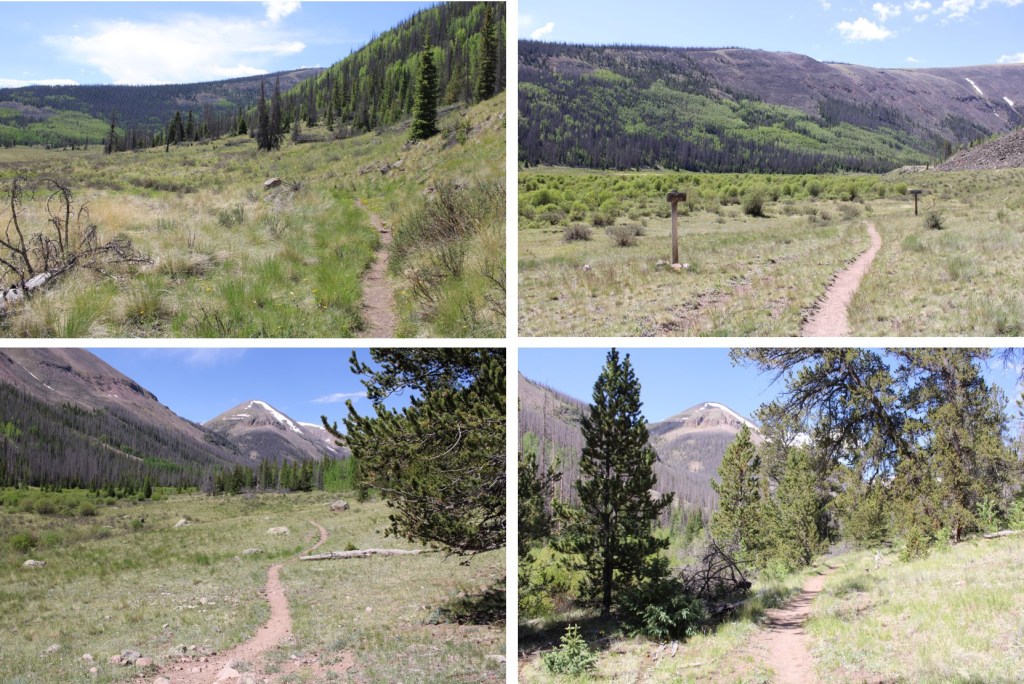
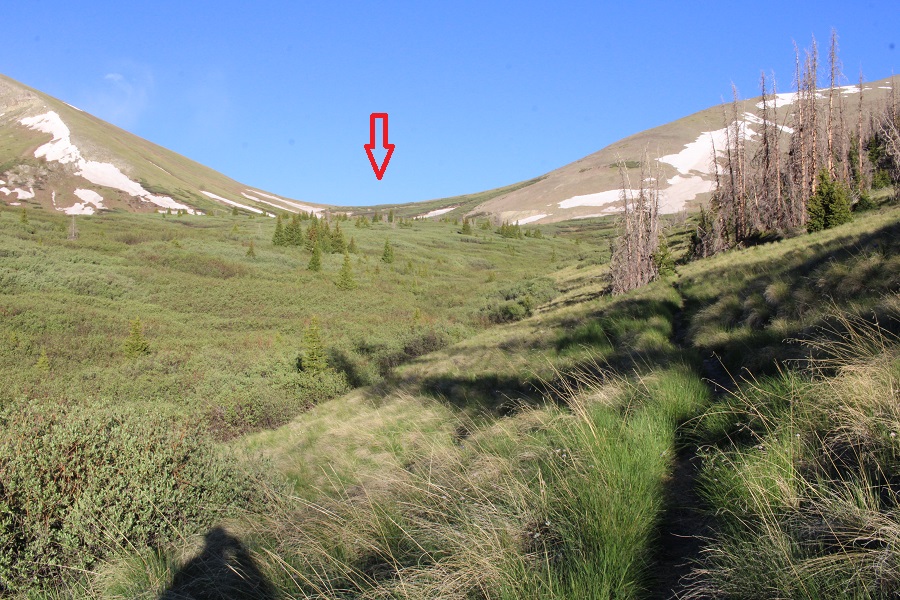
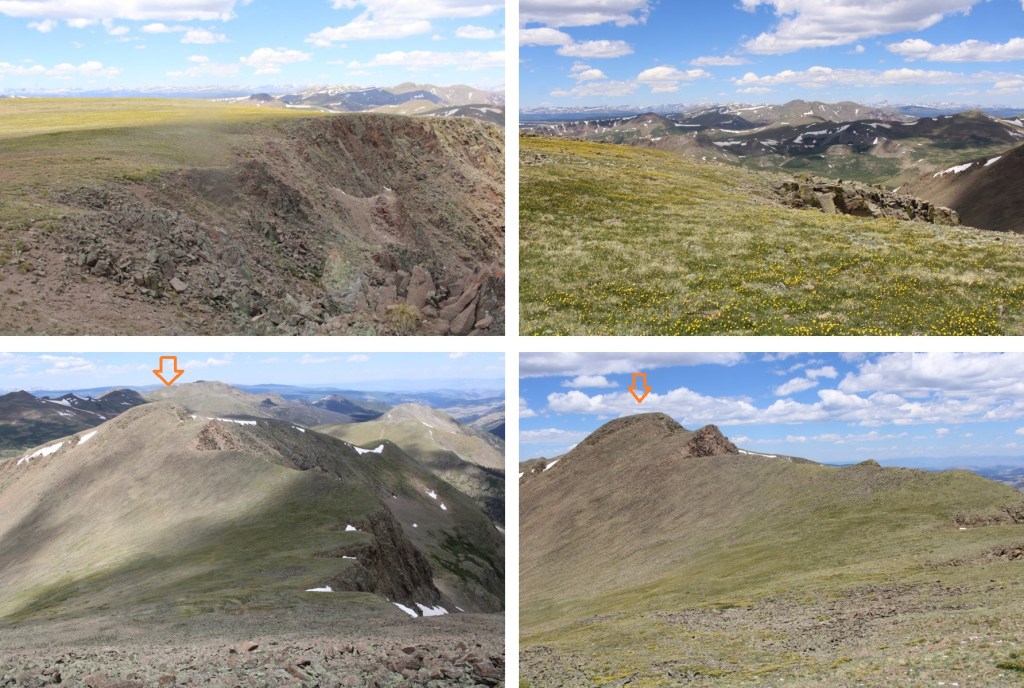
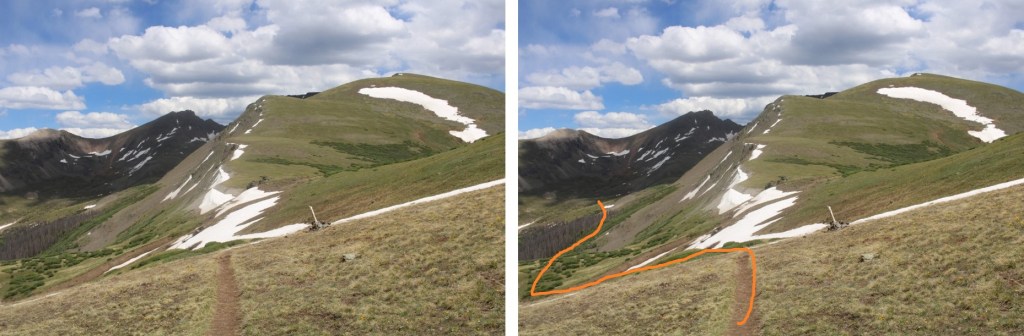
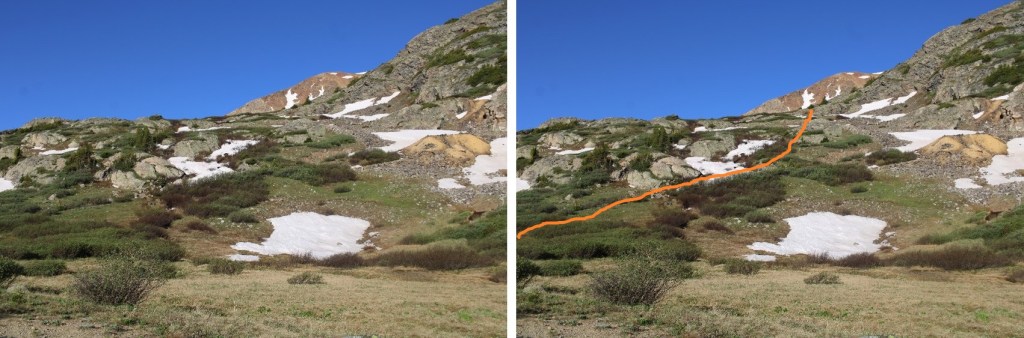
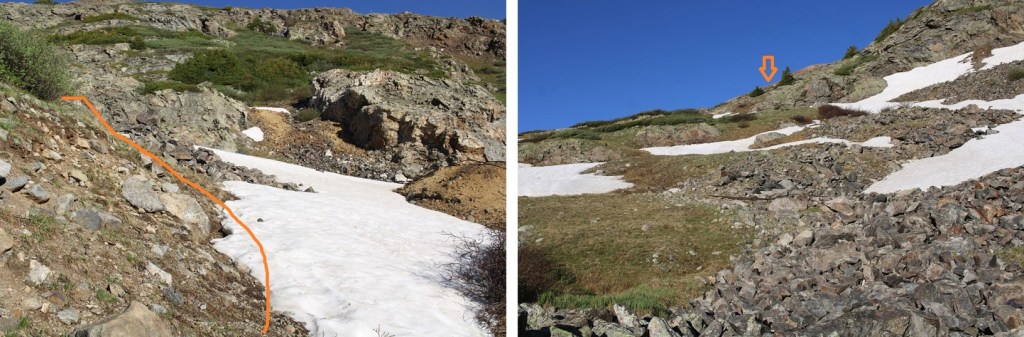
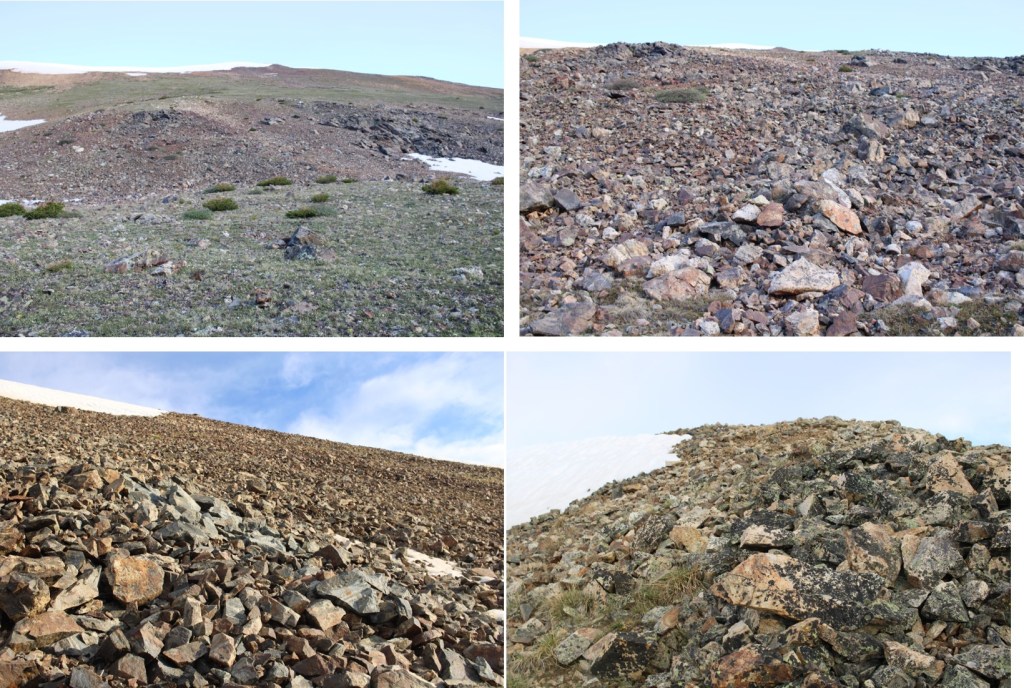
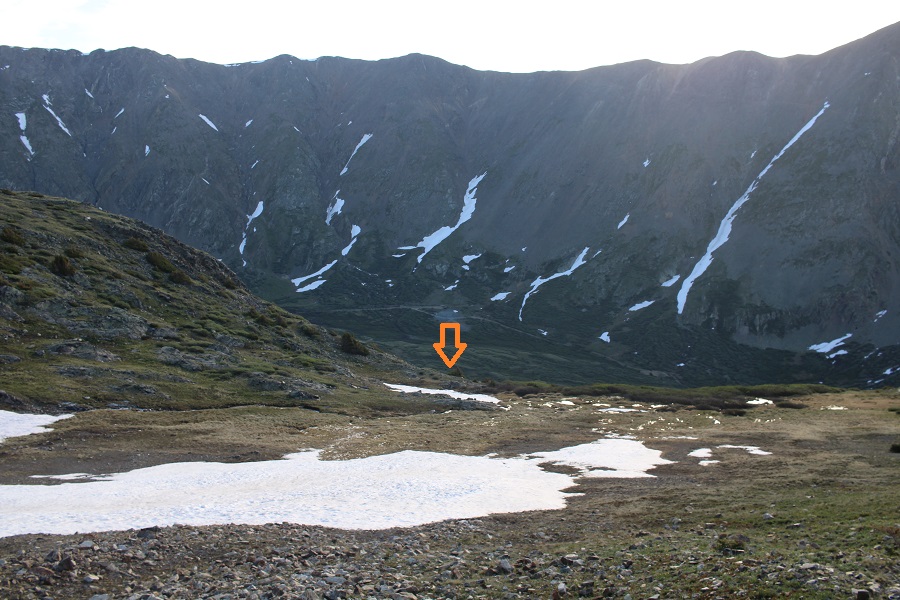
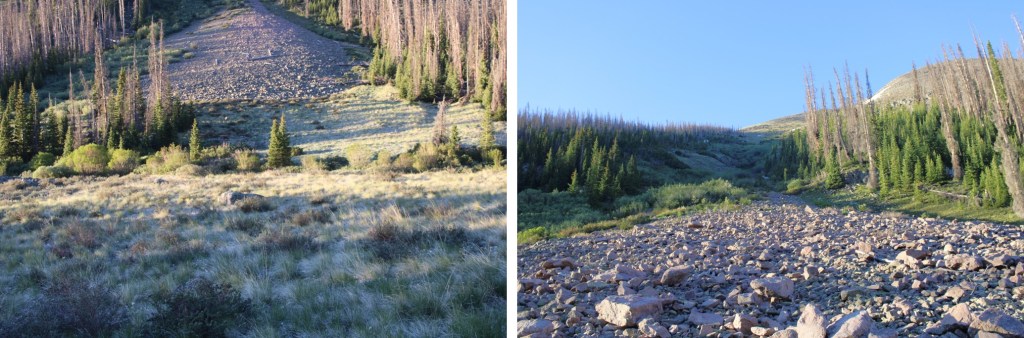
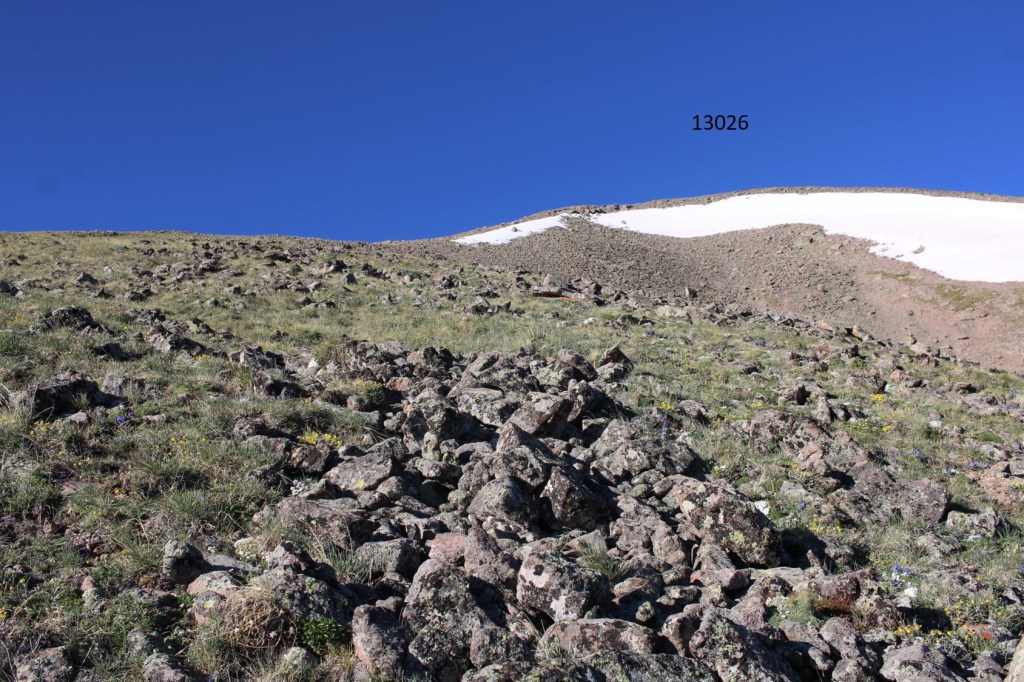
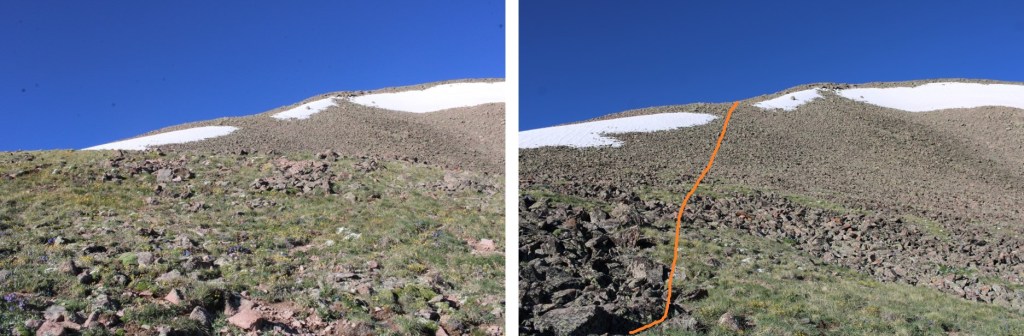
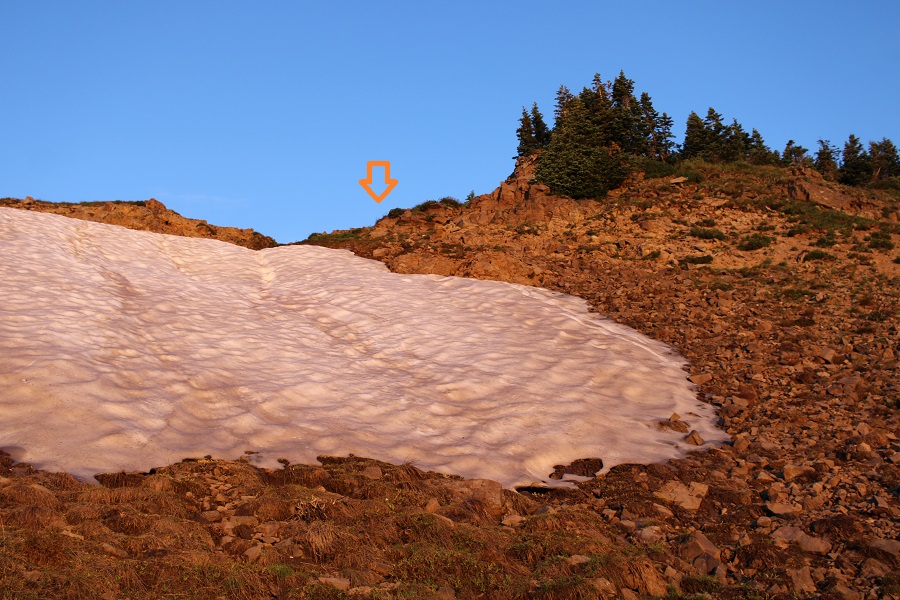
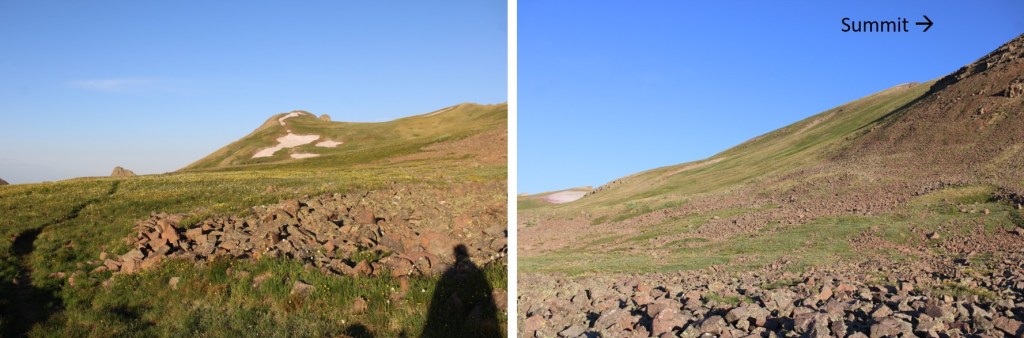
At 11600’ I turned left again, and headed west to treeline, still following a ‘trail’. I was headed to the right. (Both arrows point to the same place)
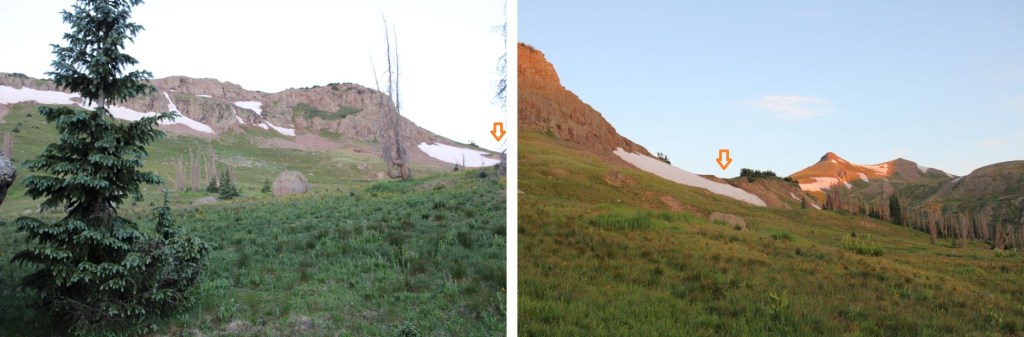
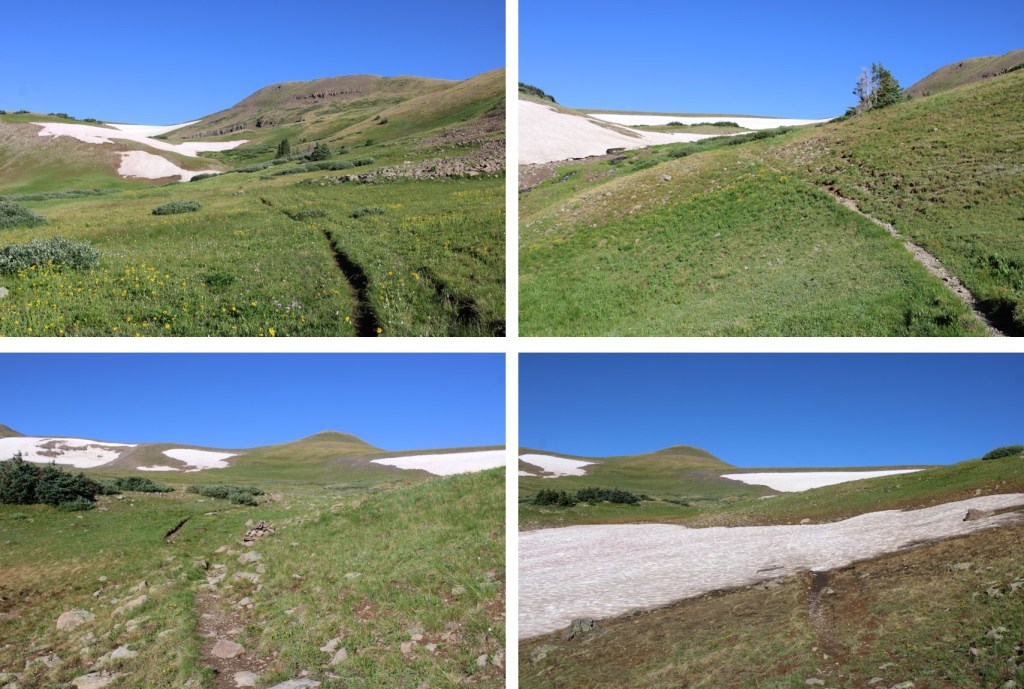
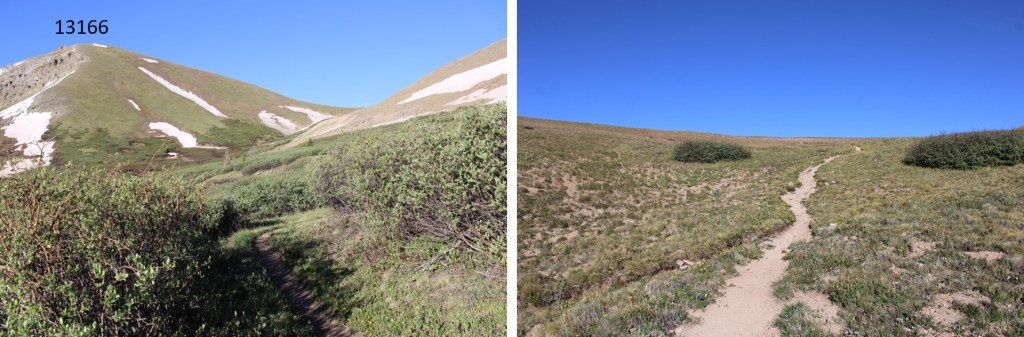
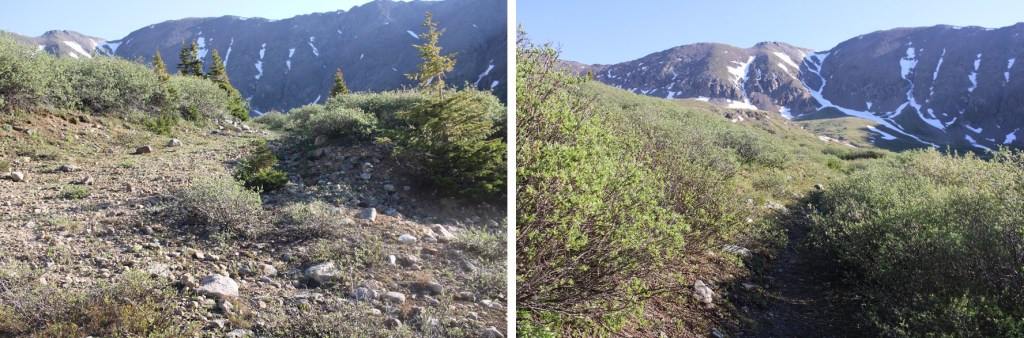
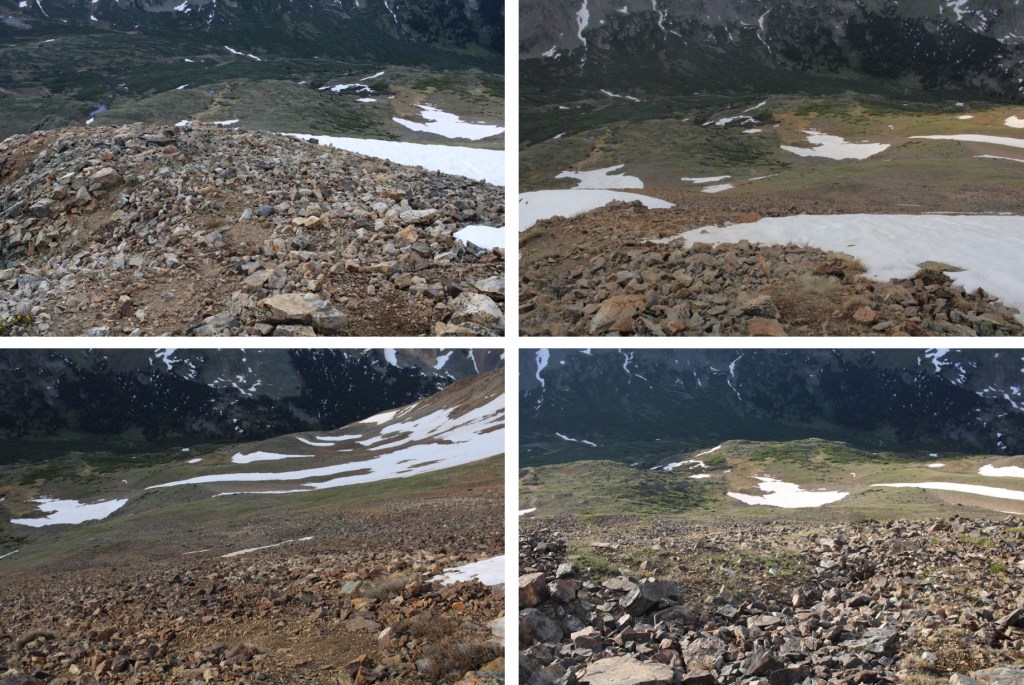
This was easy to ascend, and the snow avoidable
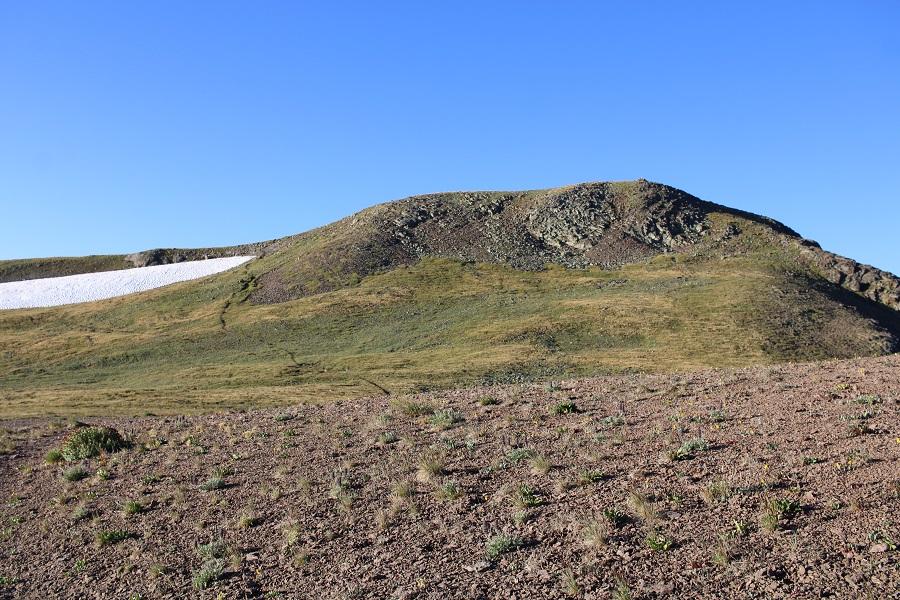
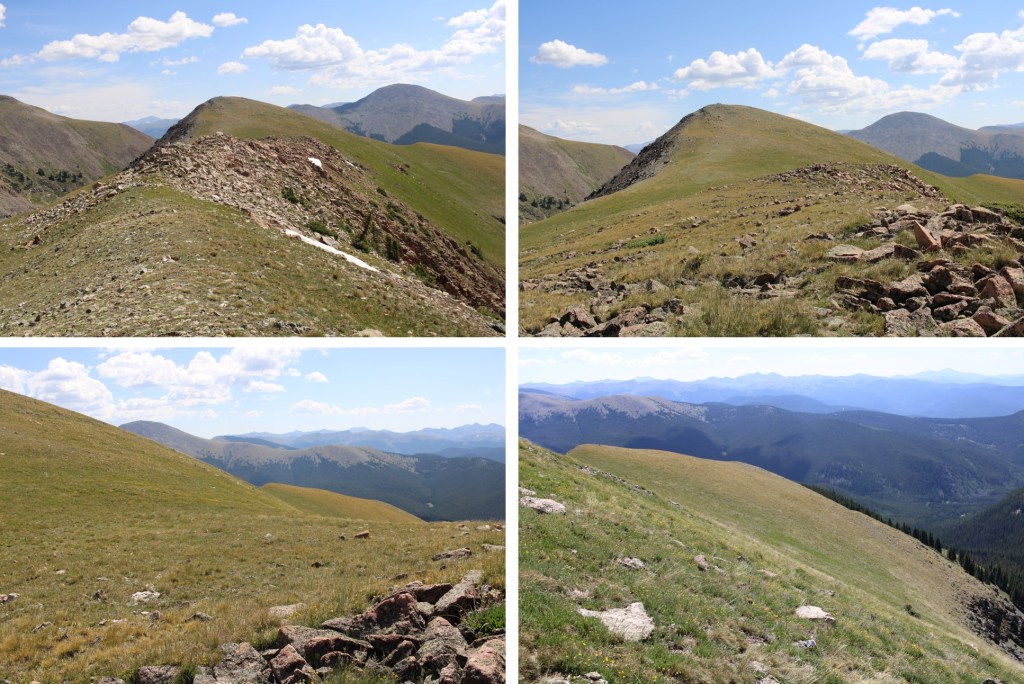
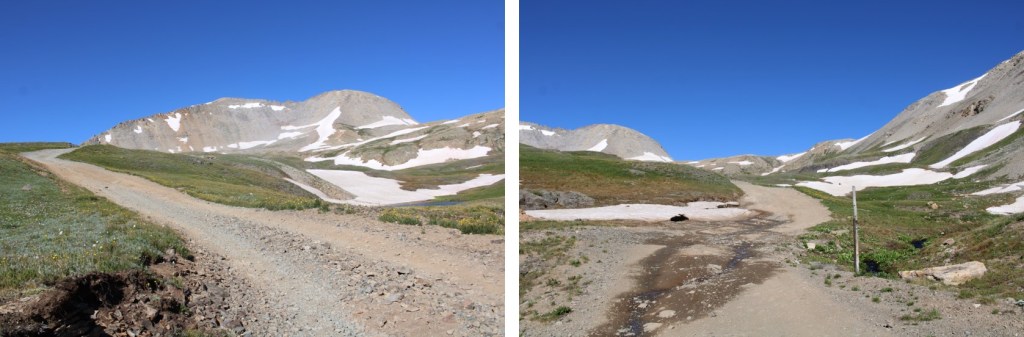
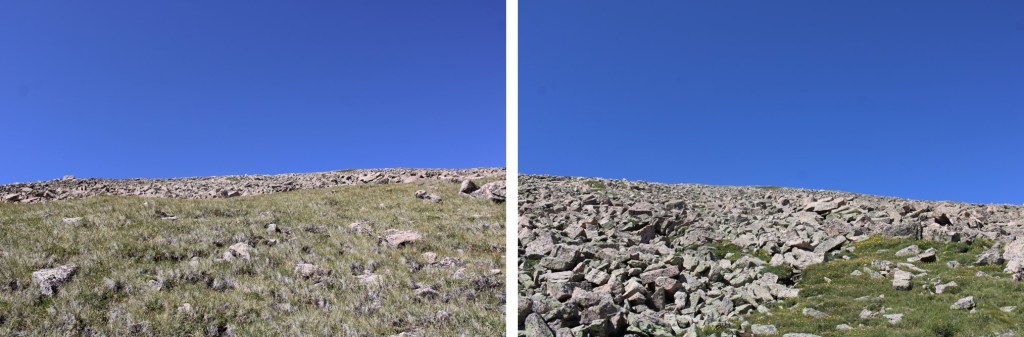
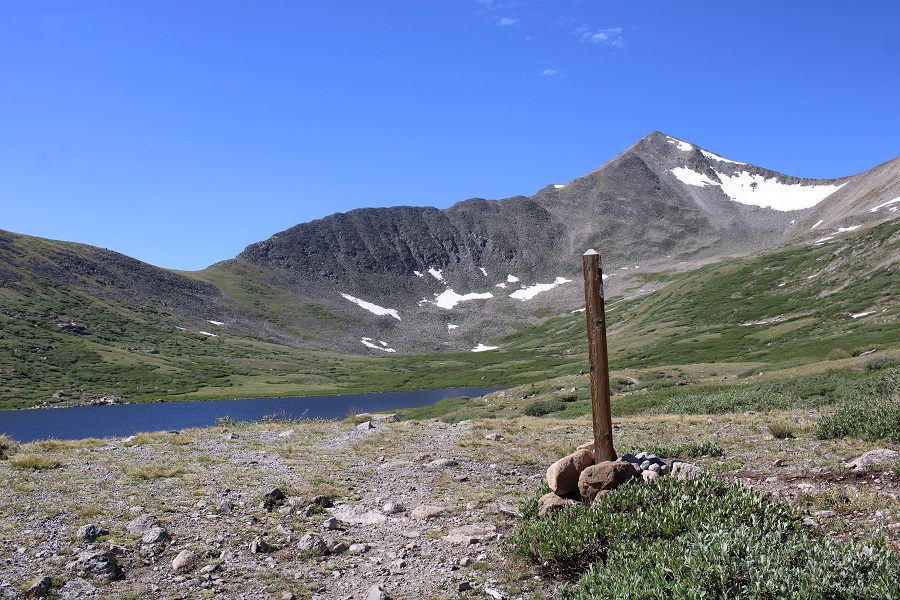
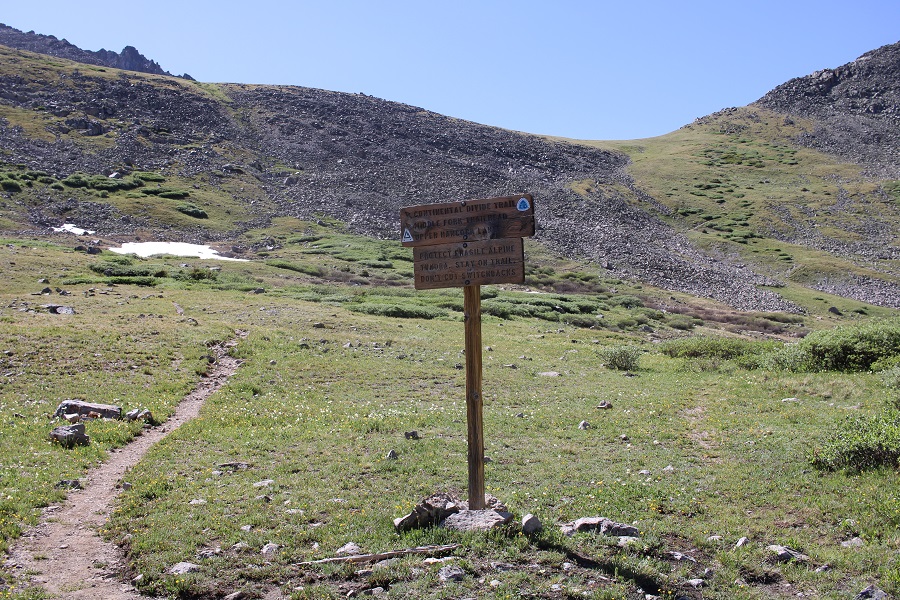
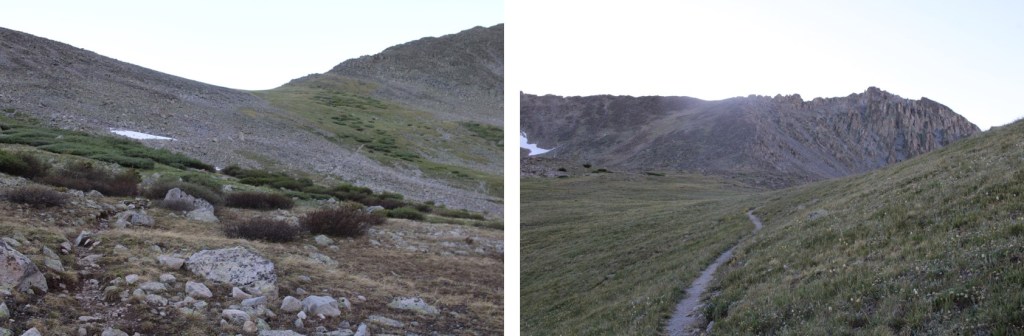
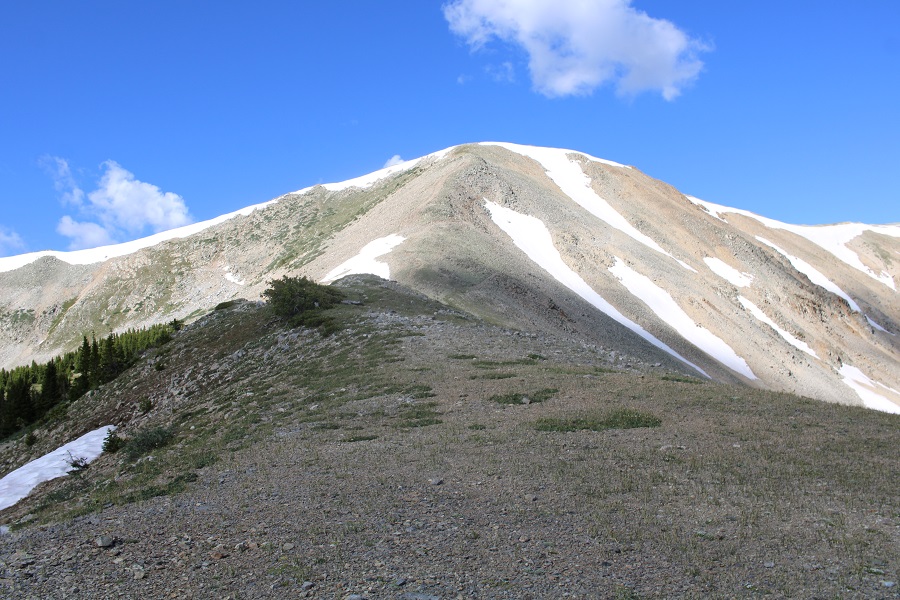
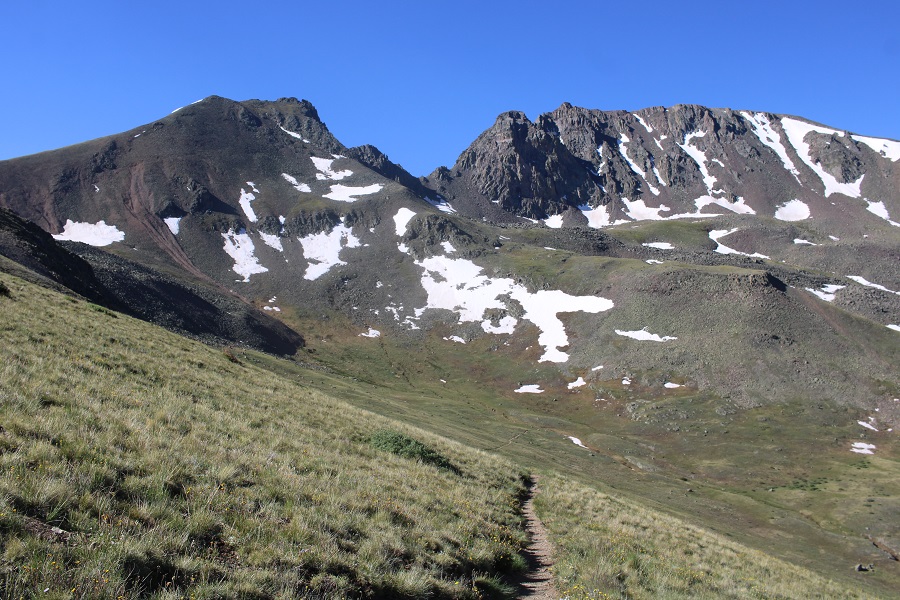
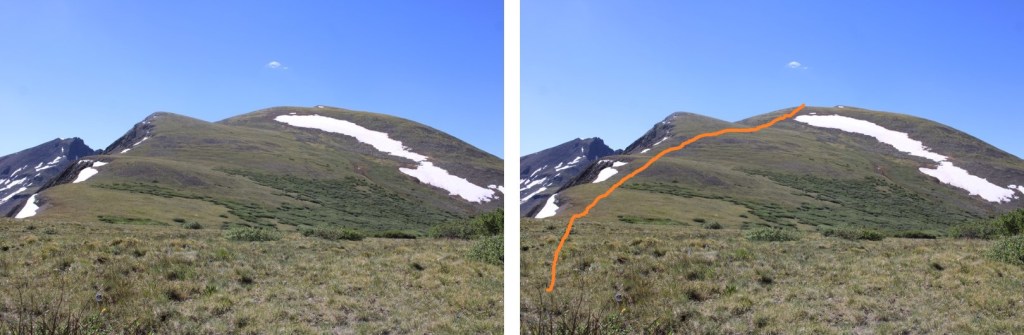
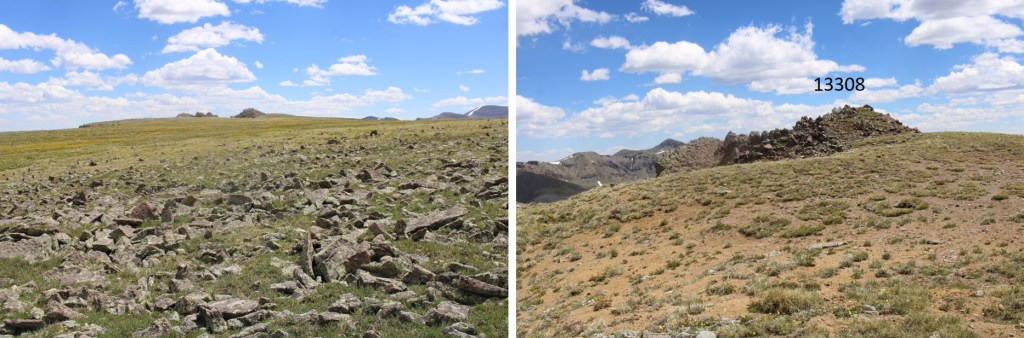
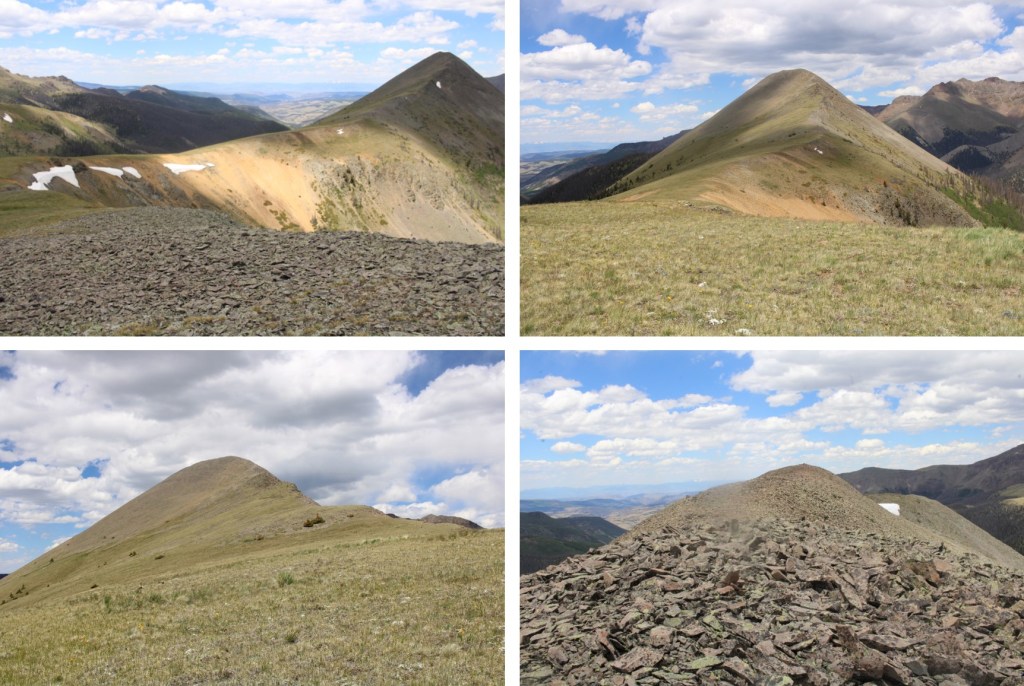
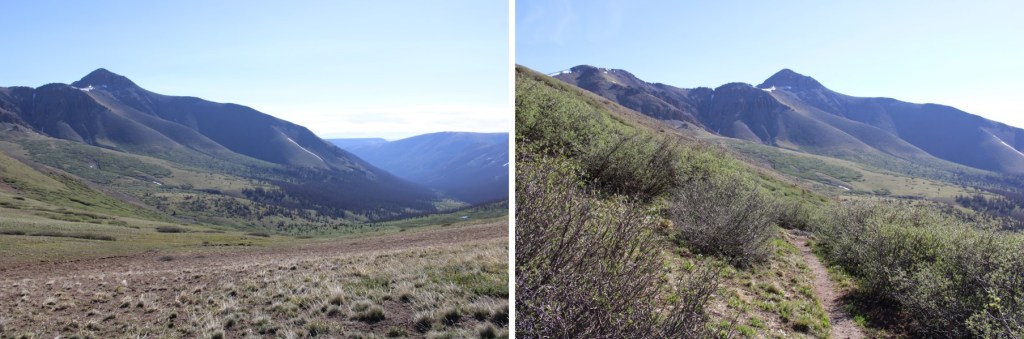
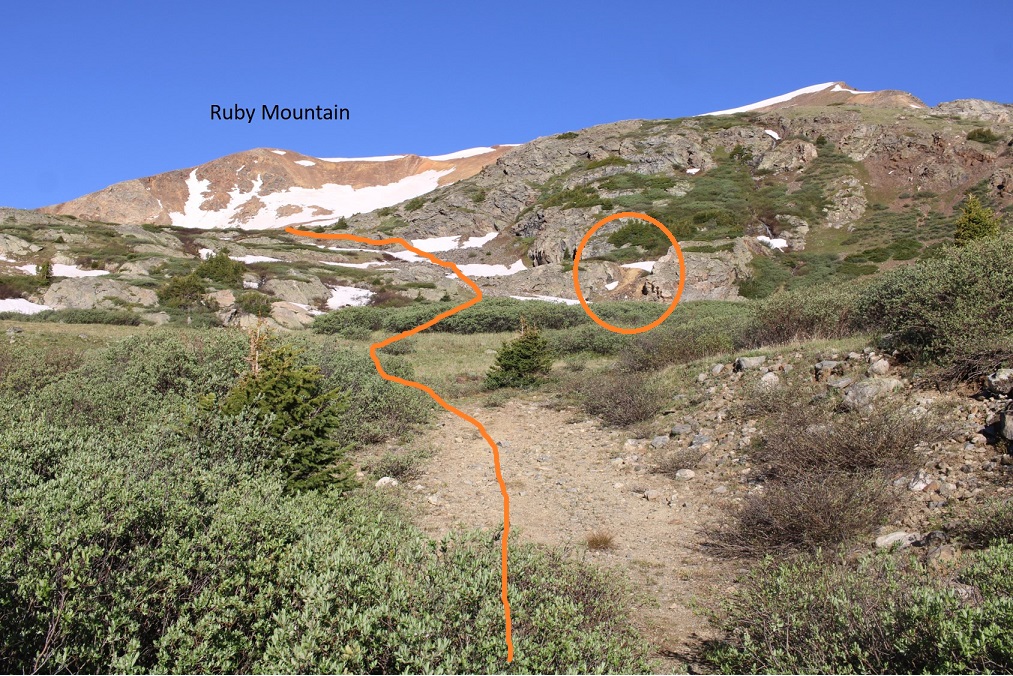
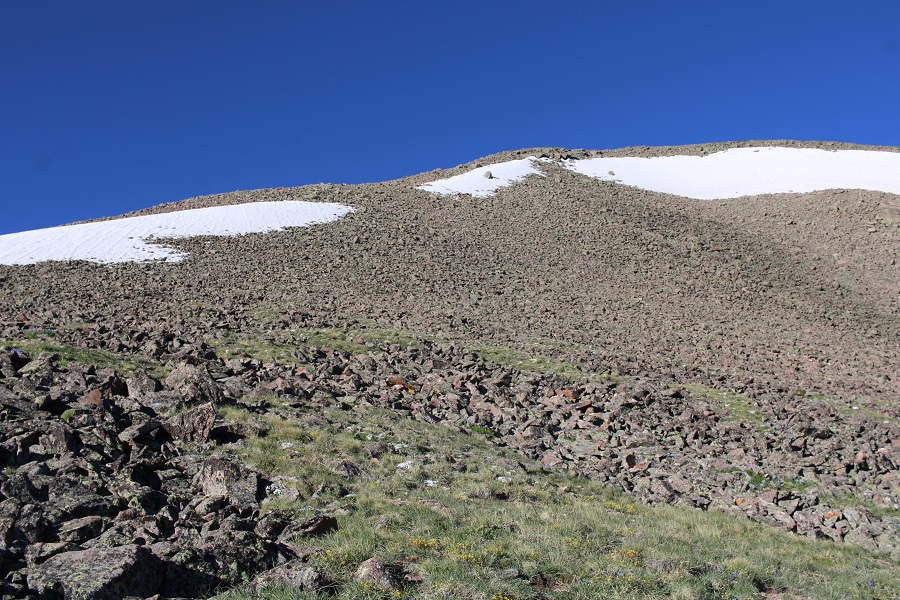
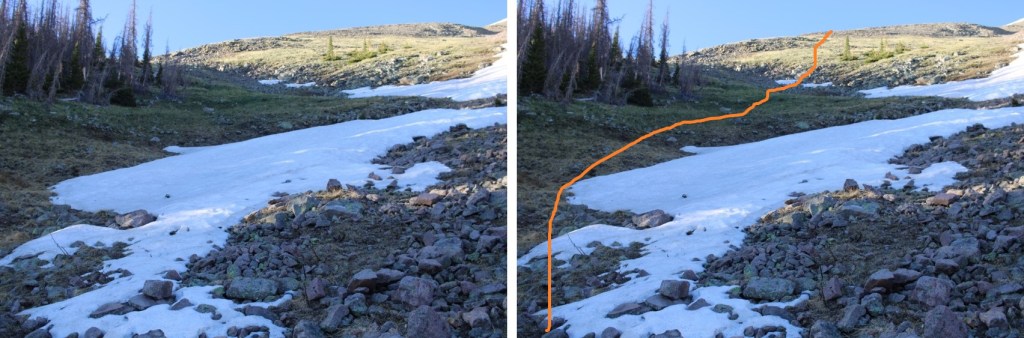
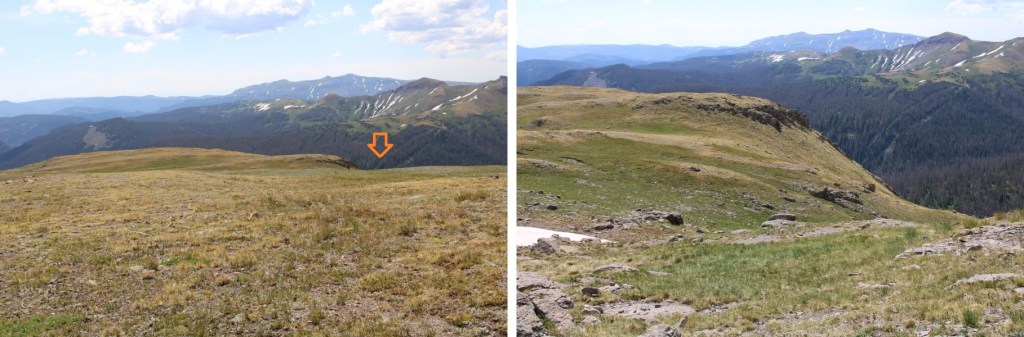
After ascending, a fairly decent trail led me south, towards the Continental Divide Trail, which skirted the south side of Summit Peak

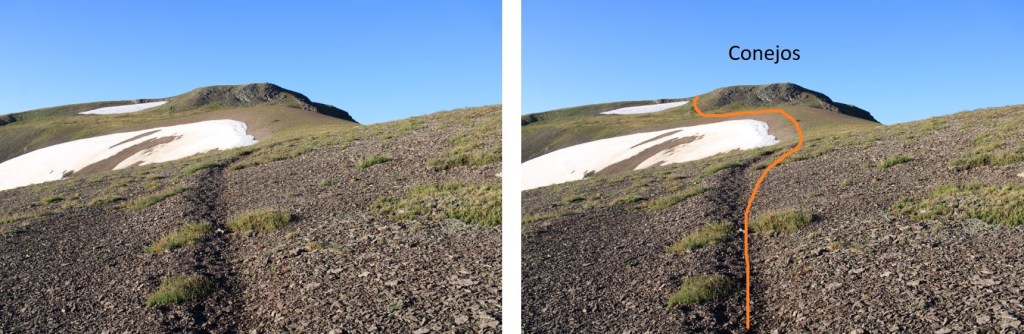
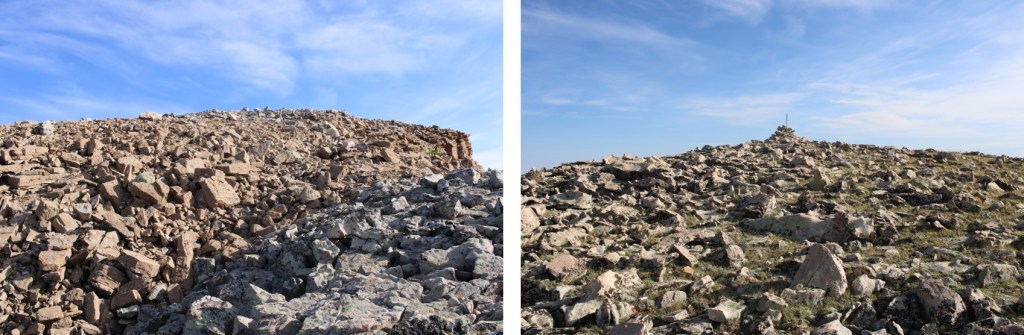
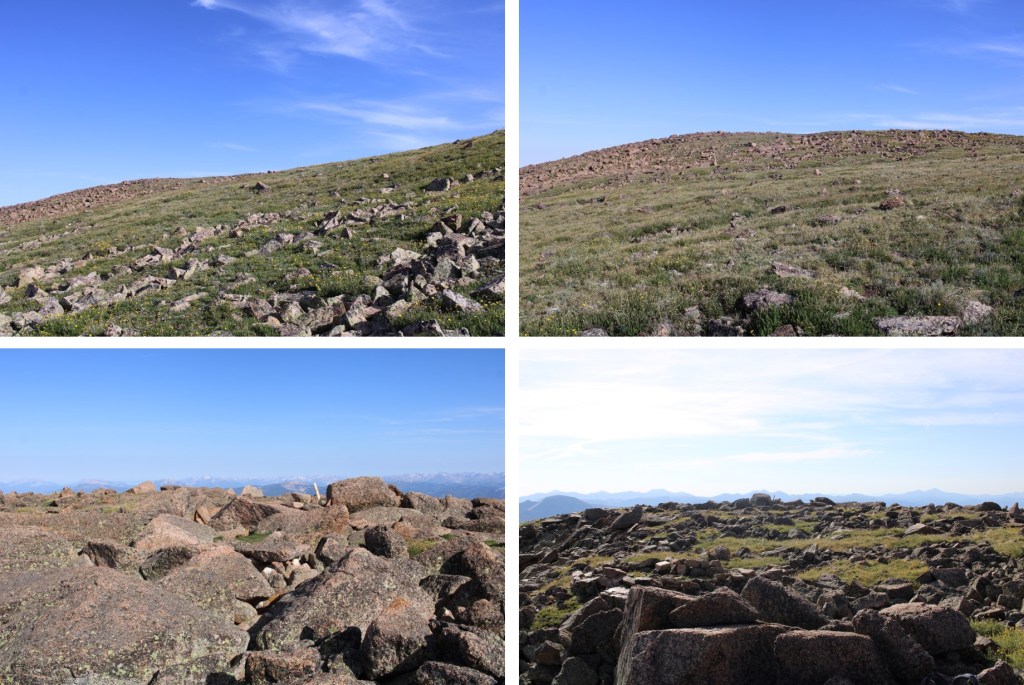
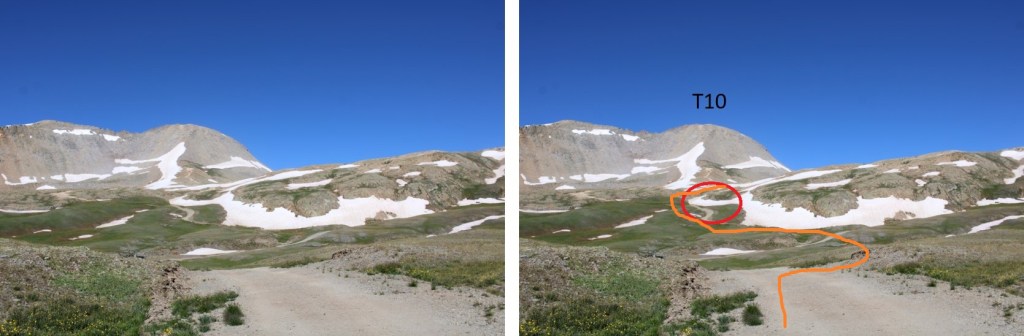
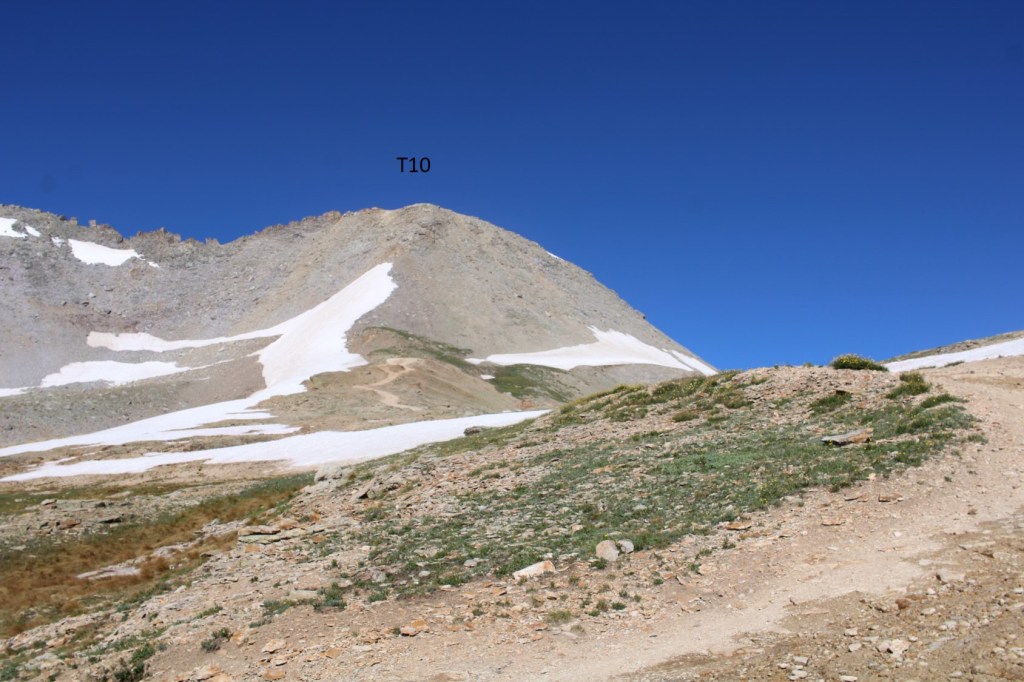
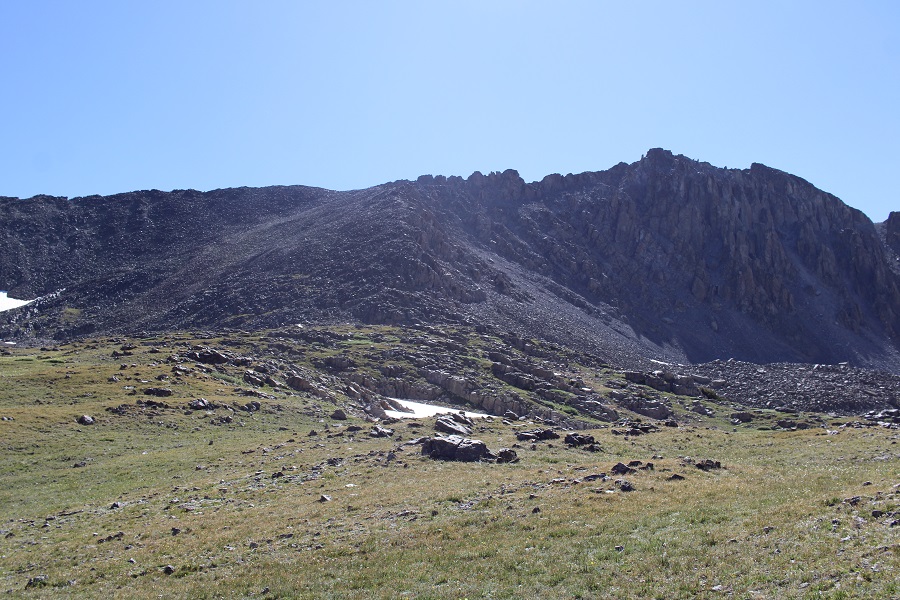
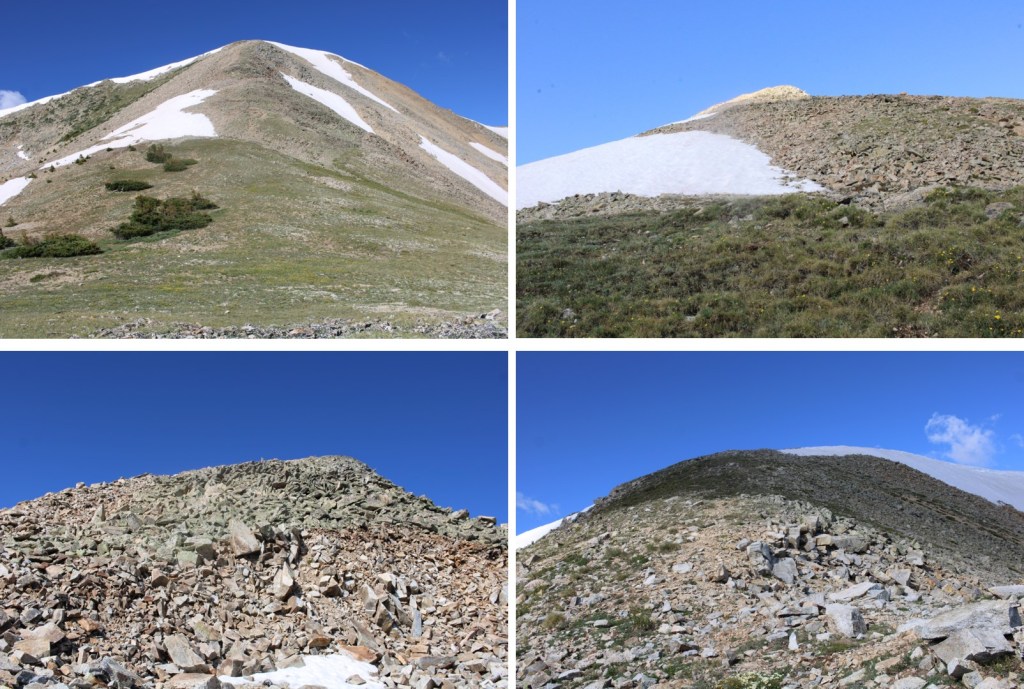
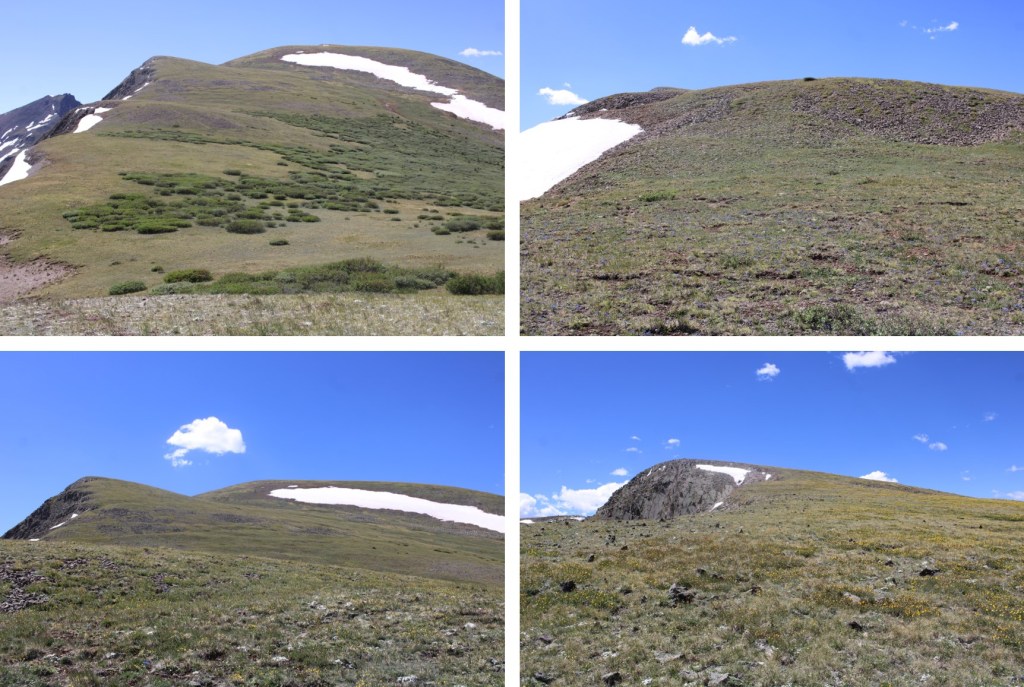
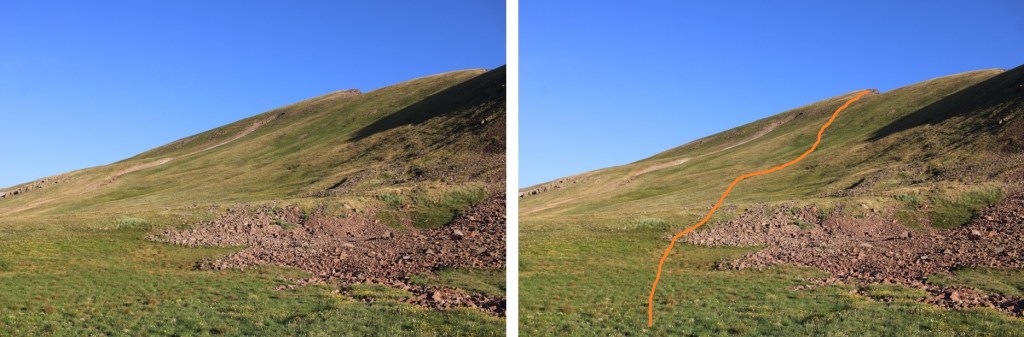
From here it was a steep tundra hike to the summit. This is choose your own adventure, without many obstacles. This is the route I took.

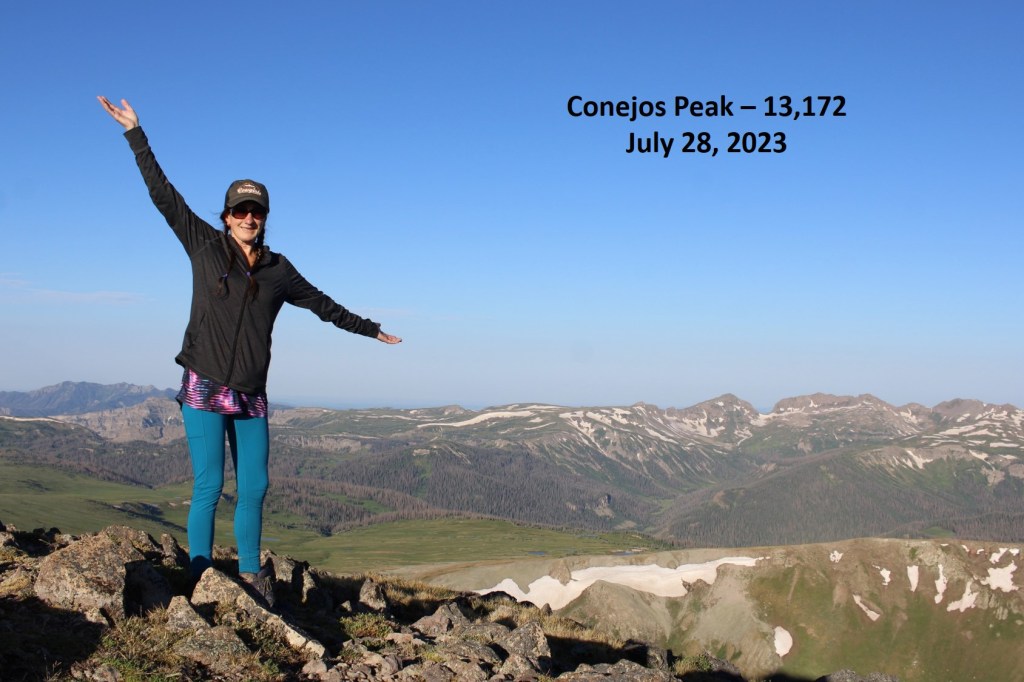
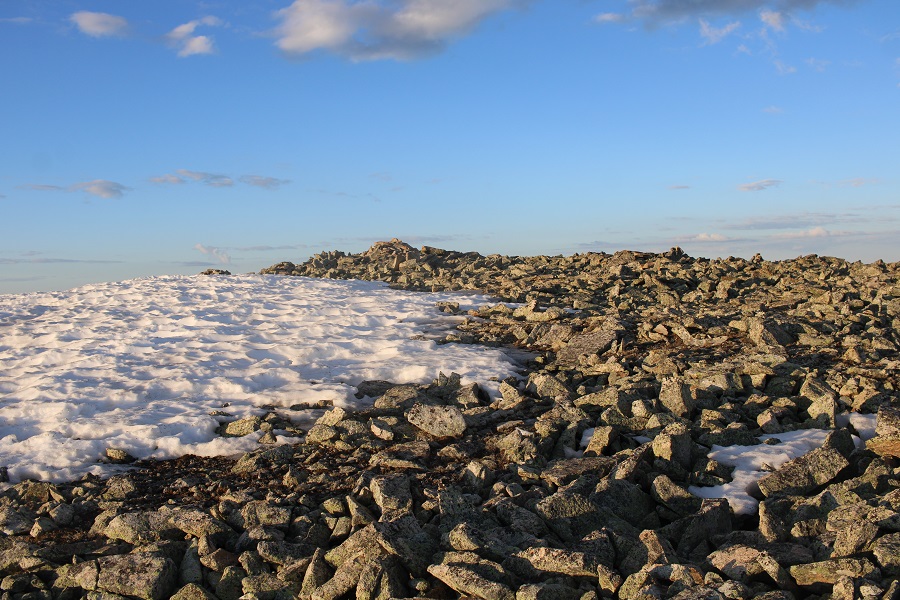
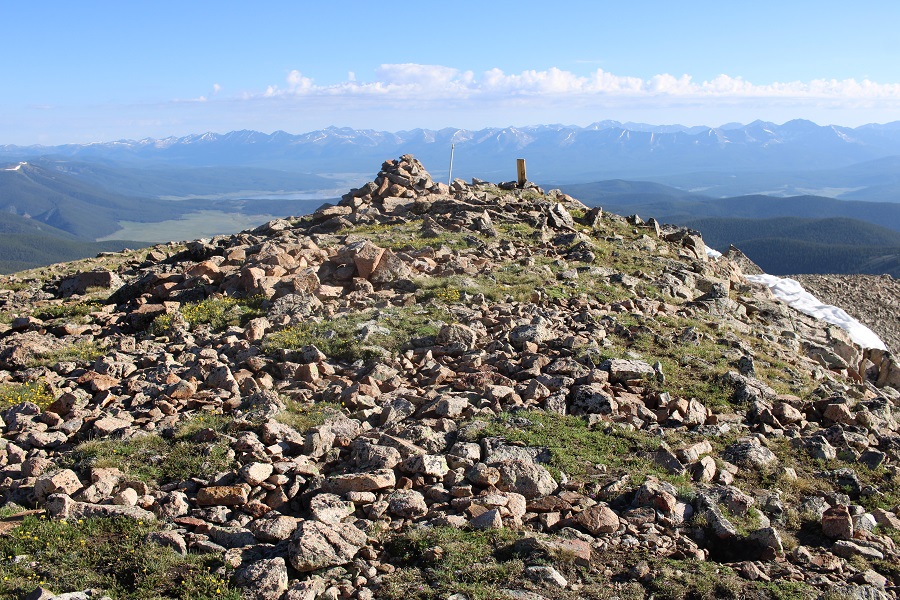
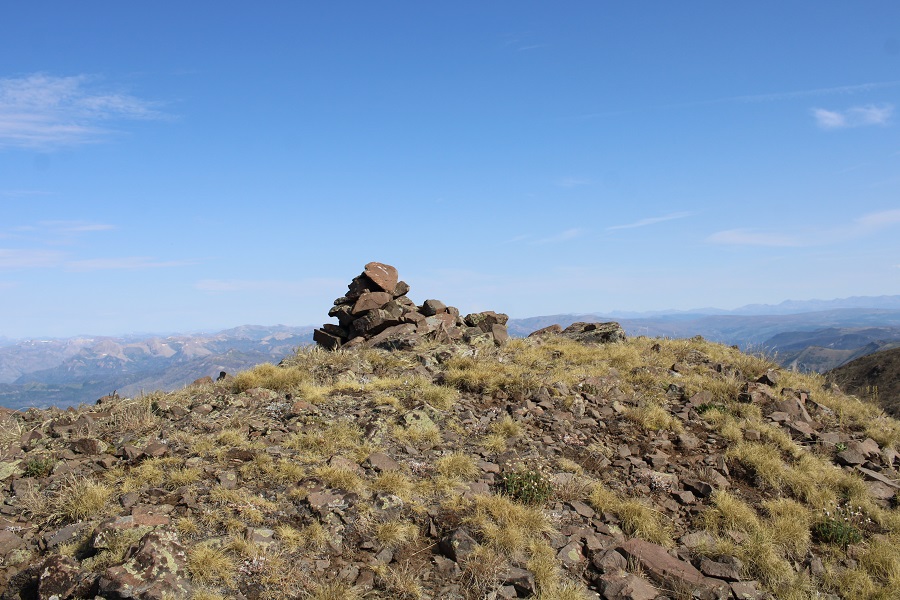
There was as summit marker at the top
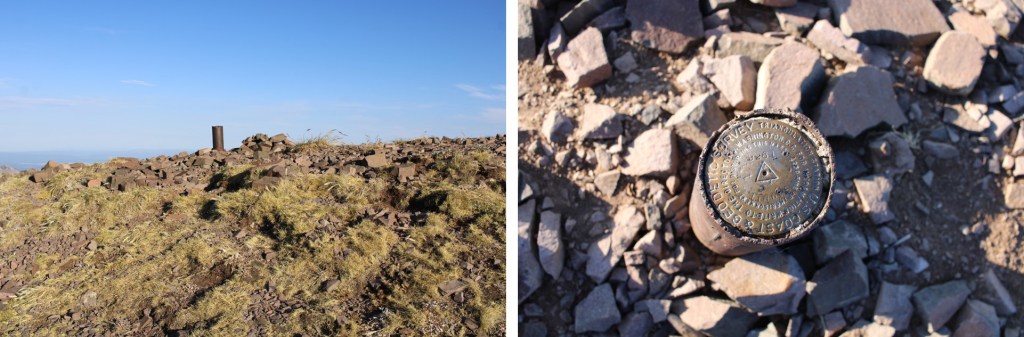
I summited Summit Peak at 7:30am
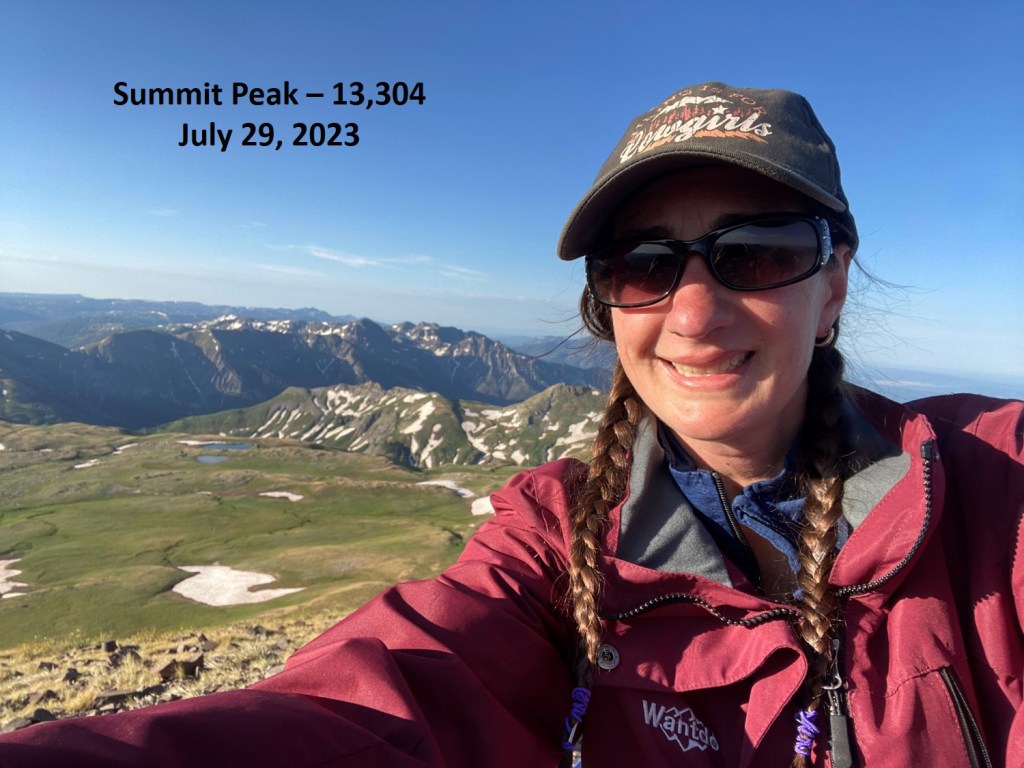
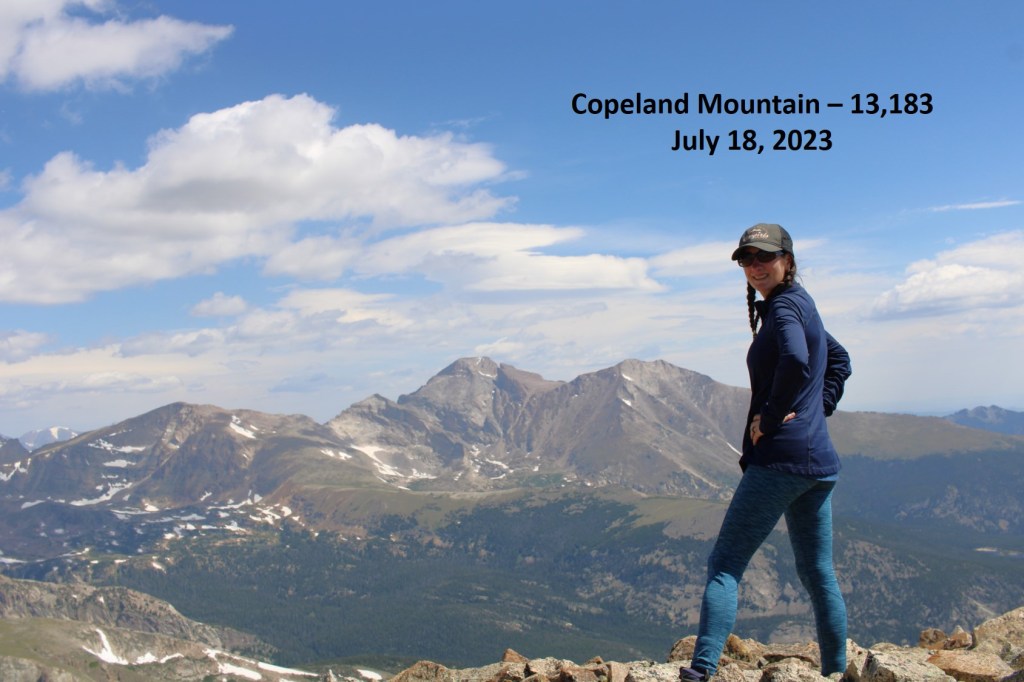
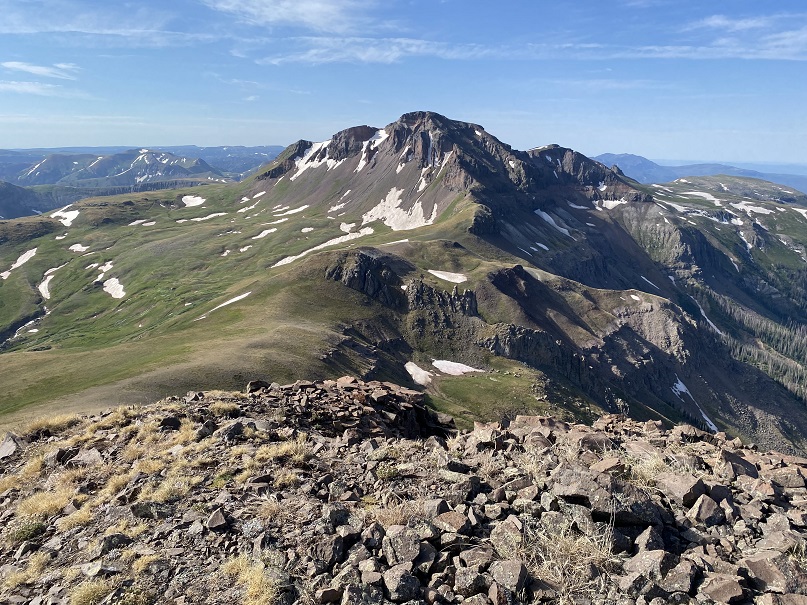
Summit Peak:
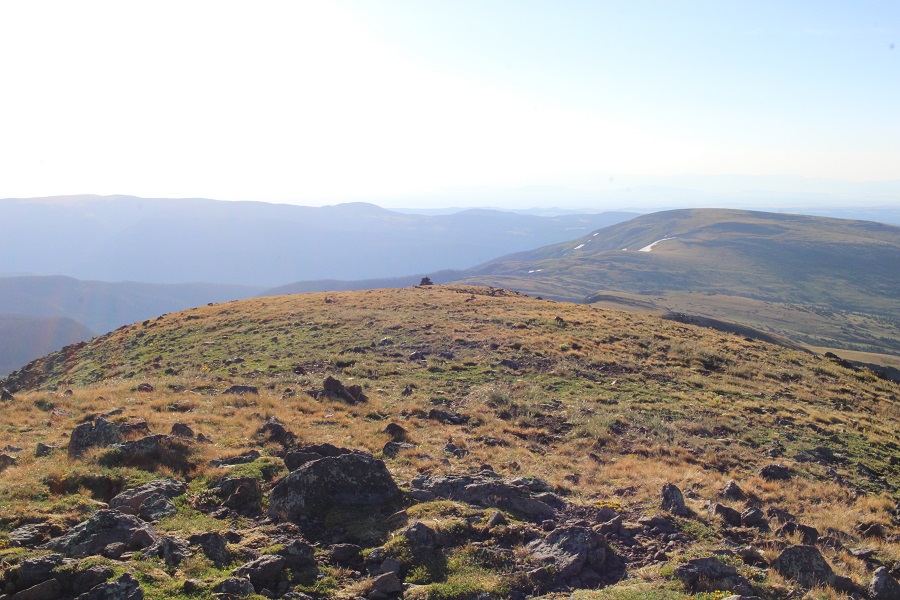
From the Summit I could see The Unicorn and Montezuma to the north

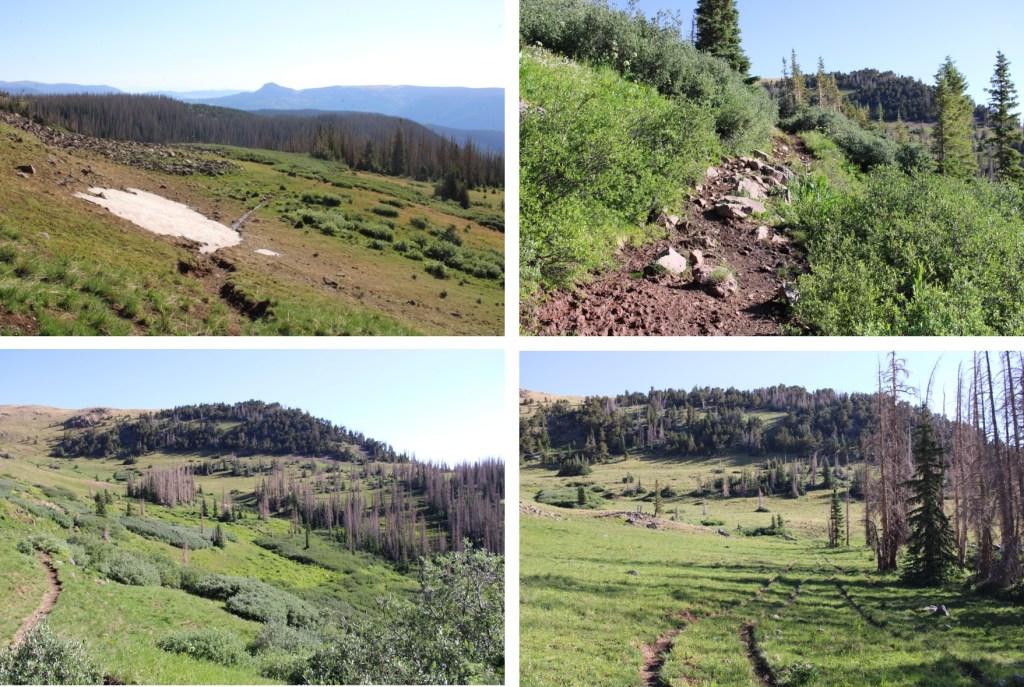
It was a beautiful day on the summit, and there was cell reception, so I spent some time there before turning around and heading back to the Continental Divide Trail. The route back down was straightforward
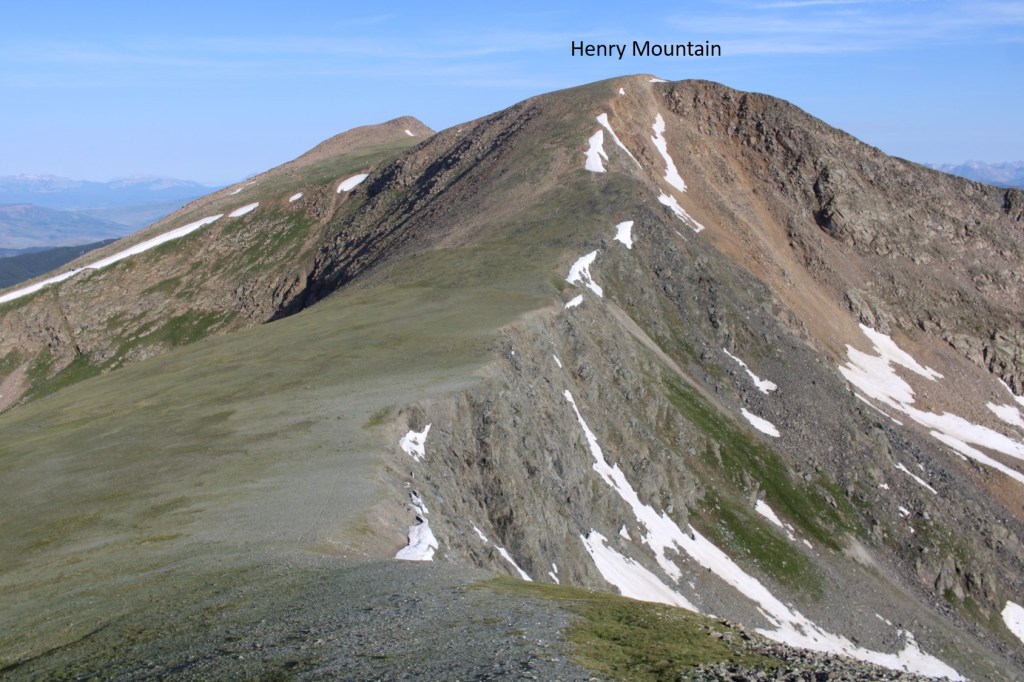
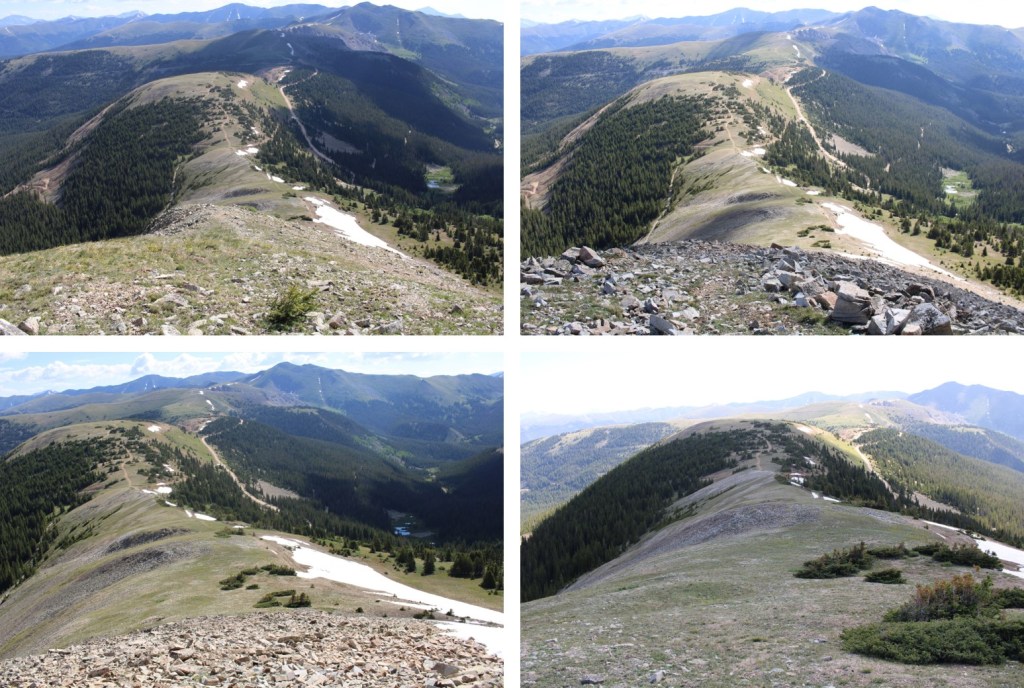
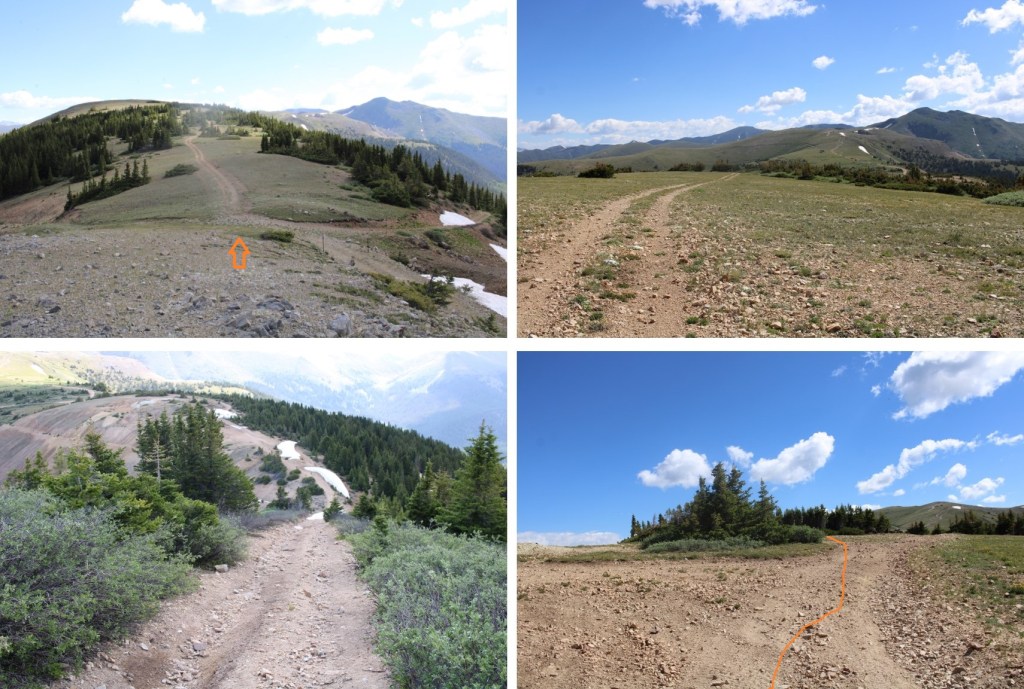
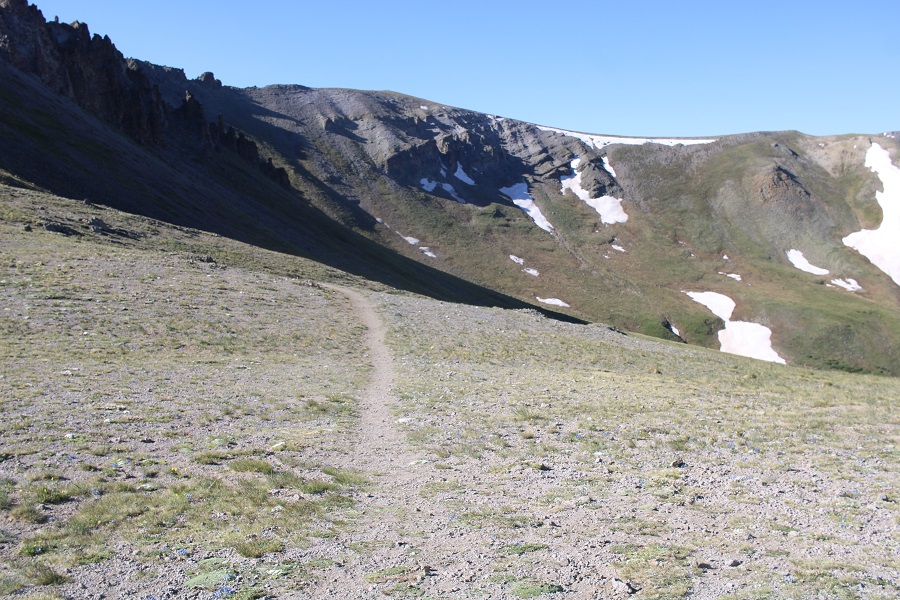
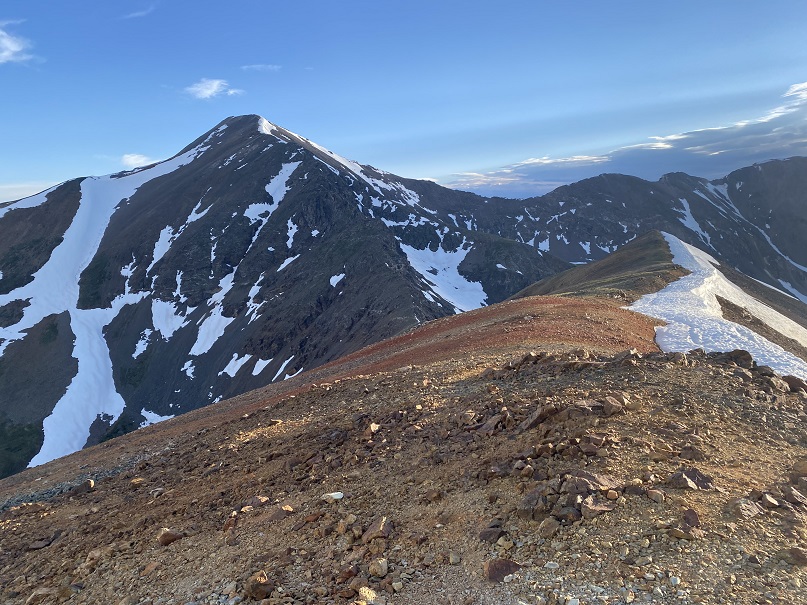
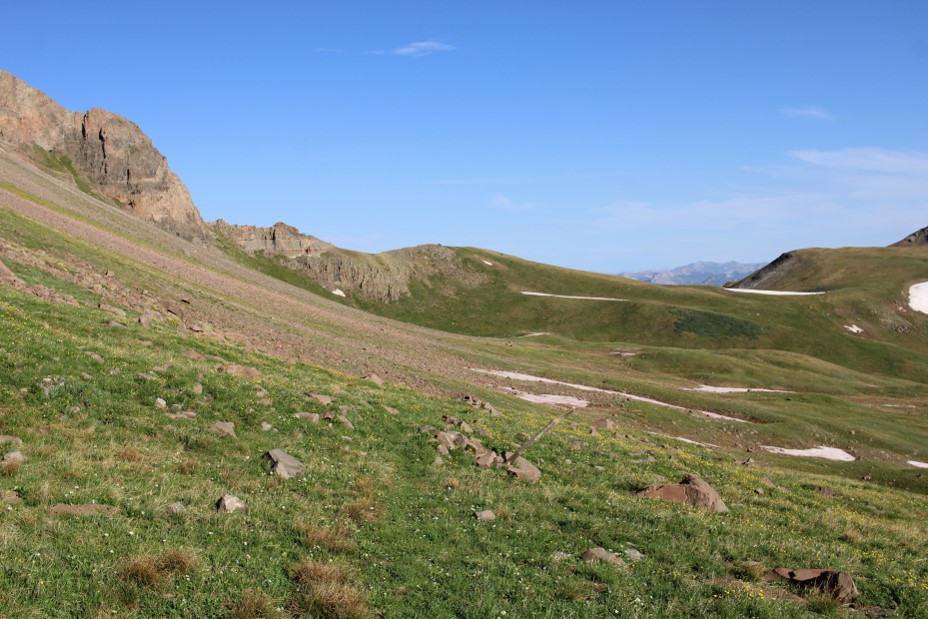
Back on the Continental Divide Trail, I followed it around the north side of Summit Peak. There were trail markers to show the way, which was a good thing because the trail was faint

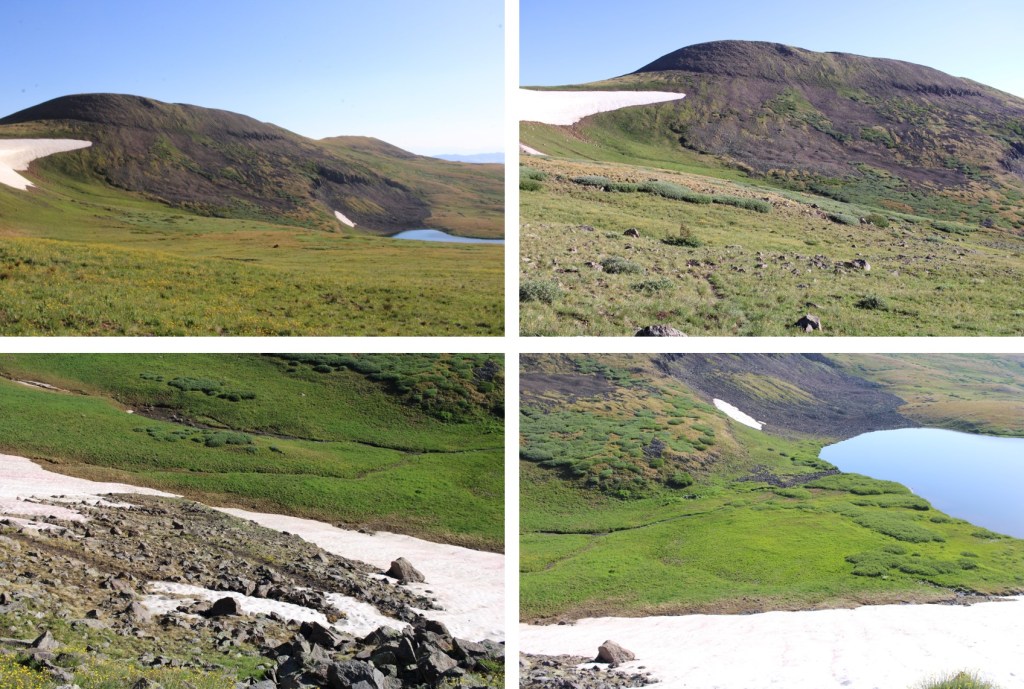
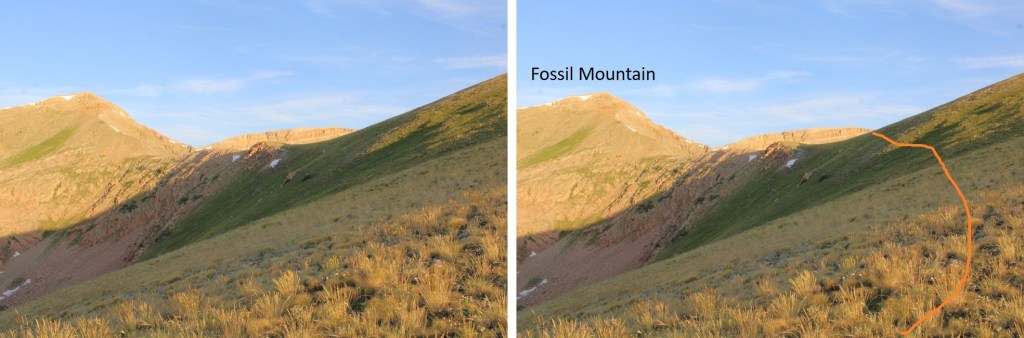
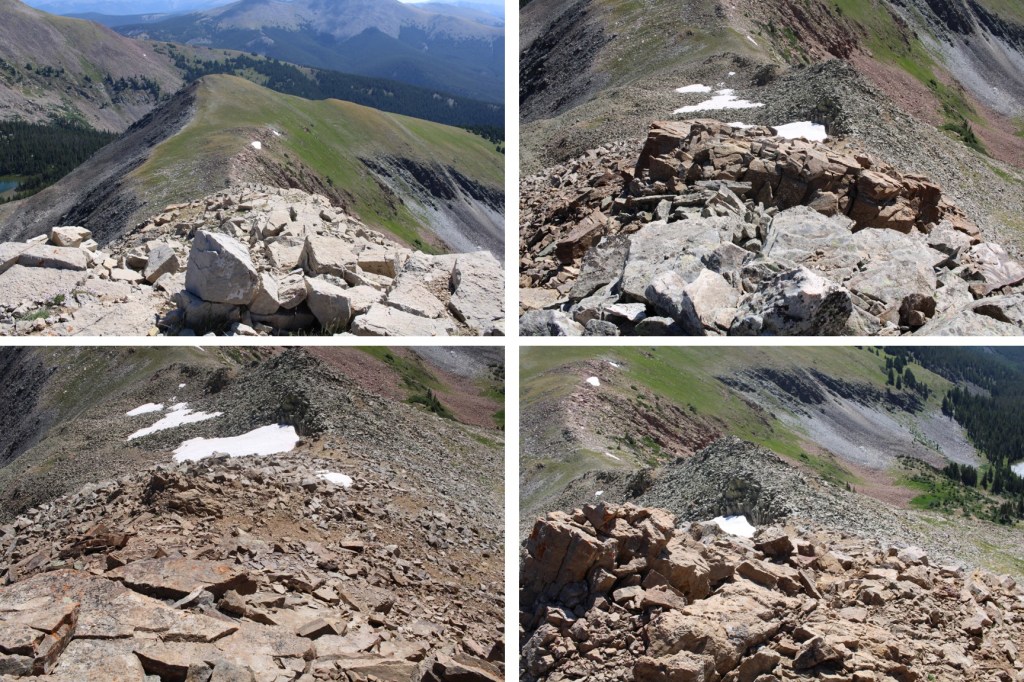
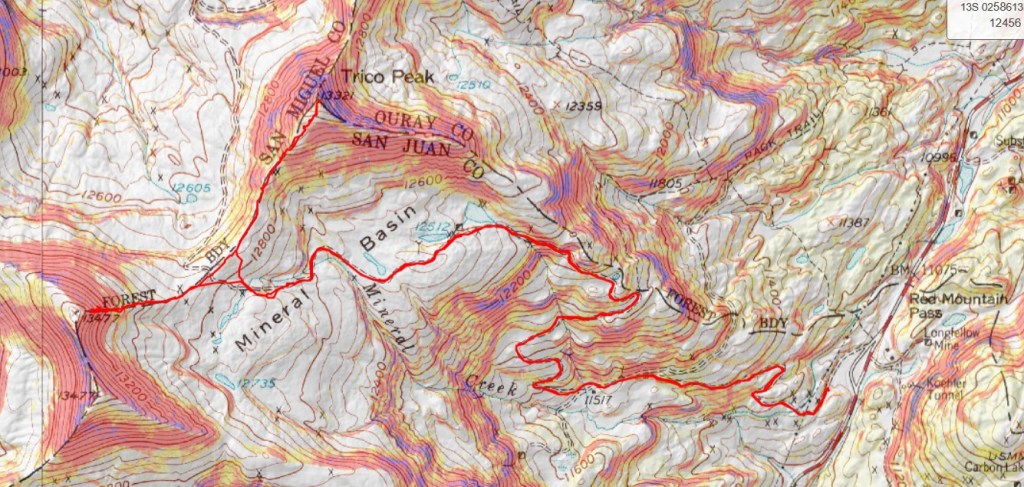
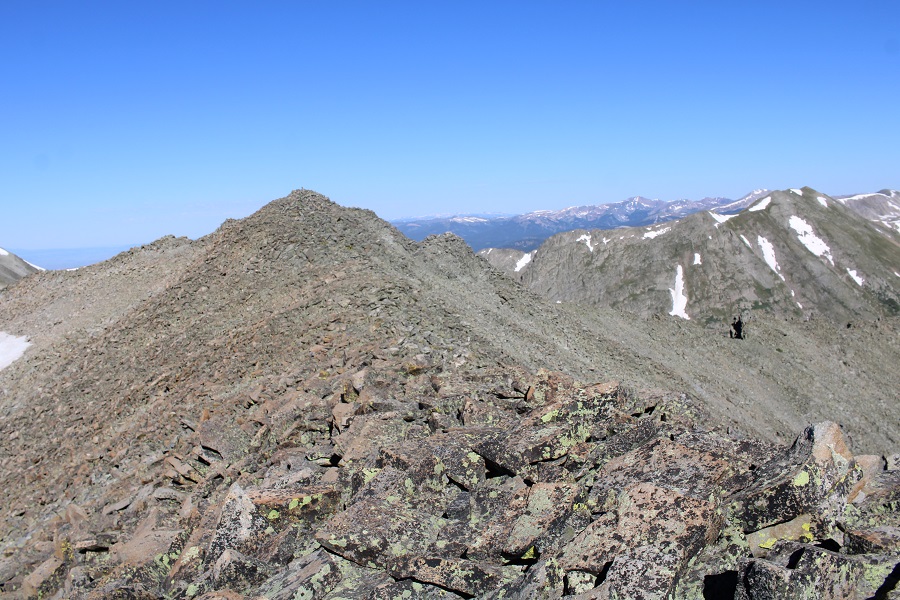
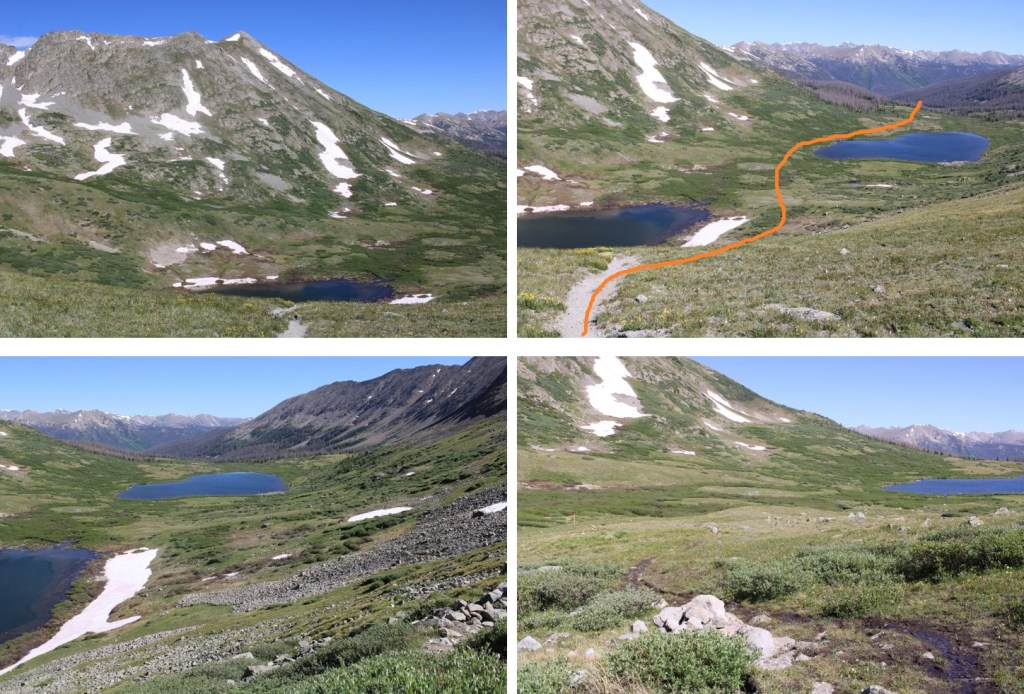
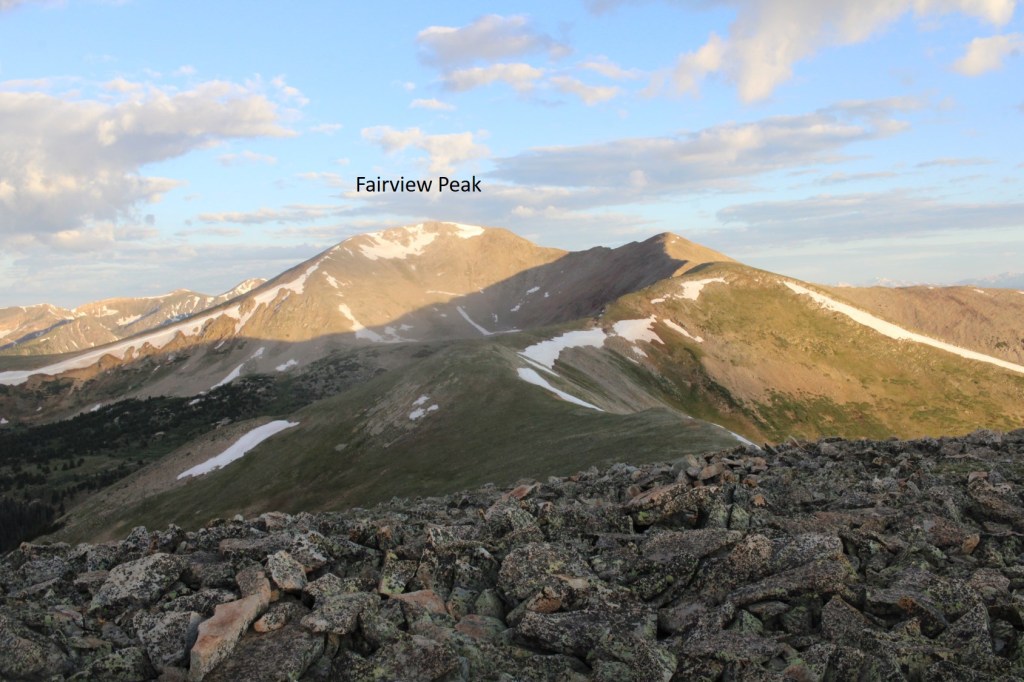
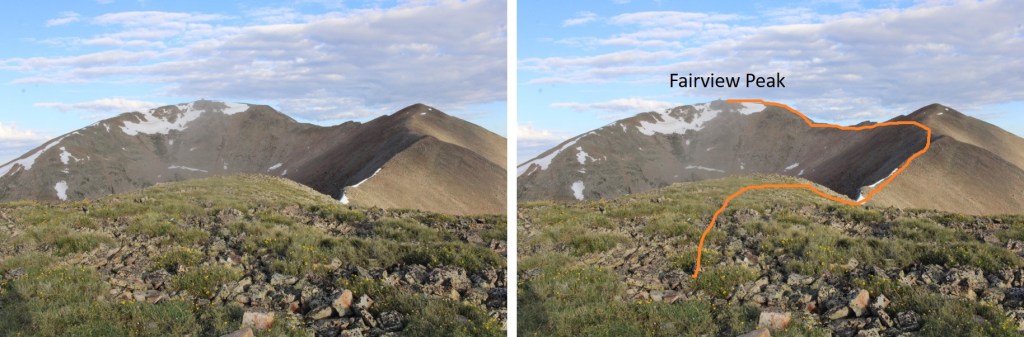
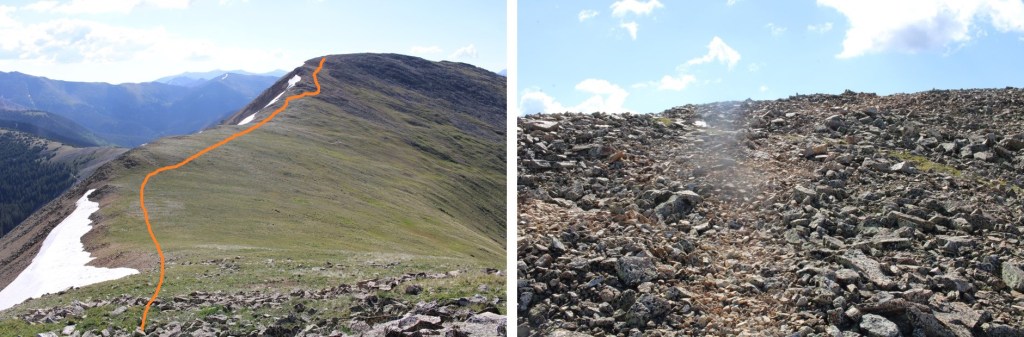
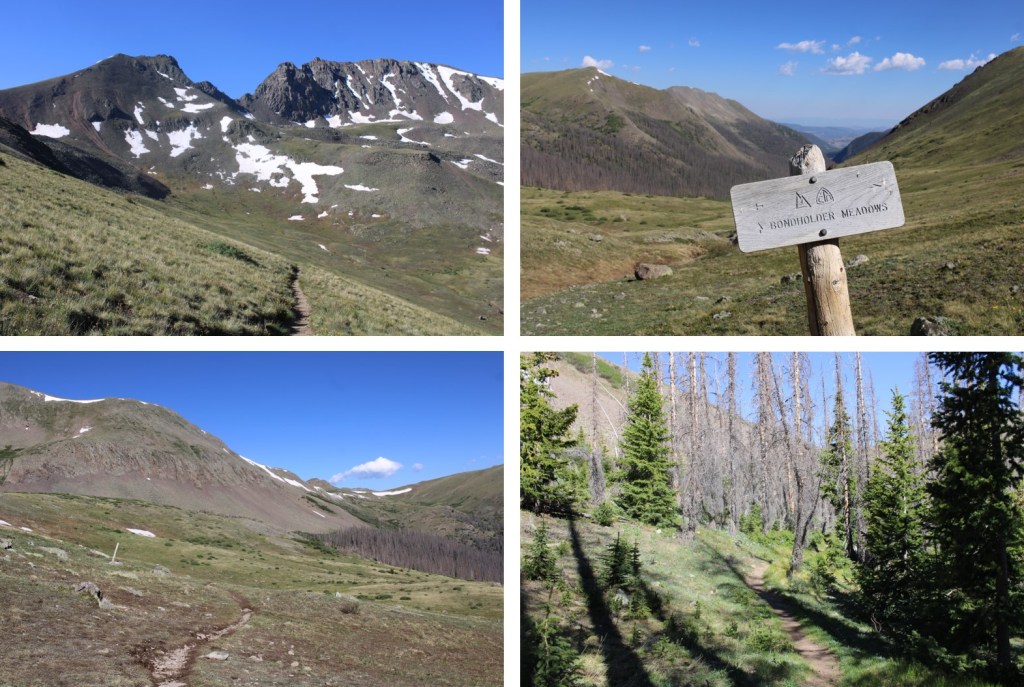
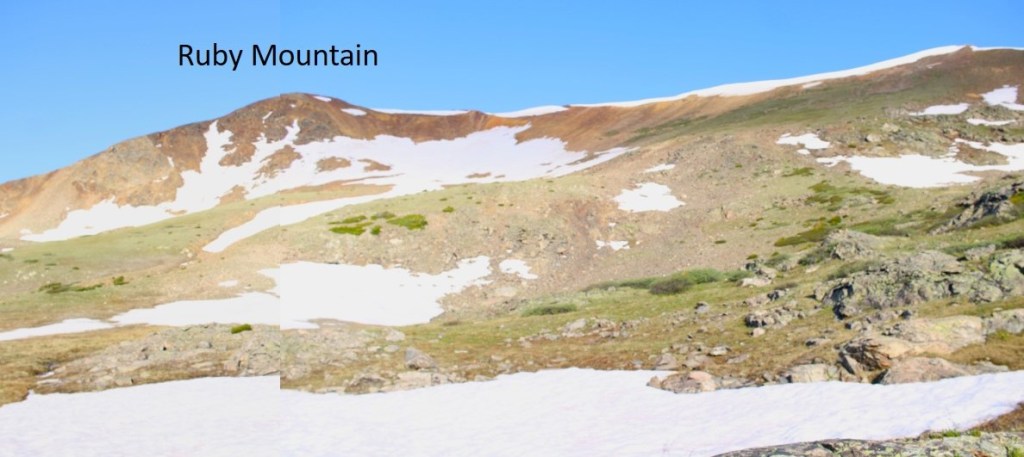
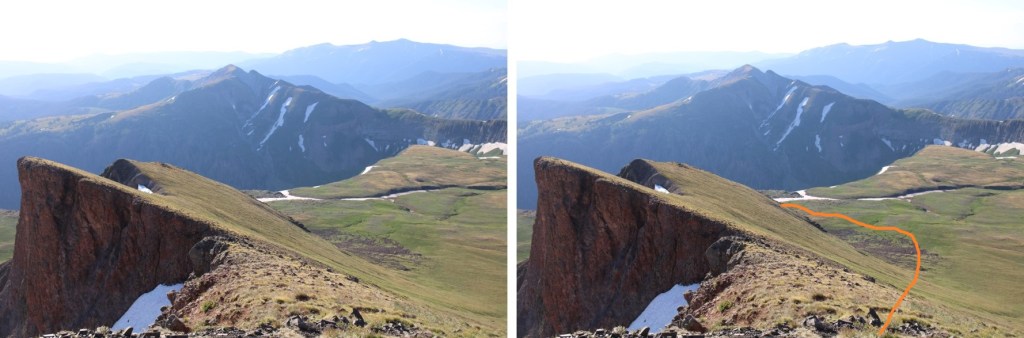
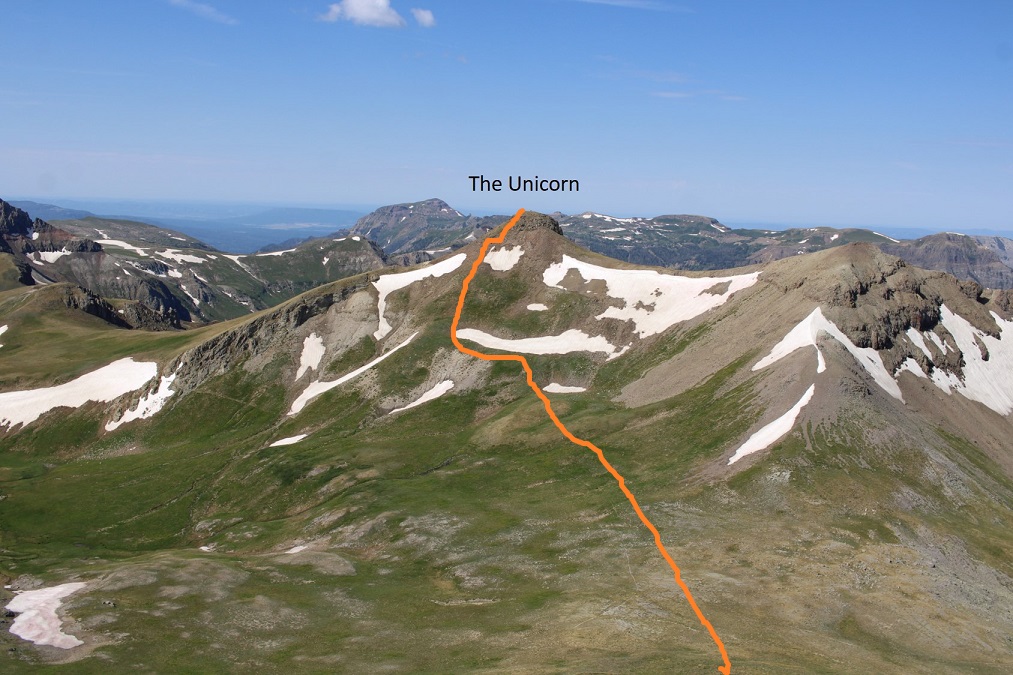
Here’s an overall look at the route to The Unicorn. There was snow on the trail in places, and it was curious there wasn’t a trenched trail over the snow, considering this is the Continental Divide Trail, and I’m sure tons of others must have been through this area already this year.

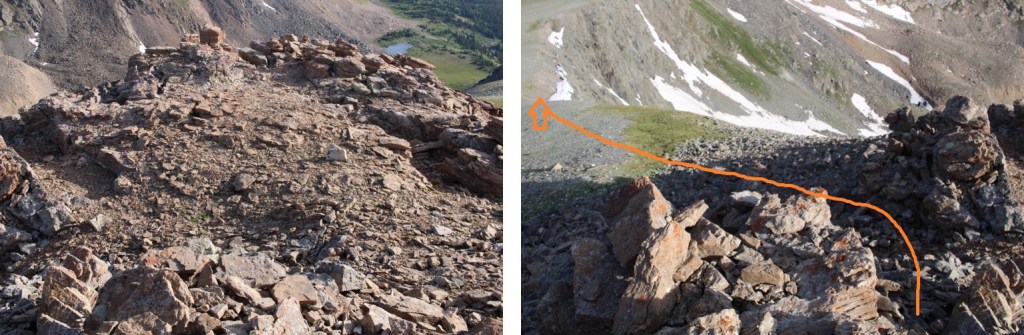
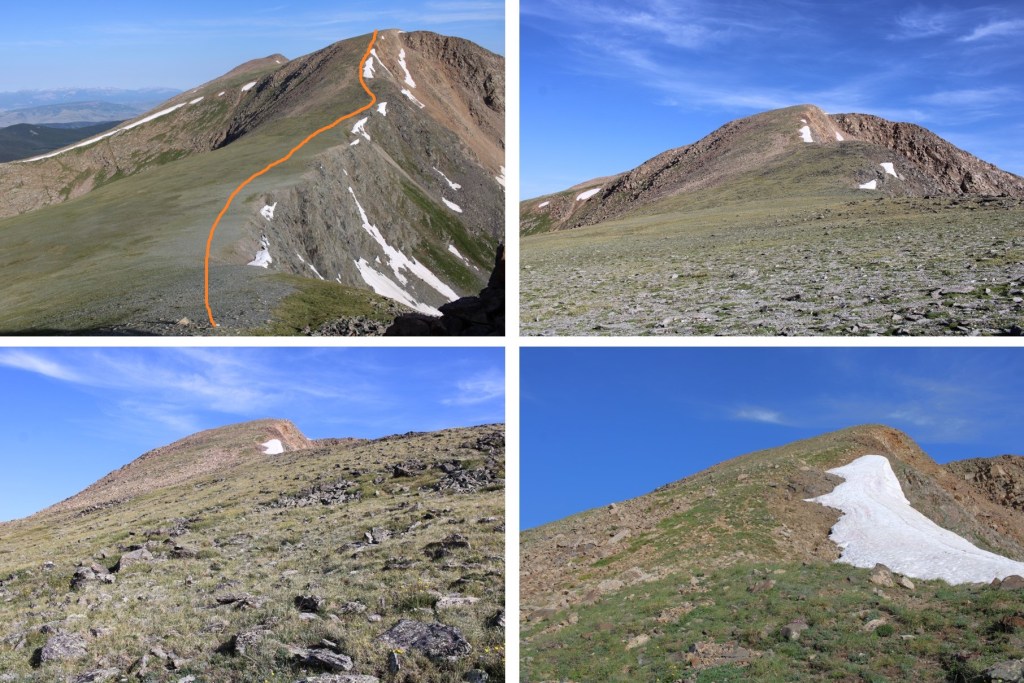
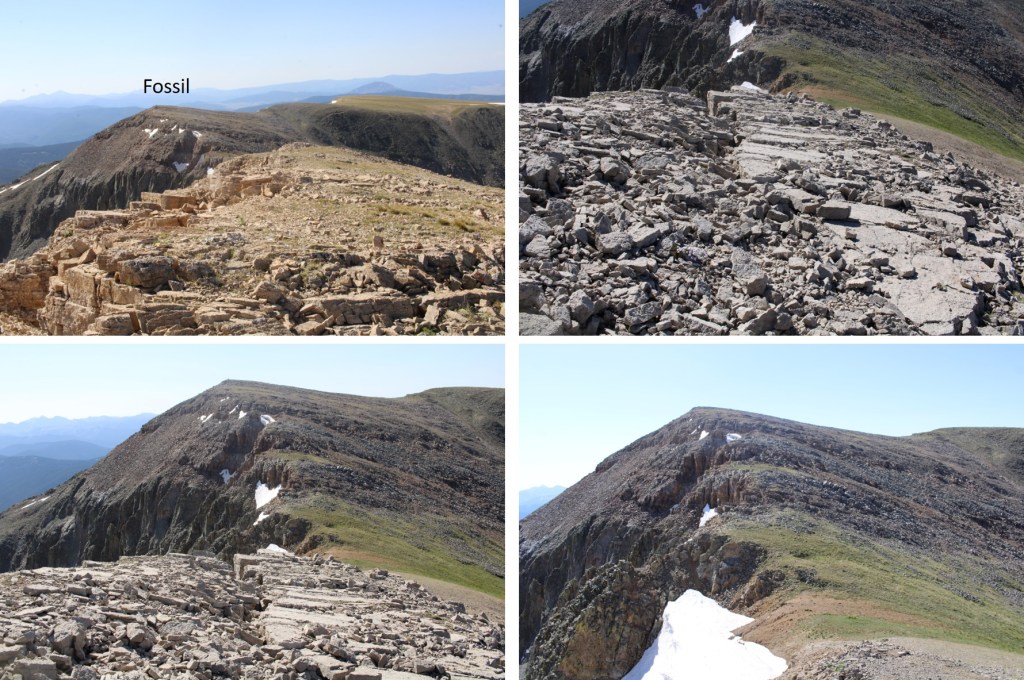
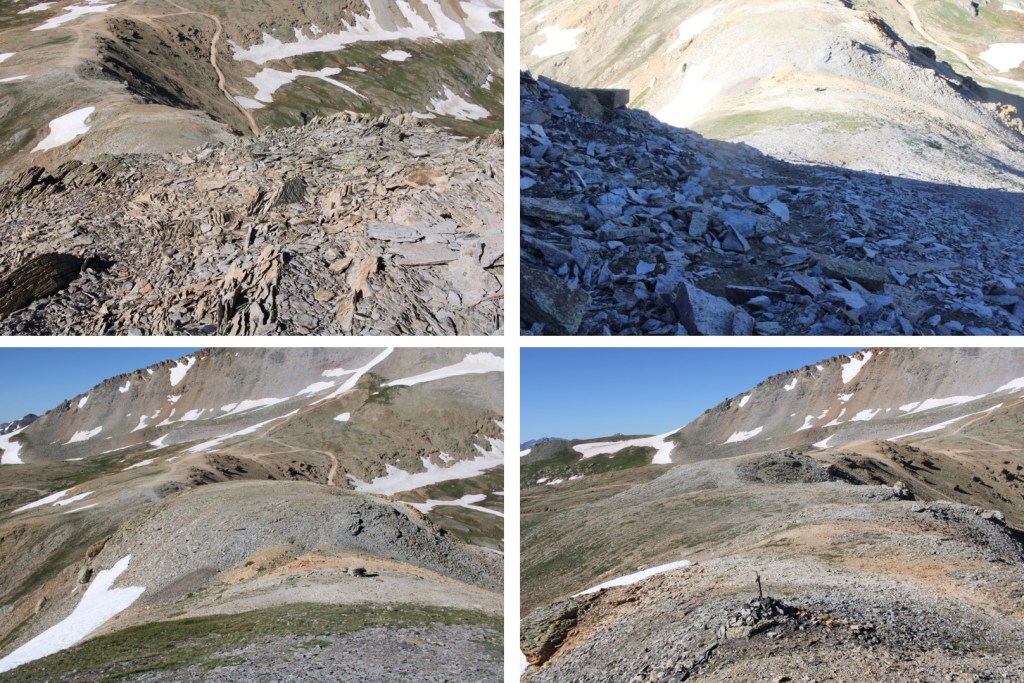
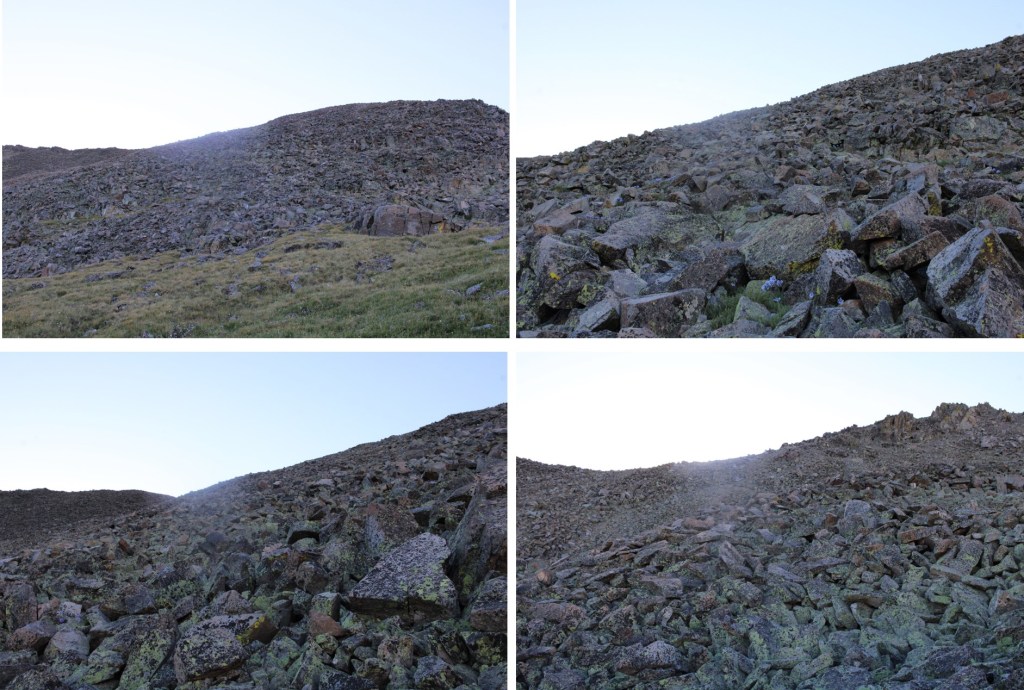
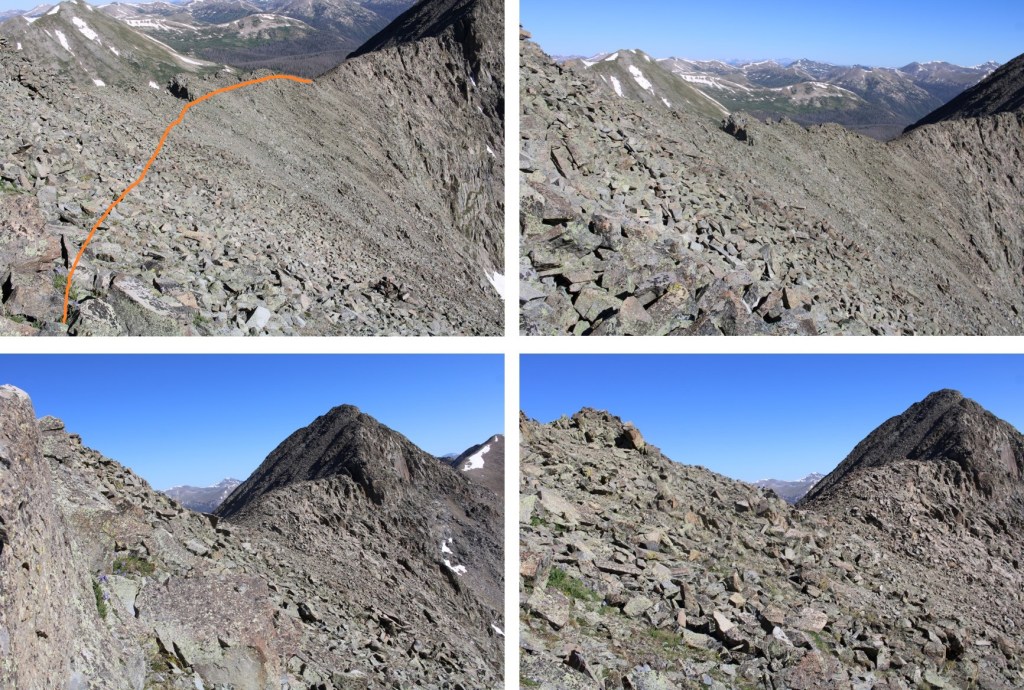
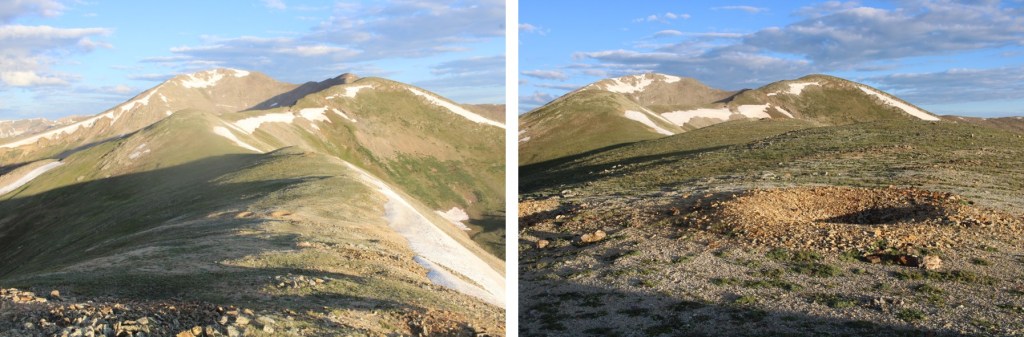
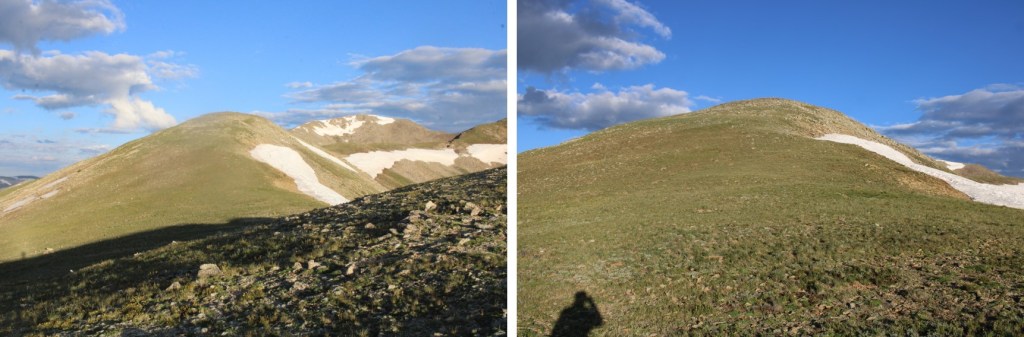
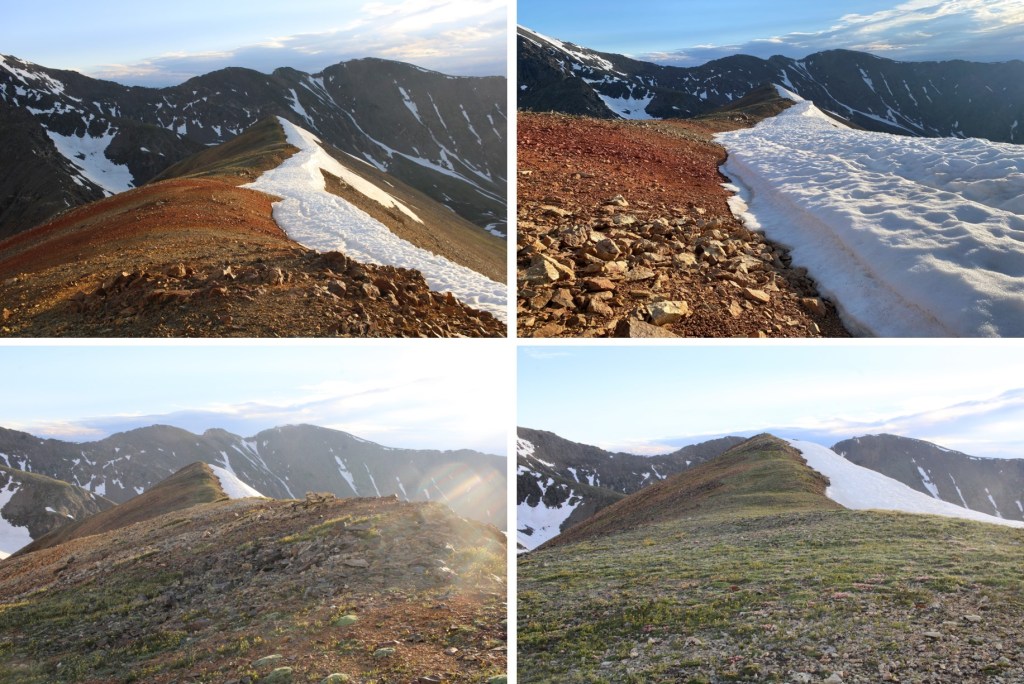
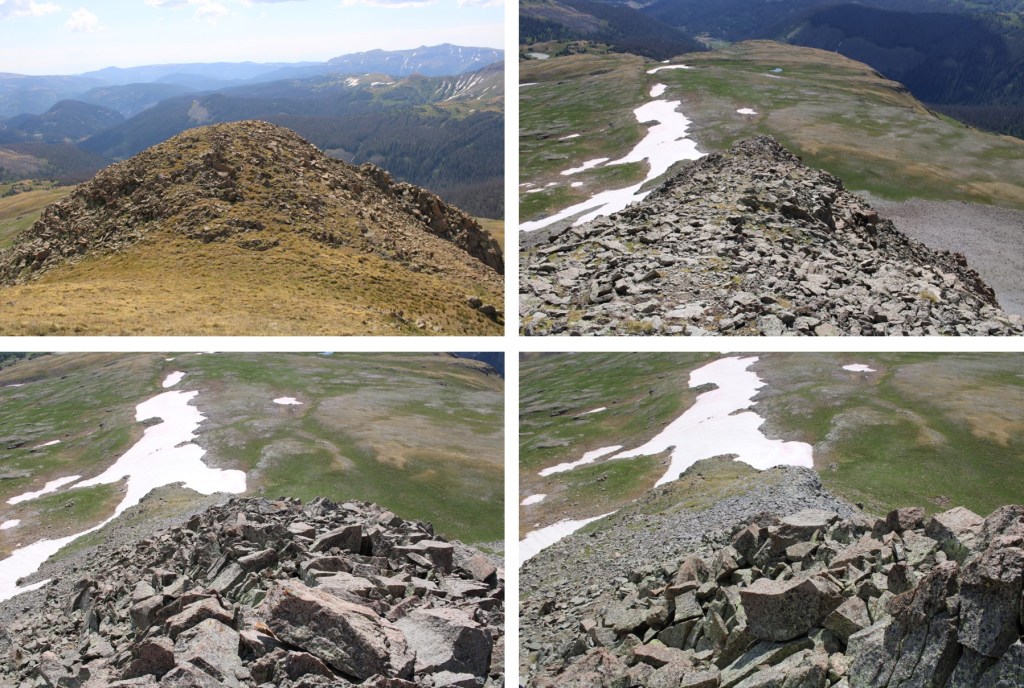
And some step-by-step pictures.
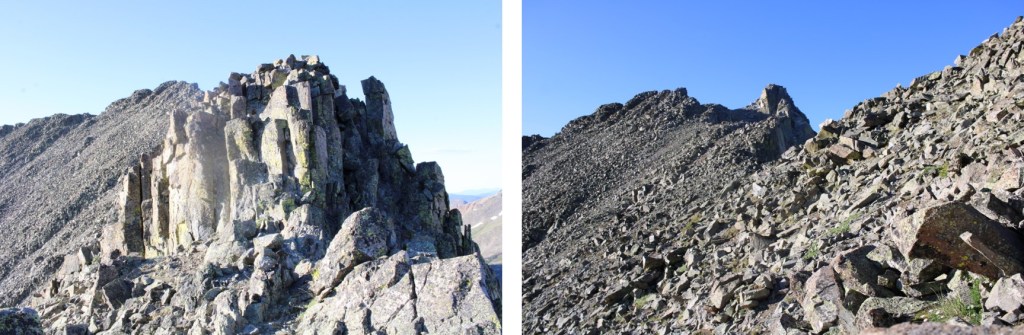
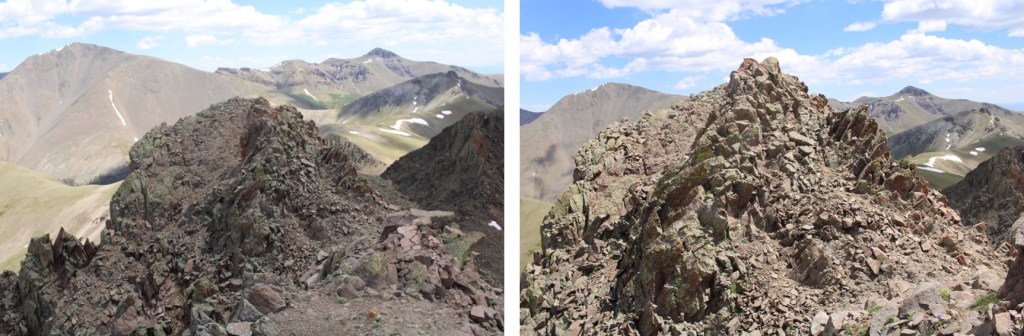
As I was doing this traverse, I could hear, but not see a herd of elk. I wasn’t sure where they were in the basin, but they sure were being loud, so I figured there were a couple dozen of them. Here I left the trail, and it became a class 2 hike, with just a short section (no more than 10 feet) of easy class 3 climbing up a sort of chimney.


I summited The Unicorn at 9am
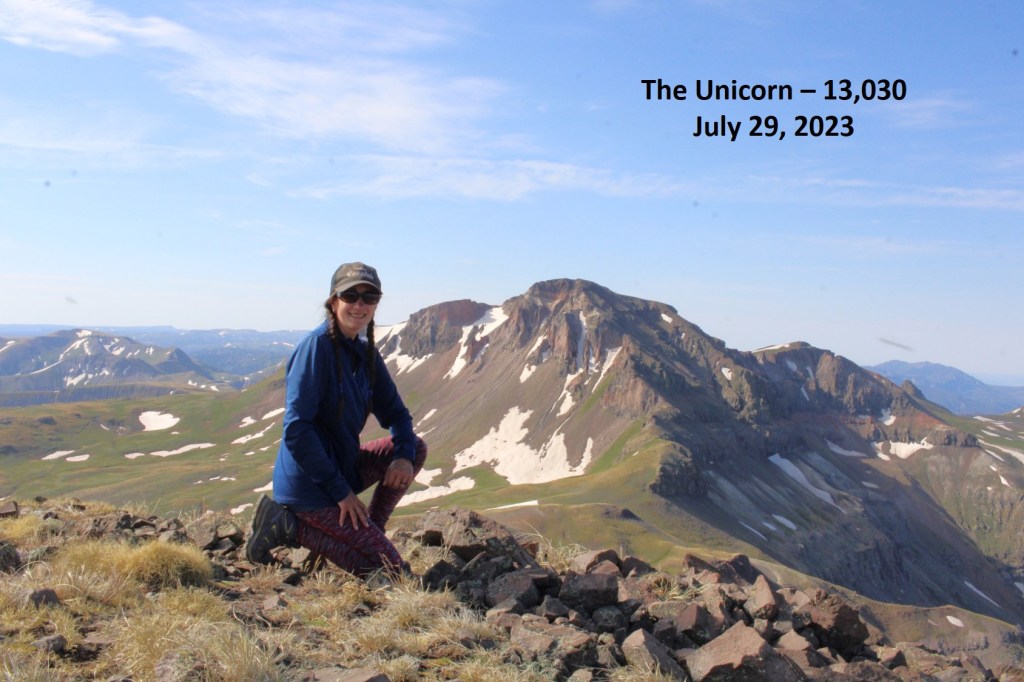
The Unicorn:
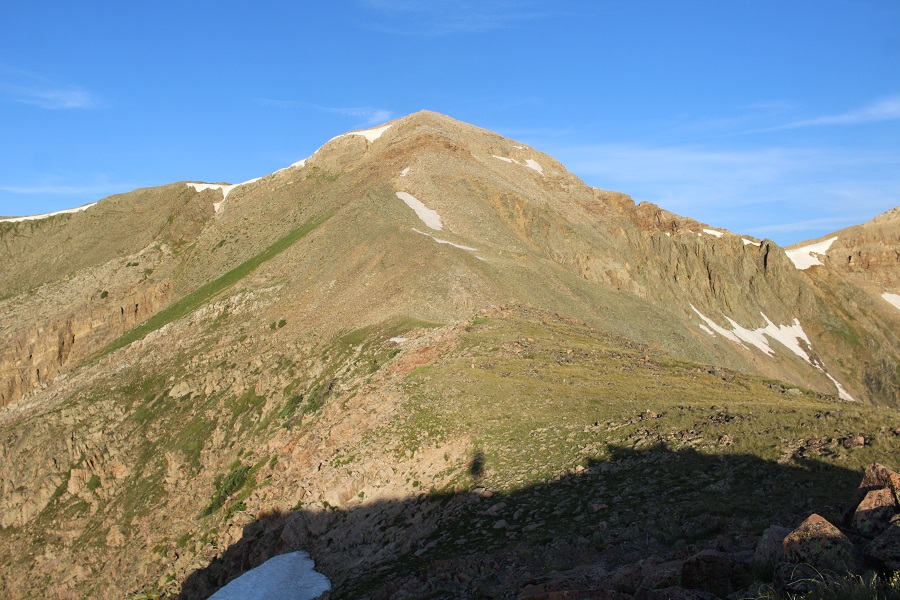
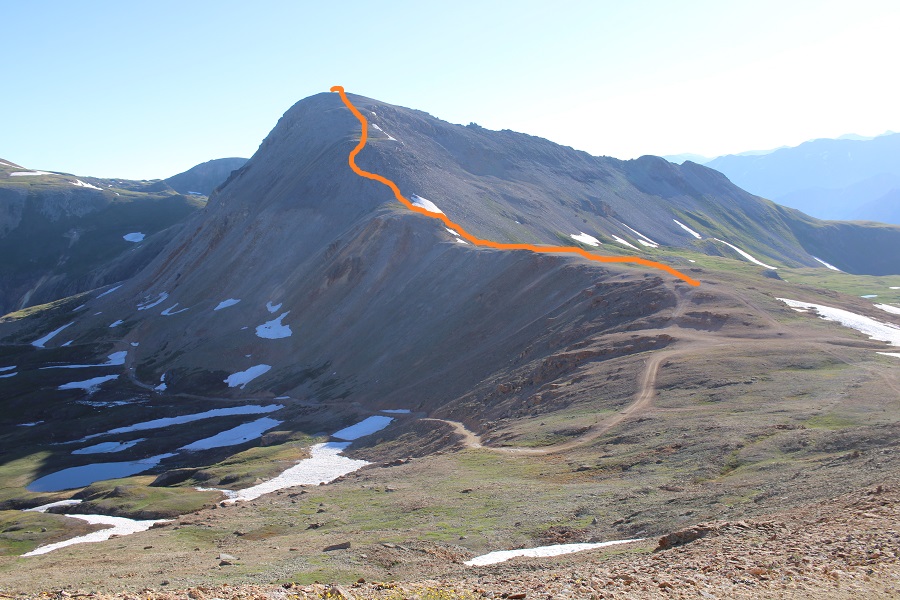
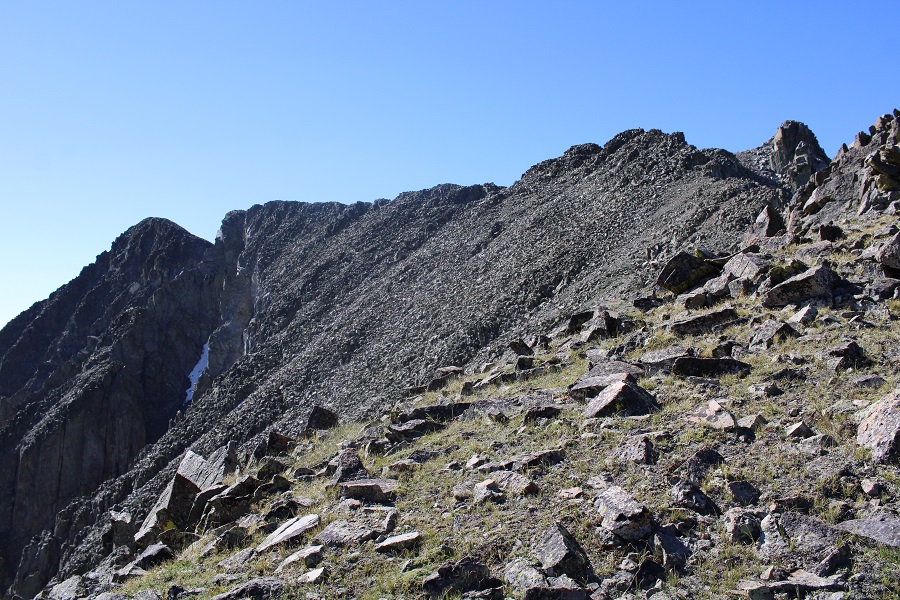
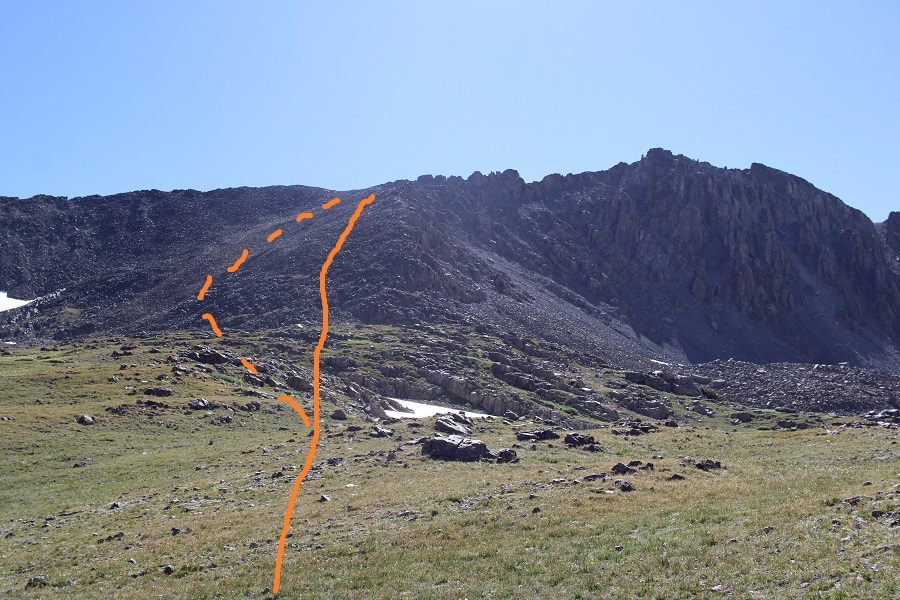
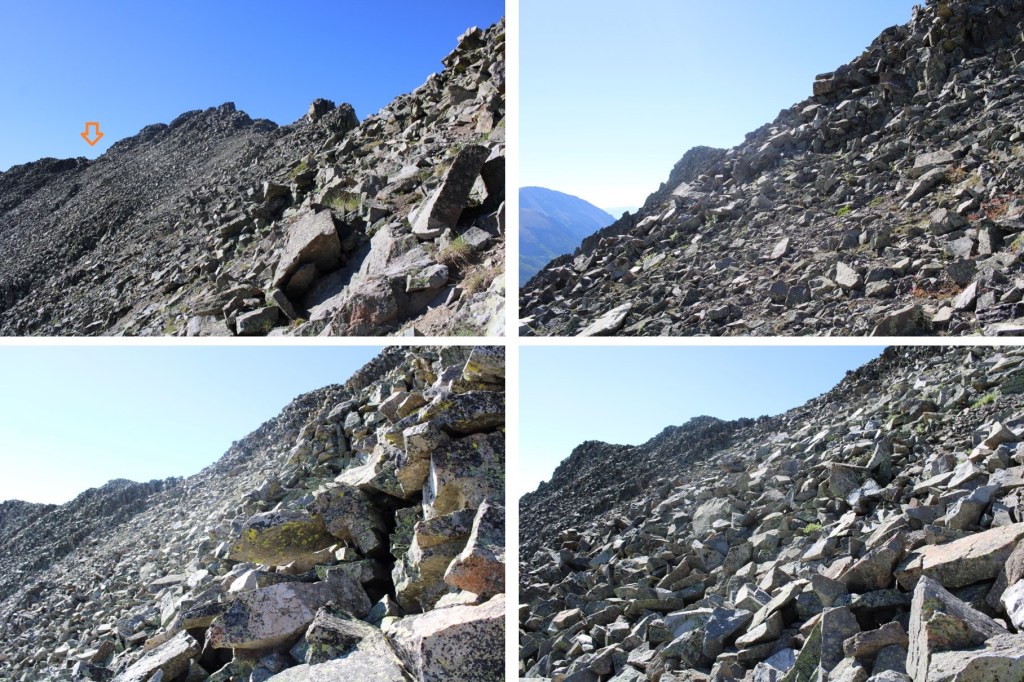
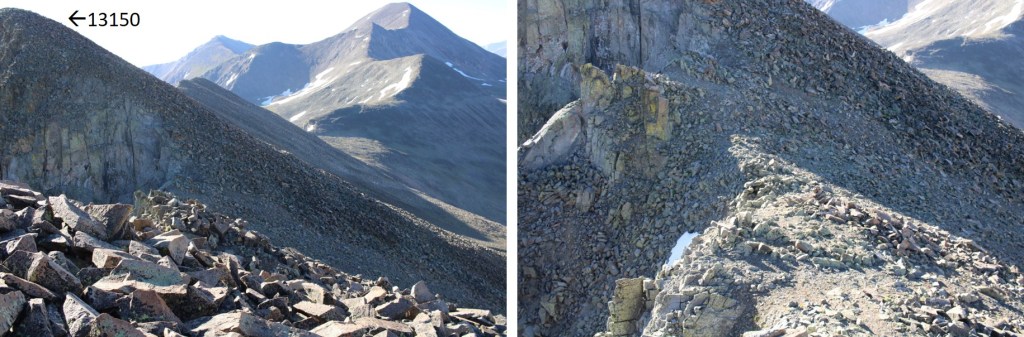
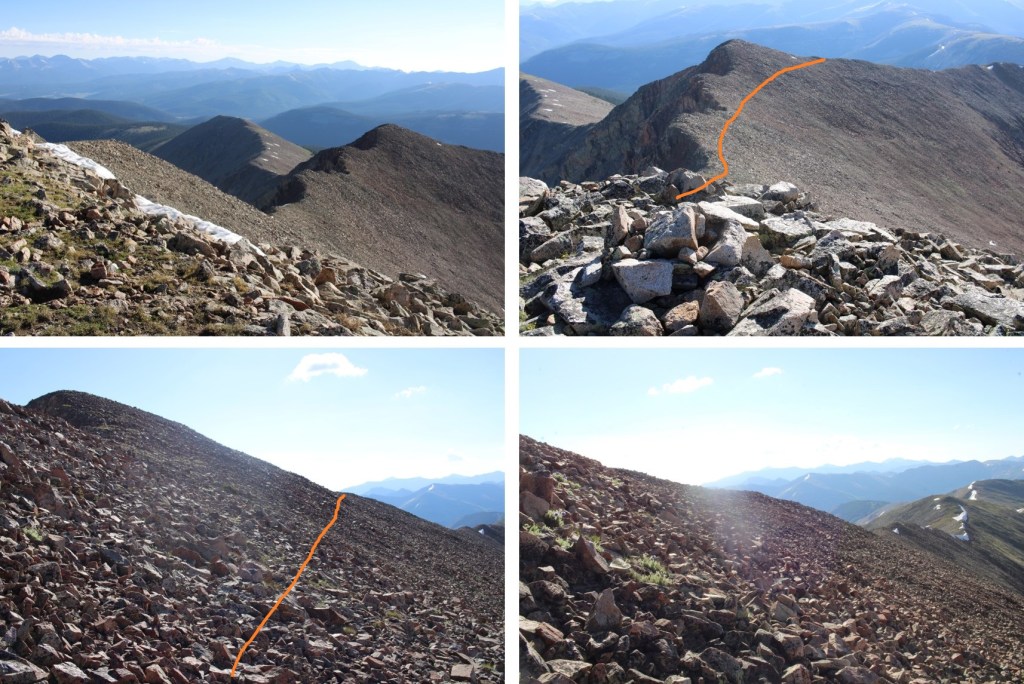
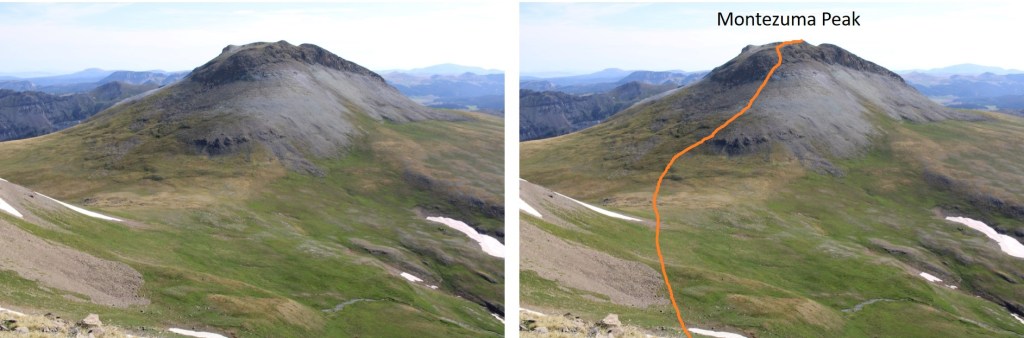
To the northeast I could see Montezuma Peak. This was my overall route to get there. It was all class 2, except for a brief period of class 2+ scree as I ascended the ridge.
This is also a good view of how I descended from Montezuma and made it back to the trailhead

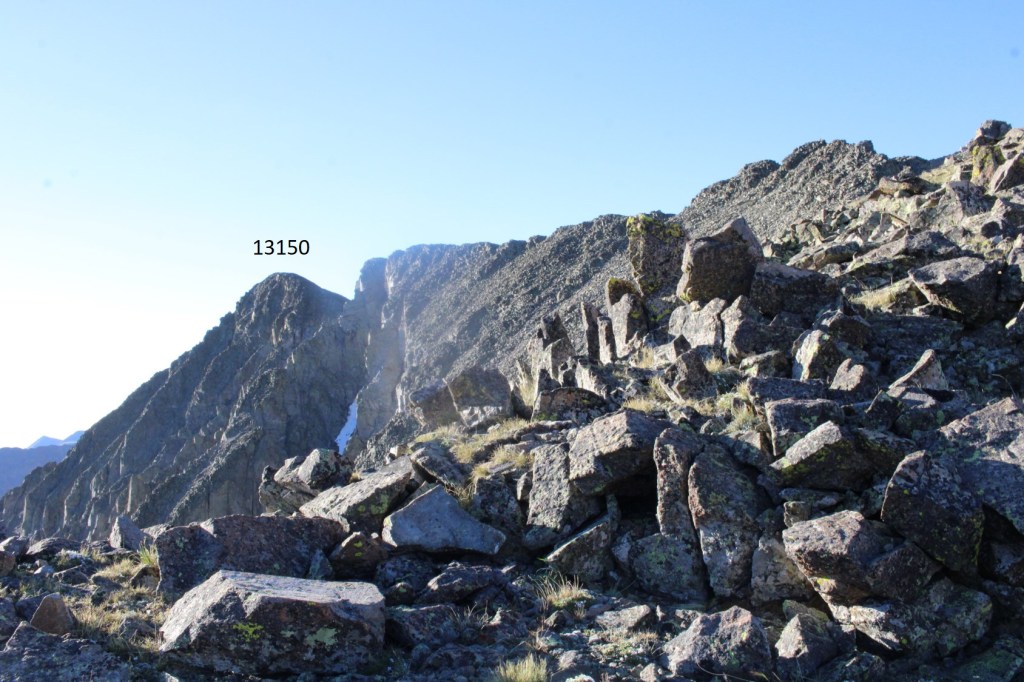
I descended the short chimney
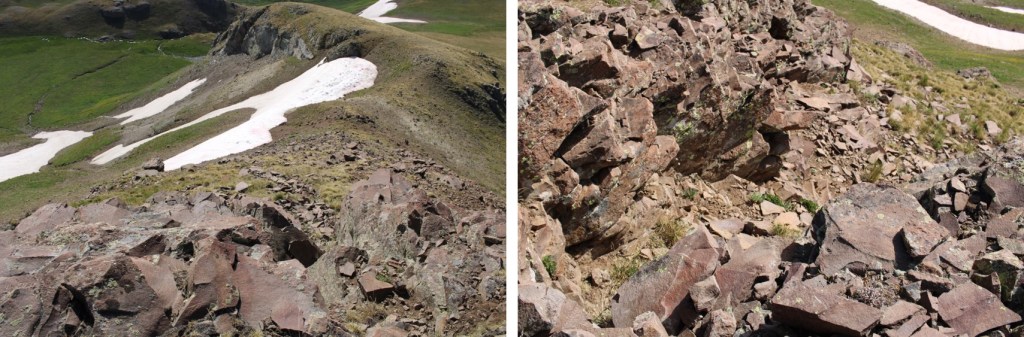
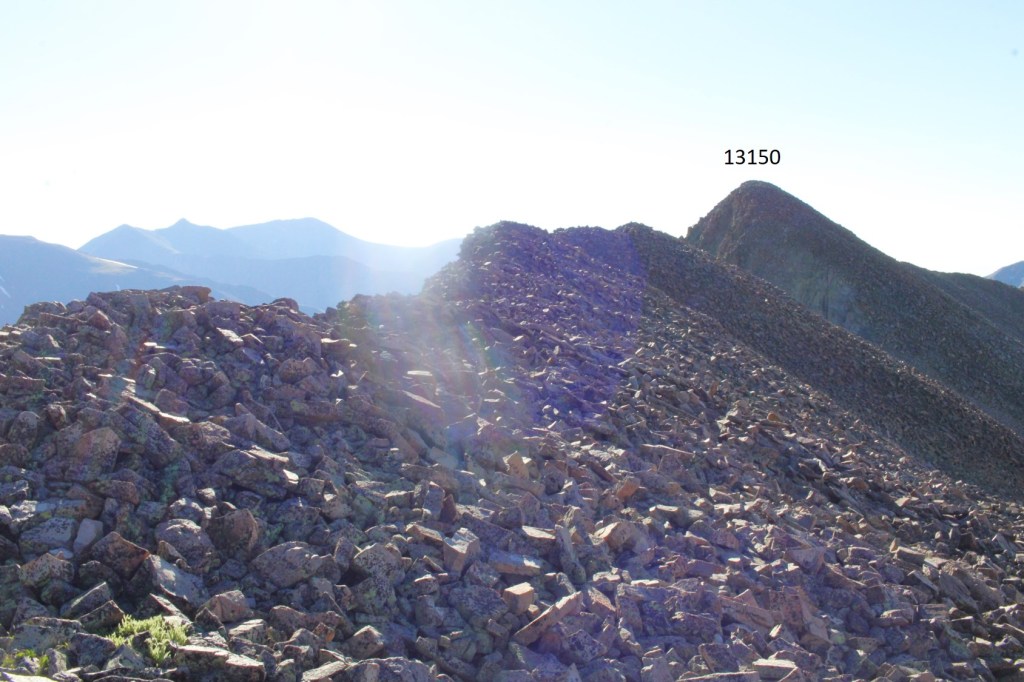
And then I headed northeast, towards Montezuma, being careful to avoid the snow fields in the way
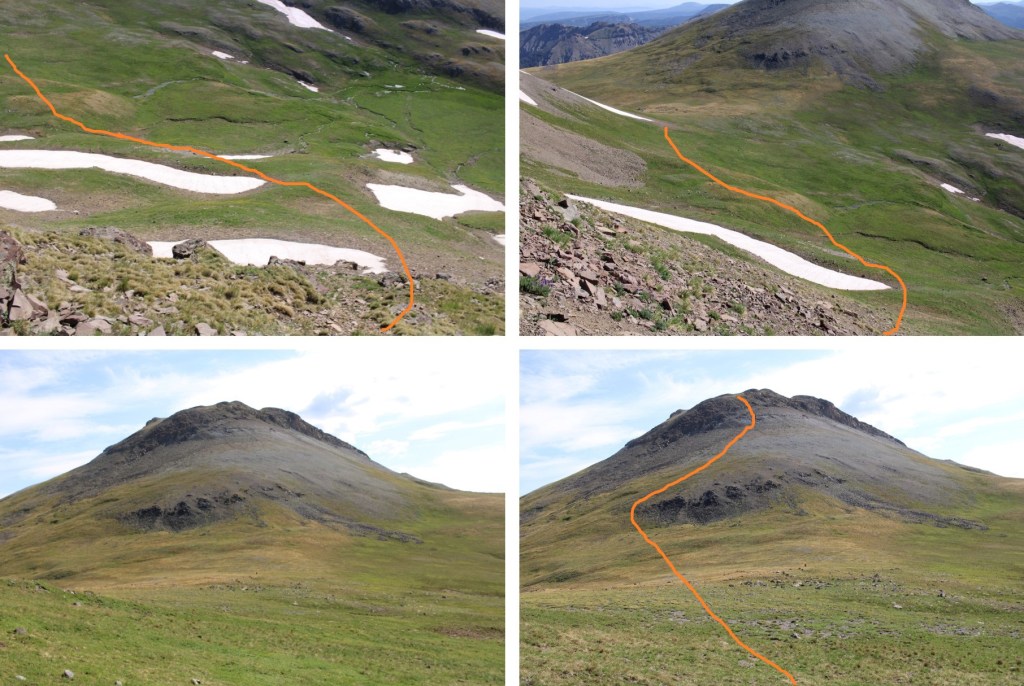
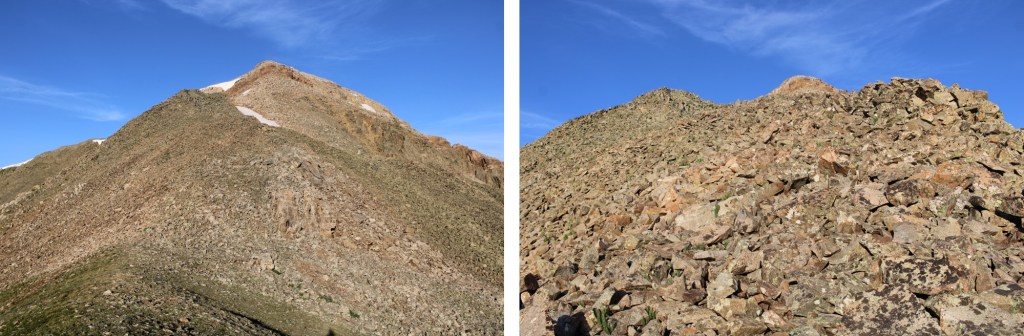
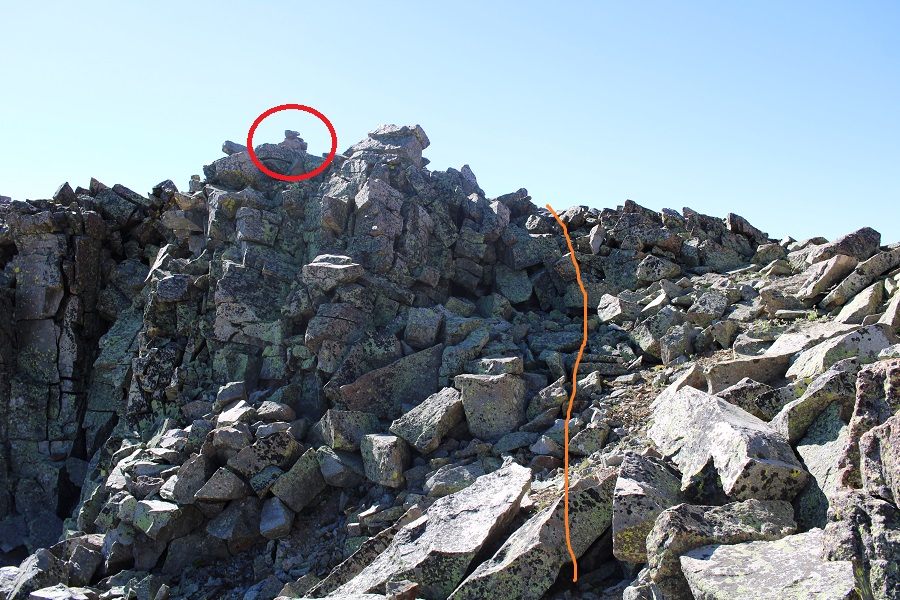
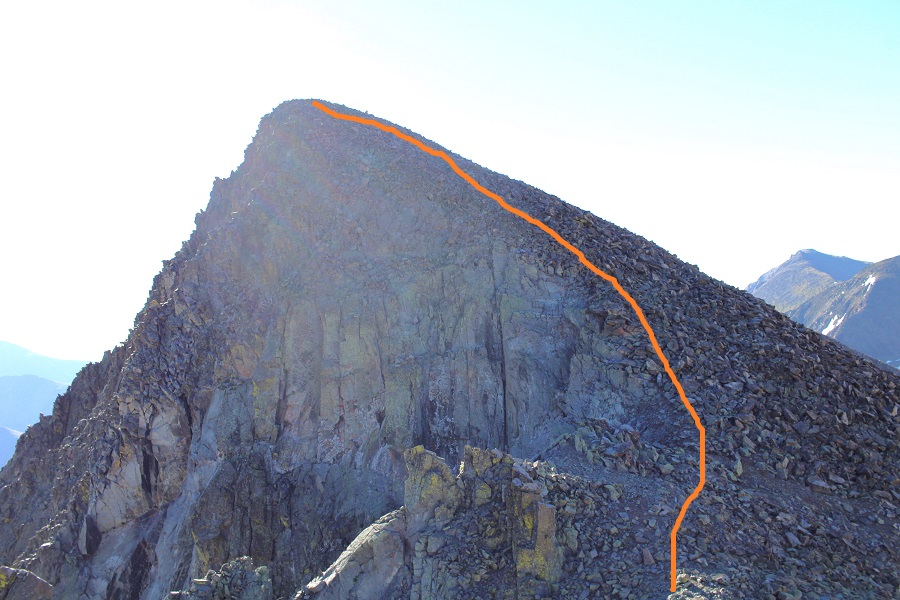
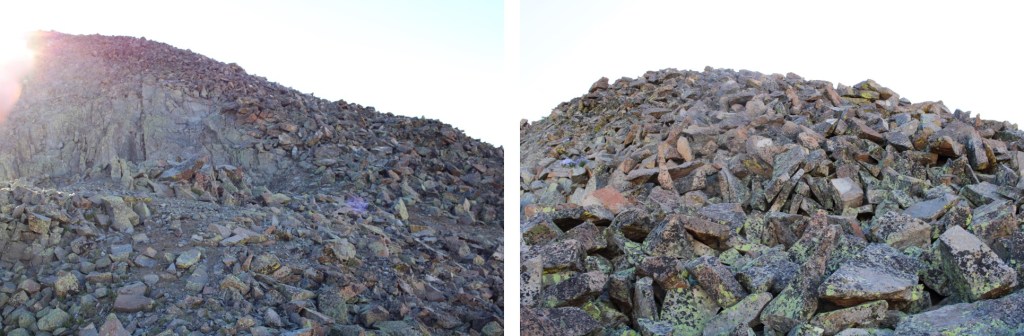
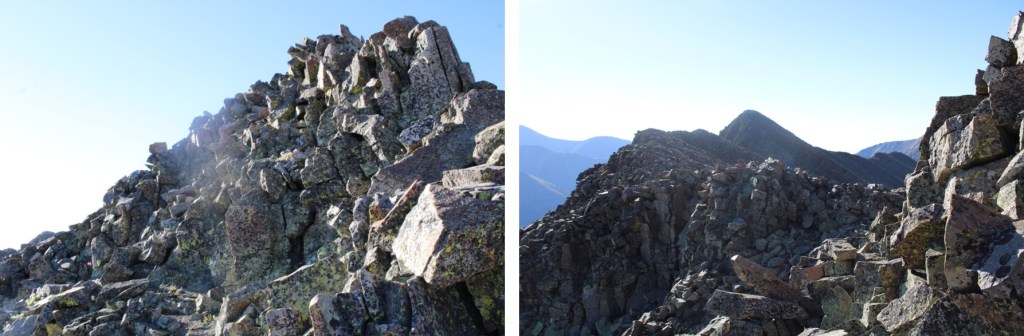
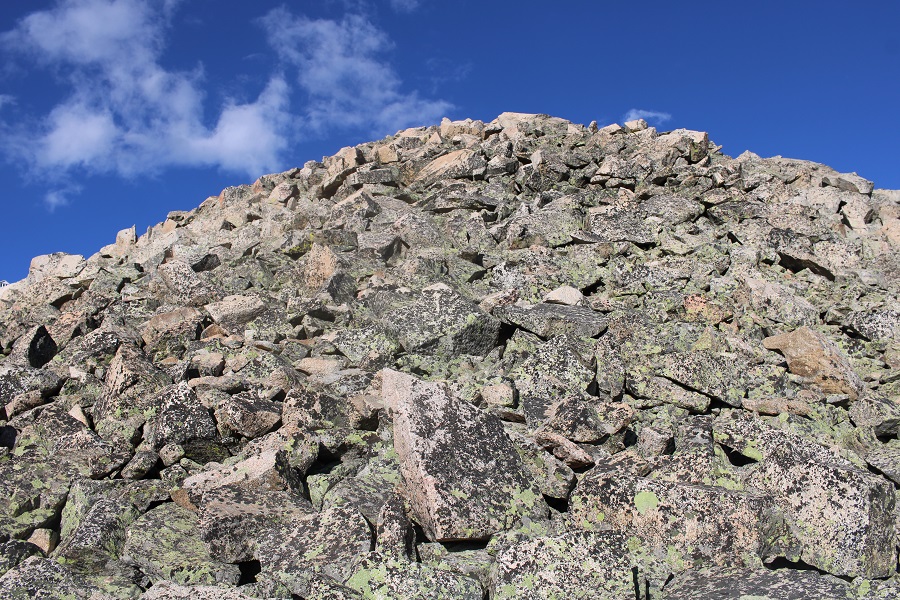
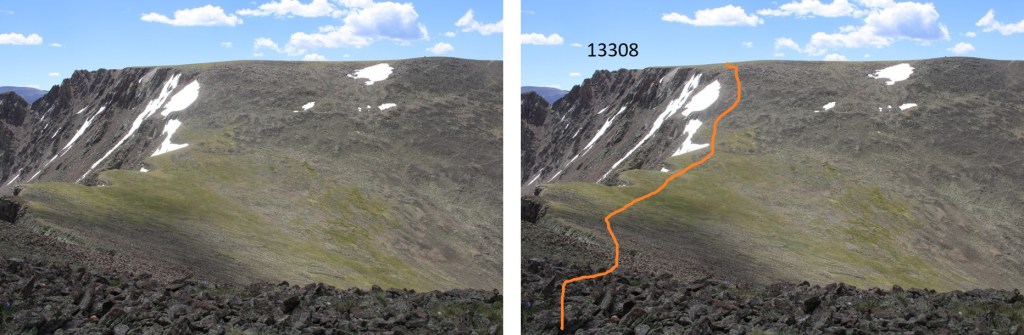
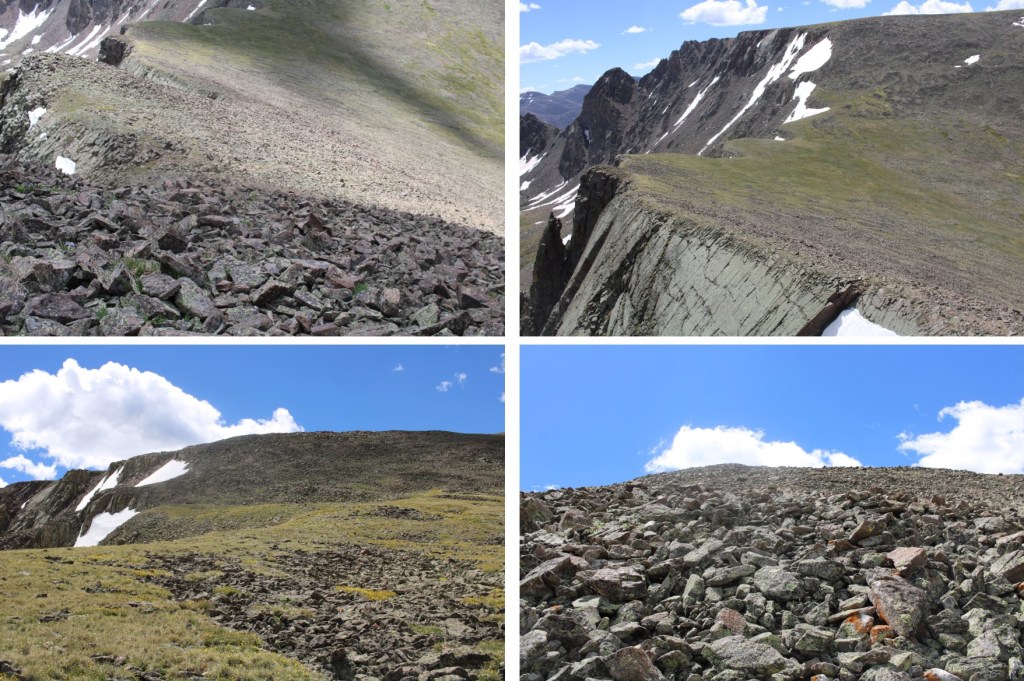
And now to climb the west face of Montezuma. It was steep, but mostly class 2 until just before gaining the ridge, where it was 2+, and choose your own adventure on the scree/talus.


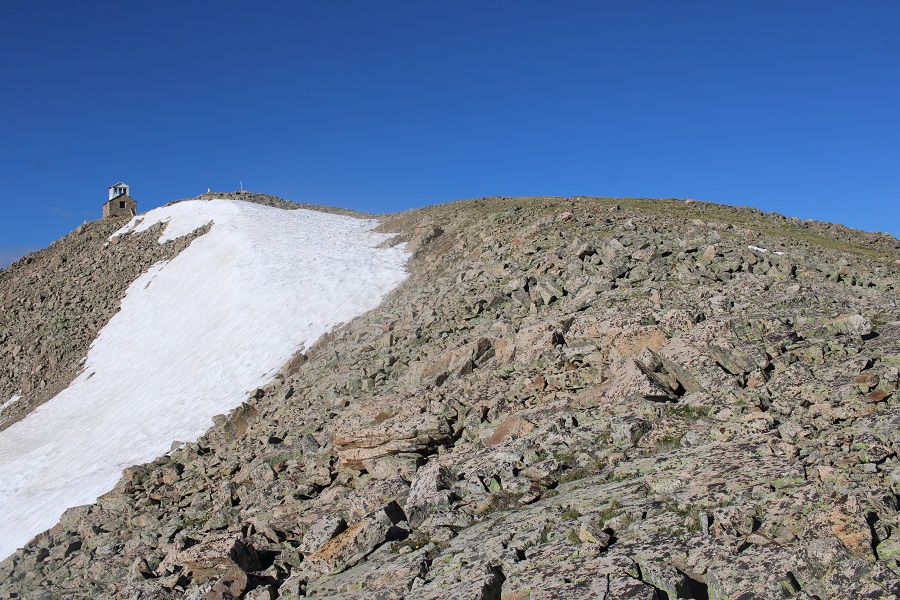
After gaining the ridge I turned right, and headed east towards the summit of Montezuma


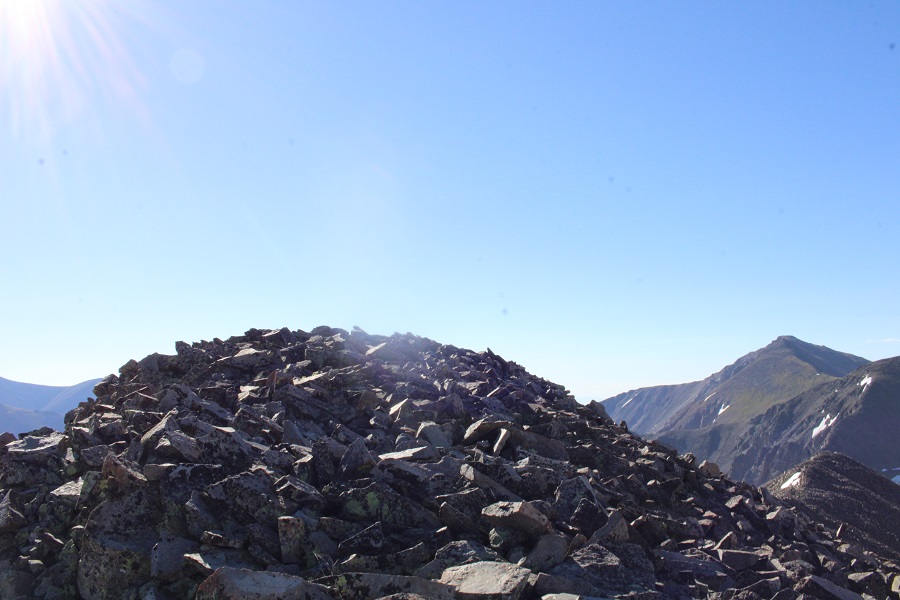
I summited Montezuma Peak at 10am
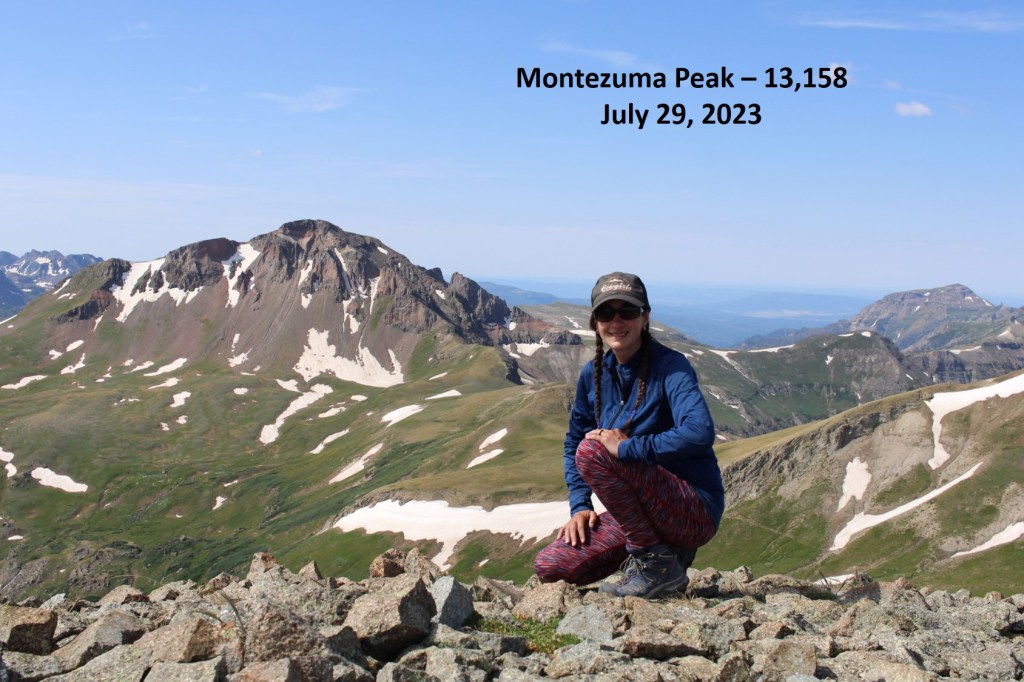
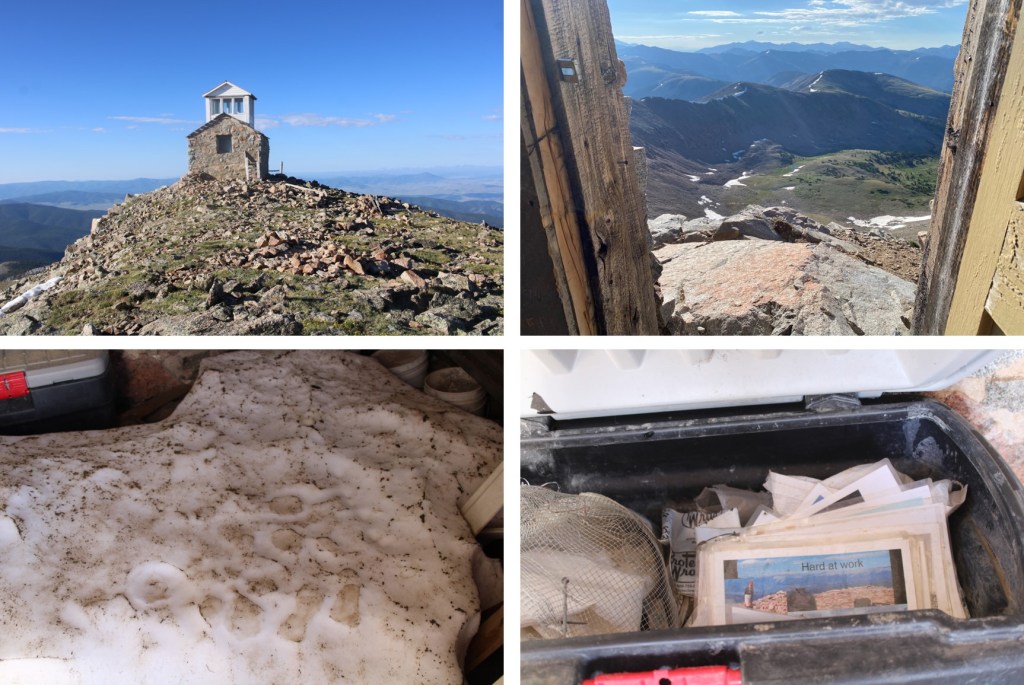
Montezuma Peak:
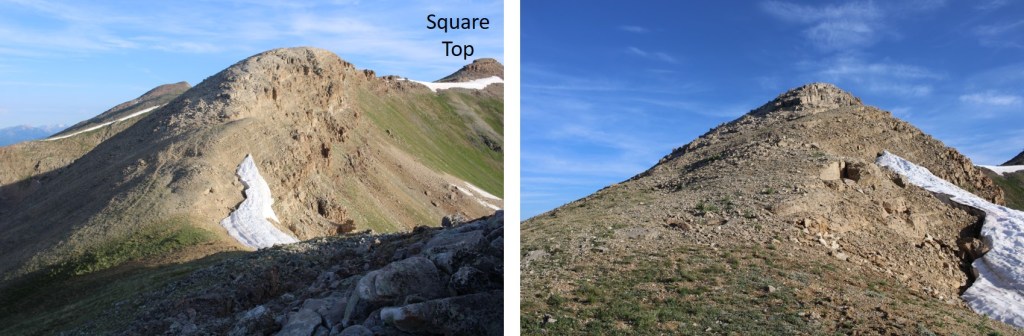
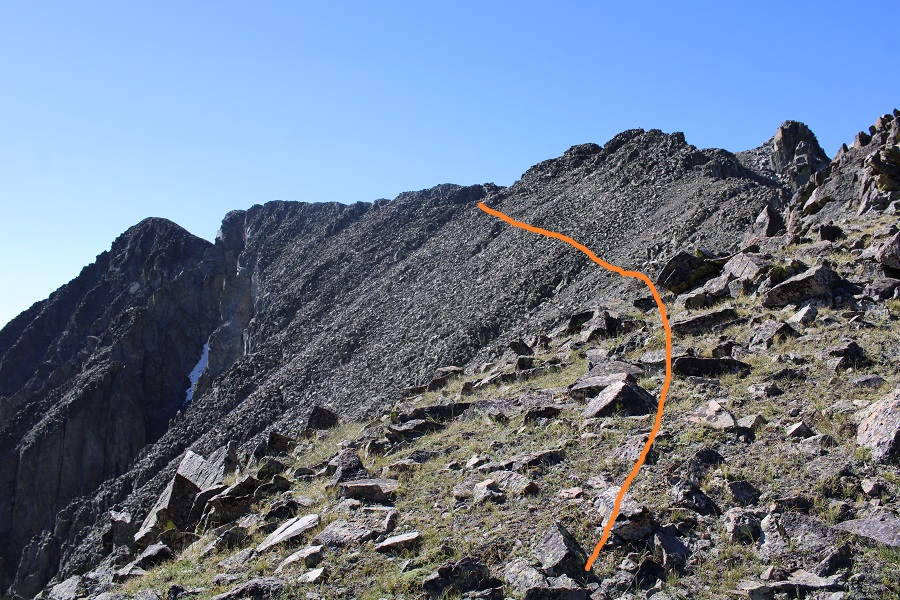
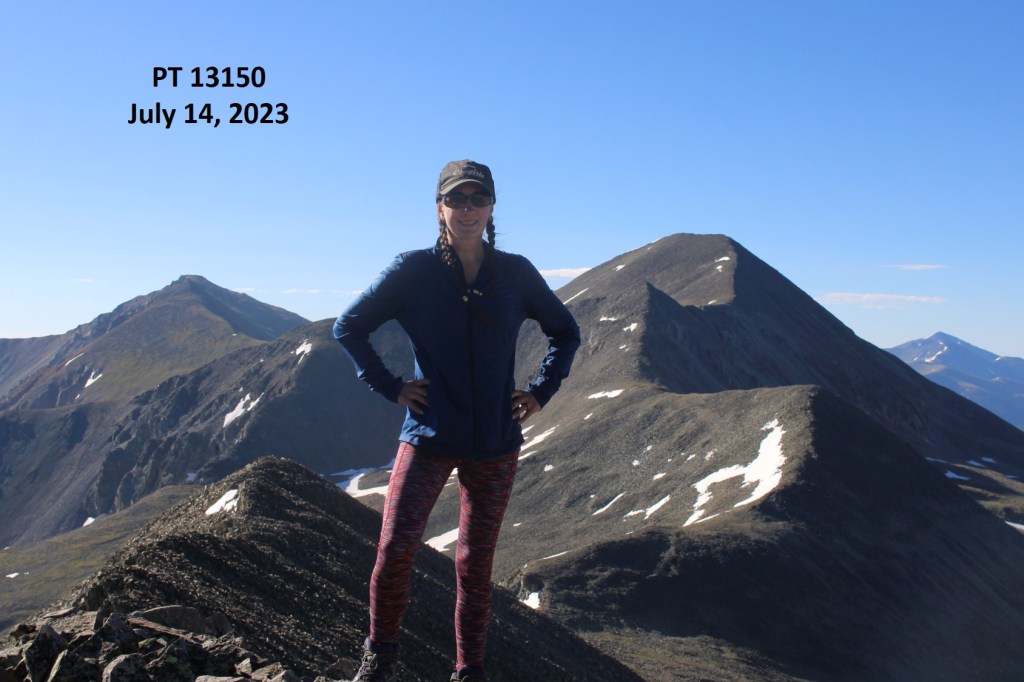
Here’s looking back at the route from The Unicorn to Montezuma
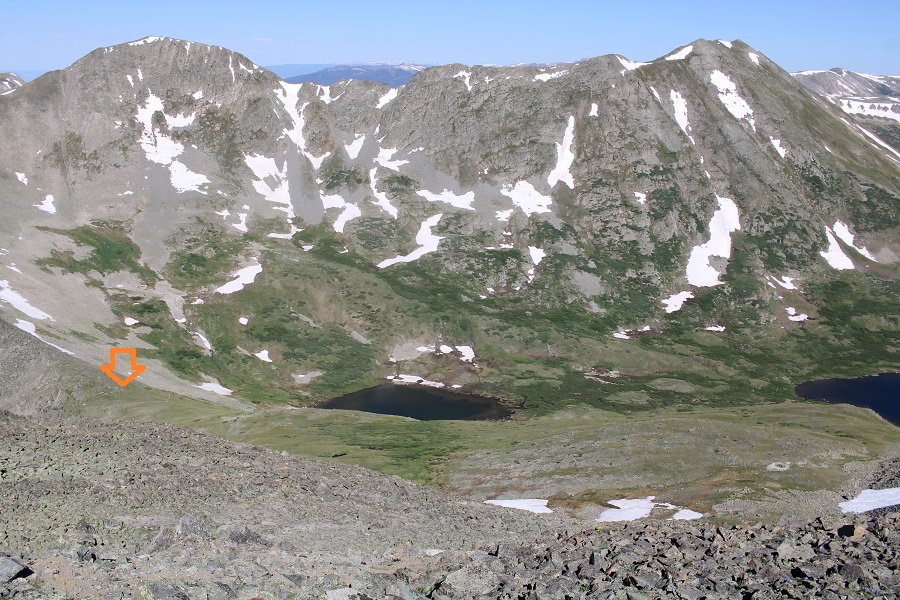
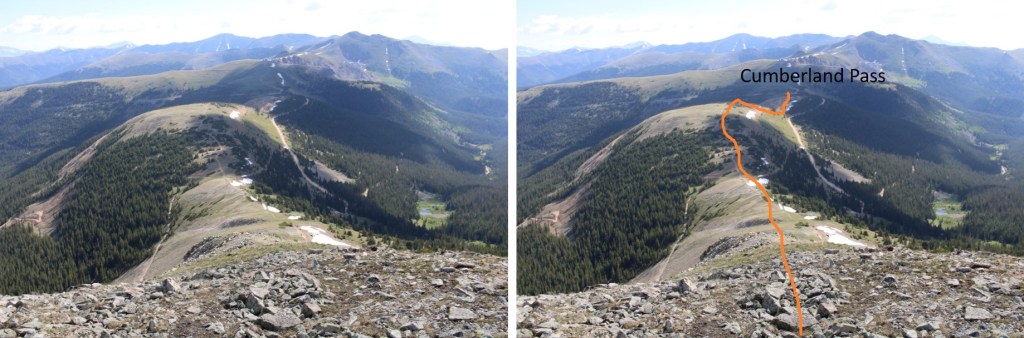
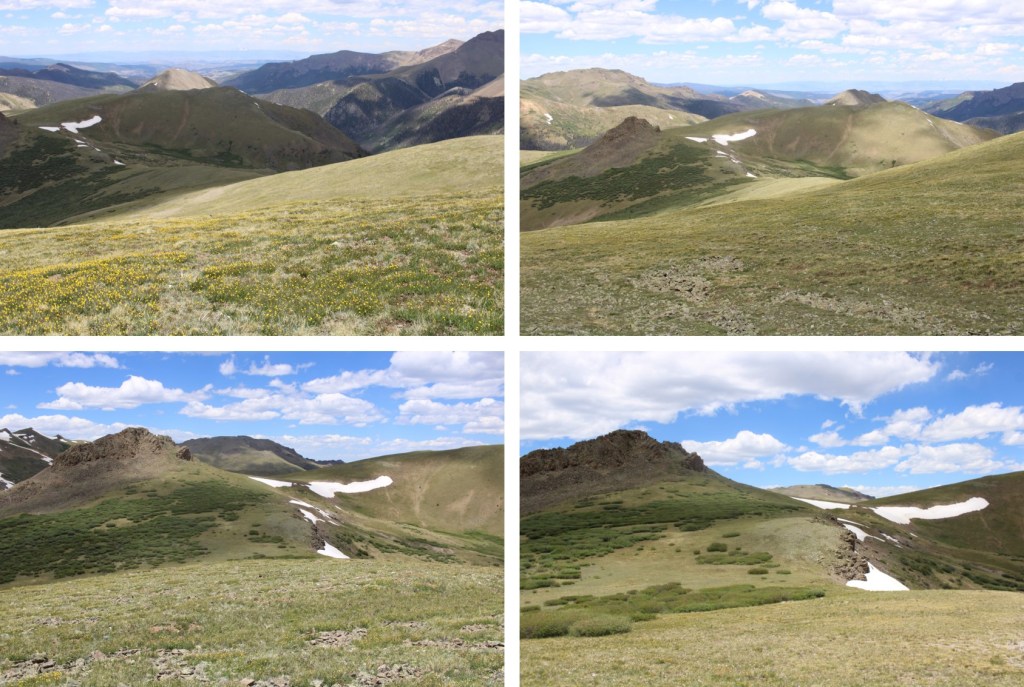
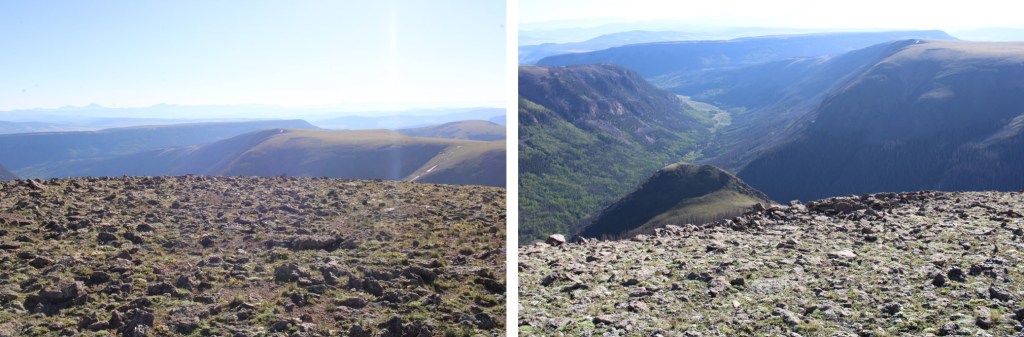
There were a ton of bees at the summit, so I didn’t stay long. I turned and headed east, down the ridge. This is a class 2 ridge (seriously). I just stuck to the ridge proper and had no trouble descending. Here’s my overall route down the ridge

Then I headed southeast

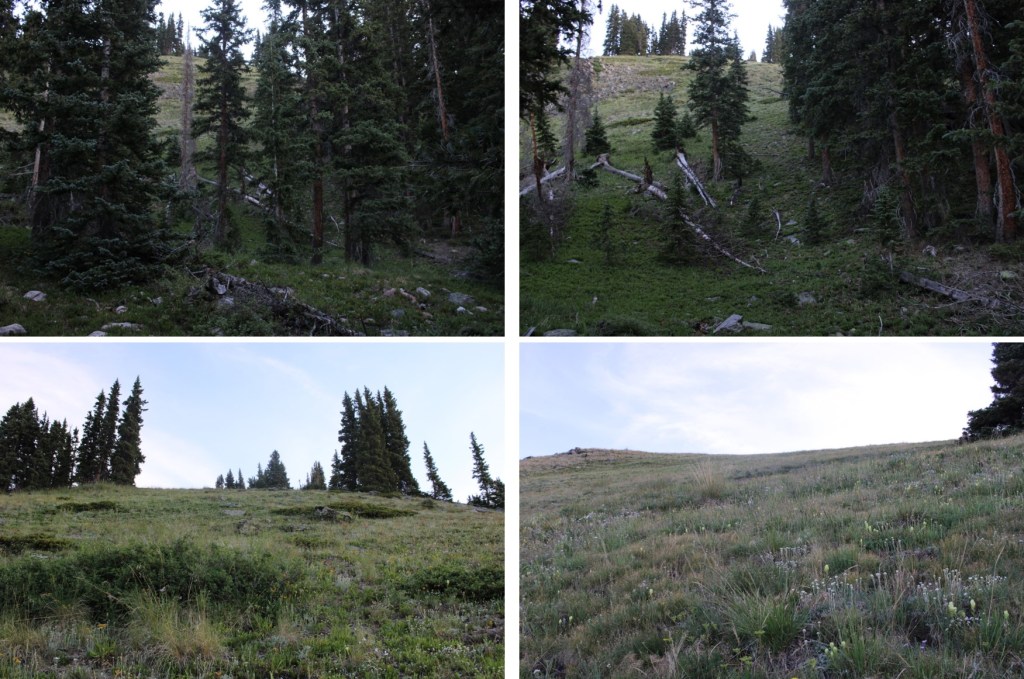
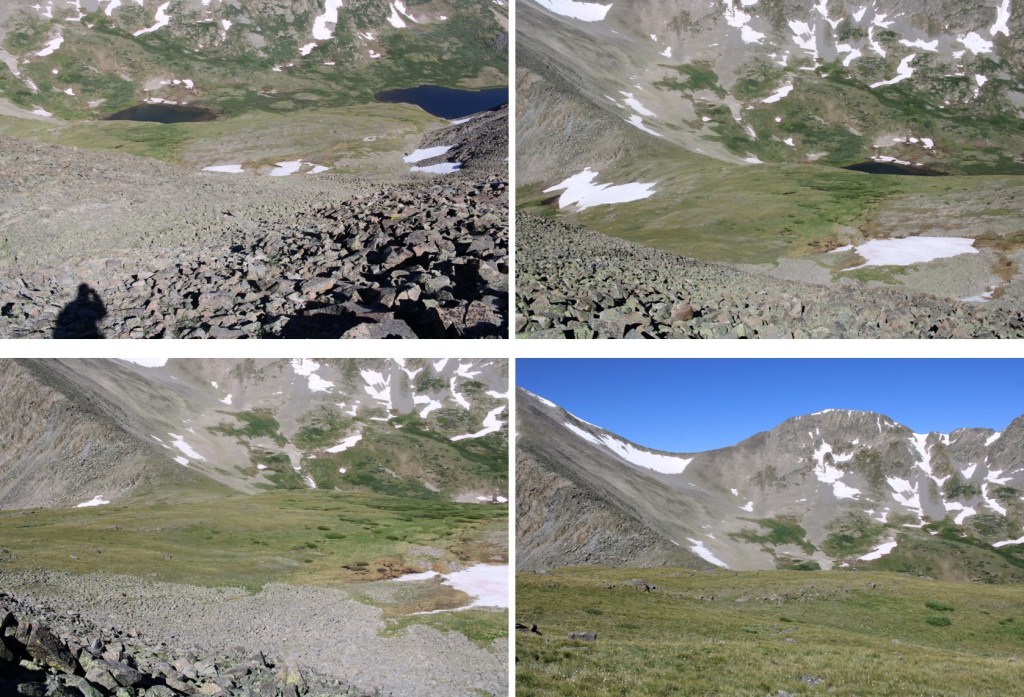
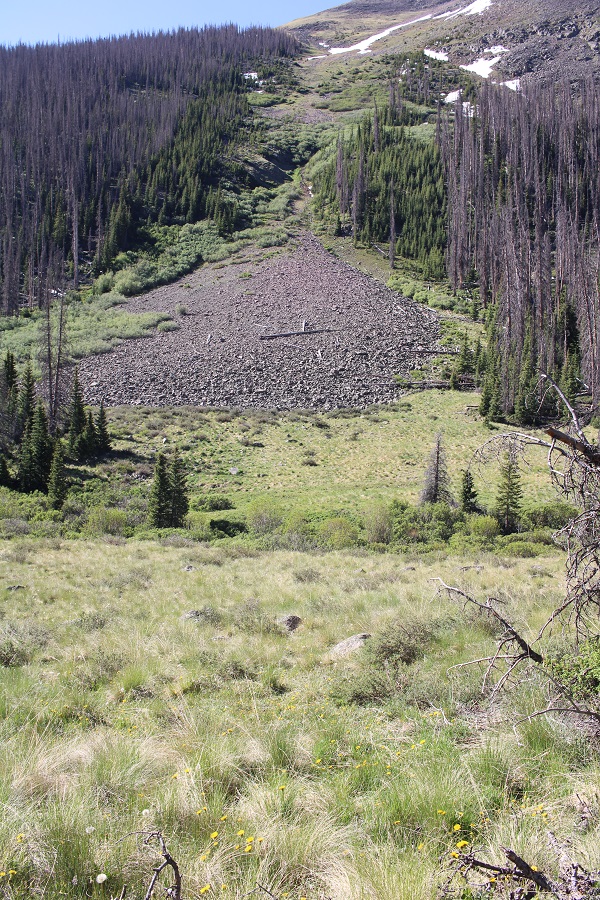
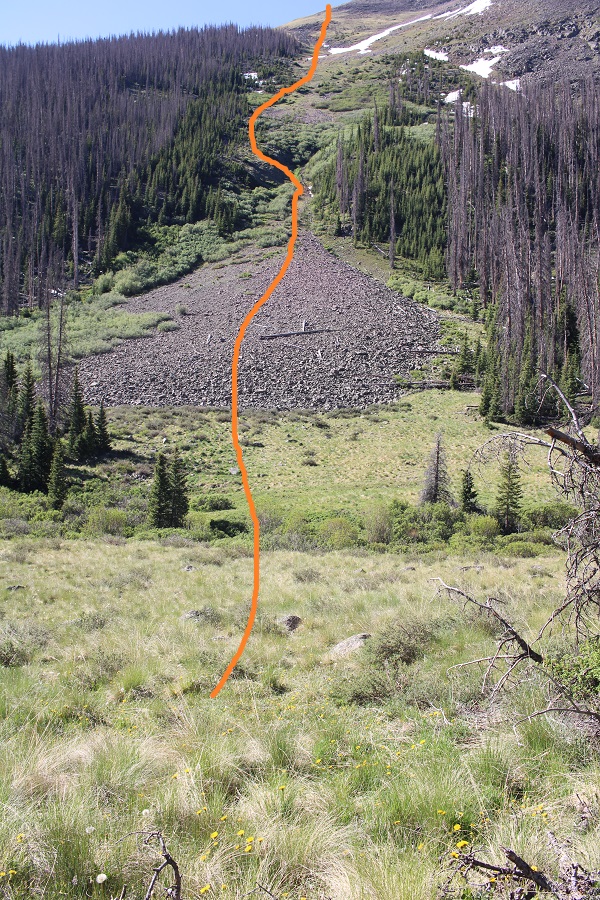
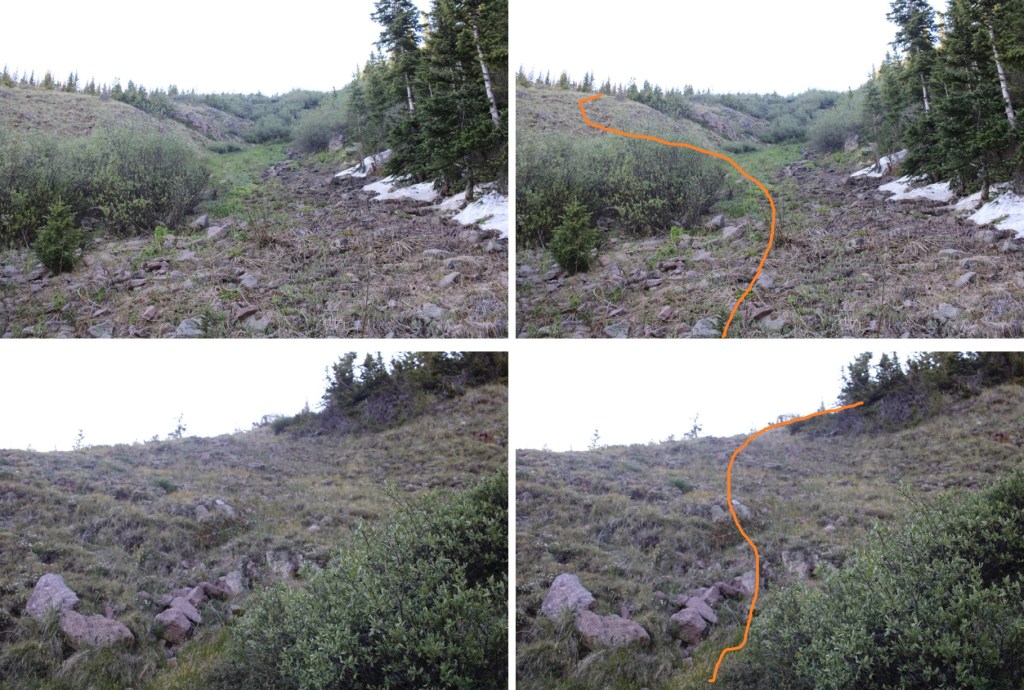
I planned on descending this grassy gully

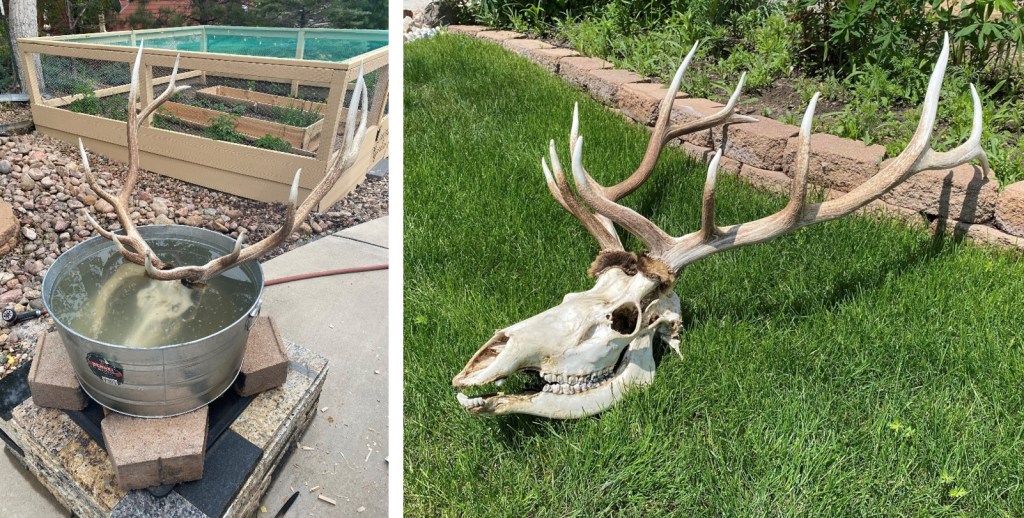
As I was descending, I finally saw the herd of elk I’d heard earlier in the day. I sat on a rock for 10 minutes, just enjoying watching them. Some were resting in a circle, others were grazing, and two mamas were watching their babies enjoying a patch of snow. I hated to disturb them, but I had to get going. As soon as the wind shifted, they could smell me, and they were off. There were tons of signs they’d bedded down for at least a few nights there in the past few days.
Elk:
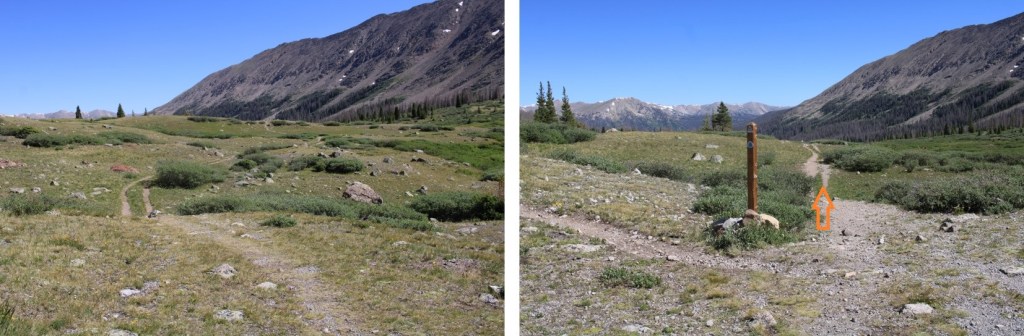
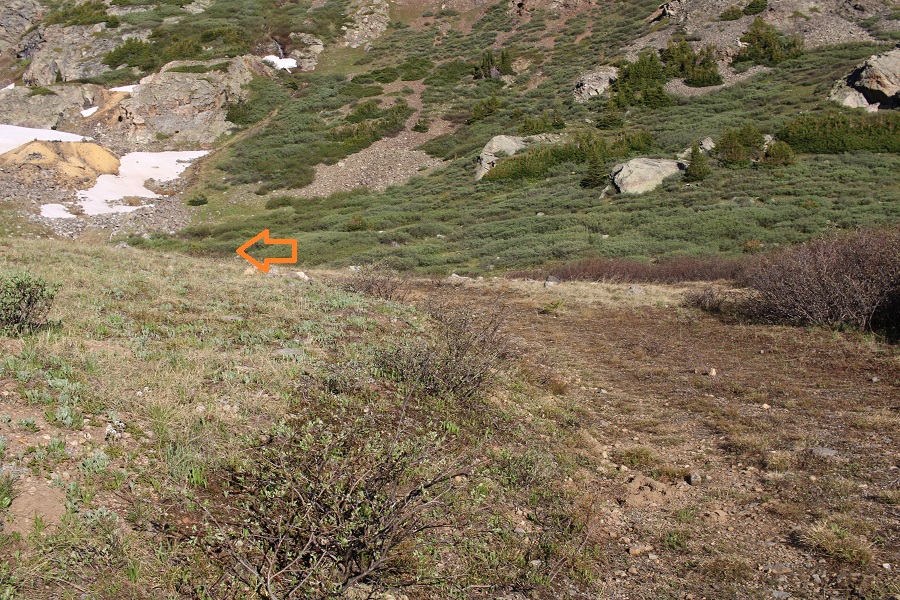
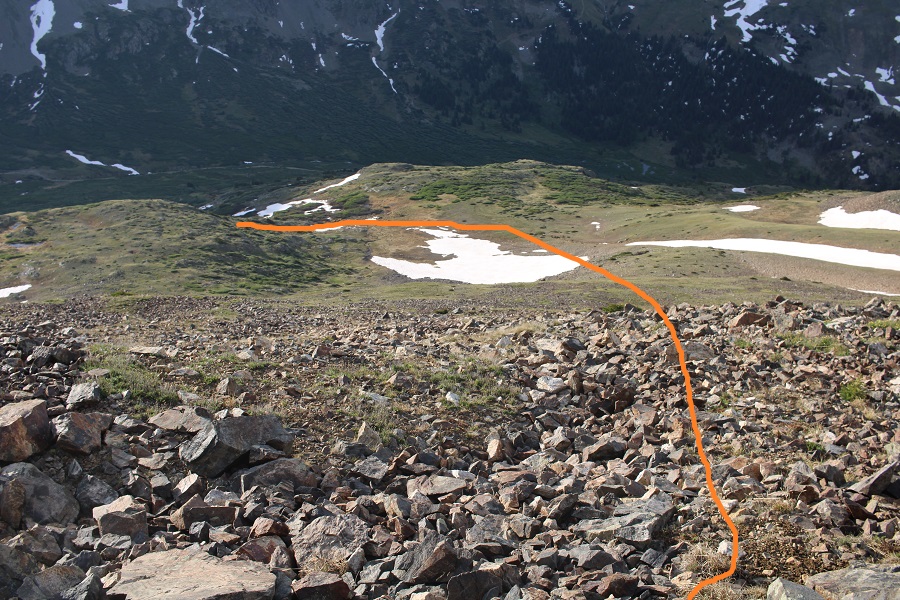
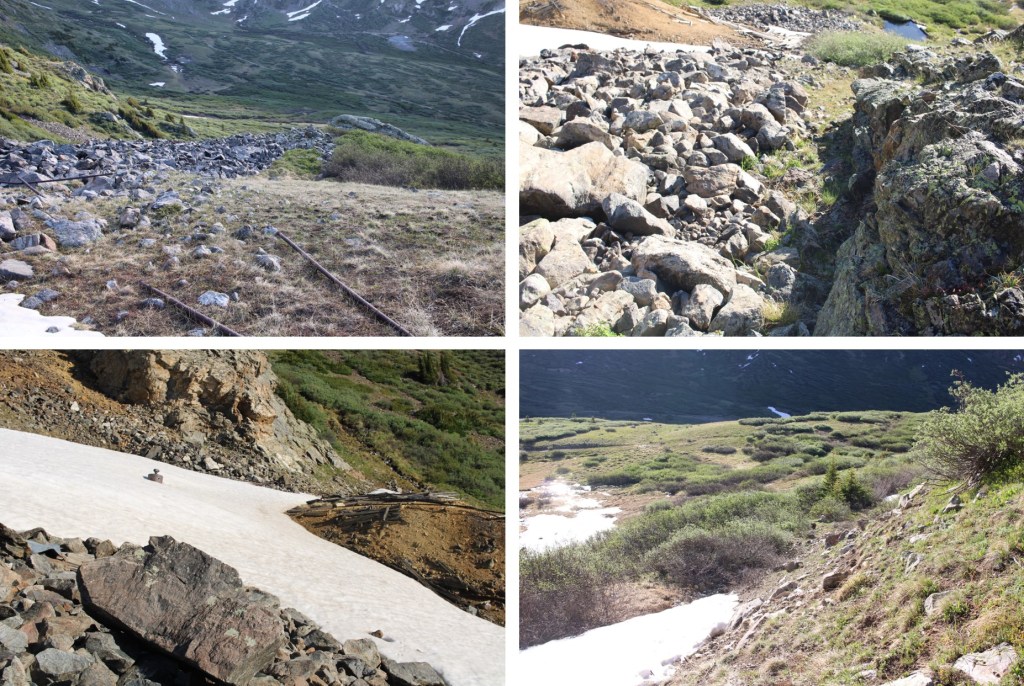
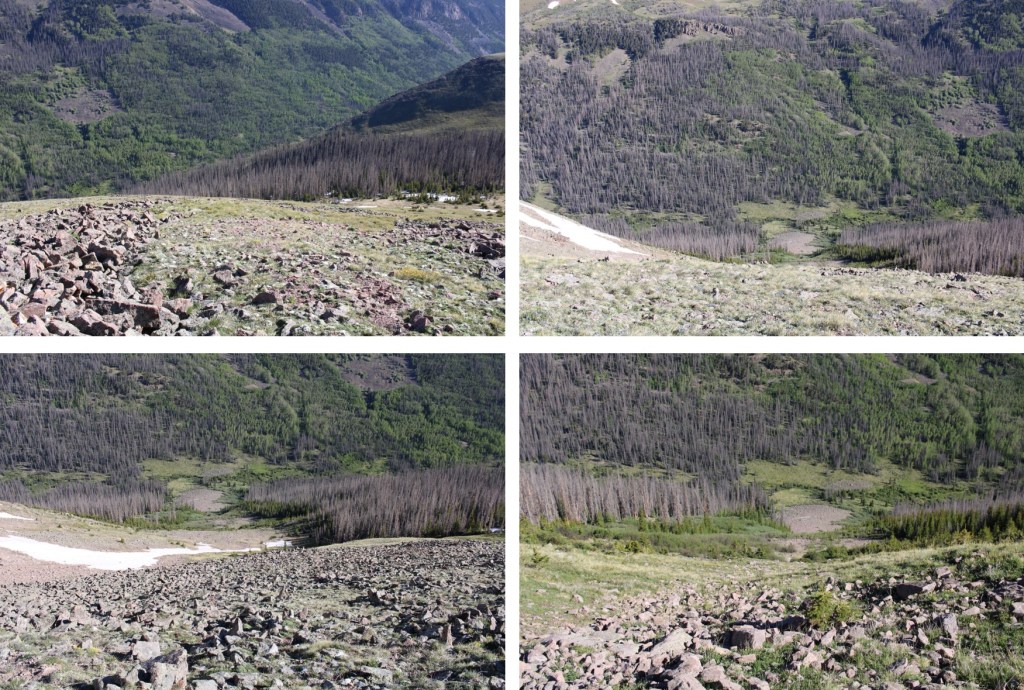
Once they were off I continued descending. When I made it to the bottom of the gully I turned left, and headed east along the plateau

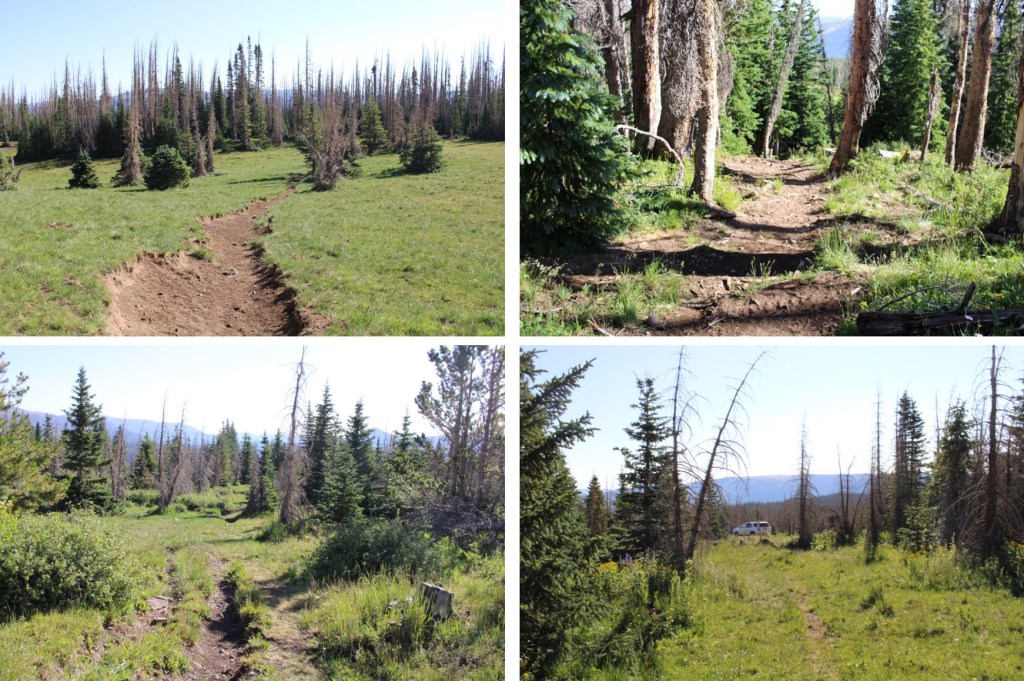
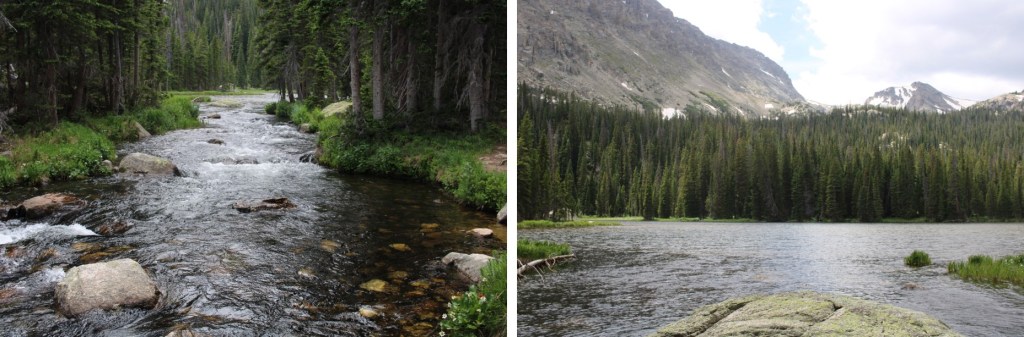
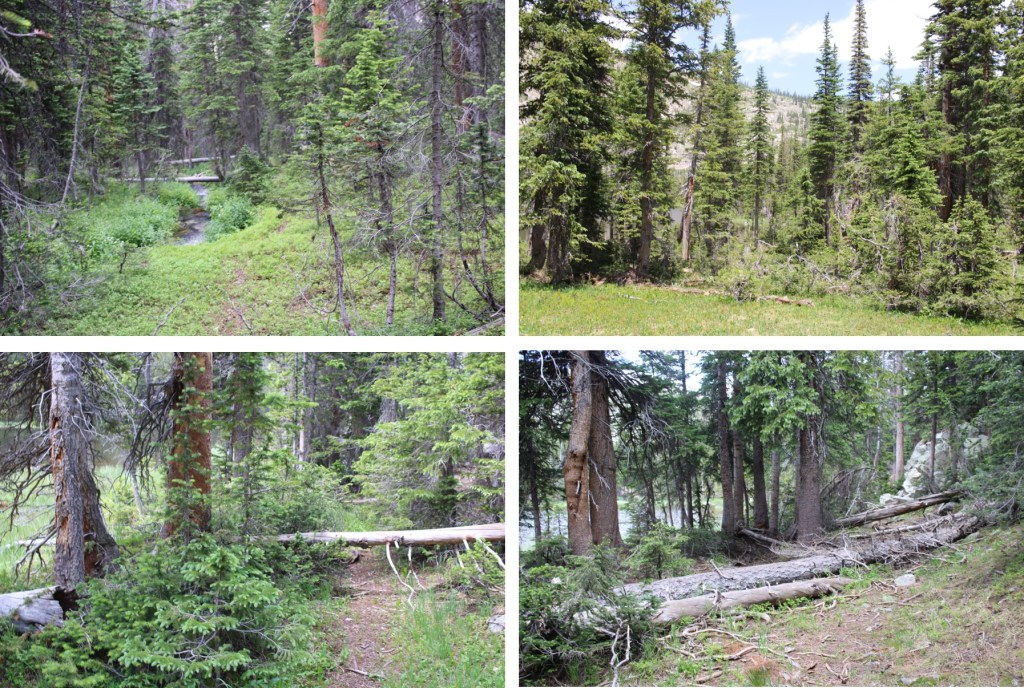
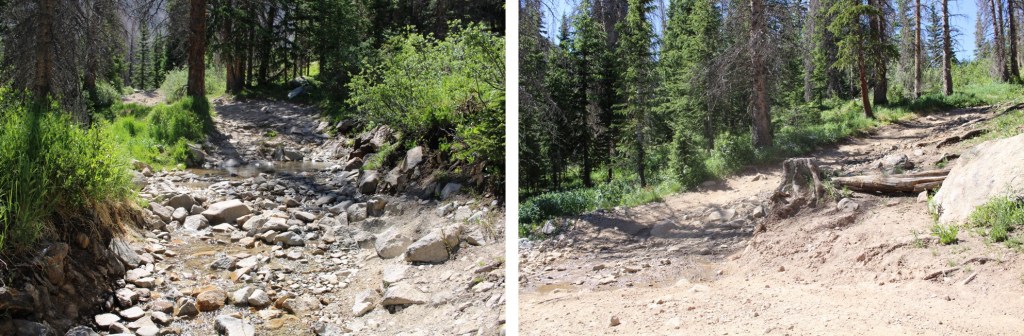
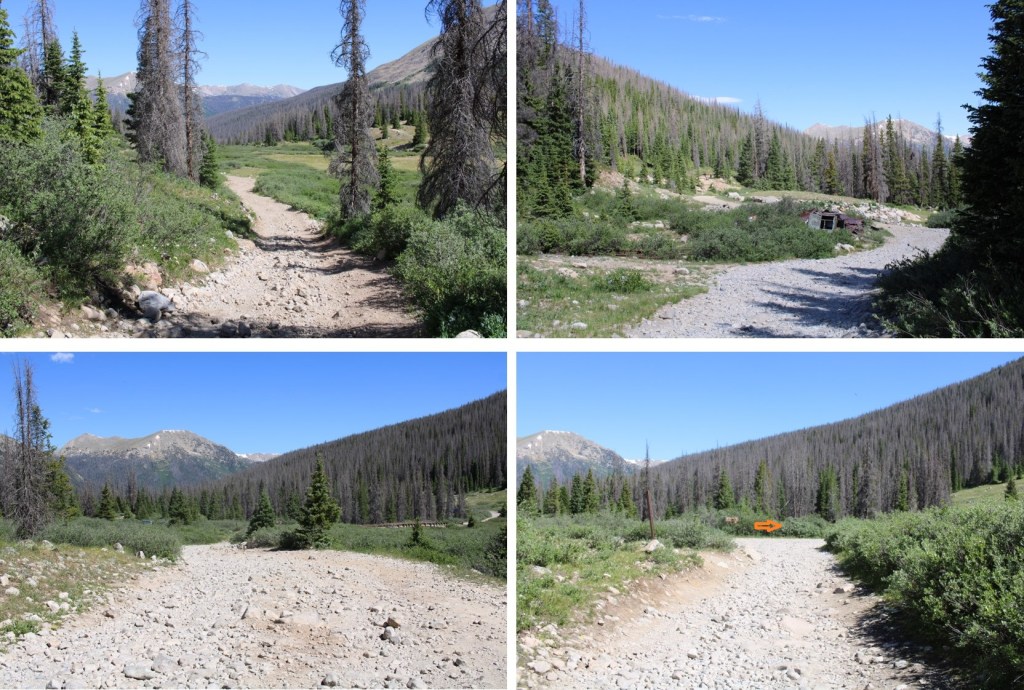
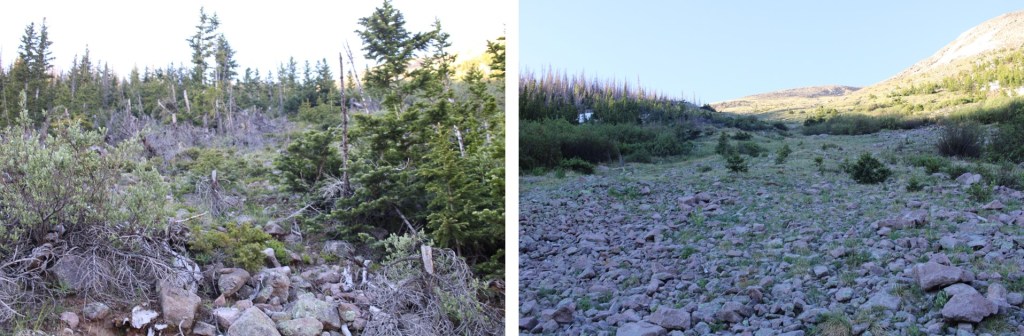
At the end of the plateau, when I came to the trees, I turned right and descended south towards the creek. This was a lot of bushwhacking through downed trees and flowers and grasses that were as tall as I am, but I just aimed for the creek.

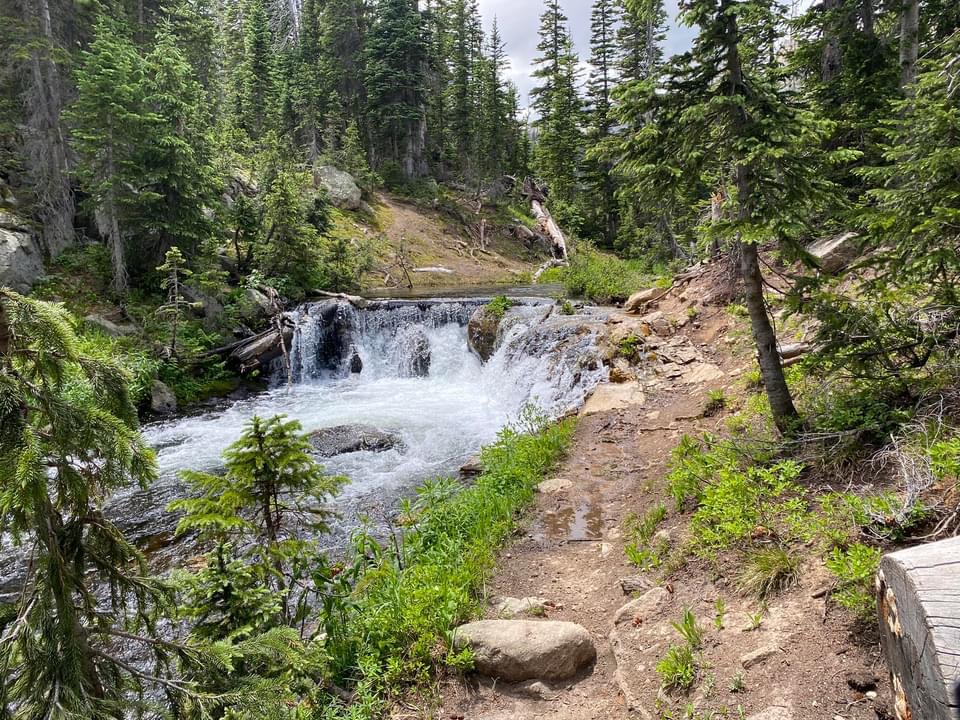
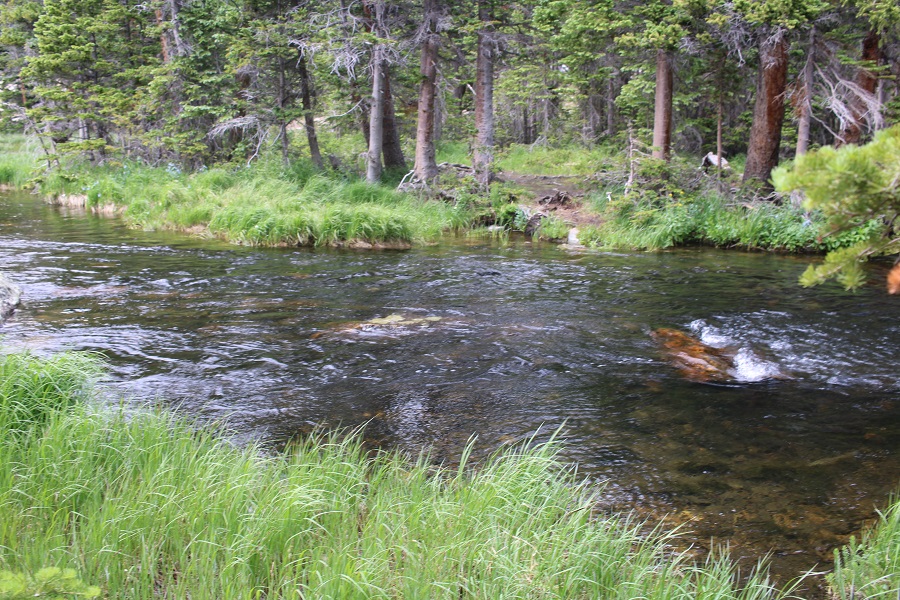
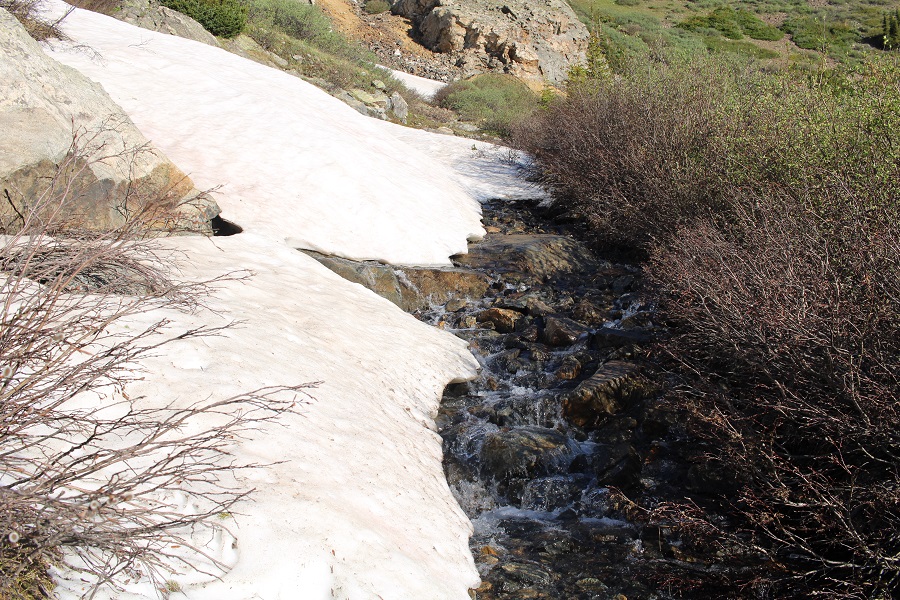
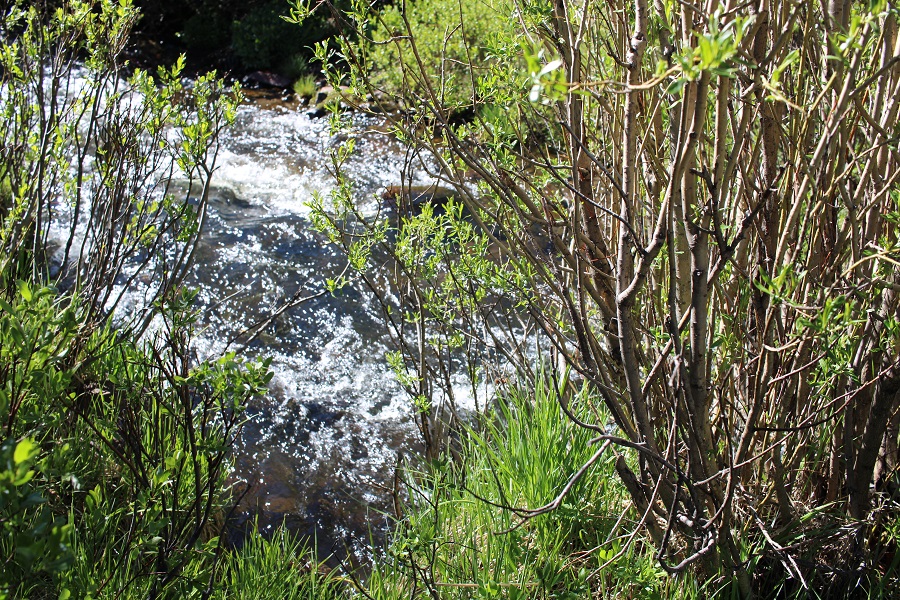
When I reached the creek, I stayed about 30 feet from it’s banks, and followed it (and game trails) southeast back to the trailhead. It’s important to stay above the creek because there are waterfalls to avoid.


I made it back to my truck at 11:30am, making this a 10.18 mile hike with 3534’ of elevation gain in 6.5 hours.
On to the next trailhead!