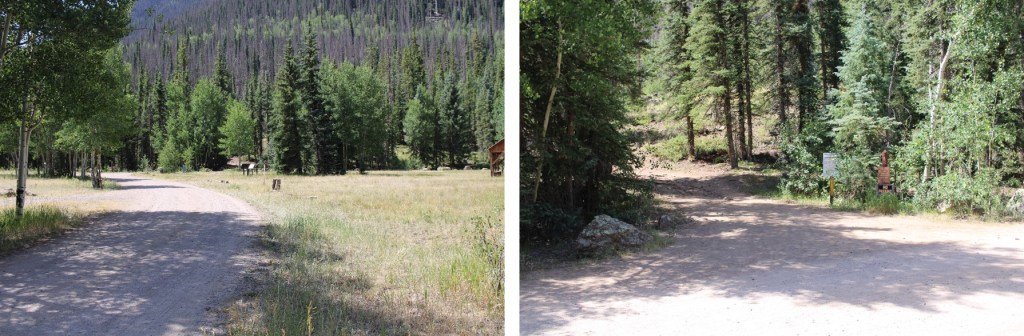
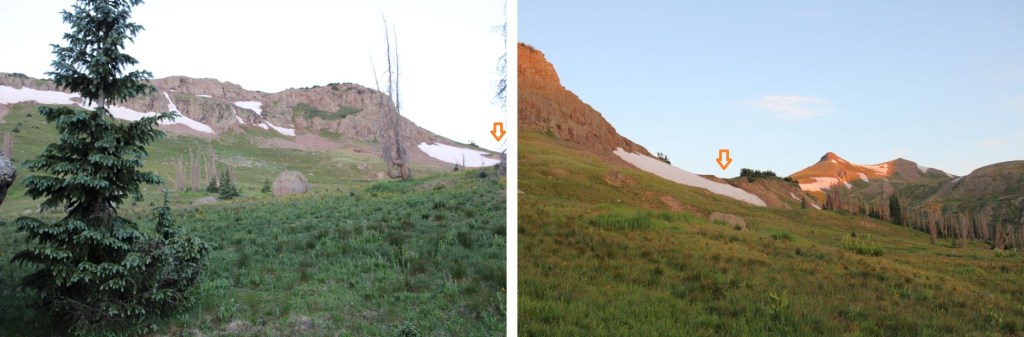
I arrived at Thirtymile Campground the night before, and slept in my truck at the hiker trailhead. Knowing this was going to be a hot day I wanted to start early. I was on the trail at 3:30am. The trail starts to the south of the parking area, and if you get there in the dark it can be difficult to locate.
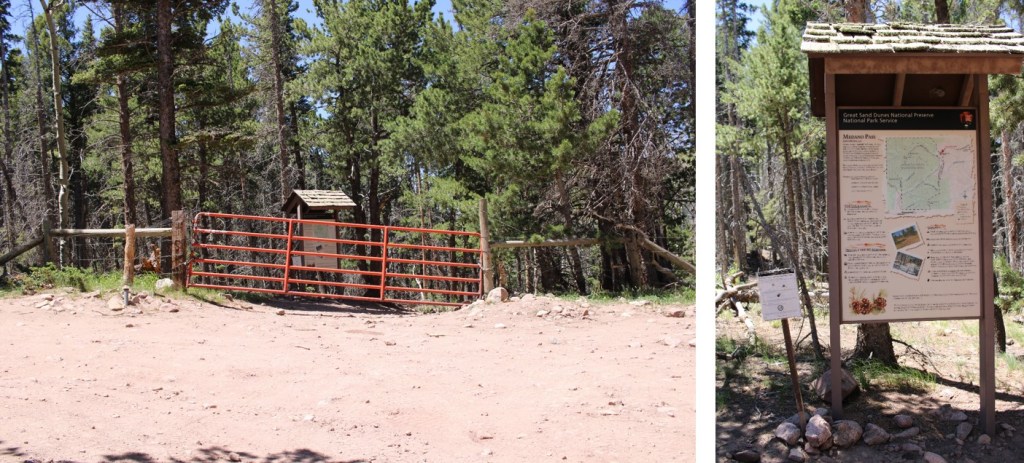
There is a register and information board at the true trailhead. There are two trails here, I took the one that goes to the left, the Squaw Creek Trail
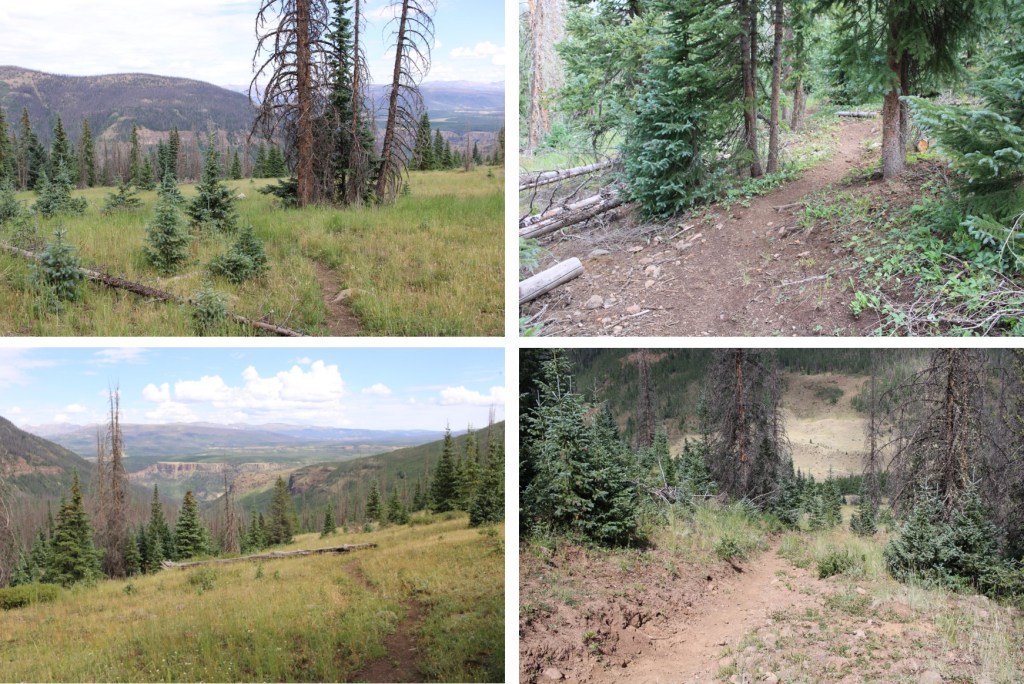
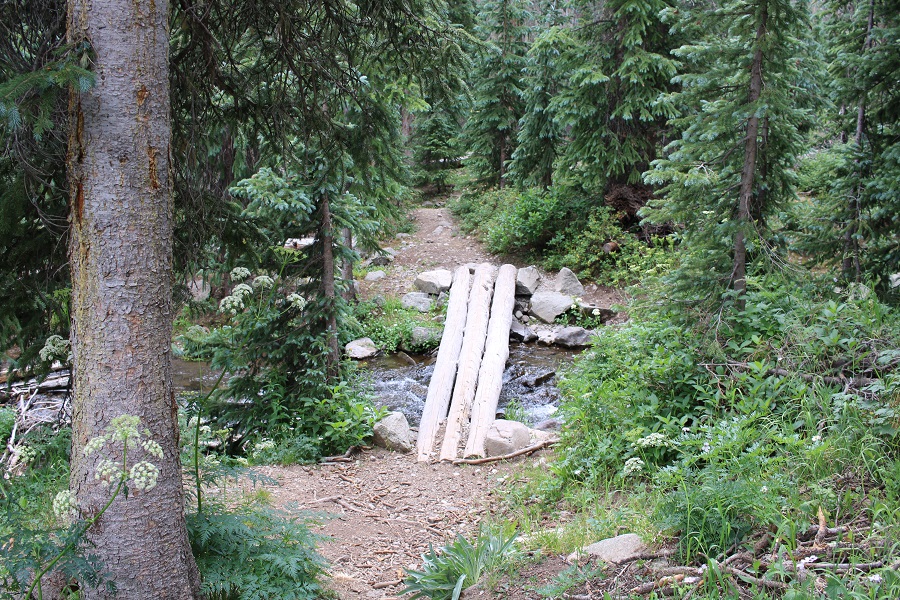
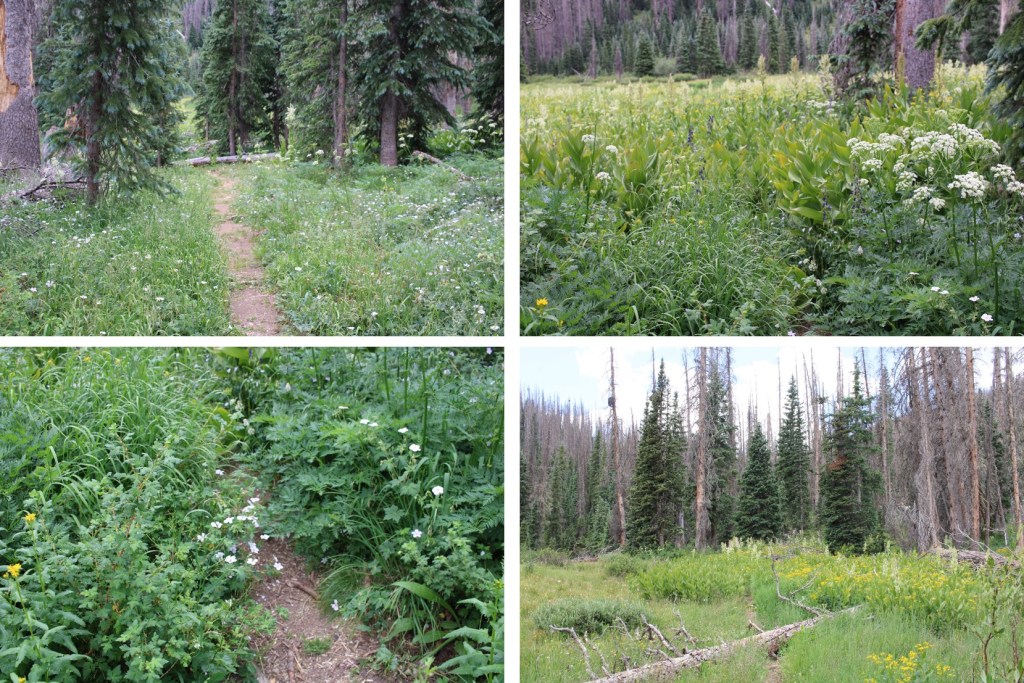
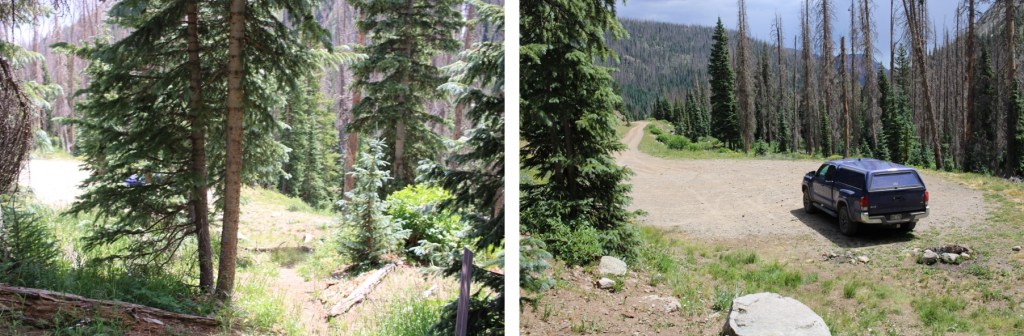
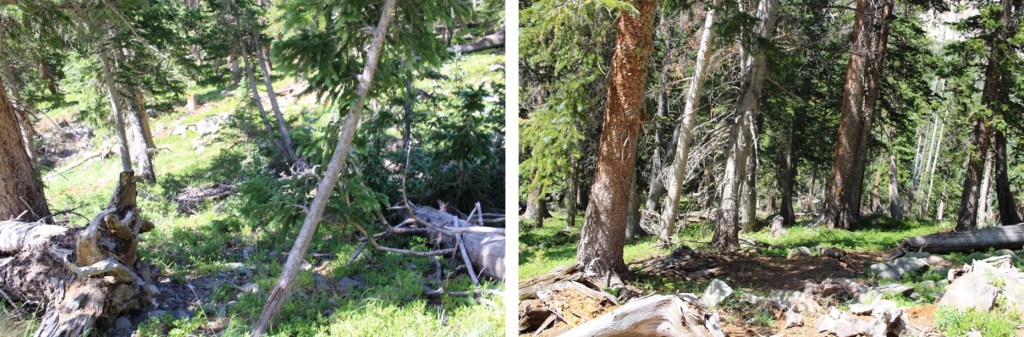
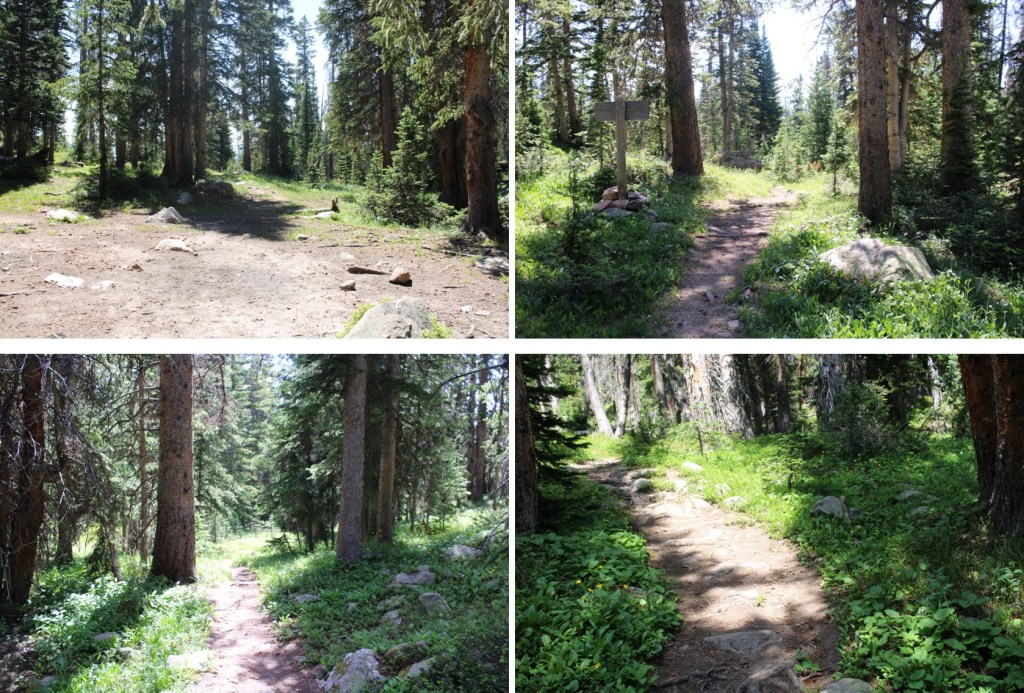
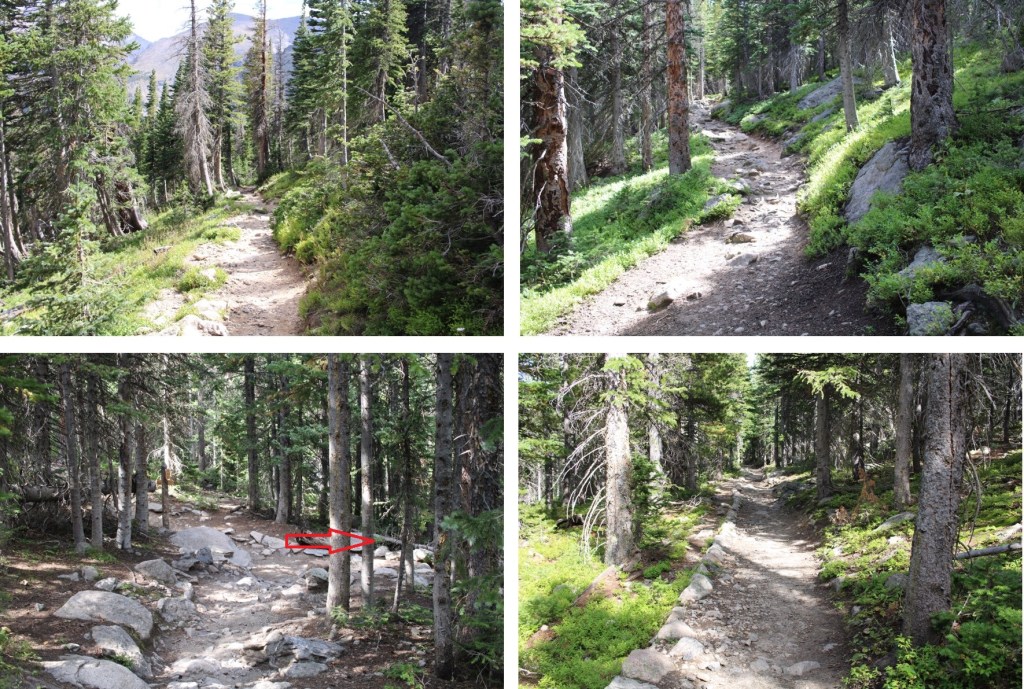
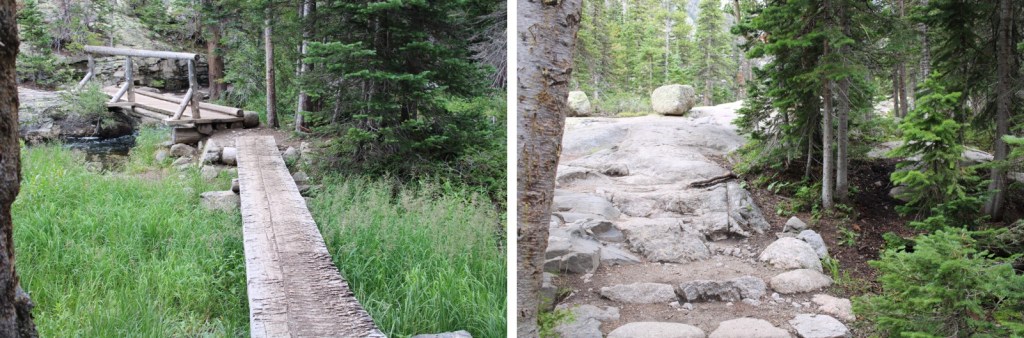
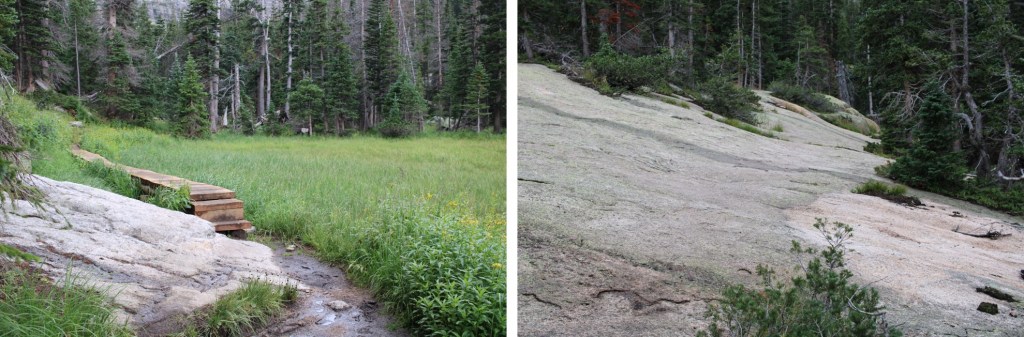
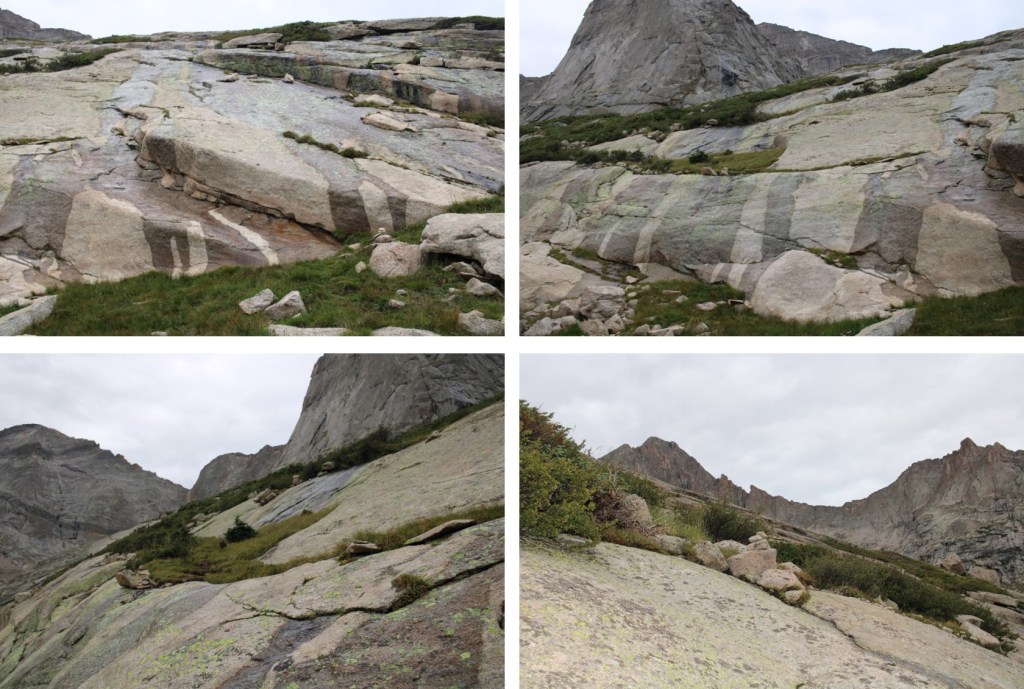
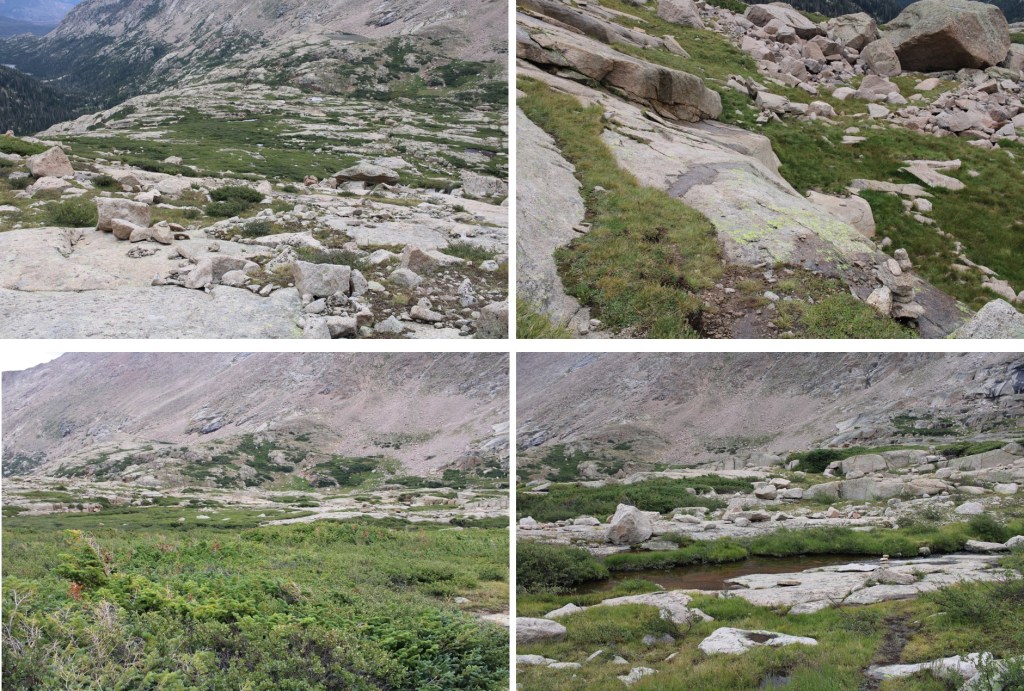
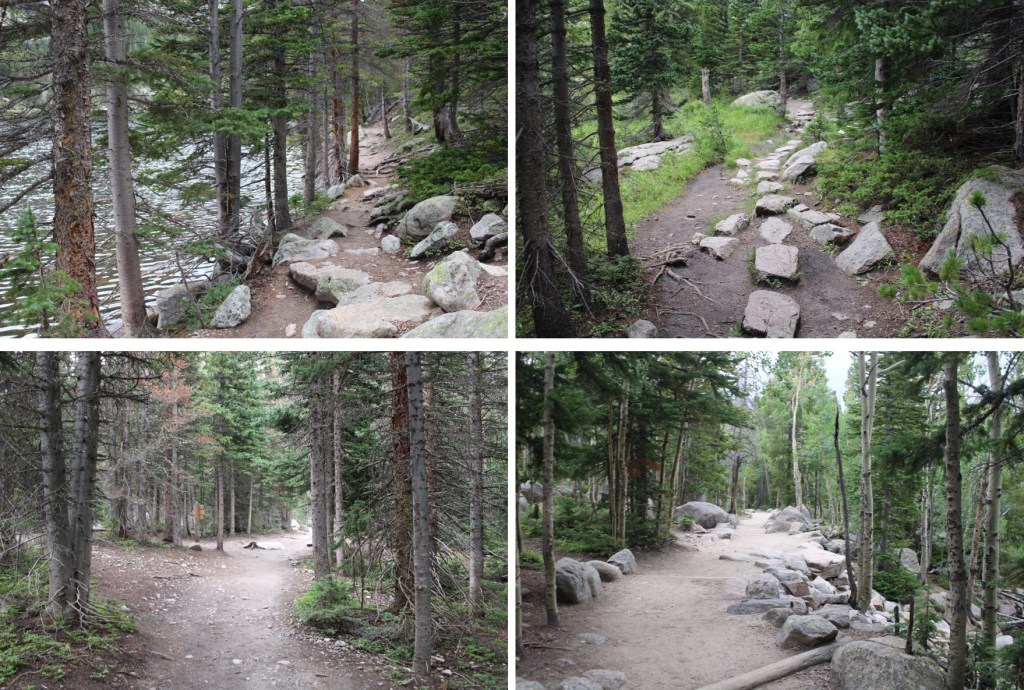
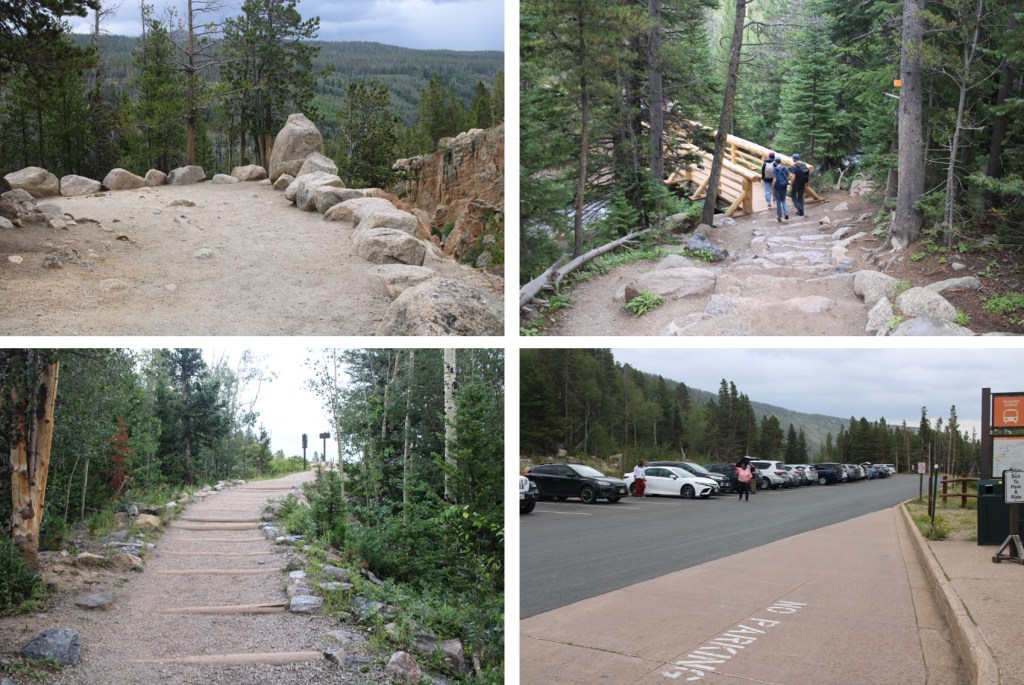
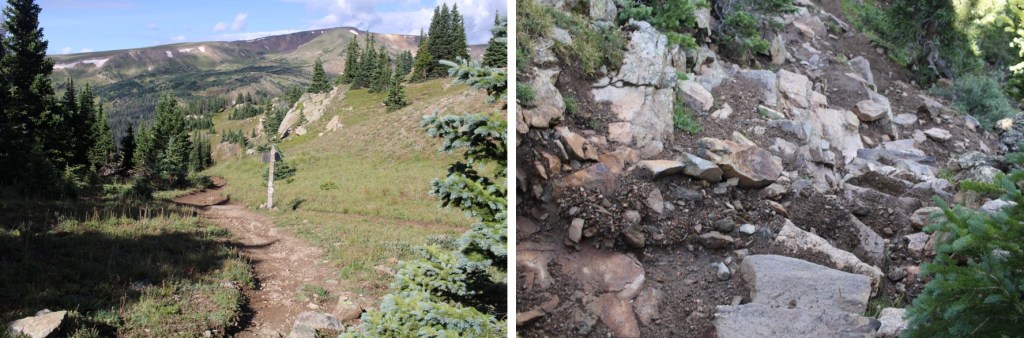
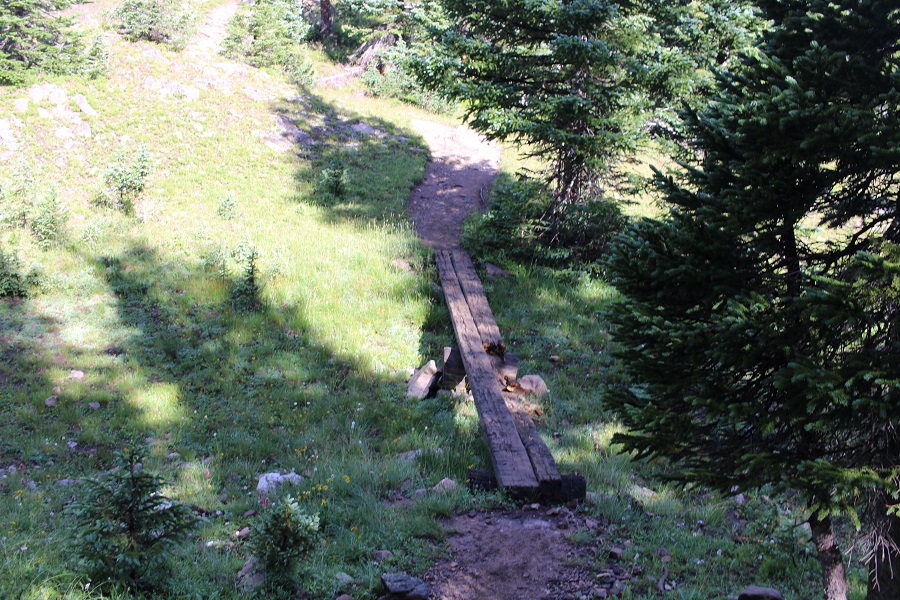
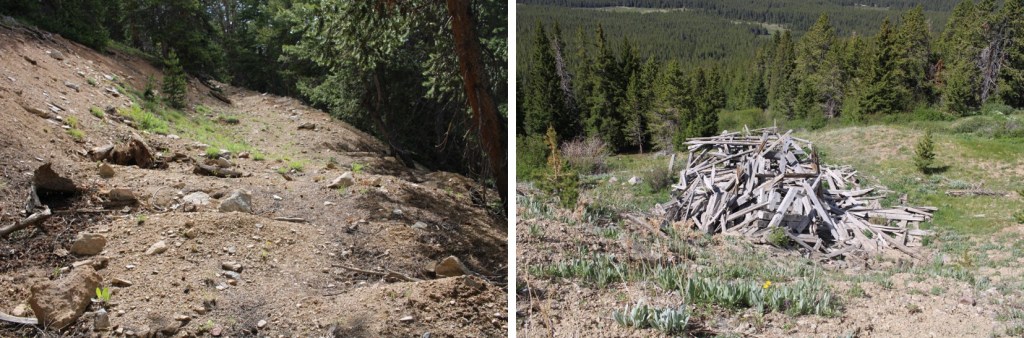
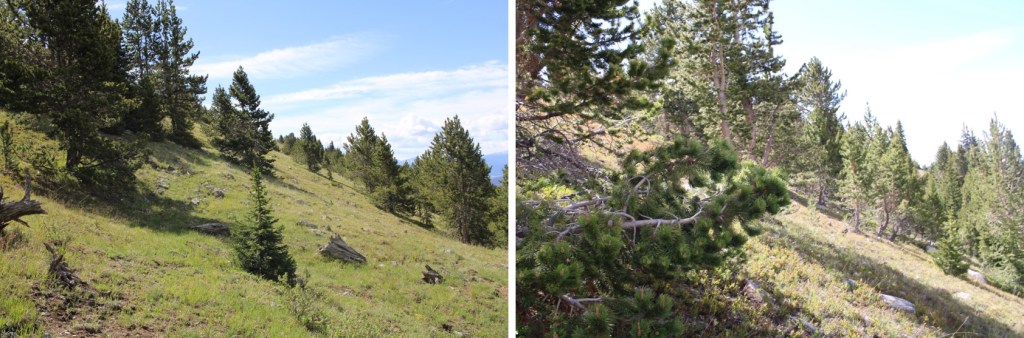
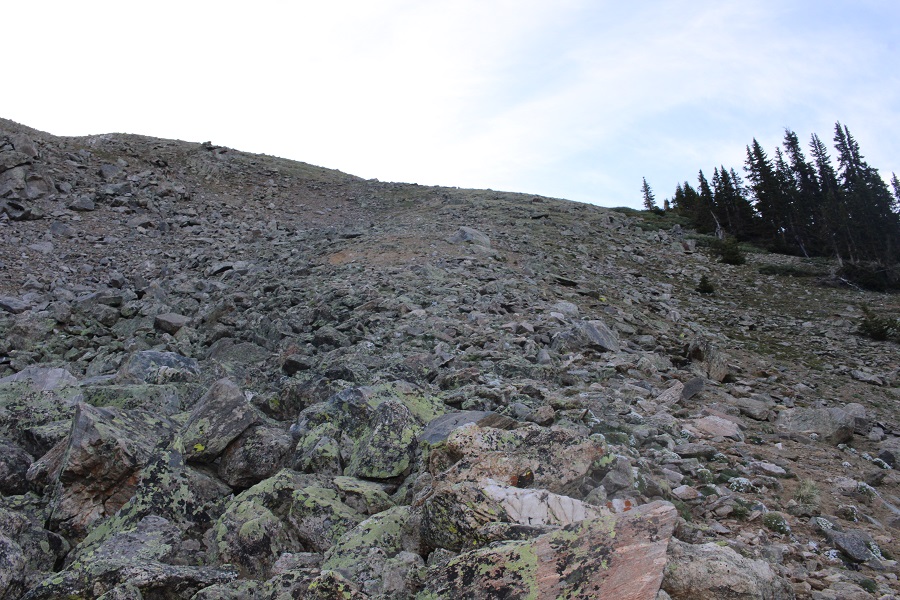
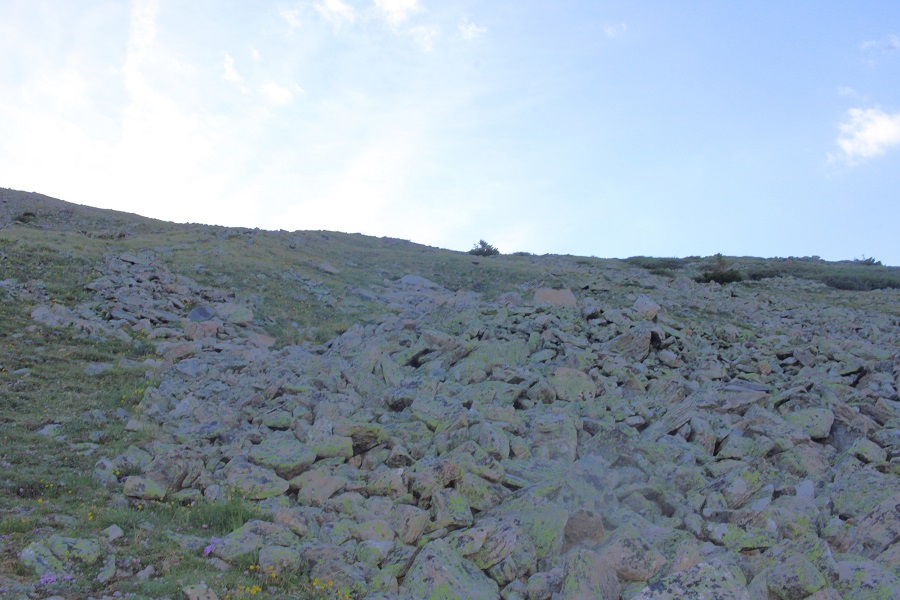
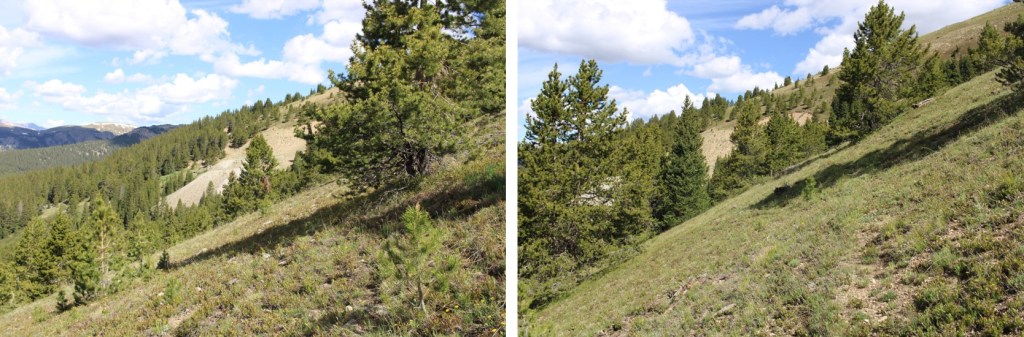
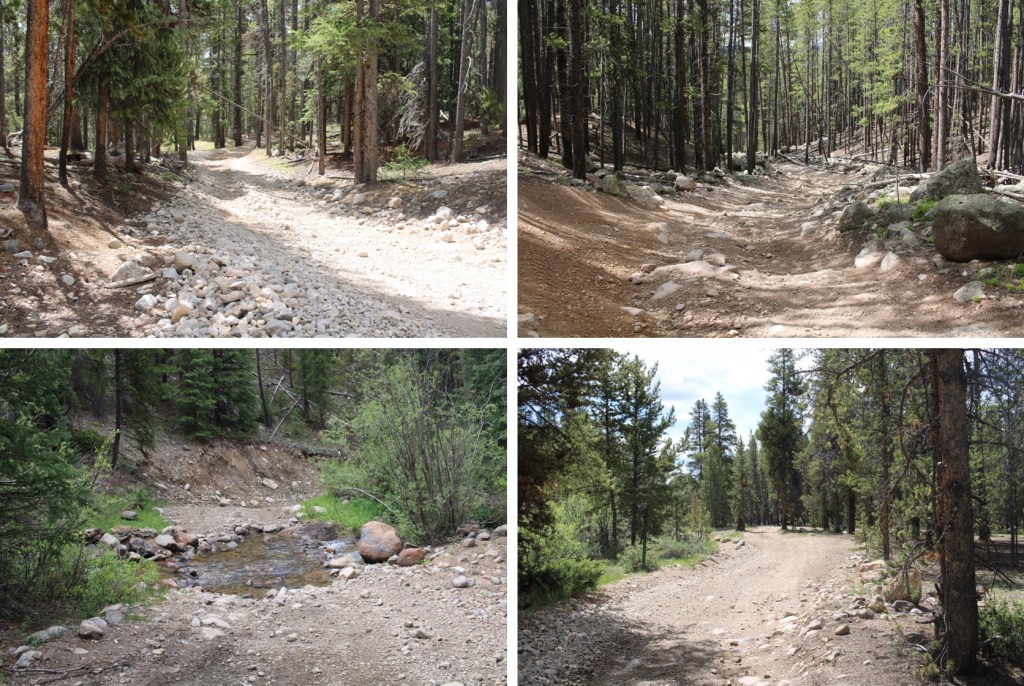
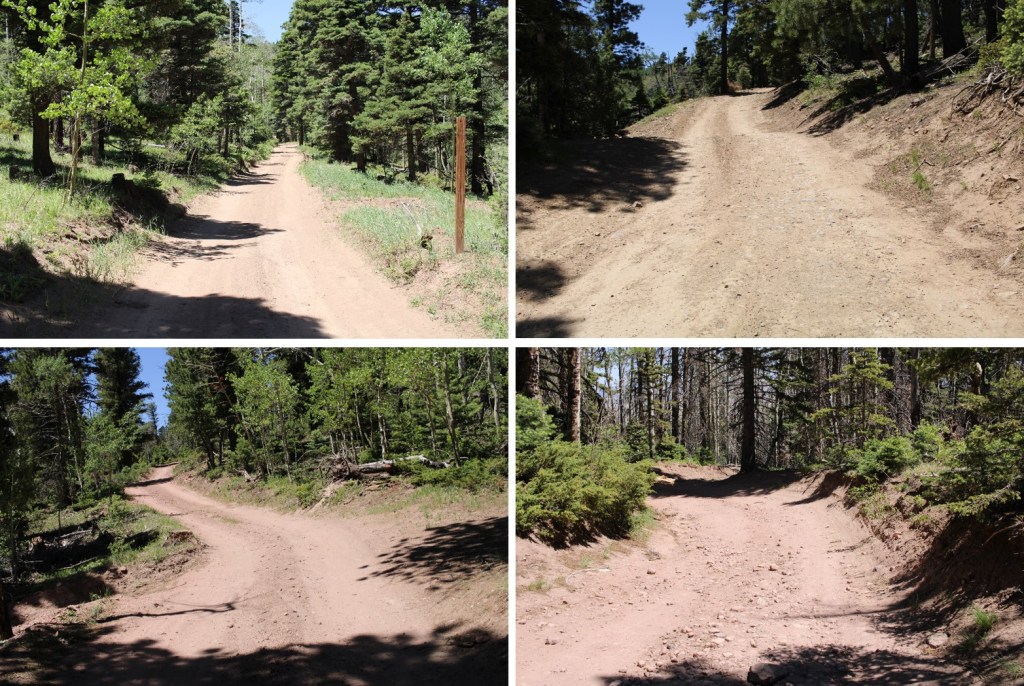
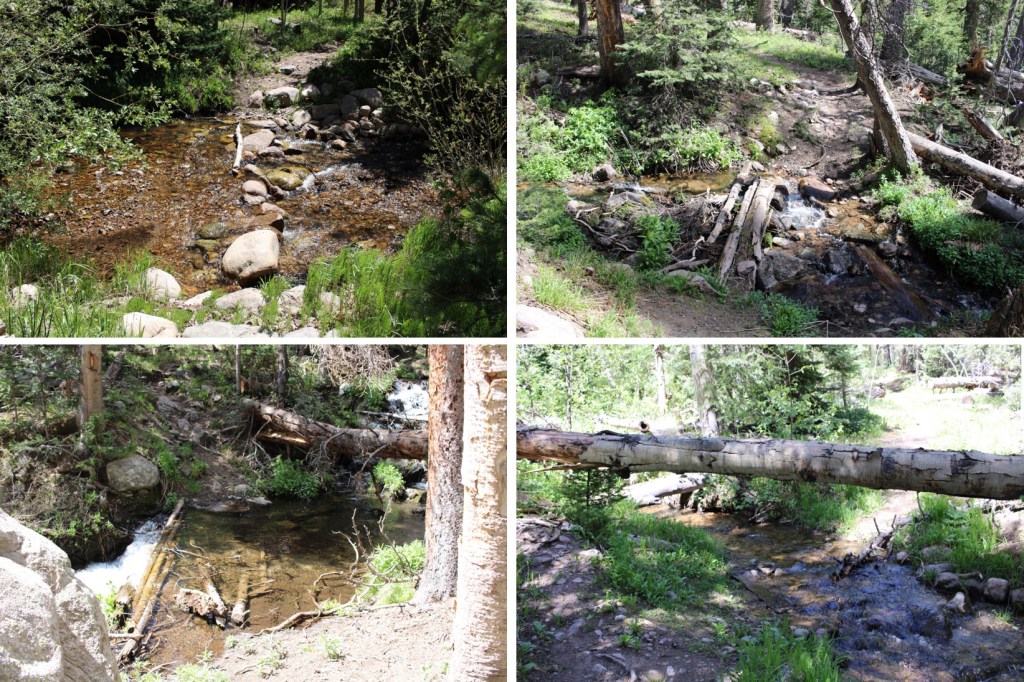
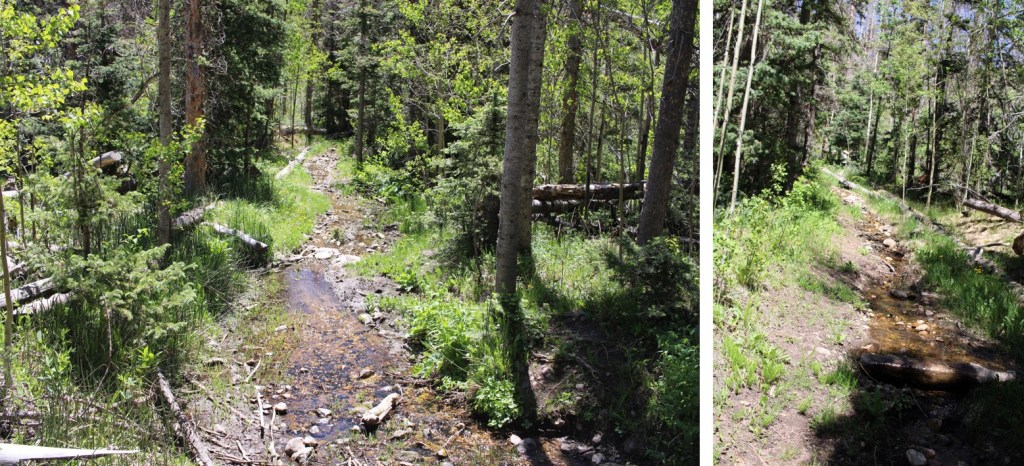
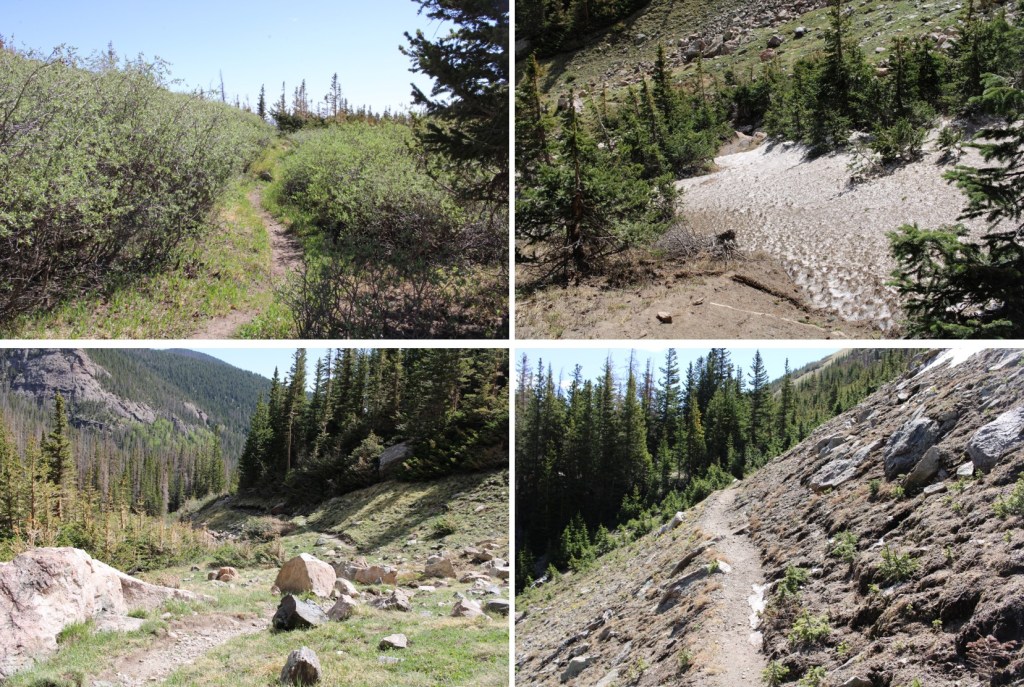
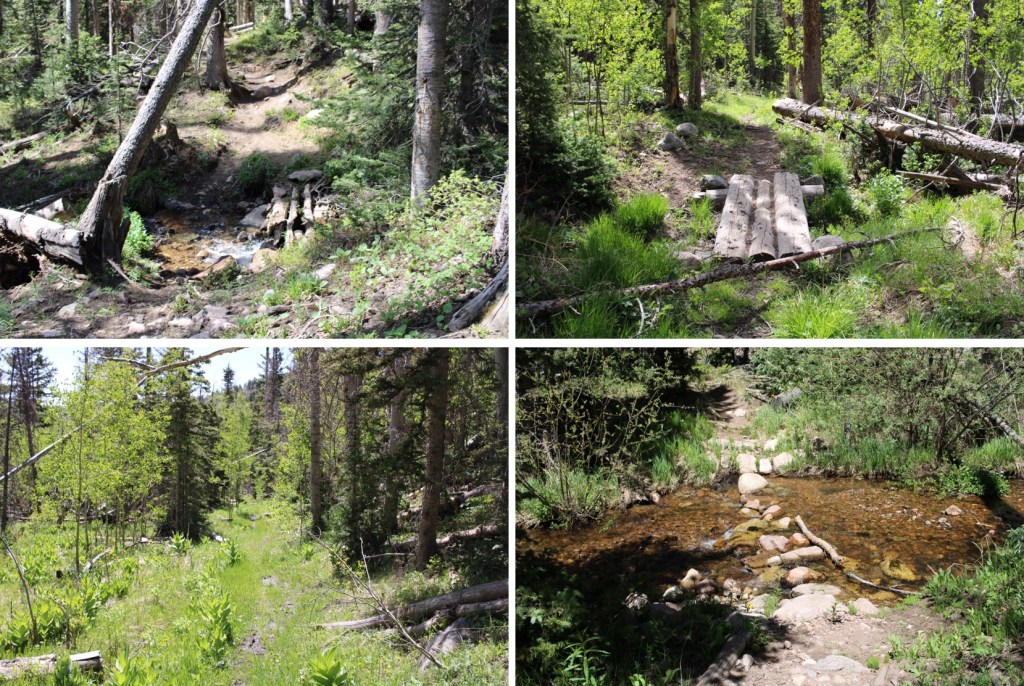
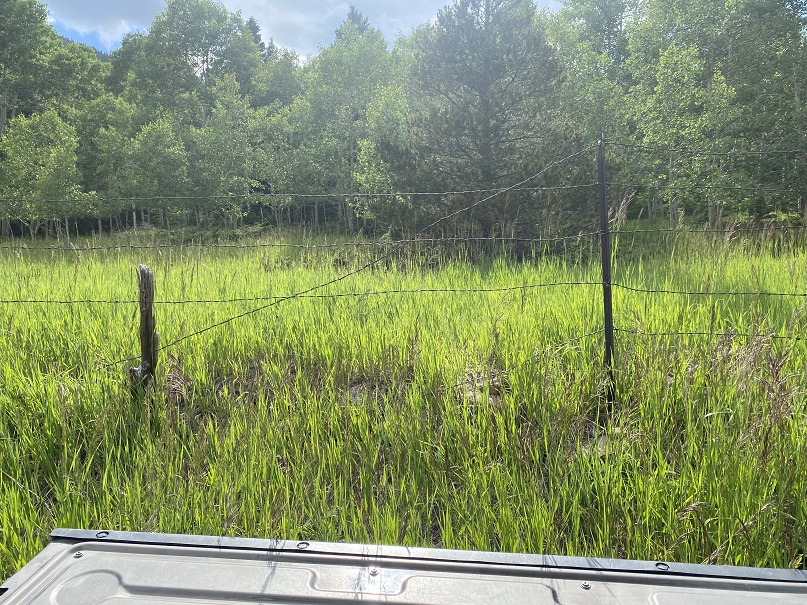
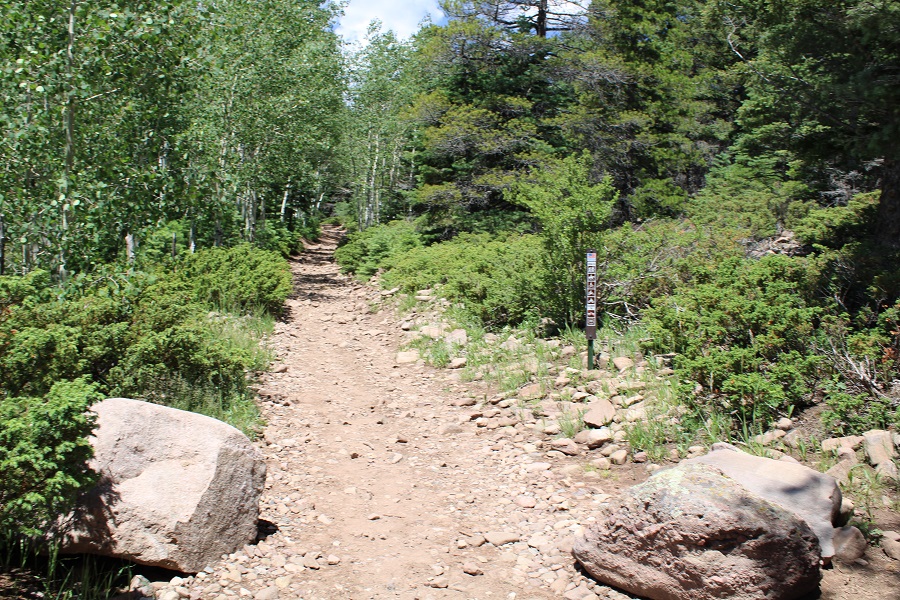
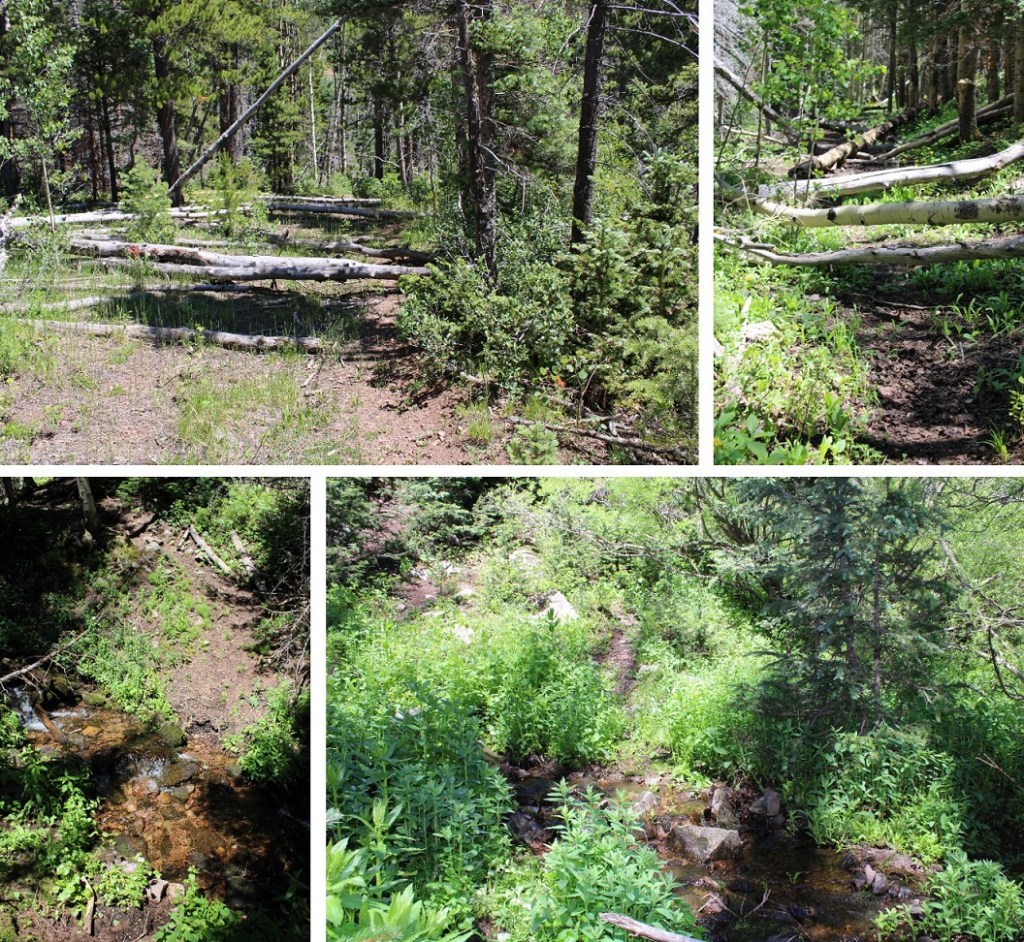
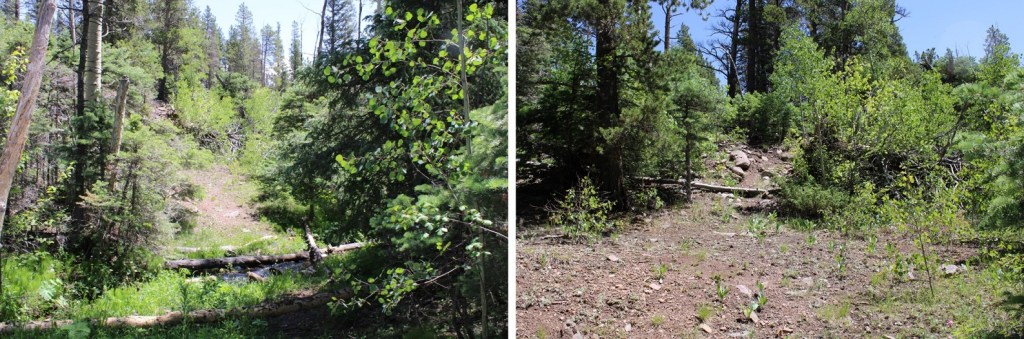
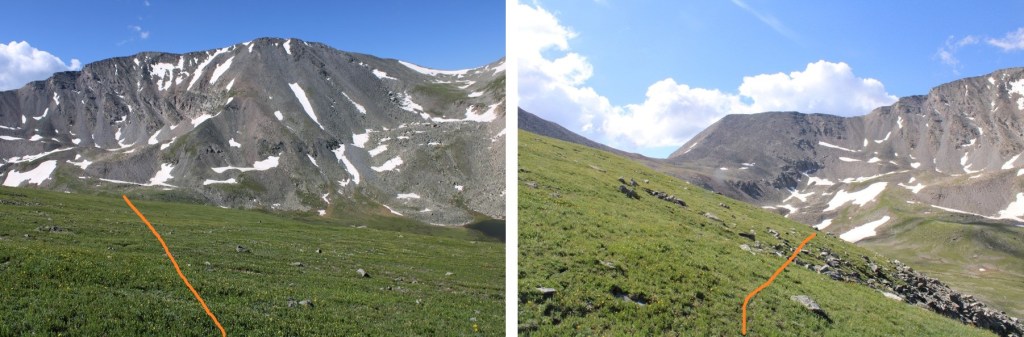
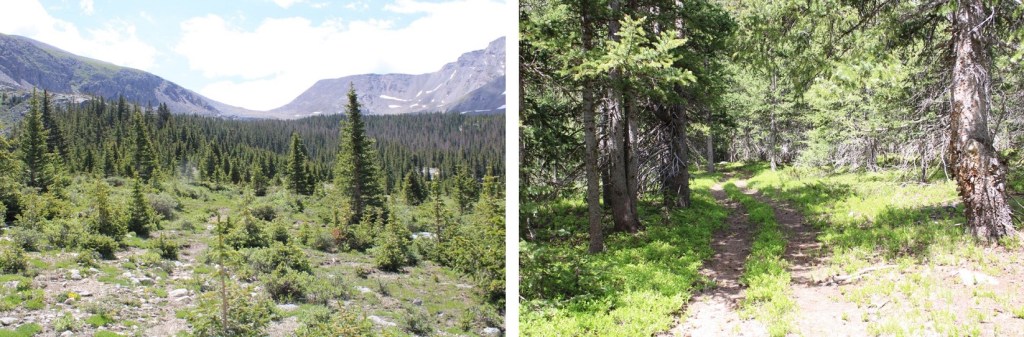
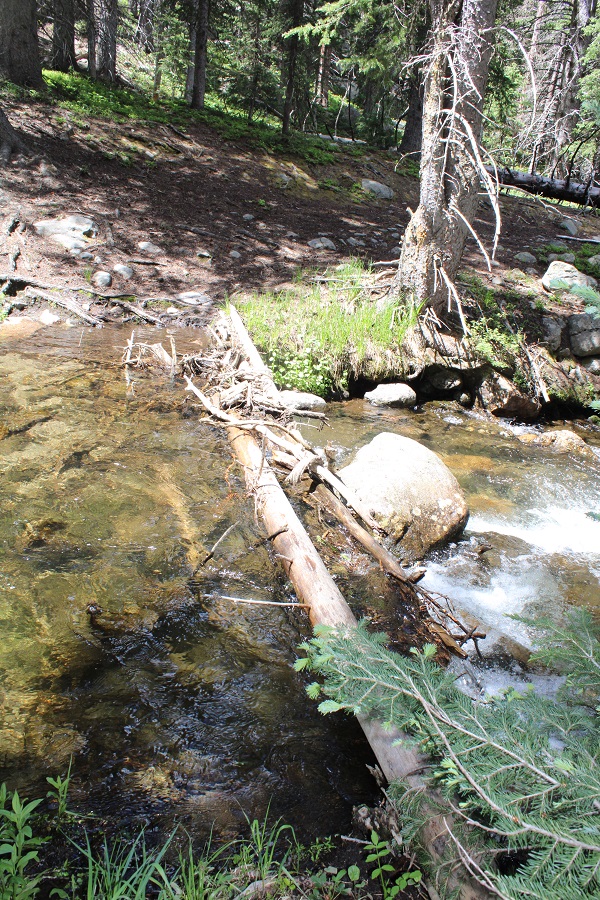
This is an easy to follow, class 1 trail. I followed this trail, over a bridge crossing Squaw Creek, and paralleling Squaw Creek itself, for 2.3 miles. This trail has a lot of ups and downs, which wasn’t bad at the beginning of my hike, but made the hike out in the sun miserable. Here are some pictures of the trail
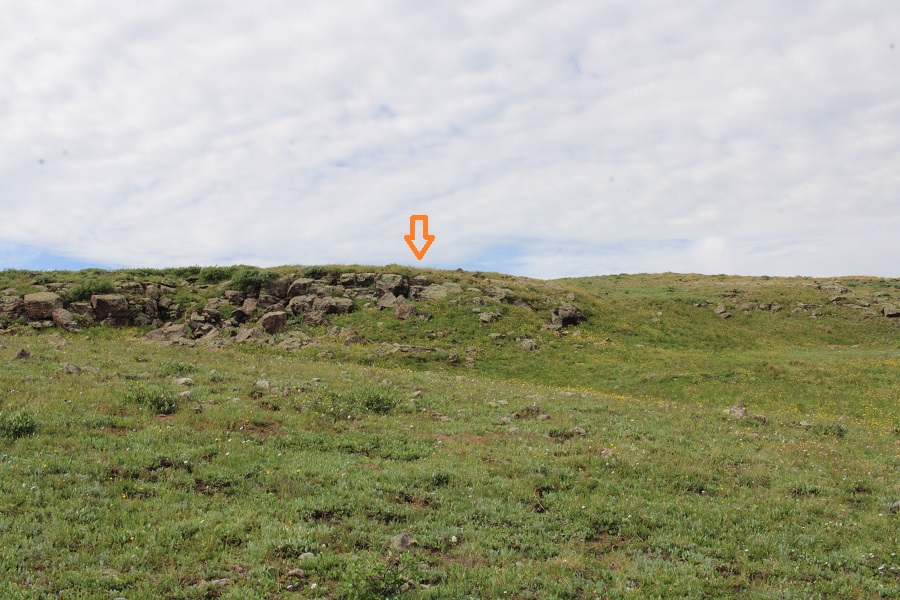
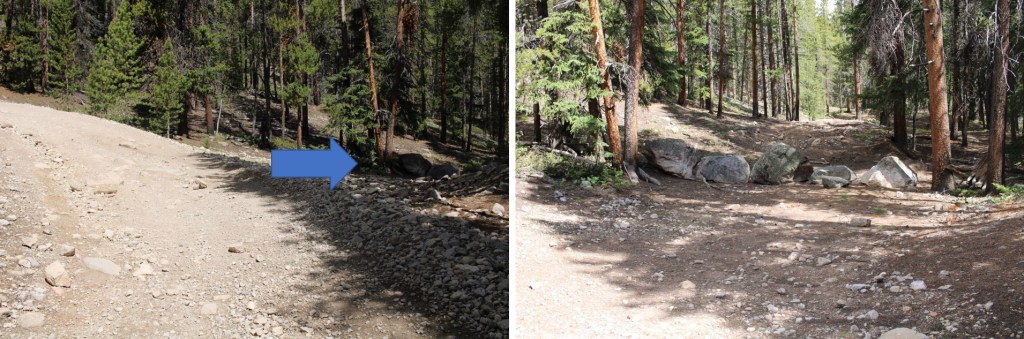
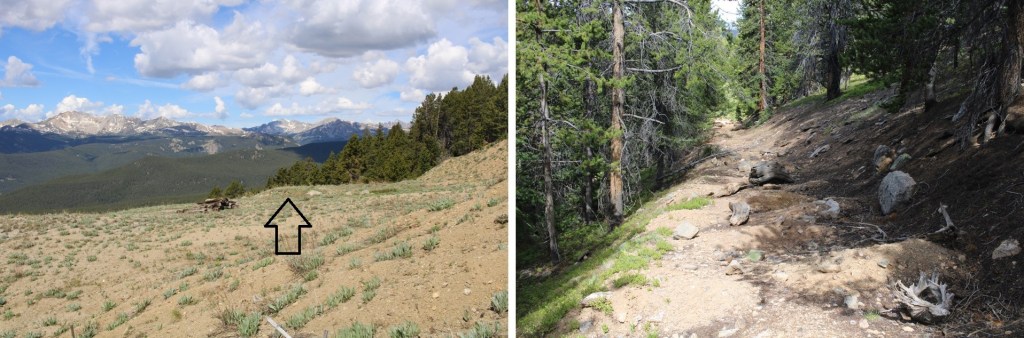
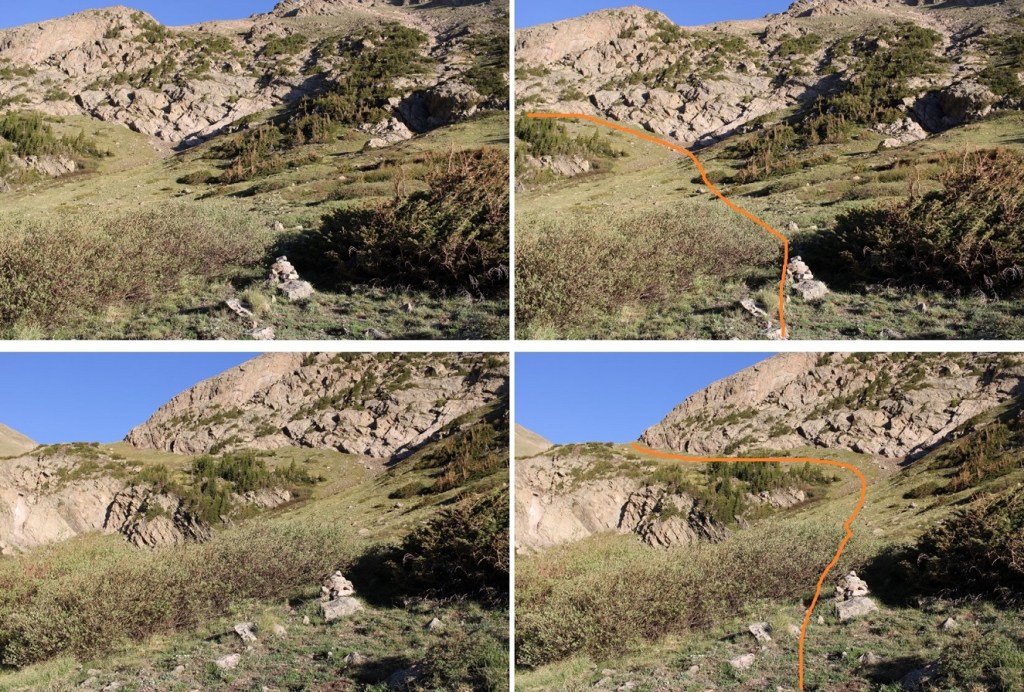
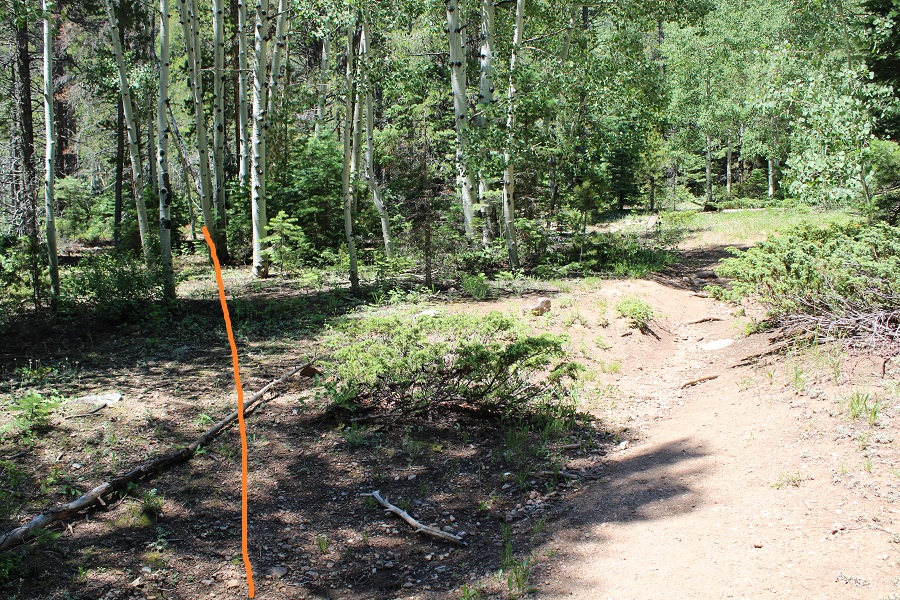
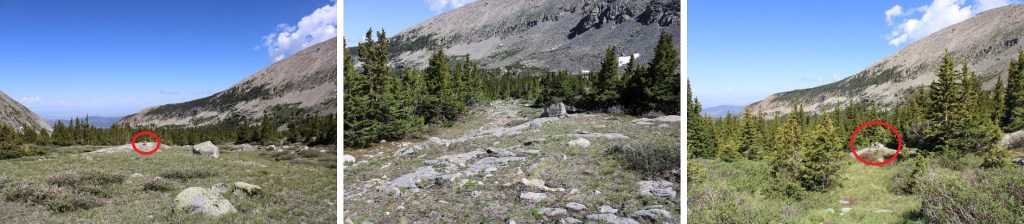
After hiking for 2.3 miles, I crossed a drainage pipe, and about 50 feet to my left was another trail (difficult to see in the dark). There used to be a cairn here, but someone tipped it over.
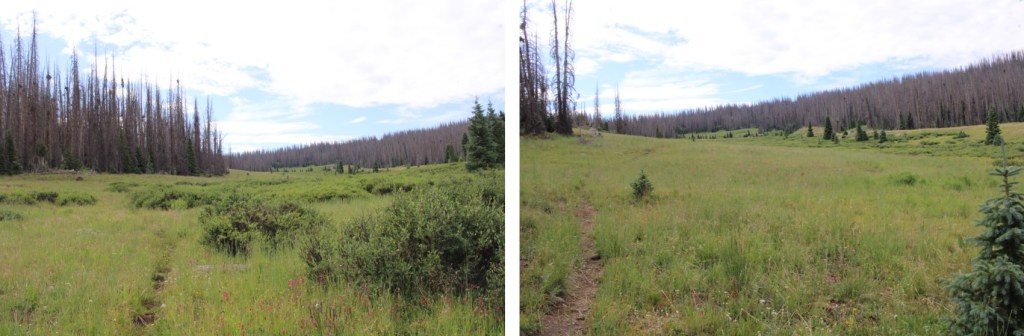
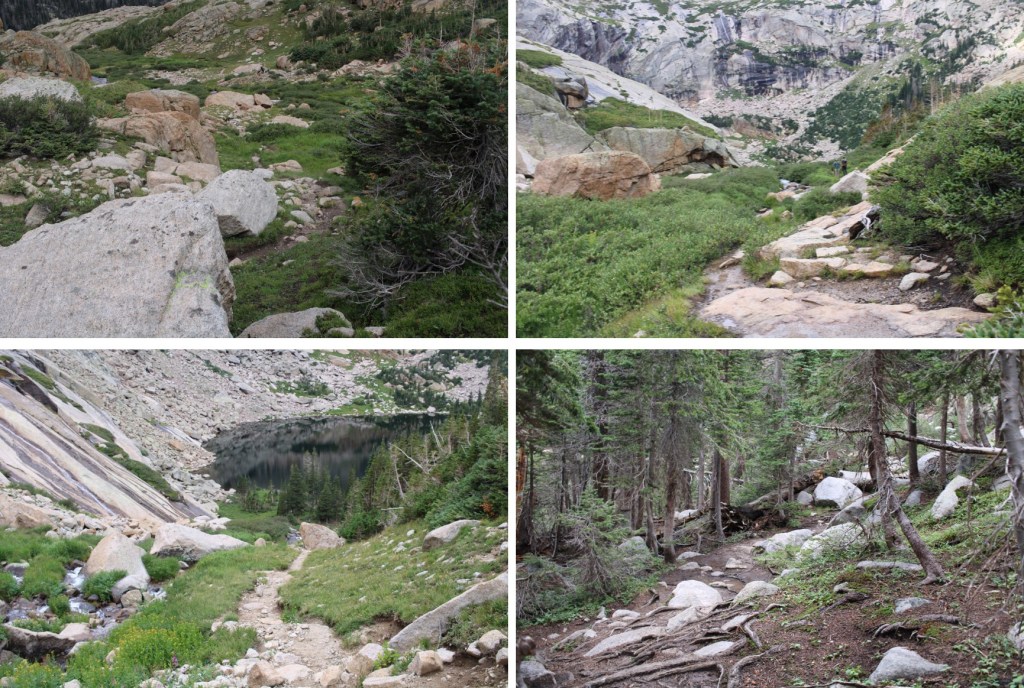
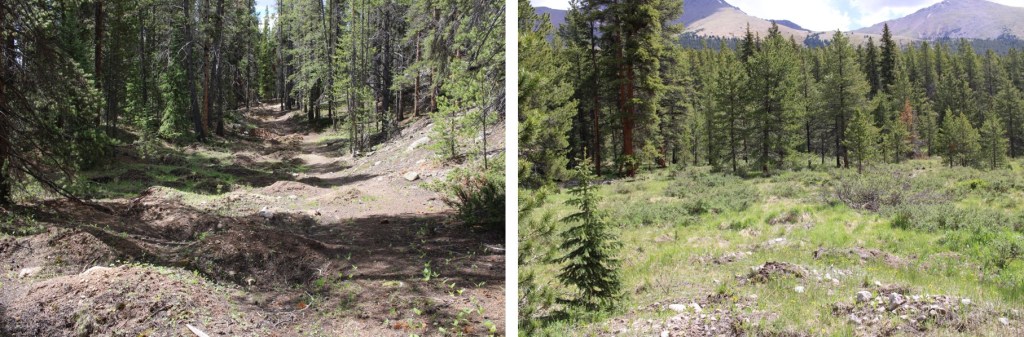
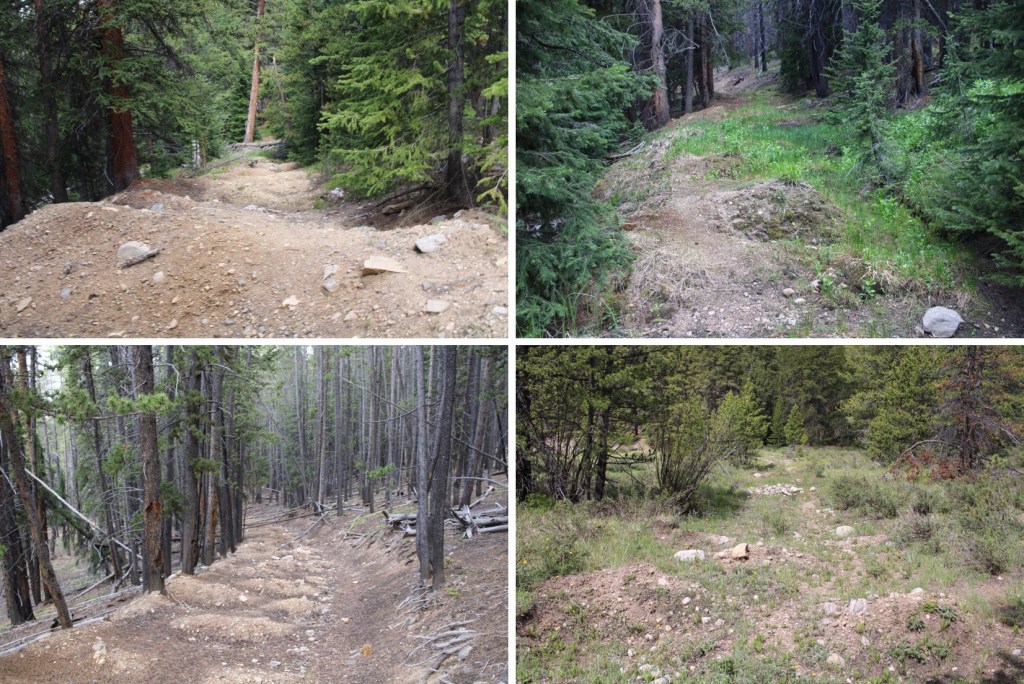
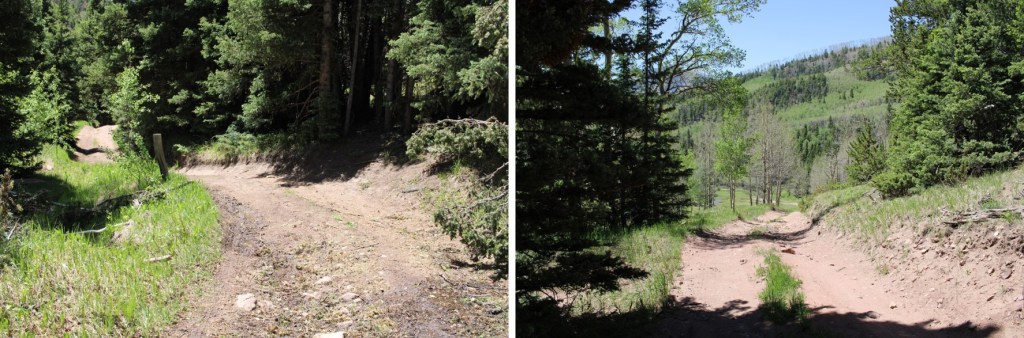
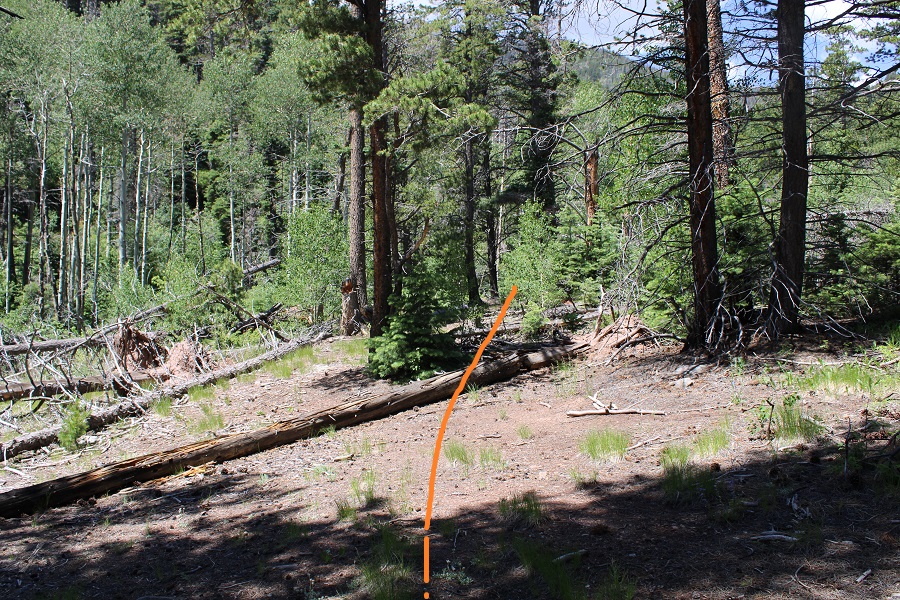
Now on the Fern Creek Trail, I followed it southeast towards treeline. This was still a class 1 trail, and easy to follow.
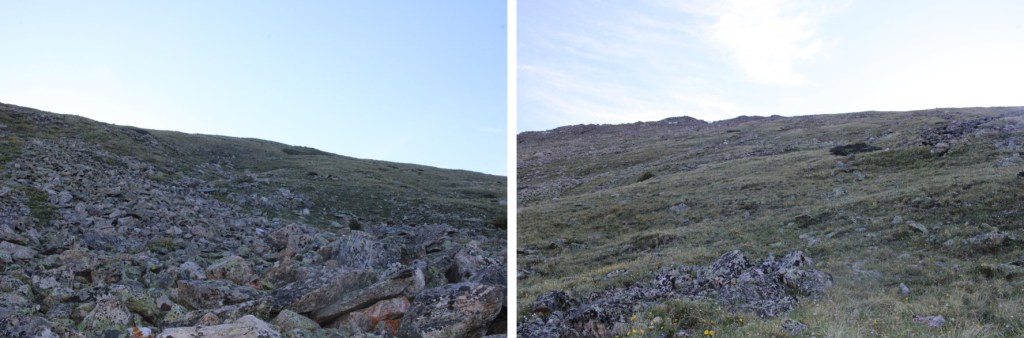
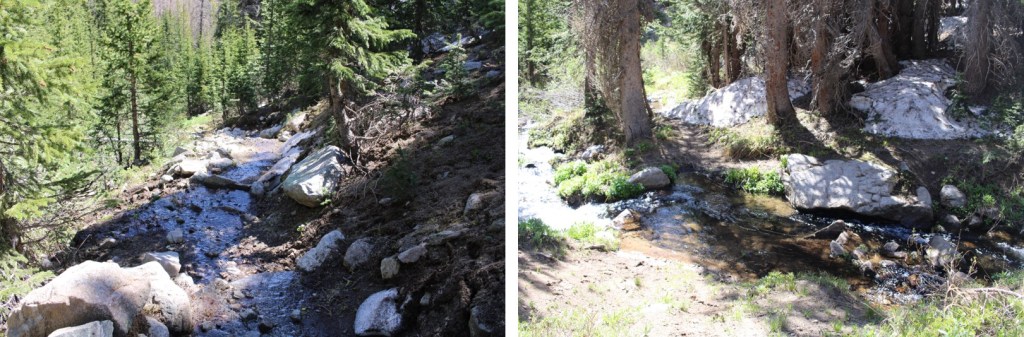
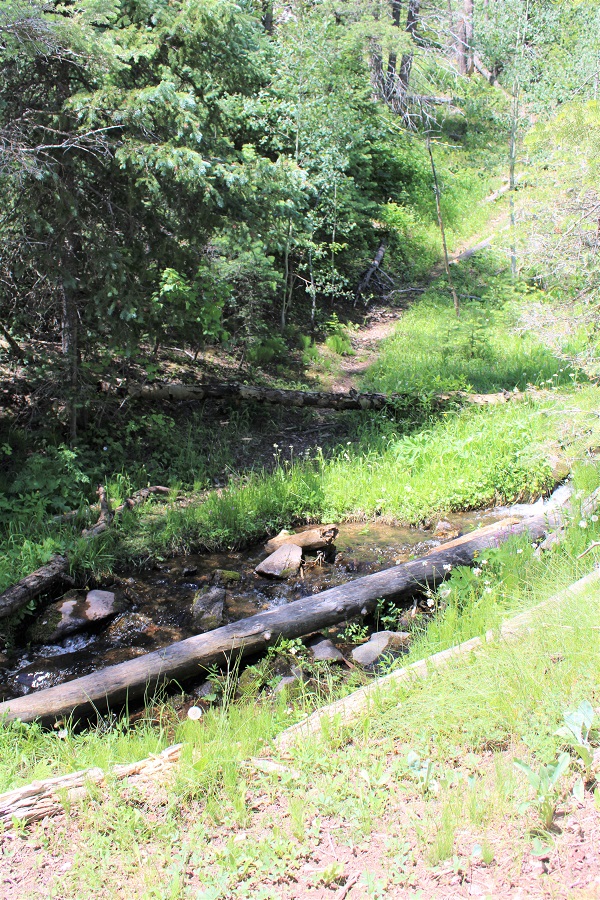
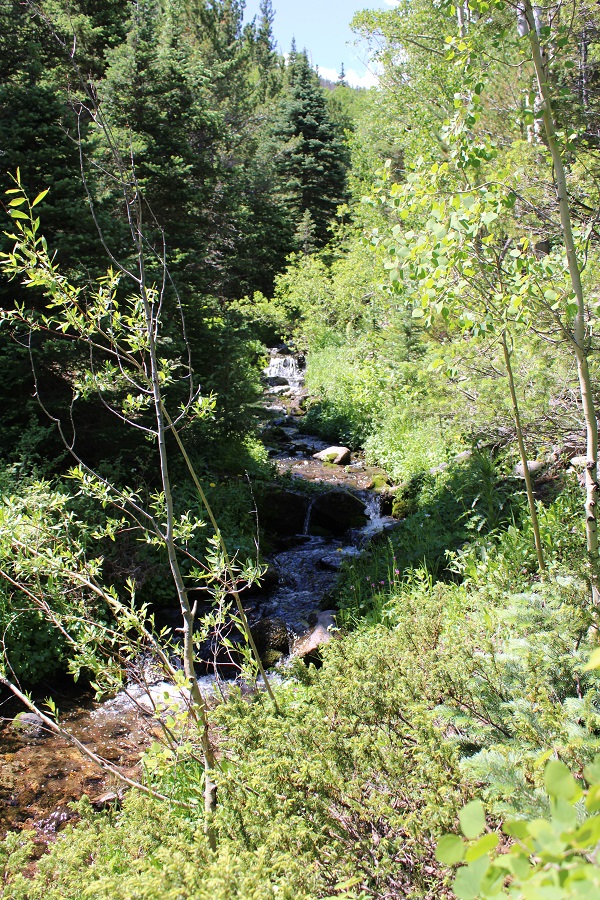
I crossed a creek, and continued on through a rather large gulch. The trail begins to fade here, but as long as you stay to the left of the willows, you should be able to find a trail. In the early morning hours I saw a mama moose with her baby munching on the willows.
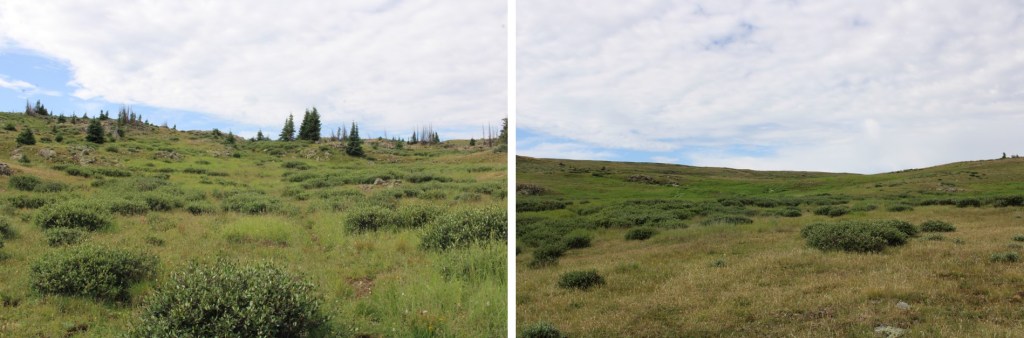
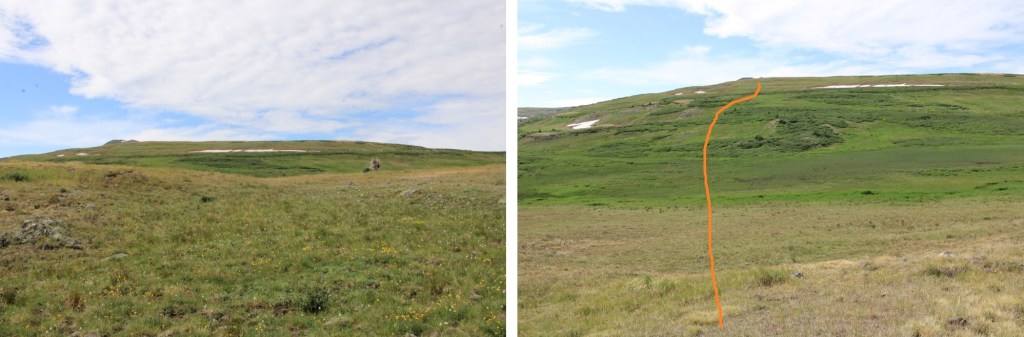
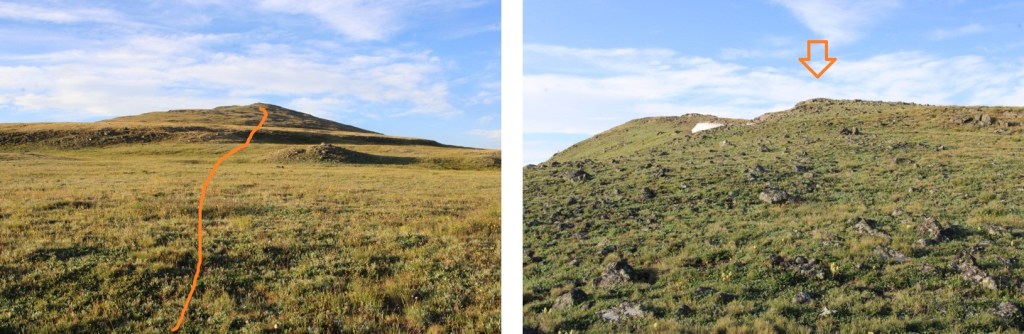
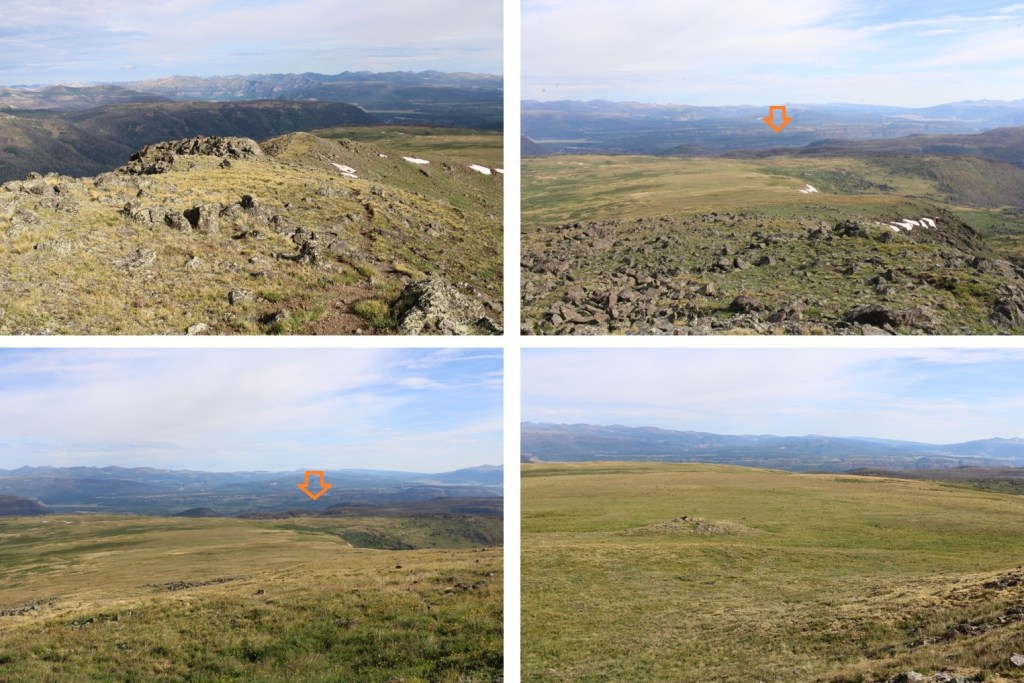
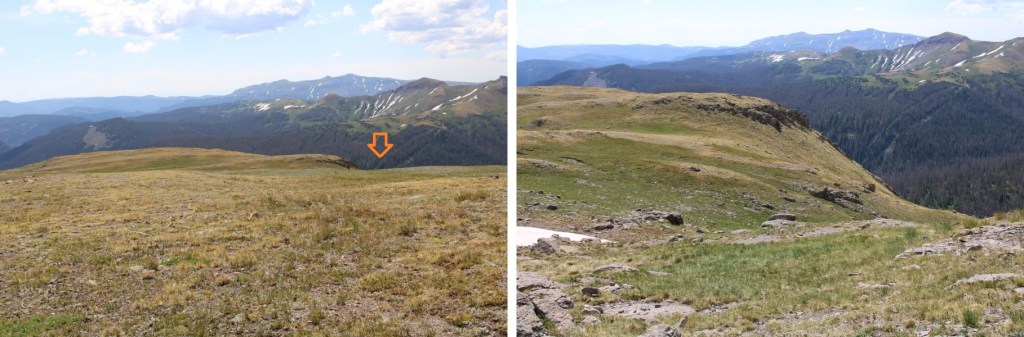
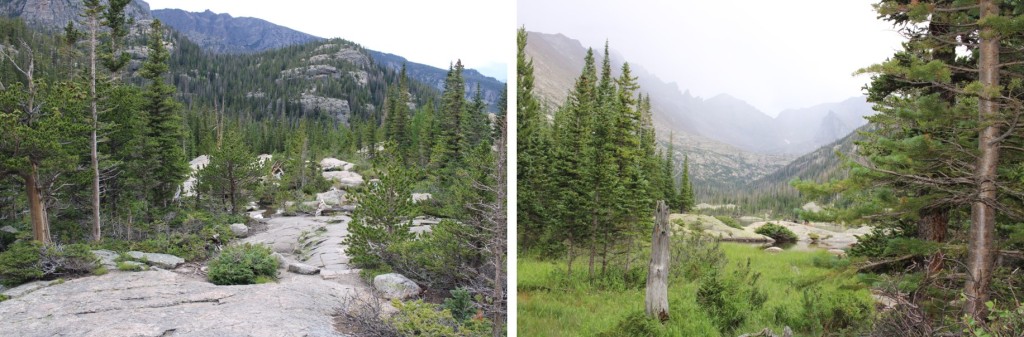
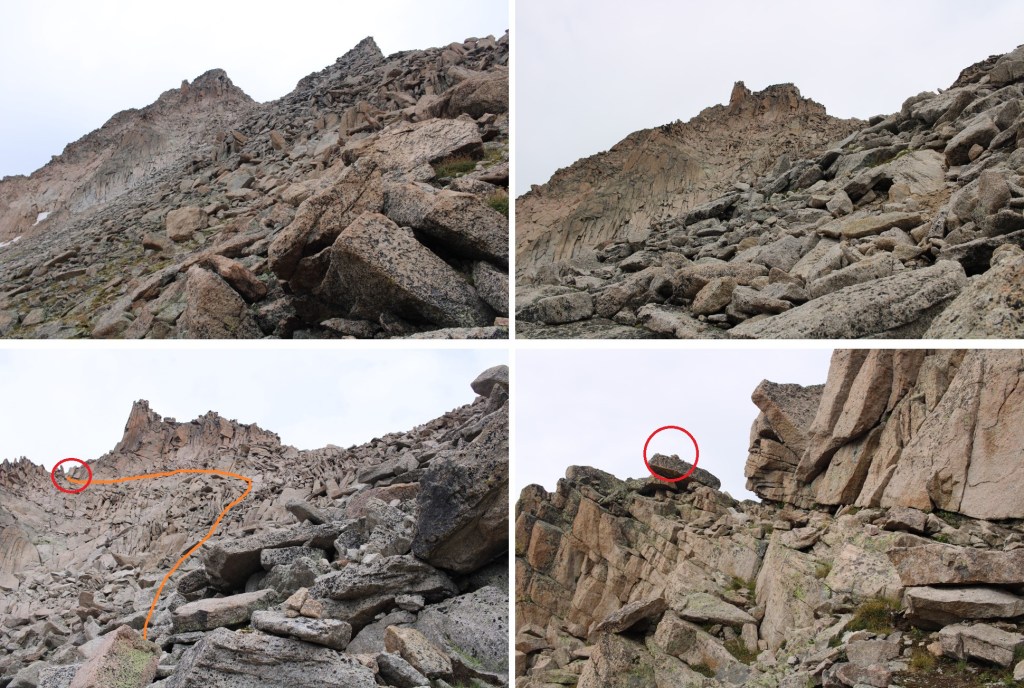
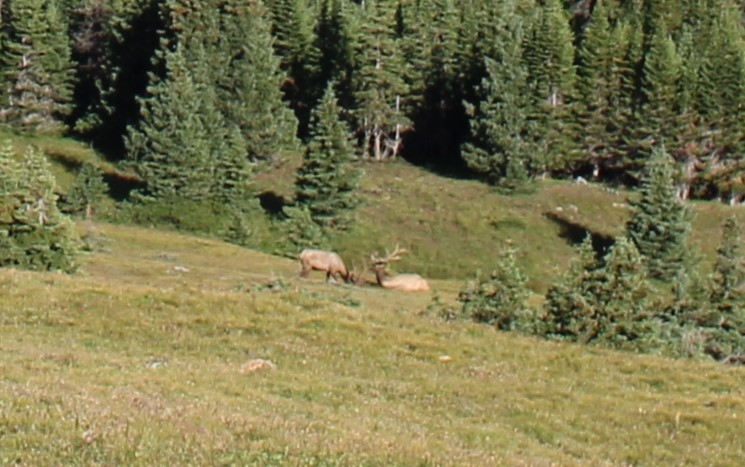
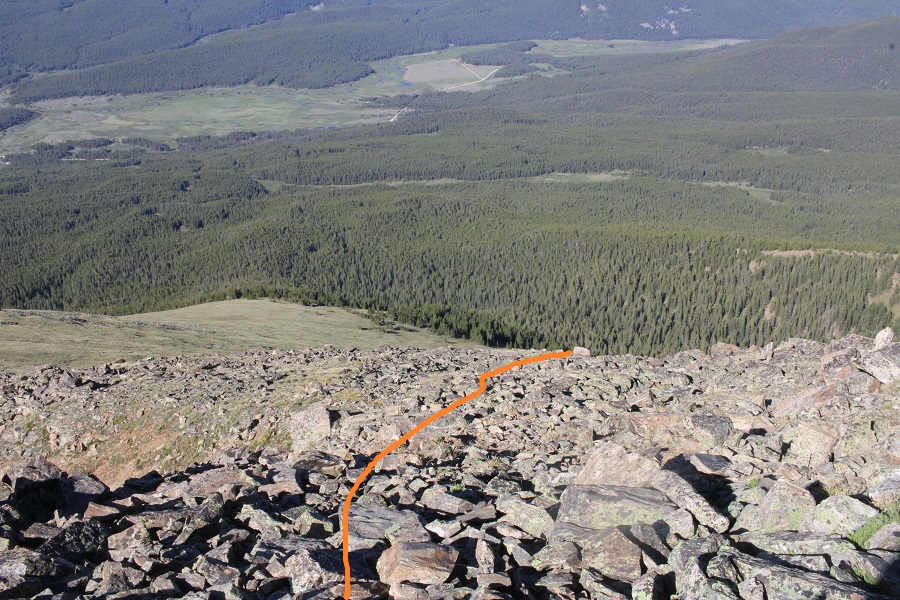
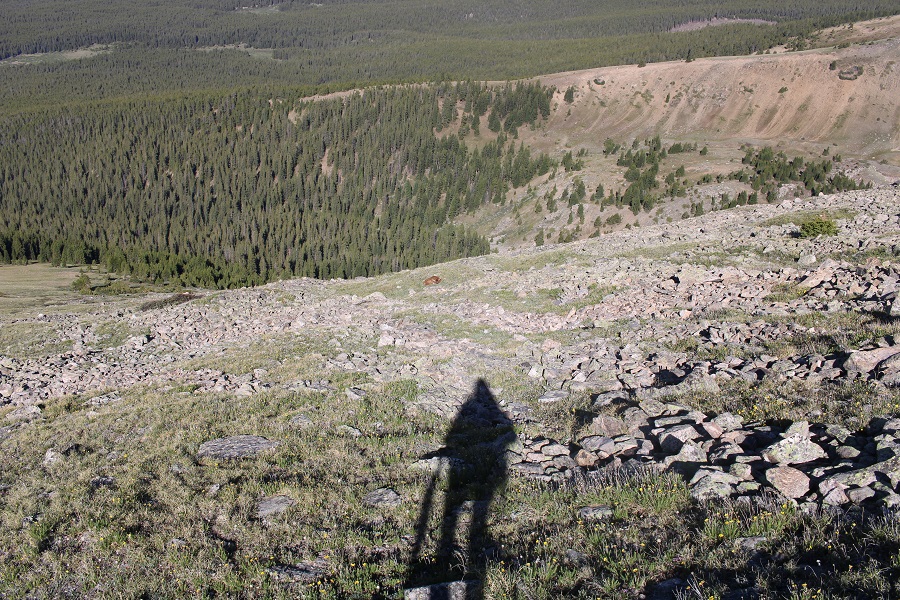
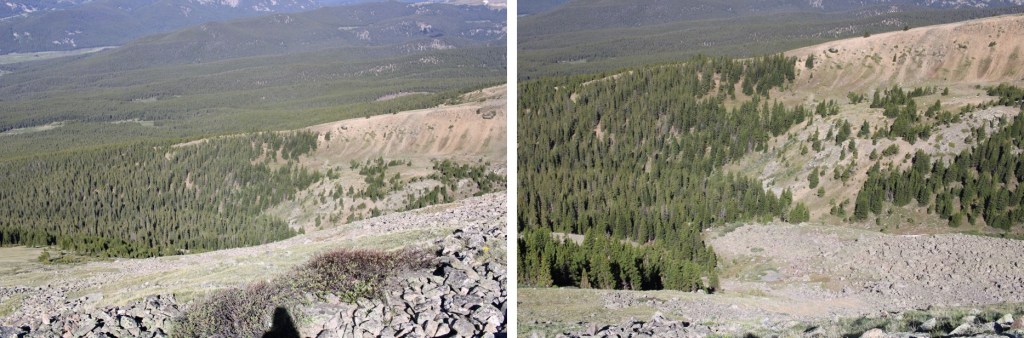
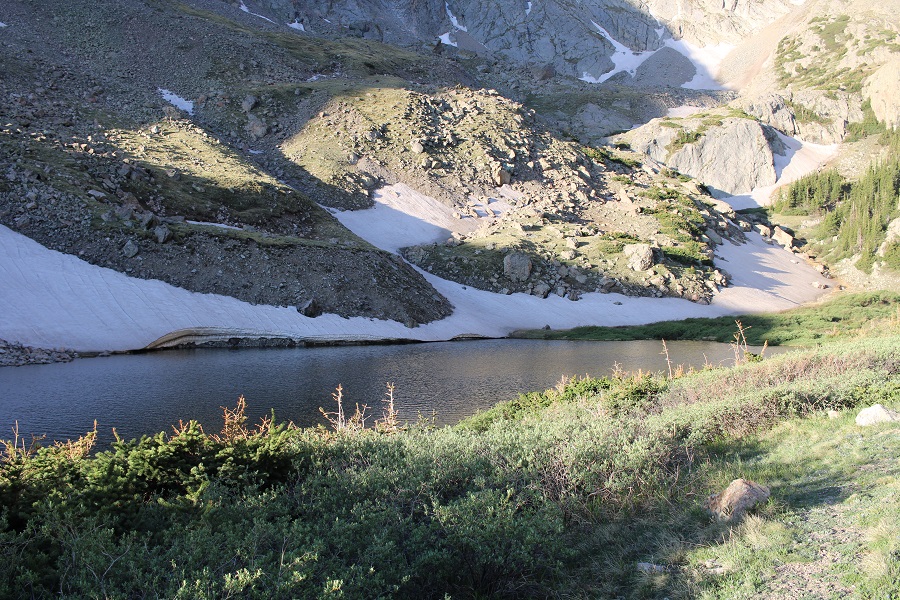
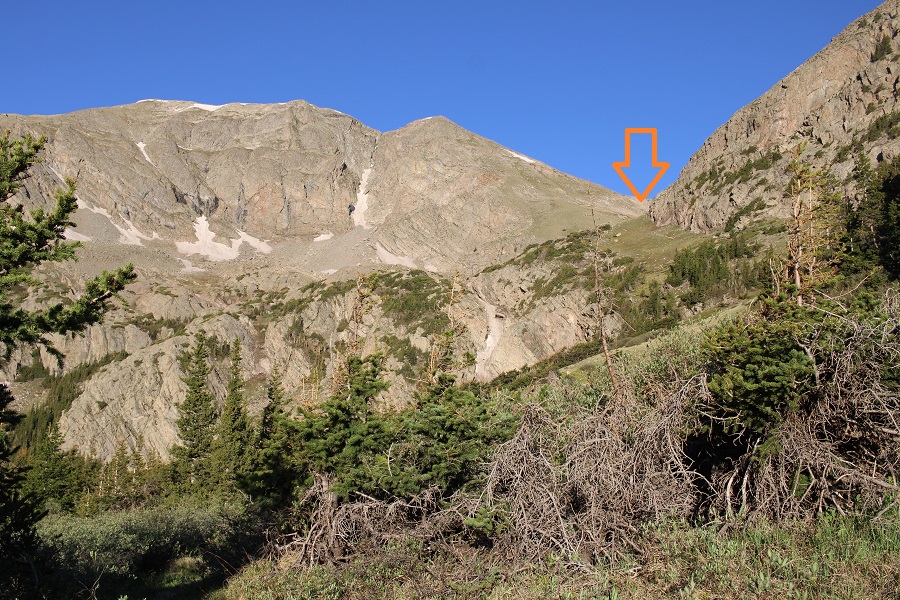
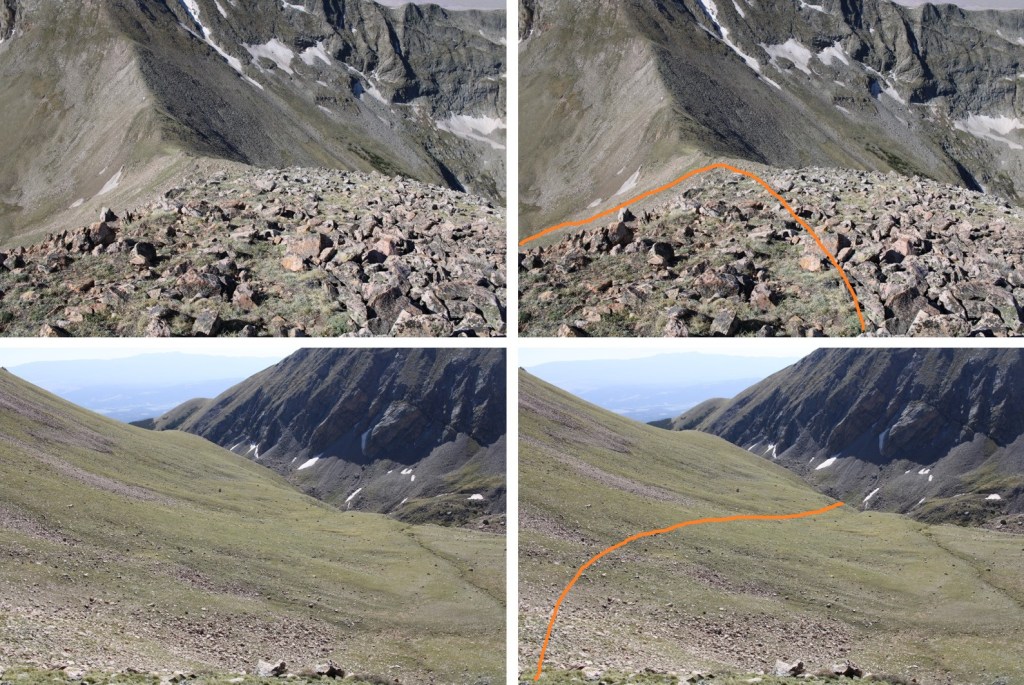
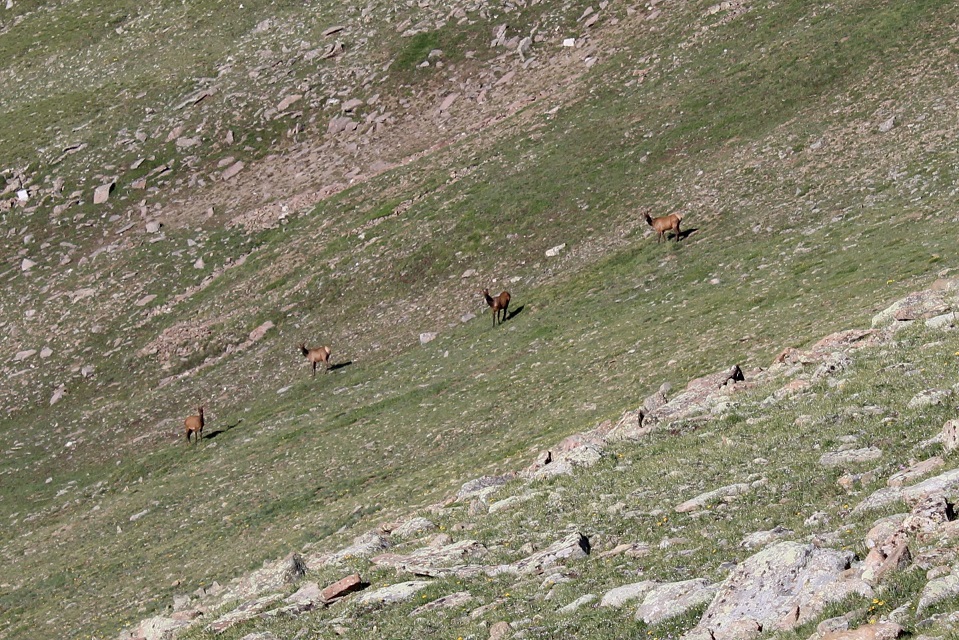
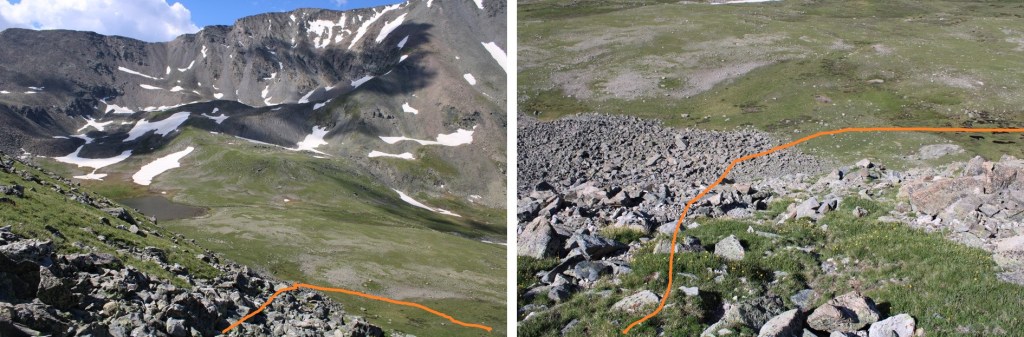
As soon as I was truly above treeline (which felt like forever) the trail ended. With no real landmarks to work with, I headed south. I saw a ton of elk in this area, and would for the rest of the hike. I’d estimate I saw about 200, ranging in groups from 5 to 30 at a time.
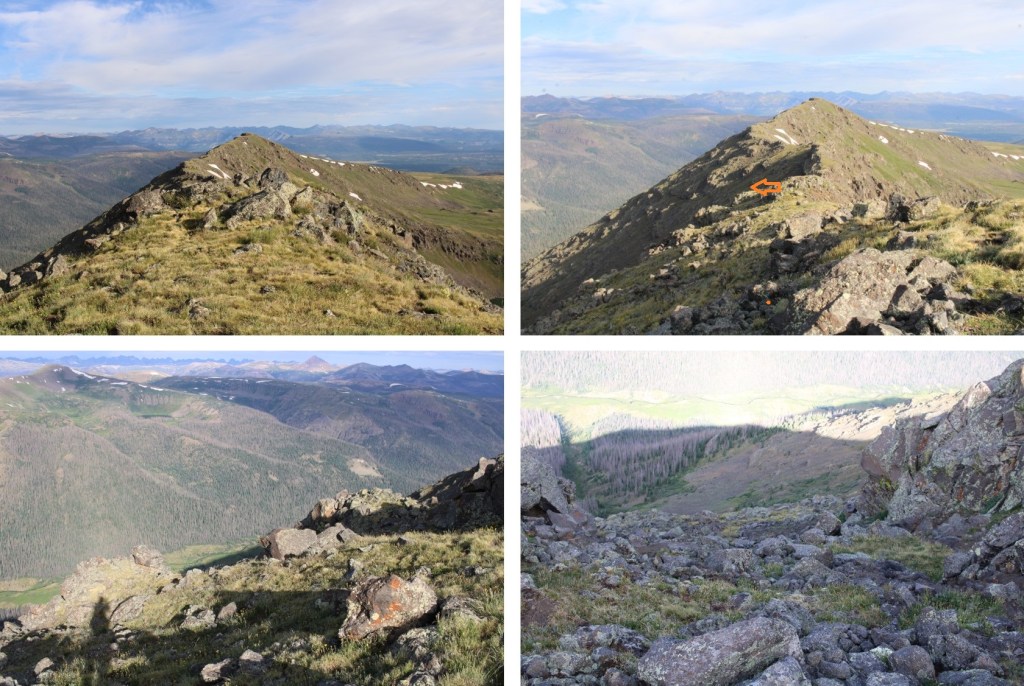
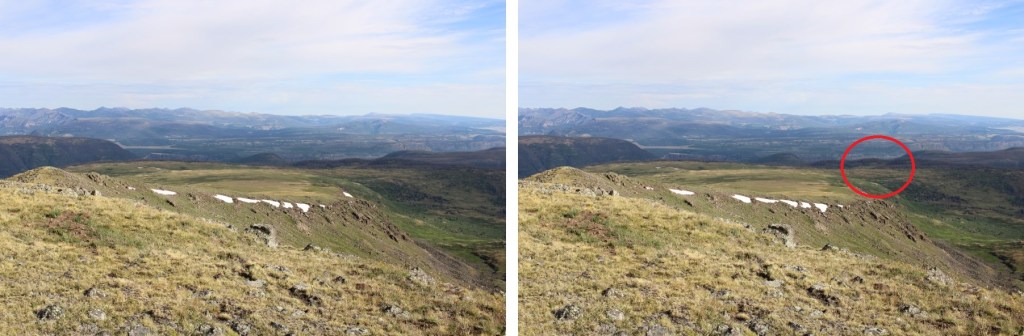
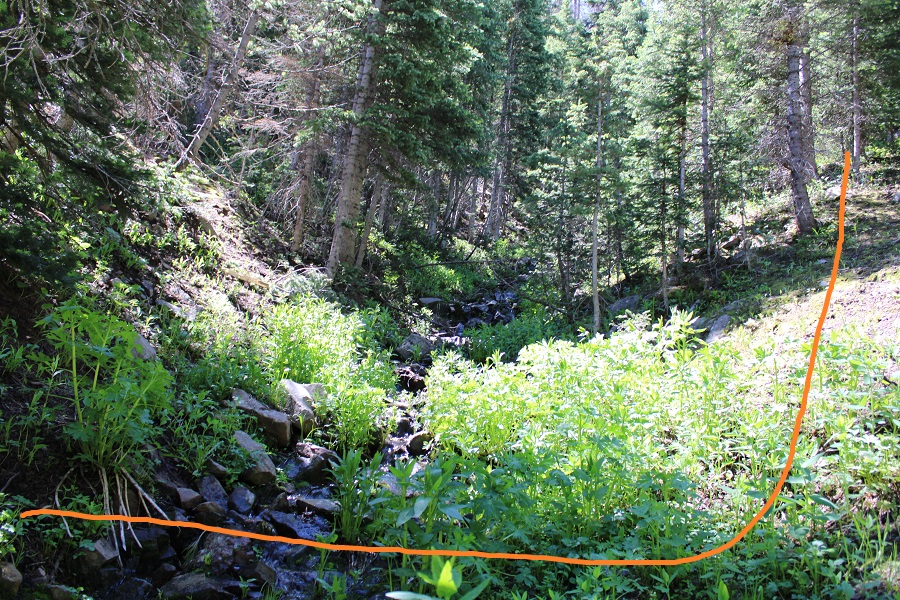
I kept heading south, still with no visual landmarks, and eventually came to a marshy area and a hill to ascend. This was muddy and wet, and choose your own adventure. I navigated the willows and made it to the top of this hill/
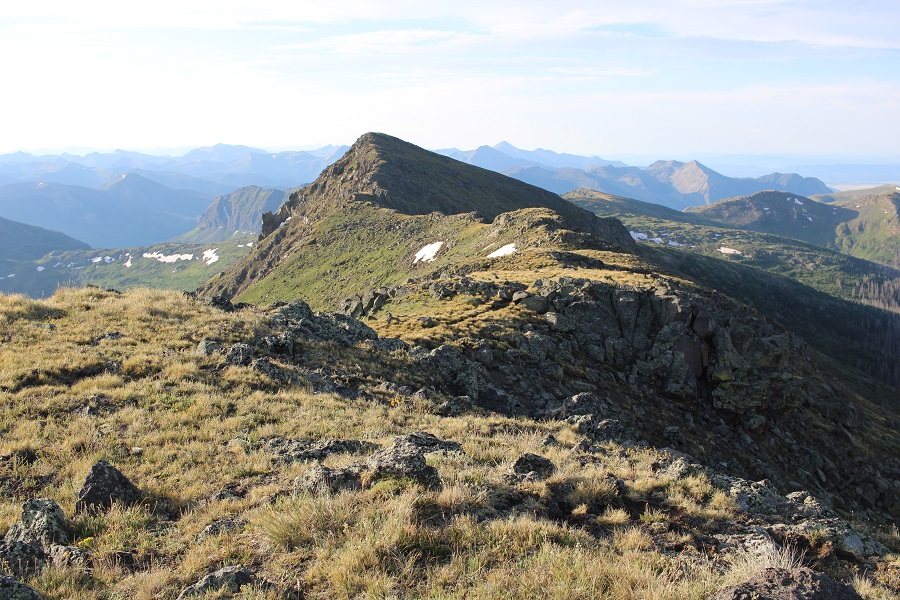
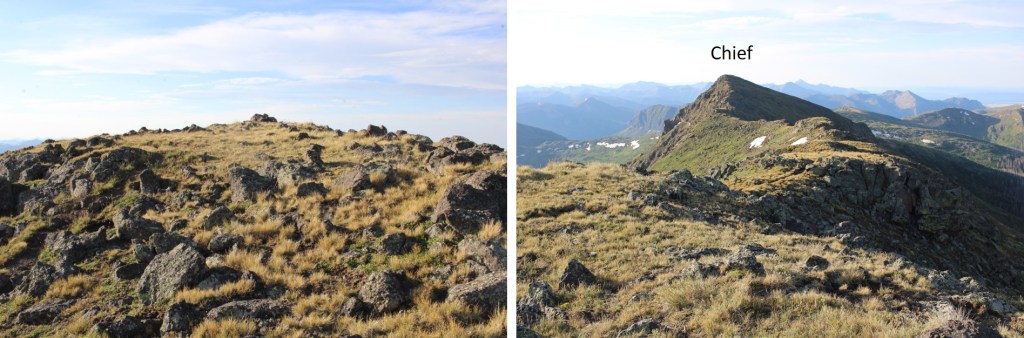
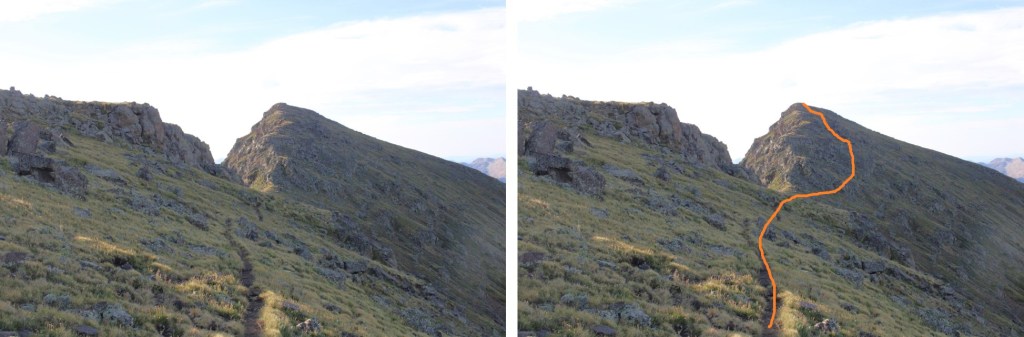
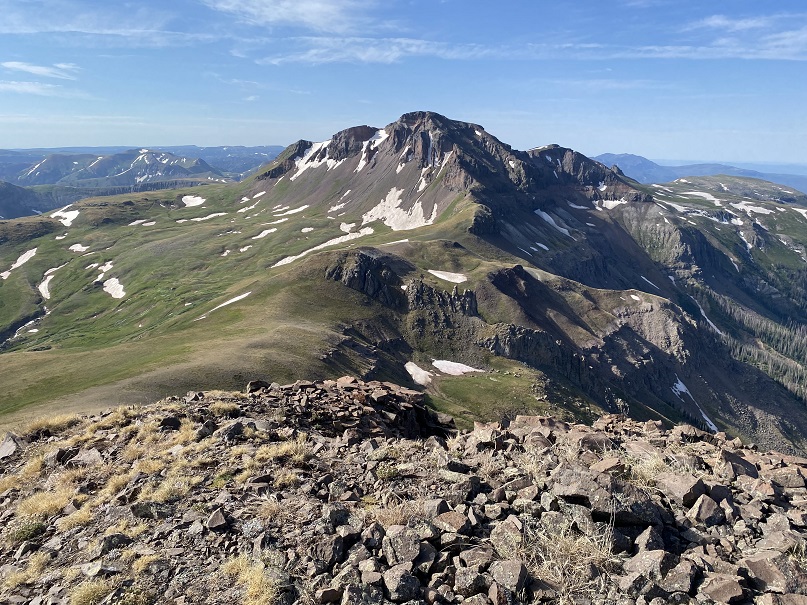
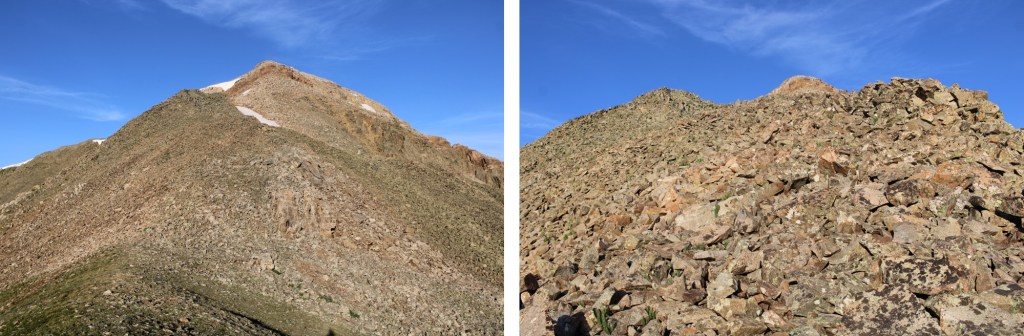
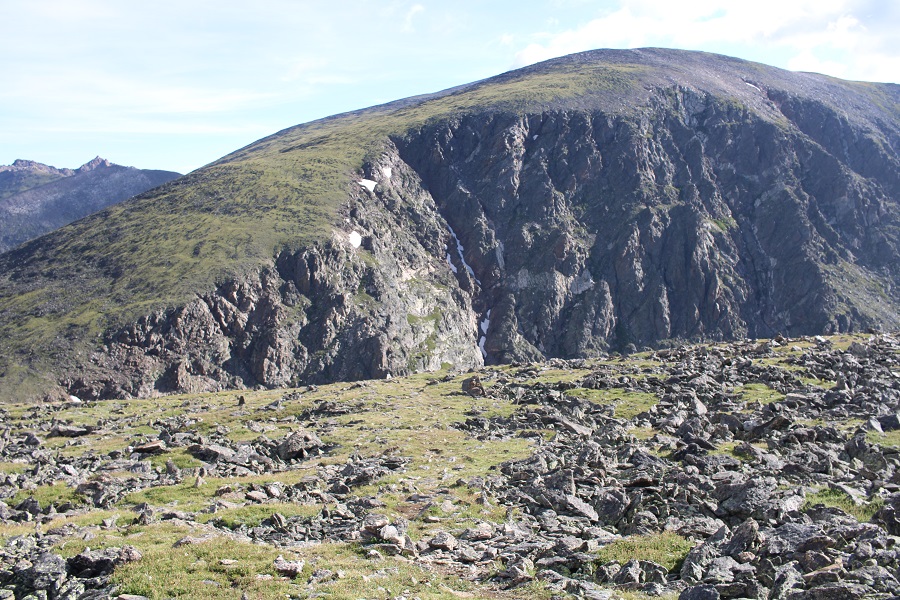
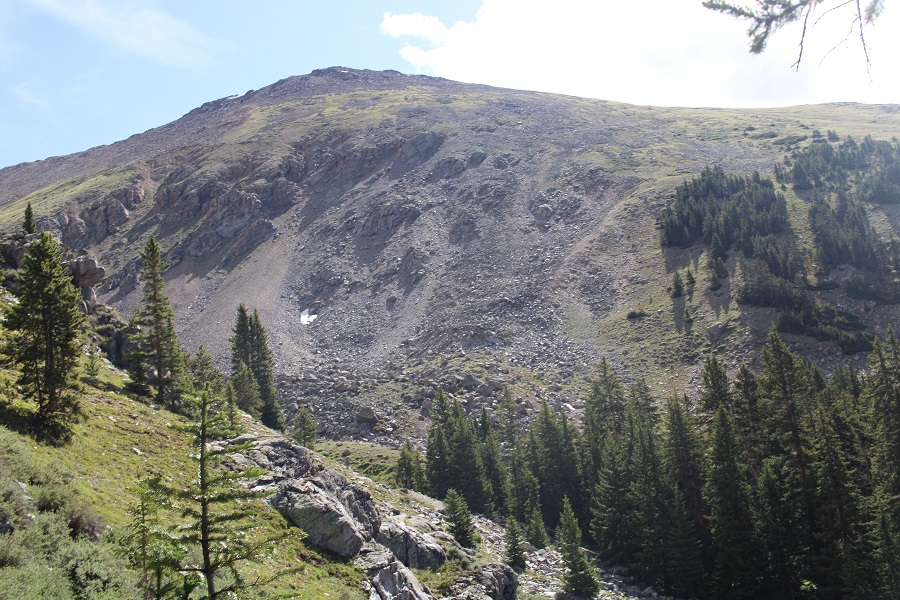
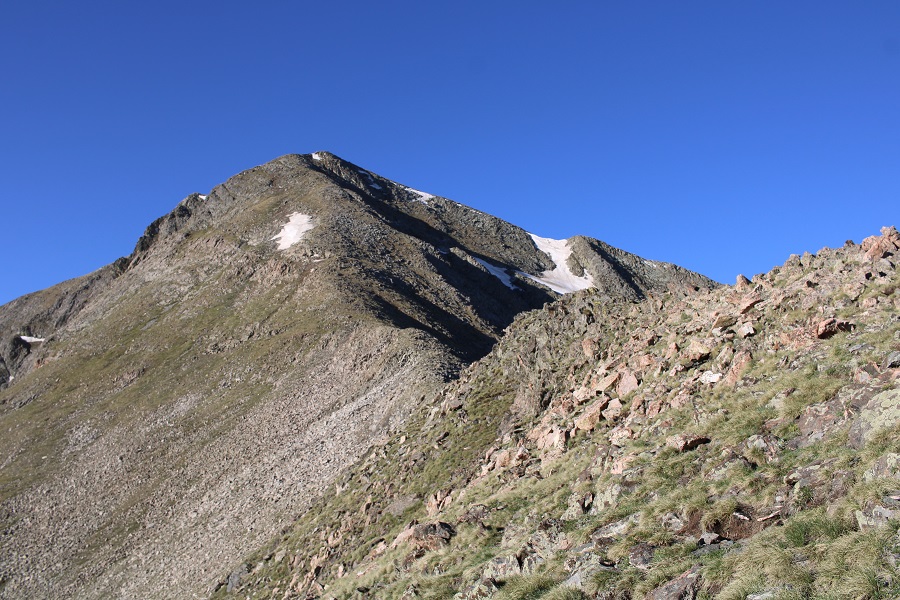
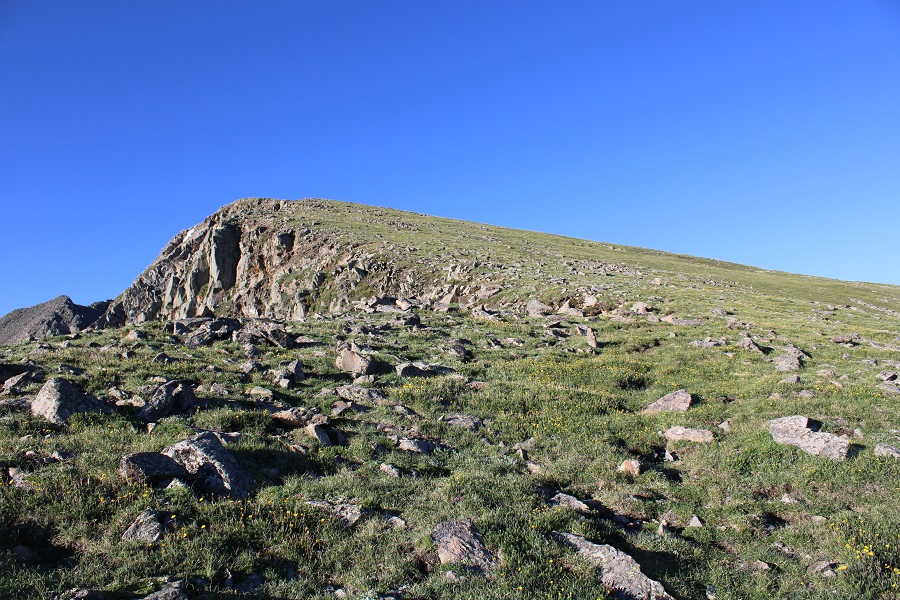
From here I got my first good view of Chief Mountain. I’ll save you the heartache I had when I found out this was the actual peak
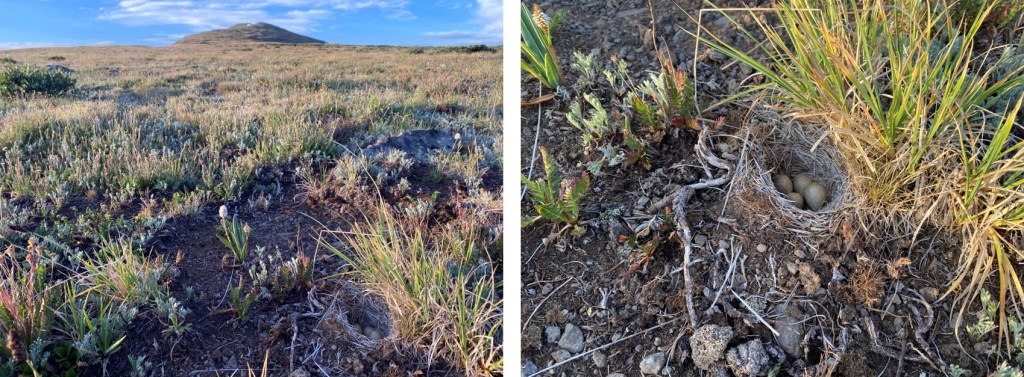
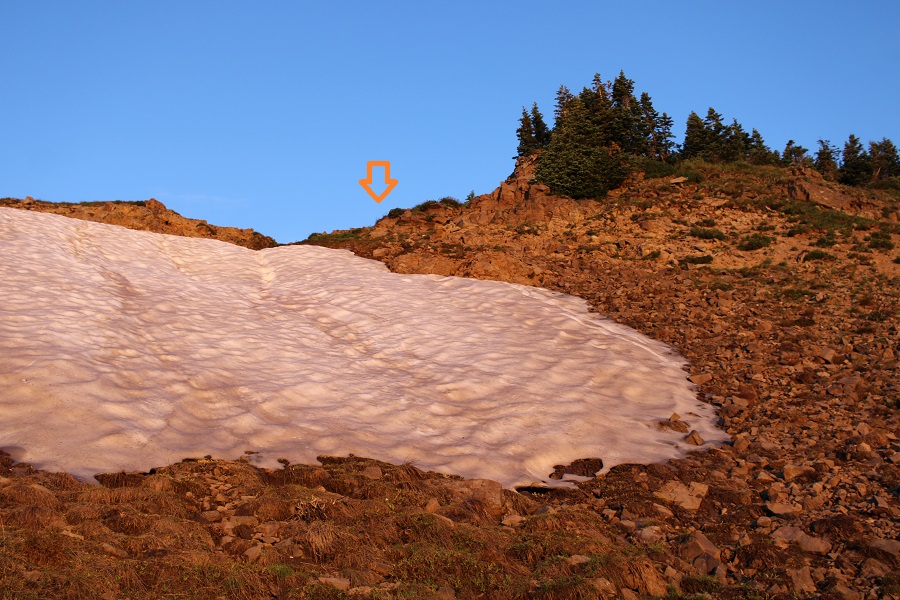
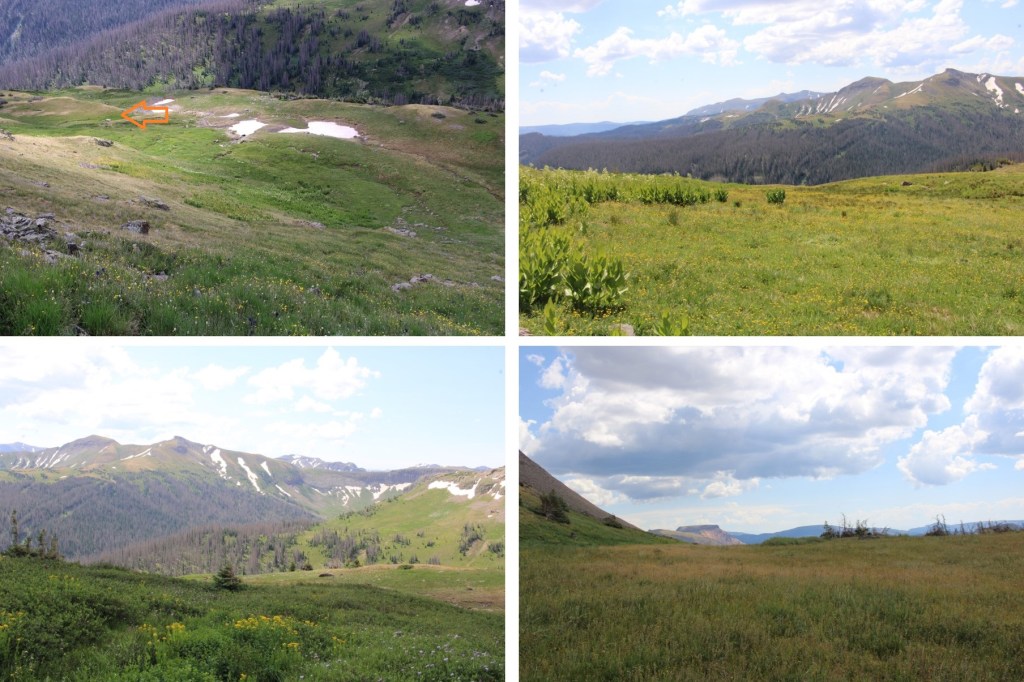
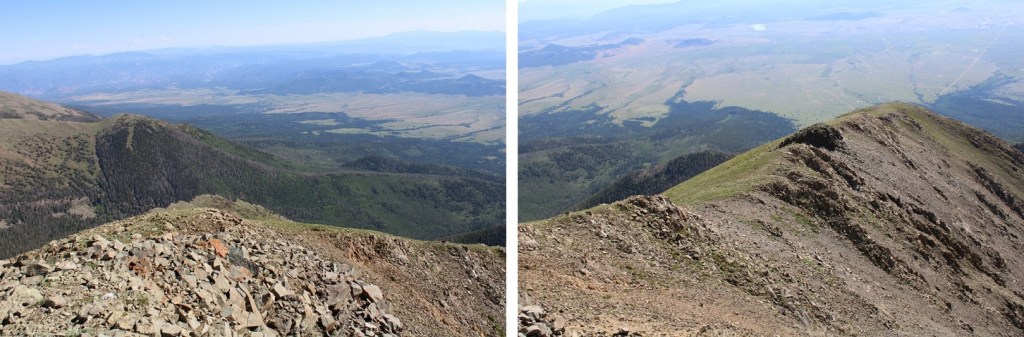
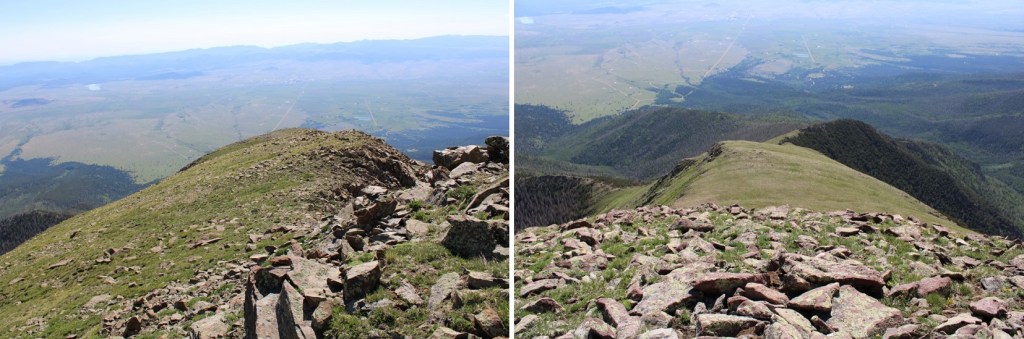
The good news was now I had a good visual of where I was headed. I continued south, towards the obvious ridge.
This was an easy tundra stroll, but be careful: Just as you don’t want to step on wildflowers while hiking on the tundra, you also need to be careful of other things on the ground. Like bird nests
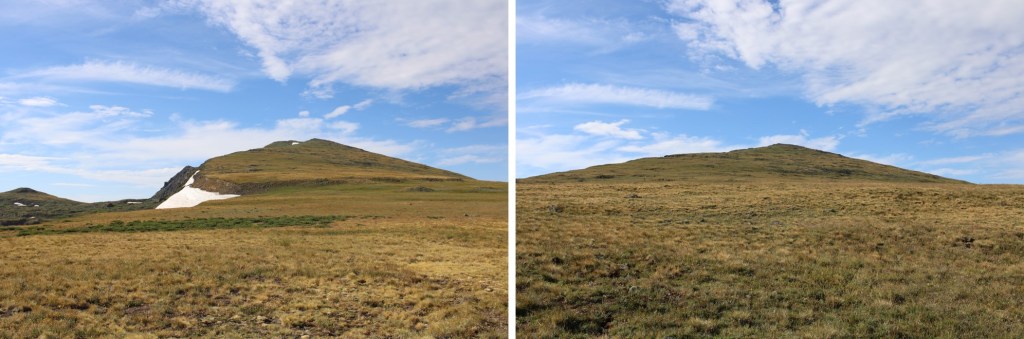
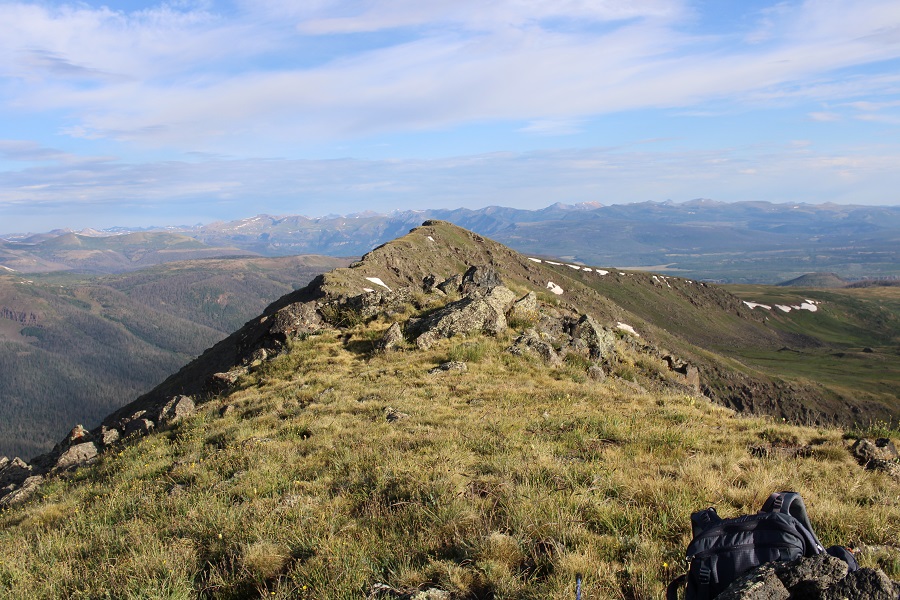
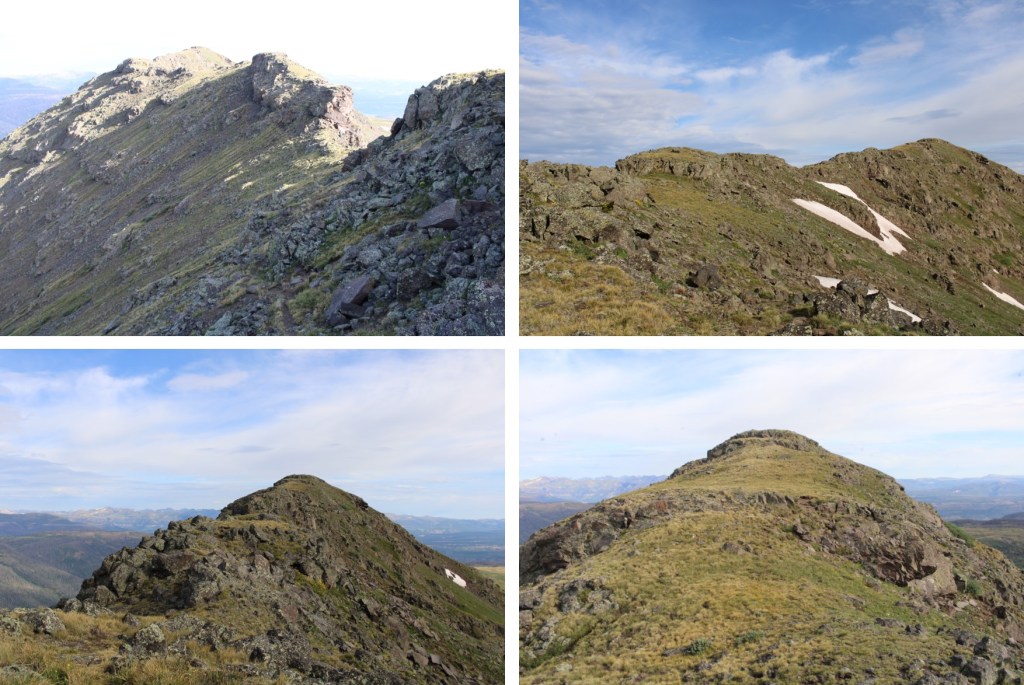
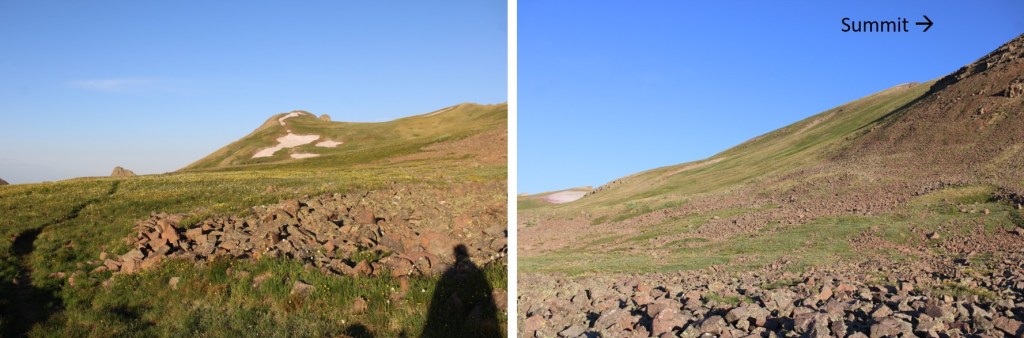
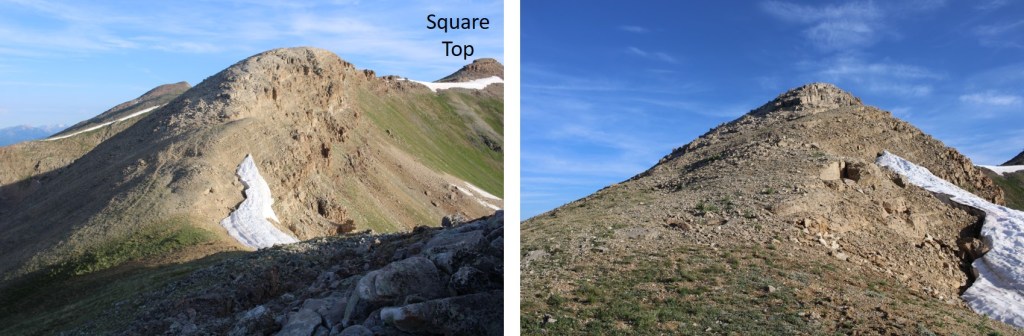
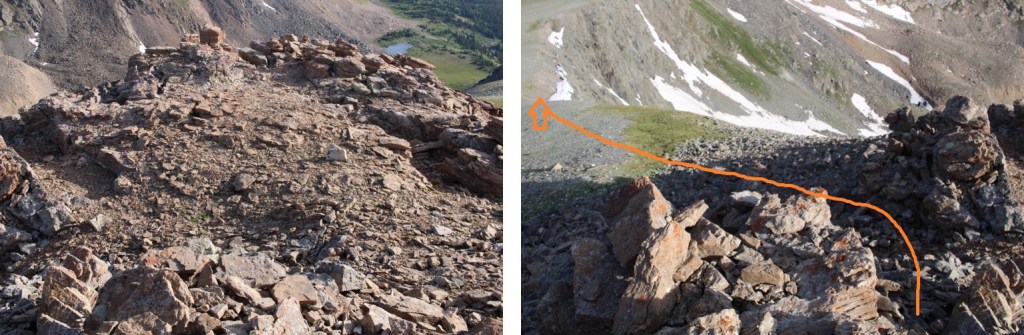
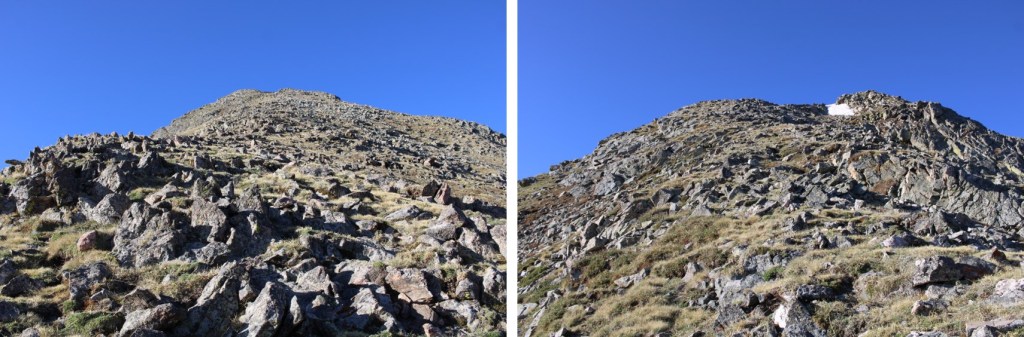
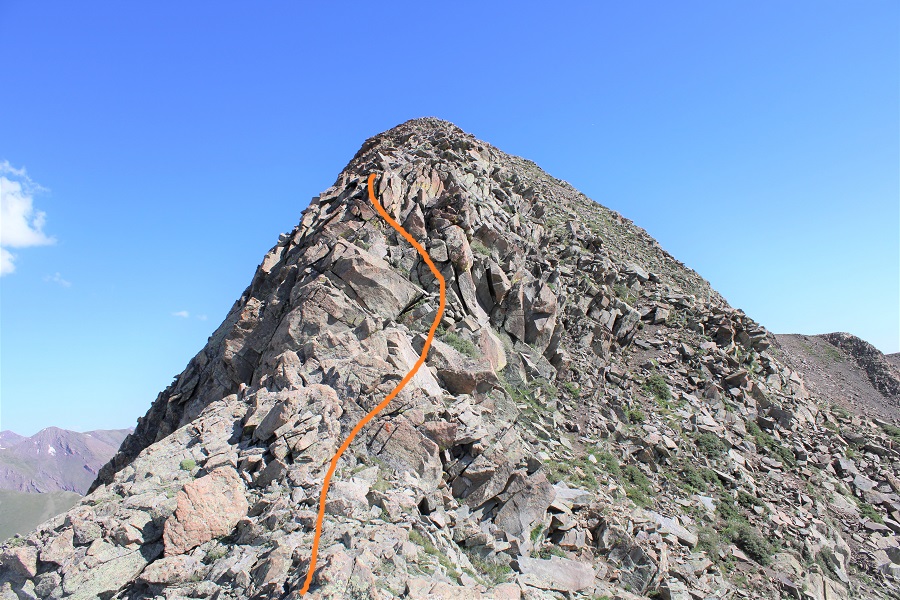
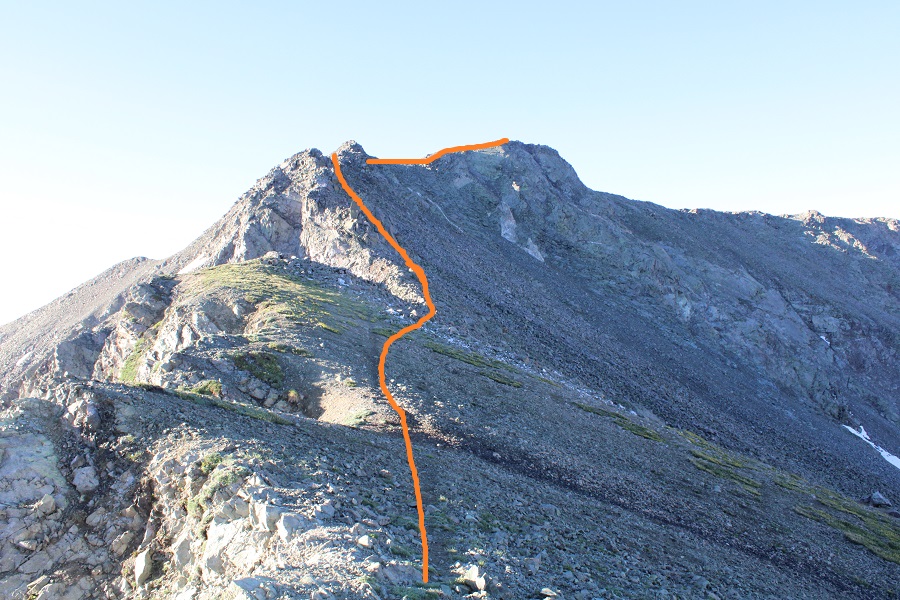
I made it to the top of what looked like the summit, only to find another summit further to the south. It was an easy ridge hike to that next point.
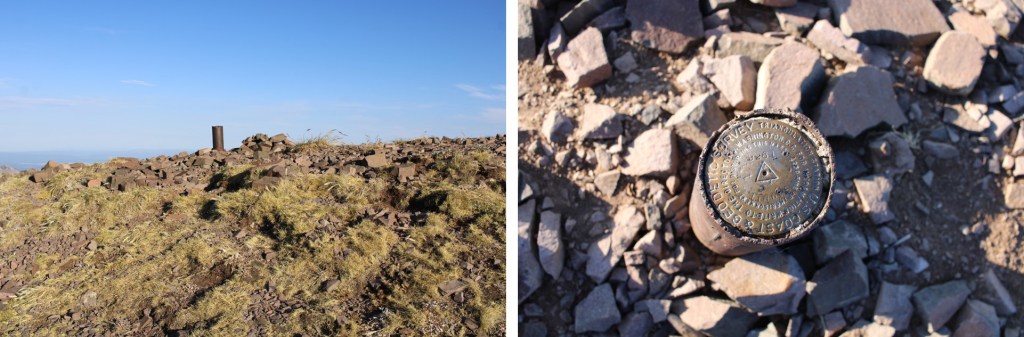
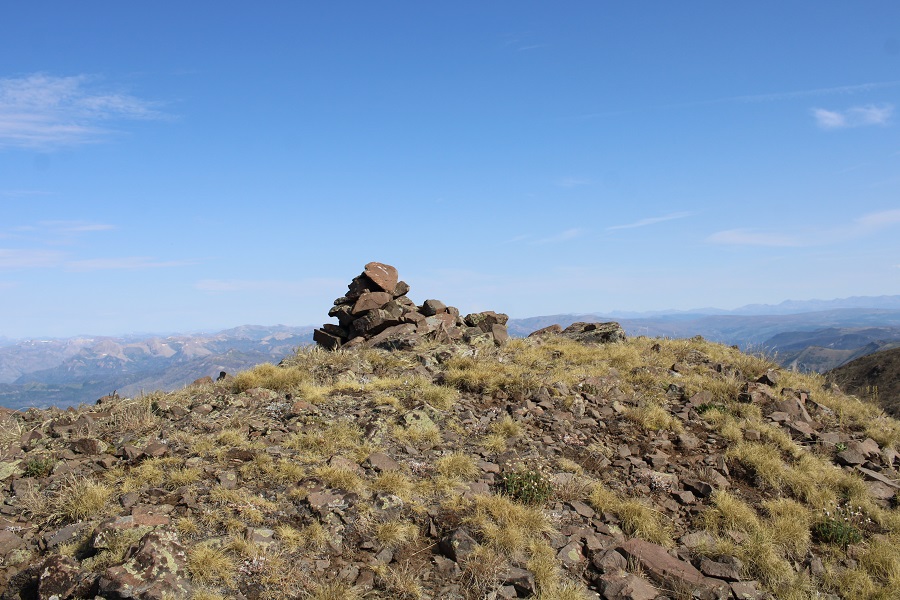
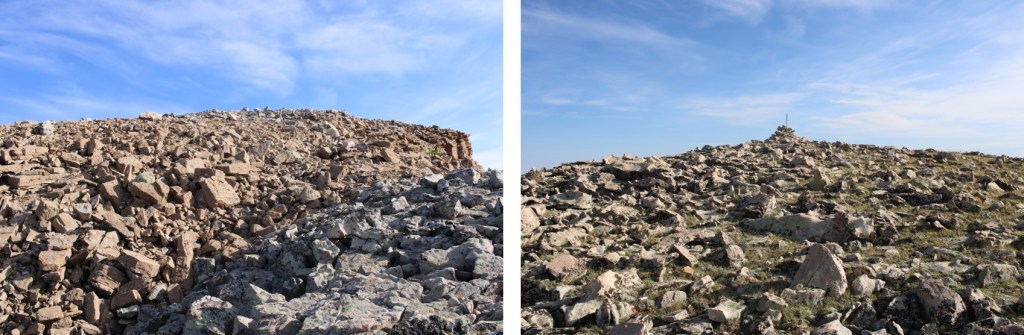
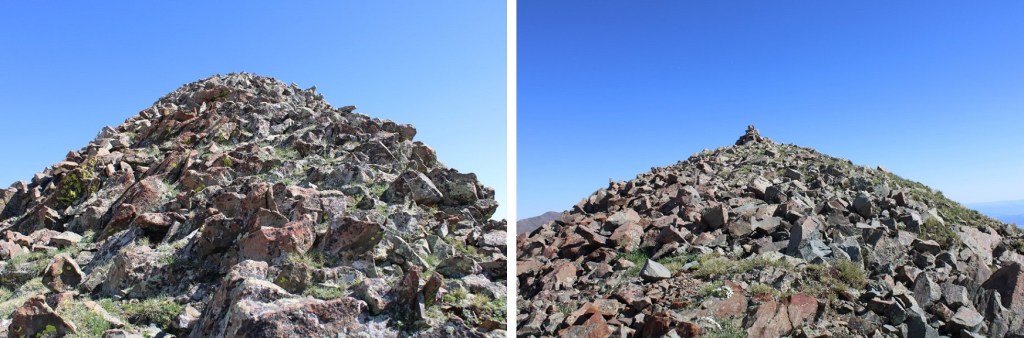
I made it to the top of this point, and even though there was a cairn at the top and a summit marker, I discovered it was a false summit. This is the actual summit of Chief Mountain.
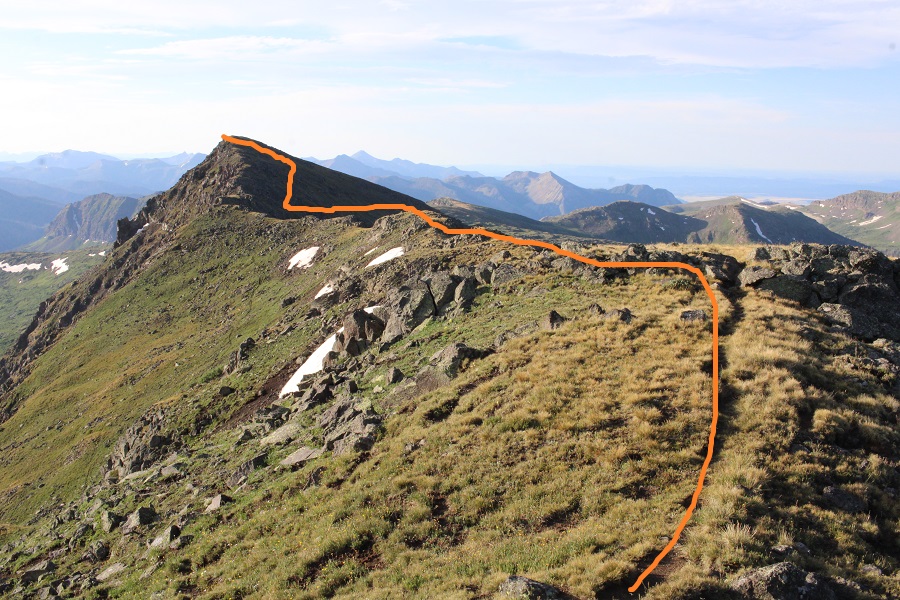
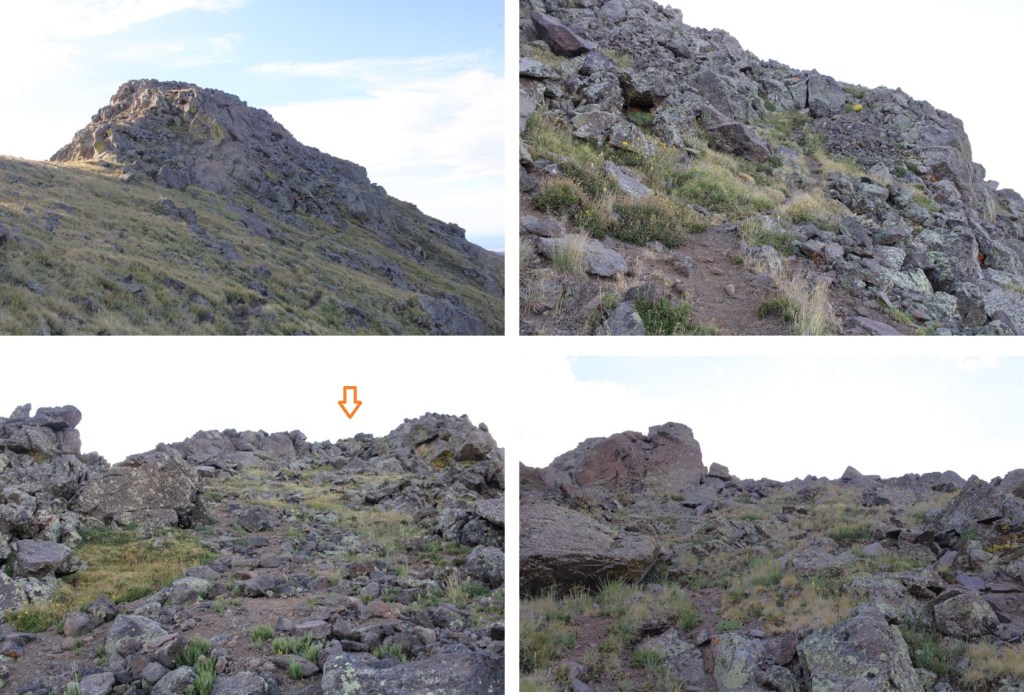
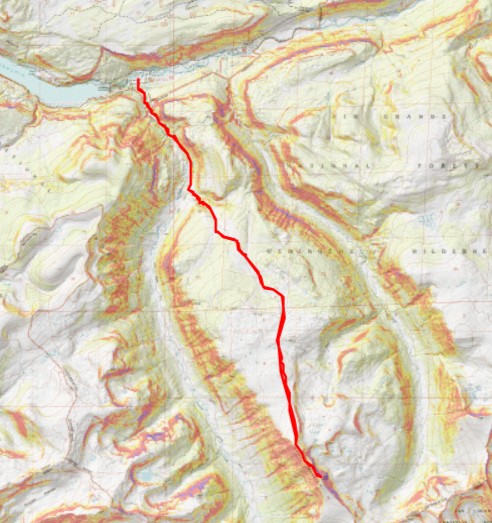
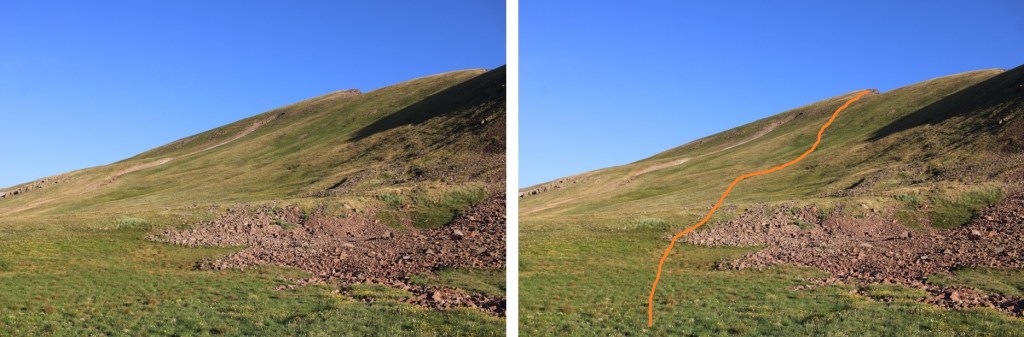
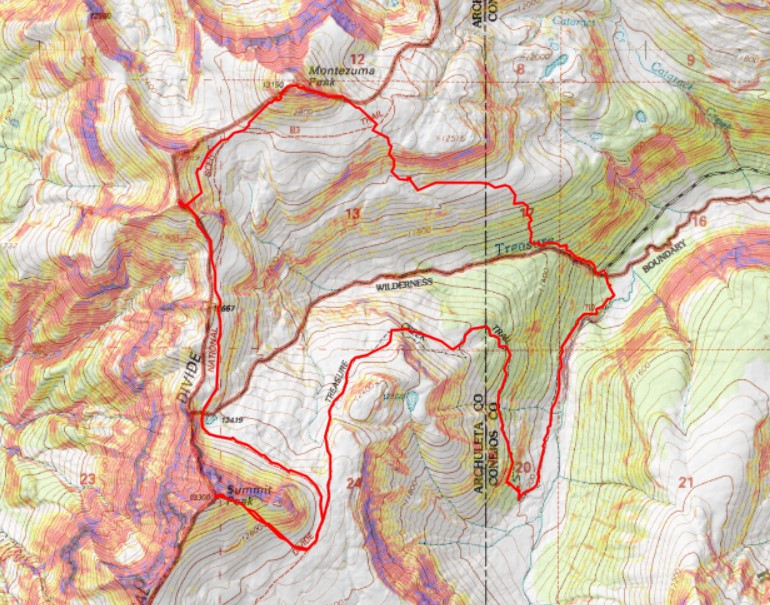
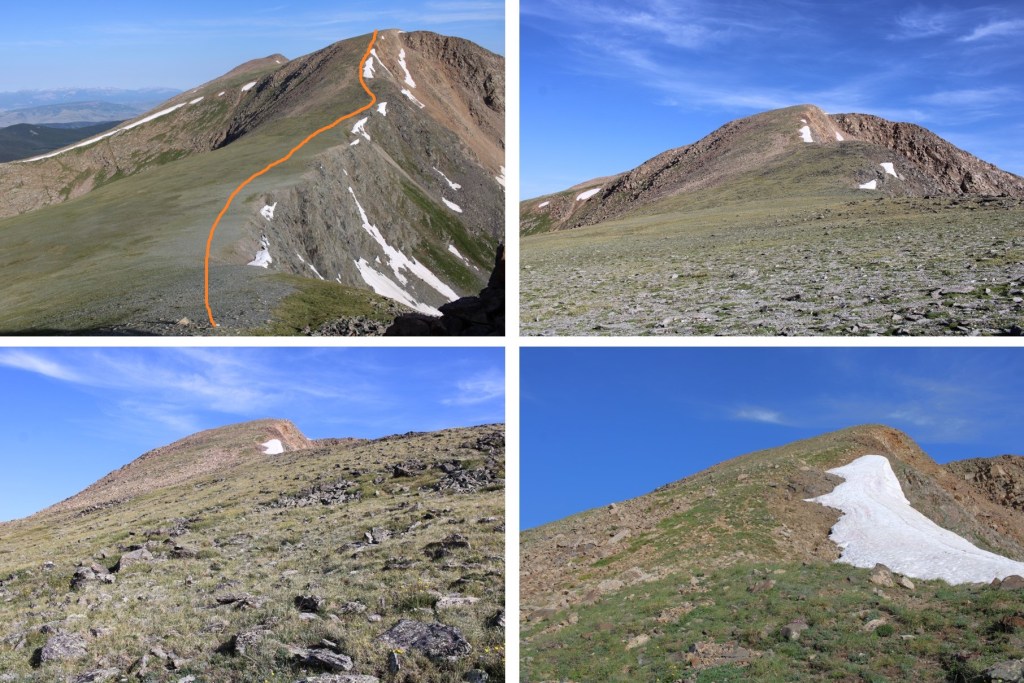
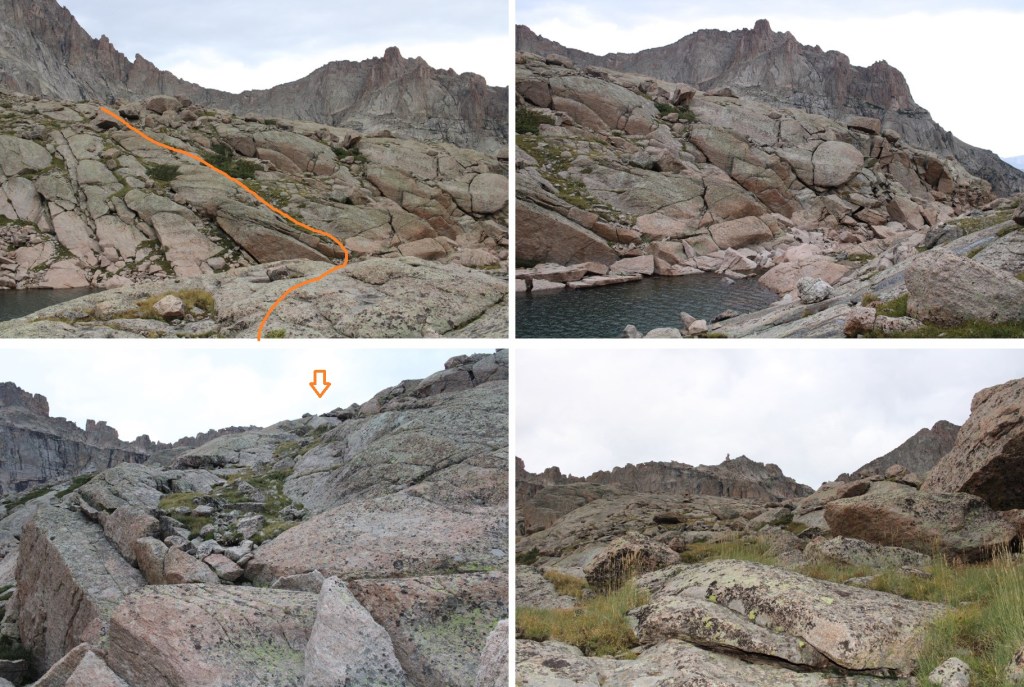
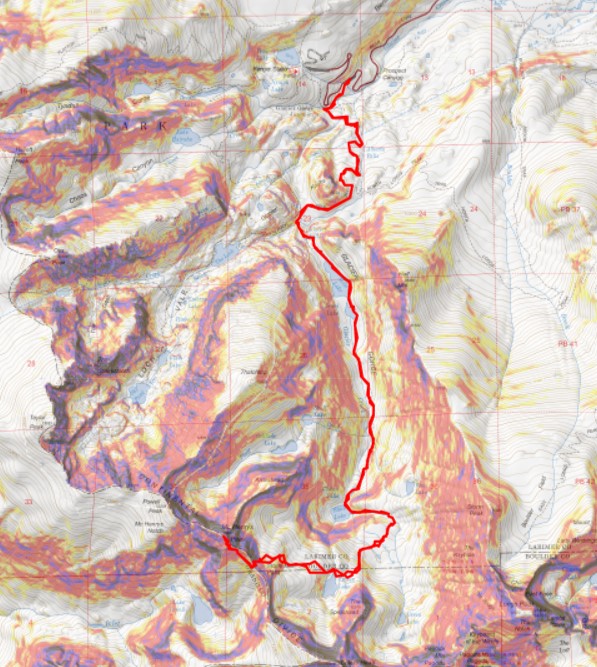
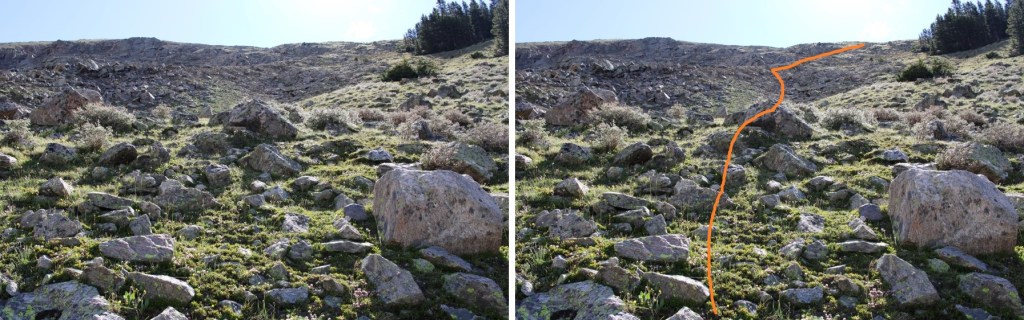
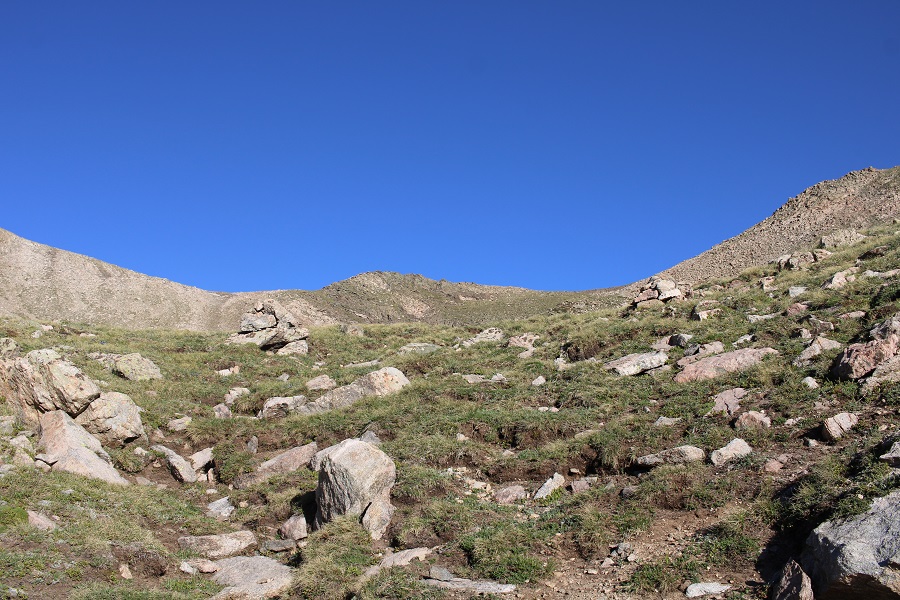
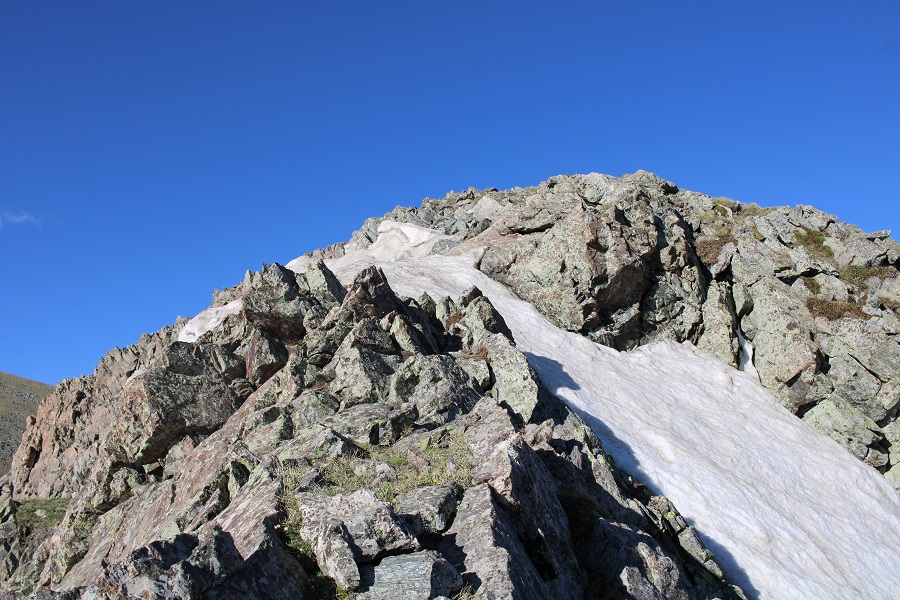
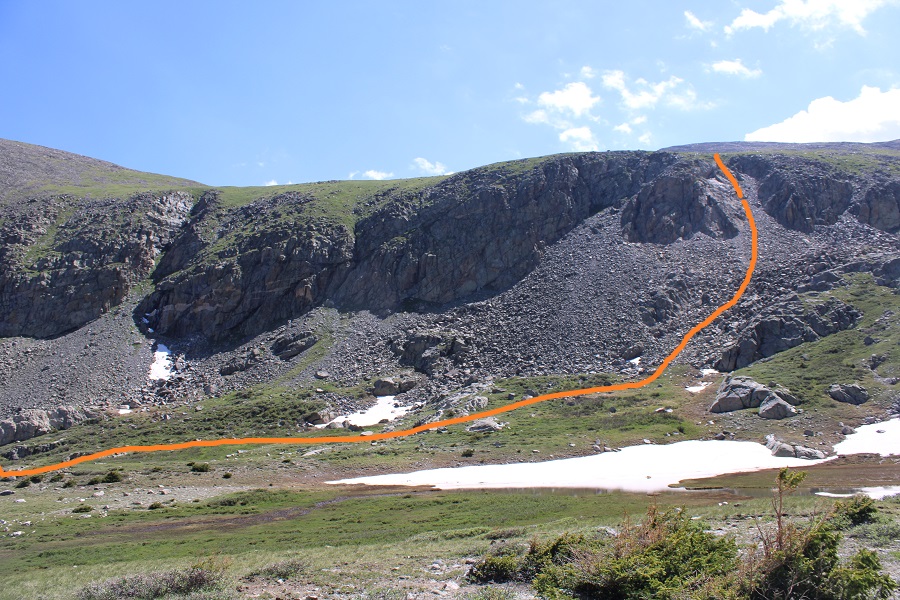
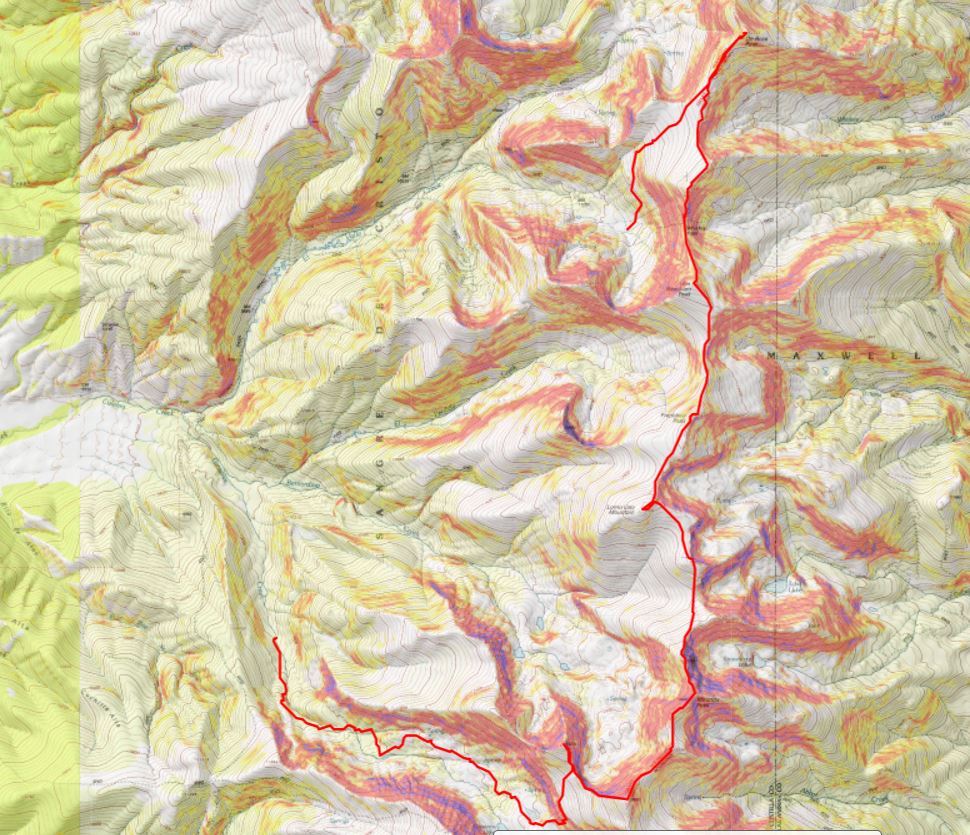
No worries though, the entire route is class 2. There are solid game trails to take for most of it. Here’s the overall route I took.
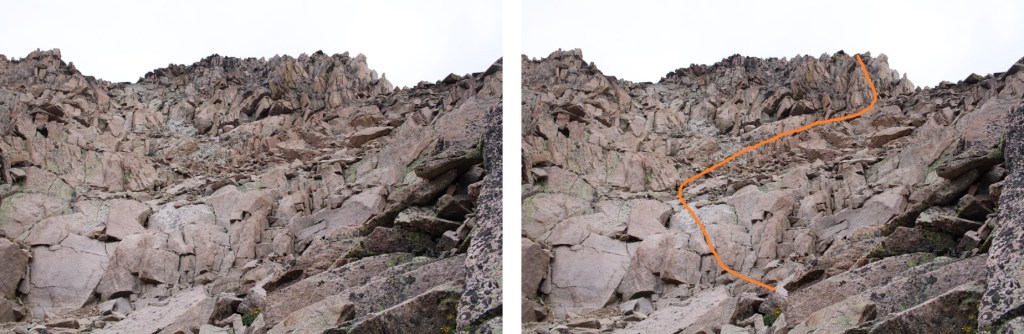
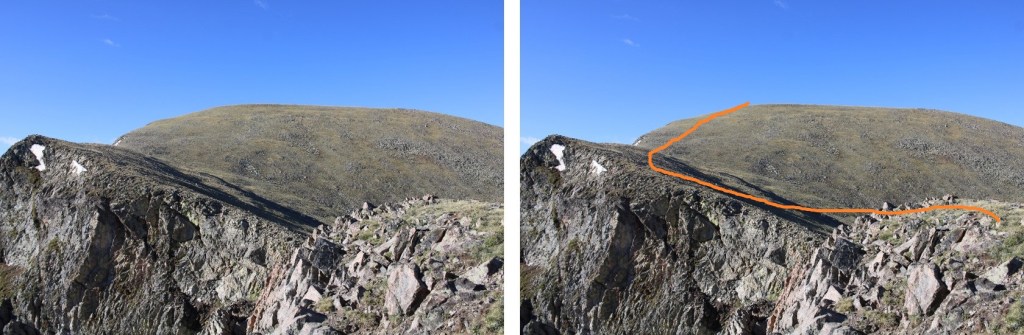
I started out by heading straight along the ridge, and took the obvious game trails when I saw them. They were filled with tracks from all the elk I’d seen earlier.
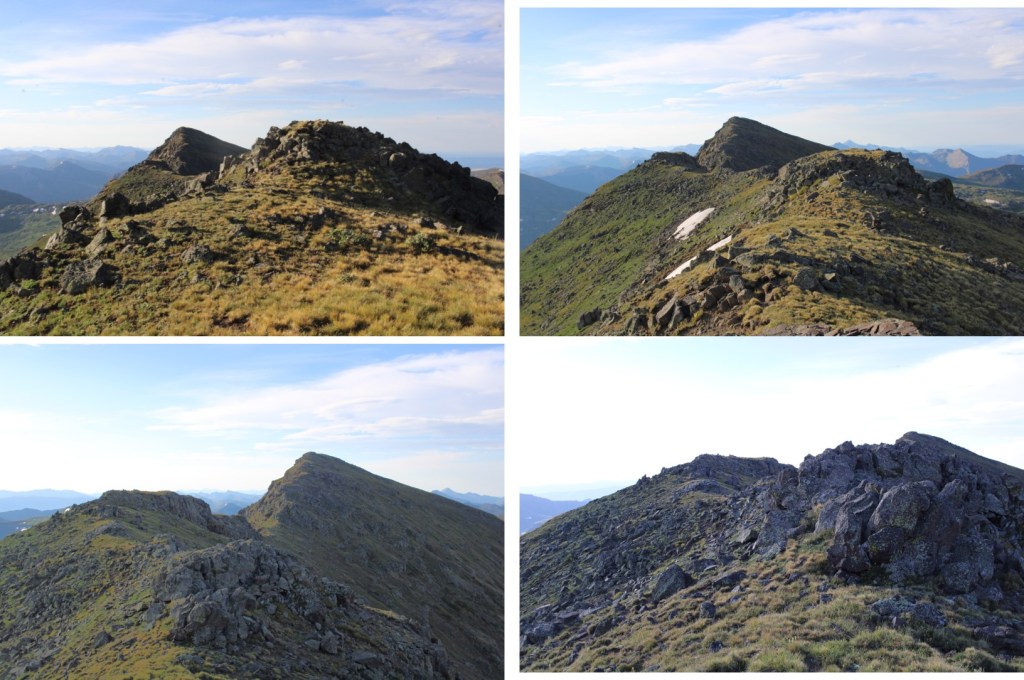
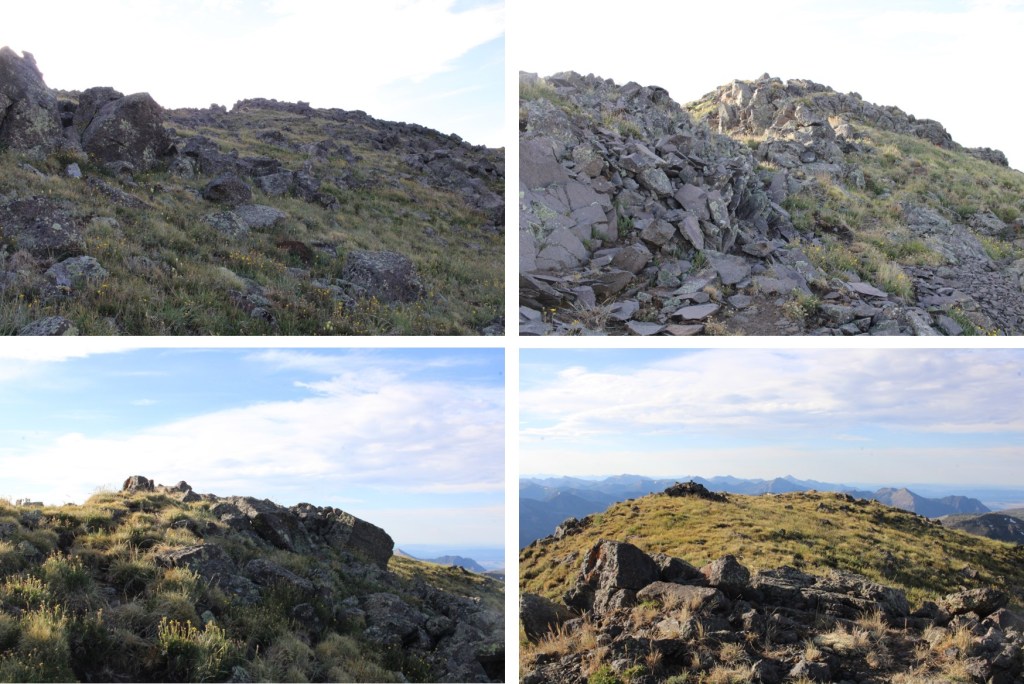
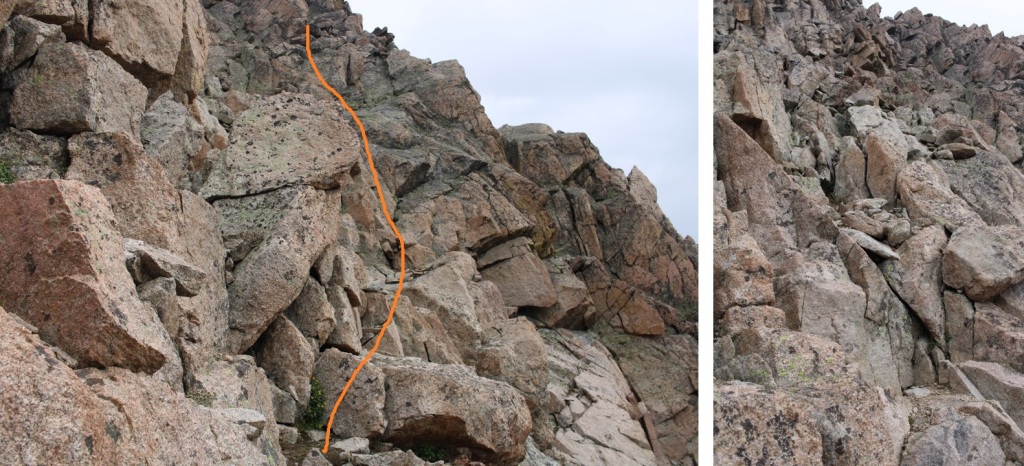
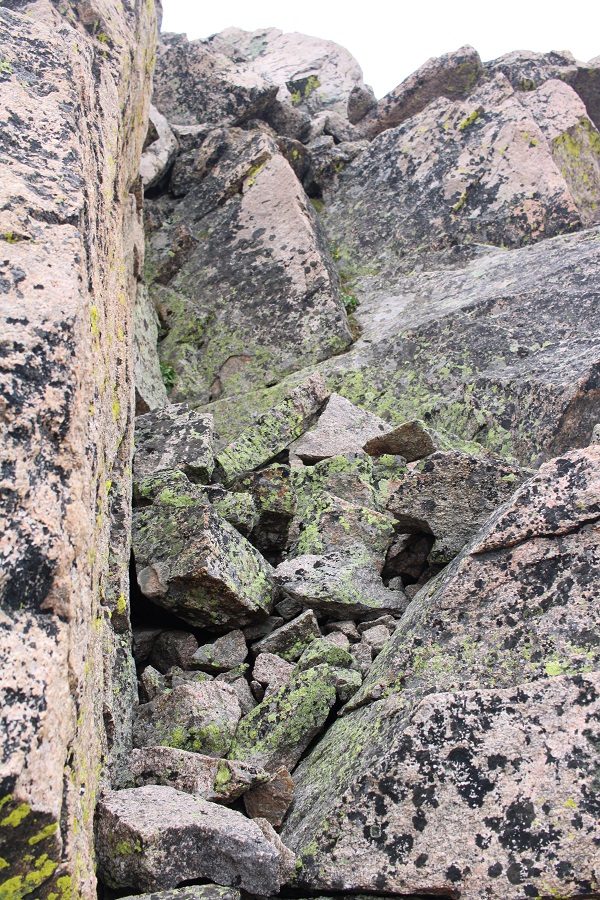
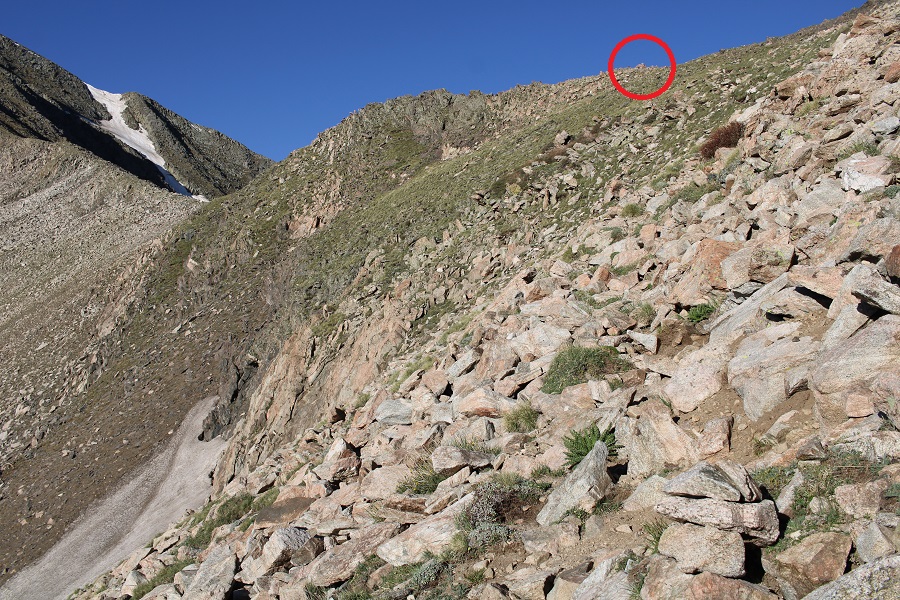
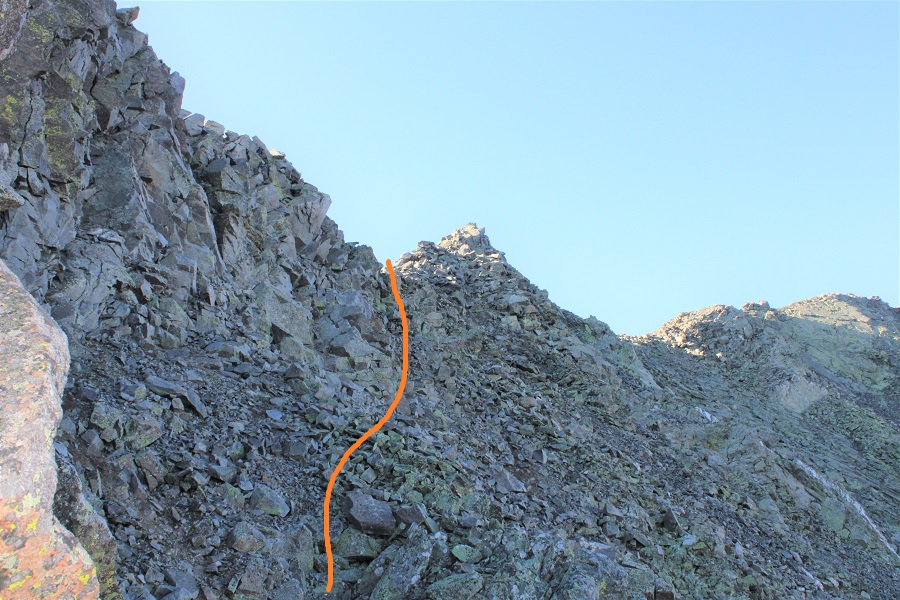
Here’s the final push to the actual summit. There’s a good trail here, and several options for an ascent route. There are at least 3 different class 2 what I could only call minor gullies that go to the summit. Choose your favorite and have at it.
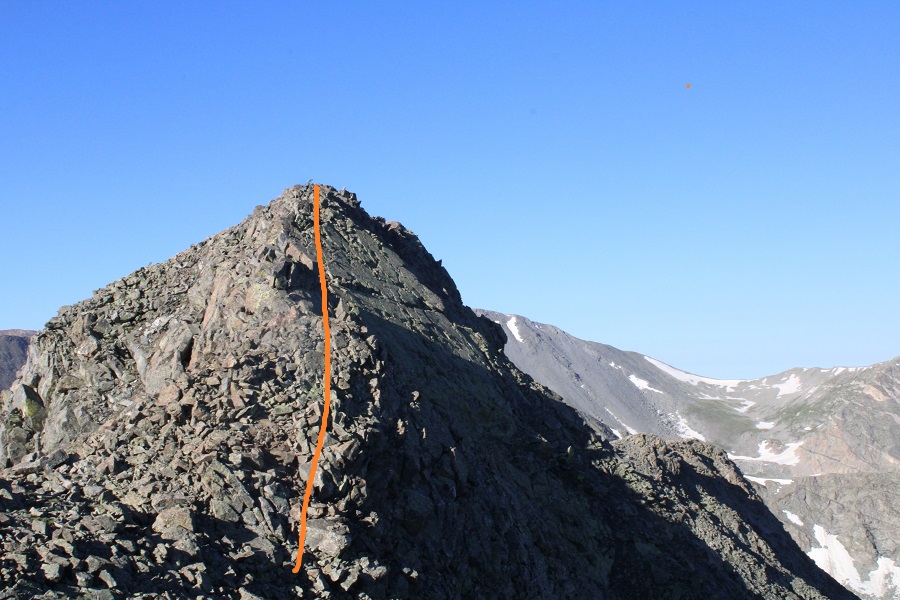
At the top I turned right, and headed southeast to the summit
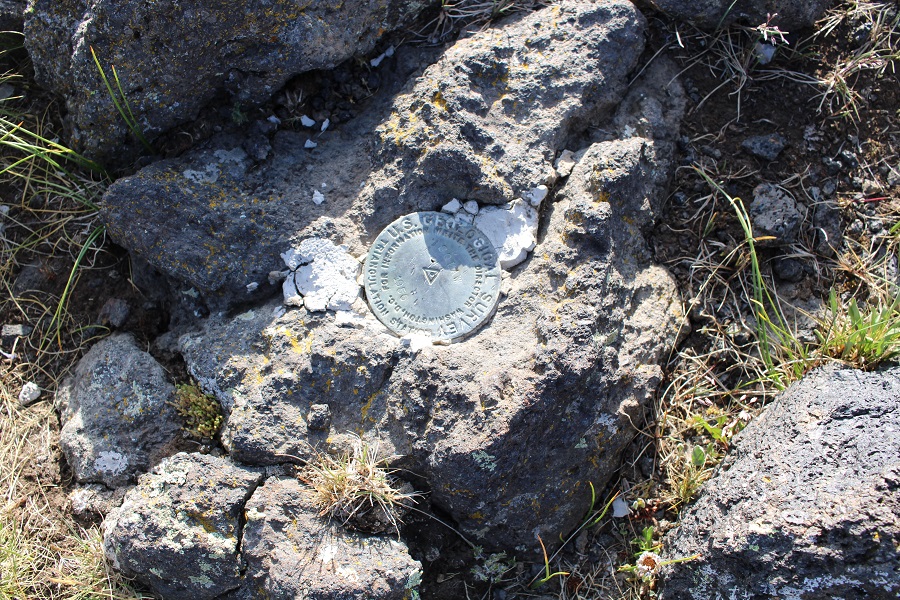
There was a summit marker here as well
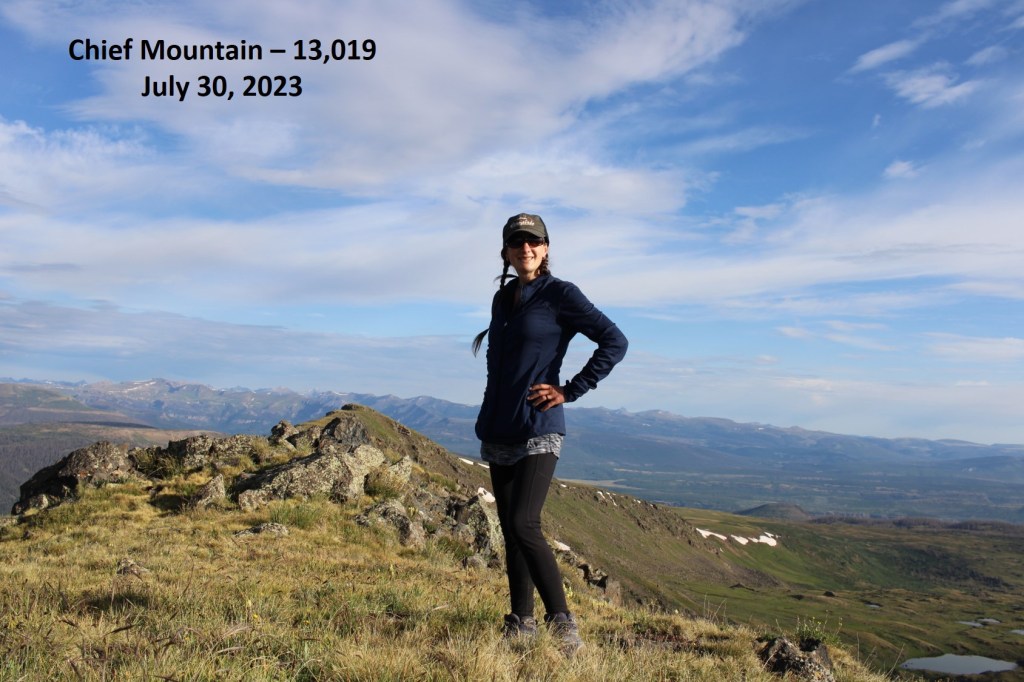
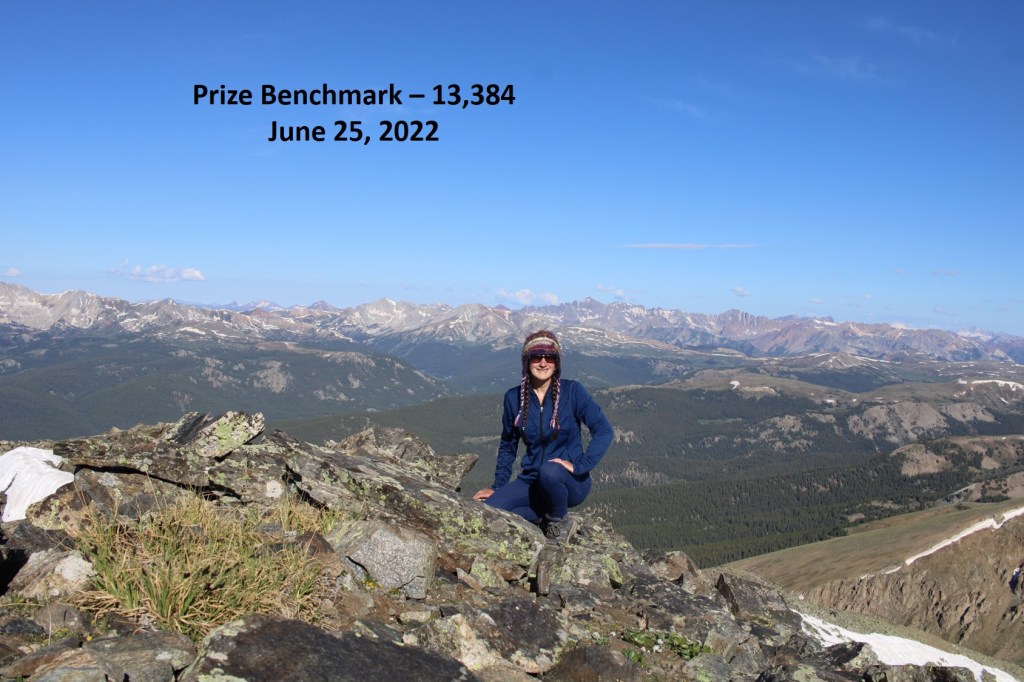
I summited Chief Mountain at 7:50am
Chief Mountain:
Looking back at that last point on the ridge, it looked very similar in elevation to where I was now.
Time to head back. I descended to the west, heading back to the game trail
Then followed the game trail back to the ridge
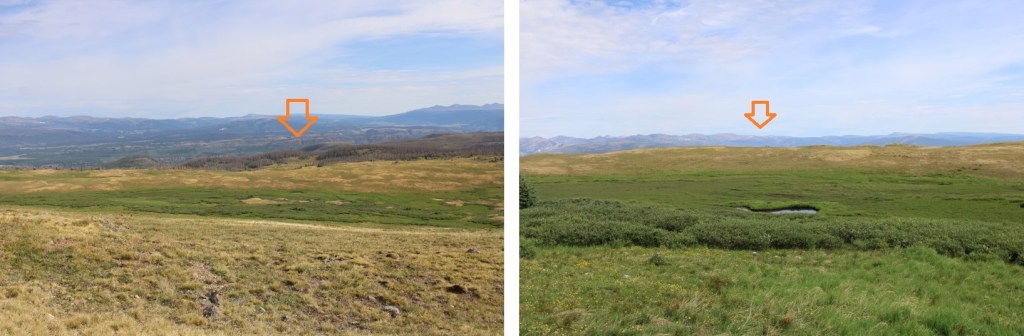
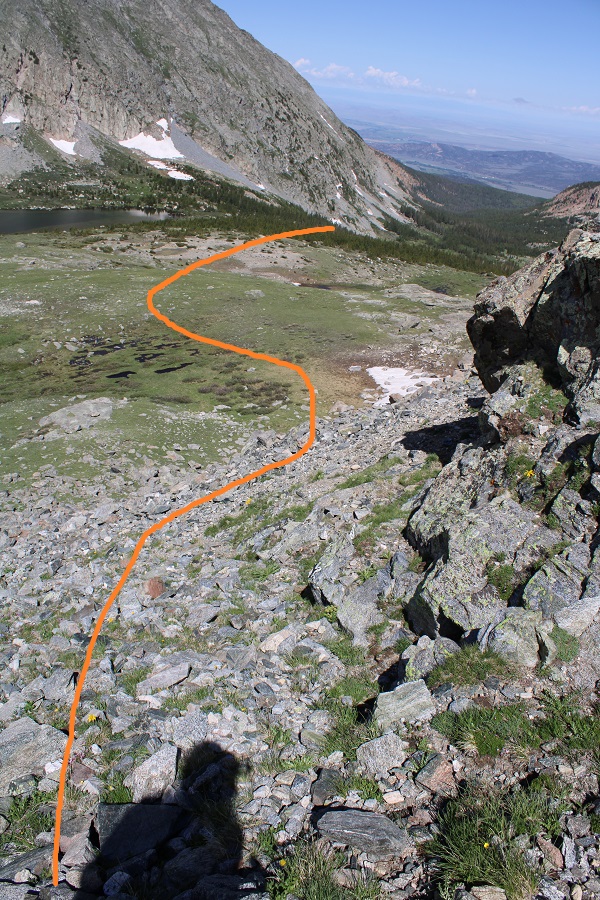
From here, it’s really important to get a visual of where you’re headed. Sure, you’re going to head north on the tundra, but look for a meadow in the distance, surrounded by trees, and keep aiming there. It will help keep you from getting off route.
I saw more elk on my way down. They had been enjoying themselves on the little patch of snow when they were alerted to my presence, and ran away.
Elk:
Now to trudge through the marshy-willow area
And head back to the Fern Creek Trail
Now the Fern Creek trail should be easy to follow, back to the Squaw Creek Trail
I turned right at the Squaw Creek Trail, and followed it back to the trailhead.
I made it back to my truck at 11:30am, making this a 16.82 mile hike with 4261’ of elevation gain in 8 hours.
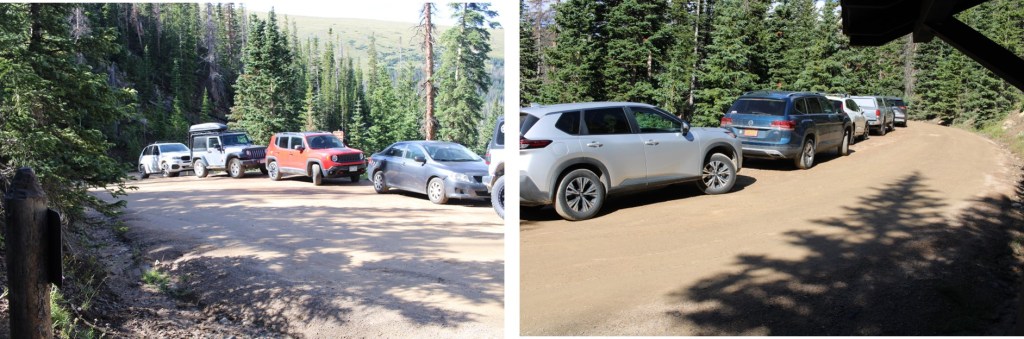
I parked the night before at the Summit Peak Trailhead and had the whole place to myself until I left the next day.
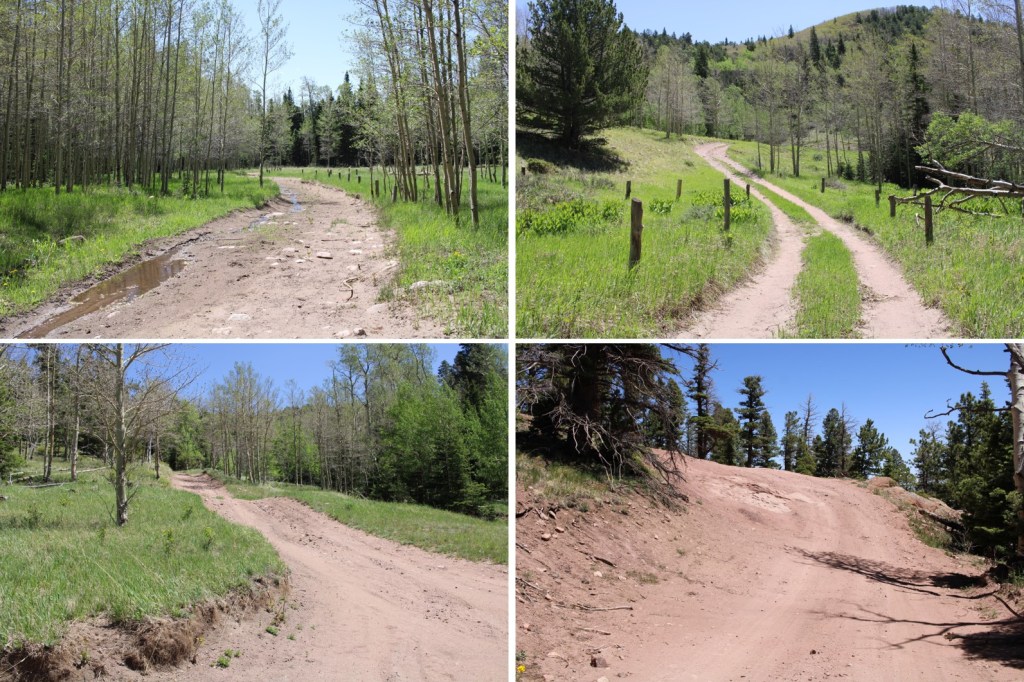
The 2WD dirt road in is in good condition, with plenty of areas to pass other vehicles. I got plenty of sleep, and was on the trail at 5am the next morning. I figured this trail would be easier to take clockwise, as in the dark it would start on an actual trail. This was good thinking, but the ‘trail’ was more of a game trail that I lost and found repeatedly. After the hike was over, I concluded this would still be the better way to go, and you’ll see why later. The trail starts at the south end of the parking area, immediately crossing a bridge over Treasure Creek and following Treasure Creek Trail 710.
The trail quickly went through a flower filled meadow, and then headed south, through an open gate and open meadow. Here the trail was easy to follow, even in the dark.
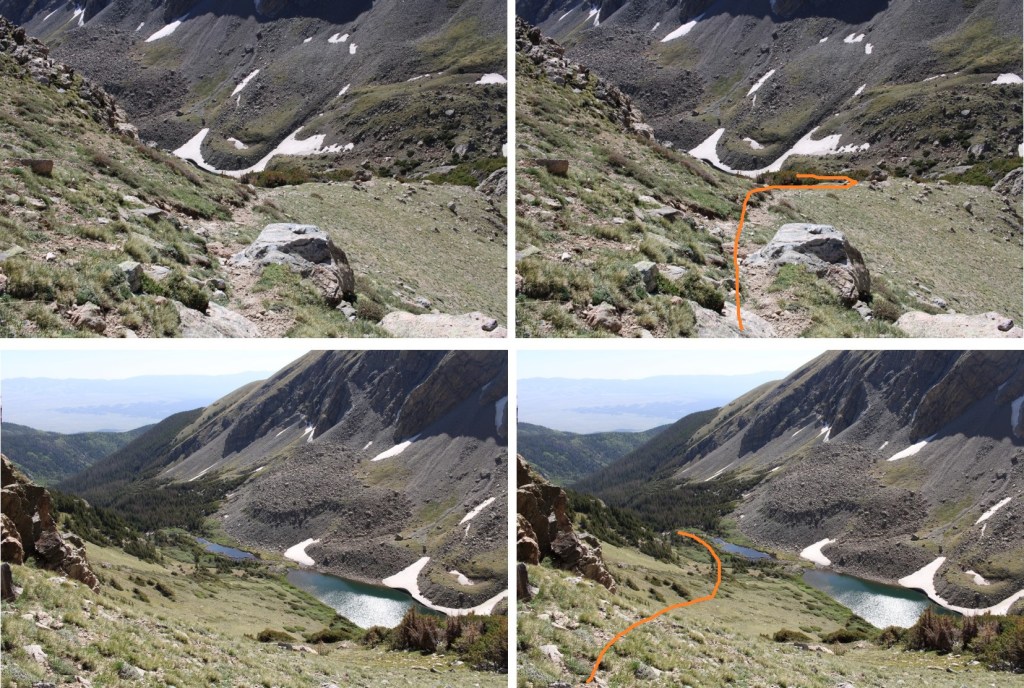
After hiking for 1.3 miles, I came to a cairn, turned right, and headed north up what was supposed to be Treasure Creek Trail. It was a faint trail for a bit, but it was easy to lose.
As I was hiking on this trail, I came across a rather fluffy ptarmigan. In fact, I almost stepped on her, and would have if I’d already put my flashlight away. I stopped for a second, and told her she could stay put and cover her babies if I could go around her. As soon as I said this she exploded. She jumped up into the air, and no less than 12 ptarmigan chicks cascaded out in all directions. A feather bomb had gone off, and I felt bad for her. A few seconds later I could hear her calling to the chicks, and watched them all make their way back to her. Sorry mama, but nesting in the middle of a trail, even a small trail, is a bad idea.
I continued through a faint trail that at times was a great trail, littered with flowers and pine trees
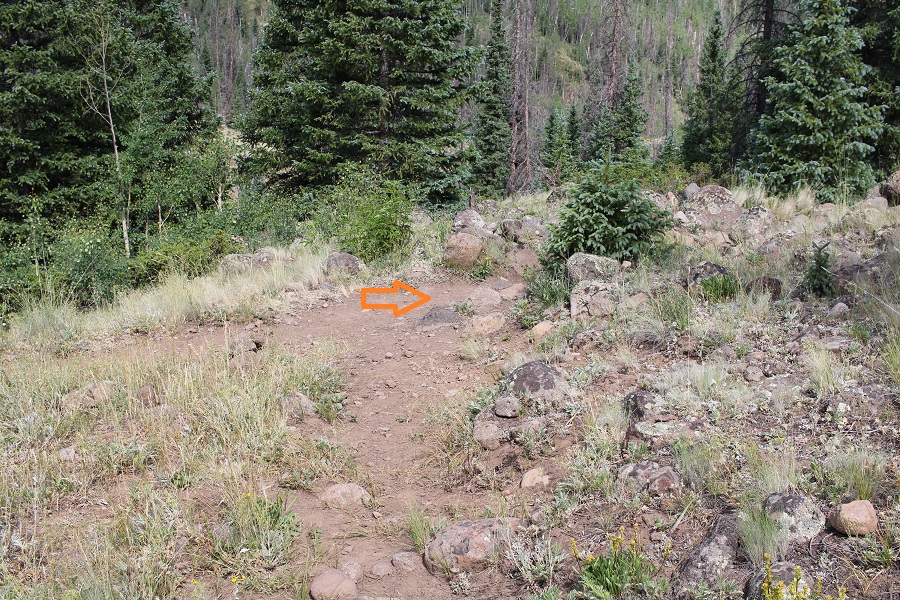
At 11600’ I turned left again, and headed west to treeline, still following a ‘trail’. I was headed to the right. (Both arrows point to the same place)
This was easy to ascend, and the snow avoidable
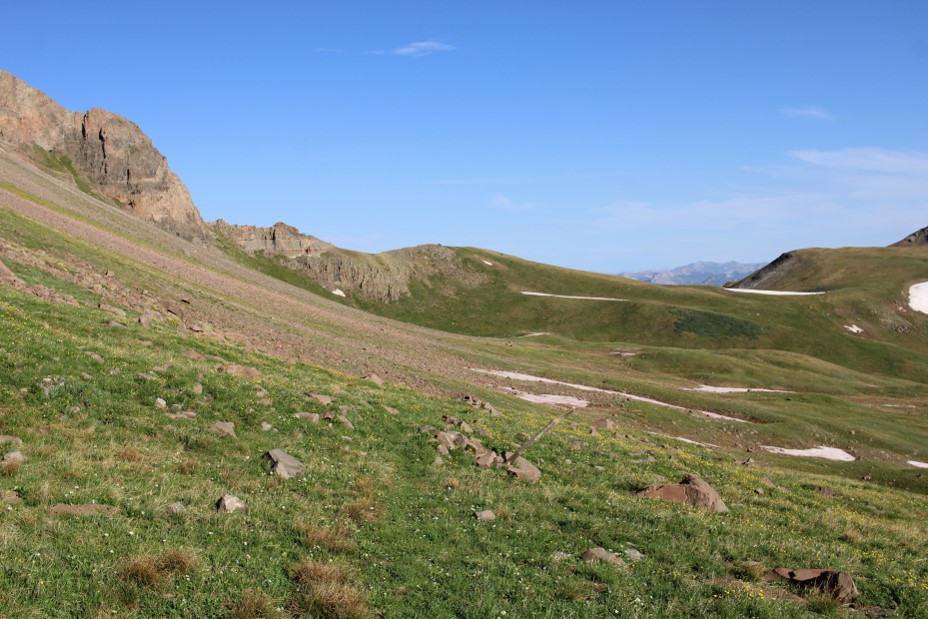
After ascending, a fairly decent trail led me south, towards the Continental Divide Trail, which skirted the south side of Summit Peak
From here it was a steep tundra hike to the summit. This is choose your own adventure, without many obstacles. This is the route I took.
There was as summit marker at the top
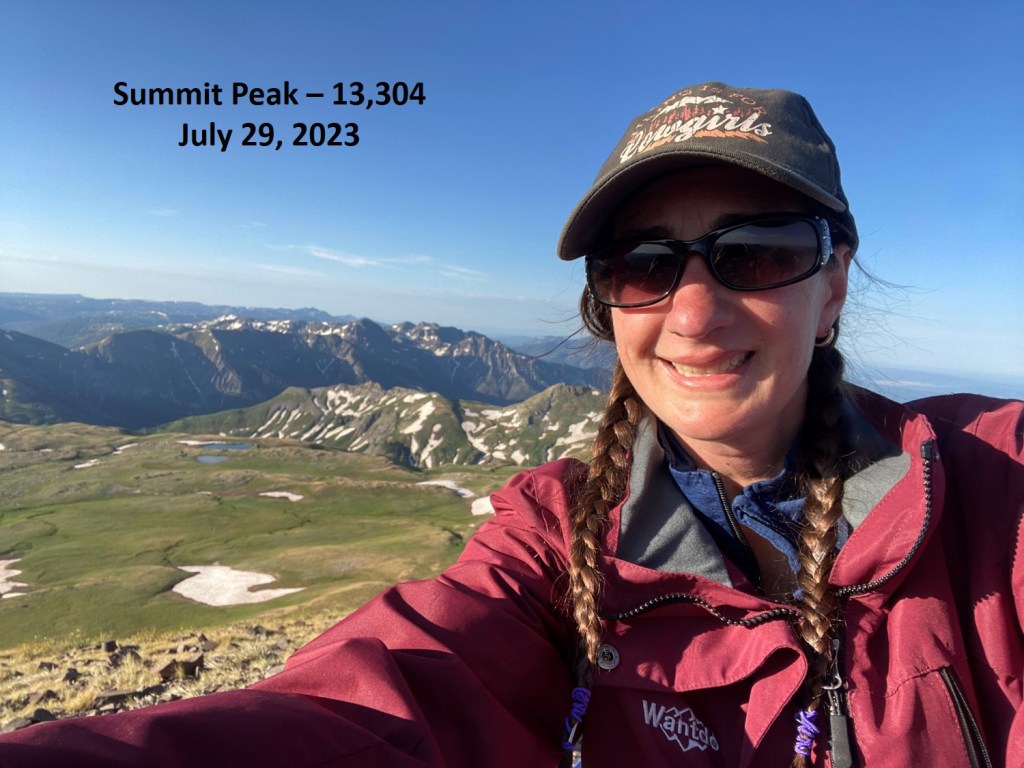
I summited Summit Peak at 7:30am
Summit Peak:
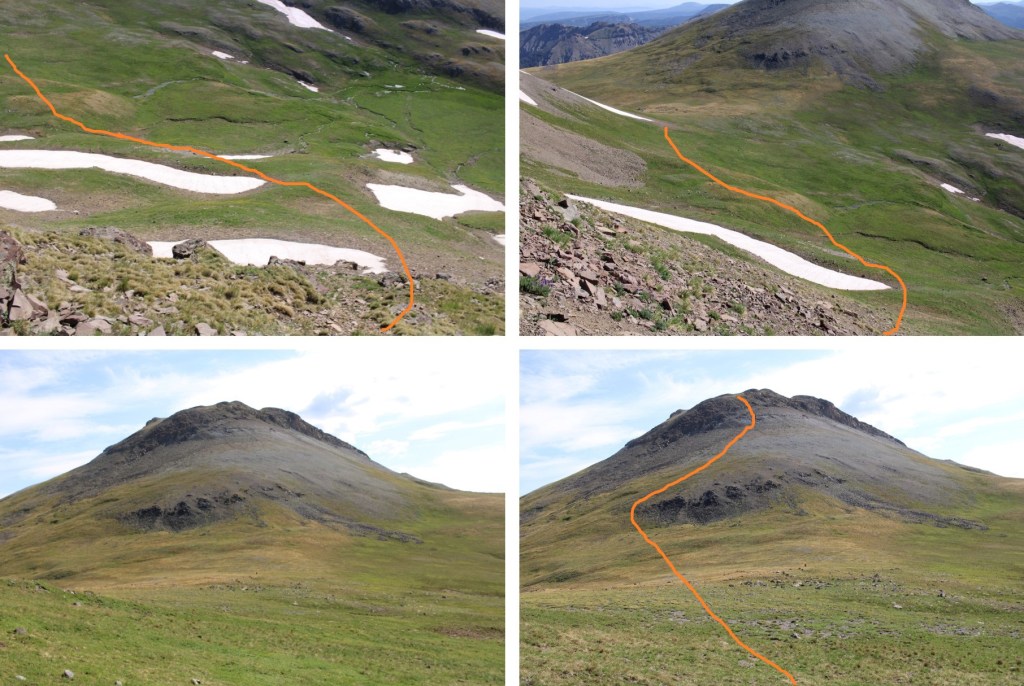
From the Summit I could see The Unicorn and Montezuma to the north
It was a beautiful day on the summit, and there was cell reception, so I spent some time there before turning around and heading back to the Continental Divide Trail. The route back down was straightforward
Back on the Continental Divide Trail, I followed it around the north side of Summit Peak. There were trail markers to show the way, which was a good thing because the trail was faint
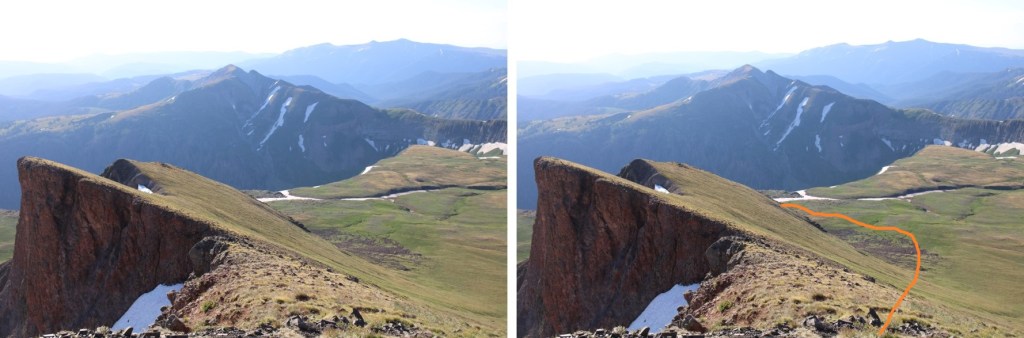
Here’s an overall look at the route to The Unicorn. There was snow on the trail in places, and it was curious there wasn’t a trenched trail over the snow, considering this is the Continental Divide Trail, and I’m sure tons of others must have been through this area already this year.
And some step-by-step pictures.
As I was doing this traverse, I could hear, but not see a herd of elk. I wasn’t sure where they were in the basin, but they sure were being loud, so I figured there were a couple dozen of them. Here I left the trail, and it became a class 2 hike, with just a short section (no more than 10 feet) of easy class 3 climbing up a sort of chimney.
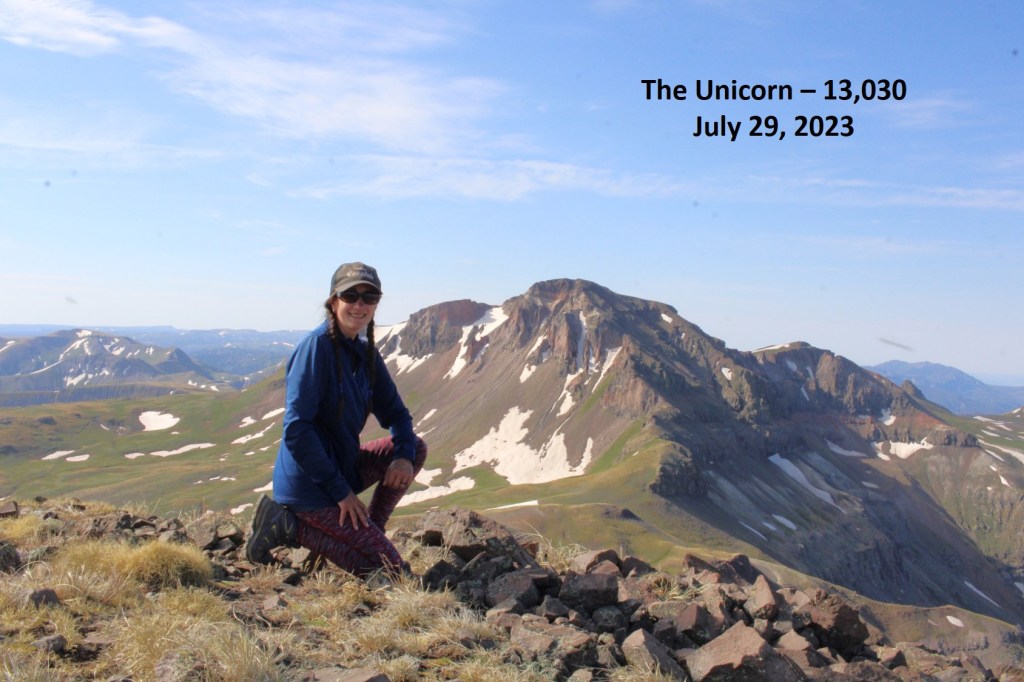
I summited The Unicorn at 9am
The Unicorn:
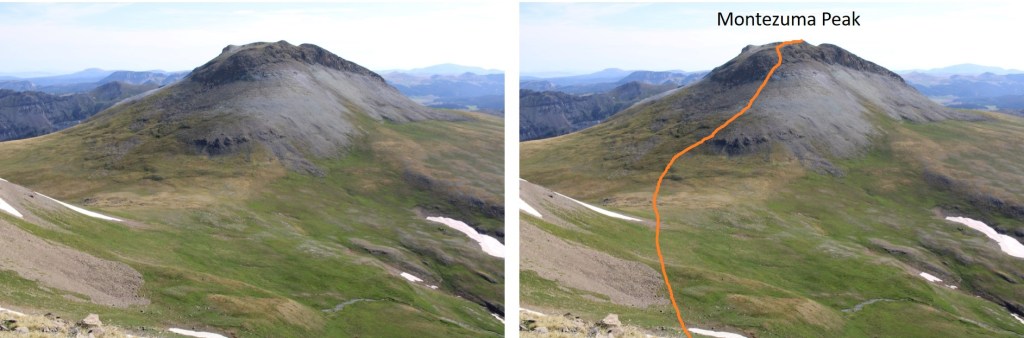
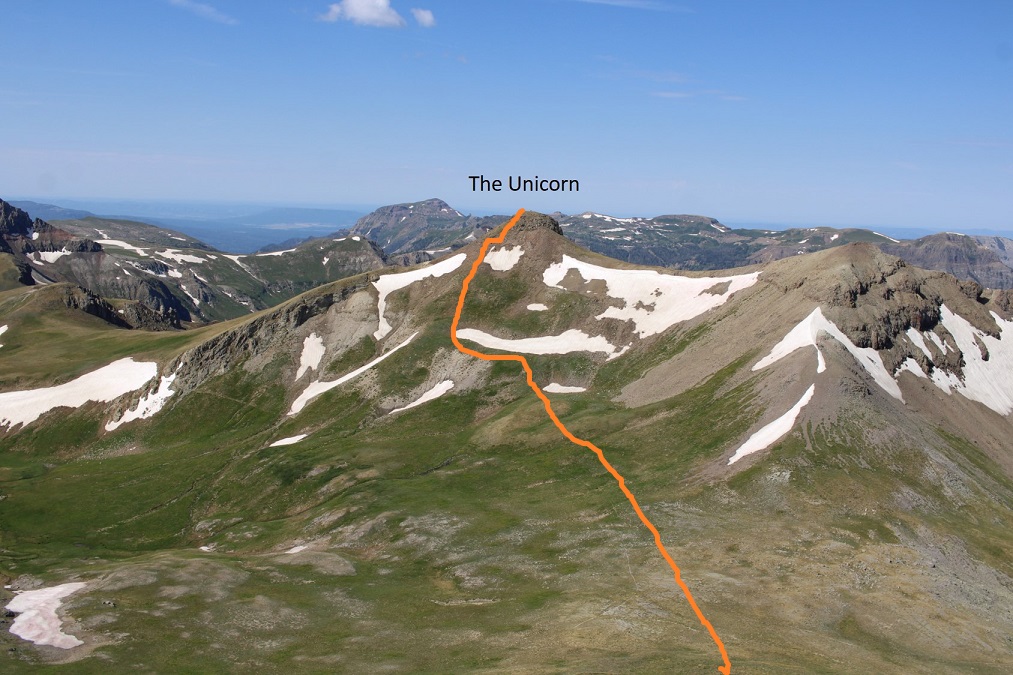
To the northeast I could see Montezuma Peak. This was my overall route to get there. It was all class 2, except for a brief period of class 2+ scree as I ascended the ridge.
This is also a good view of how I descended from Montezuma and made it back to the trailhead
I descended the short chimney
And then I headed northeast, towards Montezuma, being careful to avoid the snow fields in the way
And now to climb the west face of Montezuma. It was steep, but mostly class 2 until just before gaining the ridge, where it was 2+, and choose your own adventure on the scree/talus.
After gaining the ridge I turned right, and headed east towards the summit of Montezuma
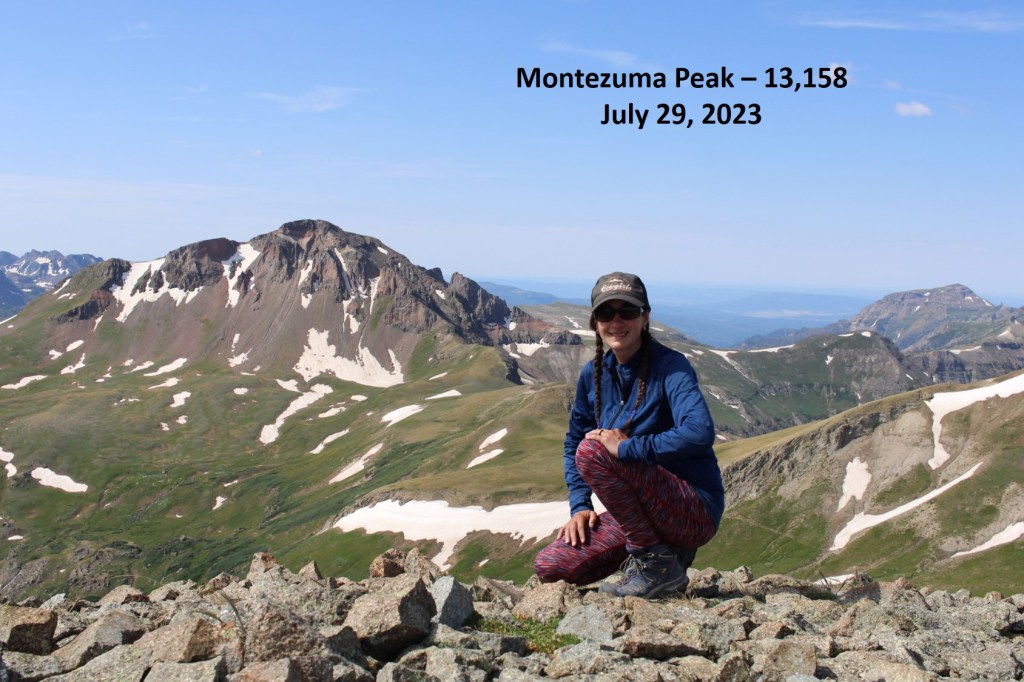
I summited Montezuma Peak at 10am
Montezuma Peak:
Here’s looking back at the route from The Unicorn to Montezuma
There were a ton of bees at the summit, so I didn’t stay long. I turned and headed east, down the ridge. This is a class 2 ridge (seriously). I just stuck to the ridge proper and had no trouble descending. Here’s my overall route down the ridge
Then I headed southeast
I planned on descending this grassy gully
As I was descending, I finally saw the herd of elk I’d heard earlier in the day. I sat on a rock for 10 minutes, just enjoying watching them. Some were resting in a circle, others were grazing, and two mamas were watching their babies enjoying a patch of snow. I hated to disturb them, but I had to get going. As soon as the wind shifted, they could smell me, and they were off. There were tons of signs they’d bedded down for at least a few nights there in the past few days.
Elk:
Once they were off I continued descending. When I made it to the bottom of the gully I turned left, and headed east along the plateau
At the end of the plateau, when I came to the trees, I turned right and descended south towards the creek. This was a lot of bushwhacking through downed trees and flowers and grasses that were as tall as I am, but I just aimed for the creek.
When I reached the creek, I stayed about 30 feet from it’s banks, and followed it (and game trails) southeast back to the trailhead. It’s important to stay above the creek because there are waterfalls to avoid.
I made it back to my truck at 11:30am, making this a 10.18 mile hike with 3534’ of elevation gain in 6.5 hours.
I started from Gold Creek Campground outside of Ohio City. The road in was an easy 2WD dirt road, that led me to a dispersed campground maintained by volunteers. There are about 5 sites, with vaulted toilets. I didn’t feel right using the empty campsites, as I wasn’t really camping, but sleeping in the back of my truck, so I parked at a dispersed site directly across the road, near the trailhead, at about 10,050’. Also, it was quieter, as a family with two small children and rather loud dog were staying in the campground. There was a makeshift corral for horses there as well.
I was on the trail at 5am the next morning. The trail starts at the north end of the camping area.
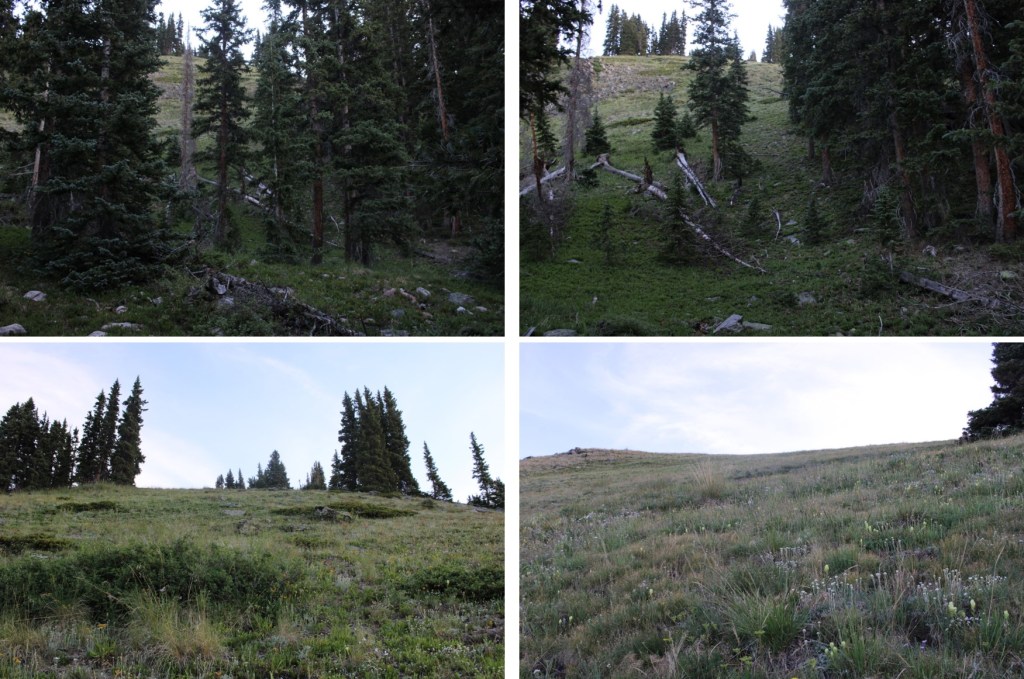
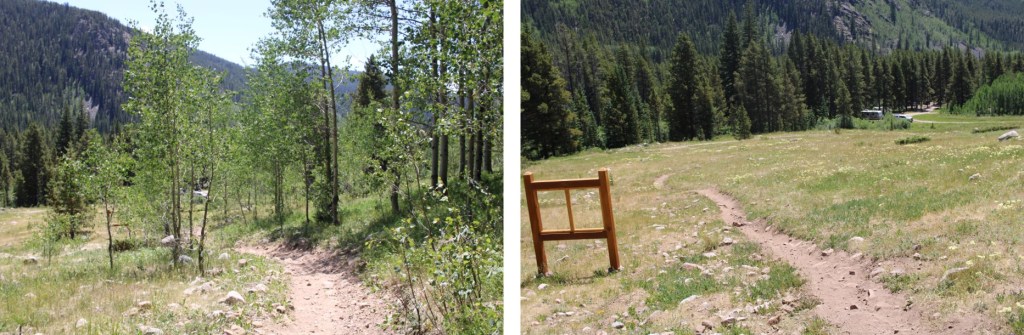
I followed Trail 532 northwest for 2.5 miles to Mill Lake. This is an easy to follow, class 1 trail the entire way to the lake.
There is one junction early on that isn’t on a topo map, but it’s well marked. Just keep going towards Mill Lake.
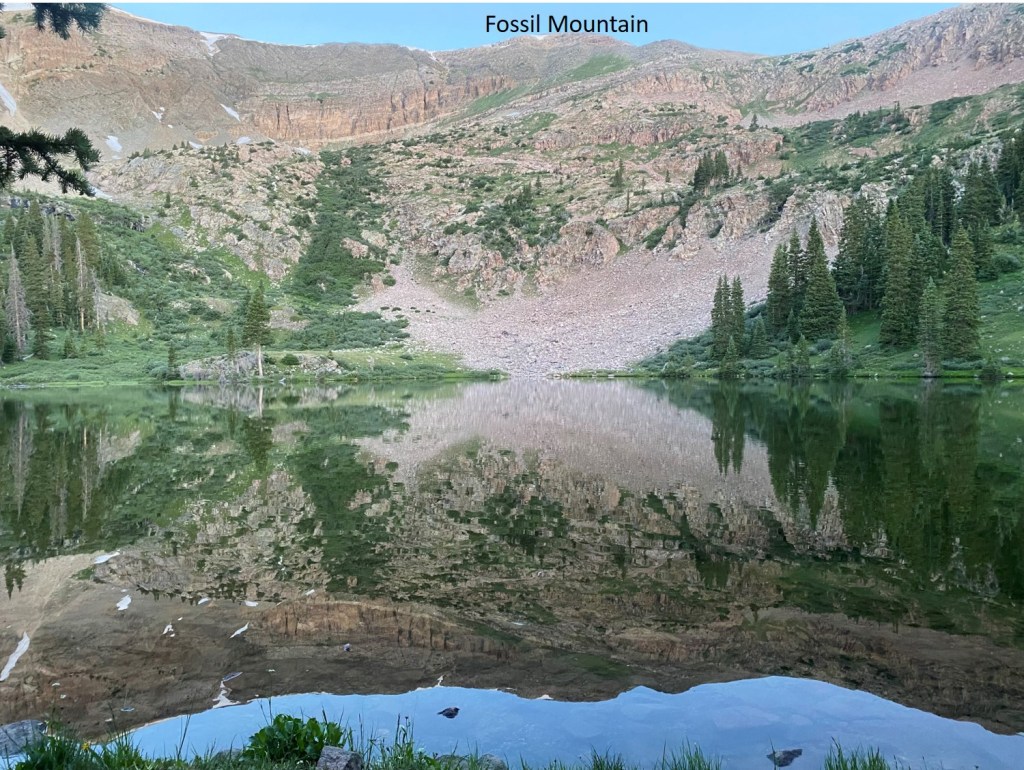
At Mill Lake you can clearly see Fossil Mountain. The easiest way to get there is to turn right, and head northeast through the trees until you see the ridge. It’s a short (100 yards at most) hike to get there, and the bushwhacking is easy.
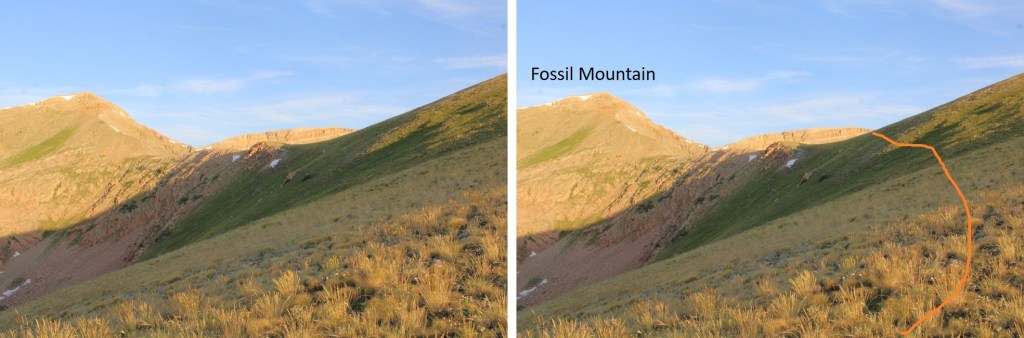
The route will be easily visible. There are rock ledges if you go to far left or right. You want to take the tundra northeast until you make it to the ridge, and then turn left and follow the ridge west. Here I gained 850’ of elevation in .75 miles
Here’s looking at the last bit of the route to the ridge. There’s no need to hike all the way to the top of this little bump in the ridge, as it isn’t ranked. I skirted it and headed towards Fossil Mountain.
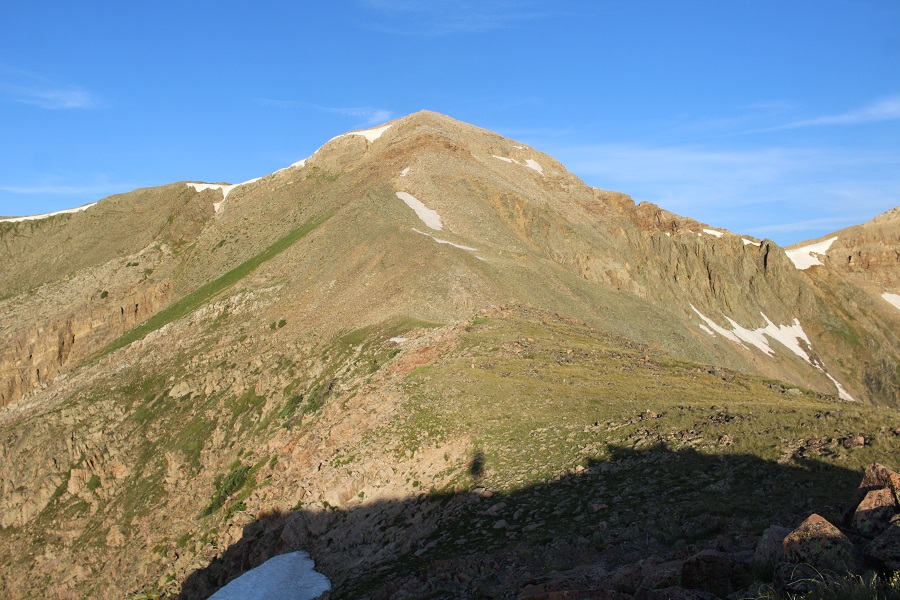
Now the hike became fun. The ridge goes at a class 2 scramble until the base of Fossil Mountain, then becomes an easy class 3 scramble to the summit.
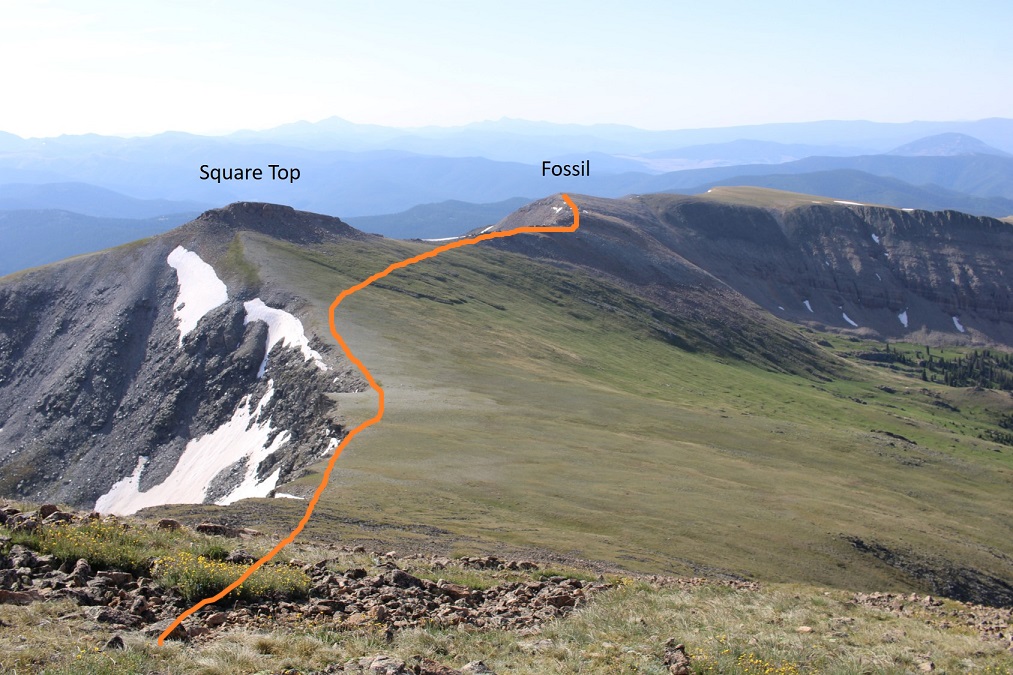
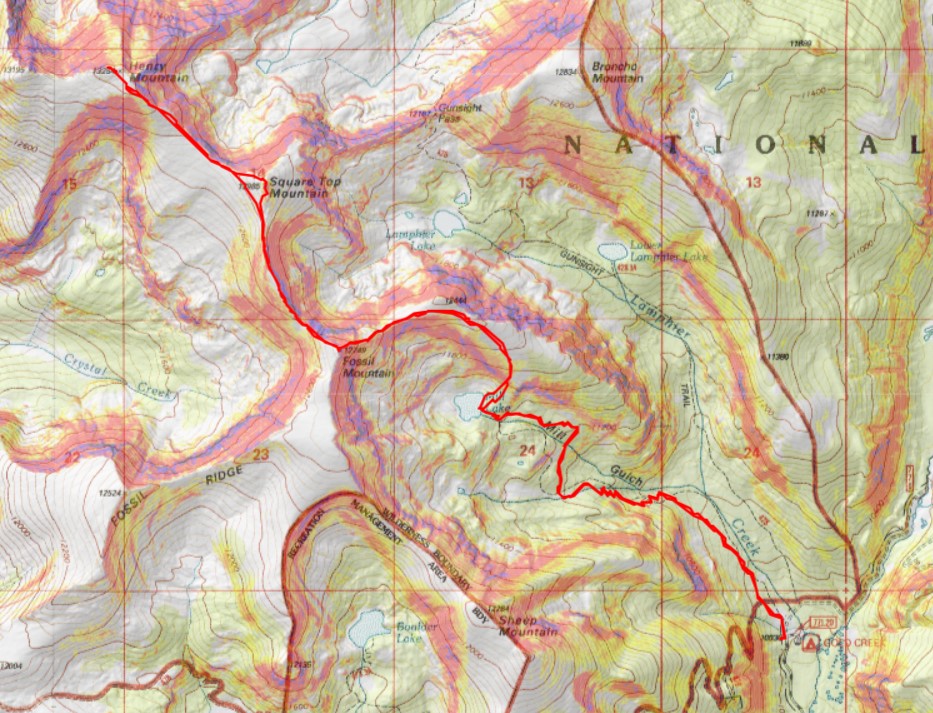
Here’s the overall route I took
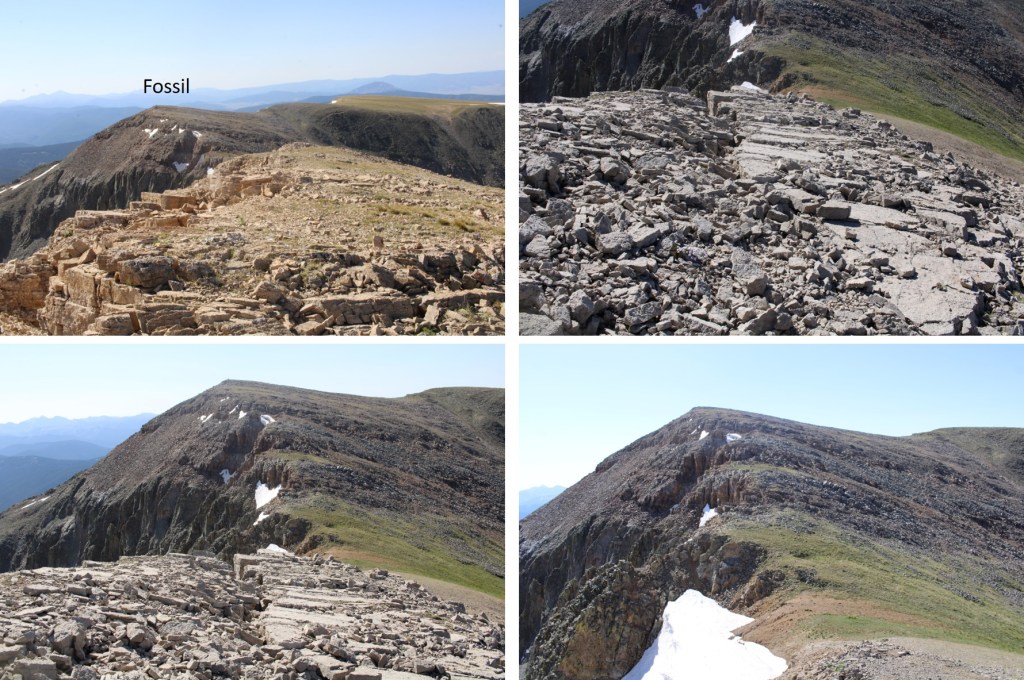
And some step-by-step pictures
I went straight up and over this large rock formation. It was easy class 3. You can go to the right to get around it, but you’ll be met with loose talus and a gully.
I summited unranked Fossil Mountain at 7am
Fossil Mountain:
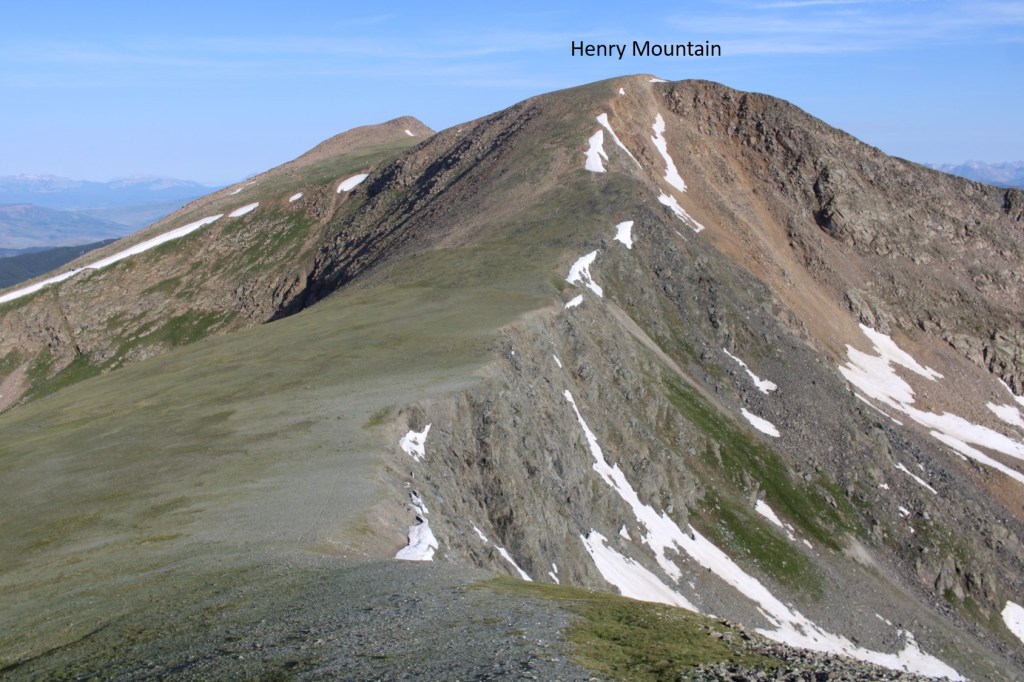
From the summit of Fossil Mountain, looking to the northeast you can see the other two peaks I was headed for today, Square Top Mountain (unranked), and Henry Mountain
It was a straightforward ridge hike to get to Square Top Mountain, where I pretty much stayed on the ridge. There were some easy class 3 moves, and at times I needed to dip to the left or right. The rock is very loose in areas, and very stable in others, so basically it keeps you on your toes. I lost about 180’ of elevation going to the Fossil/Square Top saddle. Here are some pictures of the ridge to Square Top Mountain.
From the saddle, here’s looking up at the path towards Square Top. The first half was on tundra, and then the rocks began
It was here I noticed a small herd of elk. I stayed where I was until they noticed me, then watched them watch me as they ran away.
Check out the herd of elk:
Ok, continuing with the ridge. This part looked difficult, but I found it was easy class 3 if I just kept to the ridge.
Now to summit Square Top Mountain. This was relatively simple, as there were several options. I went up the gully nearest me (and down the one on the other side). The rocks here were loose, but the angle was light.
After ascending the gully, I turned left and easily walked to the summit
I summited Square Top Mountain at 8am
Square Top Mountain:
Looking to the northwest I could see Henry Mountain
I descended Square Top Mountain to the northwest, and hiked on tundra to the summit of Henry. There were some very faint fame trails here I utilized.
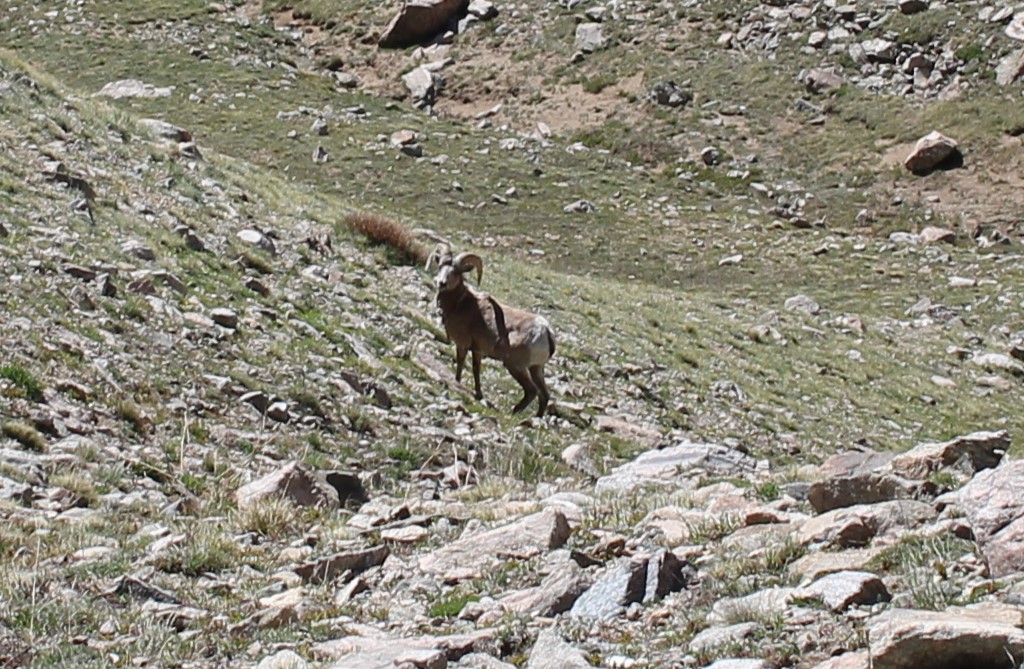
As I came to the top of the ridge, I was greeted by 4 mountain moats. Usually, mountain goats are pretty tame and just watch me. These ones did for a while, but as soon as I got out my camera and they could hear the shutter snap, they took off. Well, three of them did, the other one stood and looked like he was ready to fight, but then turned and followed the others
The summit of Henry Mountain is to the northwest, so I headed northwest towards the obvious highpoint on more tundra
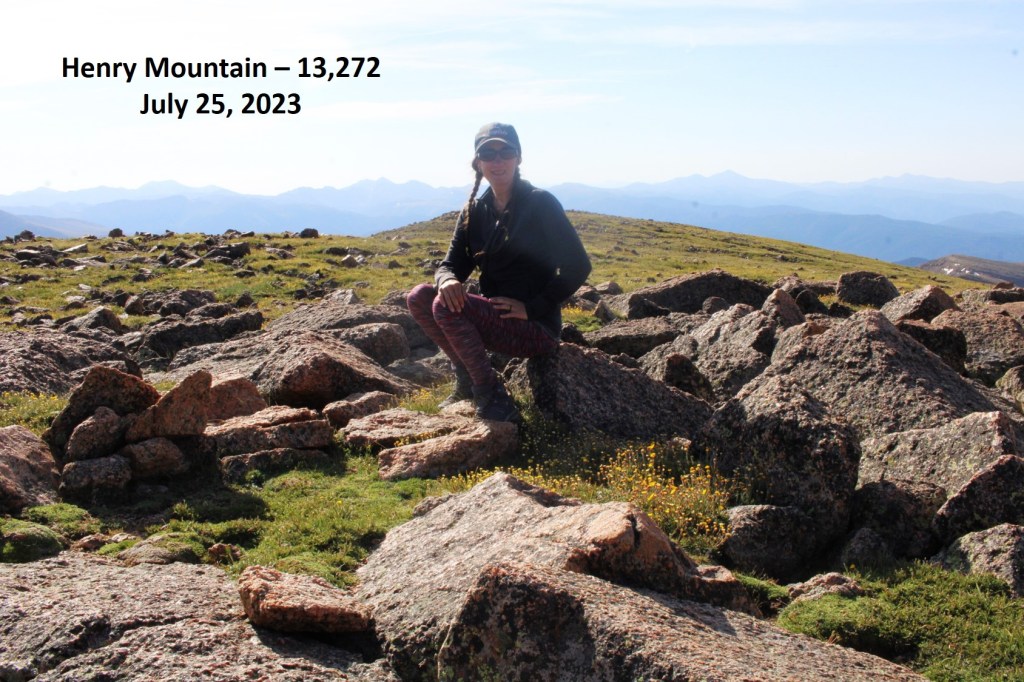
I summited Henry Mountain at 8:40am
Henry Mountain:
This was an out and back hike for me, so I turned around and retraced my steps back to Fossil Mountain
Here’s the overall route I took, skirting Square Top this time
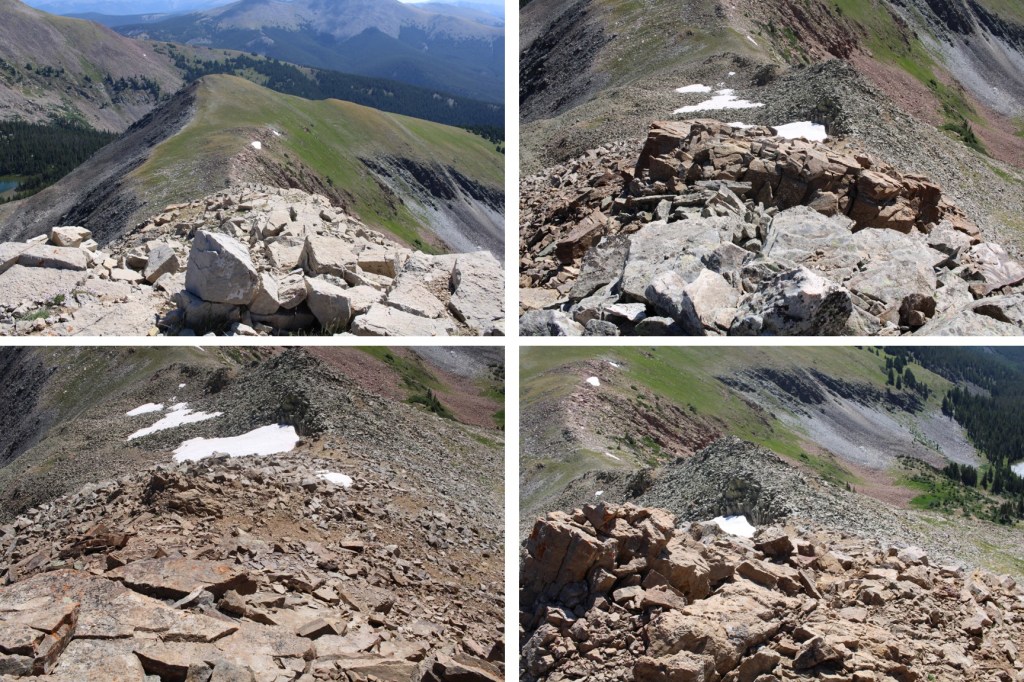
And some pictures of that rocky ridge between Square Top and Fossil
Then down to the Fossil/Square Top saddle
And up the ridge, back to the summit of Fossil. This part was class 2
At the summit of Fossil Mountain I was greeted to 4 ptarmigans on the summit cairn. They actually led me for a bit down the trail.
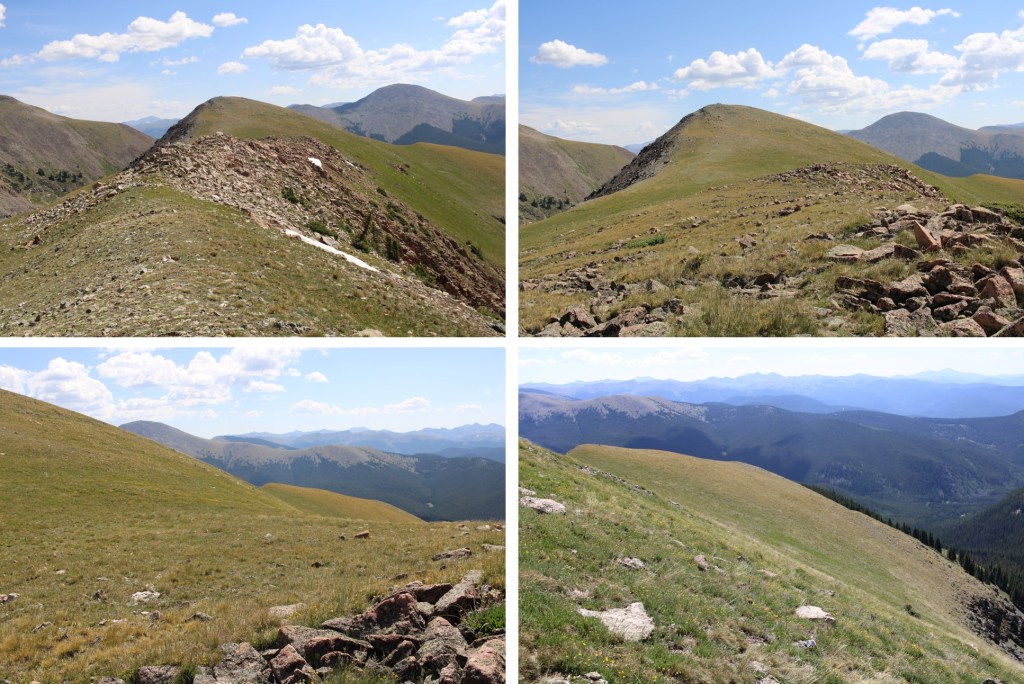
I descended Fossil Mountain to the northeast, staying directly on the ridge. Here’s the overall route. Note where I entered/exited the trees, as it kept me on tundra and avoided the rocky sections and brought me back to Mill Lake.
Here’s looking at that easy class 3 section down the ridge. Once again, I stayed directly on the ridge and kept it easy class 3
Then back towards the tundra
As soon as I came to the first group of trees on the tundra I turned right, and headed down towards the lake
After a quick bushwhack in the trees, I could see the lake and a trail below
I followed the trail around the east side of the lake, back to Trail 532, and then followed that trail back to the trailhead
I made it back to my truck at noon, making this a 10.96 mile hike with 3927’ of elevation gain in 5 hours. Please, note, I spent a lot of time admiring the wildlife and looking for cool rocks.
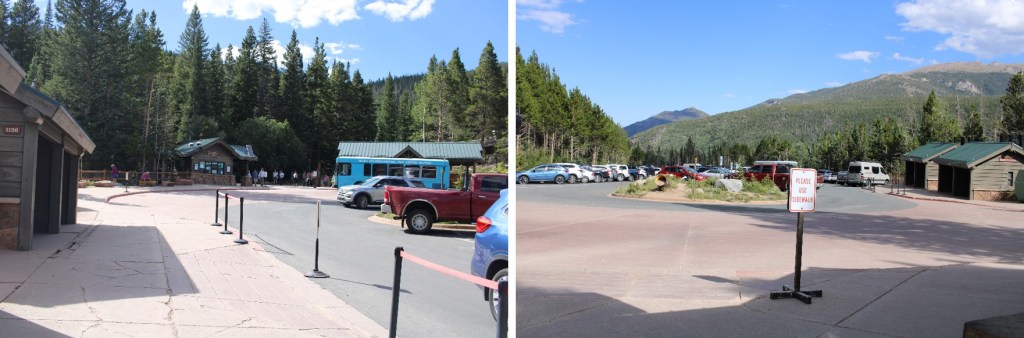
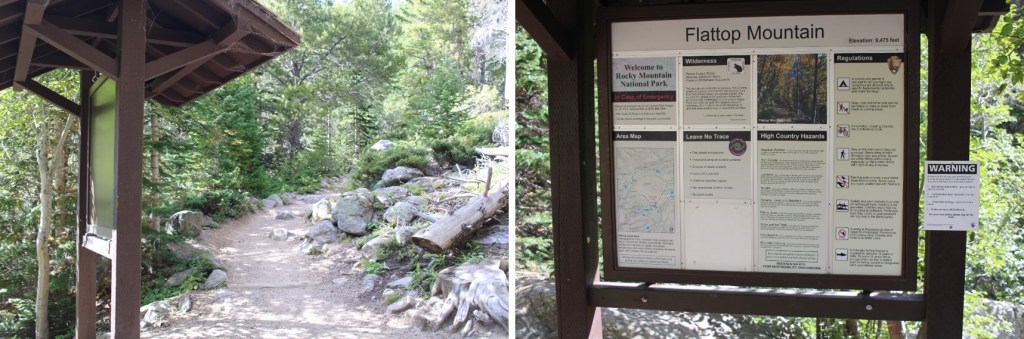
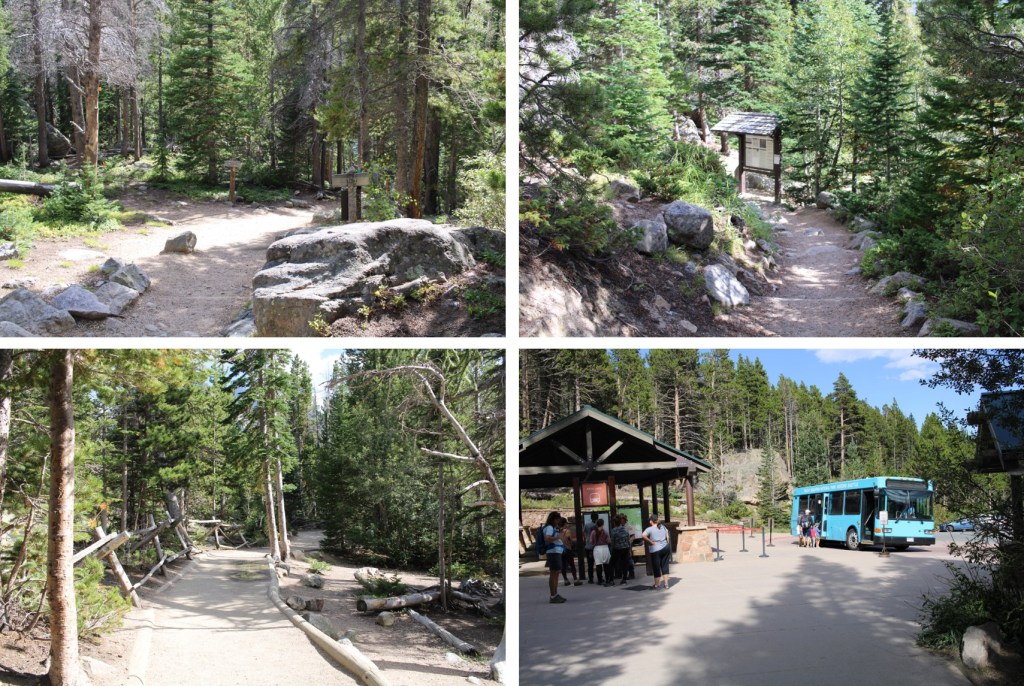
I started from the Flattop Mountain Trail inside Rocky Mountain National Park, at the Bear Lake parking area, at 4am. I’ve been to this trailhead a few times, and it fills up before 6am, so plan on getting there early to secure a spot.
There is great signage in this area, leading you to the trailhead
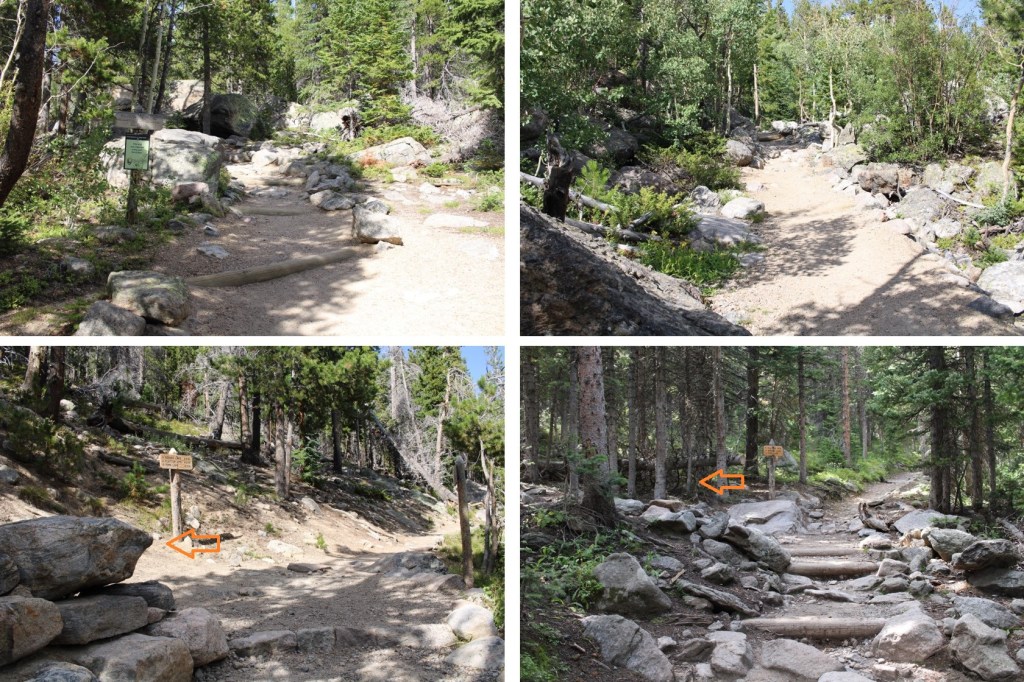
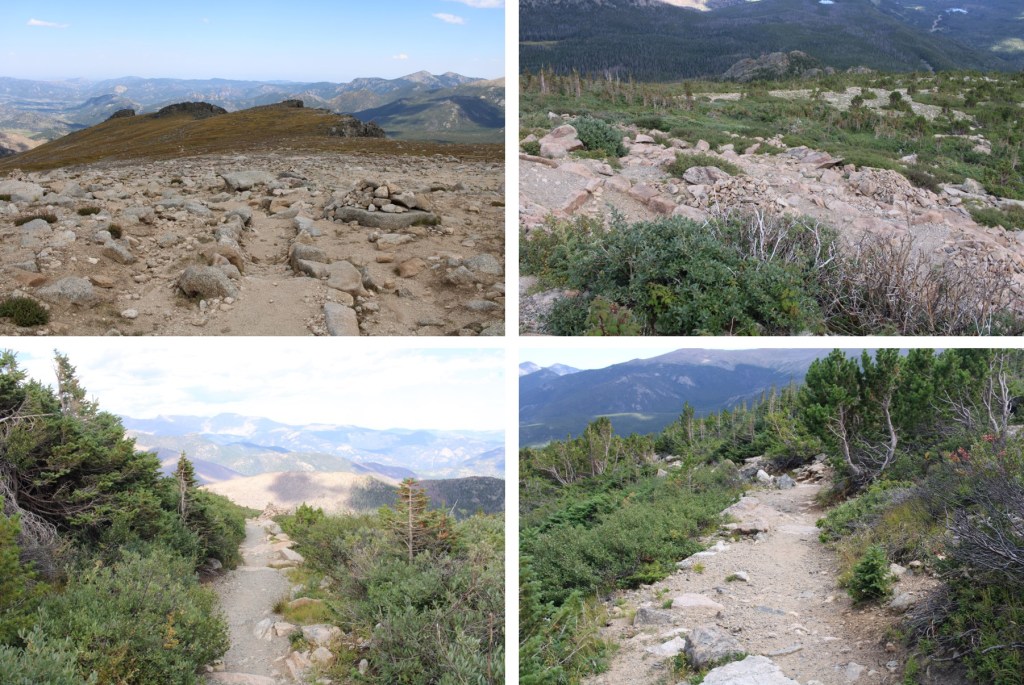
I followed the class 1, well-marked trail for 5 miles up to Flattop Mountain, gaining almost 3000’ of elevation in the process
As soon as I hit treeline the sun began to rise, and I saw a small herd of elk, led by one male bull. He bugled to me, and the ptarmigans began to chirp .
Elk Bugling:
Ptarmigans waking up:
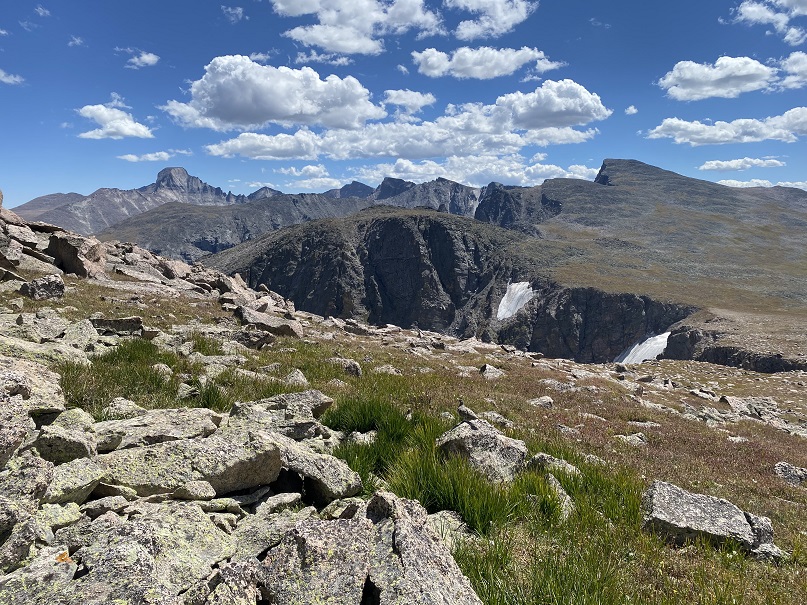
I continued following the class 1 trail to Flattop Mountain (which is really just a plateau).
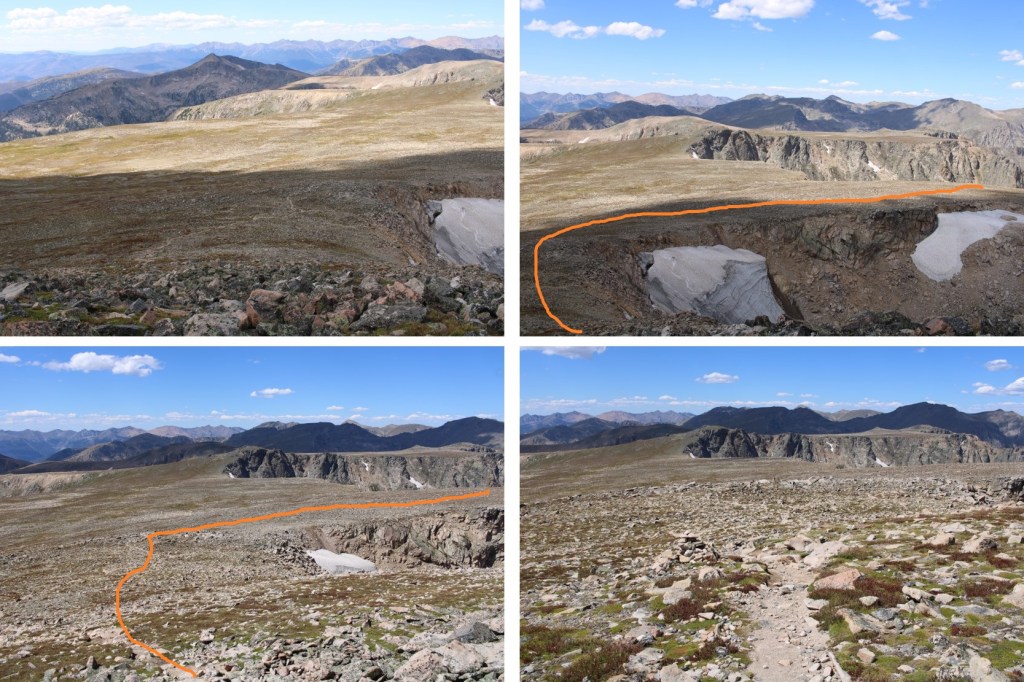
At the top of the plateau is a sign. At this sign I turned left, following the cairns. Note: there isn’t a sign indicating there is a trail to the left, but there will be dozens of rather large cairns to follow towards Hallett Peak
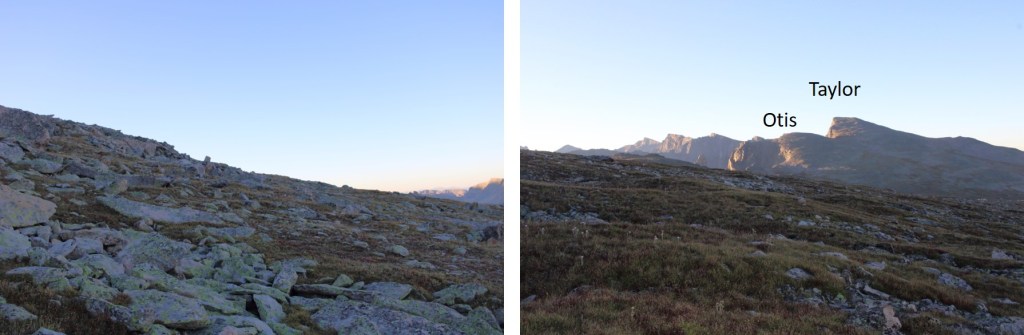
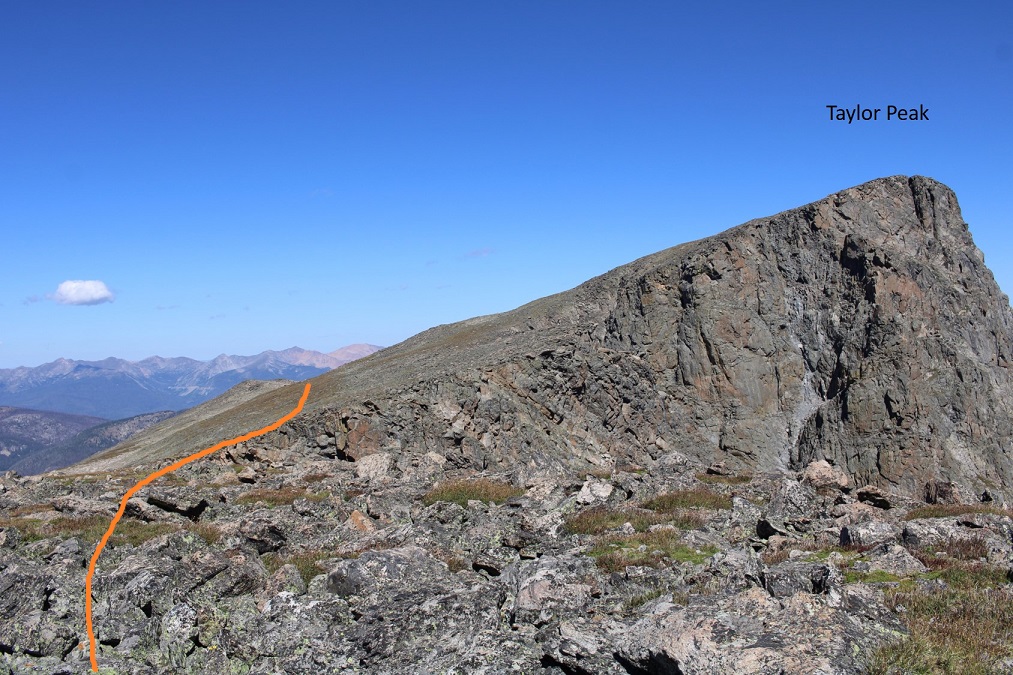
While you could certainly summit Hallett Peak first, my main goal were some 13ers further ahead, so I skirted Hallett Peak to the right, staying at about 12360’, which kept me on rocky tundra.
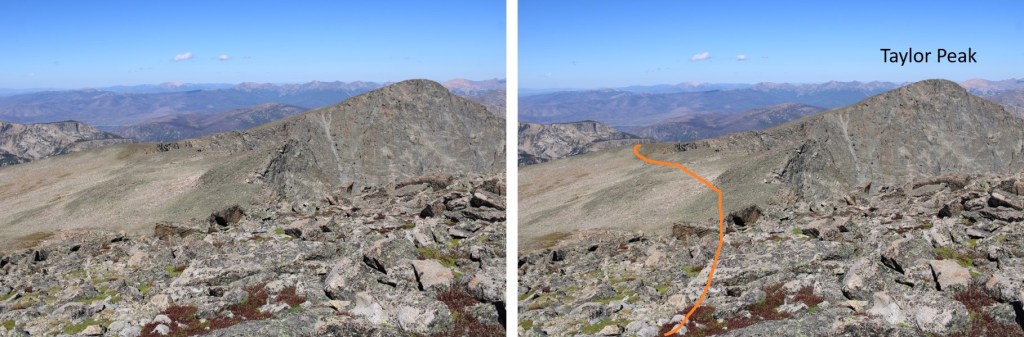
As I headed southwest, staying on the rocky tundra, I could see both Otis Peak and Taylor Peak. It was my objective to summit Taylor Peak next, which meant I’d need to lose about 400’ of elevation to the Otis/Taylor Saddle (also where top of Andrews Glacier/Andrews Pass is located)
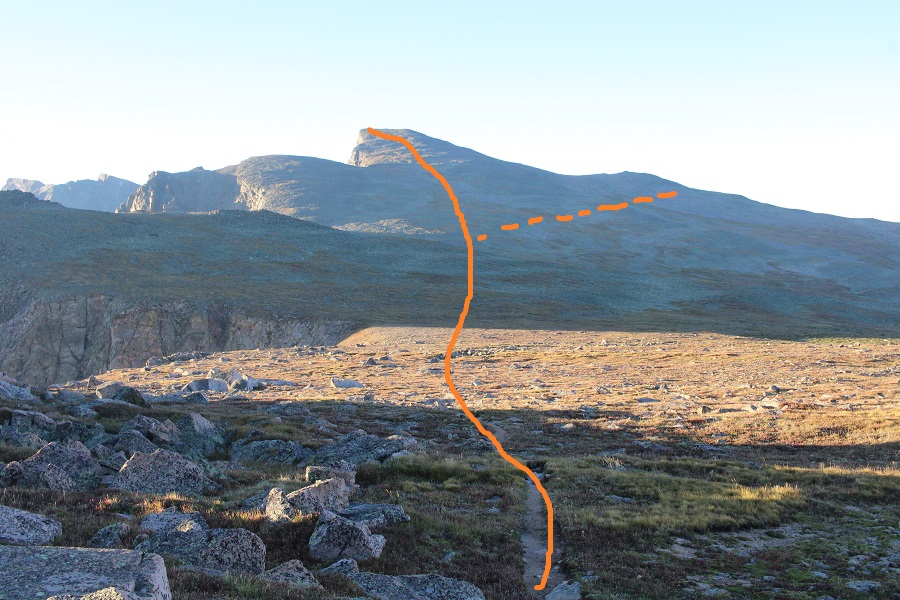
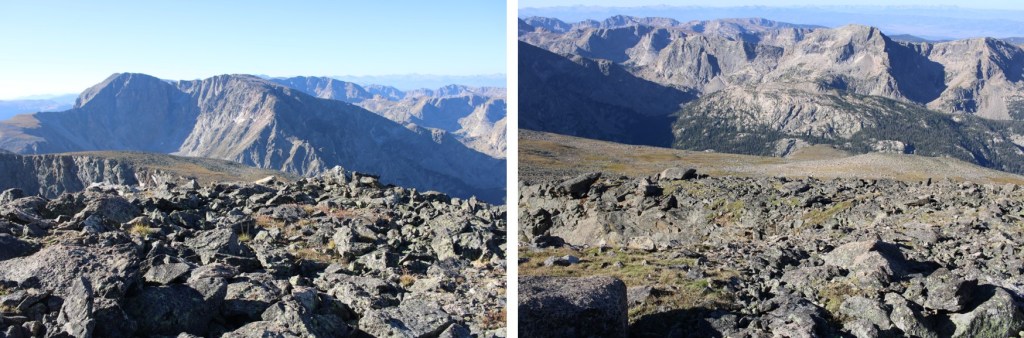
Here’s my route up to Taylor Peak from the Otis/Taylor Saddle. Note, my route up is solid, my route back down (after summiting Powell) is dotted. I would recommend these routes in the same order I completed them. The entire day consisted of class 2 terrain for all the peaks I summited.
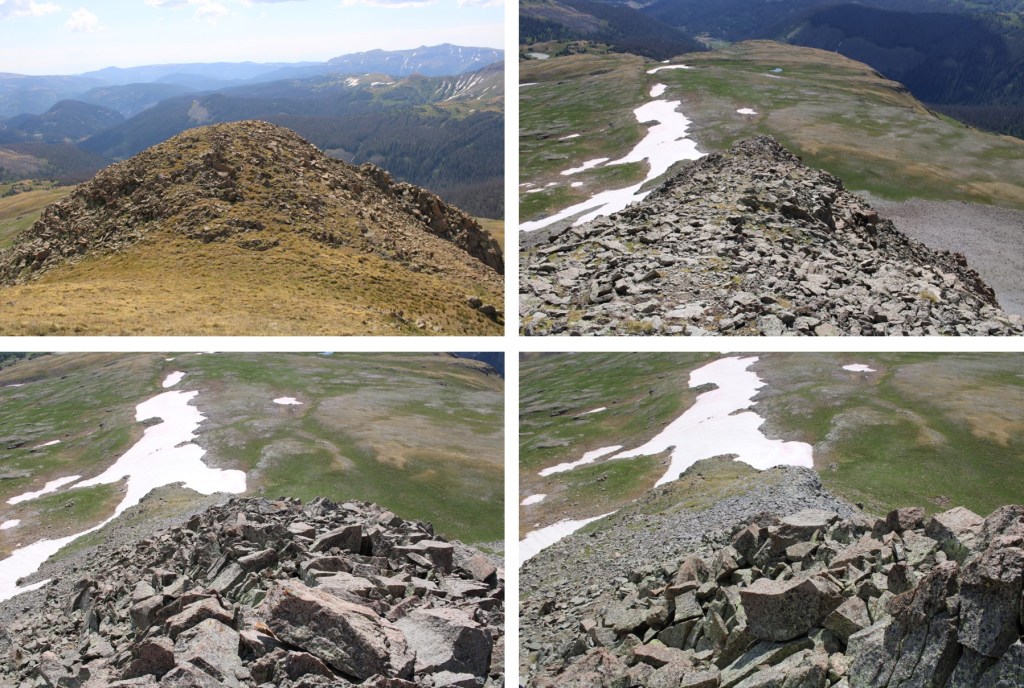
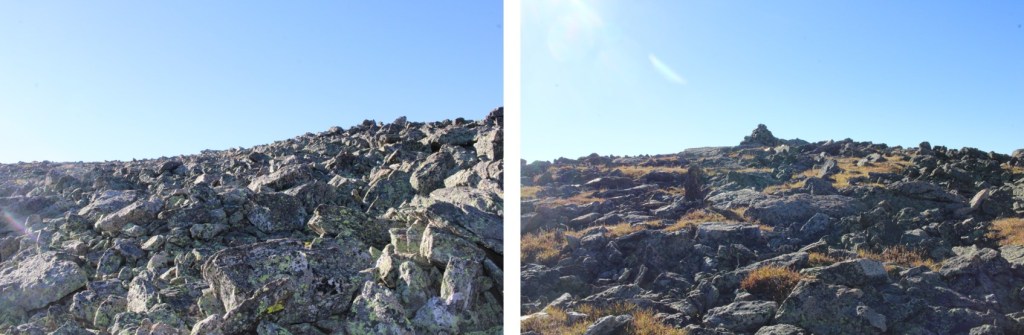
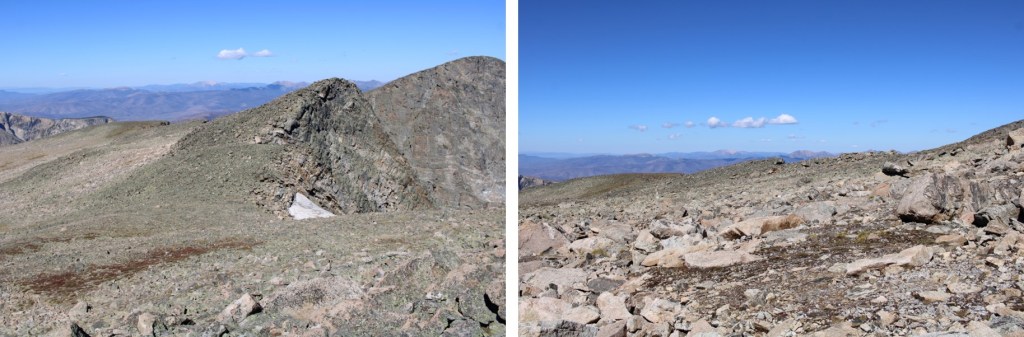
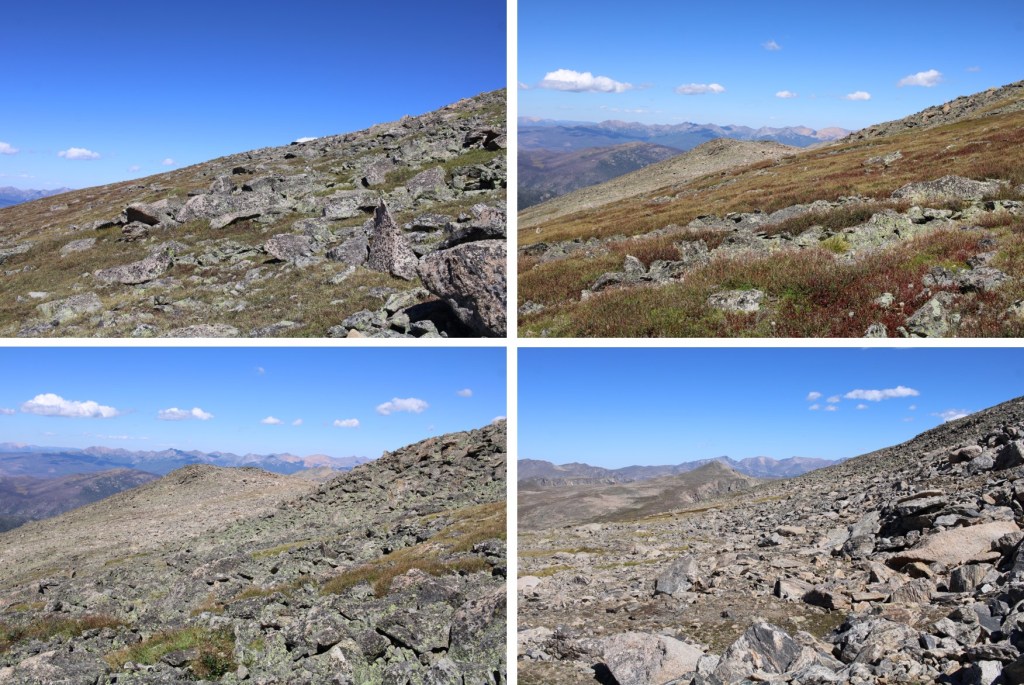
Here are some close-up pictures of the terrain to the summit of Taylor Peak
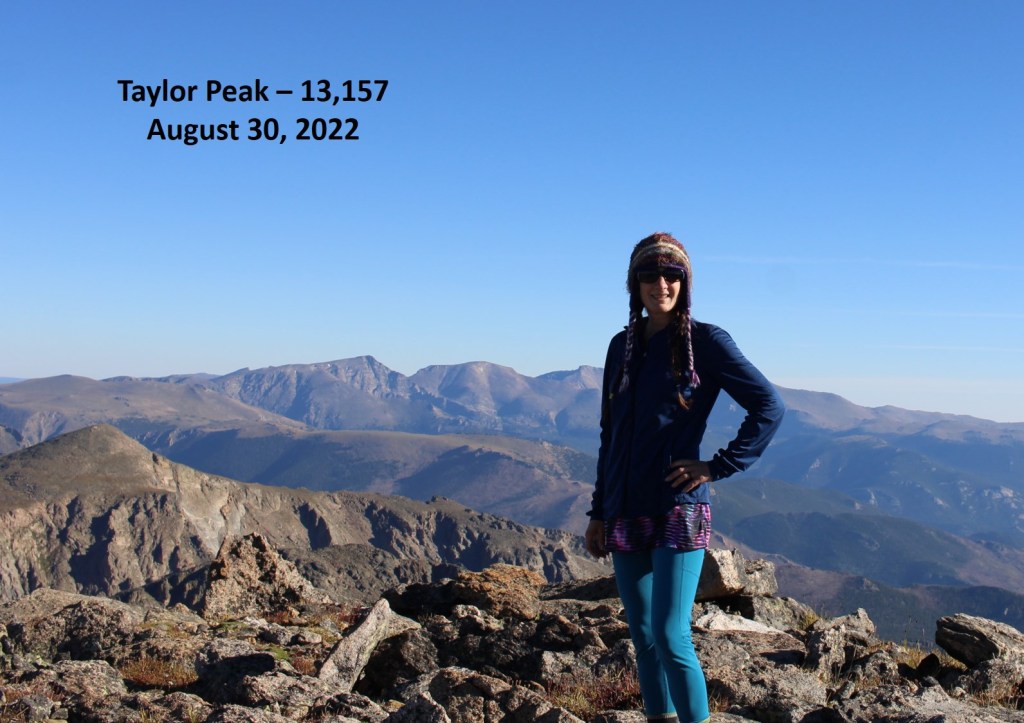
I summited Taylor Peak at 8:30am
Taylor Peak:
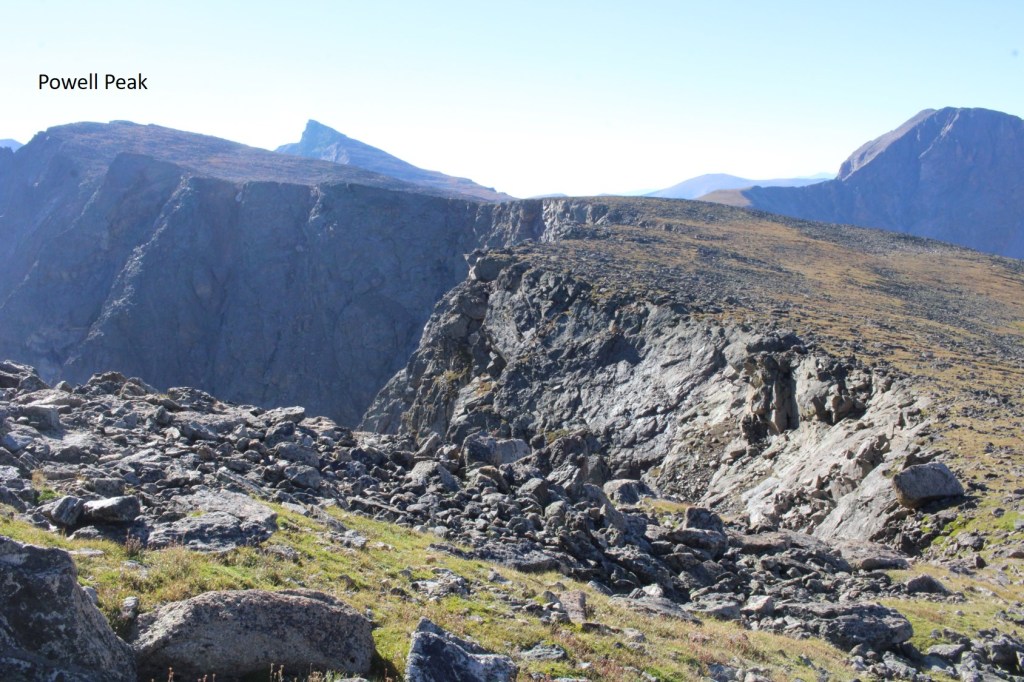
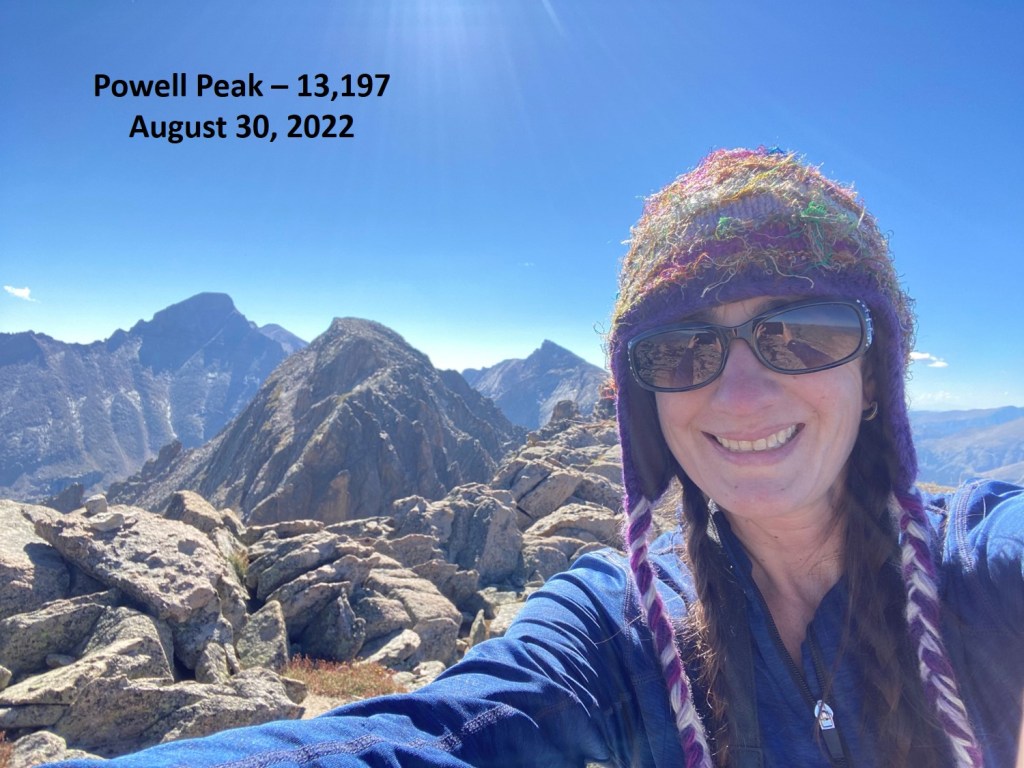
From Taylor Peak I could see Powell Peak to the southeast.
To get there, I’d need to contour southwest down the south side of Taylor, and then follow the ridge towards Powell Peak. The route is obvious, and easily kept class 2.
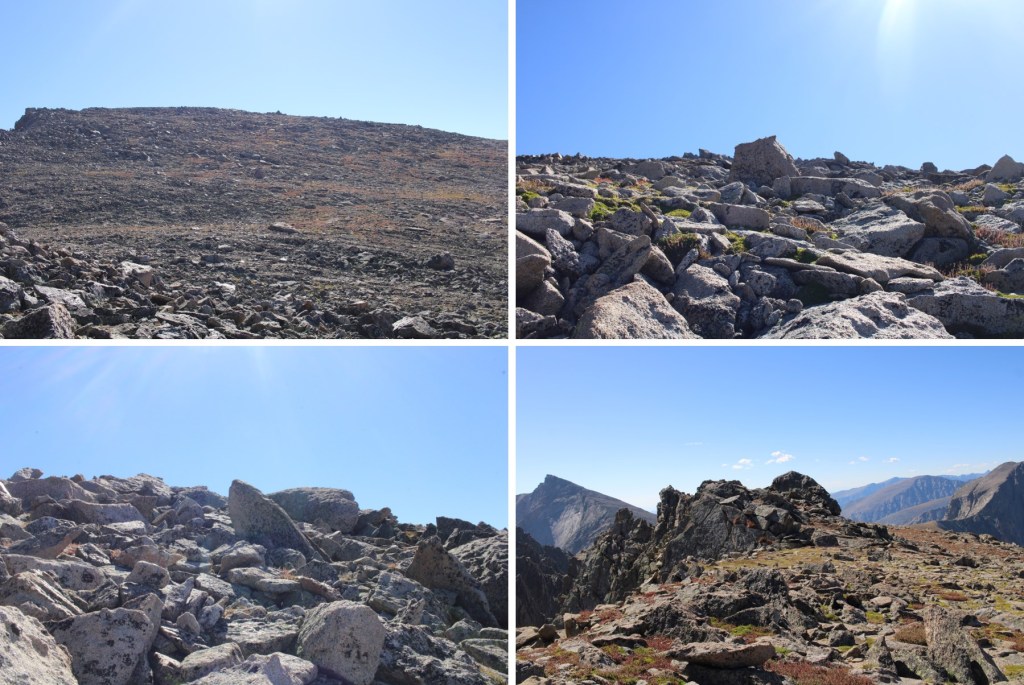
Here’s the route from the Taylor/Powell Saddle
And some close-up pictures of the route
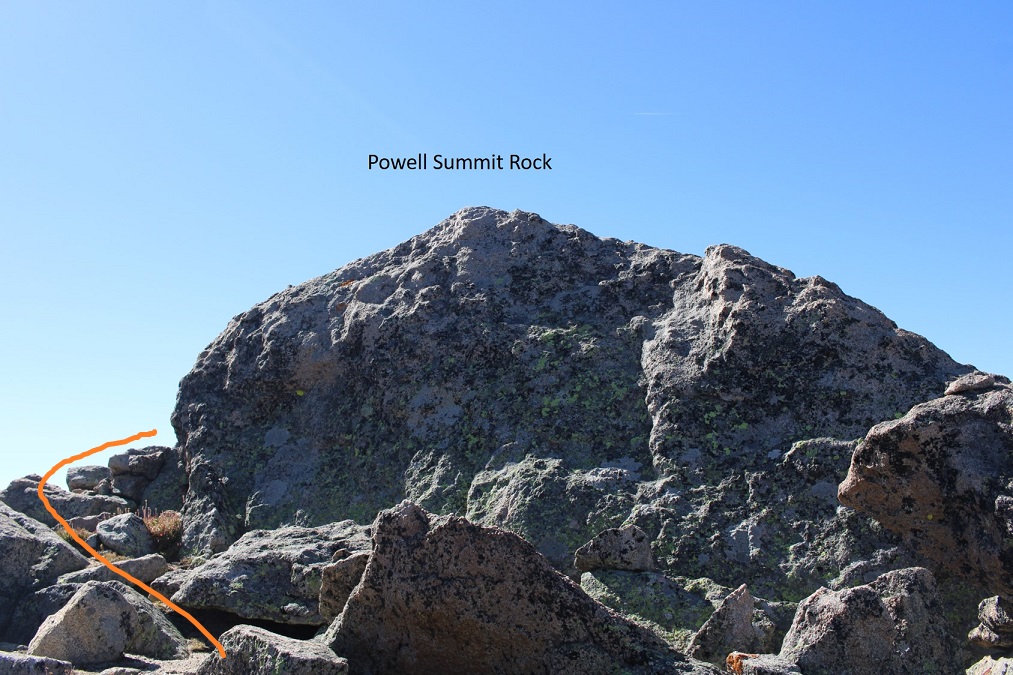
I aimed for the highpoint, a large rock on the ridge
Here are some closer pictures of the route to the summit
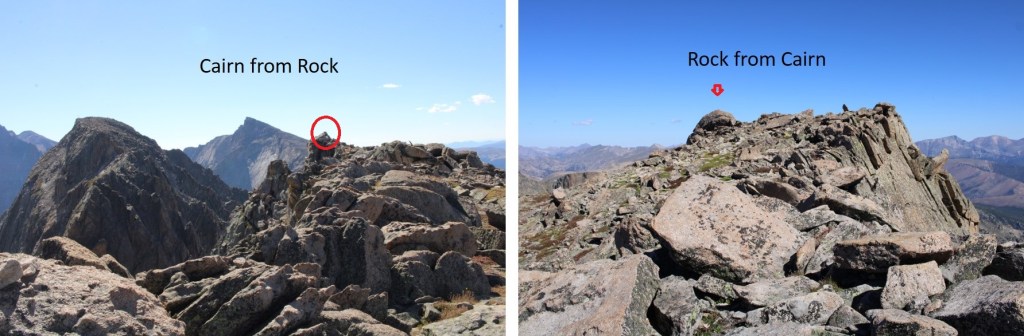
Powell Summit rock, easily scaled from the left
To be honest, I’m not sure where the true summit lies. When I got to the large rock outcropping I saw what looked like a cairn a short distance away, further southeast, but when I went further southeast to that point, the rock looked higher. When I got home my track showed the rock was the highpoint, but there wasn’t anything indicating it was (no cairn/summit register/etc.) A point further northwest looked high too, so I made sure to walk over there, but my photos are from the rock outcropping.
I then retraced my steps back to the Taylor/Powell Saddle
But instead of re-summiting Taylor Peak, I skirted the summit to the left, staying at around 12750’
This was all class 2, but required a bit of rock hopping
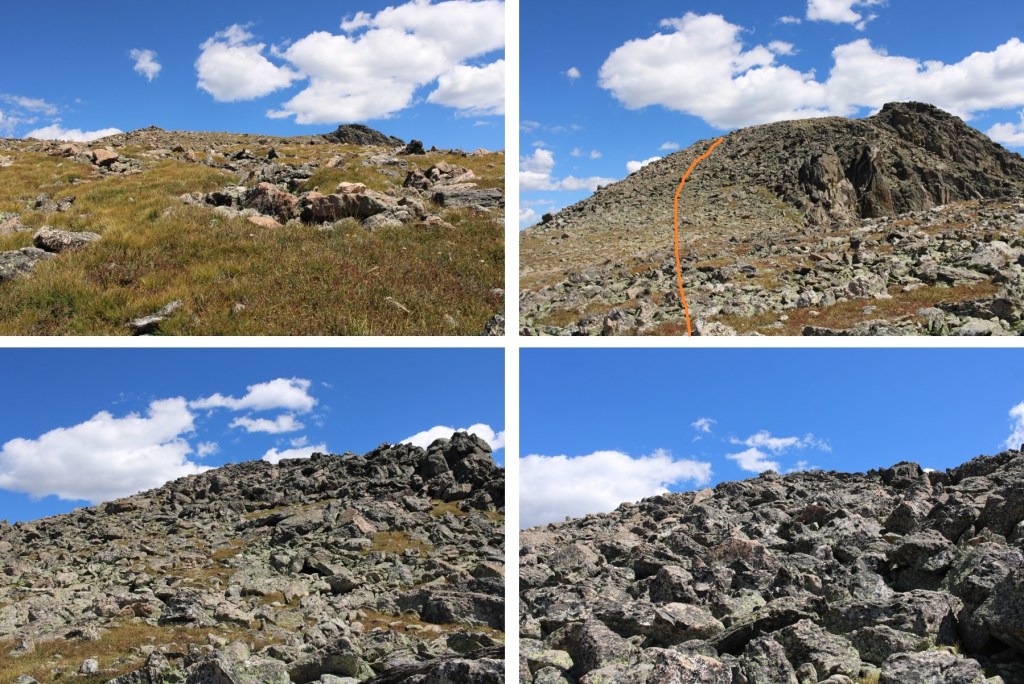
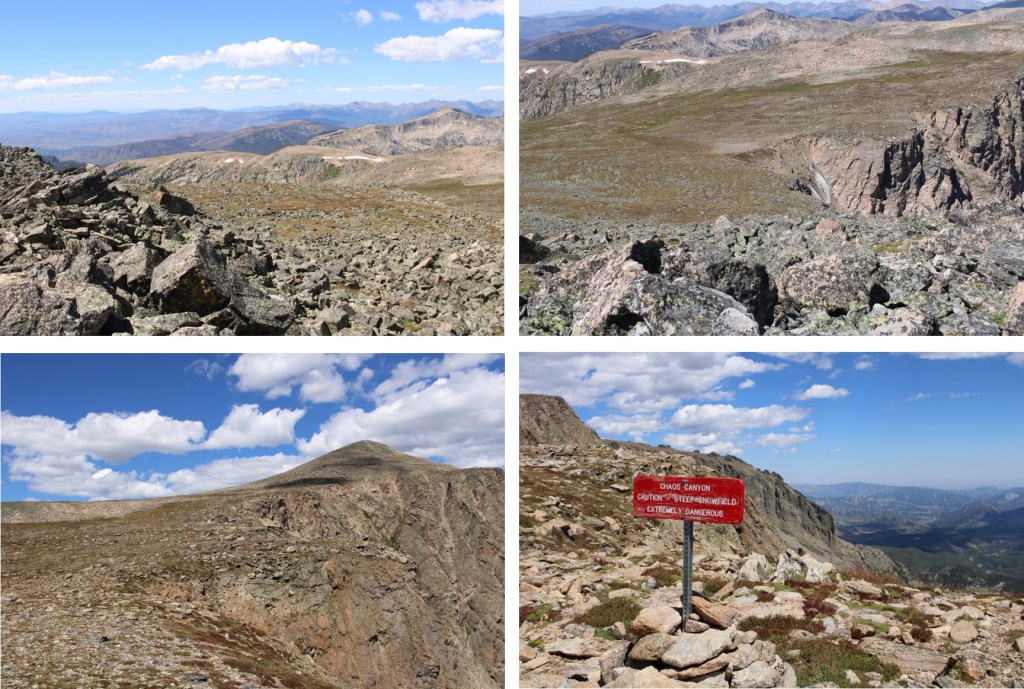
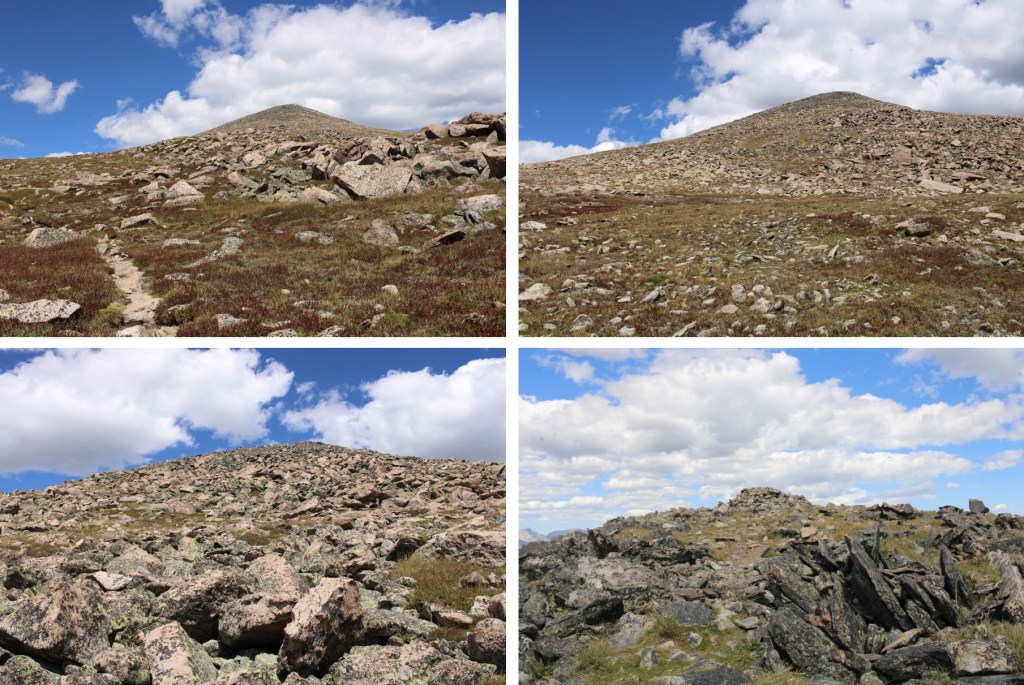
As I continued to round Taylor Peak, Otis Peak came into view. The path towards the summit was obvious
I made my way down to Andrews Pass, and then up towards Otis Peak
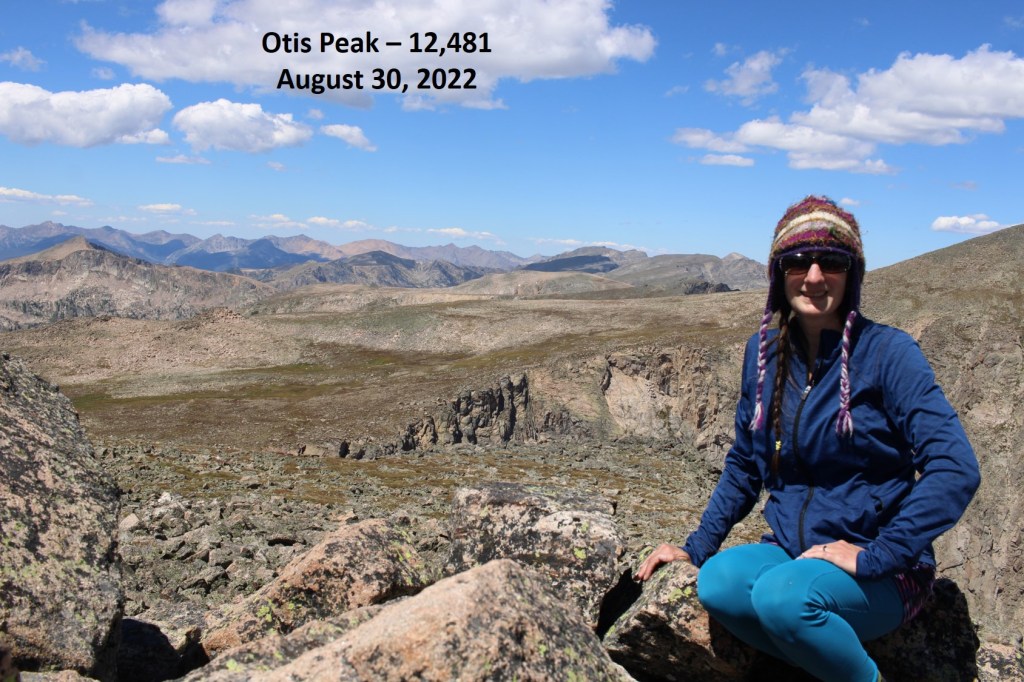
I summited Otis Peak at 12:45pm
Otis Peak:
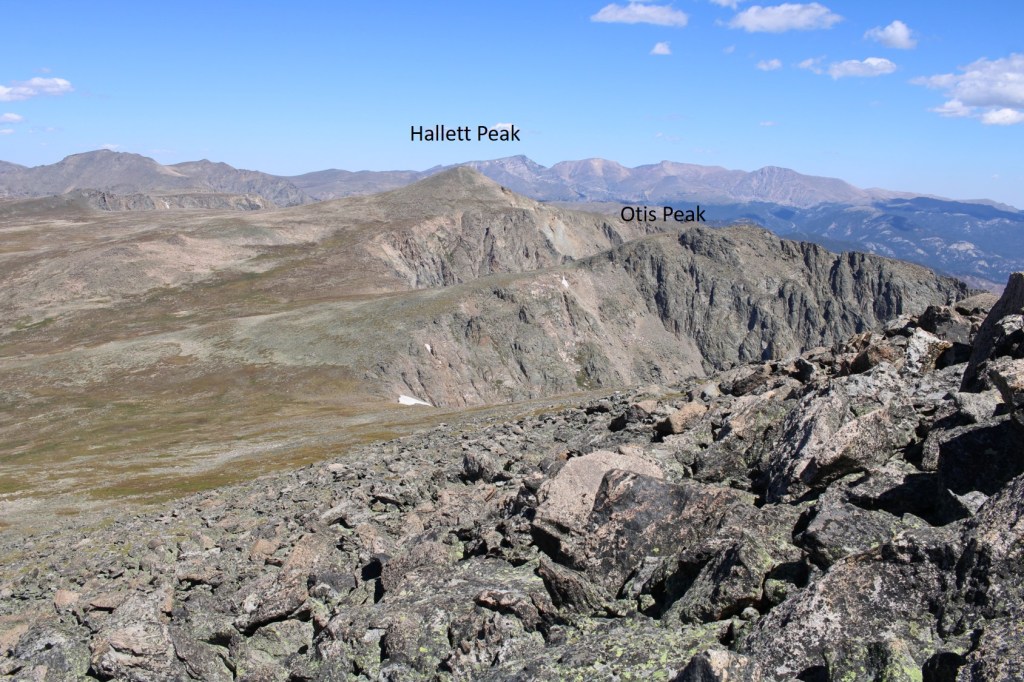
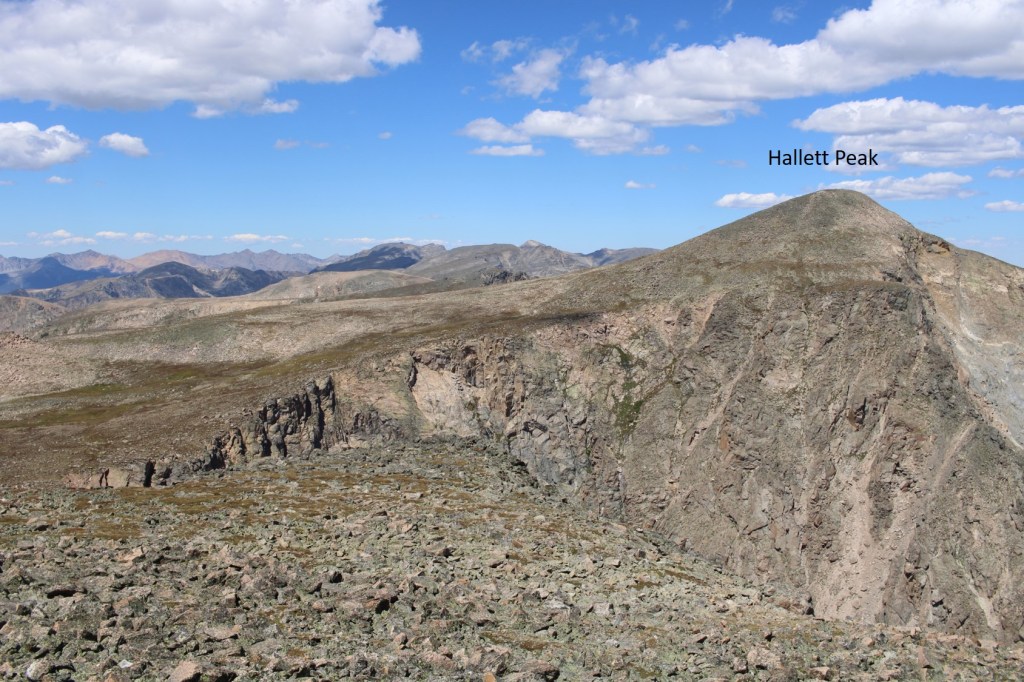
I could see Hallett Peak to the northwest, and descended to the Otis/Hallett saddle
And then headed northeast up to the summit of Hallett Peak
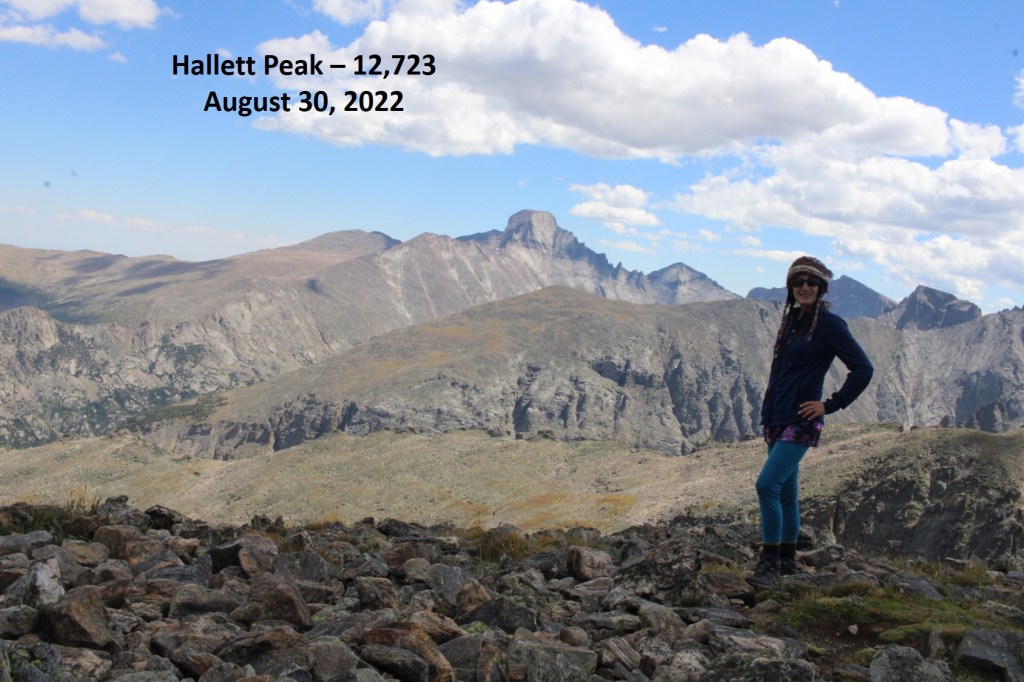
I summited Hallett Peak at 1:45pm
Hallett Peak:
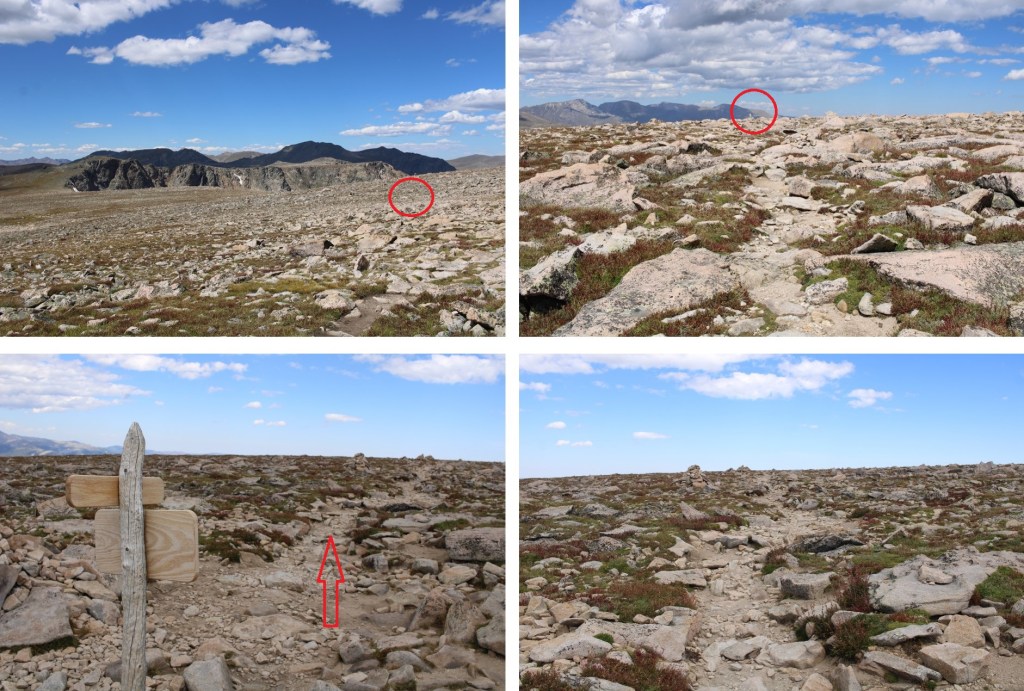
Now to head back to the trail. This was all class 2, and there were cairns to guide the way. Be careful not to aim for the obvious trail in the distance, as it will not lead you back to the trailhead. This is the route you should take. If you look carefully, you can see the sign you’re aiming for from earlier in the morning
At the junction I turned right, and followed the class 1 trail back to the trailhead
I made it back to my truck at 4pm, making this a 19.75 mile hike with 5983’ of elevation gain in 12 hours.
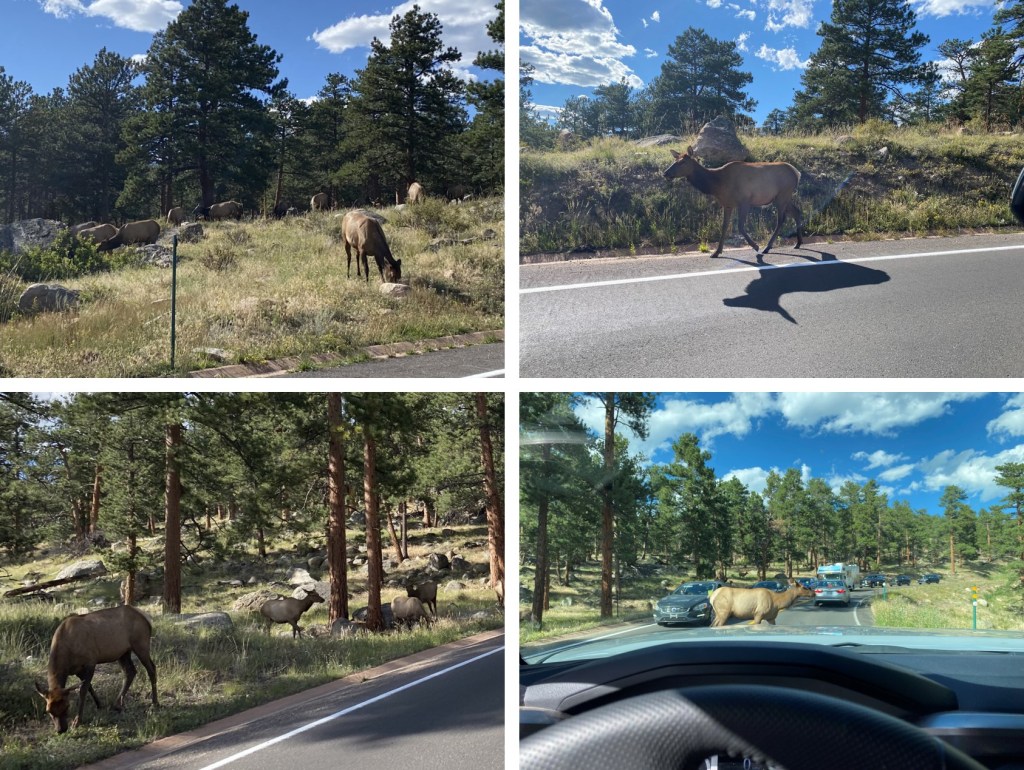
On the way out, I was stopped by another herd of elk, walking along the road.
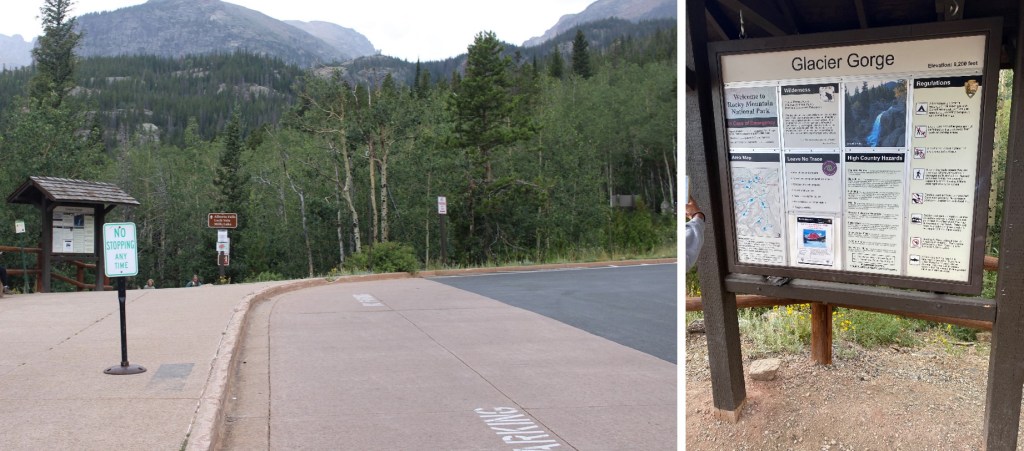
I started from the Glacier Gorge trailhead in Rocky Mountain National Park at 3:30am. There were already several parties in the parking lot (probably 10 vehicles), but didn’t see another person on my route all day. This is also a bus stop for access to Glacier Gorge (and lots of other hikes). All this means is that it was overly crowded the last 2 miles of the hike on my way down. Passing people became impossible, and more of a stroll as I hiked out with hundreds of other hikers.
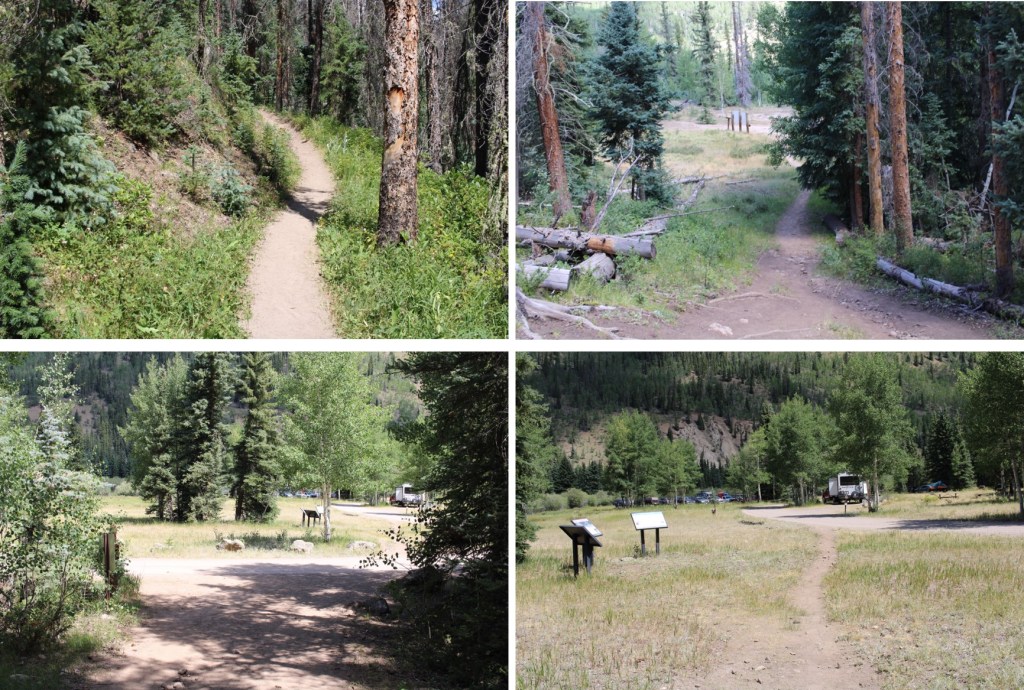
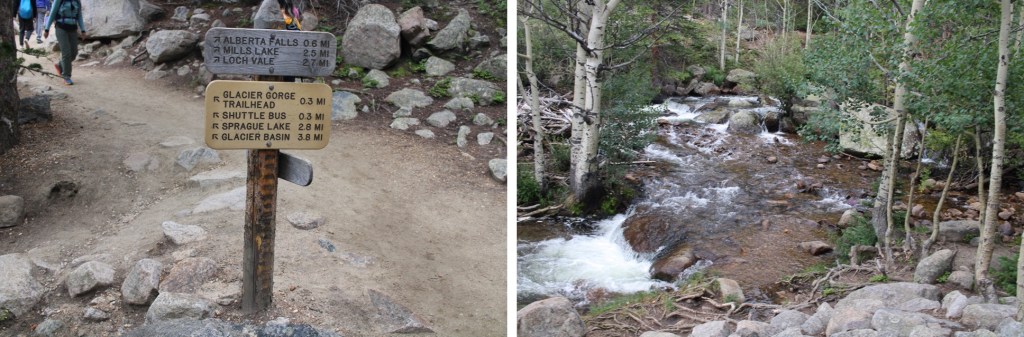
I followed the class 1 trail, staying on the Mills Lake trail. There were wonderful signs that made getting lost difficult.
I passed Alberta Falls at 1.15 miles, and continued following the trail to Mills Lake
After hiking for 3.35 miles I passed Mills Lake, and at 3.85 miles I passed Jewel Lake. Side note: there’s great fishing here. Lots of hungry trout, eager to feast on any worm you drop in. The larger trout are in the stream above Jewel Lake, and in Mills Lake.
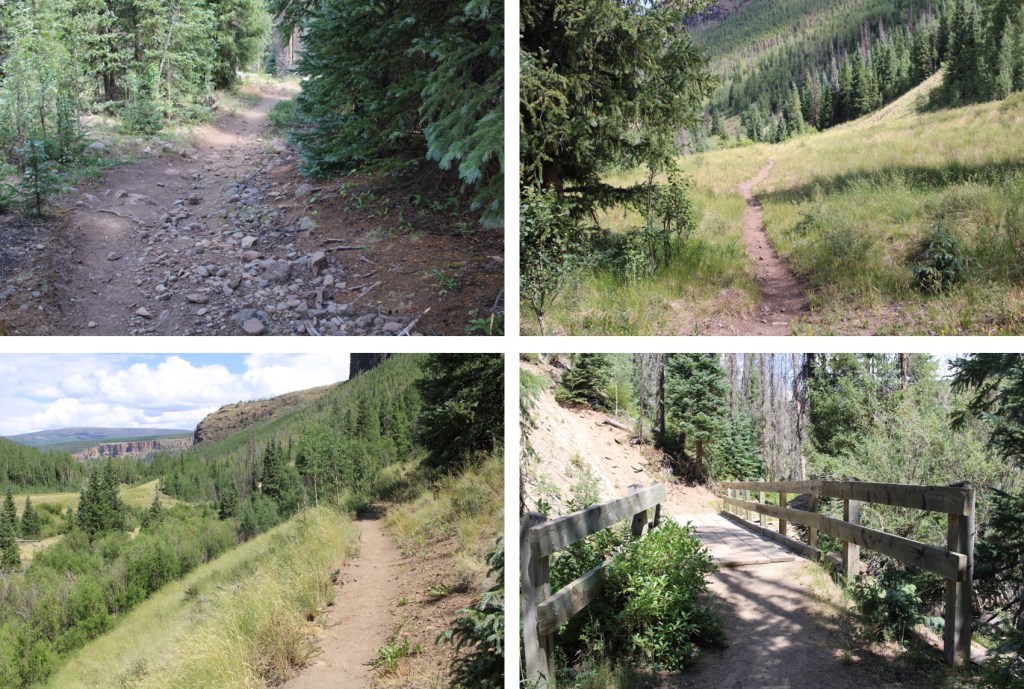
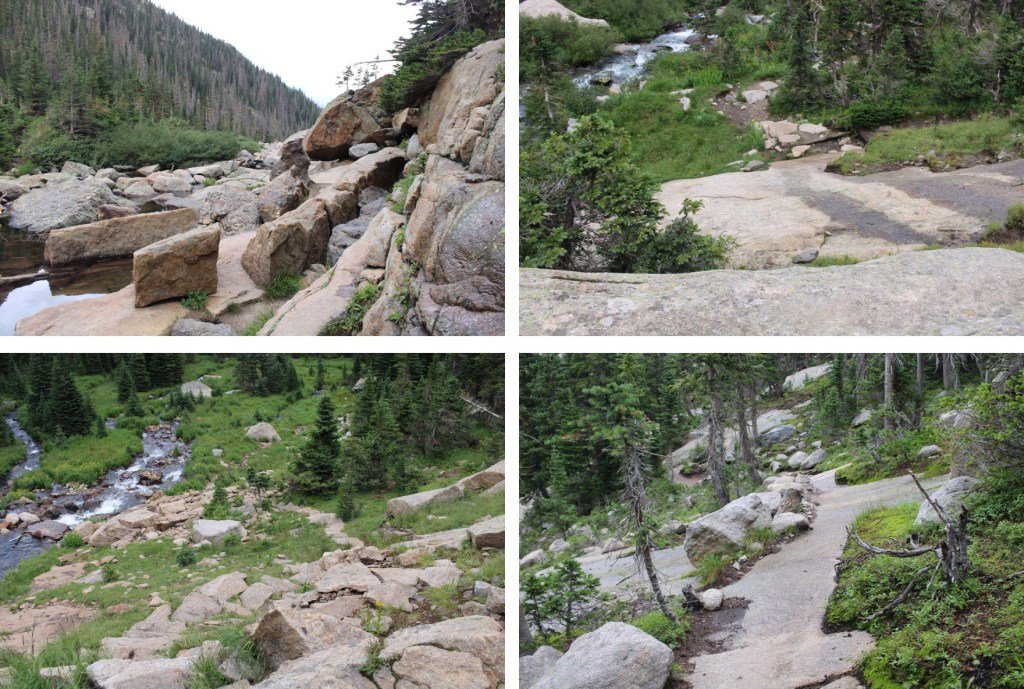
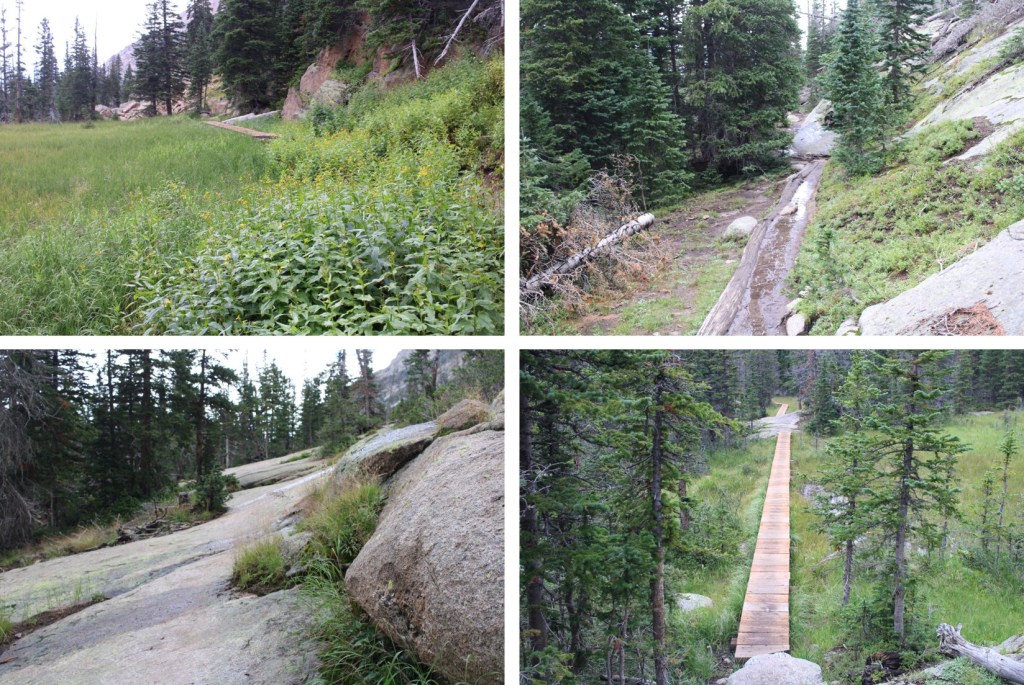
I continued following the class 1 trail all the way to Black Lake (6 miles in). This part of the trail had a lot of wood foot bridges, and rock slabs to cross. All class 1, but the rock slabs were tricky to navigate in the dark.
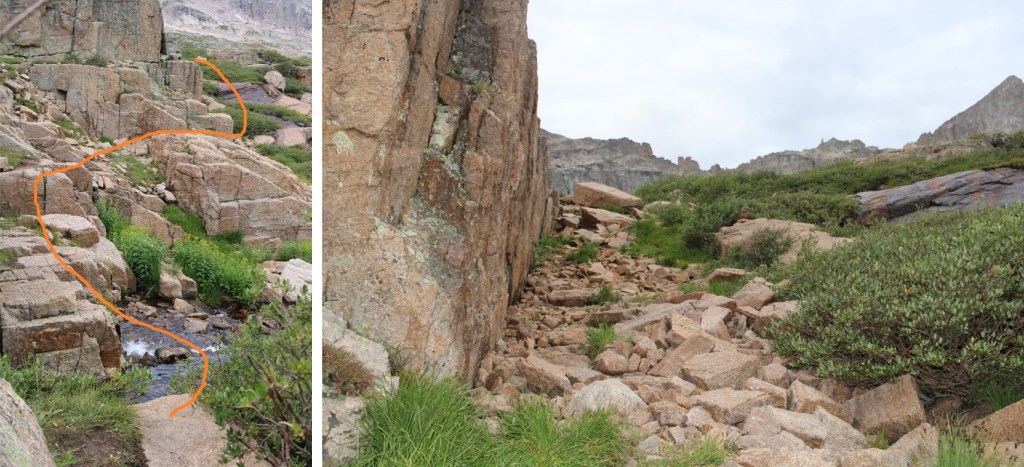
I made it to Black Lake, and continued on the class 1 trail, up a waterfall, and across more rock slabs.
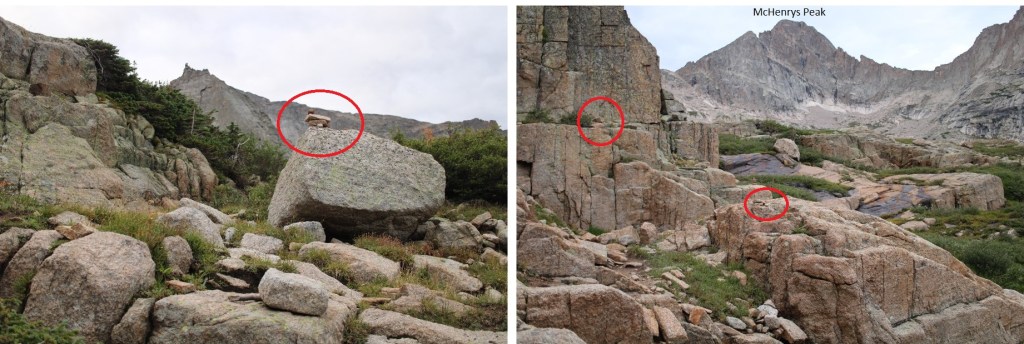
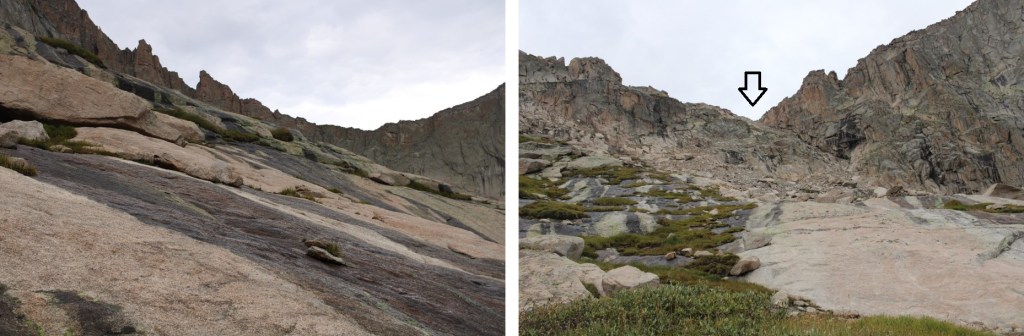
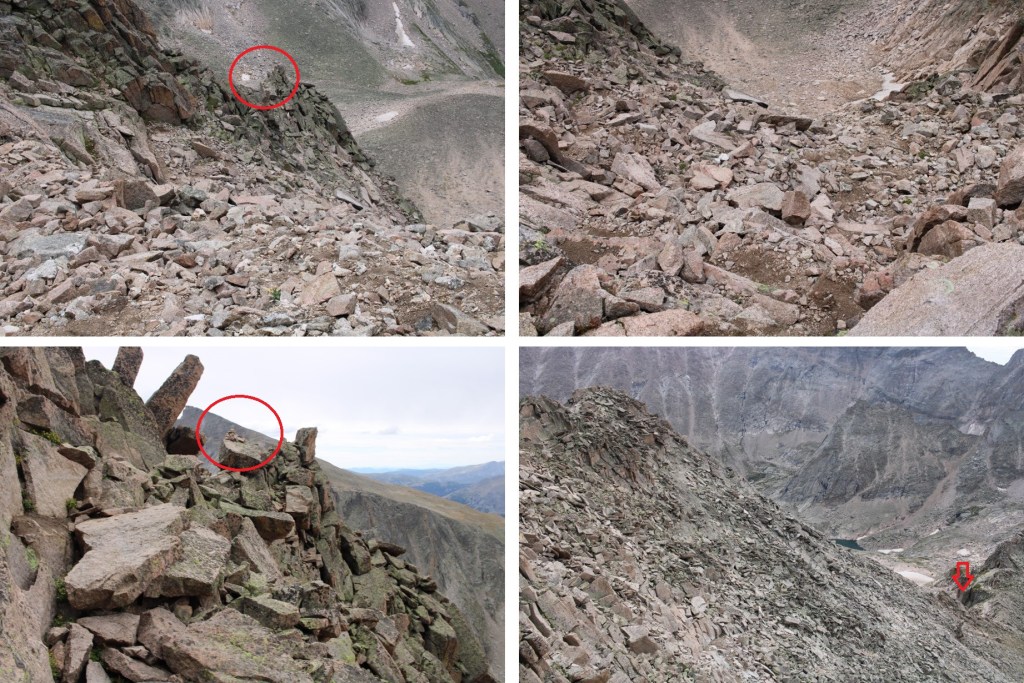
Here the trail kind of fizzled out, but I continued following cairns as I crossed a small creek, and headed southwest towards McHenrys Peak. There are a ton of cairns in this area (circled in red).
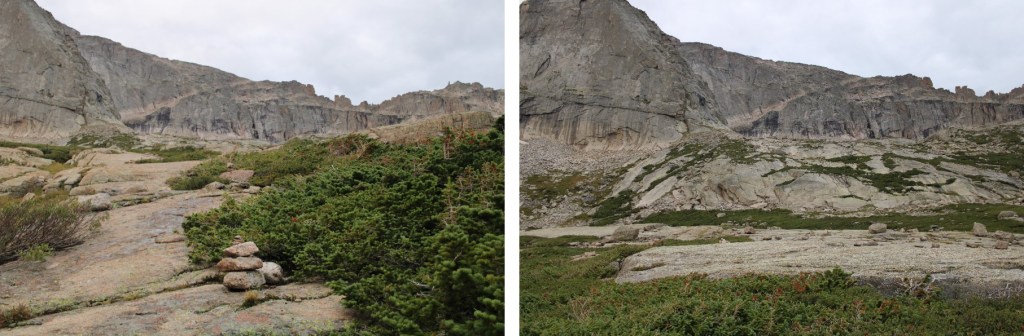
Here’s the overall route to Frozen Lake (not pictured) and up Stone Man Pass. There are plenty of cairns to guide you, but for the rest of the hike be careful: there are a lot of granite slabs that are quite steep to navigate (all class 2), and slippery where wet.
Here are some close up pictures to Frozen Lake
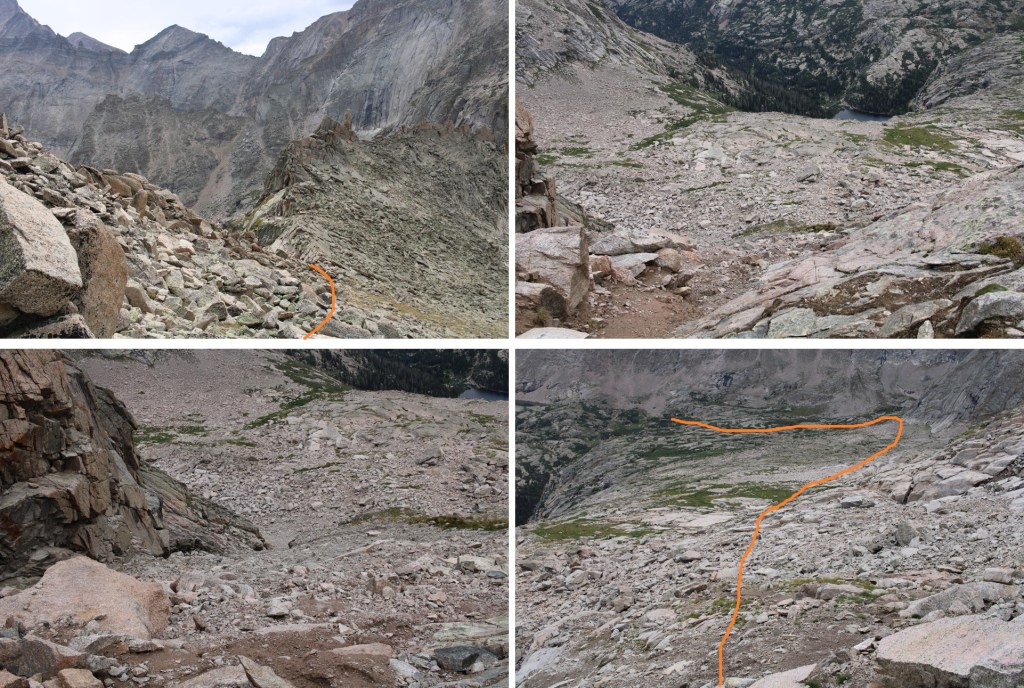
I easily rock hopped and crossed the lake on its north side, and continued heading west towards Stone Man Pass
There are still tons of cairns in this area, but choose your route based on the best conditions. The rocks are very slippery where they are wet. I was aiming for the gully below Stone Man Pass.
I didn’t think the gully was that bad. I stayed right on my way up, but took the other side down. I’d recommend climbing up the left side of the gully, as it was more stable, but both were fine. Here are some pictures of the gully
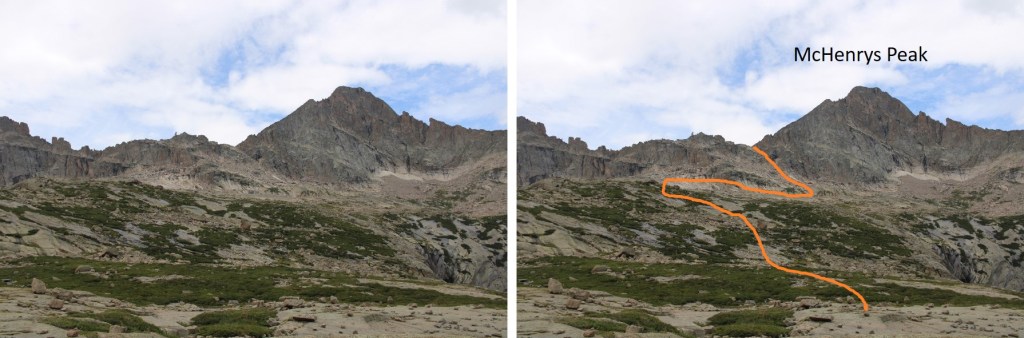
Once at the top of the gully, I turned right and headed northwest towards McHenrys Peak. Everything you can see here is class 2, and there are cairns to guide your way.
I rounded the mountain, and was now on the west side of the peak. Here is got a bit trickier. There were still cairns to follow. I headed up a rock slab, and rock filled gully. This was easy class 3
Here’s the overall route of the rest of the climb. I felt this was difficult class 3, with some exposure.
There was a chimney to head up, and then a short but intense scramble to the summit
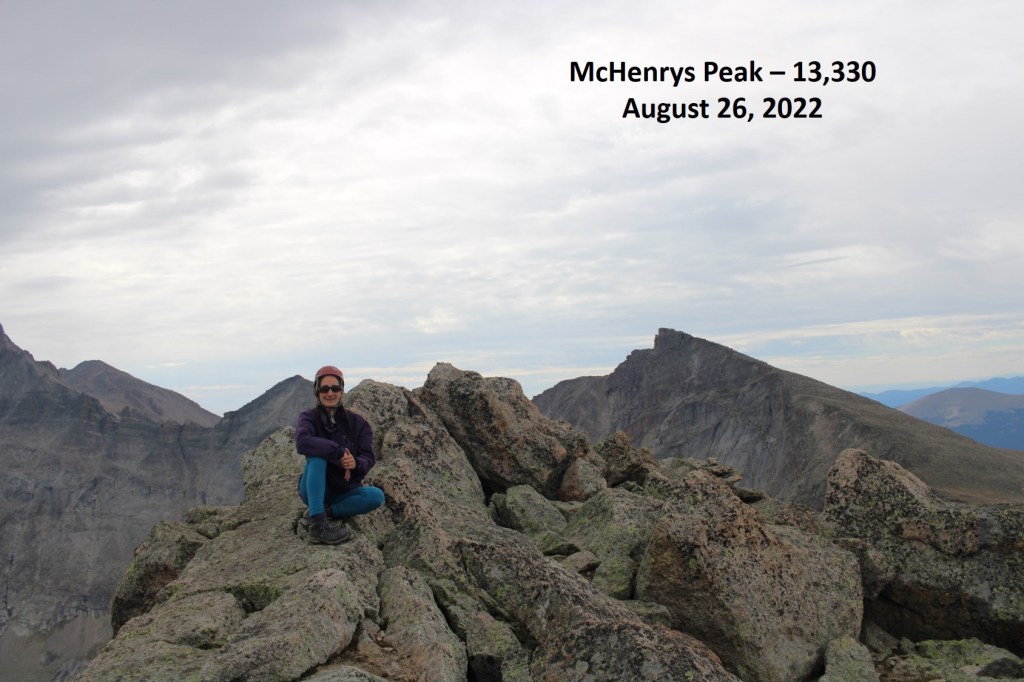
I summited McHenrys Peak at 9:50am
McHenrys Peak:
The summit looked like it could have several actual summits, so despite the large cairn and summit register, I made sure to walk all around the summit to make sure I’d actually summited.
Now to head back down. The trickiest part was descending the initial section, and finding my way back around the side of the mountain. Once I was there, it was easy to find my way to Stone Man Pass, and then back down to Frozen Lake.
And then I followed the cairns northeast, back towards the trail that would lead me to Black Lake
Then followed the trail all the way back to the trailhead.
I made it back to my truck at 2:30pm, making this a 17.46 mile hike with 4442’ of elevation gain, as per CalTopo. Strava told me it was a 15.02 mile hike with 6573’ of elevation gain. I tend to go with CalTopo when I write, for consistency purposes, especially since Strava tends to grossly exaggerate elevation gain.
Also, there were a few elk along the trail who didn’t seem bothered by my presence… they wouldn’t even look up from whatever they were eating to acknowledge me.
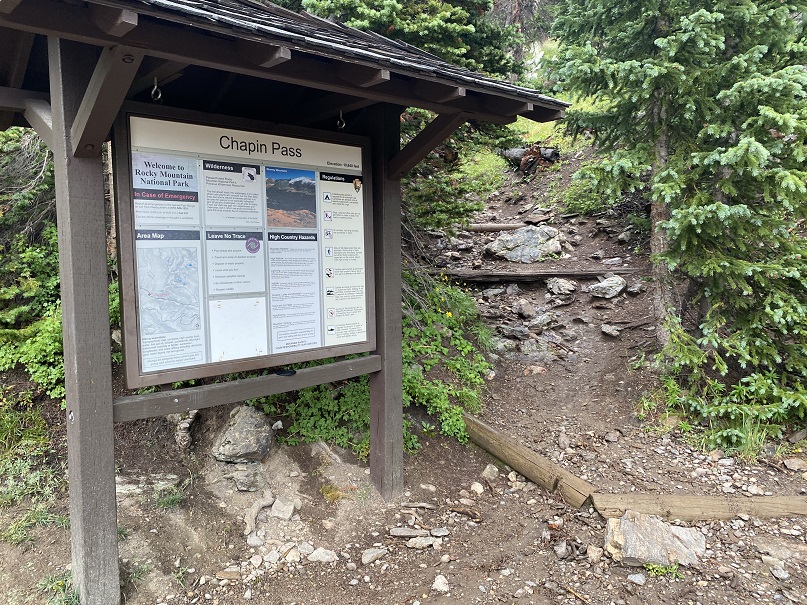
I parked my truck at the Chapin Pass trailhead and was on the trail at 4am.
The trail starts out heading directly up to the pass.
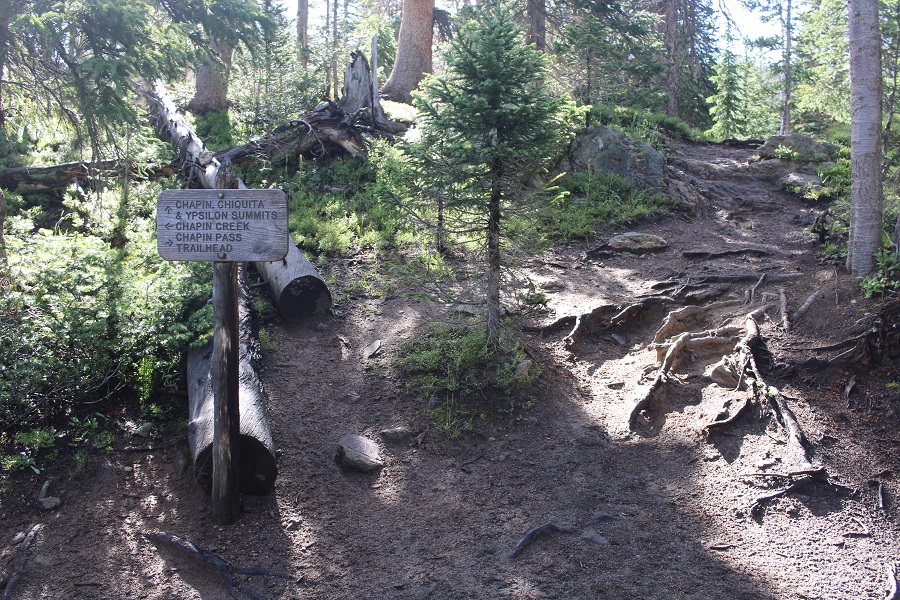
After hiking for .25 miles I came to an obvious junction and turned right, heading towards Chapin, Chiquita, and Ypsilon summits
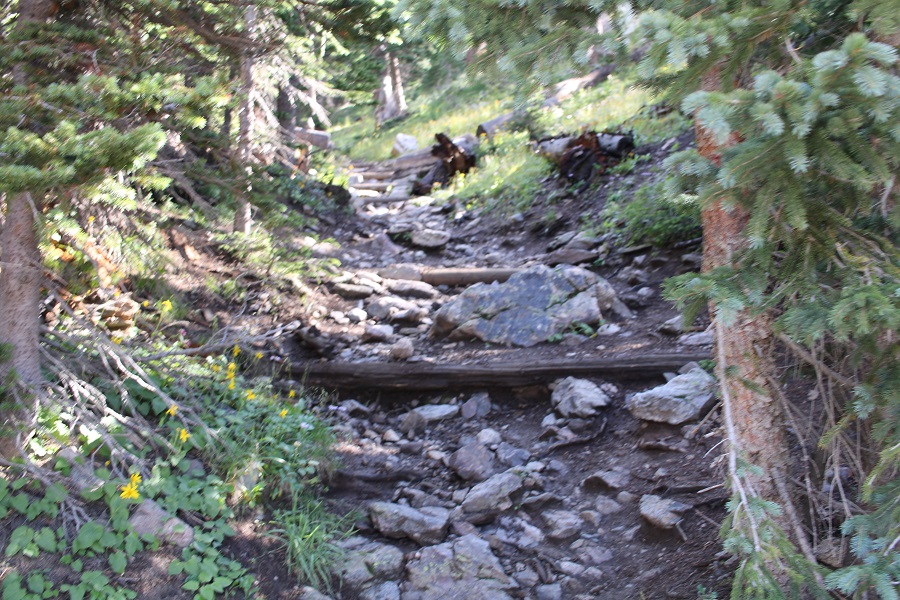
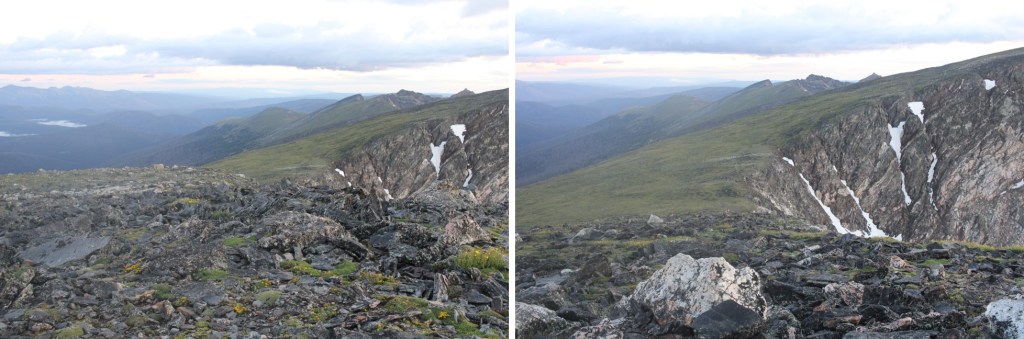
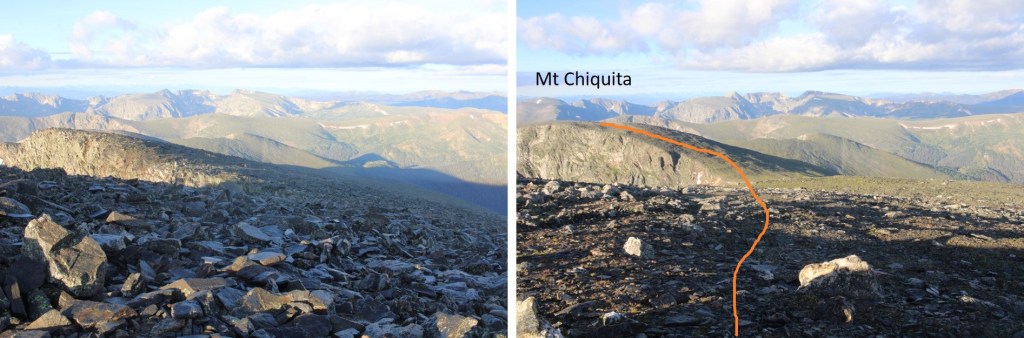
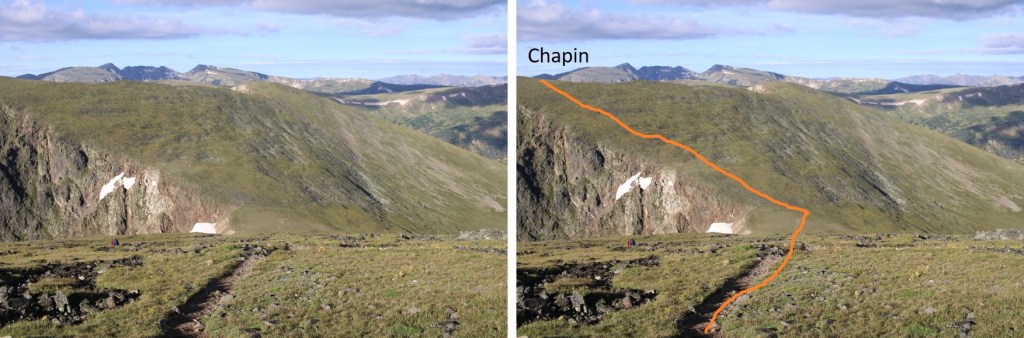
The trail was very easy to follow. I followed it east and rounded the north side of Mt Chapin (saving it for later).
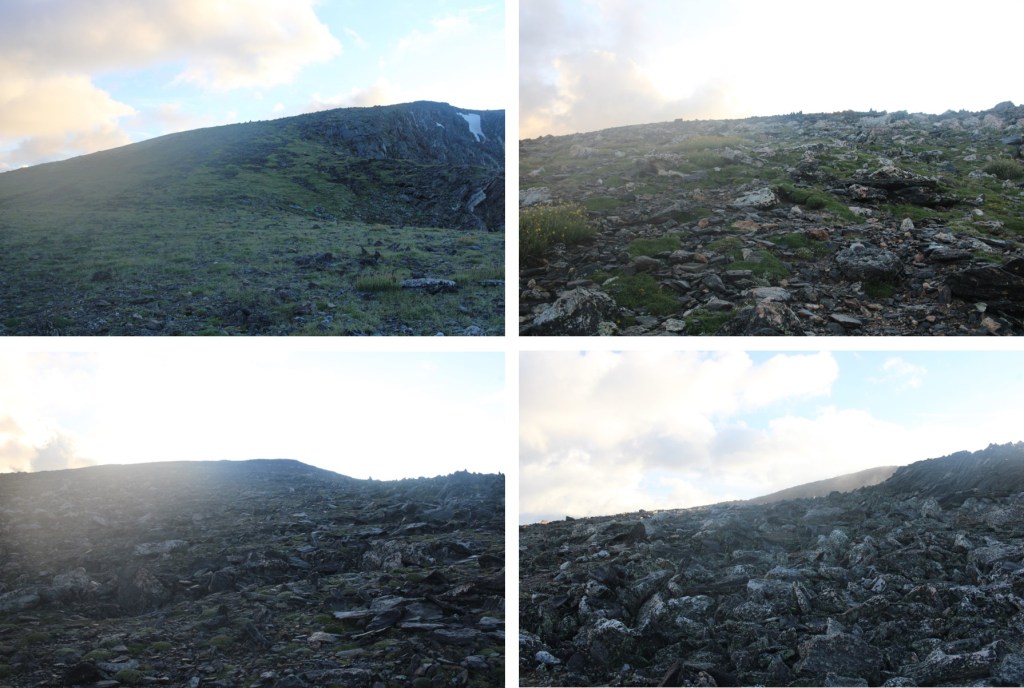
The trail changed from Class 1 to Class 2 as I made my way up to the top of Chiquita, heading northeast.
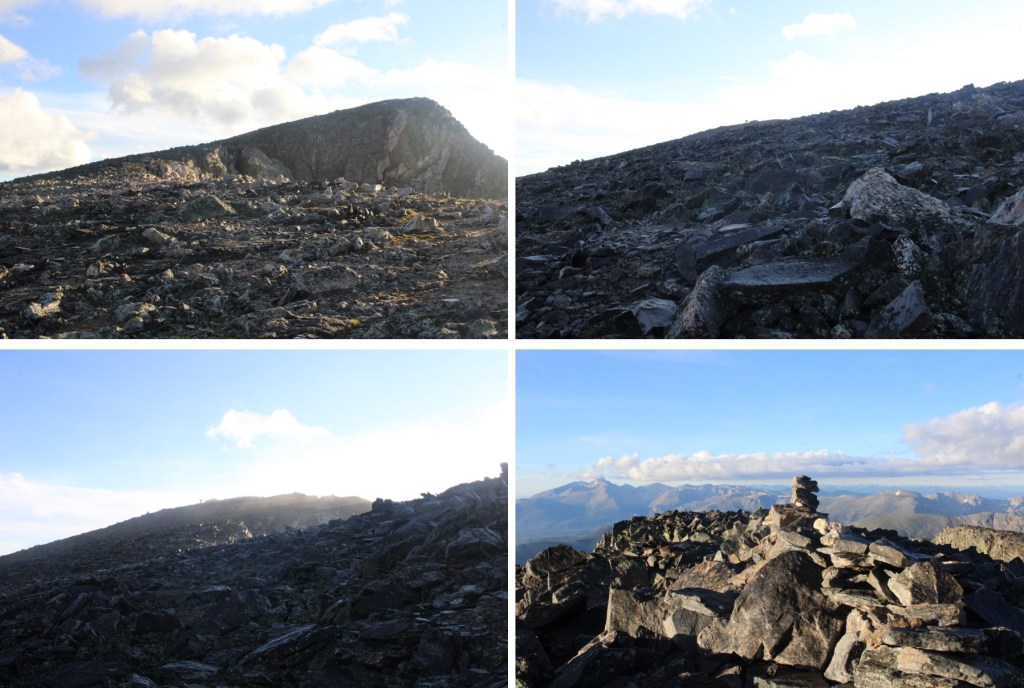
I made it to the summit just as the sun was starting to rise
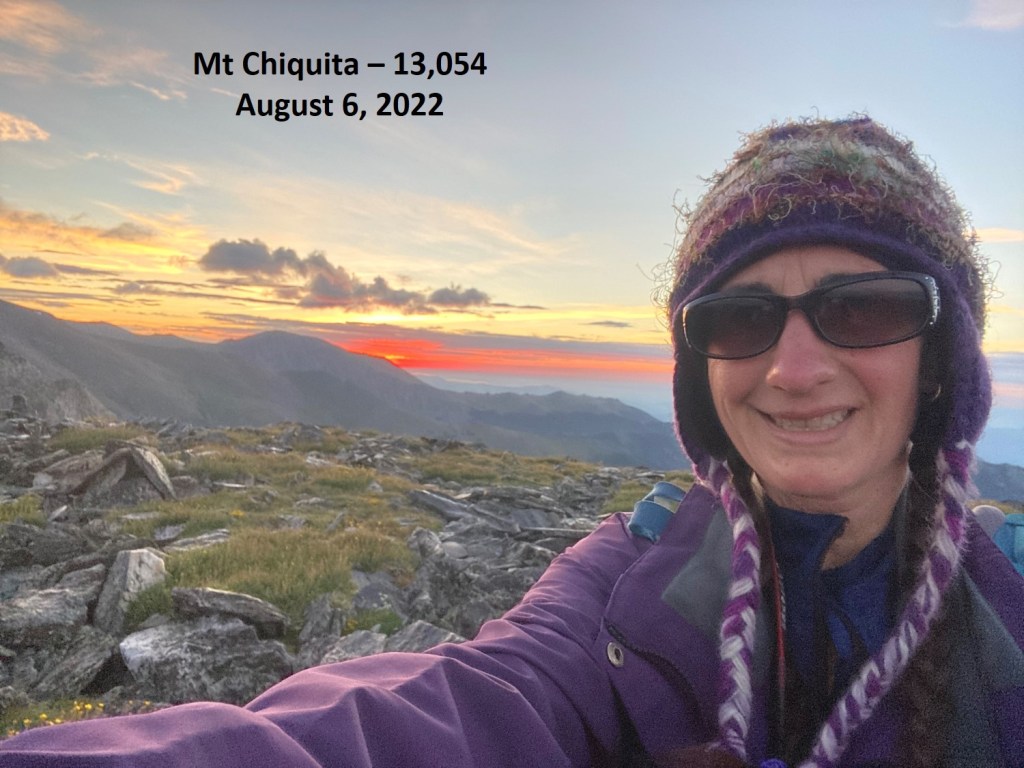
I summited Mt Chiquita at 6am
Mt Chiquita:
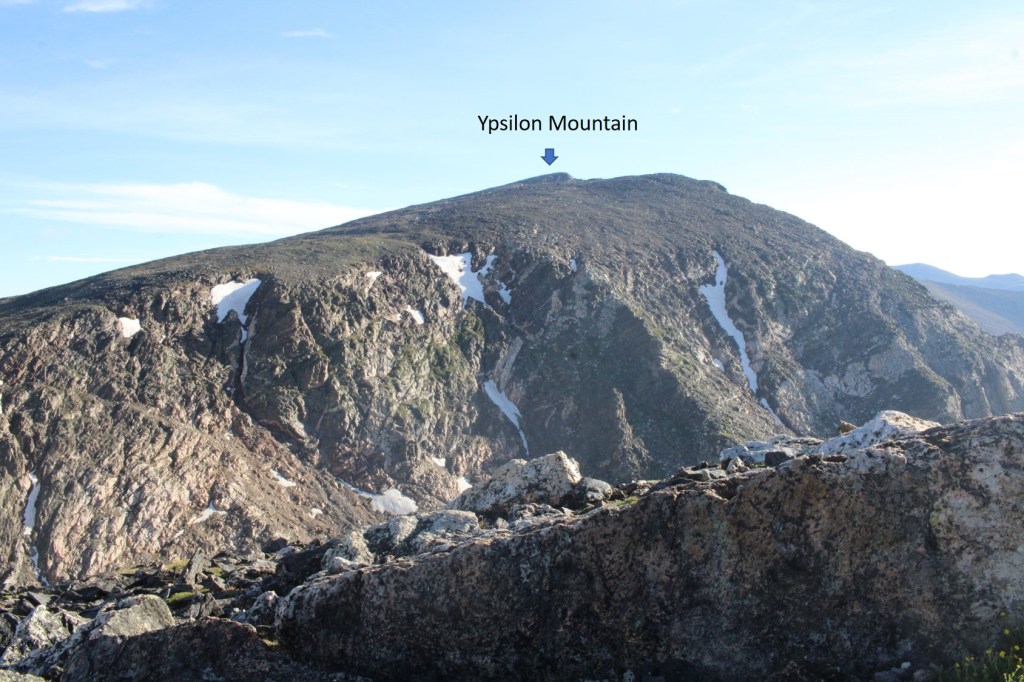
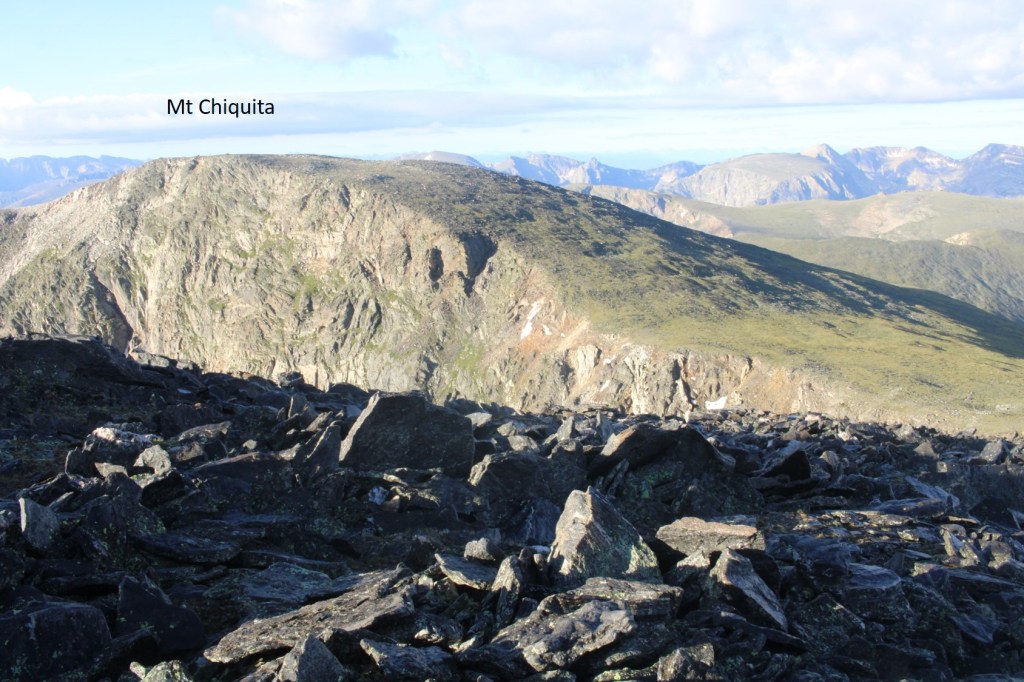
From the summit of Mt Chiquita I could see the summit of Ypsilon Mountain to the north.
It was an easy ridge walk to get there, with a small false summit along the way. I just followed the ridge down 270’, and then up 722’ to the summit of Ypsilon.
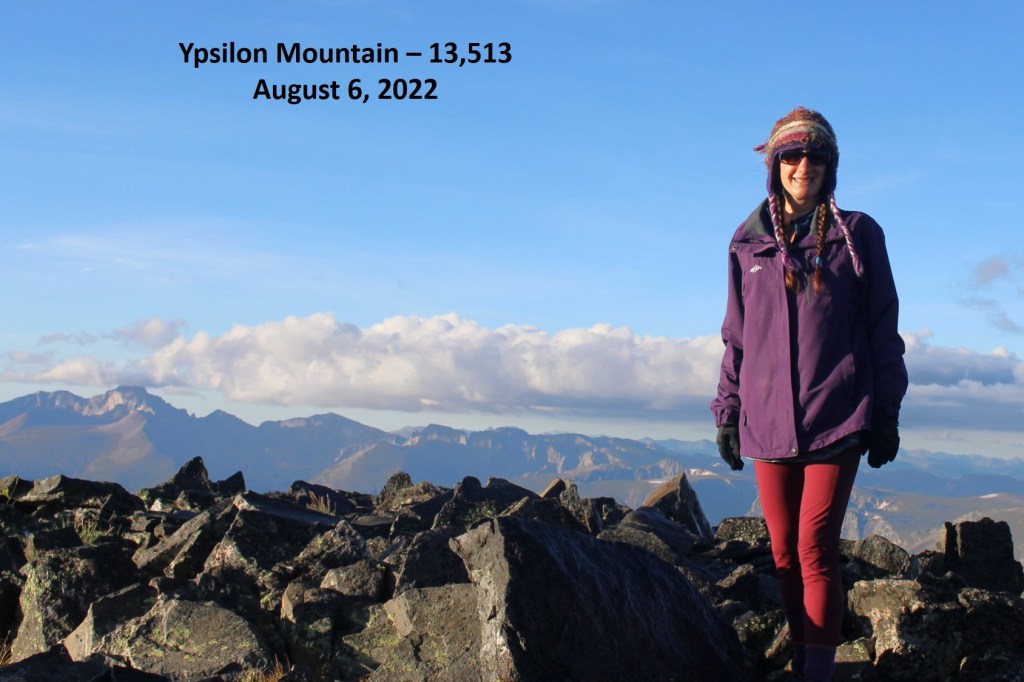
I summited Ypsilon Mountain at 7am
Mt Ypsilon:
This was going to be an out and back for me, so I retraced my steps back to Chiquita, losing 722’ of elevation, and then gaining 270’
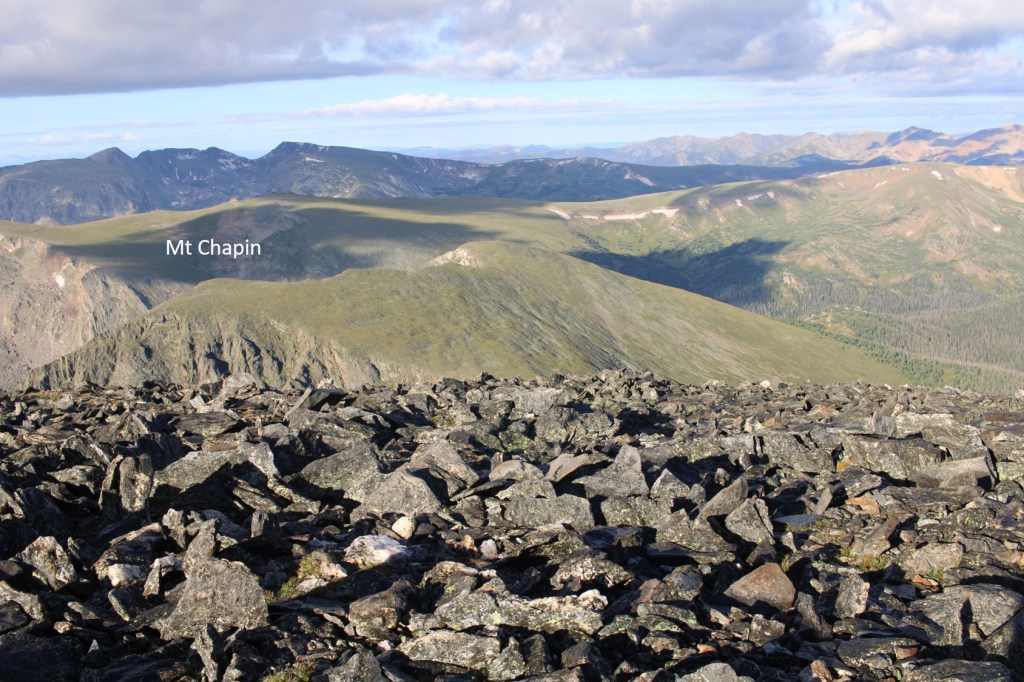
Back at the summit of Mt Chiquita I continued following the ridge southwest, back to the trail. There is a trail to the summit of Mt Chapin from there.
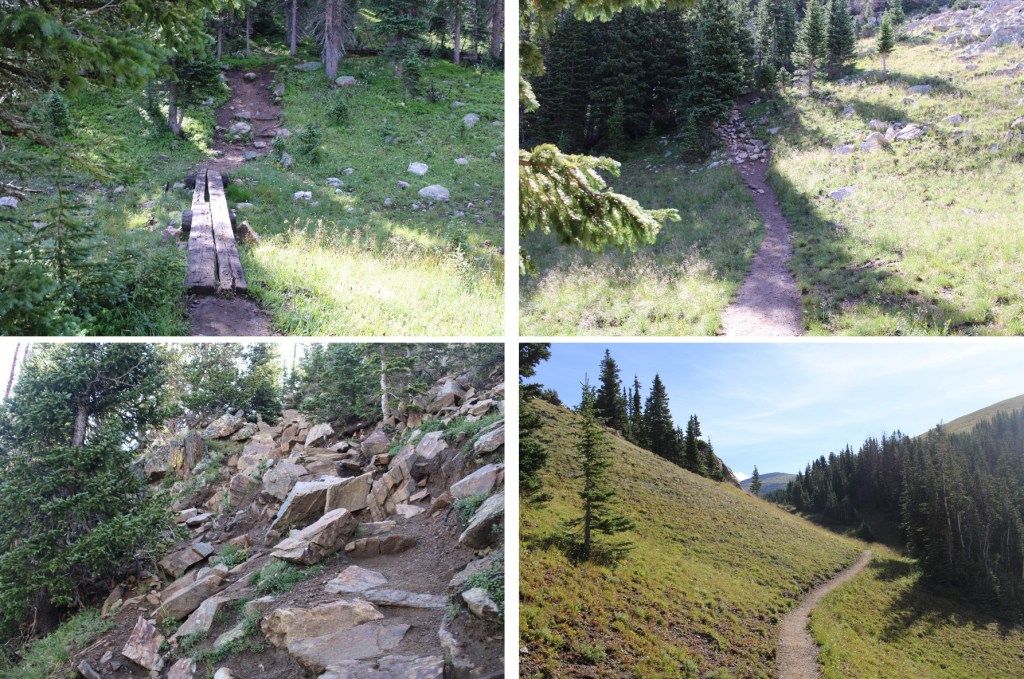
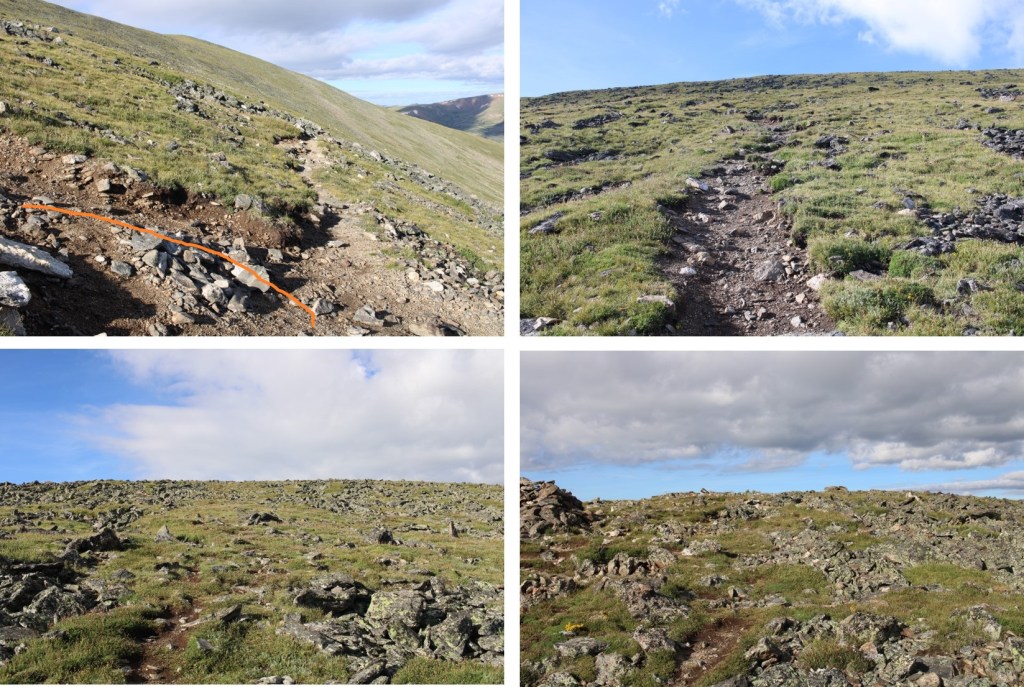
Here are some close up pictures of the class 1 trail
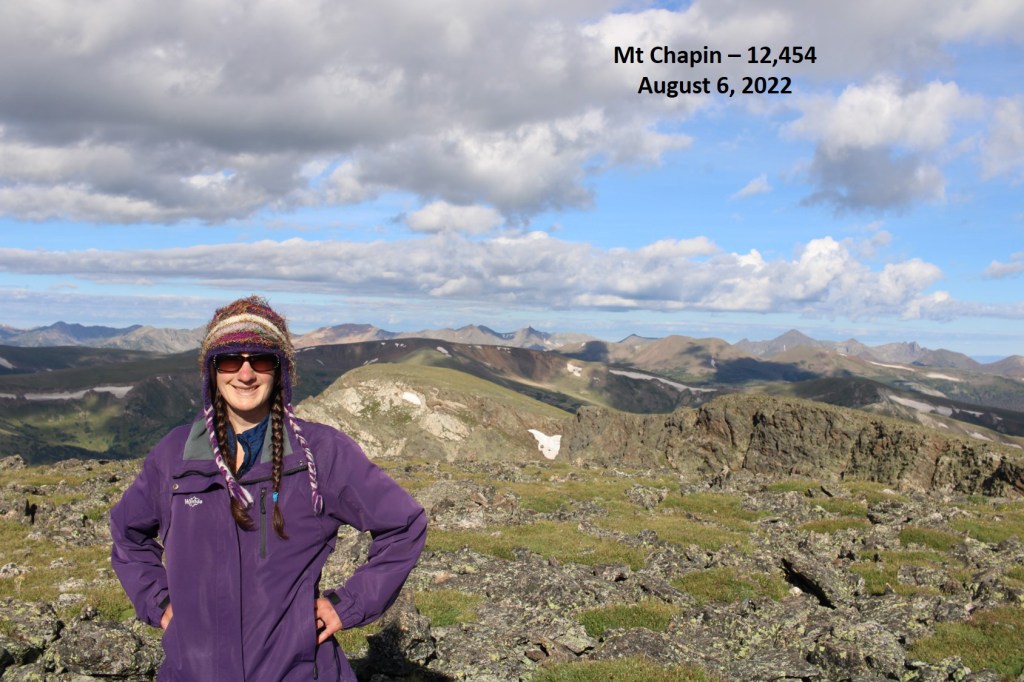
I summited Mt Chapin at 8:30am
Mt Chapin:
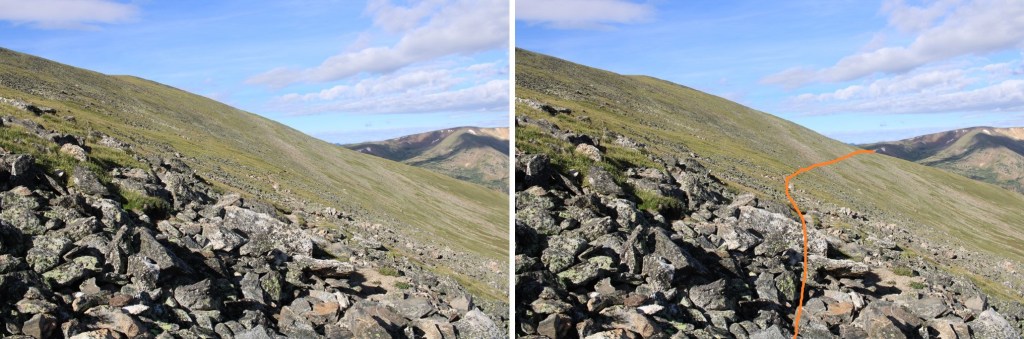
I turned and retraced my seps back to the trail below
Once back at the junction with the main trail, I turned left and followed it west to Chapin Pass
I even saw a few bull elk lounging along the way
Back at Chapin Pass, I turned left, and followed it back to the parking area, which was now overflowing with dozens more vehicles than could fit in the area. If you want to do this hike, get there early.
I made it back to my truck at 9:15am, making this a 10.2 mile hike with 3555’ of elevation gain in 5 hours, 15 minutes.
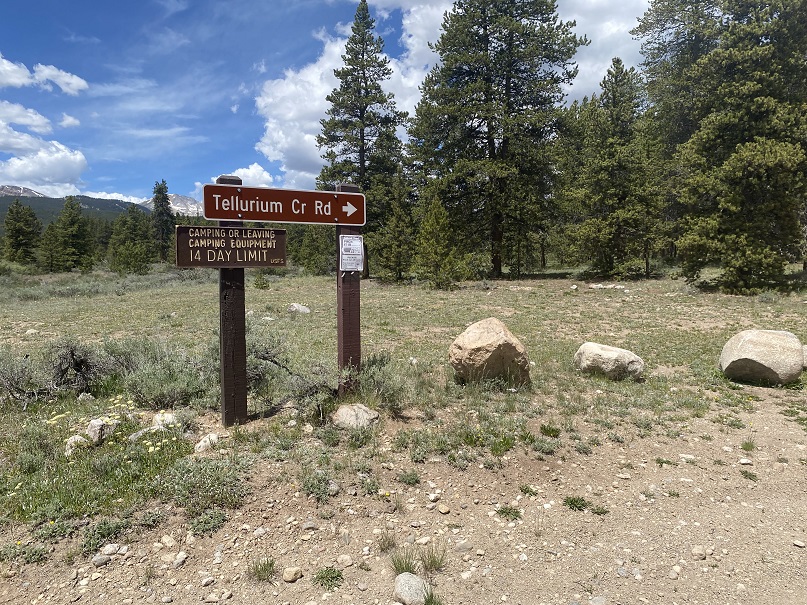
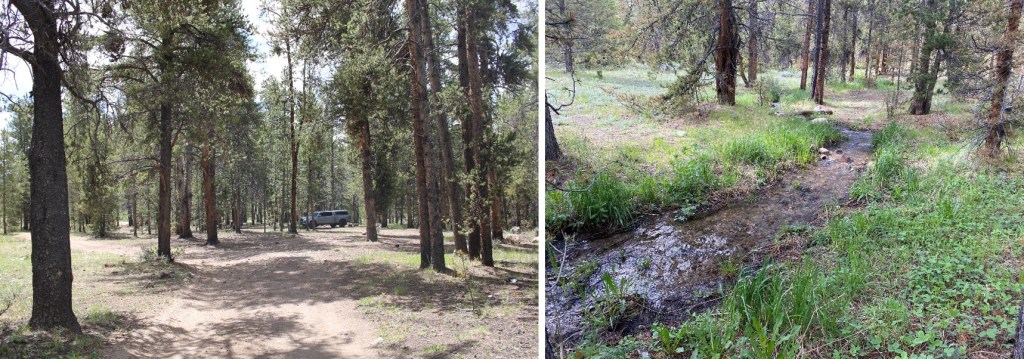
There is a ton of camping at the Tellurium Trailhead, so that’s where I spent the night.
I was parked next to a small stream, and had the entire area to myself. Not bad for a Friday and Saturday.
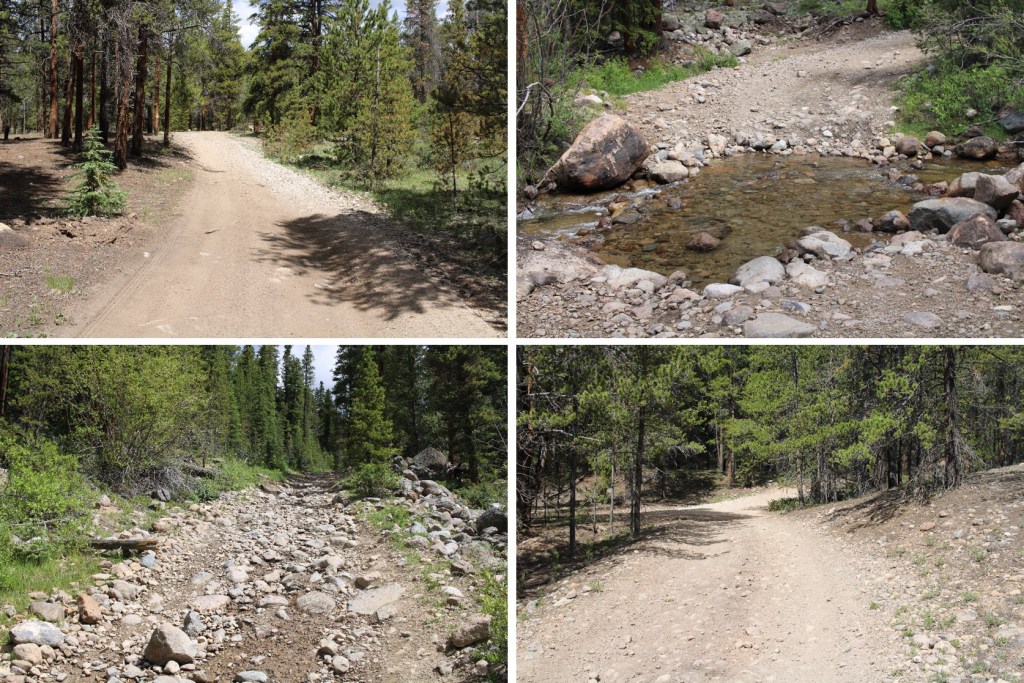
I was up and on the trail at 4:30am, following the 4WD dirt road 584 north for just under 1.5 miles. There were a lot of dispersed camping sites along the road. I was glad I’d parked where I did and hiked in.
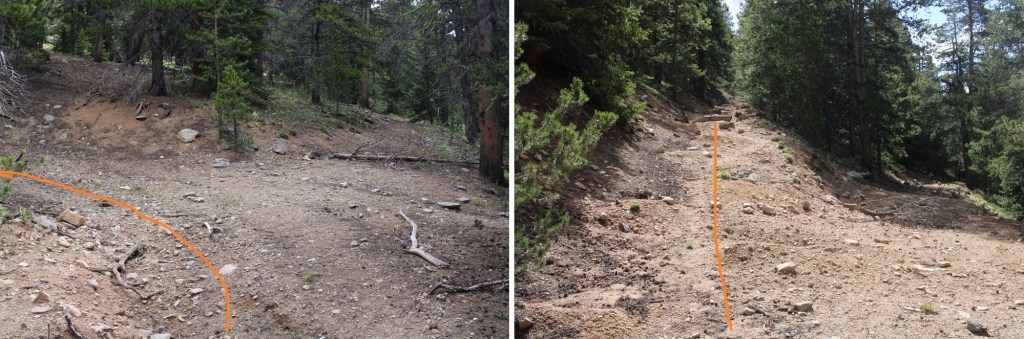
After hiking for just under 1.5 miles I came to an old dirt road that has been blocked off. It was on the right, and wouldn’t have been obvious in the dark. There is no parking there.
This was a road someone had tried to make unusable. It made hiking interesting, as I could not hike in a straight line. The road was obvious and easy to follow however.
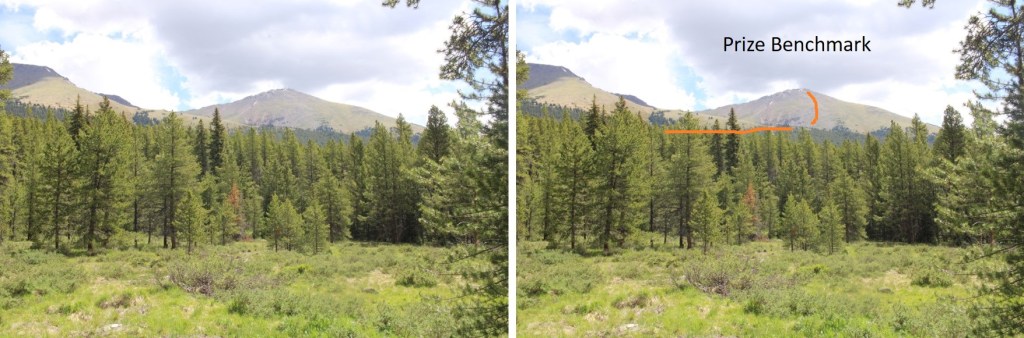
When you come to the meadow, if it’s light out, get a good look at Prize Benchmark. This is the route you’re going to want to take. Notice there’s a ridge? You’re going to want to parallel that ridge, then dip into a basin before ascending Prize. This will make more sense later.
There were two creek crossings I did not need to take off my shoes to cross
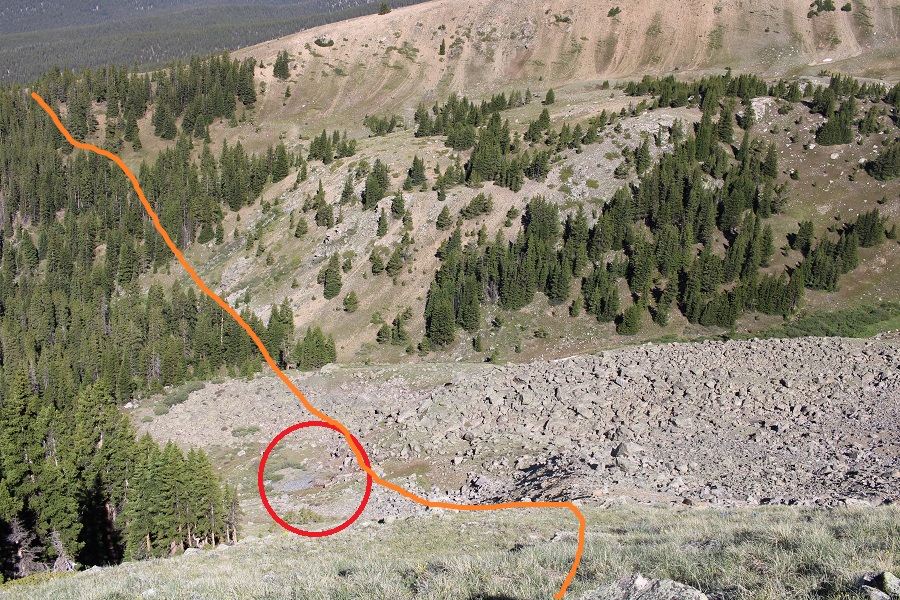
There were a few side roads that went to old houses and mining operations. Every time I had an option to turn I kept left (twice). I followed this road all the way to the Enterprise Mine. There’s not a lot left…
Here’s where I messed up. I went over the ridge. Don’t do that. Instead, try to stay parallel with the ridge, as you’ll want to cross it at a low point because you’ll be descending into a basin. There is no trail here, but don’t try to ascend the ridge, stay at about 11800’.
When you can see east, it’s time to descend into the basin. There are a few game trails here. Yes, you’ll be headed back into the trees.
I just kept heading east.
I could see a grassy band I wanted to take to the ridge, and thought the easiest way to get there was over a pile of rocks. It wasn’t. The rocks weren’t stable, and more than once I seriously considered heading back. This is the way I’d recommend ascending
Here are some pictures of the way up the ramp. I stayed to the left of the trees.
Then I followed the tundra east to the ridge
As I was heading east, and the sun was trying to rise, I notices a small herd of elk to my right. They were sharing the tundra, and after a while the mamas woke their babies and trotted off.
I continued hiking east.
As I was trudging up the tundra, I heard what sounded like a bark. At first I thought it was a coyote, but they don’t bark. Then I thought maybe a dog, but it was unlikely there was a dog all the way out where I was. I heard a single bark every two minutes or so. One time, when I turned around, I saw an elk, and realized the ‘bark’ belonged to her
Elk barking:
I figured she’d gotten separated from her herd, and was calling them. On I trudged. I reached the ridge, and turned left.
This was all class 2. I navigated the rocks to the left
And then could clearly see the summit
I summited Prize Benchmark at 8:15am. I could still hear that elk barking, but watched as it went in the direction of the herd.
Prize Benchmark:
I turned and re-traced my steps, thinking to myself how much easier this route had been rather than doing this from the other side with Booby and 13460. I aimed for the tundra below.
This time I stayed to the right of the trees, aiming for the grassy rib and gully below
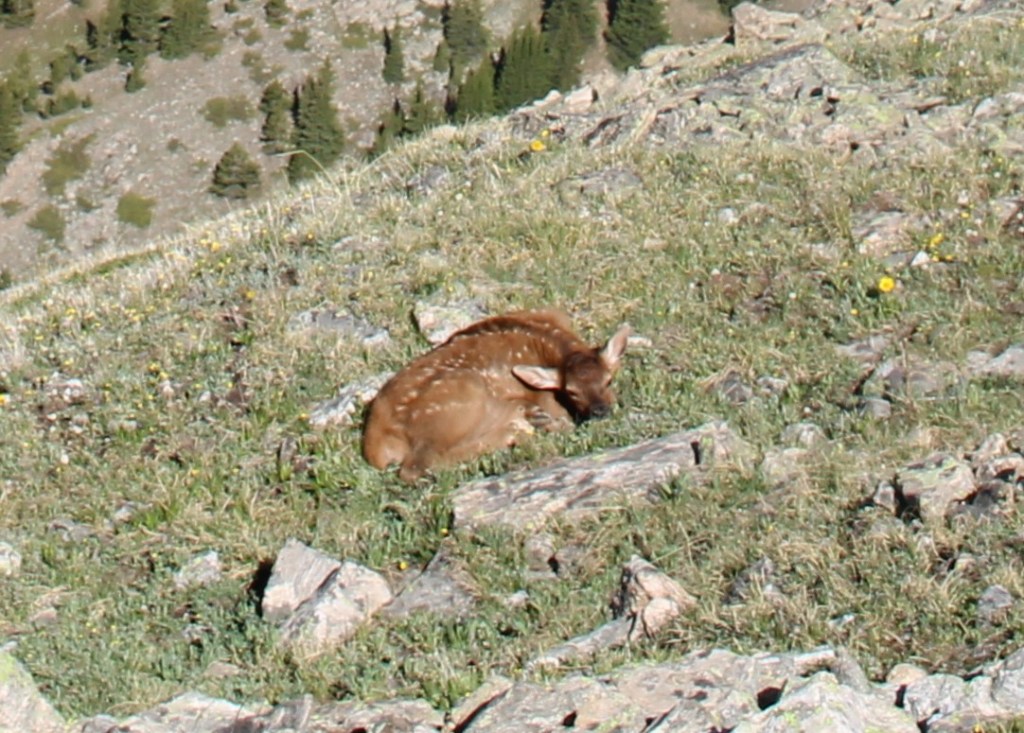
As I was hiking down, I saw something that didn’t fit with the terrain. It was small and brown, and even from a distance, I thought it was an elk calf. IF was curled up, and I was worried it was dead, but seriously hoped it was a misplaced piece of wood.
As I got closer, it was obvious this was an elk calf, and I was sure the elk I’d heard earlier was looking for her baby.
Then, suddenly, the calf popped up and stood on all fours, looking at me straight in the face. I was relieved it was alright, then went into mom mode: I chastised the baby, saying “Your mom’s looking for you! I know you heard her, because I heard her for over half an hour. Go back to your mama!” I pointed to where the mom had gone off to, and the calf ran in that direction.
Now to continue on back to the basin
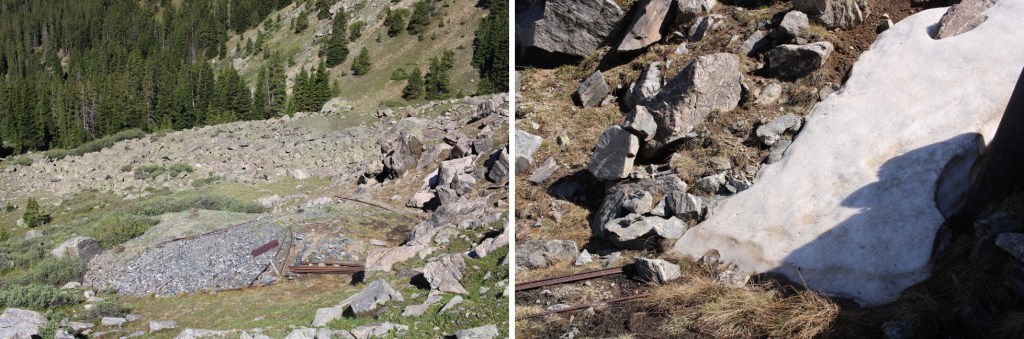
Here’s the route I took out of the basin. While taking this route, I saw something I hadn’t on my way in: remnants of a mine (circled in red). I was going to explore when I made it down there.
There wasn’t much to see. It looked as if the opening was entirely covered by snow… or a large boulder had been placed to cover the entrance.
I took a few pictures and continued on. Now to regain the ridge.
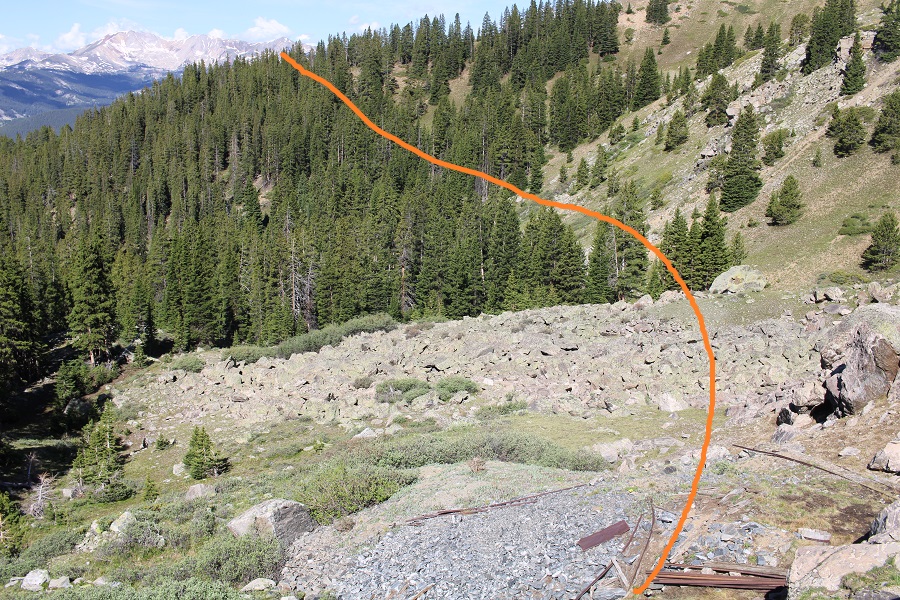
Once on the ridge I stayed level at 11800’ and aimed for the Enterprise Mine, which I could clearly see while on the ridge
Once at the mine I followed the destroyed road back to 584
I then followed 584 back to my truck
When I got there, I stopped my tracker, only to find it had gone all wonky, right at about the time I’d seen the calf, so my mileage was taken from my iPhone (which is usually pretty close to my tracker) and the elevation gain from CalTopo. I made it back to my truck at 11am, making this a 10.4 mile hike with 3996’ of elevation gain in 6.5 hours.
I drove in the night before to heavy clouds of smoke from the Arizona and New Mexico fires, but the weatherman predicted a cold front would push the smoke away by the next morning.
The drive in was on an easy 4WD dirt road, and probably doable in a 2WD vehicle to where I parked in the camping area before the pass.
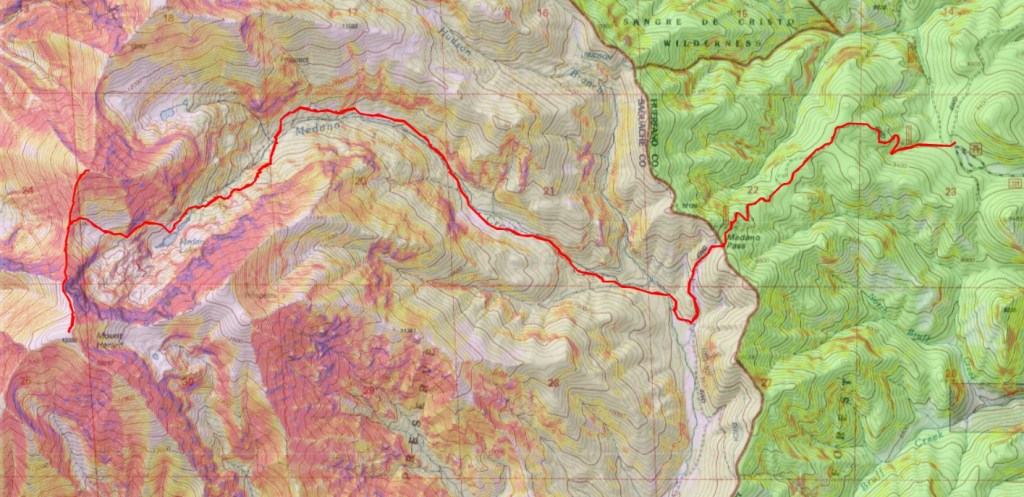
There were private ranches on either side of the road, with bison and what looked like hunting property. There were tons of signs telling you the property was private, with information on how to report poachers. I knew Medano Pass was closed from the Sand Dunes side, but was surprised to find it was closed from the HWY 69 side as well. I parked in the camping area at 9200’, just over 2 miles from the pass. Mine was the only vehicle there, which made sense because the pass was closed. Also, it was a Monday. And extremely windy. There was quite a bit of glass on the ground from past campers who’d broken bottles and left them.
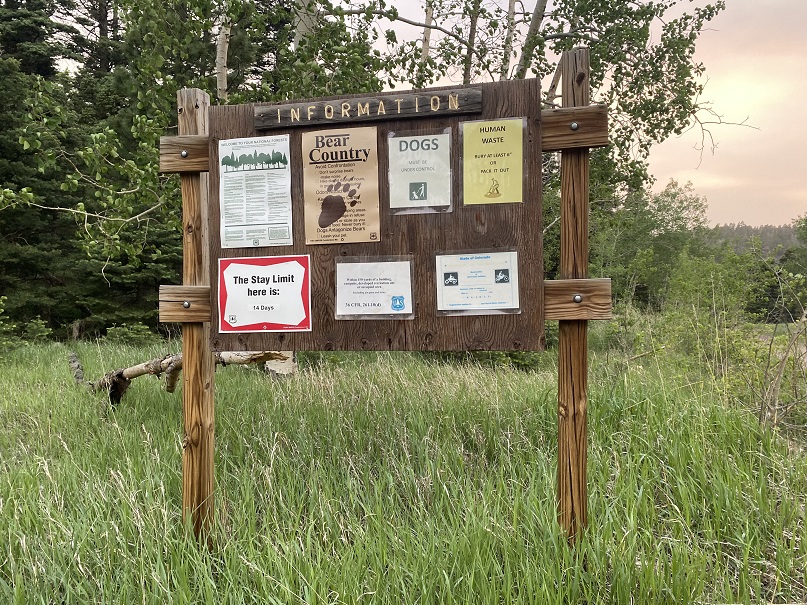
There were signs indicating bear activity in the area, which I confirmed the next morning. If you camp here, please secure your smellables/food/etc.
I made it to my campsite late (but it was worth it because my youngest daughter, who’s in college, called to chat with me a bit on my way in, and I had to stop where I had cell reception), so I made it an early night for what would be an early morning. I was up and on the trail at 3:30am.
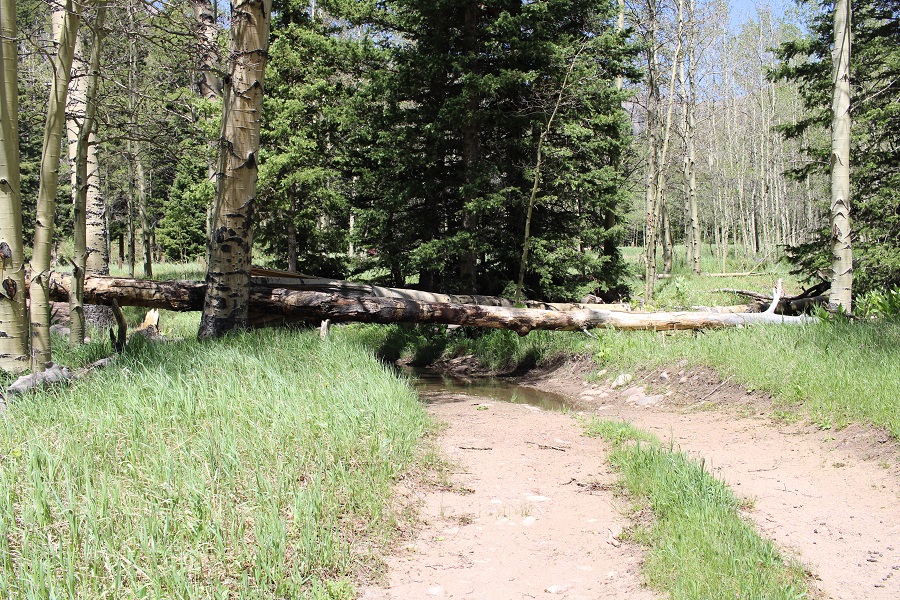
I started by following 559 west to Medano Pass. There were a few campsites along this road, but very few turnaround points. This is now a 4WD road.
Once at Medano Pass I found the gate closed to vehicles. I hopped over the gate, and continued towards the Medano Lakes Trailhead.
Along the way there was a sign warning of bear activity
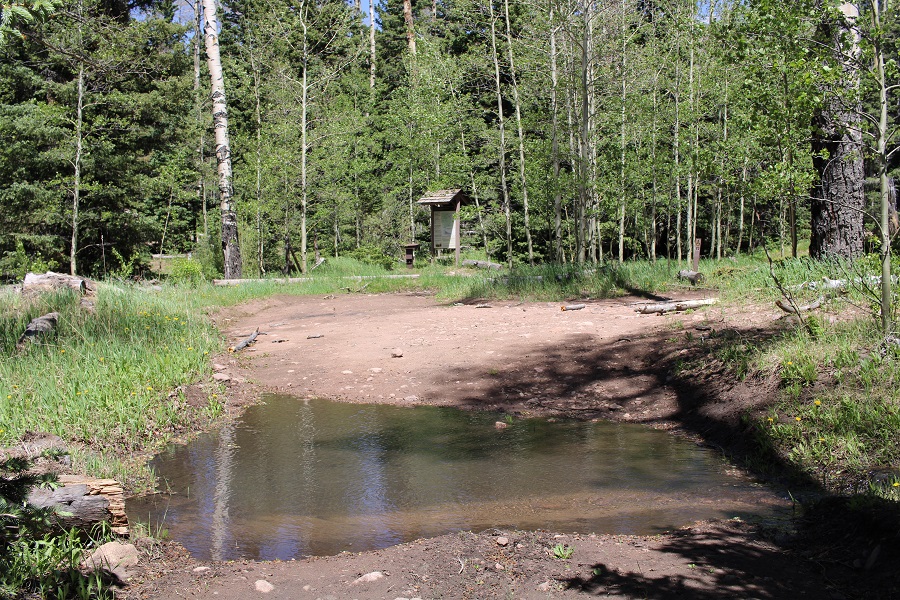
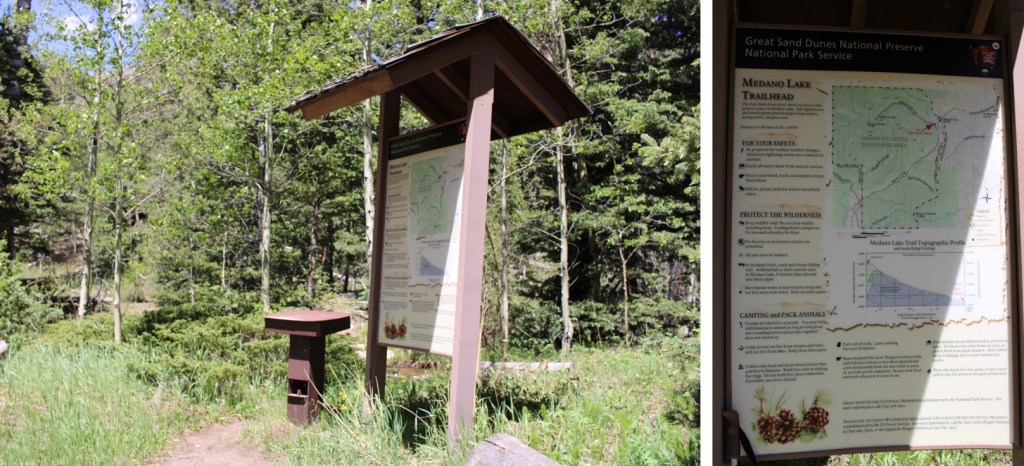
After hiking for 2.9 miles, I made it to the Medano Lakes Trailhead. Note if you’re driving, there are still several downed trees on the road, so you won’t be able to make it all the way to the trailhead. There are several campsites along the way with bear boxes.
I signed the trail register and was on my way
A couple of things to note: This is a class 1 trail, and mine were the first footprints in the mud/snow. There was a lot of evidence of bear activity, I crossed numerous streams (easily, no need for creek crossing shoes) and there was a lot of downfall. I mean, an excessive amount. Several times I was walking UNDER avalanche debris. These were also spring conditions, so a lot of times, the trail was under water/snow.
After hiking for 6.75 miles, I made it to treeline, the upper basin, and Medano Lakes
At 11540’, I left the trail and followed a faintly cairned route to the saddle of Herard and Medino. This is where I was aiming
There’s a faint trail that’ll get you to the upper basin
Just before the upper basin there are two cairns you’ll pass through. Take note of them for the route down
Now in the upper basin, the trail is gone for a bit, but there are cairns that will lead you to the saddle, and even a trail. This is the easiest way to make it to the saddle
The cairn you’re aiming for is circled in red
I decided to do Herard first, so after making it to the saddle, I followed the ridge south. There was a false summit, but this (and in fact the entire hike) was all class 2.
Here are some pictures of the terrain
And the false summit.
There was a bit of snow to navigate (nothing too serious) and then I followed the tundra (and a faint trail) to the summit.
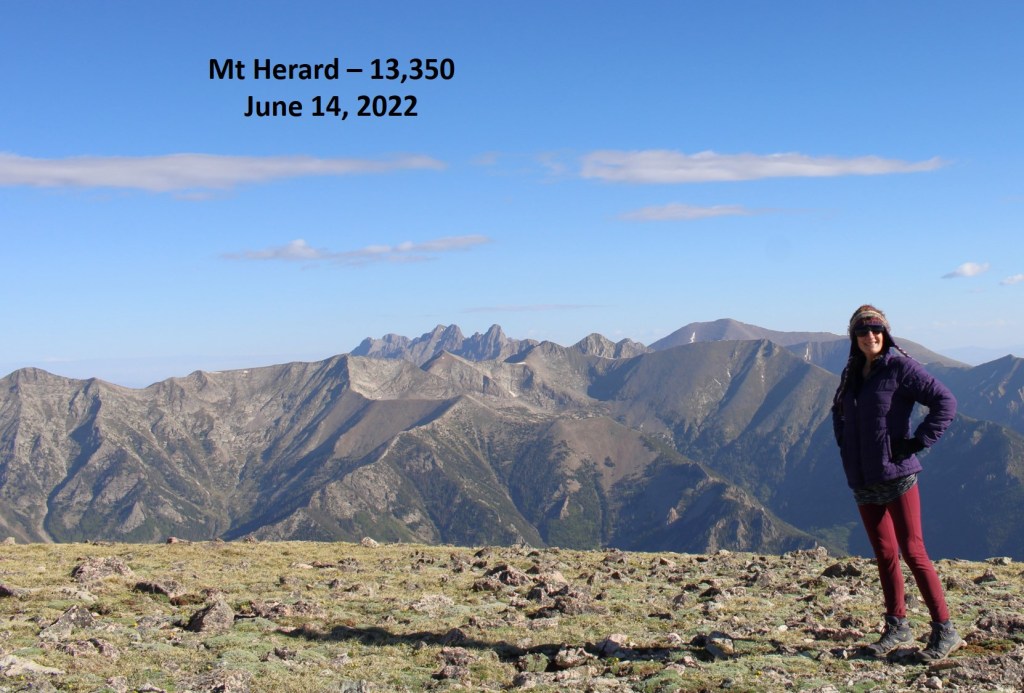
The summit was flat. I summited Mt Herard at 8am
Mt Herard:
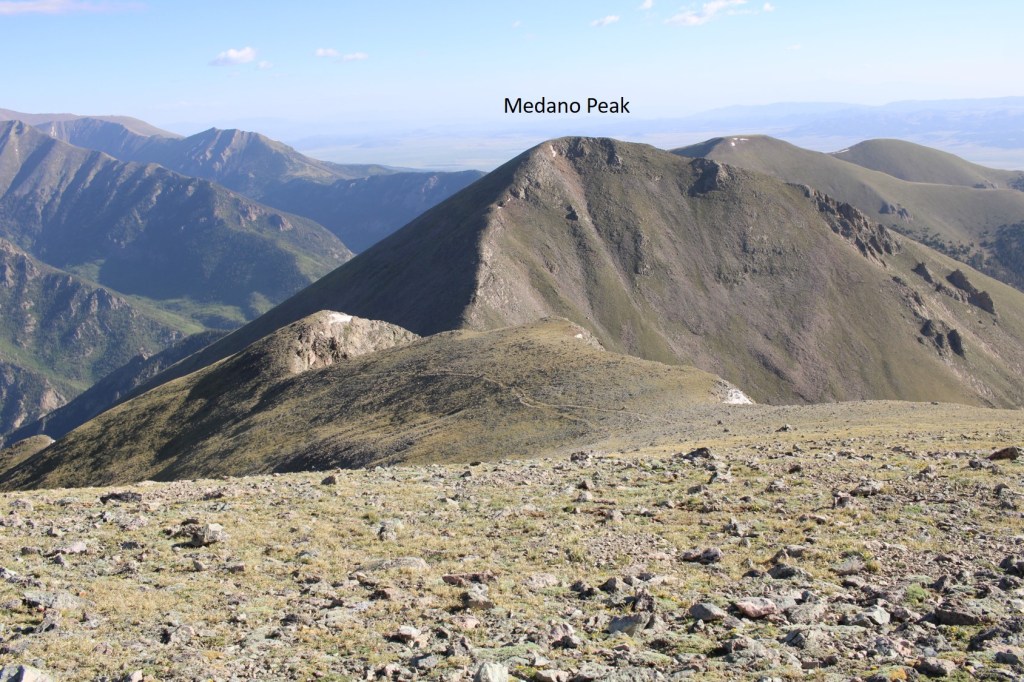
I turned and headed back to the saddle. My next objective was Medano Peak
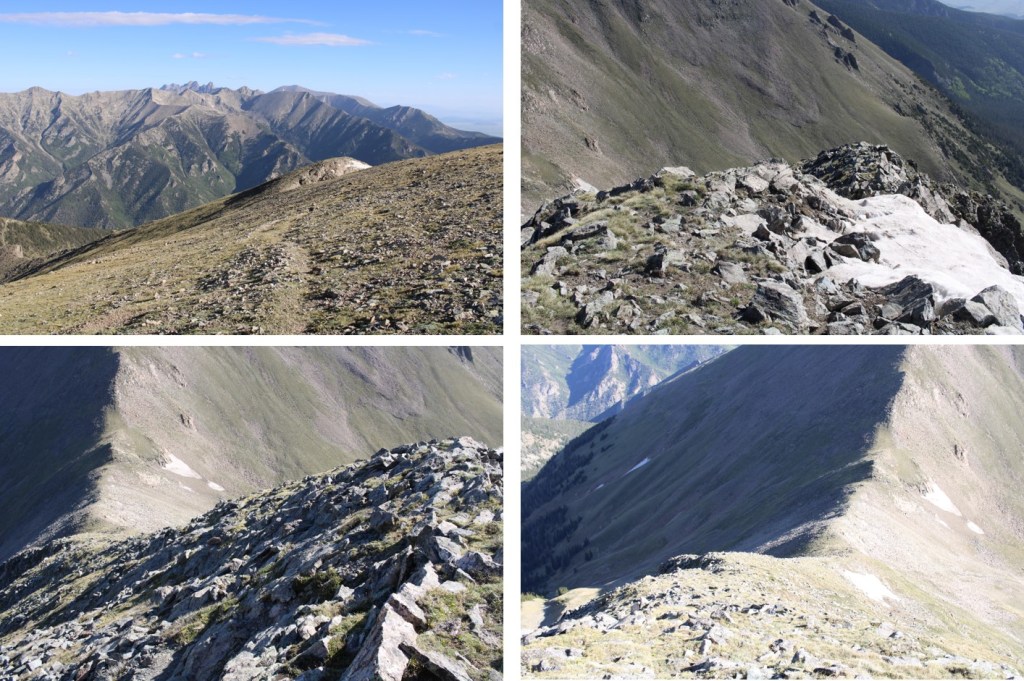
This was also a class 2 ridge walk. Here are some step by step pictures
Also, you might be able to see them in this picture… I came across 5 elk, who weren’t too concerned I was there, until I started hiking up from the saddle. At this point, they headed higher up, towards 13,000’. I was curious, until I noticed they were gathering their 5 babies, who were hidden amongst the rocks. They couldn’t have been more than a month old. Then the mothers trotted them off along the ridge.
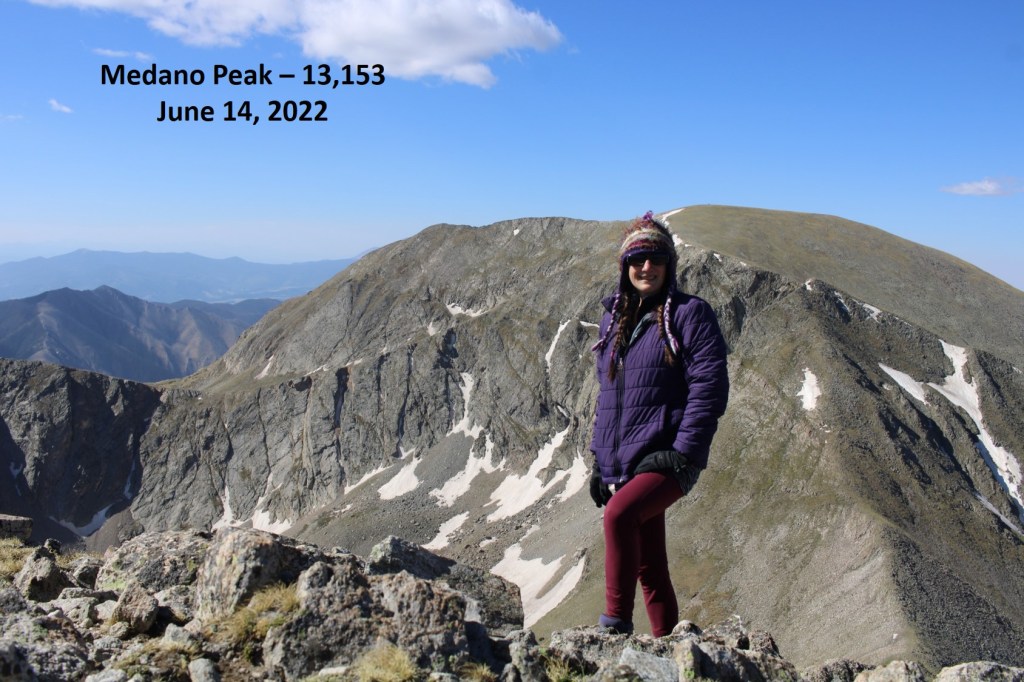
I summited Medano Peak at 9:05am
Medano Peak:
Here’s a look at Mt Herard from Medano
I retraced my steps back down to the saddle, and into the lower basin and Medano lakes
It was a super windy day (predicted winds of 45mph). As I was hiking I was able to notice a bighorn sheep ram below me. Since it was so windy, he didn’t notice me until I was right up on him.
Bighorn:
He trotted away as well, and I hooked up with the Medano Lakes trail, which took me back to the trailhead
And then I followed road 559 back to my truck
I made it back to my truck at 12:30pm, making this a 17.43 mile hike with 5584’ of elevation gain in 9 hours.
This was my 4th attempt at Peak of the Clouds. Not because it’s a difficult peak, but because every time I was in the area I was thwarted by the elements; snow conditions, or a fast-moving storm coming in. Today had a great weather forecast, so I figured today was my day.
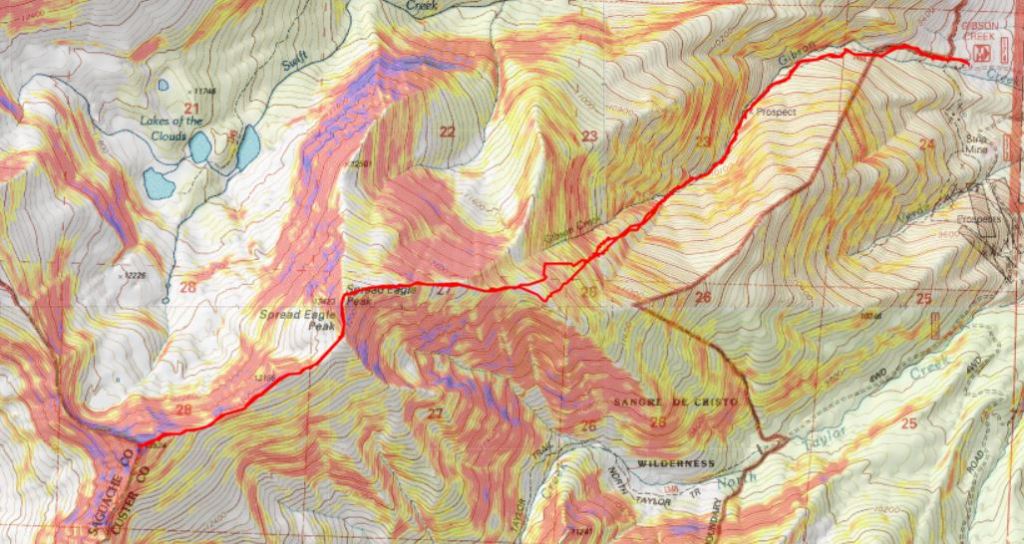
Unlike my previous stays at the Gibson Creek trailhead, this time it was packed. Probably because it was a Saturday over 4th of July weekend. There were RVs set up everywhere, and every parking space in the lot was taken. Knowing I was going to spend the night in my truck I just waited for someone to leave and then backed into their spot.
I was sitting at the trailhead, just appreciating the sounds of the birds chirping and insects humming, and then the sun comes out and lights up each individual blade of grass and all I can think is how lucky I am this is my life. It was a perfect night, and the last one I’d be spending in this particular vehicle, as my new truck was waiting for me at the lot and I was picking it up Monday. I wanted to enjoy tonight.
I’d been gone for a few days, and I also wanted to get back home to see my kids, so I made it an early morning. I was on the trail at 3:45am. The trail starts at the north end of the parking area, and follows trail 1456 west.
The trail starts out nicely defined. Stay straight at the Rainbow Trail Crossing. This sign has been broken for years. I wonder if they’ll ever replace/fix it?
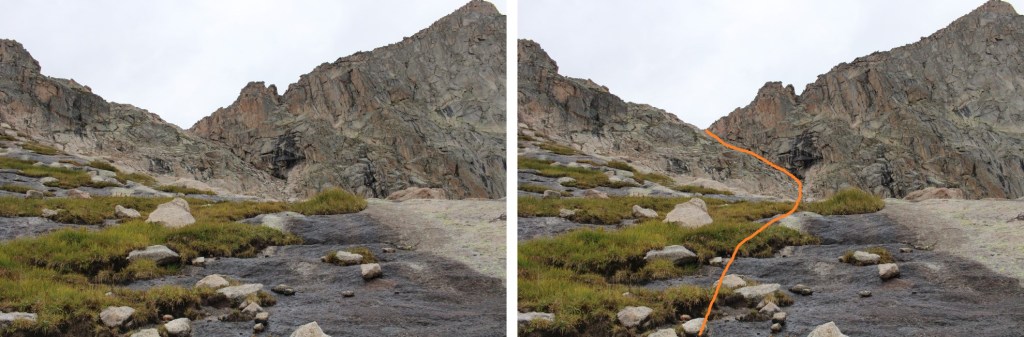
Here’s where it gets tricky. After hiking for .4 miles, and at 9400’, leave the trail and cross Gibson Creek. It looks like there used to be a good trail here at one time, but it’s no longer well defined. In fact, someone placed a tree trunk over the way you’re supposed to go.
After crossing Gibson Creek, the trail picks up again.
The trail goes through various conditions, from being well-defined, to being covered with downed trees, to barely being a trail at all. It also crosses Gibson Creek several times.
The main thing is to just keep following Gibson Creek west/southwest
I followed the trail for about 2 miles, to when the trail abruptly ended where a tree had fallen over the trail. Here I crossed the creek one last time, and bushwhacked southwest, up the mountain. It’s important to note here something the topo map doesn’t show: Apparently, somewhere Gibson Creek was to my right, but a much larger creek was to my left (this creek is not shown on the topo map, and could just be an error in CalTopo, as the creek was always to the south of me, but on the map it’s shown as being north). Gibson Creek pretty much fizzled out here, so keep the creek you can see to your left as you ascend the hillside.
This is a steep hillside with some bushwhacking involved. It seemed to go on forever. I took a different way down than I did up, and I’d recommend taking the way I went up, directly aiming southwest towards the ridge, as it avoids the large section of willows to the northwest.
I made it to the ridge as the sun was coming up
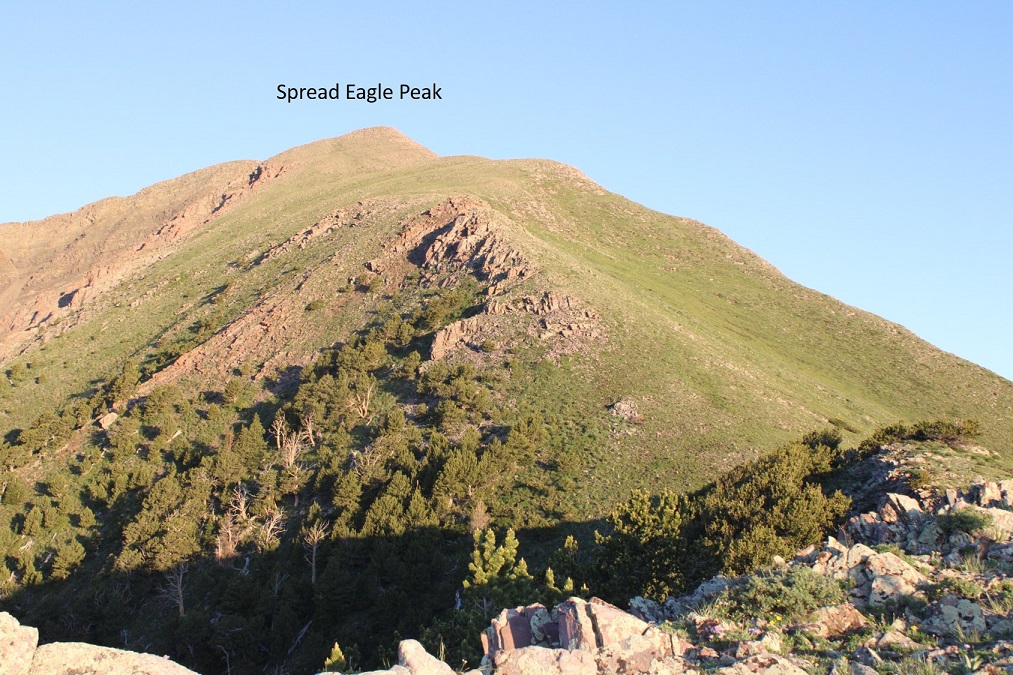
Once on the ridge, it’s a straightforward, class 2 ridge hike to the summit.
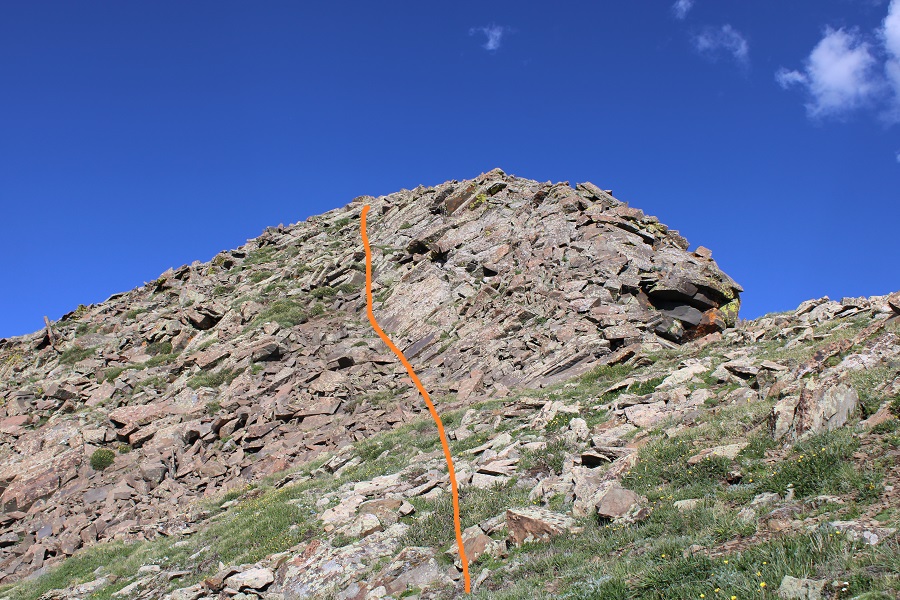
Here are some step-by-step pictures of the ridge
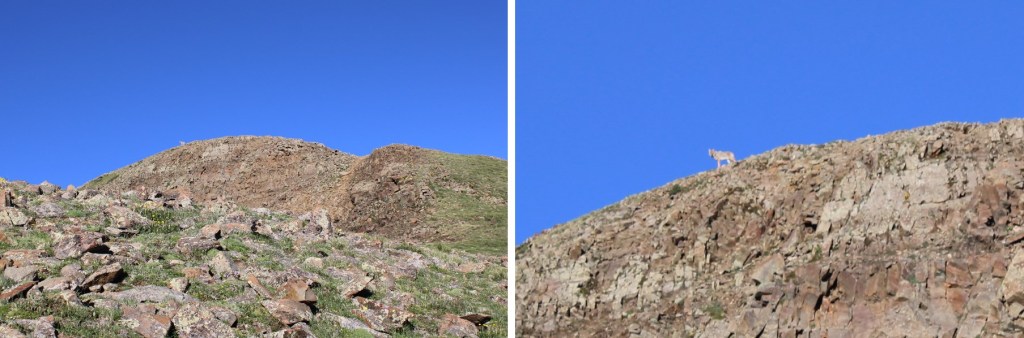
As I was nearing the summit, I looked towards the summit and thought I saw a bighorn sheep. When I looked again I realized it was a coyote: the biggest coyote I’ve ever seen! He was chillin’ on the summit.
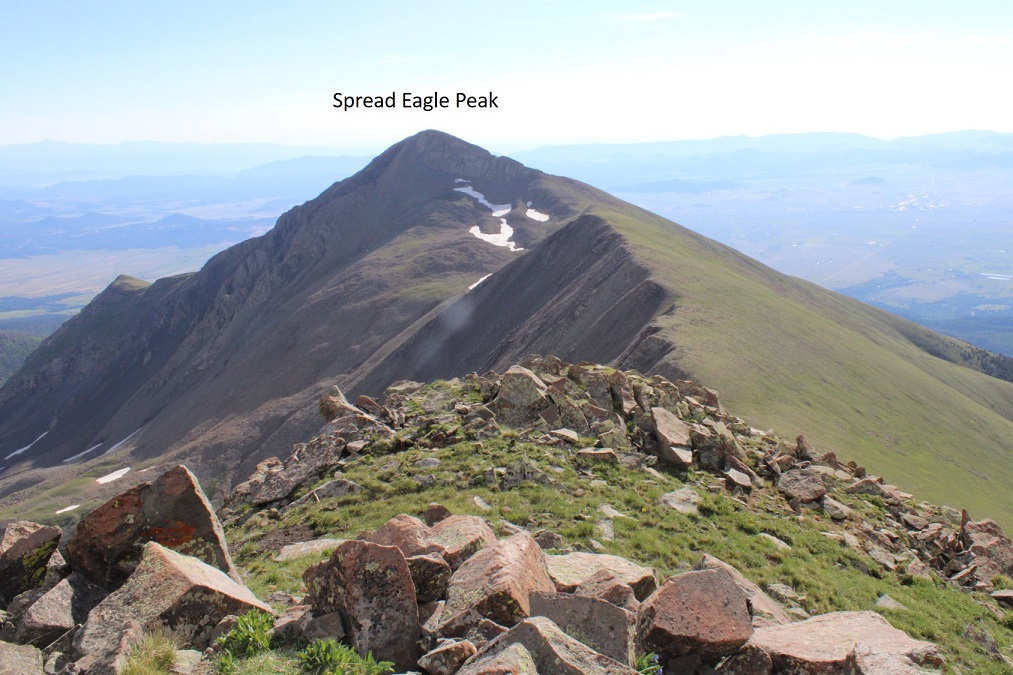
I summited Spread Eagle Peak at 7:15am. The coyote was nowhere to be seen.
Spread Eagle Peak:
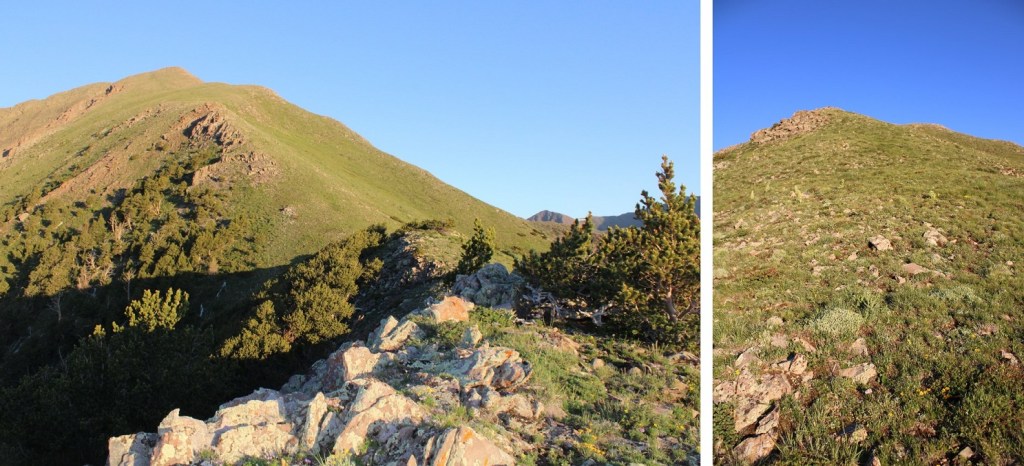
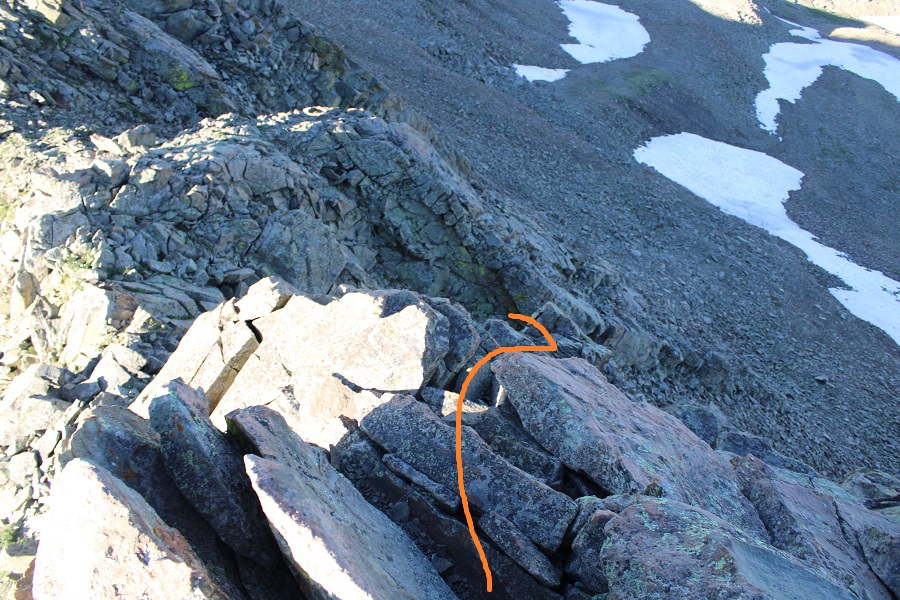
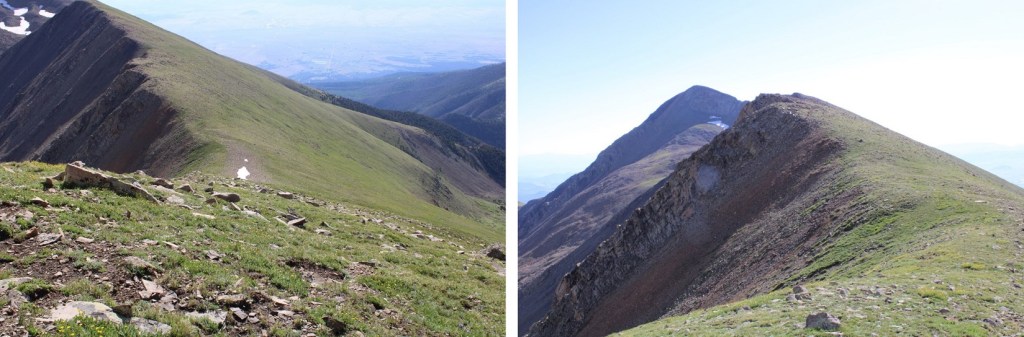
It was an absolutely beautiful day! I headed south, down the ridge to the Spread Eagle/Peak of the Clouds saddle.
This was a straightforward trek, with just one short class 3 move. I stayed right and downclimbed this section.
Then followed the ridge to the saddle
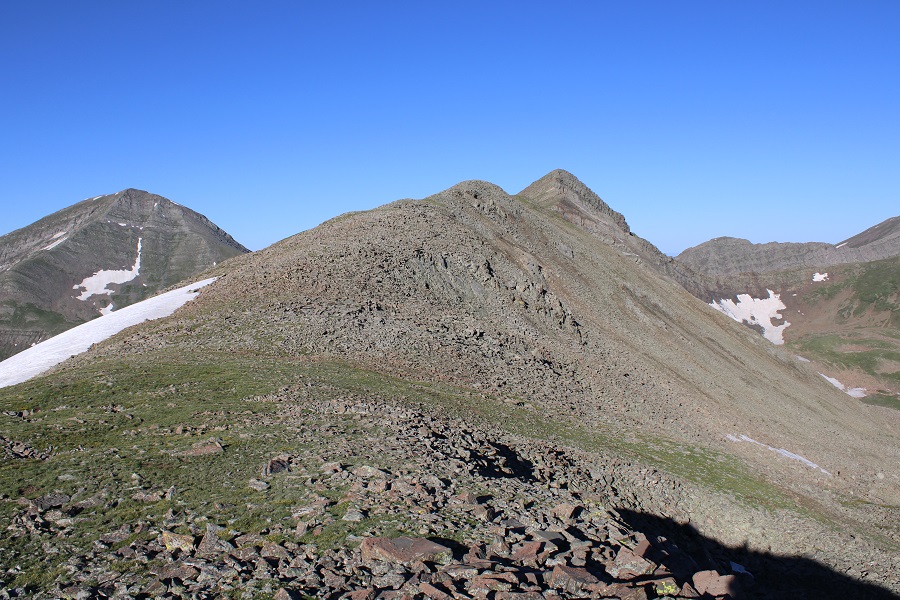
It was a simple, class 2 ridge hike to the summit of Peak of the Clouds
Here are some step-by-step pictures
Here I saw some elk (they didn’t stay long)
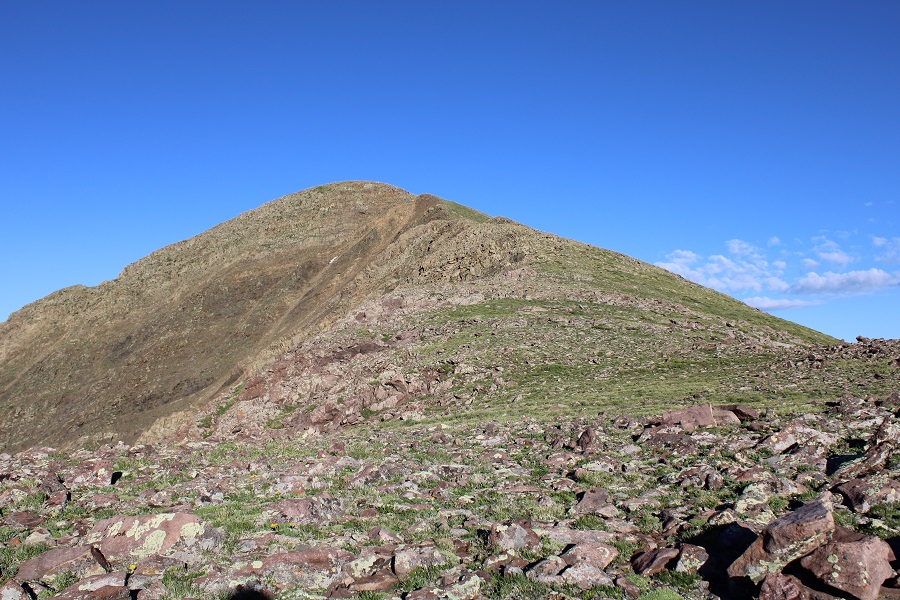
Looking up at the ridge to Peak of the Clouds
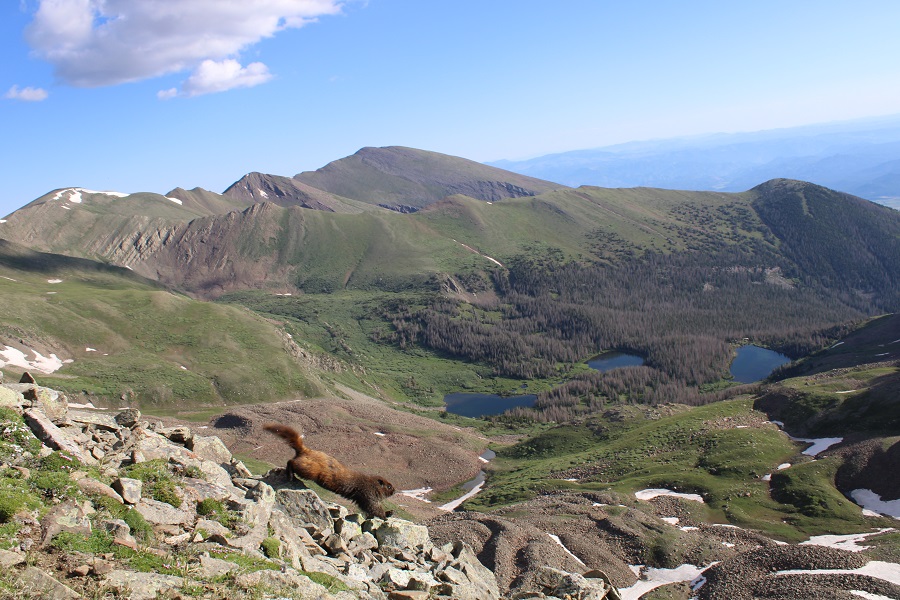
As I was hiking up, a marmot rushed down past me. I wonder where he was going?
The last part of the ridge was rocky. I stayed to the left.
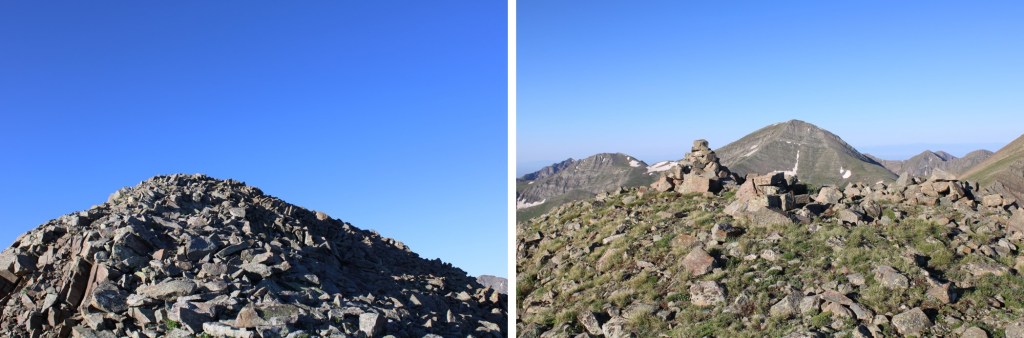
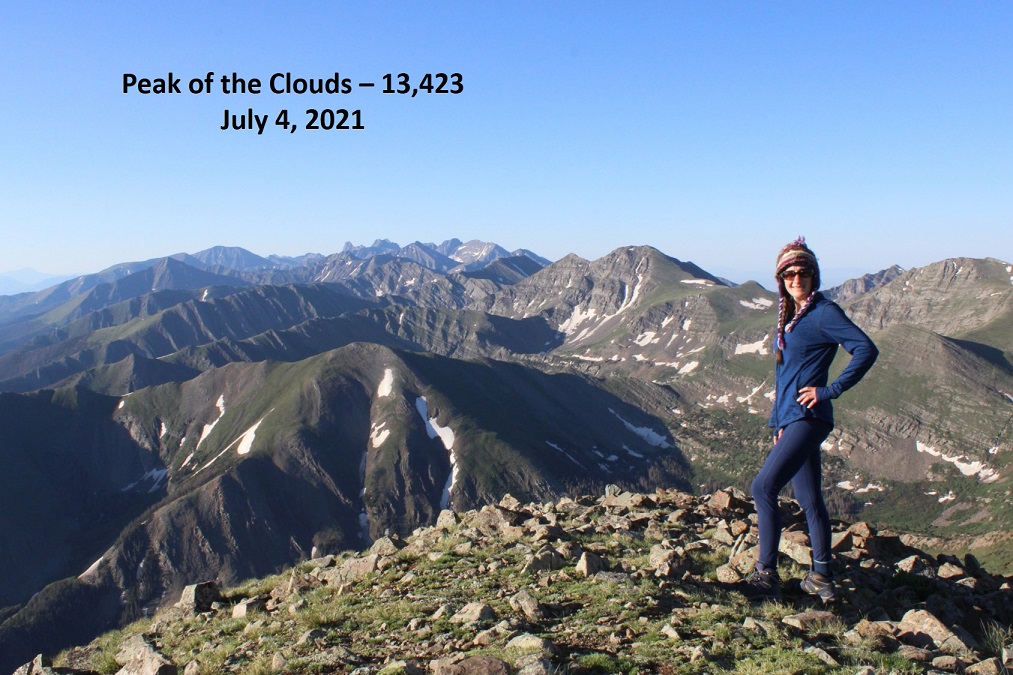
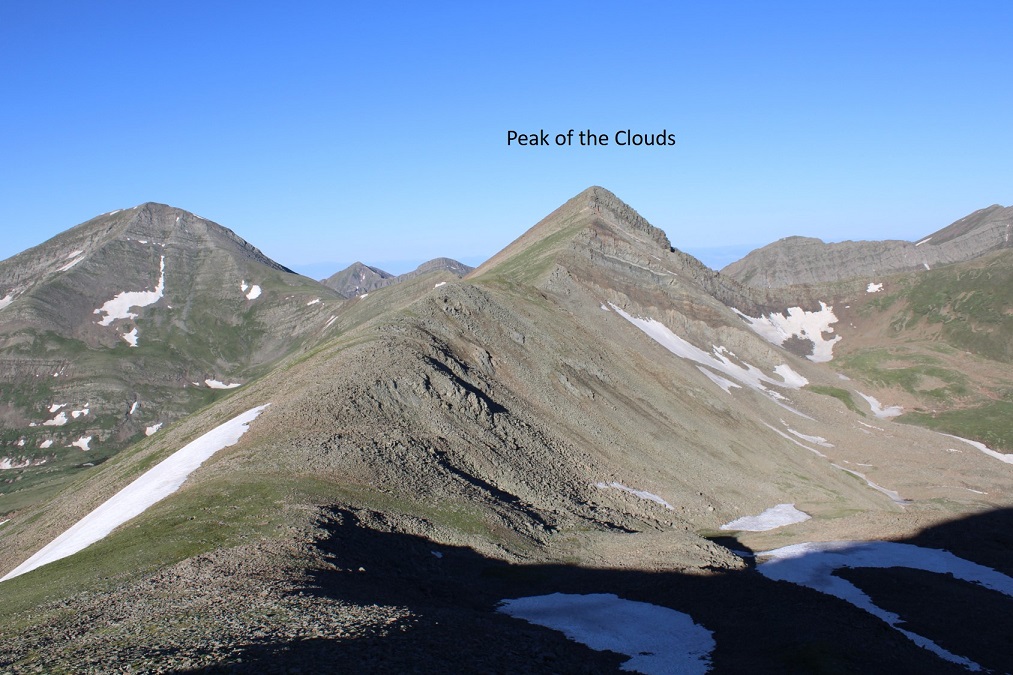
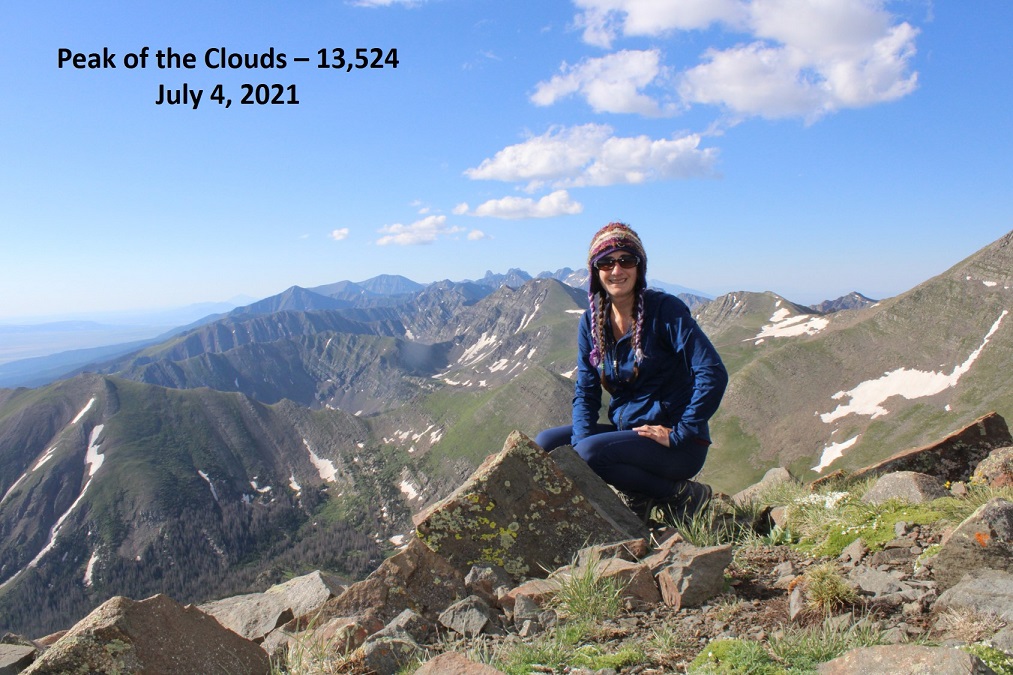
I summited Peak of the Cloud at 8:20am
Peak of the Clouds:
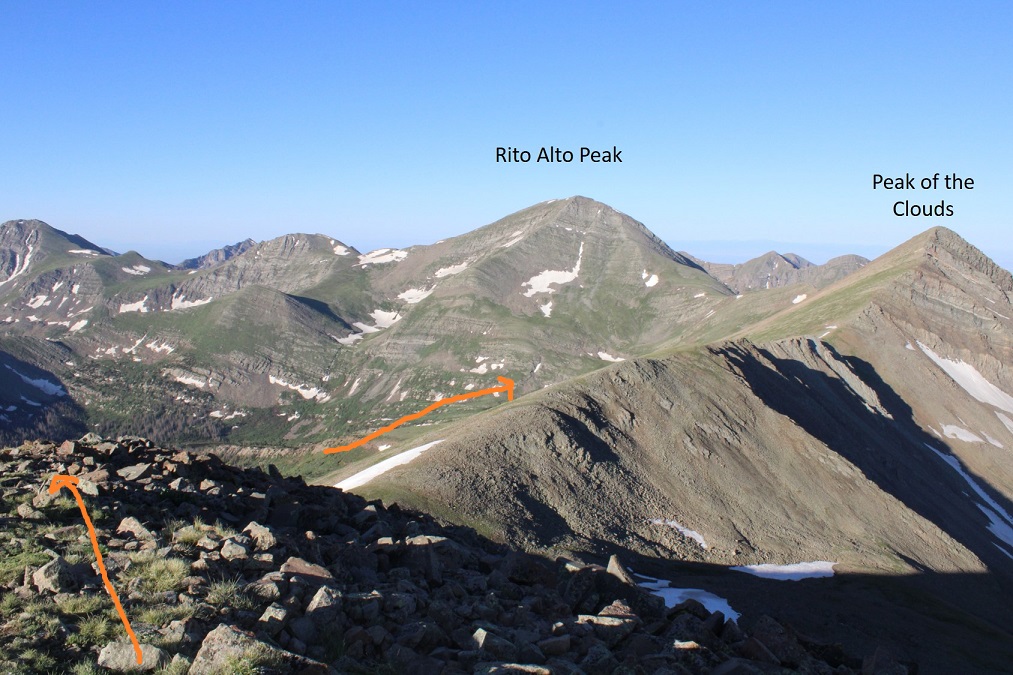
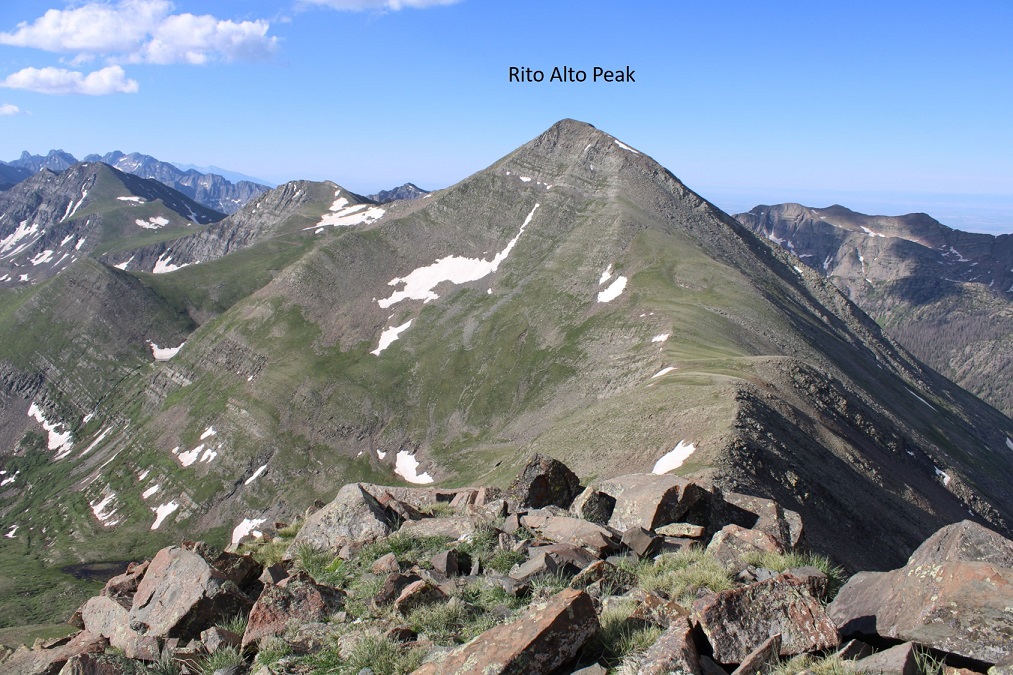
Here’s a look at the ridge to Rito Alto Peak (in case anyone is looking to do that one as well)
I sat for a minute and enjoyed my time on the summit. It was a beautiful 4th of July in the Sangres!
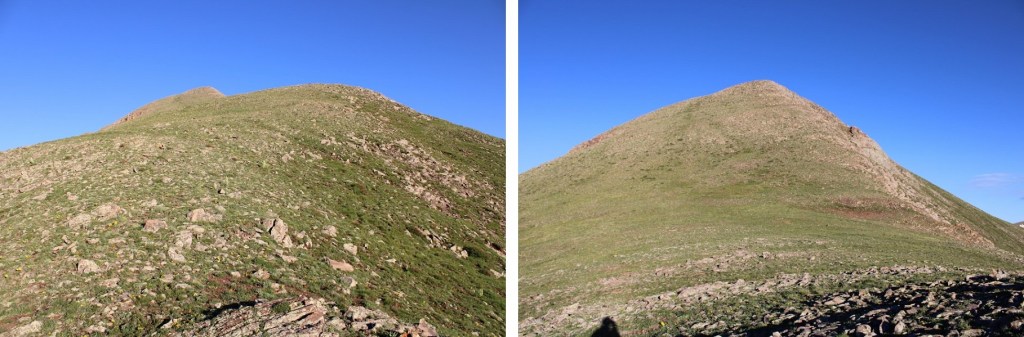
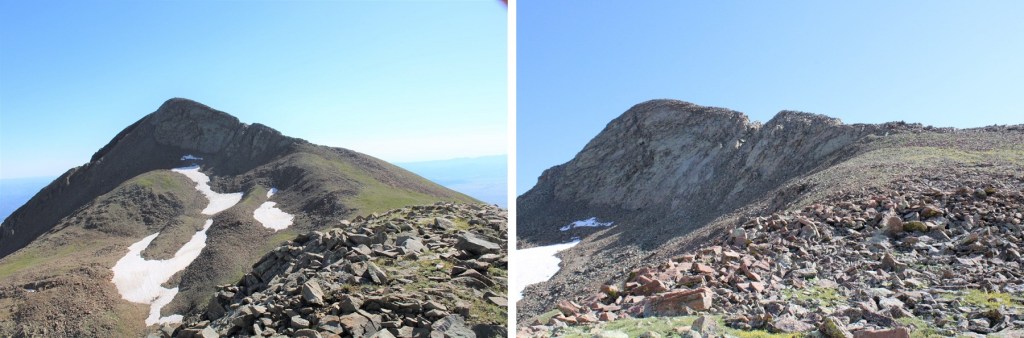
I was making this an out and back trip today, so I turned and looked back at Spread Eagle Peak
Here are some step-by-step pictures back to the saddle
This is how I accessed the ridge
And then followed the ridge north
The short class 3 section was easier to upclimb than downclimb.
Then it was an easy ridge hike to the summit
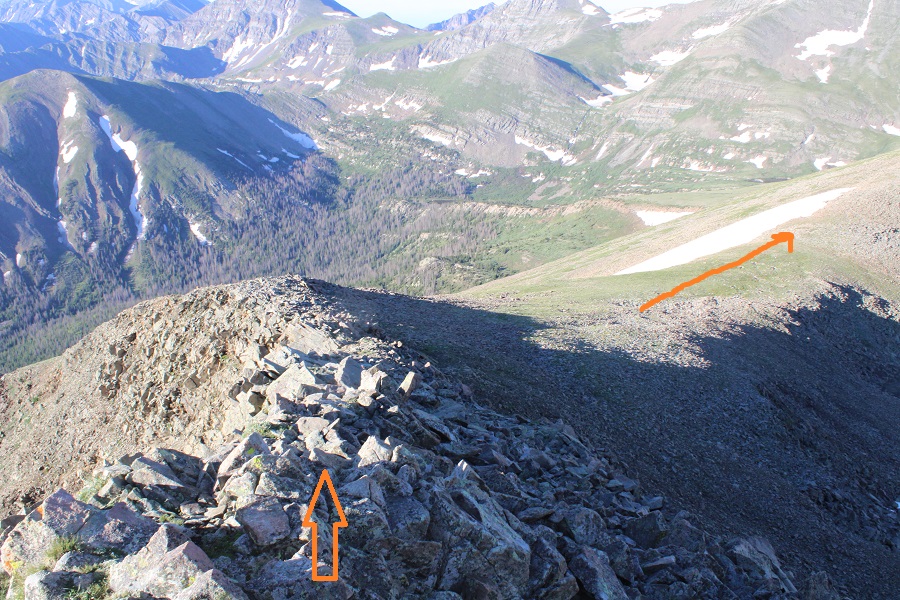
I turned and headed east down the ridge, back to treeline. I saw elk here as well.
Once near treeline I headed back toward Gibson Creek, but as I said before, I encountered a lot of willows and it was slow going. I’d recommend following the ridge as it slopes up a bit and becomes treed, and then heading northeast.
Yes, there’s bushwhacking and route finding involved.
I made it back to the creek, and followed the trail back as it curved northeast towards the trailhead
I crossed Gibson Creek one last time, and was back on the well-marked trail.
I made it back to my truck at 11:45am, making this an 11.05 mile hike with 5461’ of elevation gain in 8 hours. Now, time to drive home, wake up my daughters, and grill some steak!
I am so glad this happened! Everyone I met on this trip was highly competent, an avid mountaineer, and just a generally great person. My only regrets are that we didn’t have more time to chat, and the group was split due to weather and all 15 of us couldn’t have met at the same time. I’m looking forward to when we have gatherings again, as you are all my people!
We had originally planned to hike these peaks last weekend, but the forecasted snow had us put off the trip for a week, and our group of 15 got split up into 3 groups. 6 of us arrived at the Whiskey Pass gate around 4pm and were escorted up to the Whiskey Pass campsite to be the first group of 2021 to hike the Northern Cielo Vista 13ers. We left the two Subaru’s down low, but they could have made it up the 4WD road to the campsite (but not to where they shuttled our vehicle and we exited). I never put my truck into 4WD on the way up.
Our campsite for the night was at 11,500’, and absolutely beautiful. If was obvious no one had been up there in quite a while. It was nice to put faces to names, and all of us chatted for a bit. Some of us slept in our vehicles, and others set up tents. We all had different ideas for what we wanted to accomplish on our hikes the next morning, and all got to bed relatively early so we could start early.
I was unsure when I went to bed what time I’d start, but when I woke up without an alarm at 1:45am I knew it was time to get going. I was on the trail by 2am. I didn’t see anyone else up, which meant they were either already on the trail or starting later (both ended up being true). I wanted to get De Anza peak first, so instead of going over Whiskey Pass I started out heading northeast. Here’s a visual. There’s actually a road up there I followed for a couple dozen yards before I circled around the side of the mountain and headed northeast for the De Anza/Whiskey Peak saddle.
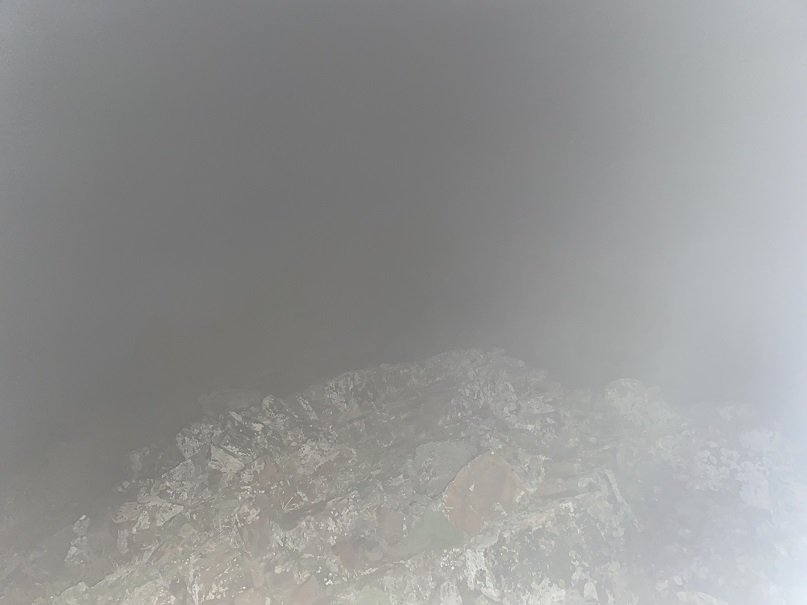
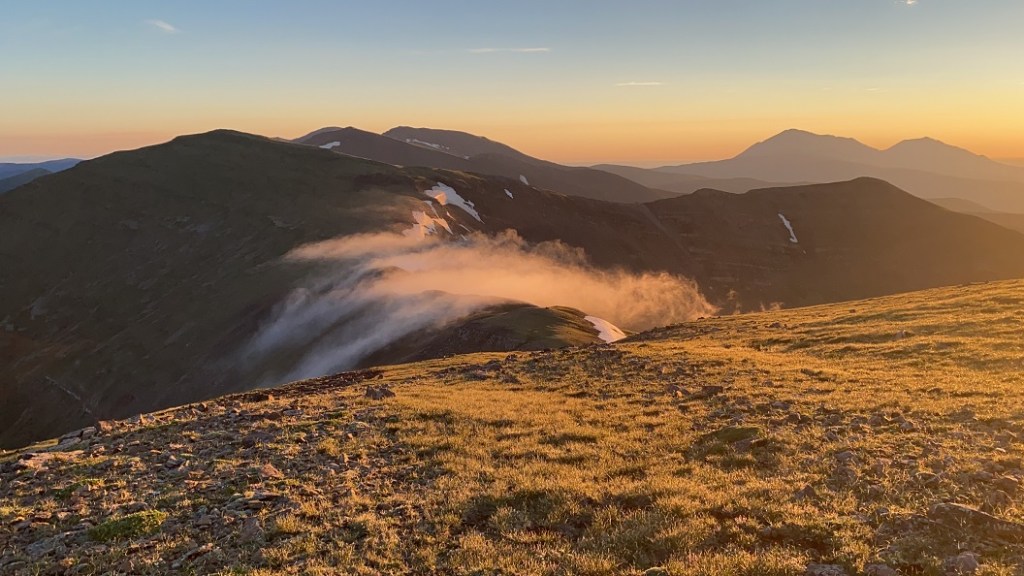
Sorry, but since it was so early in the morning, I don’t have pictures from the hike to De Anza or Whiskey Pass, so you’ll need to use the topo map as reference, but I believe it’s self-explanatory. Also, the weather was terrible: I was hiking in fog the entire time. I’m not sure if you’ve ever hiked in fog in the dark, but flashlights are useless. You can only see about 5 feet in front of you, and actually have a better visual turning your flashlight off for a second to see the terrain.
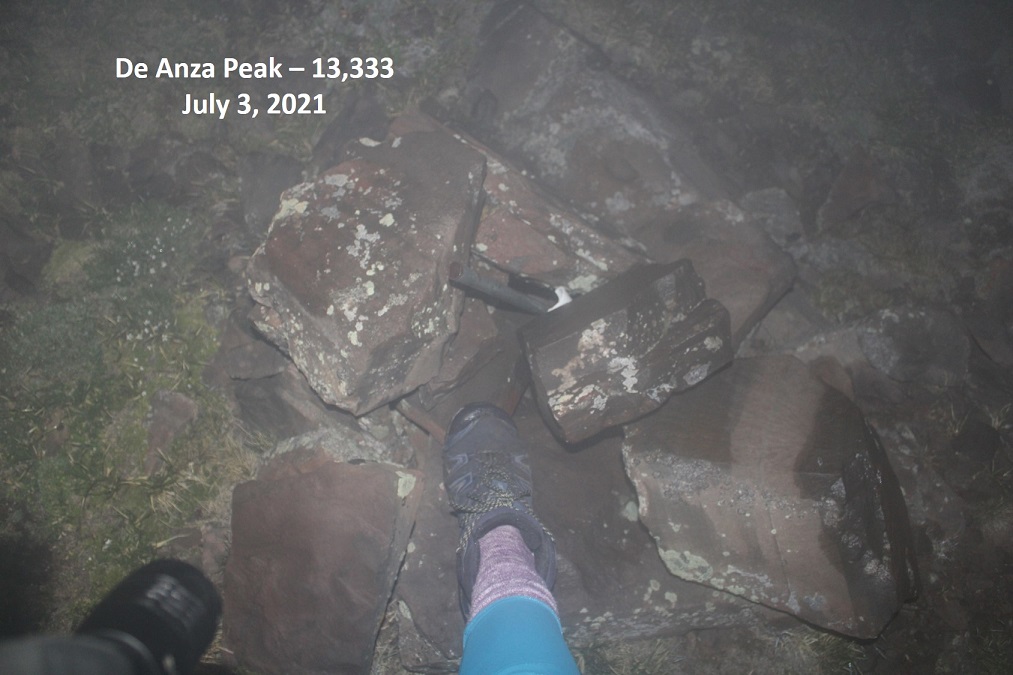
Hiking up to De Anza was easy, as all I had to do was keep hiking northeast and up and I knew I’d eventually make it to the summit. When I did, I thought to myself “that was too easy” and had to check my Peakbagger app to verify I was already at the summit. I was, so I took a picture of my feet at the summit cairn, and headed back down. My advice on this peak: If you’re already paying to hike here, hike De Anza as well. I’m guessing it may have added half an hour total to my hiking time. Totally worth it, and super easy, especially by avoiding Whiskey Pass on the way up, which meant less scree/talus to navigate: it was all tundra for me.
Hiking back down the ridge was the tricky part. It was still dark and foggy and I had no visual sense of direction. At one point I encountered snow and knew I was going the wrong way because I hadn’t encountered snow on the way up. At times I’d point my flashlight away just so I could see the terrain better. I kept my compass in front of me and did my best to head southwest down the ridge. Hiking in the dark with fog is not ideal.
Once again, no pictures here as I made my way to Whiskey Pass. In the daylight this is probably easy to navigate, but in the dark I kept coming across large gaps in the ridge I had to maneuver around. If you’re doing this in the daylight I’m sure the route is obvious. If you’re doing it in the dark I’d say if you’re in doubt, stick to the right (west) when you encounter a chasm/drop off. It’s all class 2, so if you feel it’s more difficult than that, re-assess your route.
The hike from Whiskey Pass up to Beaubein Peak was a straightforward ridge hike. It was still dark, but the sun was starting to rise as I kept heading south.
Summit of Beaubien Peak
Beaubien Peak:
Here’s my view looking back at De Anza.
It’s colder than it looks
Next, I continued following the ridge south. The clouds didn’t seem to want to go away. I could see Culebra in the distance, and was just waiting for the fog to lift and the sun to rise
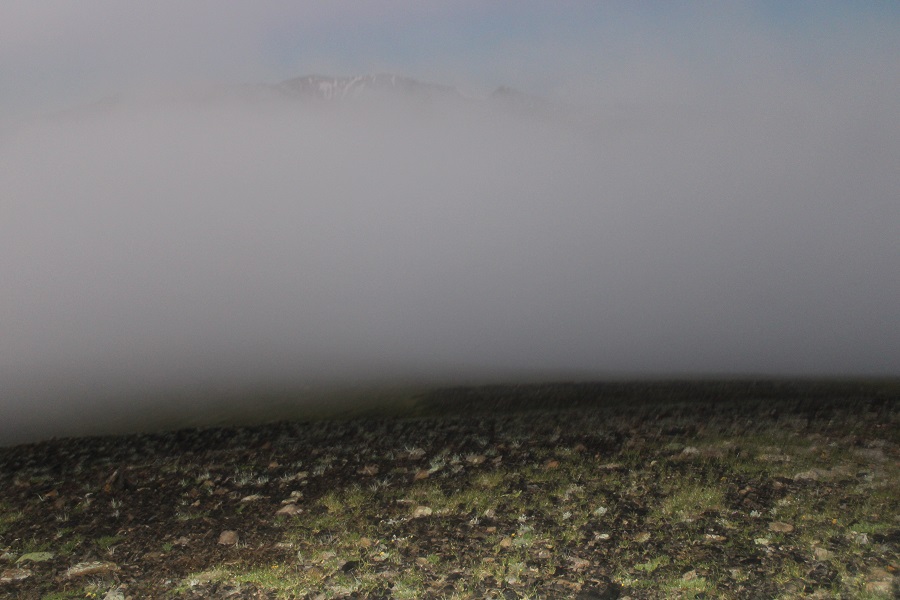
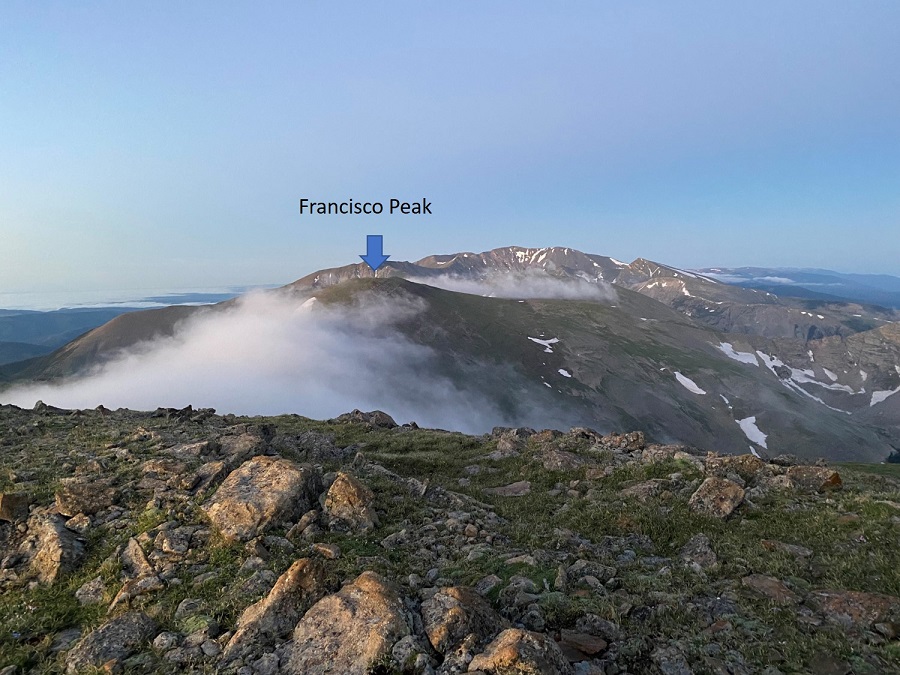
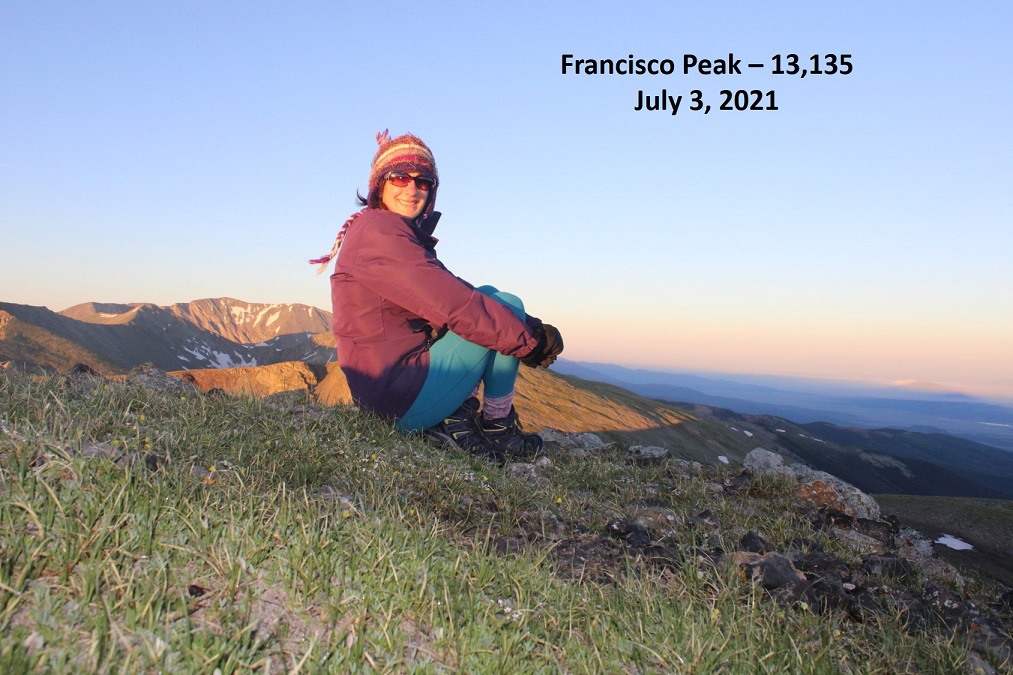
Here’s a look at Francisco Peak
Once again, I hiked through the fog to get there
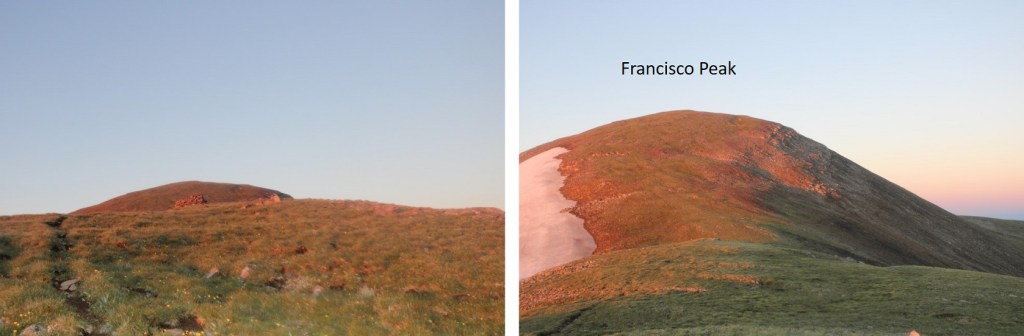
From the summit, it looks as if the true summit of Francisco Peak is further southwest (where the cairn is), but it isn’t. It’s actually where I’m standing, taking this picture.
However, I didn’t realize this until I’d walked over to the other side, so you get a picture of me there, not at the actual summit… but close.
Francisco Peak:
Here’s looking back on the route so far. Still colder than it looks
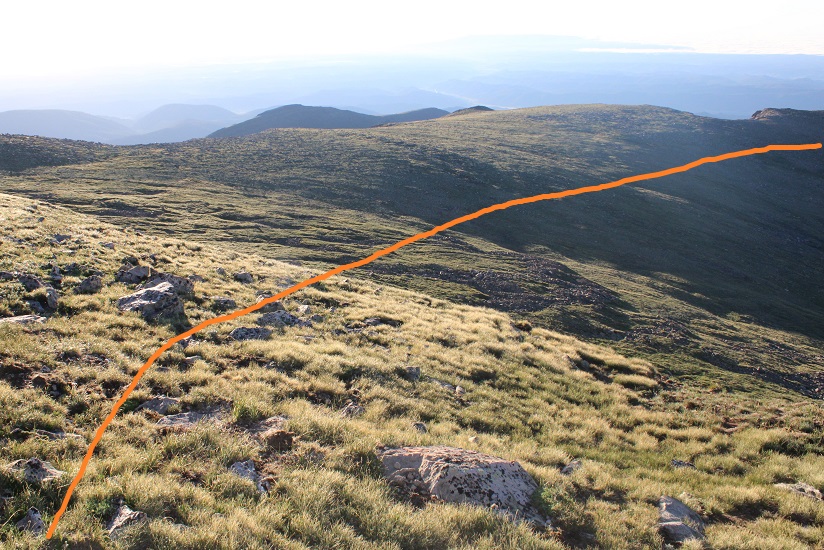
The clouds now behind me, I continued following the ridge south towards Lomo Liso Mountain. This was an easy ridge walk on tundra
The summit was large and flat and it was again difficult to figure out where the ‘true’ summit was, so I went with where the cairn was located. Side note: all the summit registers on all of these peaks have been broken and are empty.
Lomo Liso Mountain:
From the summit of Lomo Liso you can clearly see the rest of the route
From the summit of Lomo Liso I turned and headed northeast, and then followed the ridge southeast. It’s really quite obvious the direction you should go.
There were some ups and downs to the ridge, but it was a simple tundra hike
This is also where I saw my first herd of elk for the day (I ended up seeing 3 herds total, but some were too far away to see in pictures, as they were down in the basins)
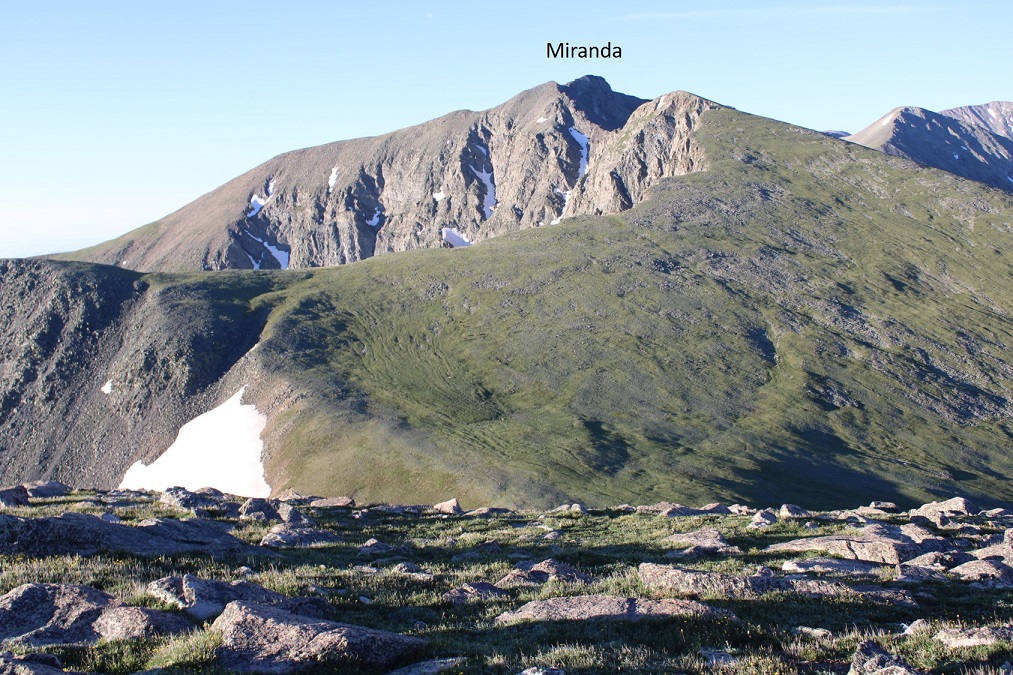
After the elk ran away from me I hiked up the north slope towards Miranda Peak
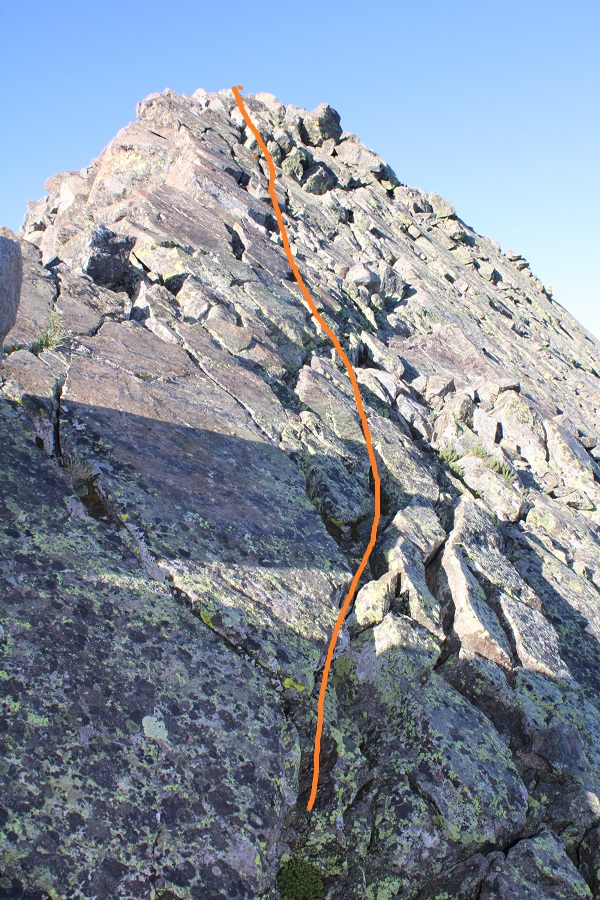
The last bit to Miranda is class 3 for a short distance. Here’s the overall route. If you’re in a large group you may want a helmet for the loose and rocky gully (but it’s relatively short, I’d suggest just taking turns ascending so you don’t kick rocks on the person below you).
Once in the gully, here’s how I ascended to the ridge
Once on the ridge I dipped to the left (east) to go around PT 13247, and then stayed on the ridge proper towards Miranda. This area reminded me of the knife edge on Capitol, but with less exposure and better footing. I was able to put my feet in the cracks and walk across easily.
Miranda Peak:
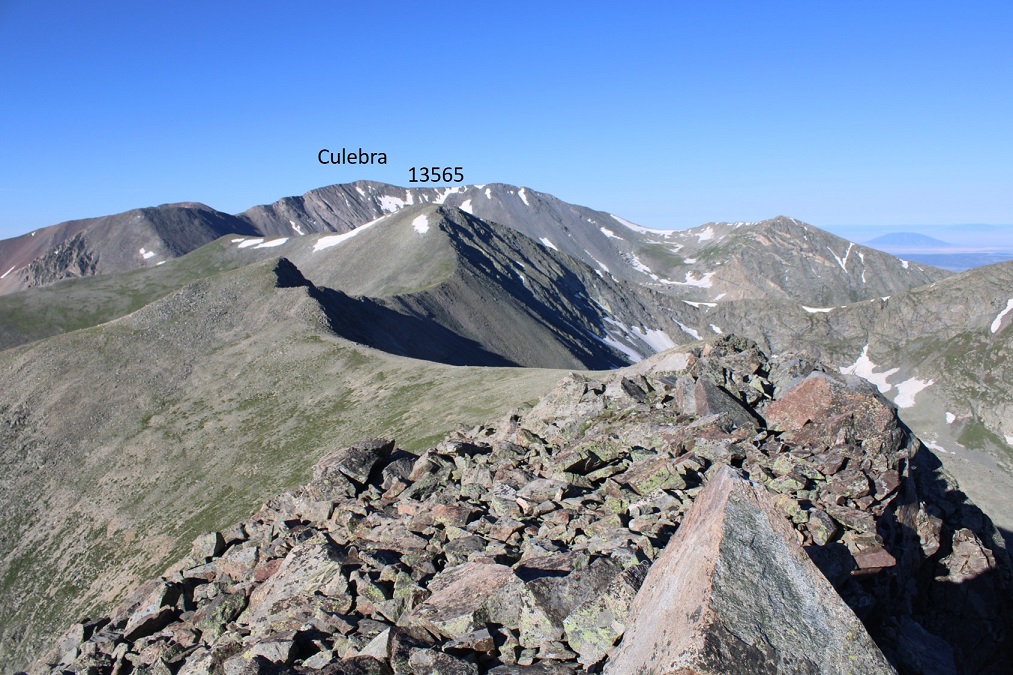
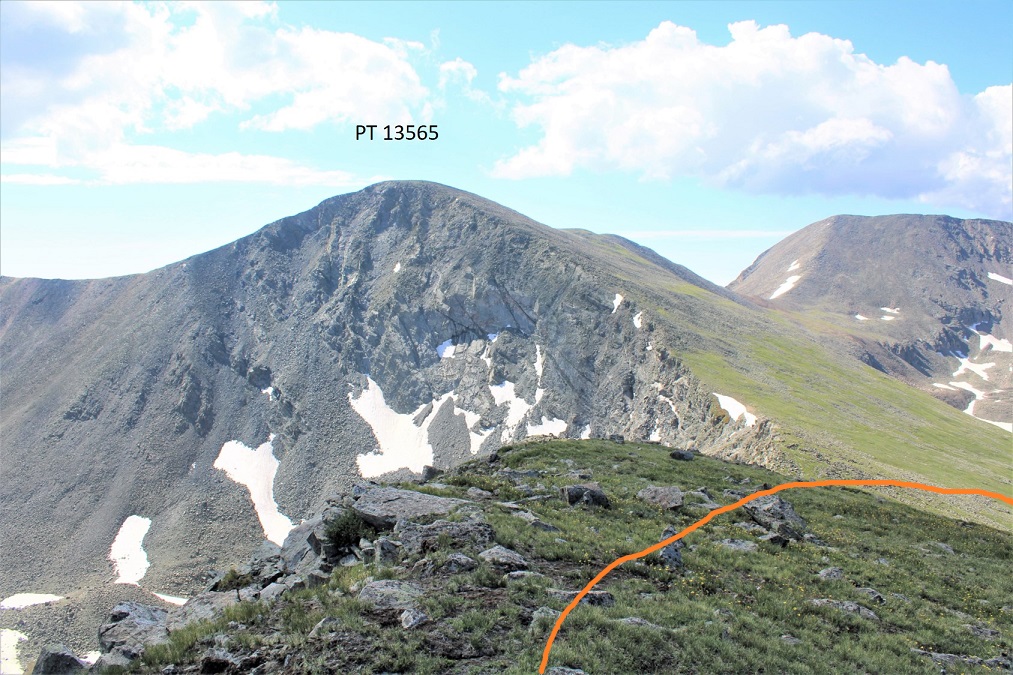
Miranda is unranked, so I didn’t take a summit selfie. From Miranda you can see Culebra, as well as the next ranked peak: PT 13565. As you can tell from the picture below, it’s a simple ridge hike.
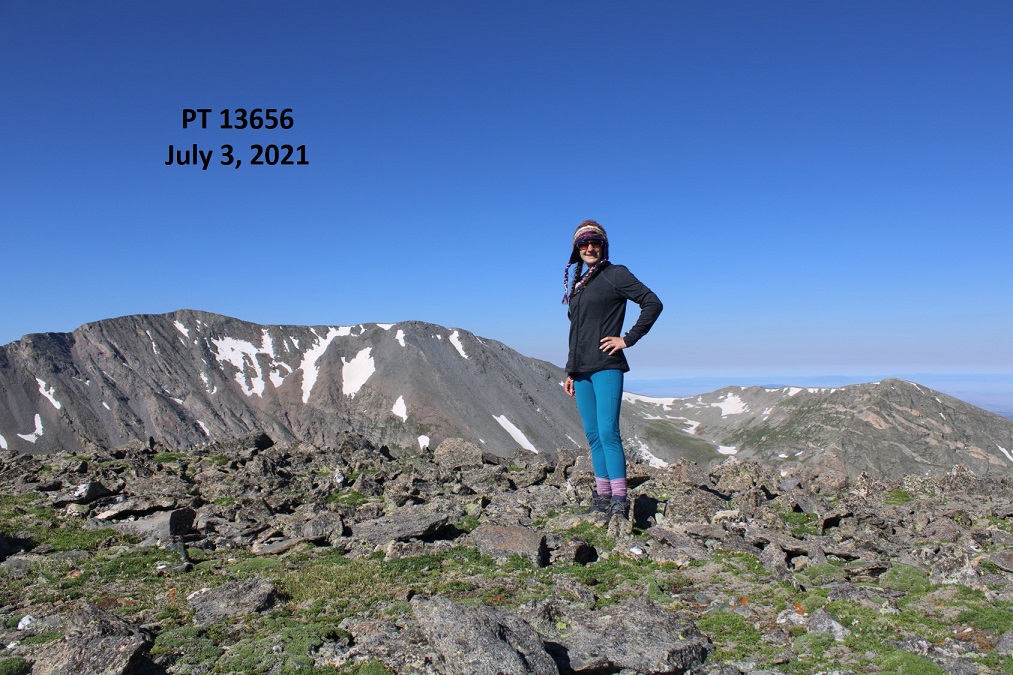
The summit of PT 13565 was also flat, and the summit register was also broken with the information missing (hopefully the next group will bring new summit registers)
13565:
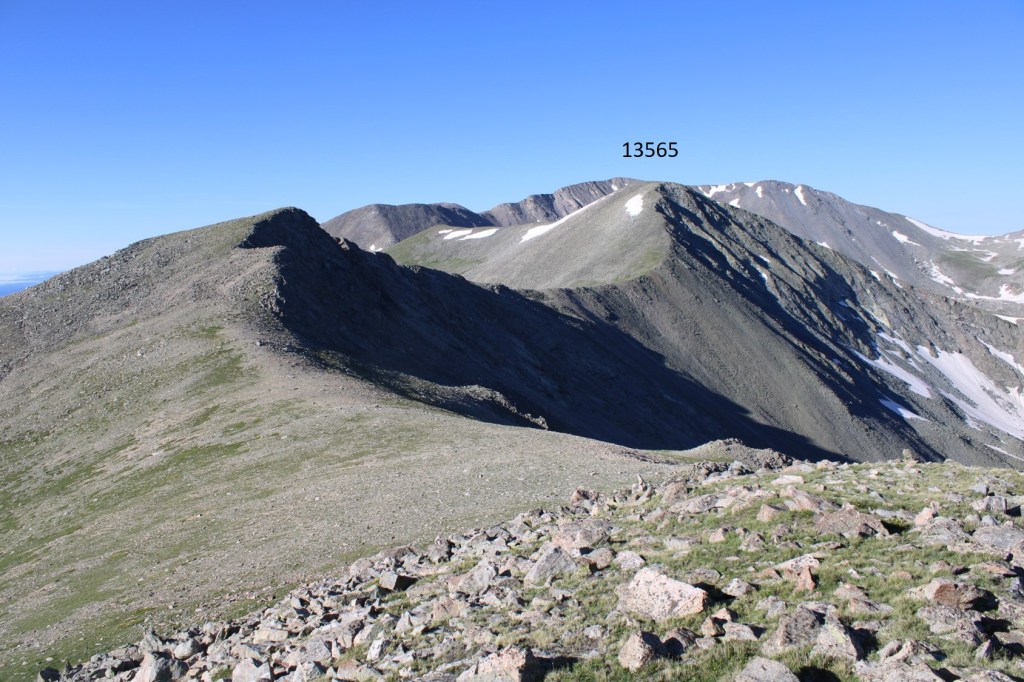
Here’s looking back at some of today’s peaks from PT 13565
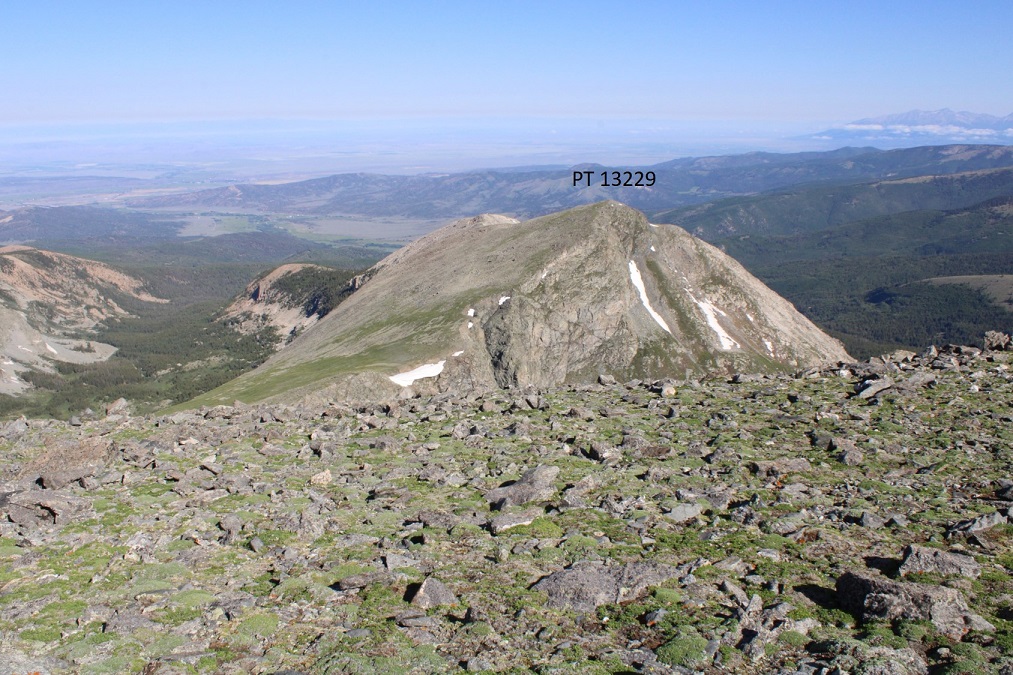
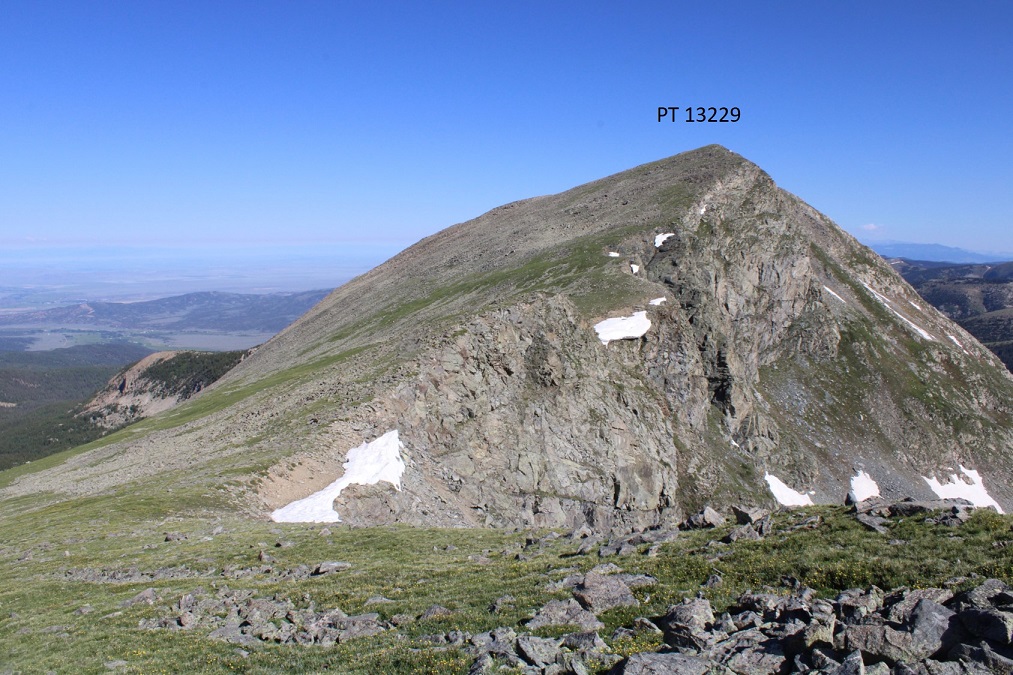
Turning west, then following the ridge northwest, it was an easy hike to PT 13229
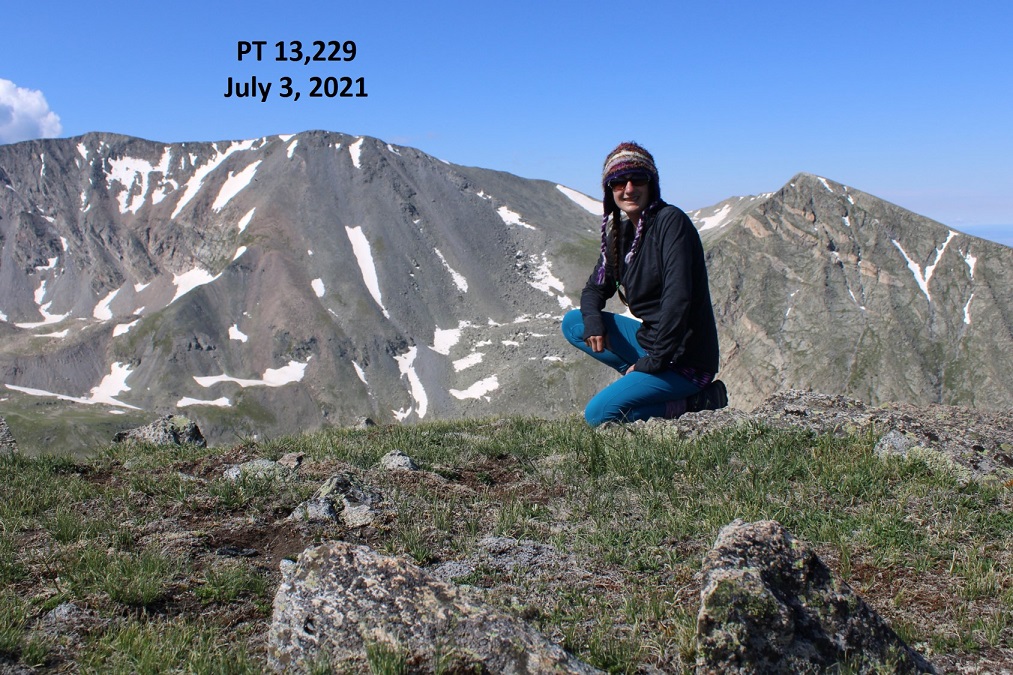
13229:
After summiting PT 13229 I returned to the 13565/13229 saddle and then turned right and headed south.
This is where it gets tricky. There’s a large area where you can cliff out on your descent. You’ll need to hike much further south than you want to so you can avoid the cliffs. I looked for a break in the cliffs, and didn’t descend until about 12500’, down a gully. Here’s what that looked like from above
Here’s what you’re trying to avoid, and a view of how I came down (from below)
Once in the basin, I headed northwest. It’s important to stay between Cameros Lake and the smaller pond
Here I saw a herd of elk. Of course, they didn’t stay long
As I exited the basin, I came upon two sets of cairns, which led to a very faint trail that eventually became a more pronounced trail and then an OHV track that led me out of the basin, and back to the 4WD road.
The trail stays to the north of Carneros Creek.
Once below treeline the hike seemed to take forever, as it was another 4 miles to where they’d shuttled our cars. There were a lot of downed trees, and a lot of elk tracks. I heard a few turkey, and I even startled some elk on the trail that ran away as I approached. Eventually I crossed Carneros Creek on a few logs that had been placed for just such purpose.
And made my way back to where they had shuttled our vehicles. As I arrived, Carlos was just bringing the last of the vehicles up. We chatted for a bit (they are seriously super nice: every time I’m here they act as if all they care about is my happiness, which is appreciated, considering we pay quite a lot for the privilege of hiking there).
I’d really recommend having a GPX file for this route, if just to get out of the basin and back to the vehicles, as most of the rest of the hike above treeline is self explanatory. Message me if you’d like mine (although I’ll admit it’s not perfect). I’d assume if you’re hiking these peaks you have a good sense of direction, and that you have a lot of off route hiking experience, so you should do just fine. Most of this hike is on tundra, and the gully/ridge section just before Miranda is quick and nothing to worry about. I’d like to add the drive down was more difficult than the drive up, as we were now in a different area and the road had more divots and ruts to navigate. I still didn’t need 4WD, but I couldn’t have done it without clearance. Carlos did use spray paint on the grass/dirt to indicate which turns to take, which was helpful.
I made it back to my truck around 11:30am, making this a 16.25 mile hike with 6102’ of elevation gain in 9.5 hours. On to the next trailhead!