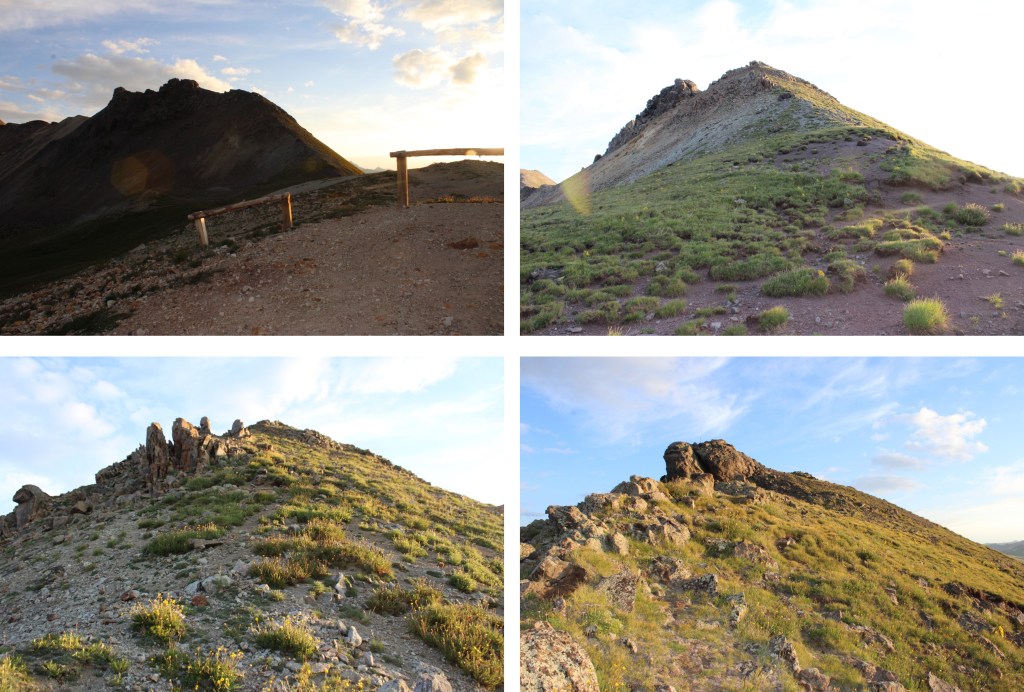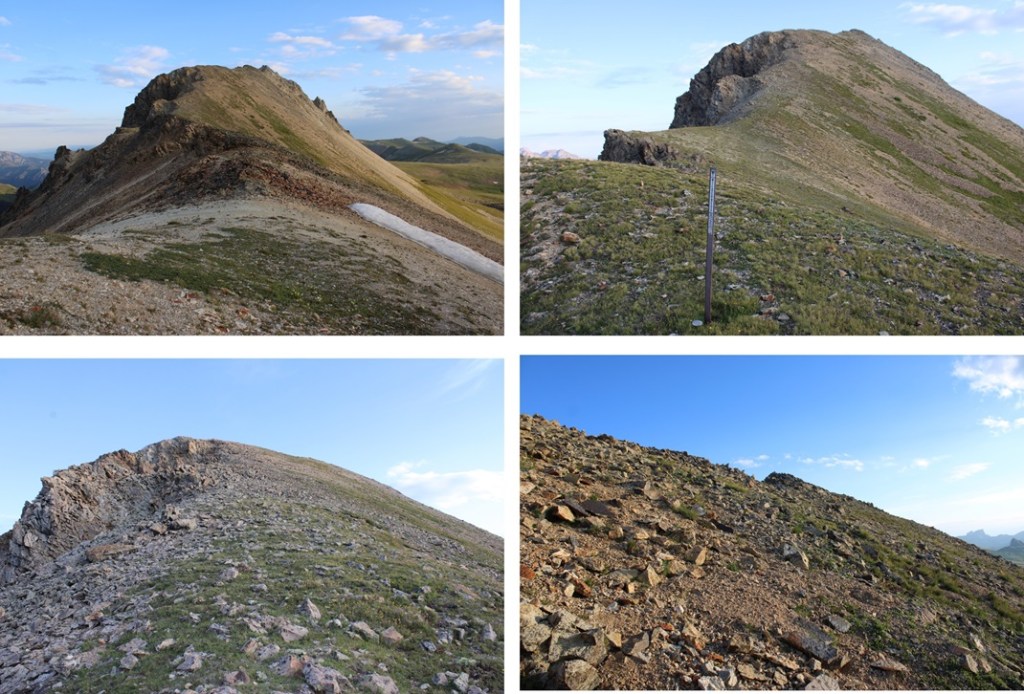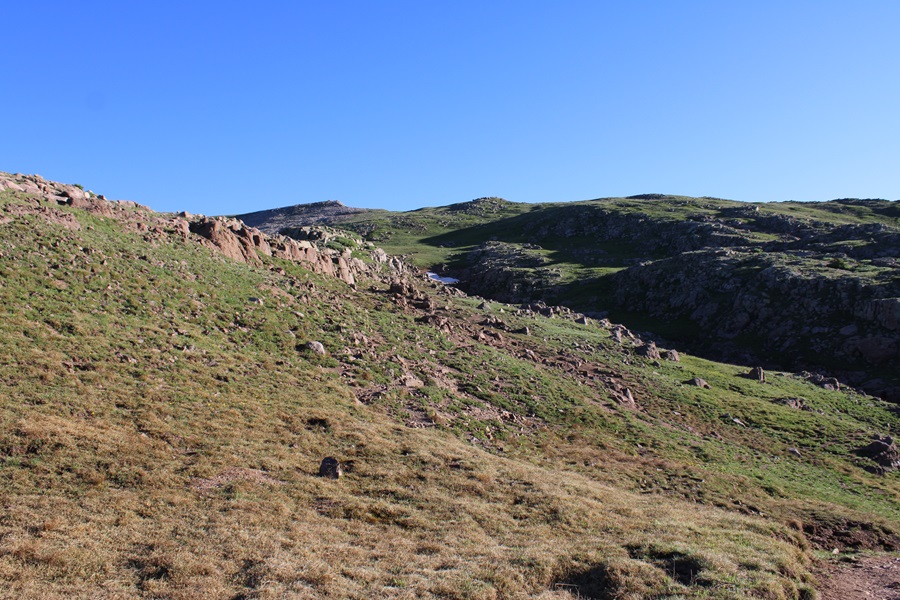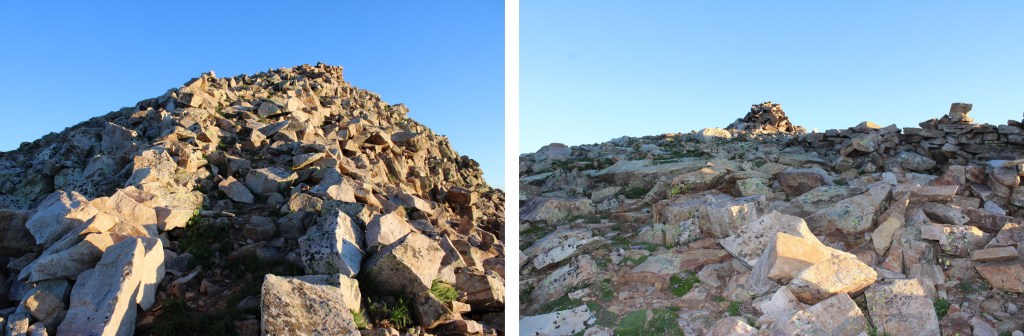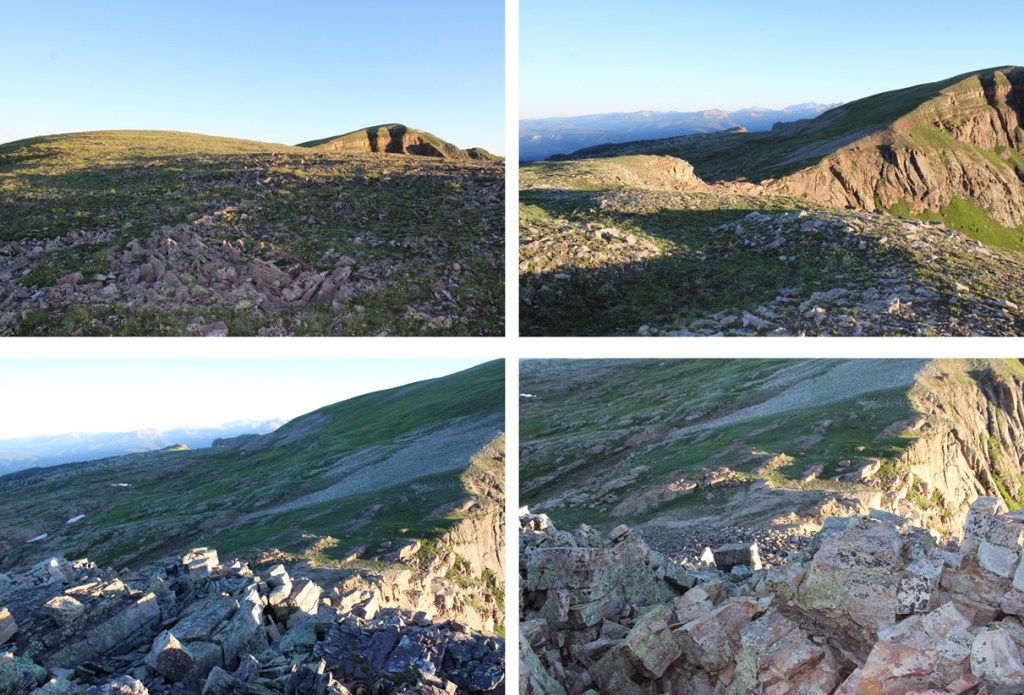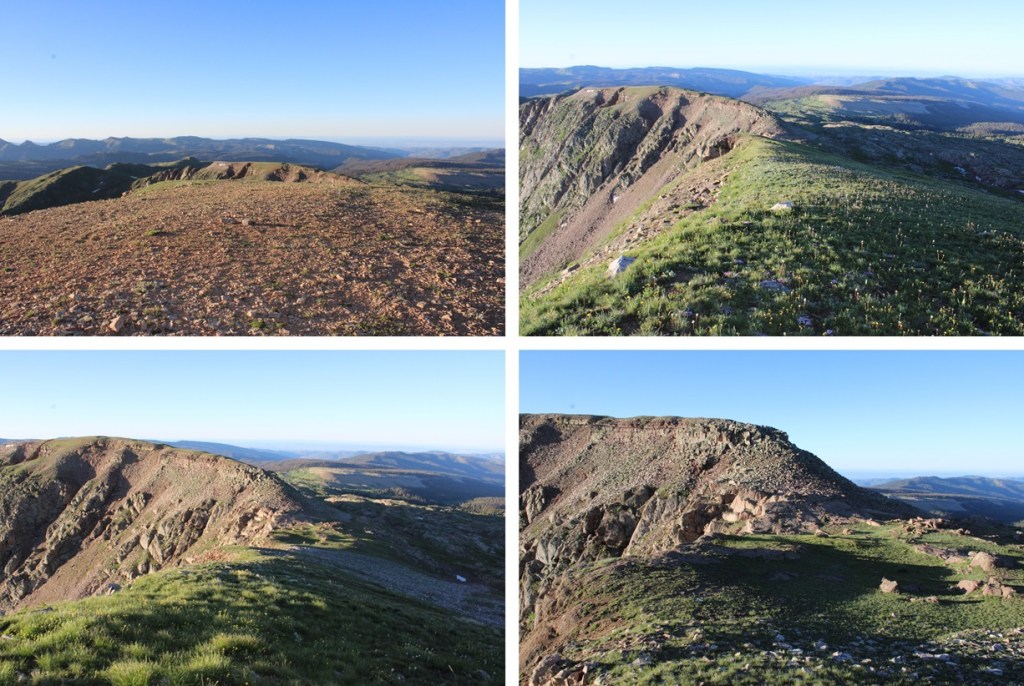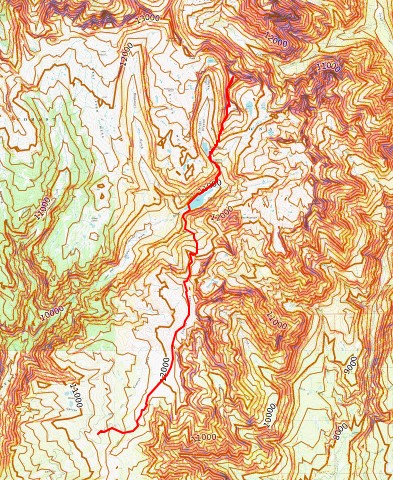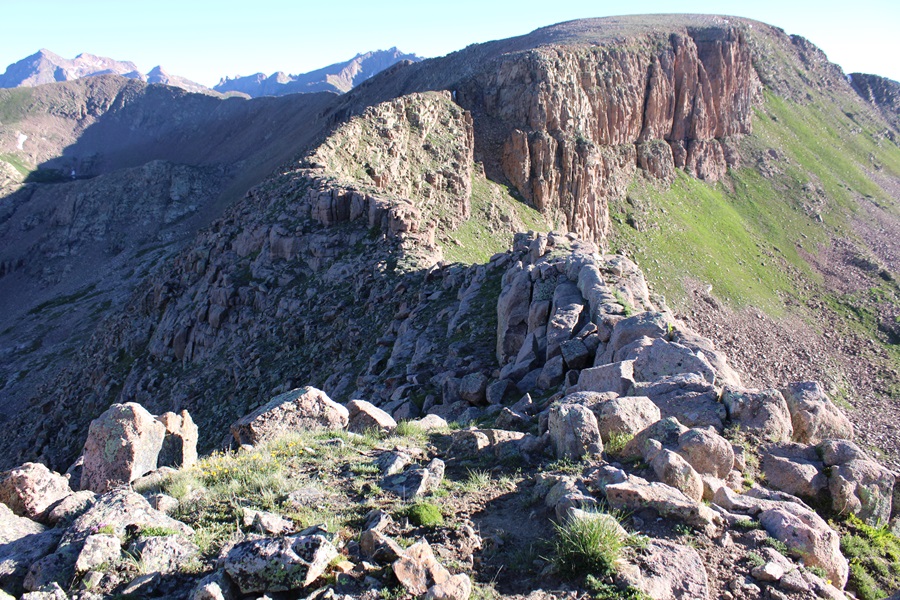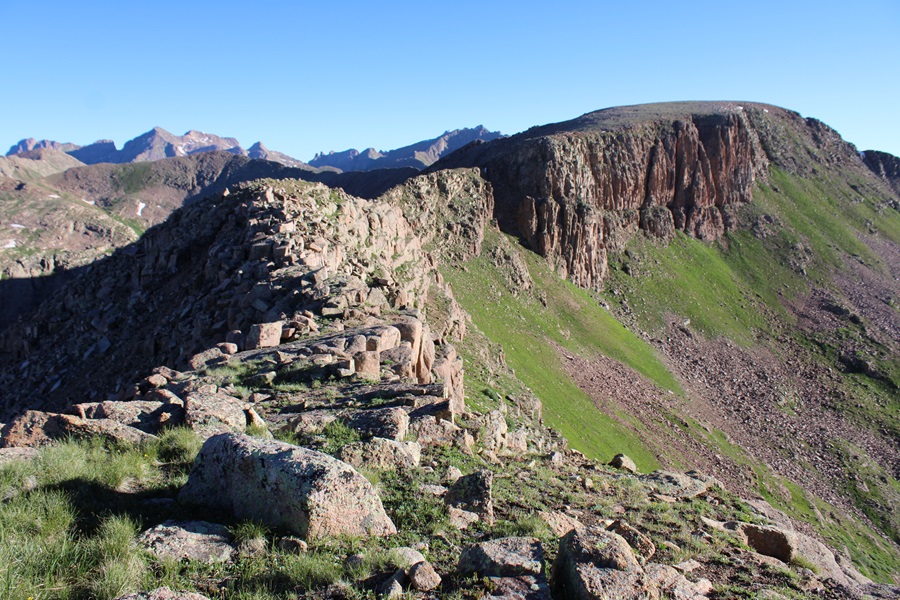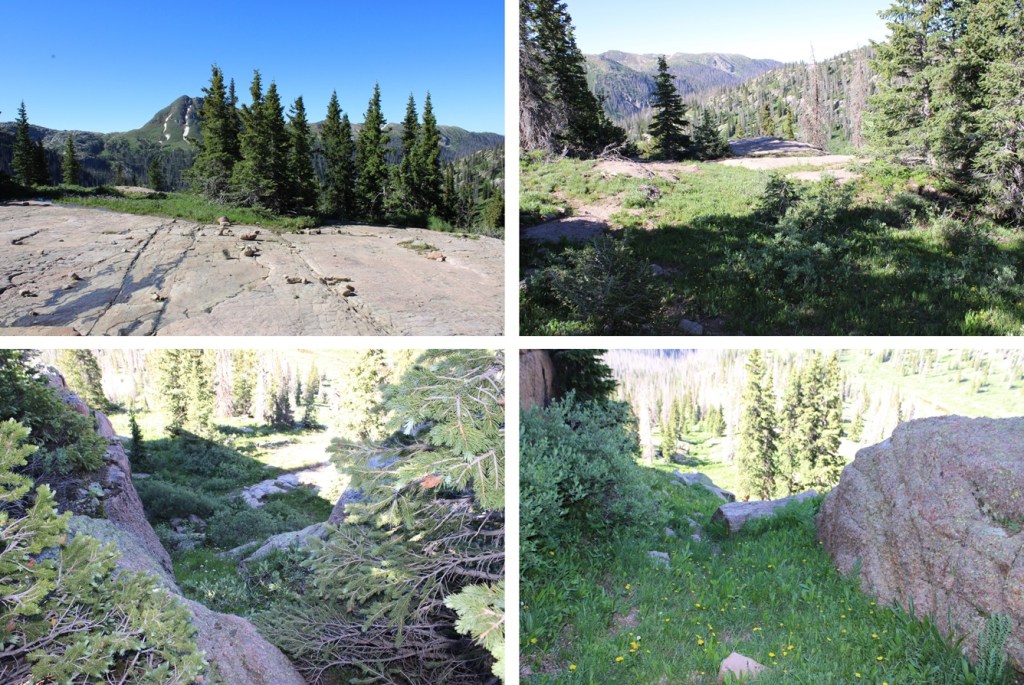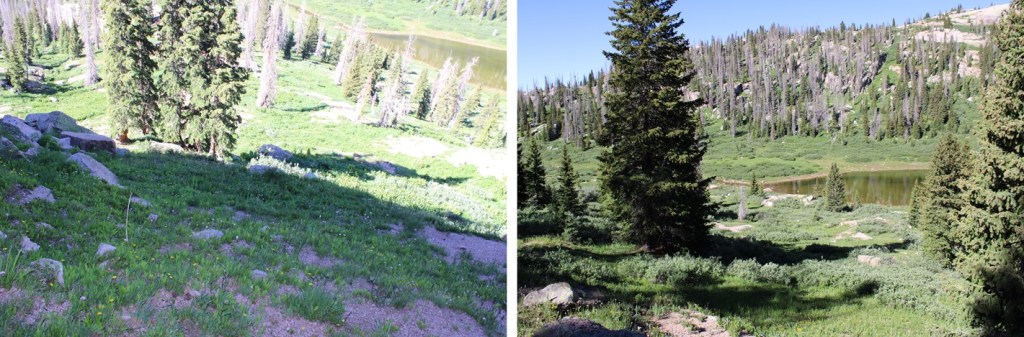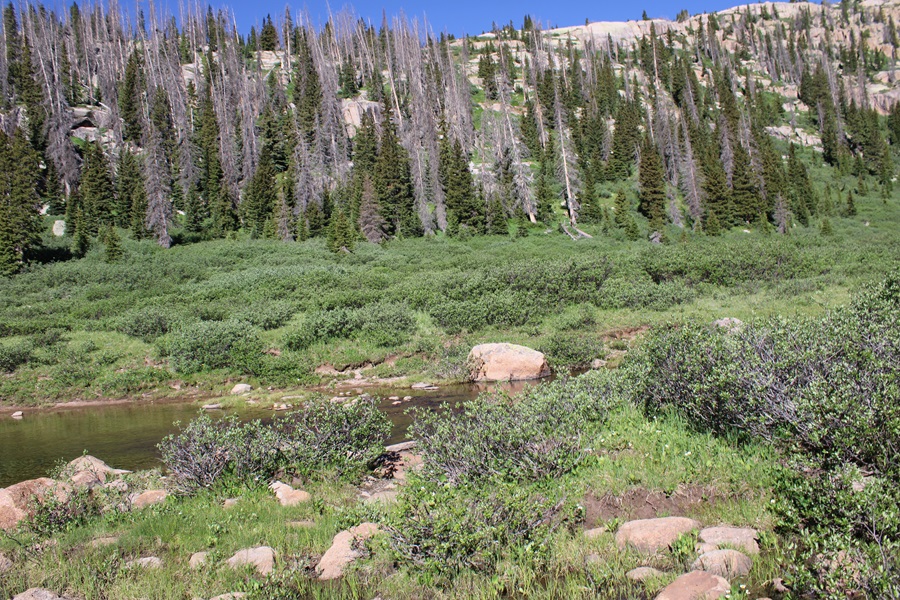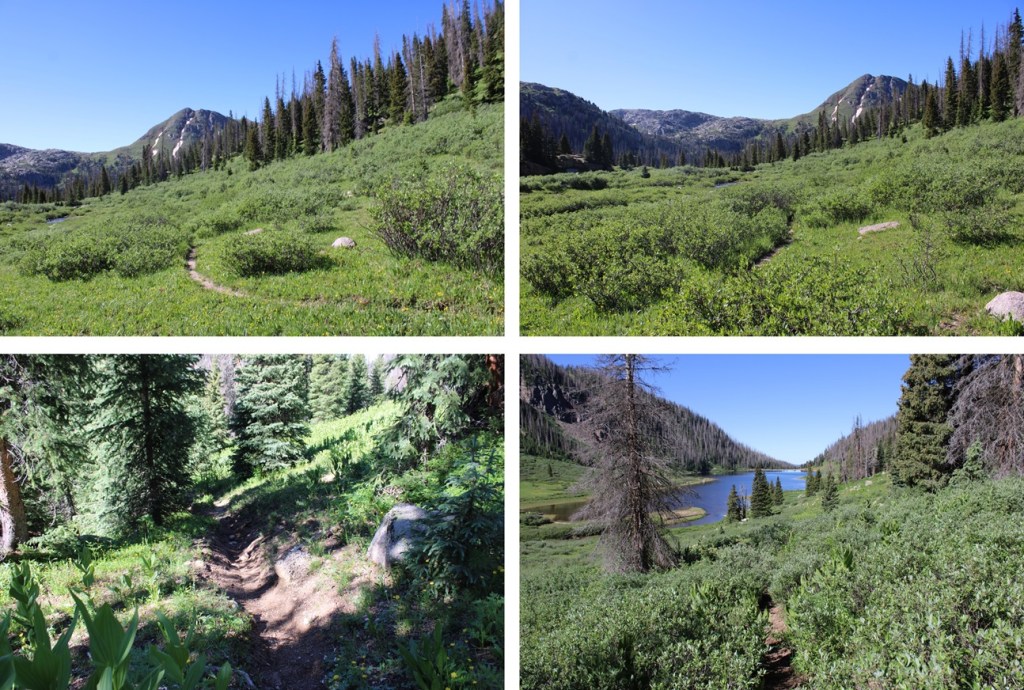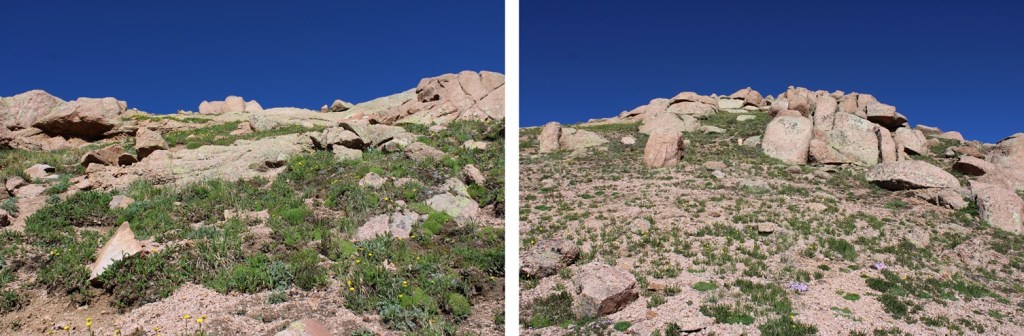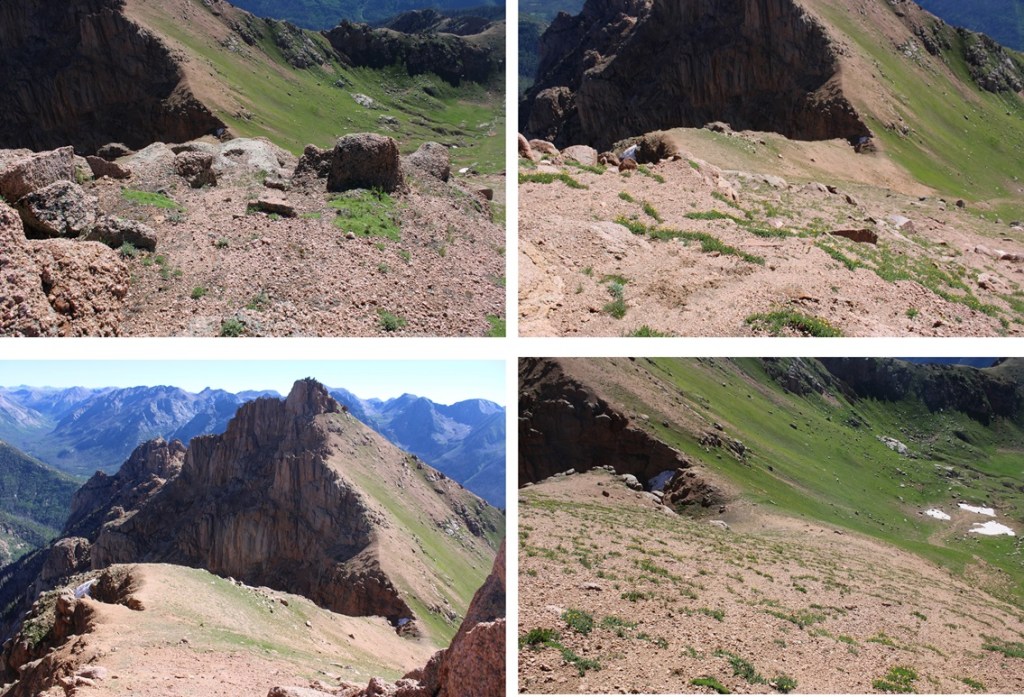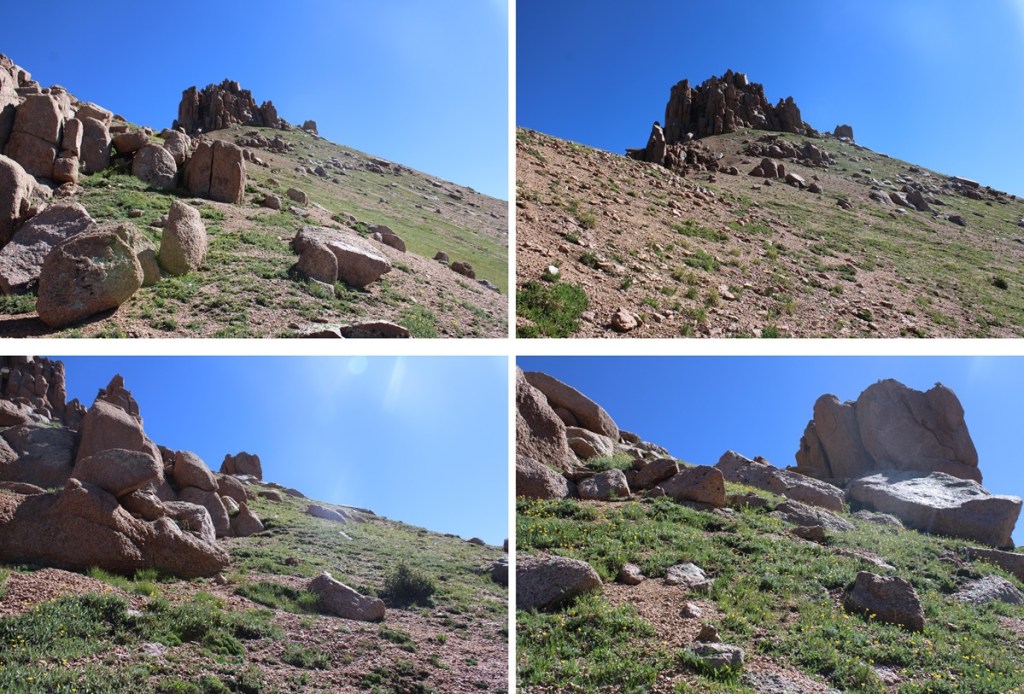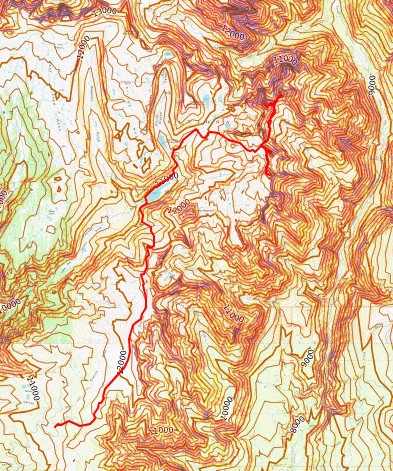
ST Bear Creek Benchmark – 13,140 and Cow Benchmark – 13,116

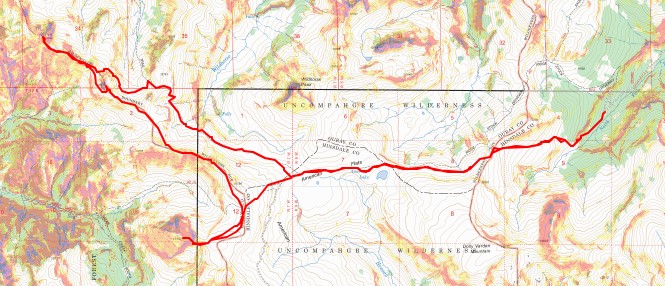
RT Length: 16.06 miles

Elevation Gain: 3570’

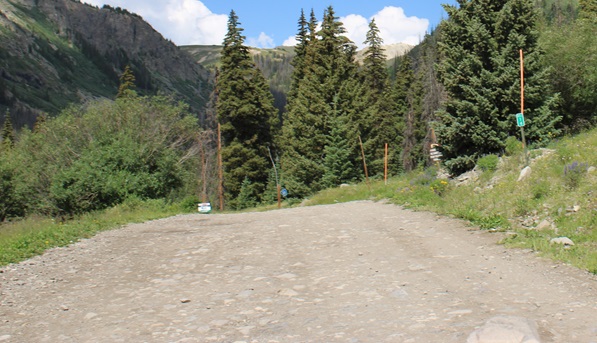
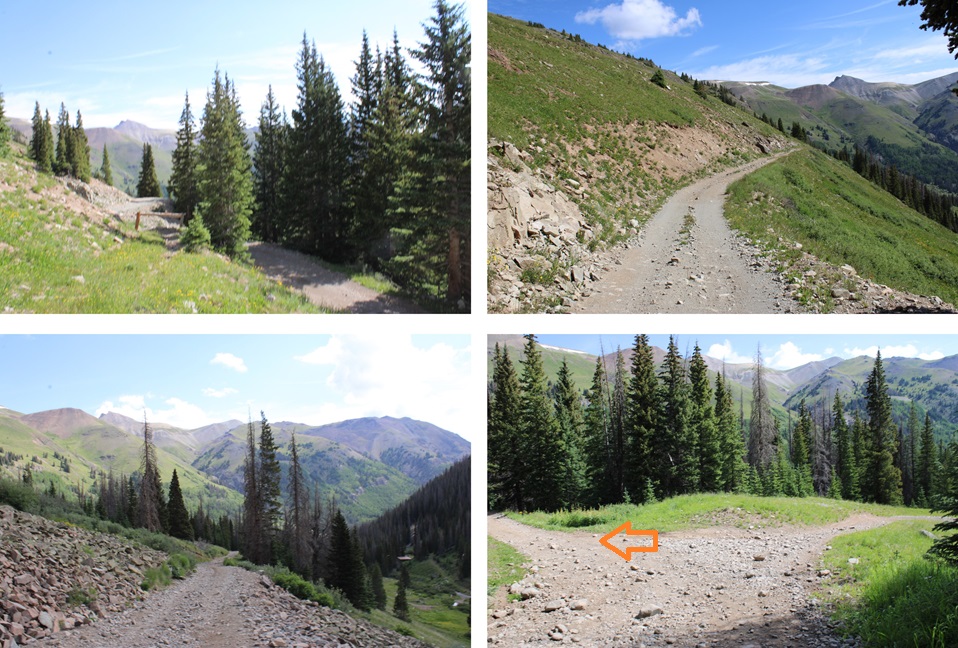
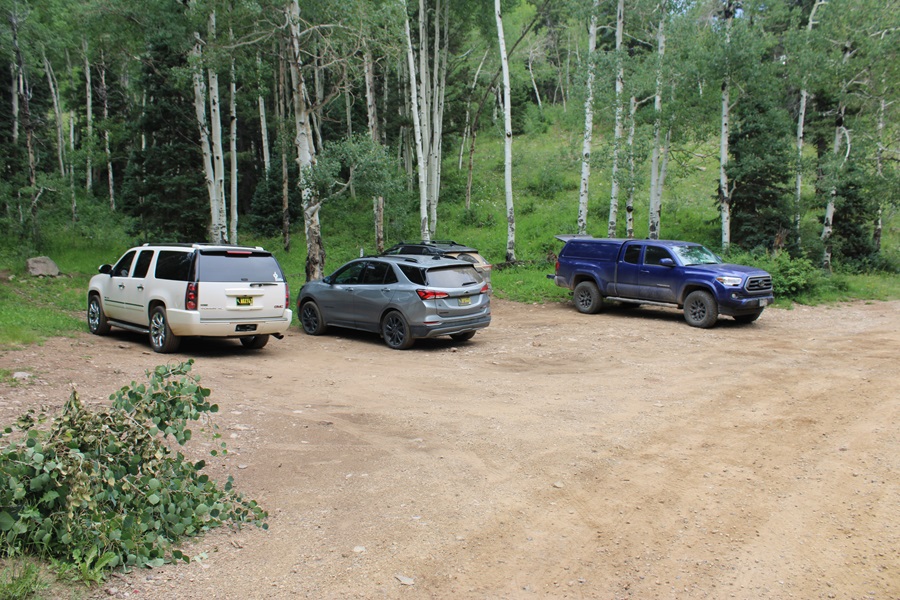
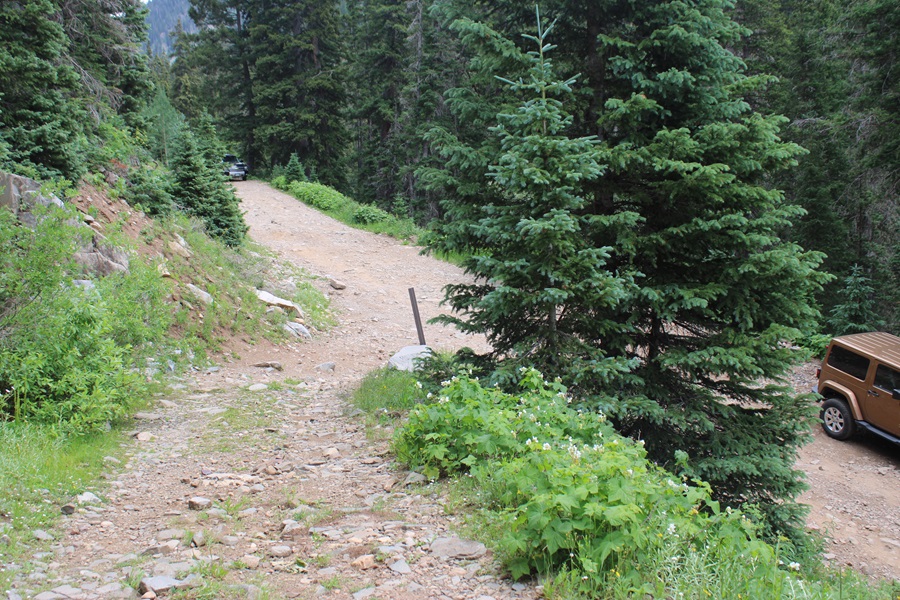
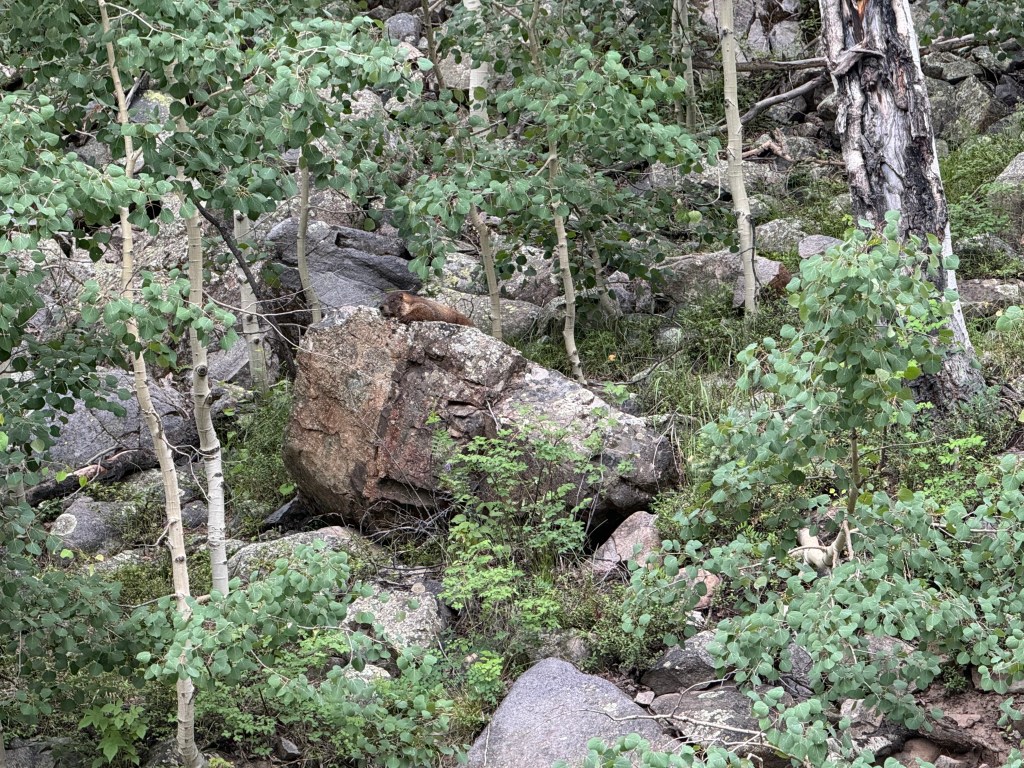
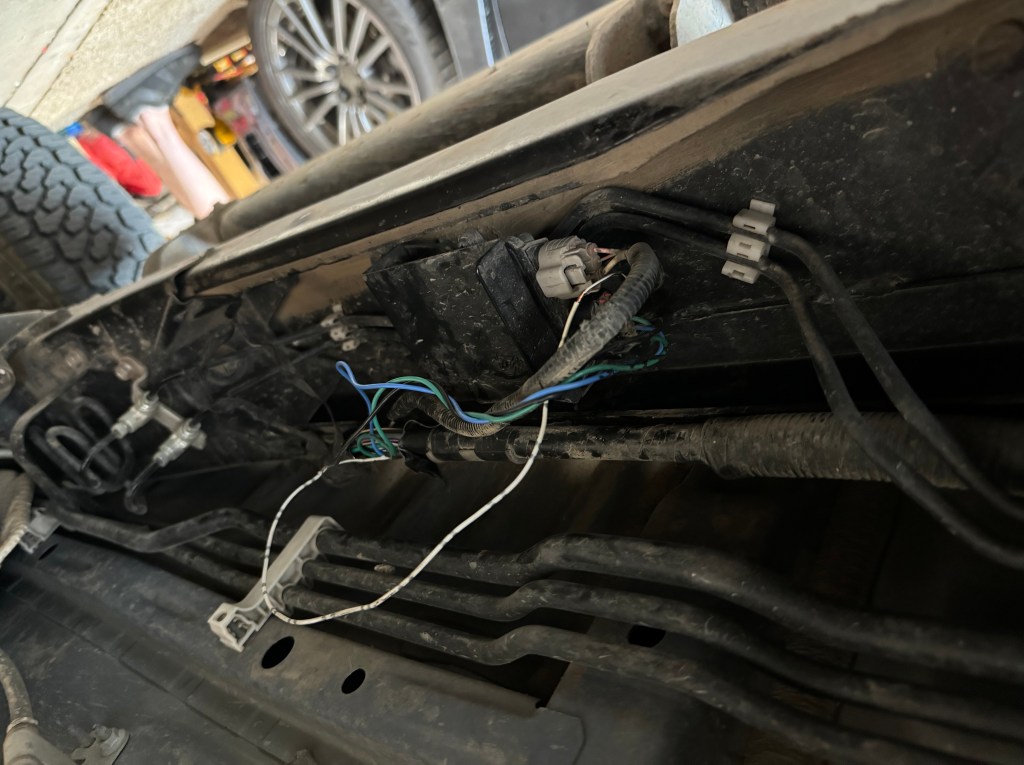
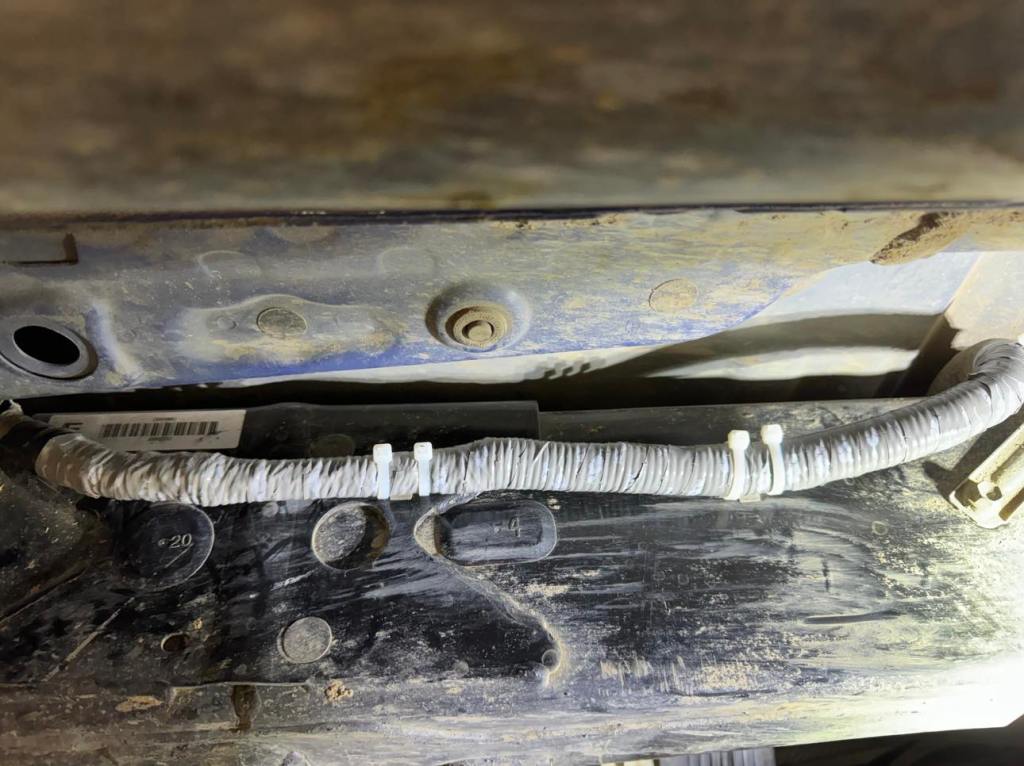
I parked at the end of North Fork Henson Road off CR 20 in Lake City at about 12000’.  This is a couple of miles past the Matterhorn/Wetterhorn trailhead, and 4WD.  There are parking spaces here for 3-4 vehicles, if everyone parks nicely.  This is also where the porcupine and marmot and pine marten chewed my wires last week, so make sure your vehicle is rat taped.  Click here if you want to see pictures of the damage done to my vehicle last week.
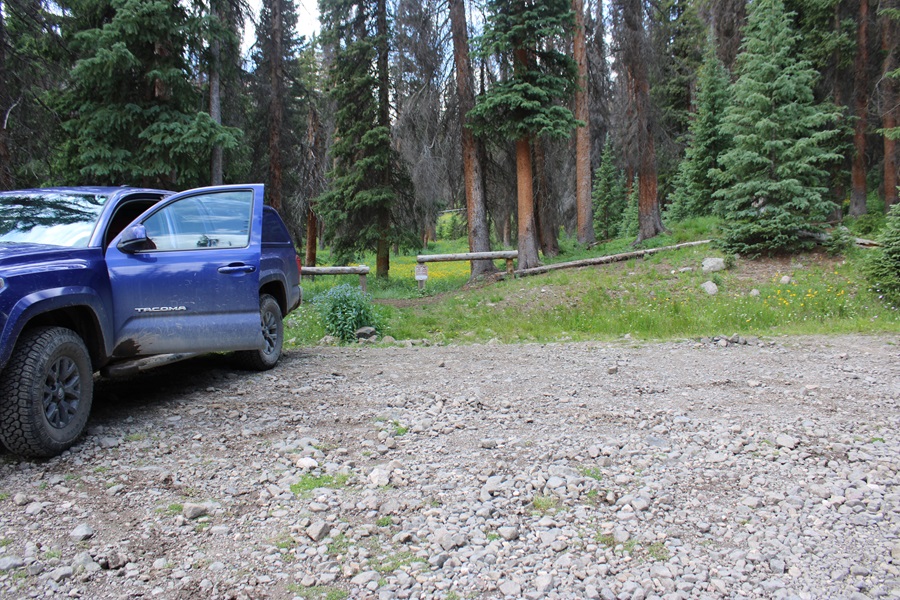
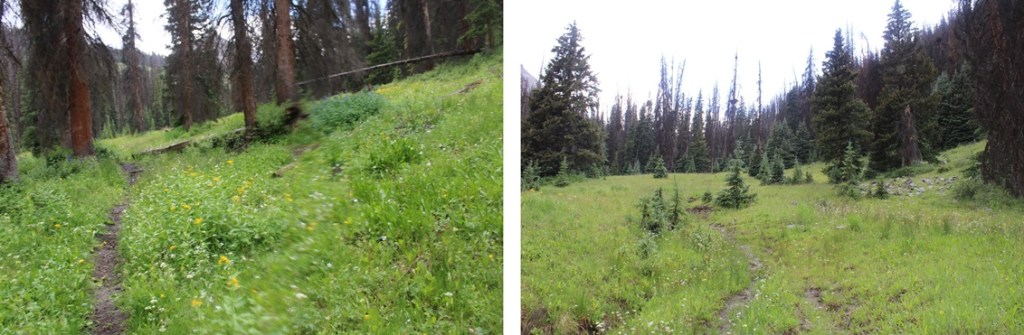
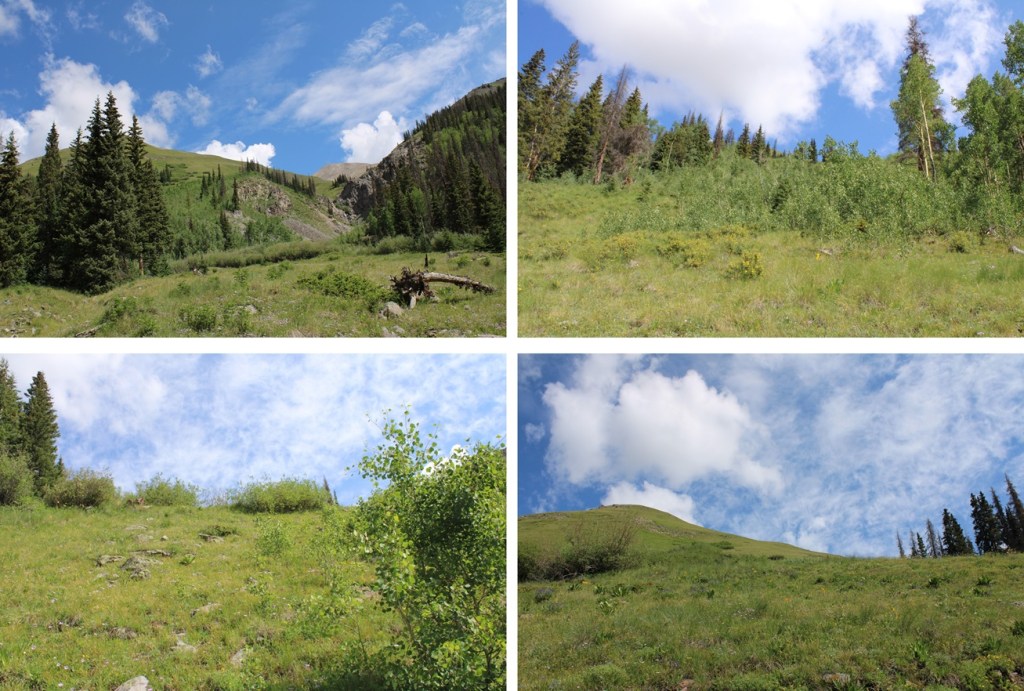
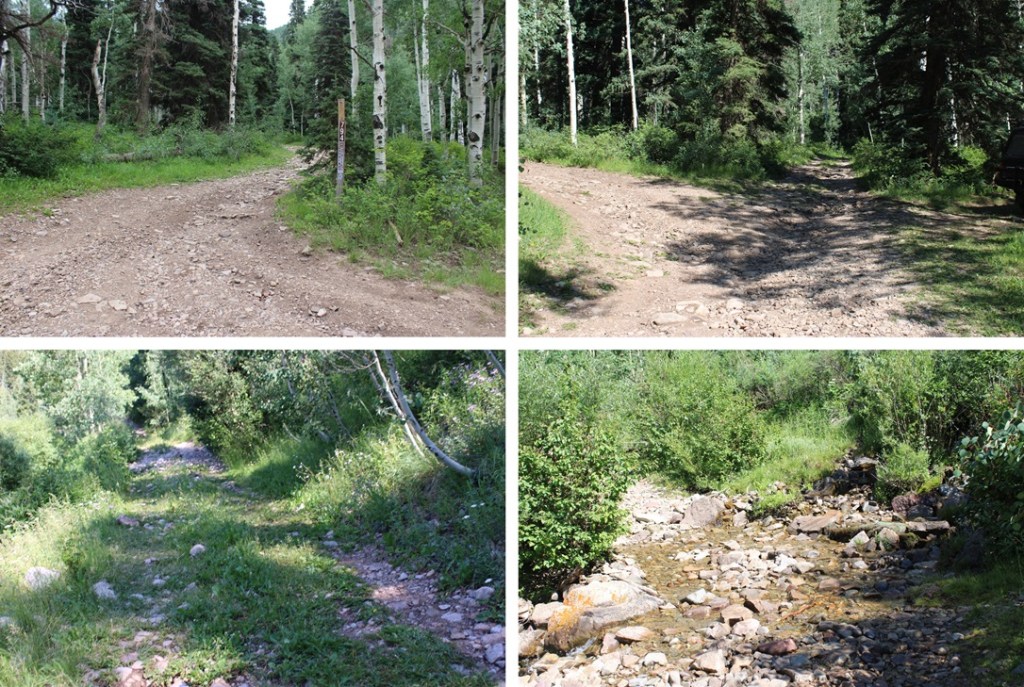
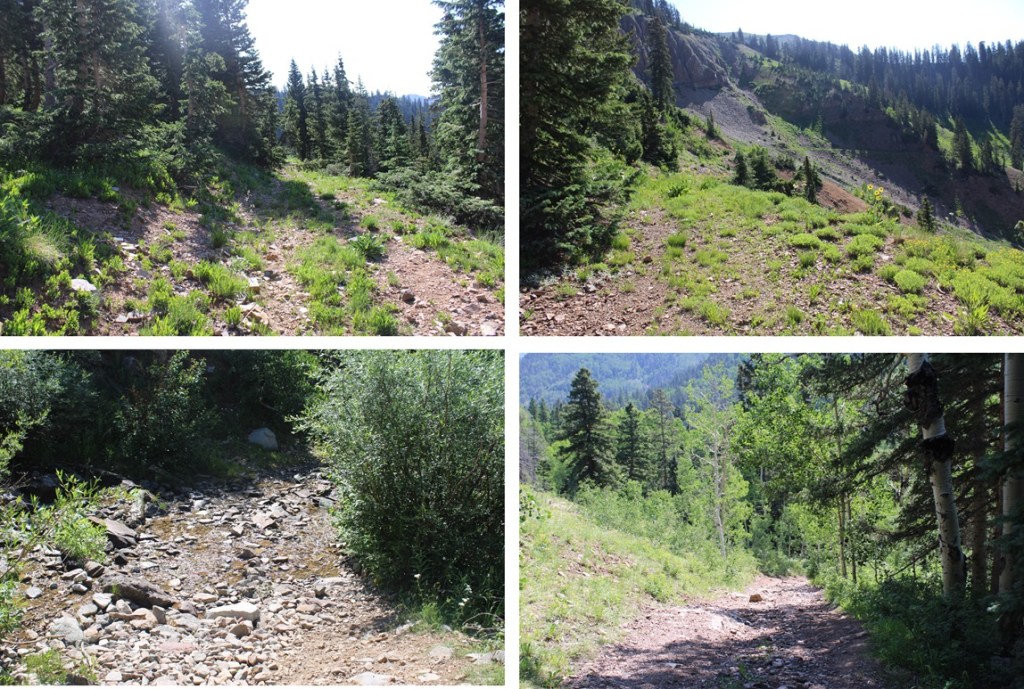
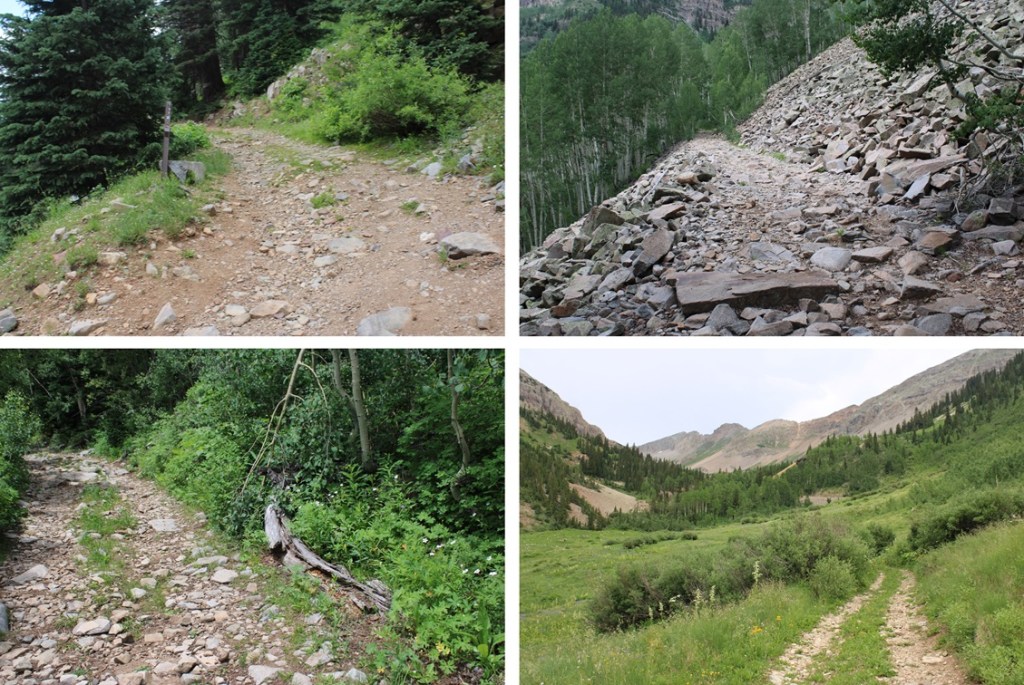
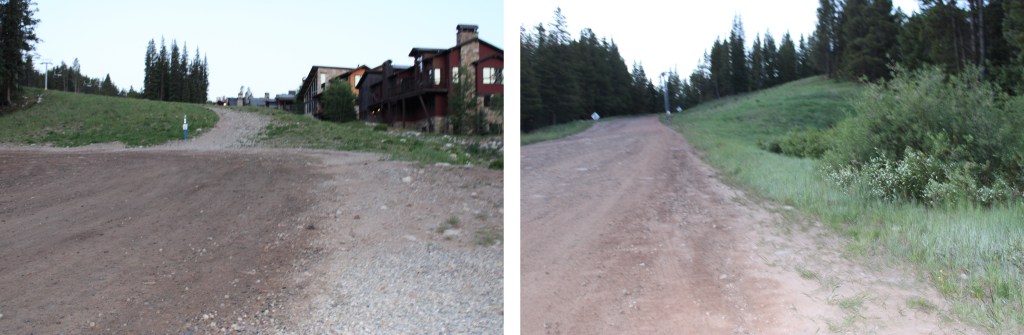
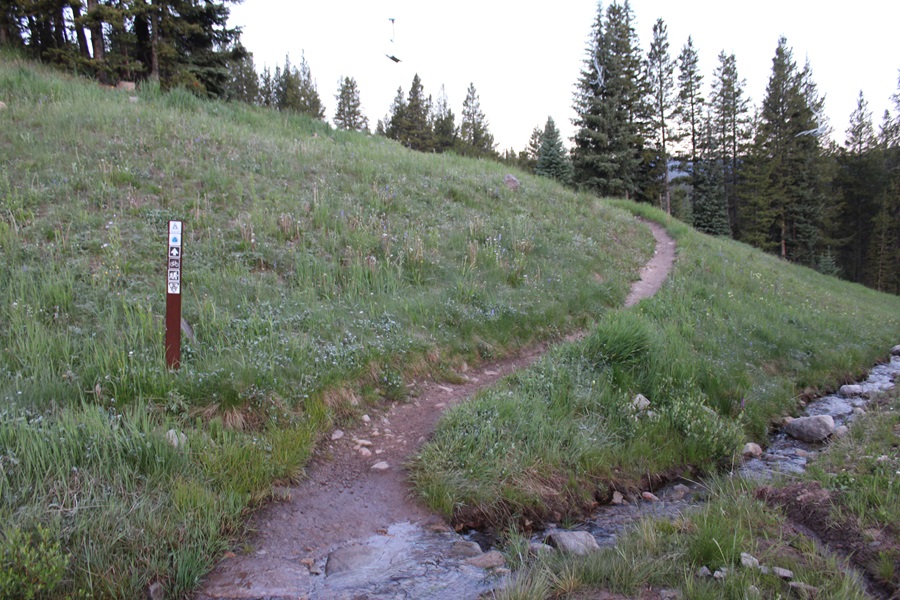
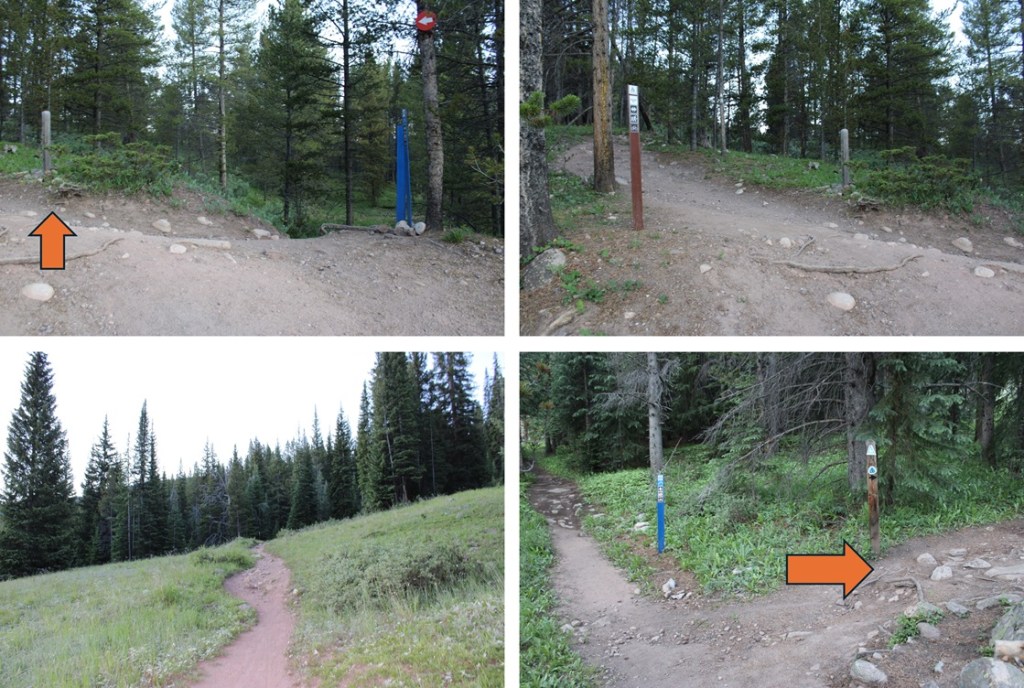
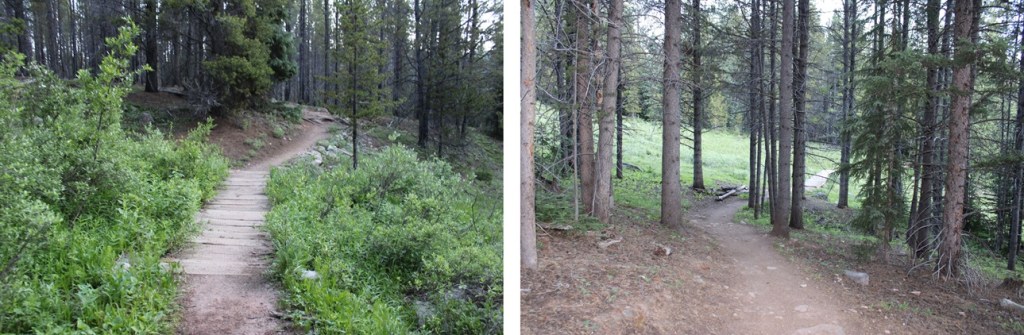
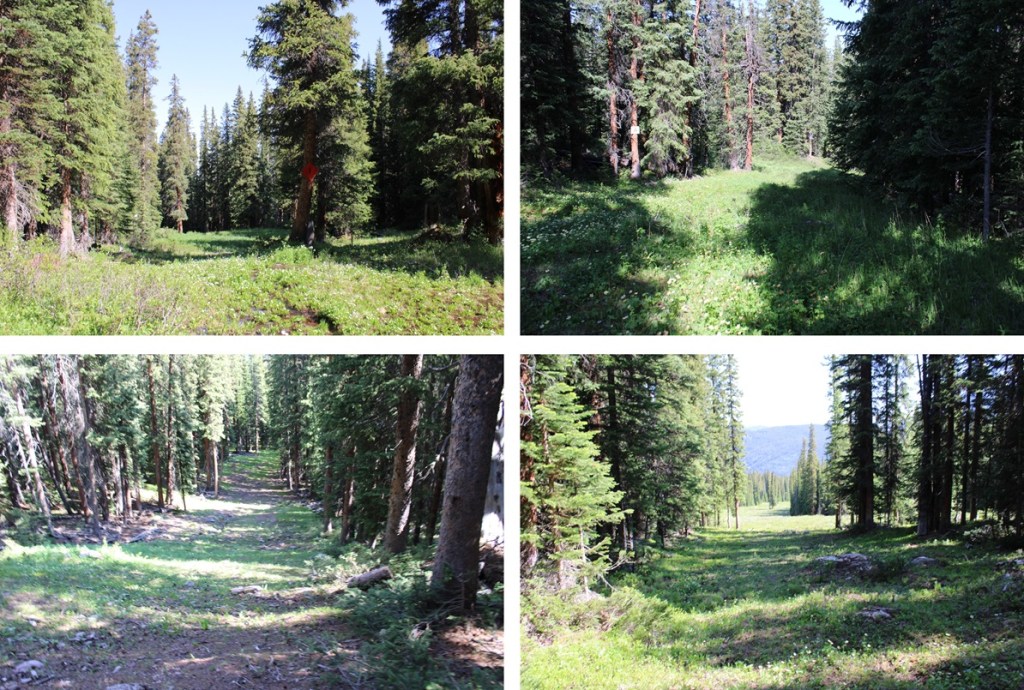
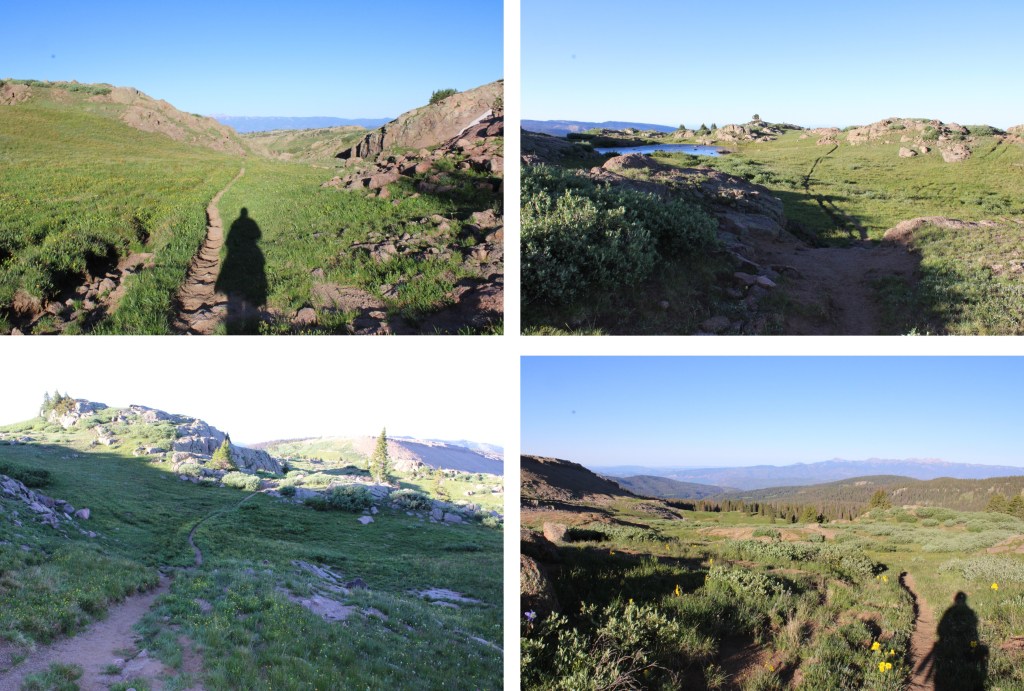
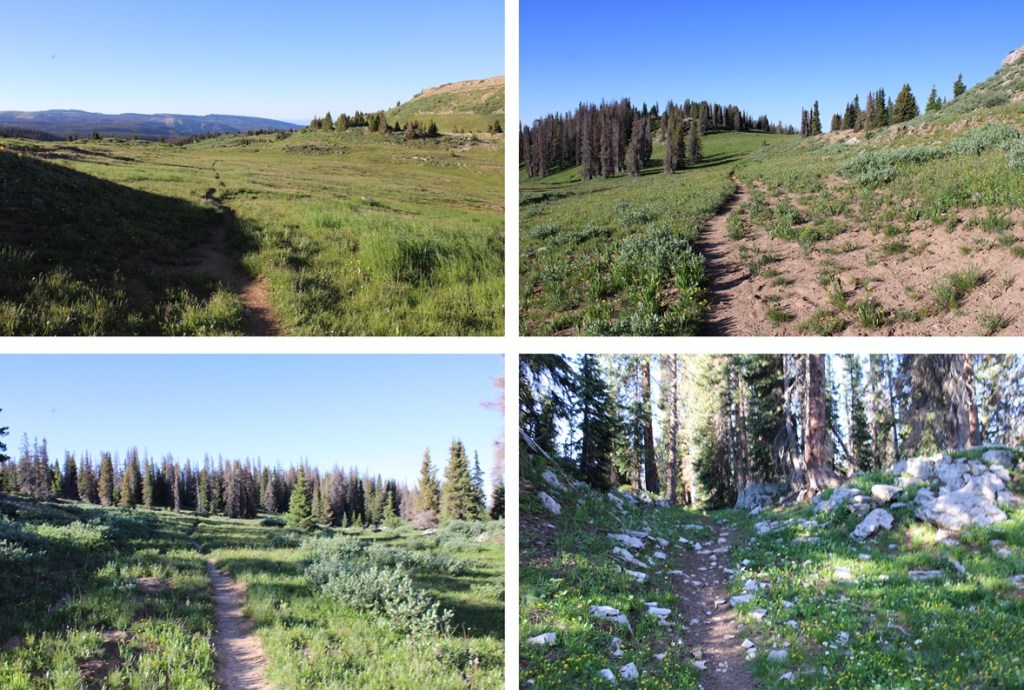
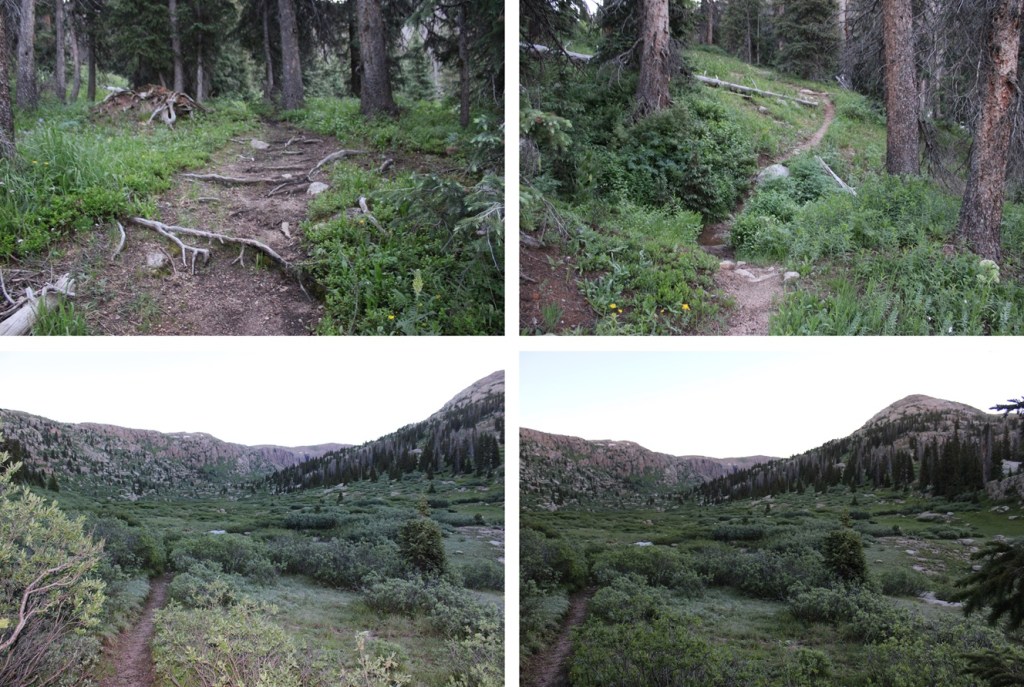
Knowing the high potential for thunderstorms today after noon, I was up and on the trail at 4:30am.   The trail starts out easy to follow, heading southwest.
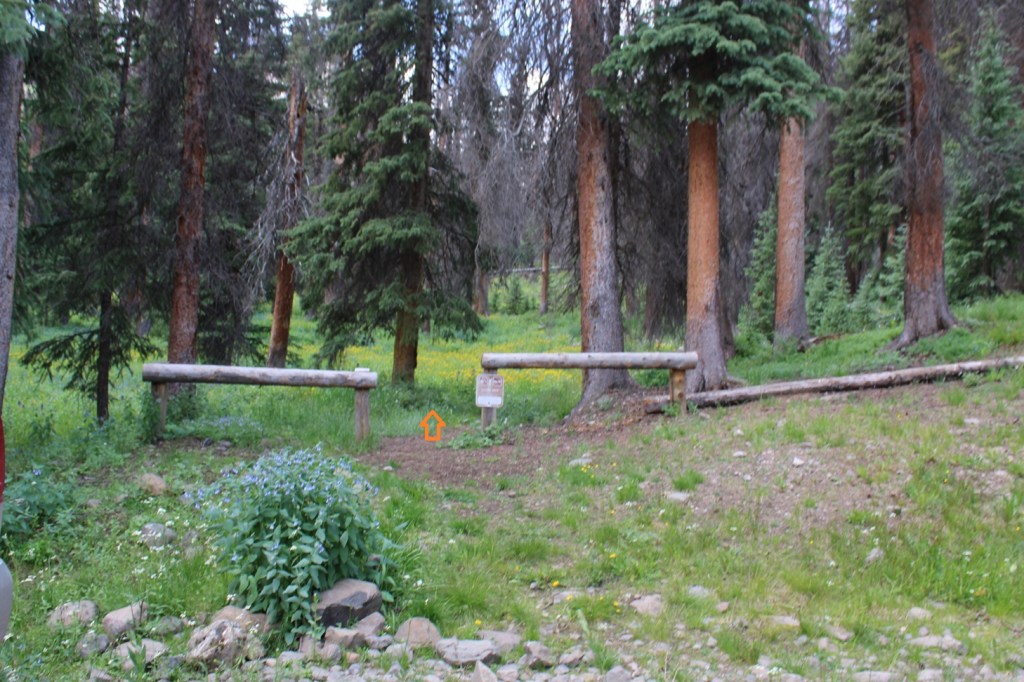
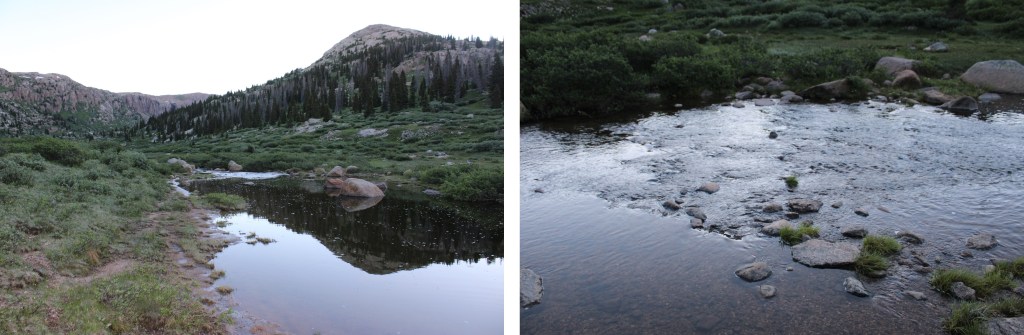
After hiking for half a mile, I came to treeline, and an upper basin. I turned right, and followed a drainage northwest past treeline.

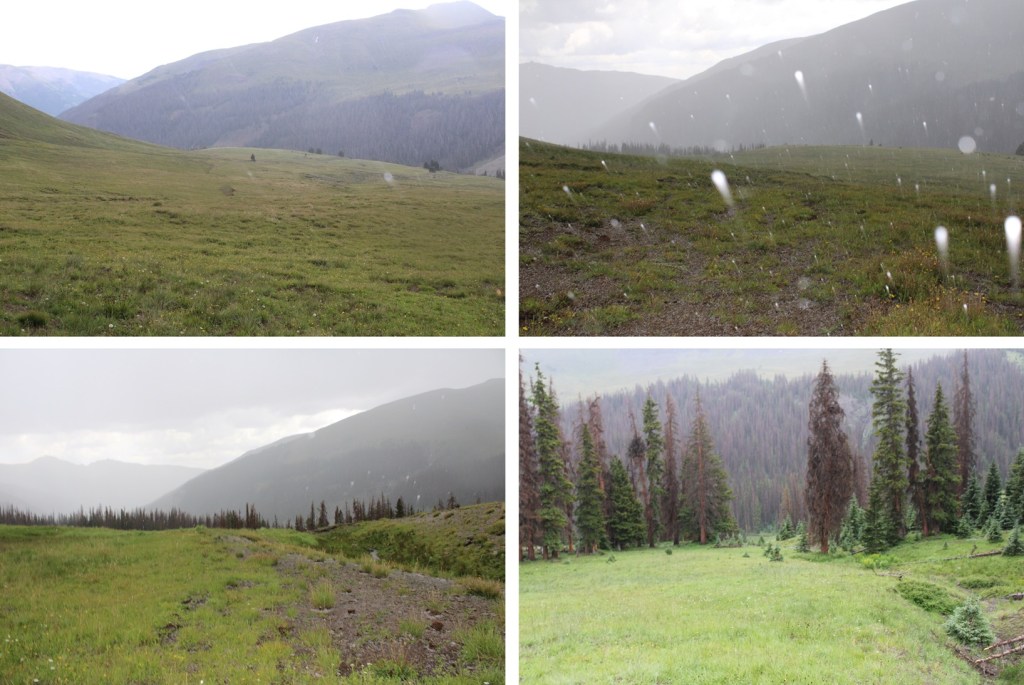
Sorry for the lack of pictures at this point, but I was in a thunderstorm, experiencing hail and rain when I took these pictures, so they’re few and far between.  I was headed for the ridge.  For a better initial route description, see my Wildhorse and Blackwall trip report, where I wasn’t caught in a thunderstorm.

There are faint trails here, but they mostly look like drainage ditches.  Follow those.
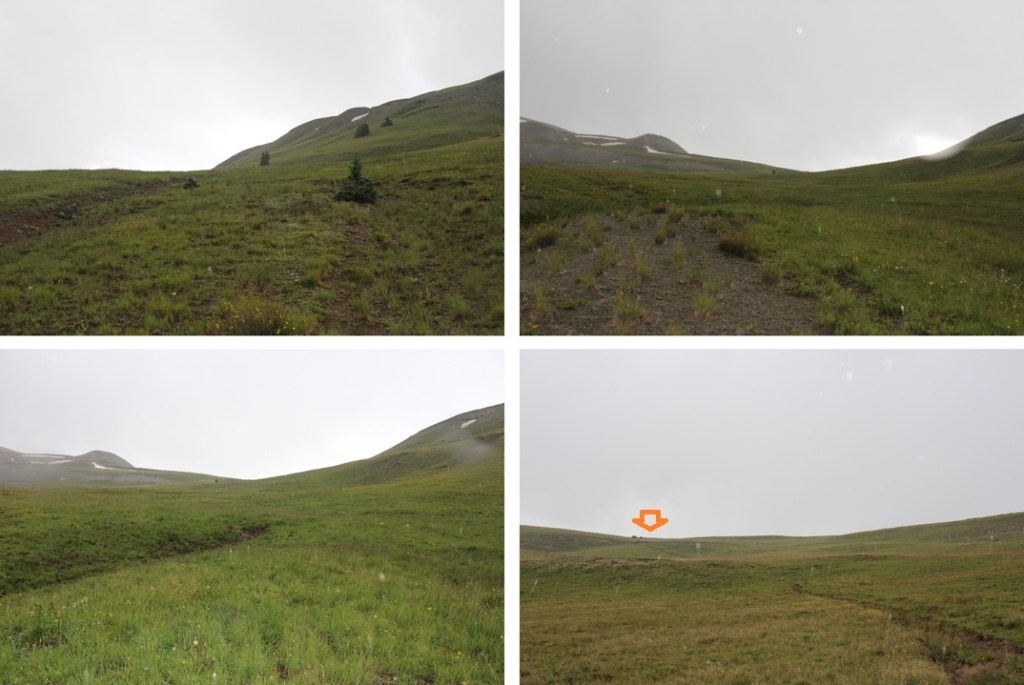
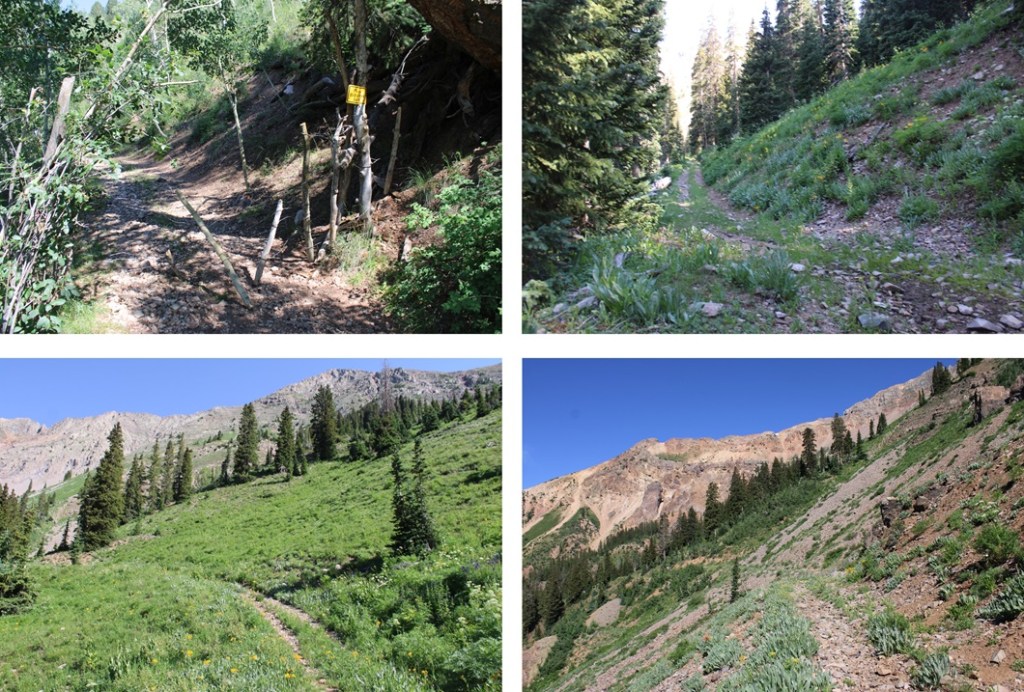
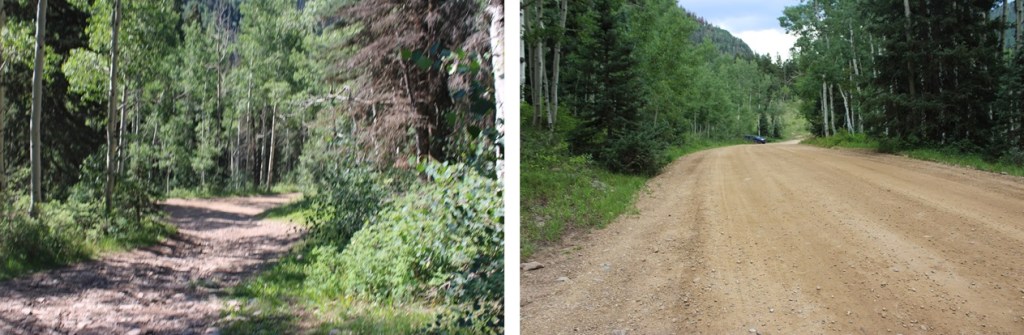
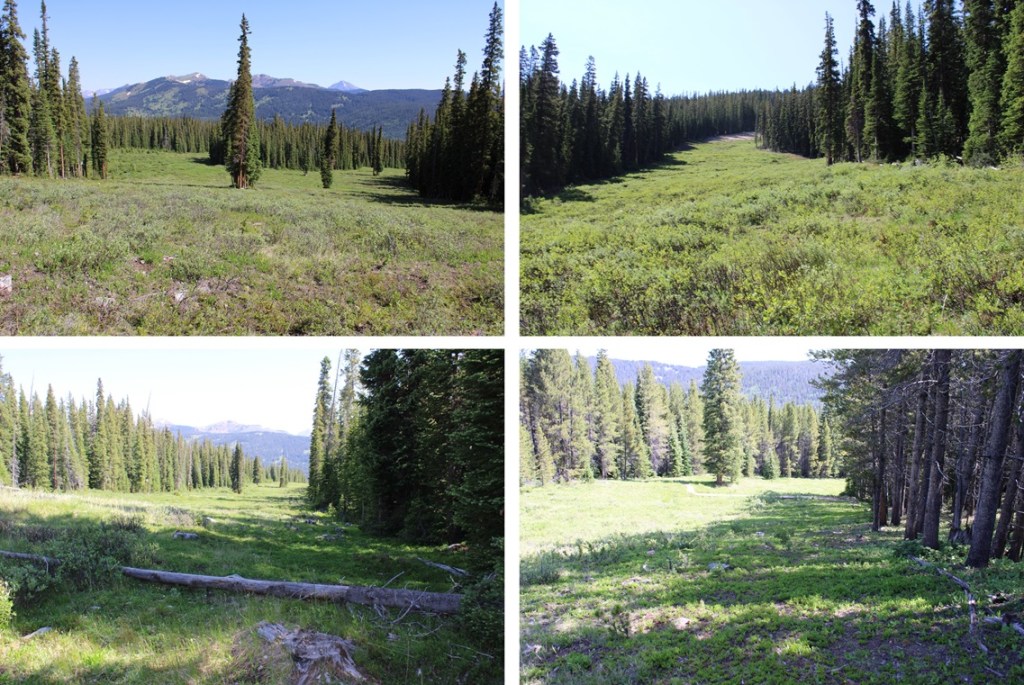
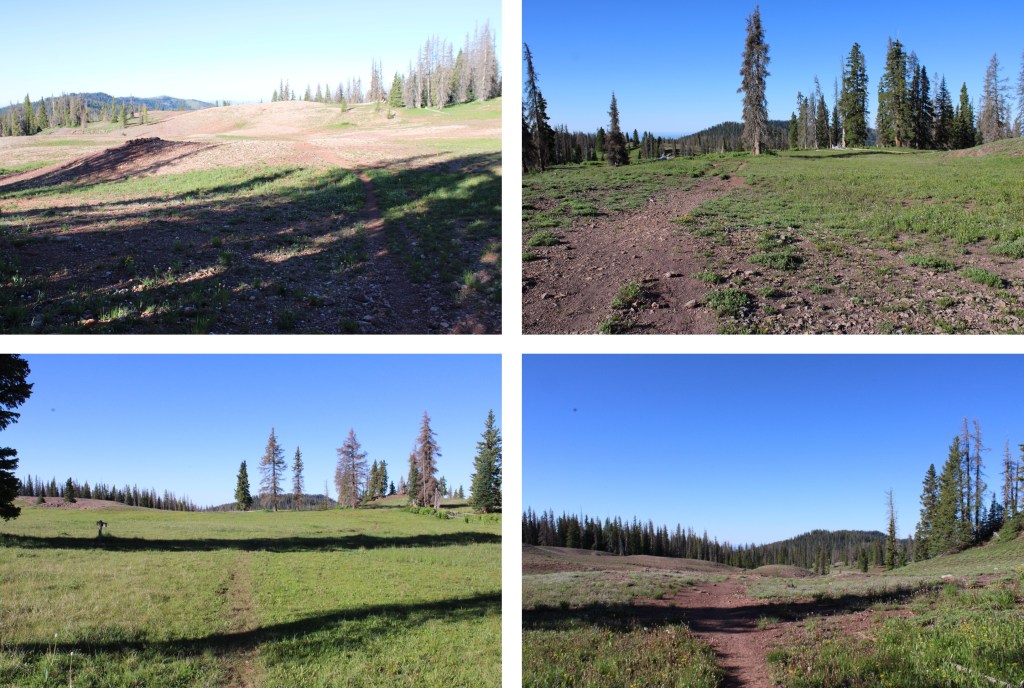
At the top of this hill a fairly good game trail appears.  I followed this west all the way to American Flats and the first junction I came to, which was about 3.5 miles from the trailhead.
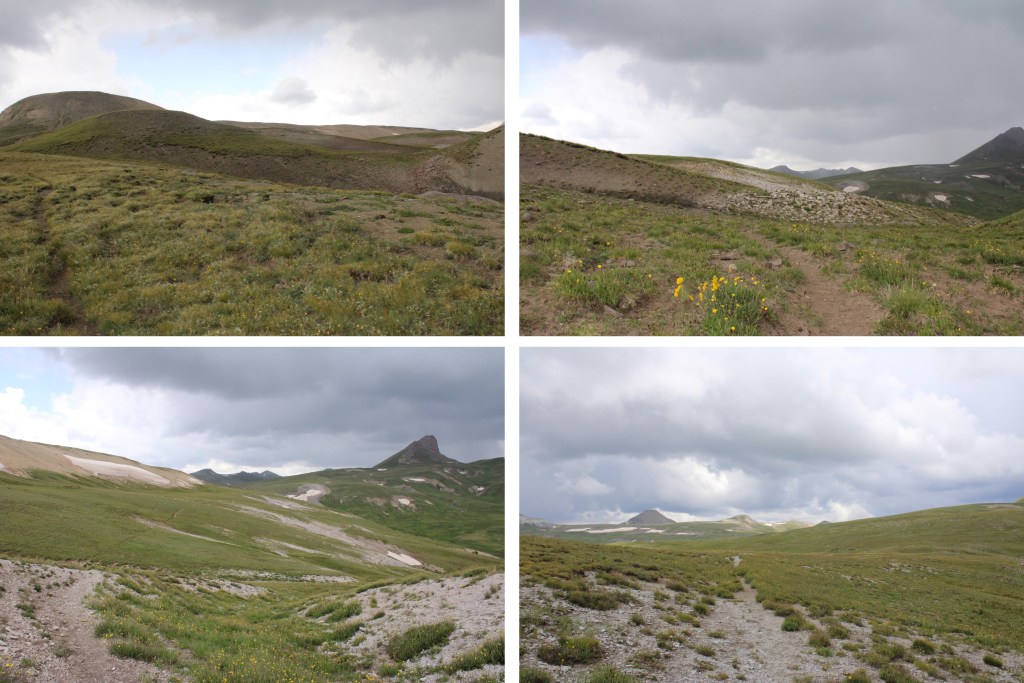
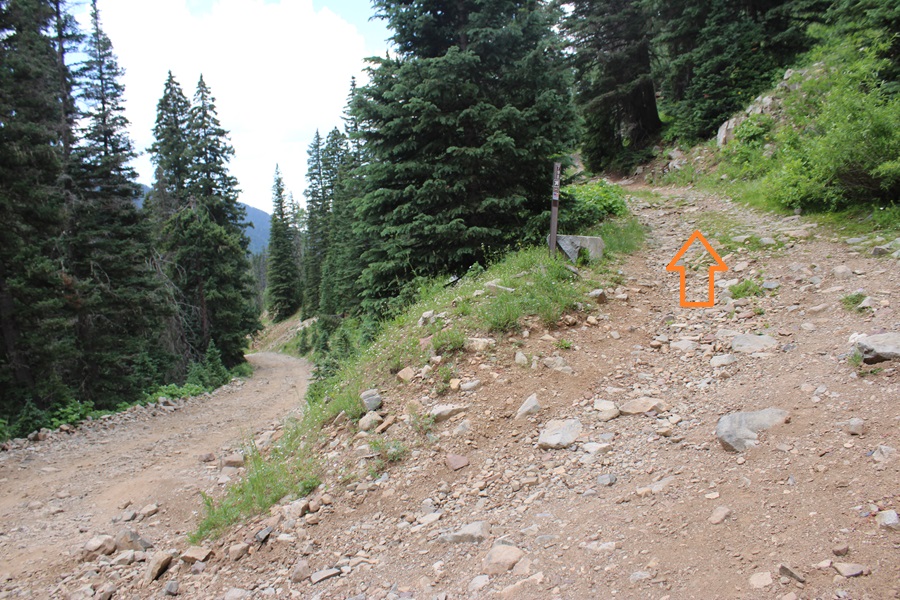
This junction is significant, as I’ll be returning here later, and not on a well-defined trail.   Like so many trails in this area, they aren’t really trails but more of ‘suggestions’, where you follow your best judgement to get to the next post or cairn, and celebrate if you find a game trail.

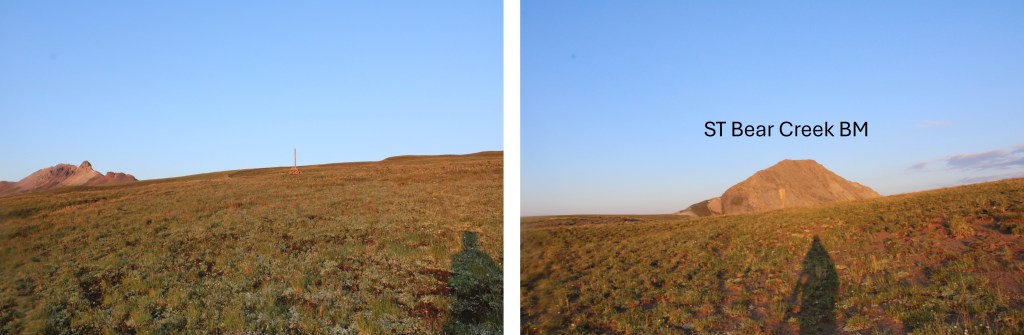
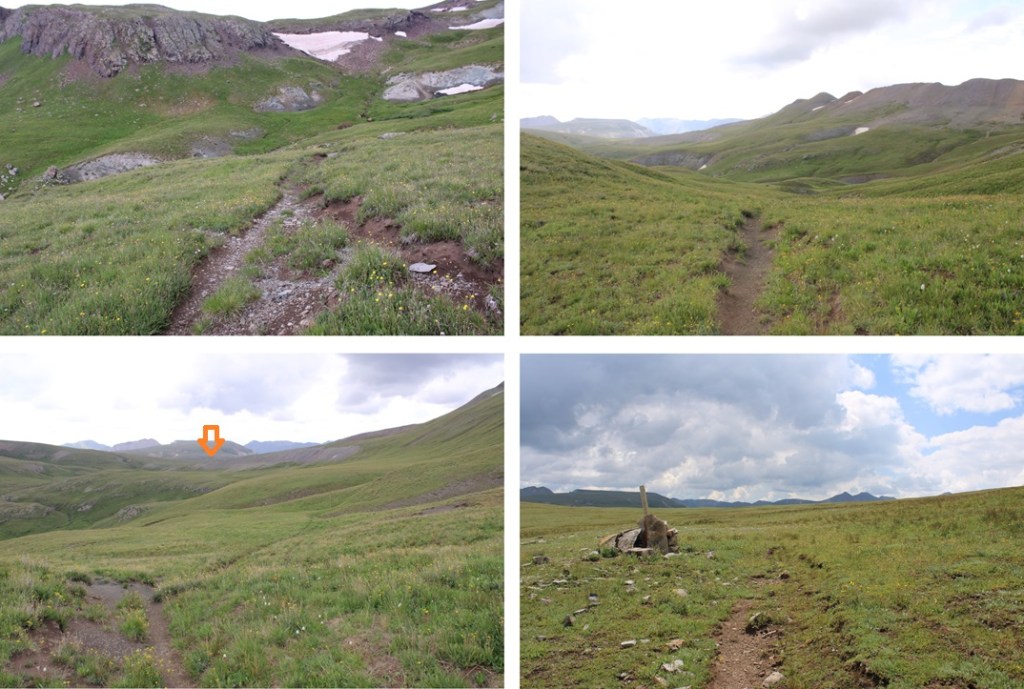
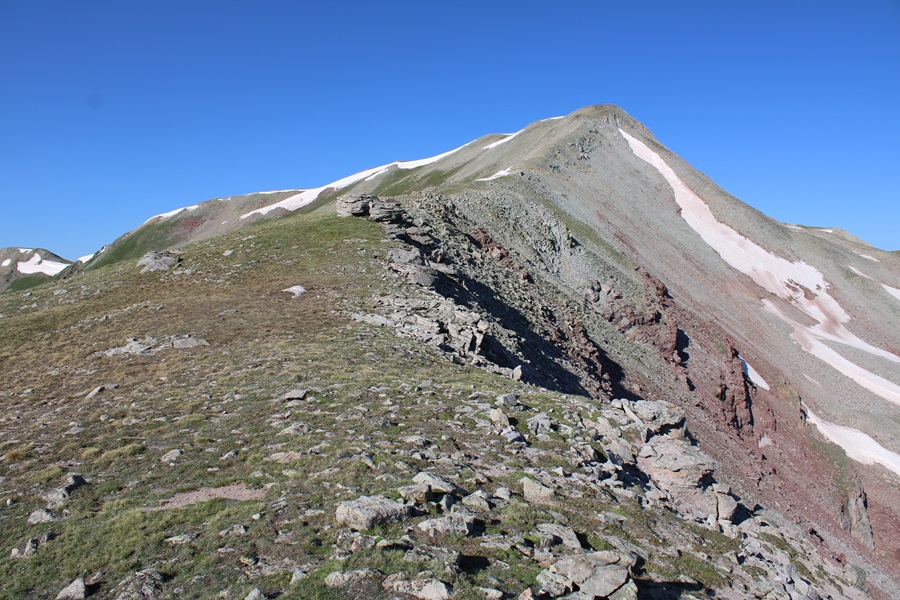
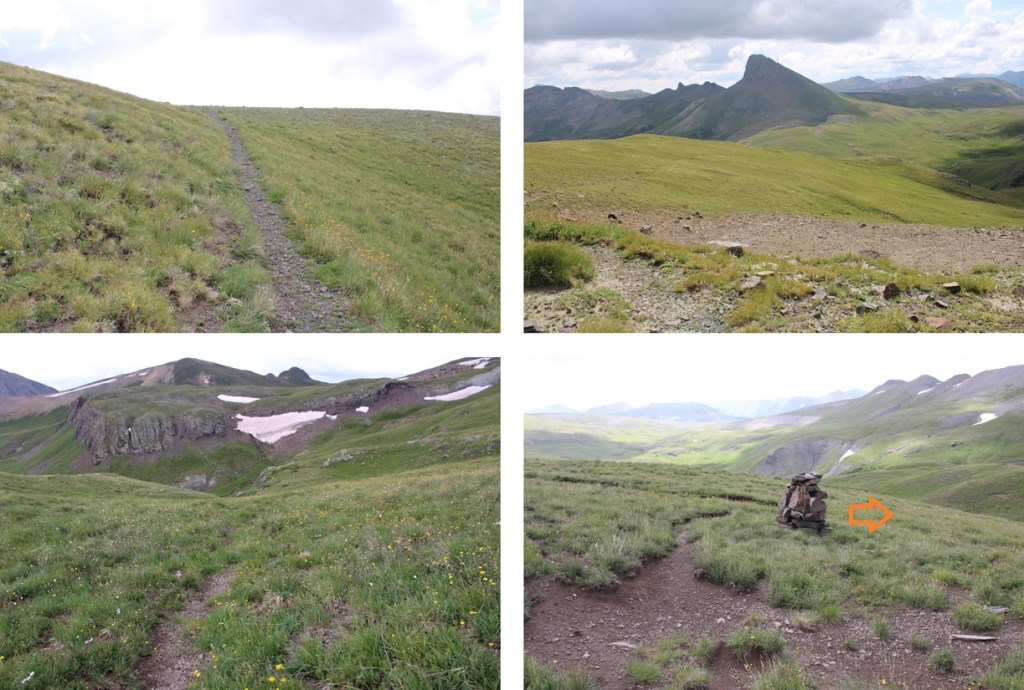
From this junction I headed southwest, following posts and cairns towards ST Bear Creek Benchmark. 
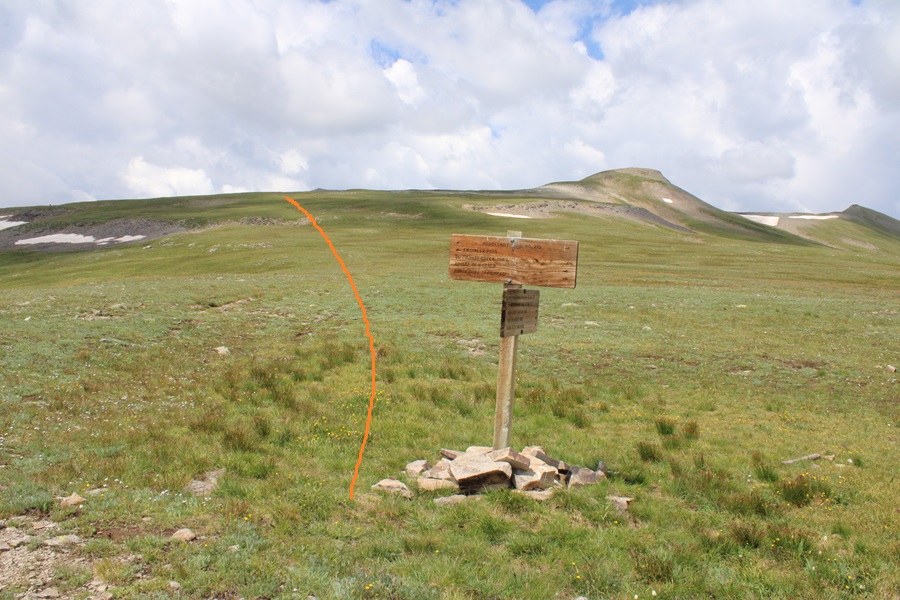
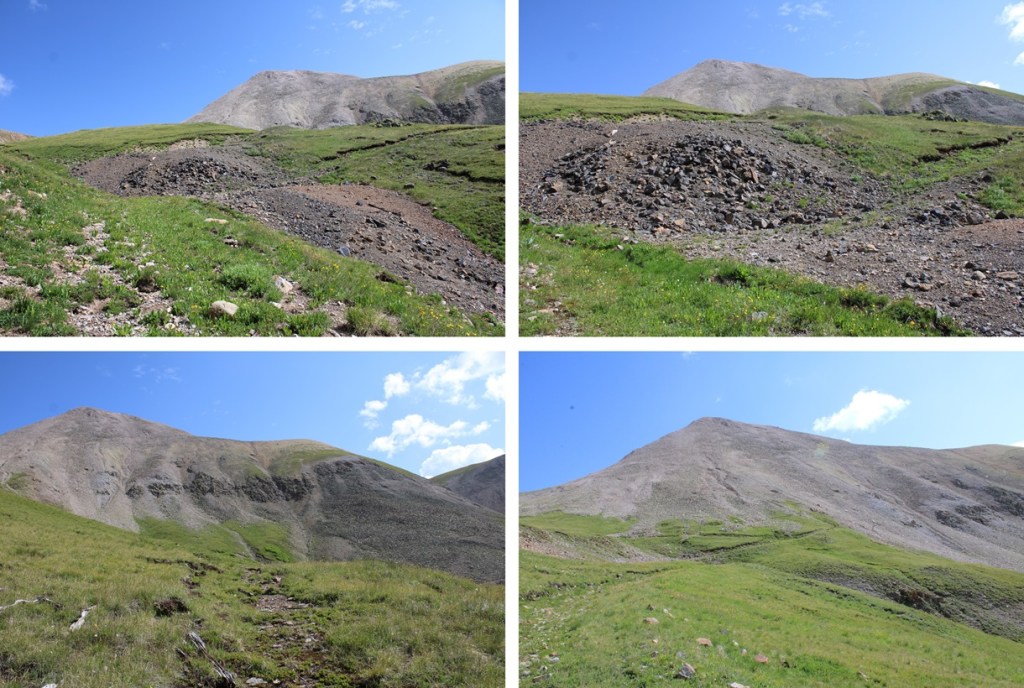
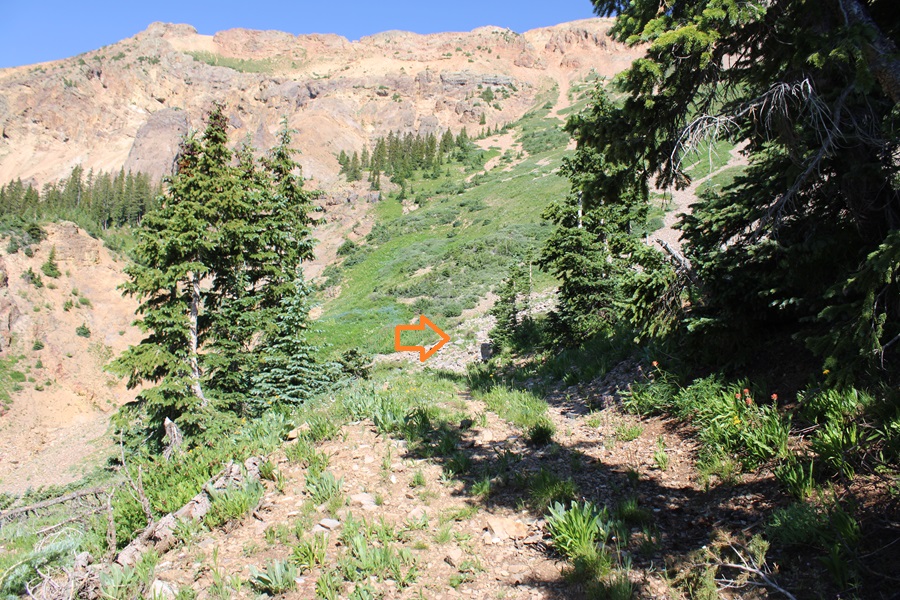
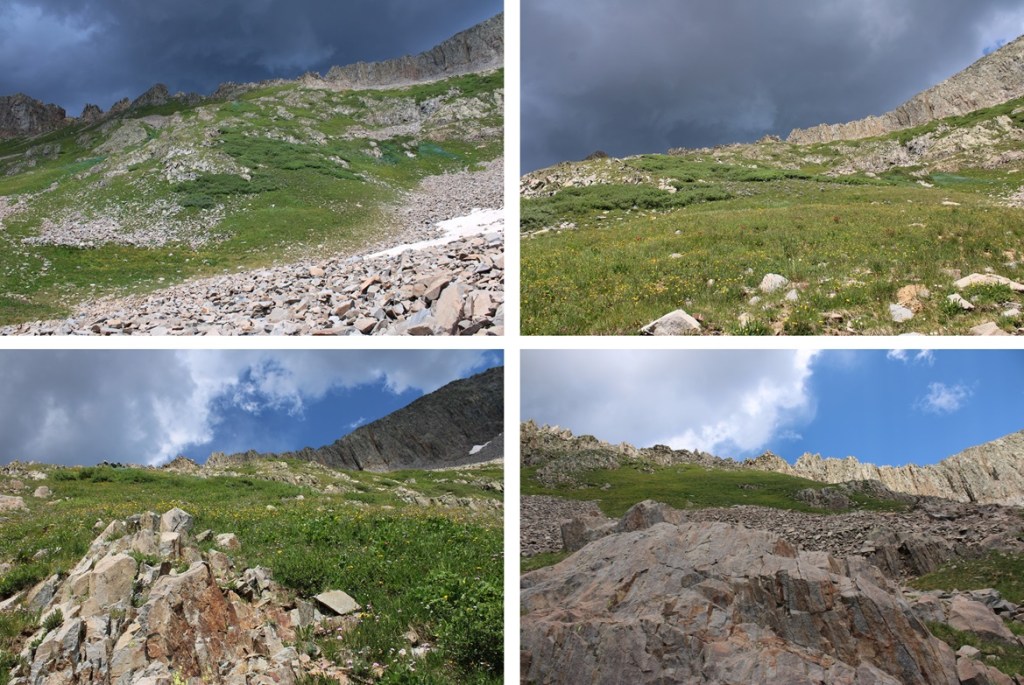
I aimed for the saddle, then started climbing the ridge.  This was all class 2 on easy terrain.
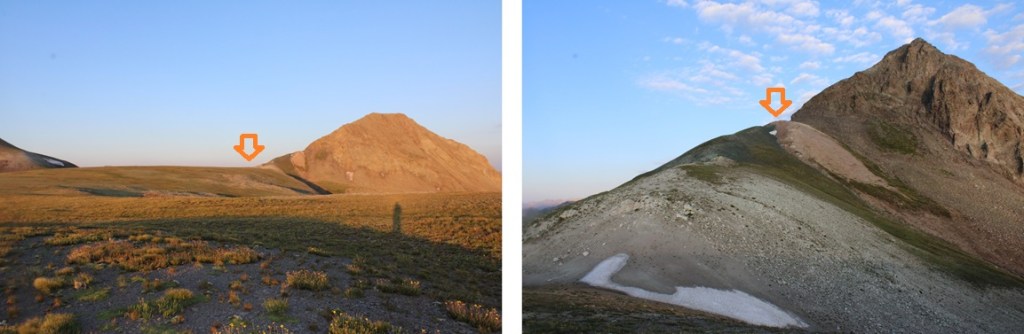
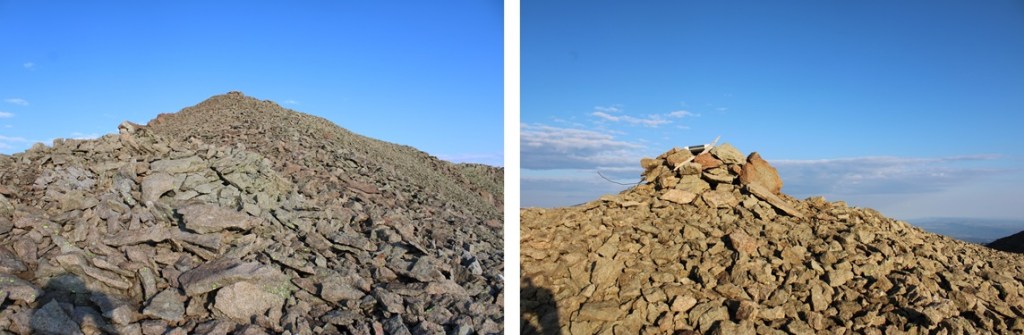
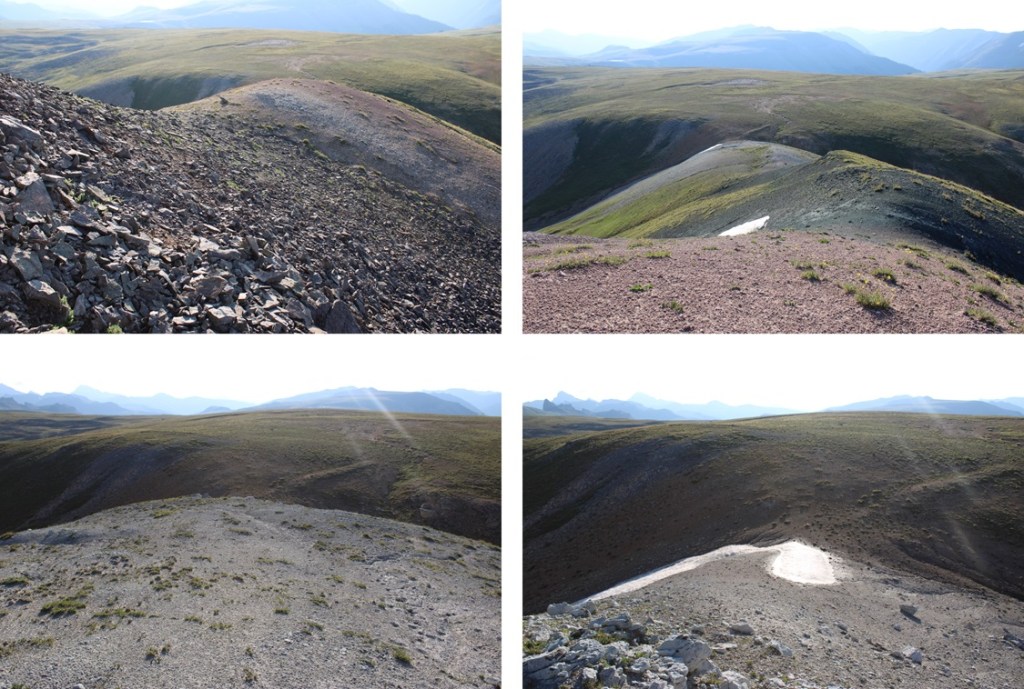
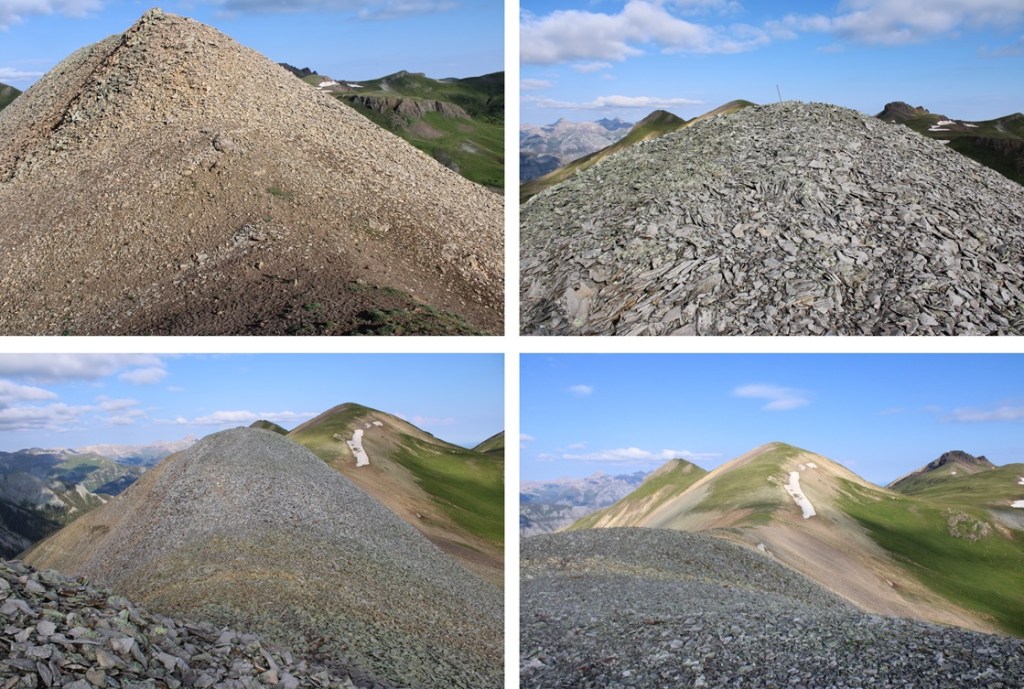
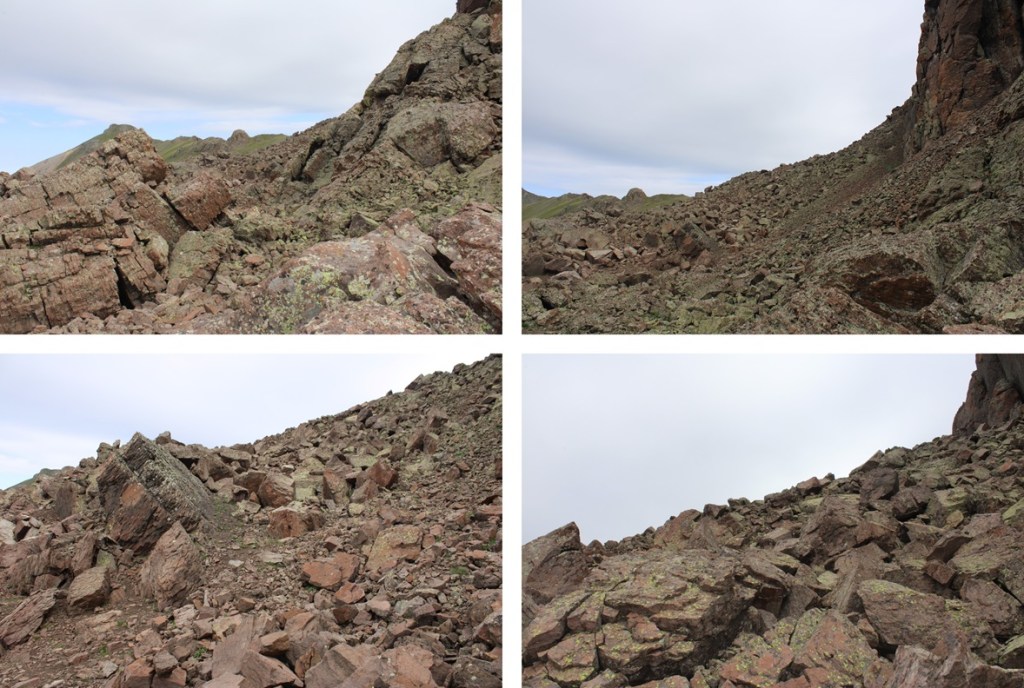
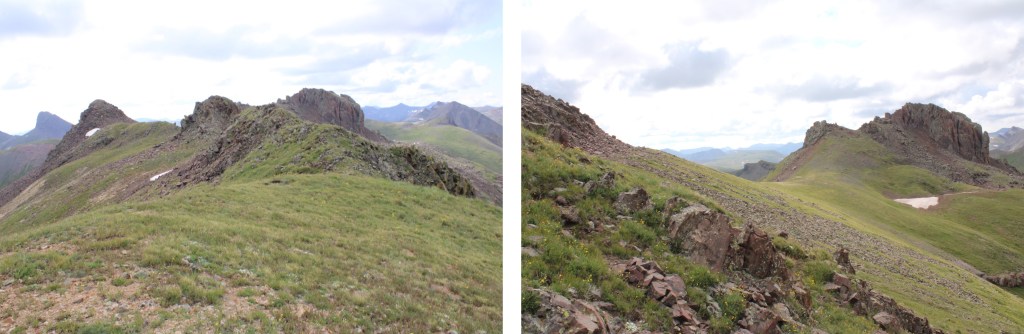
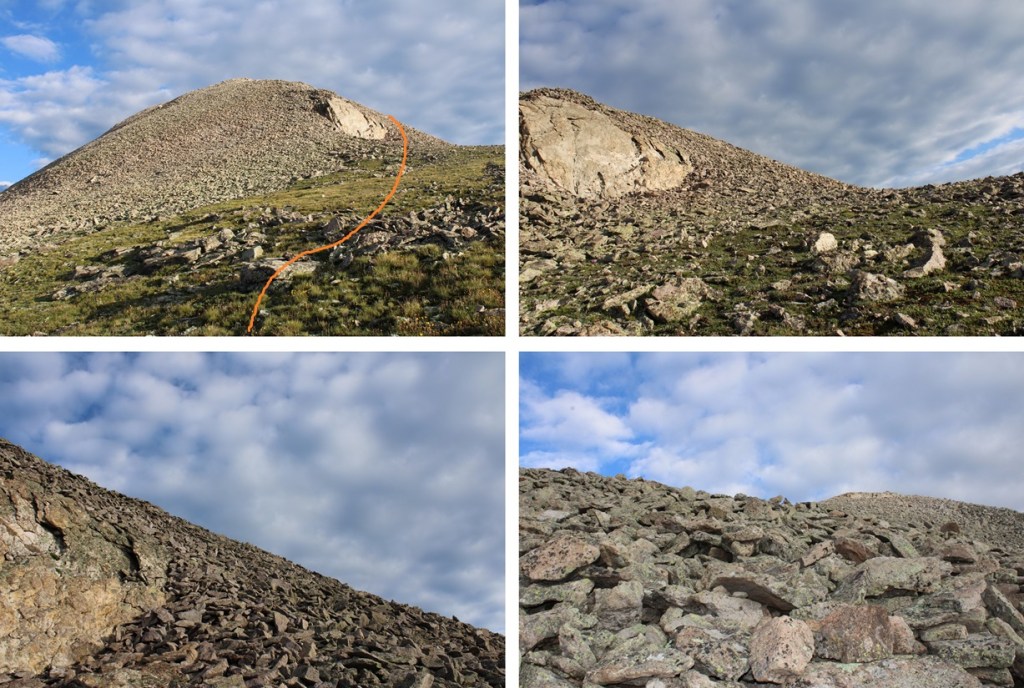
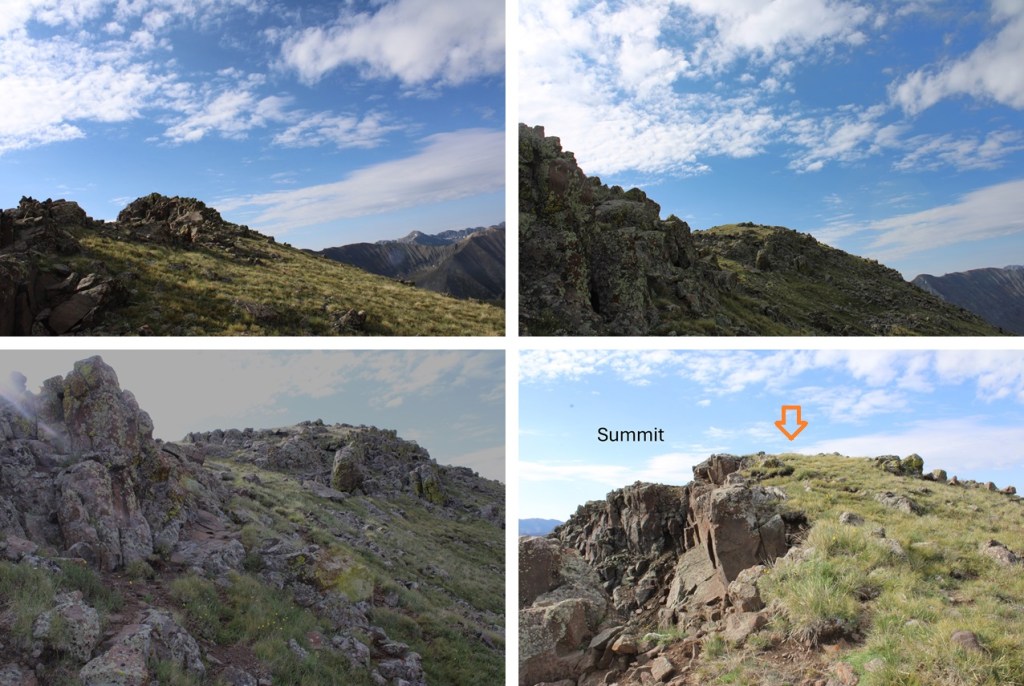
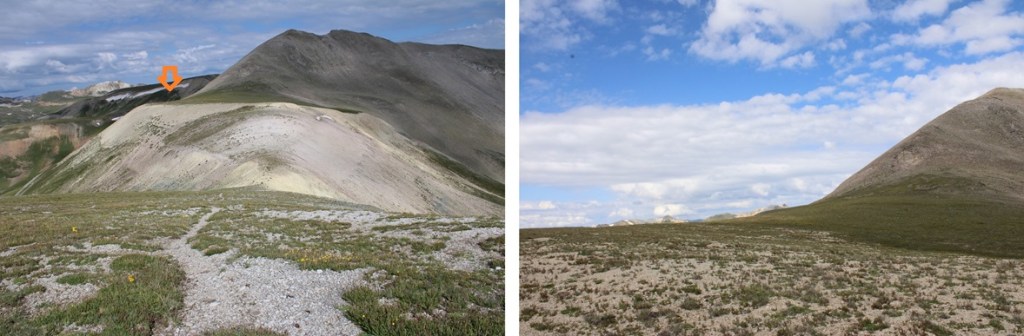
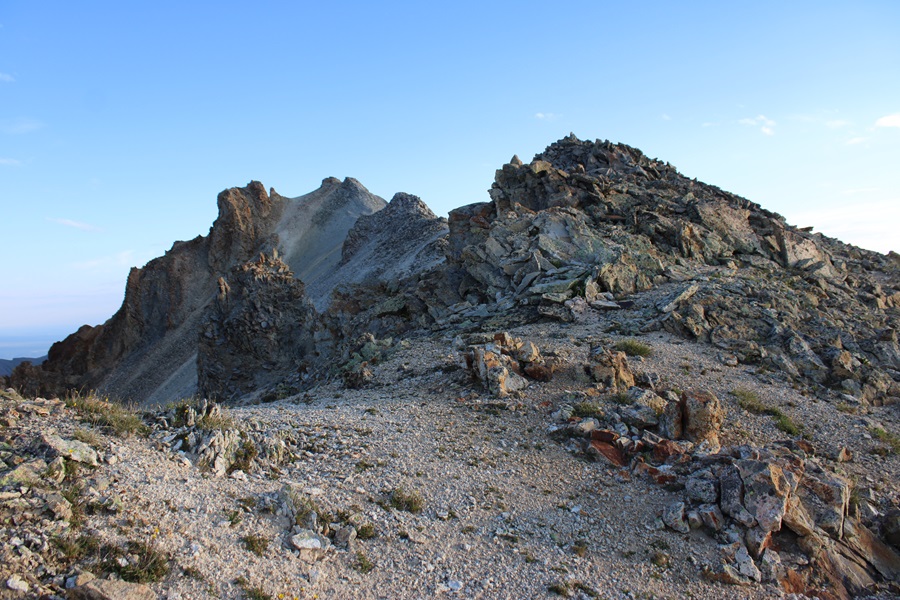
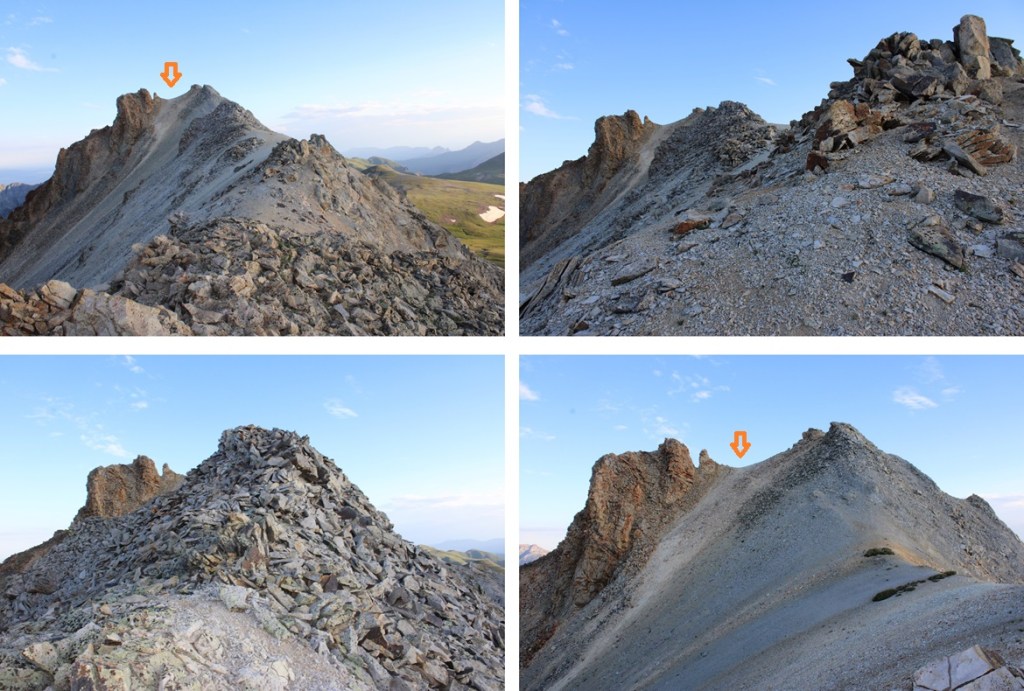
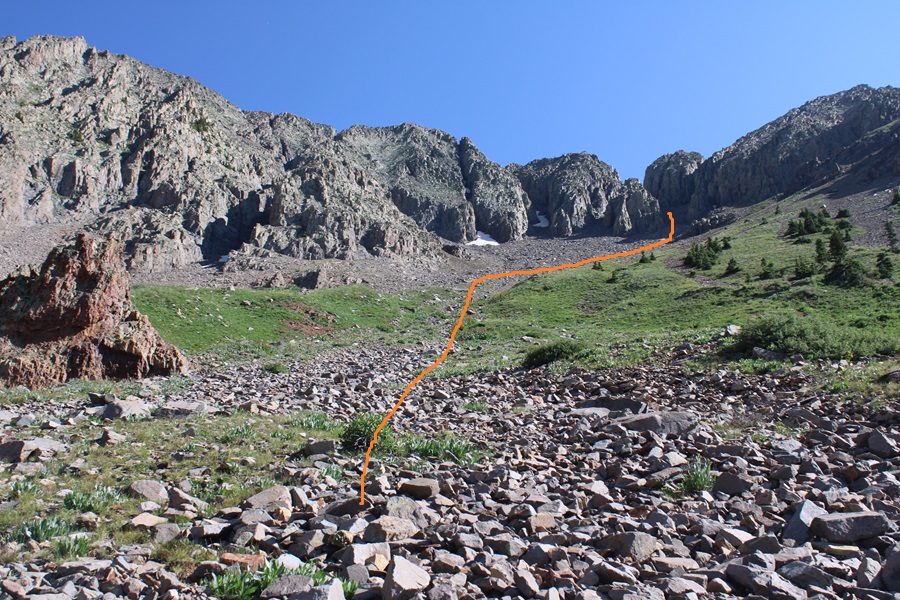
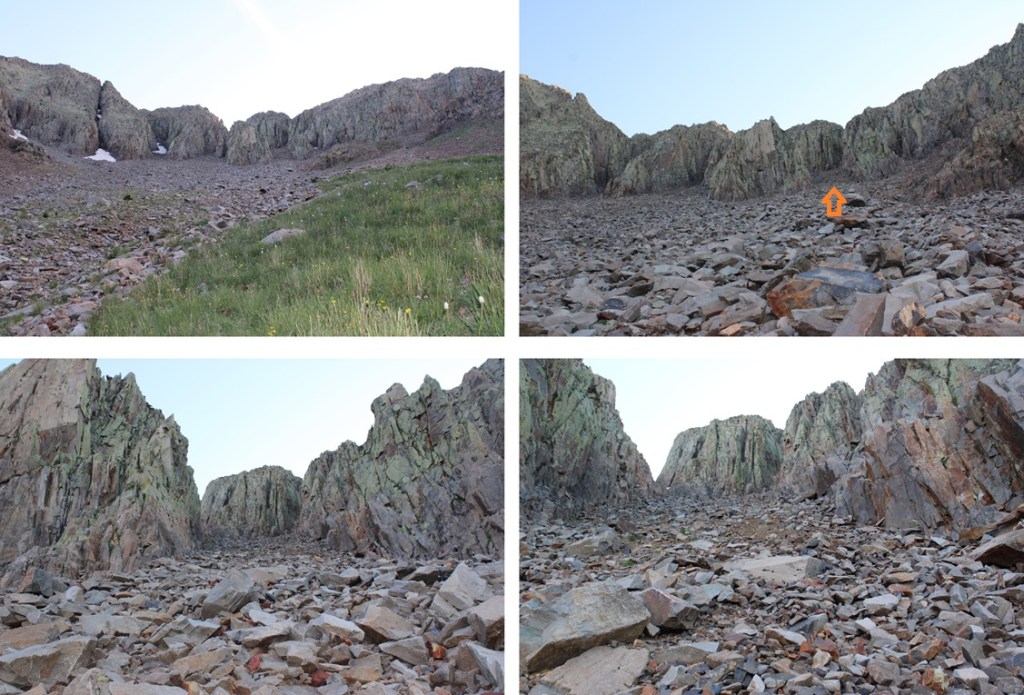
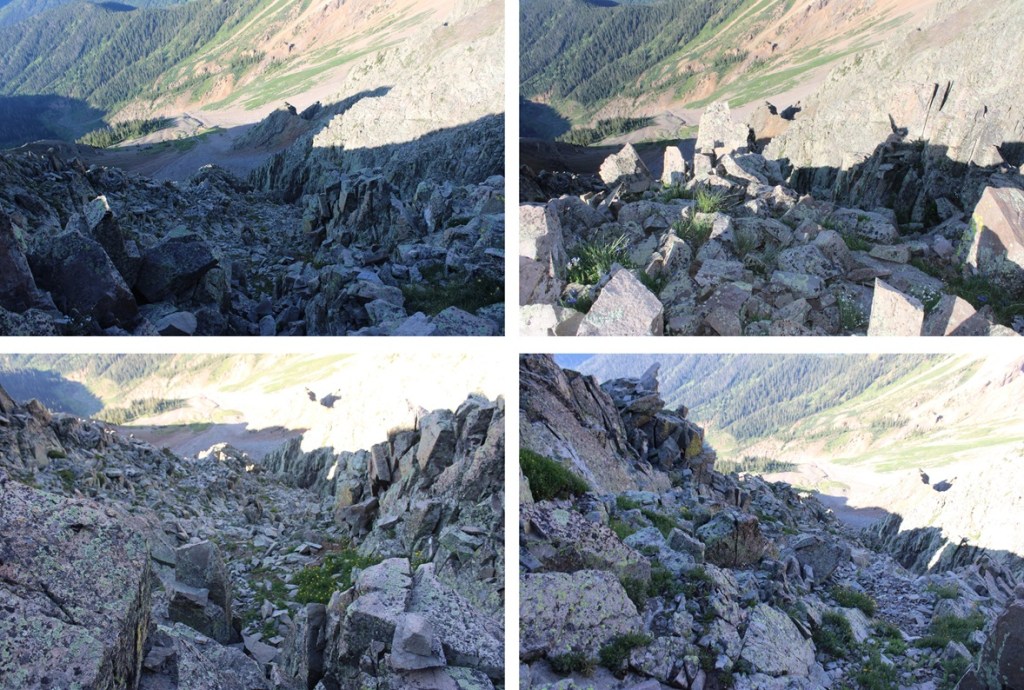
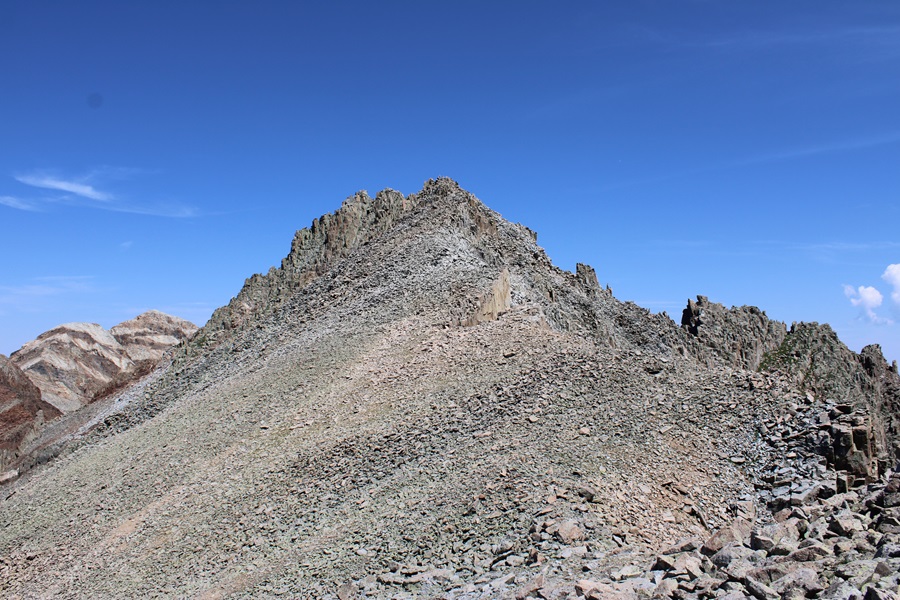
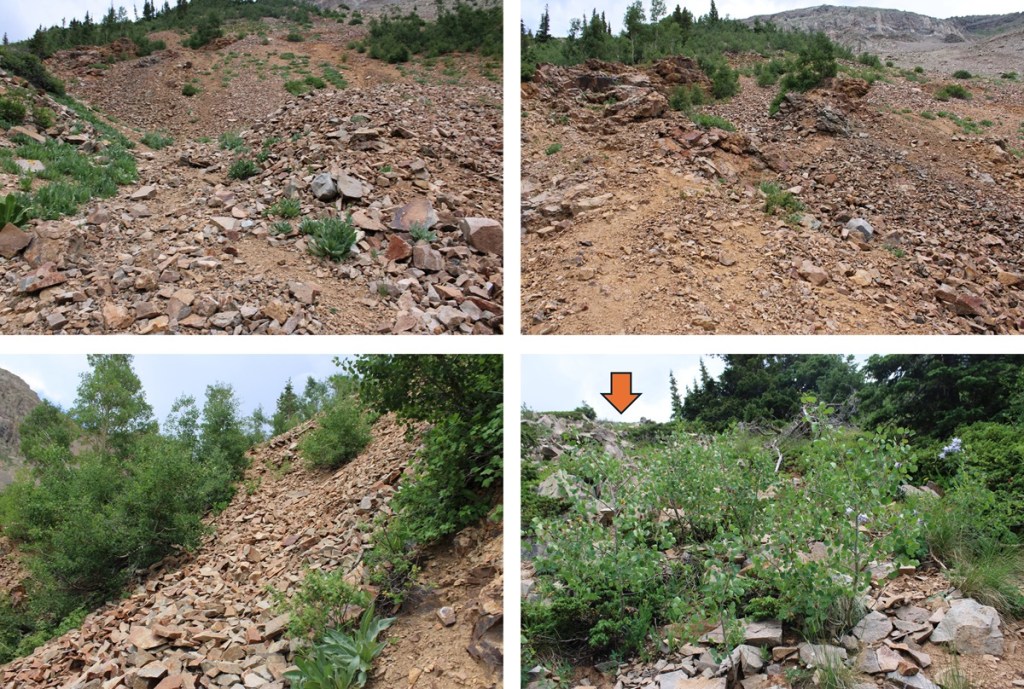
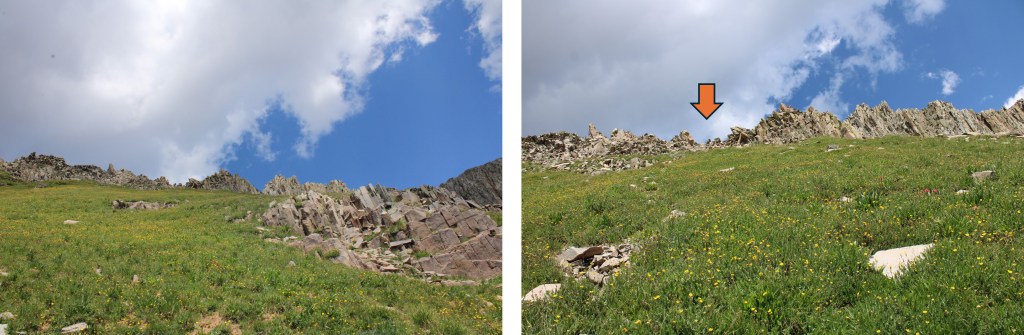
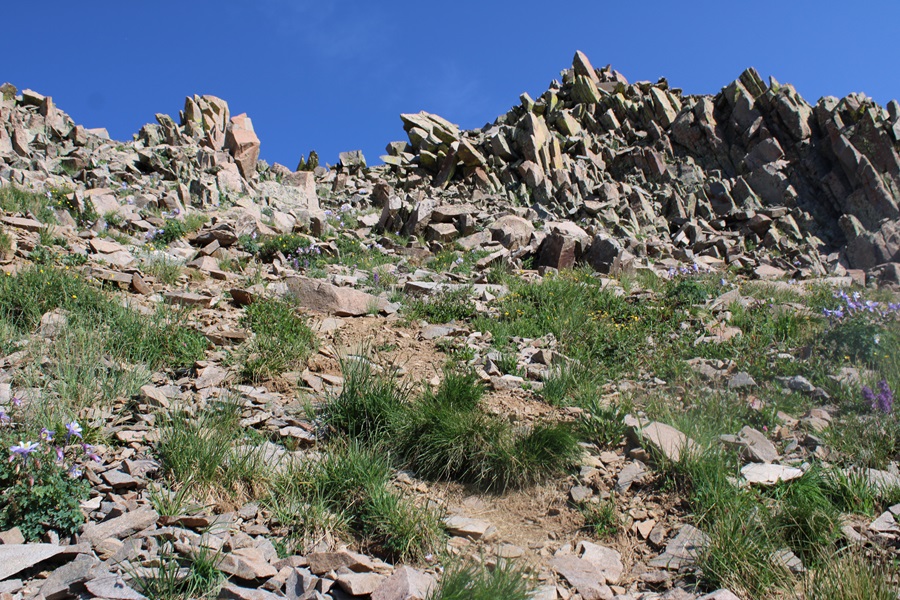
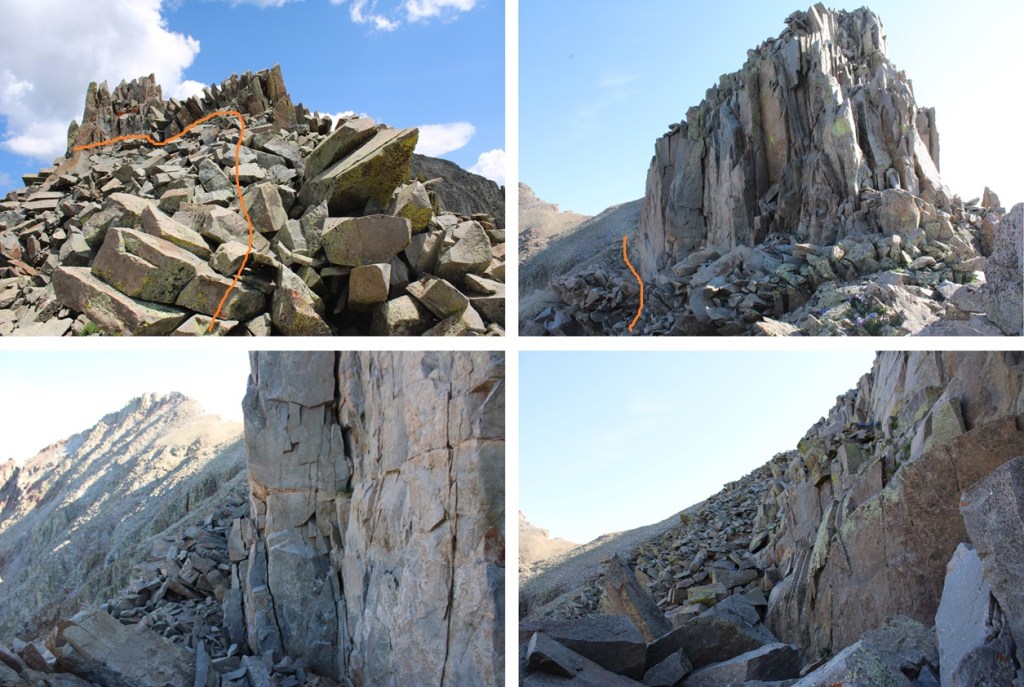
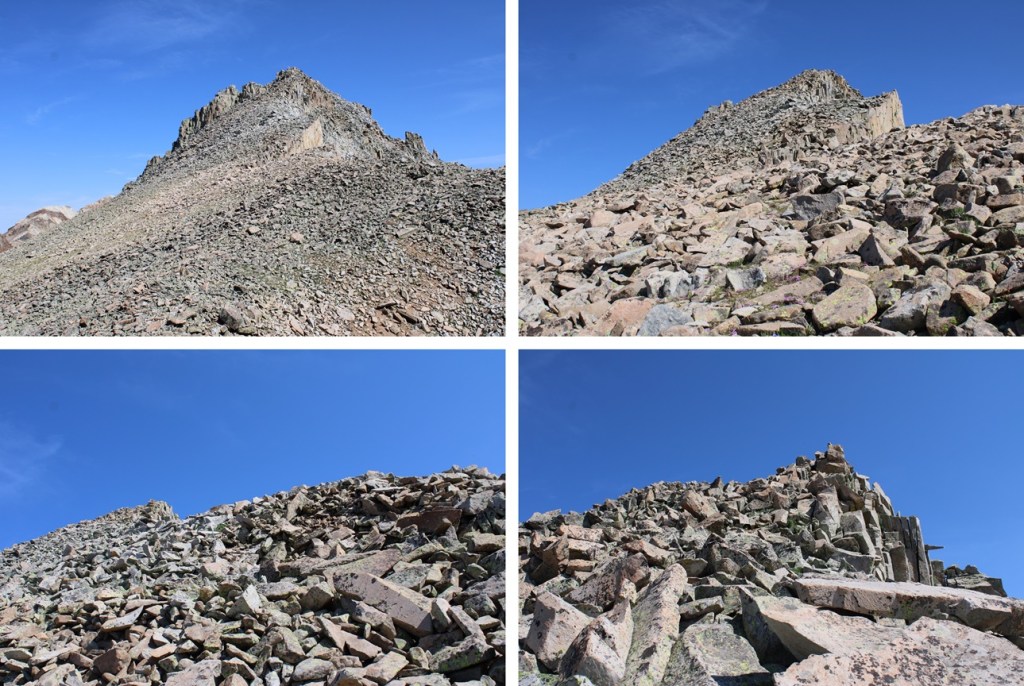
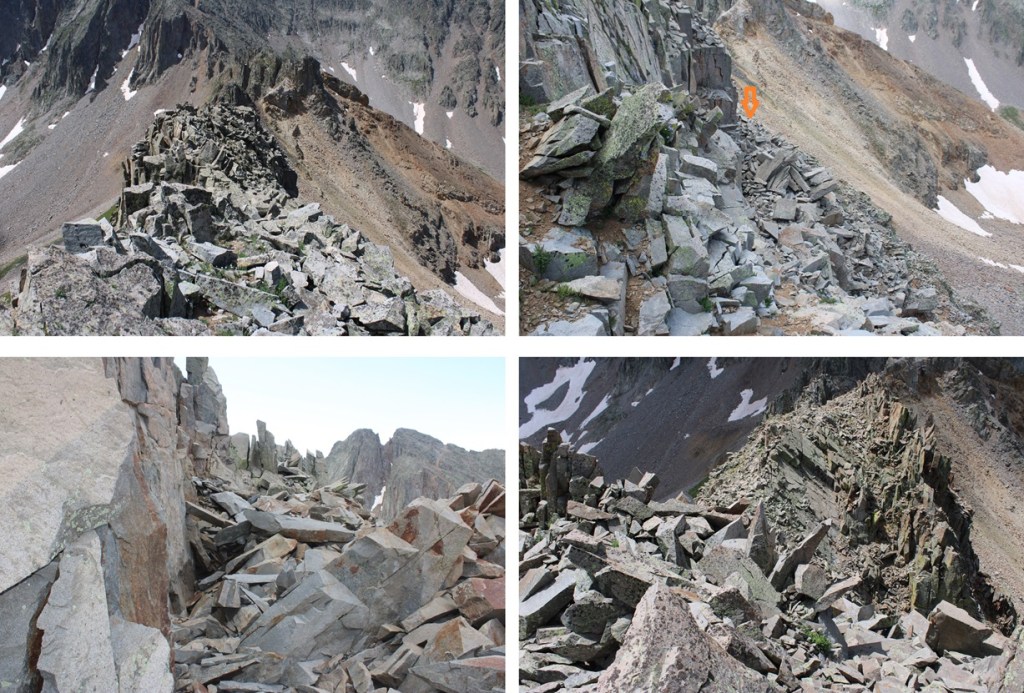
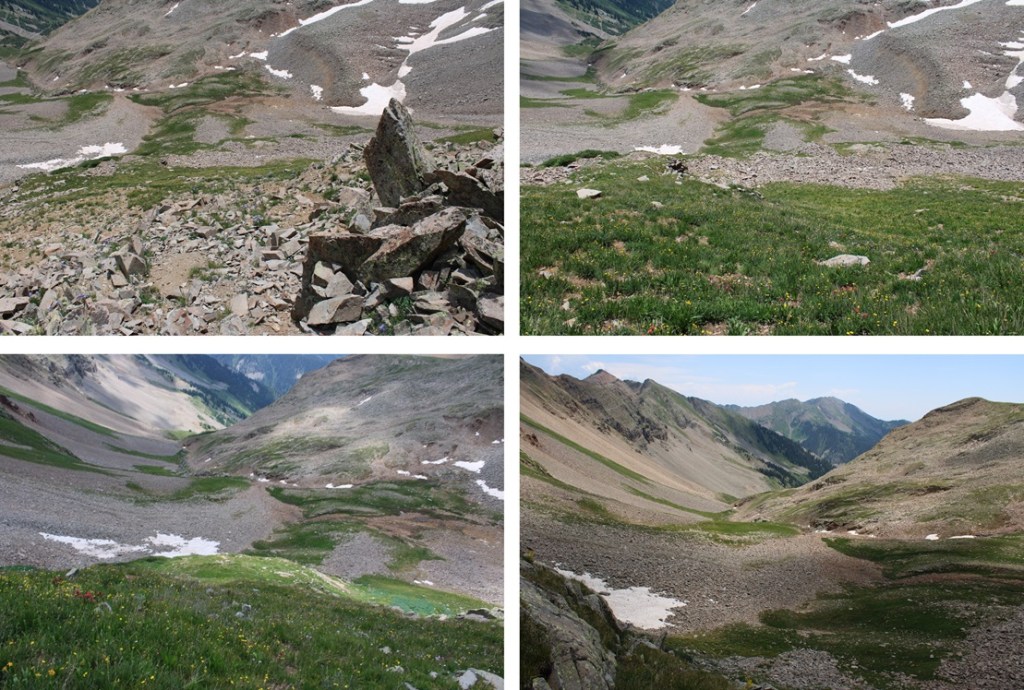
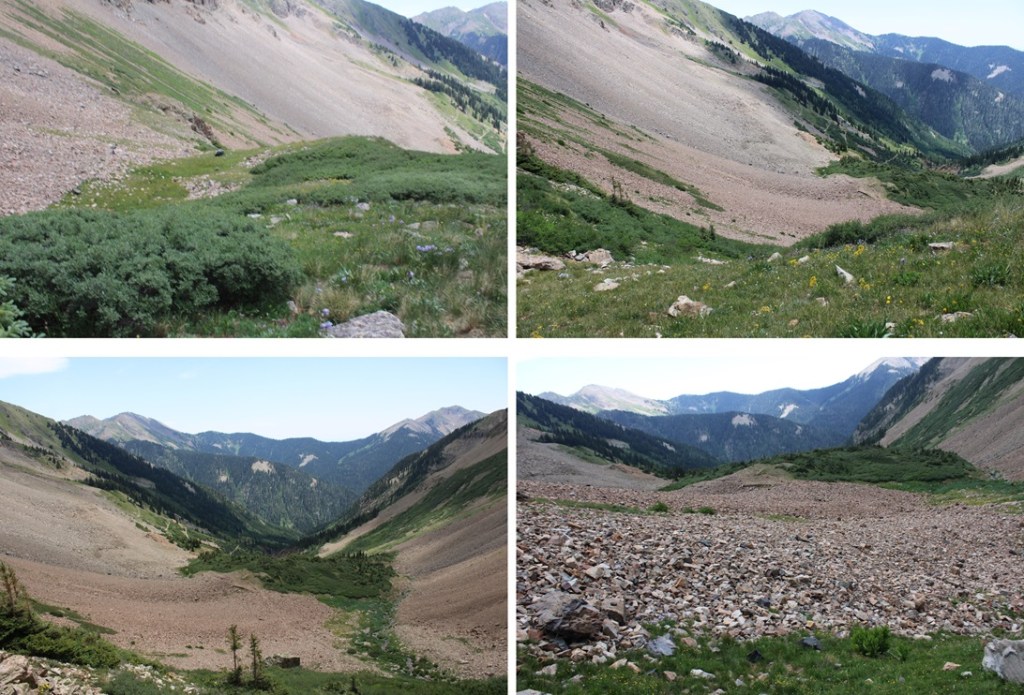
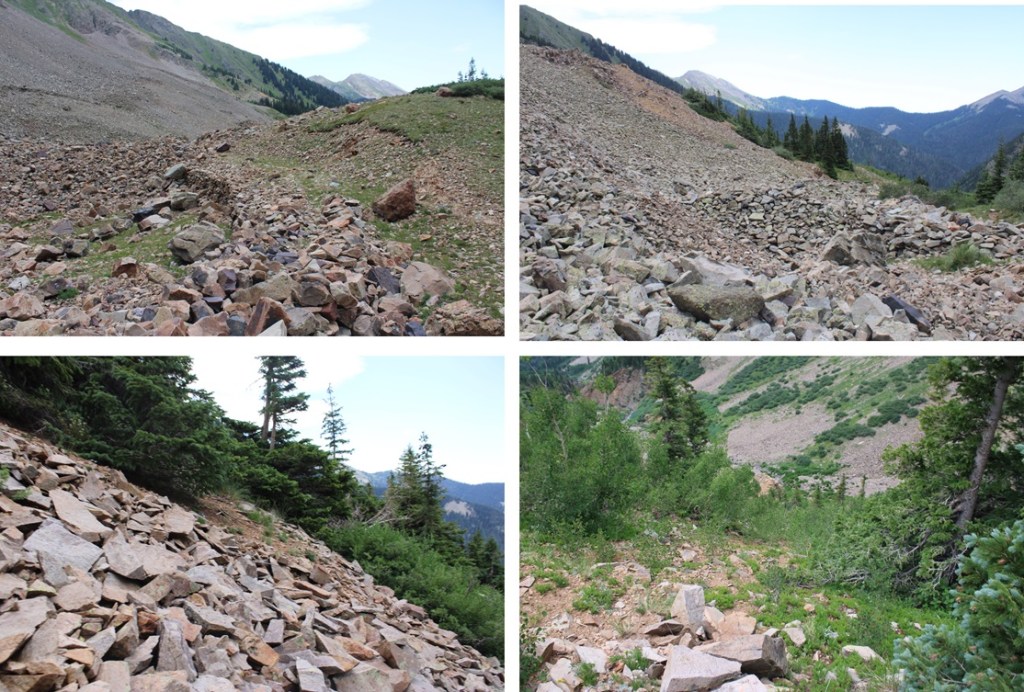
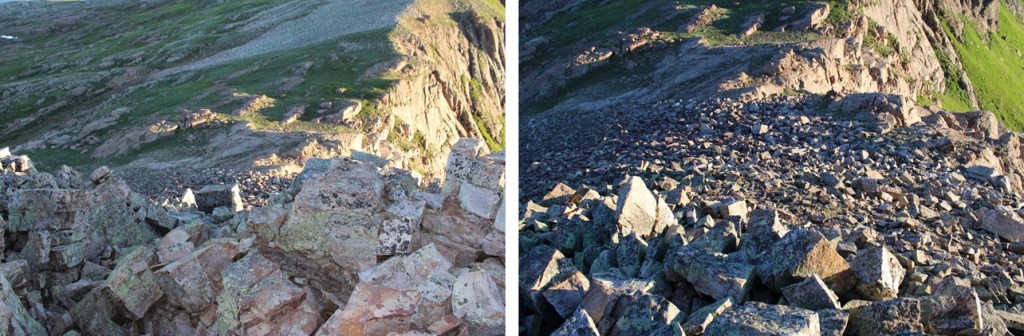
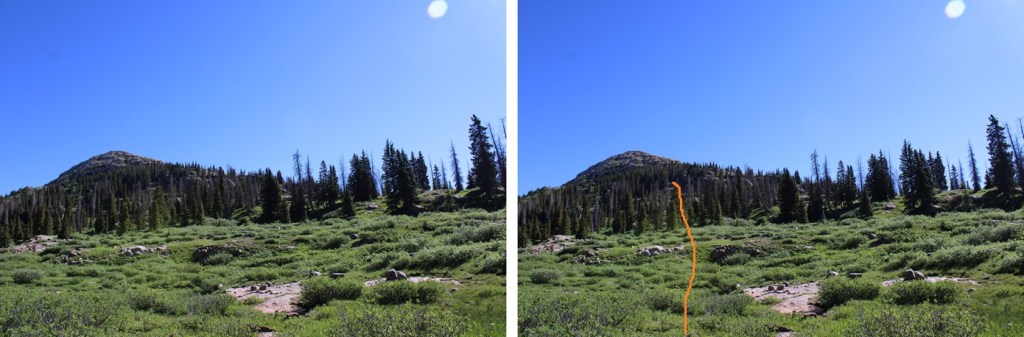
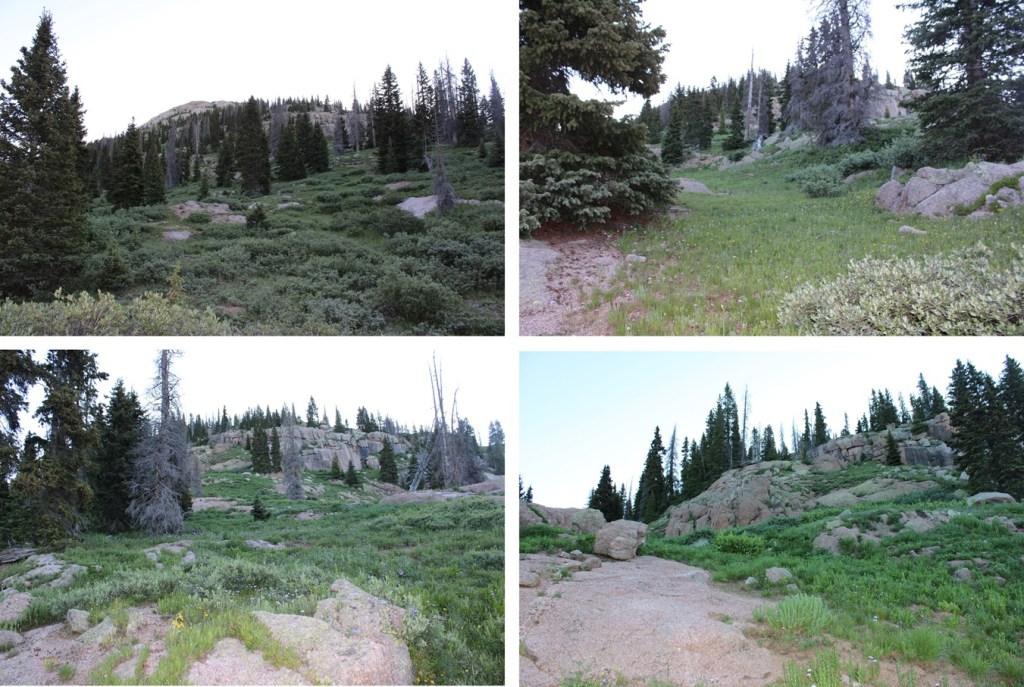
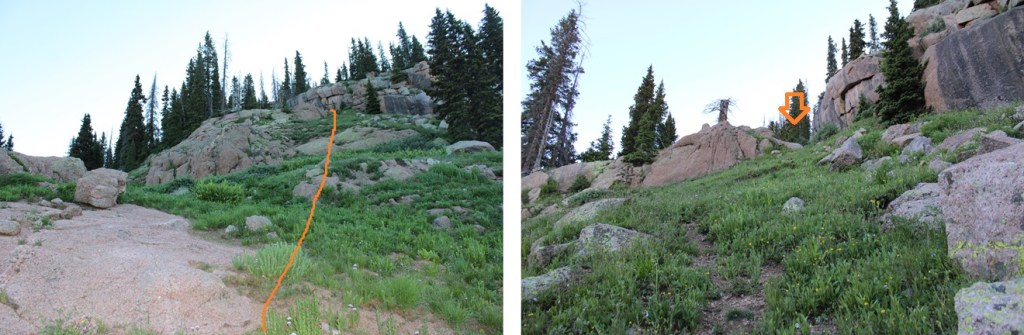
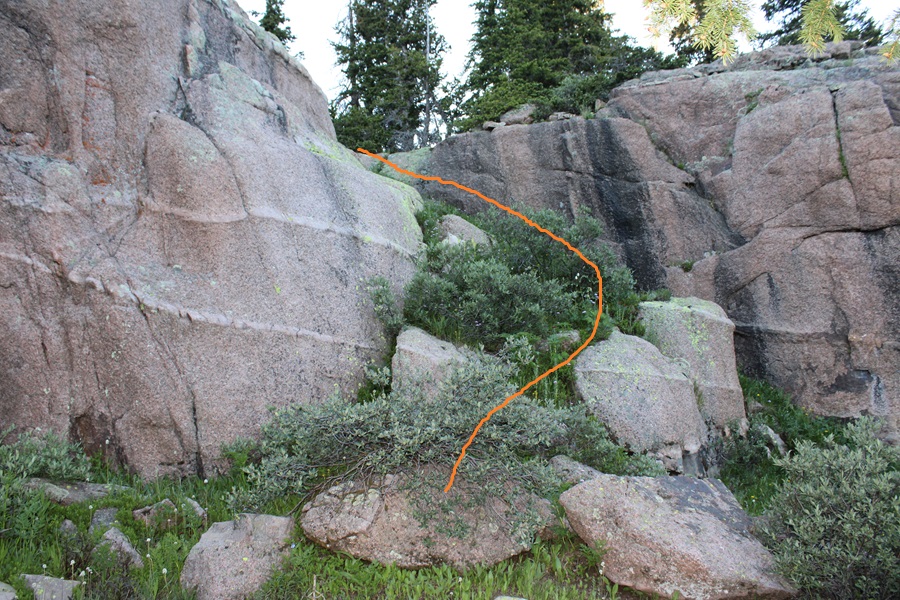
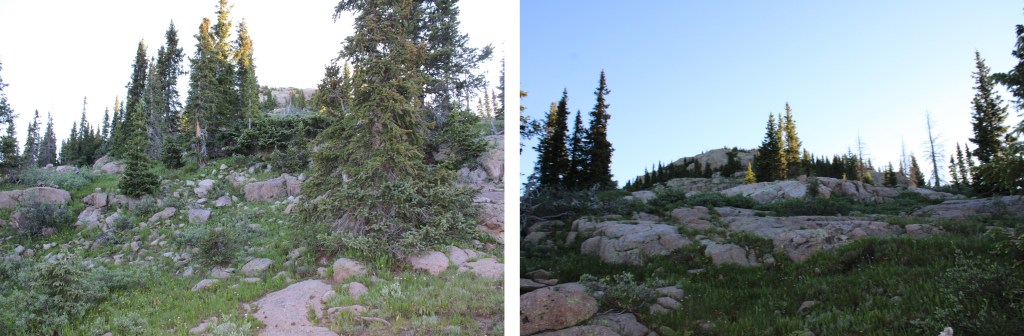
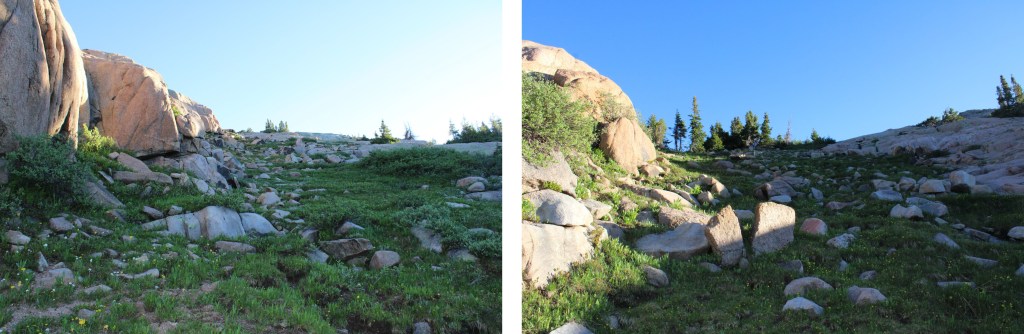
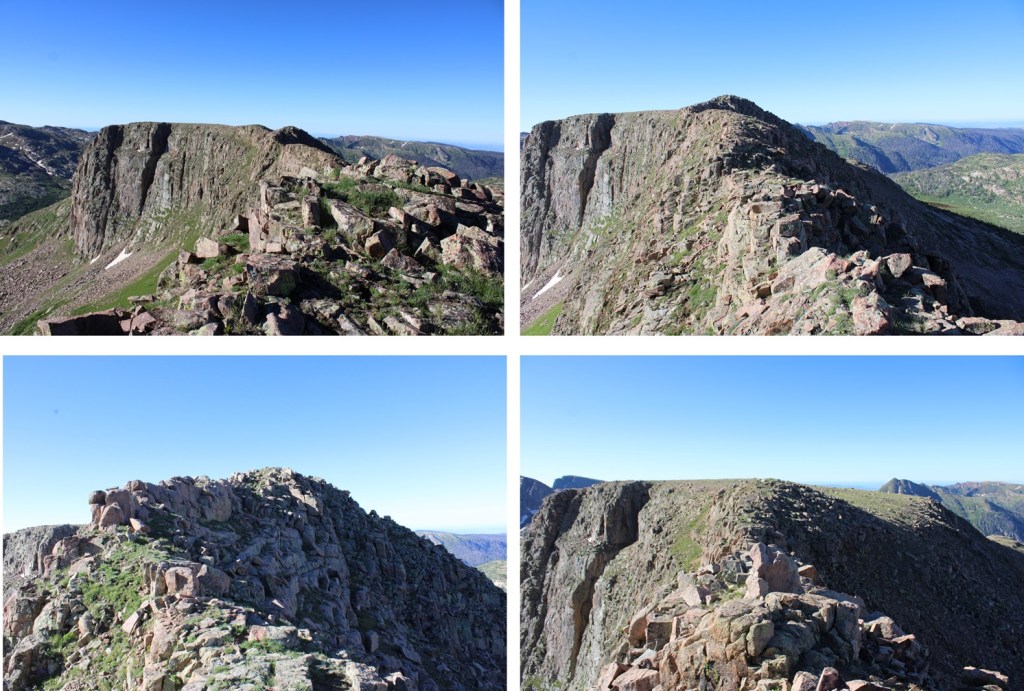
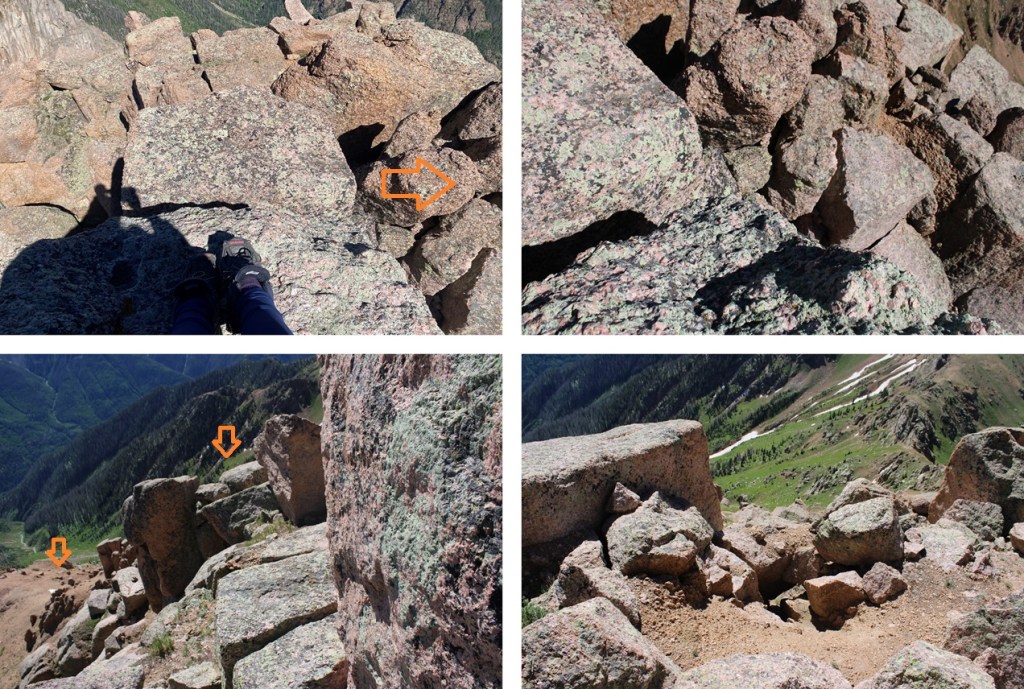
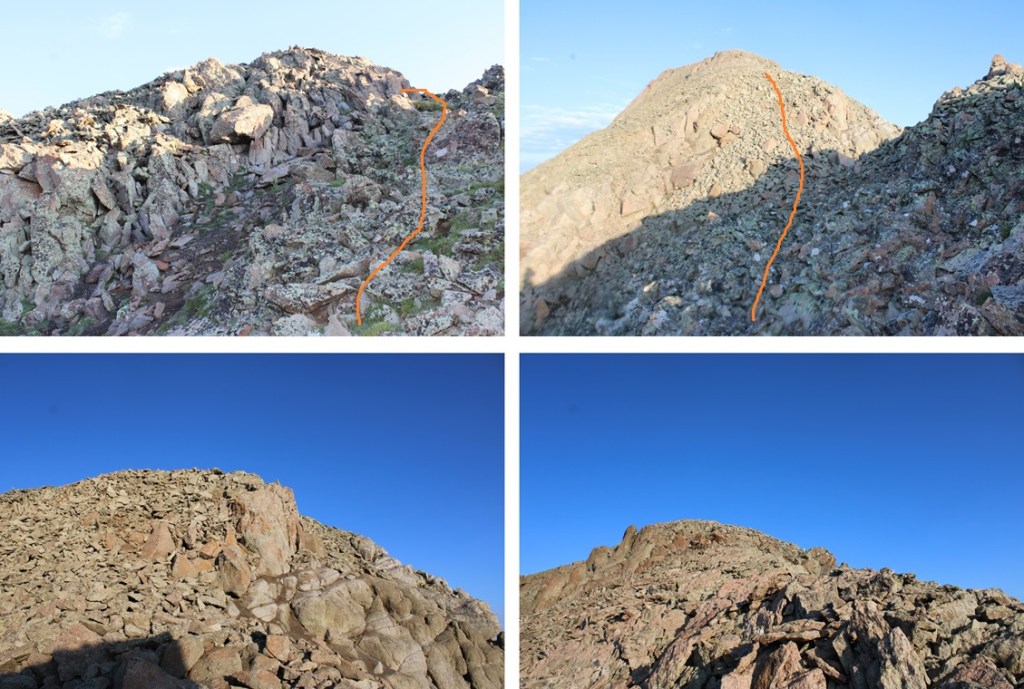
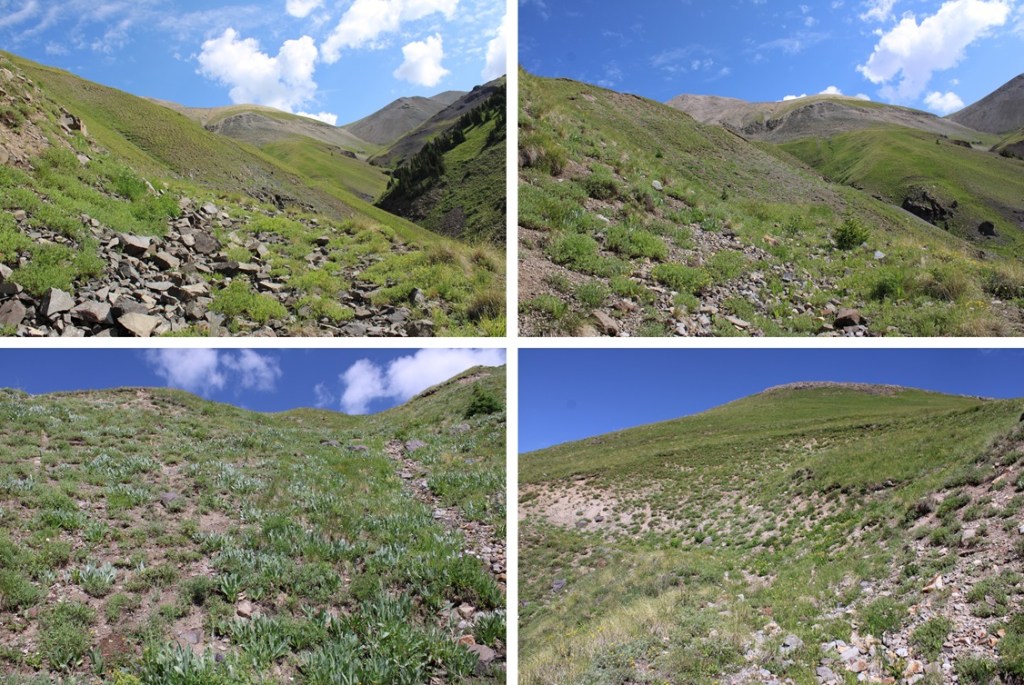
Then the fun started.  At the end of the white sand/scree the choss began, and it didn’t let up until the summit.  This can all be kept class 2, but be prepared for a lot of loose choss and rolling rocks.  I found once I started ascending the ridge, staying to the right gave me game trails to follow.  First, I entered the ridge here

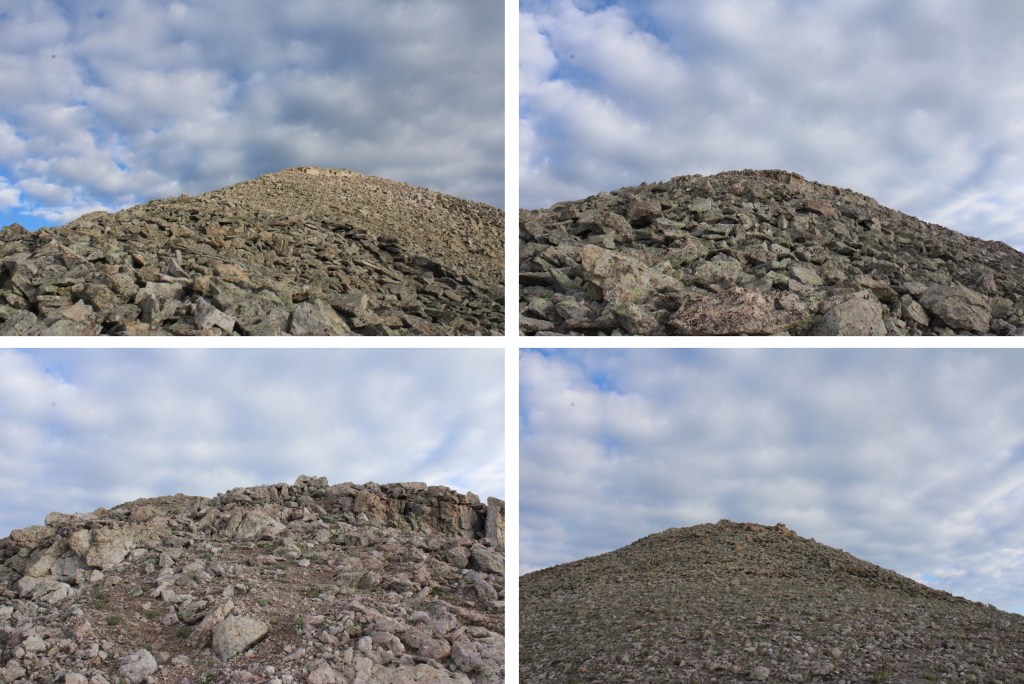
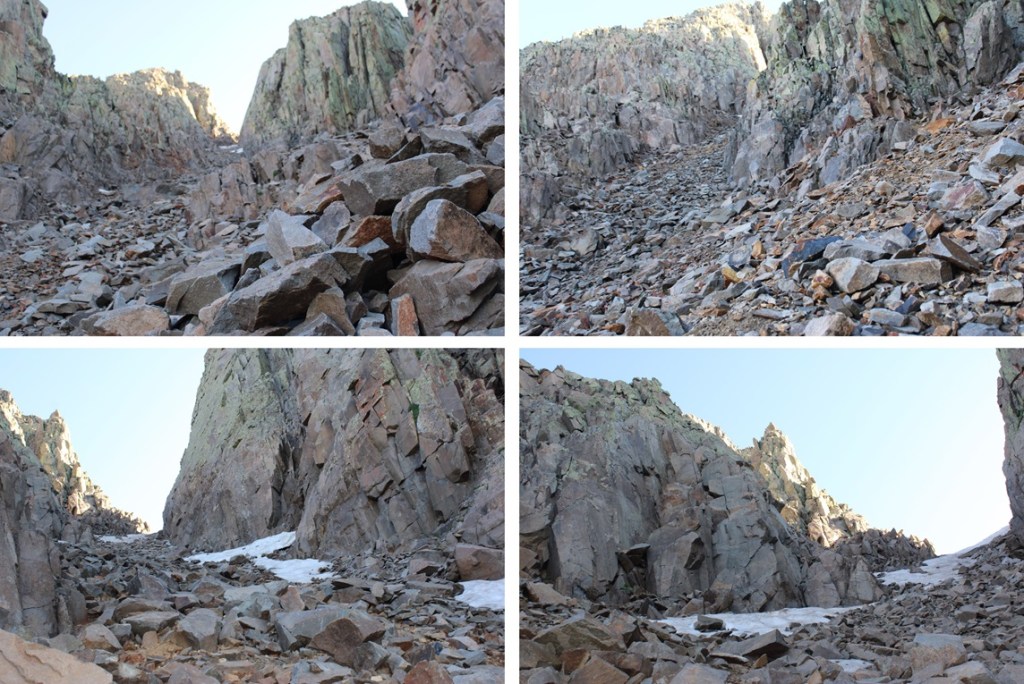
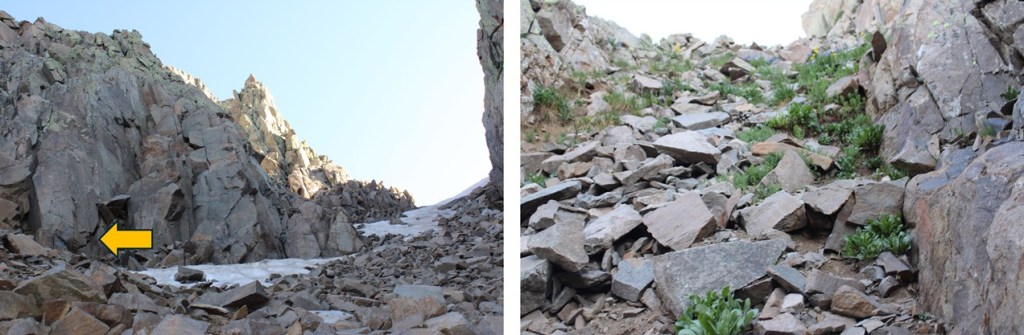
Then ascended, staying to the right as much as possible to avoid the gullies to the left, following game trails.

I summited ST Bear Creek Benchmark at 7am
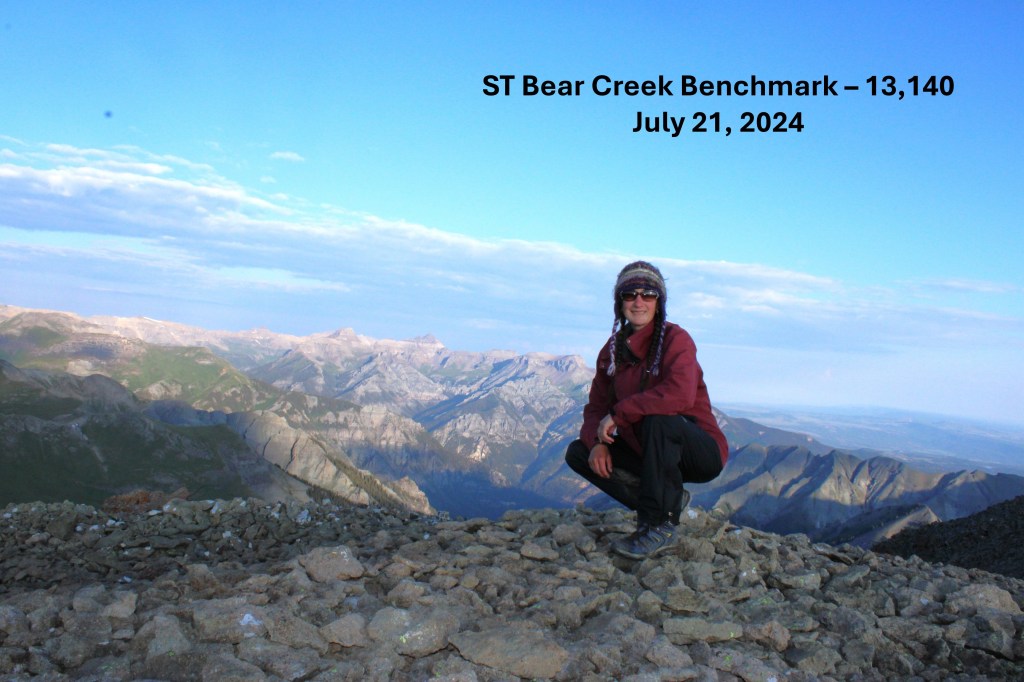
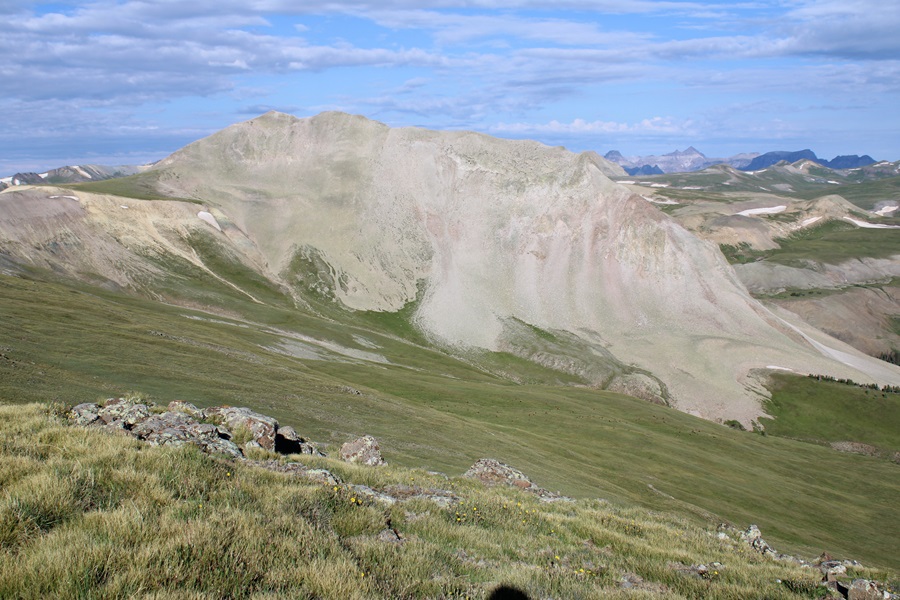
ST Bear Creek Benchmark:

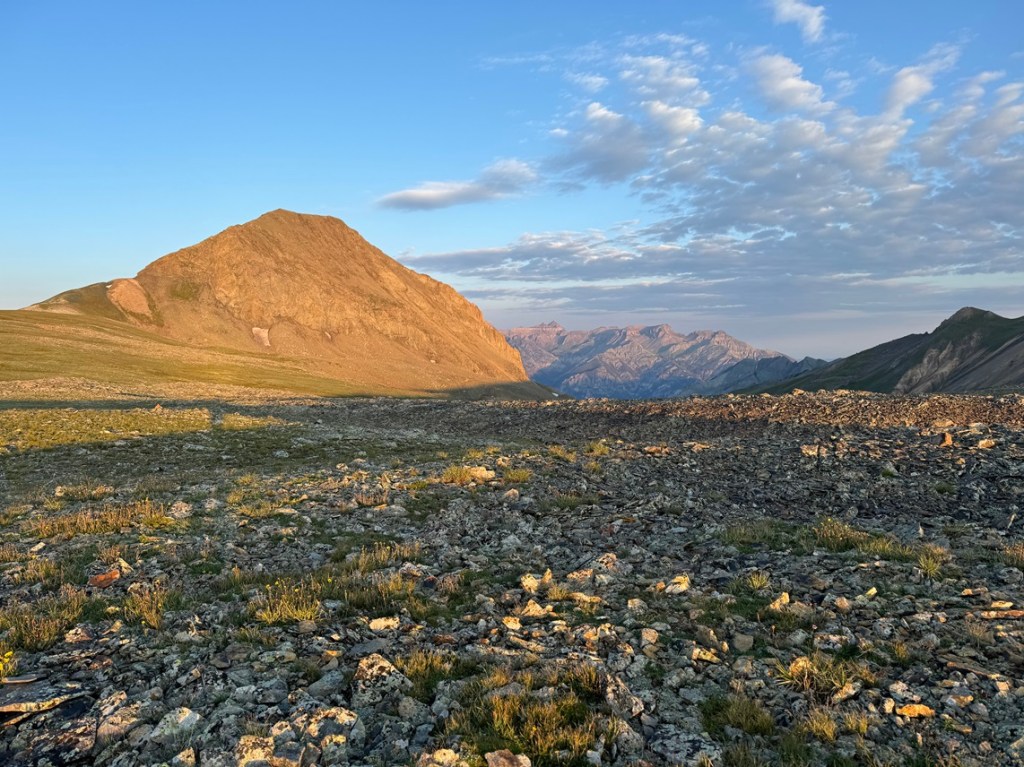
Way off to the northwest I could see Cow Benchmark, my next peak of the day
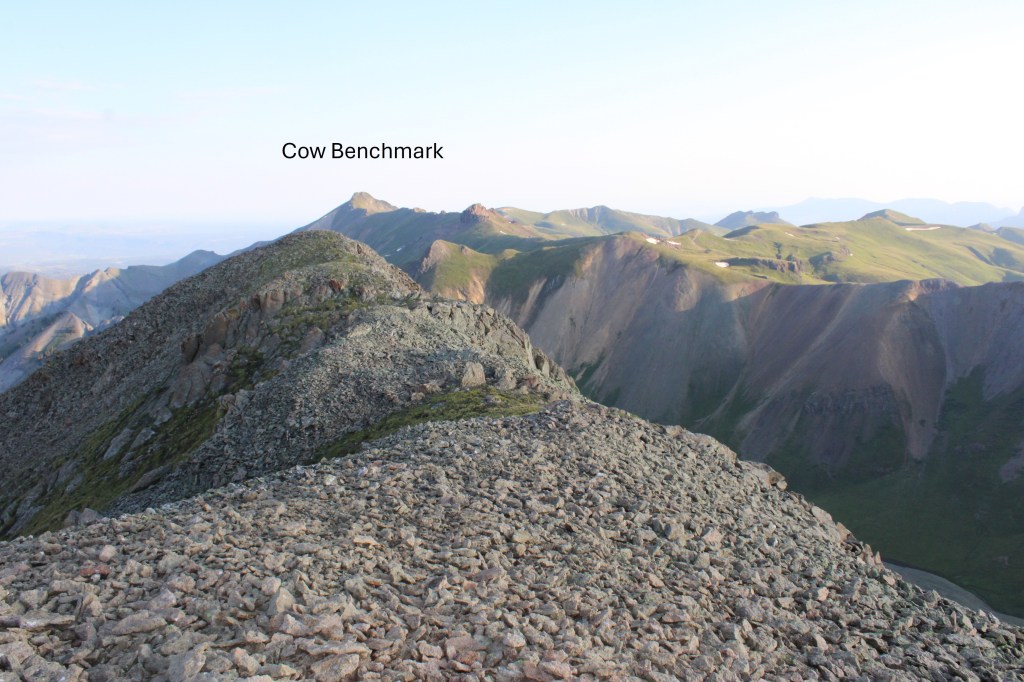
To get there, I was going to need to descend the way I’d ascended, and head back to the saddle.
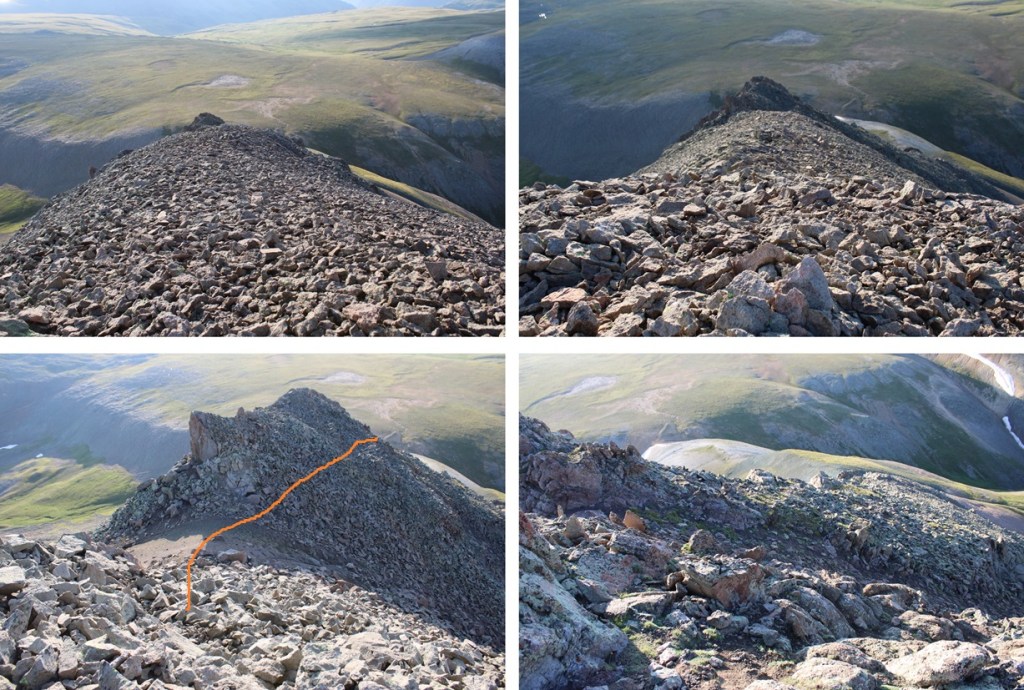
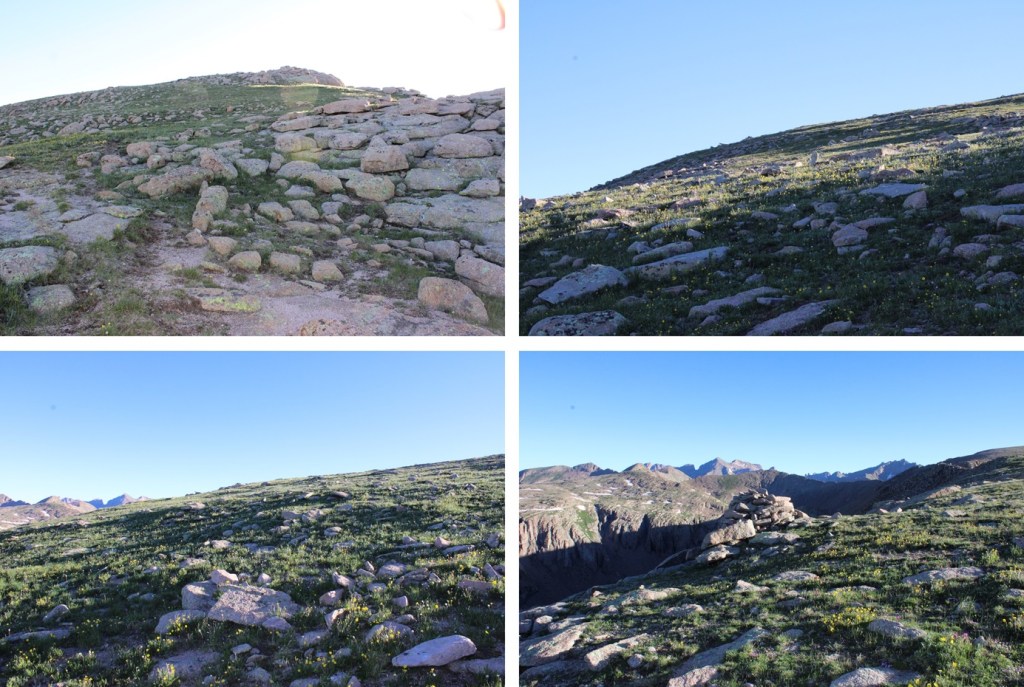
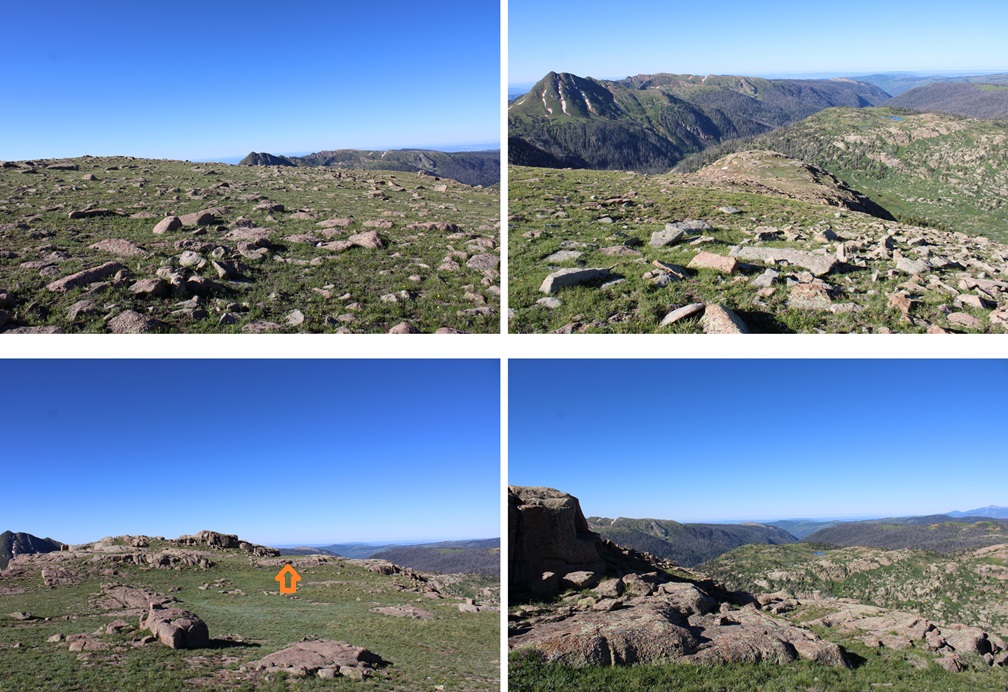
There is no good, fast, or easy way to get to Cow Benchmark from here.  I decided to take the ridge, which included a lot of elevation gain and loss.  I aimed for the ridge, and followed it northwest

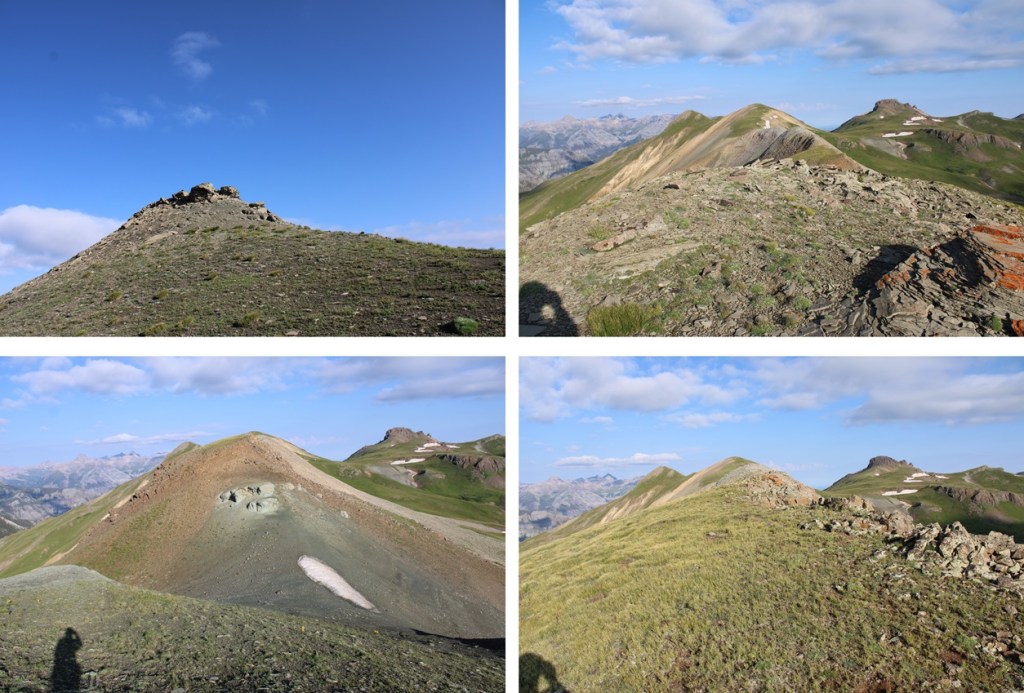
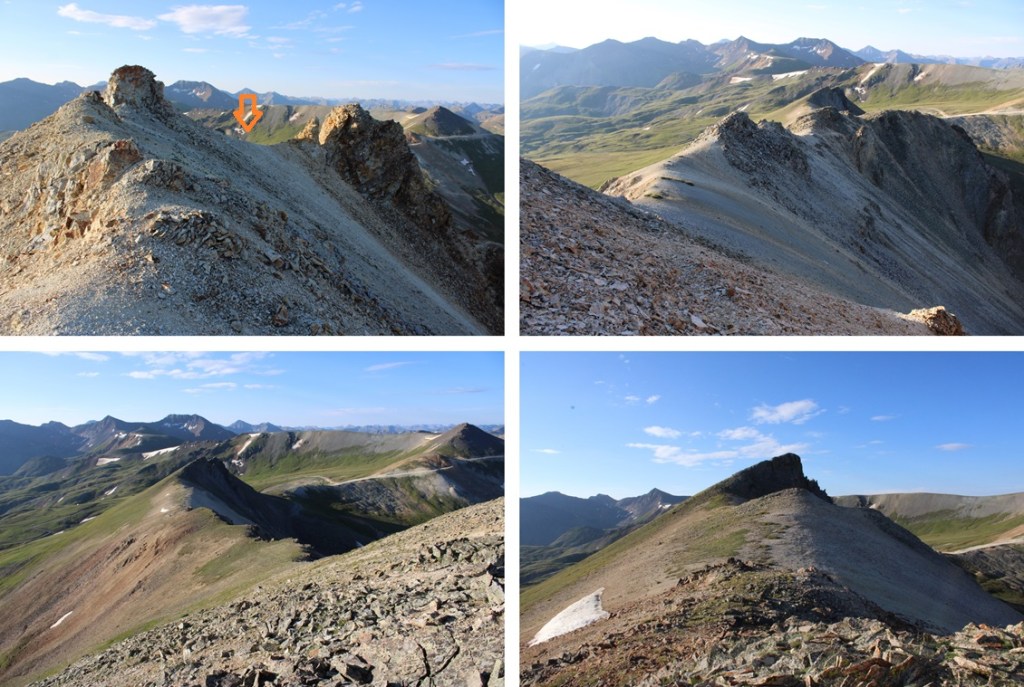
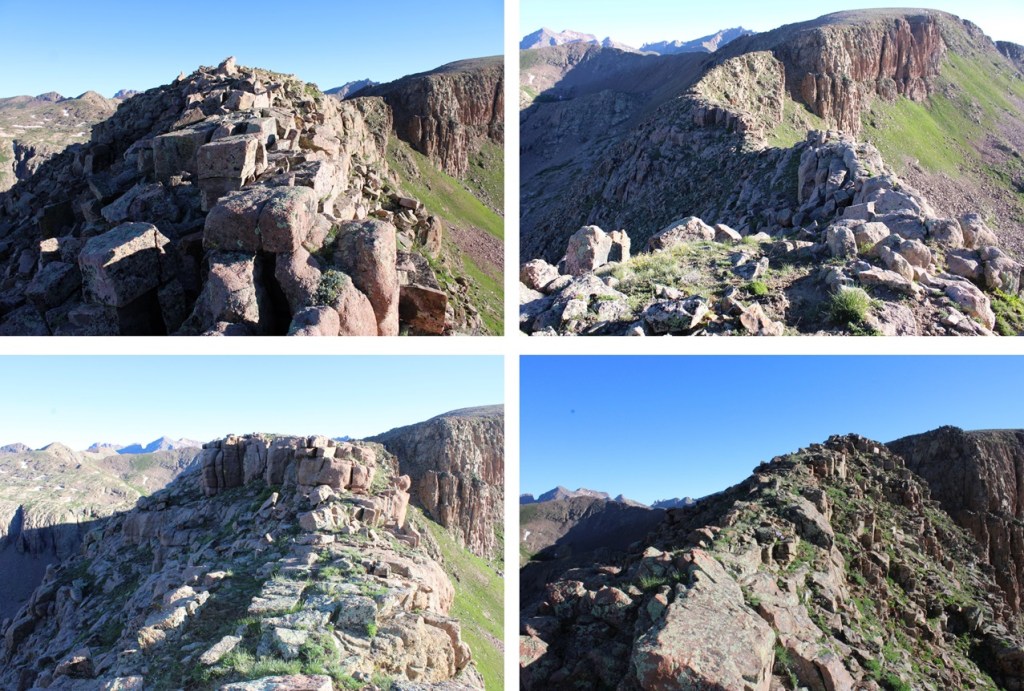
Here are some pictures of the ridge.  It’s all class 2, and goes for about 1.5 miles.  I cut across the last section (I’d had enough elevation gain and loss by this point)

Here is where I skirted PT 12976 and just headed for the saddle, which just gave me another ridge to climb

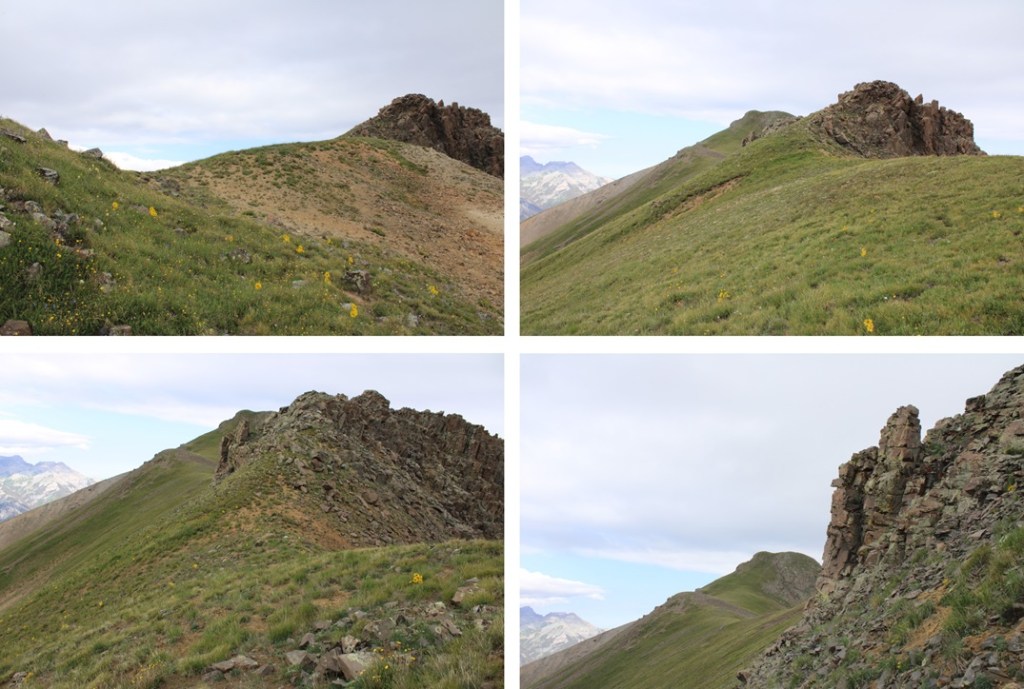
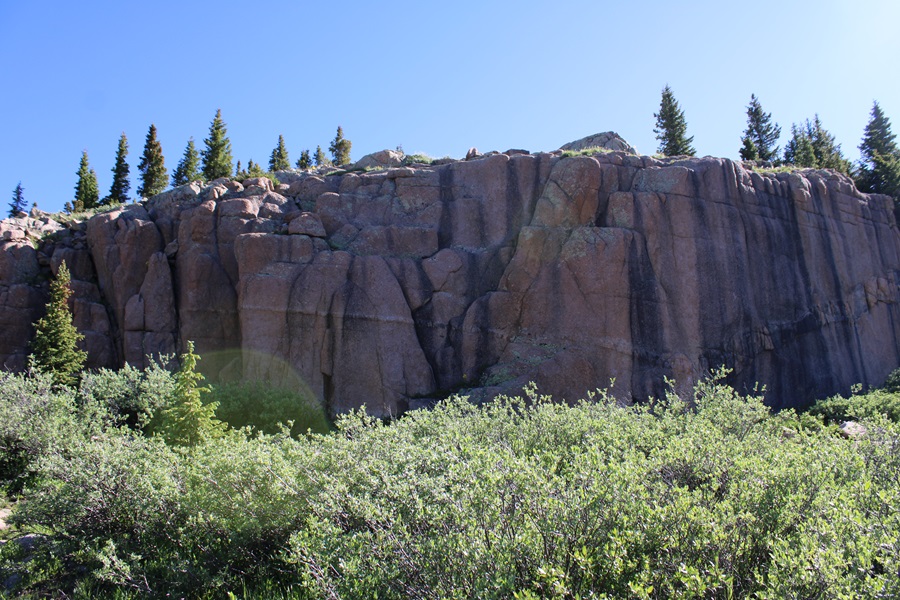
This rocky outcropping looks scary, but this can be kept class 2 by skirting it to the left, entering a rocky area, staying at about 12730’, and skirting around to the ridge.  This is choose your own adventure, but the route is obvious.

This brought me to the final ridge. 
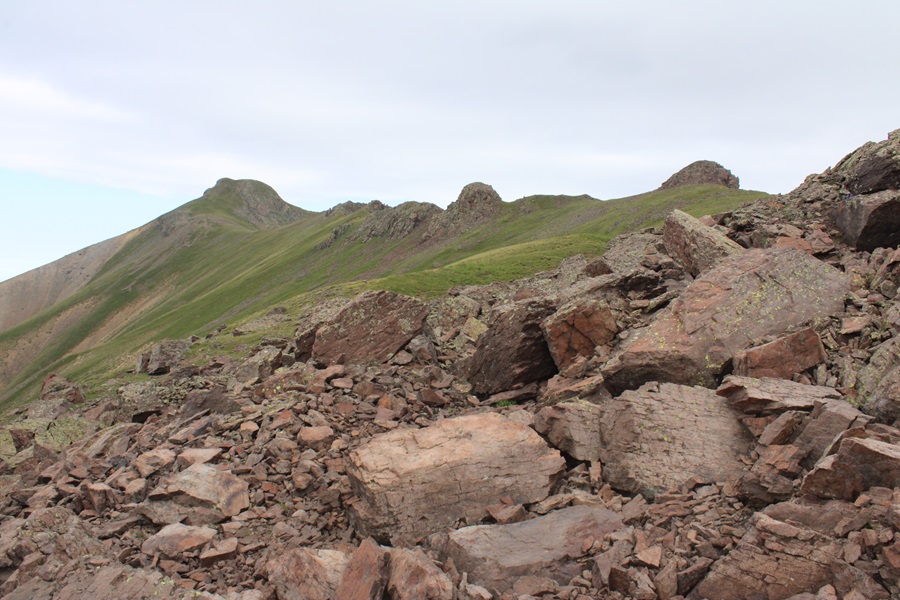
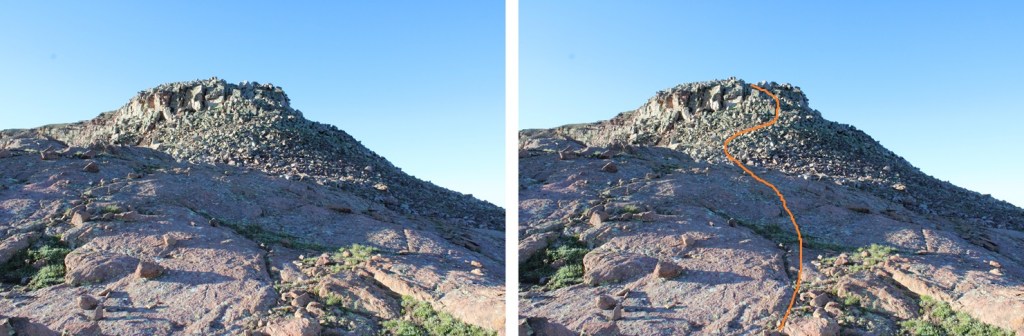
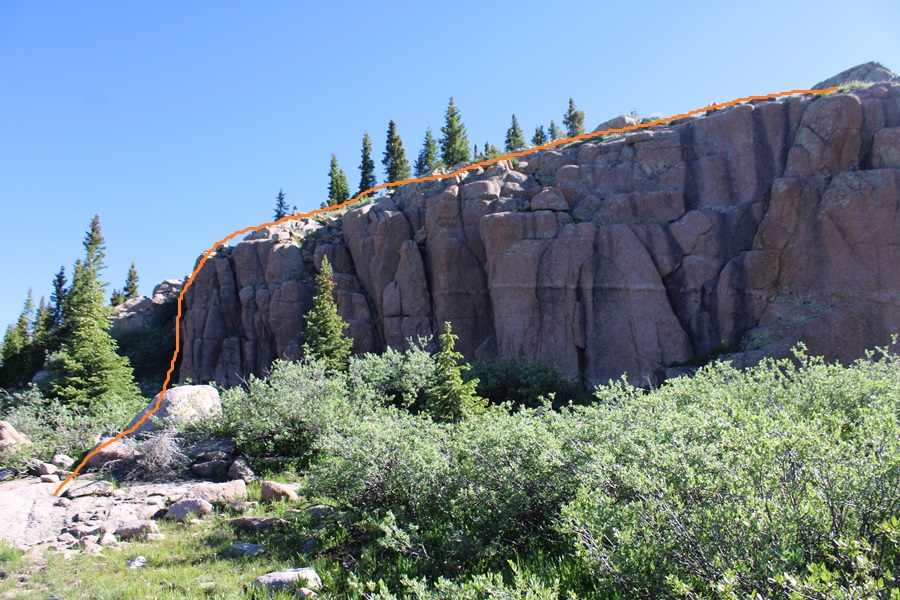
Here’s my suggested route to summit the ridge

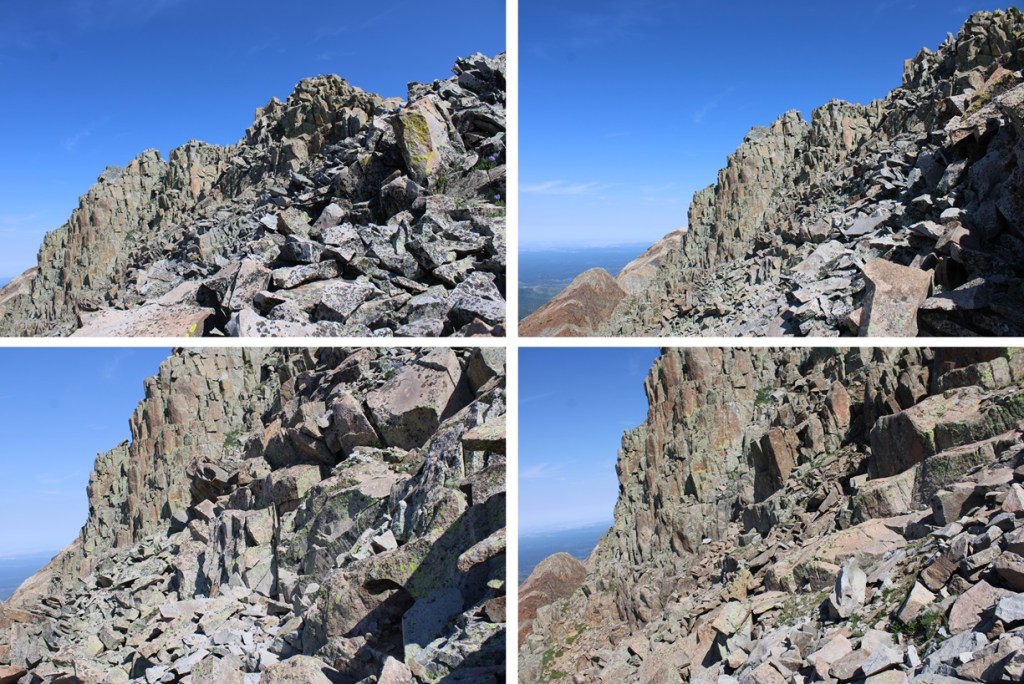
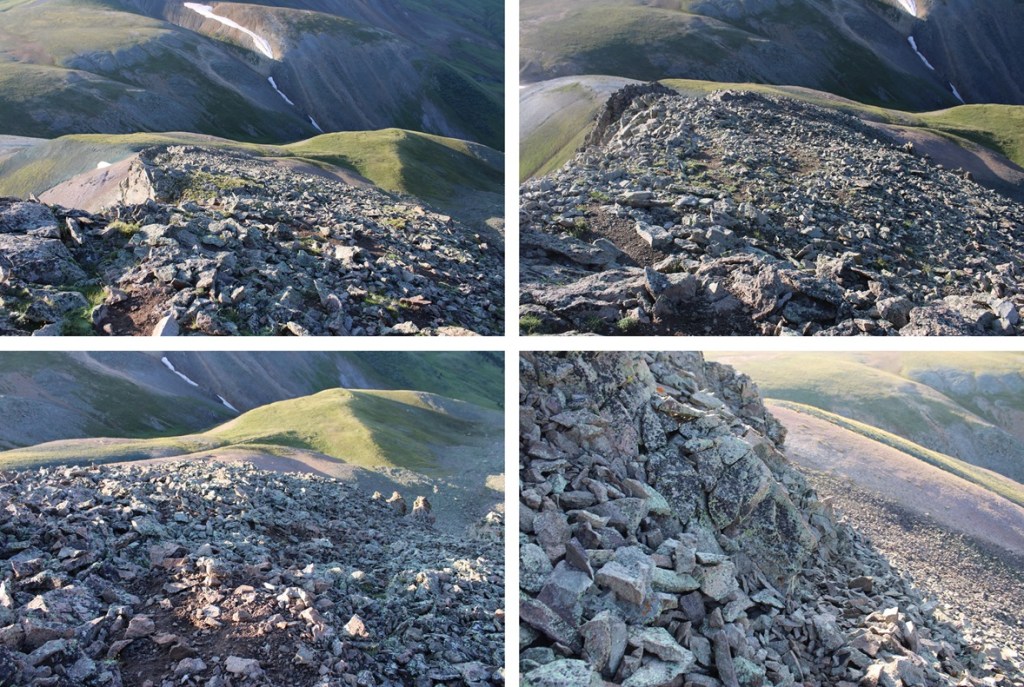
However, the ridge does go at class 2/easy 3.  Here are some pictures of the ridge, should you wish to climb it. 

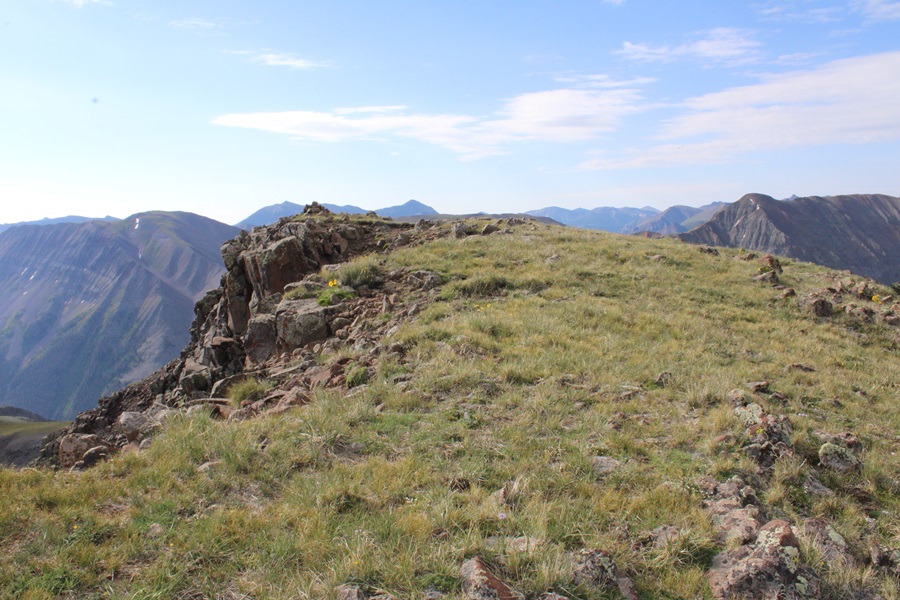
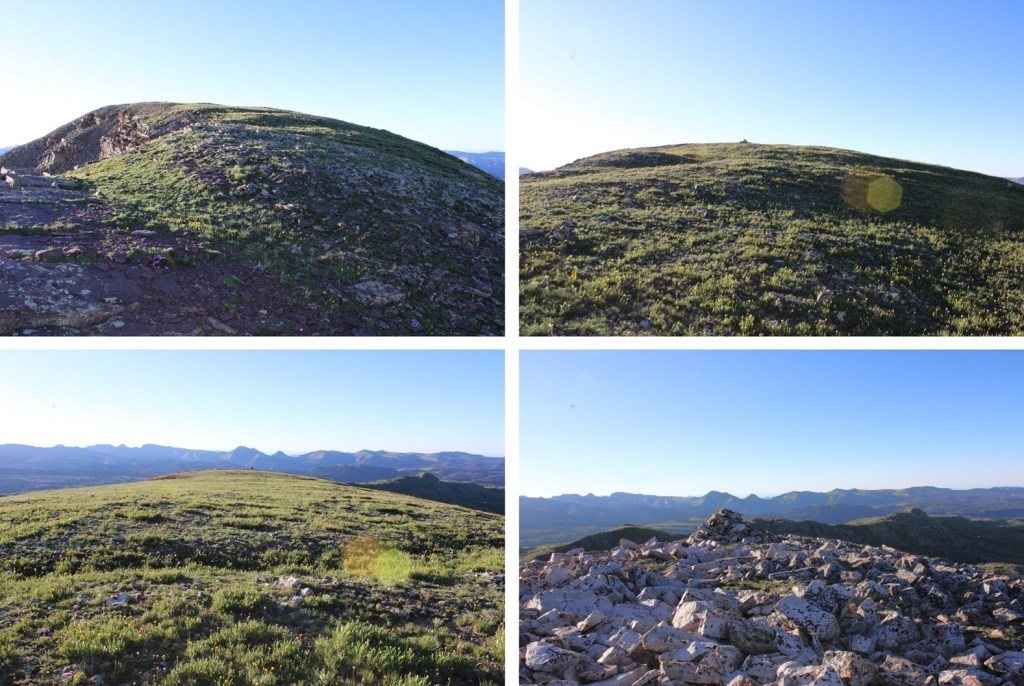
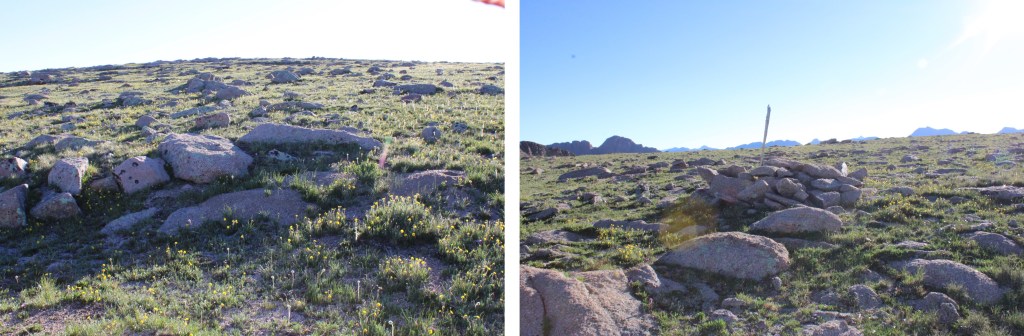
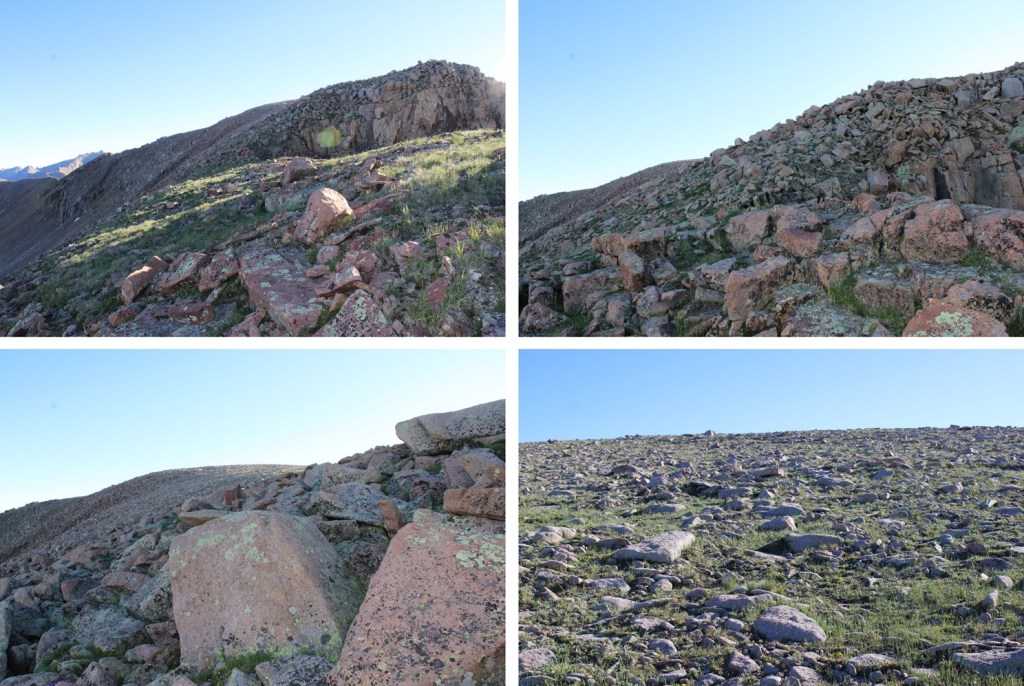
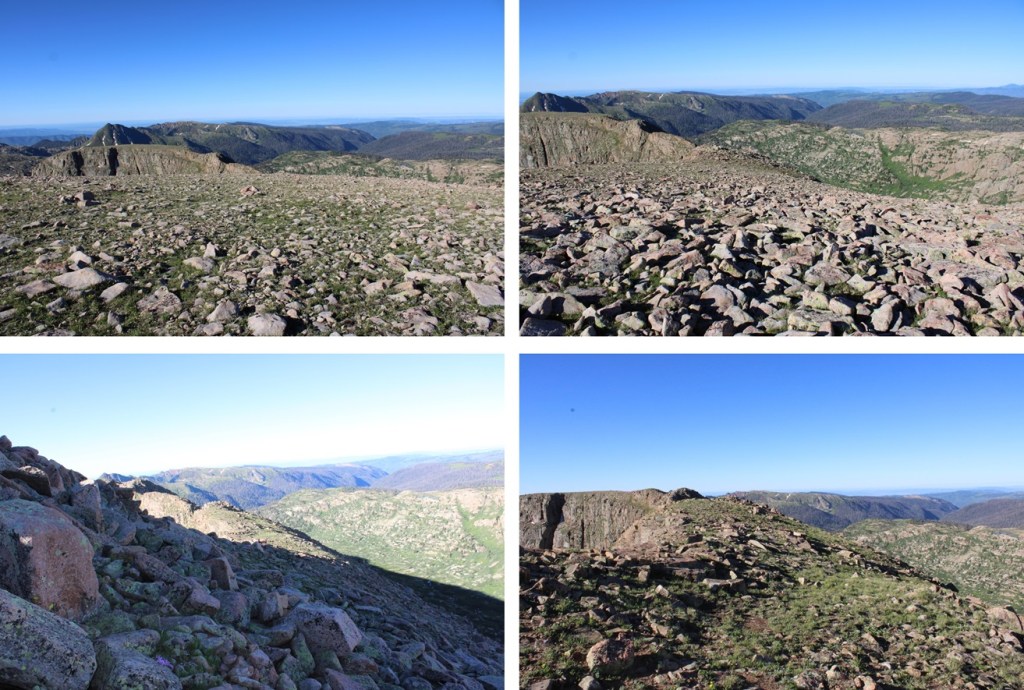
The final push to the summit was steep, but full of tundra.  Also, there’s a false summit, but that’s ok because the real summit isn’t too far away, and it’s a relatively flat walk to get there.

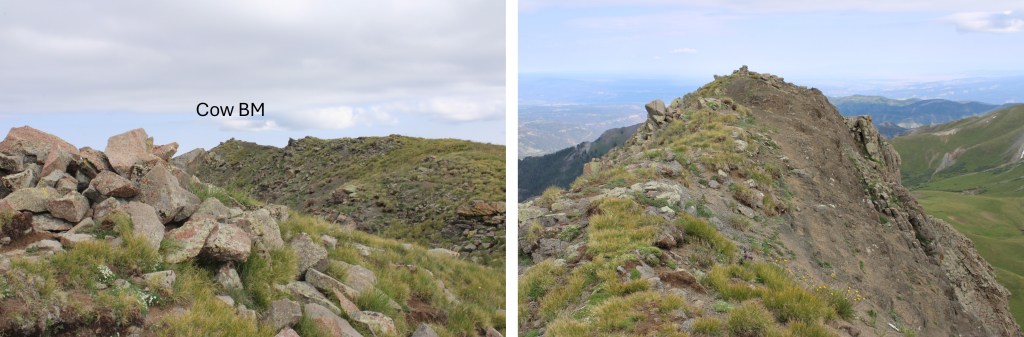
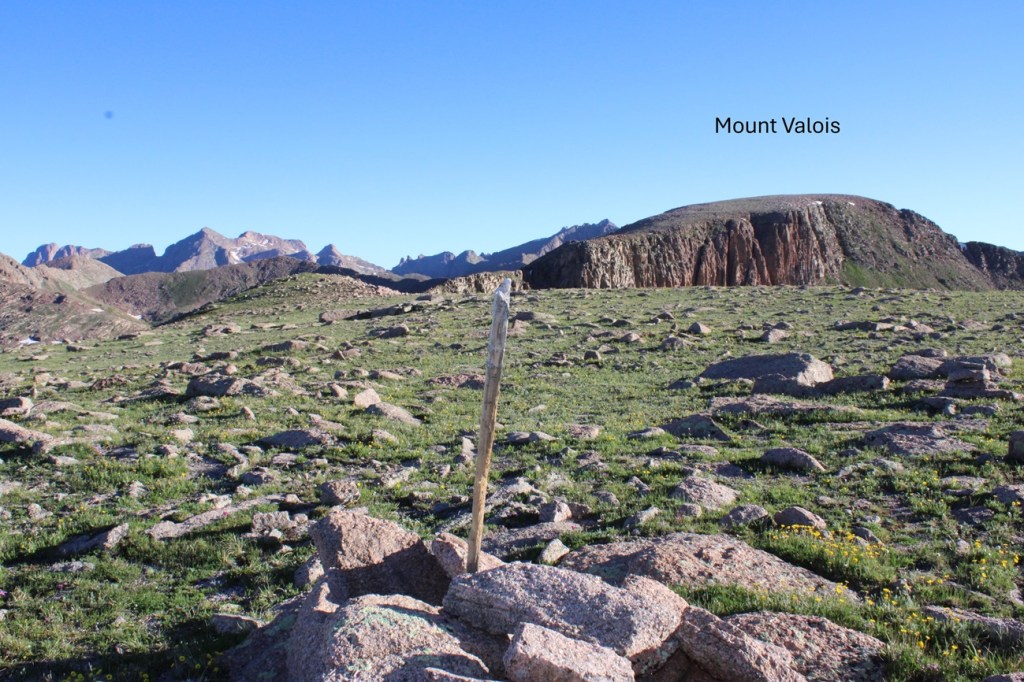
Also, there’s a benchmark, and a marker to let you know where the marker is…

I summited Cow Benchmark at 9:30am
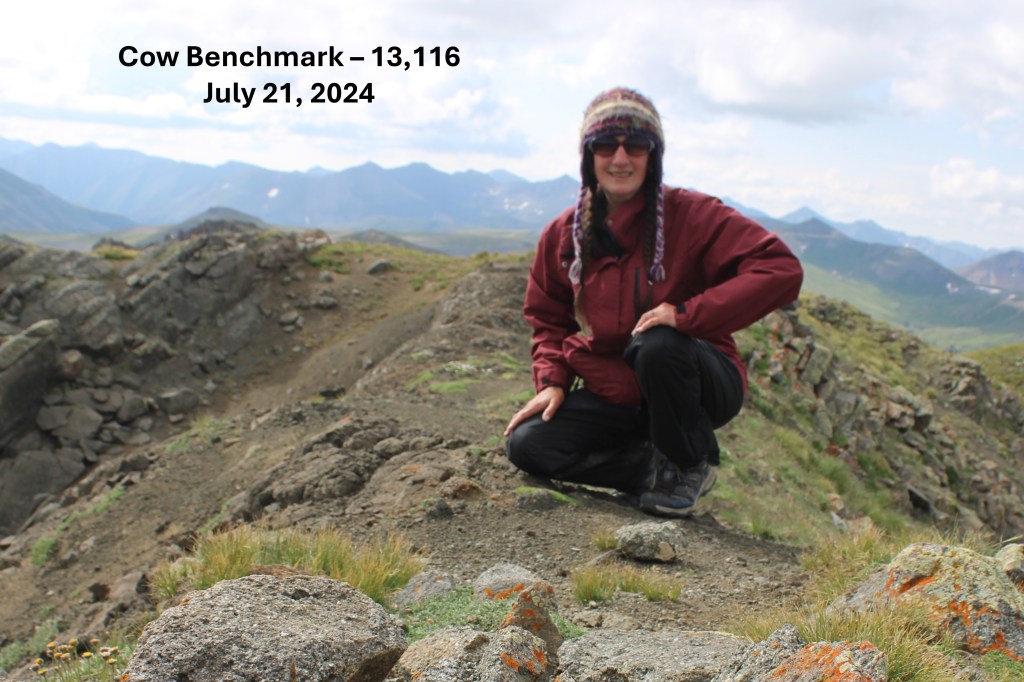
Cow Benchmark:

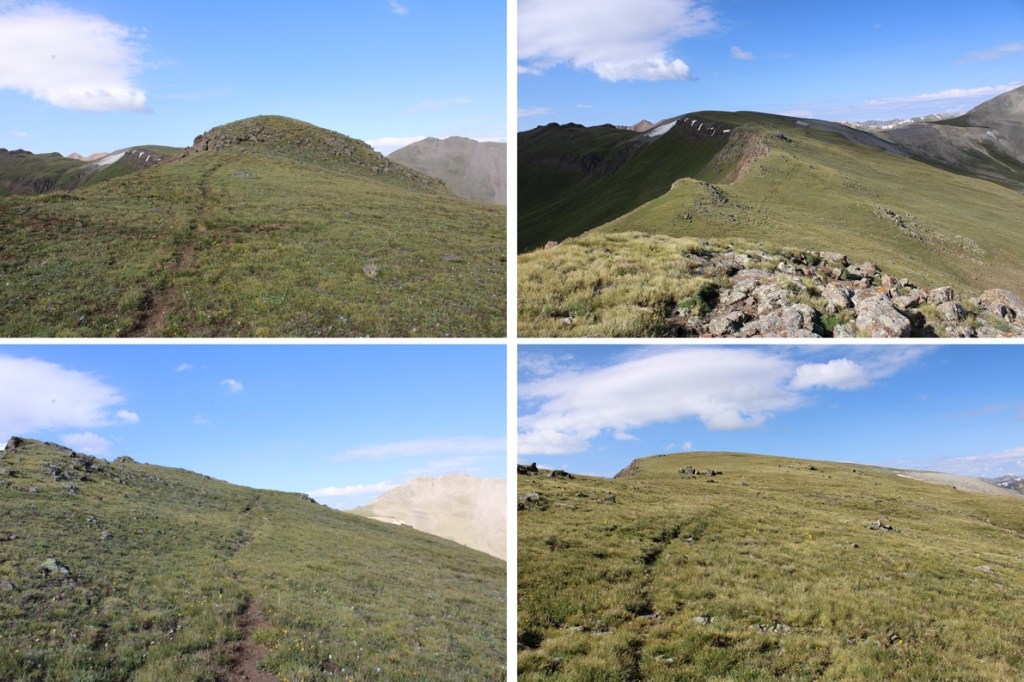
And now to head back.  I turned and re-traced my steps back down to the ridge
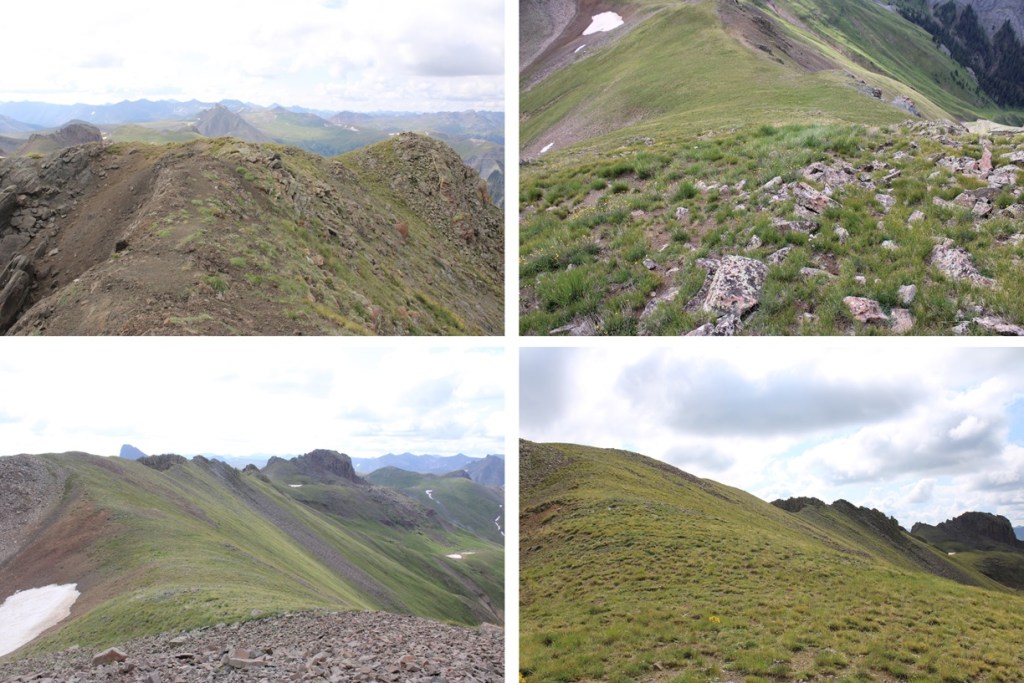
This time, I followed the ridge proper

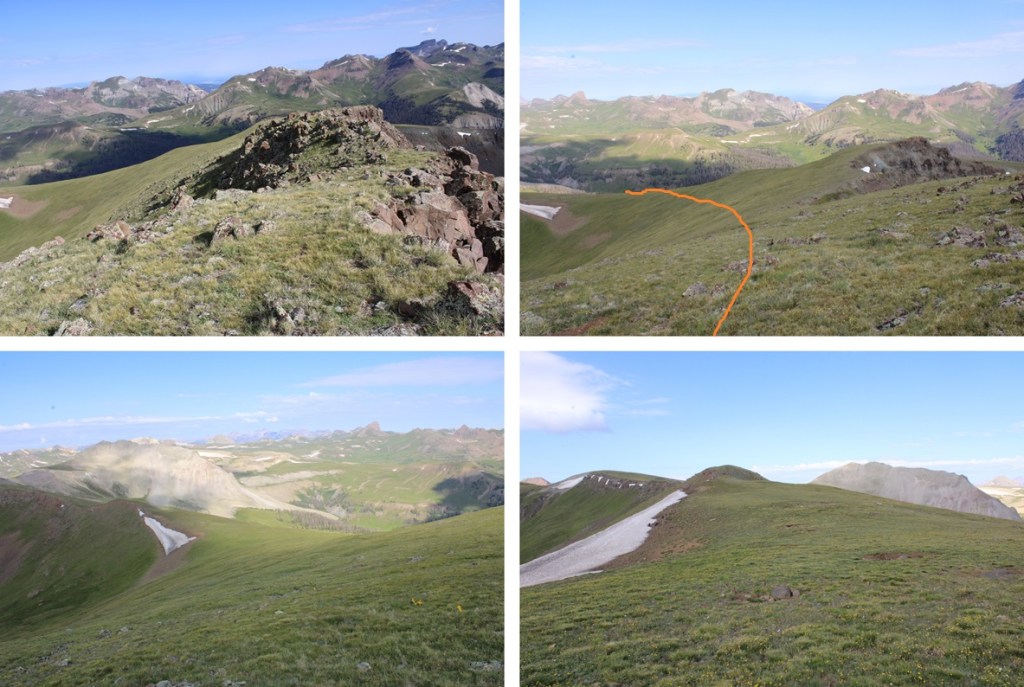
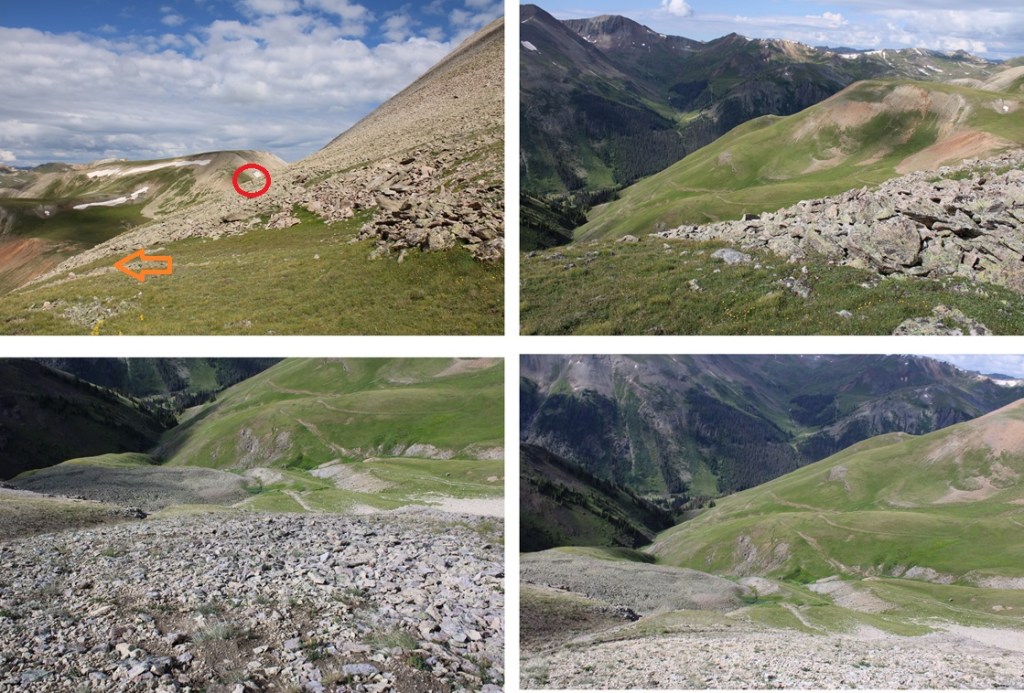
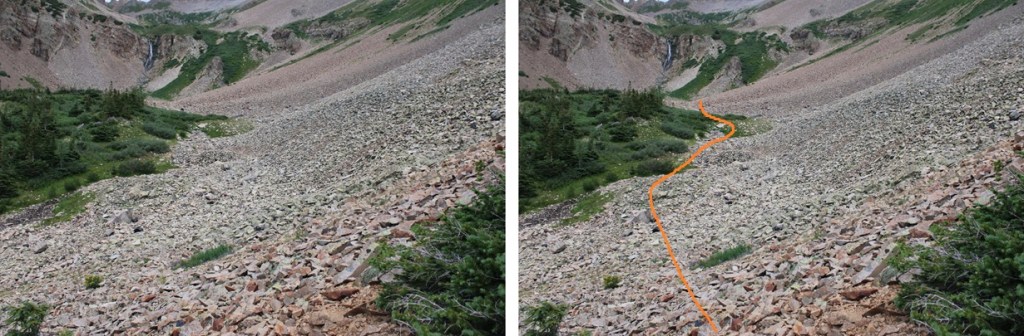
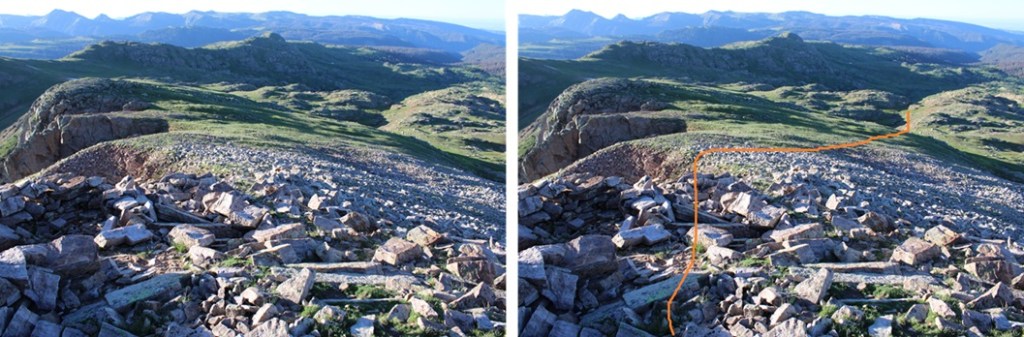
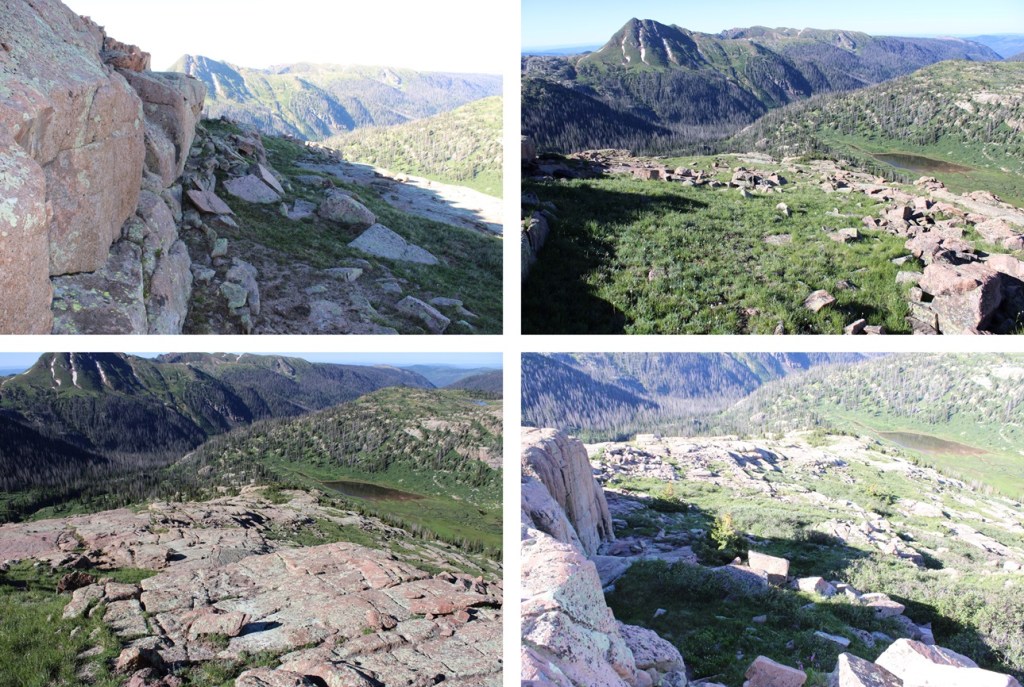
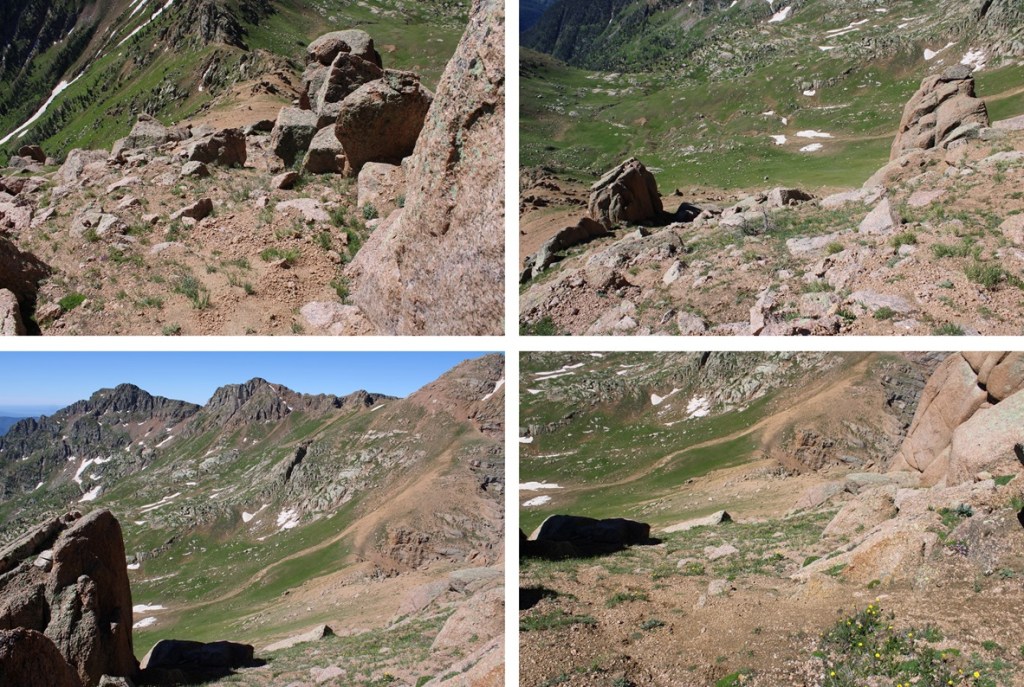
Instead of descending the way I’d ascended, I went left here, descending into the basin.  I knew Horsethief Trail was on the other side, that would eventually lead me back to that junction I pointed out earlier. To I left the ridge, descending to the left
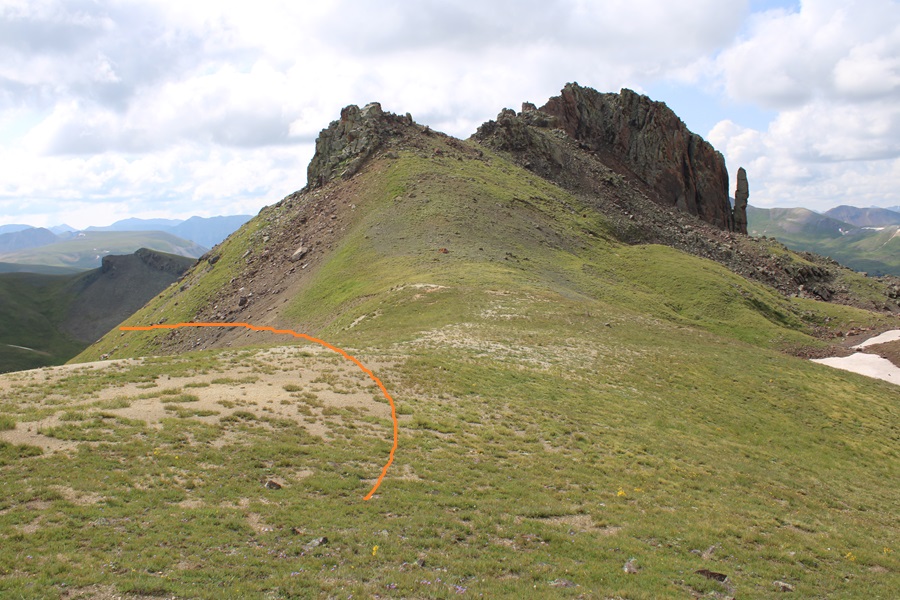
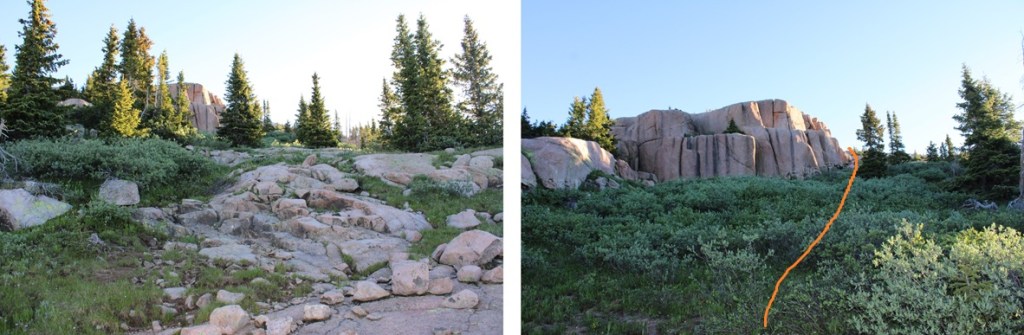
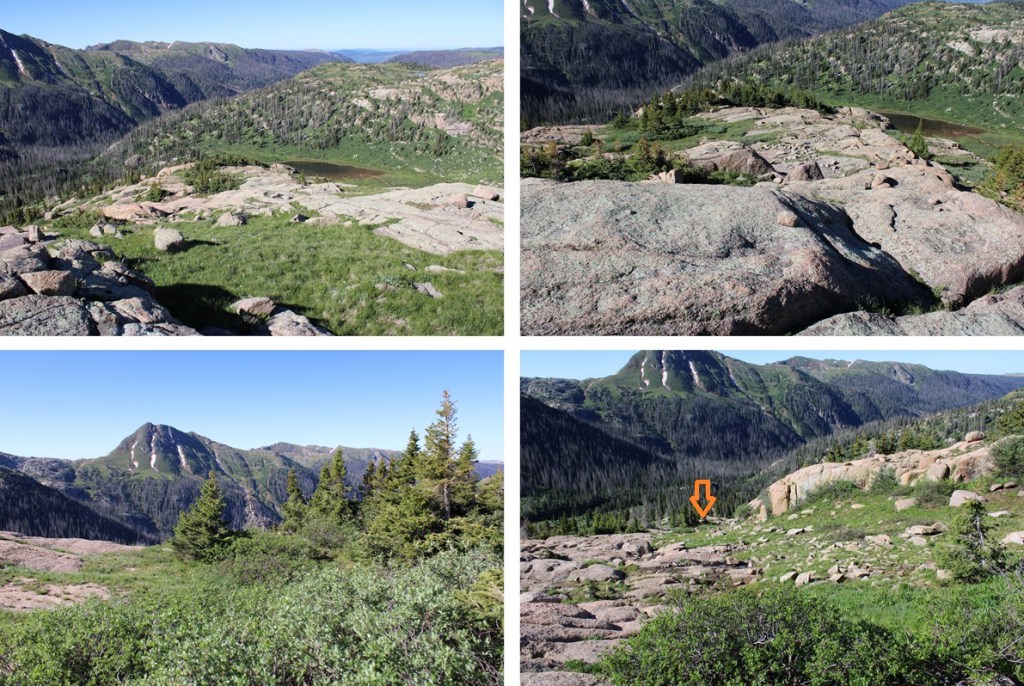
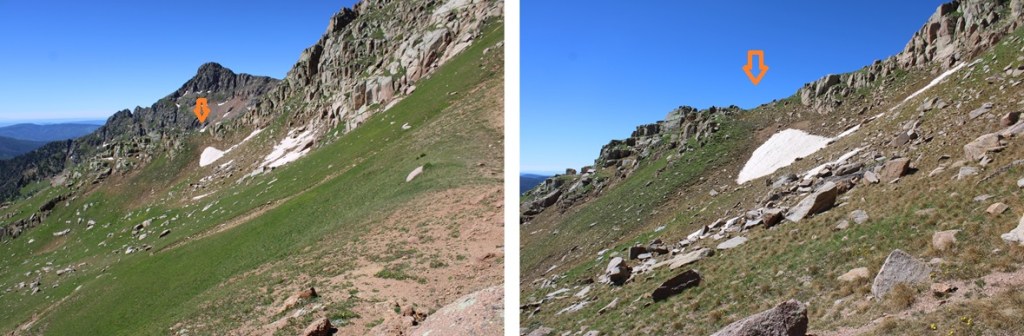
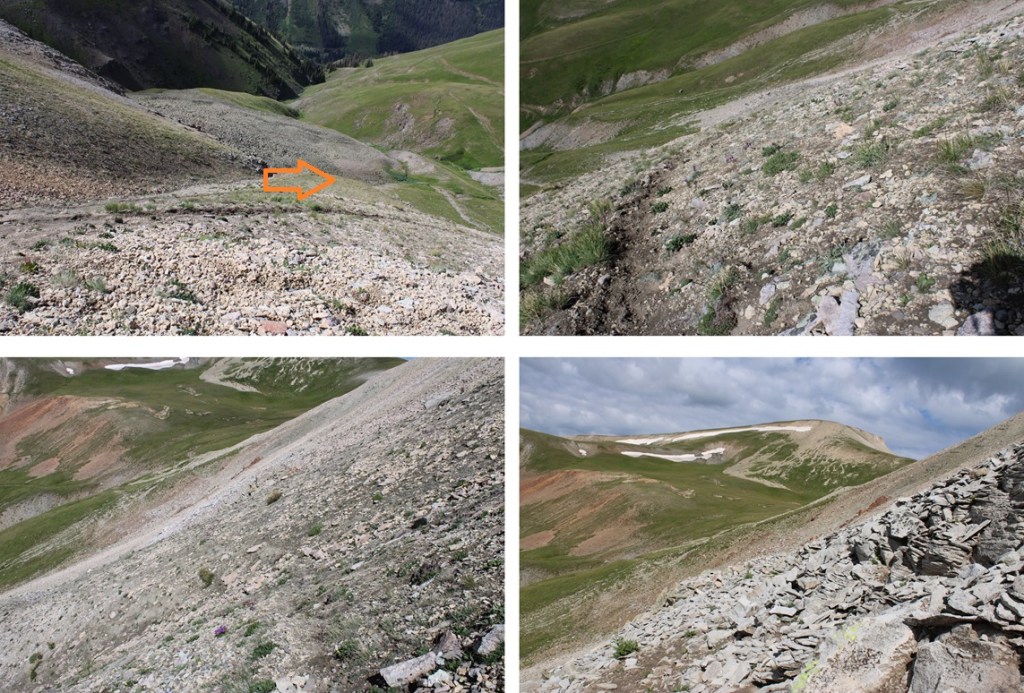
I then looked for the trail on the other side.  When I found it, I tried to lose as little elevation as possible to pick up the trail on the other side.  I’ve circled where the trail is
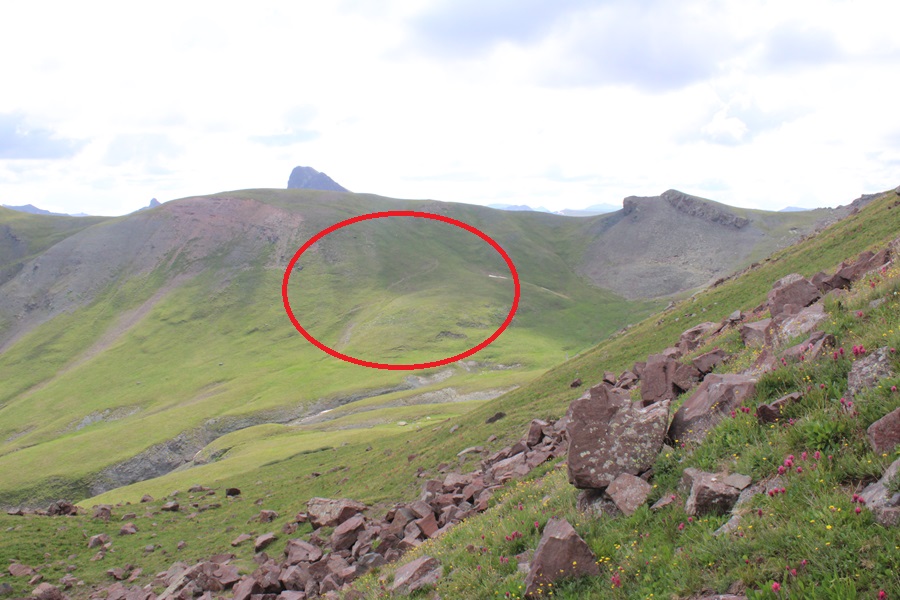
I skirted the mountain, and made my way towards Horsethief Trail

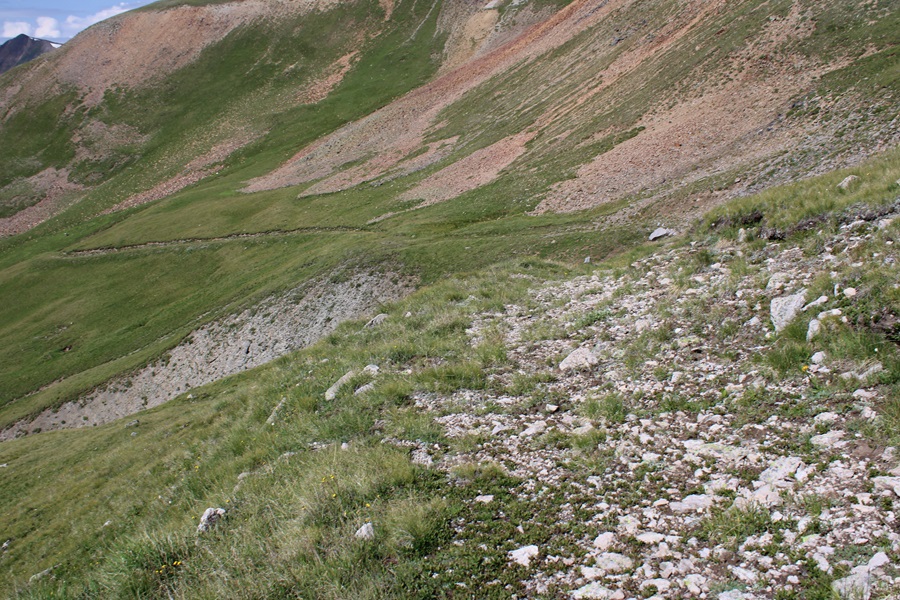
Here’s a view of how I descended Cow Benchmark back to the trail

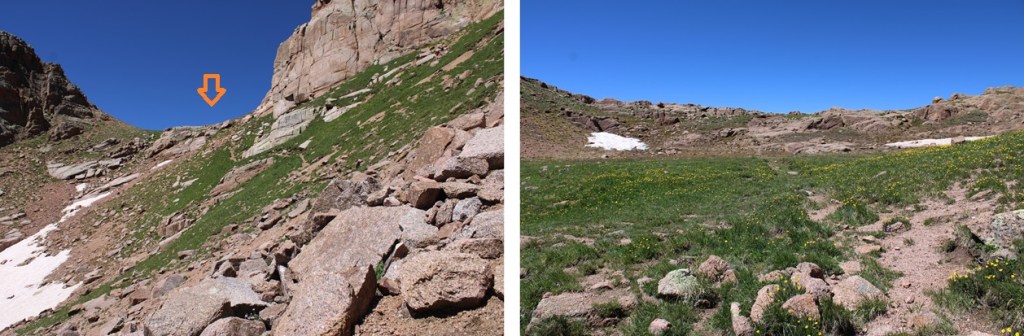
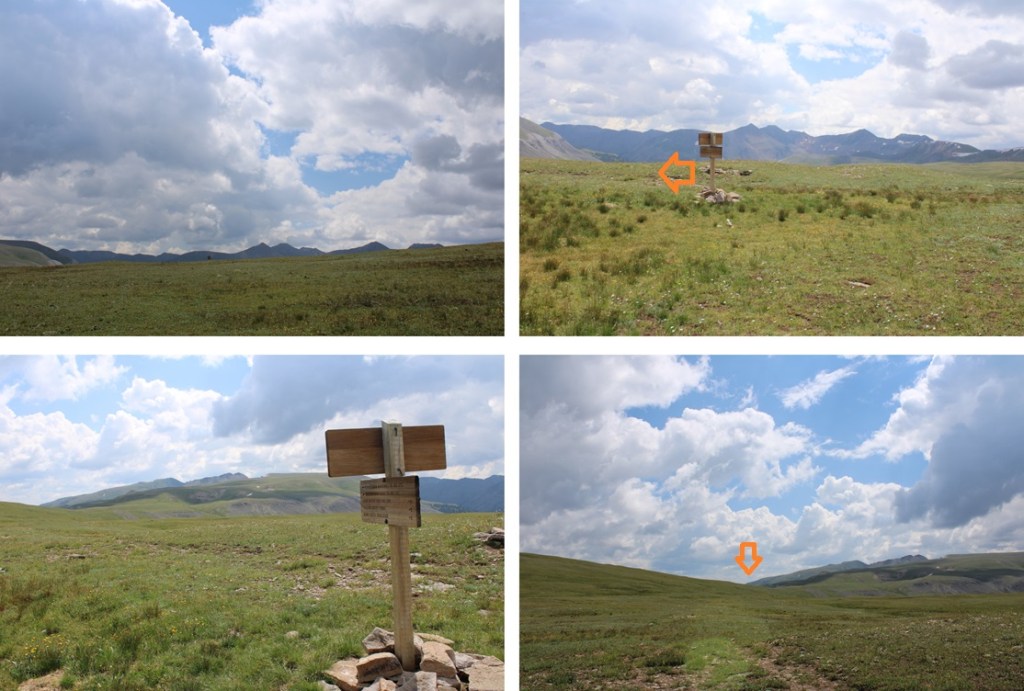
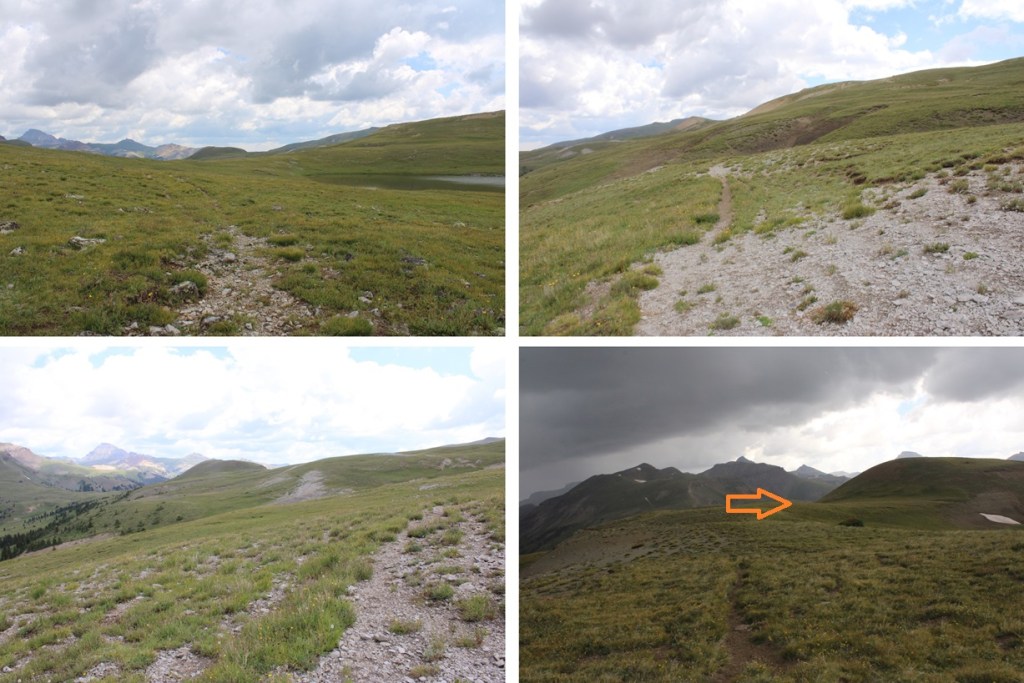
Back on a trail, I followed it 2 miles to the junction with American Flats.  However, please remember what I said earlier… about trails being more of ideas than paths in the dirt.  There were times I had to look for posts, or presume which way to go.  Note, if you have the option, stay high instead of taking a trail that leads low. 
It was 2 miles on the Horsethief Trail heading southeast to get me back to the junction, losing the trail several times and looking for a cairn or post to follow.
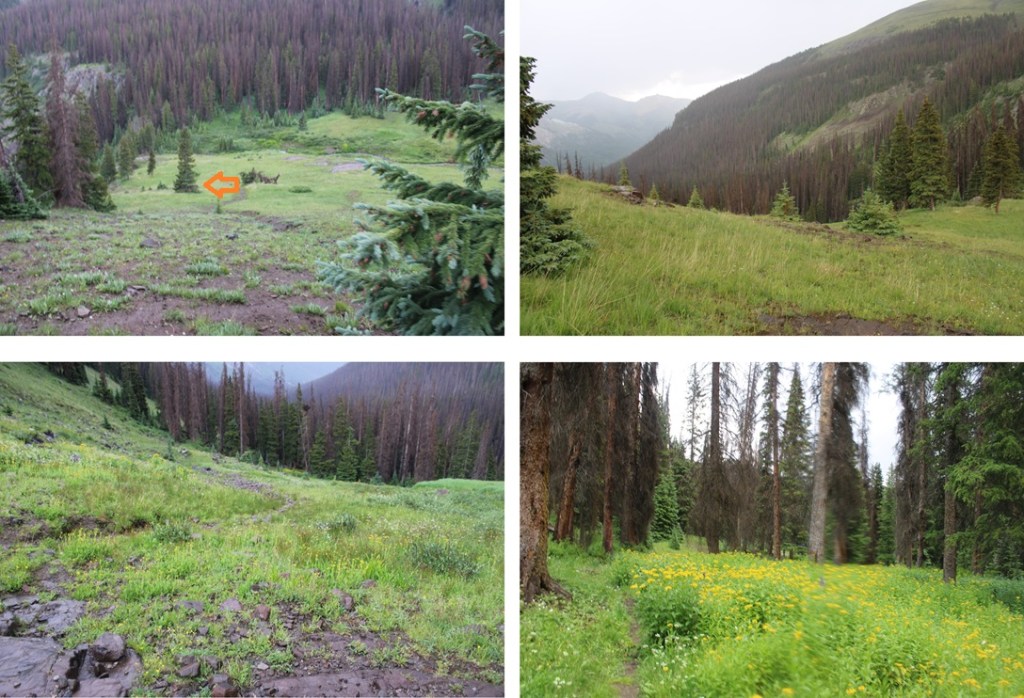
At the junction I turned left, and followed the trail east back down to the trailhead.  Sorry for the lousy pictures… I know to be down below treeline before noon, but it was 11:45 and I was 15 minutes from treeline when the sky let loose, and it started raining and hailing.  (Forecast said to expect storms between 12pm-1pm, so they weren’t far off, just a little bit early…) 
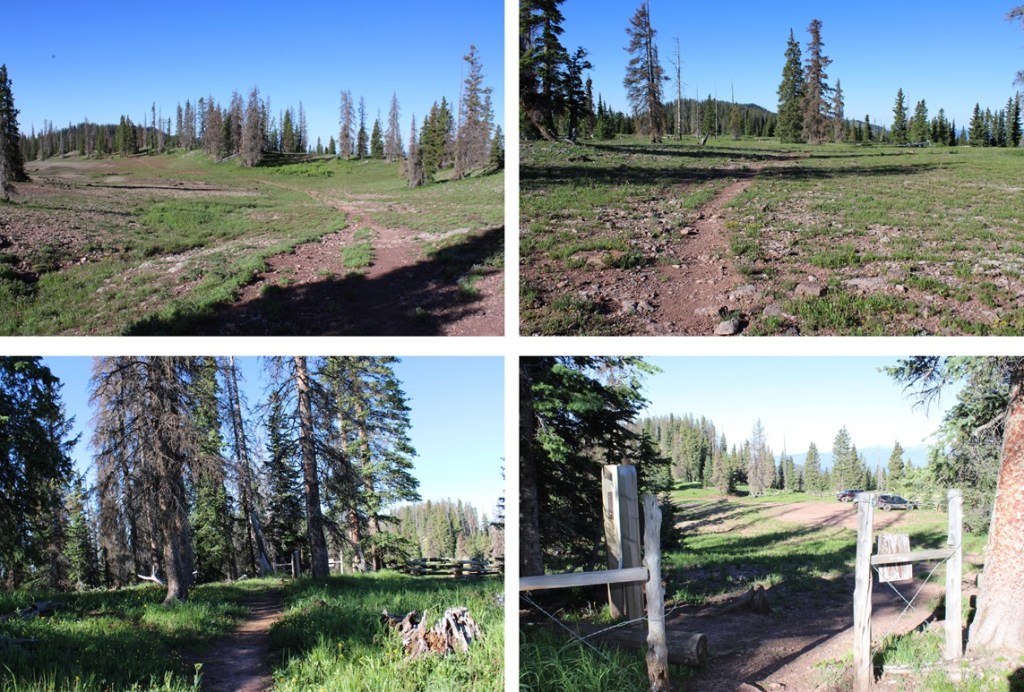
Once back in the lower basin, I turned left and followed the trail half a mile northeast back to the trailhead.
I made it back to my truck at 12pm, making this a 16.06 mile hike with 3570’ of elevation gain in 7.5 hours
PT 13,094 and Sunshine Mountain – 13,329

RT Length: 8 miles

Elevation Gain: 3171’

I parked at MM 14 off CR 20 in Lake City, just before the turnoff for 22, at 10900’. 

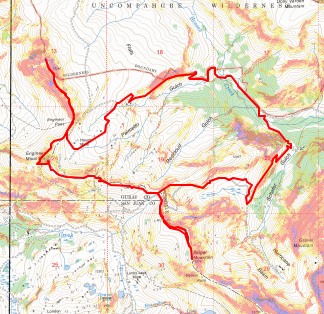
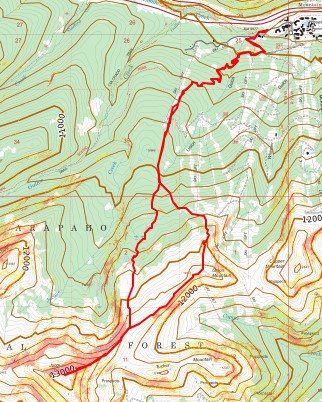
I was up early, but it rained until about 6:15am, so I was on the trail at 6:30am.   As you can see by looking at the topo map,  I didn’t ascend the same way I ascended, mainly because it was terrible.  Down wasn’t great either, but a bit more manageable.  I’m going to describe the route to ascend how I came down.  Note:  There are tons of mining roads in this area, and they don’t all meet up. 

From my parking spot, I needed to be here. 

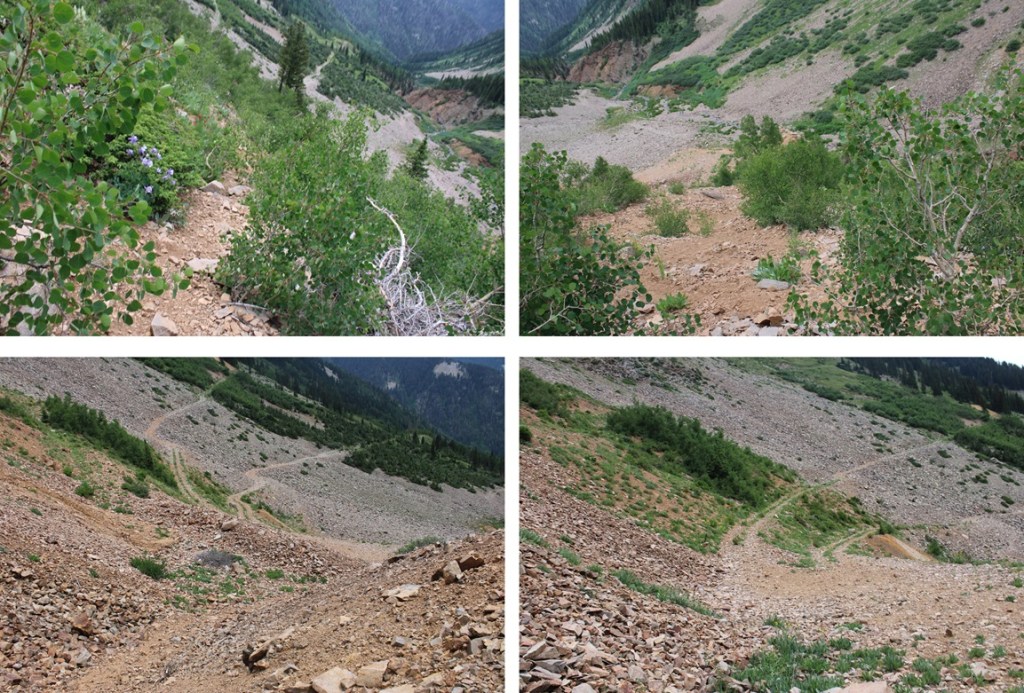
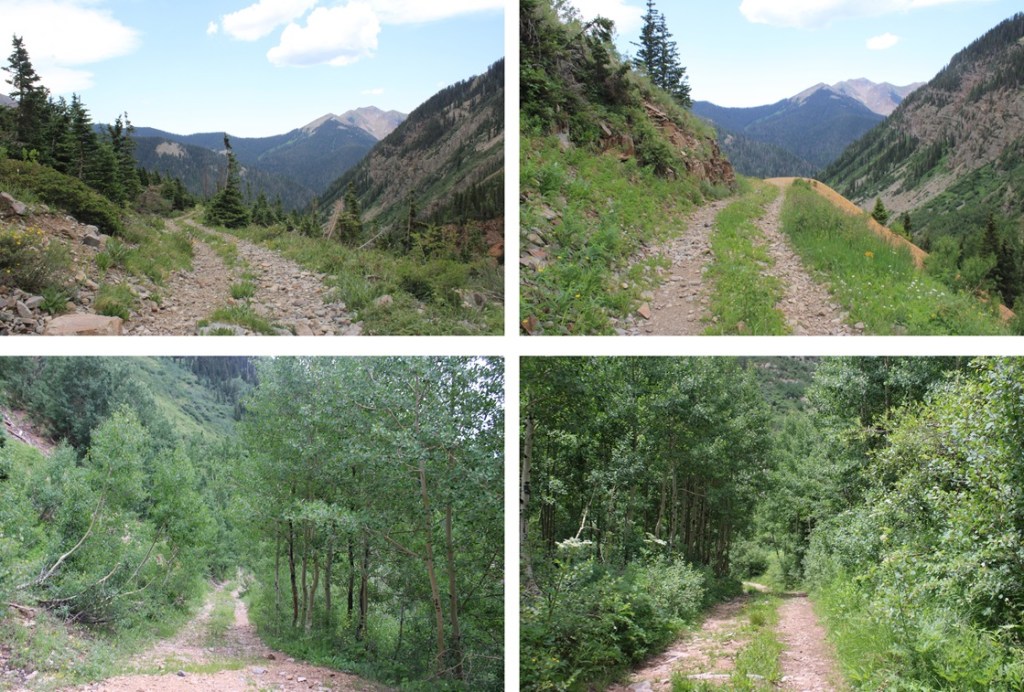
The best way to do this is climb to the left of the gully, navigating through the aspen trees to treeline.    This is choose your own adventure quest, but it doesn’t last long, and is manageable if you have good route finding skills and can follow game trails. 

It’s important to note I passed 2 different mining roads before I hit the one I was looking for, at about 11600’

I followed this road as it curved around the mountainside north.  The road was overgrown, and lost in places, and intersected with a lot of other roads.  I just kept turning left if there was an option, heading north.

Once in the upper basin, I could clearly see PT 13093.  This is the route I took to get to the ridge. 

I walked the mining road for a while, and then it turned into a game trail.  This is a good game trail I followed east until I came to a sketchy part.  You’ll know it because the dirt turns black.  Here I turned northeast and aimed for the ridge, using fainter game trails.  (On my way down I realized this game trail probably goes all the way to the saddle, but I felt confident in my decision to turn and head for the ridge here. 

I made my way to the ridge

At the ridge, I could see PT 13093 to the northwest

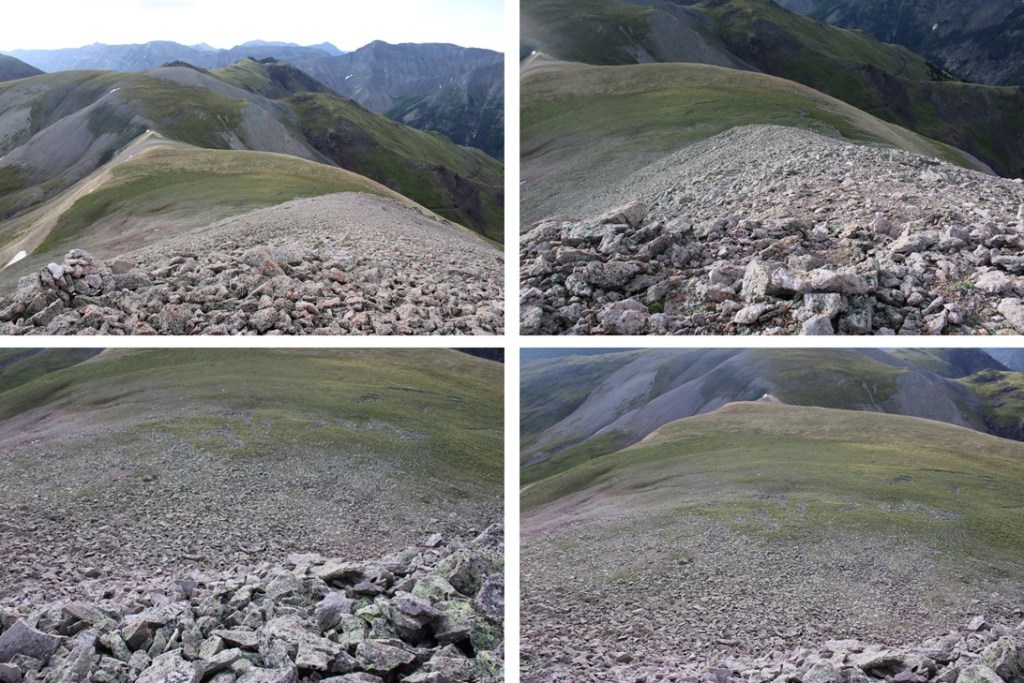
The terrain here was very rocky, and those rocks were loose.  This is how I started my climb, avoiding the rock slab and climbing it to the right

From here, it was a rocky climb northwest along the ridge to the summit.  This was all class 2

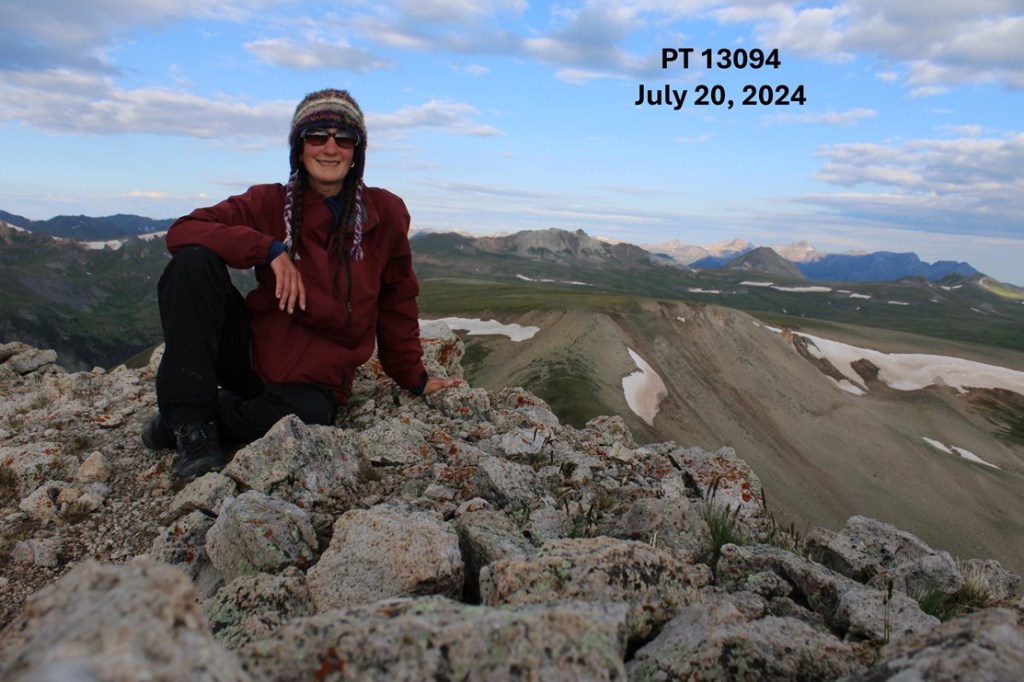
I summited PT 13094 at 7:30am

PT 13094:

My next objective was Sunshine Mountain, to the northeast

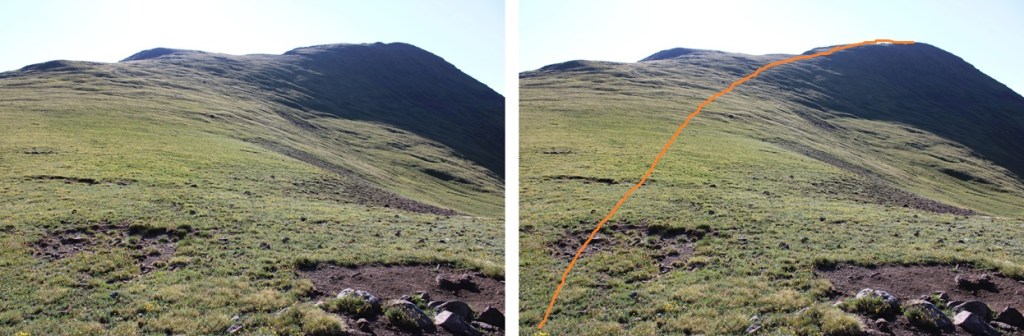
After the initial downclimb off 13093, this was a simple ridge hike on tundra.  This is the overall route I took:

First, I downclimbed the rocky section

Then headed towards the sunshine/13094 saddle

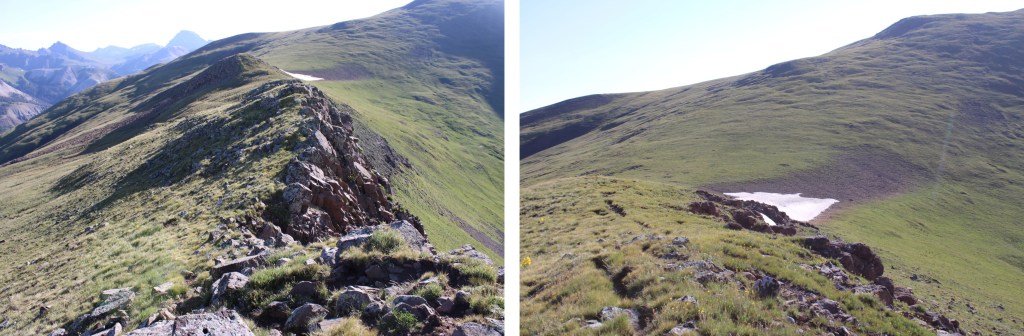
From there I picked up a solid game trail that led me to the ridge, then down to the saddle.

From the saddle I followed the tundra east 570’ towards the summit. 

There was a short rocky section towards the summit, with tons of game trails to the right to keep it class 2, but honestly, going over the rocks is probably class 2 as well. 

I summited Sunshine Mountain at 8:45am

Sunshine Mountain:

I turned and made my way back down the tundra ridge, and to the saddle

I made my way towards the left side of PT 13094.  Here’s a little hint to help you descend:  There’s a wooden post sticking out of the ground about 20 feet after you should descend.  Use this as a visual for where to start heading down the side of the mountain.

Back on the game trail, I turned right and followed it back to the mining road.

Then I took the mining road back to about 11600’

From here, I could see my truck parked below, and just made my way back to it, bushwhacking the entire way.

I made it back to my truck at 10:30am, making this an 8 mile hike with 3171’ of elevation gain in 4 hours.

On to the next trailhead!

Darley Mountain – 13,275, Engineer Mountain – 13,225, Seigal Mountain – 13,281

RT Length: 11.44 miles

Elevation Gain: 3236’

I decided to park off CR 20 just part MM 15 on the side of the road.  I could have camped at Golconda Mining Complex, but since I only needed a parking spot, not a campsite, I decided to park here.

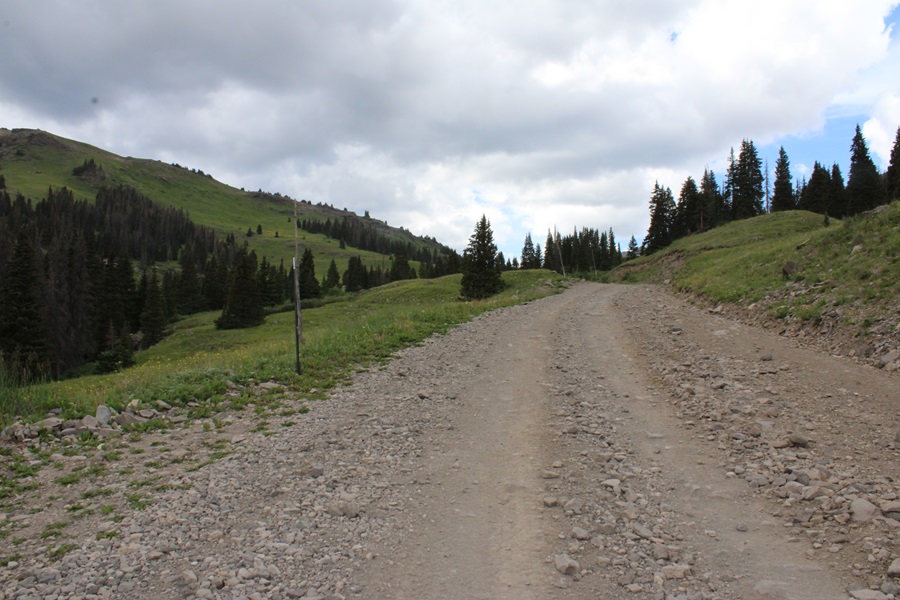
I was up and on the trail at 5:30am.  I began by following the road towards Engineer Pass.  This is a 4WD road, but easy to follow.  From my parking spot, it was about 2.75 miles to Engineer Pass. 

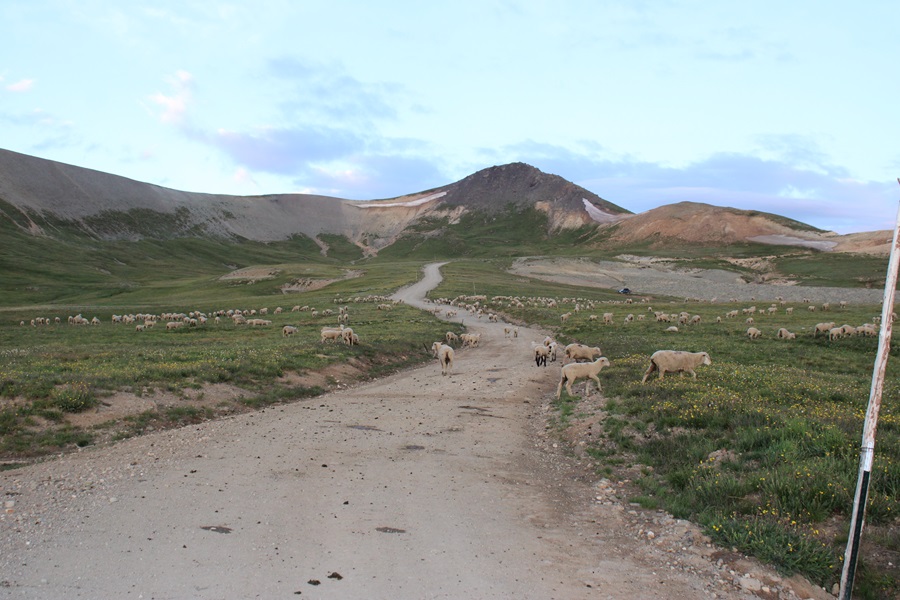
Just before reaching the pass, and just as the sun was rising, I came upon a herd of about 500 sheep.

They all moved and baa’d as I hiked past them, towards Engineer Pass.

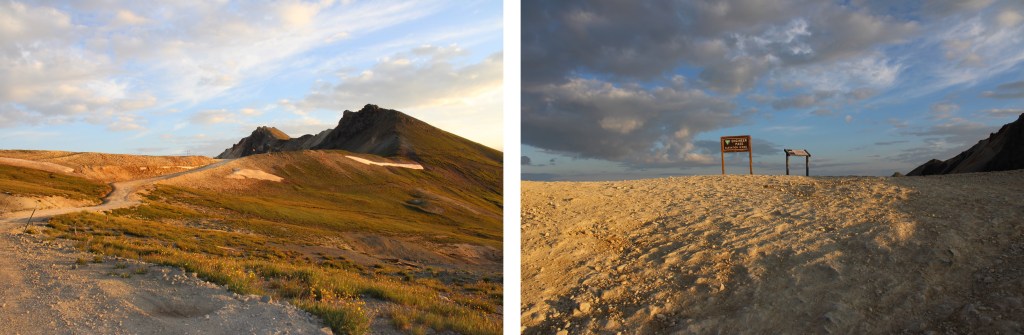
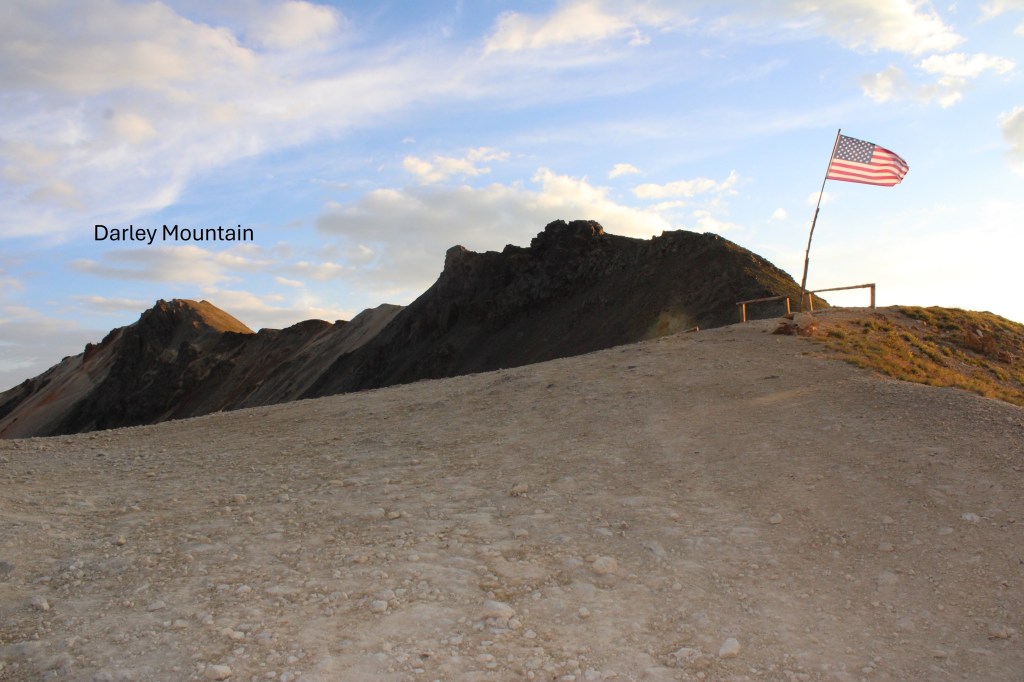
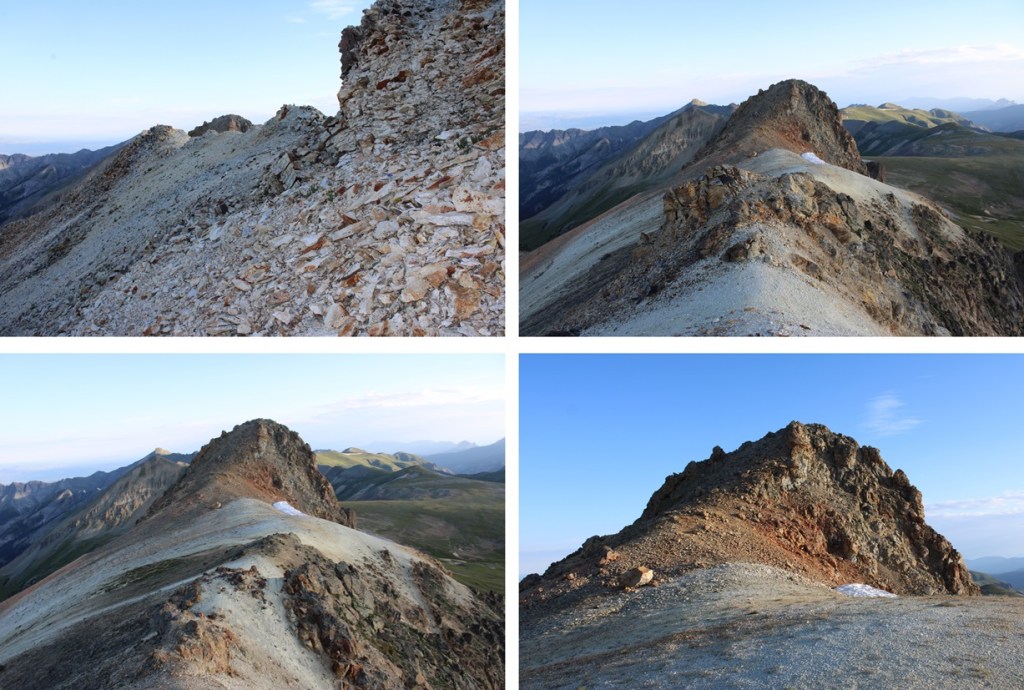
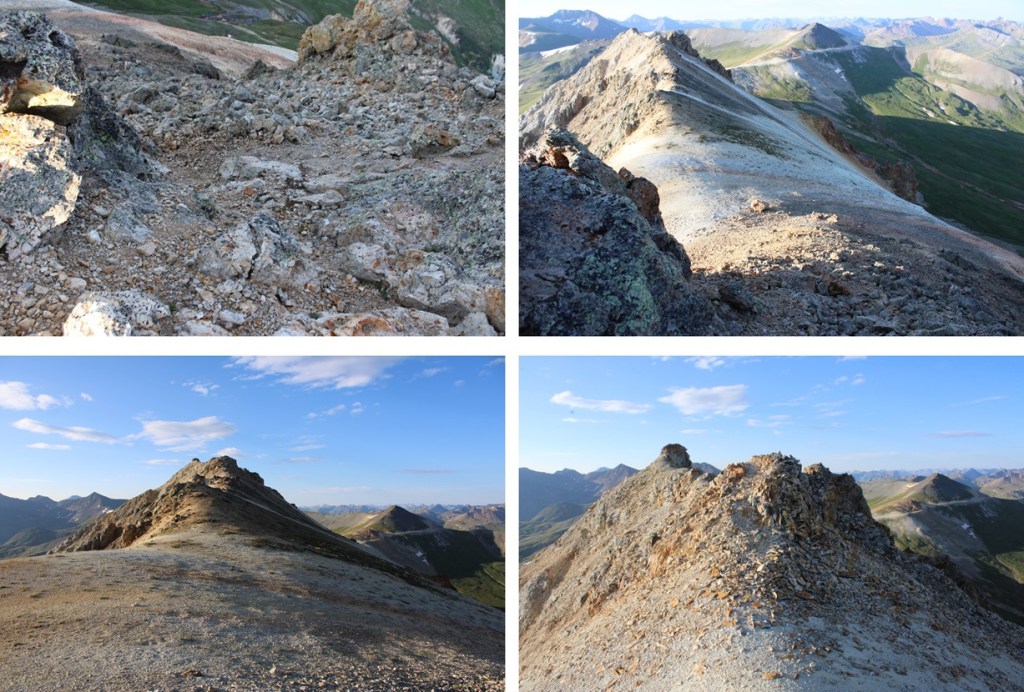
My first peak of the day was Darley Mountain.  From Engineer Pass, I turned right, and headed north along the ridge towards Darley.  This was all class 2, but full of loose scree and choss.  Oh, and several false summits.  I stuck to the ridge.  Here are some pictures of the ascent.

At the first false summit, I stuck to the right, following the ridge on game trails.  There were game trails all the way to the summit.

From here, you can see the next false summit. I continued following the ridge.

And now, the next false summit.  This was much the same as I’d encountered before, and I kept following the class 2 ridge.  This is probably the biggest false summit of the peak.

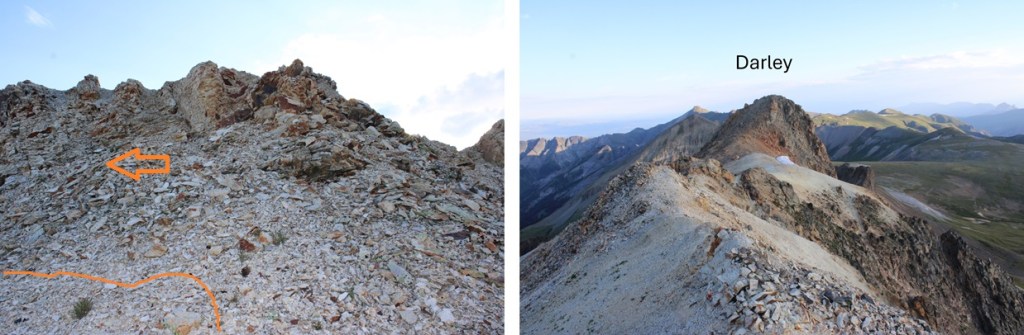
This is where it gets interesting.  This is all still class 2, but very loose scree and chossy.  Microspikes helped here, especially on the way down.  There are plenty of game trails to follow here.   Also, this isn’t quite the summit yet.  Here’s the route I took, following the ridge to get there.

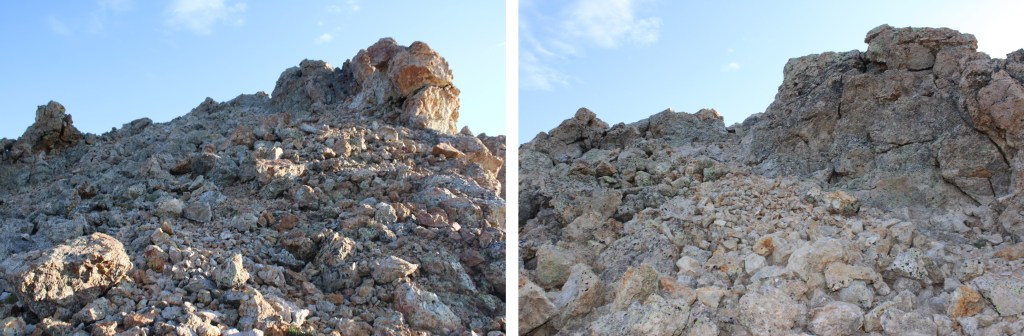
You’re going to want to summit this blob, but it’s not the true summit. The true summit is to the left/northeast.  There are game trails here to follow as well, mostly sticking to the ridge direct, but a few go to the right, and are obvious. 

The last bit was rocky, but still class 2

I summited Darley Mountain at 7am

Darley Mountain:

I turned around, and headed back to the Darley/Engineer saddle, using the same route to descend as I had to ascend.

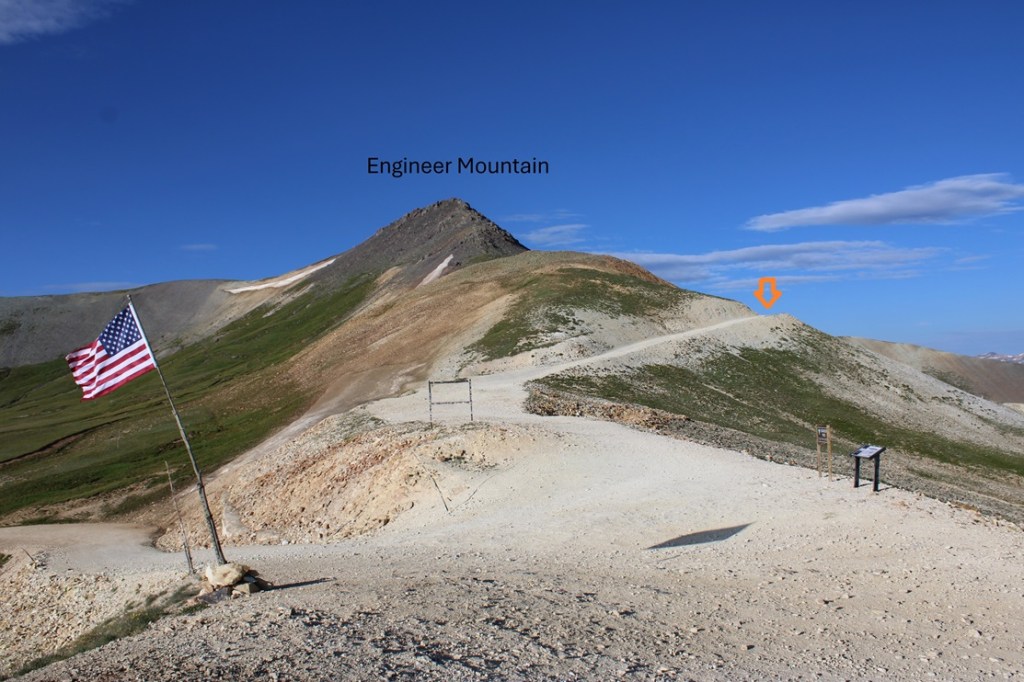
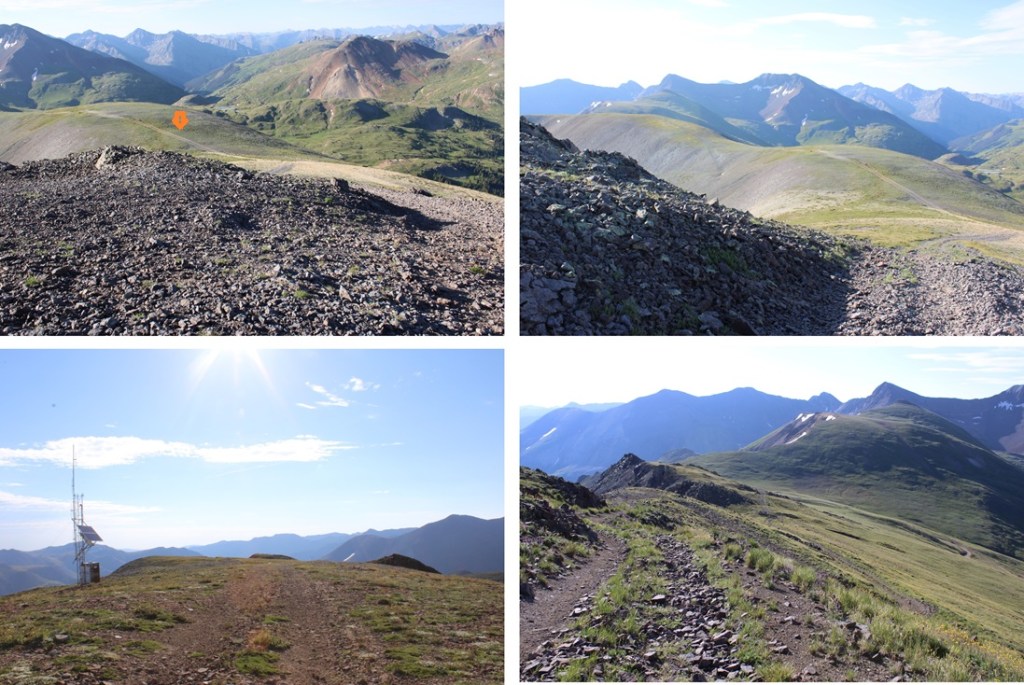
Safely back at Engineer Pass, now I wanted to summit Engineer Mountain.  I continued following the 4WD road southwest, as it continued to ascend in elevation to a junction.

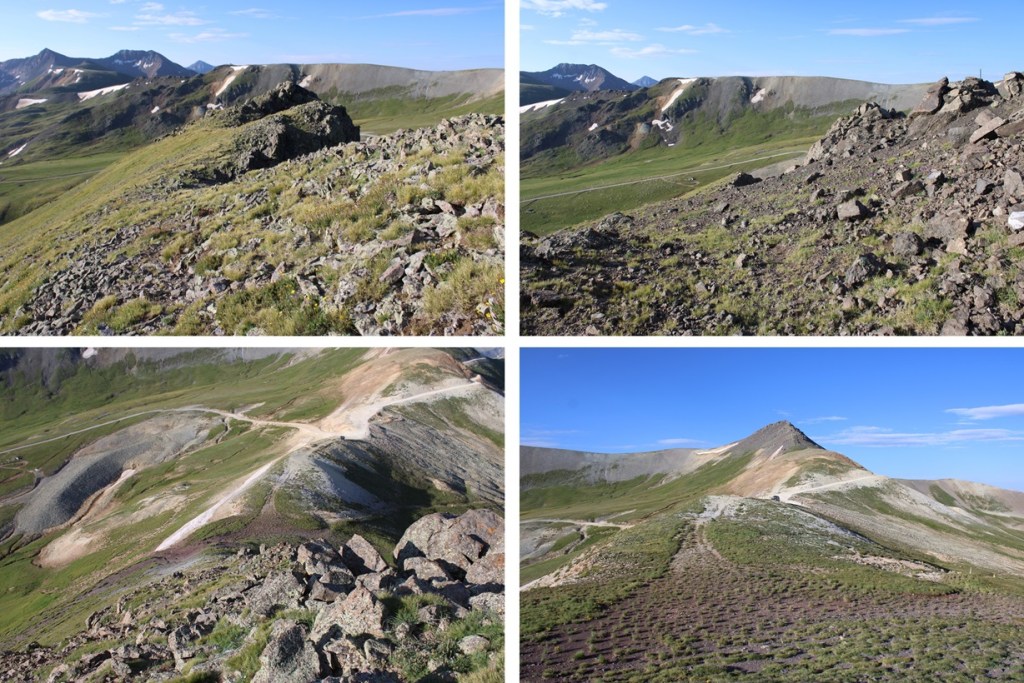
At 12970’ I turned left, and followed a very steep 4WD road (closed to 4WD vehicles) east towards the summit.  The summit has a class 2 boulder, no more than 5 feet wide.

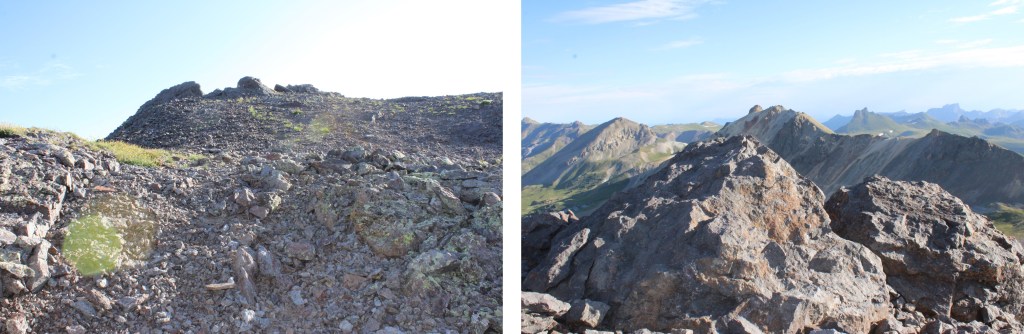
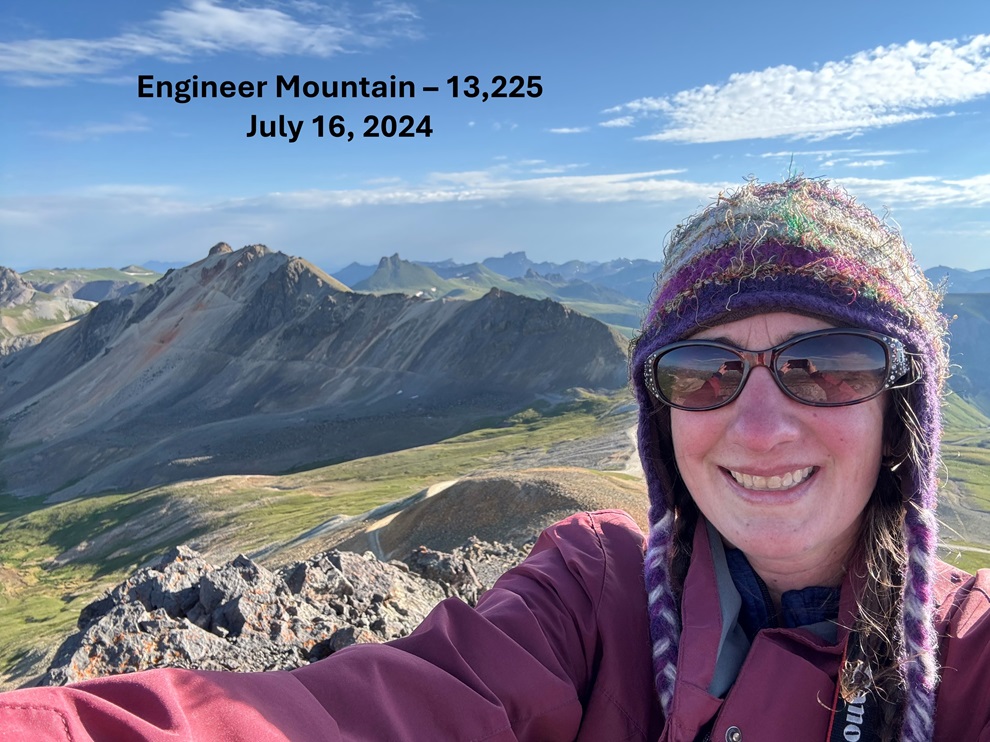
I summited Engineer Mountain at 8am

Engineer Mountain:

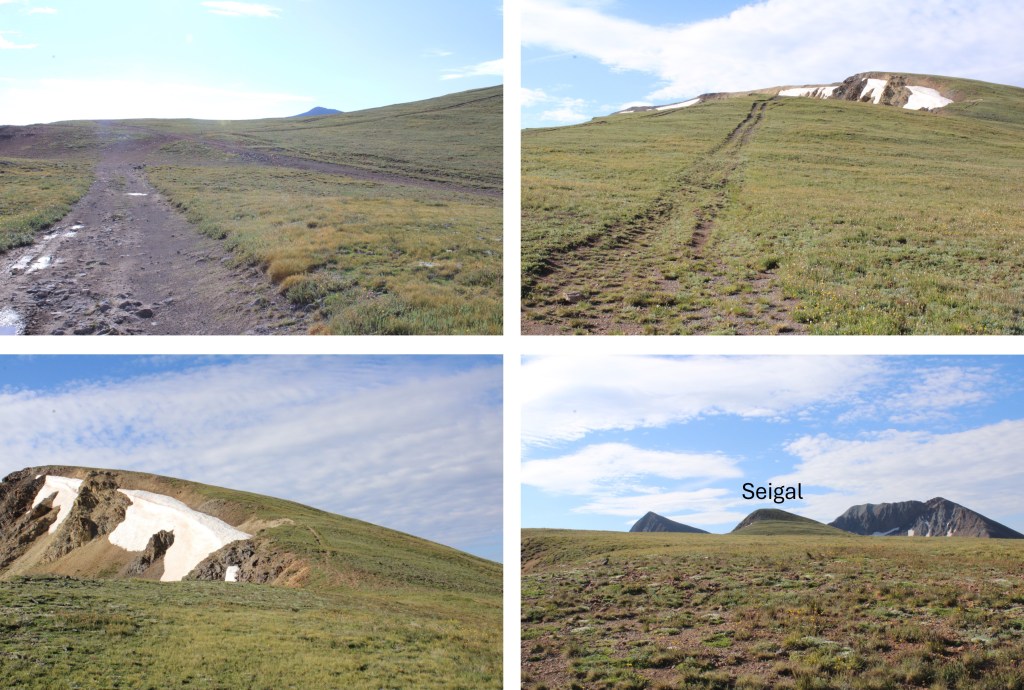
To the southeast is Seigal Mountain

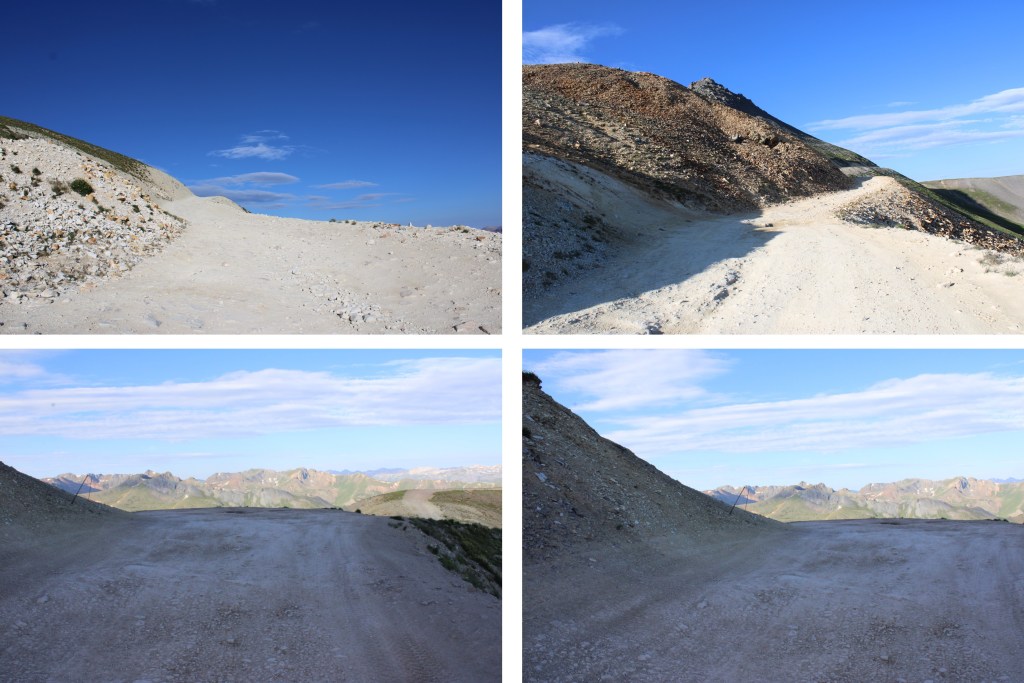
I could see a dirt road in the distance, and headed south to this road.  When on the road, I followed it east to the Engineer/Seigal saddle, descending about 460’ .

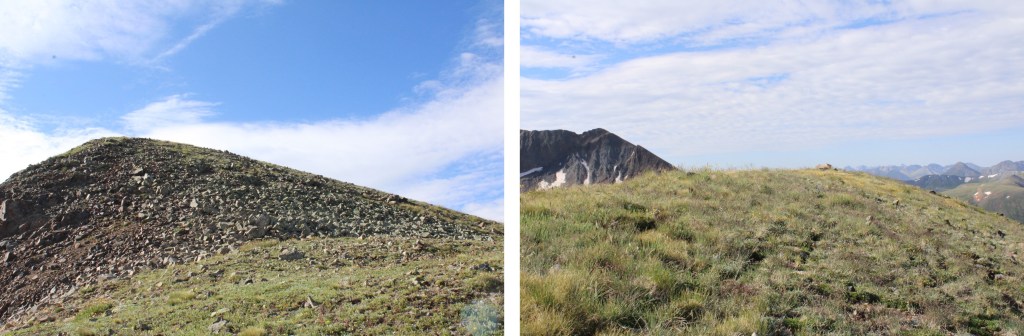
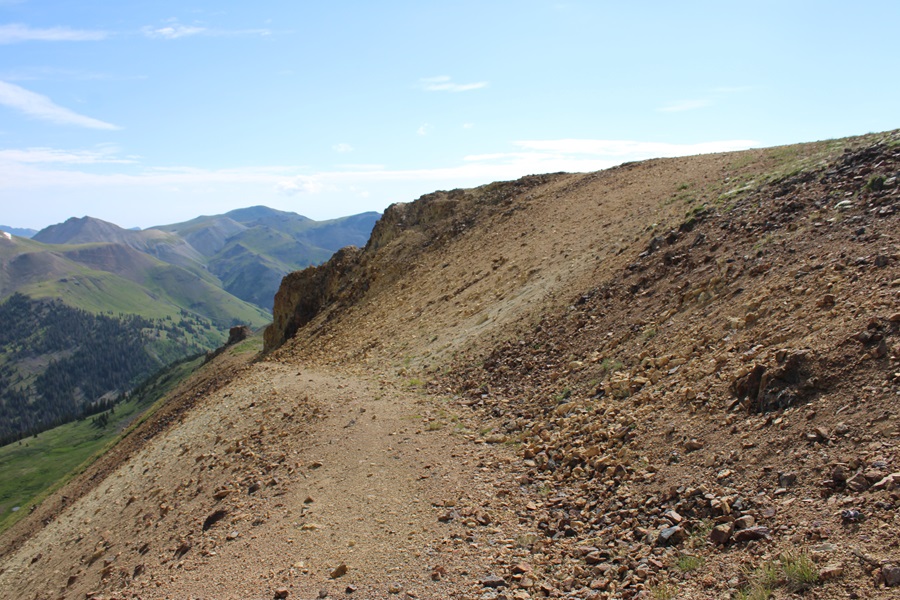
Once at the saddle, I followed the road southwest up the ridge, but eventually the road ended and a slight trail began that ended as well.  It was a class 2 tundra walk to the summit, fairly straightforward.  It got a bit rocky at the very end, still class two, with a tundra workaround to the right. Here are some pictures of the route to the summit of Seigal.

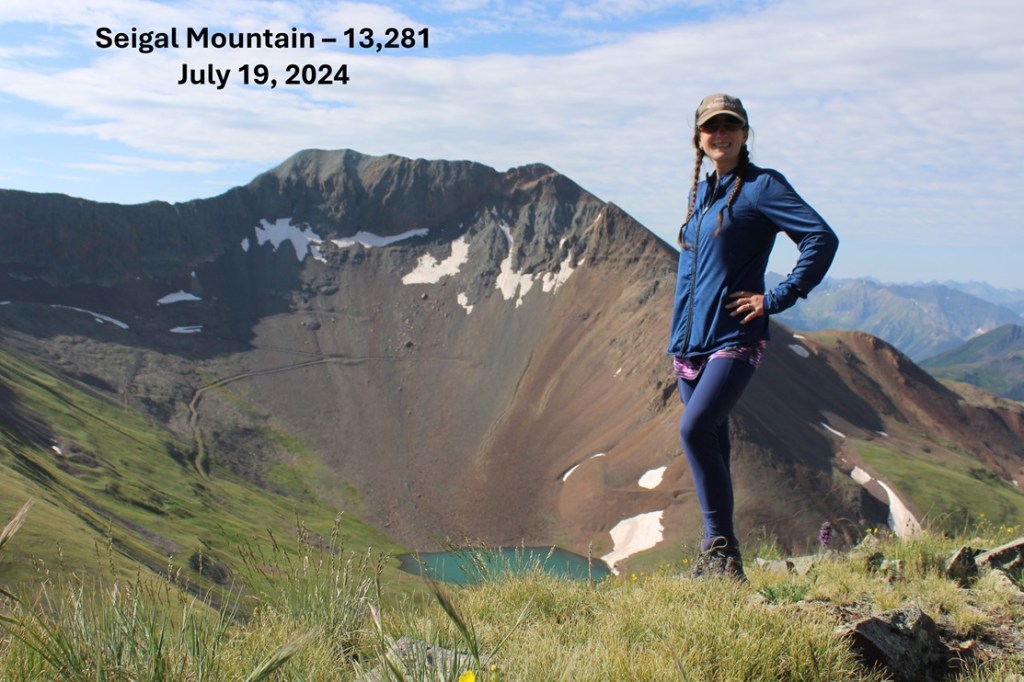
I summited Seigal Mountain at 9am

Seigal Mountain:

I was making this a kind of loop, so I headed back down to the Engineer/Seigal saddle.

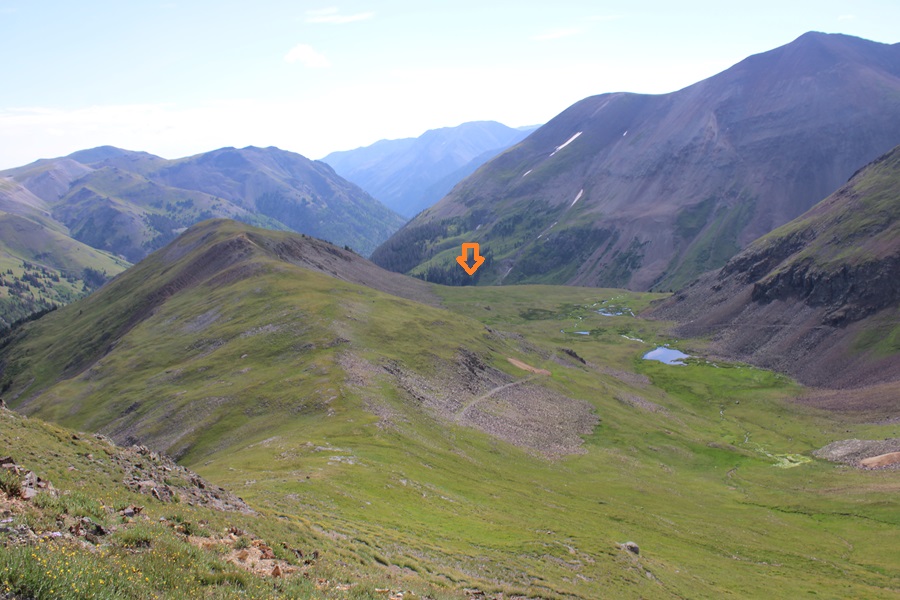
At the saddle, I headed a little further north, and found this road that topo maps said would lead me east towards Schafer Gulch.

I followed this road, and yes, it led me in the correct direction, but what maps couldn’t tell me was this was an old mining road that hadn’t been used in years.  So many years much of the road was destroyed due to avalanches or rockslides and due to the road being “closed” to vehicles, much of the road is now grass and flowers.  However, enough of the road was intact for me to figure my way down.  I headed east, following the road when I could, heading towards the obvious 4WD road in the distance paralleling Schafer Gulch when I couldn’t.

If you lose the road, you can just head east on the tundra until you reach the 4WD road.  It’s steep, but it doesn’t cliff out here.

I was now on a solid 4WD road, and followed it north back towards CR 20, turning left at a junction where right went to someone’s dwelling.

I crossed Henson Creek, and followed the road through Golconda Mining Complex back to CR 20

Then followed CR 20 northwest towards my truck.

I made it back to my parking spot at 10:30am, making this a 11.44 mile hike with 3236’ of elevation gain in 5 hours

On to the next trailhead!

Babcock Peak – 13,161

RT Length: 9.23 miles

Elevation Gain: 3868’

I parked at a turnoff near Boren Creek and124/794 with room for about 5 vehicles if everyone parked nicely.  The drive in is dirt 2WD.   I was on the trail at 4:30am.

I followed 4WD road 794 for over 3 miles as it switchbacked it’s way northeast, following Boren Creek.

After hiking for around 3 miles I made it to treeline.

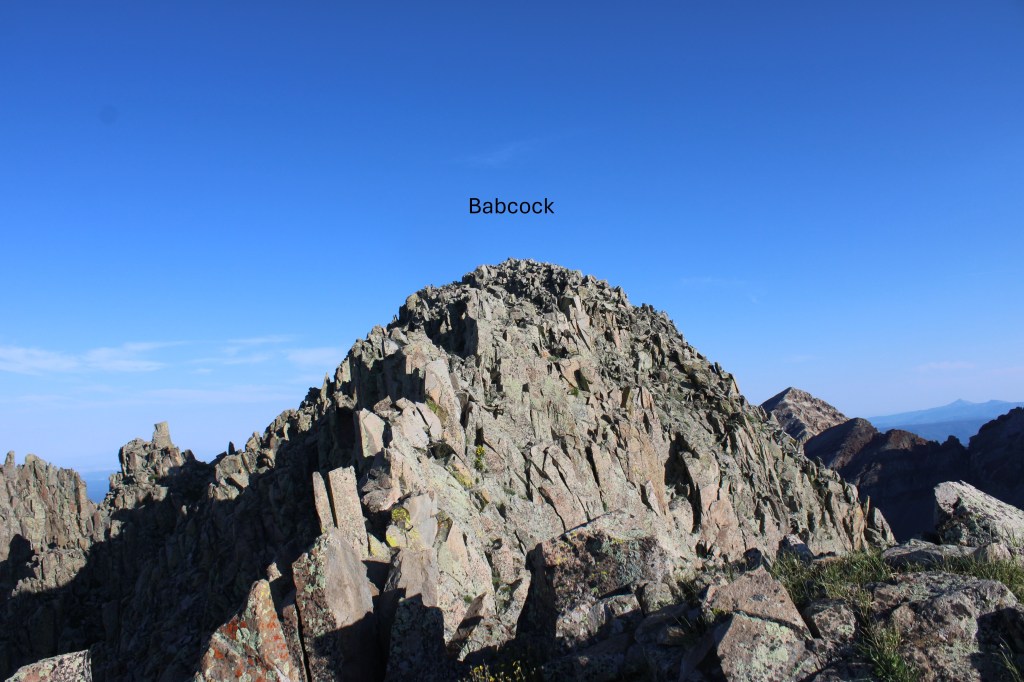
Here I turned right, and could see Babcock Peak to the north.

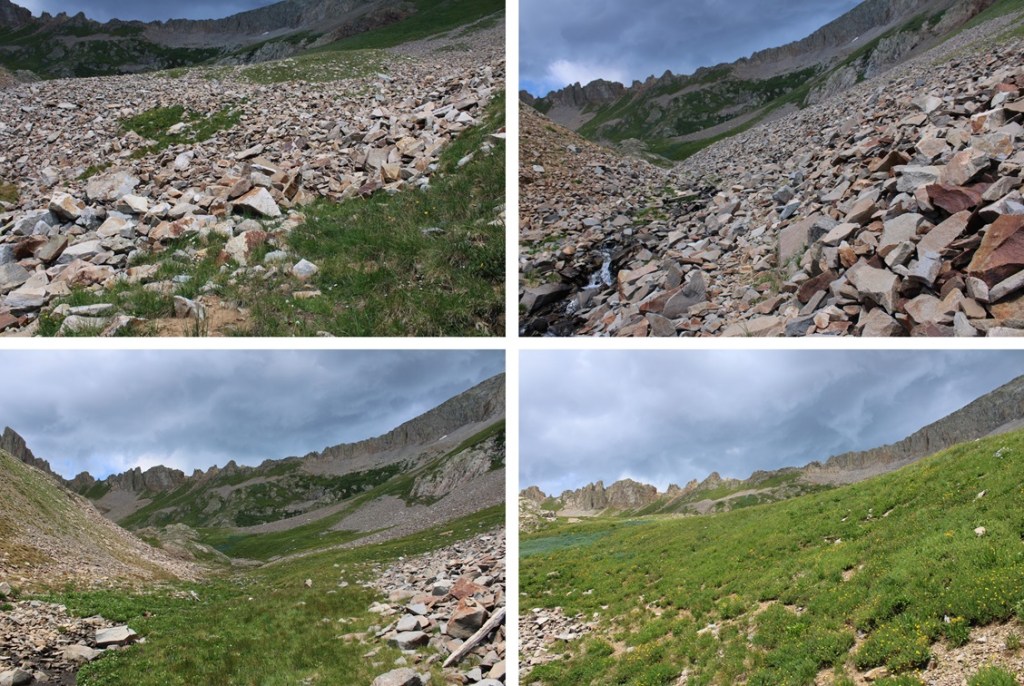
Route finding here was pretty easy.  I headed north towards the gully, aiming for the gully to the right.  I gained about 1500’ here to the summit in about a mile.  This gully is very loose, and full of all different sized rocks.  I didn’t stick to one side, but chose whatever route looked best.  Here are some pictures of the gully.  It’s pretty straightforward.

Just before reaching the saddle, I turned left, and ascended this much smaller gully

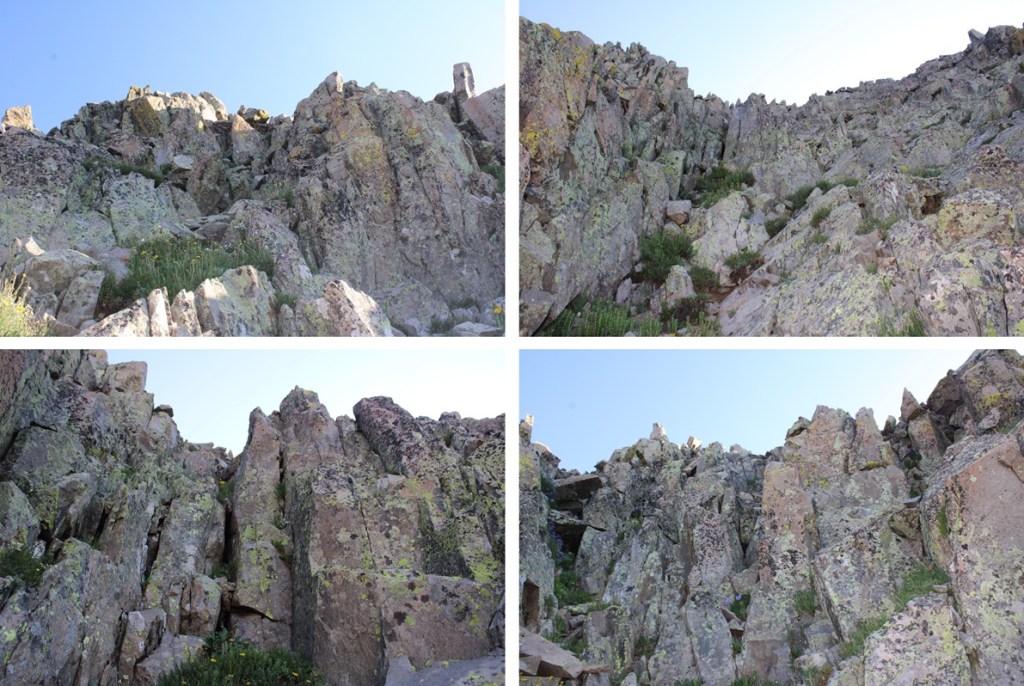
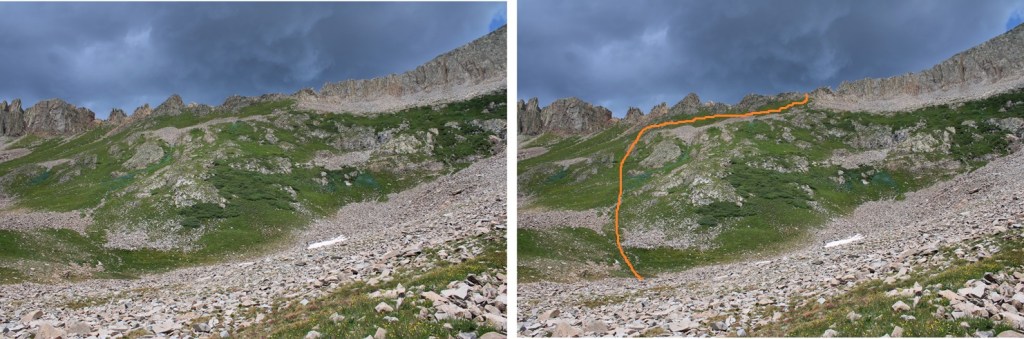
From here, it’s choose your own adventure to the ridge.  Everything is class 3 climbing, and I’m pretty sure there is no wrong way to get to the ridge, as long as you’re heading north/northwest.  I can’t say the same for heading down, so it’s a good idea to keep looking behind you for reference points for the way back.  Also, pictures were very difficult to put everything into perspective.  Right now you should be at the junction of the left and right gullies.  Take note of where you are, because this is where you’ll want to descend to on your way down, and as you can see by looking ahead of you, the initial climb to the ridge is steep and it can be difficult to know exactly where you are.  Here are some pictures as I made my way up to the ridge.

Once on the ridge, I turned left, and headed northwest towards the summit.  There was only one ‘tricky’ move, and the rest was class 2.

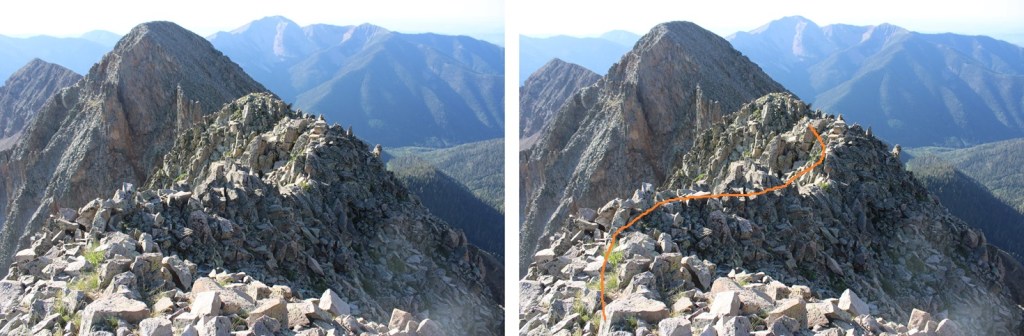
Here’s the tricky move.  Go right here to ascend the ridge.  It feels like difficult class 3 or easy class 4, with some exposure.

Then it was a quick ridge hike to the summit, staying on the ridge proper.

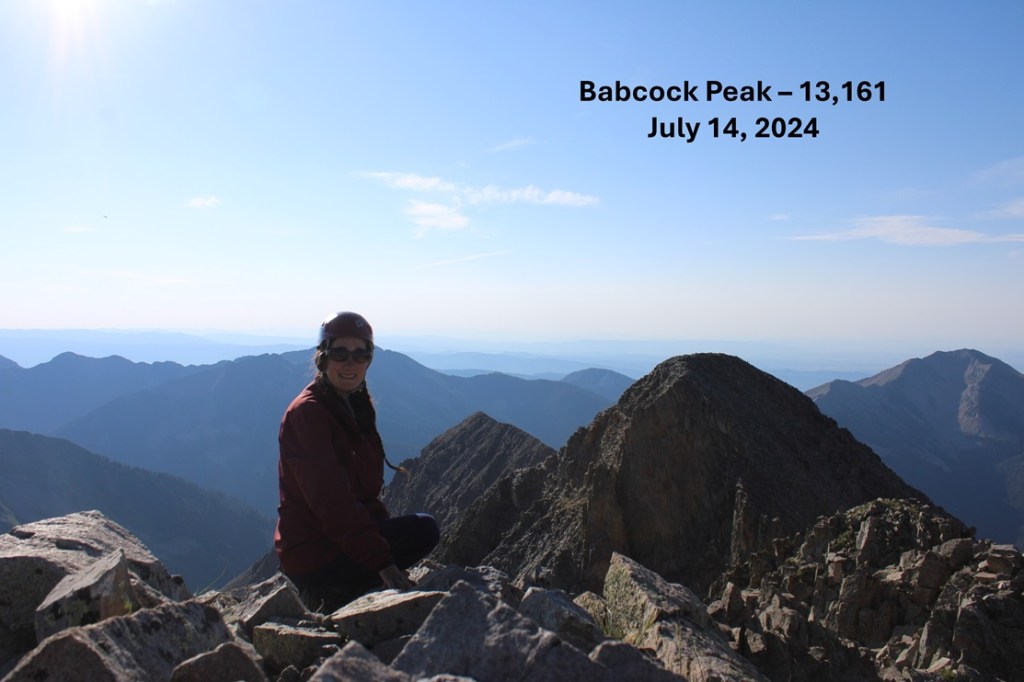
I summited Babcock Peak at 8am

Babcock Peak:

Now to head back down. Here’s a picture of the ridge

And the one tricky section

Now it was time to head back towards the gully.  Visuals are good here.  When heading down, keep moving to your left as you do so, making your way down to where the left and right gully meet up. 

Where the two gullies meet, I turned left and headed down the same gully I’d ascended.

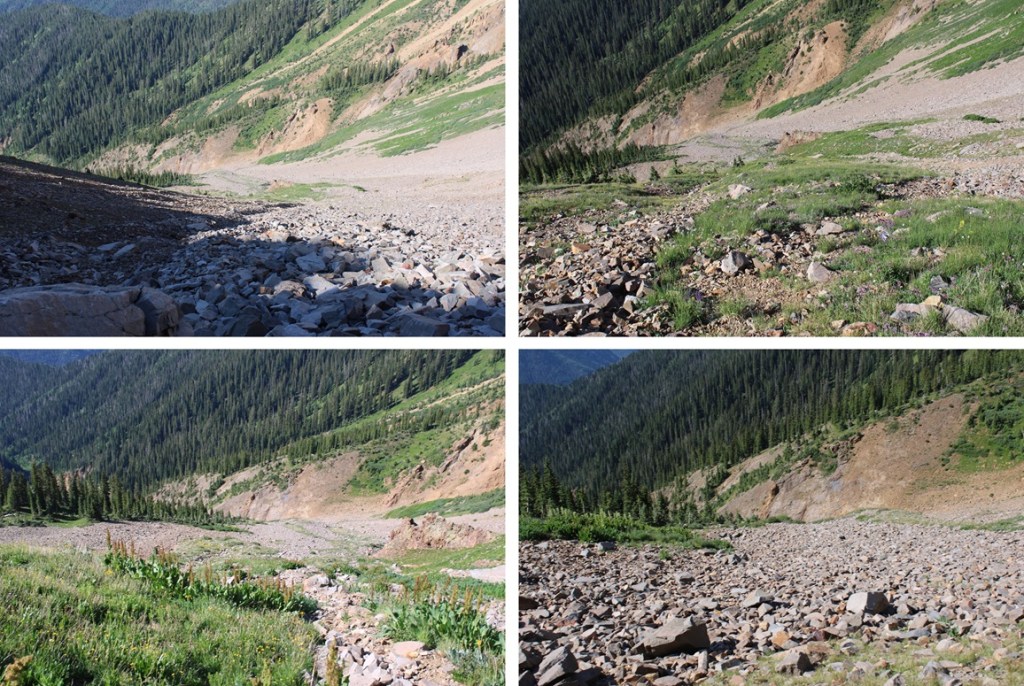
And now, to descend the gully back to the 4WD road

Back on the road, I turned left and followed it southeast back to the trailhead.

I made it back to the trailhead at 10:30am, making this a 9.23 mile hike with 3868’ of elevation gain in 6 hours.

On to the next trailhead!

Mount Moss – 13,194 and Lavender Peak – 13,327

RT Length: 10.58 miles

Elevation Gain: 3604’

Once again, this wasn’t the peak I’d planned for today.  In fact, due to my carelessness with my new truck and forgetting to wrap the wires with rat tape, I had a 2am encounter with varmints and had to abandon a days worth of hiking (where I’d hoped to get in 5 ranked 13ers).  Not to bore you, but if you want to hear the story and see video footage, click here to find out what creature got stuck inside my truck, and the damage they did.  Also, rat tape your wires people.

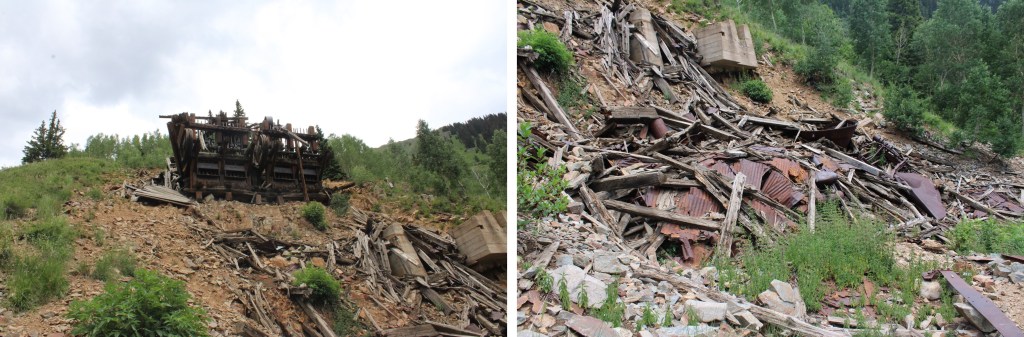
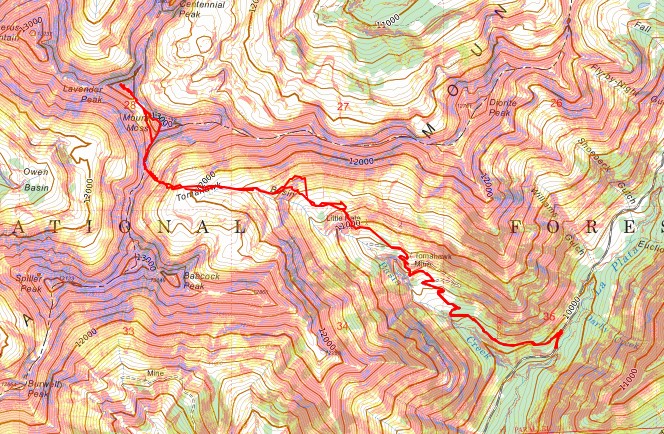
So, after an 8 hour detour, I found myself at around 9800’, at the base of the Tomahawk Mine, parked off road 124 and 798 near Mancos.  I was up and on the trail at 6am

I followed road 798 for about 1.5 miles northwest.

After about 1.5 miles I came to a junction, and turned left.  You can continue on the road here, as it will eventually get you to the same place, but I wanted to see the Tomahawk Mine.  If you’d like to see the mine, turn left here, and follow the road.

The road will quickly end, but a trail will pick up to the right.  It will take you to Tomahawk Mine.

If you look closely, to the left of the mine is a trail that will lead you north, back to the 4WD road.

I turned left, and followed this road northeast until Little Kate Mine.

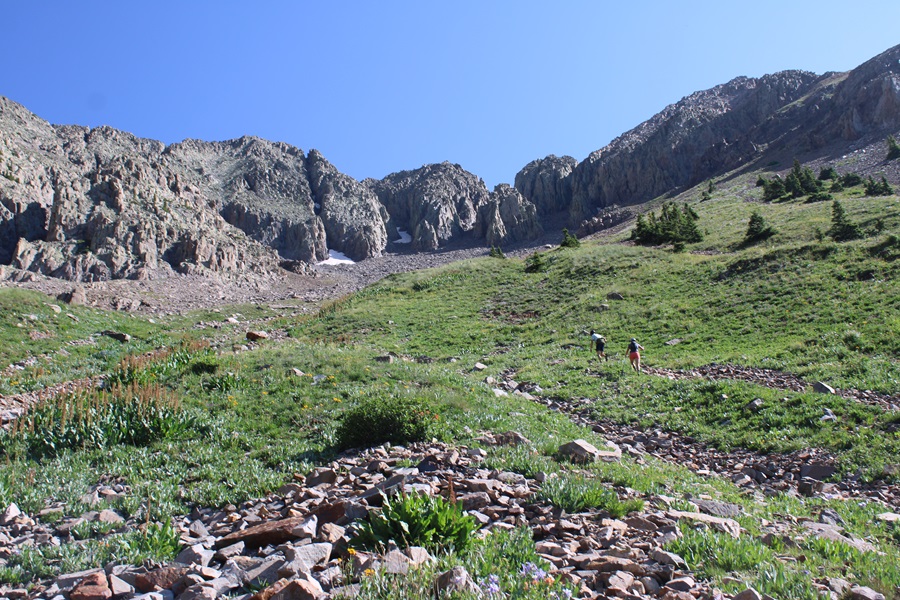
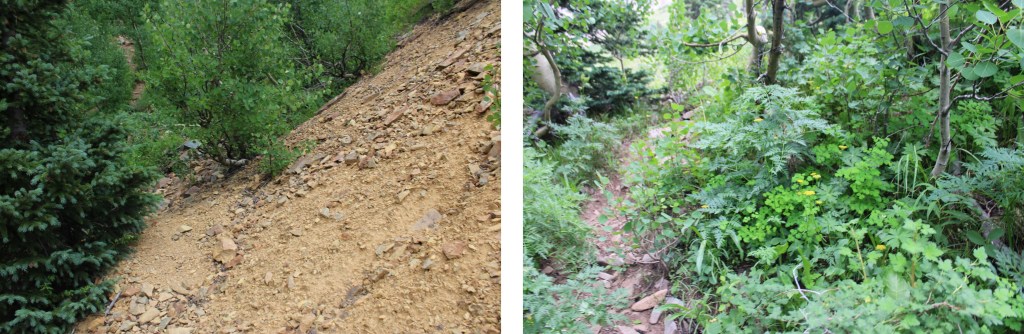
At the base of the mine, just as the road switchbacks to the right, I ascended a scree game trail northeast to treeline.  The trail is obvious, and splits and comes together a few times, but I generally headed towards treeline.

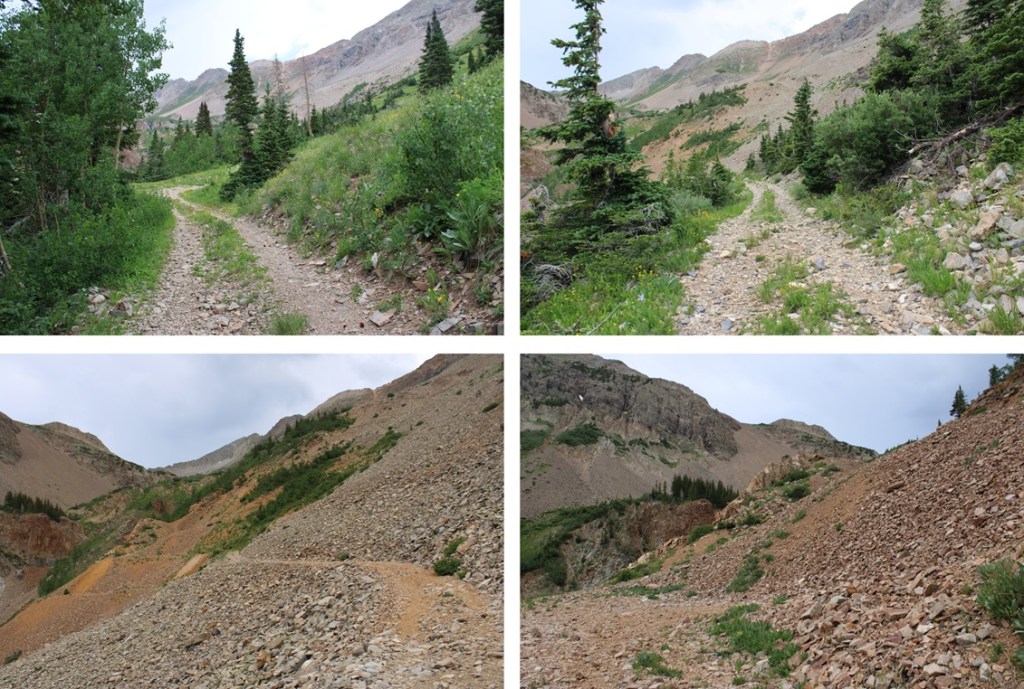
At treeline I headed west, towards Tomahawk Basin.  There’s kind of a trail here, but it’s really faint.

Now I needed to ascend into the upper basin.  There are several ways to do this (I went up a different way than I descended), but you basically want to get above the waterfall.  If you take the route I’ve outlined, there will be a faint game trail to the top, but you may need to search a bit to find it. 

I followed the creek as it headed west.  There is a faint game trail, but eventually it goes away.  Just keep heading west. 

Now in Tomahawk Basin, my next goal was to gain the ridge.  This was extremely steep.  I gained 665’ of elevation in .3 miles.  Luckily, the terrain was easy to navigate.  Here’s the route I took.

And some pictures of the hike to gain the ridge, staying mostly on tundra.

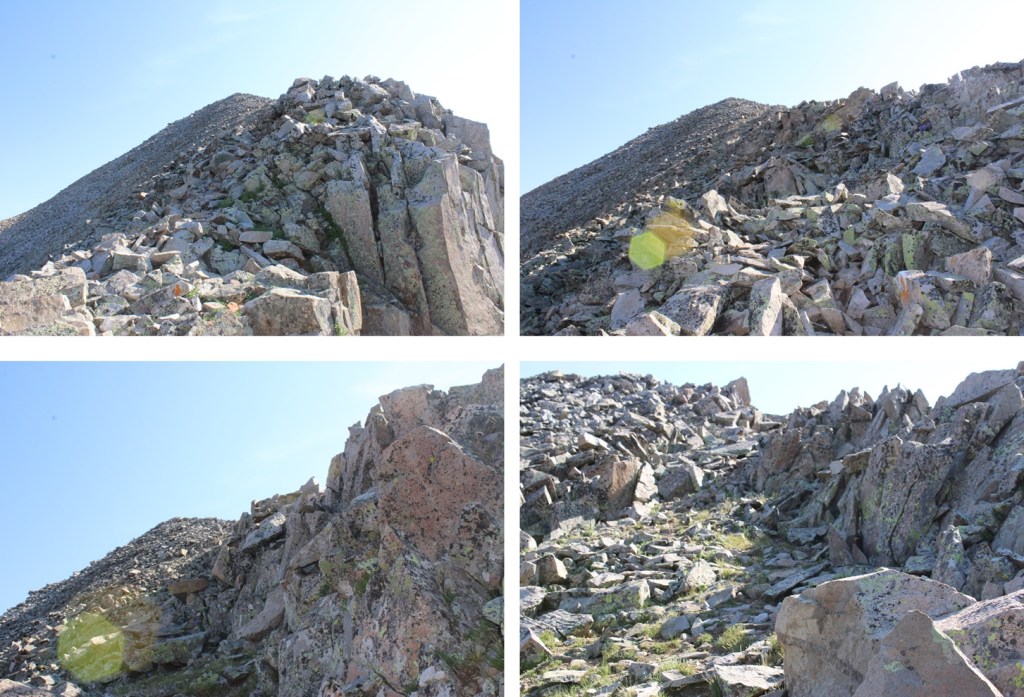
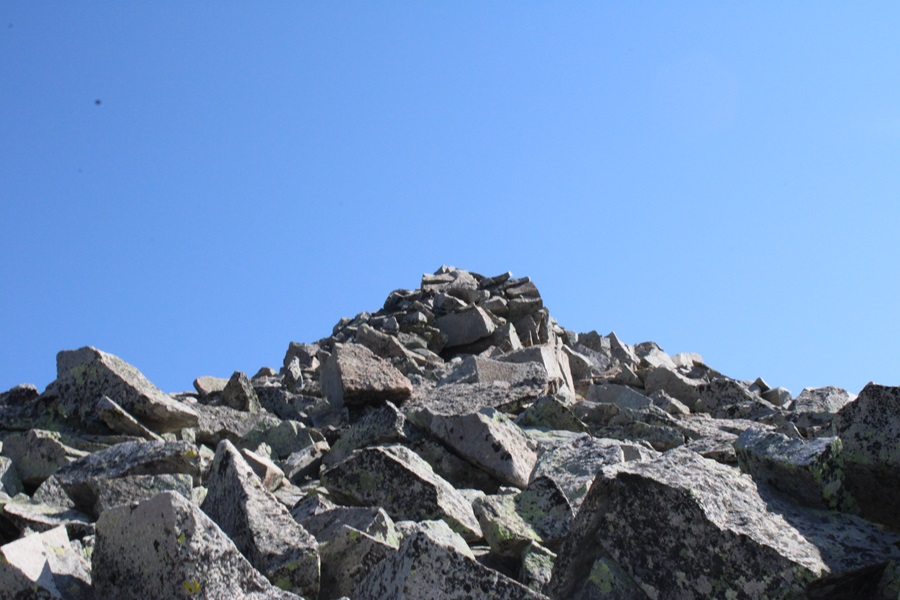
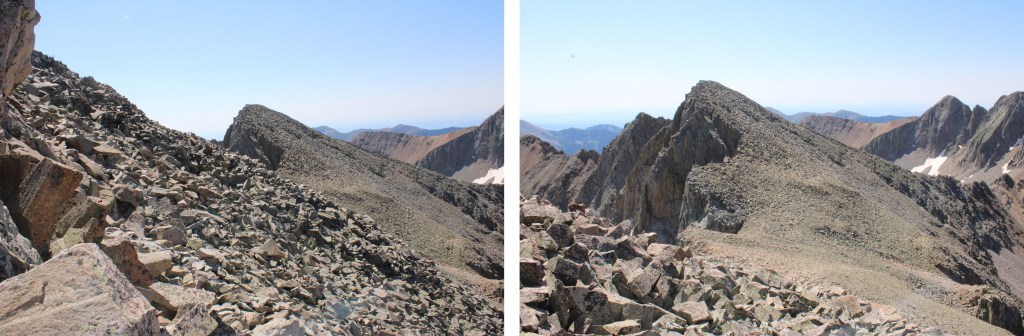
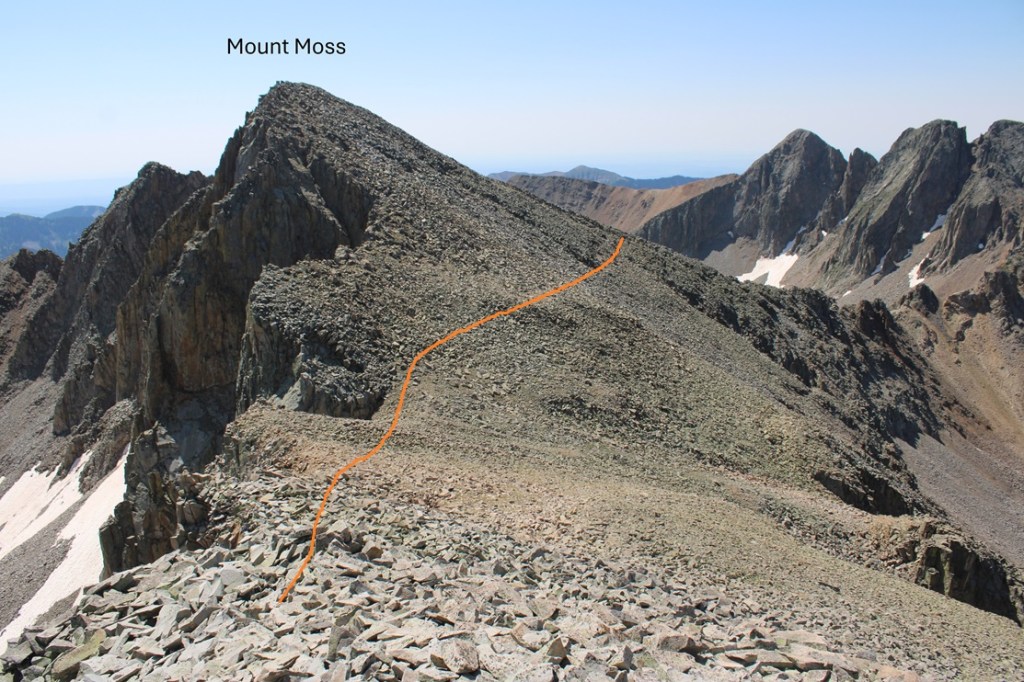
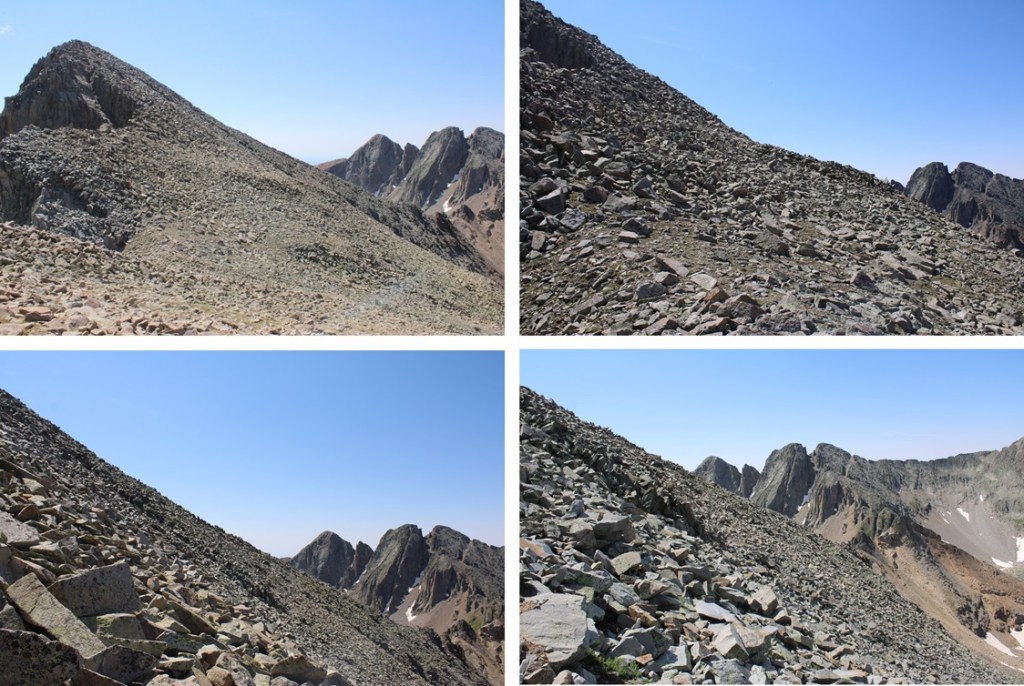
Once on the ridge I took a little break and put on my helmet.  There was a short class 3 section and some scrambling to do from here on out.  I headed north, following the ridge and then dipping down to the left.  It should be noted the ridge goes at class 3 most of the way, after the initial drop off to the left and re-gaining the ridge, but to make it easier there are game trails to the left of the ridge that I followed most of the time.   It should also be noted the rocks here are loose, so watch your footing.

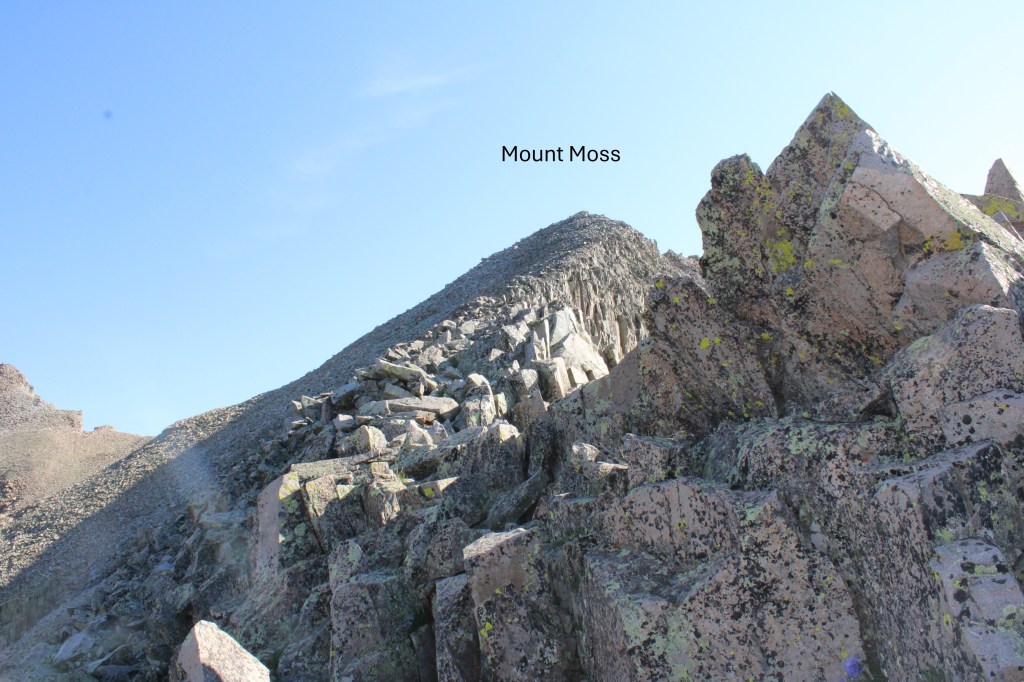
I summited Mount Moss at 9:30am

Mount Moss:

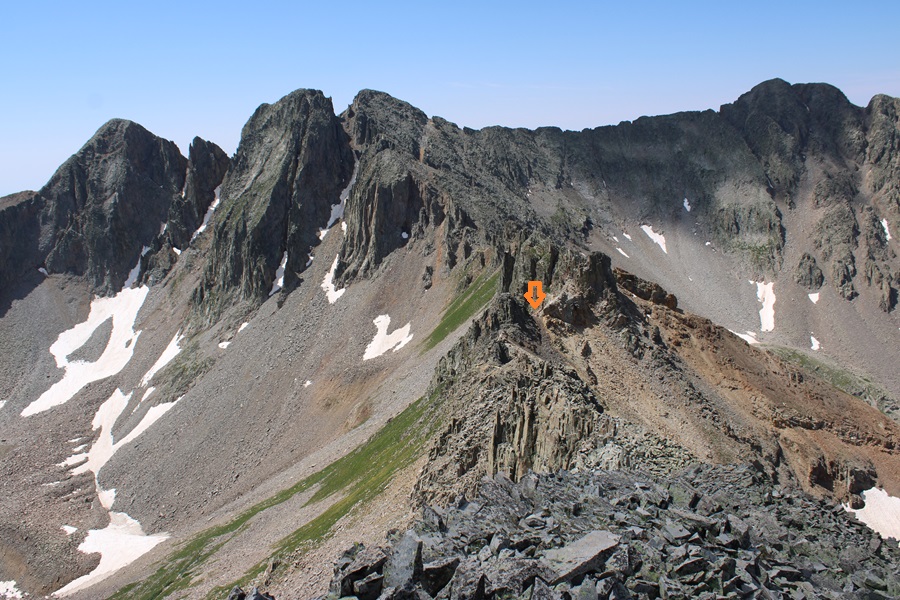
From Mount Moss I could see Lavender Peak to the northeast

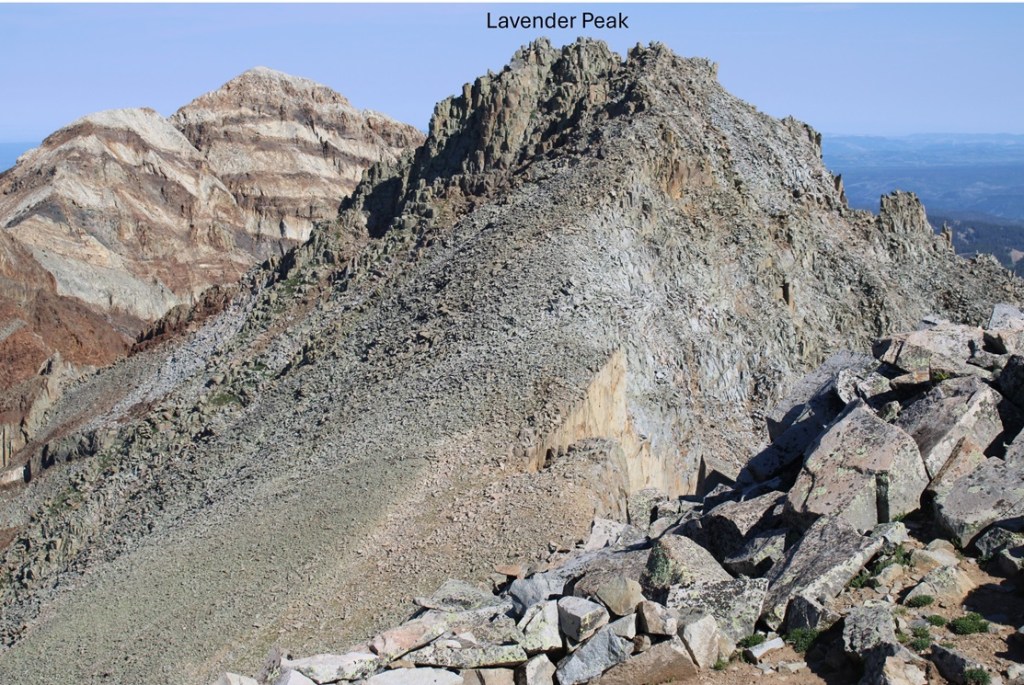
It’s a really good idea to take a good look at the route you’d like to take now, as when you’re below the summit it can be difficult to figure out where you’re at.  The summit of Lavender is the point furthest west.  This is the route I took to the summit, which was mostly class 3, but included a class 4 chimney.

First, I descended to the Moss/Lavender saddle.  Once again, lots of large, loose rocks.

From the saddle, I ascend the ridge to Lavender to just below the gullies, at around 13125’

Next, I traversed west, looking for the gully I wanted to ascend. 

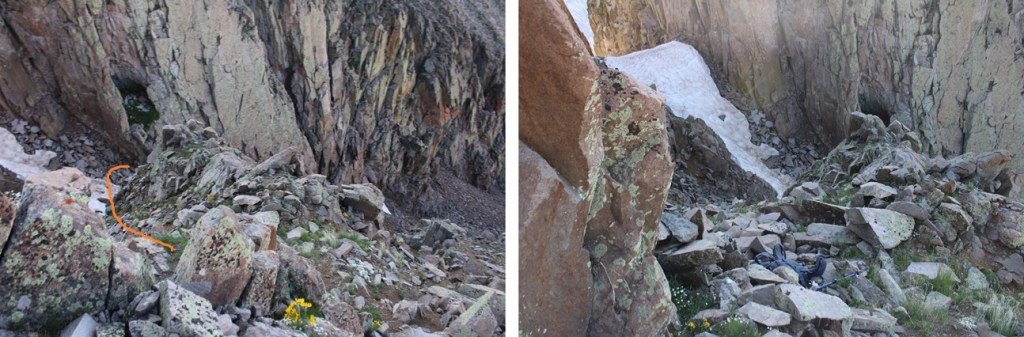
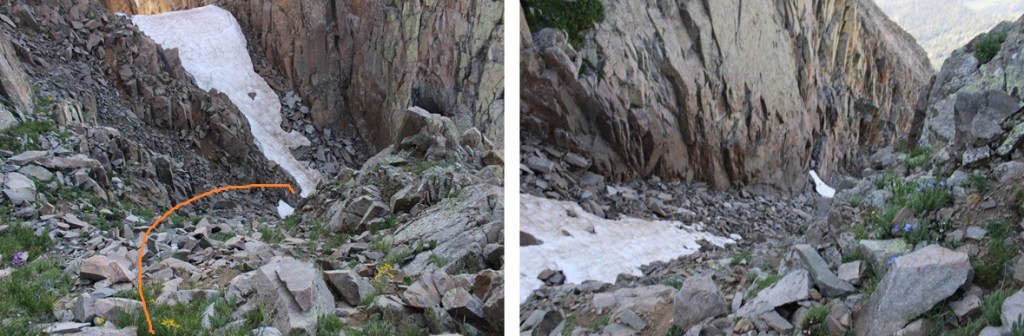
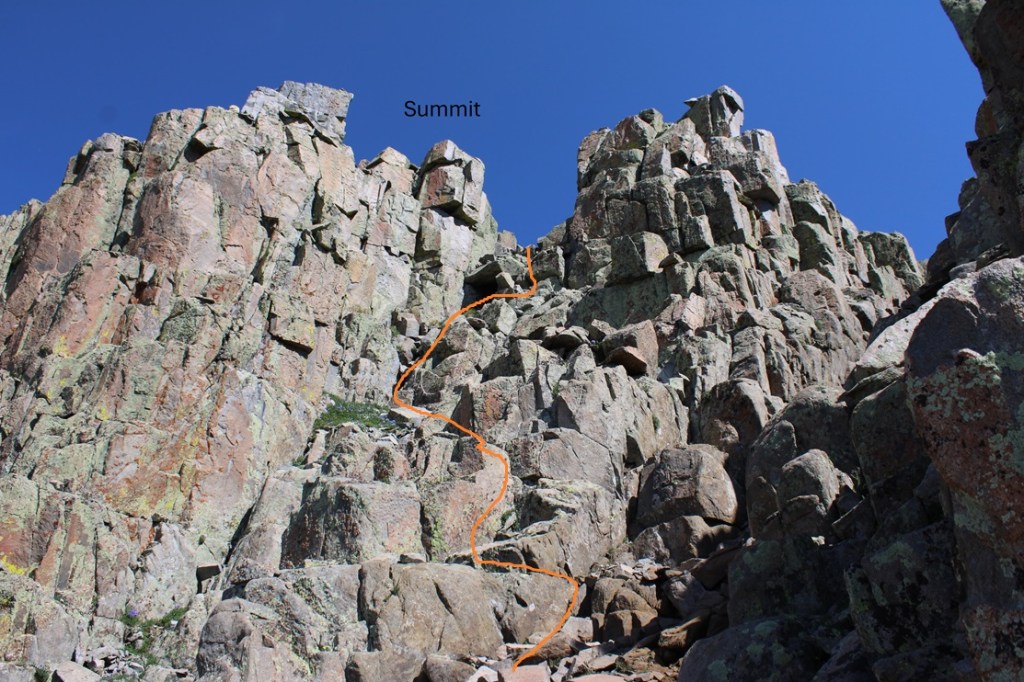
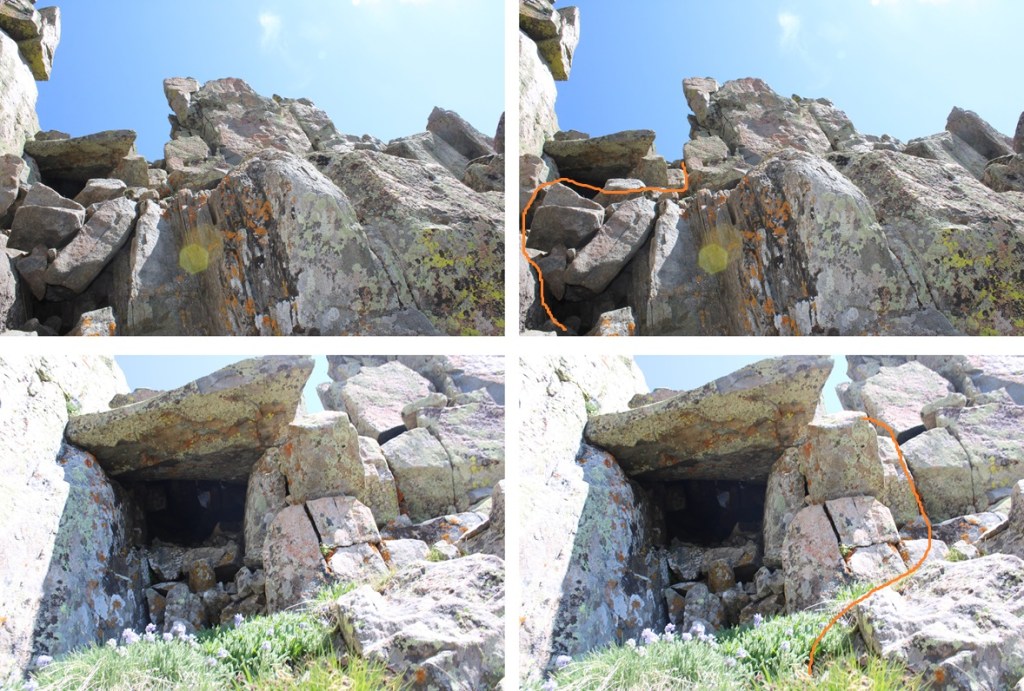
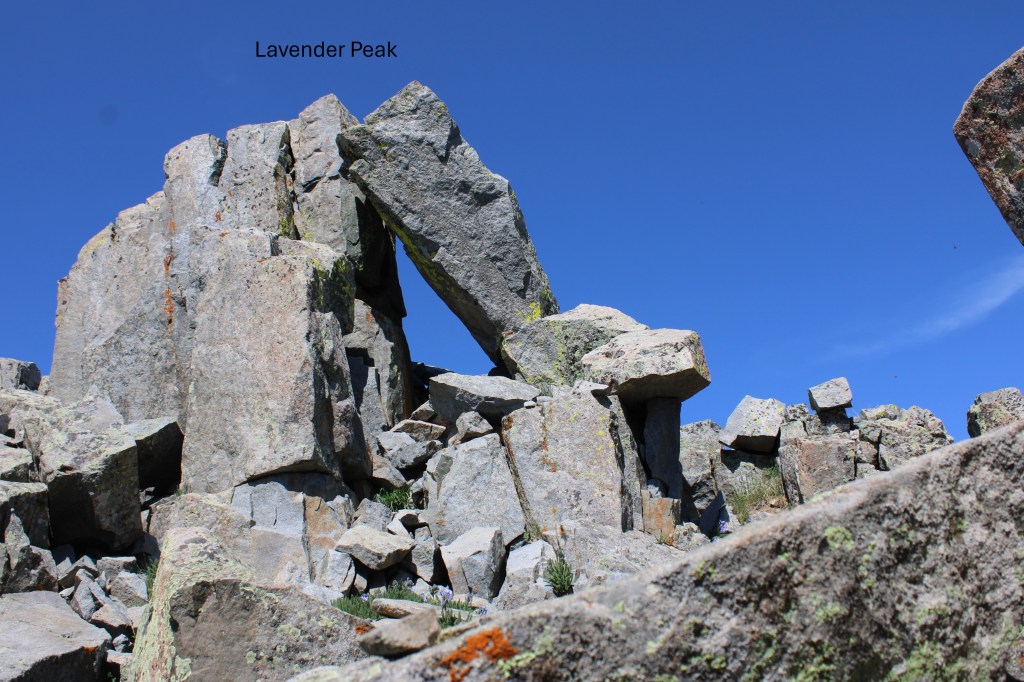
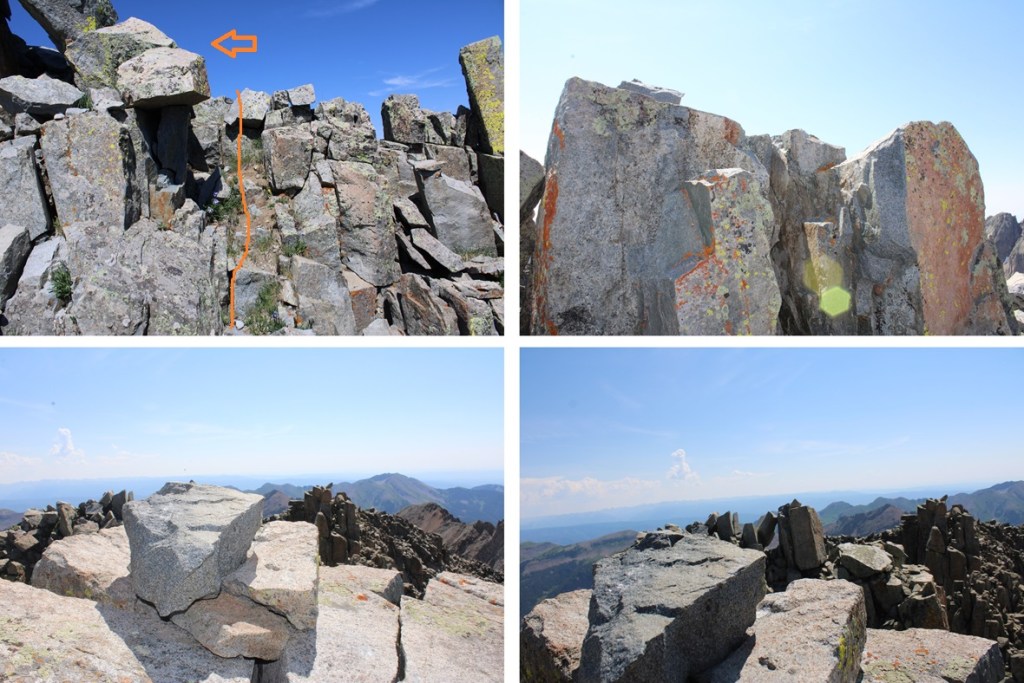
This is the route I took to ascend the gully.  There’s a difficult 3/easy 4 chimney to ascend, just below a cool looking cave.  Ascend straight up to the cave, to right around the cave, and the summit will be to the left. 

And some pictures up the gully.

Once you get past the cave, the summit is to your left

It’s an easy trek to get there, up a small ramp

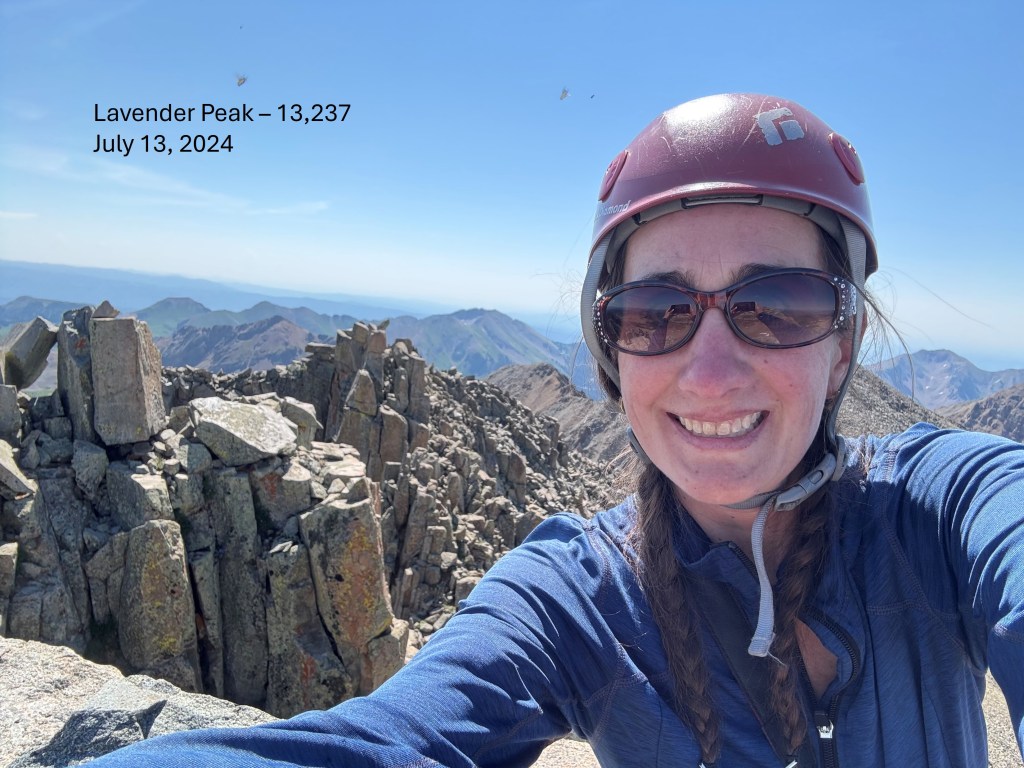
I summited Lavender Peak at 10:45am

Lavender Peak:

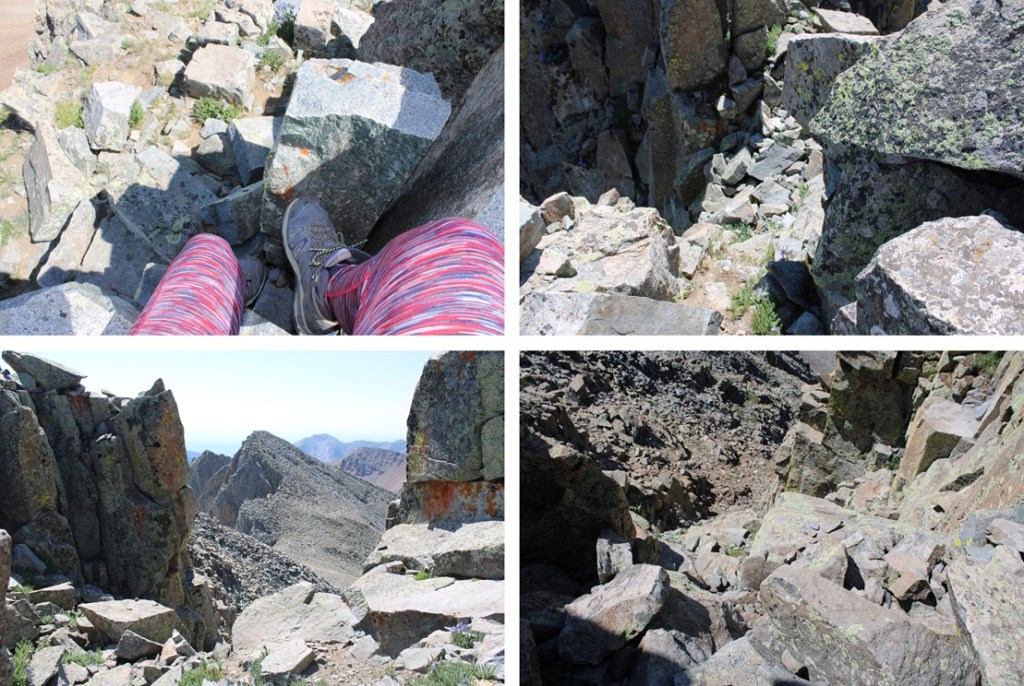
And now to head back down.  Here are some pictures of my way back down the gully.  I turned and faced the mountain for much of the trek down.

Safely down the gully, I made my way back to the Moss/Lavender saddle

Having no desire to summit Mount Moss again, I decided to traverse below the summit, staying at around 12900’ to get to the ridge

Once on the ridge, I followed it south to my entry point

And then back down into Tomahawk Basin

I made my way back to the scree trail

Then followed it back down to the 4WD road.

I followed the road a little more than 2 miles back down to the trailhead

I made it back to the trailhead at 1:30pm, making this a 10.58 mile hike with 3604’ of elevation gain in 7.5 hours
On to the next trailhead!

What Creature is Inside my Truck?

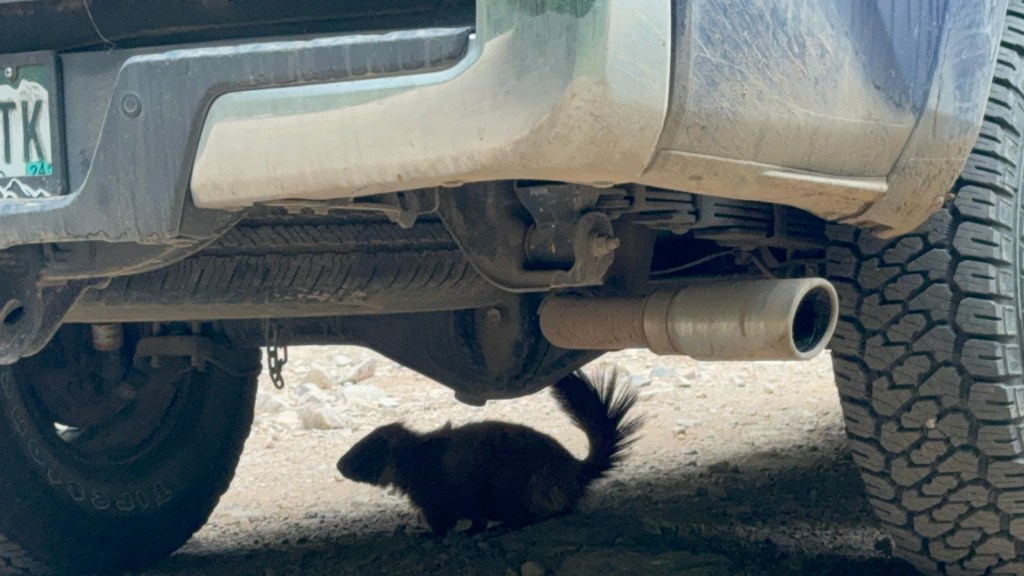
It all started at 2am that morning.  I got out of the back of my truck to get ready to hike, and shined my flashlight all around.  This is something I do if it’s dark out, because you never know what’s lurking at 12,000’.  I’ve been startled by deer, racoons, and even a mountain lion before.  I flashed the light under my truck, and saw a porcupine, pine marten, and marmot underneath.

It was like something out of a Disney movie, or the beginning of a really bad joke: “So, a porcupine, a pine marten, and a marmot were sitting under a truck…”

Great, this spelled trouble, and I knew what was going to happen.  Usually, I hear them rustling around under my truck, but for some reason, I hadn’t this time.  I shooed them away, got in my truck, and turned it on. 

All the lights were flashing.

I knew what had happened:  one or all of those varmints had chewed through the wires underneath my truck.  Well, I was 15 miles off a 4WD dirt road, and if my 4WD wasn’t working, 2am was the best time to drive down this road, as I shouldn’t encounter any other vehicles. 

I resigned my hiking plans for the day, and drove to the nearest dealership that could fix my truck.  Durango was 4 hours away, and I made it there just as they were opening.  I told them what had happened, they took a look under the hood and under the vehicle, and said “soonest we can fix it is 3 weeks.  Maybe 4.” 
I was shocked:  I’d never had a dealership not be able to get me in that day, but they were adamant.  I knew what needed to be done, as this has happened before.  The wires needed to be spliced and put back together, then bound with rat tape.  My bad for not doing the rat tape thing already, but I’ve done it on so many of my vehicles I’d honestly forgotten I hadn’t done it on this truck.

They also told me not to drive my truck, as it wasn’t safe.  Great.  So, I was stuck here for 4 weeks?  I don’t think so. 

I called around to every shop within a 5 hour drive, and they all told me the same thing:  3-4 weeks until they could fix my truck.  Since this has happened to me before, I already knew what was going on, and wasn’t too worried.  Yes, the lights were annoying, but my truck still worked.  I just needed to drive carefully and not try to break too fast. 

I decided to head instead to a 2WD trailhead for the weekend, seeing as how I was already in Durango and it was a 7 hour drive home (where I was sure my local dealership would do whatever it took to get me in that day: Putting over 50K miles on my truck a year means I’m one of their most valuable customers).  Adding 45 minutes on to my drive wasn’t going to change much. 

I drove to the next trailhead, a little upset my hiking day was shot.  As I was sitting in the front seat of my truck, researching routes, I heard a scratching coming from inside my truck.  Well, not inside exactly, but underneath… and inside. 

Then I heard the noise again.  Something was scratching the walls.  It sounded bigger than a mouse or rat, and a bit frantic. I went outside to see what was going on, and the noises stopped.  It was starting to rain, but I decided to sit there and wait to see what was going on. 

Then the noises began again

I saw a Forest Service truck drive by.  I flagged him down, and asked him if he knew any tricks for getting a marmot out from underneath your vehicle.  I could tell by the look he gave me he didn’t believe me.  He sat there for 5 minutes and whatever it was inside was silent.  He smiled at me, said to give it time, and drove away.

As soon as he drove away, the noises started again.

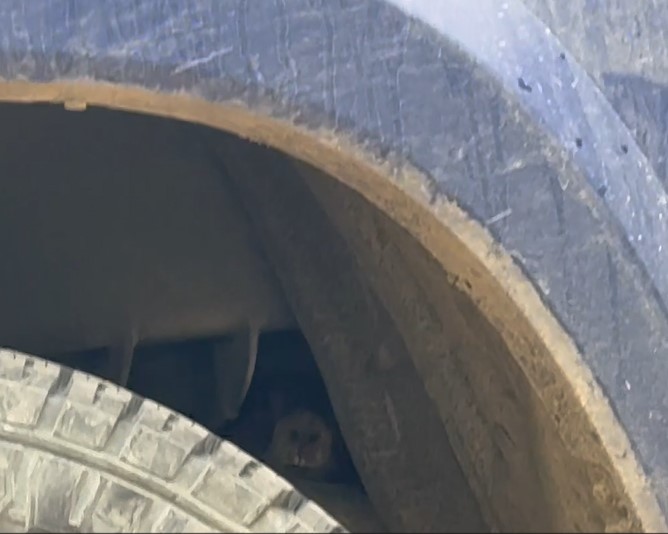
Something was obviously stuck and trying to get out, so I tried to pull back the flaps and bang on the tires.  The animal went silent again, but it was watching me from just above my back tire.  I saw a nose peeking out, staring at me, and it kind of looked like a porcupine.  It would have made sense, since I’d seen a porcupine under my truck that morning as well.

Well, if it was a porcupine, I wasn’t going to put my hands anywhere near that wheel well.  Eventually, it started trying other options.  I saw it near my spare tire, and figured it was only a matter of time before it found it’s way out.

Well, eventually it did.  And when it did, it just sat under my truck, confused.  It obviously had no idea where it was, and was taking time to think.

It took a little too much time, and when it looked like it was going to climb back inside my truck I shooed him away.  He ran off into the trees, and I went back to doing what I was doing.  Then I noticed him, sitting and staring at my truck.  I went over to him and he didn’t seem scared, he just stared back at me.

Then he started walking towards my truck again, and I got worried he’d try to slip back in later in the night, so I drove down the road for about a mile, giving him space from my vehicle, which he seemed to desperately desire. 

15 minutes later, I looked in my side mirror, and that little bugger was running up the road towards my truck!  It was as if he thought my truck was a portal and he’d escaped the wrong side.  Maybe if he went back in and out another way, it would take him back to the original trailhead.  I kind of laughed to myself, realizing he’d been inside my truck at the repair shop and hadn’t been noticed.  I drove another 5 miles away, he didn’t follow, and my truck was safe for the rest of the weekend. 

Here is a picture of the damage

And what it looks like now that it’s fixed. Rodent Tape is manufactured by Honda, and costs about $60 a roll. Much better than a $4400 fix later.

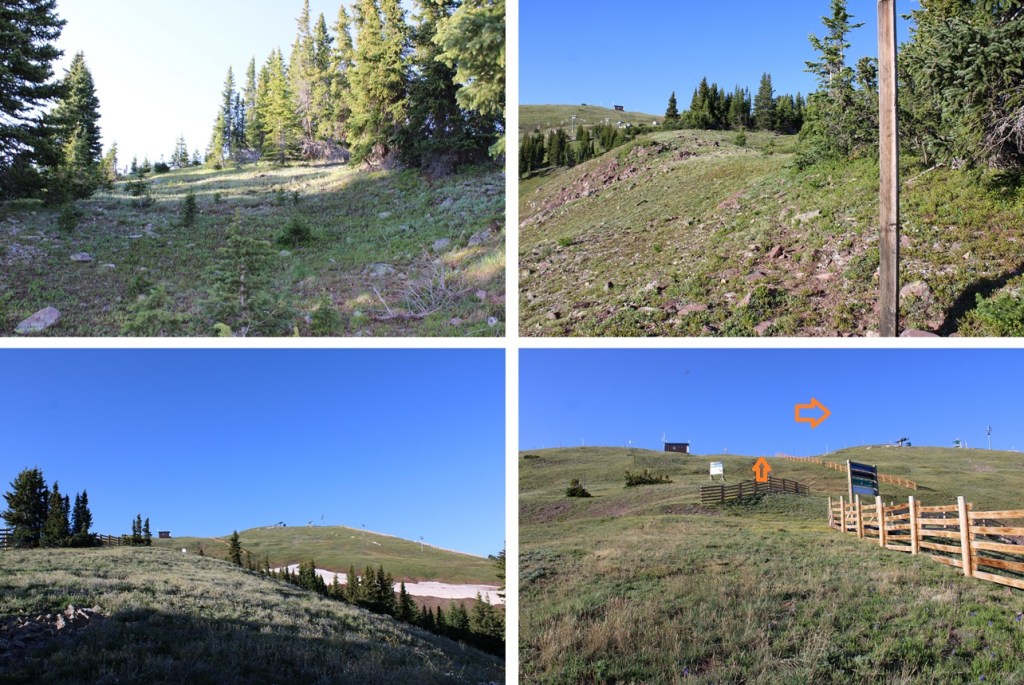
Union Mountain – 12,313 and Jacque Peak – 13,212

RT Length:  12.45 miles

Elevation Gain: 3551’

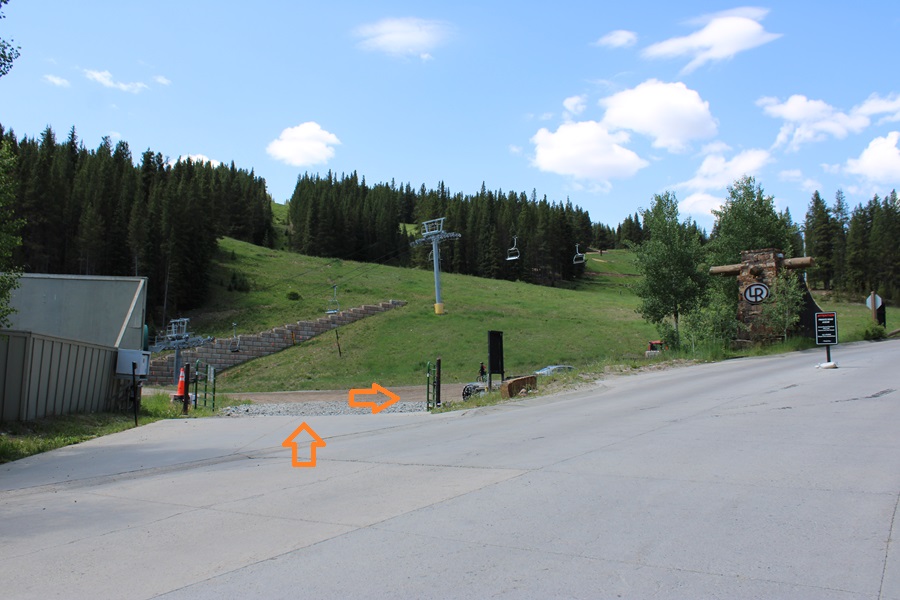
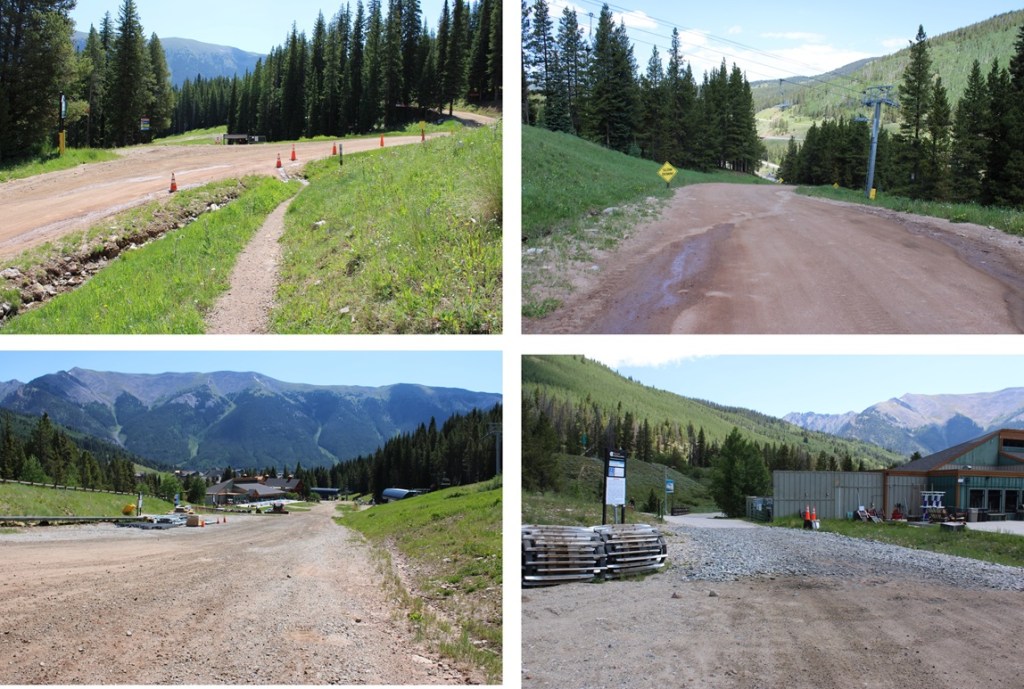
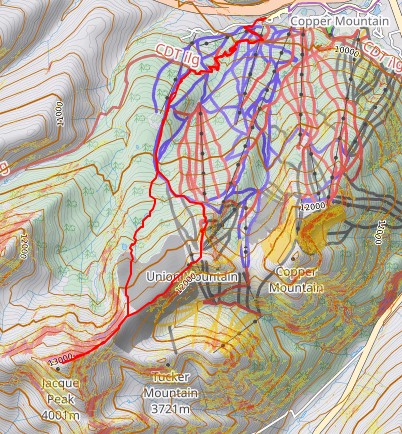
I didn’t summit the way I’d intended.  The place I’d wanted to park and hike had a bunch of “No Parking” signs, and there wasn’t another good place to park for miles, so I turned around and headed to the Copper Mountain Ski Area.  I found a parking spot just under the lifts, and before entering Lewis Ranch, but there was a sign that said “Tow Away Zone from 10pm-6am”, so I waited around until 6am, and hit the trail from Copper Mountain Ski Area.

I’d planned on hiking up the road for as far as I could get, but as I started heading up the road, I noticed several pieces of large equipment being driven up the road ahead of me (think cranes, bulldozers, etc.).  It’s been my experience that when these vehicles are in operation, the operators tend to ‘kindly’ ask you to leave the area (or escort you down).   Being a solo female hiker who’s encountered this type of thing before, I don’t like to get into these types of situations.  Instead, I went with Plan C:  I’d hike the Colorado Trail for as long as I could, then start ascending ski runs.  So, if this isn’t the conventional way to summit Jacque Peak in the summer, please forgive me, as it was my third option. 
I left the parking area at 6am, and headed west toward the ski lifts. 

I walked through this gate, and started following the dirt road as it wound west and then southeast.

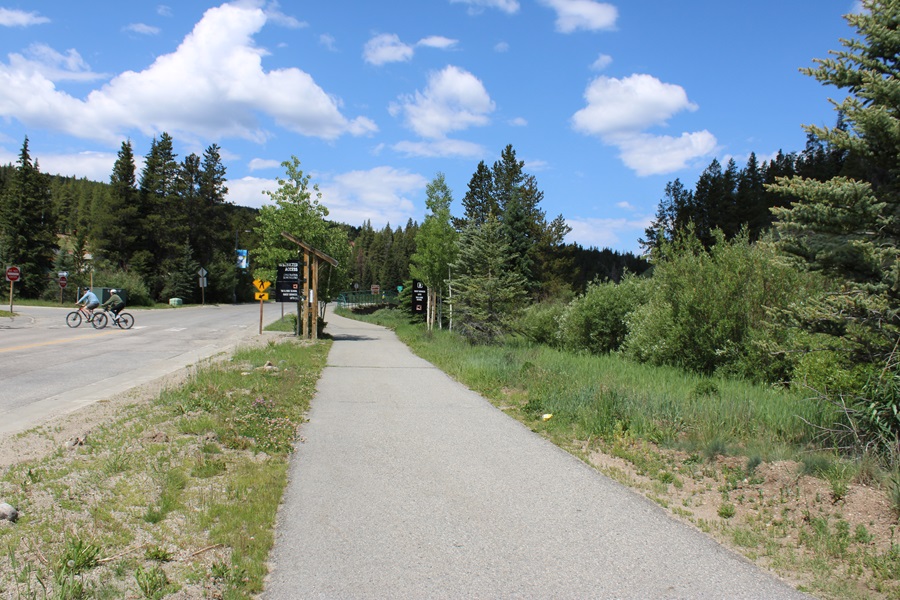
I quickly came to the junction for The Colorado Trail.  It’s on the right side of the road, and clearly marked.  I turned right.

I followed The Colorado Trail for just under 2 miles, staying on The Colorado Trail at junctions. 

When I came to the Fairway Ski Run, I left the trail, and headed southwest up the run.  For those of you skiers out there, or anyone with a map of the runs, I took Fairway to Roundabout to Soliloquy to the ridge.  There were nice game trails to the hikers left of the runs that I was able to follow to stay out of the willows.  I just kept following the runs up and southeast.  Here are some pictures of the route:
When I came to 11600’ there was a big dirt pile and a bulldozer moving the dirt. Not wanting to get in their way, I turned right and headed up the ridge, following the road south to the ridge.

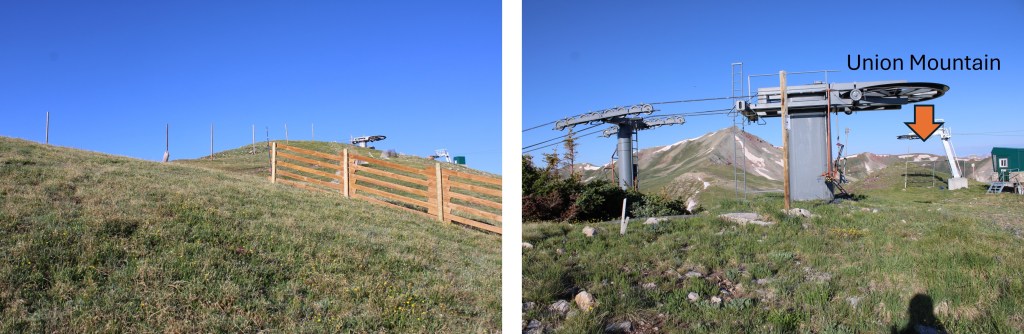
Then continued following the ridge south towards Union Mountain, which is just to the west of the last ski lift.

I summited Union Mountain at 7:30am

Union Mountain:

From Union, you can clearly see Jacque Peak looking to the southwest.

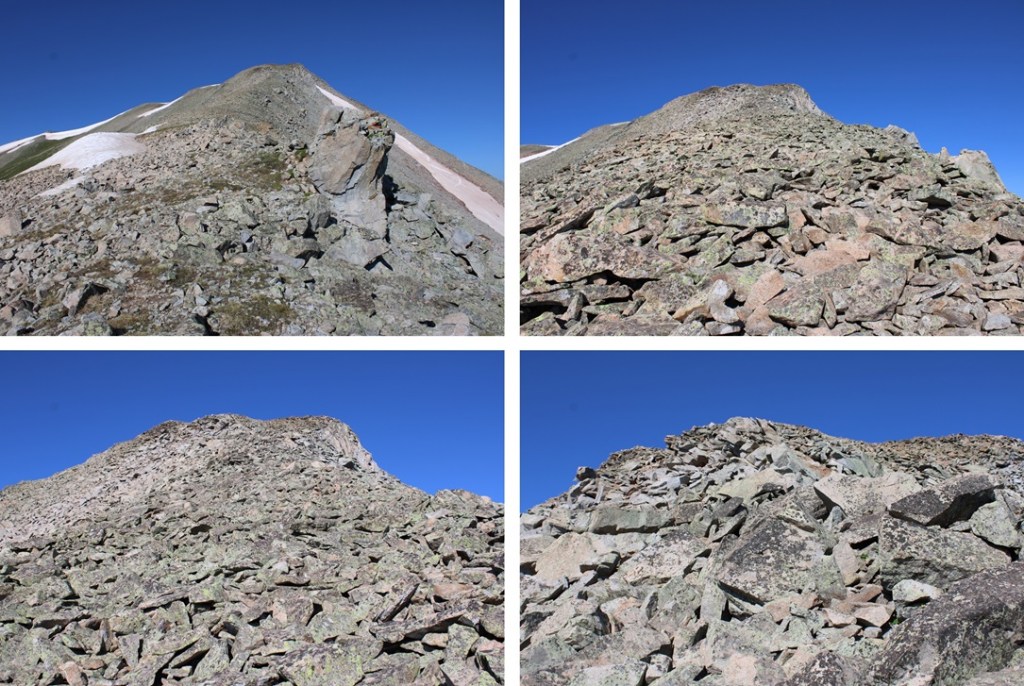
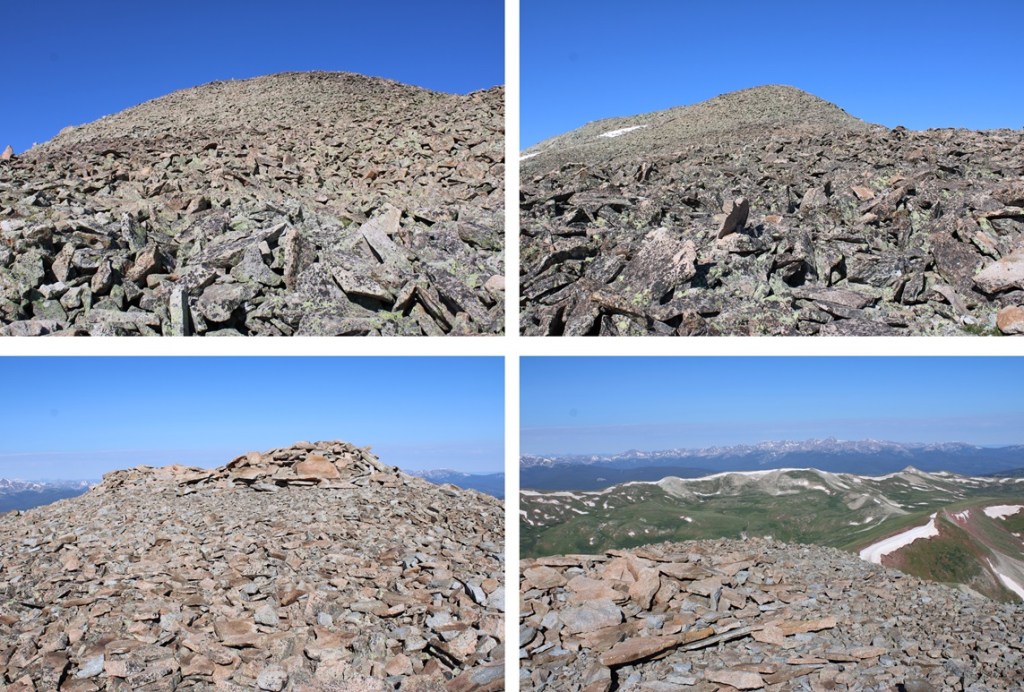
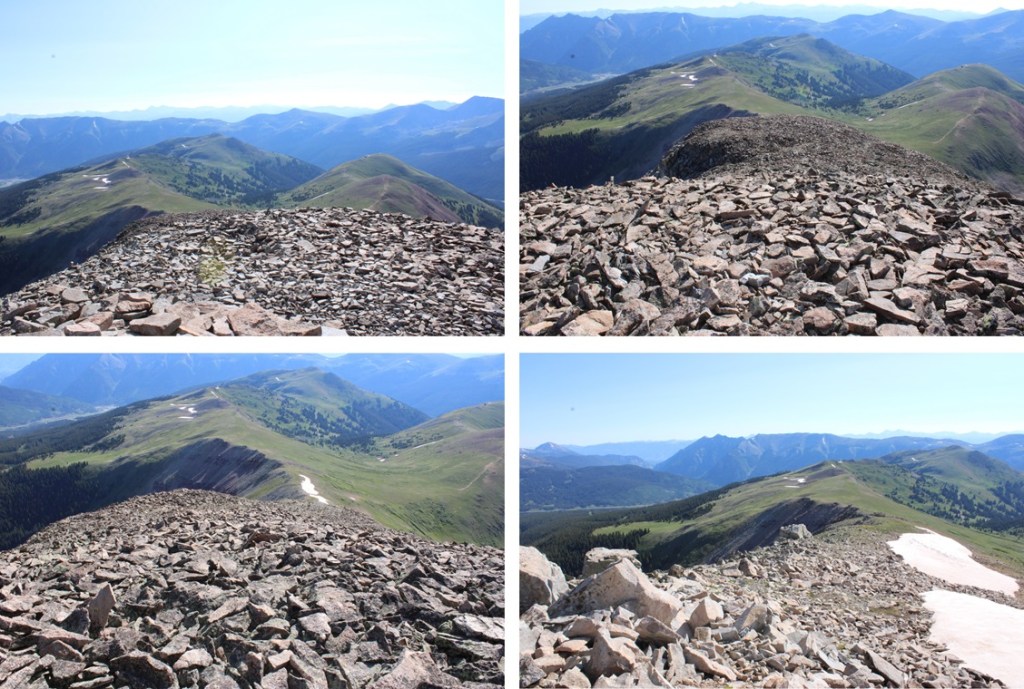
As you can imagine, this was a straightforward ridge hike to the summit.  From Union, I gained about 900’ to the summit of Jacque.  There were a few rocky areas in the beginning, then tundra, then more rocks.  All the rocks were loose, so watch your footing, especially as you near the summit.  This was all class 2, with no trails.

Oh, and there’s a false summit

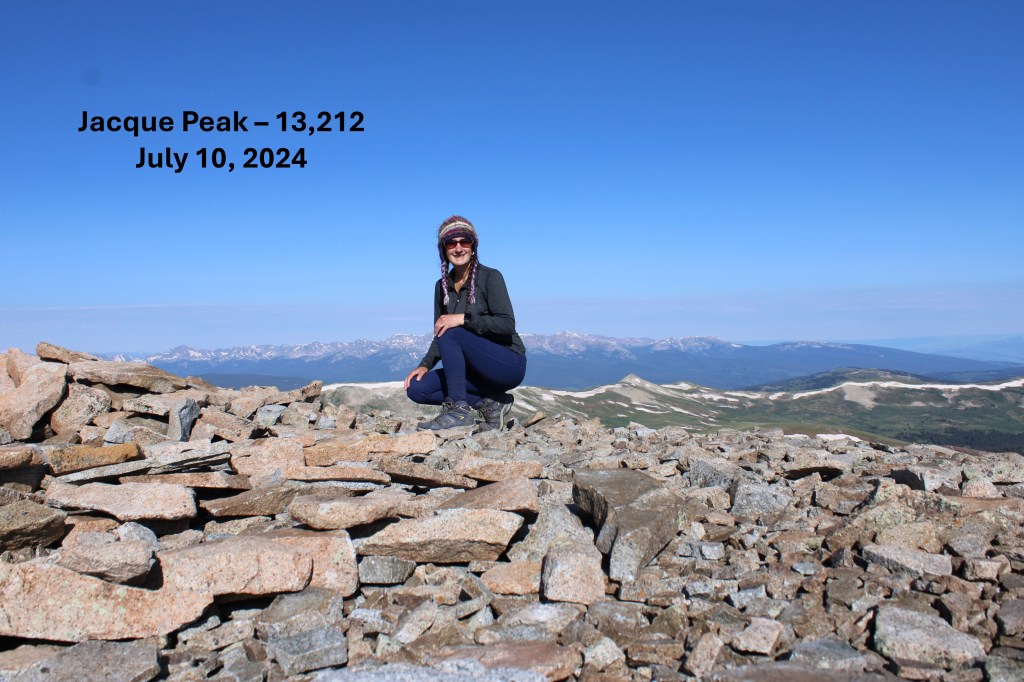
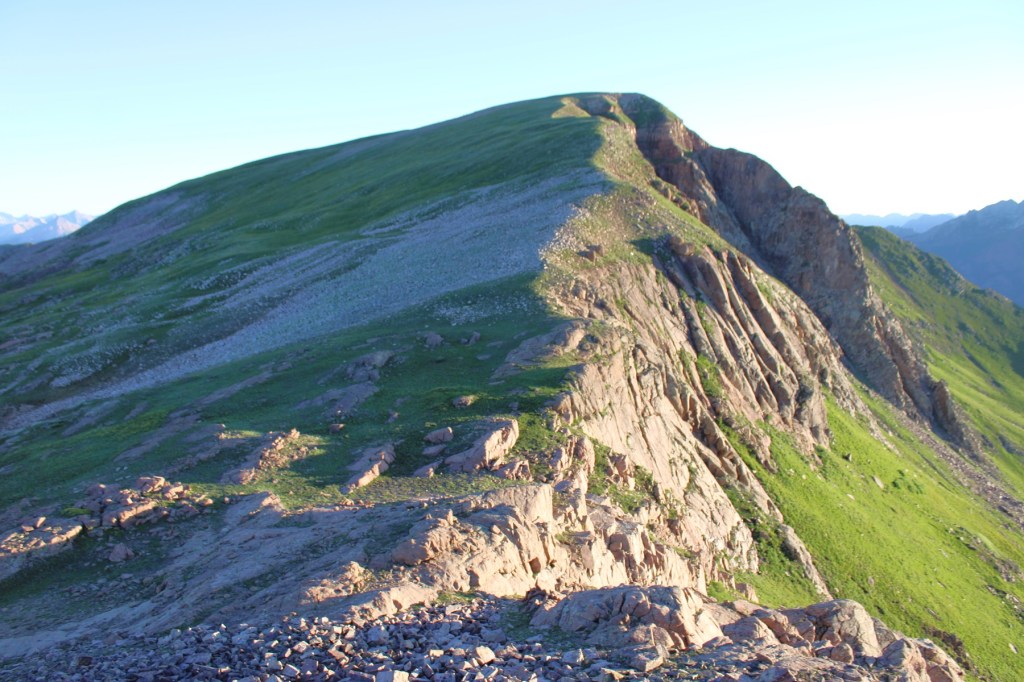
I summited Jacque Peak at 8:40am

Jacque Peak:

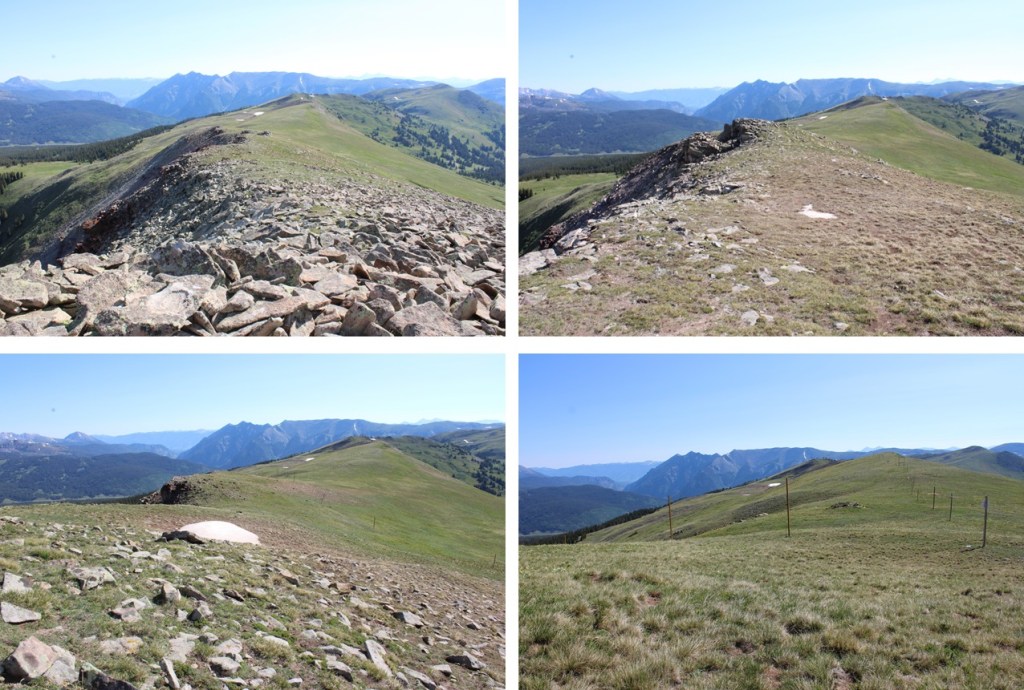
I turned and headed back down the ridge. 

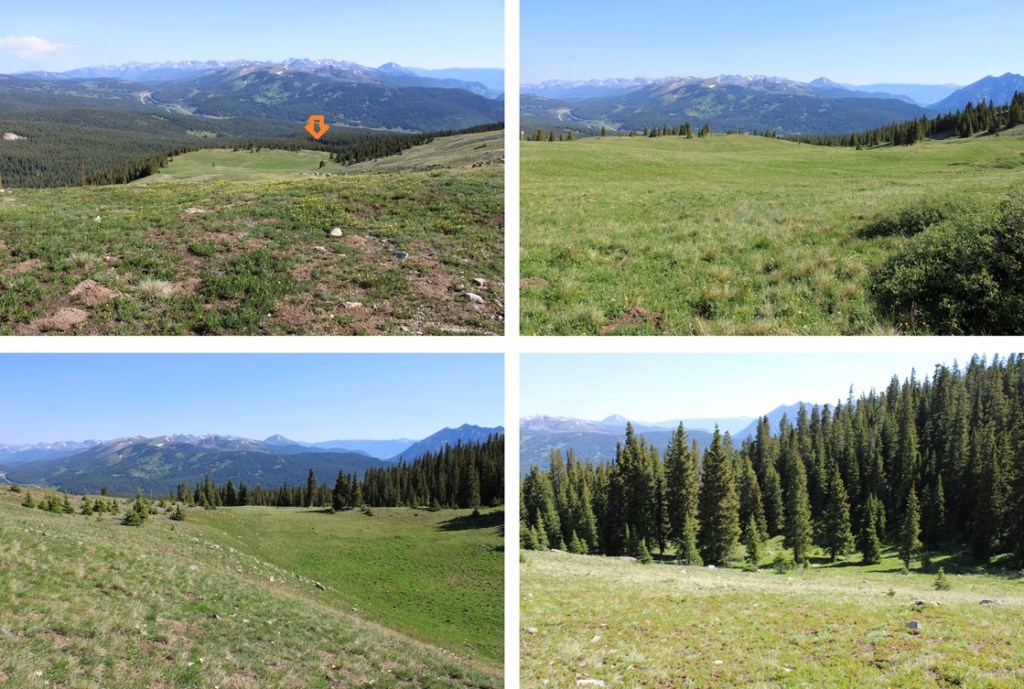
But I didn’t descend entirely the same way I ascended.  Instead, about halfway along the ridge between Jacque and Union, I turned left and headed north down the West Ridge Traverse Route.  I took West Ridge Traverse to Soliloquy to Roundabout, then Fairway to The Colorado Trail.  It sounds daunting, and at times the runs get narrow, but I just followed the wooden posts initially, then the Ski Area Boundary signs and little pieces of pink surveyor’s tape heading down and south (there are signs every 30 feet or so), staying on game trails to the right of the runs.  And you don’t need to take the same route I did.  As long as you’re headed down on a ski run, it’ll take you back to the lifts. 

I made it back to The Colorado Trail, turned right, and followed the well marked trail back to the dirt road, then back to my parking spot.  The lifts were running on my way down, carrying visitors/hikers to the top.

I made it back to the trailhead at 10:45am, making this a 12.45 mile hike with 3551’ of elevation gain in 4 hours, 45 minutes.

On to the next trailhead!

Overlook Point – 13,005

RT Length: 8.89 miles

Elevation Gain: 1872’

This one felt way too easy.  The most difficult part was the drive in.

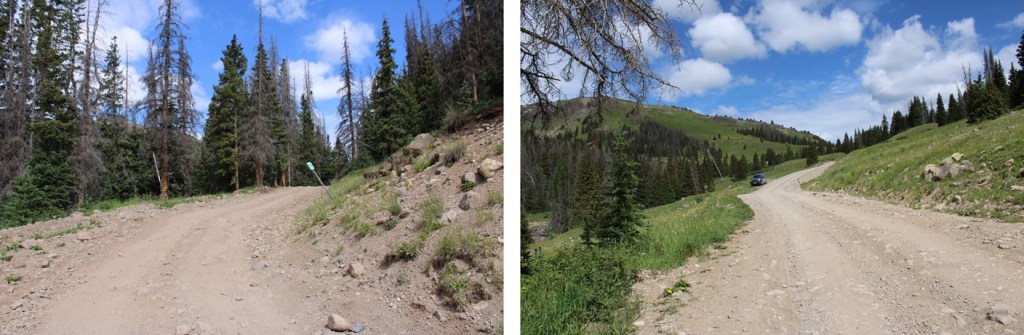
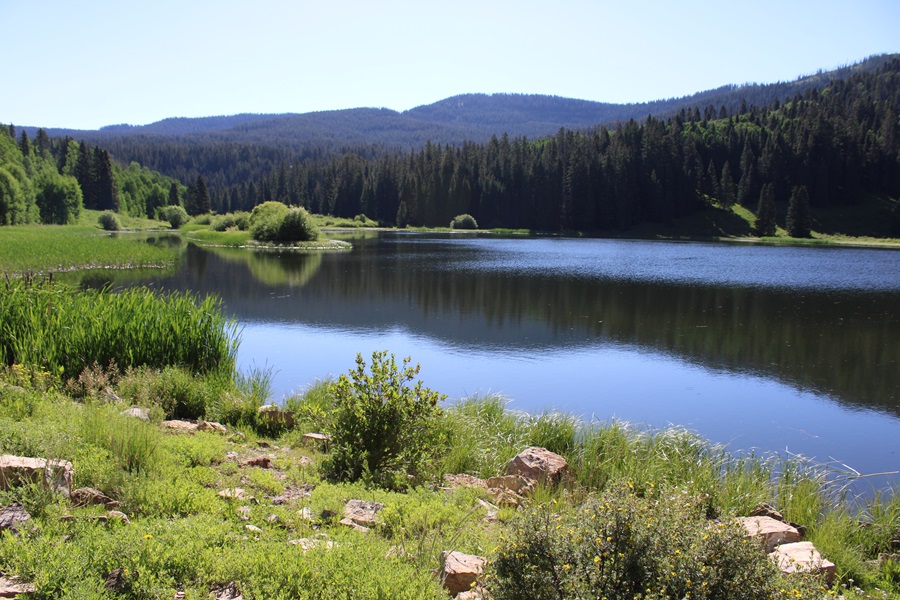
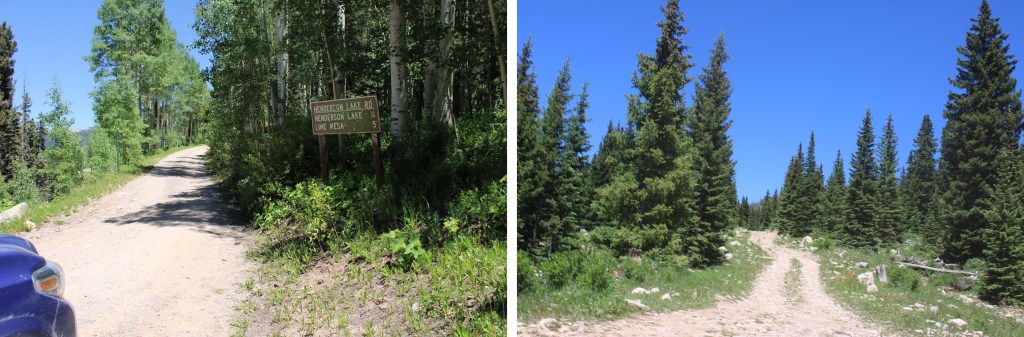
The road to Lime Mesa Trailhead is mostly 2WD.  Mostly.  At the turnoff point just before Henderson Lake it’s another 5 miles to the trailhead.  The road stays 2WD for about 2.5 miles, then becomes 4WD.  The road just gets worse as you drive, so as soon as you feel uncomfortable with the conditions pull over and park.  There are several dispersed camping areas along the road. 

Henderson Lake:

Road after Henderson Lake:

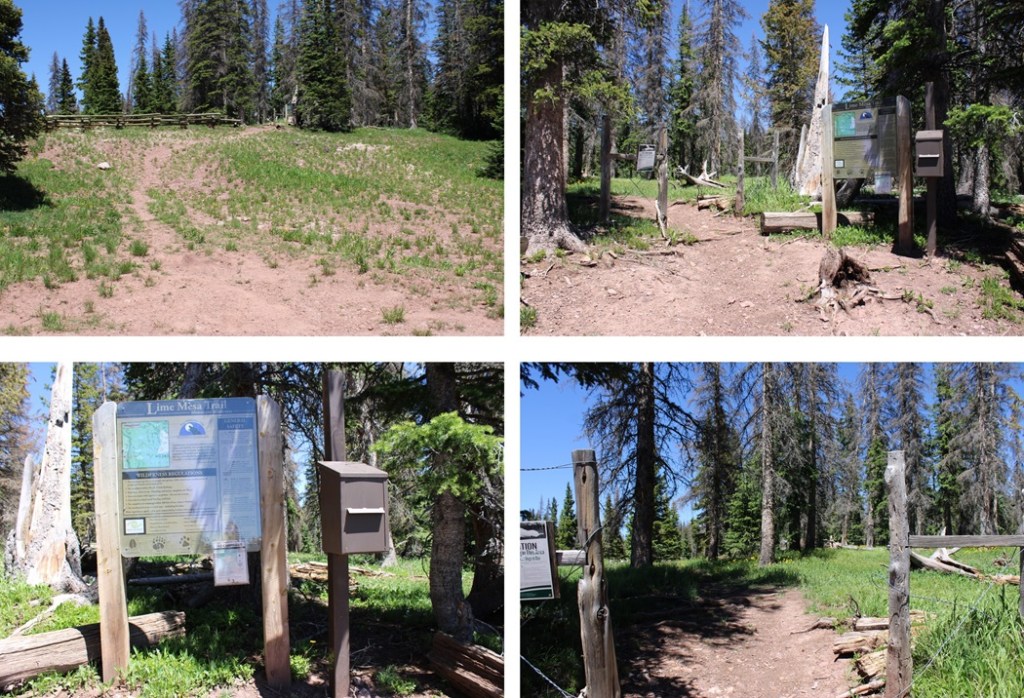
The trailhead is obvious, and starts at the north end of the parking area,  I was on the trail at 5am.

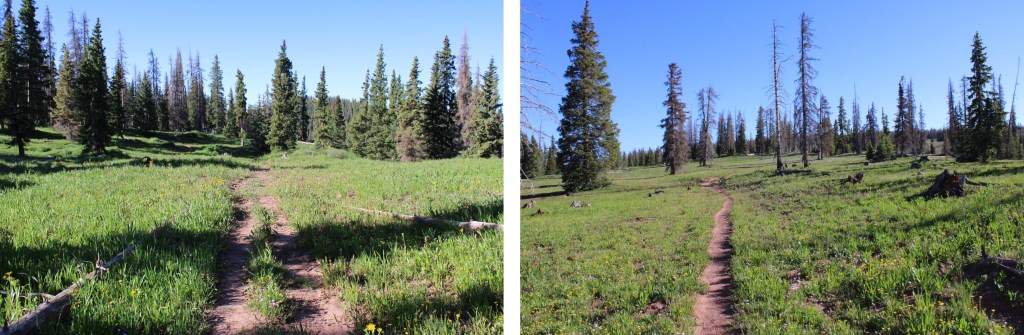
I followed the class 1 Lime Mesa Trail North for 3.4 miles.  After hiking for about half a mile I came to a junction, and went left.

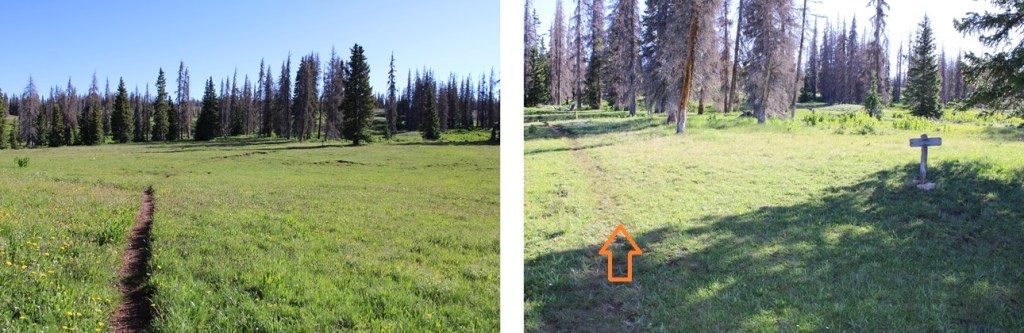
I kept hiking along the class 1 trail as it wound north through Lime Mesa

After hiking for a total of 3.4 miles, and at around 12420’ of elevation, I left the trail that had started going east and headed north.

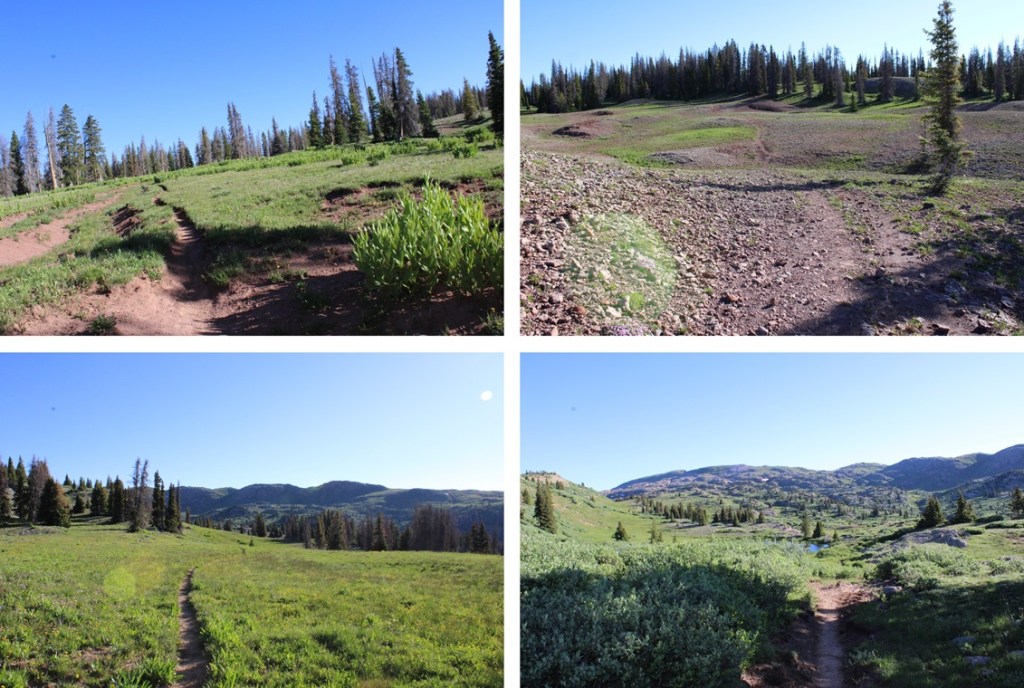
This is where I was headed

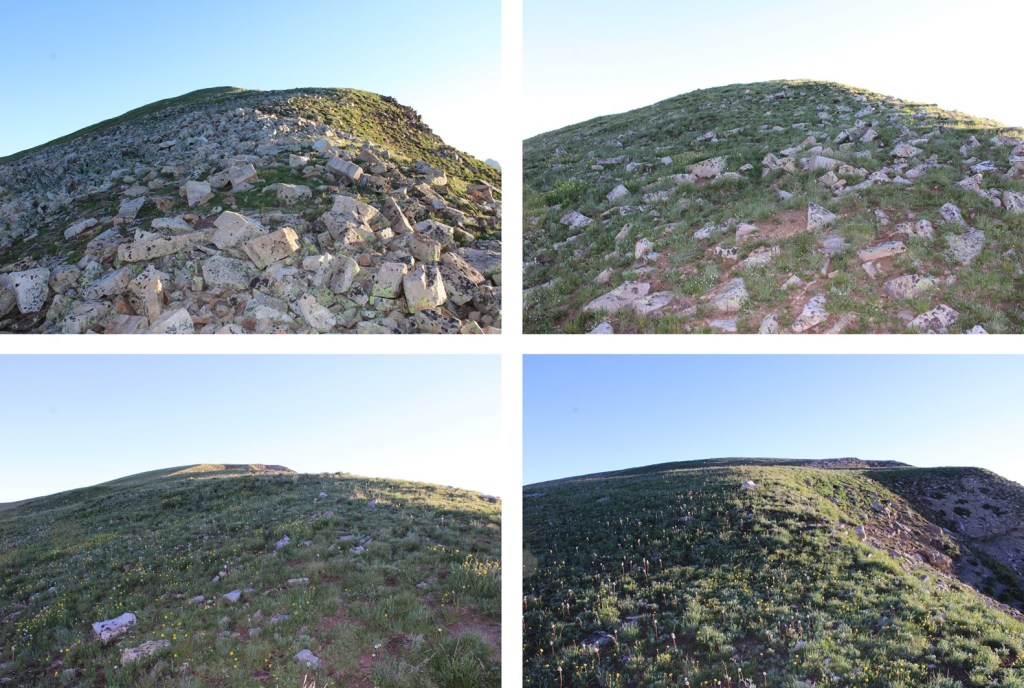
I ascended a gully, then headed towards the ridge.  This was mostly tundra, until the end, when it became rocky.  All class 2.

There was a big cairn at the top of the ridge

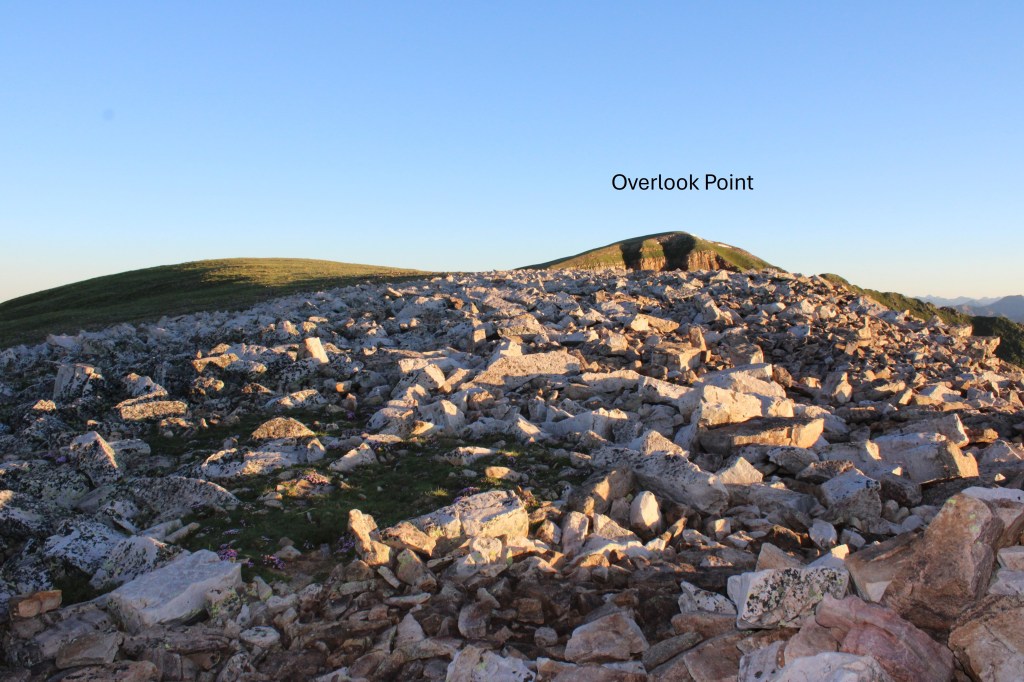
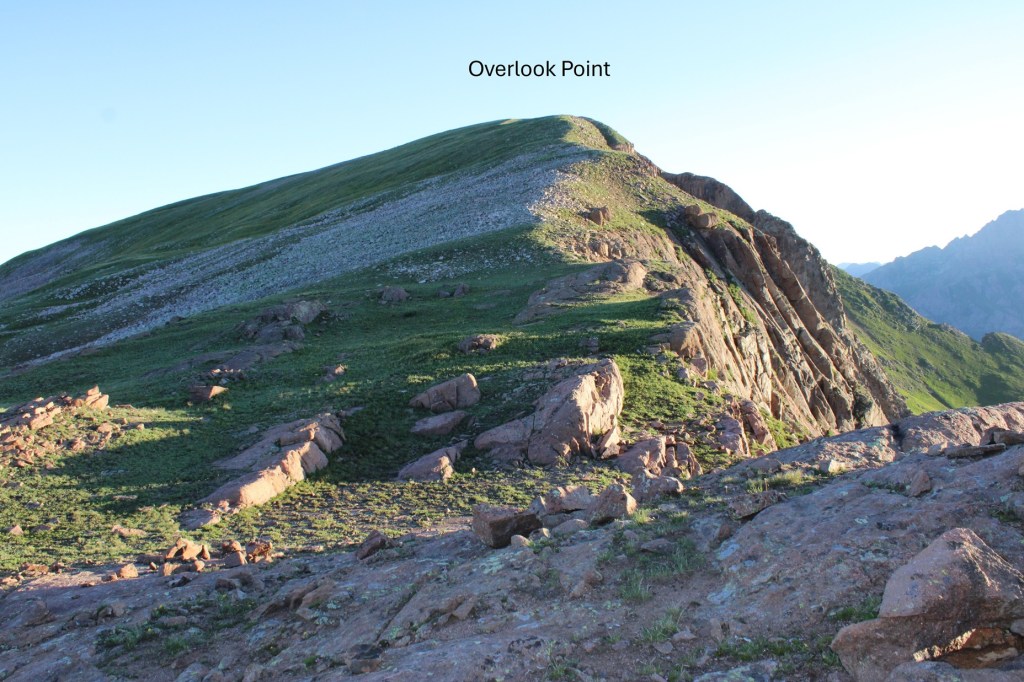
When I got to the top of the ridge, I was at PT 12802.  I could see Overlook Point to the north. 

I continued following the ridge towards Overlook Point. Rocks became tundra, and then the tundra became rocky again.

Following the ridge, I eventually came to a rocky area.  This is easier to descend than it looks.  It can be kept class 2 if you just follow the gully down.  Here I lost about 100’ of elevation as I made my way towards the saddle.

And now to gain the ridge.  This was a fairly easy ridge hike, where I gained about 300’ of elevation to the summit.  I just kept to the ridge. 

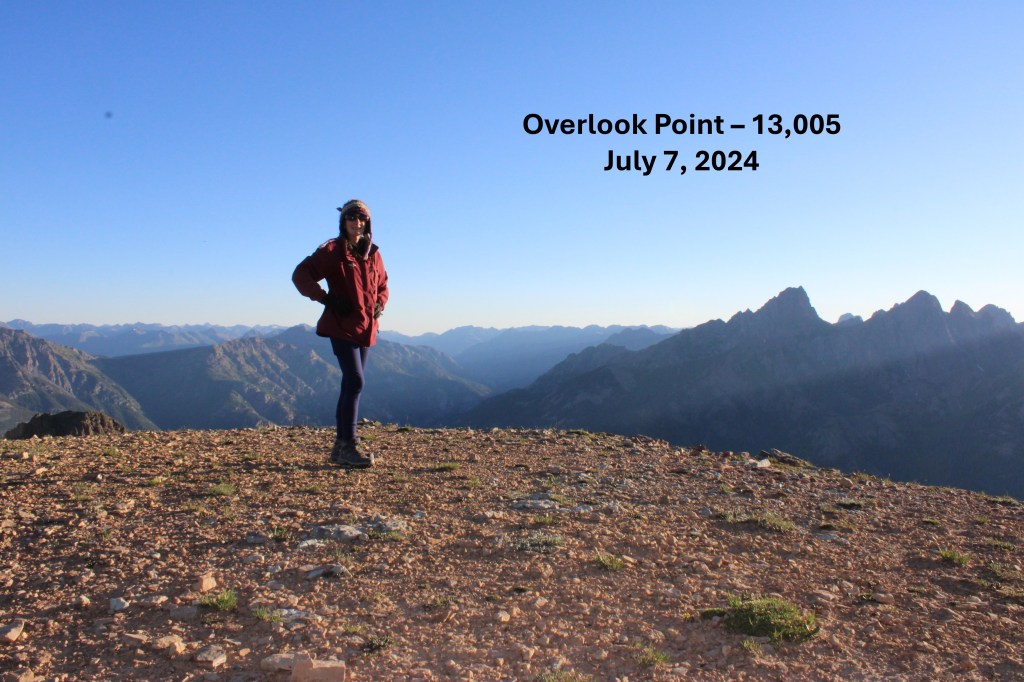
I summited Overlook Point at 6:40am

Overlook Point:

And now to make my way back towards PT 12802. I turned around and descended the ridge to the saddle.

Then it was up the rocky sections.  This is the route I took

Then southeast following the ridge to 12802

And then back down to the Lime Mesa Trail

I turned right onto the Lime Mesa Trail, and followed it 3.4 miles south back to the trailhead.

I made it back to the trailhead at 8:15am, making this a 8.89X mile hike with 1872’ of elevation gain in 3.5 hours.

On to the next trailhead!

Mount Valois – 13,173

RT Length from City Reservoir: 6.75 miles

Elevation Gain from City Reservoir: 2310’

RT Length from Endlich Mesa Trailhead: 21.45 miles

Elevation Gain from Endlich Mesa Trailhead: 5078’

The approach to City Reservoir is a total of 7.35 miles and 1220’ of elevation gain (but also over 1500’ of elevation loss) from Endlich Mesa Trailhead and City Reservoir.  You can view the approach to the saddle here

I awoke from my campsite at City Reservoir and was on the trail at 7am.  I followed the Endlich Mesa Trail towards Lake Marie.

When I reached the south end of the lake, where a stream flows out, I crossed the stream

After crossing the stream I headed northeast towards the ridge and the rocky outcropping.  The ridge actually has a lot of route finding, so I’ll do my best to explain how to navigate it.  This is all class 2, with route finding below treeline.

At the first rock outcropping, head for the tree that’s cut in half at the top of the rocks

Next, ascend this small gully

And continue heading northeast

You will eventually come to this wall.  If you navigate around to the left, you’ll find a grassy ramp to ascend.  Ascend, then walk back towards the wall to navigate around the rocks. 

After going east around the large rock face, again head northeast along the ridge.  You’ll encounter another large rock face.  This time, go right, and ascend a grassy gully.

Now you should be looking at the rocky ridge, but at least you’re above treeline. I pretty much stayed to the center of the ridge, and kept heading northeast, following the ridge.  If you have an option to go left on grassy slopes, do that. 

From here on out, this is a straightforward hike.  I climbed northeast up this class 2 ridge to a rather large cairn.

From there I headed east towards this large cairn, but I could have just kept heading northeast along the ridge.

From this second large cairn I followed the ridge towards Mount Valois.  It may look daunting, but it’s all class 2.  The ridge goes, but if it feels sketchy there’s a way to drop down to the left and use game trails. 

Here are some pictures of the ridge. 

Then it’s an easy rocky tundra walk to the summit

I summited Mount Valois at 7:45am

Mount Valois:

Now to head back to City Reservoir.  I retraced my steps back down to the ridge

Then across the ridge

Here are some pictures of the route back down to Lake Marie

Back down the gully

And across the rocky ledge

Then southwest towards Lake Marie

I crossed the stream, and headed south on the Endlich Mesa Trail back to City Reservoir.

I made it back to City Reservoir at 9:30am, making this a 6.5 mile hike with 2310’ of elevation gain from City Reservoir in 3.5 hours. 

On to the next trailhead!

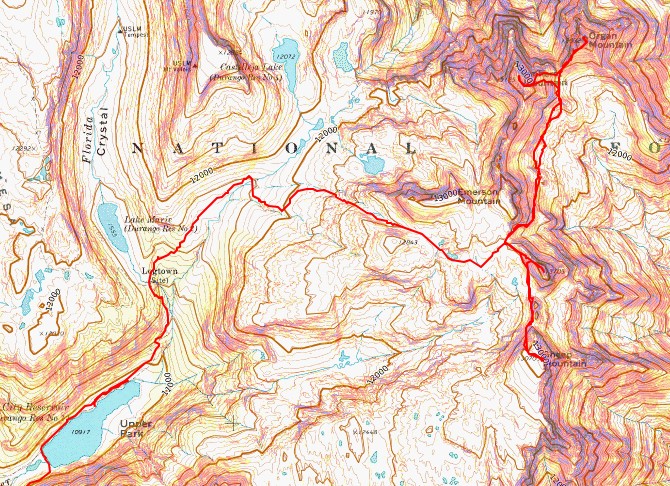
Amherst Mountain – 13164, Organ Mountain – 13,040, Peak Twenty Two – 13107, Sheep Mountain – 13,073

RT Length from Endlich Mesa Trailhead: 28.2 miles

Elevation Gain from Endlich Mesa Trailhead: 7263’

RT Length from City Reservoir:  13.5 miles

Elevation Gain from City Reservoir: 4495’

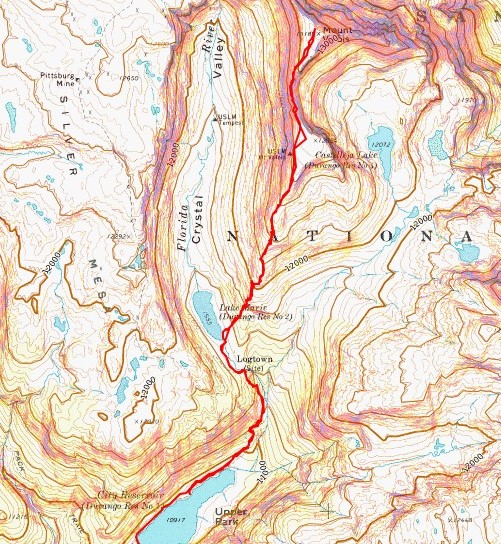
The approach to the saddle between Emerson and Peak Twenty Two is a total of 11 miles and 3250’ of elevation gain from Endlich Mesa Trailhead and City Reservoir.  You can view the approach to the saddle here

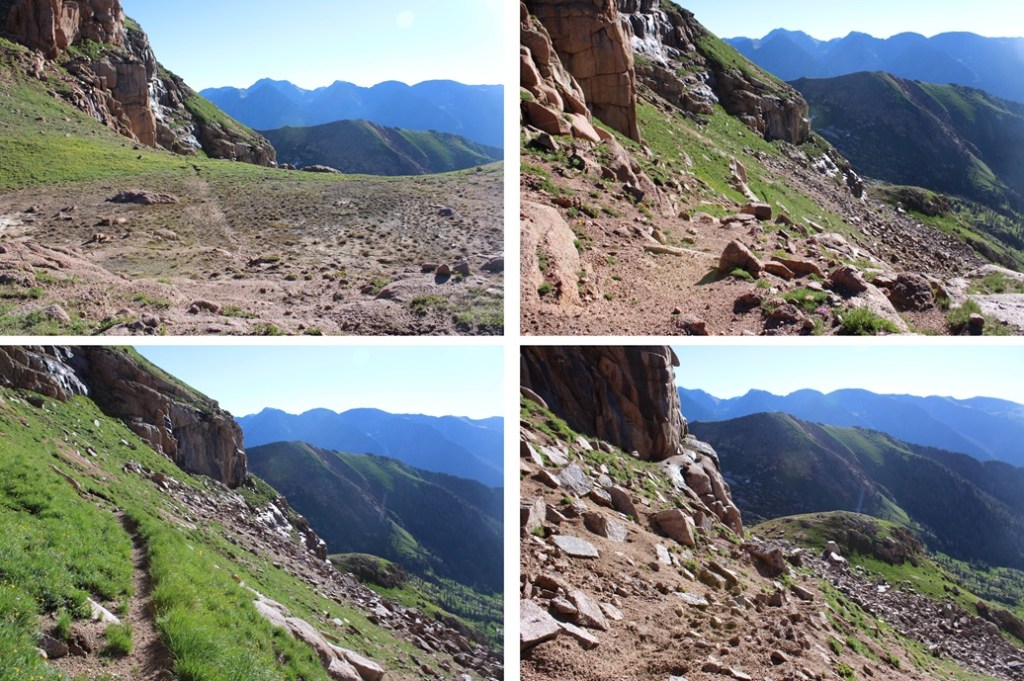
From the saddle of Emerson and Peak Twenty Two, I continued following a scree-filled game trail northeast skirting the east side of Emerson, losing 450’ of elevation as I wound my way towards an upper basin.

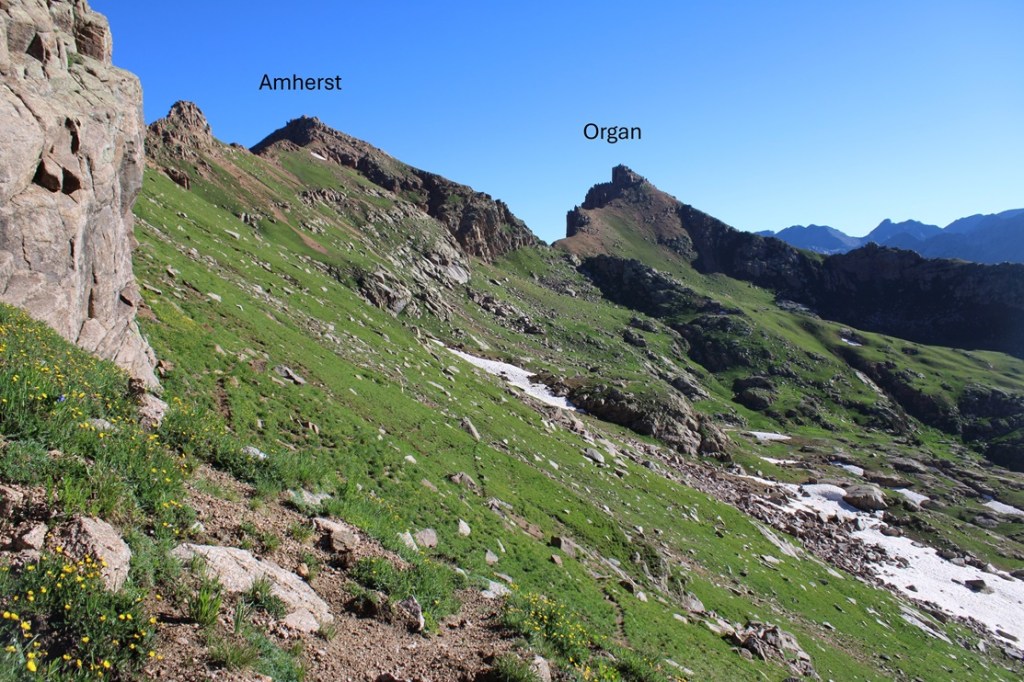
Here you can see Amherst and Organ

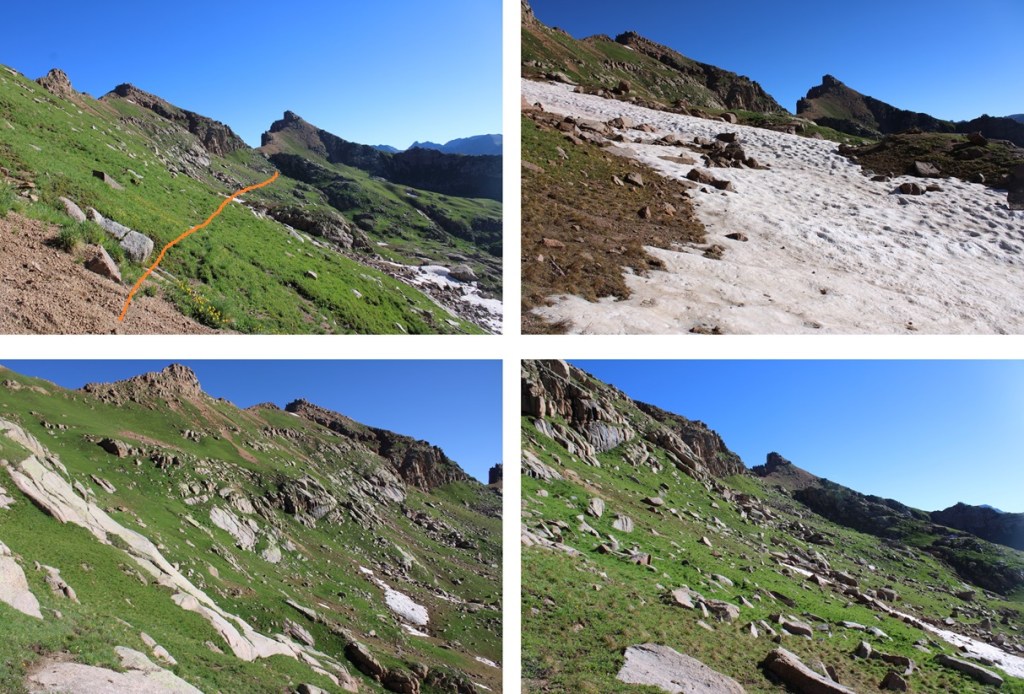
I continued following this trail until I kind of lost the trail, then stayed at about 12400’ of elevation as I made my way towards this gully

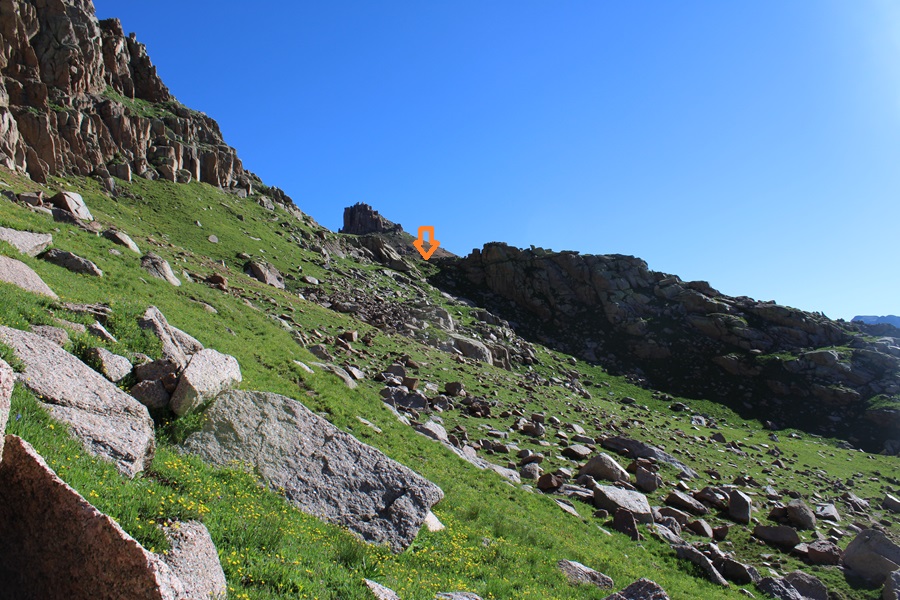
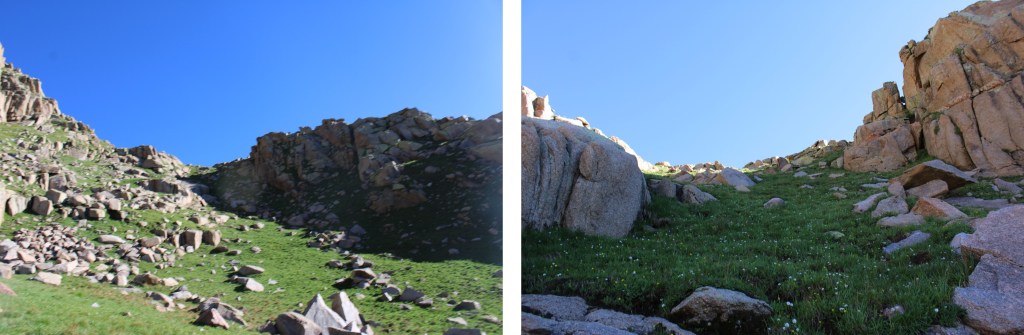
I aimed for this gully, and ascended it. 

At the top of the gully I could see the saddle between Amherst and Organ.  You can aim for the saddle, or just turn left and ascend Amherst.  I aimed left, and ascended 800’ on very steep tundra terrain, which eventually gave way to rocky class 2 terrain. 

At the top of this rocky area I looked right, and it looked like the area to the right was higher than I was, so I continued following the ridge north.

But when I got to the other side, it looked like where I had been was the highpoint, so I headed south back to the other side.

 My altimeter gave both points equal height, and there wasn’t a summit register, so I’m not entirely sure which is the true summit.  There was what you could call a cairn on the first summit.  In any event, they are both easy to tag.

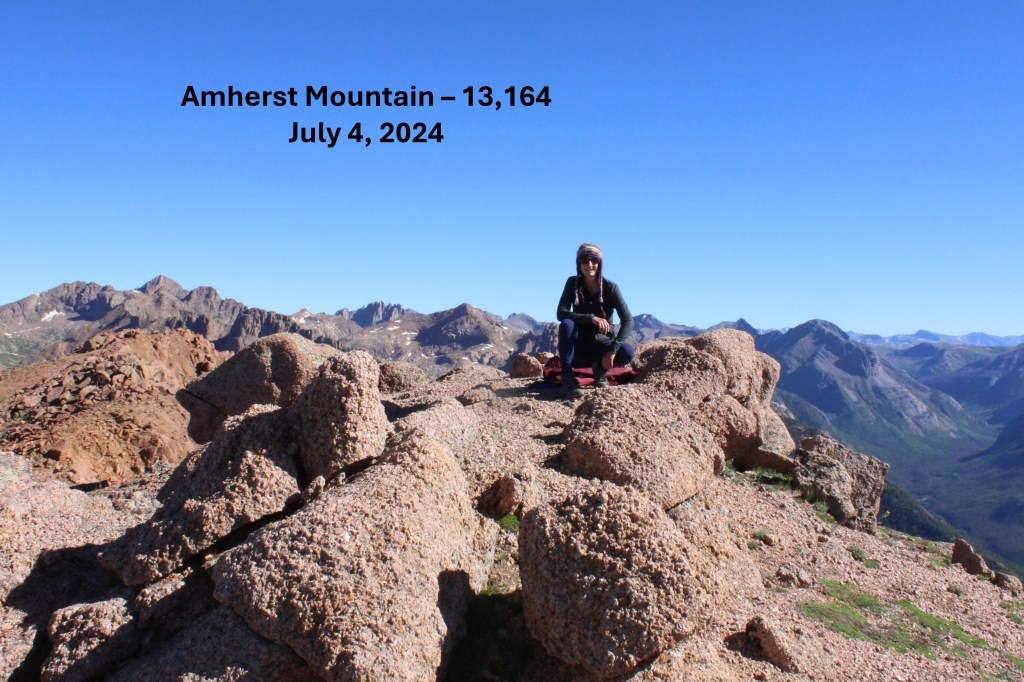
I summited Amherst Mountain at 9am

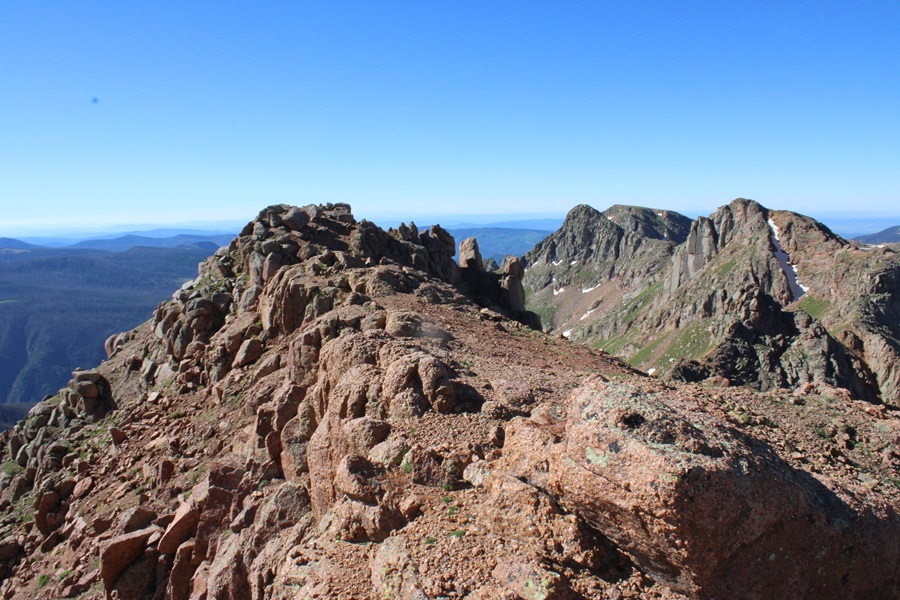
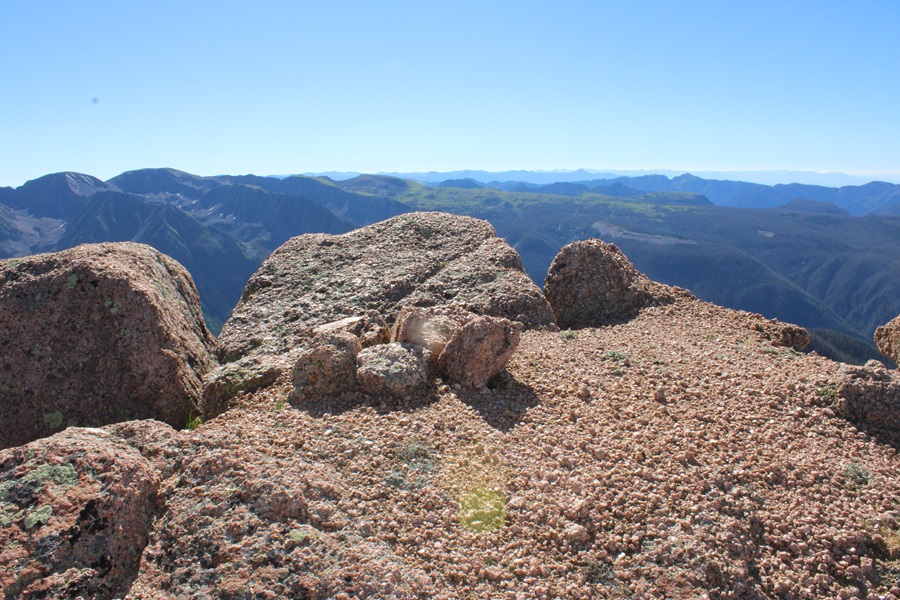
Amherst Mountain:

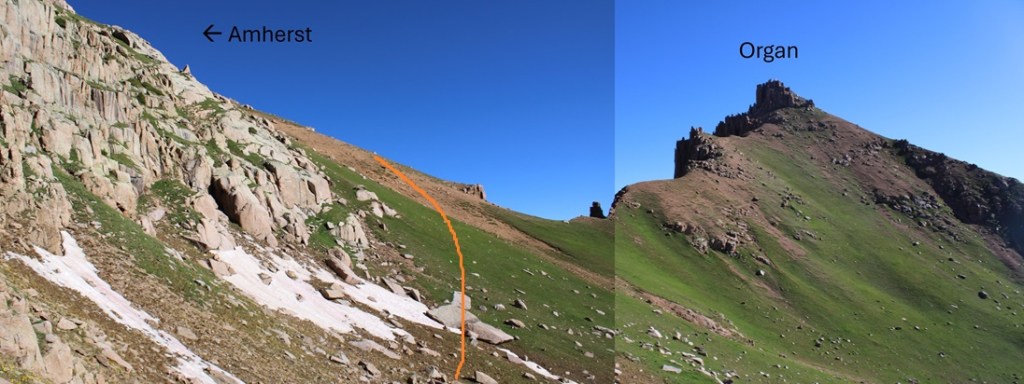
From the summit I could see Organ Mountain to the northeast

It looked like it would be a simple ridge hike, so I headed down to the Amherst/Organ saddle.

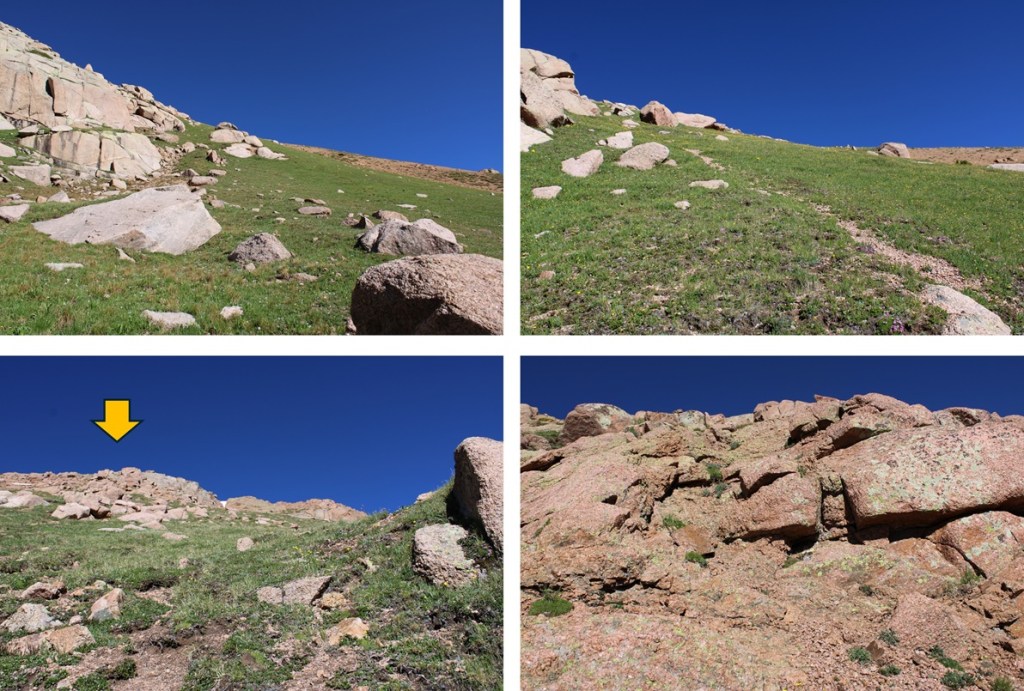
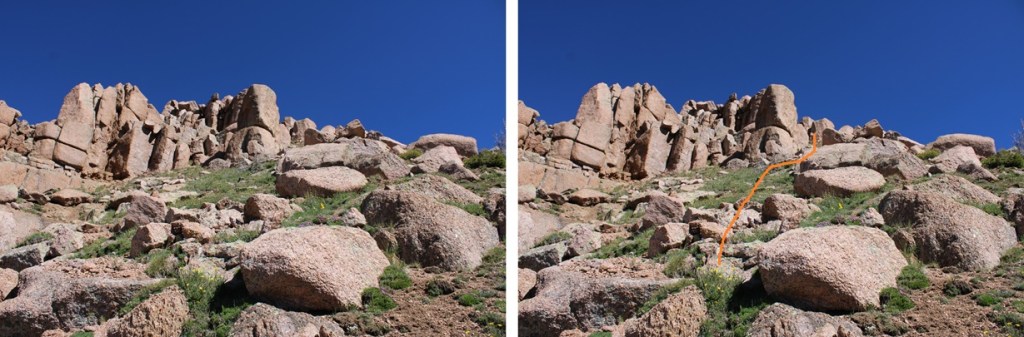
From the saddle, this is the route I took to the summit, aiming for the ramp to the right.  This initial part was all class 2 on either scree or tundra.

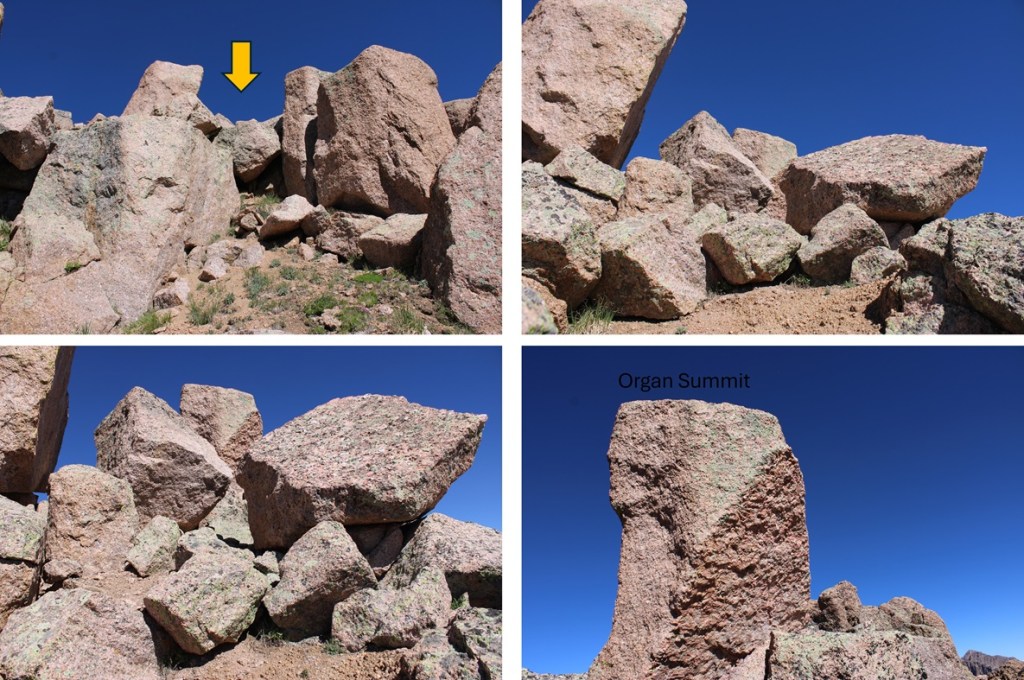
Once reaching the top of the ramp however, it became choose your own adventure, with some short class 3 climbing included at the very end.  I hopped over a few rocks, and could see the summit boulder to the north.  Climbing this was class 3, and a little airy, but easy access was found to the right of the summit block. 

The summit block

I summited Organ Mountain at 10am

Organ Mountain:

I turned around and headed back down to the Amherst/Organ saddle.

From the saddle of Amherst/Organ I made my way back over this gully, then descended to around 12400’ as I wound my way back around the basin and up to the saddle of Emerson/Peak Twenty Two.

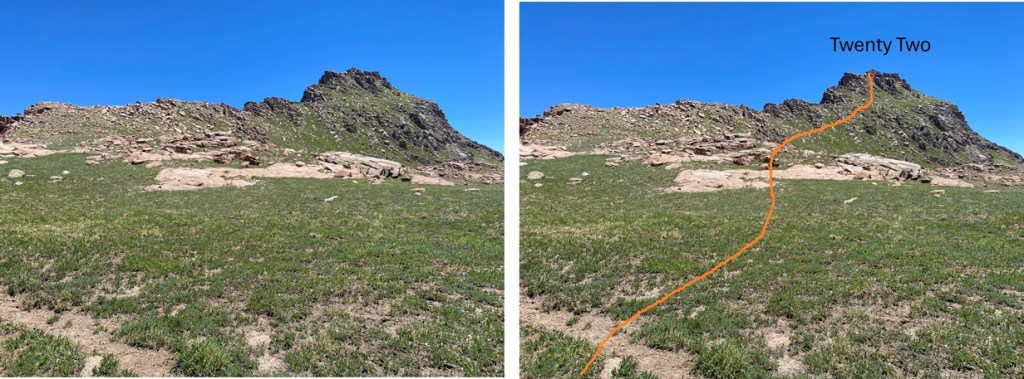
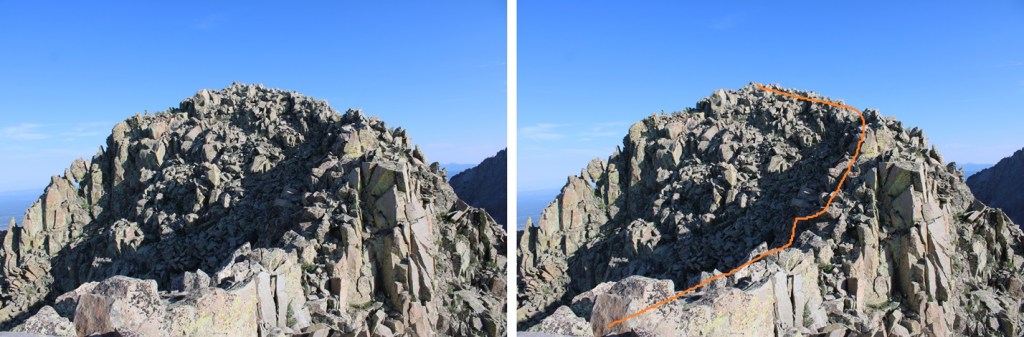
Now to head over towards Peak Twenty Two.  From the saddle, I turned left and headed southeast towards Peak Twenty Two. I bypassed most of the ridge, and instead took a grassy gully towards the summit.  Here’s the overall route I took to gain the summit.

This part was easy.  I just followed the tundra line up the ridge.

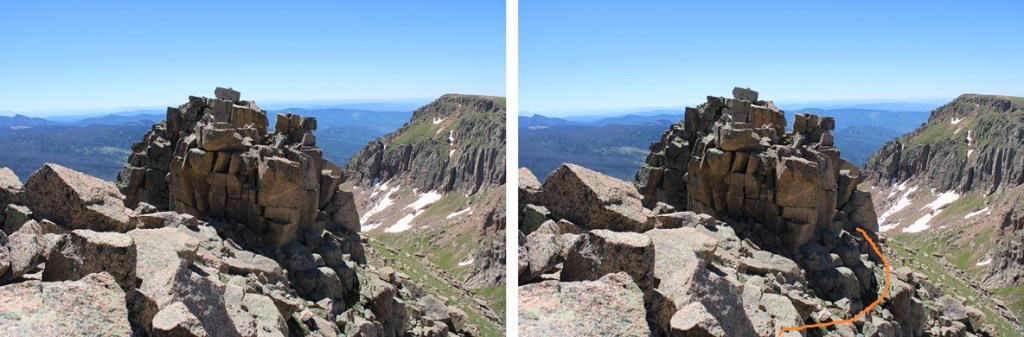
At the top of the tundra I thought I’d be at the peak, but I turned right and could see a rocky formation in front of my.  I descended a few feet to the right, and skirted the rocky area.

I then found a ramp and climbed up. 

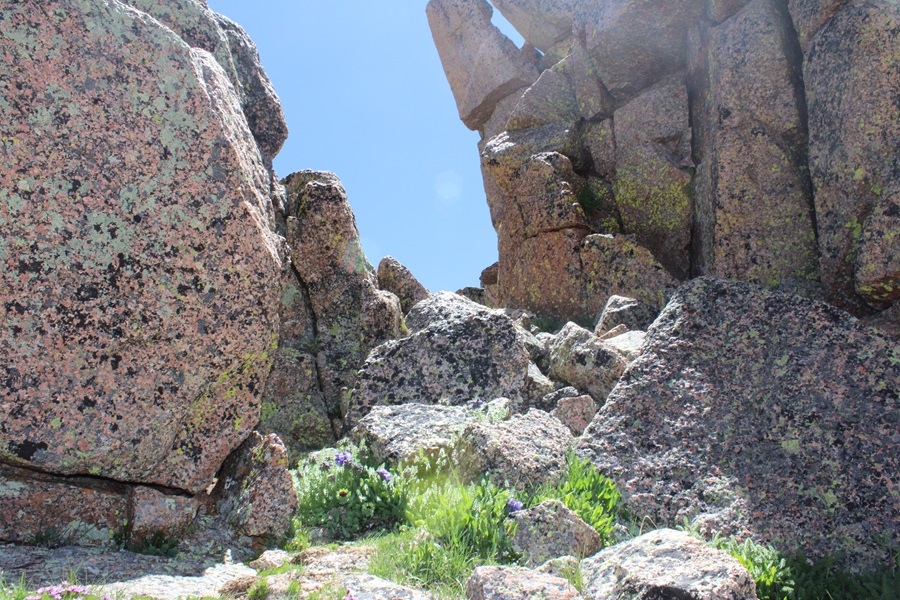
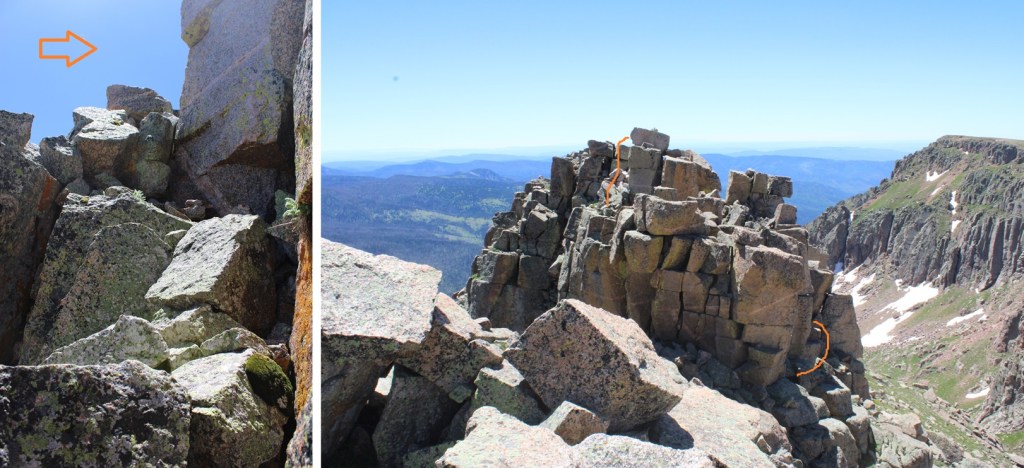
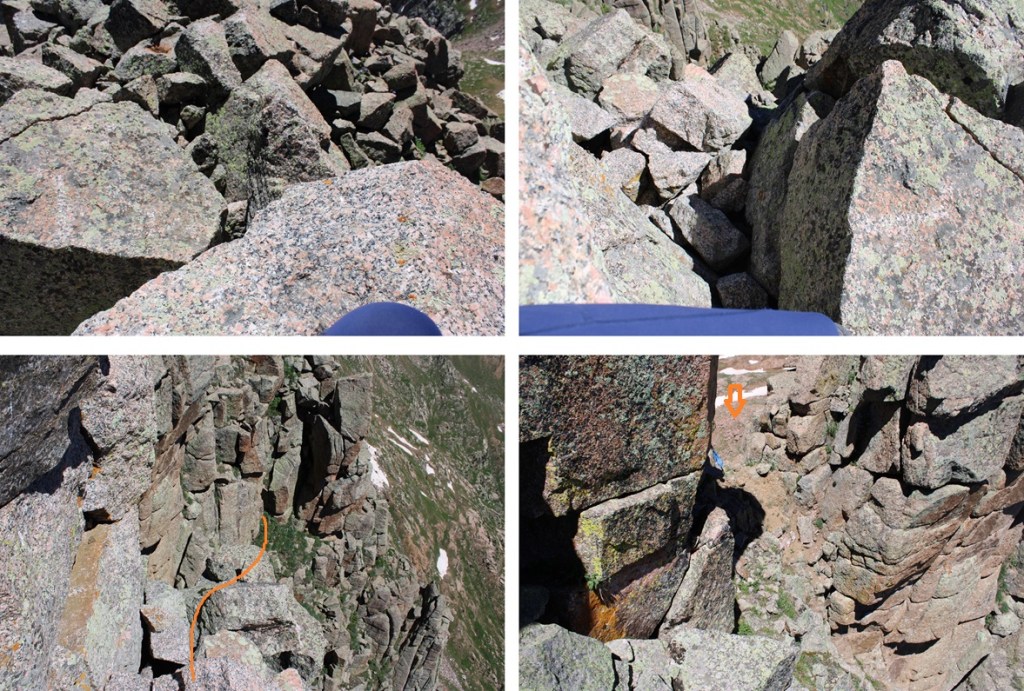
This is where it became class 3, or maybe class 4 depending on which route you take.  There are two more rocky ramps you can ascend. One to the right, and one to the left.  I looked at both, and liked the one on the left better.  They were both very exposed and required scrambling, but the one on the left felt “less” exposed.  Here’s the ramp I took:

I summited Peak Twenty Two at 11:45am

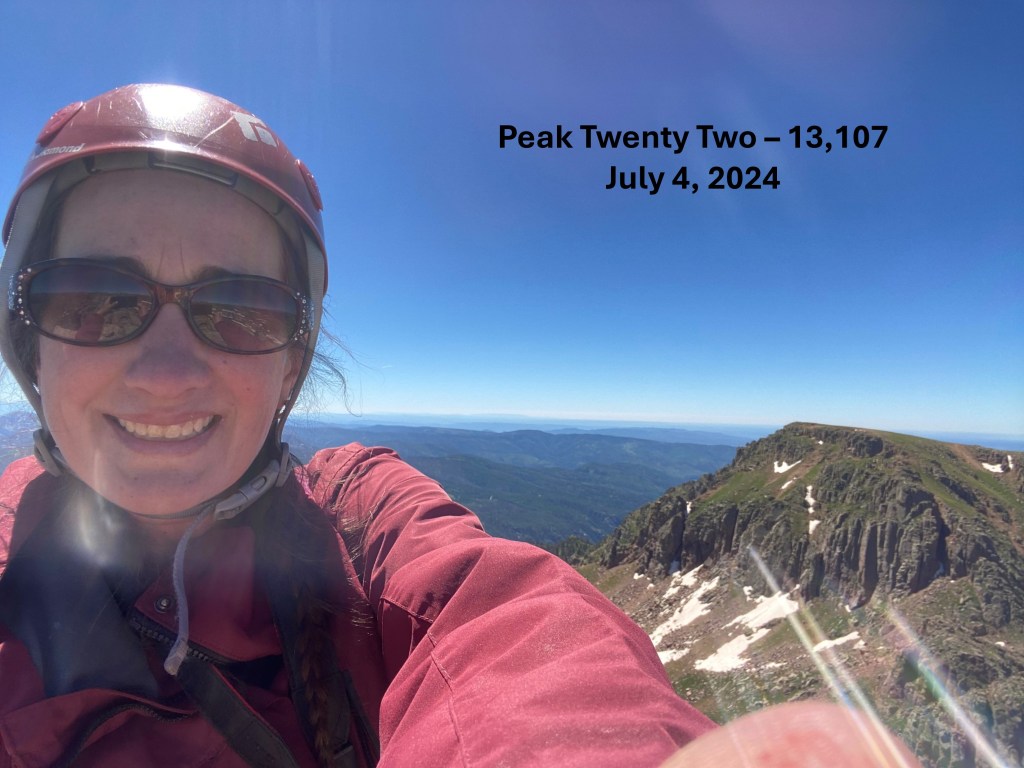
Peak Twenty Two:

I could see sheep mountain to the south, but first I was going to need to descend the way I’d come and head back towards the grassy access ramp. 

I gingerly left the summit, and headed back towards the grassy ramp.

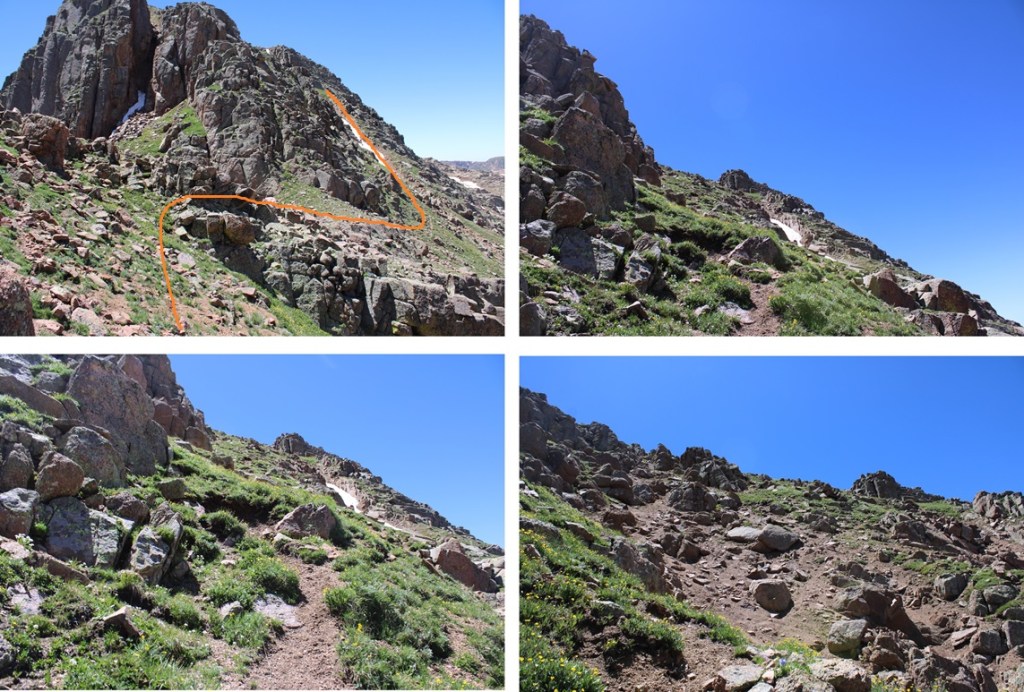
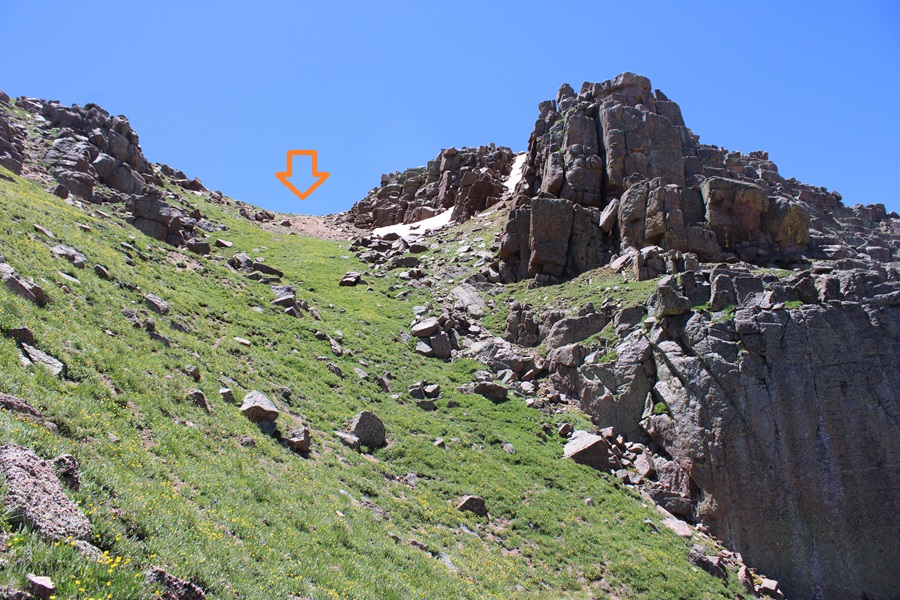
When I’d descended to about 12800’ I turned left and headed south towards Sheep Mountain.  This peak was much easier to ascend, all class 2, with a few game trails thrown in.  This is the route I took to gain the ridge:

And some step by step pictures, first heading south along the tundra, then looking for a grassy ramp.

I then dropped a little in elevation, and gained the gully to the ridge.

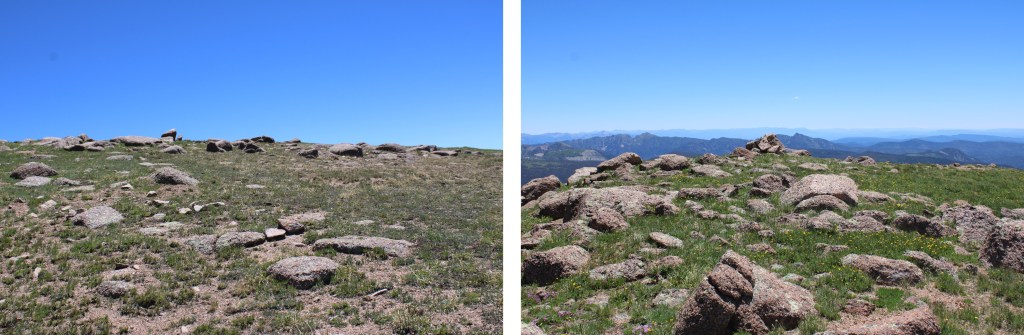
Once on the ridge, it was very flat.  I aimed east and up towards the summit.

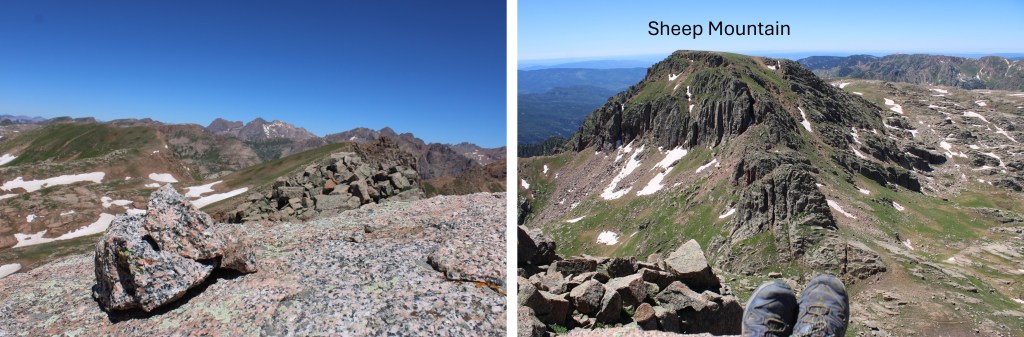
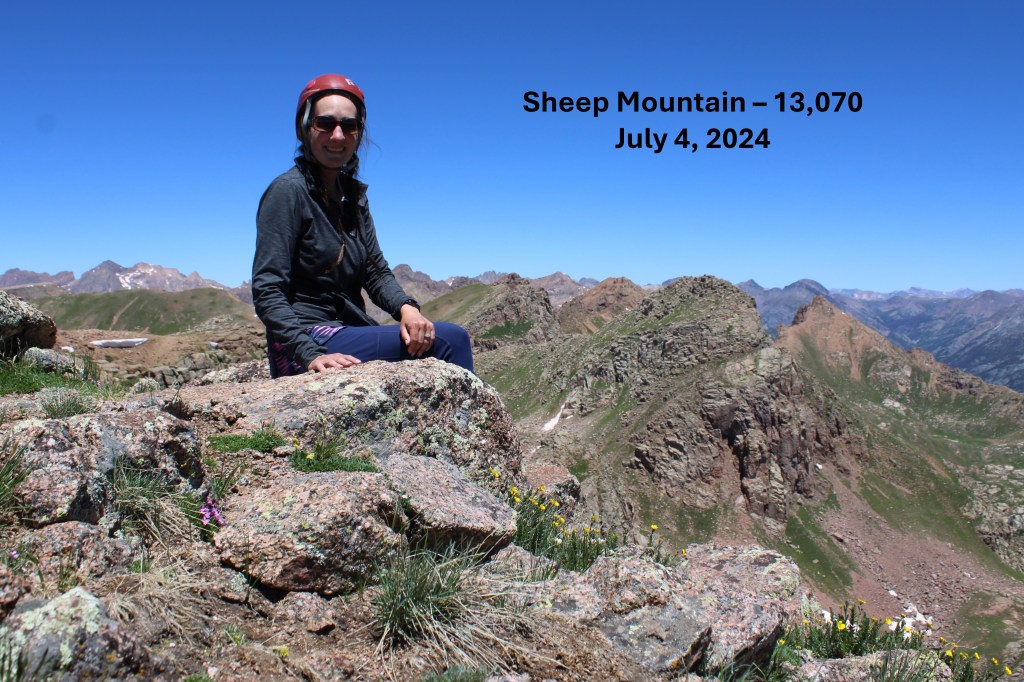
I summited Sheep Mountain at 12:30pm

Sheep Mountain:

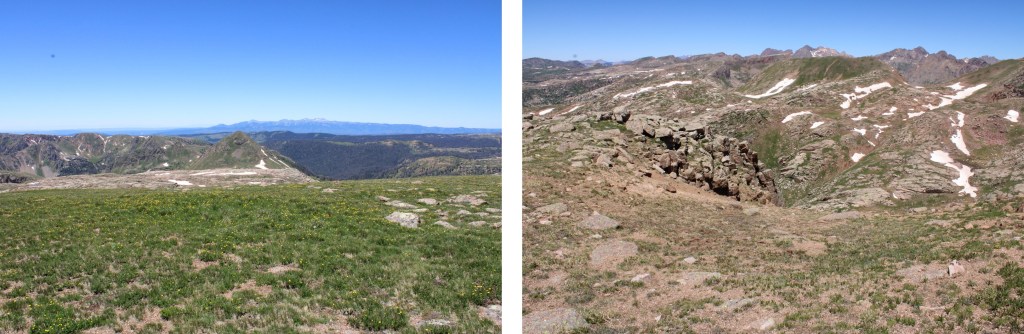
Now to head back to the Emerson/Peak Twenty Two saddle.  I descended back down the gully, then headed north towards the saddle.

Round trip from the Emerson/Peak Twenty Two Saddle to Amherst, Organ, Peak Twenty Two, Sheep, and back to the saddle was 6.57 miles with 2550’ of elevation gain.  From City Reservoir, it was 13.5 miles with 4495’ of elevation gain.