RT Length: 13.7 miles
Elevation Gain: 4365’
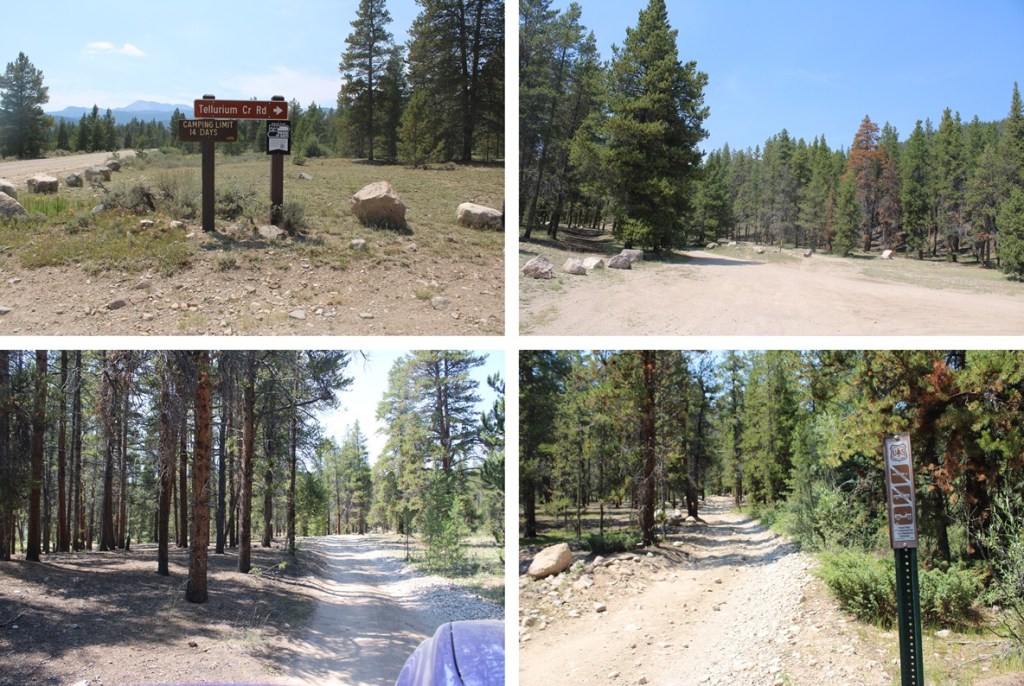
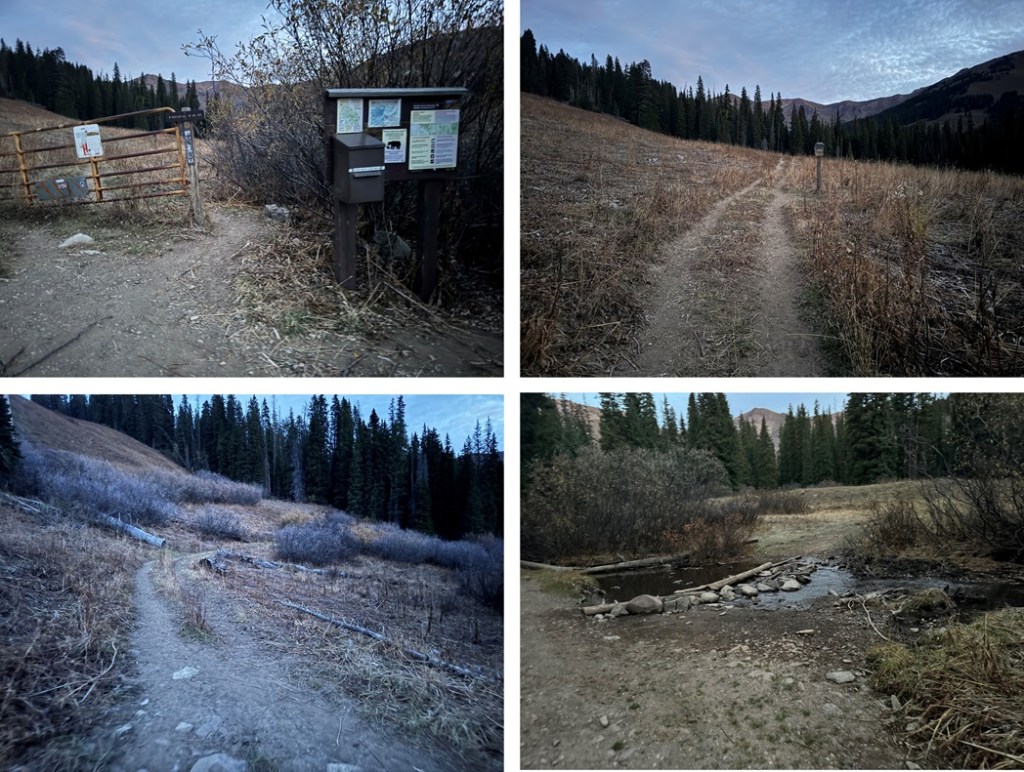
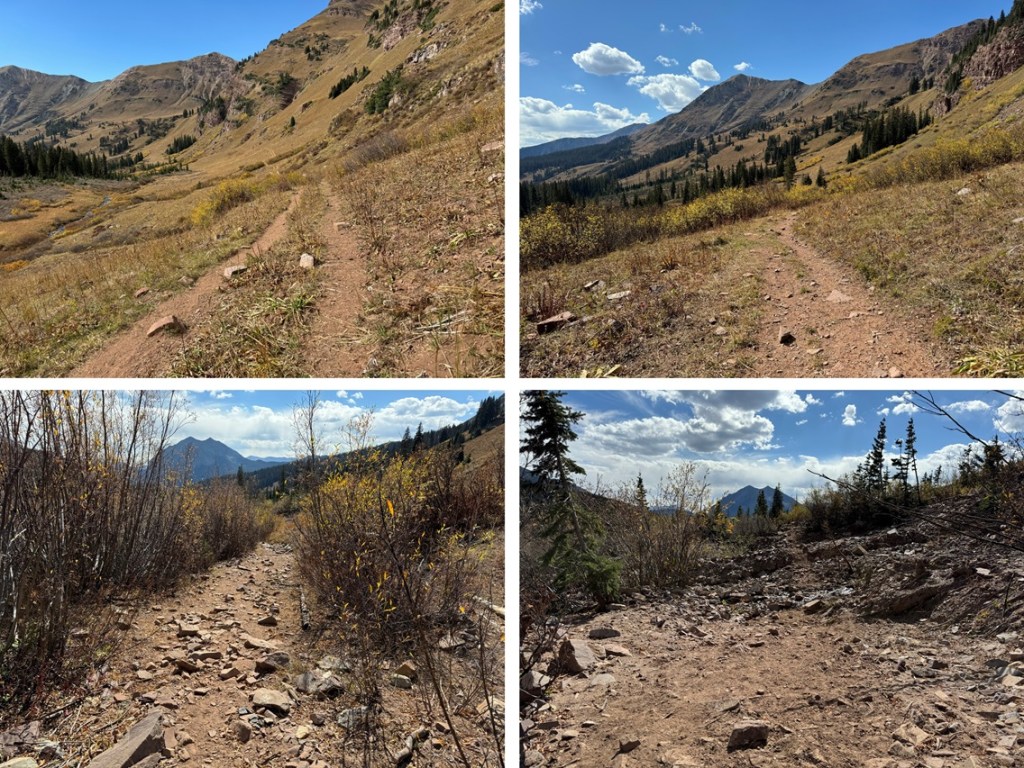
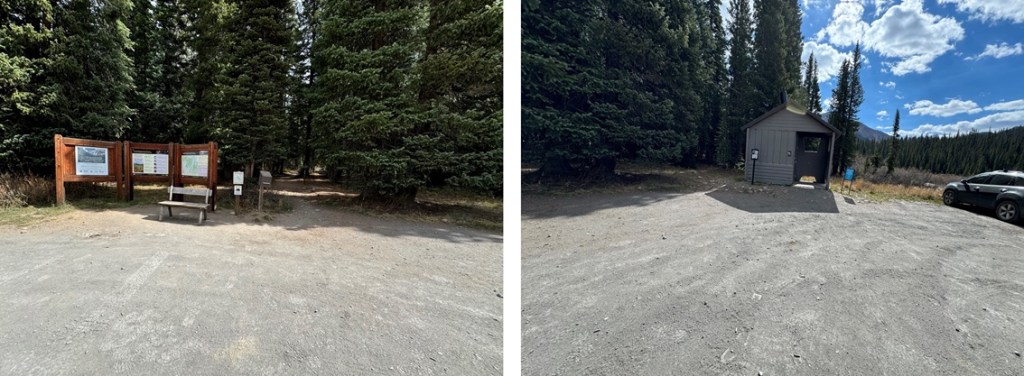
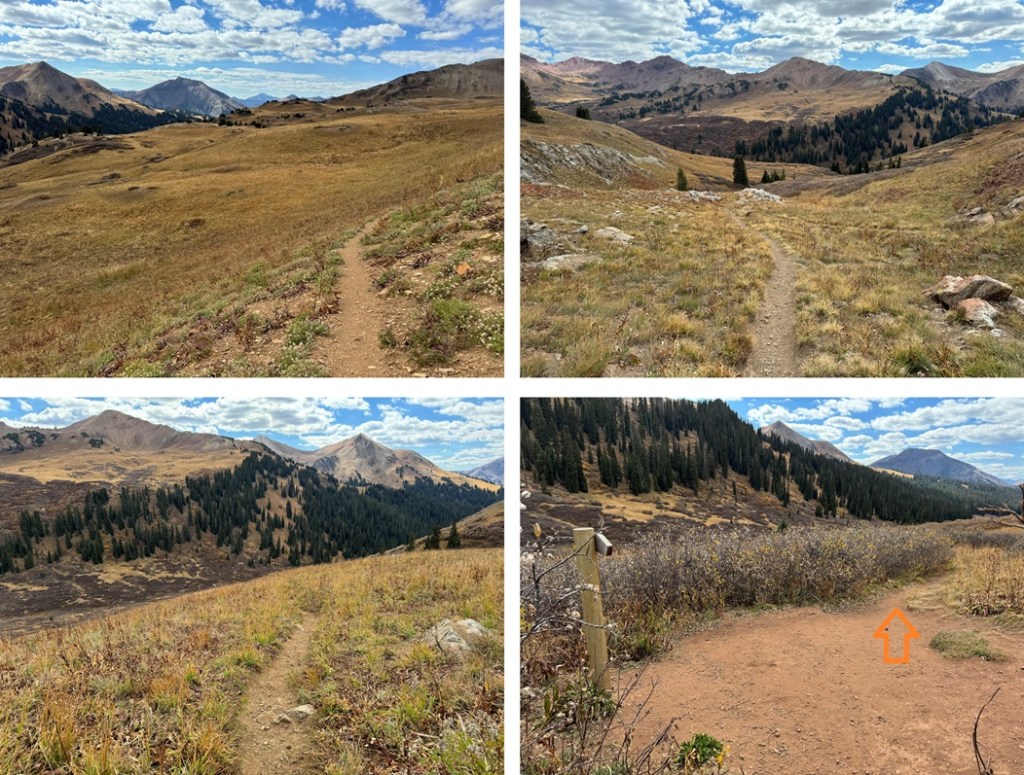
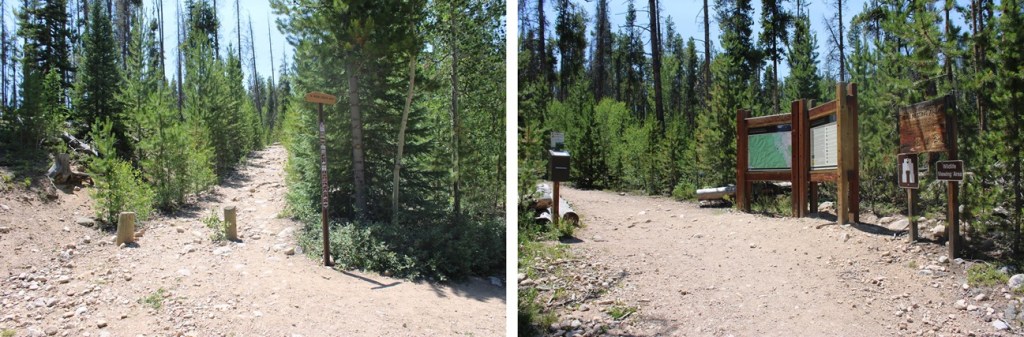
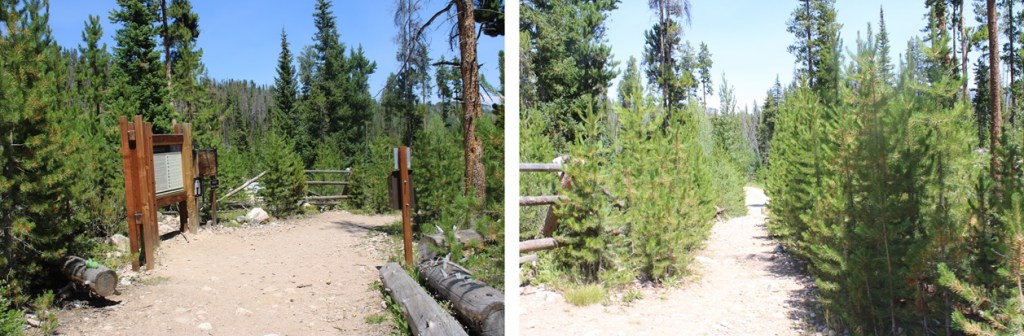
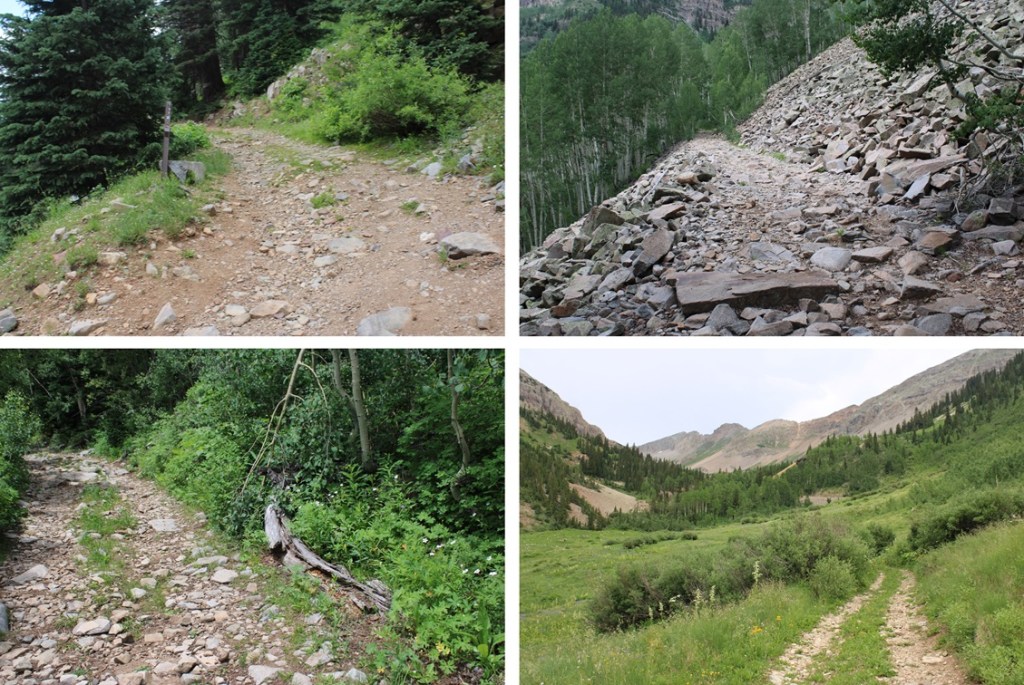
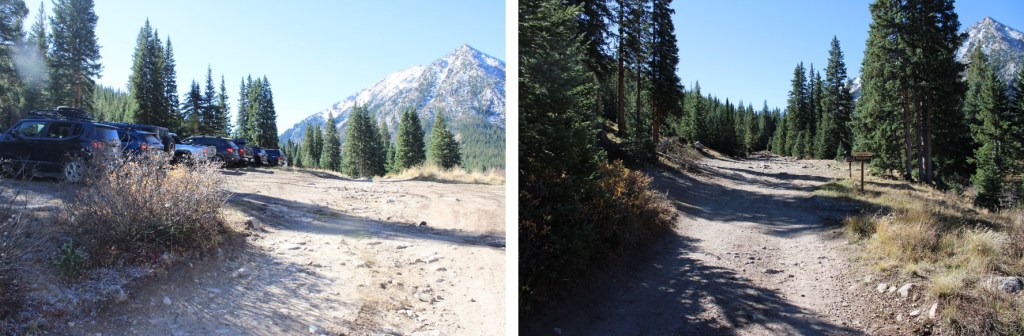
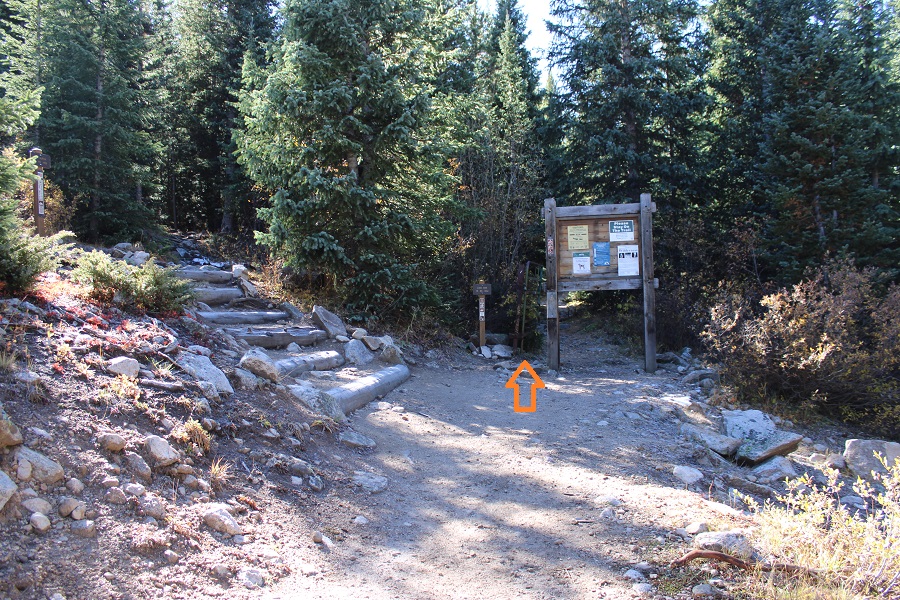
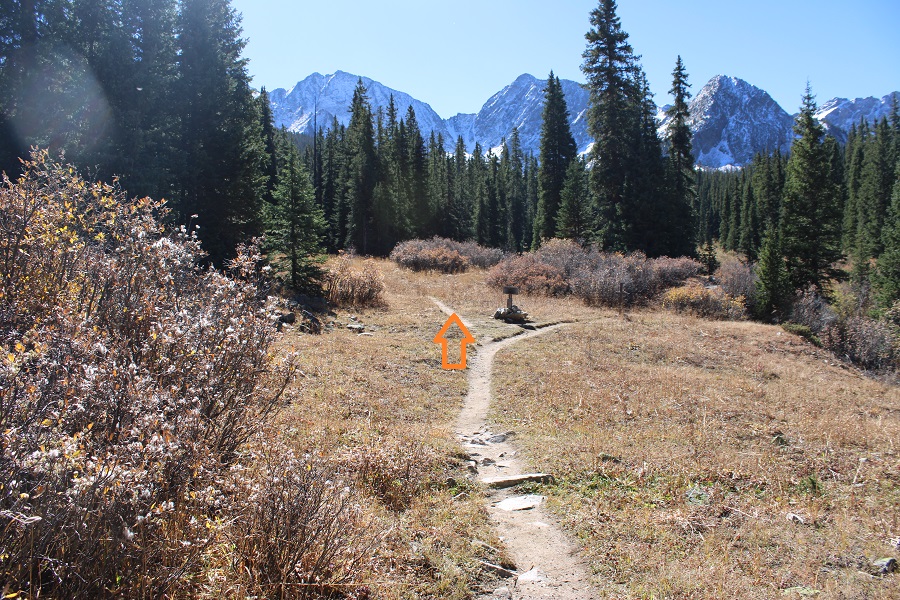
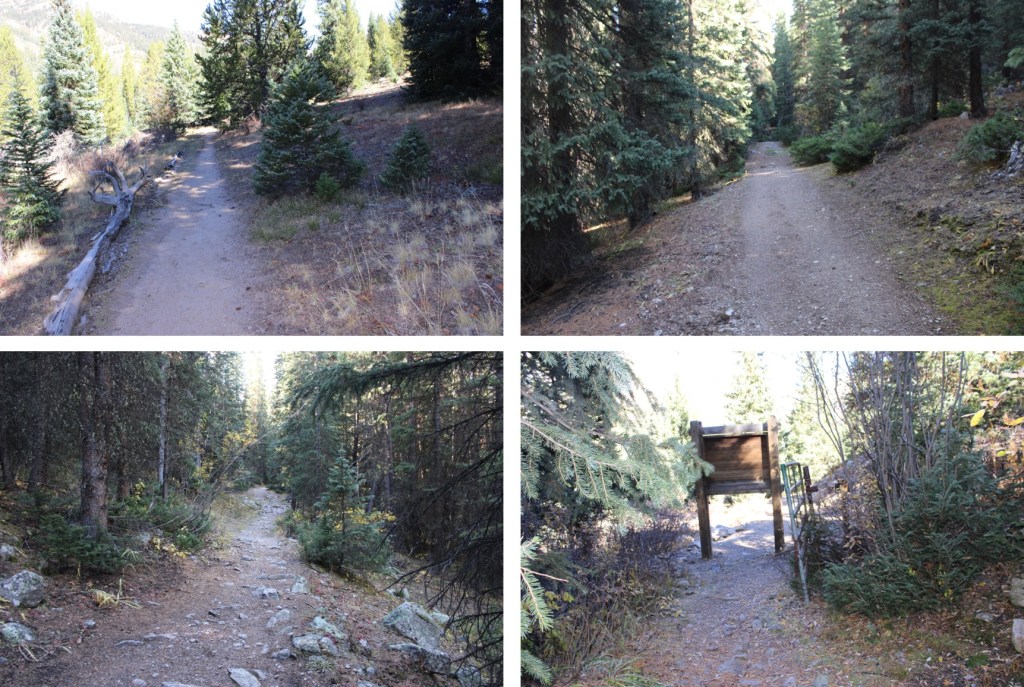
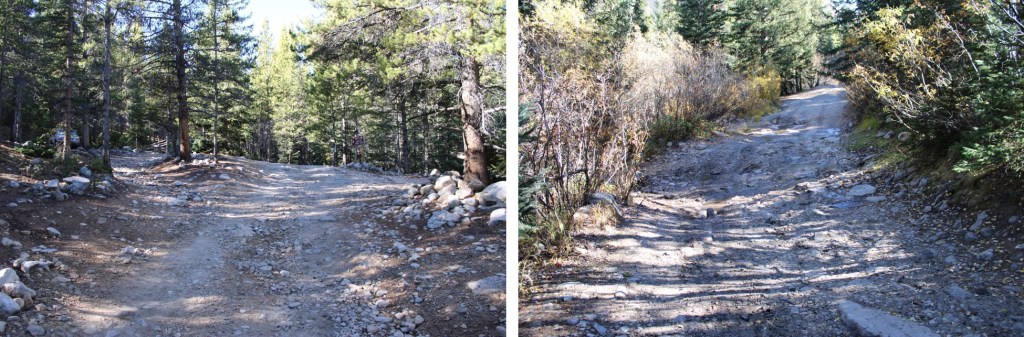
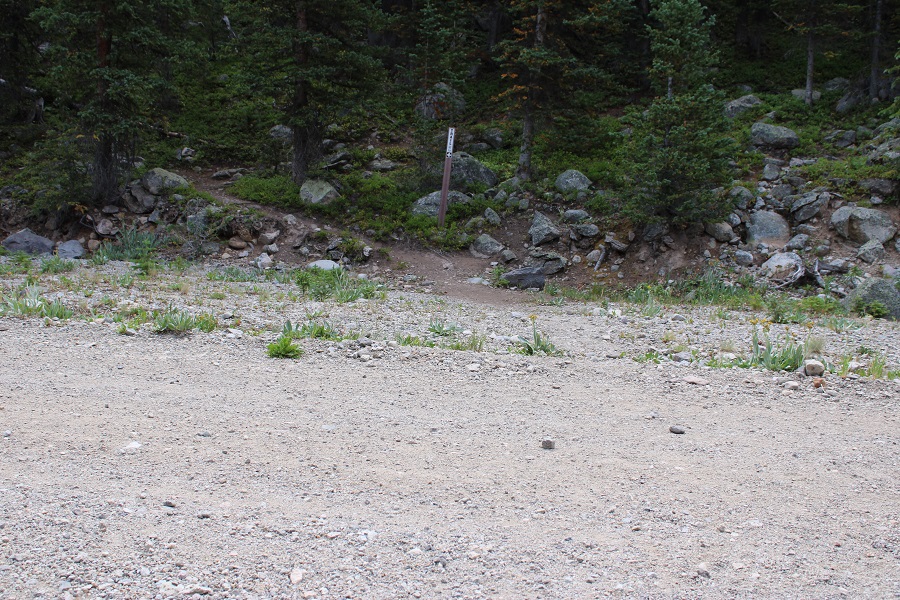
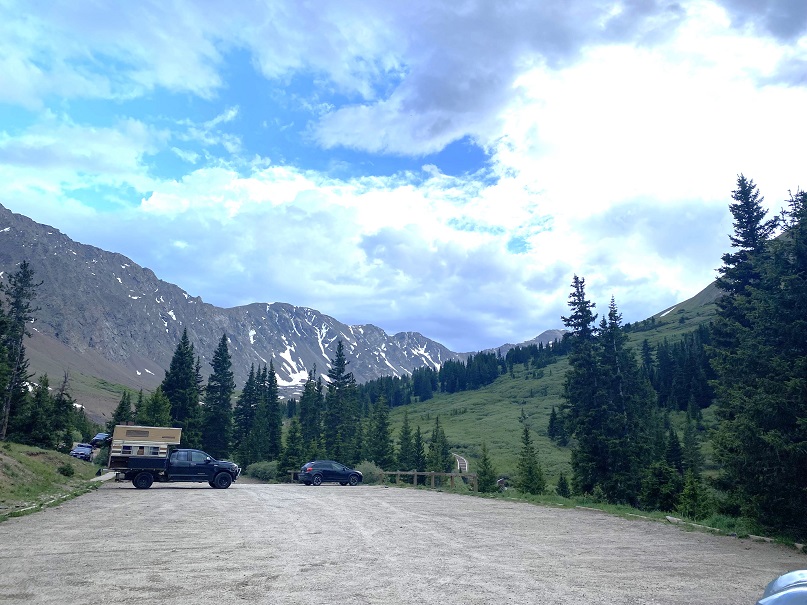
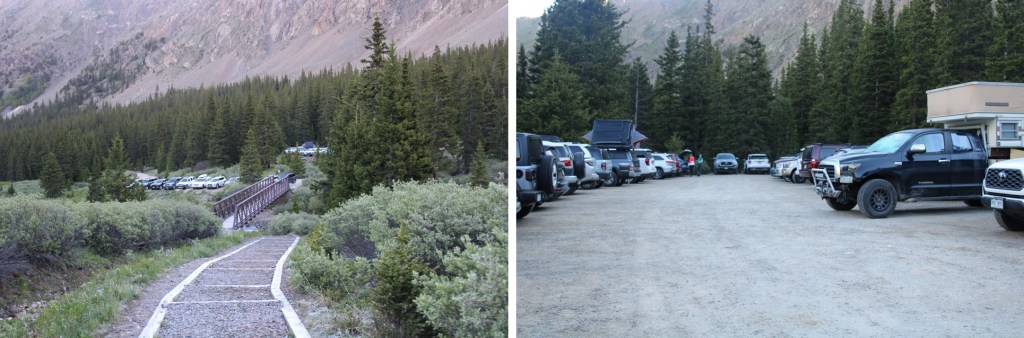
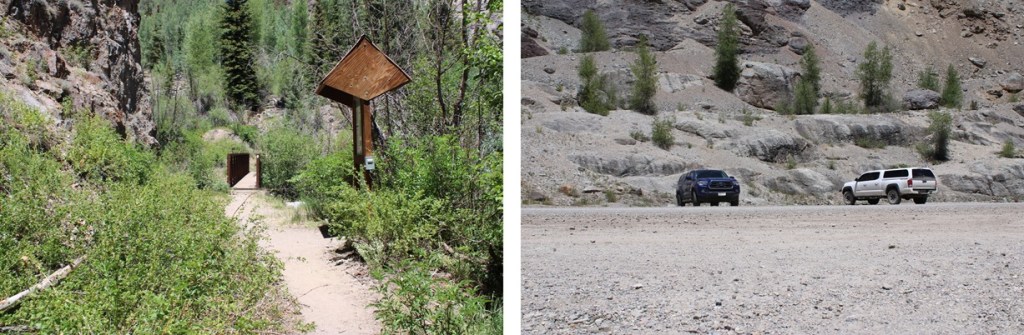
I started from the Alpine Gulch Trailhead in Lake City. This is a well defined trailhead that starts from the south end of the parking area.
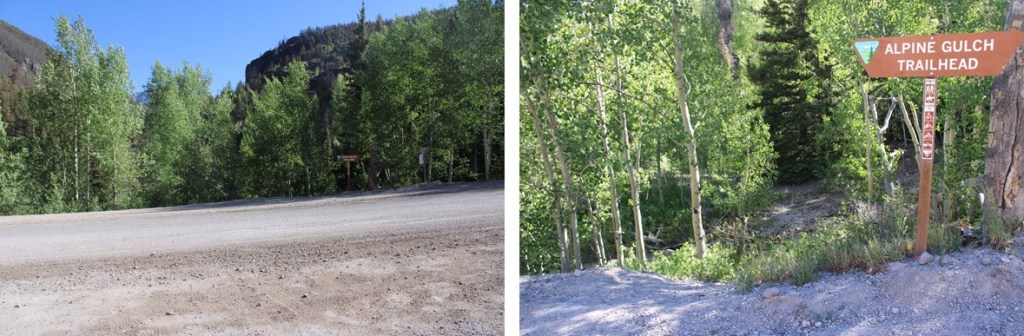
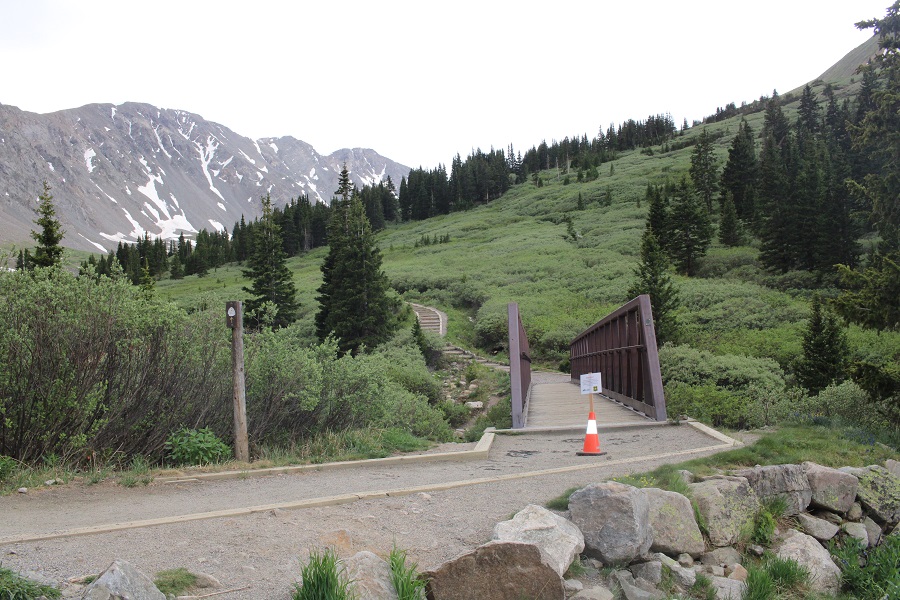
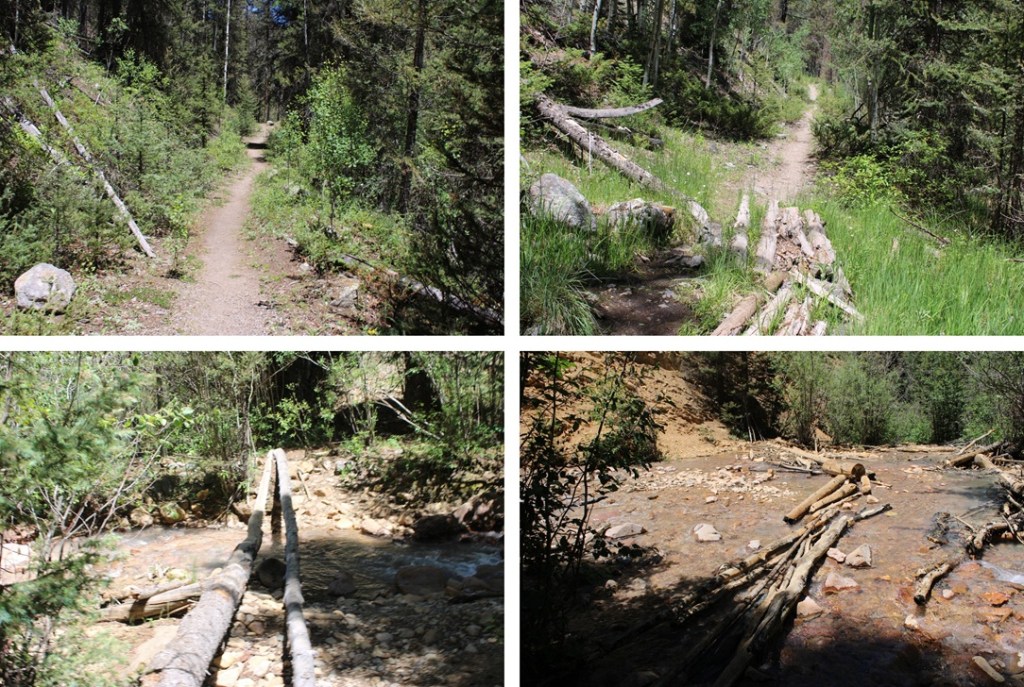
This trail heads down to Henson Creek, crosses the creek on a bridge, and then continues south along Alpine Gulch.
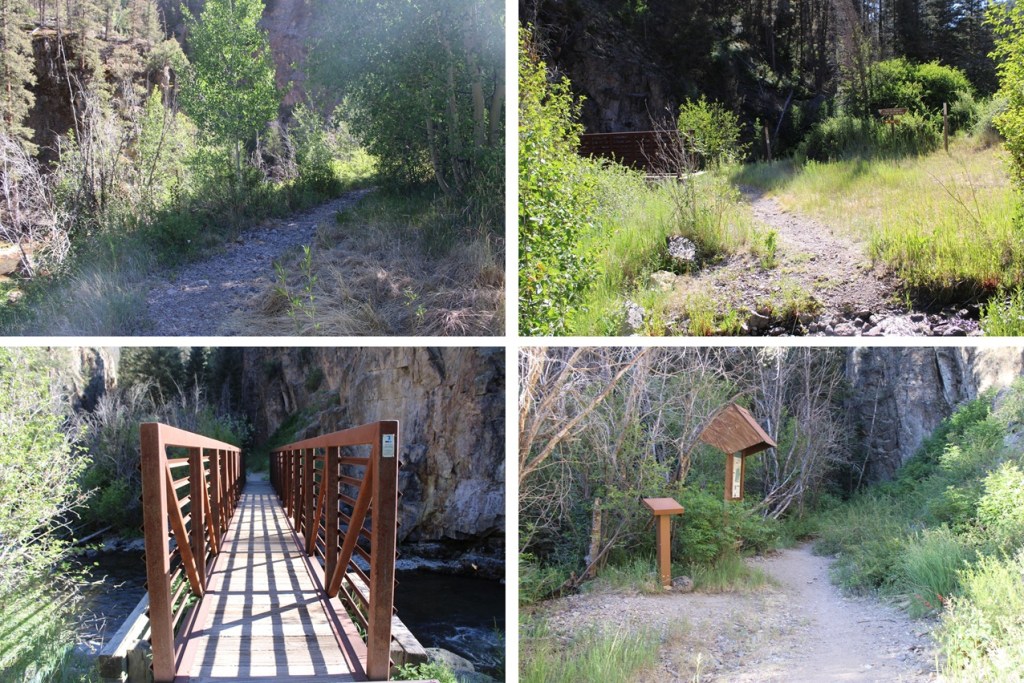
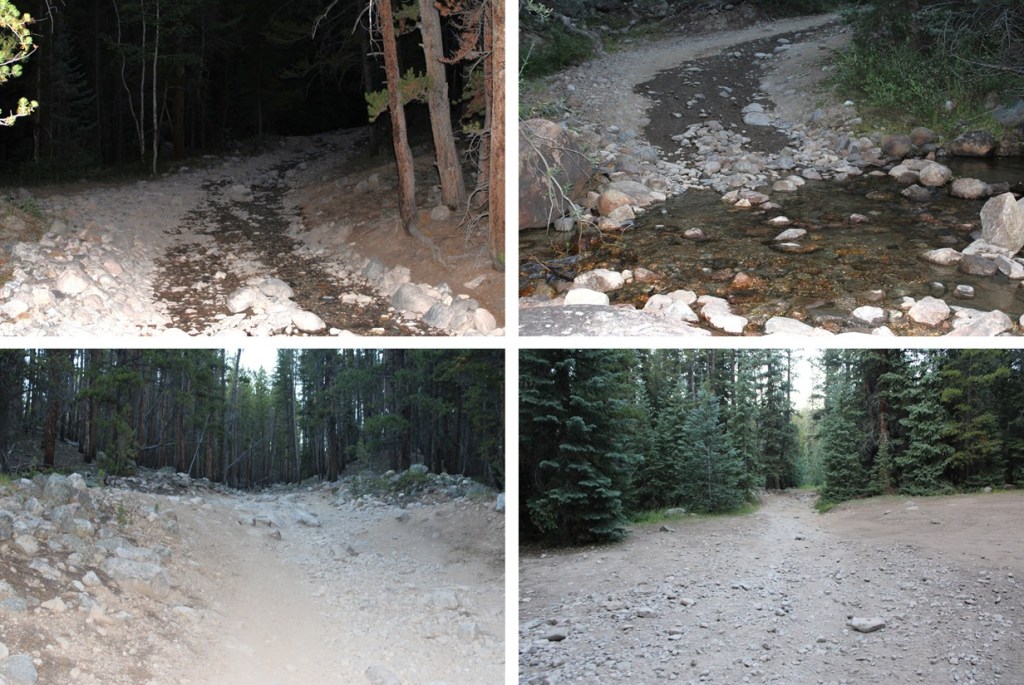
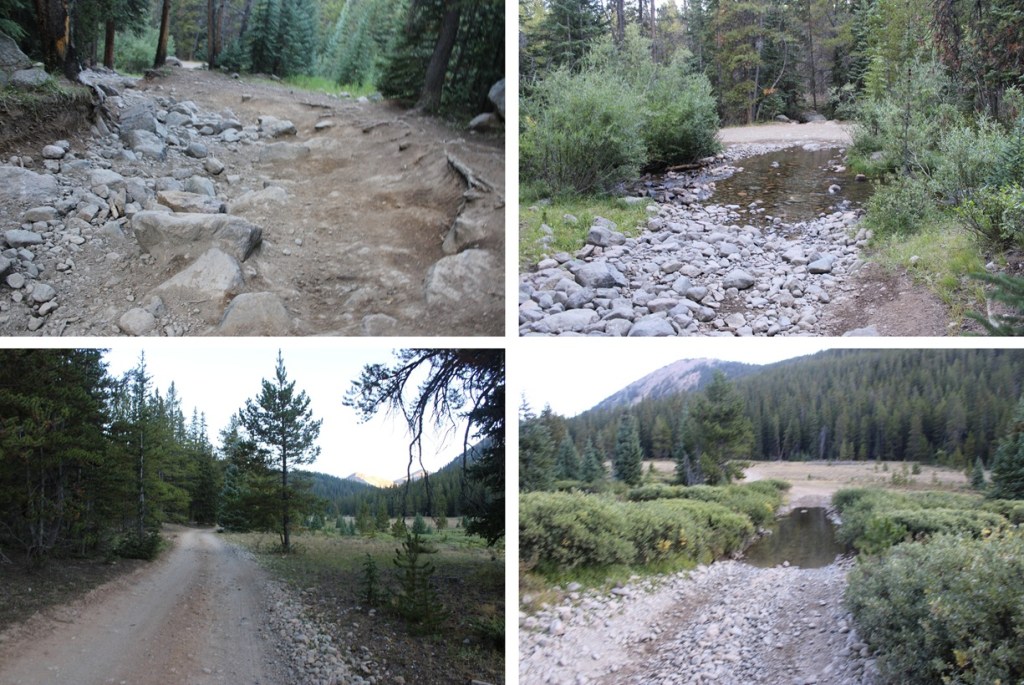
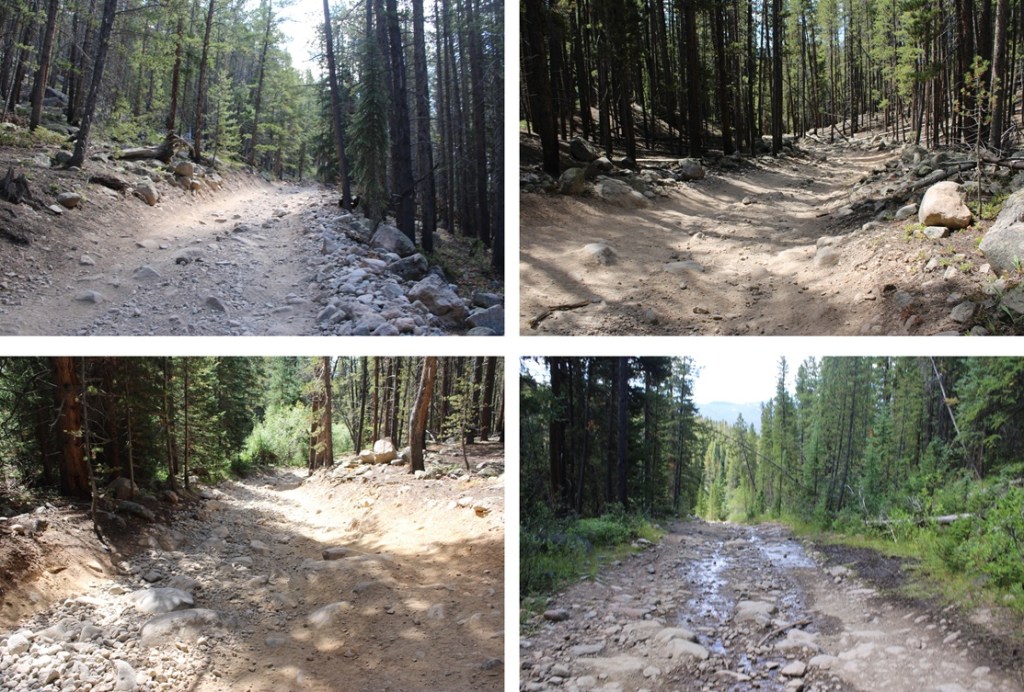
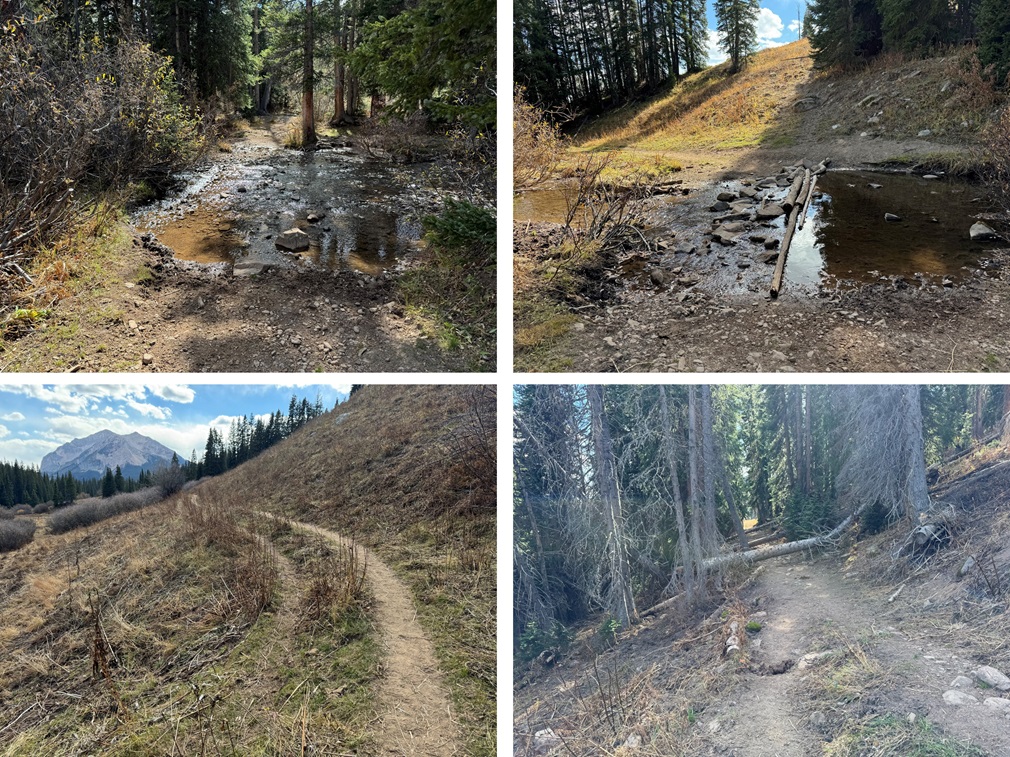
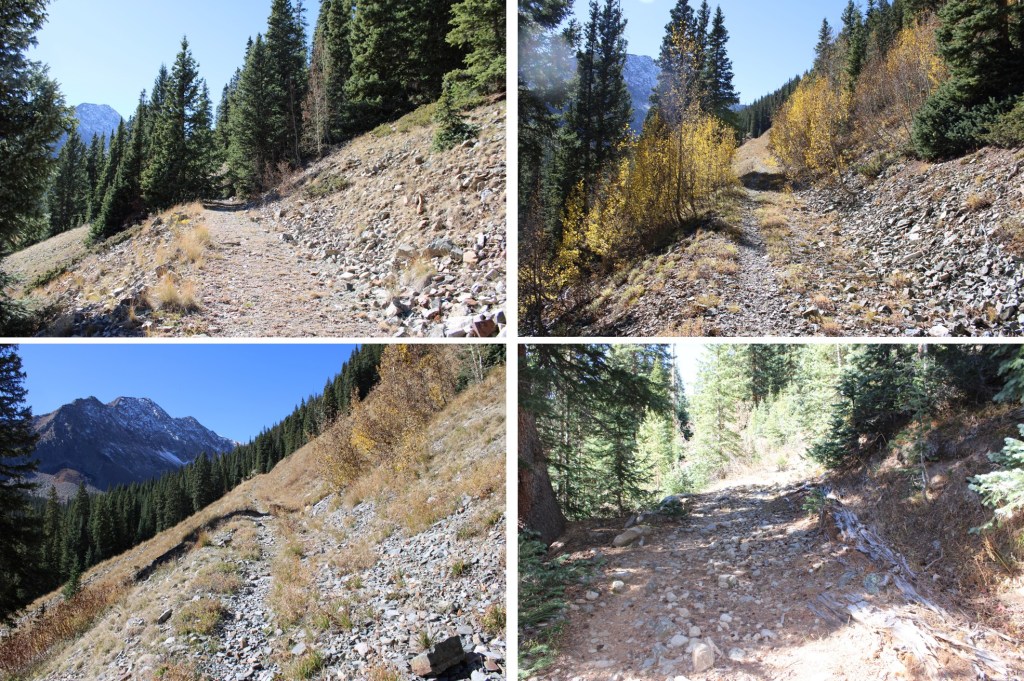
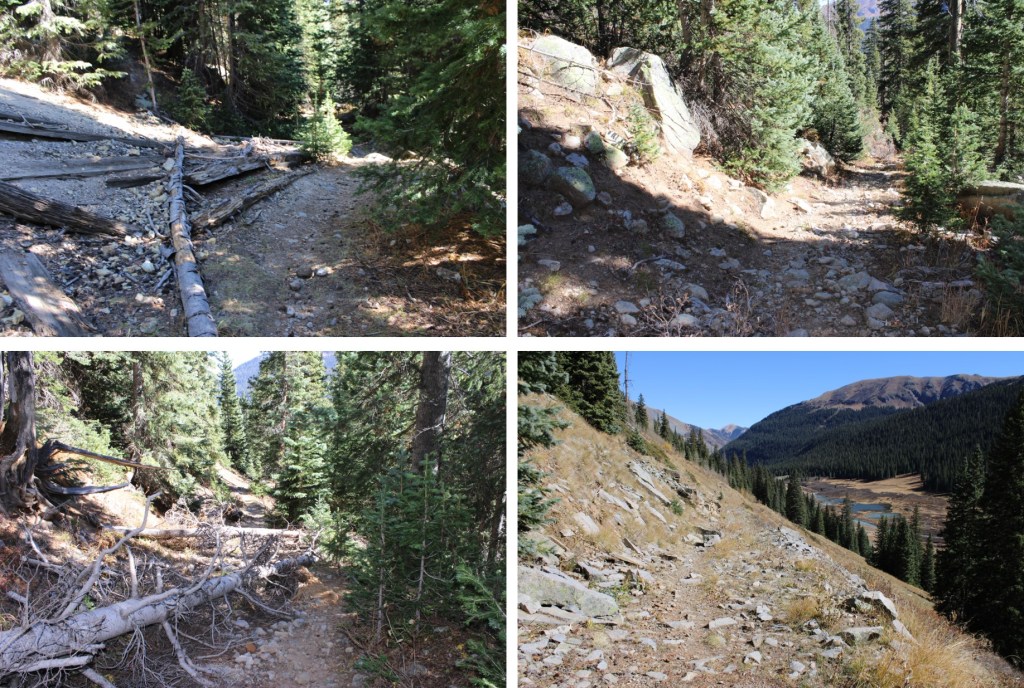
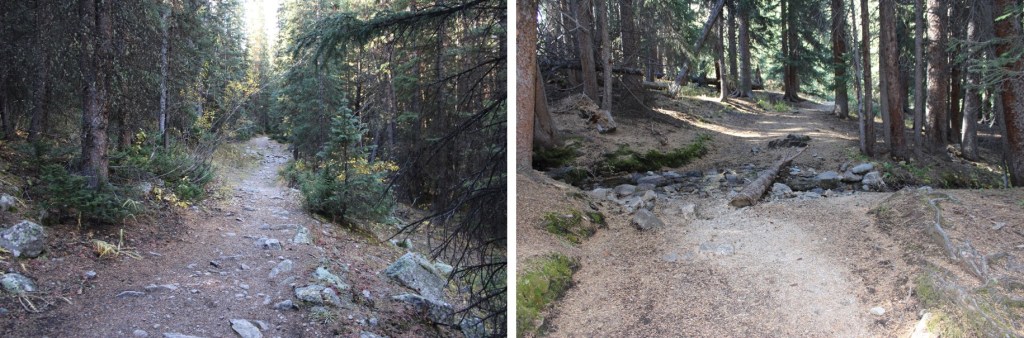
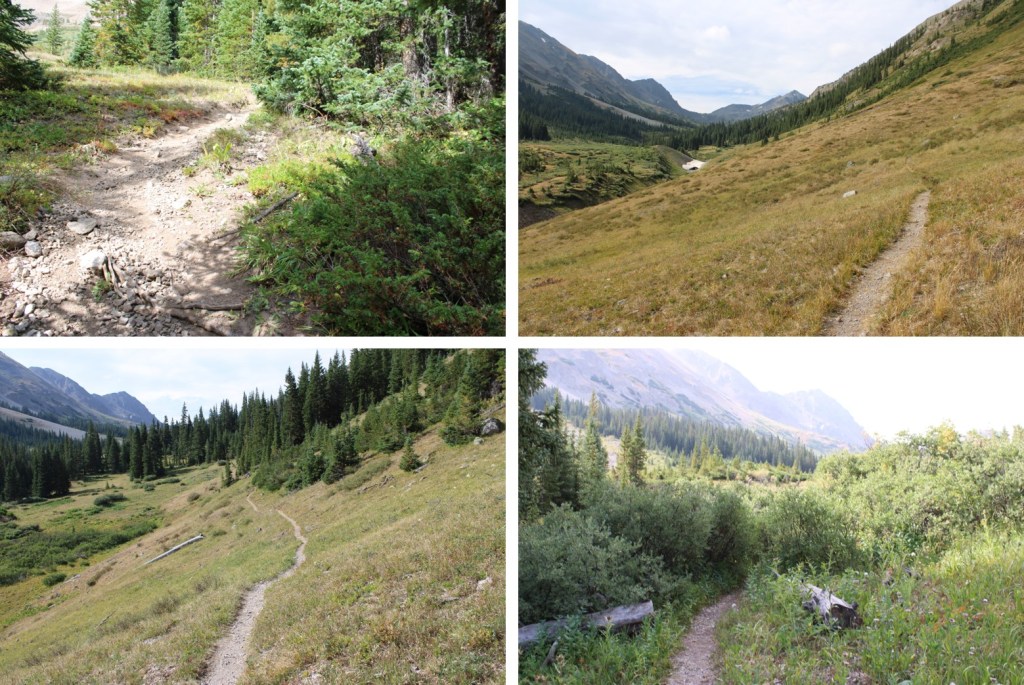
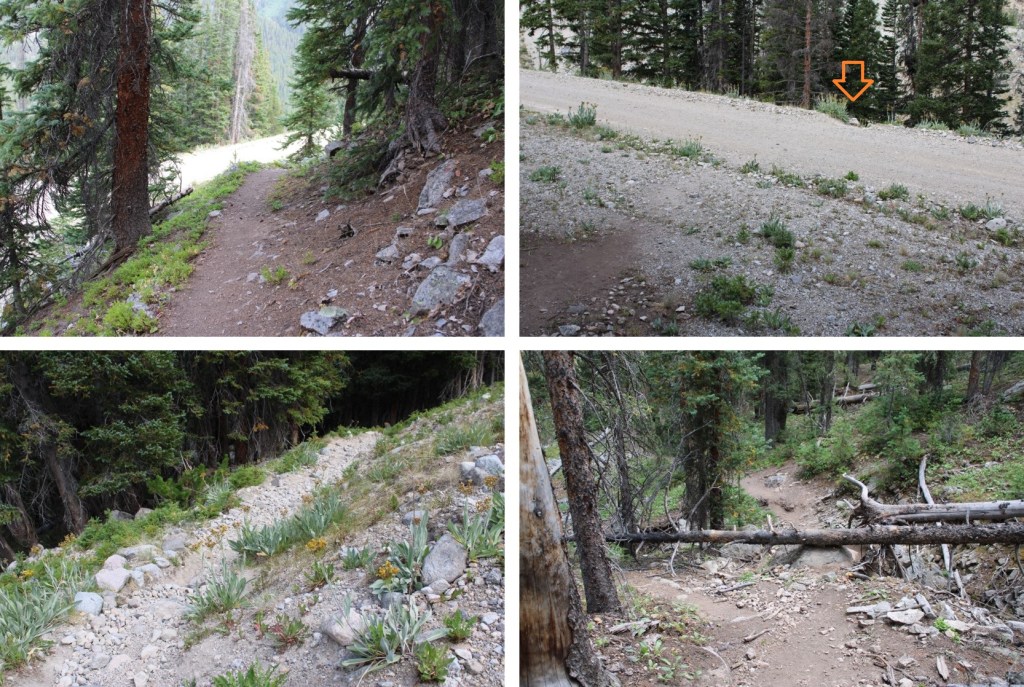
The trail is easy to follow in the daylight, but in the dark could prove difficult. There are several creek crossings to navigate. This was a low snow year so the crossings were manageable on logs and rocks. I crossed the creek several times, following Alpine Gulch south.
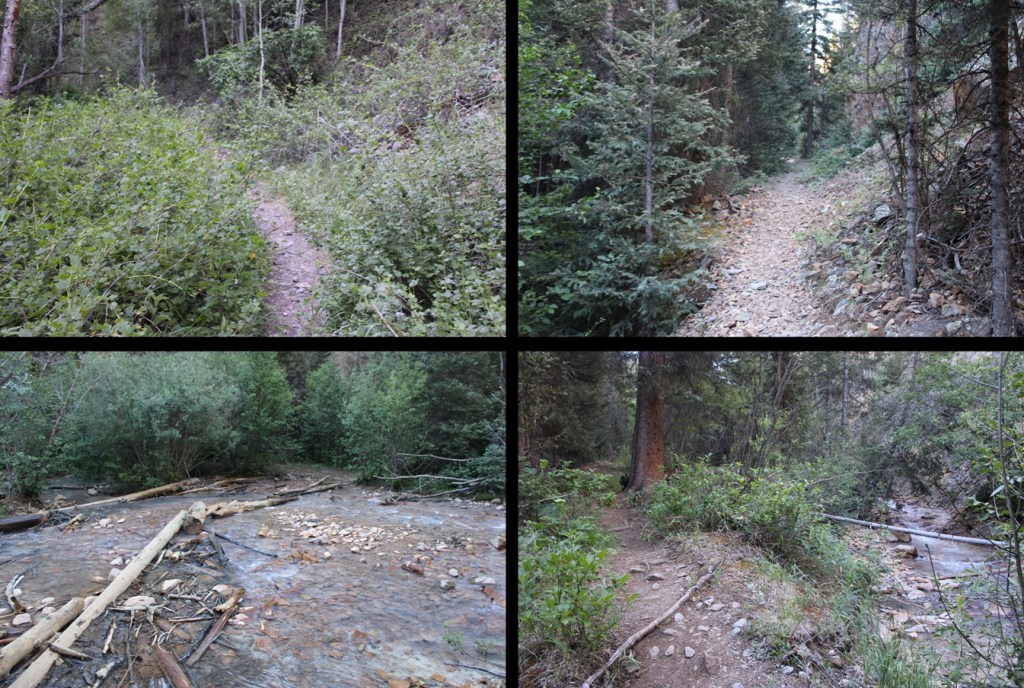
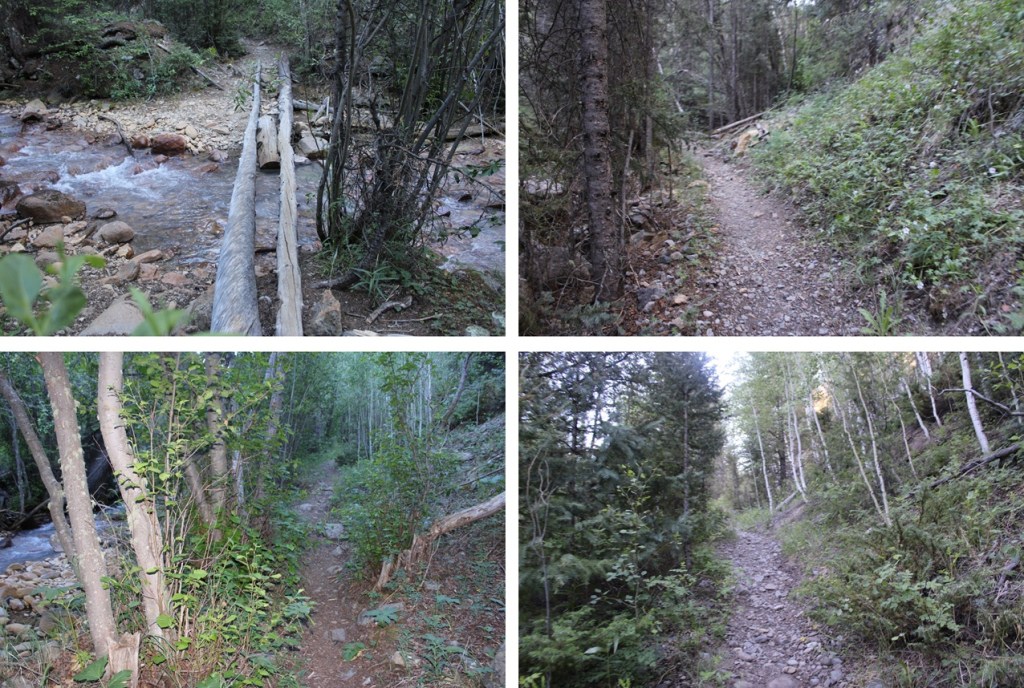
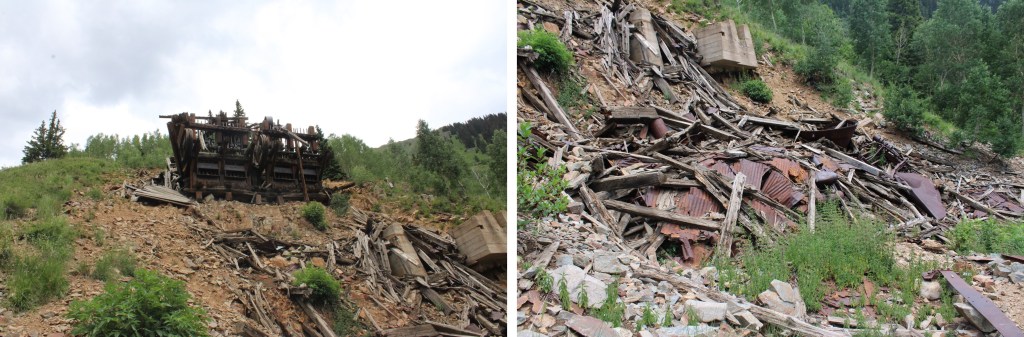
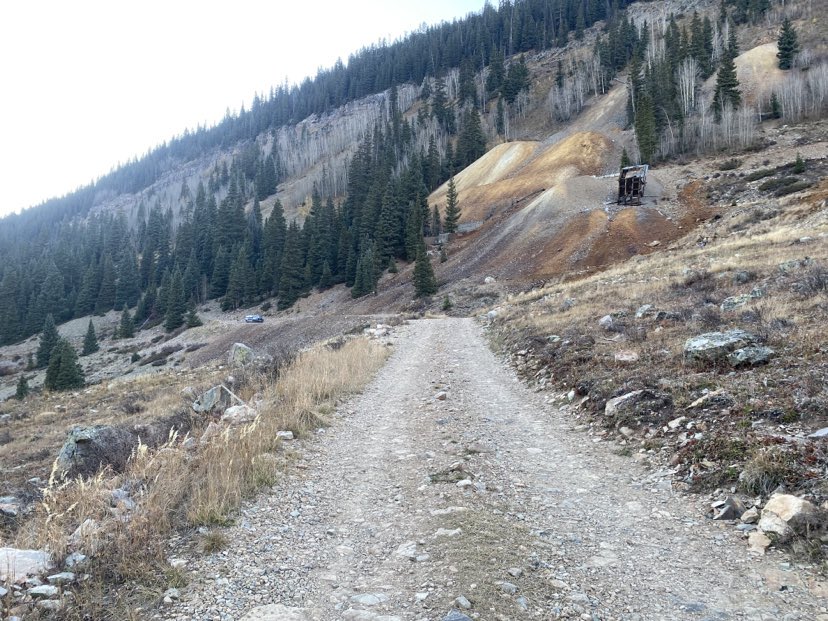
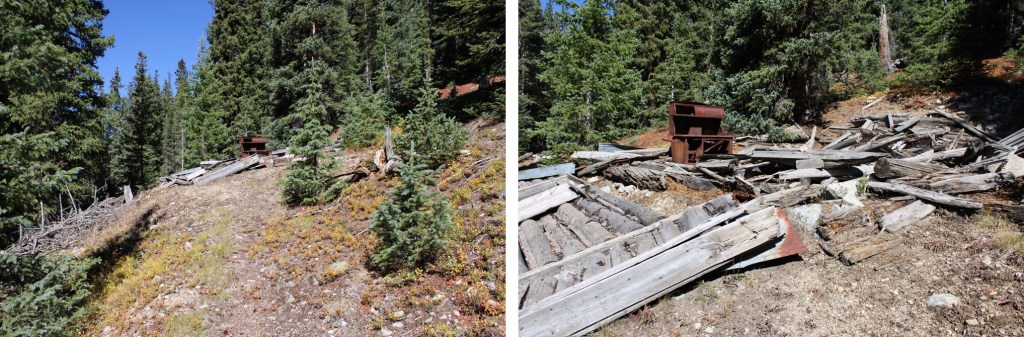
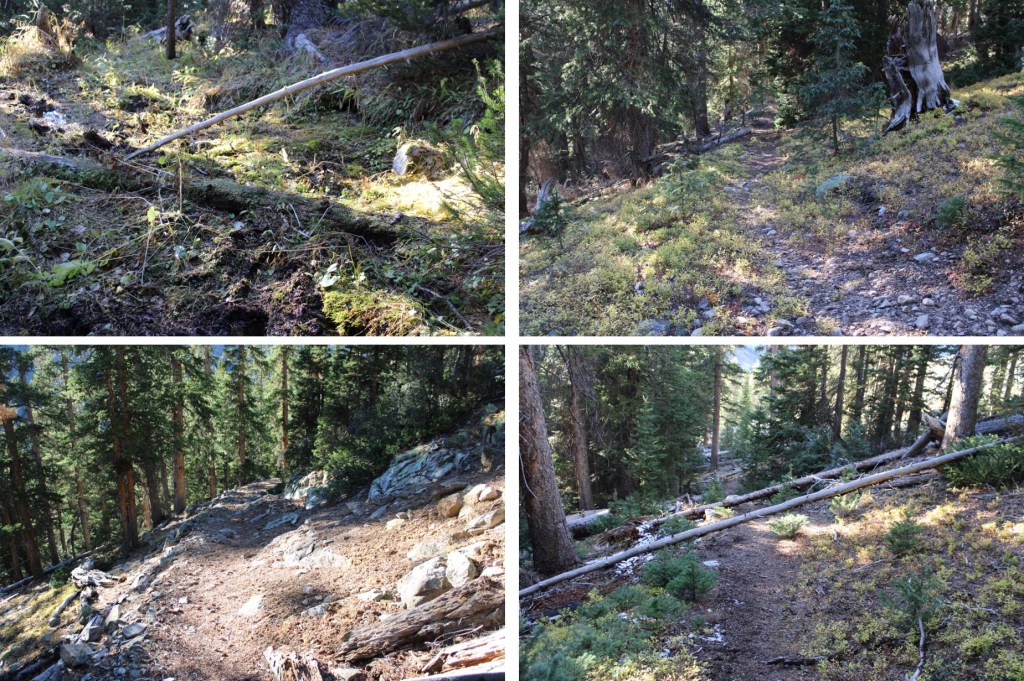
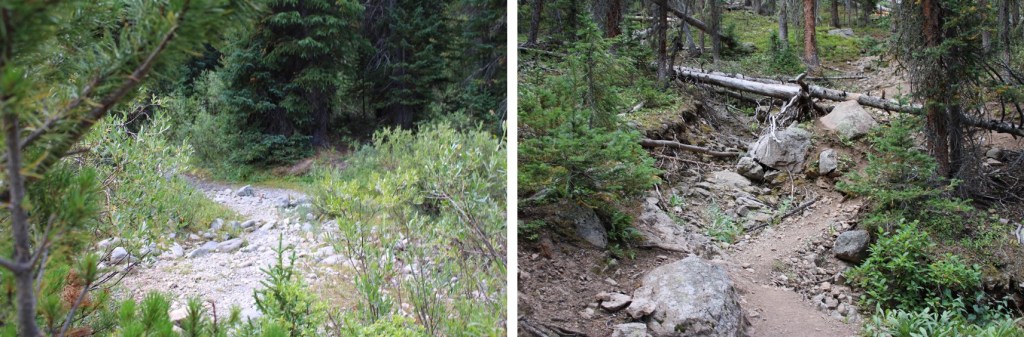
Once again, a lot of creek crossings and tons of downed trees blocking the trail that required navigating over, under, or around, but seeing old cabins and mines along the trail was a plus.

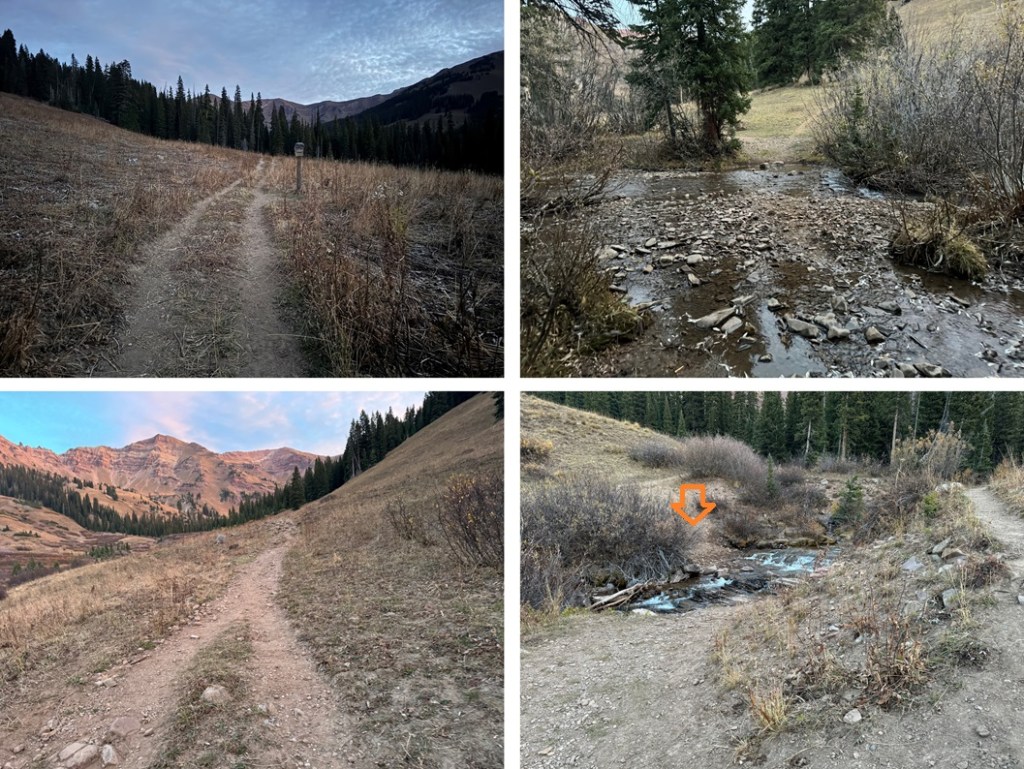
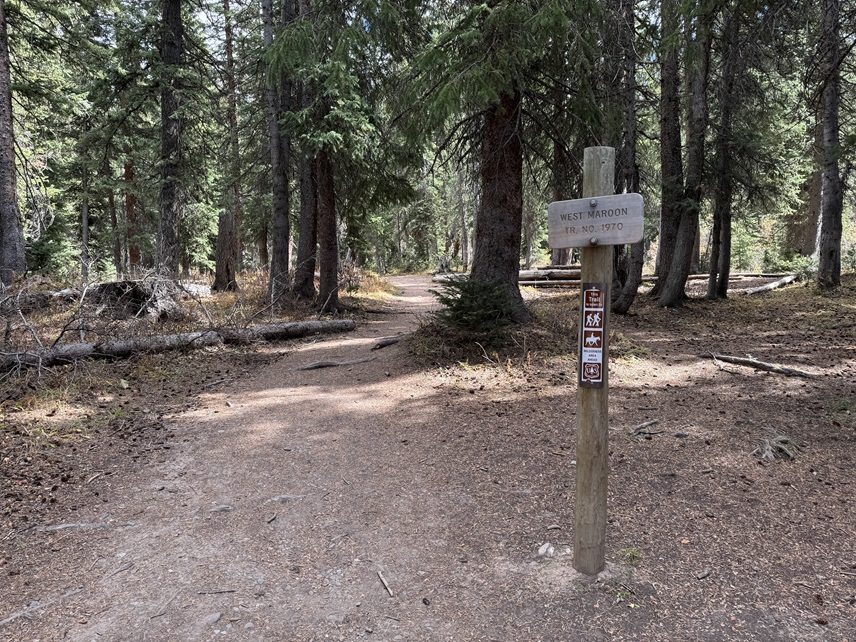
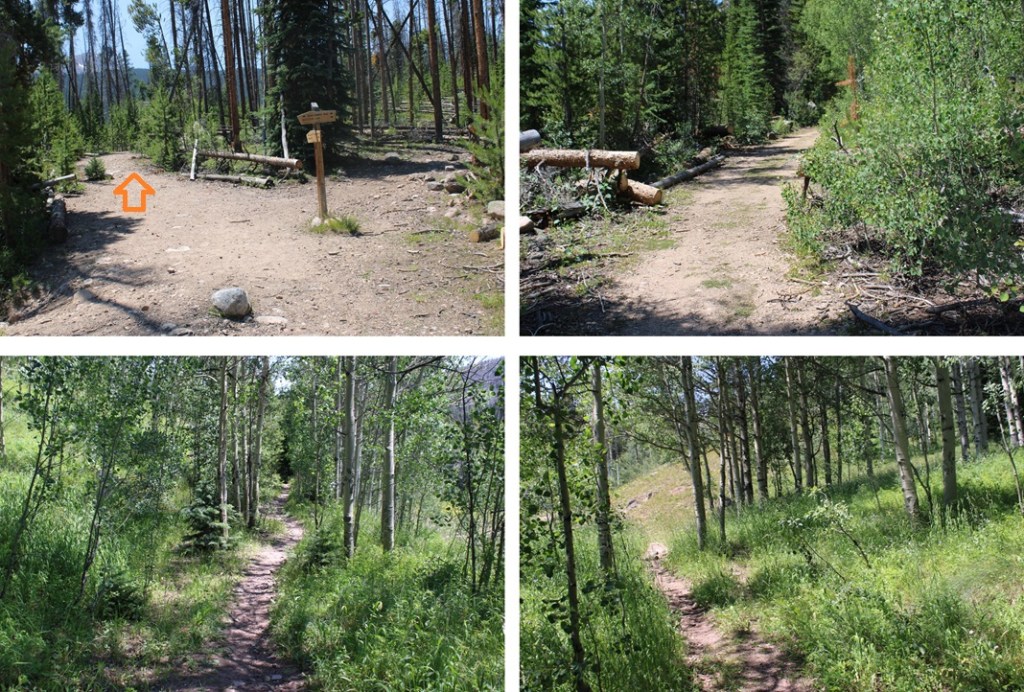
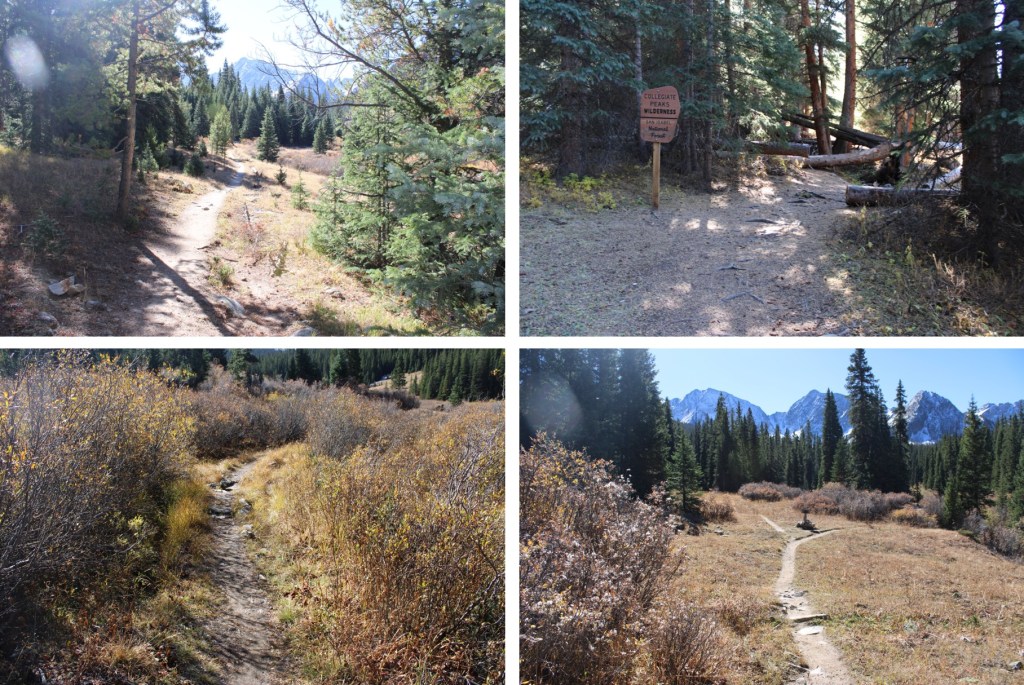
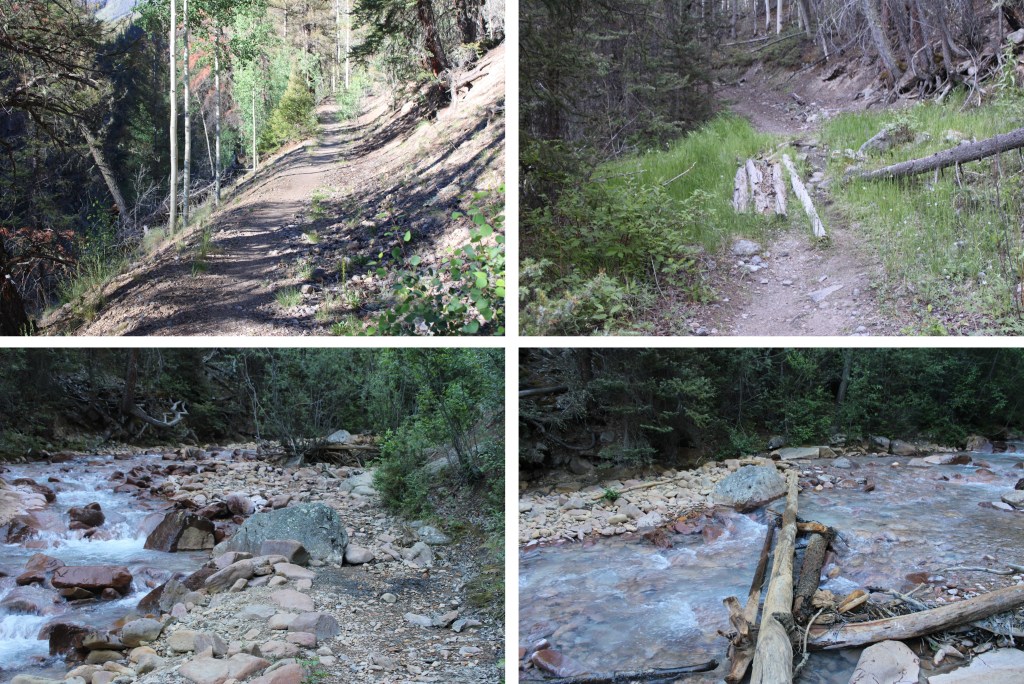
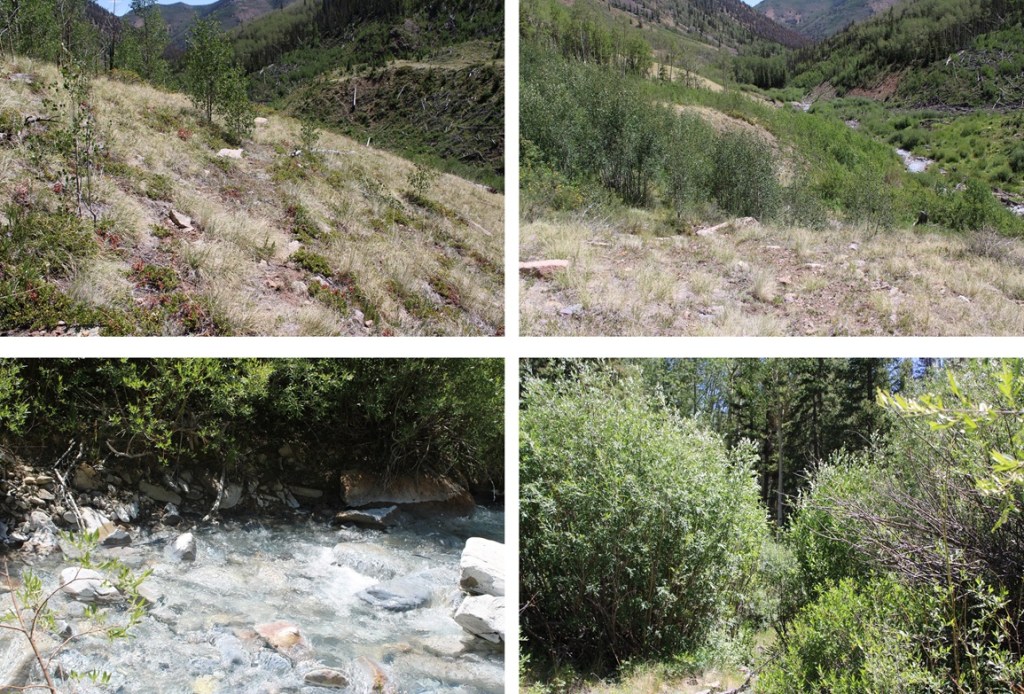
After hiking for about 2.75 miles I came to a bend in the stream
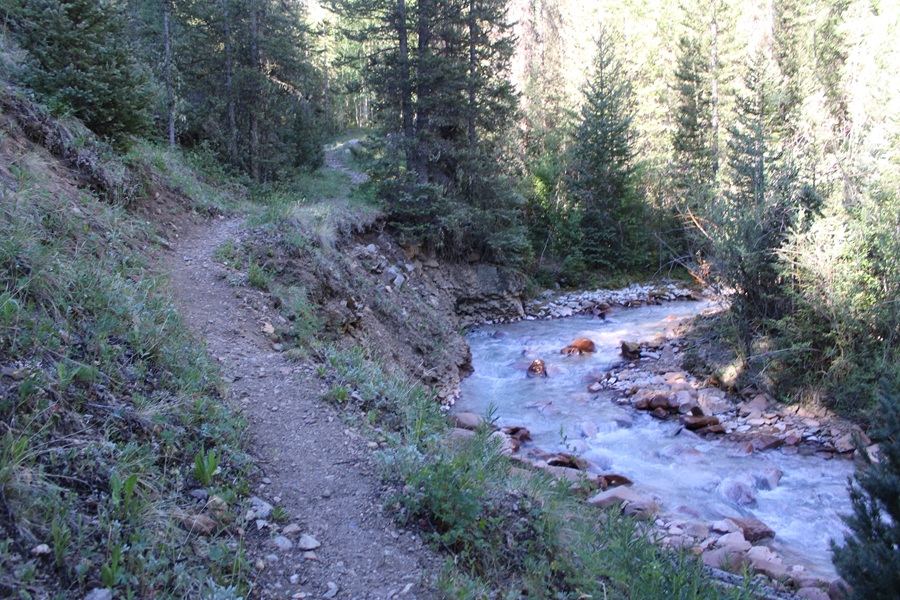
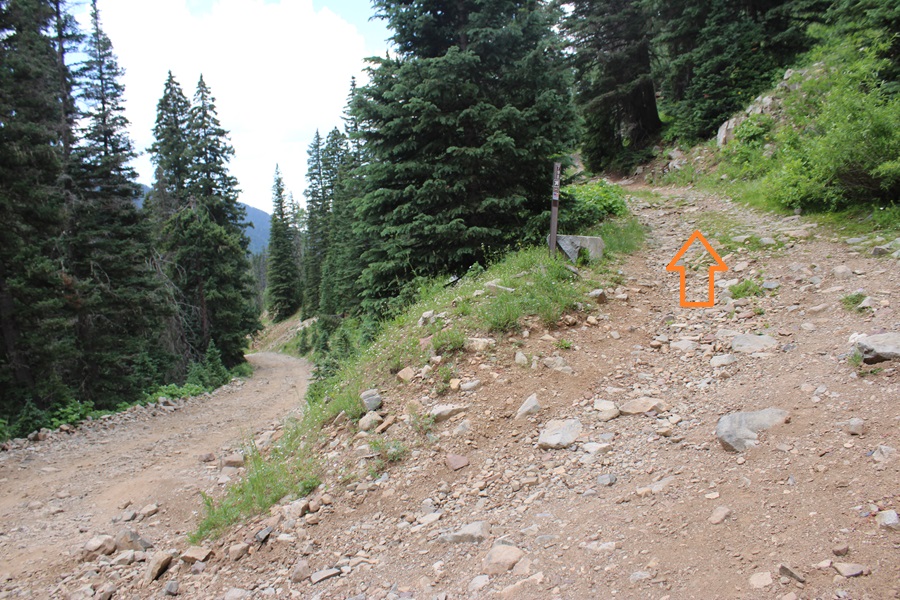
Just after this bend I came to a junction and went right, towards West Fork, heading southwest.
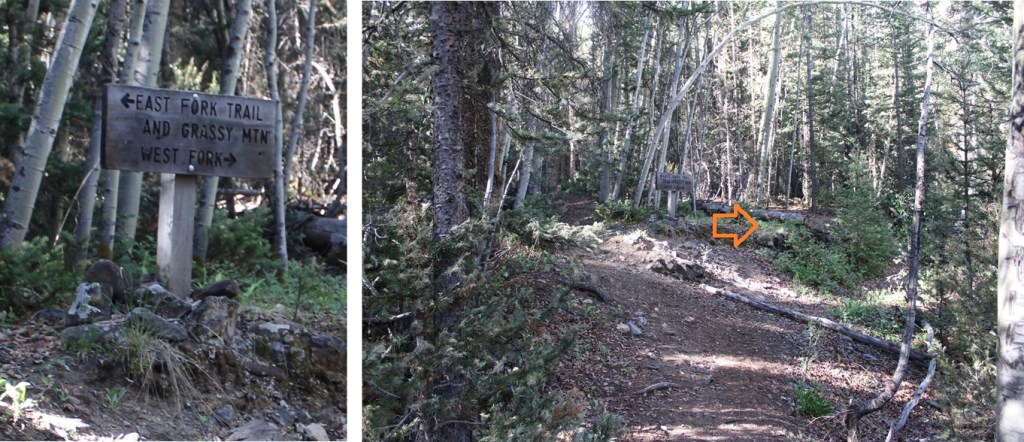
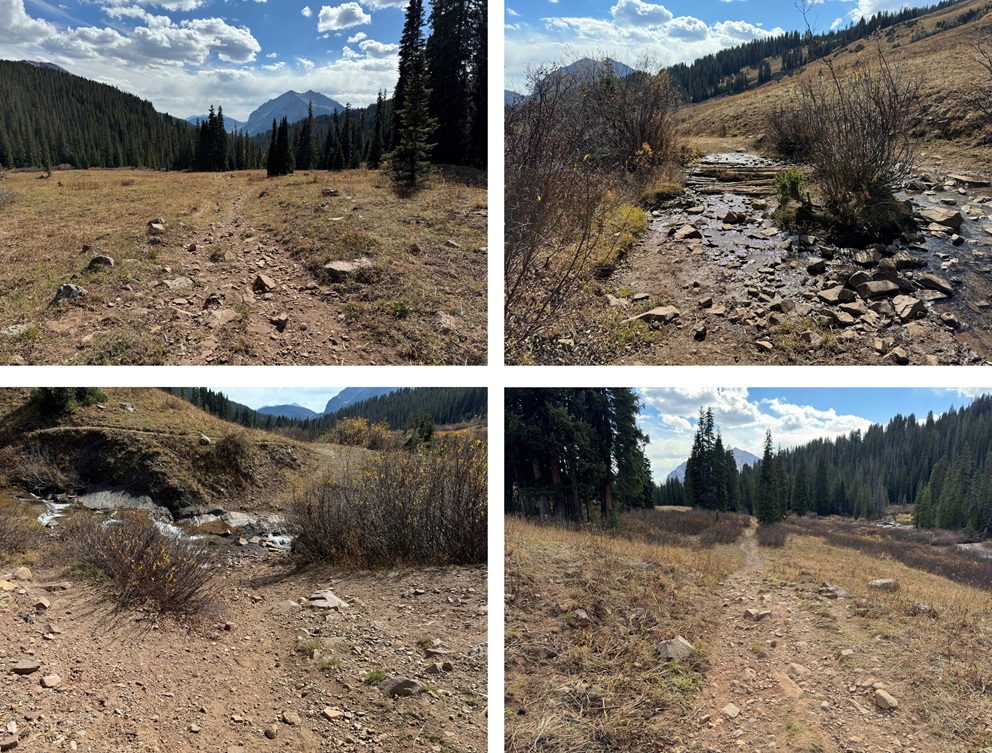
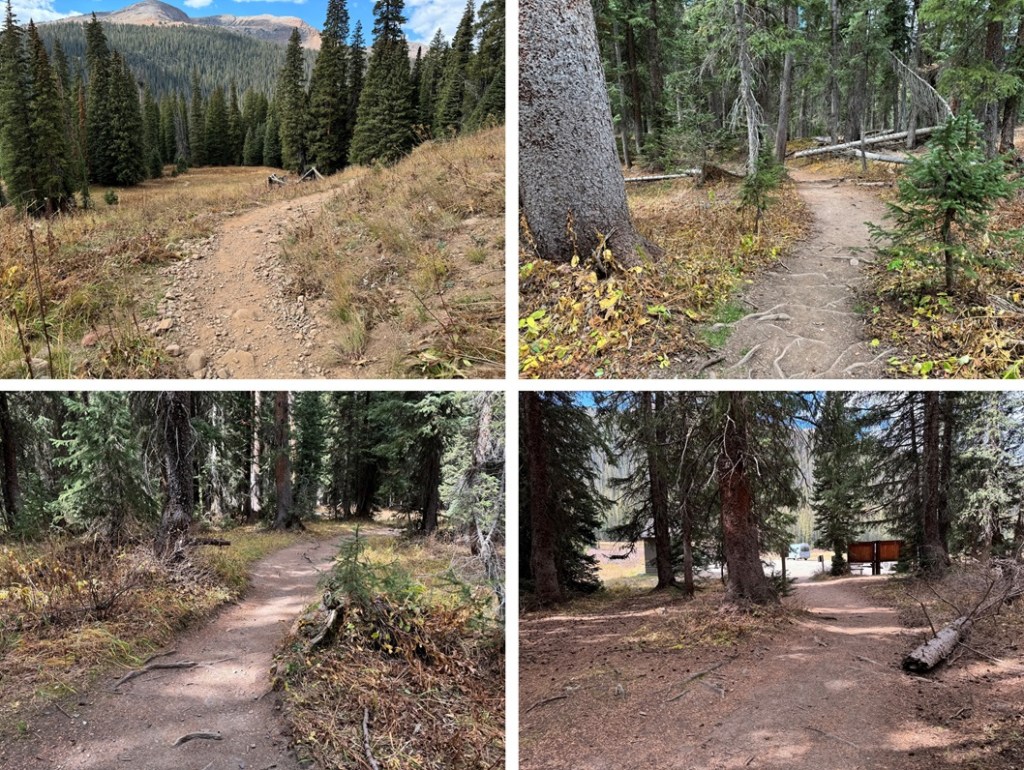
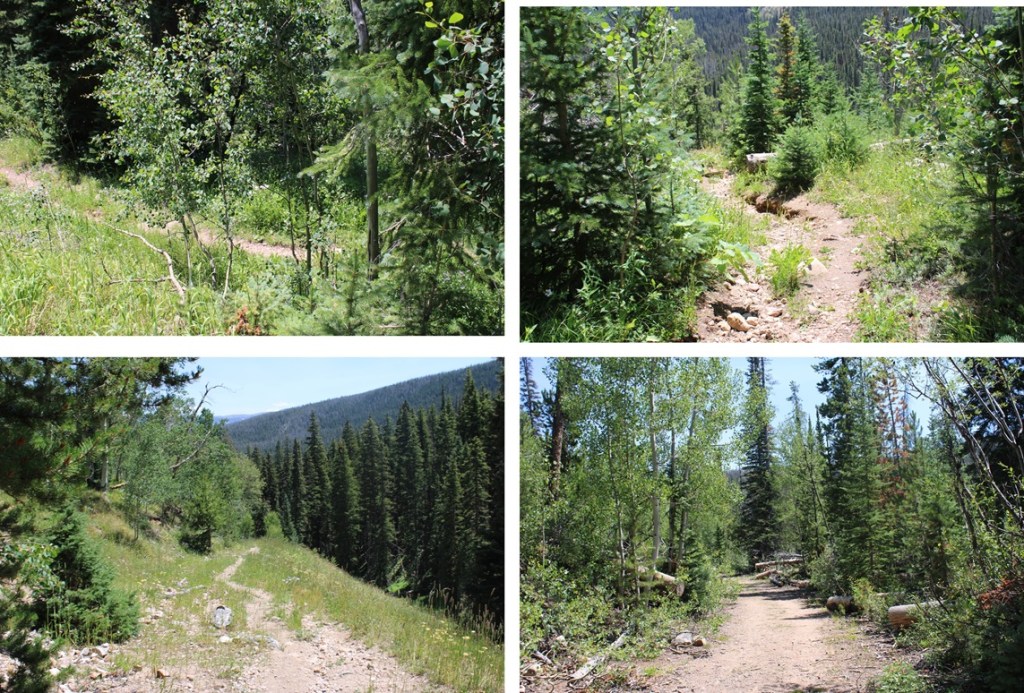
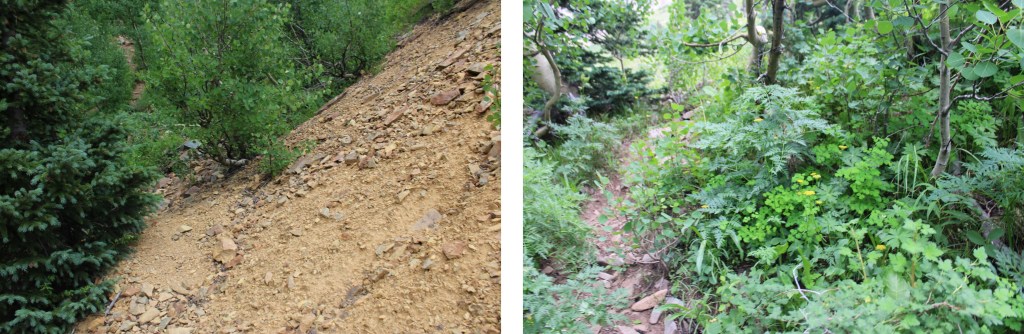
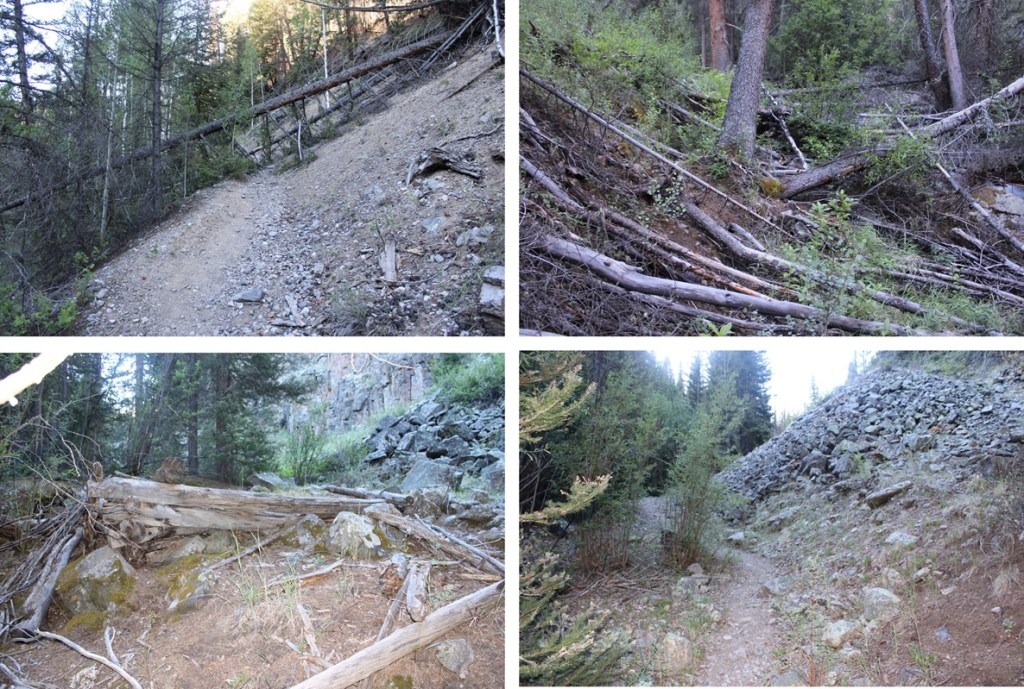
This part of the trail was even less maintained. Way more downed trees to navigate. The trail also faded in and out every so often, making it difficult to follow.
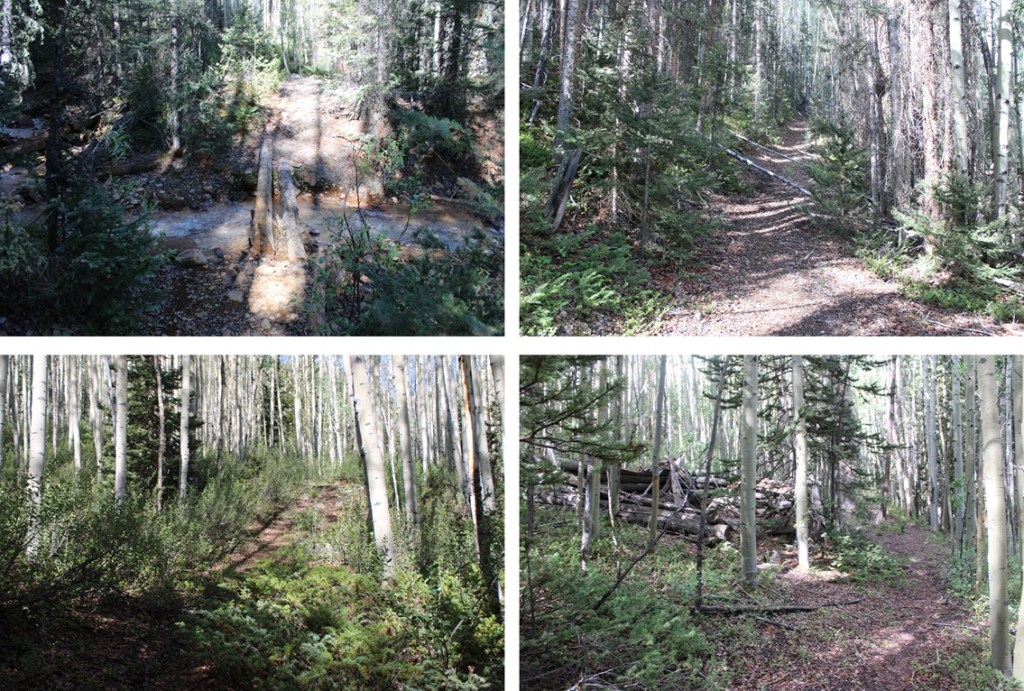
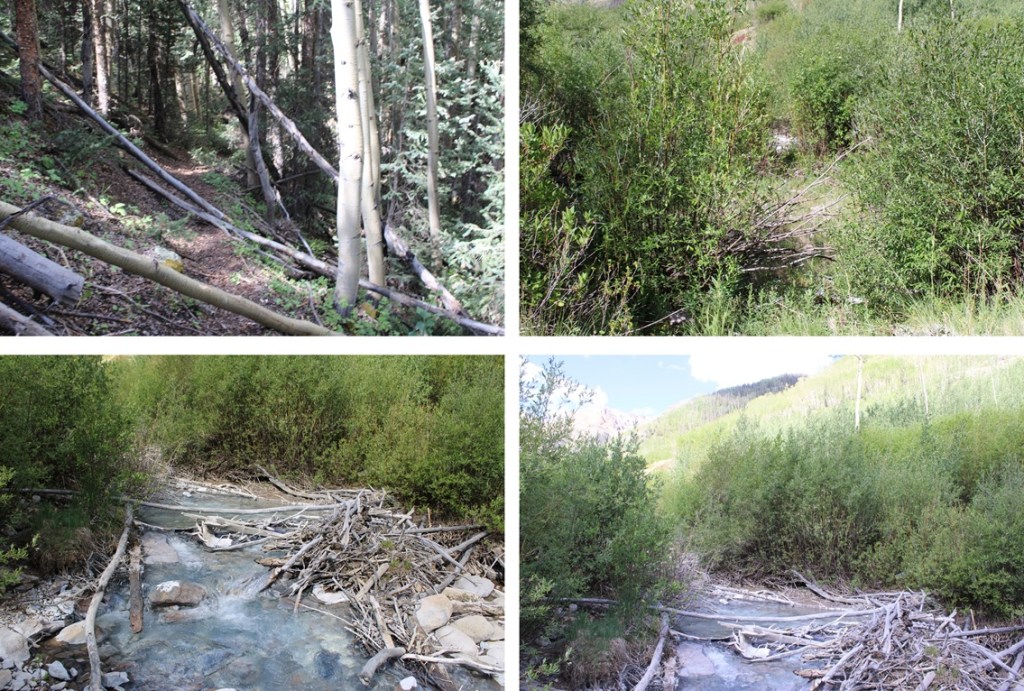
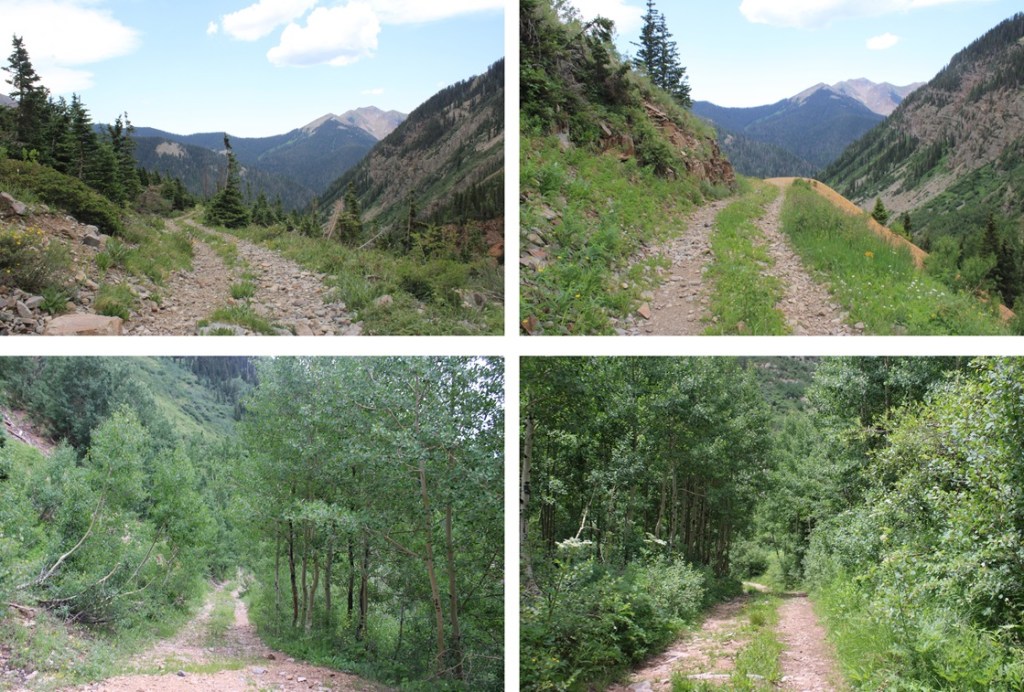
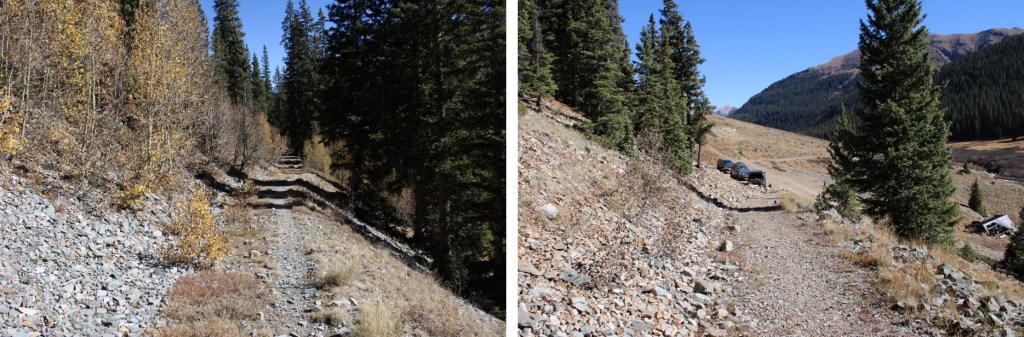
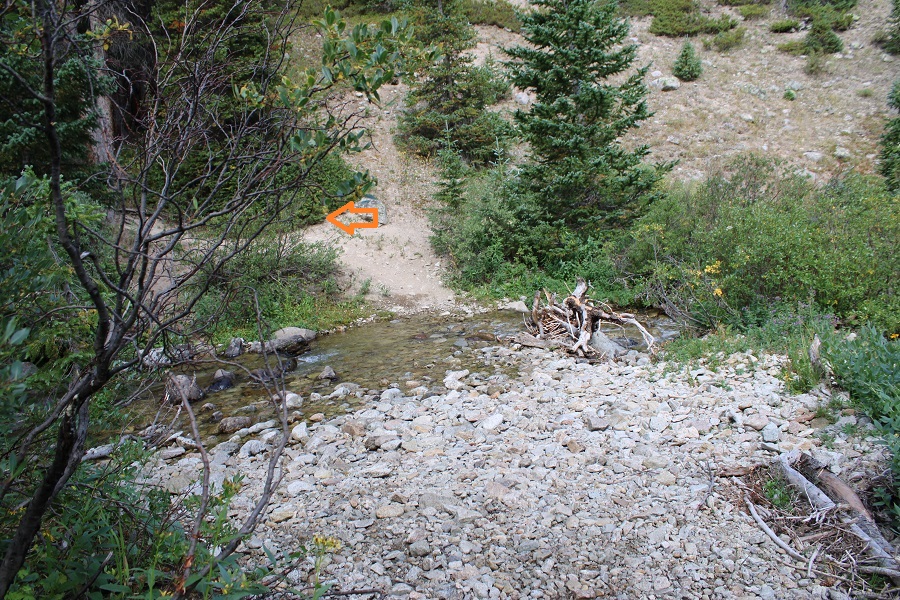
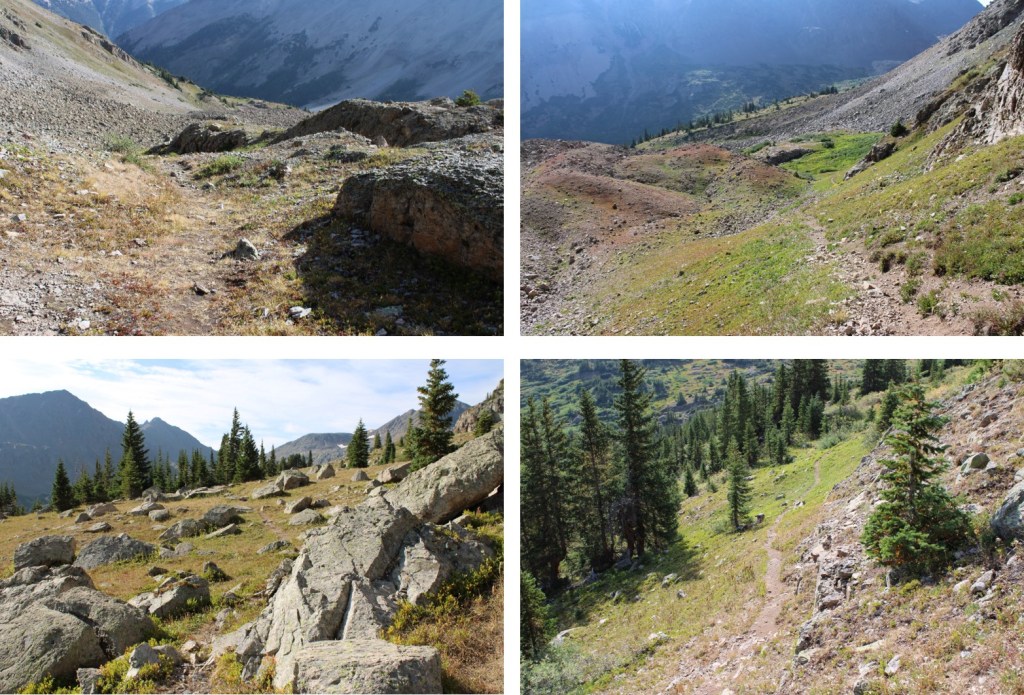
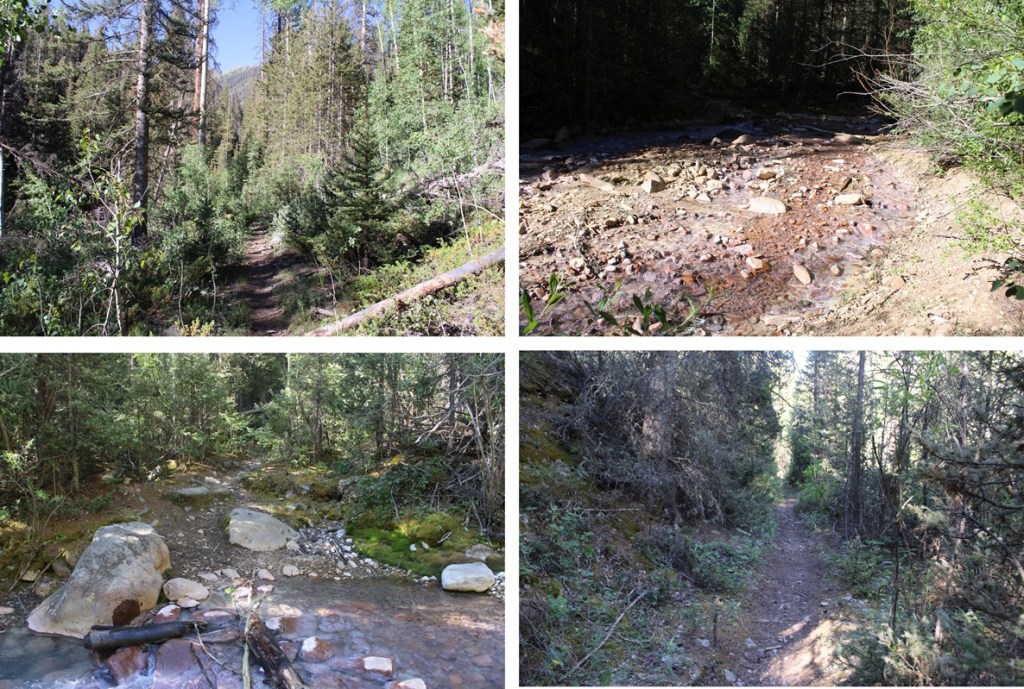
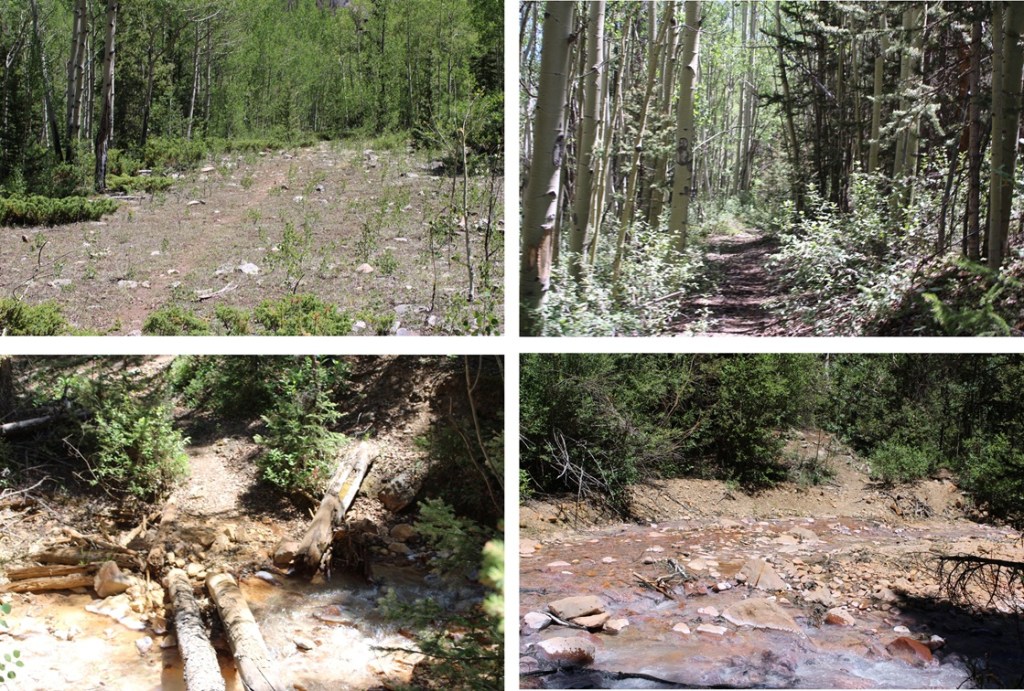
I navigated my way southwest, and after 4 miles of hiking (total) came to my final creek crossing over Alpine Gulch. There was quite a bit of evidence of beaver, moose, and bear activity in the area.
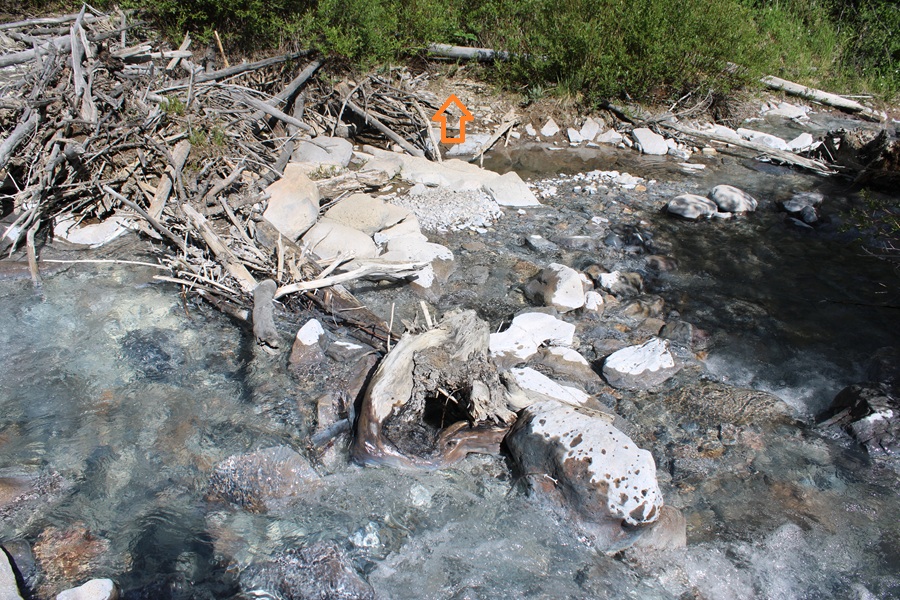
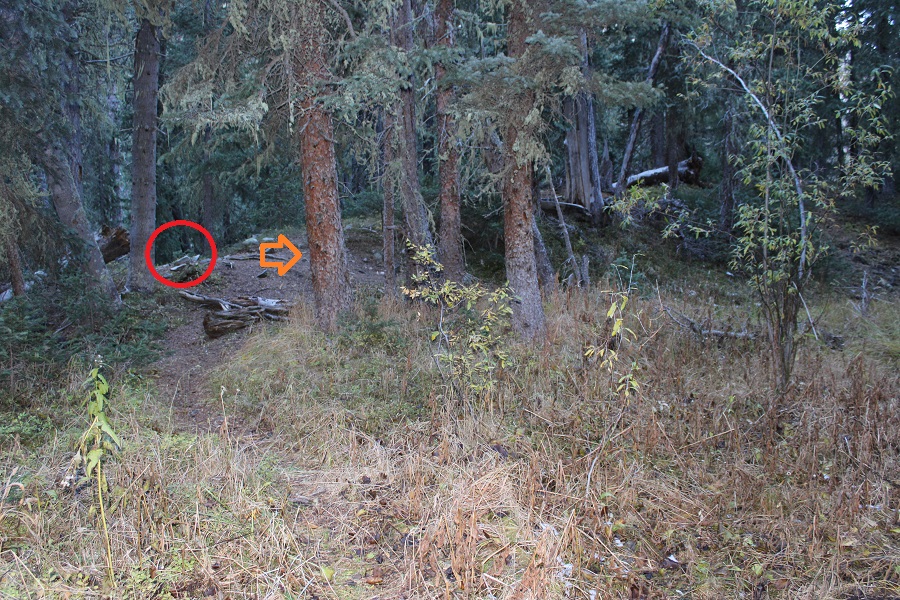
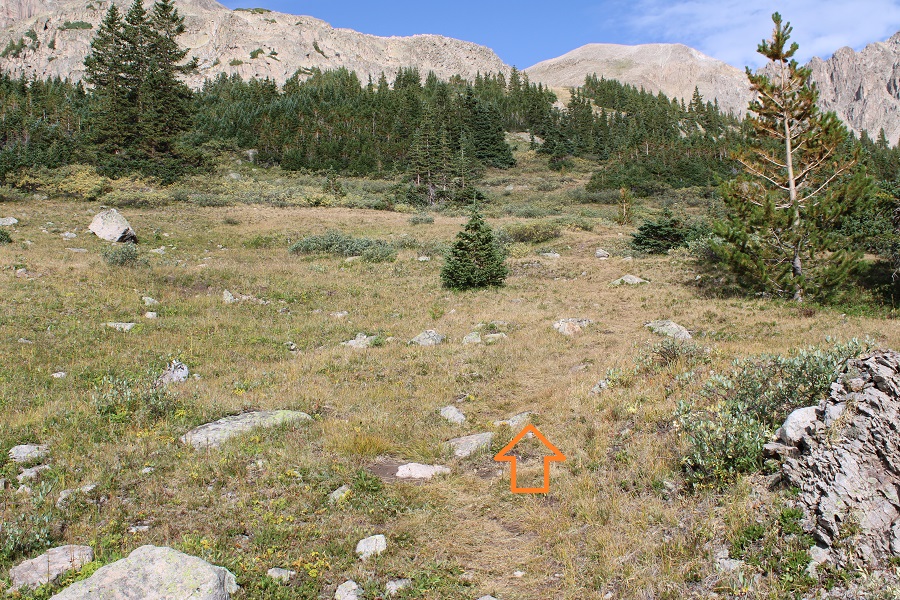
I crossed the creek and continued on a faint trail southwest to 10430’
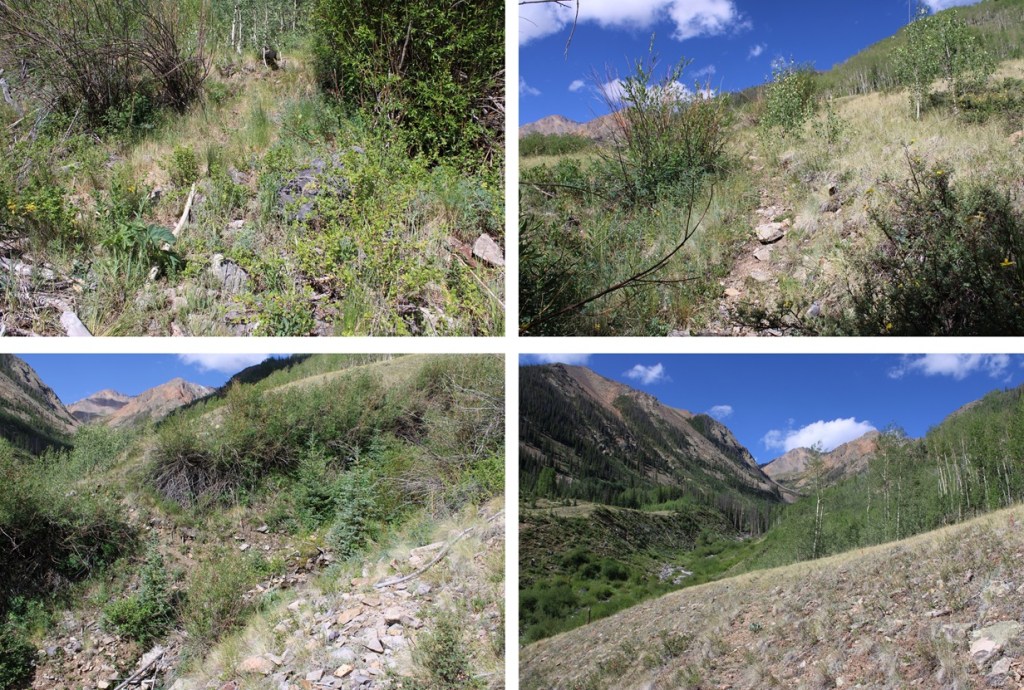
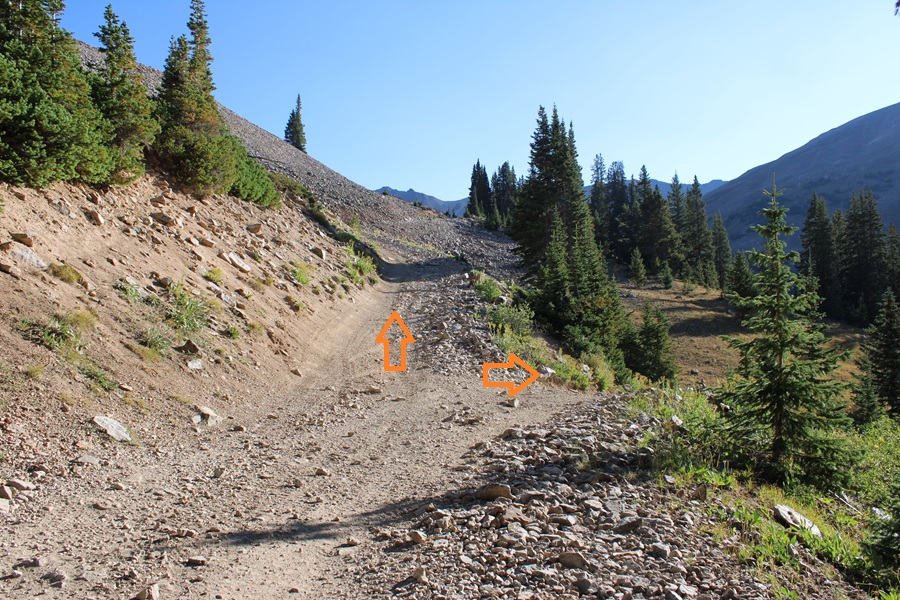
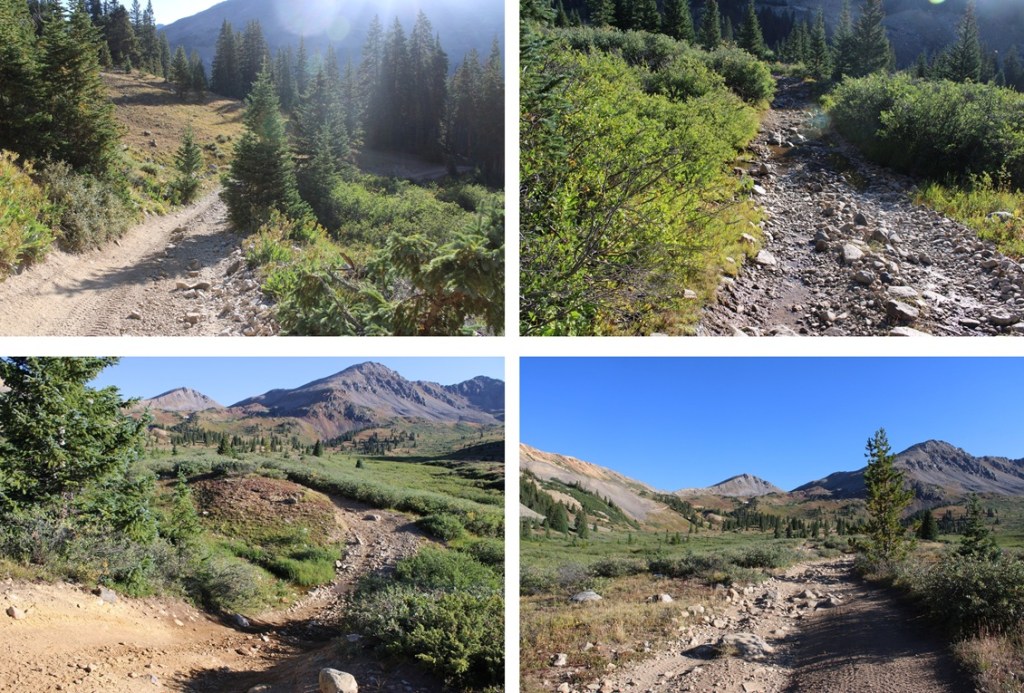
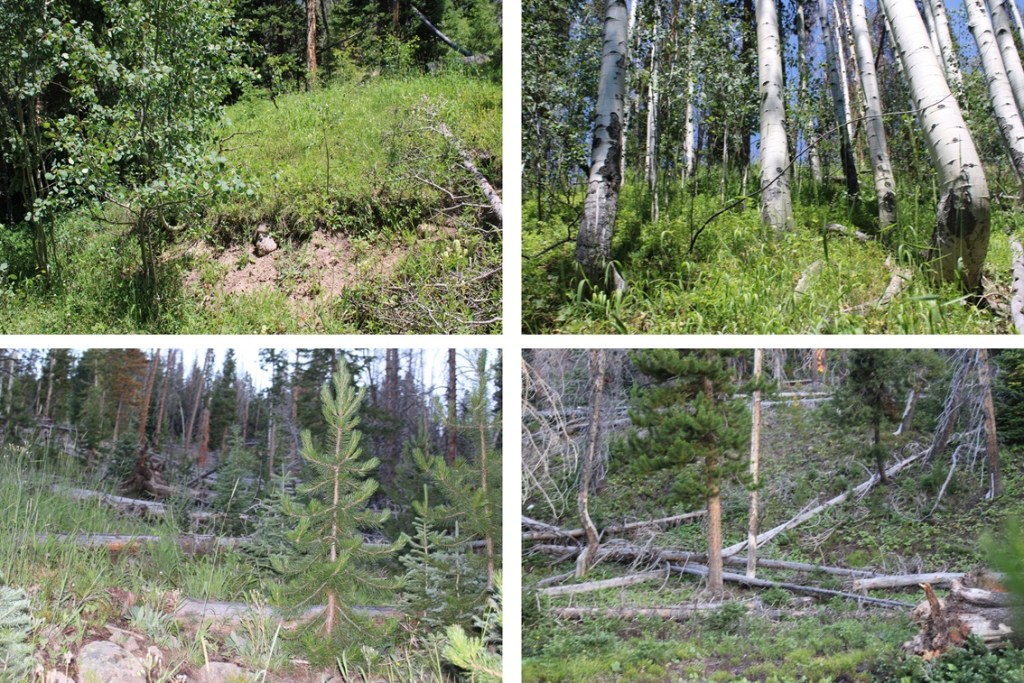
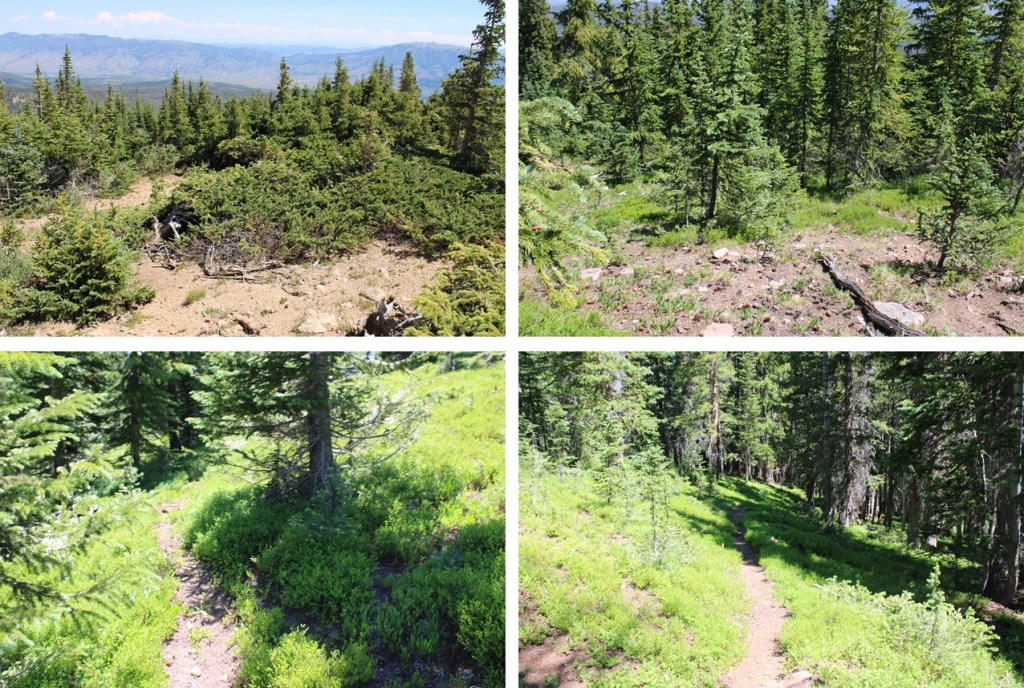
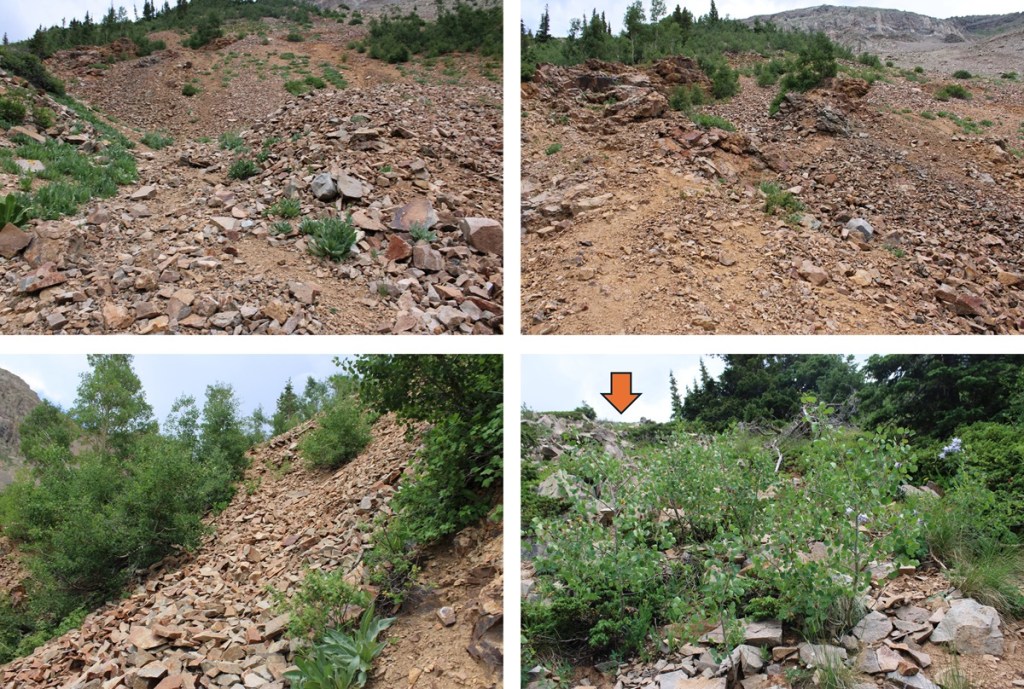
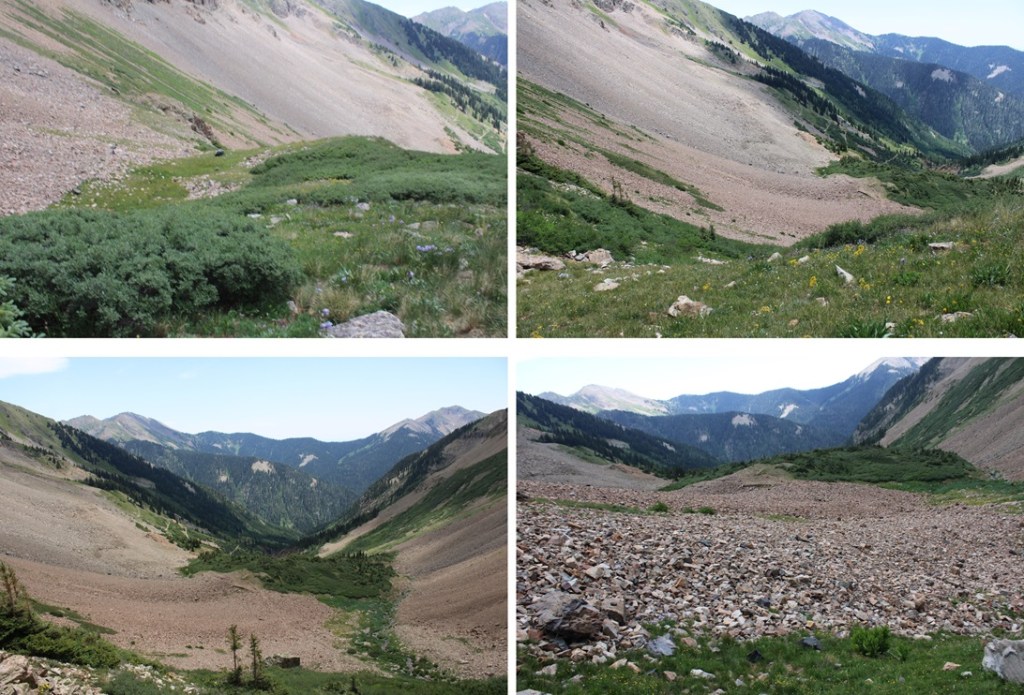
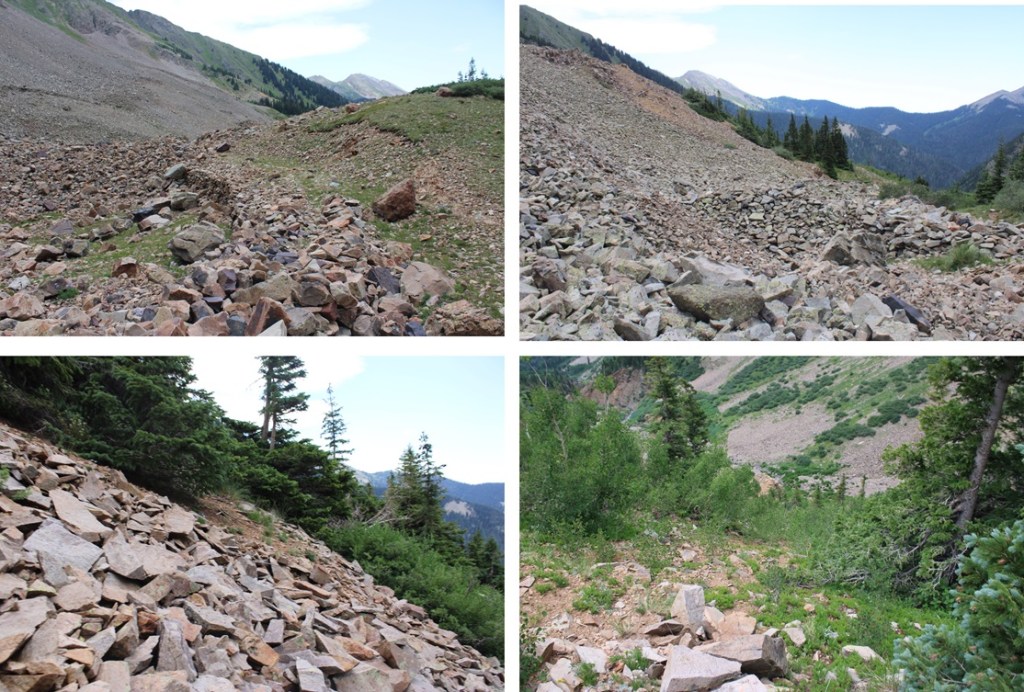
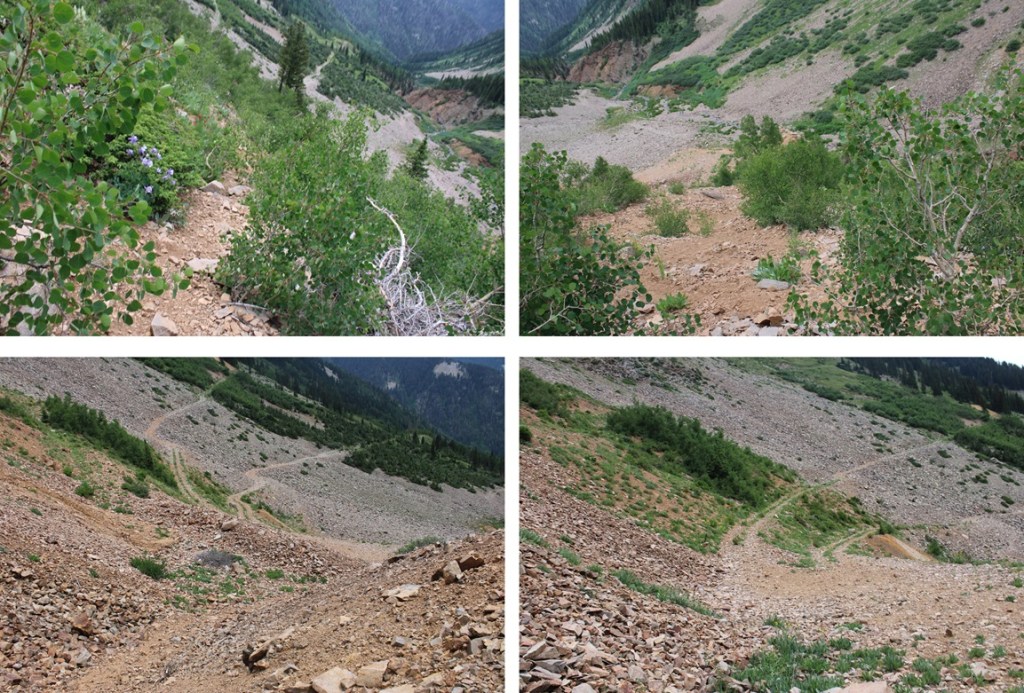
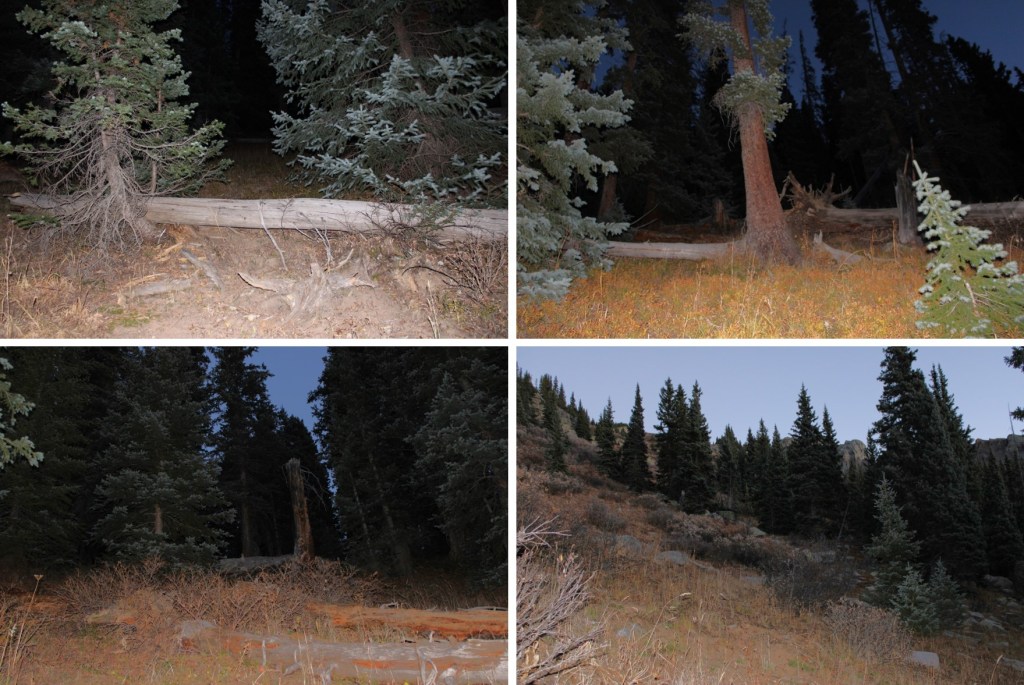
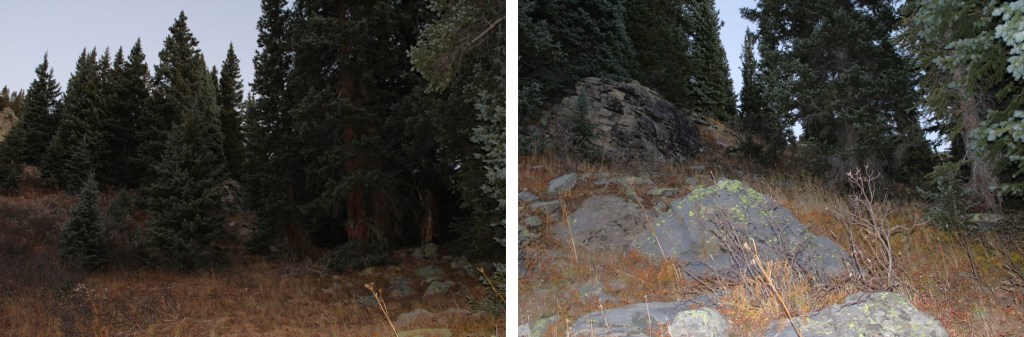
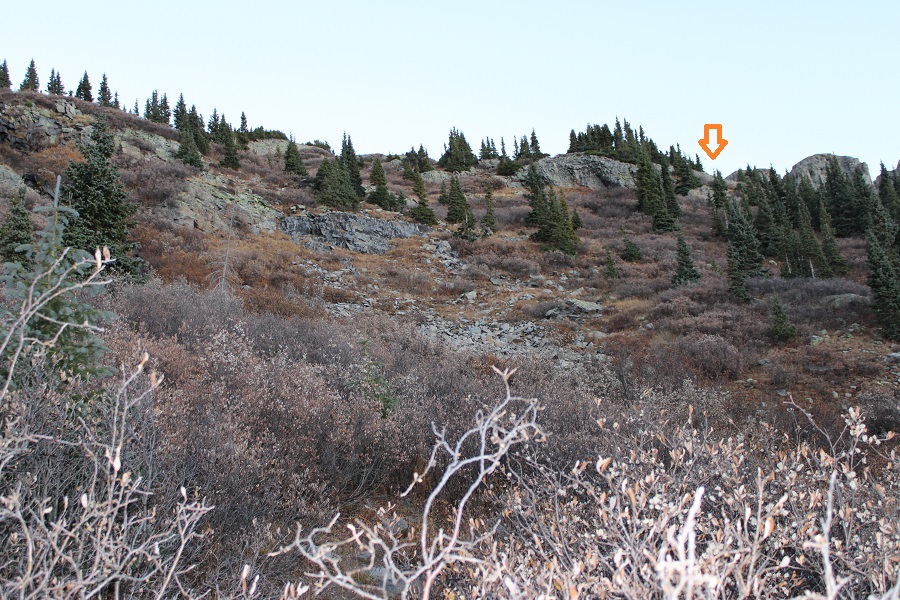
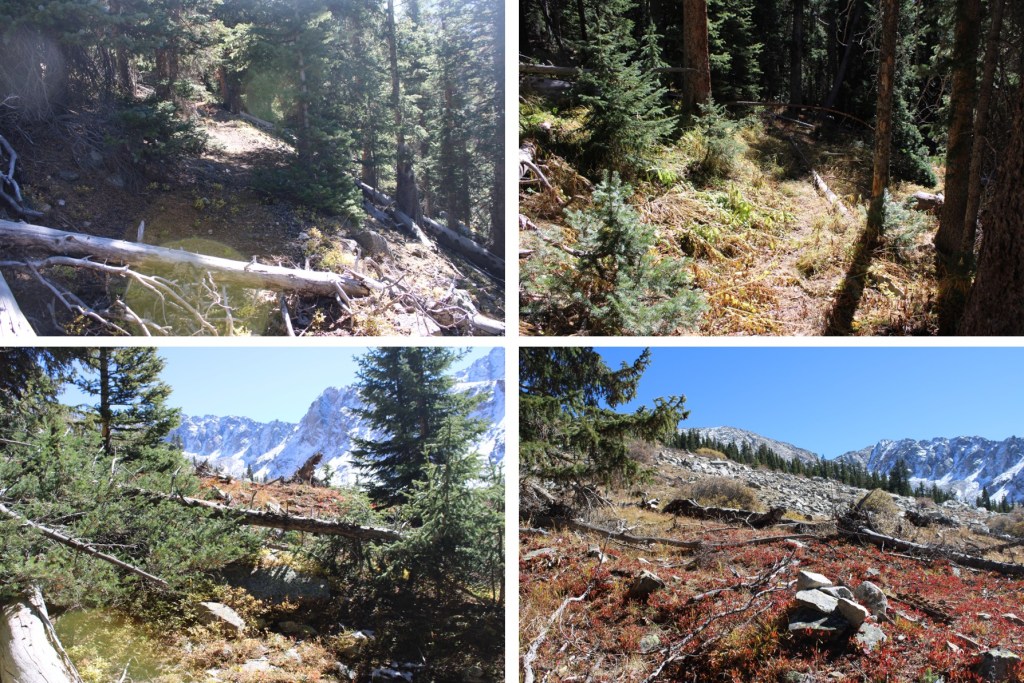
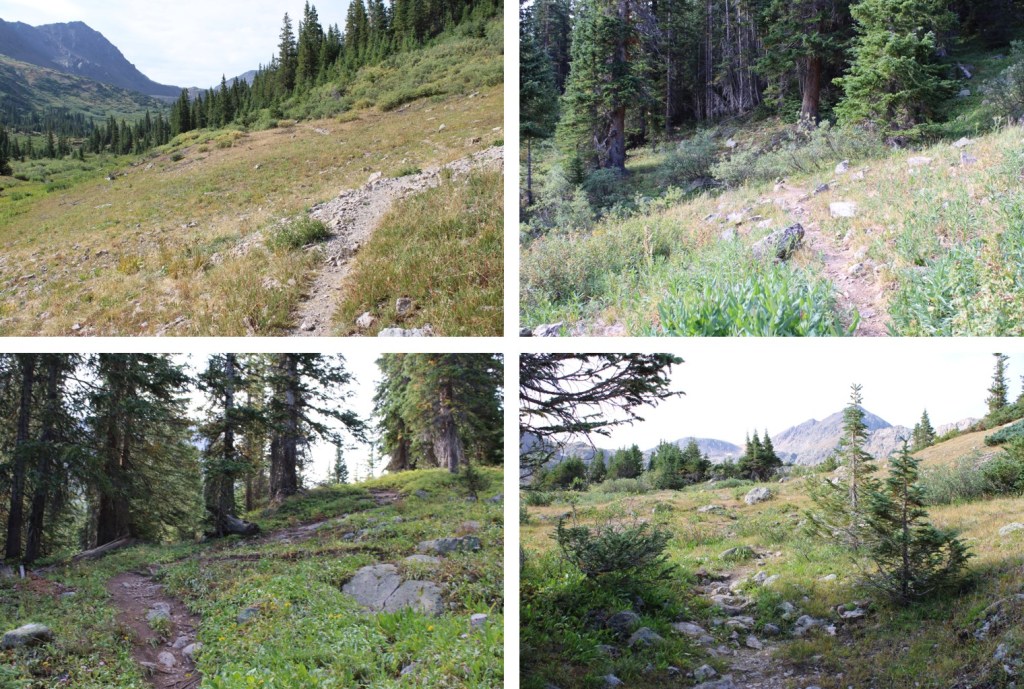
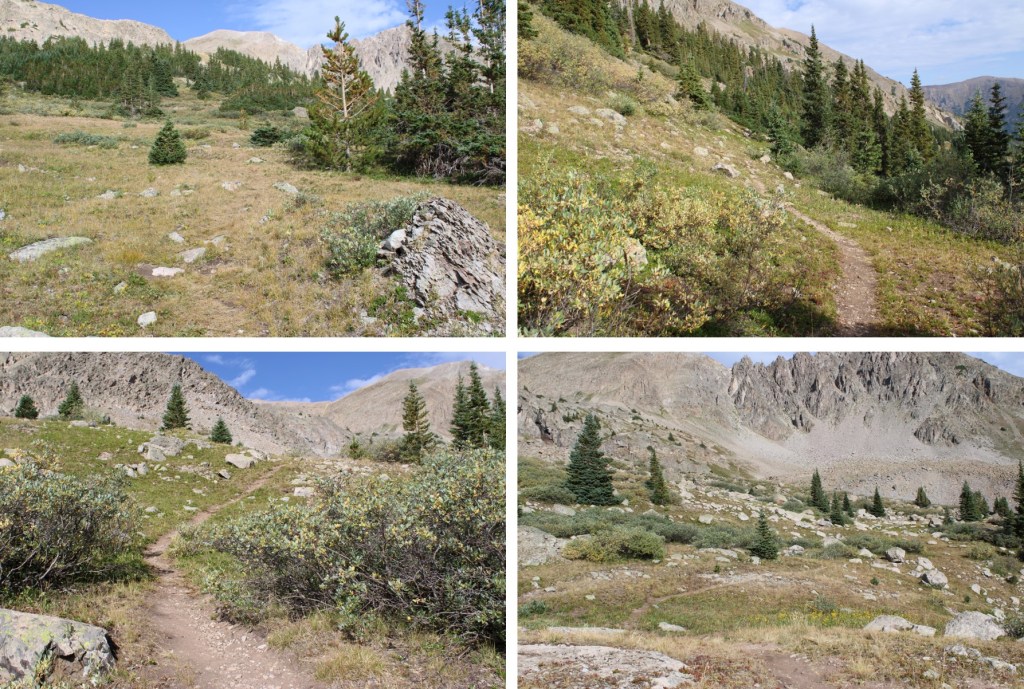
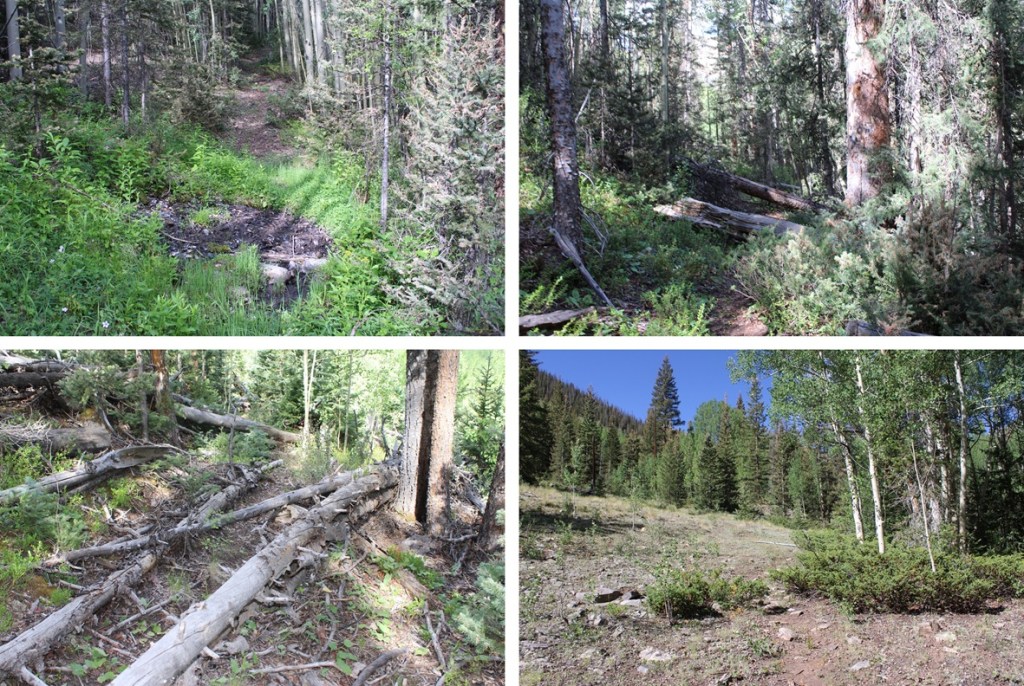
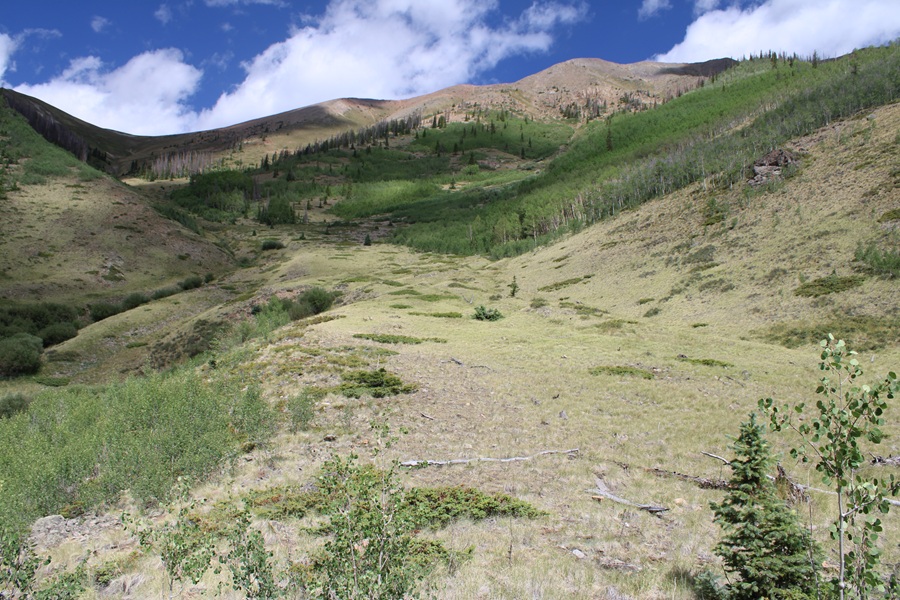
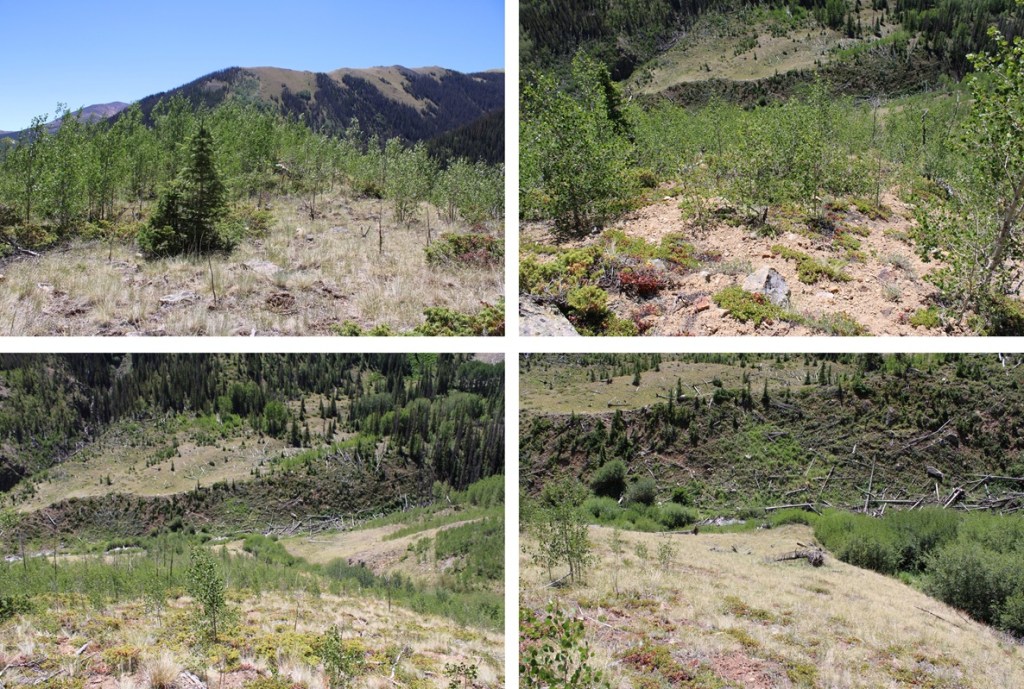
Just before coming to an avalanche debris area in the creek and a gulch at 10430’ I turned right and left the trail. I started heading northwest up the ridge. There were a lot of aspens to navigate and the terrain was steep.
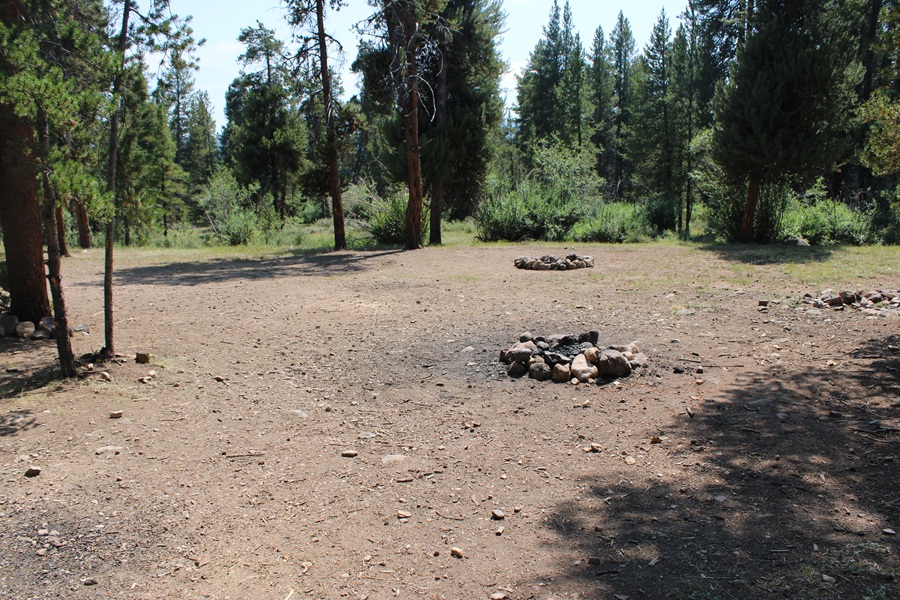
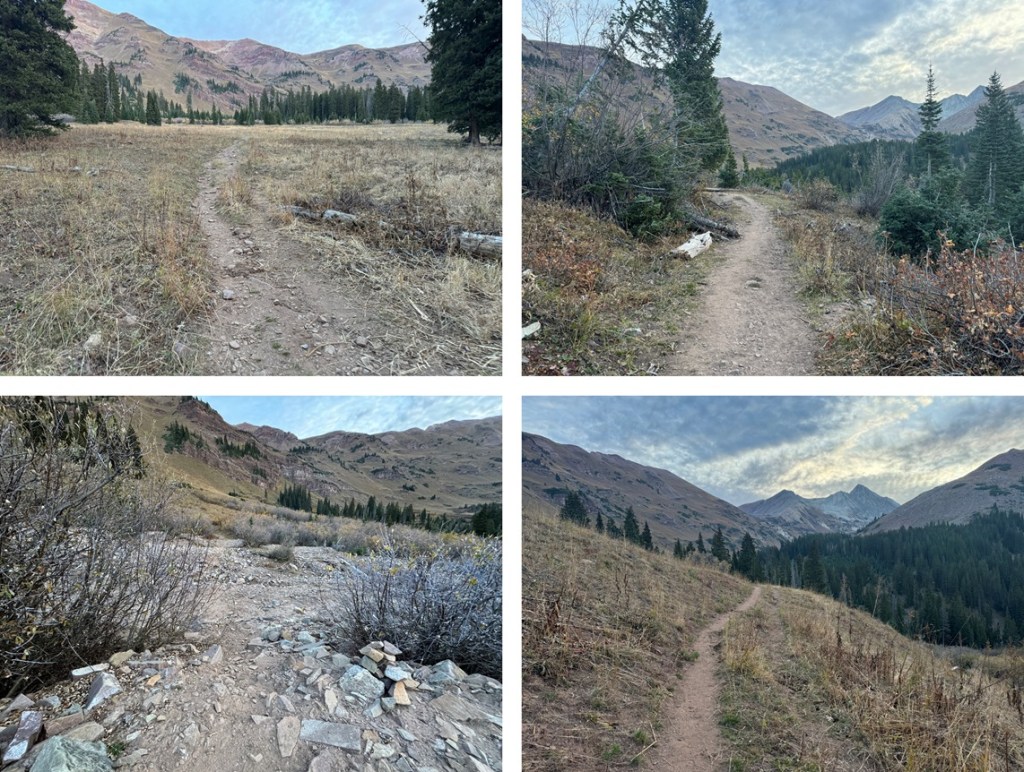
At the top of this aspen grove at around 10,800’ I decided to make my camp for the night. It’s a semi-flat area with a great view of my route the next morning.
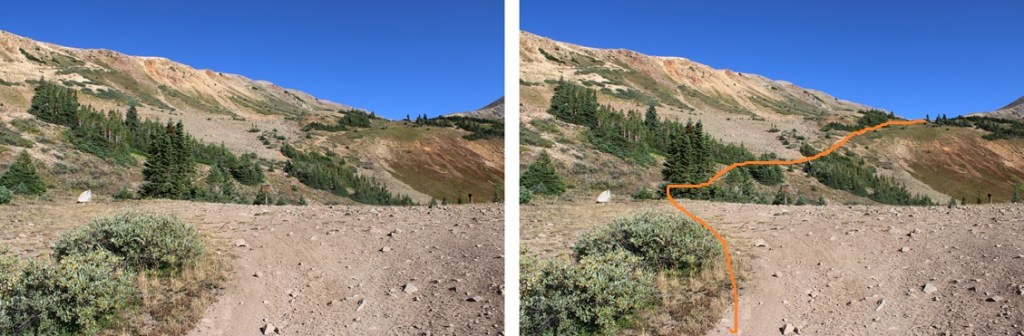
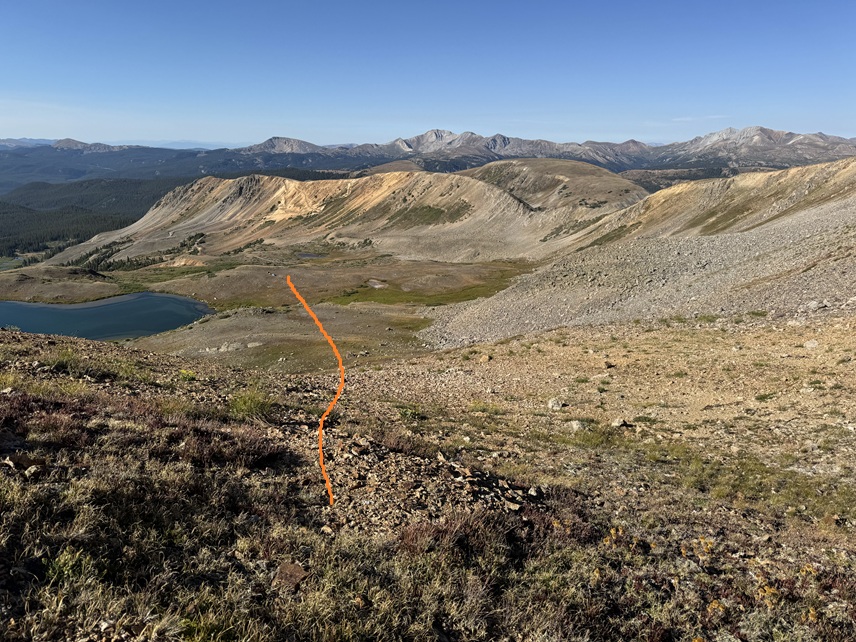
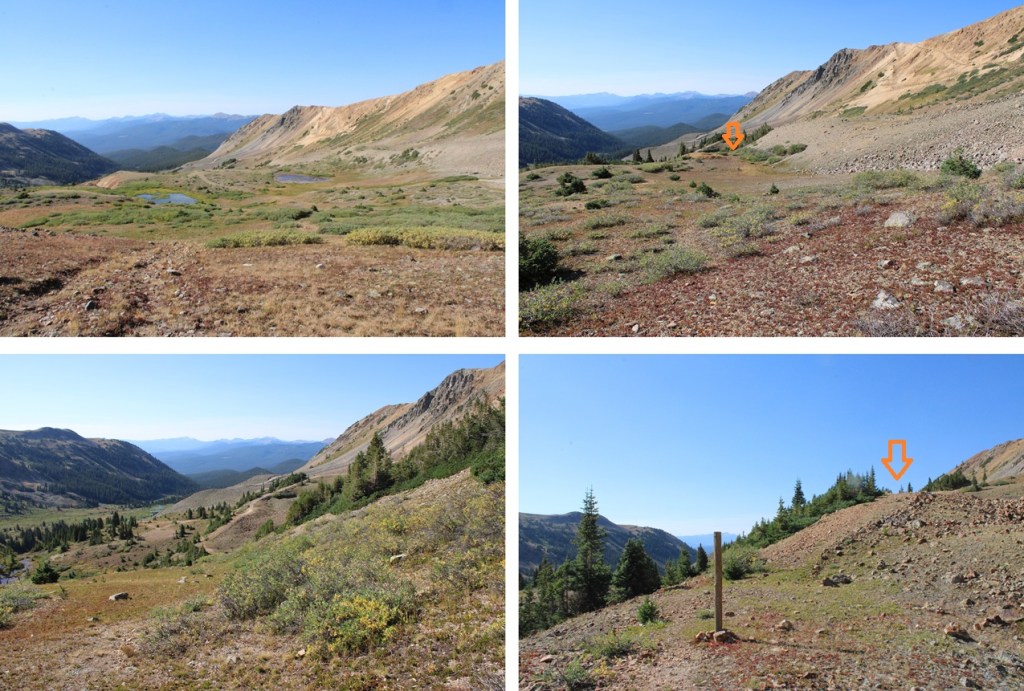
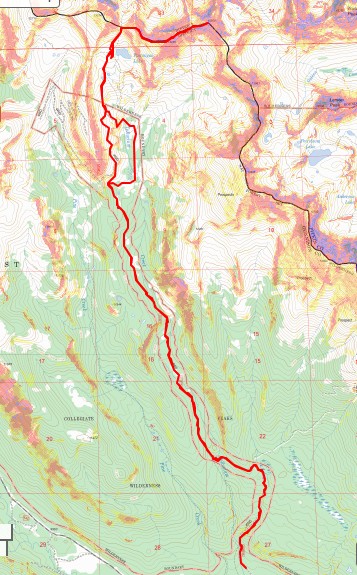
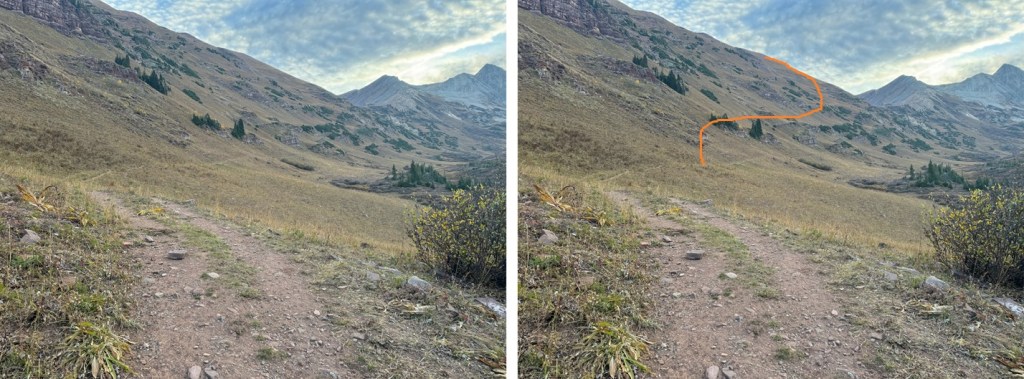
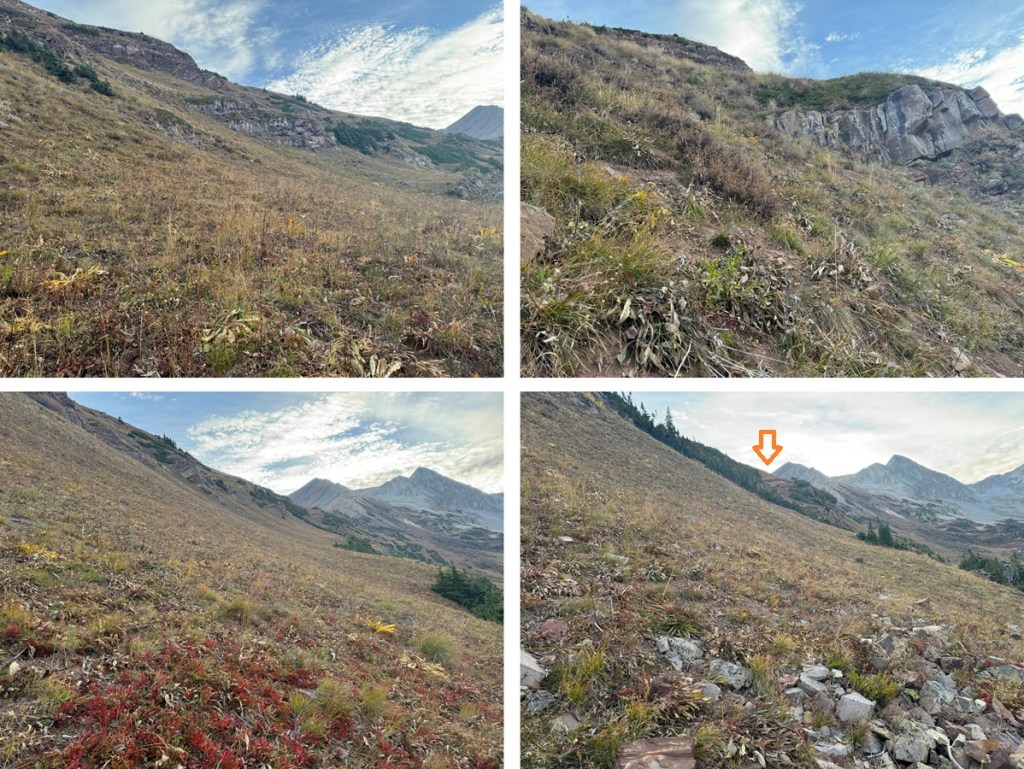
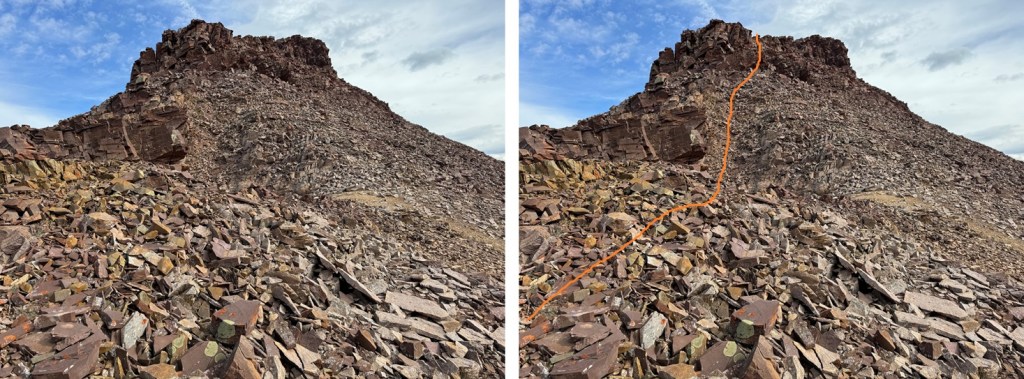
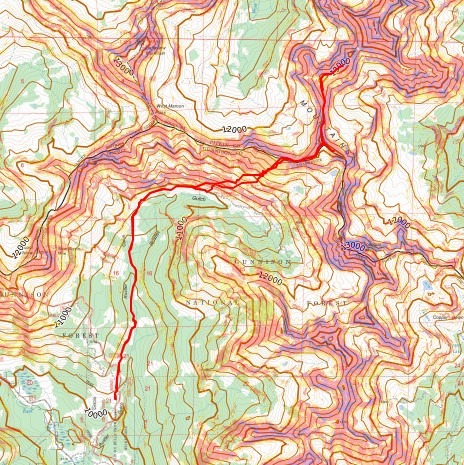
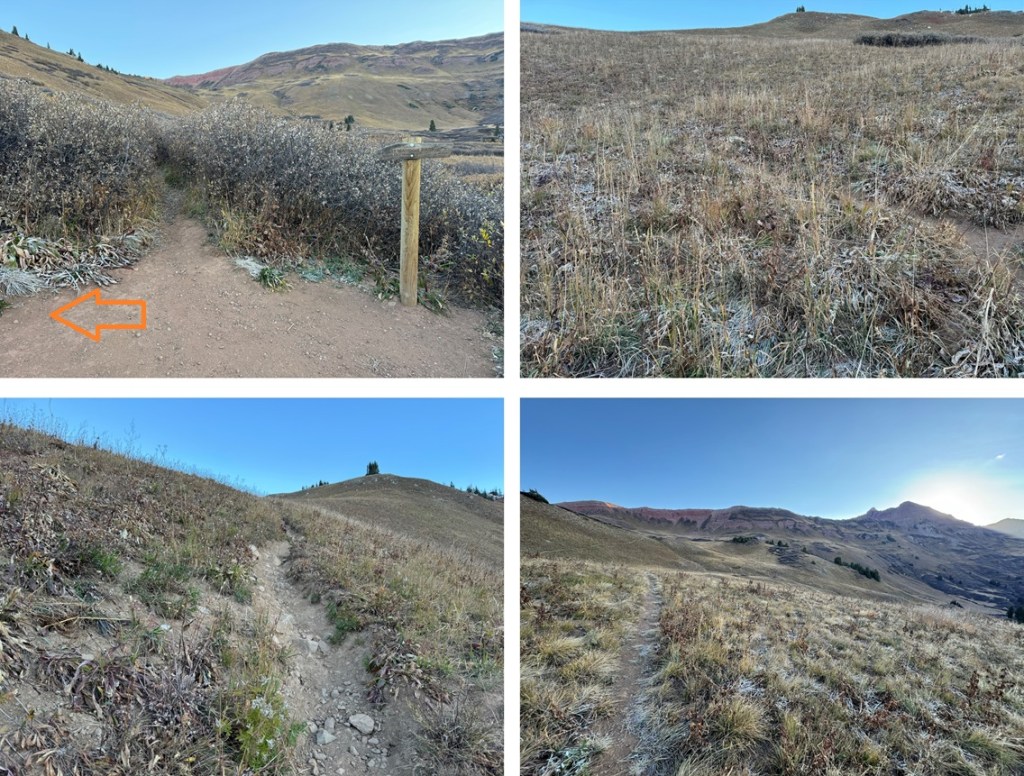
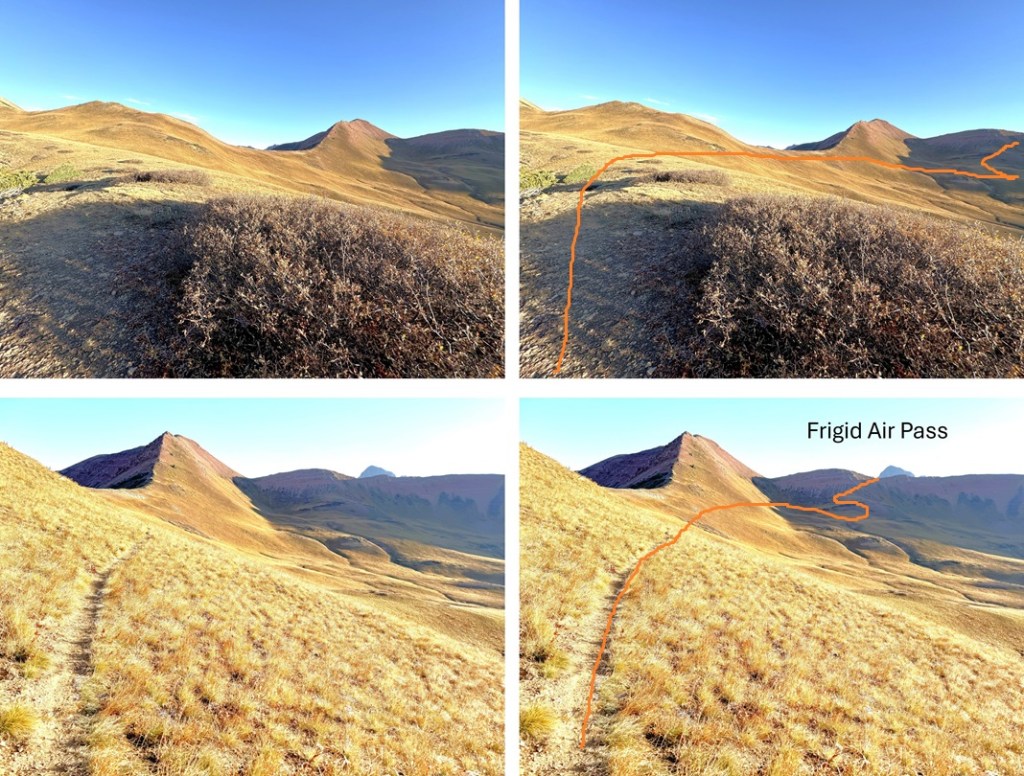
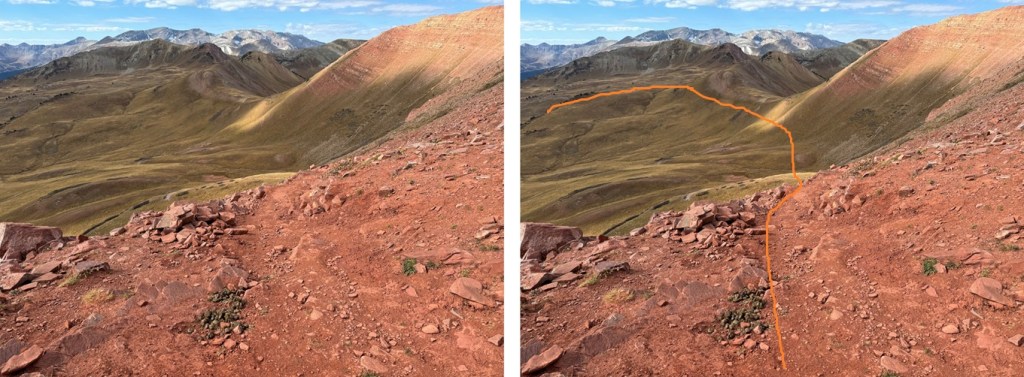
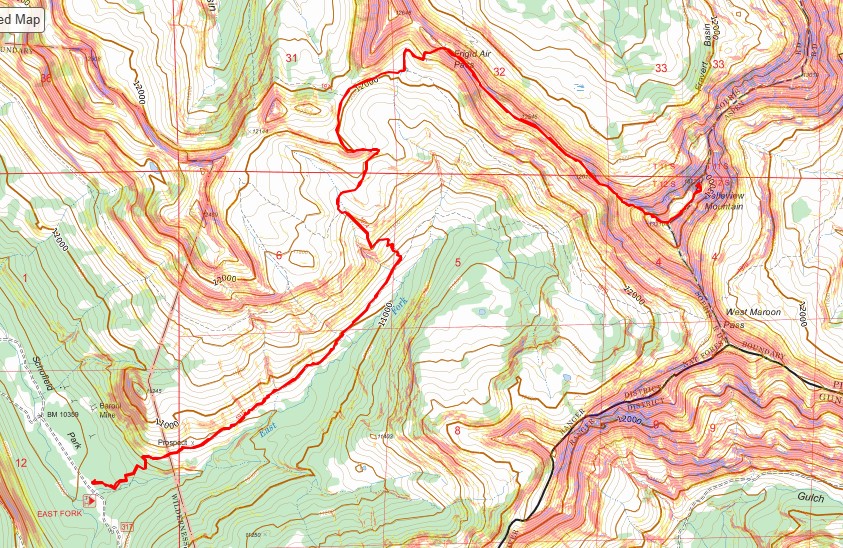
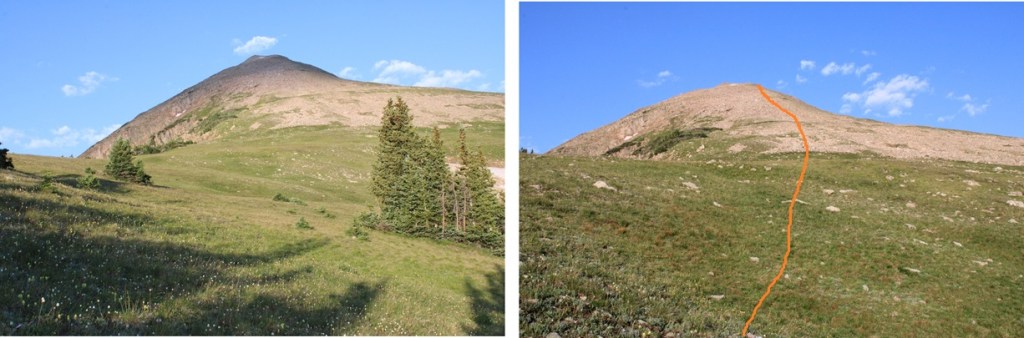
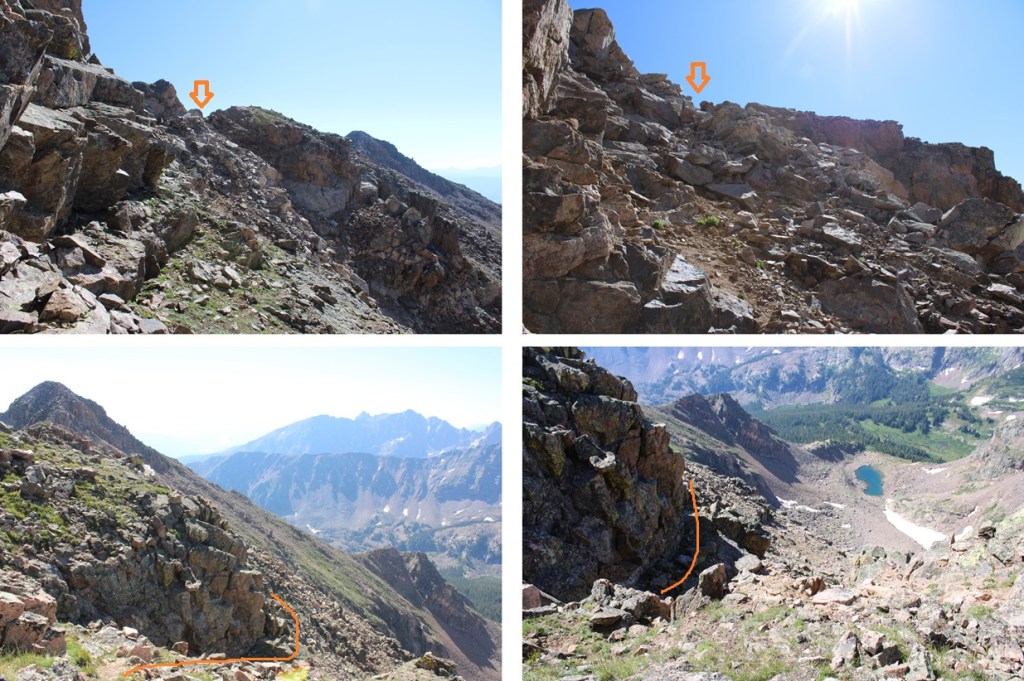
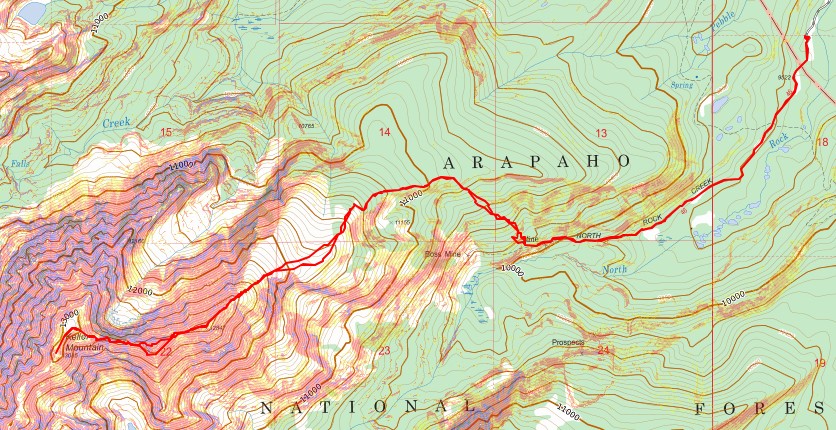
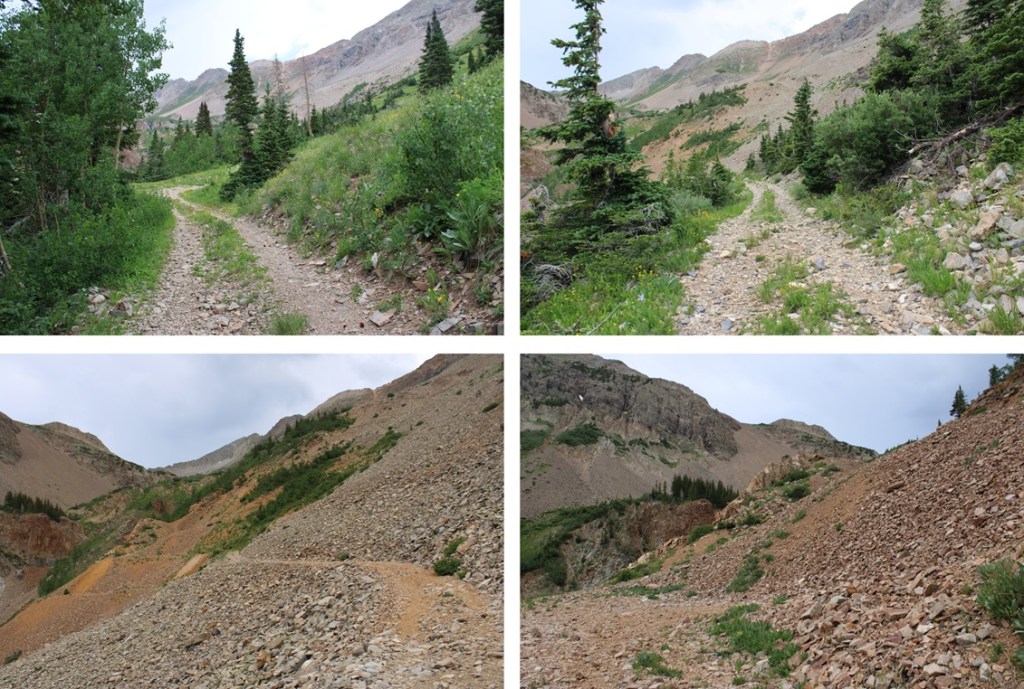
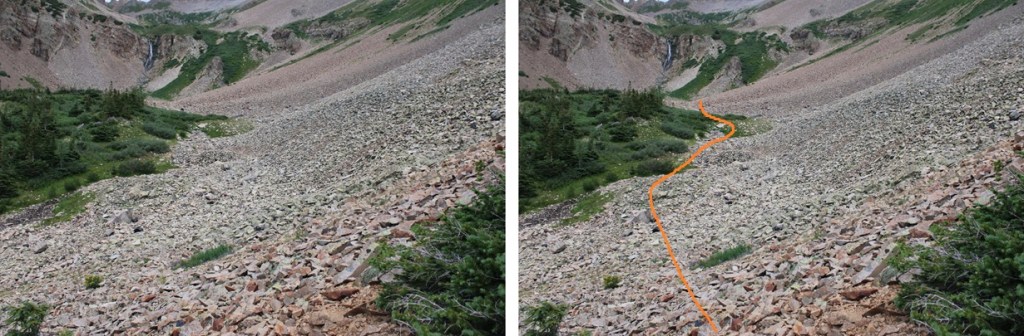
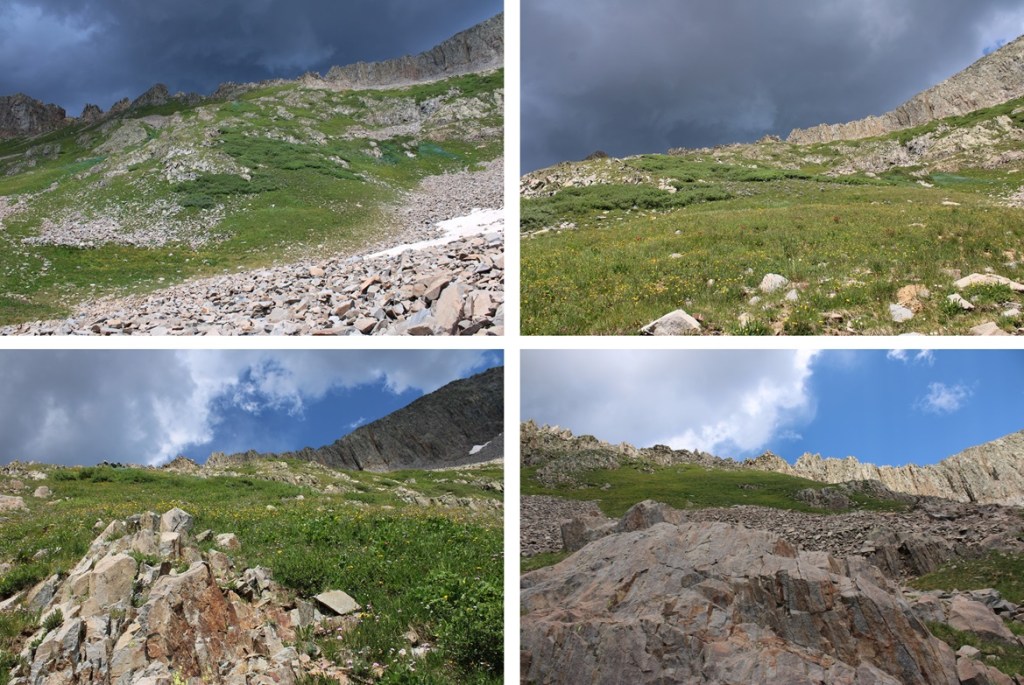
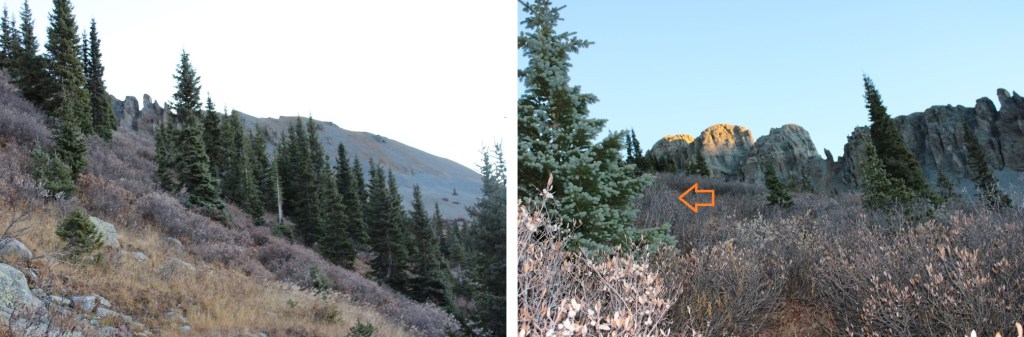
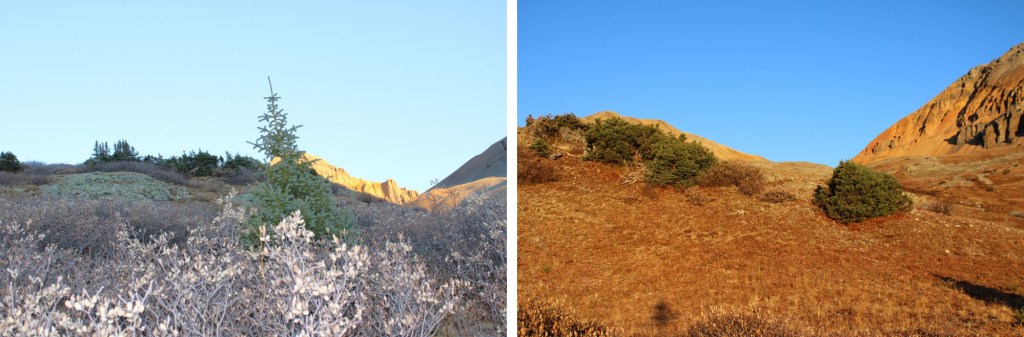
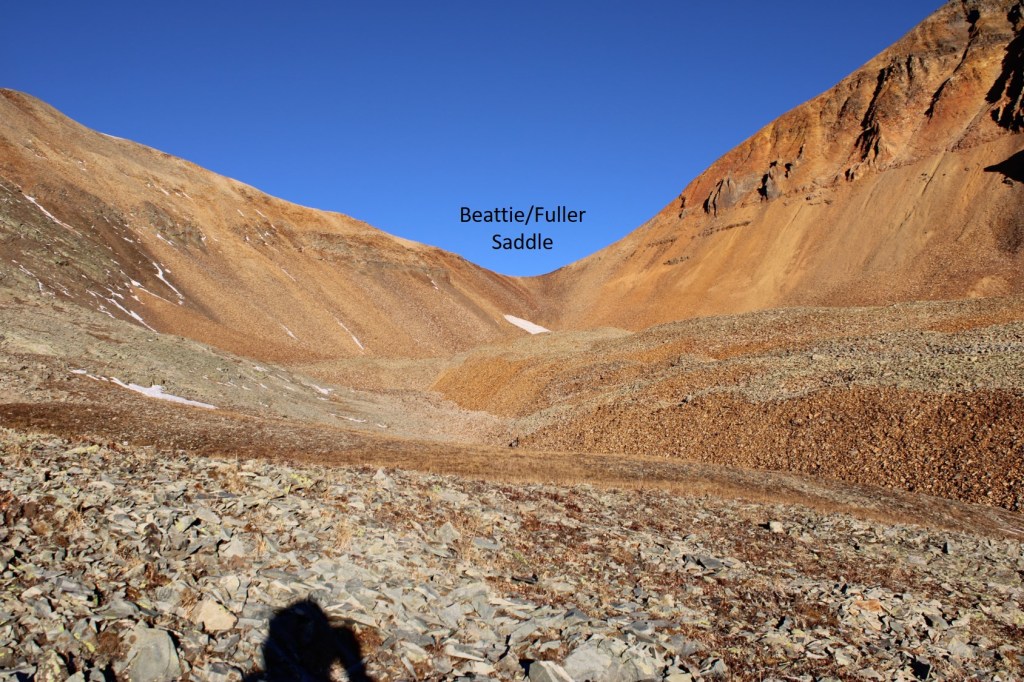
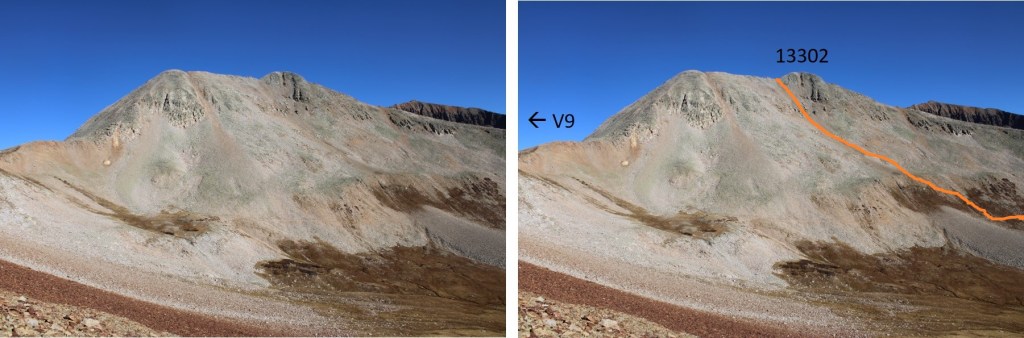
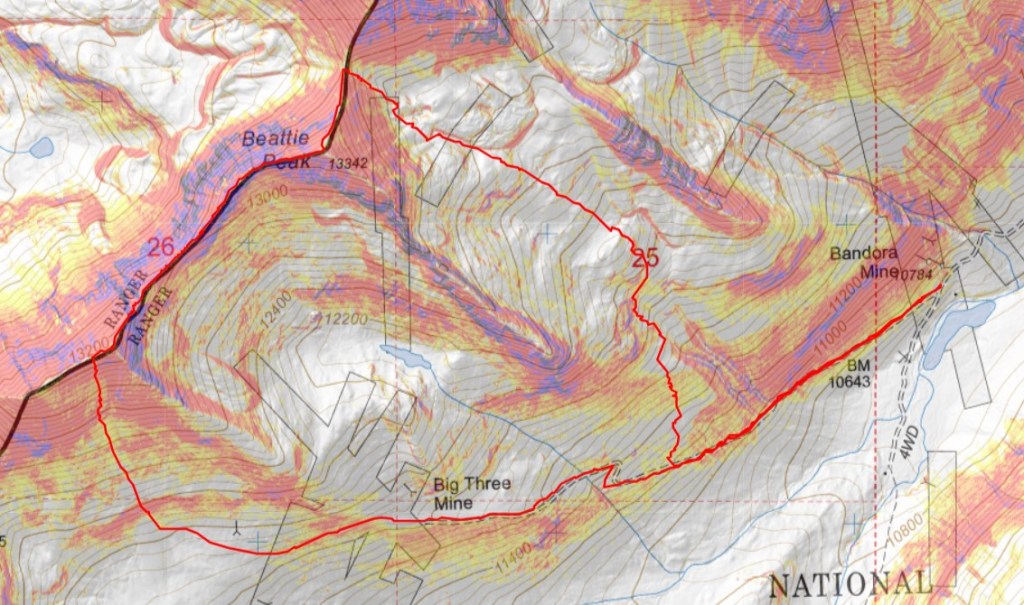
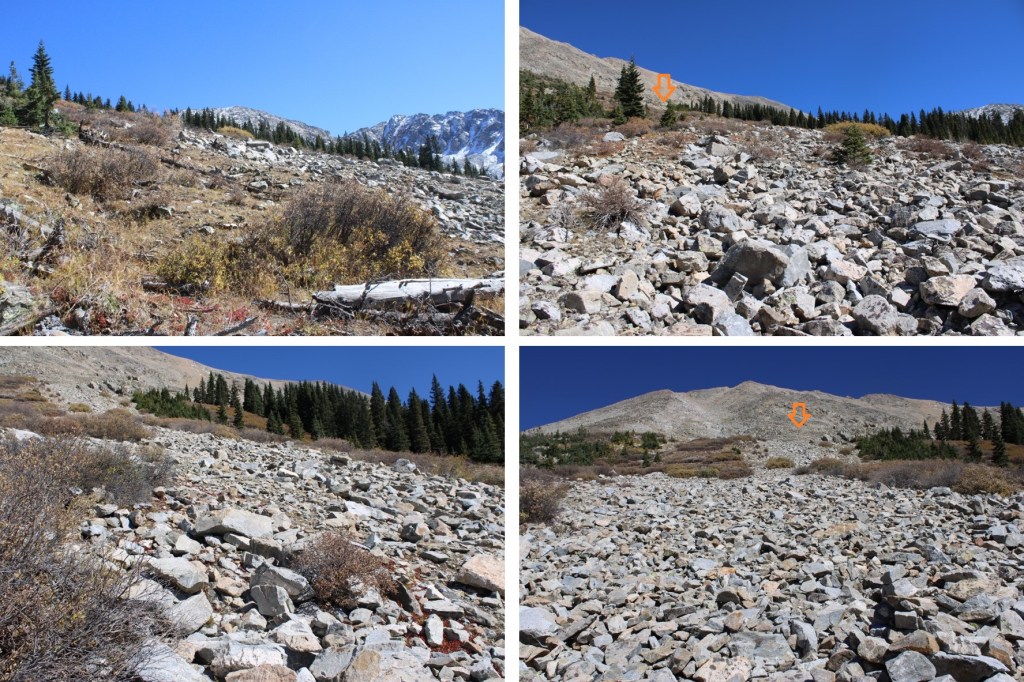
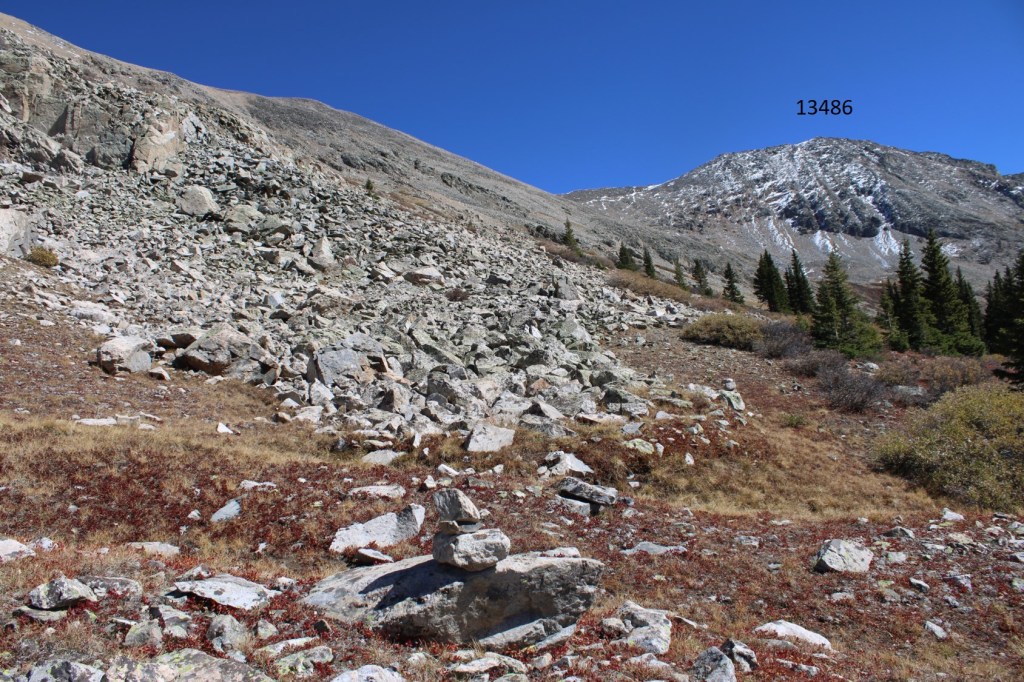
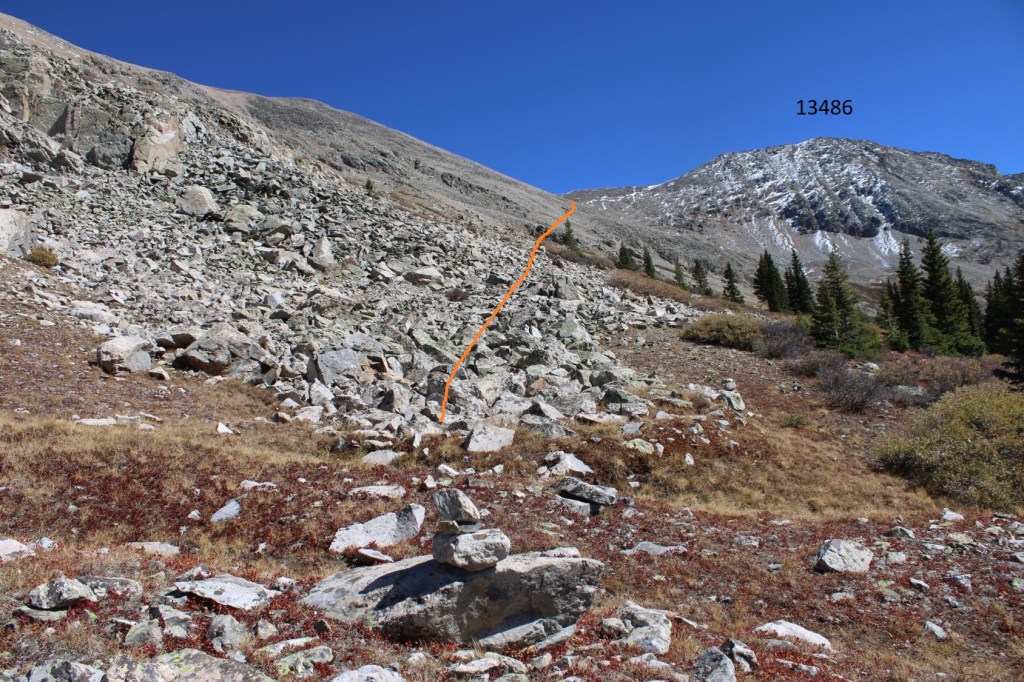
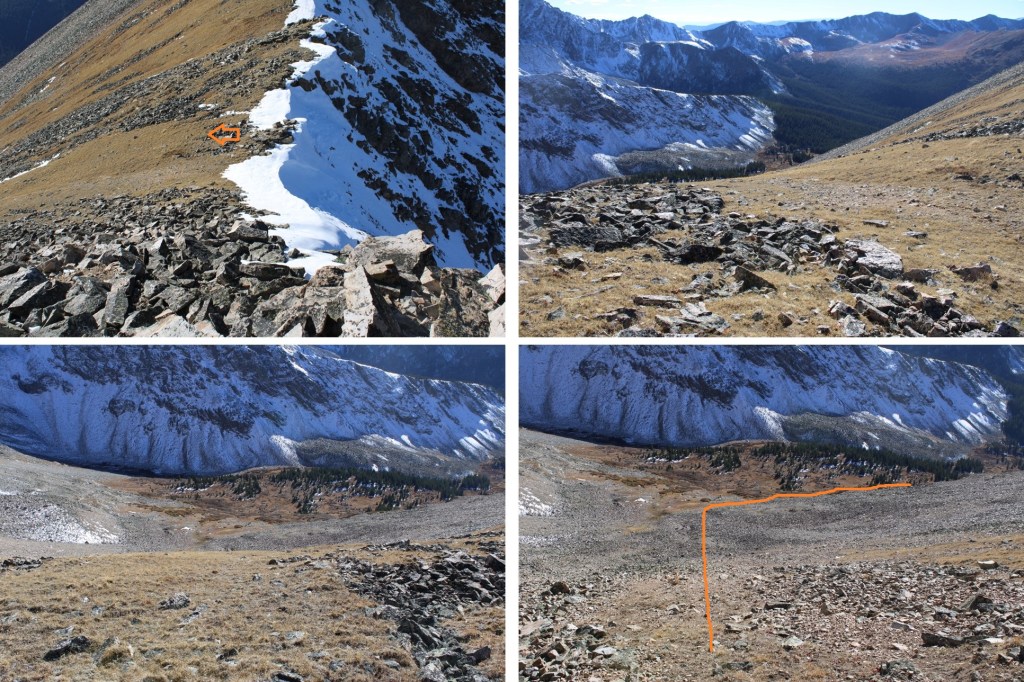
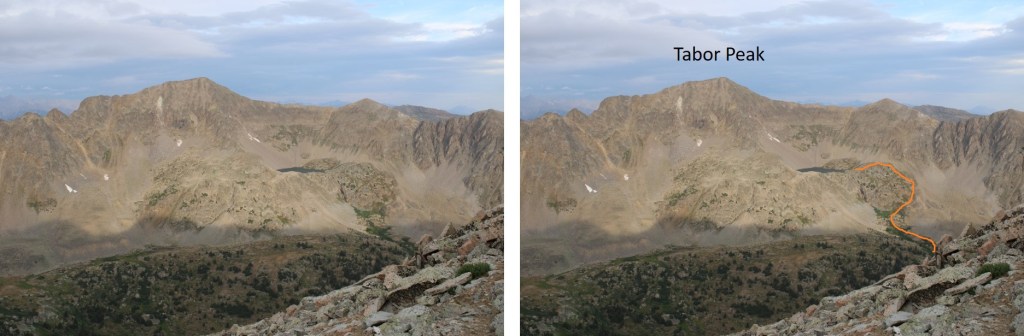
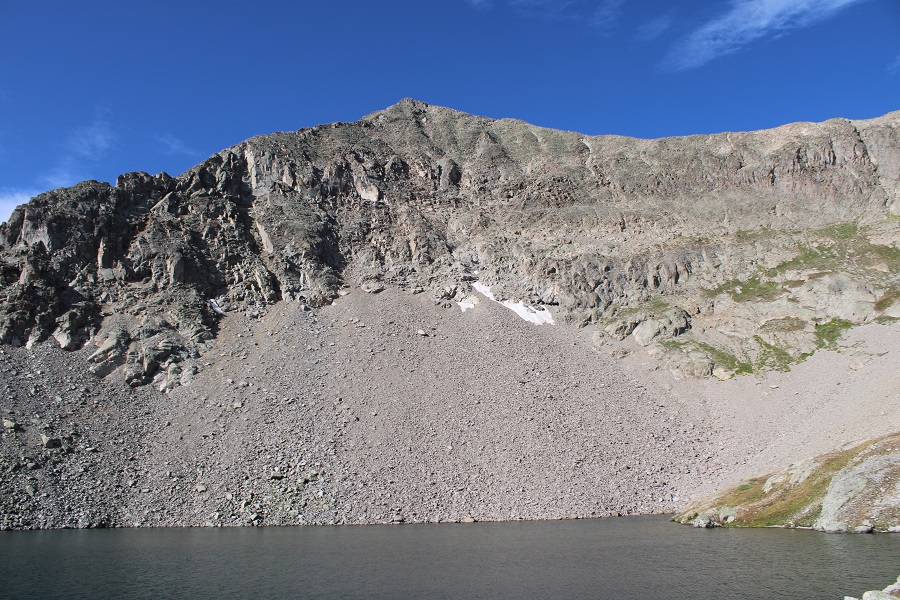
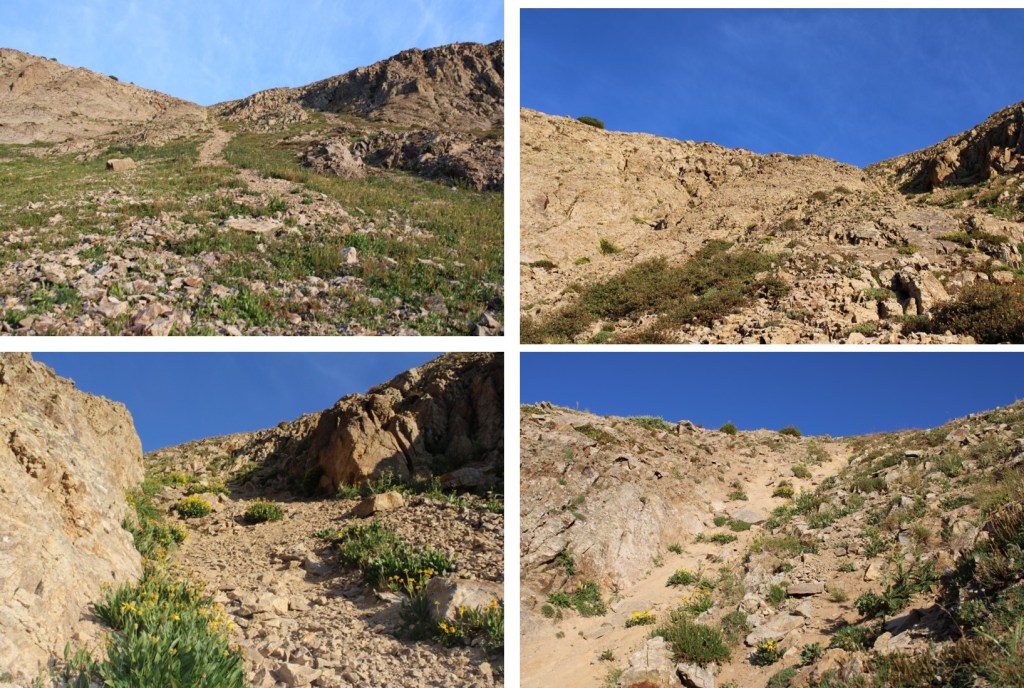
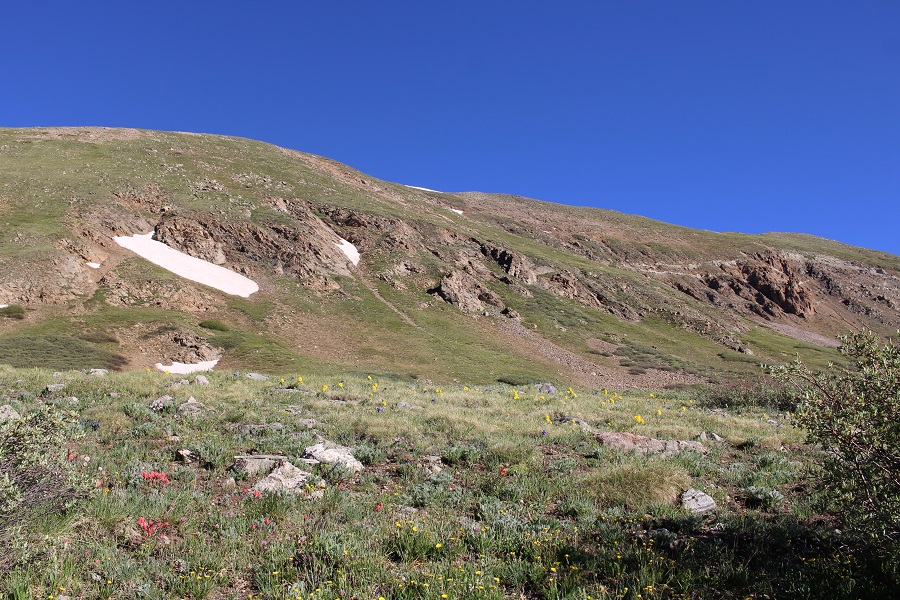
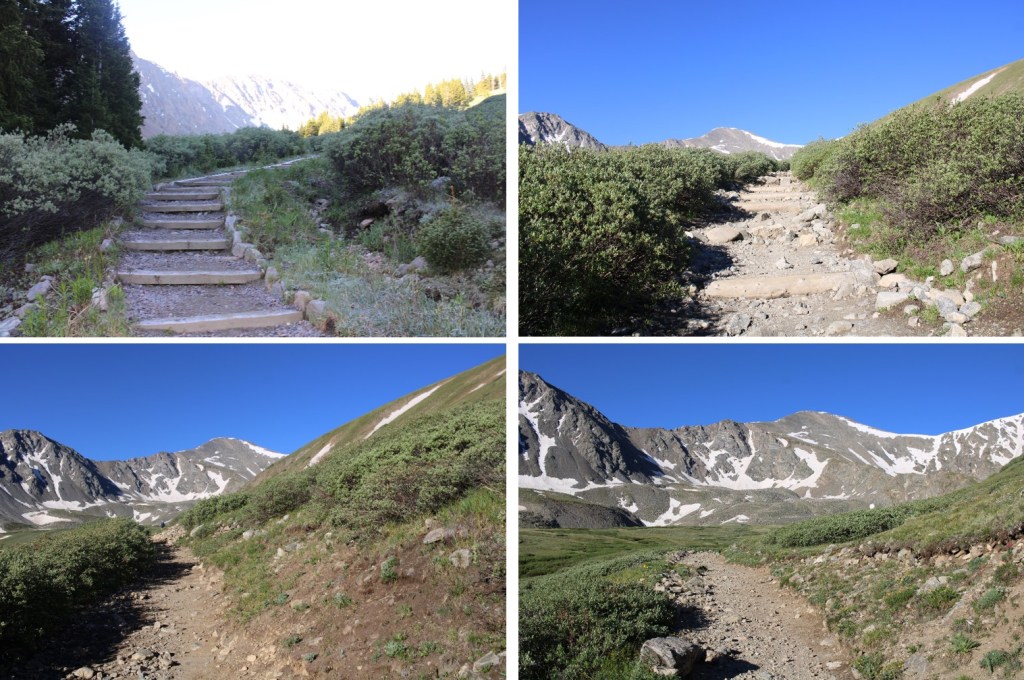
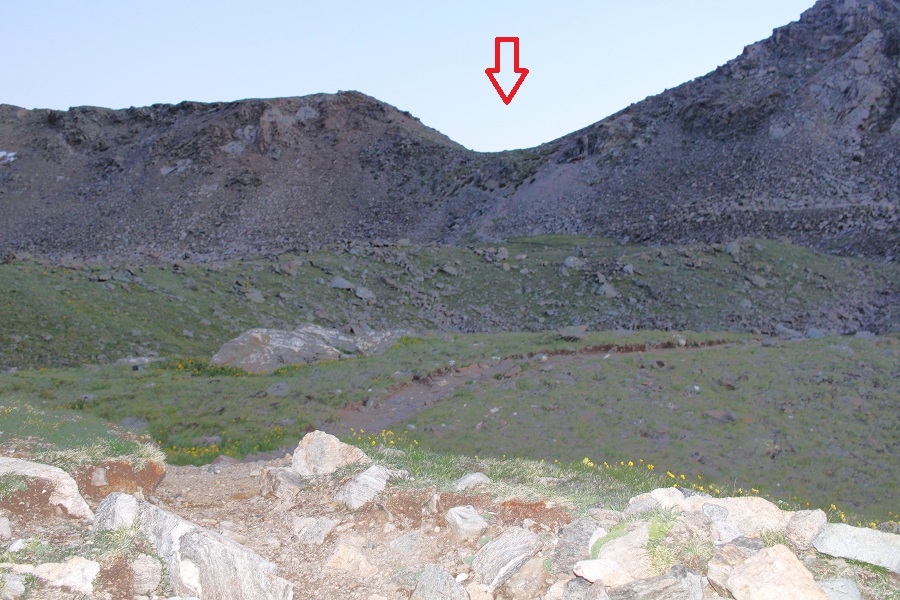
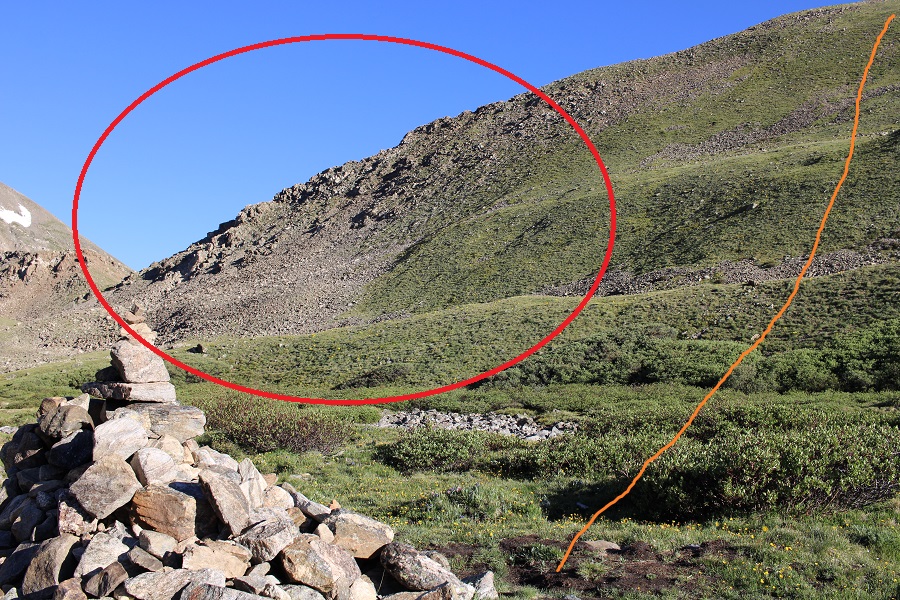
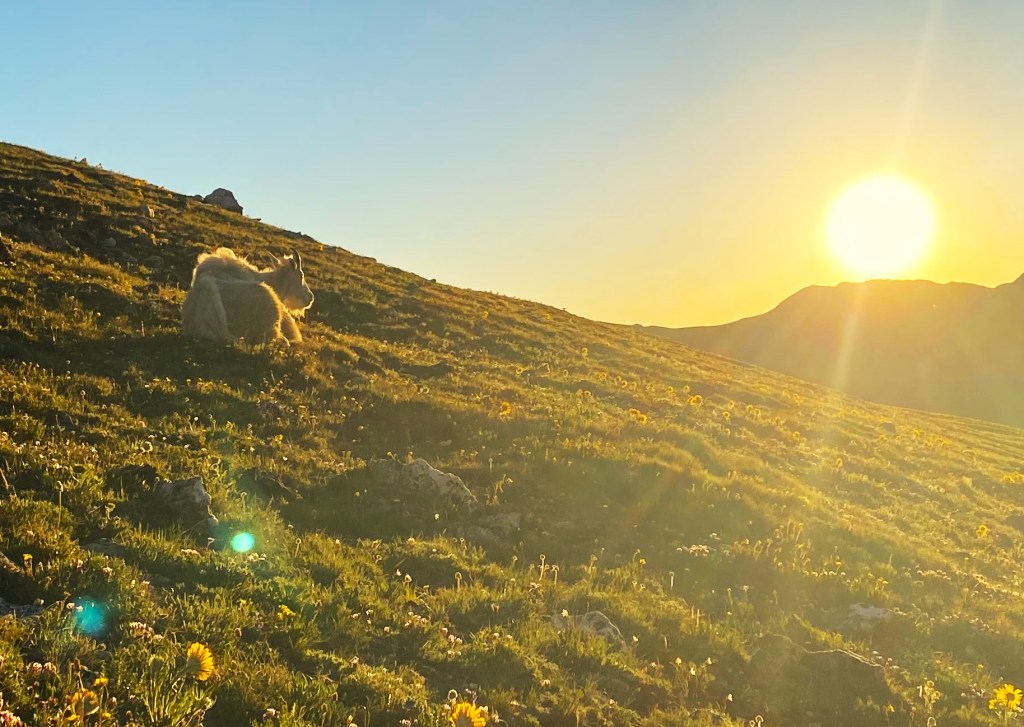
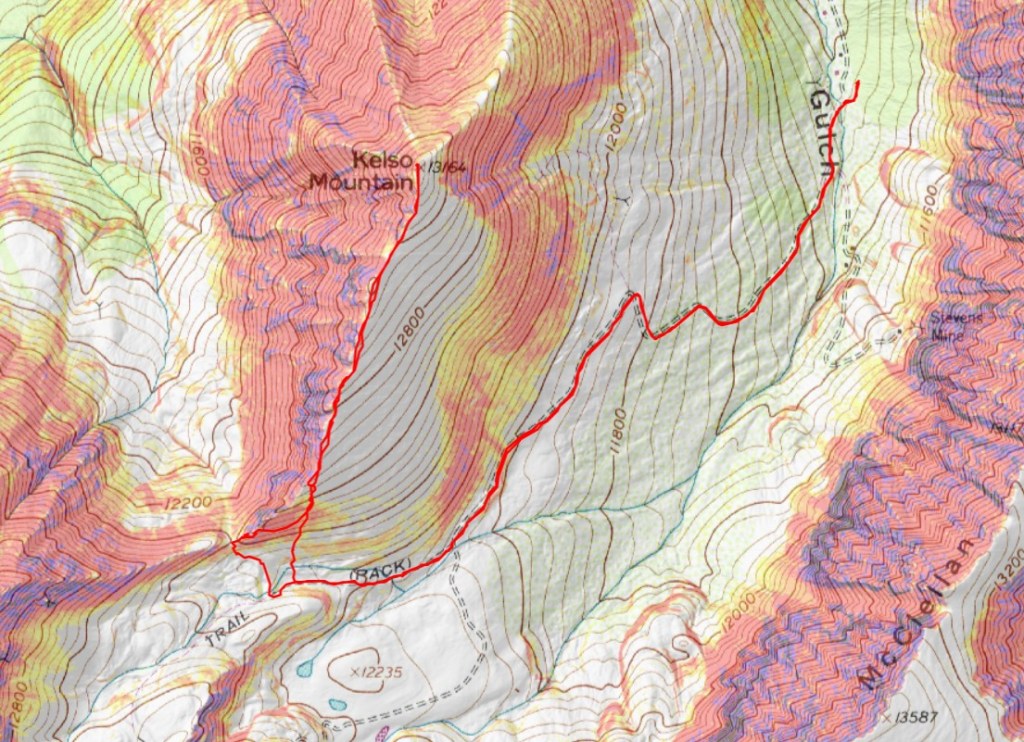
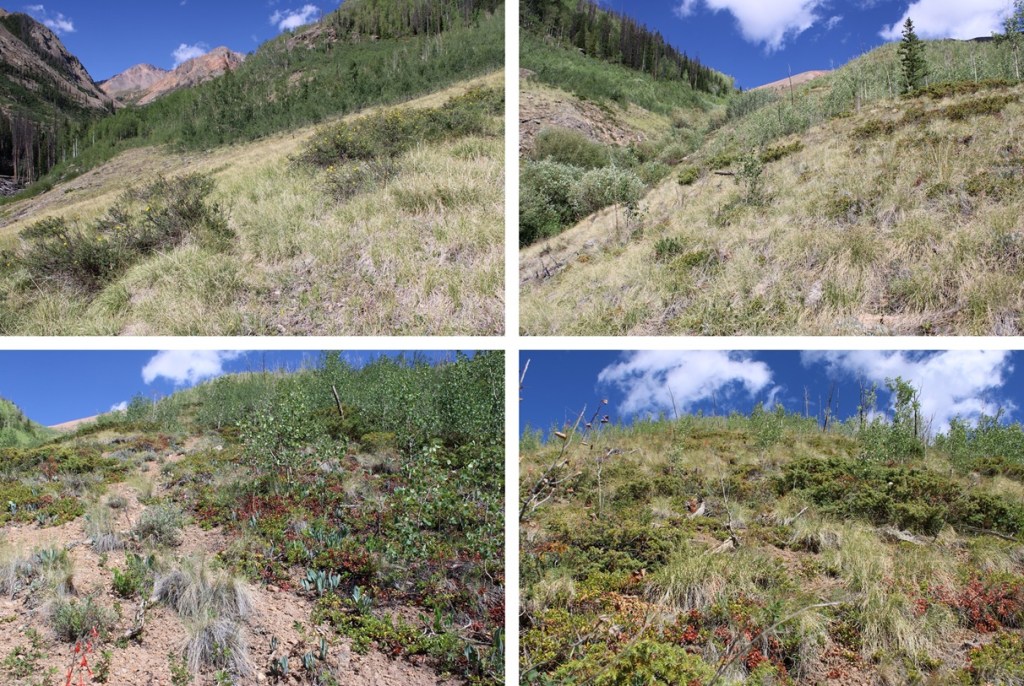
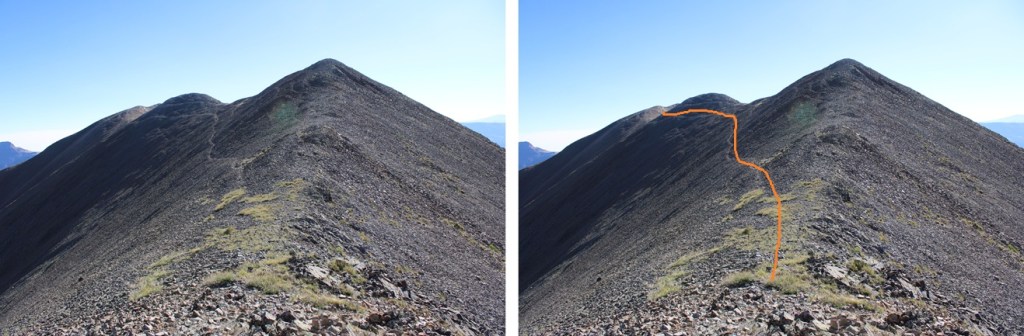
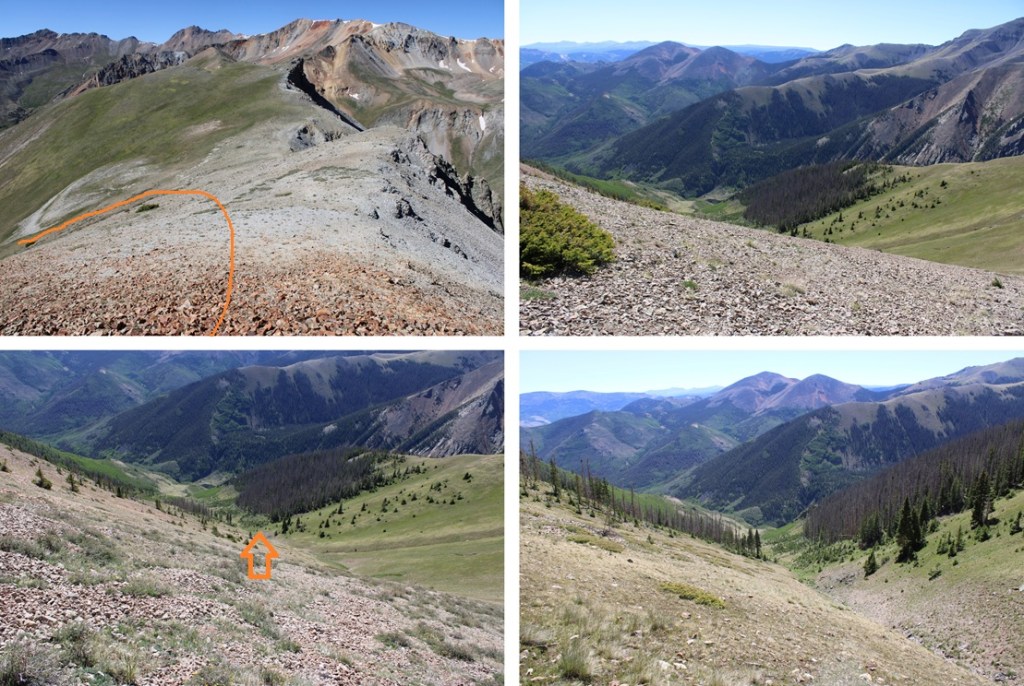
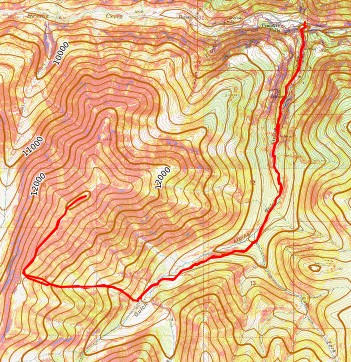
It was a windy afternoon and a windy night. My tent blew away as I was setting it up and I had to chase after it. I put rocks in the inside of my tent to keep it from blowing away, even while I was sitting inside. The wind and smoke from nearby fires were a major factor in my making this a 2 day hike. Early the next morning I took down my tent and was hiking by 6:10am. Here’s the route I took to the saddle:
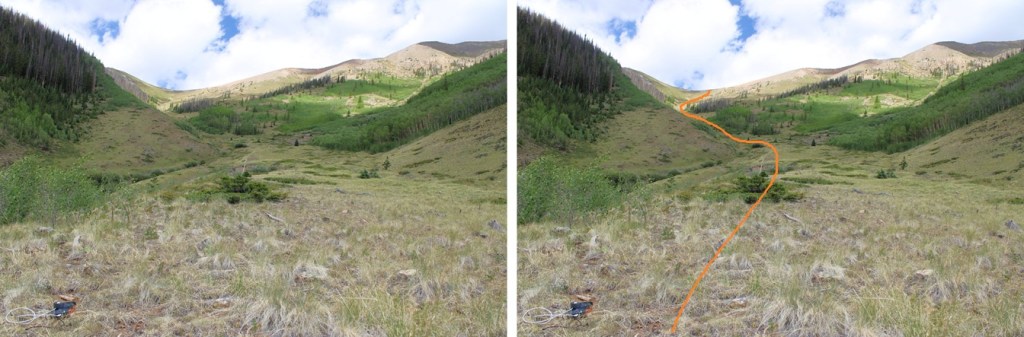
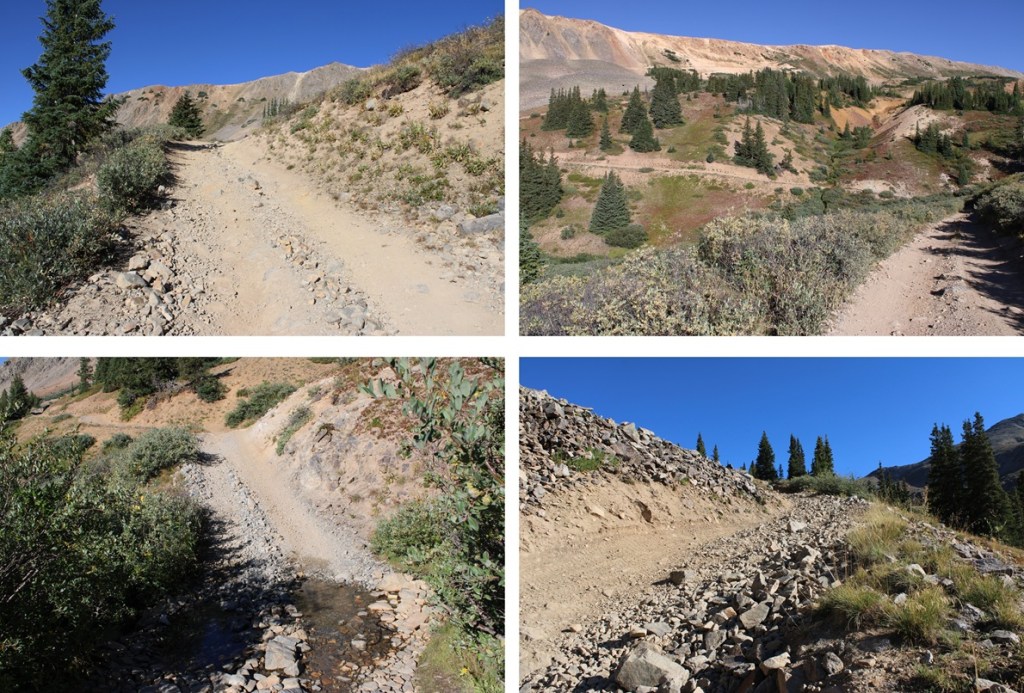
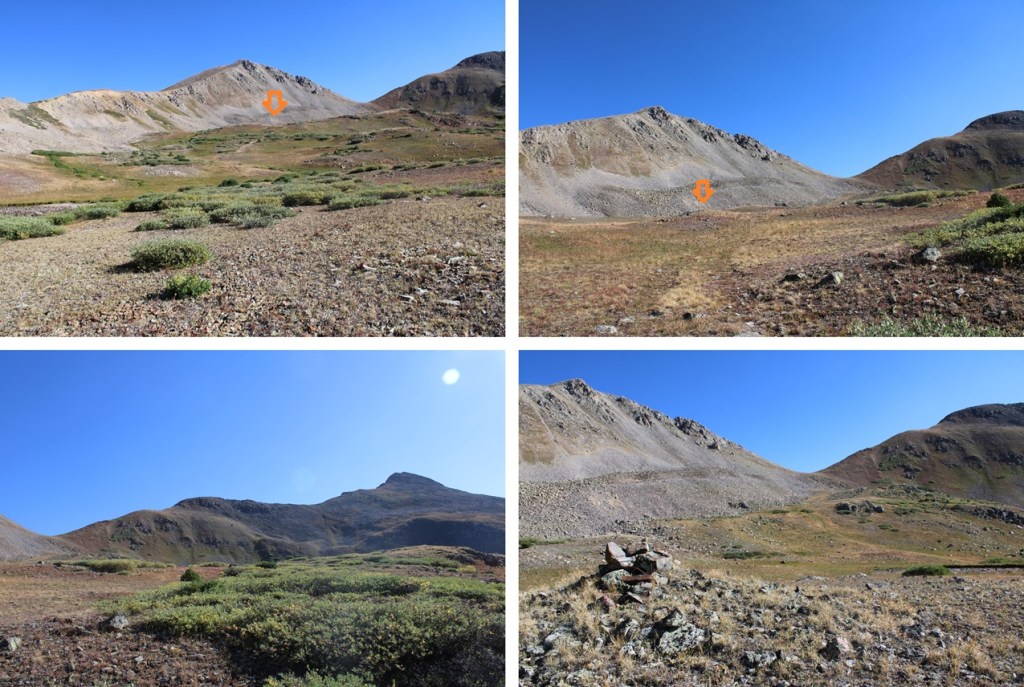
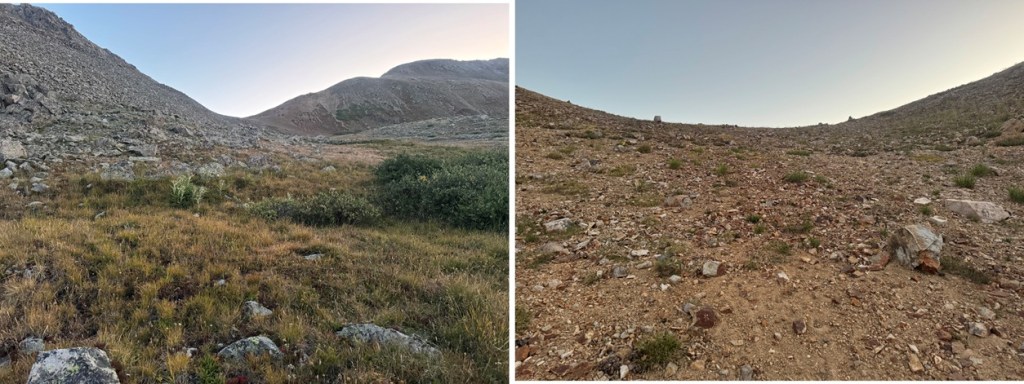
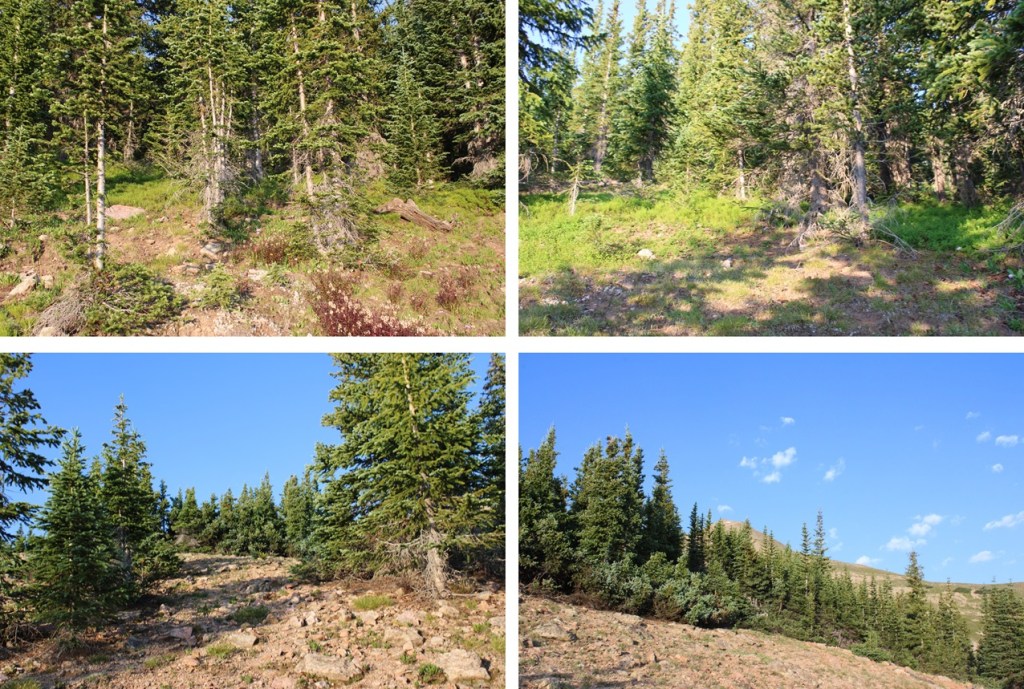
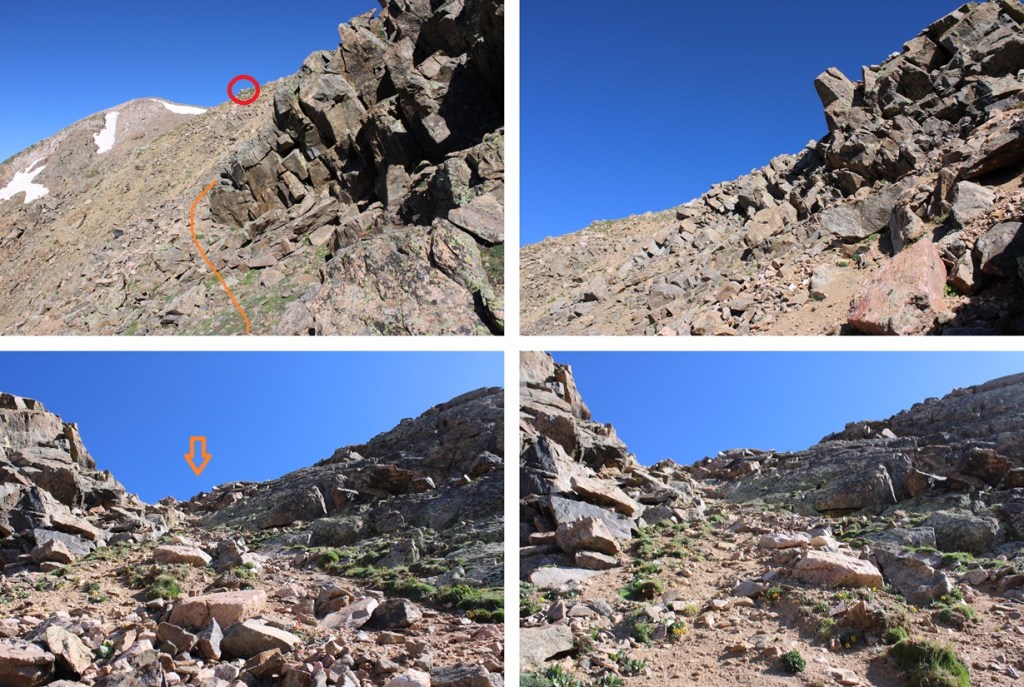
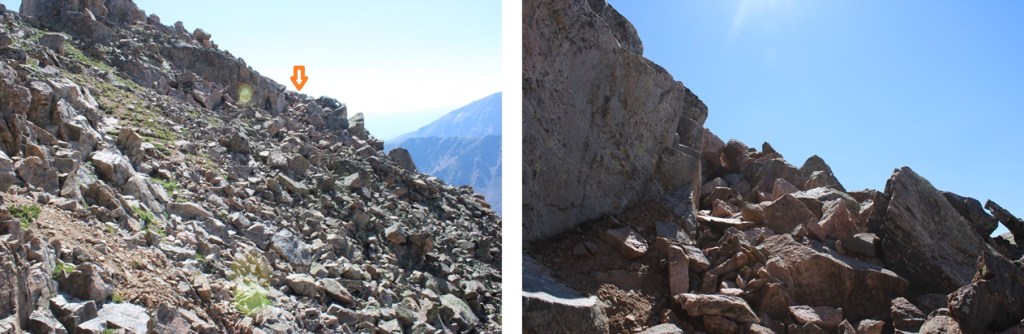
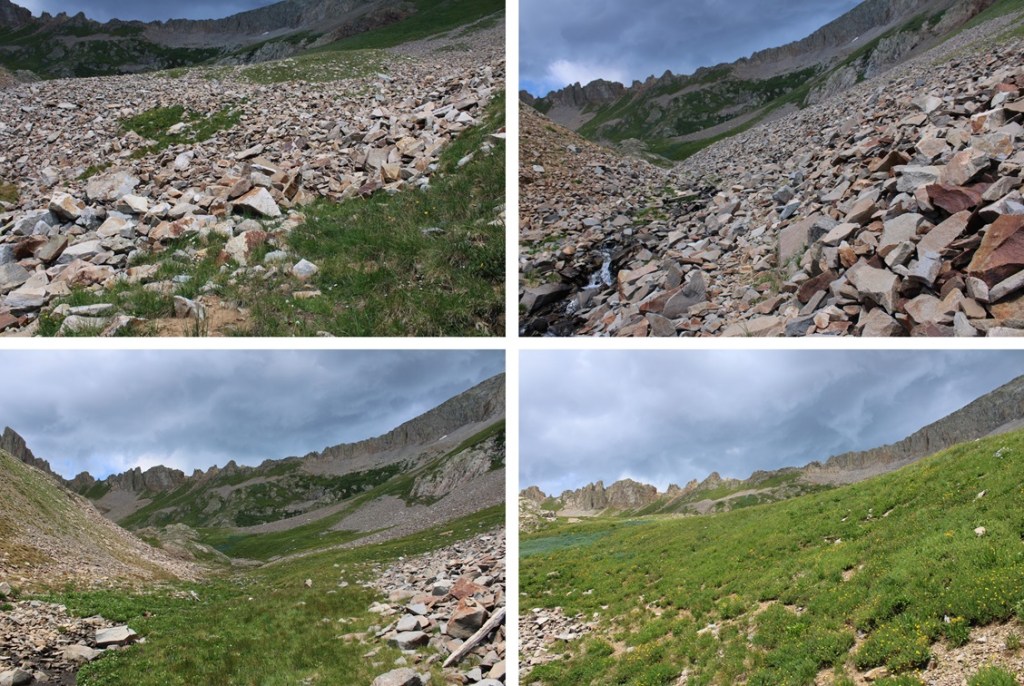
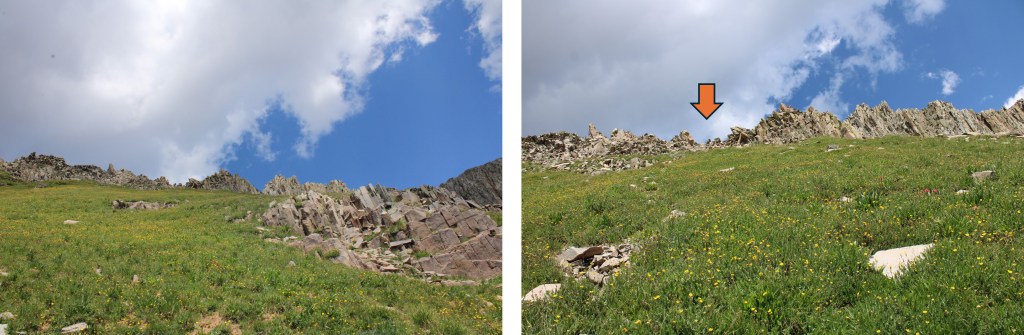
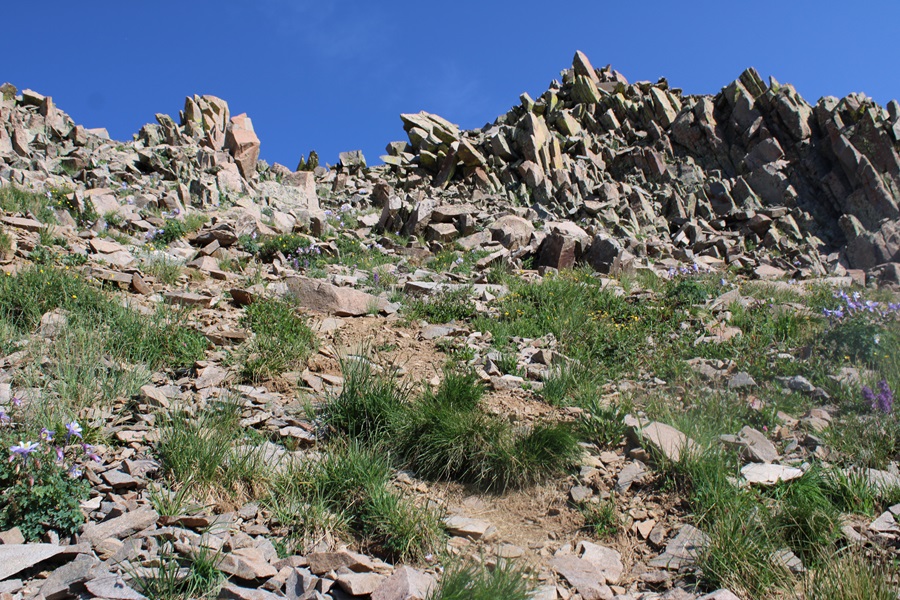
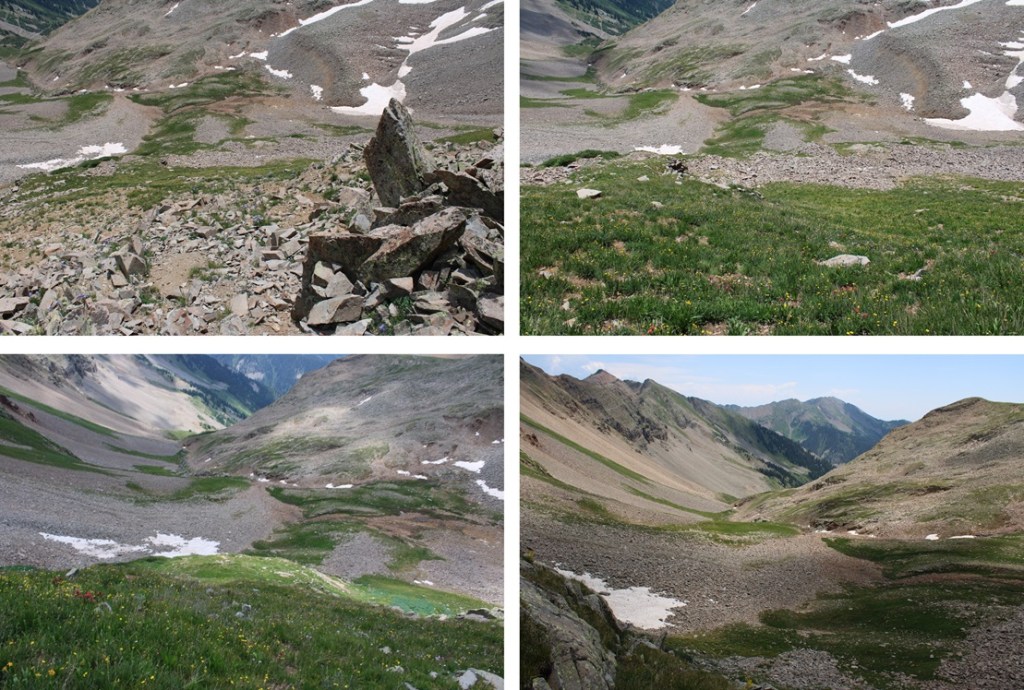
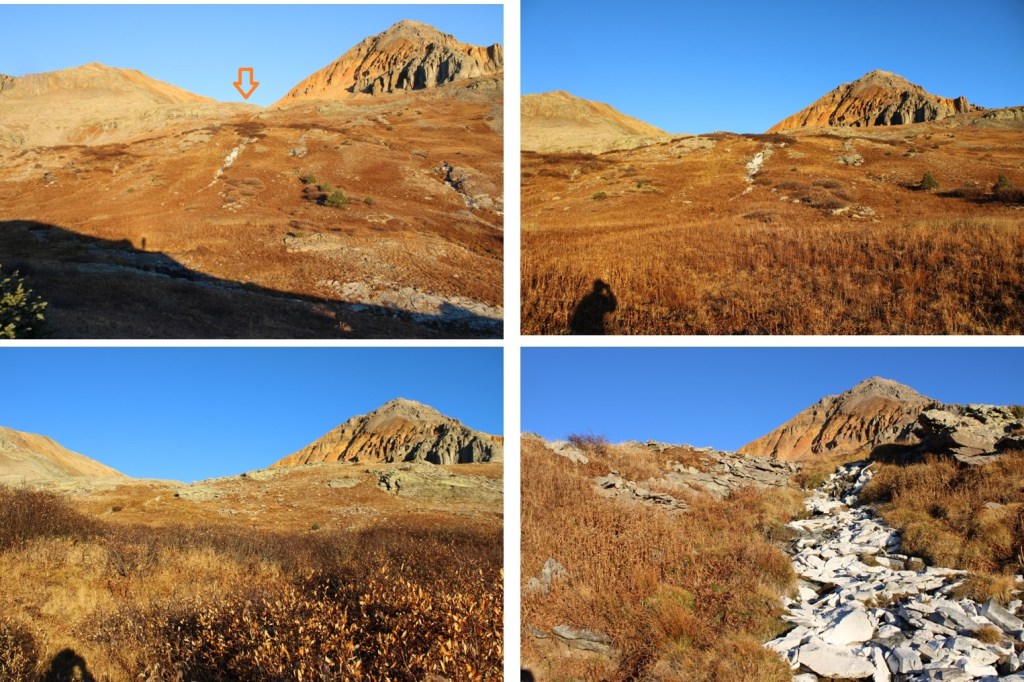
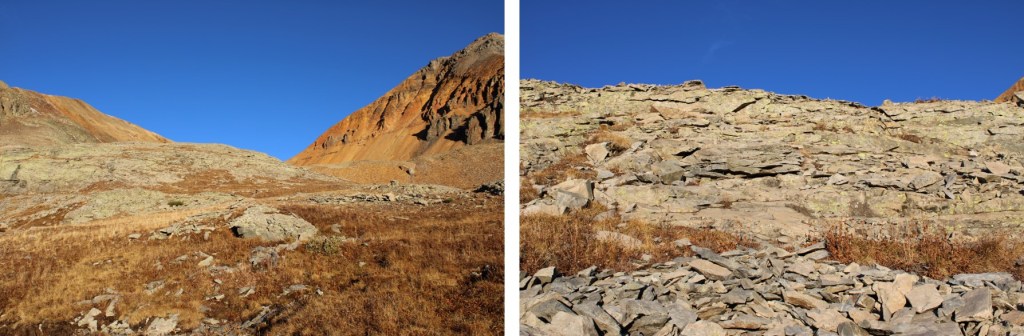
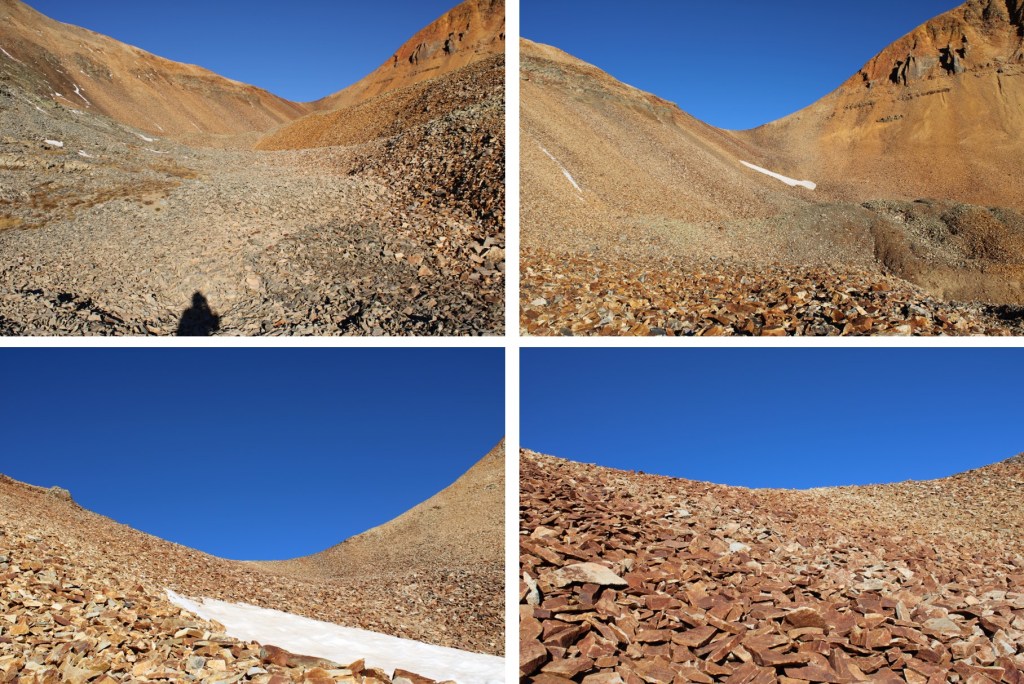
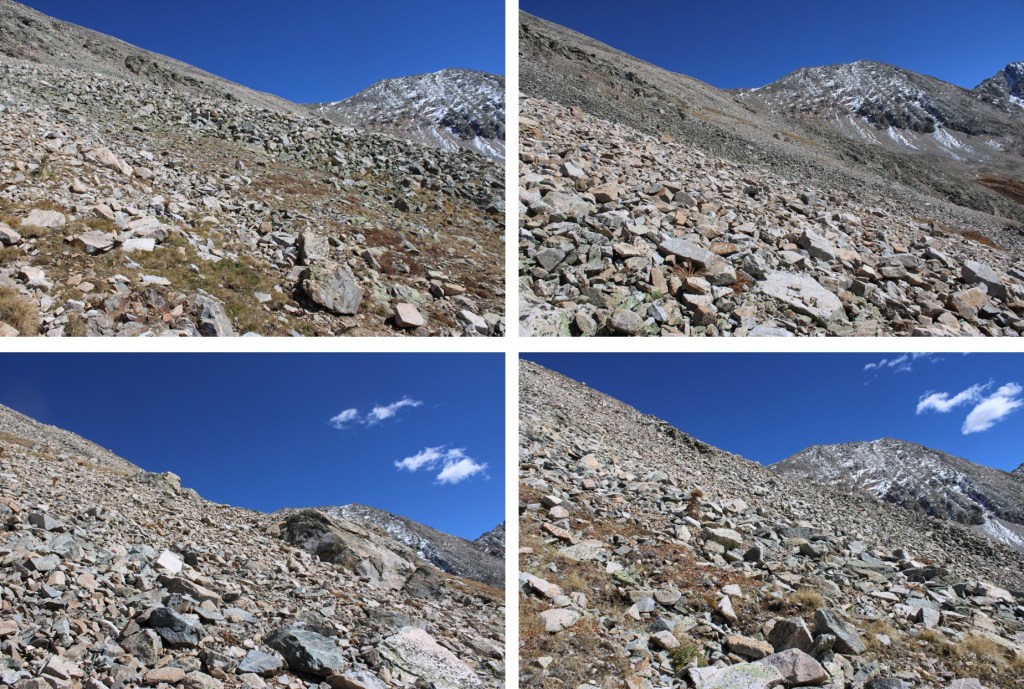
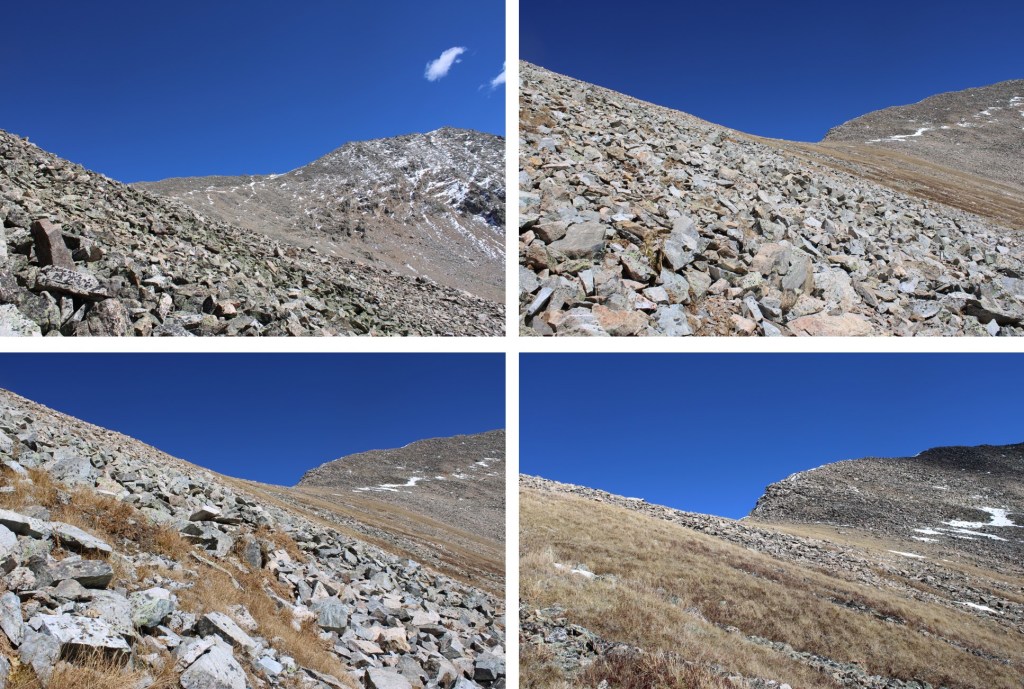
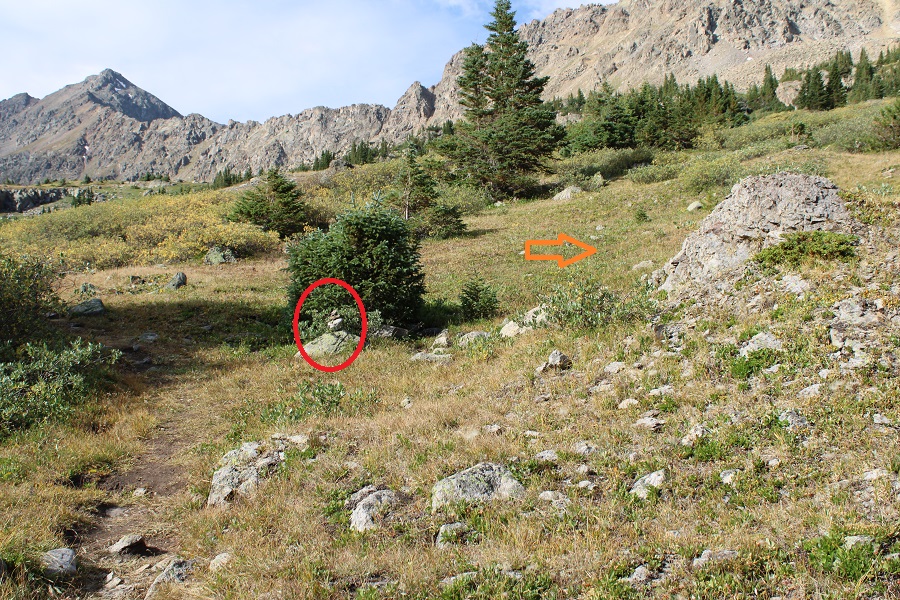
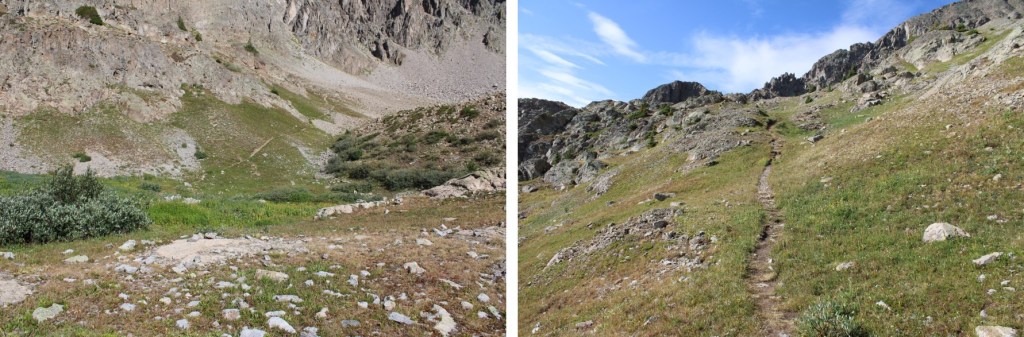
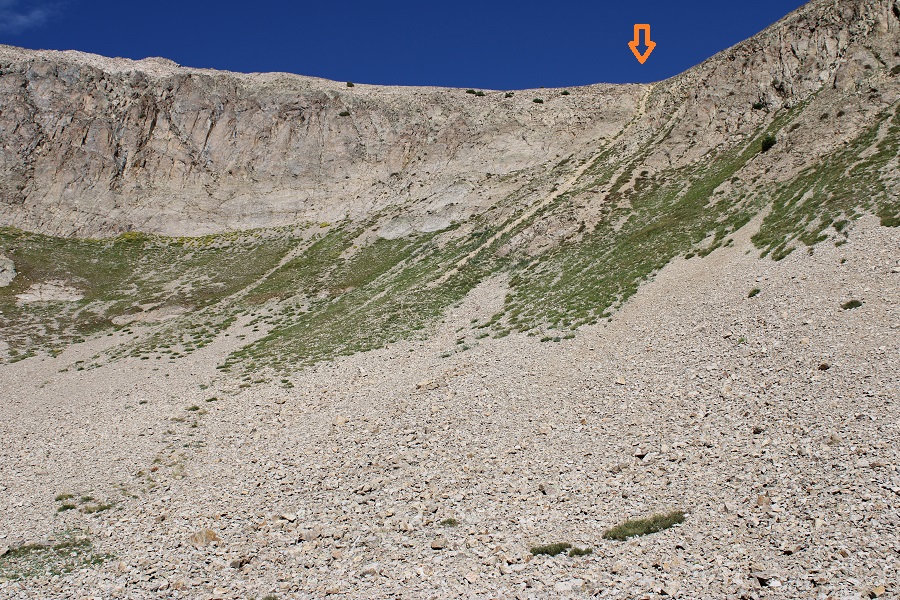
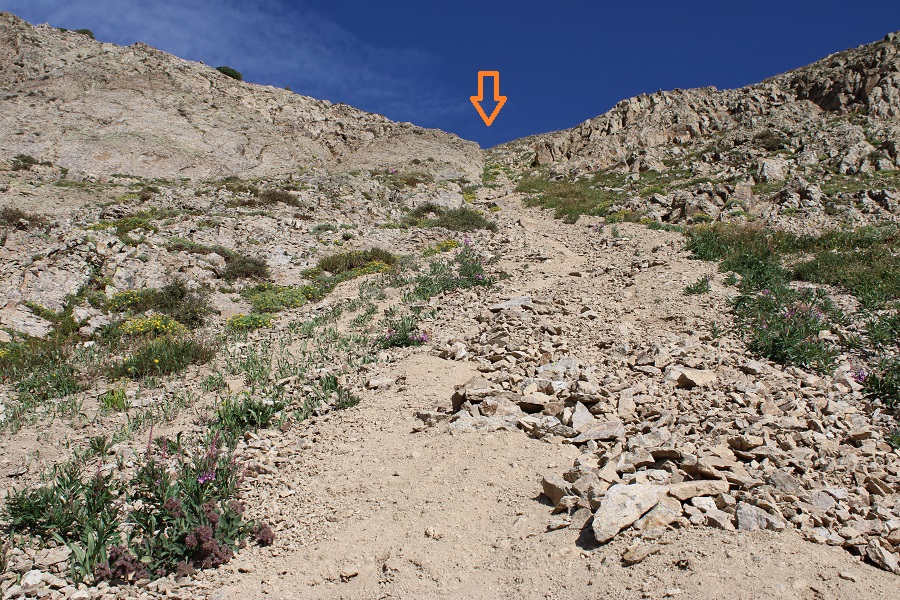
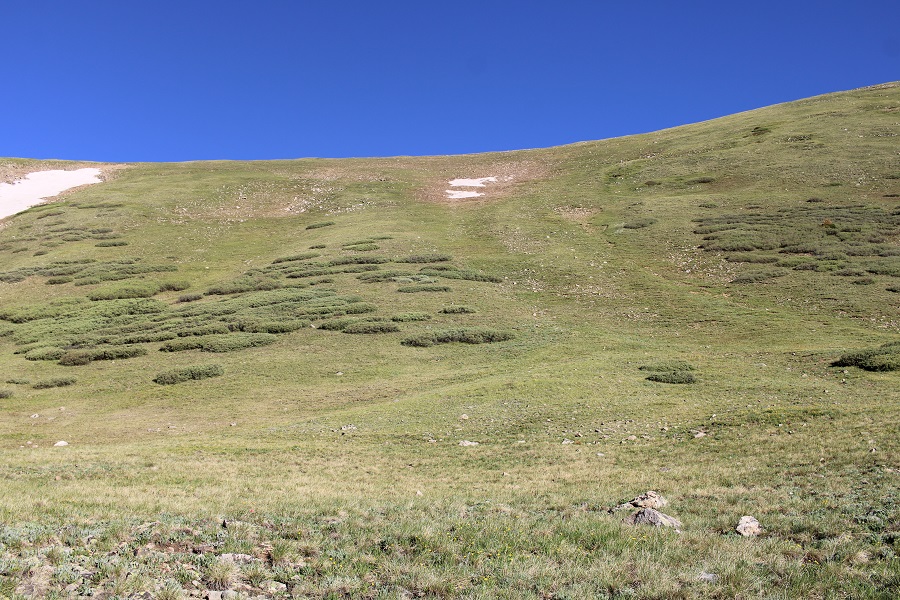
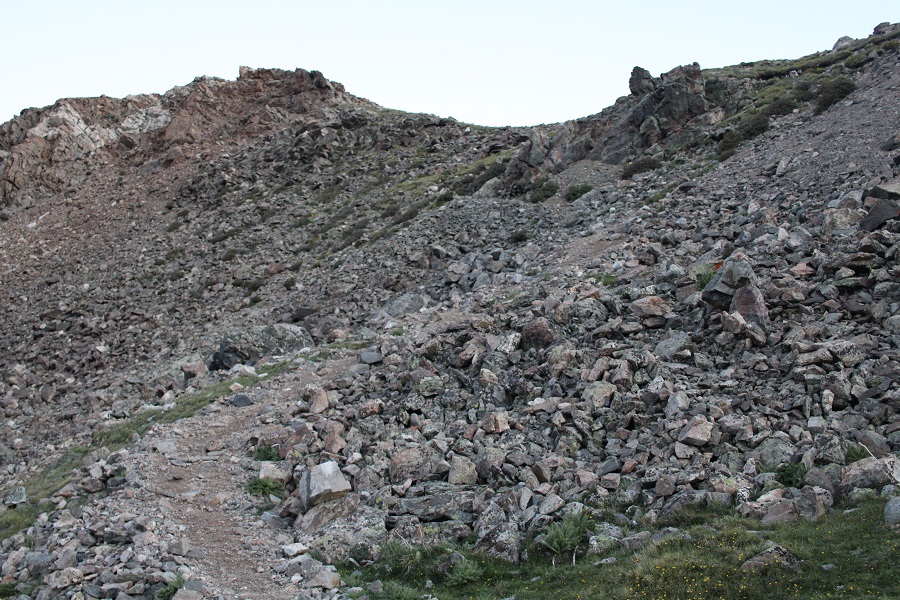
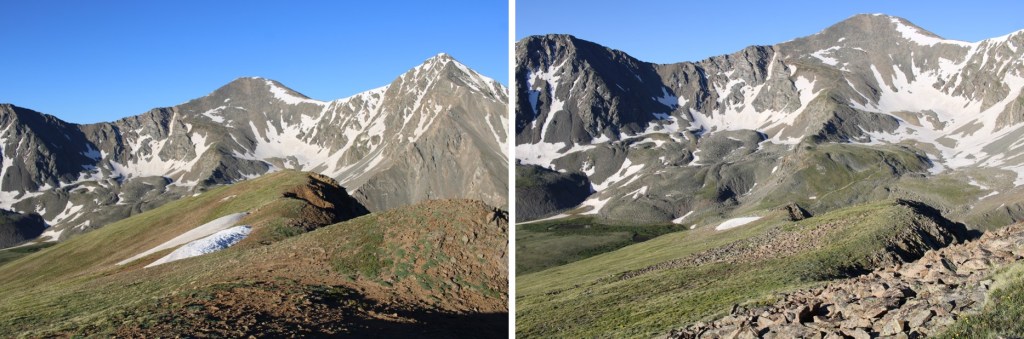
This looks straightforward but it was the most difficult part of the hike. From turning off the main trail earlier it was 1.25 miles with 2280’ of elevation gain to the saddle. The terrain is much steeper than it looks and it was slow going. I tried to stay just to the right of the gulch and then I just picked my best line to the saddle. The further up I hiked the steeper and rockier the terrain became.
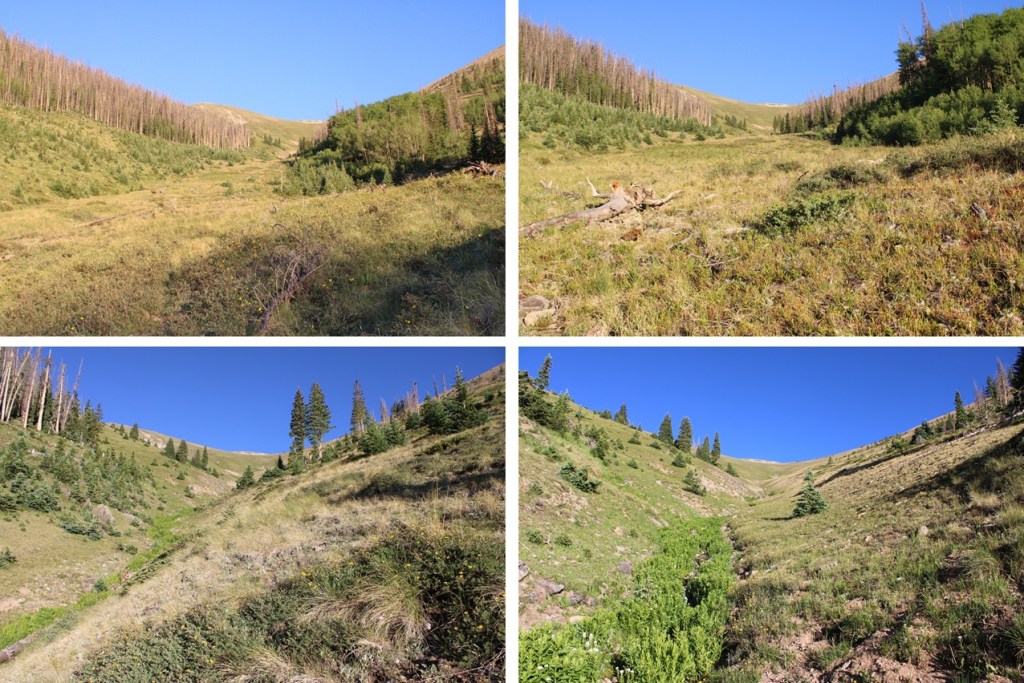

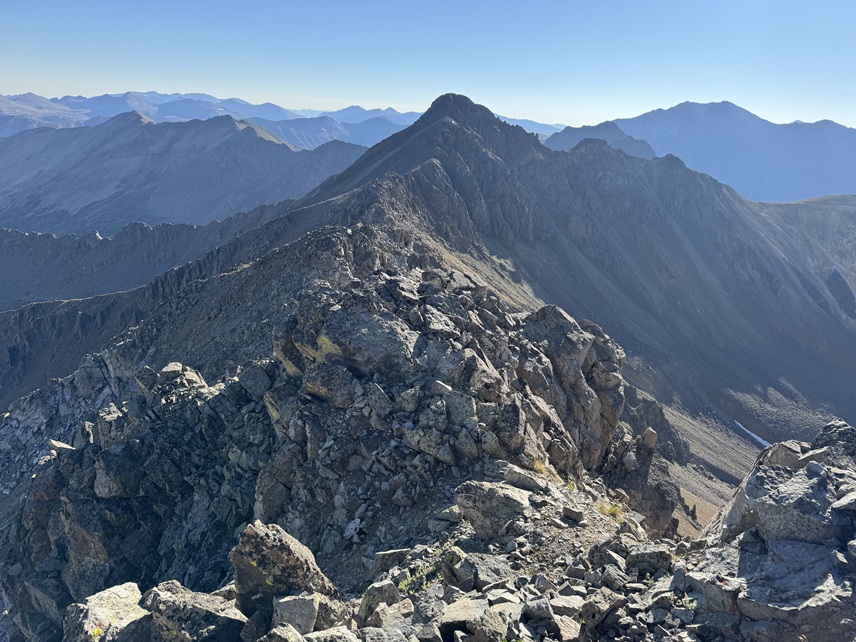
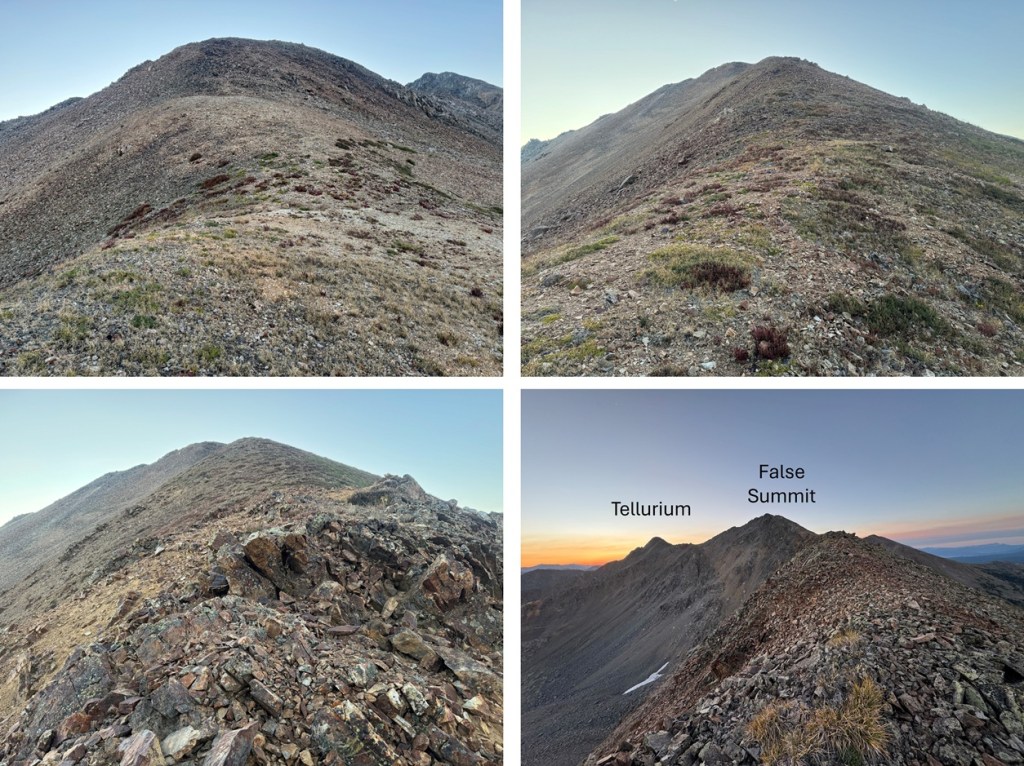
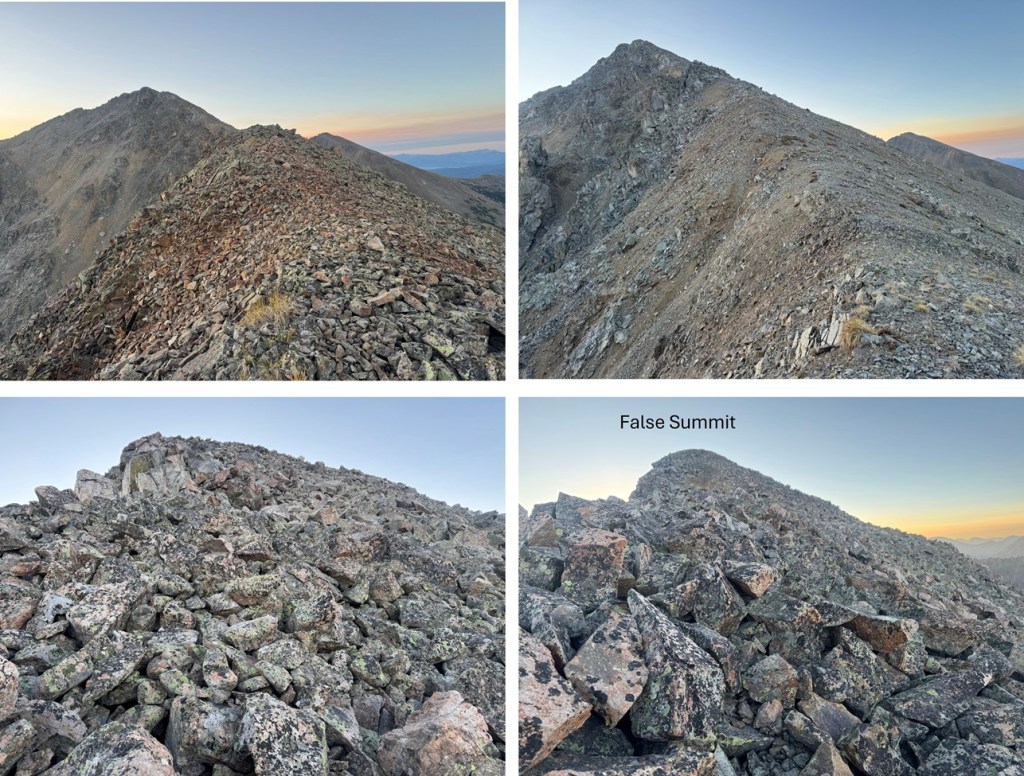
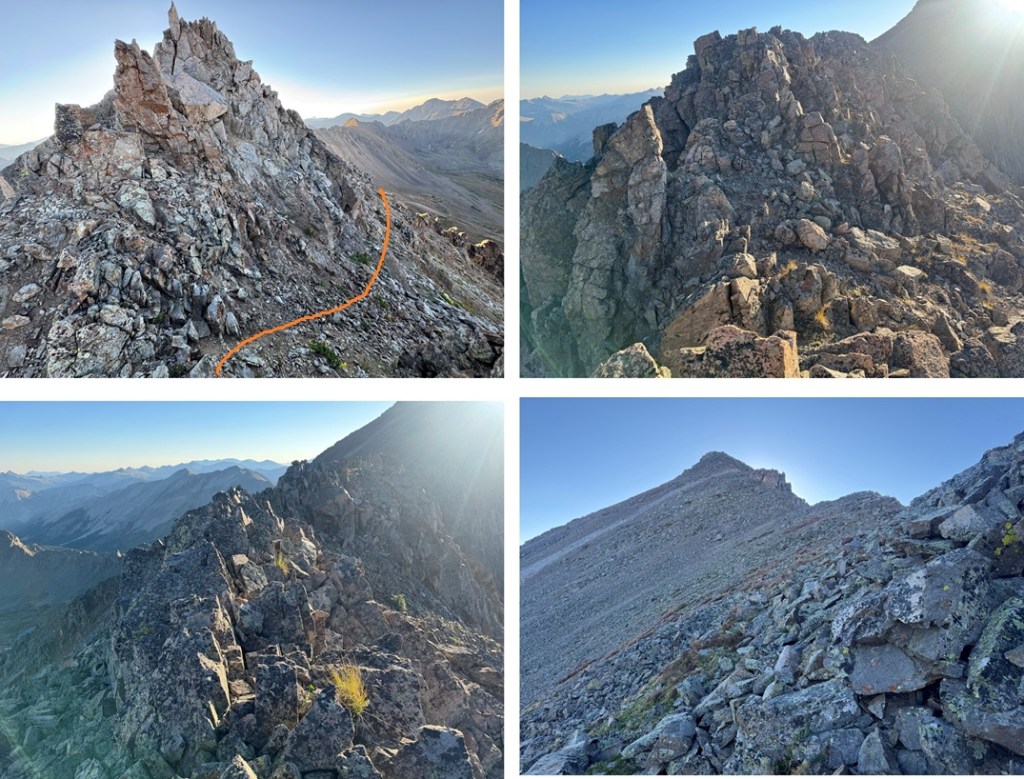
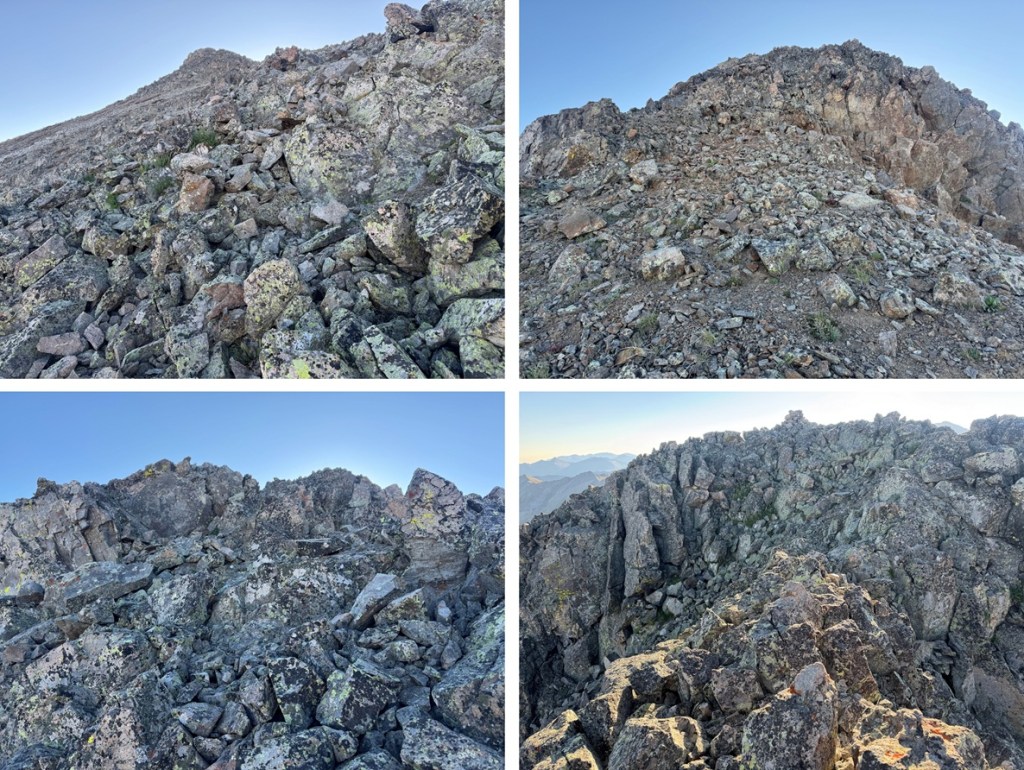
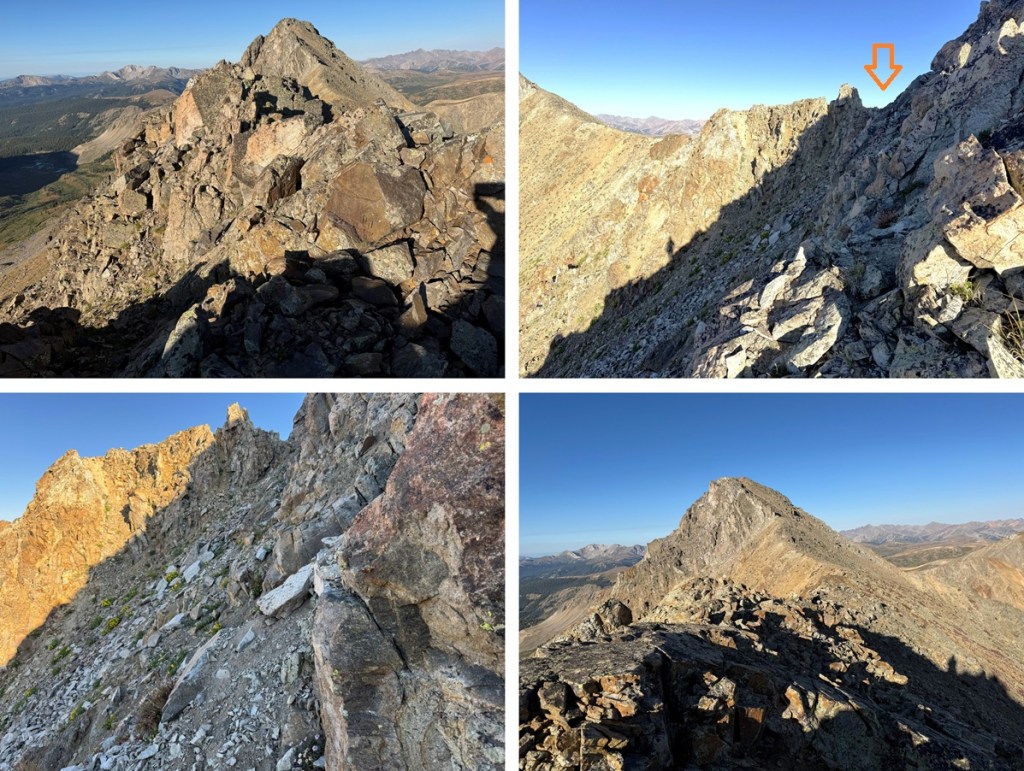
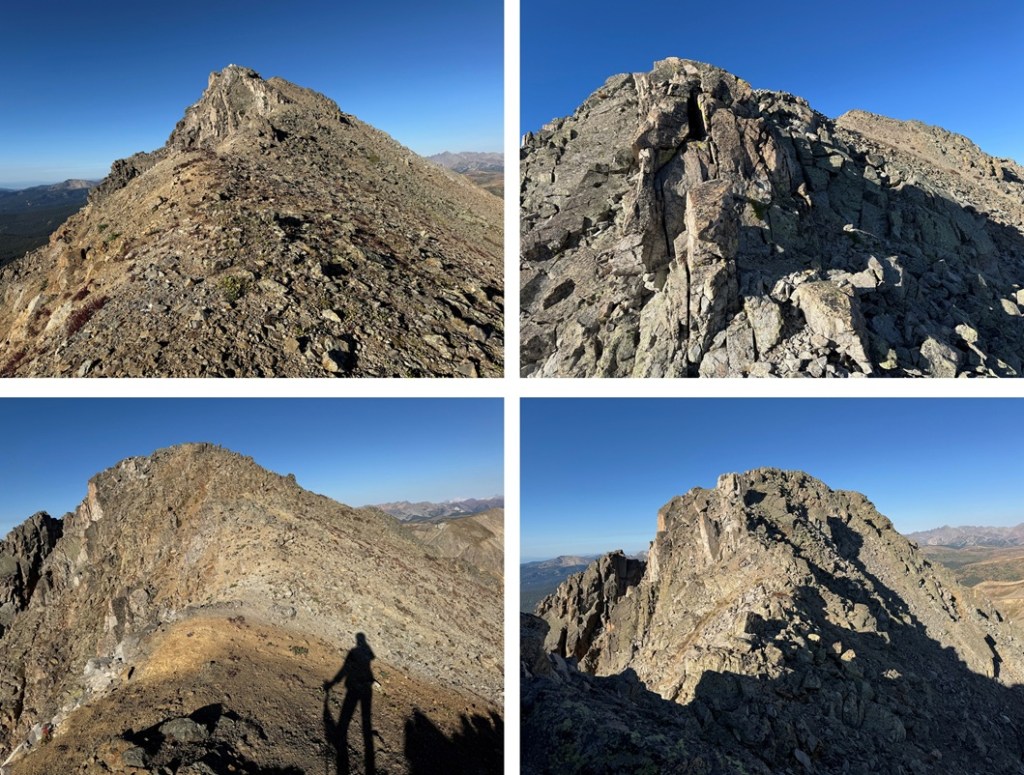
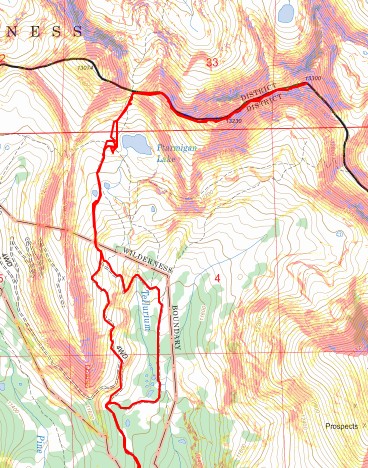
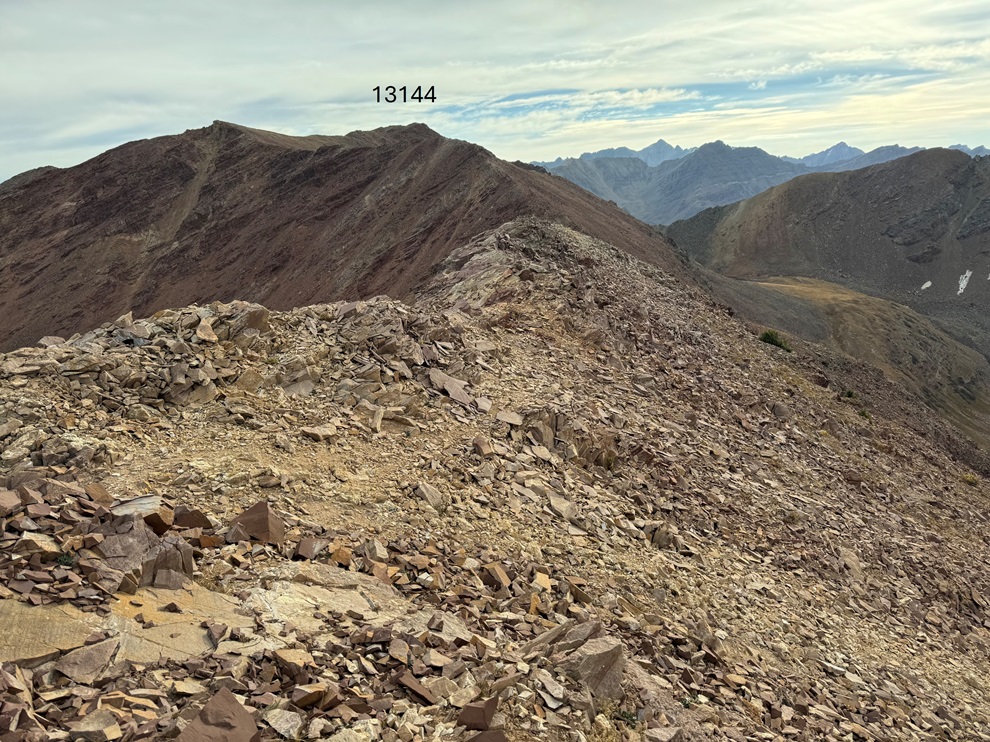
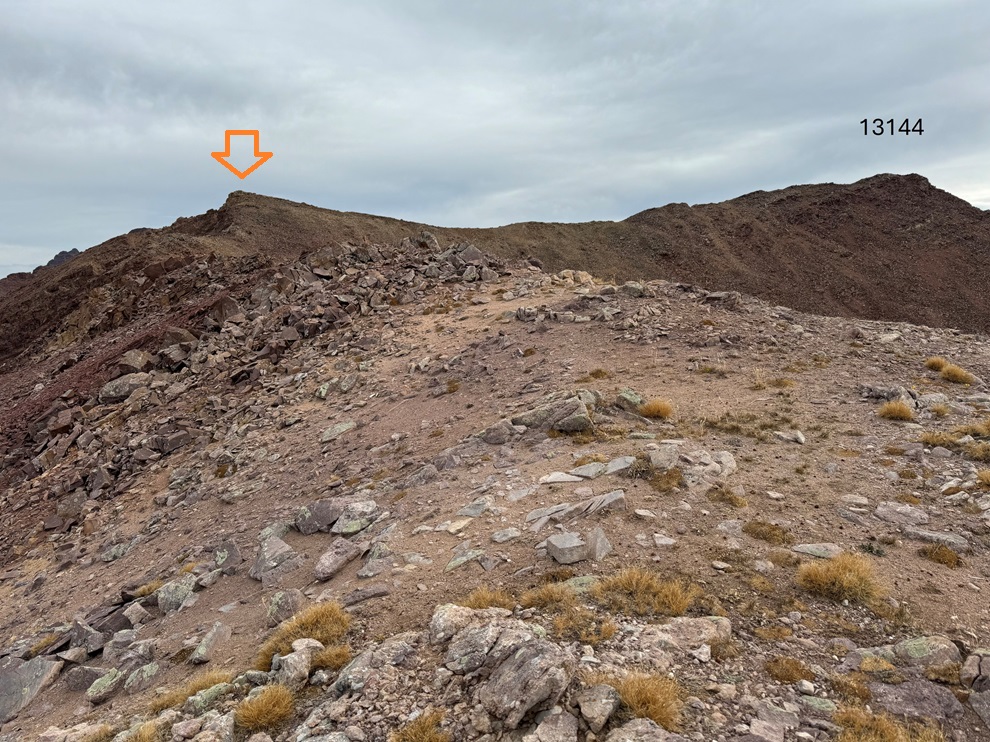
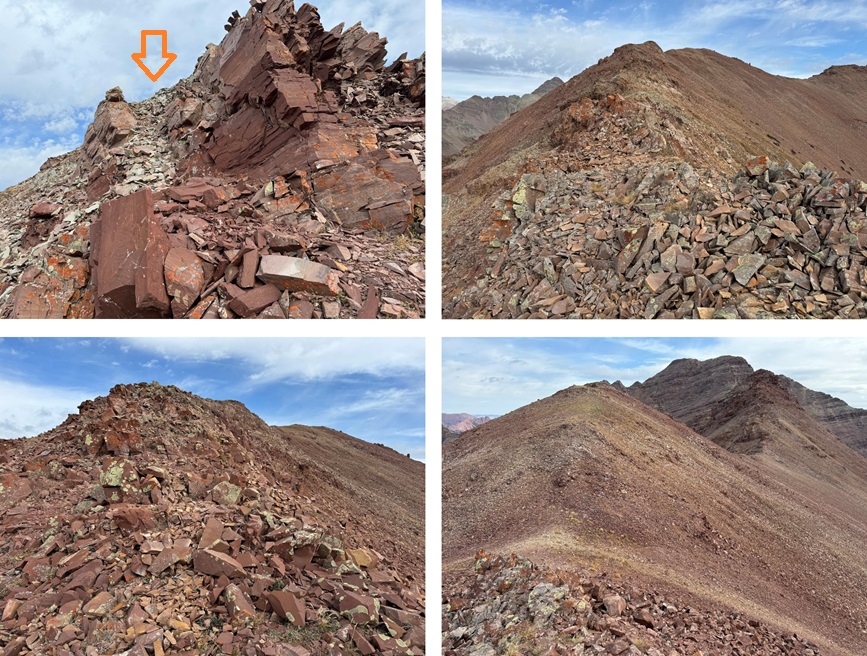
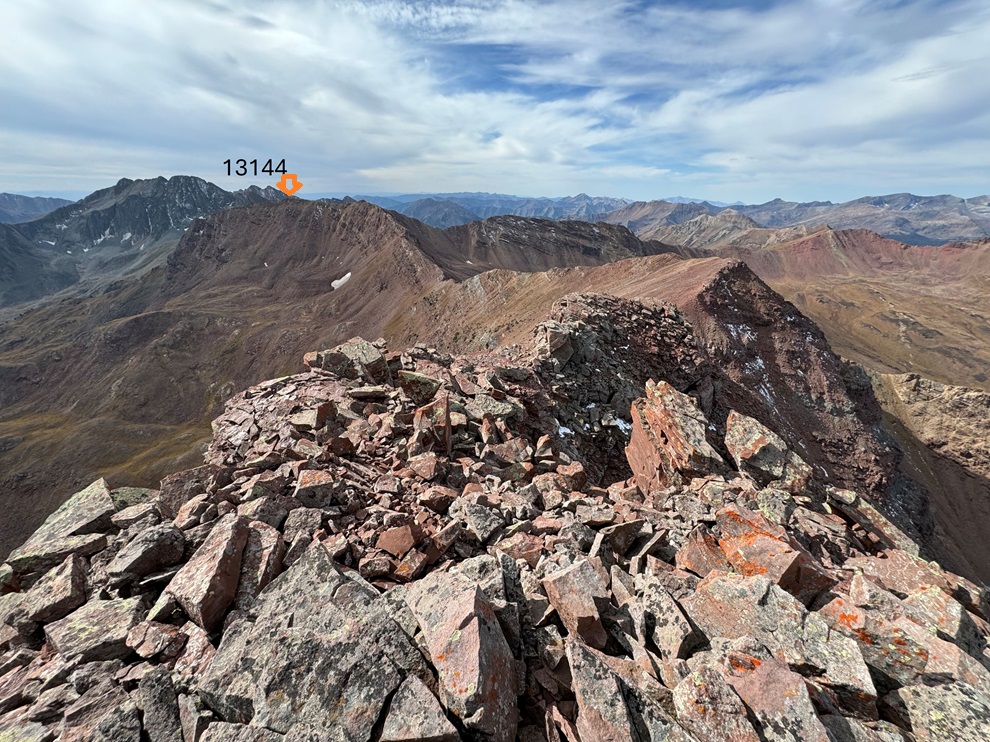
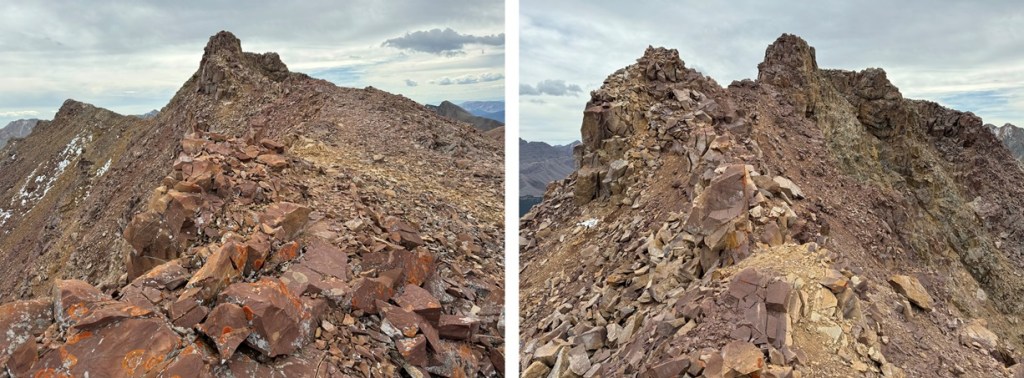
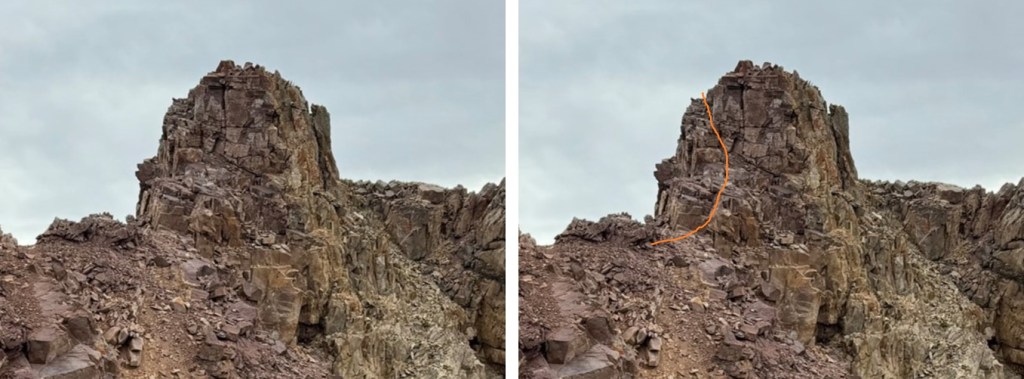
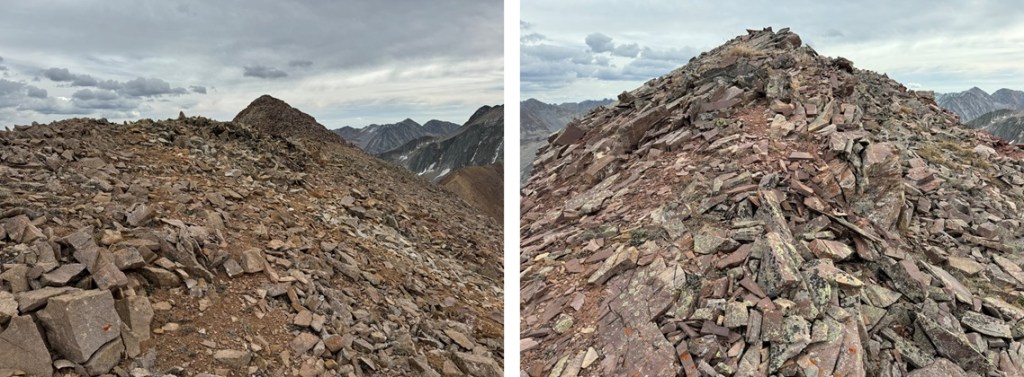
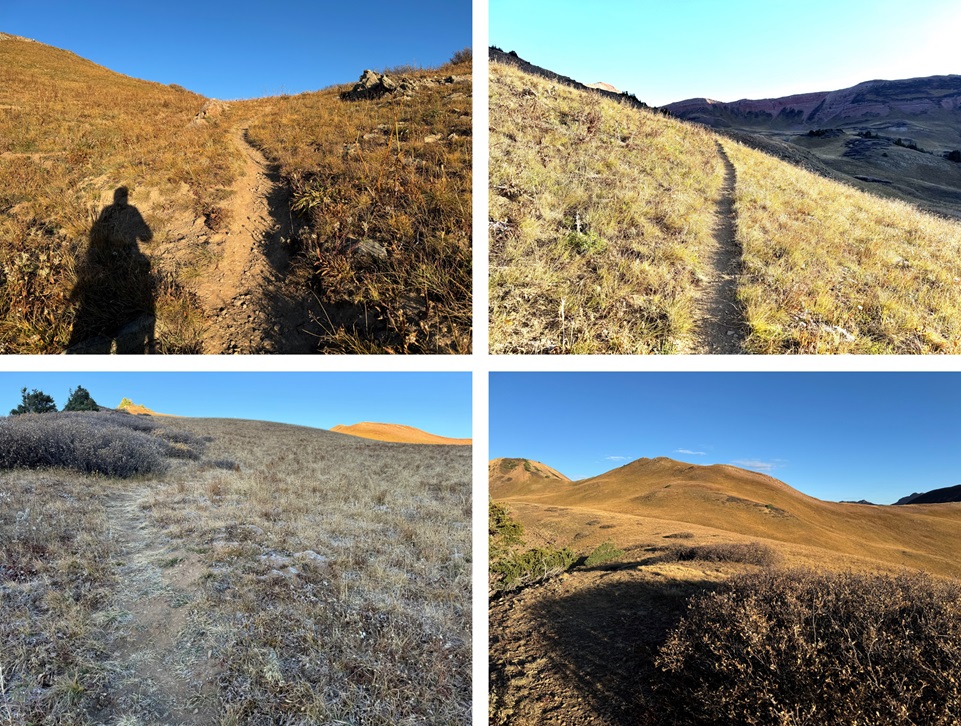
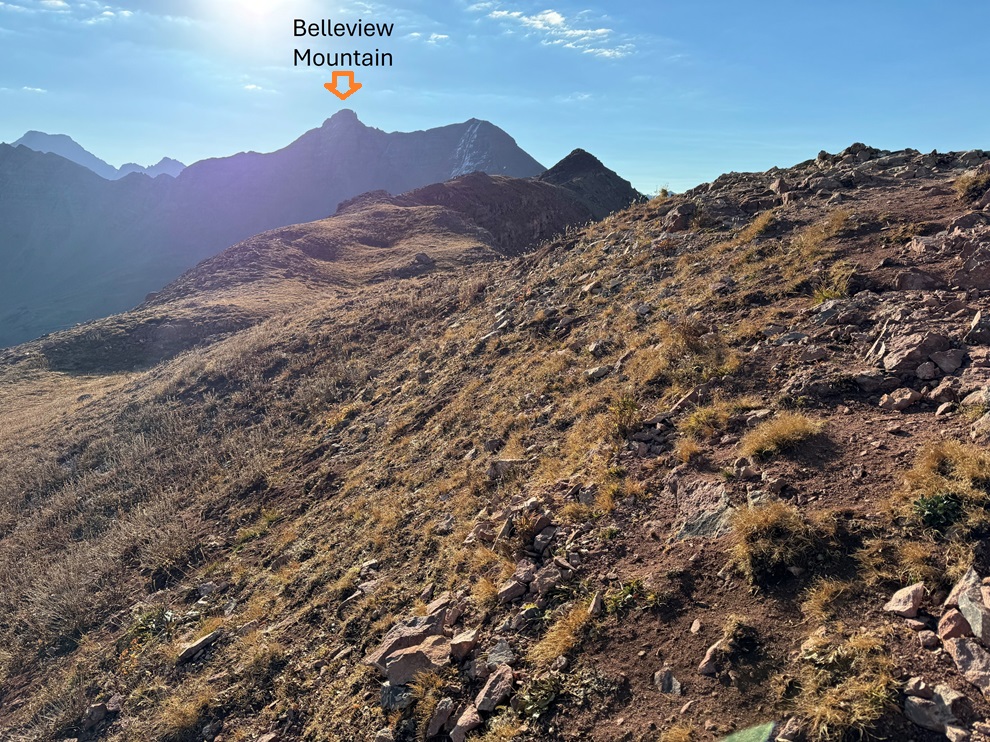
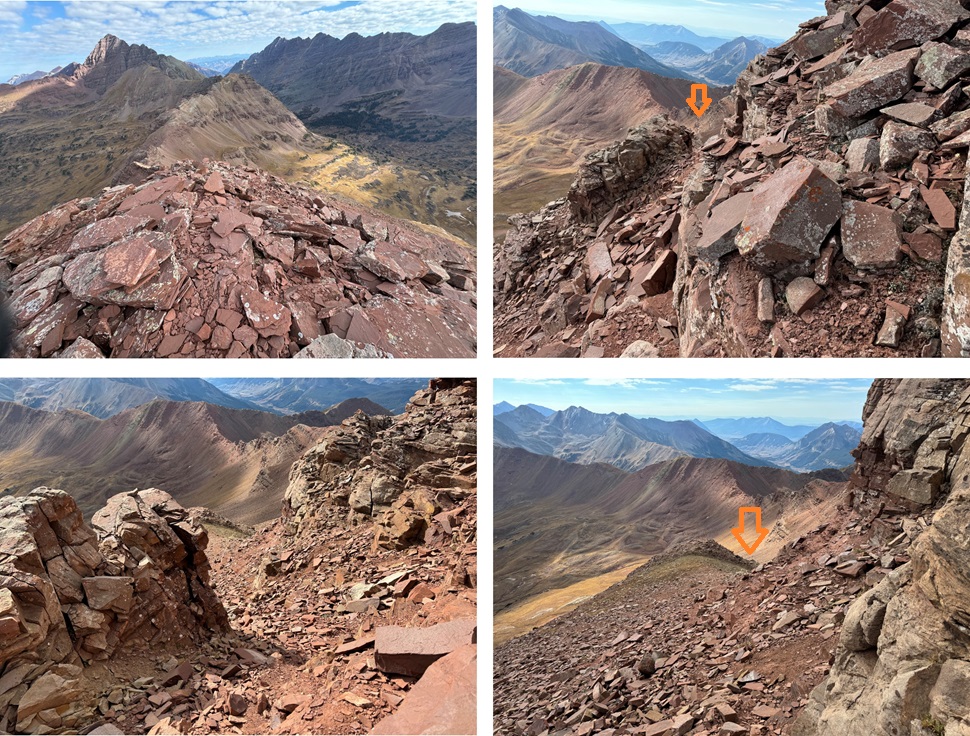
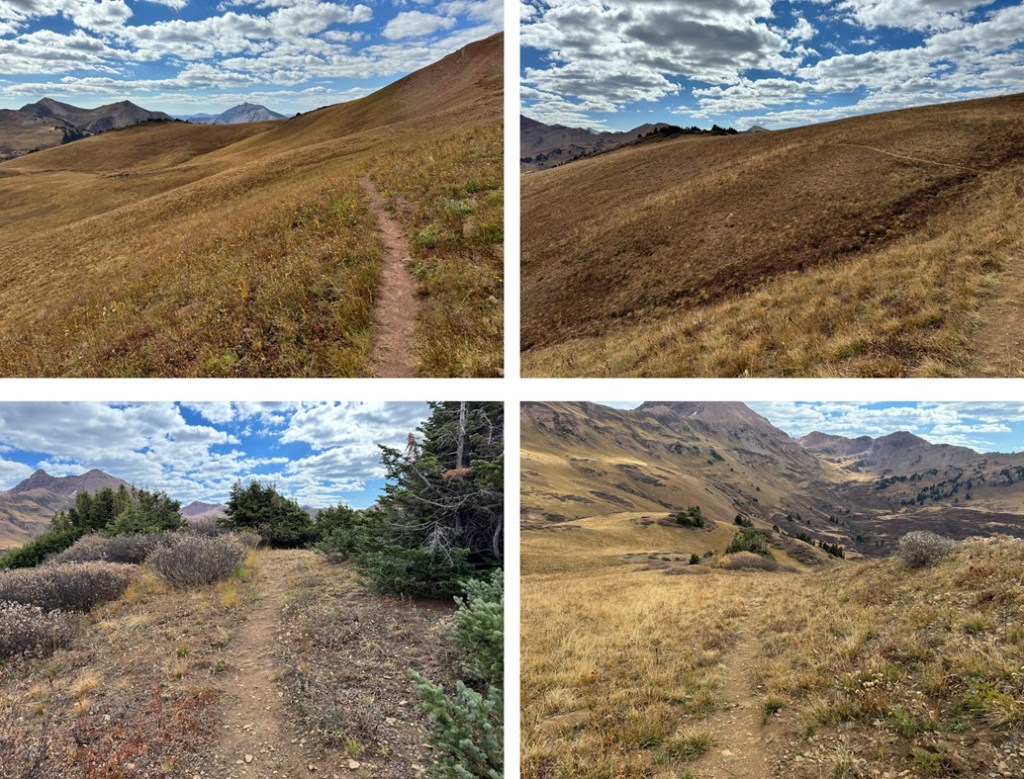
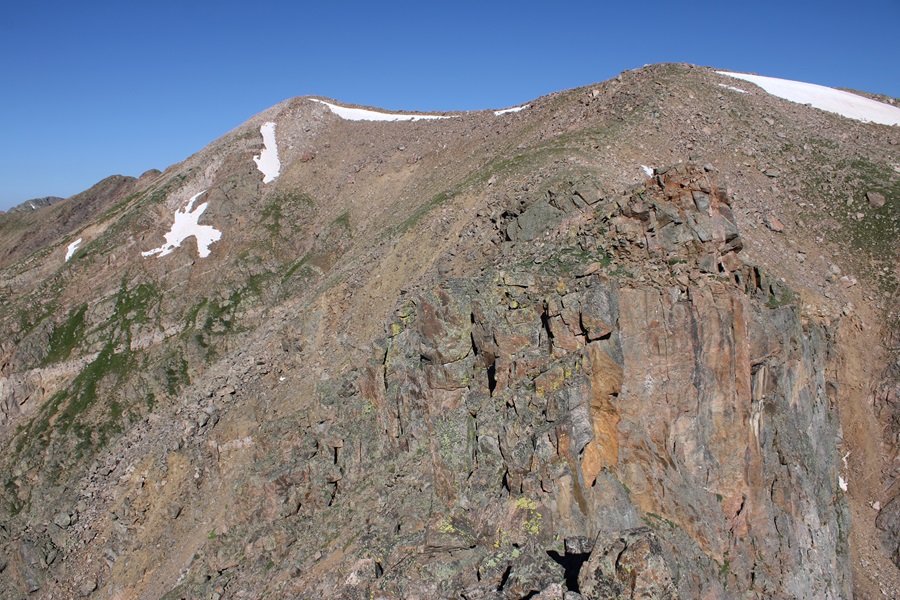
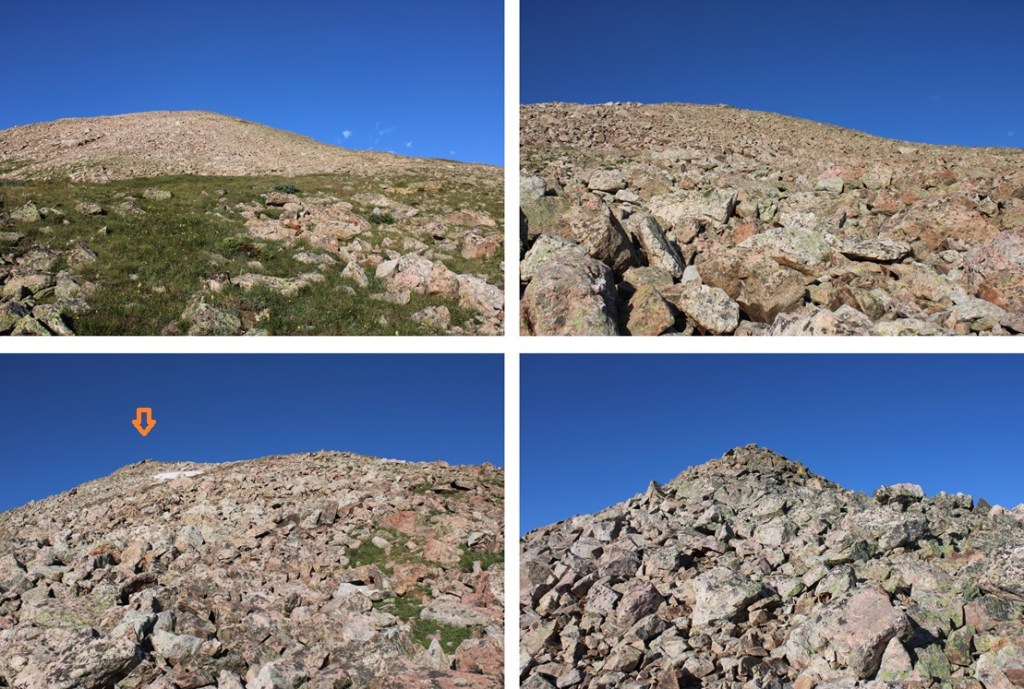
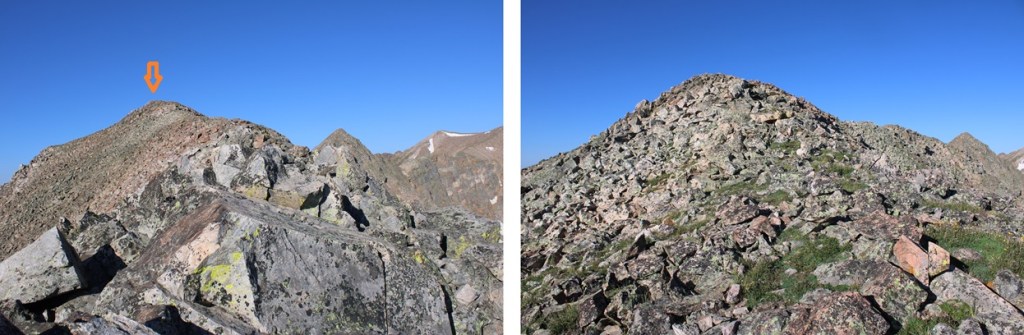
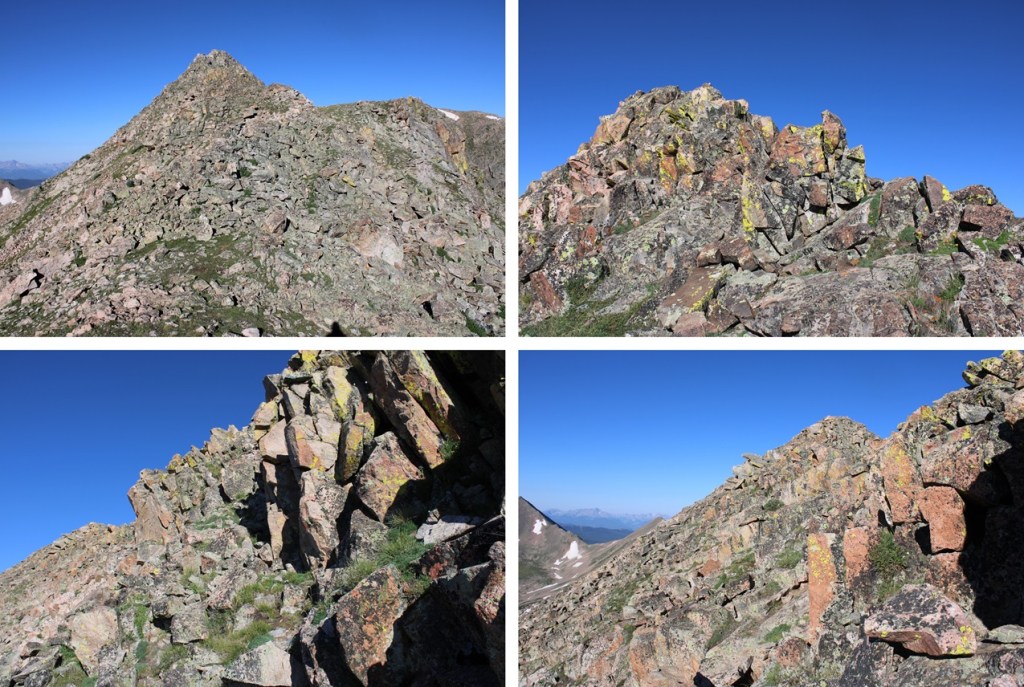
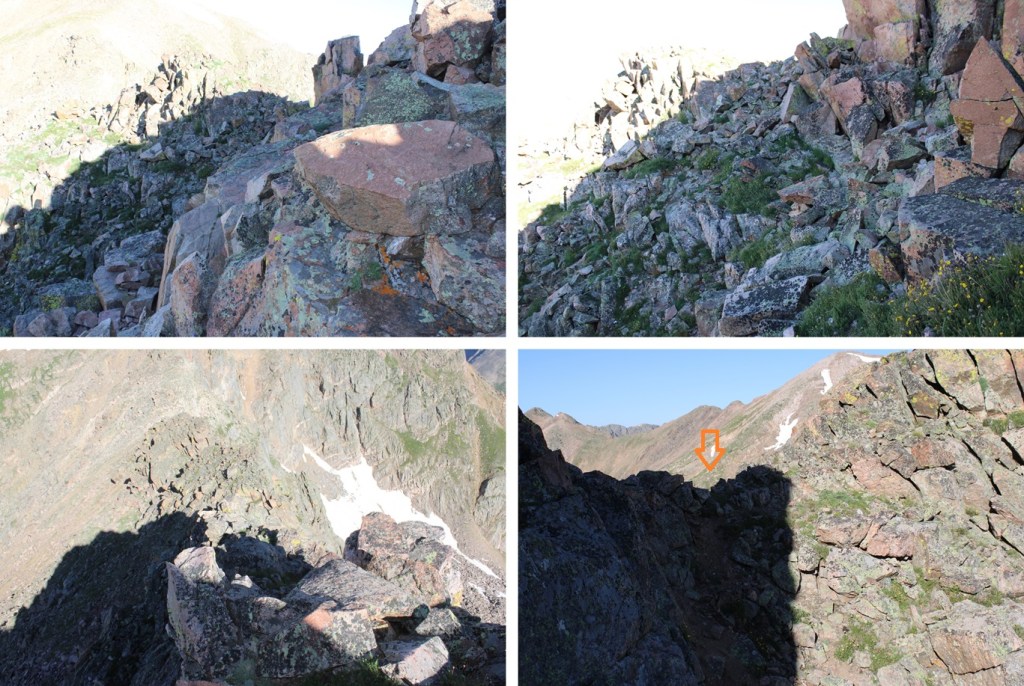
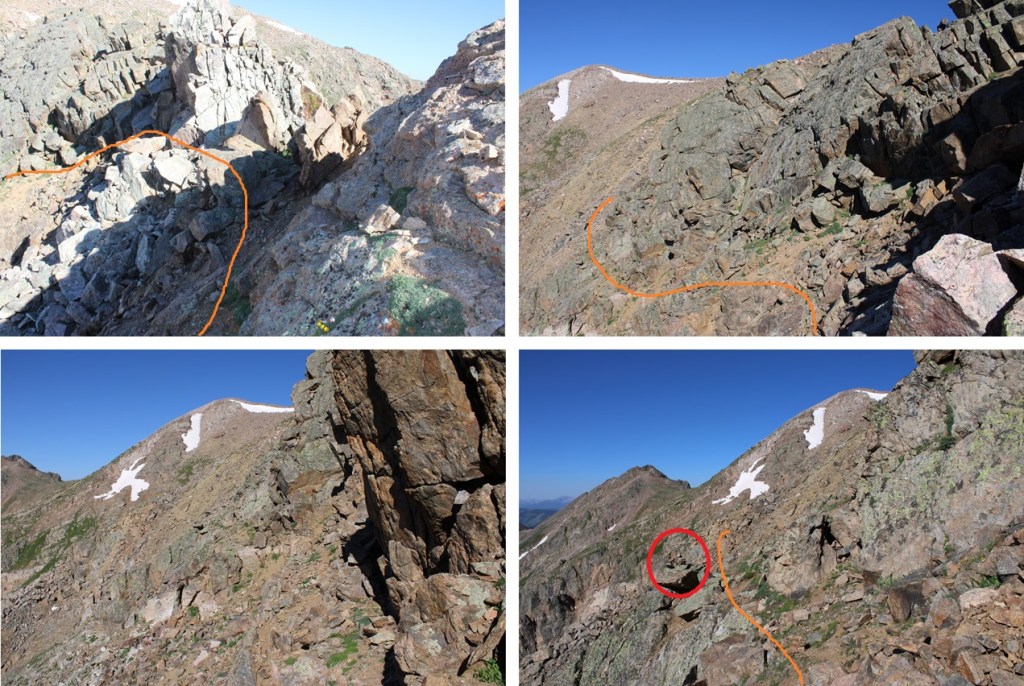
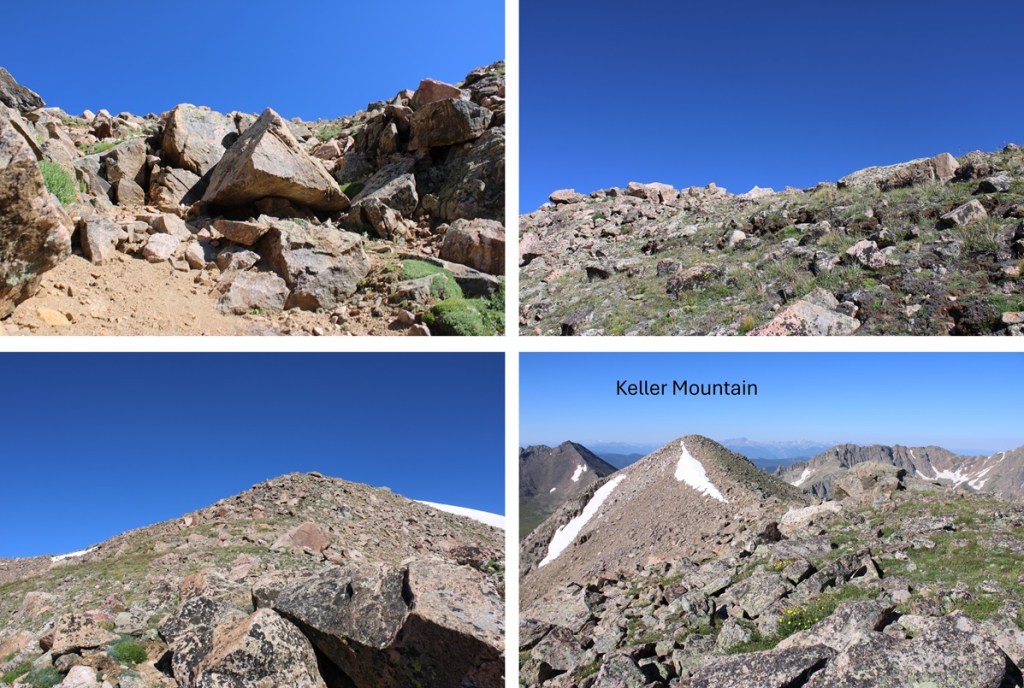
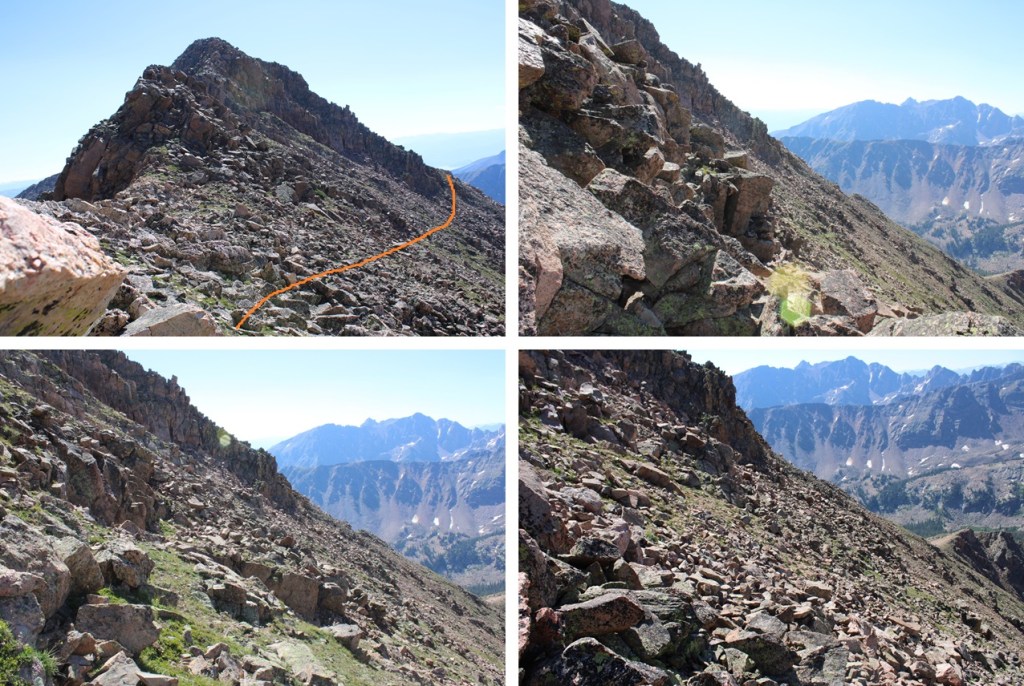
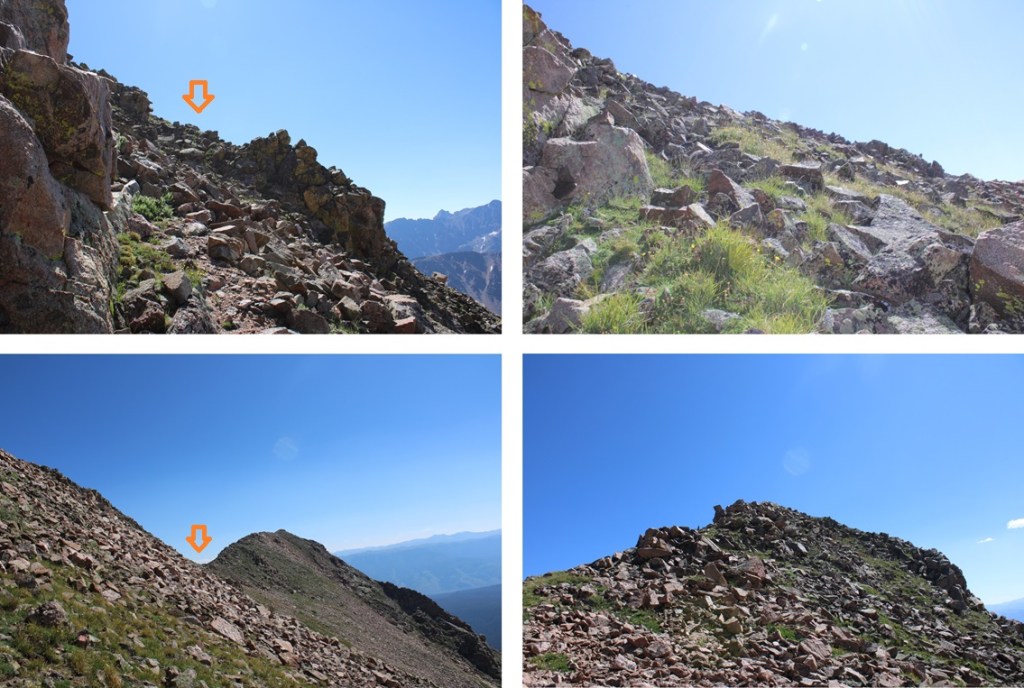
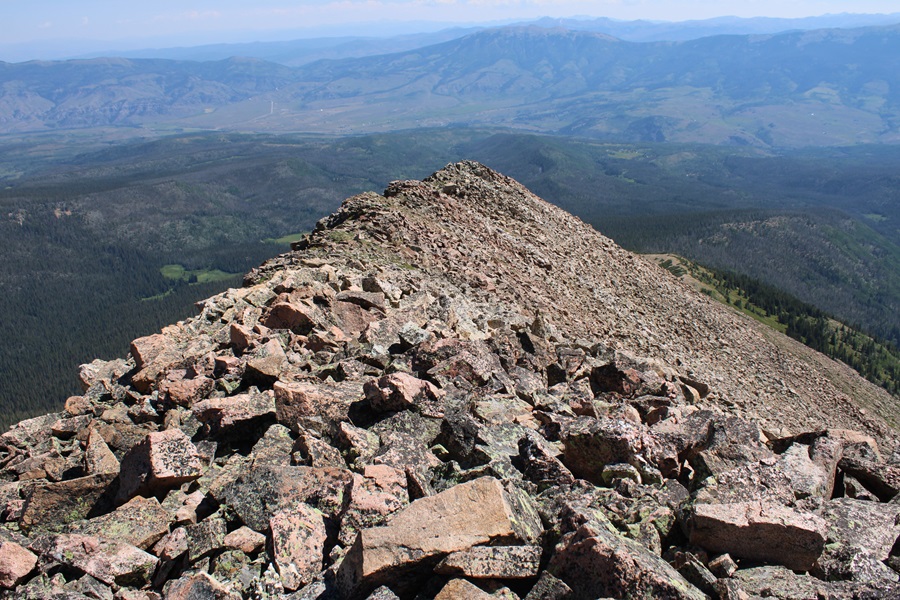
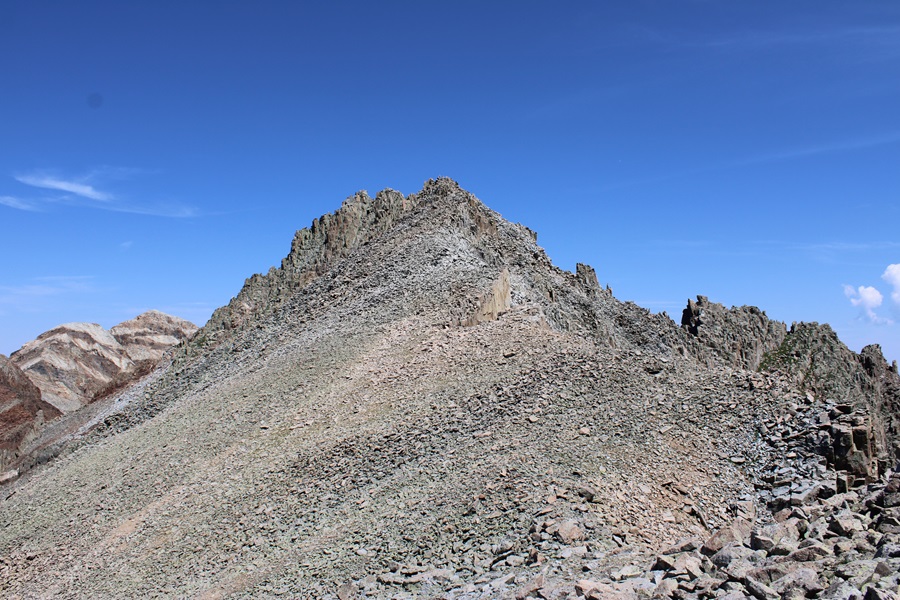
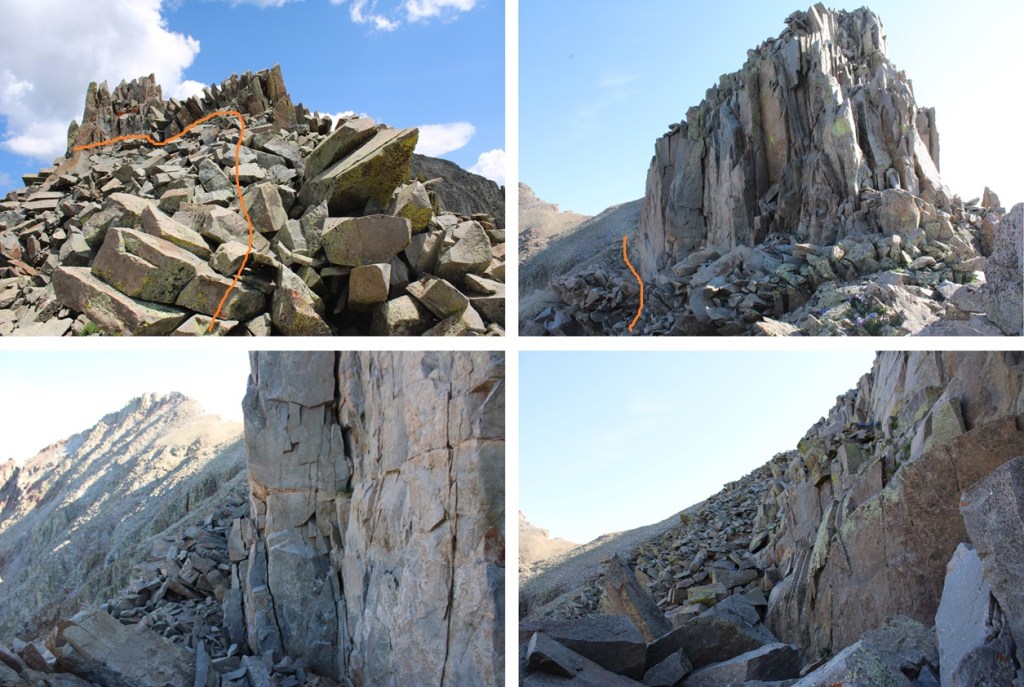
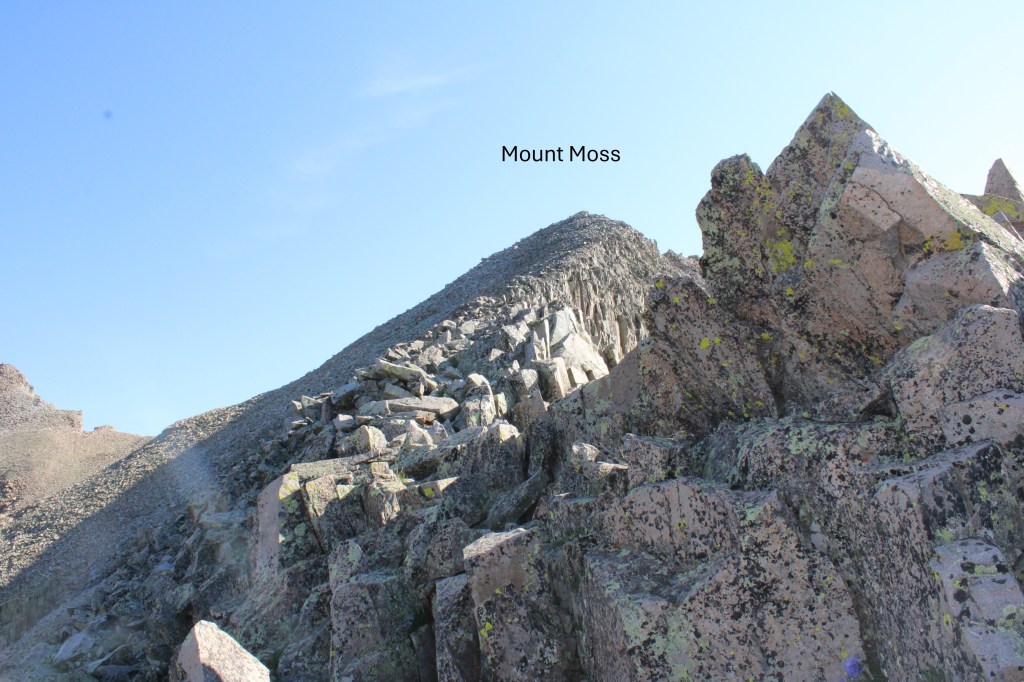
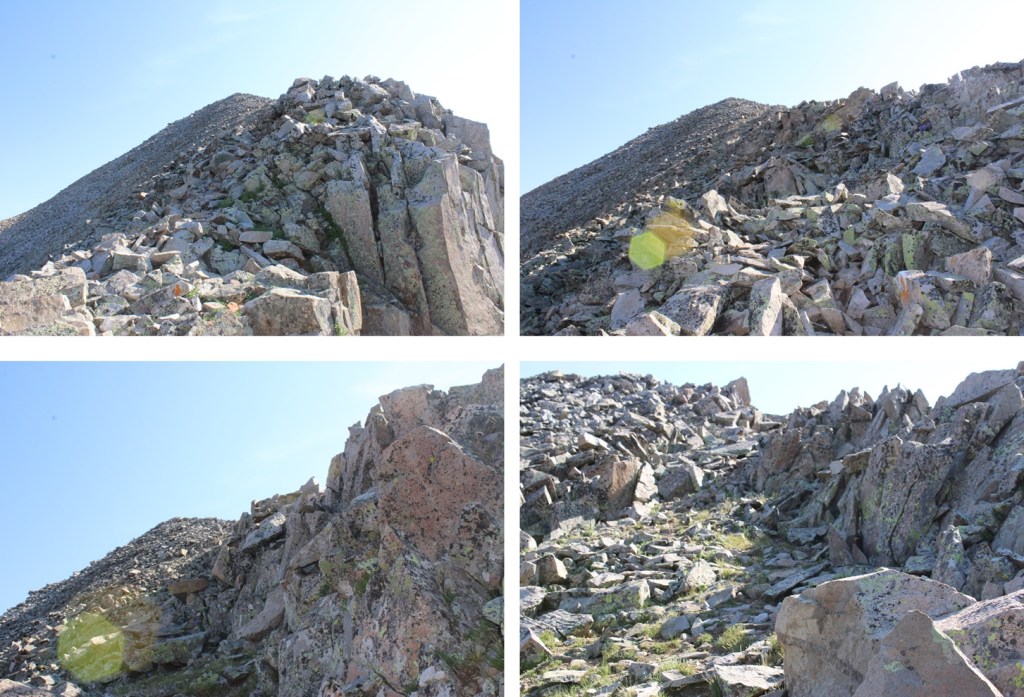
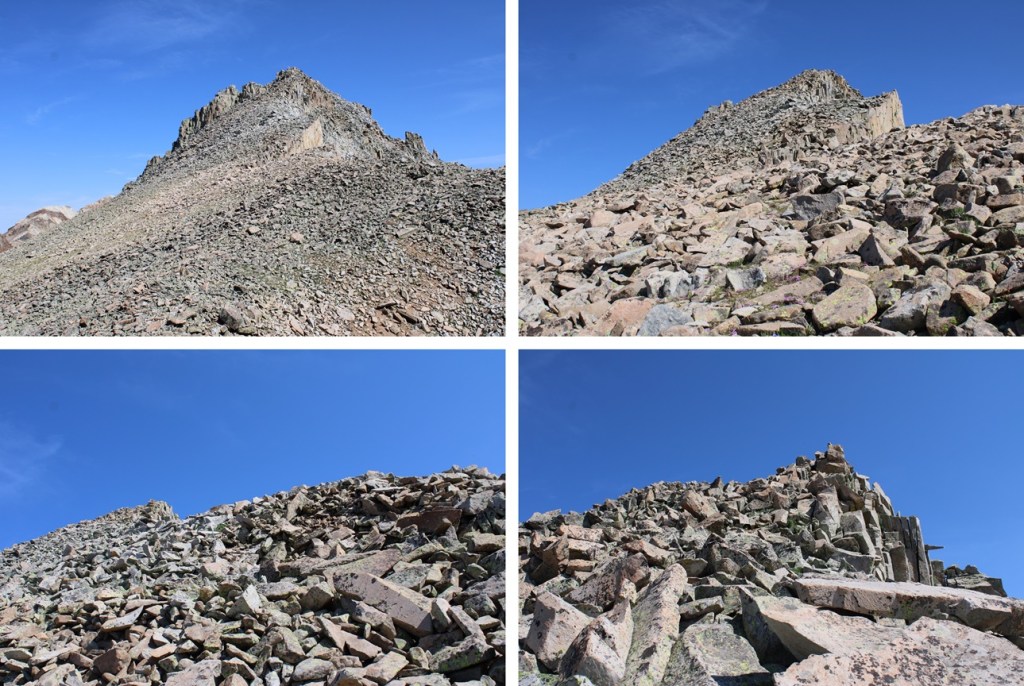
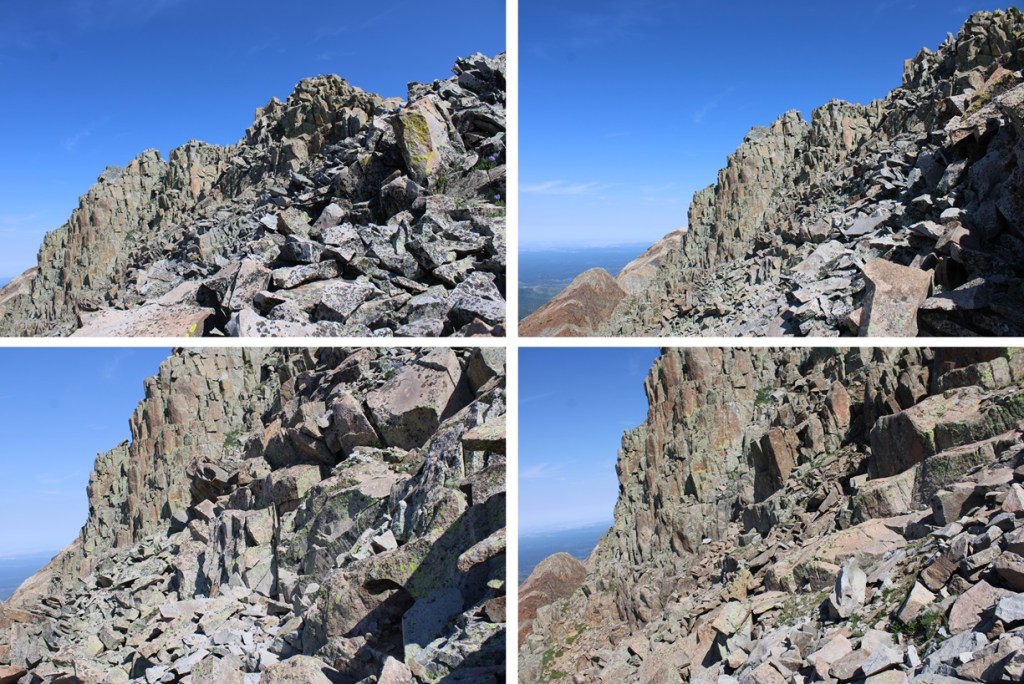
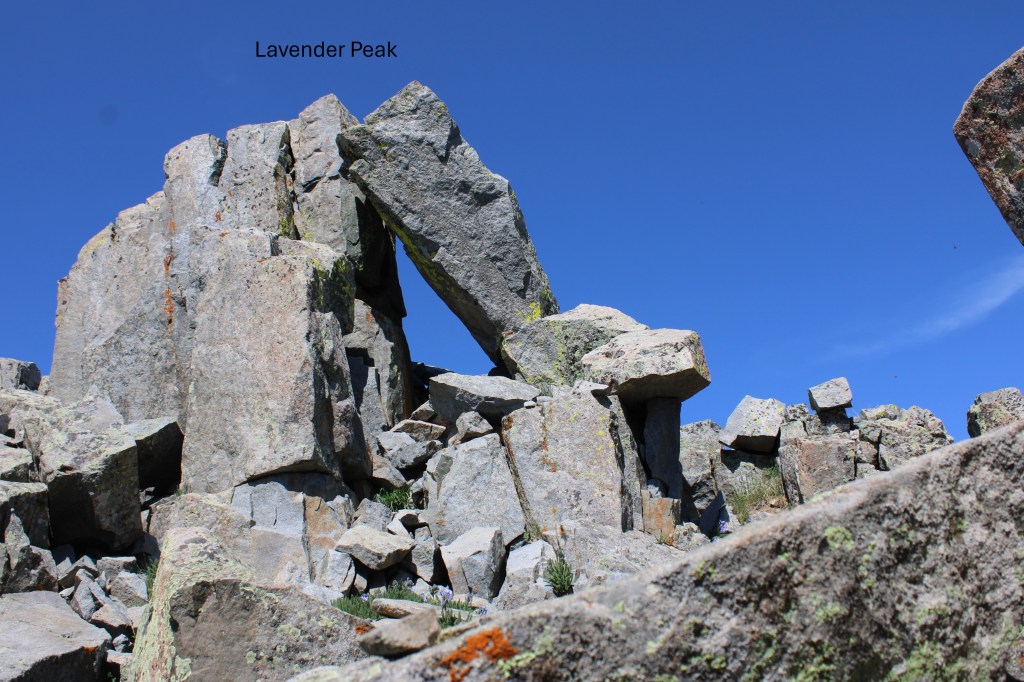
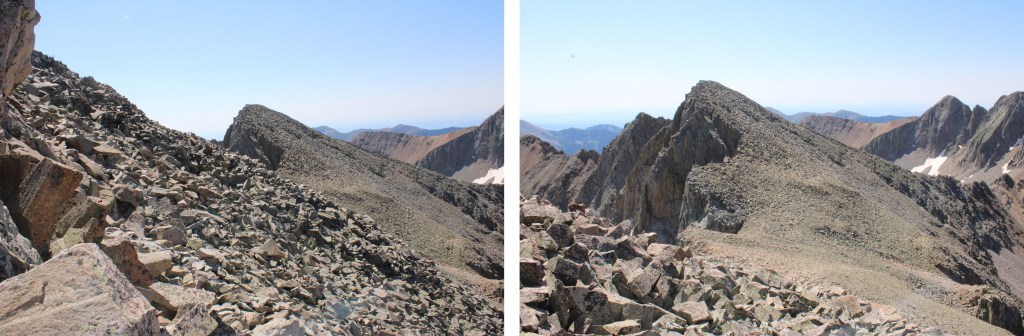
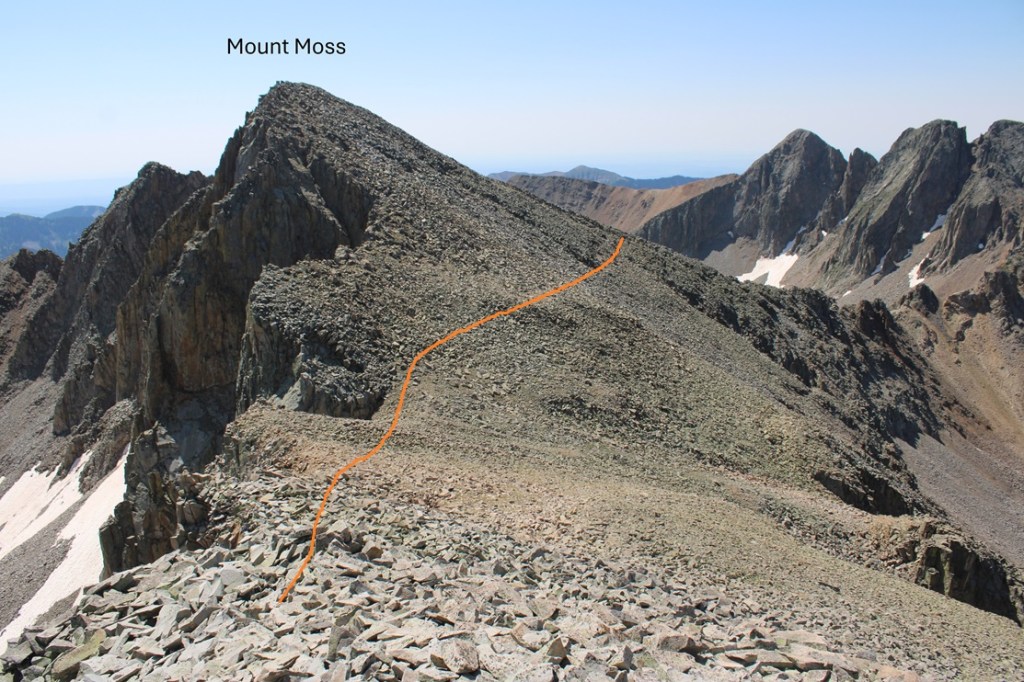
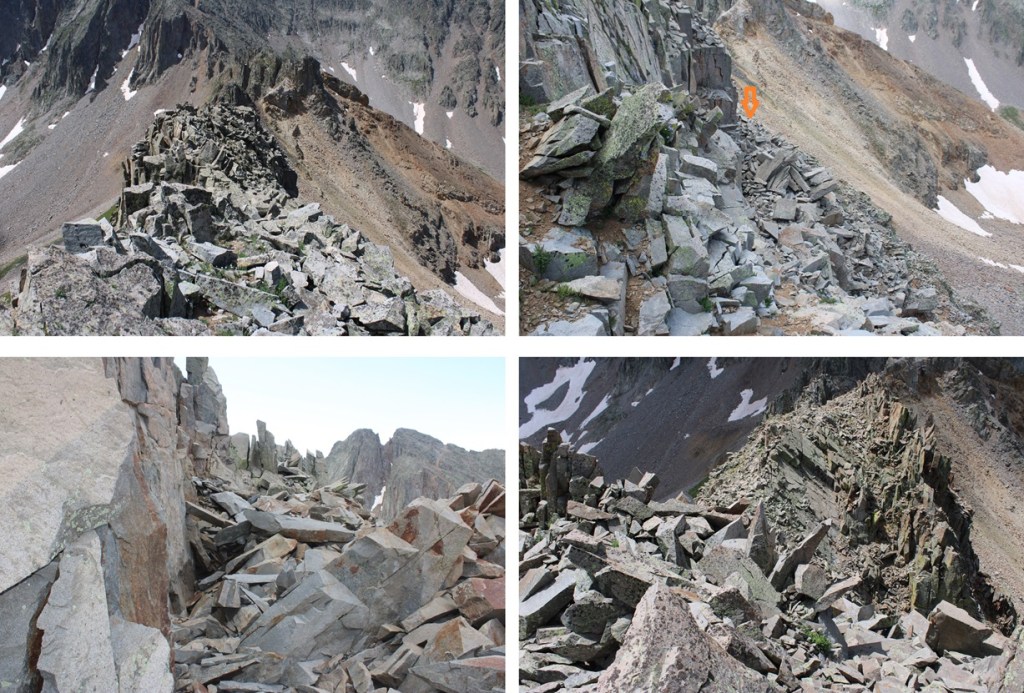
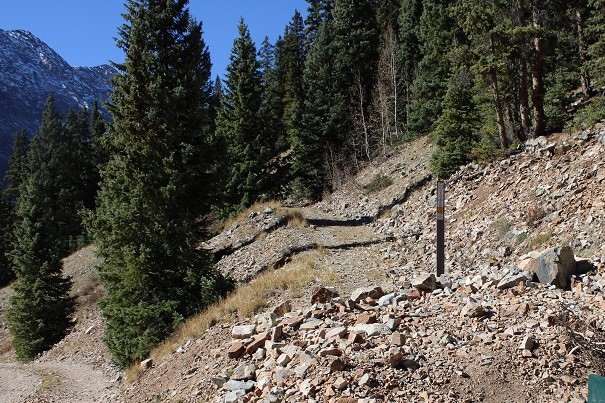
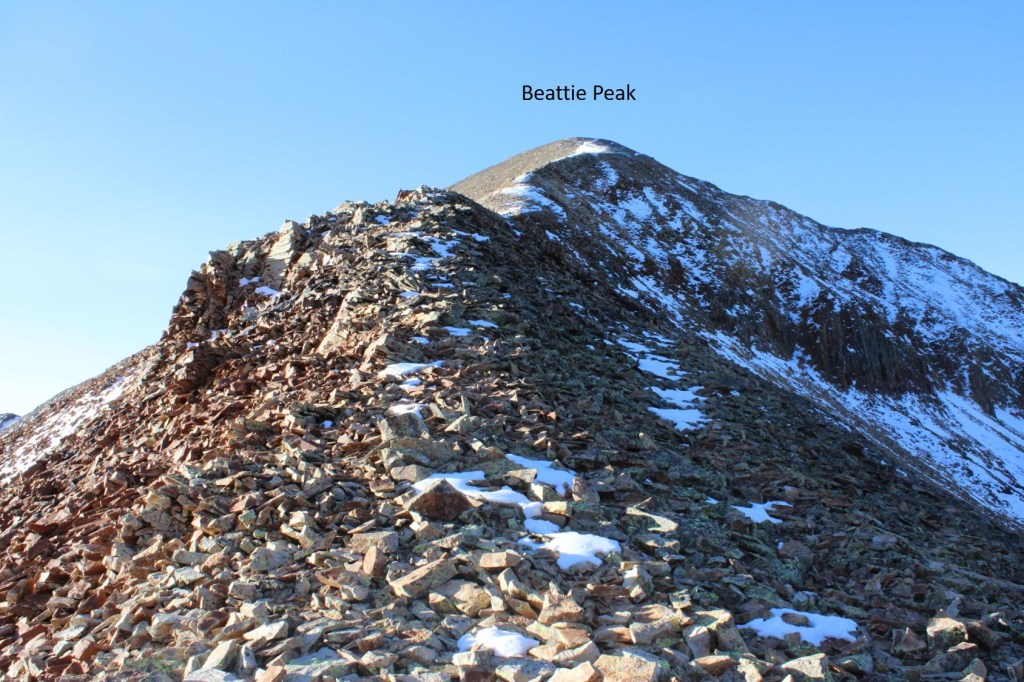
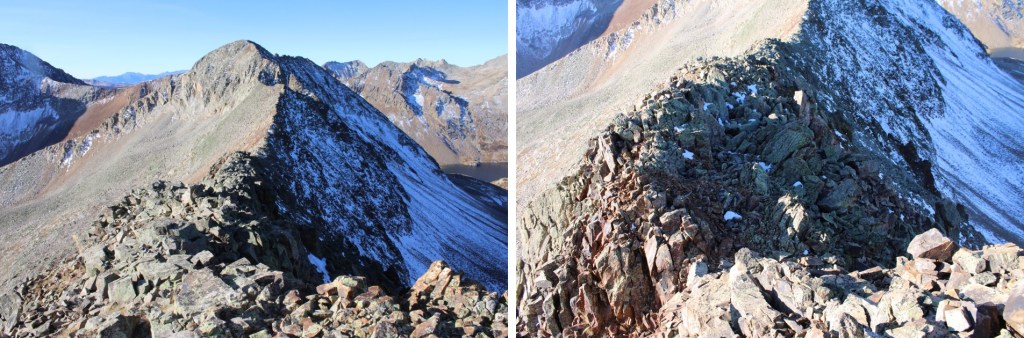
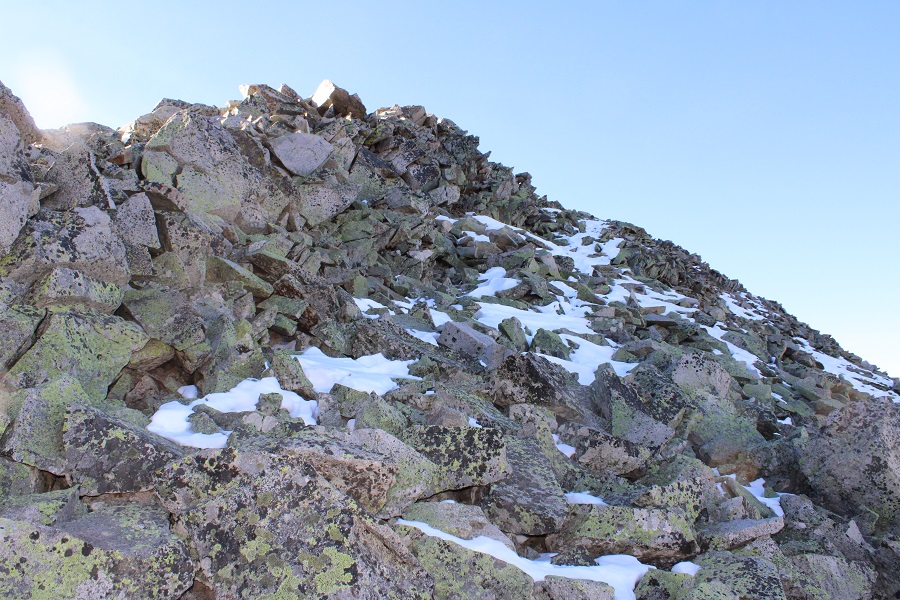
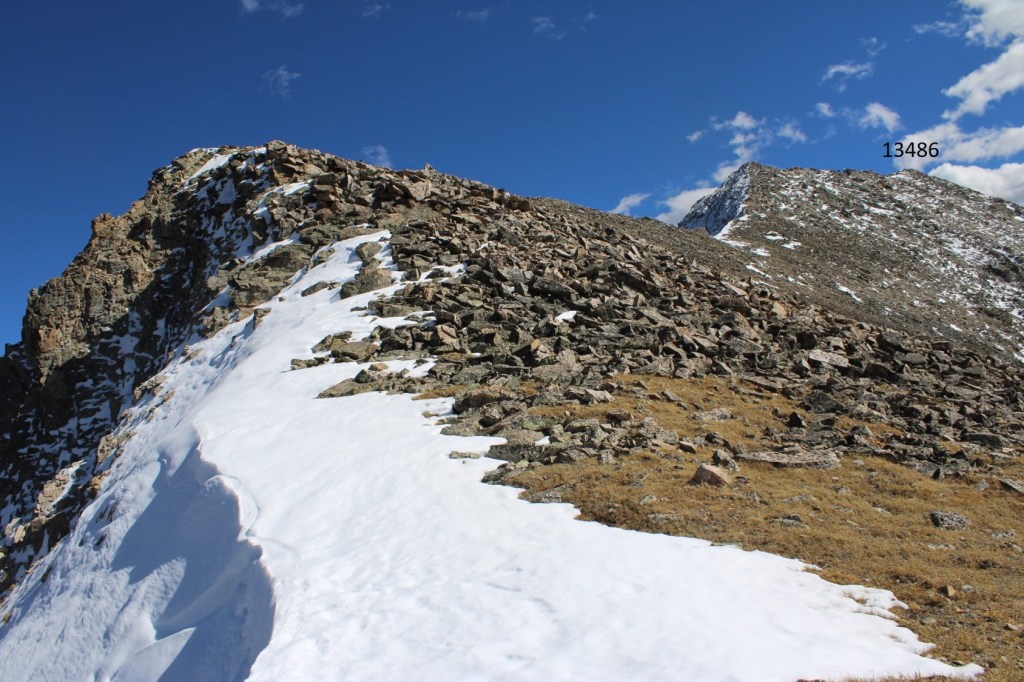
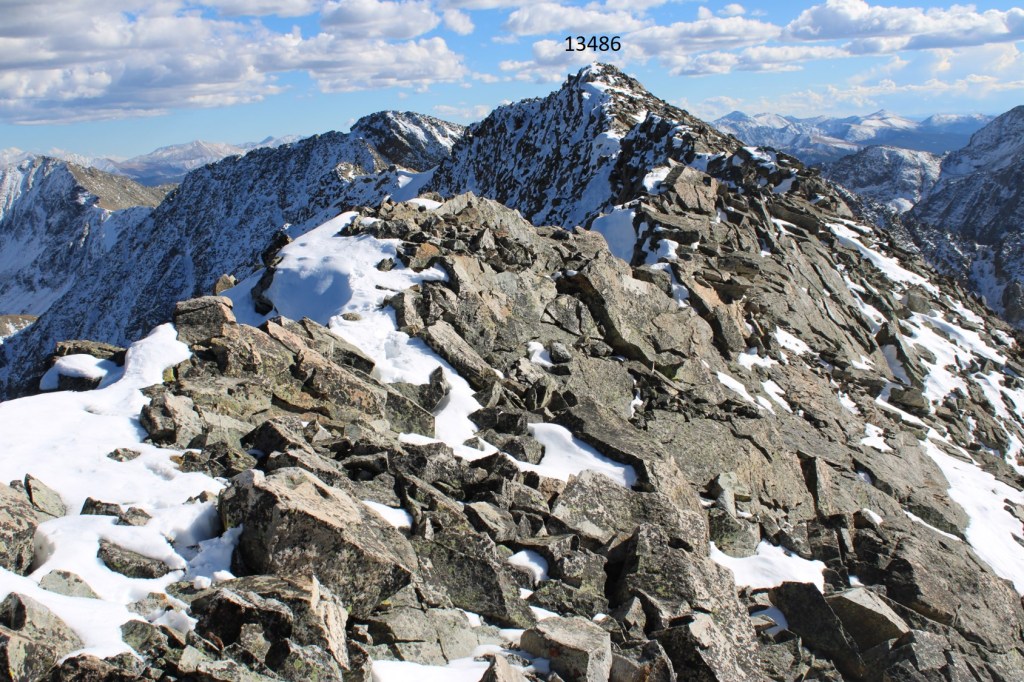
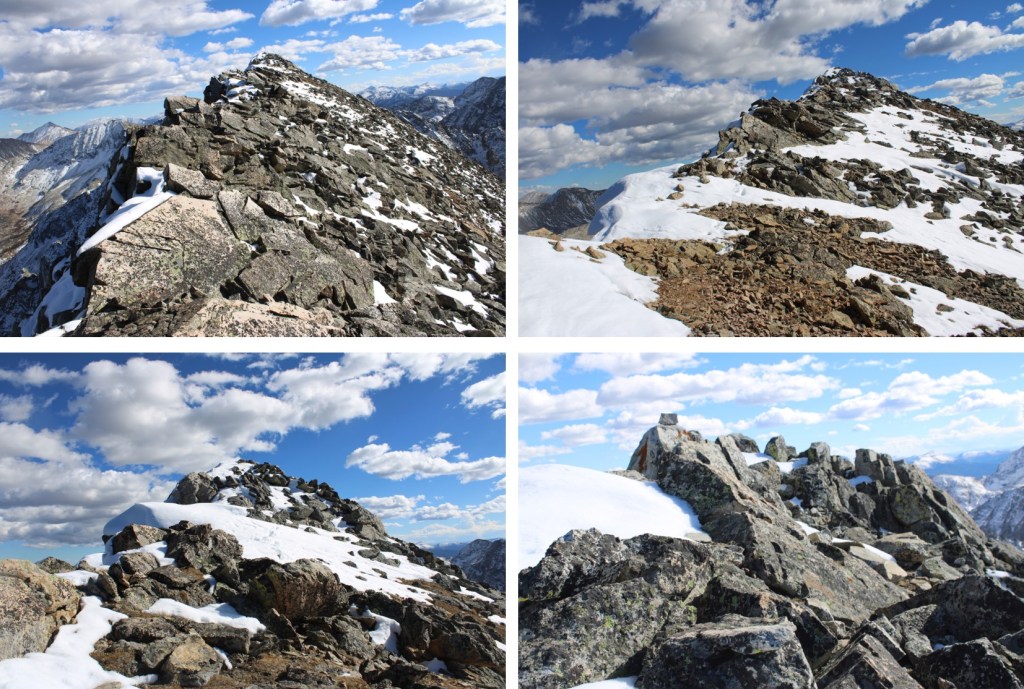
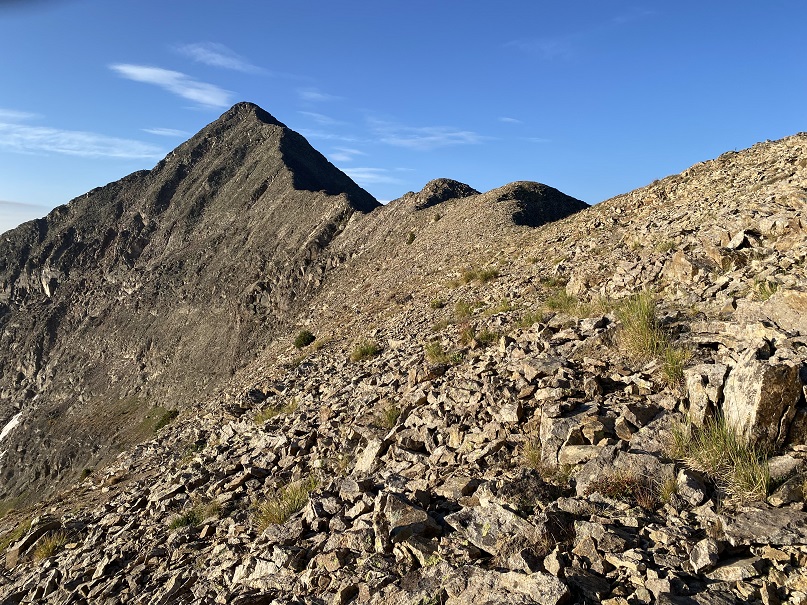
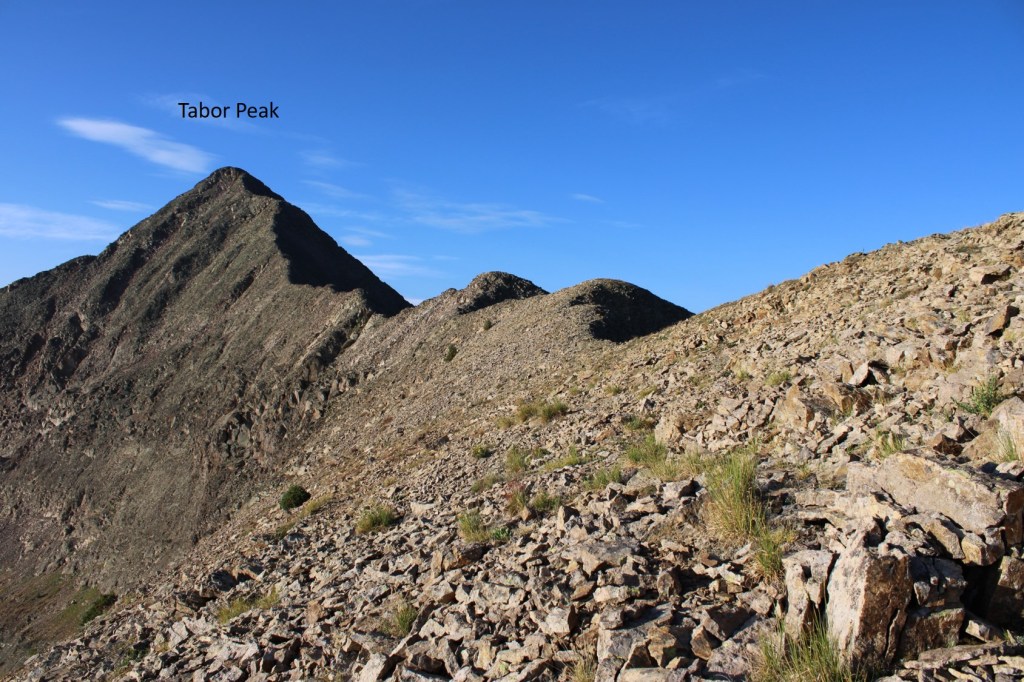
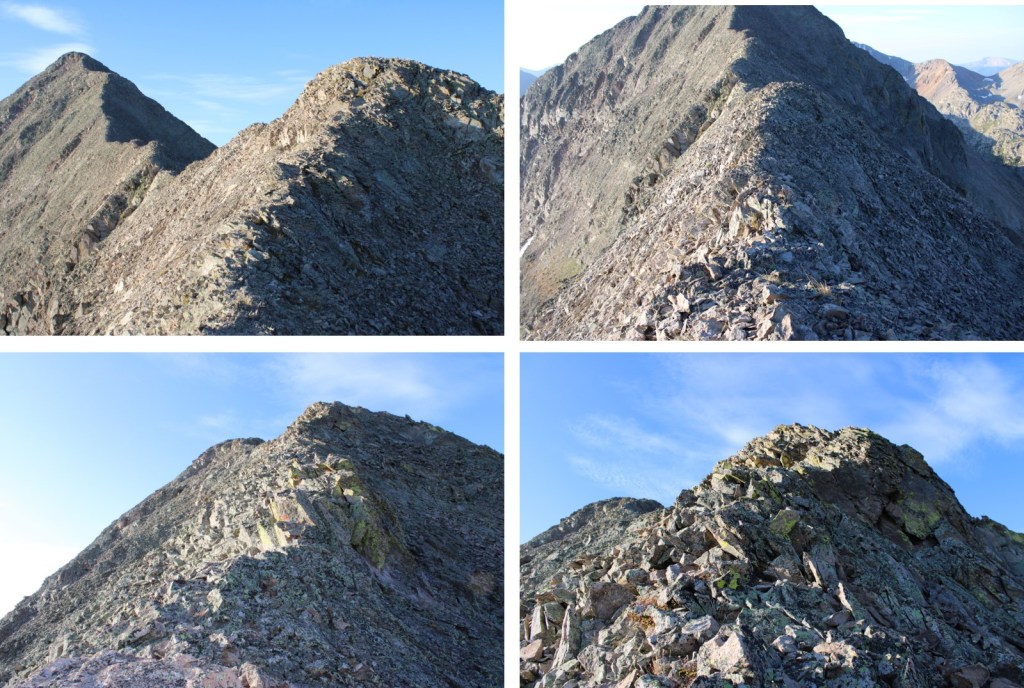
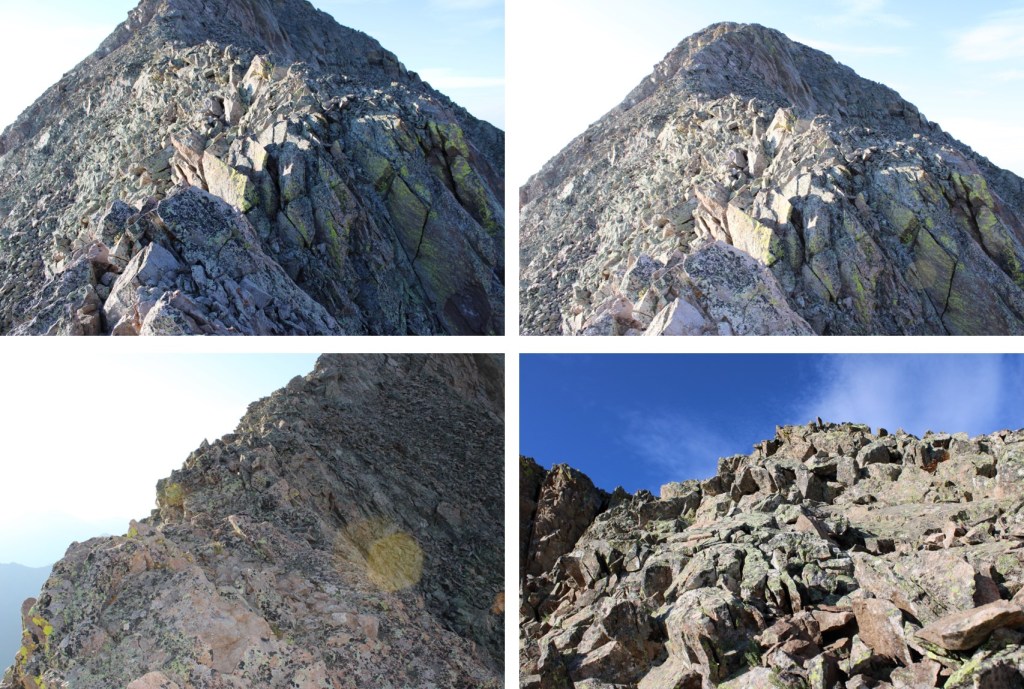
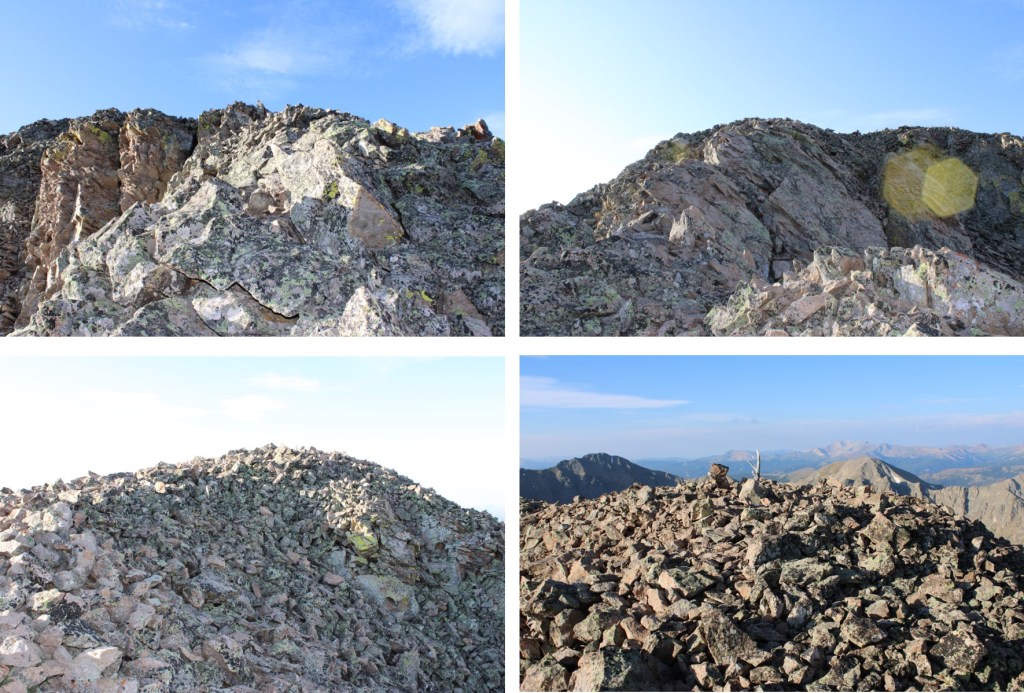
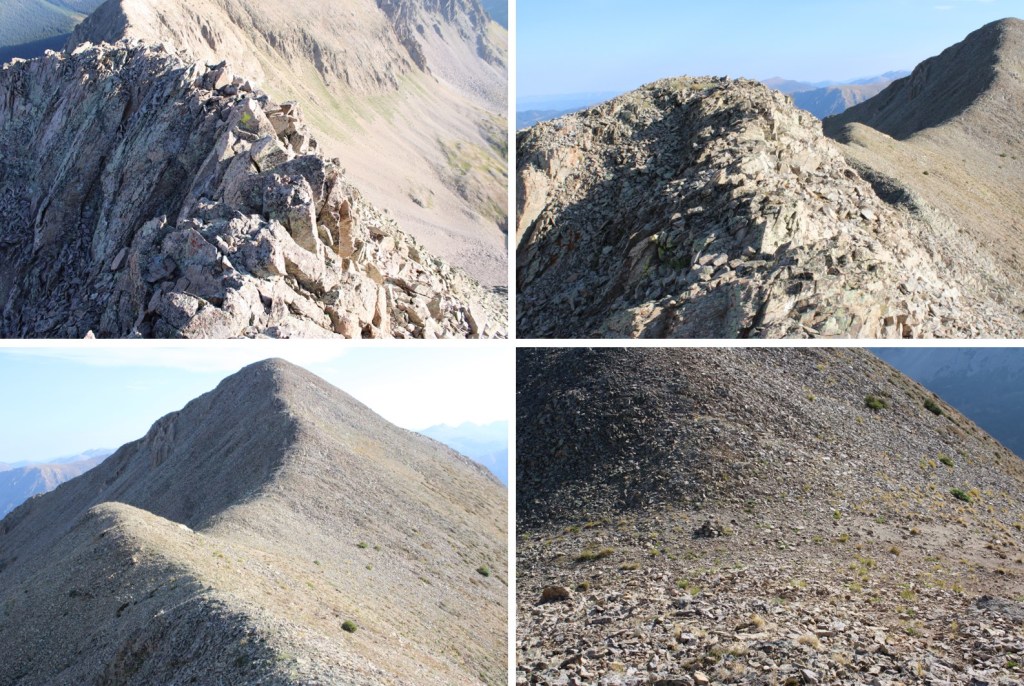
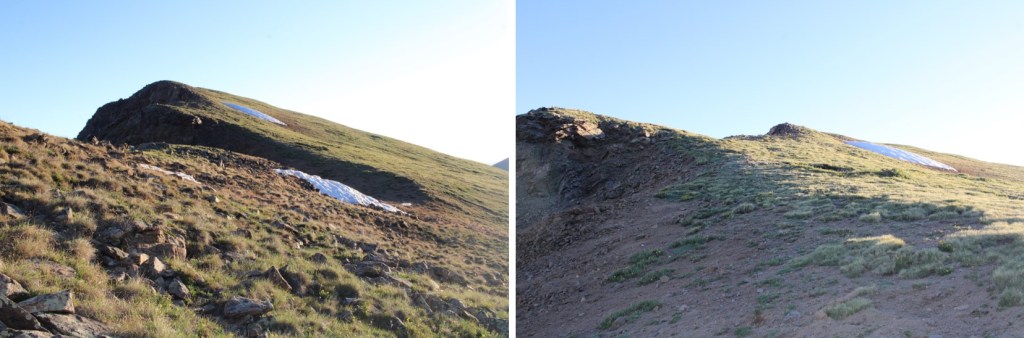
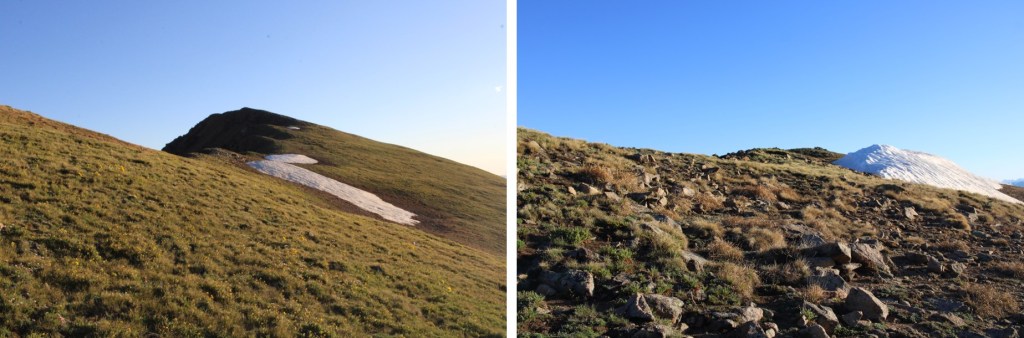
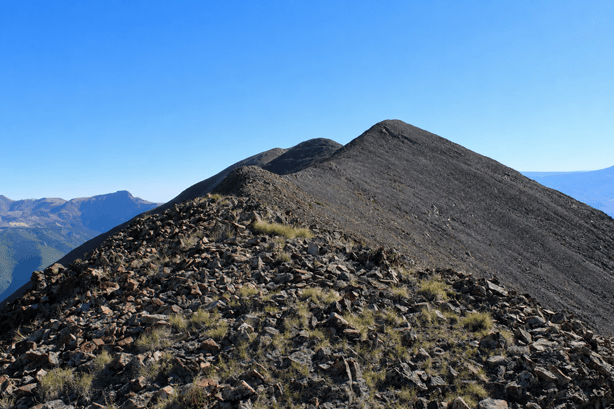
At the saddle I turned right and headed northeast, following the ridge. The ridge goes at a rocky and shale filled class 2 the entire way for a total of 1.1 miles to the actual summit. There are several false summits along the way and game trails to pass these to the left if you don’t want to follow the ridge proper.
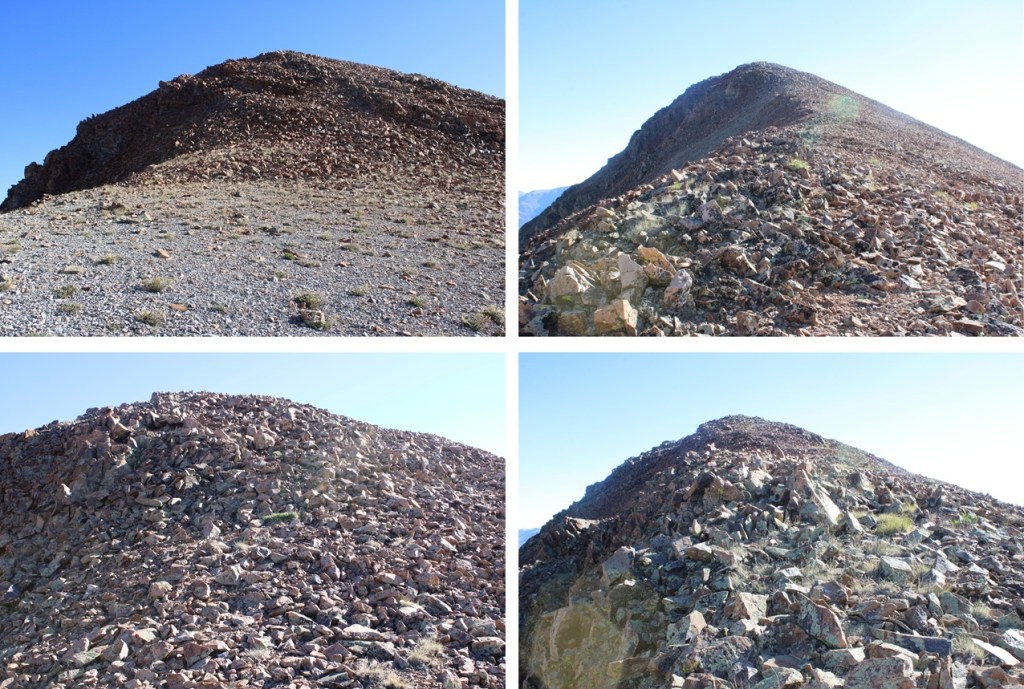
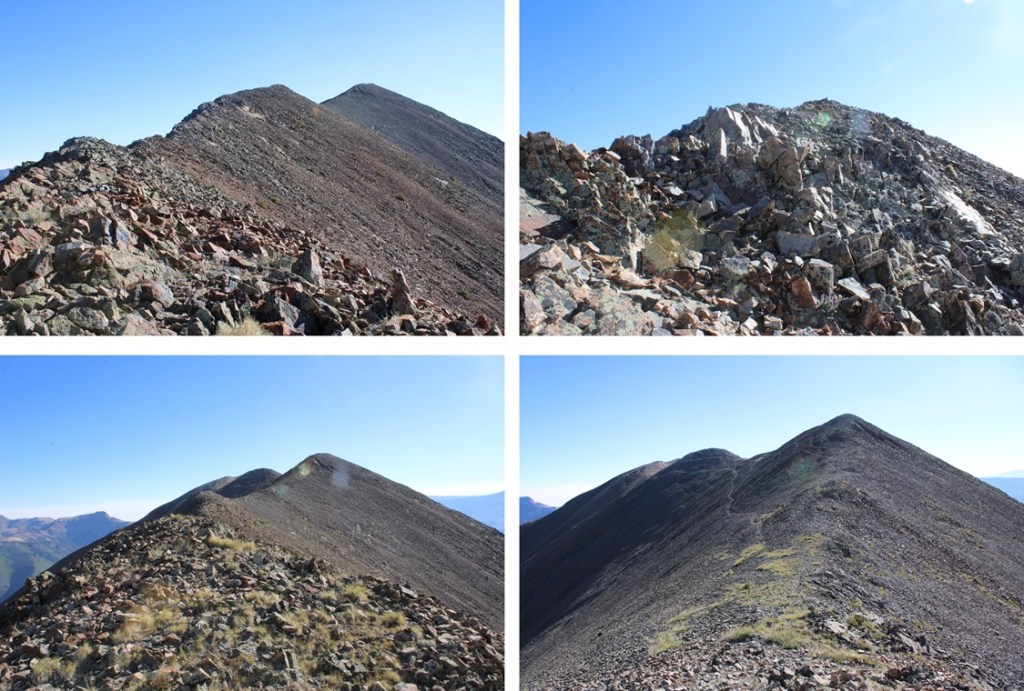
I took the game trails to the left to avoid the ridge
26
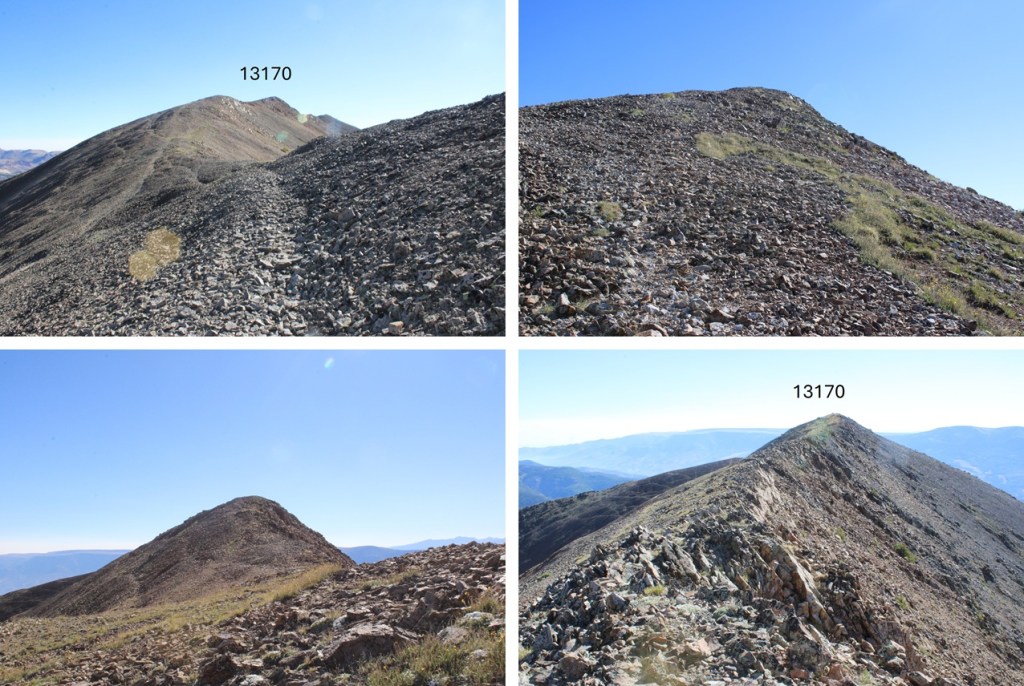
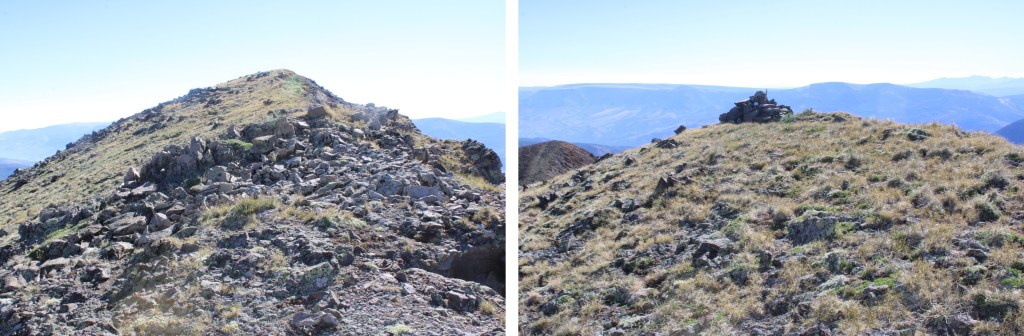
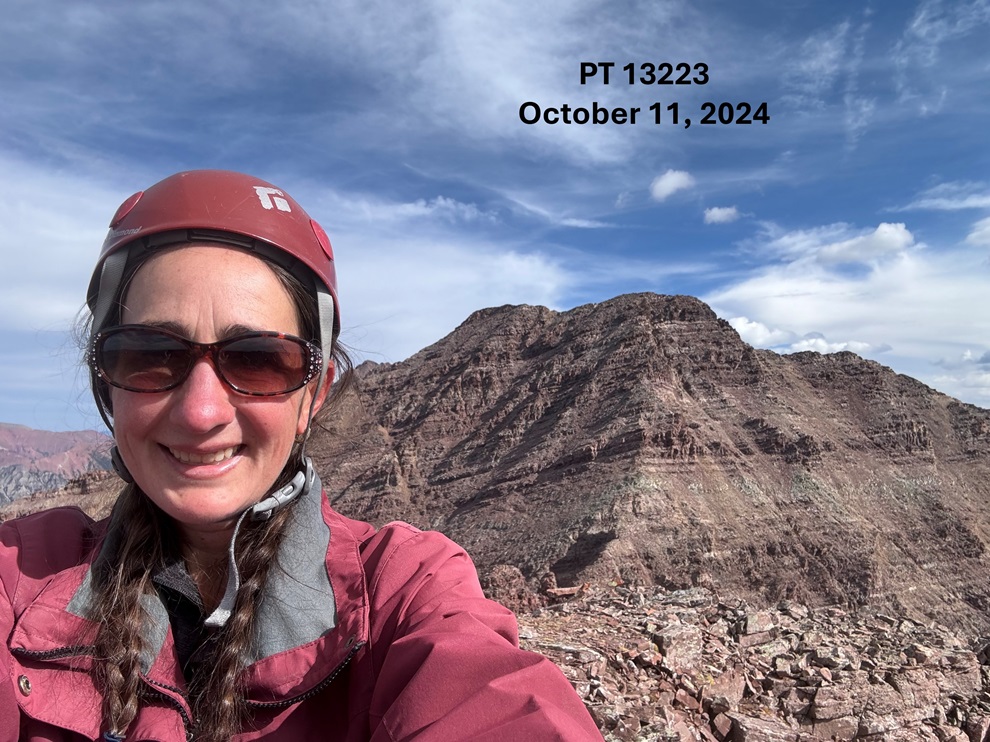
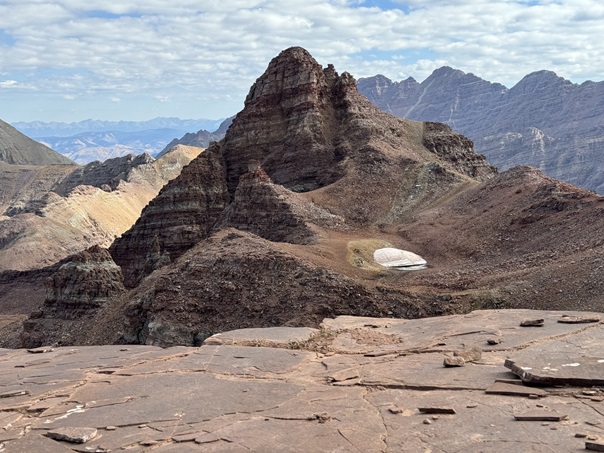
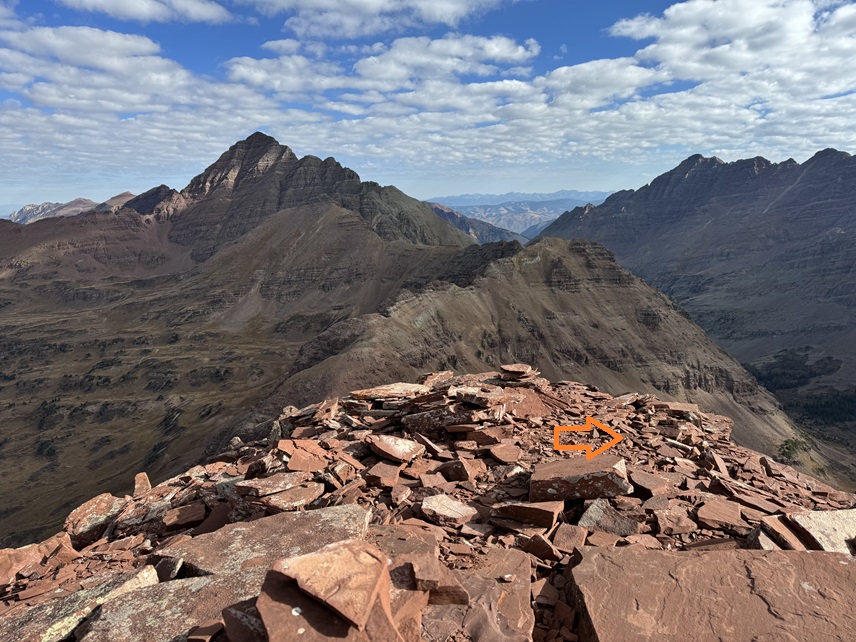
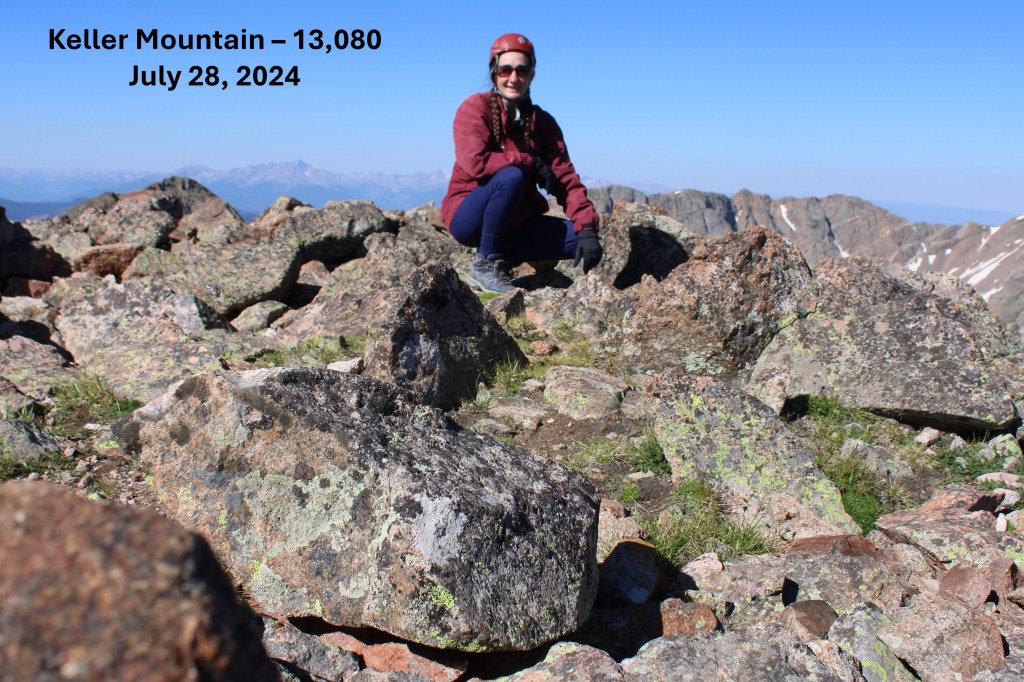
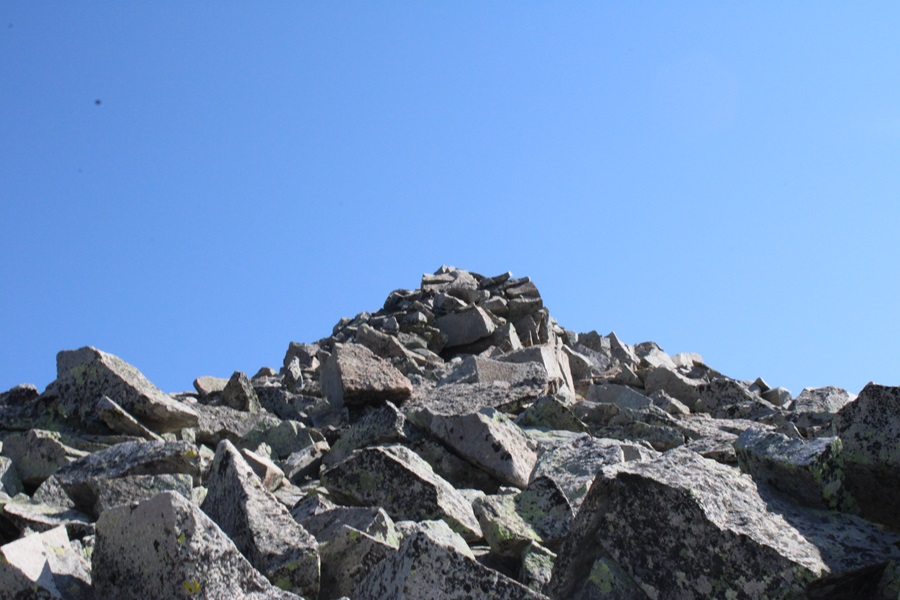
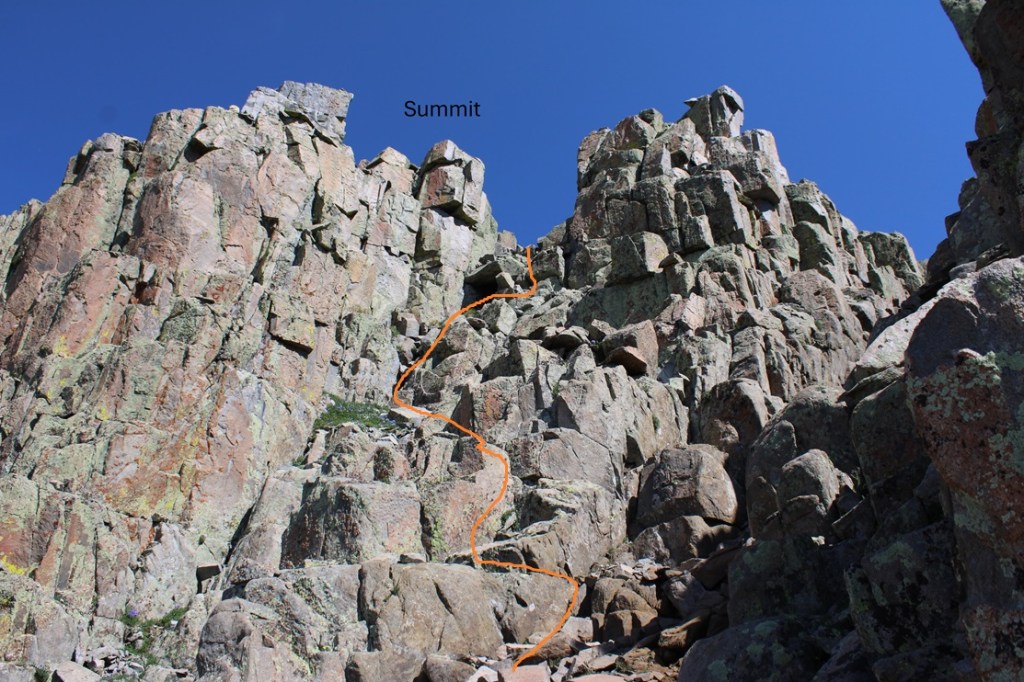
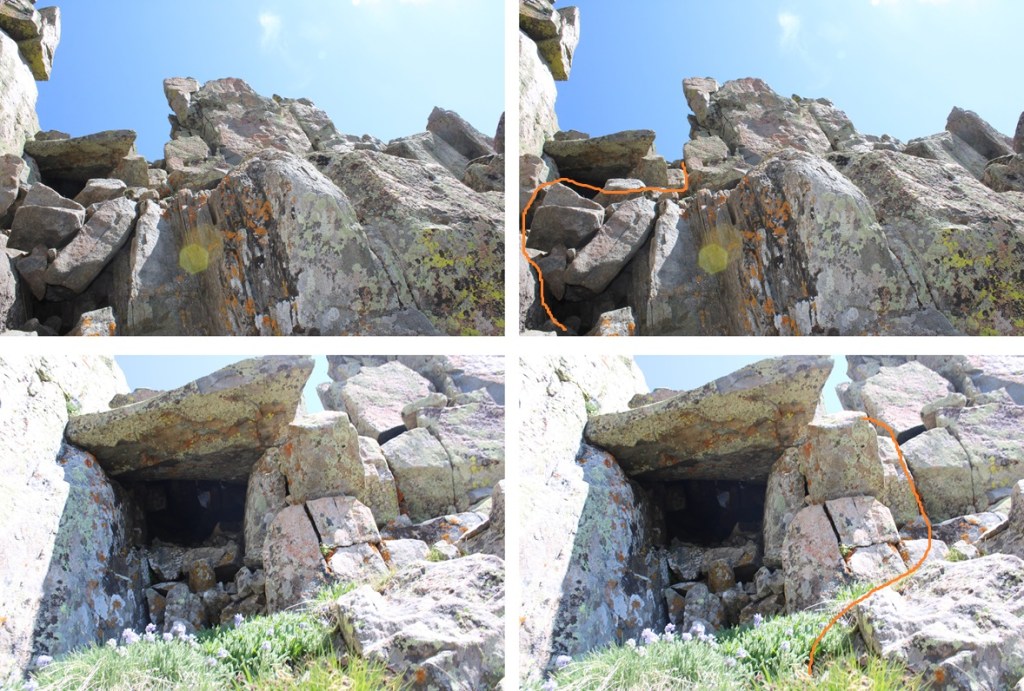
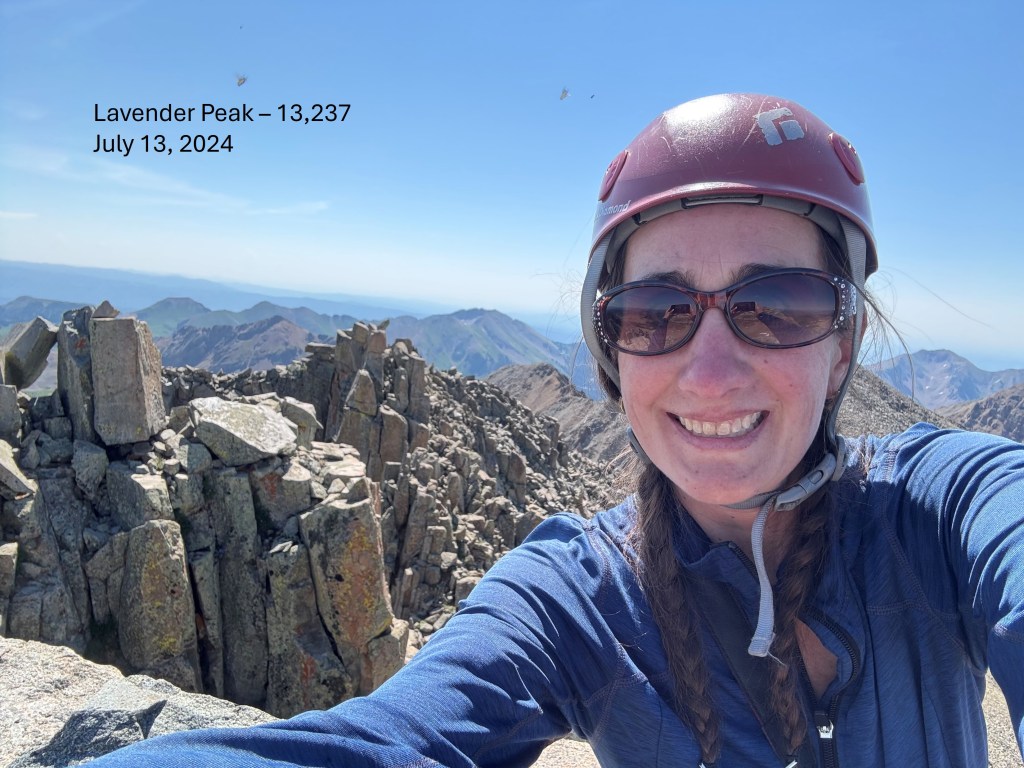
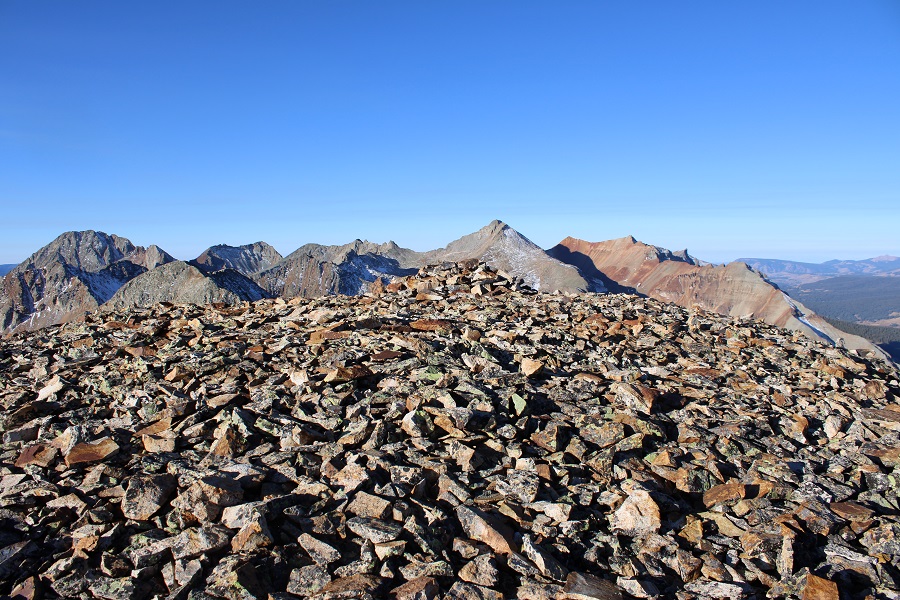
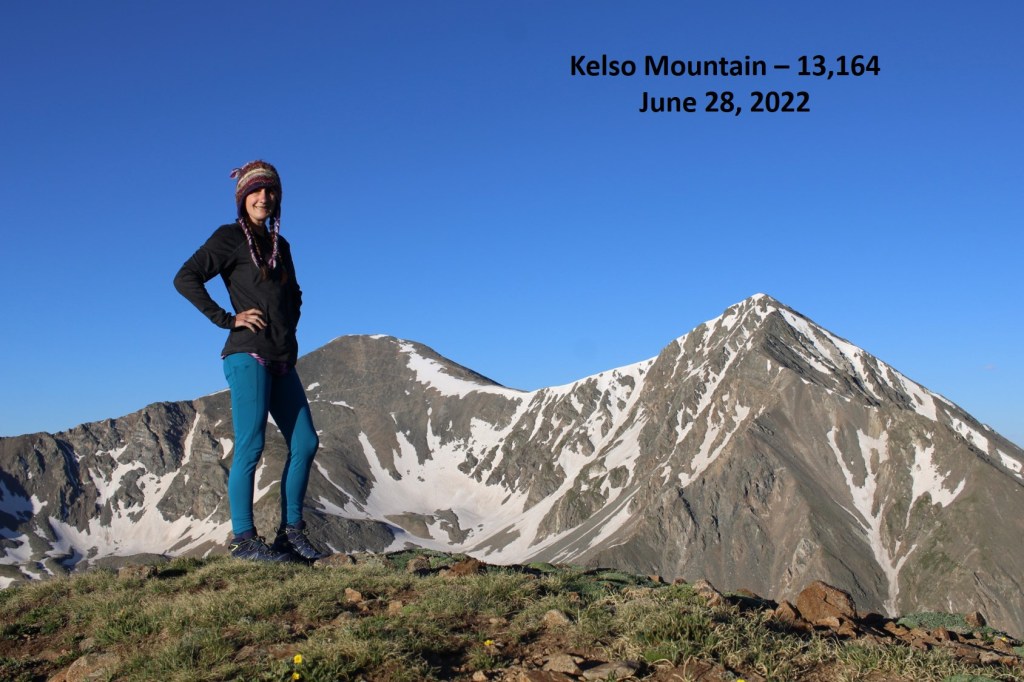
There was a large cairn and summit register at the top. The summit register was one of those large plastic tubes I can never open because they shut too tight, so I didn’t sign this one.
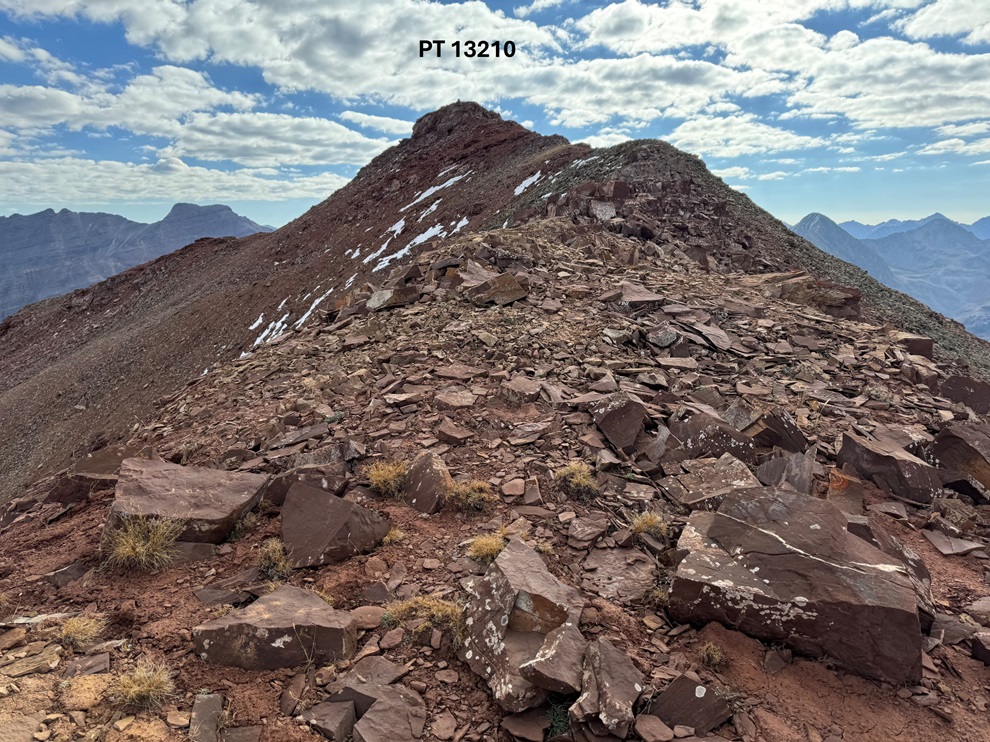
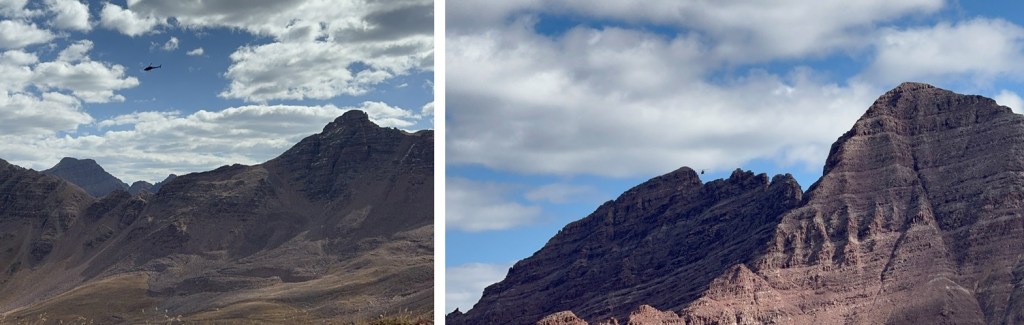
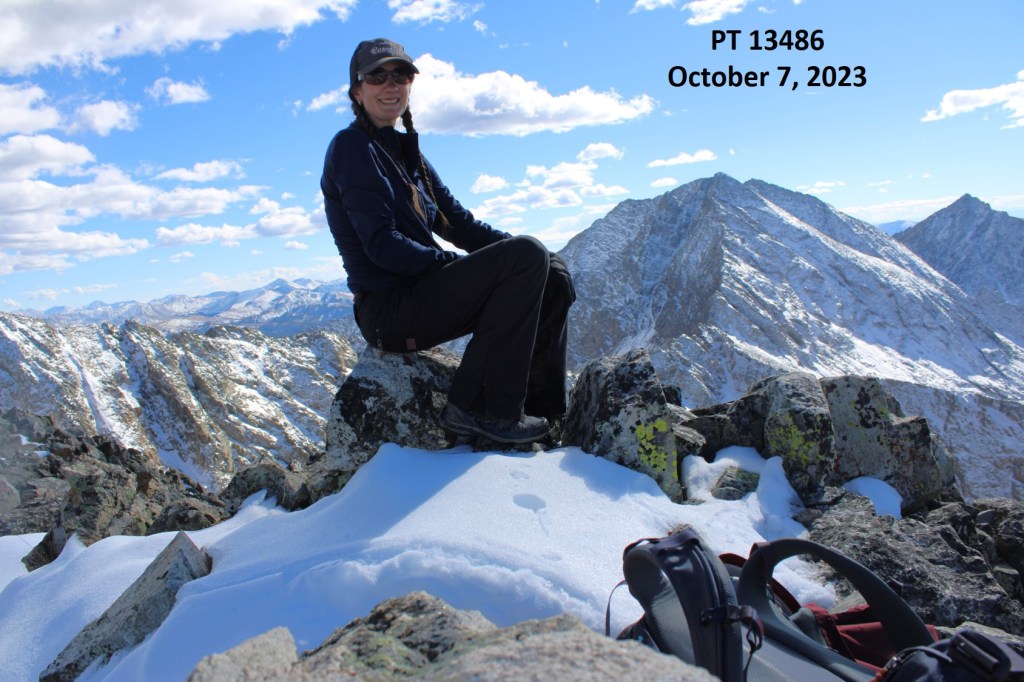
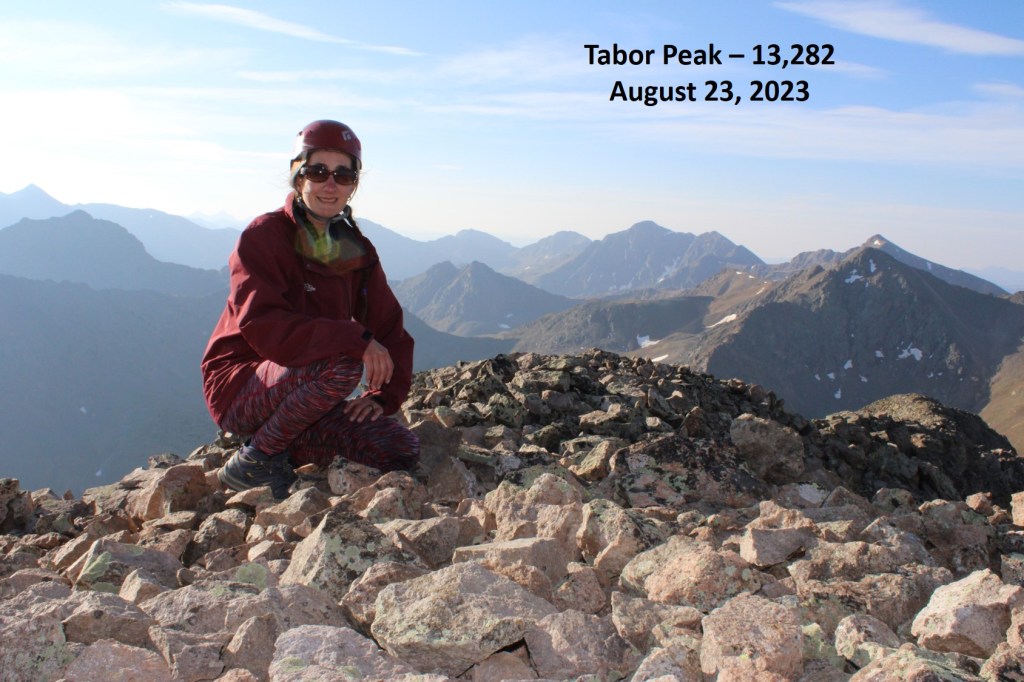
I summited PT 13170 at 8:45am
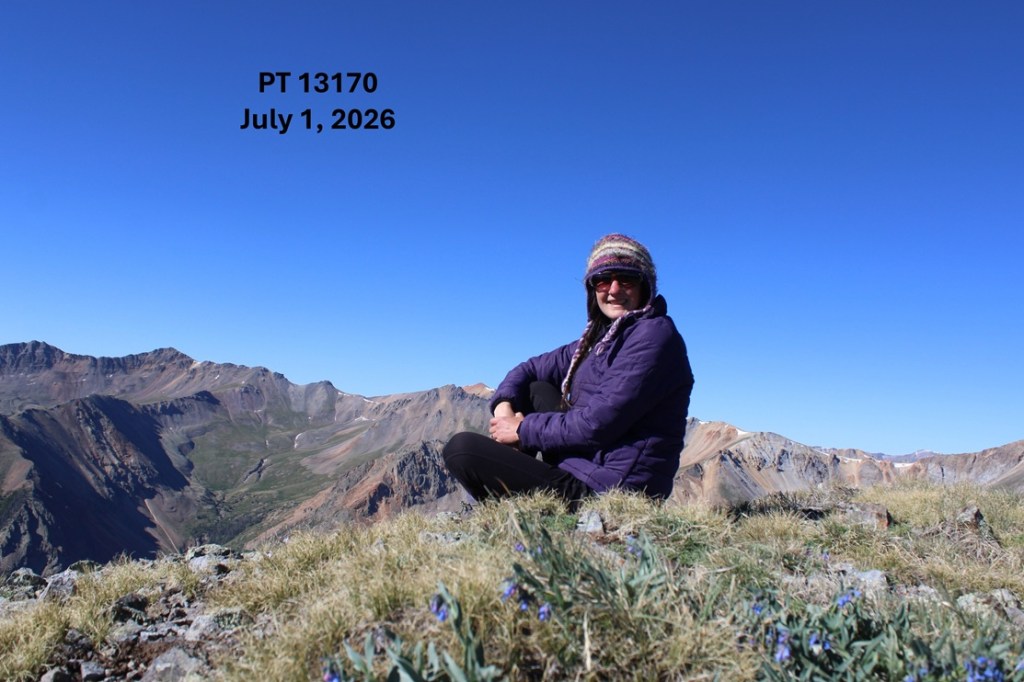
PT 13170:
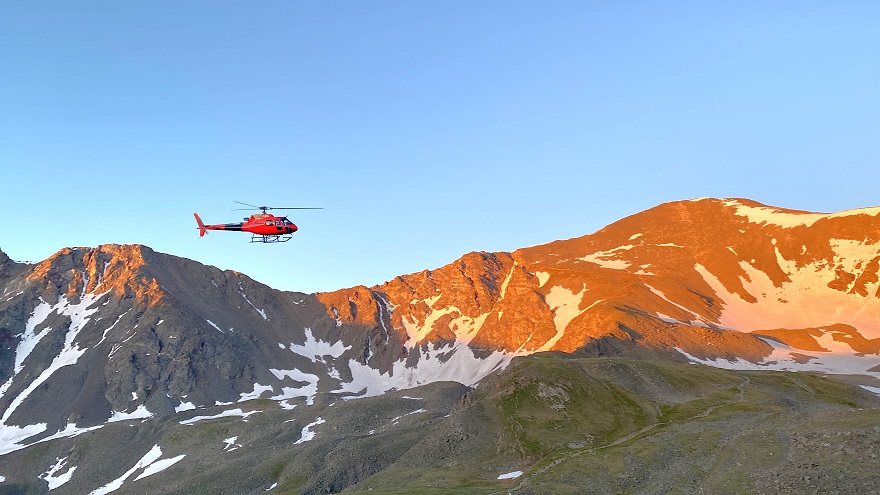
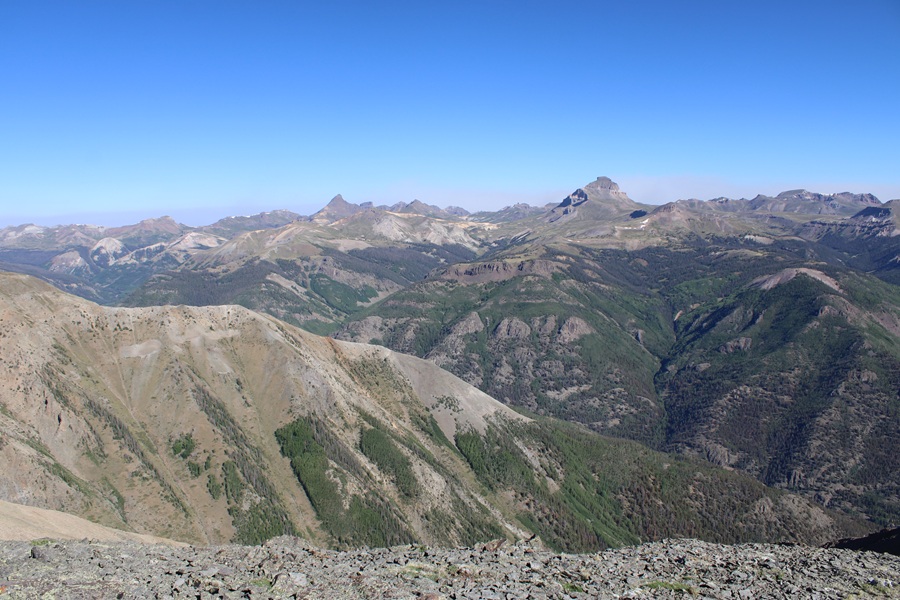
There was smoke at the summit from the local fires, but it looked as if most of the smoke was hanging out below treeline.
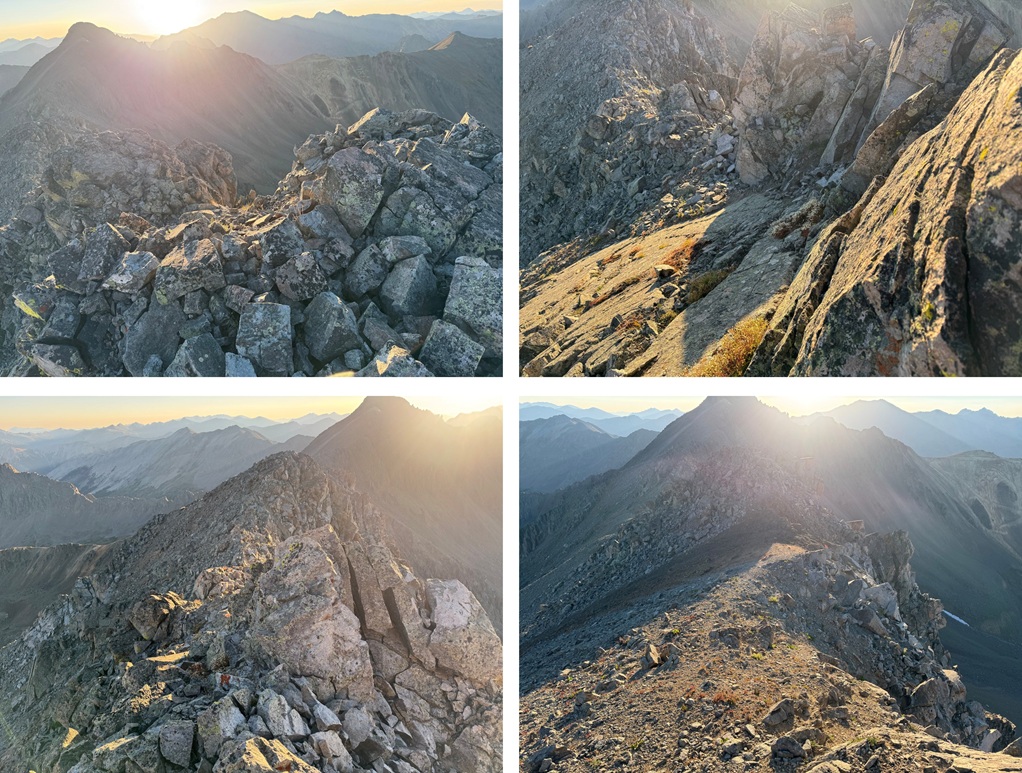
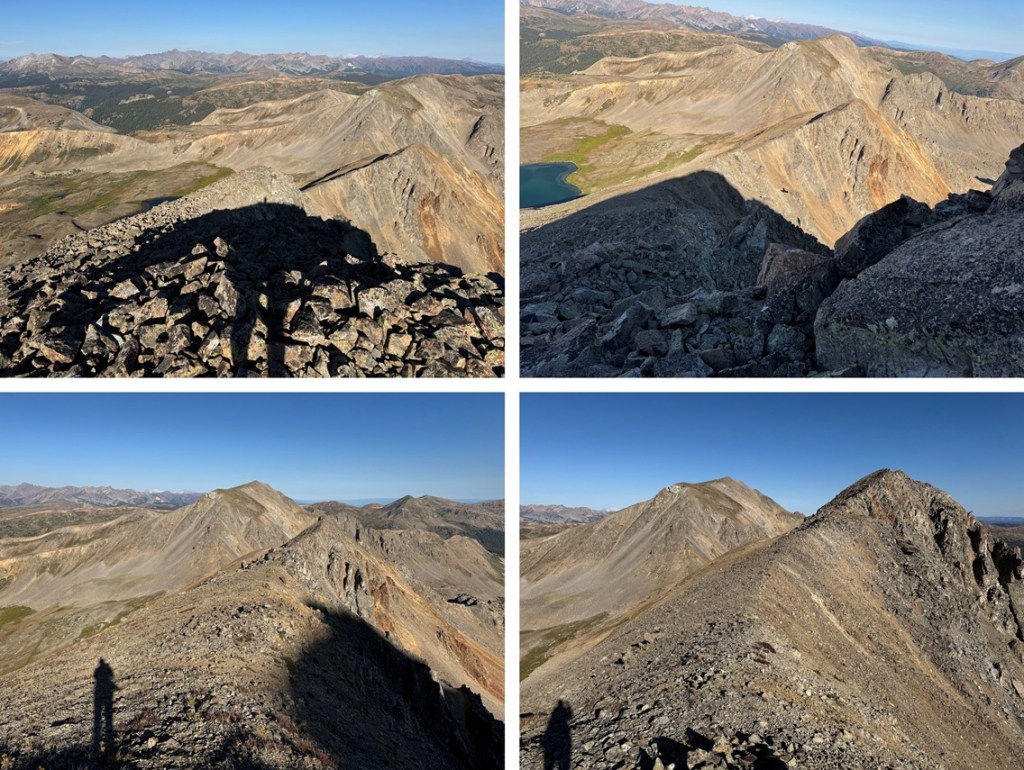
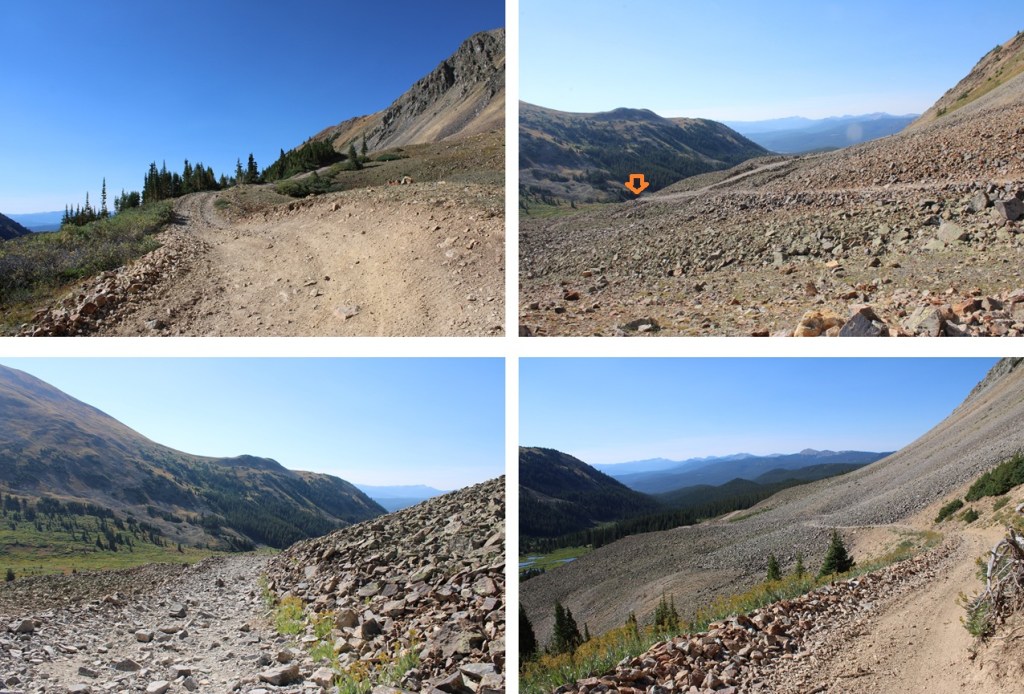
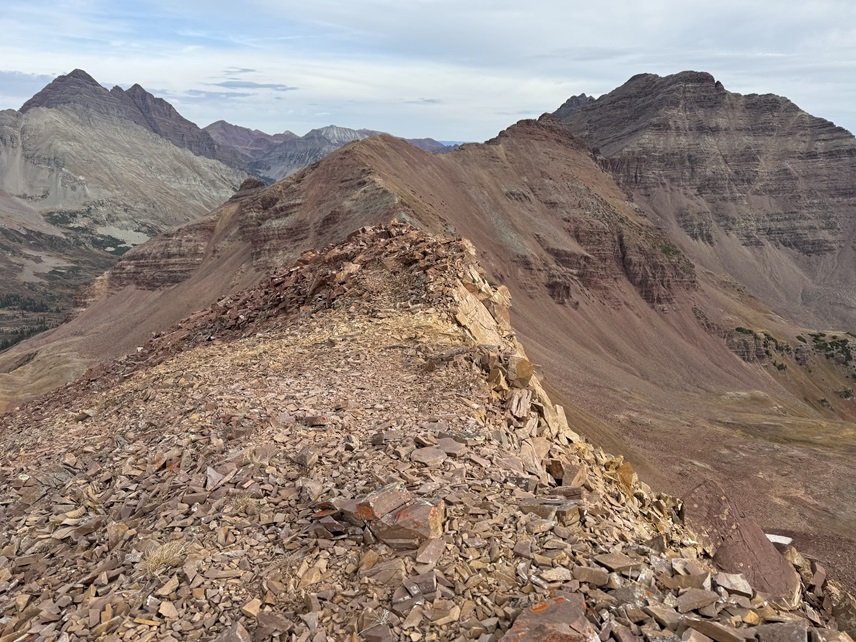
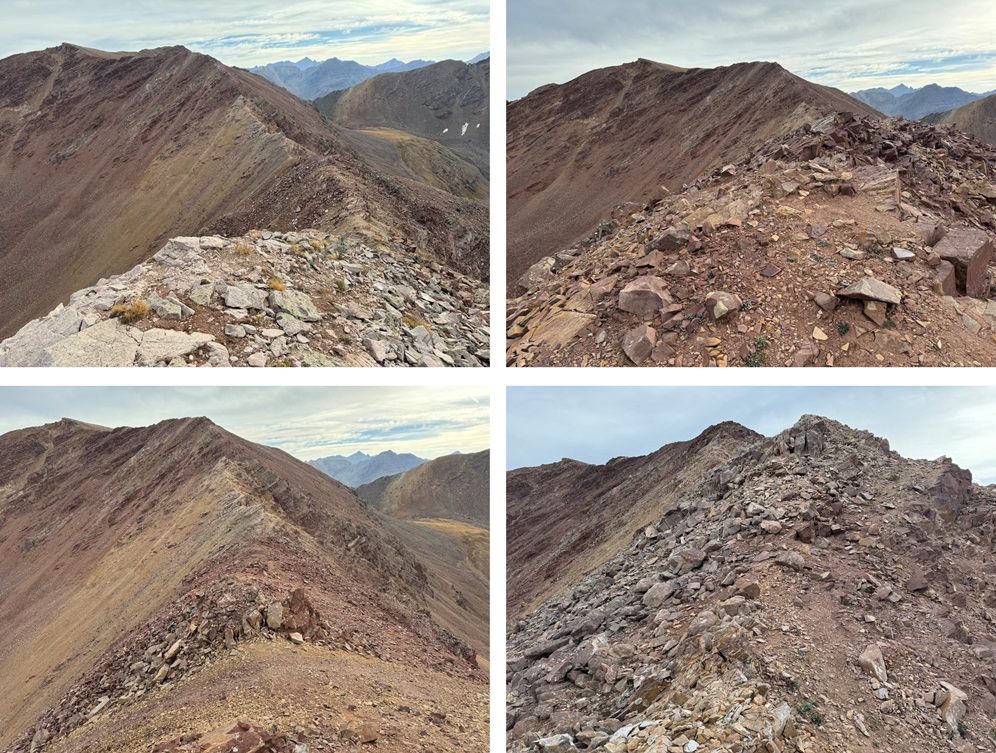
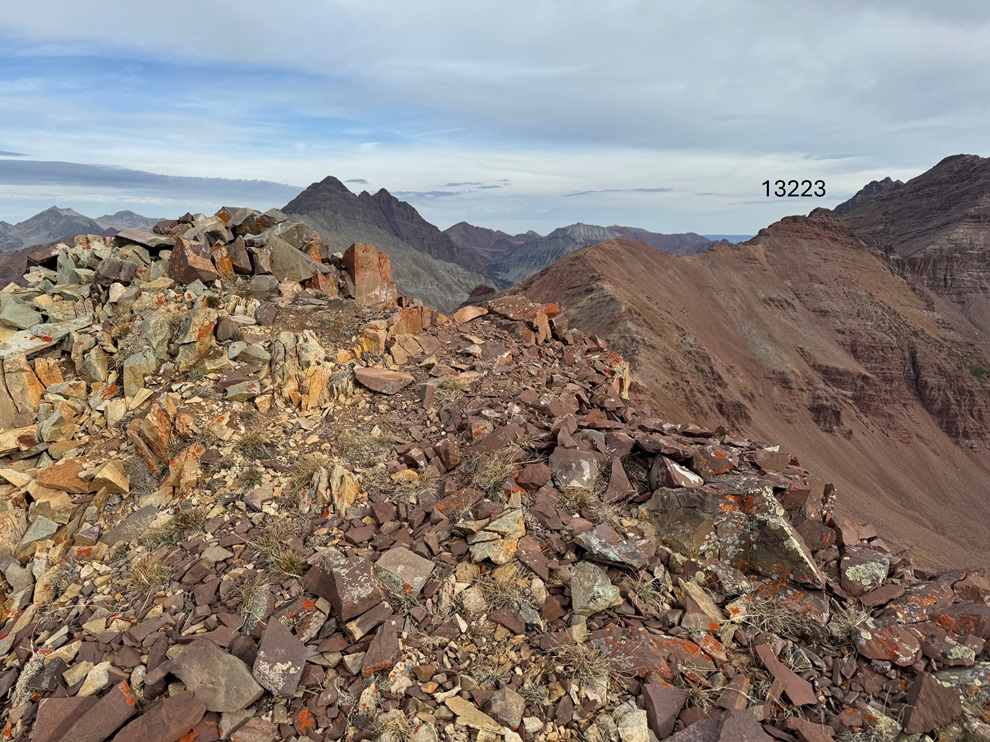
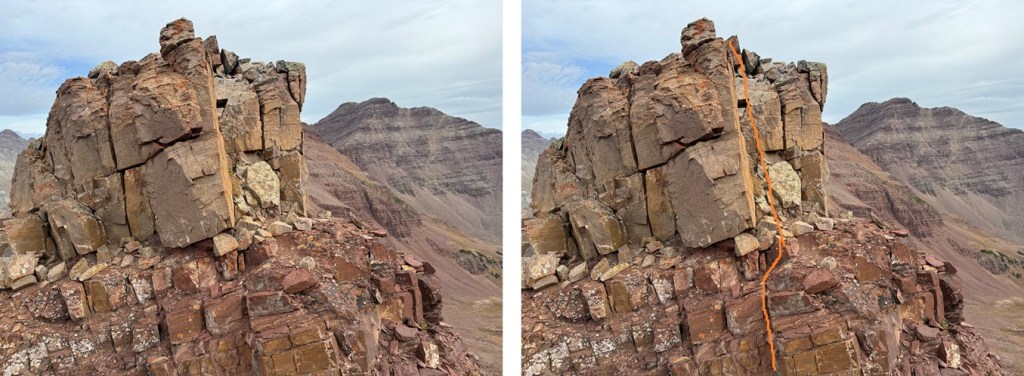
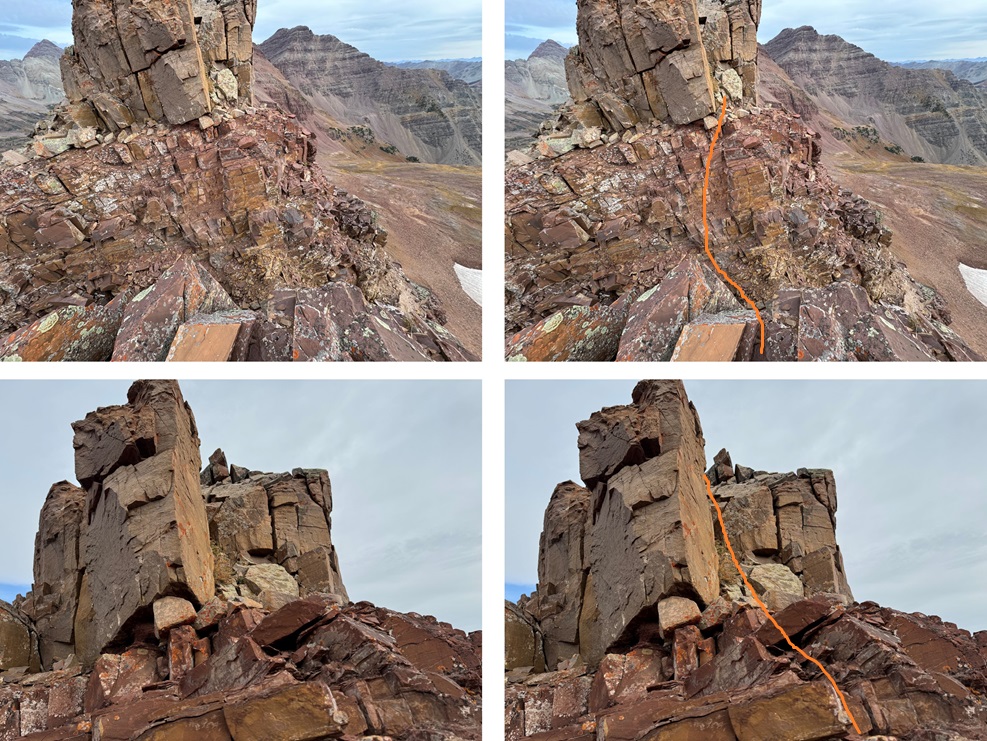
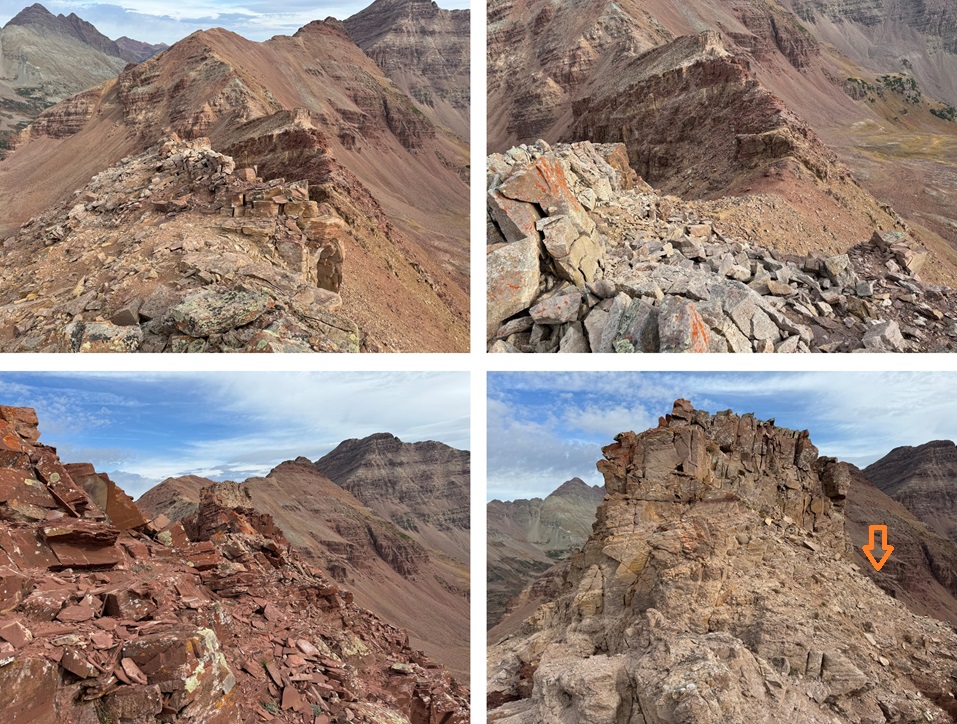
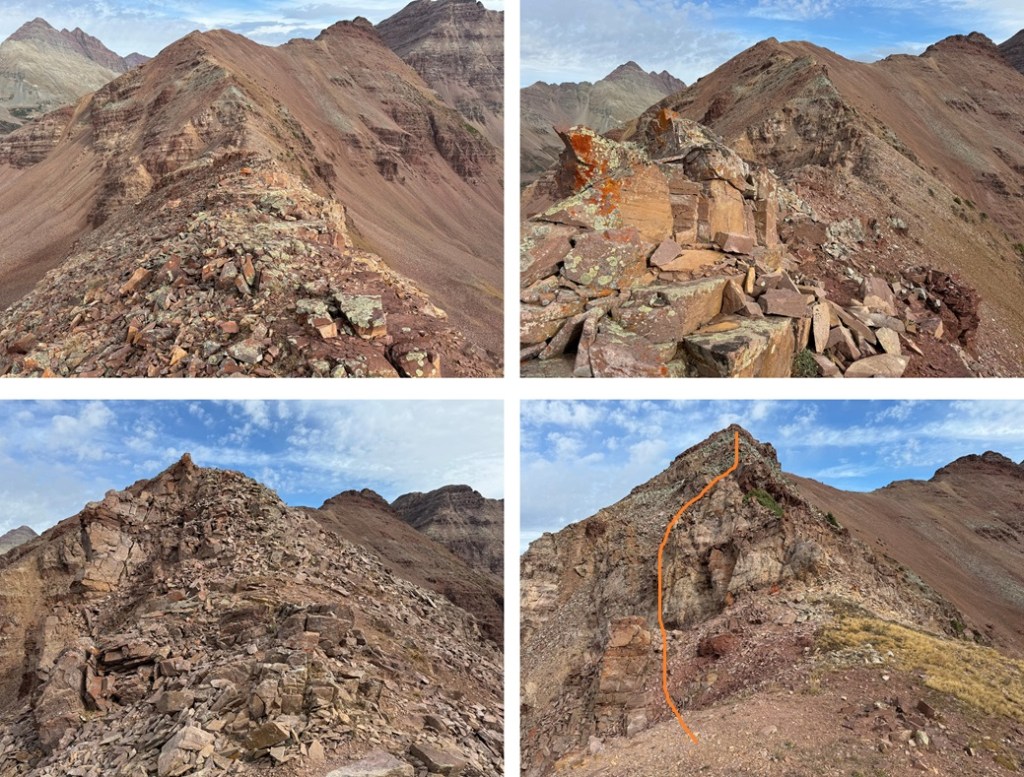
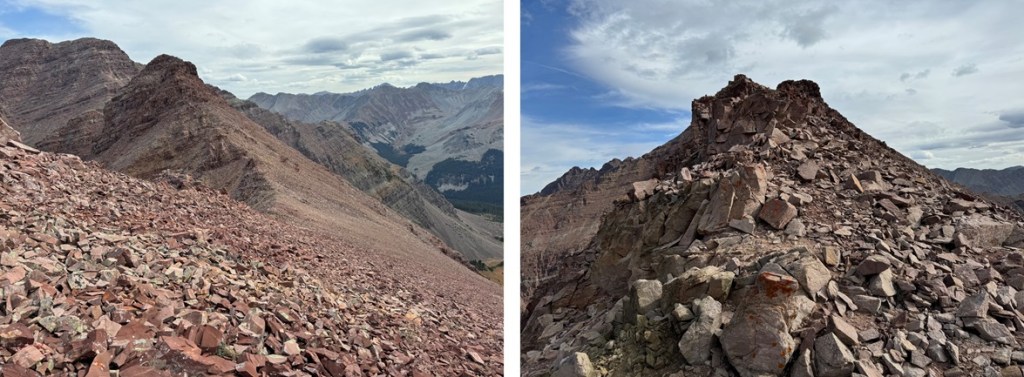
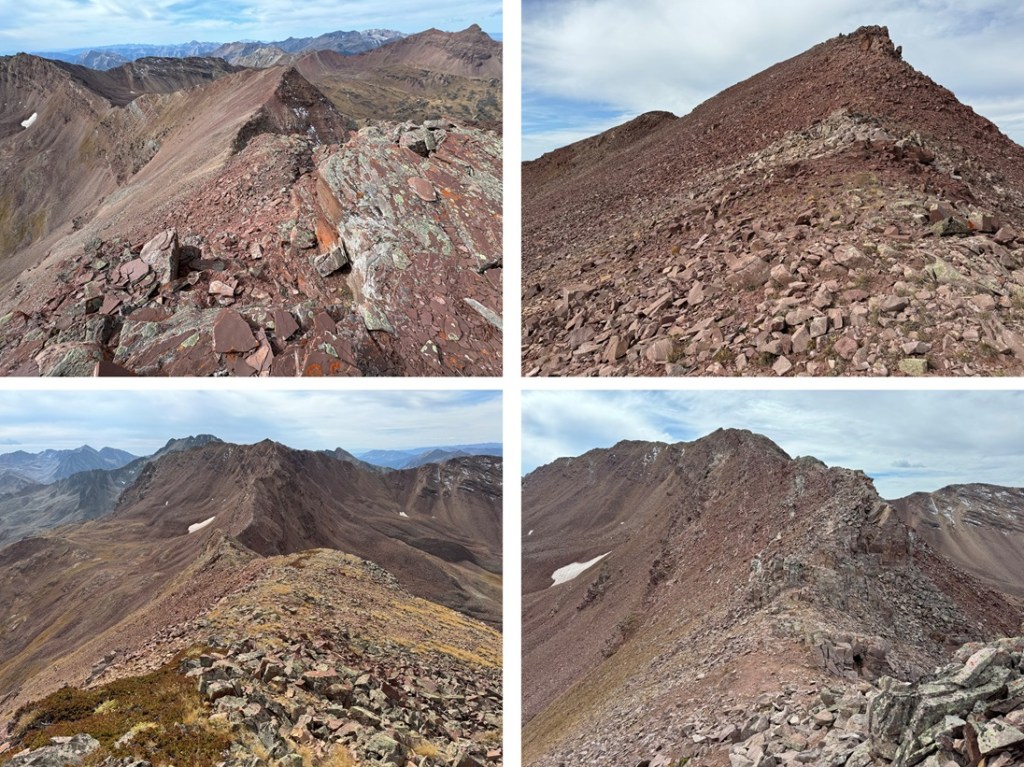
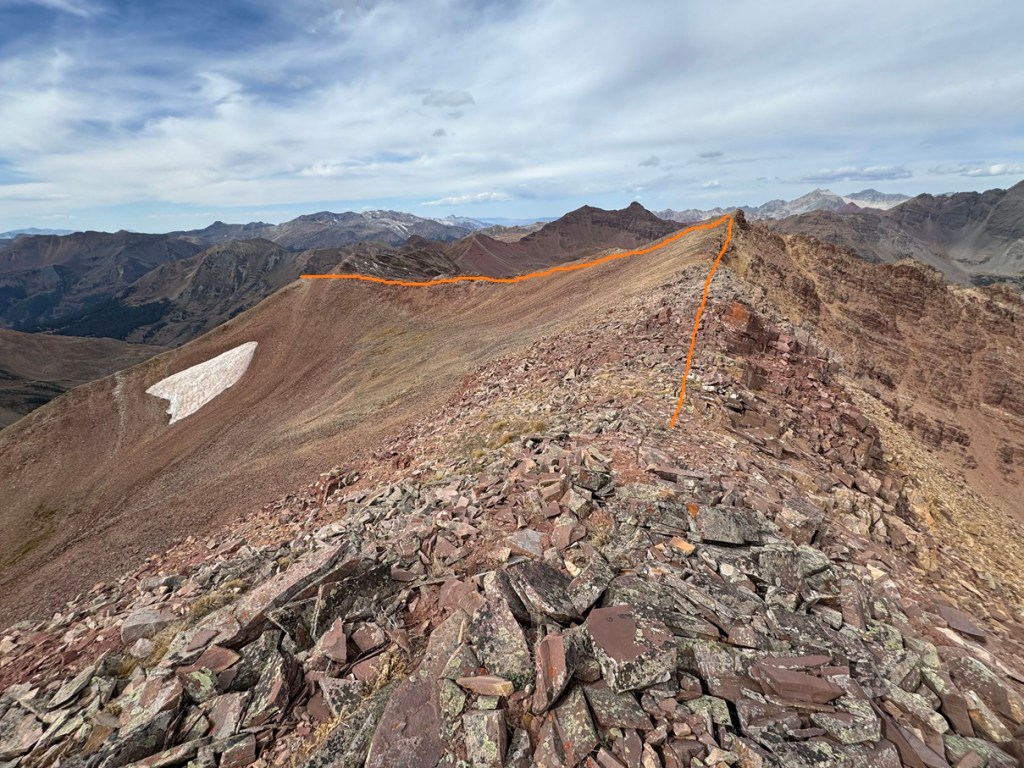
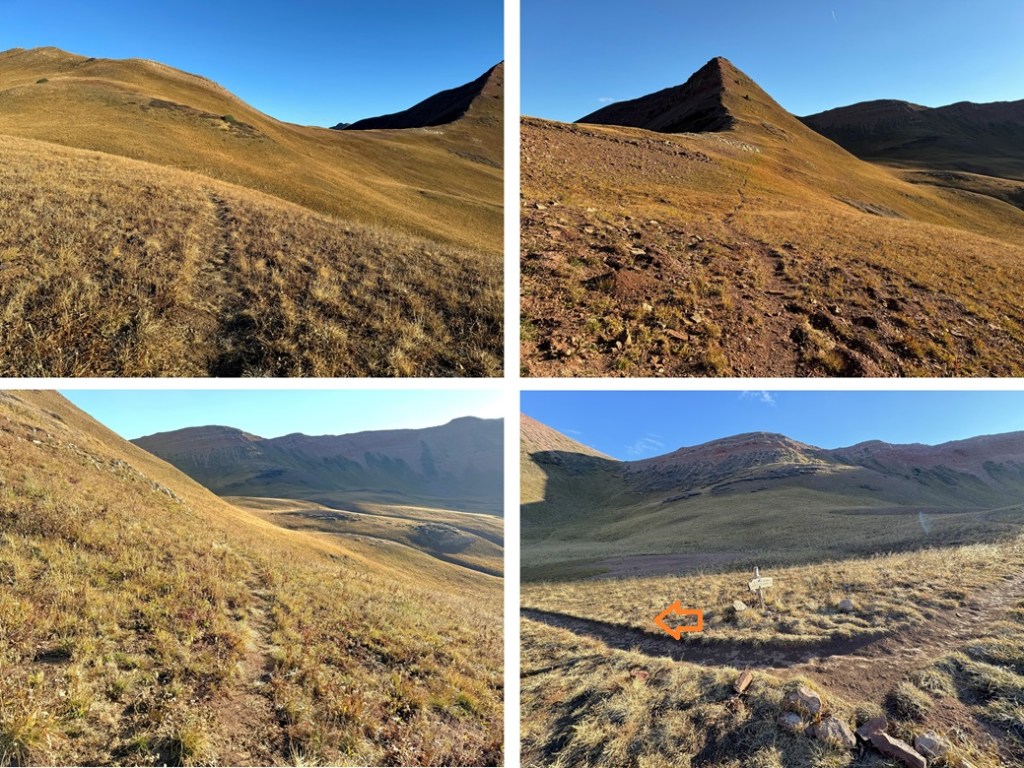
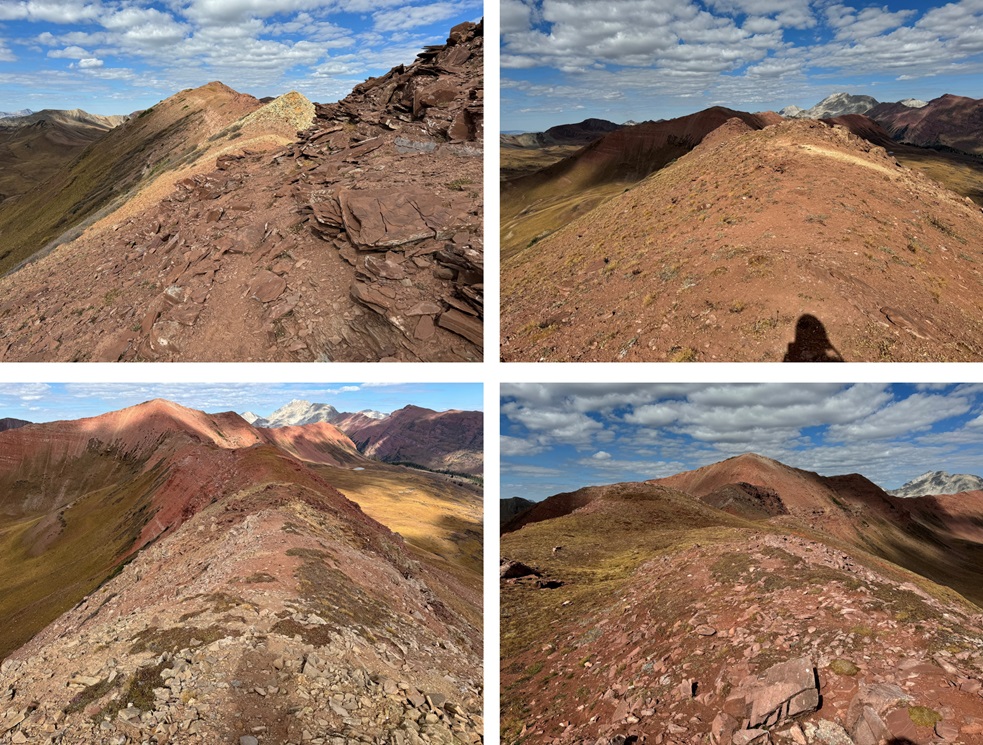
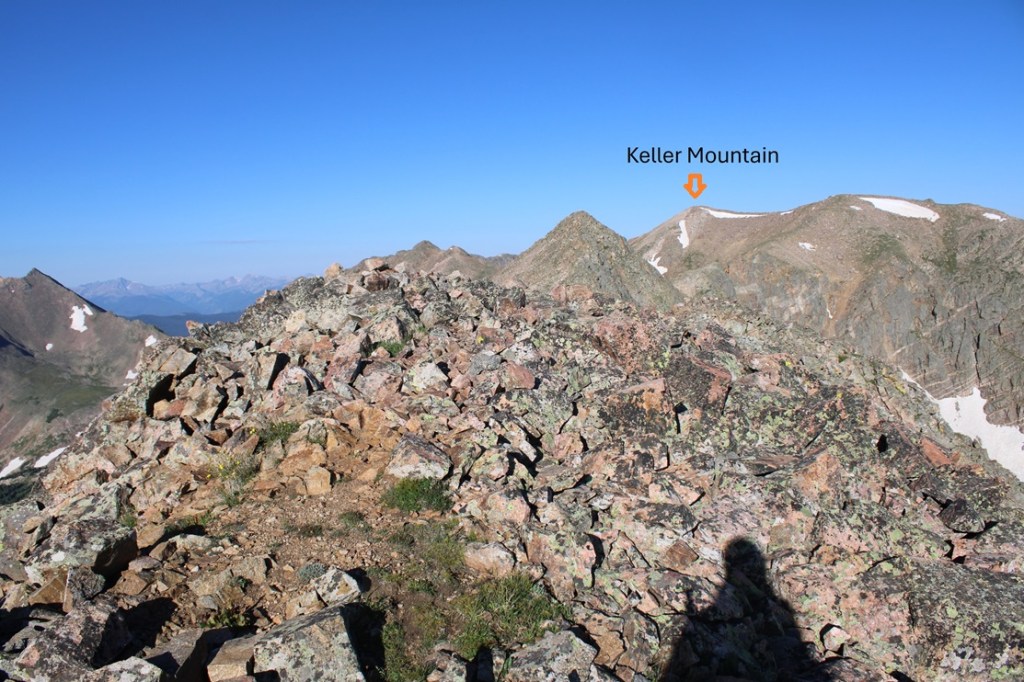
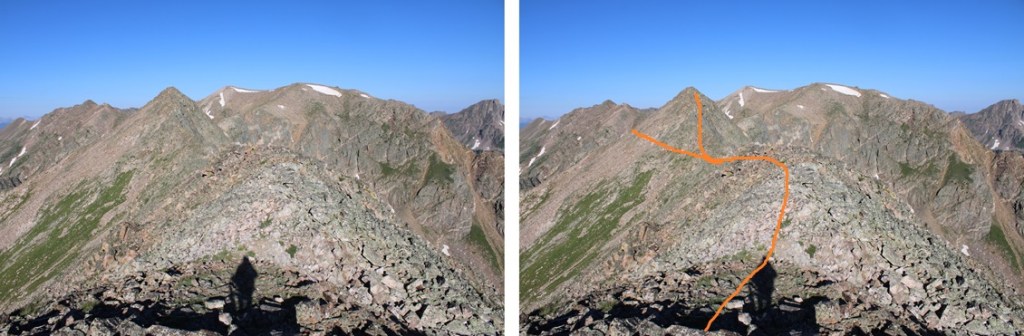
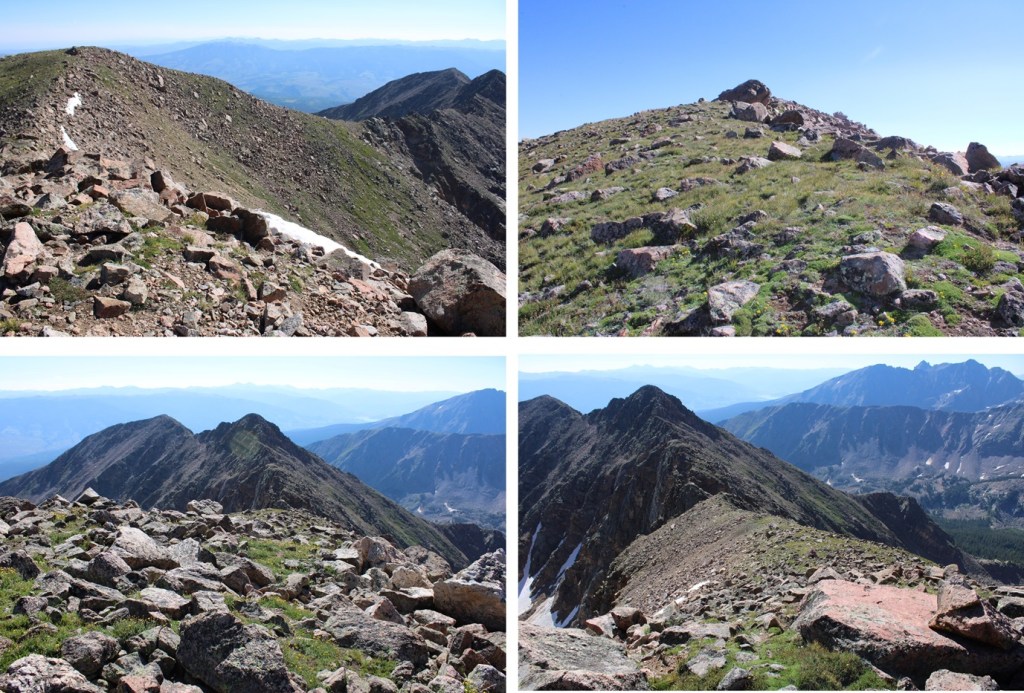
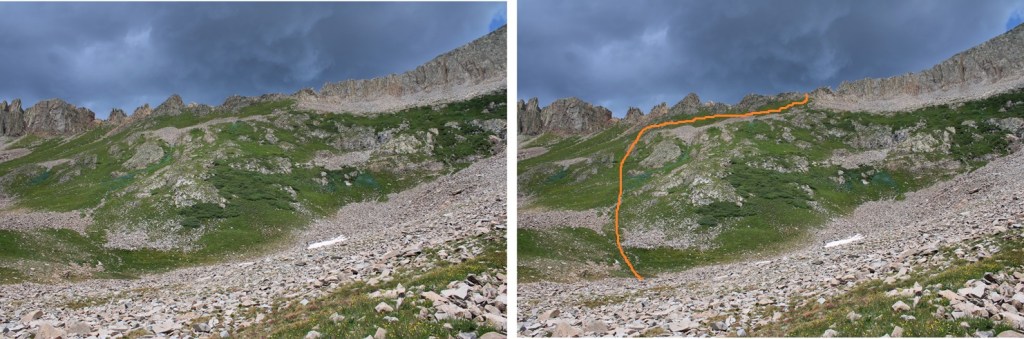
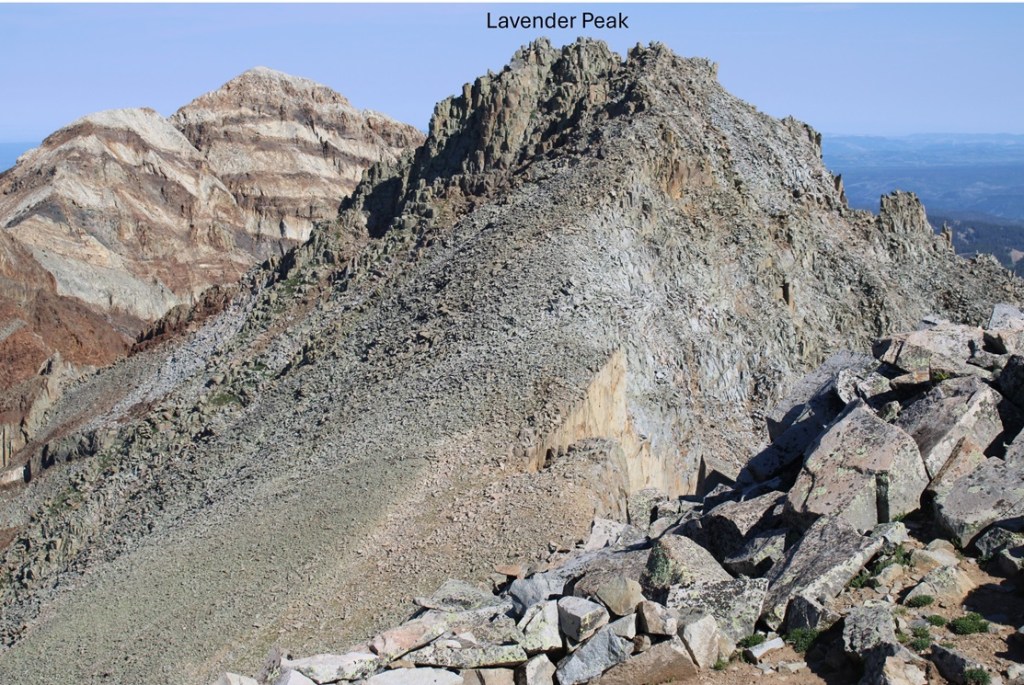
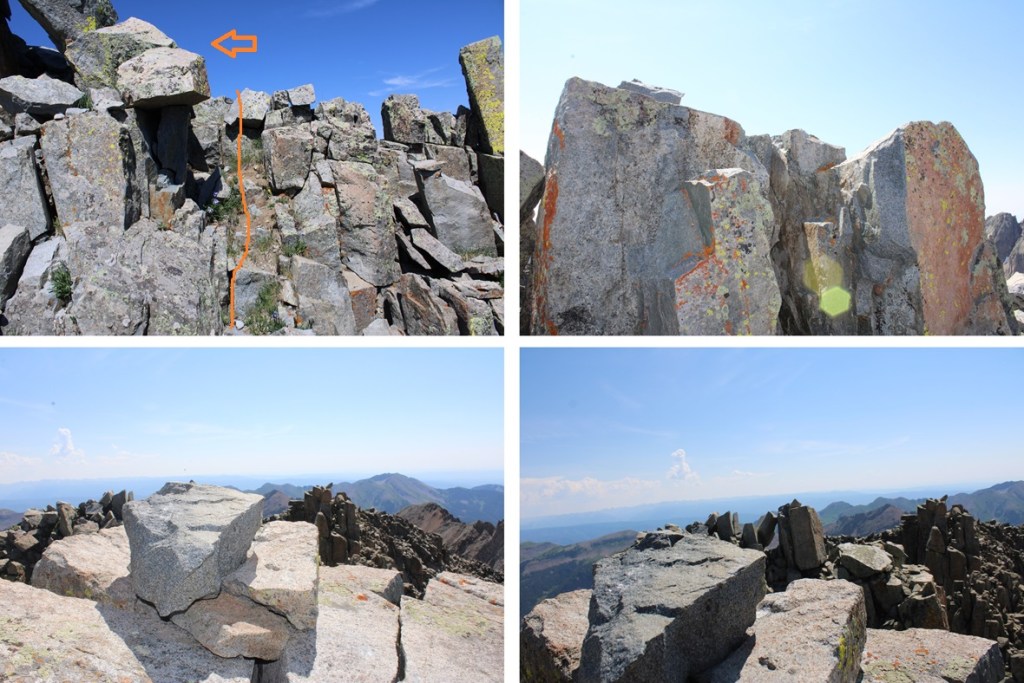
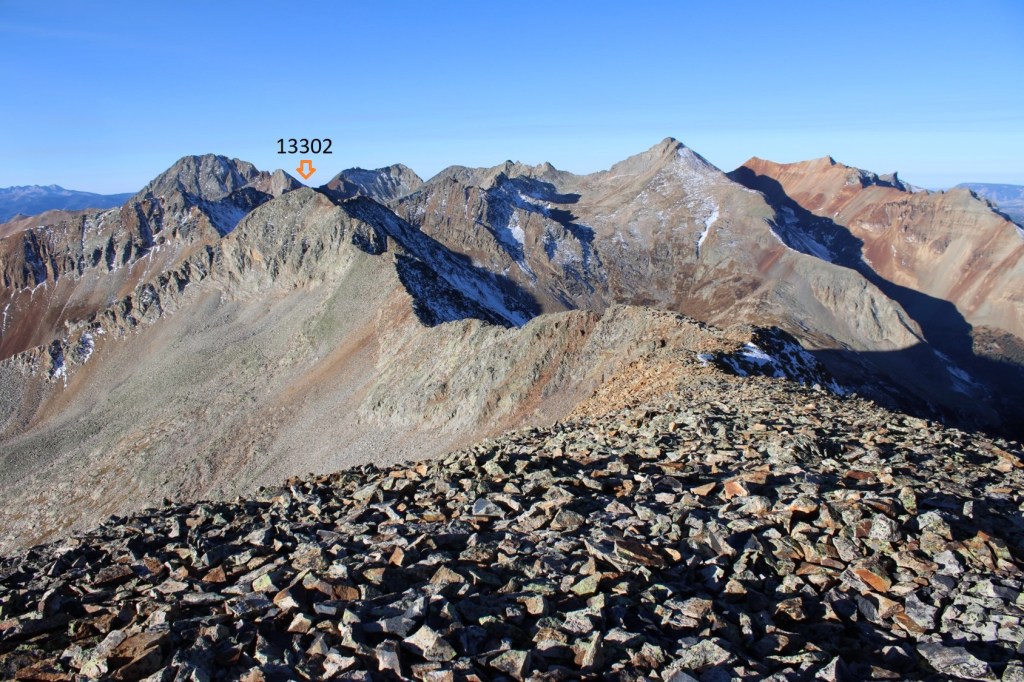
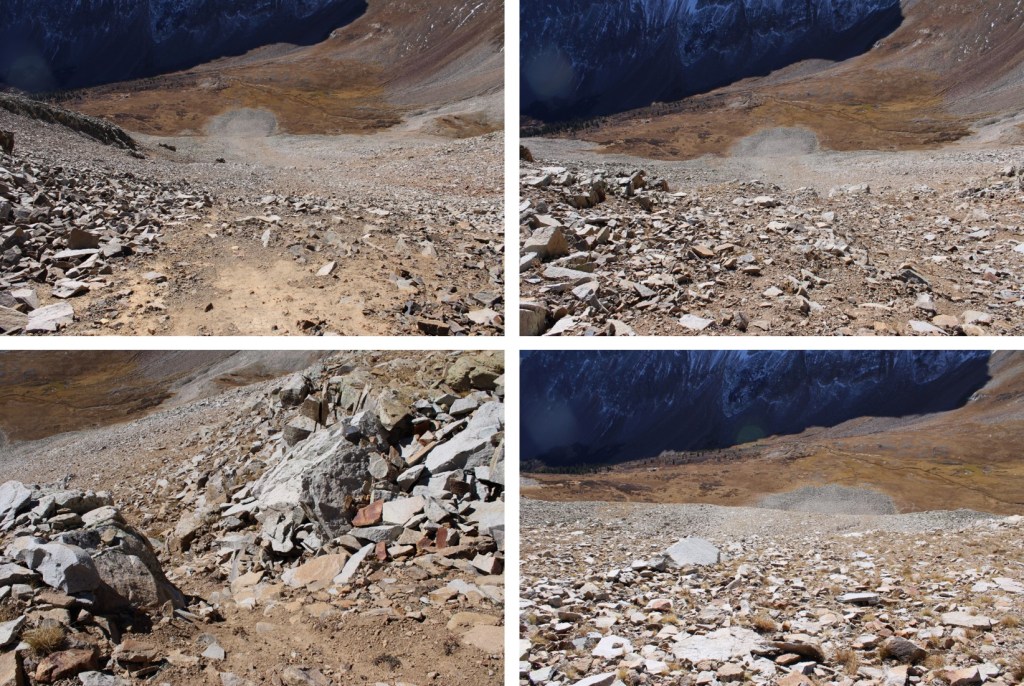
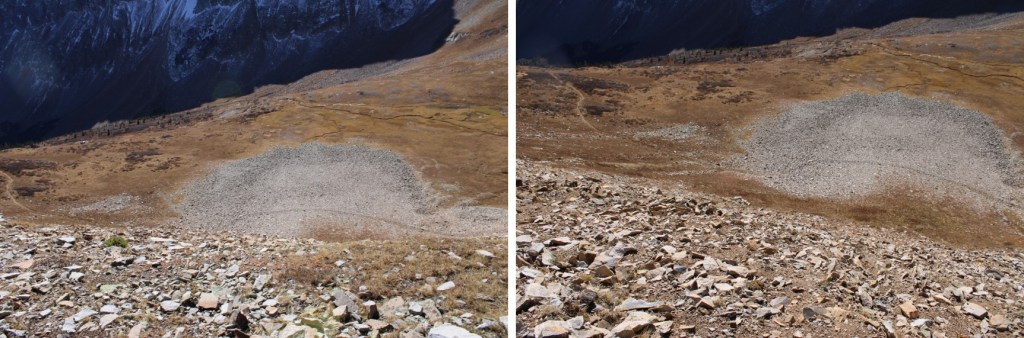
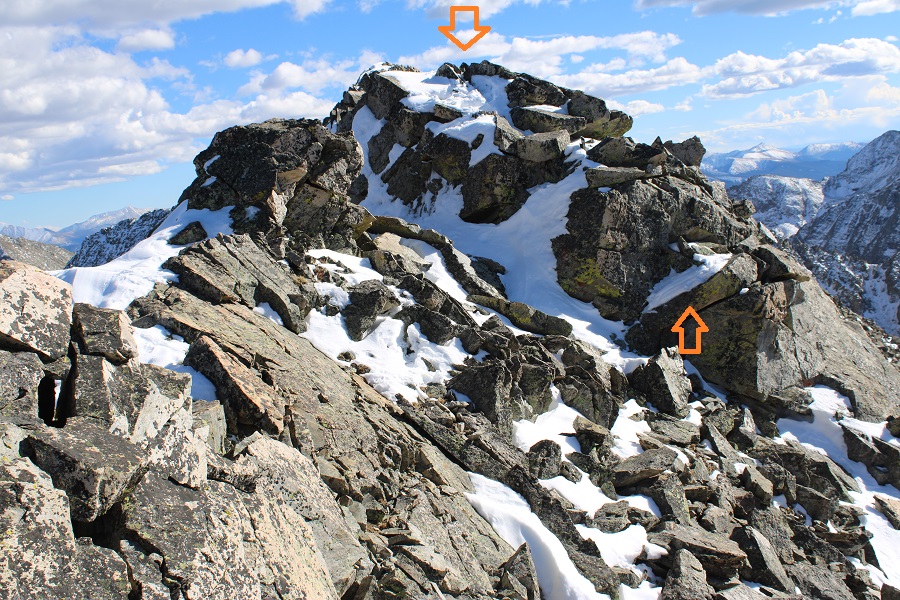
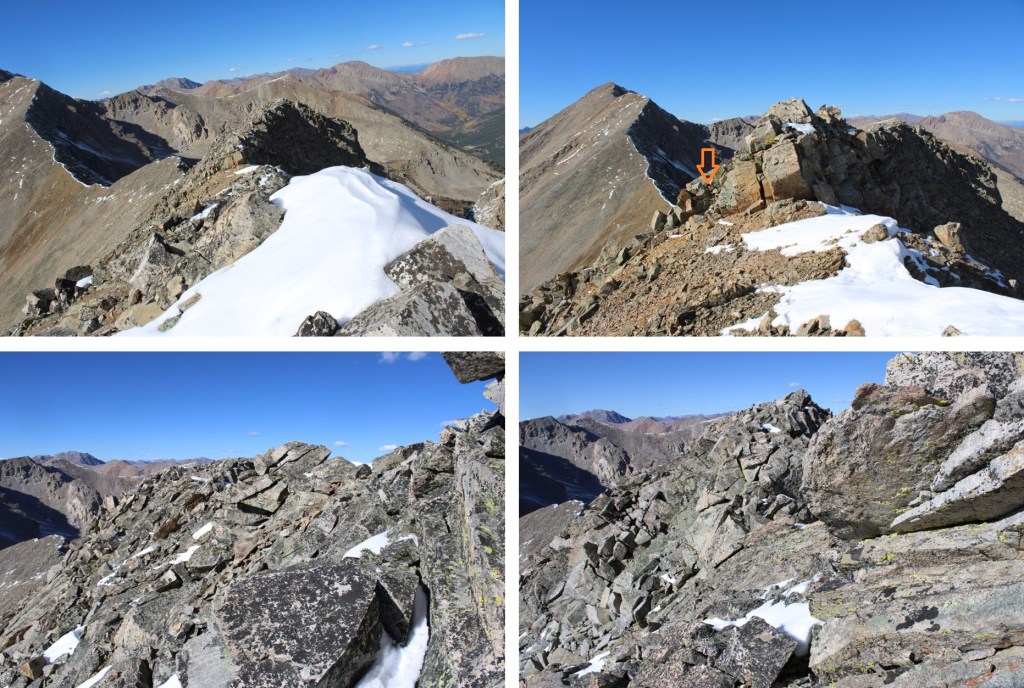
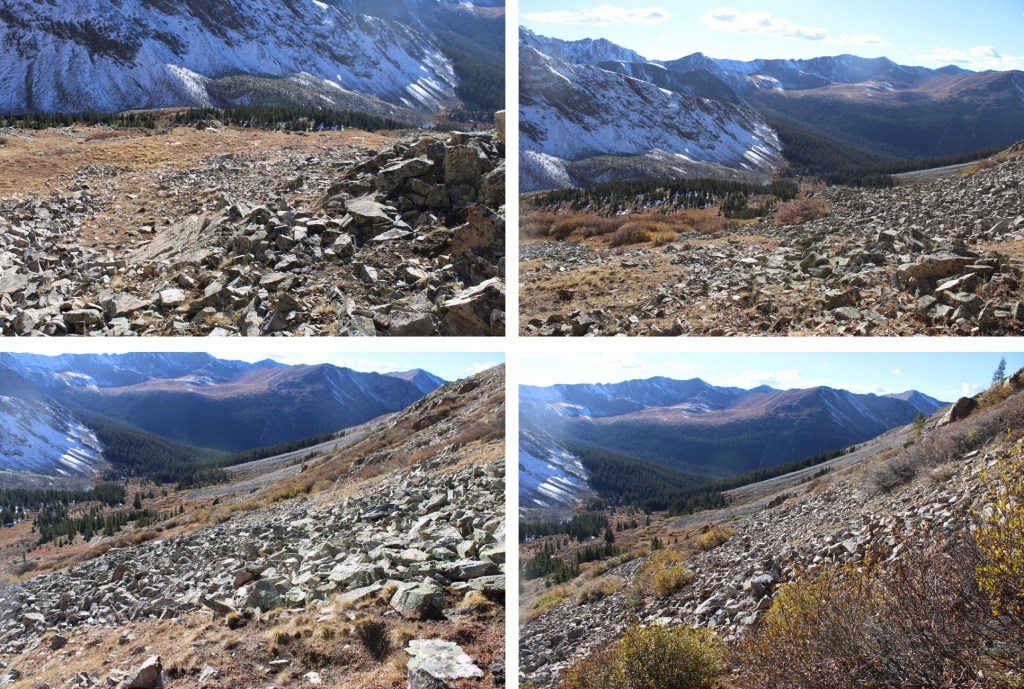
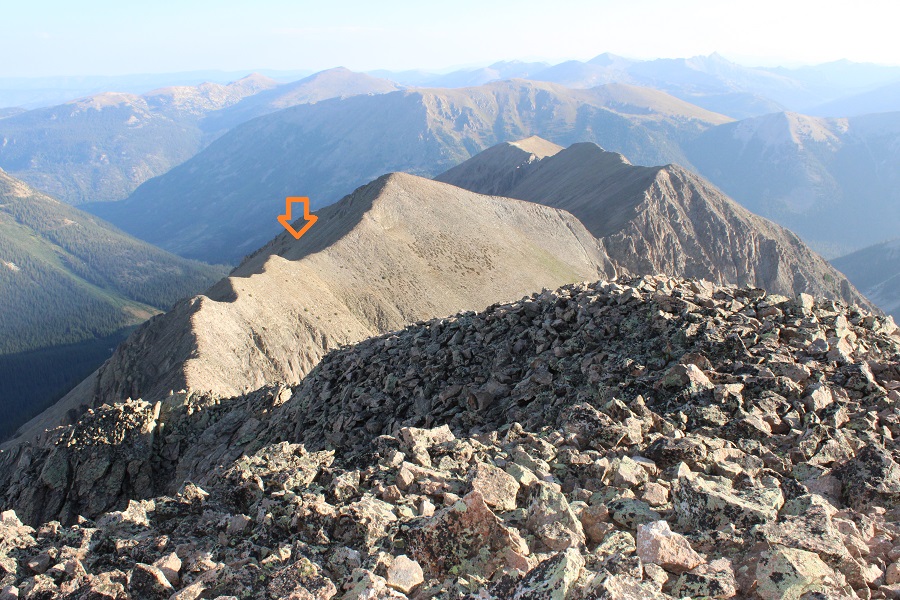
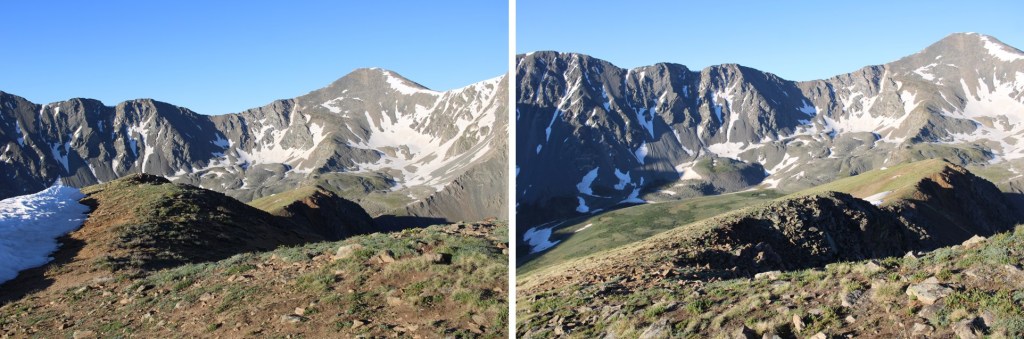
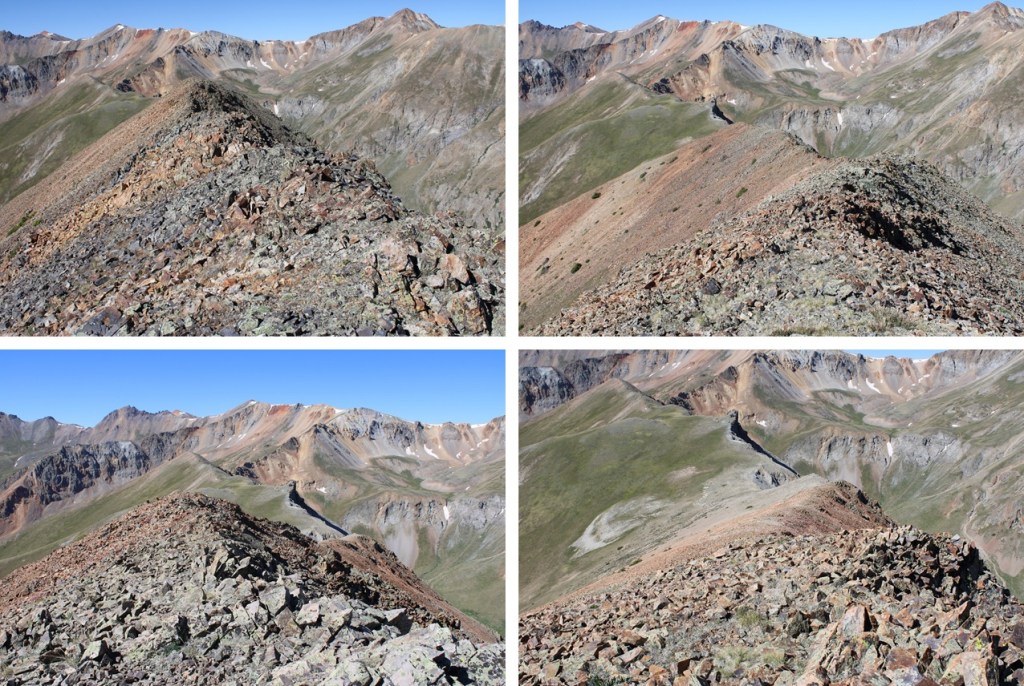
I turned around and headed back down the ridge the way I’d come, heading southwest along the ridge.
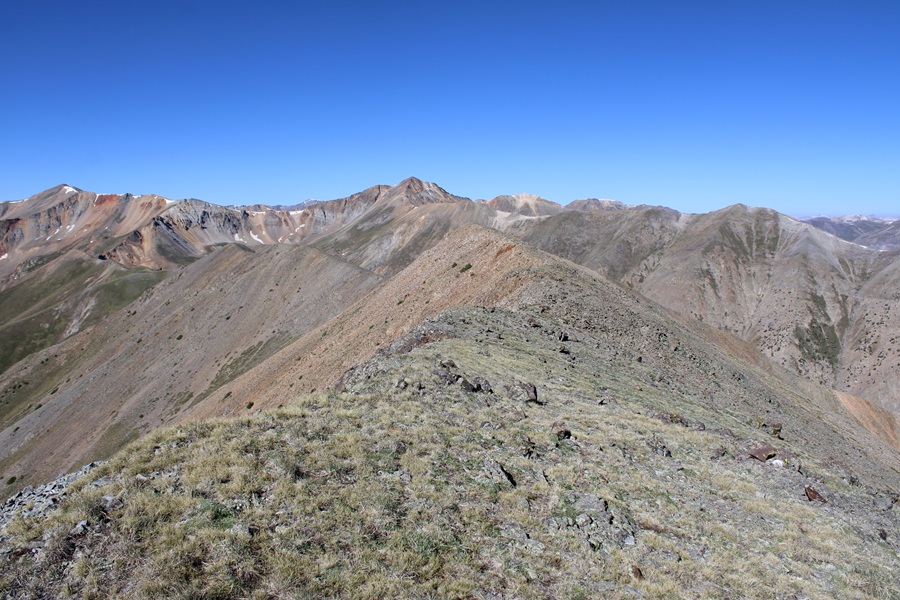
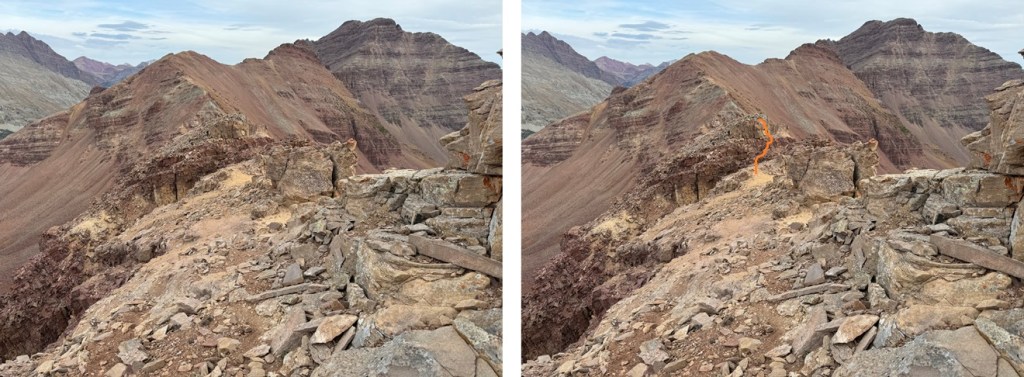
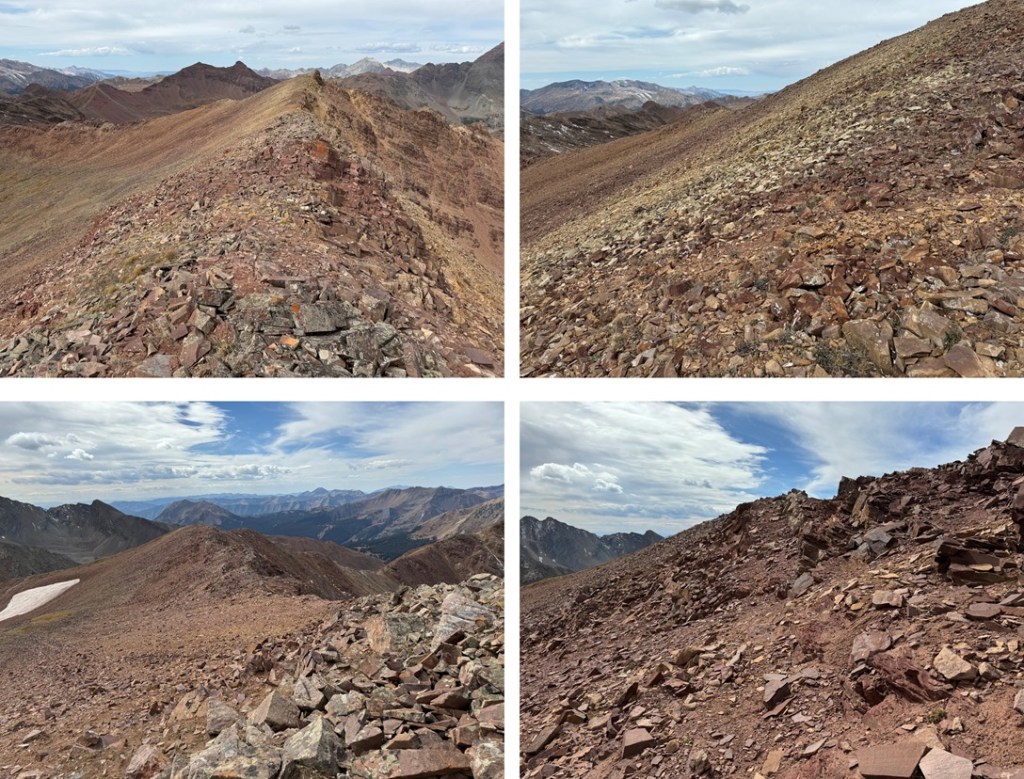
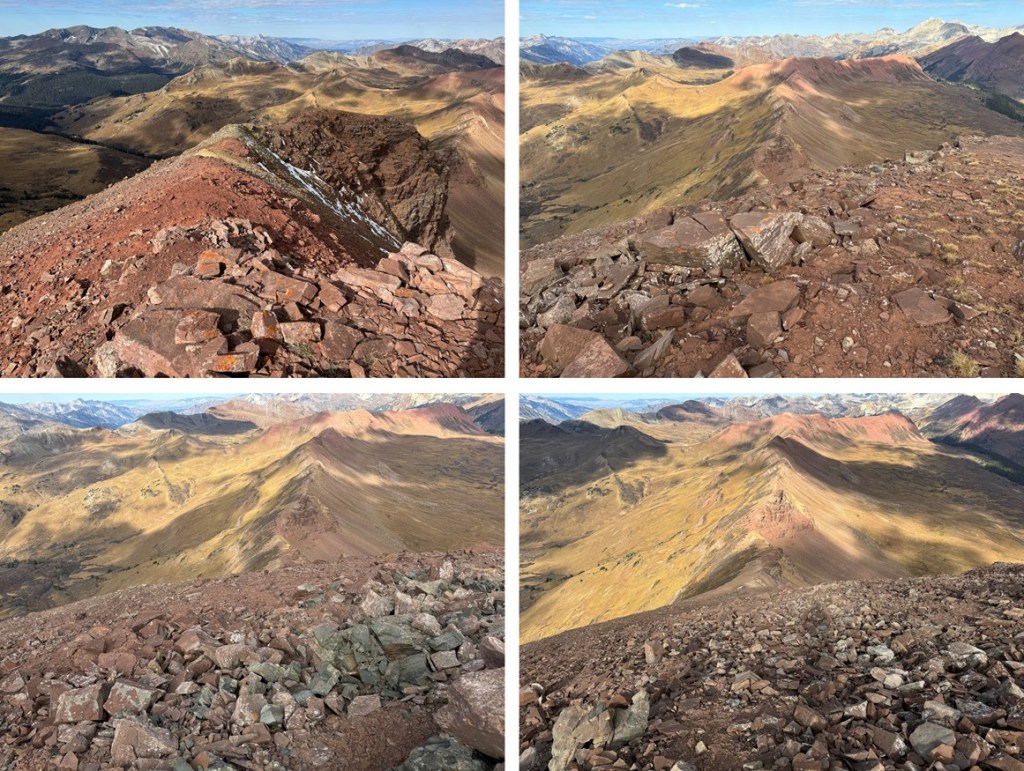
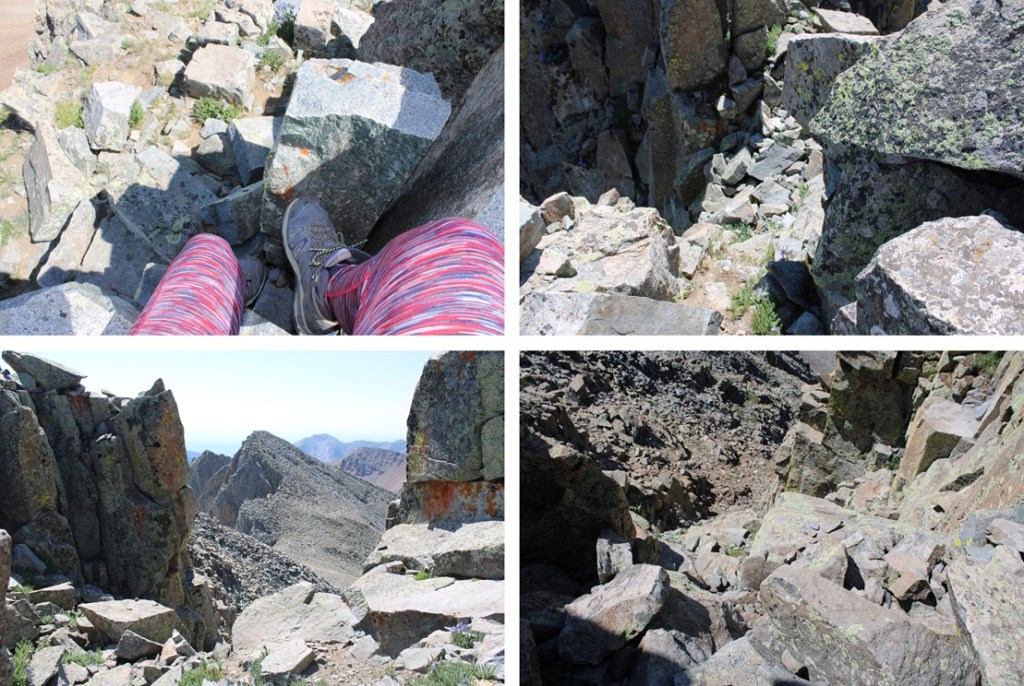
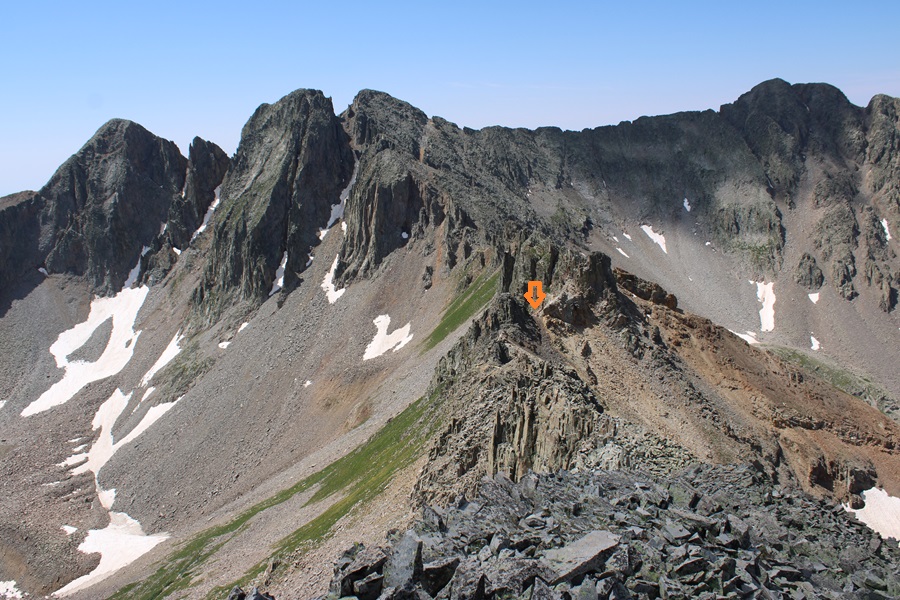
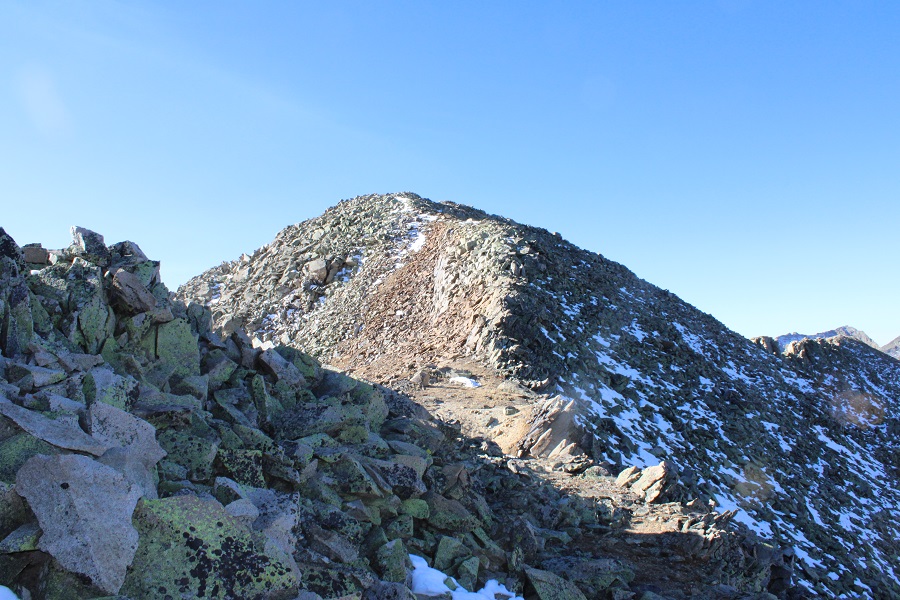
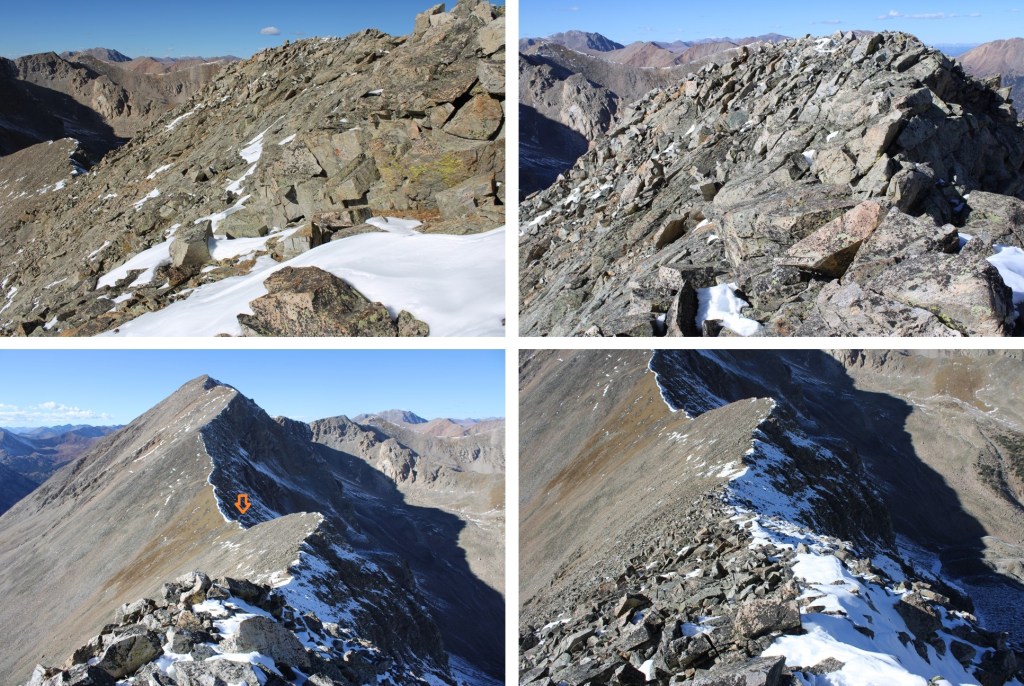
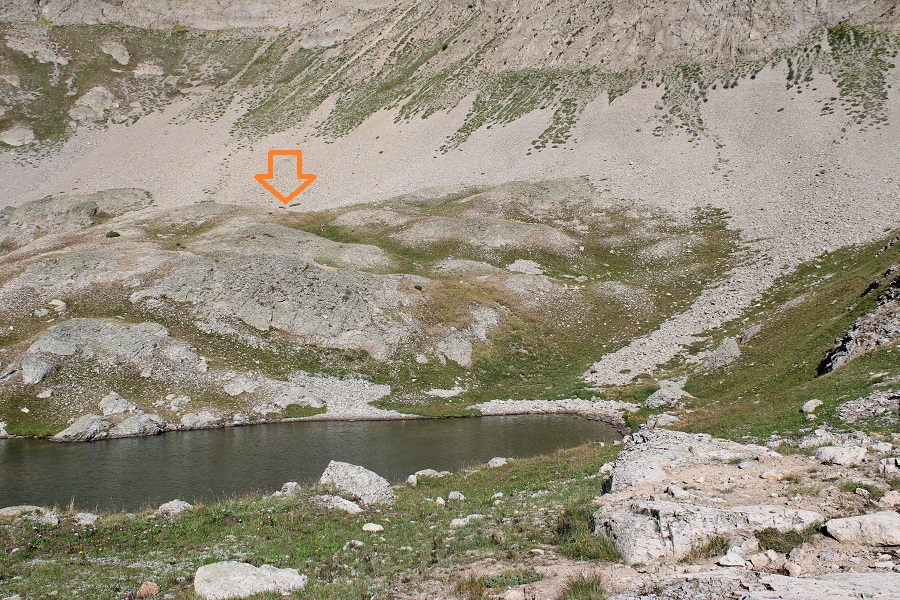
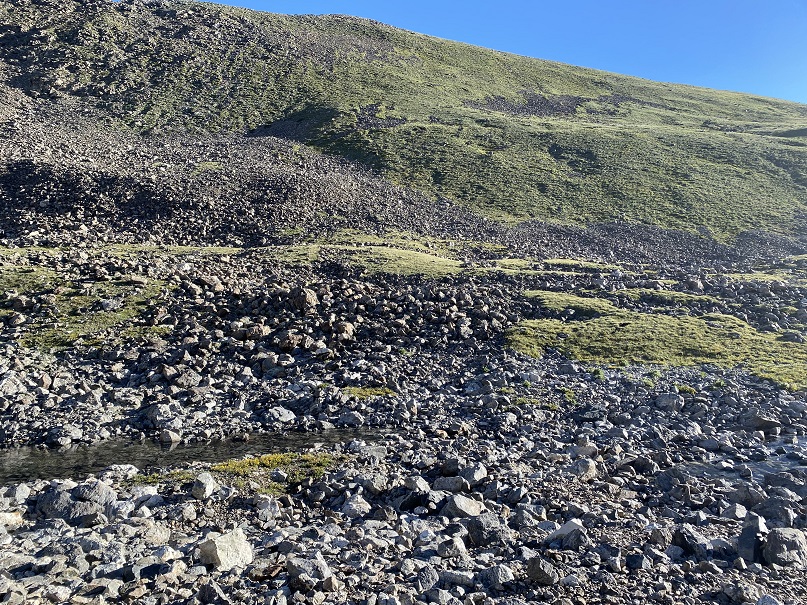
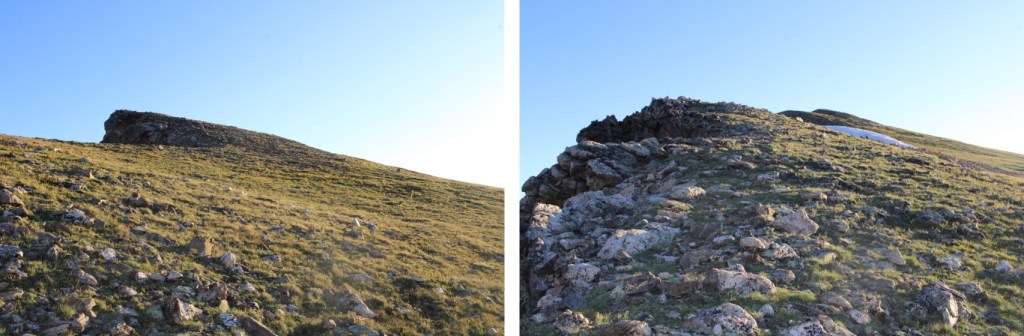
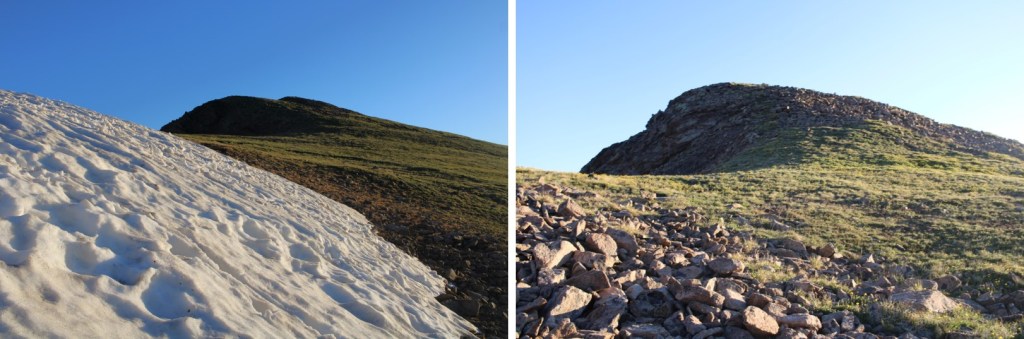
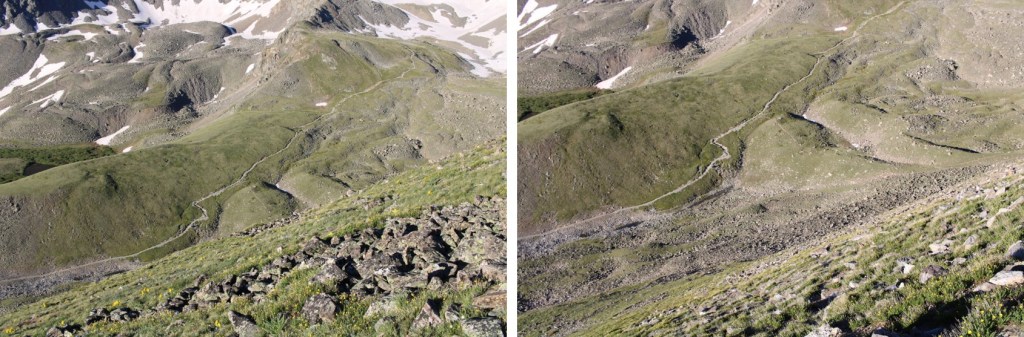
Here you can see a good visual of the gully I descended to get back. It’s where the terrain changes on the ridge from rocky to tundra.
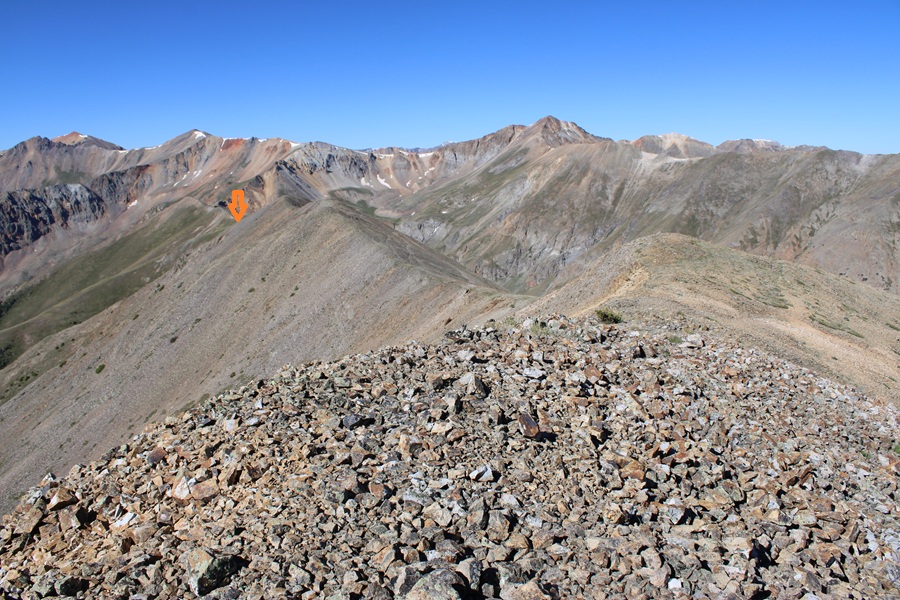
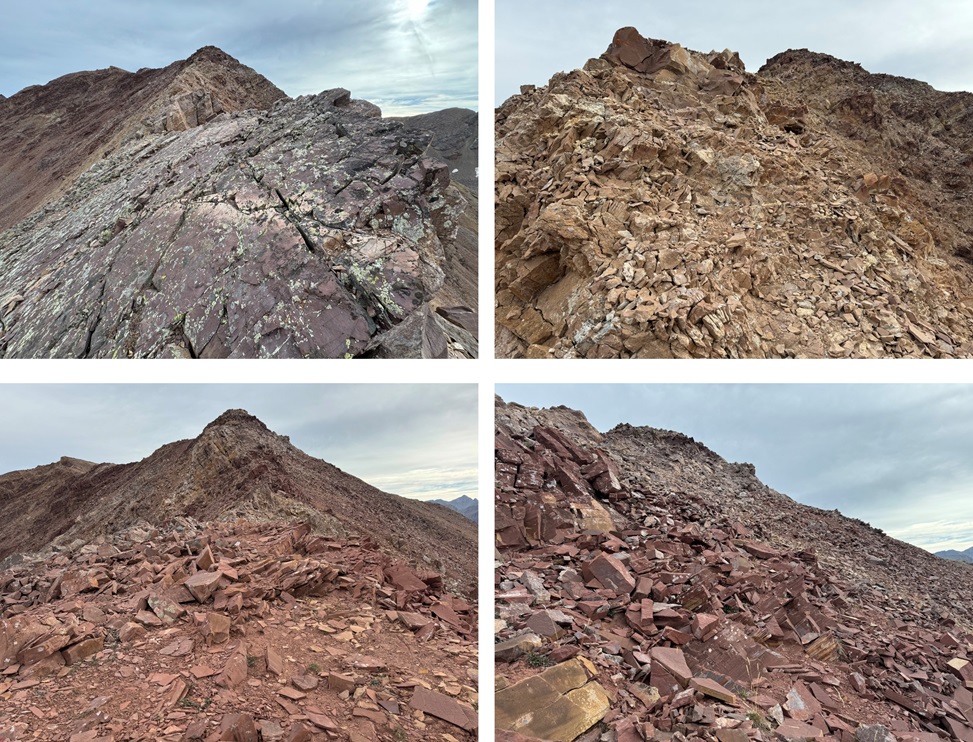
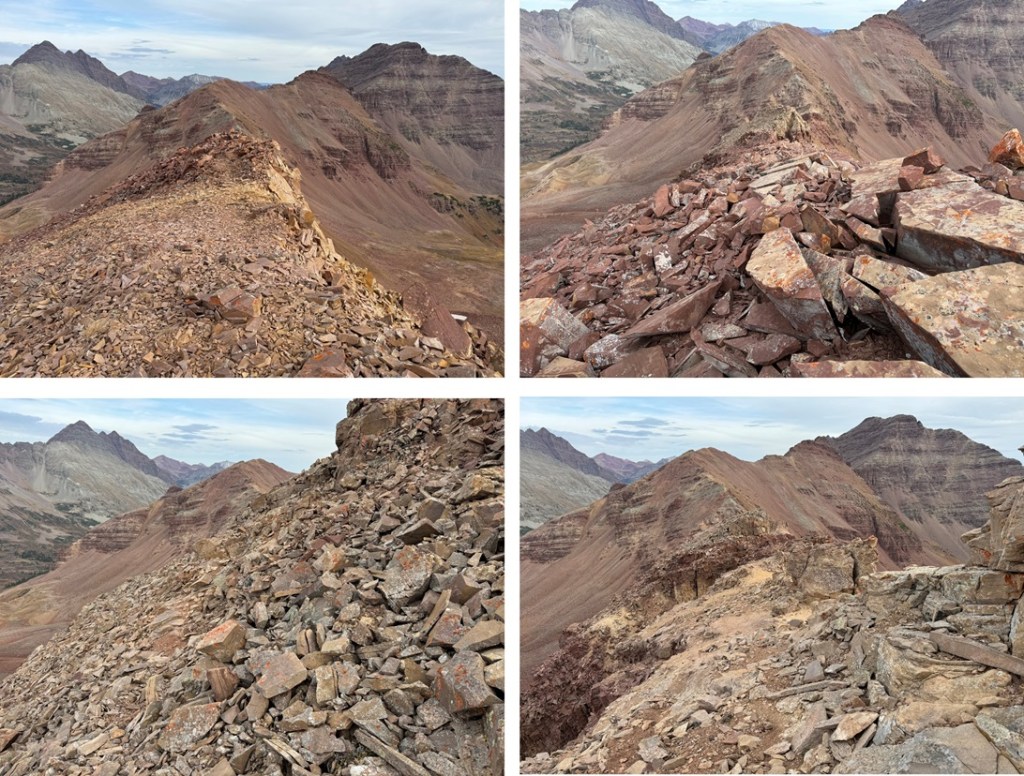
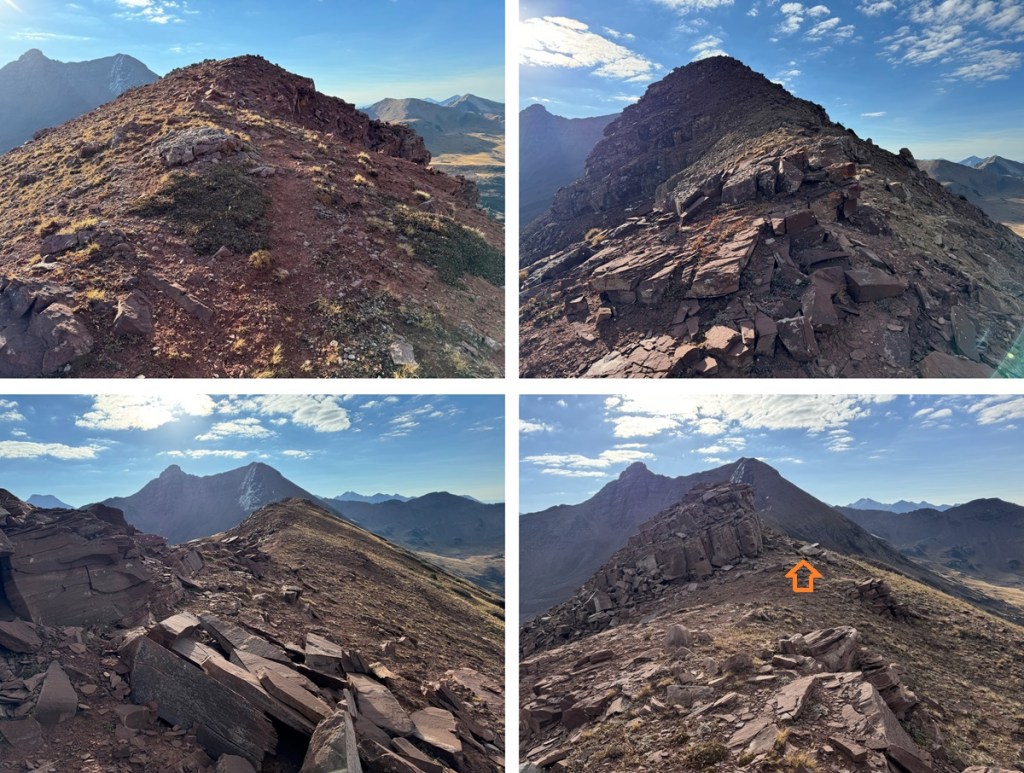
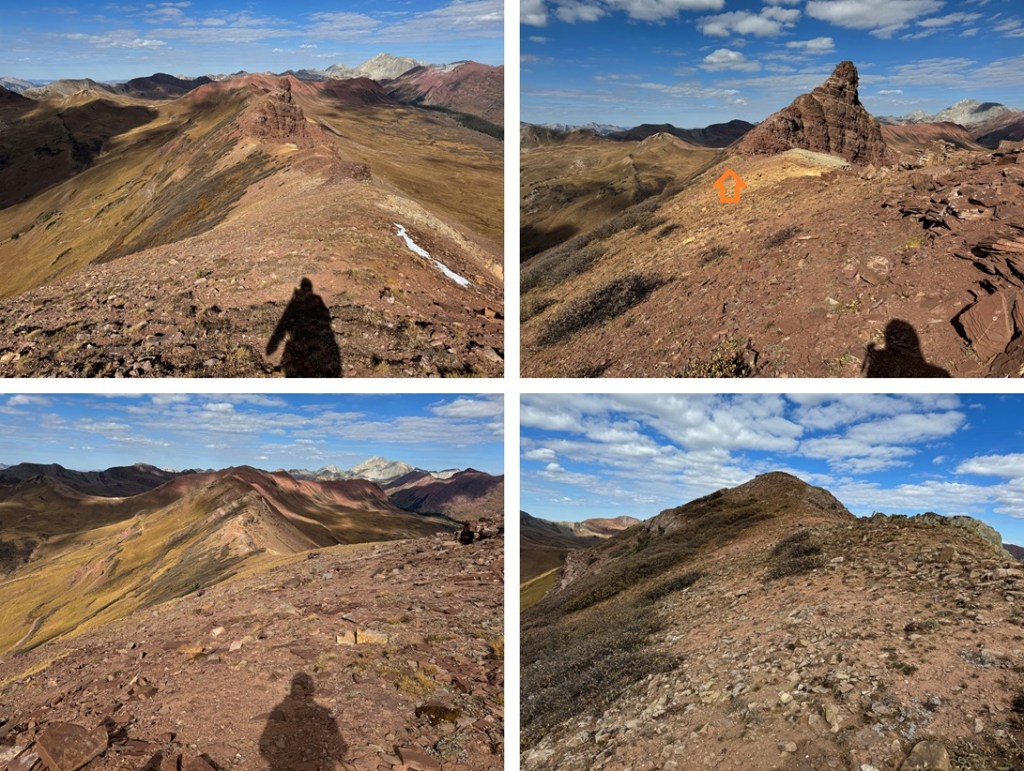
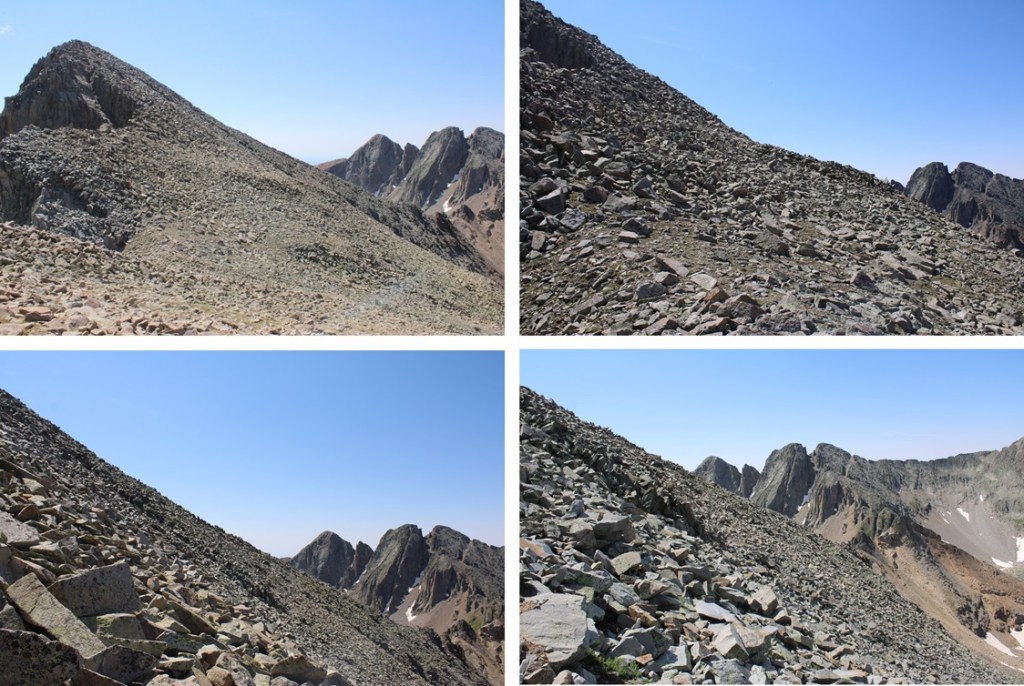
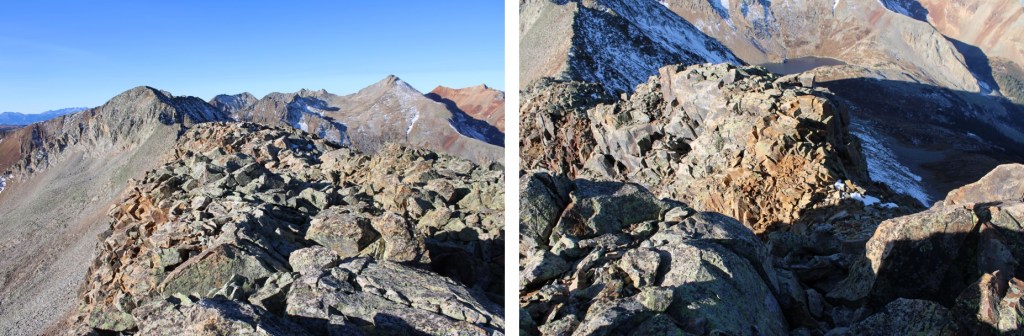
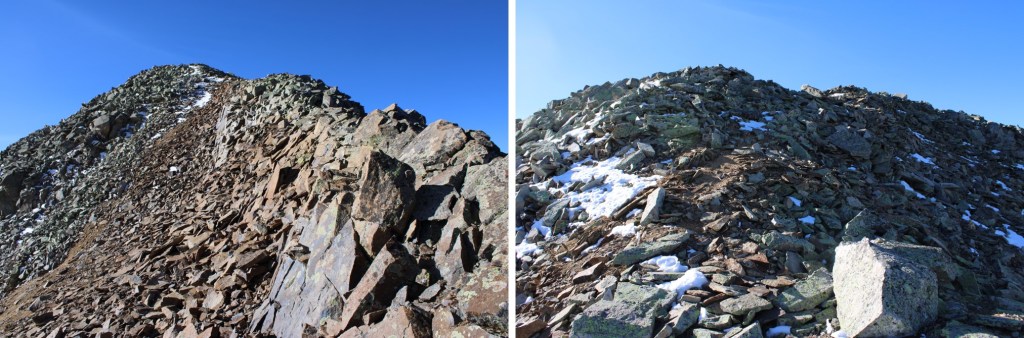
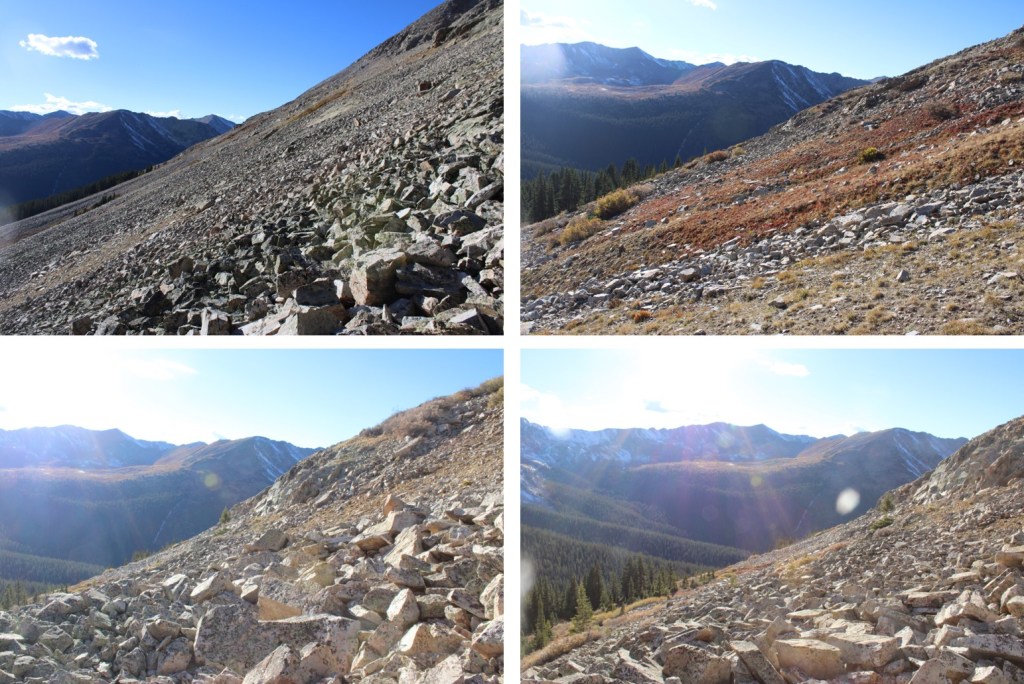
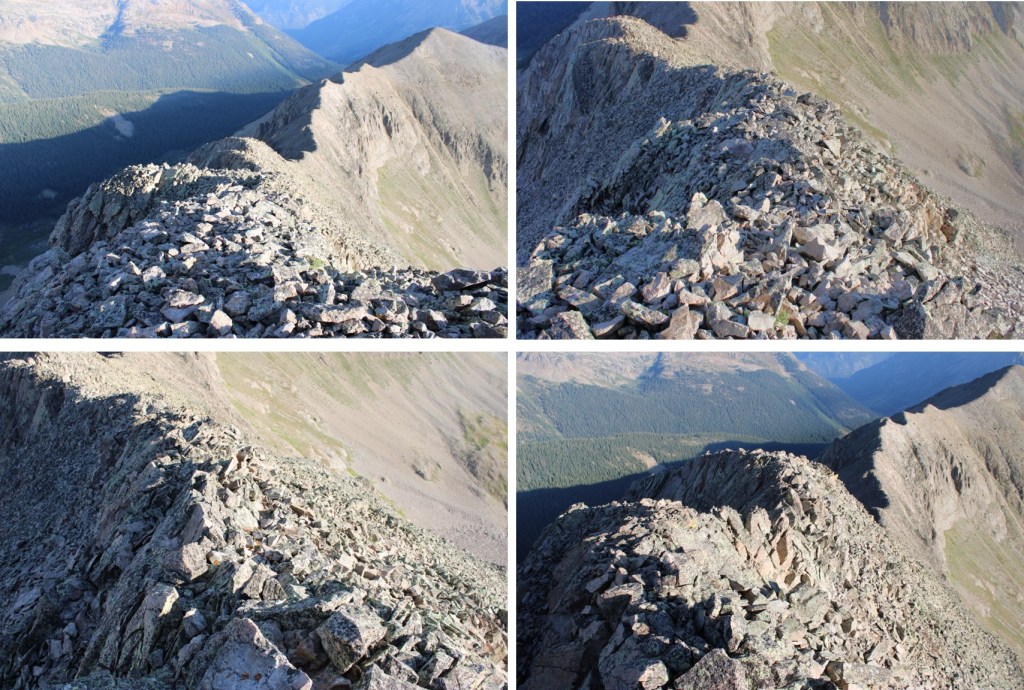
Here are some pictures of the ridge on the way back

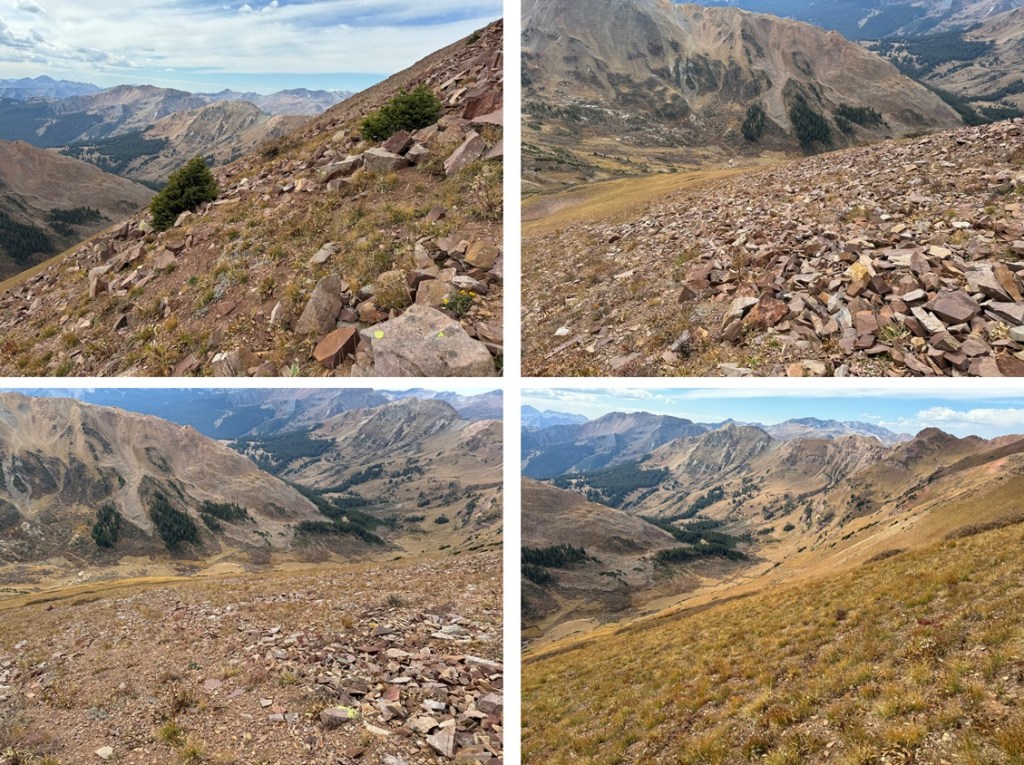
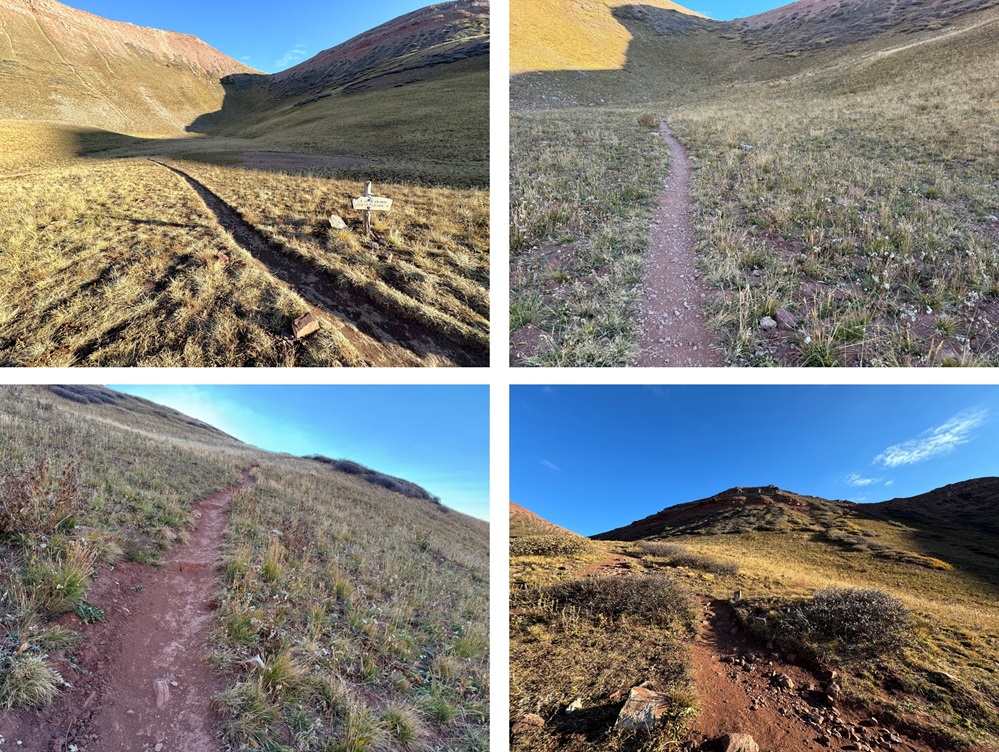
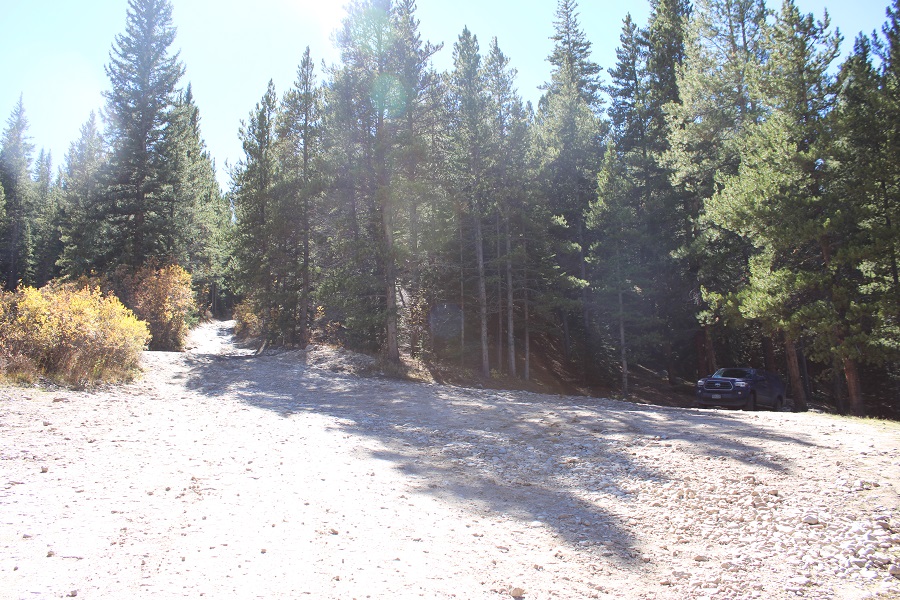
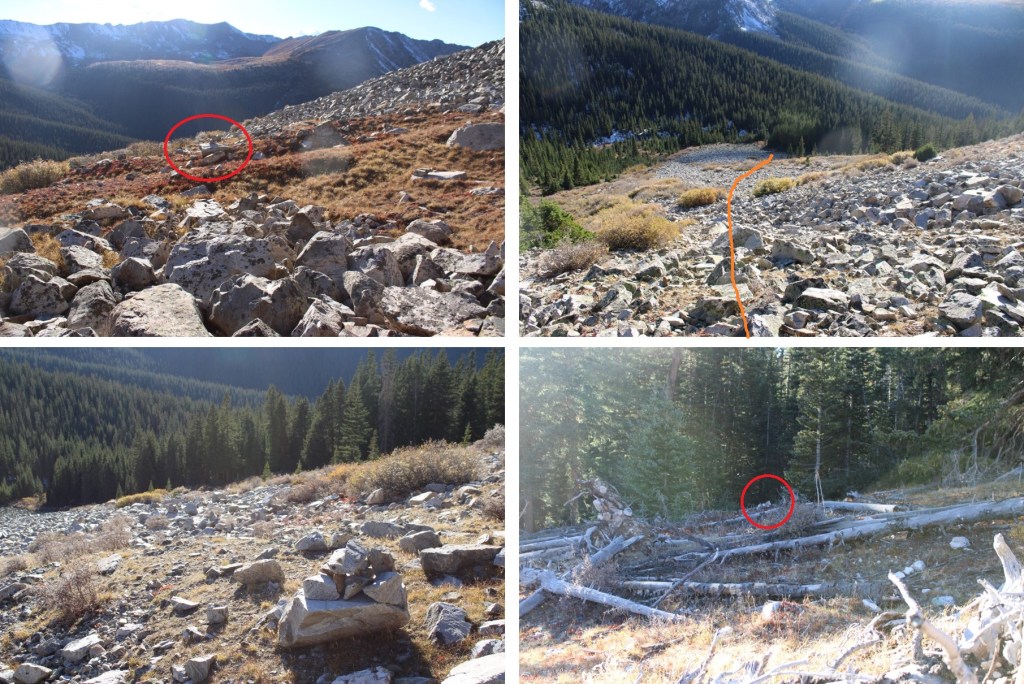
Then it was back down the gully to the small area of aspen trees
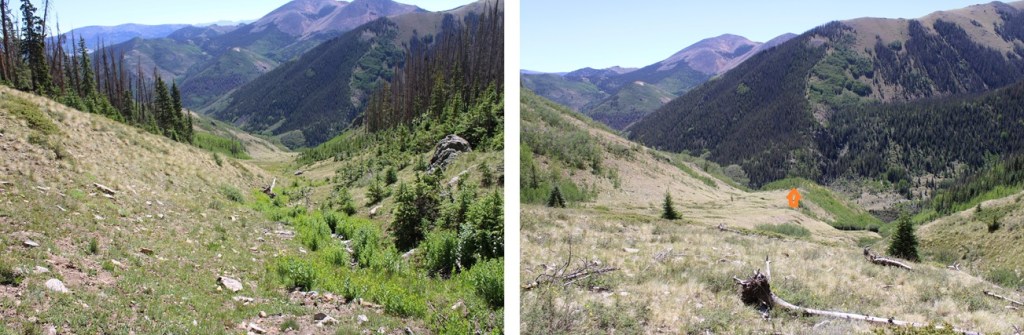
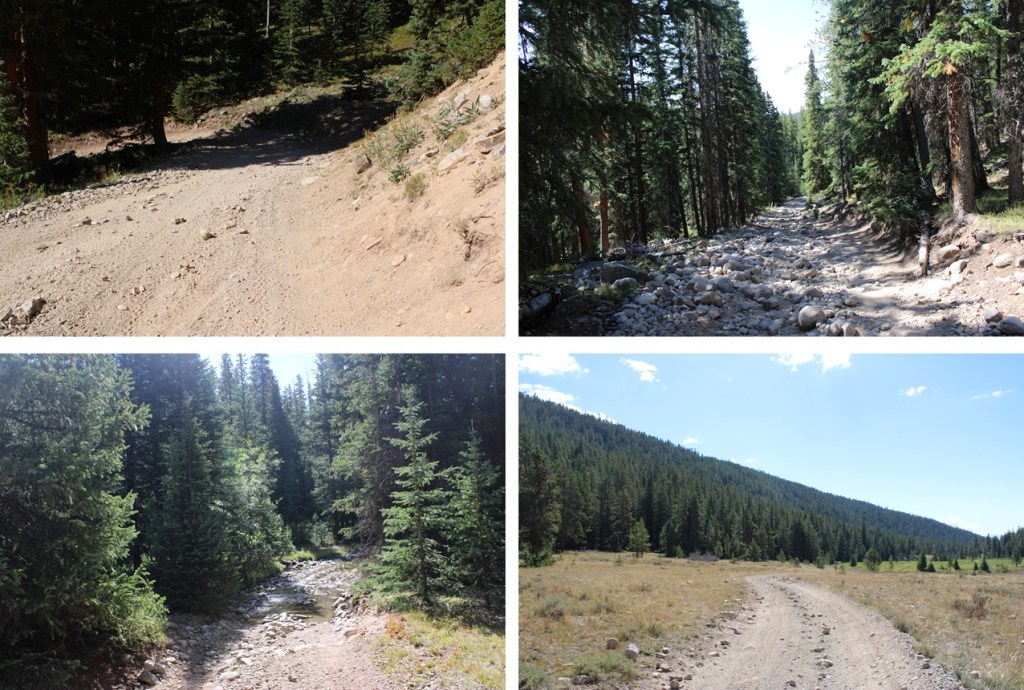
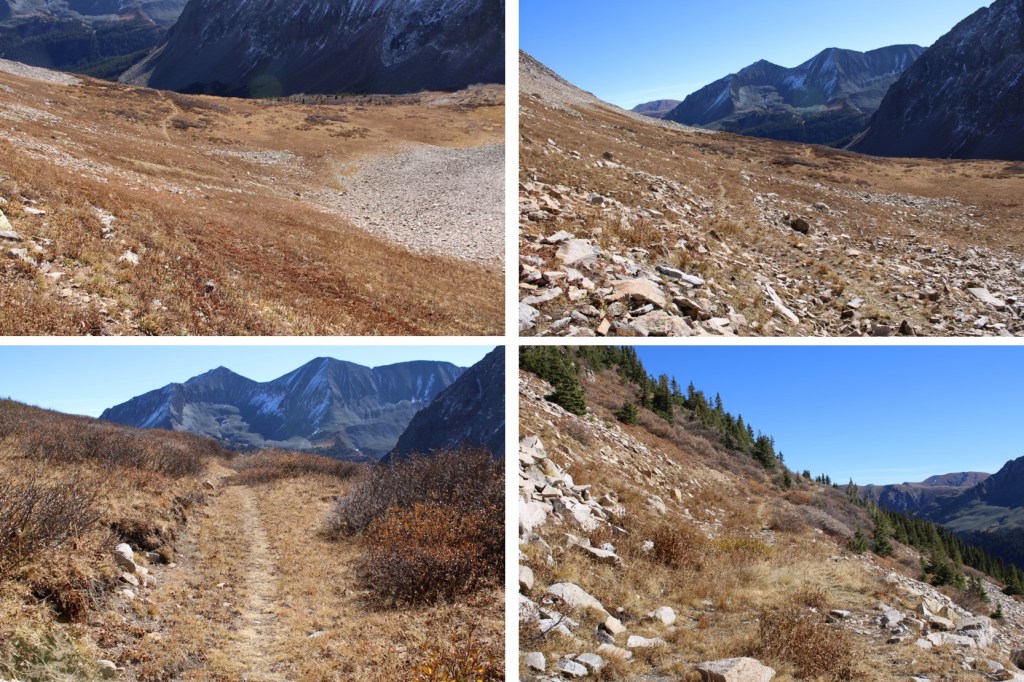
I headed through the trees back down to the trail
Once back on the trail I turned left and followed it northeast, making several creek crossings and climbing up, over, and around downed trees.
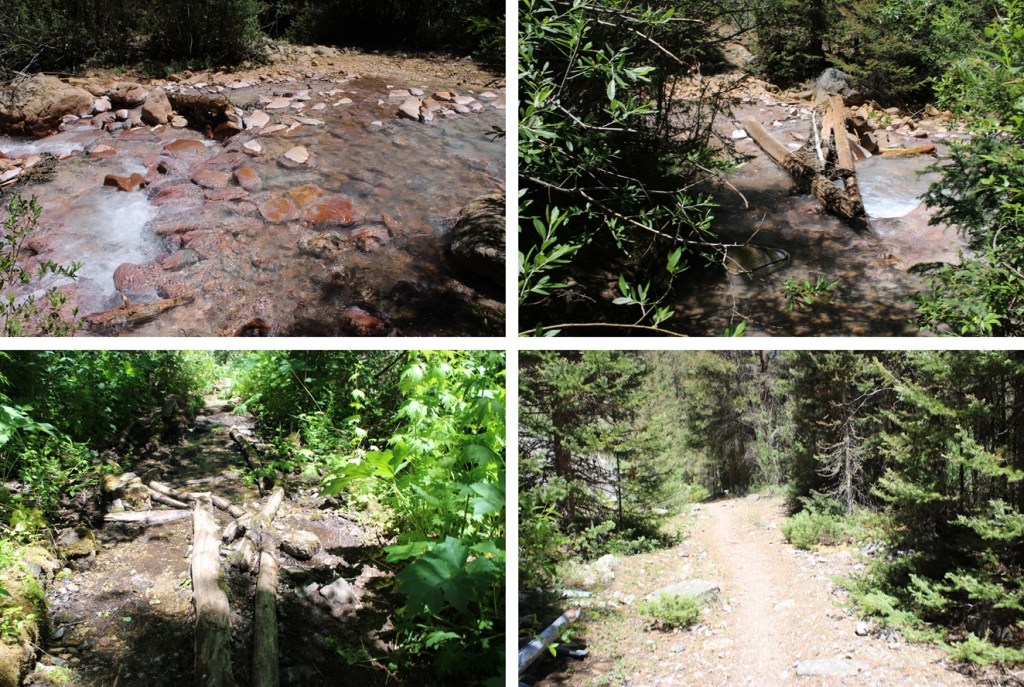
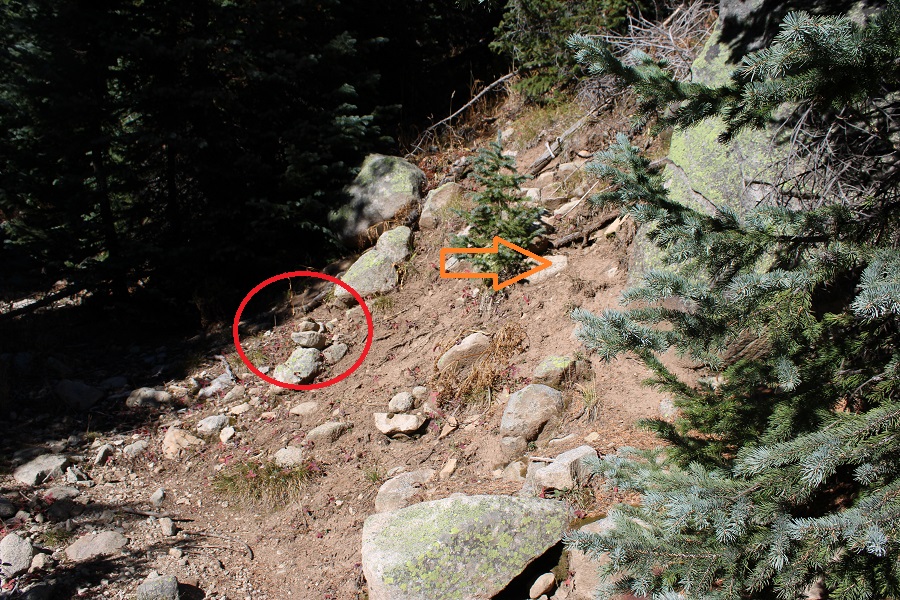
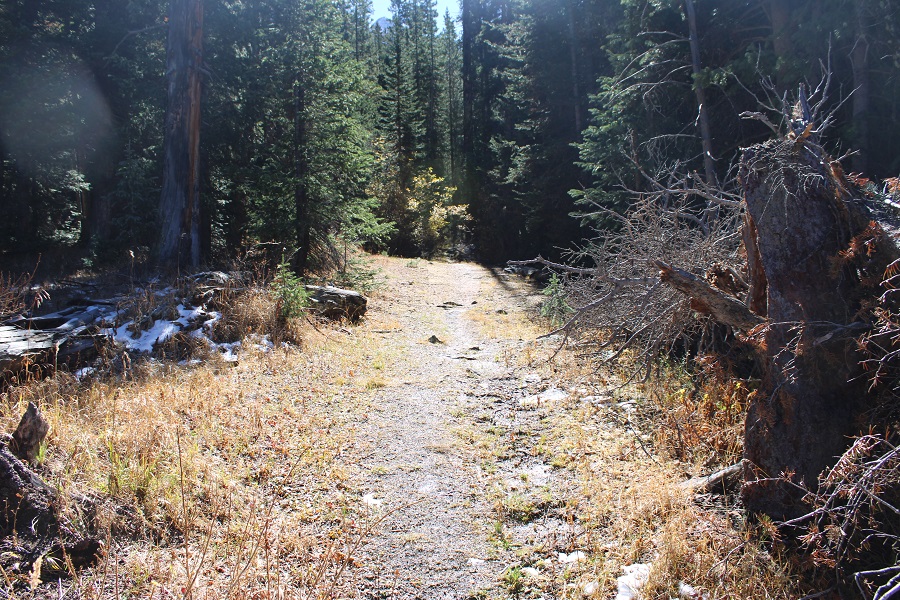
On the way back I noticed a side trail that went off to the left of the creek. It was steep but I decided to take it. It took off several creek crossings for the route, but like I said it was steep and slippery. It’s an option if you want to cut down 3-4 water crossings, but I’d recommend wearing traction. It brought me about 50 feet above the creek on steep terrain.
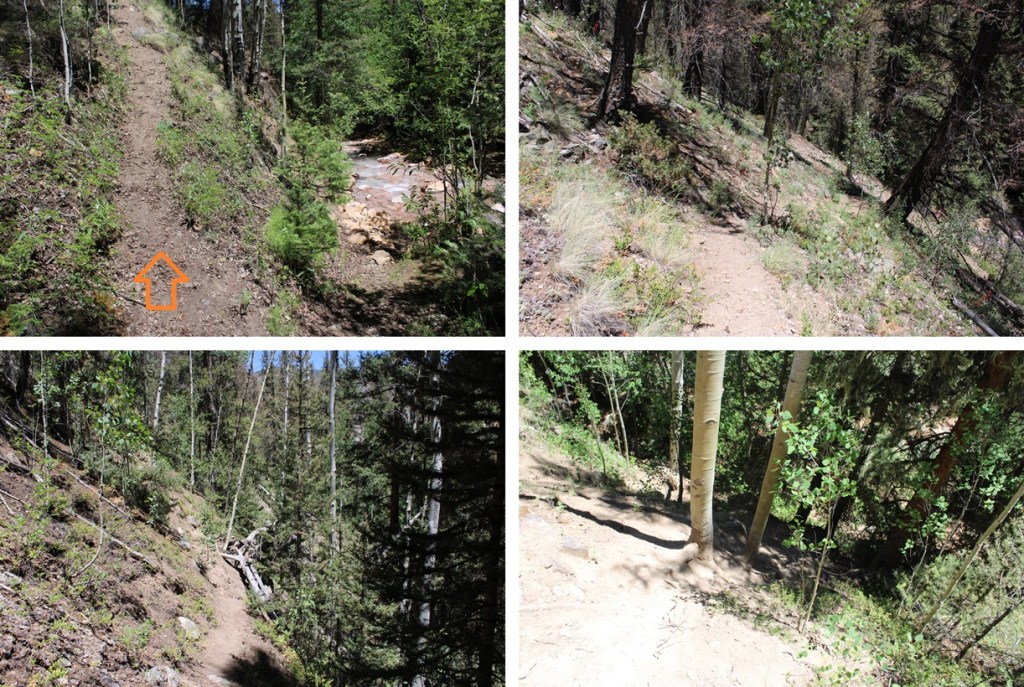
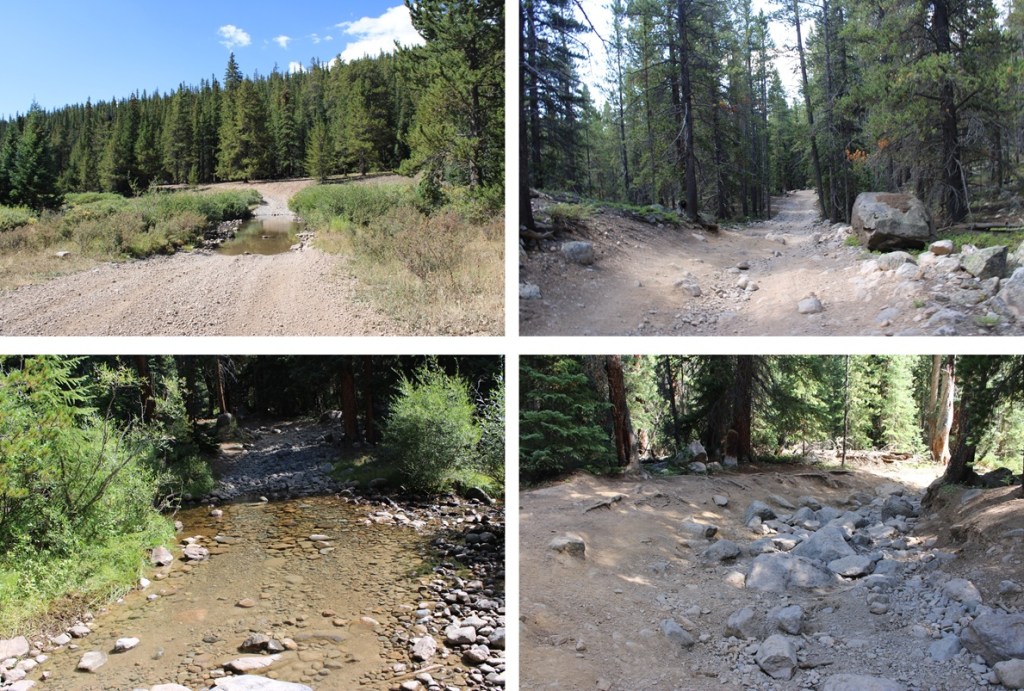
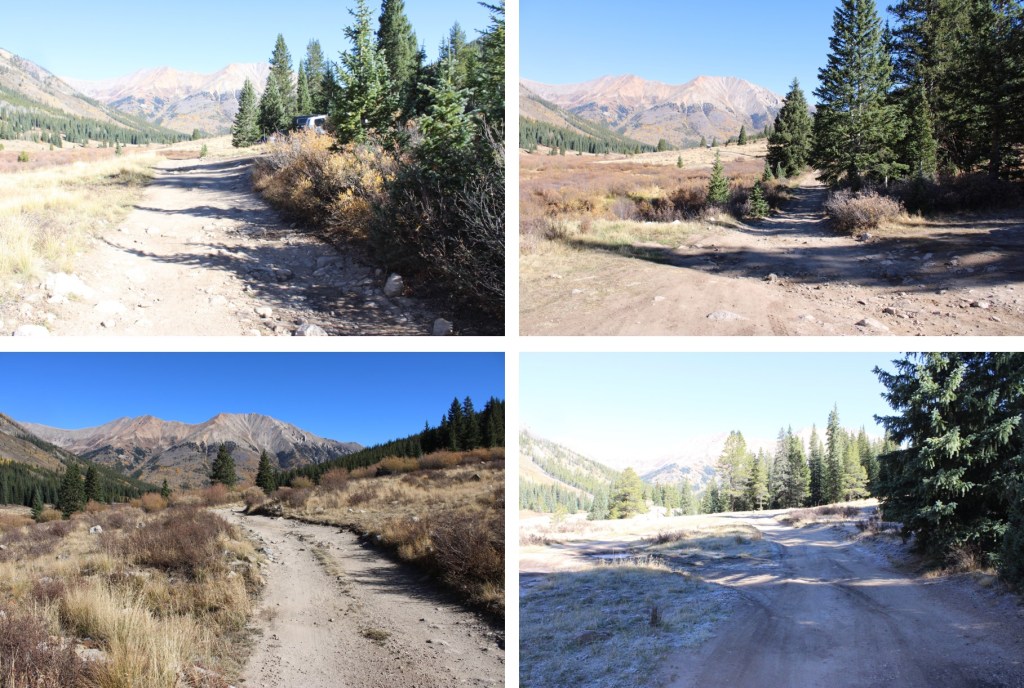
From there the trail was easy to follow. There were still more creek crossings, but they were minimal.
I made it back to the trailhead at 1:30pm. In total the hike was 13.7 miles of hiking with 4365’ of elevation gain.
On to the next trailhead!