Lizard Head – 13,112

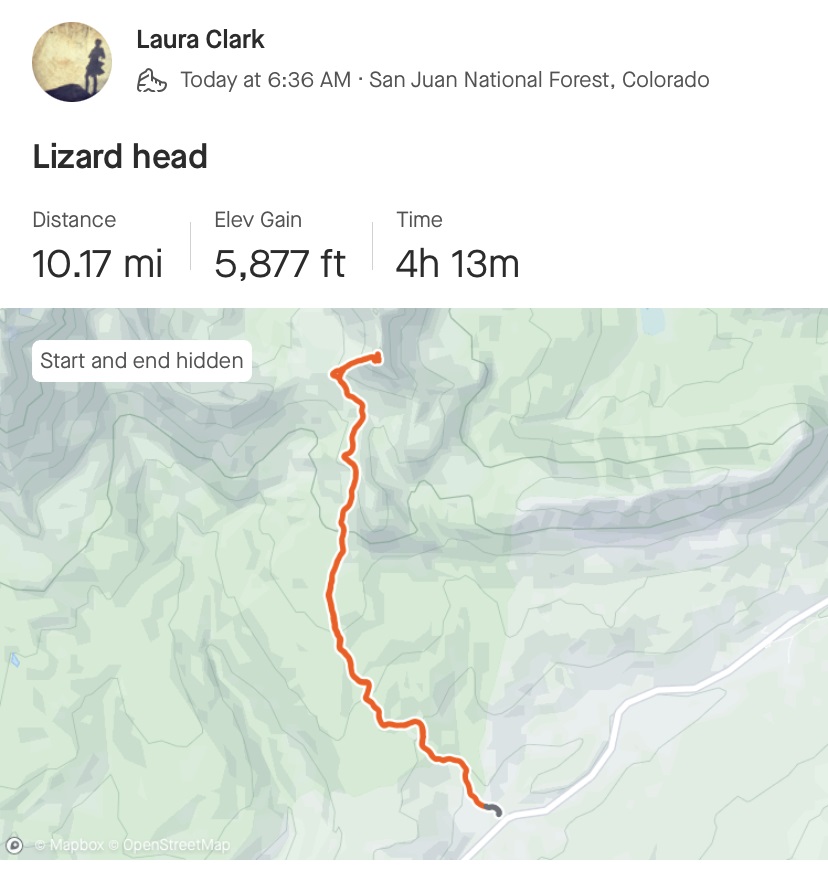
RT Length: 12.86 miles

Elevation Gain:  3566’

I would like to preface this report by stating I do not consider myself a rock climber.  Please don’t use this report as your only information when attempting to summit Lizard Head. There are several, much more detailed reports on this climb that can be found online.  I’m hoping to share my experience, and hopefully add what little I can as someone who does not consider themselves a rock climber to the vast array of knowledge that is out there. 

On my quest to summit all of Colorado’s 13ers, Lizard Head is the most difficult peak to climb, and with a 5.8 rating, requires ropes not only to descend, but to ascend as well.  This is going to be a high-level overview.  Please don’t ask me questions like how many cams were used (as many as were needed) or what sized cams (um… the ones that fit?) or what rating areas were (difficult?) as these are not my specialties.  I can tell you there were 5 pitches (but this can probably be done in 3 or 4 by more experienced climbers) and 2 70-meter ropes were used (tied together for two rappels).  There were several bomb-proof belay stations.  If you don’t feel comfortable leading exposed class 5.8 on your own, but still wish to summit this peak, my advice is to hire a guide.  San Juan Mountain Guides are the local experts in the area, but there are several companies to choose from. 

Thank you for reading! 

I got to the Cross Mountain Trailhead the night before and slept in my truck.  It rained and hailed and sleeted a bit that day, but luckily, as I sat looking over at Lizard Head, it was always in the sunlight.  I hoped this boded well for me the next morning. 

I spend a lot of nights camping at trailheads/passes, and this one was unusually busy in the middle of the night.  Several cars stopped and played music for a while.  I’m not sure what they were doing there, as it was pitch black out, but it was my choice to be there, so I accepted their presence.

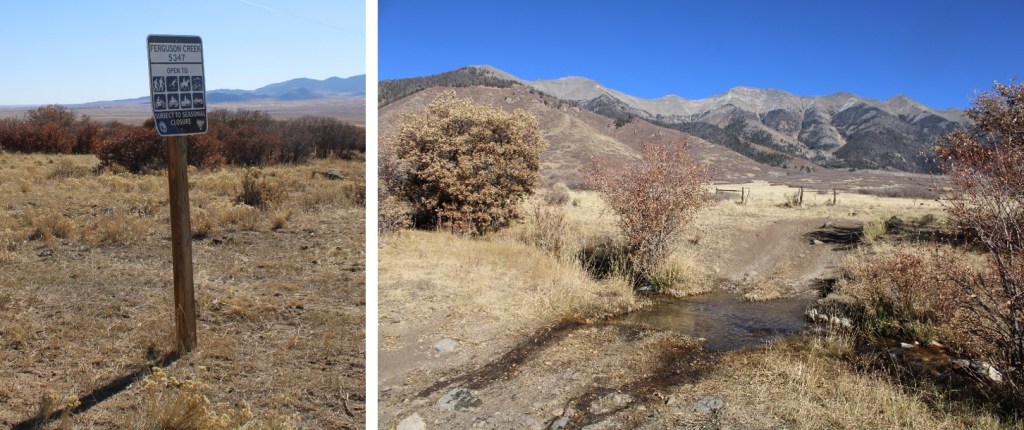
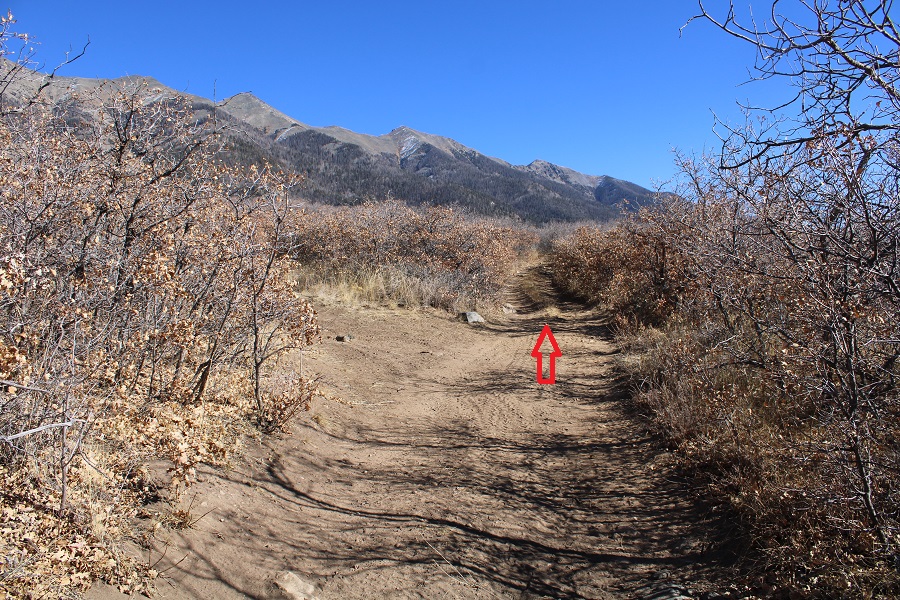
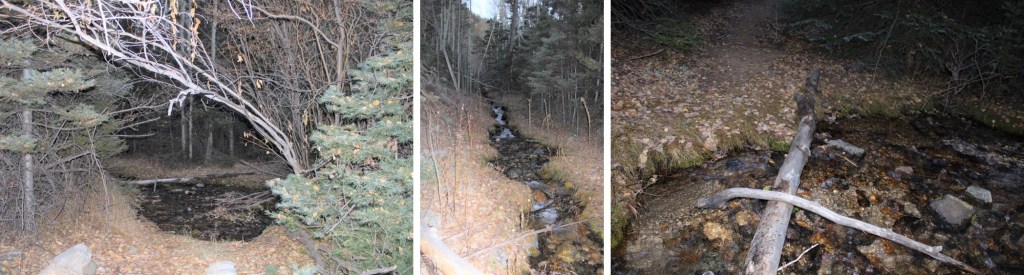
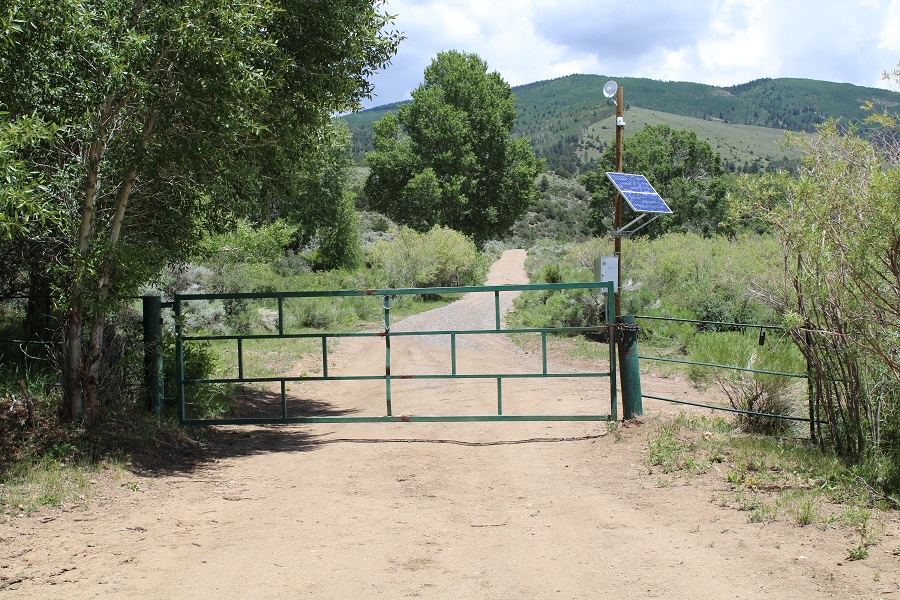
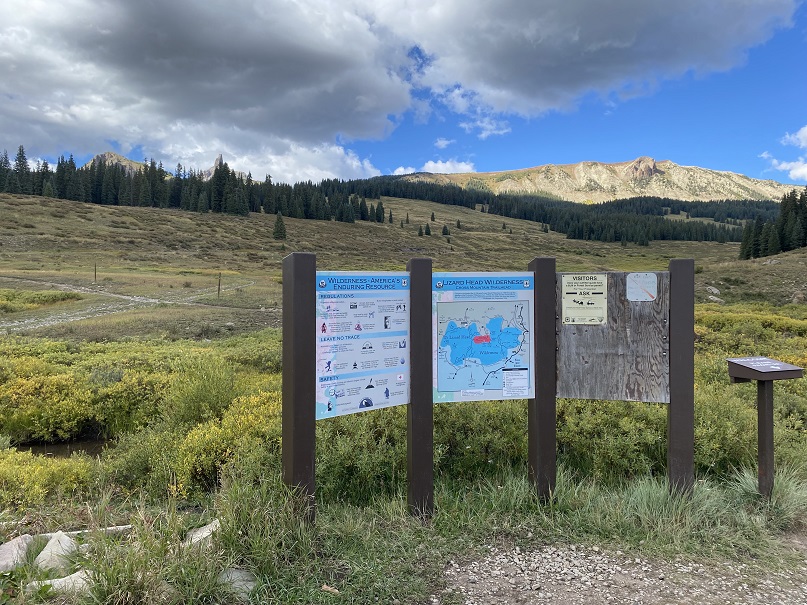
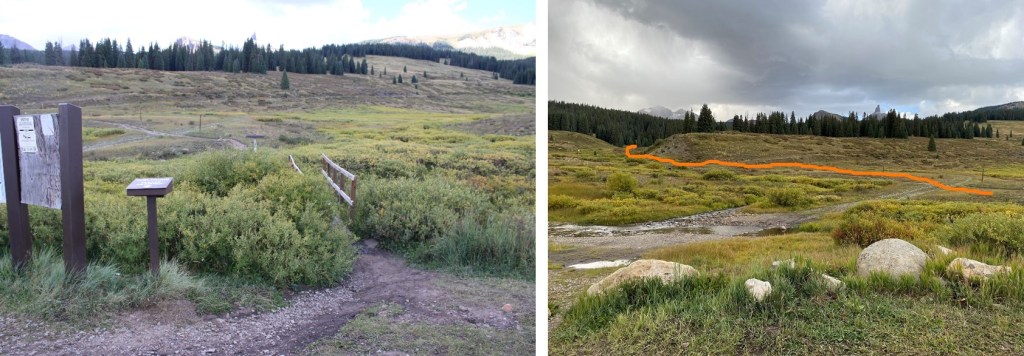
The trailhead starts at the west end of the parking area.  It was 29 degrees outside when I left my frost covered truck and set out on the trail at 6:45am.

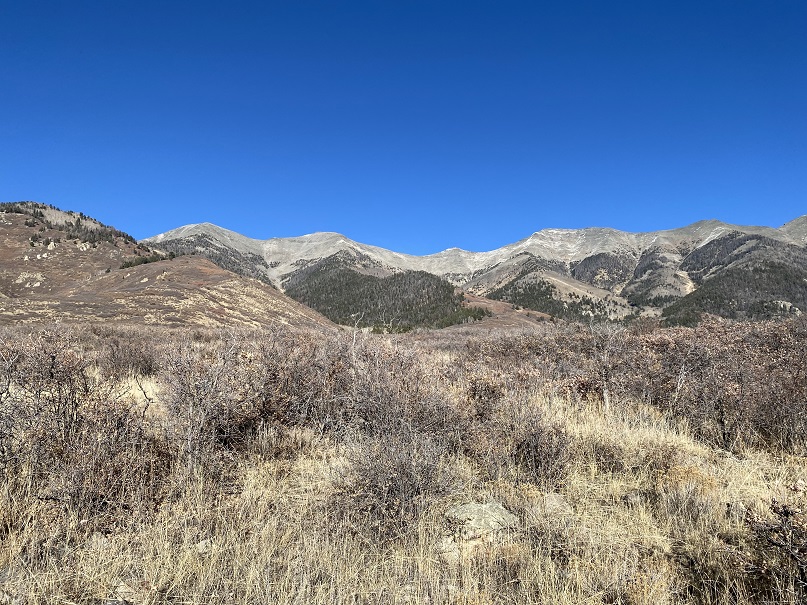
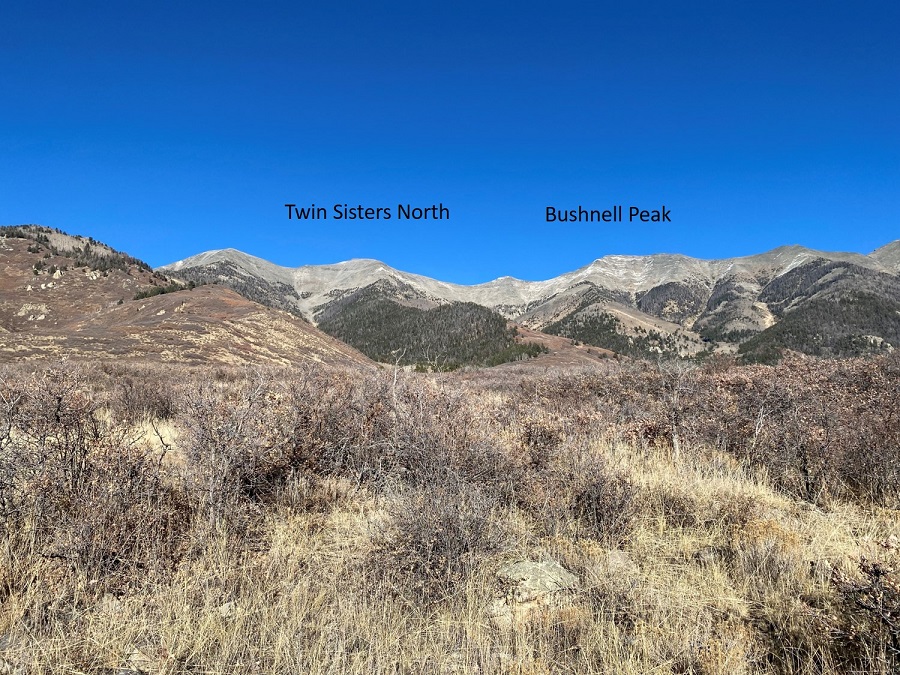
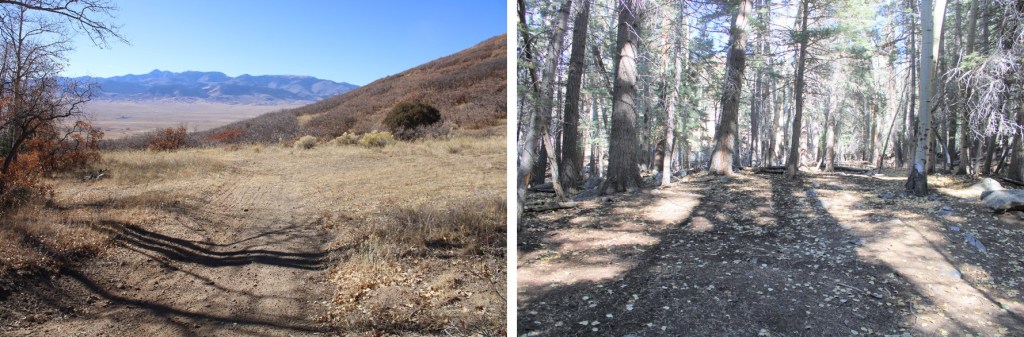
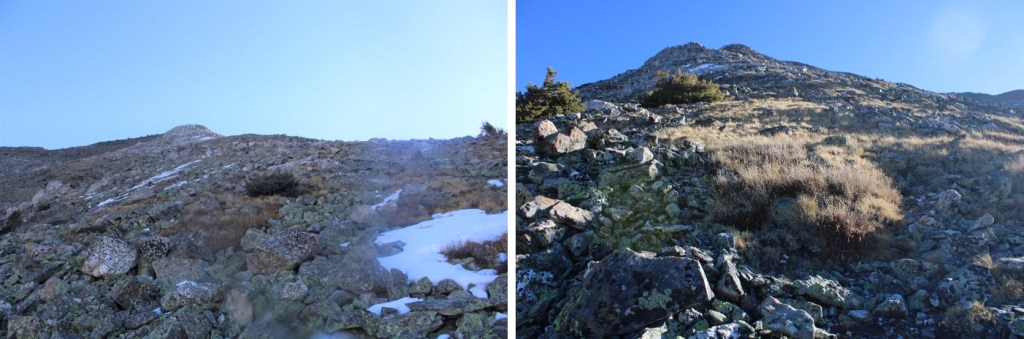
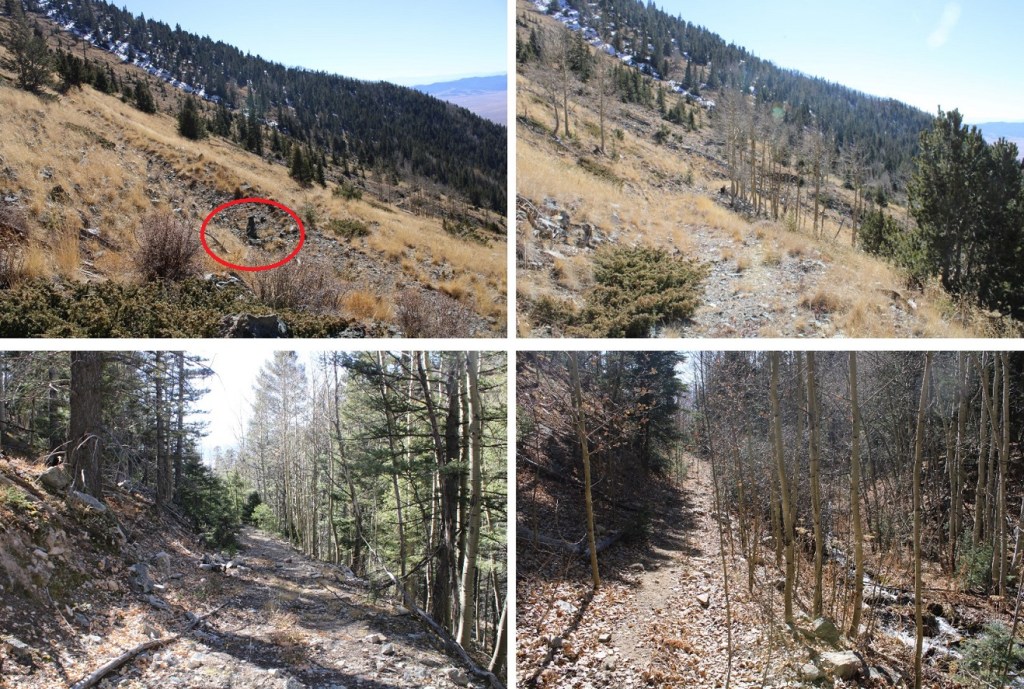
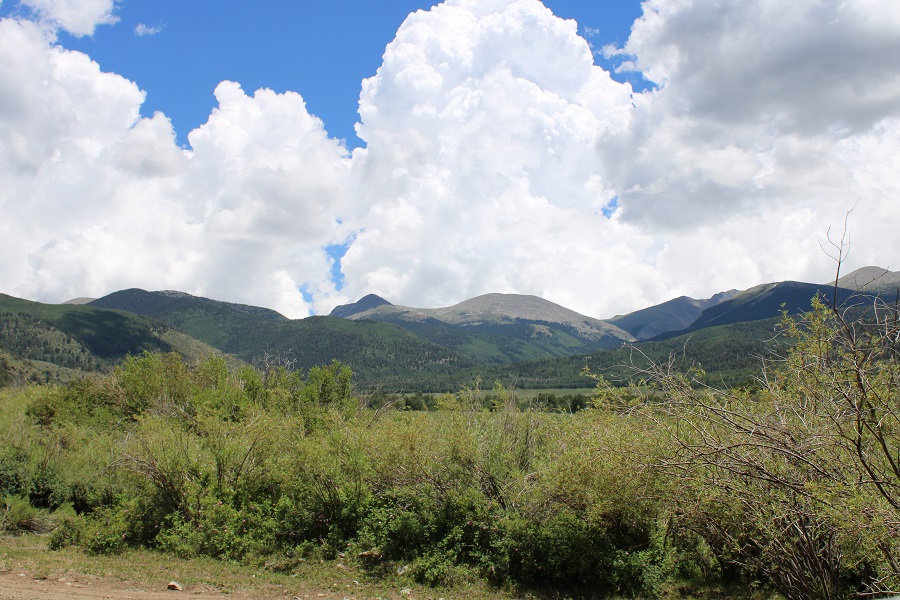
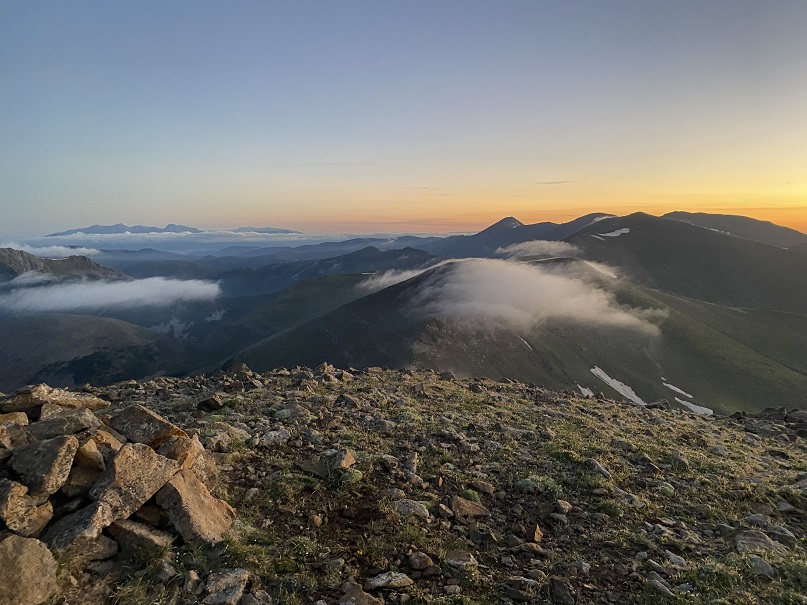
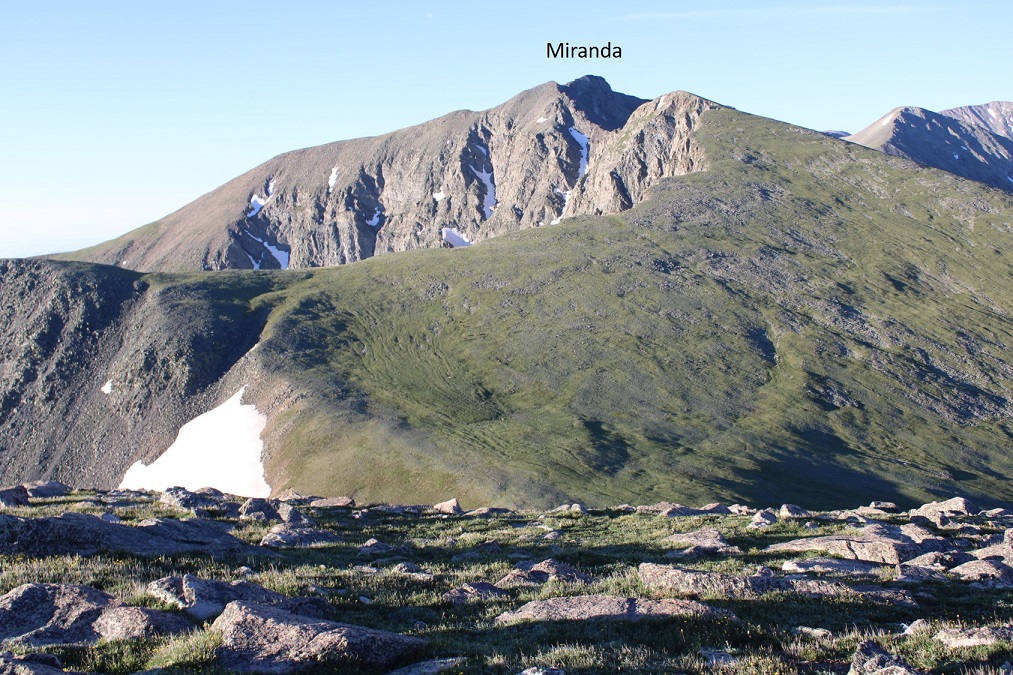
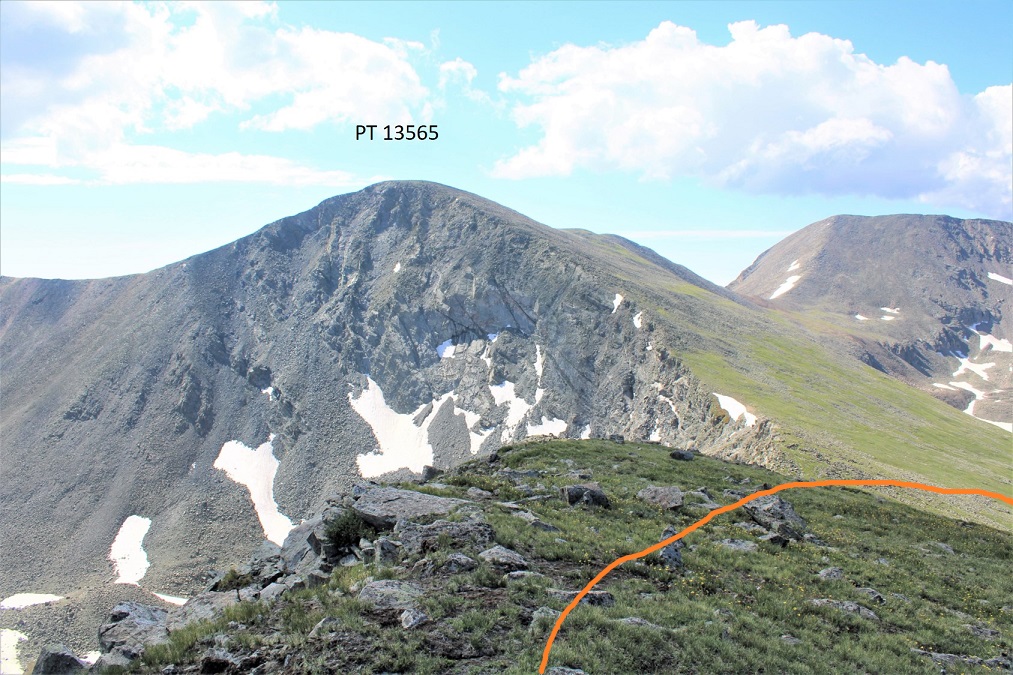
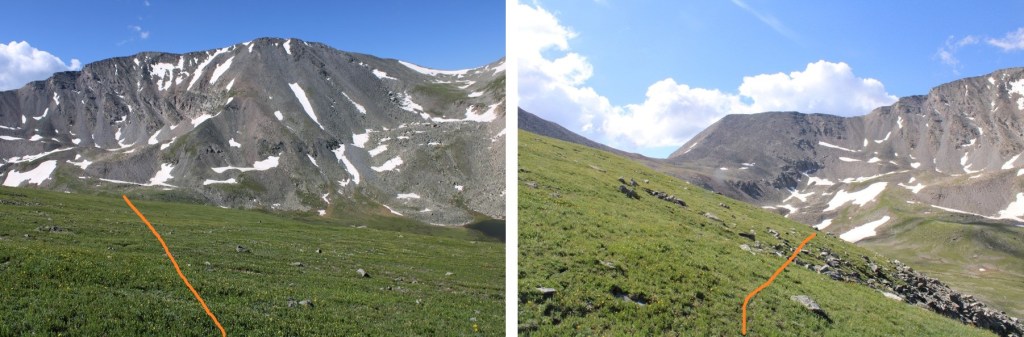
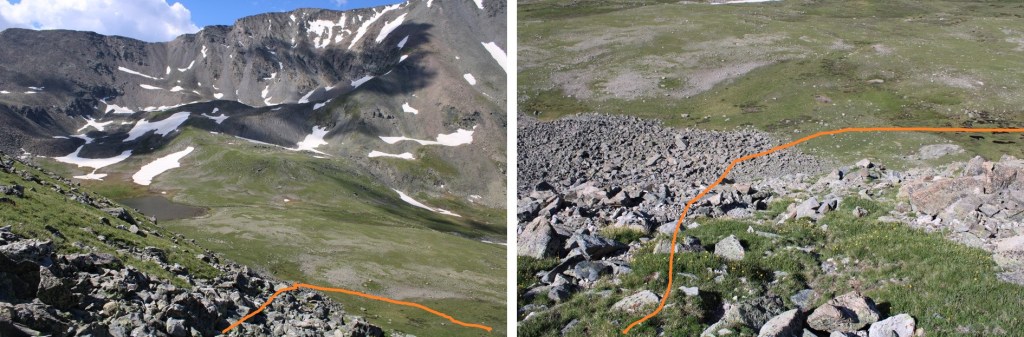
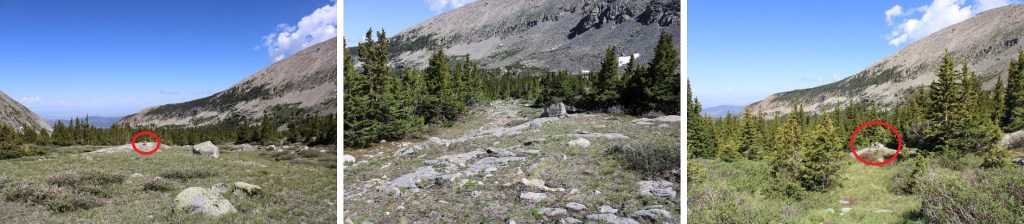
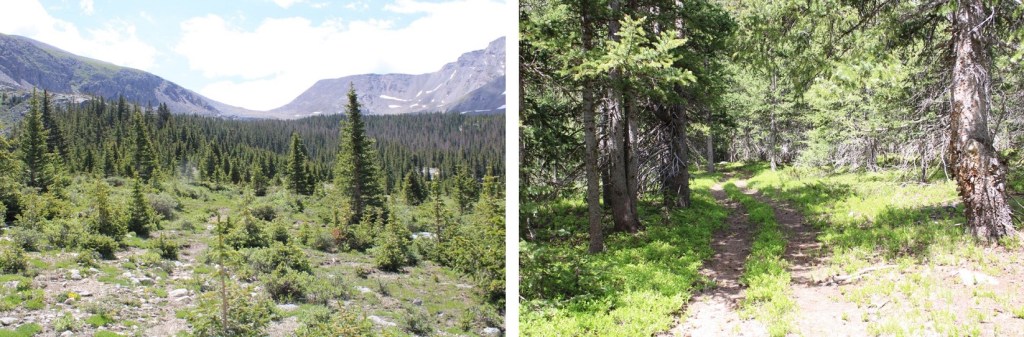
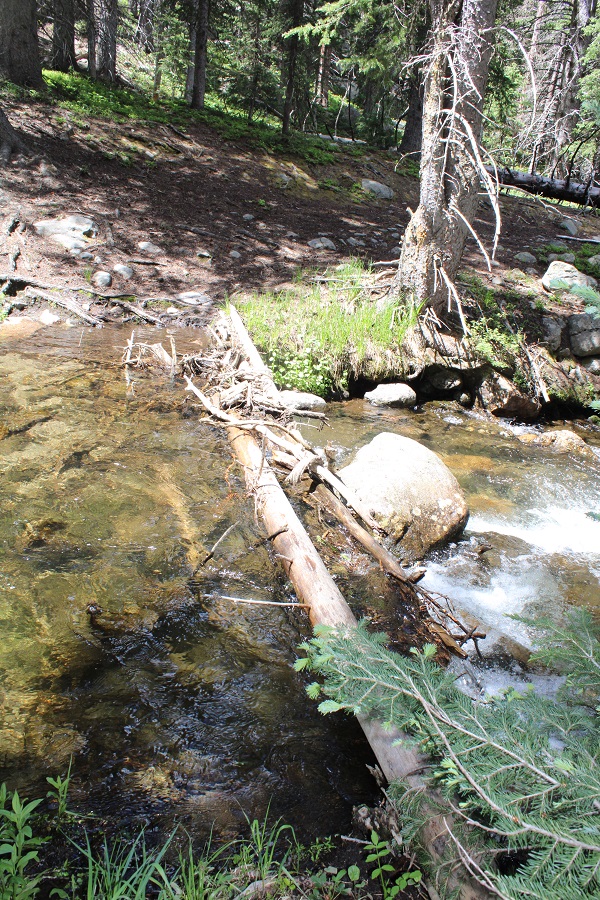
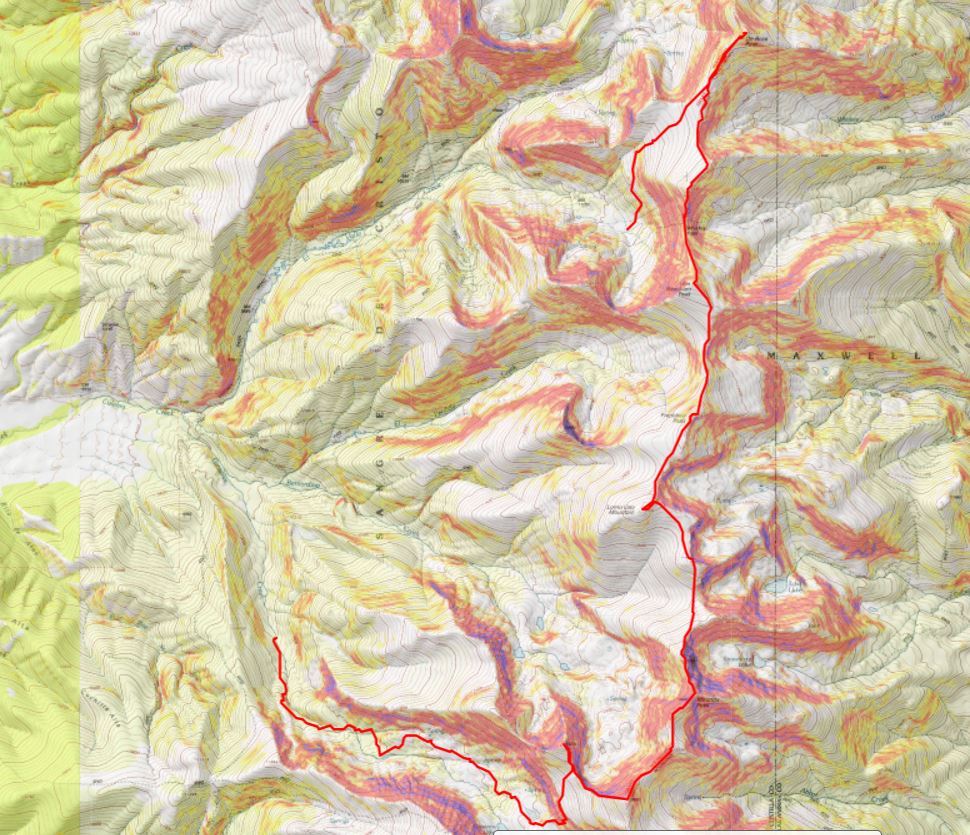
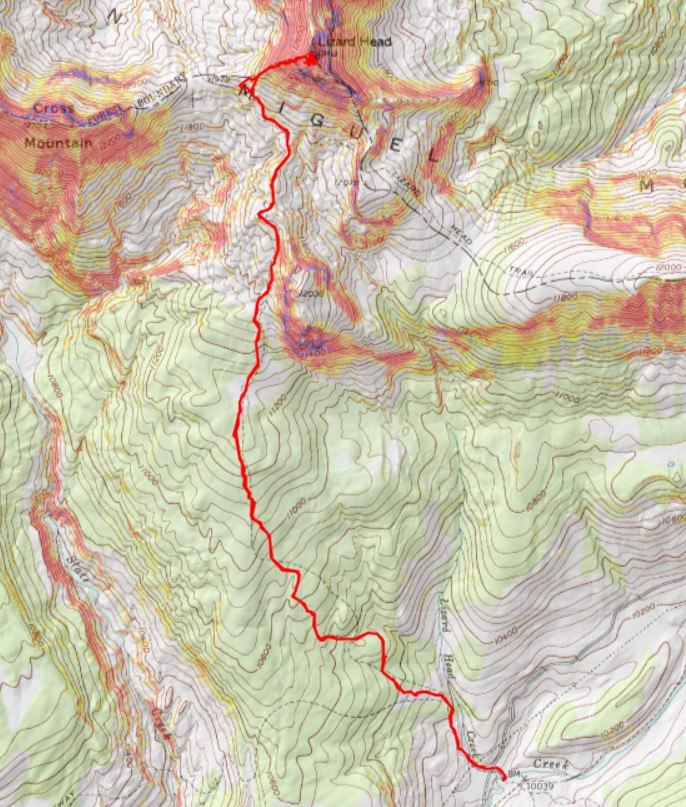
I followed the Cross Mountain Trail on a well-defined, class 1 path for what CalTopo tells me was 4 miles, before being able to see Lizard Head in the distance

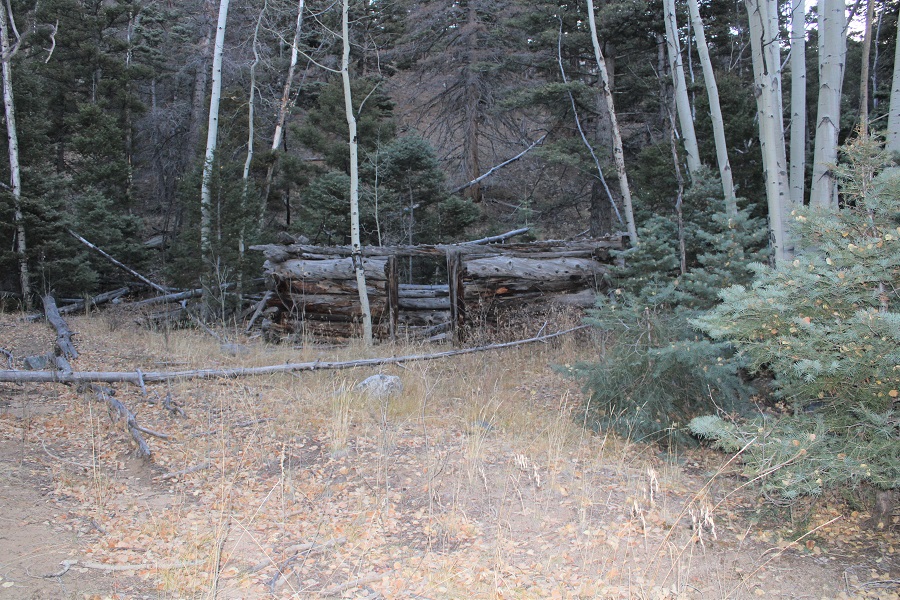
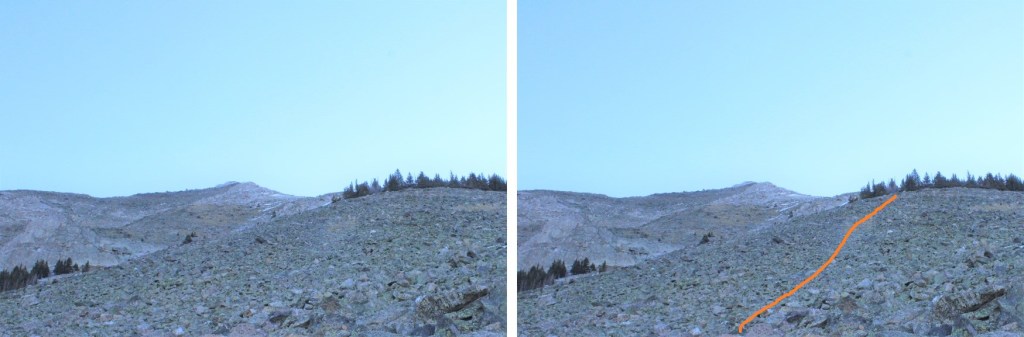
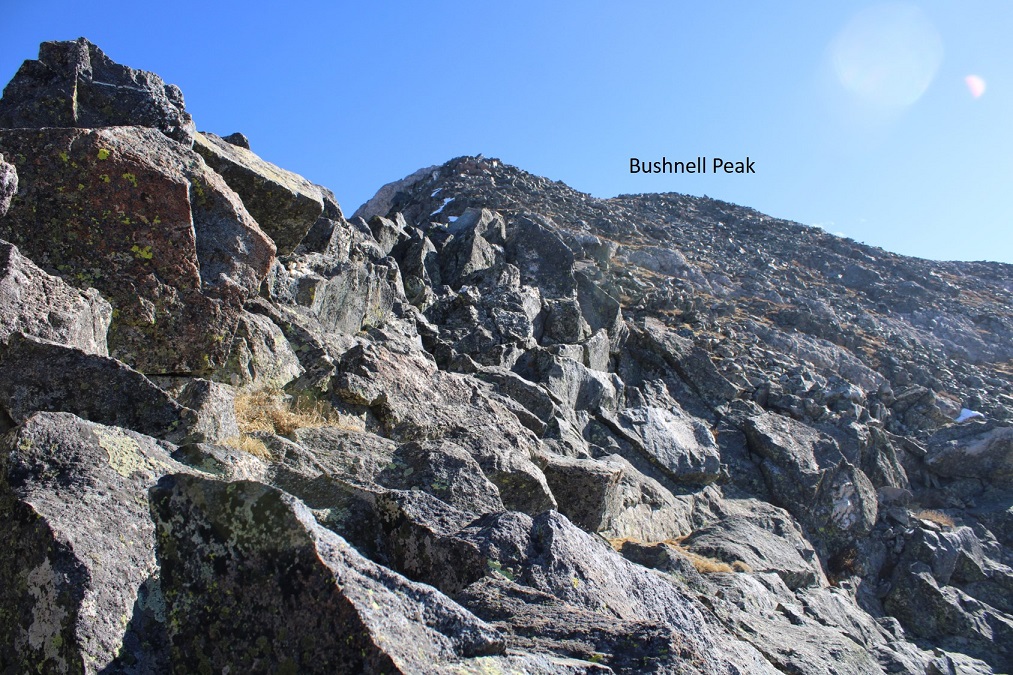
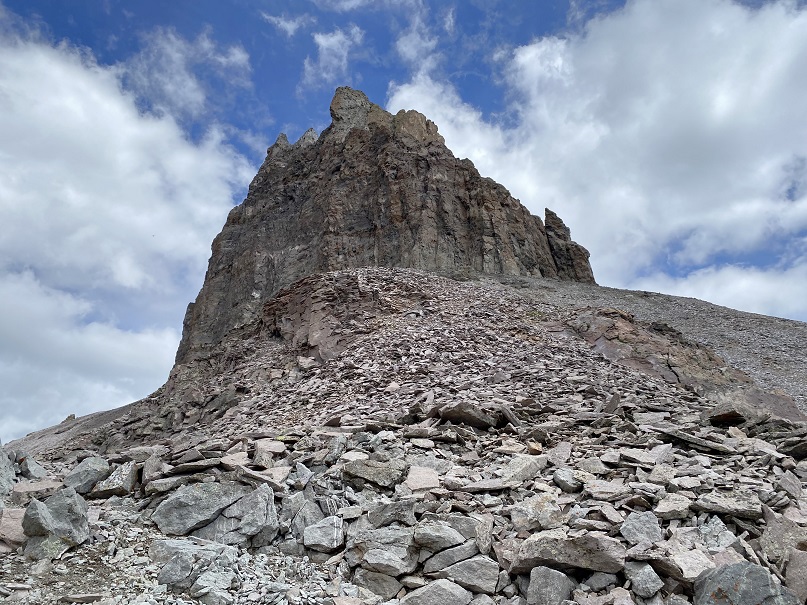
Access to Lizard Head is from the east

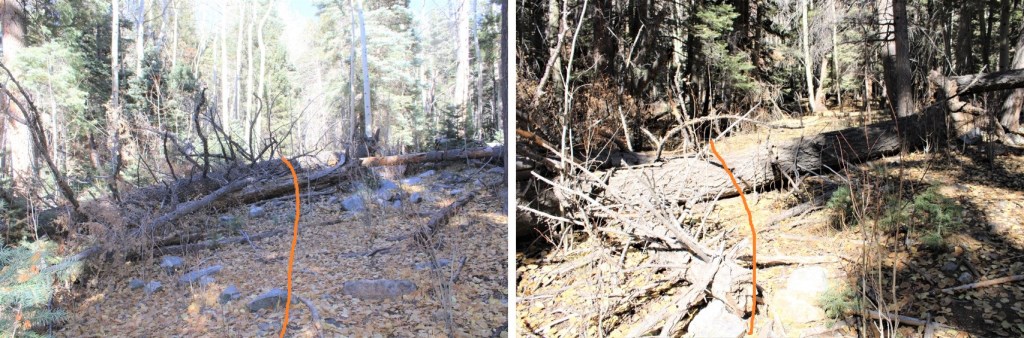
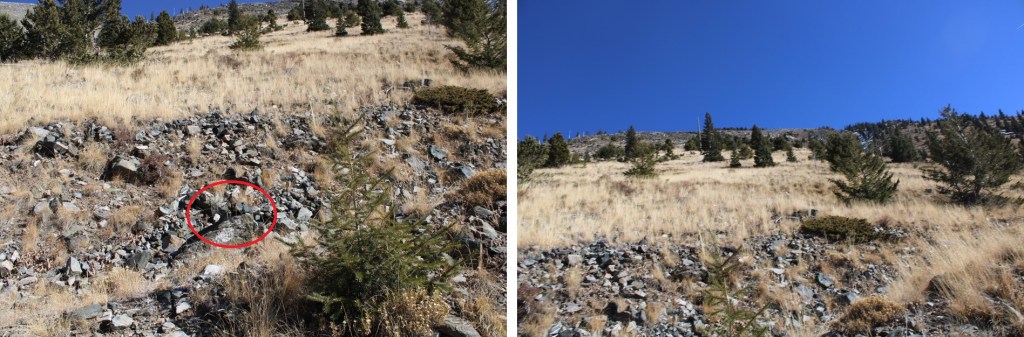
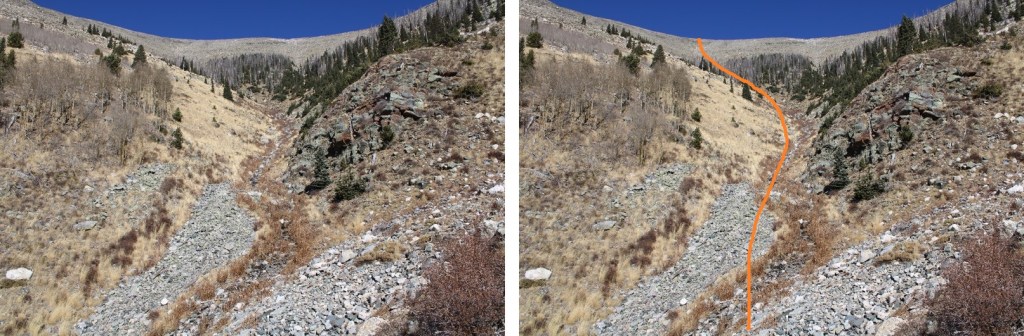
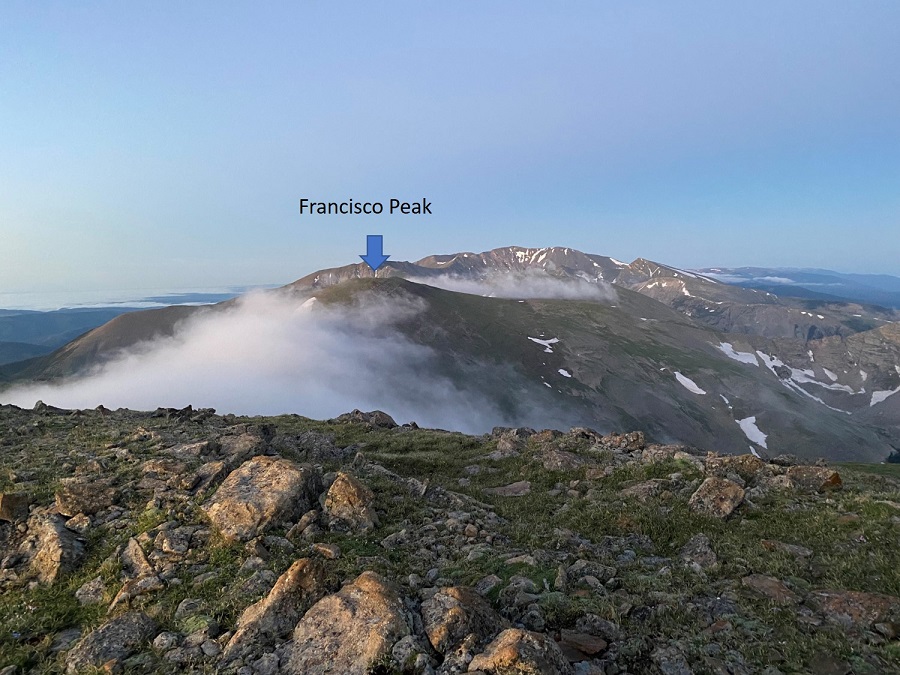
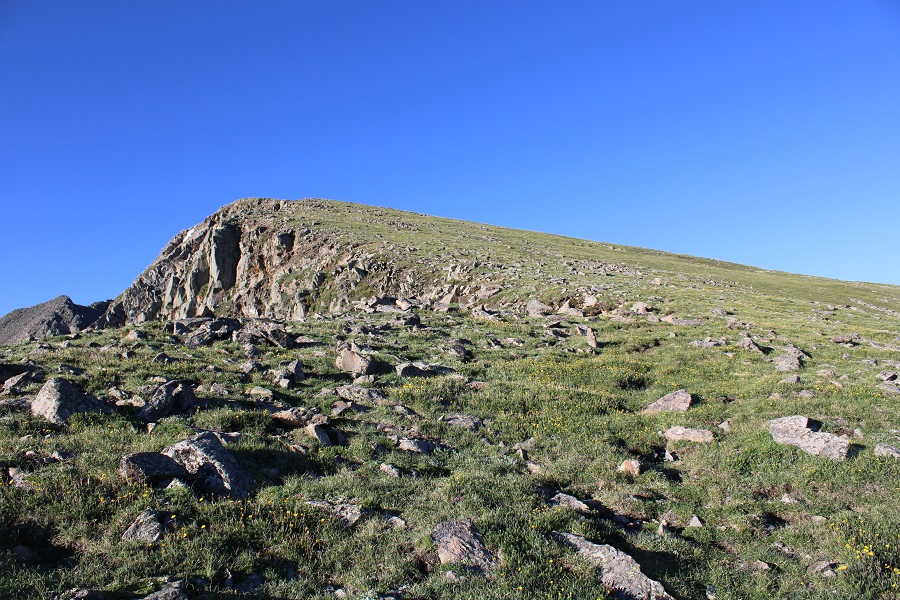
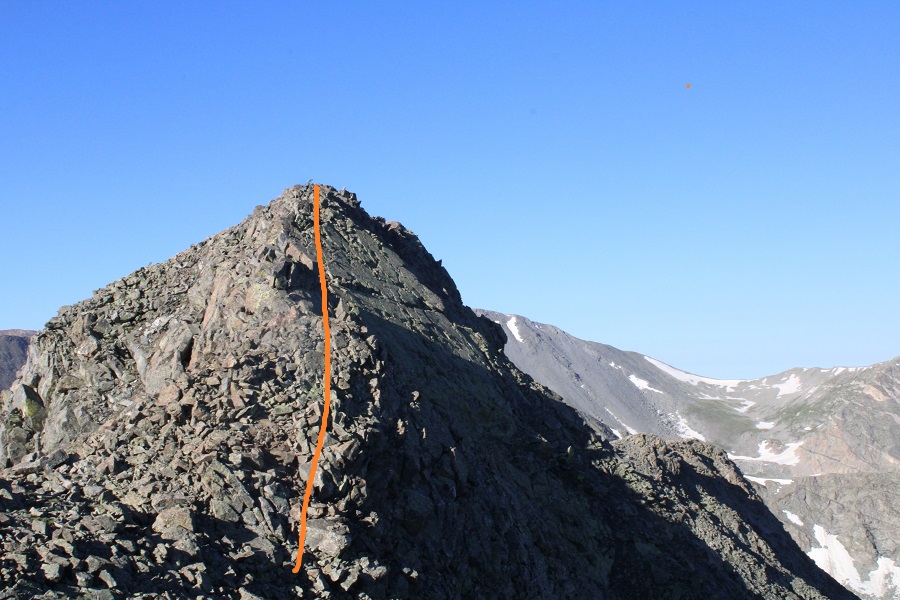
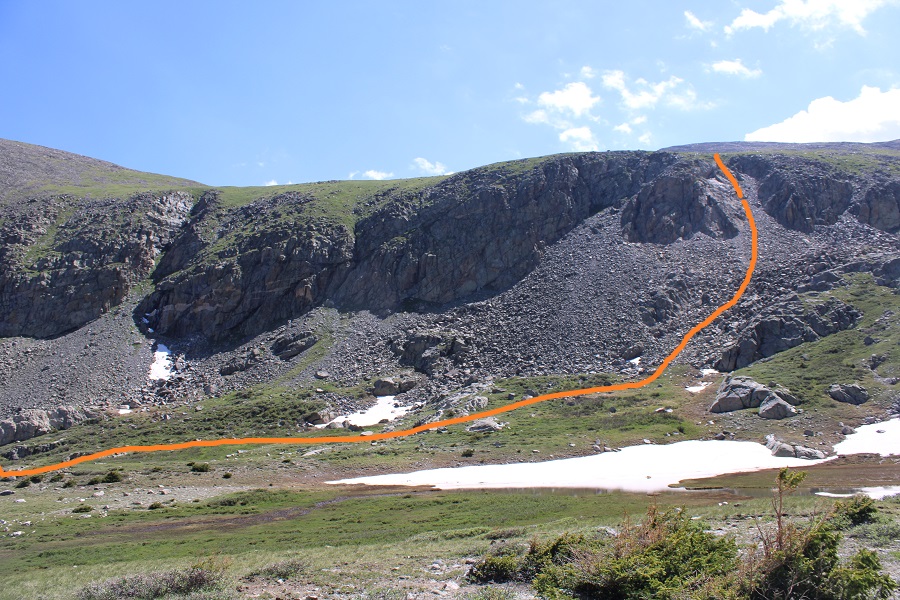
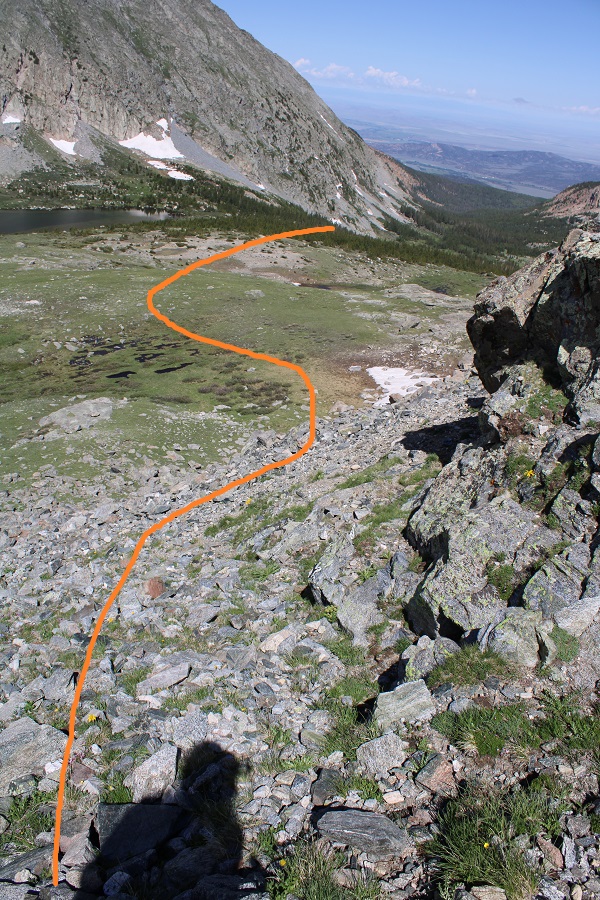
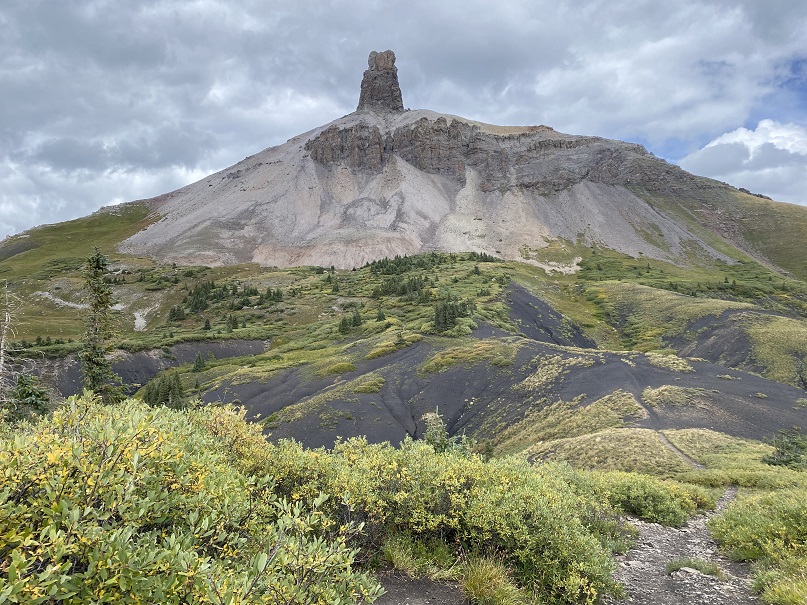
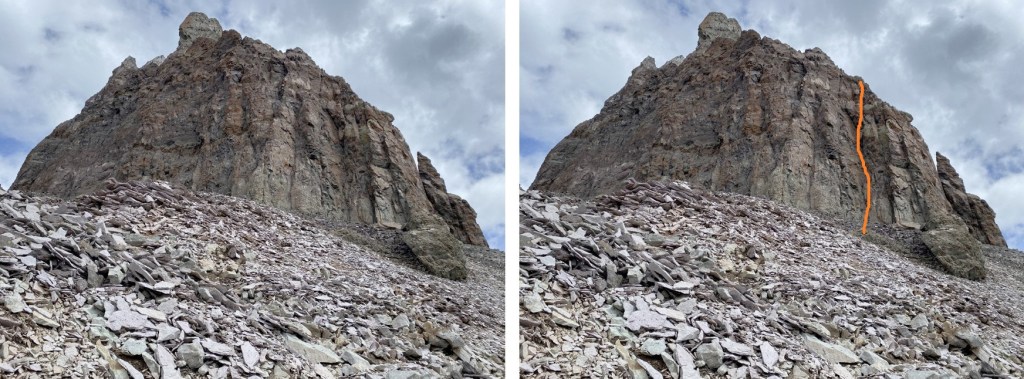
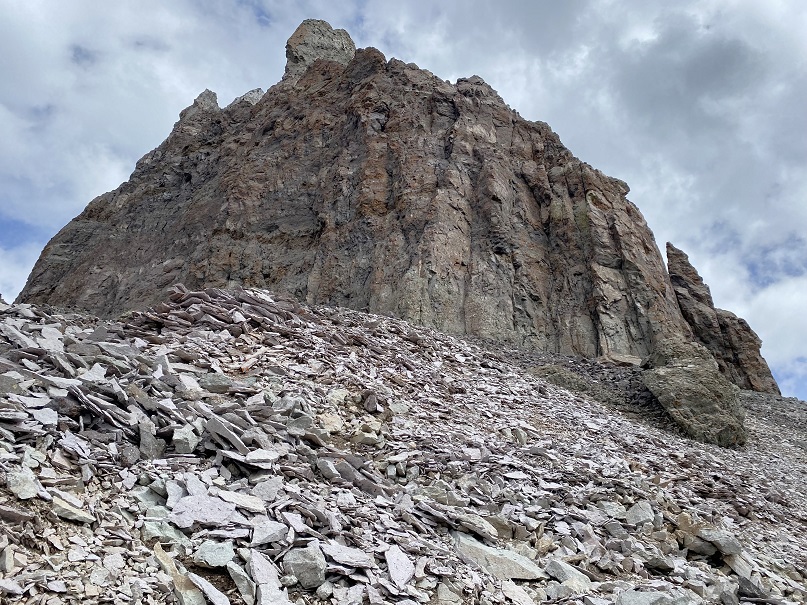
There is a well-defined climbers trail here to the base of the climb on loose talus. The goal was to make it here:

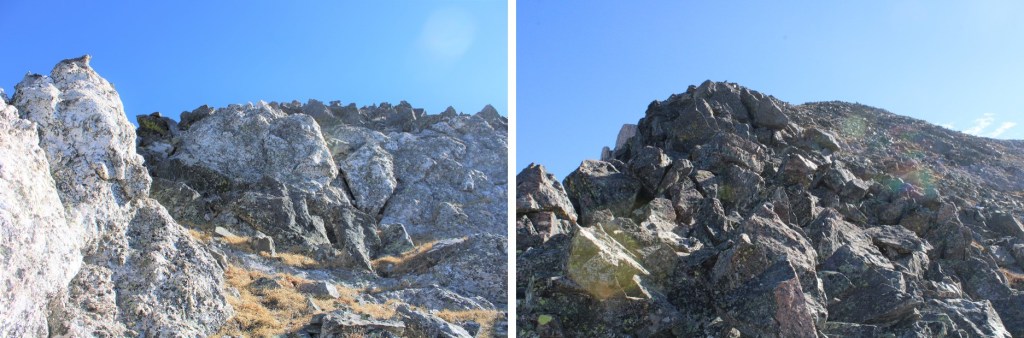
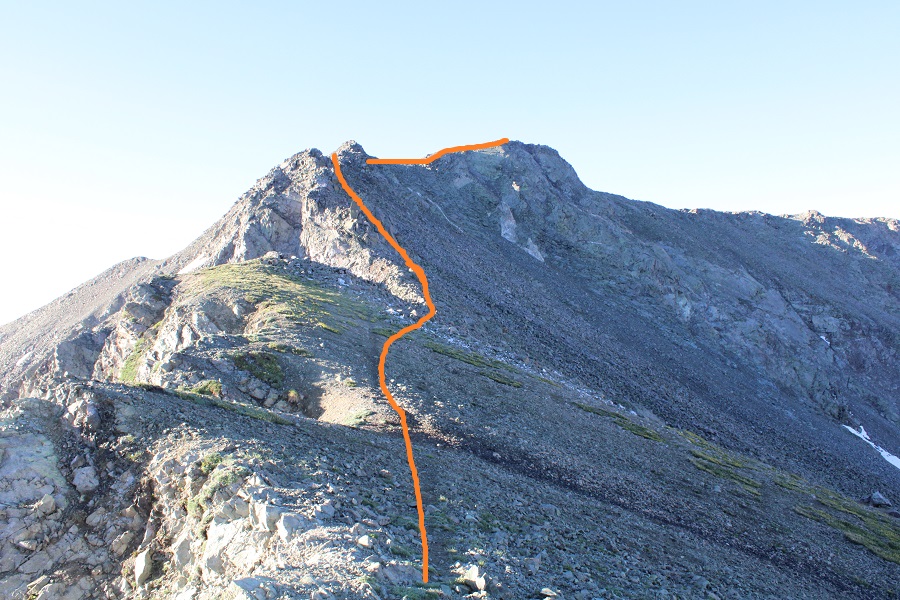
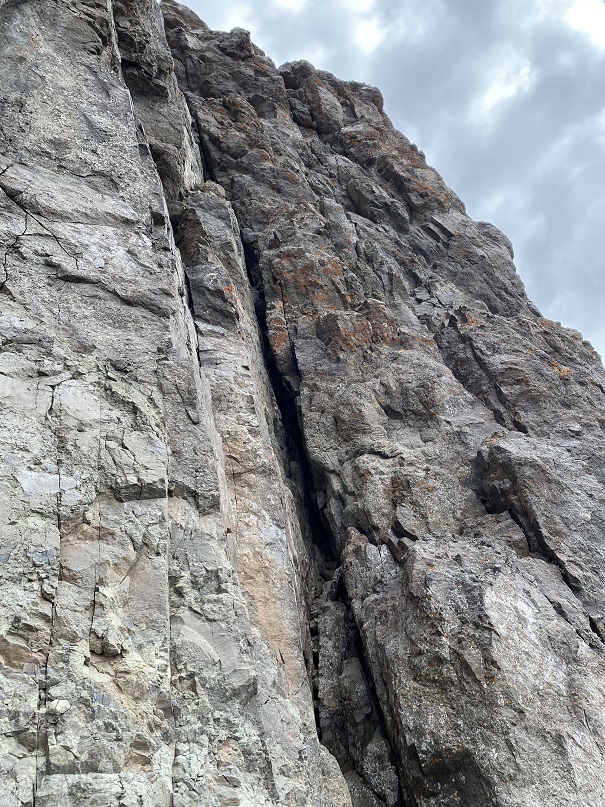
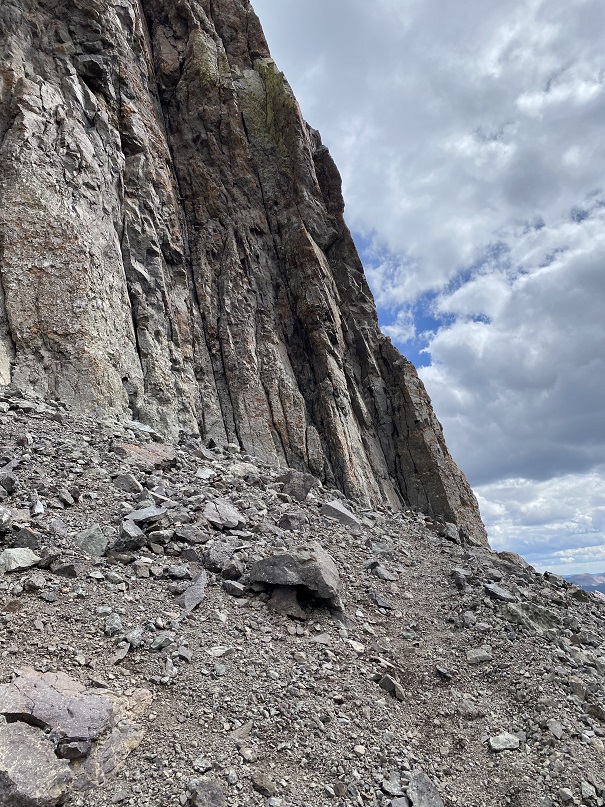
It was very cold this morning, and a little windy.  It had snowed two days before, but luckily the snow had all melted out.  I was frozen at the beginning of this climb, and didn’t melt out until making it to the summit, when I was finally in the sunlight.  I do not have very many pictures of the actual climb up, because I had a really bad Raynaud’s attack and my fingers didn’t work with my phone’s touch screen.  Ok, I’ll admit:  I was a bit of a wuss, and there was a lot of spoken complaining as I ascended.  Several times during this climb I had no use of my fingers, so I used my hands like ice picks to grab hold, hoping they would… hold.  I clapped my hands together this morning more than I had keeping time at a color guard/band practice.  So, all that to say I don’t have a lot of pictures, but here’s an overview of the beginning route, starting with a left-facing chimney:

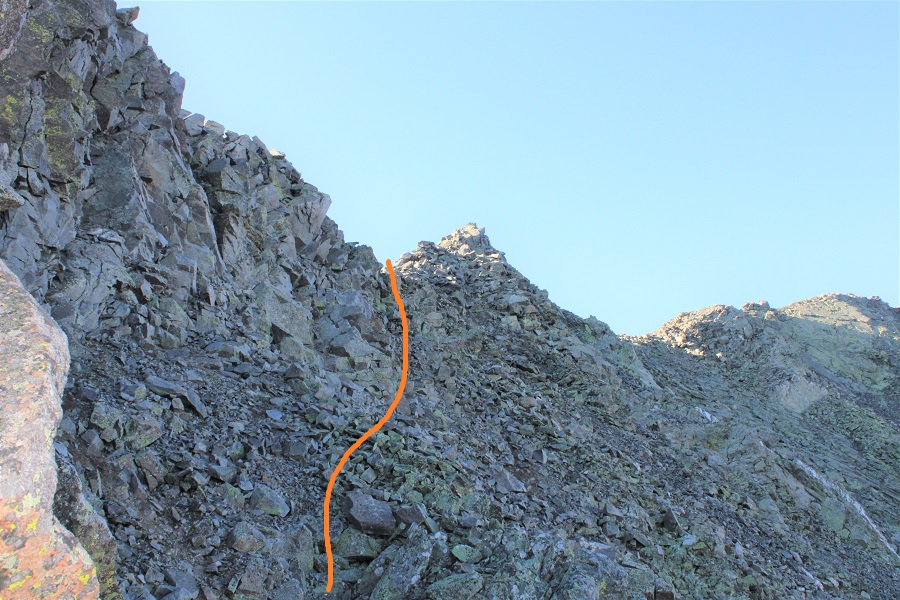
I then encountered a very exposed, less than 2-foot-wide (or less) ramp that went to the left for about 15 feet, then right for about 15 feet.  Sorry, no personal pictures of the ramps, but here’s an approximation of what they look like from below:

Mountain Project has a good overview of the ramps here: Rock Climb Mark of Zorro, Alpine Rock (mountainproject.com)

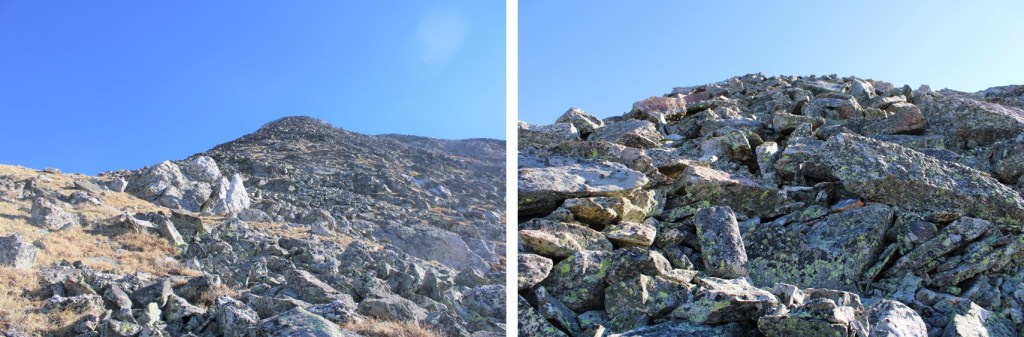
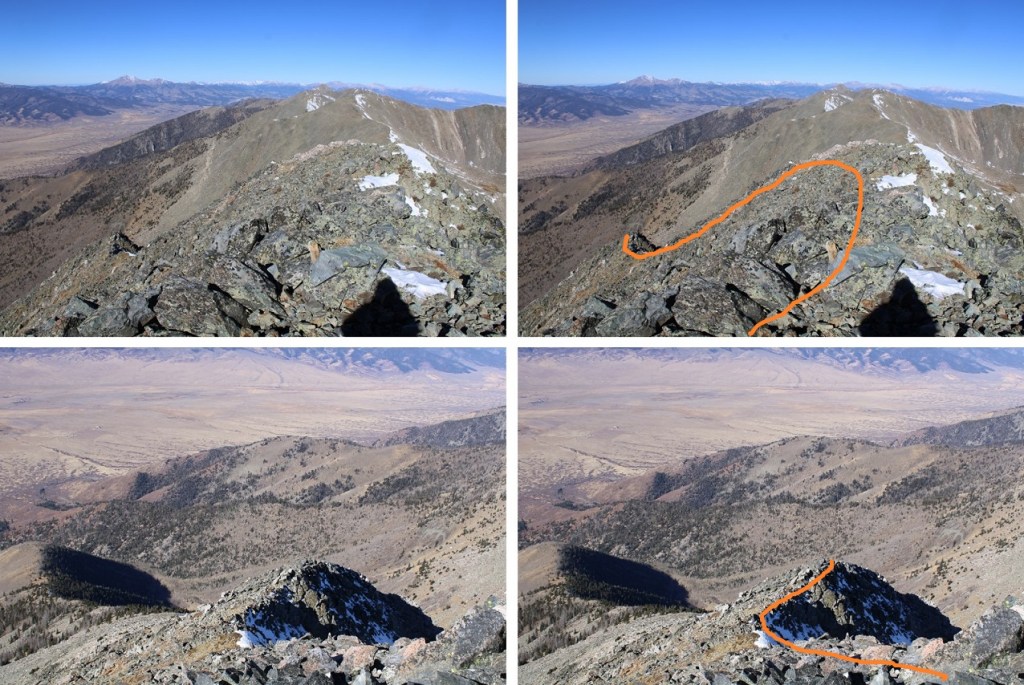
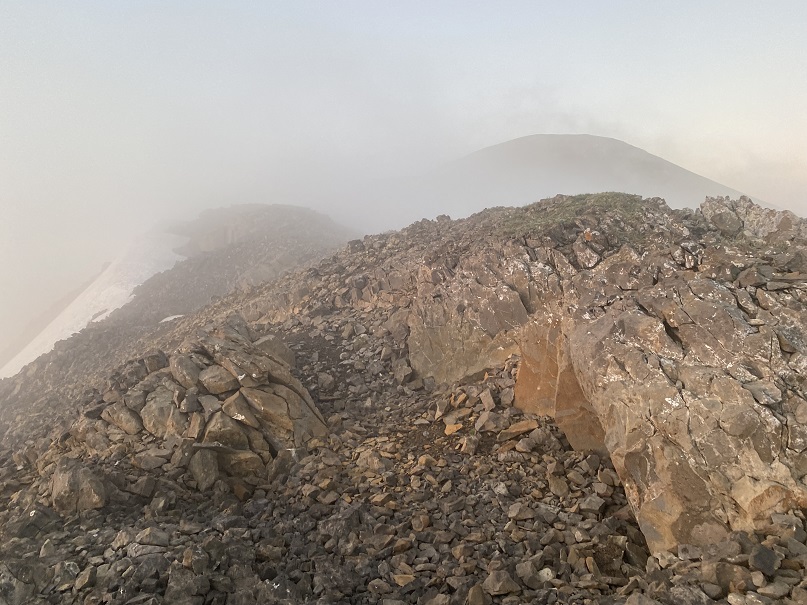
After the ramps there was some scrambling to do to get to the summit.  This was chossy, but not too difficult to navigate.

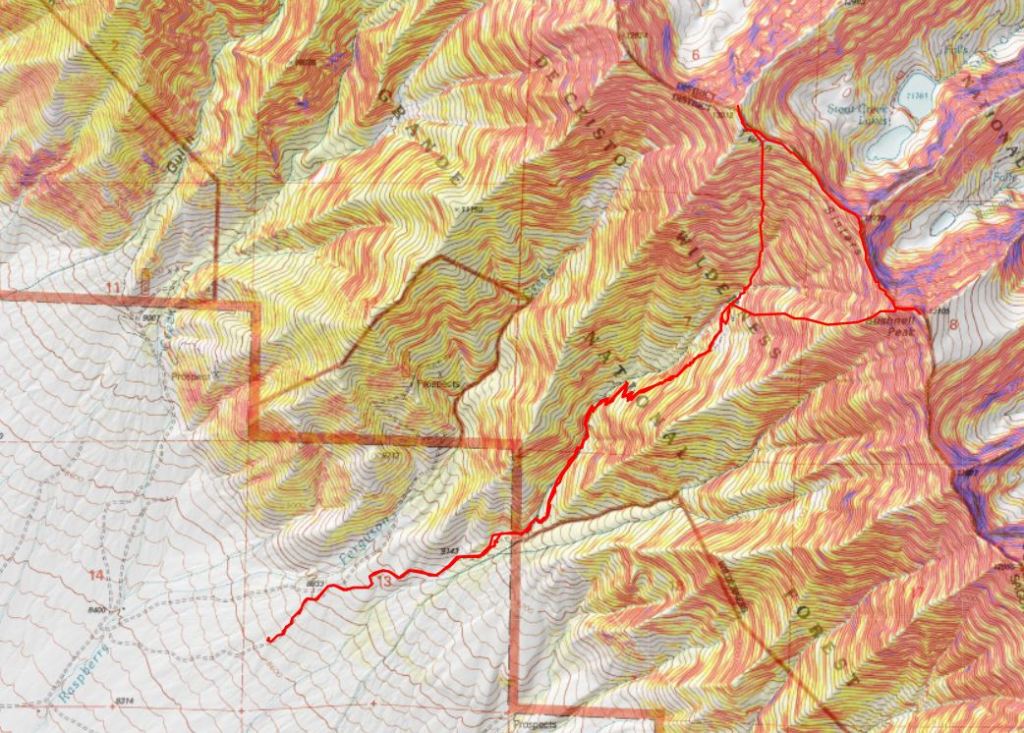
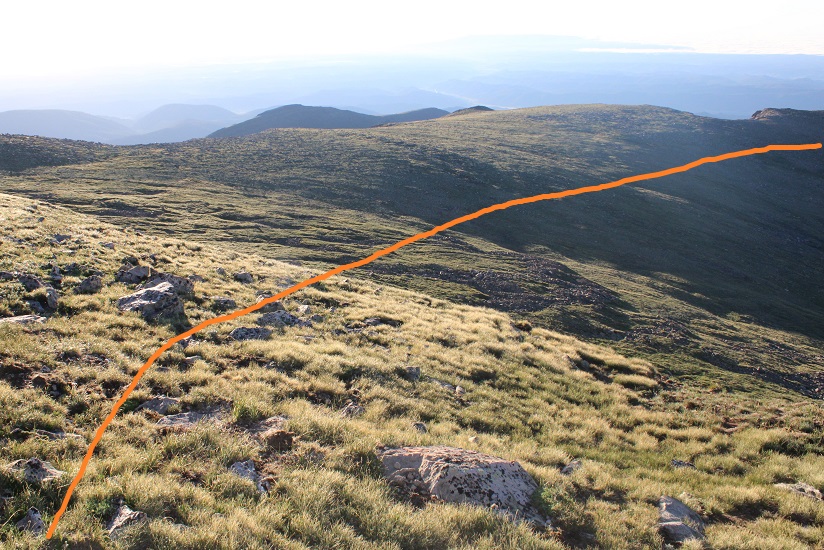
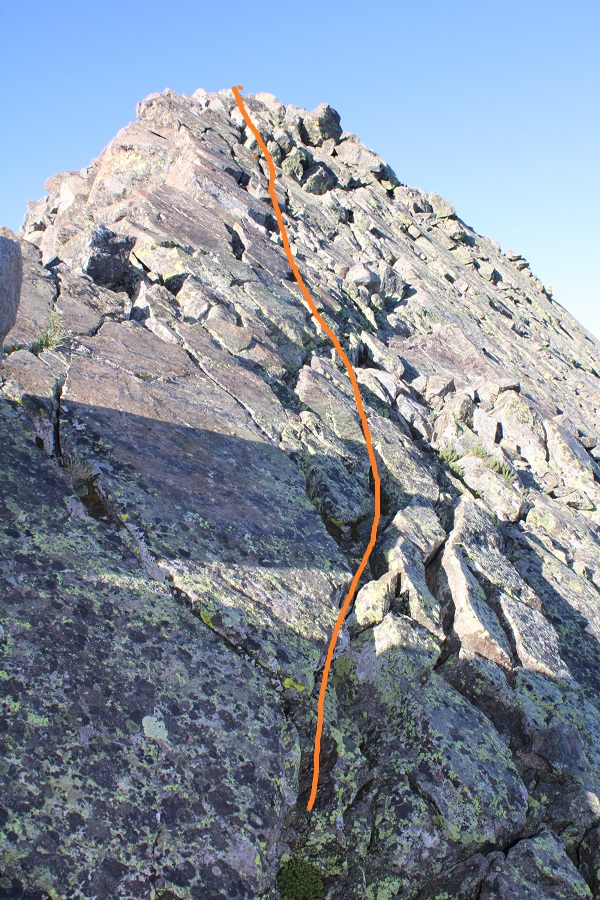
This is the route I took

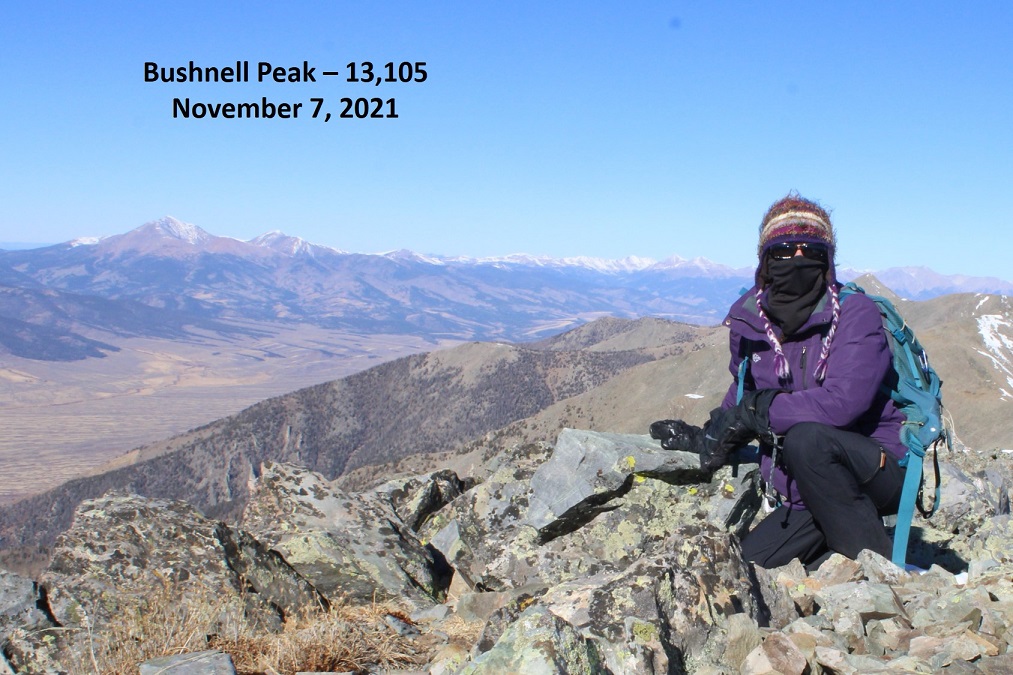
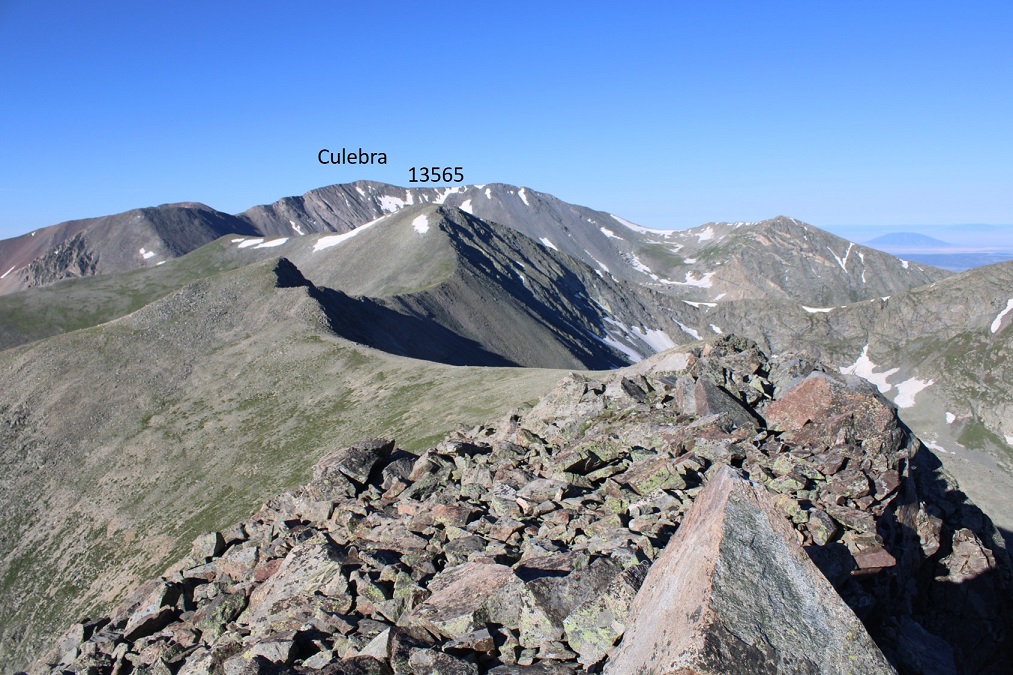
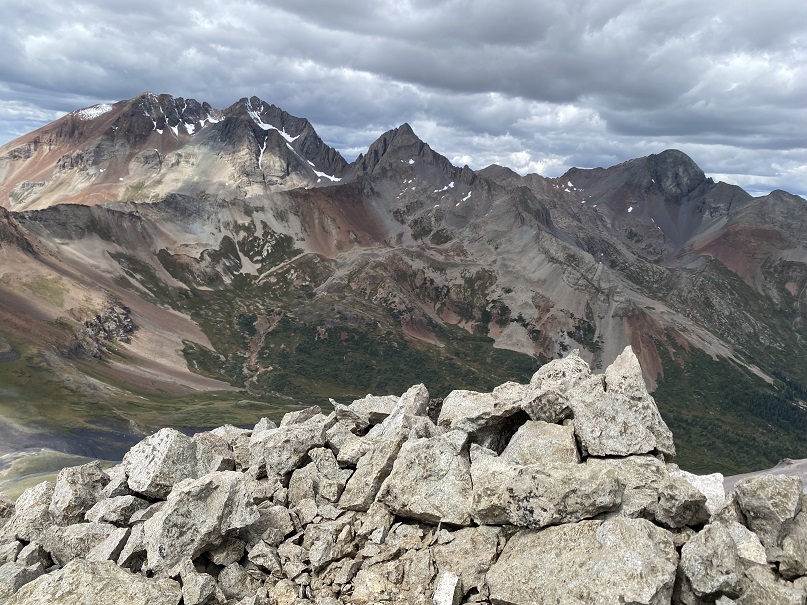
Here’s the view from the summit, looking east

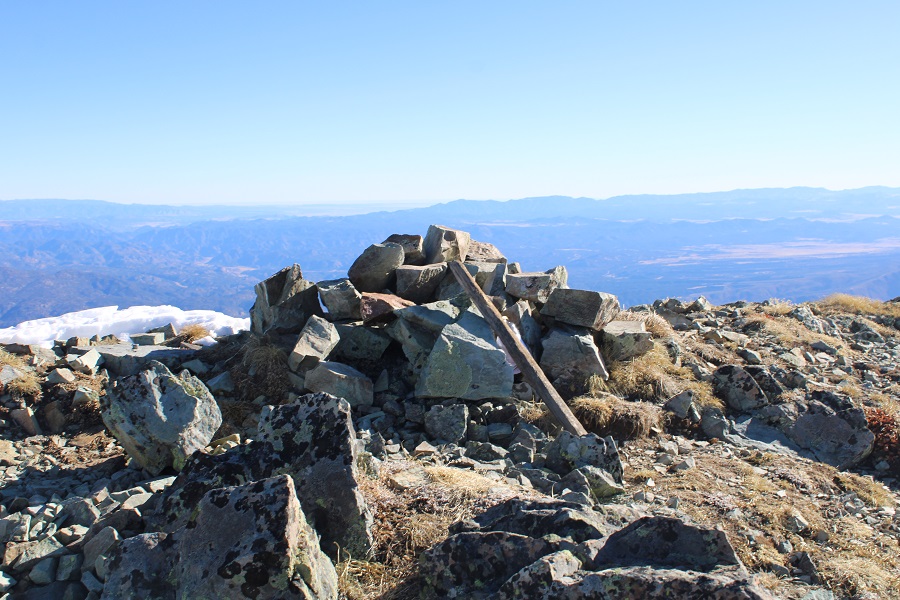
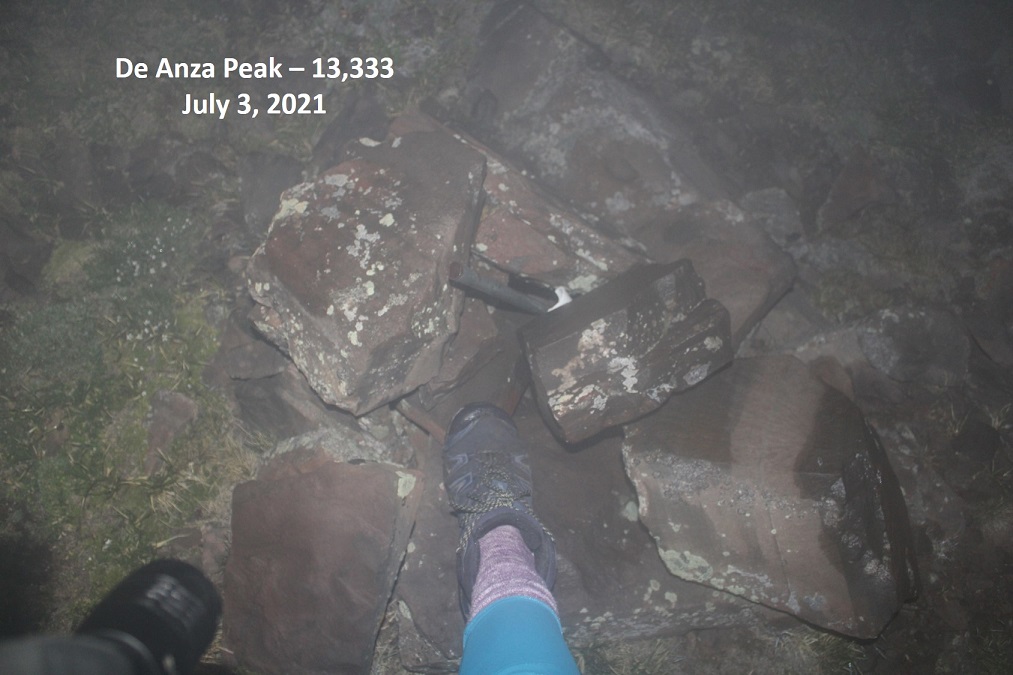
I summited Lizard Head at 12pm
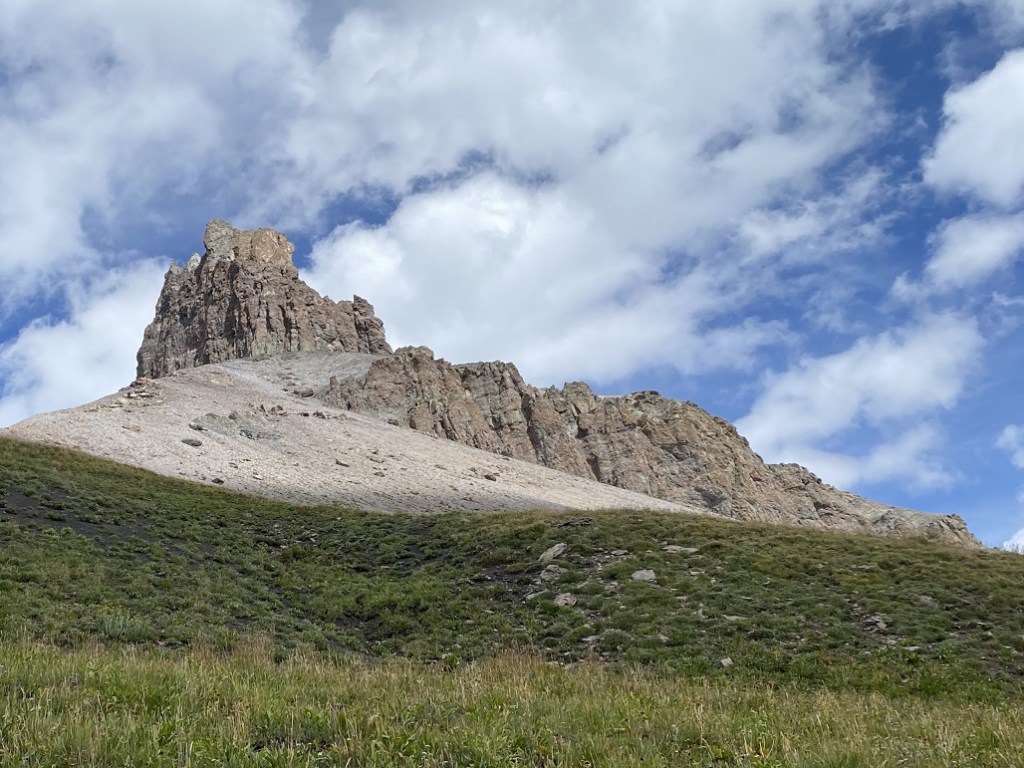
Lizard Head:

There was a summit register, but it was missing its lid.  The pages were enclosed inside a ziplock bag that had holes chewed through it, so if the next person could bring a new summit register that would be great.  As you can see by my sloppy handwriting, I had very little use of my fingers/no dexterity, so my penmanship was terrible (one of the many reasons I rarely sign registers, but this one felt important).

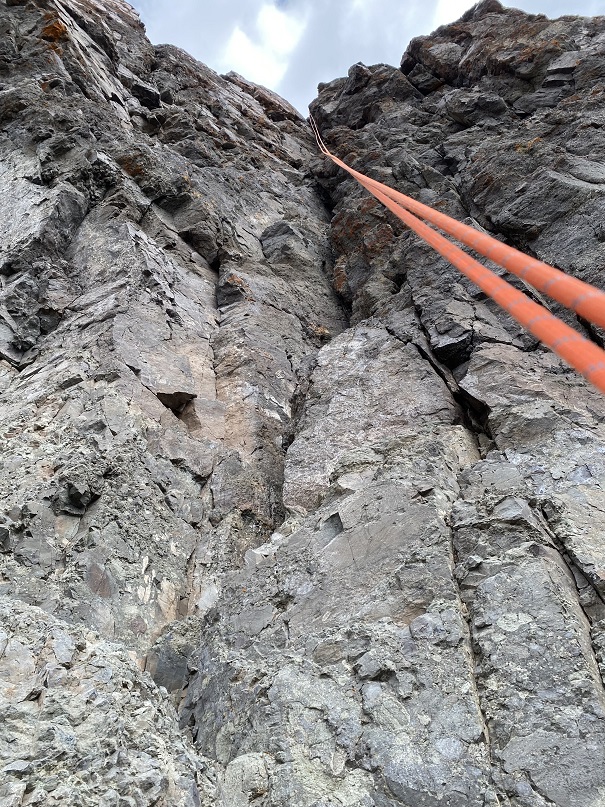
There were two bomb-proof rappel stations on the way down, which meant two rappels.  The first was about 200’, the second about 100’, back down the initial chimney crack I climbed up.

Then it was time to change out of rock-climbing gear, and head back to the trail down that wonderful pile of choss and head back on the Cross Mountain Trail back to the trailhead.

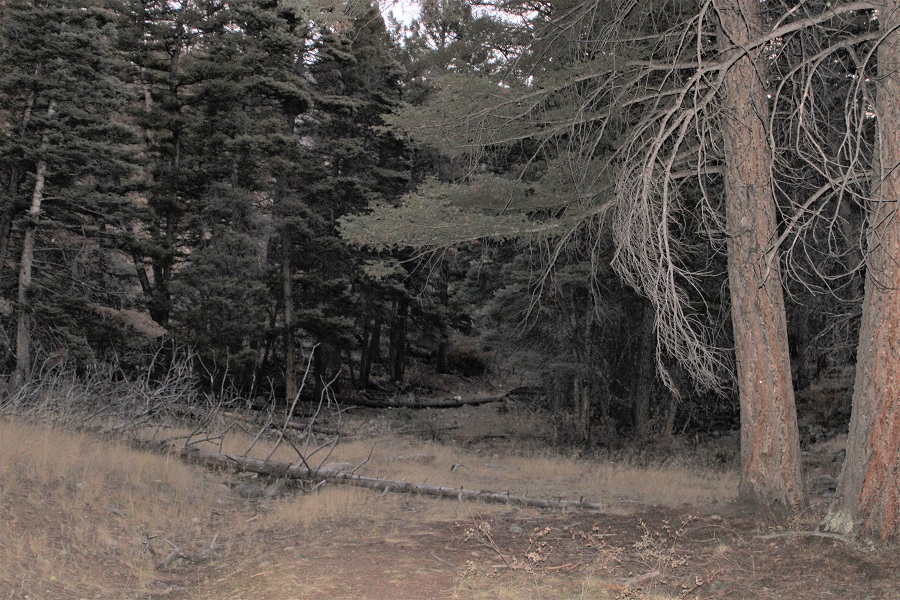
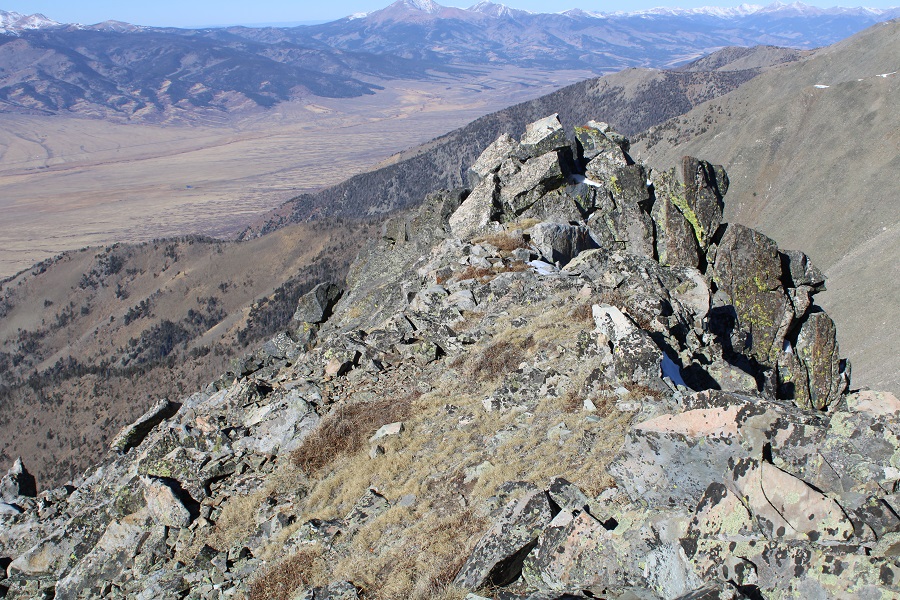
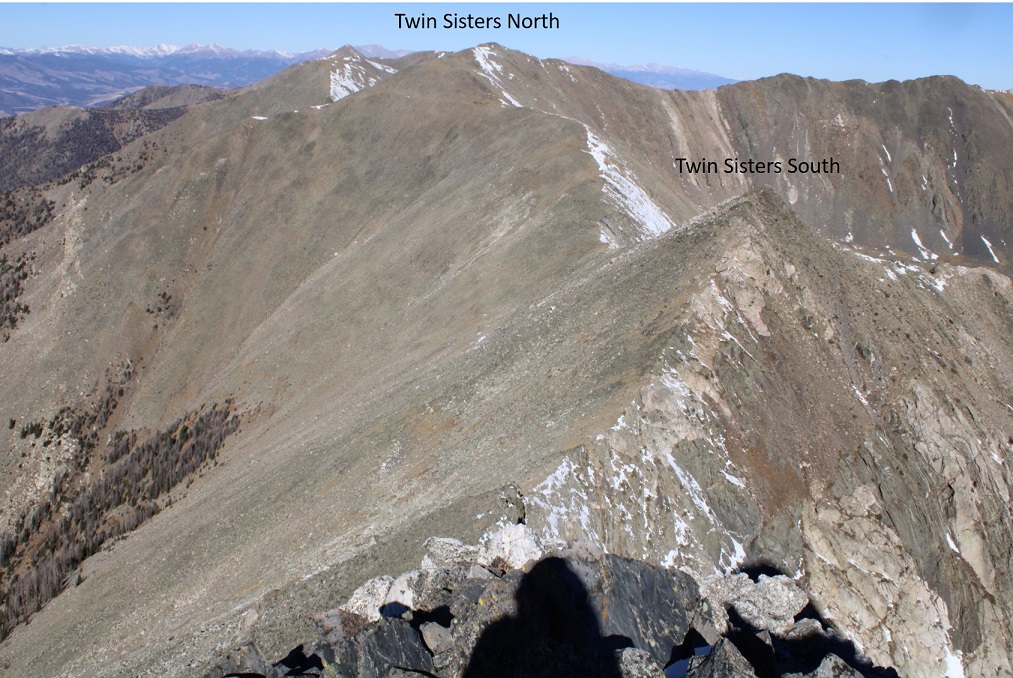
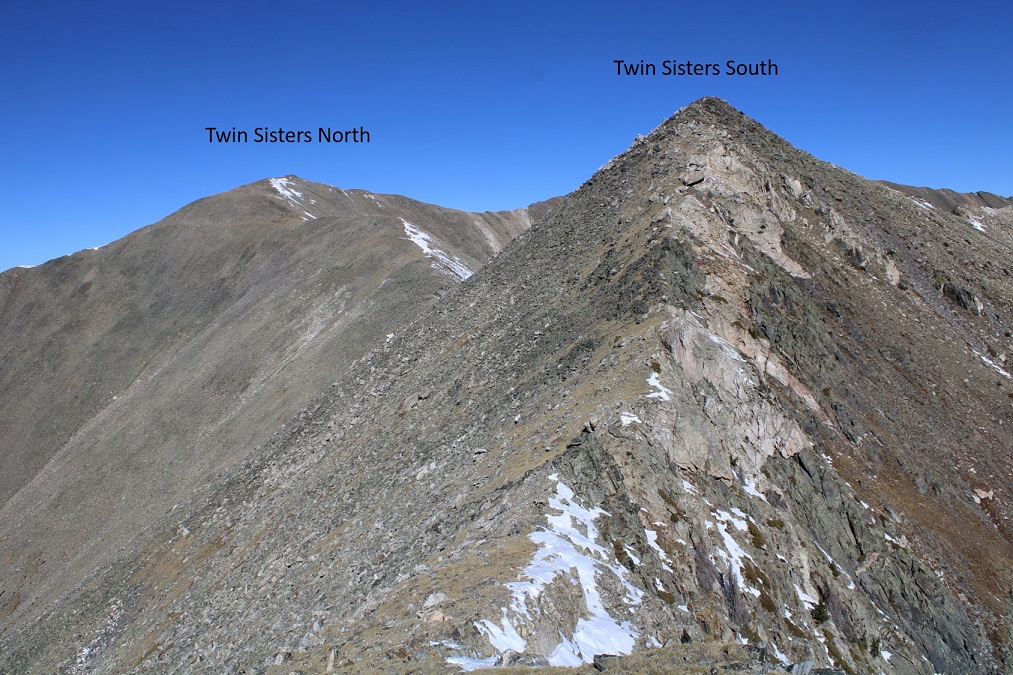
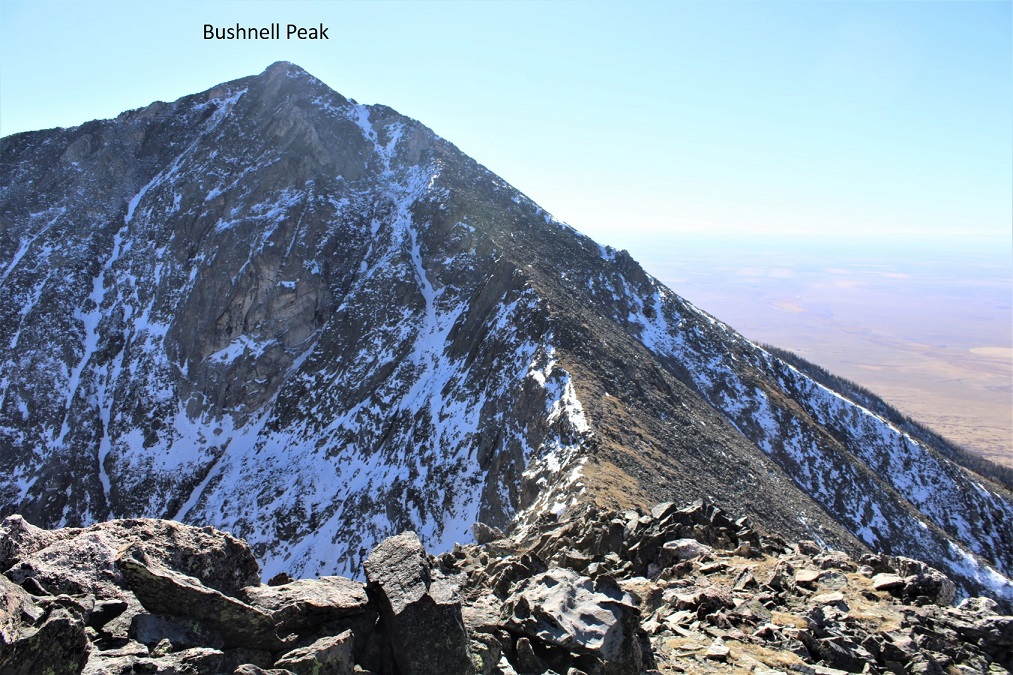
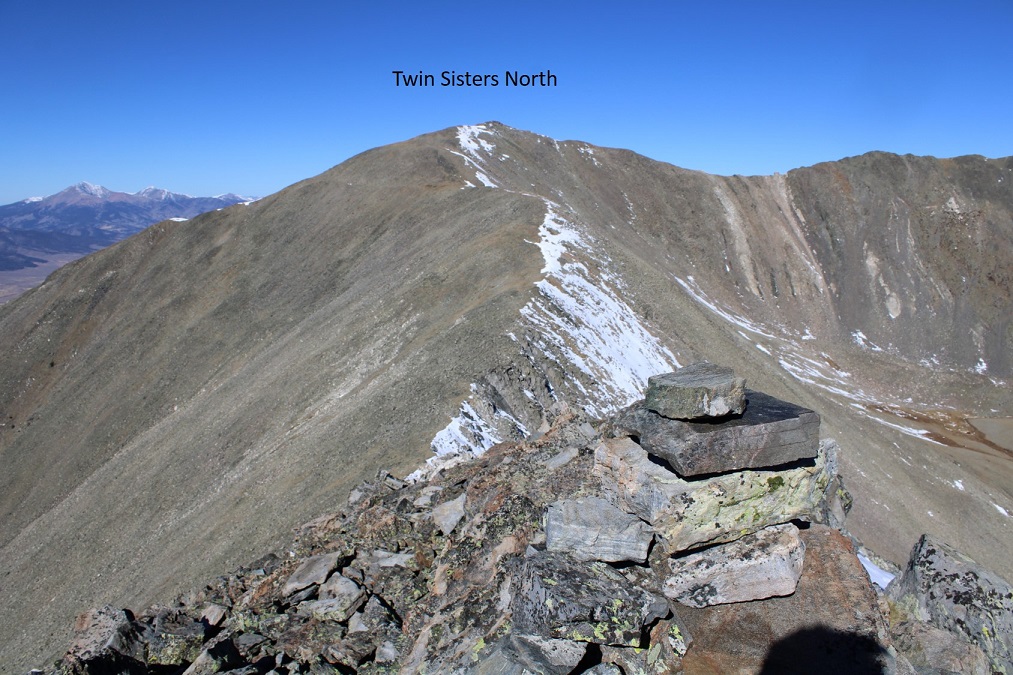
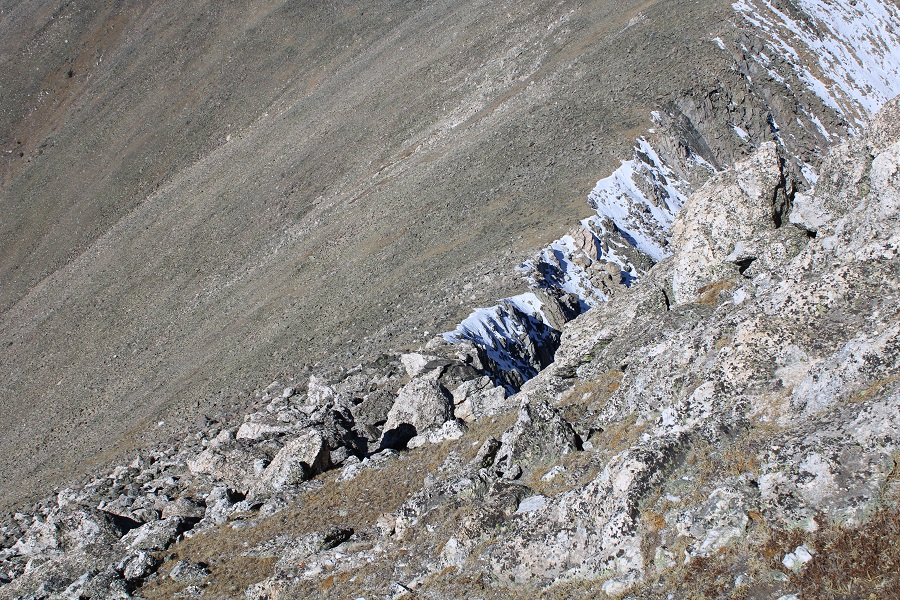
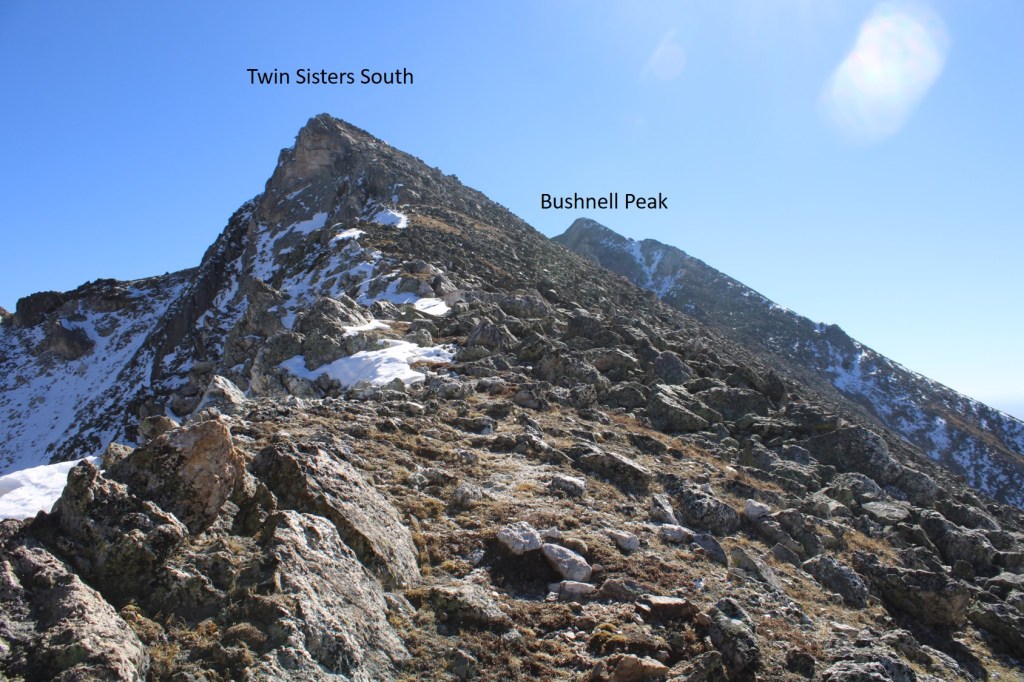
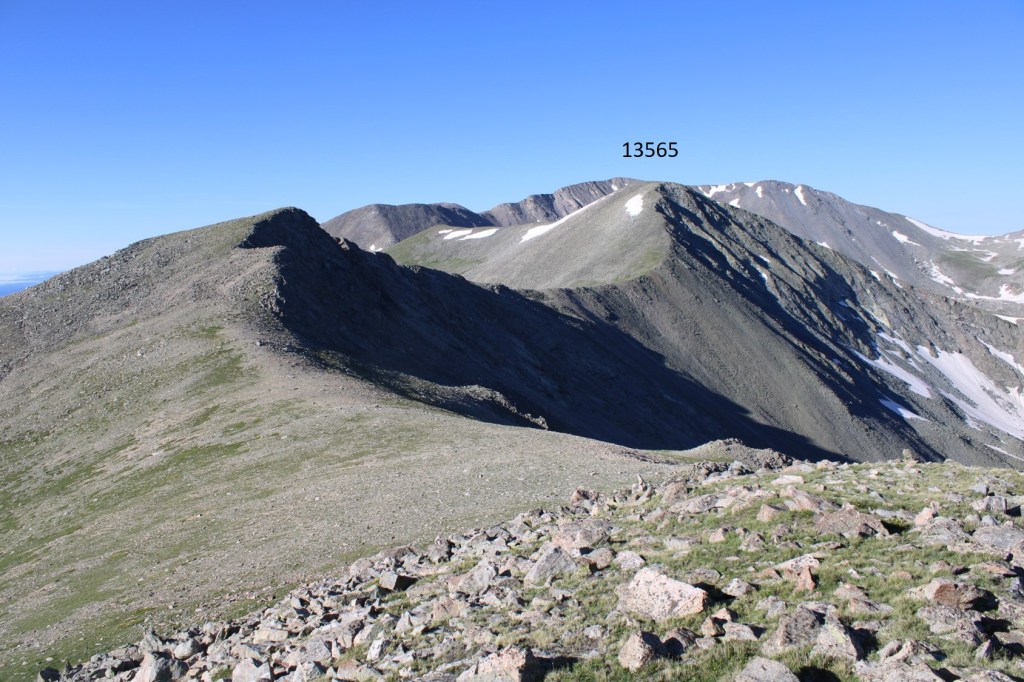
Once again, I apologize for this not being the quality of report I usually like to give out, but hopefully some of the pictures are helpful.  Here are more pictures of the peak.

I made it back to my truck at 3pm, making this a 12.86 mile hike with 3566’ of elevation gain in 7 hours, 45 minutes.  I believe the mileage seems a little high, but those are the numbers CalTopo gave me.  Strava gave me drastically different numbers. 

On to the next trailhead!

P.S.:  I did indeed have a Raynaud’s attack on the climb, and while I don’t think I’ll loose the tips of my fingers, I do currently have blisters which will probably turn into ulcers on a few of the fingers on my left hand.  They currently feel like I touched a hot stove.   This is normal for people with Raynaud’s, and totally worth it for me to make this climb! 

Bushnell Peak – 13,112 & Twin Sisters North – 13,009

RT Length:  10.07 miles

Elevation Gain:  5296’

It should be noted the Ferguson Creek trailhead is closed from March 15 – May 15 every year for Sage Grouse mating season. 

The weather forecast changed overnight.  Yesterday it predicted 10-15mph winds.  Today, 35-40mph.  Hmmmm…. Well, it was supposed to be warm, and I was already at the trailhead, so I decided to give it a go. I actually drove past the creek, turned left at the junction after the creek, and then drove for about a mile on the 4WD road before finding a spot to park for the night. 

If you don’t have a 4WD vehicle, there’s plenty of parking/camping at Ferguson Creek. 

I could have driven all the way to where the scrub oak ended and the trees began, but that would have meant getting Colorado pinstripes on my ‘new’ truck.  Instead, I parked in an open area and took in a view of the peaks I’d be attempting tomorrow.  They looked straightforward enough.  My campsite was at 8500’, and from this angle, I couldn’t imagine there was enough elevation difference to make Bushnell and Twin Sisters both ranked peaks. Boy, was I wrong! 

I was also surprised:  it was a Saturday, the weather was great, it was hunting season, and no one passed me on this road the entire time I was here.  I made it an early night, and once again, pressed snooze on my alarm several times before hitting the trail the next morning: I’ve gotten too comfortable sleeping in the cab of my truck.  I was on the trail at 6am.

I followed the 4WD road east for about a mile and a half through scrub oak to the trees.  CalTopo says this is road 985, but it isn’t marked anywhere.

The roads here aren’t named.  The only junction I came to I kept hiking straight.

If you plan on driving your vehicle all the way to the trees, there are several campsites just before and after entering the trees.

The road doesn’t end at the trees, but there are some very large pine trees that have toppled and block the road from sight.  They make it look like the road ends, but if you scramble over the trees and aim north, you’ll run into the road again. 

I followed the road northeast

I crossed the stream 3 times

Passed the remnants of a cabin

And started switchbacking up the hillside, following the old road the entire time.

The road took me to treeline, where it ended. From where I parked my truck, it was 3.3 miles to the end of the road.  If you hiked from Ferguson Creek, it would be about 4.5 miles to treeline.

When the road ends at 10855’, there’s a cairn on a rock in the middle of the trail.  This is where I turned right, and headed east towards Bushnell Peak.

This is where the intense elevation gain began.  From treeline, I gained 2250’ of elevation in 1.25 miles to the summit of Bushnell Peak.  I just kept heading east

Once on the ridge the wind picked up.   I put on my balaclava and heavy mitts and kept hiking east, staying on the center of the ridge.

The terrain became rocky. These rocks weren’t too large, but they weren’t stable either.

I came to some interesting rock formations, which I passed and continued up the ridge.  This was class 2.

I stayed directly on the ridge all the way to the summit of Bushnell.  It was class 3 at times, but only for short sections.  I’m sure the summit could have been kept class 2 if I’d dipped to the right, but I was fine with a little class 3 scrambling (there are cliffs to the left).

I summited Bushnell Peak at 9:30am

Bushnell Peak:

Now, on to Twin Sisters South (unranked) and Twin Sisters North.  I could see them to the northwest.  I retraced my steps down the ridge for about .2 miles, and then followed the ridge northeast to the Bushnell/Twin Sisters South saddle. 

Here’s that class 3 section on the way down.  I went straight up and over the top, but could have dipped to the left to keep it class 2.

Then I turned right and could see the Bushnell/Twin Sisters South saddle.  This was all class 2, but with large rocks that were unstable, so I had to watch my footing.  Here I lost 592’ of elevation to the saddle.

From the saddle I gained 213 feet to the summit of Twin Sisters South

The ridge to Twin Sisters South was easy to navigate.

I summited Twin Sisters South, and turned around to look back at Bushnell Peak

Then I continued following the ridge northwest towards Twin Sisters North, first losing 250’ of elevation to the Twin Sisters North/Twin Sisters South saddle. This was all class 2

Here’s looking back at Twin Sisters South and Bushnell Peak from the Twin Sisters North/South saddle.

From the Twin Sisters North/Twin Sisters South saddle I gained 530’ to the summit of Twin Sisters North, mostly on tundra and small rocks.  Here’s the overall route I took, still class 2. 

Here are some closer pictures of the ridge

The summit was at the north end of the ridge

I summited Twin Sisters North at 11am

Twin Sisters North:

There was no summit register, so I left one, and headed back towards the Twin Sisters North/Twin Sisters South saddle. The wind still hadn’t let up, and I was anxious to get to a place without wind.

I didn’t go all the way to the saddle.  Instead, at 12900’ I started descending south.

This area was steep, and filled with rolling talus.  I aimed for the drainage, heading directly south.  I could clearly see the road, and aimed for it as I descended (circled in red) 

Once in the drainage, I followed it to where it joined with another drainage, crossed it, and aimed for the road, heading southwest

Here’s looking back up the gully I used as my decent route

Once back on the road (cairn circled in red) I was finally able to take off my cold weather gear as I was now out of the wind.  I followed the road southwest, back to my truck

I made it back to my truck at 1:30pm, making this a 10.07 mile hike with 5296’ of elevation gain in 7.5 hours

De Anza B – 13333, Beaubien Peak – 13184, Francisco Peak – 13135, Lomo Liso Mountain – 13112, Miranda Peak – 13466, PT 13569, PT 13229

RT Length:  16.25 miles

Elevation Gain:  6102’

I am so glad this happened!  Everyone I met on this trip was highly competent, an avid mountaineer, and just a generally great person.  My only regrets are that we didn’t have more time to chat, and the group was split due to weather and all 15 of us couldn’t have met at the same time.  I’m looking forward to when we have gatherings again, as you are all my people!   

We had originally planned to hike these peaks last weekend, but the forecasted snow had us put off the trip for a week, and our group of 15 got split up into 3 groups.  6 of us arrived at the Whiskey Pass gate around 4pm and were escorted up to the Whiskey Pass campsite to be the first group of 2021 to hike the Northern Cielo Vista 13ers.  We left the two Subaru’s down low, but they could have made it up the 4WD road to the campsite (but not to where they shuttled our vehicle and we exited).  I never put my truck into 4WD on the way up.

Our campsite for the night was at 11,500’, and absolutely beautiful.  If was obvious no one had been up there in quite a while.  It was nice to put faces to names, and all of us chatted for a bit.  Some of us slept in our vehicles, and others set up tents.  We all had different ideas for what we wanted to accomplish on our hikes the next morning, and all got to bed relatively early so we could start early. 

I was unsure when I went to bed what time I’d start, but when I woke up without an alarm at 1:45am I knew it was time to get going.  I was on the trail by 2am.  I didn’t see anyone else up, which meant they were either already on the trail or starting later (both ended up being true).  I wanted to get De Anza peak first, so instead of going over Whiskey Pass I started out heading northeast.  Here’s a visual.  There’s actually a road up there I followed for a couple dozen yards before I circled around the side of the mountain and headed northeast for the De Anza/Whiskey Peak saddle. 

Sorry, but since it was so early in the morning, I don’t have pictures from the hike to De Anza or Whiskey Pass, so you’ll need to use the topo map as reference, but I believe it’s self-explanatory.  Also, the weather was terrible:  I was hiking in fog the entire time.  I’m not sure if you’ve ever hiked in fog in the dark, but flashlights are useless.  You can only see about 5 feet in front of you, and actually have a better visual turning your flashlight off for a second to see the terrain.

Hiking up to De Anza was easy, as all I had to do was keep hiking northeast and up and I knew I’d eventually make it to the summit. When I did, I thought to myself “that was too easy” and had to check my Peakbagger app to verify I was already at the summit.  I was, so I took a picture of my feet at the summit cairn, and headed back down. My advice on this peak:  If you’re already paying to hike here, hike De Anza as well.  I’m guessing it may have added half an hour total to my hiking time.  Totally worth it, and super easy, especially by avoiding Whiskey Pass on the way up, which meant less scree/talus to navigate:  it was all tundra for me.

Hiking back down the ridge was the tricky part.  It was still dark and foggy and I had no visual sense of direction.  At one point I encountered snow and knew I was going the wrong way because I hadn’t encountered snow on the way up.  At times I’d point my flashlight away just so I could see the terrain better.  I kept my compass in front of me and did my best to head southwest down the ridge. Hiking in the dark with fog is not ideal. 

Once again, no pictures here as I made my way to Whiskey Pass.  In the daylight this is probably easy to navigate, but in the dark I kept coming across large gaps in the ridge I had to maneuver around.  If you’re doing this in the daylight I’m sure the route is obvious.  If you’re doing it in the dark I’d say if you’re in doubt, stick to the right (west) when you encounter a chasm/drop off.  It’s all class 2, so if you feel it’s more difficult than that, re-assess your route. 

The hike from Whiskey Pass up to Beaubein Peak was a straightforward ridge hike.  It was still dark, but the sun was starting to rise as I kept heading south. 

Summit of Beaubien Peak

Beaubien Peak:

Here’s my view looking back at De Anza. 

It’s colder than it looks

Next, I continued following the ridge south.  The clouds didn’t seem to want to go away. I could see Culebra in the distance, and was just waiting for the fog to lift and the sun to rise

Here’s a look at Francisco Peak

Once again, I hiked through the fog to get there

From the summit, it looks as if the true summit of Francisco Peak is further southwest (where the cairn is), but it isn’t. It’s actually where I’m standing, taking this picture.

However, I didn’t realize this until I’d walked over to the other side, so you get a picture of me there, not at the actual summit… but close. 

Francisco Peak: 

Here’s looking back on the route so far.  Still colder than it looks

The clouds now behind me, I continued following the ridge south towards Lomo Liso Mountain.  This was an easy ridge walk on tundra

The summit was large and flat and it was again difficult to figure out where the ‘true’ summit was, so I went with where the cairn was located.  Side note:  all the summit registers on all of these peaks have been broken and are empty. 

Lomo Liso Mountain:

From the summit of Lomo Liso you can clearly see the rest of the route

From the summit of Lomo Liso I turned and headed northeast, and then followed the ridge southeast.  It’s really quite obvious the direction you should go.

There were some ups and downs to the ridge, but it was a simple tundra hike

This is also where I saw my first herd of elk for the day (I ended up seeing 3 herds total, but some were too far away to see in pictures, as they were down in the basins)

After the elk ran away from me I hiked up the north slope towards Miranda Peak

The last bit to Miranda is class 3 for a short distance.  Here’s the overall route.  If you’re in a large group you may want a helmet for the loose and rocky gully (but it’s relatively short, I’d suggest just taking turns ascending so you don’t kick rocks on the person below you).

Once in the gully, here’s how I ascended to the ridge

Once on the ridge I dipped to the left (east) to go around PT 13247, and then stayed on the ridge proper towards Miranda.  This area reminded me of the knife edge on Capitol, but with less exposure and better footing. I was able to put my feet in the cracks and walk across easily.

Miranda Peak: 

Miranda is unranked, so I didn’t take a summit selfie. From Miranda you can see Culebra, as well as the next ranked peak:  PT 13565.  As you can tell from the picture below, it’s a simple ridge hike.

The summit of PT 13565 was also flat, and the summit register was also broken with the information missing (hopefully the next group will bring new summit registers)

13565:

Here’s looking back at some of today’s peaks from PT 13565

Turning west, then following the ridge northwest, it was an easy hike to PT 13229

13229:

After summiting PT 13229 I returned to the 13565/13229 saddle and then turned right and headed south.

This is where it gets tricky.  There’s a large area where you can cliff out on your descent.  You’ll need to hike much further south than you want to so you can avoid the cliffs.  I looked for a break in the cliffs, and didn’t descend until about 12500’, down a gully.  Here’s what that looked like from above

Here’s what you’re trying to avoid, and a view of how I came down (from below)

Once in the basin, I headed northwest.  It’s important to stay between Cameros Lake and the smaller pond

Here I saw a herd of elk.  Of course, they didn’t stay long

As I exited the basin, I came upon two sets of cairns, which led to a very faint trail that eventually became a more pronounced trail and then an OHV track that led me out of the basin, and back to the 4WD road.

The trail stays to the north of Carneros Creek.

Once below treeline the hike seemed to take forever, as it was another 4 miles to where they’d shuttled our cars.  There were a lot of downed trees, and a lot of elk tracks.  I heard a few turkey, and I even startled some elk on the trail that ran away as I approached.  Eventually I crossed Carneros Creek on a few logs that had been placed for just such purpose. 

And made my way back to where they had shuttled our vehicles.  As I arrived, Carlos was just bringing the last of the vehicles up.  We chatted for a bit (they are seriously super nice:  every time I’m here they act as if all they care about is my happiness, which is appreciated, considering we pay quite a lot for the privilege of hiking there).

I’d really recommend having a GPX file for this route, if just to get out of the basin and back to the vehicles, as most of the rest of the hike above treeline is self explanatory.  Message me if you’d like mine (although I’ll admit it’s not perfect).  I’d assume if you’re hiking these peaks you have a good sense of direction, and that you have a lot of off route hiking experience, so you should do just fine.  Most of this hike is on tundra, and the gully/ridge section just before Miranda is quick and nothing to worry about.  I’d like to add the drive down was more difficult than the drive up, as we were now in a different area and the road had more divots and ruts to navigate.  I still didn’t need 4WD, but I couldn’t have done it without clearance.  Carlos did use spray paint on the grass/dirt to indicate which turns to take, which was helpful.

I made it back to my truck around 11:30am, making this a 16.25 mile hike with 6102’ of elevation gain in 9.5 hours.  On to the next trailhead!