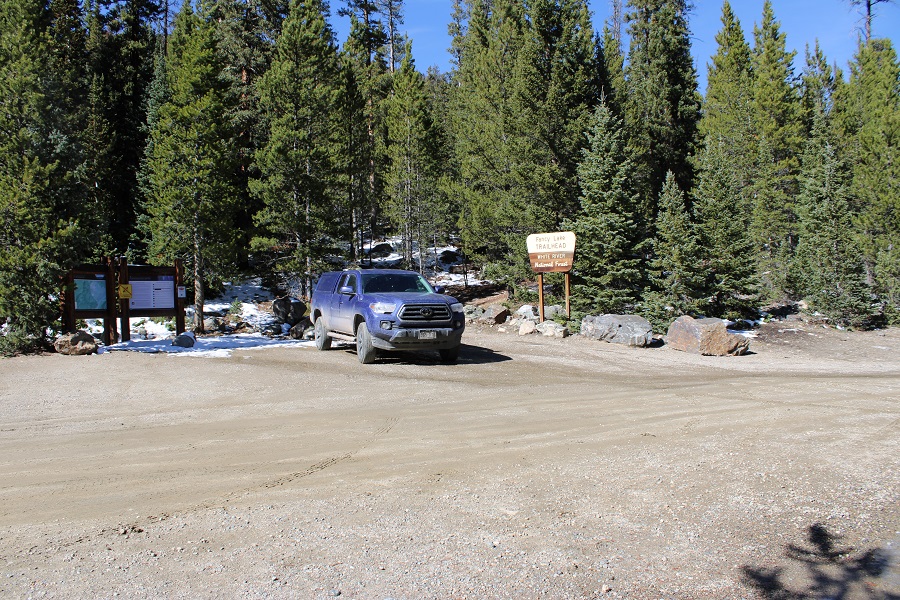
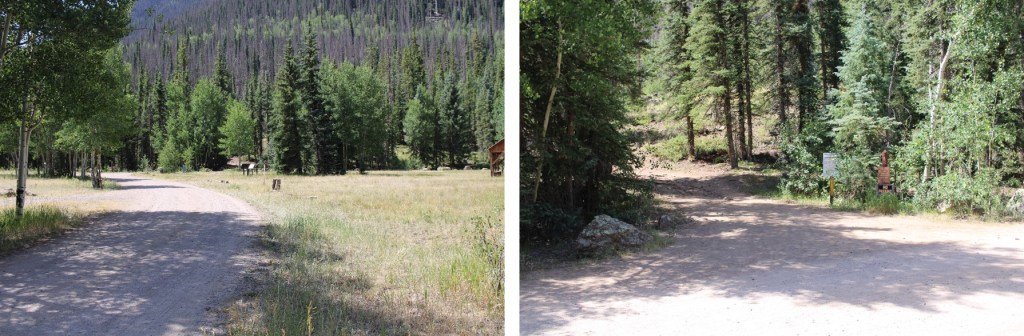
I arrived at the Fancy Lake trailhead and was on the trail at 6:30am. The drive in was on a 2WD dirt road, easily accessible except for the last 2 miles, which had a couple of inches of snow still on the ground. Luckily, enough vehicles had driven through the snow and there were bare spots to still keep this a 2WD road. The beginning of the trail is obvious. The trailhead has clean bathrooms and plenty of parking.
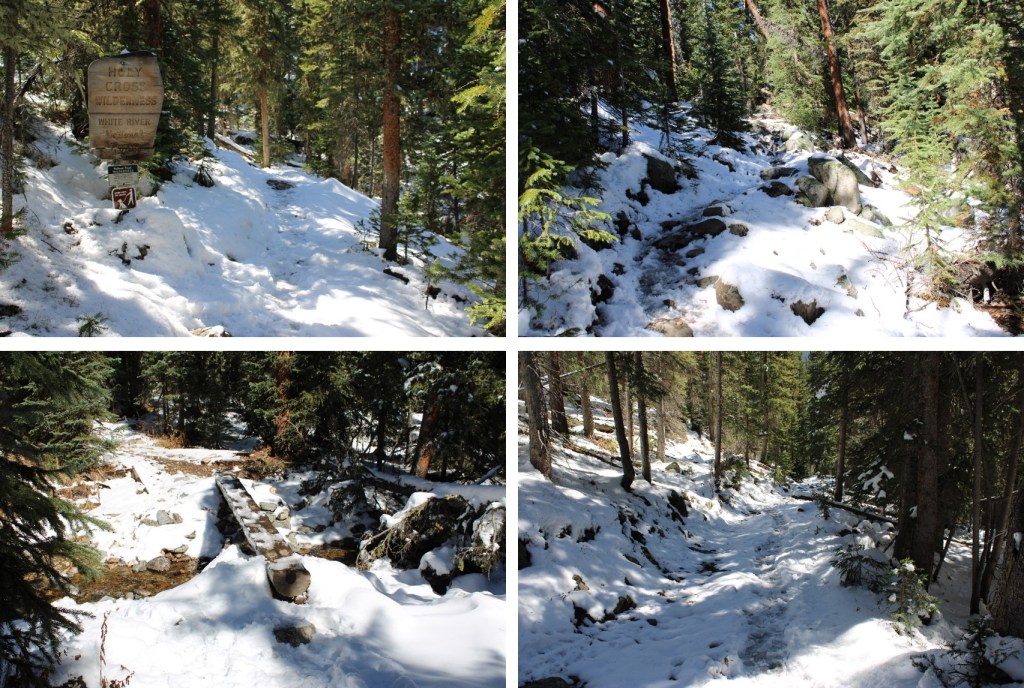
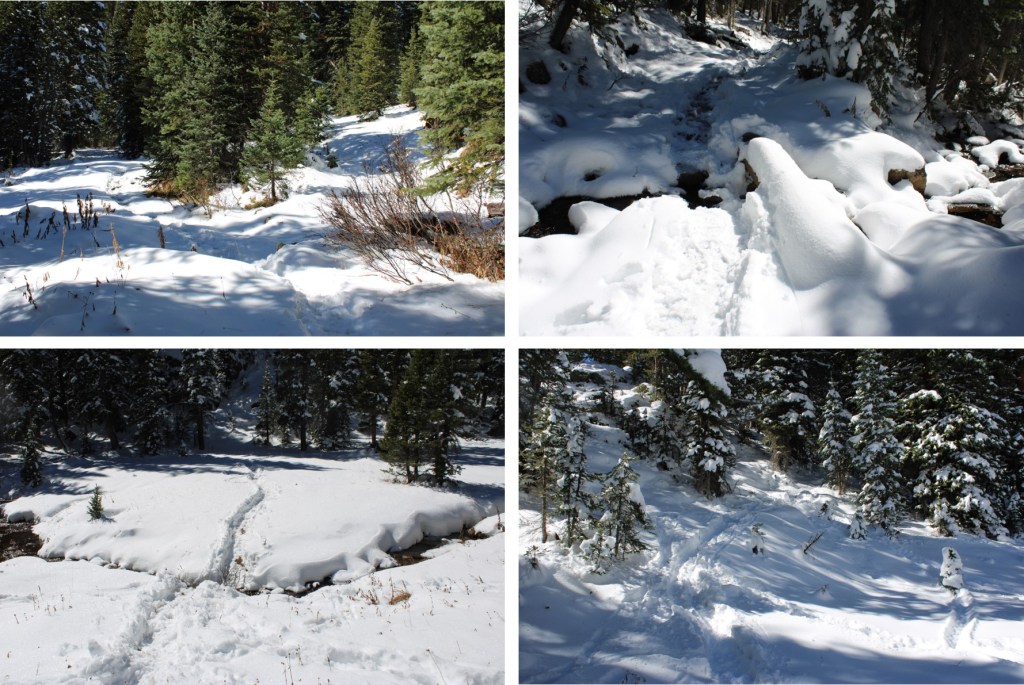
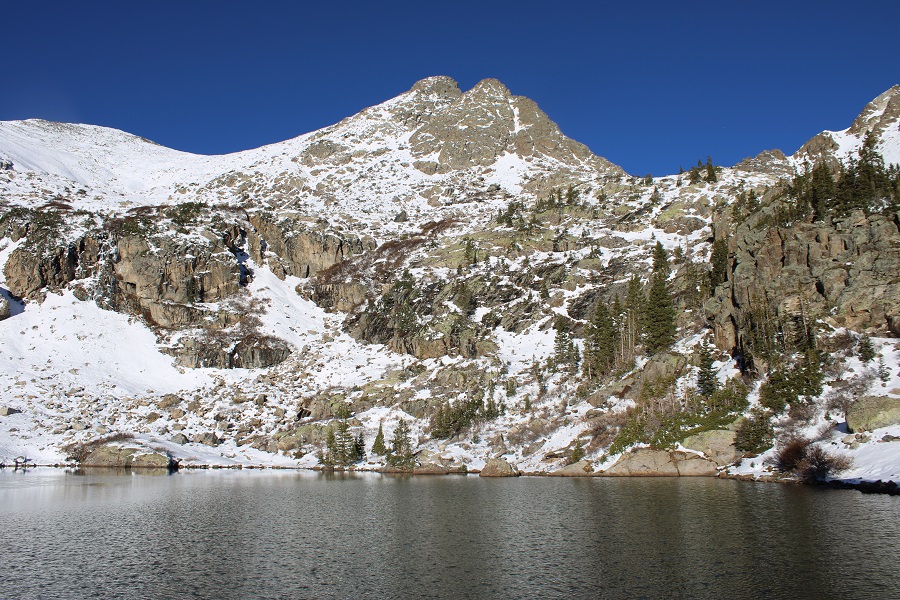
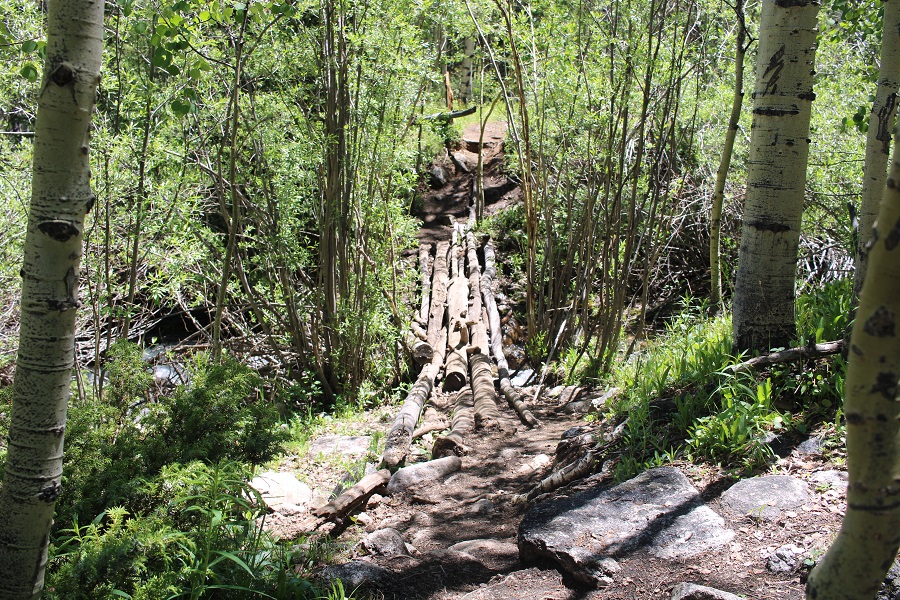
I followed Fancy Lake Trail 2006 for 3.3 miles northwest to Fancy Lake. This is a class 1 trail and easy to follow. There was a nice footbridge at the crossing over Fancy Creek.
I sat and admired Fancy Lake for a bit, as it was a beautiful day
From the lake I turned and headed east, to continue following the trail to Fancy Pass.
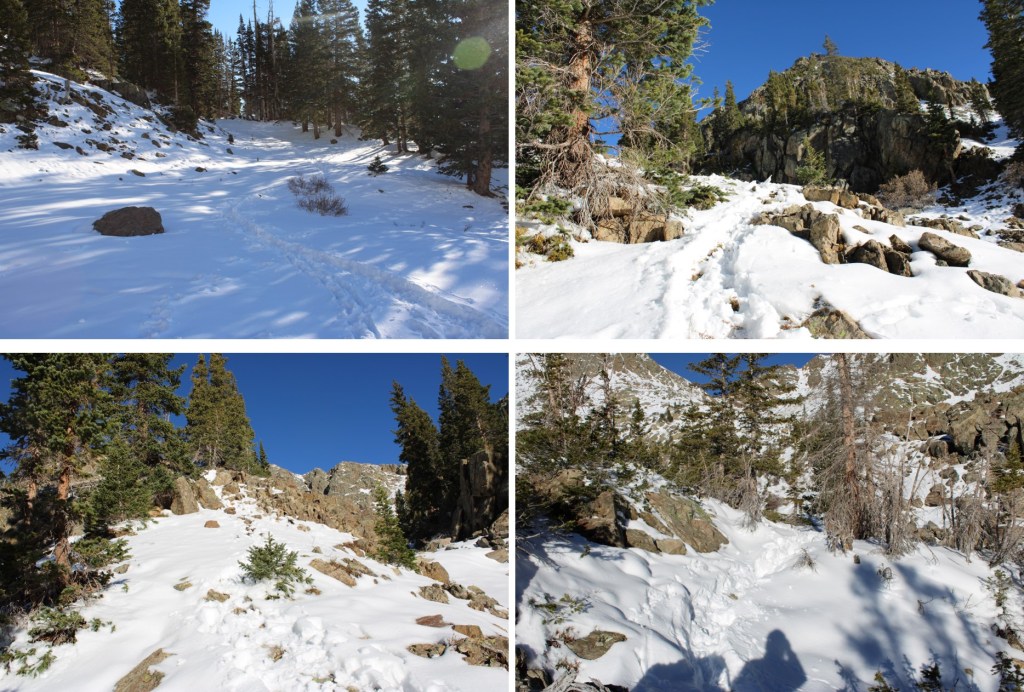
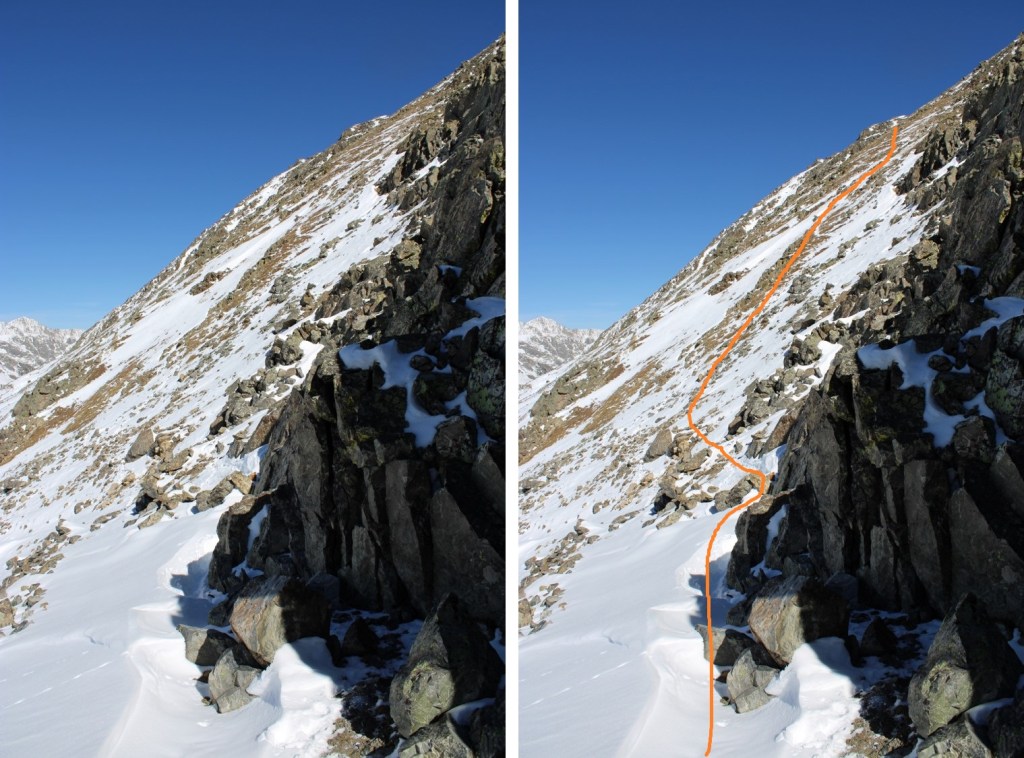
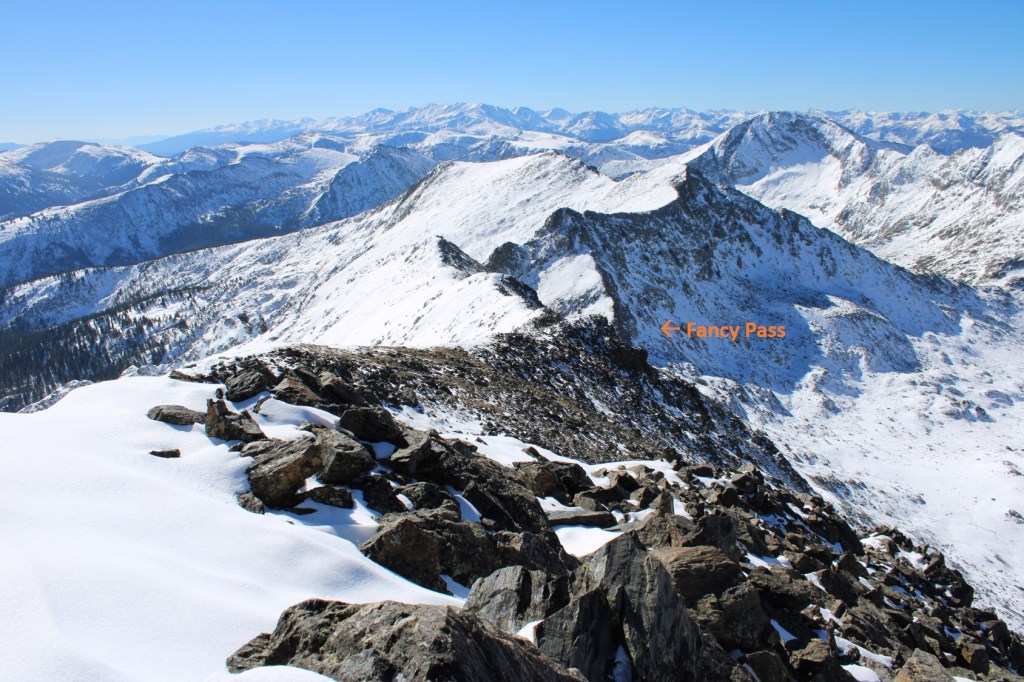
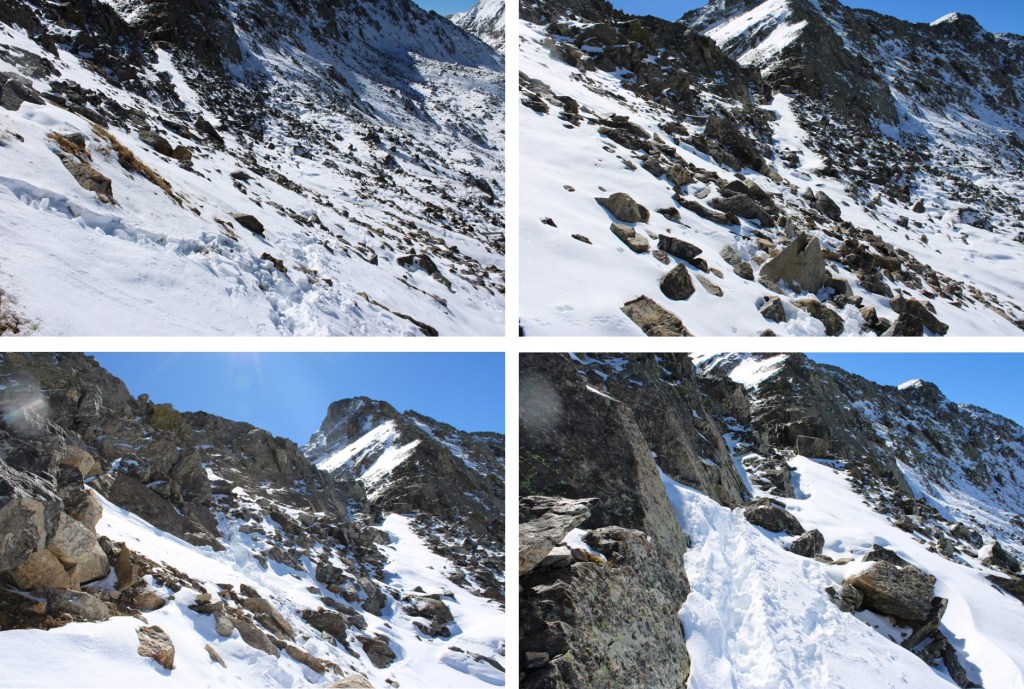
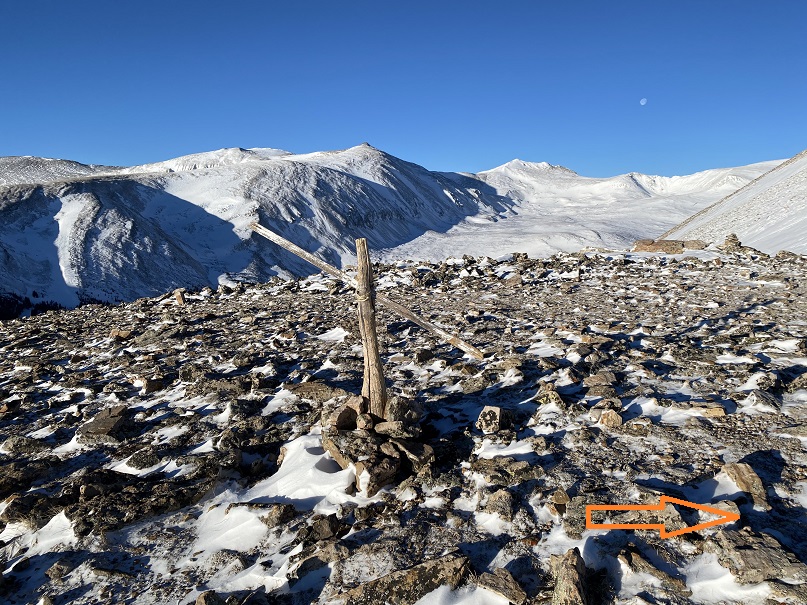
It was a total of 4.25 miles from the trailhead to Fancy Pass. At the pass, I dipped down to avoid the class 3 section, then gained the ridge as quickly as I could.
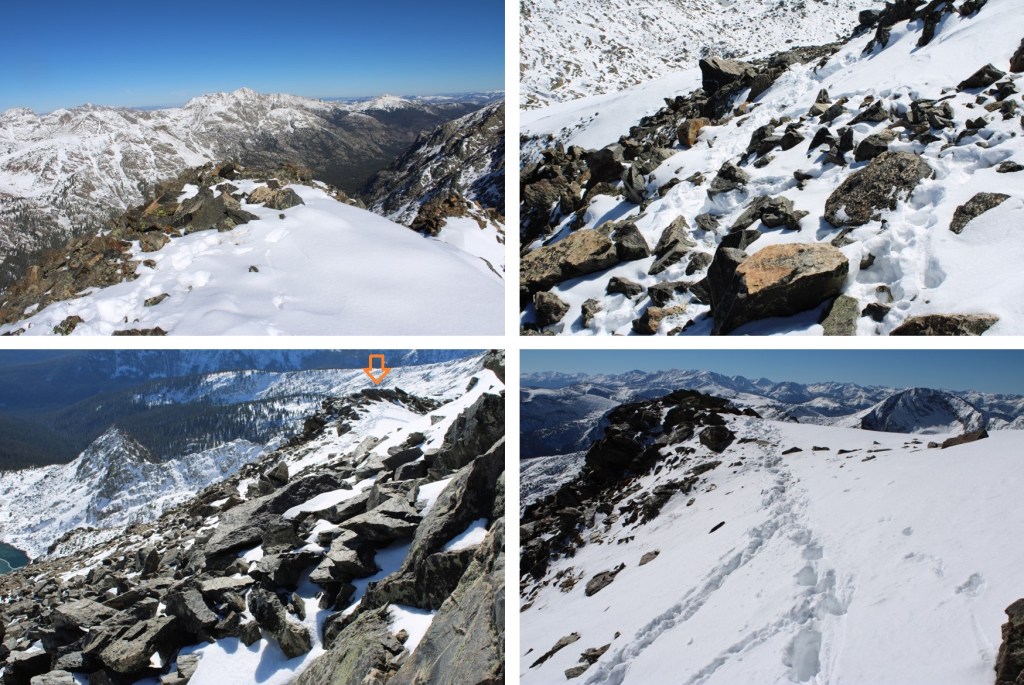
The downclimb to avoid the class 3 section was easy, class 2 (there might even be a trail here in summer)
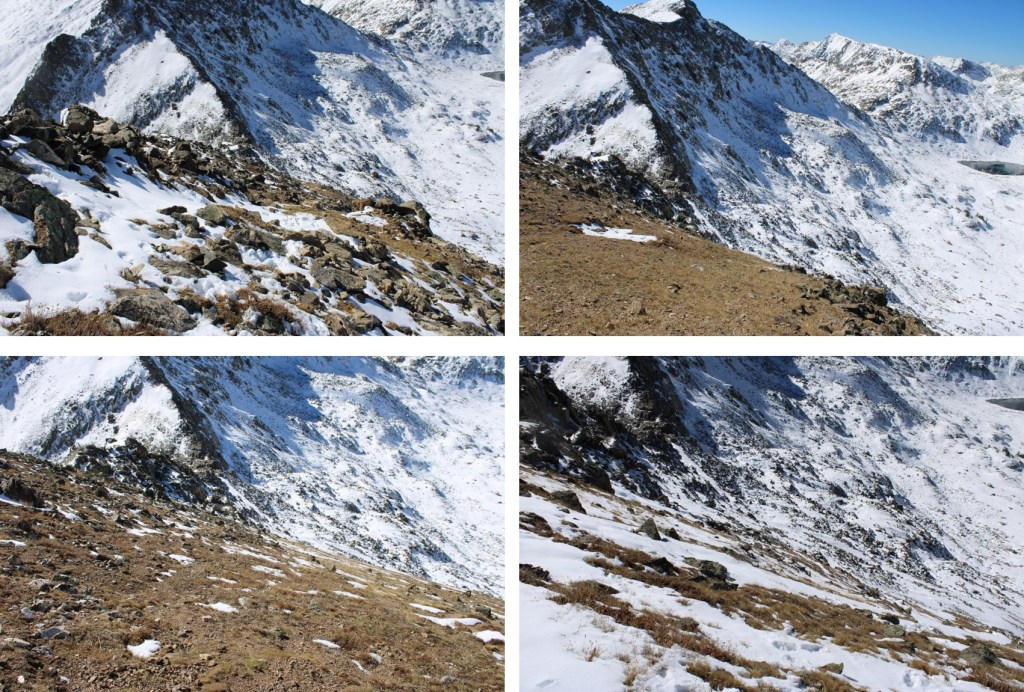
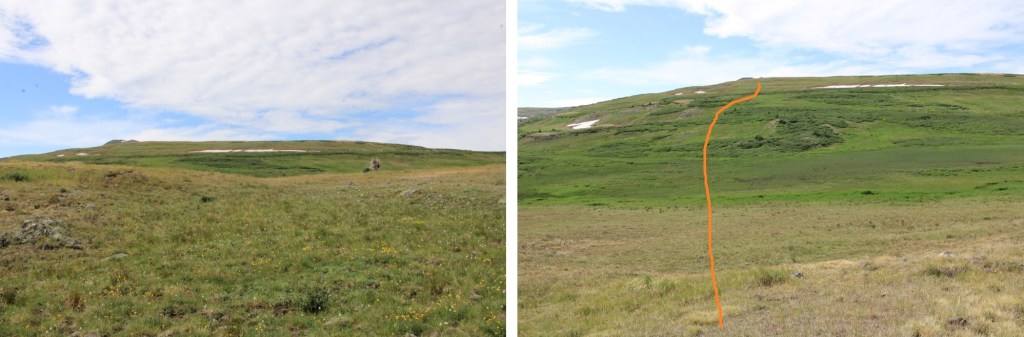
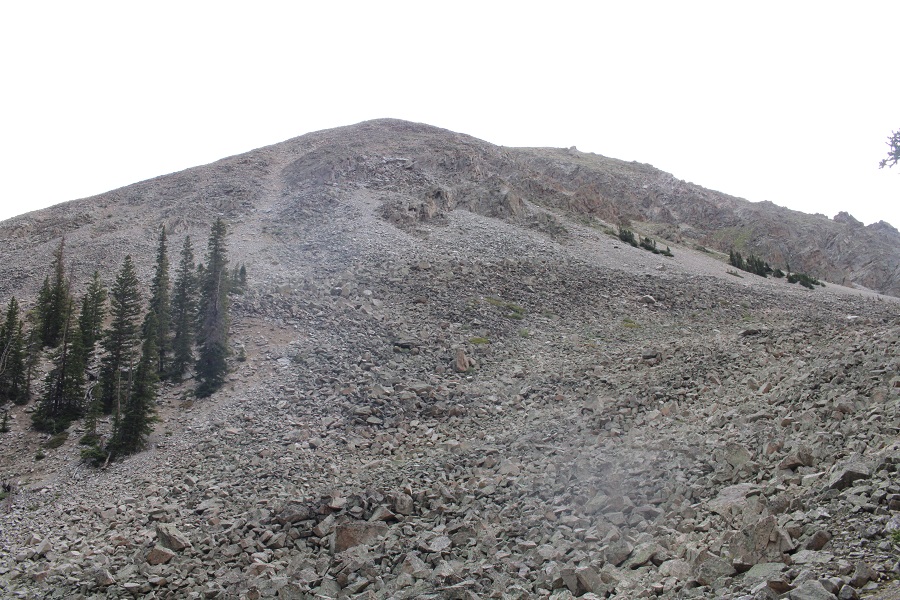
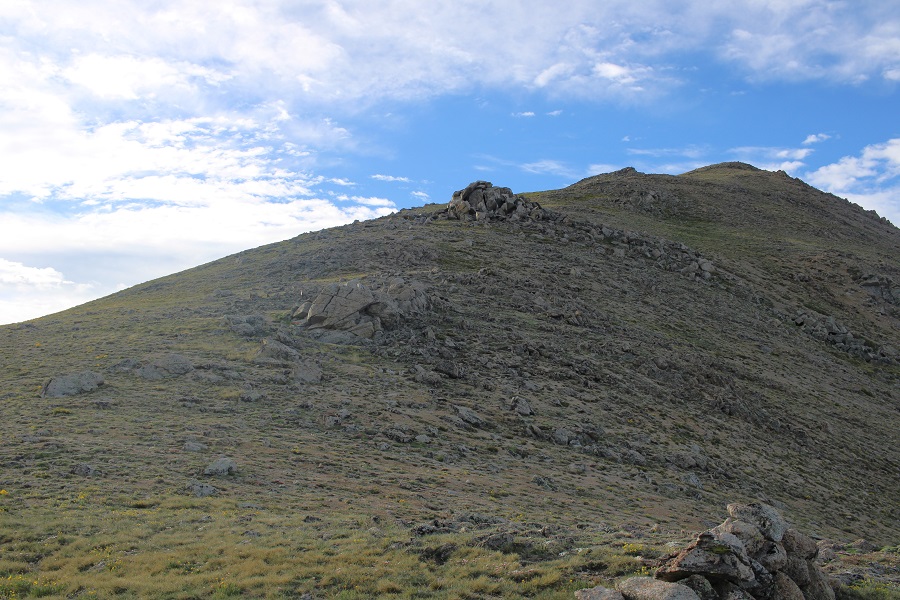
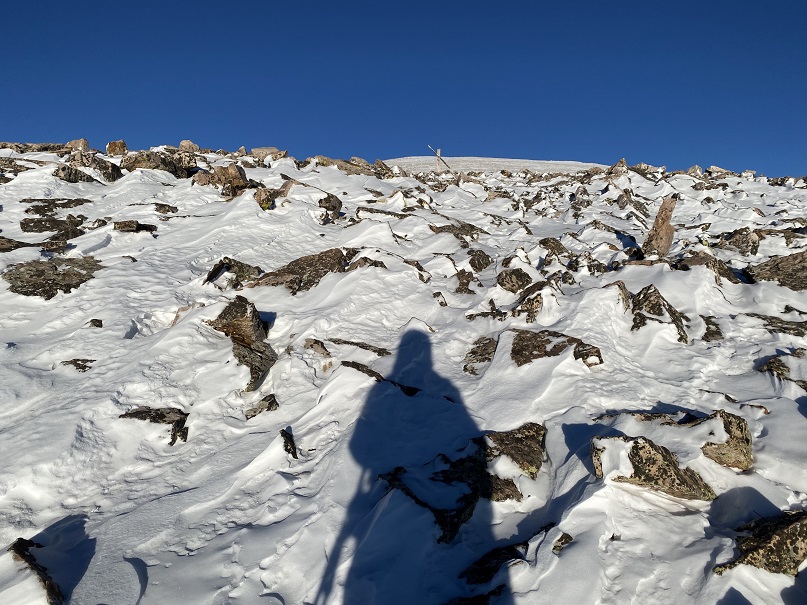
Ascending the ridge was quite steep on tundra
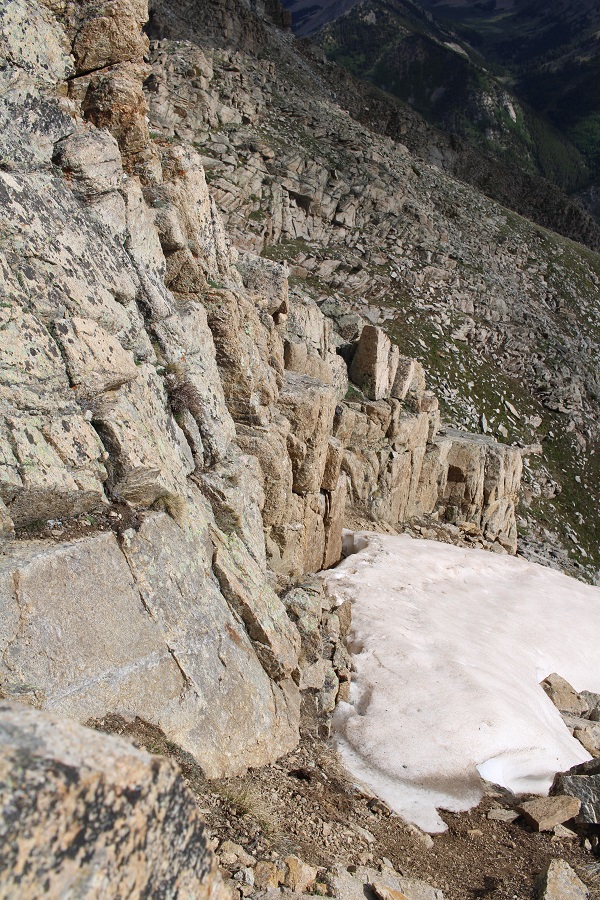
While ascending to the ridge, I did my best to avoid the rock outcroppings
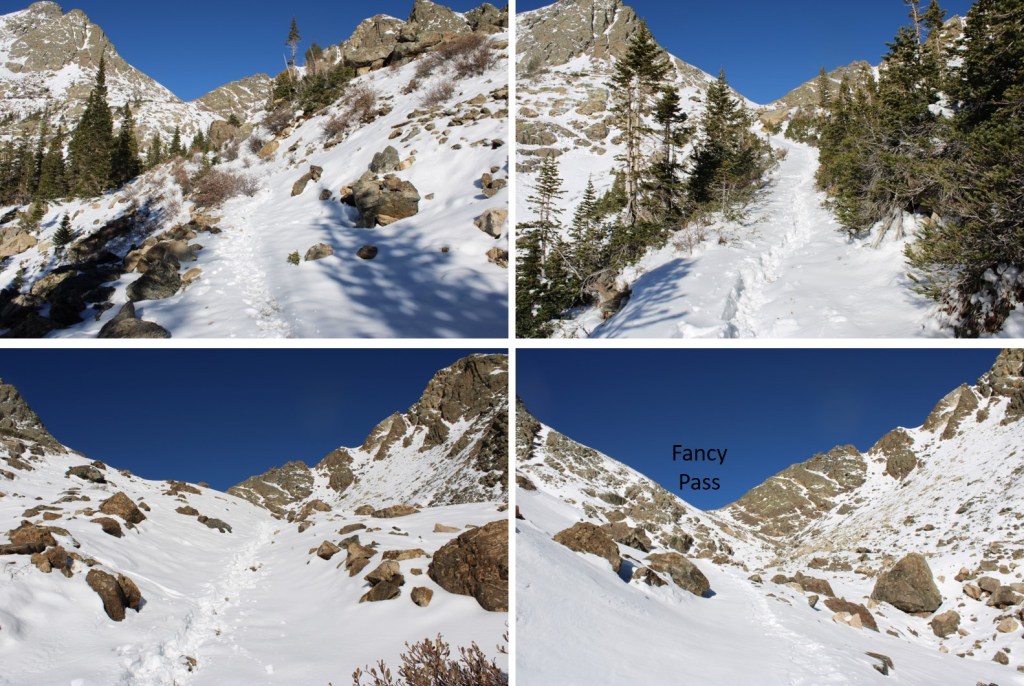
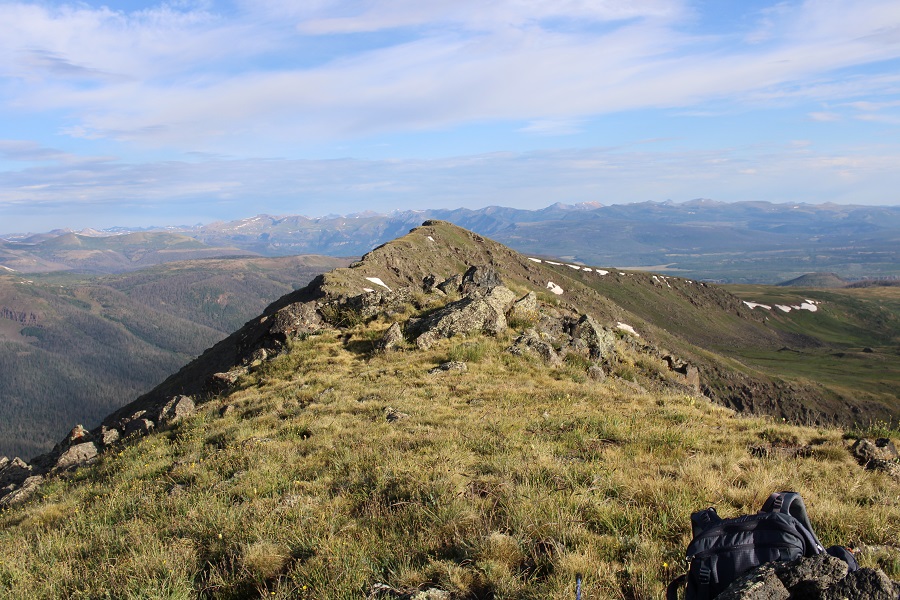
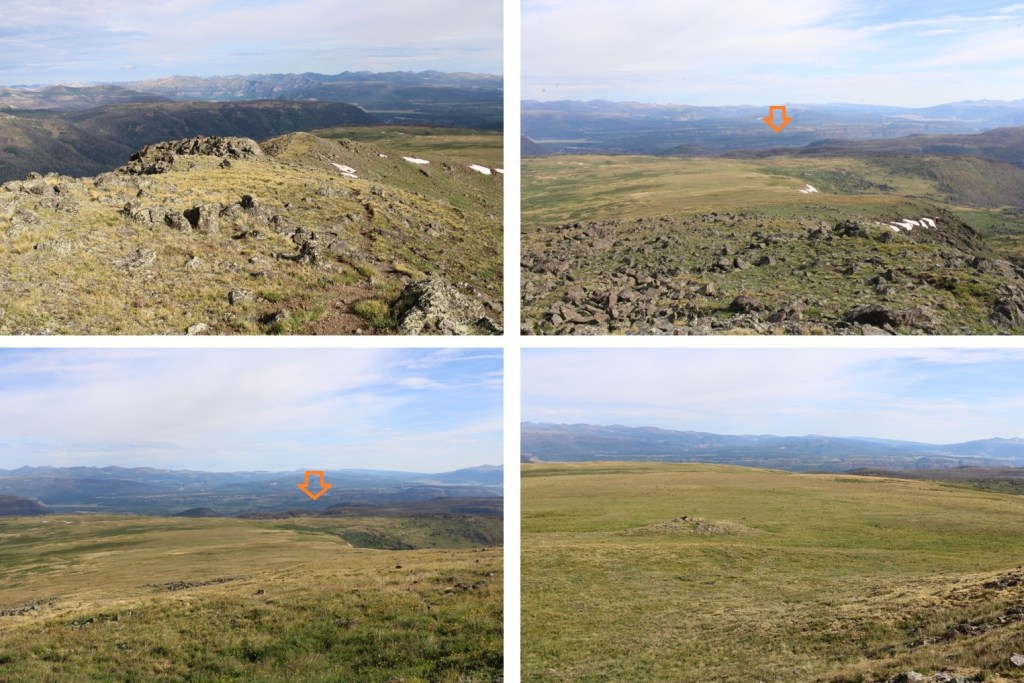
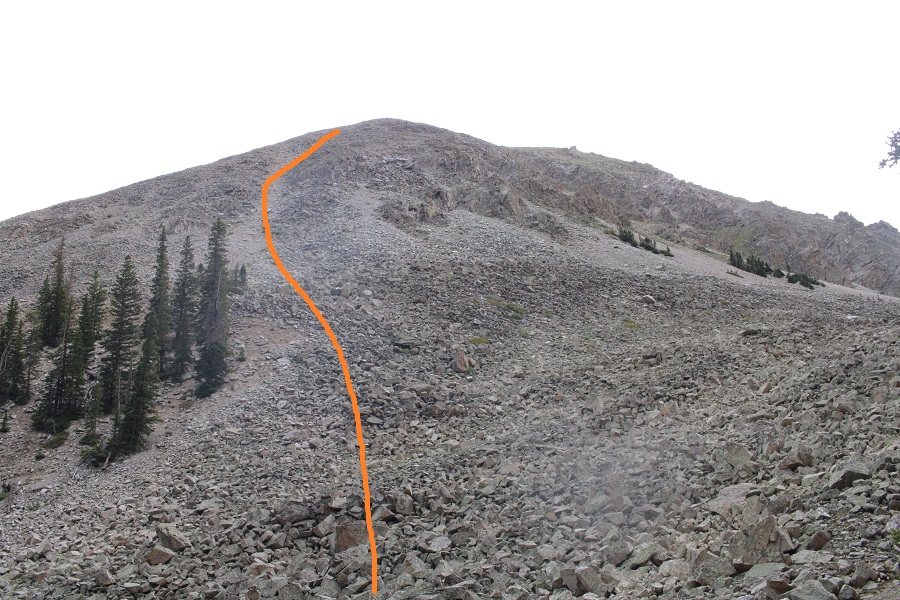
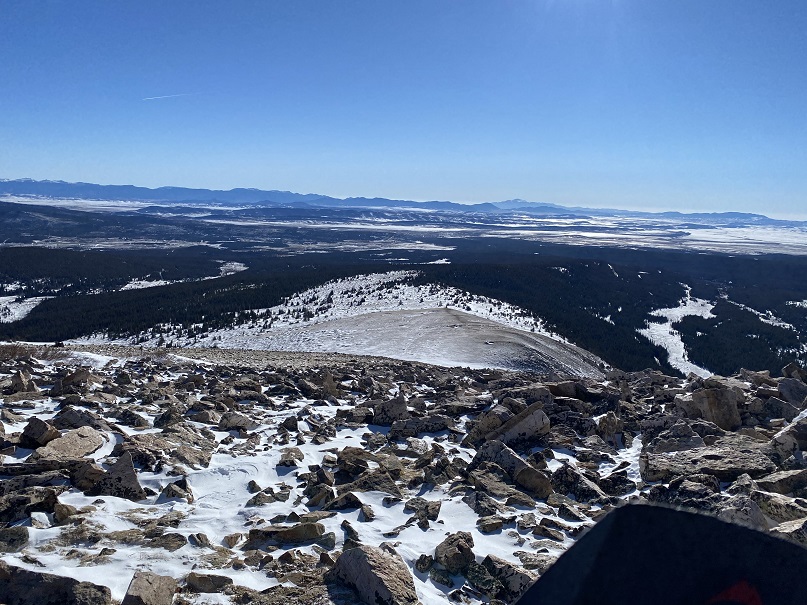
Here you can see the first false summit. I aimed for the ridge to gain this point.
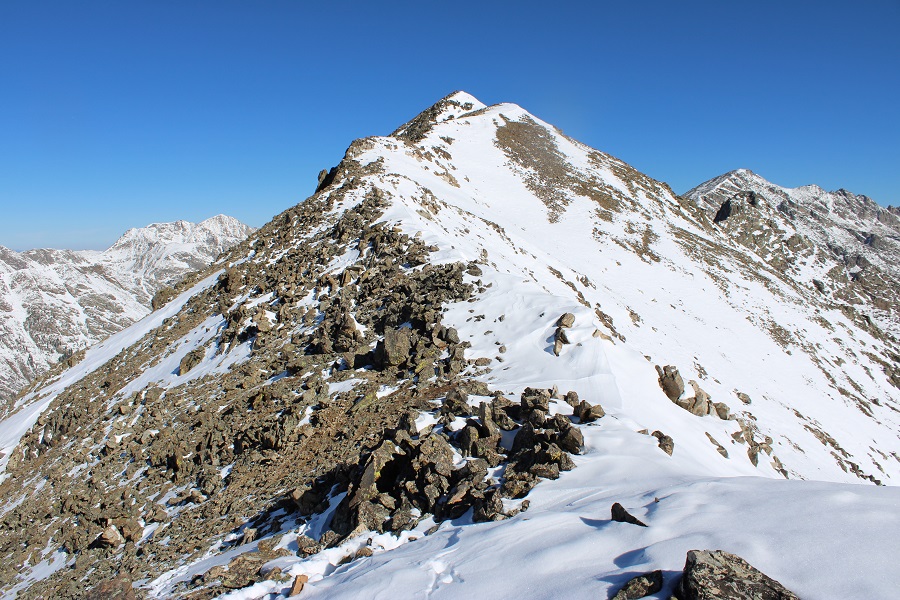
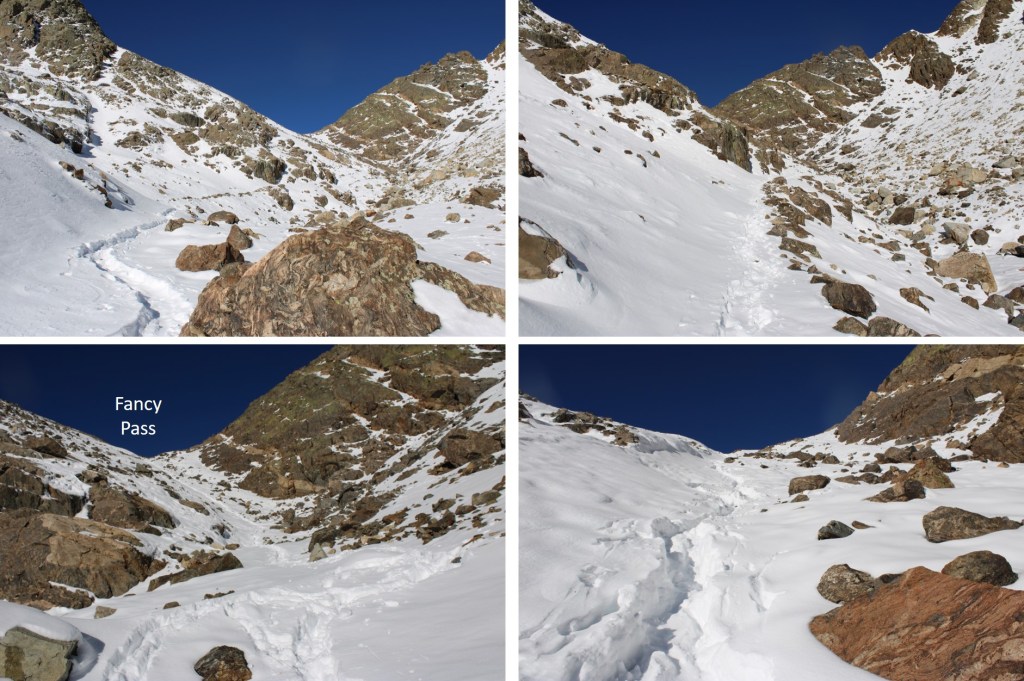
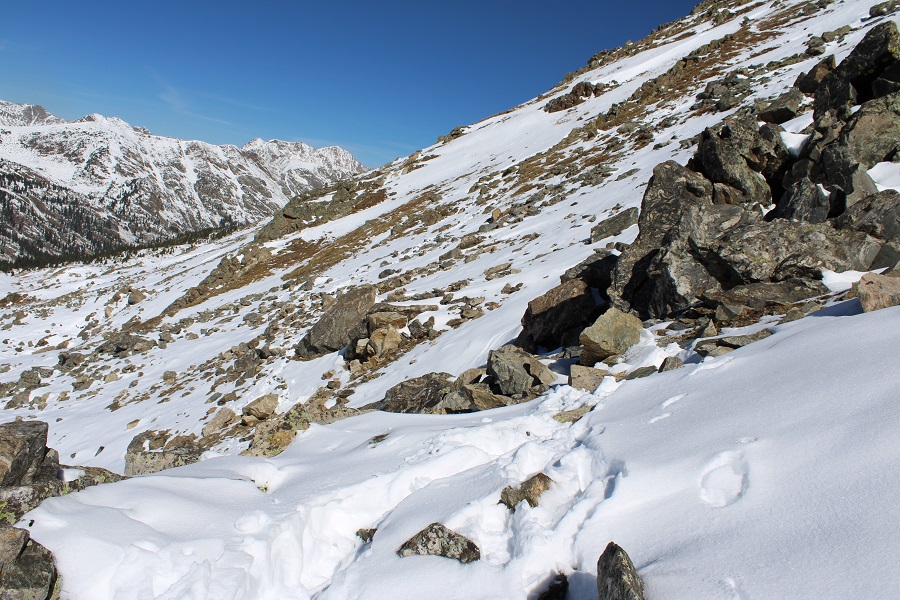
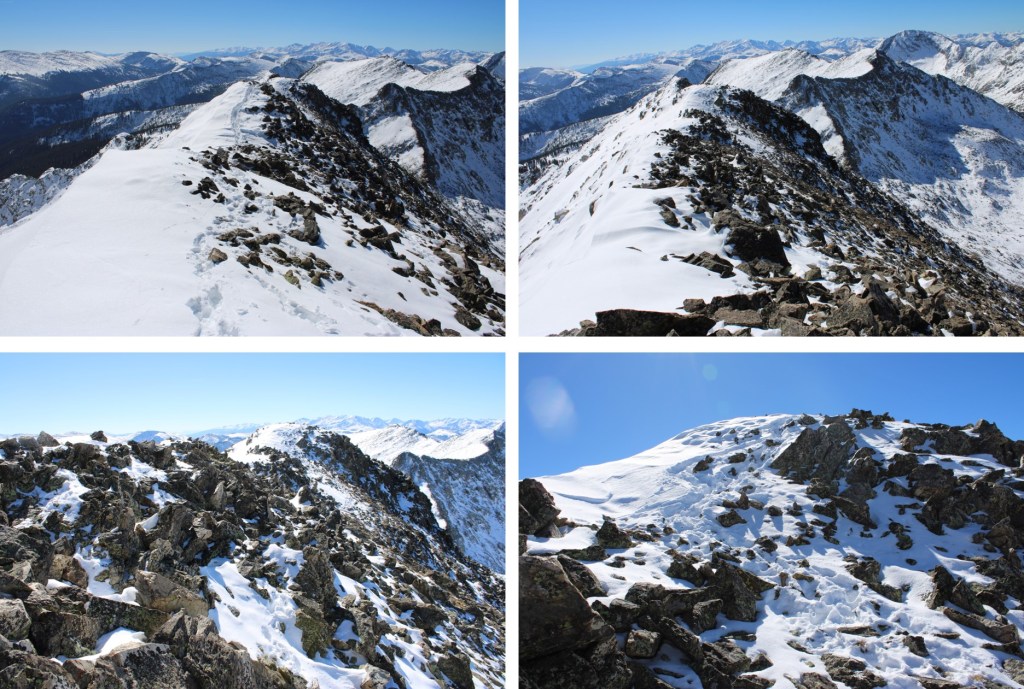
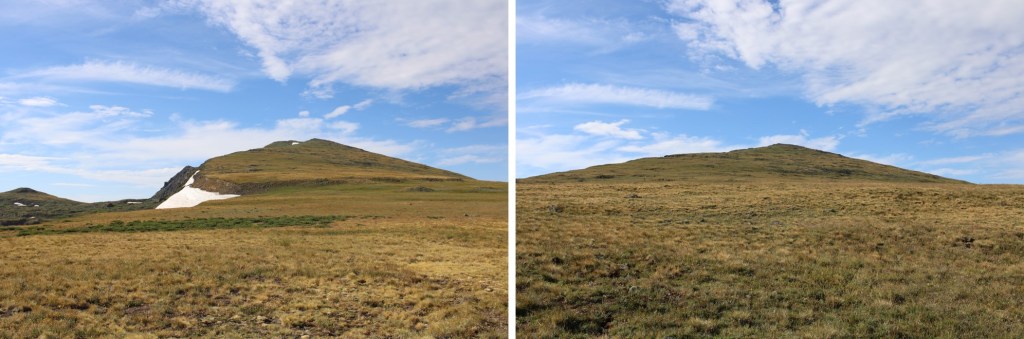
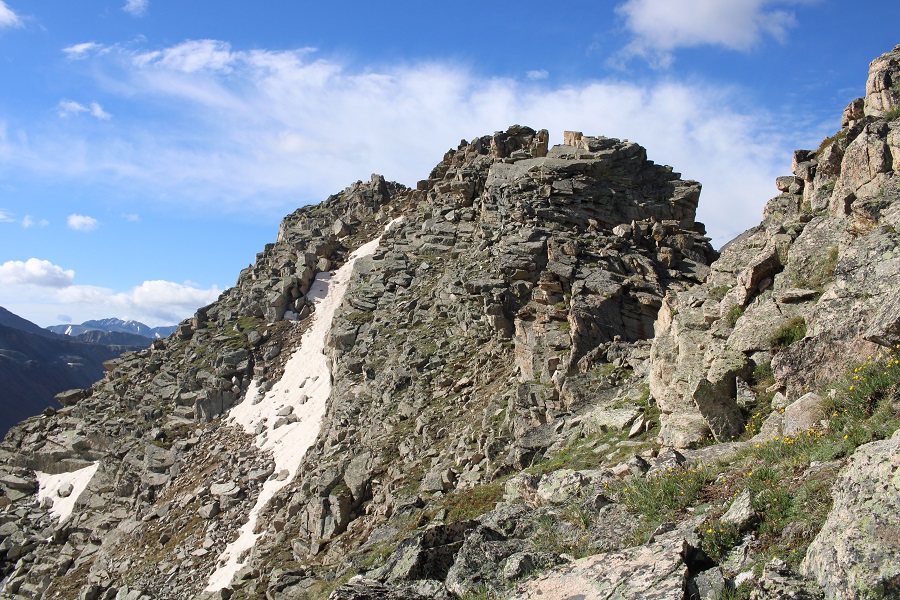
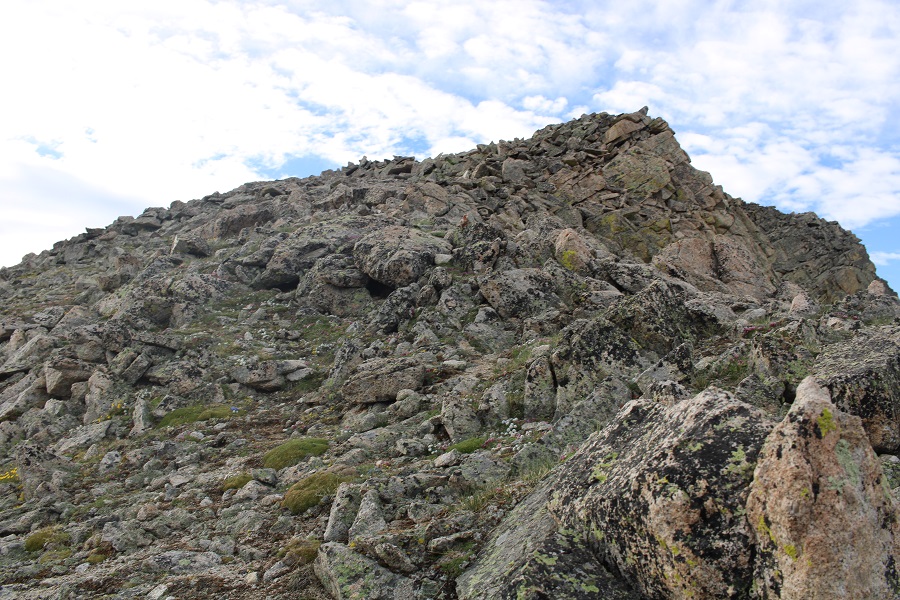
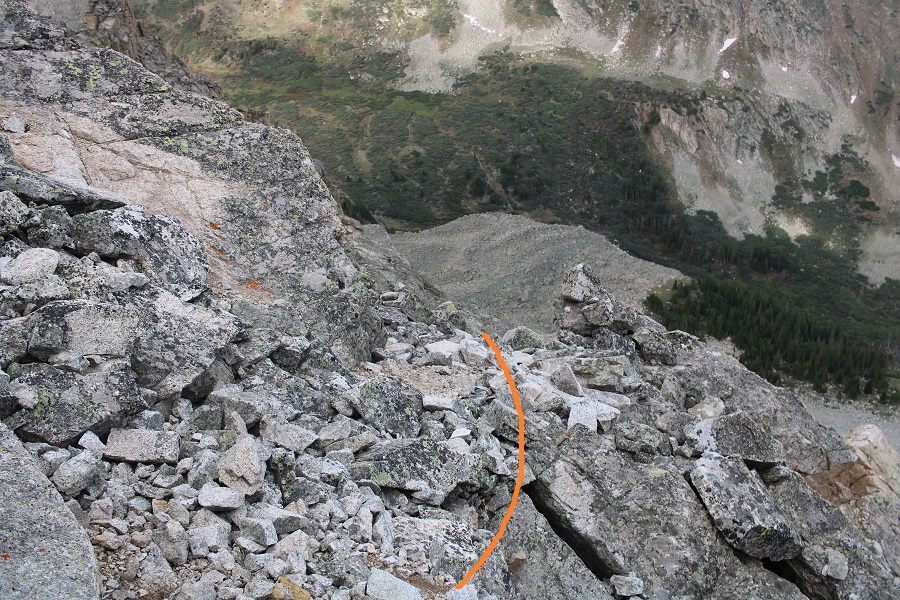
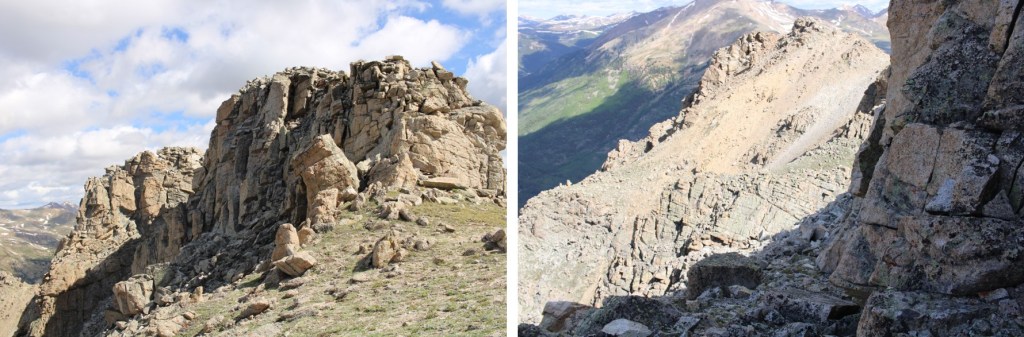
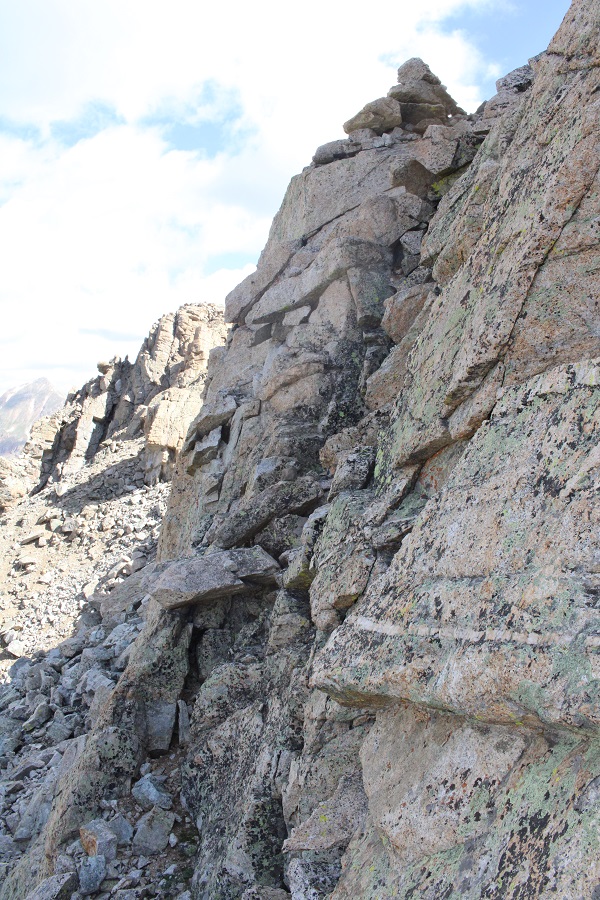
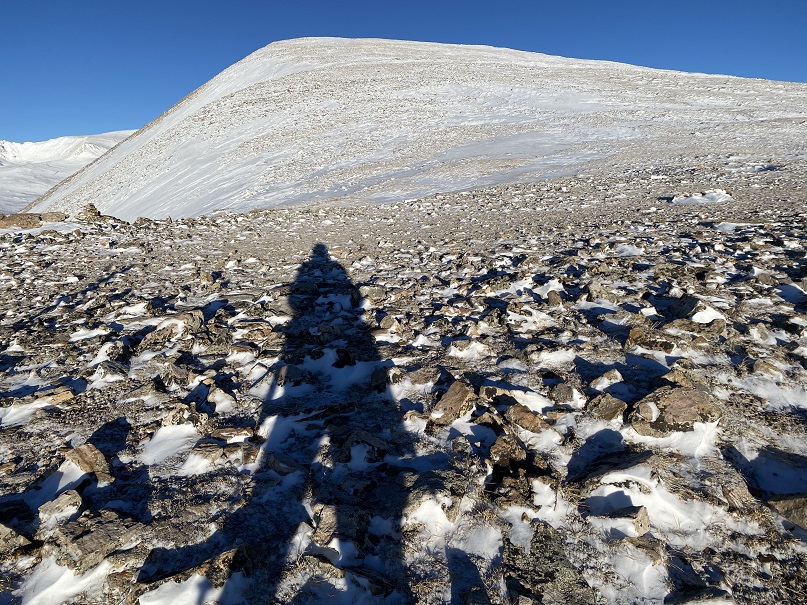
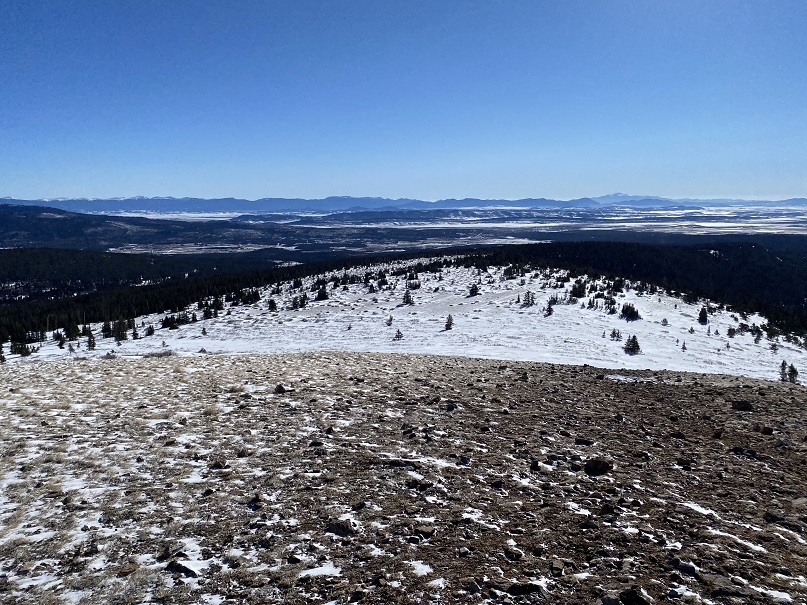
From this point on, it was a ridge hike north. A long, class 2 ridge hike.
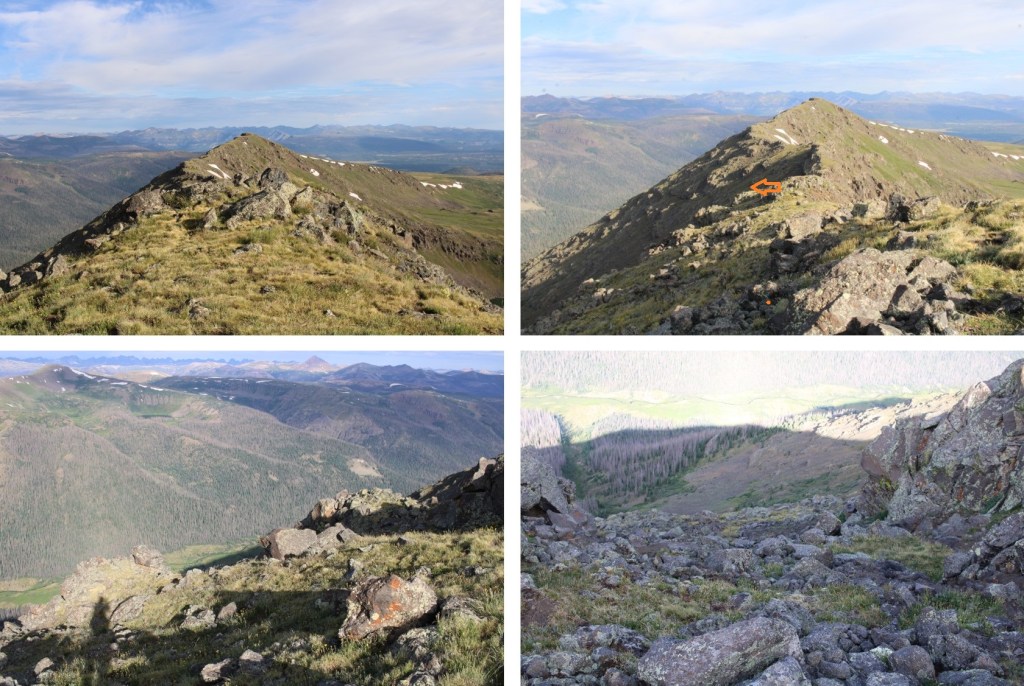
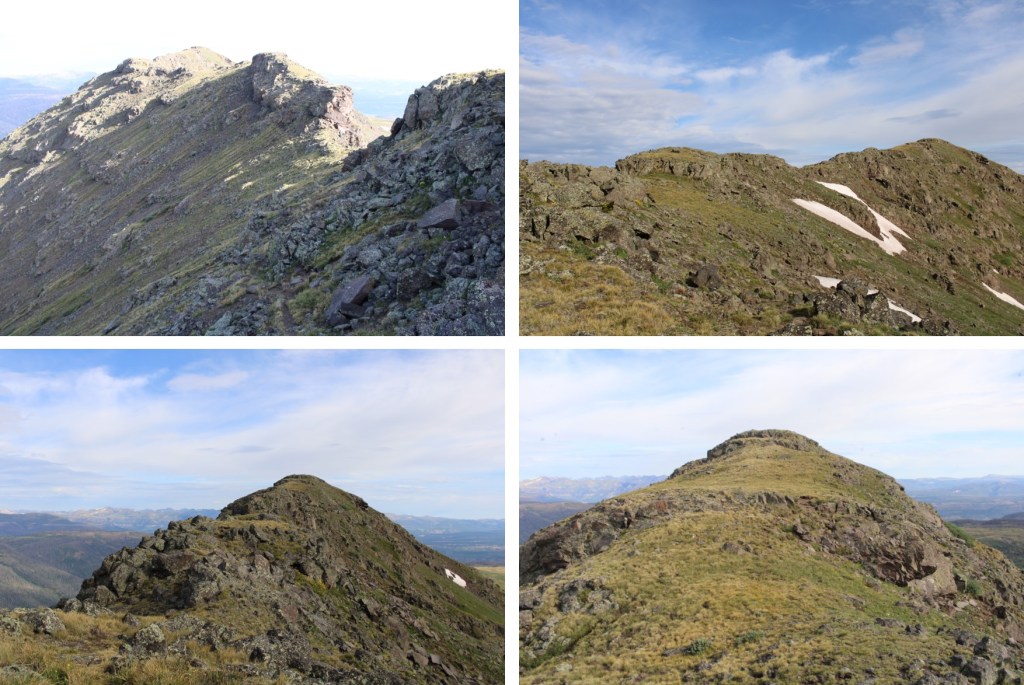
Here are some pictures of the ridge
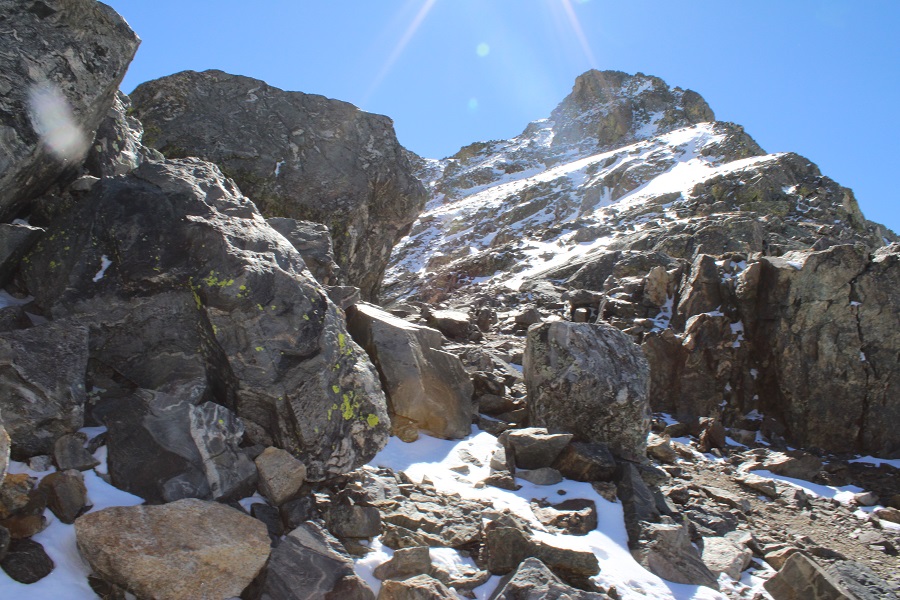
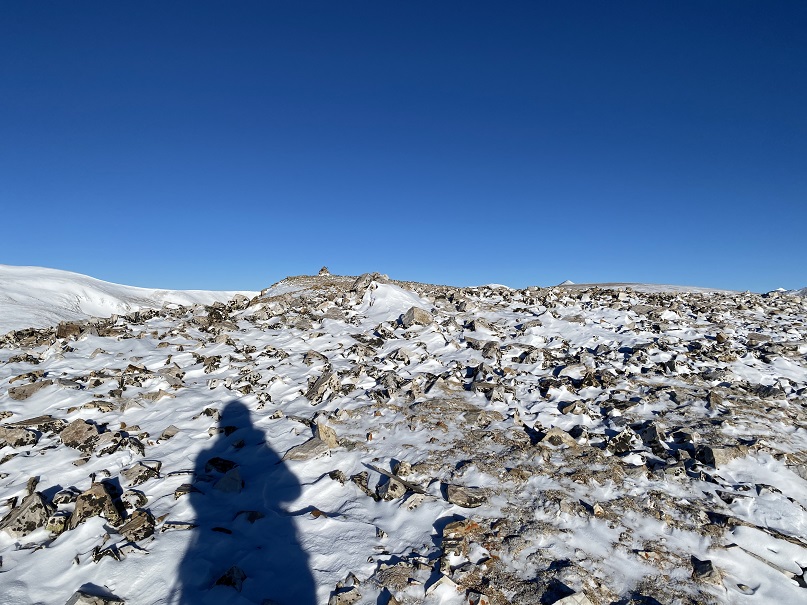
At the base of the summit, I went right to avoid the snow
Then easily gained the peak
I summited Fancy Peak at 10:45am
Fancy Peak:
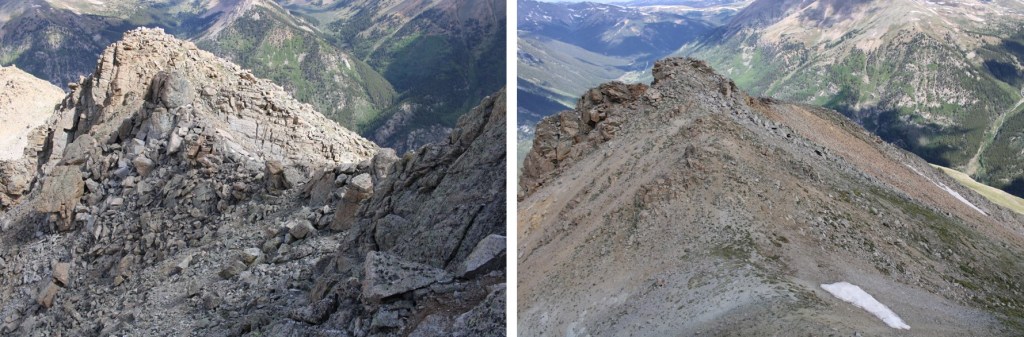
Here’s a look back down the ridge
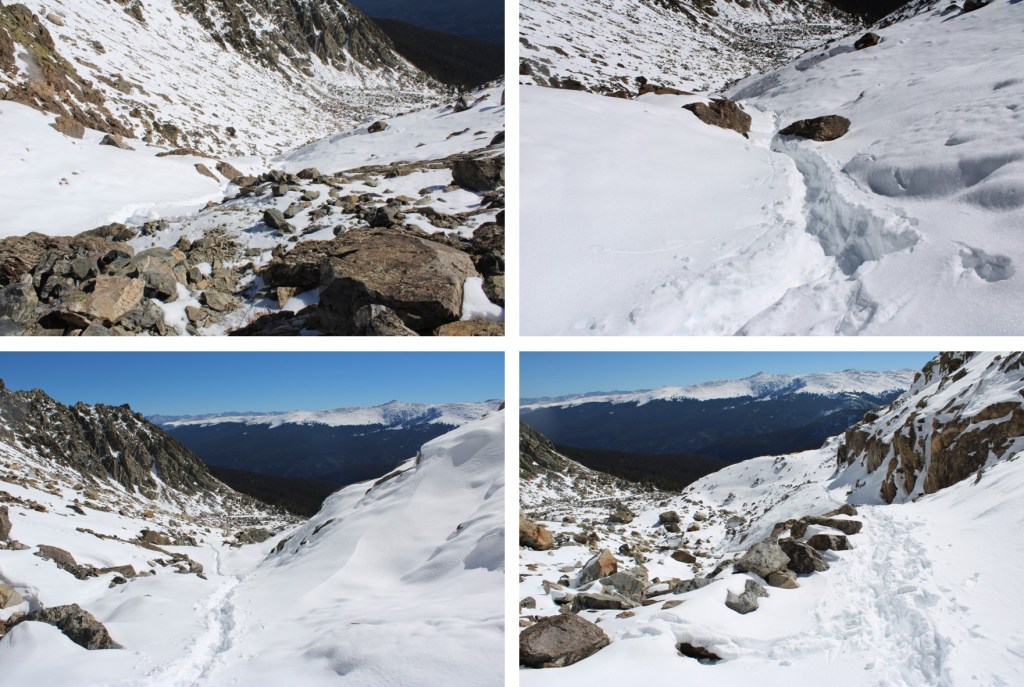
This was an out and back hike for me, so I retraced my steps back to the ridge
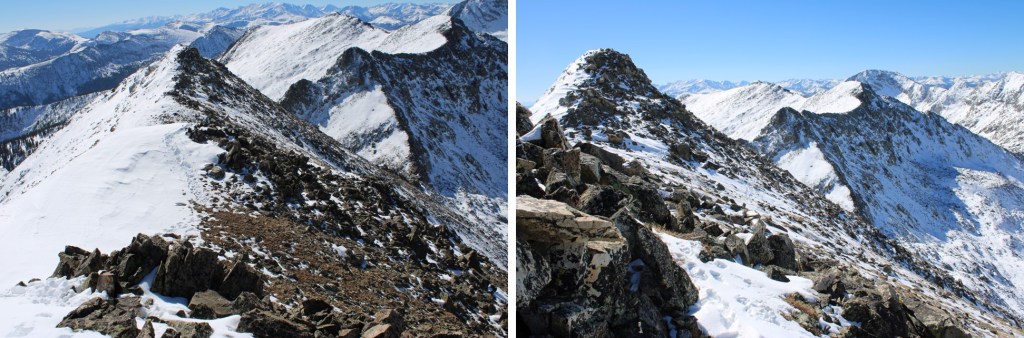
Then followed the ridge south
This was my descent route back to Fancy Pass
Back at Fancy Pass, I followed the trail east back to Fancy Lake
Then I followed the trail southeast back to the trailhead
I made it back to the trailhead at 1pm, making this a 9.69 mile hike with 3208’ of elevation gain in 6 hours, 30 minutes.
I arrived at Thirtymile Campground the night before, and slept in my truck at the hiker trailhead. Knowing this was going to be a hot day I wanted to start early. I was on the trail at 3:30am. The trail starts to the south of the parking area, and if you get there in the dark it can be difficult to locate.
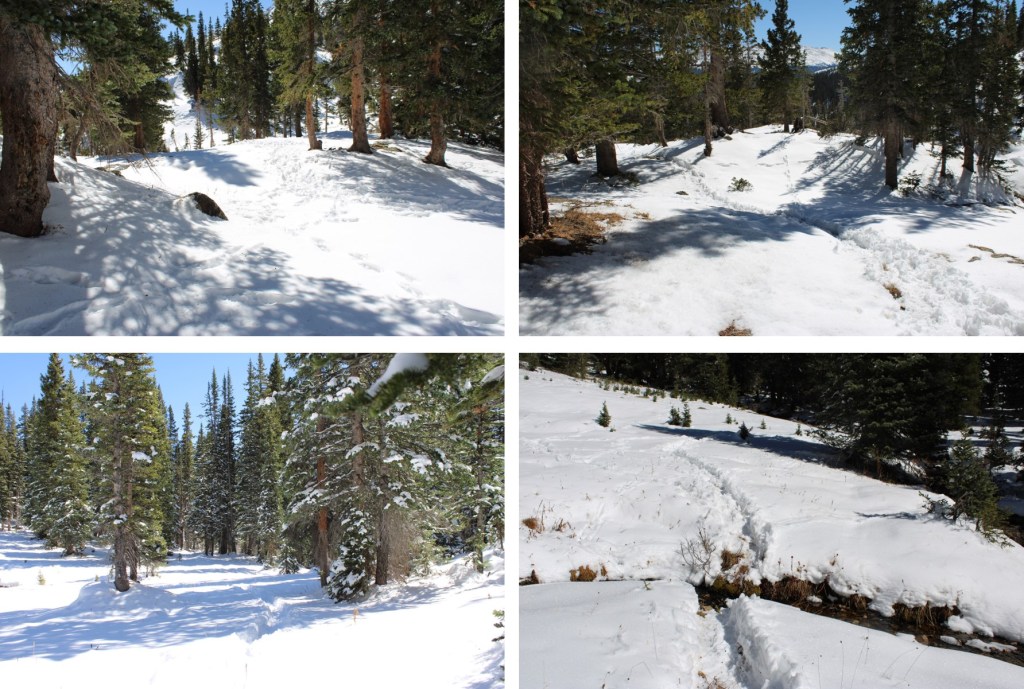
There is a register and information board at the true trailhead. There are two trails here, I took the one that goes to the left, the Squaw Creek Trail
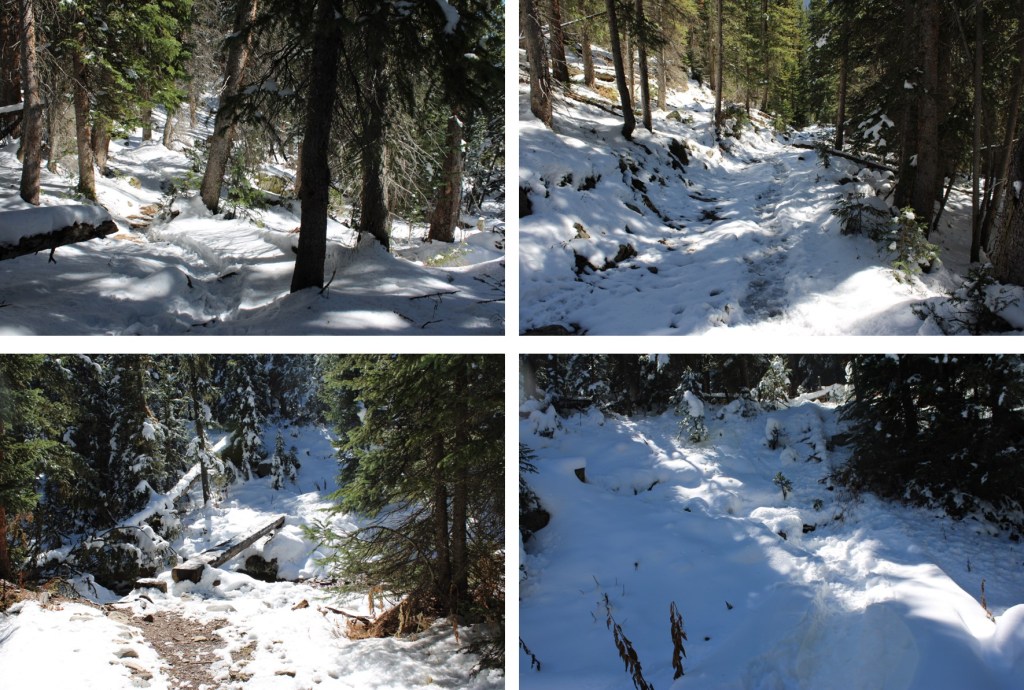
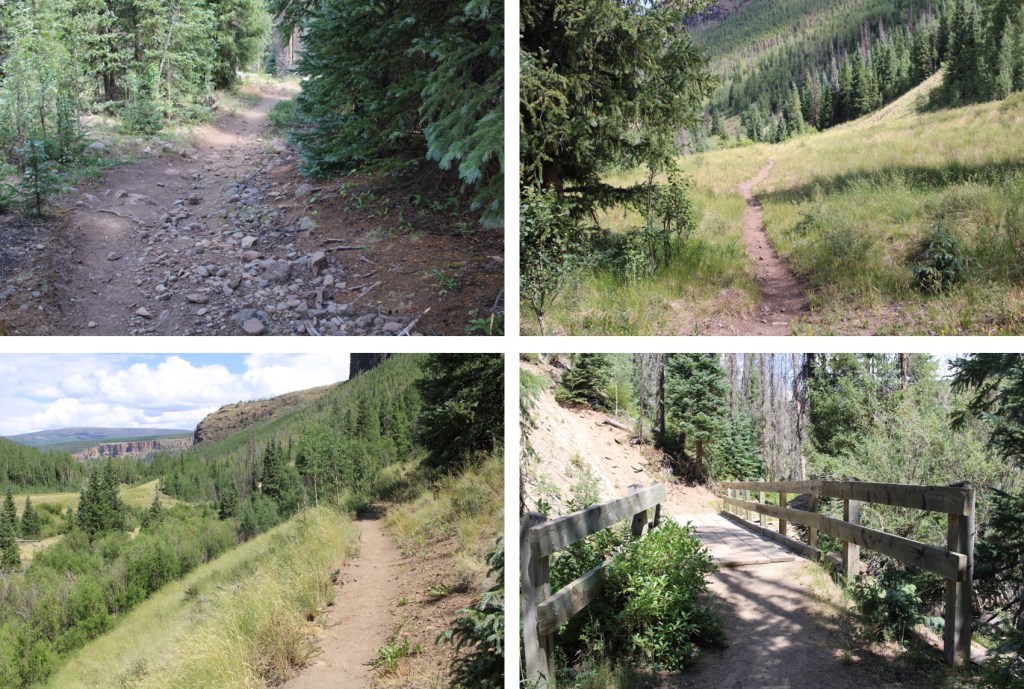
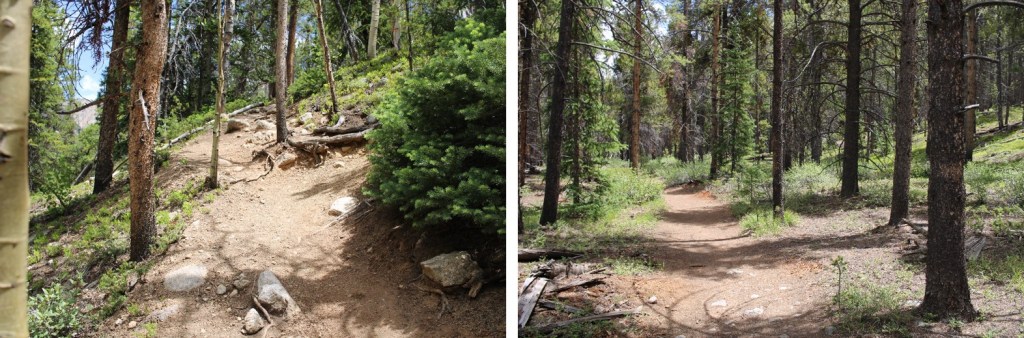
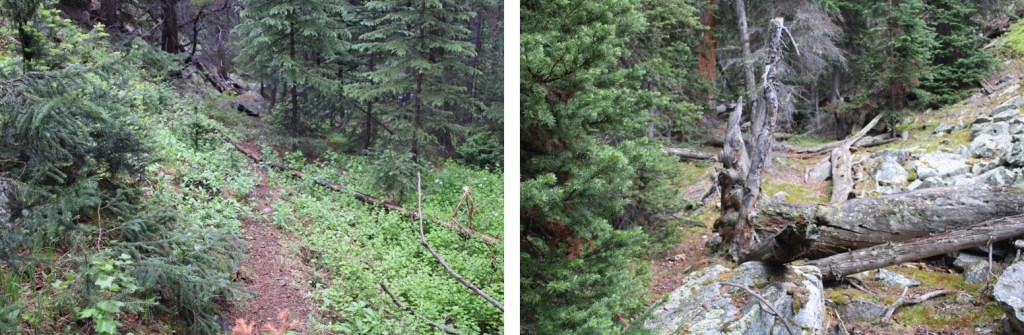
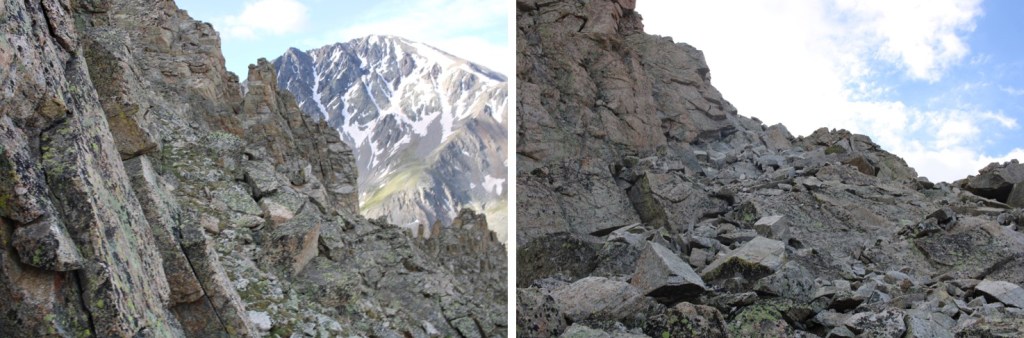
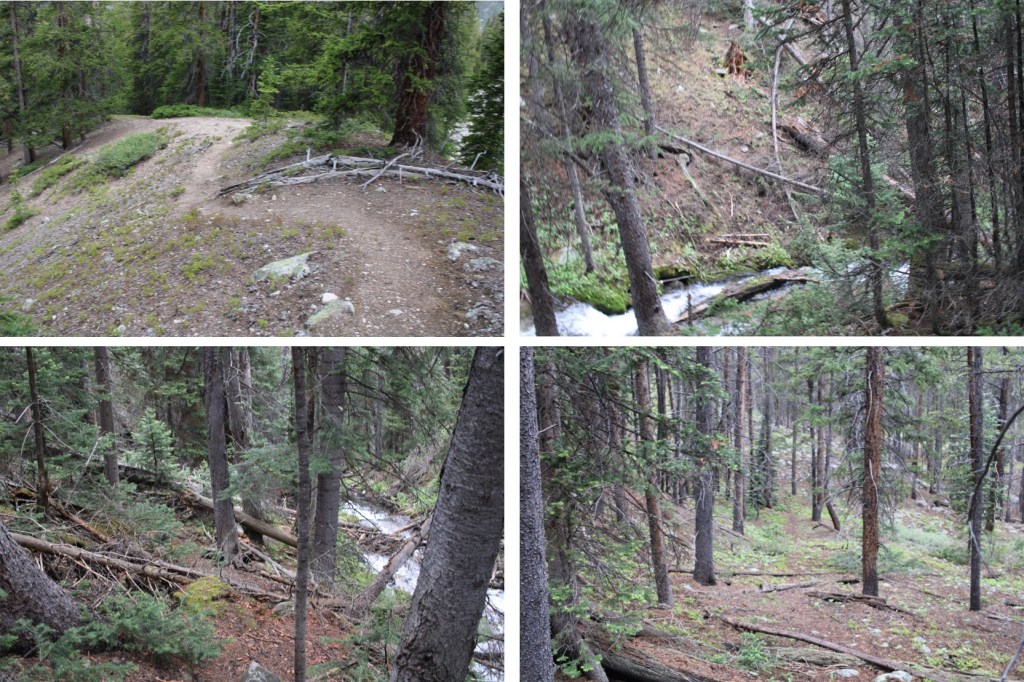
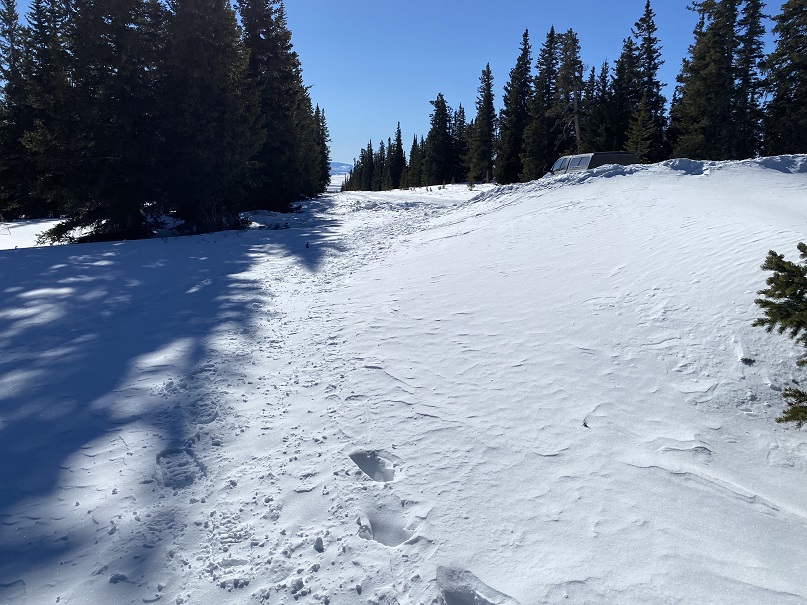
This is an easy to follow, class 1 trail. I followed this trail, over a bridge crossing Squaw Creek, and paralleling Squaw Creek itself, for 2.3 miles. This trail has a lot of ups and downs, which wasn’t bad at the beginning of my hike, but made the hike out in the sun miserable. Here are some pictures of the trail
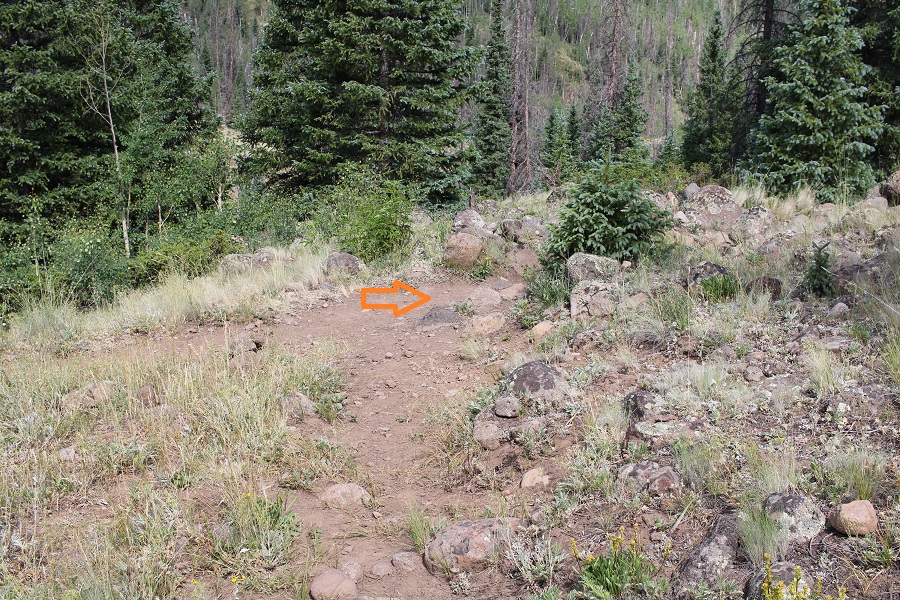
After hiking for 2.3 miles, I crossed a drainage pipe, and about 50 feet to my left was another trail (difficult to see in the dark). There used to be a cairn here, but someone tipped it over.
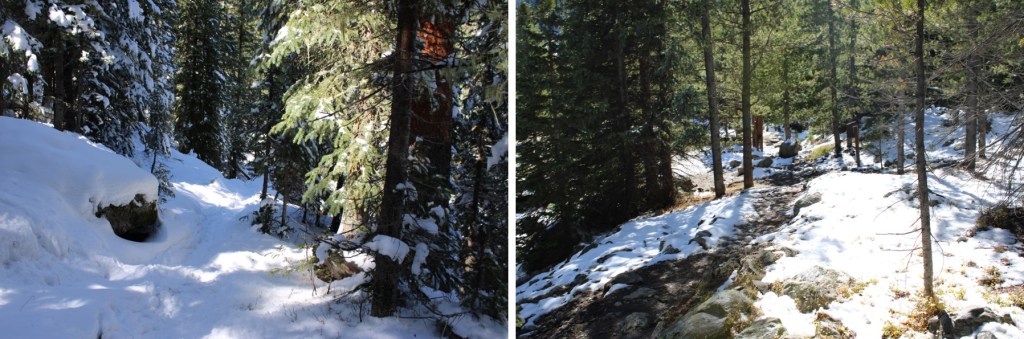
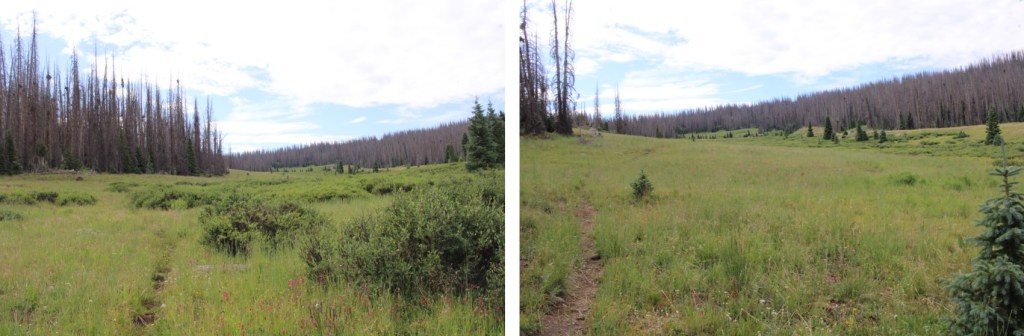
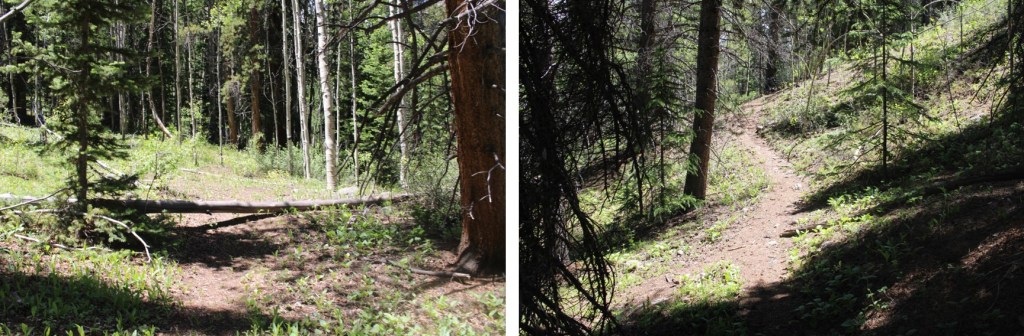
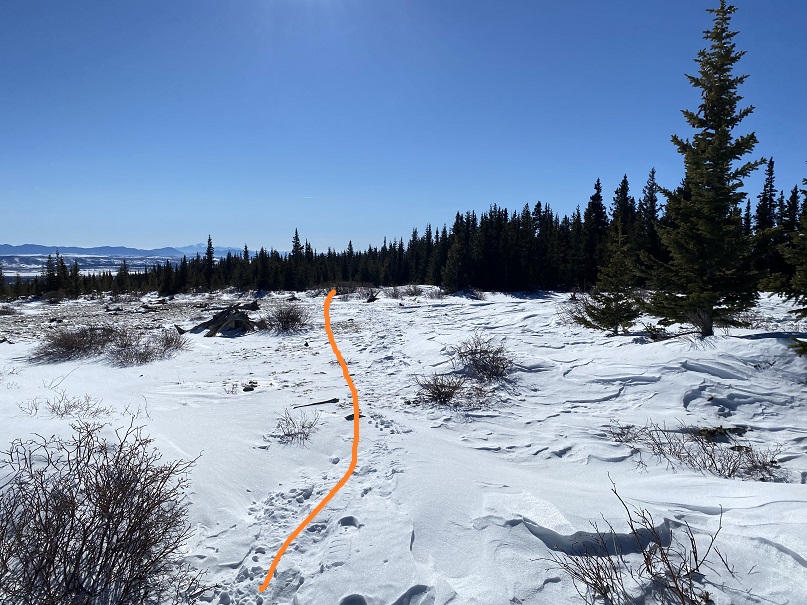
Now on the Fern Creek Trail, I followed it southeast towards treeline. This was still a class 1 trail, and easy to follow.
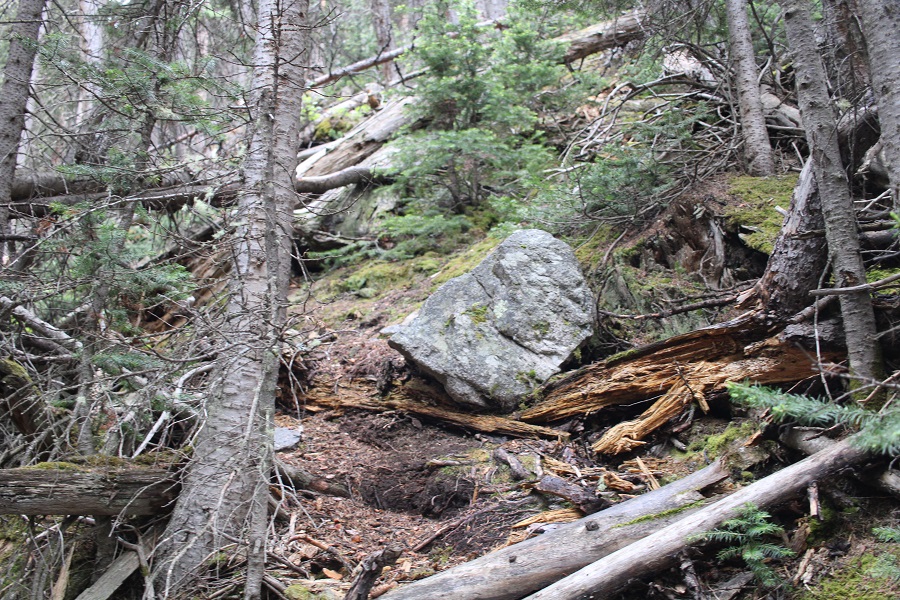
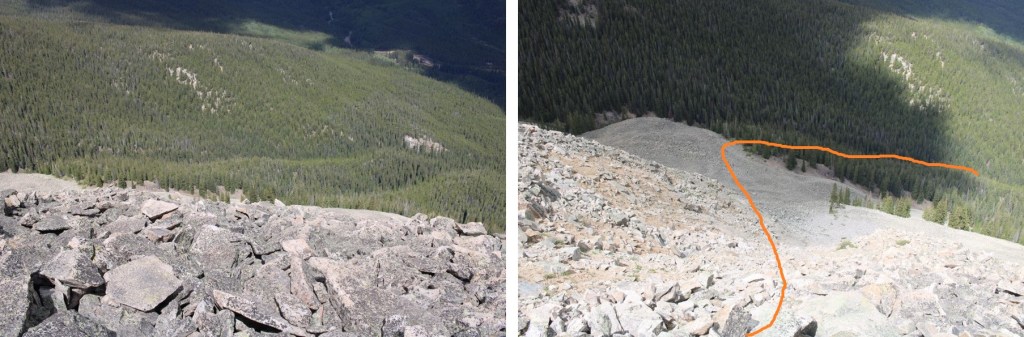
I crossed a creek, and continued on through a rather large gulch. The trail begins to fade here, but as long as you stay to the left of the willows, you should be able to find a trail. In the early morning hours I saw a mama moose with her baby munching on the willows.
As soon as I was truly above treeline (which felt like forever) the trail ended. With no real landmarks to work with, I headed south. I saw a ton of elk in this area, and would for the rest of the hike. I’d estimate I saw about 200, ranging in groups from 5 to 30 at a time.
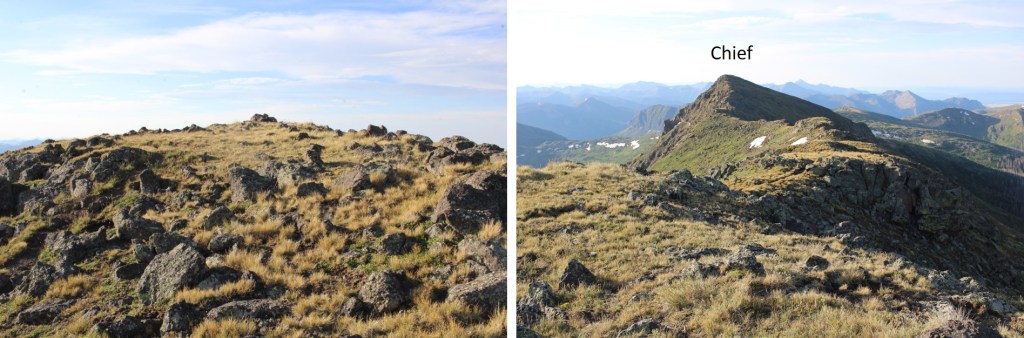
I kept heading south, still with no visual landmarks, and eventually came to a marshy area and a hill to ascend. This was muddy and wet, and choose your own adventure. I navigated the willows and made it to the top of this hill/
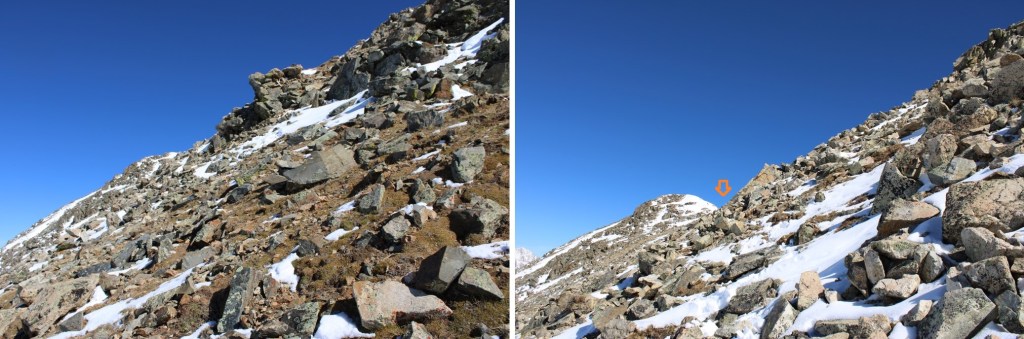
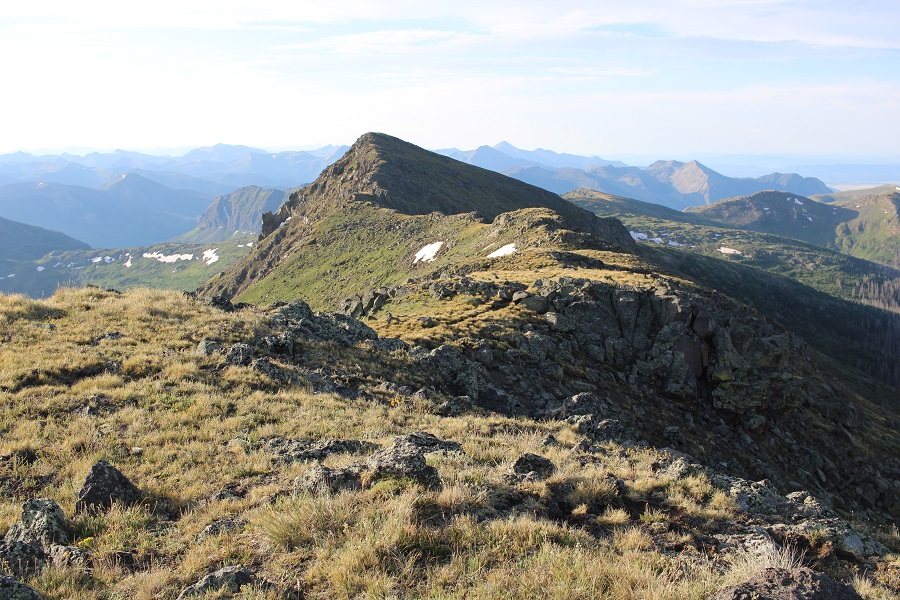
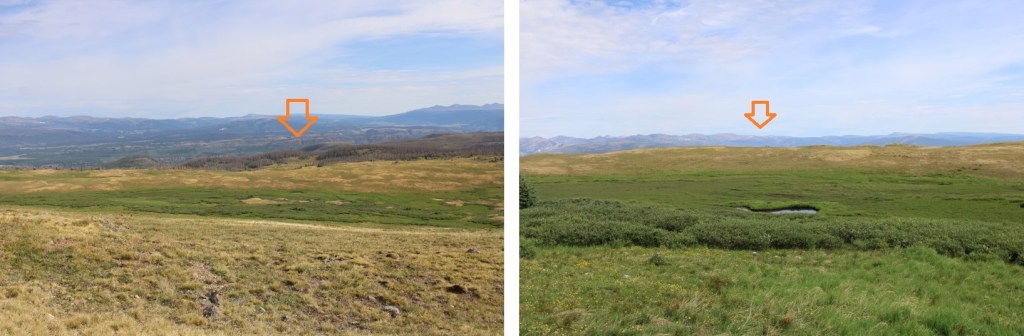
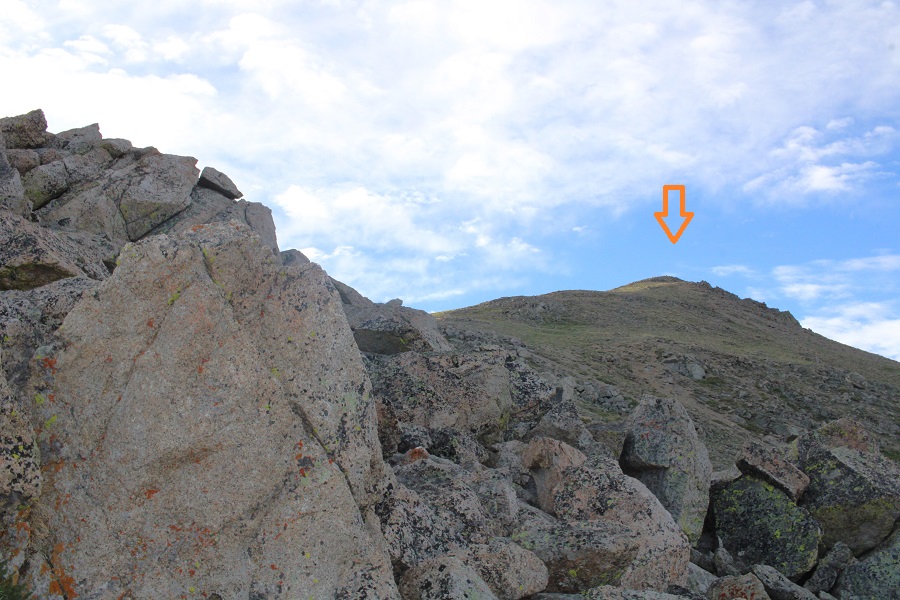
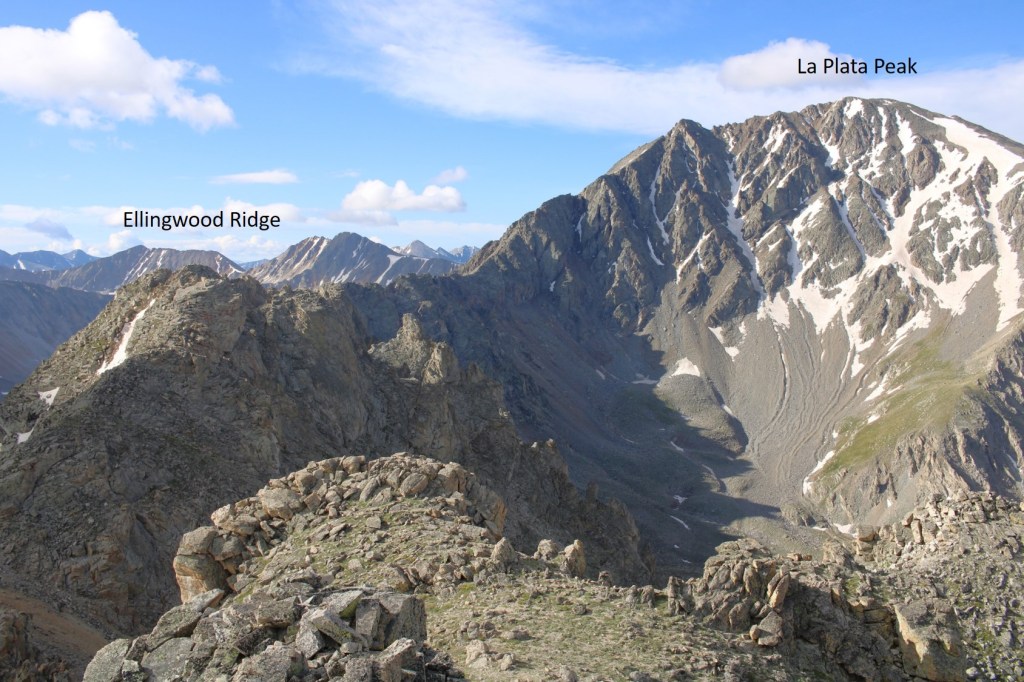
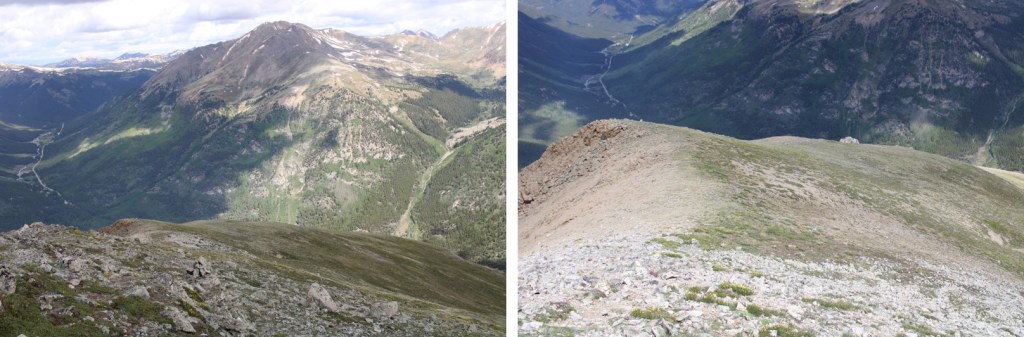
From here I got my first good view of Chief Mountain. I’ll save you the heartache I had when I found out this was the actual peak
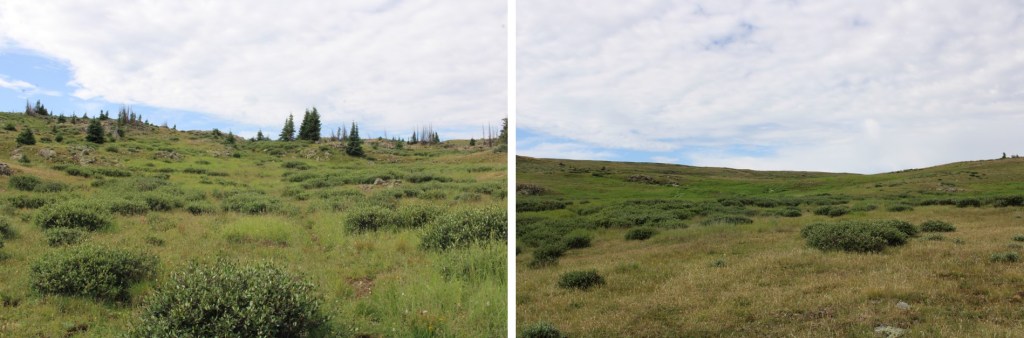
The good news was now I had a good visual of where I was headed. I continued south, towards the obvious ridge.
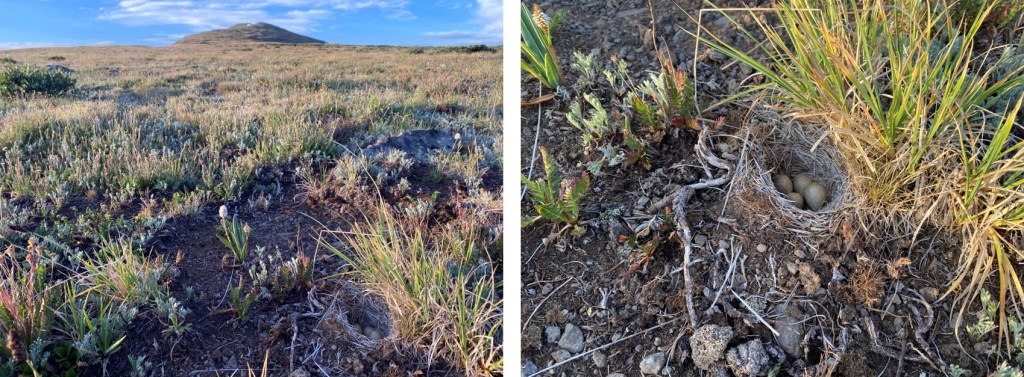
This was an easy tundra stroll, but be careful: Just as you don’t want to step on wildflowers while hiking on the tundra, you also need to be careful of other things on the ground. Like bird nests
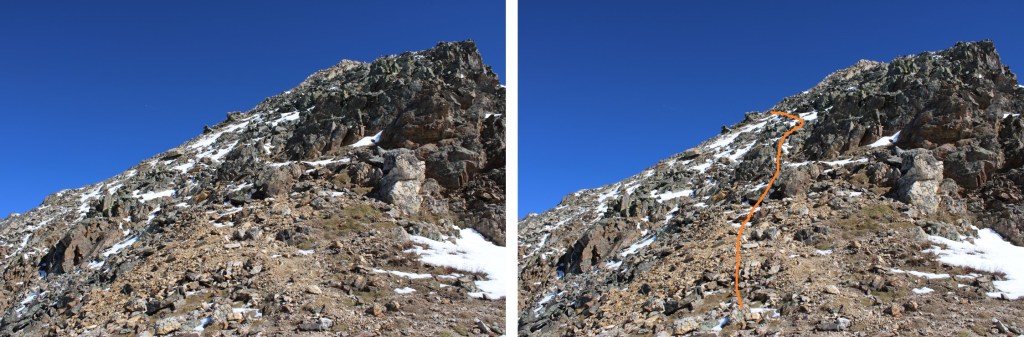
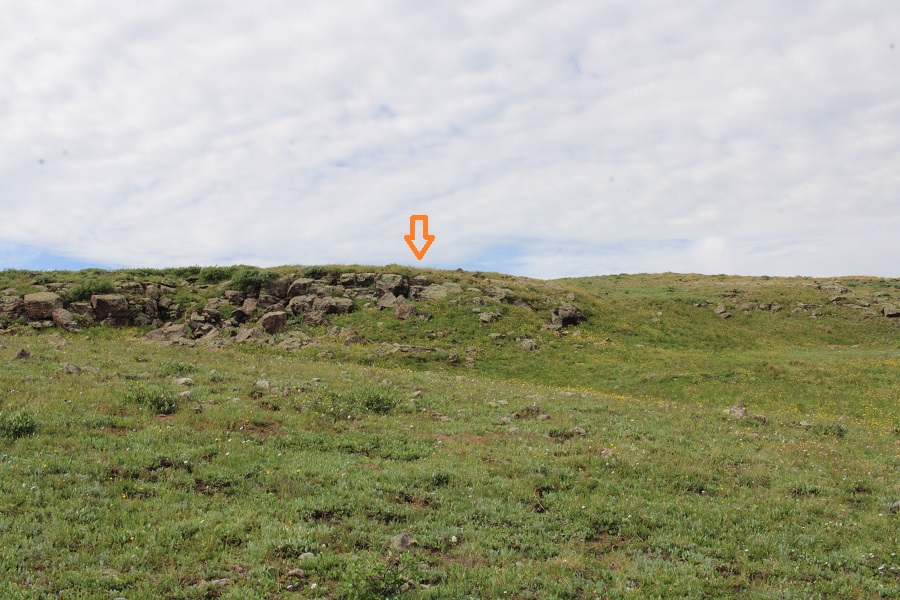
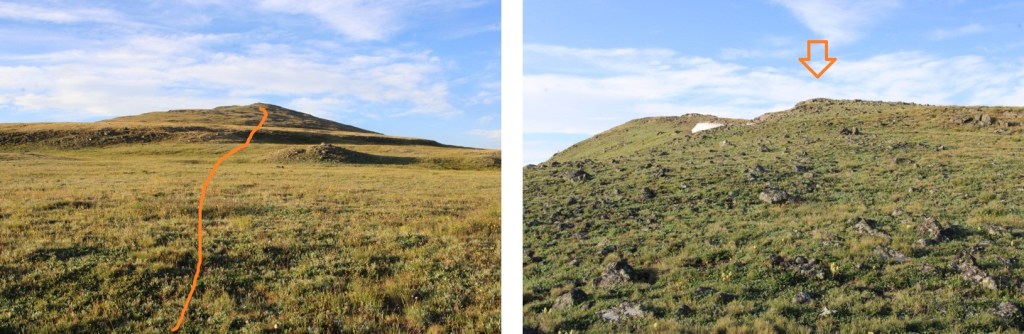
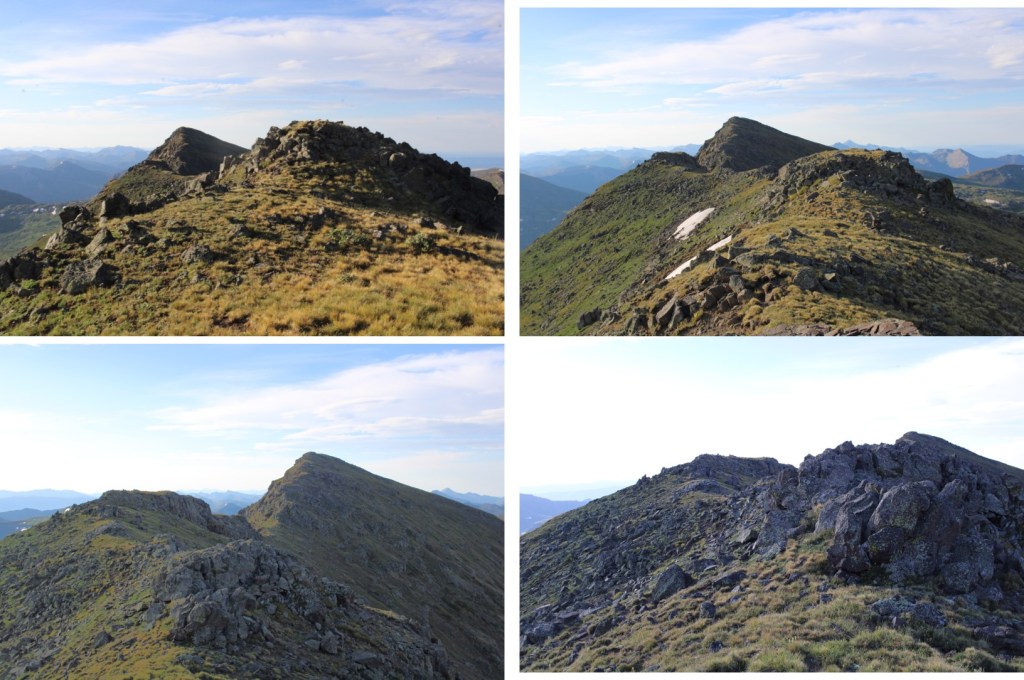
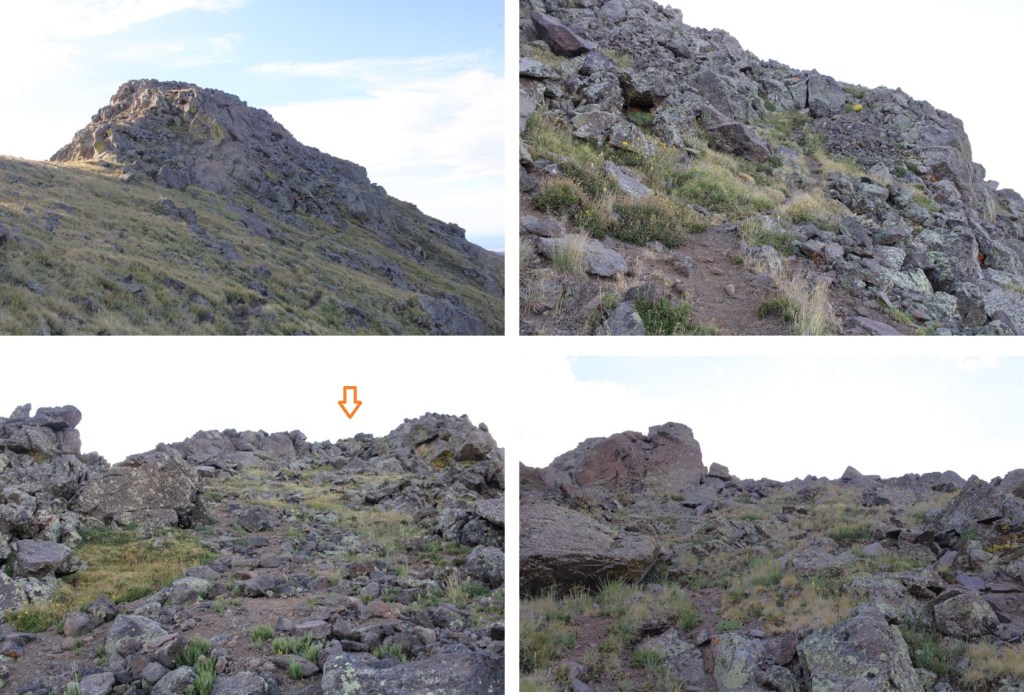
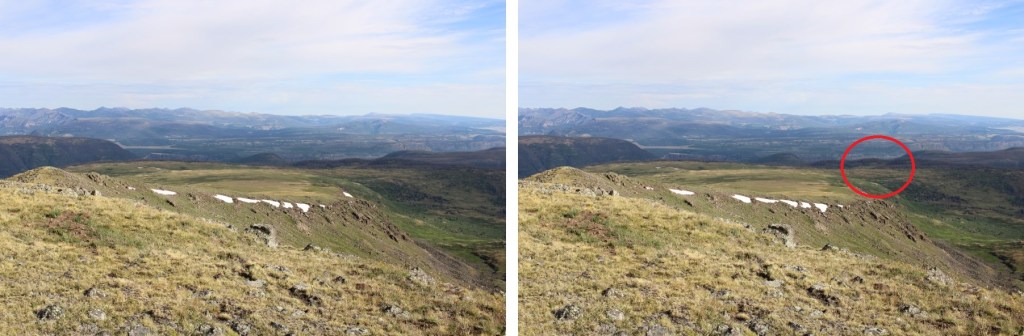
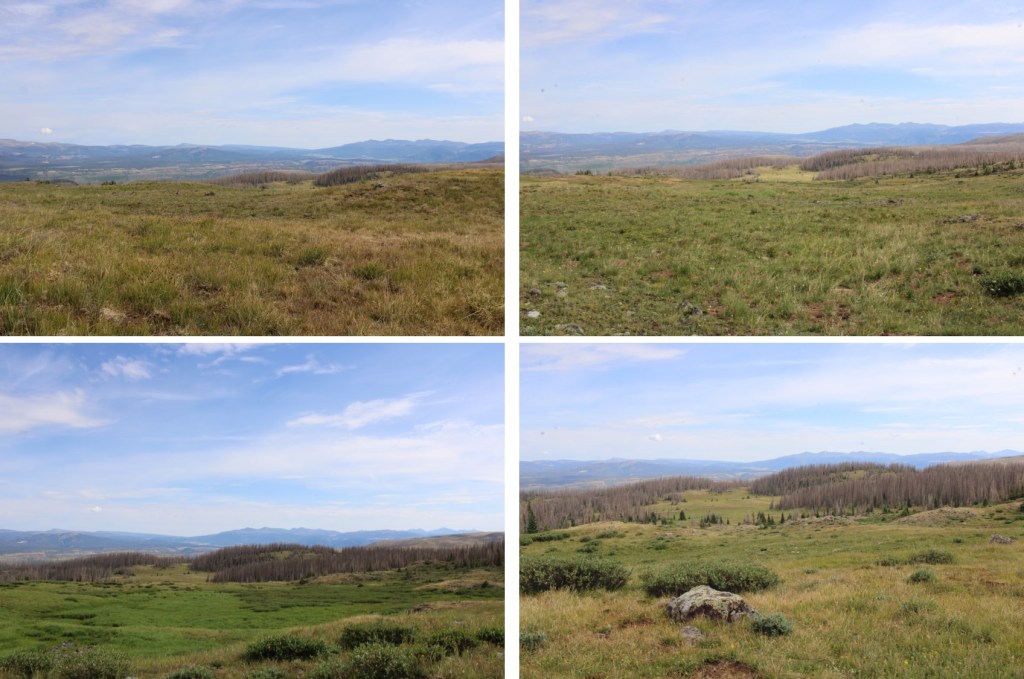
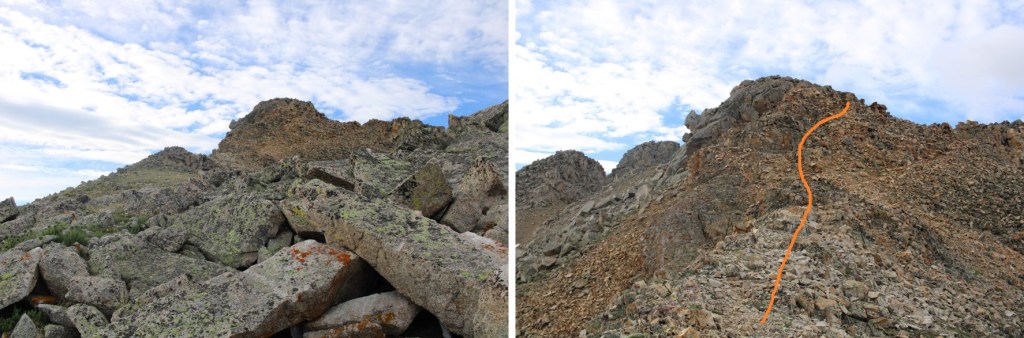
I made it to the top of what looked like the summit, only to find another summit further to the south. It was an easy ridge hike to that next point.
I made it to the top of this point, and even though there was a cairn at the top and a summit marker, I discovered it was a false summit. This is the actual summit of Chief Mountain.
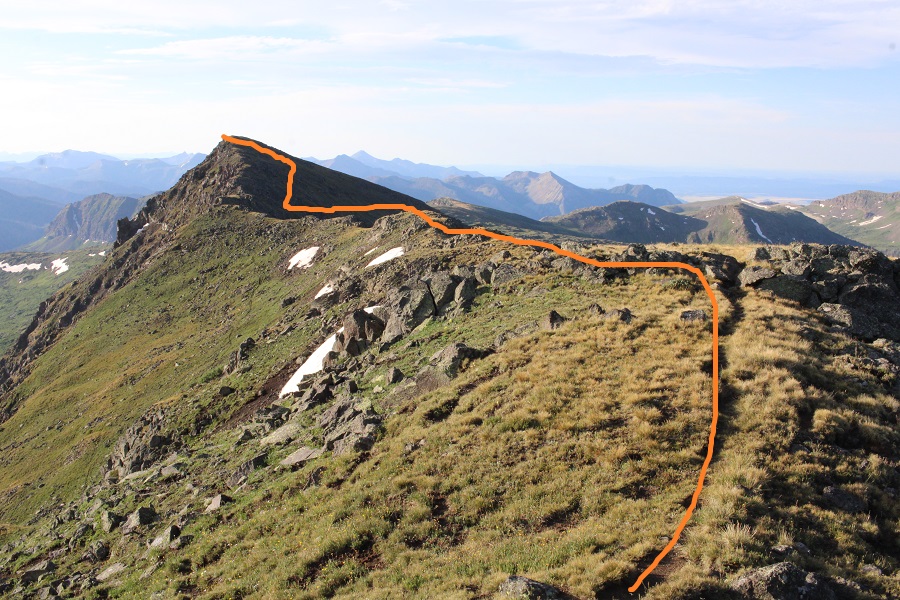
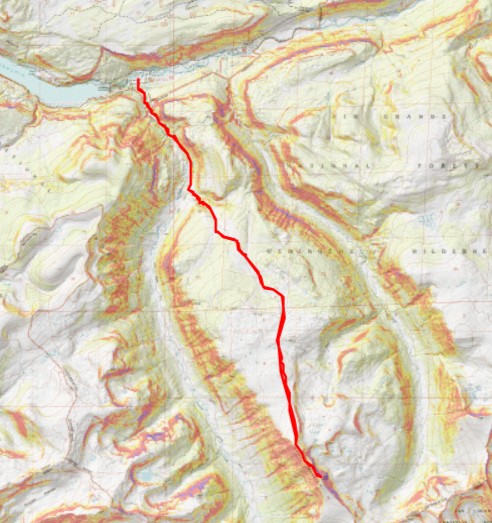
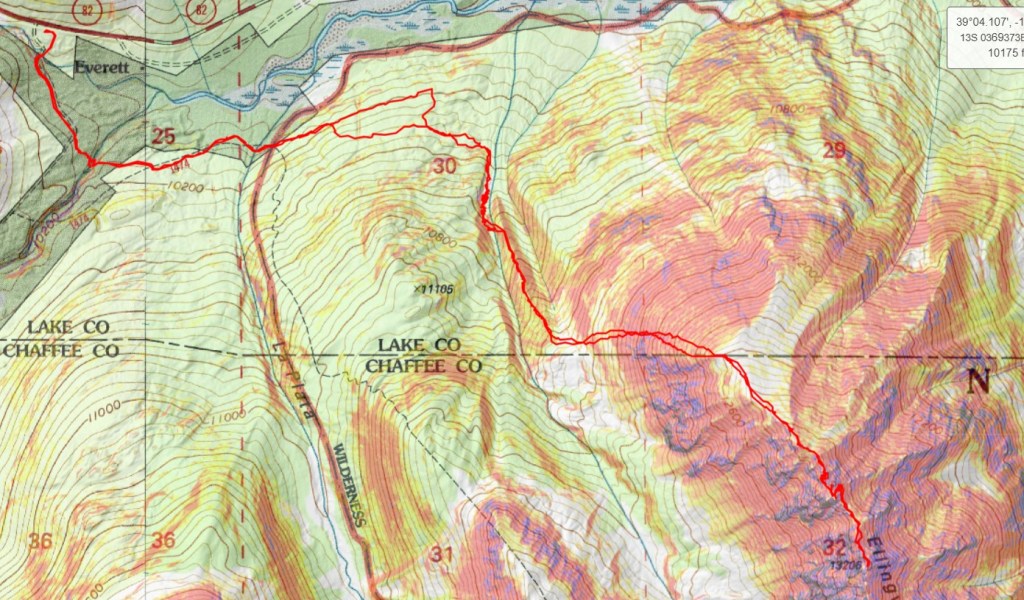
No worries though, the entire route is class 2. There are solid game trails to take for most of it. Here’s the overall route I took.
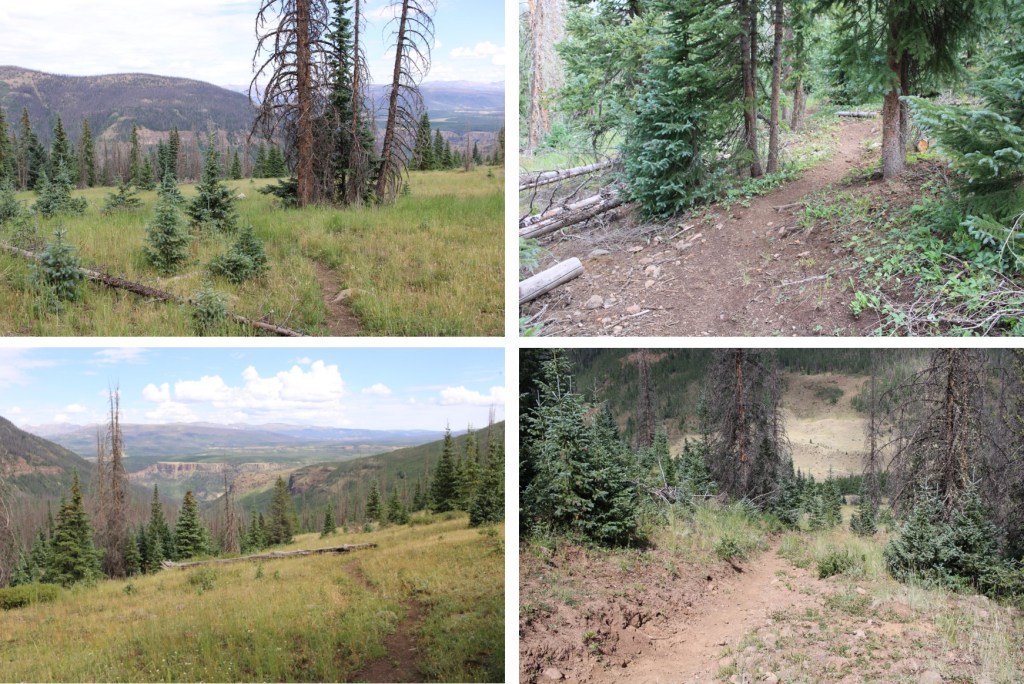
I started out by heading straight along the ridge, and took the obvious game trails when I saw them. They were filled with tracks from all the elk I’d seen earlier.
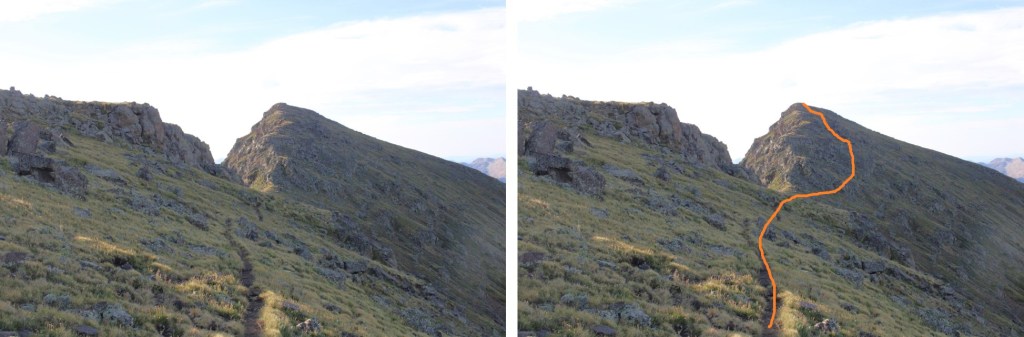
Here’s the final push to the actual summit. There’s a good trail here, and several options for an ascent route. There are at least 3 different class 2 what I could only call minor gullies that go to the summit. Choose your favorite and have at it.
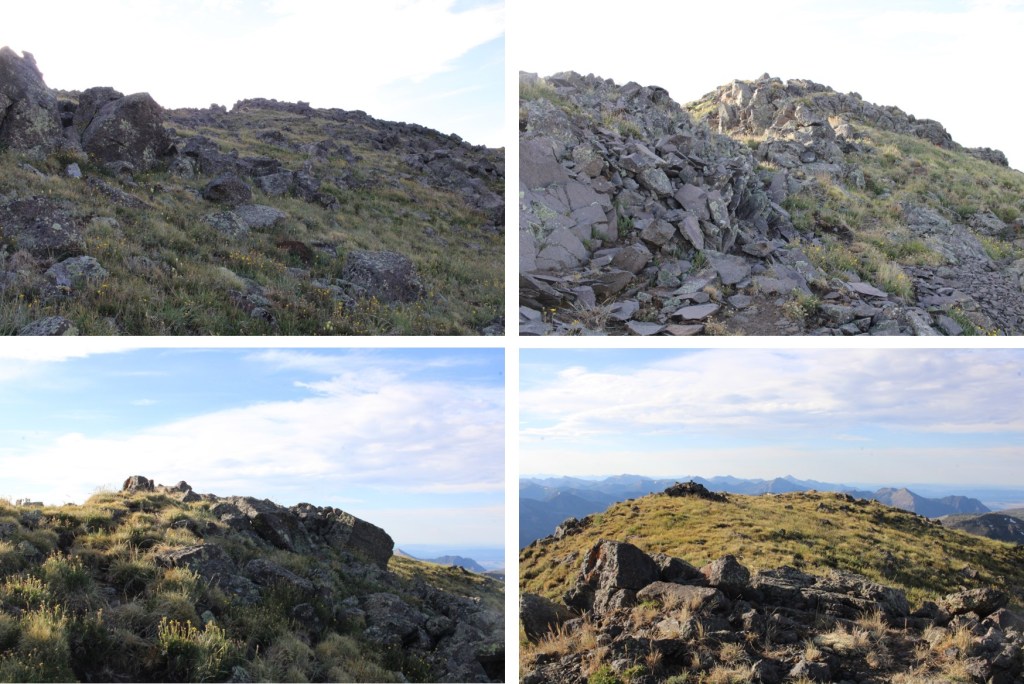
At the top I turned right, and headed southeast to the summit
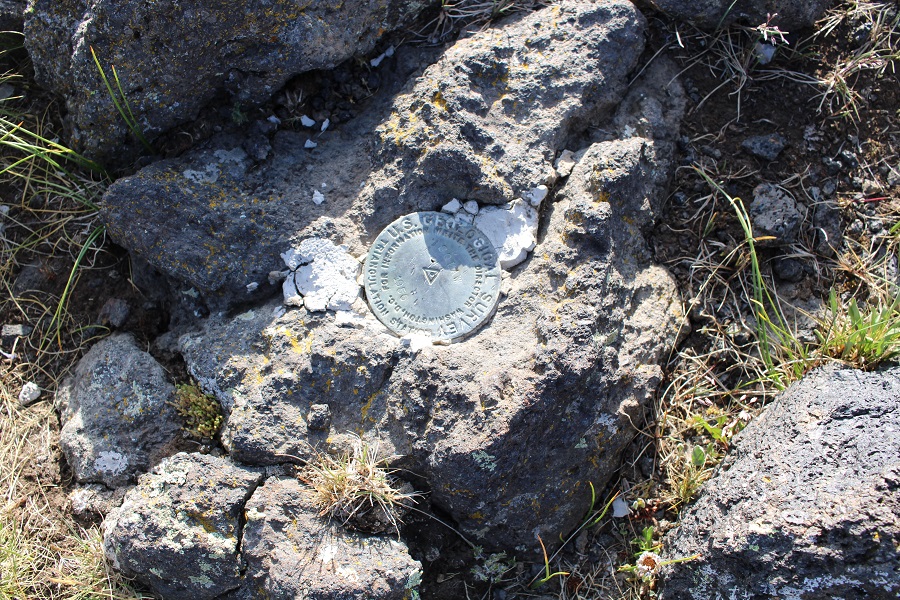
There was a summit marker here as well
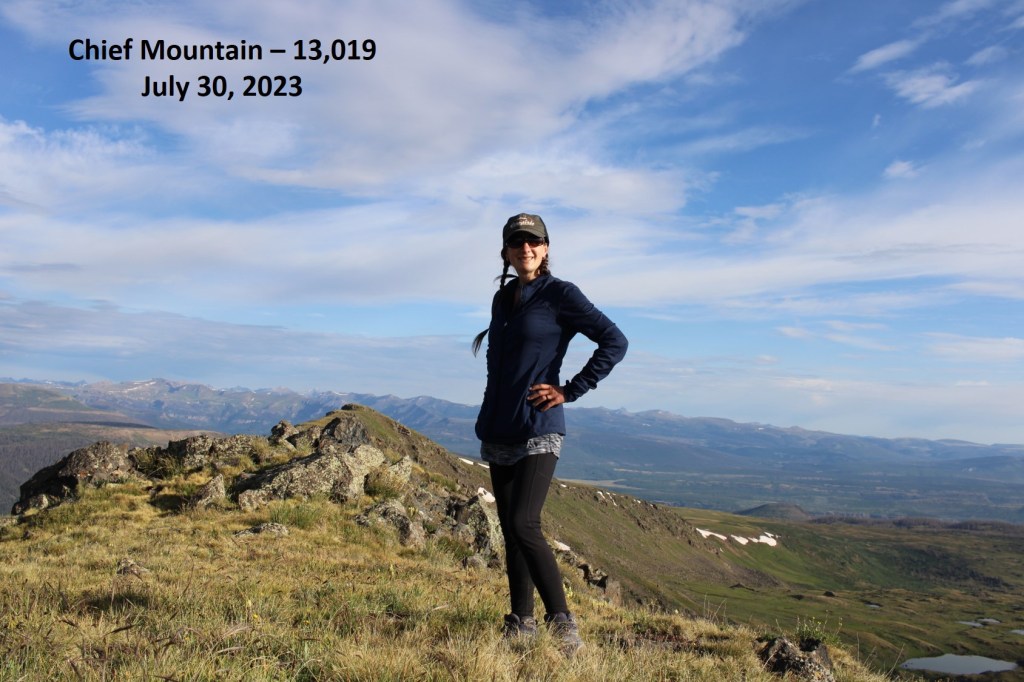
I summited Chief Mountain at 7:50am
Chief Mountain:
Looking back at that last point on the ridge, it looked very similar in elevation to where I was now.
Time to head back. I descended to the west, heading back to the game trail
Then followed the game trail back to the ridge
From here, it’s really important to get a visual of where you’re headed. Sure, you’re going to head north on the tundra, but look for a meadow in the distance, surrounded by trees, and keep aiming there. It will help keep you from getting off route.
I saw more elk on my way down. They had been enjoying themselves on the little patch of snow when they were alerted to my presence, and ran away.
Elk:
Now to trudge through the marshy-willow area
And head back to the Fern Creek Trail
Now the Fern Creek trail should be easy to follow, back to the Squaw Creek Trail
I turned right at the Squaw Creek Trail, and followed it back to the trailhead.
I made it back to my truck at 11:30am, making this a 16.82 mile hike with 4261’ of elevation gain in 8 hours.
I’d been crying all day, so when I made it to the trailhead I was quite the mess. My eyes were swollen, my nose was red, and I was tired. My 23-year-old daughter coaches color guard, and last week, one of her team members was murdered. I’m not going to go into the details of what happened (news article here), but my daughter wanted to be at the viewing and also at the funeral to support her students. I wanted to be there to support my daughter. She was determined to make sure she talked with each and every one of her students individually, which meant we were there a long time. I watched high-schooler after high-schooler break down in front of the (open) casket, crying, some uncontrollably. There was a slide show of the best moments of her 17 years scrolling, with several pictures including my daughter. When all of the guard members were there, they held hands and stood in a semi-circle around the casket, grieving together. This was one of the hardest things I’ve had to witness in my life, and I was just on the sidelines. I was mad, angry, hurt, confused, and so many other emotions I can’t put into words, for everyone involved. I cried excessively during the entire funeral, my arm around my daughters’ shoulder, trying to comfort her as well. I dropped my daughter off at the airport (she’d been in Georgia for the summer, and flew back for the funeral), and drove to the trailhead. I needed a hike, as I had a lot to process.
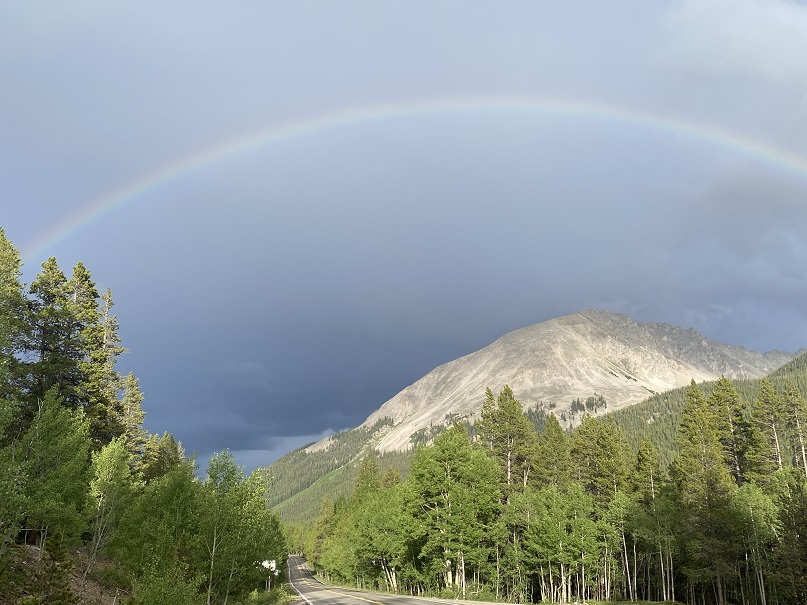
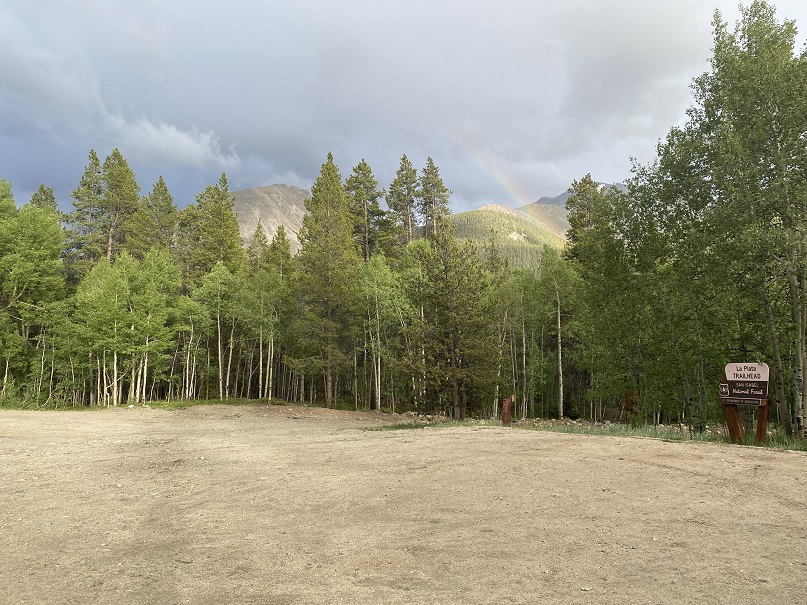
When I got to the La Plata Gulch Trailhead it was raining, but after a few minutes a rainbow came out. I needed that rainbow. I also needed sleep.
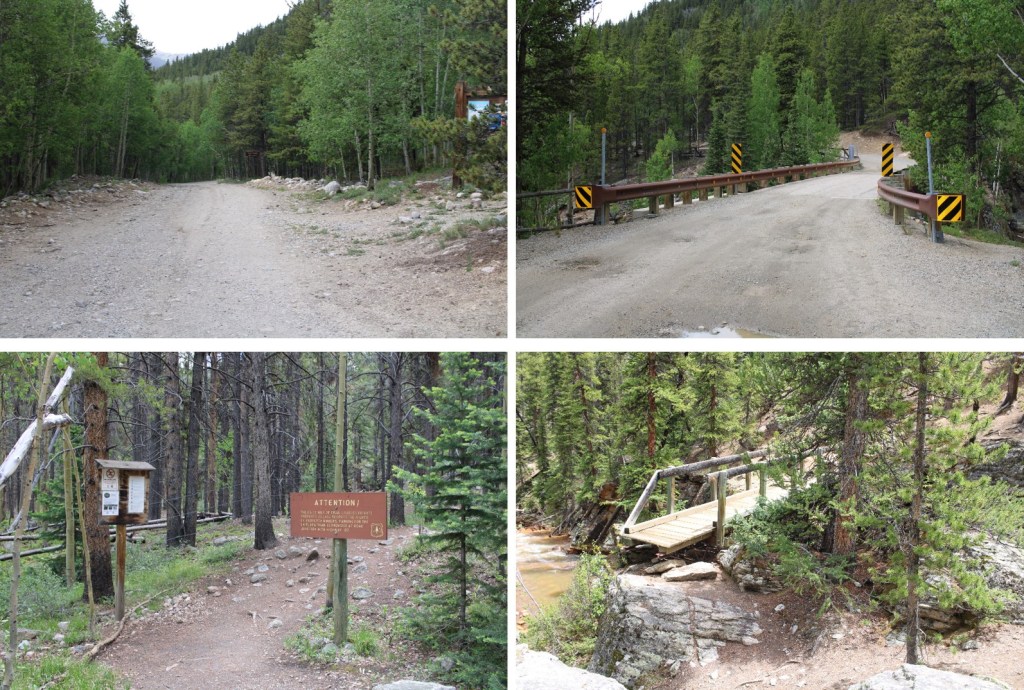
I went to bed early, and was on the trail at 4:30am. The trail begins by following the La Plata Gulch Trail
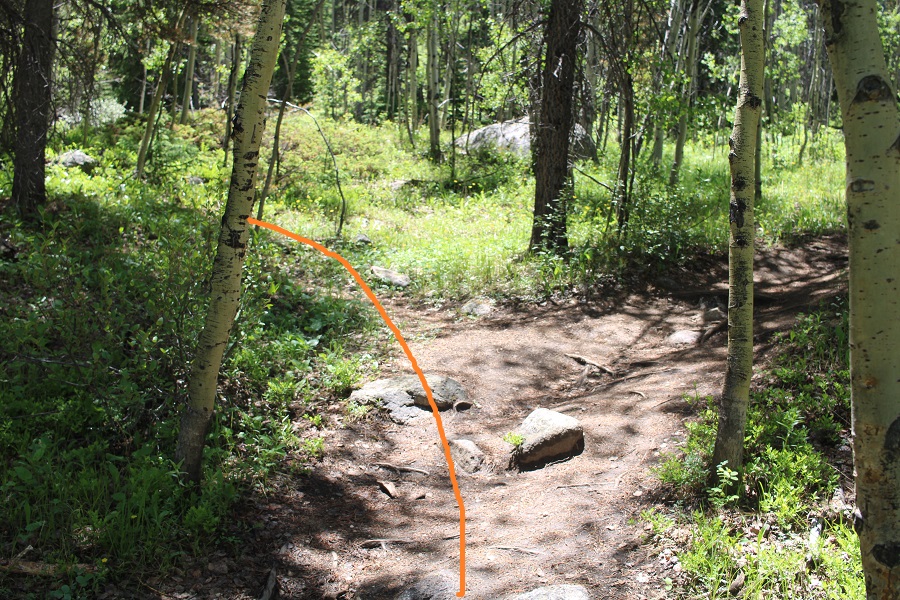
After following the trail for 1.3 miles, and after the second bridge crossing, there was a faint trail I took to the left
I followed this faint trail until I came to a third creek
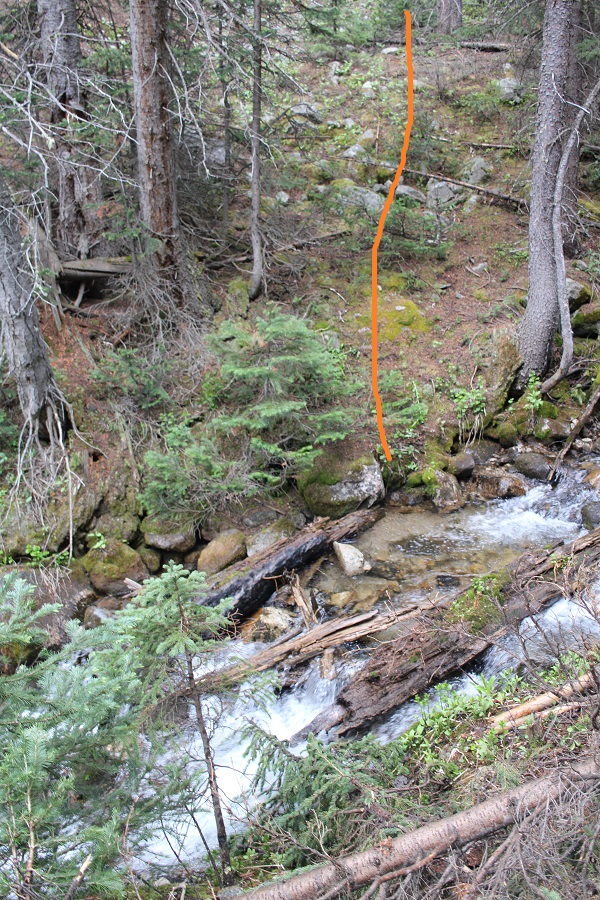
At the creek the trail stopped, so I turned right and followed the creek. It’s important not to cross the creek too soon!
The creek had a lot of deadfall, but there is a faint trail that can be navigated. I followed it until just after I saw this large rock formation on the left, at about 10630’.
AFTER this rock formation I crossed the creek, and made my way to a small ridge
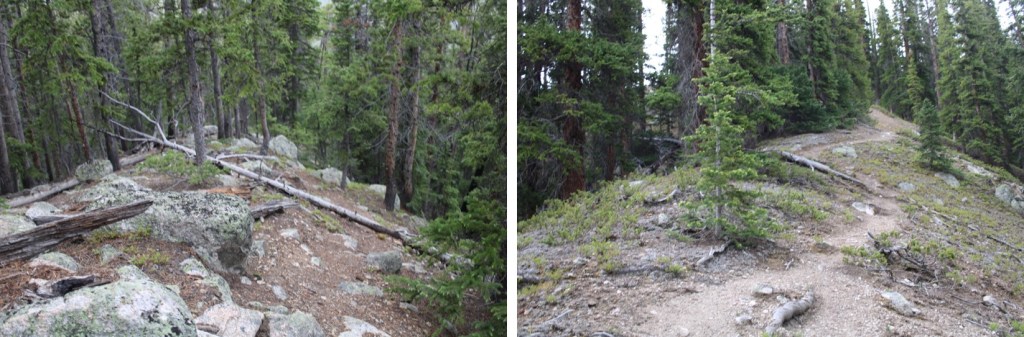
I followed this ridge to treeline
At treeline, to my left I could see my route to gain the ridge.
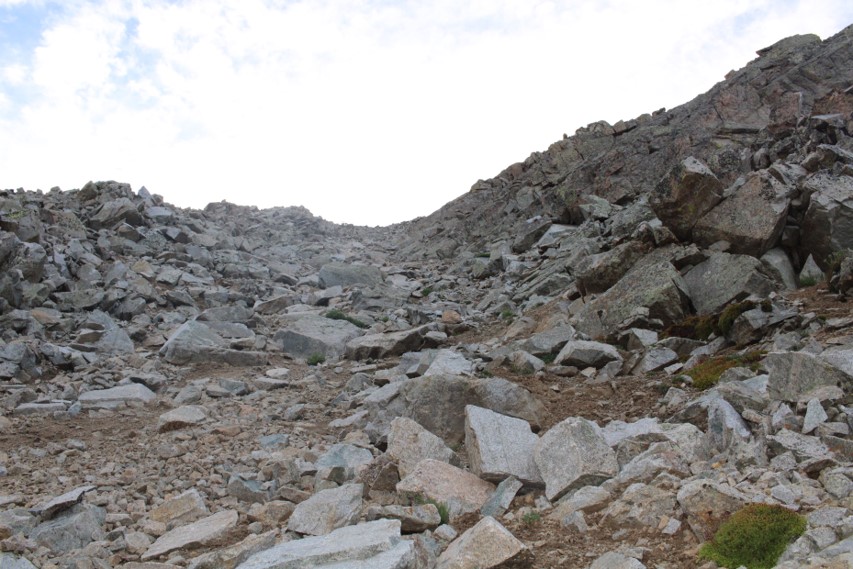
This is the route I took… up an obvious gully.
I started out rock-hopping on unstable rocks, which gave way to a scree and raspberry bush filled gully, which gave way to tundra.
I followed the tundra southwest
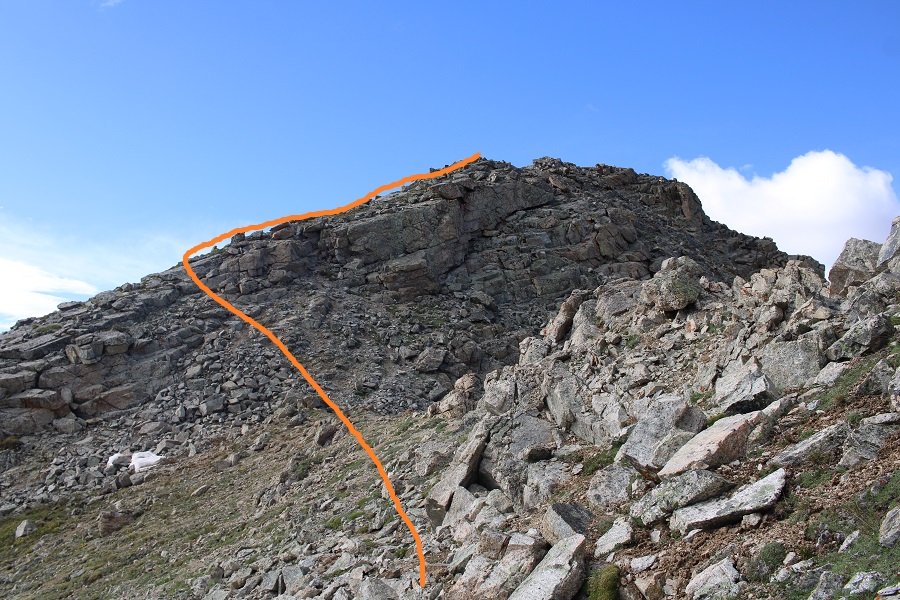
This is where the hike gets interesting. I’ll show you the route I took that worked (I tried a couple of different things that didn’t, so I have a messy GPX file). First, I put on my helmet for some rock hopping
Then, I went straight up the face of this
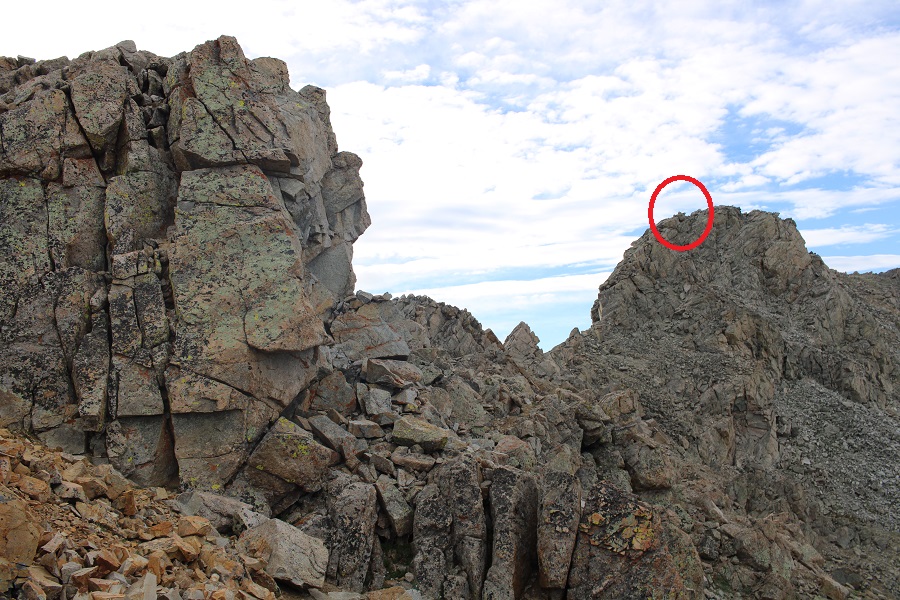
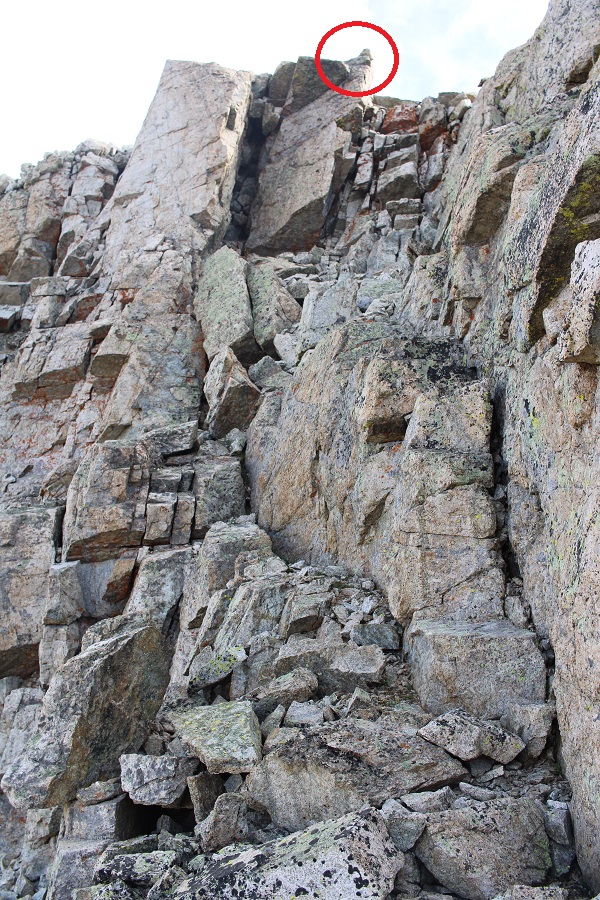
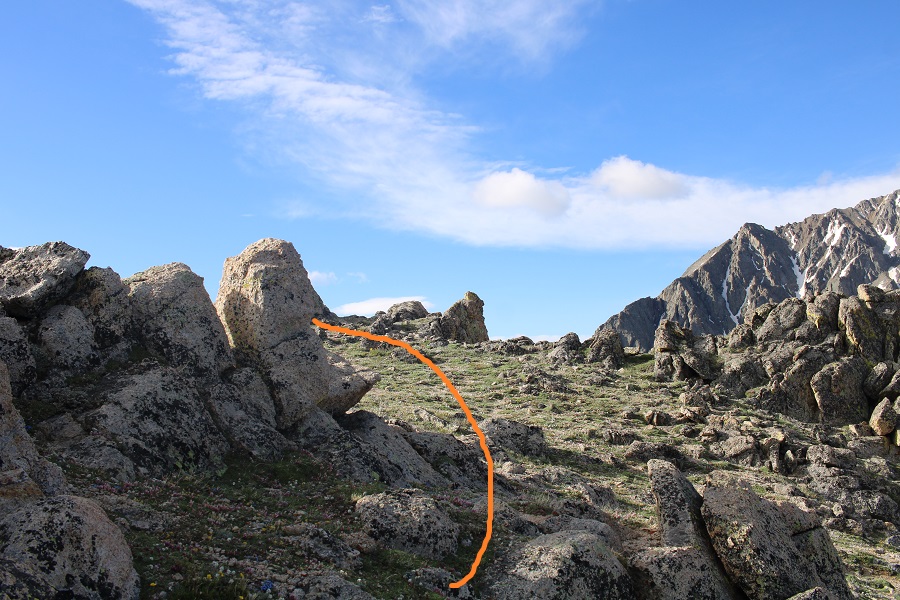
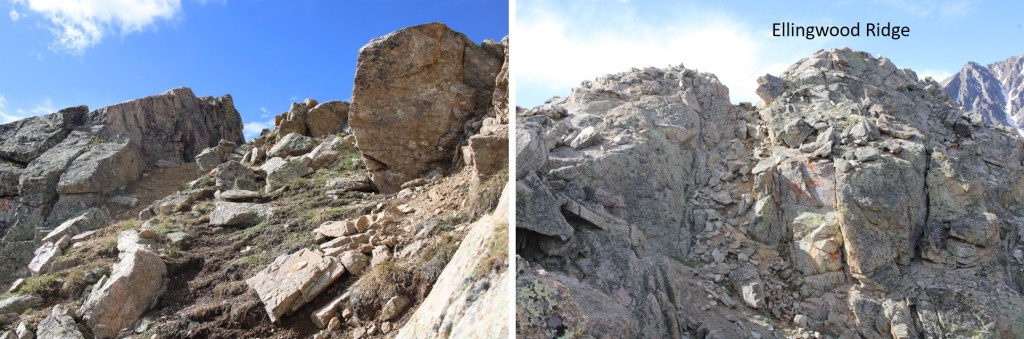
And then class 3’d this ridge to the right. Notice the cairn in the red circle? I erroneously assumed this was the summit of Ellingwood Point, but it isn’t. In any event, DO NOT aim for that cairn.
Instead, you’ll encounter some class 3-4 scrambling as you go under the ridge, losing about 50 feet of elevation.
I descended down what I felt was a class 4 chimney, before turning left and finding a somewhat grassy ramp that turned to rocks and took me back to the ridge
Just before reaching the ridge, I saw another cairn, and what I thought would be the summit of Ellingwood Ride. This is also not the accepted summit. DO NOT follow this cairn.
However, when I made it to this point I could clearly see it was about level with the OTHER point I wasn’t supposed to summit (here’s looking back)
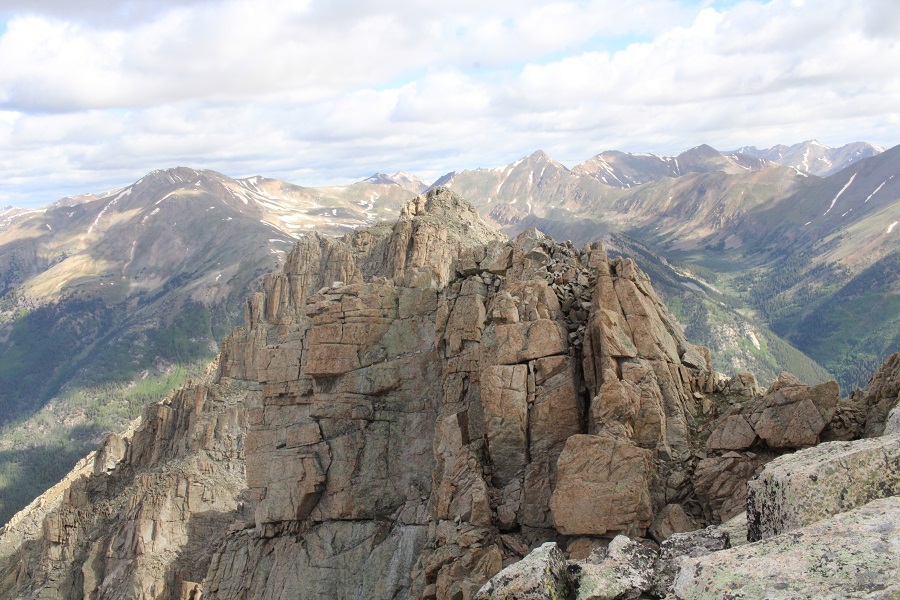
When I turned and looked south, I could see the true summit of Ellingwood Point.
The route wasn’t straightforward. I made my way down, and over to the ridge. I then lost 115’ of elevation as I made my way towards Ellingwood Point. Here’s my overall route
Here are some step-by-step pictures
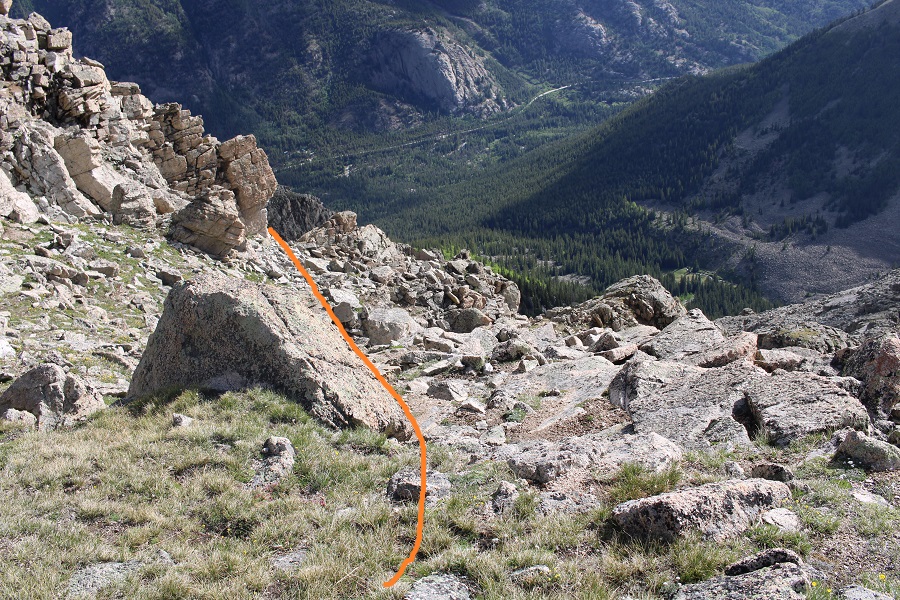
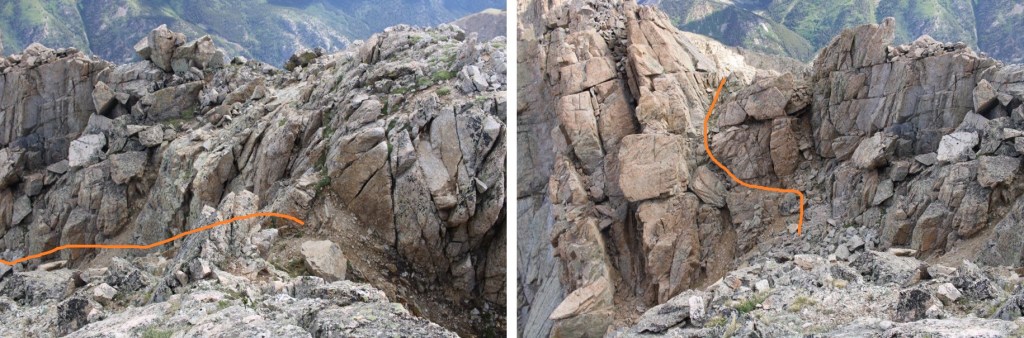
Make sure you choose the correct gully to descend! It’s not the first gully you encounter, but the second that ‘goes’
Then I turned right and made my way towards the saddle, staying above the snow
At the saddle it was choose your own adventure up
I think the traditional route is to take the gully up, but it was covered in snow, so I made my way on the rocks until it was safe to use the gully, quite near the top. This is the route I took
I did encounter a little bit of snow towards the top, but I was able to navigate around it. Once at the top of the gully, I descended some class 3 terrain, and re-ascended another short gully
There was a small cairn there, letting me know I was at the summit
I summited Ellingwood Ridge at 9am
Ellingwood Ridge:
Here’s looking north at the route I took in. As you can see, it’s difficult to tell where the ‘true’ summit is.
I was making this an out and back, mainly because there was a storm headed my way, so I turned and retraced my steps. Here are some visuals of the harder areas to ‘figure out’
Looking down the gully, I stuck to the wall and did just fine
Then I made my way back down the ridge, keeping to the right, and heading back up that second gully, which is more obvious going this way, as it’s the only one that ‘goes’
At the top of the gully I once again lost elevation and navigated the west side of the mountain
Here’s looking up at that class 4 gully
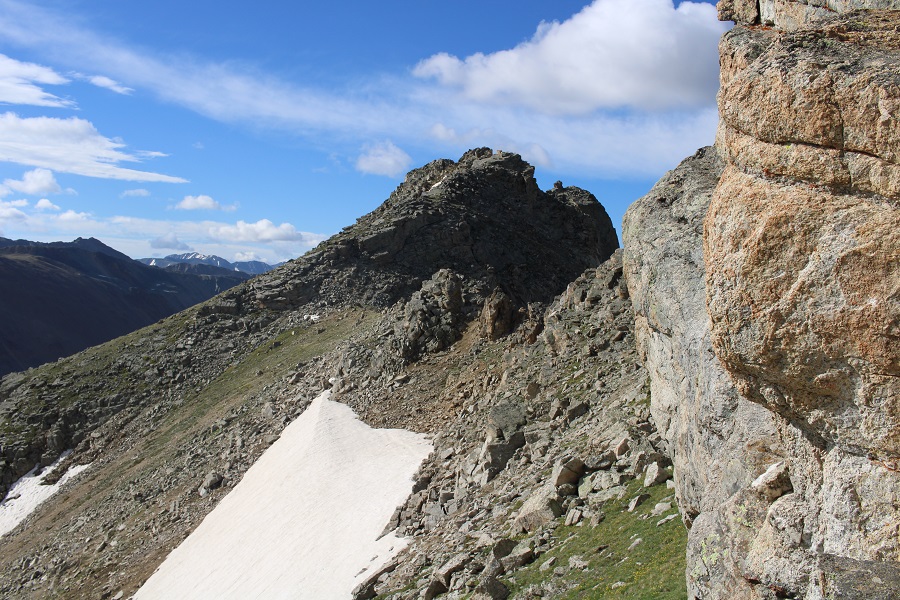
And the ridge back to the tundra
The tundra to the rocky gully
And the gully to the ridge
As soon as I hit the ridge it started raining. I followed the ridge to the stream crossing, then followed the stream back to the trail
Once on the trail, it was easy to follow it back to the trailhead
I made it back to my truck at 12:30pm, making this a 9.9 mile hike with 3622’ of elevation gain in 8 hours.
While I unpacked quite a bit emotionally, I didn’t come up with any answers on the hike, except that it’s important to listen when people tell us something is wrong, and to love each other, as you never know what the other person is going through. I can’t combat the evil in this world, but I can appreciate and acknowledge, and even contribute to the good. I raised a daughter who chose to go out of her way to be there for her students, when it would have been easy to say something like “I’m all the way in Georgia”, “I don’t do well with death”, “I can’t afford the trip” or “I don’t do well with funerals” and not show up. She showed up and she supported her students as they grieved, and even shared some of her favorite memories of Riley with her parents. That’s something to be proud of.
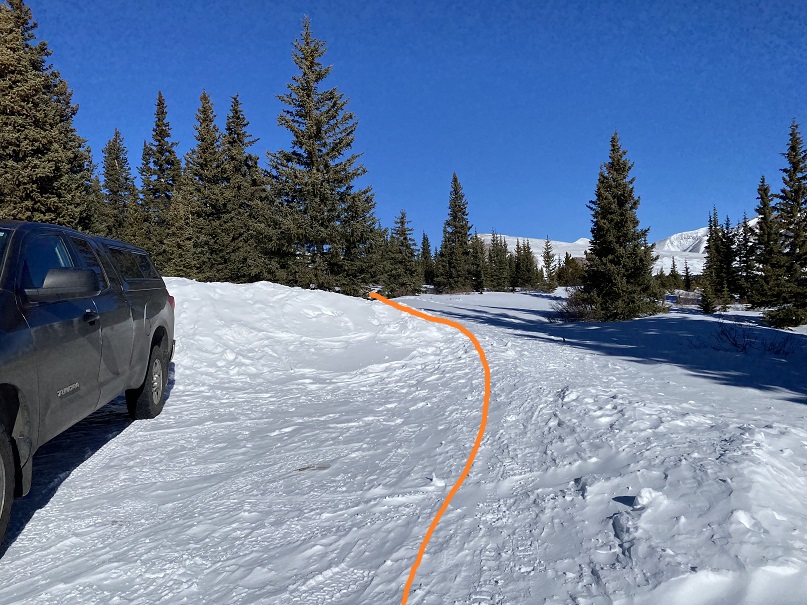
I had a lot of work to get done today, but the weather was really nice and I was itching to get out and hike something above 10K, so I picked a peak I could do relatively quickly. In fact, I think the drive to the trailhead was longer than the hike. I arrived at the Pennsylvania Mountain Trailhead at 6am and got out my gear. There are a few turns to navigate to get too the trailhead. Pro tip: When I’m unsure if I’ll have cell service on my drive out (thus being able to pull up Google Maps, etc.) I create a road map using CalTopo and add it to my GPX coordinates for the day. This way I can follow a GPX track back to the main road when I’m done with my hike and don’t need to worry about memorizing or printing out directions.
I parked at the end of a plowed dirt road in a residential area. The trail starts to the right
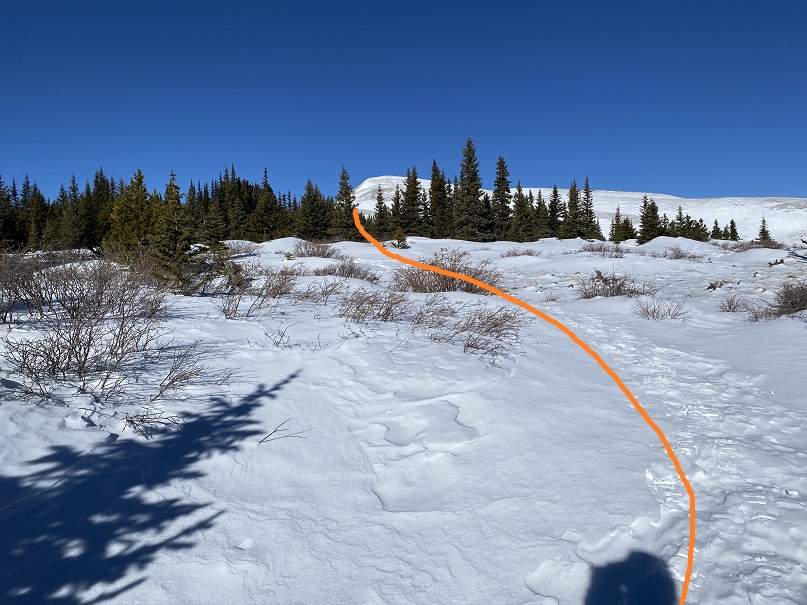
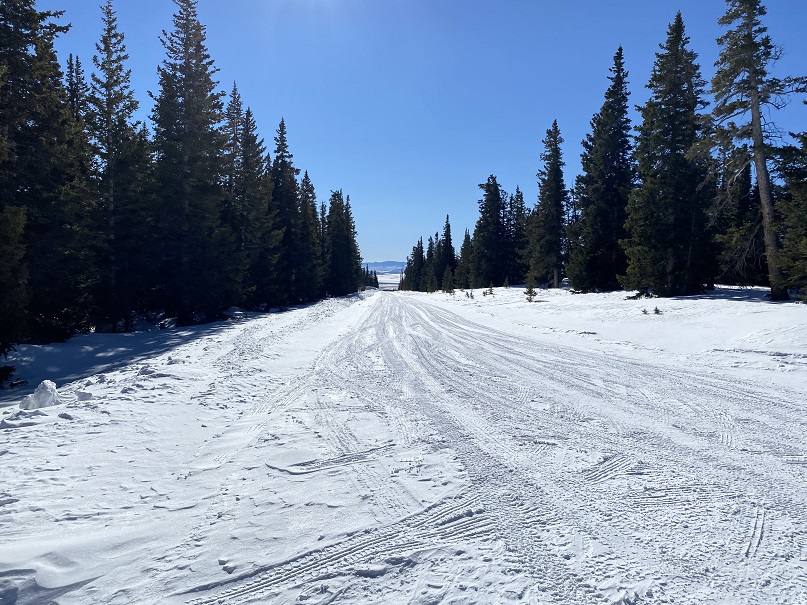
I began with my snowshoes on, and kept them on until making it out of the trees. I’m sure there’s a trail here in summer, but in winter there wasn’t a solid trail (but there were a lot of ski tracks). I headed northwest through the trees and willows to treeline.
Once at treeline the route was obvious. I started climbing the east ridge
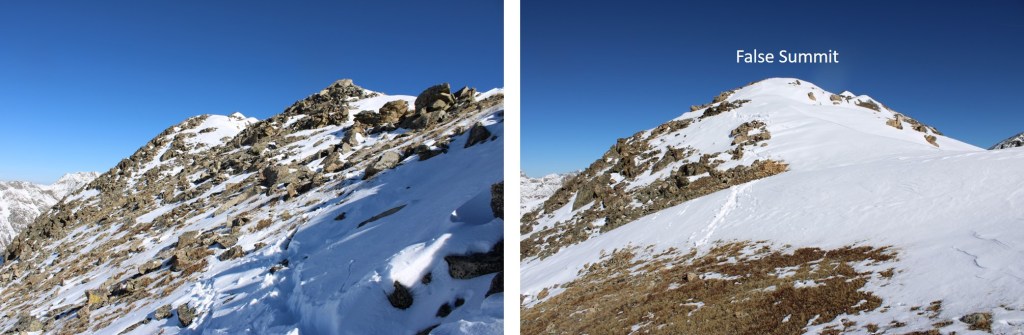
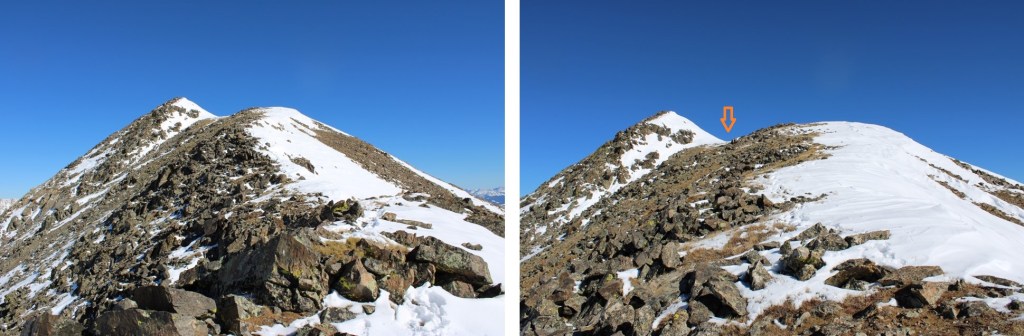
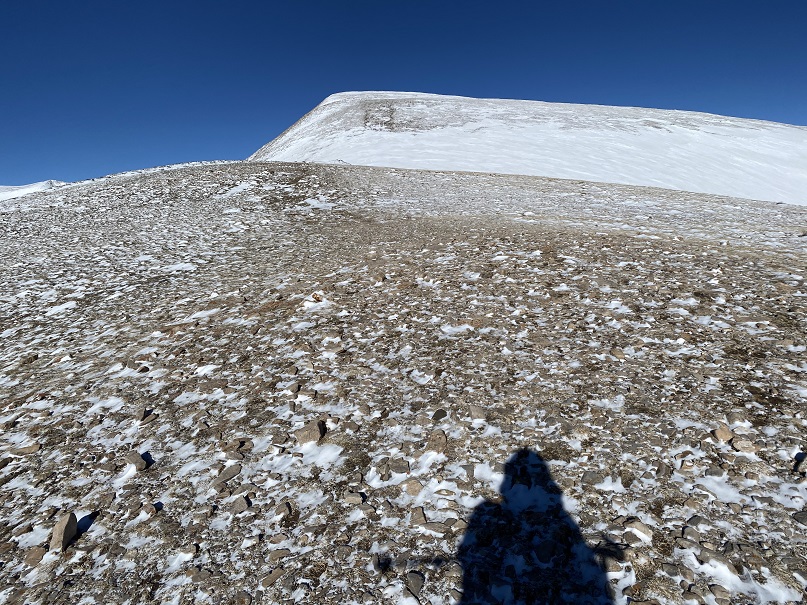
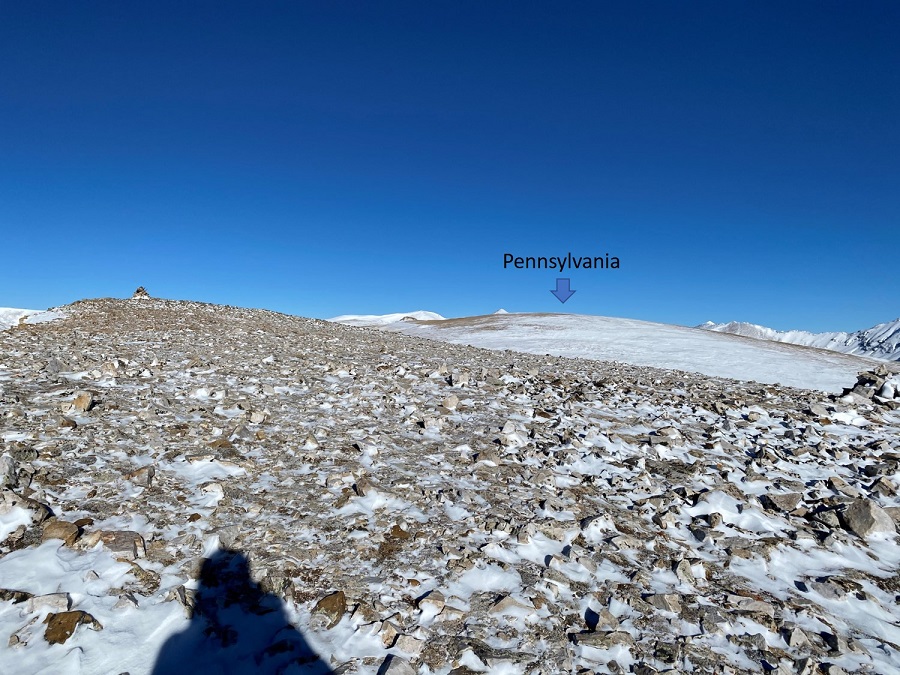
The only downside? There were a few false summits
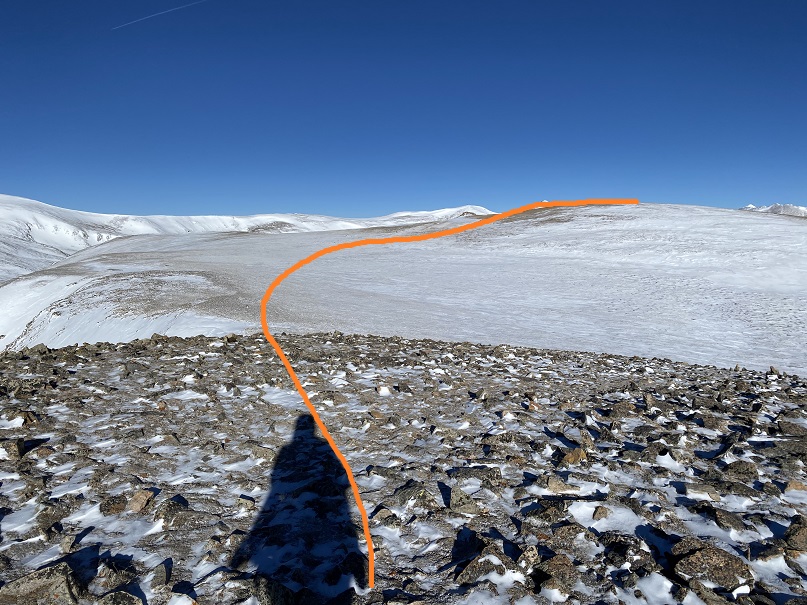
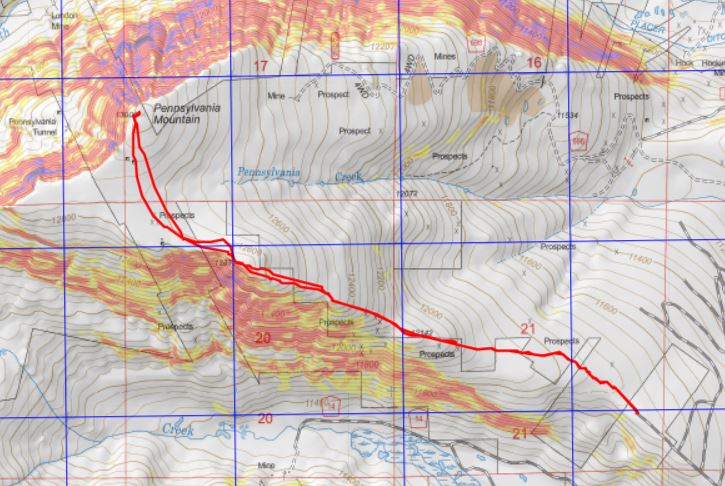
This was the last one however, and included a small decrease in elevation and a plateau before increasing in elevation again. Here’s the overall route. It’s really more of a hill at this point than a peak
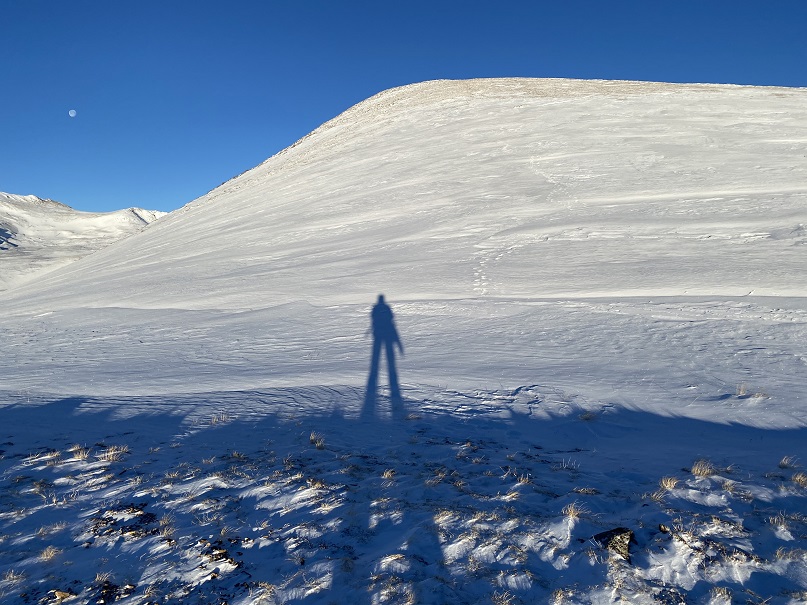
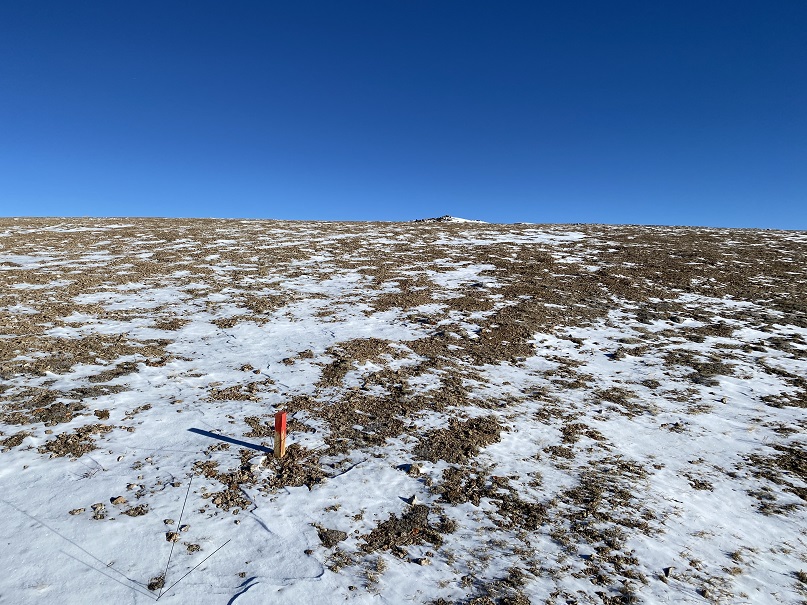
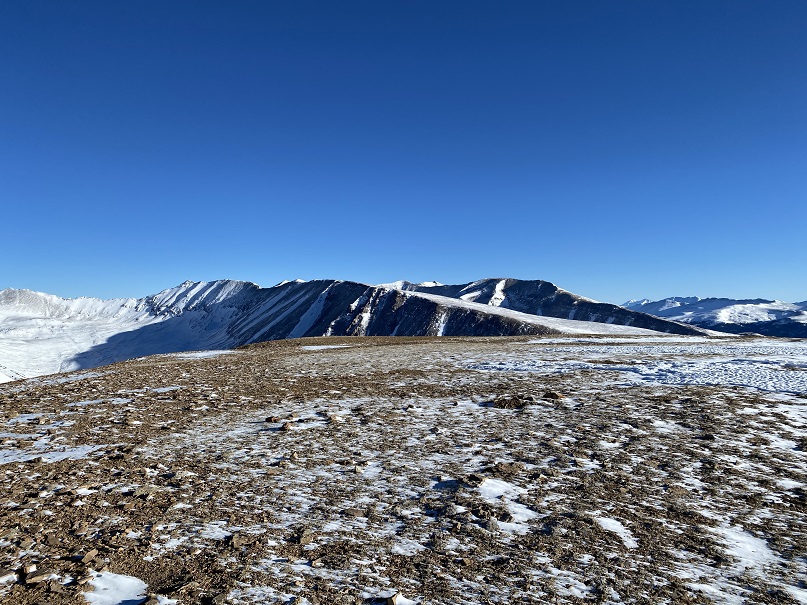
It’s best to stick to the ridge so you don’t lose too much elevation. Here I saw a small herd of elk. They’re in the photos, but too far away to really make out. I headed northwest towards a mining claim and rock outcropping
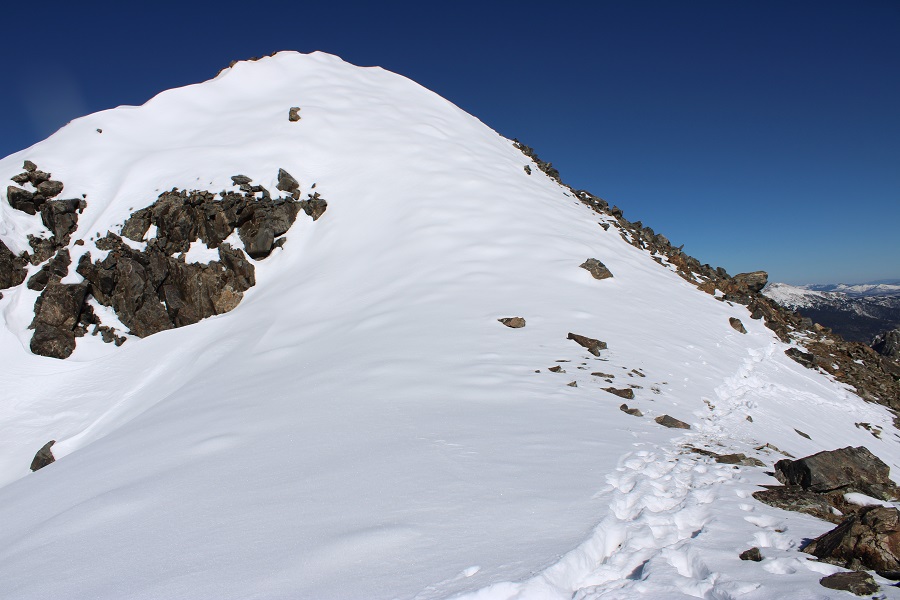
Here’s the final push to the summit
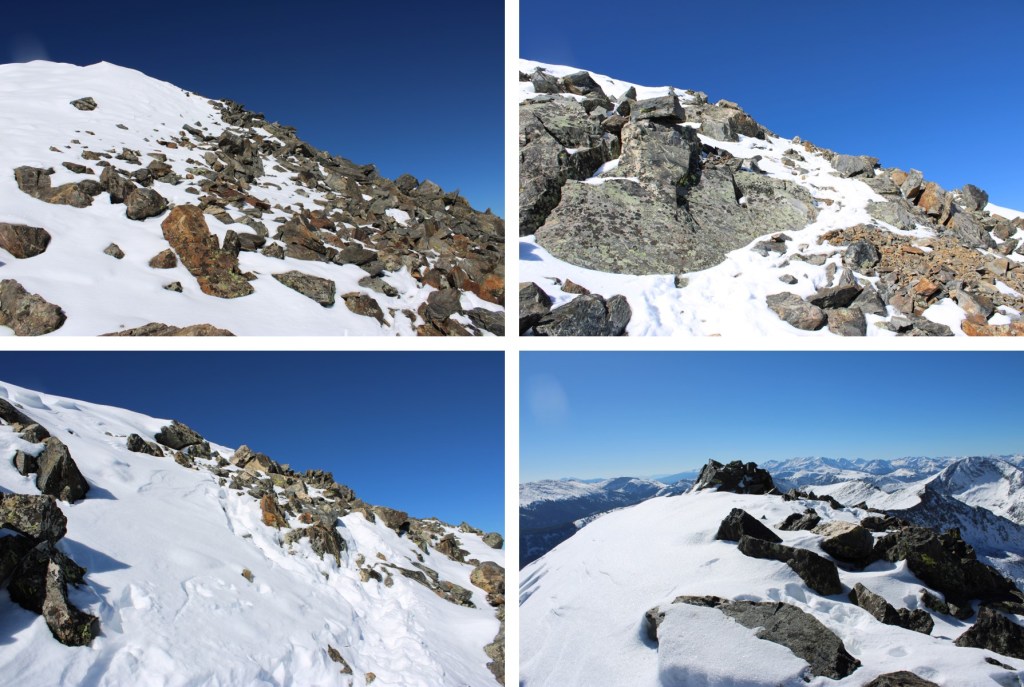
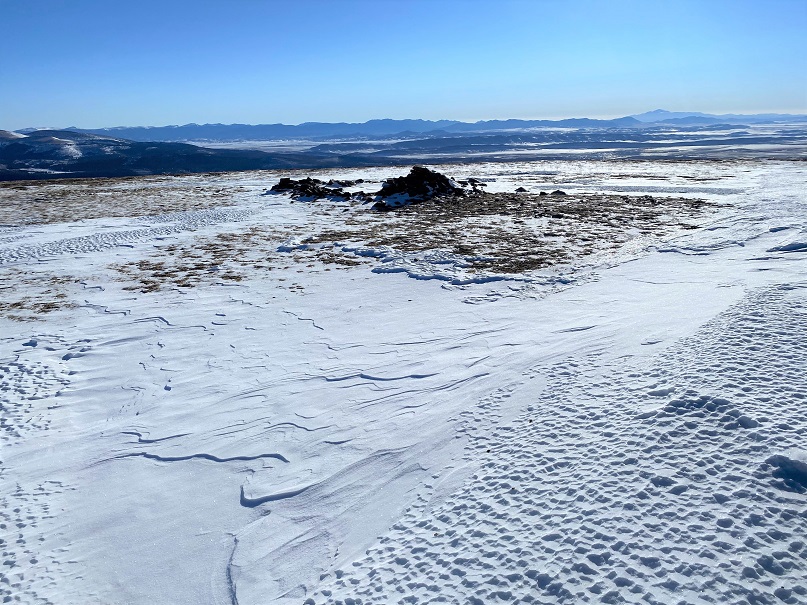
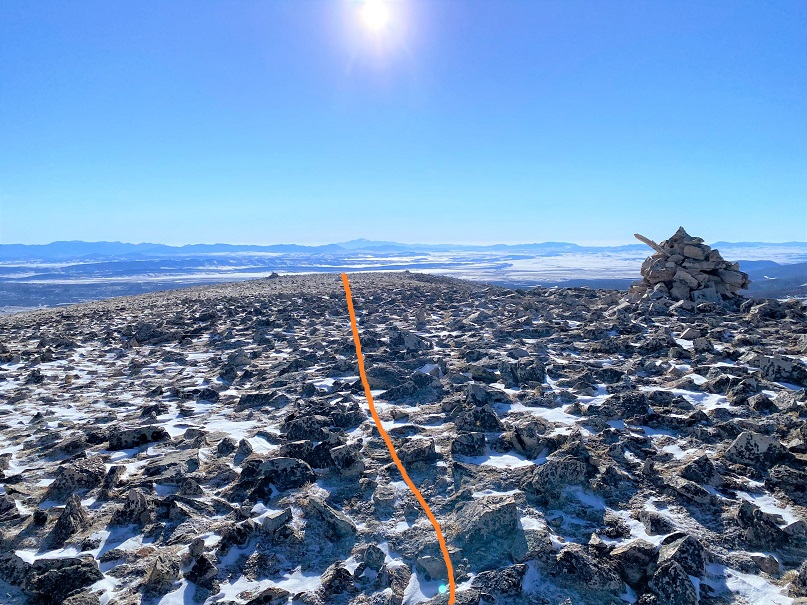
The summit was relatively flat. It was difficult to determine exactly where the true summit was. There was a wind break and a cairns, but they didn’t seem to be at the true high point. I decided to just walk around all over the summit.
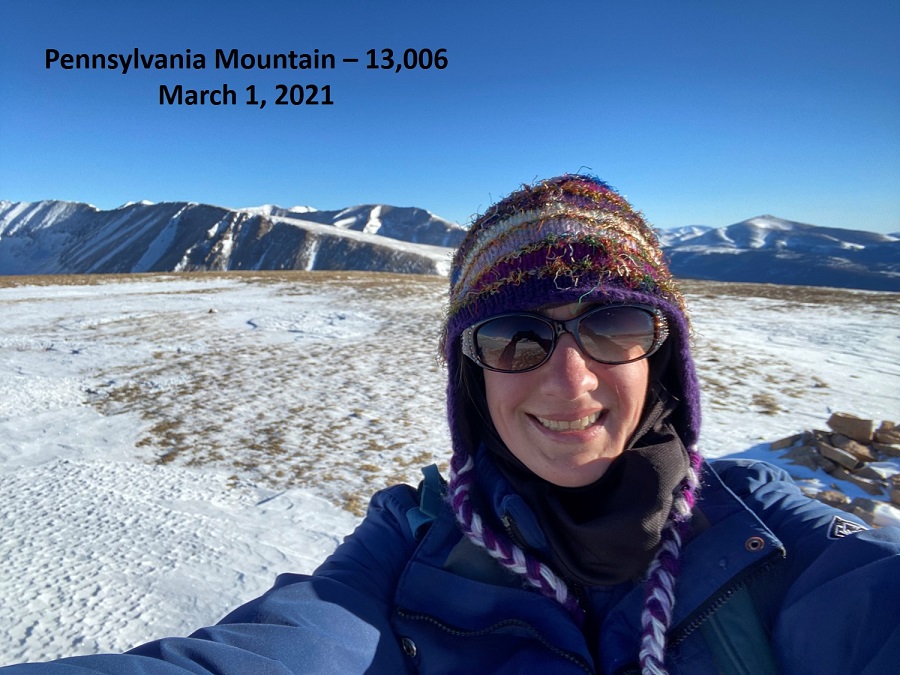
Summit Selfie
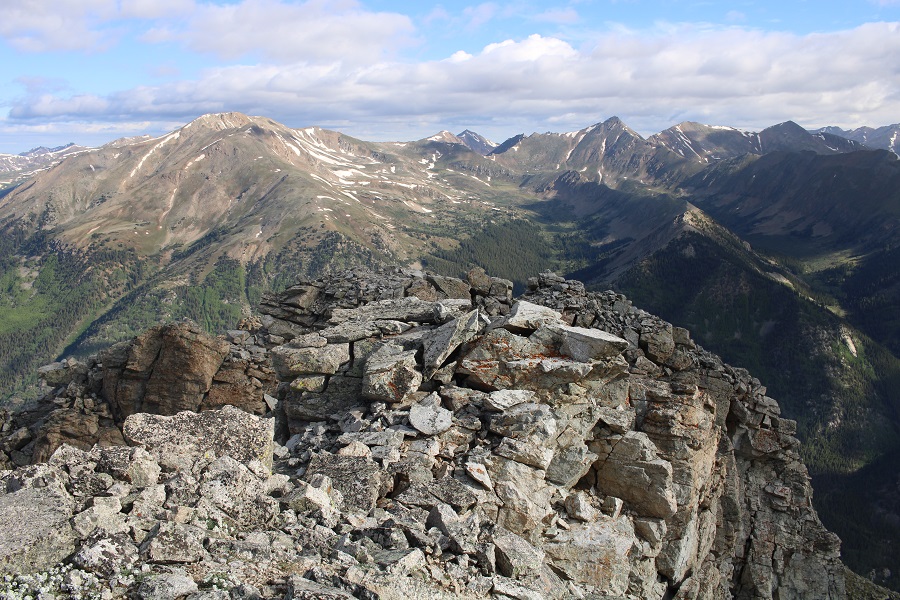
Summit of Pennsylvania Mountain
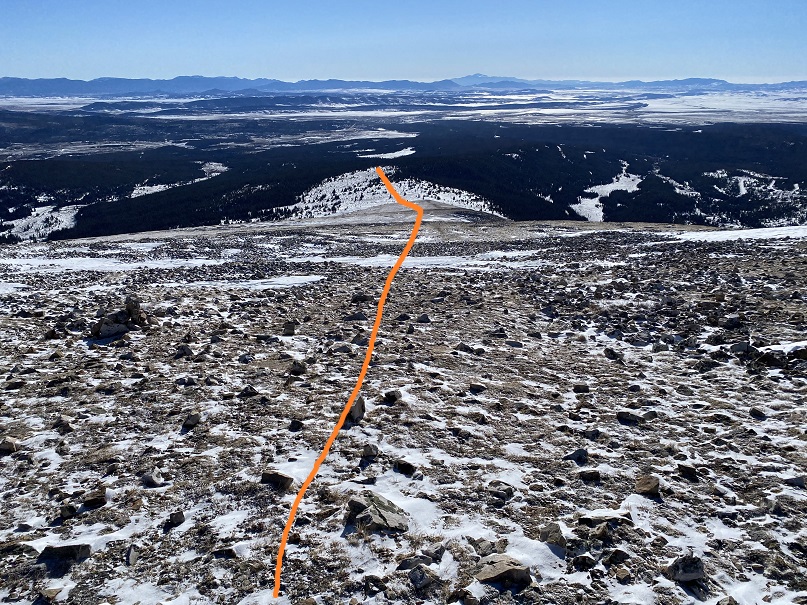
This had been a quick hike so far, and the day was beautiful. I wanted to stay longer on the summit, but I had to get to work. I turned around and headed back the way I’d hiked in
I stopped by the mine on the way back. There wasn’t much left of the structure
Then I aimed for the knob in the ridge
And then headed back down all those small, false summits
There were numbered markers scattered all over the hillside. I think they have something to do with the mining claims
Back near treeline I put my snowshoes back on and headed through the trees and willows to the parking area.
Here’s a look at the road out
I made it back to my truck at 8am, making this a 5.35 mile hike with 1509’ of elevation gain in 2 hours.