RT Length: 16.72 miles
Elevation Gain: 5244’
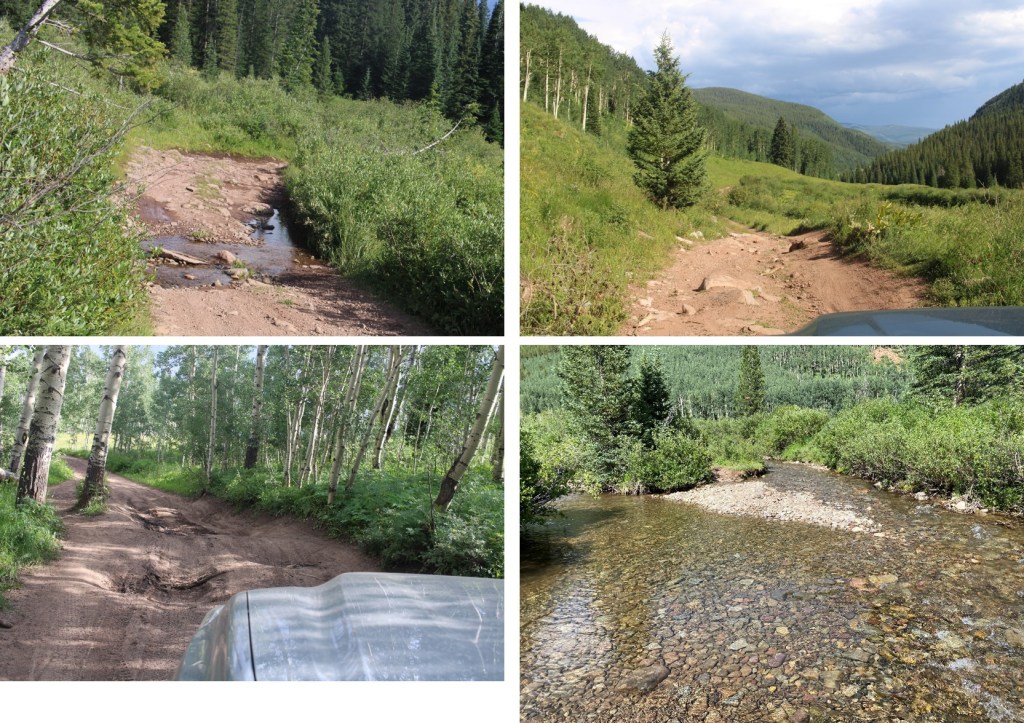
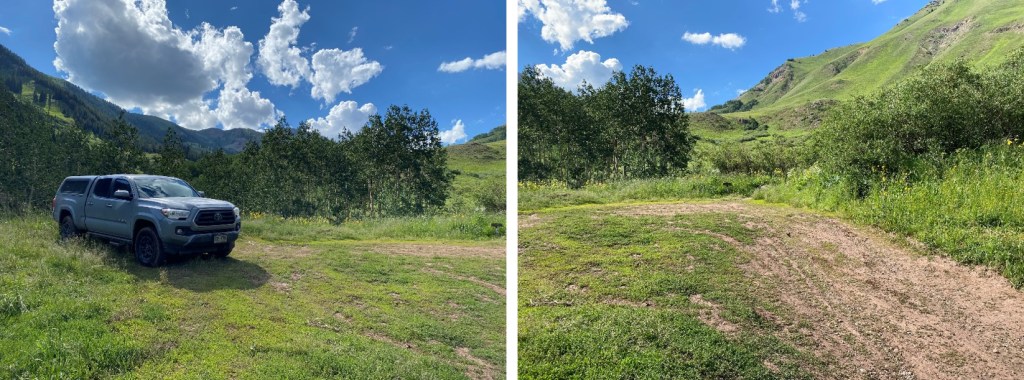
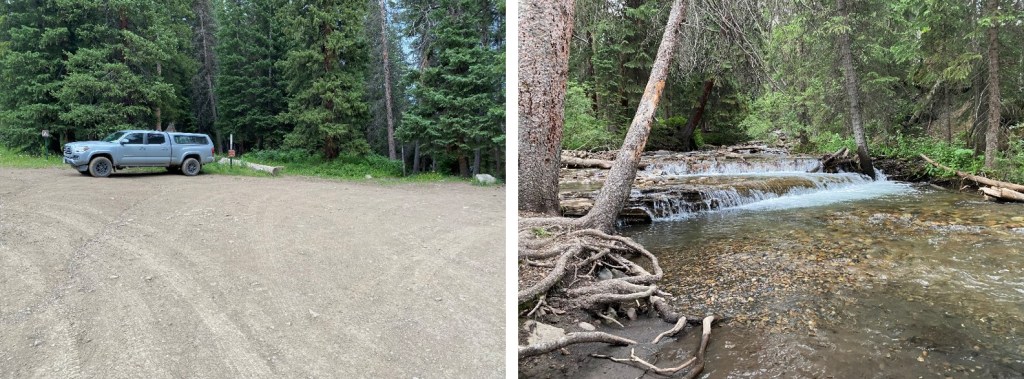
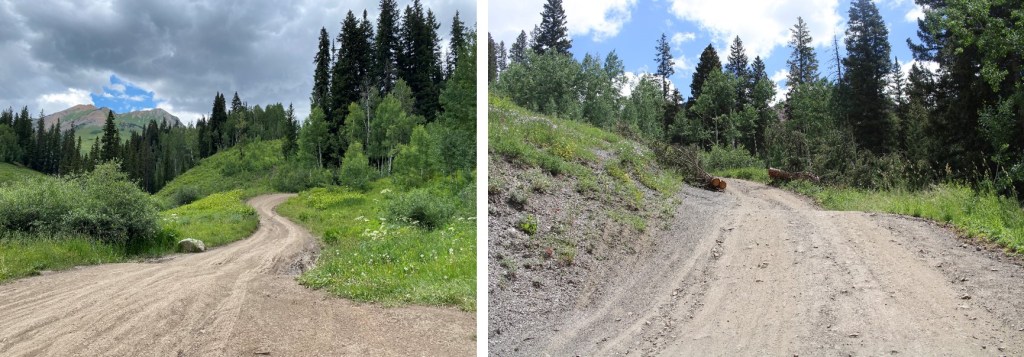
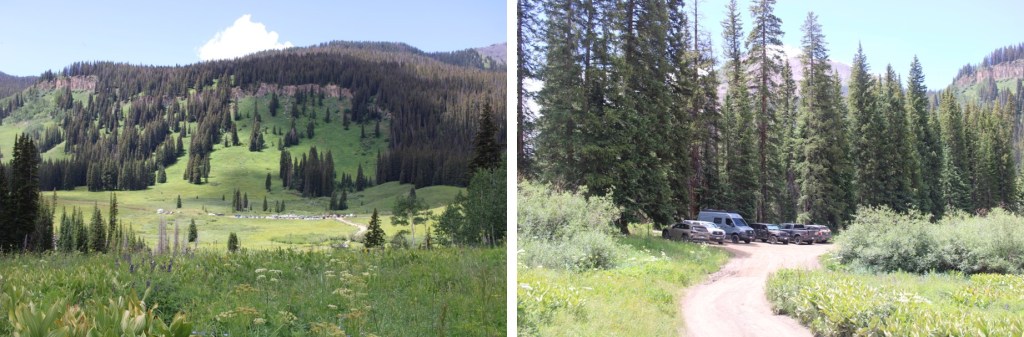
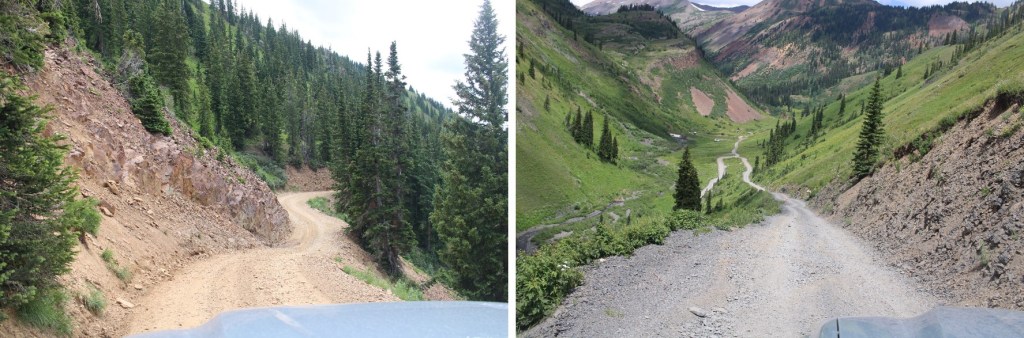
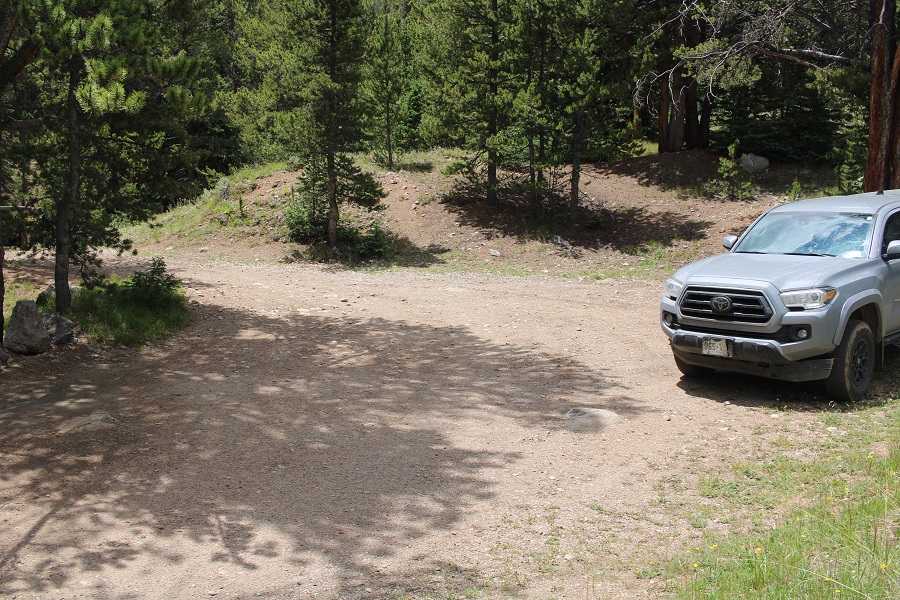
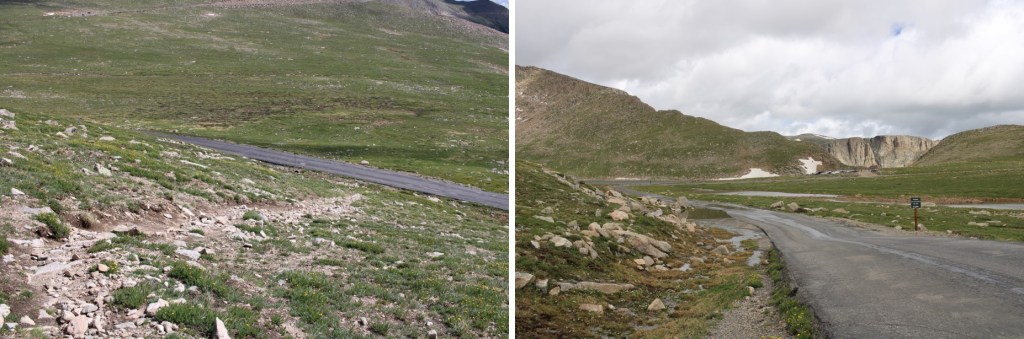
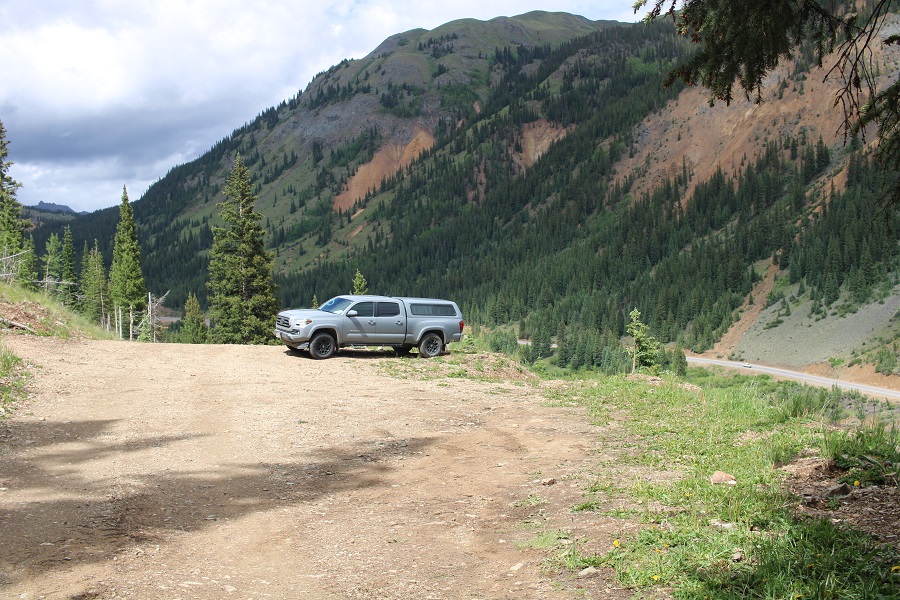
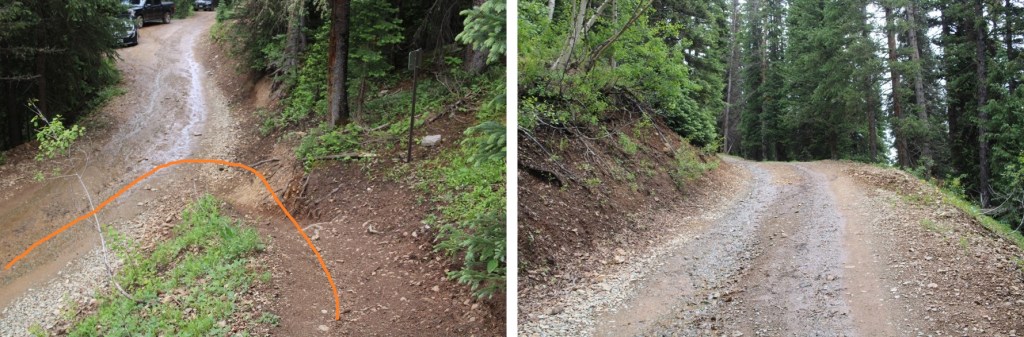
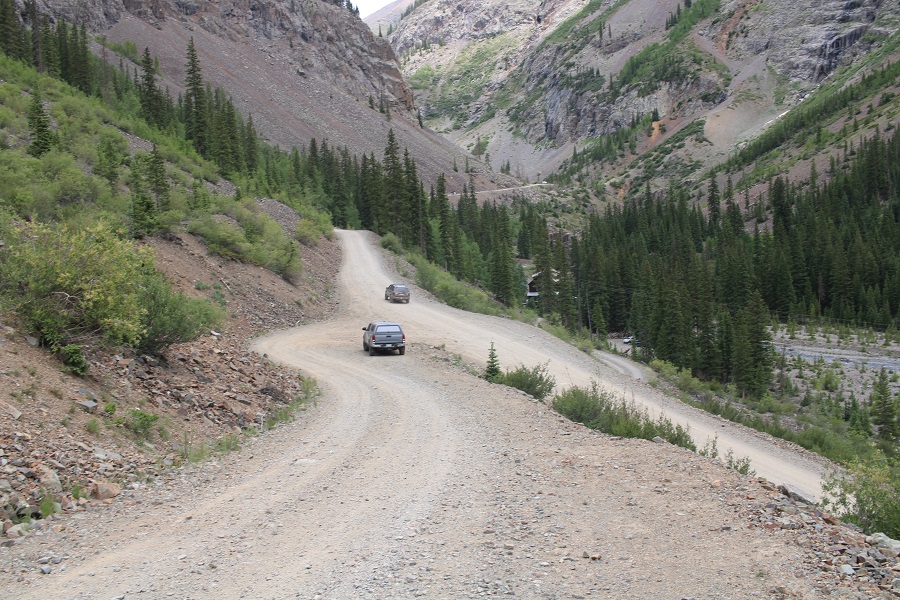
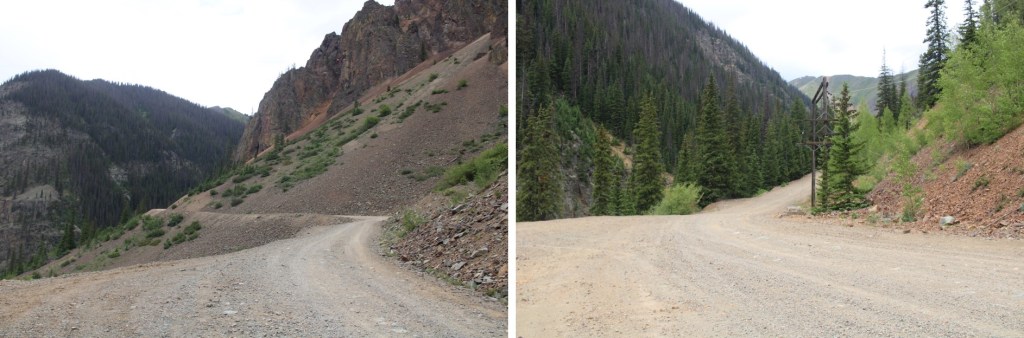
The drive in to the Teocalli Trailhead was sketchy. My stock Tacoma made it, but the last 2 miles were brutal, and the last quarter of a mile I kept going because I had to and couldn’t turn around if I’d tried. The drive made for a great incentive not to need to come back to this area.
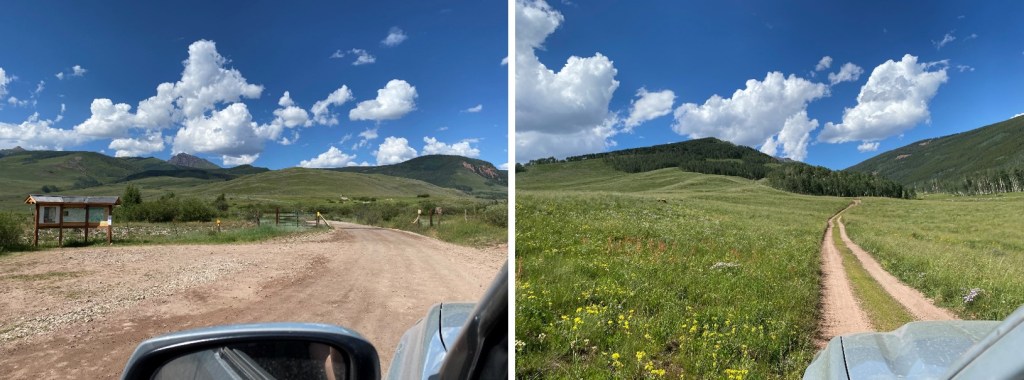

I parked at the trailhead. There were a ton of flies and mosquitoes out. The flies looked like normal flies, but when they bit me, I got welts. The next day they looked like burns. Bring bug spray.

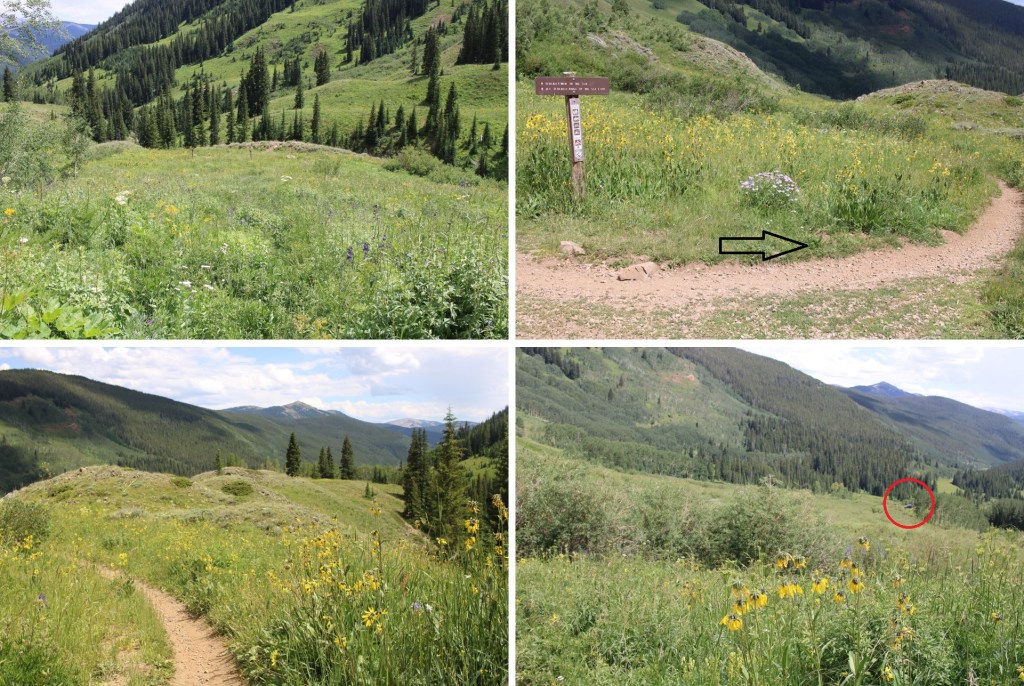
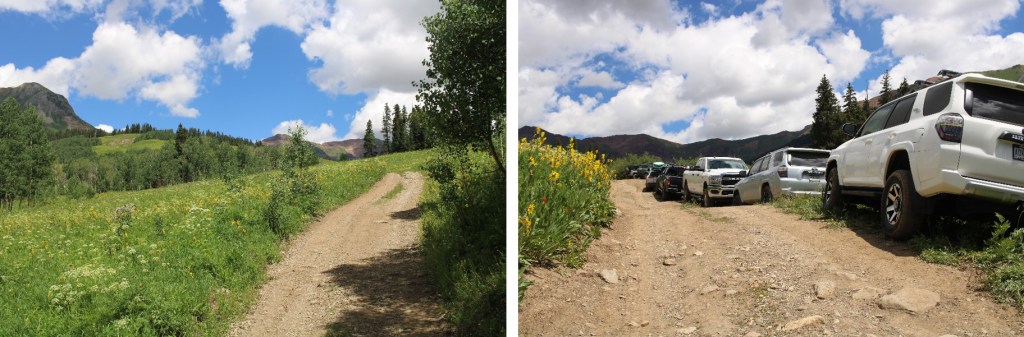
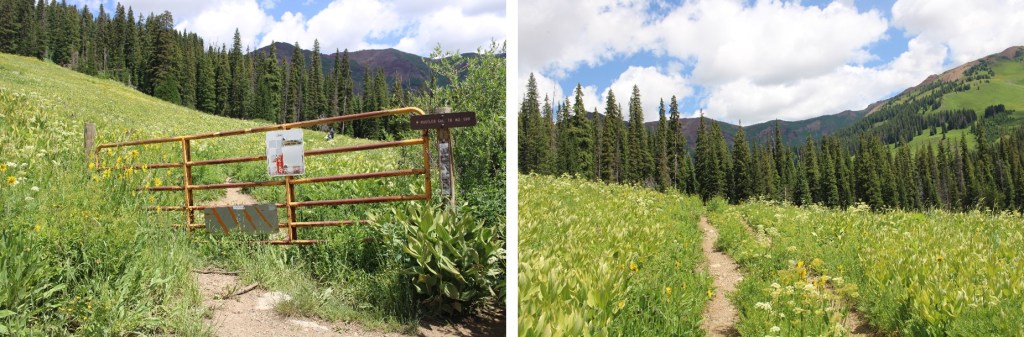
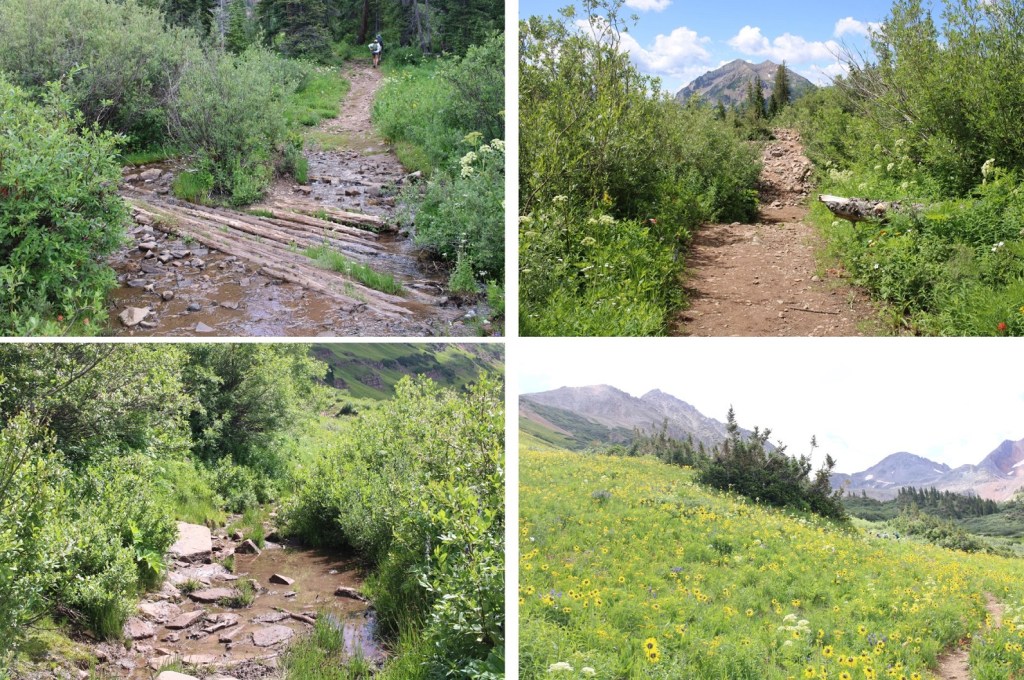
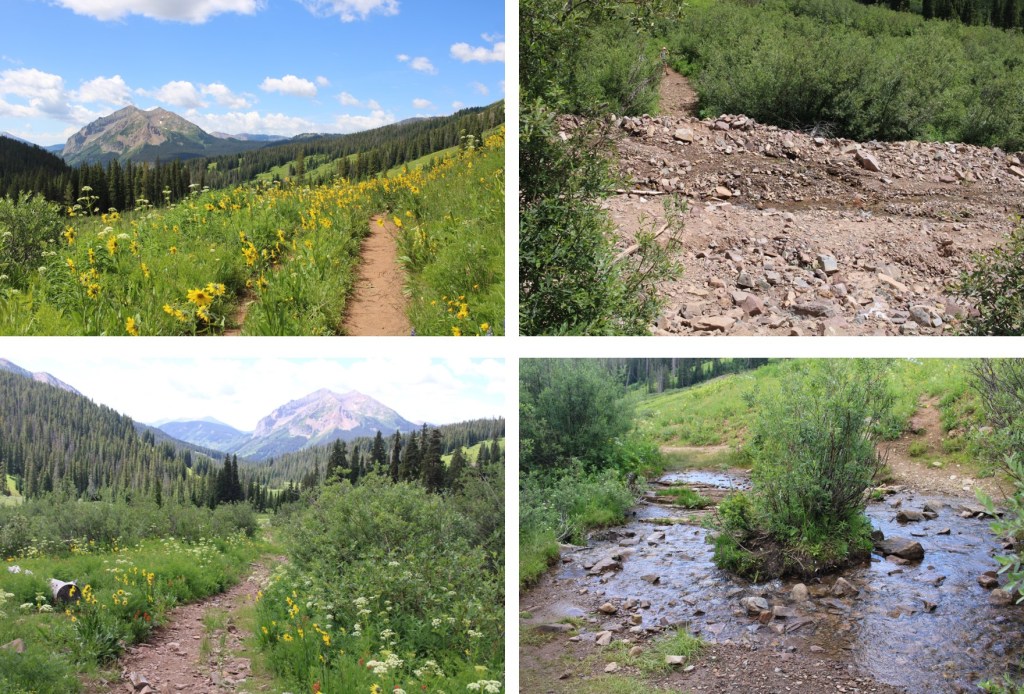
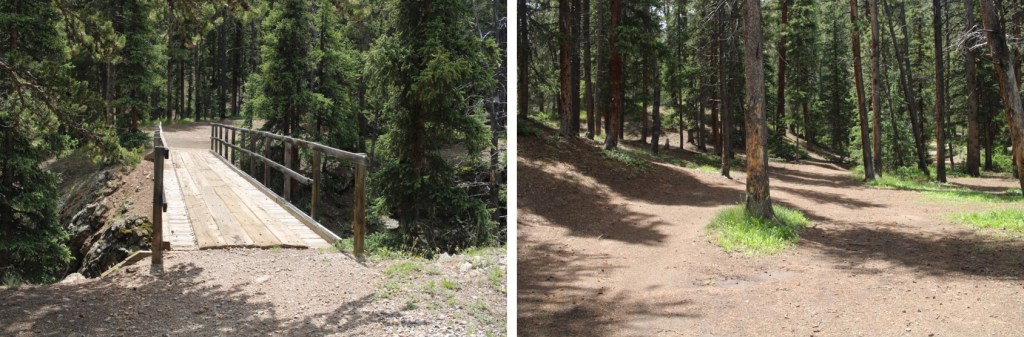
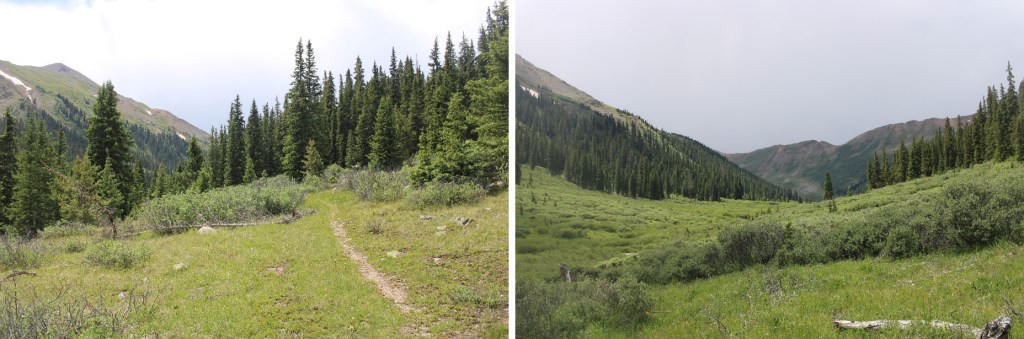
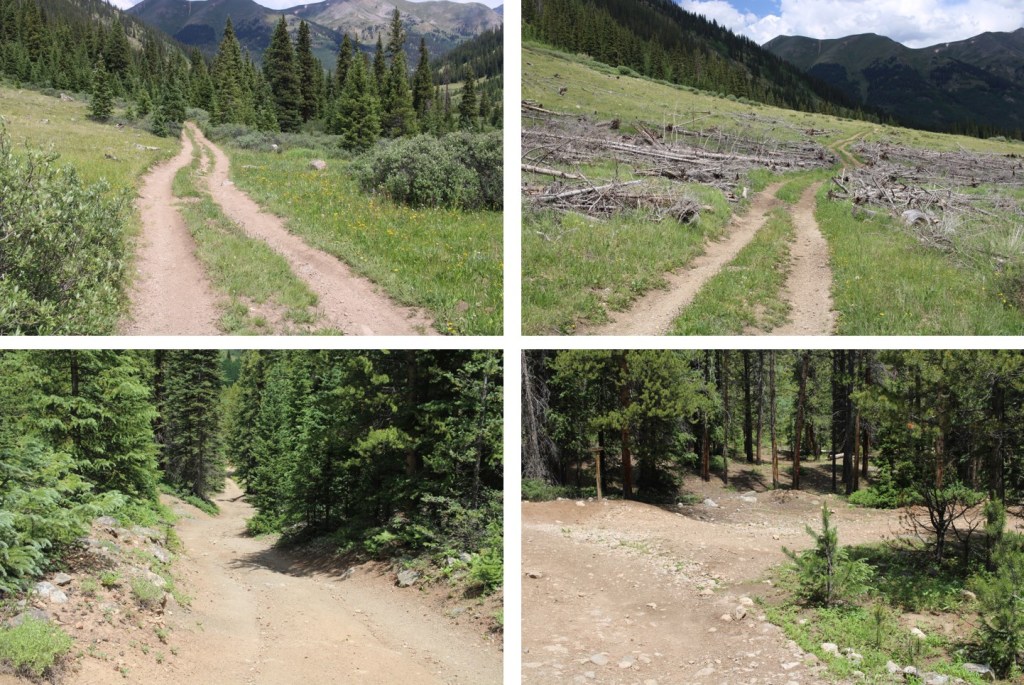
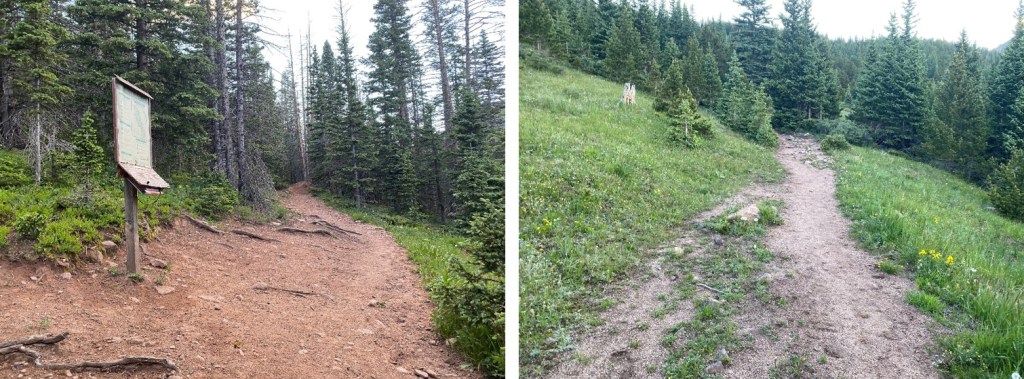
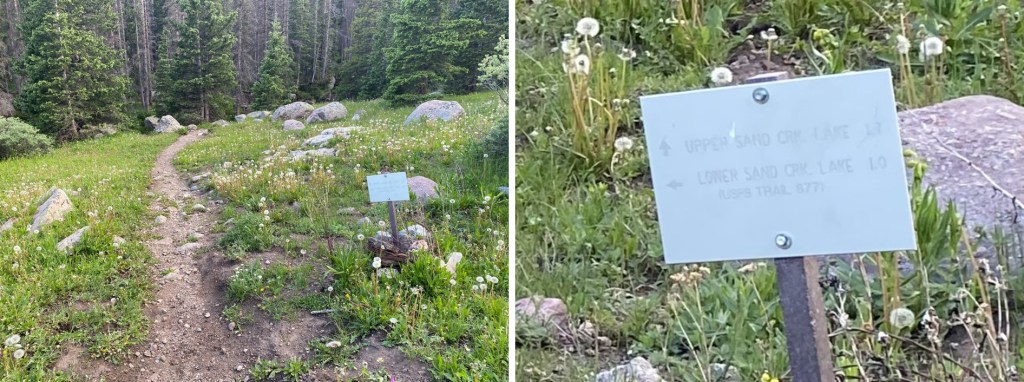
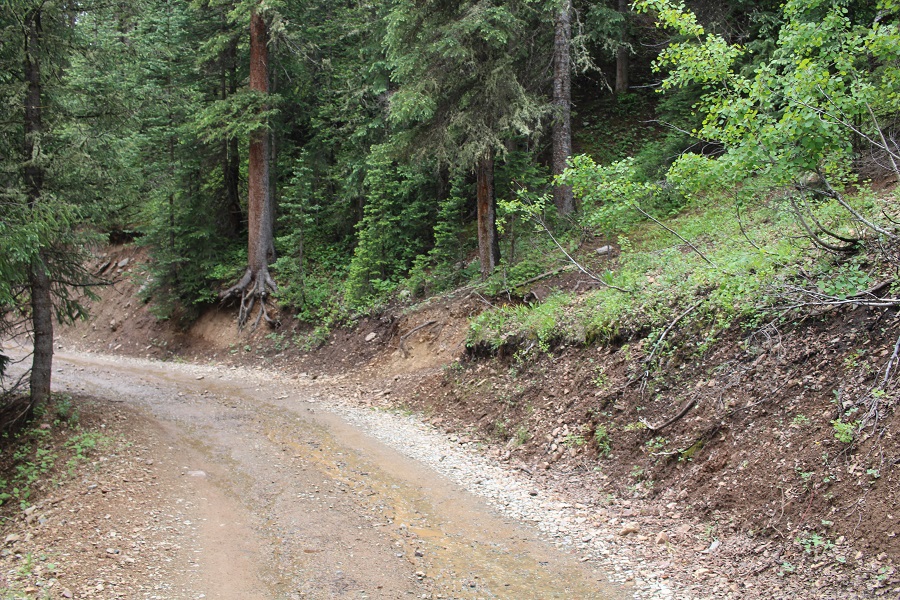
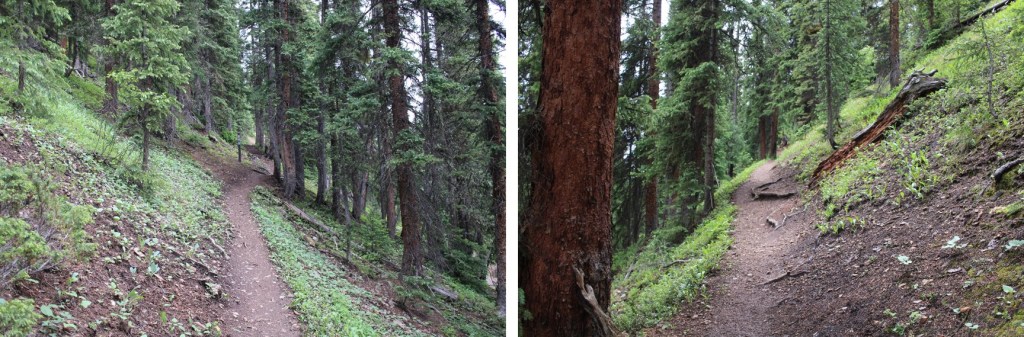
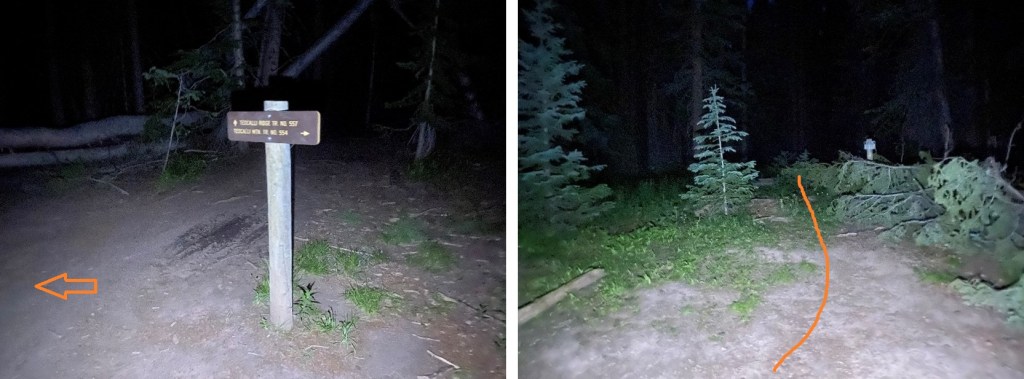
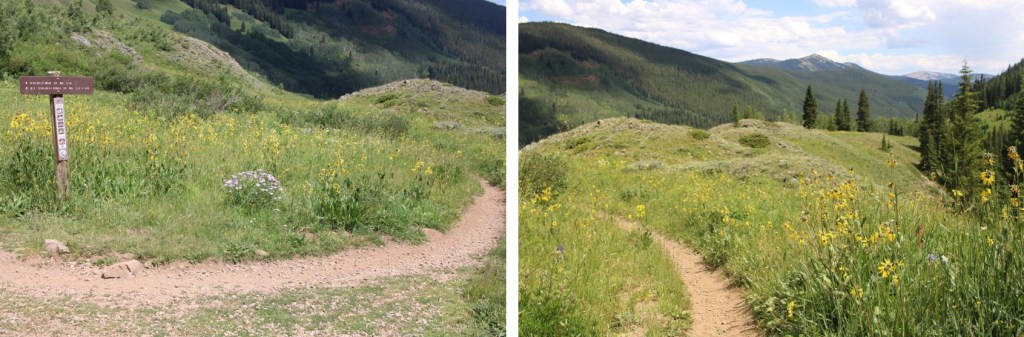
I was up and on the trail at 4:15 am. The trail was class 1, but overgrown with plants, so at times it was hard to see. I followed Teocalli Trail NO 554 for .65 miles

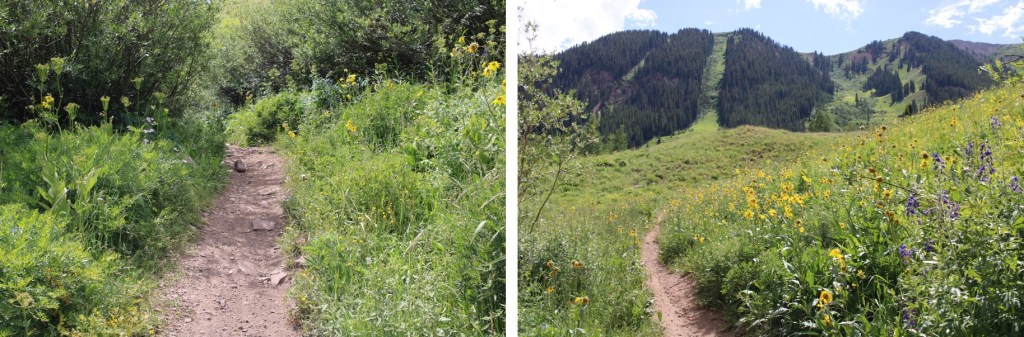
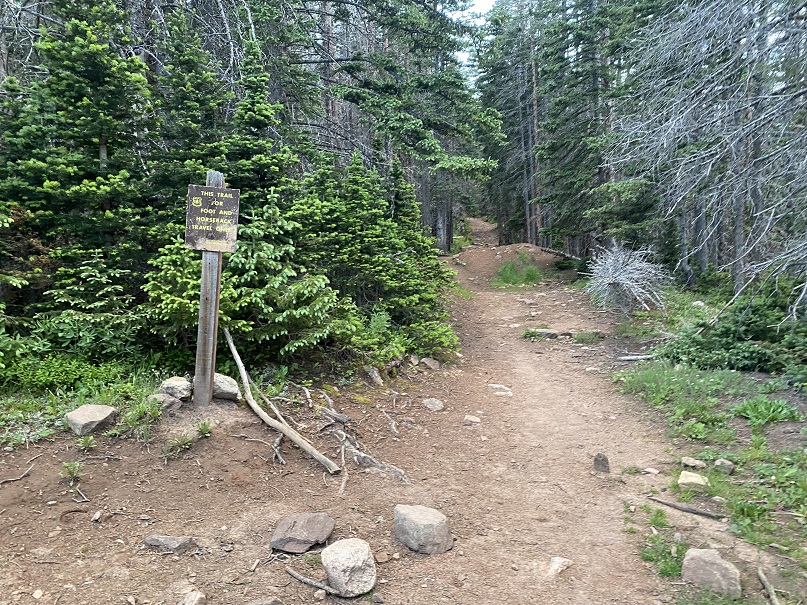
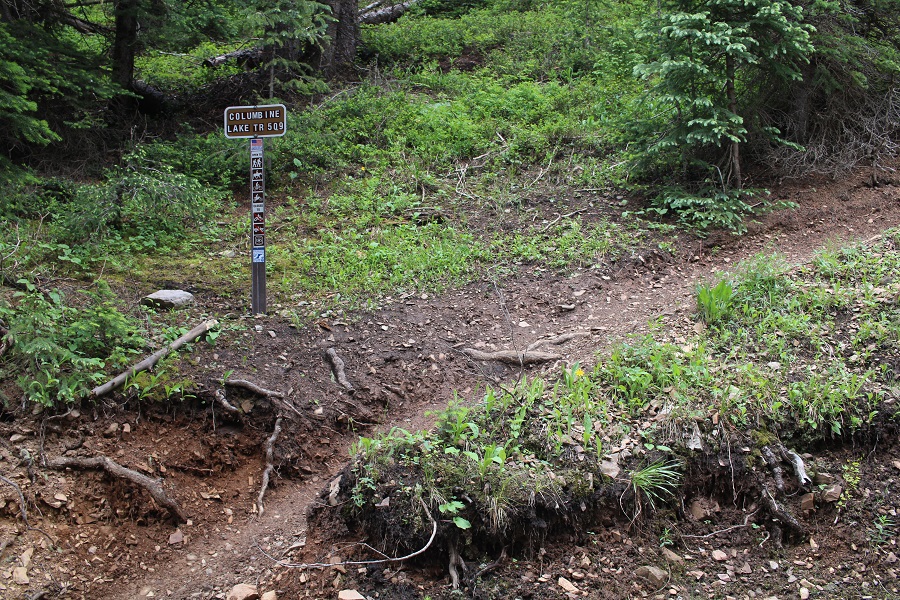
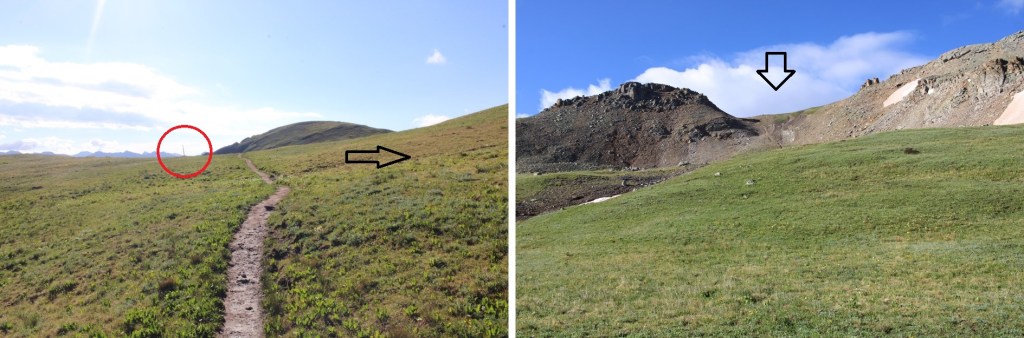
After hiking for .65 miles, I came to a junction. Here I turned right, and continued following the trail east to the next junction. This was a class 1 trail.
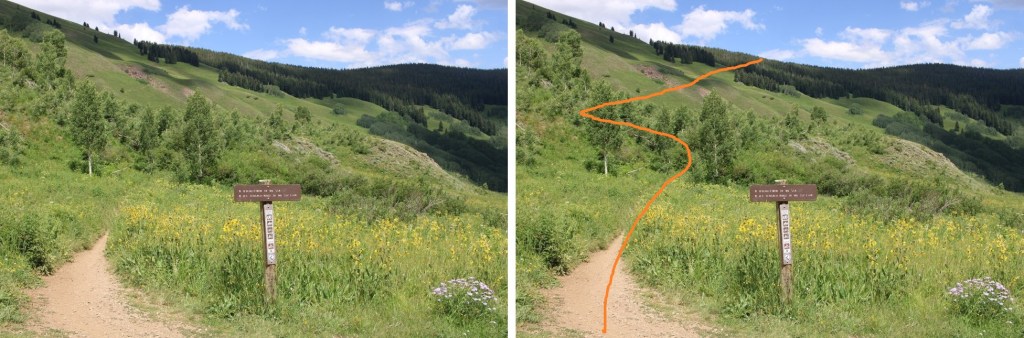
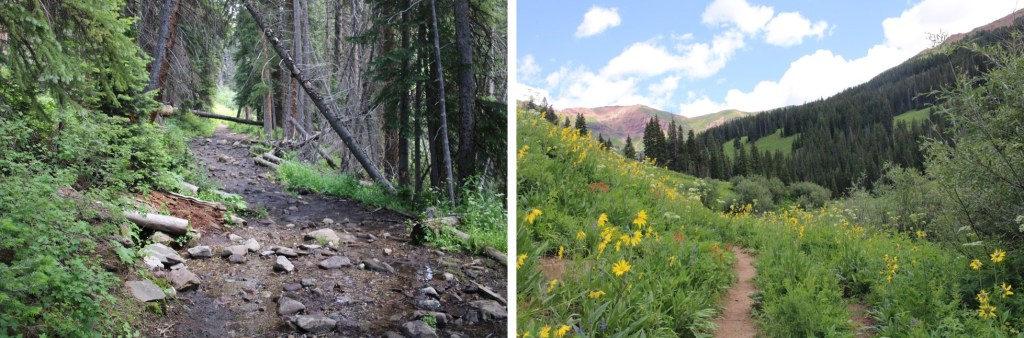
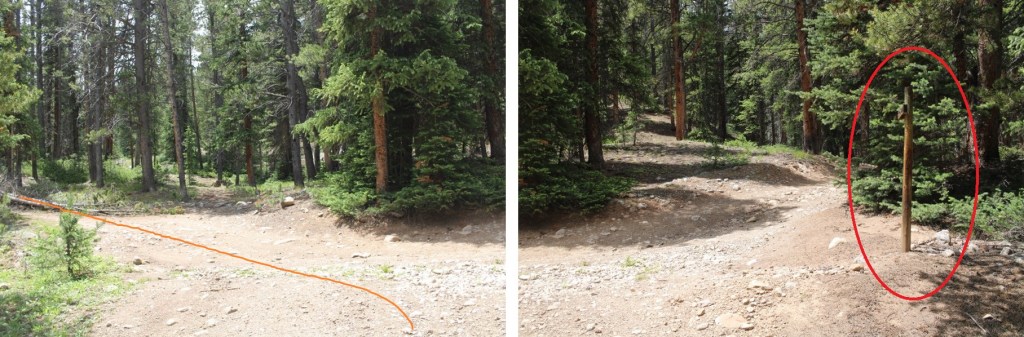
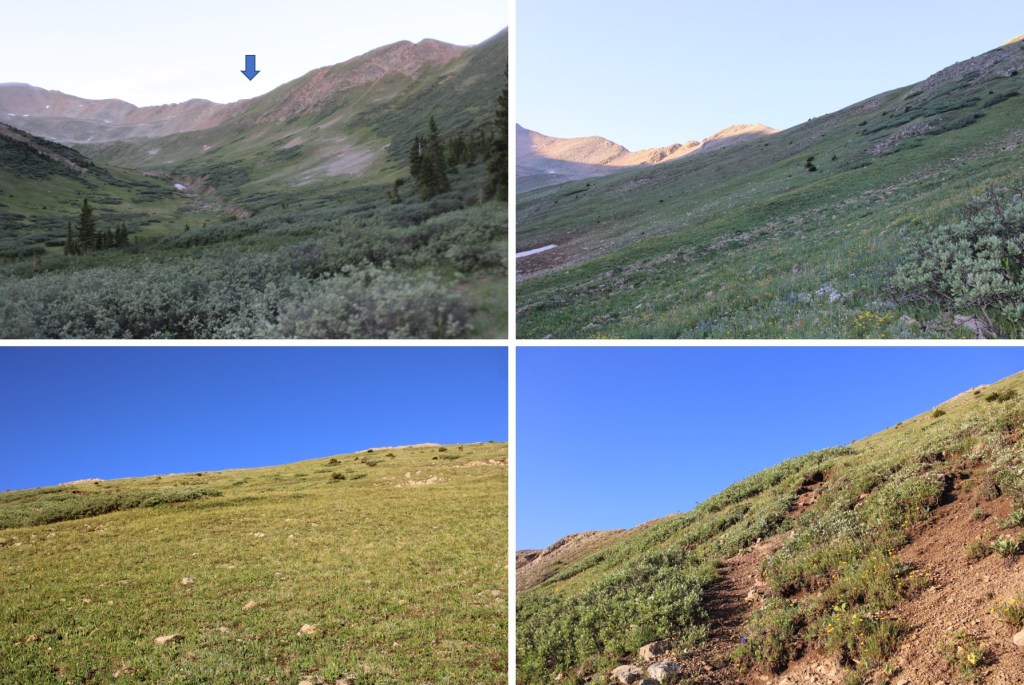
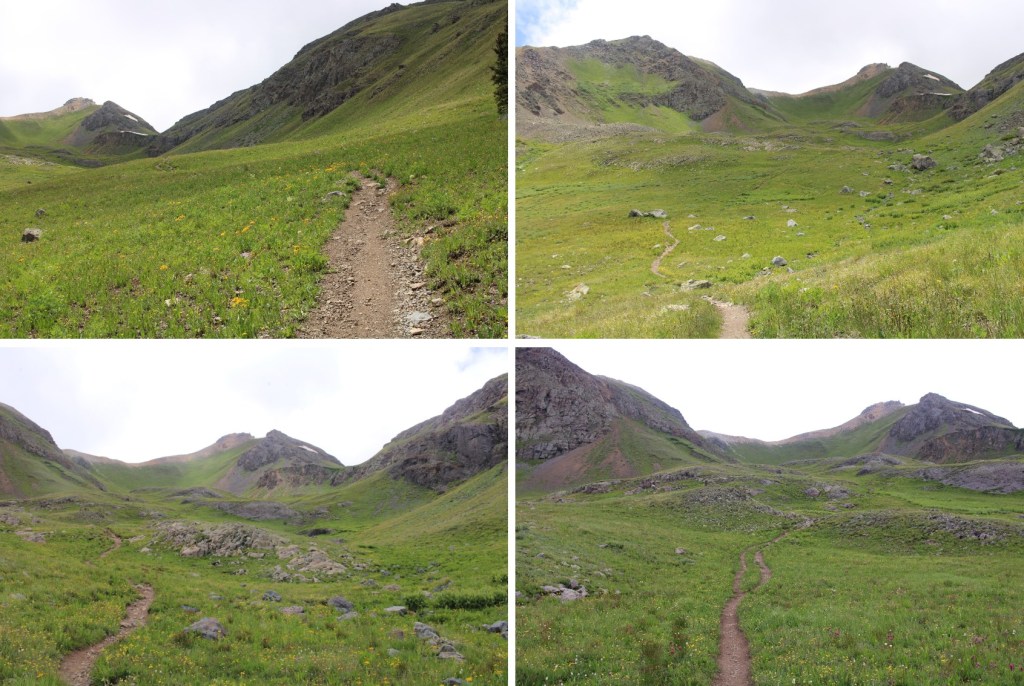
The next junction was 1.5 miles away, and clearly marked. Here I turned left, and followed the class 1 trail north
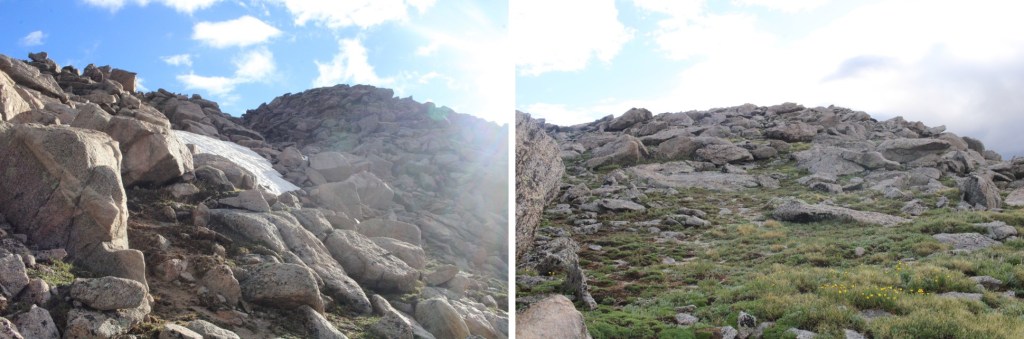
At 12420’ the class 1 trail ended, and became a class 2 trail.
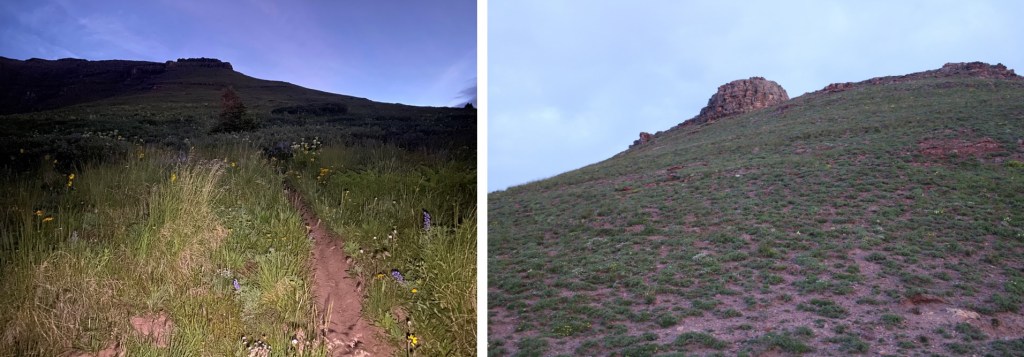
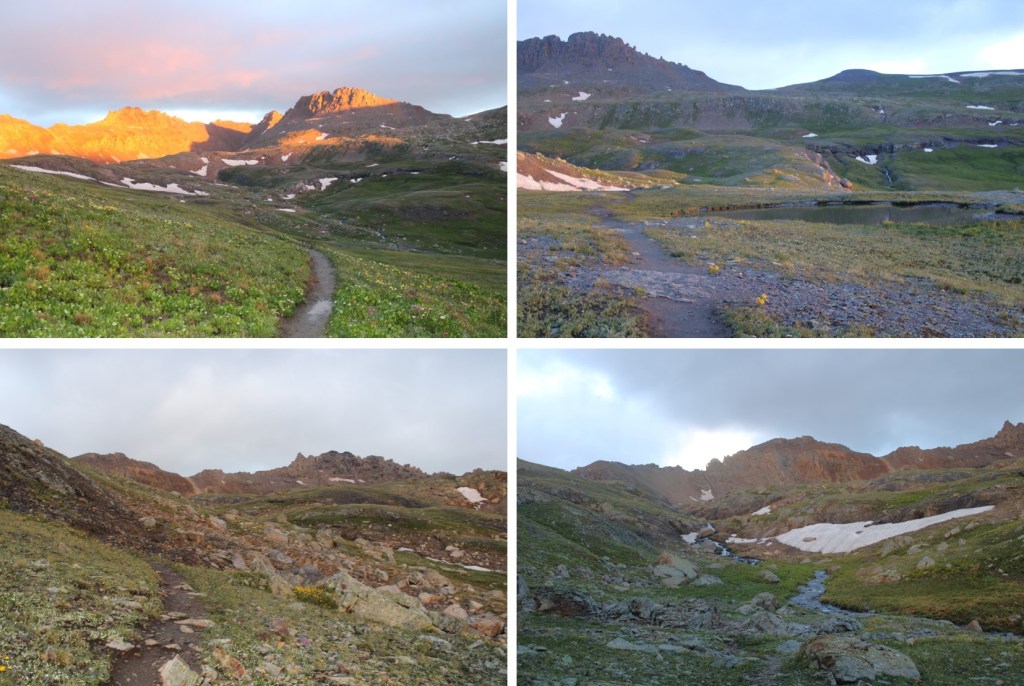
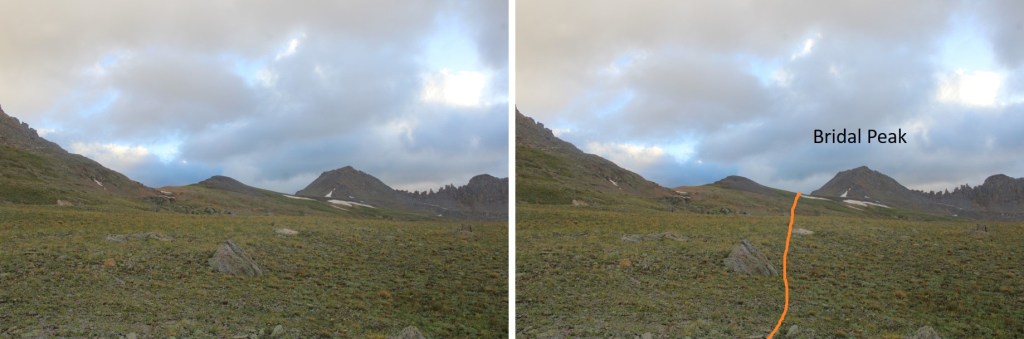
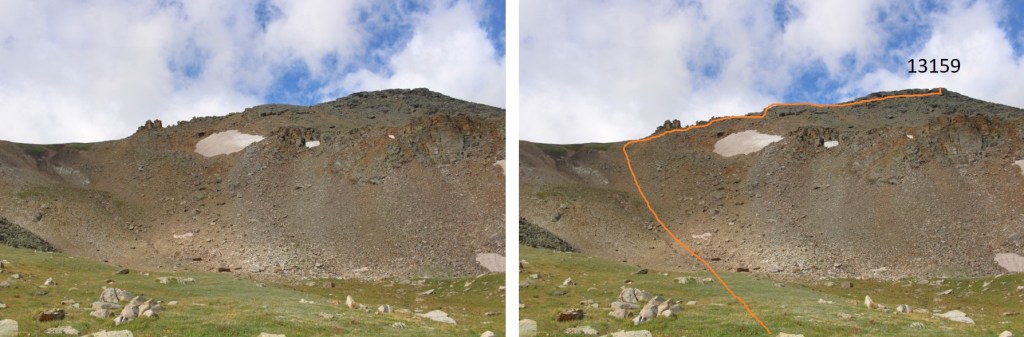
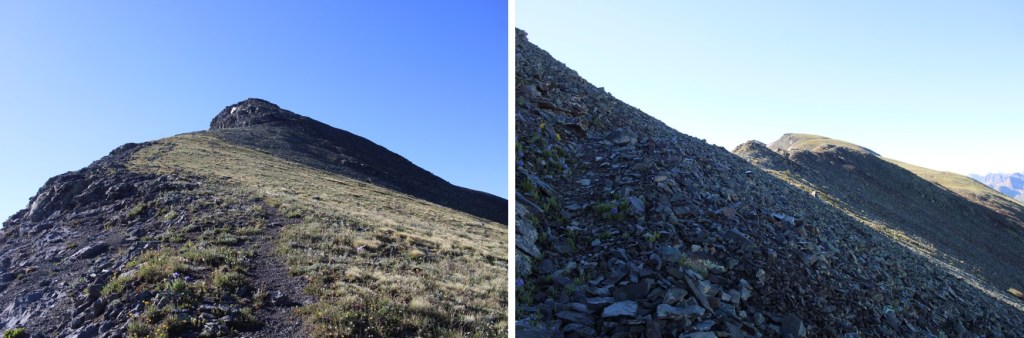
I headed west, to the summit of Teocalli Peak. Route finding was easy, and I even found a few cairns along the way.
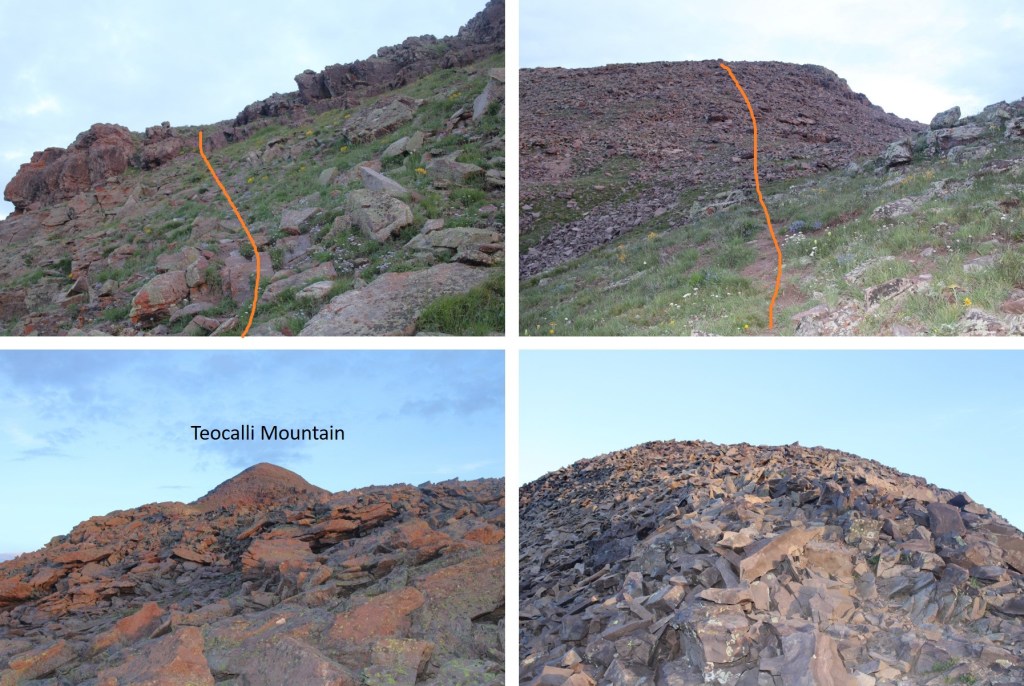
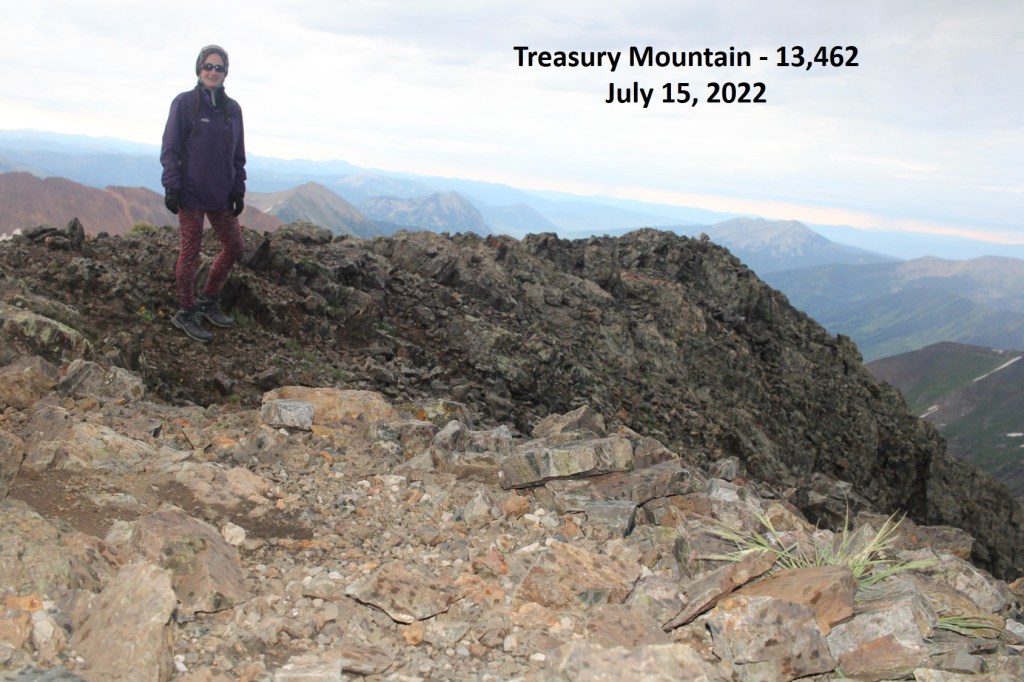
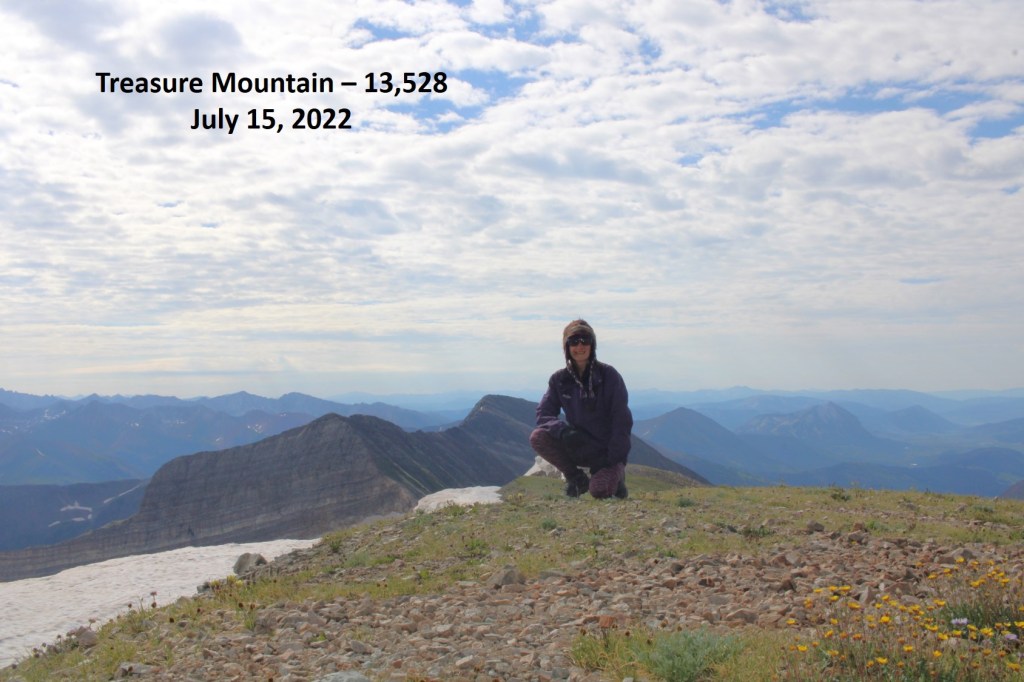
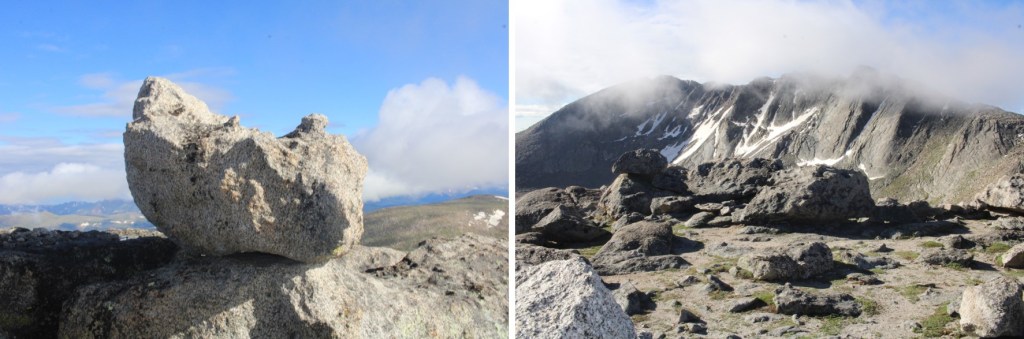
I summited Teocalli Mountain at 6:25am.

Teocalli Mountain:
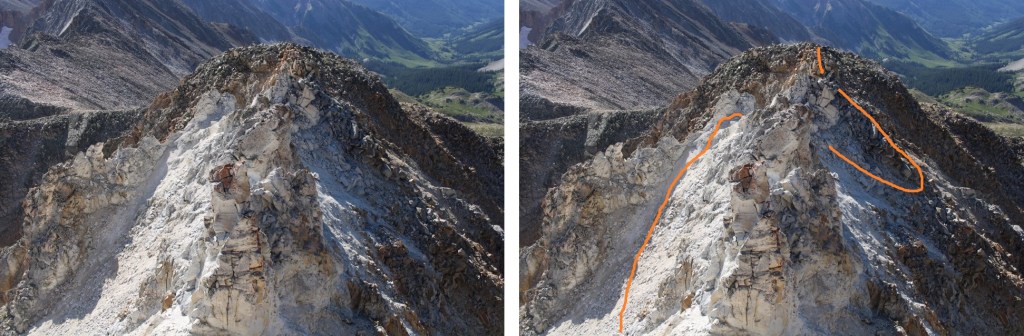
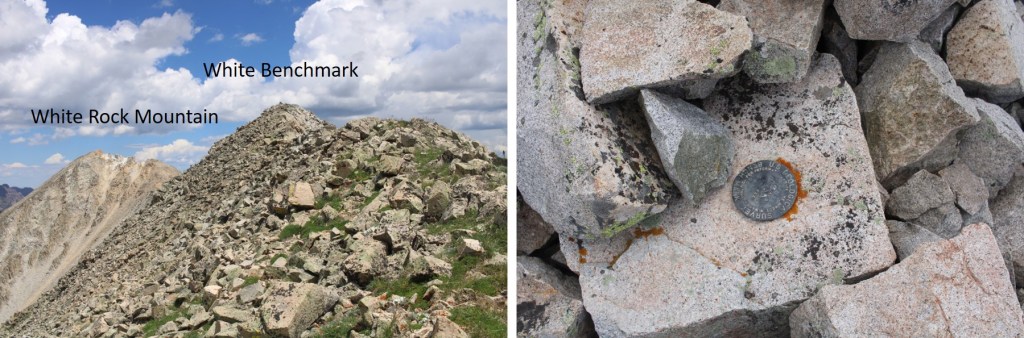
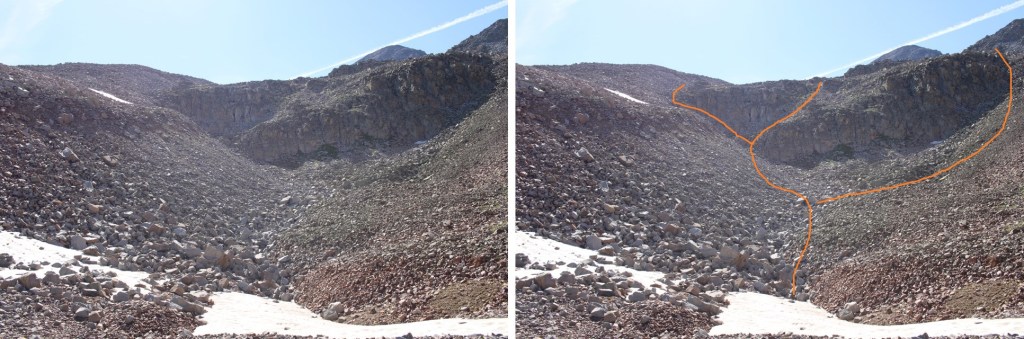
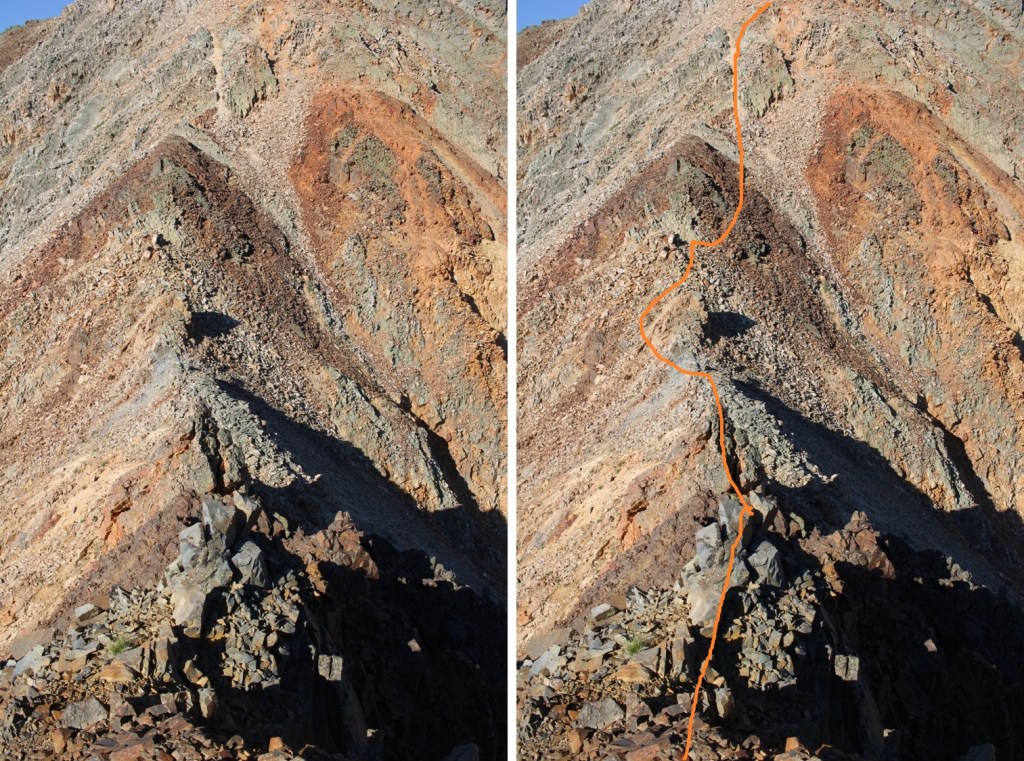
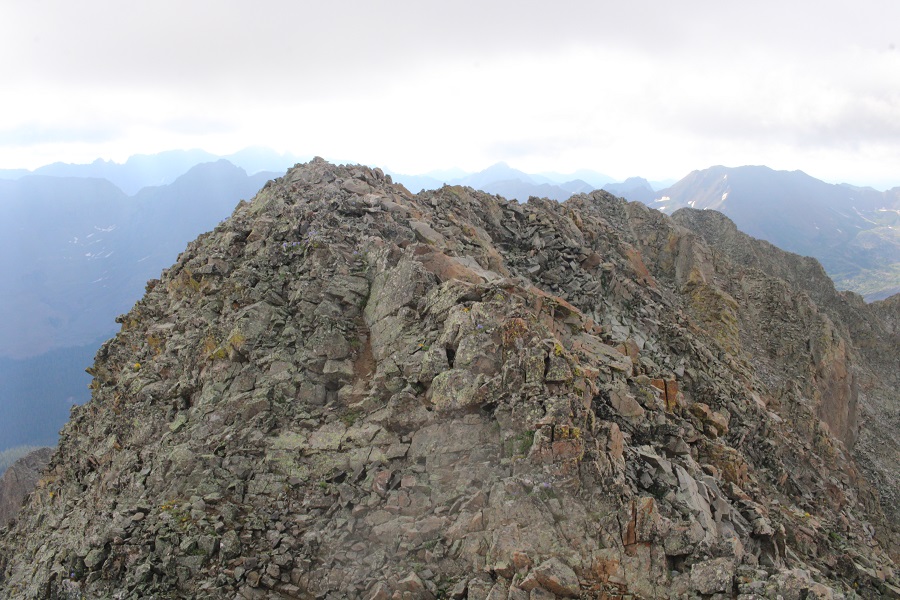
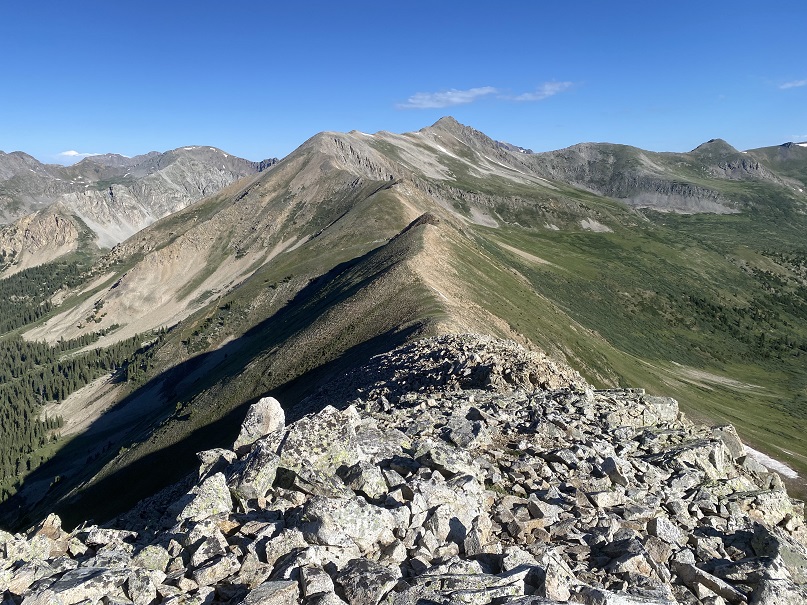
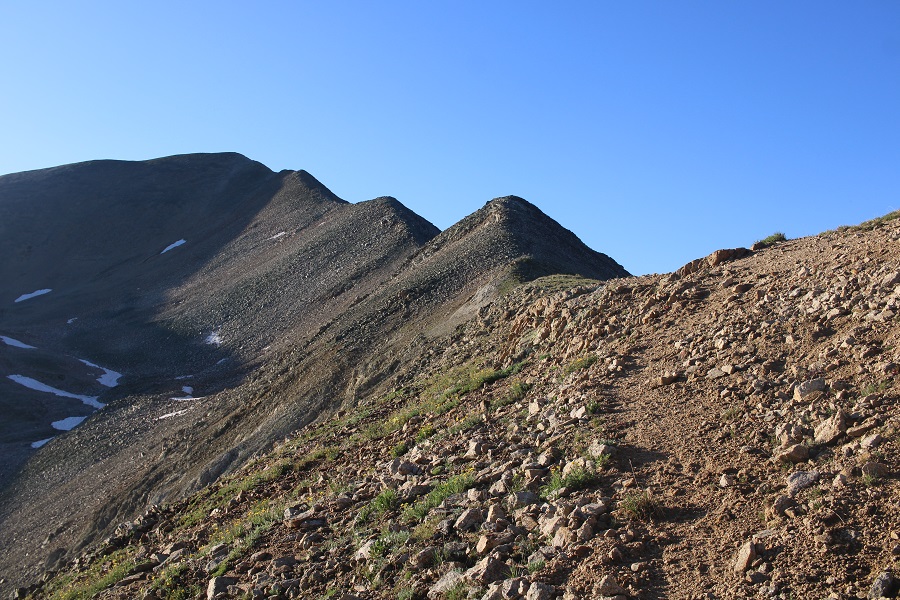
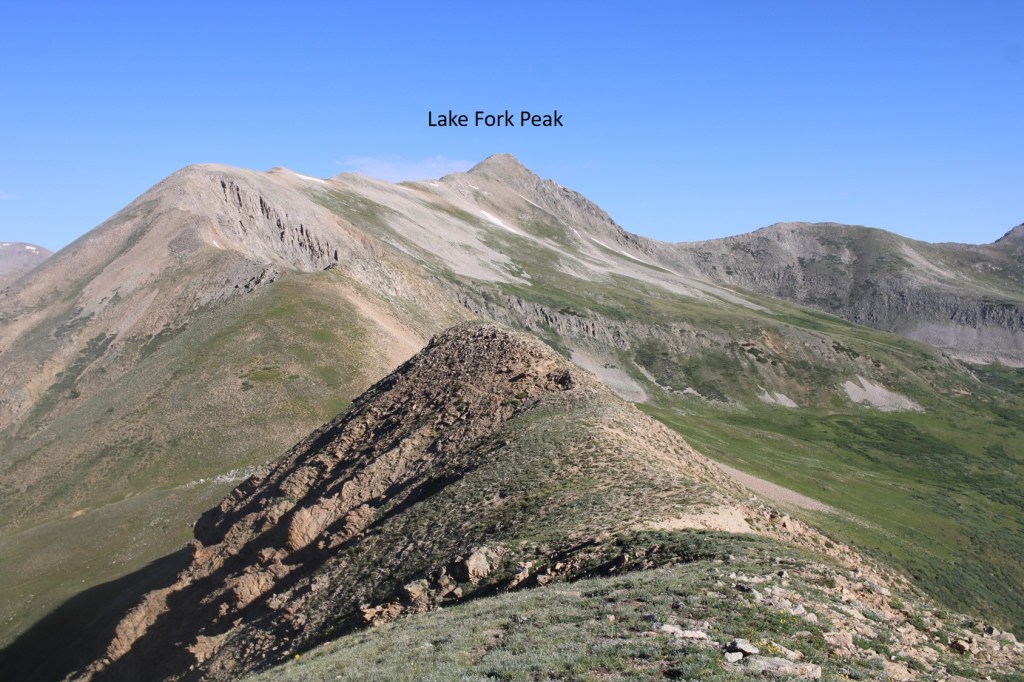
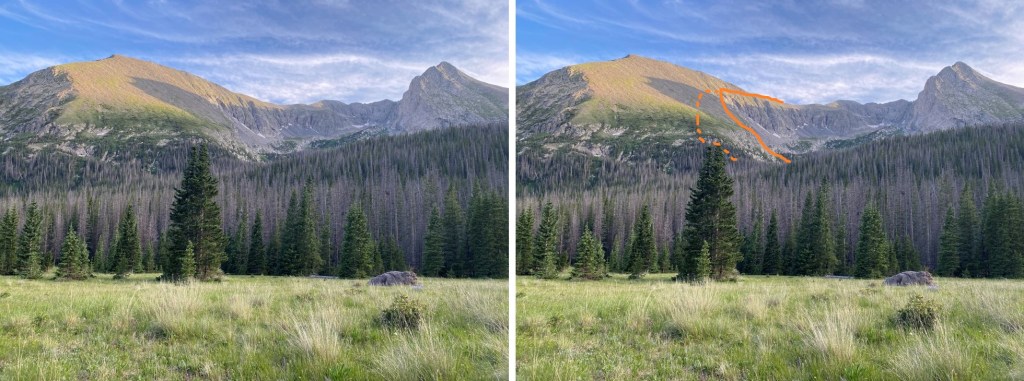
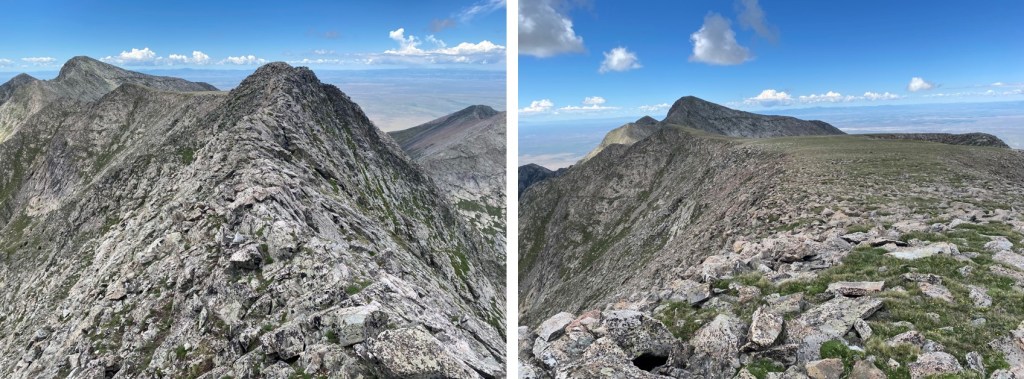
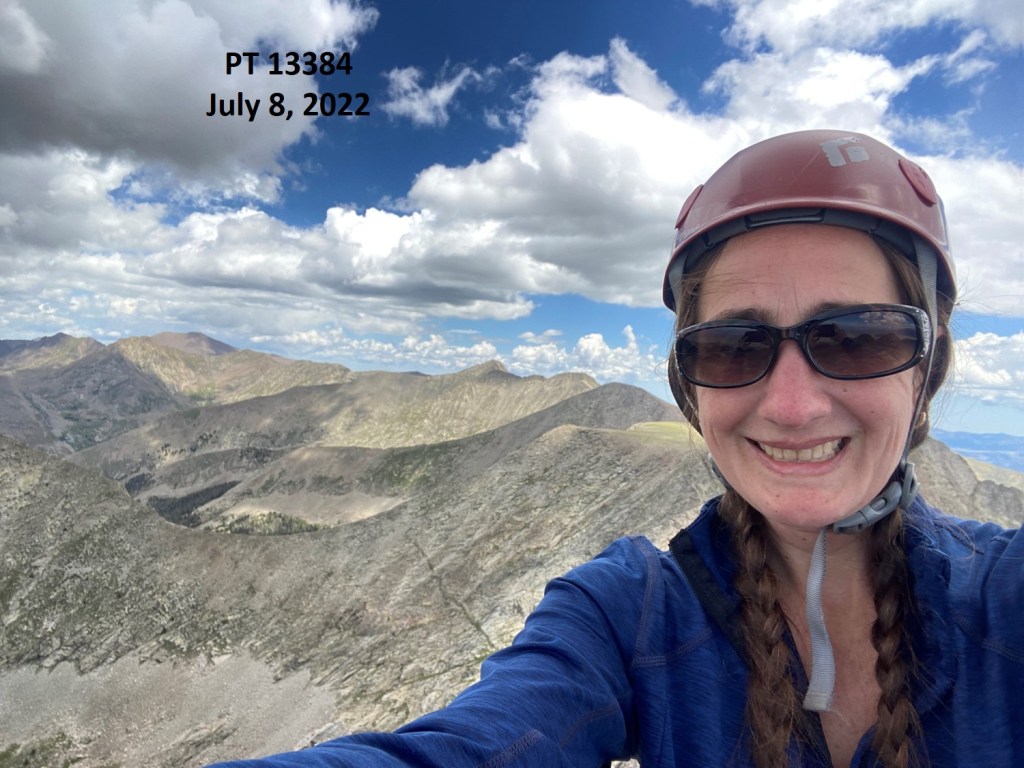
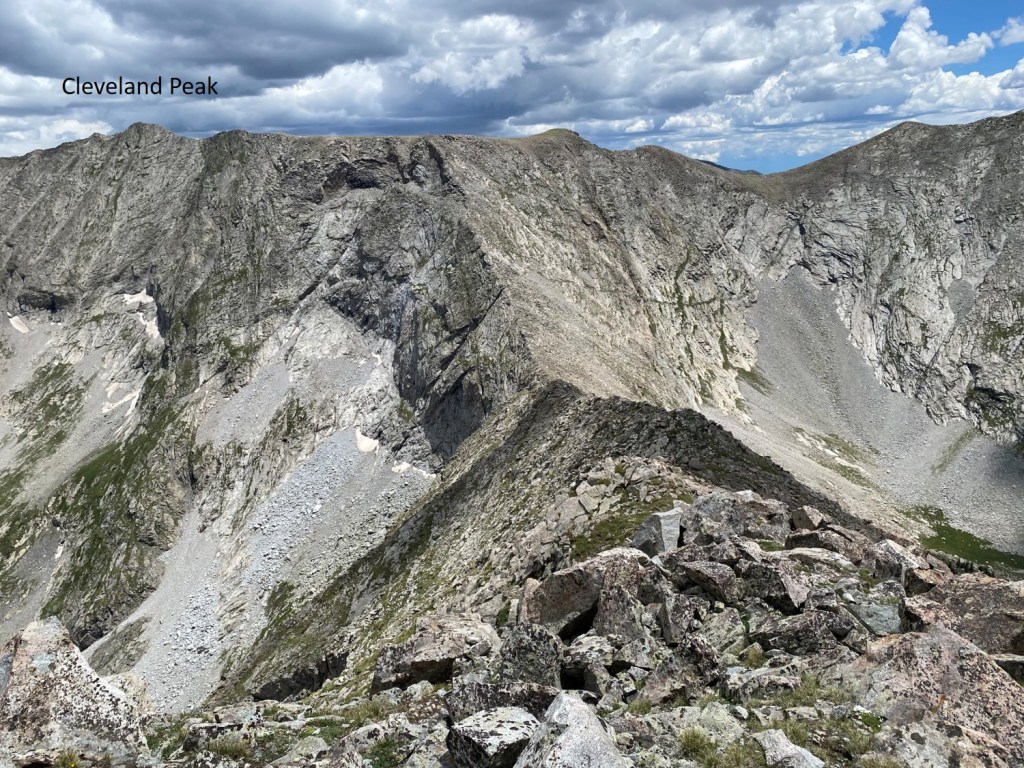
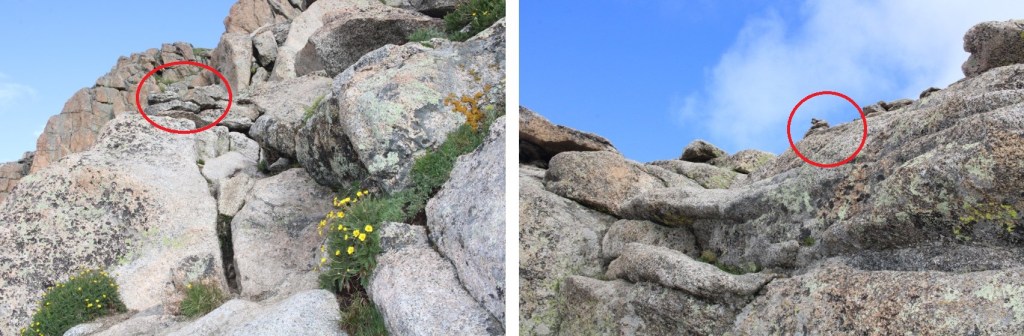
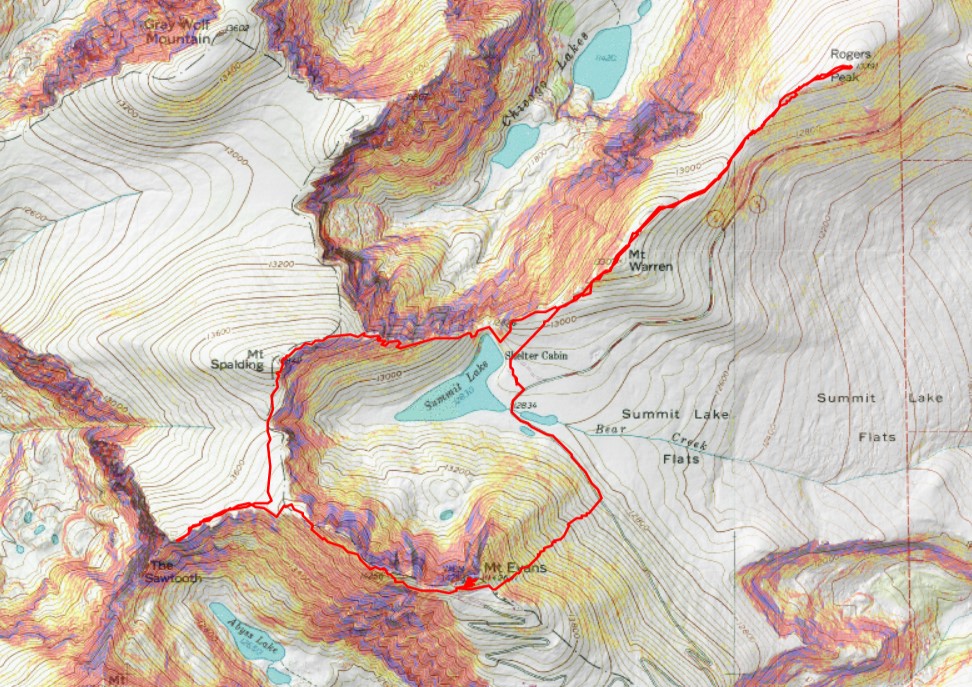
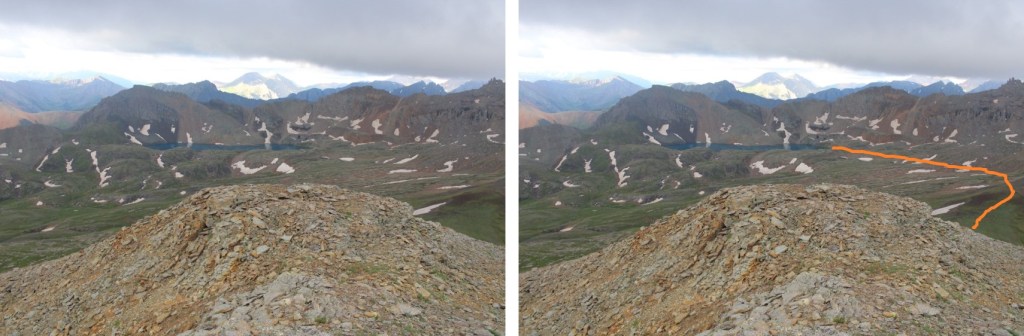
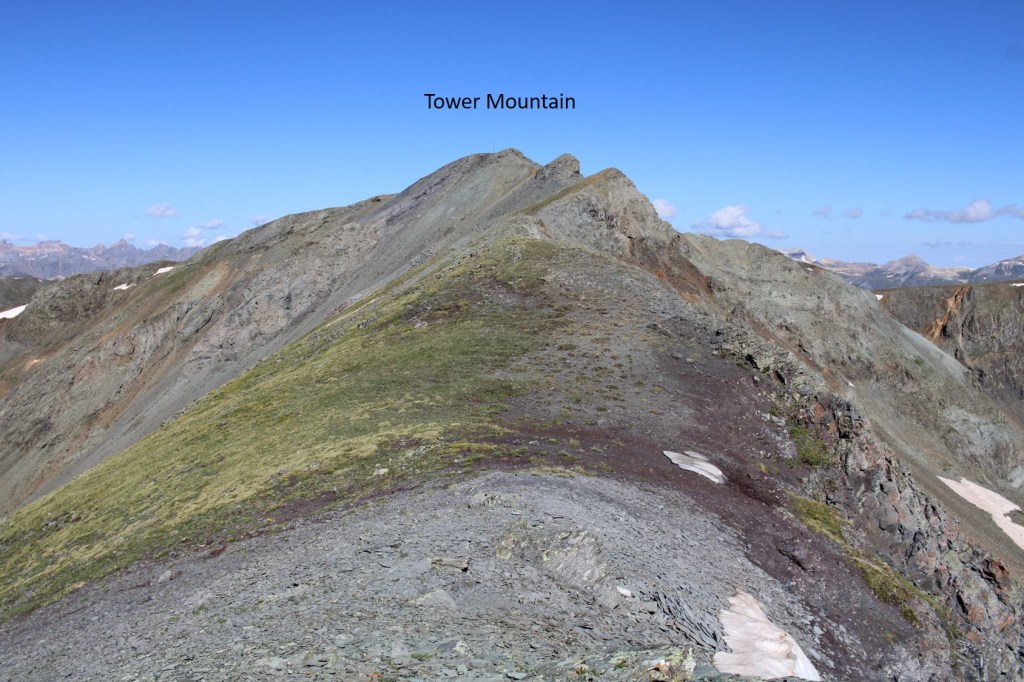
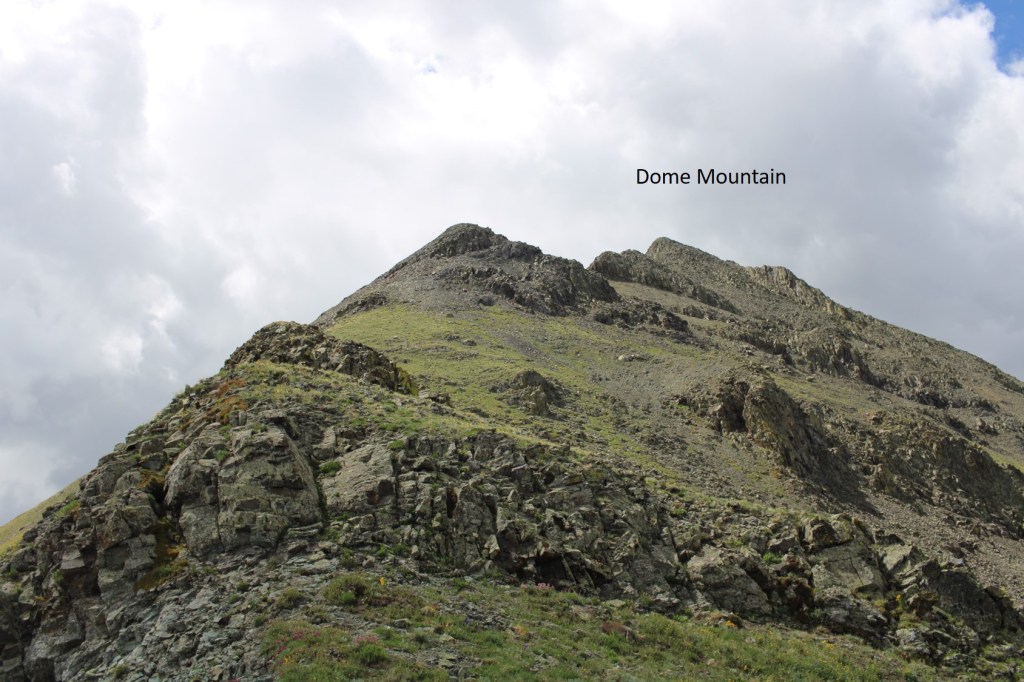
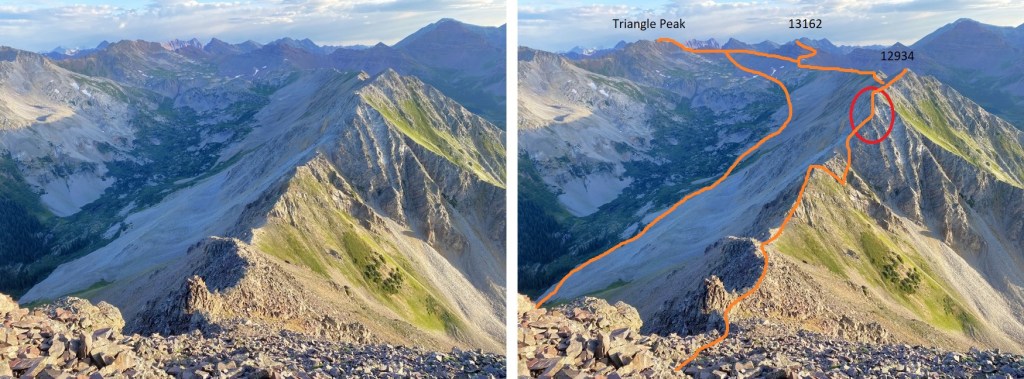
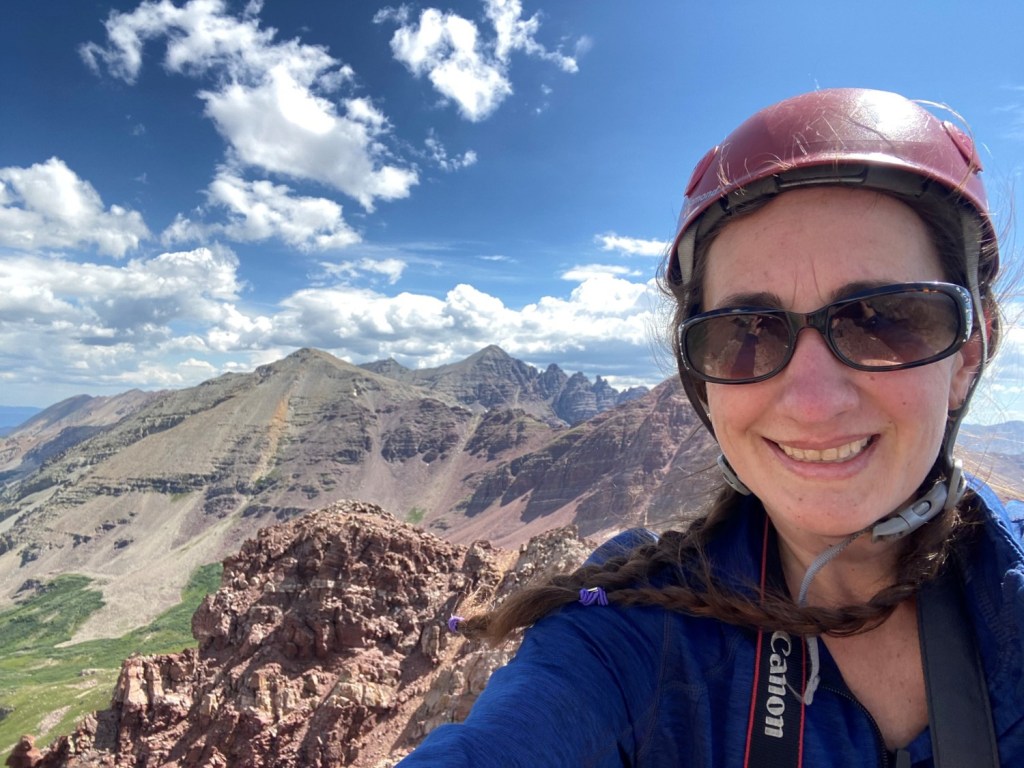
There was a military box chained to a rock as a summit register, but it was open and empty, so I left a new one, and continued north. If you’re going to do the loop as I did, note you need to be very comfortable with class 4 climbing and exposure, as well as bushwhacking through trees/brush/willows. There is a knife edge that puts the one on Capitol to shame (circled in red below), and several class 4 chimneys. If you’re not comfortable with this type of scrambling/climbing/hiking, turn back now. If you are, it’s time to put on your helmet and get ready for some type 2 fun!
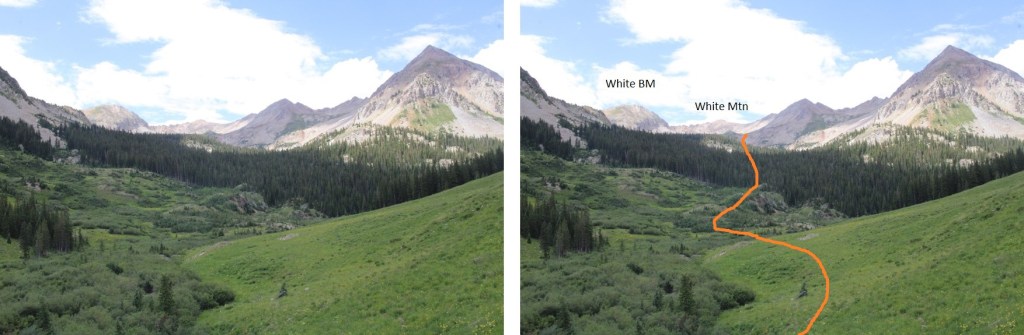
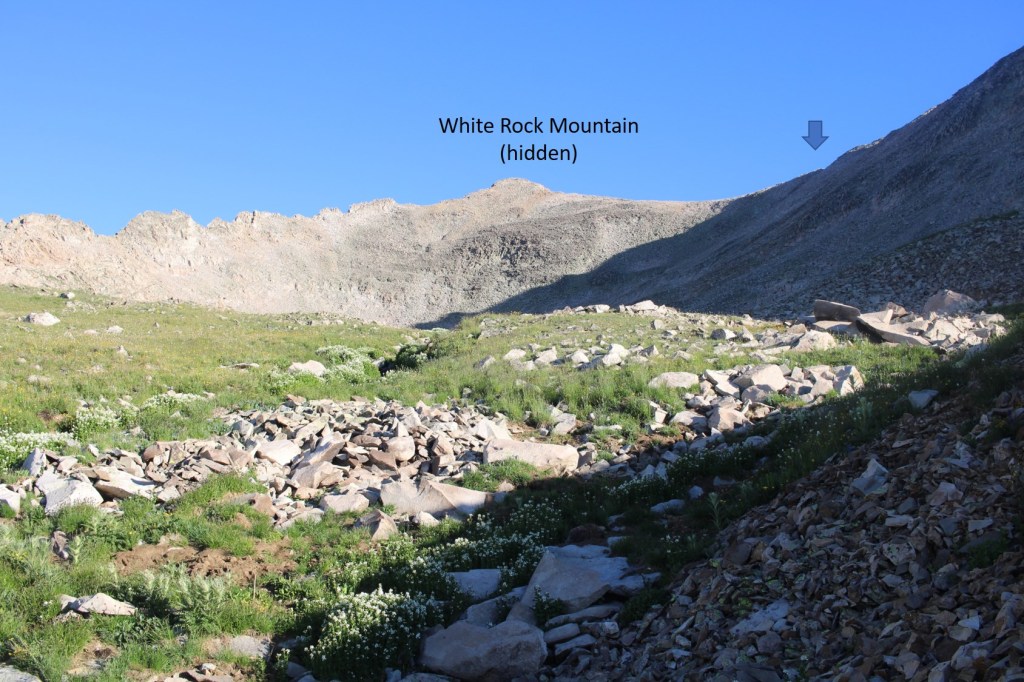
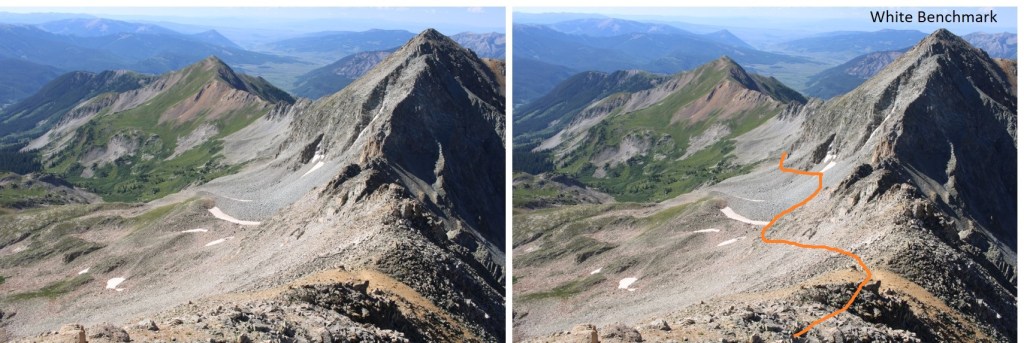
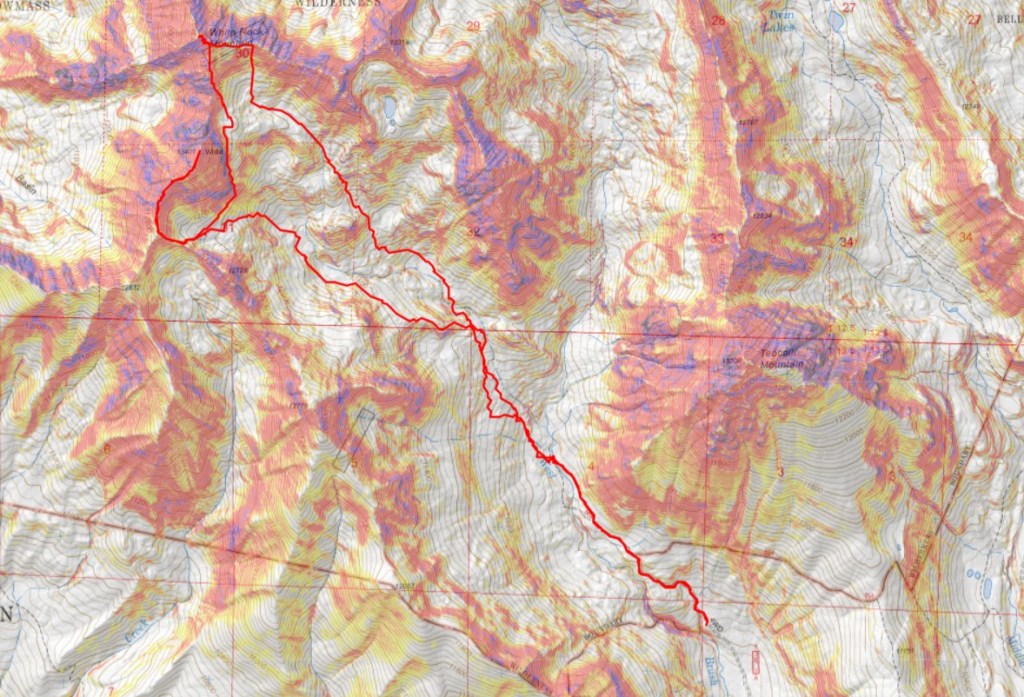
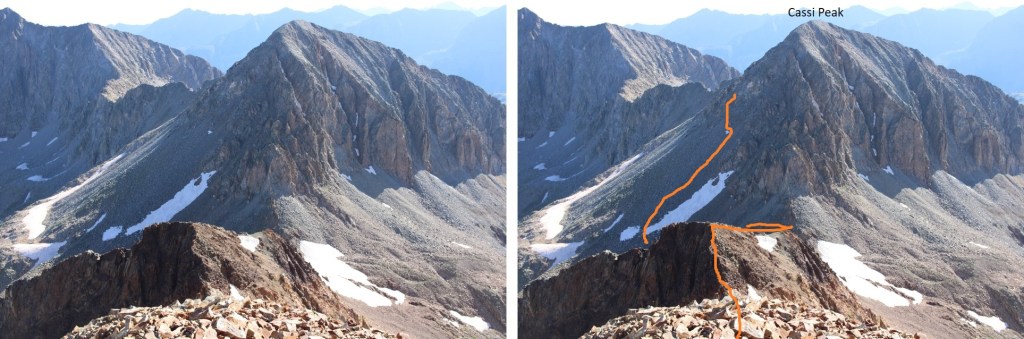
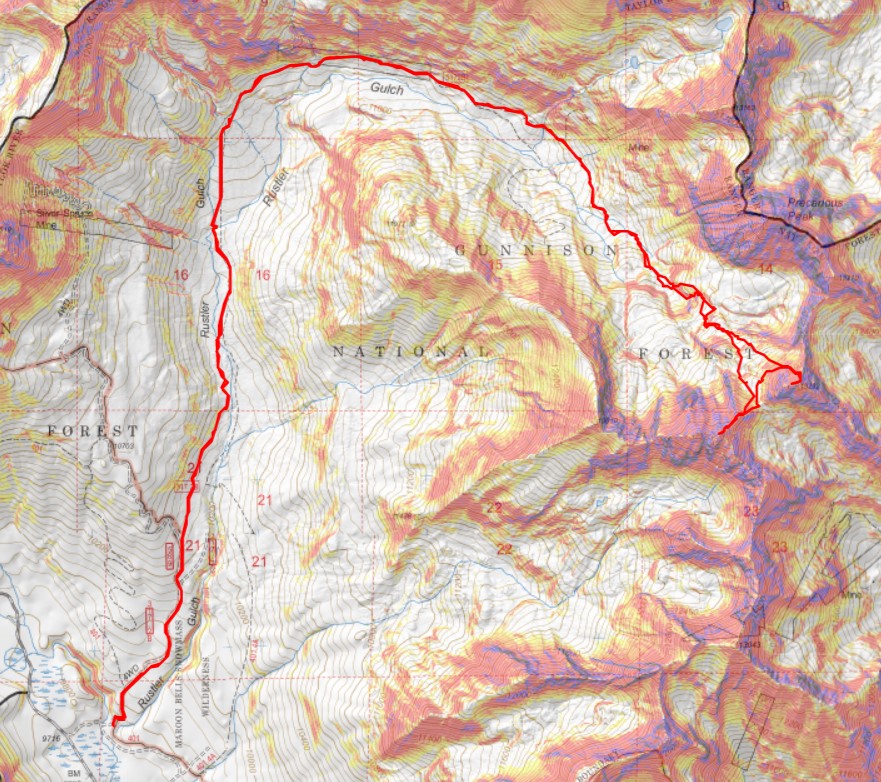
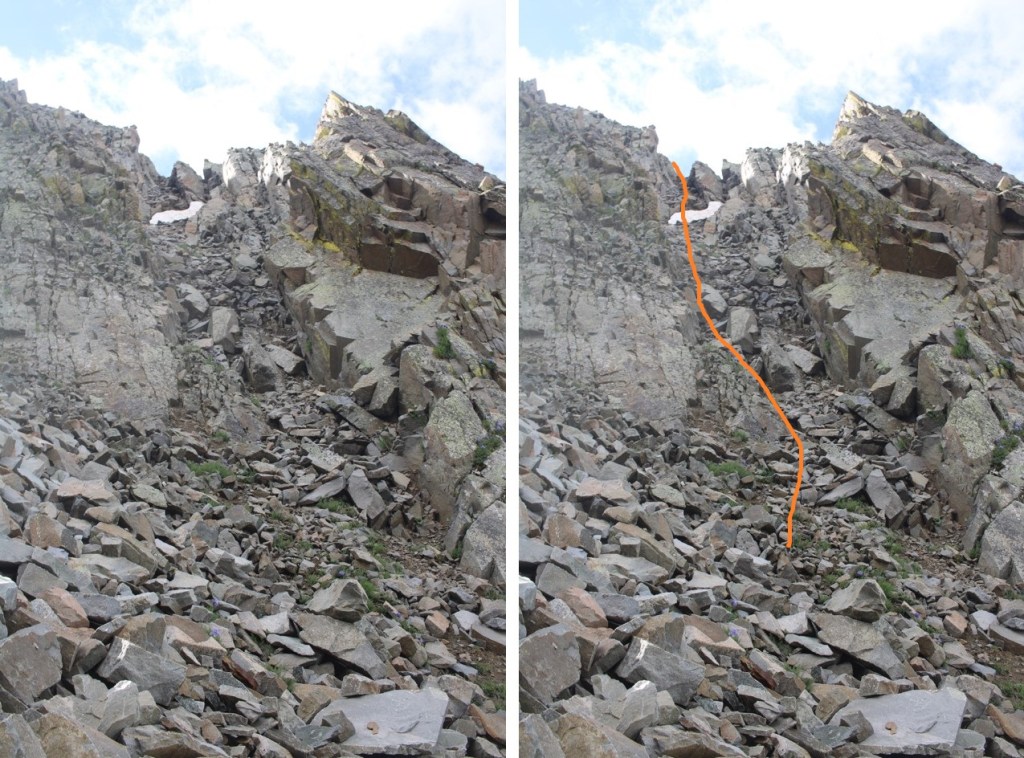
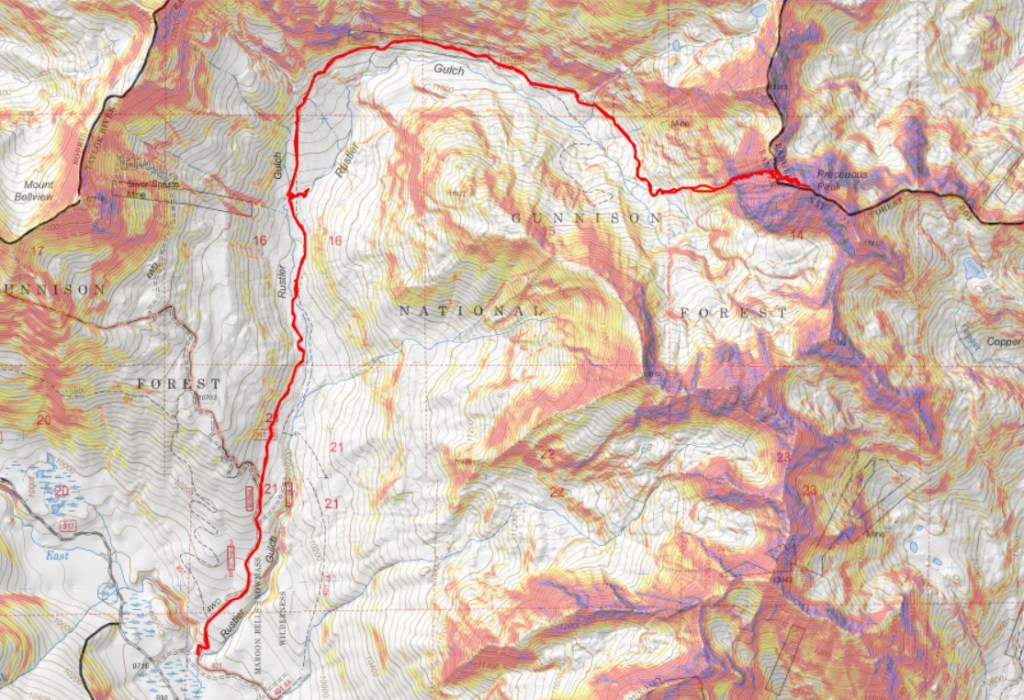
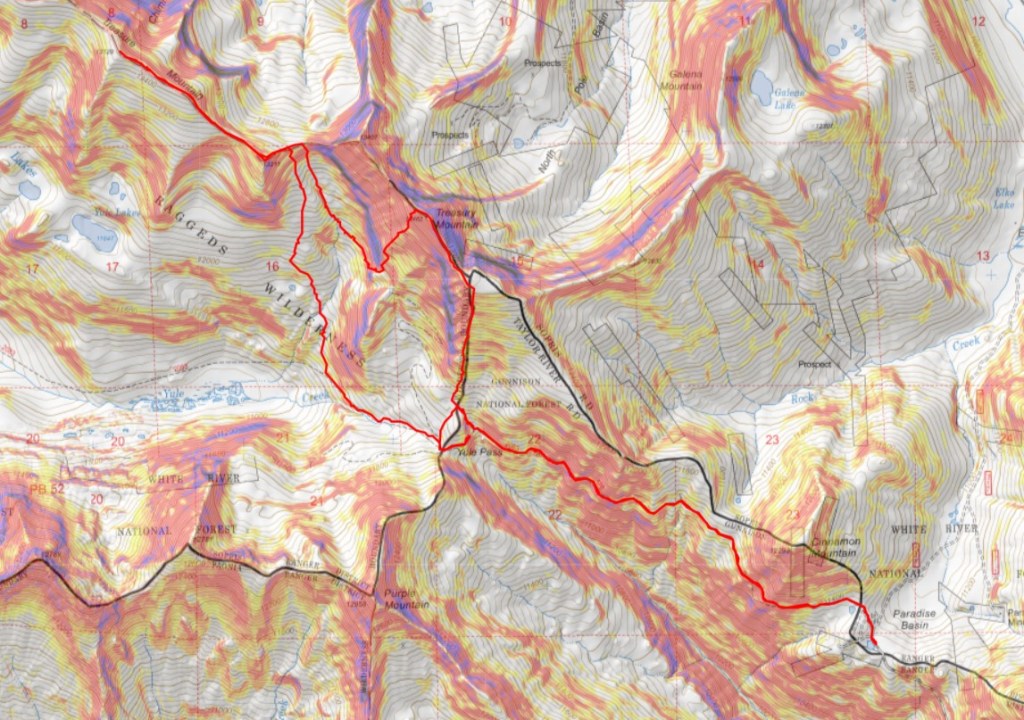
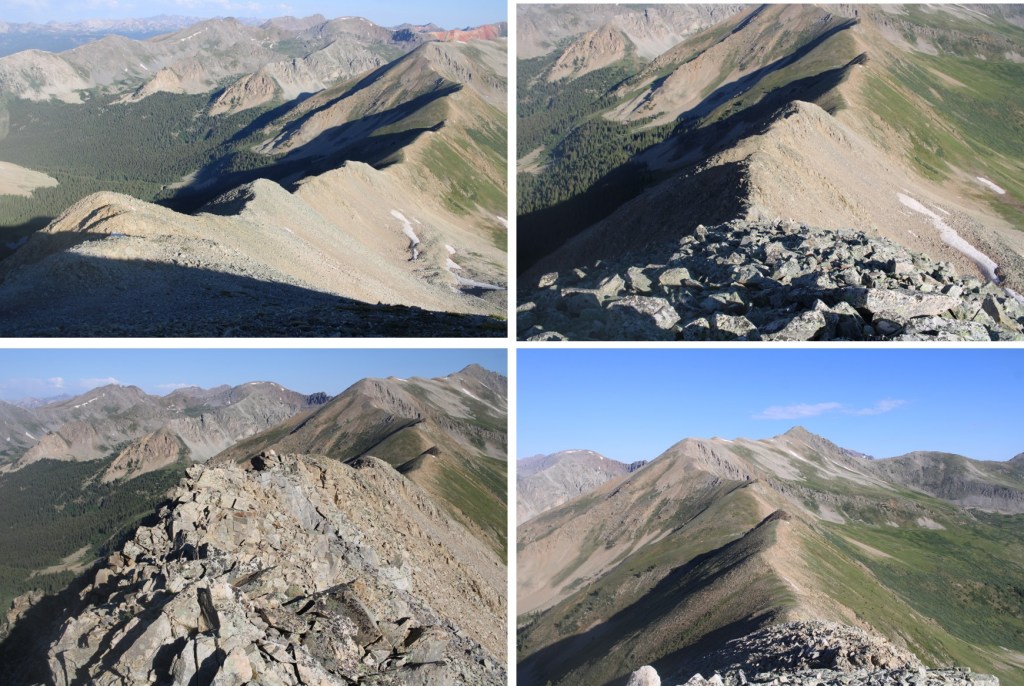
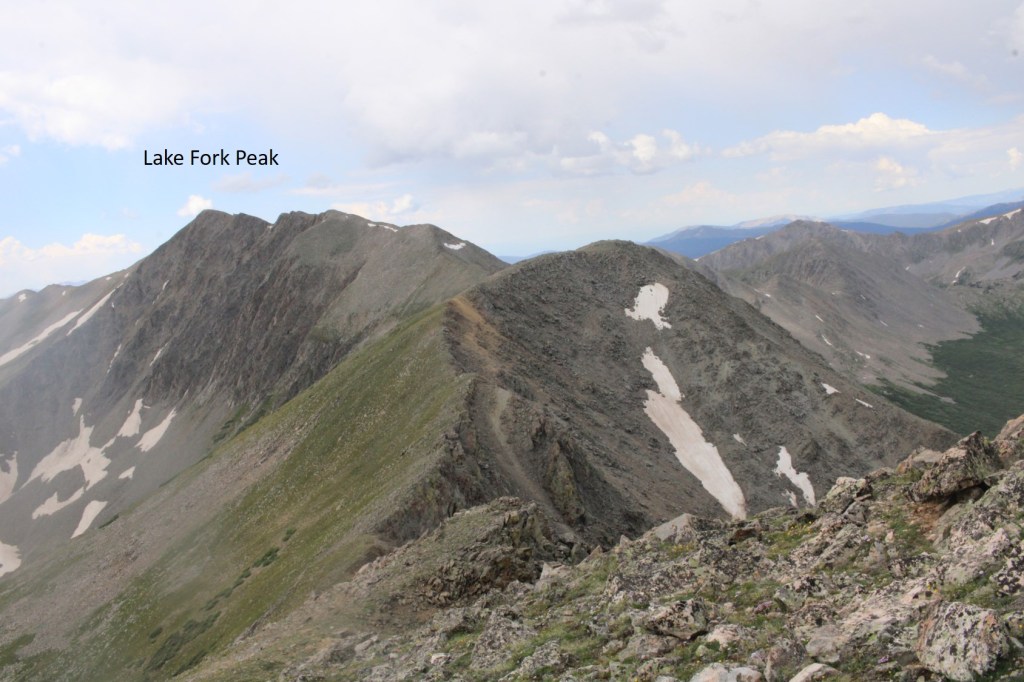
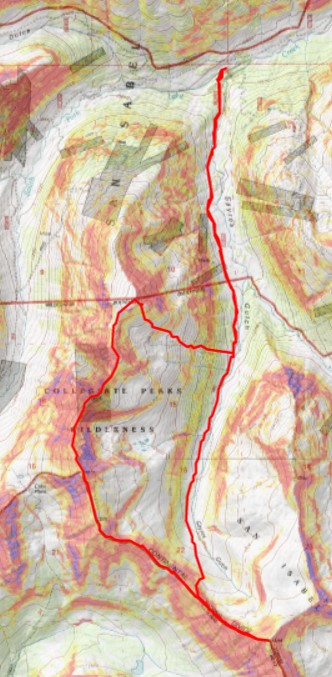
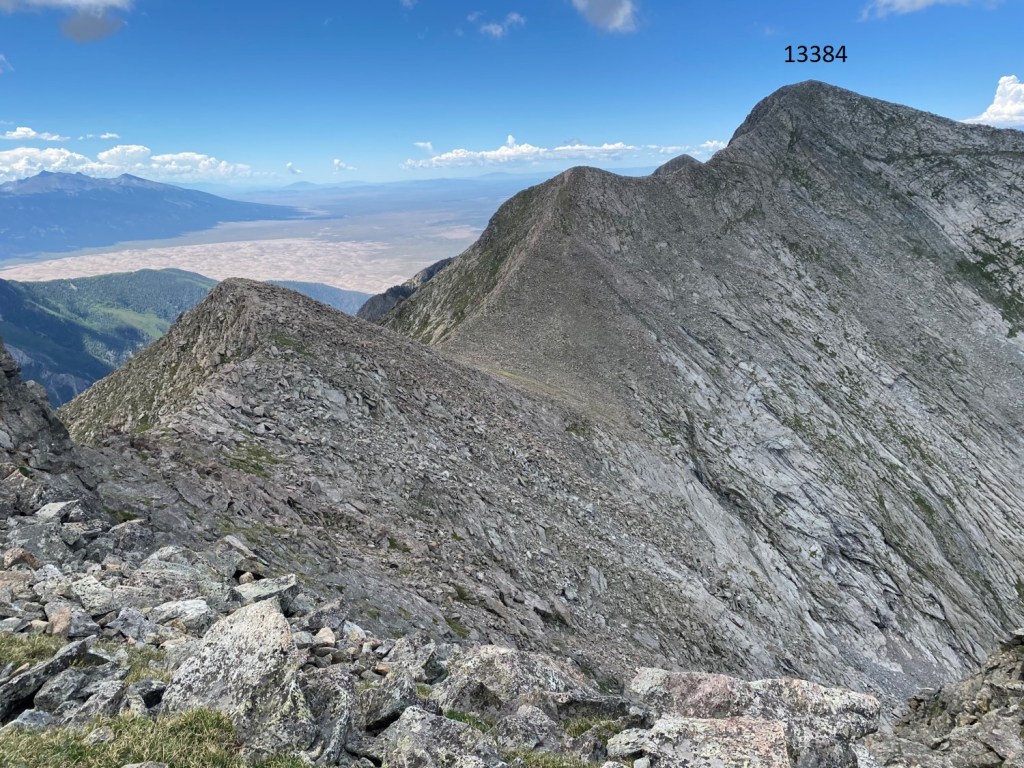
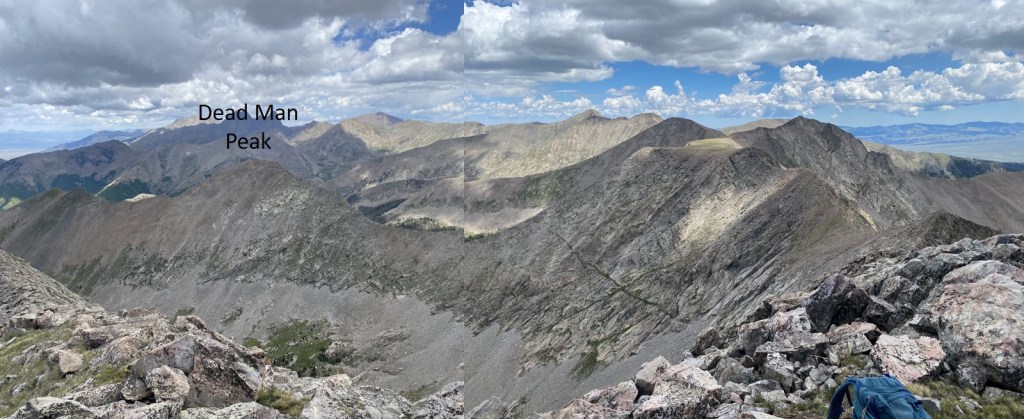
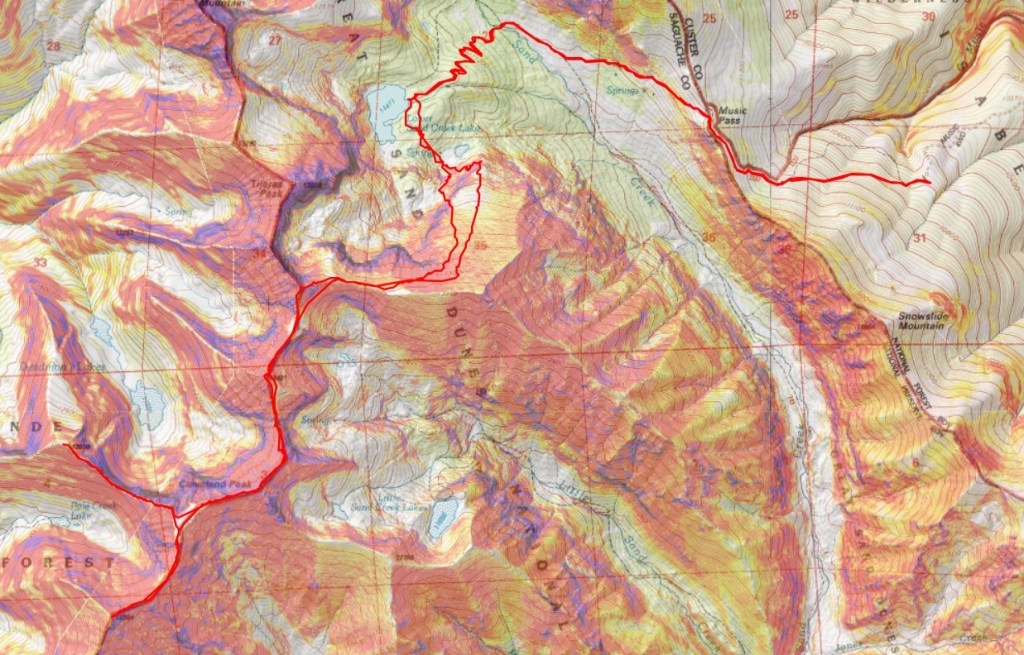
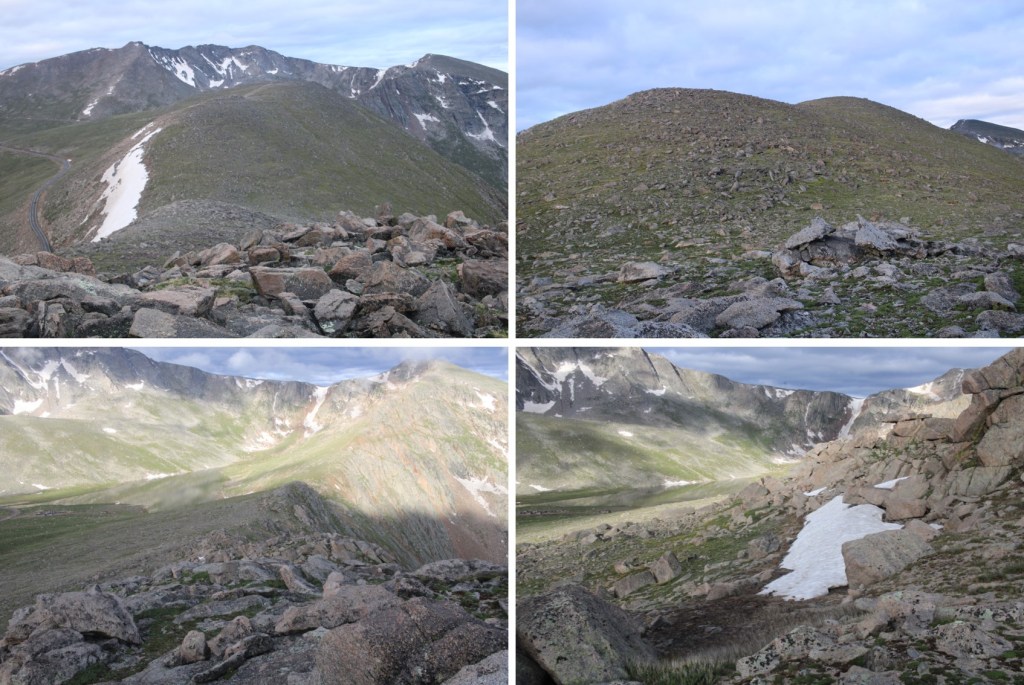
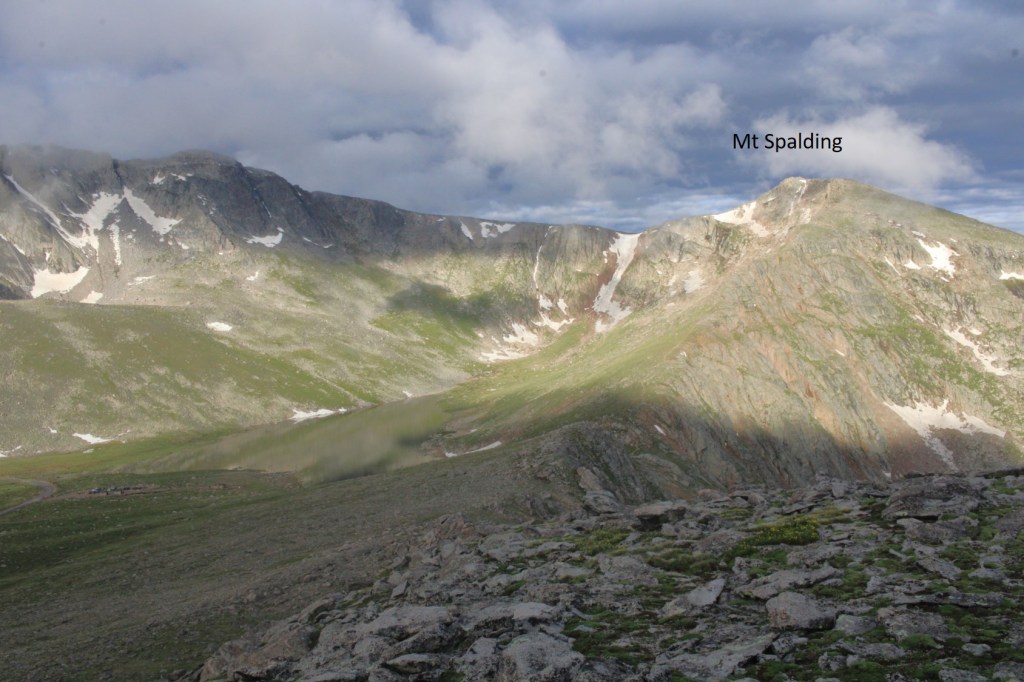
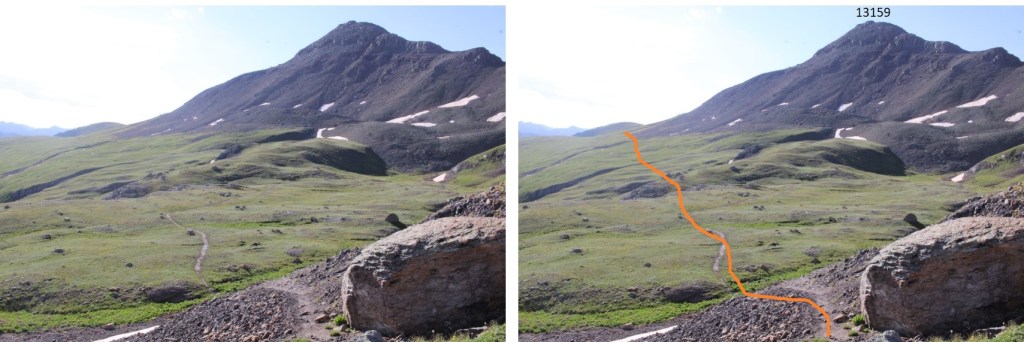
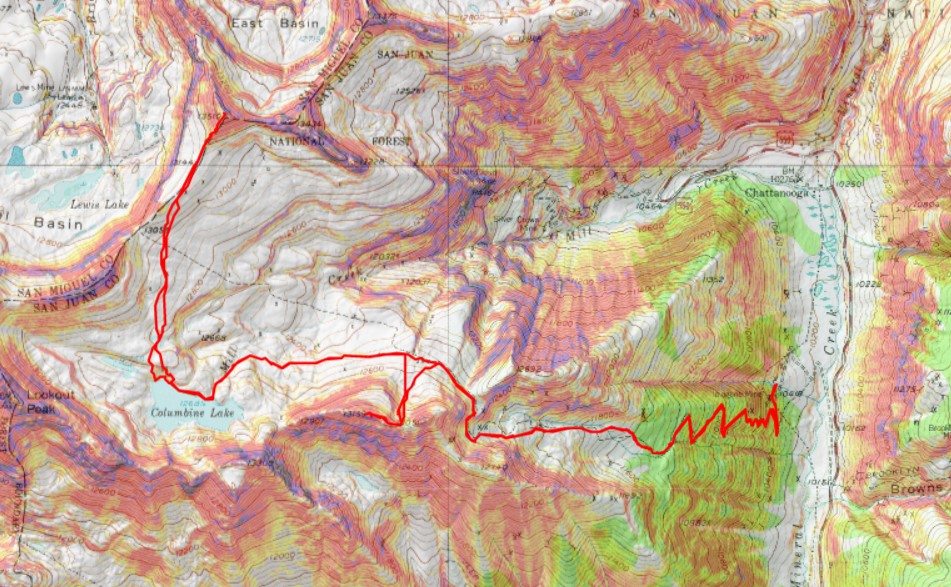
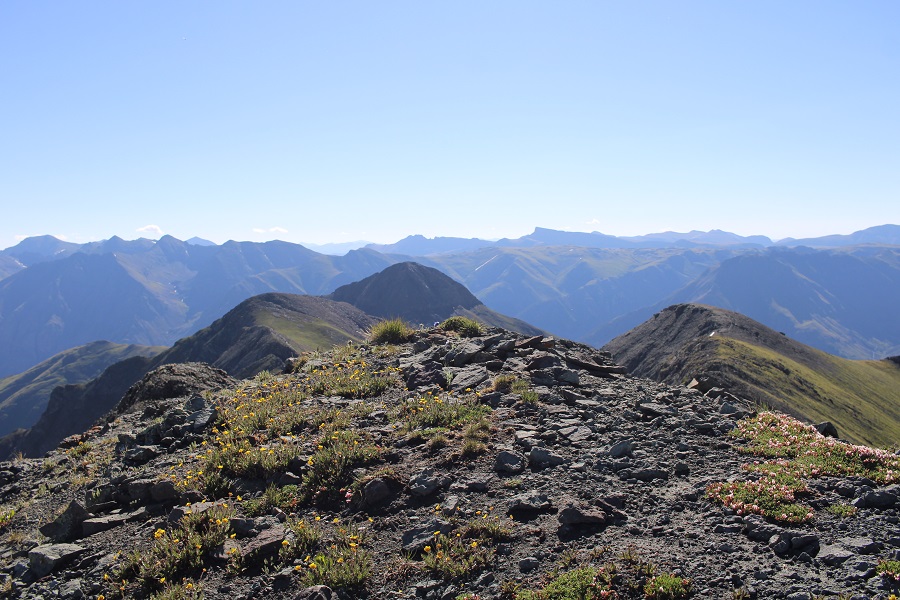
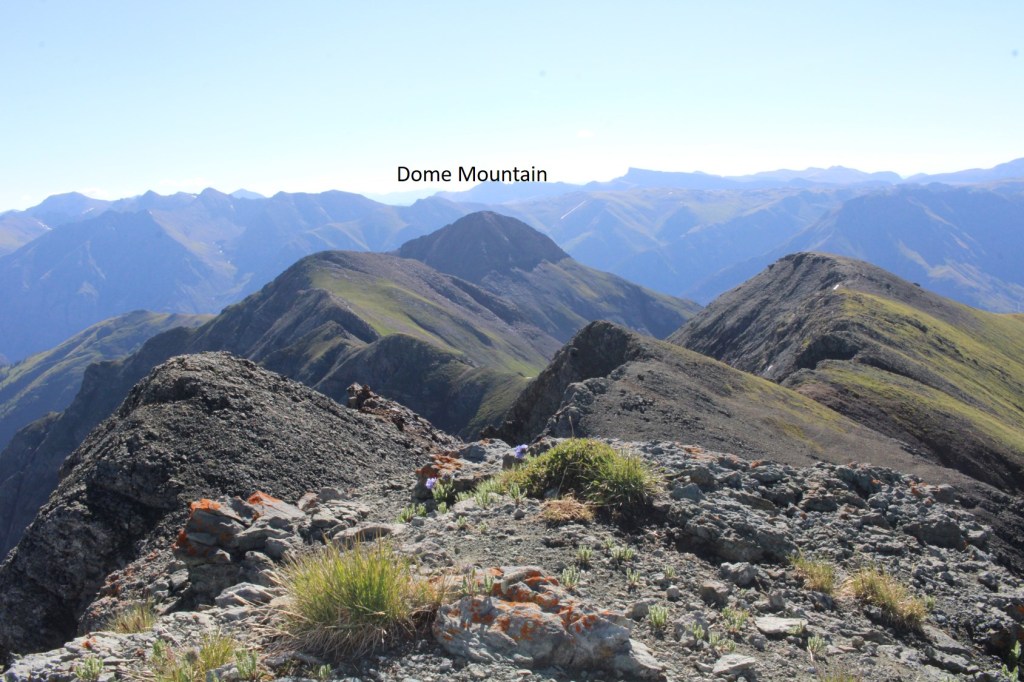
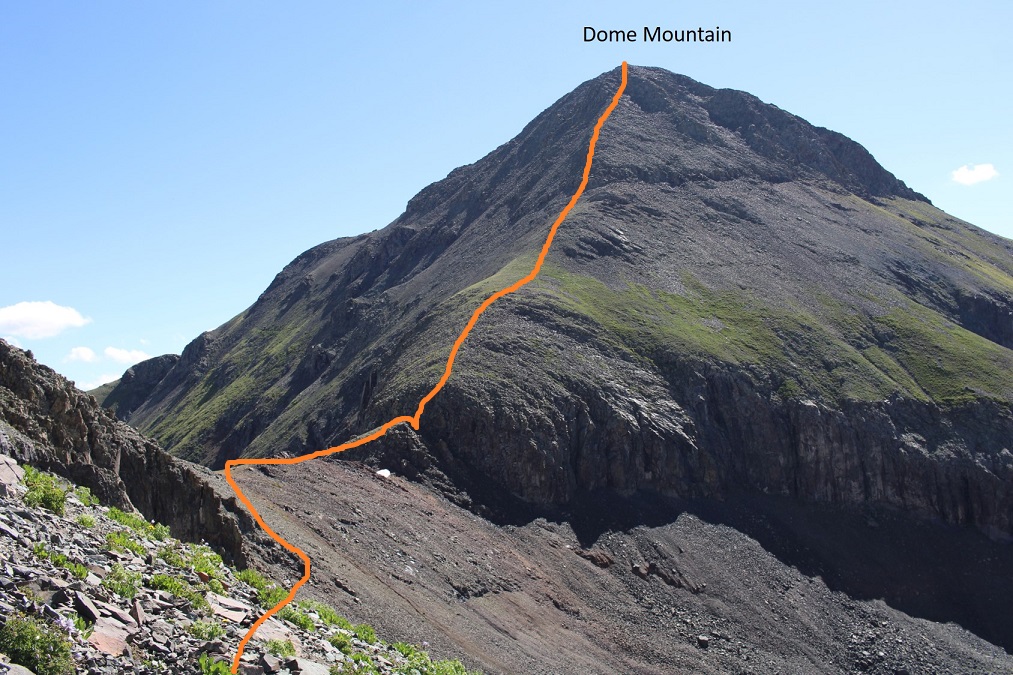
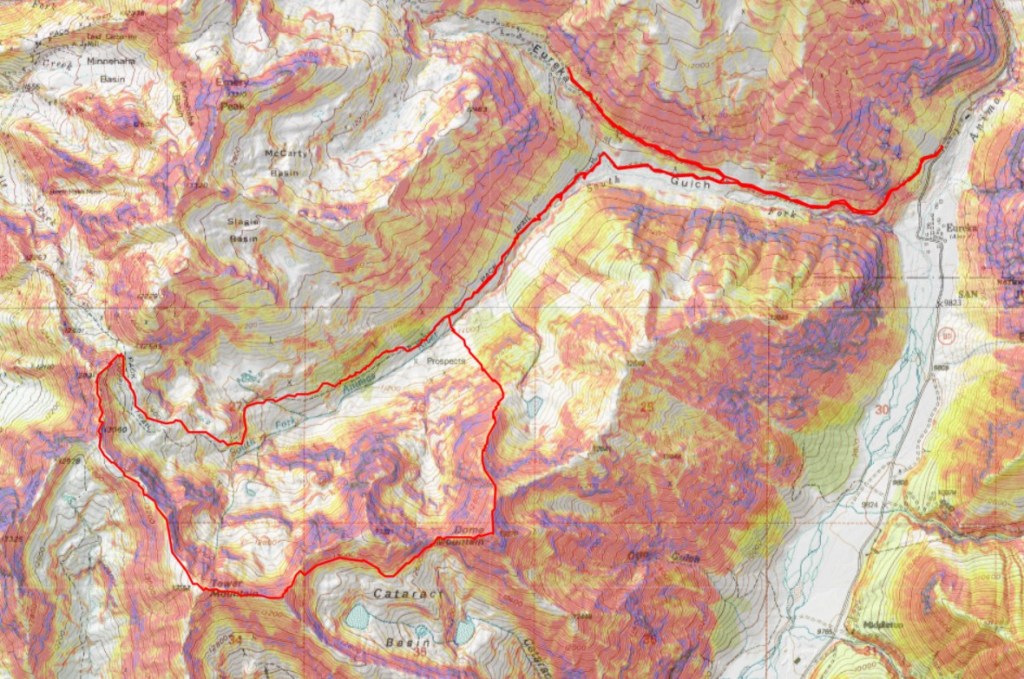
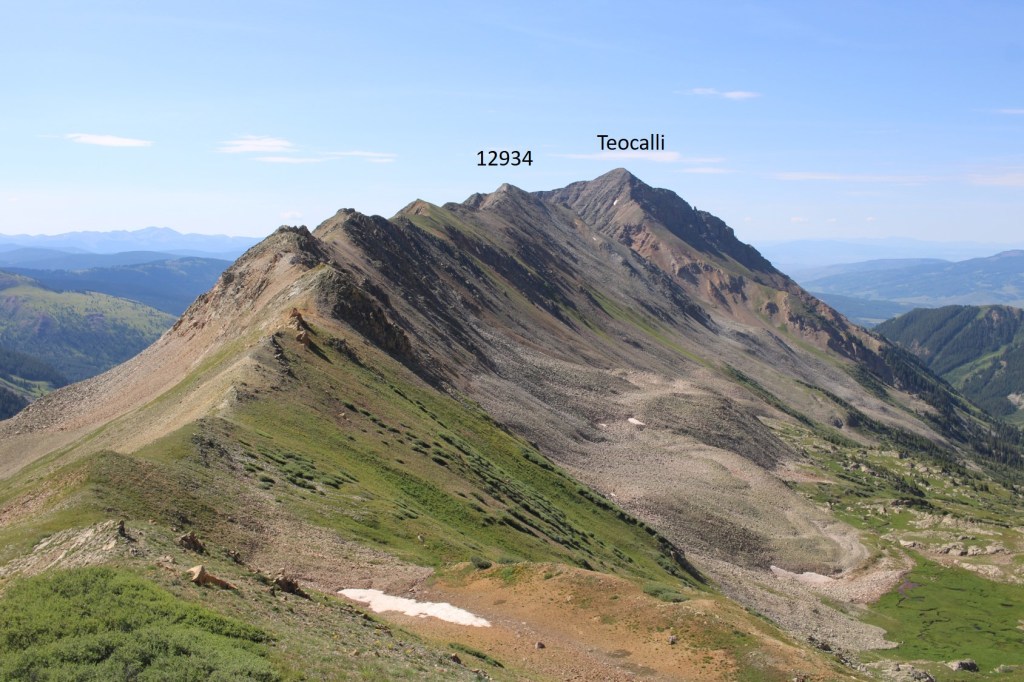
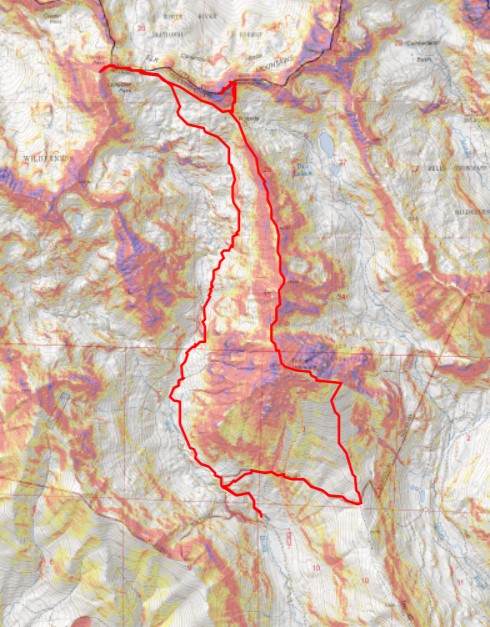
Here’s an overall view of the route. I spent a lot of time looking at my exit route down the basin, as I wasn’t sure if it would go. I memorized the terrain in my mind for later in the day.
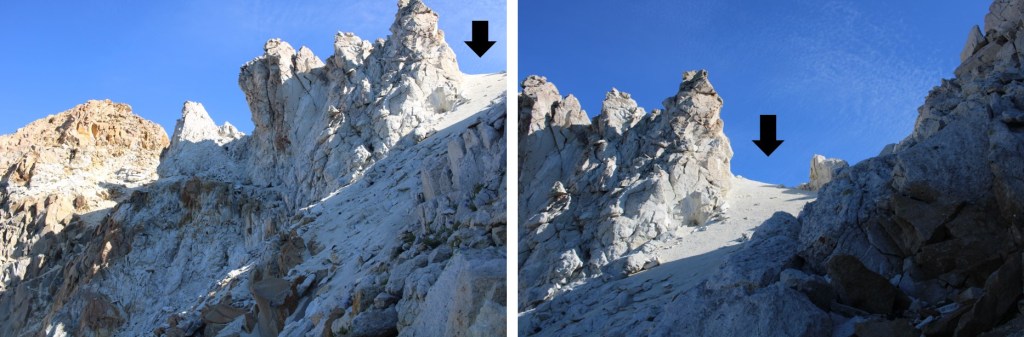
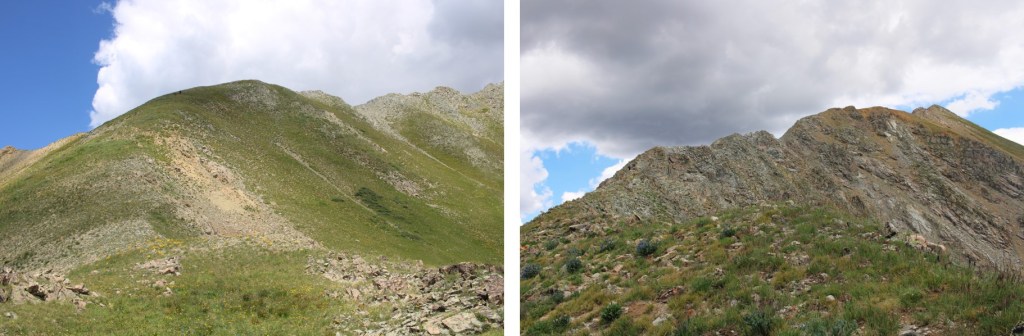
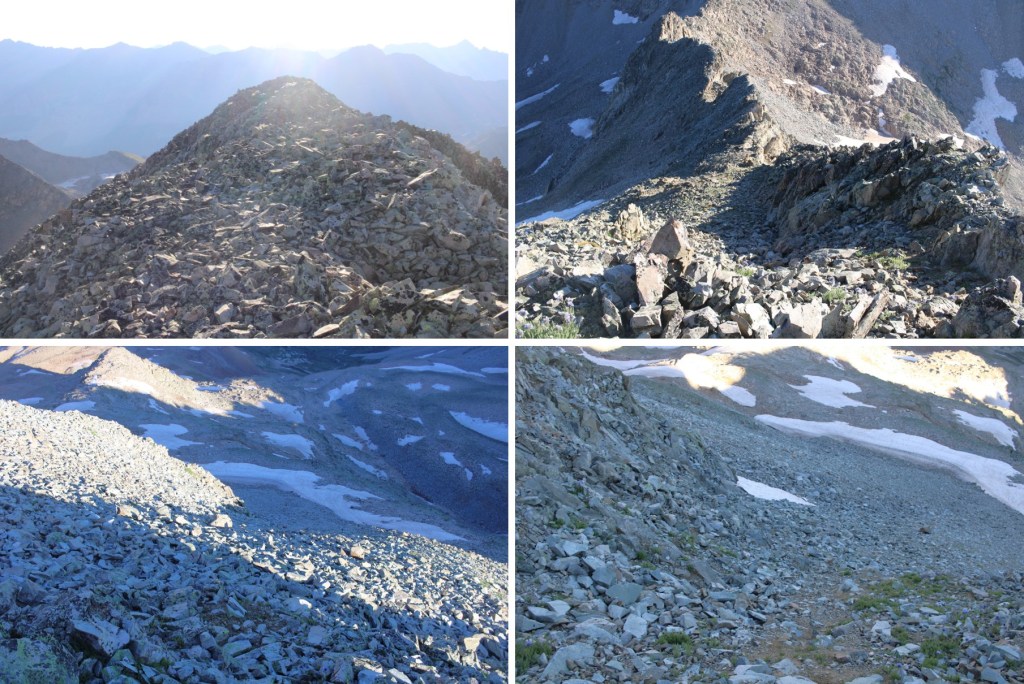
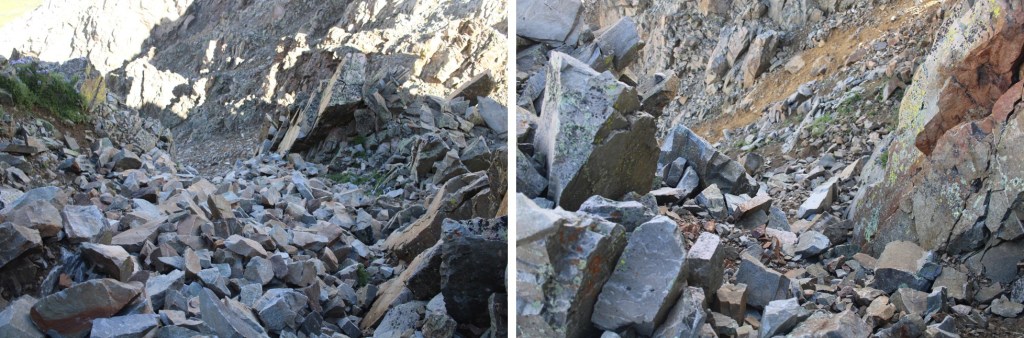
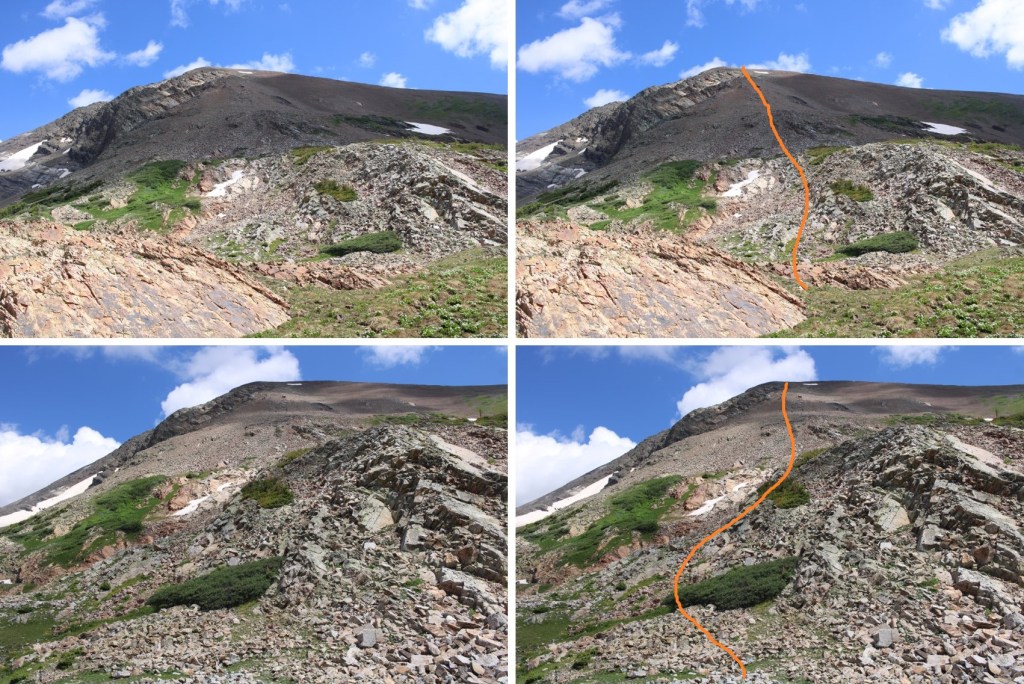
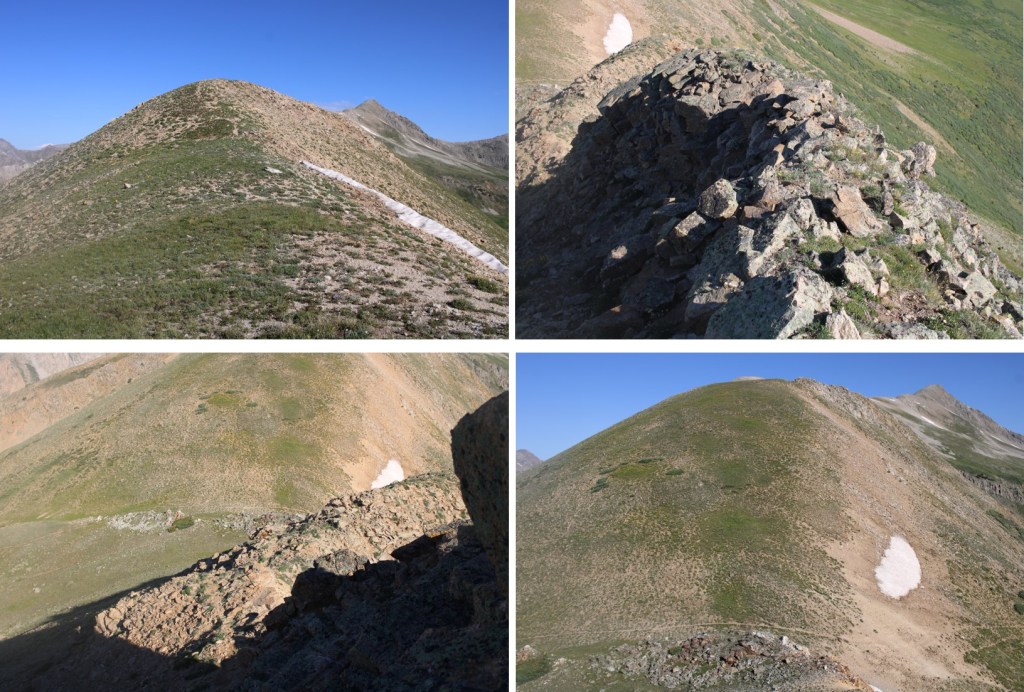
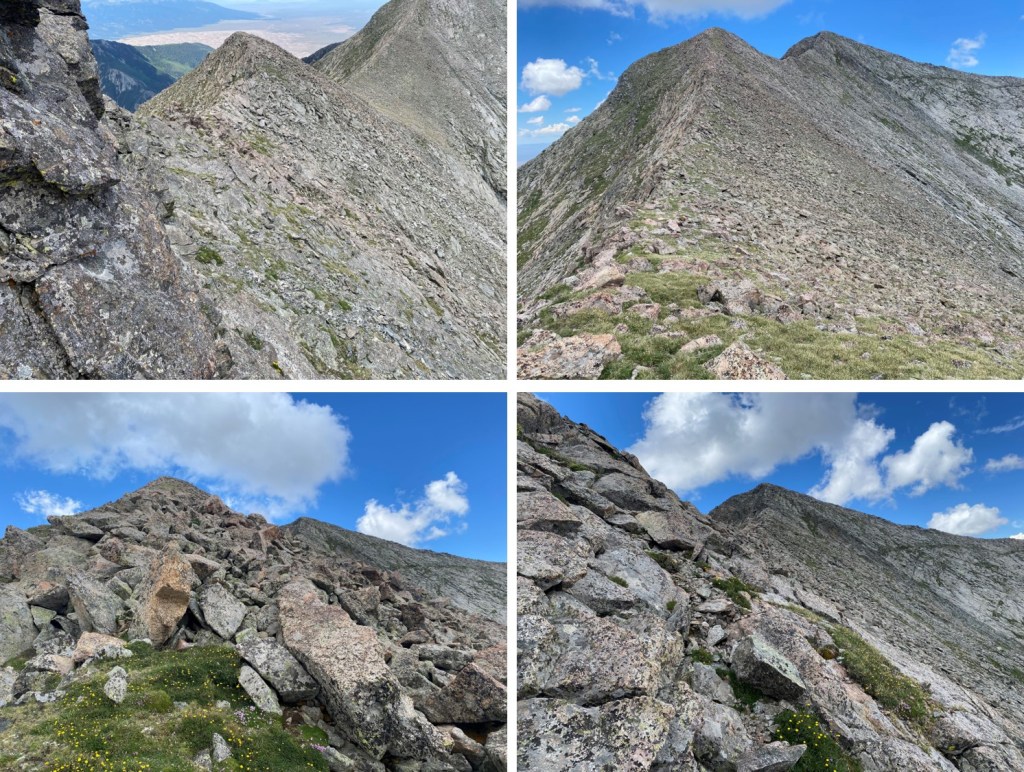
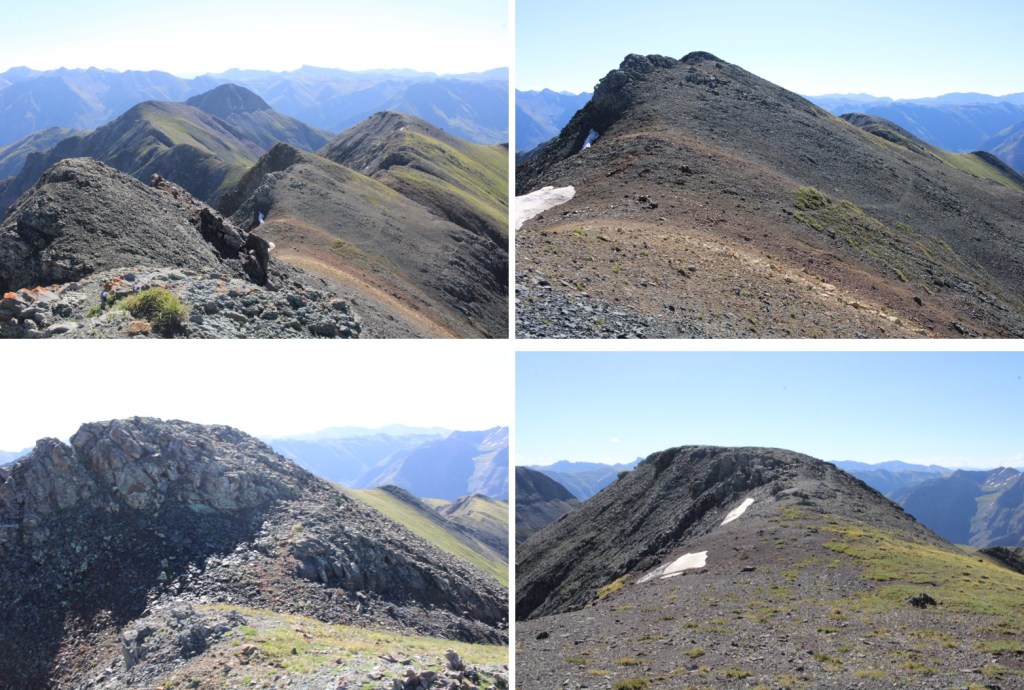
I followed the ridge north, as I descended to the Teocalli/PT 12934 saddle. This was full of loose rock. I put on my microspikes and navigated down the class 2+ terrain to the saddle.

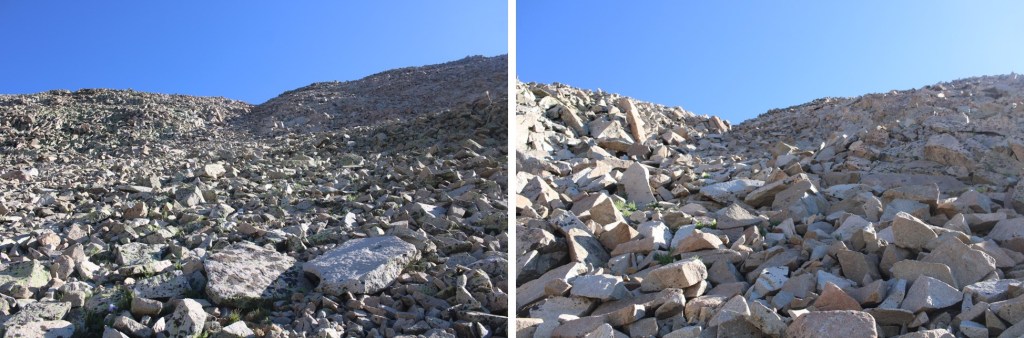
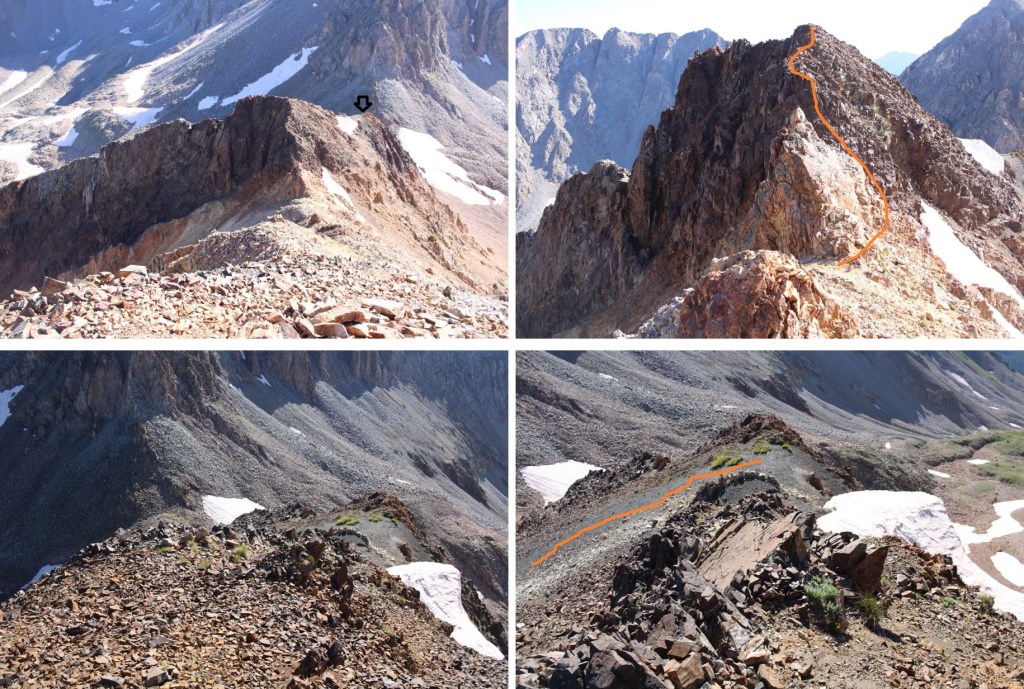
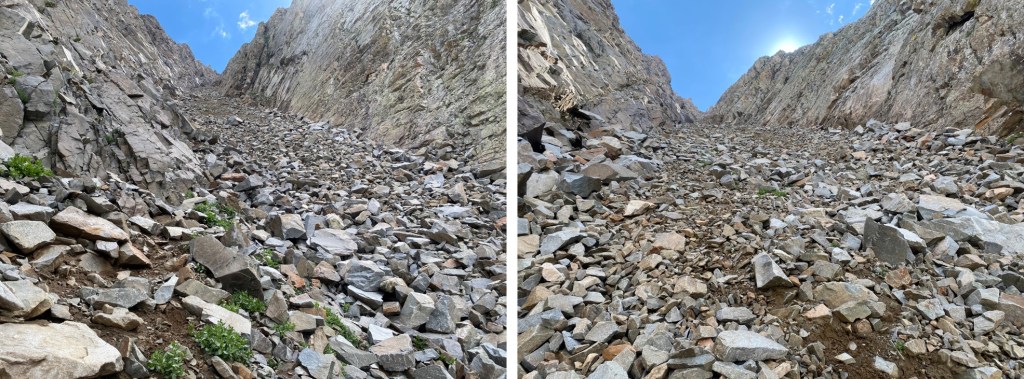
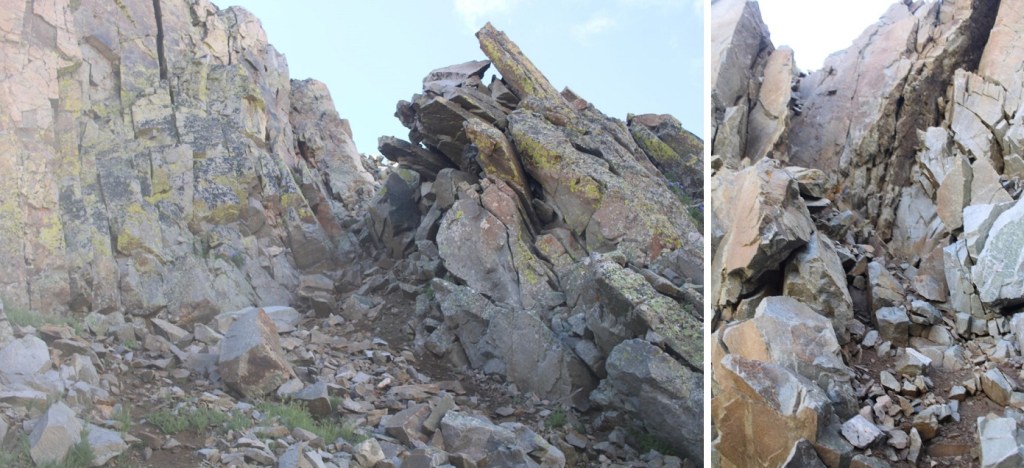
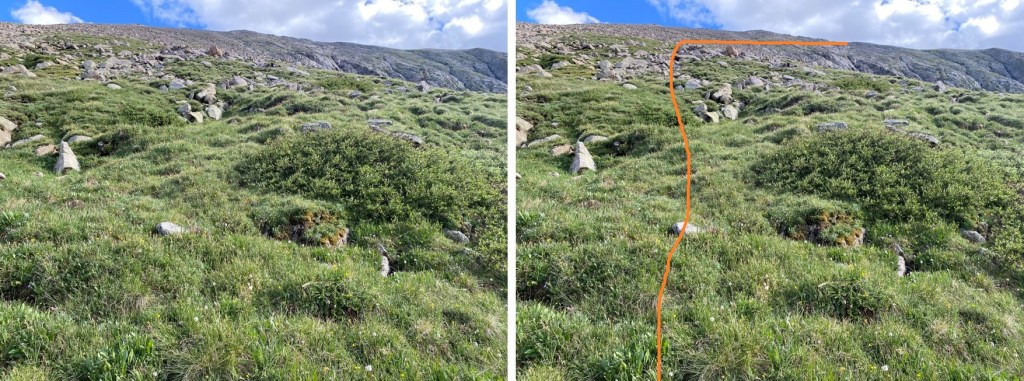
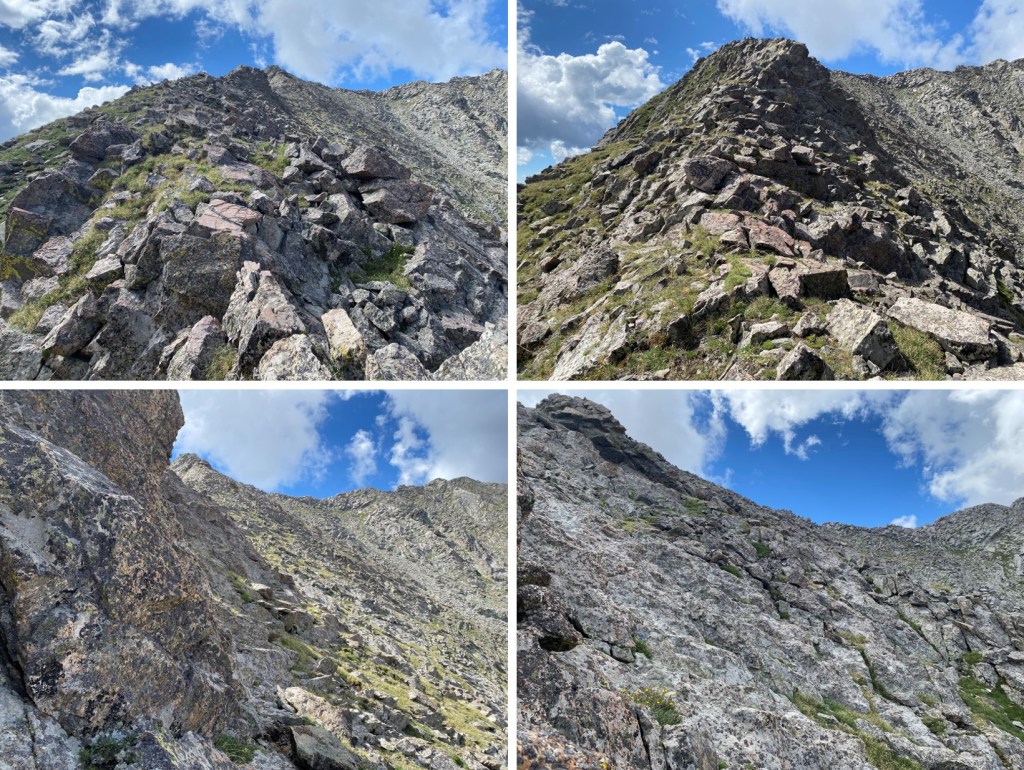
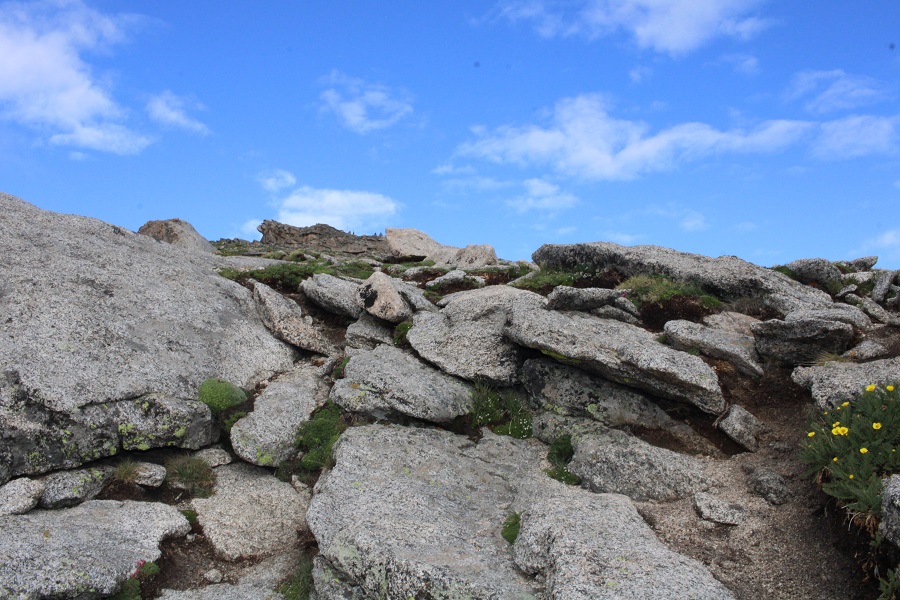
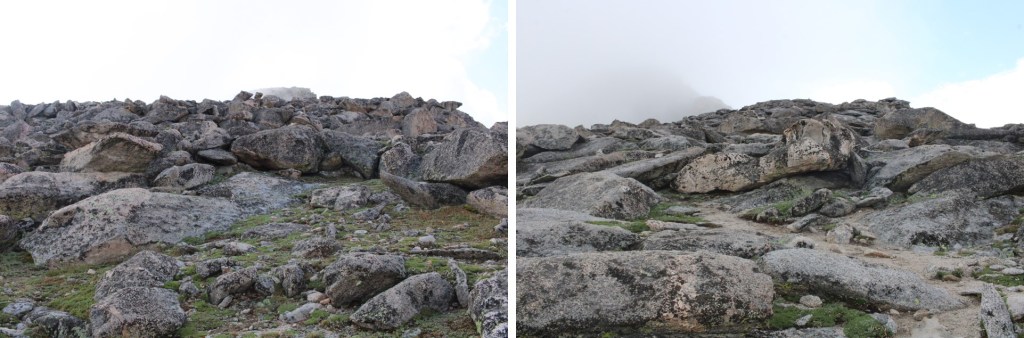
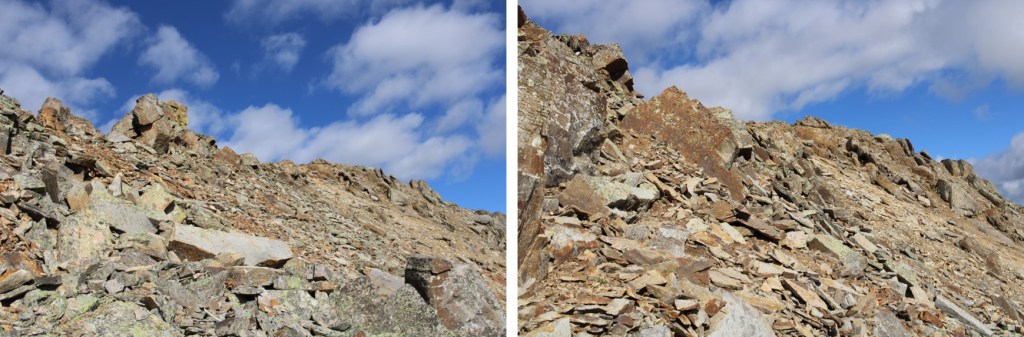
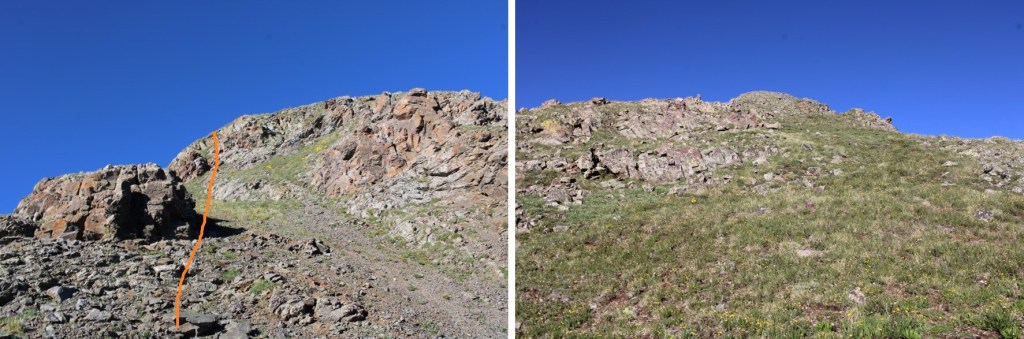
The first obstacle from the saddle is getting around these rocks. I went right, and up a grass filled gully that turned into a rock filled gully

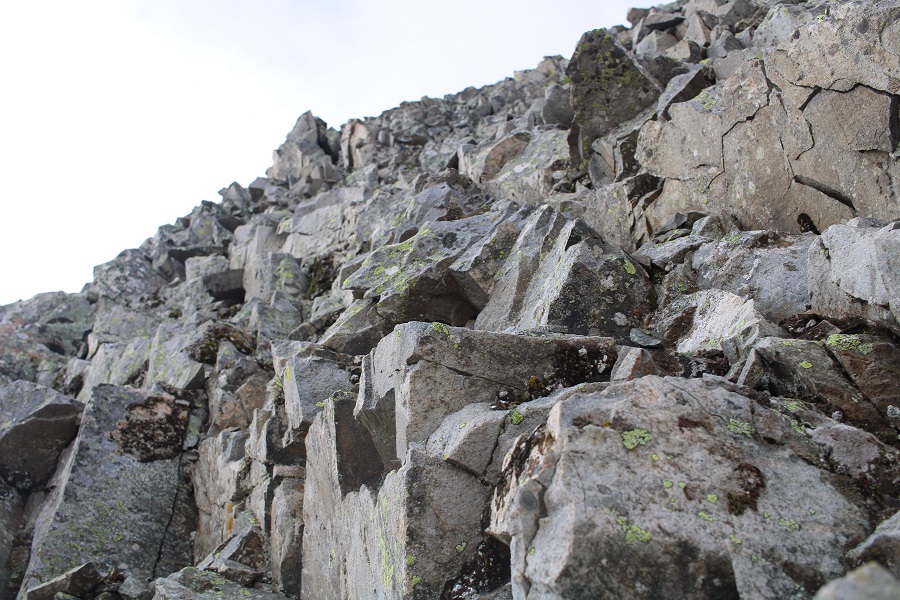
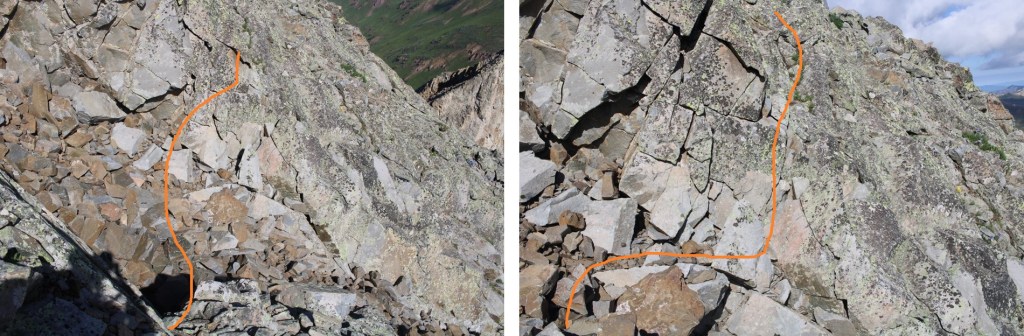
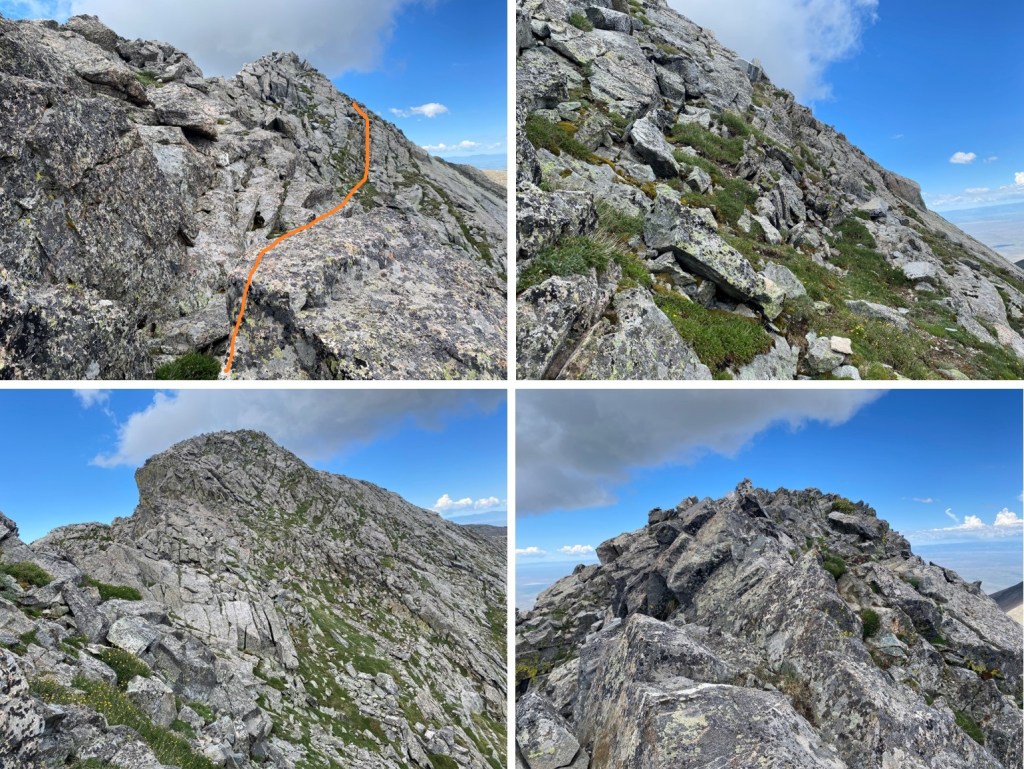
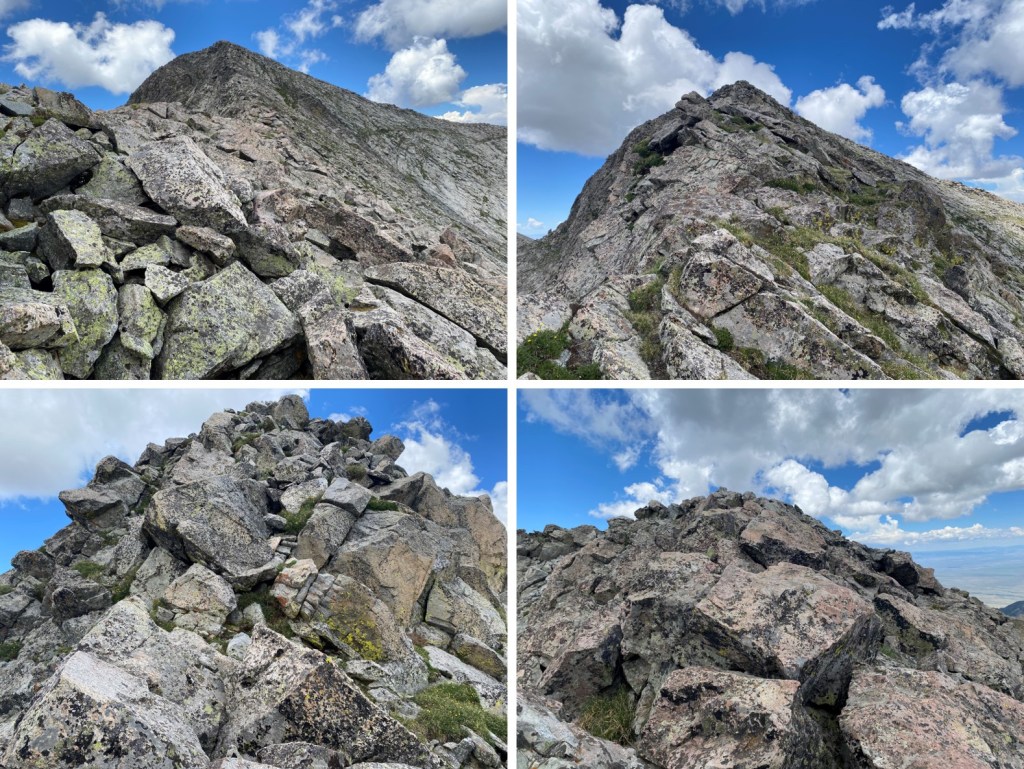
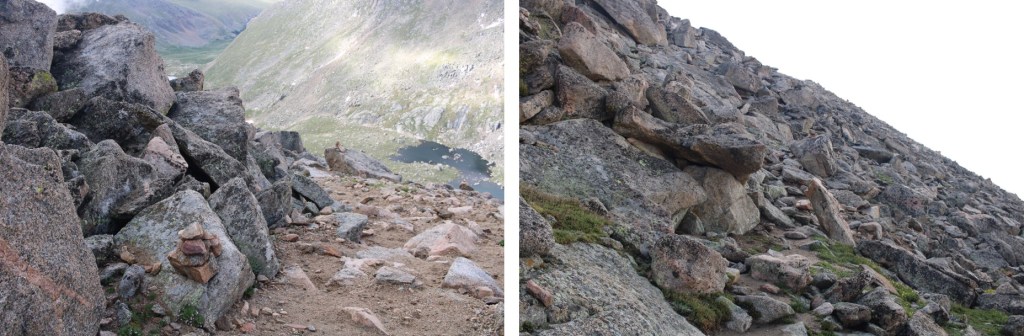
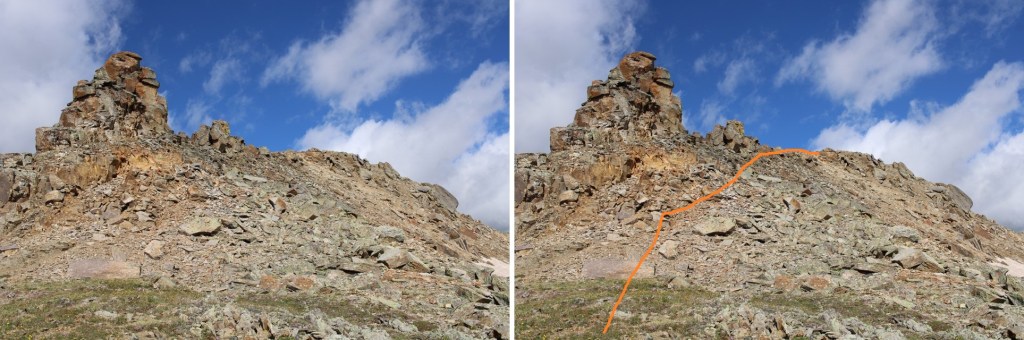
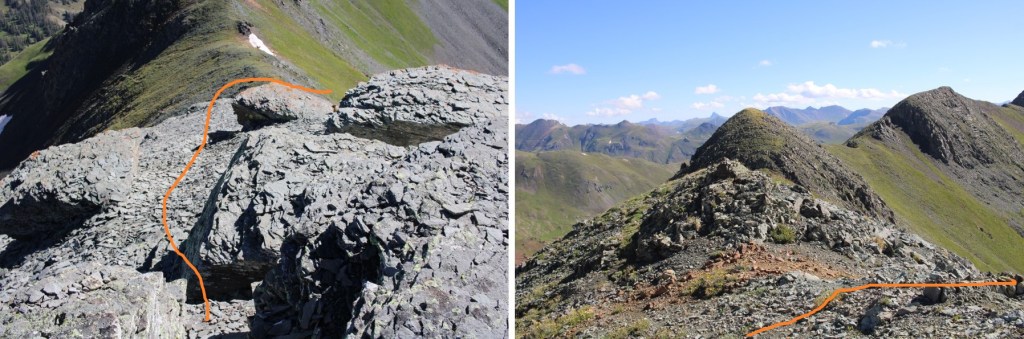
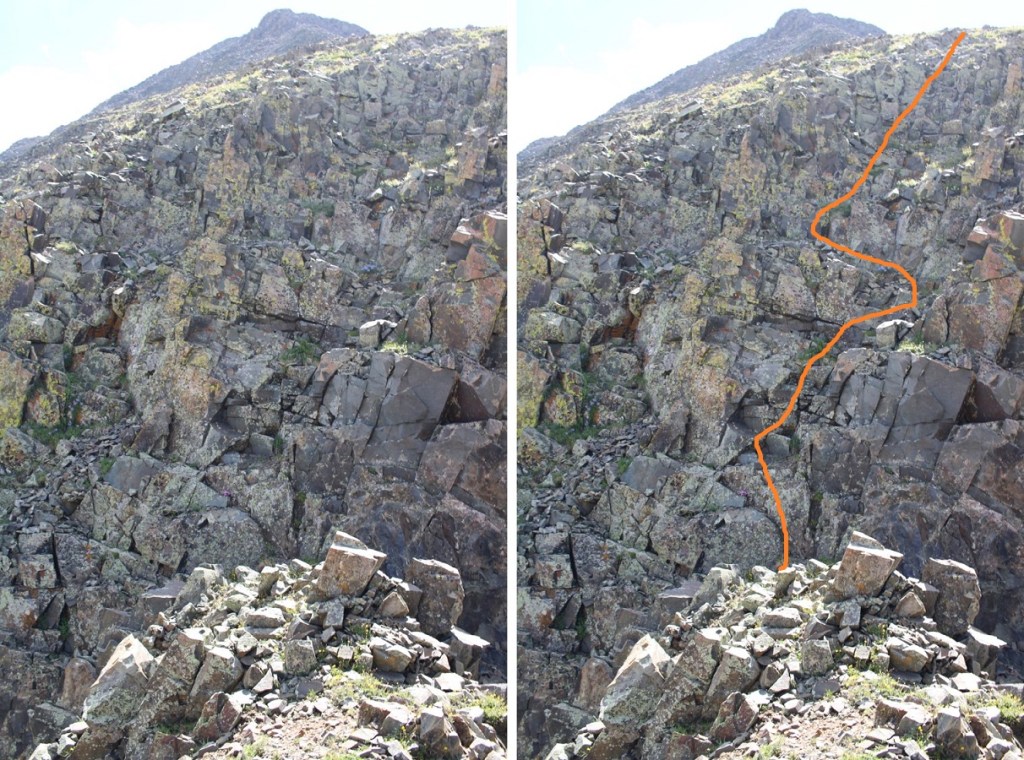
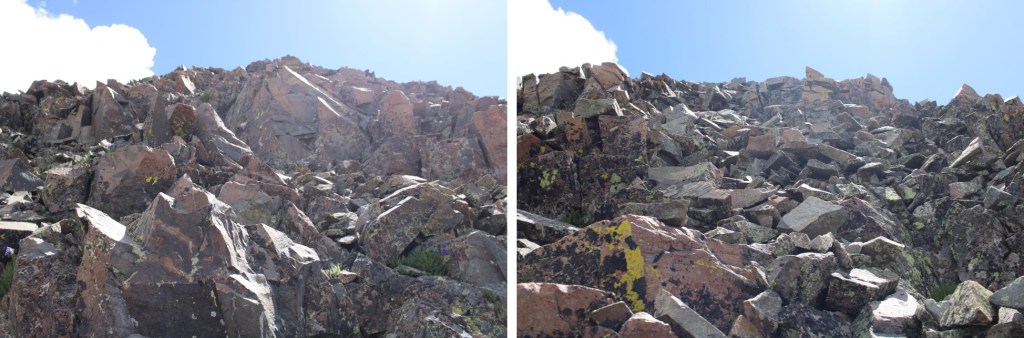
Then the terrain became rocky, and the class 3 climbing began. I took this route up the rocks initially

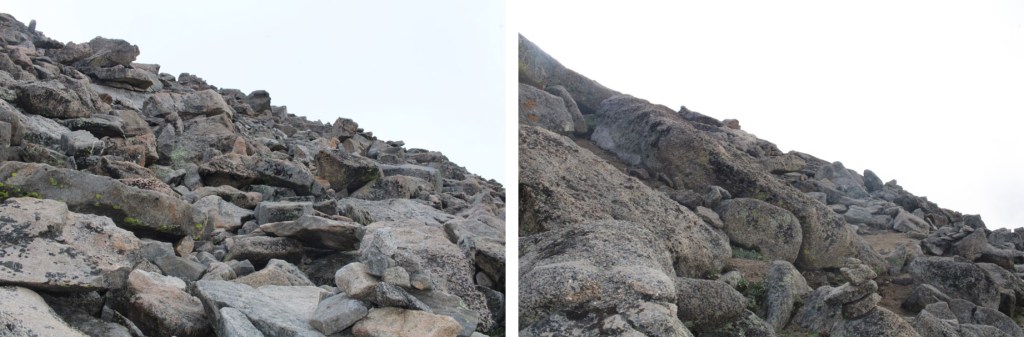
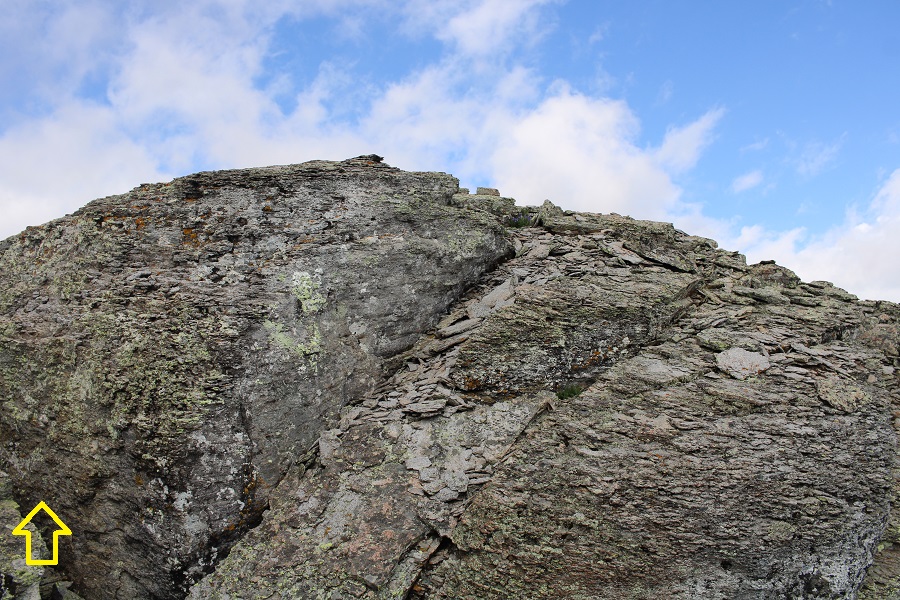
And then went straight up the knife edge. Do not go to the left or right, as the rocks are all loose. The best way to climb this is to stick to the ridge.
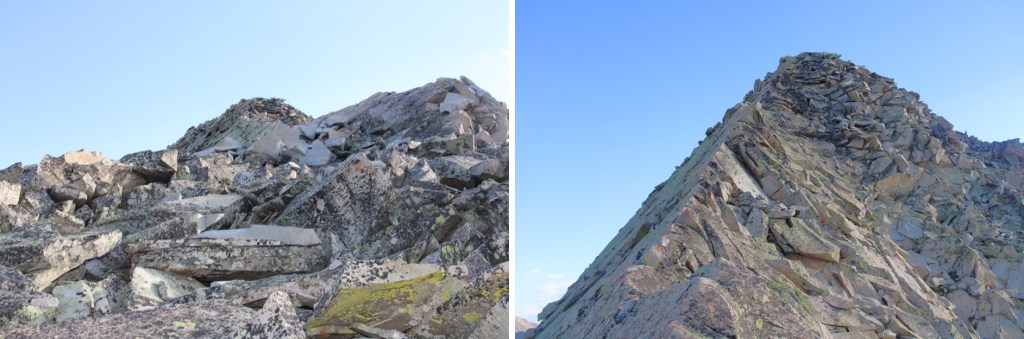
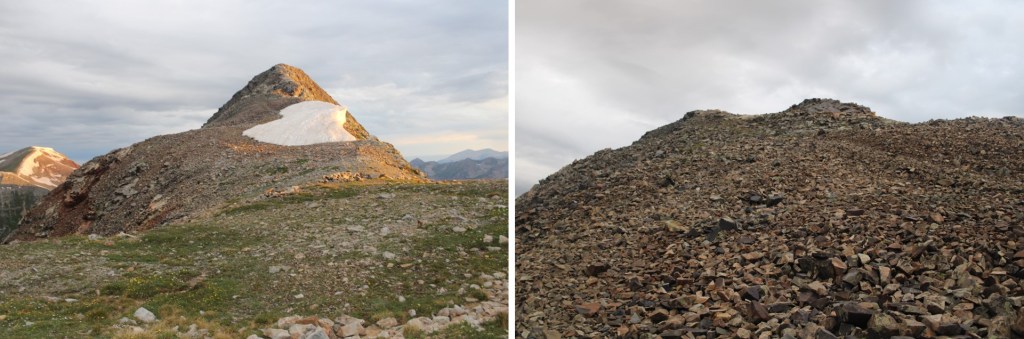
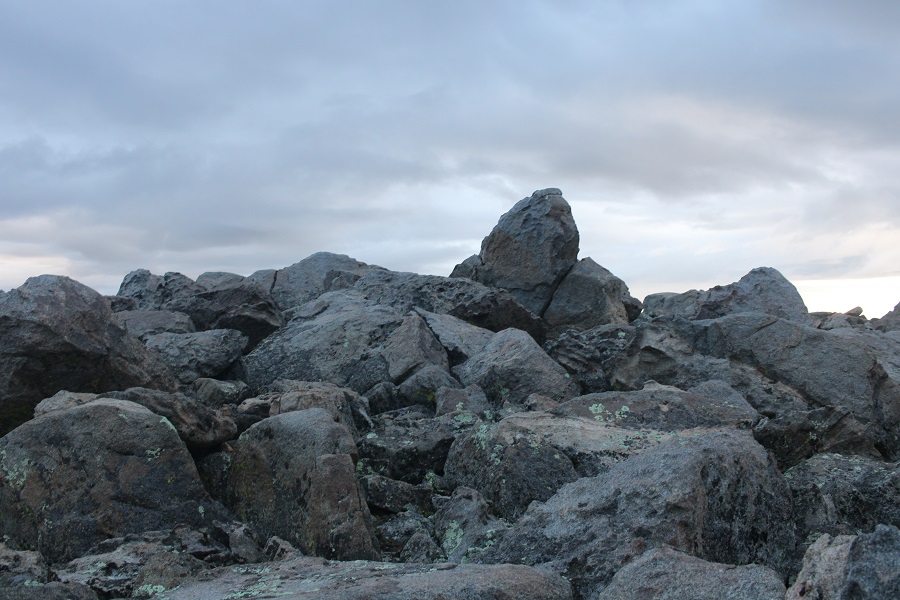
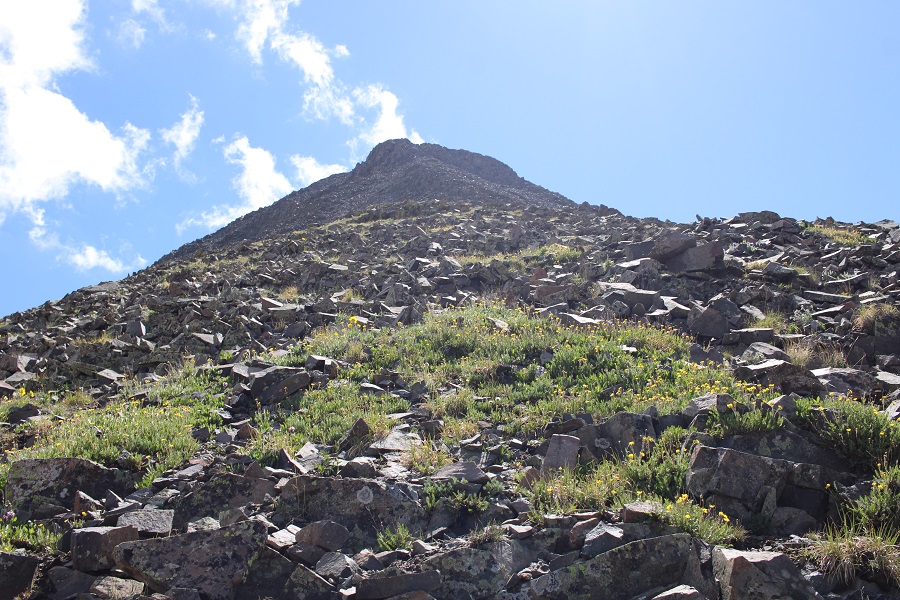
Then it was a rocky, class 2 hike to the summit of PT 12934

I summited PT 12934 at 8:15am
PT 12934:
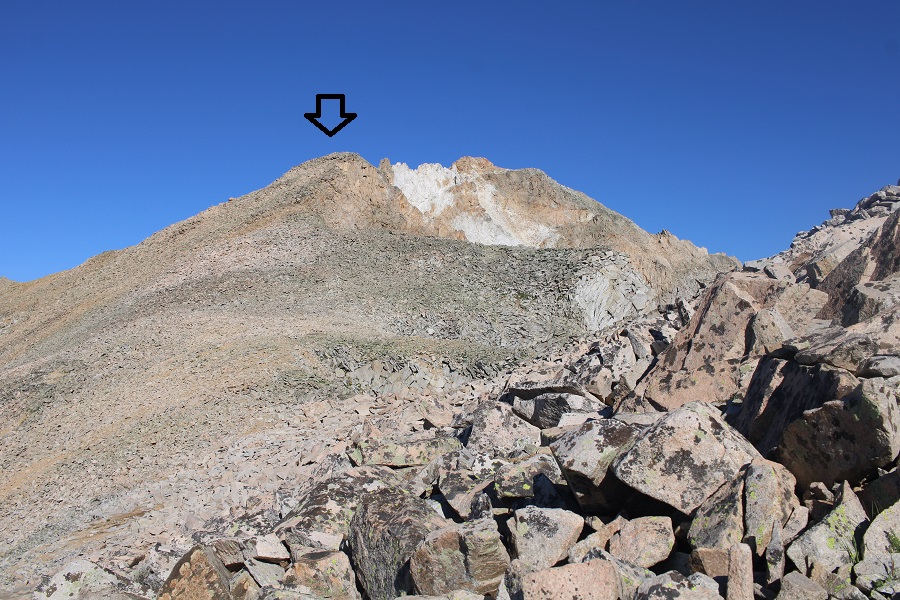
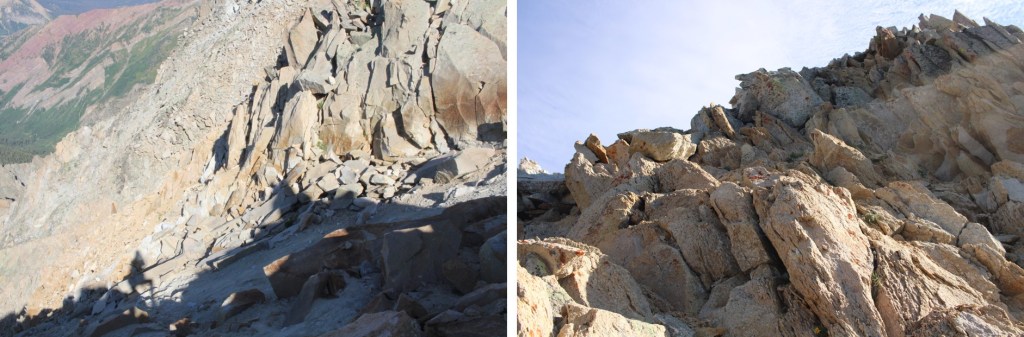
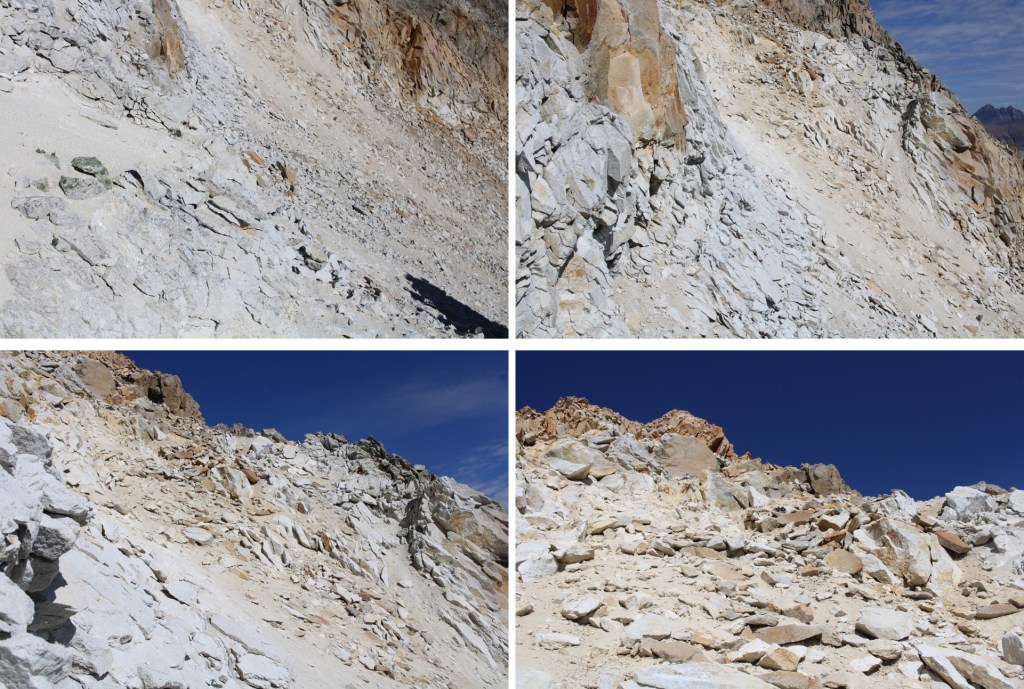
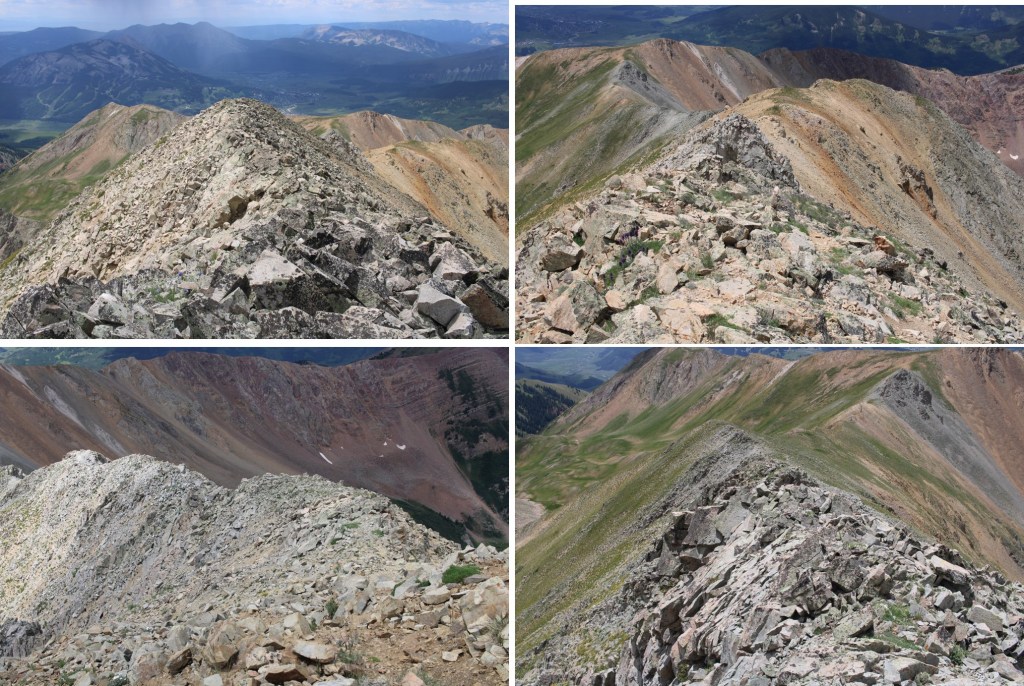
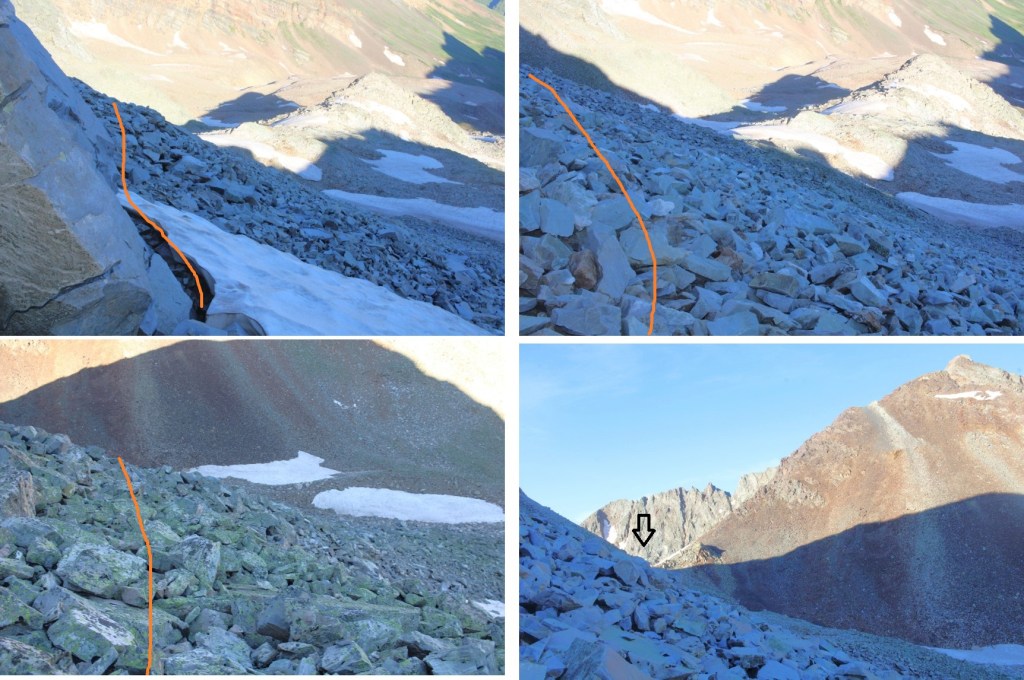
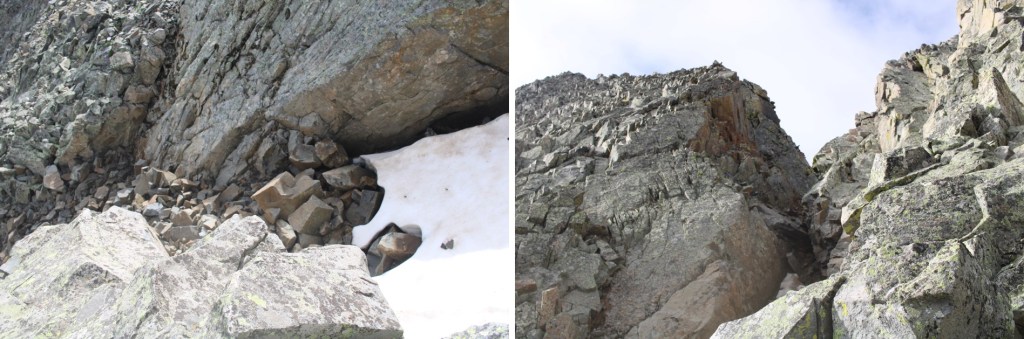
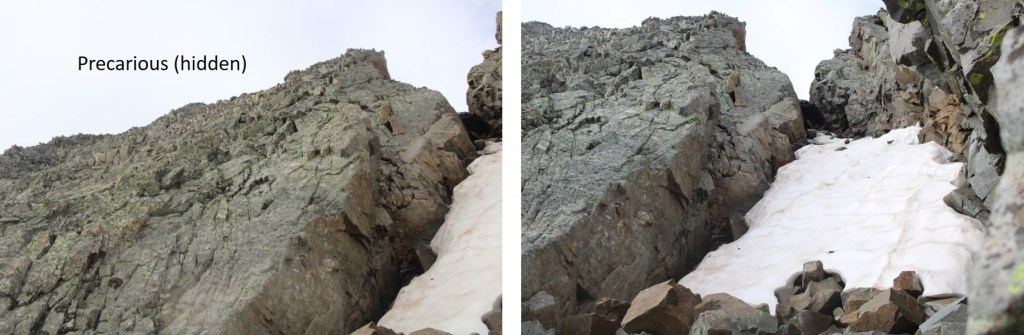
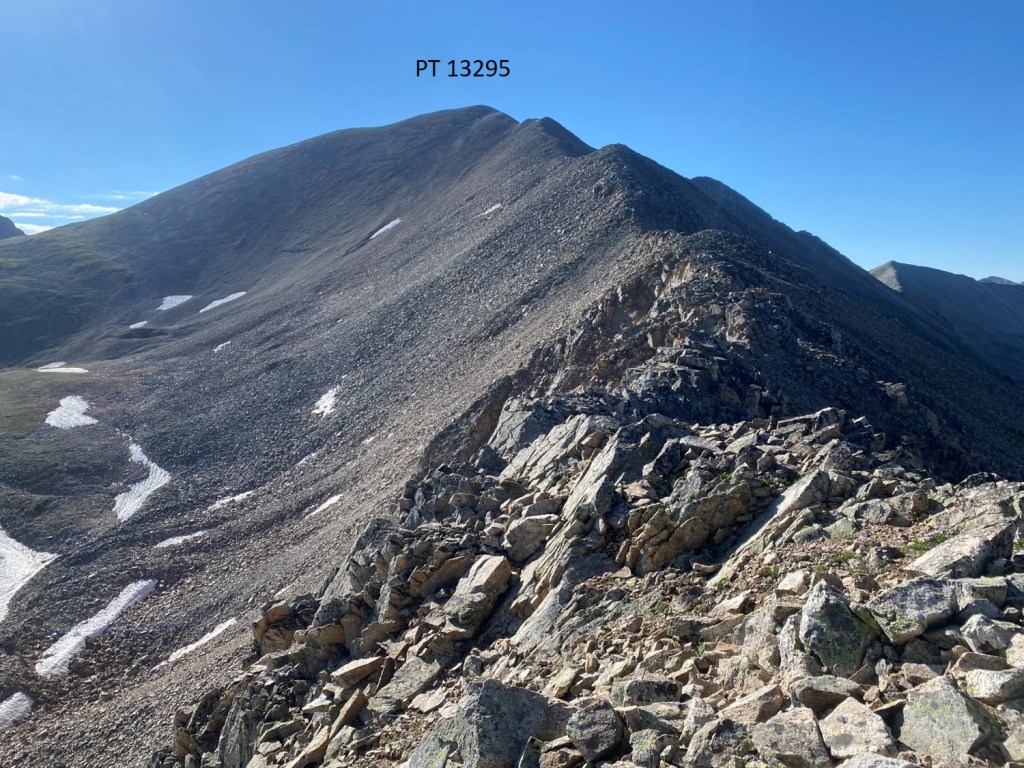
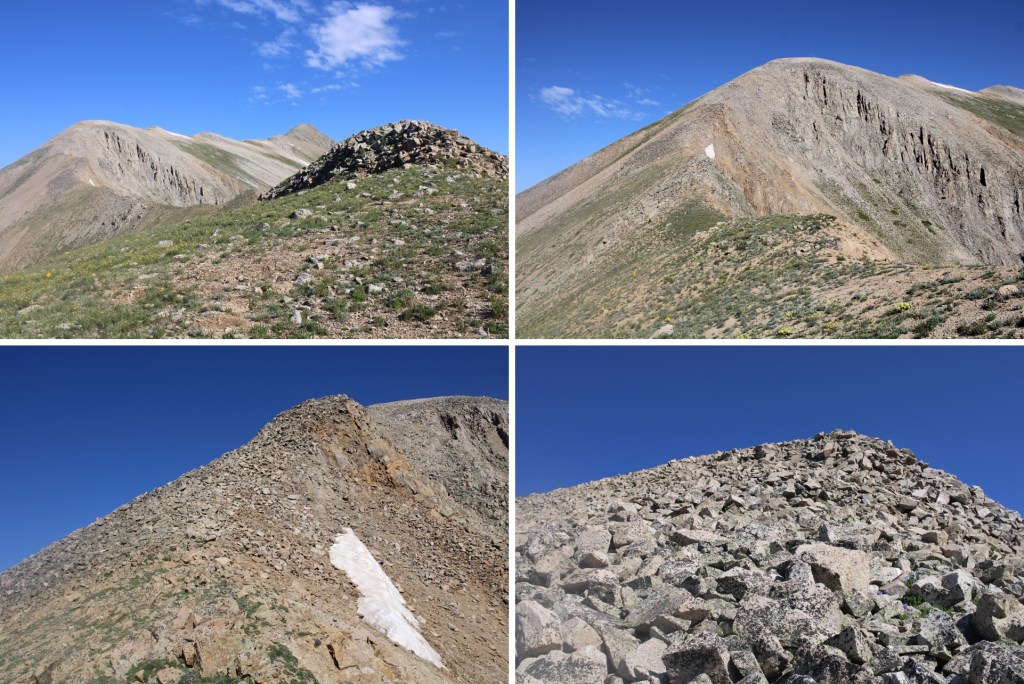
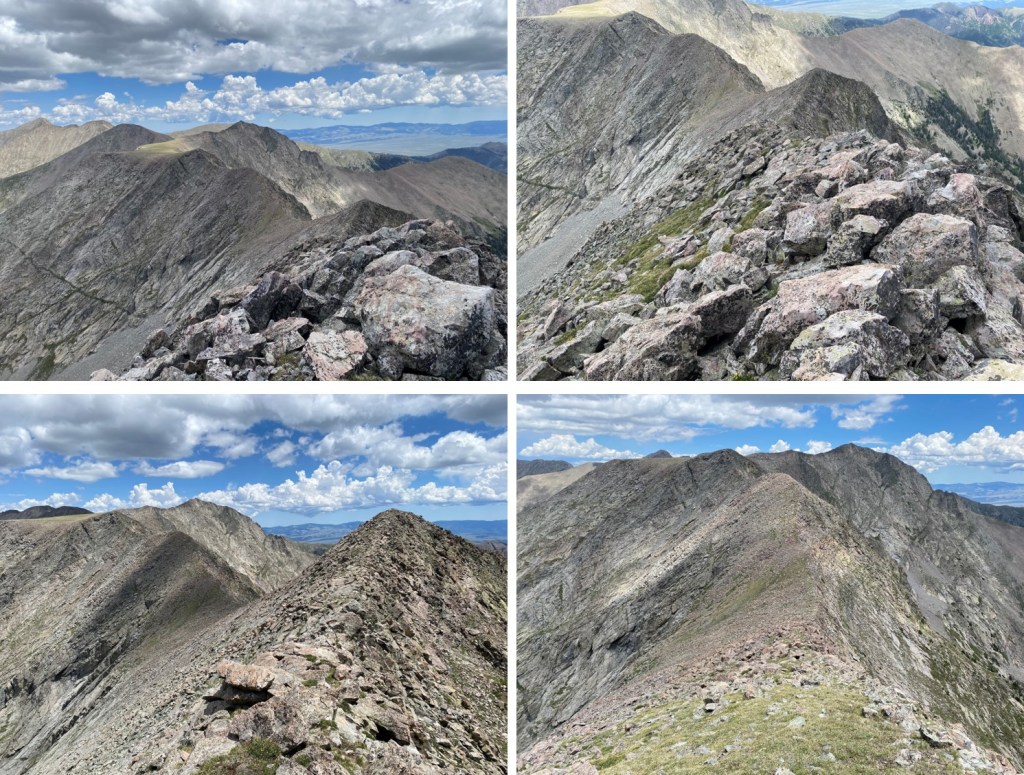
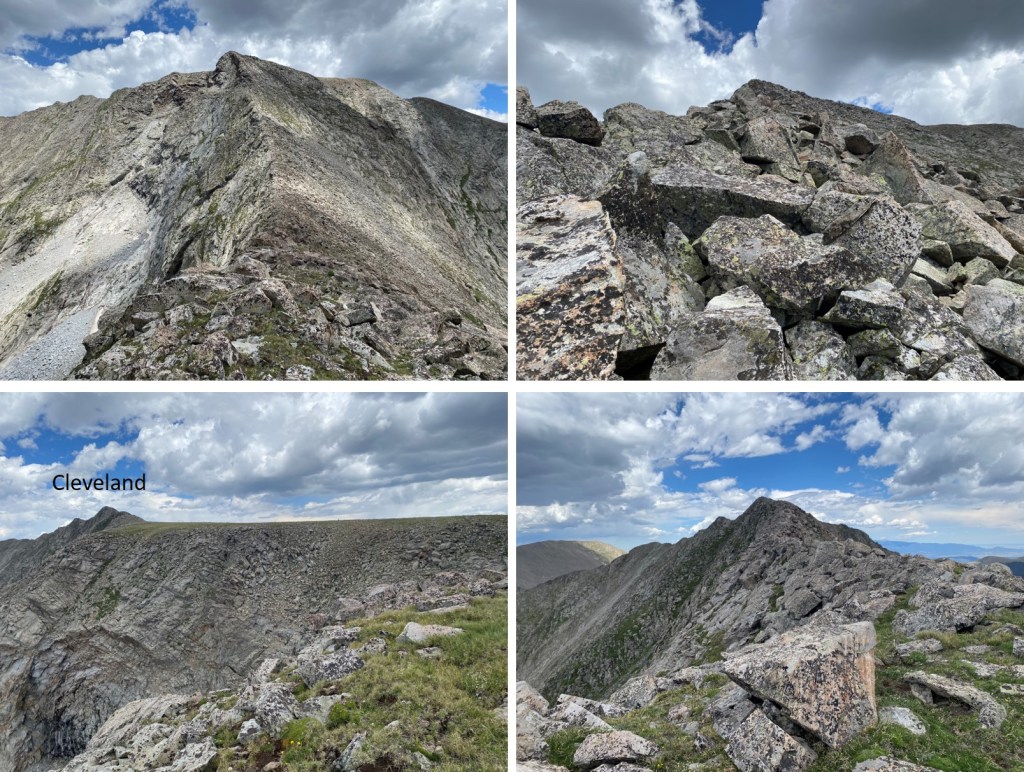
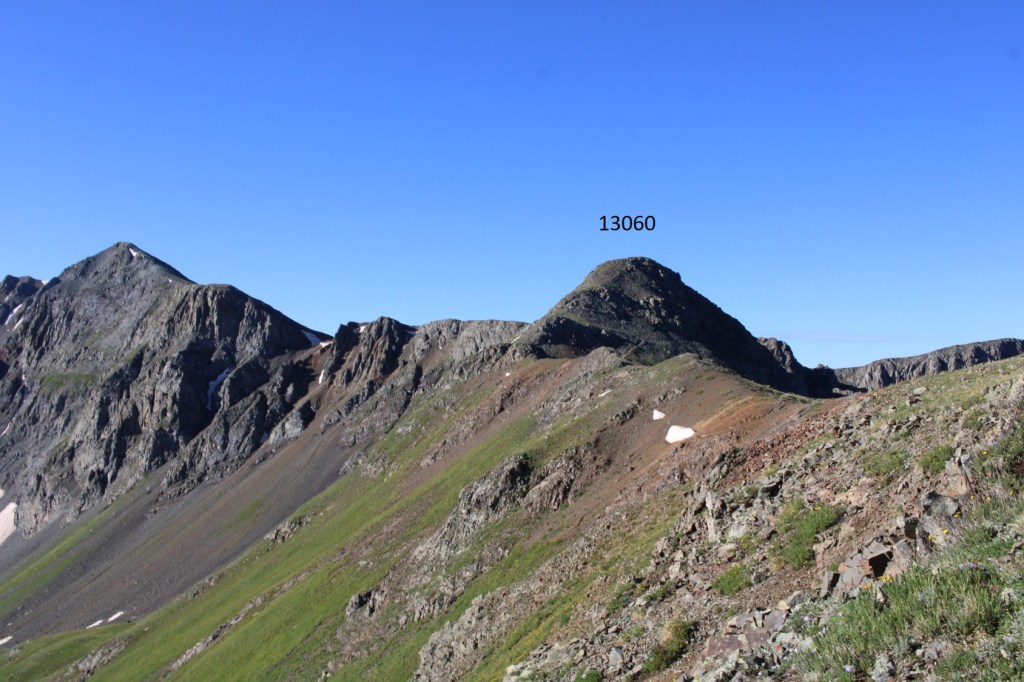
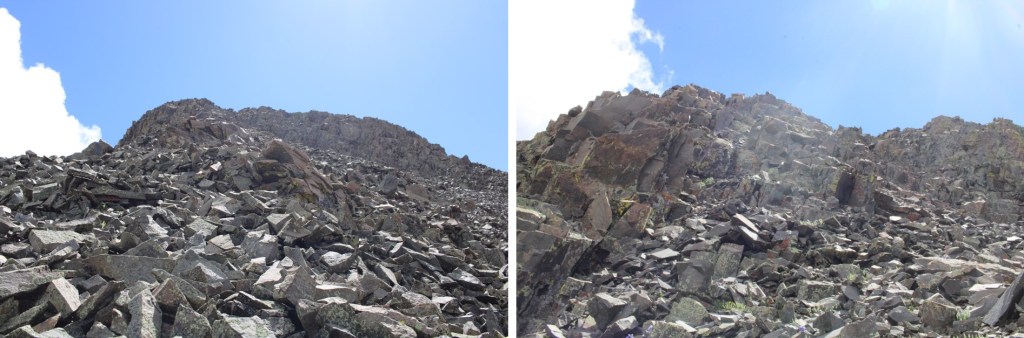
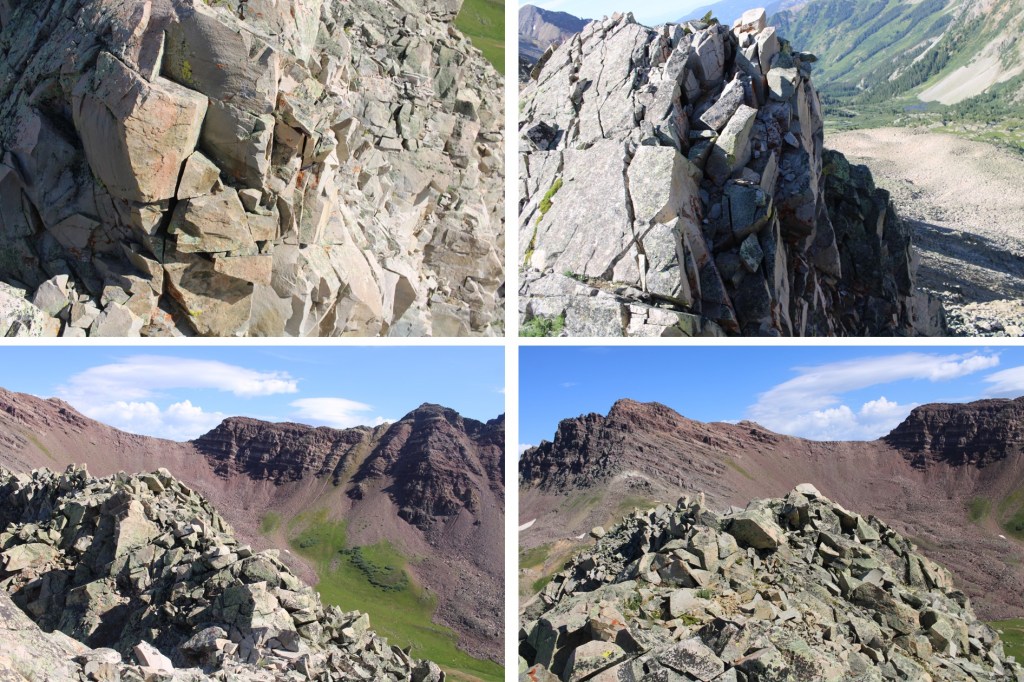
From 12934 it looked like an easy ridge hike to the base of PT 13162, but I was wrong. There is class 3 scrambling and class 4 chimneys to contend with. There are too many moves to picture, so I’ll surmise the ridge by saying if you have to dip down, go right, but the ridge mostly goes. Here are some pictures of the fun parts.

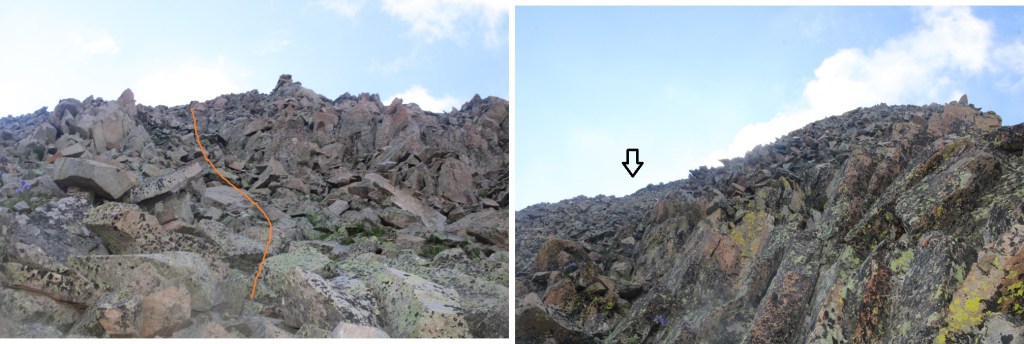
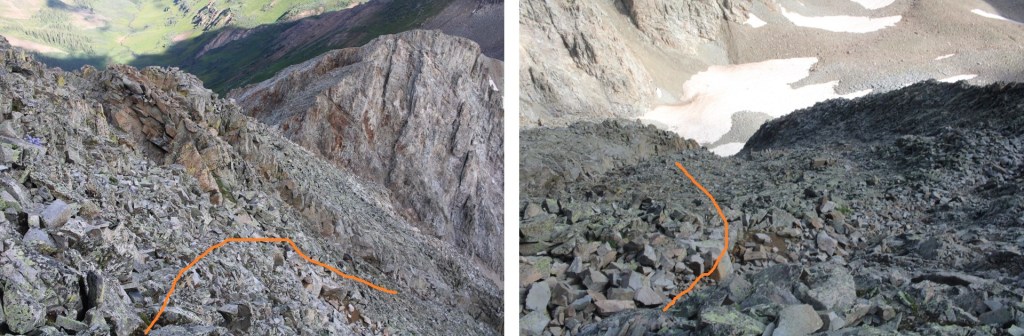
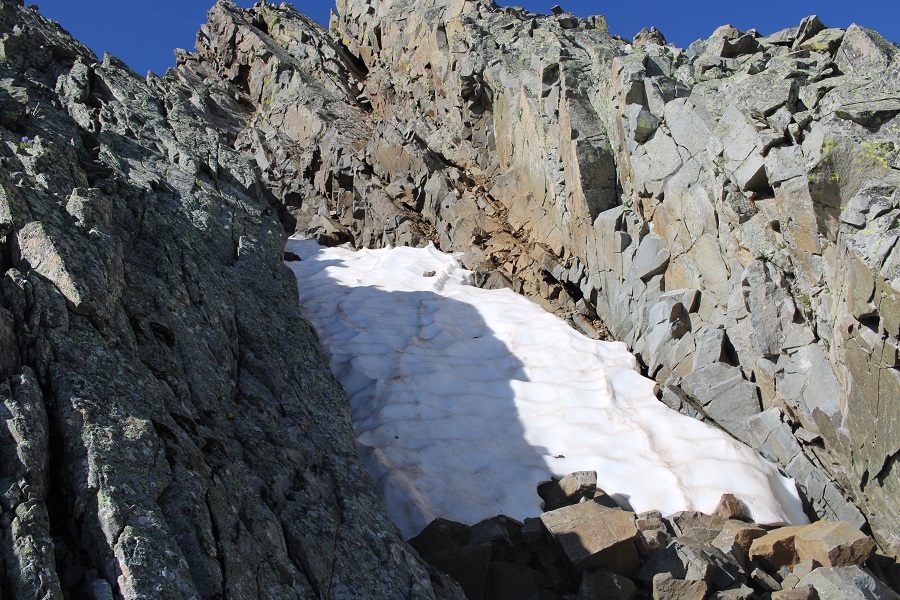
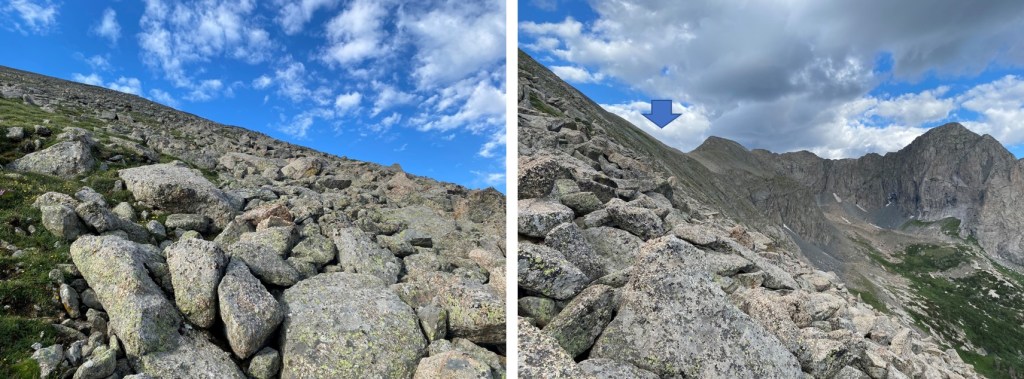
From the 12934/13162 saddle, this is the route to the ridge. It’s all class 2. There are actually 2 gullies that ‘go’. I took one up, the other down, and they both felt about the same difficulty wise (difficult class 2).
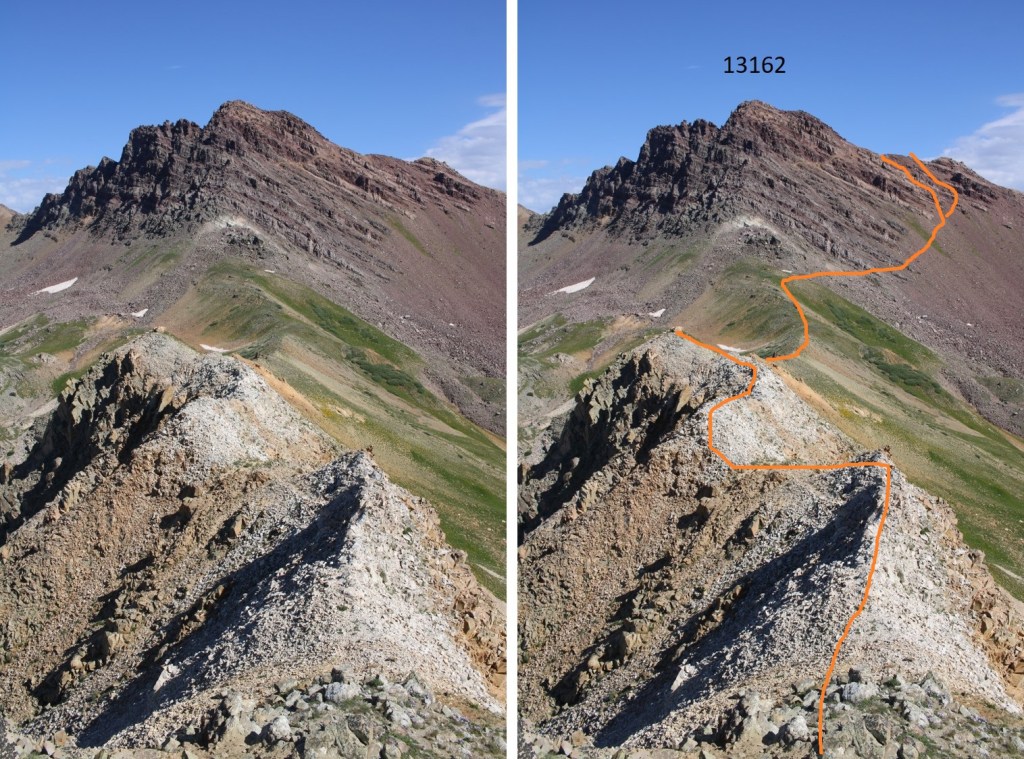
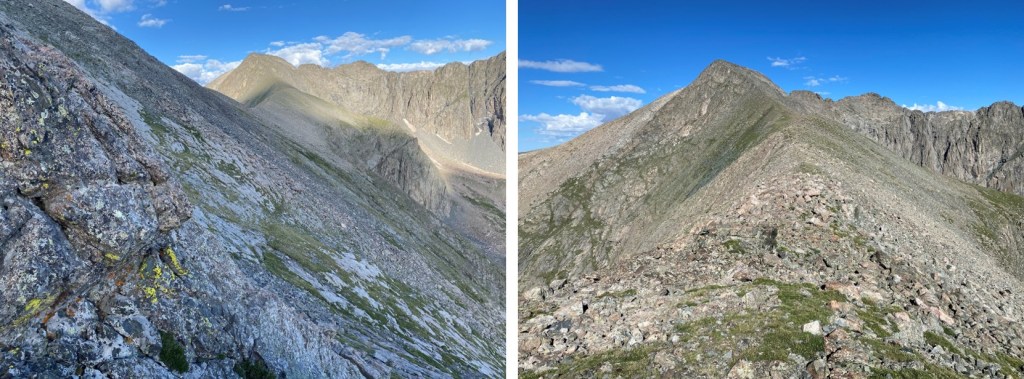
Here’s looking back at that ridge
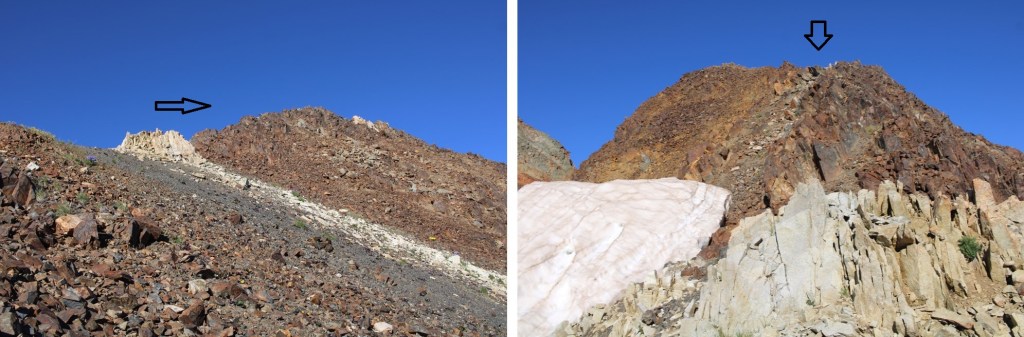
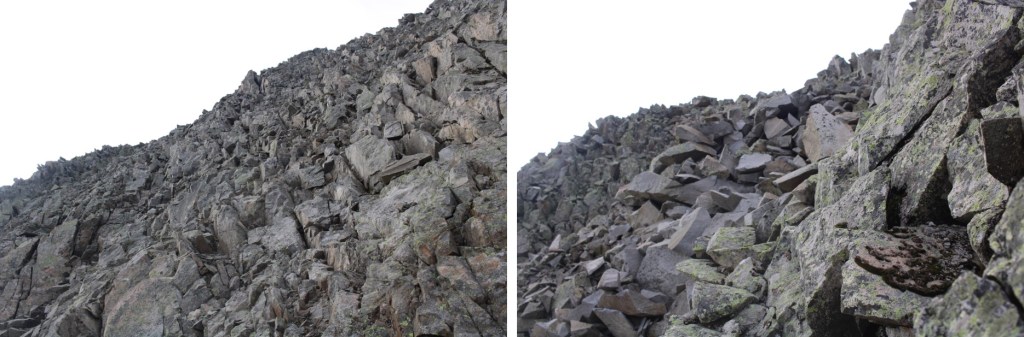
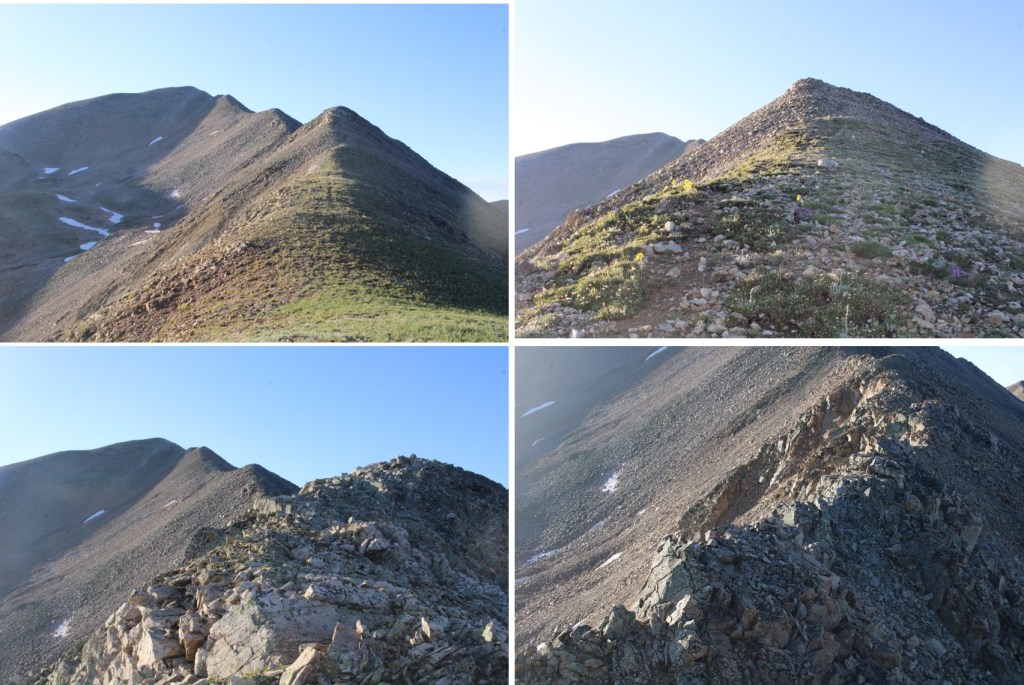
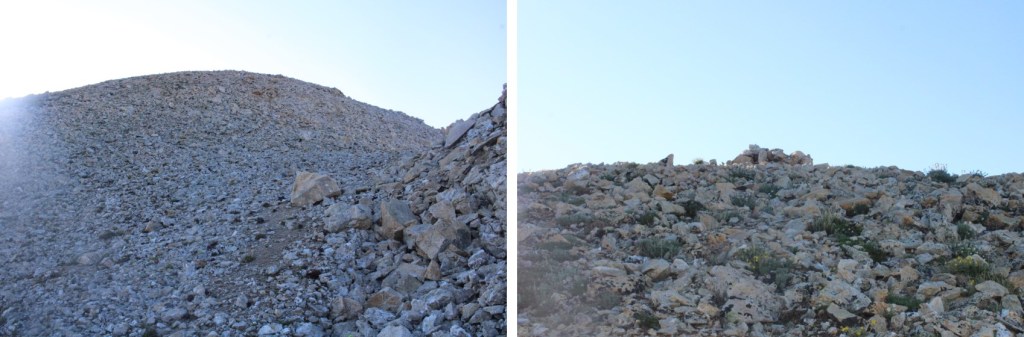
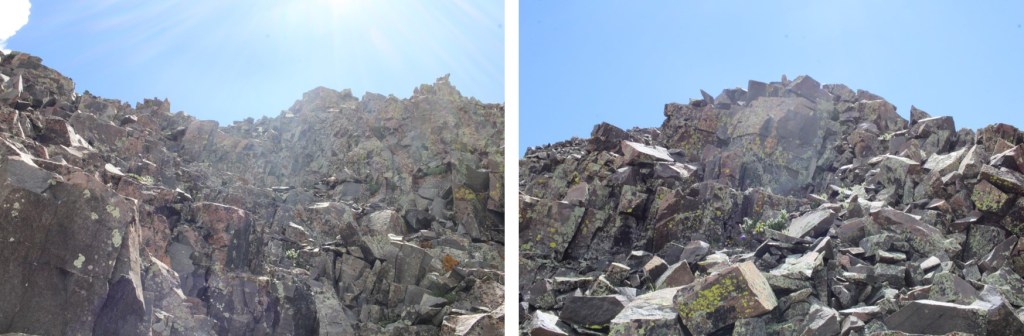
Here are some step-by-step pictures to PT 13162. Microspikes were very useful ascending and descending the gullies
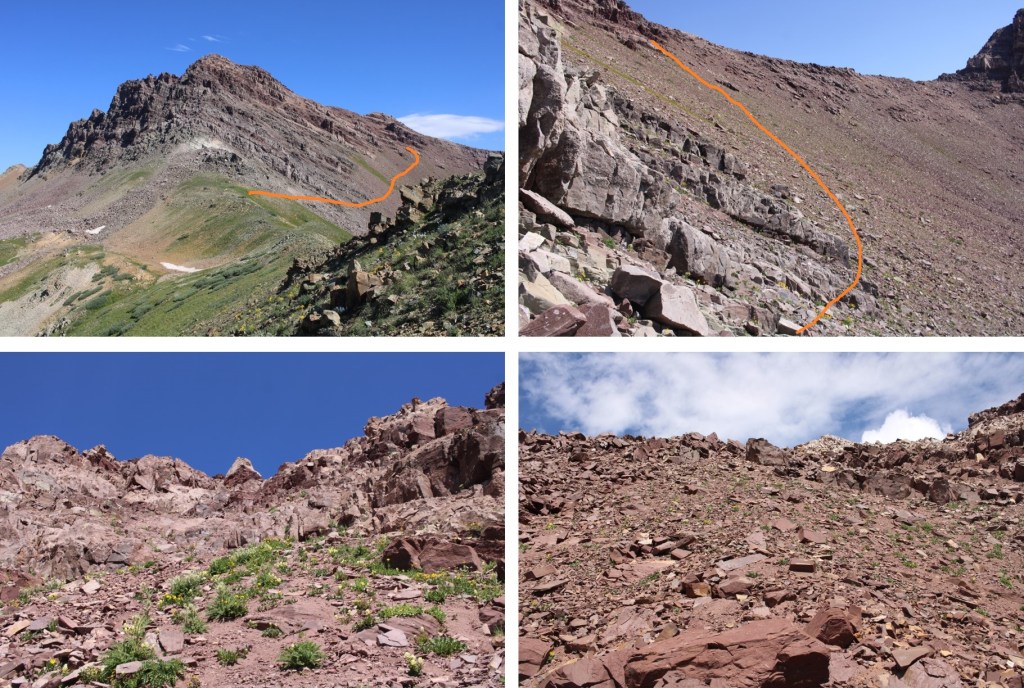
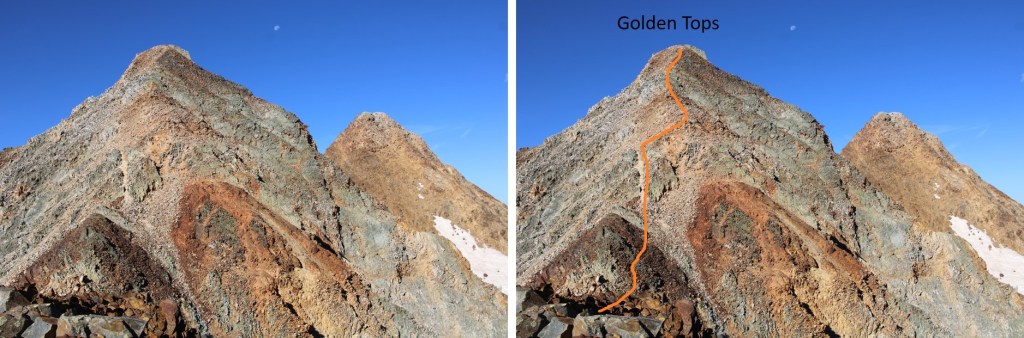
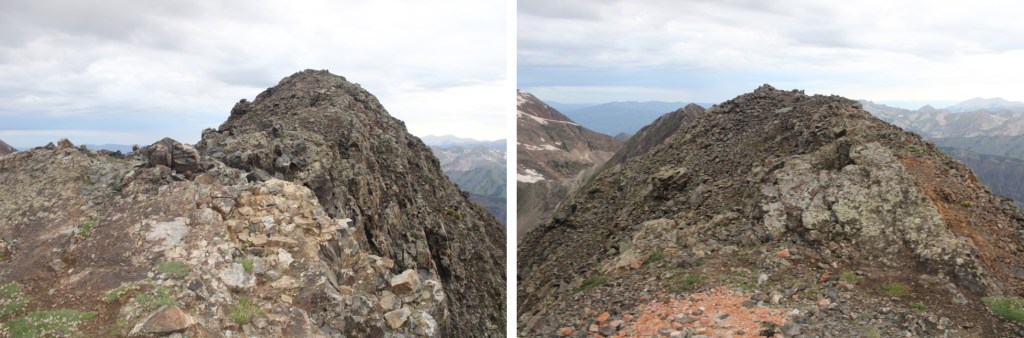
Now on the ridge, I followed it southwest to the summit. There was some low class 3 scrambling here. This is the route I took

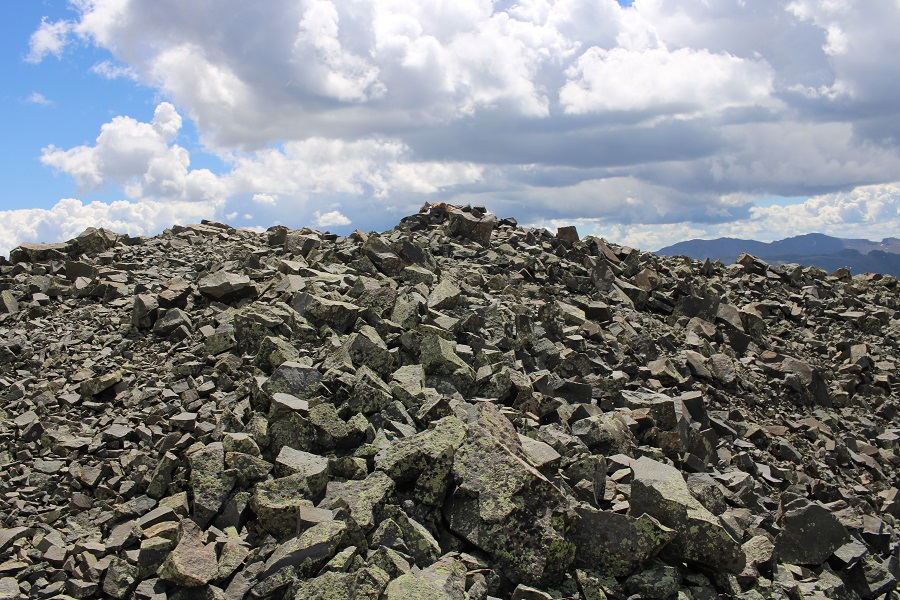
I summited PT 13162 at 11am
PT 13162:
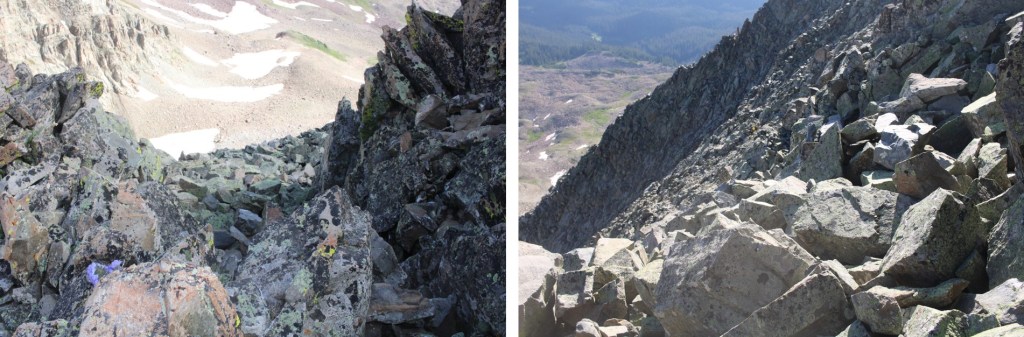
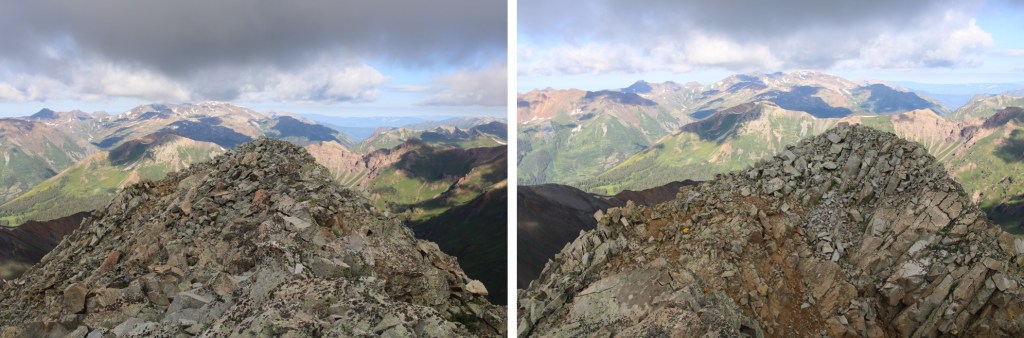
From the summit I once again got a good look at my decent route down the basin. I took a mental picture of it for later

I retraced my steps back to the 13162/12934 saddle. Once again, both gullies ‘go’, so pick your favorite


Back at the saddle, it was time to head northwest towards the PT 13162/Triangle Peak saddle. I stayed at about 12600’ of elevation the entire time

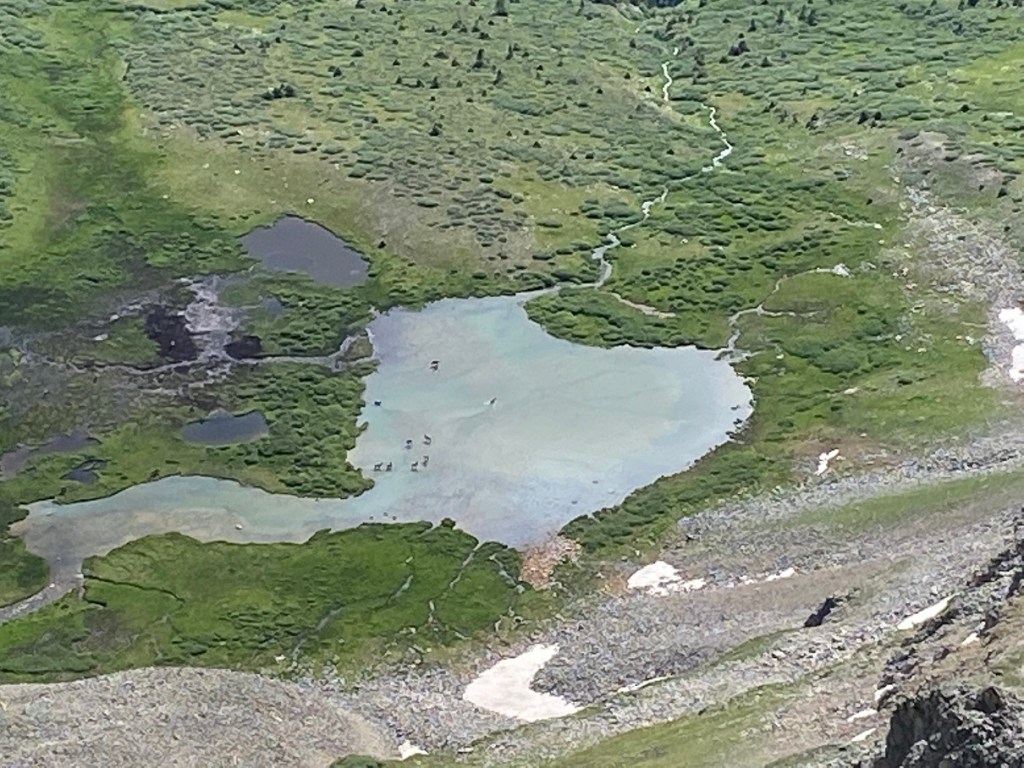
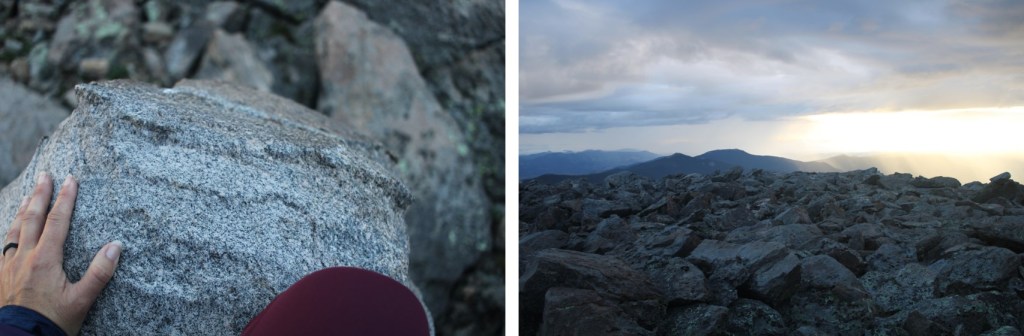
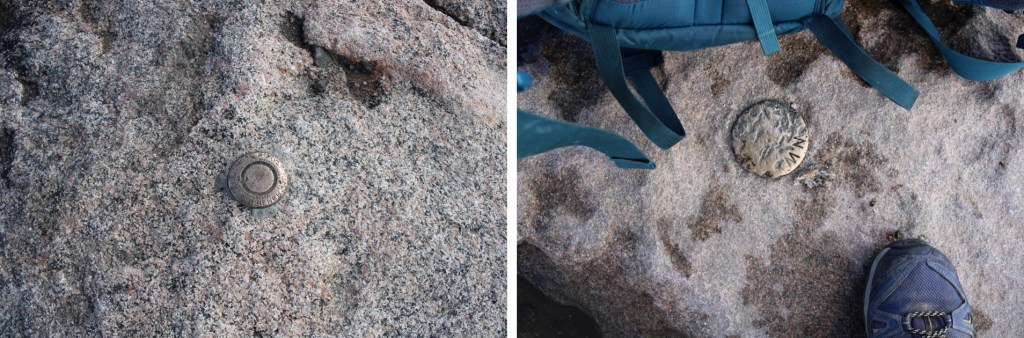
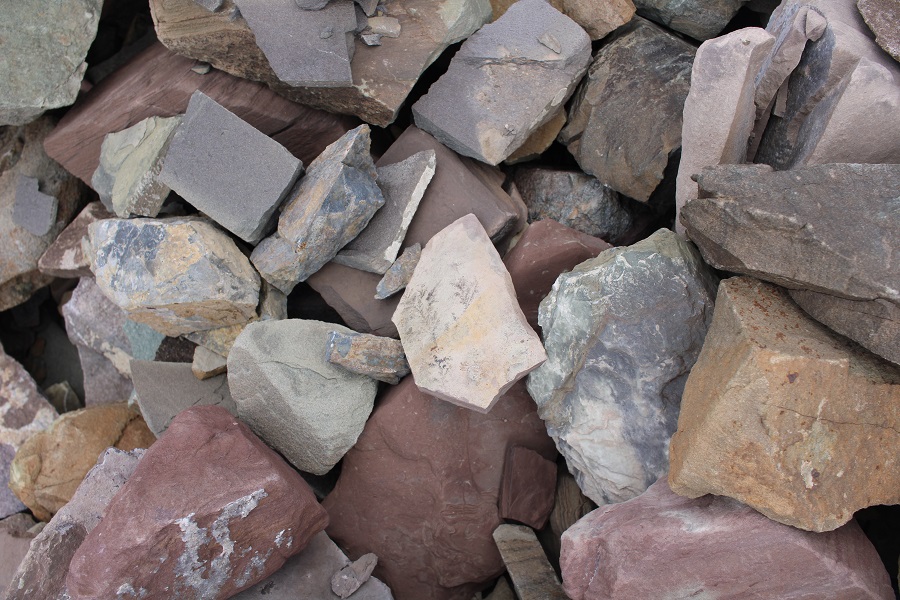
I also found a cool fossil. I have really good luck finding fossils around 12500’/12700’
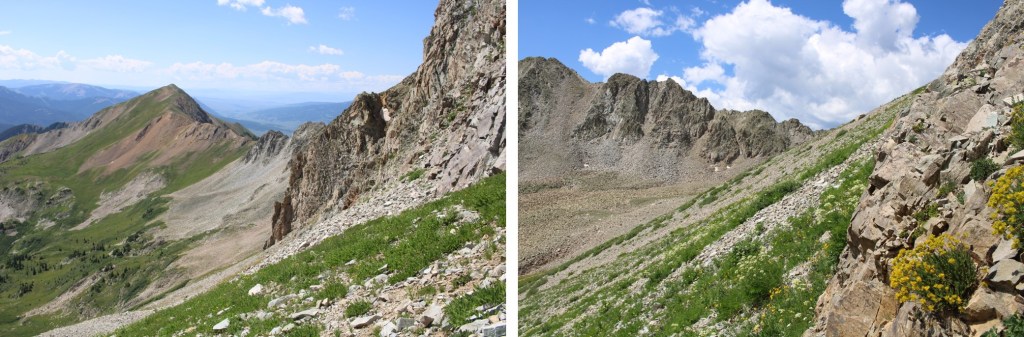
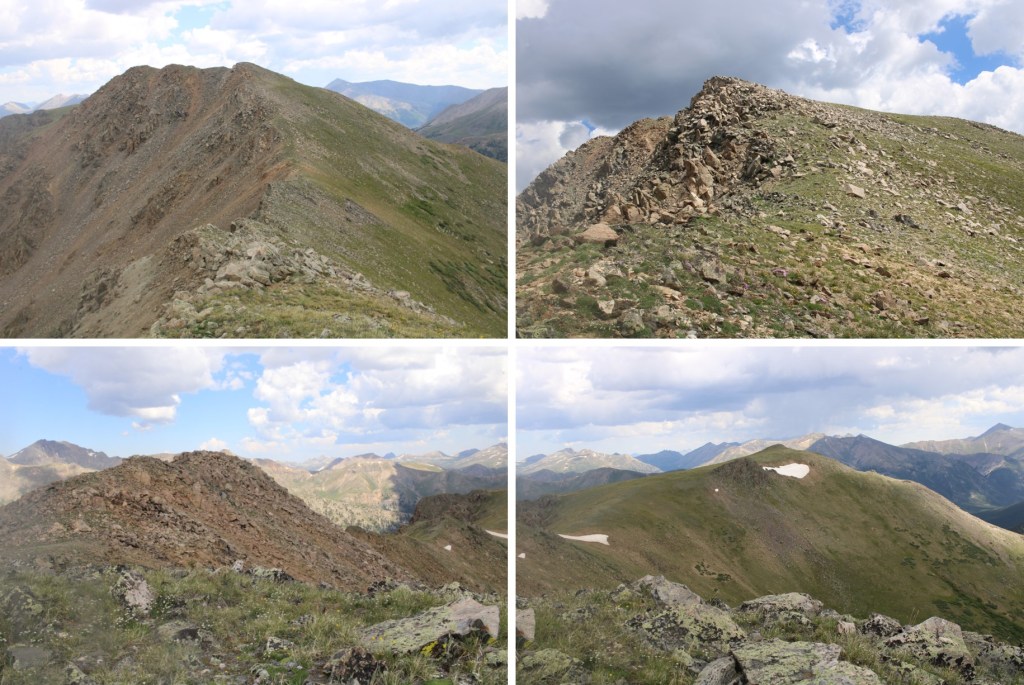
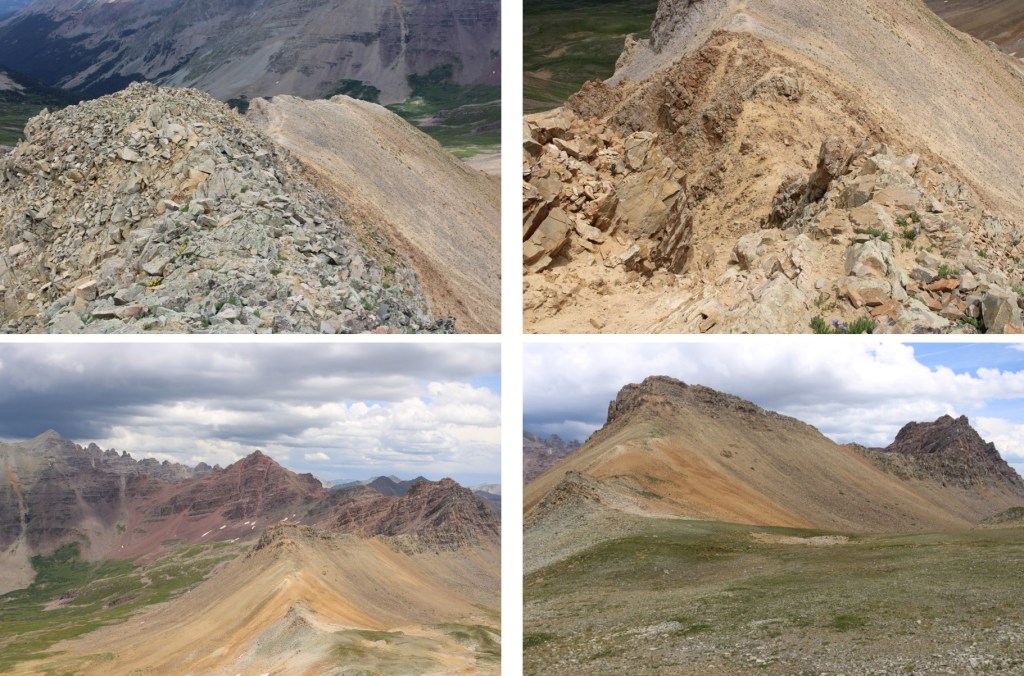
Here are some photos of my way to the Triangle/13162 saddle

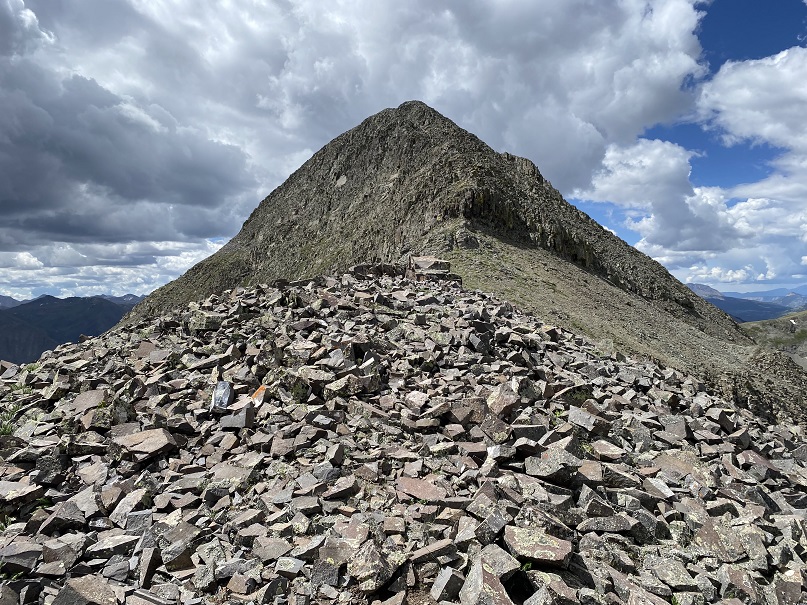
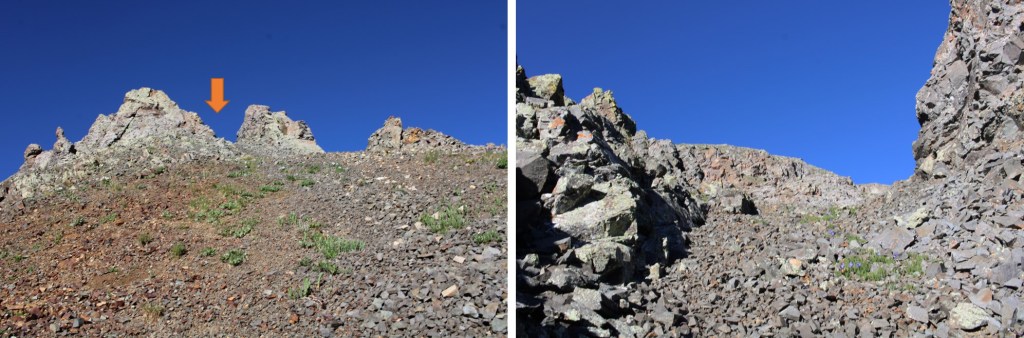
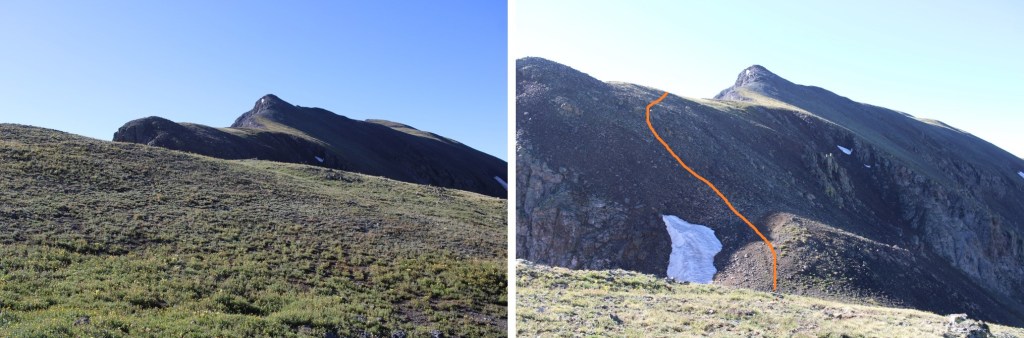
Once there, it as mostly an easy ridge walk to the summit
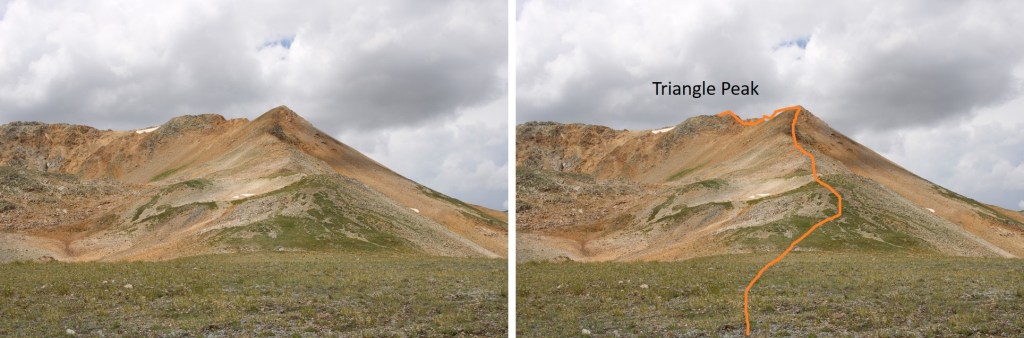
Except for the last bit, which was class 3. I did not take the scree filled/steep gully, but instead chose the class 3 scrambling route to the left
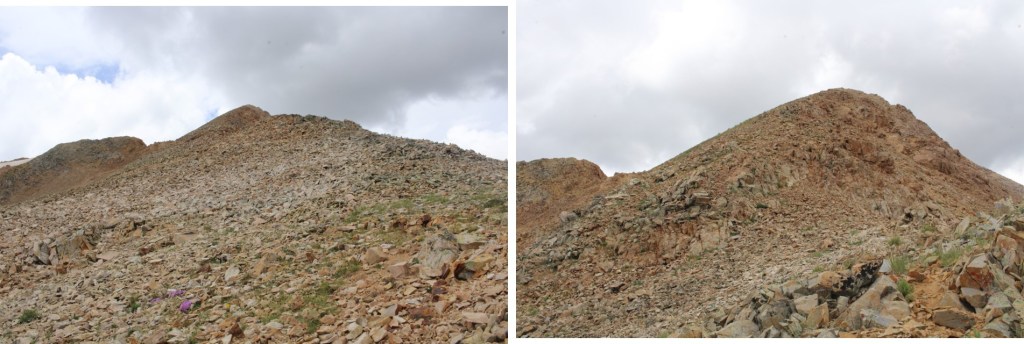


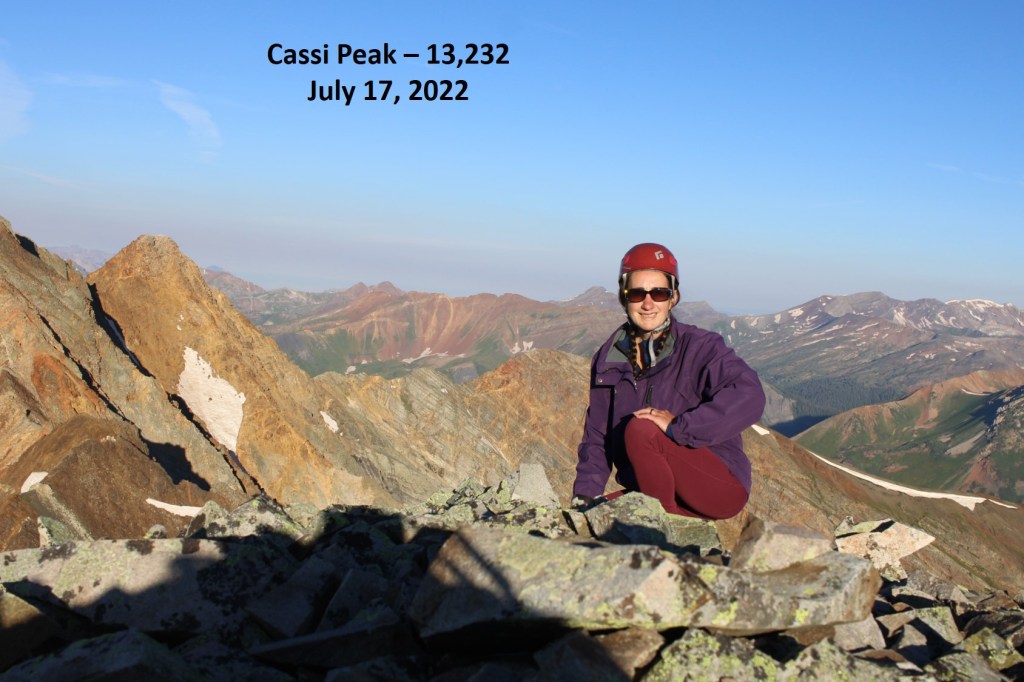
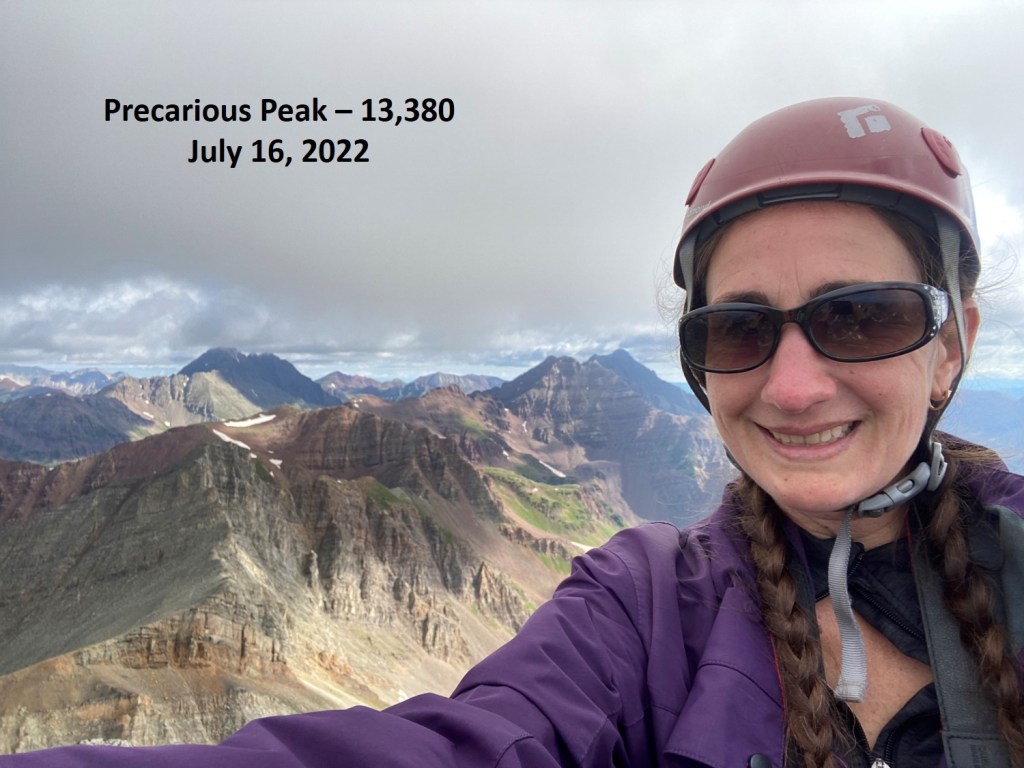
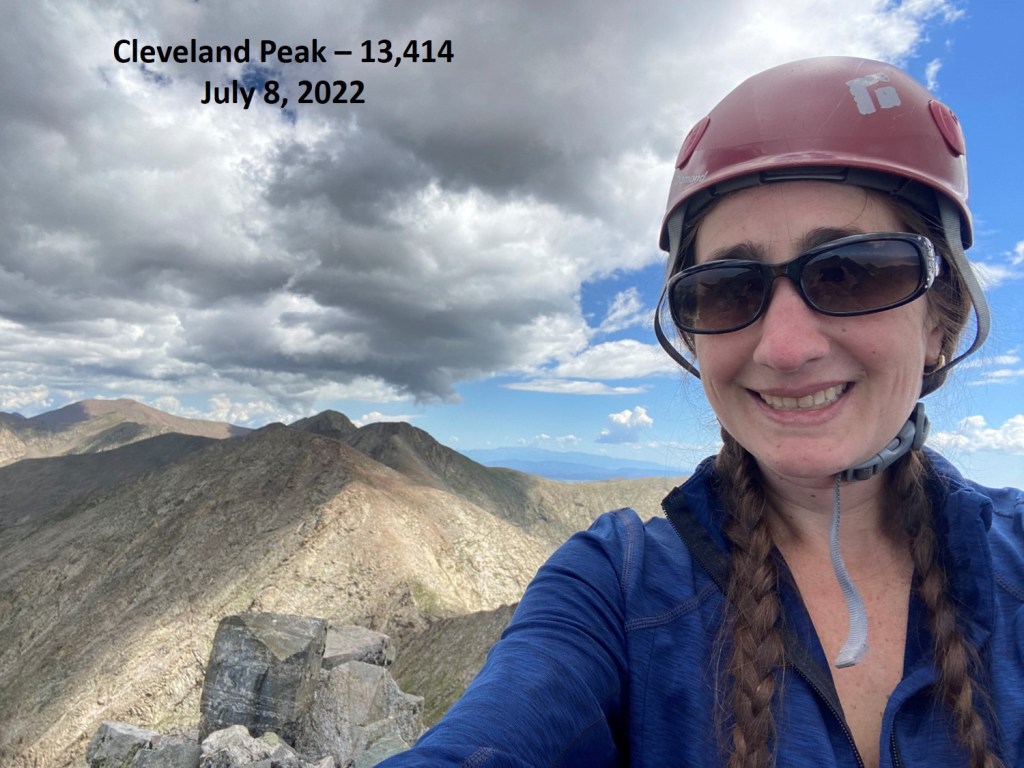
I summited Triangle Peak at 1:20pm
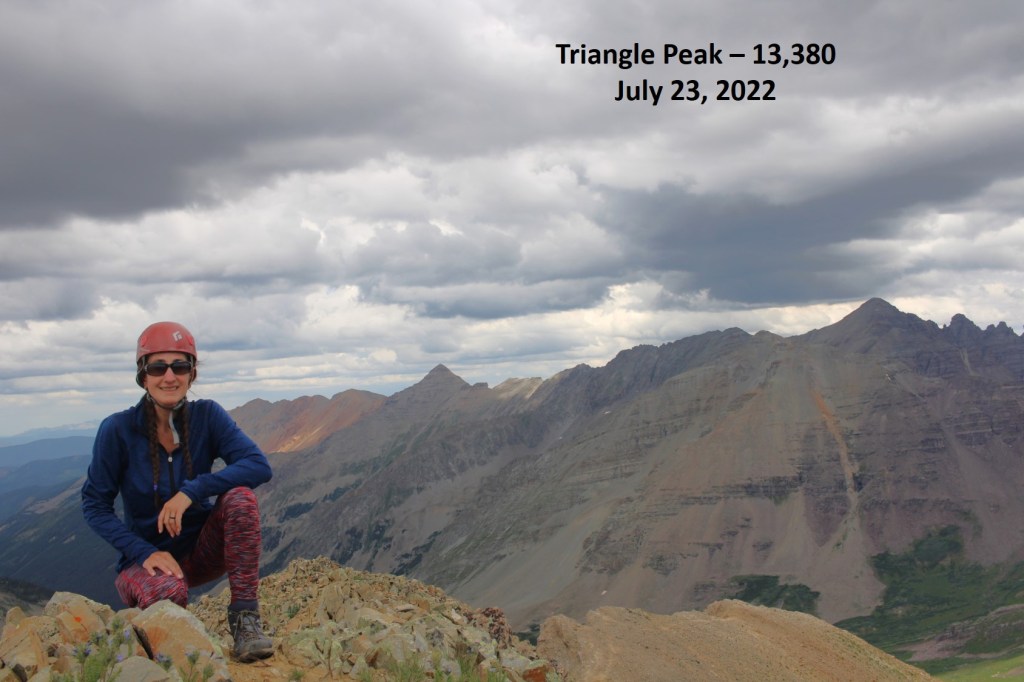
Triangle Peak:
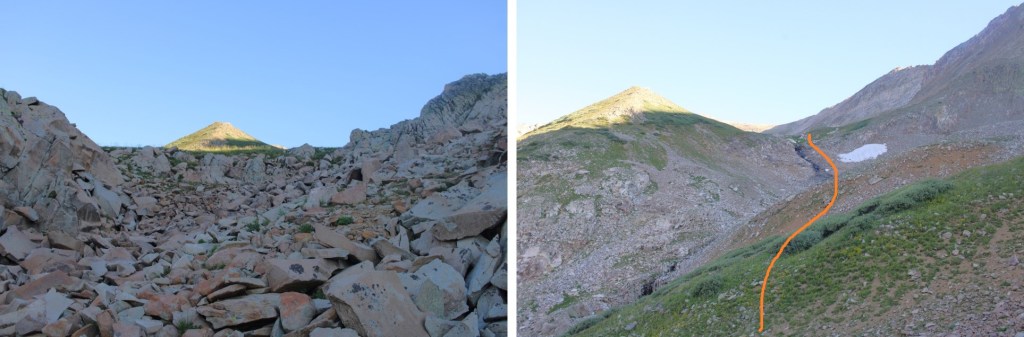
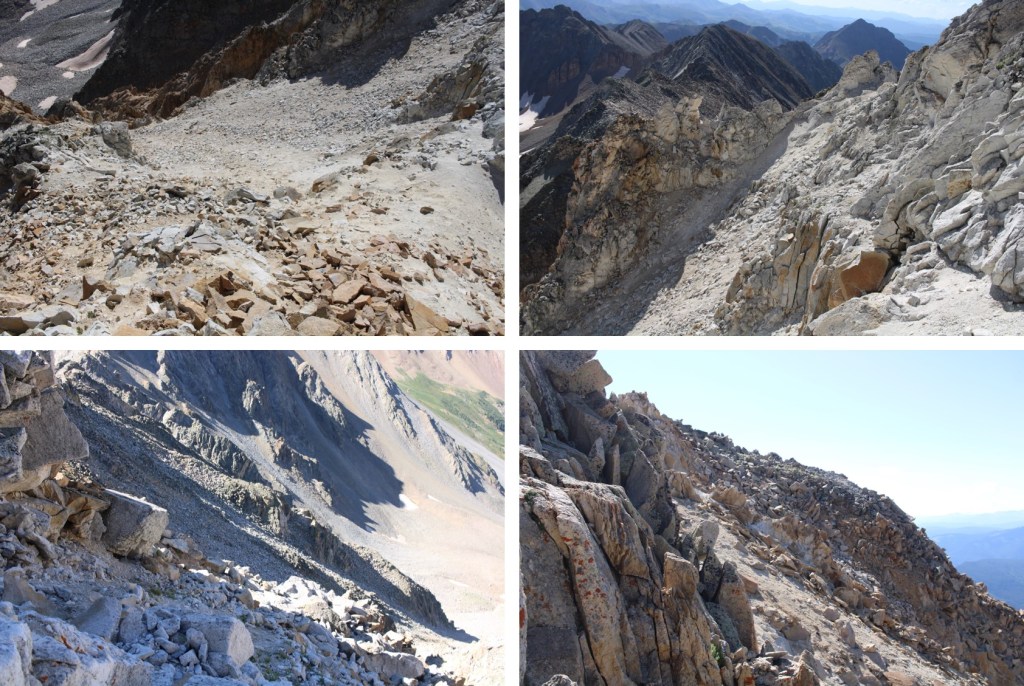
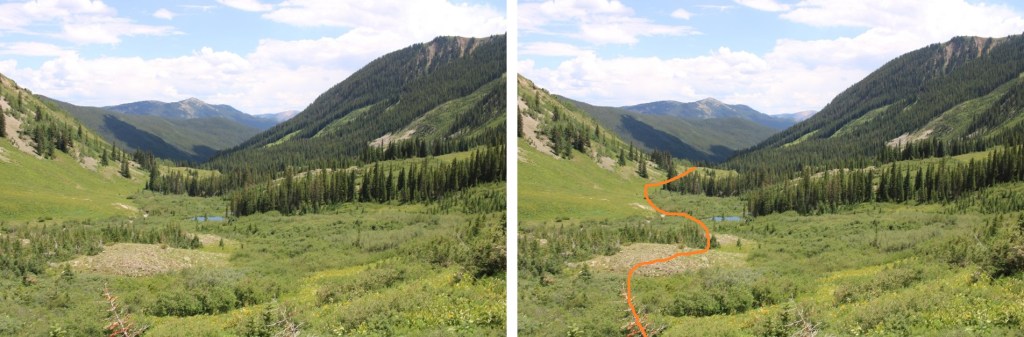
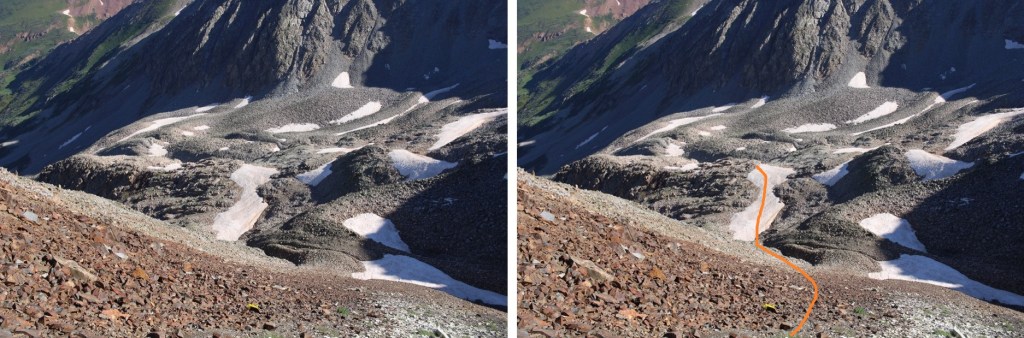
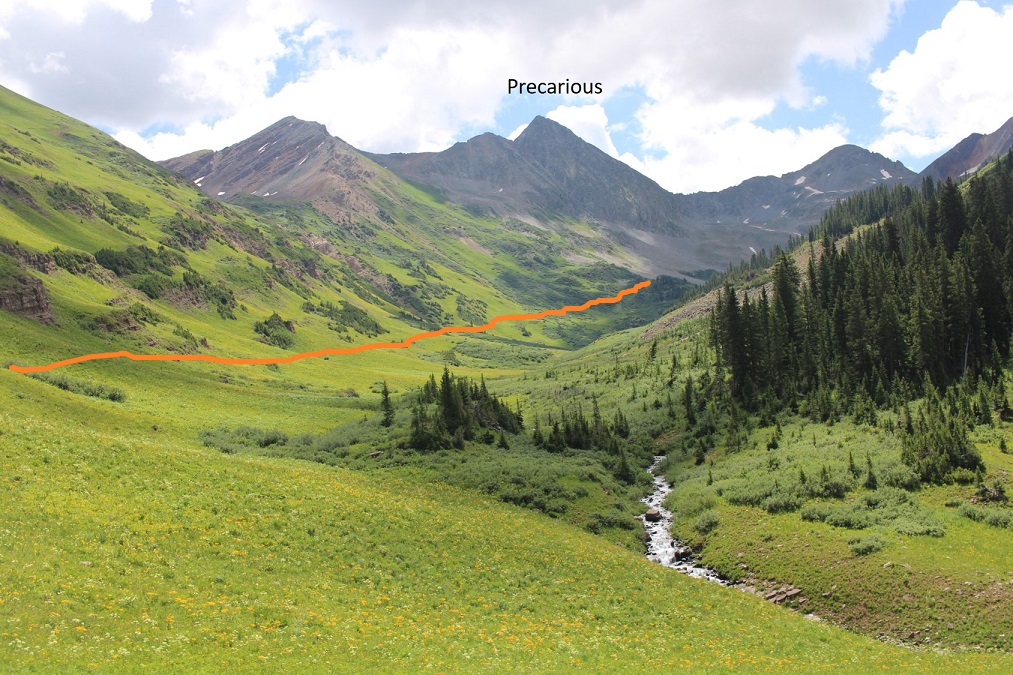
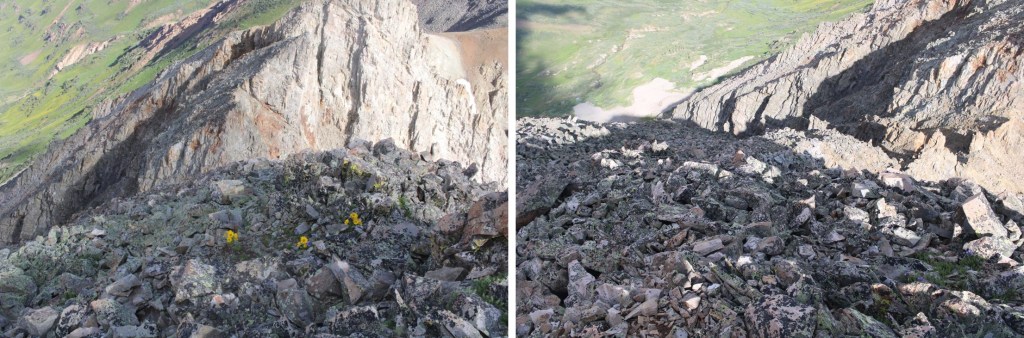
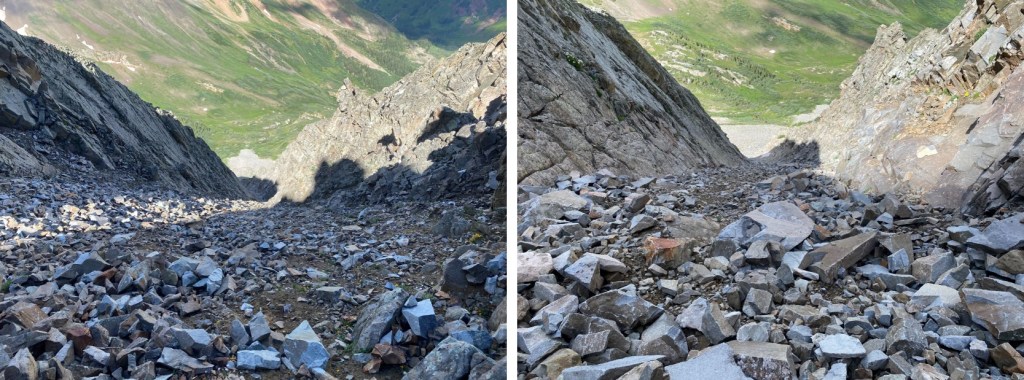
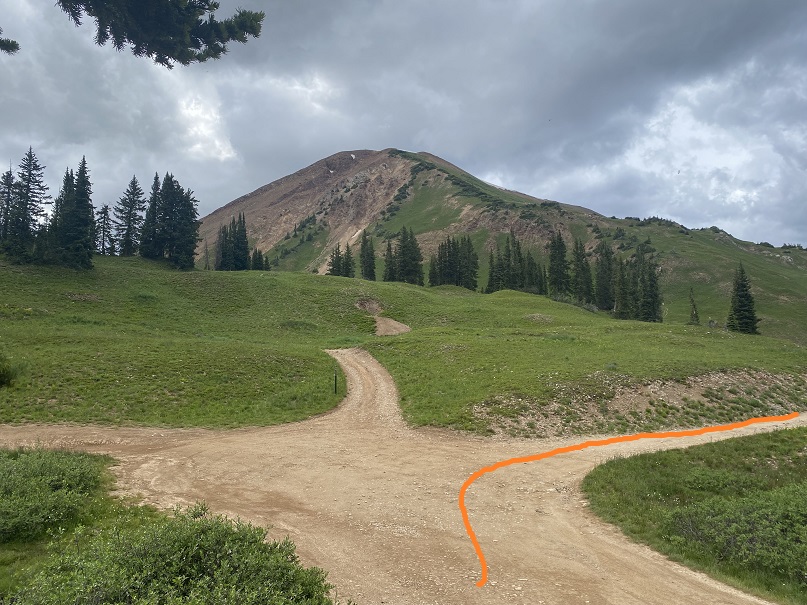
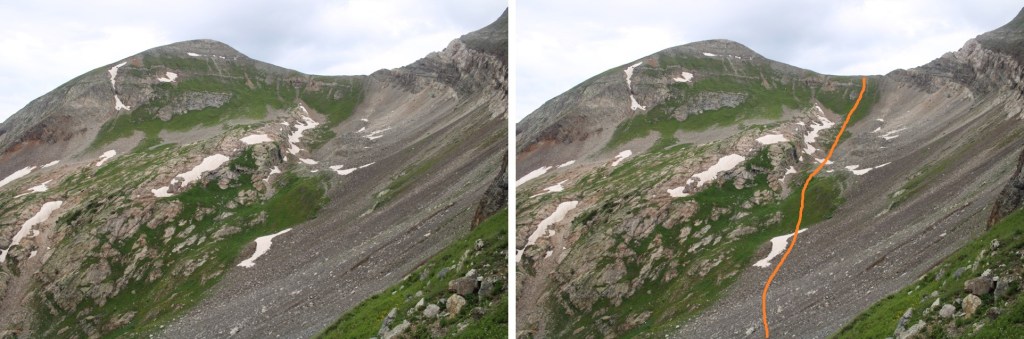
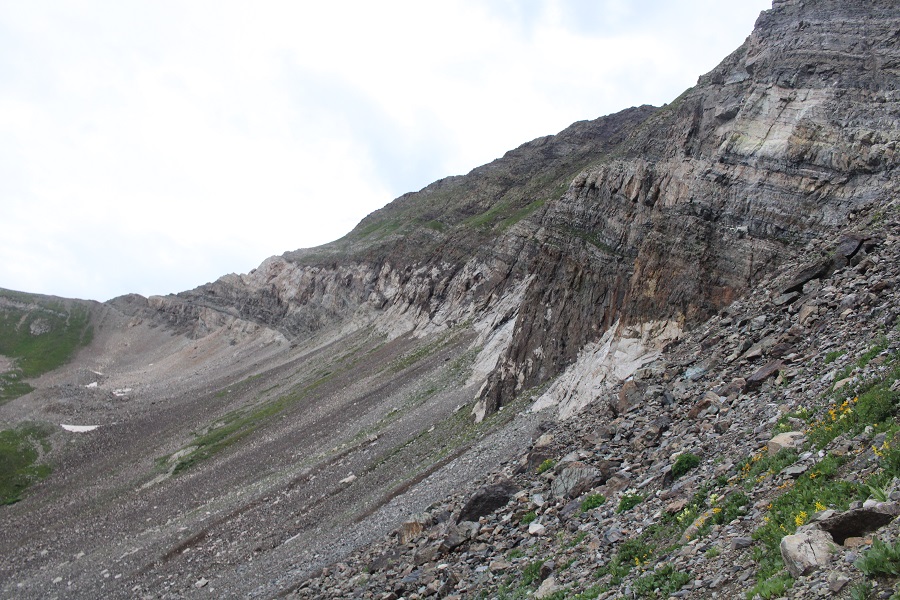
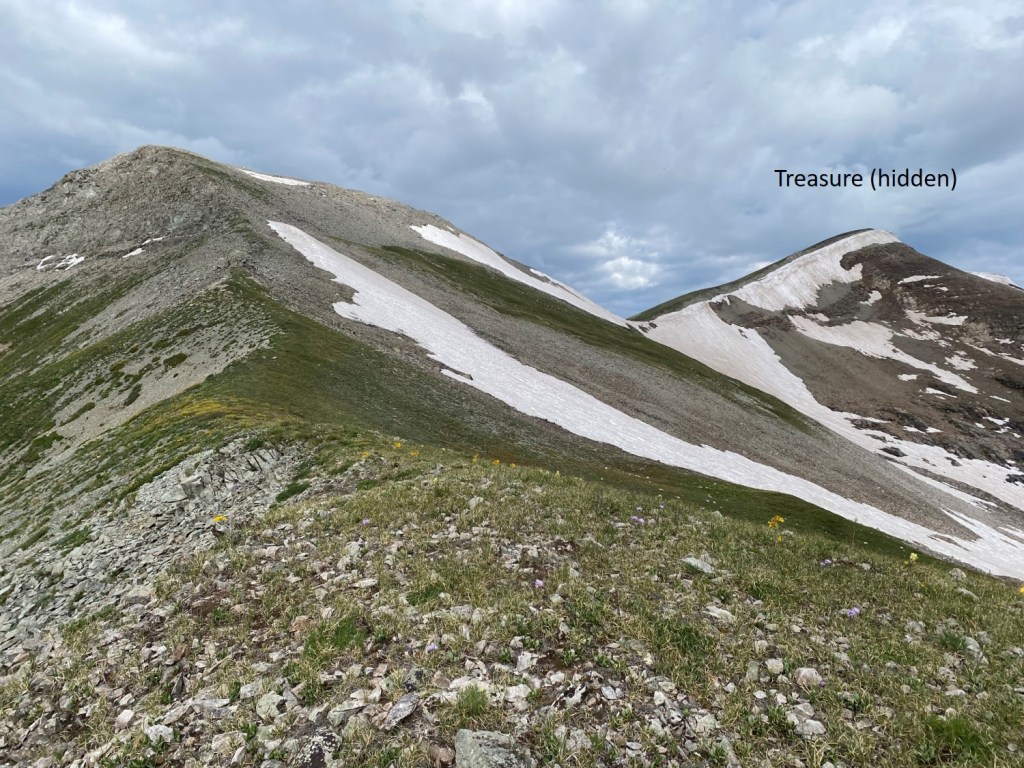
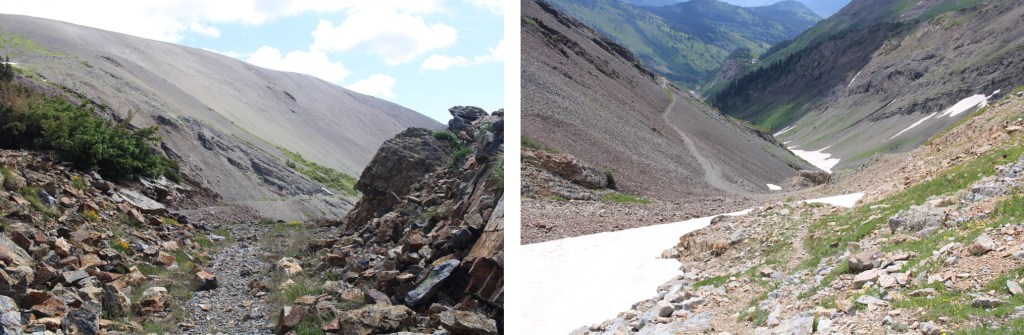
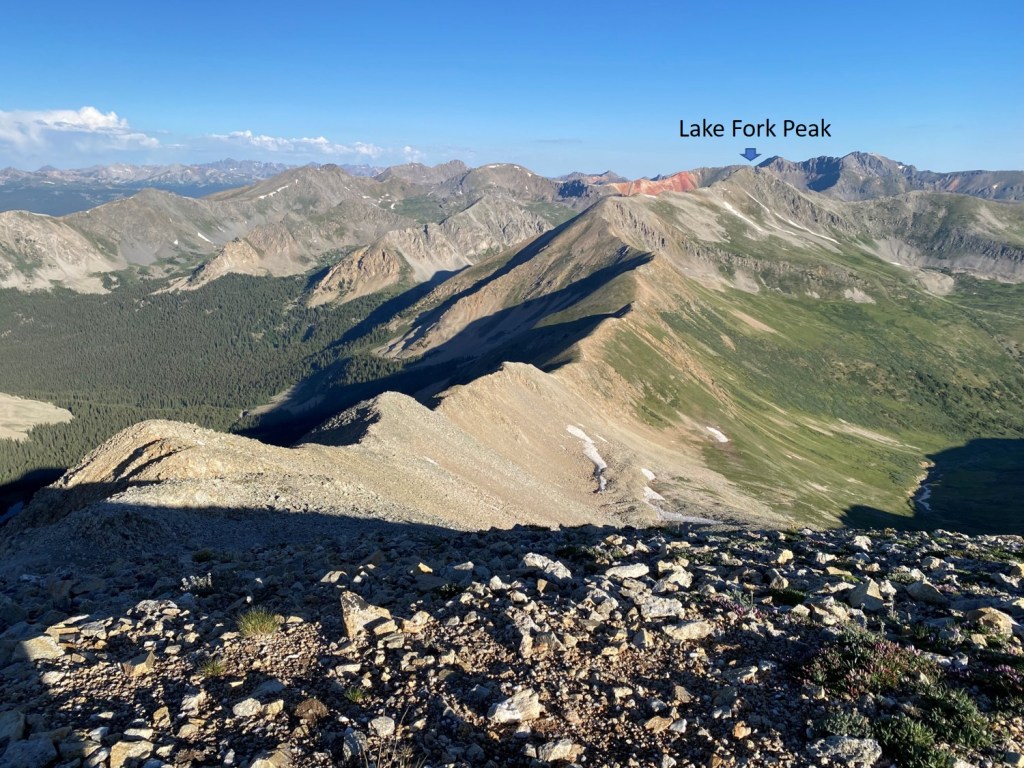
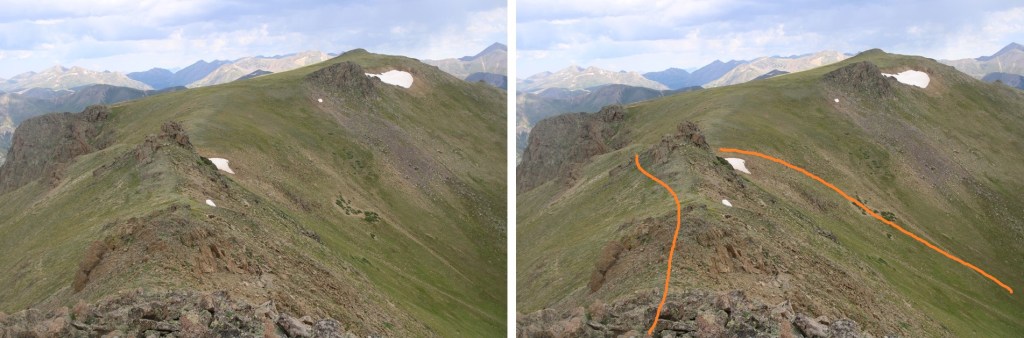
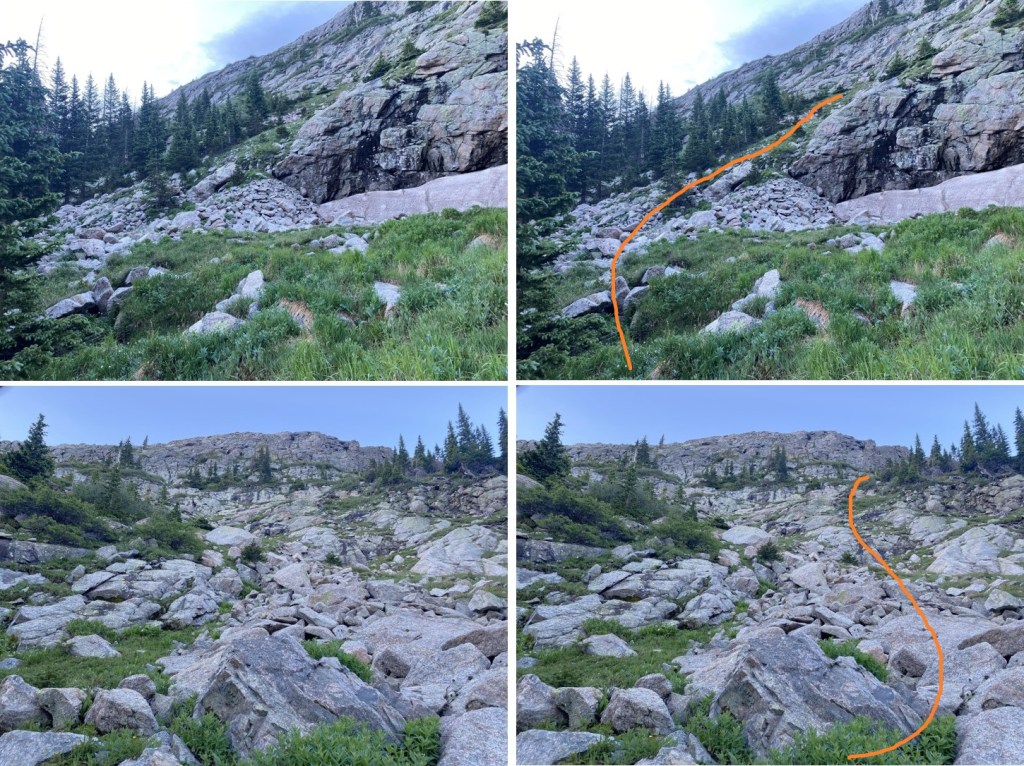
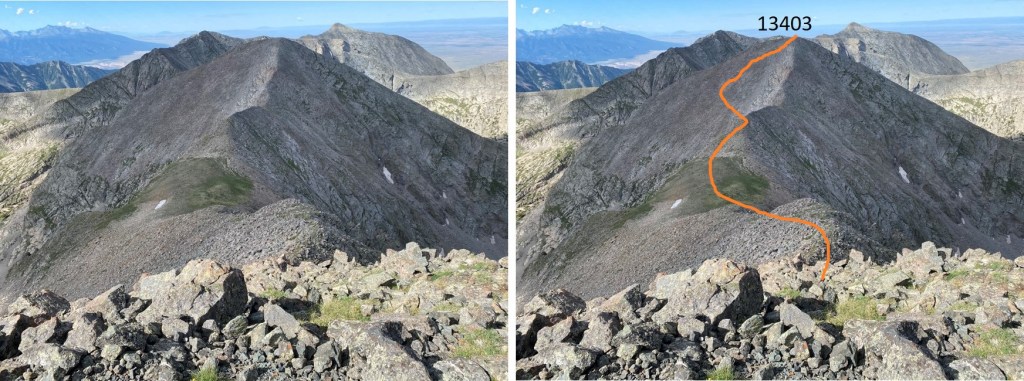
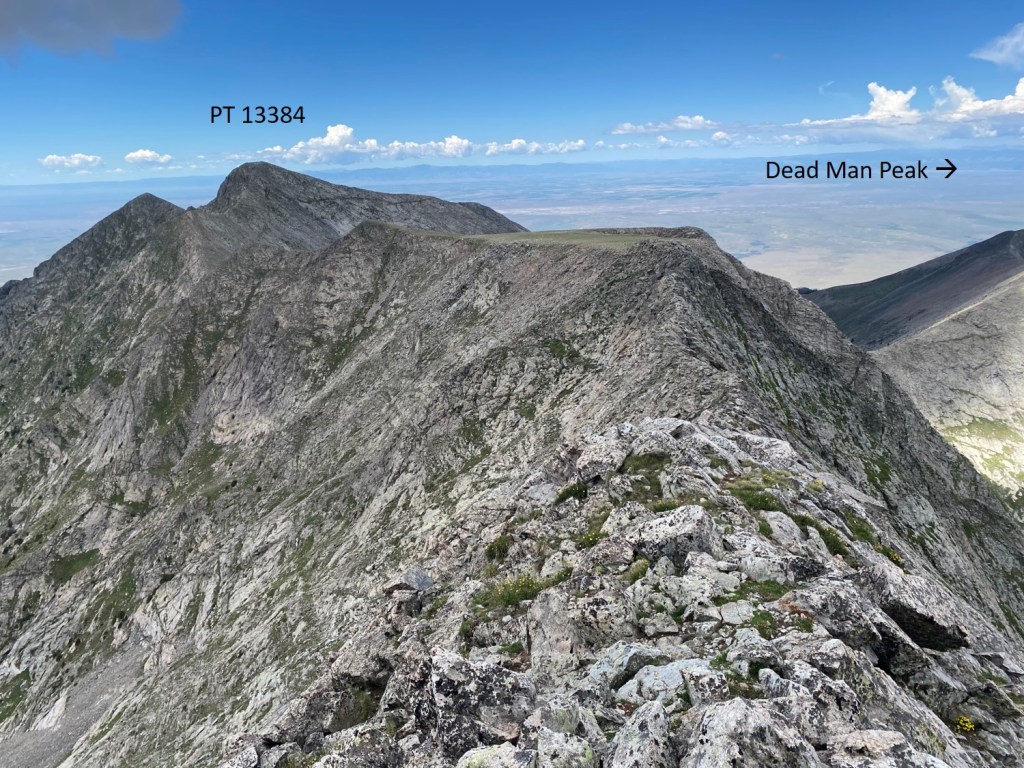
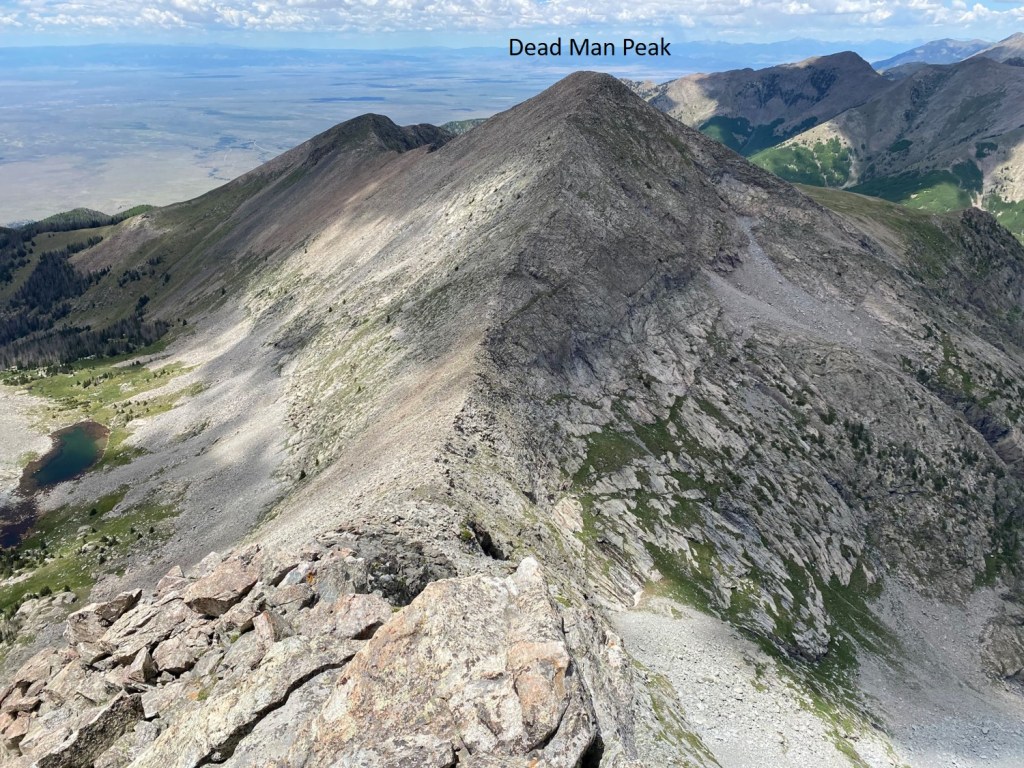
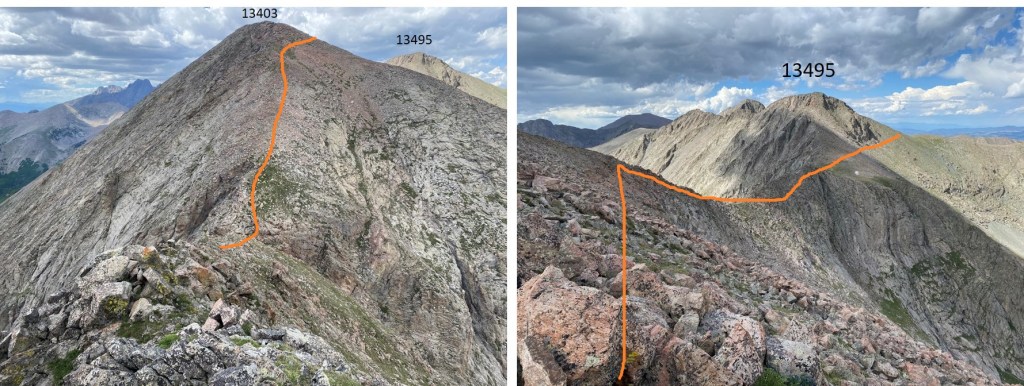
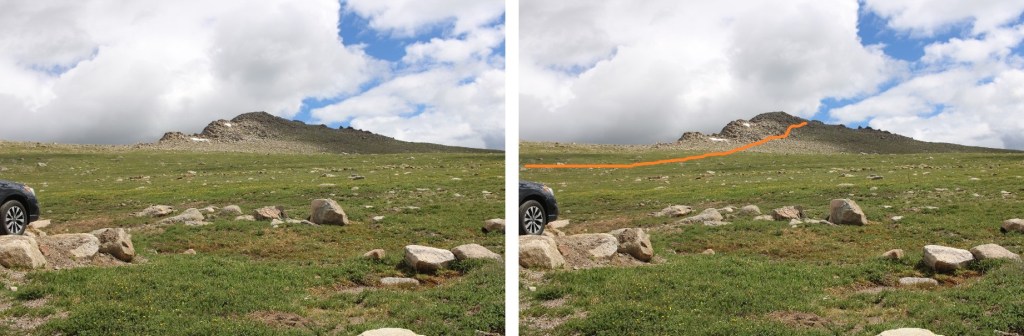
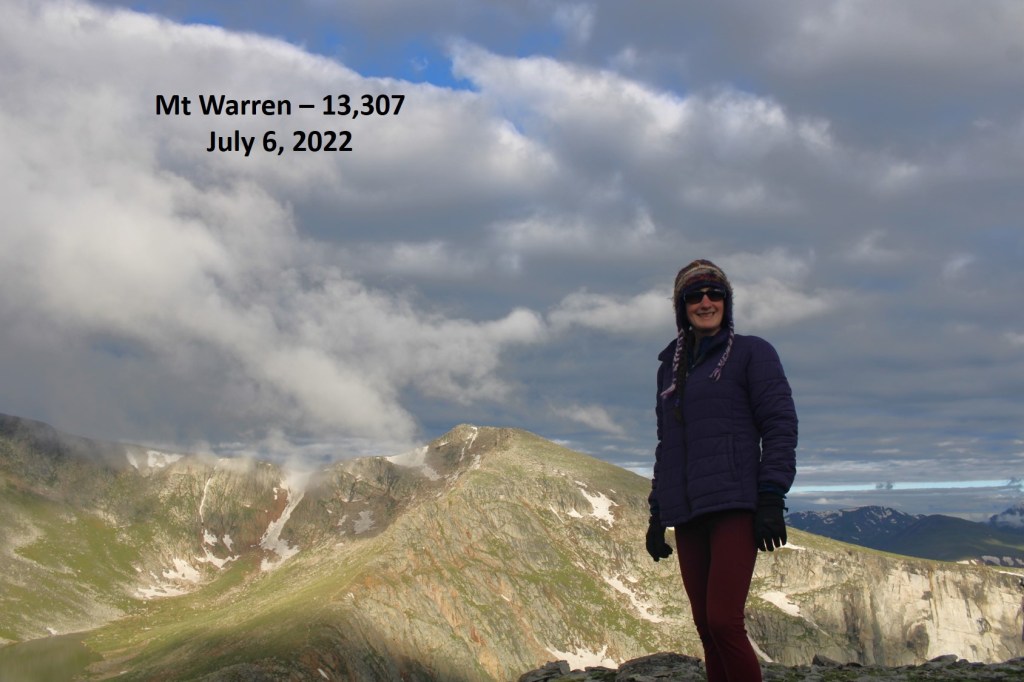
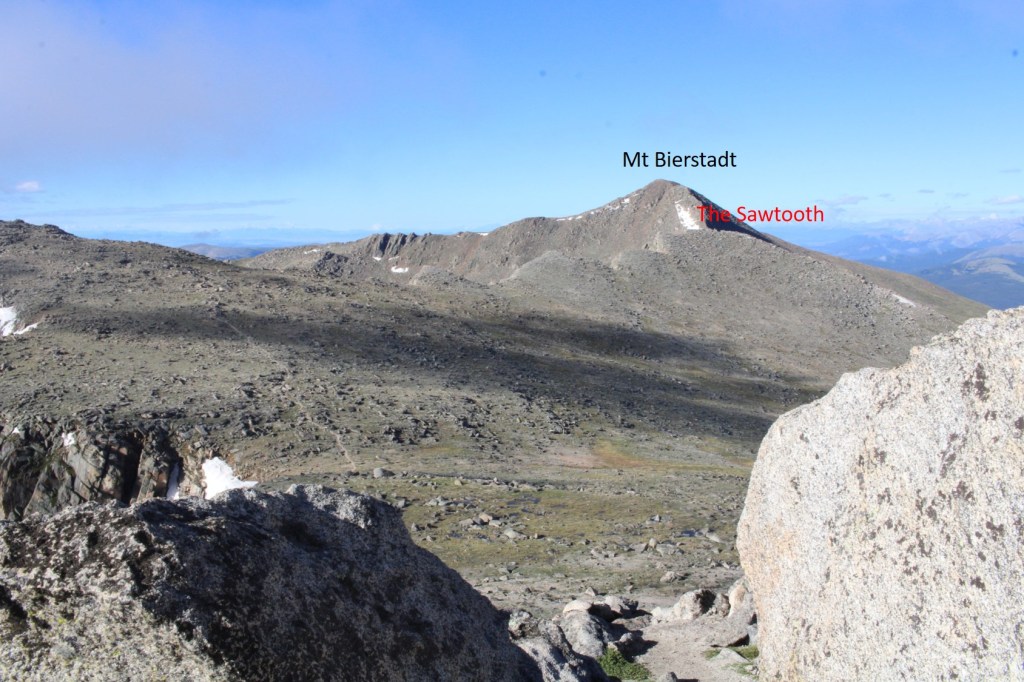
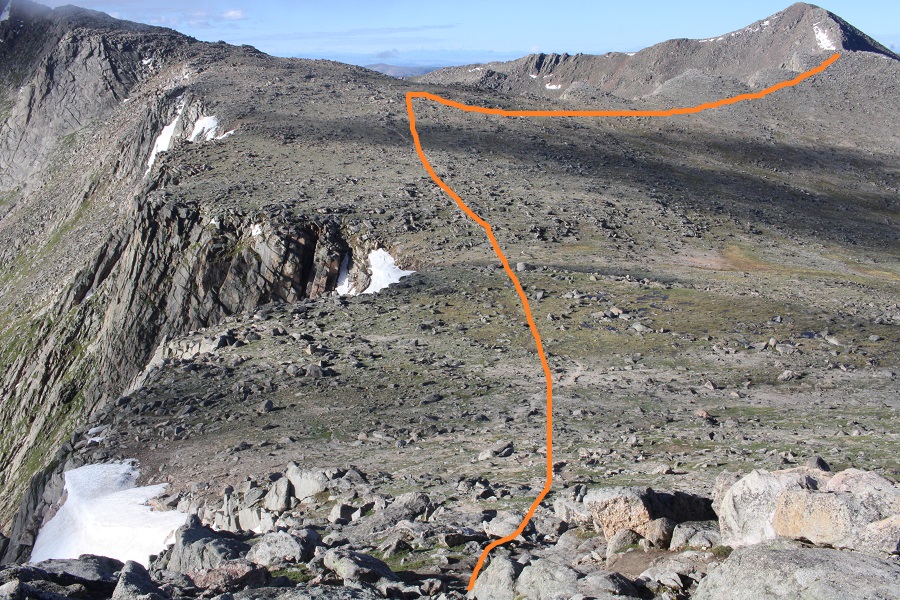
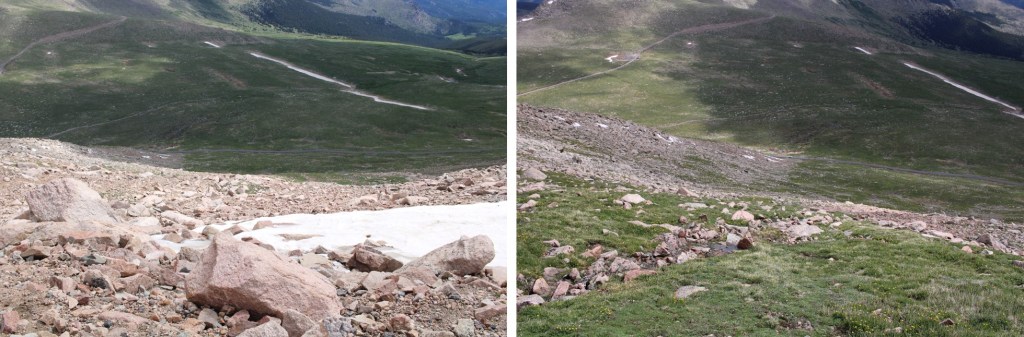
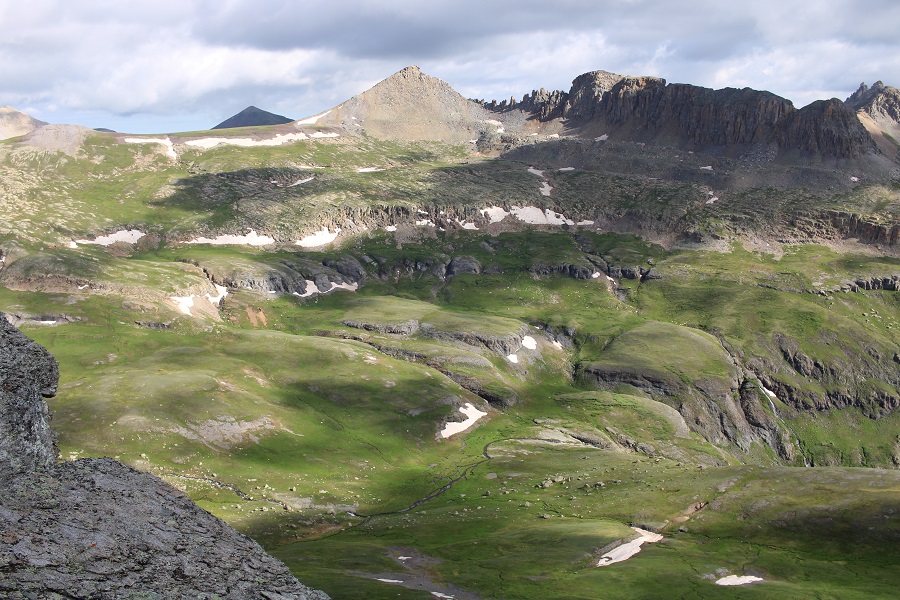
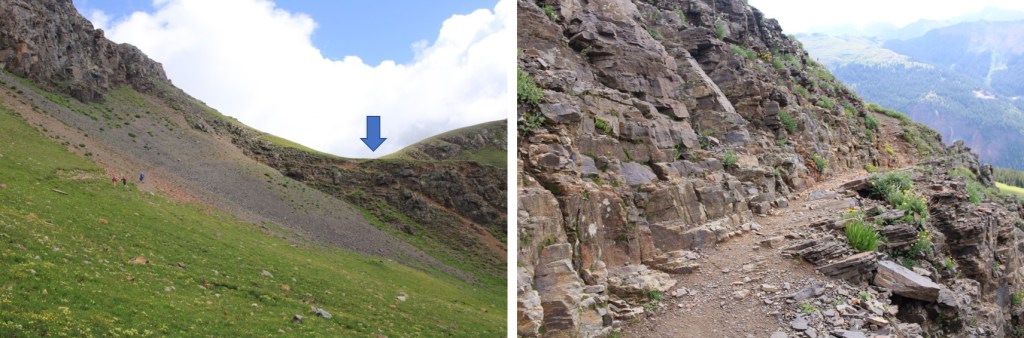
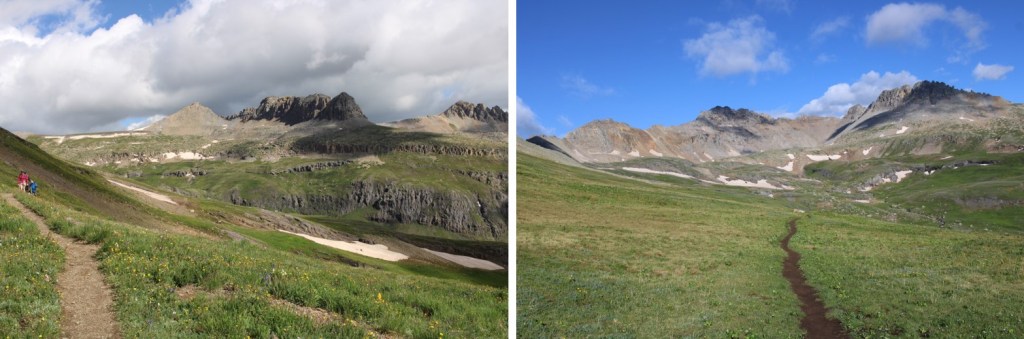
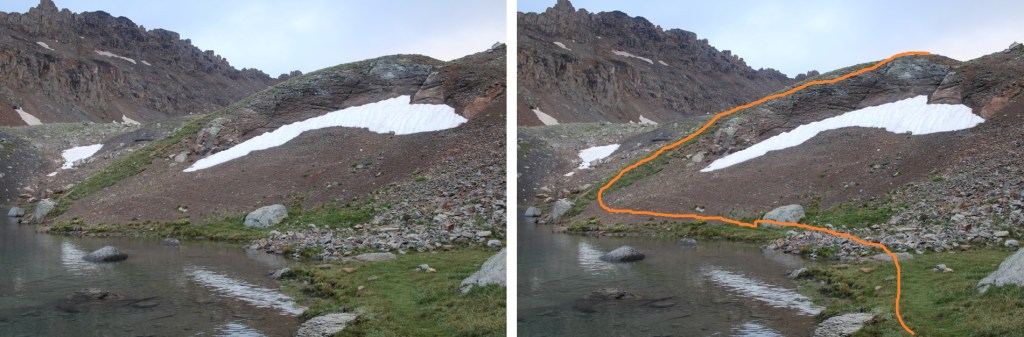
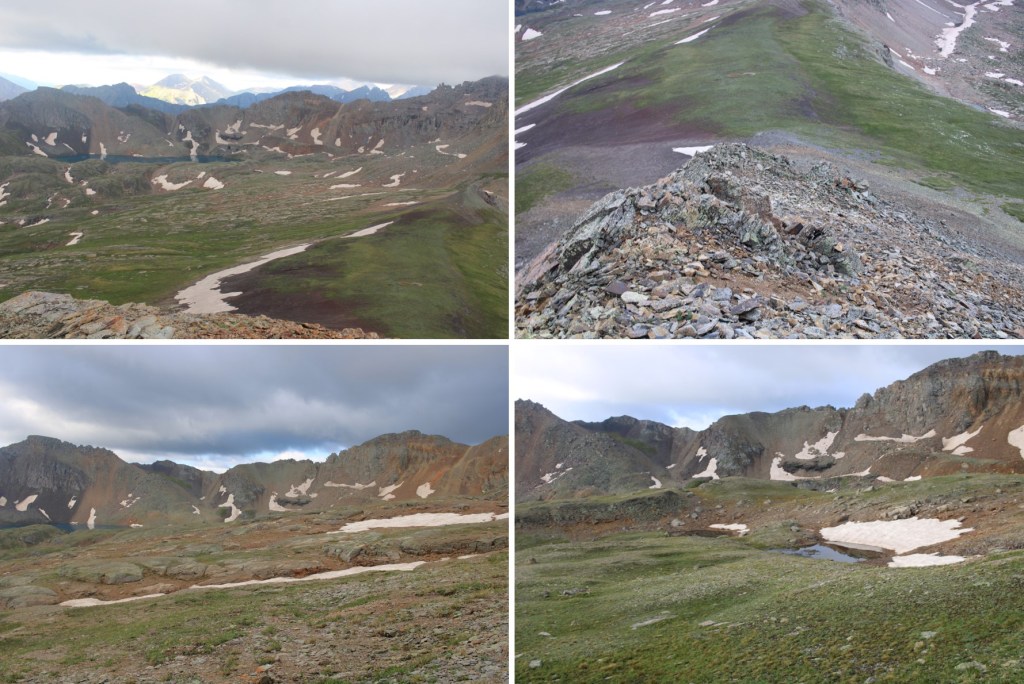
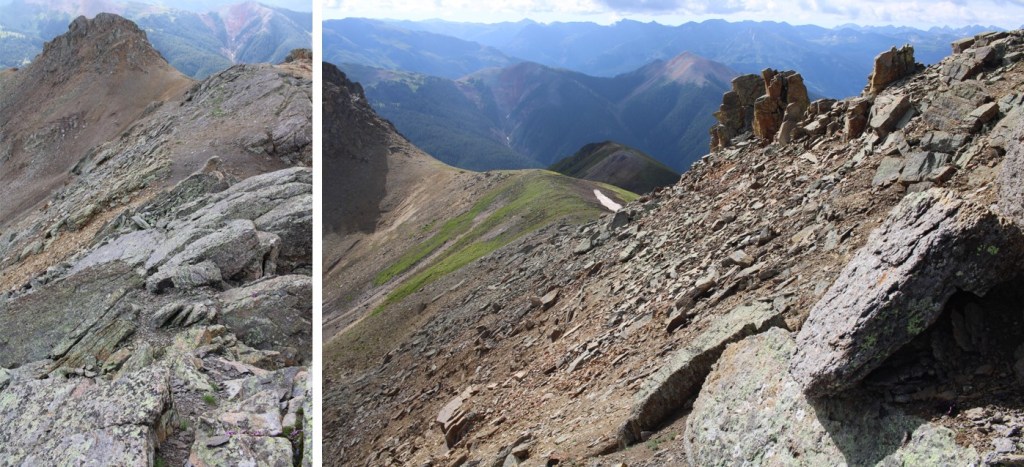
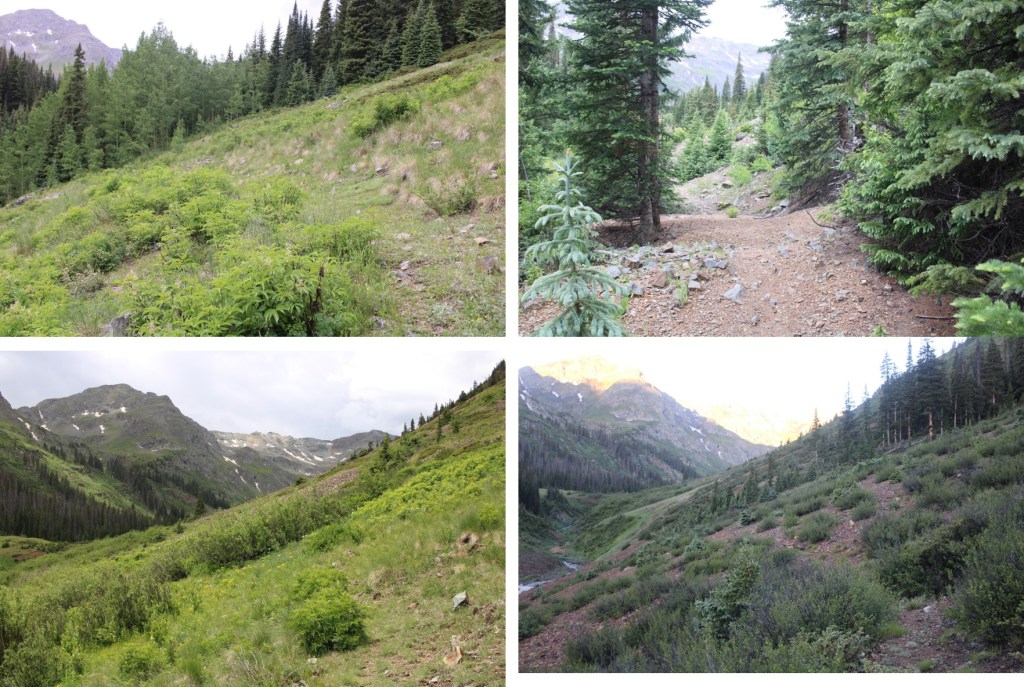
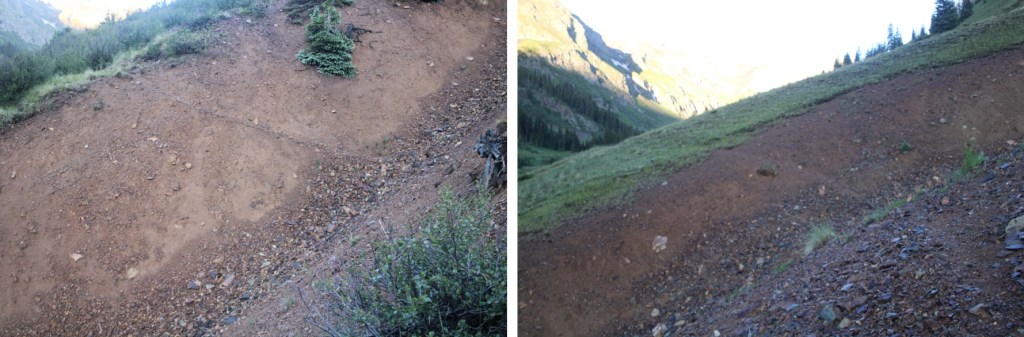
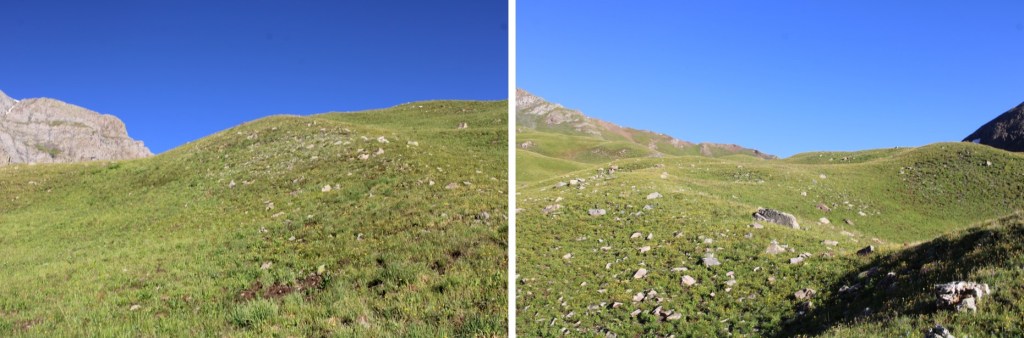
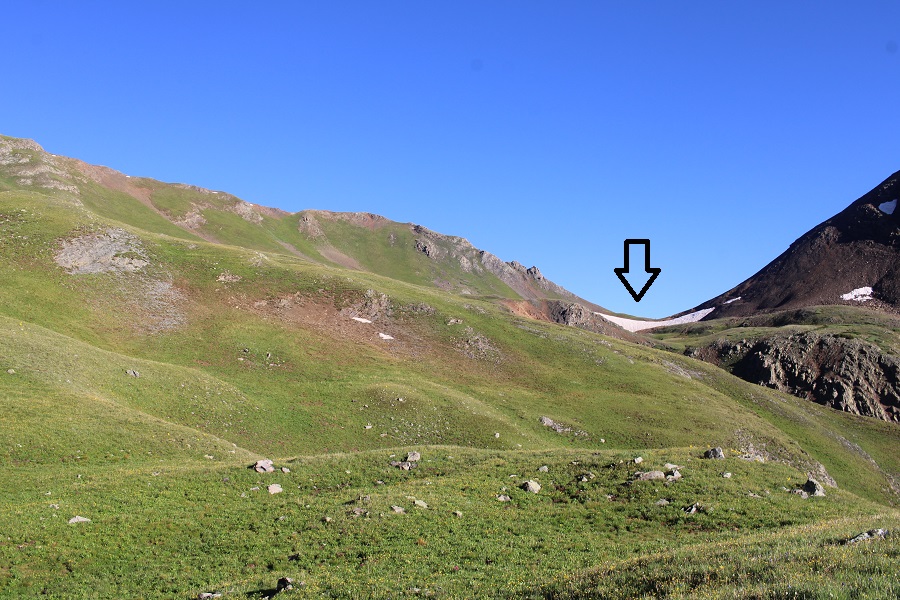
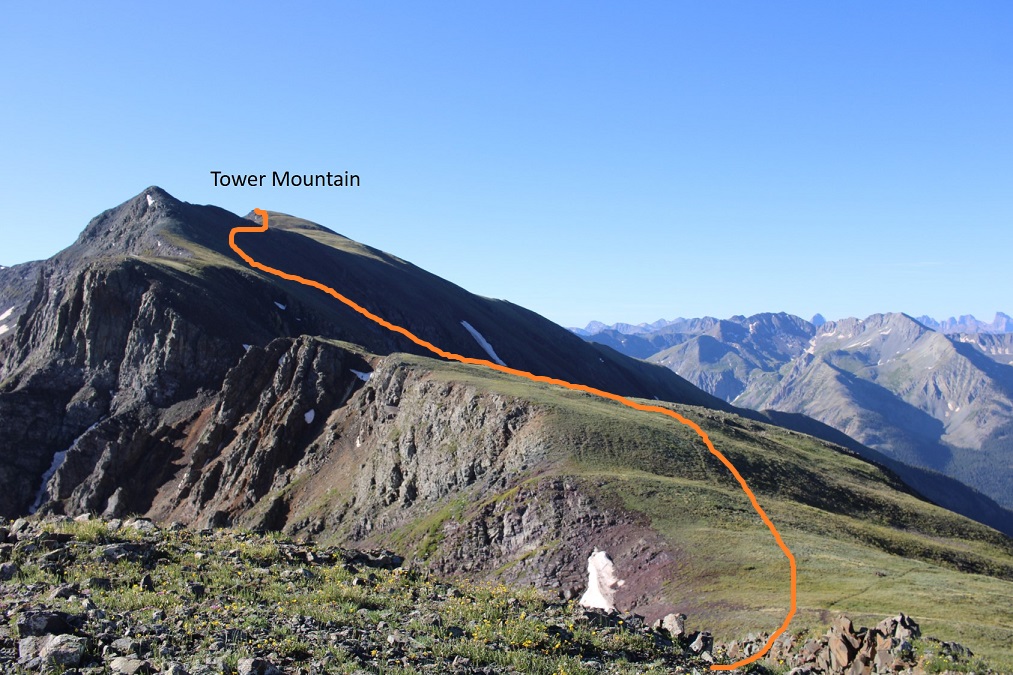
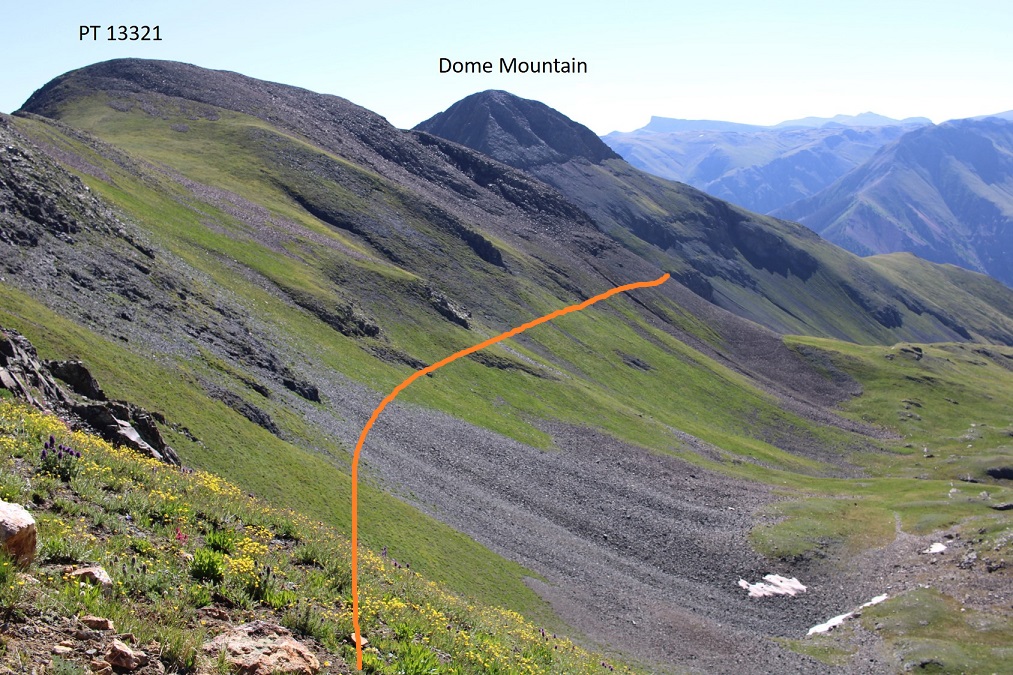
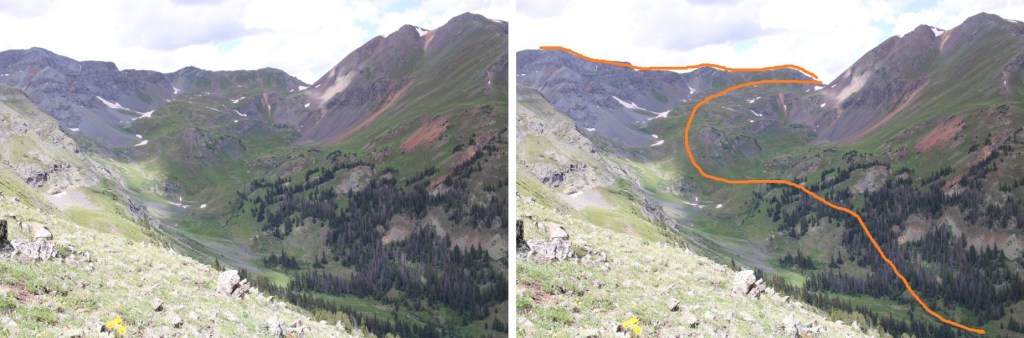
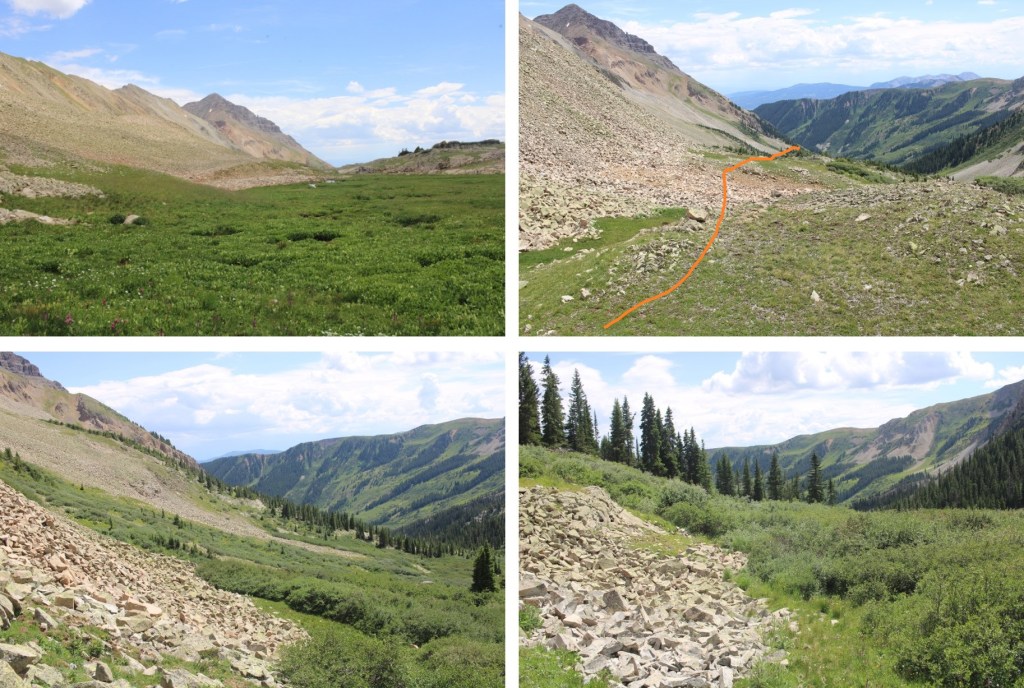
I’d thought about summiting a few more peaks in the area, but as you can tell from the picture above, the weather was moving in, and I wanted to get back below treeline. Here’s the route I took out of the basin. Basically I made my way to where the maroon rocks met the tundra, and followed the rocks out of the basin. The dotted line is my route from 13162 to the saddle of Triangle Peak

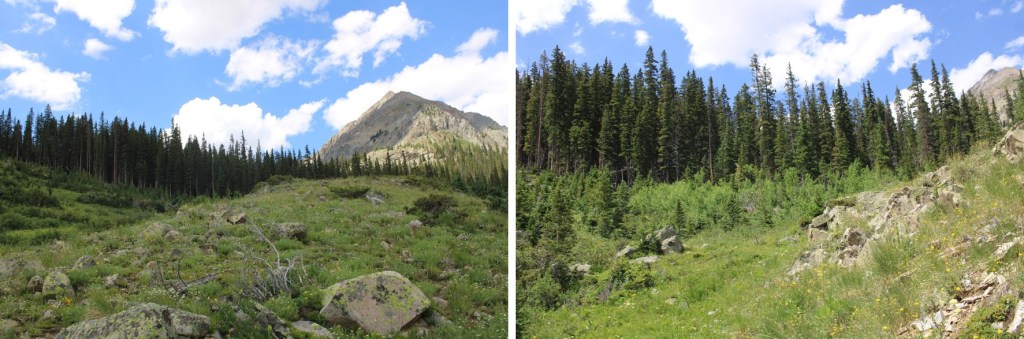
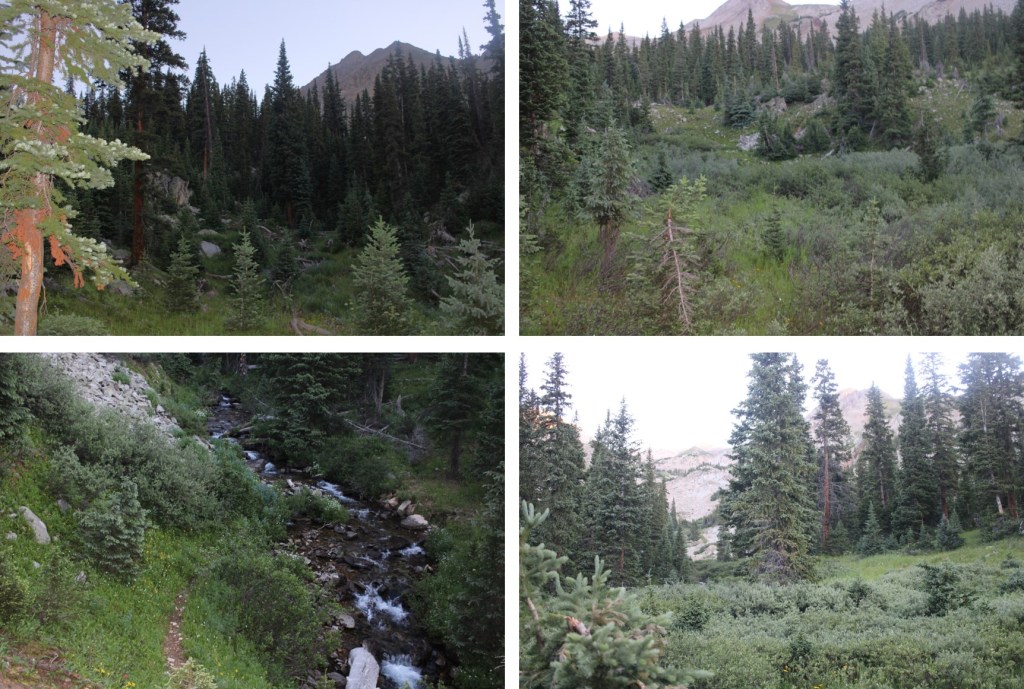
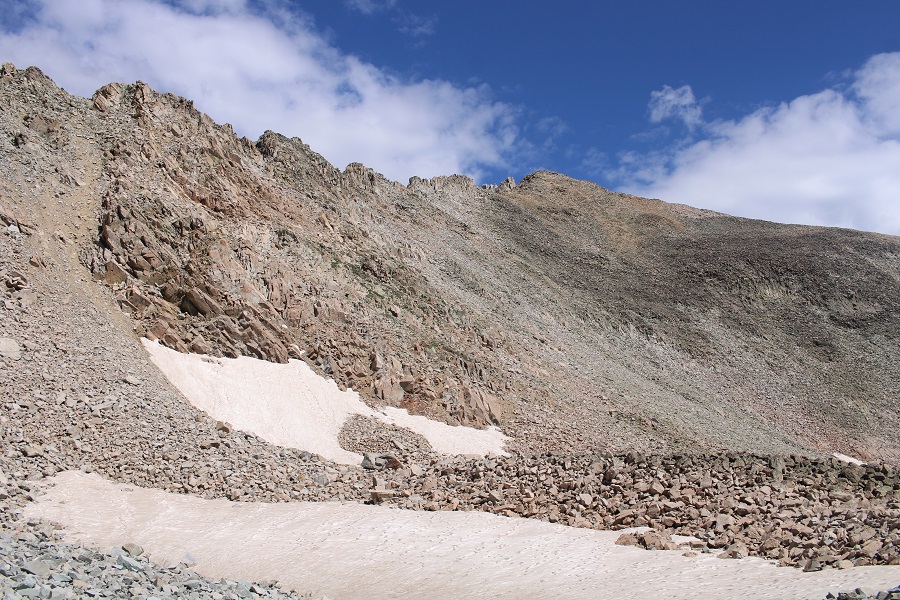
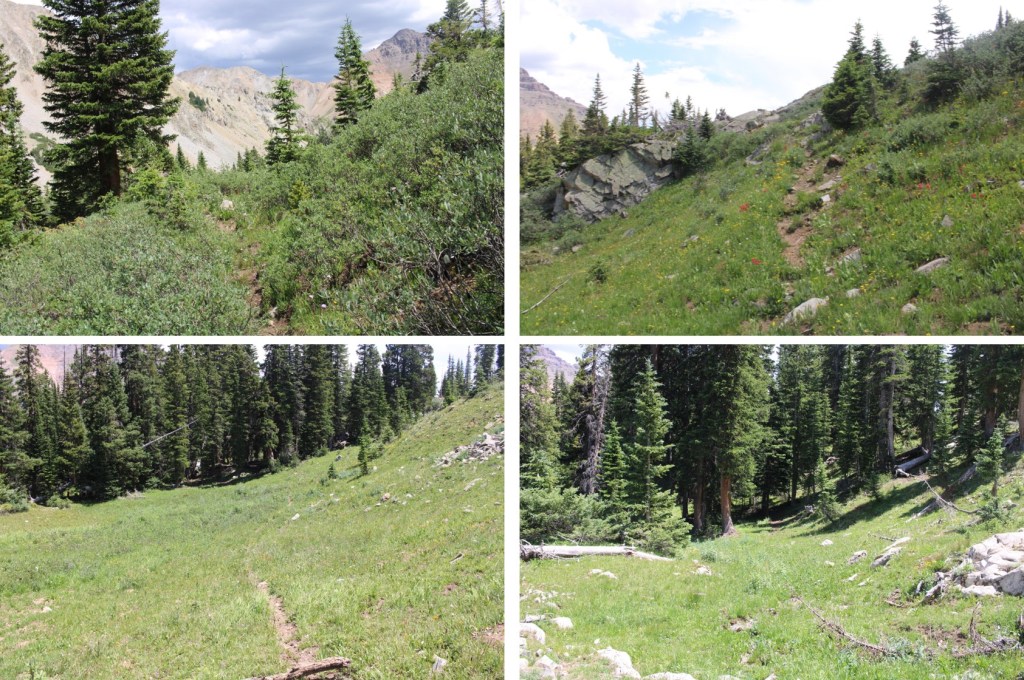
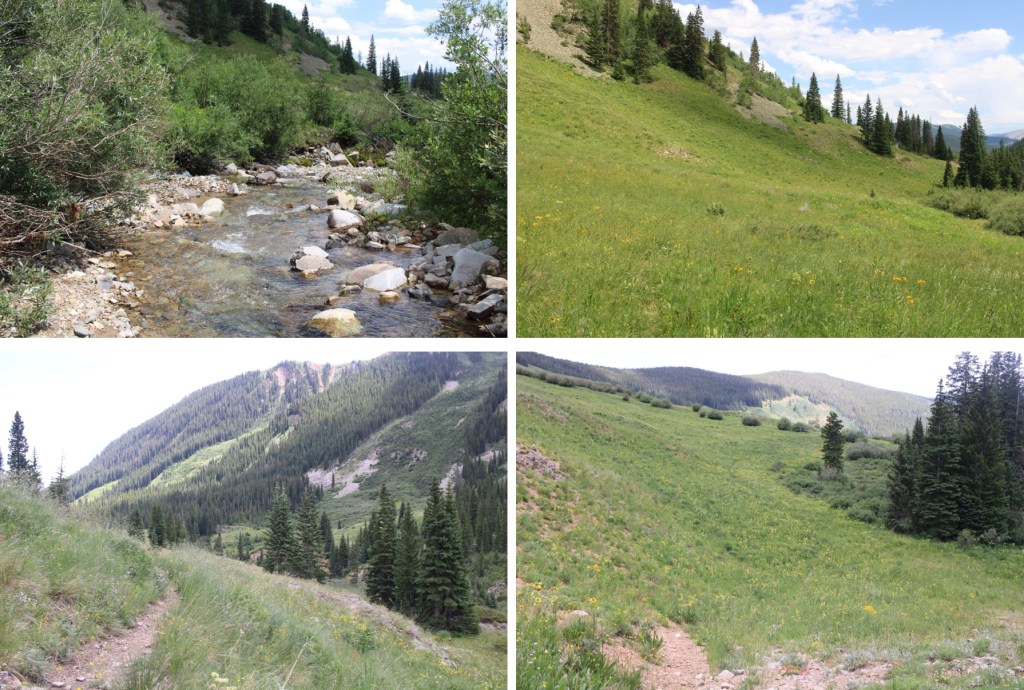
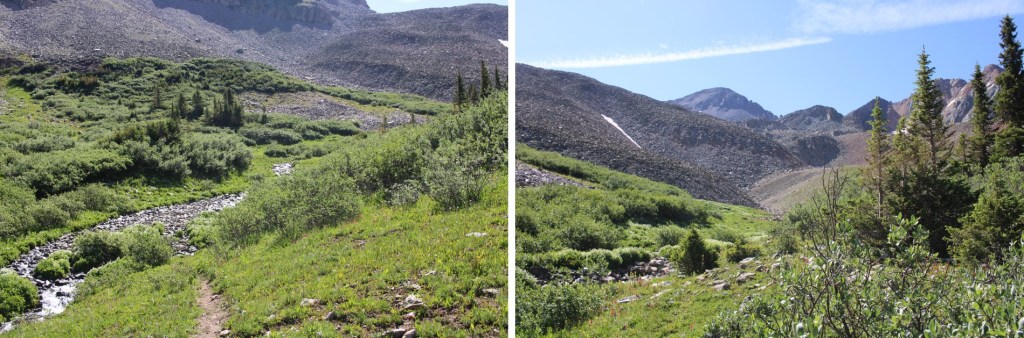
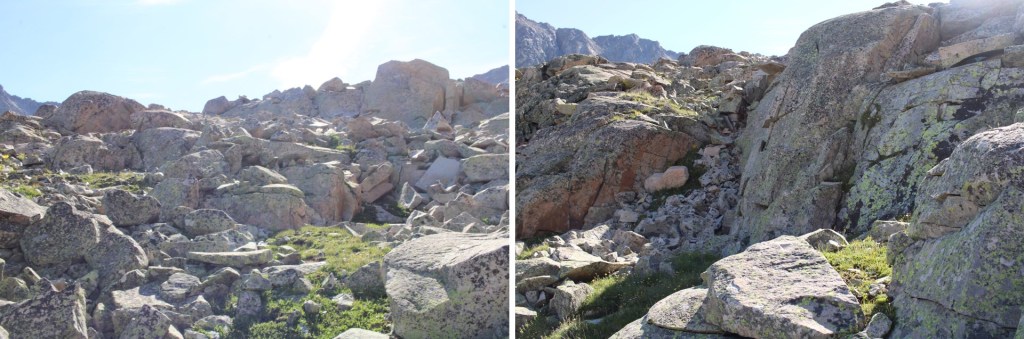
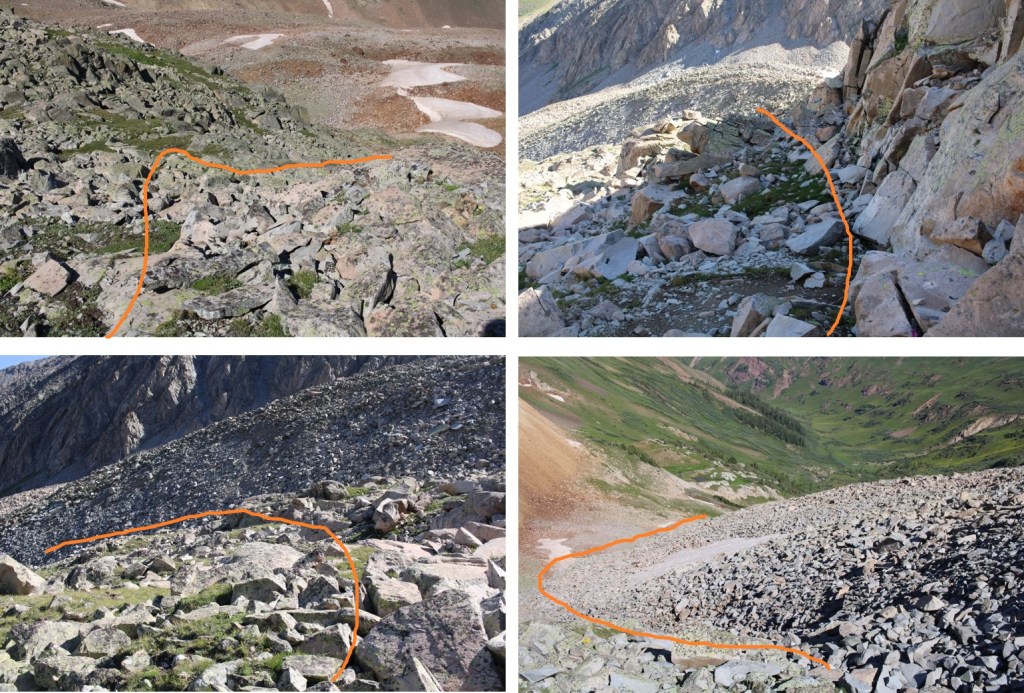
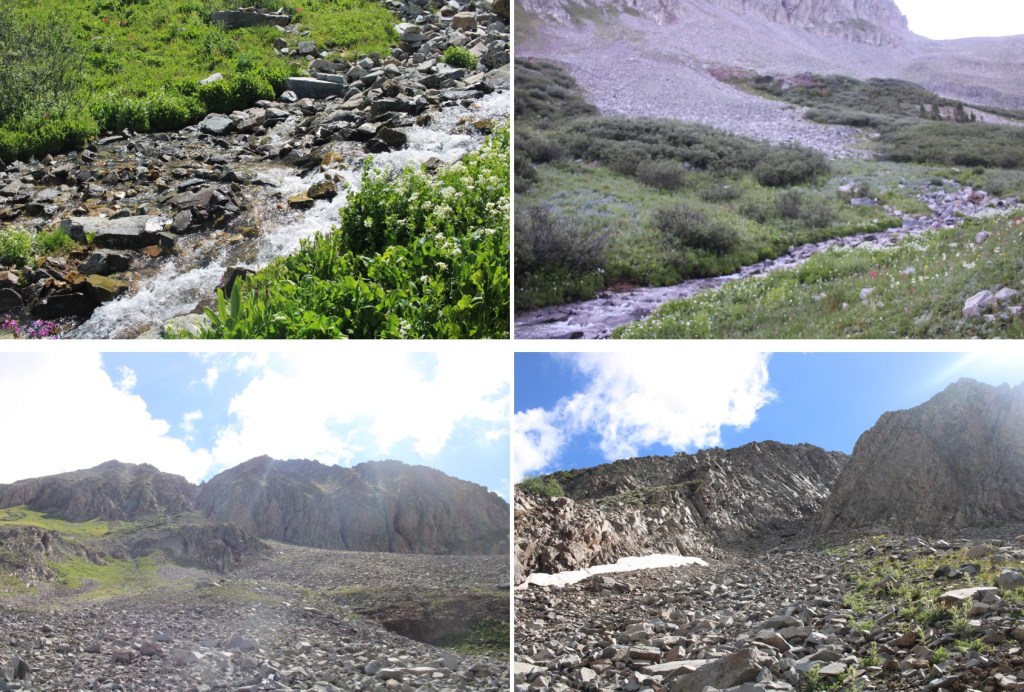
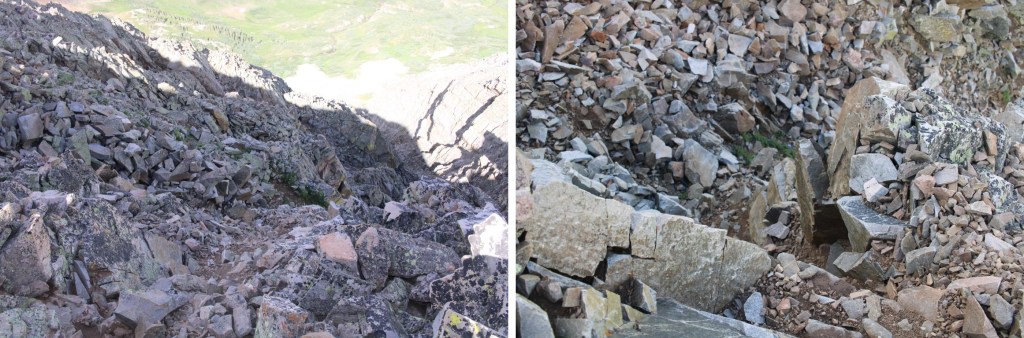
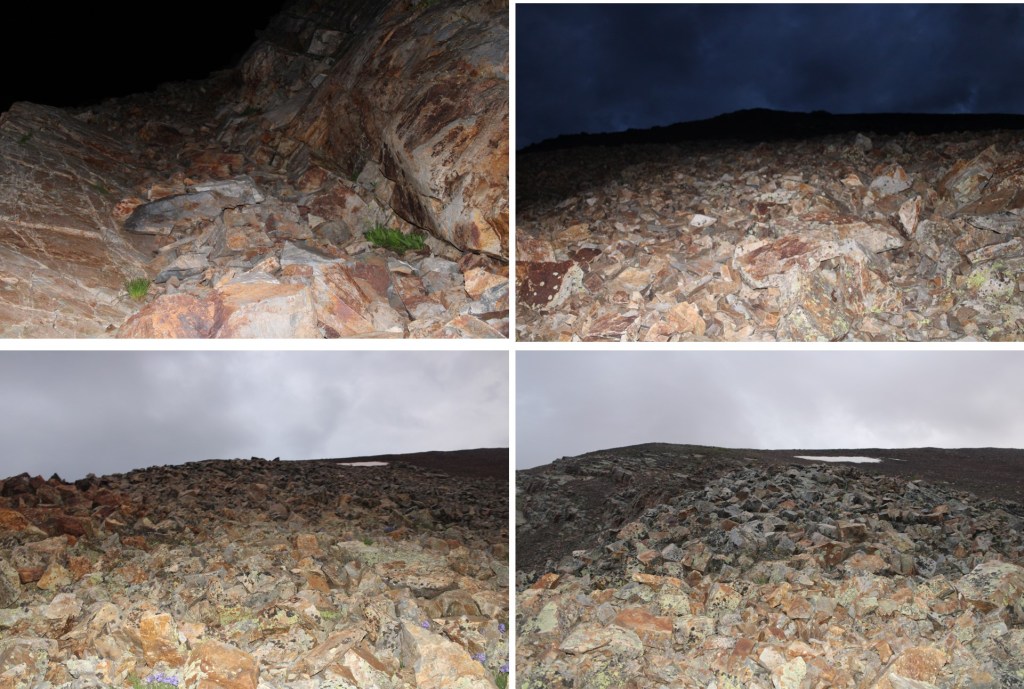
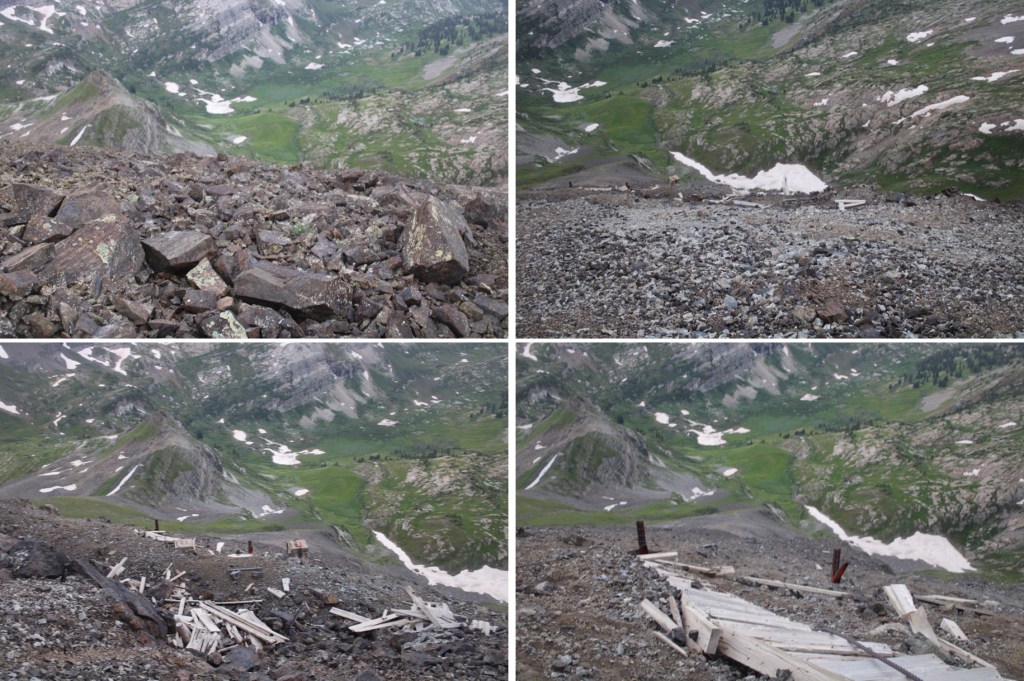
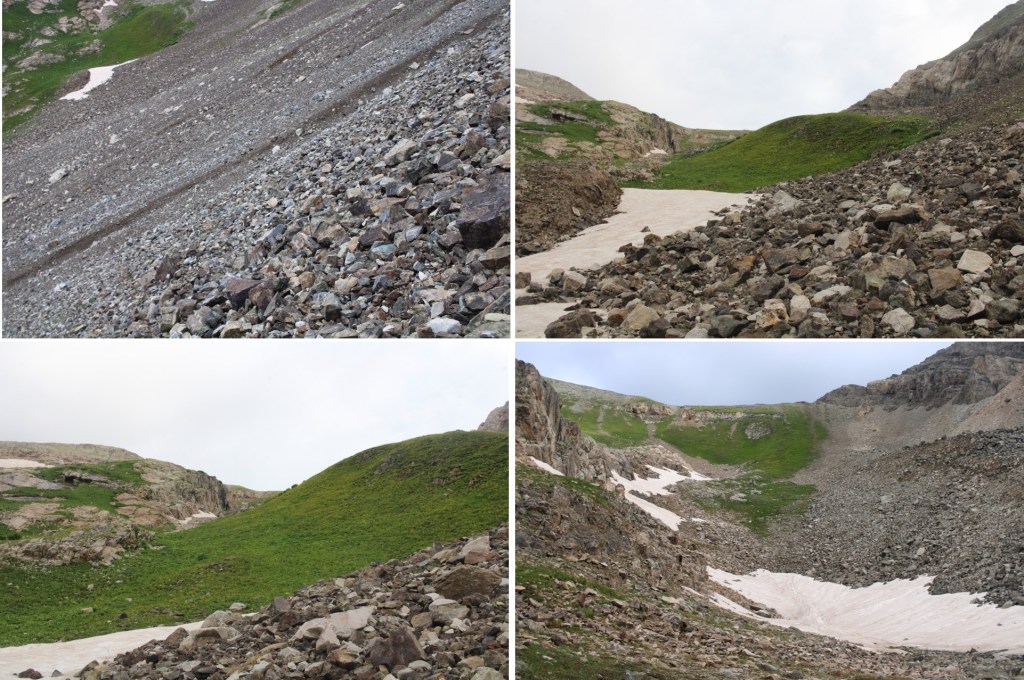
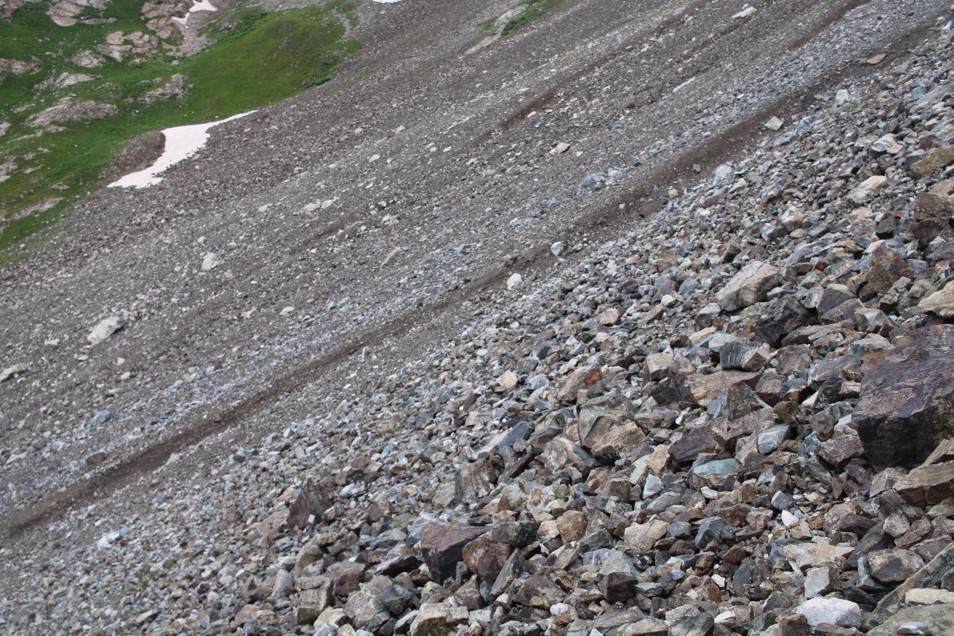
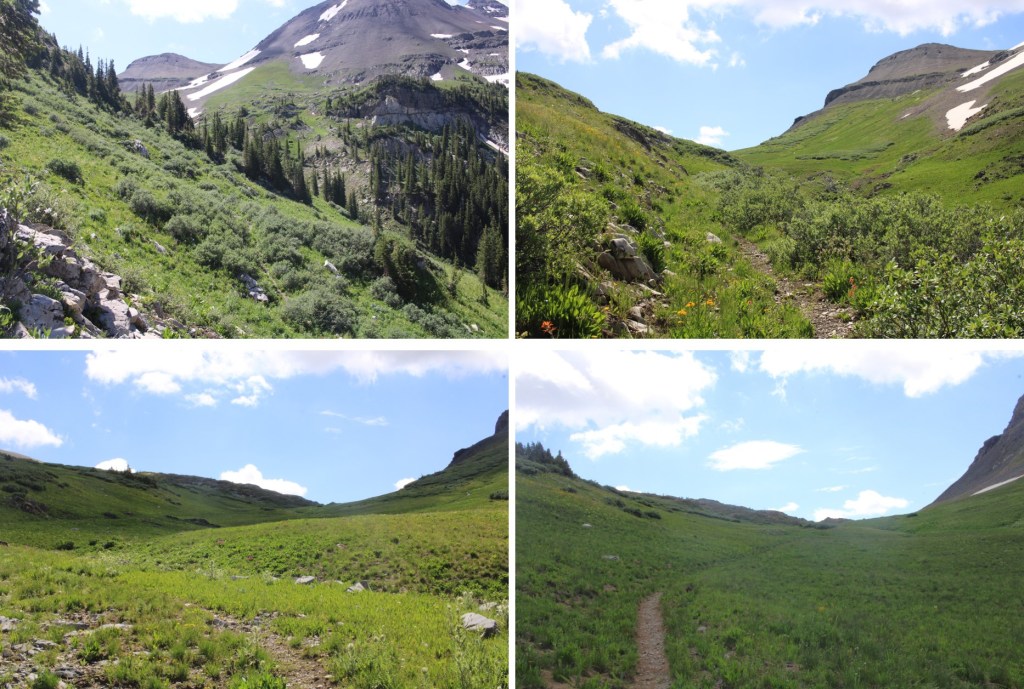
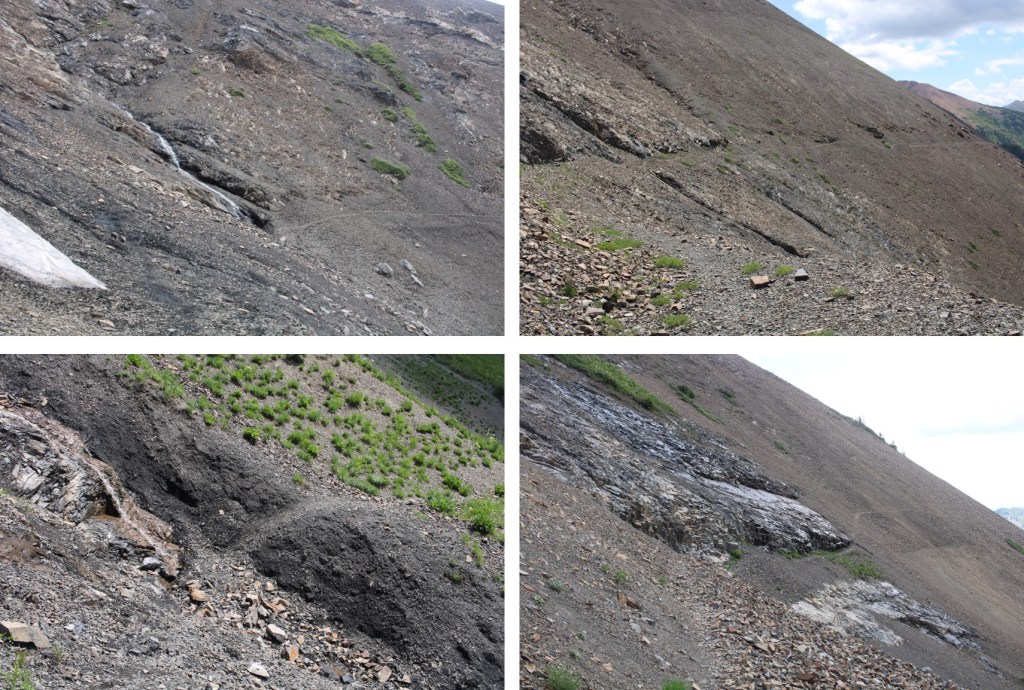
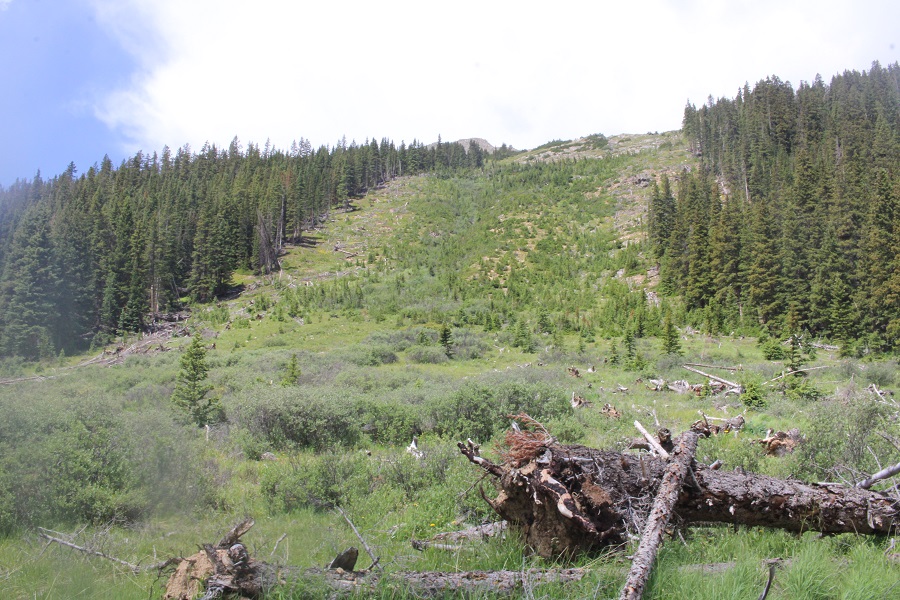
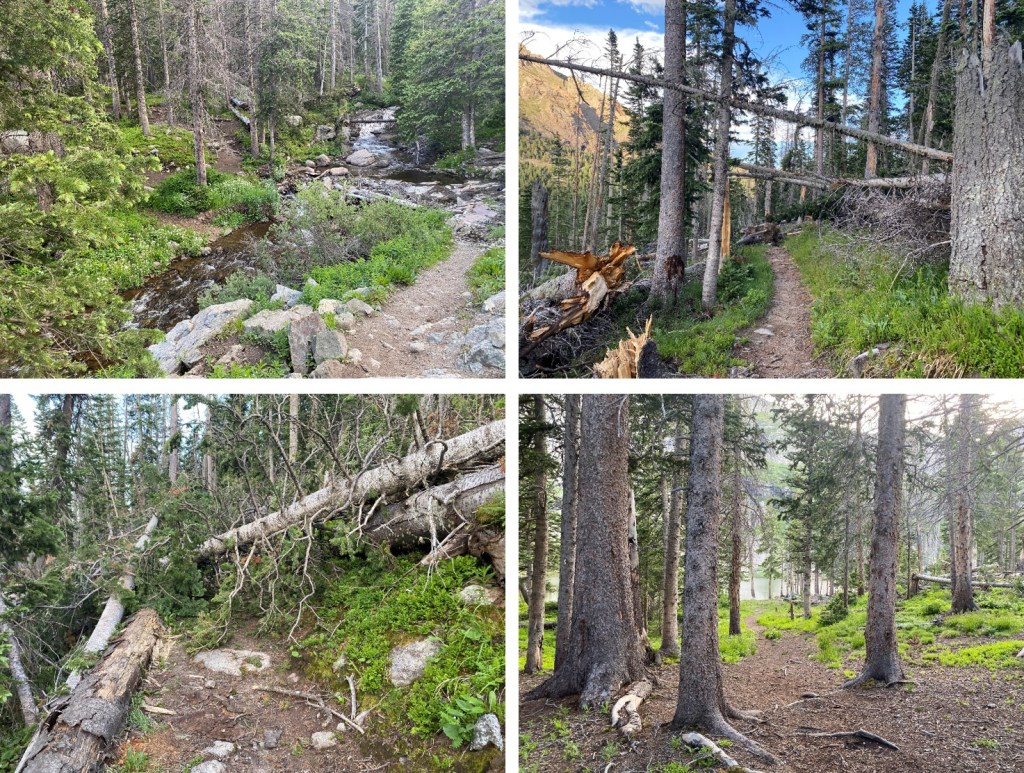
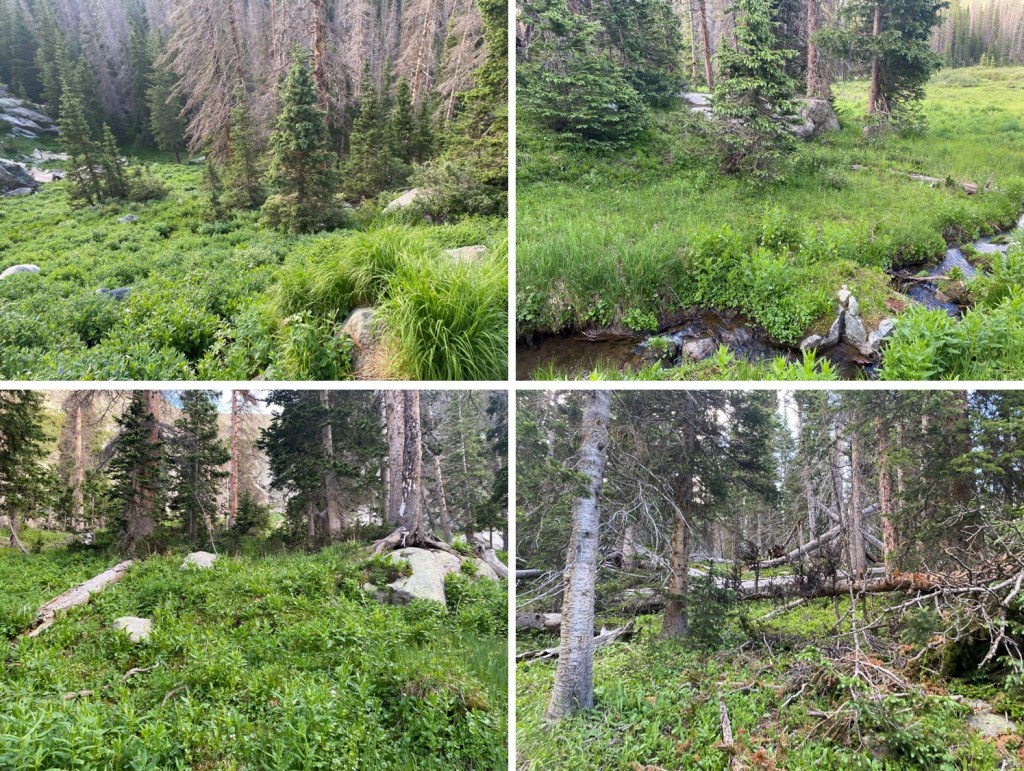
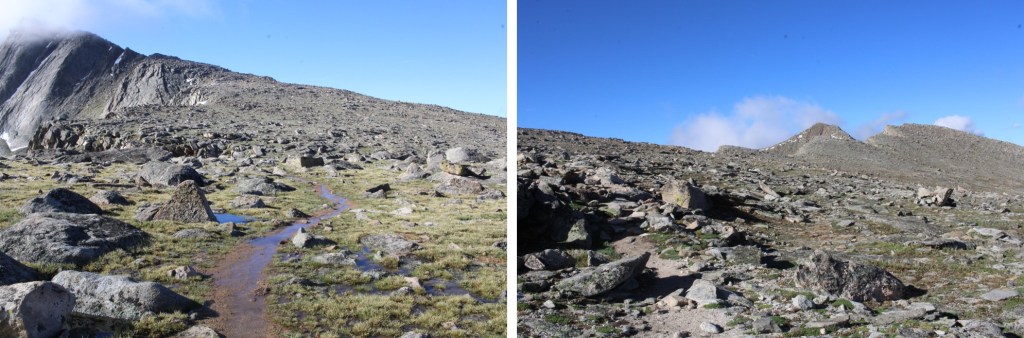
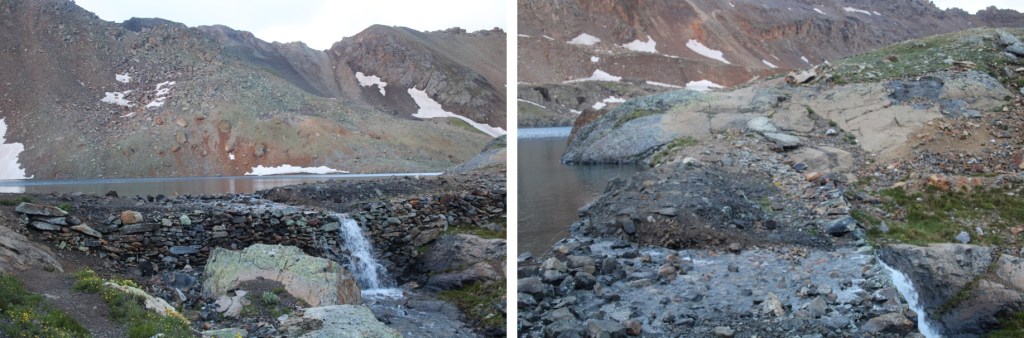
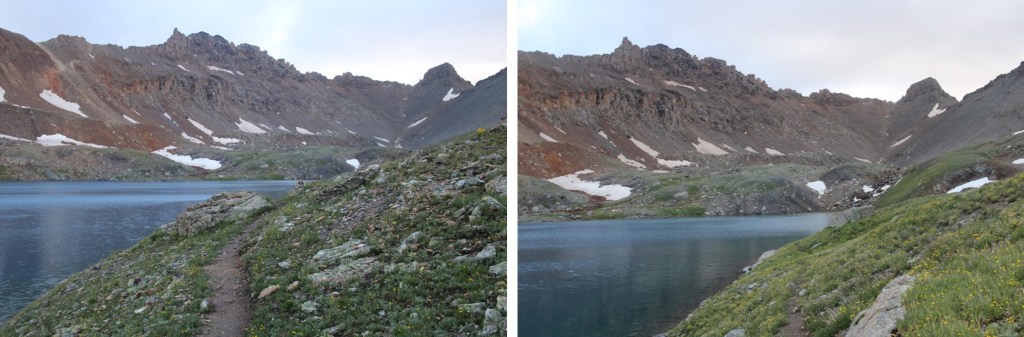
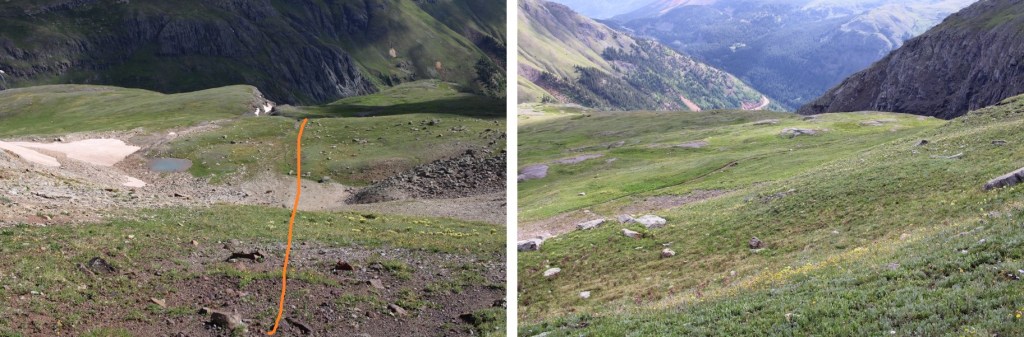
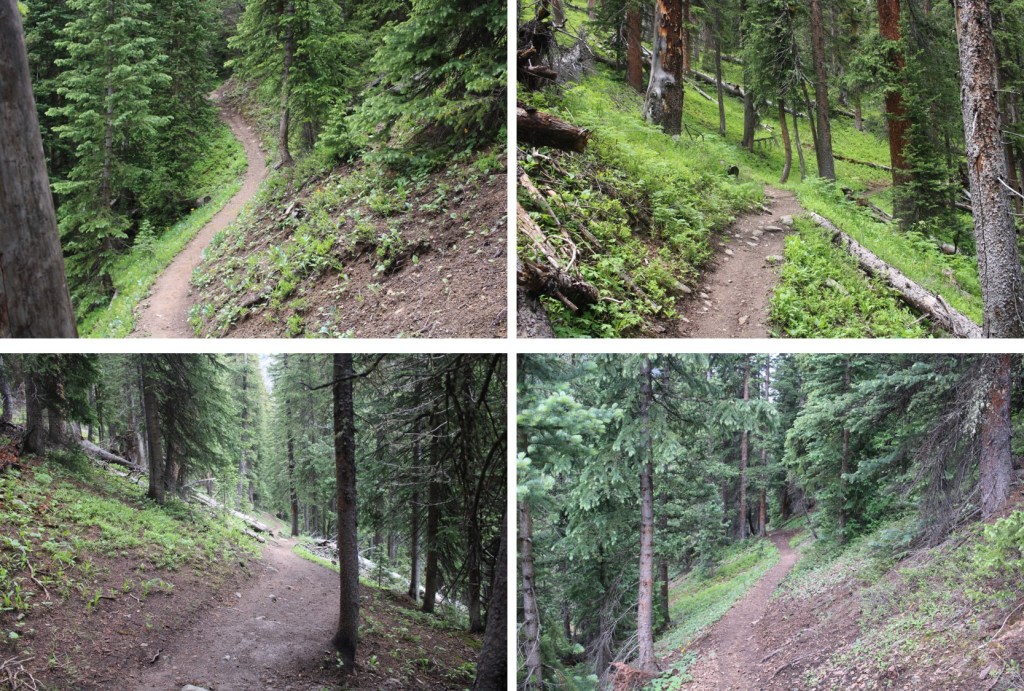
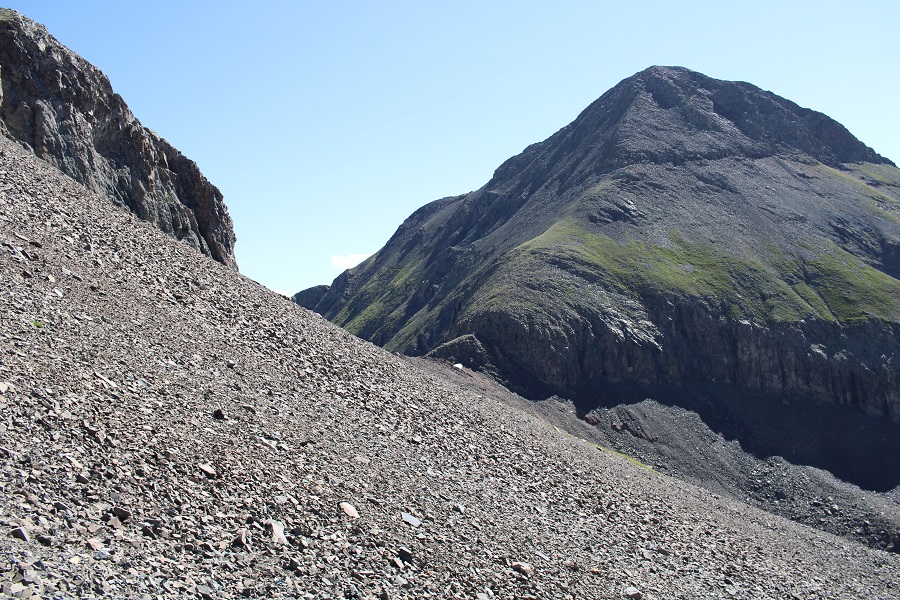
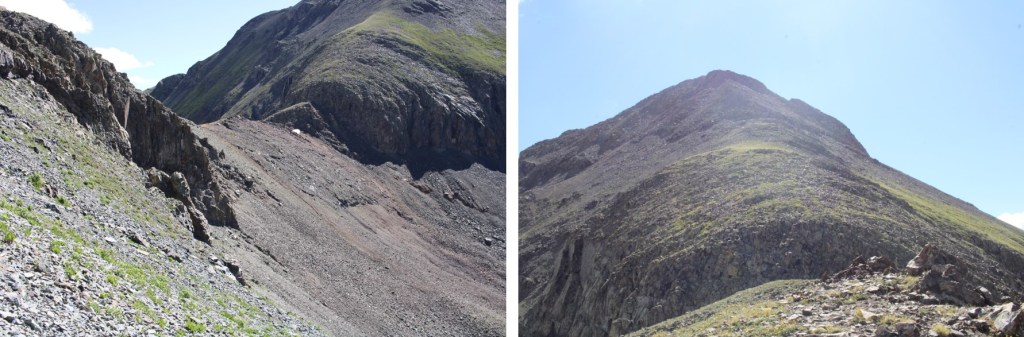
Here are some pictures of my route into the basin
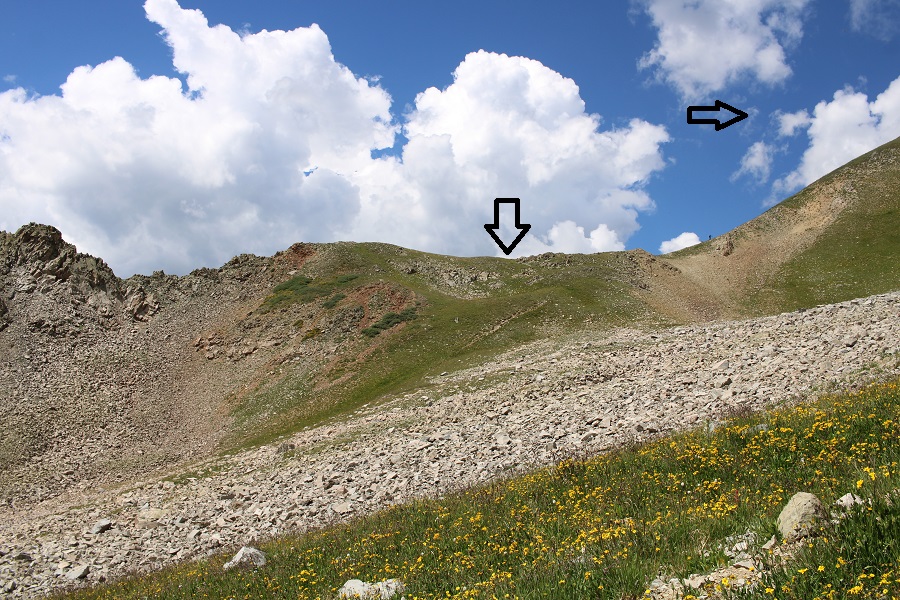
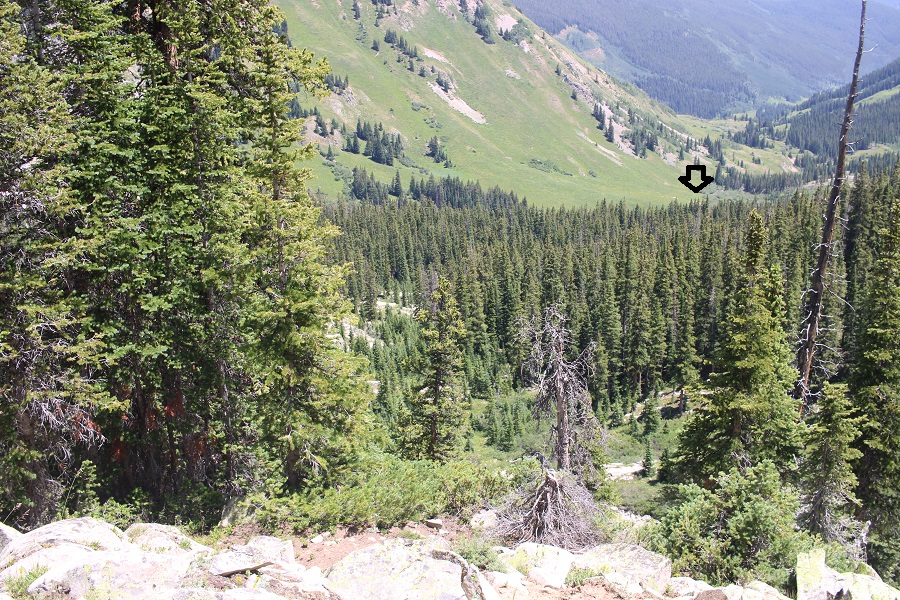
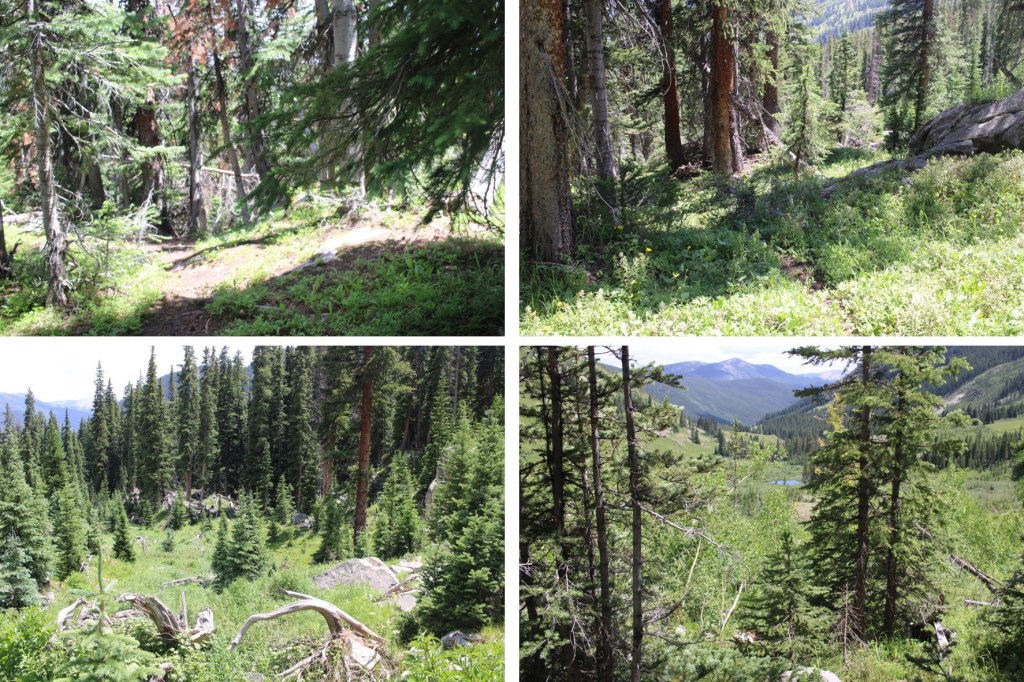
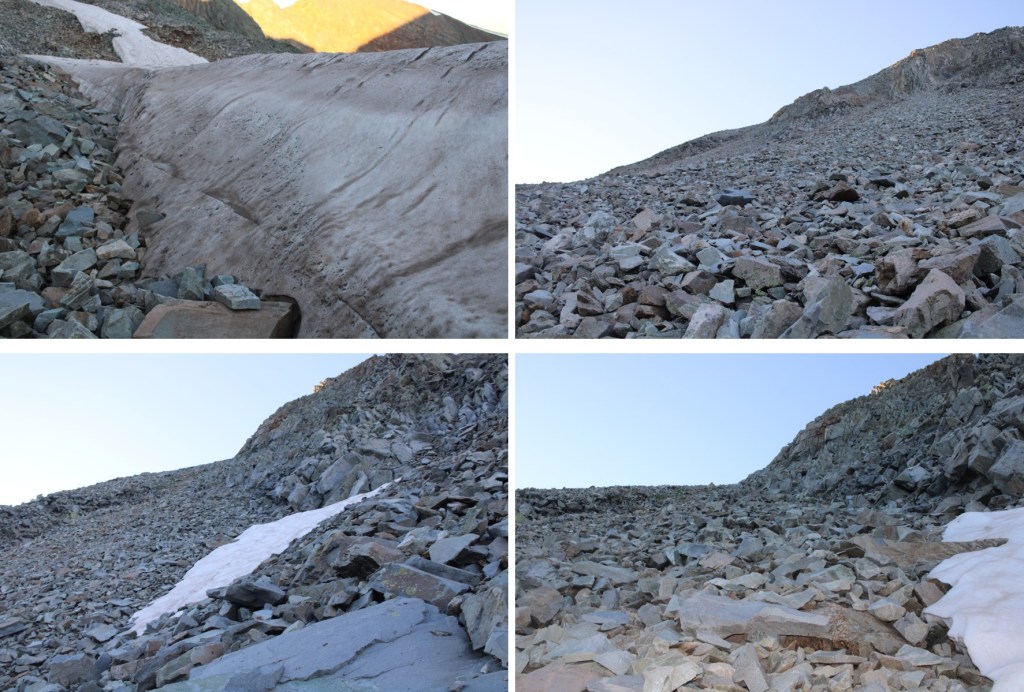
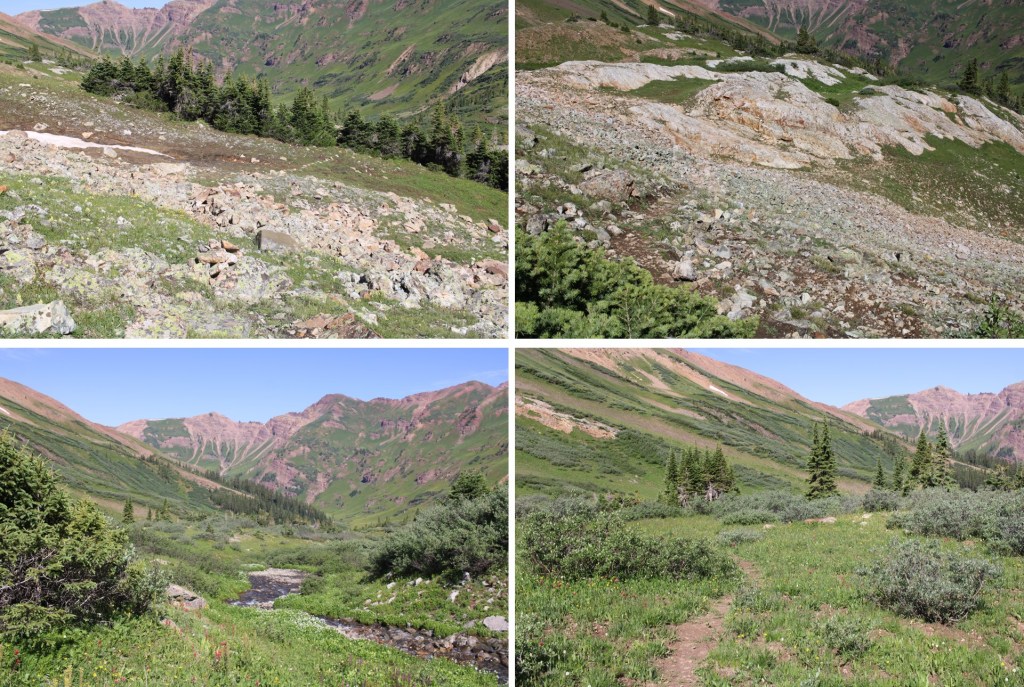
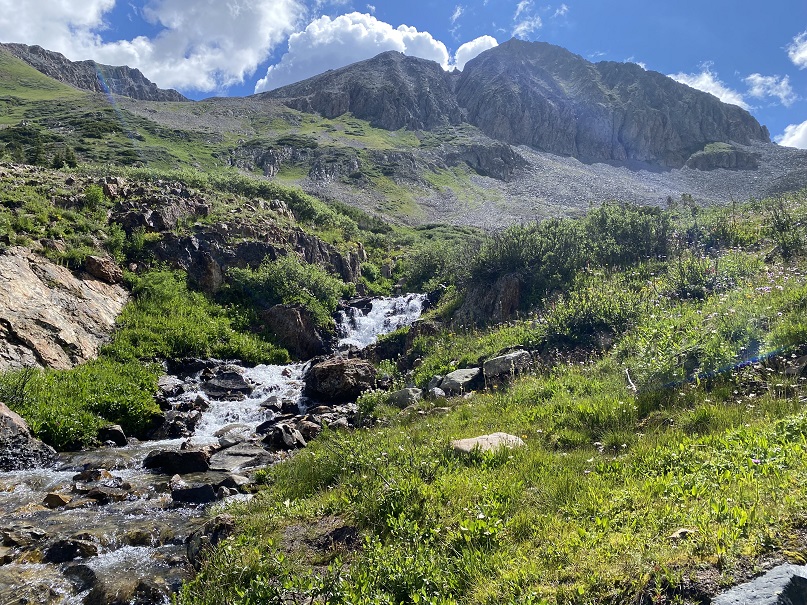
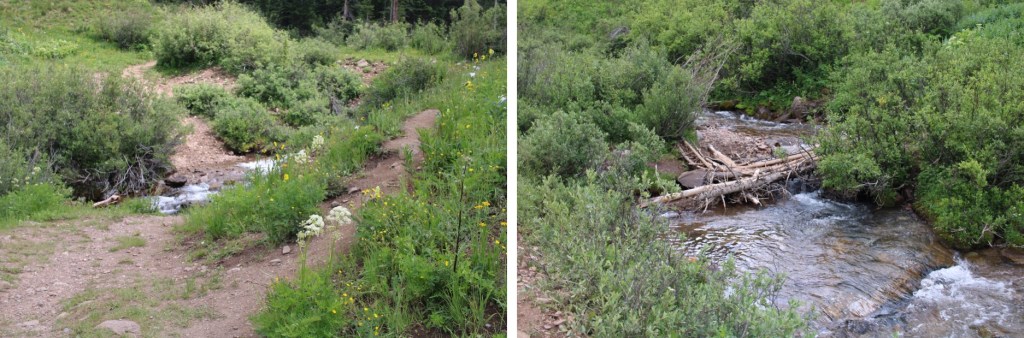
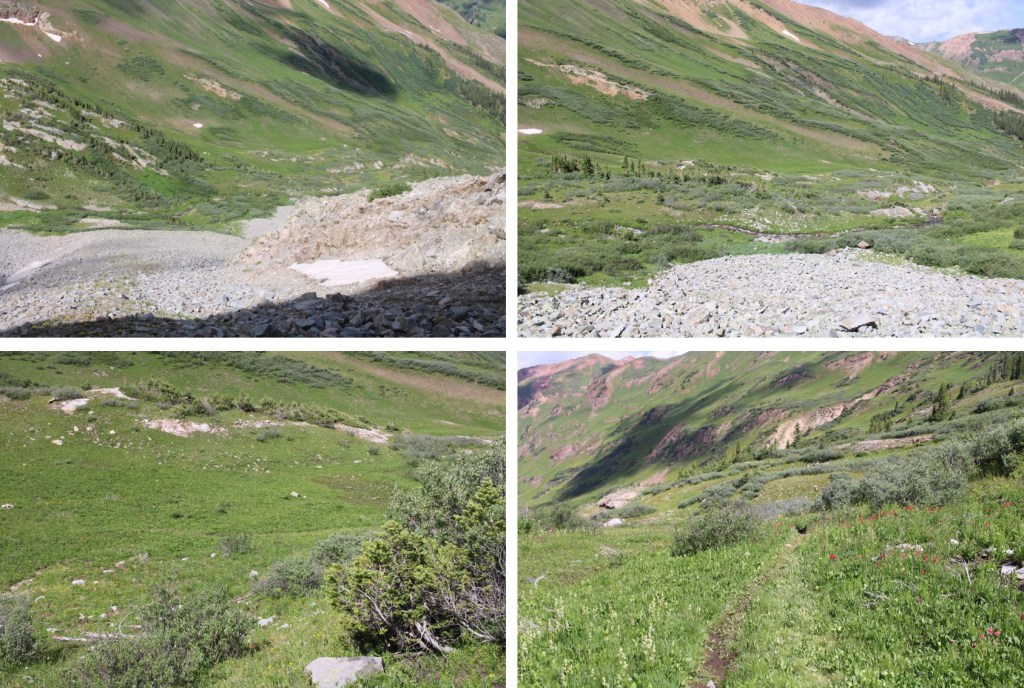
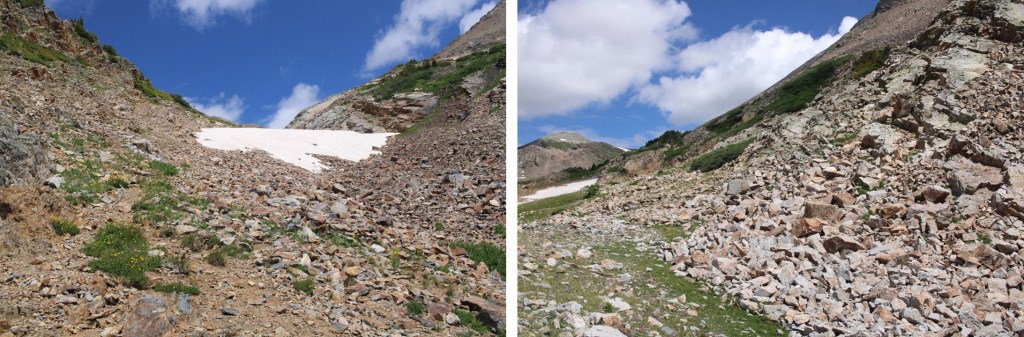
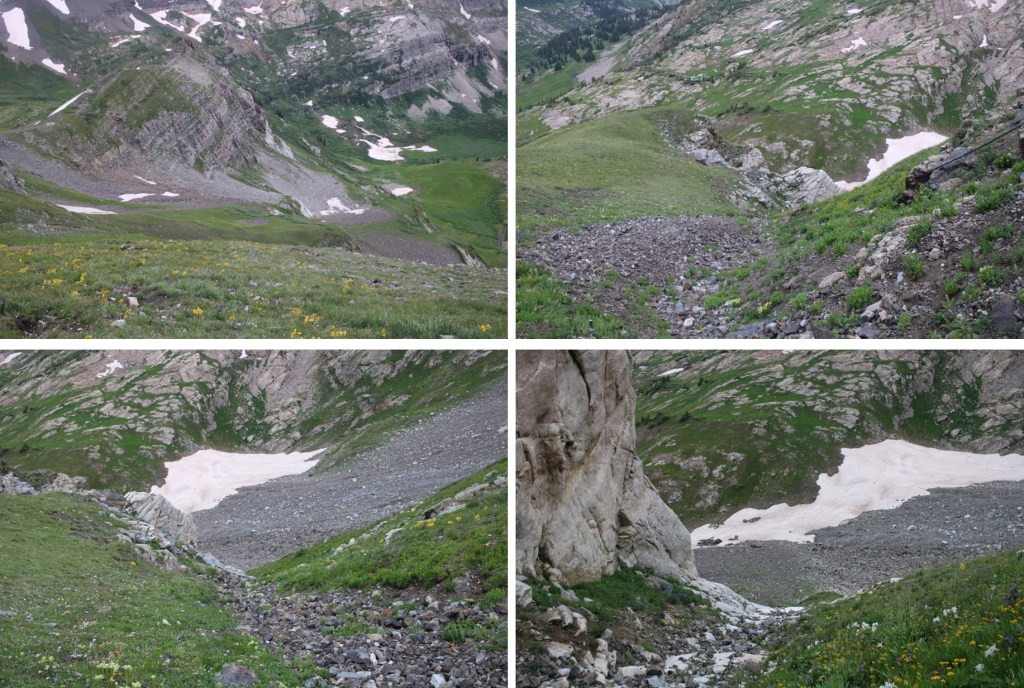
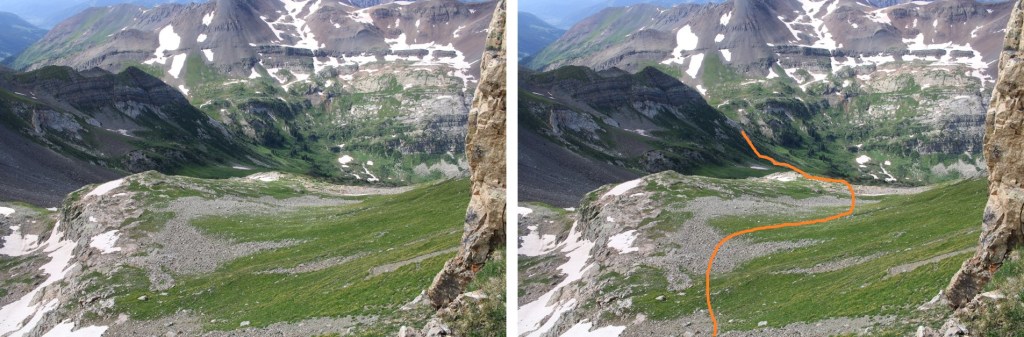
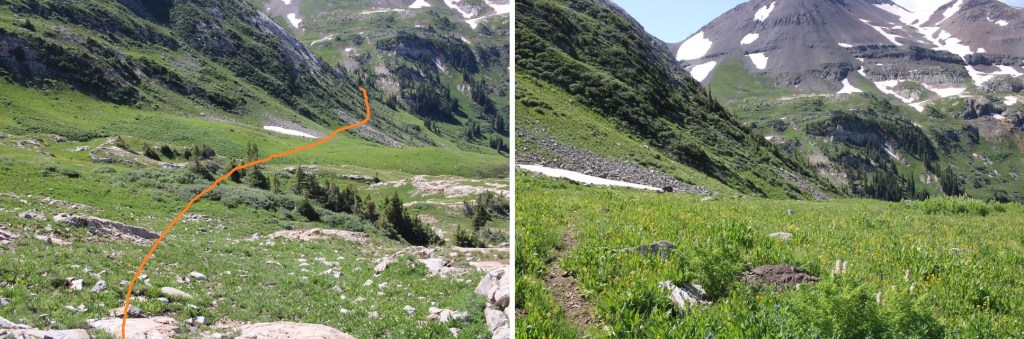
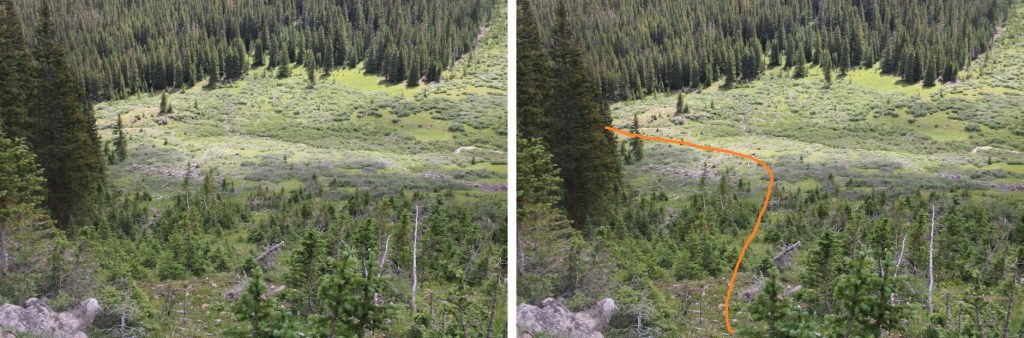
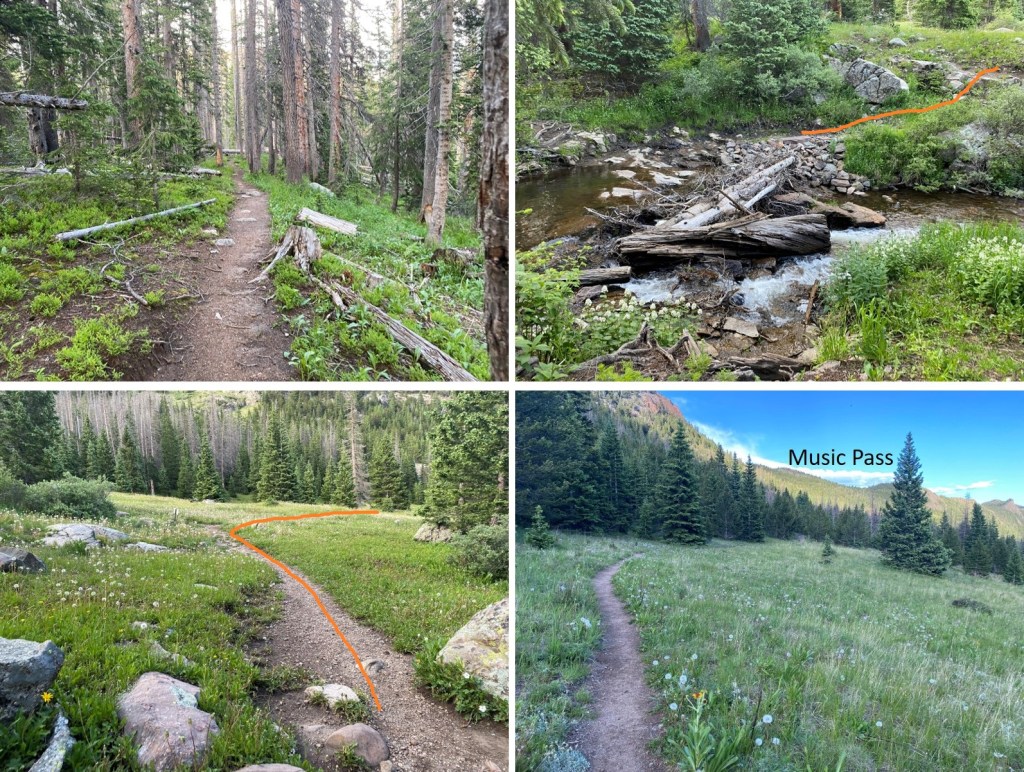
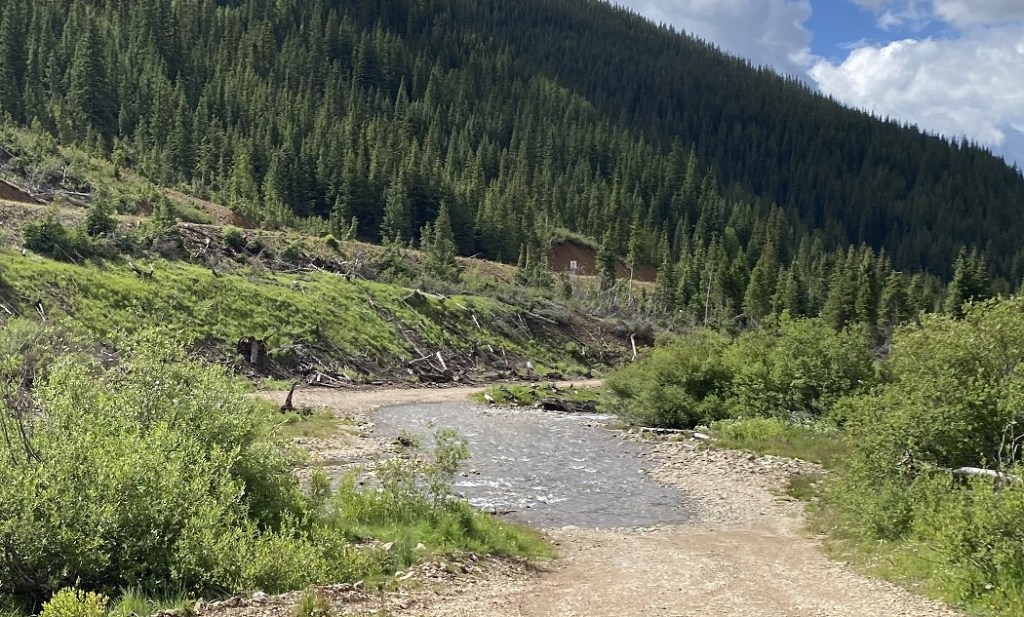
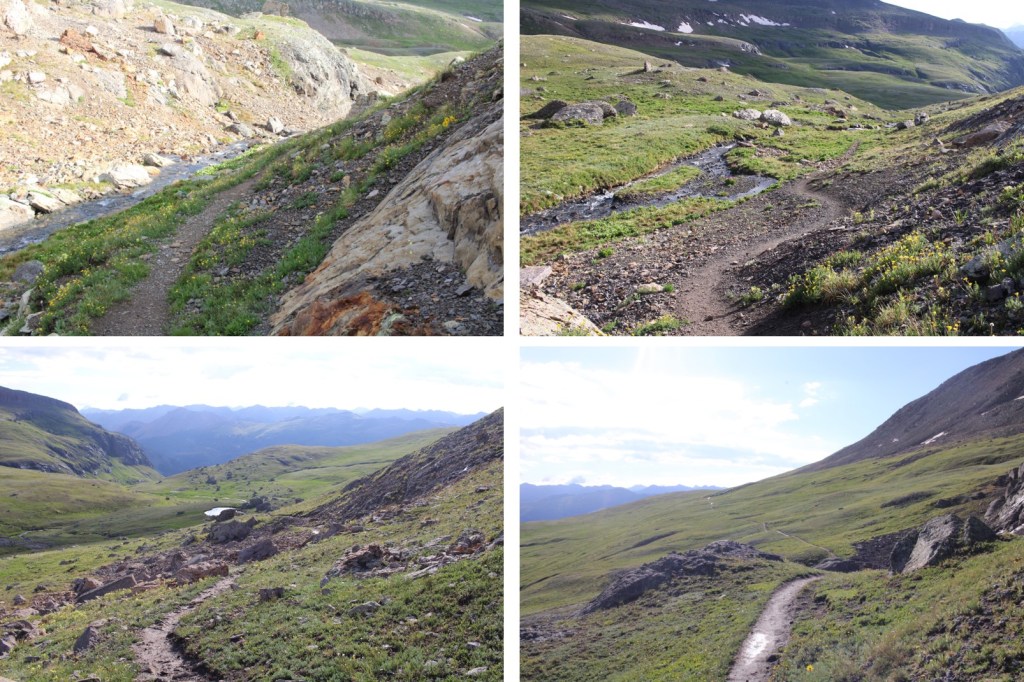
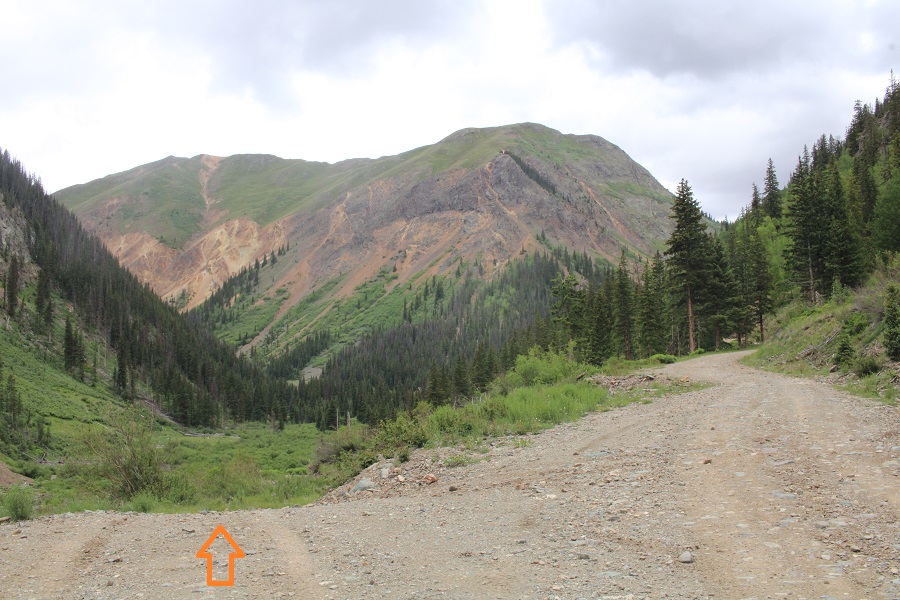
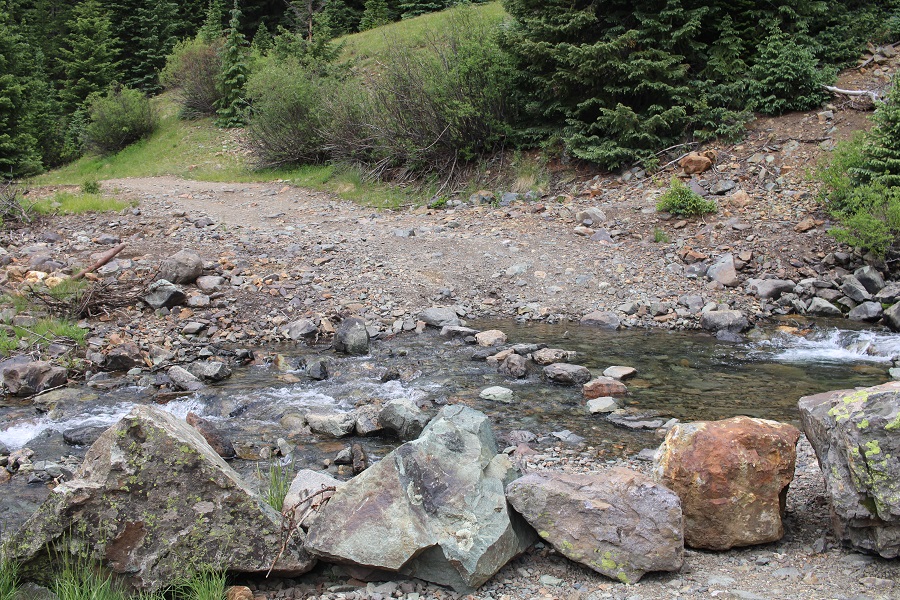
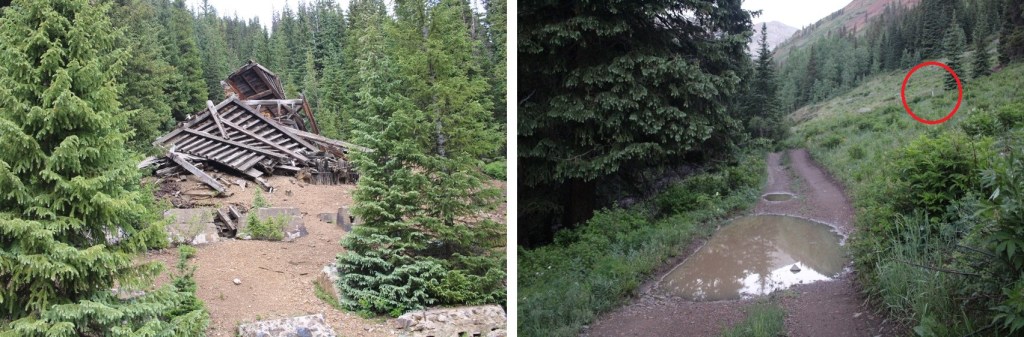
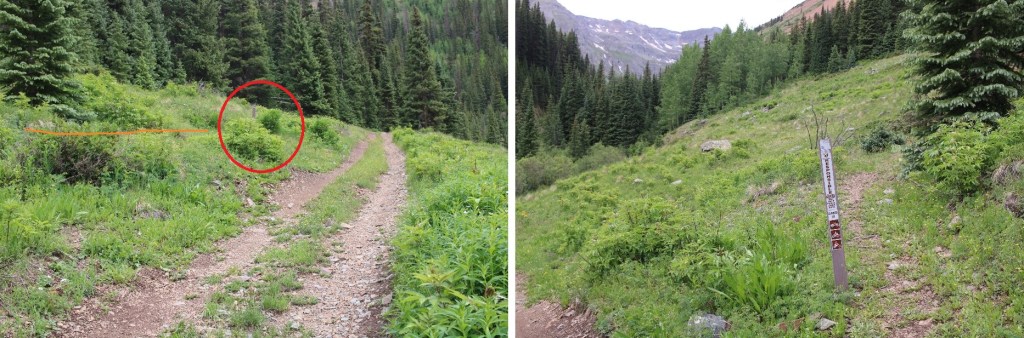
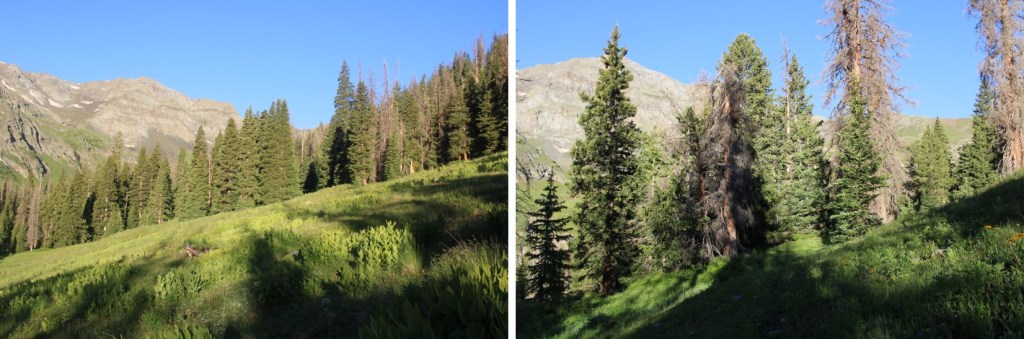
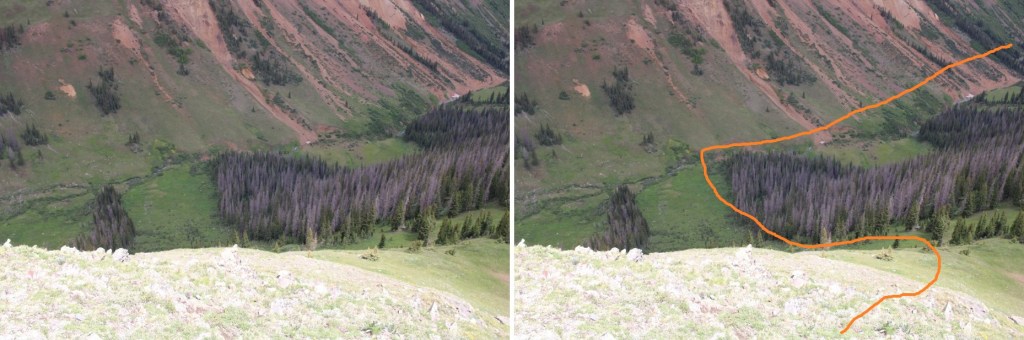
And from the basin back to the trailhead. I stayed left the entire time, keeping the creek to my right. The creek does flow through terrain too difficult to cross, so don’t follow too closely or you will cliff out. There are no established trails here, but every once in a while, mainly when I was in the trees, I was able to find a game trail to follow. Just keep heading south.
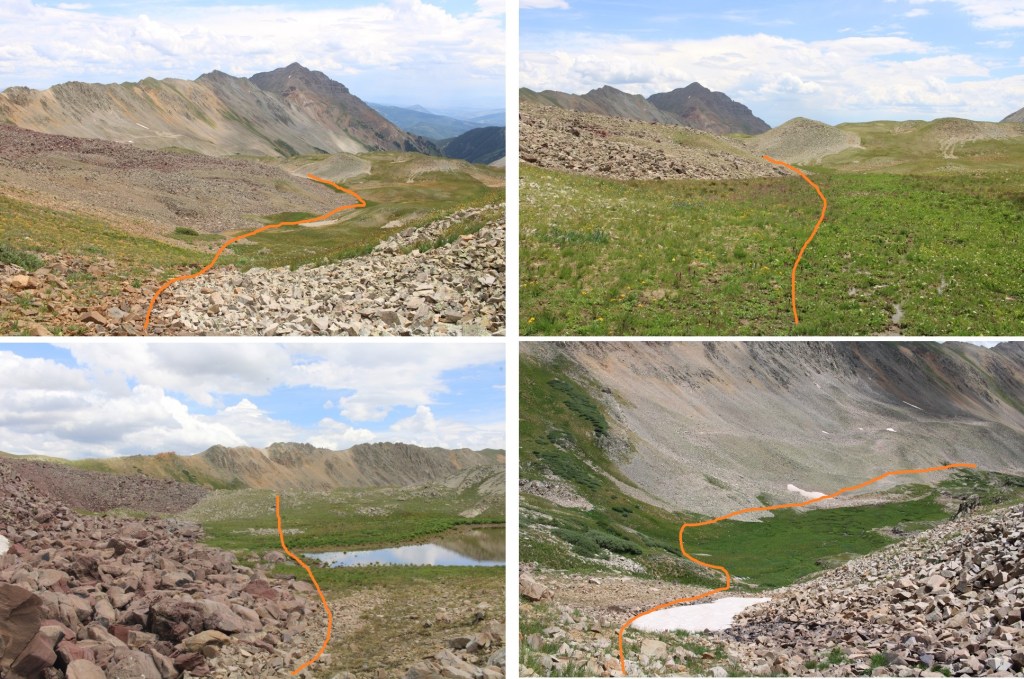

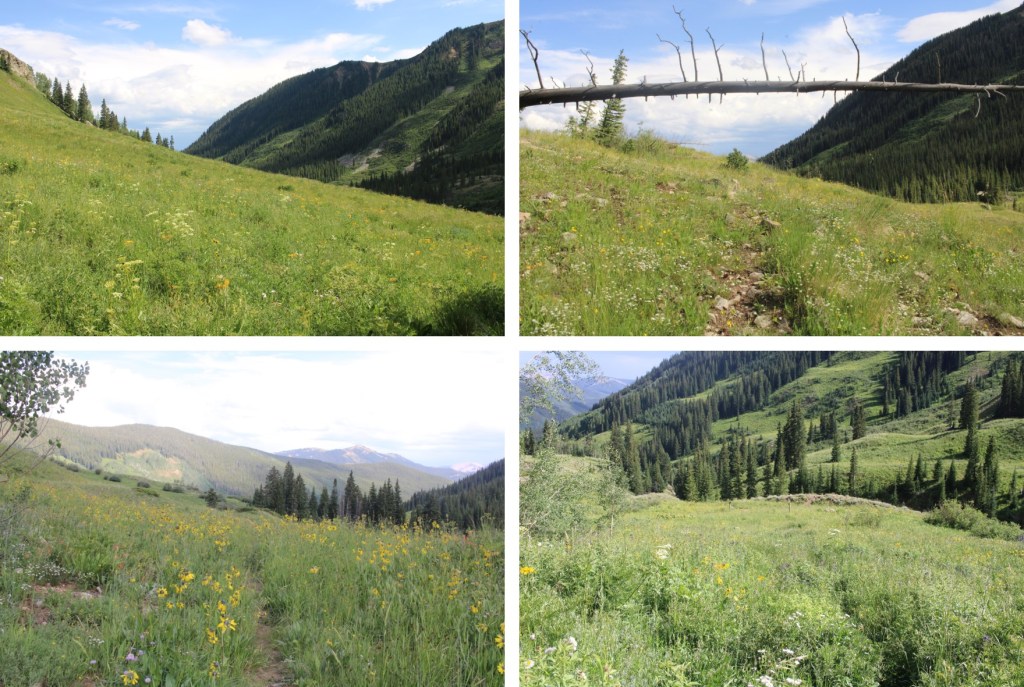
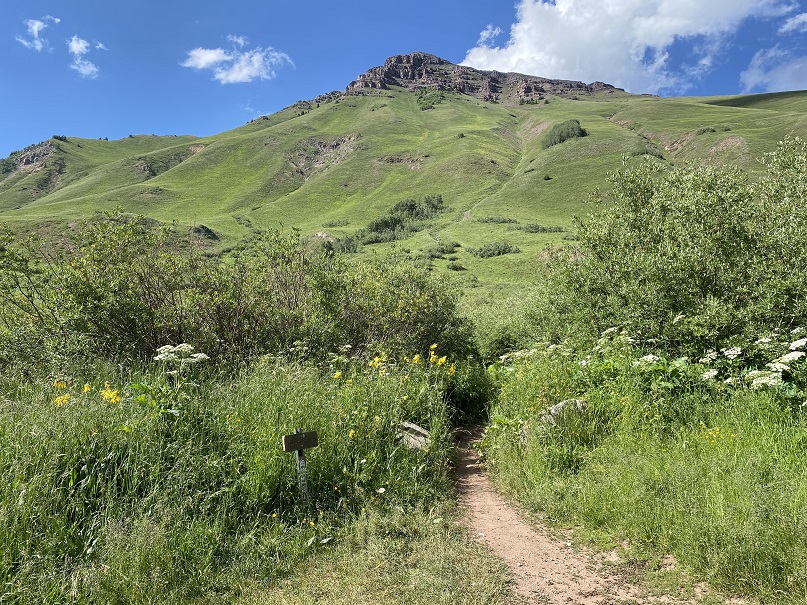
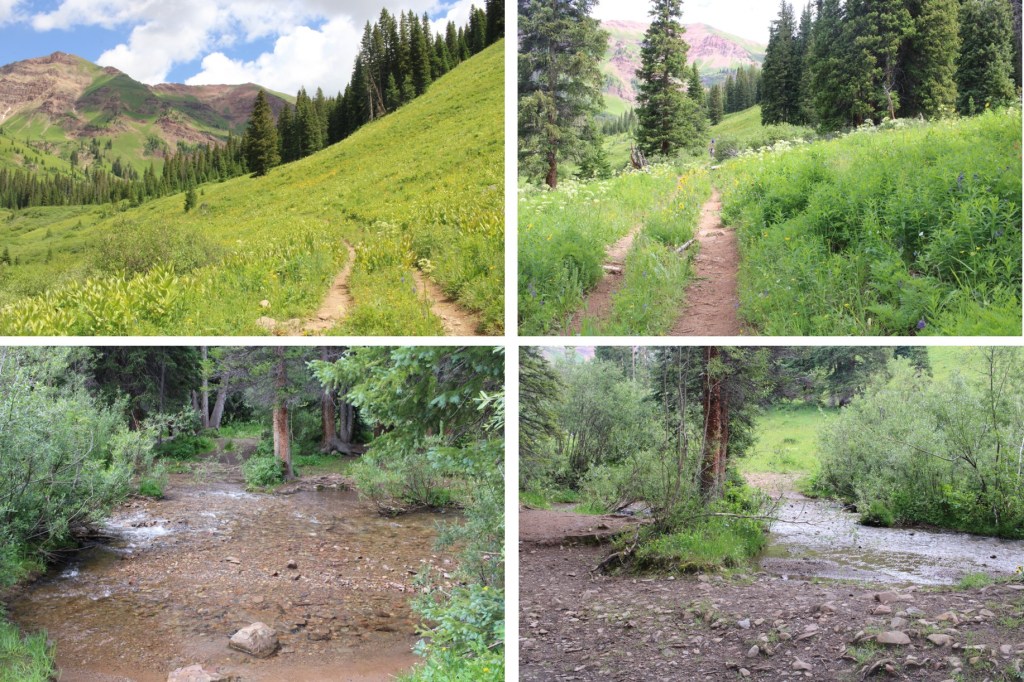
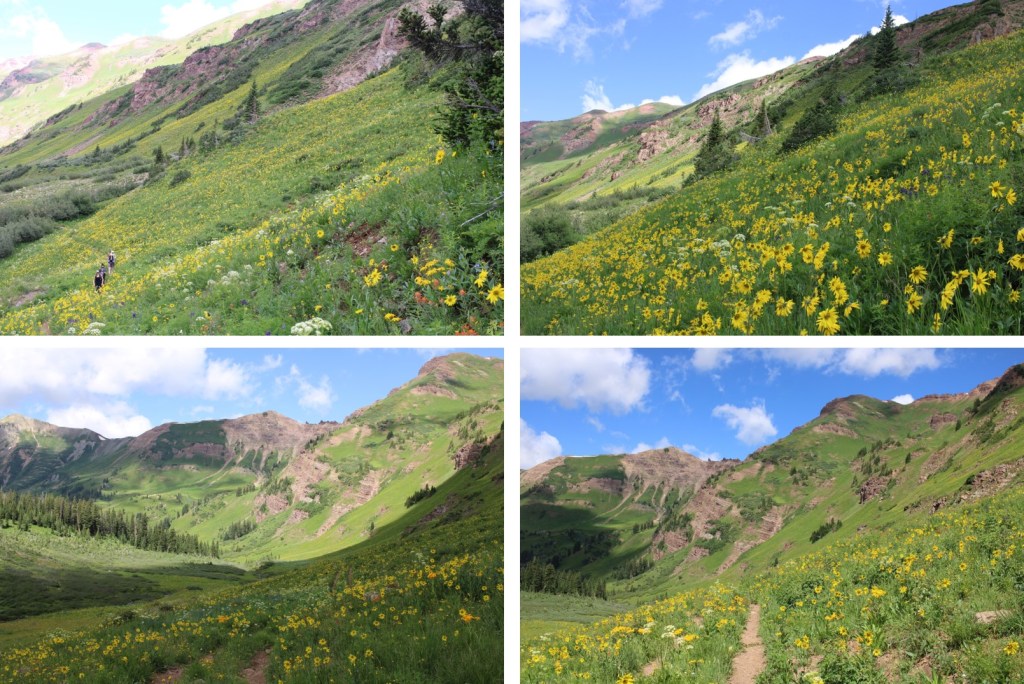
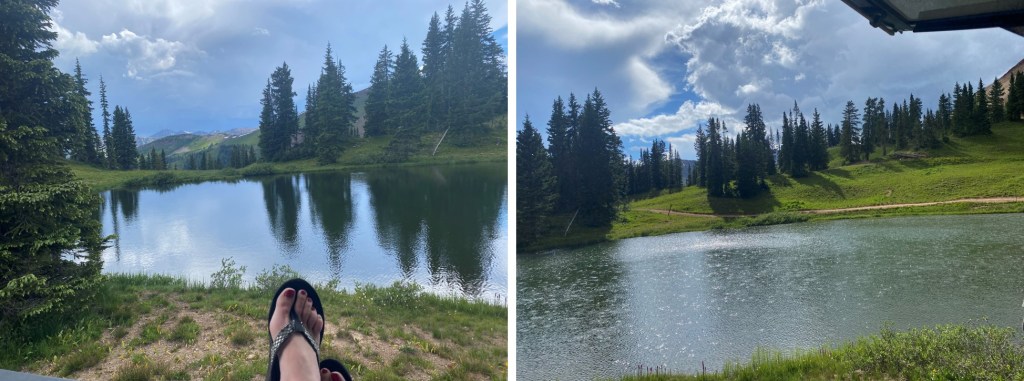
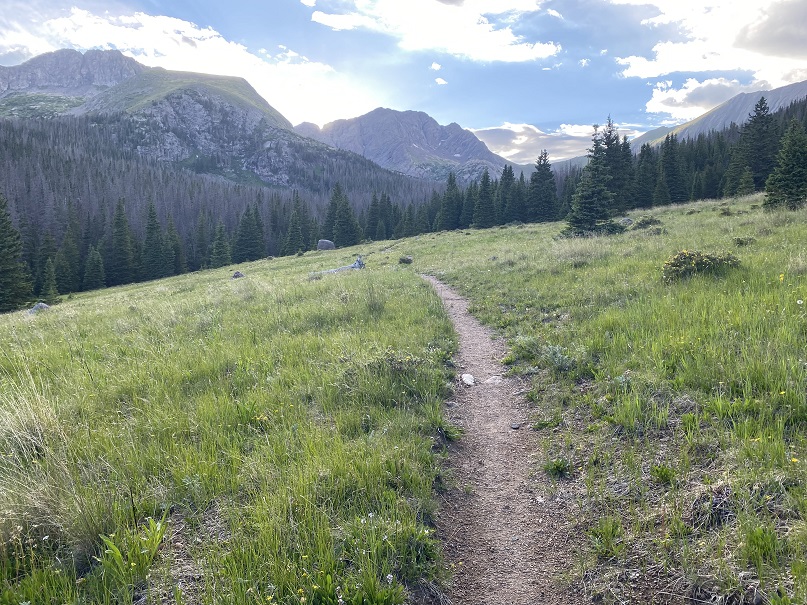
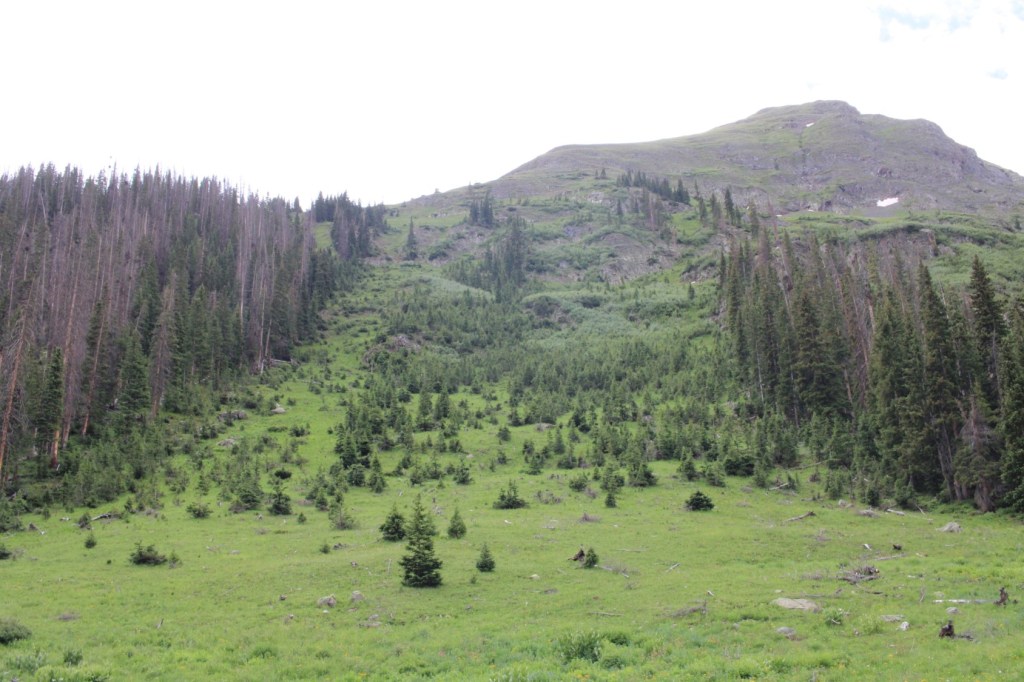
I came to the flower field I knew would eventually lead me to the trail, as I’d been in the area the day before.
I made it back to my truck at 5pm, making this a 16.72 mile hike/climb with 5244’ of elevation gain in 13 hours.
On to the next trailhead!