Tower Mountain – 13,549 and Dome Mountain – 13,370

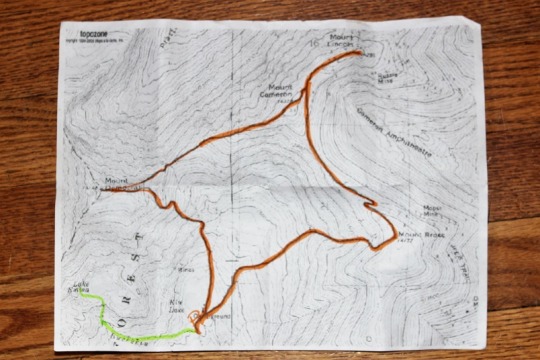
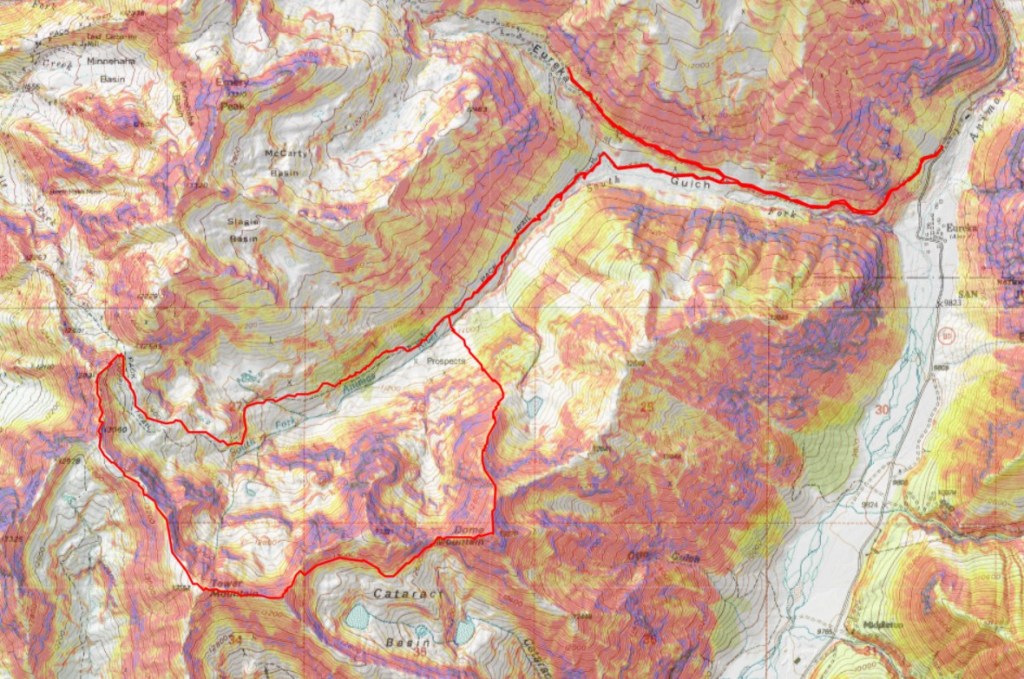
RT Length: 14.13 miles

Elevation Gain: 4500’

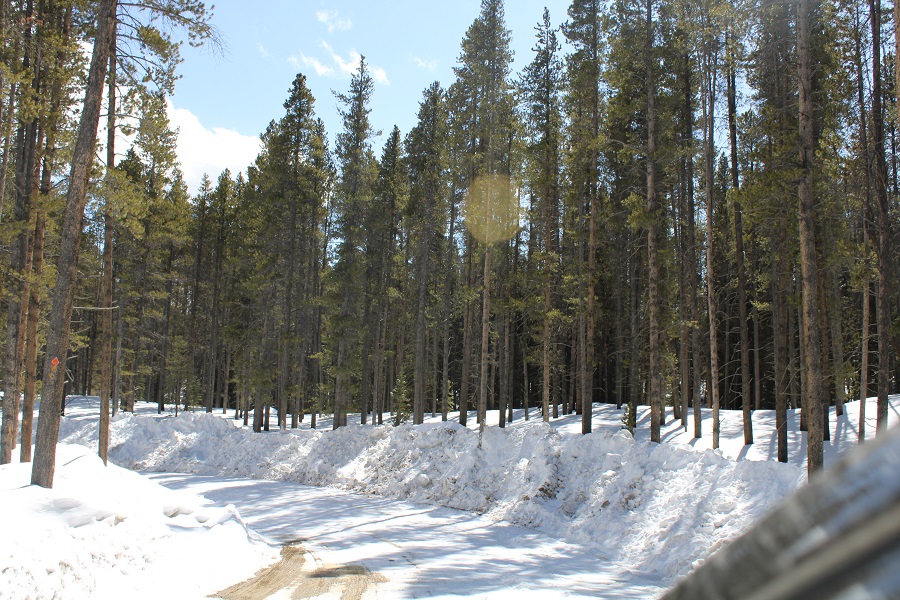
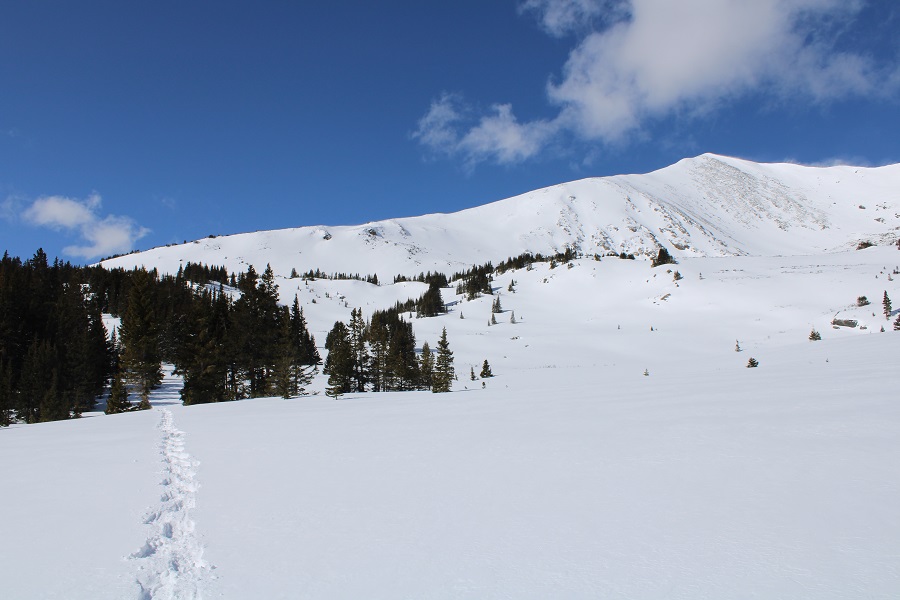
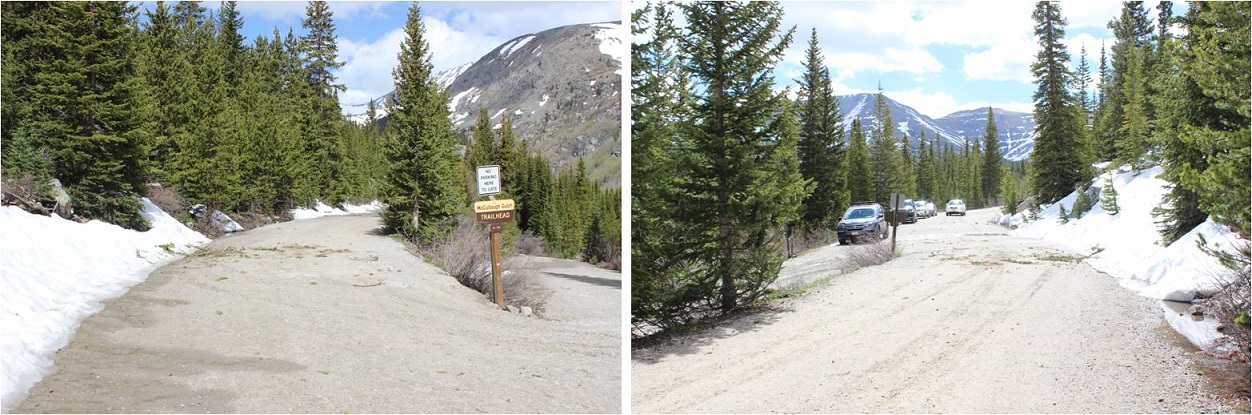
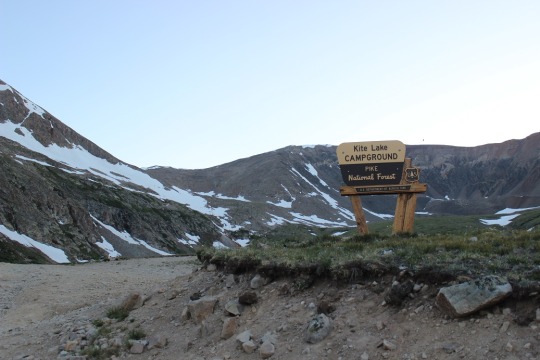
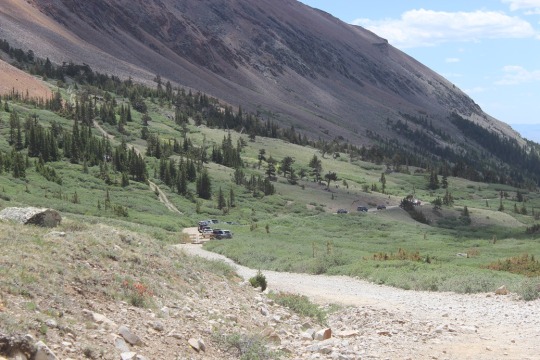
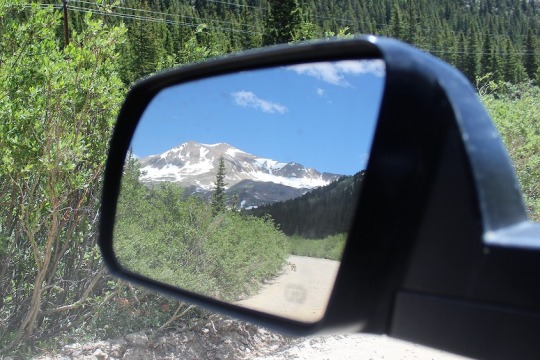
I parked at 10,000’, just after the town of Eureka.  My truck could have driven up the 4WD road, as it was a nicely graded, wide road, but I didn’t know it at the time and figures starting at 10,000’ sounded pretty good. 

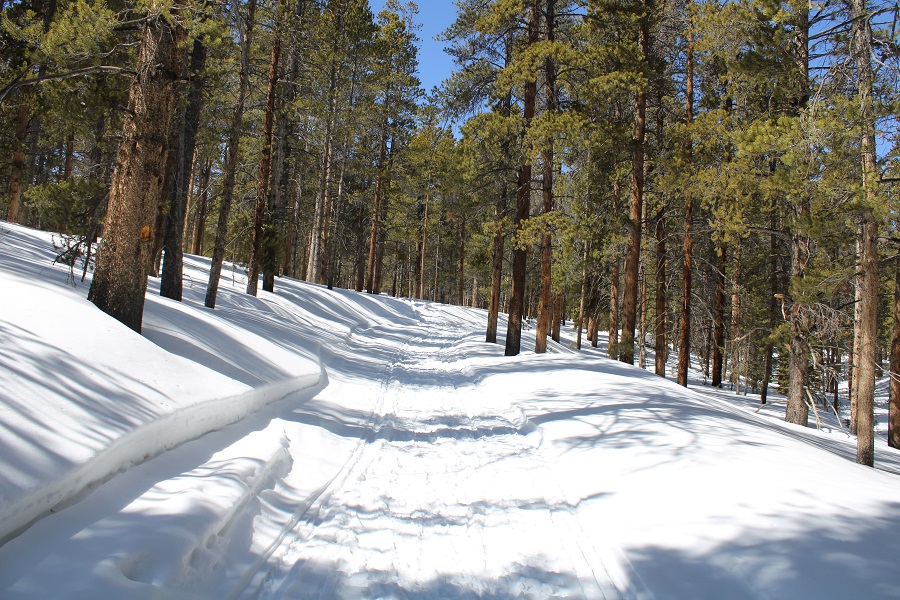
We were once again experiencing summer storms, so I was up and on the trail at 4am.  I followed the road as it rounded the mountainside, heading west.

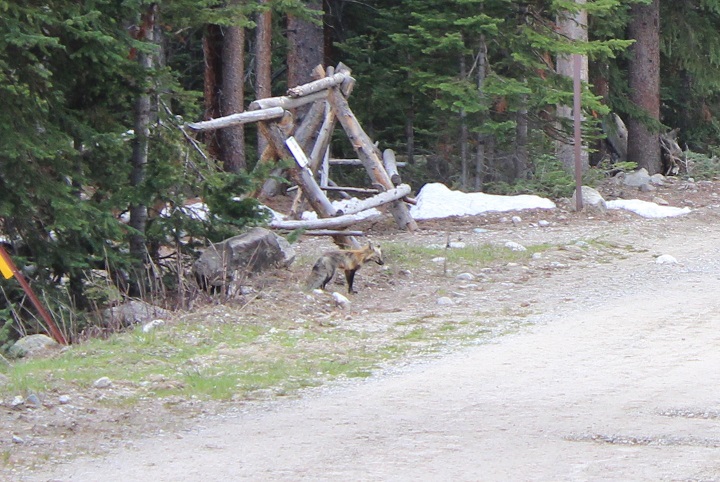
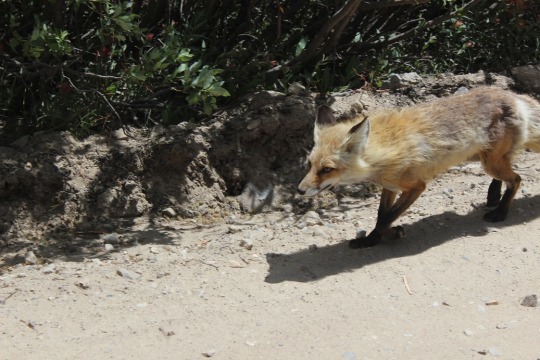
Suddenly, I saw a fox, about 10 feet in front of me on the trail. I shined my flashlight at him, and said “Hey Fox!”  The fox walked up to me, and stood about 2 feet away.  He was brown with black feet, and had a piece of grass sticking out from its lips. He looked up at me like a puppy asking for a treat.  I wanted nothing more than to pet this cute little guy, but knew his behavior was off for a wild animal.  I loudly tapped my trekking pole on a rock and told him to move.  He jumped a few feet in the air, then skirted around me. He didn’t leave though, until I did it again. 

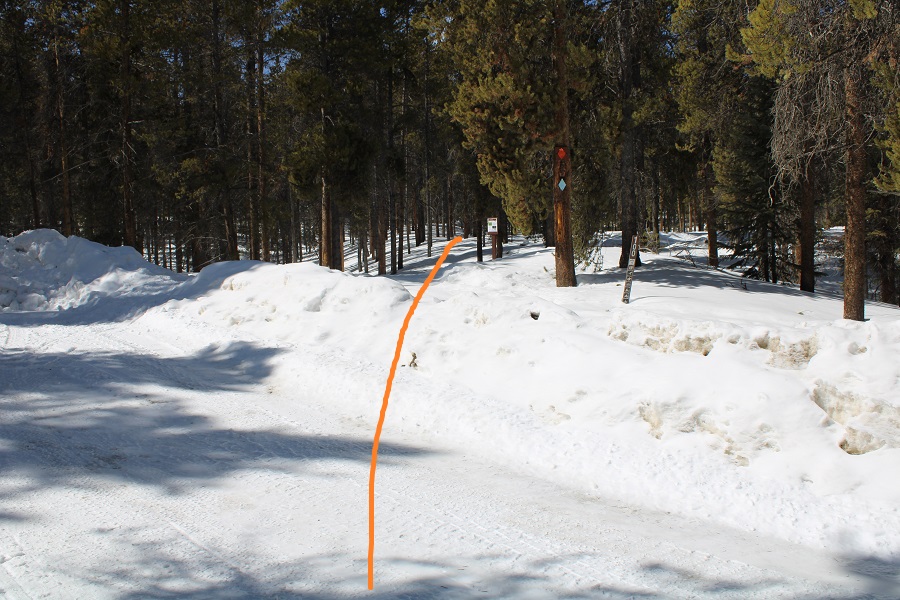
I continued on in the dark, making great time, until the sun began to rise.  That’s when I noticed I was heading the wrong way and realized I’d missed my turn in the dark. I’d gone a mile past my turn, and added 600’ of elevation gain to my day (already taken off my stats).  Drat!  I turned and ran a mile down the road, to the correct turnoff at 10,500’

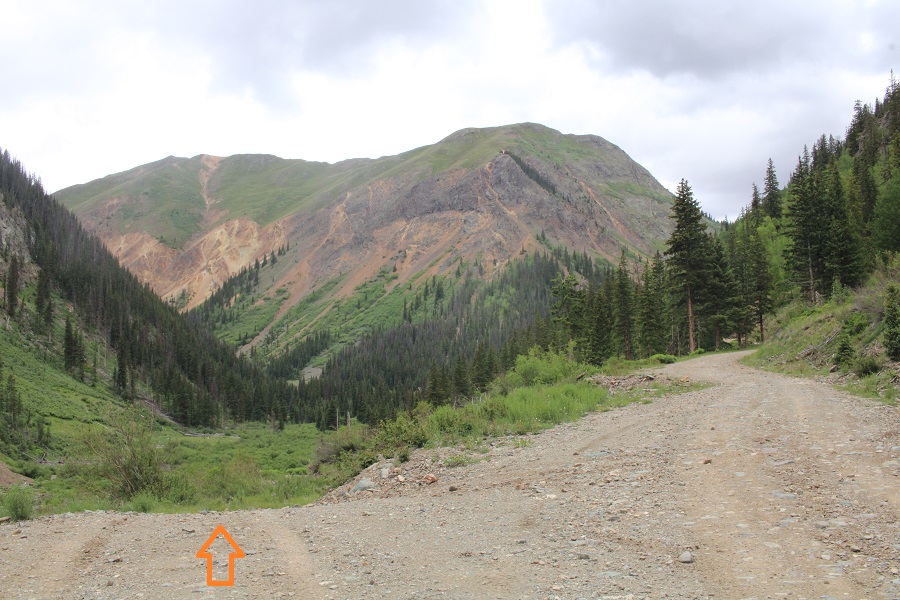
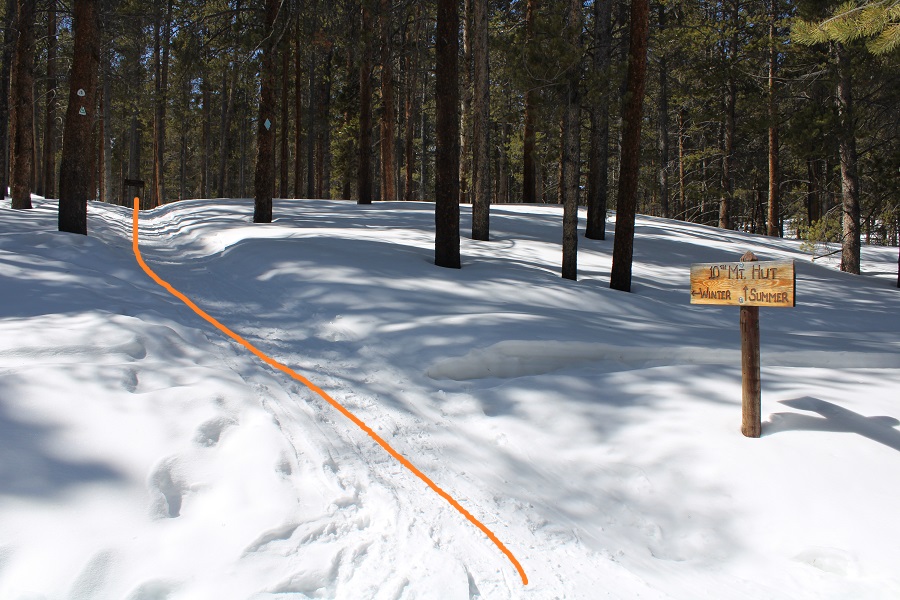
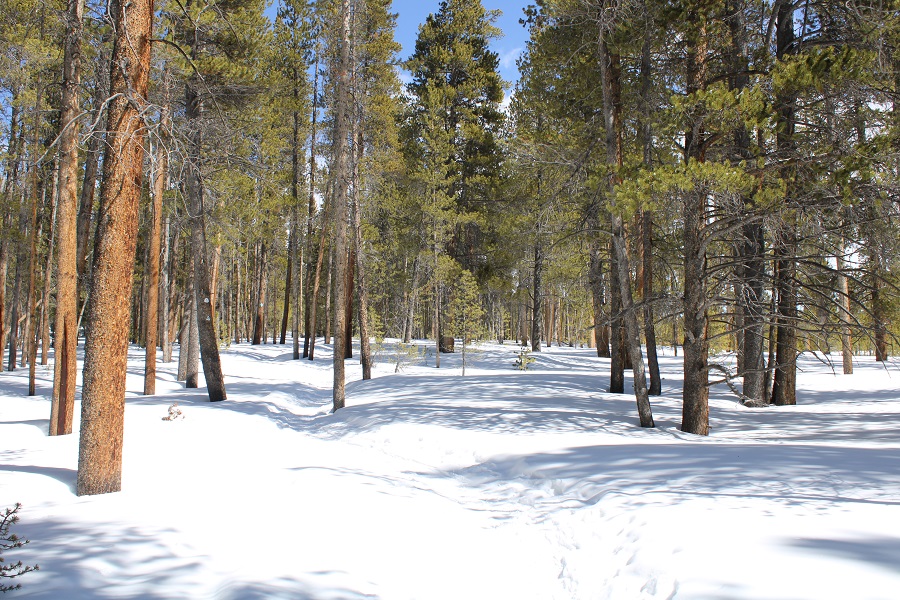
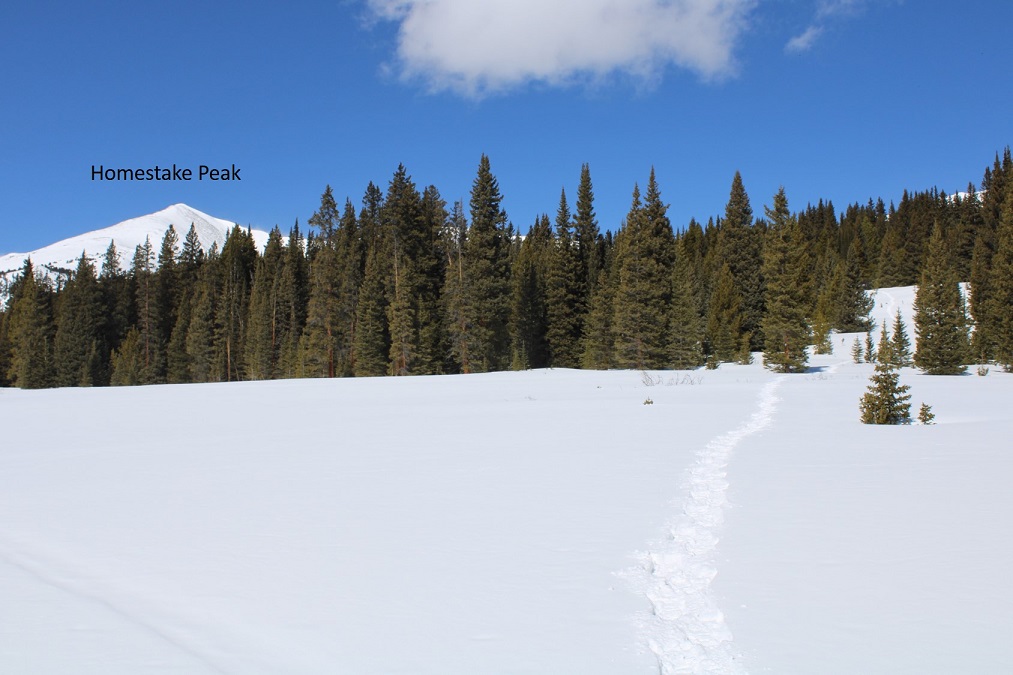
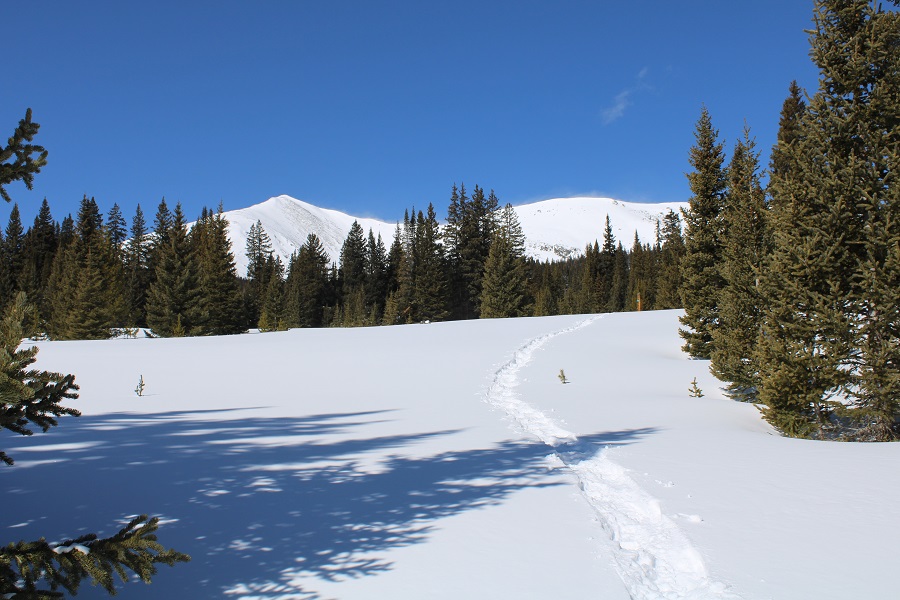
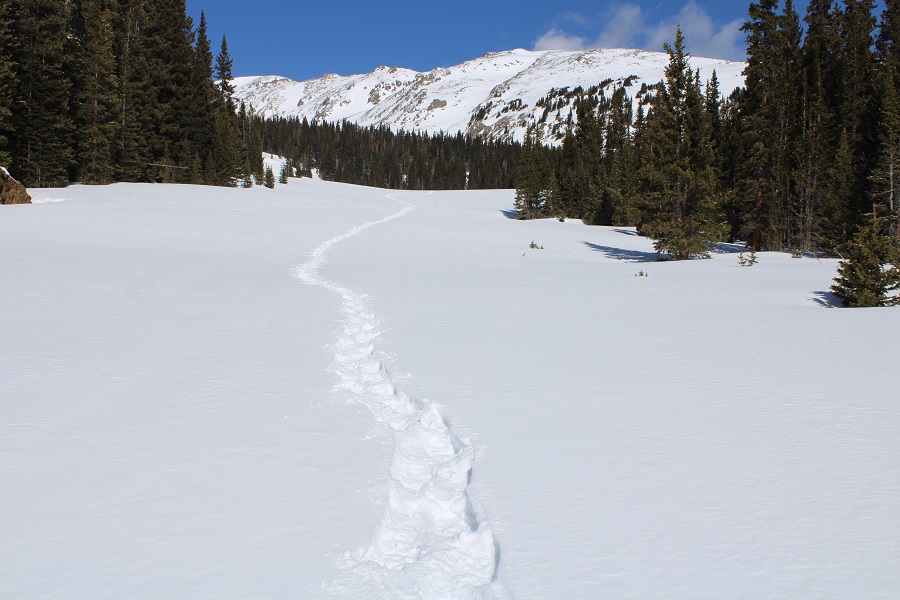
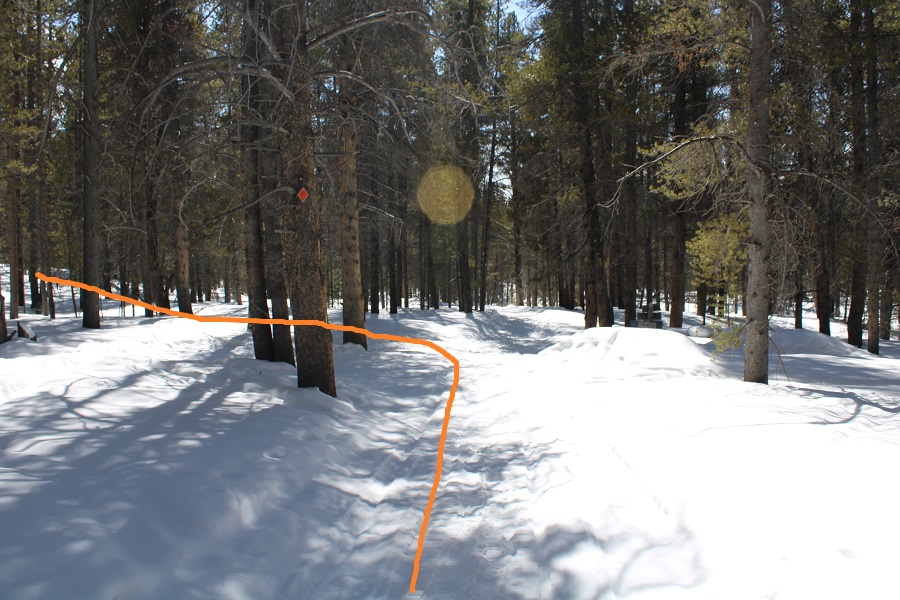
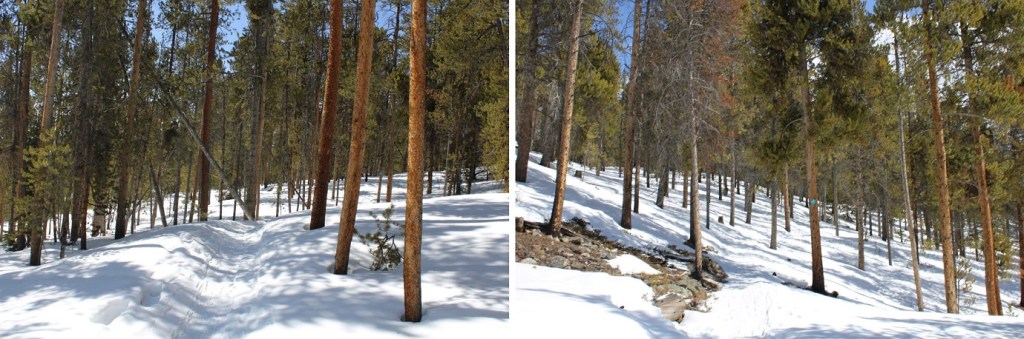
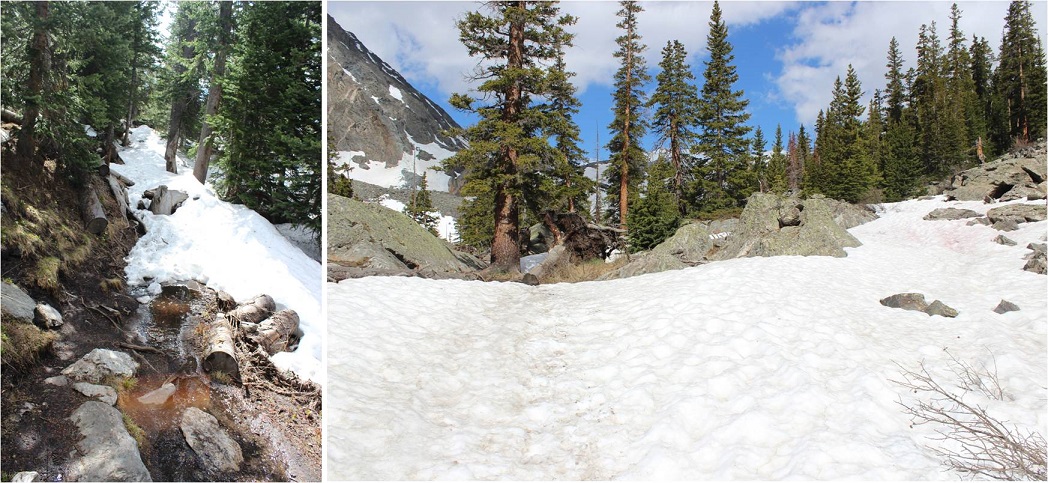
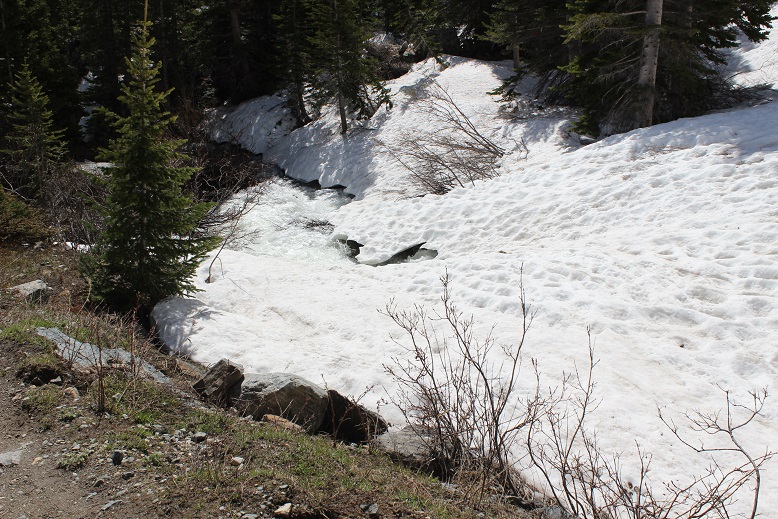
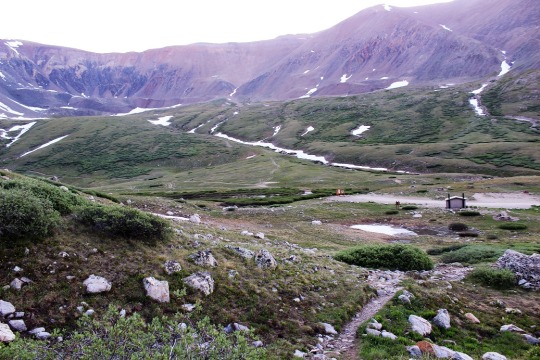
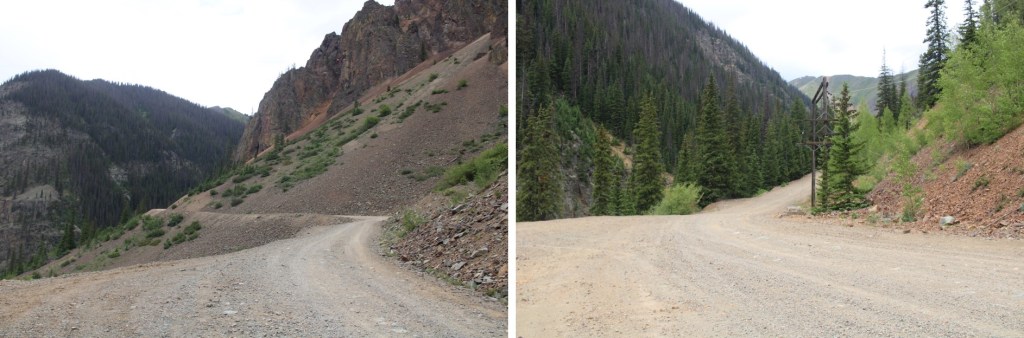
I then followed this road, which paralleled the South Fork Animas River

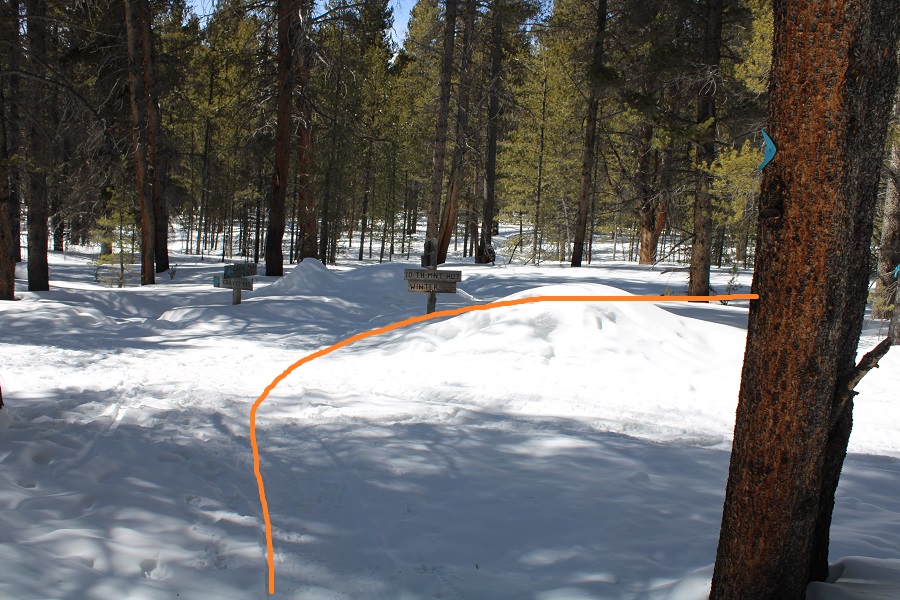
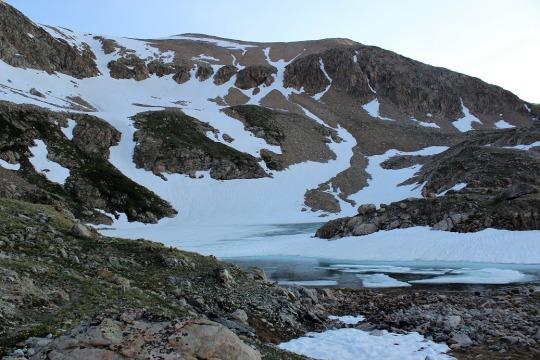
There were a few dispersed campsites along the way. The road ended at a creek crossing.  Well, it didn’t end, but you couldn’t drive any further.

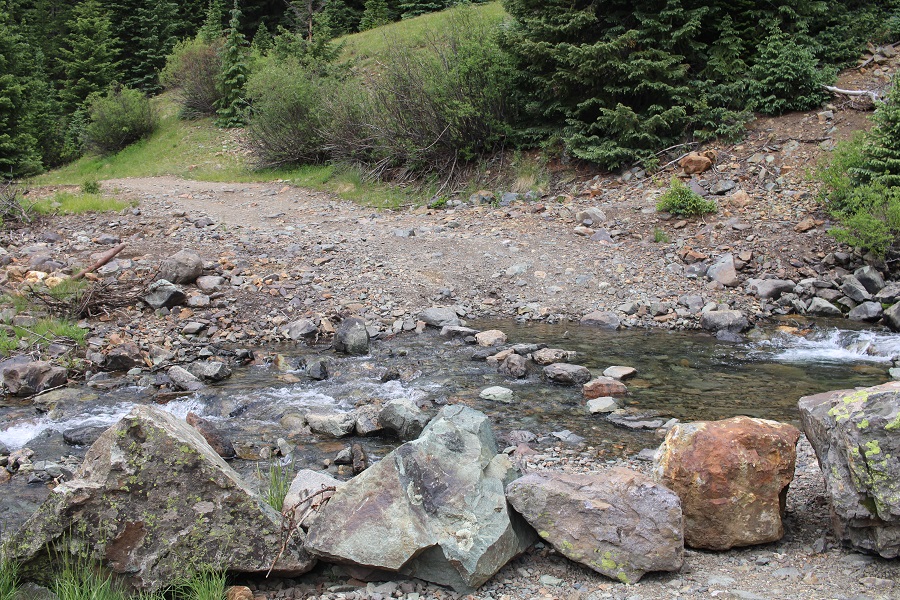
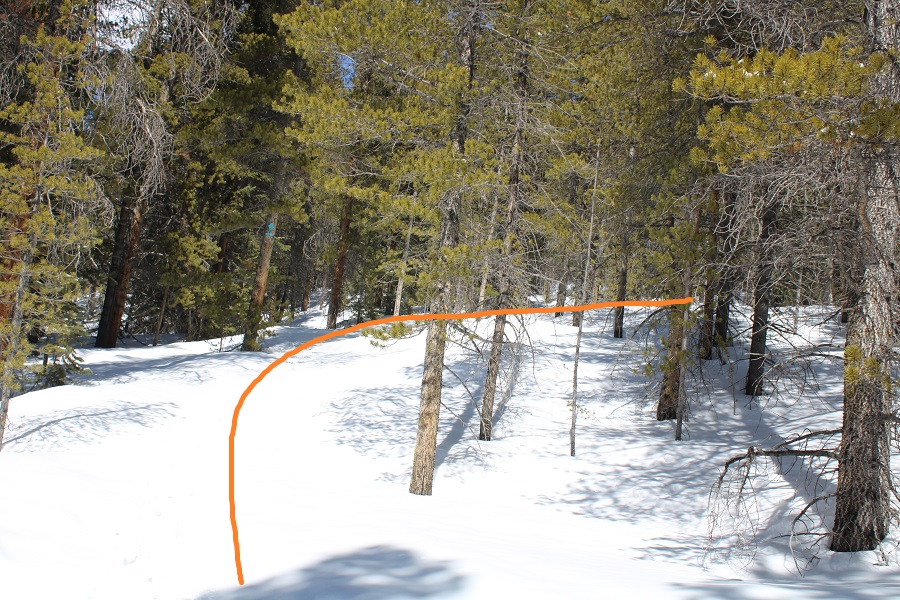
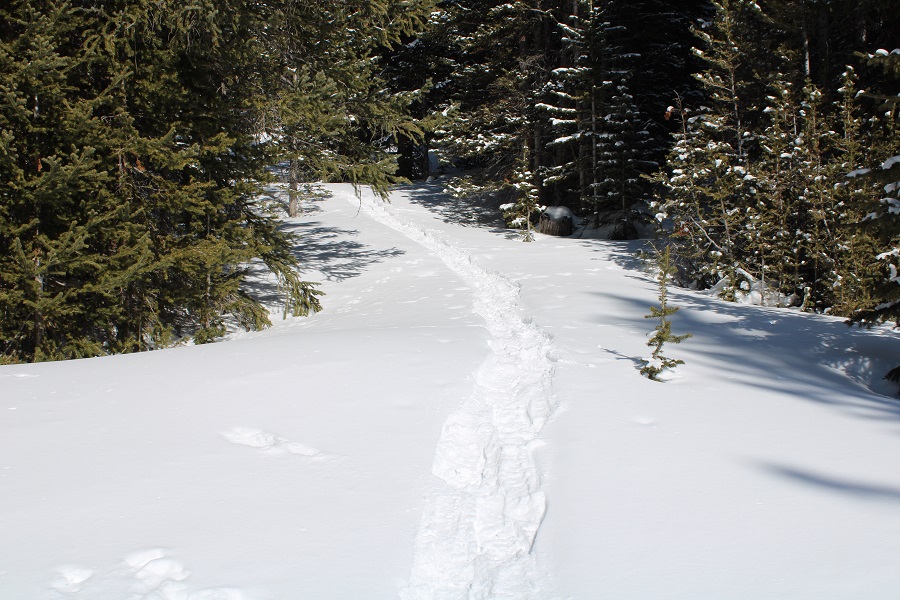
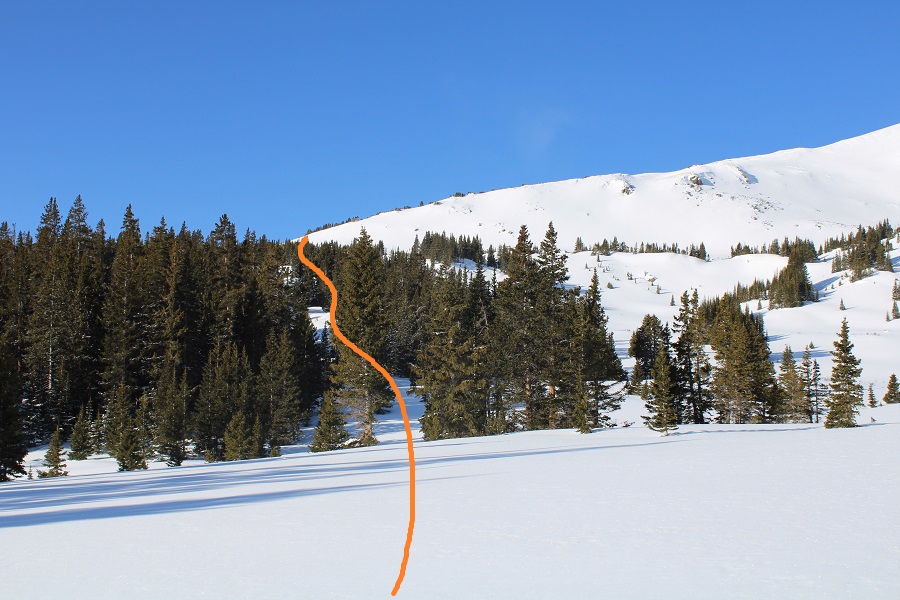
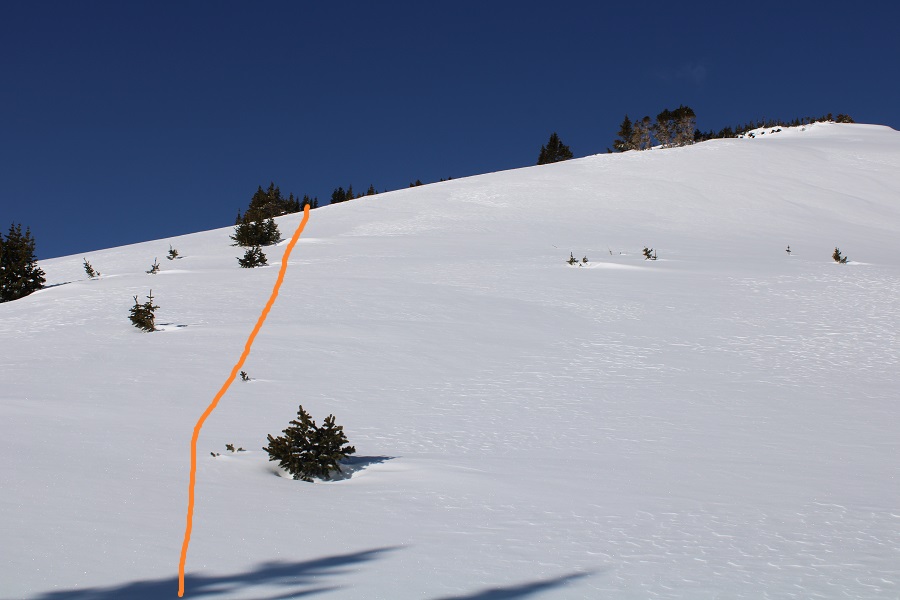
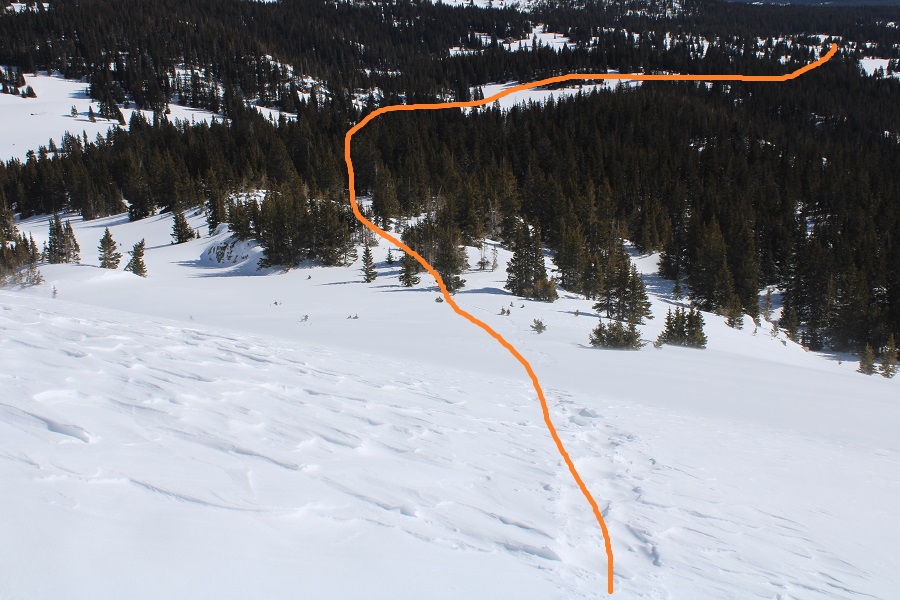
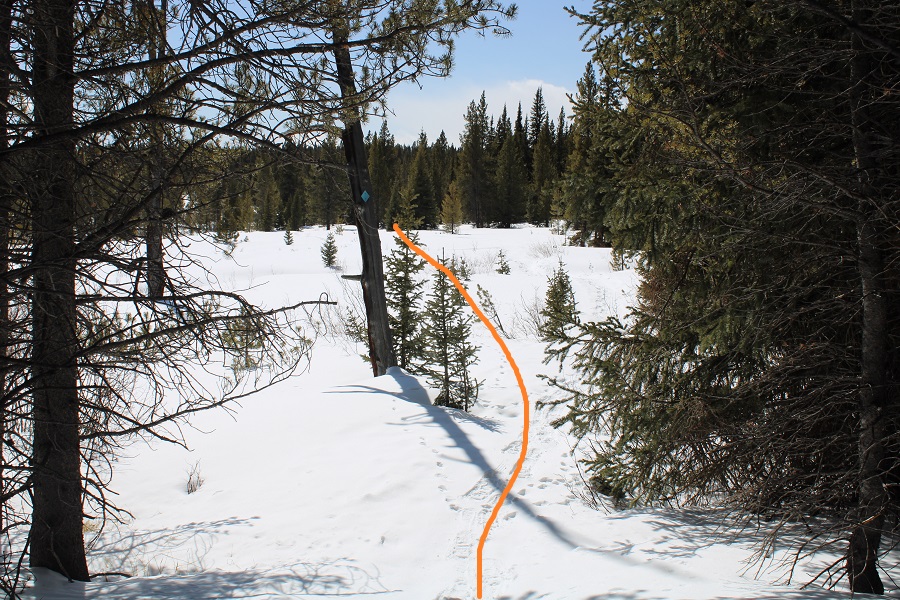
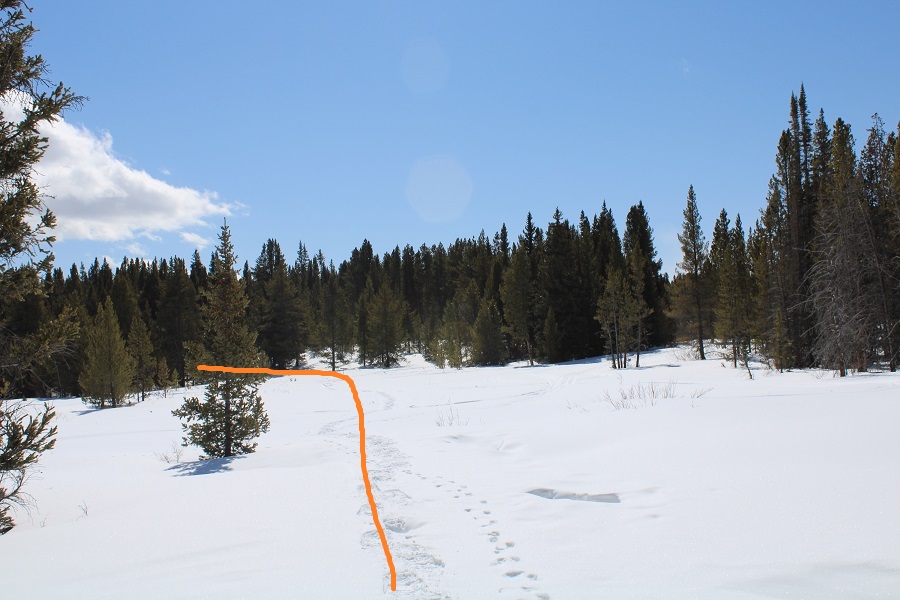
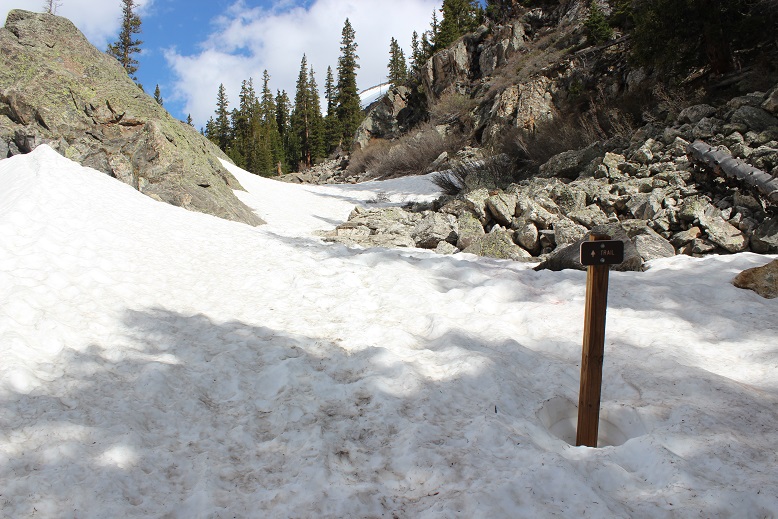
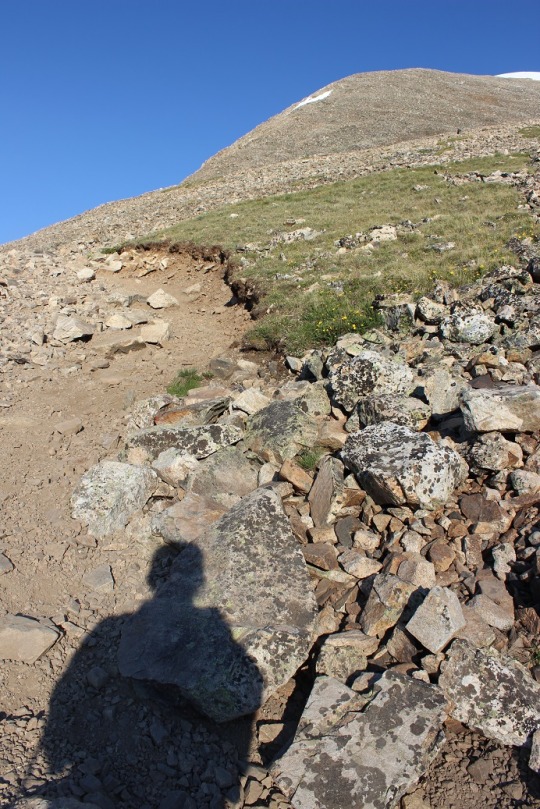
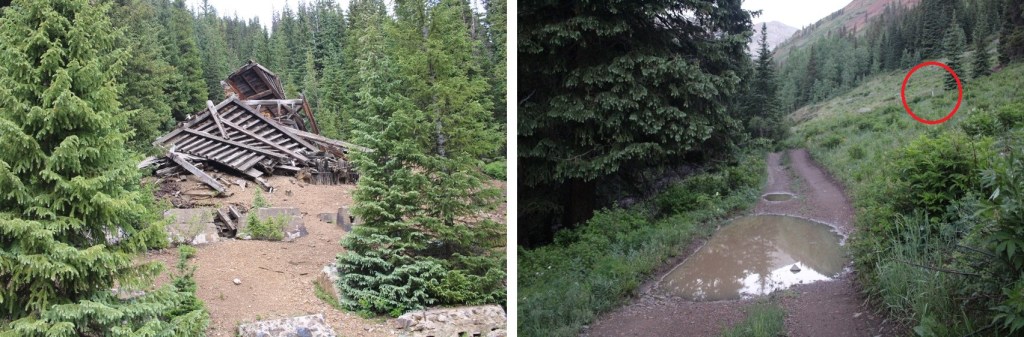
I crossed the creek, passed an abandoned mine, and the road curved.  This is where the trail began. It’s an unnamed pack trail, and very difficult to follow.  Don’t cross the creek.

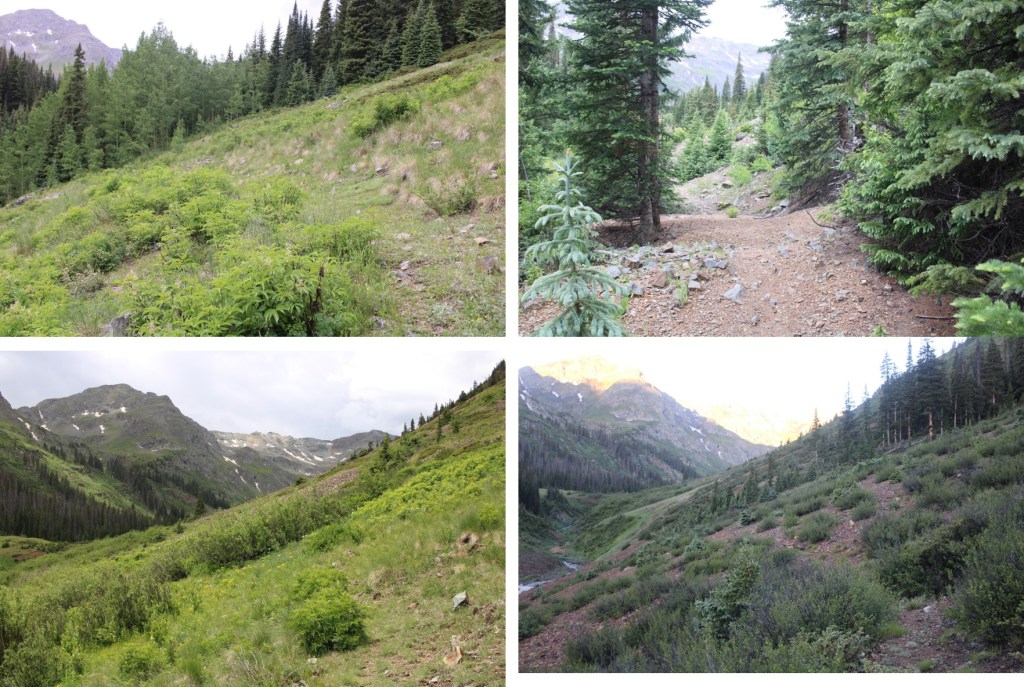
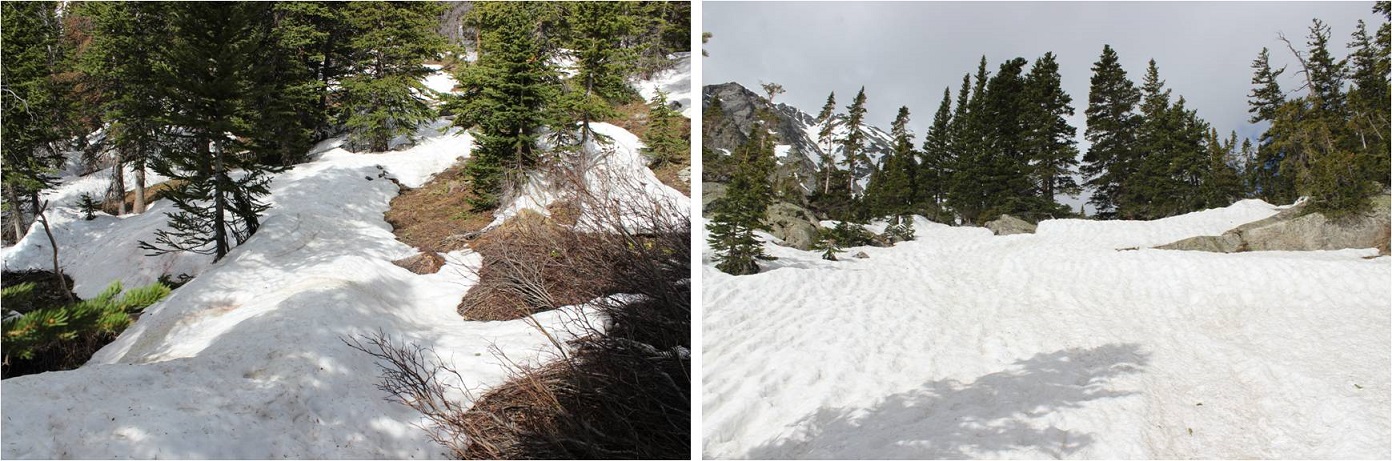
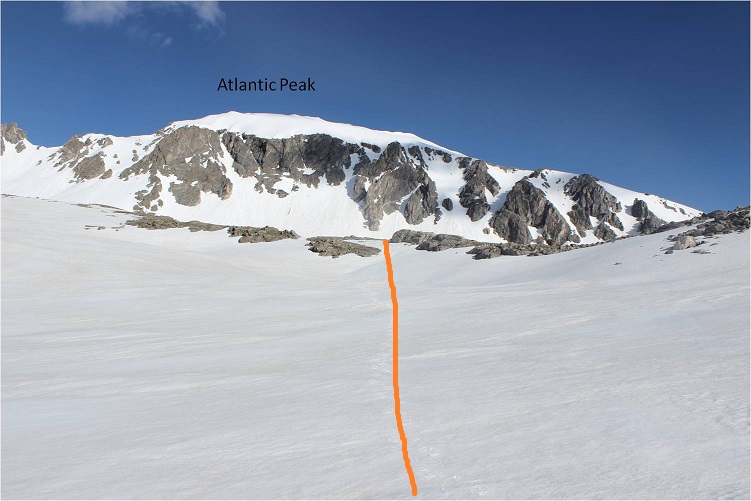
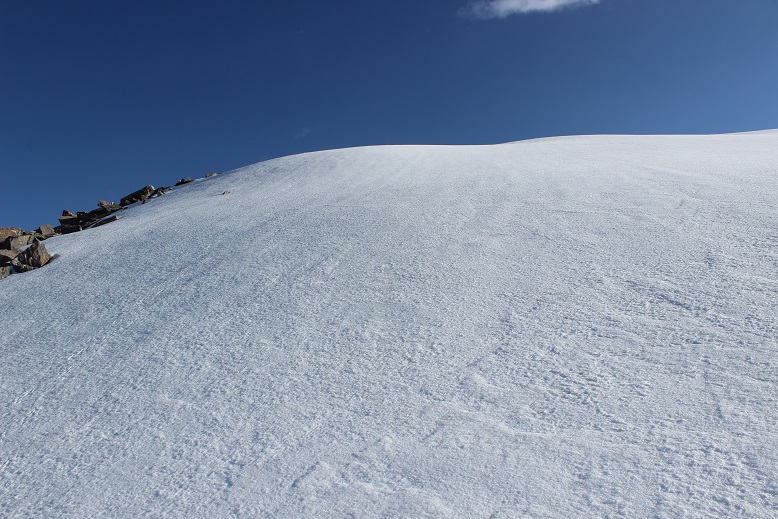
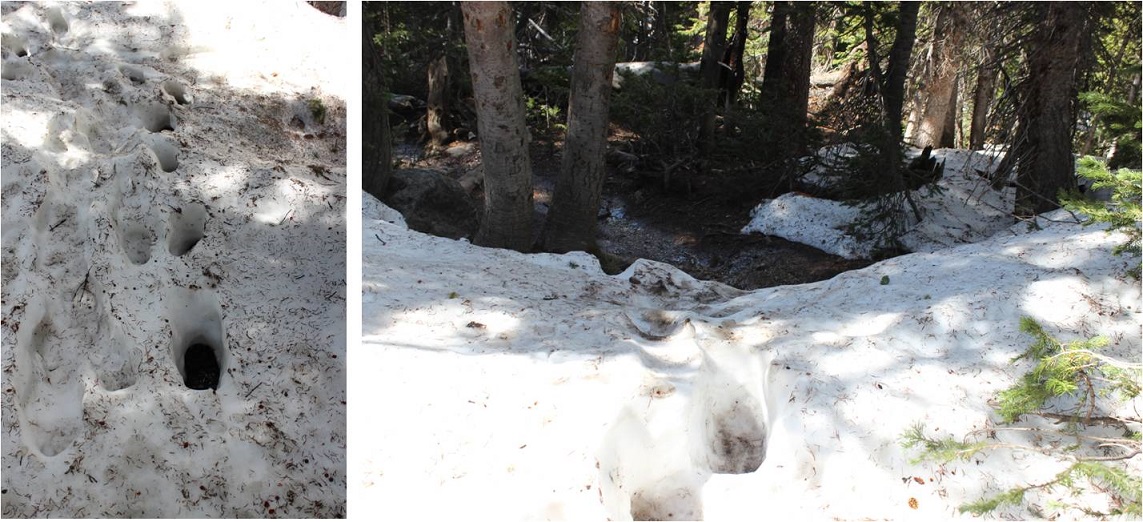
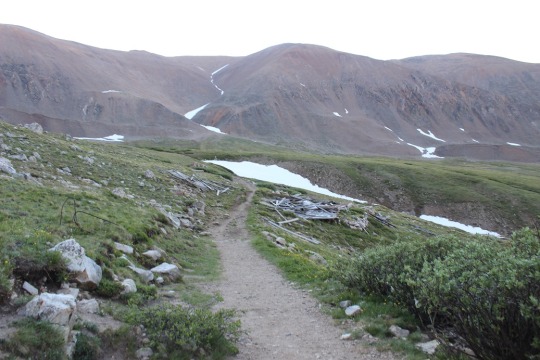
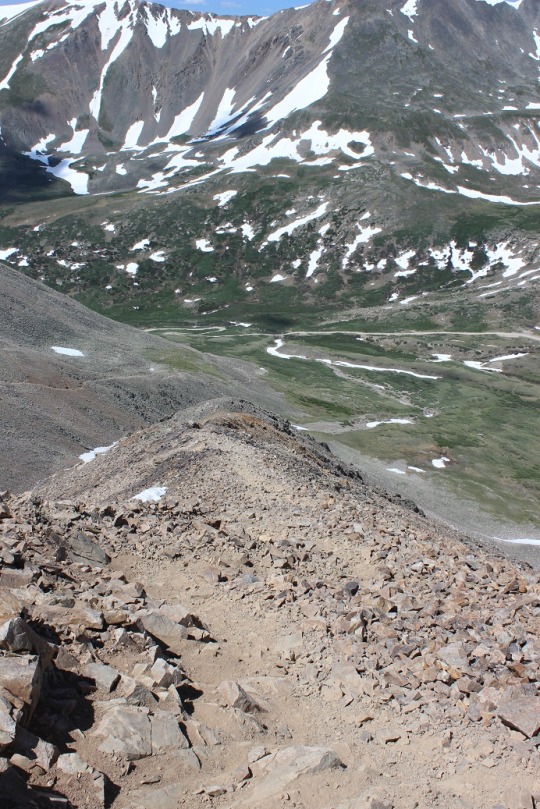
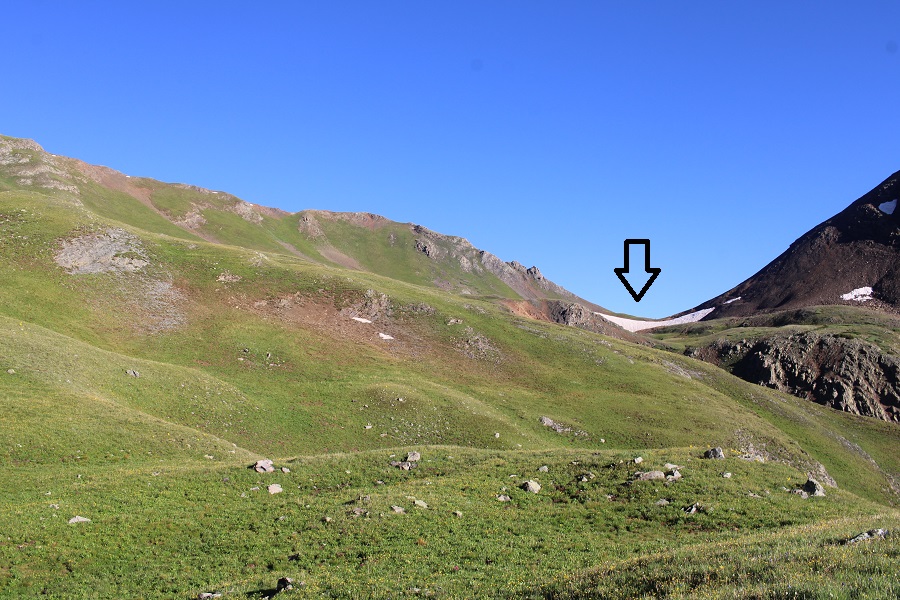
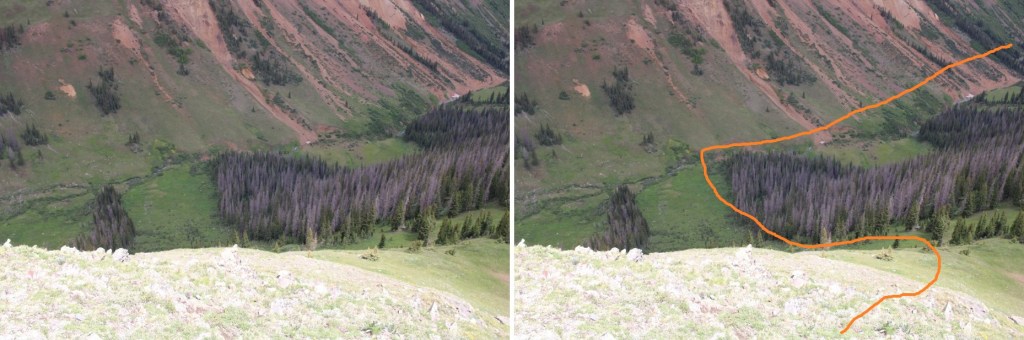
I passed several large runnels

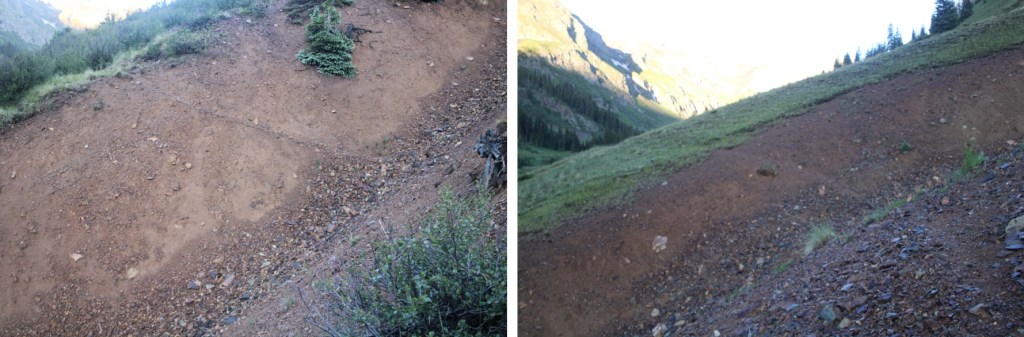
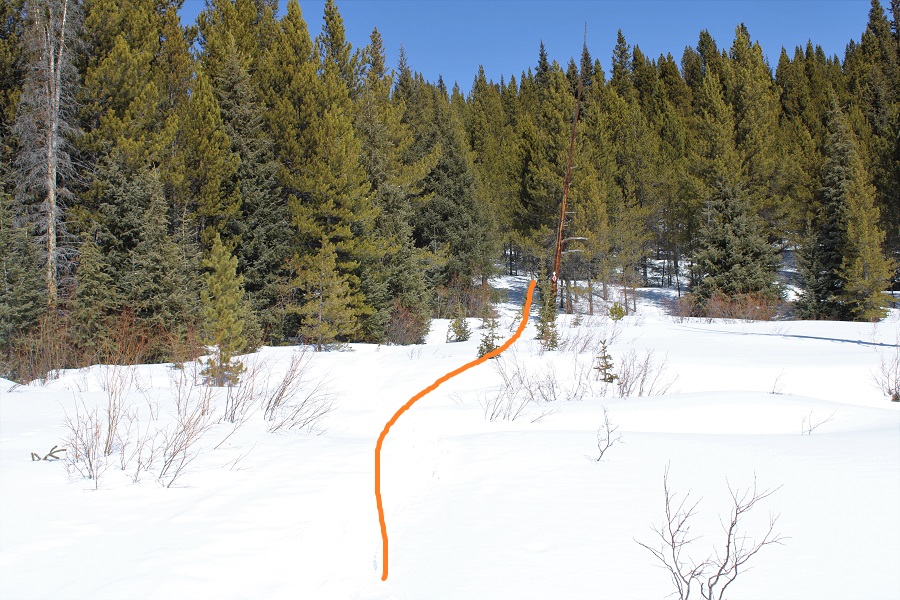
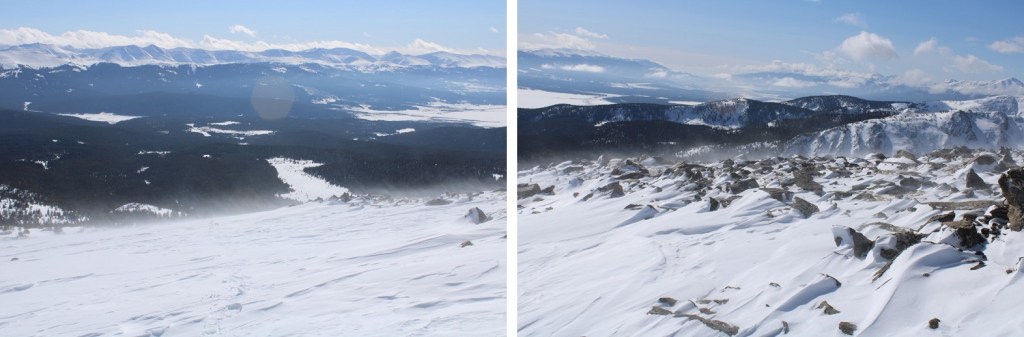
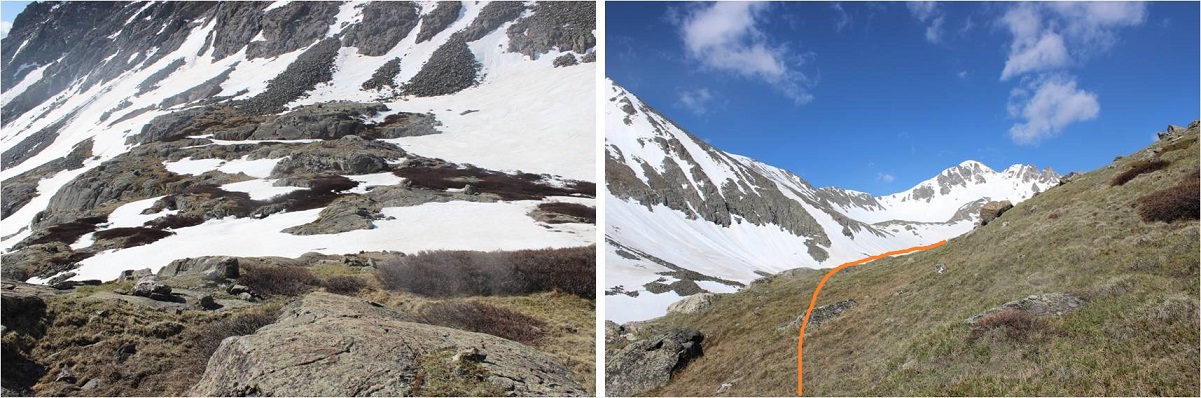
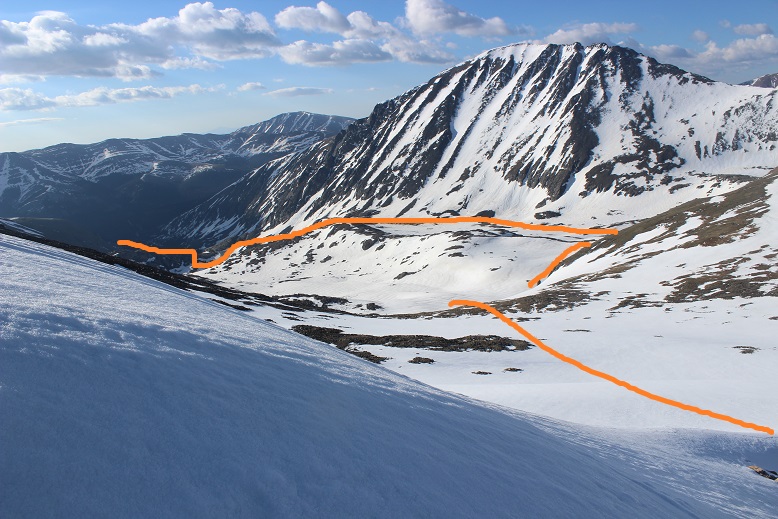
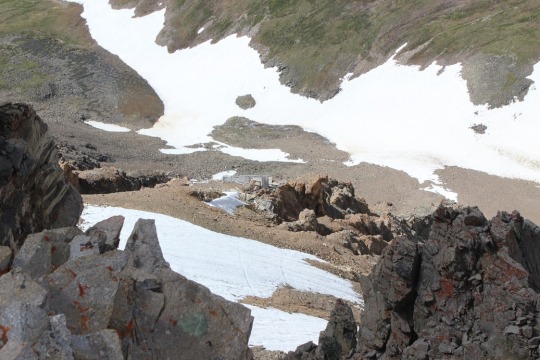
And noted now that I had a visual my intended decent route was going to need to be modified, as it cliffed out.  I resolved to instead take a different ridge down, which looked like it ‘went’ and continued southwest to treeline. Once again, there wasn’t a consistent trail here, but I did come across game trails I utilized when available.

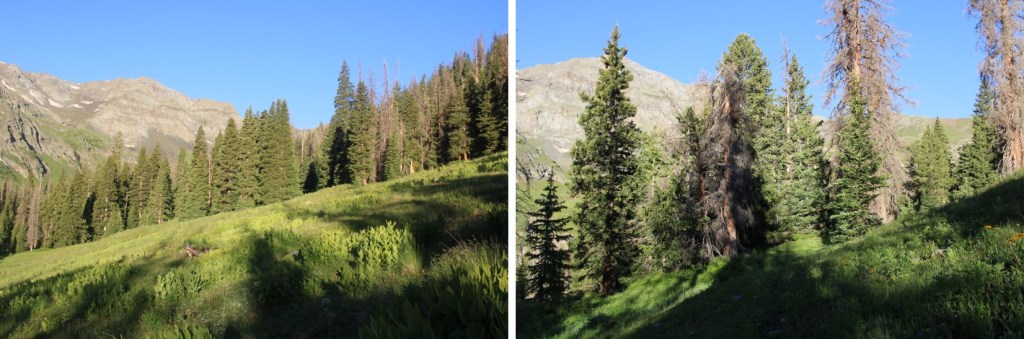
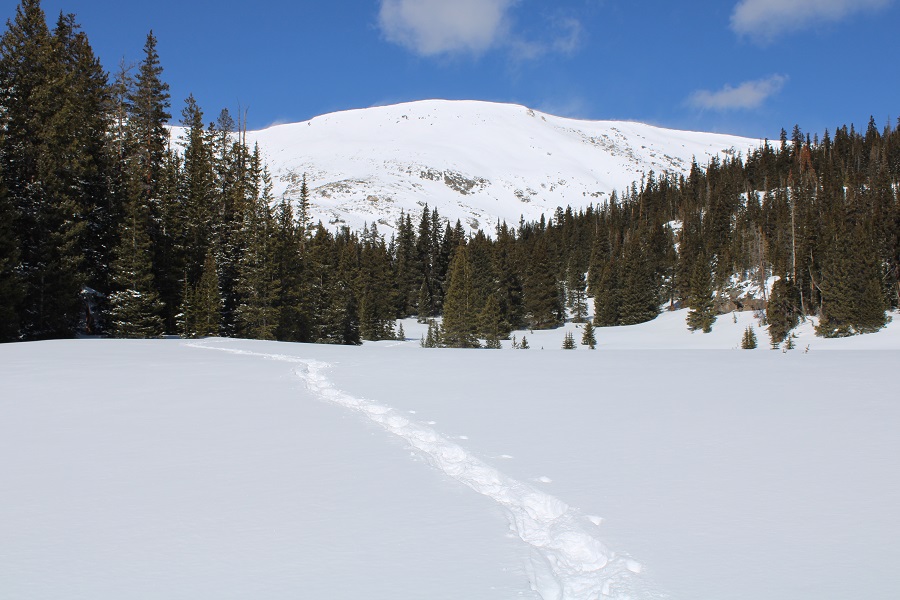
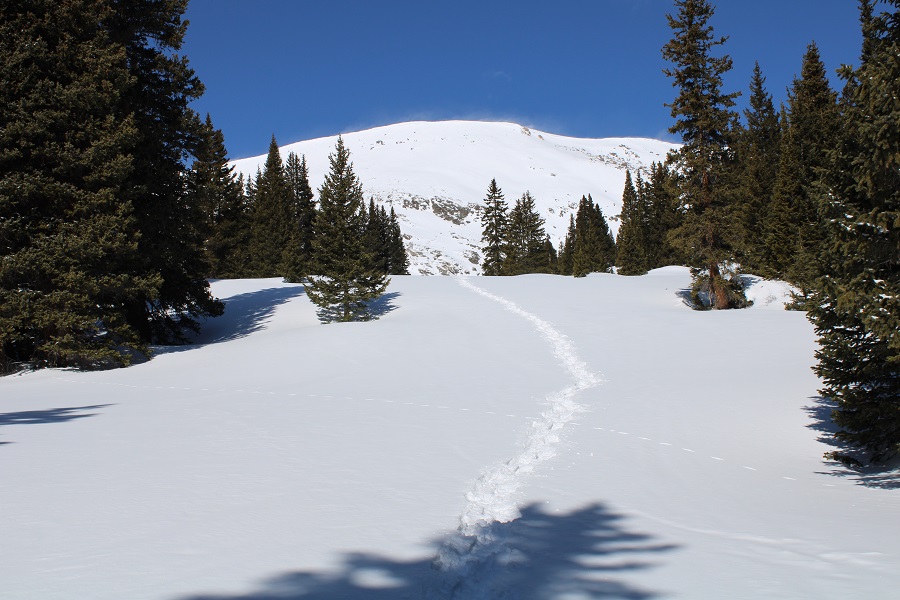
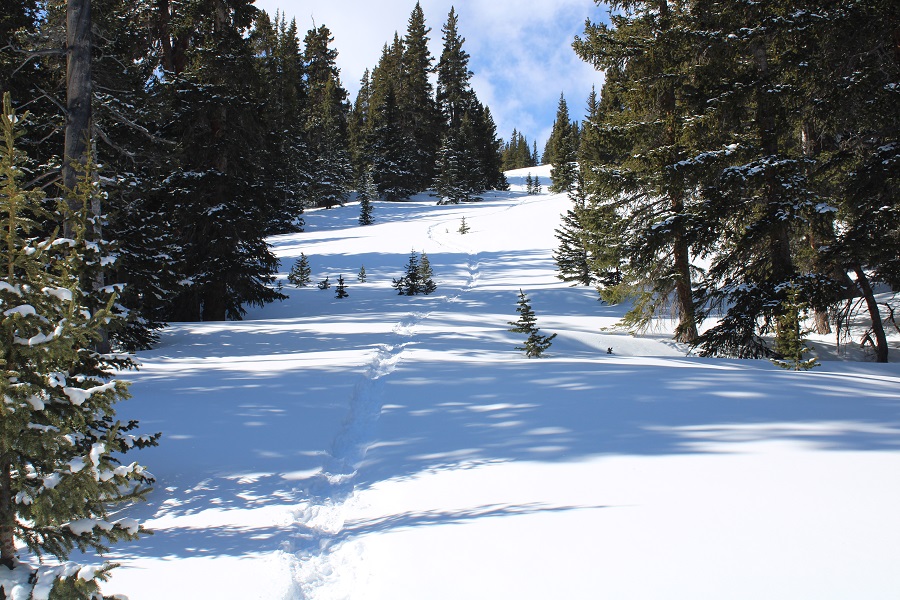
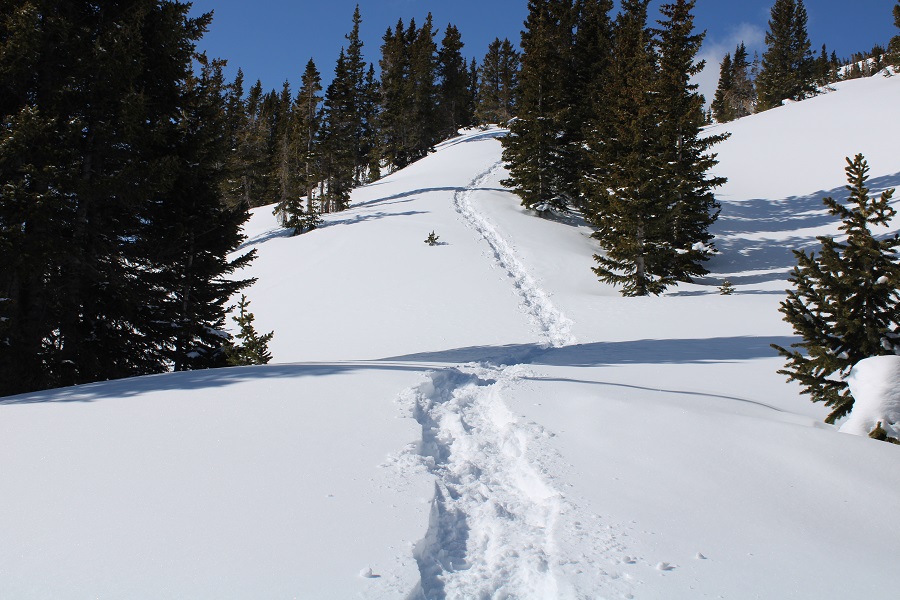
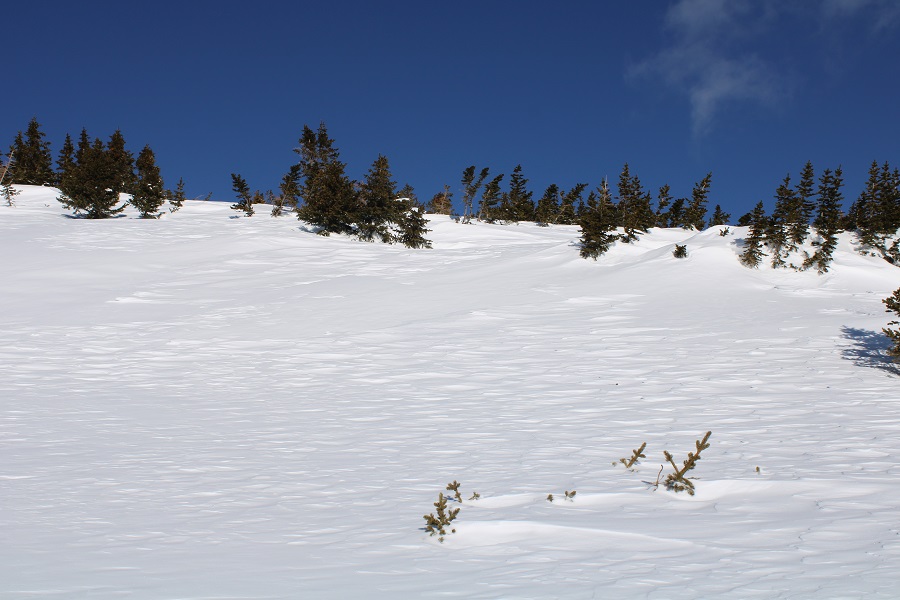
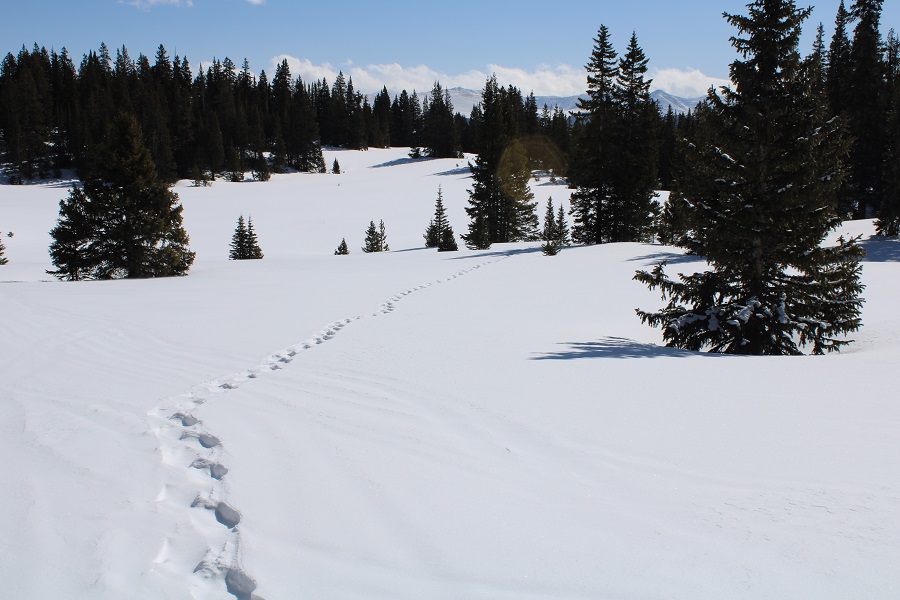
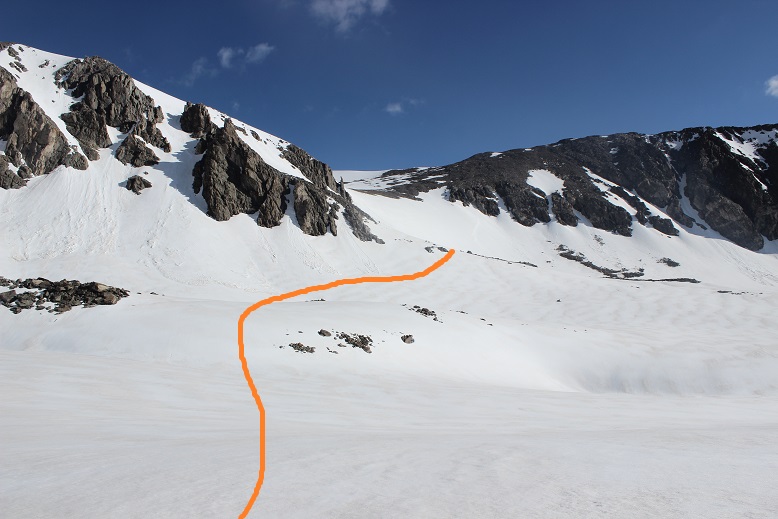
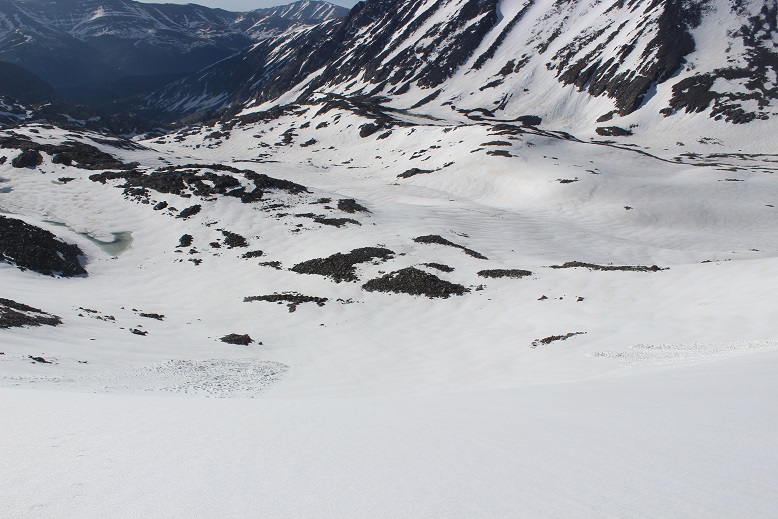
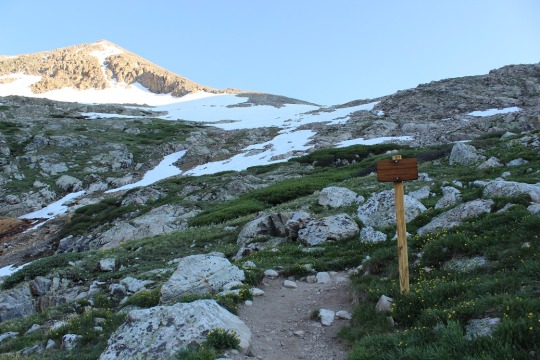
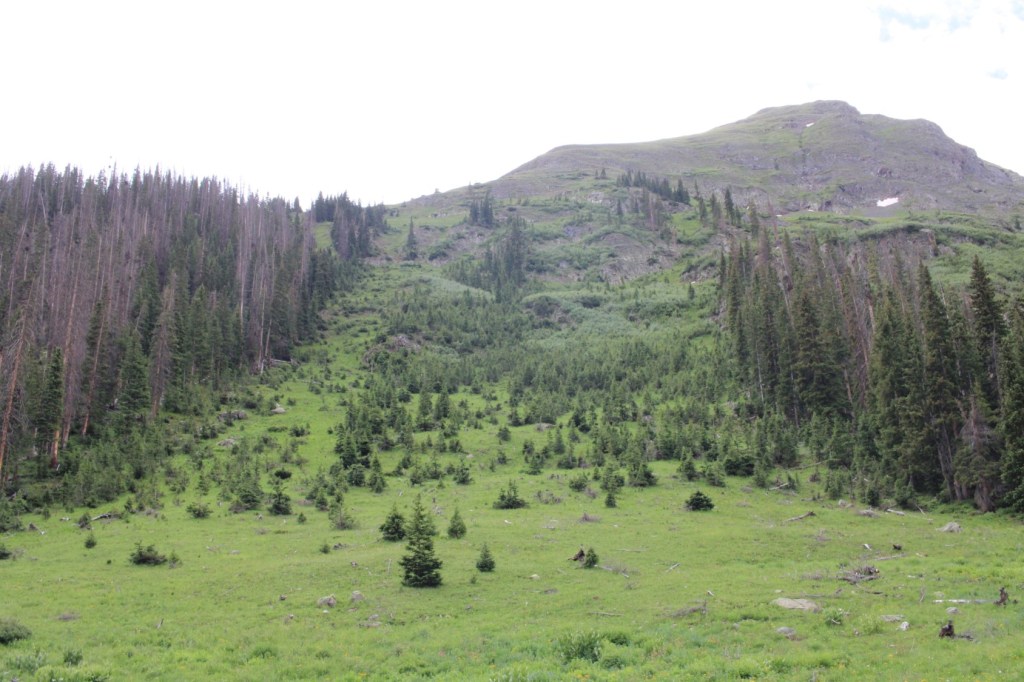
Now at treeline, I needed to access the upper basin.  This is how I got there.  There were TONS of game trails in the area.

I was headed northwest, aiming for a saddle

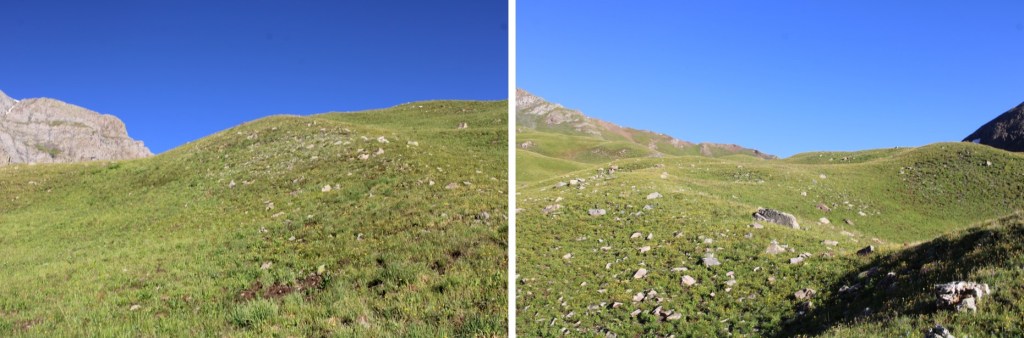
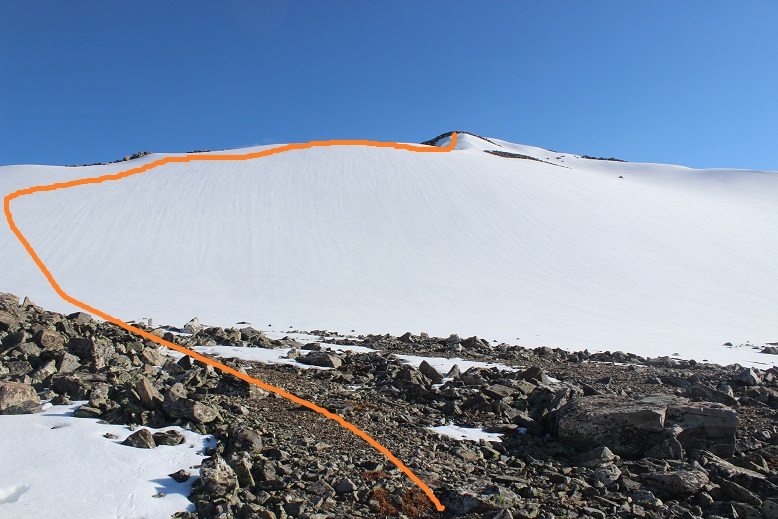
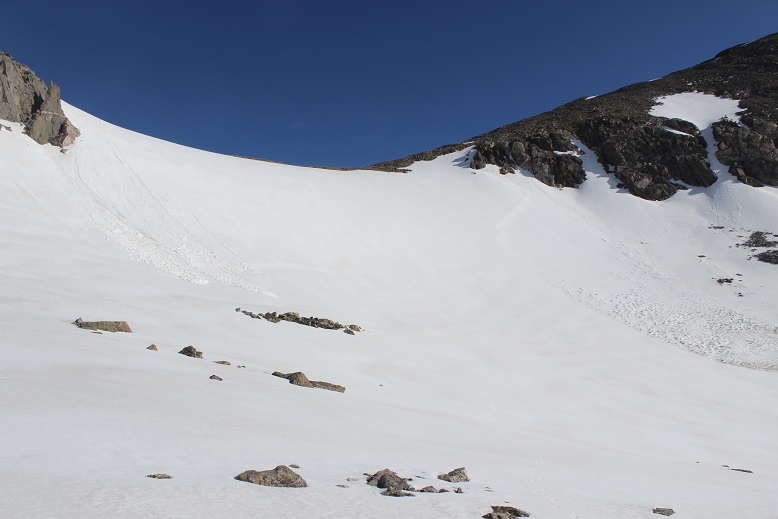
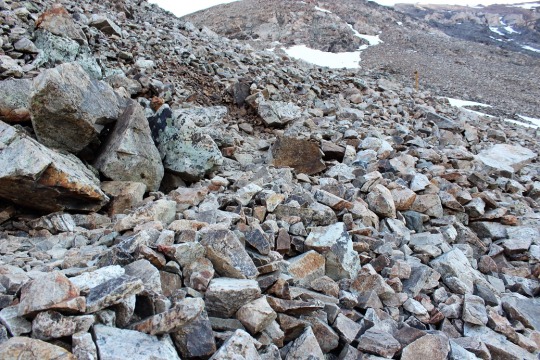
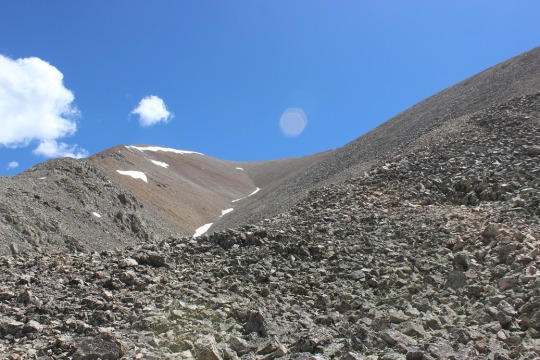
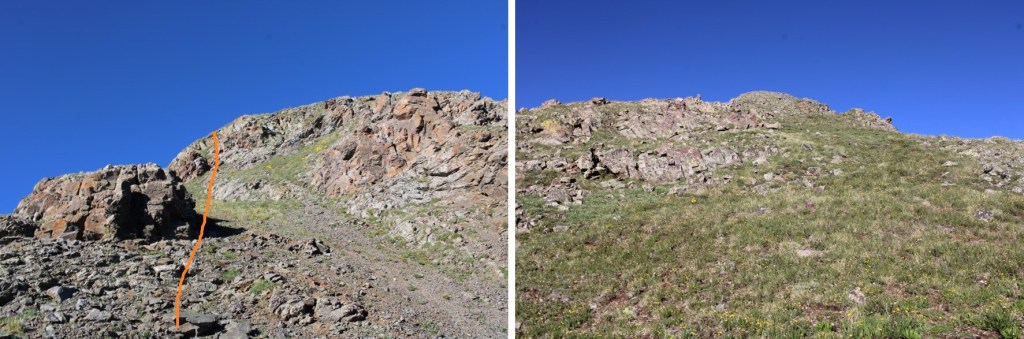
Once at the saddle, I turned left to ascend the ridge and follow it south.  Initially I hit a scree-filled gully, but it was short.

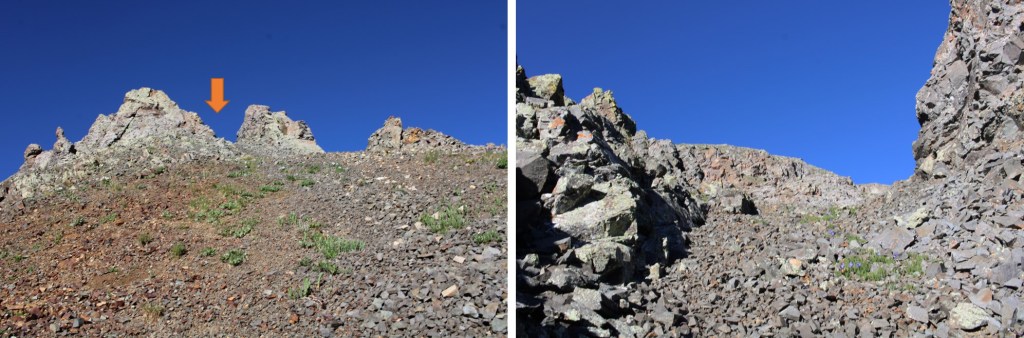
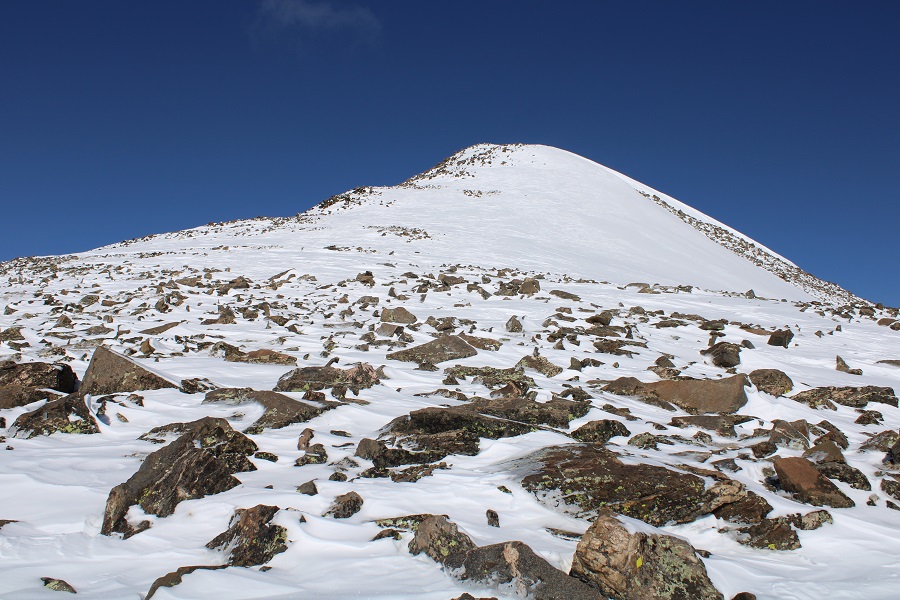
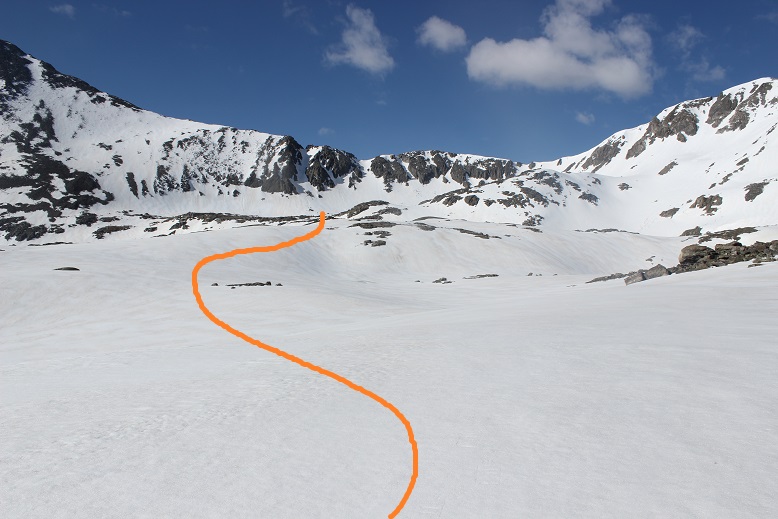
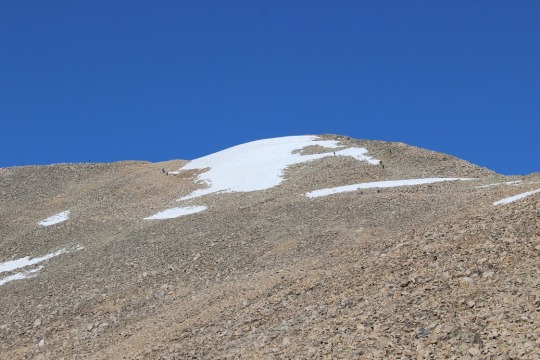
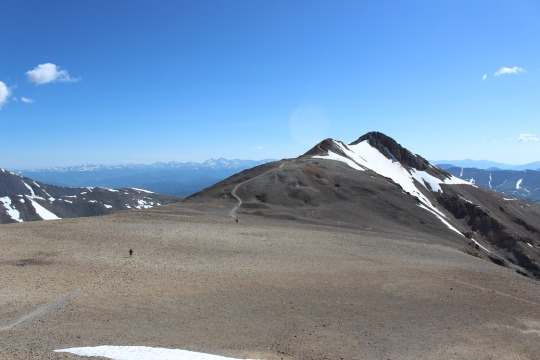
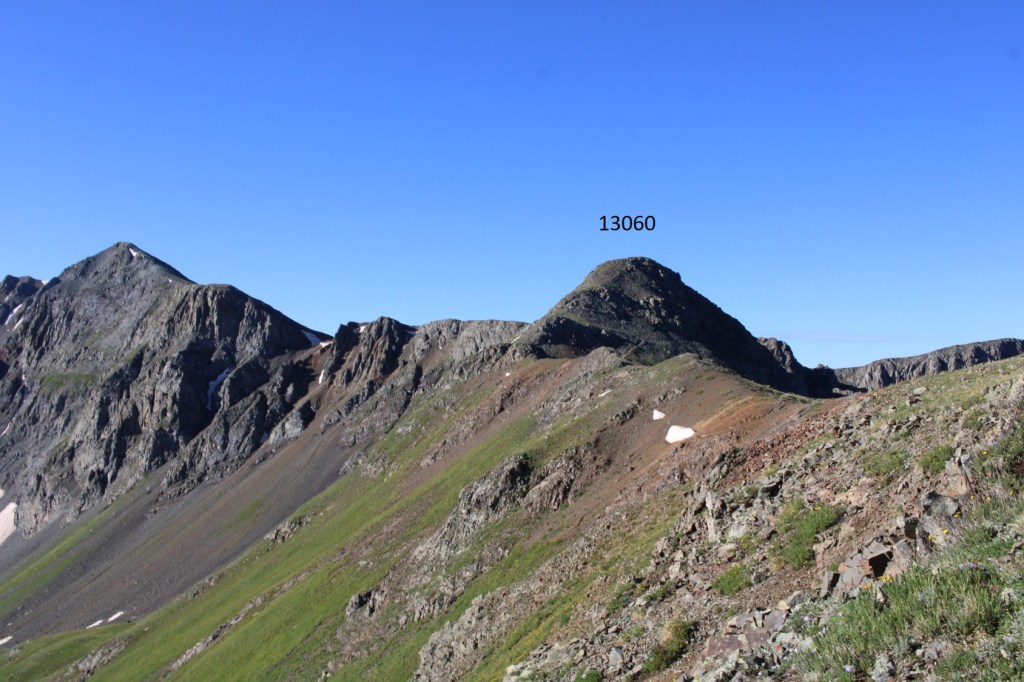
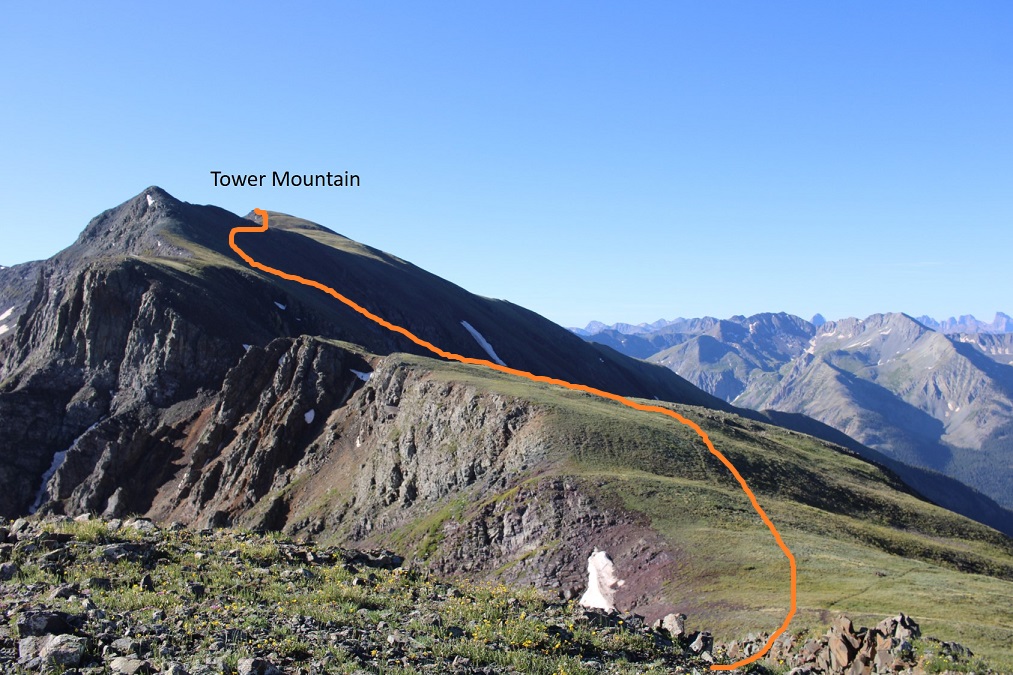
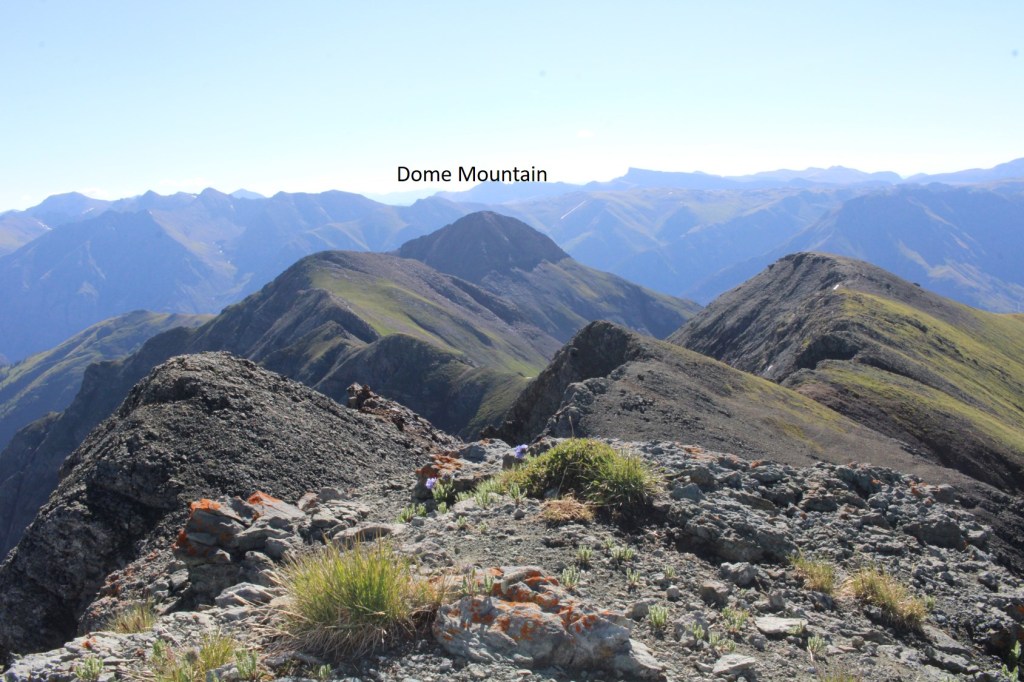
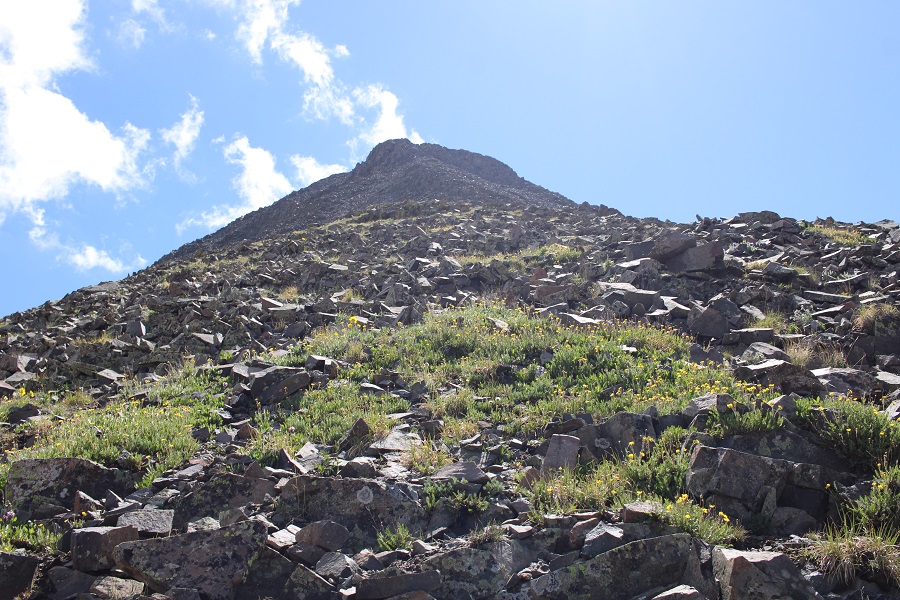
I then hit some rocky tundra area, but once I ascended this I hit a class 1 trail.   This trail took me up and over PT 13060, then it went downhill while I followed the tundra towards Tower Mountain.

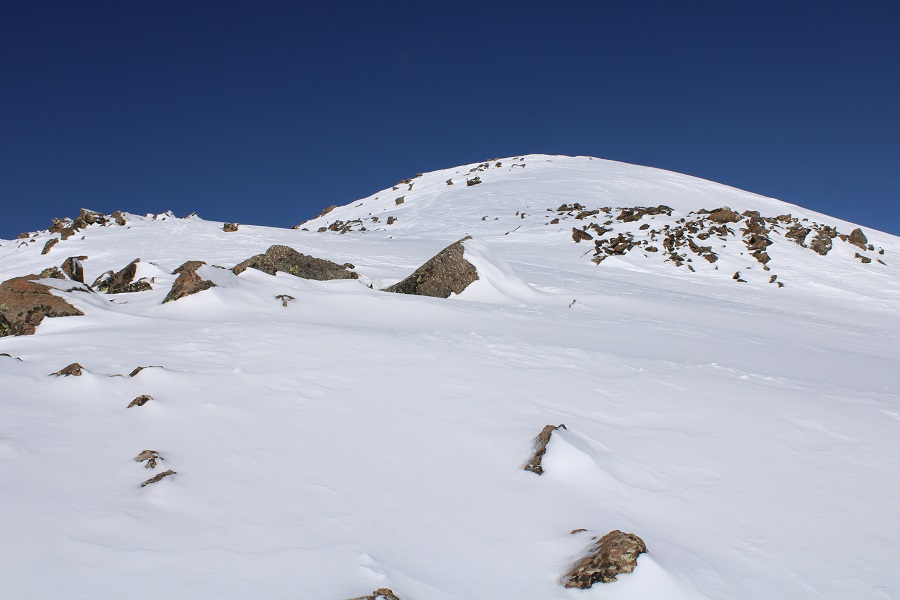
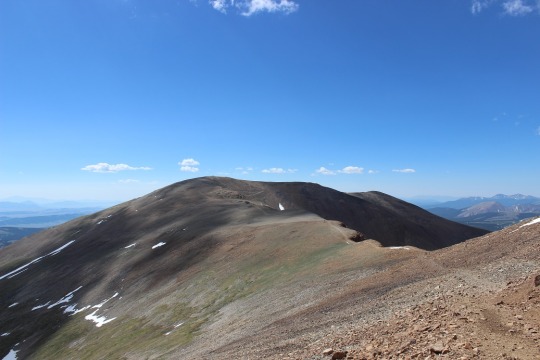
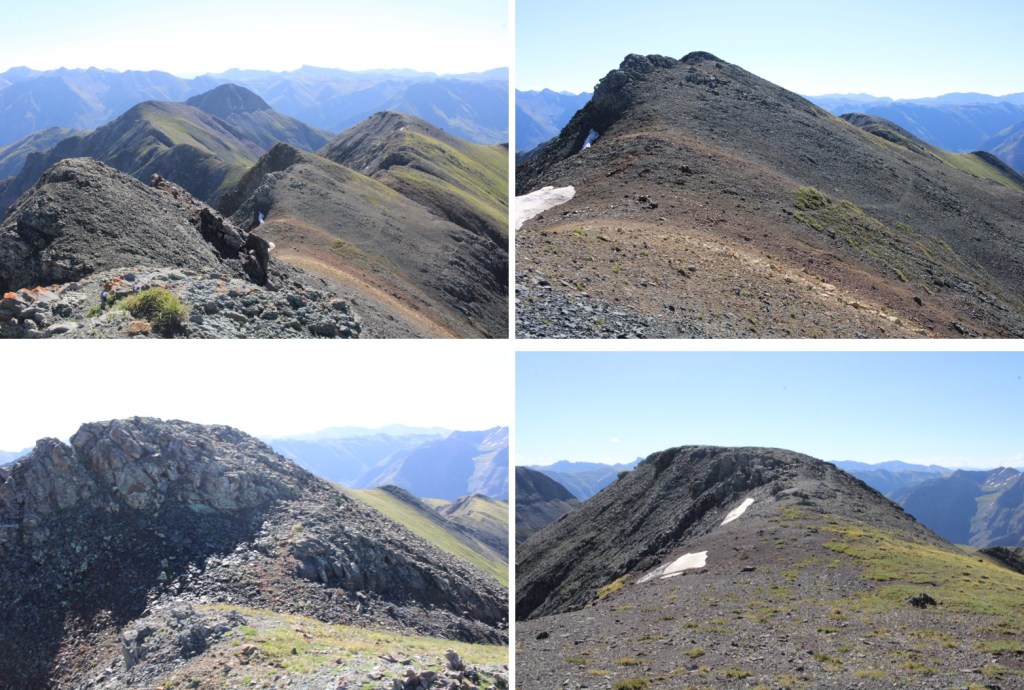
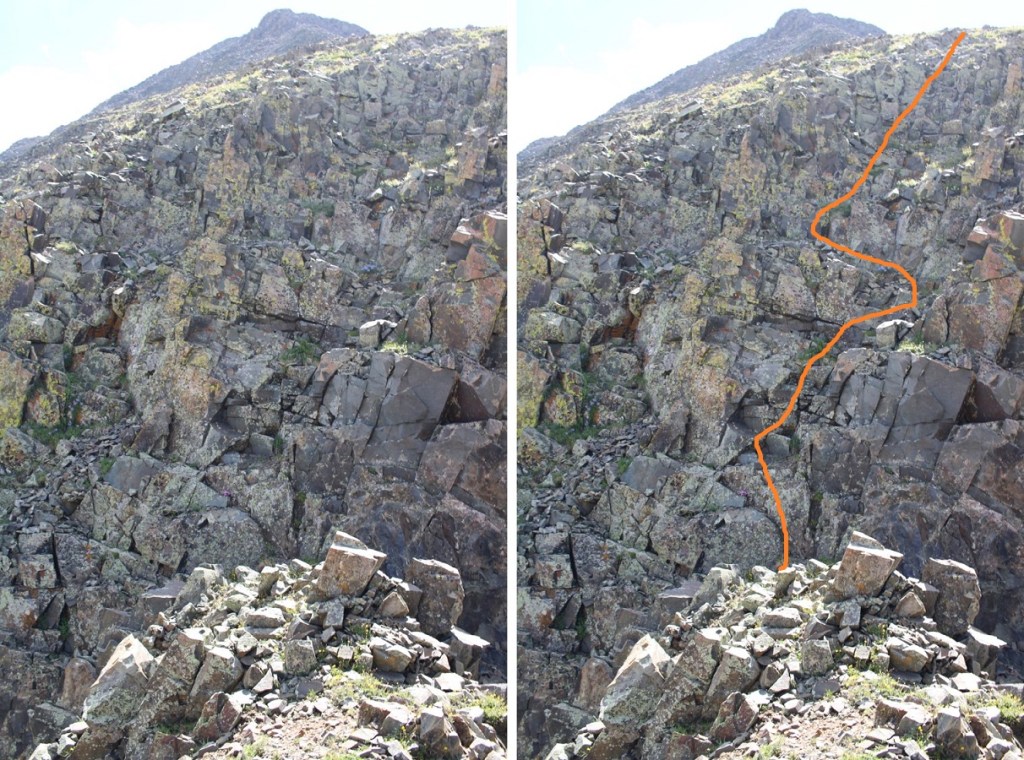
Here’s my route up Tower Mountain (which has a tower…)

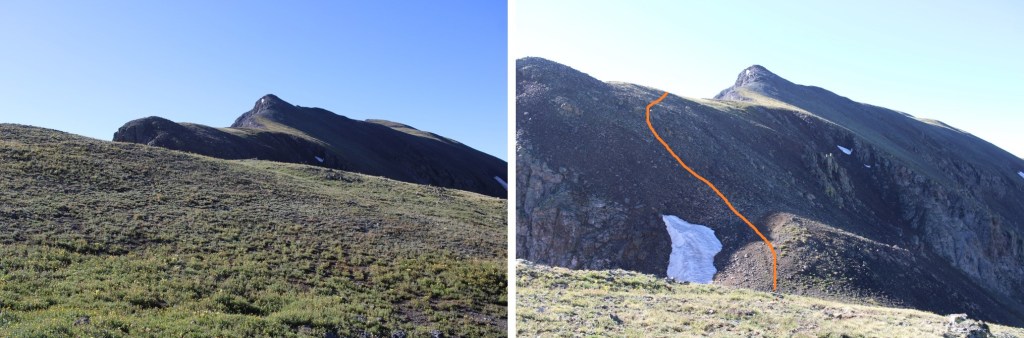
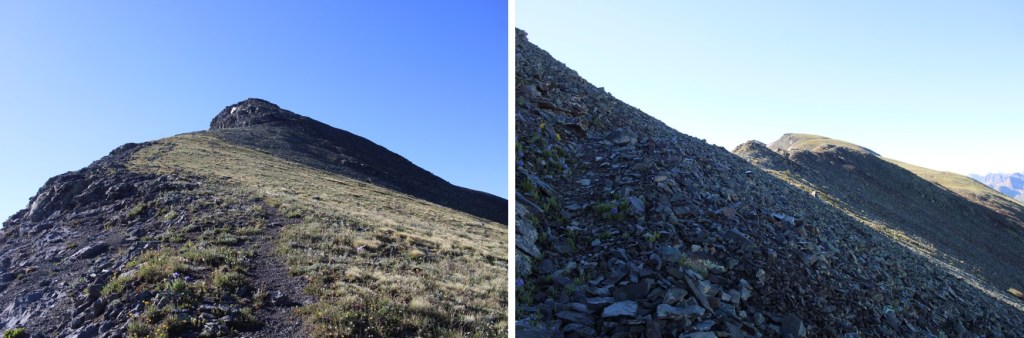
And a few step by step pictures (this is all class 2)

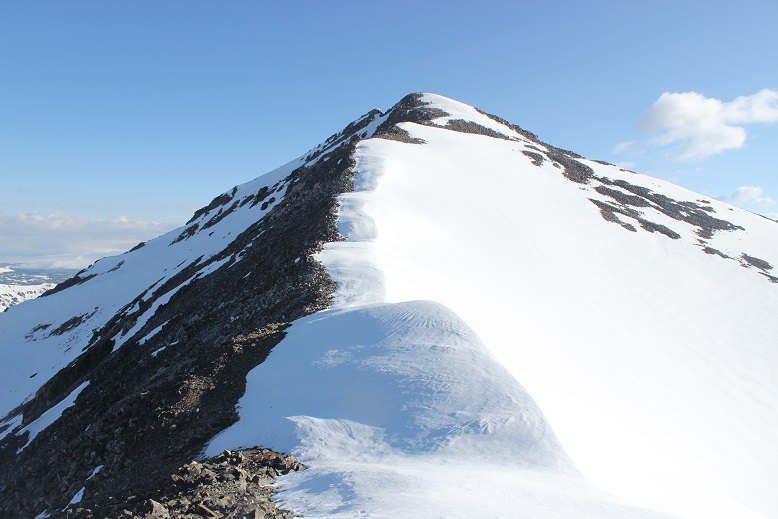
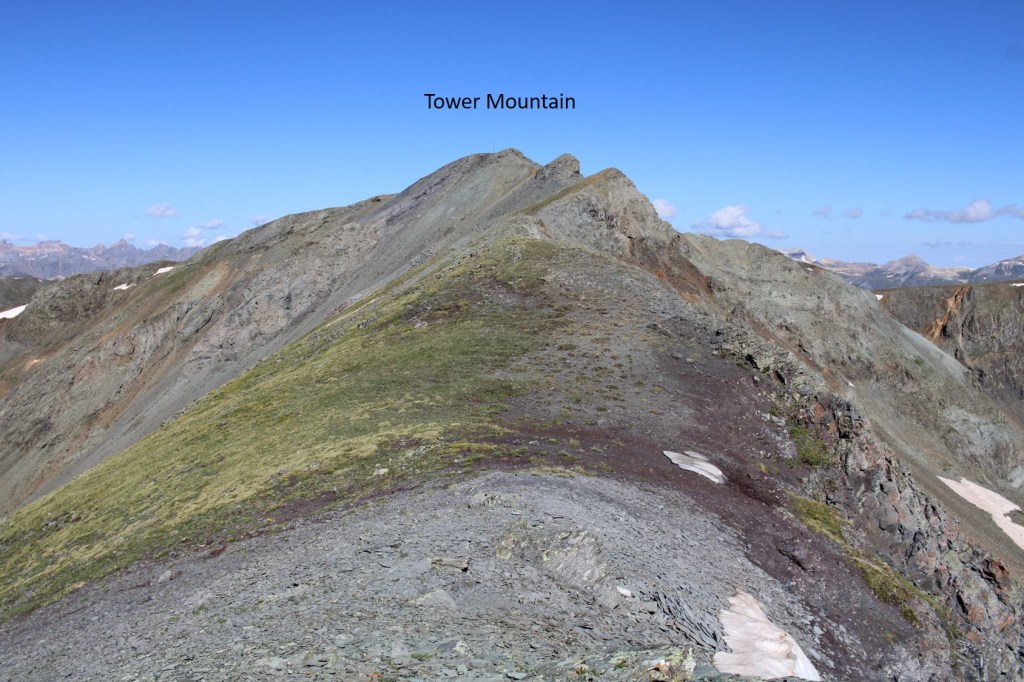
I summited Tower Mountain at 8:50am
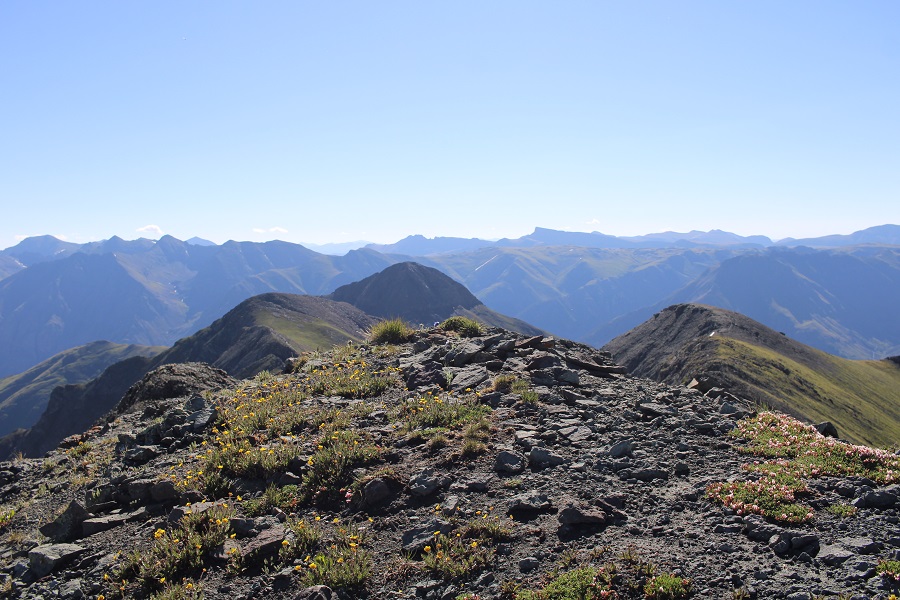
Tower Mountain:

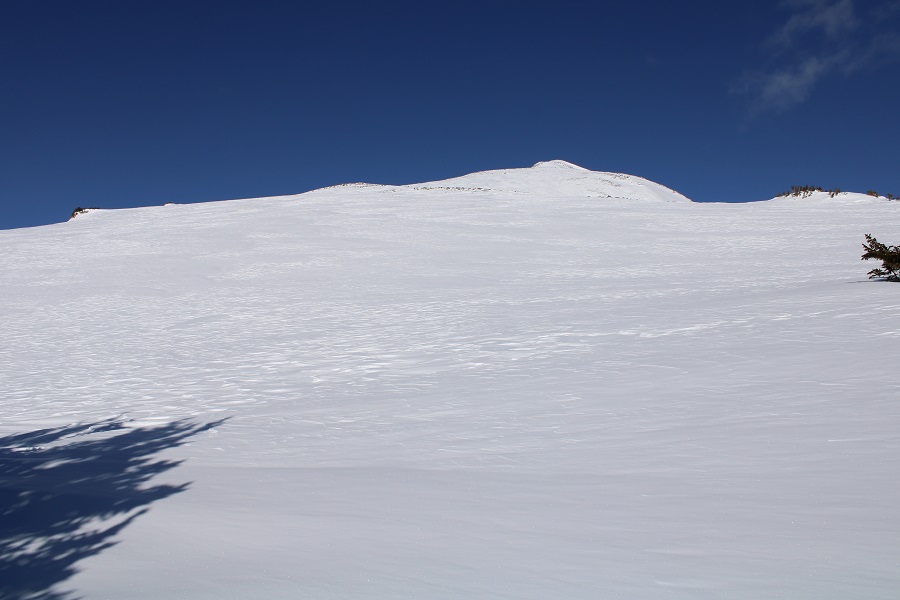
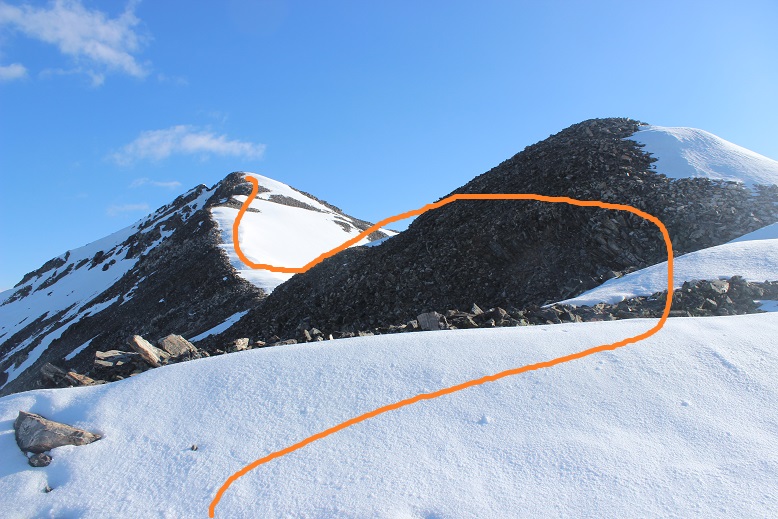
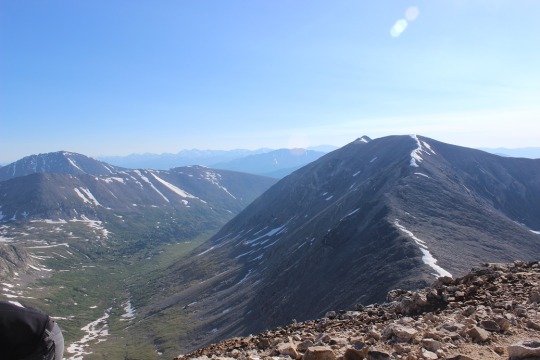
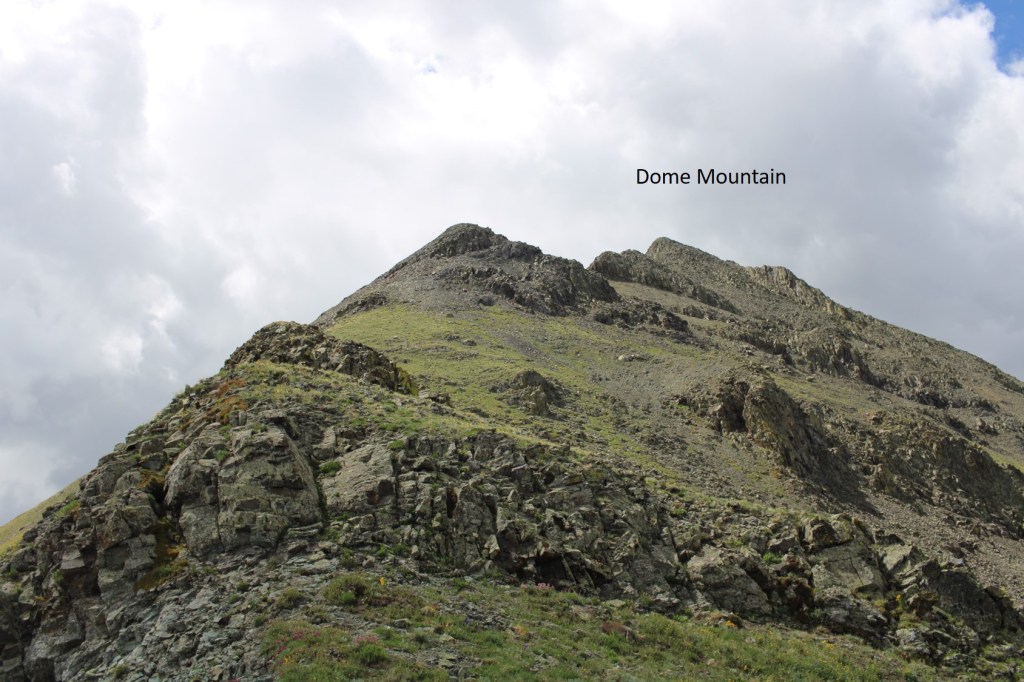
From Tower you can see Dome Mountain to the east, but it’s not a simple ridge walk to get there.

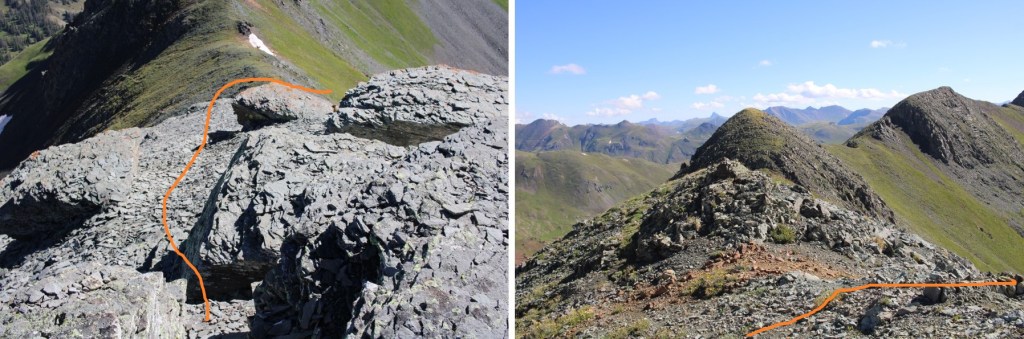
I followed the ridge to the arrow, and then I descended (arrow) to avoid some nasty terrain just before making it to Dome along the ridge.

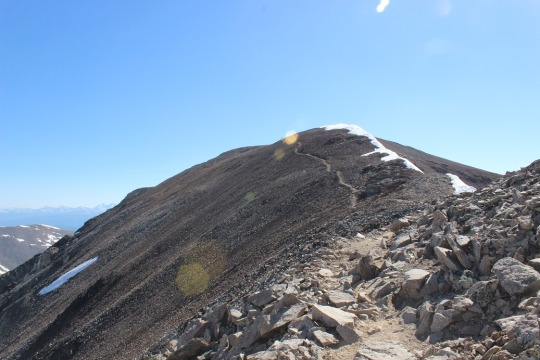
Here are some pictures of the ridge

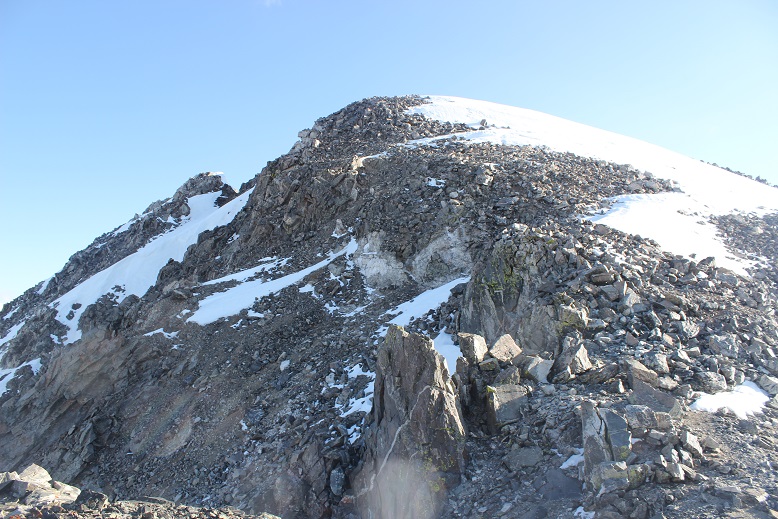
Looking back at Tower

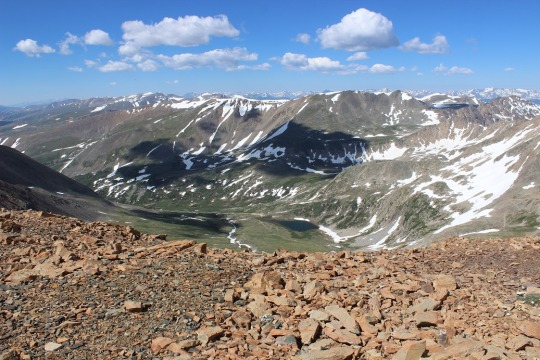
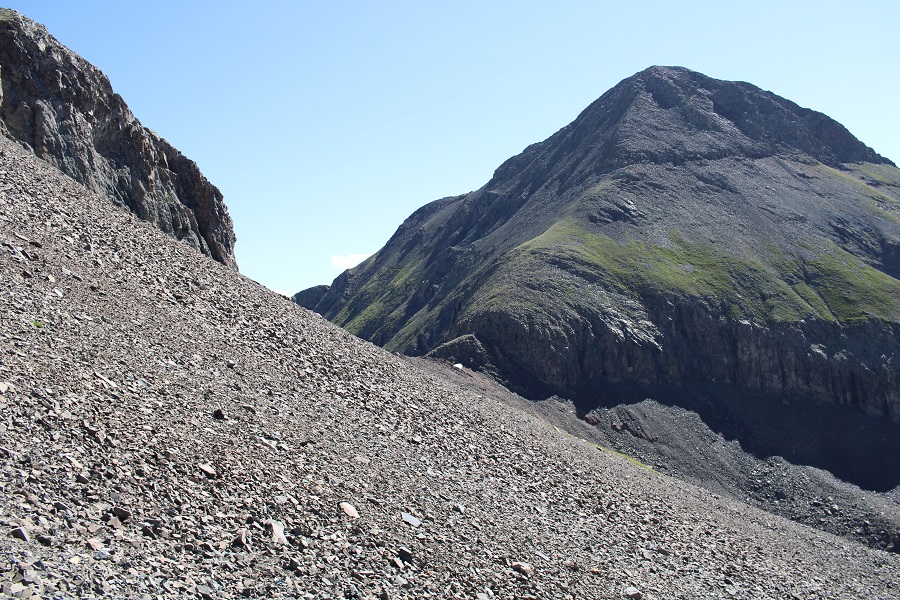
This is where the ‘fun’ begins, and doesn’t end until you’re back on the trail you hiked in on…  I left the ridge here, at 13100’, and descended into Cataract Basin, making sure to stay high.  No trails here, unless you stumble upon a game trail.

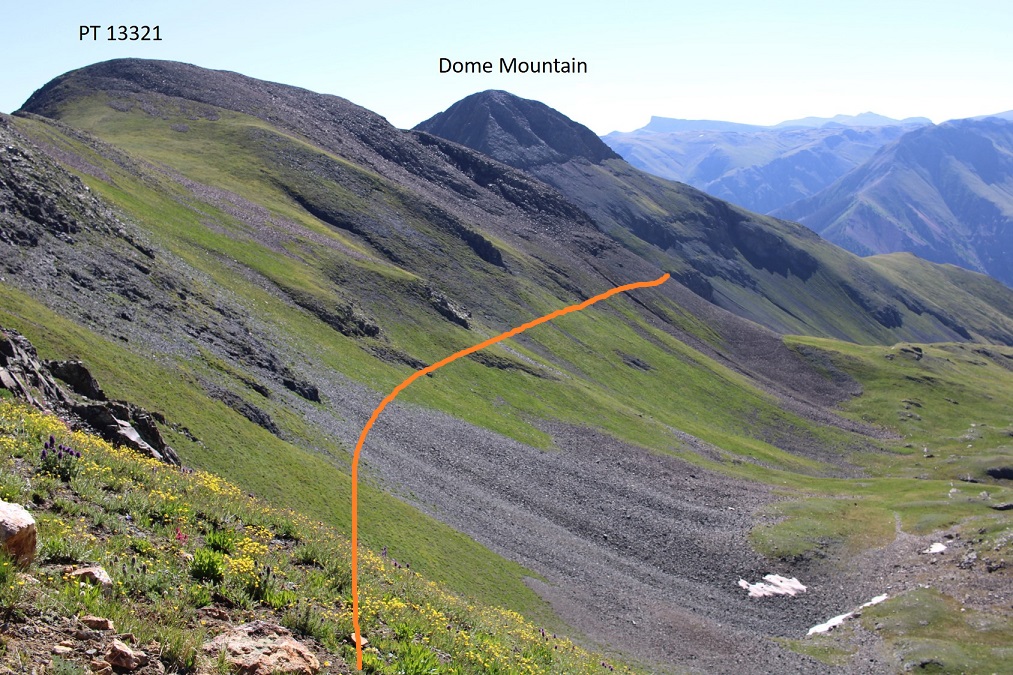
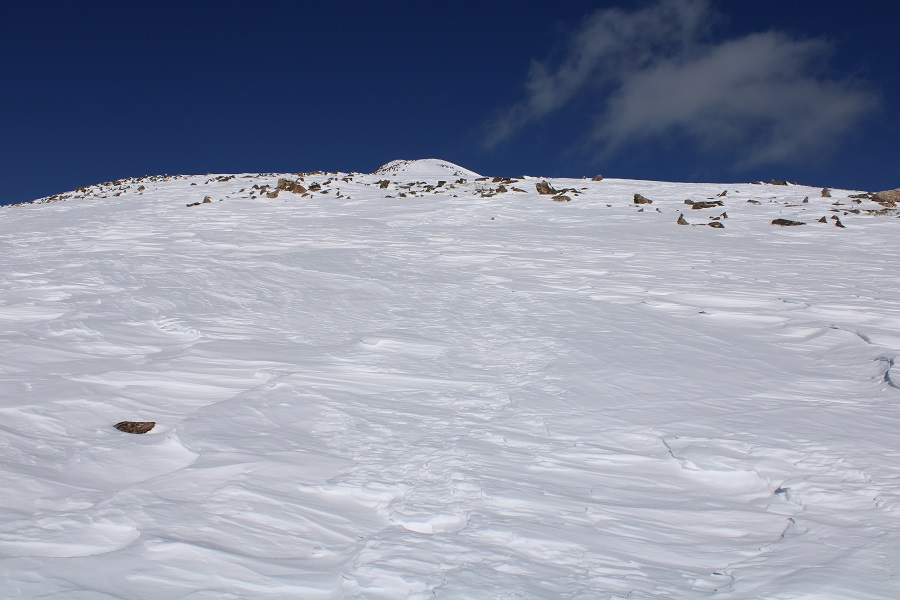
I then ascended the saddle between PT 13321 and Dome Mountain.  There was a lot of scree here.

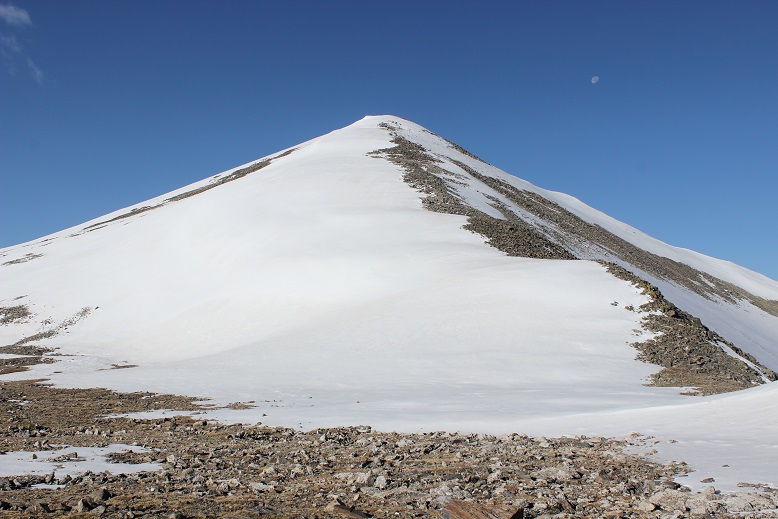
This is my general ascent route up Dome Mountain.  I just went straight up the face, heading east.    Now is a good time to look at your route.

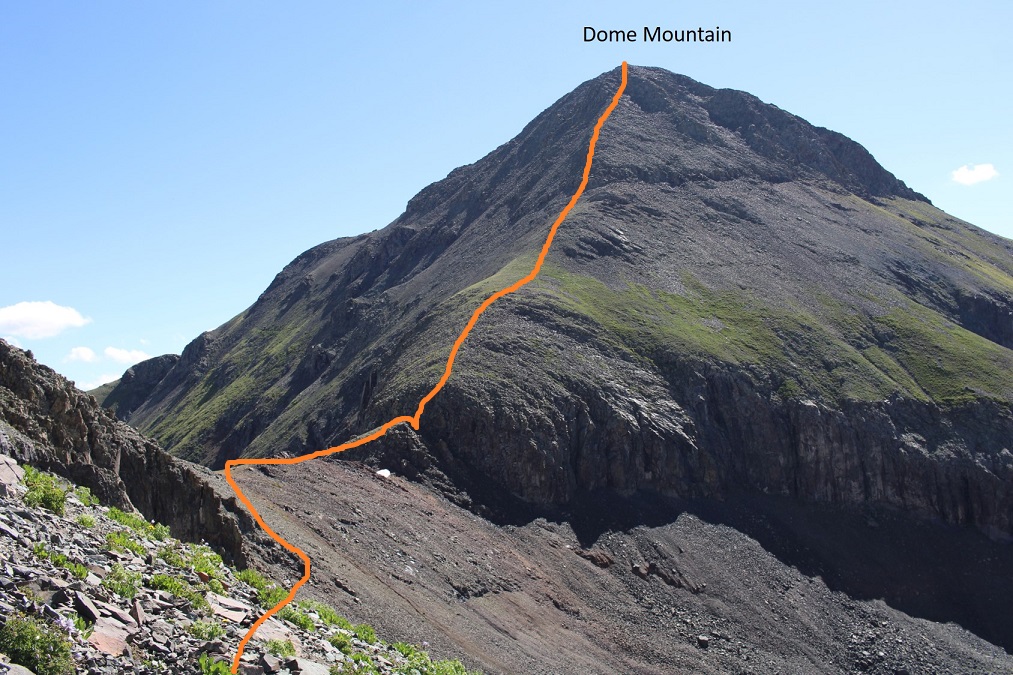
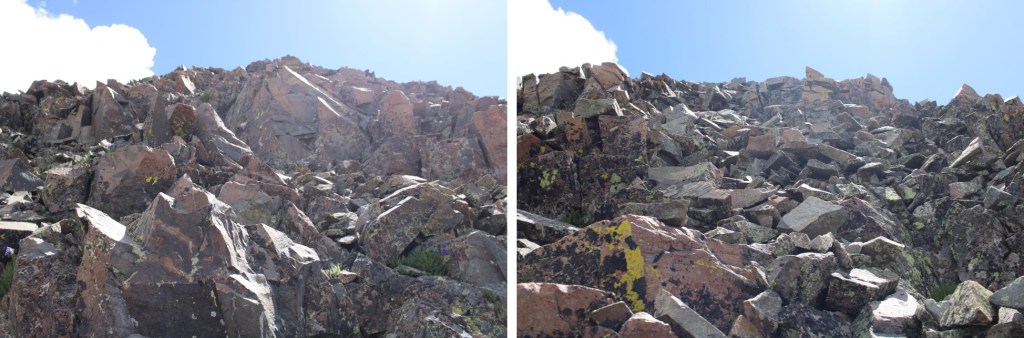
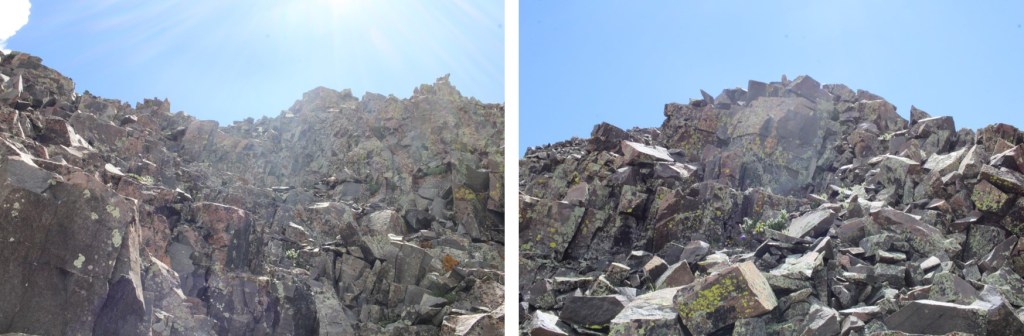
Here are some step by step pictures.  Now is a good time to put on your helmet if you haven’t already

This is difficult class 3, easy class 4, and most of it is pick your own route.  There were plenty of hand and footholds, but there was a lot of balancing involved, and not a lot of room.  Very little margin for error. This is the route I took

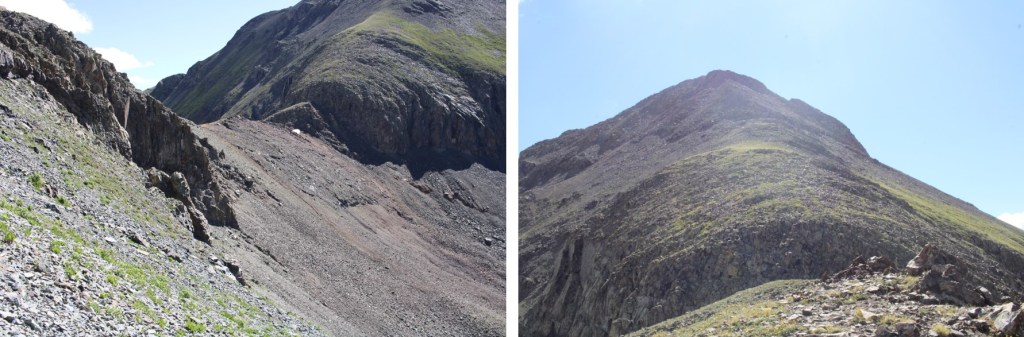
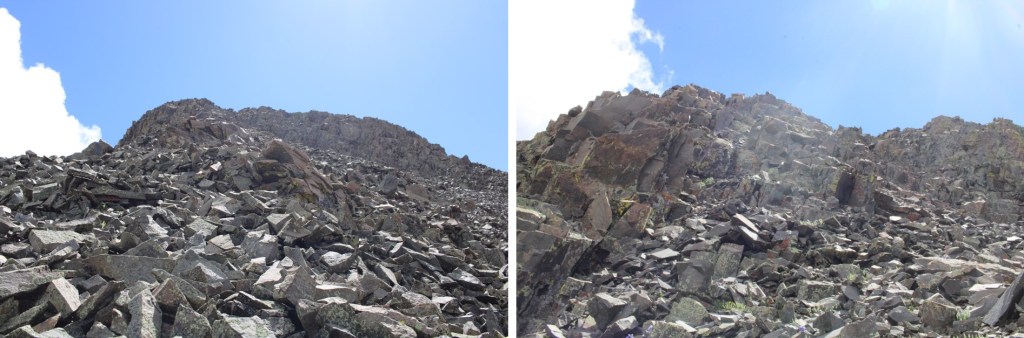
That was your warm up.  Now to ascend the larger wall.  Same rules apply, but with an added degree of difficulty

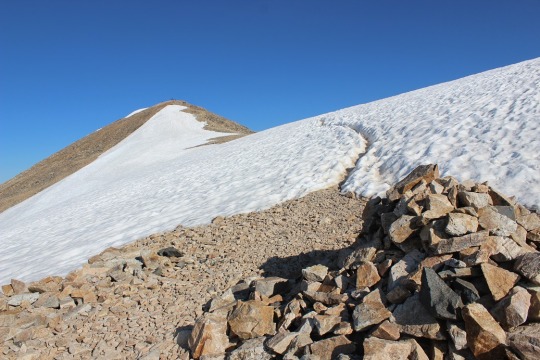
Woot!  Now some tundra to the difficult part

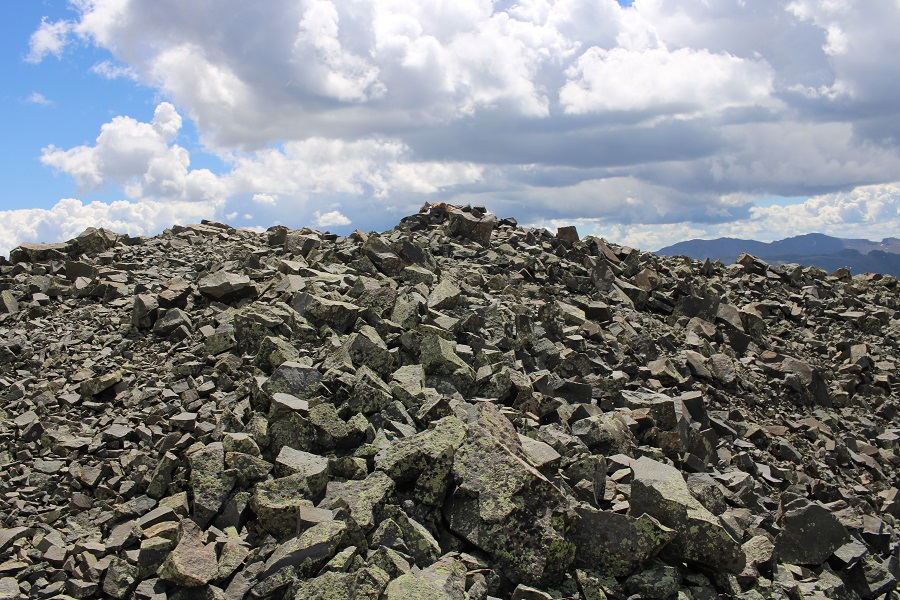
The last 300 feet of climbing is done on very loose rock.  Trust nothing.  It’s all class 3, but the terrain is rotten.  Here are some photos.  I continued east, and headed straight along the ridge to the summit.

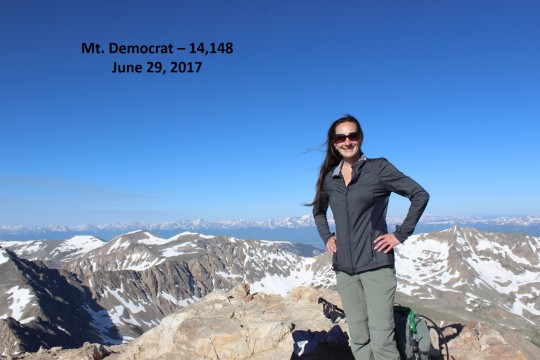
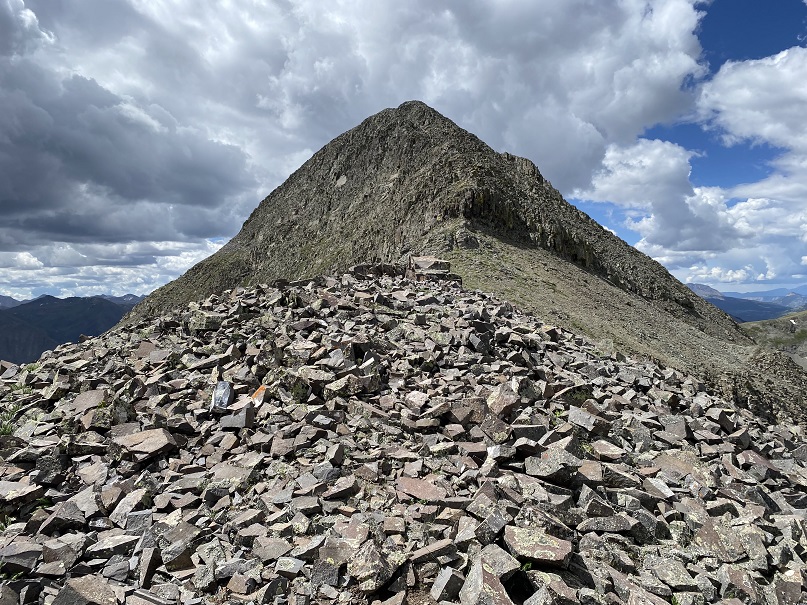
I summited Dome Mountain at 10:45am

Dome Mountain:

There were a ton of bees and flies at the summit, so I didn’t stay long. I was making this a loop, and wanted to head north into the basin I’d hiked in, towards the South Fork Animas River.  I wasn’t 100% sure this would work, but as I looked this morning from below I knew if I could get down the rocky area I’d be good to go.  I headed south and followed the ridge.  This was also class 3-easy 4, but much more stable and easier to navigate than the ridge I’d taken up.  There are rocky chimneys to descend, but mostly tundra.  If I were just doing Dome, this is the route I’d take up and down.

Here’s looking back on the ridge.  It’s a lot longer than it looks

This is also a good view of my ascent route from this morning

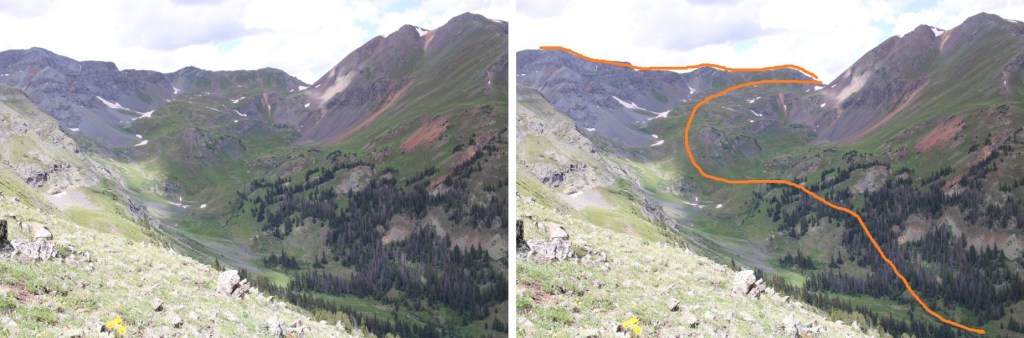
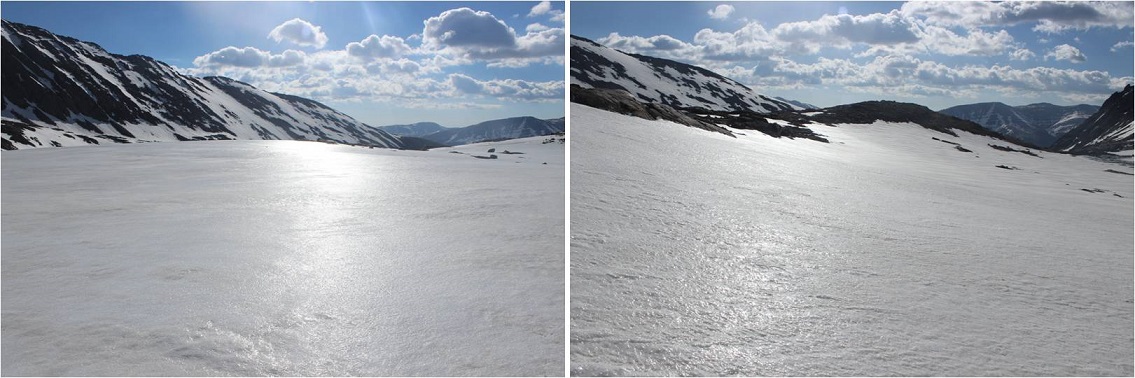
Now all I had to do was head down an avalanche runout, back to the trail.

Here’s looking back up that avalanche route

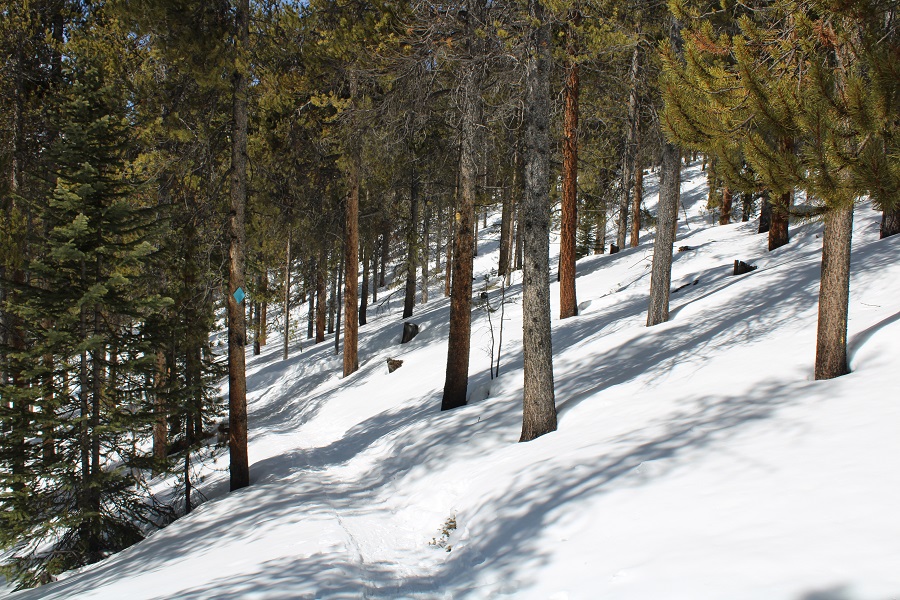
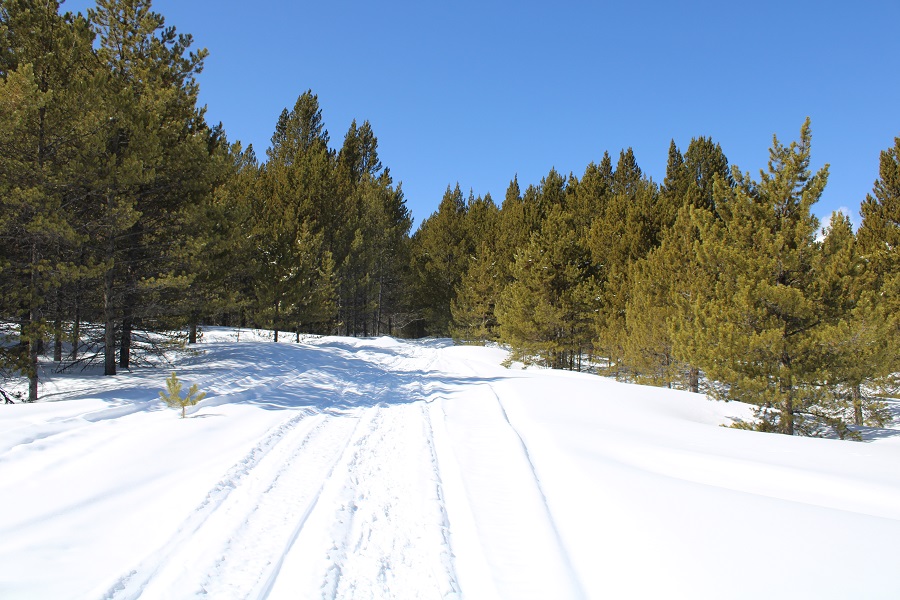
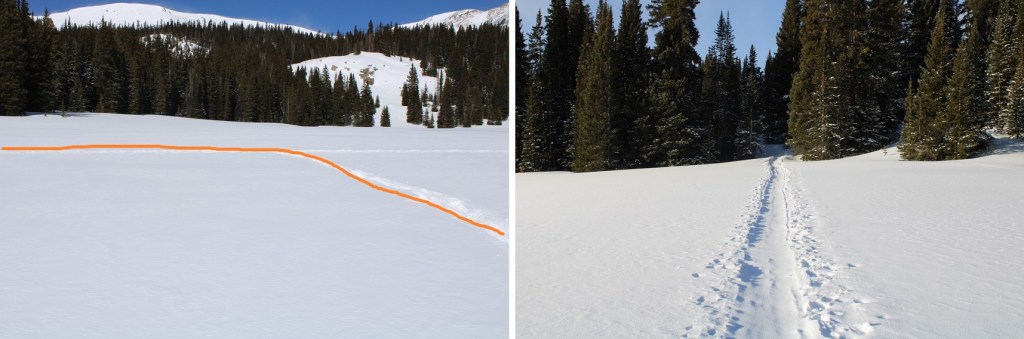
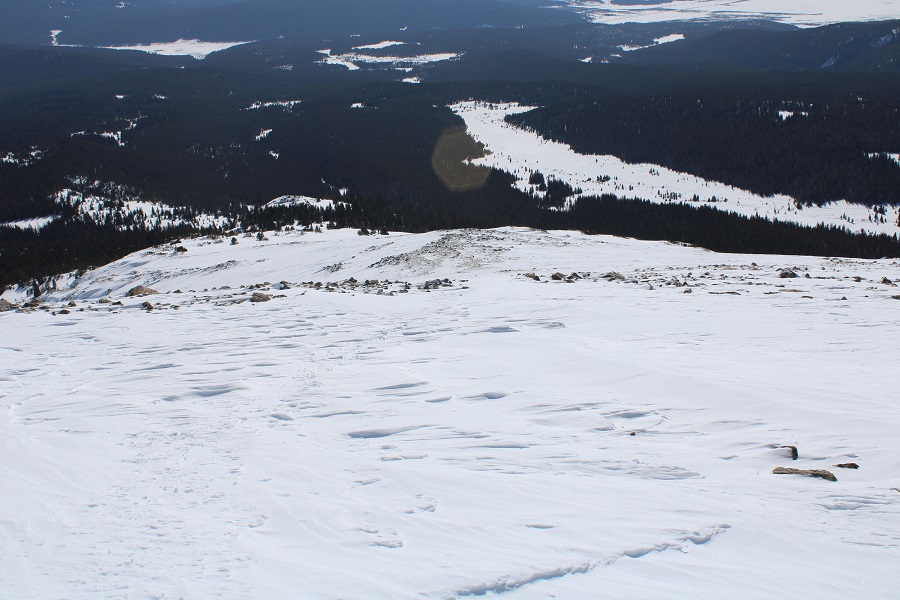
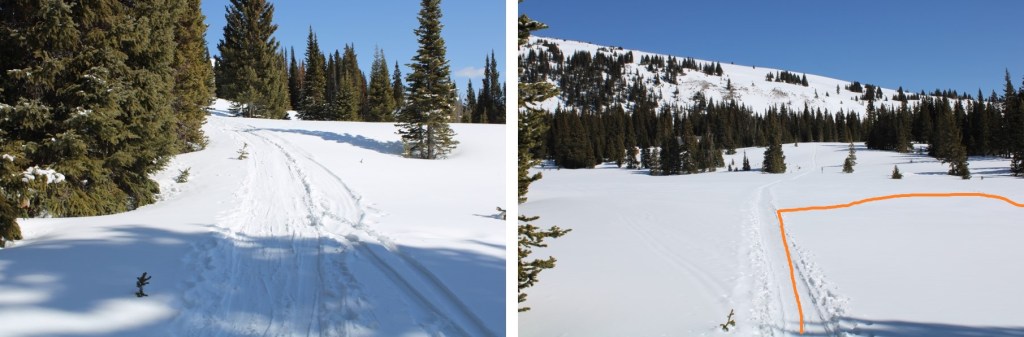
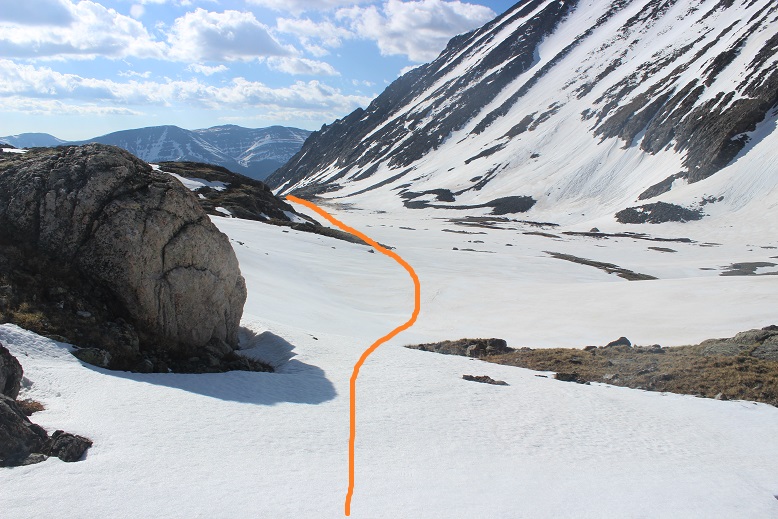
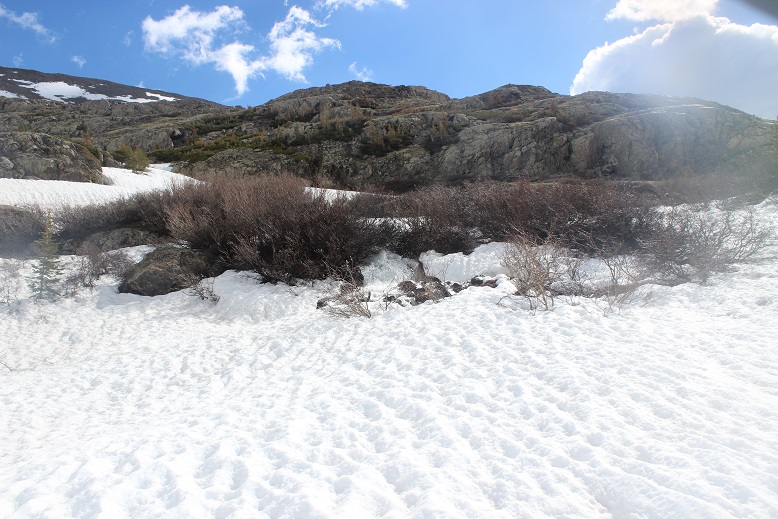
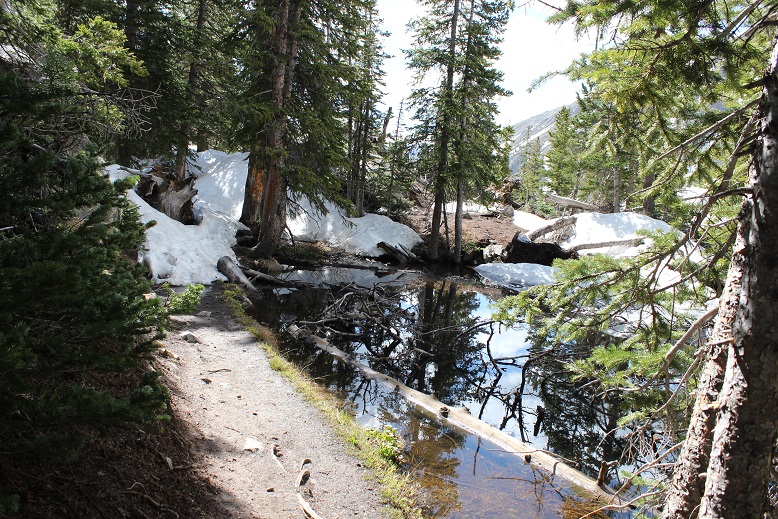
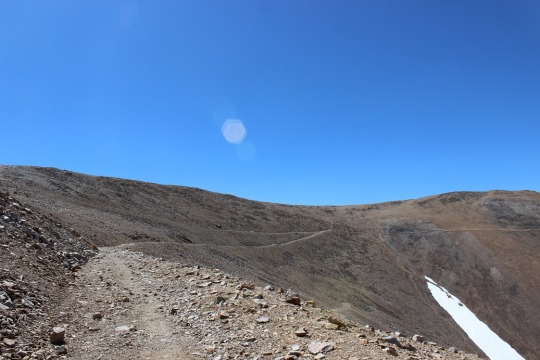
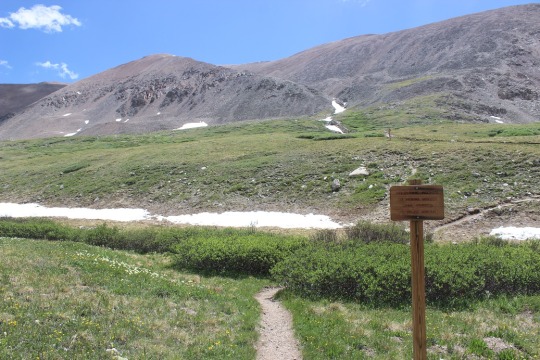
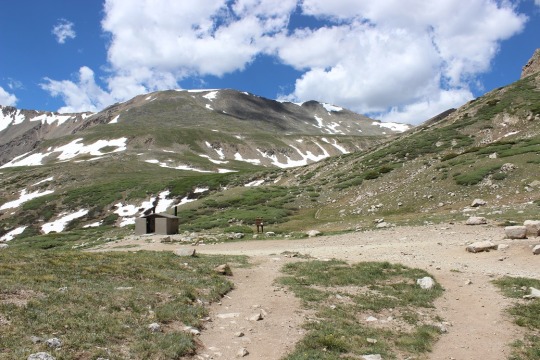
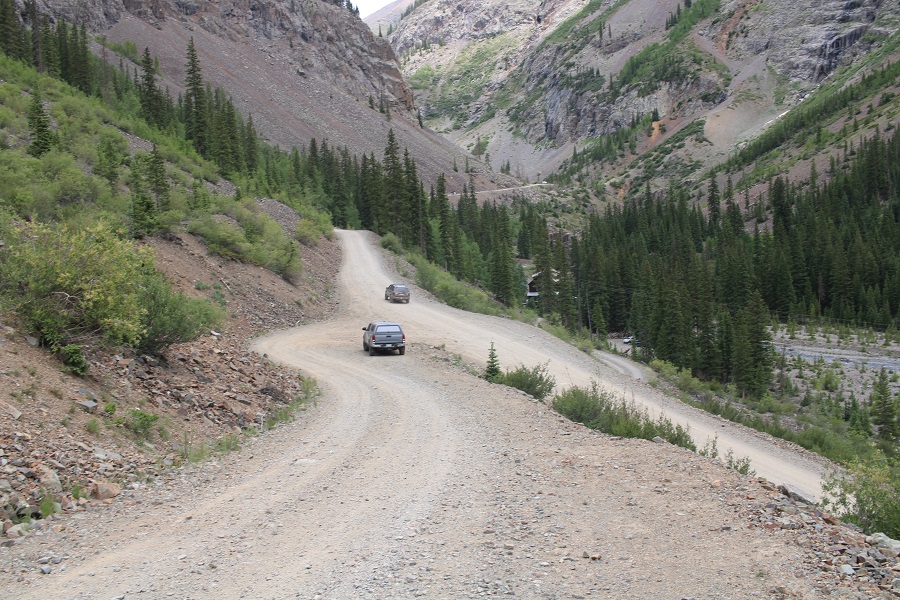
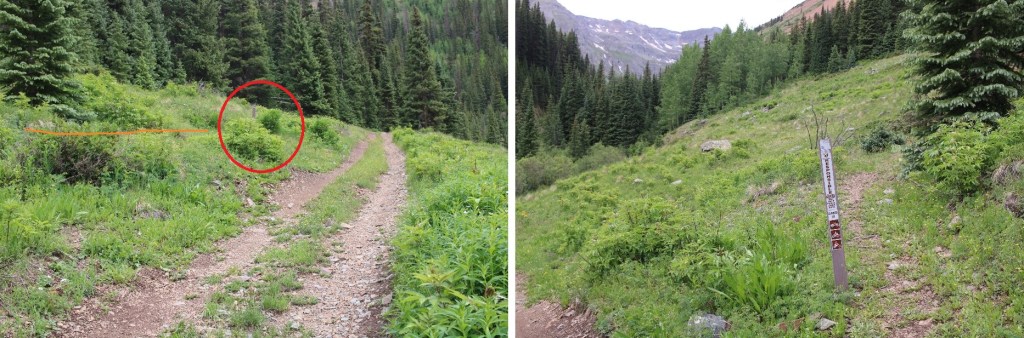
Now back on the trail, I followed it to the 4WD road

And followed the road back to my truck

I made it back to my truck at 1pm, making this a 14.13 mile hike with 4500’ of elevation gain in 9 hours. 

As I was putting my things away, I saw the same fox I’d seen that morning, this time sitting on the side of the road, overlooking Eureka below.

Homestake Peak – 13,209

RT Length: 13.33 miles

Elevation Gain: 3363’

The road was nicely plowed from the Crane Park area to the trailhead, so I continued driving up the road and parked at the beginning of Trail 100.

I was the only vehicle in the lot, and it was supposed to snow this afternoon, so I didn’t anticipate a lot of people on the trail today.  I put on my snowshoes and started out.  The trail starts by heading northeast for a third of a mile before turning onto the trail that leads you to the 10th Mountain Division Hut.  I took the winter route.

I followed the trail for about a mile to a junction, losing elevation as I went.

When I made it to this junction it was dark and I misread the sign.  I ended up continuing straight and it wasn’t until I crossed the second bridge I thought to myself “I don’t remember crossing any bridges when I did this trail last time” and realized I should have turned right at the junction, instead of continuing to follow the Colorado Trail.  This mistake cost me a mile of hiking.  So, long story short, turn right here and follow the 10th Mountain Division hut signs, and if you come to any bridge, you’ve gone too far.

This put me on a 4WD road that took me to a marshy area, covered in fox prints.  Here the snowmobile tracks ended and I’d be trenching the rest of the hike.

From the marshy area I followed the blue arrows to the 10th Mountain Division hut.  The arrows are conveniently placed along the trail every 20 yards or so.  When the trail is covered in snow and just when you aren’t sure which way to go, you find another blue marker.  These were extremely helpful, as I was trenching at this point (and for the rest of the hike).  There were tons of rabbit tracks in the area on the recent snow.

Just as I made it to the 10th Mountain Division Hut I came across what looked to be a recent ski trench.  Even though it was earlier than I’d planned on heading west I turned left and followed the trench (I was getting tired of trenching).  This trench led me to a bunch of skis standing in the snow. 

I didn’t see anyone with the skis, and I knew I’d hiked too far following the trench (hopeful it turned and headed to Homestake’s ridge, which it didn’t), so I backtracked and found a low rib to hike up and follow northwest to the upper basin.

At this point I was frustrated: I was in a bad mental attitude I had to kick myself out of.   Due to a recent conditions report I expected there to be a trench to treeline, and there wasn’t.  I was having trouble finding any semblance of a trail, and the trenching was getting tiresome.  I kept trudging along and backtracking, telling myself I’d only stop if the snow became more than I could handle (usually for me this means postholing past my waist).  Also, this was my second attempt at this peak, as the last time I was here the snow was too soft to trench.  I didn’t want to come back a third time if I could help it.  I knew I was off the typical trail, but I also knew I was headed in the right direction, and I had the added benefit of being able to follow my tracks on my way out.

Once in the upper basin I turned left and followed a rib to the ridge. 

Here’s the access point to the ridge at treeline

And a picture of the beginning of the ridge

Once on the ridge I turned right and followed it northwest to the summit.  This looks like a great place to do some skiing!  Here’s the overall route

This ridge was about a mile of steady elevation gain.  The snow was firm but the wind was picking up.  Here are some pictures of the hike to the summit

Towards the top everything was windblown and the snow became sugary.  I was slipping and sliding a bit, but other than my snowshoes, no other equipment was needed.

I summited Homestake Peak at 9am (there’s a benchmark at the summit)

Homestake Peak:

The wind kept picking up, bringing in the Albuquerque Low we’re expecting tonight and through the weekend. I was cold, so after leaving a summit register I hurried back down the ridge.

Check out the wind

Here’s a look down the access point to the ridge and my trek down.

The wind had blown some of my tracks in, but I was able to still follow them back to the ski trench

I took the ski trench back to the hut, and then followed my tracks back to the marshy area

Once back in the marsh, just before the 4WD road I could smell a fox (they have a strong scent too, similar to a skunks, just more mild).  I looked around and saw one prancing about 100 feet away. She was a magnificent red fox, quite large and all fluffed up due to the cold, making her look even bigger.  She stopped only briefly to glance my way, and then carried on.  I watched as she pranced through the willows and disappeared into the trees.  No pictures:  I just decided to enjoy the experience, as I knew pictures wouldn’t turn out anyway from this distance.  All those tracks must have been hers.

At the end of the marshy area I came to the snowmobile tracks that led me back to the junction to the trailhead

I turned left at the trail indicating Crane Park and followed the trail to the trailhead.  This was actually the most difficult part of the hike, as my thighs were tired from trenching earlier, and at this point every step I took included 5 pounds of snow sticking to the bottom of each snowshoe.  I trudged here slowly, using my trekking pole to knock off excess ice and snow every few feet.

I could hear the wind screaming through the trees.  Yep, the storm was coming in. I made it back to the road, and followed it to my truck

I made it back to my truck at 11:45am, making this a 13.33 mile hike with 3363’ of elevation gain in 6 hours, 45 minutes.  Note, as you’ll see from my topo map, I made a few wrong turns and did some backtracking.  I’d still recommend this overall route however (minus the wrong turns and backtracking).

Pacific Peak – 13,965

1

RT Length: 13 miles

Elevation Gain: 3706’ (From McCullough Gulch lower gate closure)

There are so many routes up Pacific Peak I wasn’t sure which one to take? I ended up making the decision the night before, and decided on the Southwest Slopes because I liked the way it looked best on a topo map (particularly the headwall area).  I arrived at the Blue Lakes road and found the gate closed to the McCullough Gulch Trailhead.  So I parked at the closed gate, right next to a small stream of water running off the road.  I gathered my gear and was off at 2:30am.

About 20 yards into my hike I heard a loud noise that sounded like a large animal slipping and sliding on the scree below the road and to the right of me. Well… at least whatever it was was running away from me.  Quickly.  The 2WD dirt road to the trailhead was clear, dry, and easy to follow.  I was confused as to why it was still closed, since besides some extremely minor avy debris and a short area with water running by the side of the road, the road was clear.

2

3

I hiked on this dirt road for 2.2 miles from the closed gate to the start of trailhead. This is where the snow started, and in the dark obscured the beginning of the trail.

4

For the next mile the snow was intermittent and soft. I’d need snowshoes for about 30 steps, then not need them for dozens of yards, and then I’d need them again for 30 steps or so.

5

I crossed a bridge

6

And headed left on a trail (the road ended here)

7

This is where I put snowshoes on and wore them for the rest of the hike. This is also where the trail finding became difficult.  I kept losing and finding the trail and losing it again, so I gave up trying to stay directly on trail and just headed northwest, keeping the creek to my left and the ridge to my right.

8

At the end of the boulder field I came across a sign indicating the trail kept going straight. Here I turned right (at the cairn) and followed the gully up and to the northwest, avoiding the large boulders

9

10

At the top of the gully I rounded the hillside and was deposited below a lake. I walked around the right side of the lake, found the rock rib, and decided to climb the snow next to it to the notch(so I didn’t need to take off my snowshoes again).

11

Here’s a look back down from the notch

12

I was at the top of the waterfall area and just needed to turn the corner to the right to see more of the basin

13

Wow! Lots of snow here!  I headed northeast, skirting what was probably a small lake to my left and couldn’t help but wonder how many feet of snow I was standing on top of?  Way to go June 2019 in Colorado!  You’ve got the snow thing down!

14

I kept rounding the basin, staying to the right

15

16

Once again: So.  Much.  Snow!  I kept heading northwest towards the end of the basin.  It’s best to stay high here so you don’t have to regain elevation.

17

I made it to the headwall. This is the crux of the route, and I decided it was time to take off my snowshoes and put on my crampons.  I got out my ice axe and garden tool (haven’t purchased a second ice tool yet).  The sun was just starting to rise

18

I was pleasantly surprised at the conditions of the headwall: continuous snow coverage that was consolidated just right for crampons.  It was tiring, but I had no difficulties gaining the top of the headwall.  I mentally high fived myself for choosing this route today.  Ok, just a few hundred more feet of elevation gain and I was there!  I made it to the saddle between Atlantic and Pacific, singing “Home for the Holidays” as I went.  To be honest, I that song was in my head for most of this hike.  Oh, and that’s a false summit…

19

There was a lot of snow here, and some of it felt steeper than the headwall

20

It seemed pointless to summit the false summit, so I skirted the bump to the left and continued towards Pacific.

21

From here the postholing began. The snow here looks solid, but it hugs a ridgeline and much of the snow underneath has melted away, leaving a hollow cap.  At times the cap was thick enough to support my weight, and at others I postholed up to my waist into (or between) large rocks.  I have a few bruises from the fun

22

Still, it was better than hiking with crampons on the rocks (I was too lazy to take them off, so I stuck to the snow)

23

I summited at 6:45am

24

Summit Video

Here’s a look back on the route from the saddle to the summit

25

The wind was intense here, so I decided to head back down. I made it to the saddle and Atlantic looked very inviting. I’ve already summited Atlantic, and I’m on a bit of a time limit today, so I didn’t feel it necessary to summit Atlantic as well (but it was tempting… you should do it!).

26

I had to stop and enjoy the view from the area just below the saddle (where the wind finally let up a bit). It was breathtaking!

Saddle

From here you can see most of the route back. It’s important to follow the basin and stay close to Quandary Peak on your way out to exit in the correct area.

27

OK, time to start down the headwall.

28

The headwall was steep (so steep you can’t see the route down it here), but not as bad as a lot of gullies I’ve done lately. It’s supposed to be 40-45 degrees at points, but I was able to walk down the entire headwall without turning and facing the mountain.

29

30

At the base of the headwall I switched out my crampons for snowshoes, but kept ahold of my ice axe. I followed my tracks southwest

31

Rounded the ridge, and walked out of the basin

32

The snow was really starting to soften up at this point. For June 21, this is a ton of snow!

33

I made it down past the rib area without incident, and was just getting ready to skirt the small lake when it happened.

34

I was stepping off a rock and into snow and immediately my left leg sank and slid up to my upper thigh. I’ve postholed thousands of times, but never experienced anything like this:  Try as I might, I couldn’t move my leg.  It wasn’t hurt, but my snowshoe was stuck in the snow and keeping me from being able to move my foot and leg.

As I’d stepped on and slid into the deeper snow the snow had immediately softened up and settled like concrete around my leg, making it immobile. I thought to myself  “So this is what they mean by not being able to get yourself out of an avalanche because the snow settles like concrete” and got to work.  Luckily, this hadn’t been an avalanche and I still had my ice axe in my hand, so I started digging myself out. It took me a solid 15 minutes of work to free my leg.  Also, my butt was now wet from sitting in the snow for so long.  Lovely.  At least no one was around to see.

The hike back to the trailhead was uneventful. In the light of day I was easily able to follow the trail and saw things I hadn’t before, like the log bridges and small pools and the actual trail itself…

35

36

There was also a lot of evidence of postholing from previous hikers using the trail. I hadn’t seen any of this in the dark (I’d paralleled the actual trail)

37

There was a snowbridge over the creek, and the creek was raging!

38

Stream

Back on the 2WD road I started seeing other hikers. Quite a few of them actually, and I figured they must have opened the gate. Sure enough, they had and there were cars parked at the summer trailhead as I passed.

39

I still had 2 miles to go however, but on a positive note, I saw a rather scruffy looking fox on my way back

40

Fox

Yep, the gate was now open

41

I made it back to my truck at 10:45am, making this a 13 mile hike with 3700’ in elevation gain in just over 8 hours.

42

Ugh! It looked like some kids had thrown mud at my truck!  There was dried mud/dirt on every corner, like someone had used my truck for target practice with mud pies.  I was going to have to wash it after picking my daughter up from camp (she’s a counselor at a Girl Scout Camp and off this weekend so I was on my way there now to pick her up).  It was a 3 hour drive, and I made it in plenty of time before release.  While we were walking back to the truck my daughter said “How did your truck get so dirty?”  I told her I it happened at the trailhead this morning.  She went and took a closer look, put each of her hands on two of the marks and said “Mom, how big are bears?”  That’s when I took a closer look at the blobs and realized no one had thrown mud at my truck:  It’d been visited by a bear!  I could see swishes of hair and even faint claw marks on the paint.  Cool!  Maybe that’s the animal I’d heard at the start of my hike?  Now I didn’t want to wash my truck!  Luckily, I took a few photos before it rained on my way home.  I just wish I’d looked at the ground around my truck when I’d noticed the mud… I would probably have seen bear tracks!

43

#4,5,6 & 7 Decalibron 14,148- 14,238 – 14,286 – 14,172

image

I seriously needed this hike today.  I mean NEEDED it.  I’ve had so many negative things going on in the past 2 weeks I needed a break from life for a bit.  Time to clear my head.  It’s a 7.5 mile hike that covers 4 different 14ers, so I was hoping it would give me time to think and process all that’s gone on.  I also chose it because I heard there’s a problem with one of the peaks and I didn’t want to get any of my girls into trouble by hiking it, so today seemed like the perfect time. 

I woke up at 2:30am and made it to the trailhead by 5:30am.  There were already 5 cars at the sign that said “road closed”.  I had to do a 30 point turn to get my truck turned around and not fall off the side of the cliff or into the ridge on the other side (notice would have been nice road guys) but I made it.  

image

So the road to the trailhead’s closed. Great.  Oh well.  That only added about 1.2 miles to the total hike, so that would bring this hike to 8.7 miles.  Still doable in the time frame I had.  So I got out and started walking up the road. 

When I got to the trailhead at Kite Lake there were several groups of people standing around, talking.  

image

UGH!  I do not like hiking with tons of people!  I hate playing leap-frog, so I looked at the map posted to the board (instead of my instructions/map), took a picture just to be safe, and just headed out at the trailhead. 

image

As I reached the top of a hill I got out my instructions and compared them to where I was.  I’d crossed some fields of snow and I wanted to make sure I was on the right track.  Yep, there was the old mine.  I was good to go. 

image

I went up a snow field, and then was surprised to see a lake?  This wasn’t on my map or instructions.  Weird.  

image

I got them out again and looked.  Nope, no lake on my route.  So I called back to a group of girls hiking behind me, asked them which trail they were hiking.  The same one I was.  Cool!  Do you have a map?  Apparently not, they’d just been following me.  Ugh!

So I took a closer look at my map, and it seemed in my haste I’d started off on the wrong trail.  The orange lines were where I was supposed to go, the green is where I actually went.  Oh, and the green line trail isn’t in the picture I took at the trailhead, so I didn’t even second guess when I’d started. 

image

Deep breath.  I had a lot I could blame it on, but in reality this was a rookie mistake I made because I was in a hurry and don’t like people.  Lesson learned.  Never again.  This added another 3 miles onto my hike (1.5 in, 1.5 back to the original trail, so now I was looking at 11.7 miles).  So I quickly turned around and headed back.  When I reached the correct trailhead it was 6:40am.  Drat!  I’d lost an hour of time!

image

From here until close to the peak I had pretty good signage.  I noticed one saying the Bross trailhead was closed.  Good to know.  I took the Democrat/Lincoln one instead. 

image

The hike up Mt. Democrat was, as I said, pretty well marked most of the way.  I passed 2 groups of hikers and luckily we didn’t play leap frog!  

image

At the mile mark I came across the CORRECT mine and continued on. 

image

The trail for most of the way was rocks.  Lots and lots of rocks. Unfortunately that often makes it difficult to find the correct trail. 

image

Pikas like the rocks.  They were all small today.  I took a pikature.

image

The sun finally came up, I took off my jacket and put on sunscreen.  This shadowselfie is actually important.  

image

You see, I’m actually looking at all the hikers on the ridge and snow and trying to get a gauge of where the trail goes.  You can note at this time none of those hikers were on the trail (something I didn’t realize until I hiked it myself). 

image

The trail actually goes to the far right, and none of these hikers is even close to it. I found this out on my way back down, but I made it up so it’s all good! These types of hikes often require route finding.  As long as you have the peak in sight you’re usually good.  When I got close to the summit I found the correct trail and just had a little further to go.  

image

Woohoo!  I made it!  The summit had no less than 20 people sitting and enjoying a snack. 

image

I had one of them take my picture, offer me some twizzlers (I declined because I don’t like to hike and eat) and took a quick video of the peak. (see all videos below)

Now it was on to Mt. Cameron!  I found the trail and went down the summit the correct way.  It pretty much followed the saddle and went up the ridge.

image

Here’s a closer view

image

This ridge is where it got really windy.  I mean really, really windy!!!  I’d taken my hair out for the Democrat picture and my fingers were frozen so I couldn’t put it back properly.  The wind was having a field day.  When I summited Mt. Cameron there was one other person there.  He took my picture and I was off.  

image

Oh, but before that, I’d like to explain why Mt. Cameron isn’t an “official” 14er, even though it’s clearly over 14,000 feet.  

It’s not official because it does not have enough prominence.  A mountain has to gain at least 300 feet off the ridge to be considered an official 14er. So it’s not part of the 14er challenge but I count it as one I’ve summited anyway.  I’ll do the same for you.  

Once I made it across the ridge I could see the path to the summit of Mt. Lincoln.  It kind of reminded me of the moon. 

image

The wind only picked up from here.  I took out my hair and tried to brush it (which happened to be a mistake).  See?

image

I was the only one on this summit, so I had to take the summit picture myself by setting the camera to automatic (since the selfie thing wasn’t working).  Not great, but not bad, considering the wind and all. 

image

I don’t like to stay on summits long, so I headed down the trail.  There were old mines all over the place!

image

Here’s where it gets tricky.  You see, as I was heading down someone pointed out Mt Bross to me.  

image

It looked like it was directly on my path down, and as I hiked further I realized it was.  I never saw a sign indicating the trail was closed from this end, so I decided to take it across.  I saw Kite Lake from the ridge.

image

I ended up summiting much quicker than I’d anticipated.  I just crested a ridge and was there.  So were about 10 other people, sitting in a wind shelter (that wind!)  I had one of them take my picture (I’d put my hair into a ponytail by this point, as the wind had actually snapped my barrette in two).  

image

I was only there for about 5 minutes, but I overheard quite a bit of conversation centered around this mountain, but I’ll refer to Rule #1 at this point.  Apparently the hike up Bross was all scree.  Like, all of it, and that’s how they’d all hiked up.  They must have taken an open trail?  I asked what the best way was to get down from someone who’d obviously hiked this several times.  He recommended hiking back the way I’d came.  I really didn’t want to do that since I was already ¾ of the way into the hike and only had ¼ of the way to go according to my map.  He said if I went down to where the post was and turned left I’d make it on a trail that would bring me back down.  That’s what my map said, so that’s what I did.  Two other girls went as well.  Apparently this is the trail that skirts Bross and goes around it.  Great!  Since the Bross trail was closed this must be the one I was supposed to use.  Big sigh of relief!  

image

So many trails to choose from!  And that looked like a LOT of scree.  I mean, a lot of scree!  And it was!

image

Screevalanches all over the place!  

I was slipping and sliding the entire way down.  It felt as if I was skiing on rocks sideways.  

After the scree was this.  Lots of steep hiking!  OMG, this all seemed pretty dangerous (but doable). 

image

I finally made it down and looked at what I’d accomplished.  I hadn’t hiked up that scree, but hiking down was pretty intense!  I was glad I’d hiked the way I had!

image

Then it happened.  I was exiting the trail when I saw a different sign than I’d seen when I’d started this hike indicating the Bross trail was closed 1.5 miles up.  What the heck?!?!?  While I totally appreciate and approve of this trail being closed (it was difficult) it would have been nice if there had been a sign at the top of the trail!  I’d seen no signs.  None at all.  Lots of trails, no signs.  Ugh. If it’s a LOOP trail people you need to place signs at the top as well, not just the bottom!  I’d seen so many different trails I assumed there’s been more than one to the top and I’d taken one that was ok to take.  Hmmmm.

image

Well, I crossed a small stream

image

and was back where I’d started.  Woohoo!

image

I made a beeline for the bathrooms, but they were closed?  I mean, like locked and with signs and everything.  Not cool guys!  This ENTIRE trail is above treeline, so there’s no place to pee without everyone seeing (and I mean everyone, as it’s a well traveled trail).  If you have bathrooms at the trailhead they should at least be open.  I could tell others had been disappointed as well (some people had just “gone” behind the building.  Yuck!!!).

I walked the last .6 miles back to my truck and found the trailhead was FULL!  This picture doesn’t do it justice, as the 4WD vehicles go on for about ¼ of a mile, then there’s a mile of no cars, and then another ¼ mile of the cars that had too low of clearance to get by.  Lots of people out hiking today!  See mom, there’s help if I need it 🙂

image

On the way back I took a picture of some of the flowers I’d seen on the way in but couldn’t get a picture of because it had been too dark.  Clovers, Indian Paintbrush, and Columbines were all over the place. 

image
image

As I was leaving I saw a fox walking towards me on the trail.  It was pretty cool because he didn’t dart into the bushes, he just kept walking towards me. 

image

He walked right by my truck!

image

I couldn’t help but think of how I’d actually like to be going the way he was (back towards the mountains).

image

Oh, and here are the summit videos…