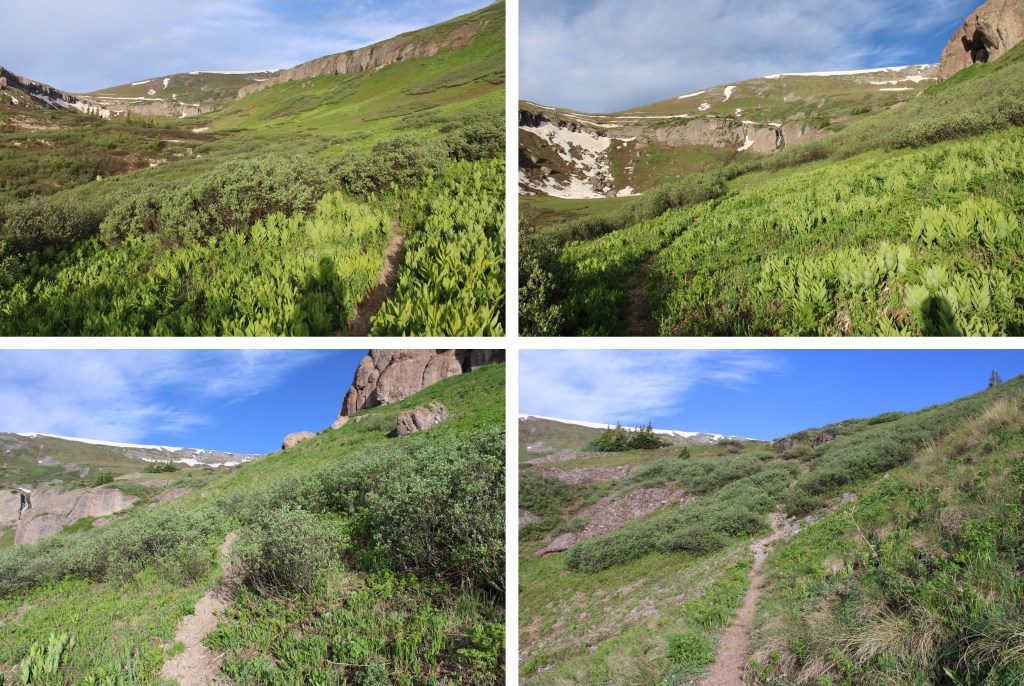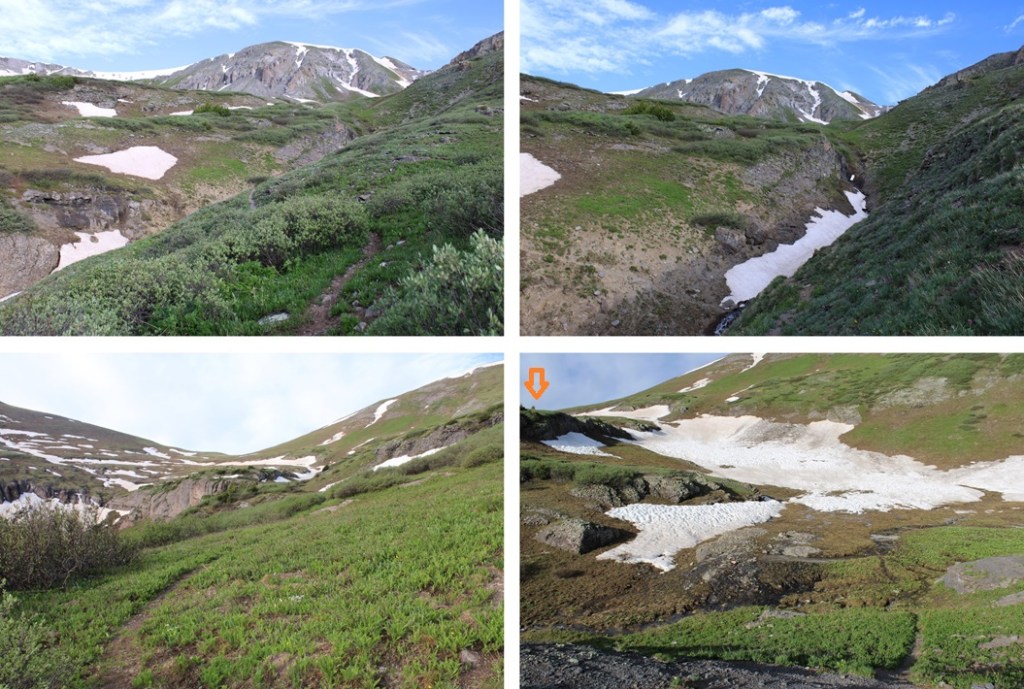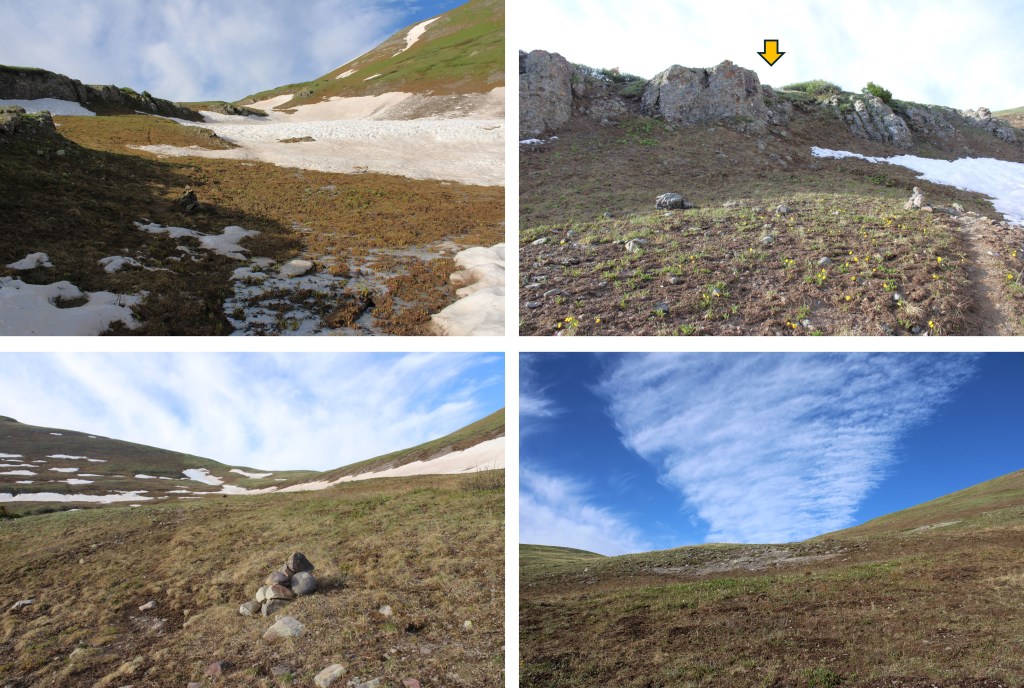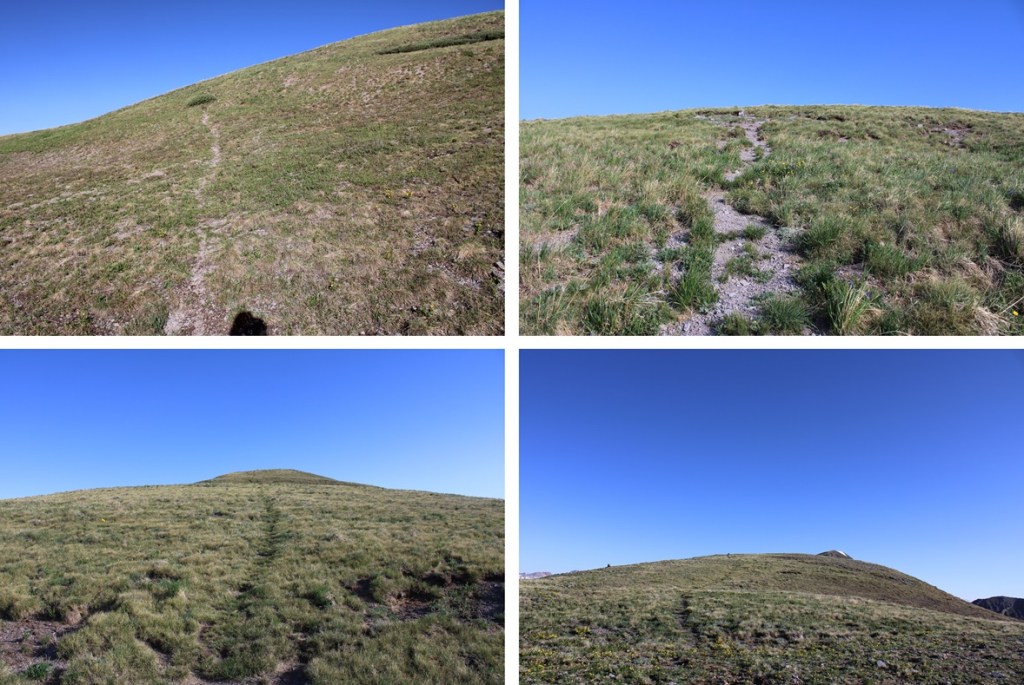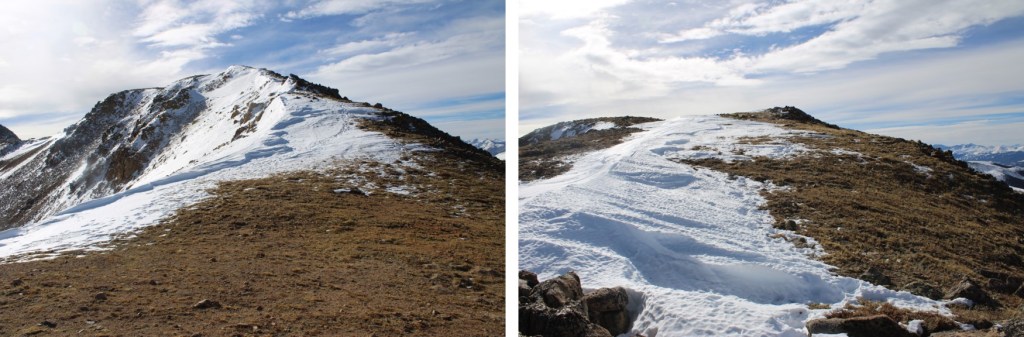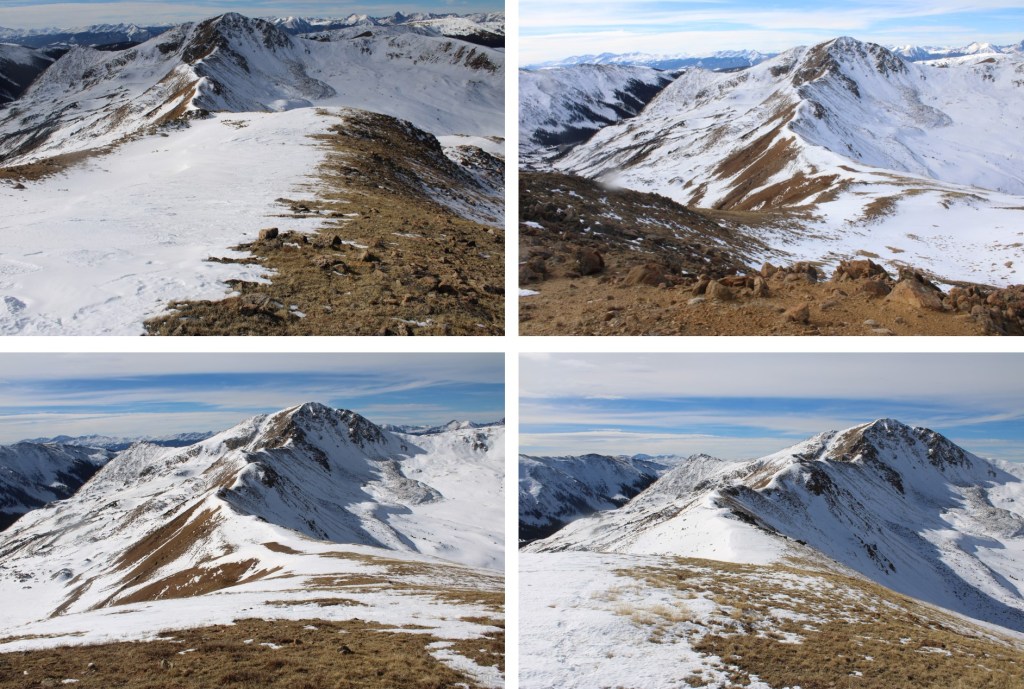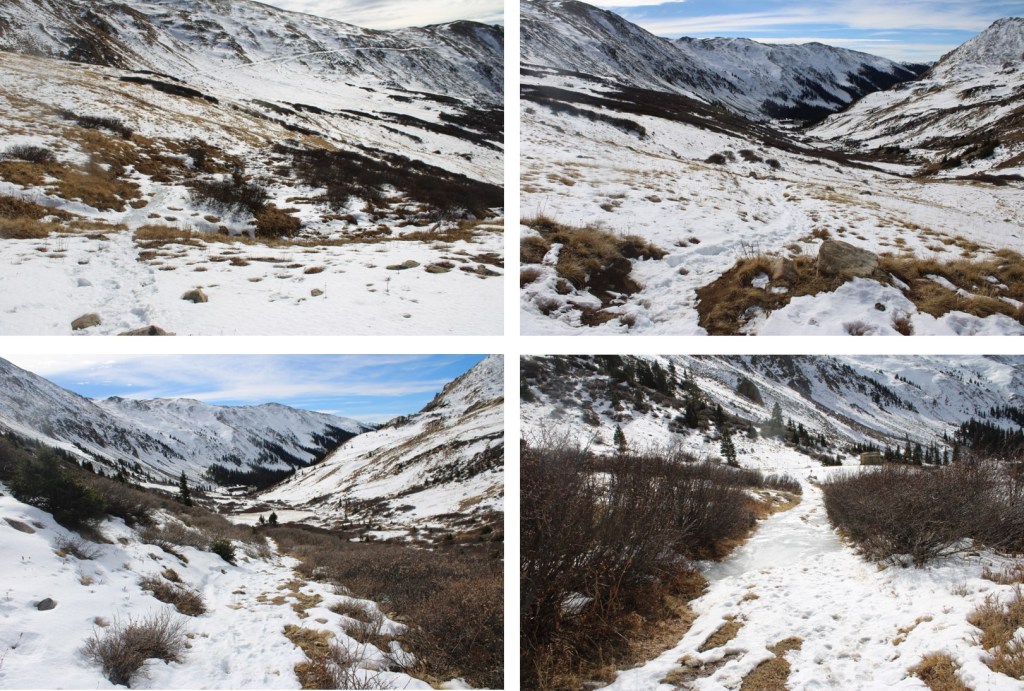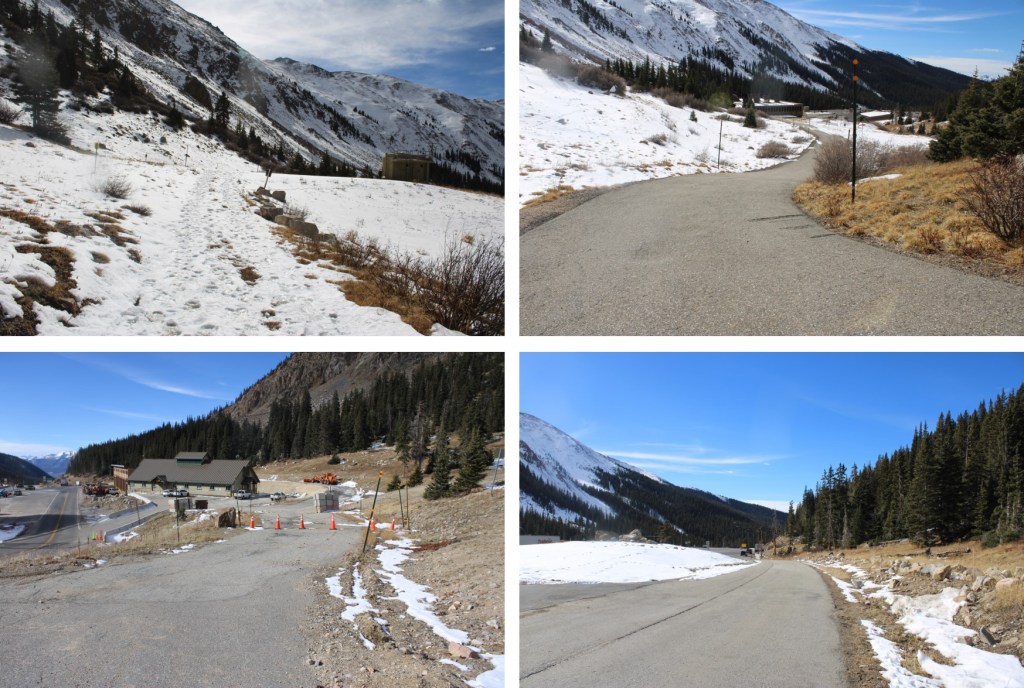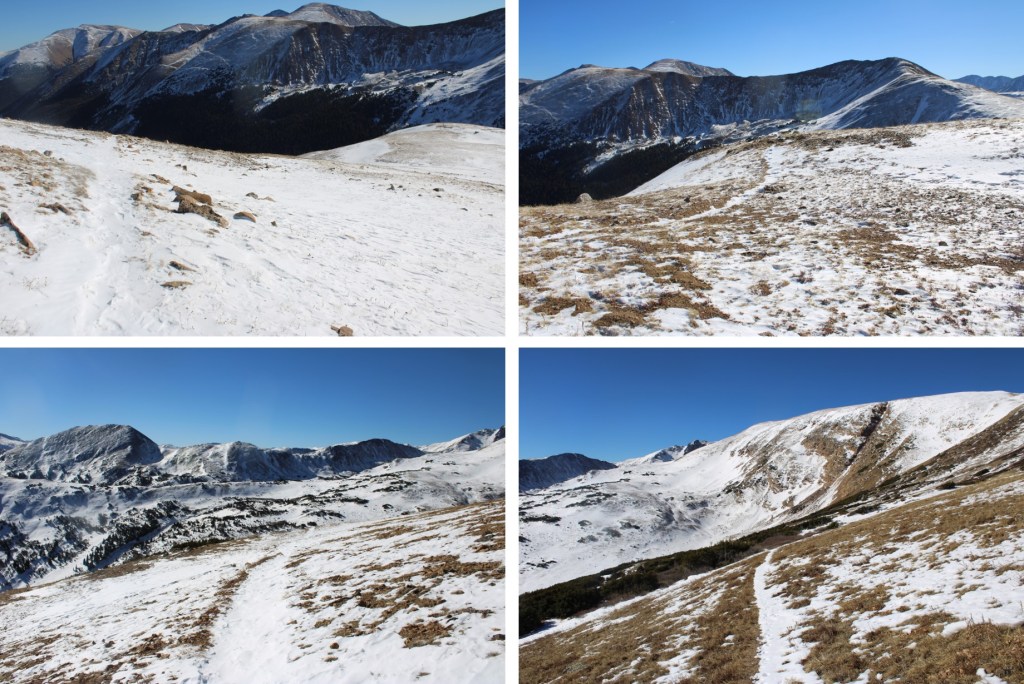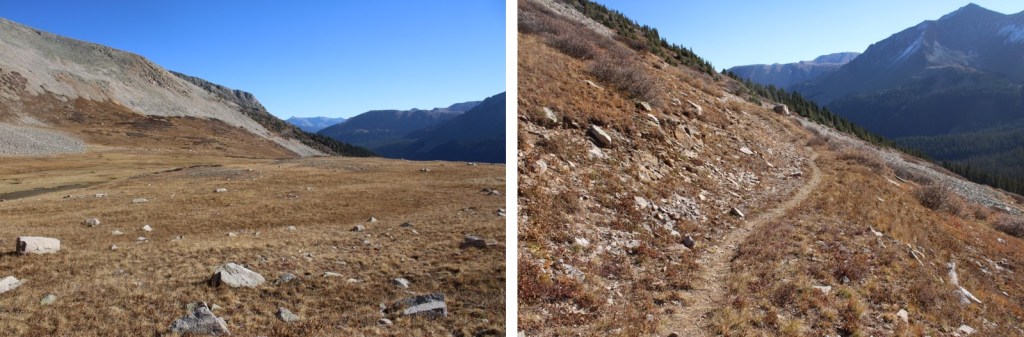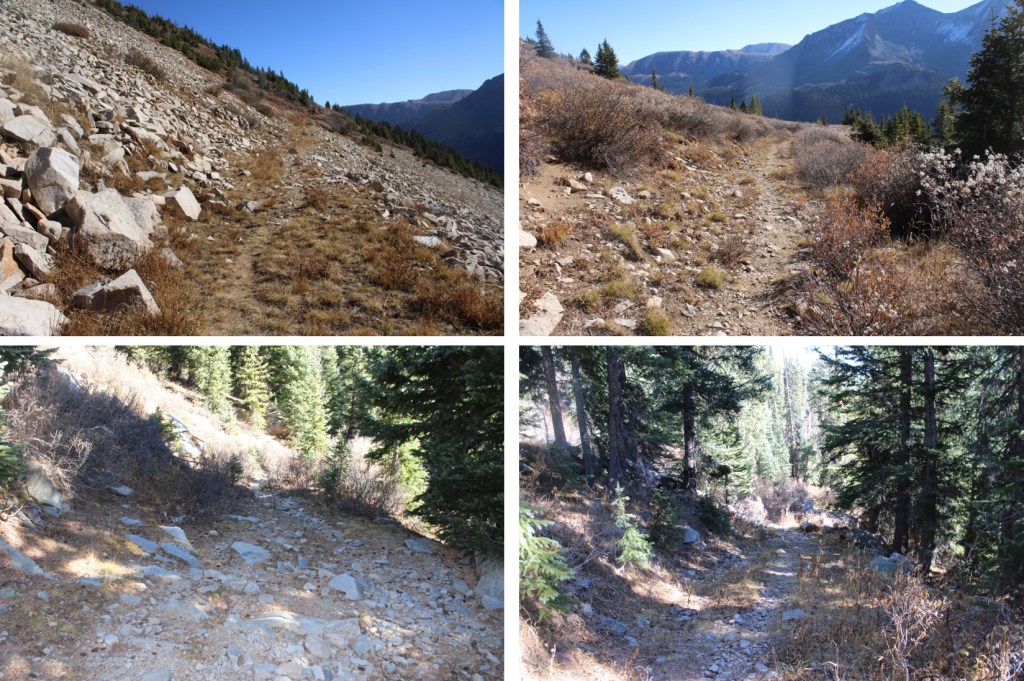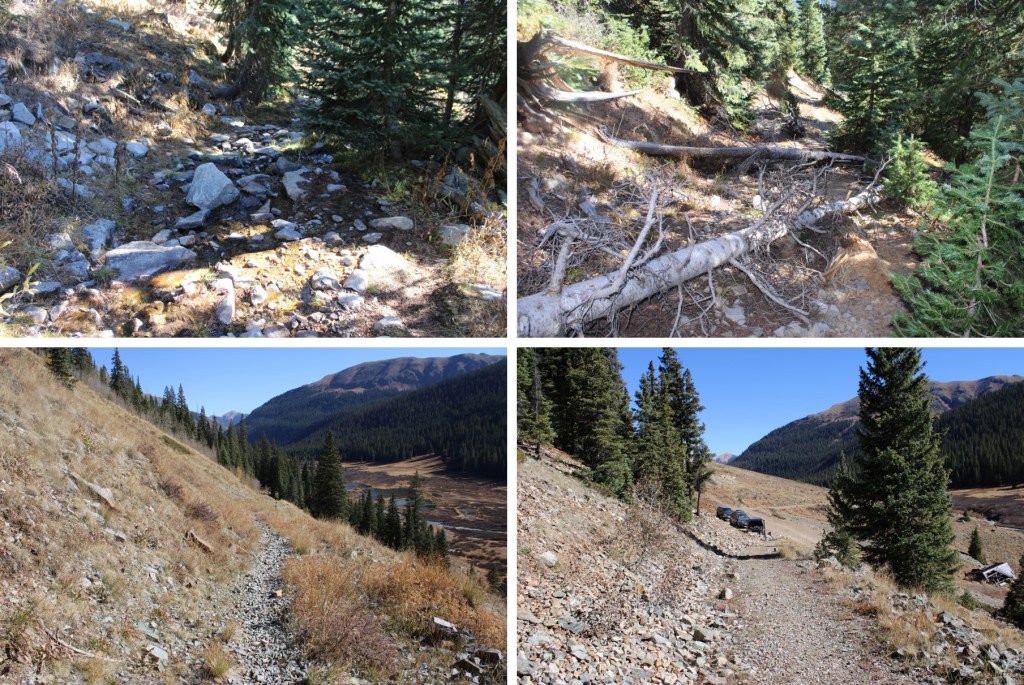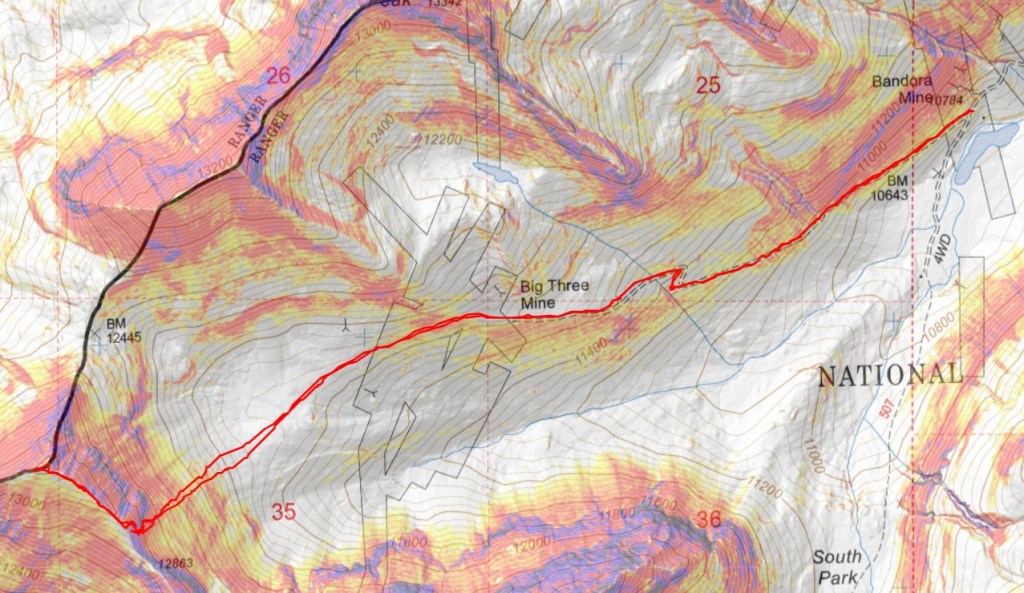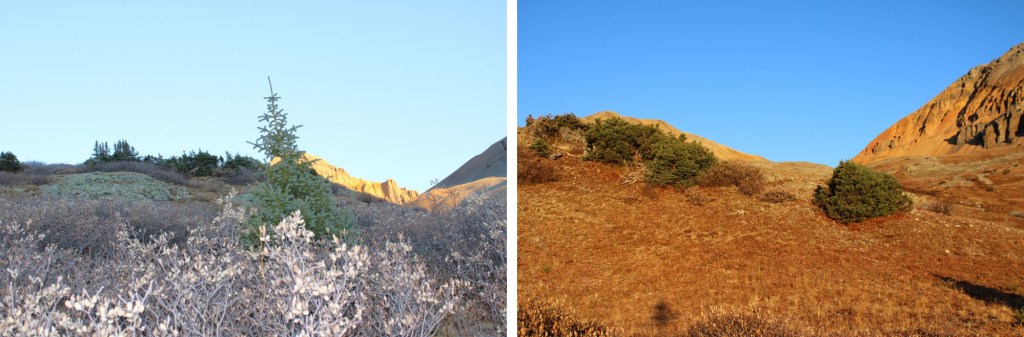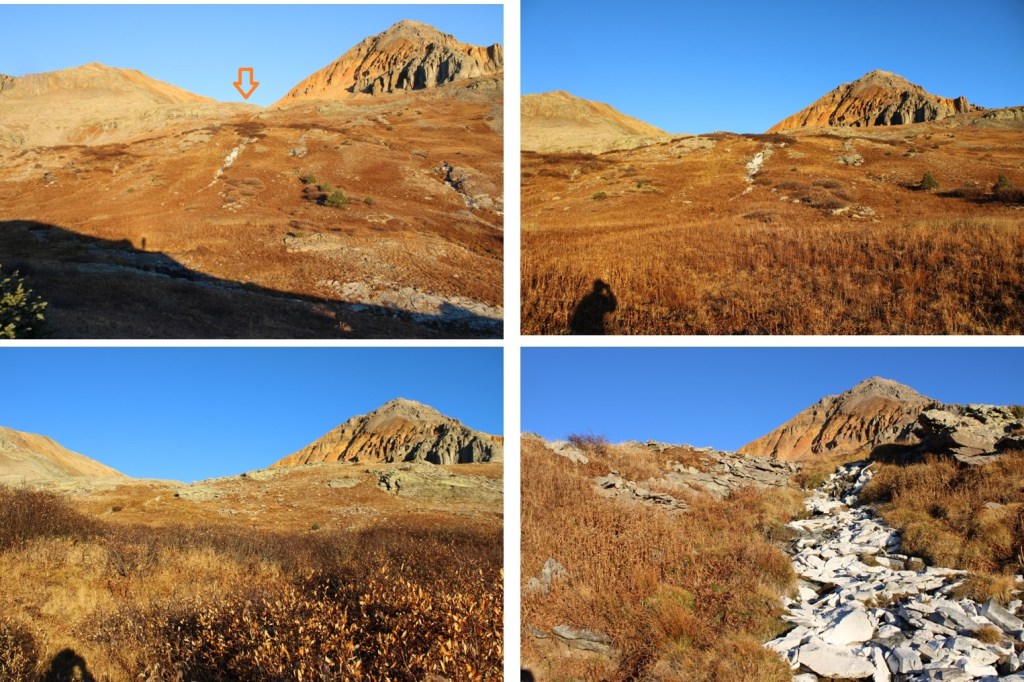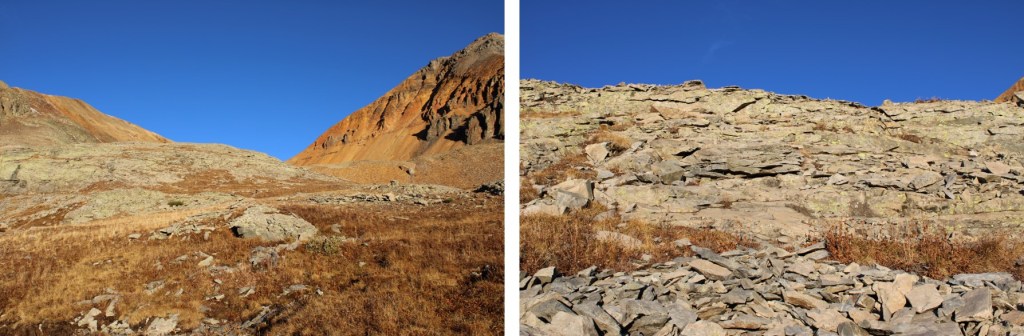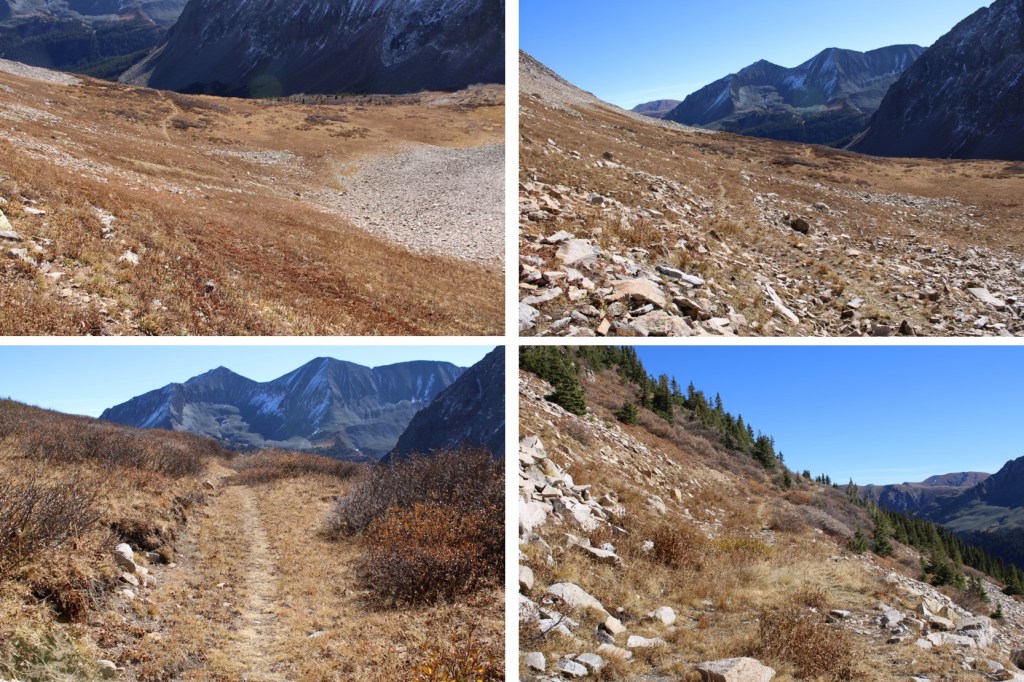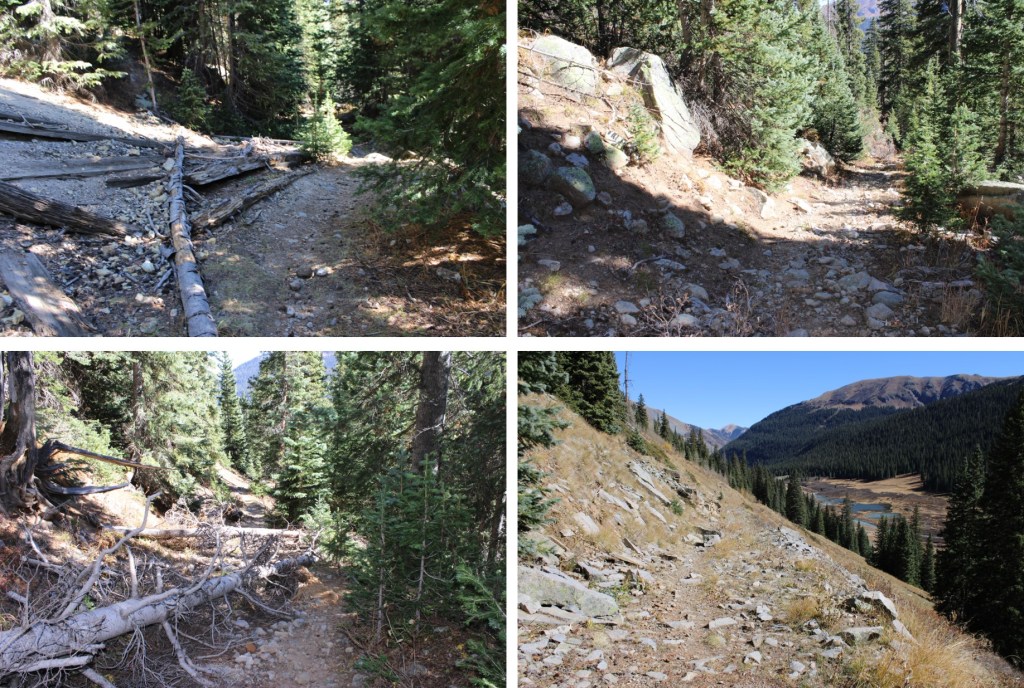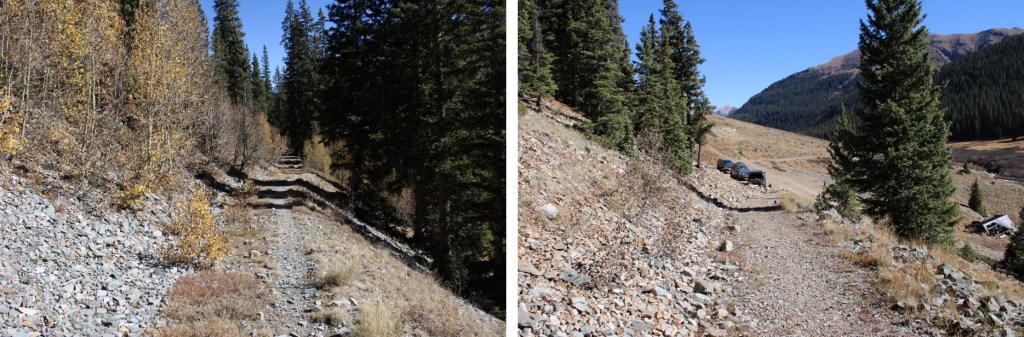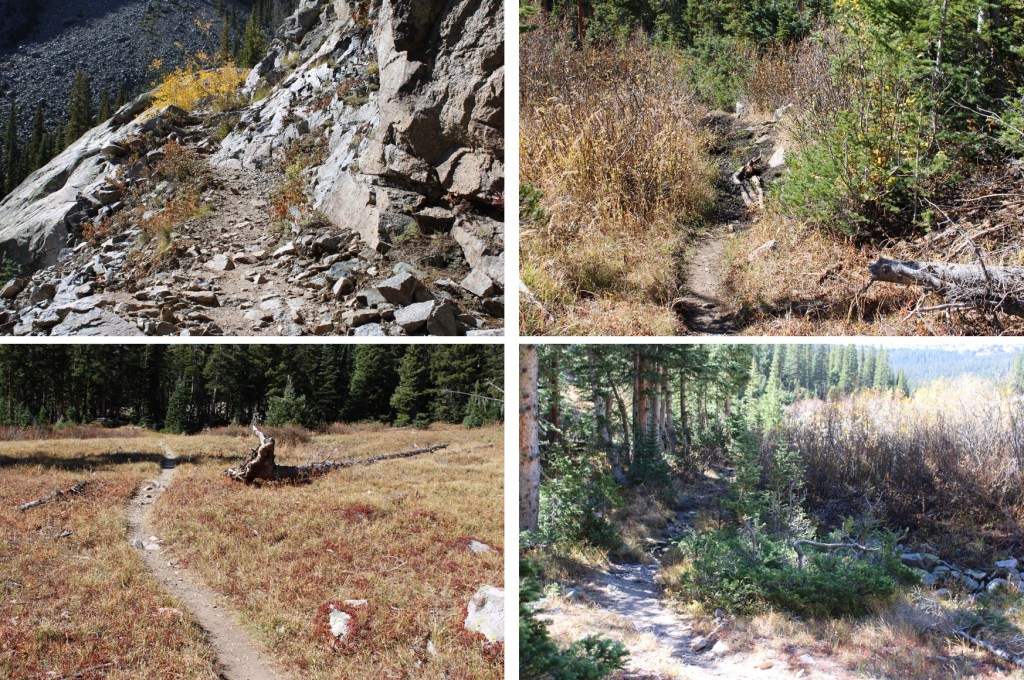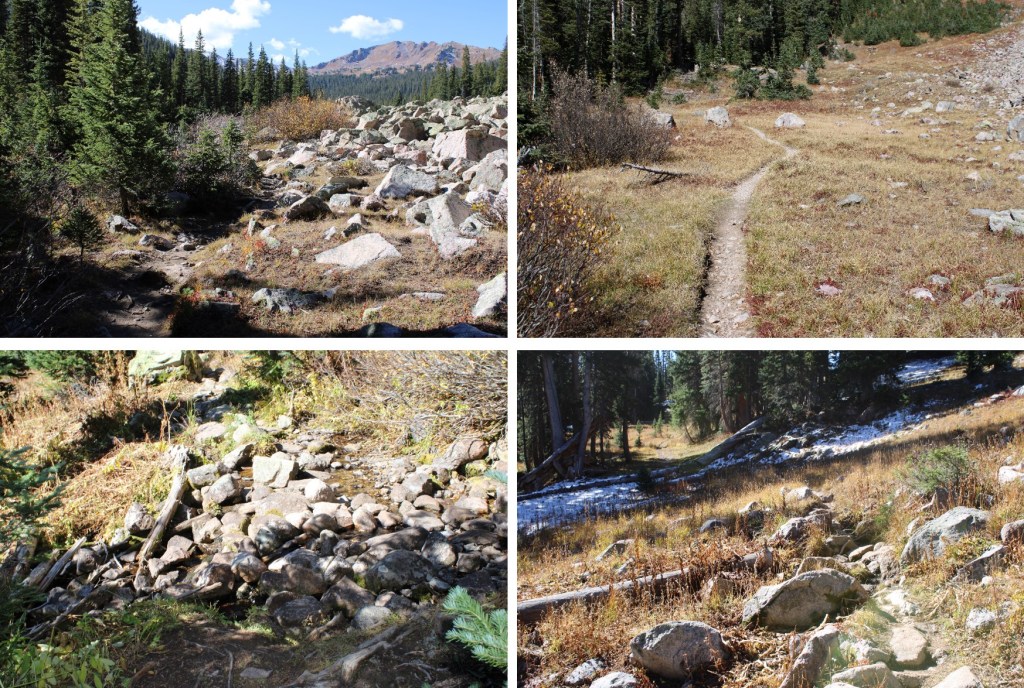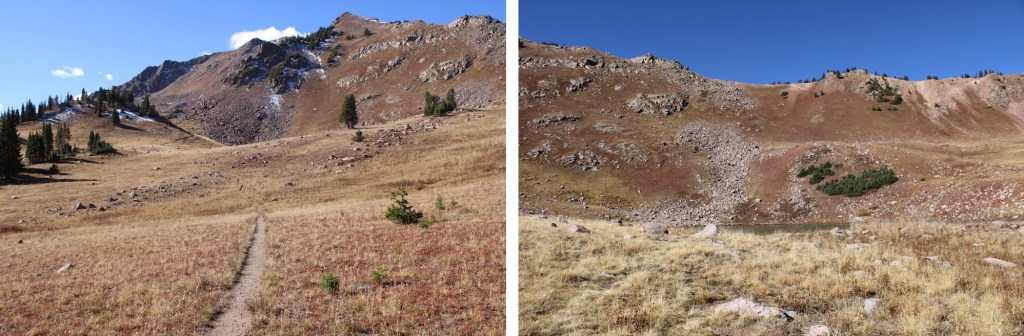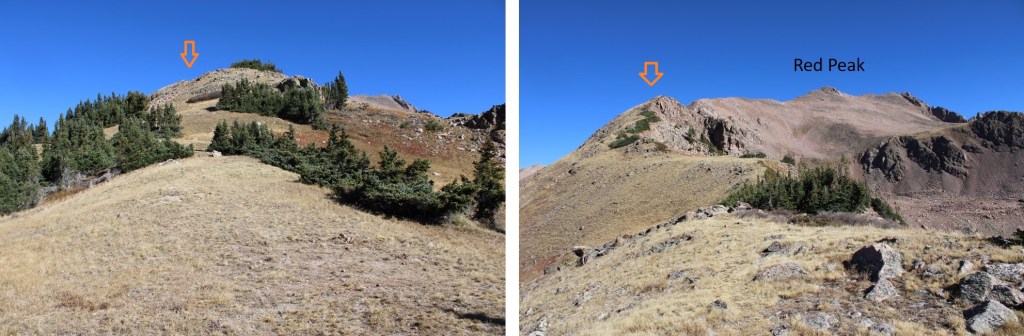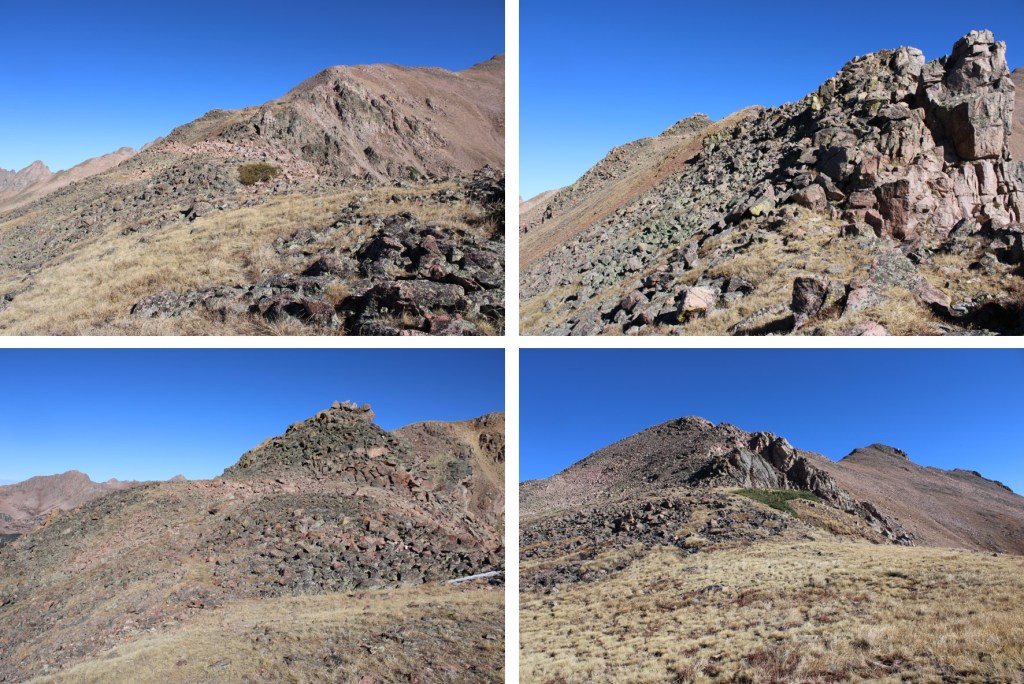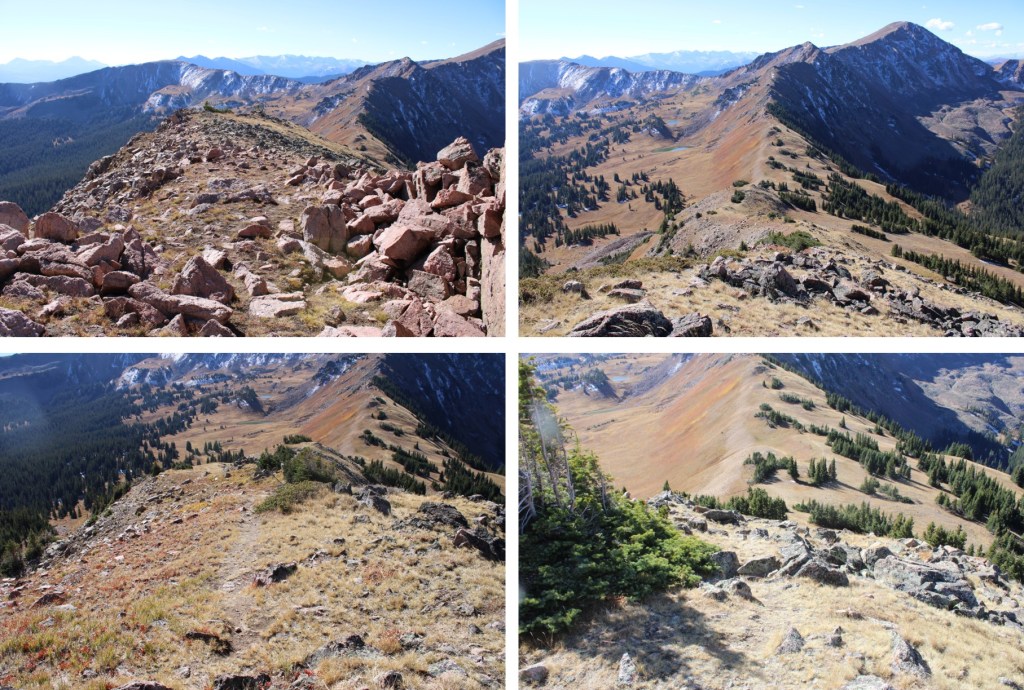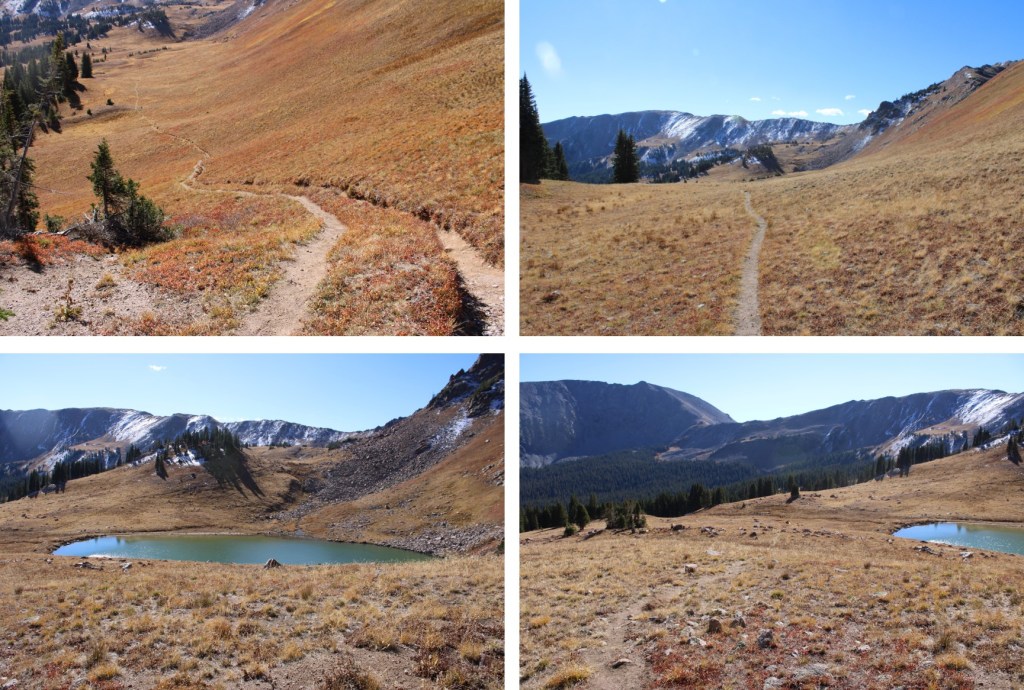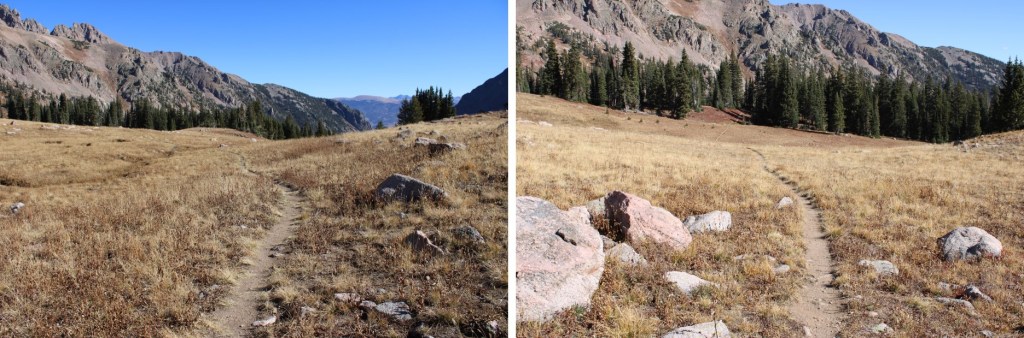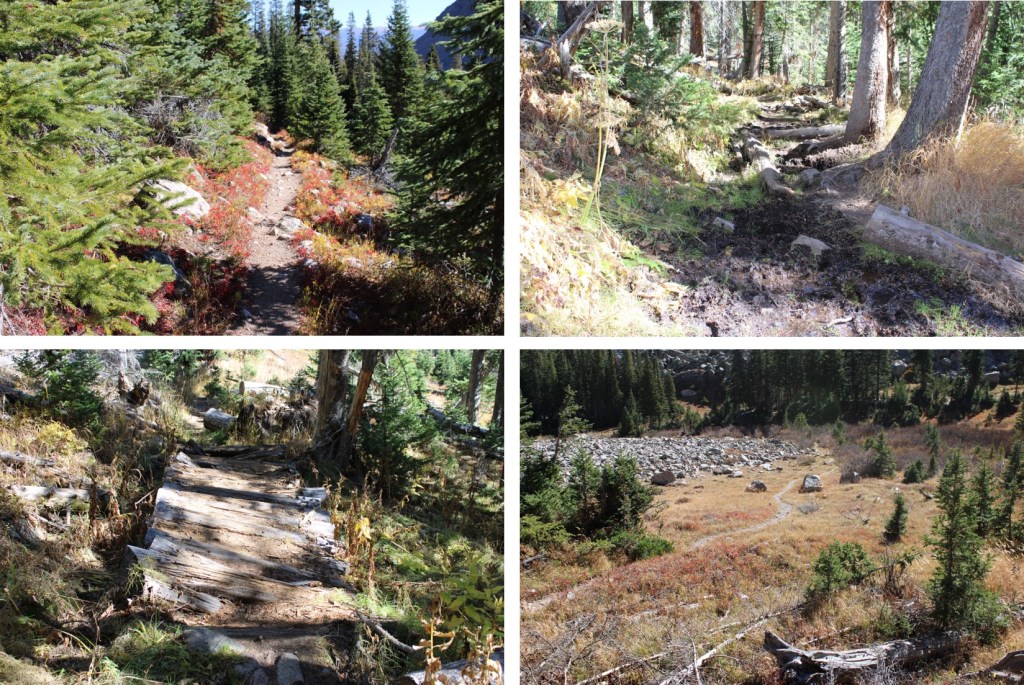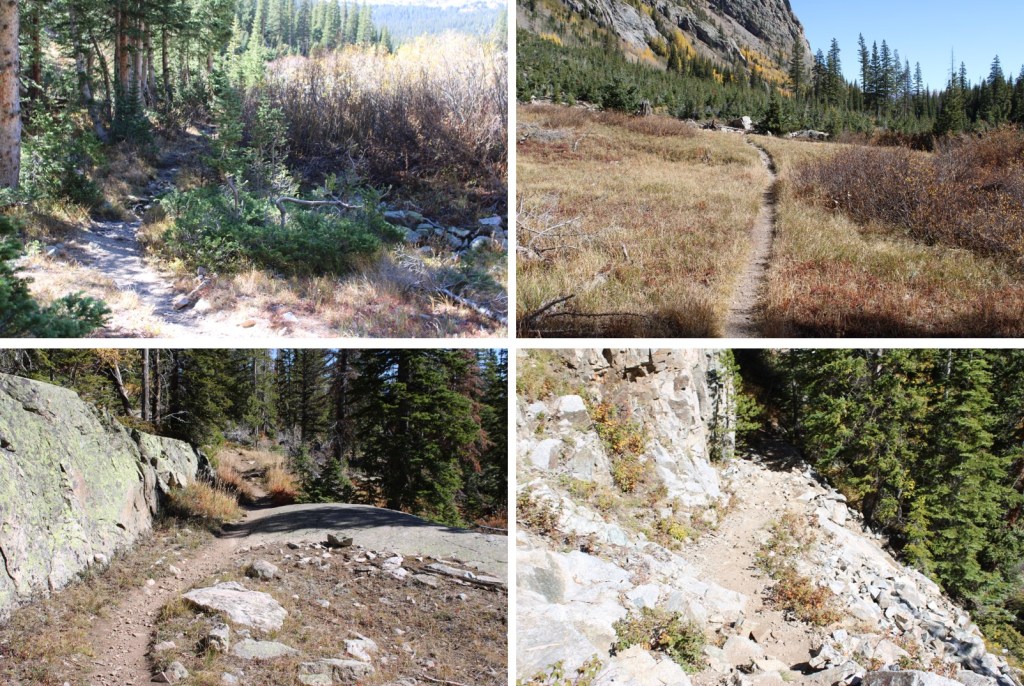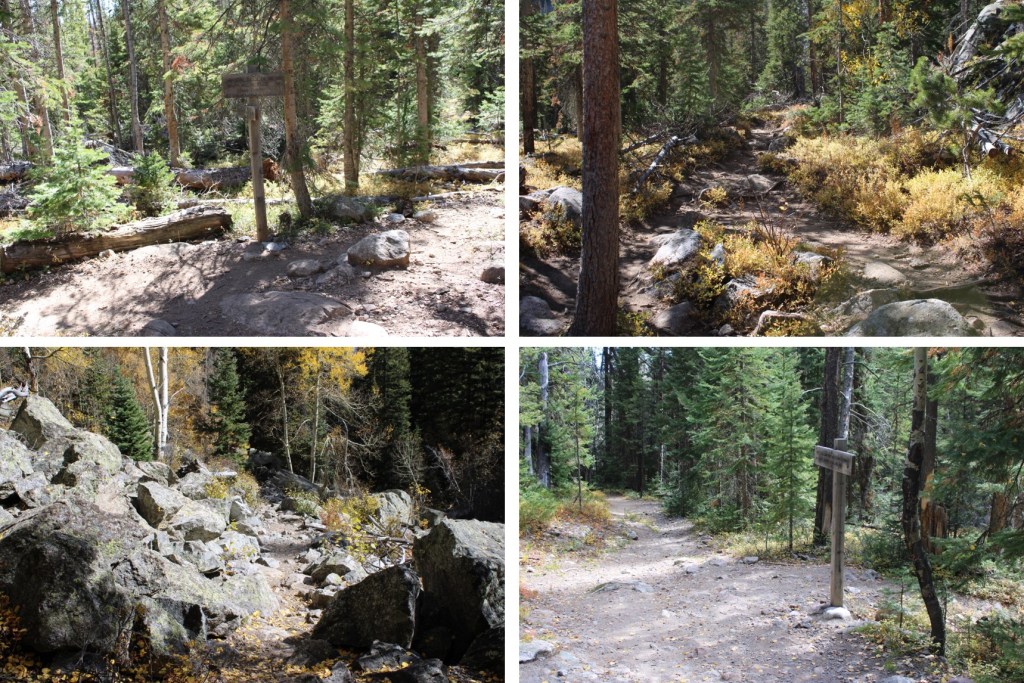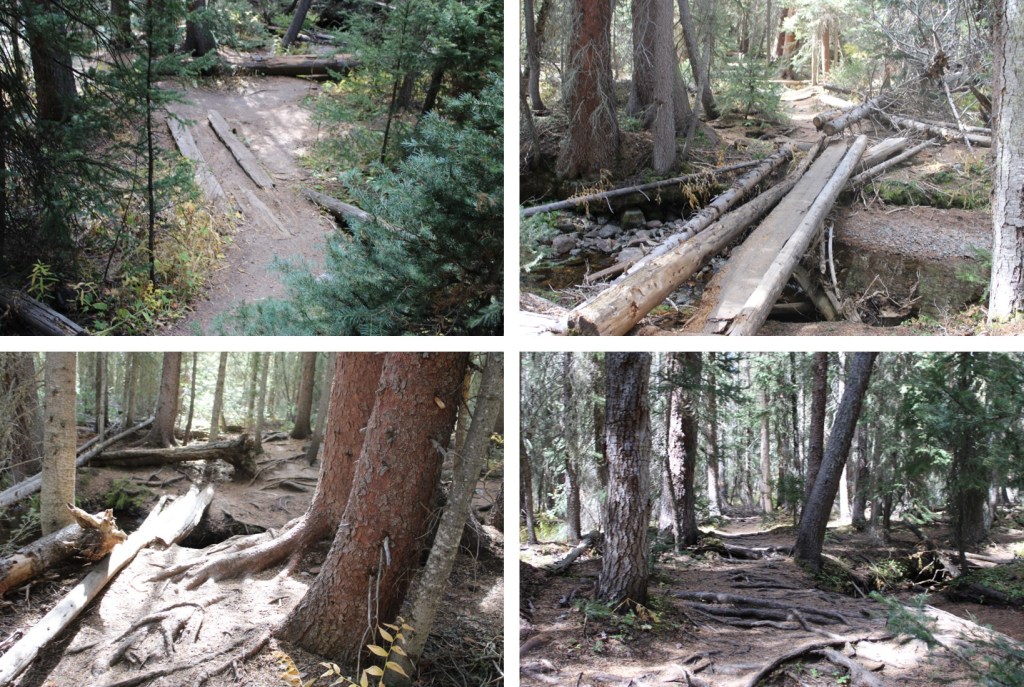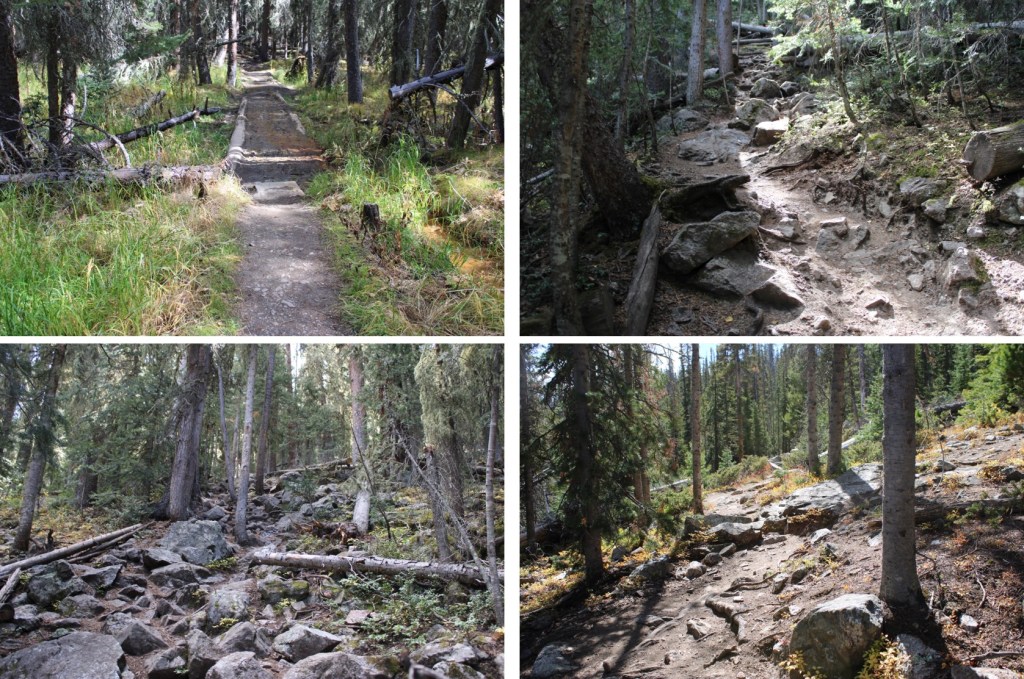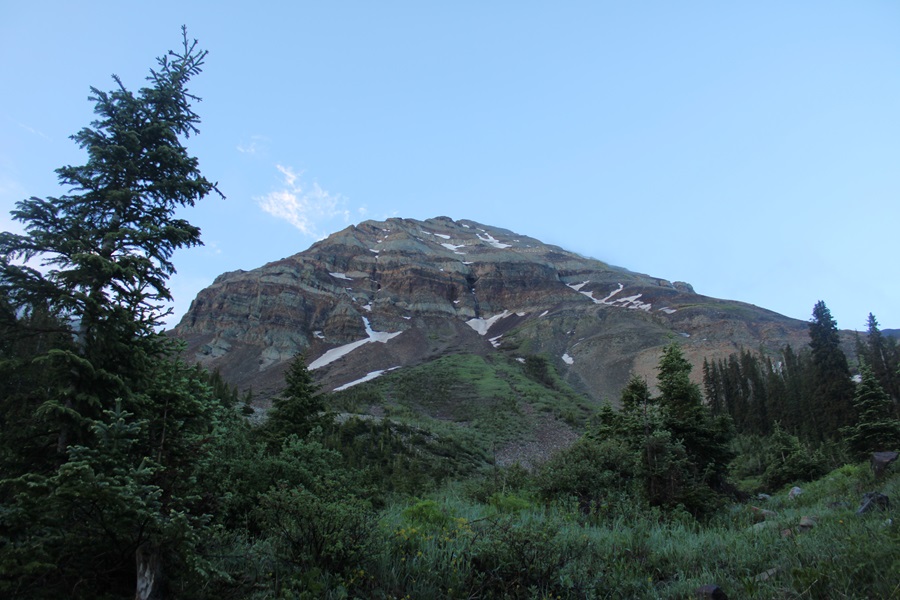
Hesperus Mountain – 13,238

RT Length: 11.08 miles

Elevation Gain: 3440’

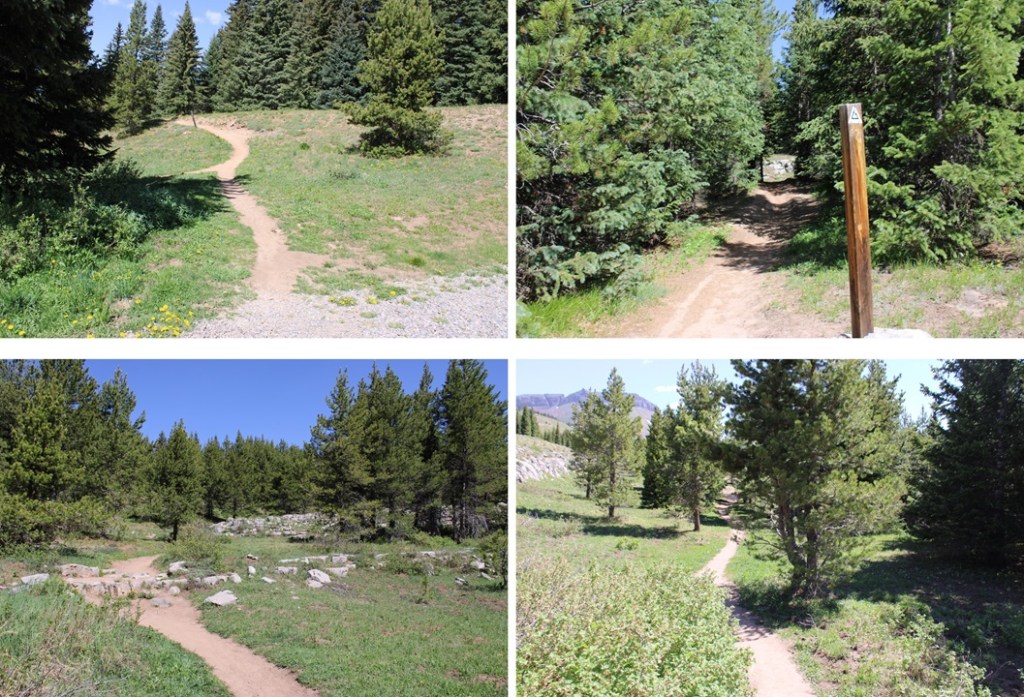
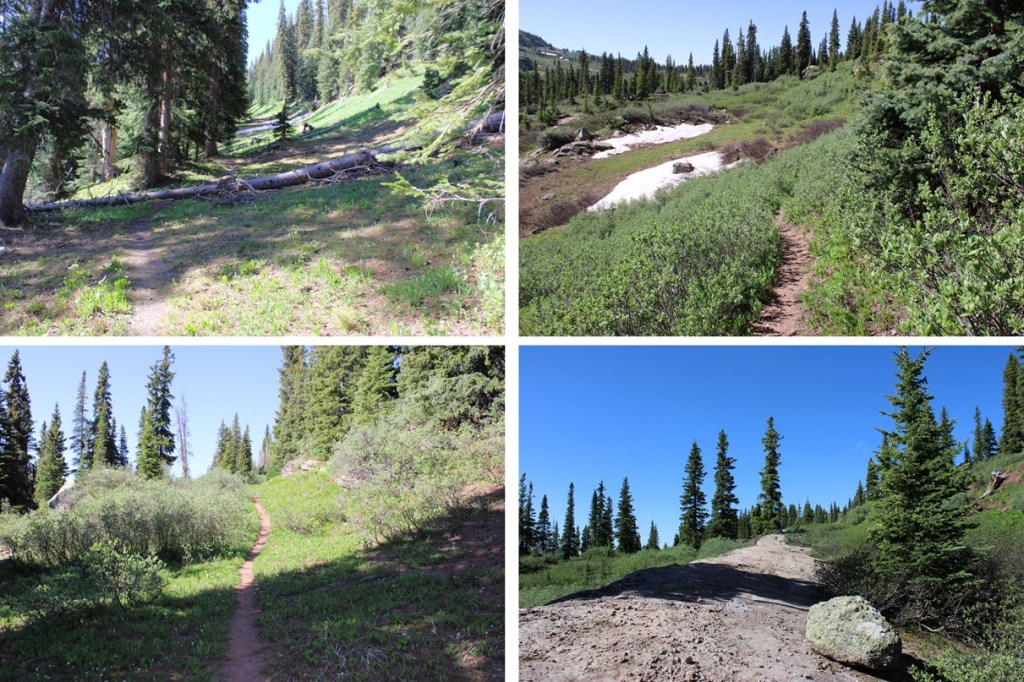
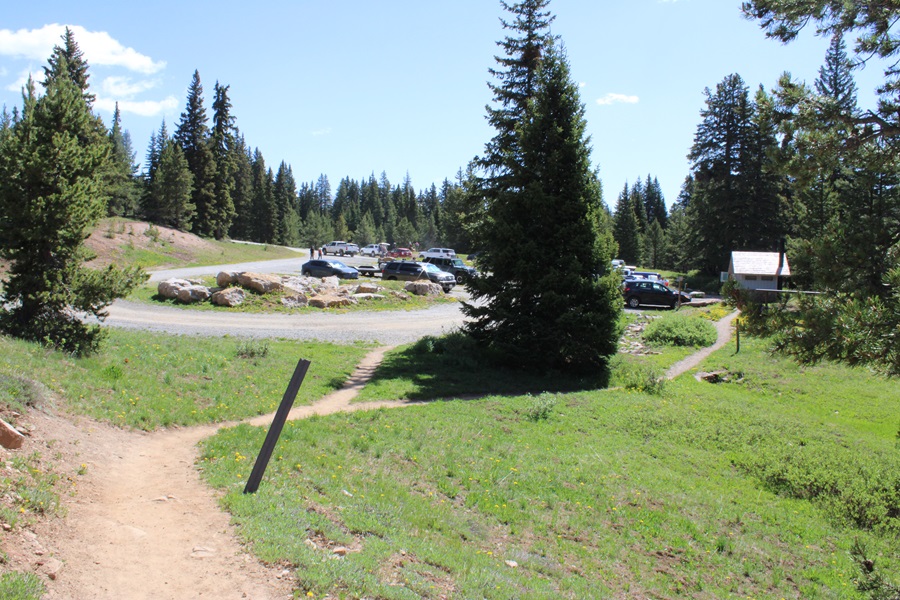
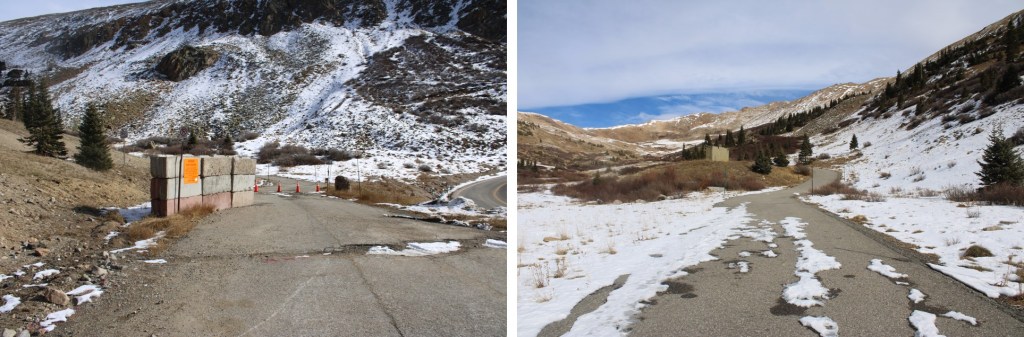
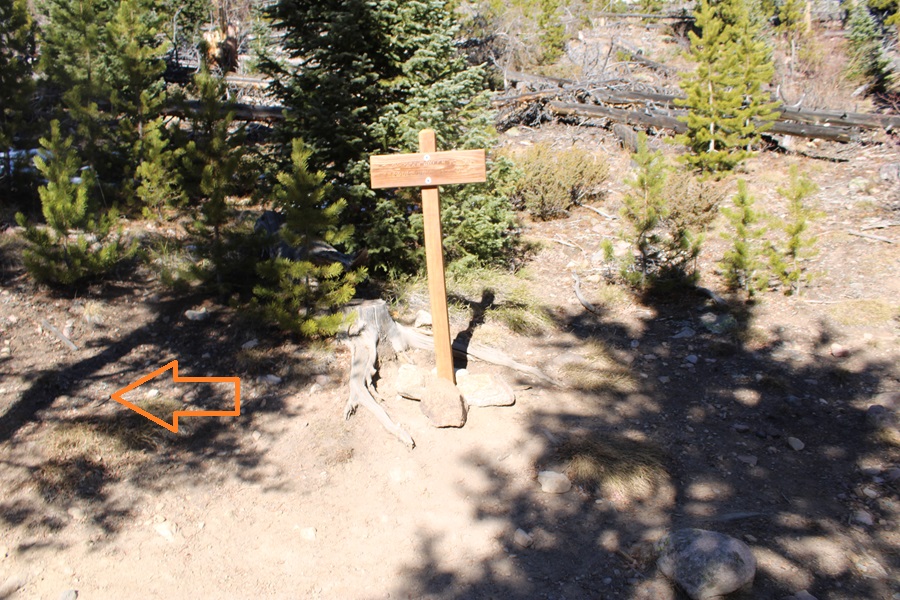
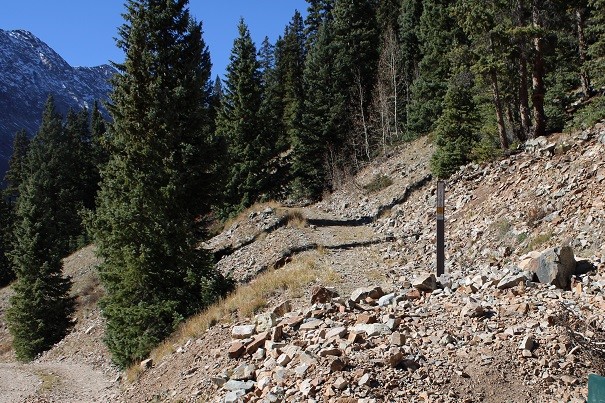
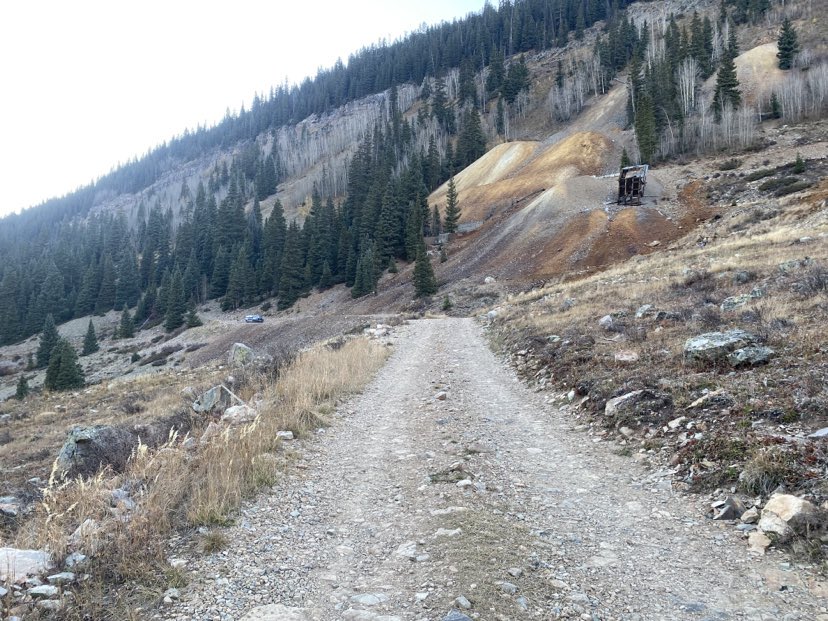
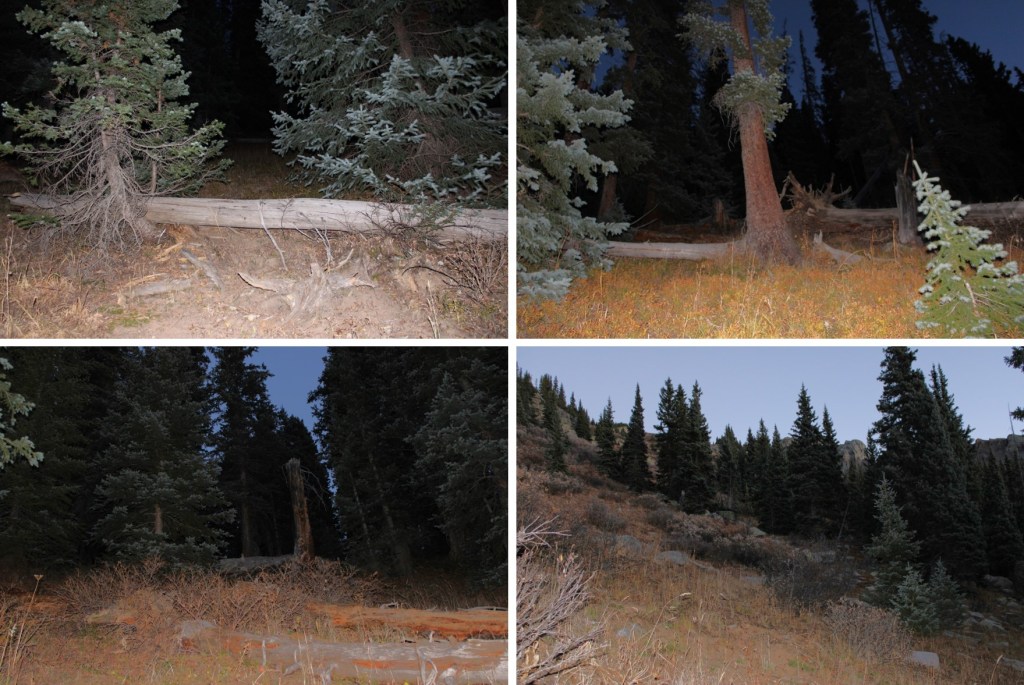
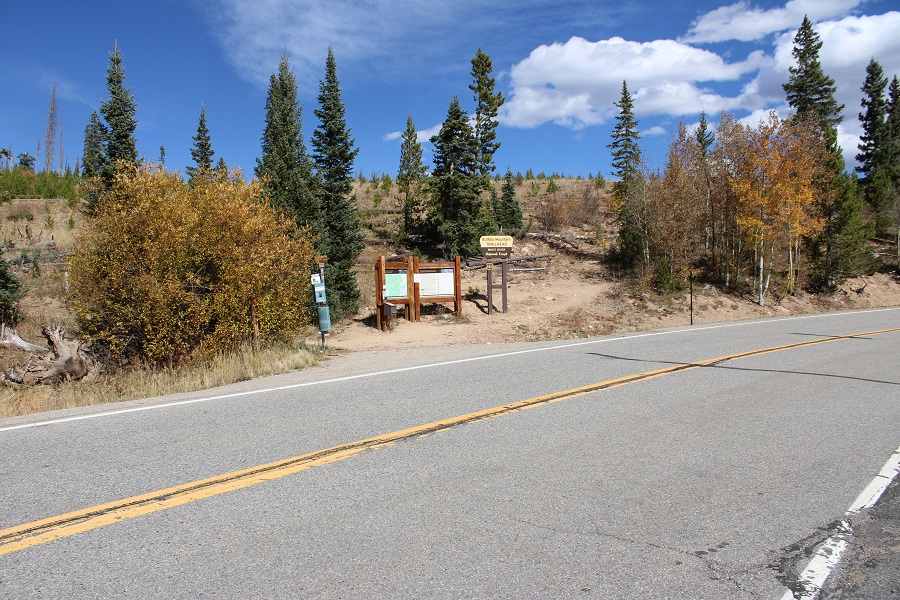
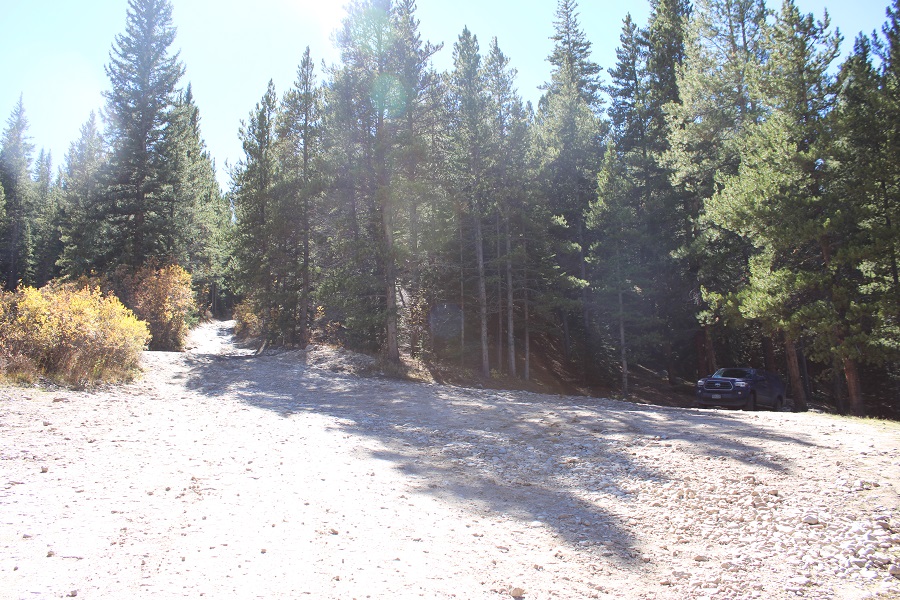
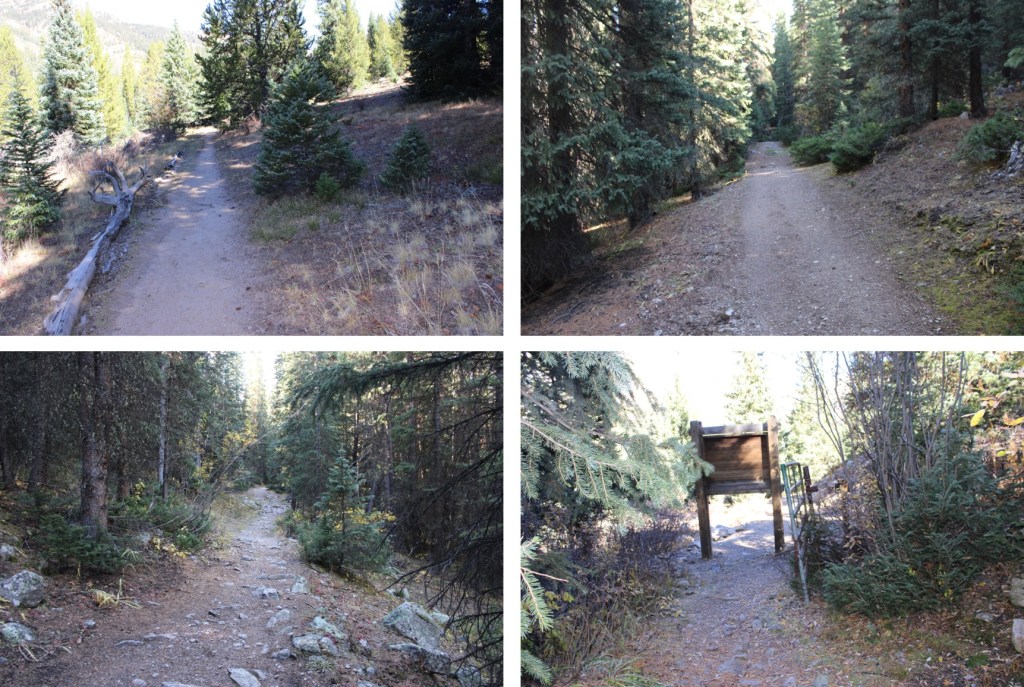
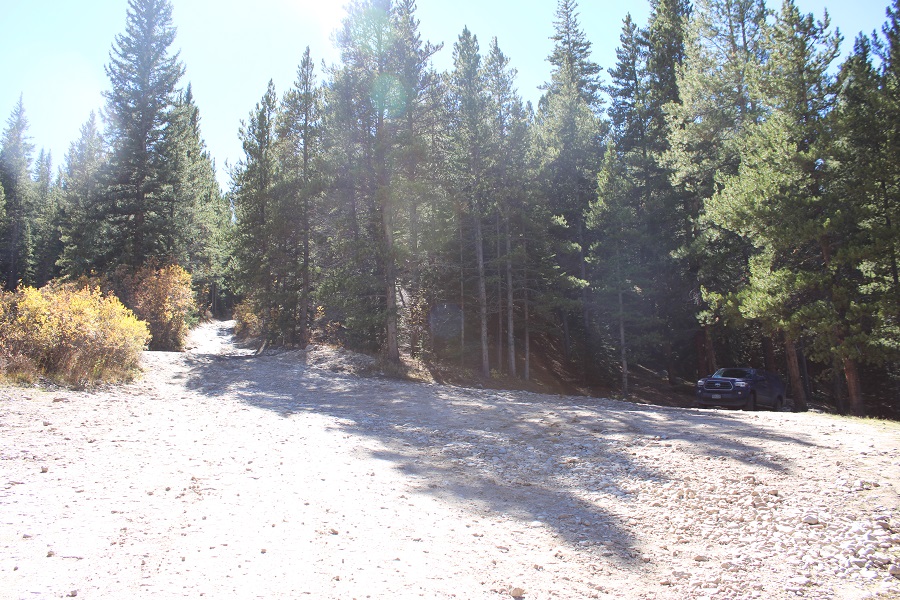
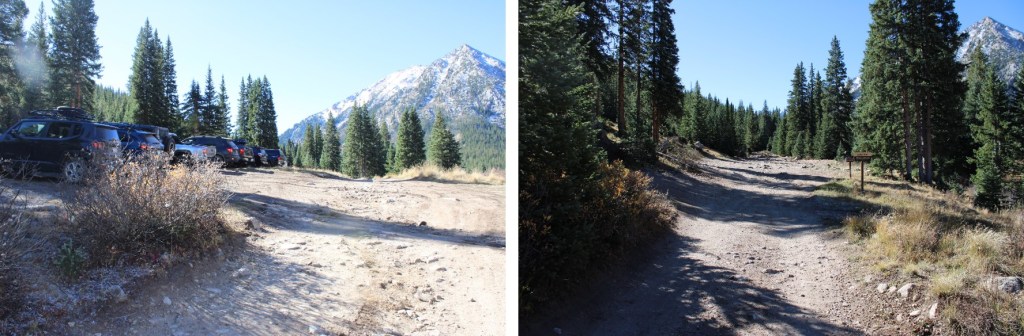
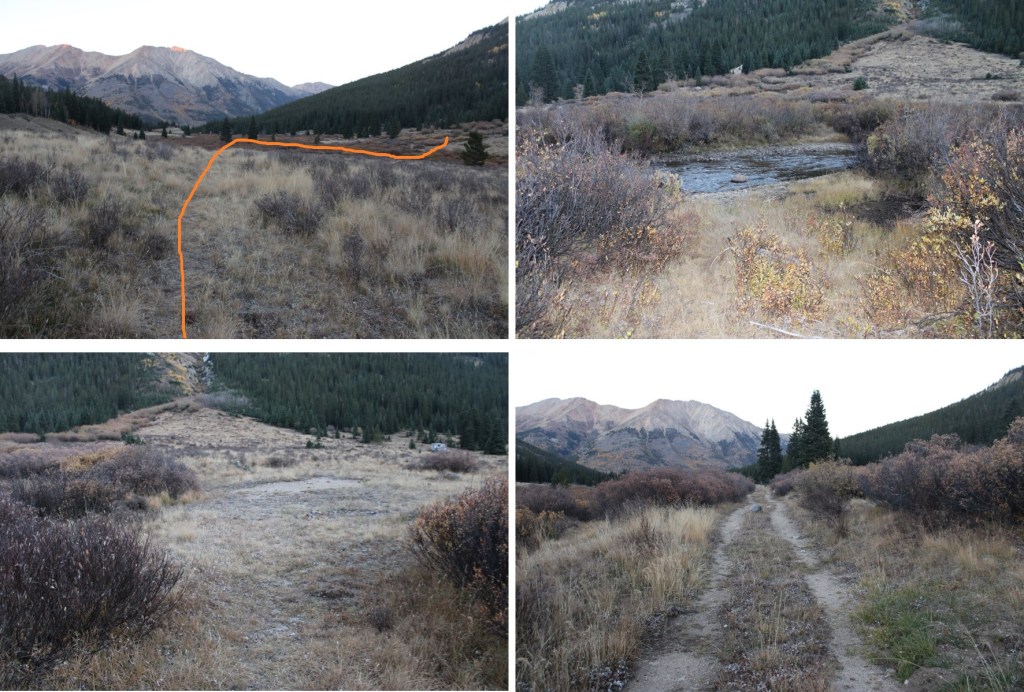
I parked at the 2WD Sharkstooth Trailhead the night before and waited out a thunderstorm.  If you’re not familiar with the area, be sure to double check your directions:  Google Maps kept trying to route me on ATV roads, and I got turned around several times trying to get to the actual trailhead.  When I got there, I found there weren’t any parking spaces (as in, no place to park period… there weren’t any other vehicles there), so I had to park in a turnout a couple dozen yards from the trailhead.  The drive was 2WD on a dirt road up until this point.  This is what the lower trailhead looks like.
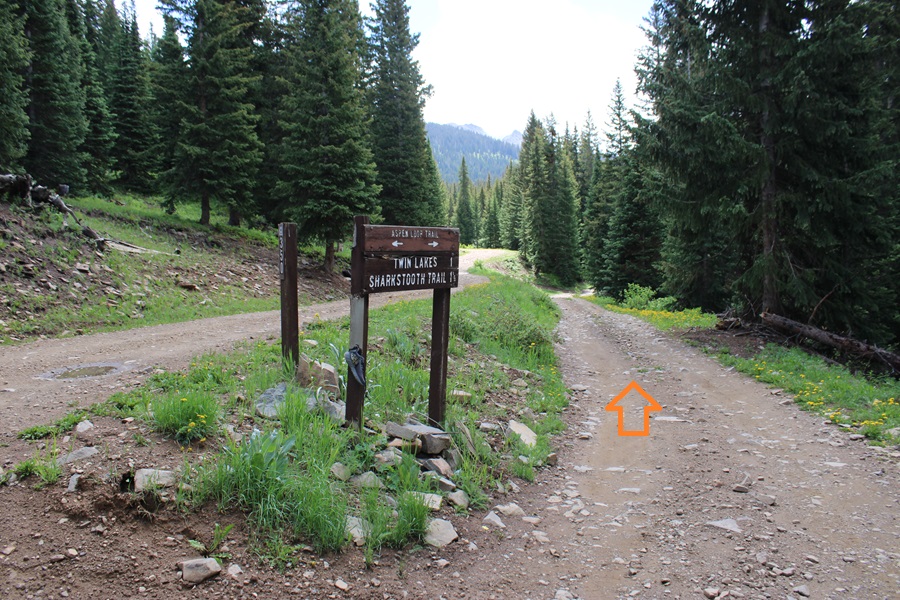
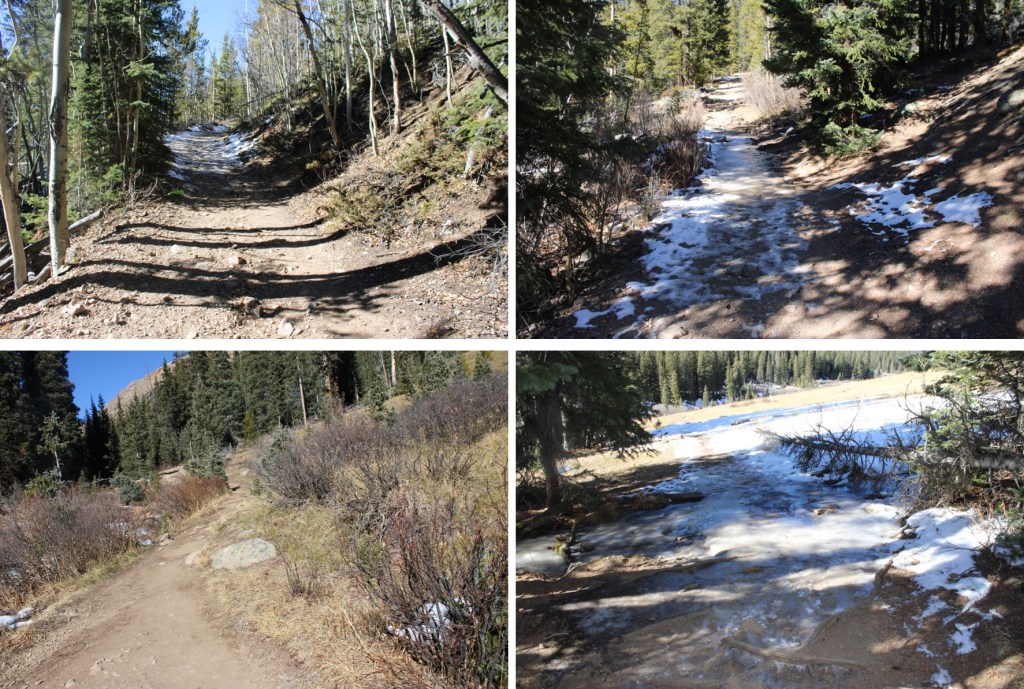
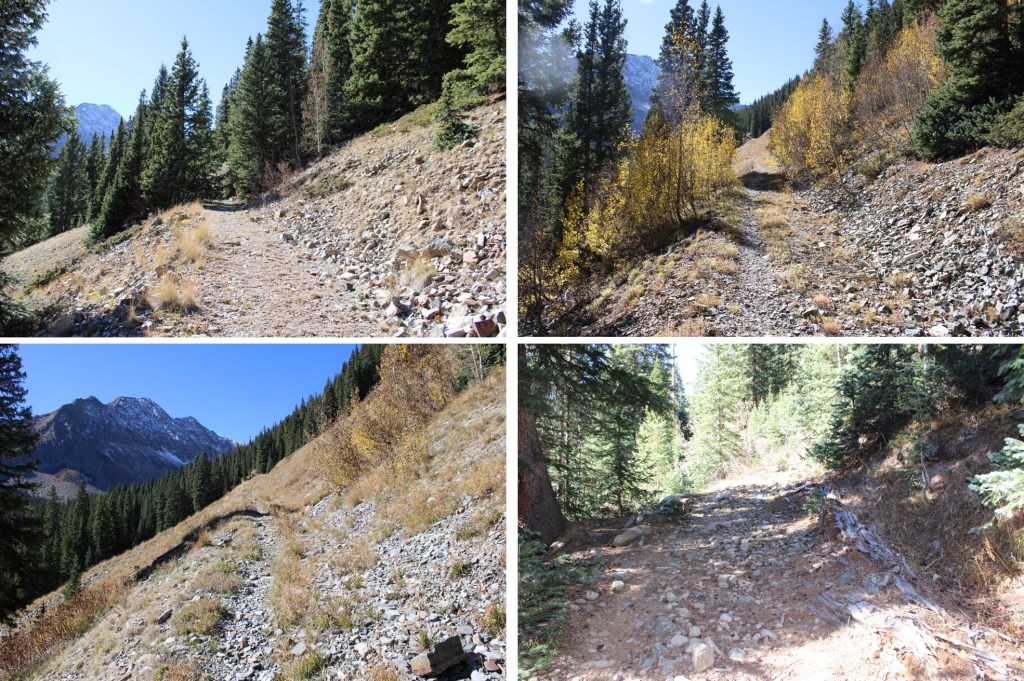
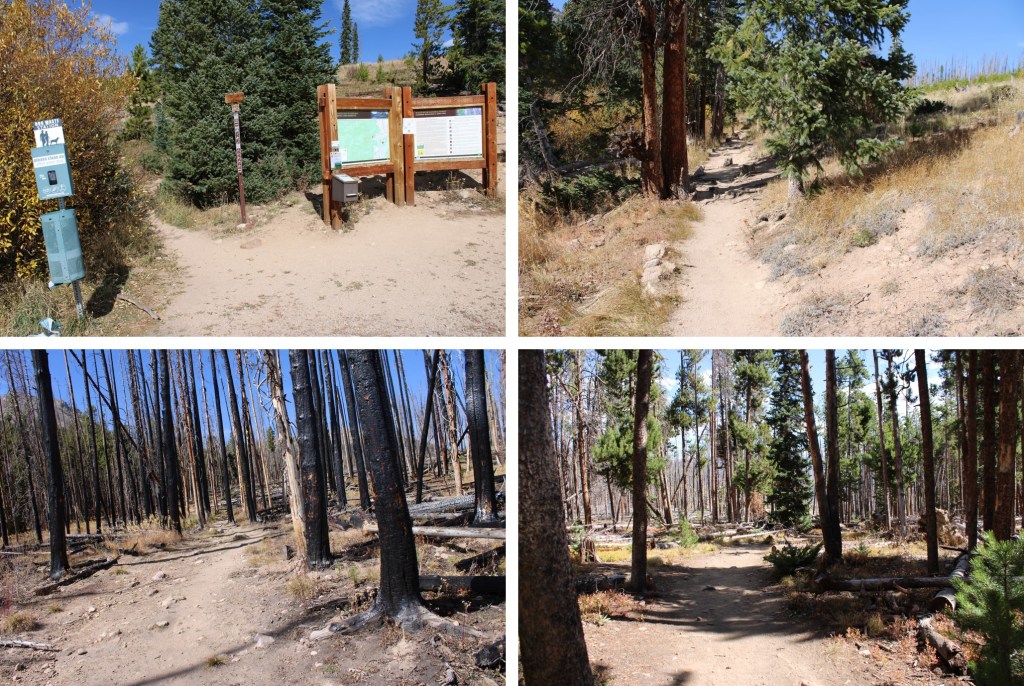
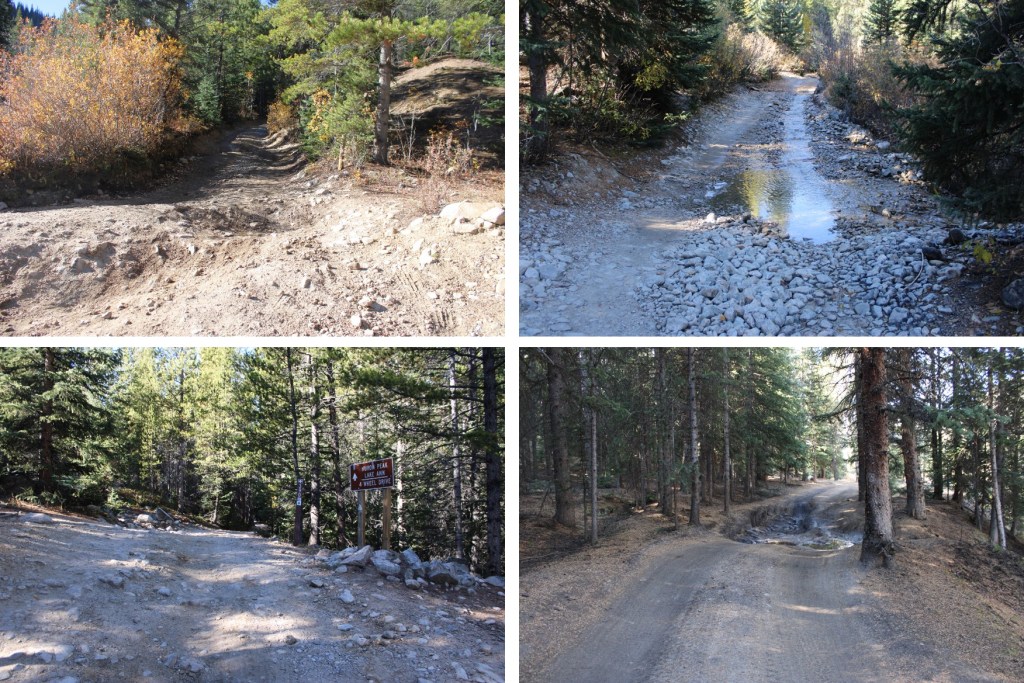
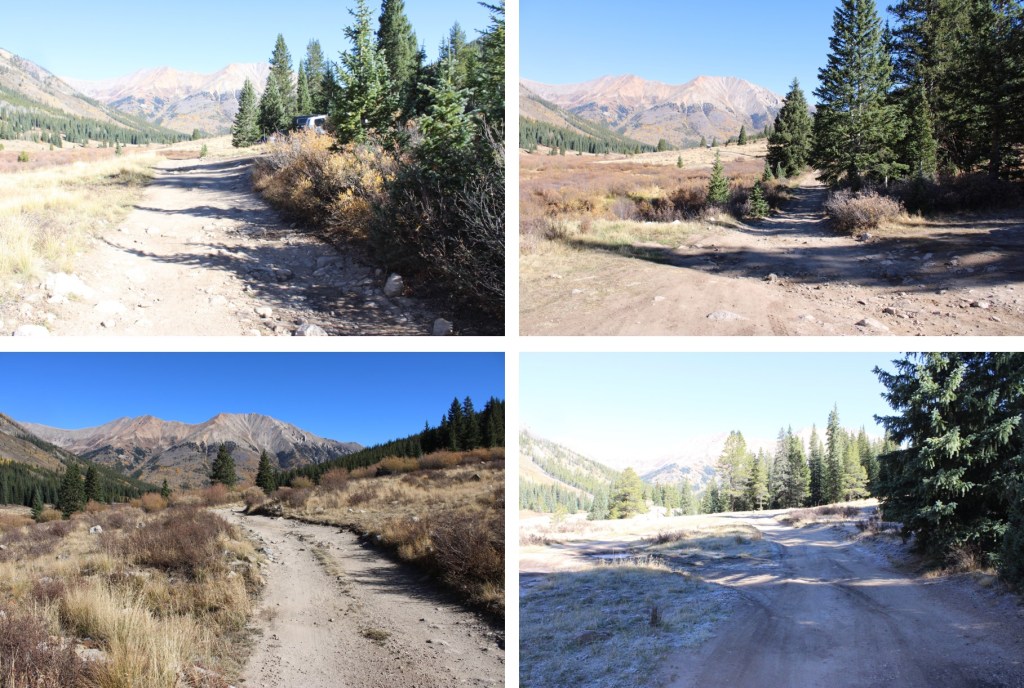
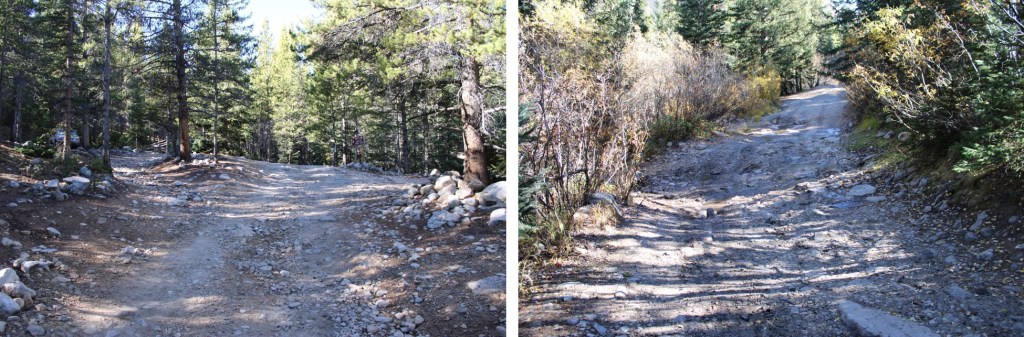
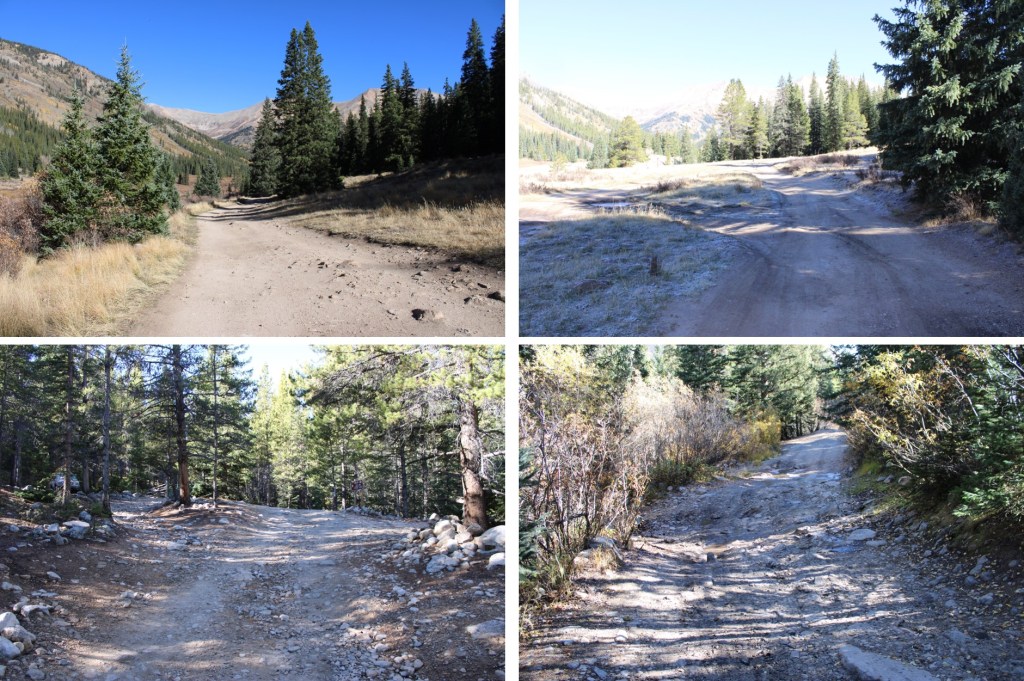
The next morning, after battling a night of storms and mosquitoes, I was up and on the trail at 5:30am. I realized rather quickly the 4WD road to the upper trailhead wasn’t all that difficult to navigate, and I could have easily driven all the way there.   There were also several dispersed campsites along the way.
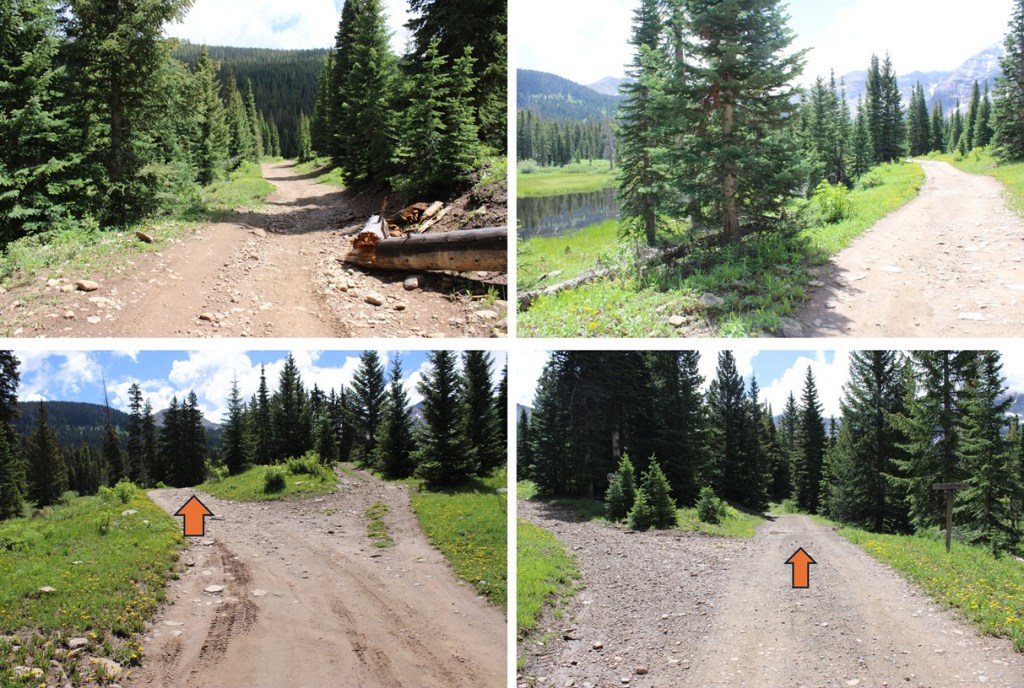
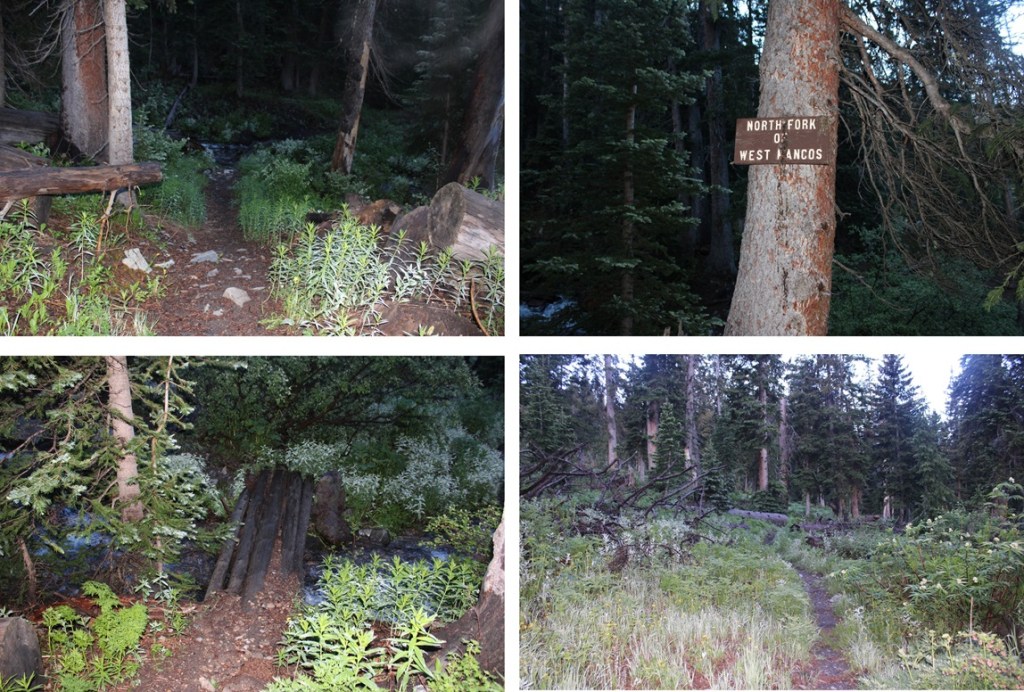
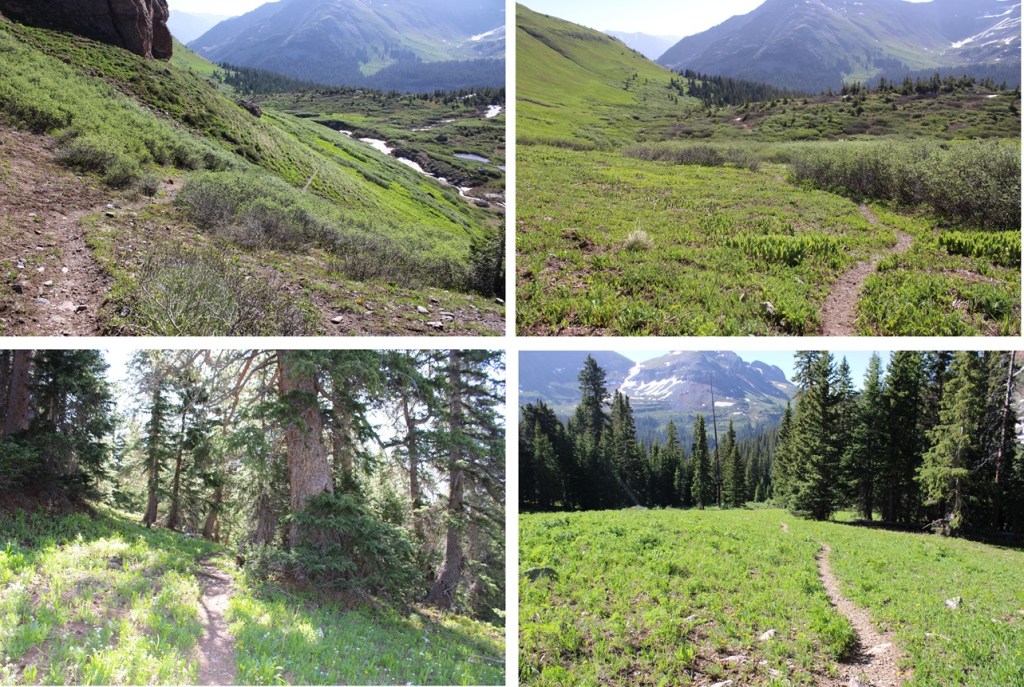
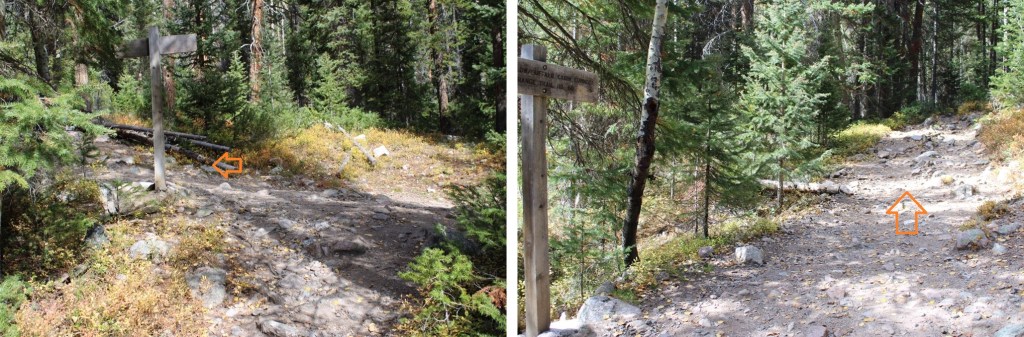
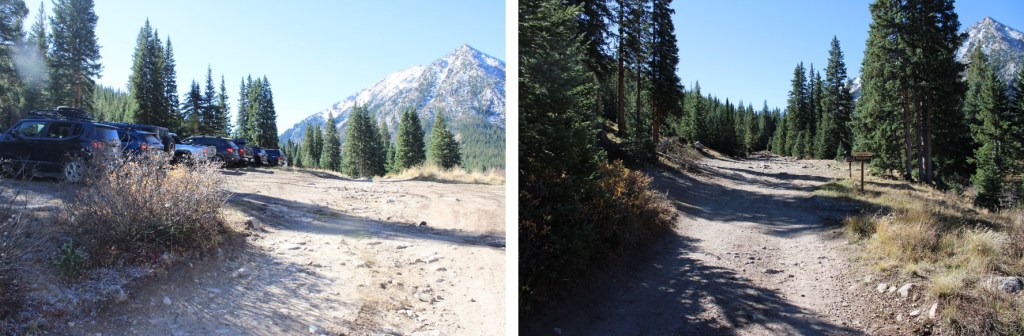
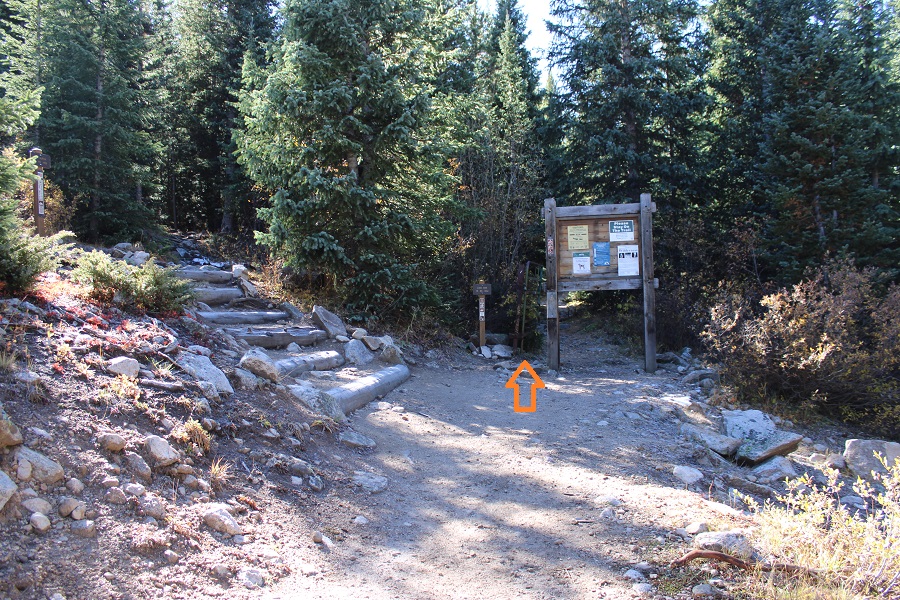
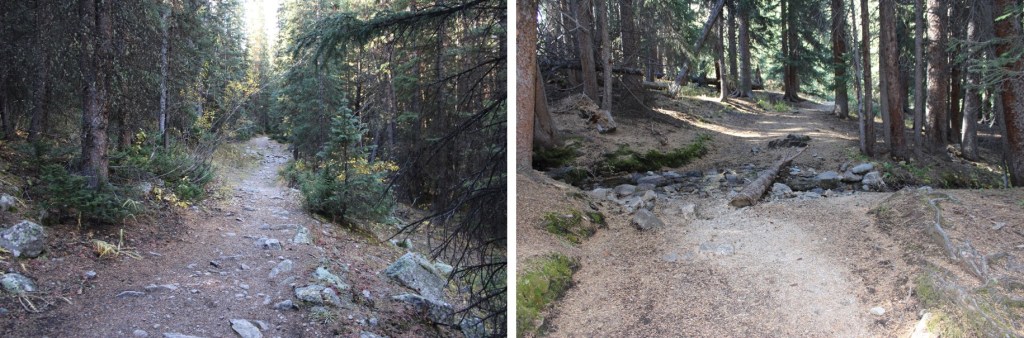
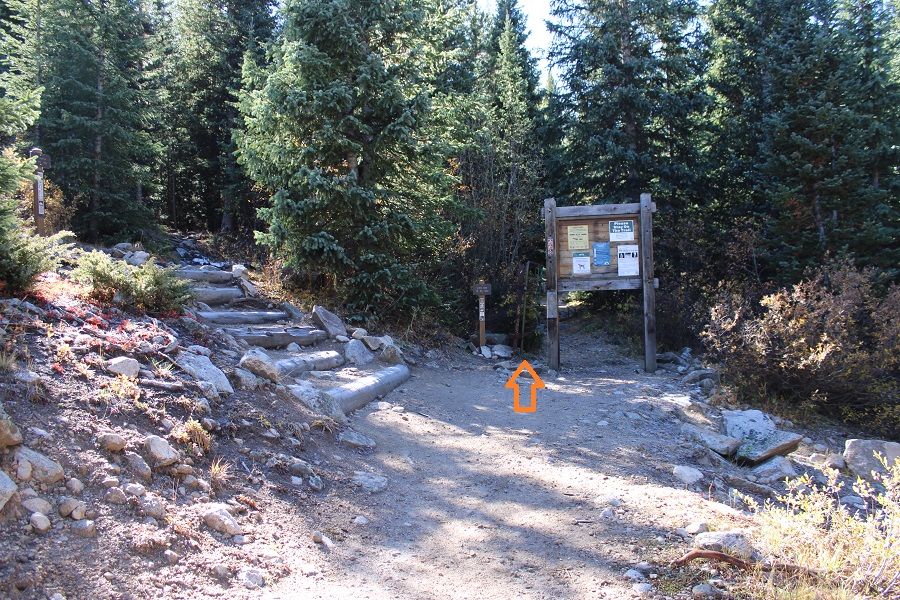
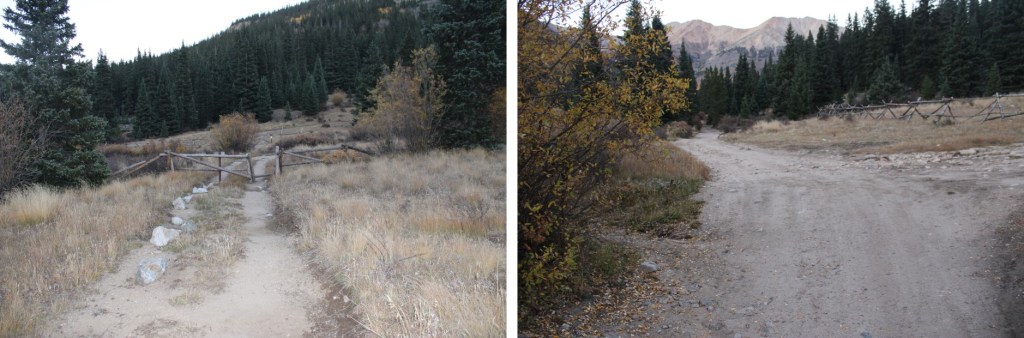
Now at the upper trailhead, I started following West Mancos Trail 621, which was the trail to the right.

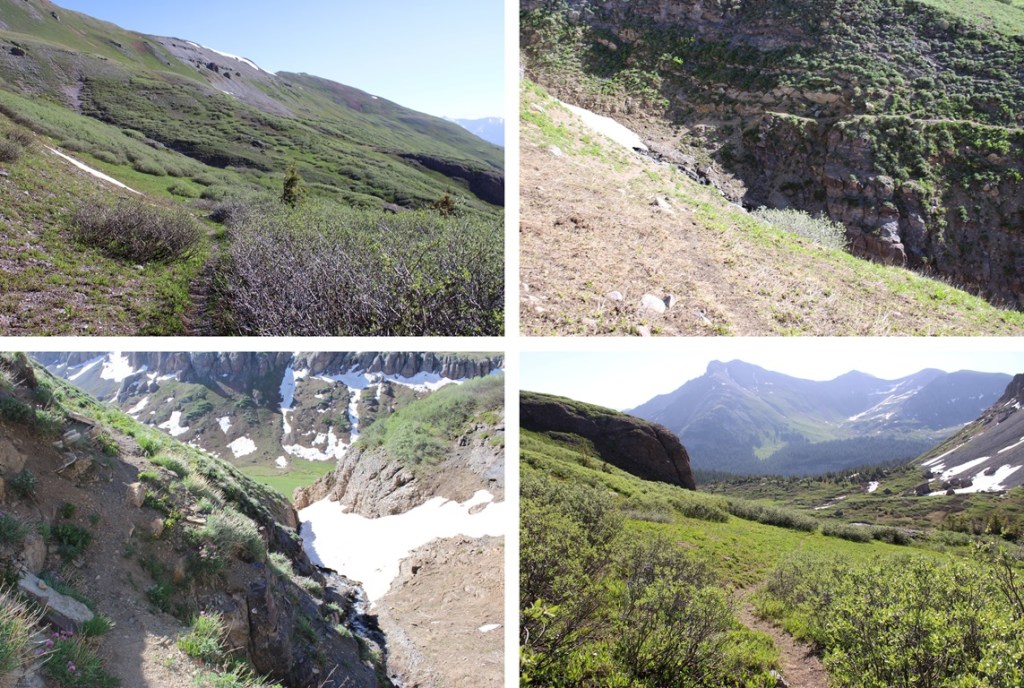
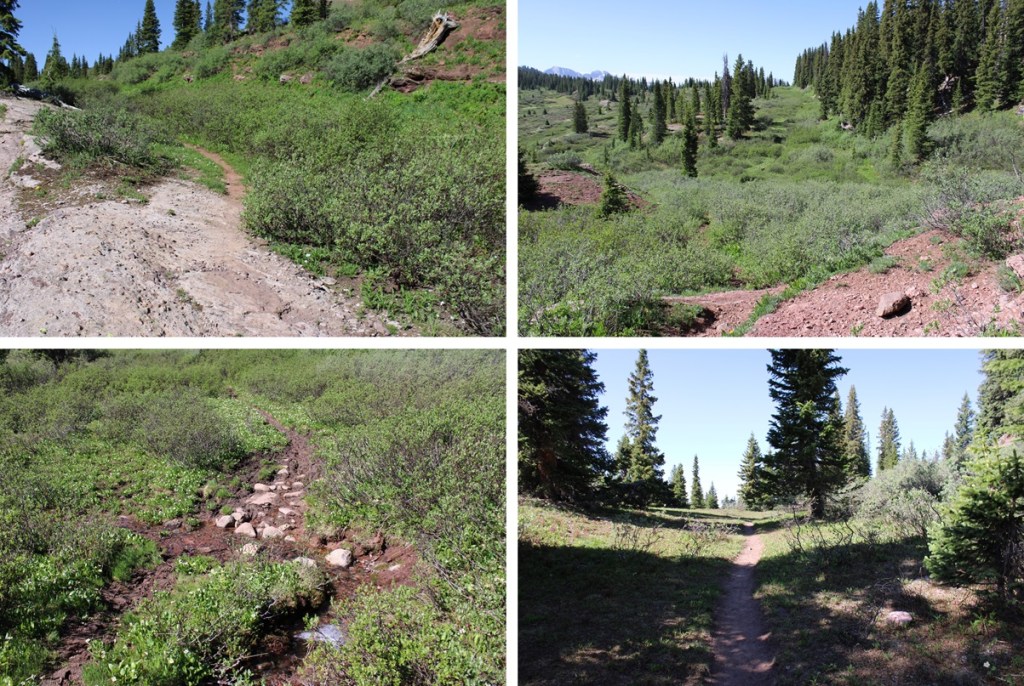
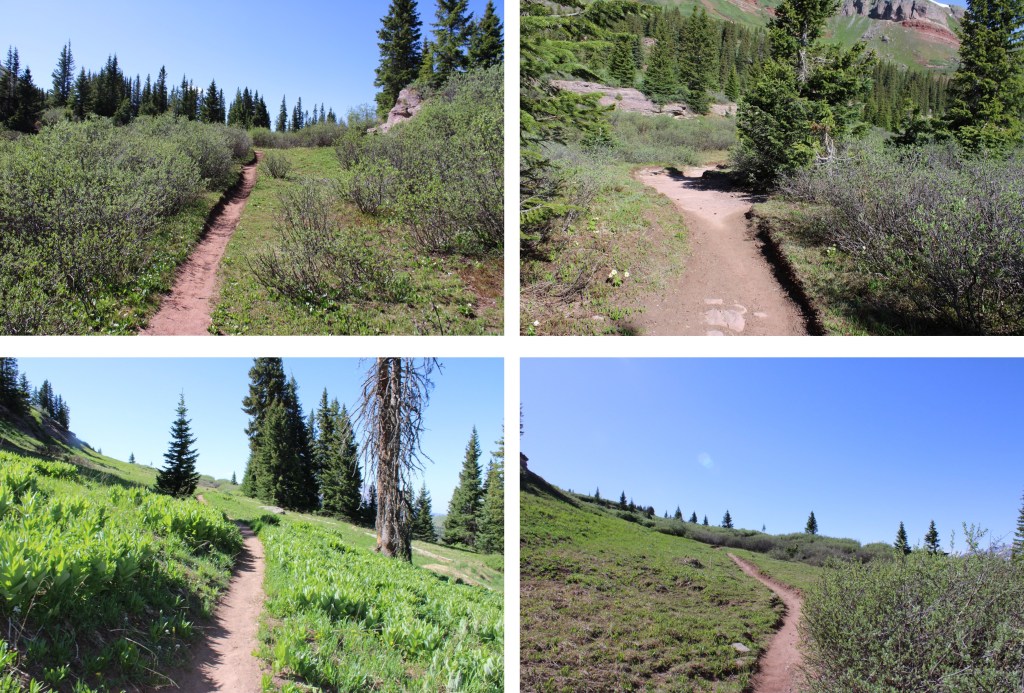
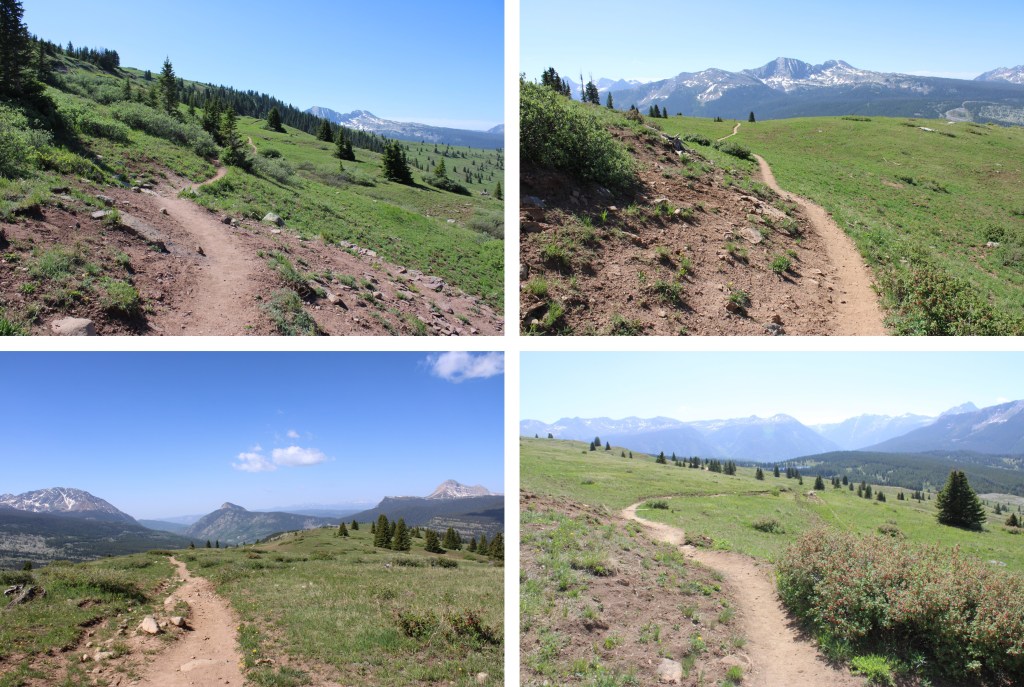
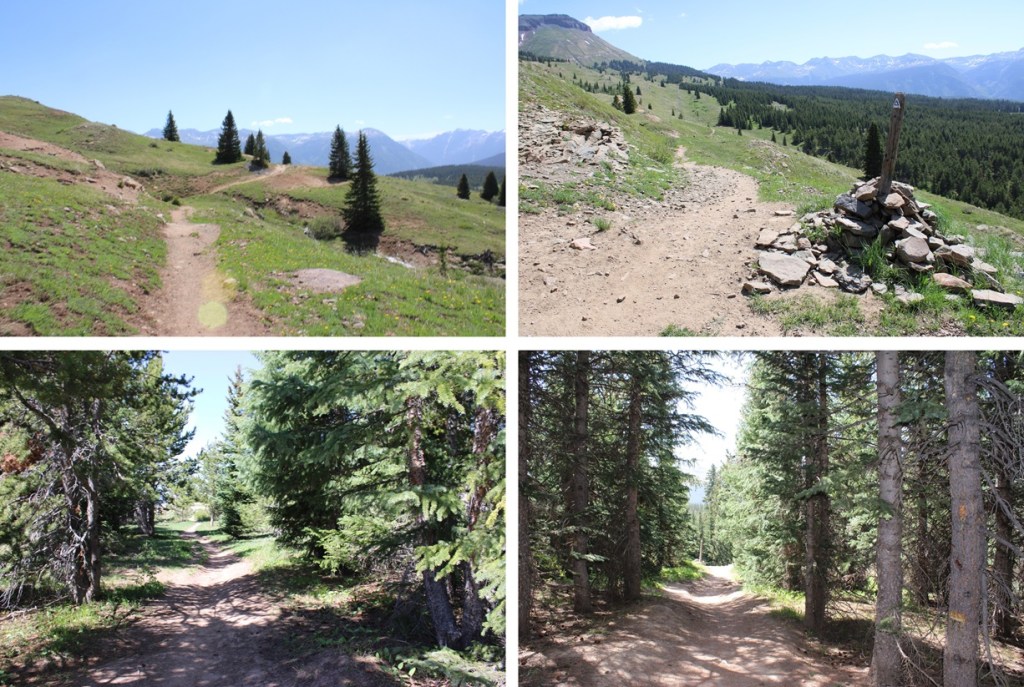
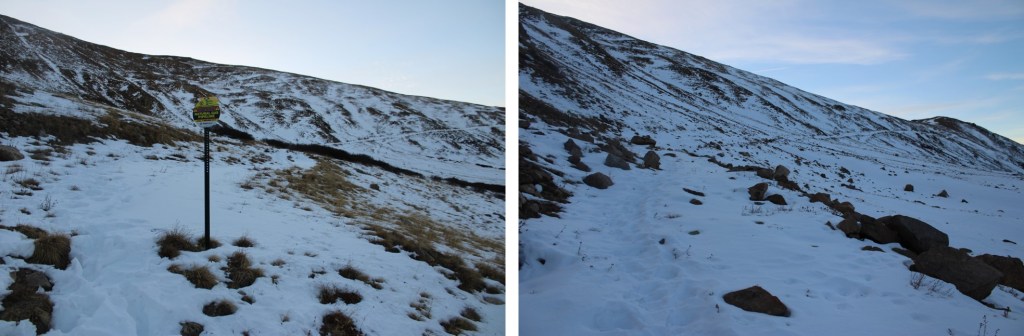
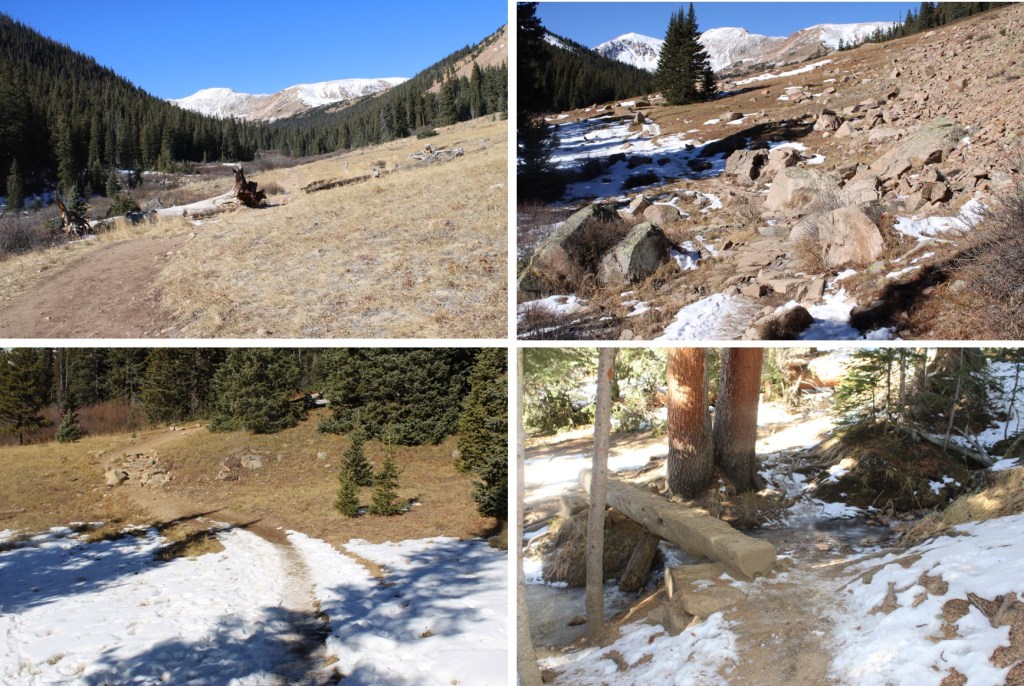
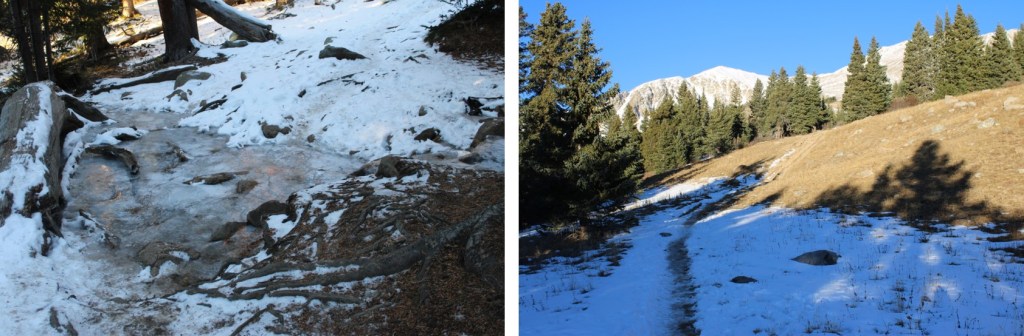
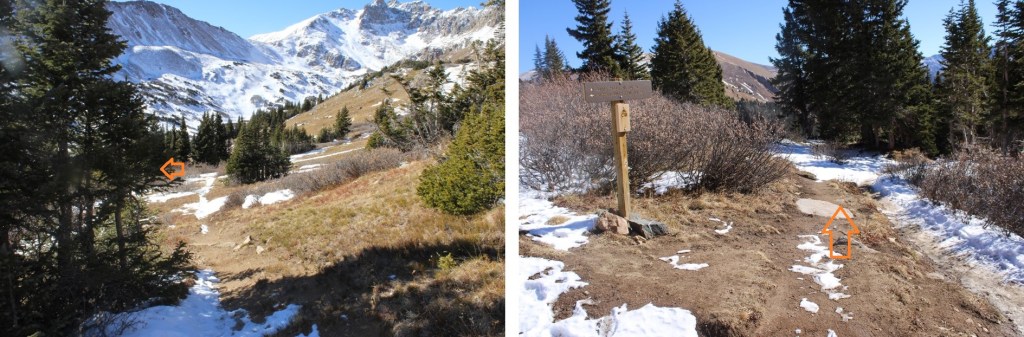
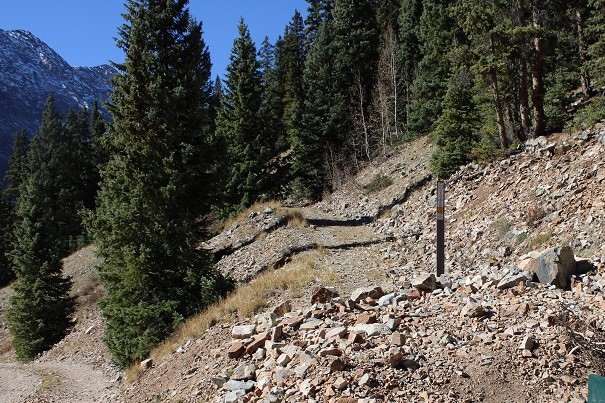
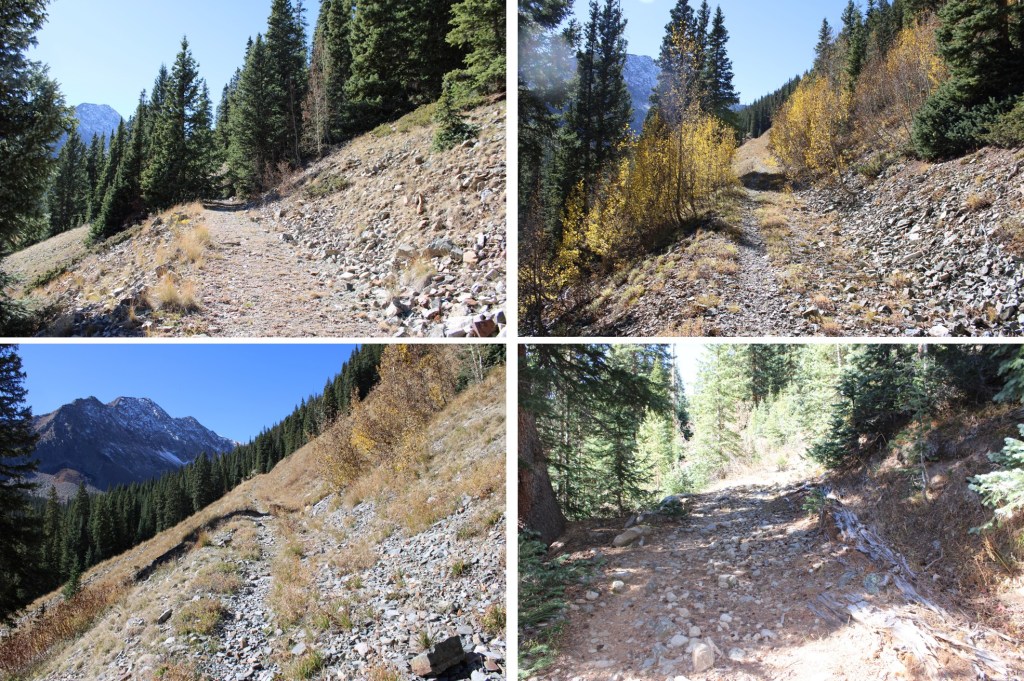
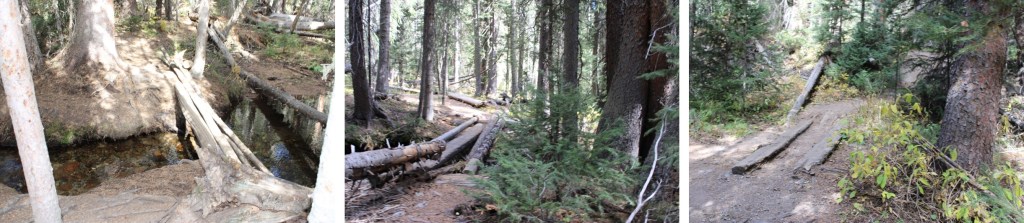
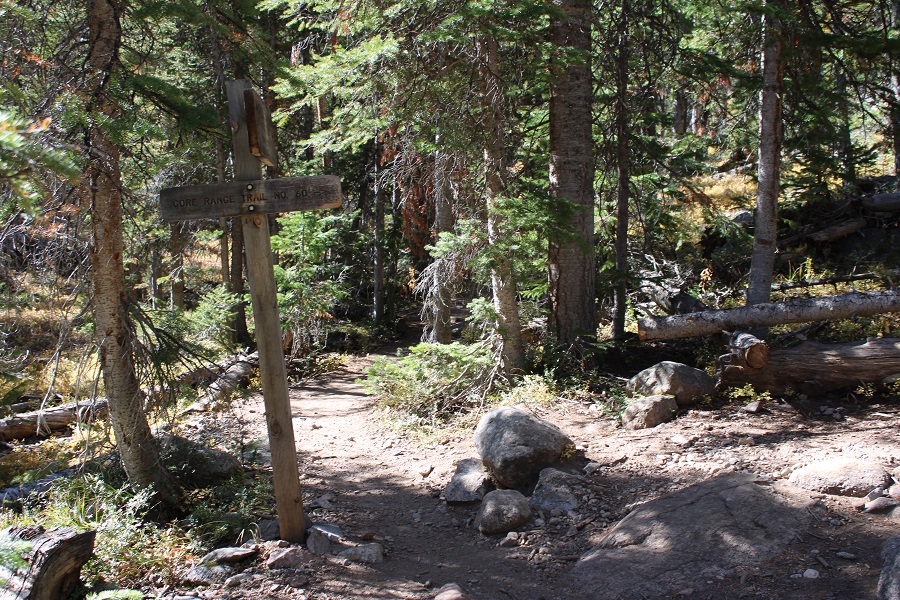
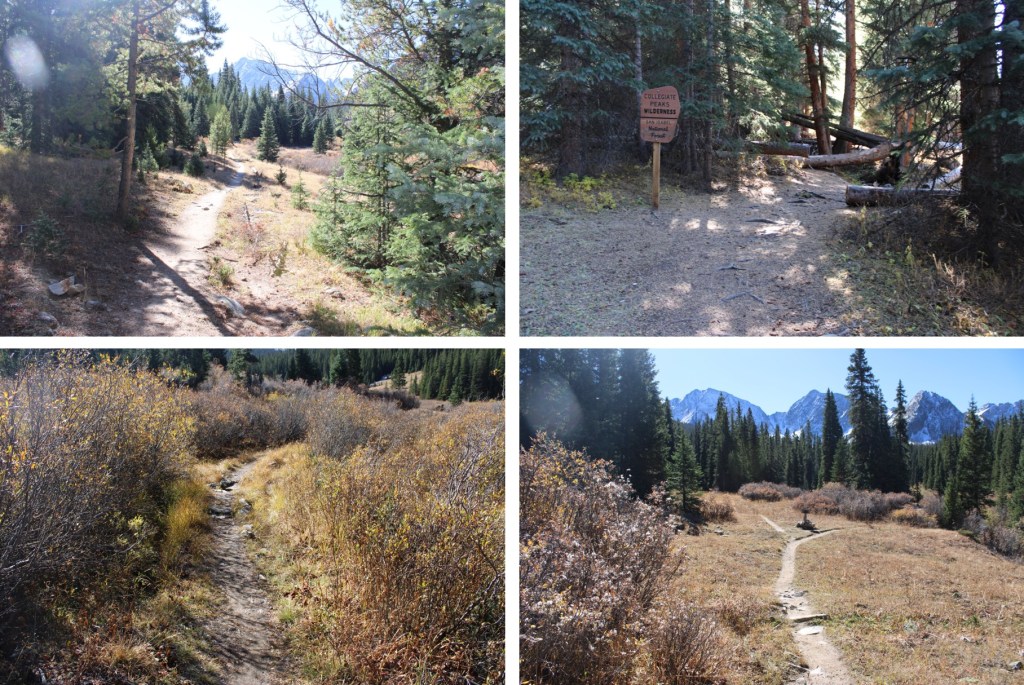
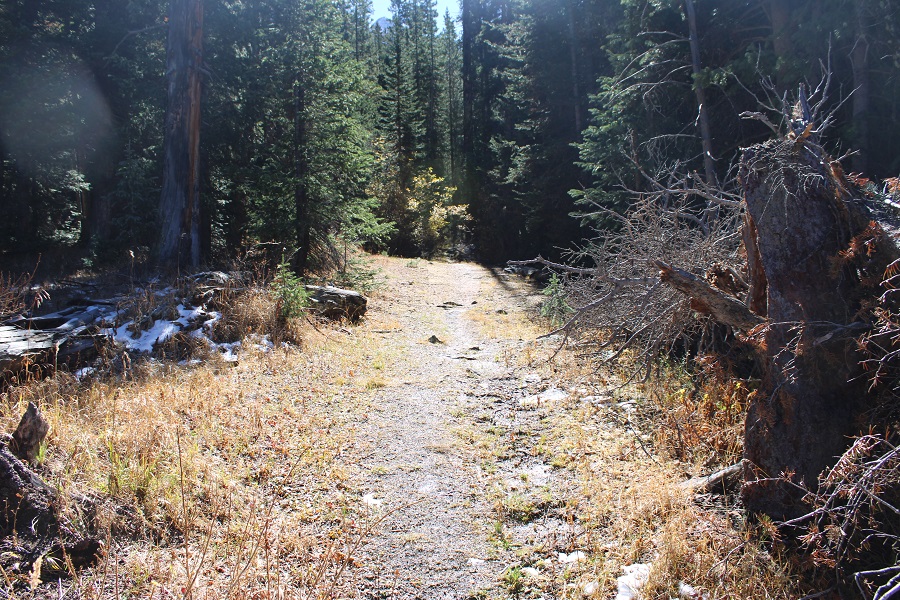
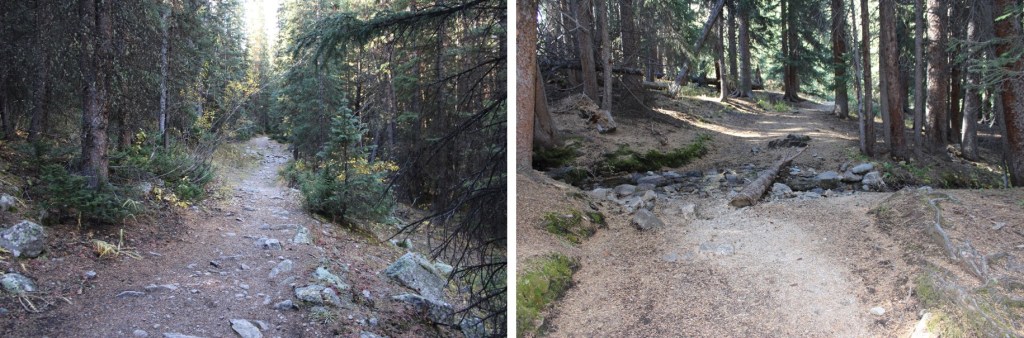
Hearing mixed reviews about how to climb this peak, I decided to take the ridge up, and the gully down.  This meant descending about 600 feet and 2 miles from the upper trailhead to my turnoff point. I just kept following the West Mancos Trail.  There were plenty of signs along the way to remind me I was still on the West Mancos Trail.
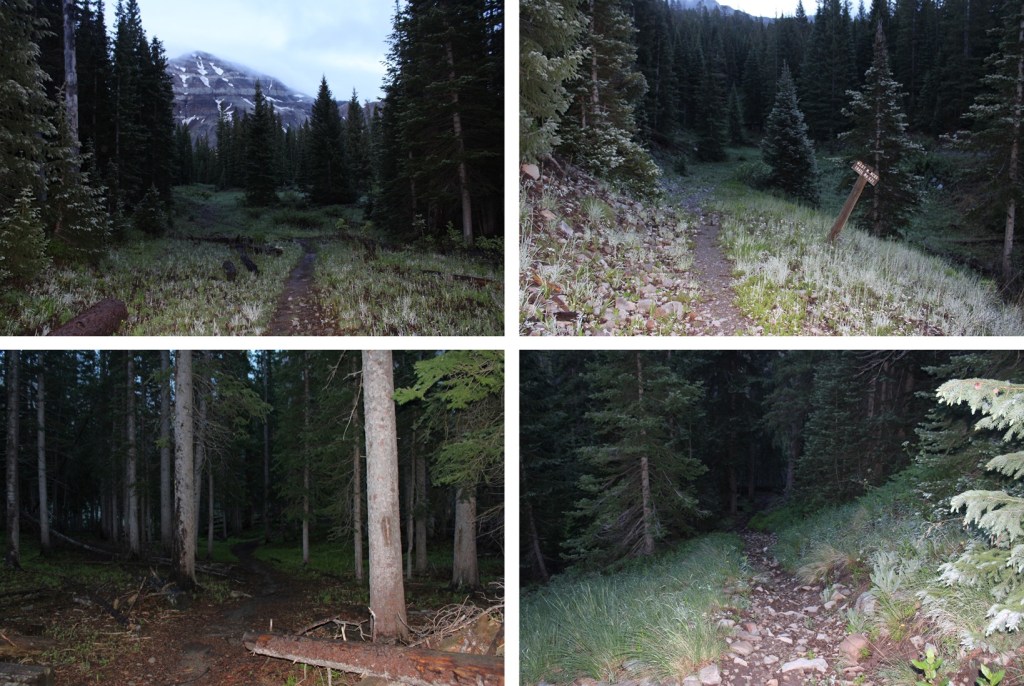
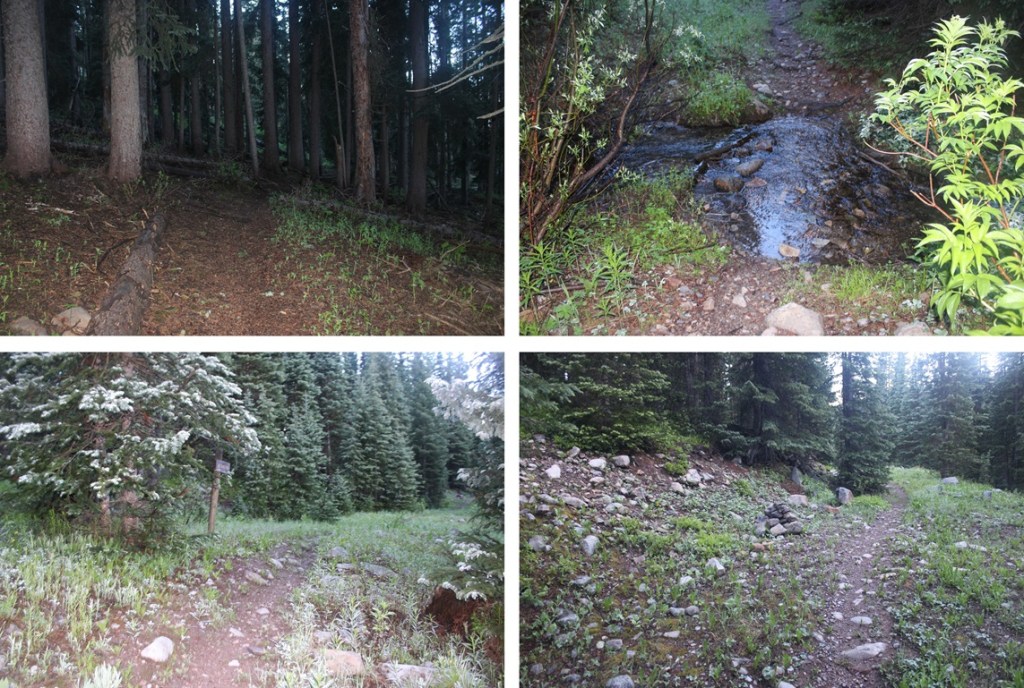
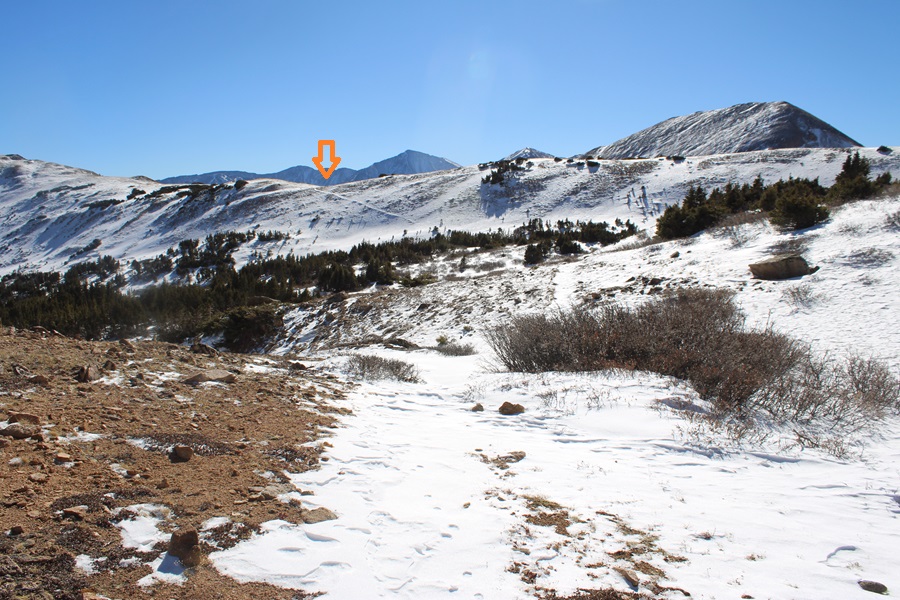
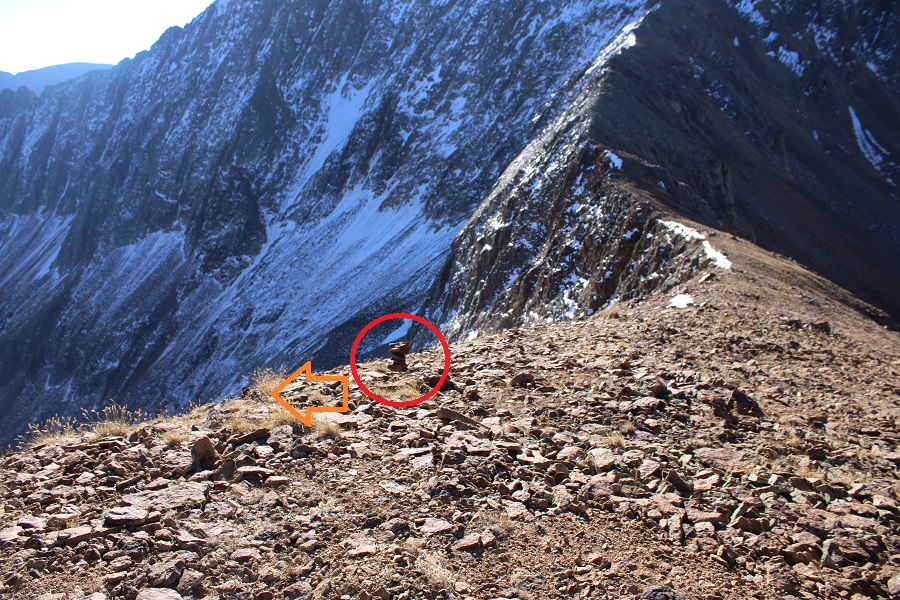
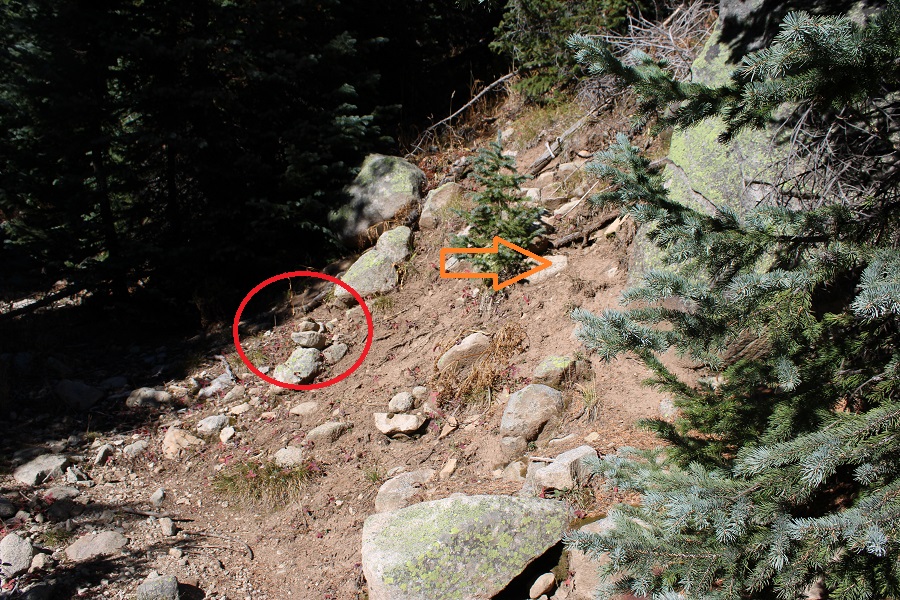
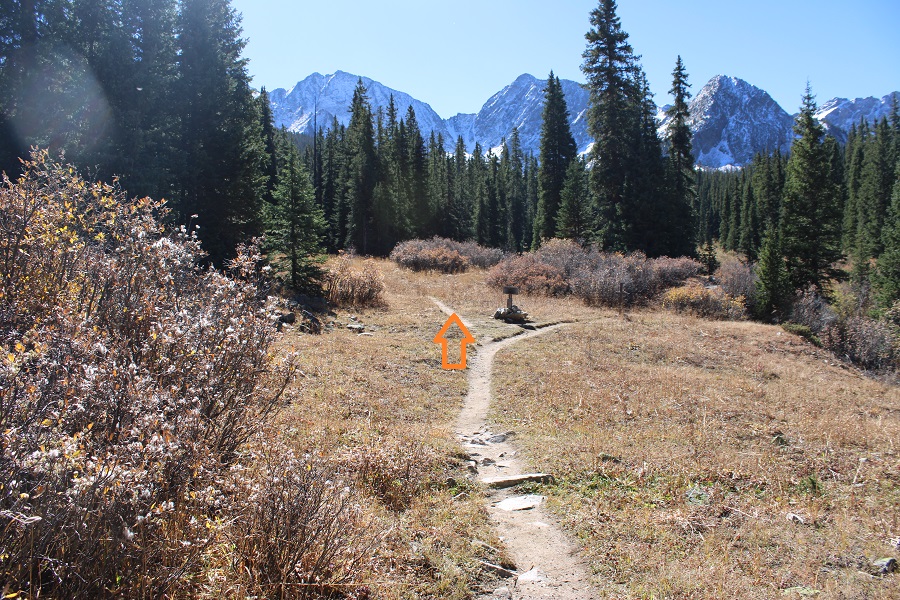
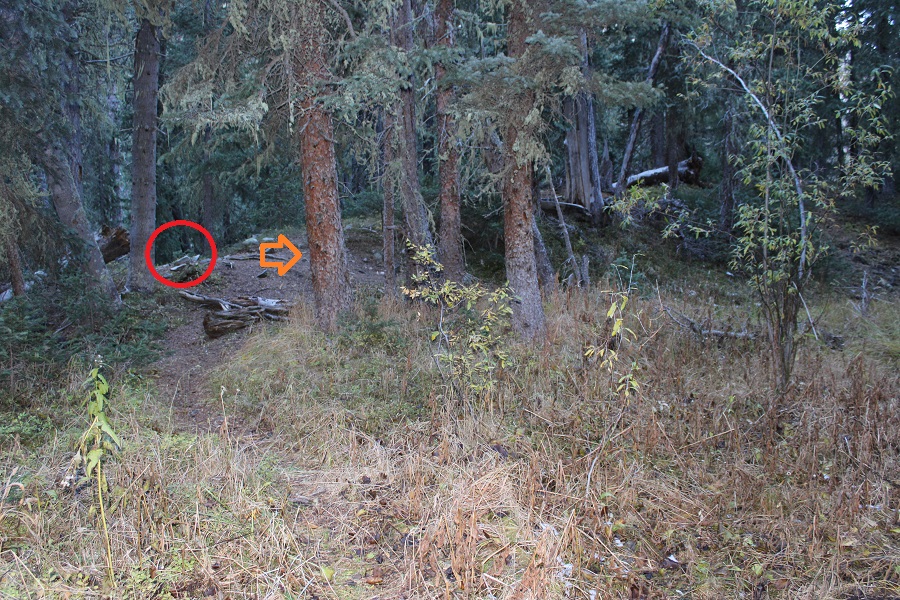
At about 10400’ of elevation, after I’d been hiking for a total of 3.9 miles, just when I was thinking I should leave the trail and head for the ridge, I saw a large cairn, indicating the cutoff point for heading towards the ridge. 

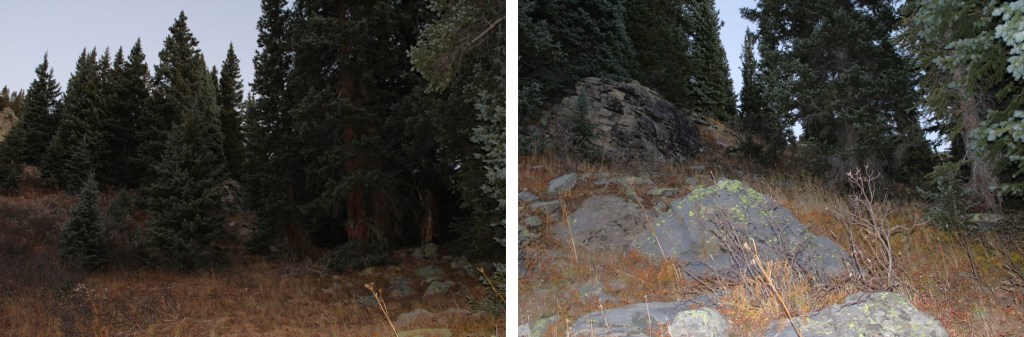
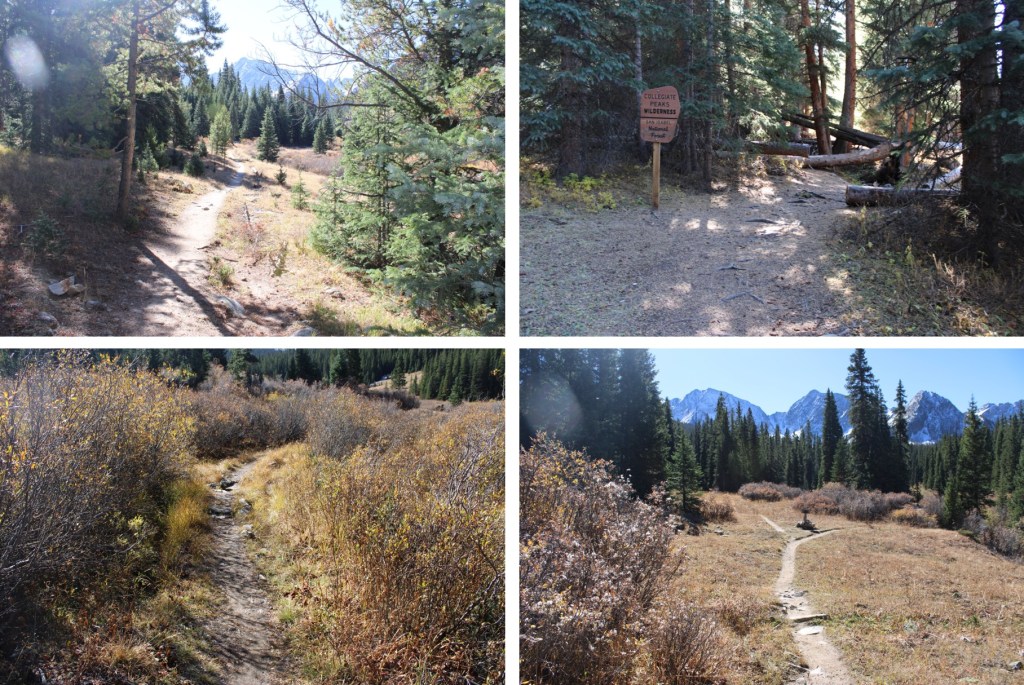
I turned left, and bushwhacked my way southwest towards the ridge.  There was no visible trail here, but I soon made it out of treeline.

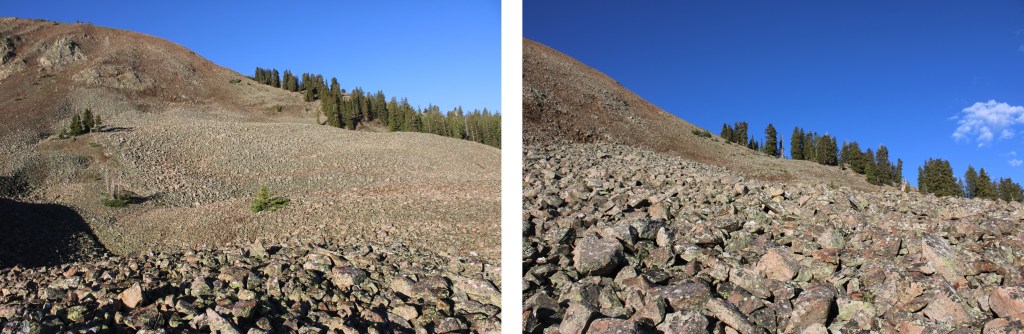
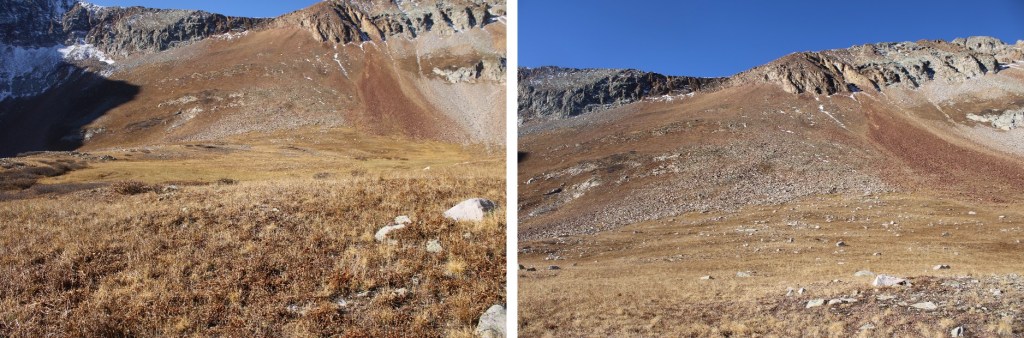
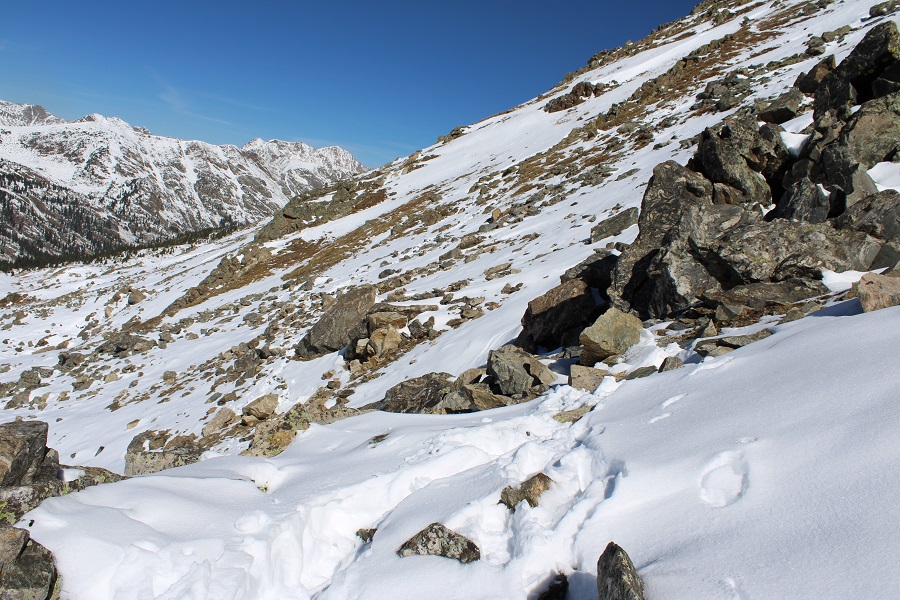
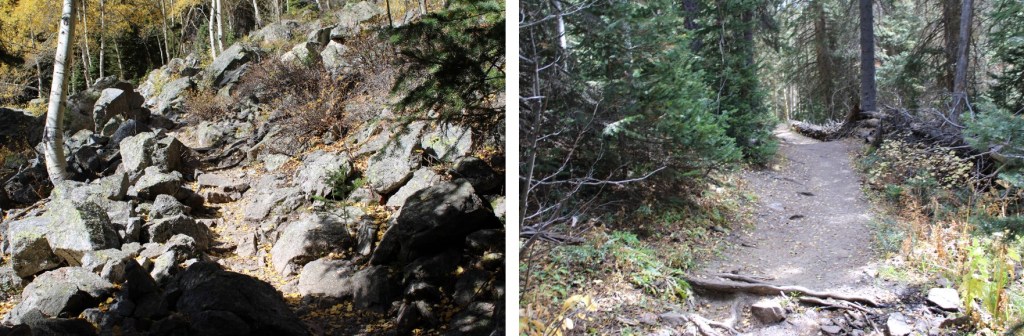
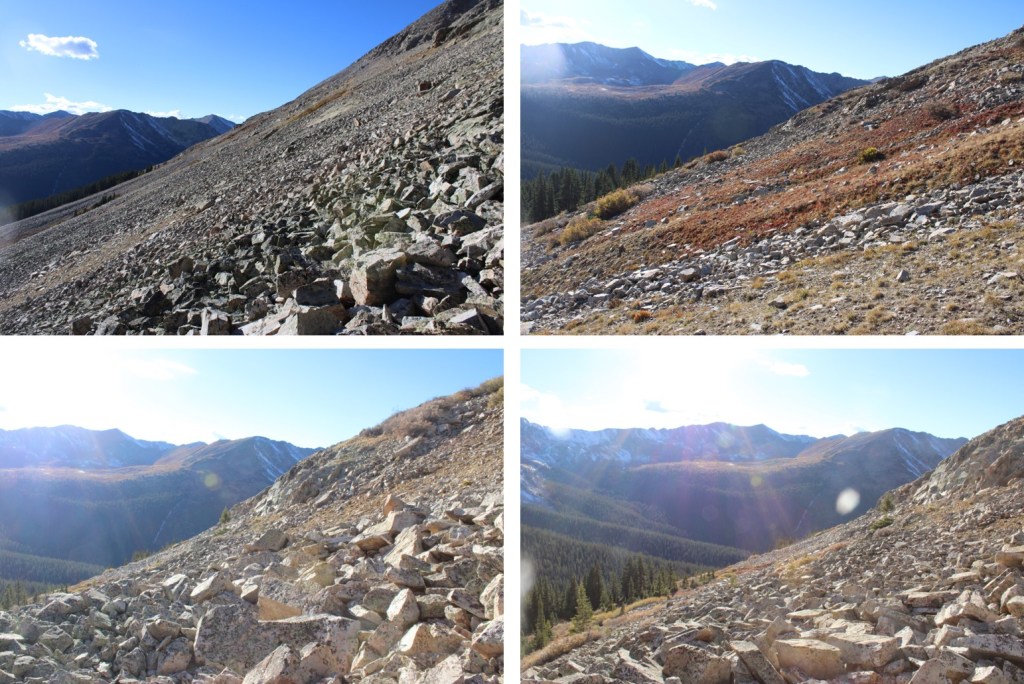
At treeline I came to a huge basin of rocks.  To get to the ridge, I was going to have to head southwest, through this basin of loose, unstable rock. I did my best to stay low, and try to skirt the piles of rocks, but eventually I had to go up and over.

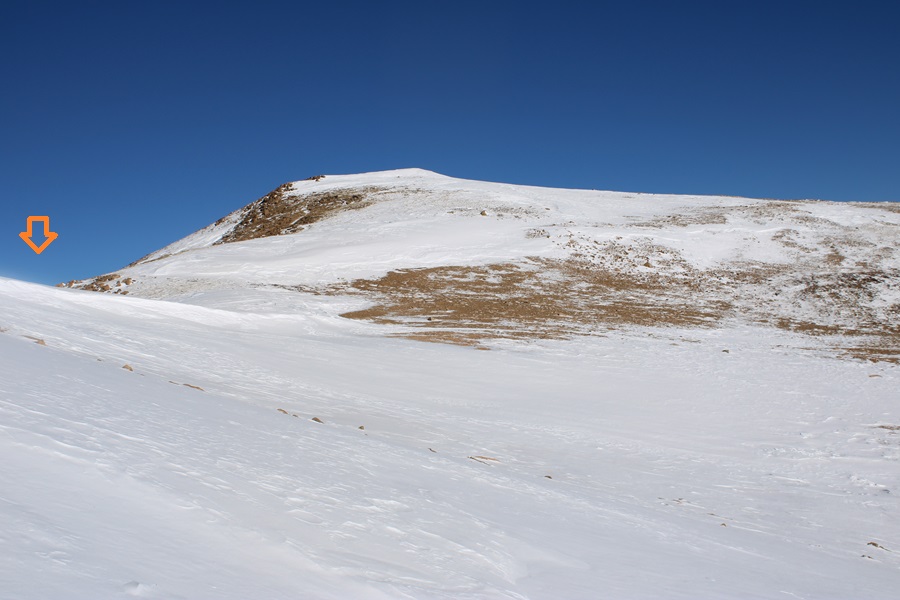
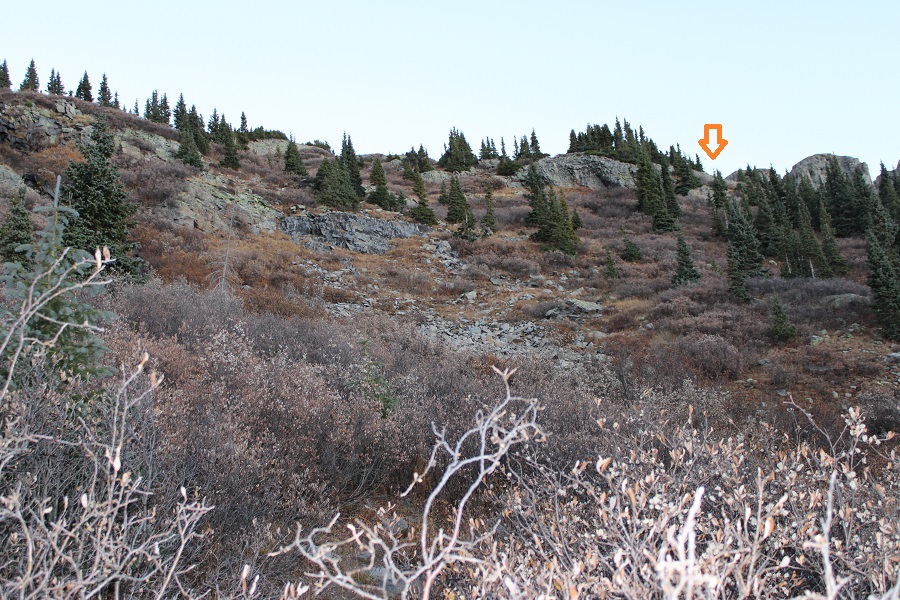
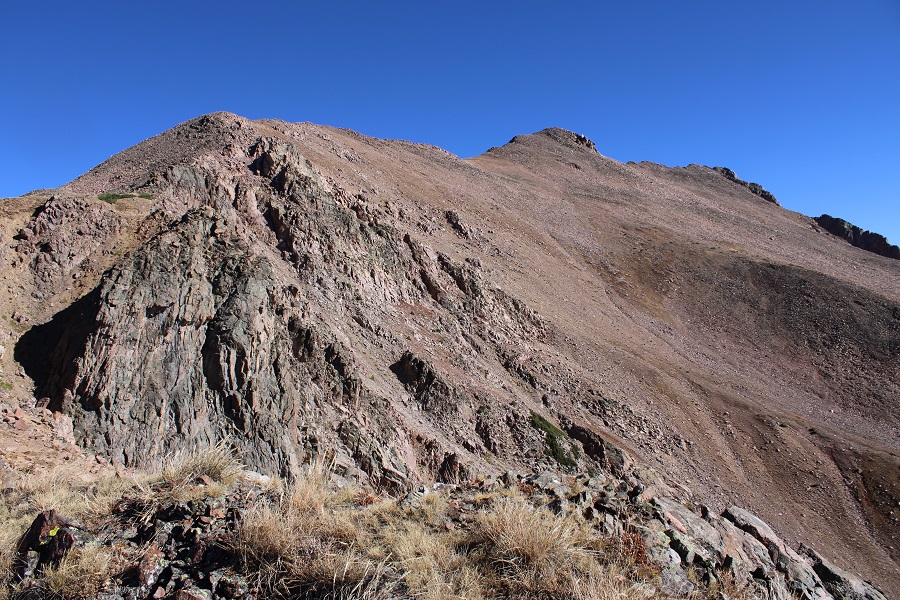
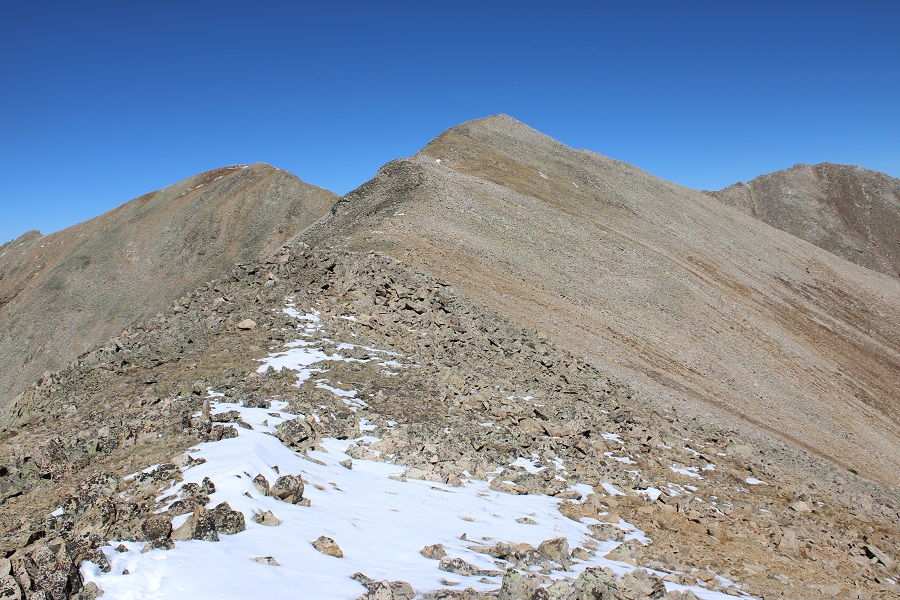
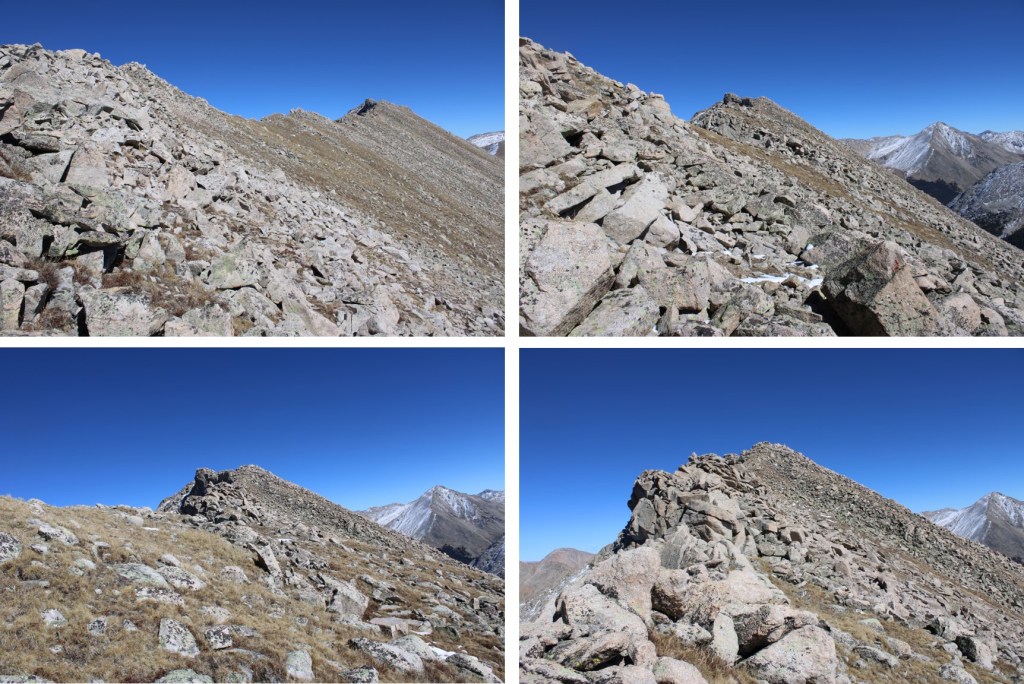
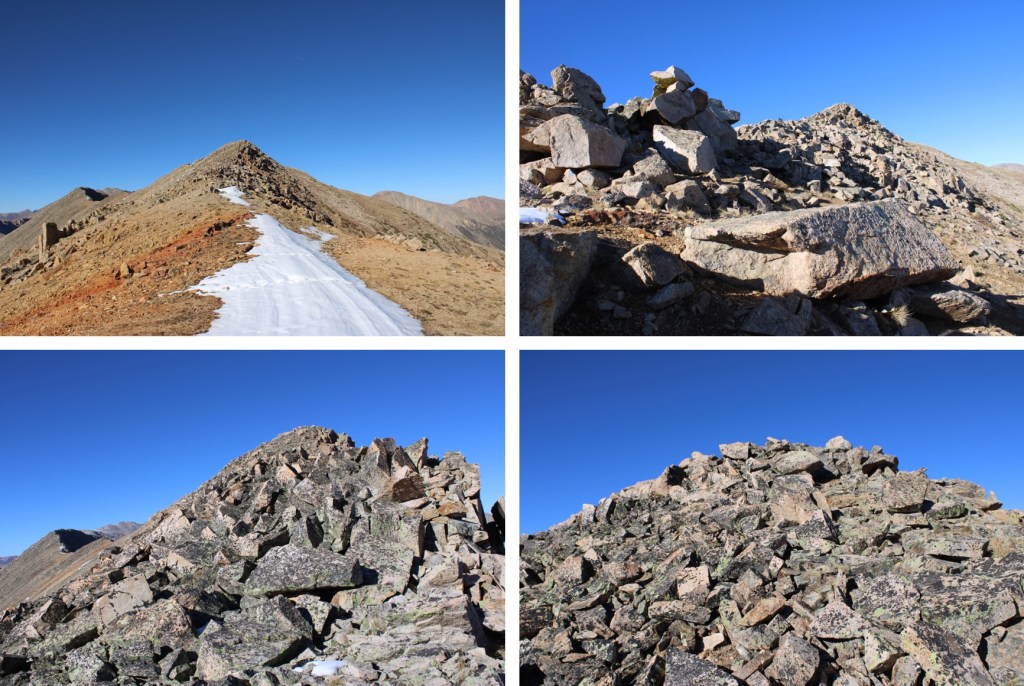
I now had a clear view of the ridge. 
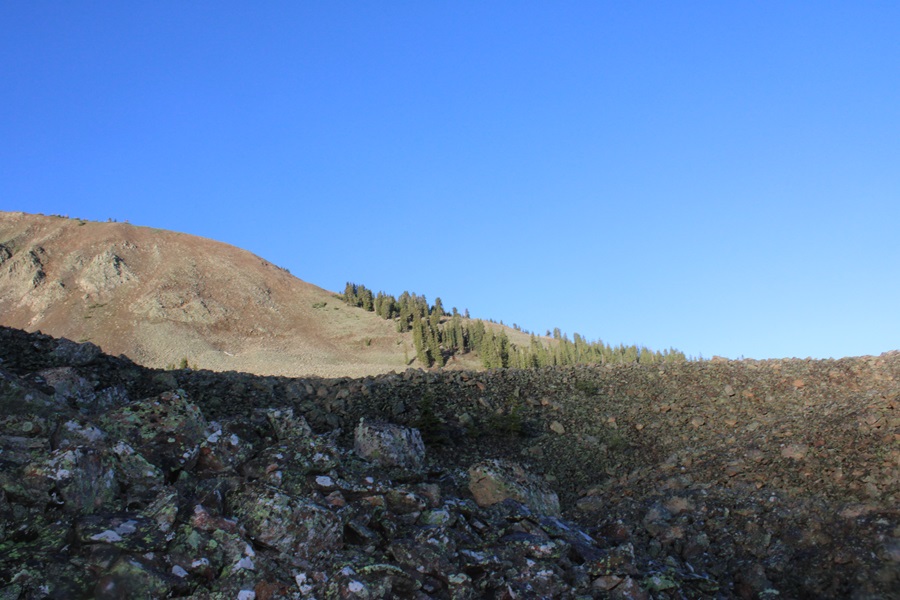
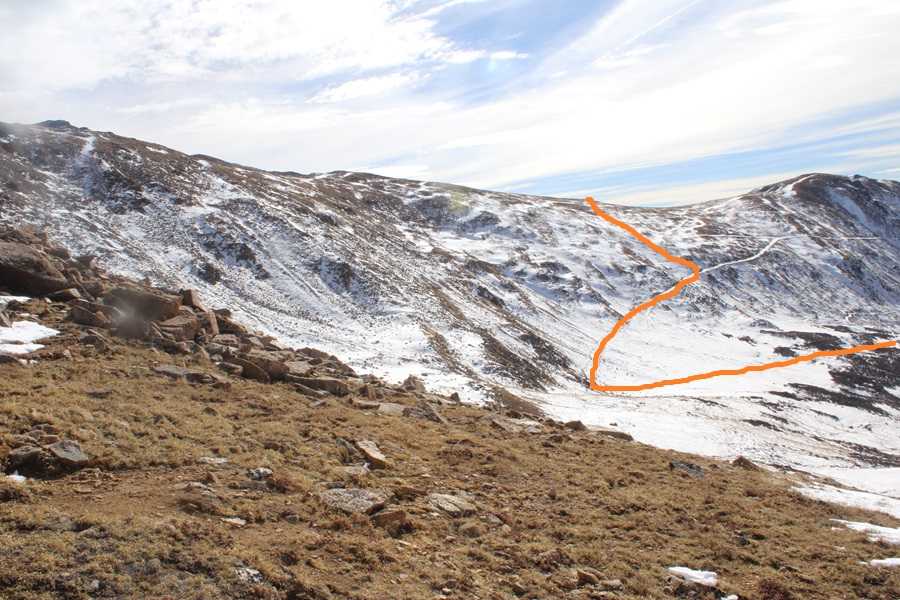
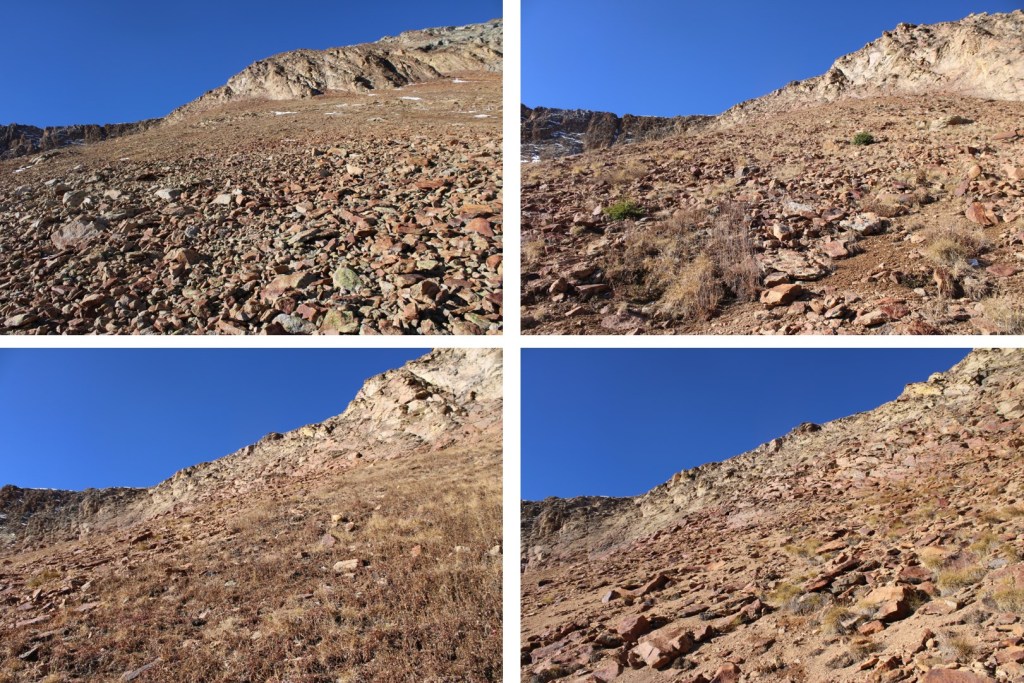
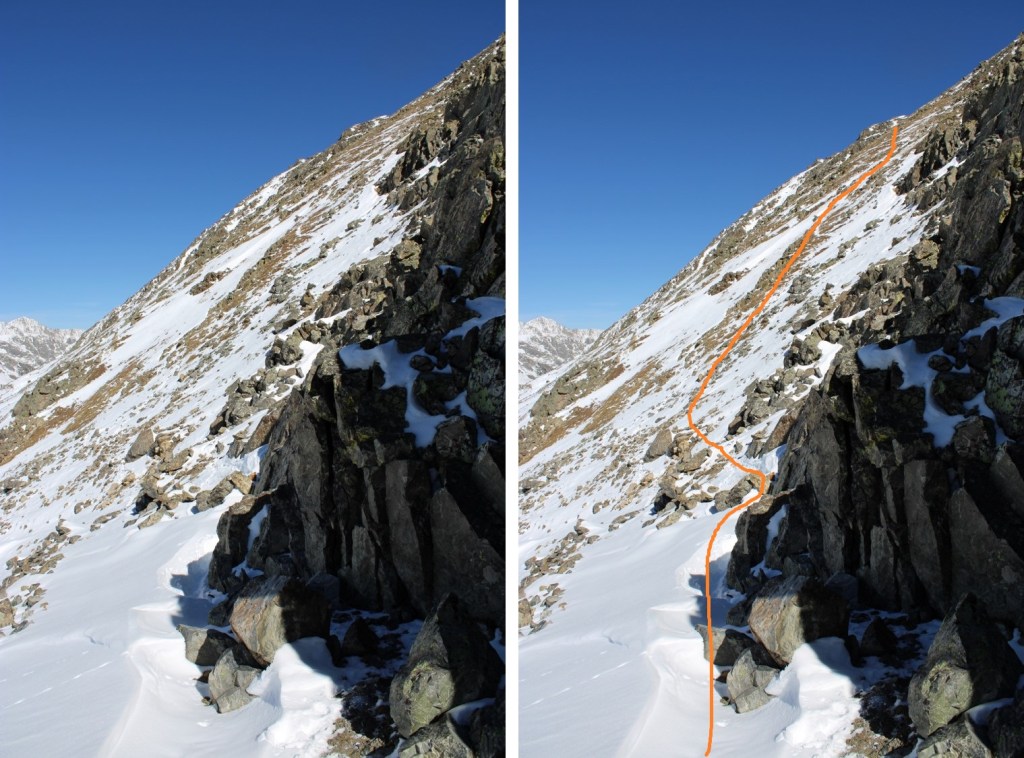
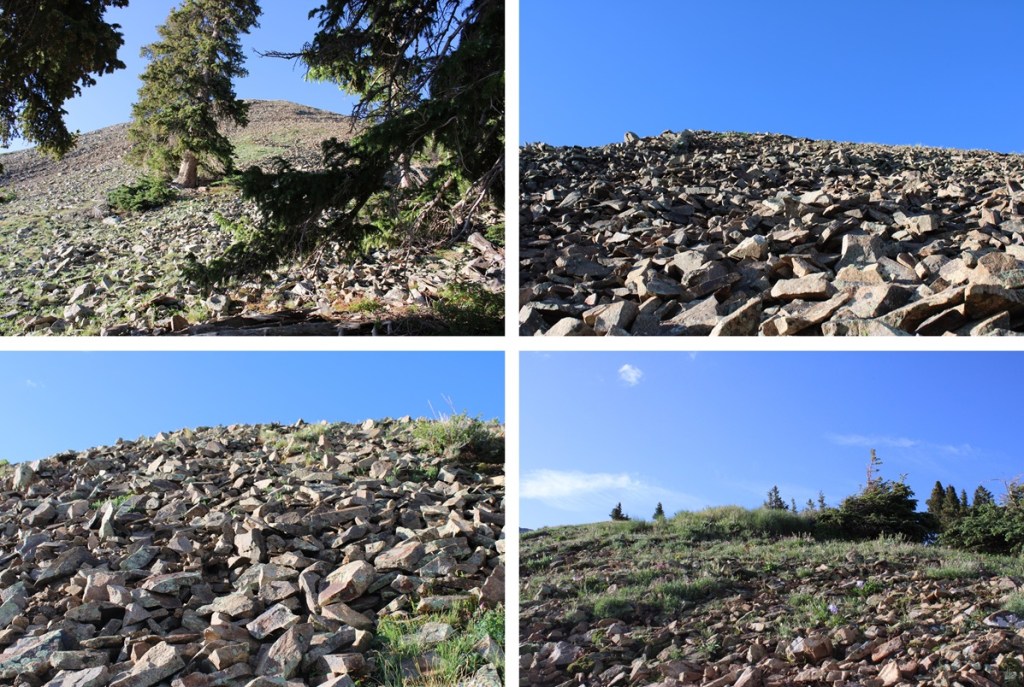
This is choose your own adventure, and none of it was pleasant.  It was full of loose, rolling rocks. This is the route I took to gain the ridge.

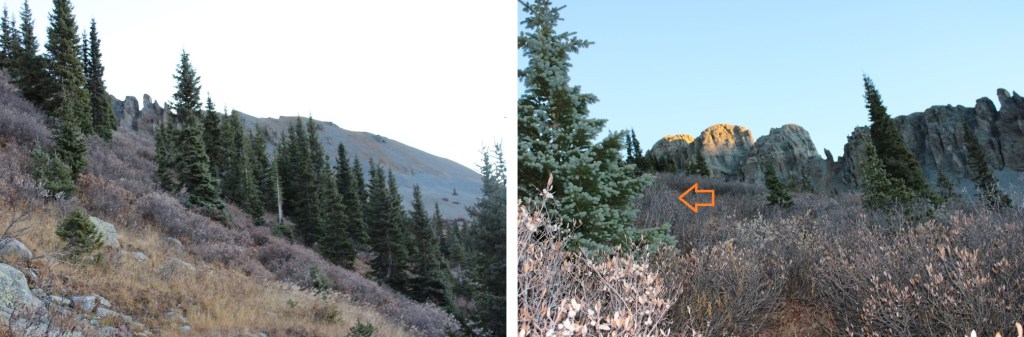
Once on the ridge, I turned left, and encountered the most difficult part of my day:  Tons of mosquitoes and 350’ of elevation gain in 1/10th of a mile on dinner plate sized, extremely loose talus.  There was no clear path or game trails, I just kept heading up.  It was so miserable, I decided then and there I was not going to go back down this way if I could help it.
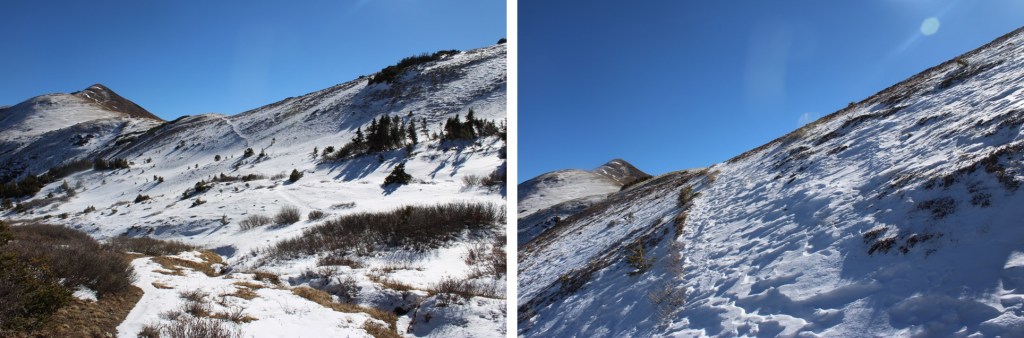
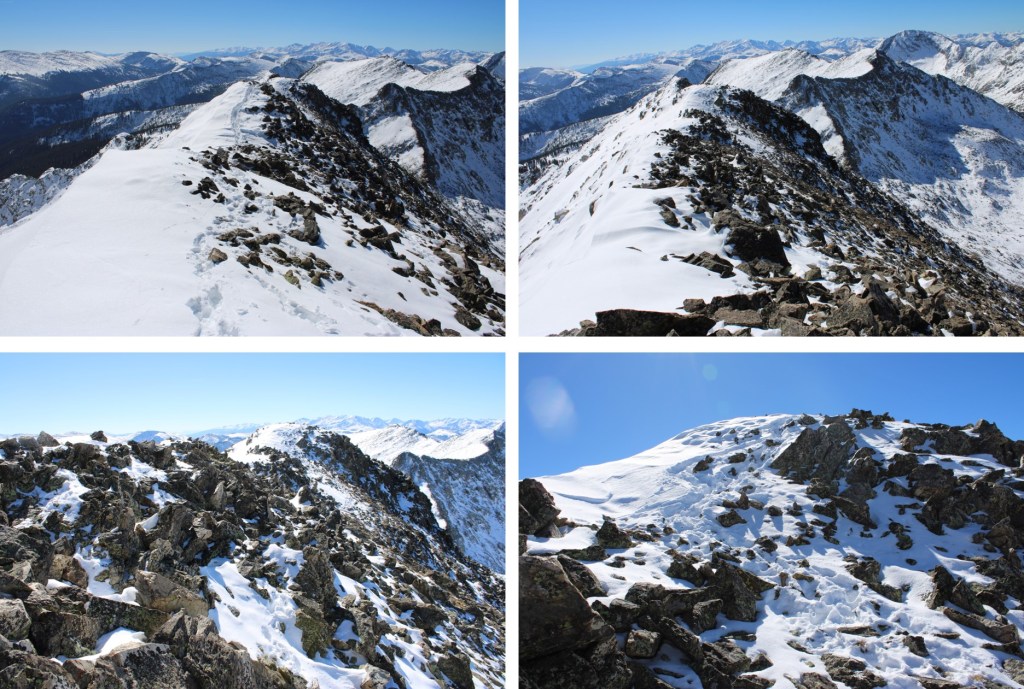
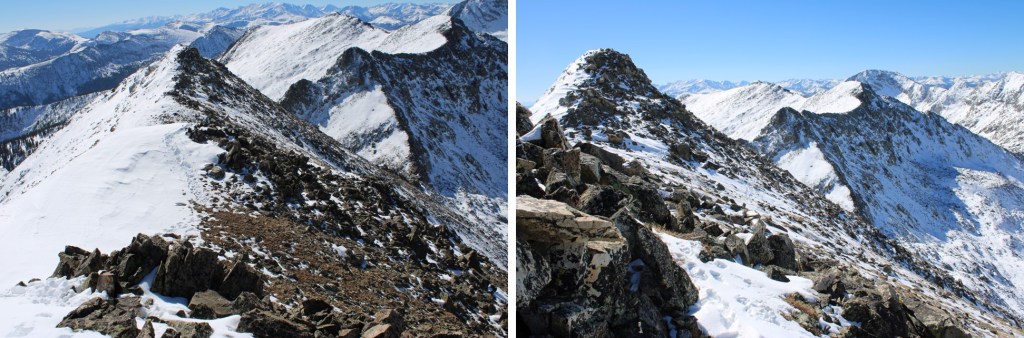
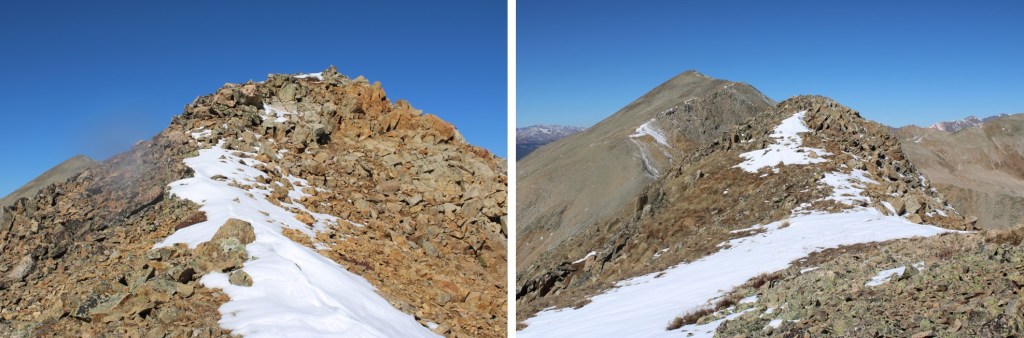
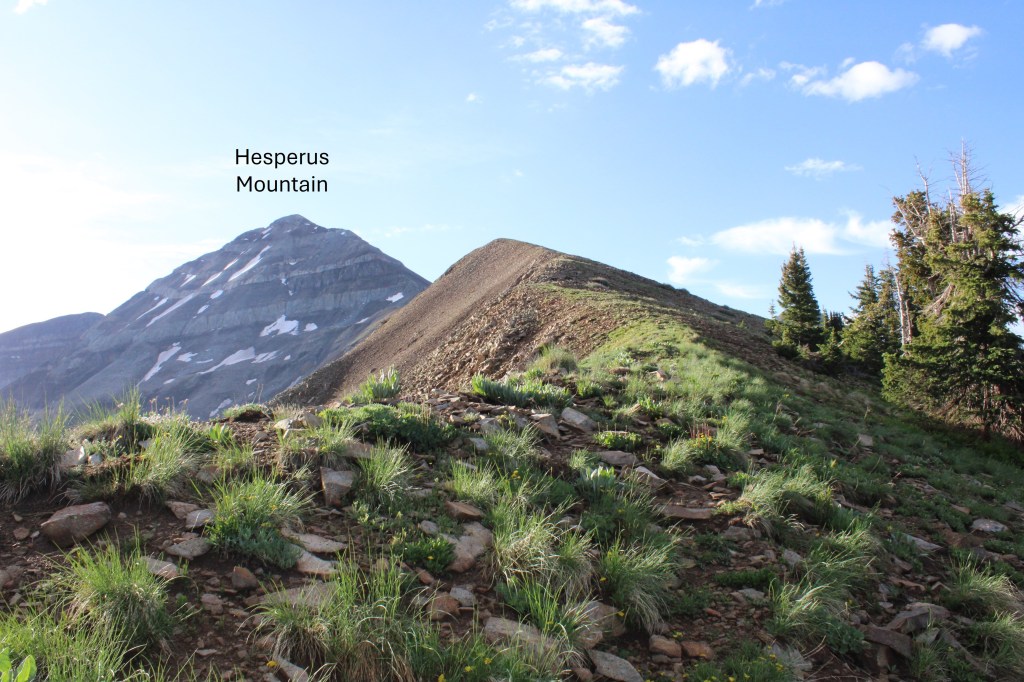
I was greeted at the top with a nice, gently sloping ridge that was easy to follow southeast towards Hesperus Mountain. There were some rocky sections, but clear game trails to follow.
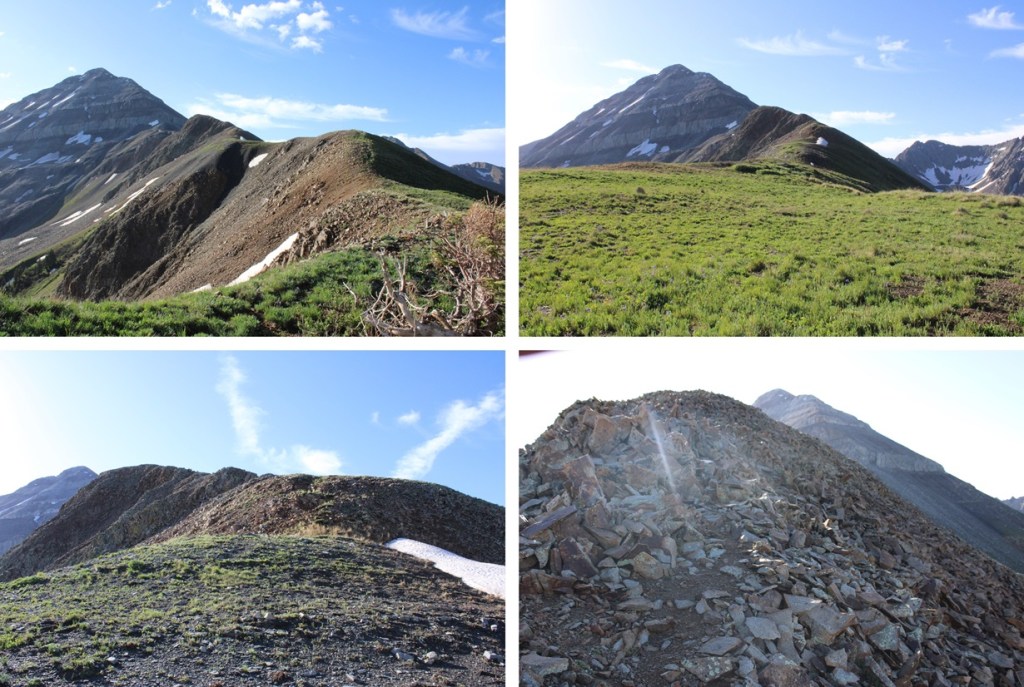
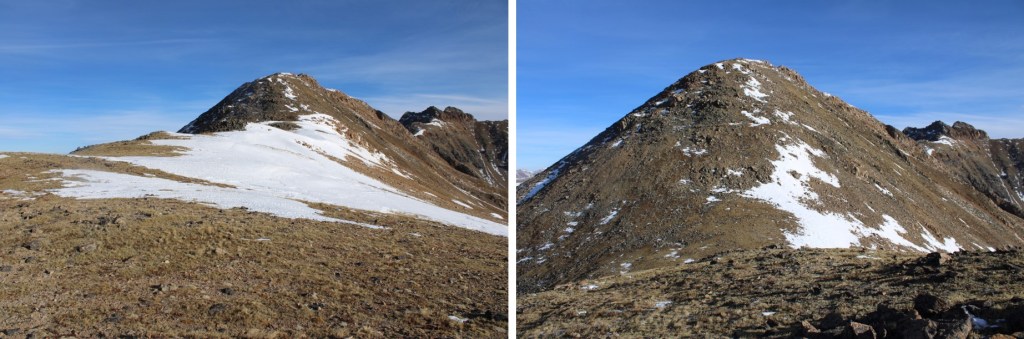
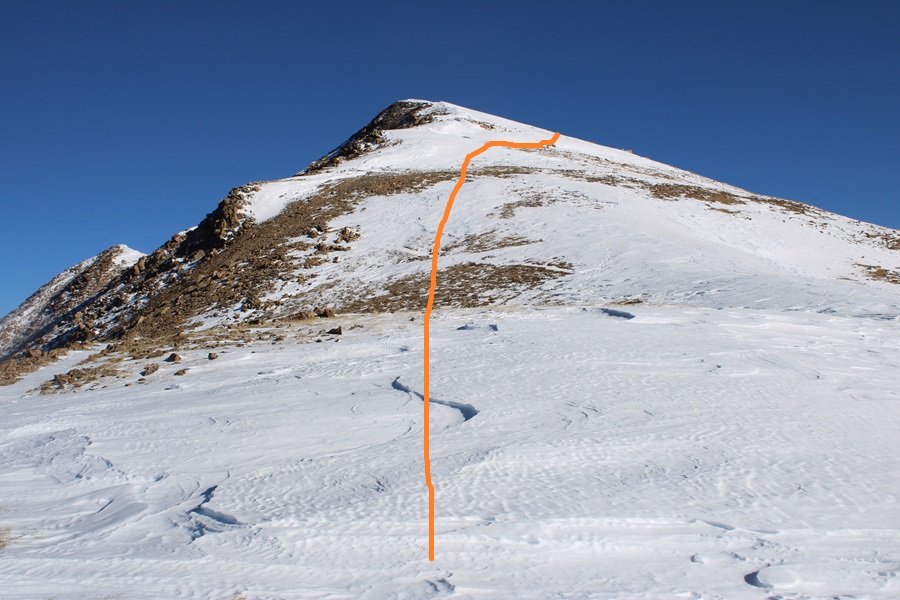
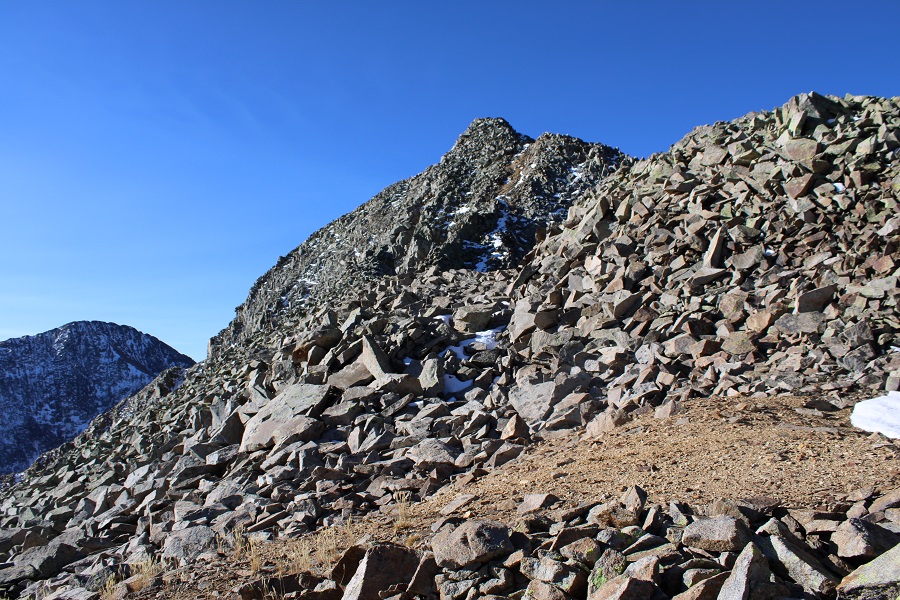
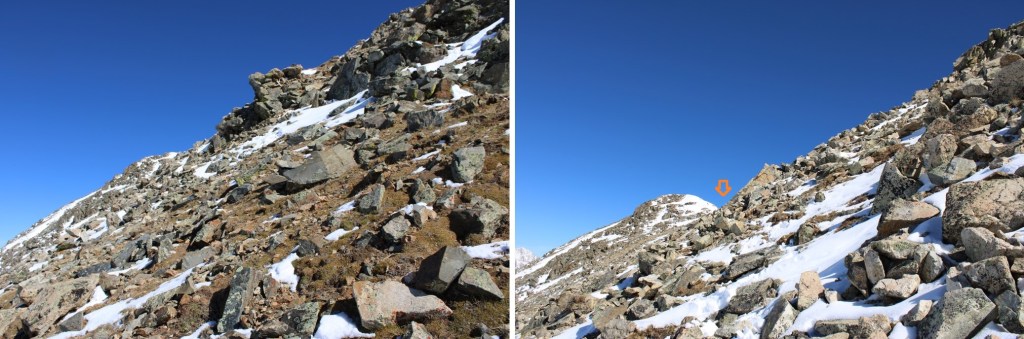
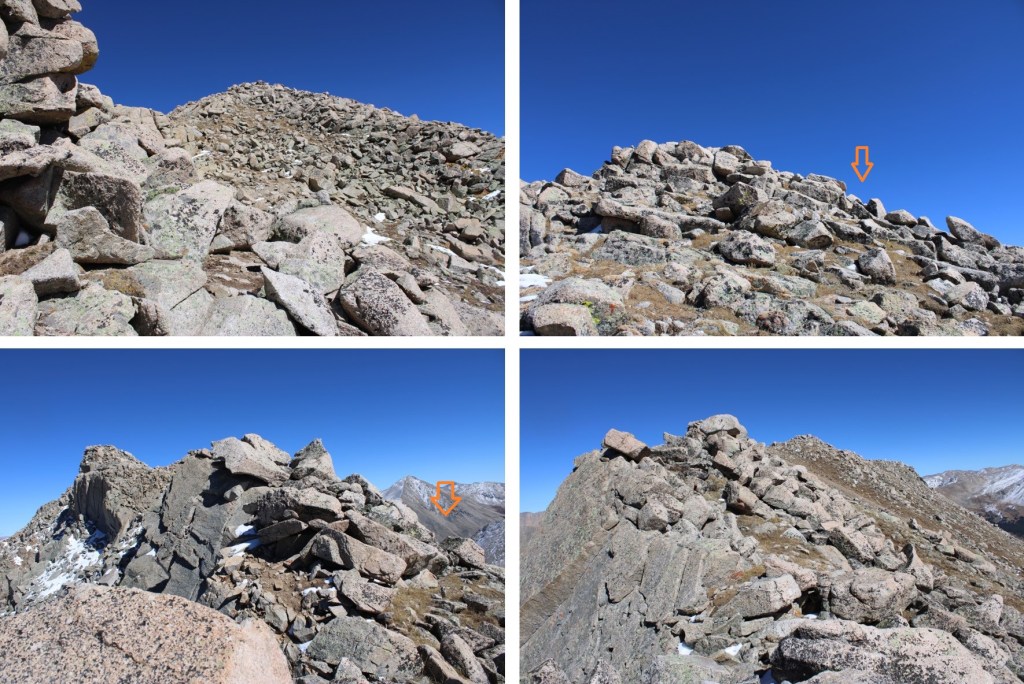
I came to the end of the ridge and where the fun began. 
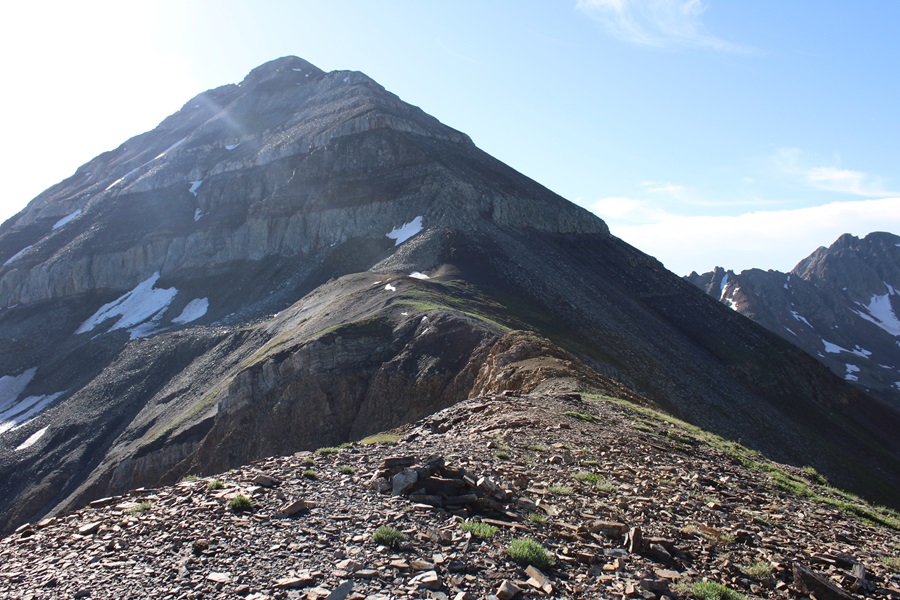
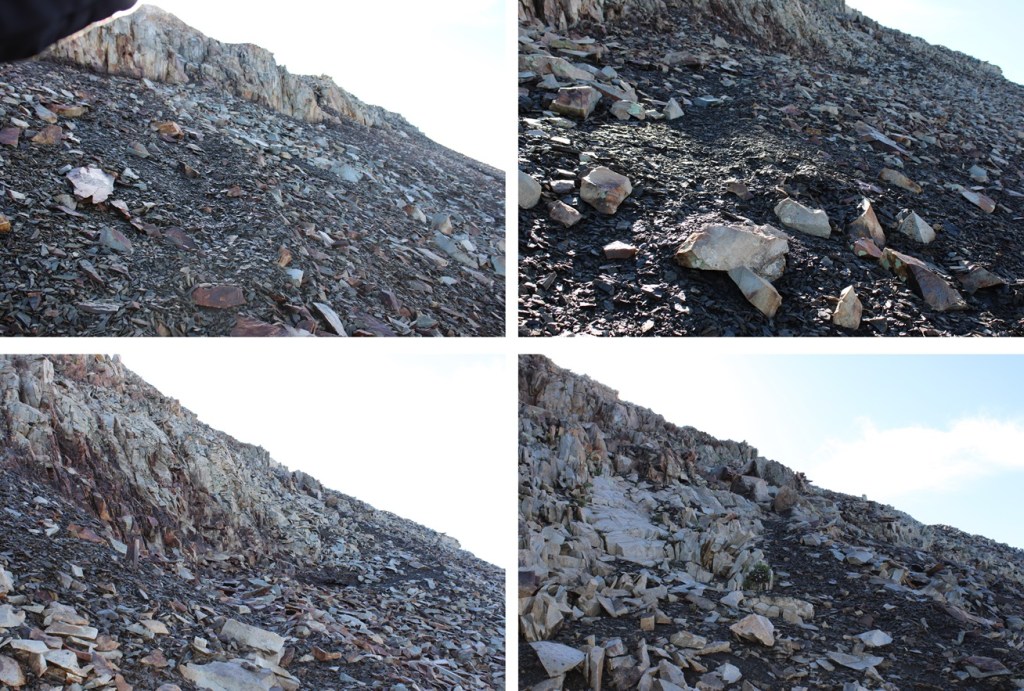
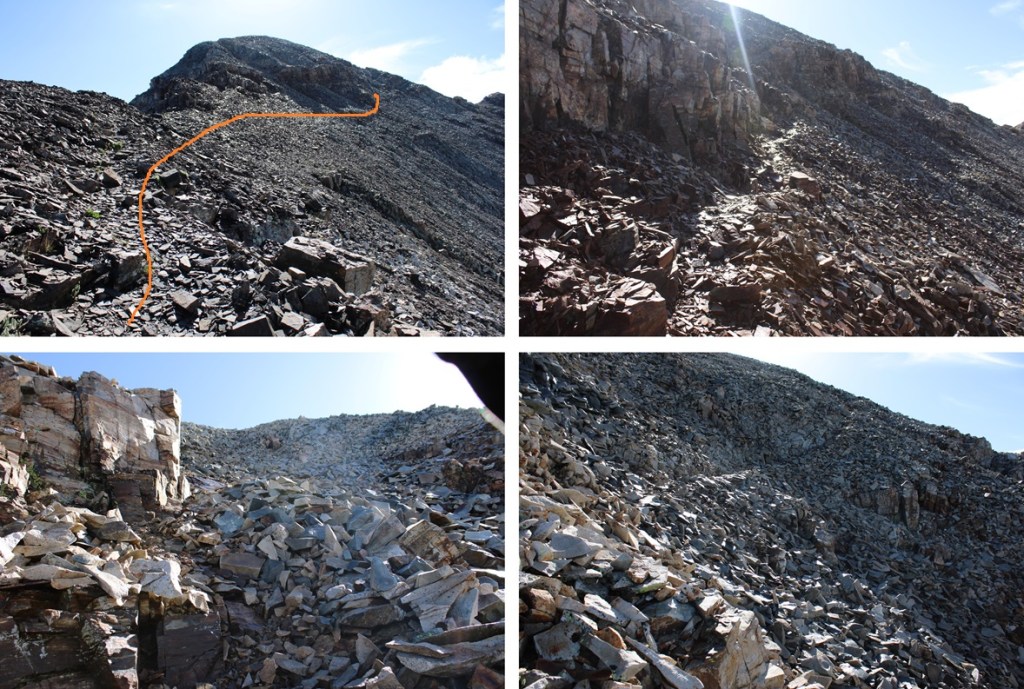
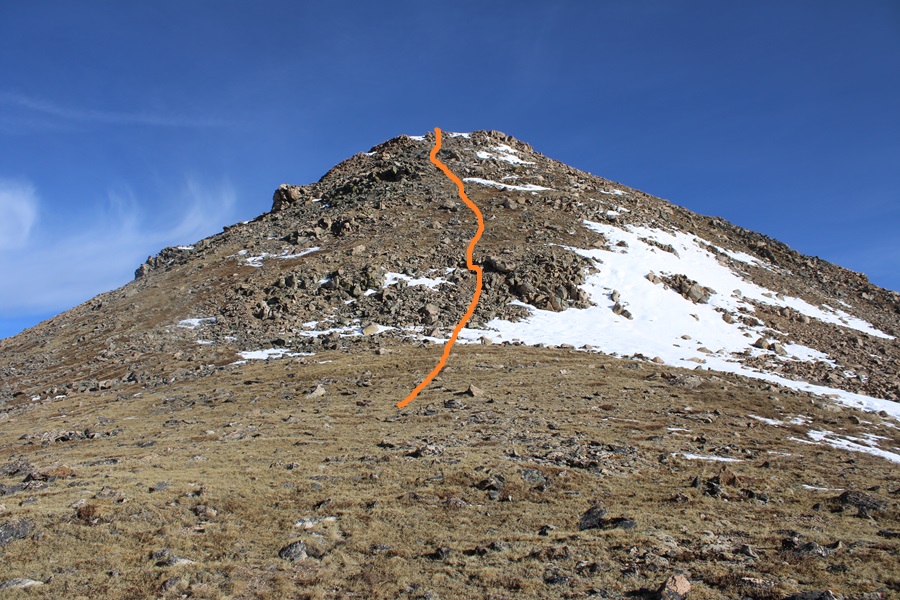
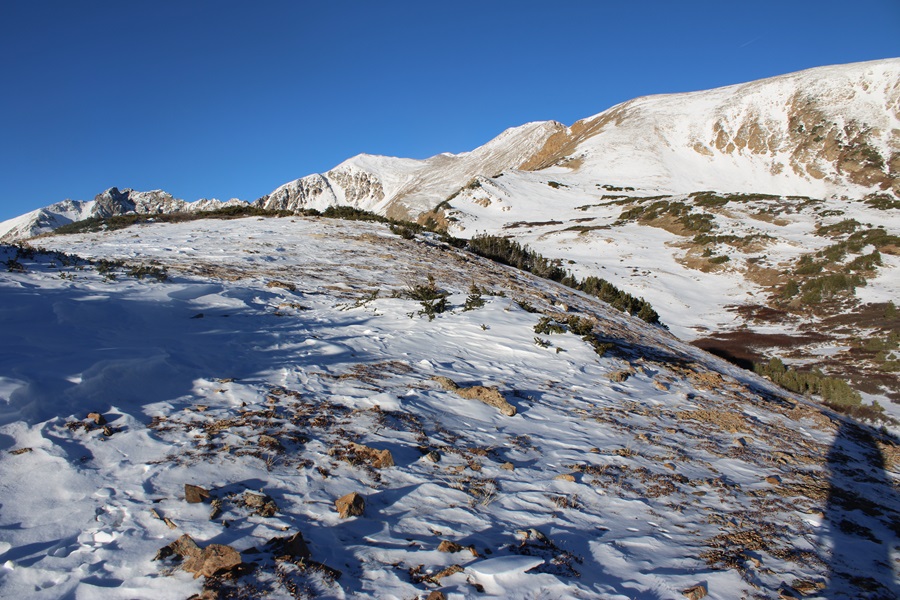
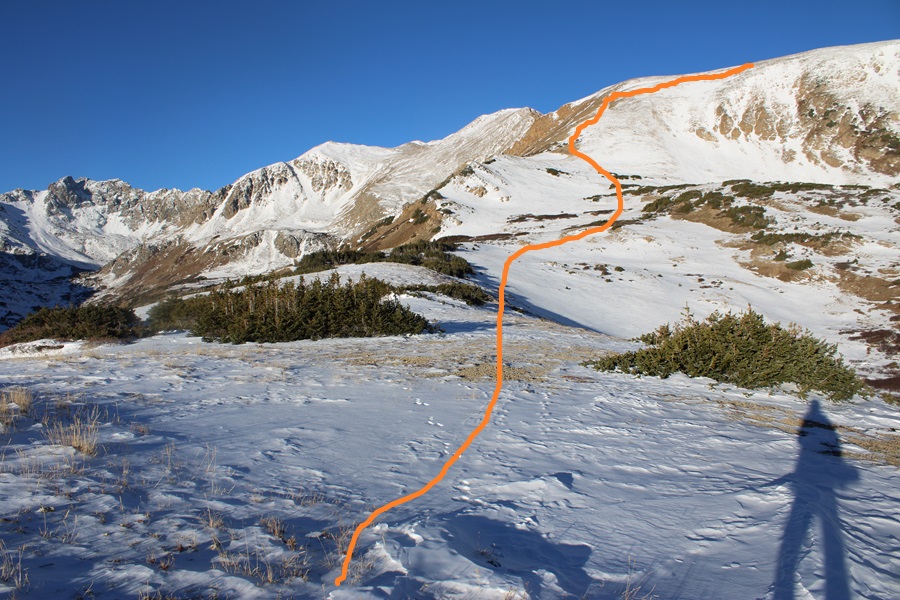
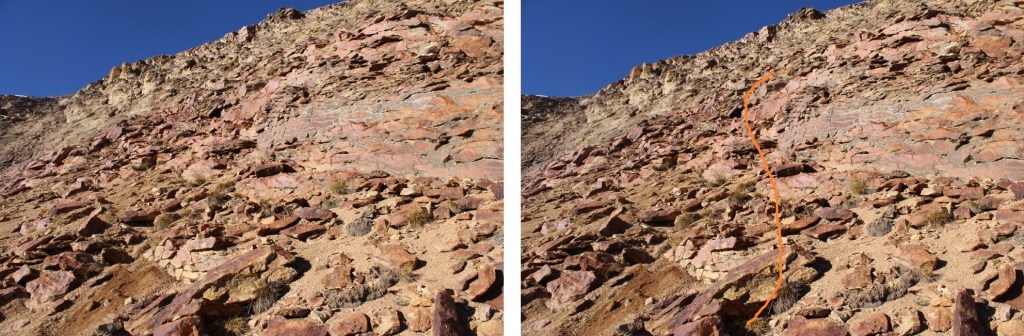
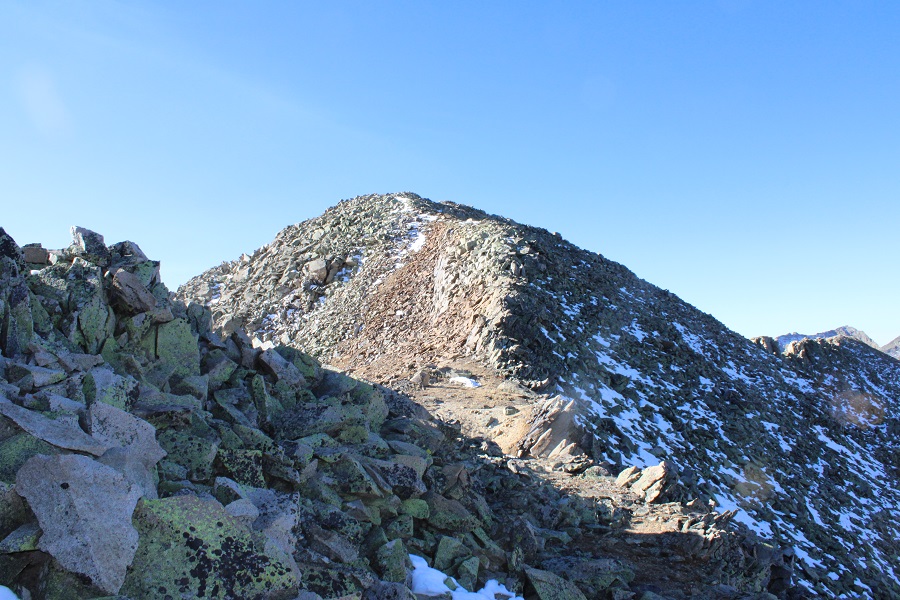
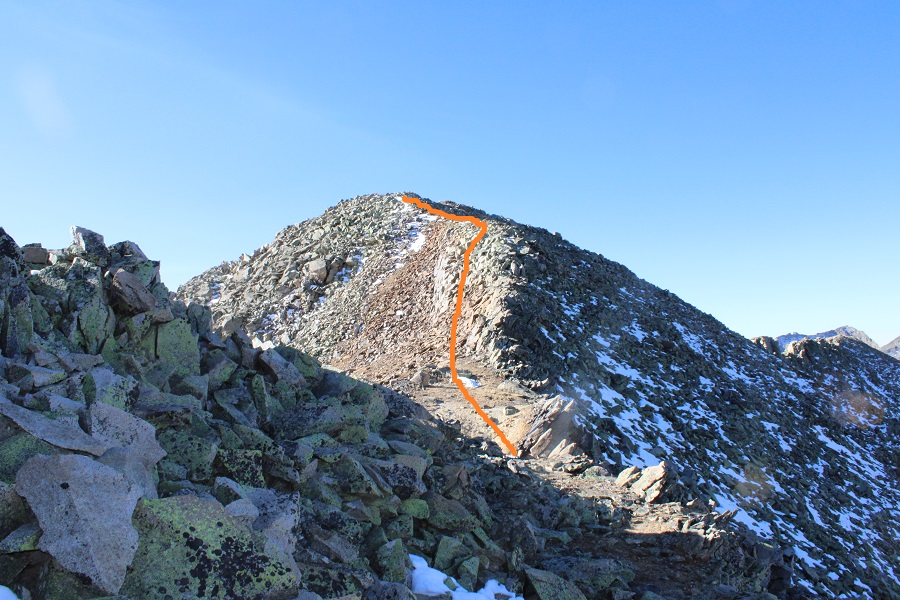
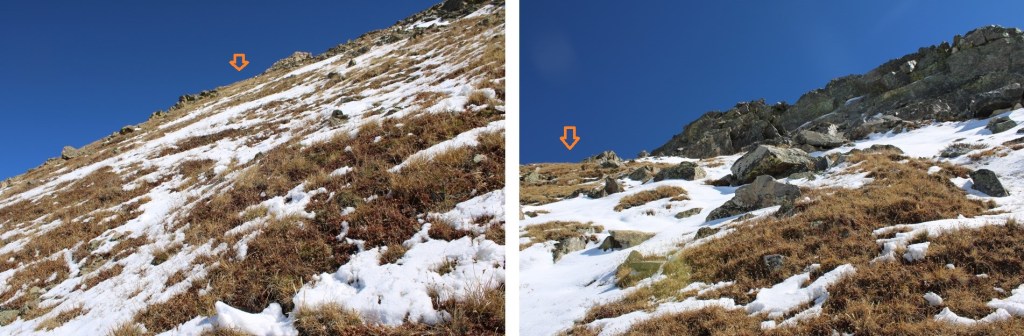
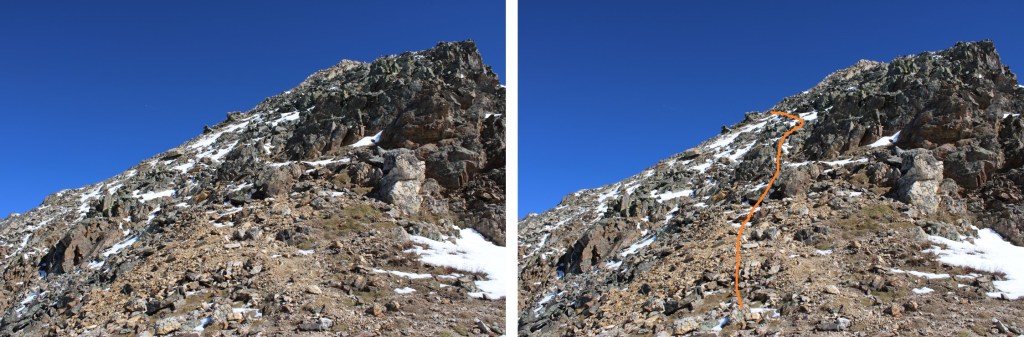
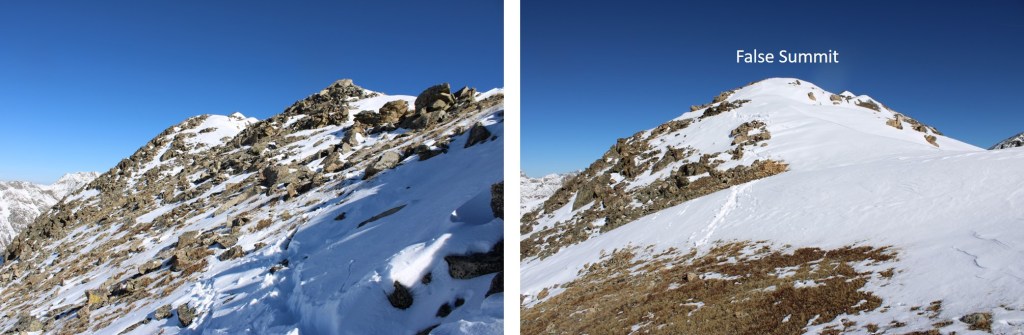
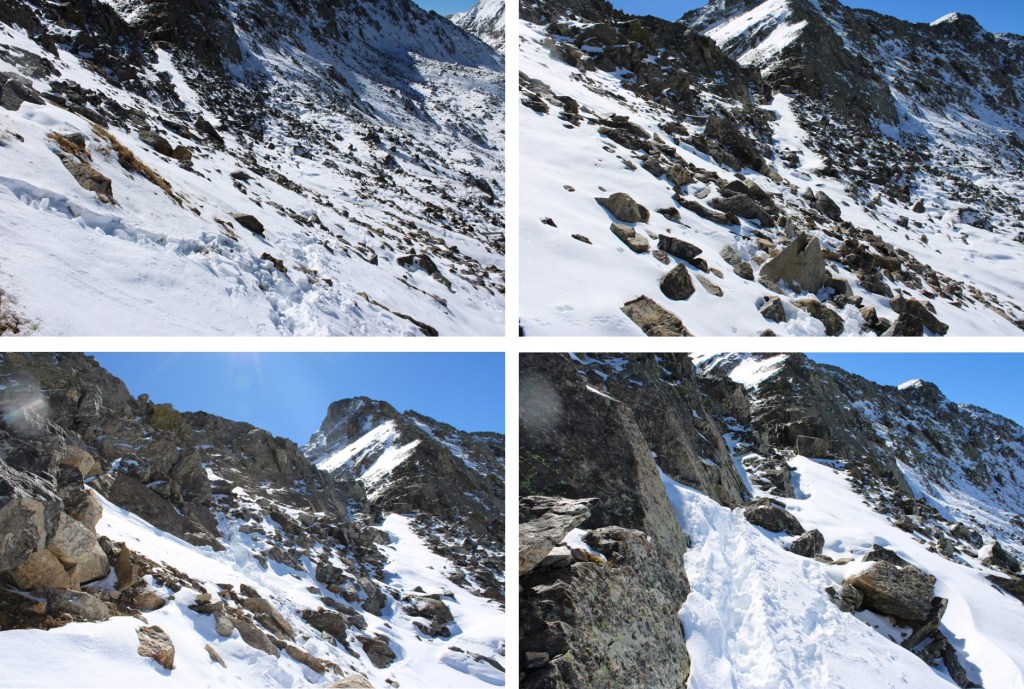
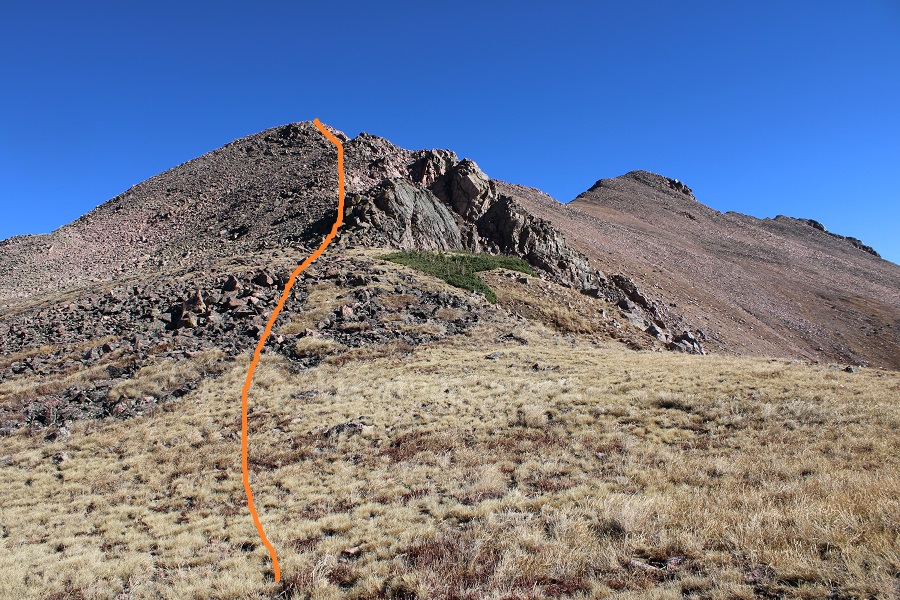
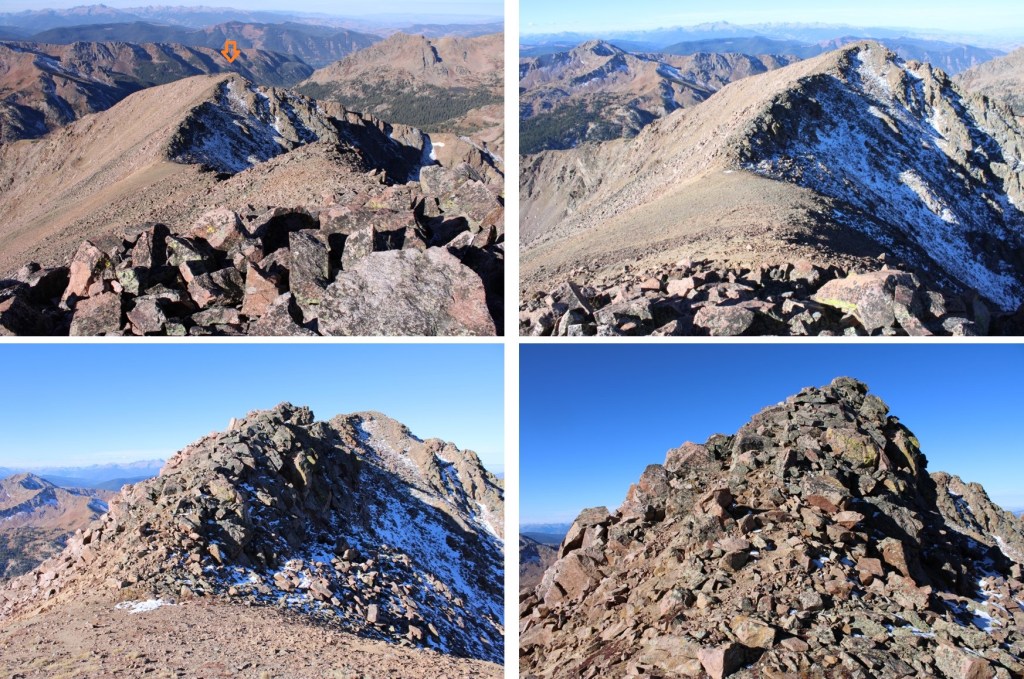
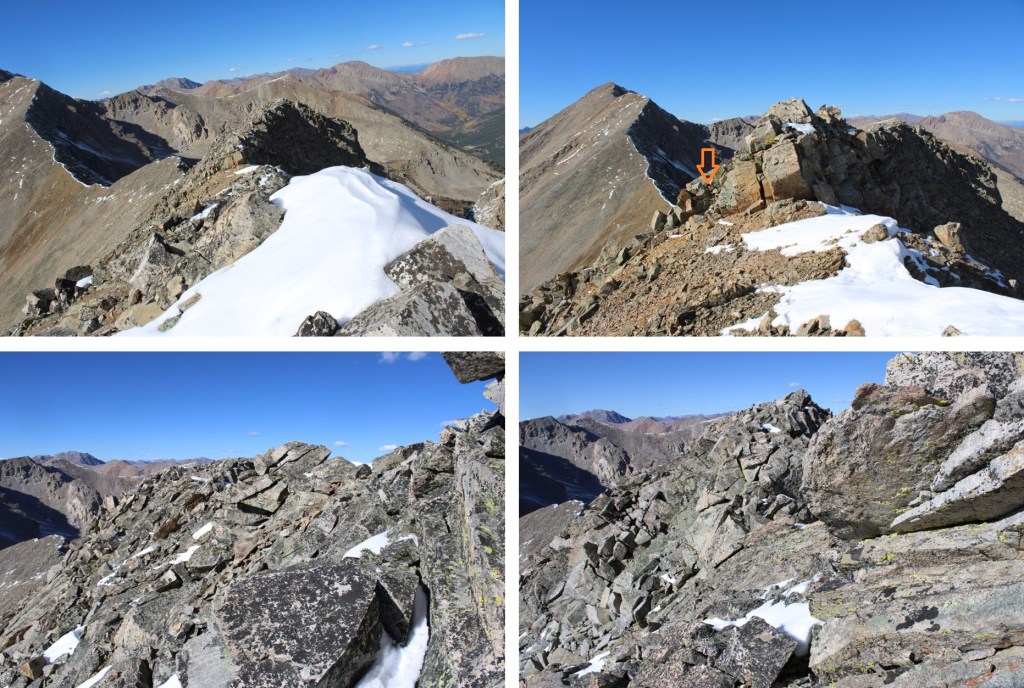
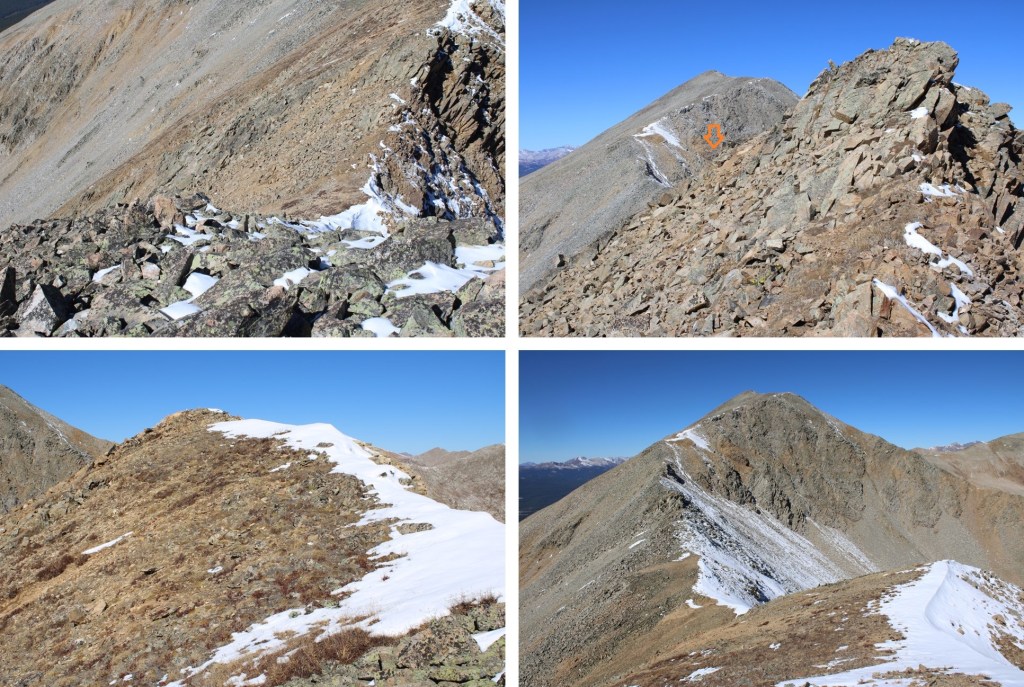
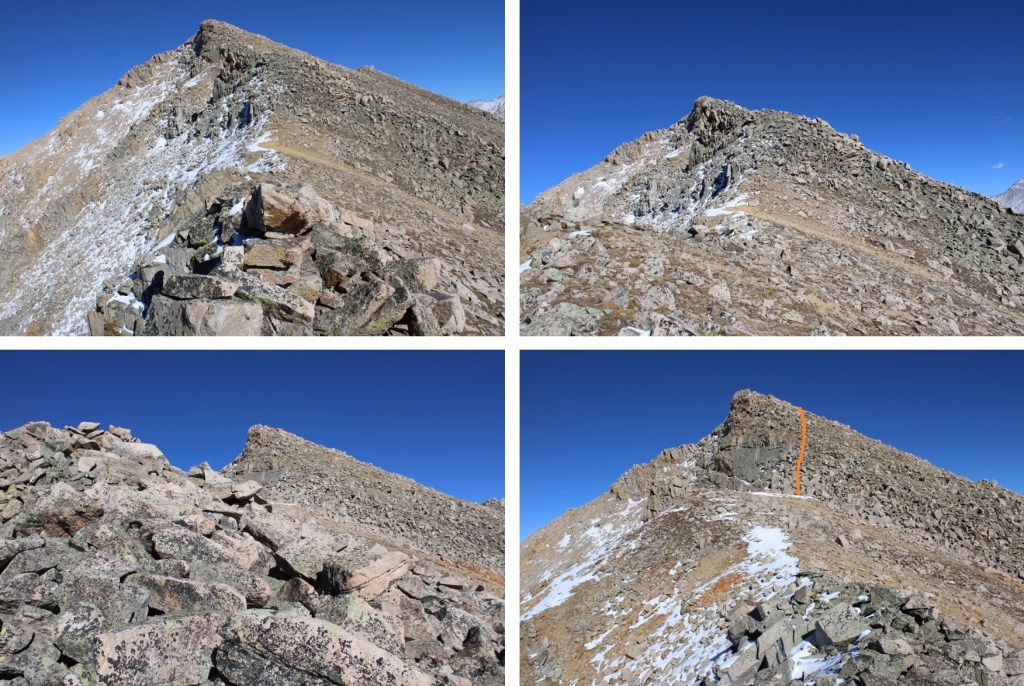
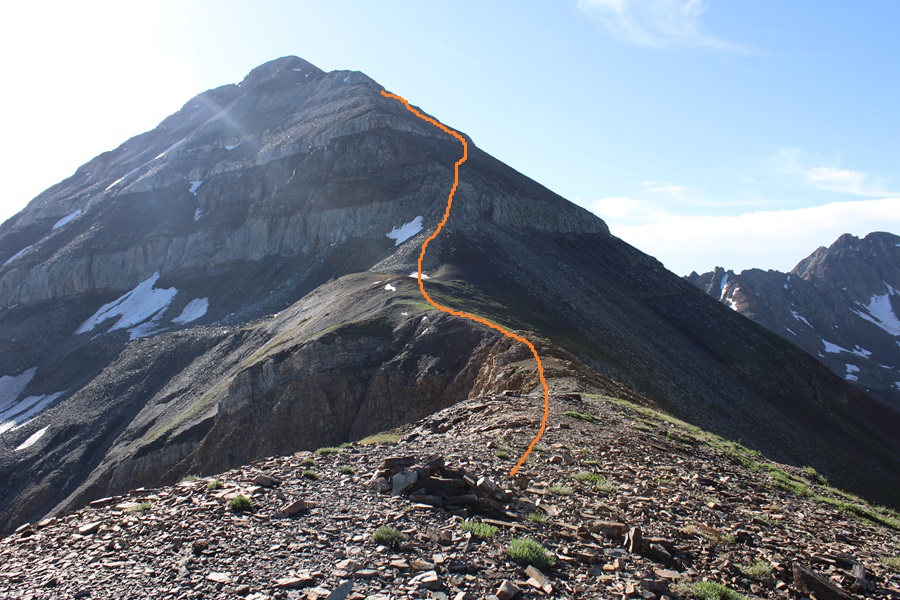
There were quite a few game trails here, and the sun was in my eyes the entire time, so I’m not sure if I picked the correct route.  If you go to the right of the class 3 section you can keep it class 2, but it’s easy to get lost.  I decided to head straight up the rocks, then found a game trail that wound me around up to the summit.  As I kept getting higher and higher up the mountain I found more and more trails, all seeming to lead to the same place.  As long as you’re headed up and east, you should be good.  This is the route I took:
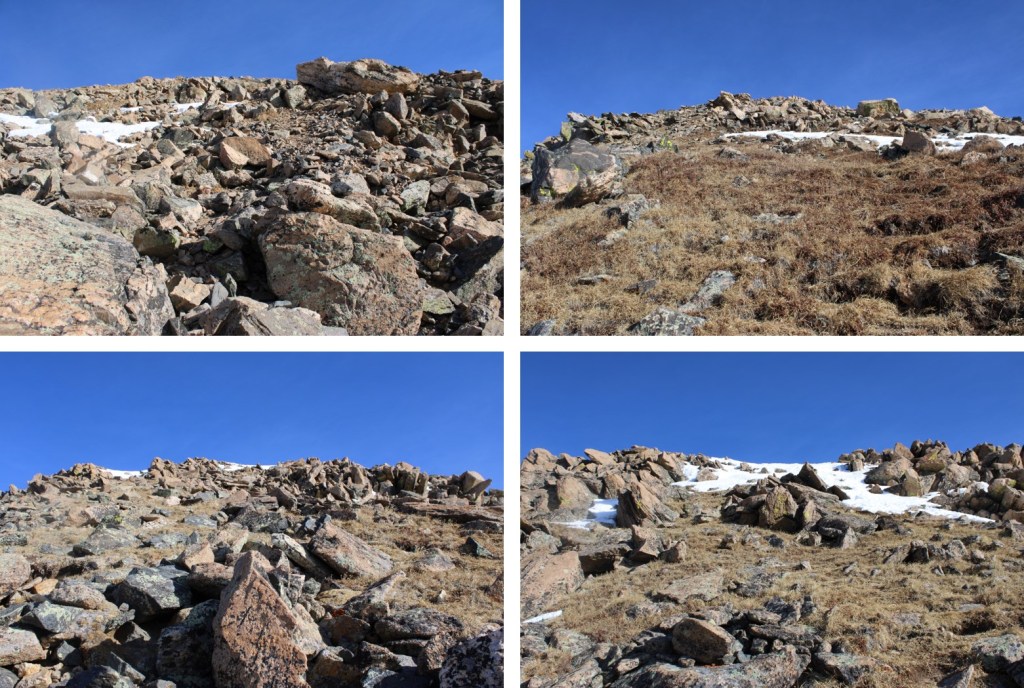
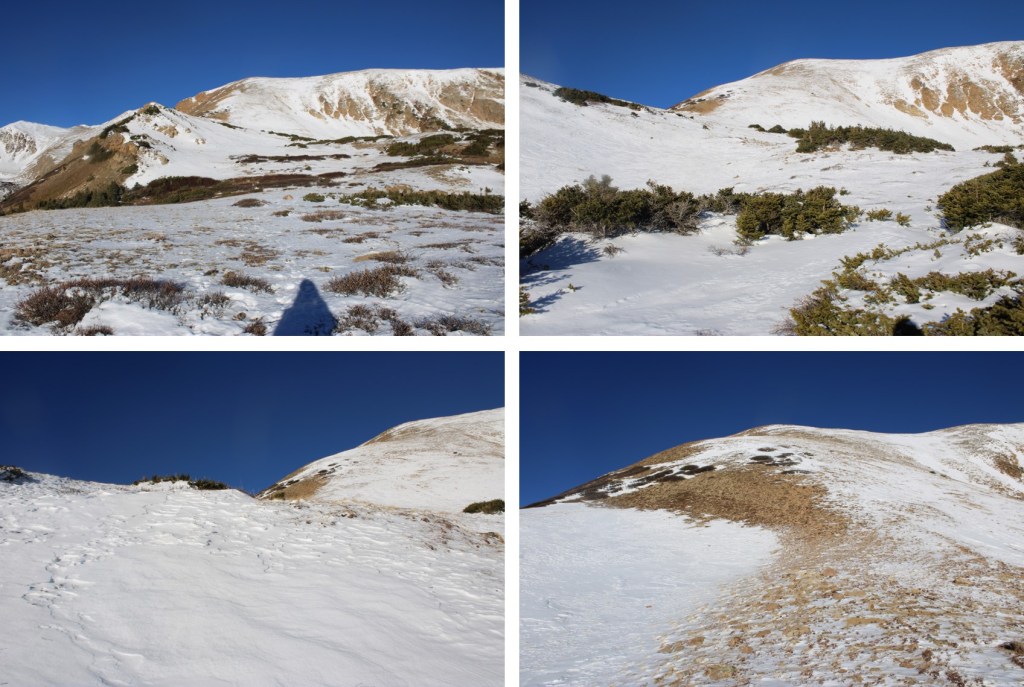
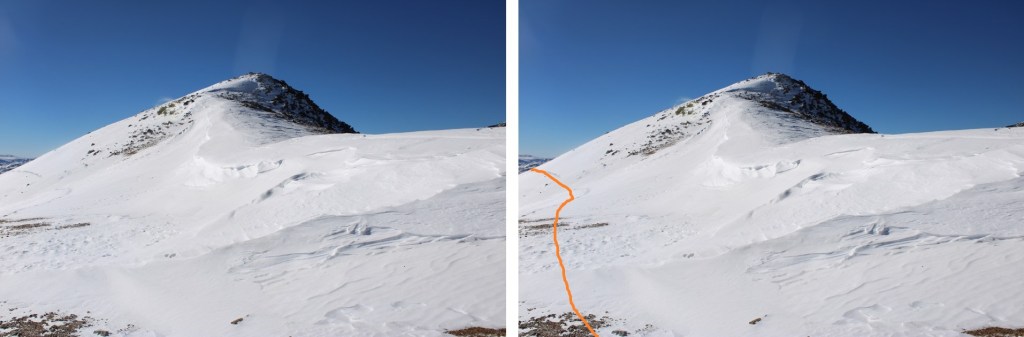
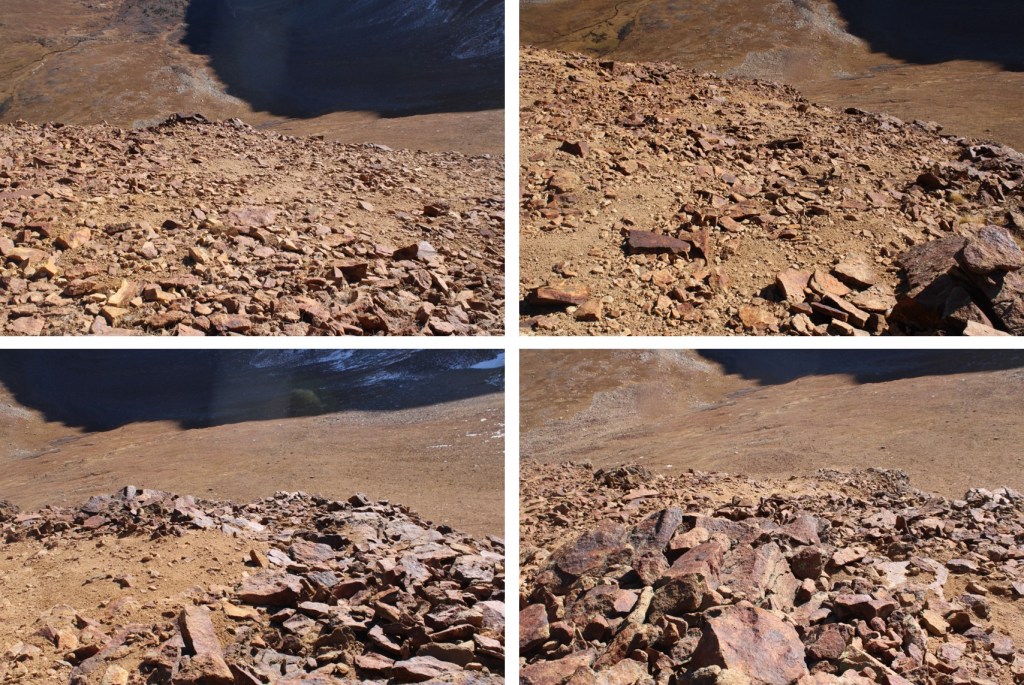
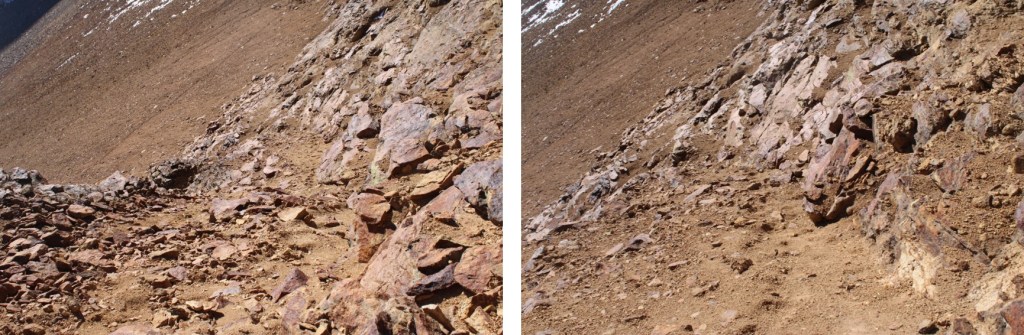
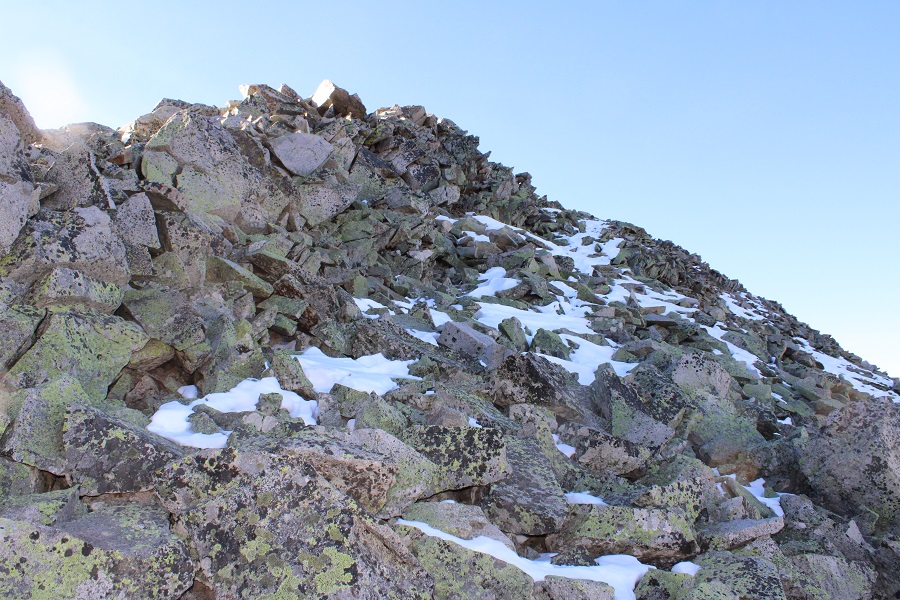
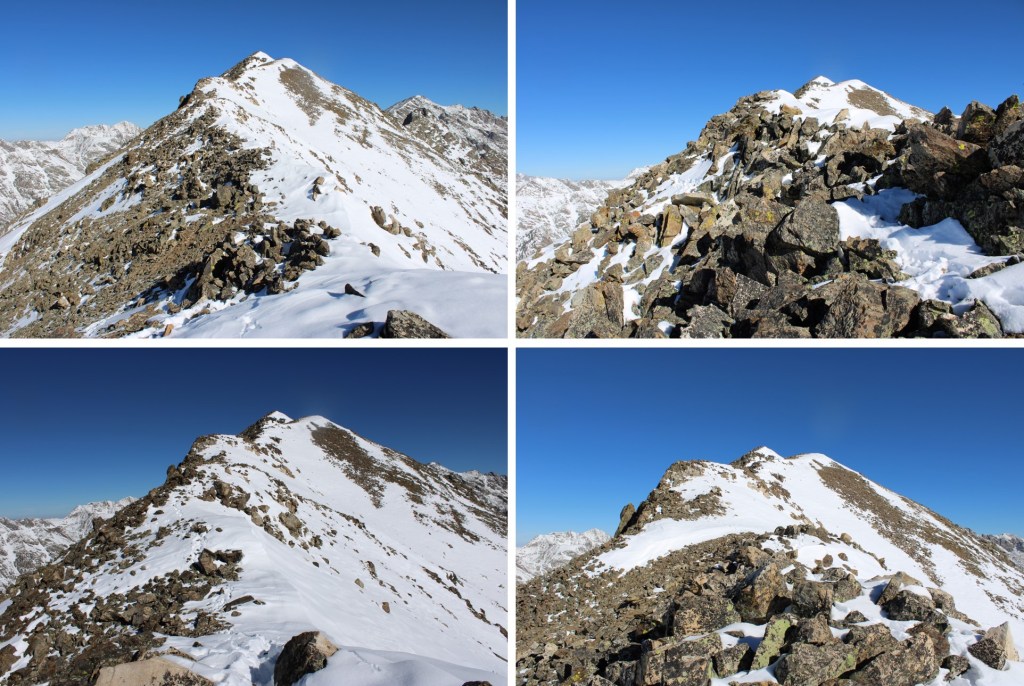
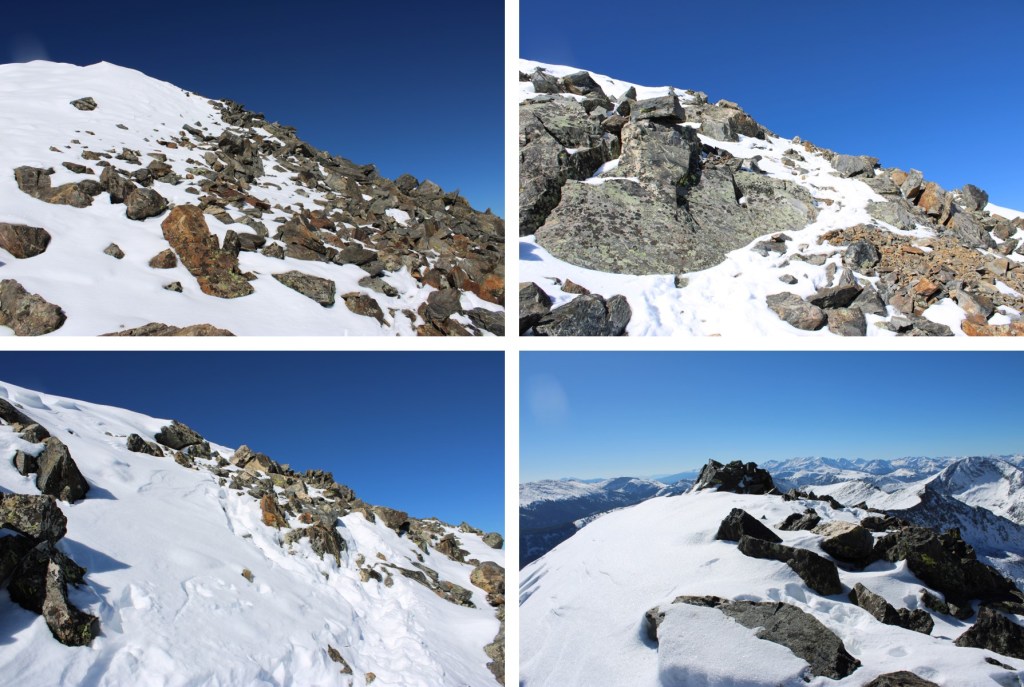
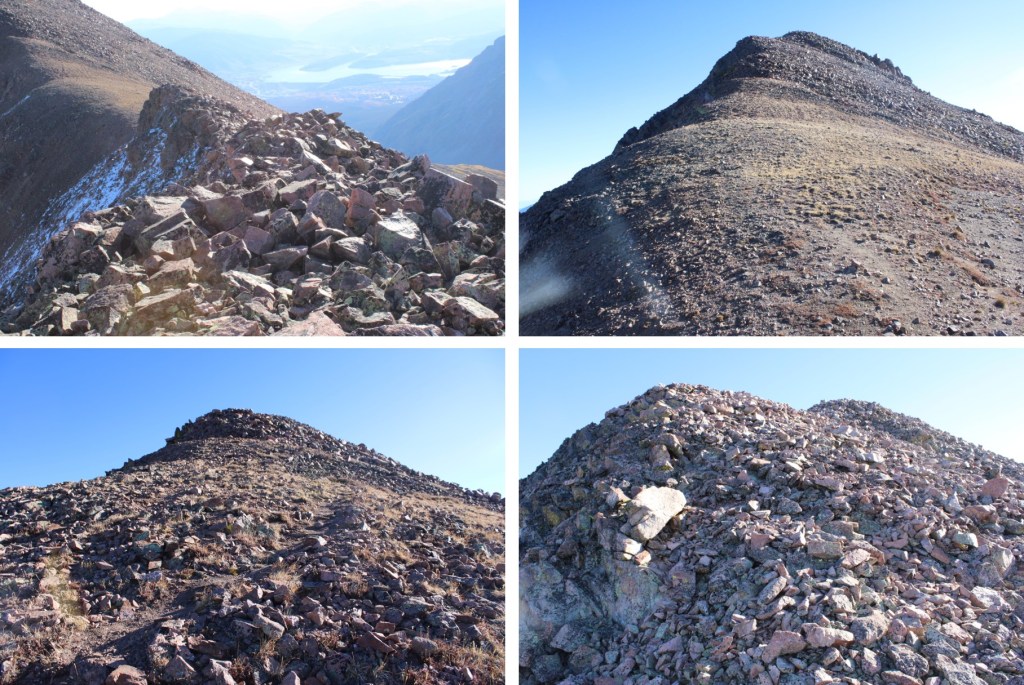
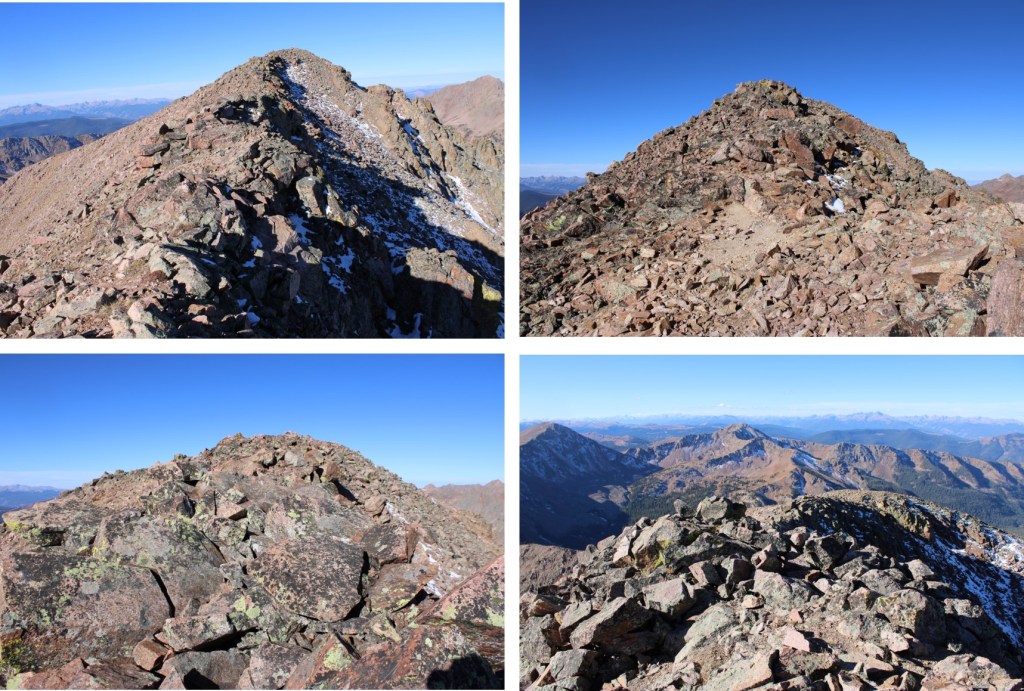
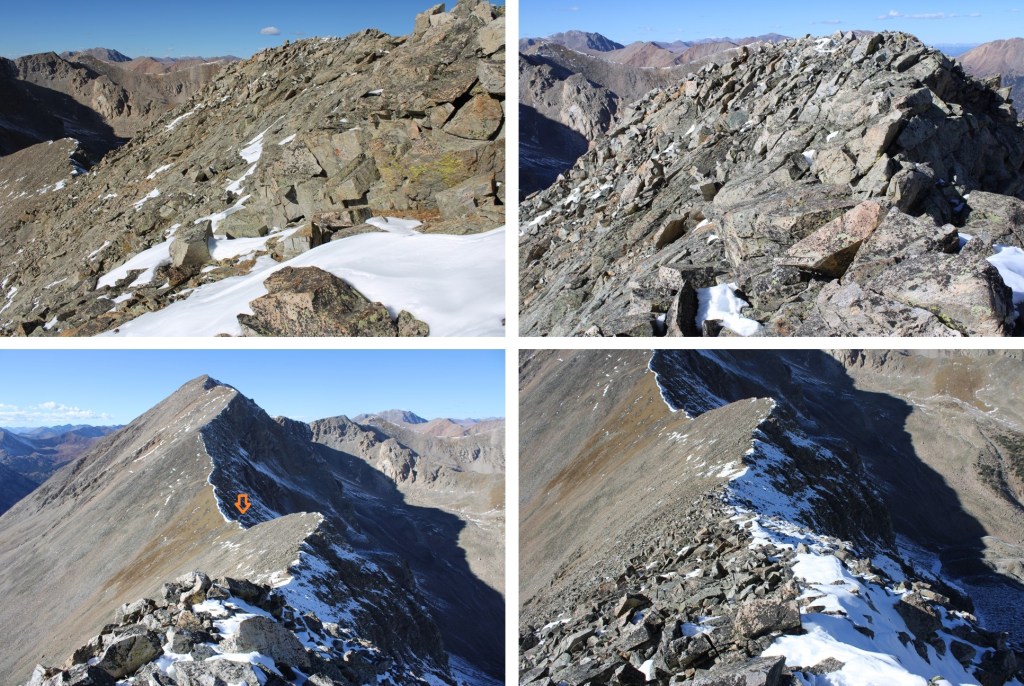
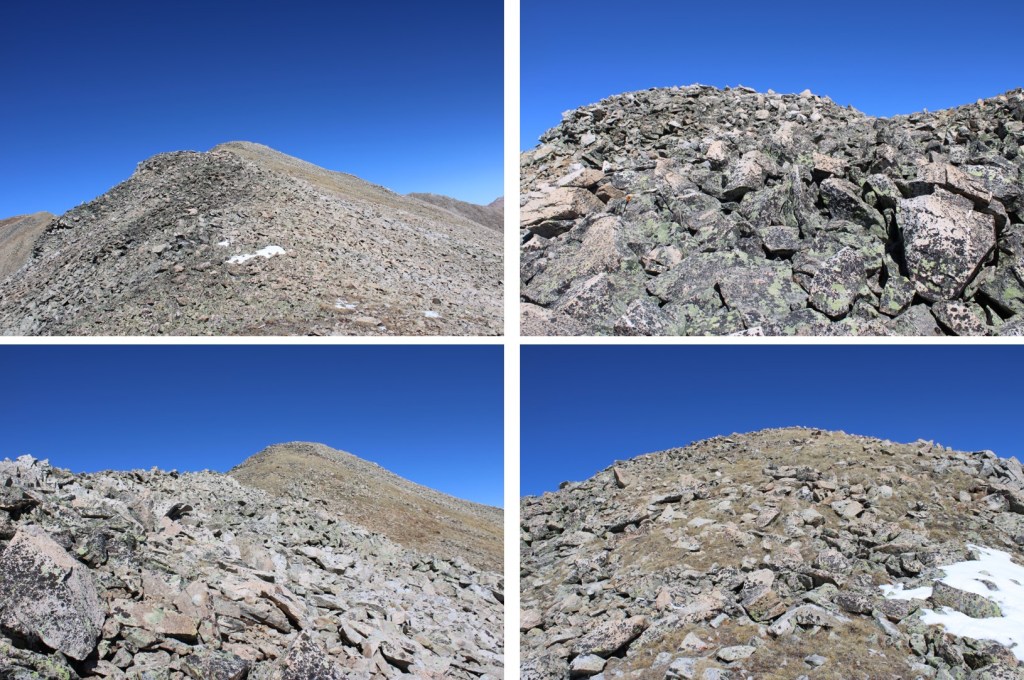
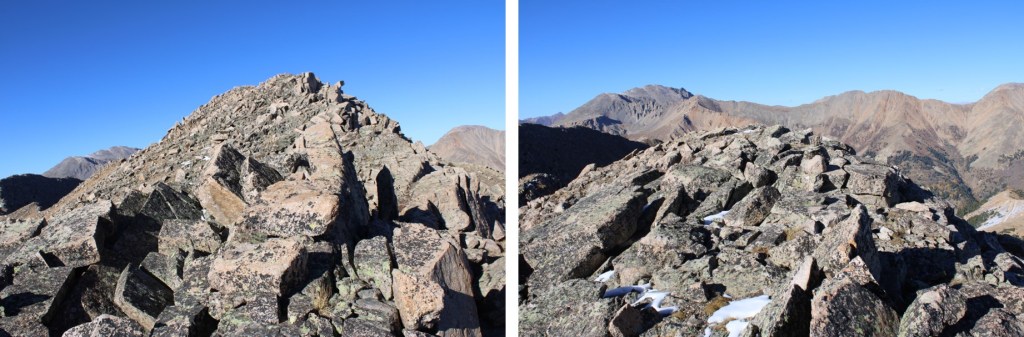
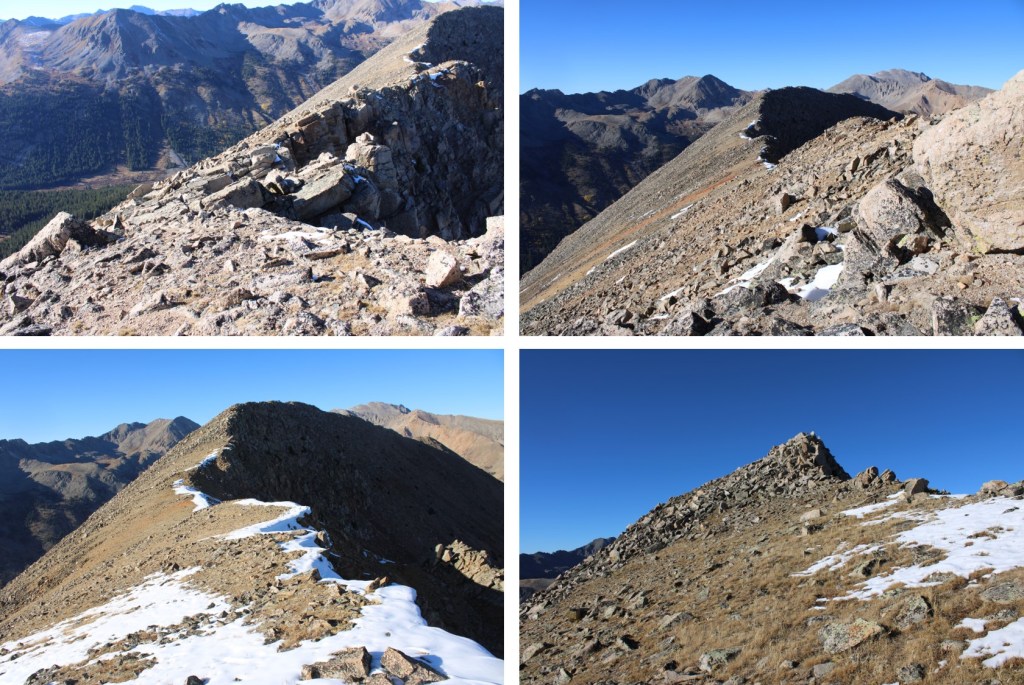
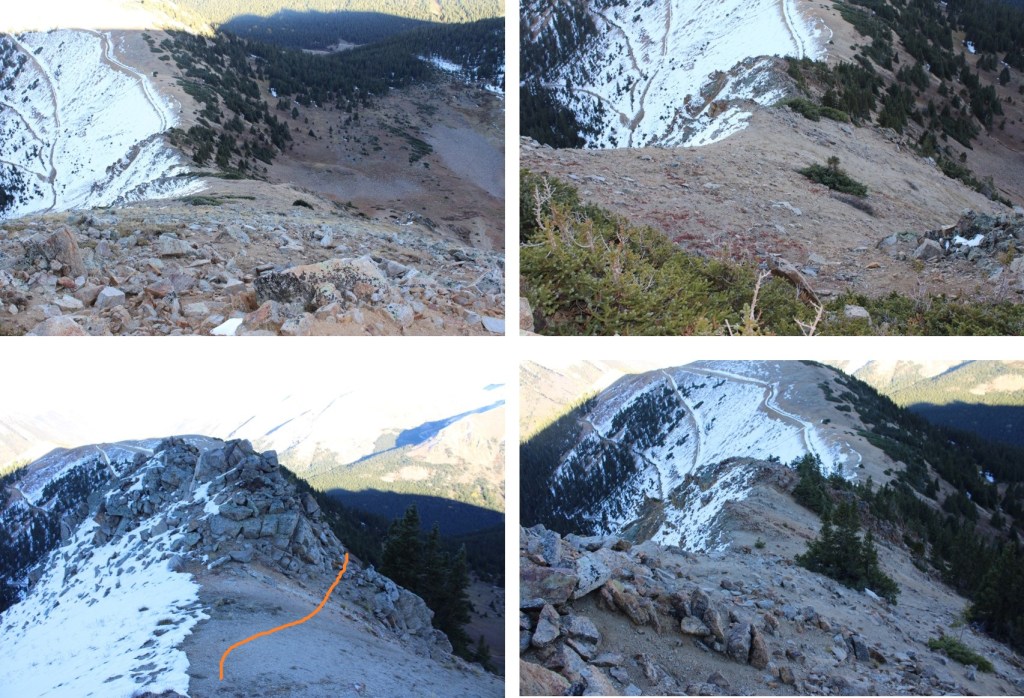
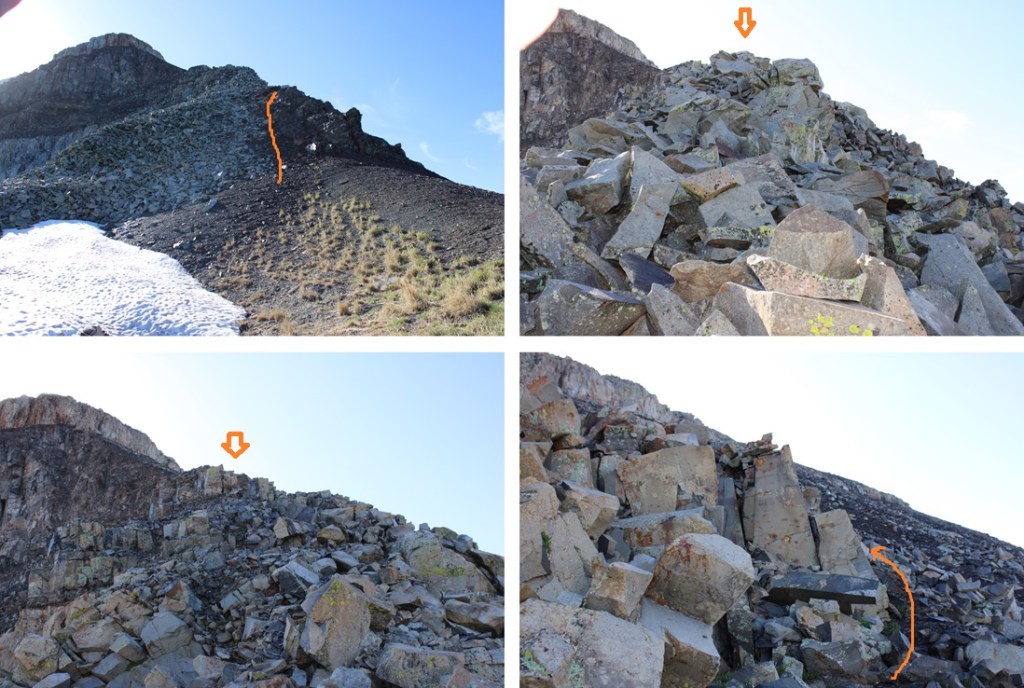
And some step by step pictures of the route I took, first navigating the class 3 section
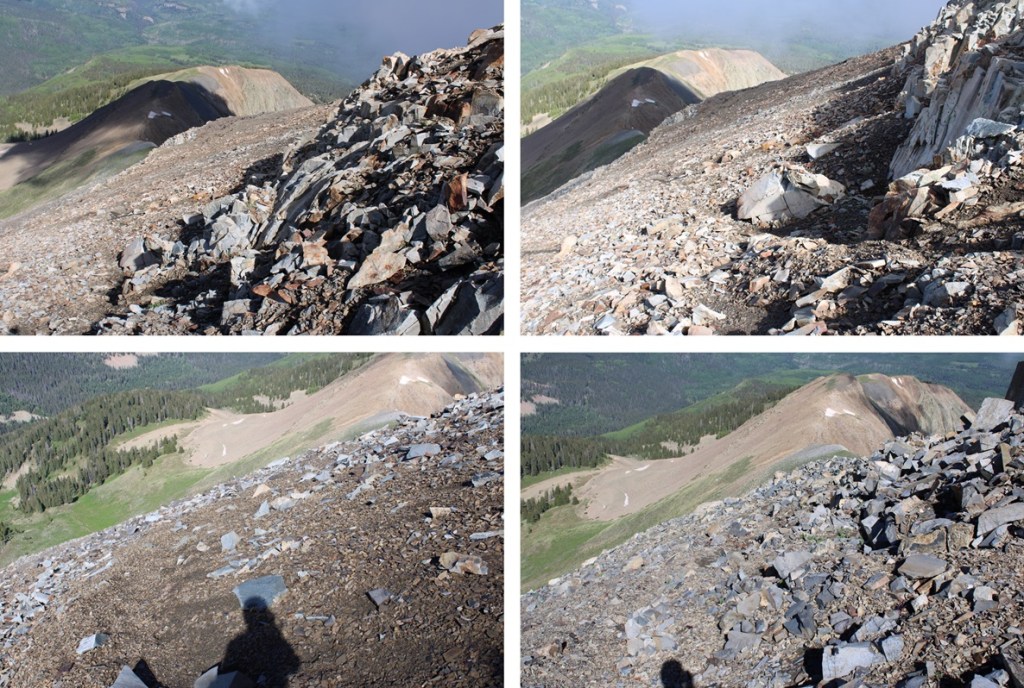
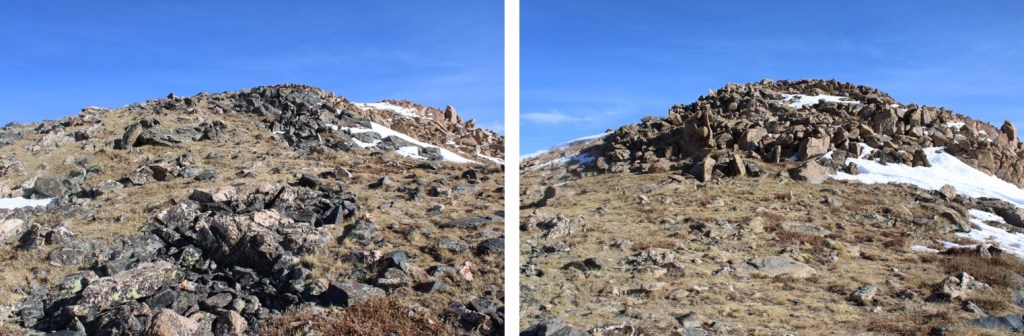
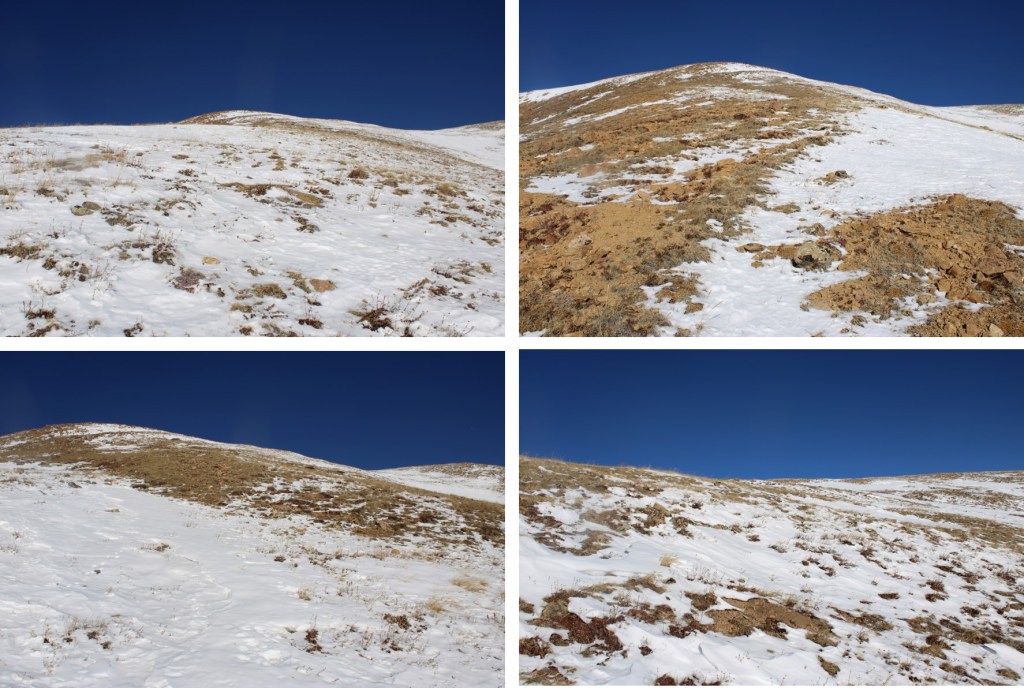
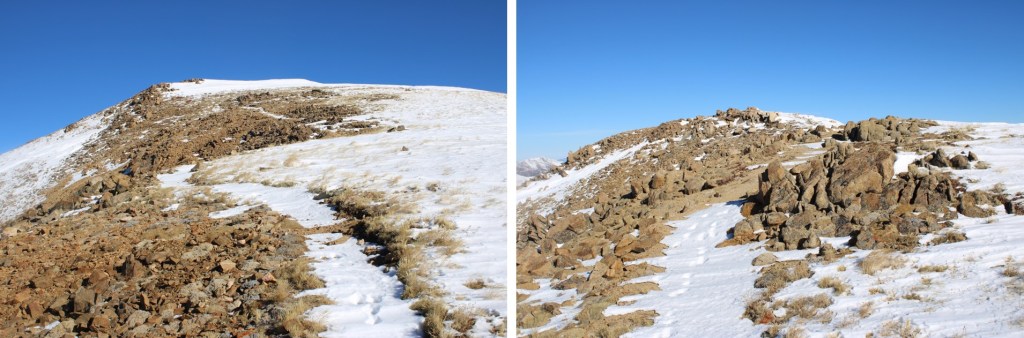
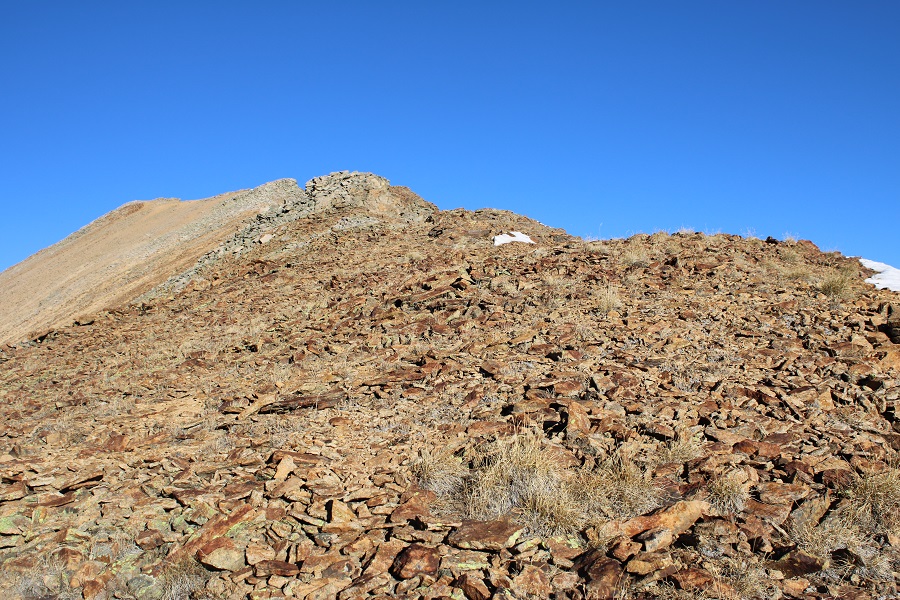
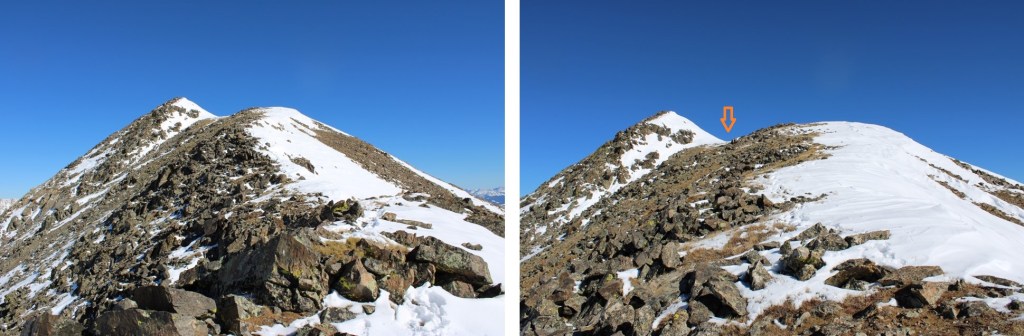
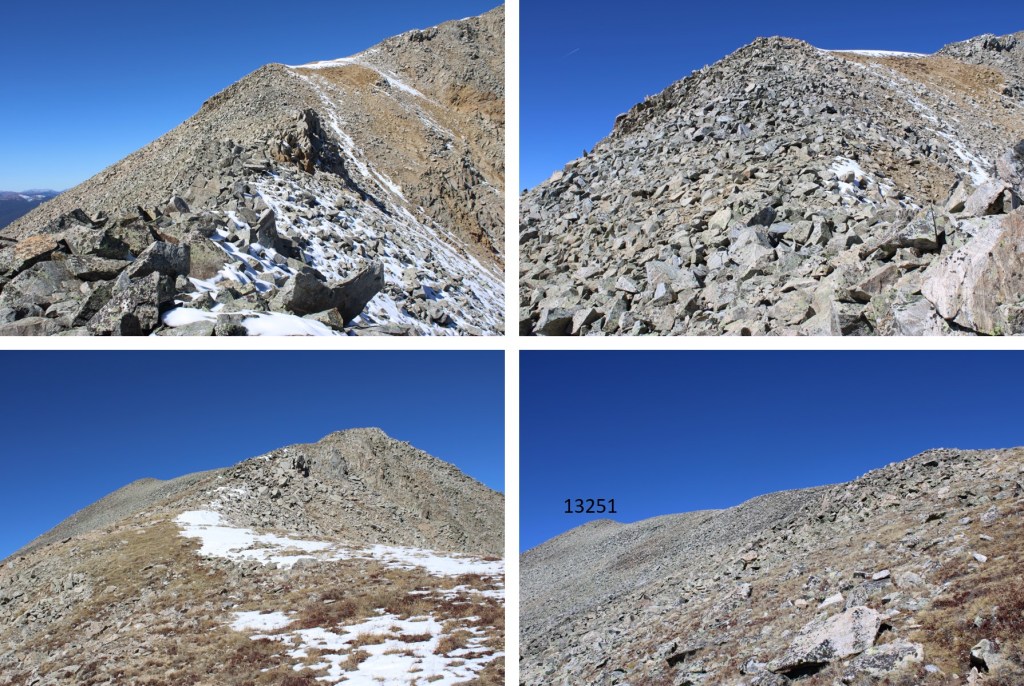
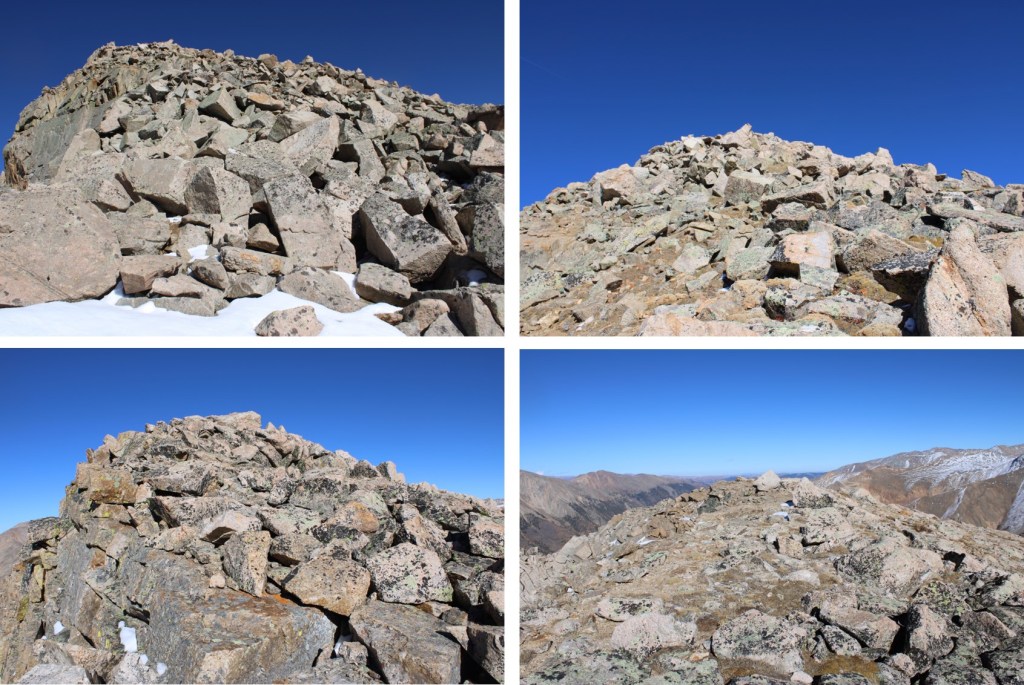
I was then able to pick up game trails that led me to the summit.  I took a different path up than I did on my way back down, but all the game trails that went up led to the summit.  As long as you’re keeping it class 2 you should be fine.
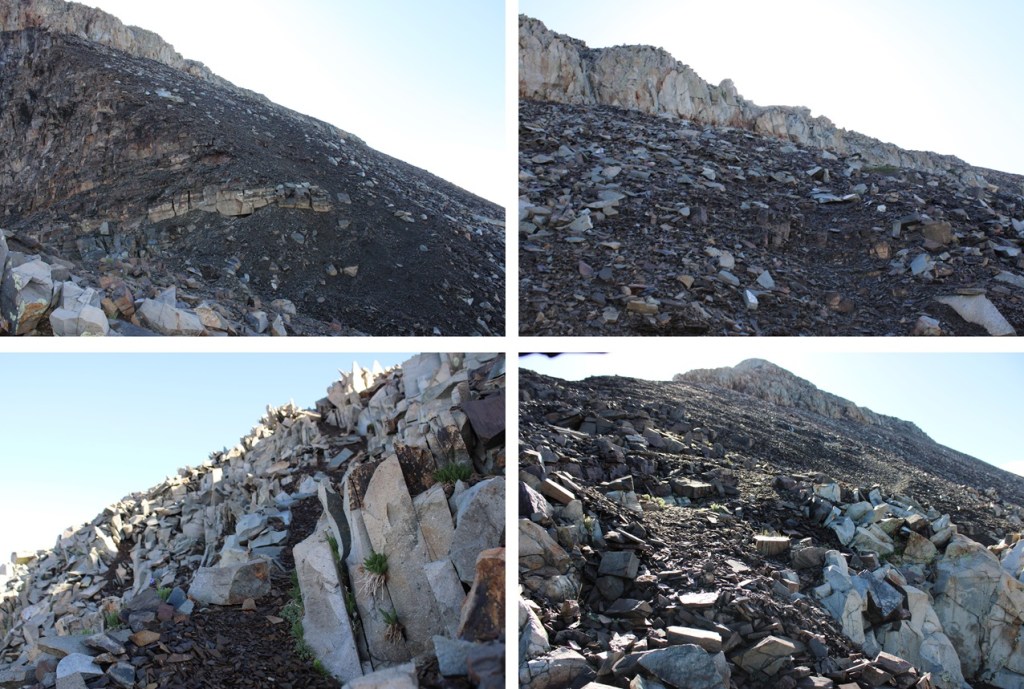
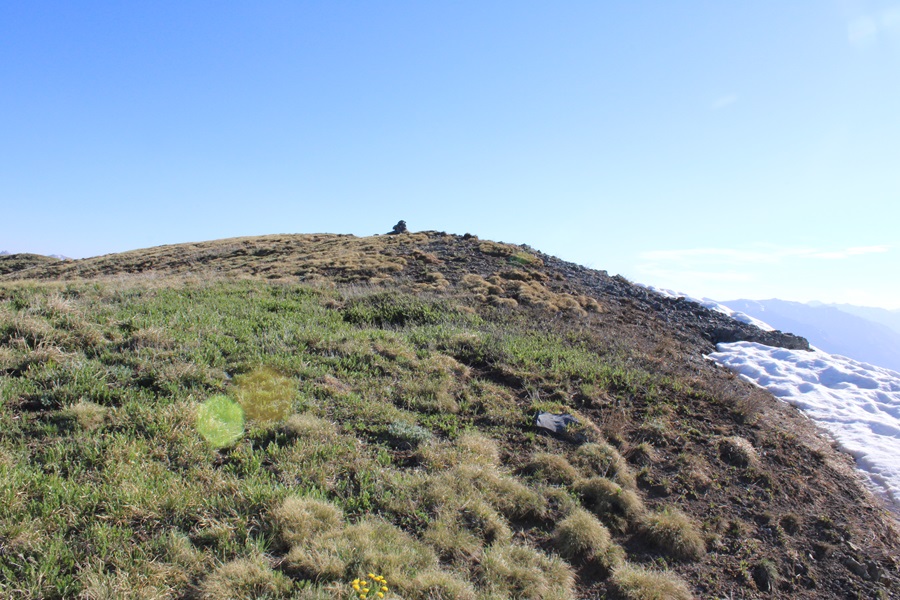
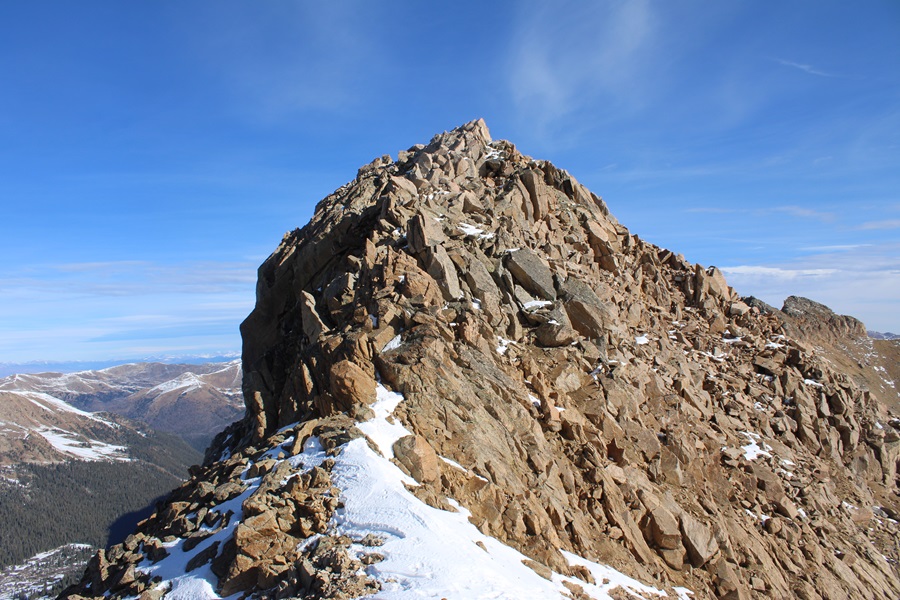
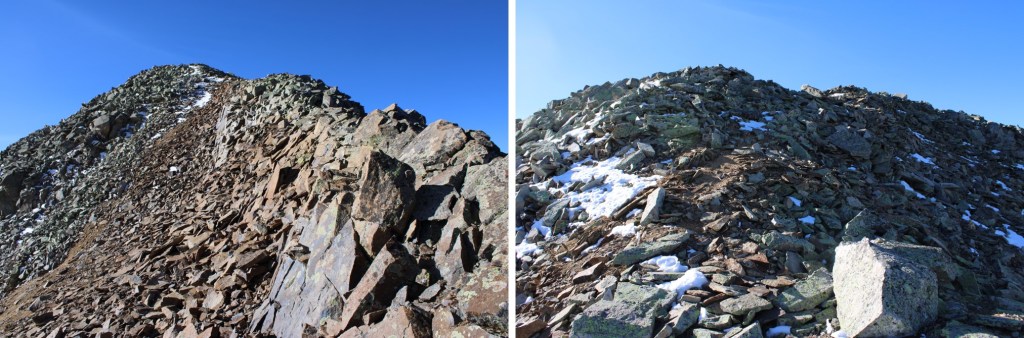
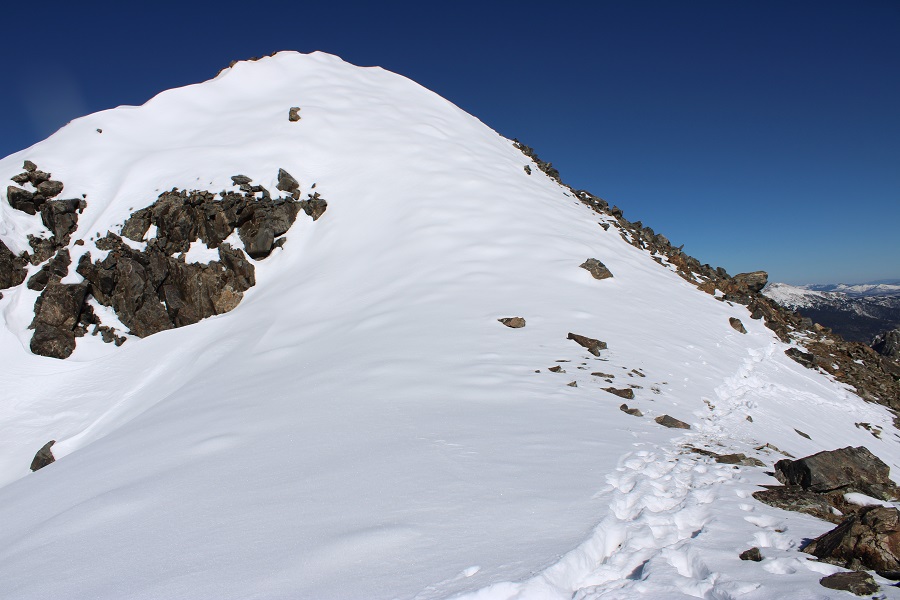
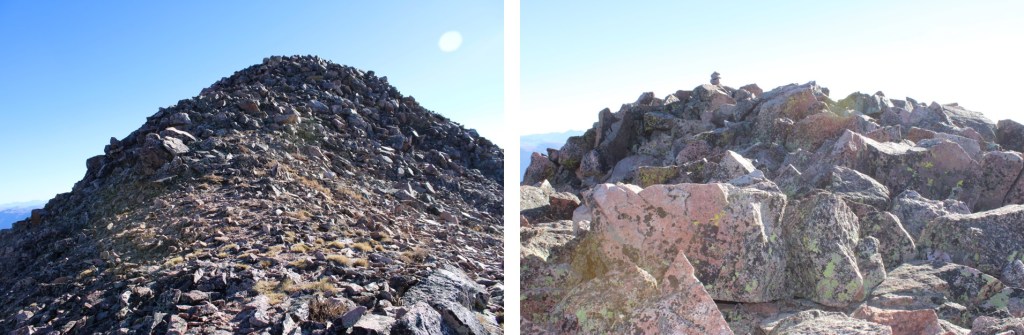
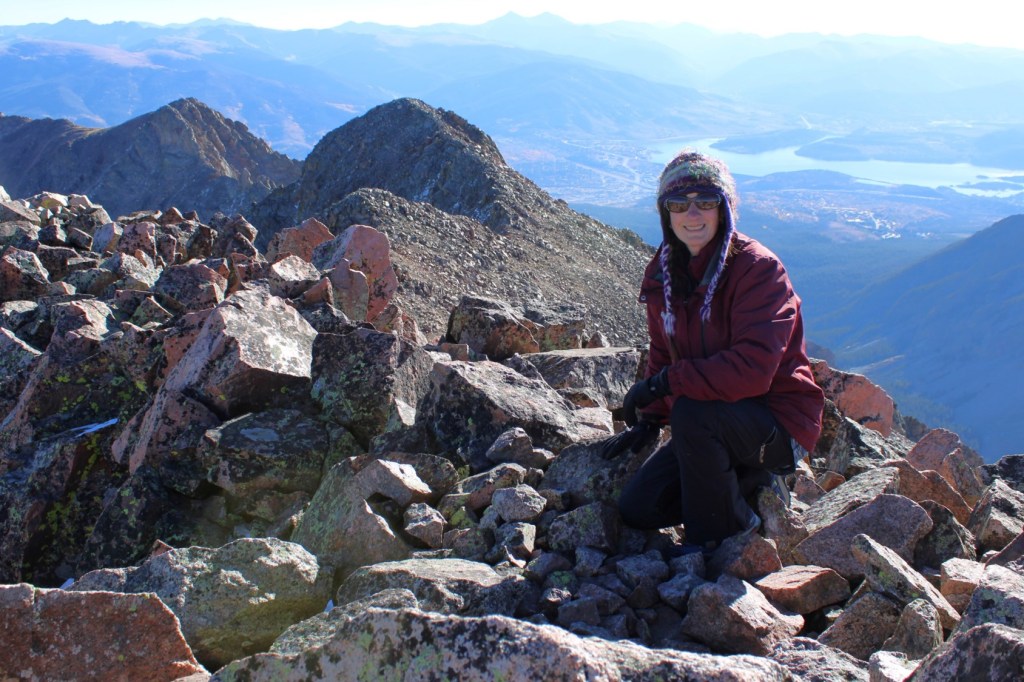
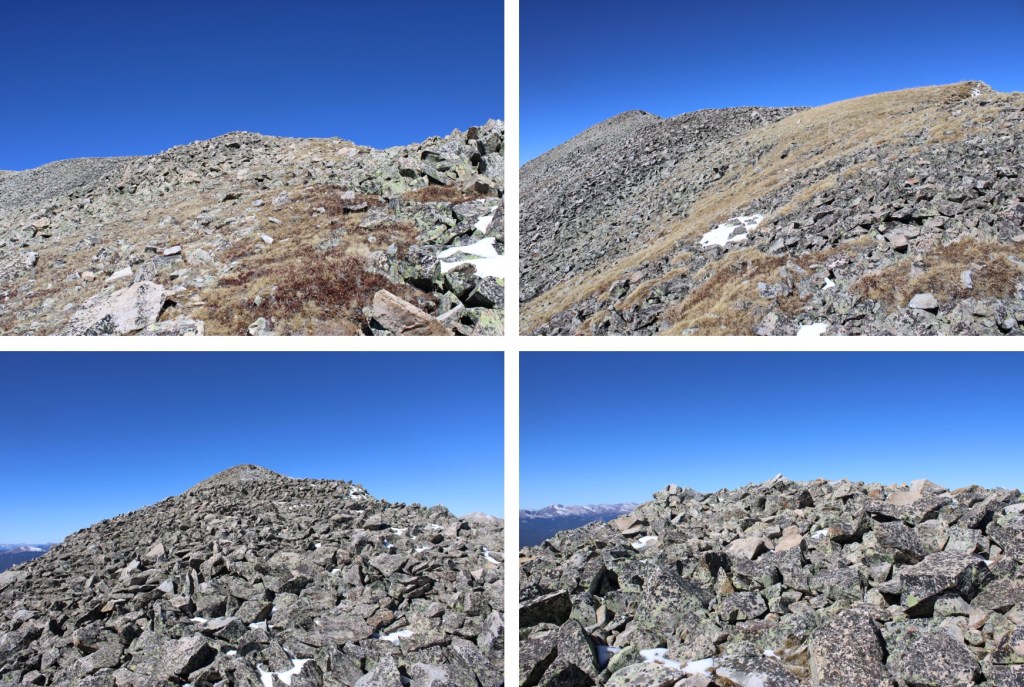
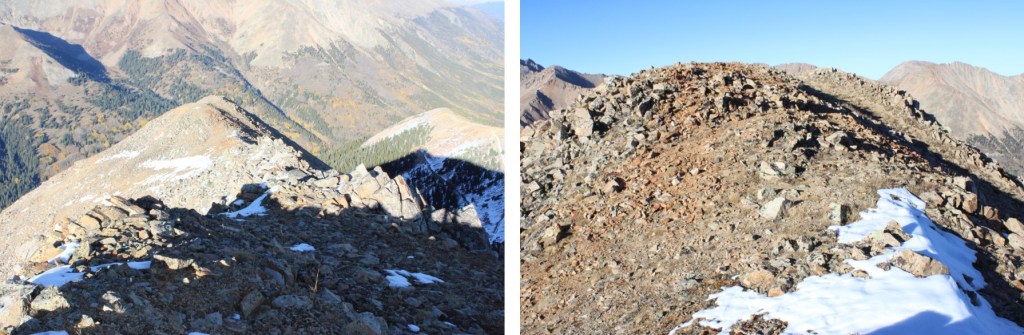
The summit was to the left of the trail, filled with large, loose boulders, and a wind shelter.
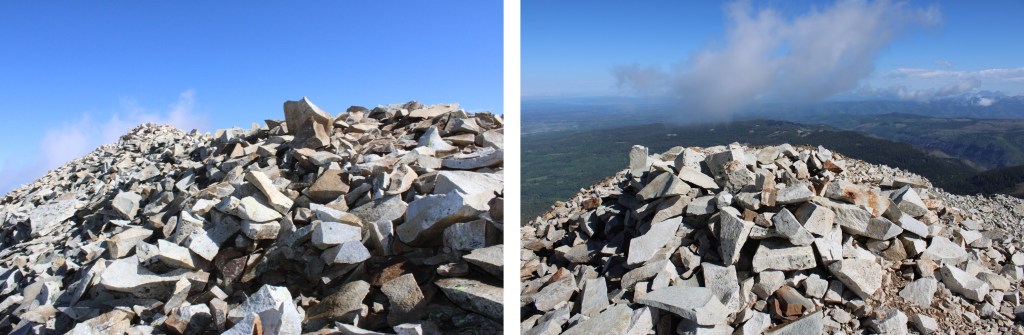
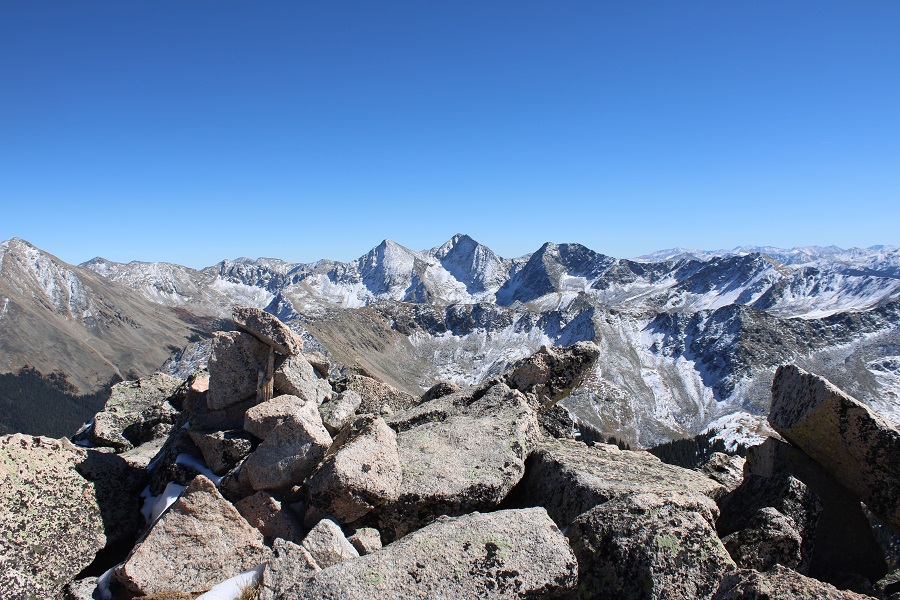
I summited Hesperus Mountain at 9:15am

Hesperus Mountain:

After spending considerable time on the summit, I turned and headed back down to the ridge.  Once again, taking a slightly different route than I had on the way up, as trails were easier to see with the sun behind me instead of in front of me. 
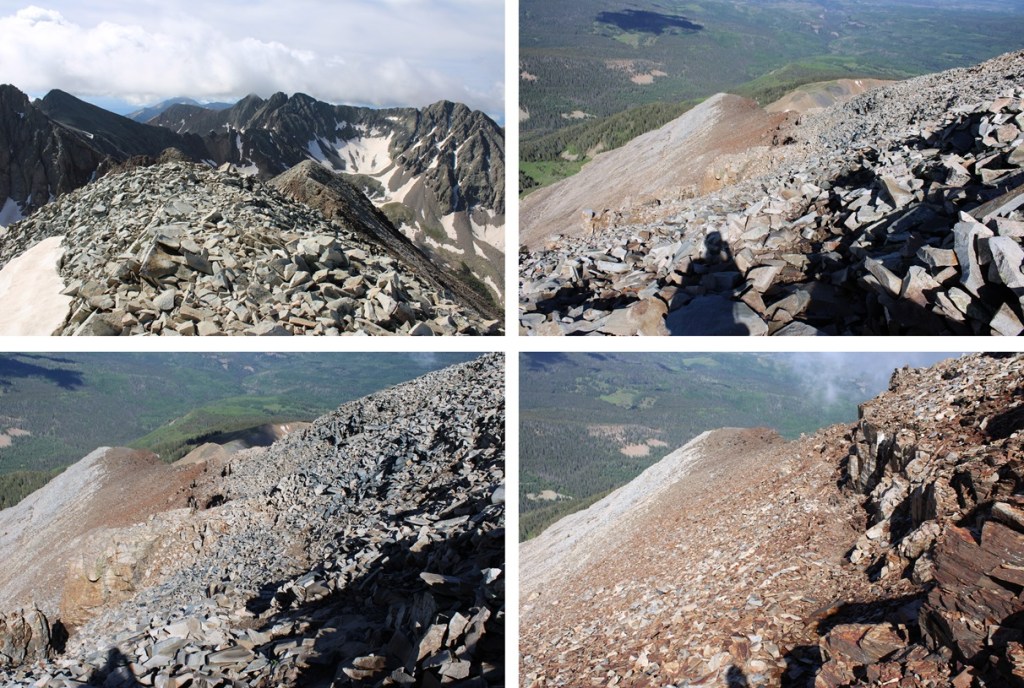
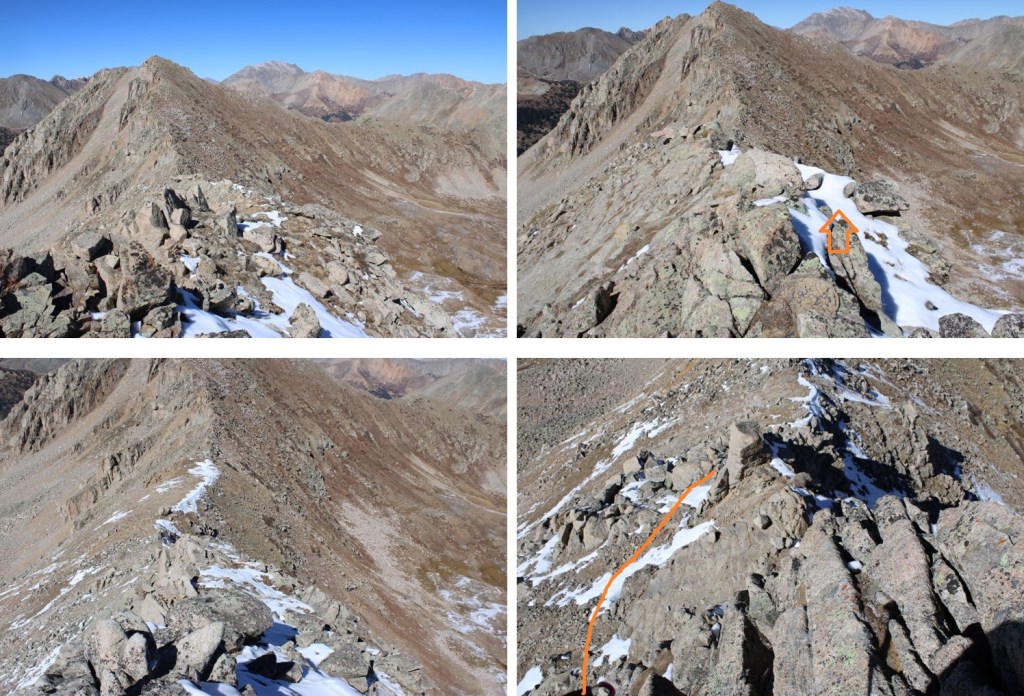
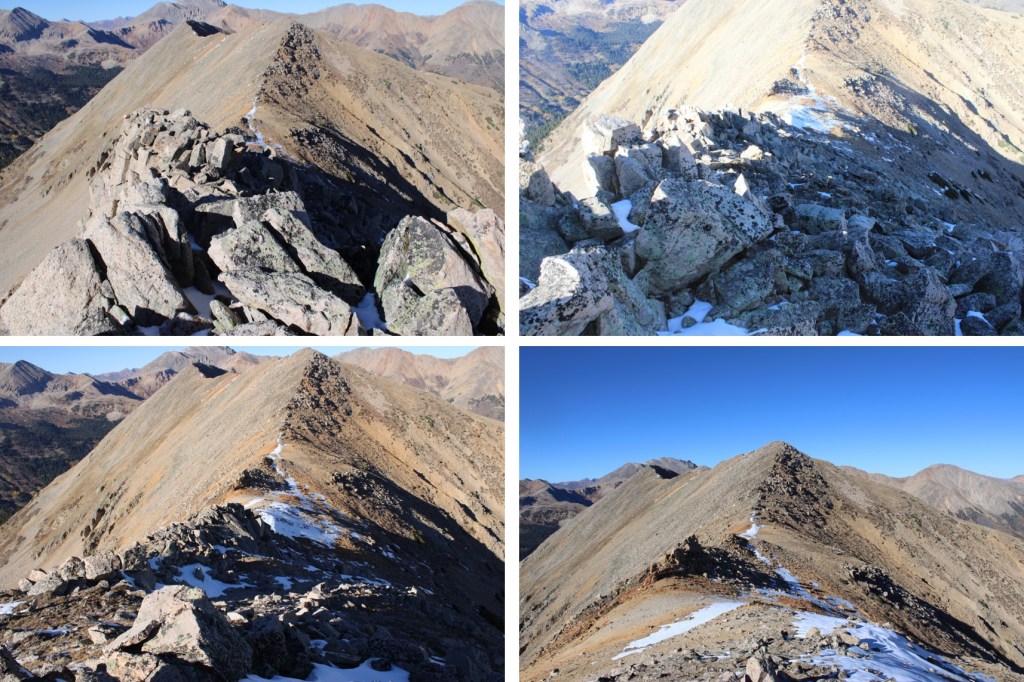
I made my way down the class 3 section
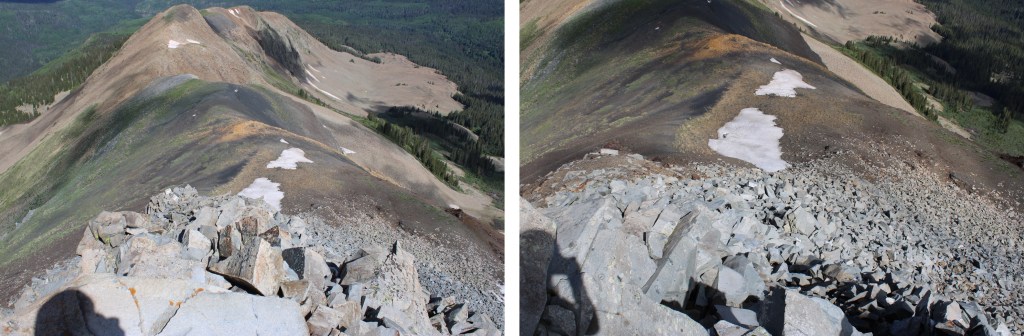
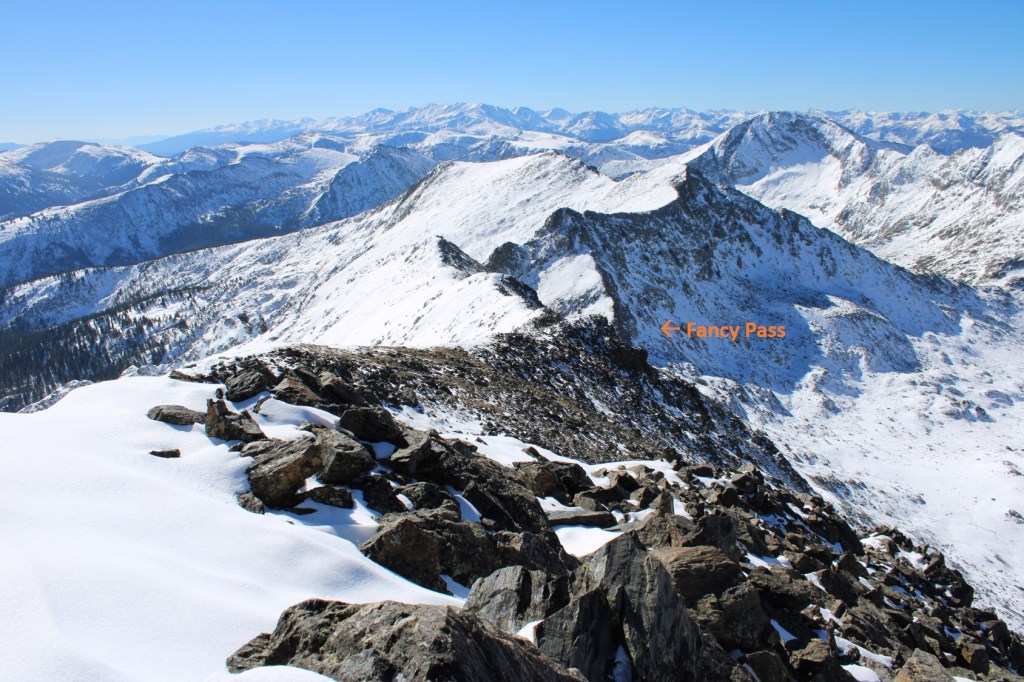
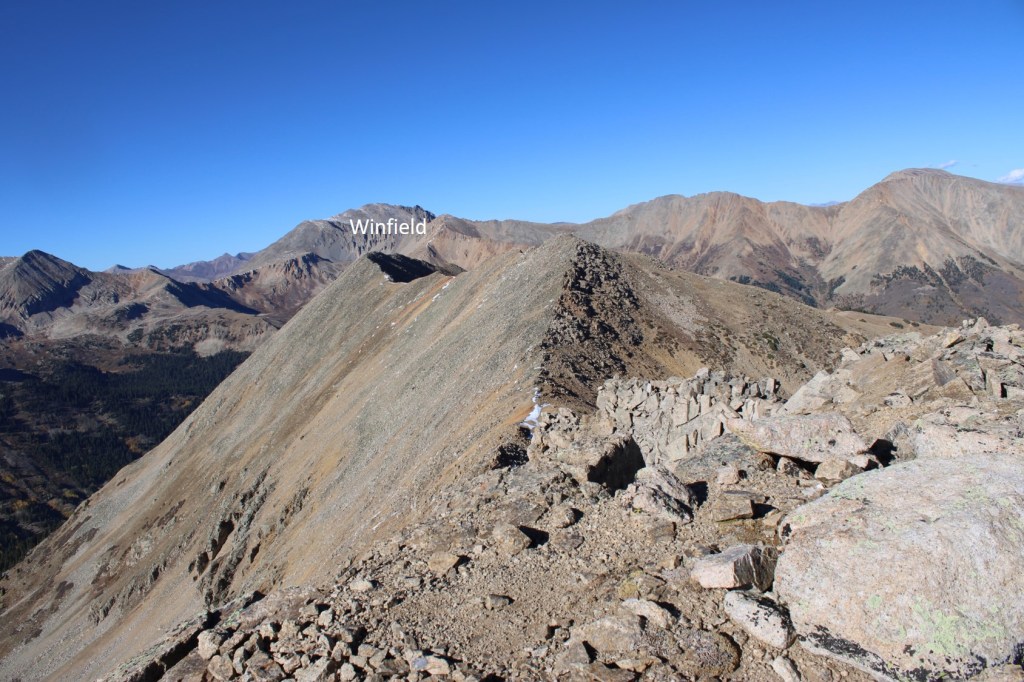
Ahead of me I could see the route I’d taken in, along the ridge

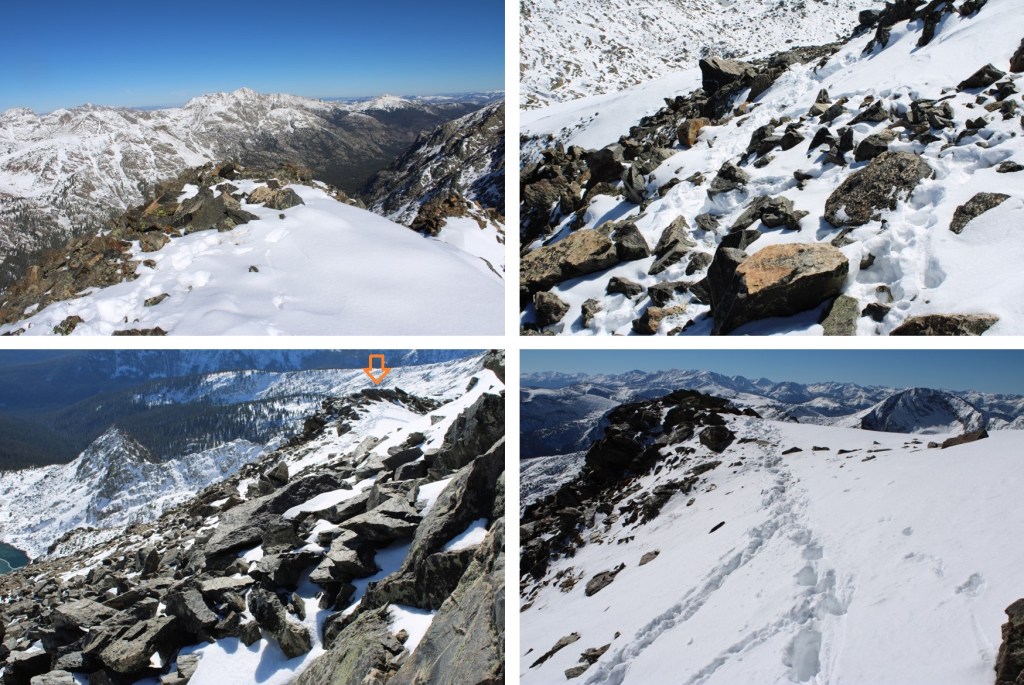
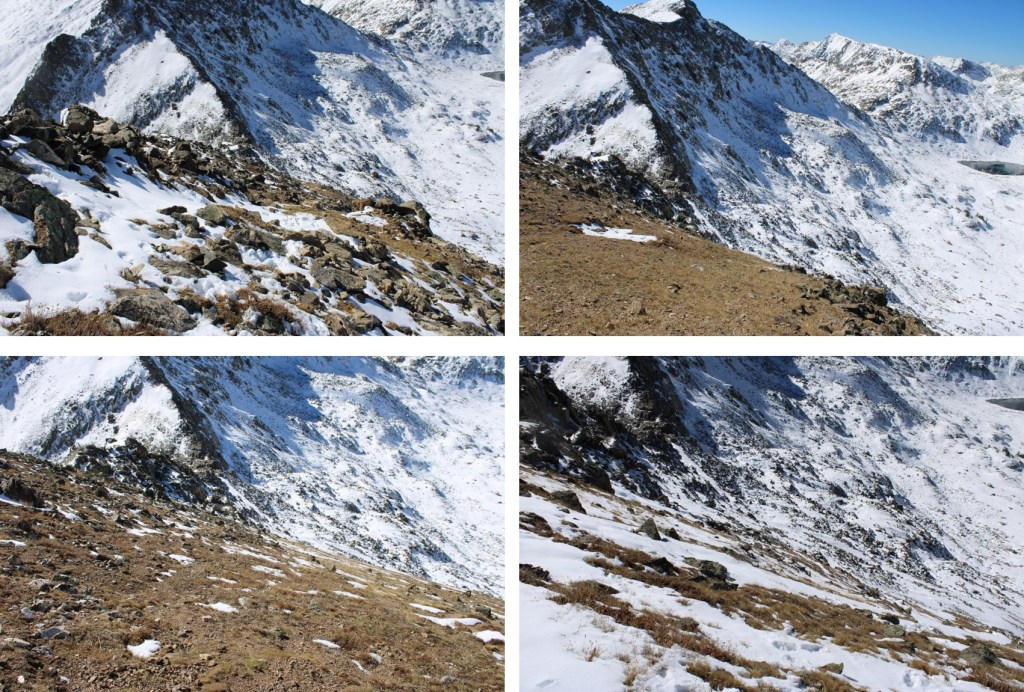
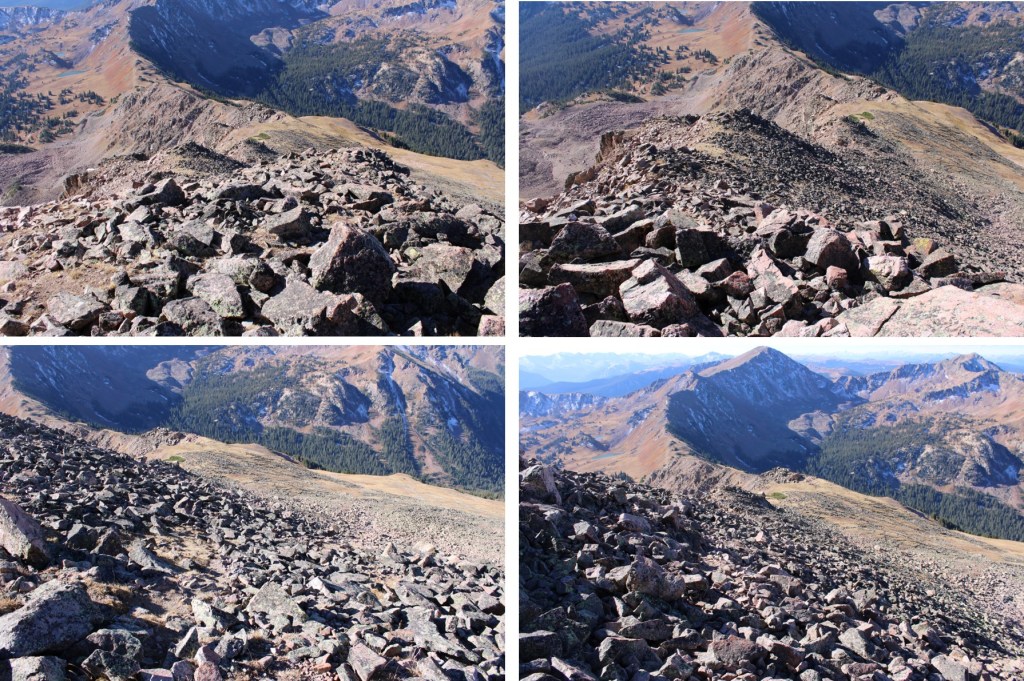
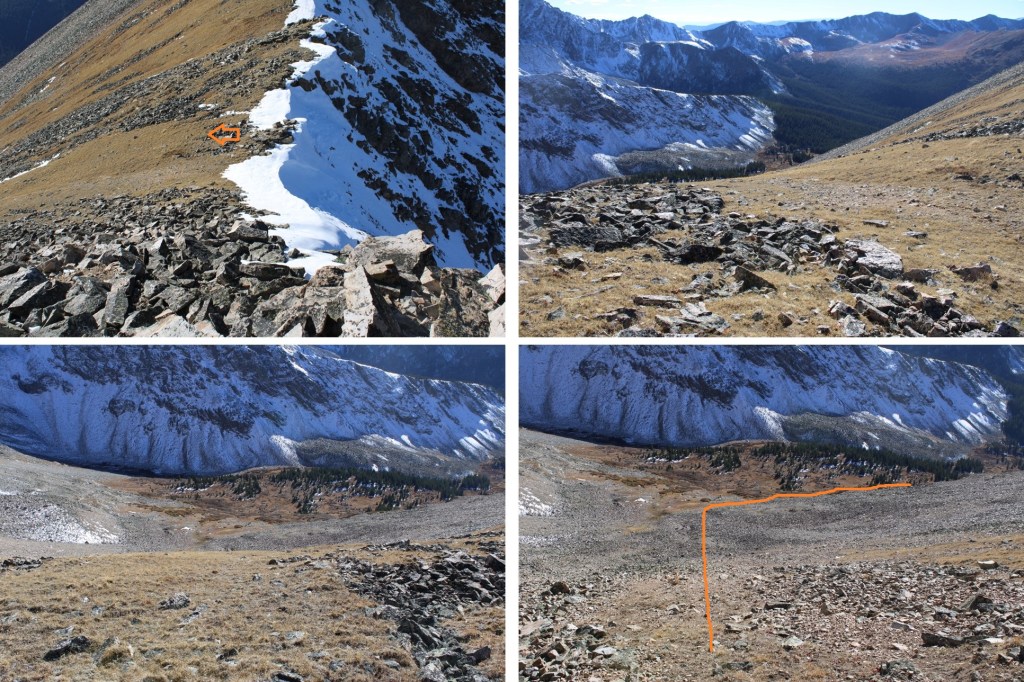
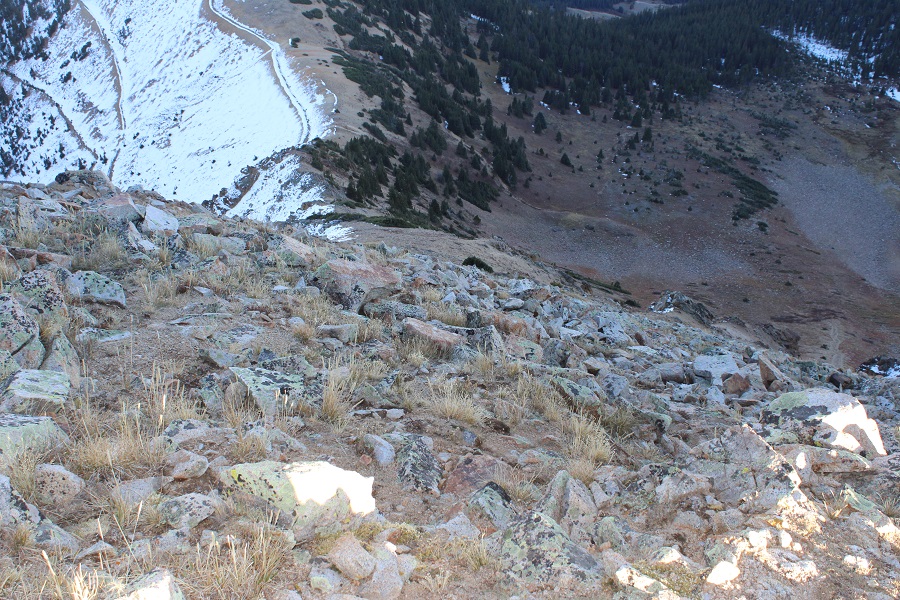
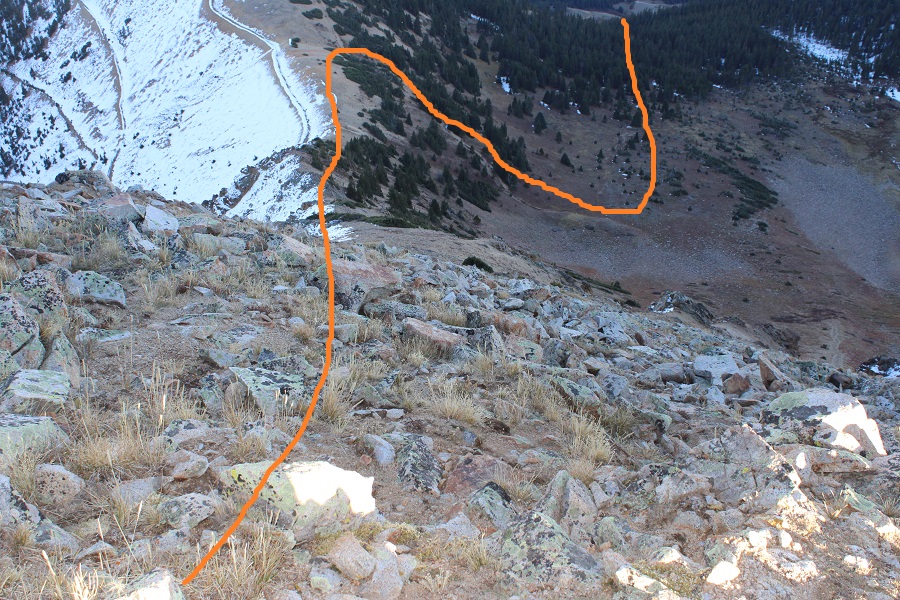
I looked to my right.  I had a choice to make.  I didn’t want to descend the same way I’d ascended, so I went over and took a look at the gullies.  There were at least three to choose from, and I picked the middle one to descend, as it didn’t have any snow and I had a clear view of my exit route back into the trees.
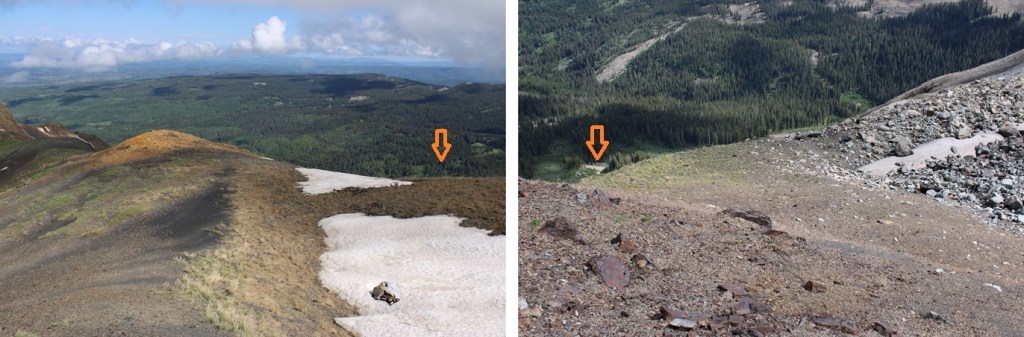
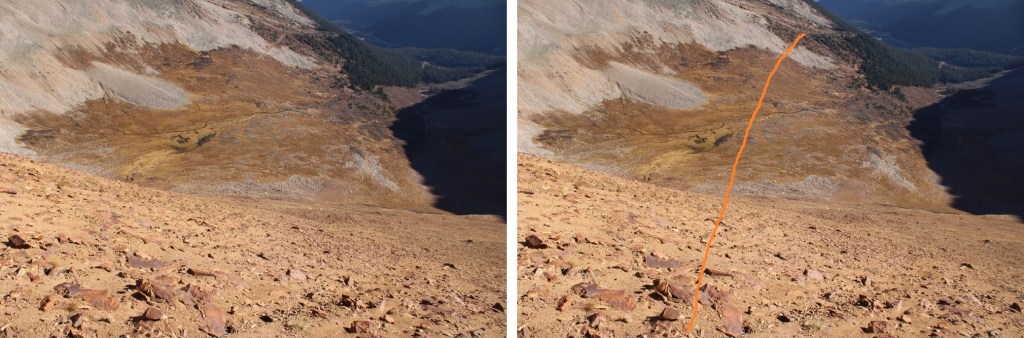
Here’s the route I took down the gully.  Since it had rained the night before, the scree was a bit muddy, and easy to grip. 
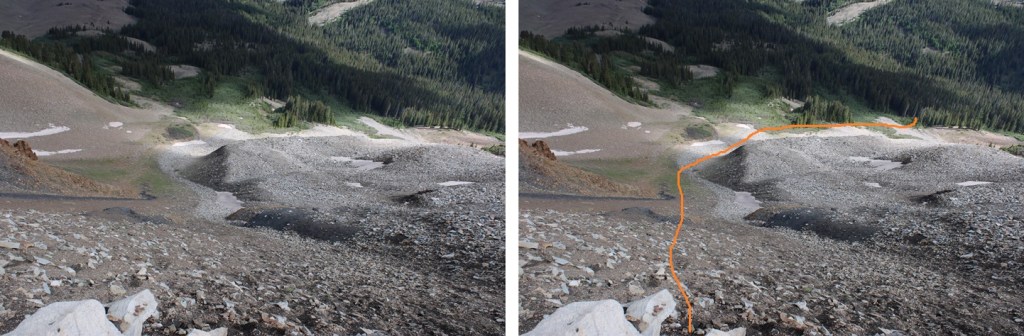
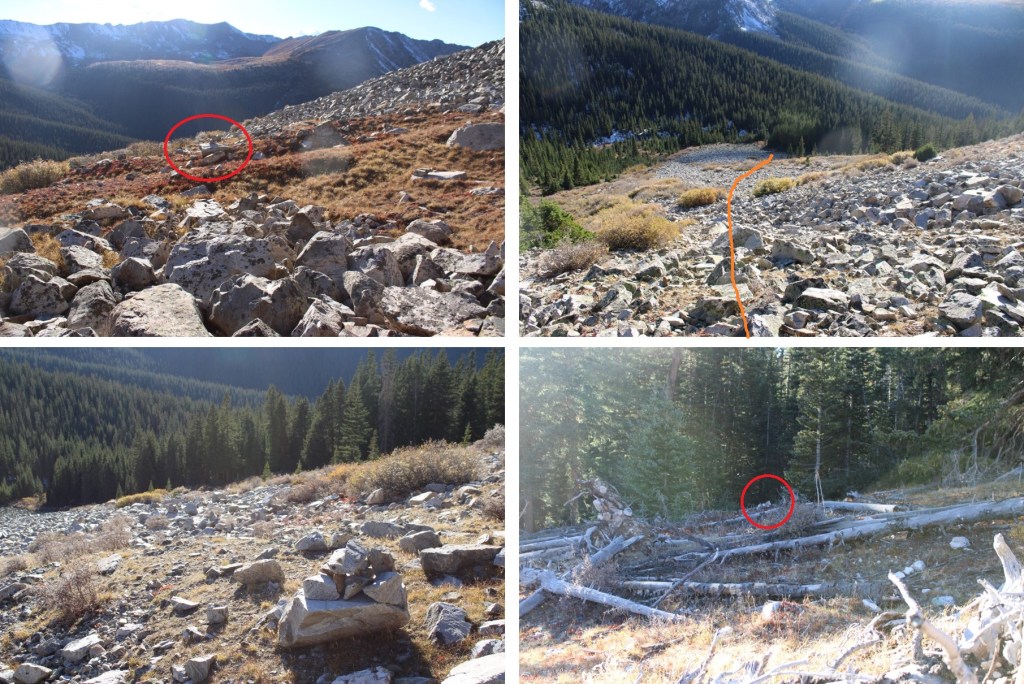
And a look back at the gully I came down.  As you can see, I had several options to make it down from the ridge. 
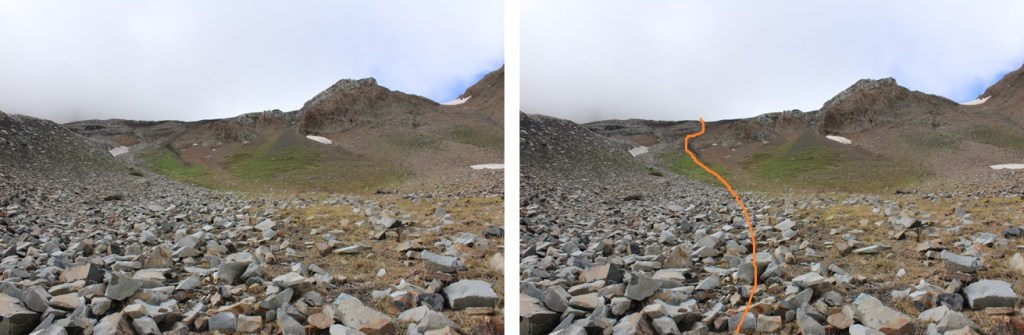
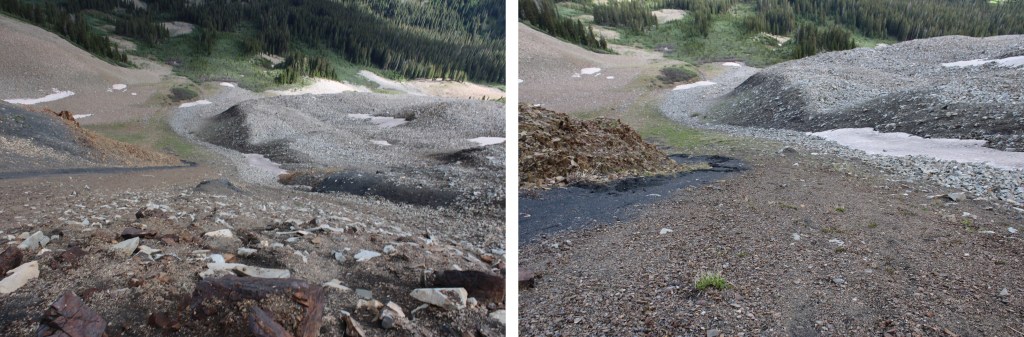
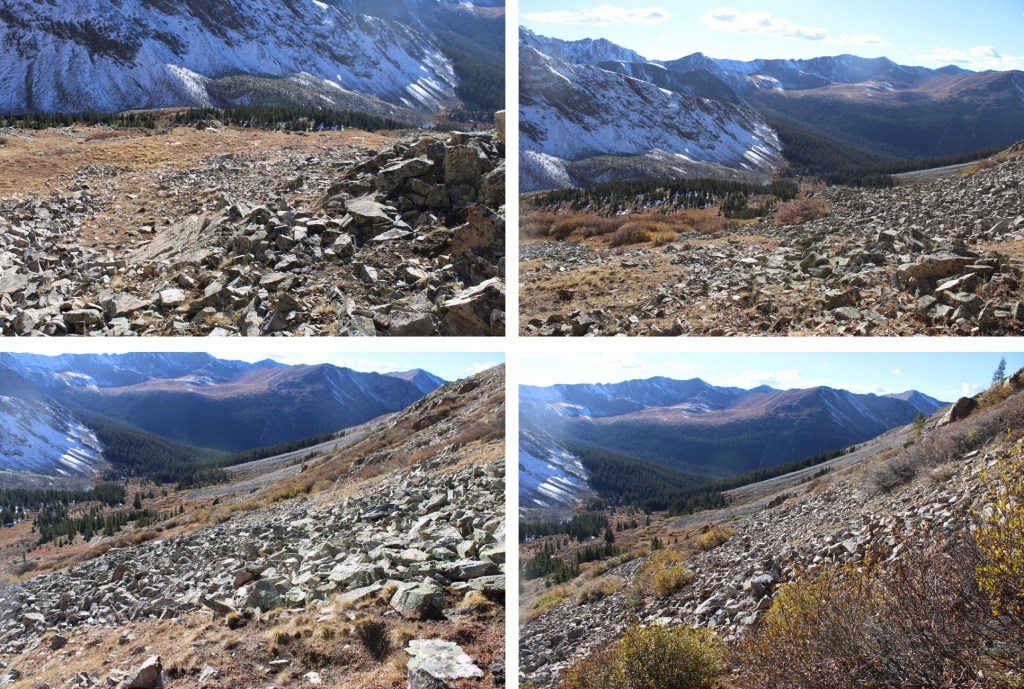
At the base of the gully I followed the rocks to the north (right), finding cairns along the way that led me towards a trail in the trees.
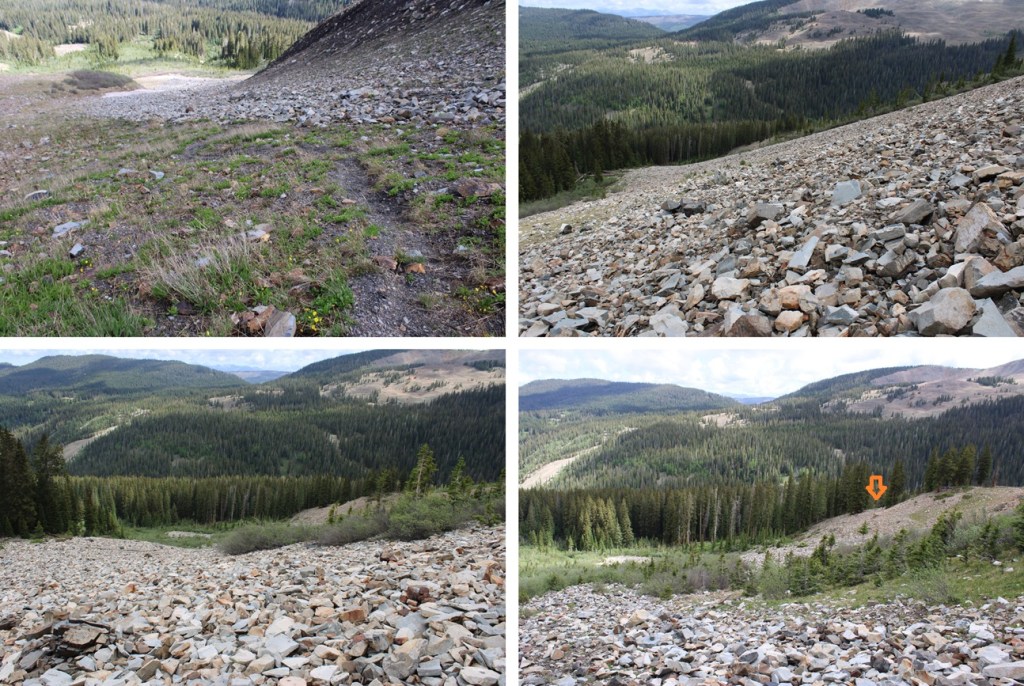
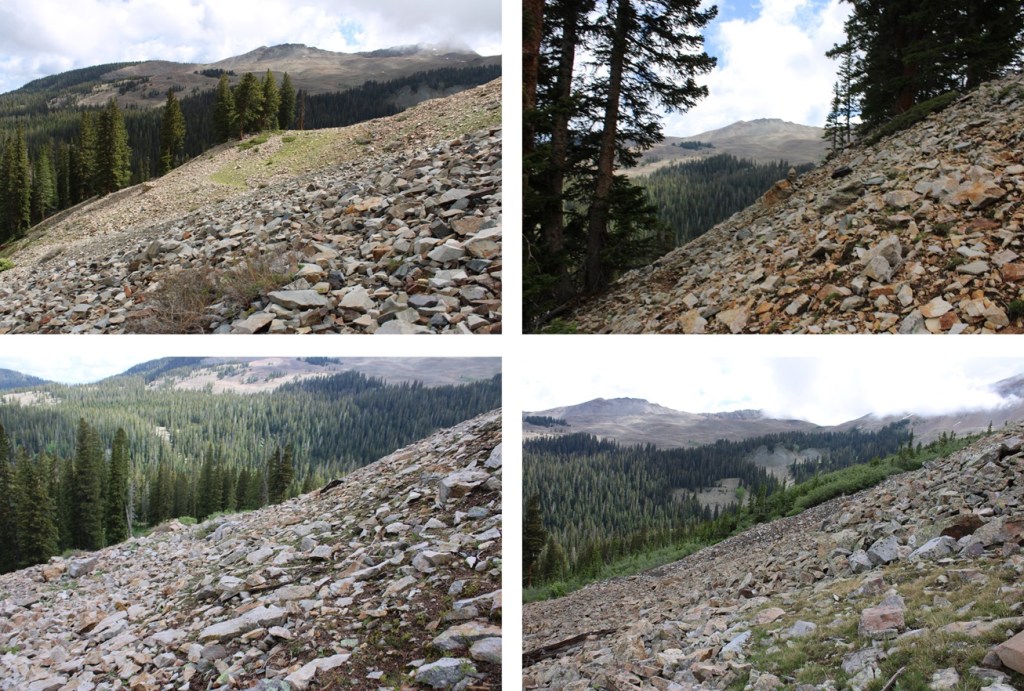
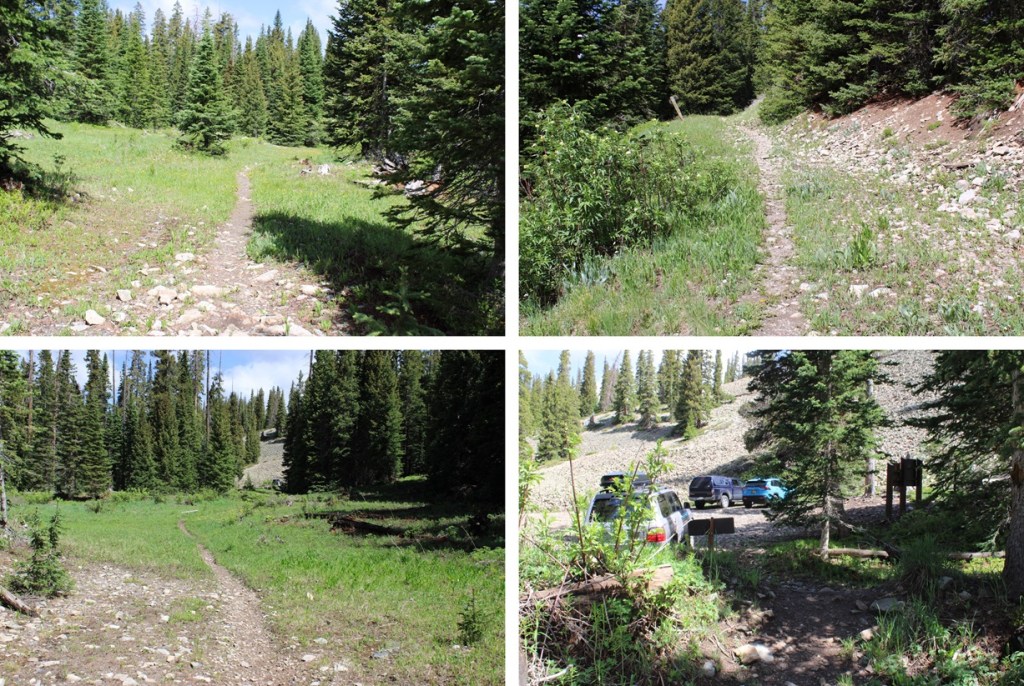
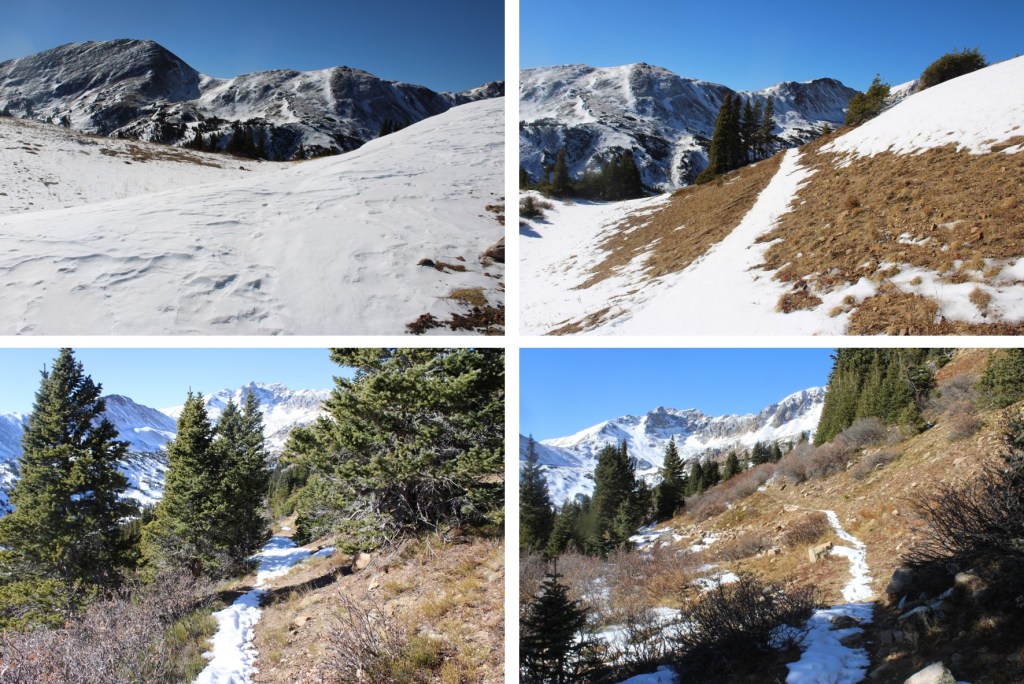
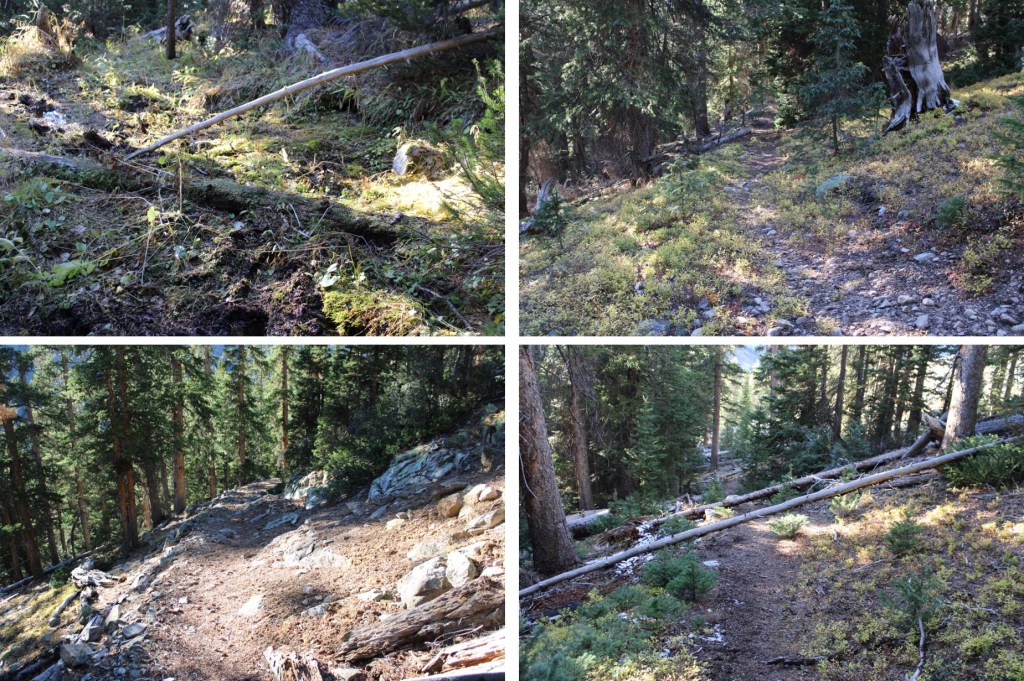
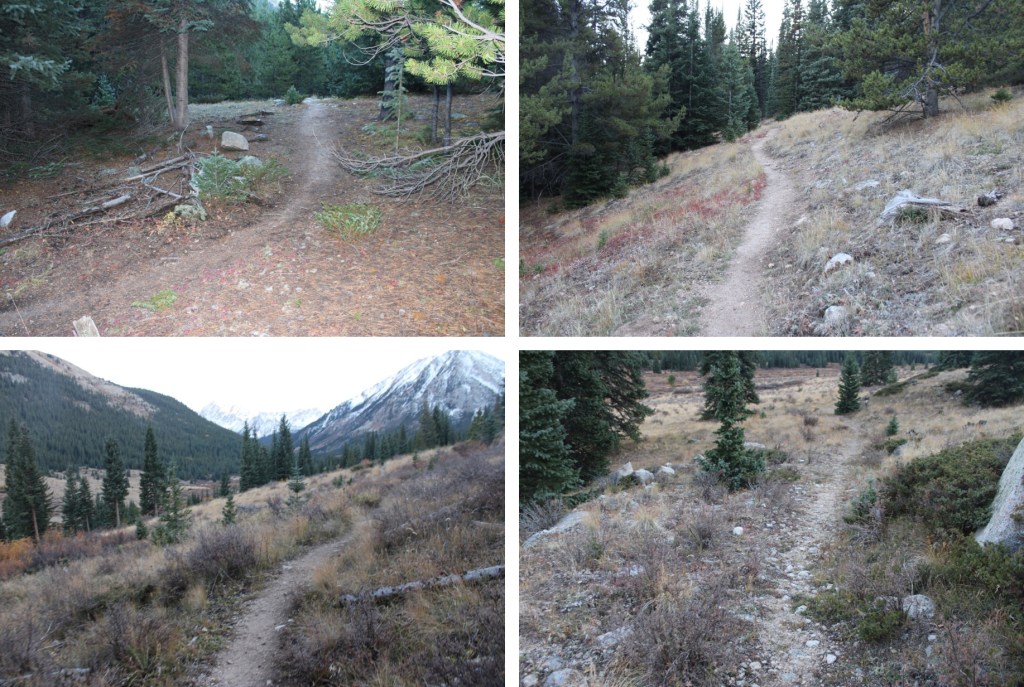
I followed this trail through the willows and into treeline north, back to the West Mancos River Trail.
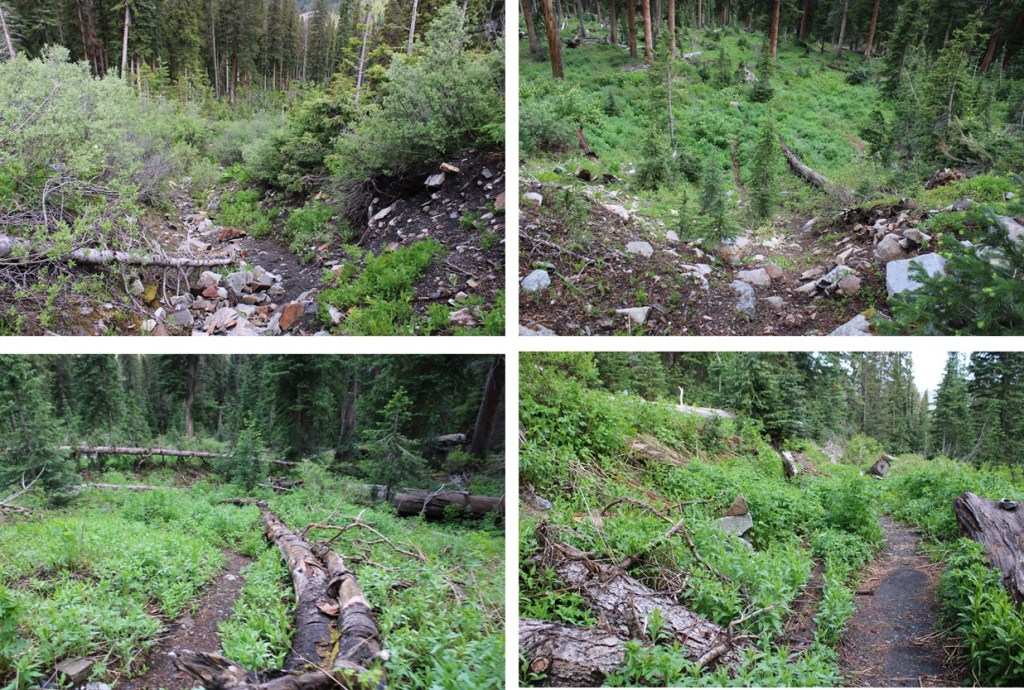
Back on the West Mancos River Trail, I followed it back to the upper trailhead, crossing the West Mancos River, and gaining elevation as I went.
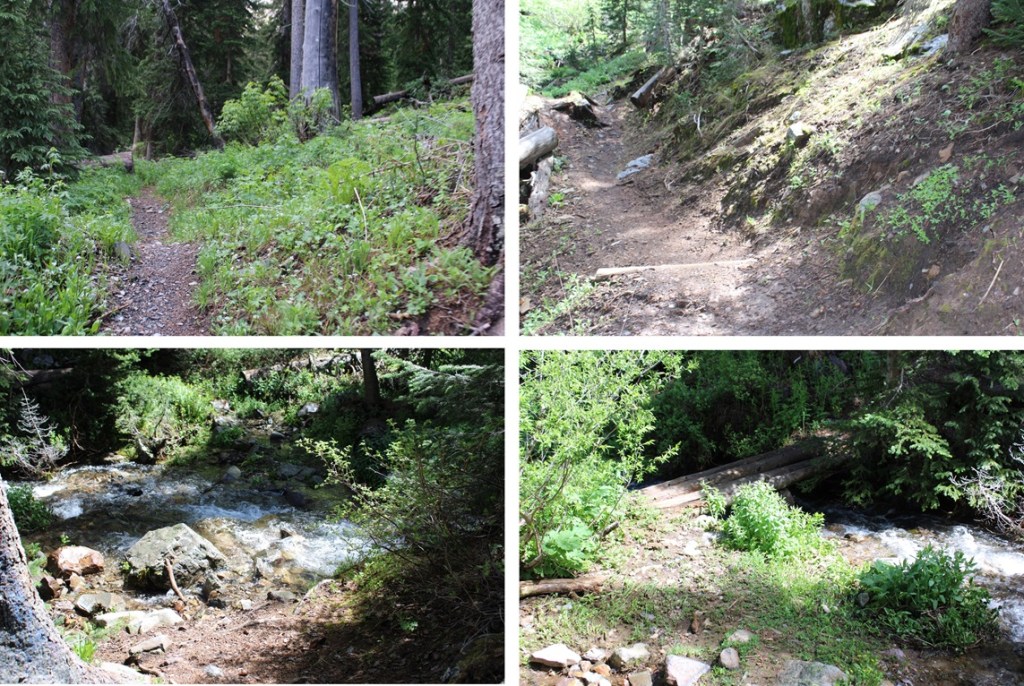
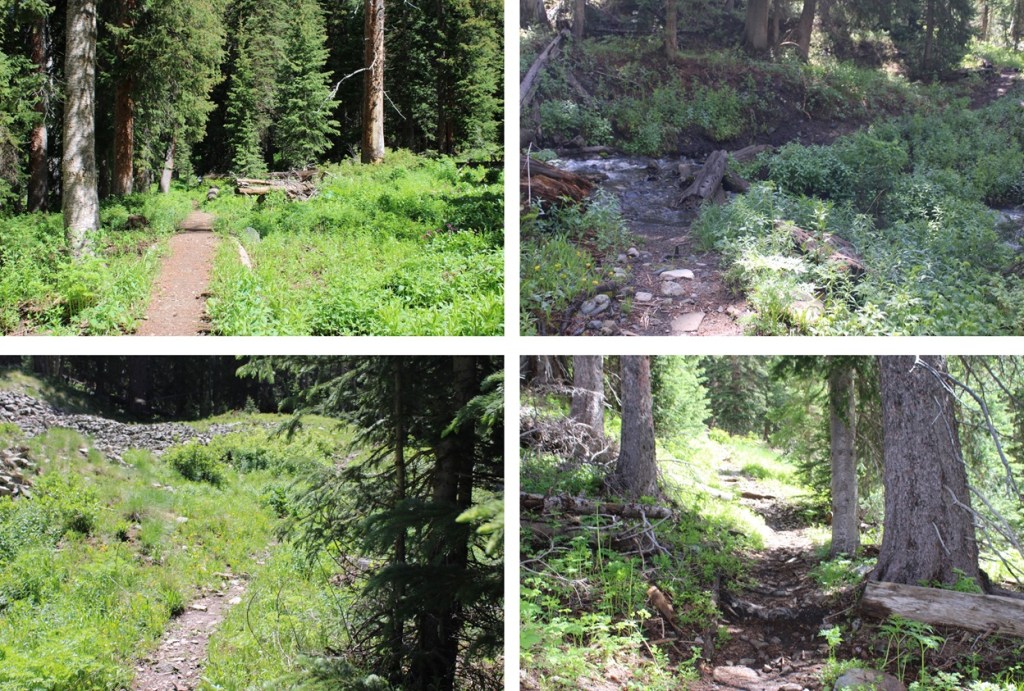
At the Upper Sharkstooth Trailhead, I followed the 4WD road northeast, past Twin Lakes, just under 2 miles back to the 2WD trailhead.

I made it back to my truck at 11:30am, making this an 11.08 mile hike with 3440’ of elevation gain in 6 hours.

On to the next trailhead!
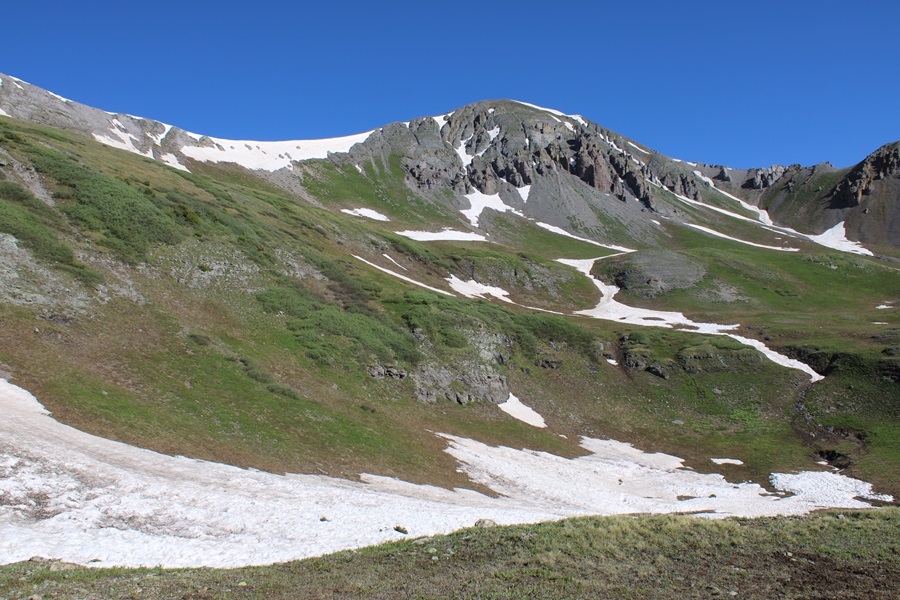
“V7” – 13,043

RT Length: 13.78 miles

Elevation Gain: 3029’

I don’t know why more people don’t hike this peak.  It’s class 1 98% of the time, the trailhead is easily accessible, the views are amazing, and there’s abundant wildlife.  In any event, I’m recommending it to trail runners especially because it looks like good terrain for trail running.   I felt this peak was almost too easy.

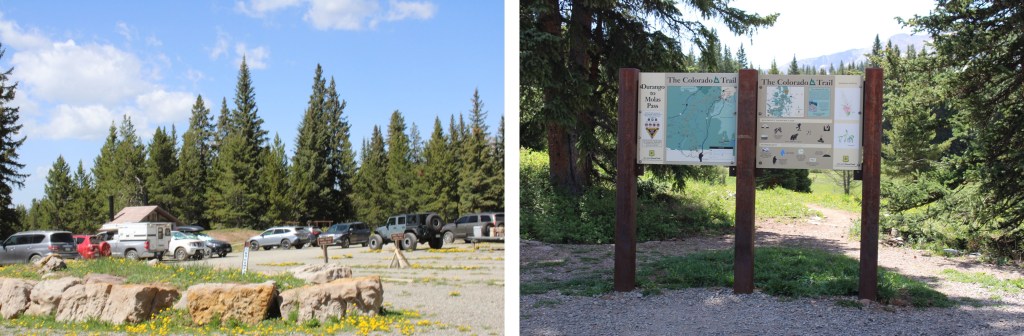
I started at the Colorado Trail Segment 25 Trailhead near Little Molas Lake.  There are several dispersed campsites here, public restrooms (although the women’s side was closed for the season), and tons of parking. 

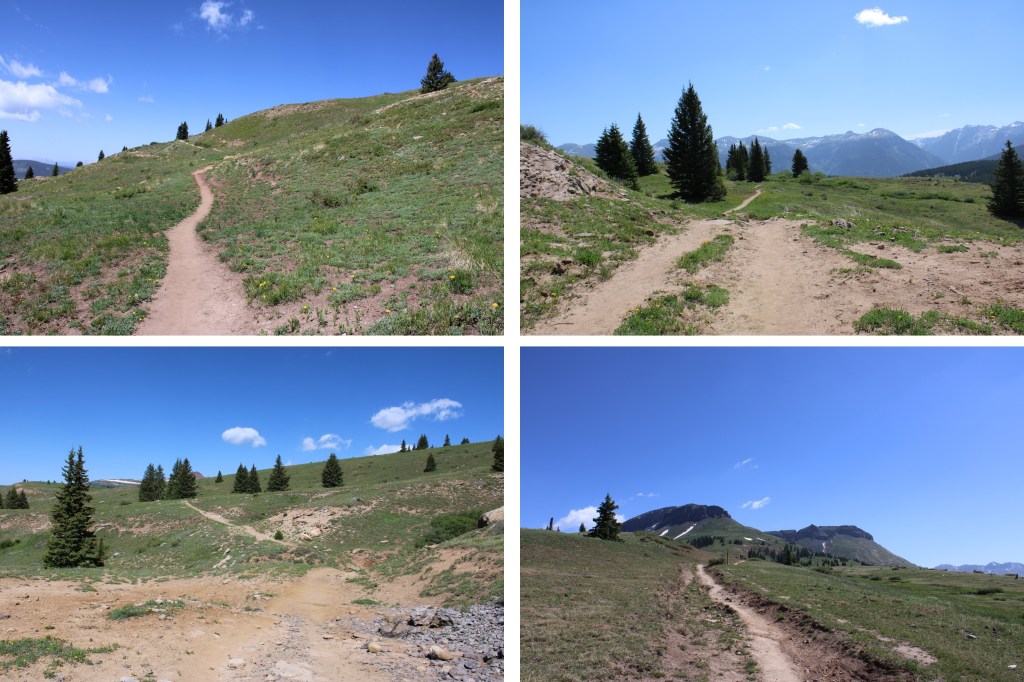
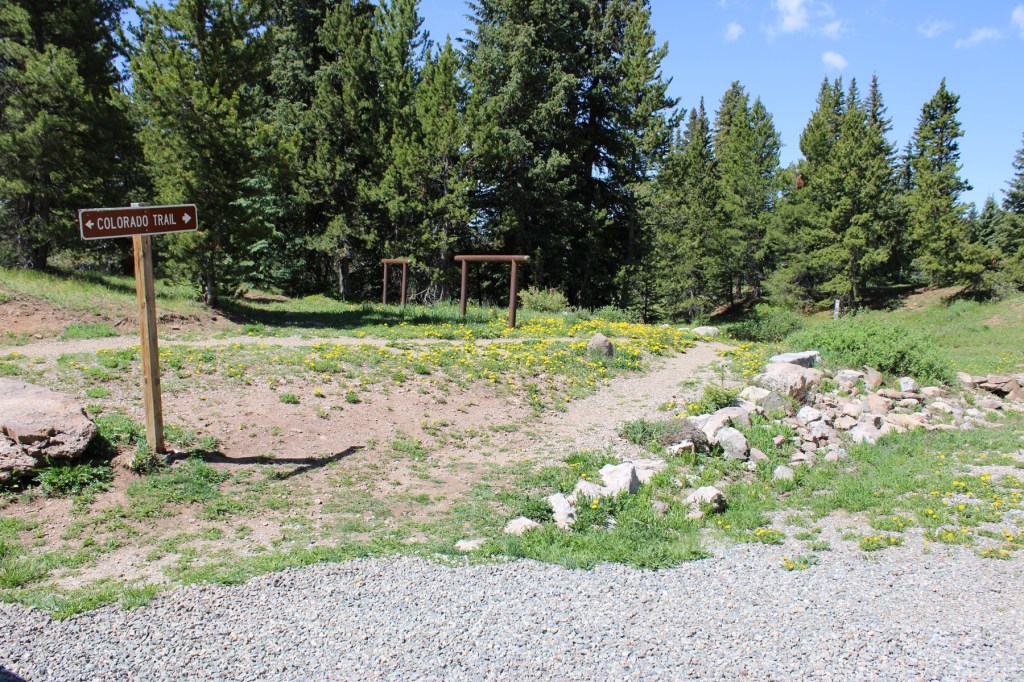
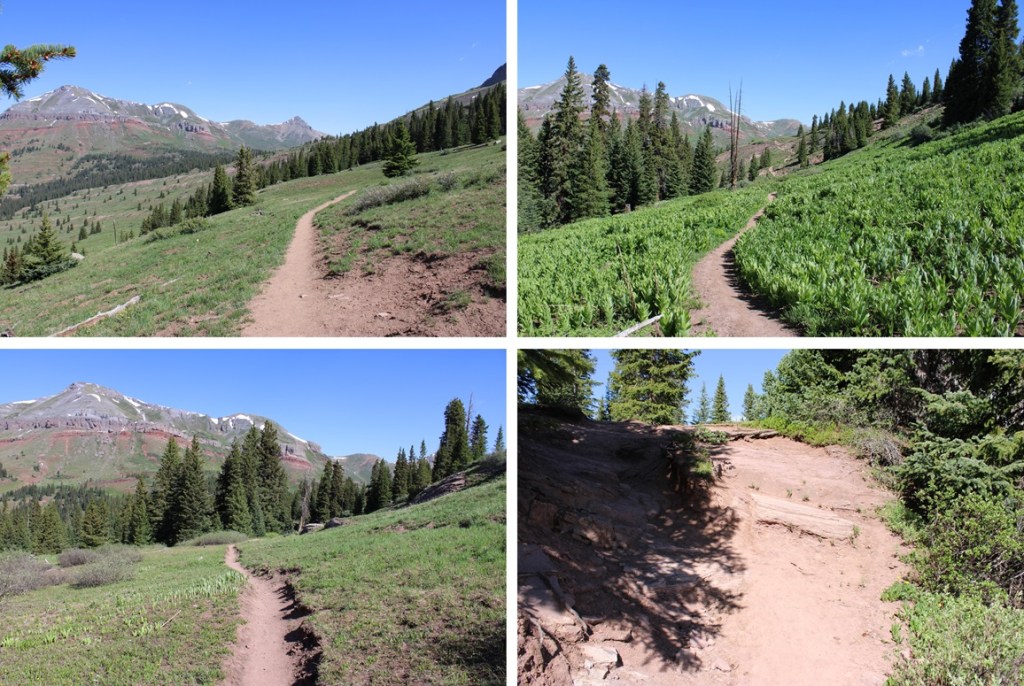
The trail is easily marked, and starts at the south end of the parking area

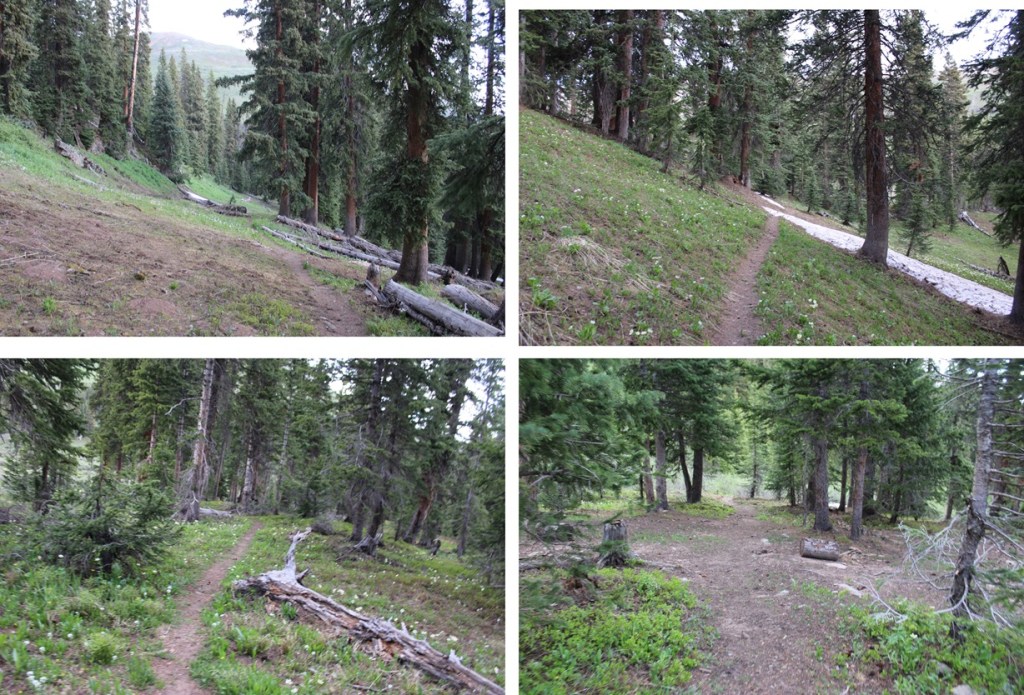
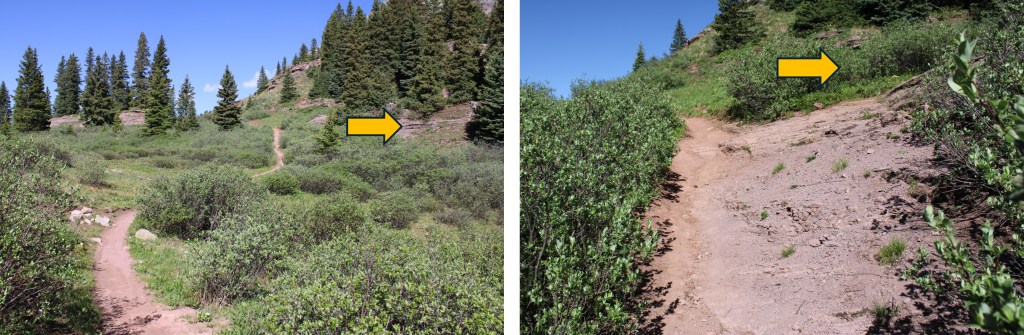
I followed this well-defined trail for just under 3.5 miles as it wove in and out of treeline.  (Note, between miles 2-5 of this hike I gained and also lost a lot of elevation).

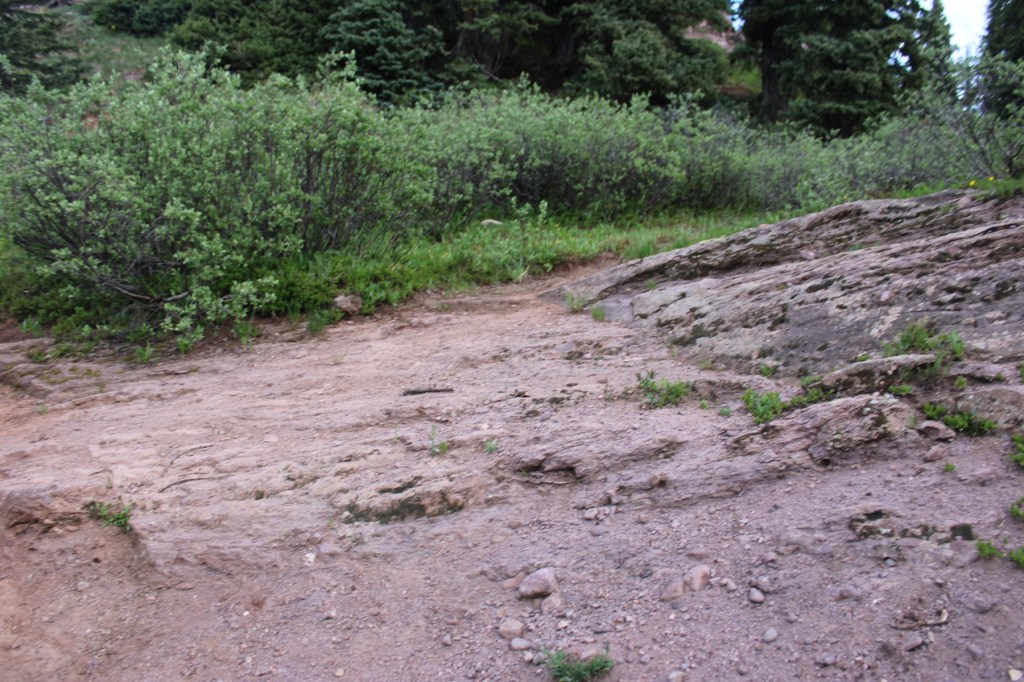
After hiking for just under 3.5 miles I found myself at the base of PT 12,864.  The Colorado Trail continues to the left, but if you look closely, at the top of the rock formation here there is also a trail to the right.  I left the Colorado Trail and took the trail to the right.

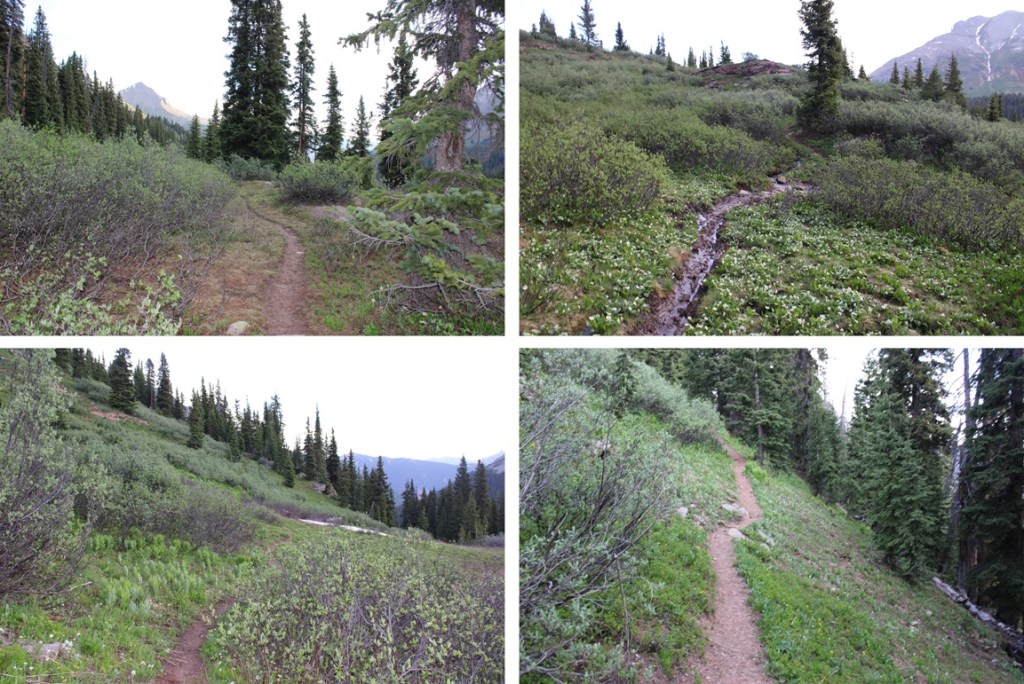
While not named, this is also a well-established trail.  By the looks of all the tire tracks, it’s popular for the mountain bikers.  It took me up and down and around to the north, towards Putnam Basin.

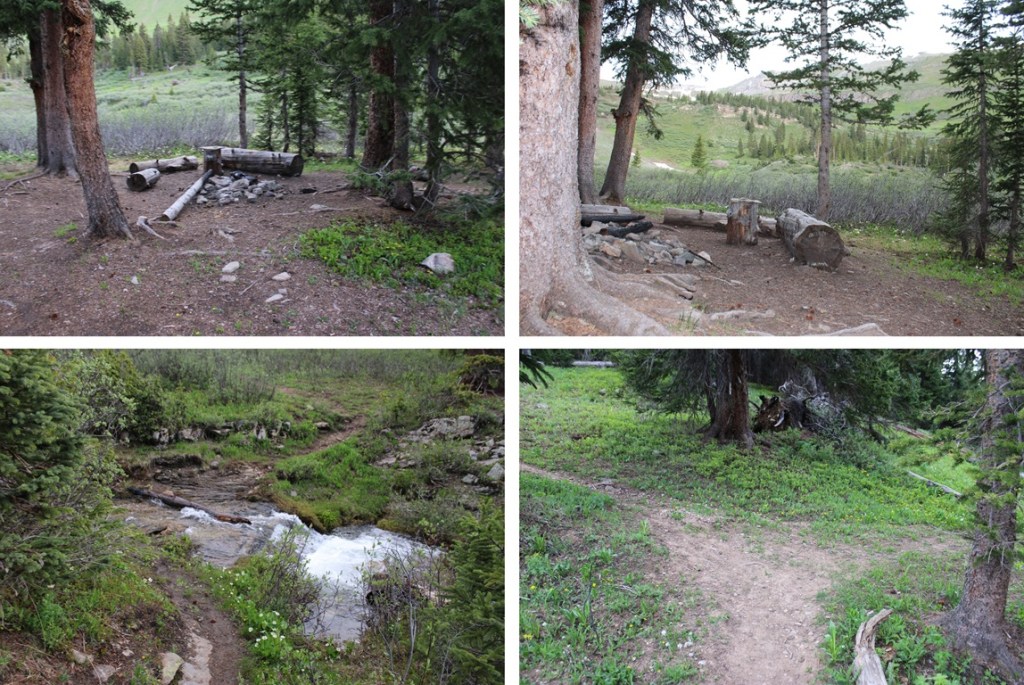
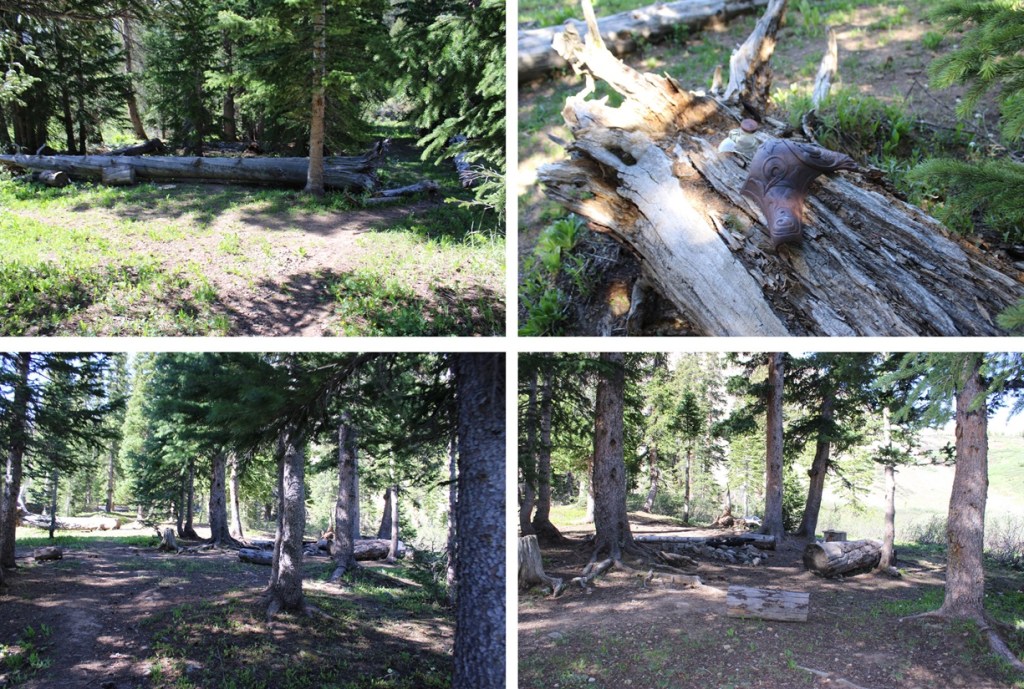
Just before the basin were a few campsites, and a creek to cross. There are a few social trails in the area due to the campsites, so if you’re given the option, go left.

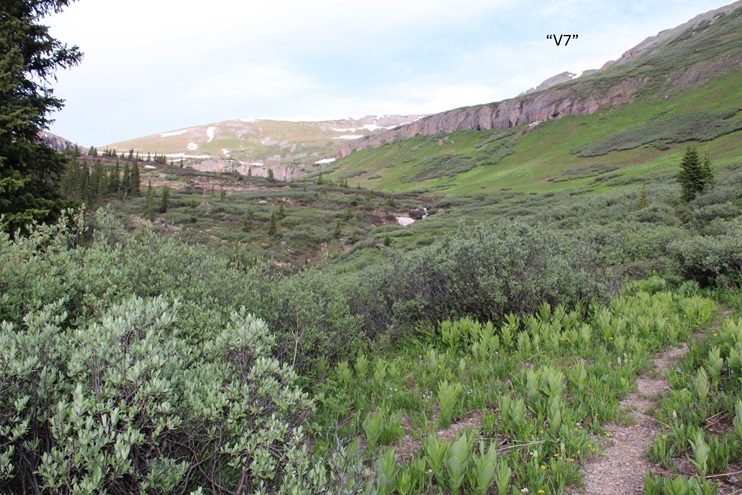
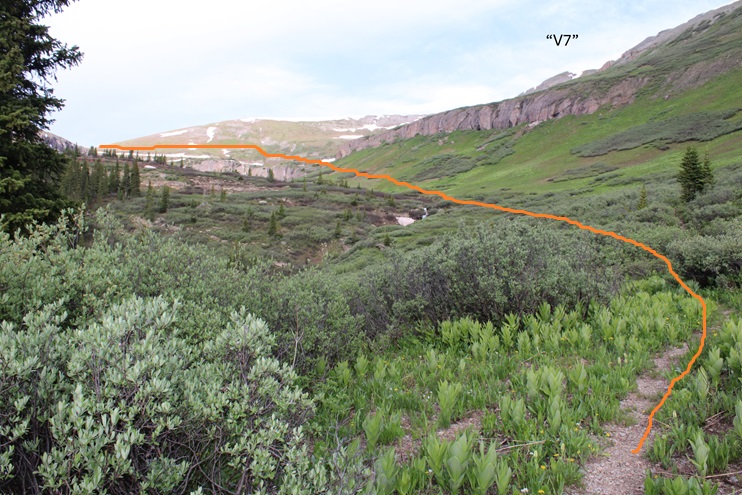
Now at the base of Putnam Basin, I had a clear view of the route ahead of me.  No more losing elevation, I would just be gaining for the rest of the hike.  This is still on a class 1 trail, all the way to the saddle.

This is the route I took

And some step by step pictures of the route:

Just before the ledge that brought me to the saddle there was some snow on the route, so I had to get a little creative.  It’s all straightforward though, and there are several cairns to follow if you cannot see the trail.  I just aimed for the saddle.

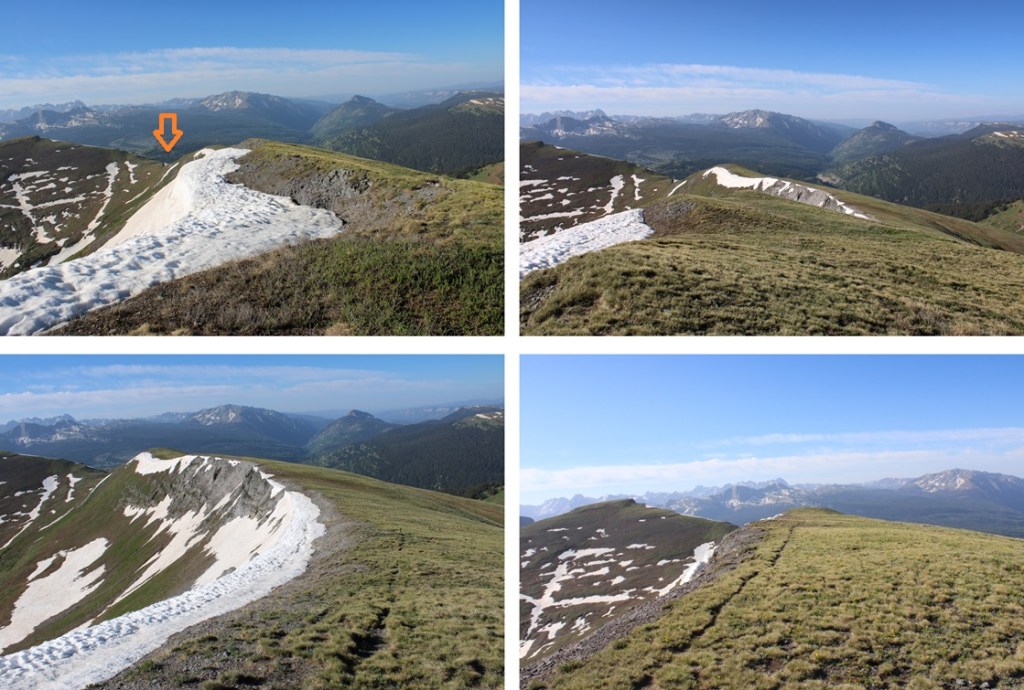
Once at the saddle, I turned right and followed the ridge north to the summit.  If you’re lucky, you’ll find a game trail that leads all the way to the summit.  Just make sure you stay on the ridge proper, as there’s a trail that goes to the left as well that will skirt “V7” and bring you towards Twin Sisters.  The ridge is tundra the entire time. 

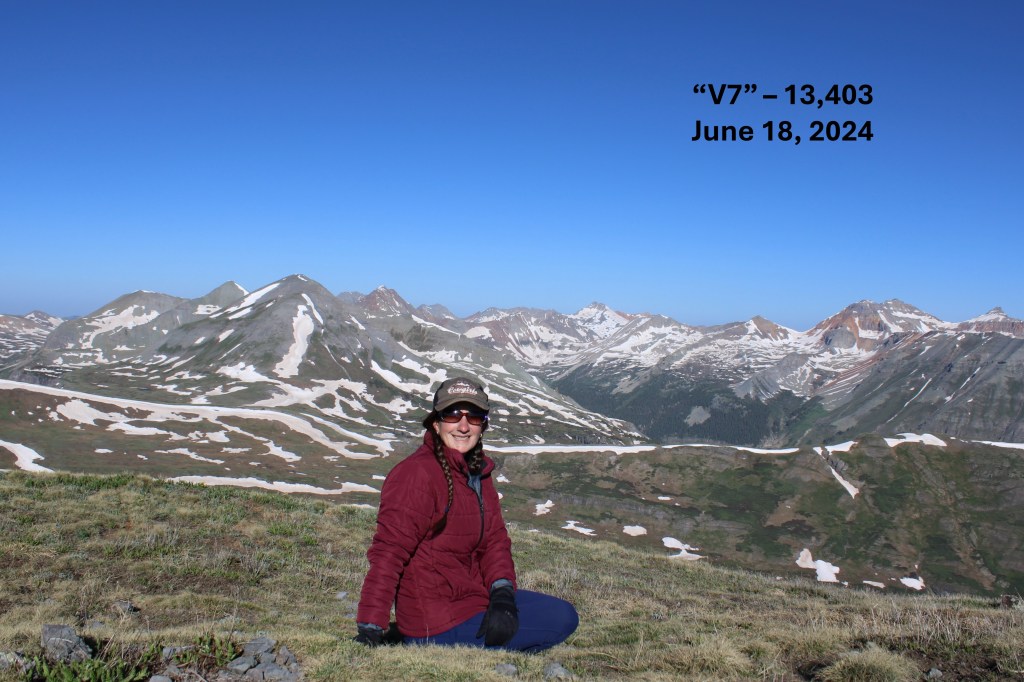
I summited “V7” at 7:45am

“V7”:

Now to head back down.  This was an out and back hike for me, so I turned around and followed my route in.  I followed the ridge and headed south, back to the saddle.

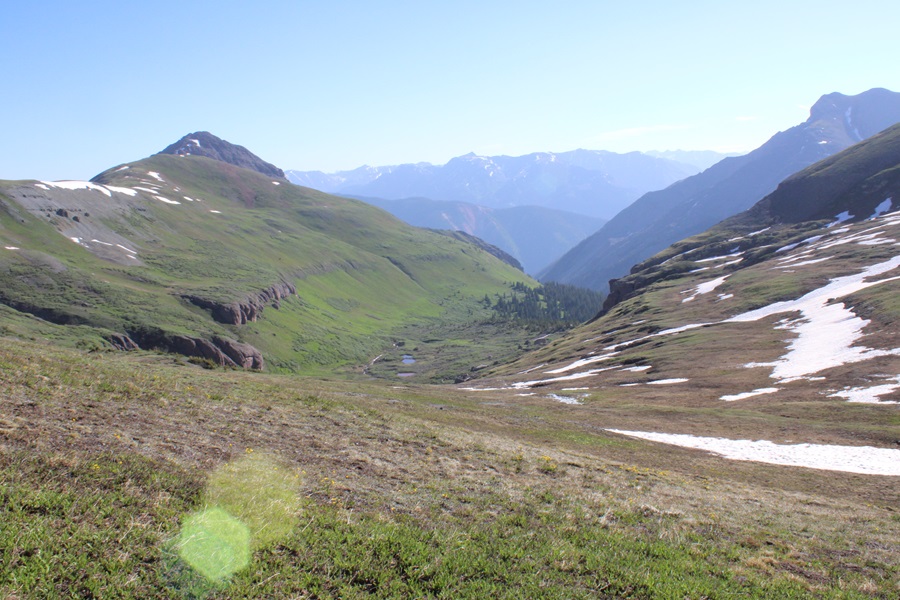
Here’s a view from the saddle of Putnam Basin.

At the saddle I turned left, and headed northeast, following the cairns back to the trail

I picked up the trail again, and followed it down the basin, sticking to the left side of the basin/creek.

I’d seen quite a few deer that morning.  Mostly from afar, but deer nonetheless.  As I was nearing the camping area near the base of the basin I saw one running towards me in a funny way, and realized quickly it wasn’t a deer, but a bear.  As soon as the bear noticed me, it jumped 90 degrees, and started running the other way.  I kind of got a picture, but it’s fuzzy, as the bear was quick.

I started wondering what the bear had been running from?  About 20 feet later, I realized what it was: I spied a mama moose with her calf. 

I hid behind a tree to watch them while giving them space.  I love watching moose calves, especially the really young ones.  They tend to bounce around everywhere, turning in circles, braying, and excited about life in general.  After this video the calf got really jumpy, but I’d already turned around and started hiking away so as not to bother them. 

Mama moose with calf:

I passed the camping area, and continued following the trail, now headed south (and uphill).

I made it to the Colorado Trail cutoff, turned left, and followed it 3.5 miles back to the trailhead.

I made it back to the trailhead at 10:30am, making this a 13.78 mile hike with 3029’ of elevation gain in 5 hours 15 minutes.

On to the next trailhead!

Golden Bear Peak – 13,005 and Hagar Mountain – 13,246

RT Length:  7.82 miles

Elevation Gain:  2760’

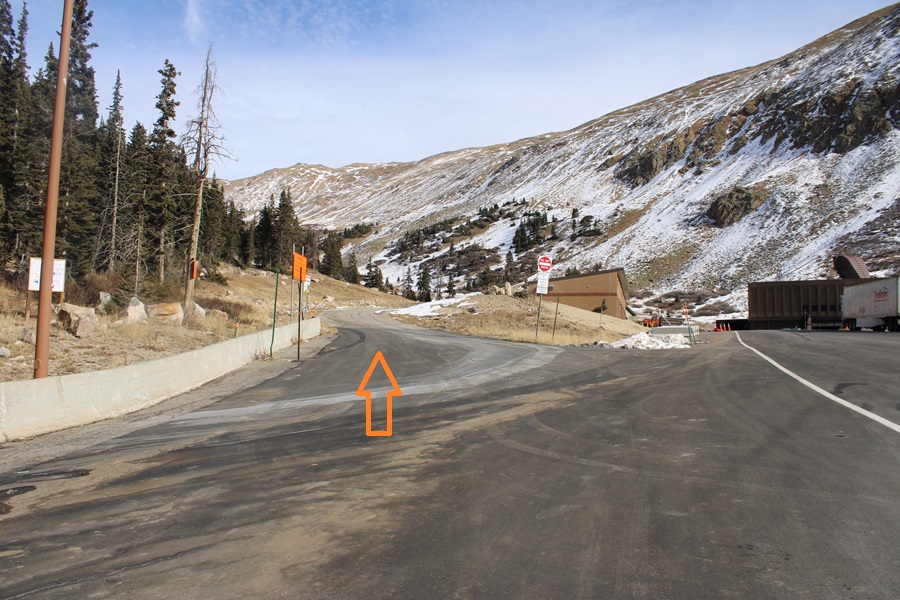
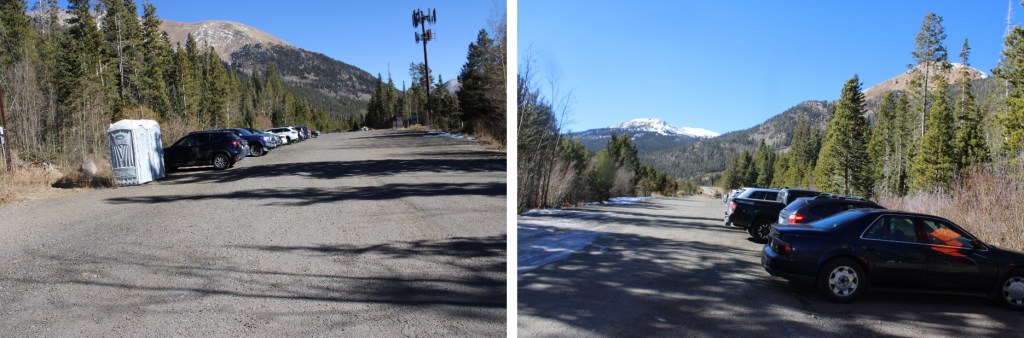
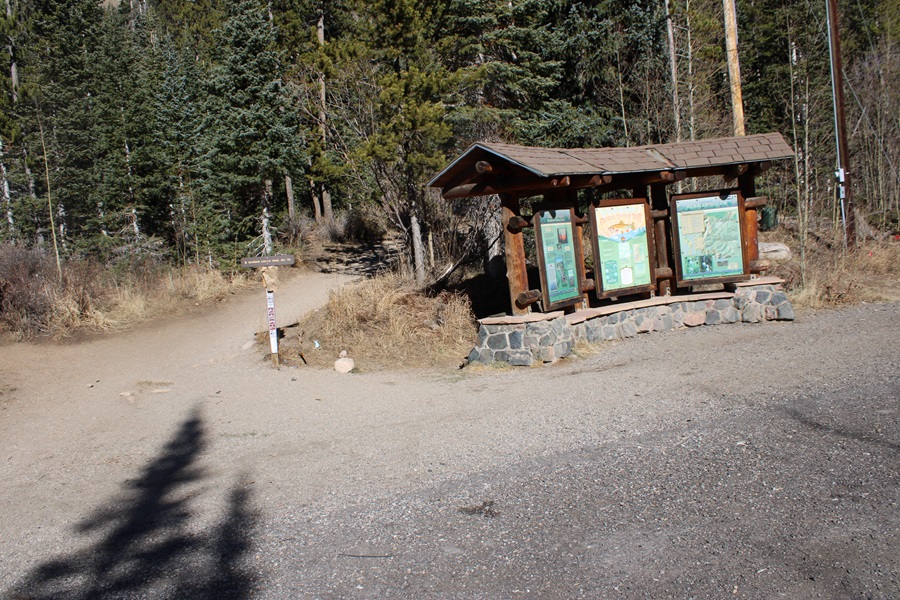
I parked behind some semis at the I-70 MM 213 Westbound Chain Station and was on the trail at 6:20am.  I started by taking a paved service road northeast.

The road eventually becomes a dirt road

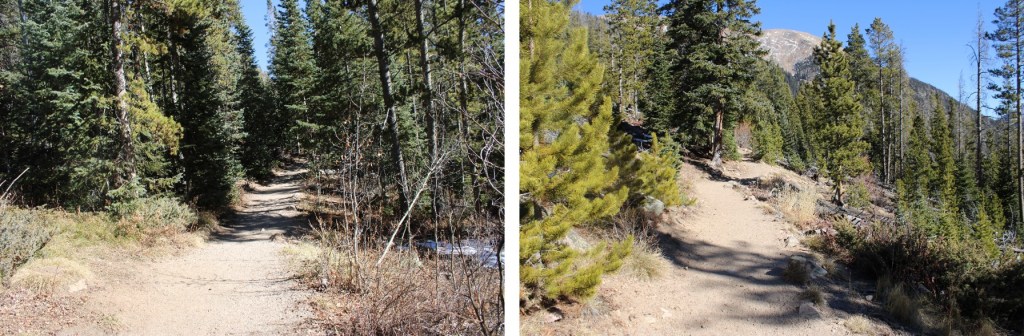
The dirt road quickly becomes a trail, and this morning that trail was filled with a couple of inches of ice.  The kind that microspikes slip on.  I followed it as it headed northeast into a basin

After hiking for 1.3 miles I came to a service road and turned right to follow the road towards the ridge.

As you can see from further away, this road goes all the way to the ridge. 

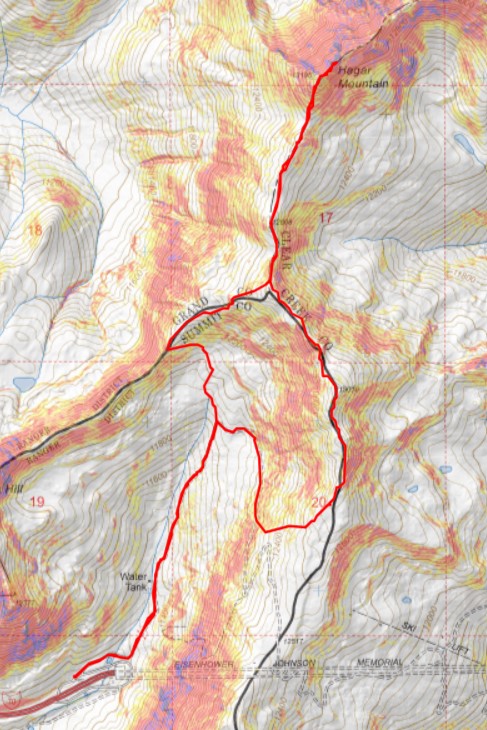
However, I did not take the road to the ridge.  The road was full of several feet of snow, but the mountainside only had a few inches of snow, so instead of trenching the route, I headed east towards the ridge.  This is the route I took.

Here are some pictures of the road

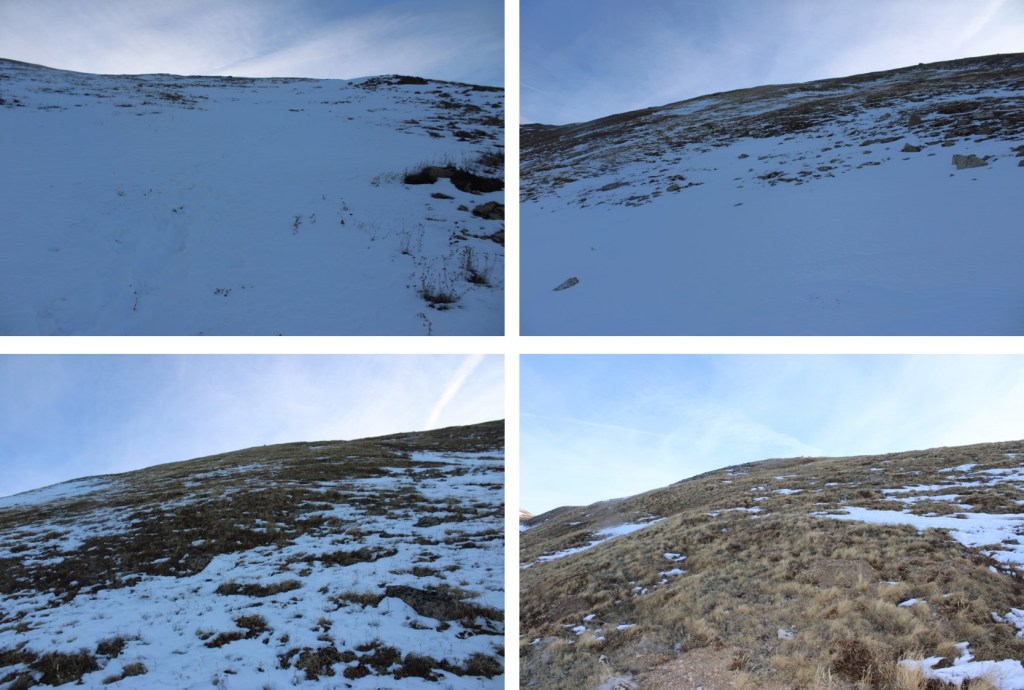
At 12160’ I left the trail and headed up towards the ridge

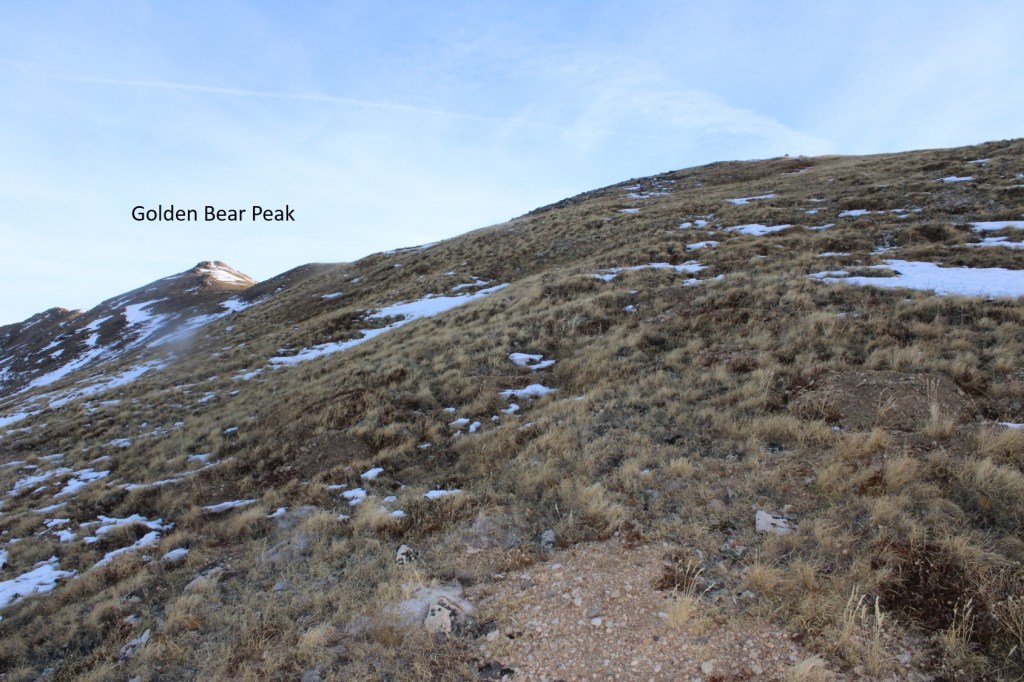
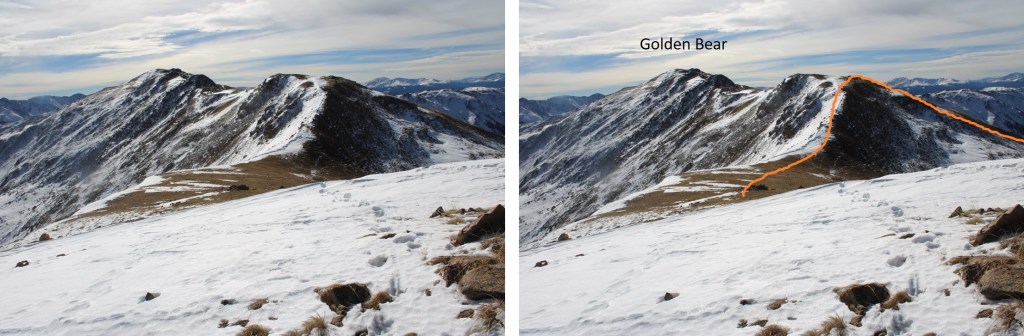
I could now see Golden Bear to my left. 

I gained the ridge, and followed it north to the summit of Golden Bear.  This was all class 2

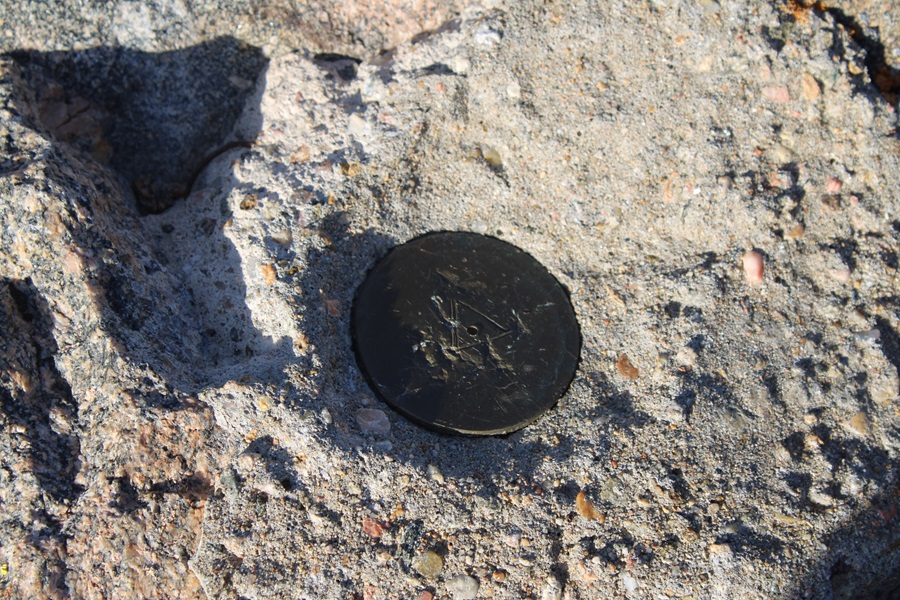
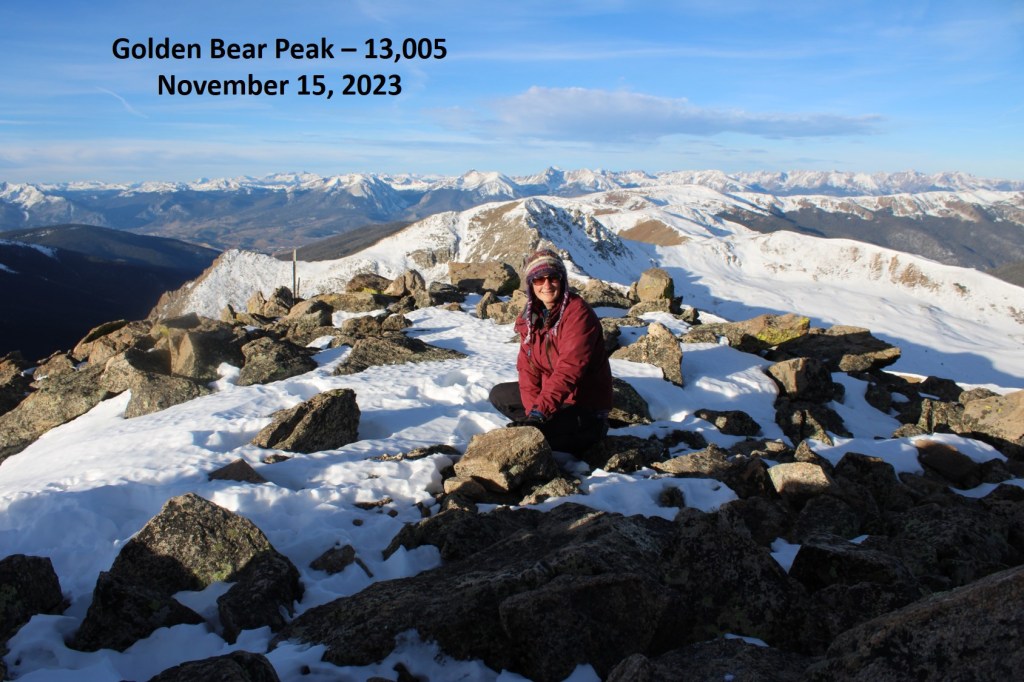
There was a marker at the summit

I summited Golden Bear Peak at 8am

Golden Bear Peak:

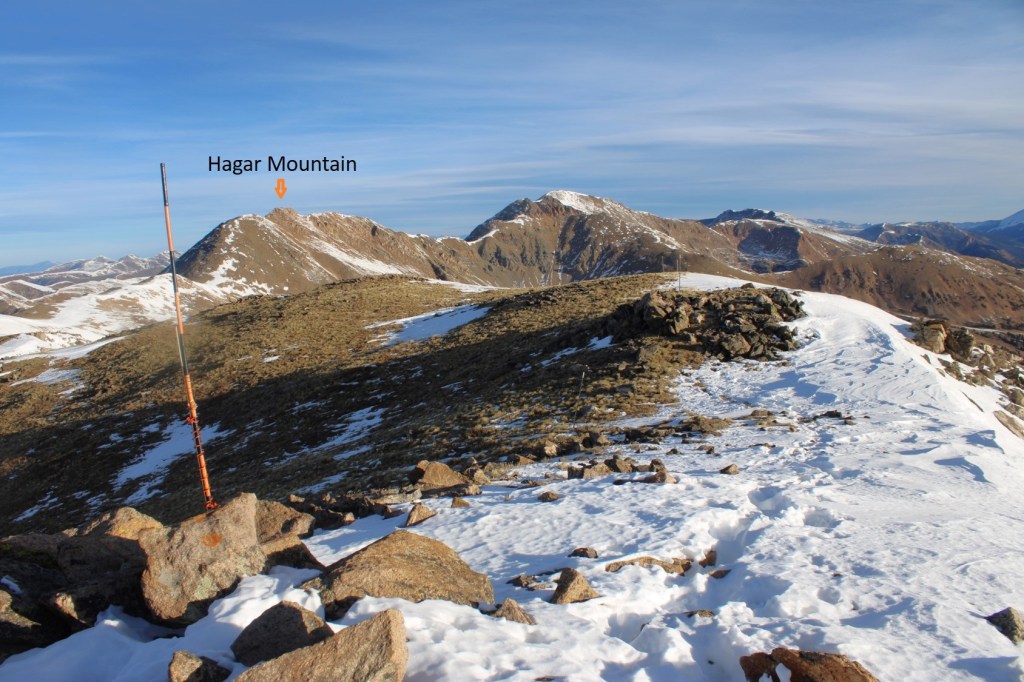
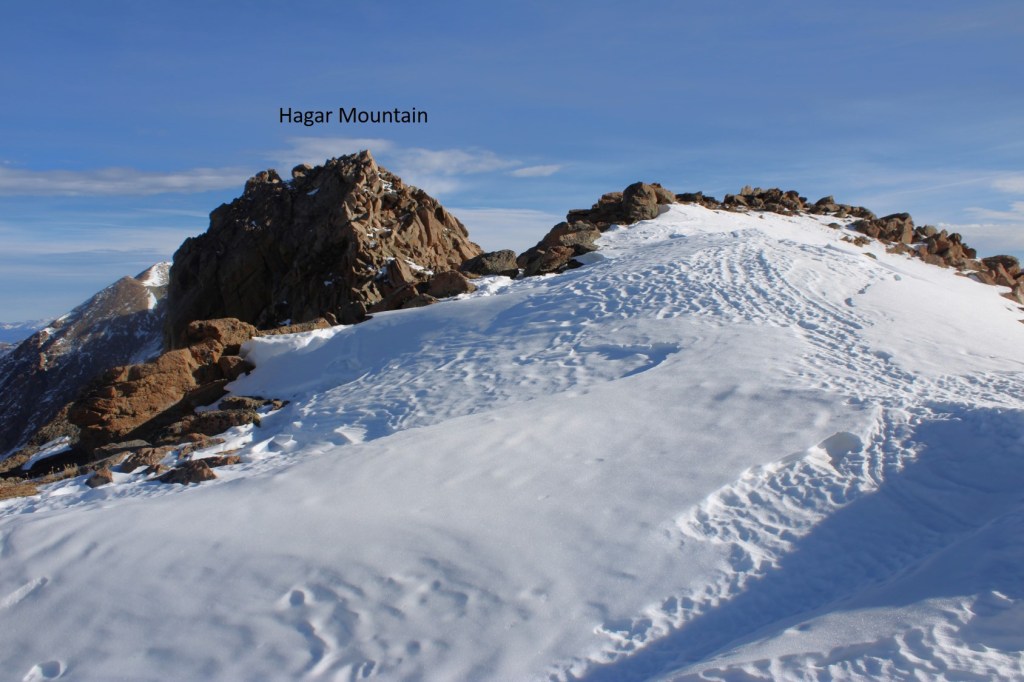
I could see Hagar Mountain to the north

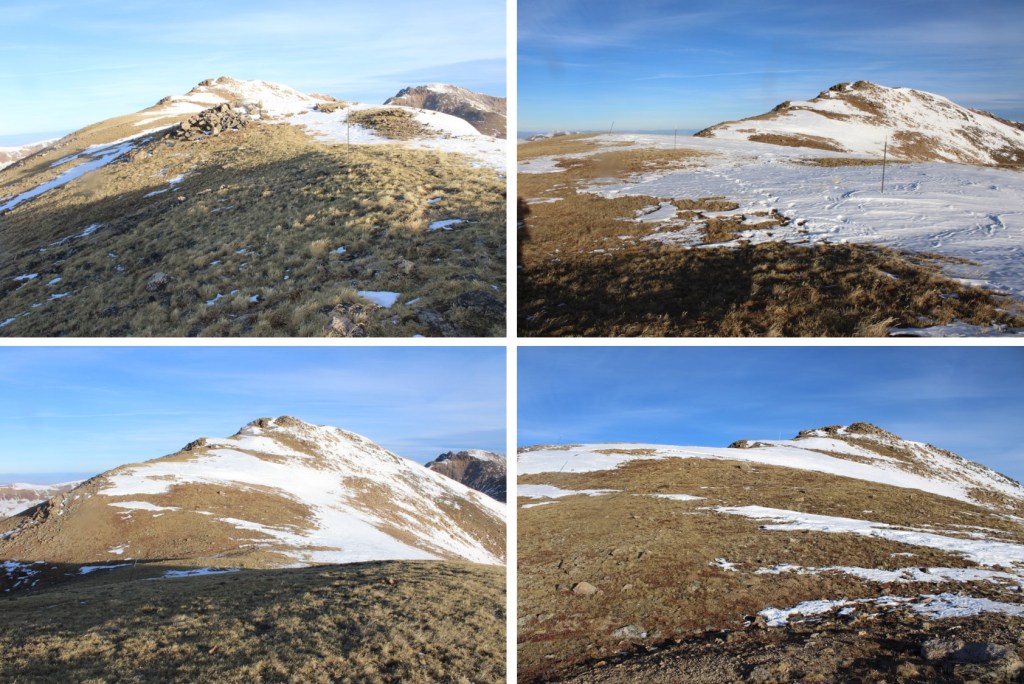
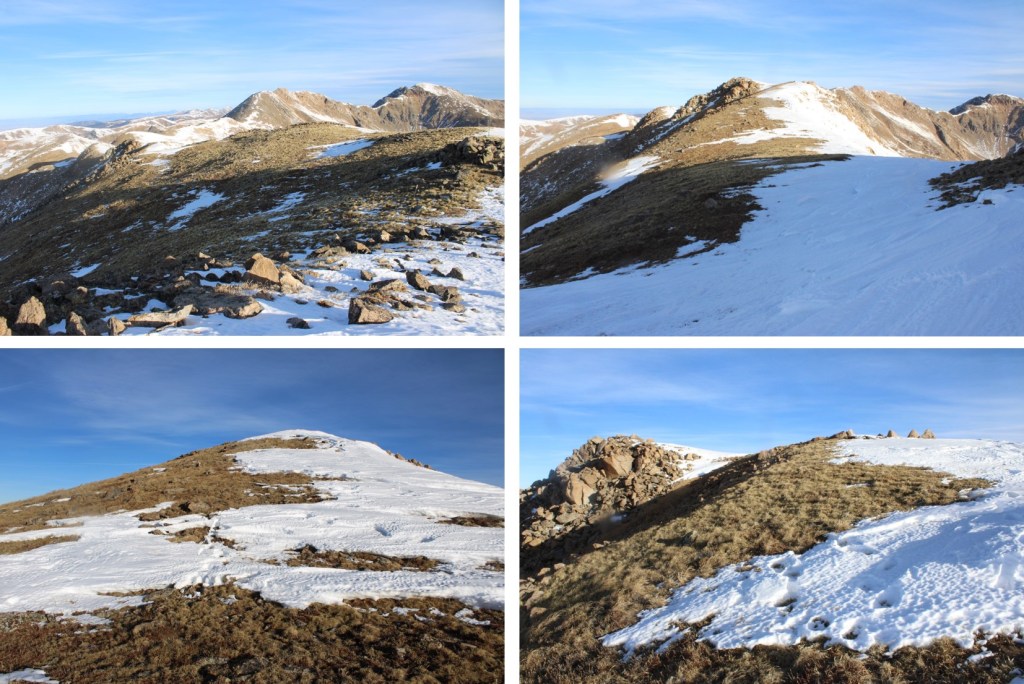
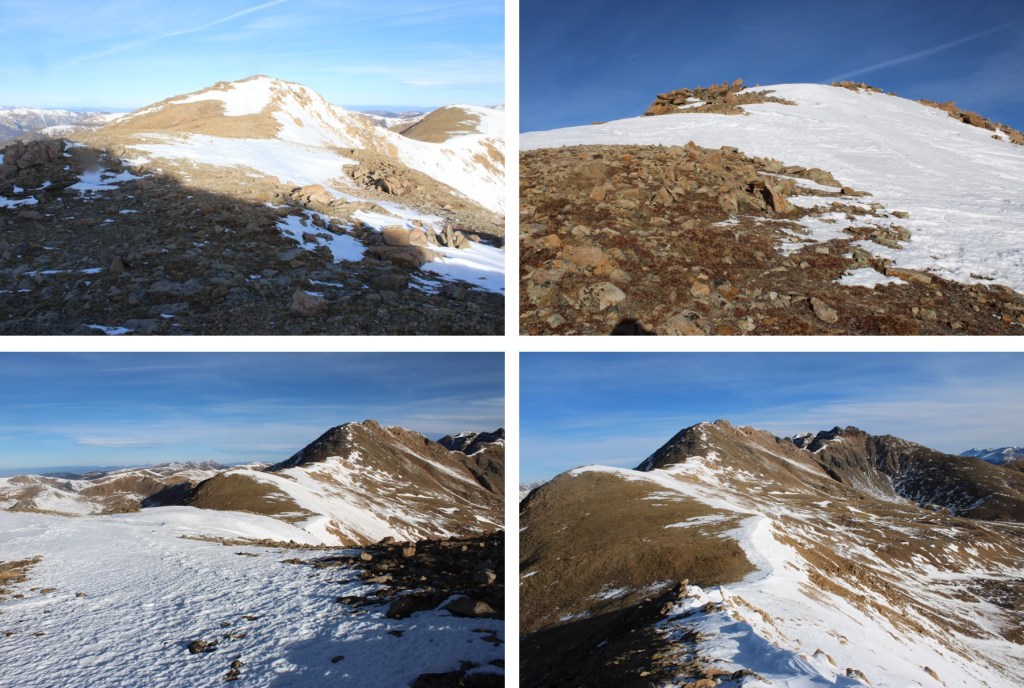
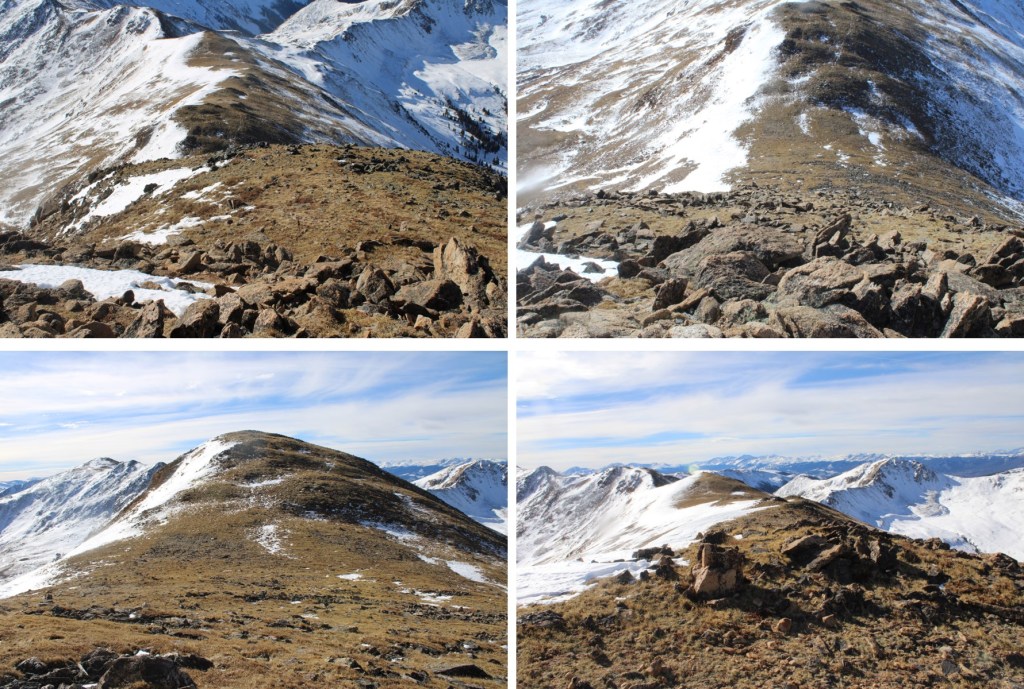
To get there, I continued following this class 2 ridge.  There were a lot of ups and downs, but it remained class 2 (until the last 50 feet of elevation gain or so).  Here are some pictures of the ridge

Now the fun begins.  It’s class 2 to the top of this ridge.  There are a few cairns, but it’s basically choose your own adventure.  I went straight up.  It’s steeper than it looks, so get a good view before you ascend. This is the route I took.

And some pictures of the route up.

At the top I was greeted with a view of the final approach to Hagar Mountain.

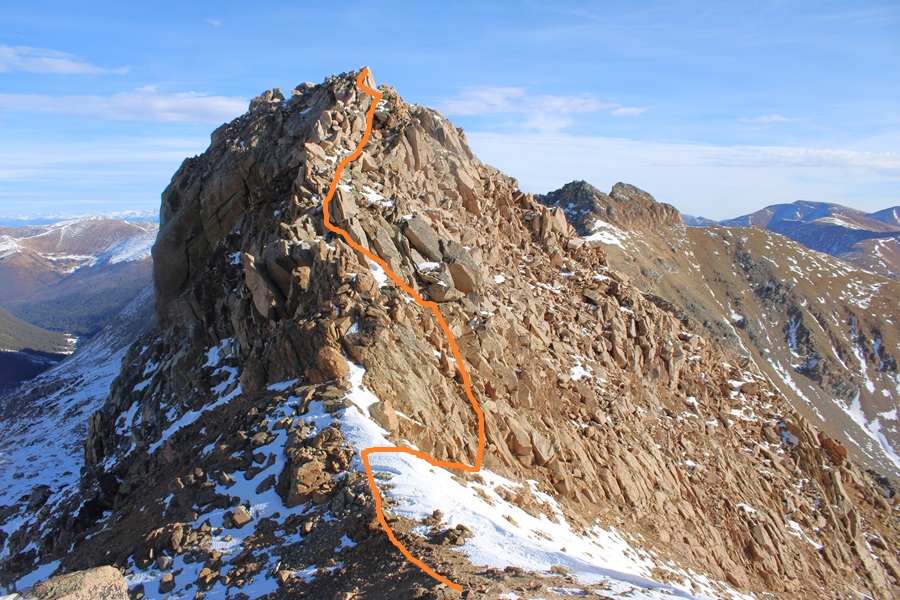
To be honest, I hadn’t done a lot of research on Hagar, and was surprised to find the last bit was class 3.  In other words, I didn’t have a helmet. Be sure to bring one!  I dropped my pack, descended a bit to the saddle, and then started climbing up. 

This is again choose your own adventure.  This is the overall route I took.

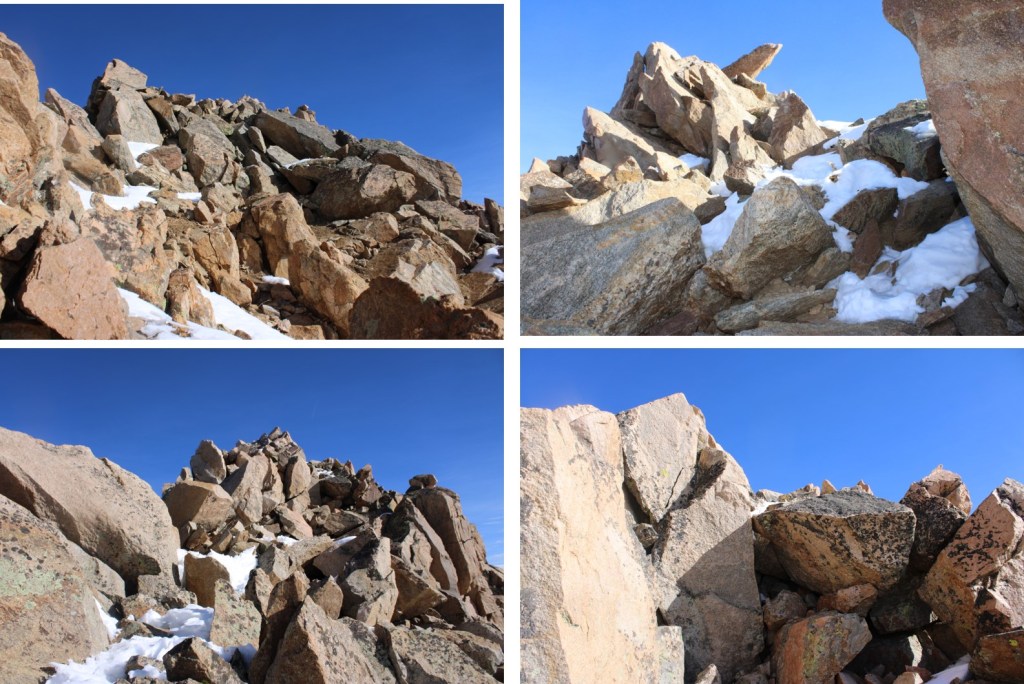
And some pictures of the scramble

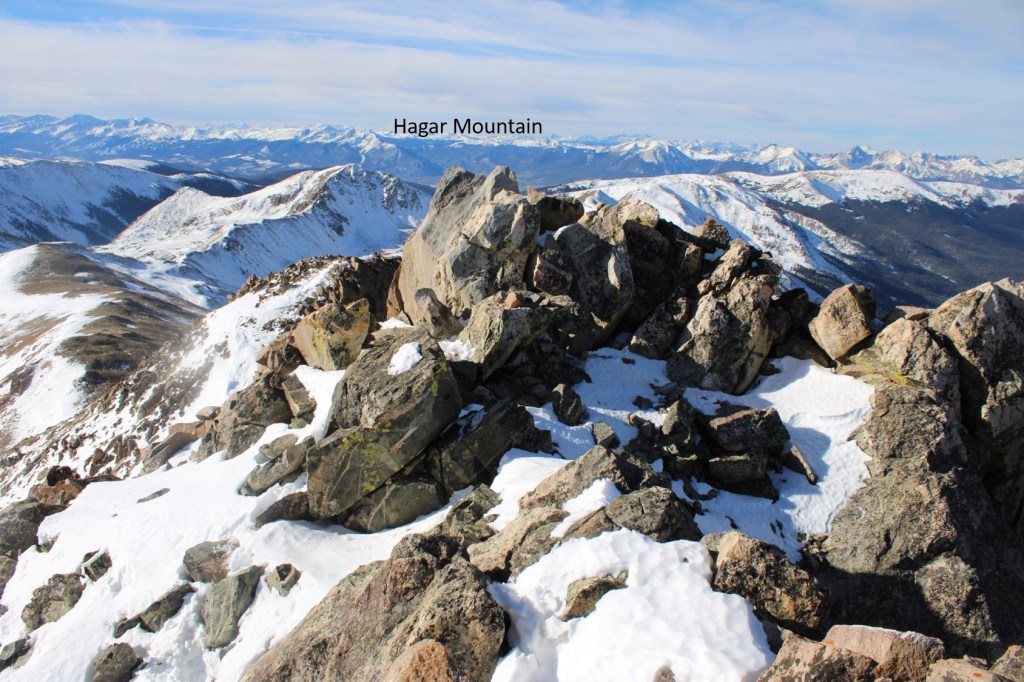
Here’s the actual summit block.  It’s the first one you come to. 

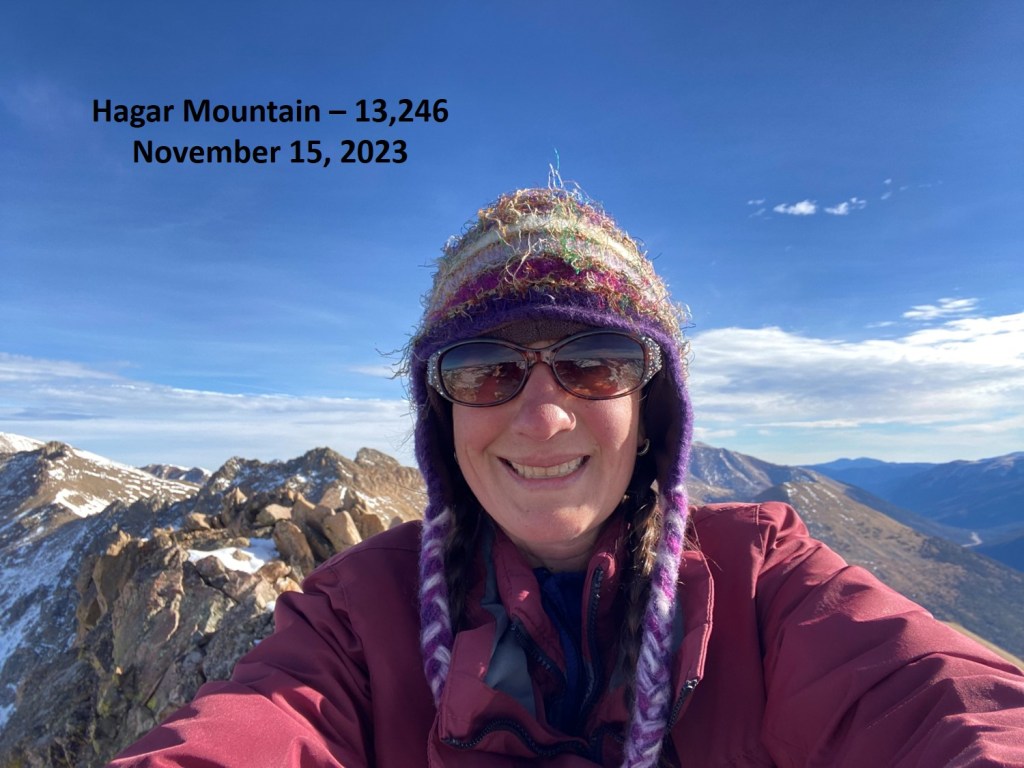
I summited Hagar Mountain at 9:20am          

Hagar Mountain:

From the summit looking north, it seemed as if the next point was equal height to where I was currently, so I scrambled over there too in case any LiDAR issues should arise.

Here’s looking at Hagar Mountain from the second block

I trekked back over to the first block, and found a summit register, so I’m assuming the first block is the true summit.  Now to head back.  I retraced my steps, aiming for the Golden Bear/Hagar saddle.

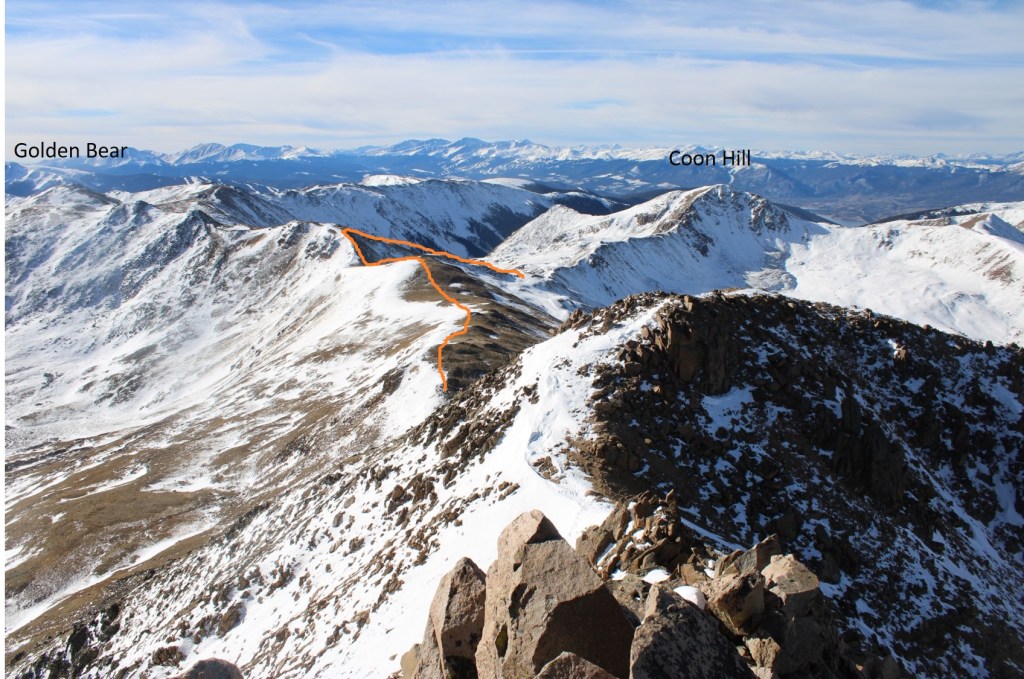
Here’s the overall route I took back to the basin, aiming for the Golden Bear / Coon Hill saddle

First I headed back down Hagar the way I ascended

After making it to the saddle,  I followed the ridge up to 12830’

At 12830’ I turned and headed southwest towards the saddle.

At the saddle I found an obvious trail and turned left.  This led me back down into the basin and back to the trailhead. 

I made it back to the trailhead at 11:20am, making this a 7.82 mile hike with 2760’ of elevation gain in 5 hours.

On to the next trailhead! 

Hassell Peak – 13,223

RT Length:  11.65 miles

Elevation Gain:  3282’

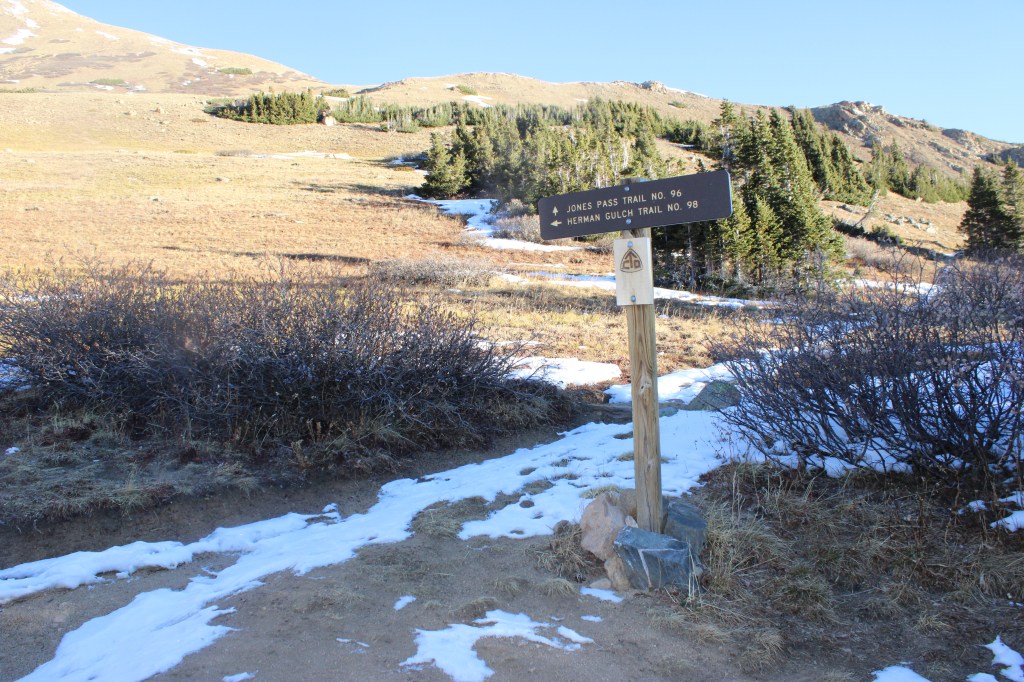
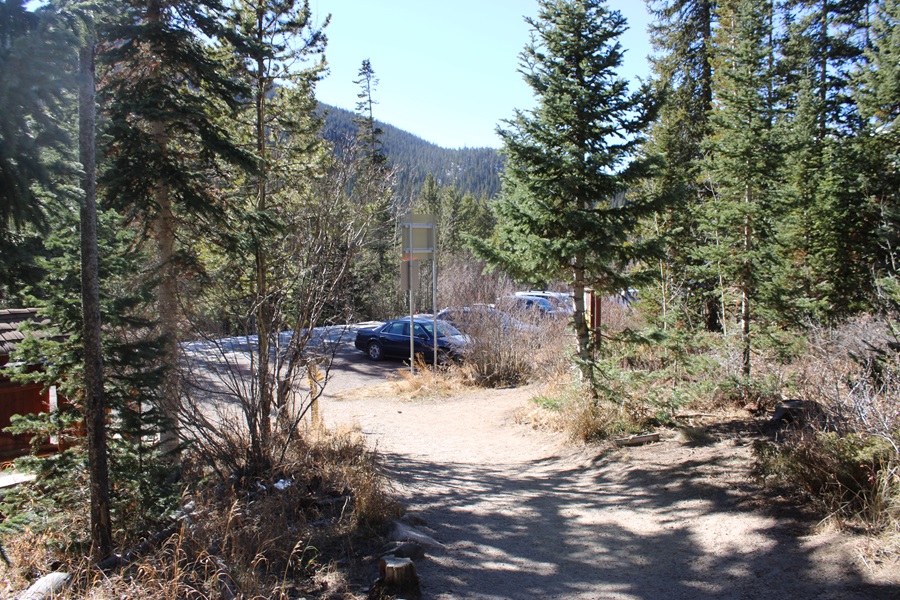
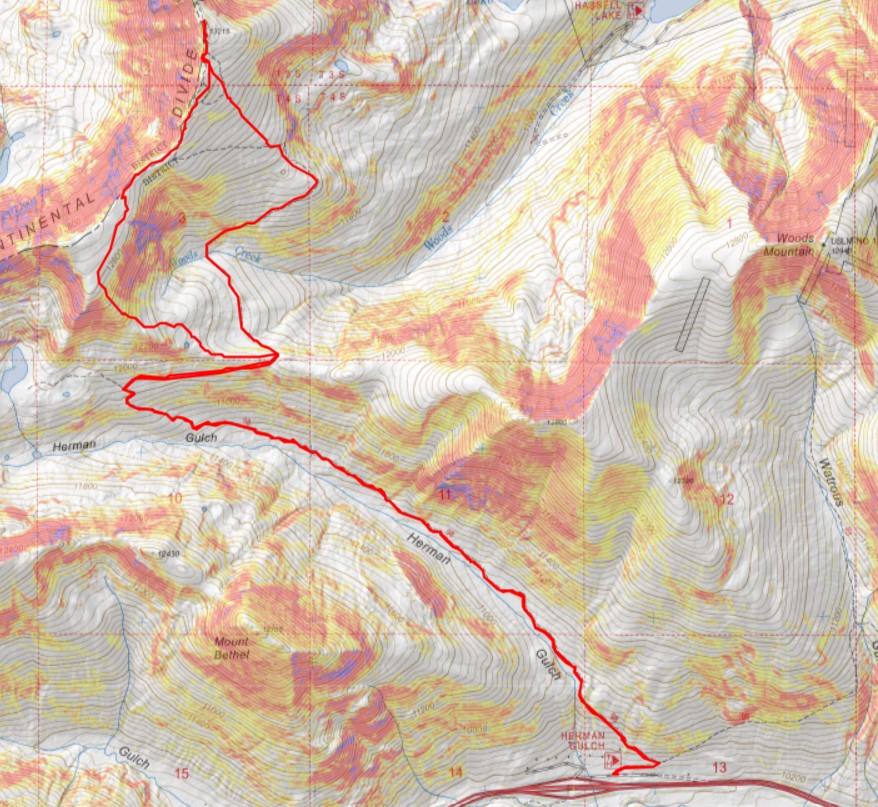
There are a lot of ways to climb this peak.  In summer conditions there’s a trail that will take you to the ridge, but today that trail was under snow in many areas, so I decided to start from the Herman Gulch trailhead to Jones Pass, take the ridge to the summit and make this hike a loop.  I was on the trail at 6am.  Herman Gulch trailhead has room for plenty of vehicles, but it fills up fast all year long.

I followed the trail for less than a quarter of a mile before coming to a junction. 

At the junction I turned left, and followed Herman Gulch Trail 98 northwest.

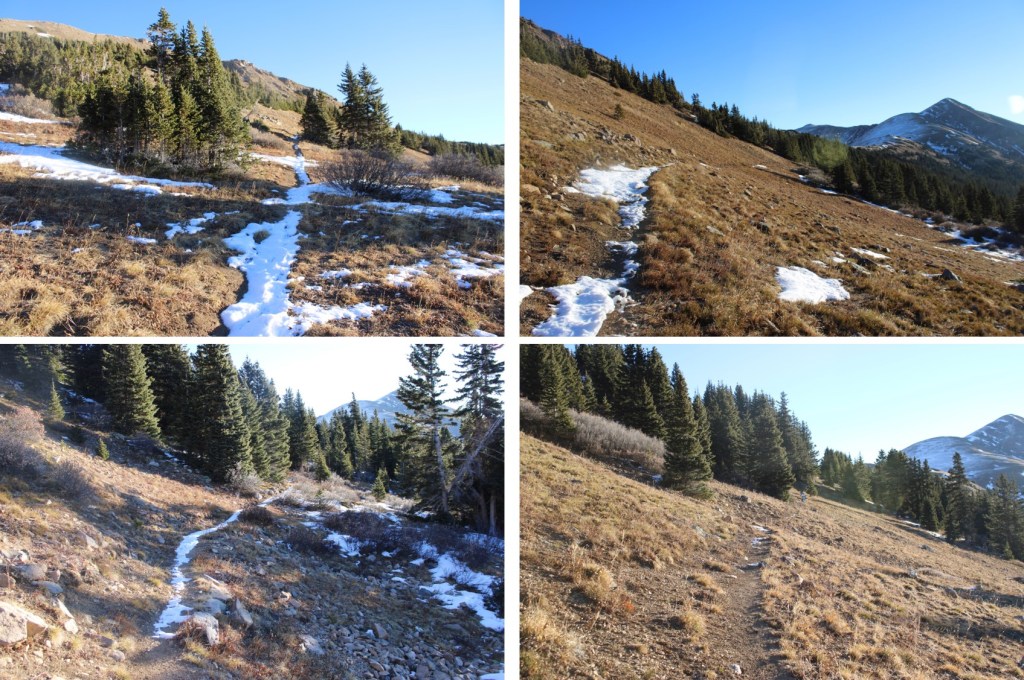
This is a class 1 trail, and easy to follow, but this morning the trail was covered in a thin layer of ice.  Microspikes were helpful, especially at the creek crossings.

After hiking for a total of 3 miles I came to another junction.  I turned right, and followed Jones Passs Trail 96 east towards Jones Pass.

This was still a class 1 trail all the way to the pass

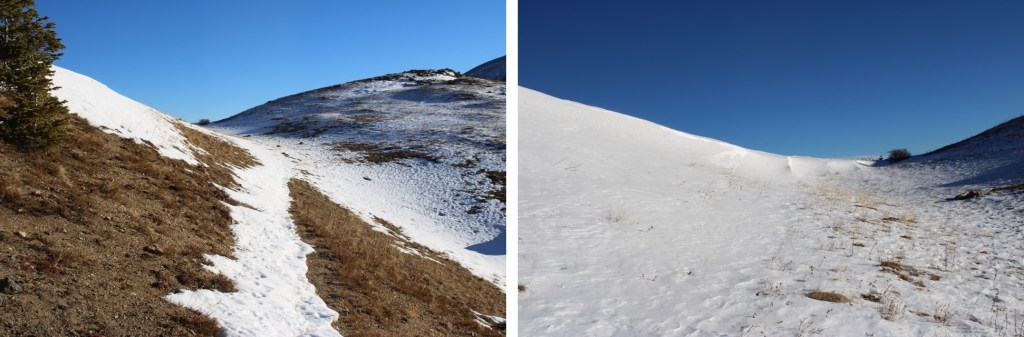
There was a cornice forming at the pass

I climbed up the cornice, and turned left, leaving the trail. 

My goal was to make it to the ridge

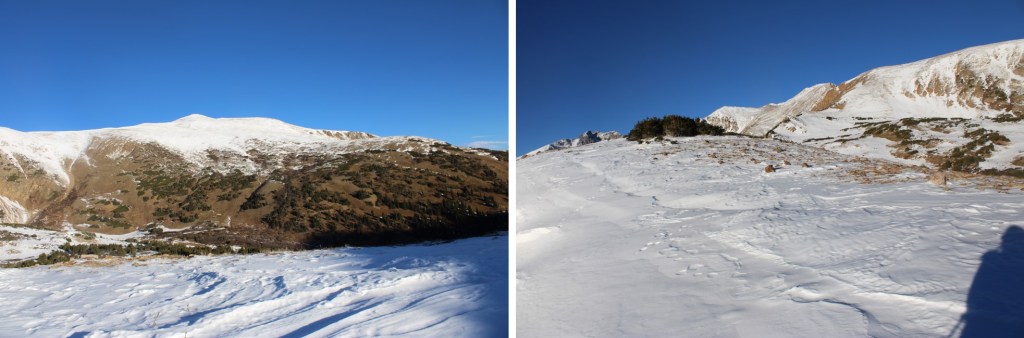
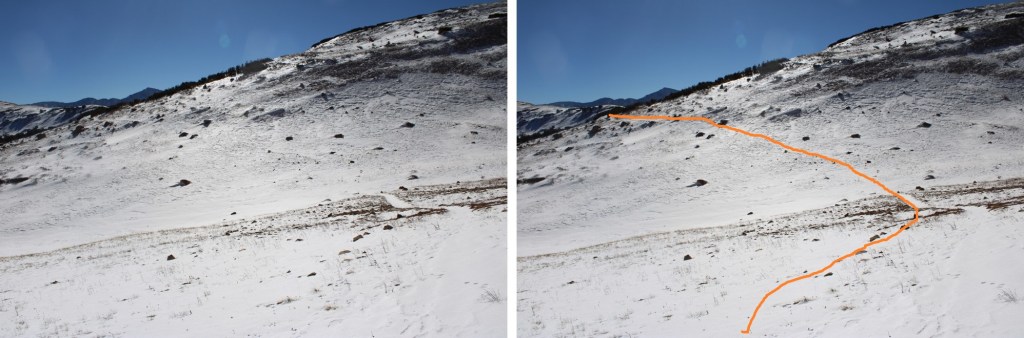
There was snow on the route, so I took the path of least resistance.  This is the route I took.

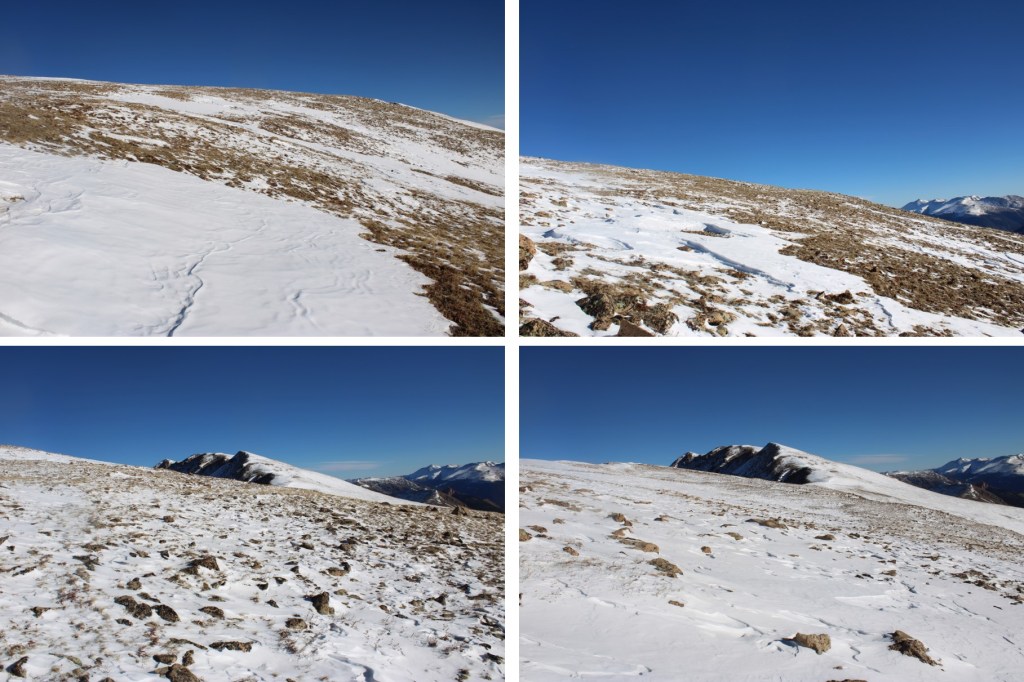
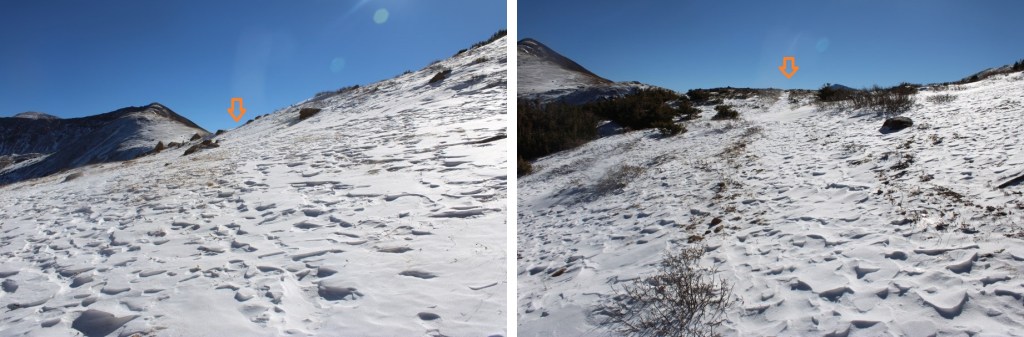
And some pictures of the route to the ridge. 

Knowing there were cornices on the ridge proper, when I got to about 12850’ I started heading northeast towards the saddle to avoid the cornices.

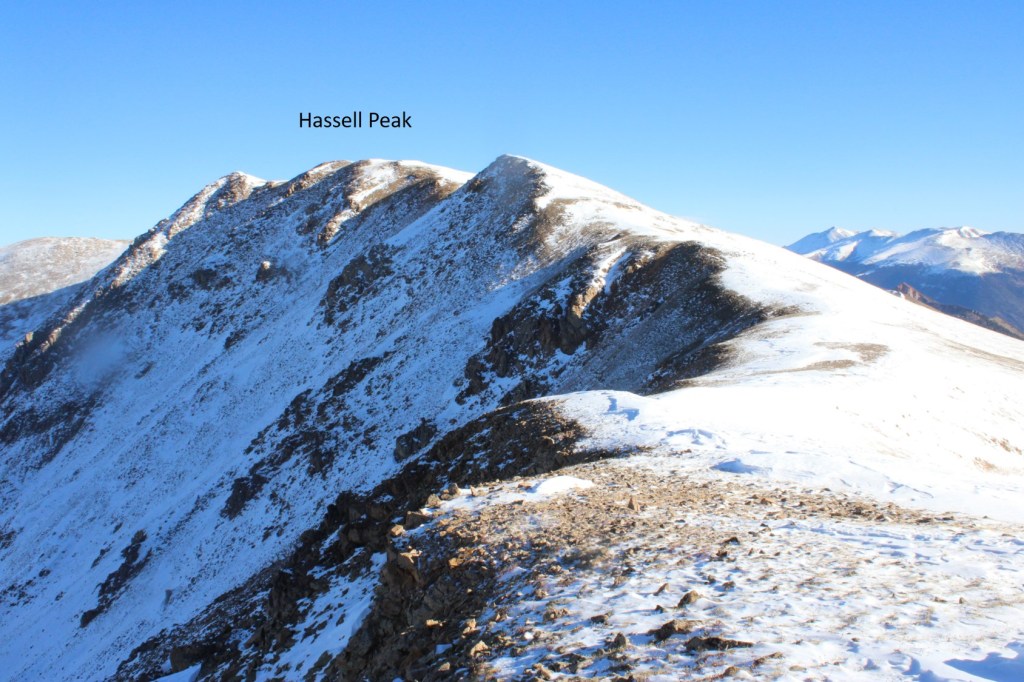
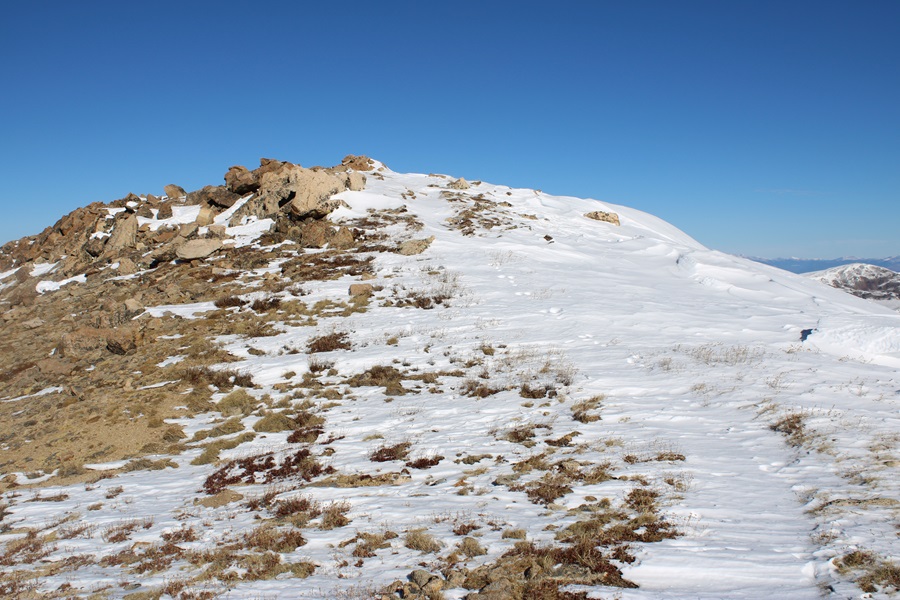
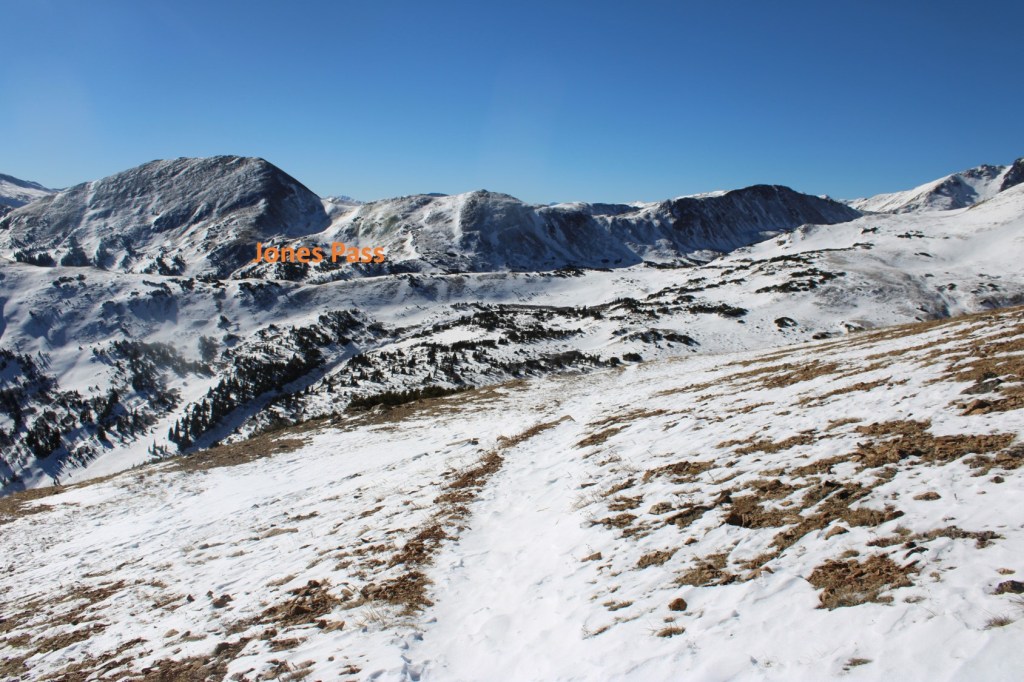
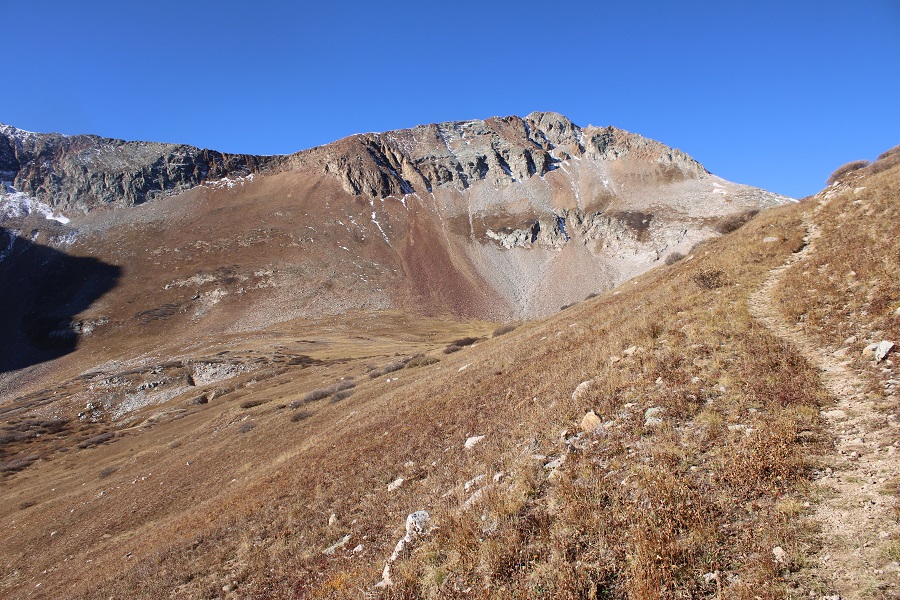
I now had a clear view of Hassell Peak. 

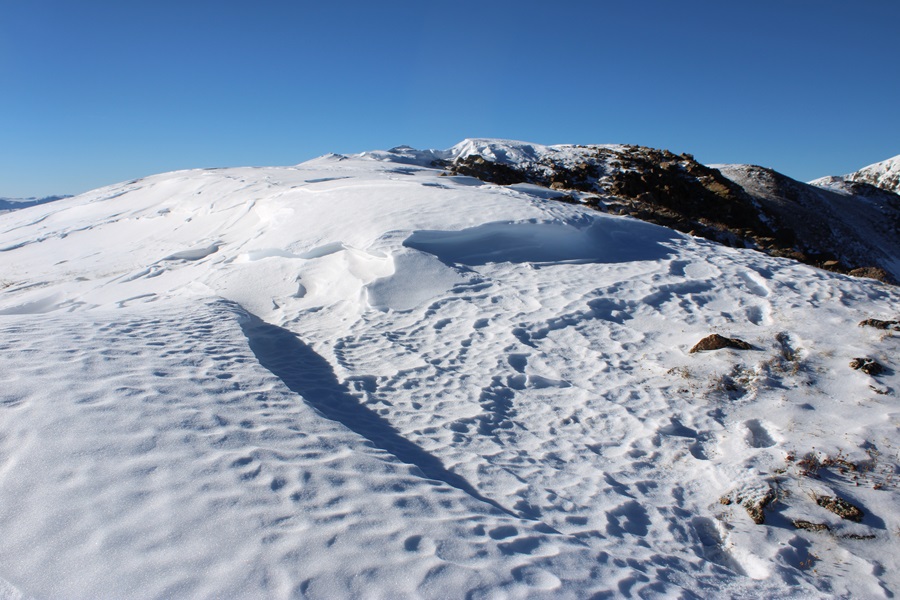
And here’s looking back at the snow and cornices I was trying to avoid.  They were full of trap-door snow

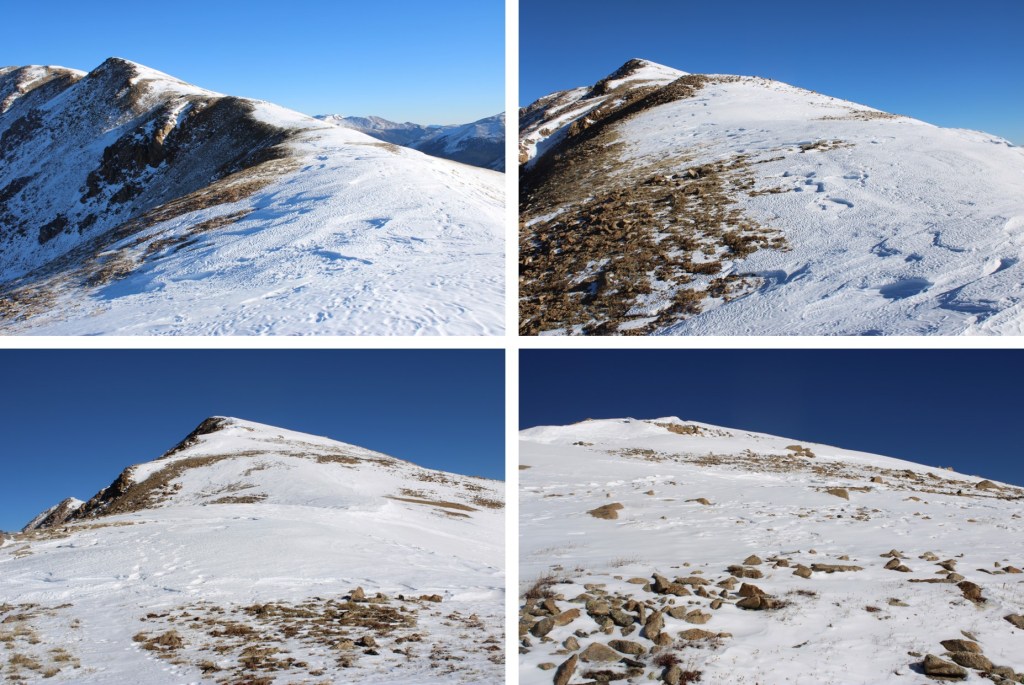
I started following the ridge north

There was more snow on the route than I’d anticipated.  I’d originally wanted to go straight up and over the ridge, but when I got there I didn’t trust the snow.  There was about 4 inches of unconsolidated snow covering a layer of ice that sounded hollow.  Instead, I traversed the ridge to the right, staying on more stable ground. 

After rounding the ridge I made my way to a small saddle. 

Here’s a look back at the route I’d taken around the ridge

Once at the saddle, the trail picked up, and I followed it a short distance to the summit.

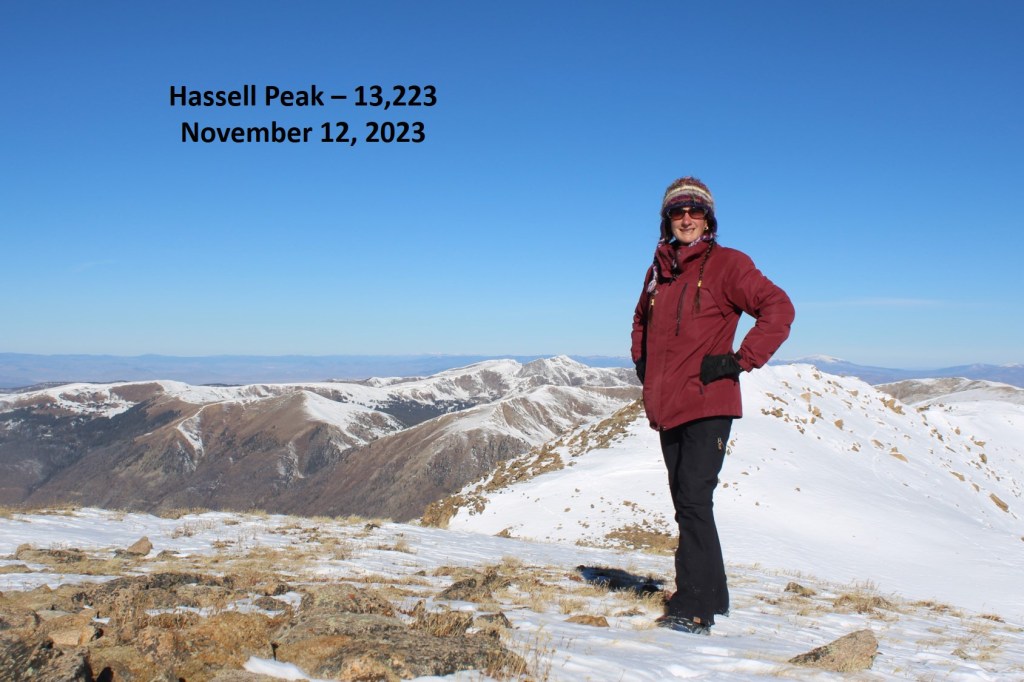
I summited Hassell Peak at  9:40am

Hassell Peak:

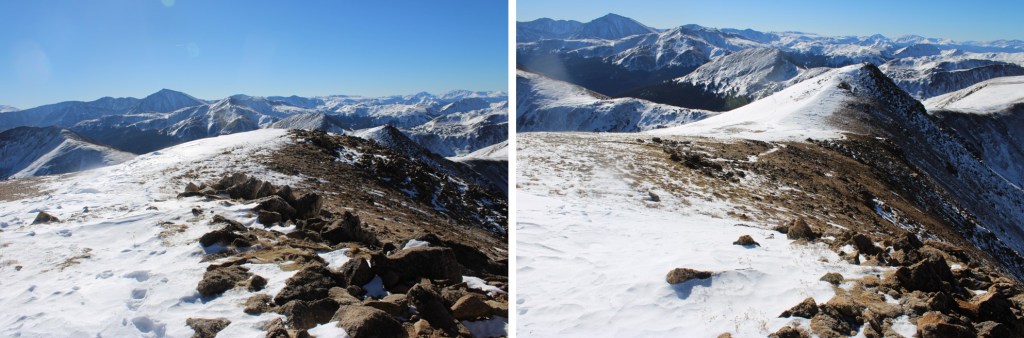
I was making this hike a loop, so I headed south back to the small saddle

From here I knew there was a trail in the area, but it was all covered in snow, so I aimed southeast until I could see the trail below me

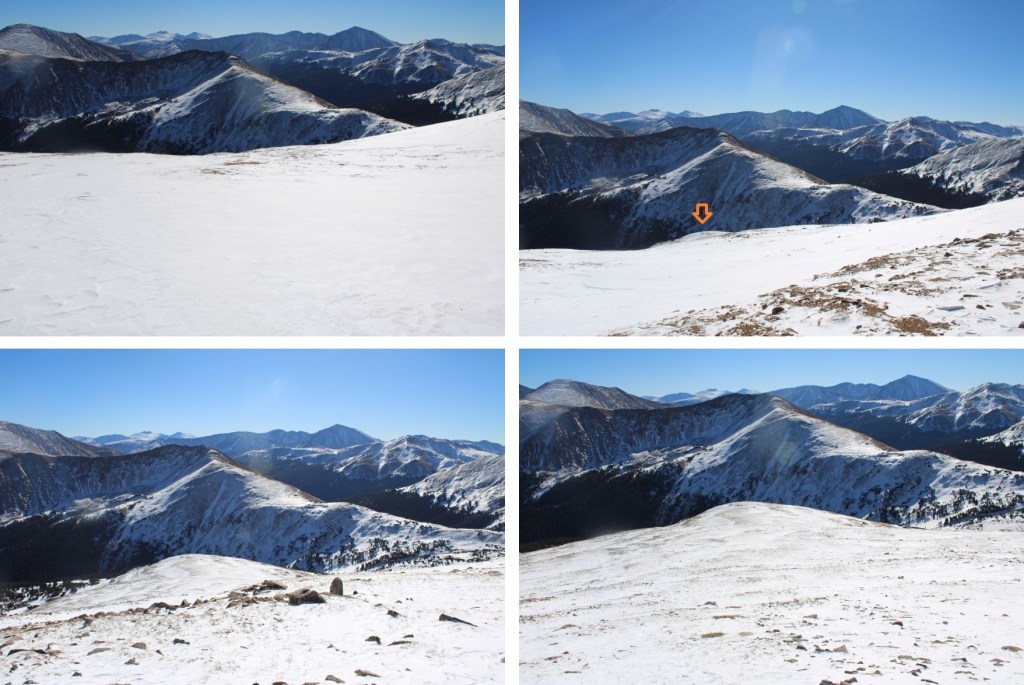
Back on the trail, I followed it back towards Jones Pass

This was easier said than done however, because some of the trail was covered in snow.  Here’s where I was headed first

And then back to the pass

Once at the pass I climbed up the small cornice, and took the trail back to the junction with Herman Gulch.

I turned left at the junction, and followed the Herman Gulch Trail east

The trail was still icy in the afternoon.  Microspikes were helpful.

At the Watrous/Herman Gulch junction I turned right and followed the trail a short distance west back to the trailhead.


I made it back to the trailhead at noon, making this an 11.65 mile hike with 3282’ of elevation gain in 6 hours. 

On to the next trailhead! 
V9 – 13,244

RT Length: 6.96 miles

Elevation Gain: 2657’

I started this hike from the Bandora Mine site.  There’s room for about 3 or 4 vehicles to park at this trailhead. 

The day before I saw a beaver tail-splash a coyote. Last night I saw that same beaver tail-splash a moose.  This guy means business! 

I was on the trail at 6:15am the next morning.  I took the trail to Lake Hope, which started just to the south of the parking area.

I took this class 1 trail southwest to treeline, which was about 1.75 miles.

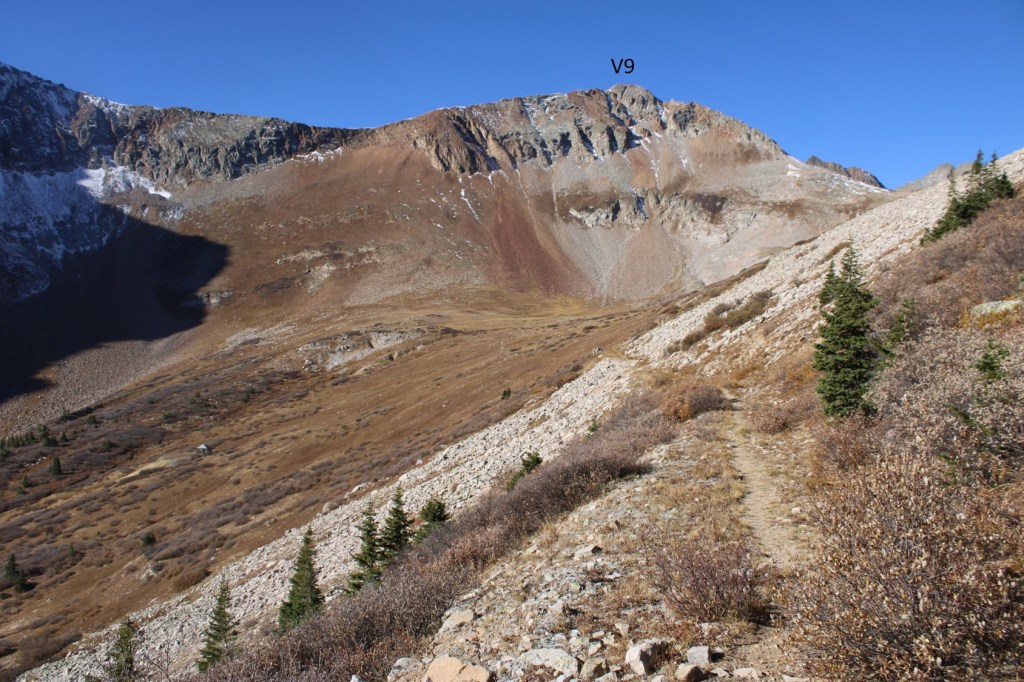
At treeline, I could clearly see V9

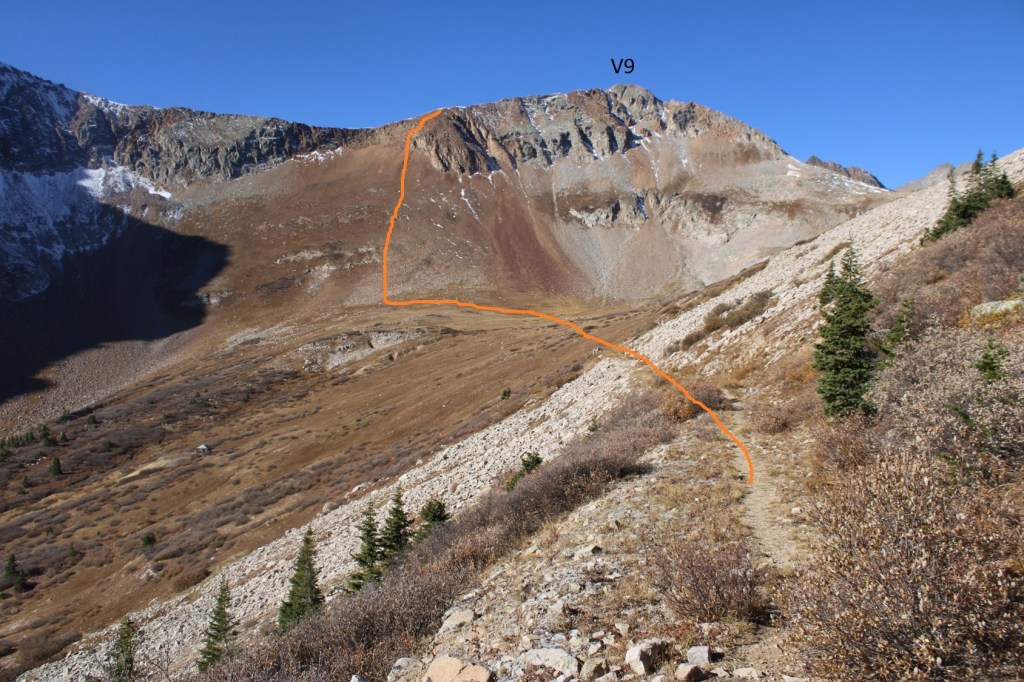
This is the overall route I took to the ridge

With careful route finding, this can all be kept at class 2+.  First, I headed down the basin to the base of the slope.

From there it was 730’ of elevation gain up rocky talus to the rocky area just below the ridge.  Microspikes helped for traction.

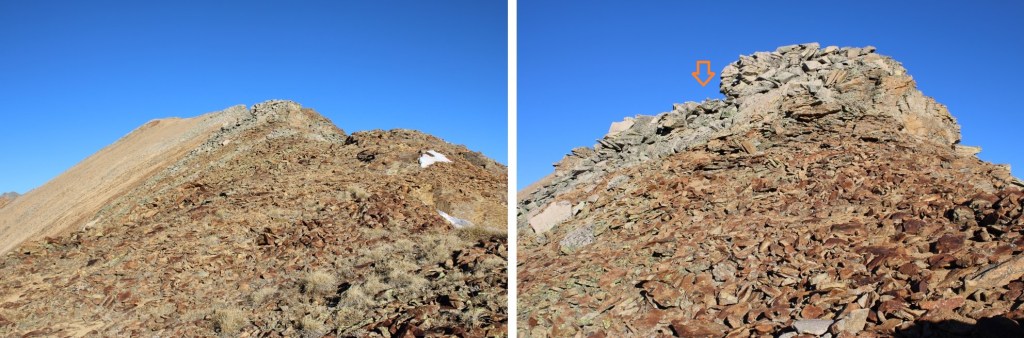
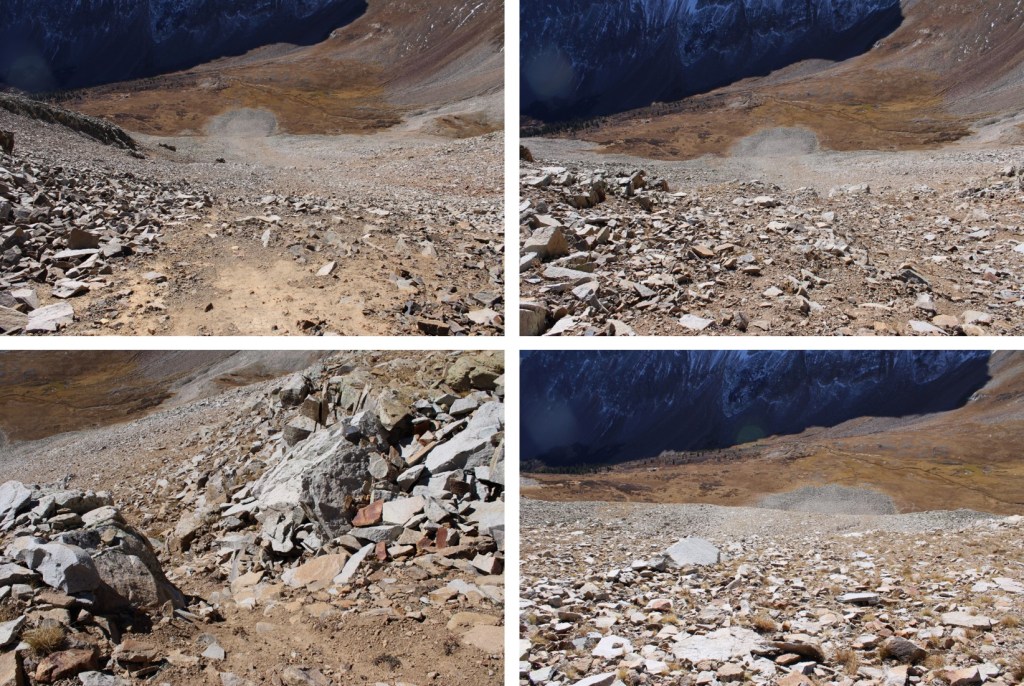
This is where it becomes choose your own adventure. The goal is to gain the ridge.  There’s a lot of class 3 scrambling options to gain the ridge, but I was able to keep it class 2+ by finding lines of scree on the rocks to use.  The scree was mostly sand on top of rocks, but it gave me traction to use and a path to follow. Initially I started going straight up, following the scree

I noticed a scree ramp to my right, and took that until it ended.

Once it ended, I turned left and followed scree paths to the ridge

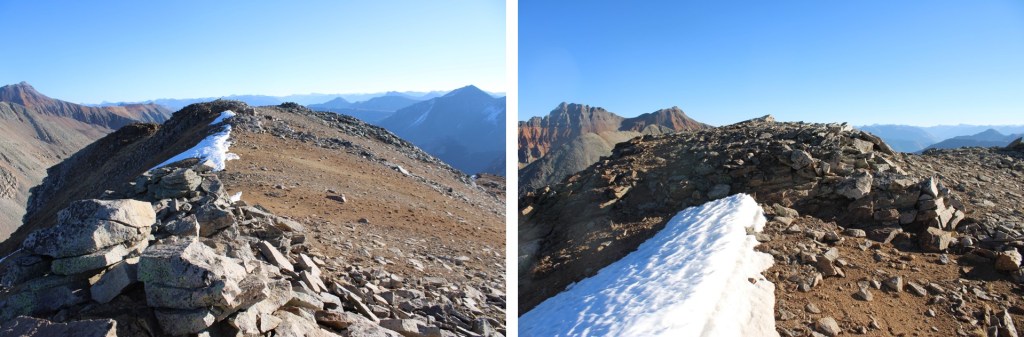
Once on the ridge, I put a small cairn to indicate where I should descend on my way back. I turned right and saw the summit of V9 to the northwest

It was an easy class 2 ridge hike on talus to get there.

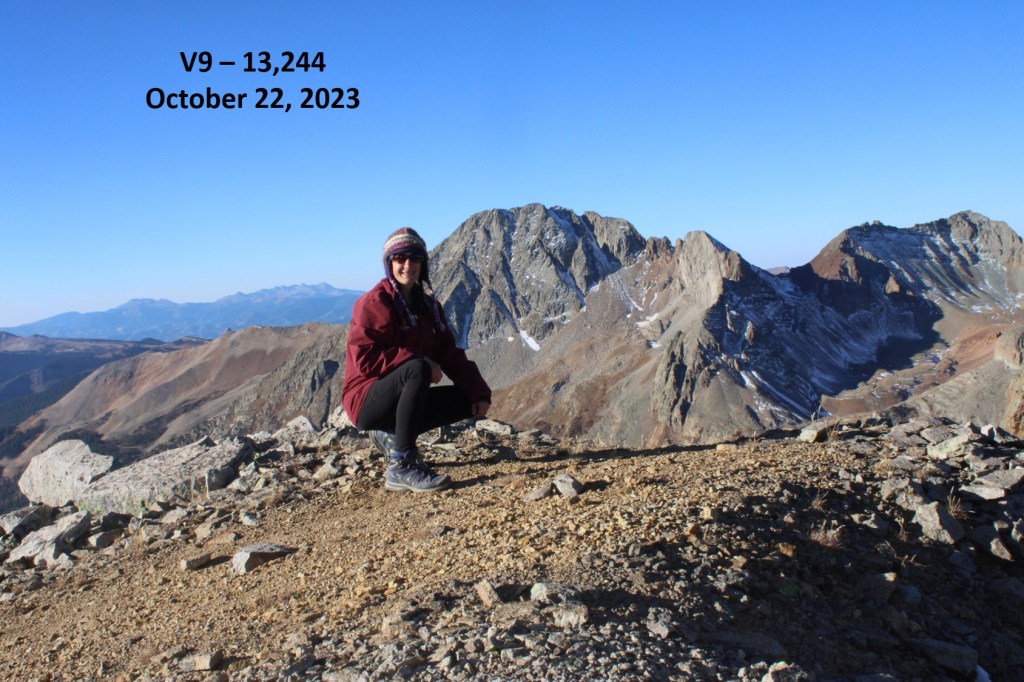
I wasn’t sure where the actual summit was, as it’s rather flat with several “bumps” that all look to be the same height.  So I walked all around each of what looked like the highpoints and took a video from the middle.  I summited V9 at 8:45am

V9:

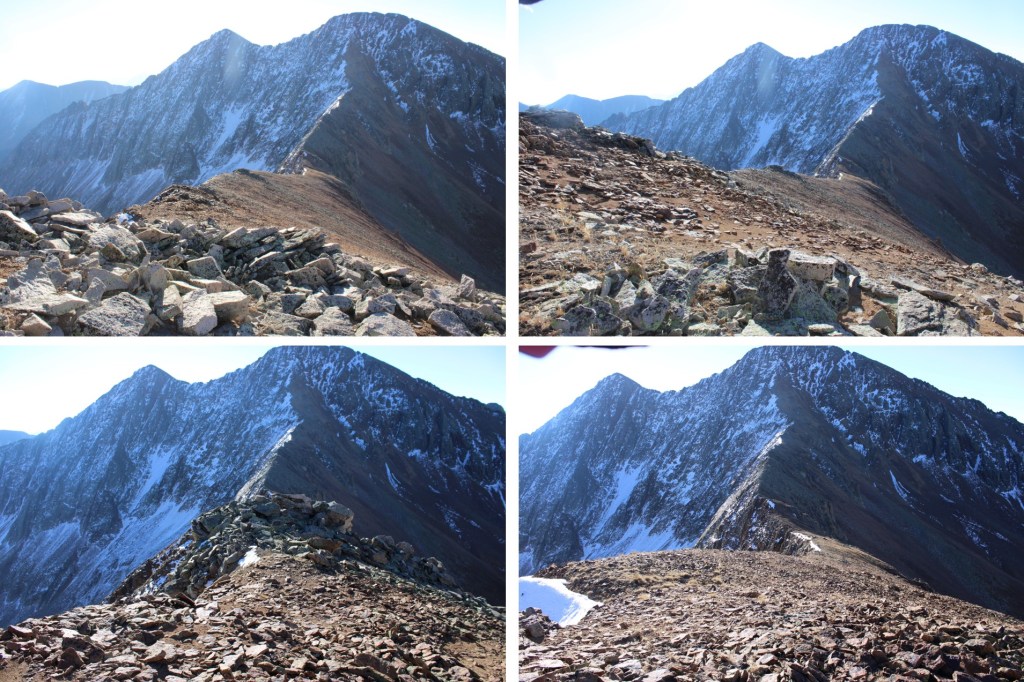
This was an out and back hike for me, so I made my way back down the ridge to where I’d placed my cairn.

At the cairn I turned left, and headed back towards the scree ramp

I followed the ramp until it ended

And then followed scree trails to the base of the rocks

Next I made my way down the slope and back to the Lake Hope Trail

Back on the trail, I followed it northeast back to the Bandora Mine

I made it back to the Bandora Mine at 10:45am, making this a 6.96 mile hike with 2657’ of elevation gain. 

On to the next trailhead!

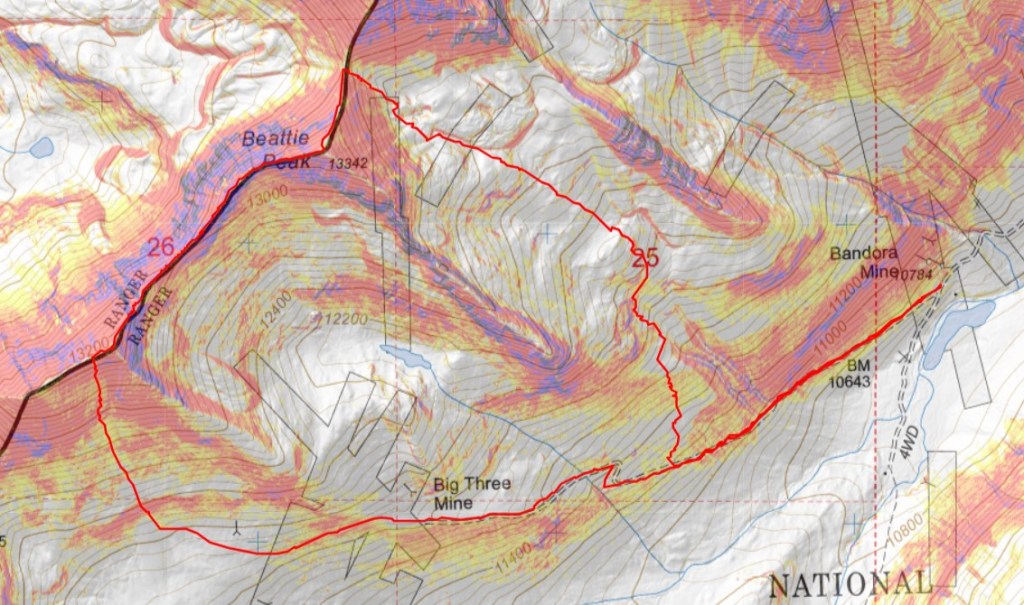
Beattie Peak – 13,351 and PT 13,302

RT Length: 6.87 miles

Elevation Gain: 2945’

I made it to the Bandora Mine the day before, and spent the day scouting potential routes. 

In the evening I did a little catch and release fishing,  the beavers came out of their lodges, and I saw one tail flip a coyote who got too close. 

Beaver and Coyote:

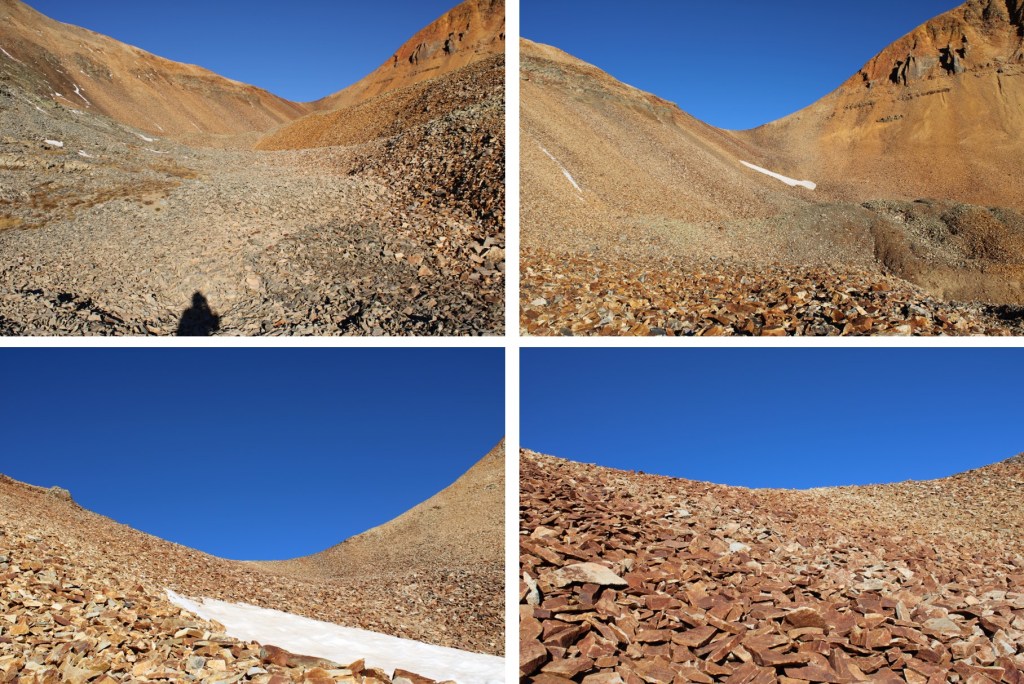
Then a bull moose came strolling around, and I went to bed.  I was on the trail at 6:30am the next morning.  I took the trail to Lake Hope, which started just to the south of the parking area.

I took this class 1 trail southwest for about .8 miles.

At around 11160’ of elevation I left the trail, and turned right.  If you get to the Big Three Mine you’ve gone too far.  I placed a cairn here, and headed north. 

I bushwhacked north up the mountainside to treeline

I was headed here, which included some willow navigation.  I found if I stayed high I could follow game trails.

Once I could see this ridge I turned left and headed northeast to a basin

I kept heading northeast, as the tundra changed over to talus

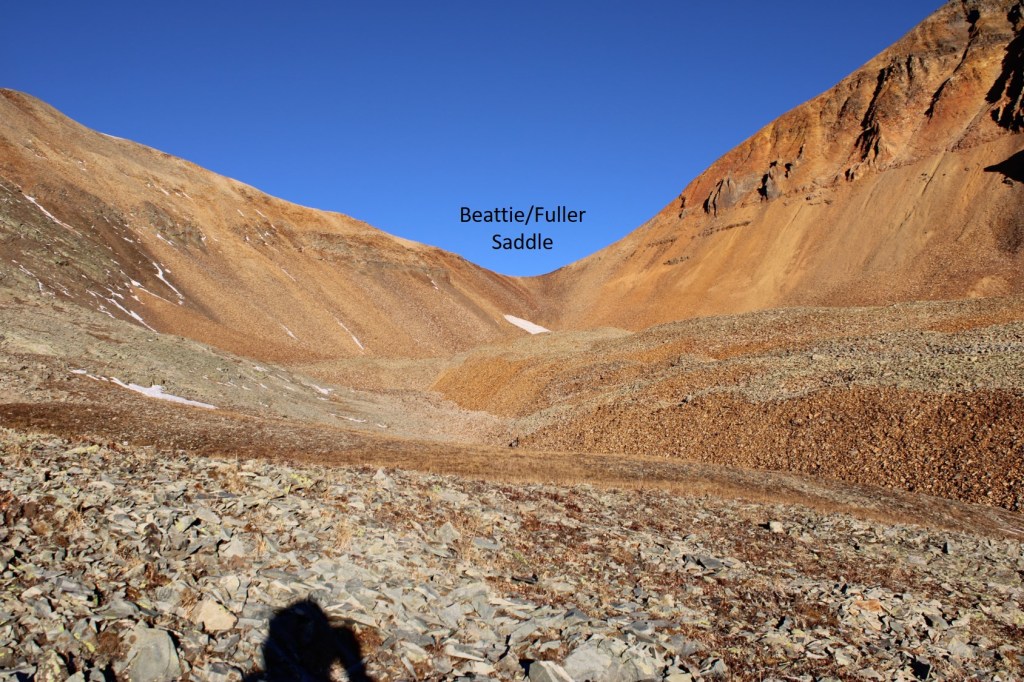
Now in the upper basin, I aimed for the Beattie/Fuller Saddle. 

I stayed to the left of the snow, and found the talus was surprisingly stable. 

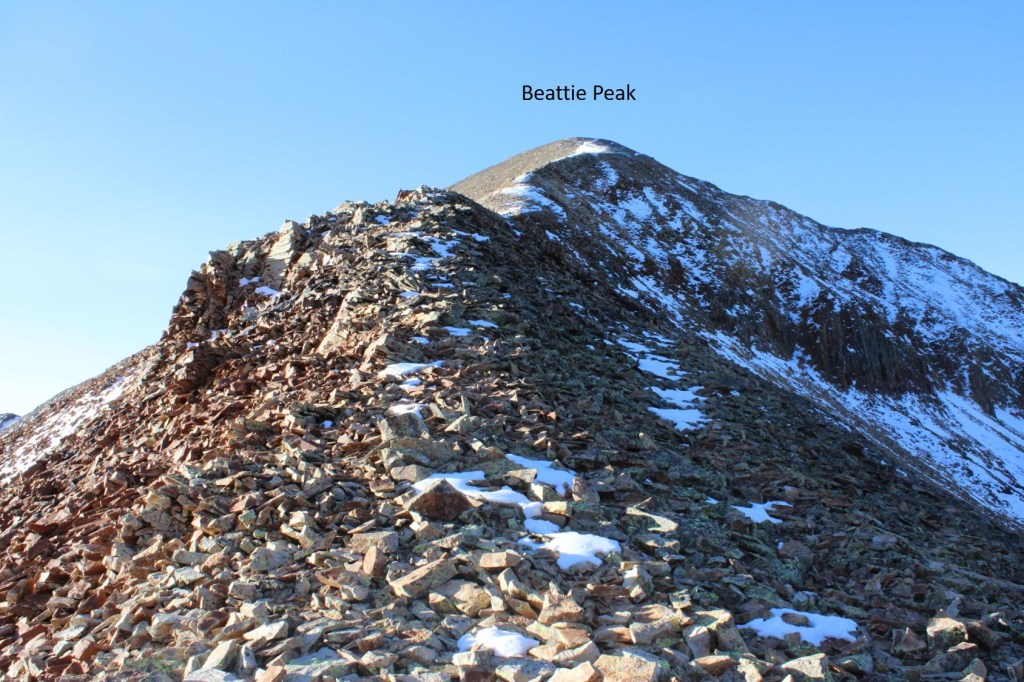
Once at the saddle, I turned left and followed the class 2 ridge to Beattie Peak

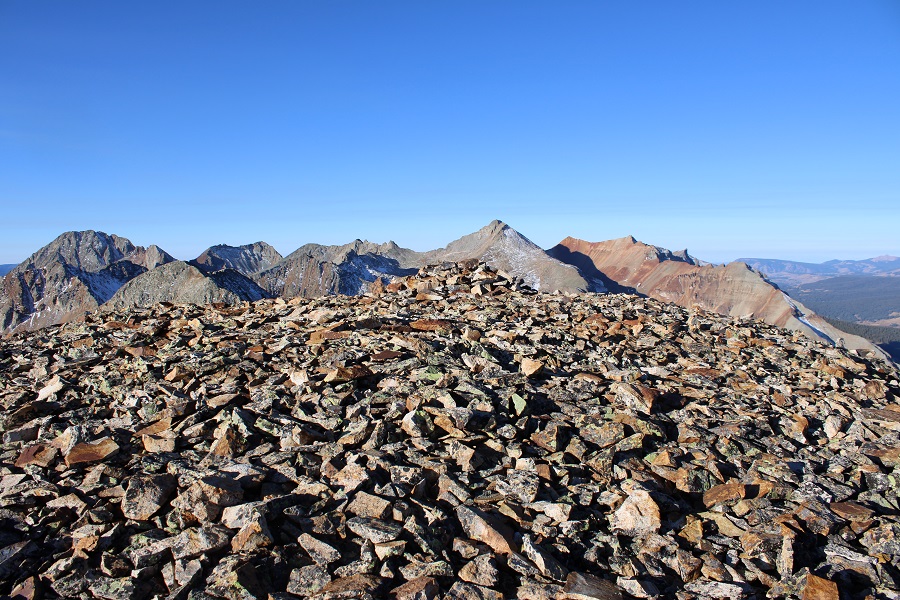
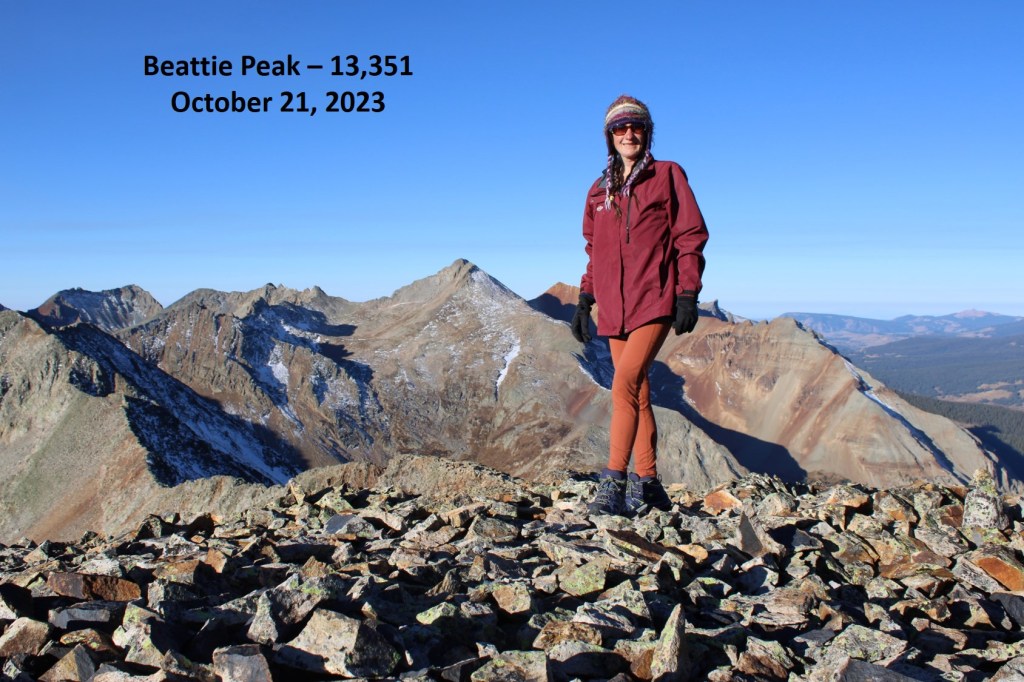
I summited Beattie Peak at 8:45am

Beattie Peak:

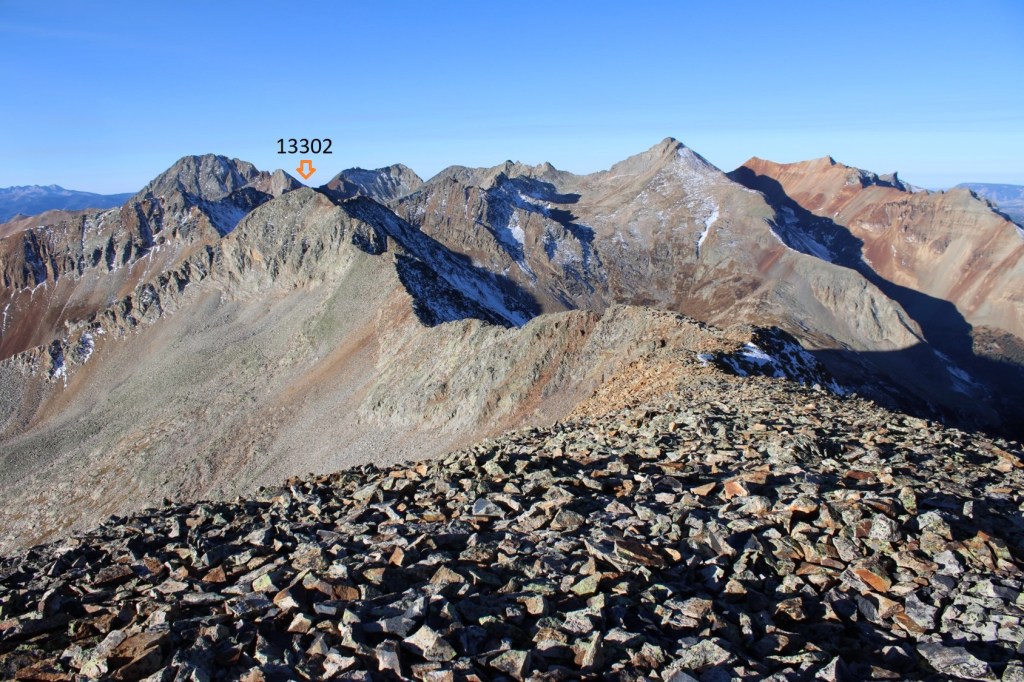
I could see PT 13302 to the southwest.

Now is a good time to put your helmet on.  This is a class 3 ridge, but starts out as class 2.  This is the overall route I took to get there, taking the ridge to a gully.

The initial descent of the ridge is class 2

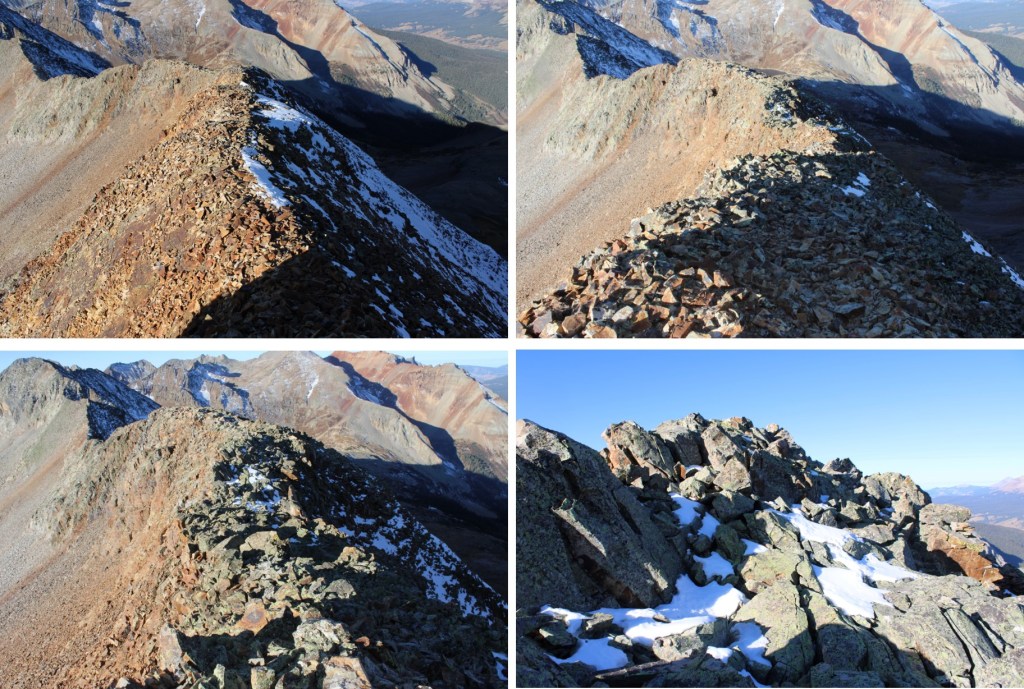
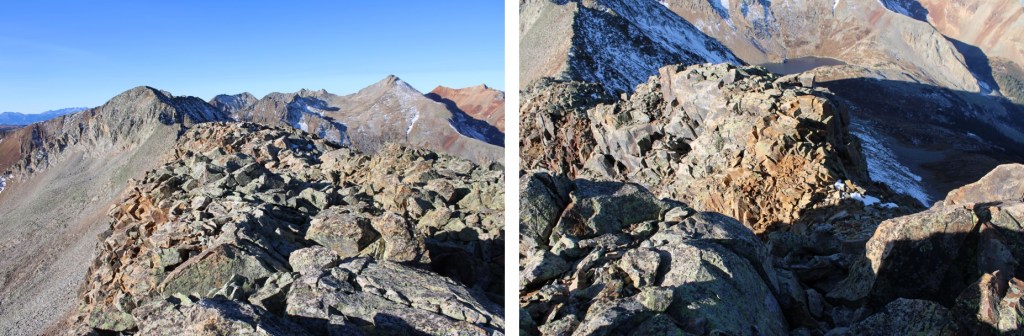
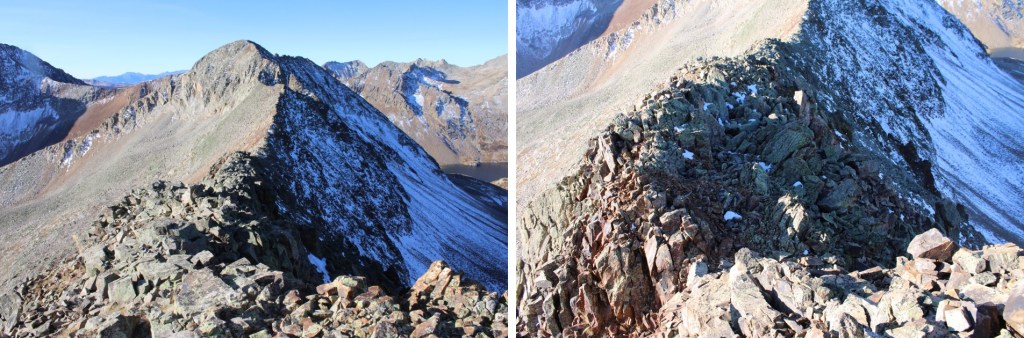
But quickly becomes narrow, sustained class 3 with exposure.  The ridge proper goes at class 3, but twice I dipped down to the left to avoid the exposure involved.  Here are some pictures of the ridge

I was now at the base of the gully.  Microspikes helped here. 

This is the route I took

And some pictures of the gully

At the top of the gully I went right

And then I could see the final approach to the summit

This is the overall route I took to the summit

There were two summit cairns, each about 15 feet apart.  They looked to be of equal height. 

I summited PT 13302 at 10am

PT 13302:

I know the traditional way to descend from PT 13302 is to head southwest and down to the V9/PT 13302 saddle, but I’d been there the day before, and did not want to descend that way.  Instead, I headed southwest towards a small saddle, then turned left and scree-surfed south. 

This route brought me back to the Lake Hope Trail. 

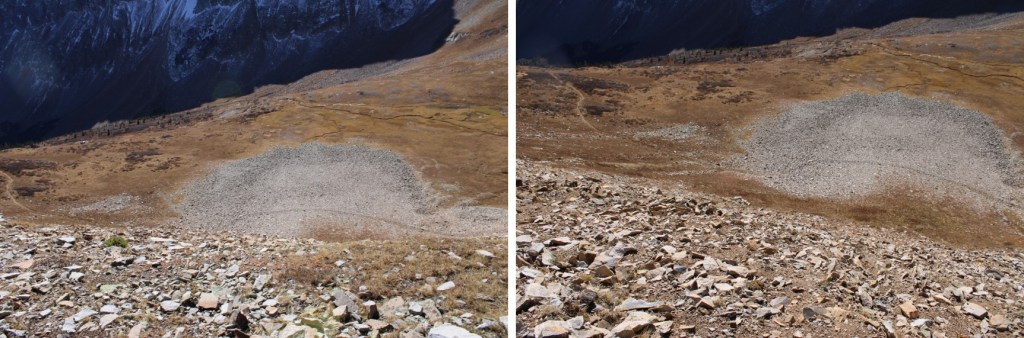
Here’s looking up at the route I scree-surfed down

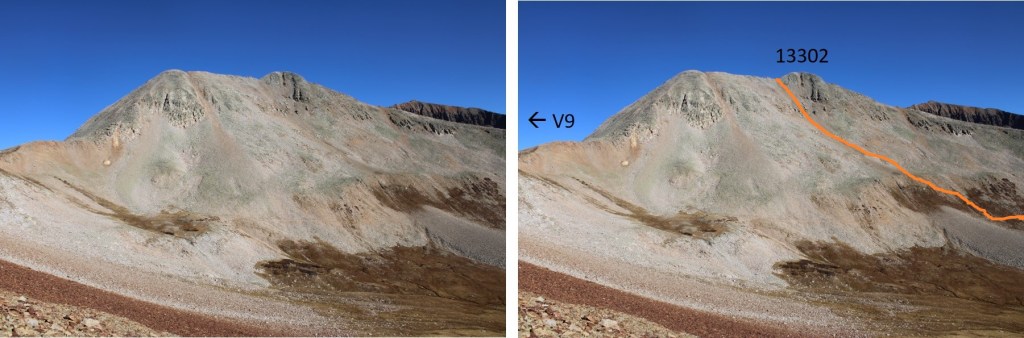
And here’s an overall view of the route I took

Back on the Lake Hope trail, I followed it east back to Bandora Mine

I made it back to Bandora Mine at 11:45am, making this a 6.87 mile hike with 2945’ of elevation gain in 5 hours, 15 minutes.

On to the next trailhead!

Fancy Peak – 13,176

RT Length:  9.69 miles

Elevation Gain:  3208’

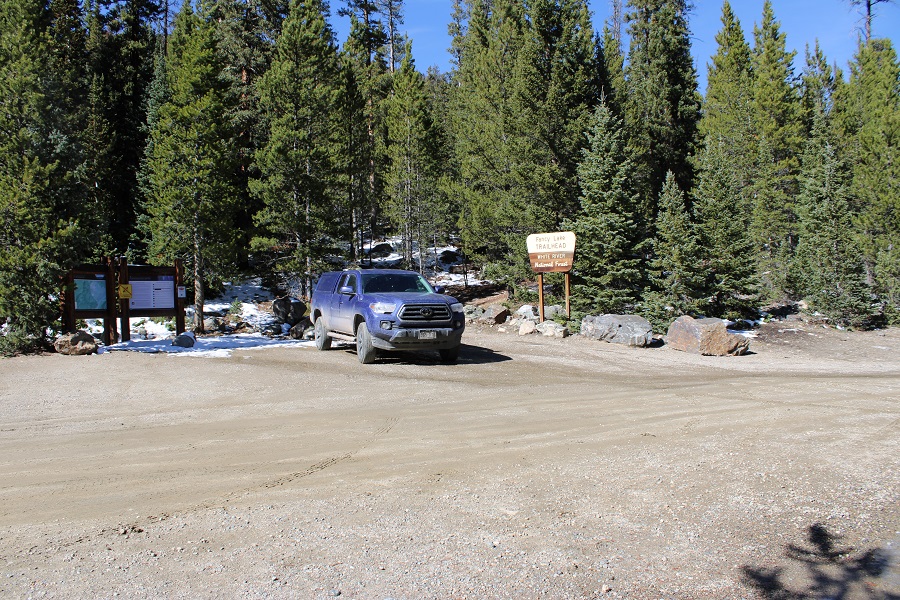
I arrived at the Fancy Lake trailhead and was on the trail at 6:30am.  The drive in was on a 2WD dirt road, easily accessible except for the last 2 miles, which had a couple of inches of snow still on the ground.  Luckily, enough vehicles had driven through the snow and there were bare spots to still keep this a 2WD road. The beginning of the trail is obvious.  The trailhead has clean bathrooms and plenty of parking.

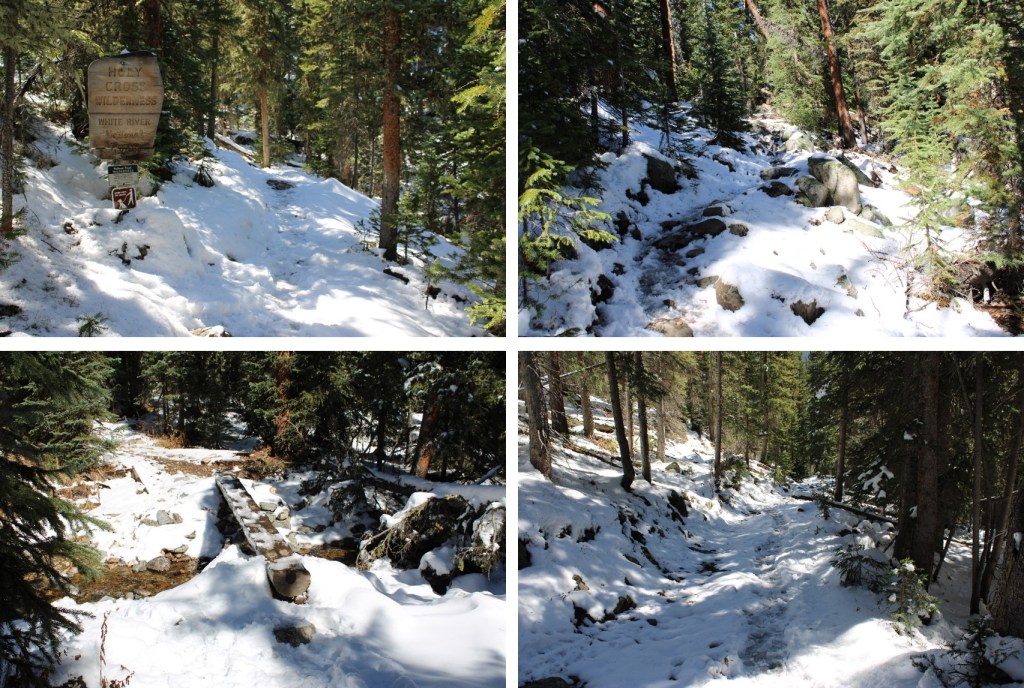
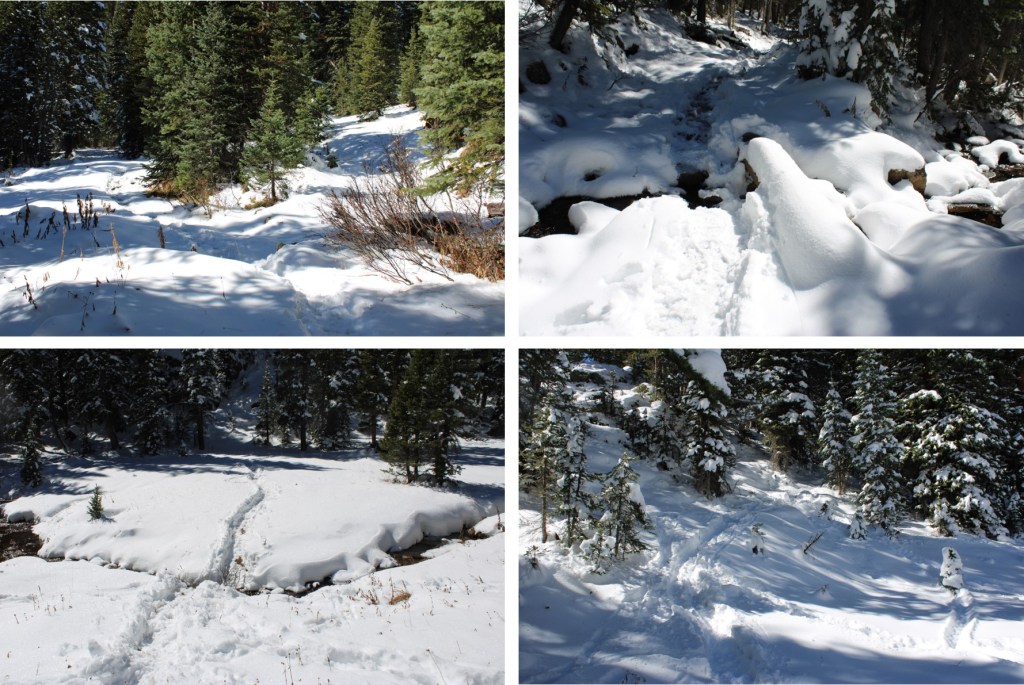
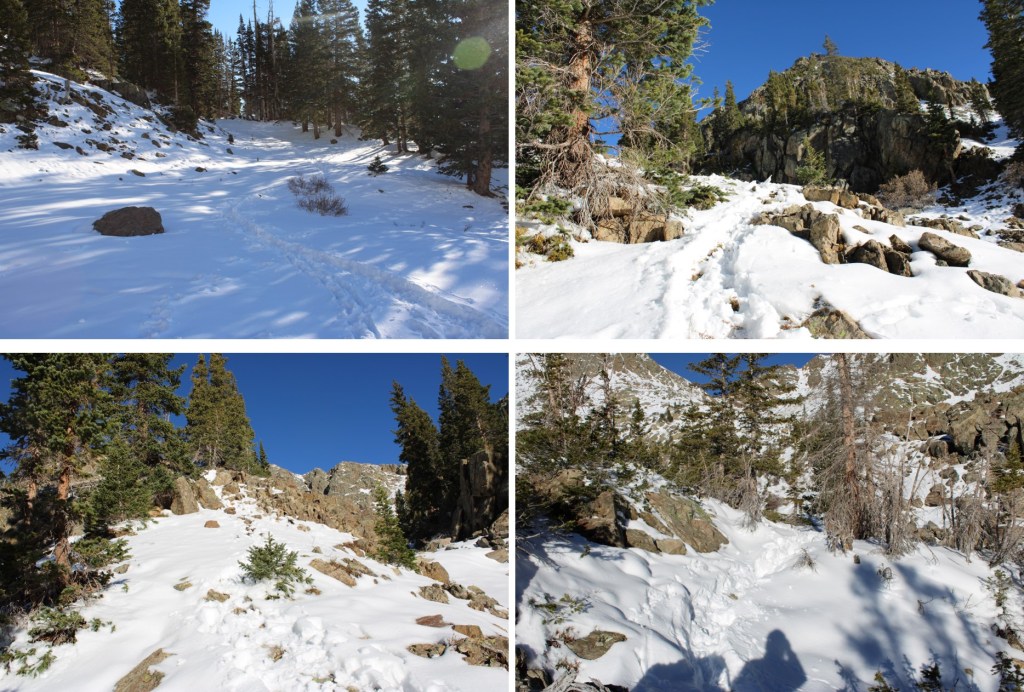
I followed Fancy Lake Trail 2006 for 3.3 miles northwest to Fancy Lake. This is a class 1 trail and easy to follow.  There was a nice footbridge at the crossing over Fancy Creek.

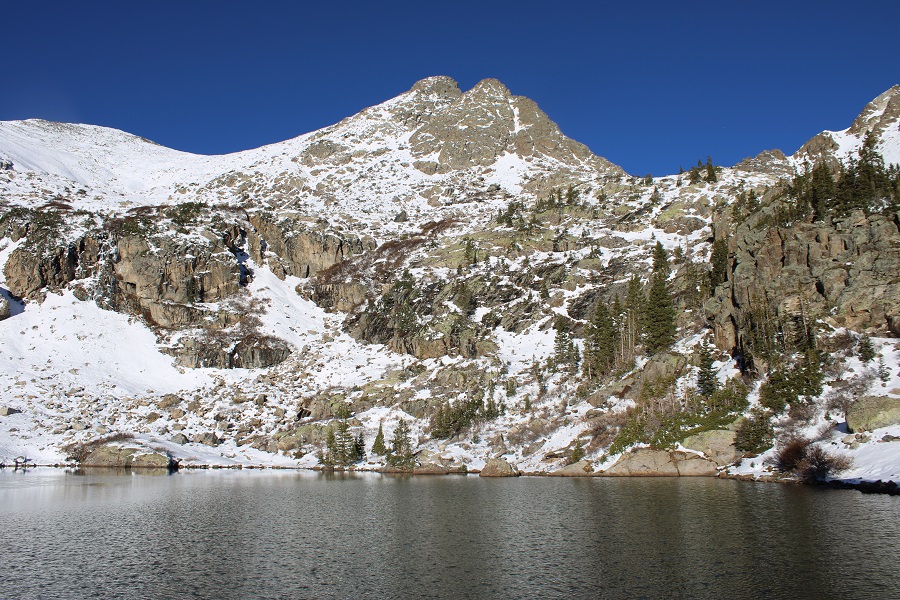
I sat and admired Fancy Lake for a bit, as it was a beautiful day

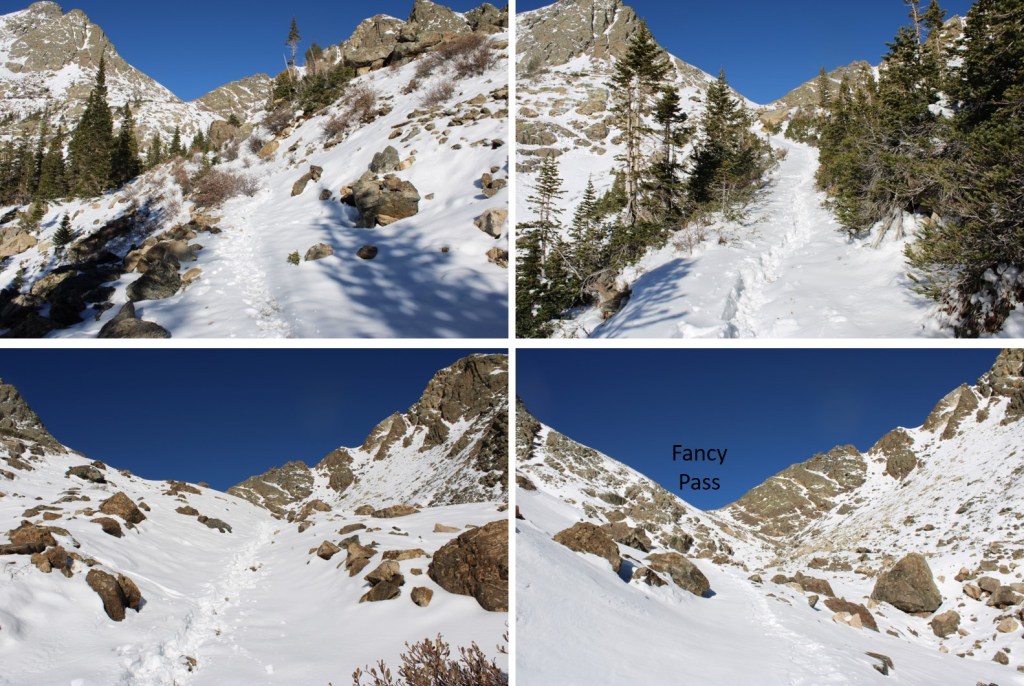
From the lake I turned and headed east, to continue following the trail to Fancy Pass. 

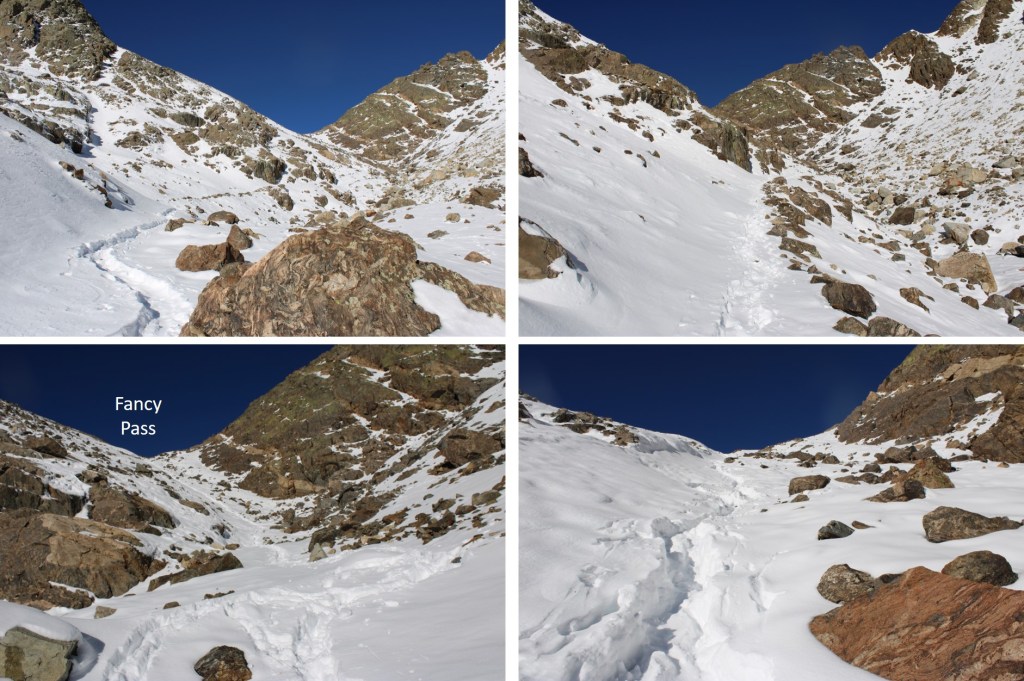
It was a total of 4.25 miles from the trailhead to Fancy Pass.  At the pass, I dipped down to avoid the class 3 section, then gained the ridge as quickly as I could. 

The downclimb to avoid the class 3 section was easy, class 2 (there might even be a trail here in summer)

Ascending the ridge was quite steep on tundra

While ascending to the ridge, I did my best to avoid the rock outcroppings

Here you can see the first false summit.  I aimed for the ridge to gain this point.

From this point on, it was a ridge hike north.  A long, class 2 ridge hike.

Here are some pictures of the ridge

At the base of the summit, I went right to avoid the snow

Then easily gained the peak

I summited Fancy Peak at 10:45am

Fancy Peak:

Here’s a look back down the ridge

This was an out and back hike for me, so I retraced my steps back to the ridge

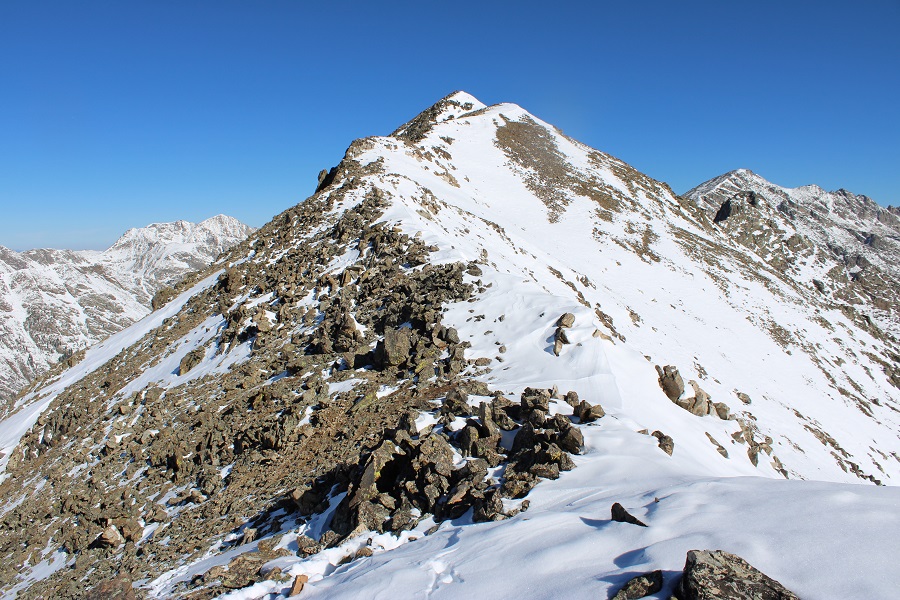
Then followed the ridge south

This was my descent route back to Fancy Pass

Back at Fancy Pass, I followed the trail east back to Fancy Lake

Then I followed the trail southeast back to the trailhead

I made it back to the trailhead at 1pm, making this a 9.69 mile hike with 3208’ of elevation gain in 6 hours, 30 minutes.

On to the next trailhead!

Red Peak – 13,186

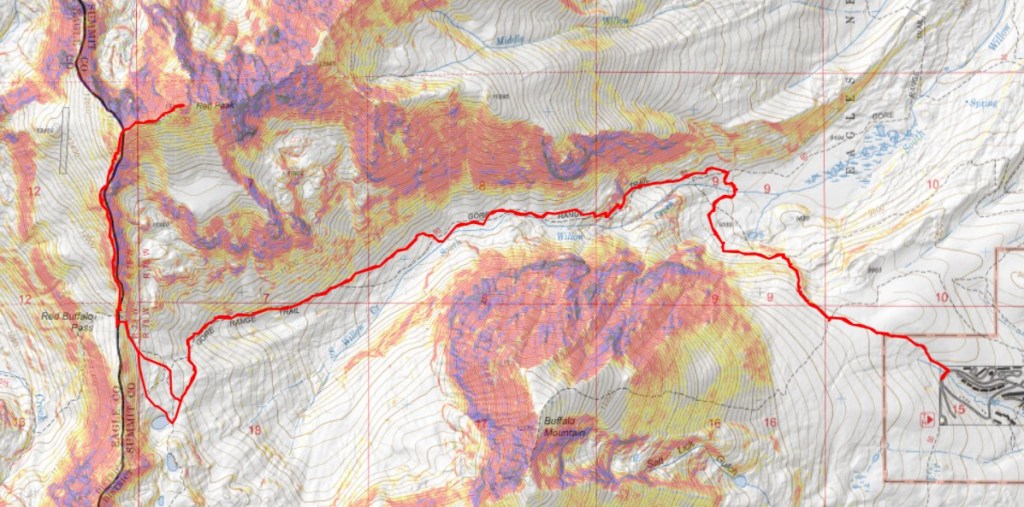
RT Length:  14.59 miles

Elevation Gain:  4380’

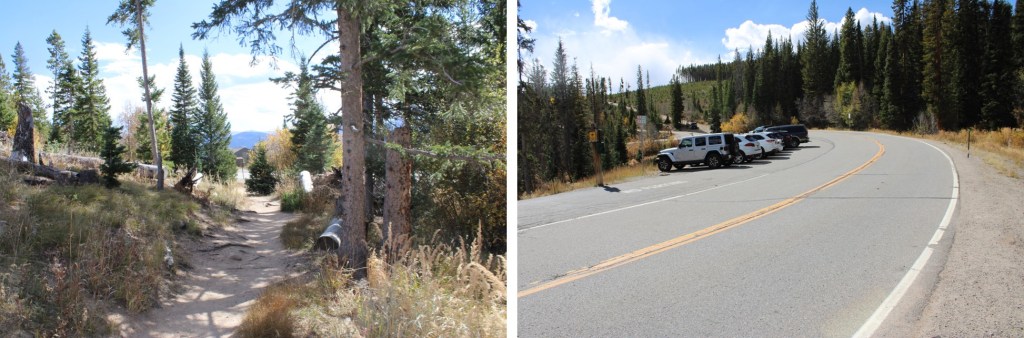
This was a fun hike and much easier than I’d anticipated.  It was mostly class 1, with a class 2 ridge.   I parked at the Buffalo Mountain Trailhead and was on the trail at 5am.  The parking is to the north of the trailhead, so I had to cross the road to get there.

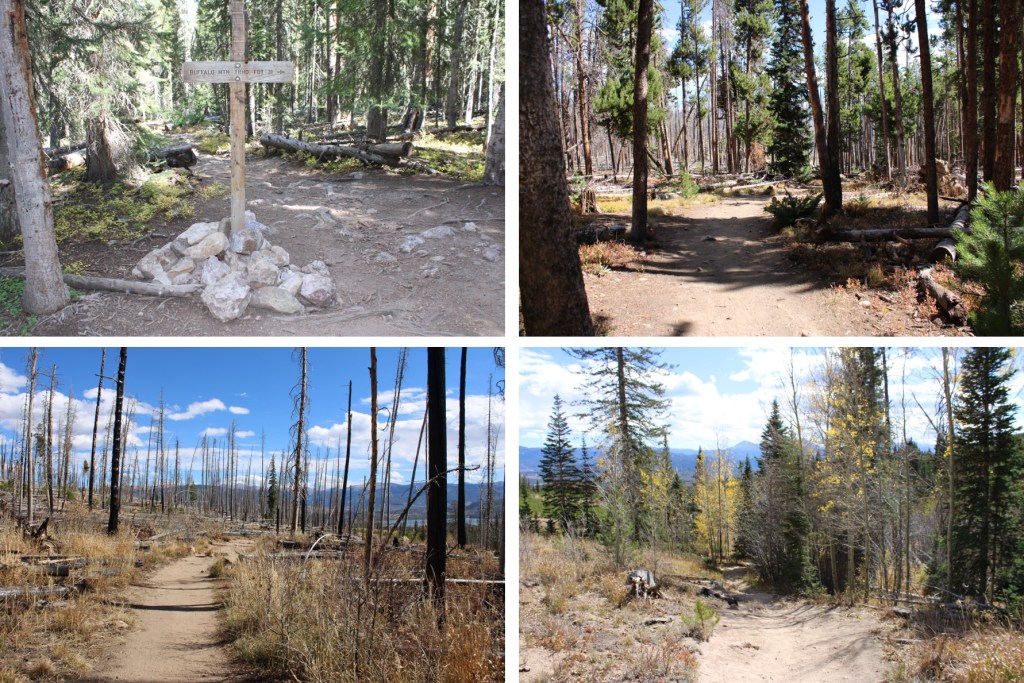
I followed the trail northwest, through a burn area

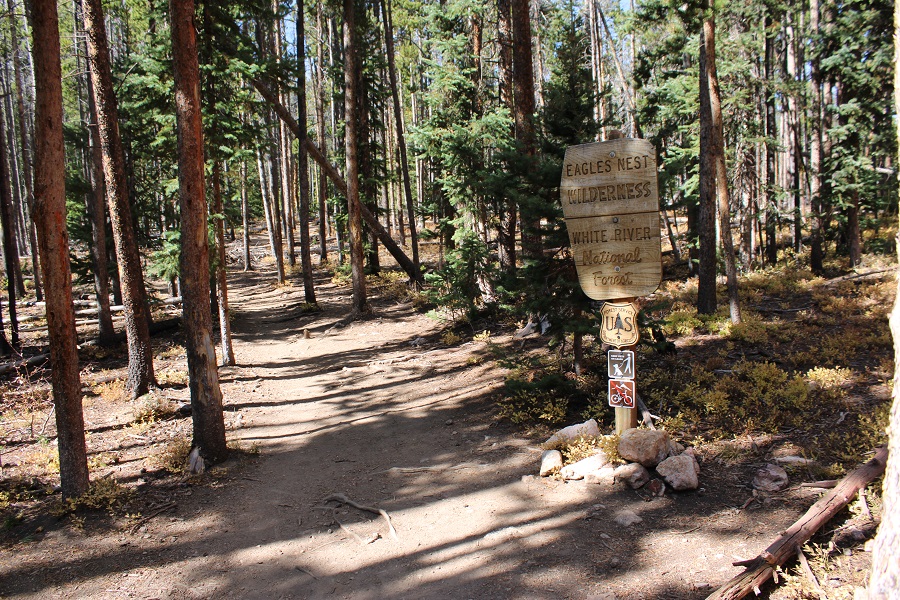
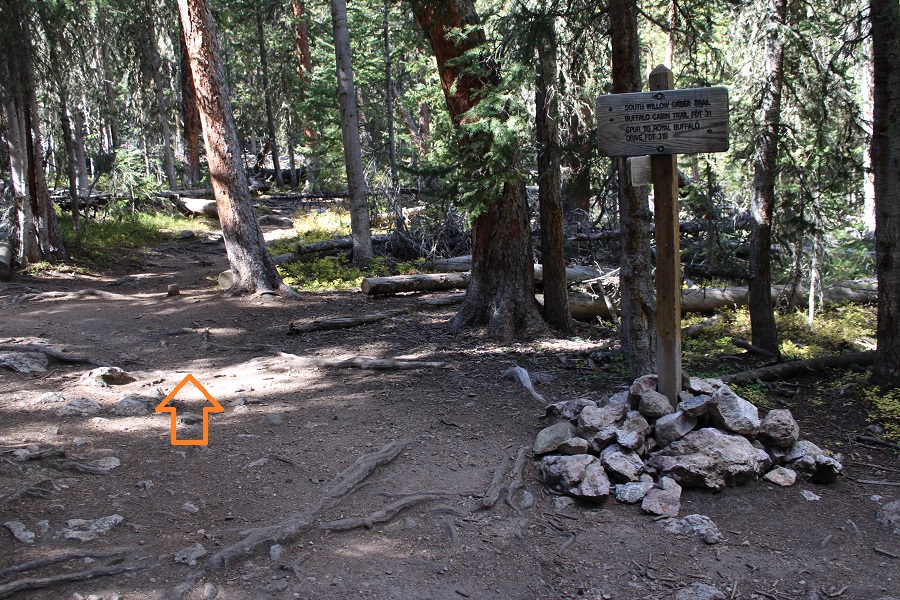
I came to a junction, and followed it northwest, towards the South Willow Creek Trail

After hiking a short distance, I suddenly started losing elevation.  I descended 425’ to South Willow Creek

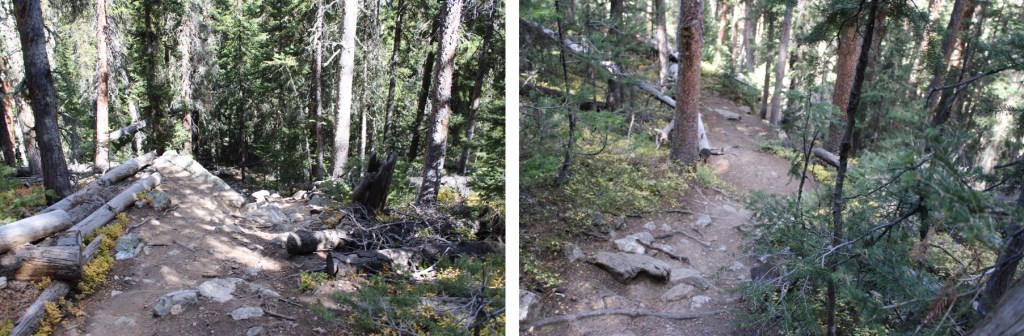
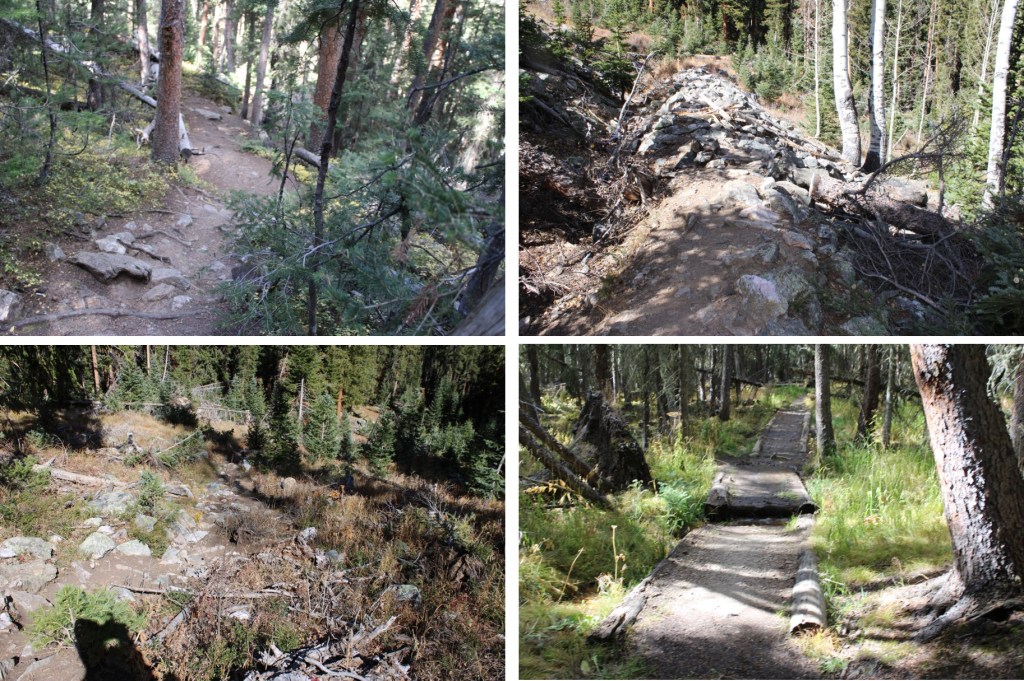
The trail was rocky, and a bit difficult to follow.  There was a cairn that was helpful, letting me know when to continue descending

Crossing South Willow Creek posed another challenge.  There were bridges here, but they were all ‘out’.  My best advice is to cross every one you see, and the trail will pick up to the northwest.

I quickly came to another junction.  This time I went left, following Gore Range Trail 60 west.

This trail would eventually take me to treeline, and a small pond at 11400’.  It was about 5.5 miles of hiking from the trailhead to the pond, on a class 1 trail that was easy to follow. 

Oh, and one more junction, where I stayed on Gore Range Trail 60

Here are some pictures of the way to treeline

Once at treeline, I came to an unnamed pond.  I skirted the pond to the right, on a trail, and followed this trail northwest to Red Buffalo Pass.

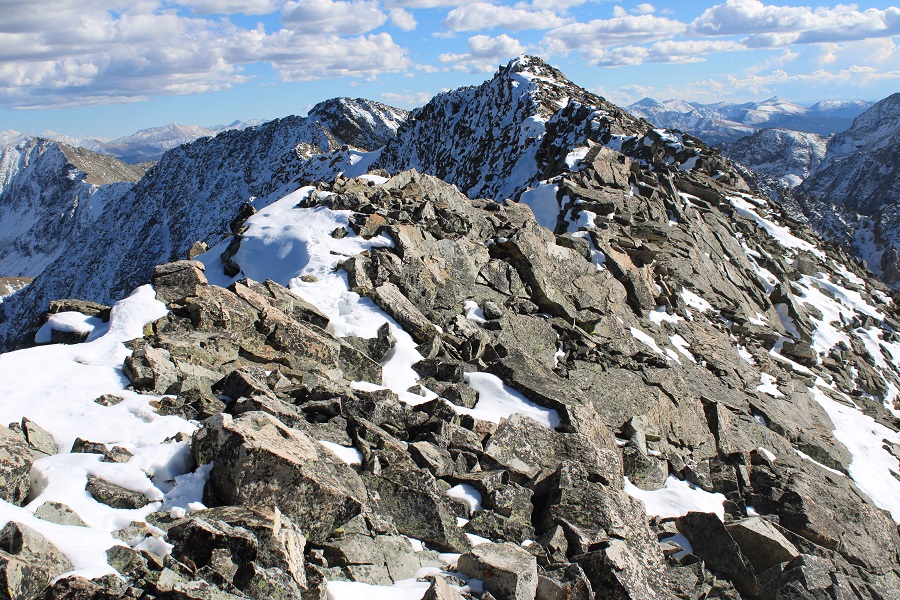
From the pass I turned right, and began heading up the ridge. I was surprised to find a faint trail here.  There’s a trail on 95% of this ridge to the summit, although it can be difficult to see at times.  This is all class 2, and if you find yourself in class 3 territory you’re off route.  Here are some pictures of the ridge.

I now followed the ridge east towards the summit.  Still class 2, staying on the ridge proper

I summited Red Peak at 9am

Red Peak:

This was the only peak I was doing today, I turned around and headed back down the ridge

Now to head south, back towards Buffalo Pass.

Back at the pass, I turned left and followed the class 1 trail back to the pond.

At the pond several trails intersected, with no signs.  I took the one that headed northeast, which was Gore Range Trail 60.

I followed this trail east back to the trailhead

Crossing back over South Willow Creek

Ugh… regaining those 425’ of elevation at the end was a bummer

Then heading back through the burn area towards Buffalo Mountain Trailhead

I made it back to the trailhead at 12:30pm, making this a 14.59 mile hike with 4380’ of elevation gain in 7.5 hours.

On to the next trailhead!
PT 13486

RT Length:  14.11 miles

Elevation Gain:  3299’

I had no intentions of summiting a peak today.  Seriously.  After yesterday’s long ridge hike I decided today would be a rest day.  I was simply going to hike to the upper trailhead and back to get pictures I was unable to get yesterday, due to starting and ending the hike in the dark.  I also needed to put together a rather long trip report, and I wanted to get that out of the way as soon as possible.

I woke up at 9:15am and it was 27 degrees outside.  There was at least half an inch of frost on the ground, and my shoes, which I’d kept inside my truck, were frozen solid.  I couldn’t even get my feet inside of them.  So I sat in the cab of my truck with the heater blaring for half an hour to warm them up. 

Once I could stuff my feet inside my shoes I was on the trail, at around 10am.  My plan was simply to hike to the upper trailhead and back to warm up and get pictures.  I was parked just before the Lulu Gulch trailhead at 10,300’ at a nice dispersed campsite.  My truck could have made it to the Huron Trailhead, as it has before, but the road seemed a little more intense this year and I love my truck, so I decided to park lower and get the extra mileage. 

I followed the 4WD road as it meandered south, past the Lulu Gulch trailhead and numerous dispersed campsites. 

After hiking for about 1.75 miles I made it to the Huron Peak/Lake Ann trailhead.  From here, I followed Lake Ann Trail 1462 south.

At the Lake Ann/Hope Pass junction I went left, following the Lake Ann trail

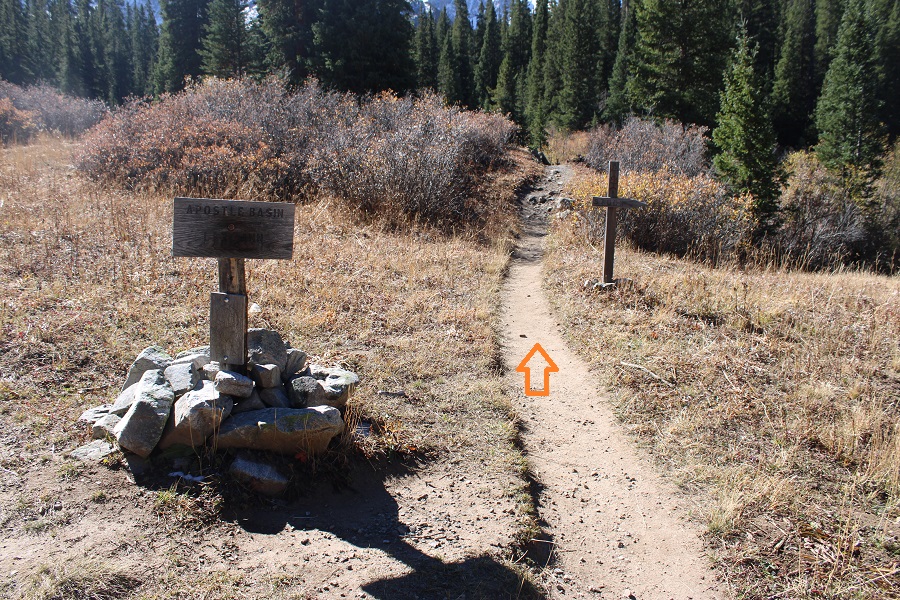
At the Apostle Basin/Lake Ann junction I went left, towards Apostle Basin

This is where I made the decision to continue towards PT 13486.  I was feeling pretty good, and said “to heck with a rest day”.  I almost immediately regretted this decision.  I continued on until I made it to 10845’, where there was a cairn and a blocked trail to the left.  I took this trail.

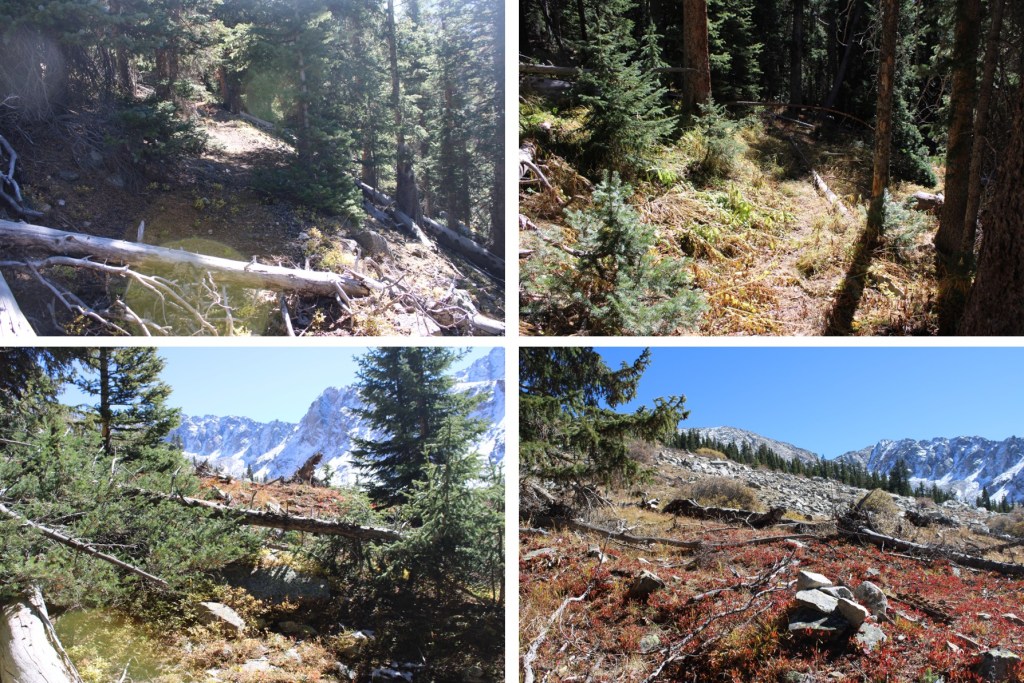
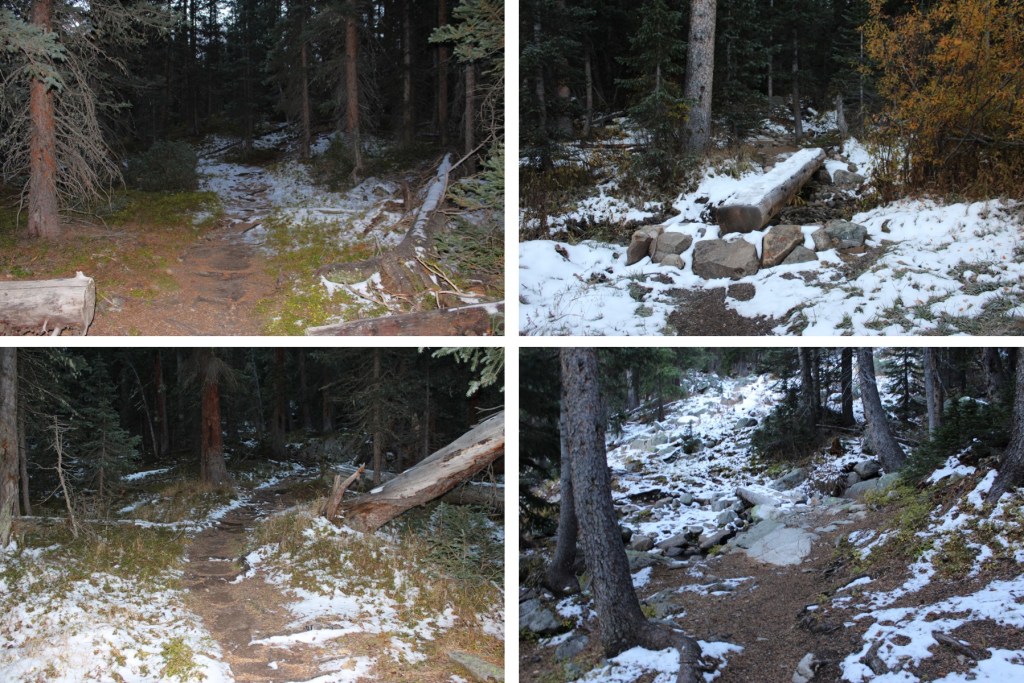
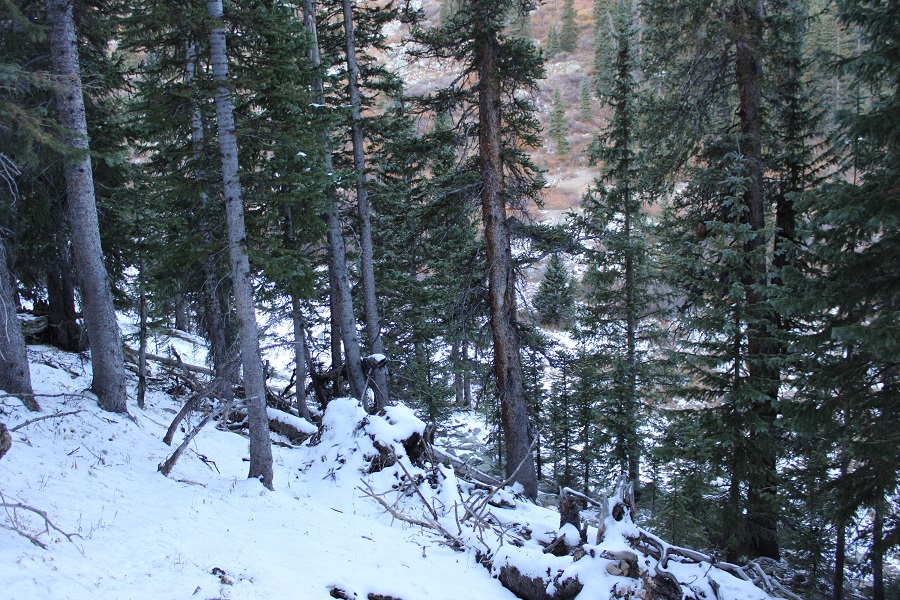
This was an old trail that doesn’t look like it gets a lot of use.  There were tons of downed trees to navigate as I made my way east to treeline. At this point I stopped and looked at my readings.  I’d gone 3.5 miles and gained 600’ of elevation.  I was already exhausted, and wanted to turn back.  My mind kept telling me I was tired (I wasn’t), thirsty (I wasn’t) and couldn’t go on (I could).  I reminded myself it’s usually your mind that gives out long before your body does, and kept telling myself to go just a little bit further before deciding to turn back.  This hike was very much a mental game, but I kept going.  I just took a lot of breaks.

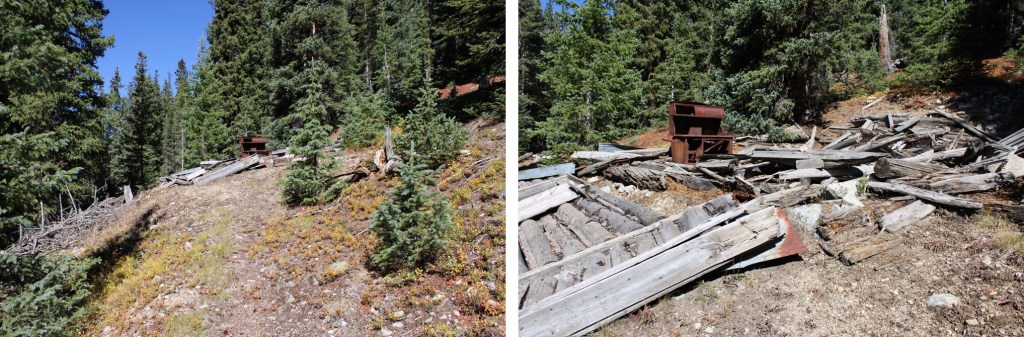
Just before treeline, at around 11600’ there’s an abandoned cabin that was cool to look at.  When you get to the cabin keep heading east, as the trail becomes difficult to follow, but you’re almost to treeline.

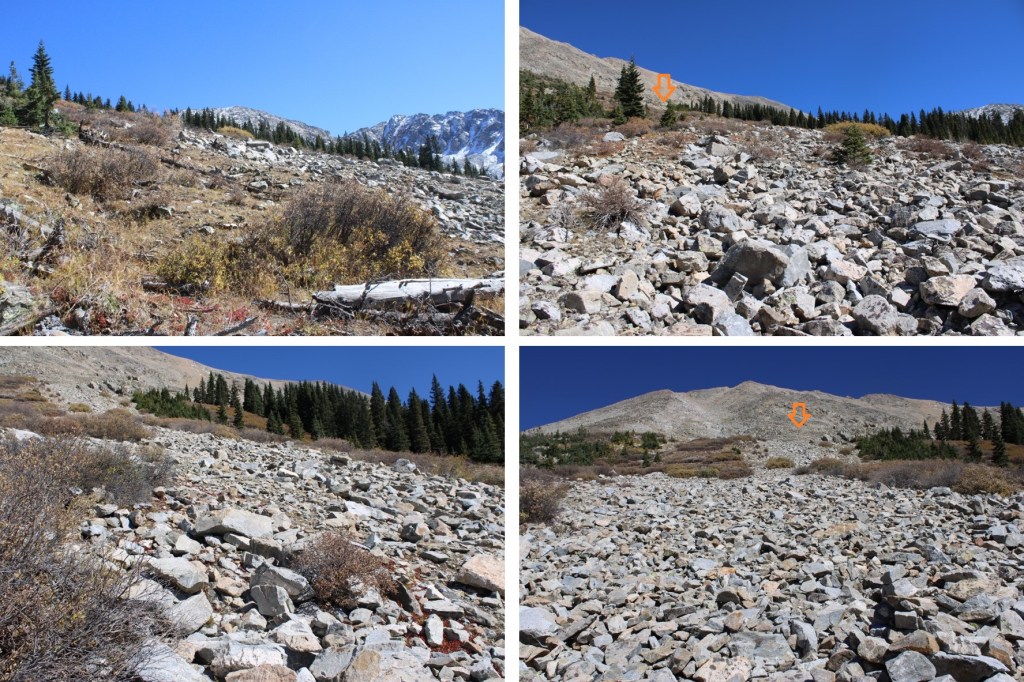
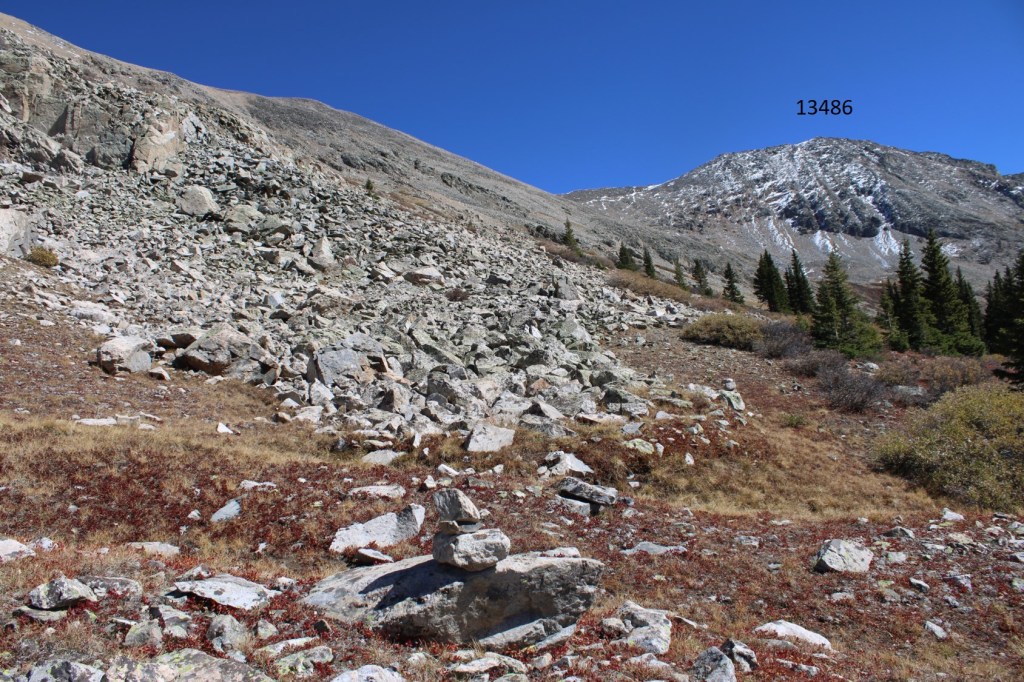
Once at treeline a cairned route begins that leads for about a quarter of a mile.  The rocks however, never ended.  I followed the cairns up.

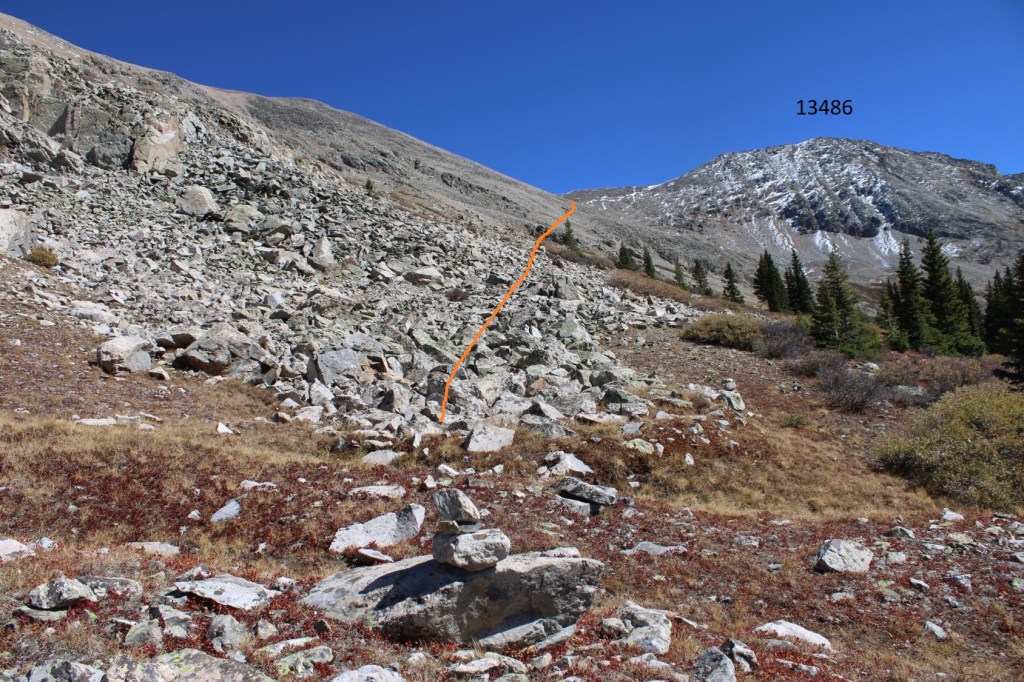
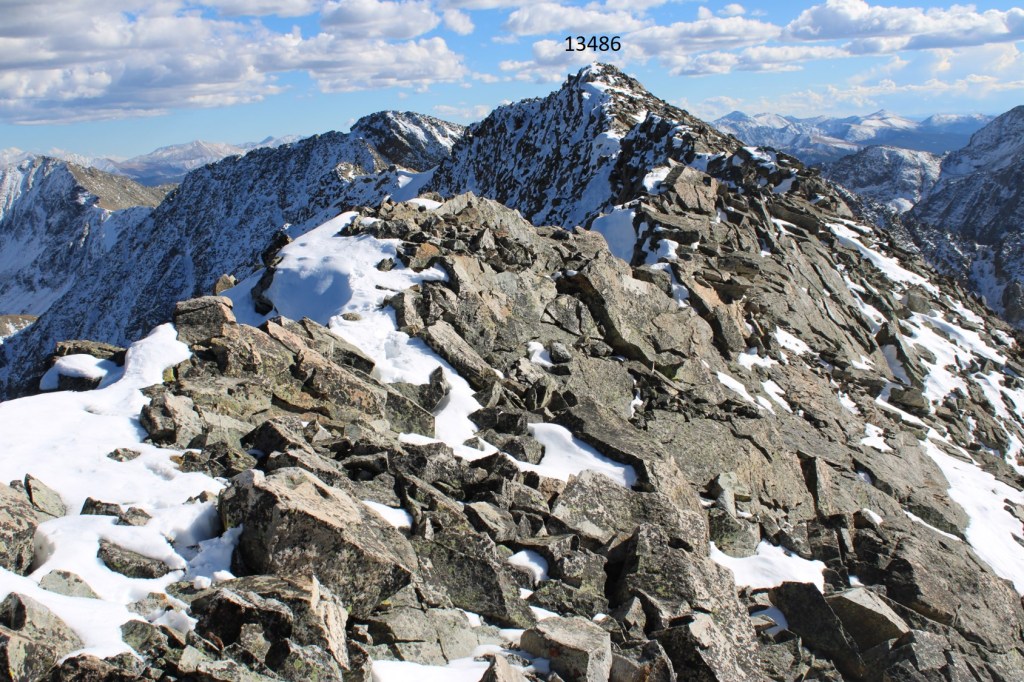
I could now see PT 13486 to the east.

There are several routes to get there.  I took a high route on my way up, the gully on the way down.  There were cliffs I was trying to avoid. This is the route I took as I ascended.

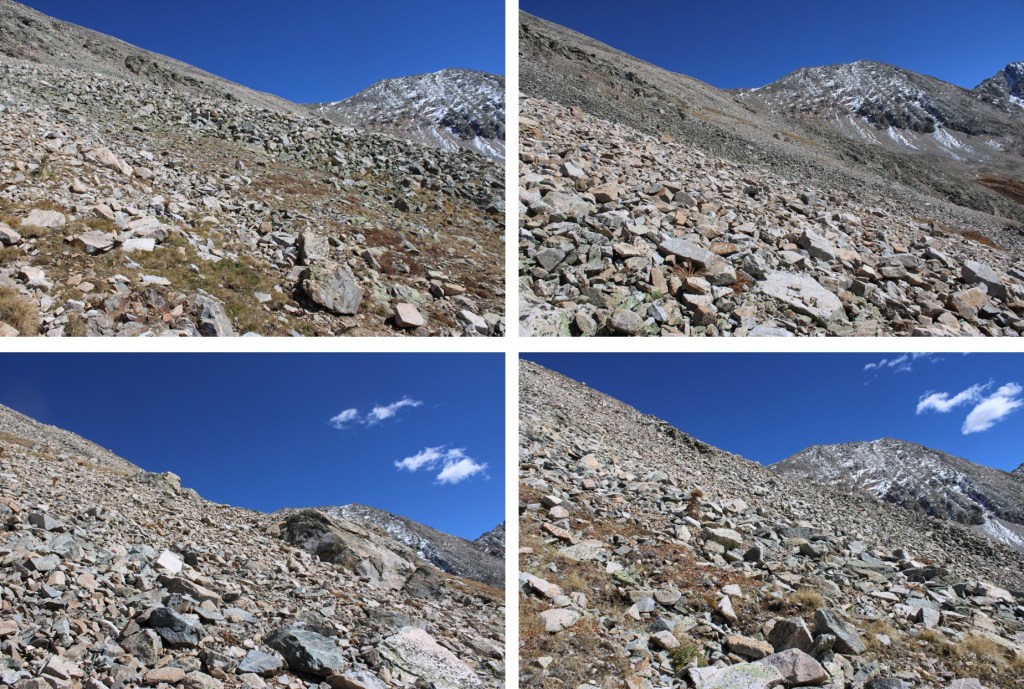
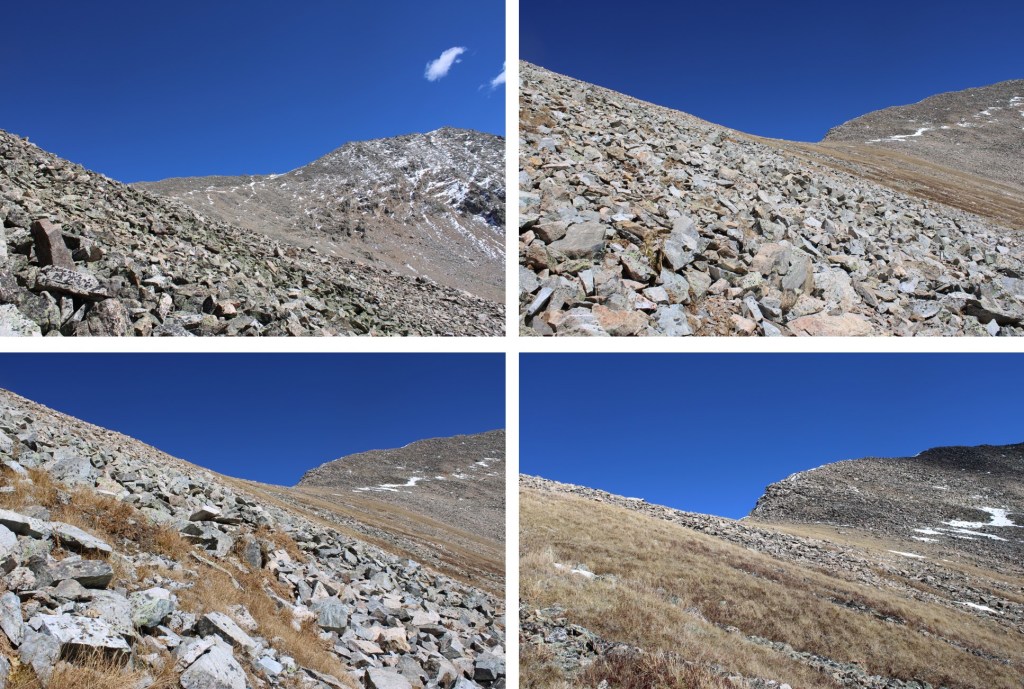
And some step-by-step pictures of the route, keeping high to avoid the steeper rocky sections

I kept rounding the hillside until I could see the Huron/13486 saddle.  I headed for the saddle.

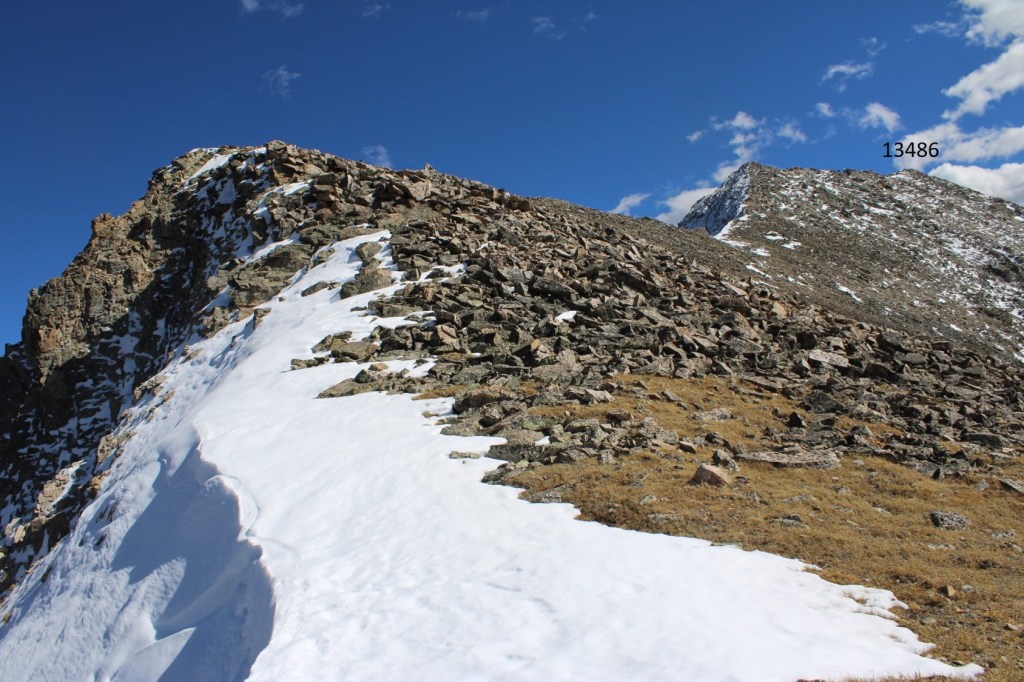
This now became a ridge hike.  There were a few class 3 moves, and snow to make the route spicy. 

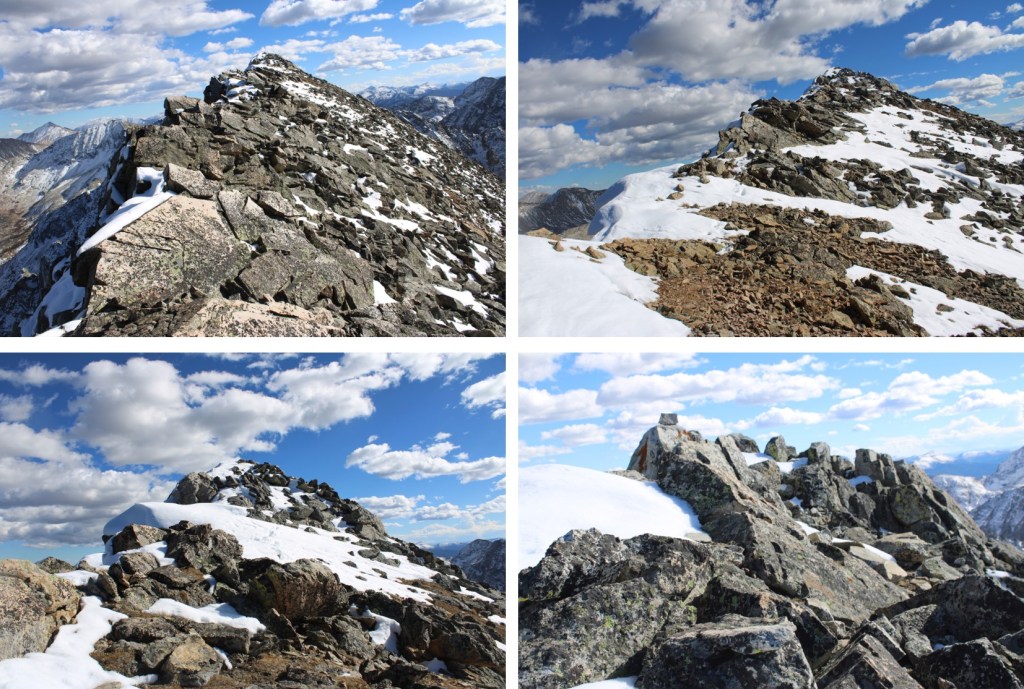
I mostly stuck to the ridge.  Here are some pictures of the route to the summit.

Here’s a look at the rest of the ridge. This is where it gets spicy.  I stopped here for a bit because I met another climber on the trail, Larry, who’s a recent Bicentennial finisher (Congrats!!)  We chatted for a bit, and I learned he was in more of a hurry than I was to get to another trailhead before dark, so I let him go ahead while I took a bit of a break.  I checked my cell phone for service (none) and decided instead to play a bit of solitaire while I waited.  After Larry summited, I was on my way again. 

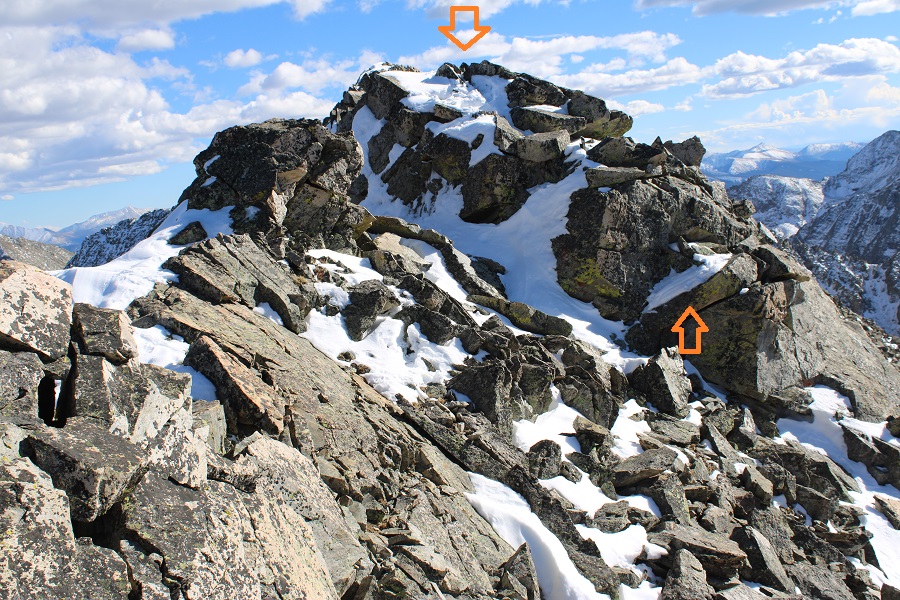
This was the hardest move for me.  It was class 3, but the snow made it interesting.  I went up to the right, came back down on the left

Here’s the final push to the summit

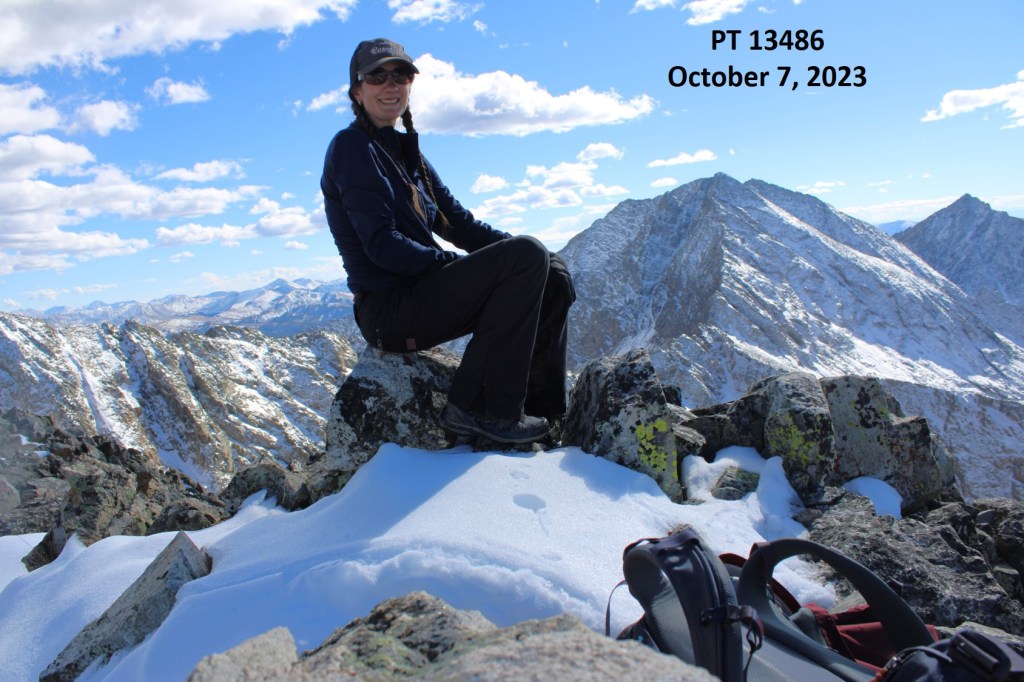
I summited PT 13486 at 3:30pm

PT 13486:

It was here I realized my negative thoughts had stopped as soon as I’d hit treeline.  I guess having a visual of the route really helped clear my mind.  I was glad I’d pushed on, even though it had already been a long day.  I turned and headed back down the ridge to the Huron/13486 saddle.

Back on the saddle, I turned left and decided to take the gully down.  I descended to the patch of tundra below, at about 12400’

Here’s looking back up at the gully I’d descended (which you could ascend as well instead of taking the higher route)

At 12,400’ I turned right, descended about another 200’, and stayed at that elevation until I made it back to the cairned area.

I was aiming for the trees to the west

I then picked up the cairned route back down to the trees and the trail

I followed the miners trail through the trees, back to the actual trail

Then followed the trail north back to the Huron/Lake Ann Trailhead

And took the road back to the lower Huron Trailhead

I made it back down to the lower trailhead at 7pm, making this a 14.11 mile hike with 3299’ of elevation gain in 9 hours.

On to the next trailhead!
13253, 13,258, 13,251, Sheep Rock Mountain – 13,261, West Virginia Peak – 13,152, Virginia Peak – 13,094, Winfield Peak – 13,085

RT Length: 19.34 miles

Elevation Gain: 5574’

This entire hike was class 2, made spicy with the snow.

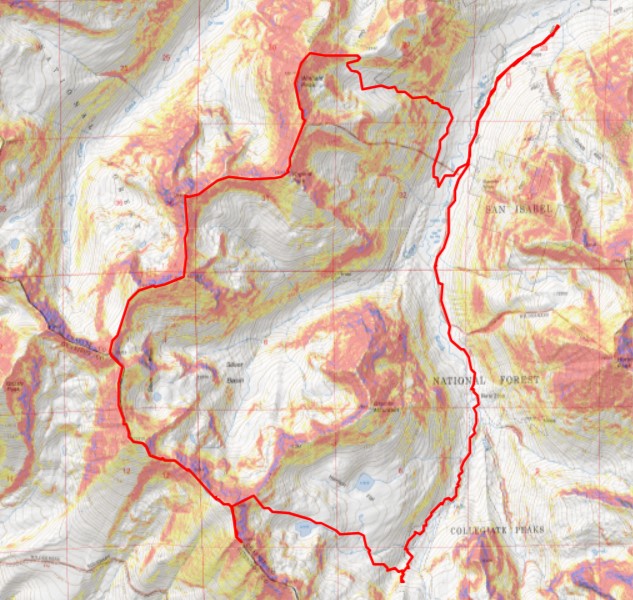
I parked just before the Lulu Gulch trailhead at 10,300’ at a nice dispersed campsite.  My truck could have made it to the Huron Trailhead, as it has before, but the road seemed a little more intense this year and I love my truck, so I decided to park lower and get the extra mileage. 

I woke up to a thick layer of frost because it was 27 degrees outside, and was on the trail at 6am.  I followed the 4WD road as it meandered south, past the Lulu Gulch trailhead and numerous dispersed campsites. 

After hiking for about 1.75 miles I made it to the Huron Peak/Lake Ann trailhead.  From here, I followed Lake Ann Trail 1462 south.

At the Lake Ann/Hope Pass junction I went right, following the Lake Ann trail

At the Apostle Basin/Lake Ann junction I went right, towards Lake Ann

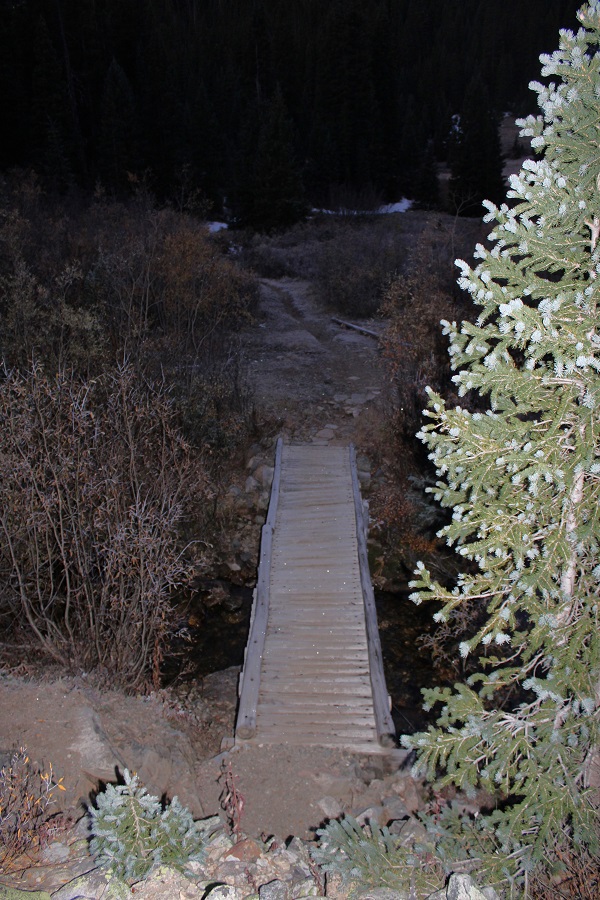
I immediately crossed a bridge, and followed this trail (1462) through the trees to about 11600’

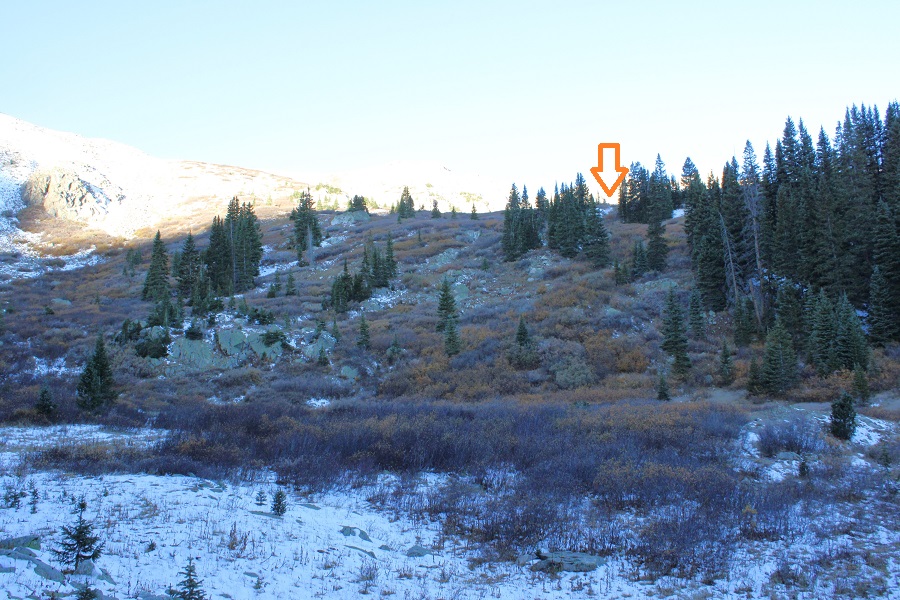
This next part is a little difficult to explain, but at 11600’ I left the trail and headed west, towards Harrison Flat.  Here’s a picture from above at where I crossed

On the ground however, it looked like this:

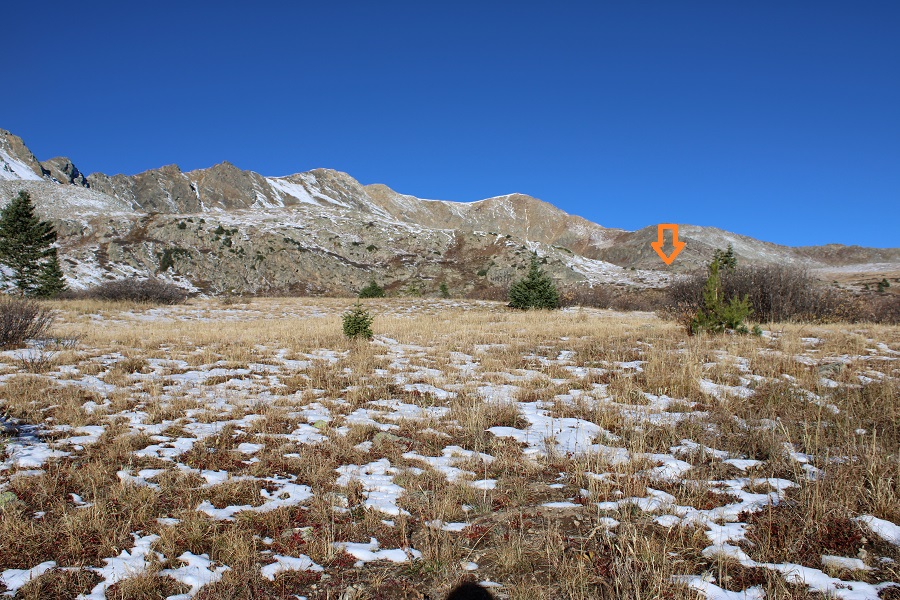
I was headed here to access the upper basin:

Once in the upper basin, I headed west towards the lake at 12155’

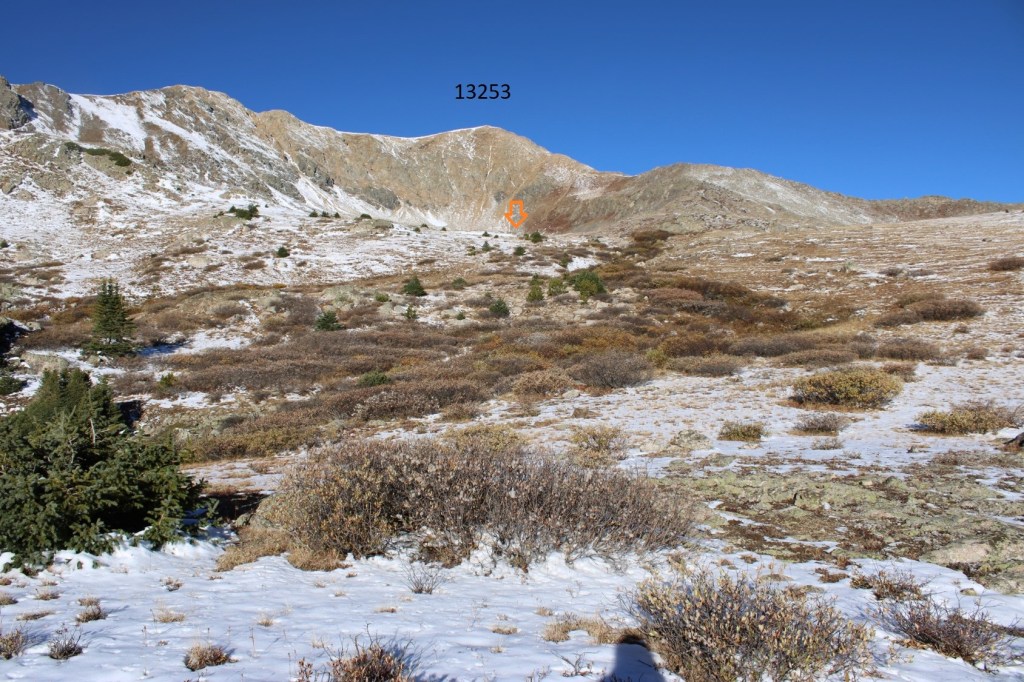
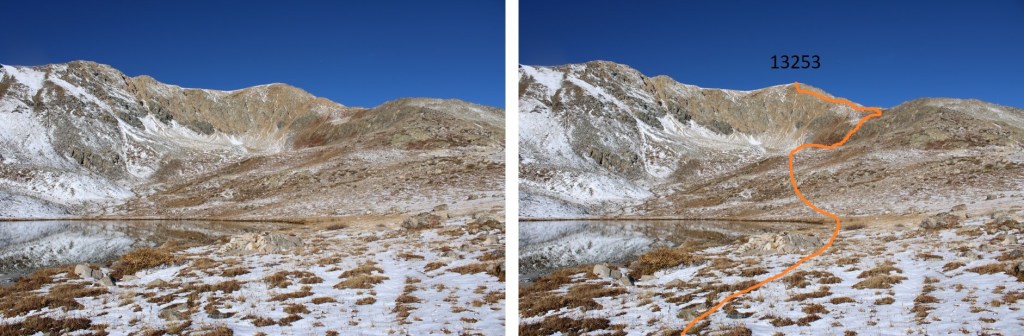
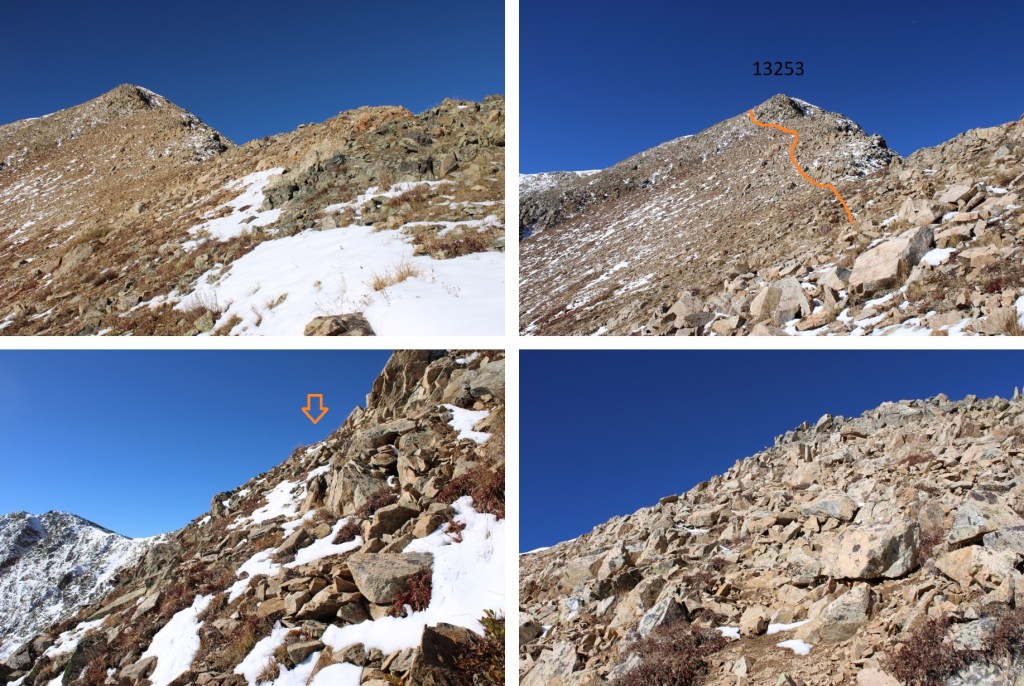
Once at the lake, I skirted it to the right, and headed up the slope.  This is the route I took to the ridge.  This is the overall route I took to the top of 13253.  Note I stayed below the ridge for some time, to avoid the rocky areas.

And some step-by-step pictures.  This is choose your own adventure, but I took the ramp to the right to ascend the ridge.

Then stayed low to avoid the rocky areas.  It became obvious when to ascend on a scree/tundra ramp

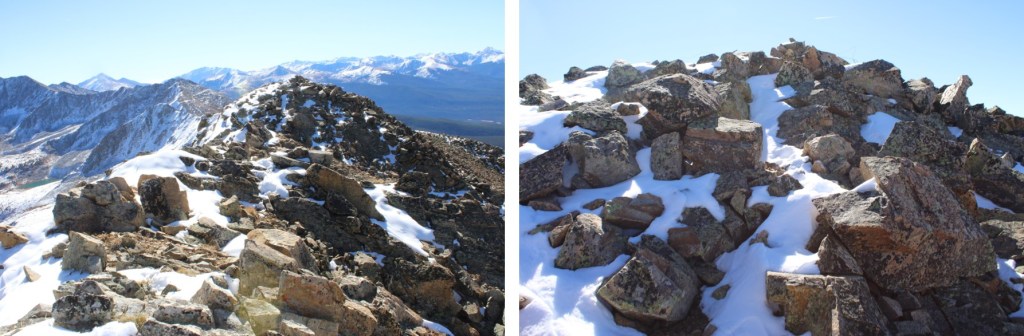
There was a summit register here, which I thought was odd because the true summit was to the south.  I’m not sure if it’s LiDAR or what, but LoJ does not show this as the true highpoint anymore, as PT 13258 to the south is higher. I took a video anyway, as I was there.

PT 13253:

I then headed southeast towards PT 13258

This is the overall route I took

And some pictures of the route.  I descended about 115’ to the saddle, nd then ascended to the summit

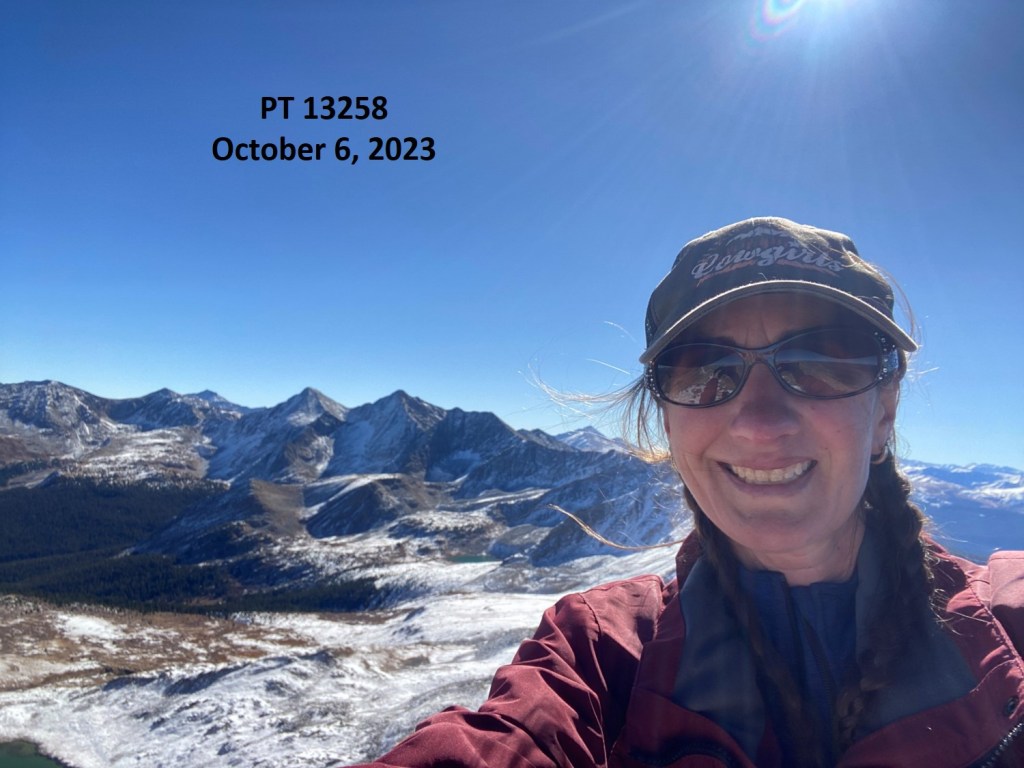
I summited Pt 13258 (also known as 13253 south) at 10:15am

PT 13258:

And now to head back to PT 13253

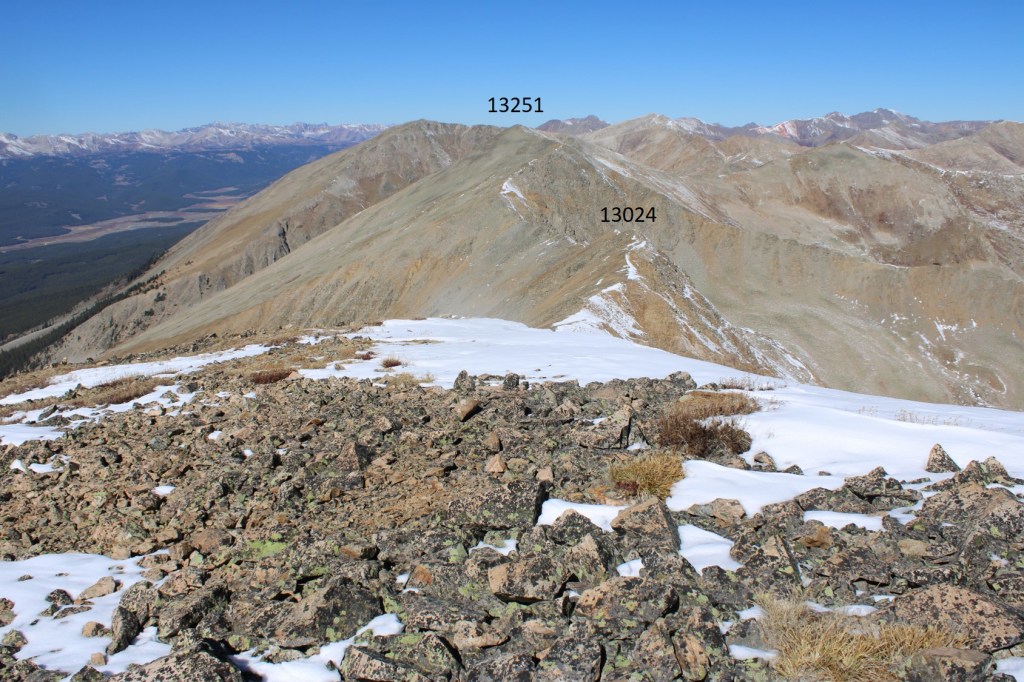
Back at PT 13253, my next objective was PT 13251, to the northwest

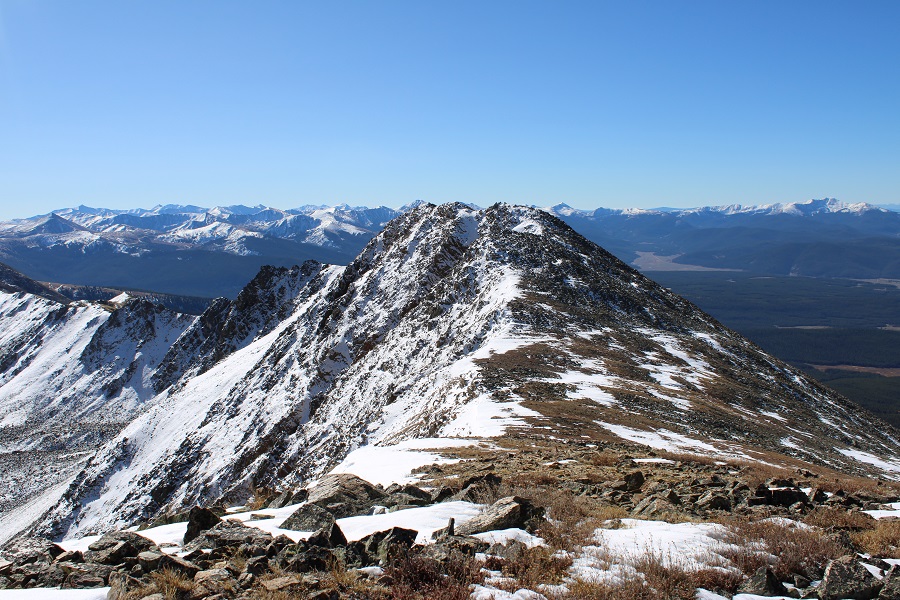
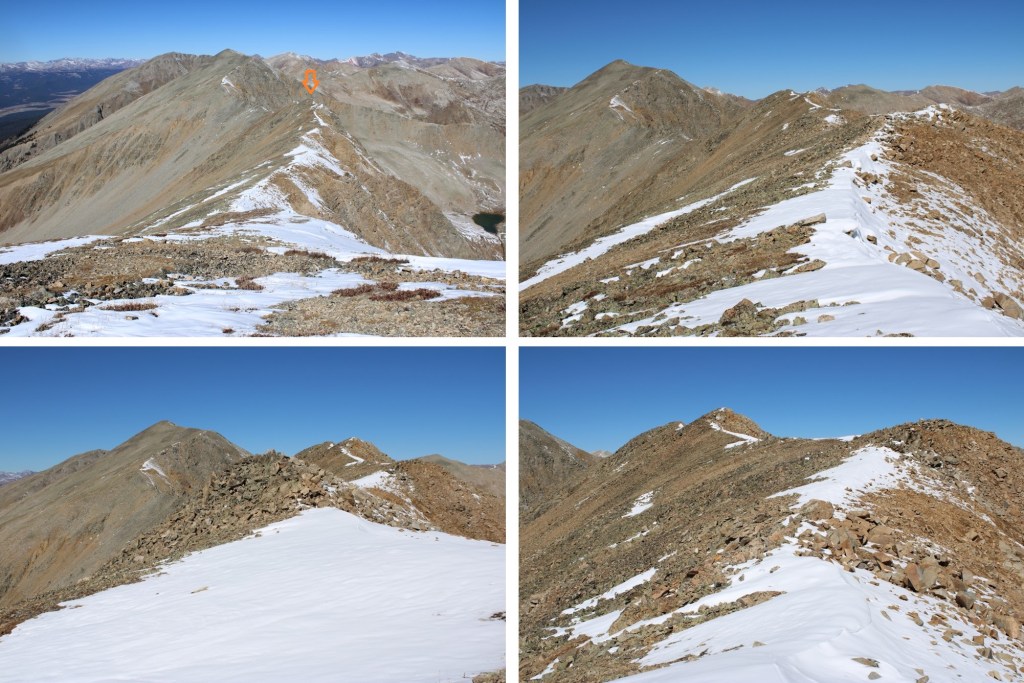
First, I had to get to PT 13024.  It was a simple, rocky, class 2 ridge hike to get there

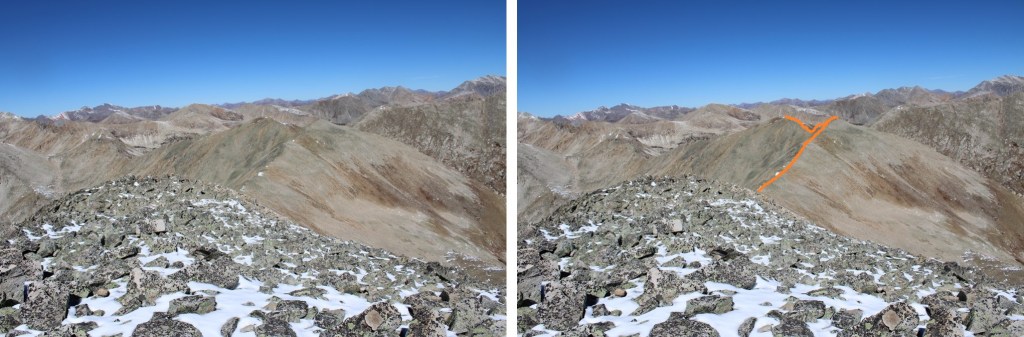
Then it was down and up to PT 13251.  Here’s my overall route to get there, staying to the left when I encountered obstacles, keeping this class 2. 

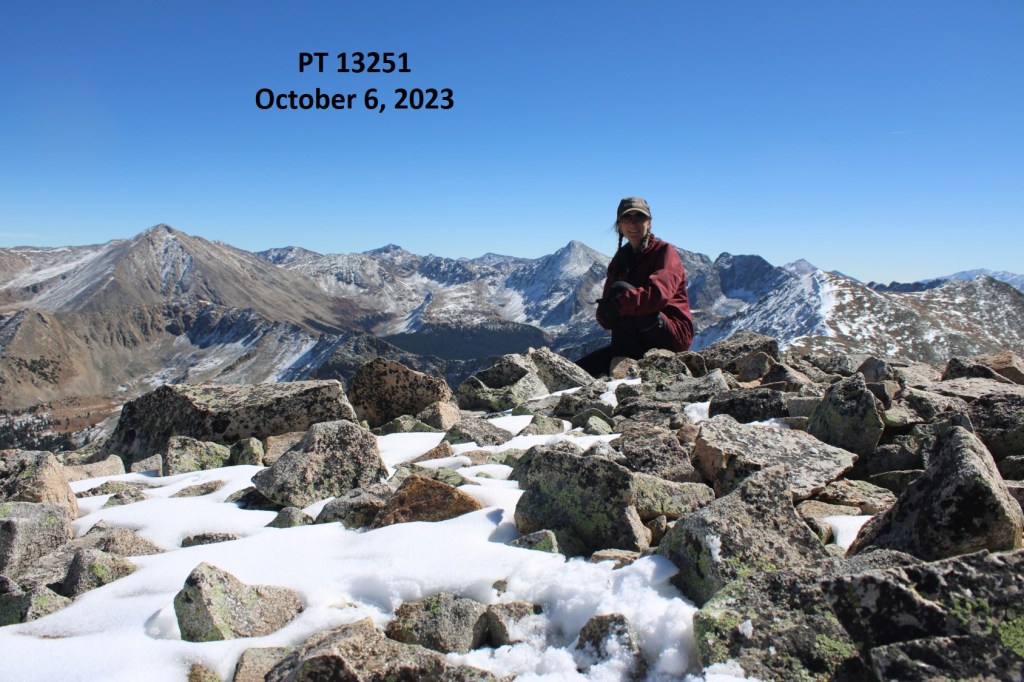
I summited PT 13,251 at 12pm

PT 13251:

There was a summit marker at the summit

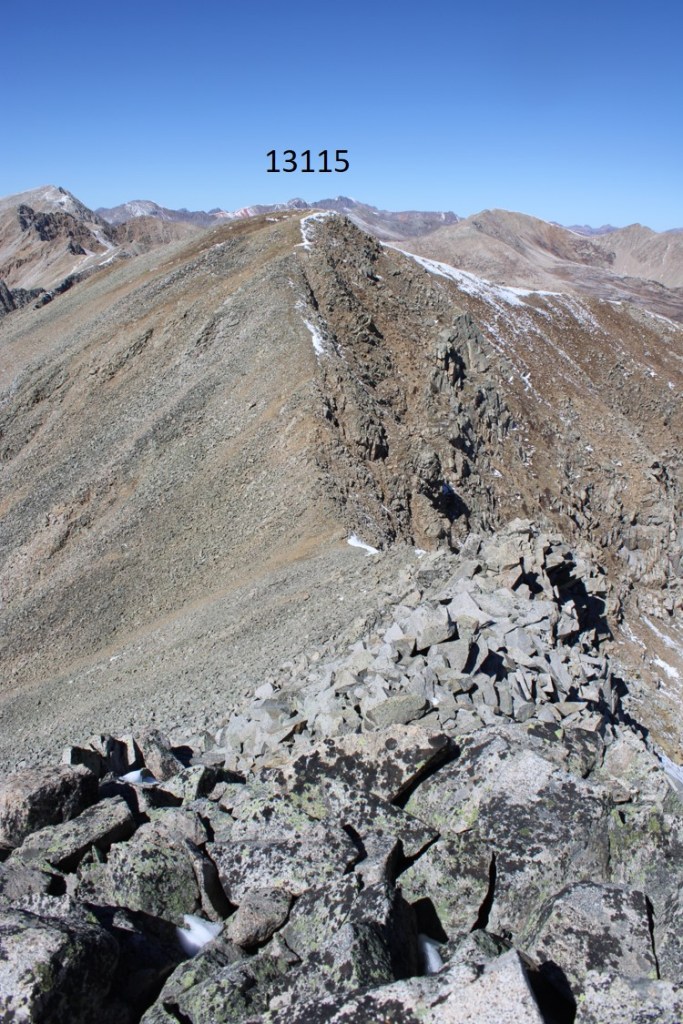
My next goal was Sheep Rock Mountain, which was much further away than it seemed.  First I needed to summit these two points (13115 and 13100, unranked, but they feel like they’re ranked) before following the ridge.  While downclimbing each of these points, there was sugary snow covering the rocks, making the traverse a bit spicey.  Otherwise, it was all class 2.

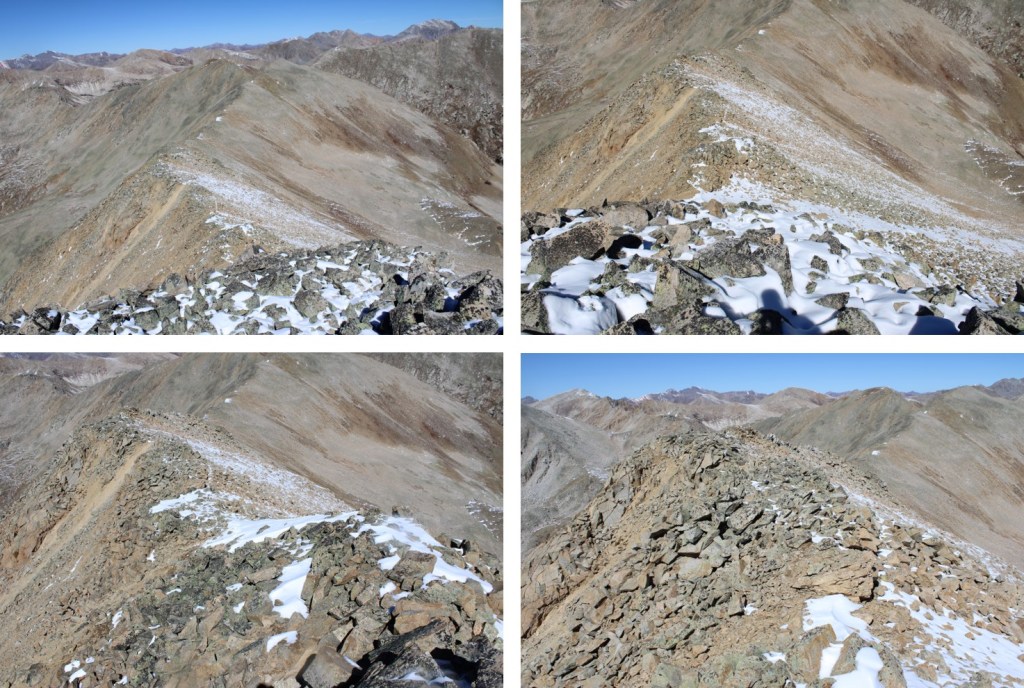
I began by following the ridge north, towards PT 13115.  Don’t be fooled, there are actually two summits here

Here’s a view of the first downclimb

Here’s looking back at 13251

Then up the ridge 165’ to this point.  This was all class 2, but rocky

This point was unranked, as is the next point I could see to the northwest, PT 13115

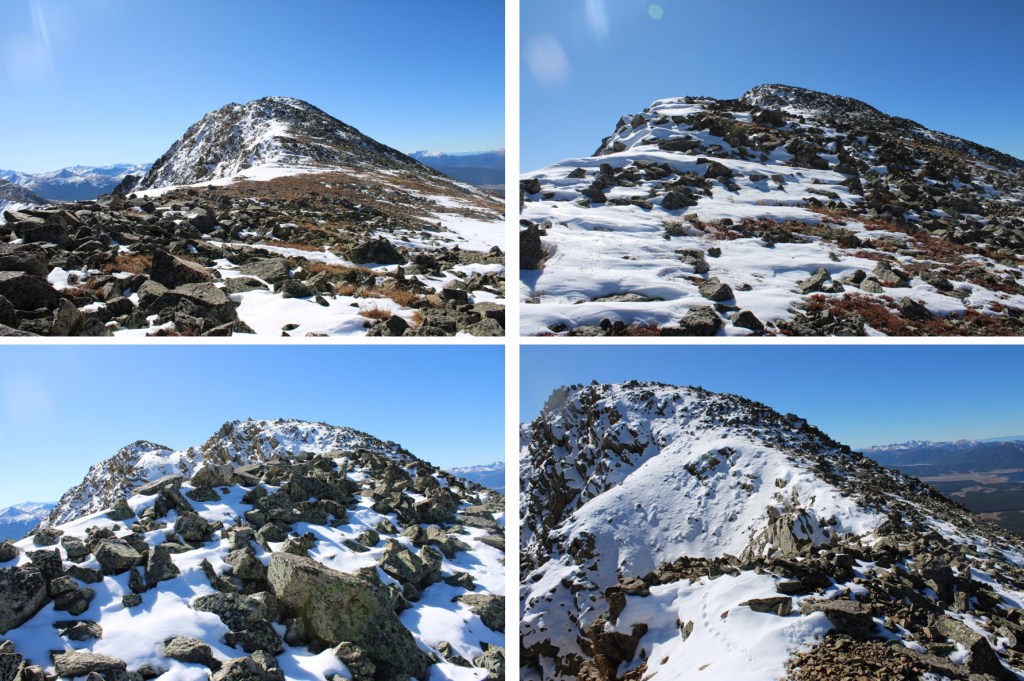
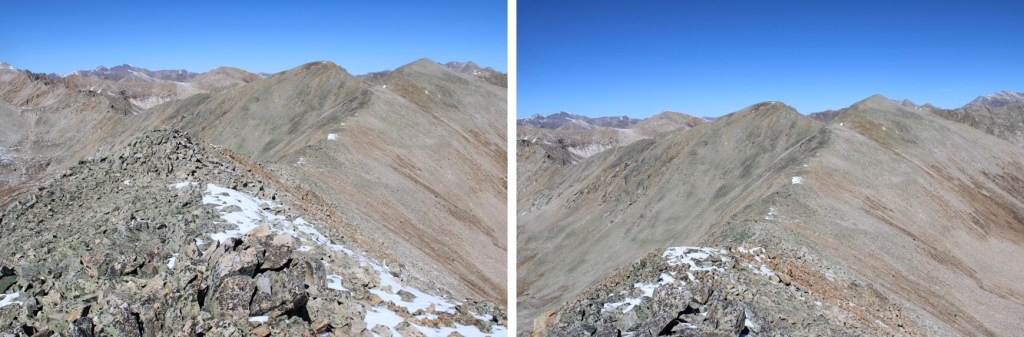
I initially stayed to the left of the rocky ridge to descend towards the saddle, then switched to the right side, and back to the left.  There was snow involved, so I’m not sure what it looks like in dry conditions.  This was all class 2 scrambling.

Here’s the ridge up to PT 13115.  It stayed class 2, staying left before taking the ridge

I stopped here for a little break before continuing on. 

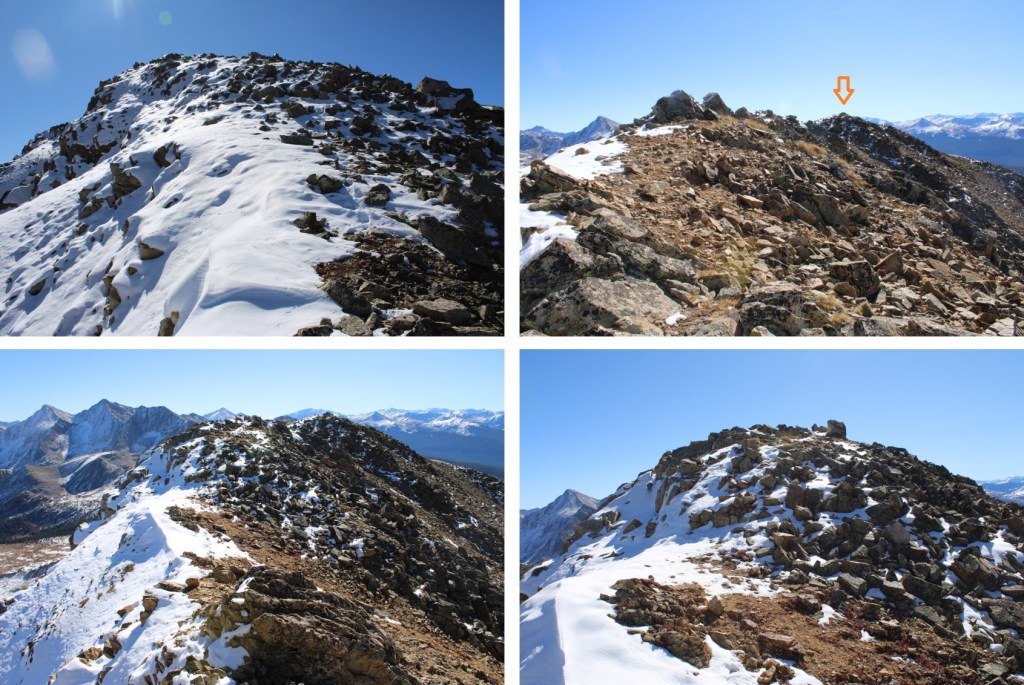
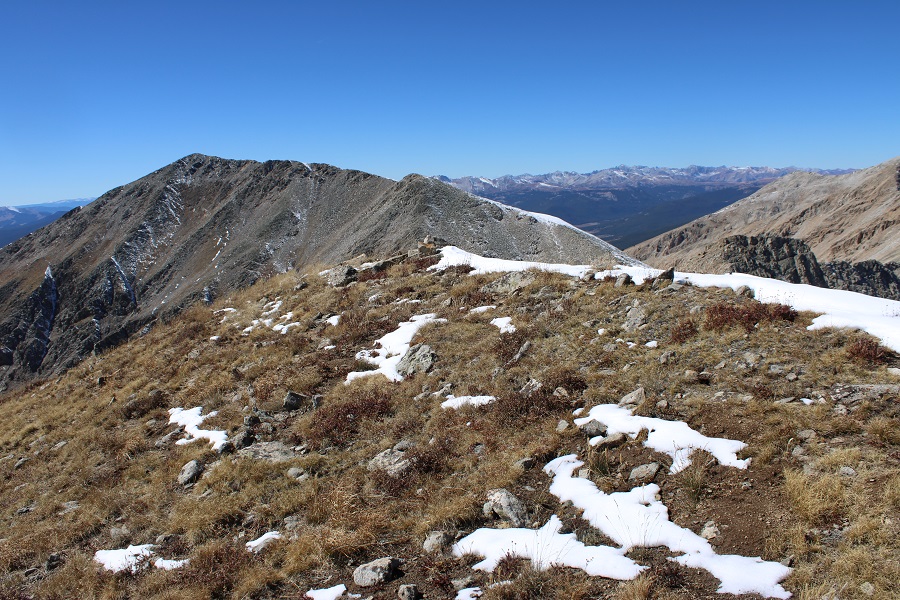
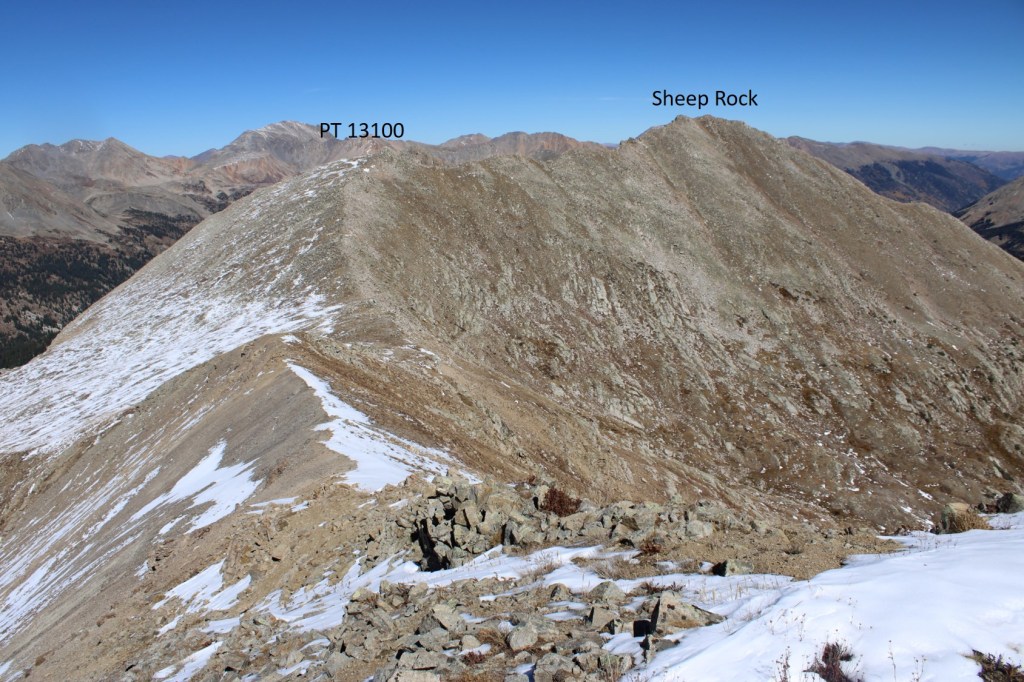
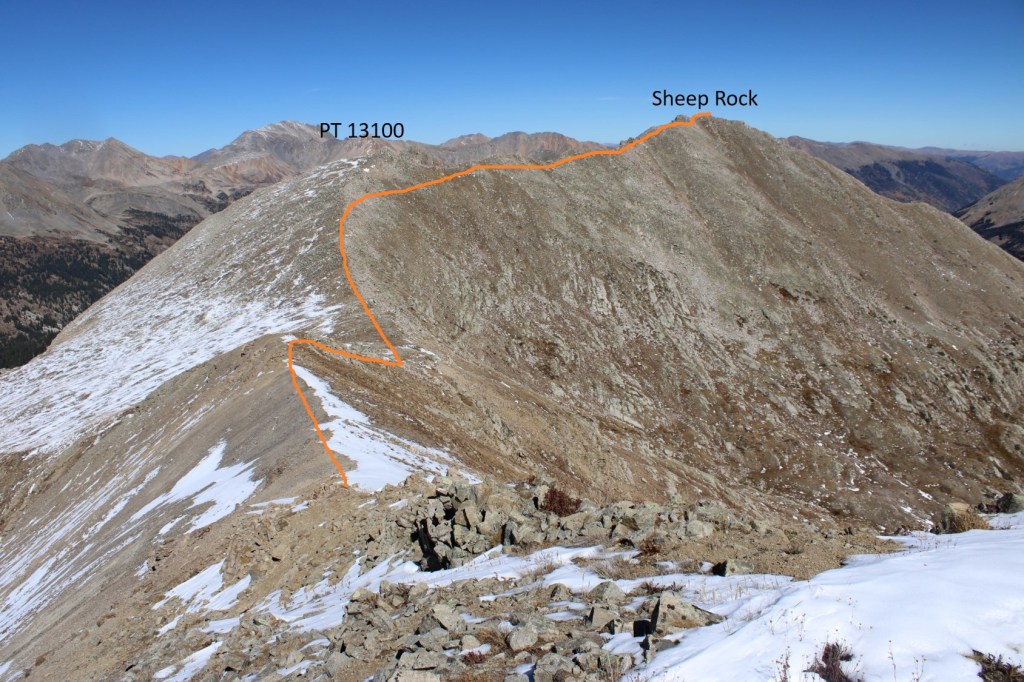
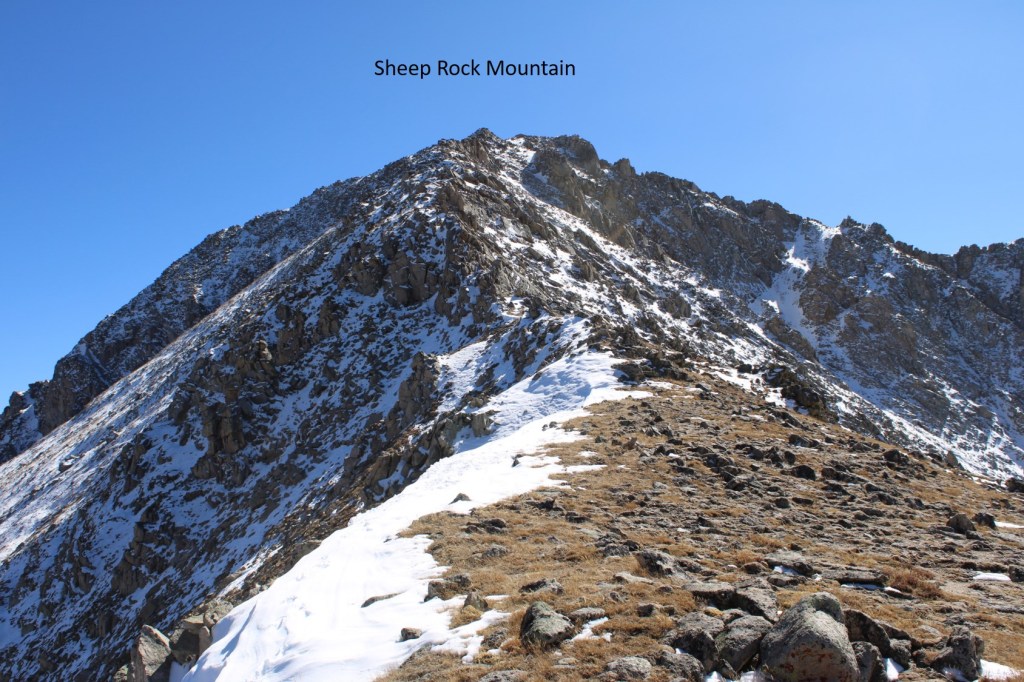
I could see Sheep Rock Mountain to the northeast.  I decided to skirt PT 13100 and stay low on the ridge.  This was my overall route.

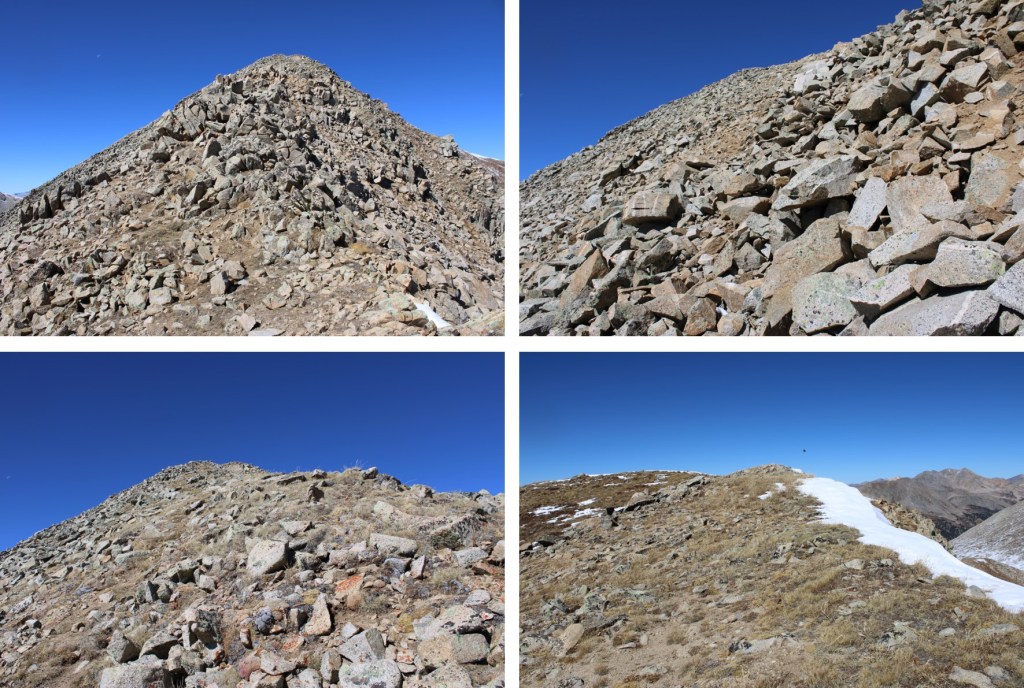
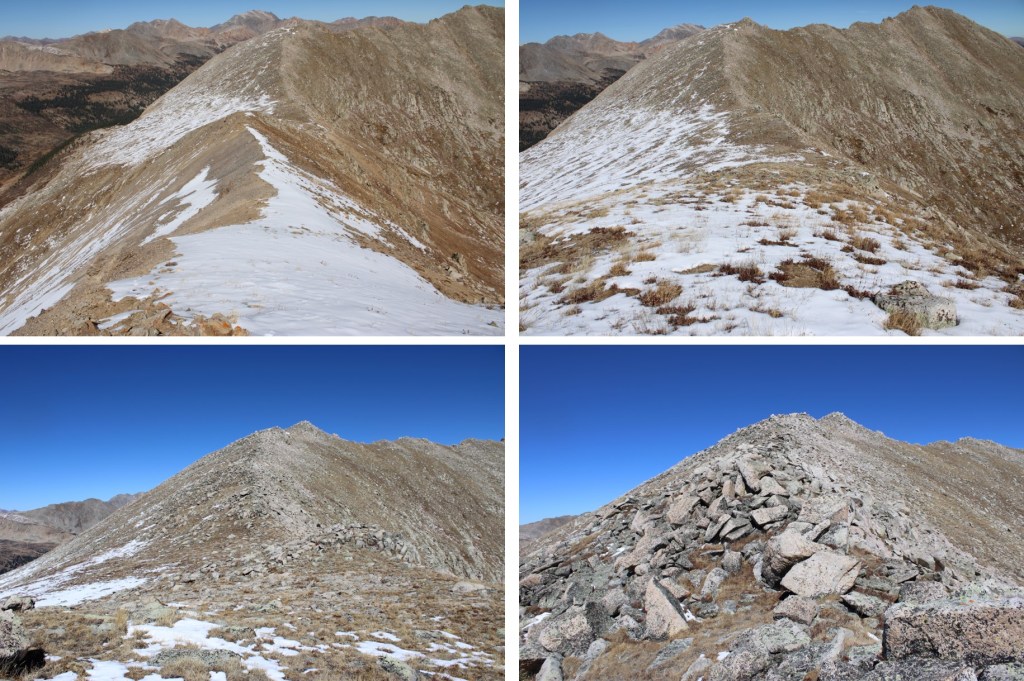
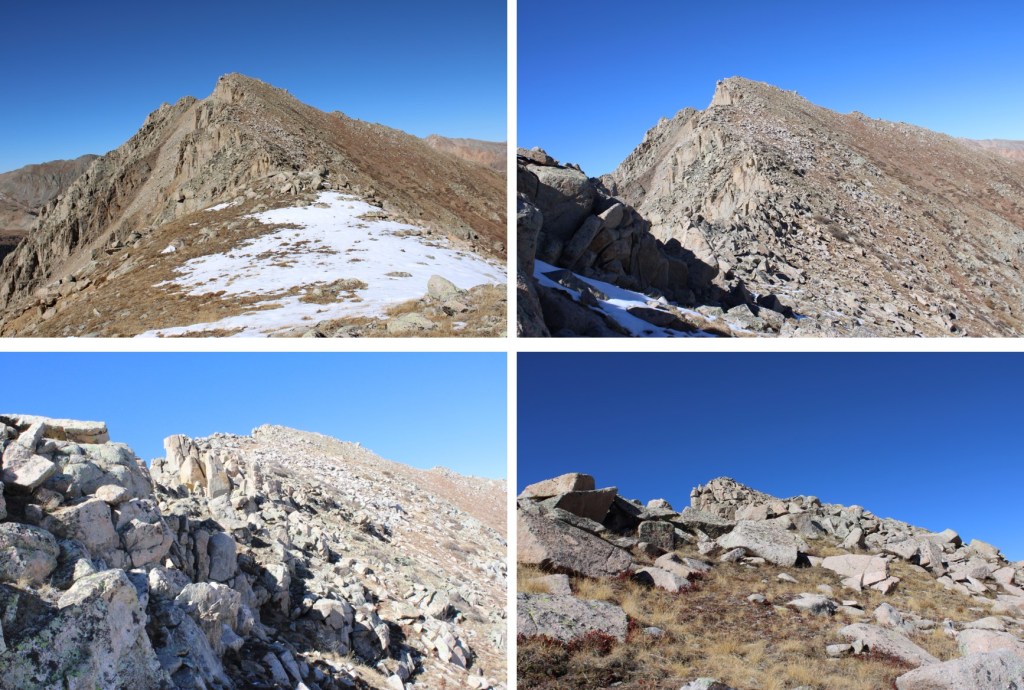
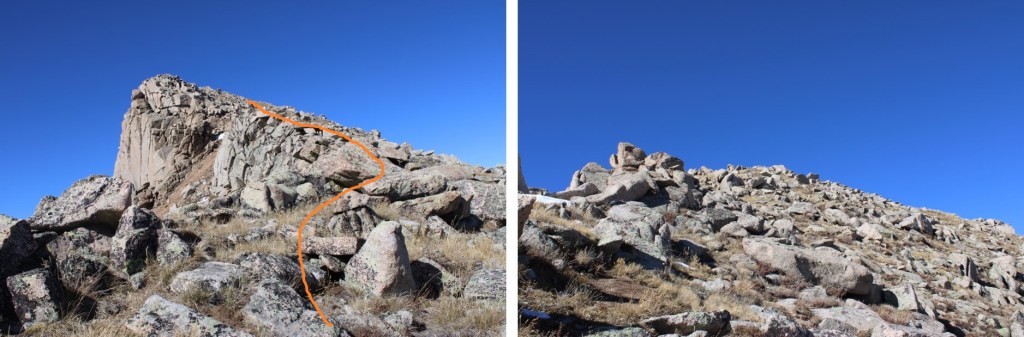
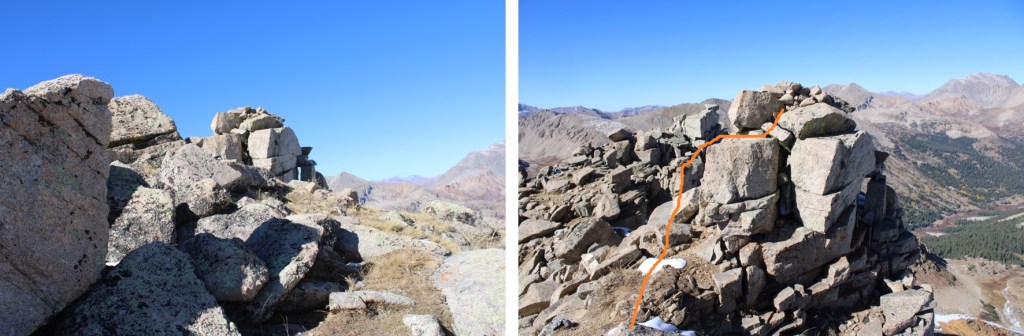
Here are some pictures of the route to Sheep Rock (all class 2)

I summited Sheep Rock Mountain at 2:15pm

Sheep Rock Mountain:

I could see all 3 remaining peaks I had for the day, West Virginia, Virginia, and Winfield.  West Virginia Peak was to the north.

I descended 460 feet down to the Sheep Rock/West Virginia Saddle, staying either on the ridge direct or dipping down to the right in the beginning, the left towards the end. This can all be kept class 2

Here’s looking back up at Sheep Rock Mountain

Then I ascended 350’ to the summit of West Virginia, still keeping this class 2

The summit was an easy scramble to the top

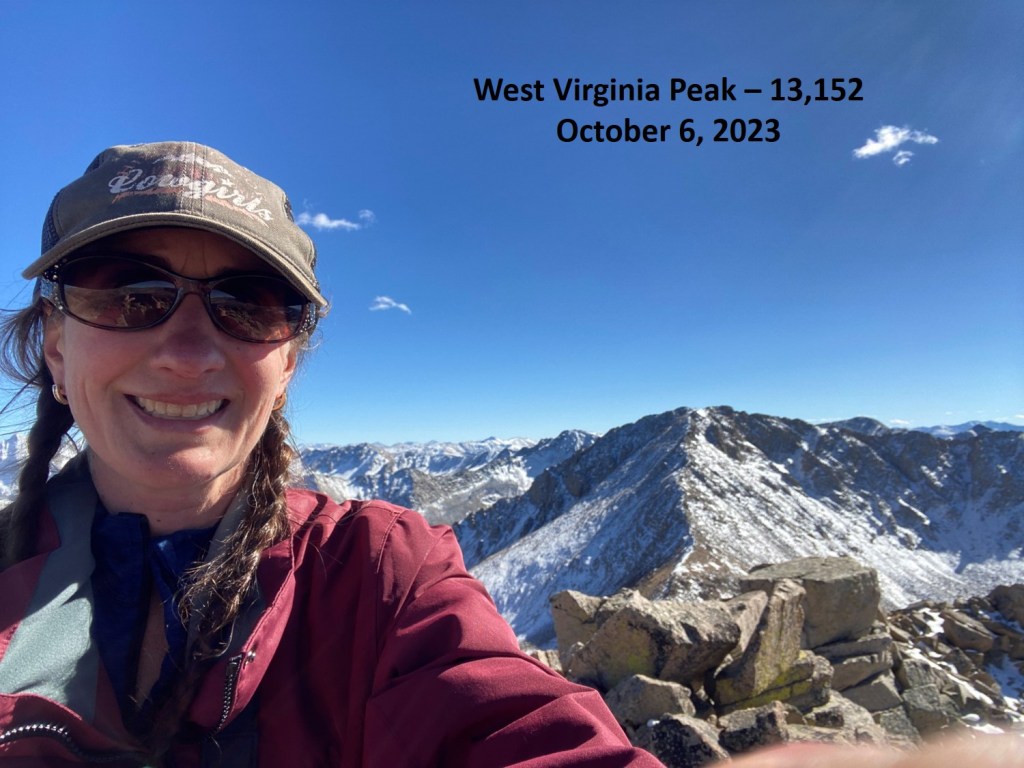
I summited West Virginia Peak at 3:10pm

West Virginia Peak:

To the east was Virginia Peak

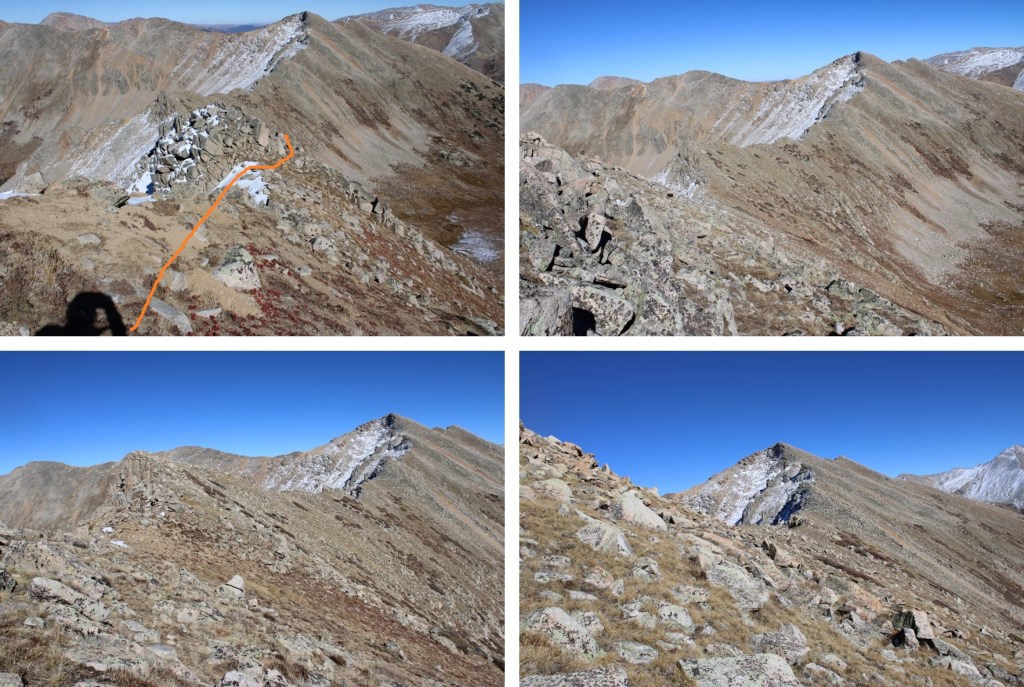
I stayed mostly on the ridge for this part, dipping to the right as necessary

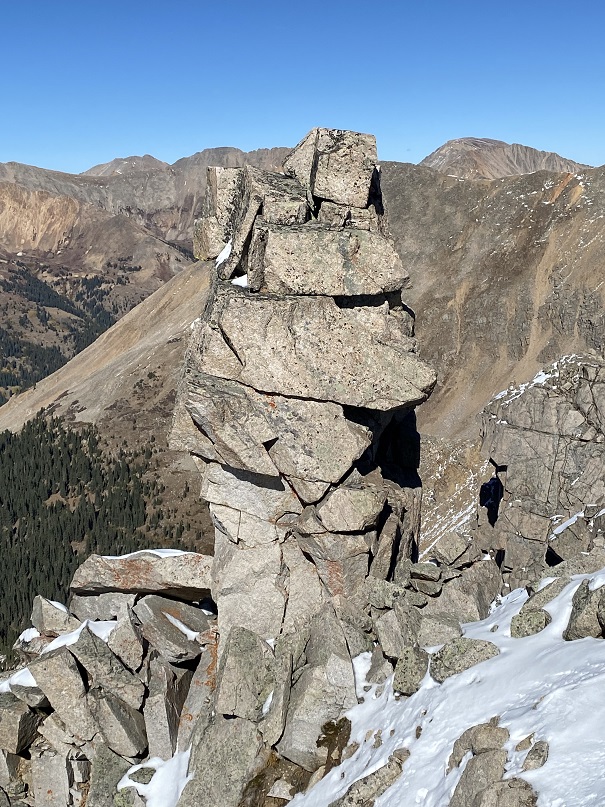
There was a rather interesting rock formation along the way.  So much is going on here

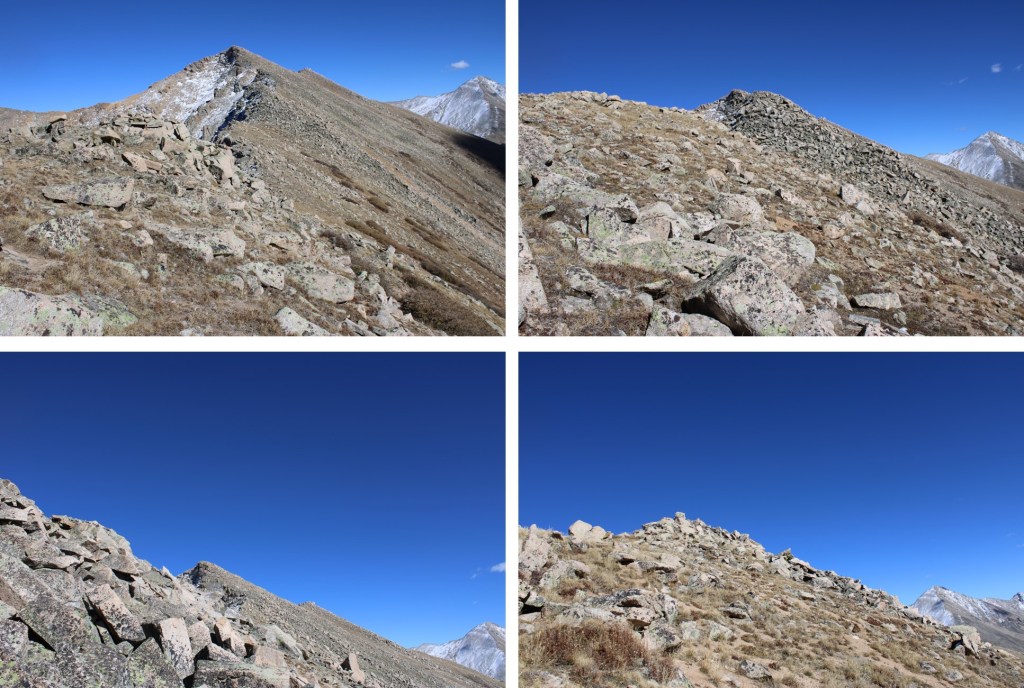
Now up the rocky ridge

I summited Virginia Peak at 4:10pm

Virginia Peak:

My final peak for the day was unranked Winfield Peak to the north

This would be yet another ridge hike.  Here are some pictures of the ridge to Winfield

Still more ridge to go…

I summited Winfield Peak at 5pm

Winfield Peak:

Now to head back down.  I was (obviously) making this a loop, and  had to get back down to the 4WD road.  This included some bushwhacking.  Initially, I continued following the ridge northeast

Then it became obvious I needed to follow the ridge east.  This was very steep and included a lot of scree. 

I descended 860’ down the ridge, to about 12260’ of elevation, then took an old road down into the basin.  The road quickly dissolved, and I bushwhacked east through the trees, looking for a hiking trail I knew would be below.  Here’s my route out of the basin

And some pictures

And now into the trees

As I got closer to the trail, I could see the 4WD road I needed in the distance.  I kept aiming for the road

And eventually made it to the trail.  I took this trail south, until it hooked up with another trail that would take me across clear creek and back to the 4WD road

Back on the 4WD road, I followed it northeast back to the lower Huron Trailhead

I made it back to my campsite at 7pm, making this a 19.34 mile hike with 5574’ of elevation gain in 13 hours.

On to the next trailhead!