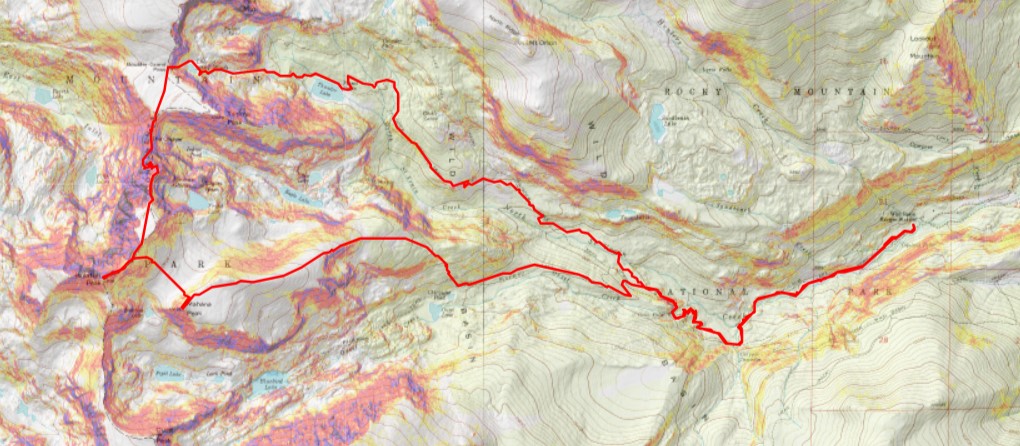
RT Length: 14.52 miles
Elevation Gain: 3346’
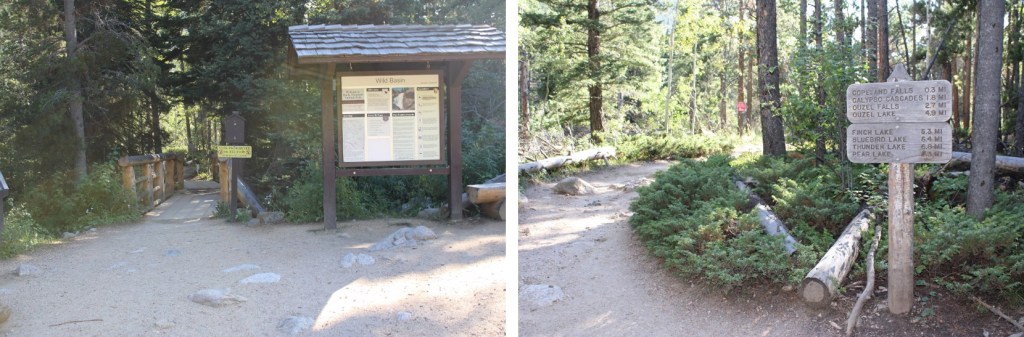
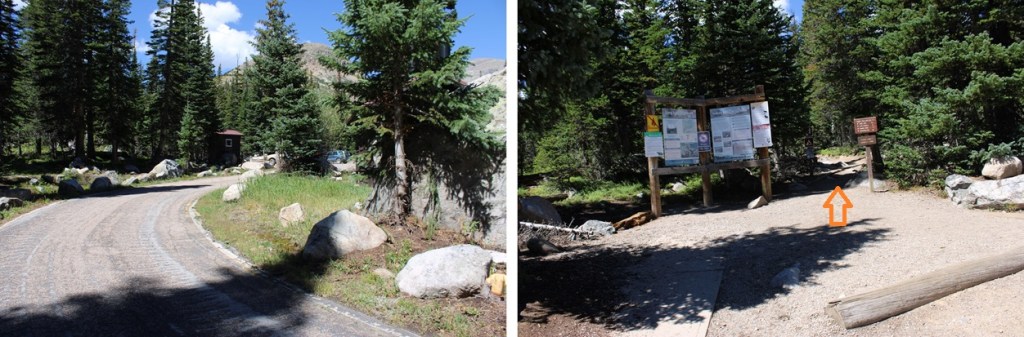
This hike starts from the Long Lake Trailhead inside Brainard Lakes Recreation Area. This area is permitted. There are basically two options for permits (I’m summarizing) either timed entry between 8am-5pm, or an overnight permit. Overnight parking permits aren’t granted unless you have an Indian Peaks Wilderness overnight permit first. Both permits go on sale at the same time. Since I wanted to start before 8:30am, I needed to first get an IPW permit, then try to get an overnight parking permit.
I was able to secure an IPW overnight permit for the weekend but had difficulty securing overnight permits to park inside of Brainard Lake. Eventually I was able to get two 1-night (overnight) permits, one for Long Lake Trailhead and the other for Niwot Campground. I tried to get two consecutive in the same area, but they weren’t available for the dates I was allotted my IPW permit.
When I checked in at the Brainard Lakes Recreation area, they didn’t like what I had done (secured two one night permits at different sites), and decided a better option was to grant me a two night permit for Brainard Lake. I’d have rather parked for two nights at Long Lake or Mitchell Lake, or even what I had done originally, which was one for Long Lake and the other for Niwot. But they weren’t having that, so my mileage was increased by a couple of miles for this hike, since Brainard Lake is over a mile from the trailheads. Also, after you’re inside the park, they have other ‘security checkpoints’ where you need to show you’re your permits again, and they also patrol the parking lots hourly to make sure your permit is valid. Have I mentioned I’m not a fan of the permit system? I’ve yet to see one that works smoothly, especially for mountaineers who are concerned with weather and start times.
As I was hiking early in the morning the next day, being flashed with bicycle lights from behind me at 4:30am, I realized there’s another option around the permit system: ride your bike from the winter closure to the trailhead. I don’t own a bike, but this is definitely an option for the future… if I ever get a bike.
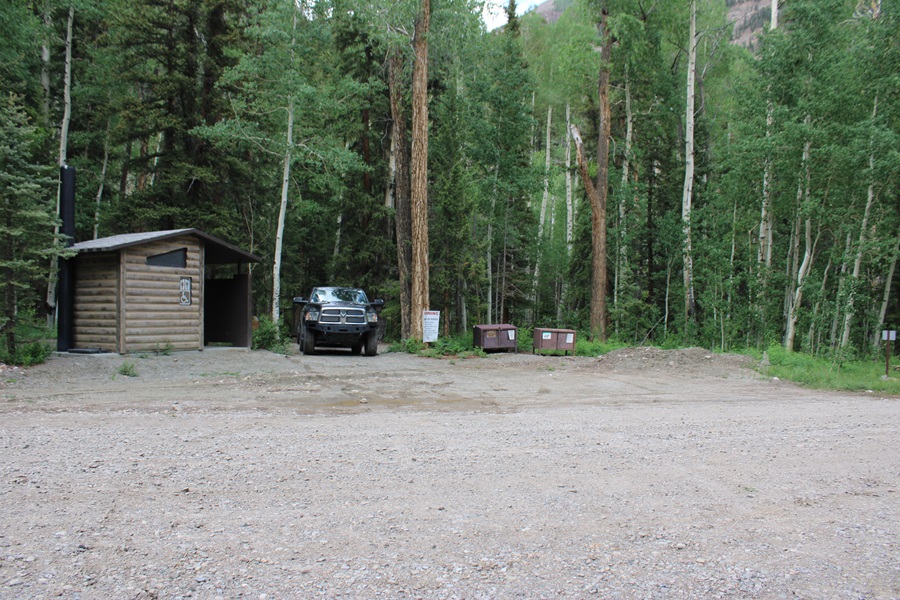
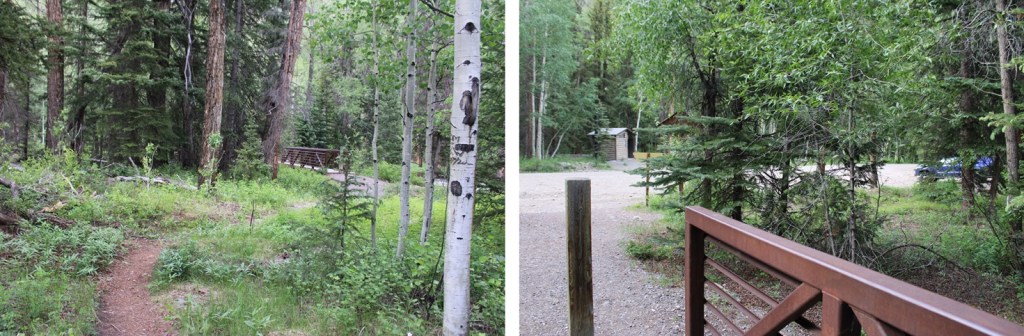
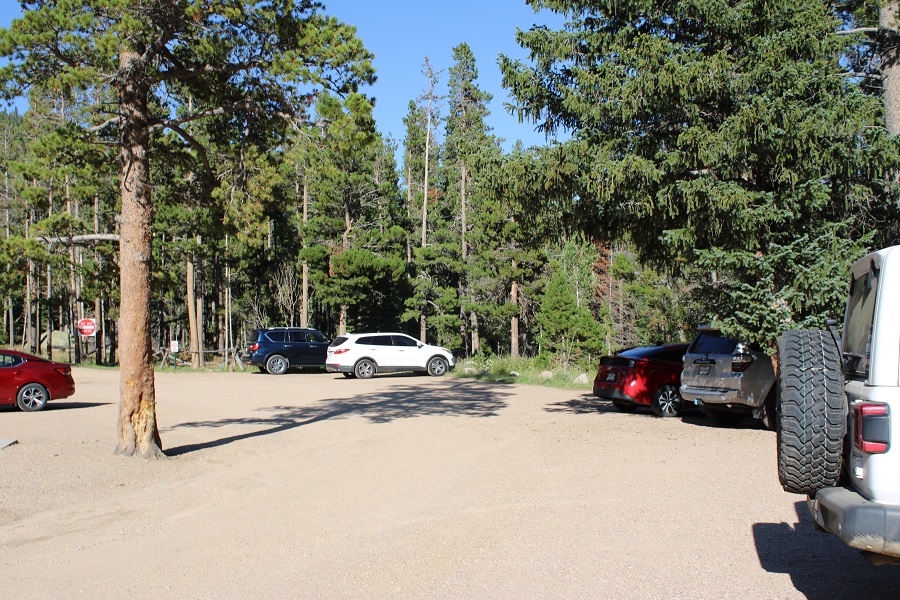
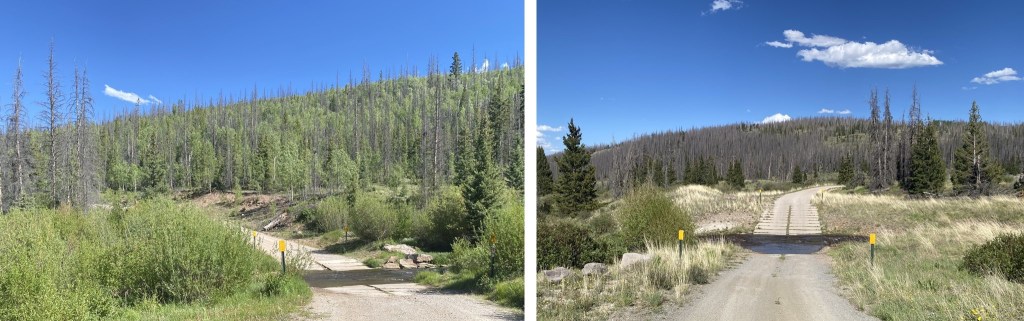
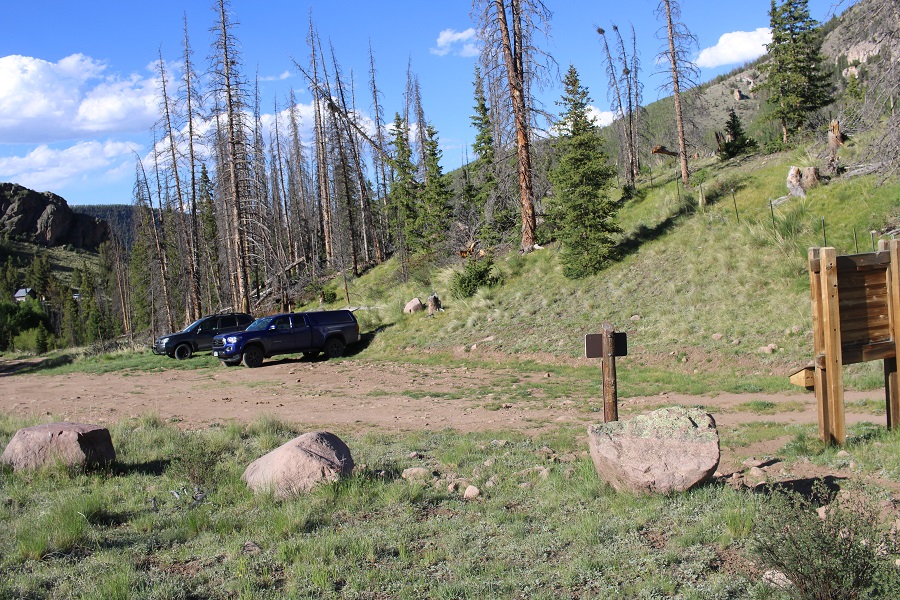
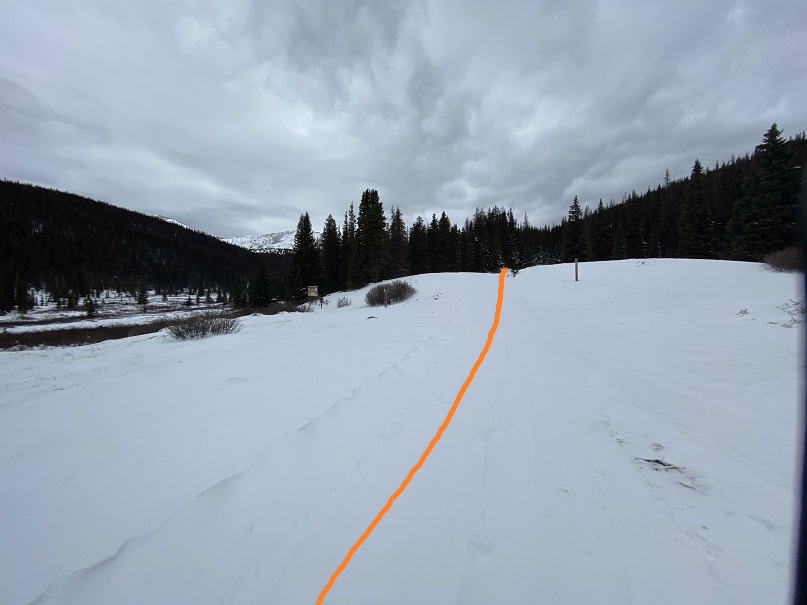
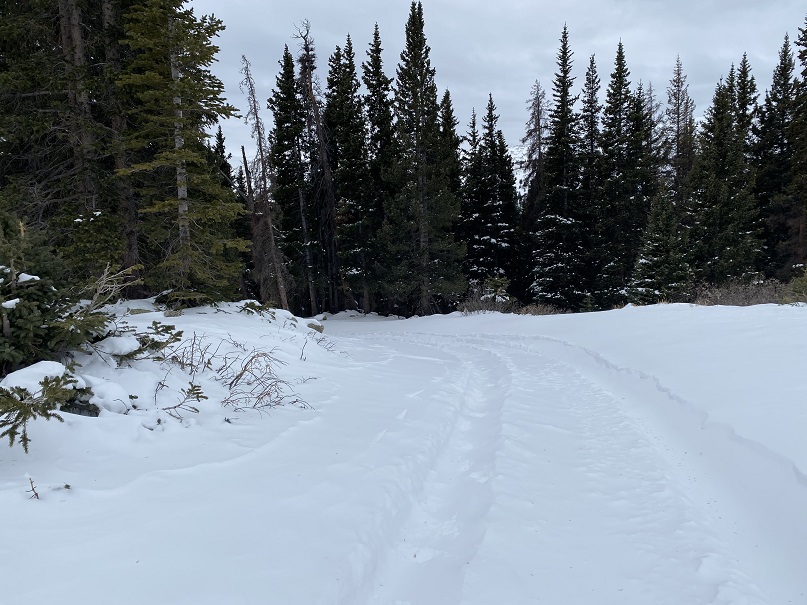
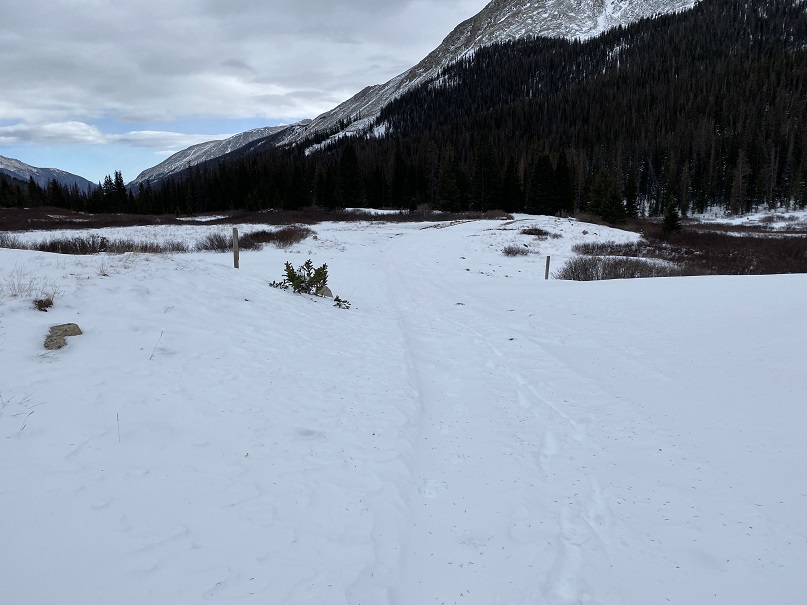
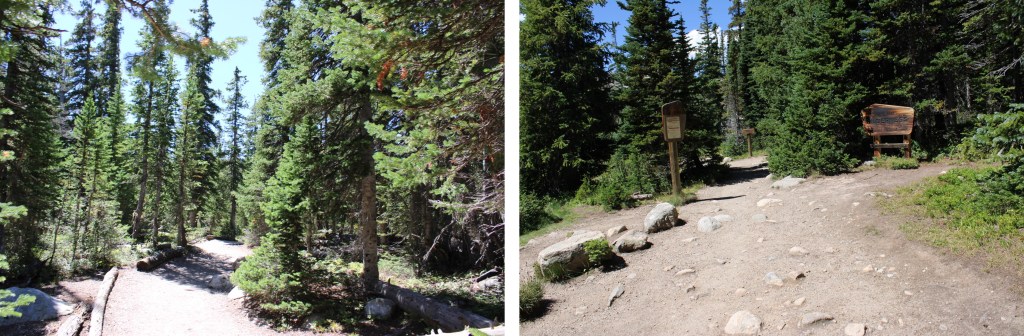
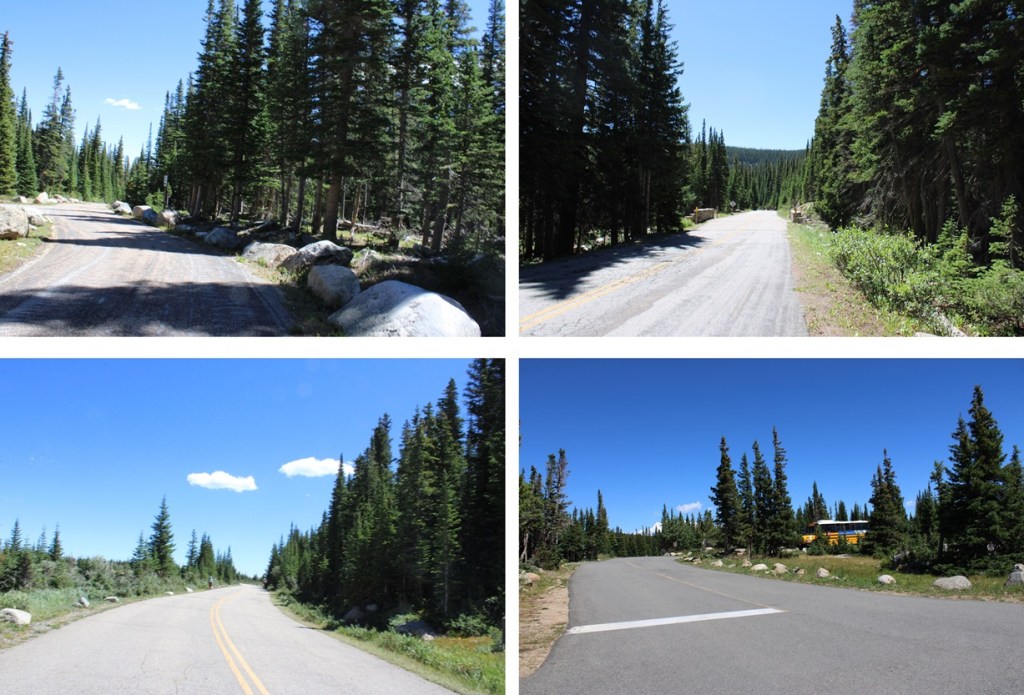
In any event, after minimal drama and parking a little further away than I’d have liked (but hey, it was better than parking at the winter closure…) I was on the trail at 4:30am, starting at the Brainard Lakes parking lot. My first step was to follow the road for 1.3 miles to the Long Lake Trailhead.

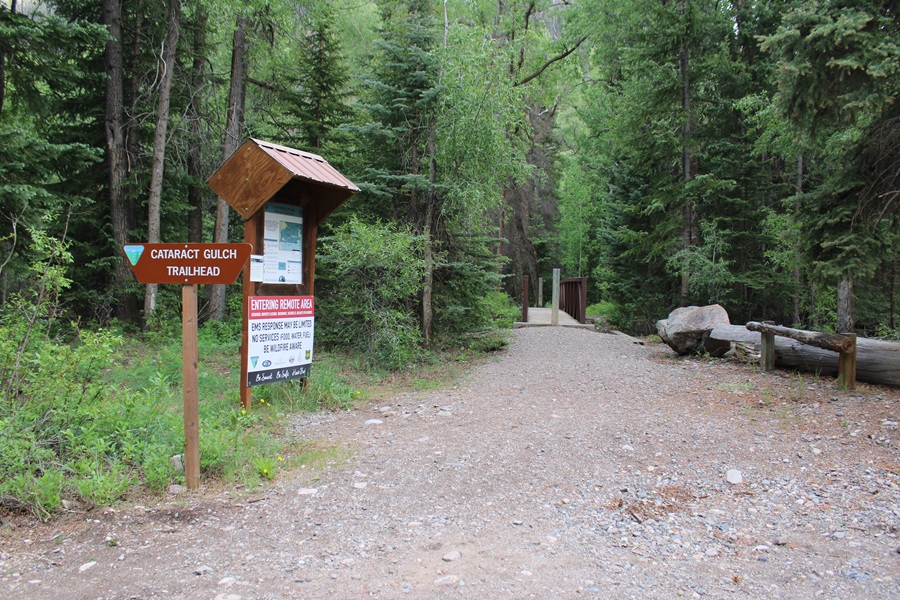
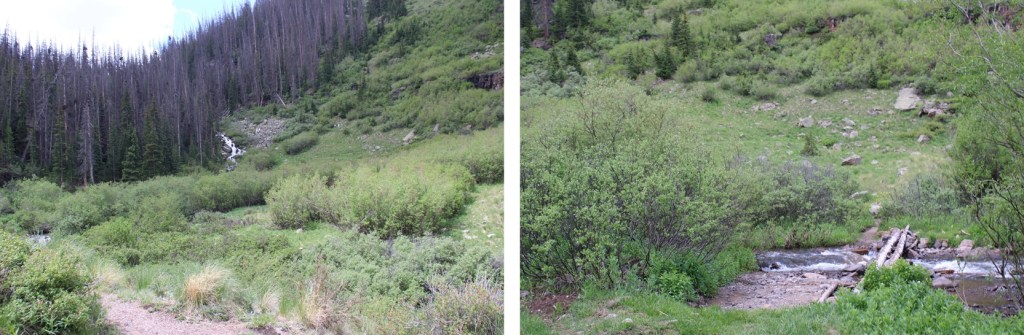
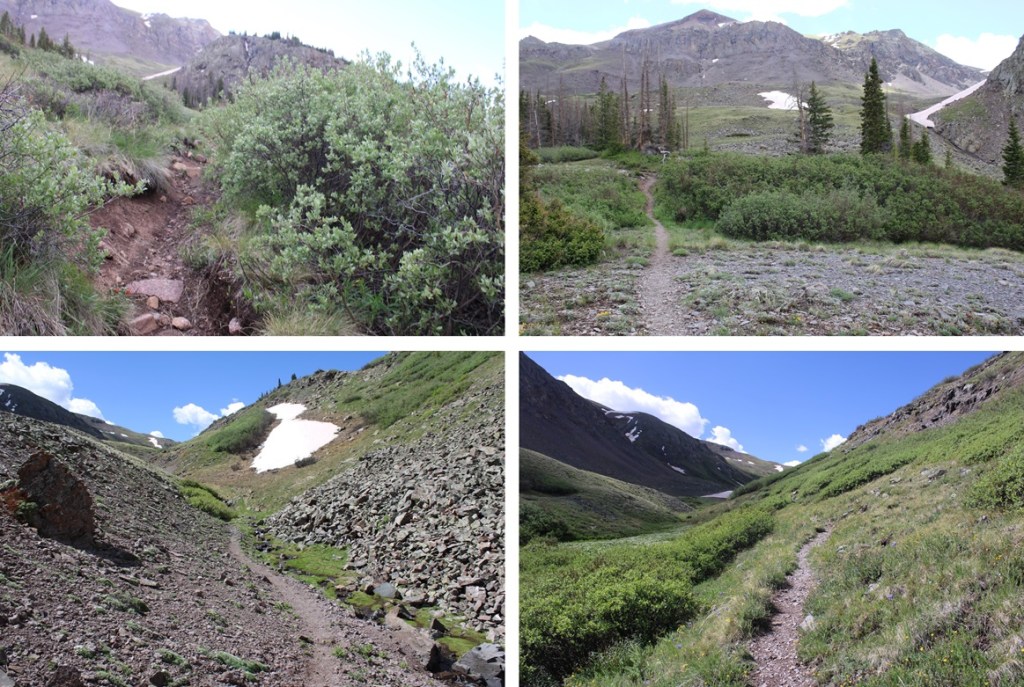
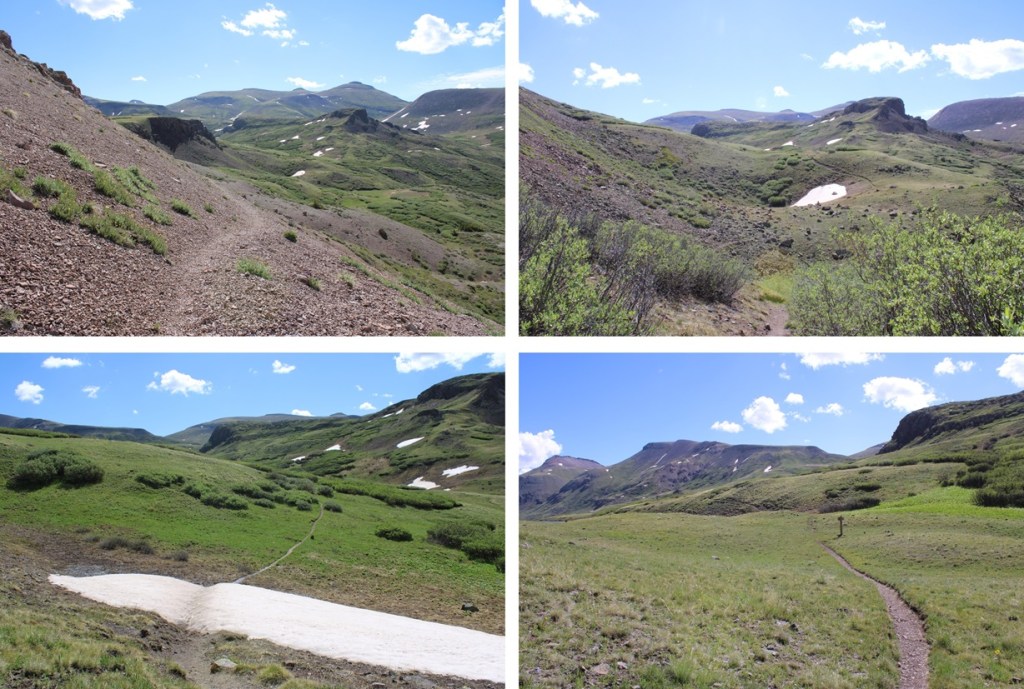
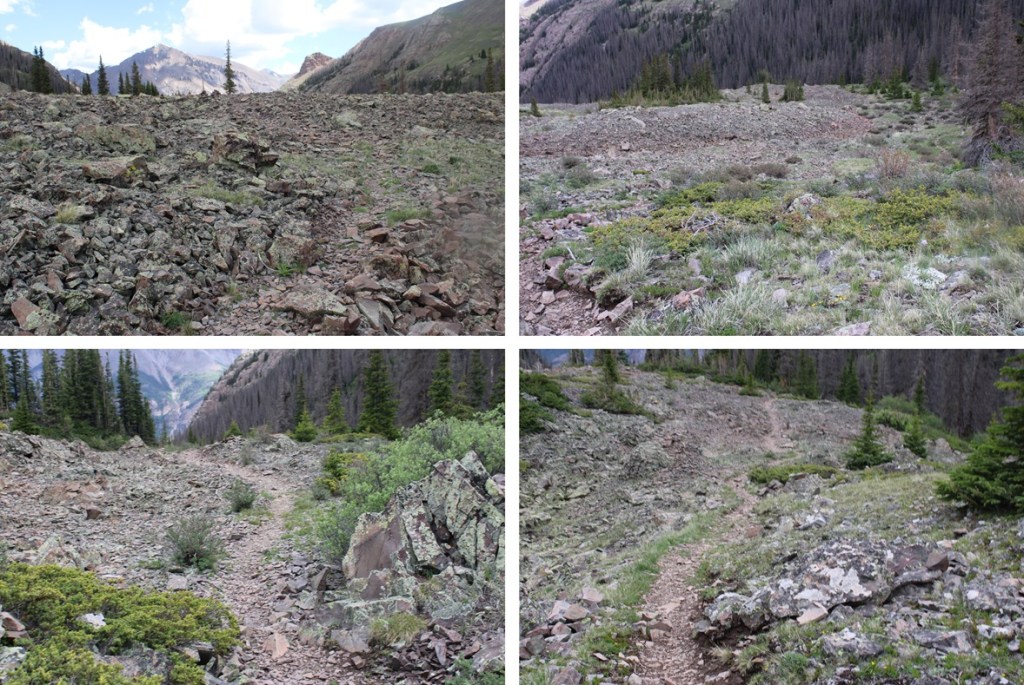
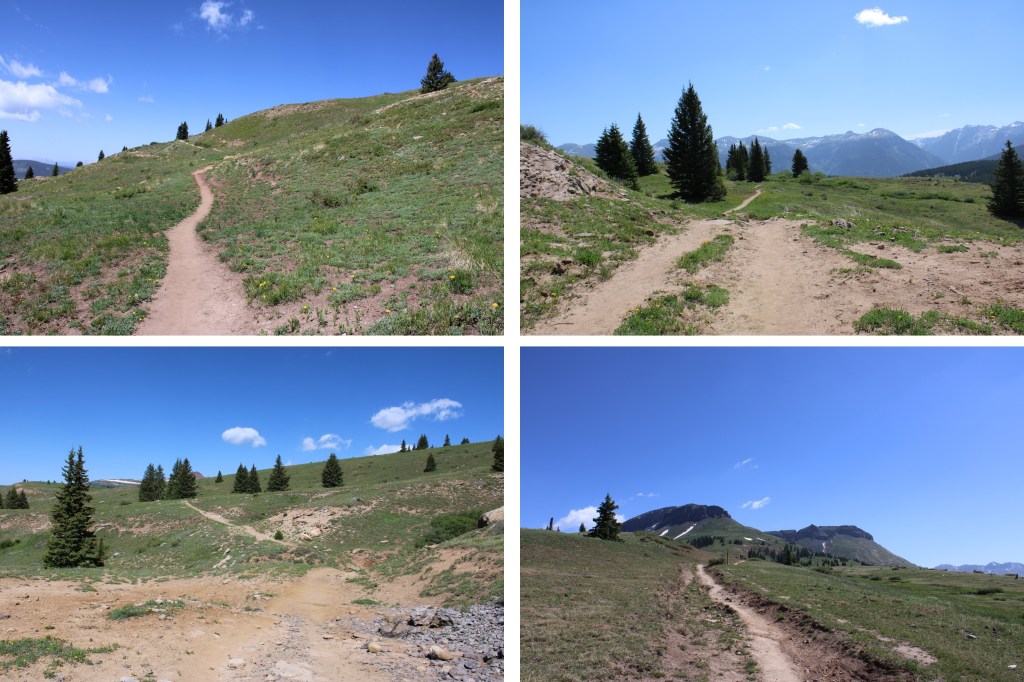
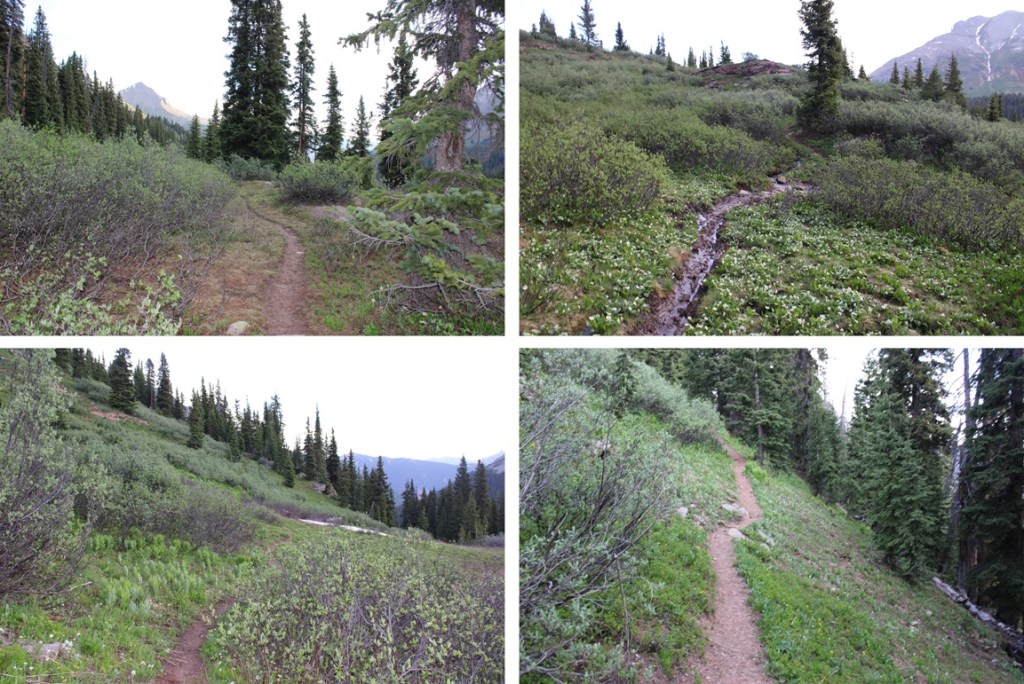
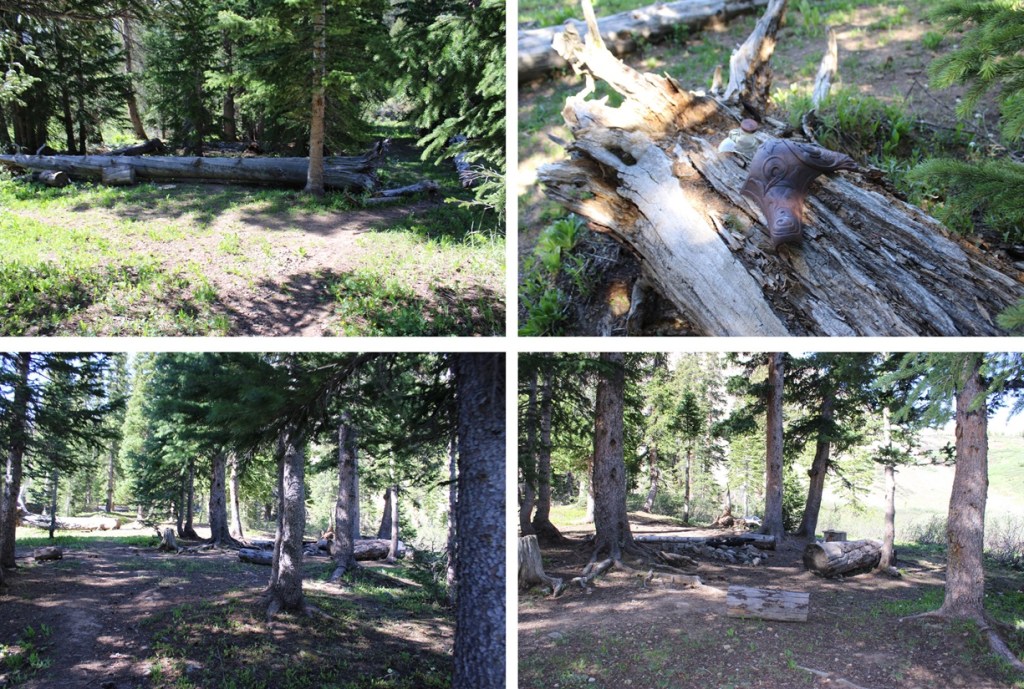
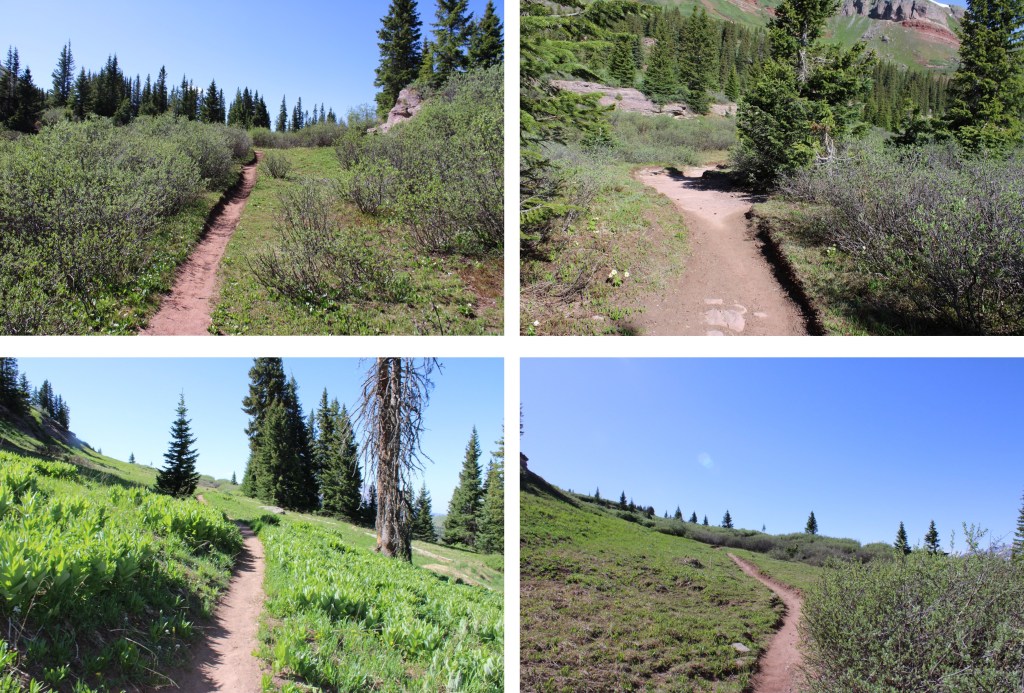
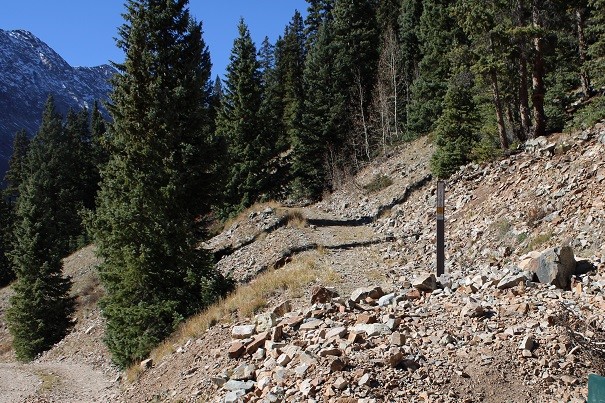
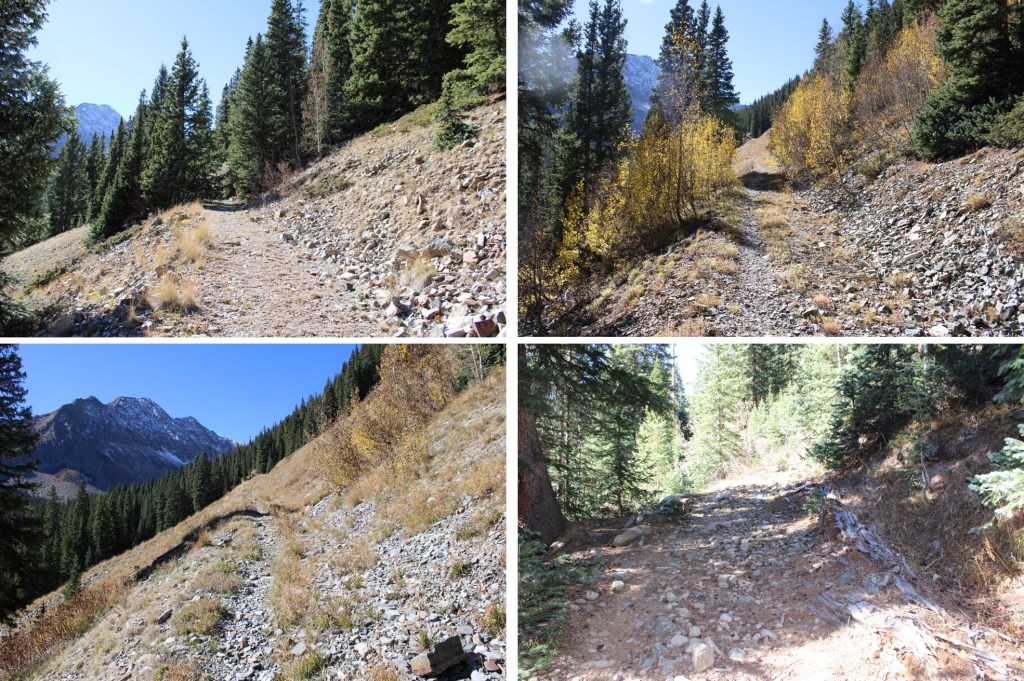
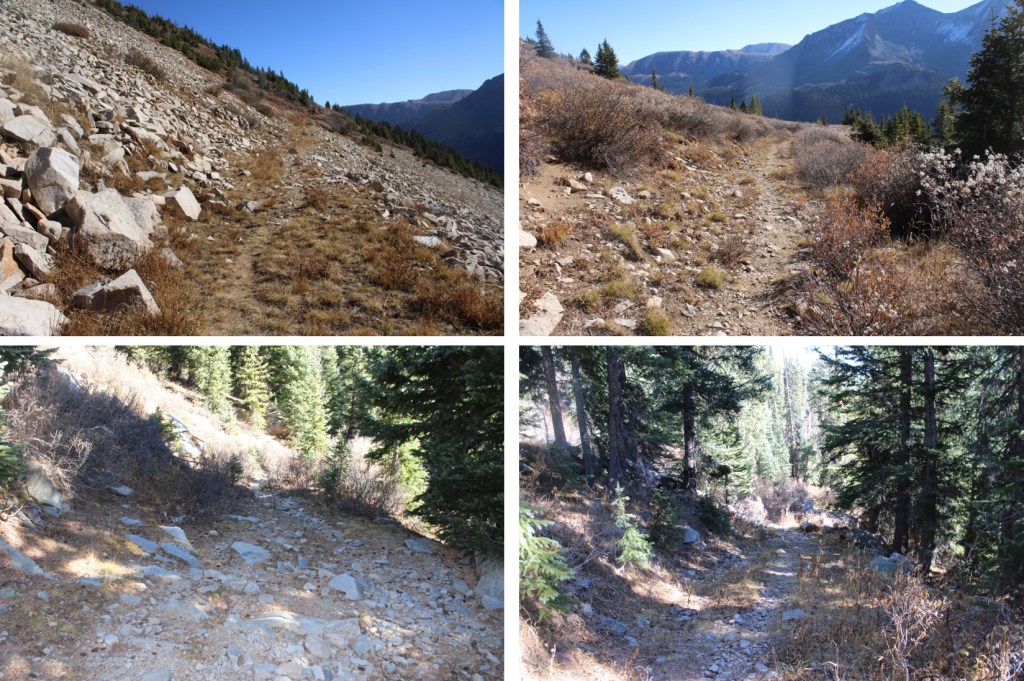
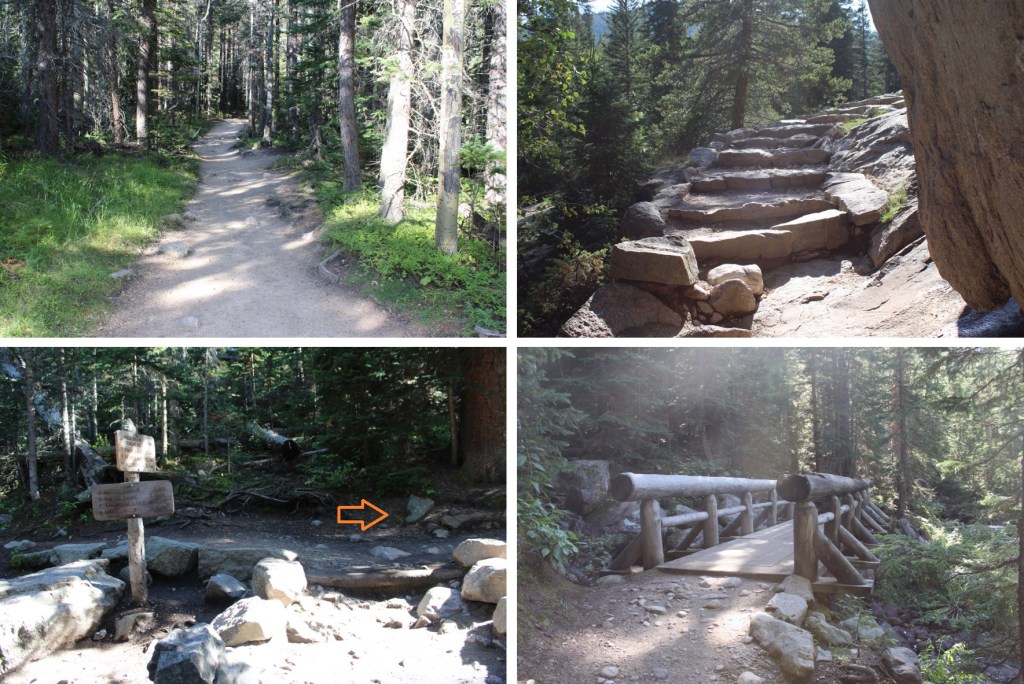
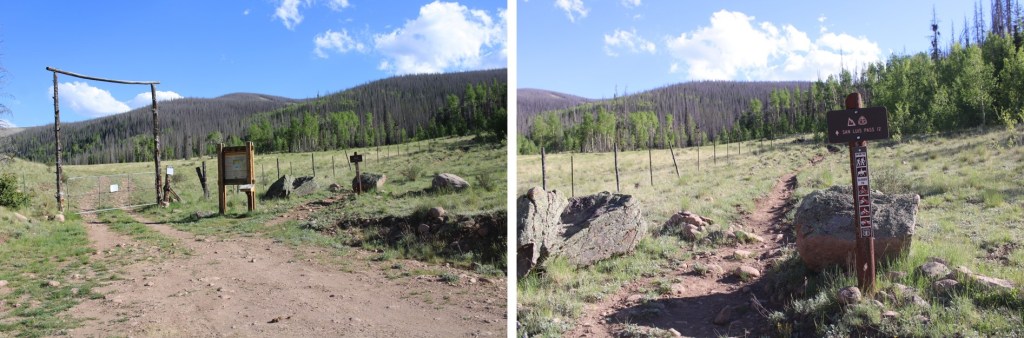
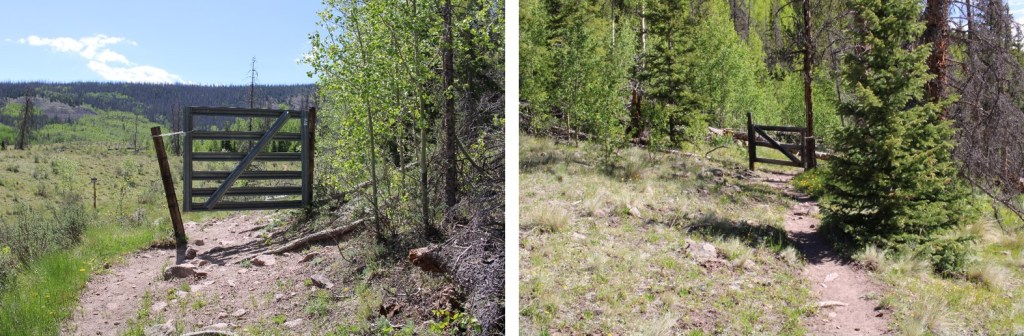
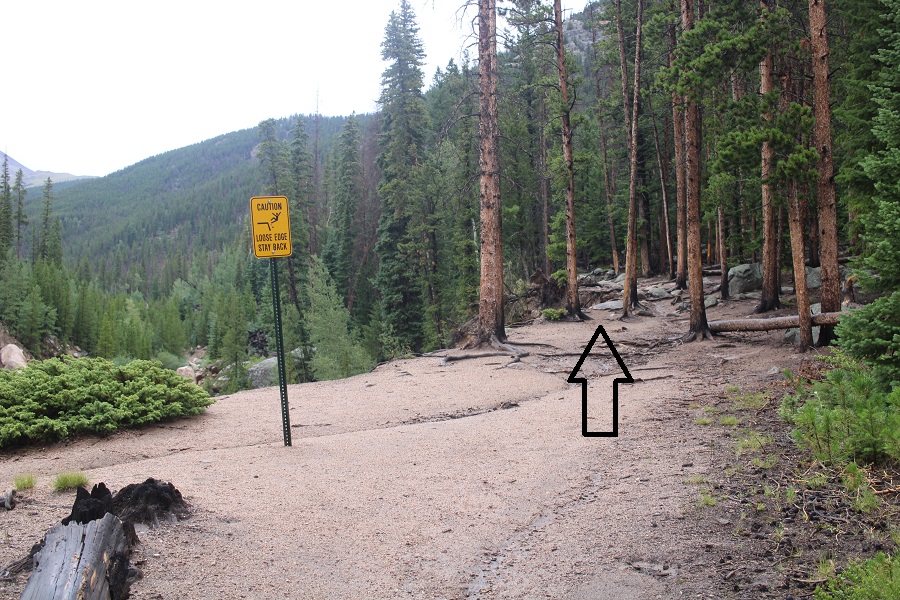
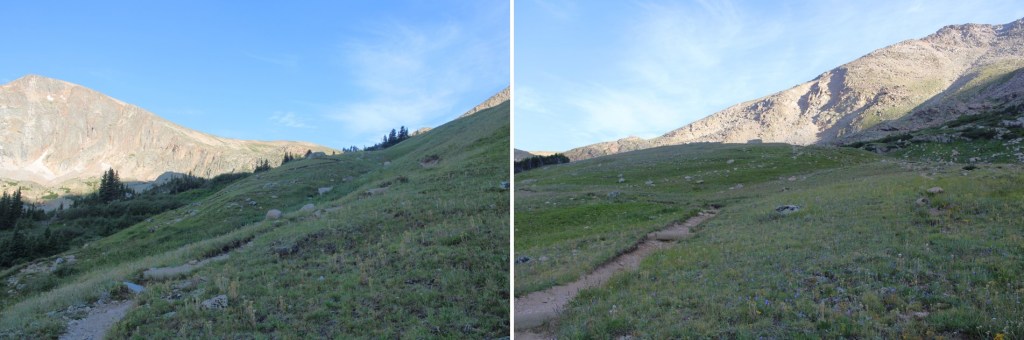
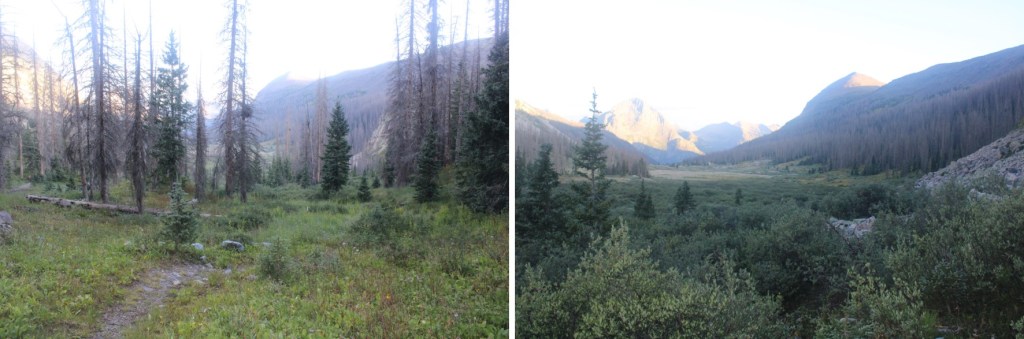
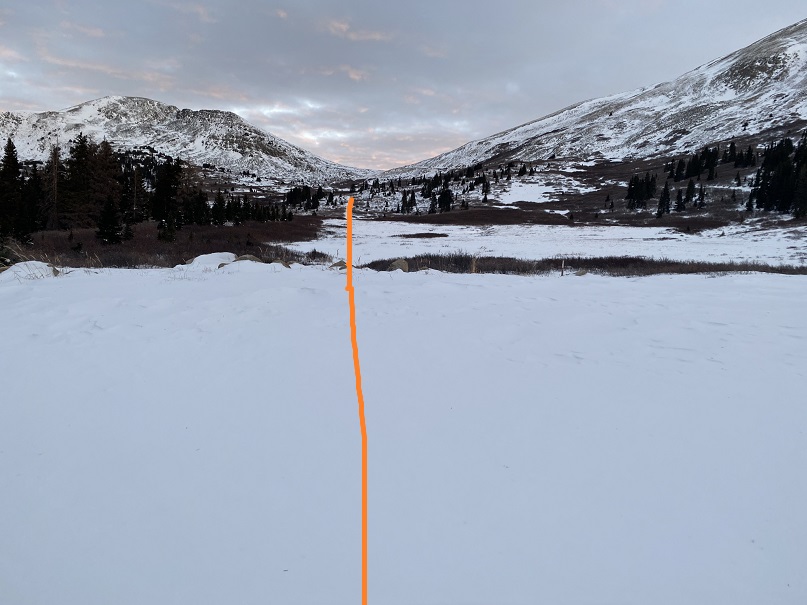
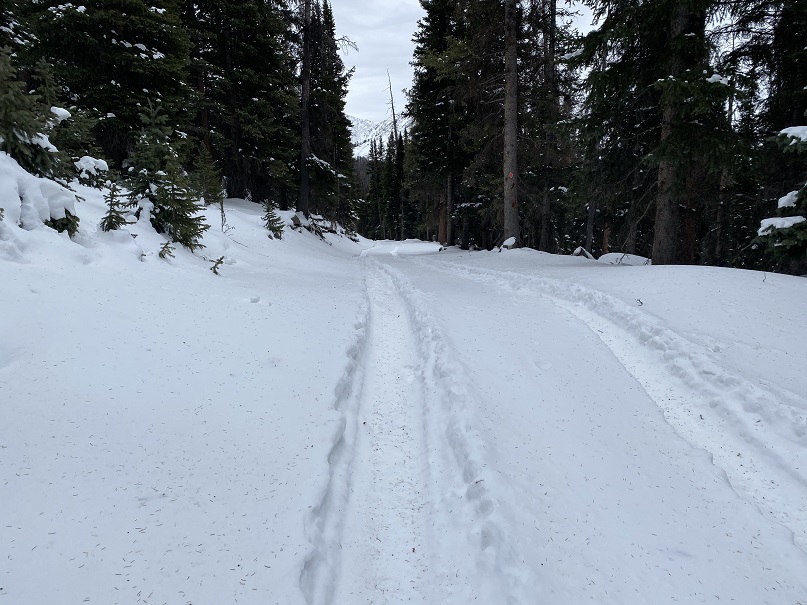
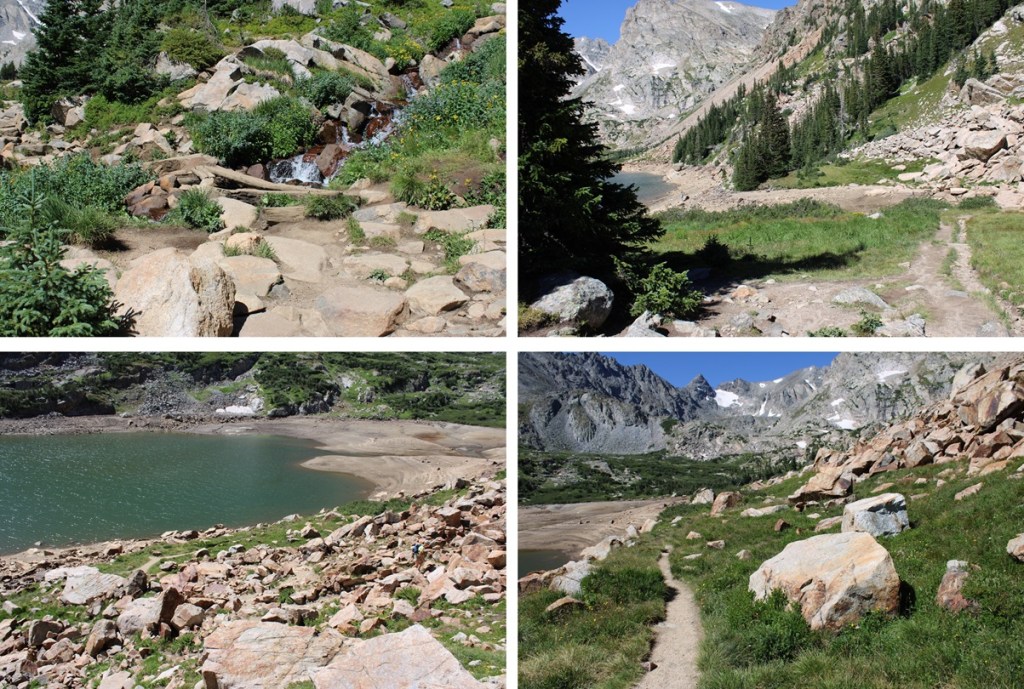
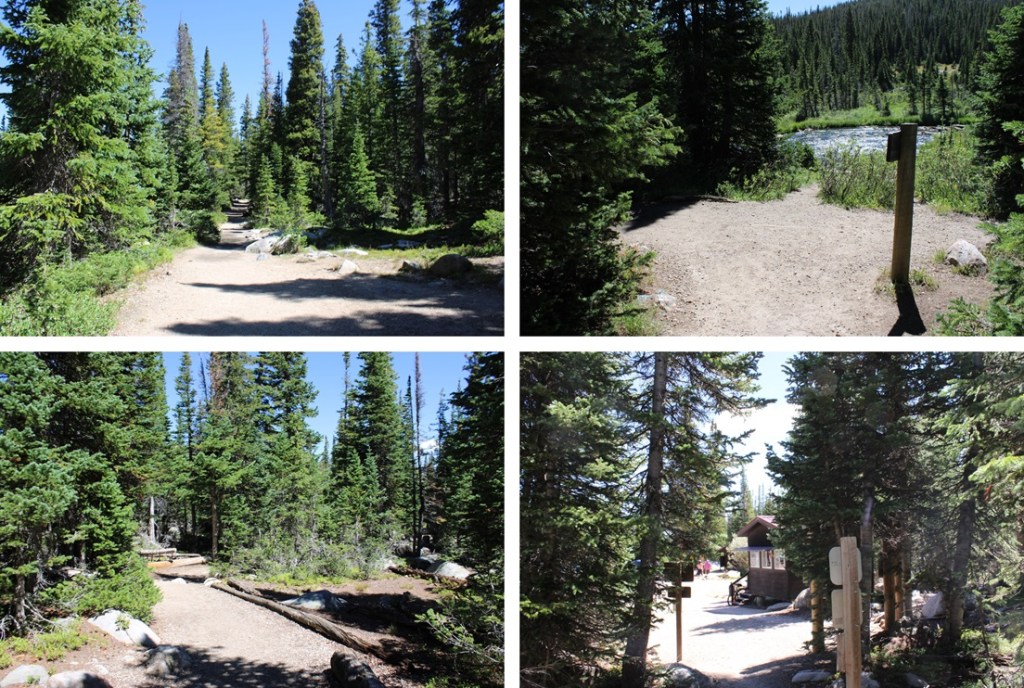
Once at the Long Lake Trailhead, I followed Pawnee Pass Trail west
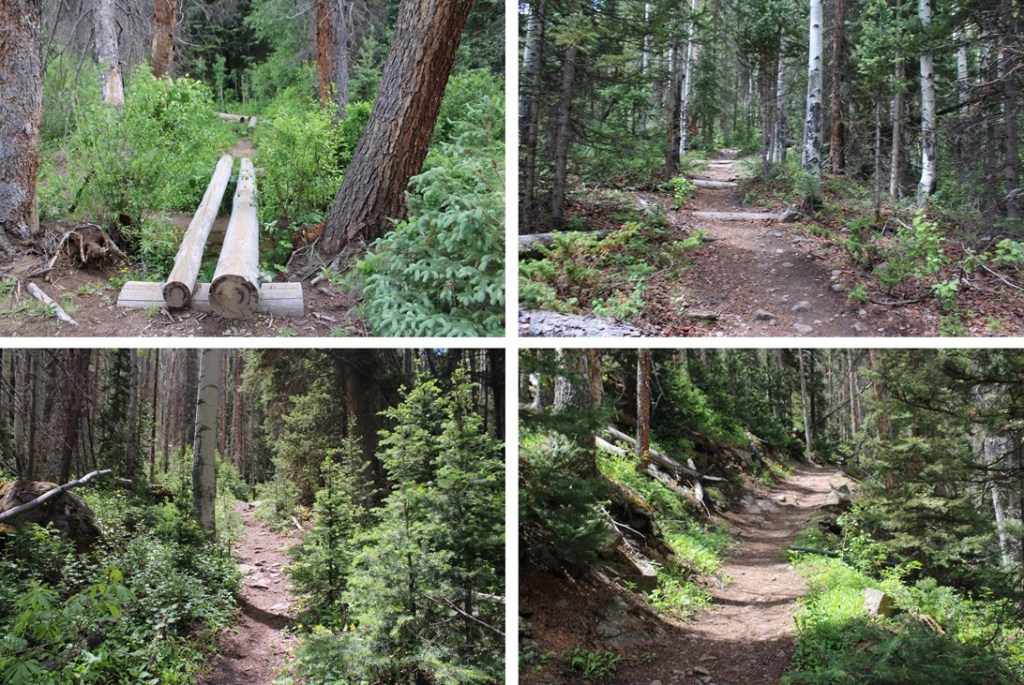
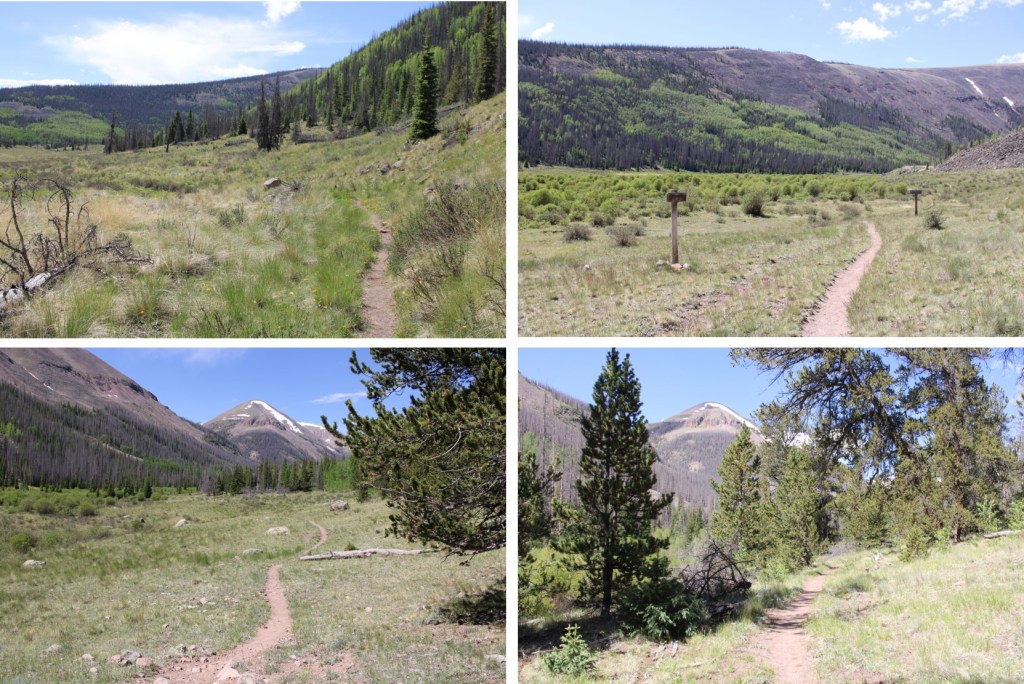
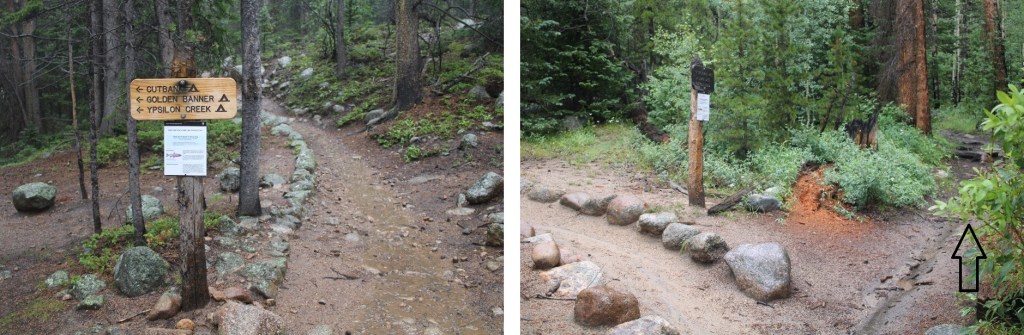
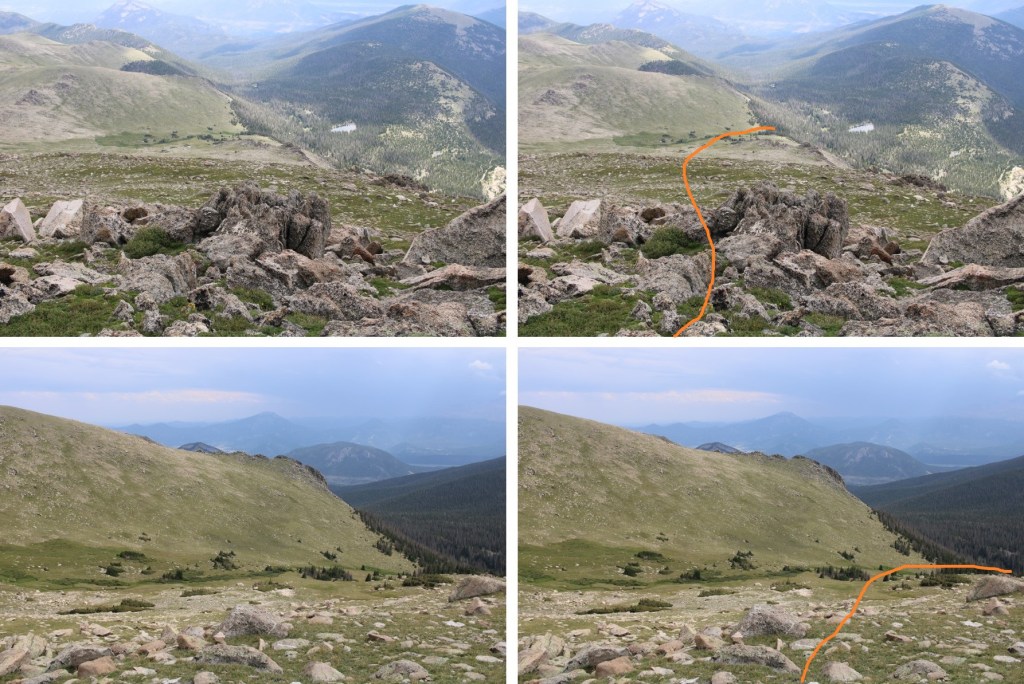
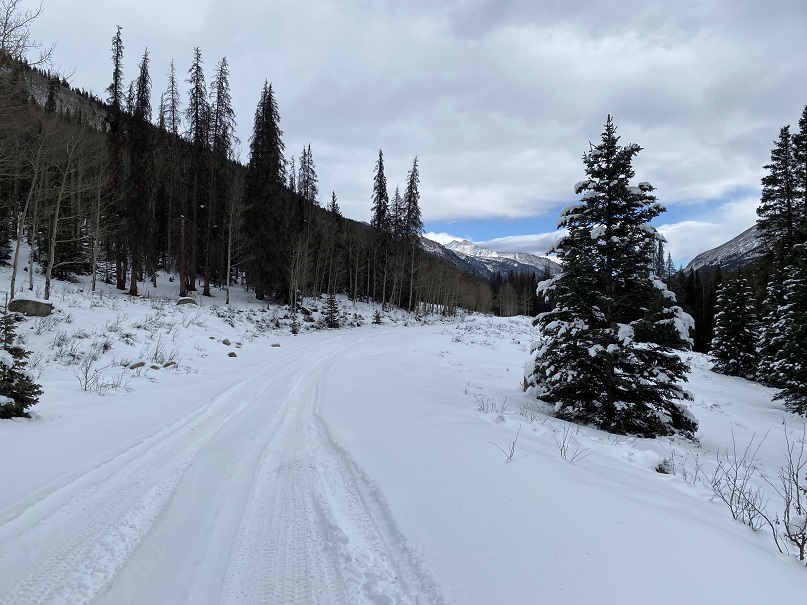
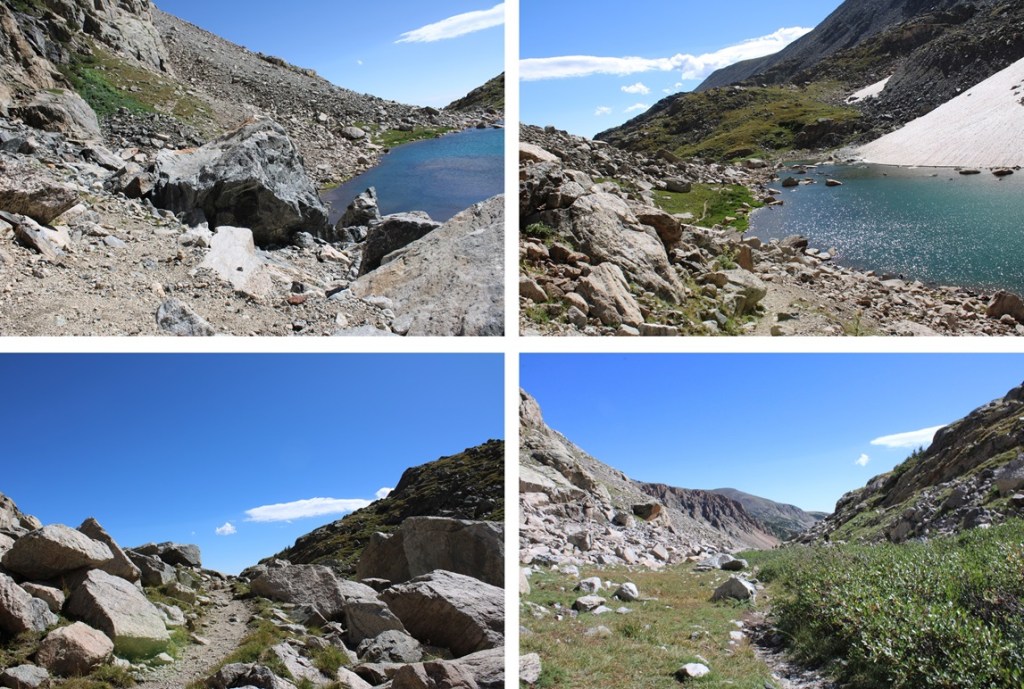
After hiking about 1.5 miles from the Long Lake Trailhead, I came to a junction and went right, following the Isabelle Glacier Trail
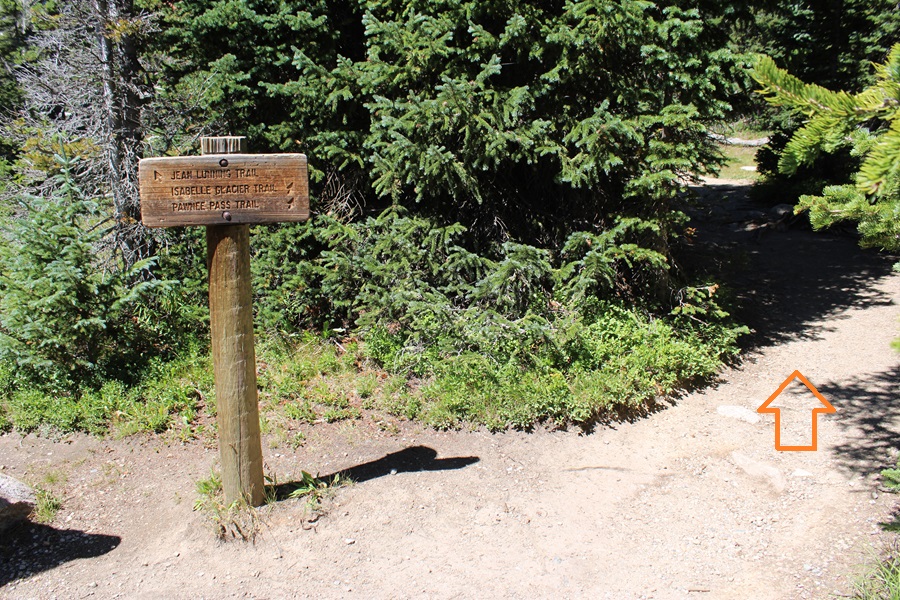
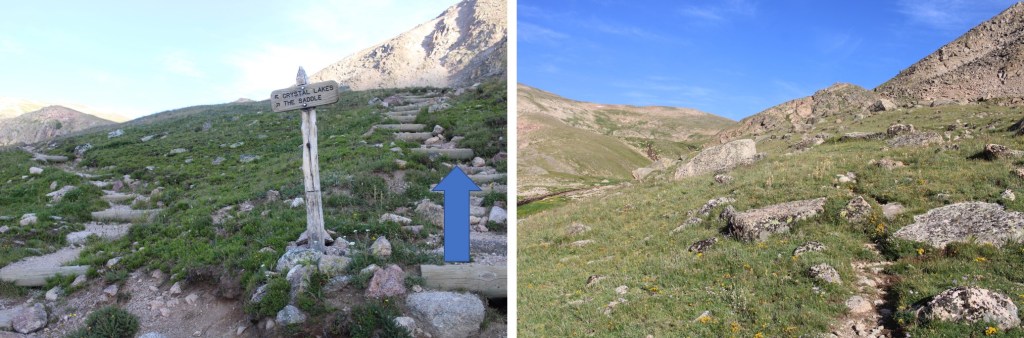
At the next junction I went right again, to continue along the Isabelle Glacier Trail.
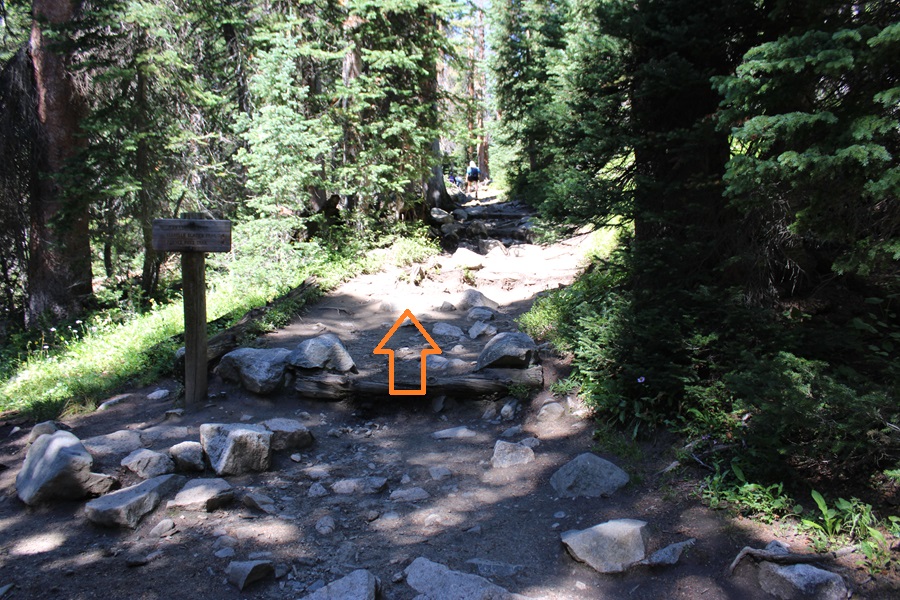
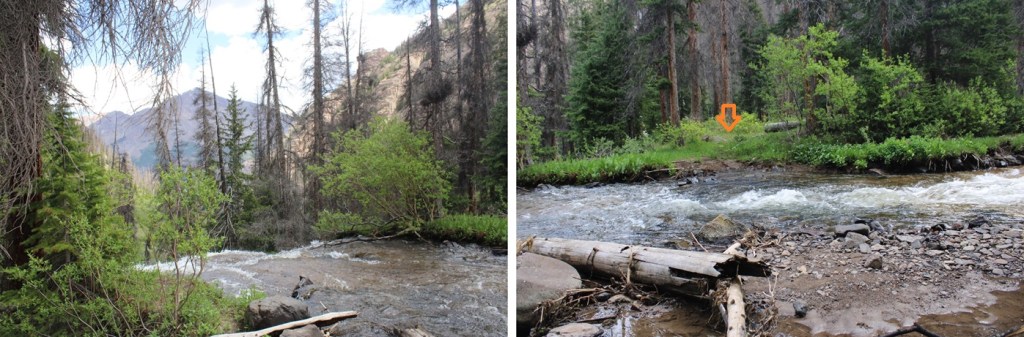
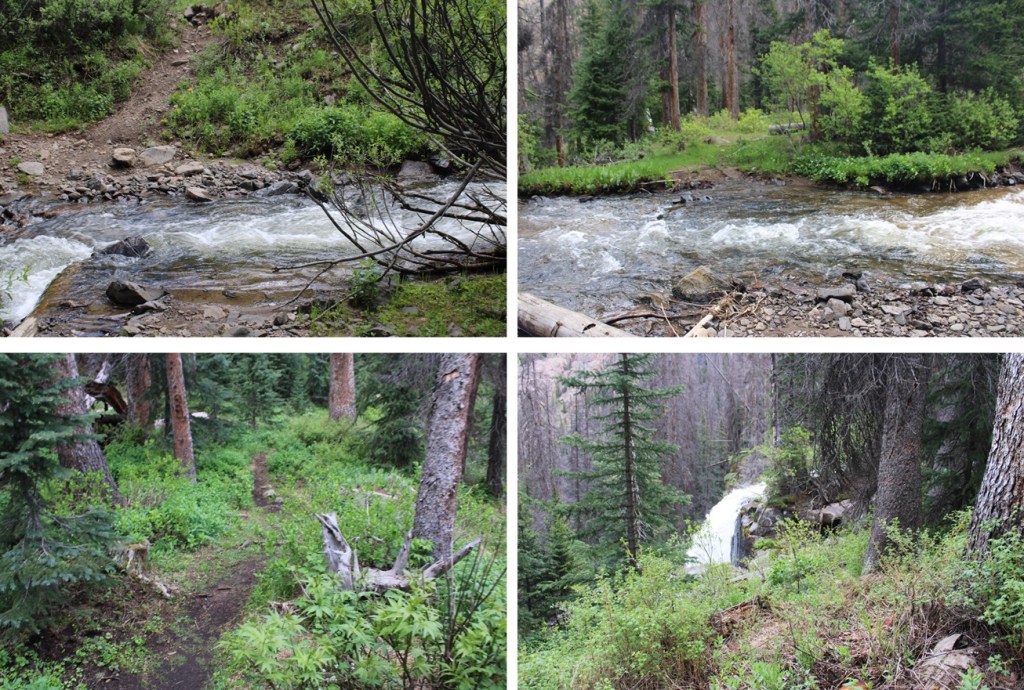
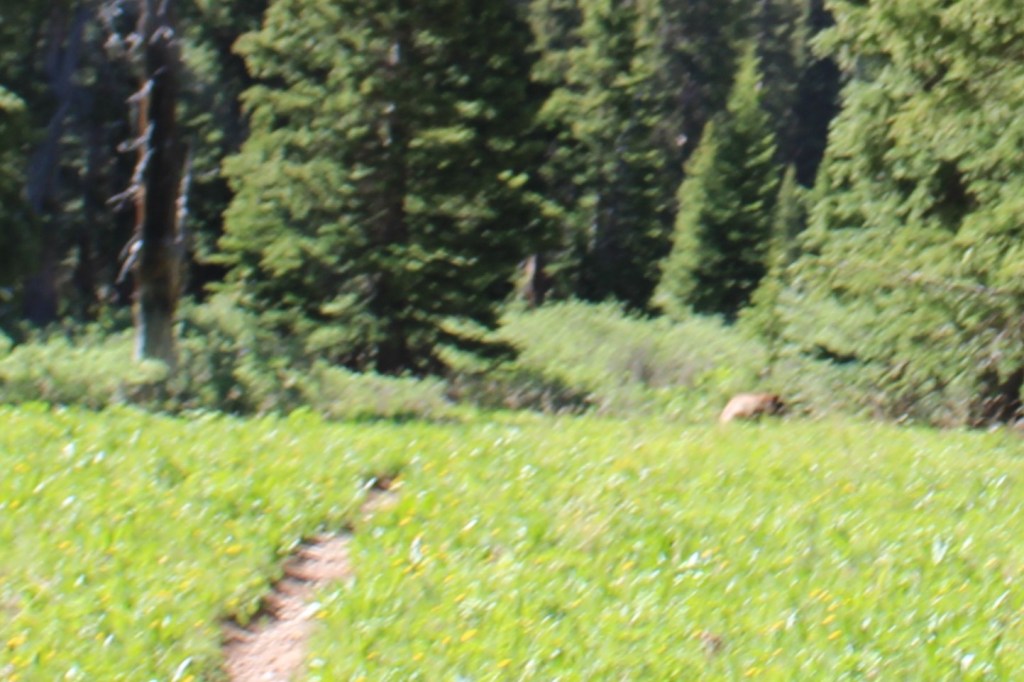
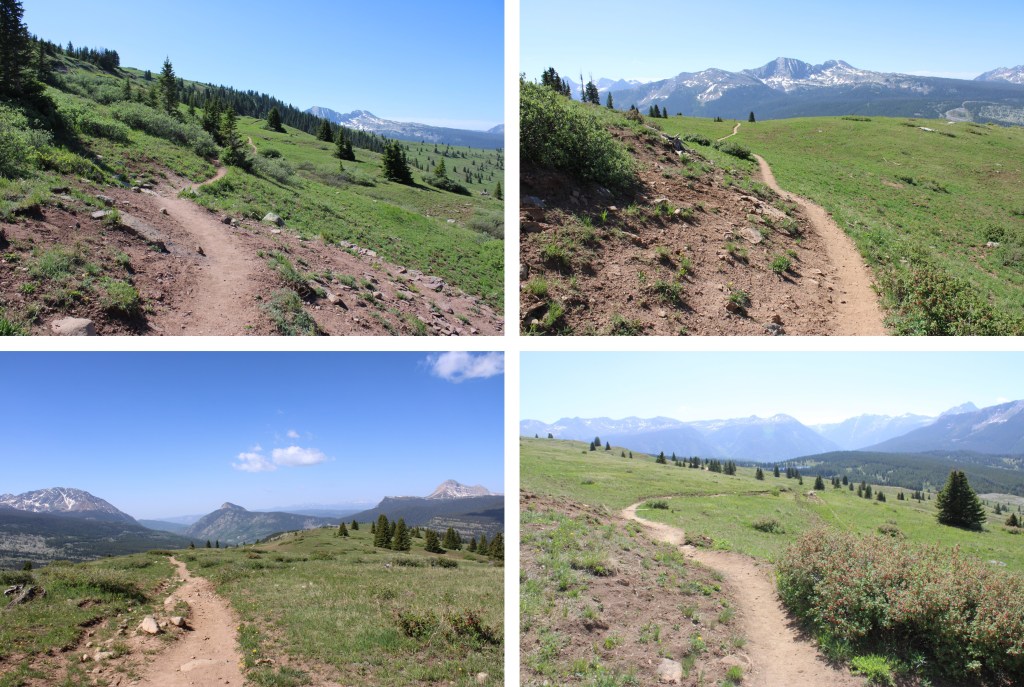
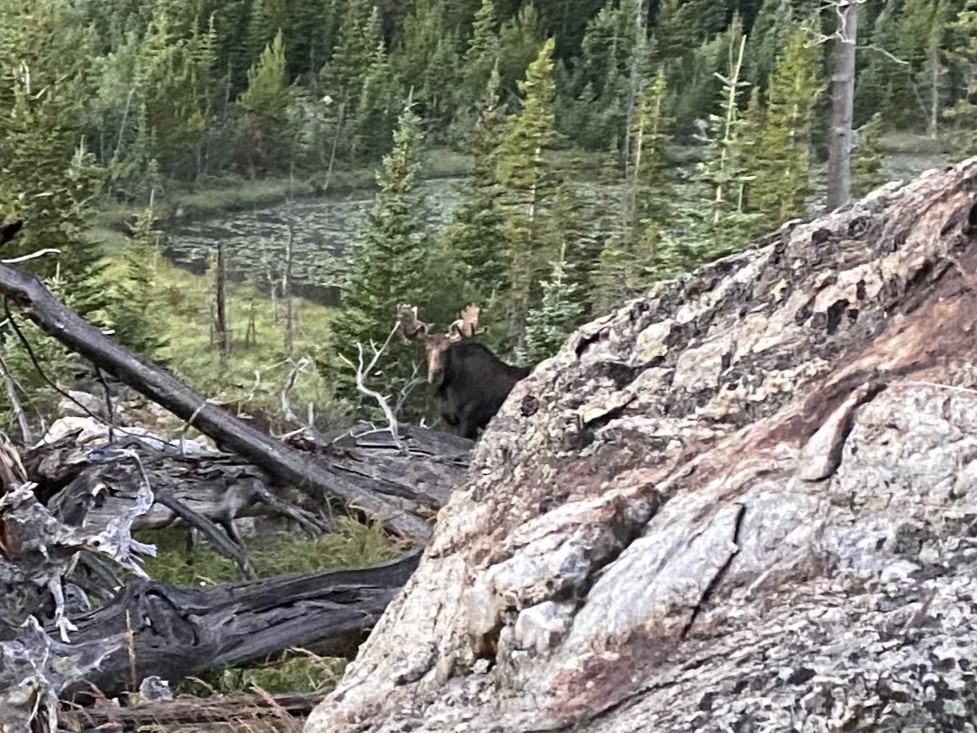
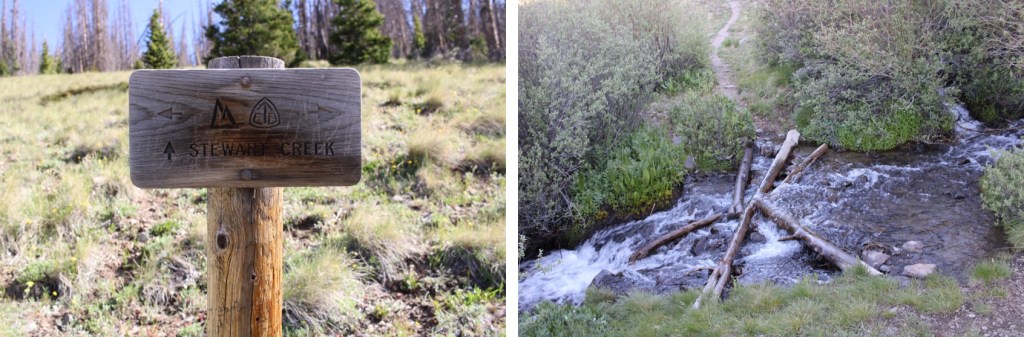
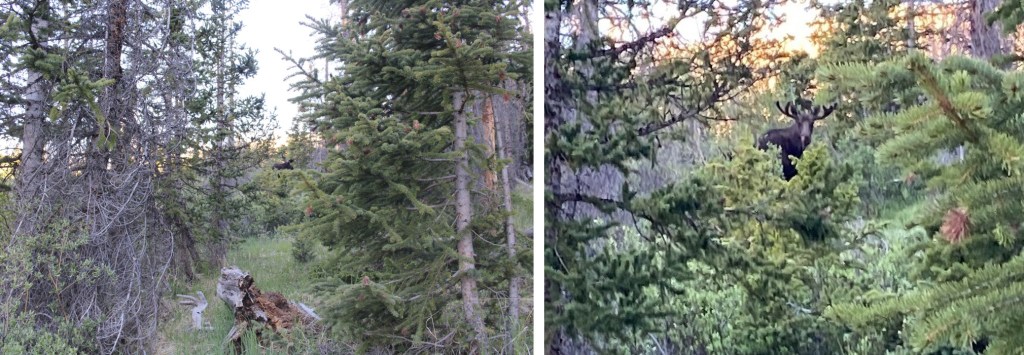
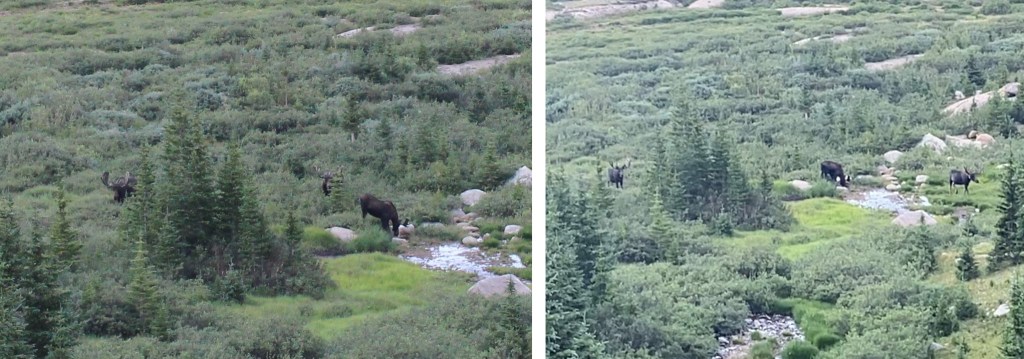
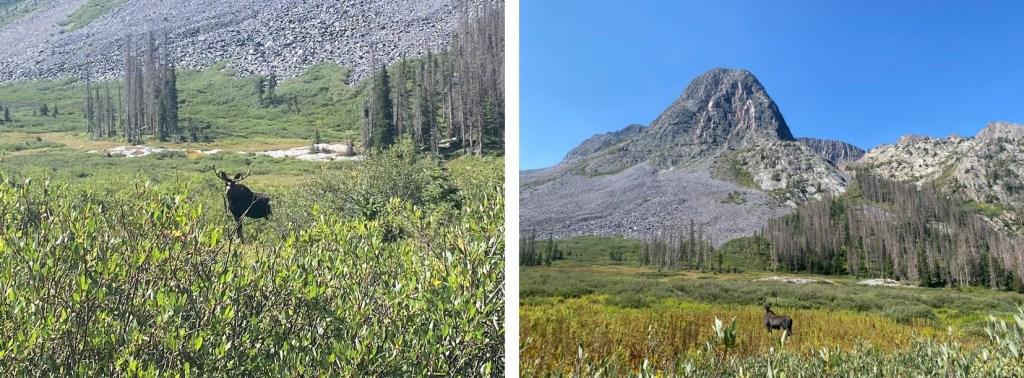
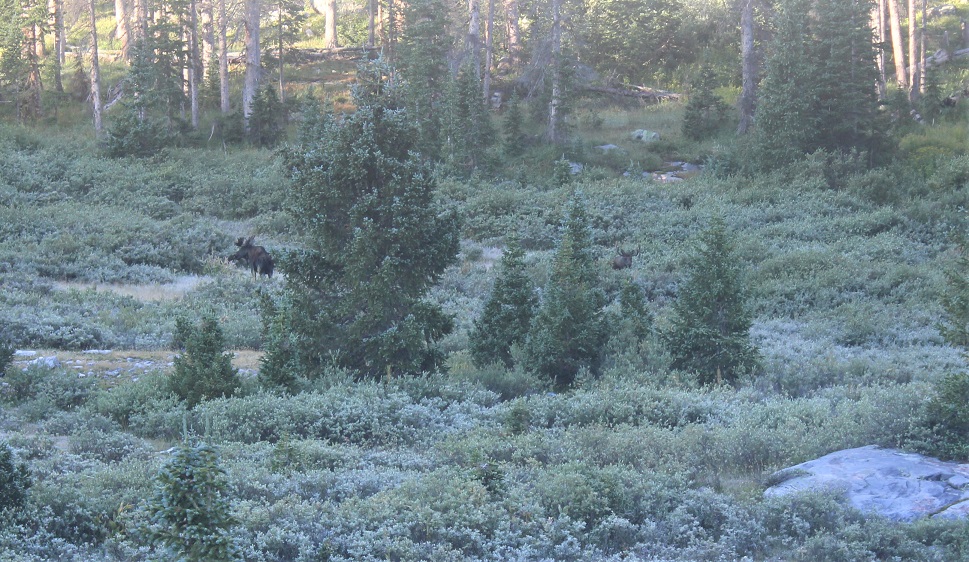
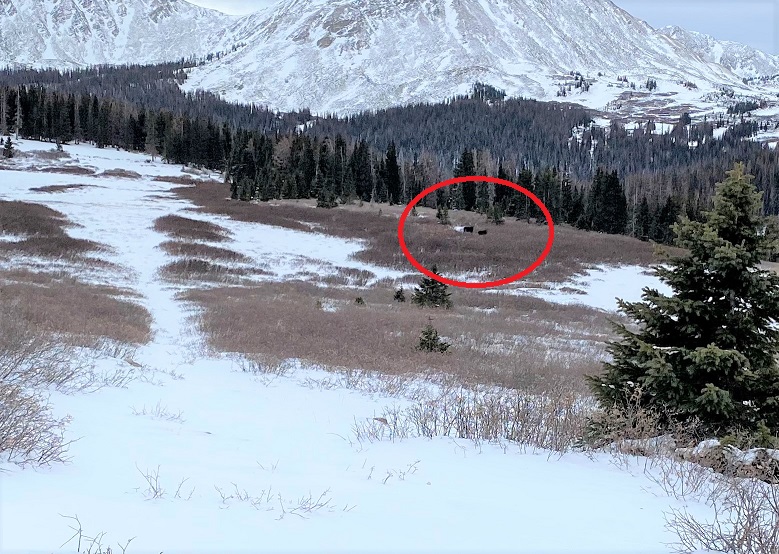
At the next junction, I came upon two bull moose. When they saw me they snorted and grunted, so I hid behind a tree for 20 minutes until they’d made their way up the hillside, casually munching on willows as they went. I’ve been charged by moose in the past, and while other than the grunting and snorting (which could have meant “It’s too early to be awake”), I kept my distance. Once they moved, I continued following Isabelle Glacier Trail
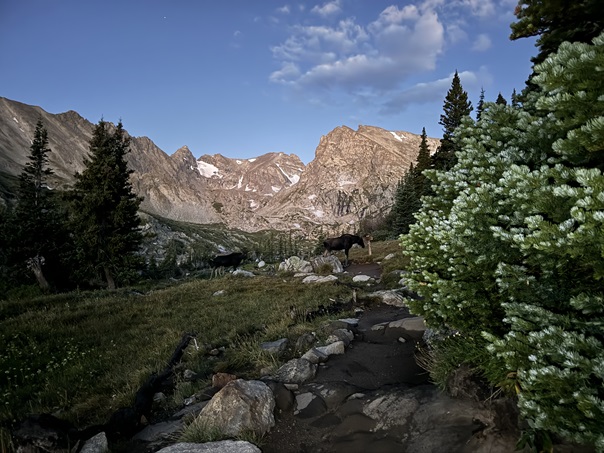

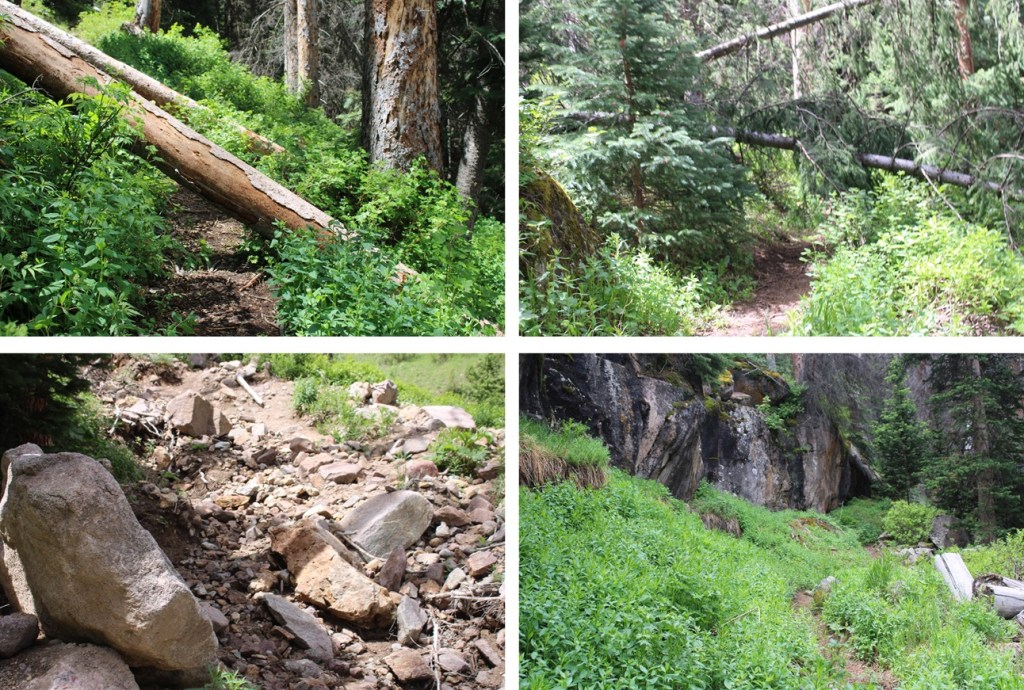
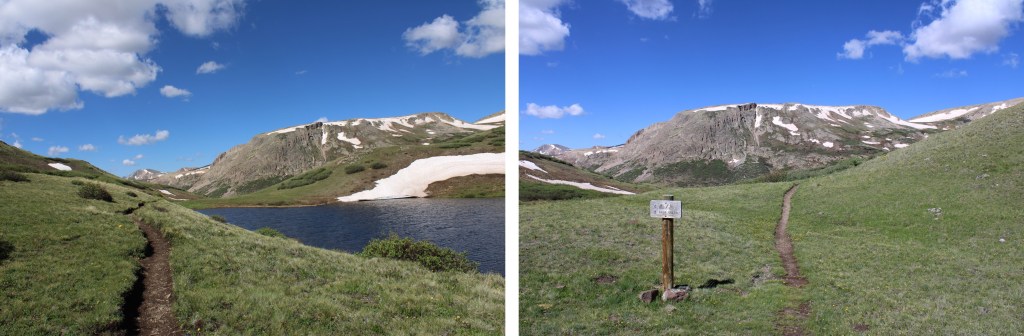
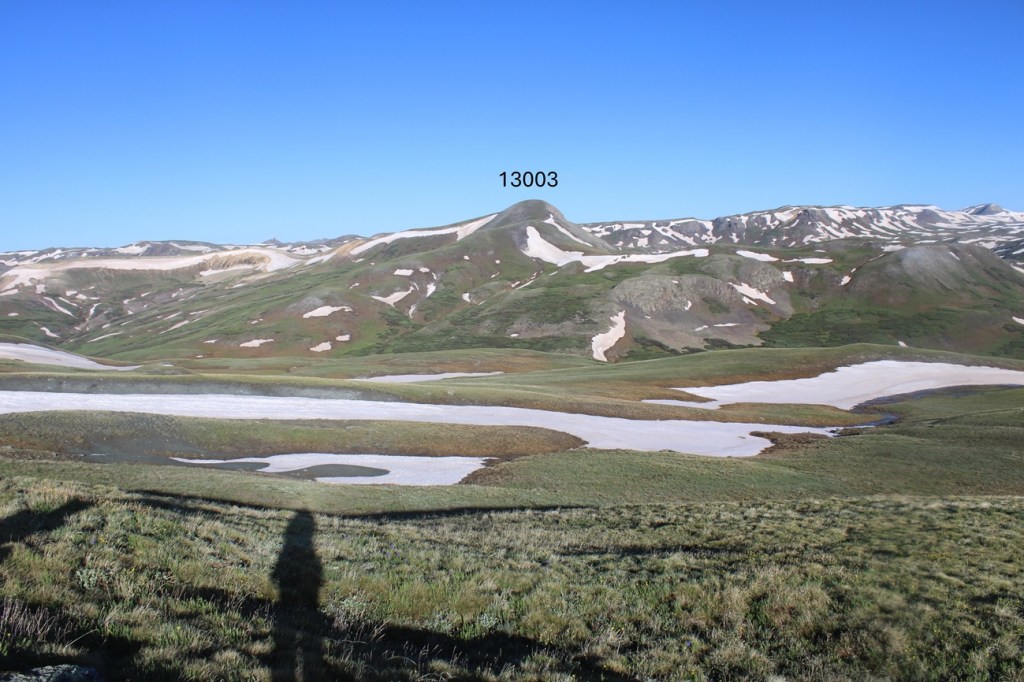
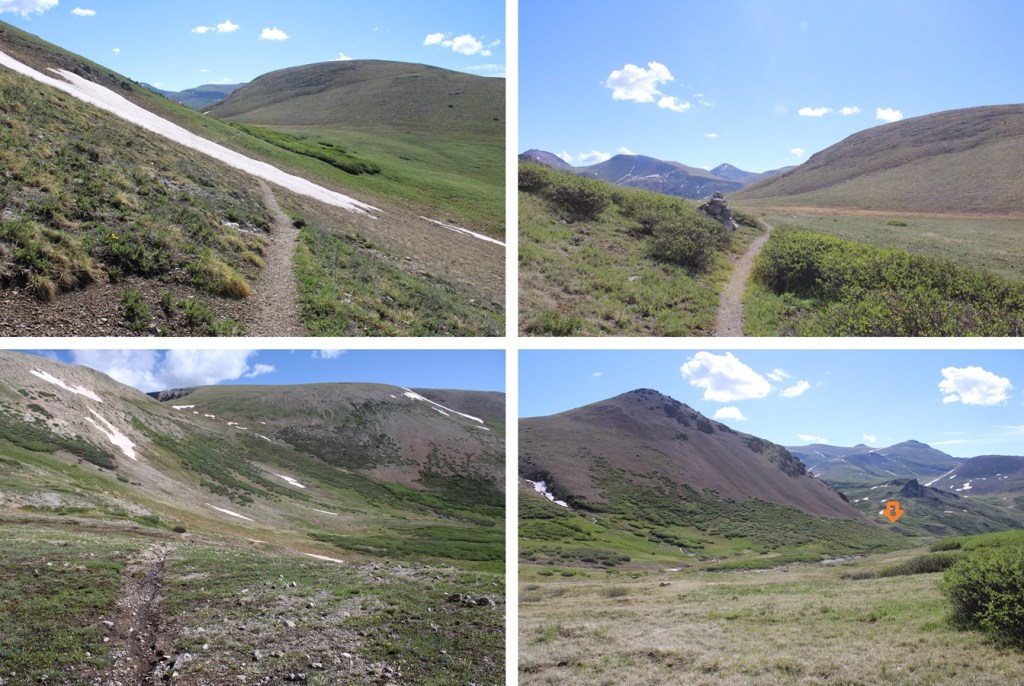
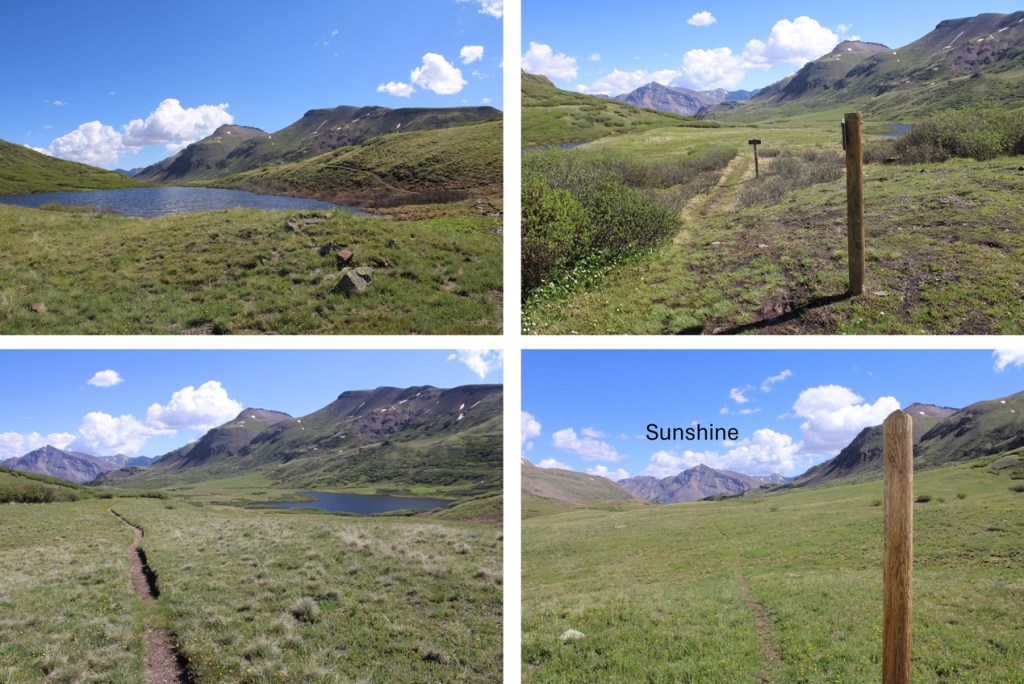
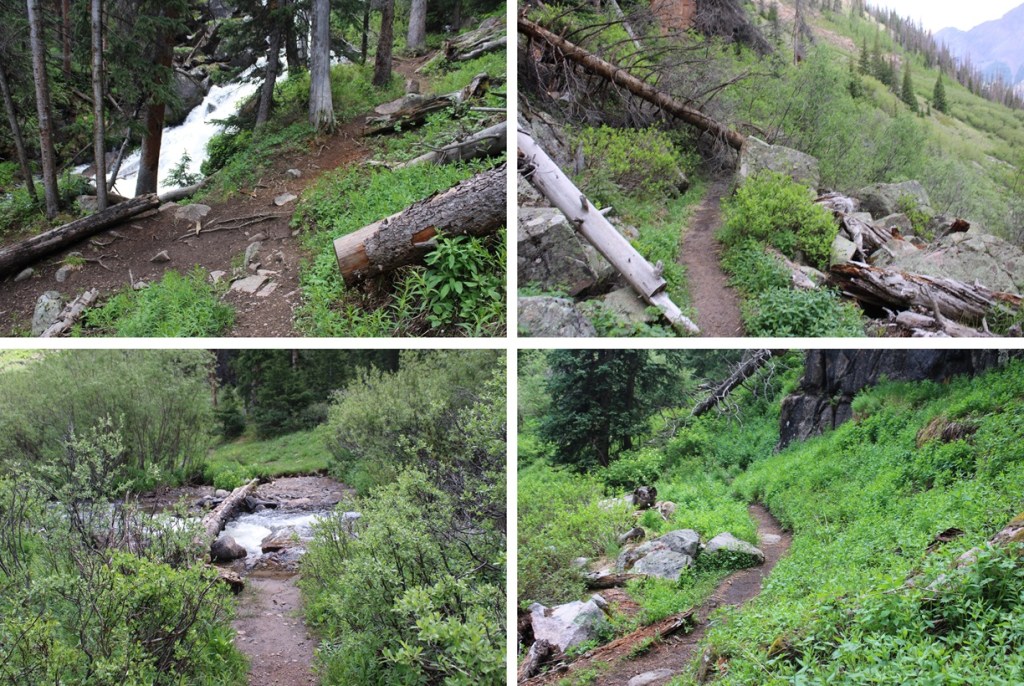
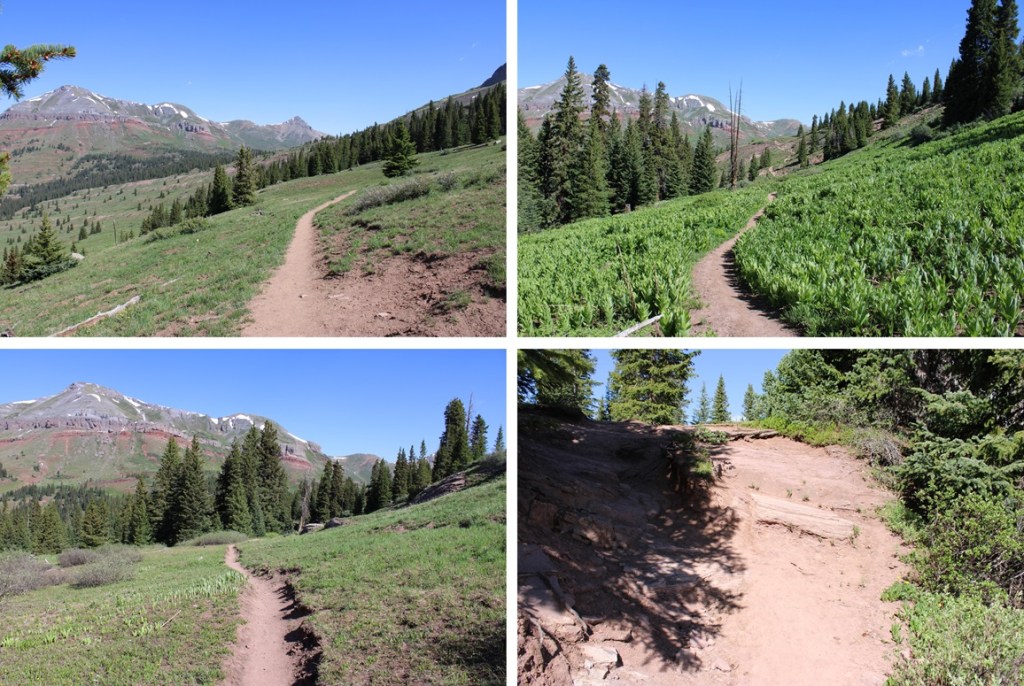
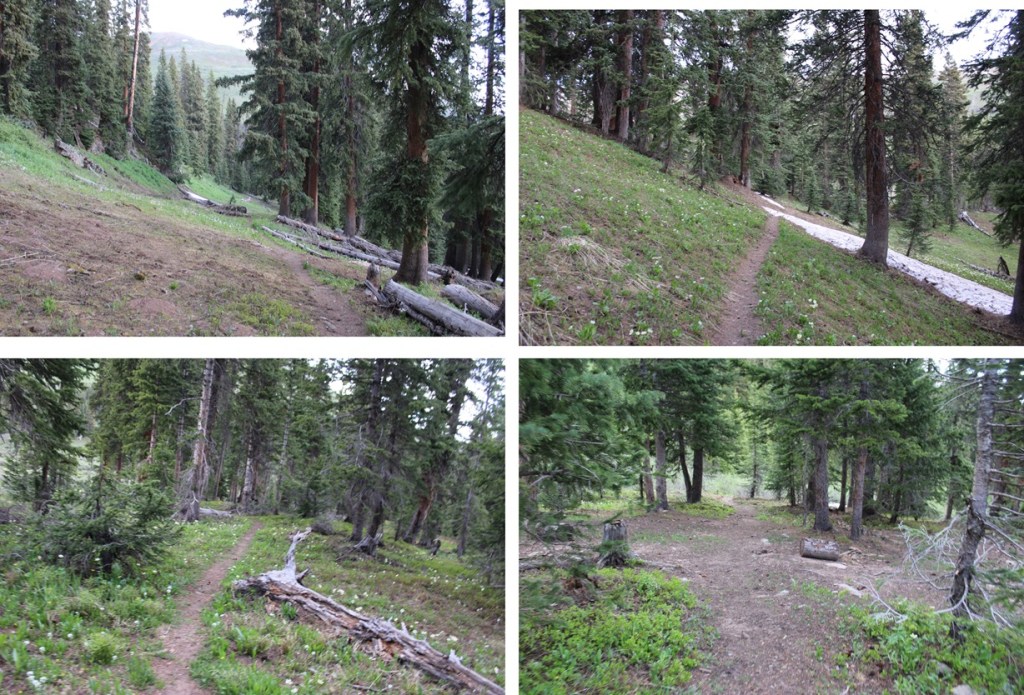
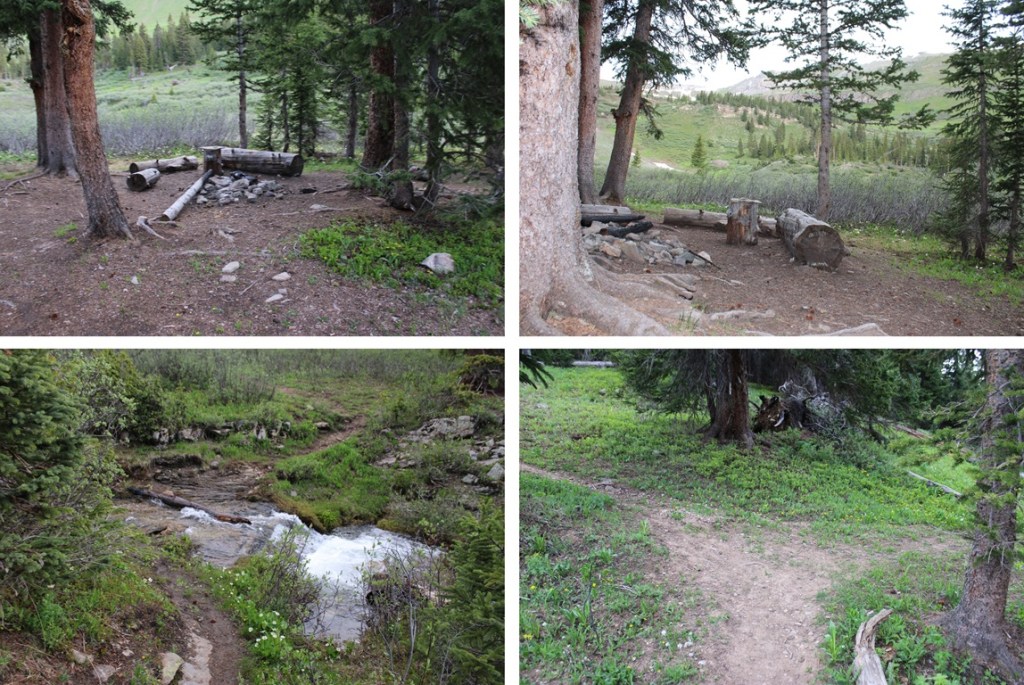
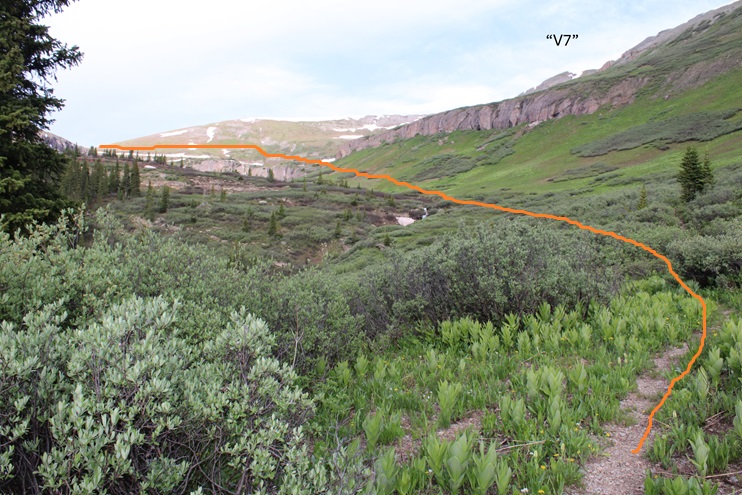
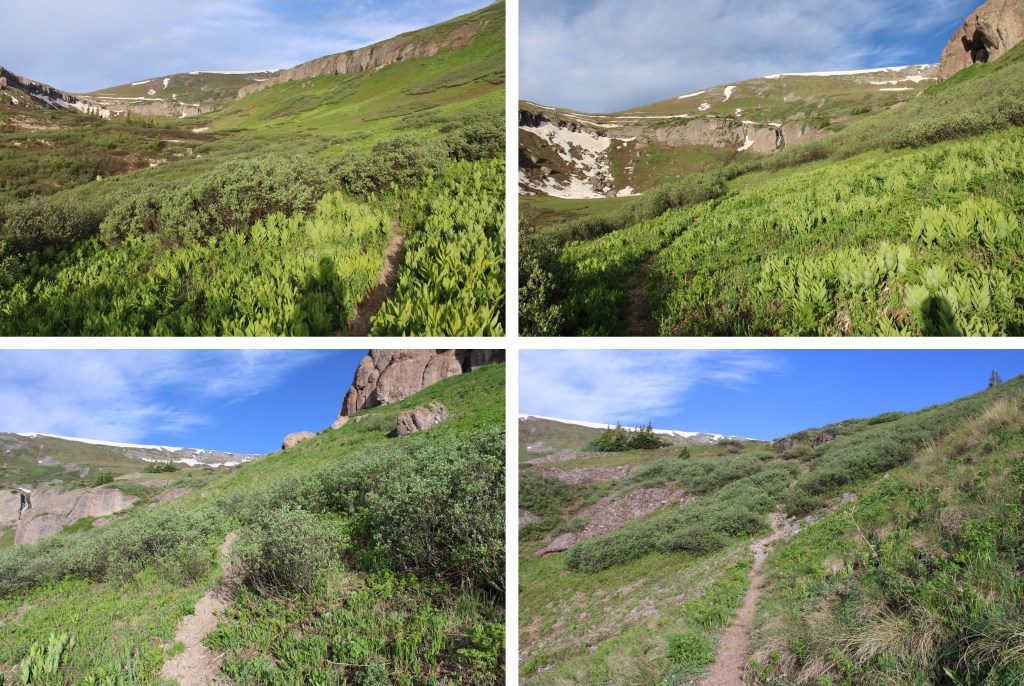
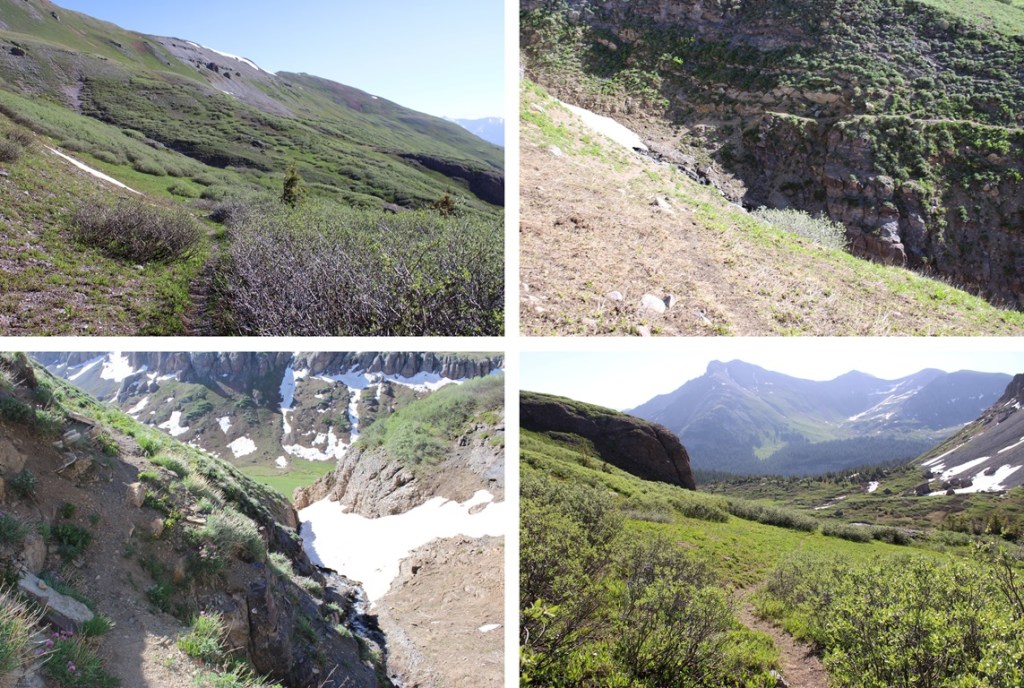
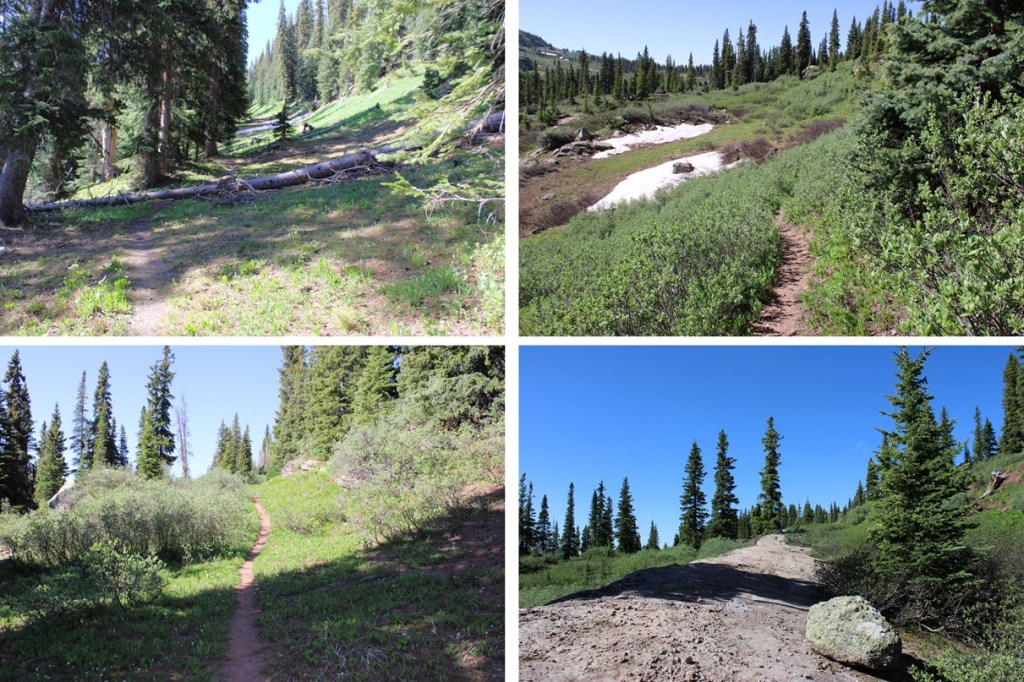
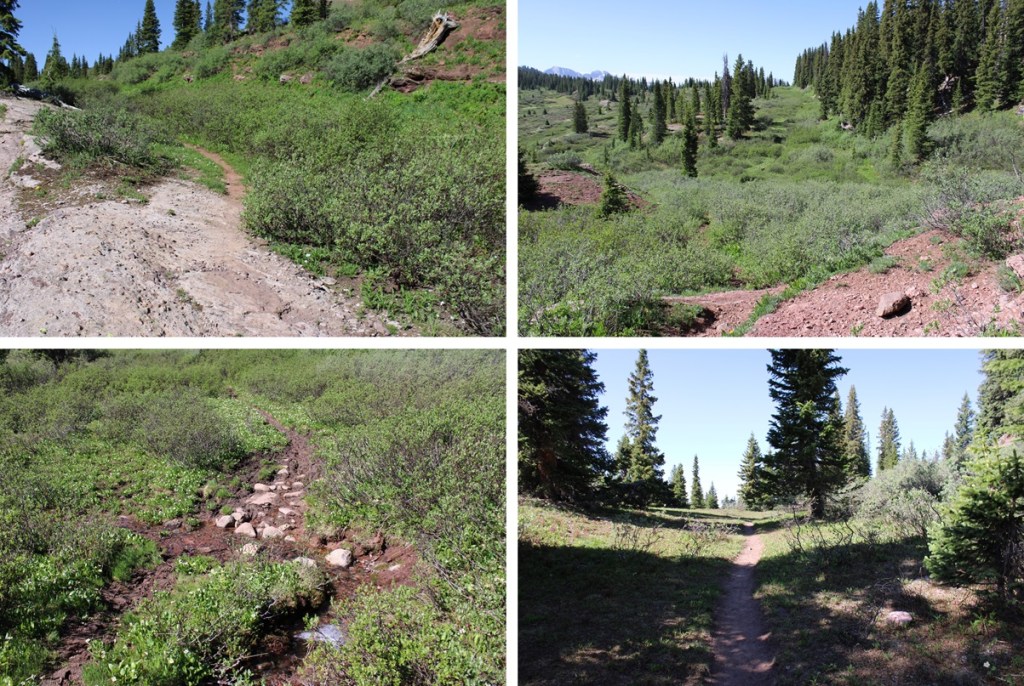
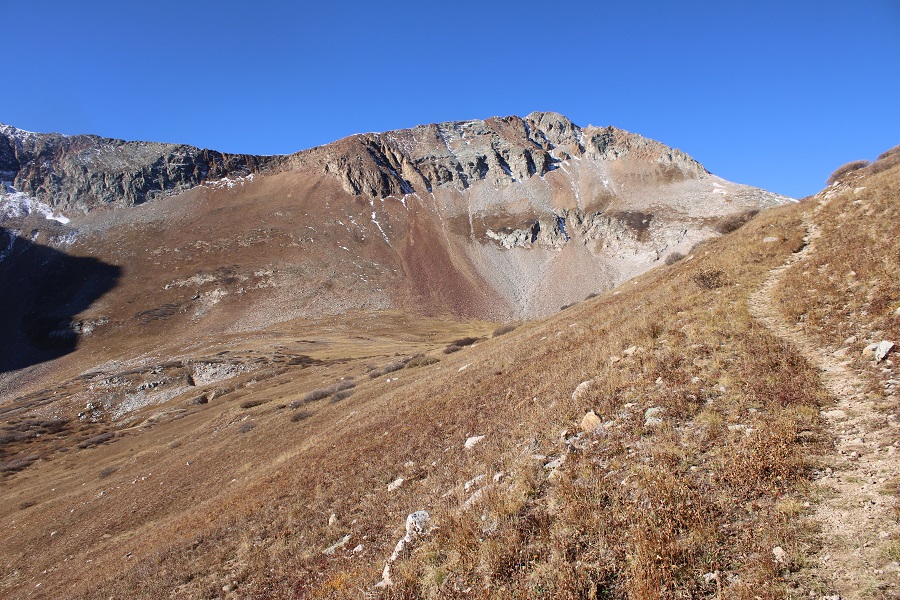
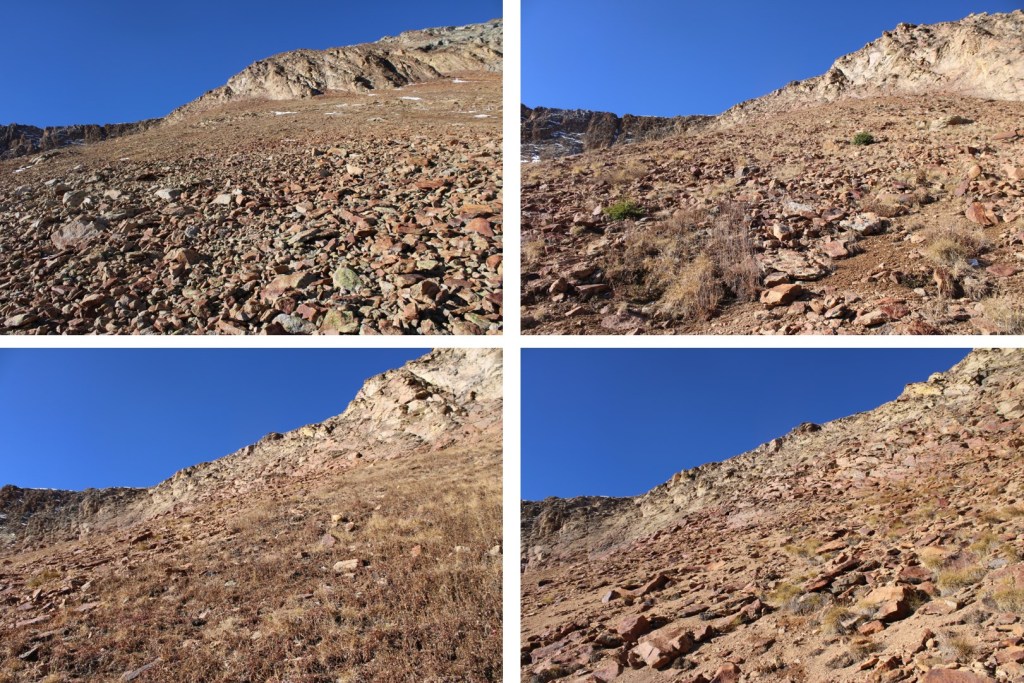
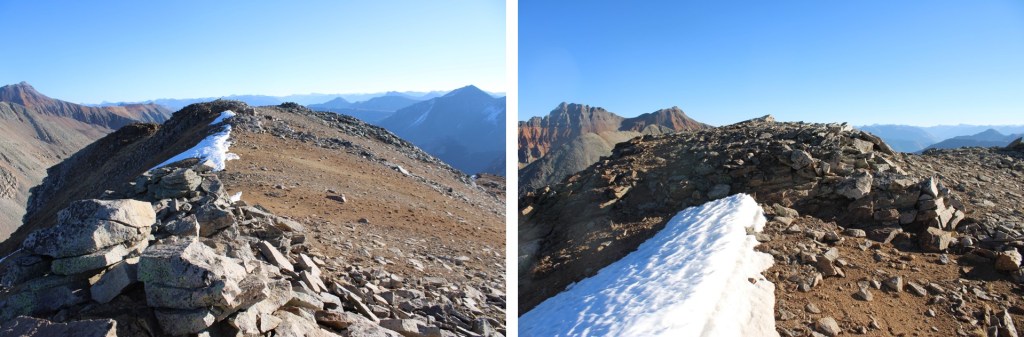
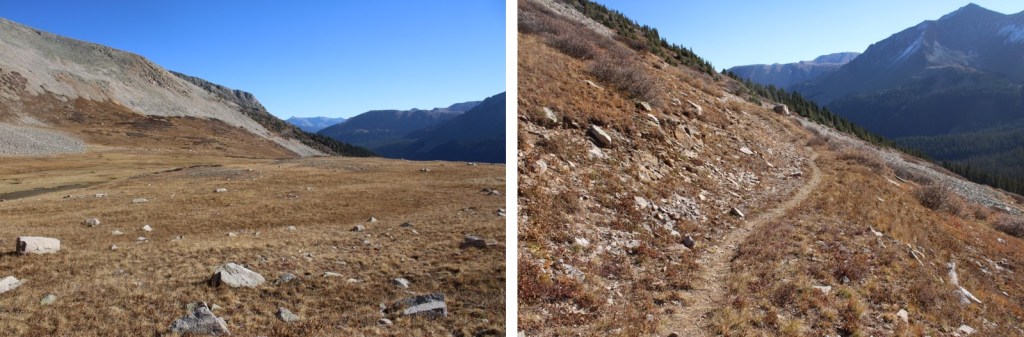
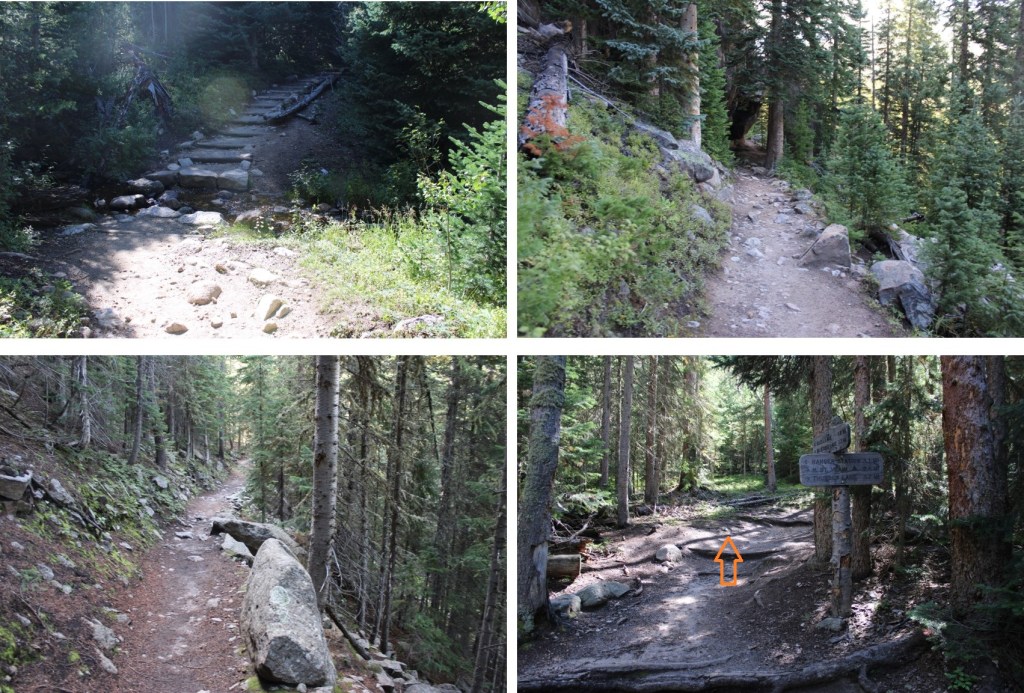
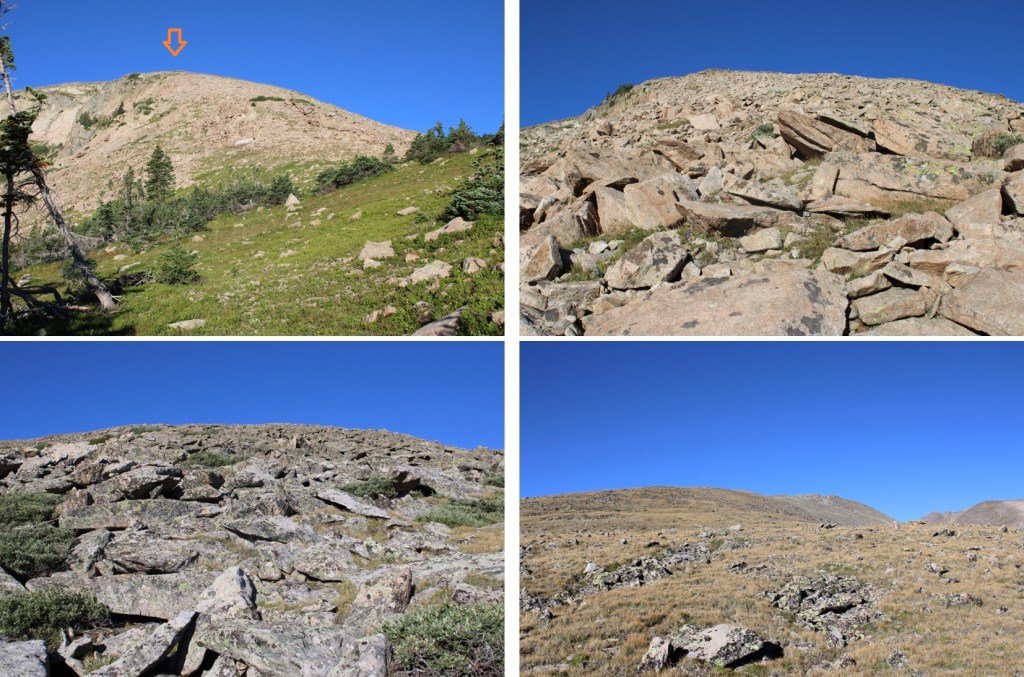
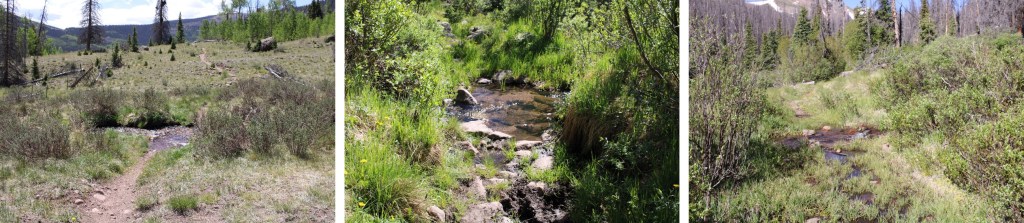
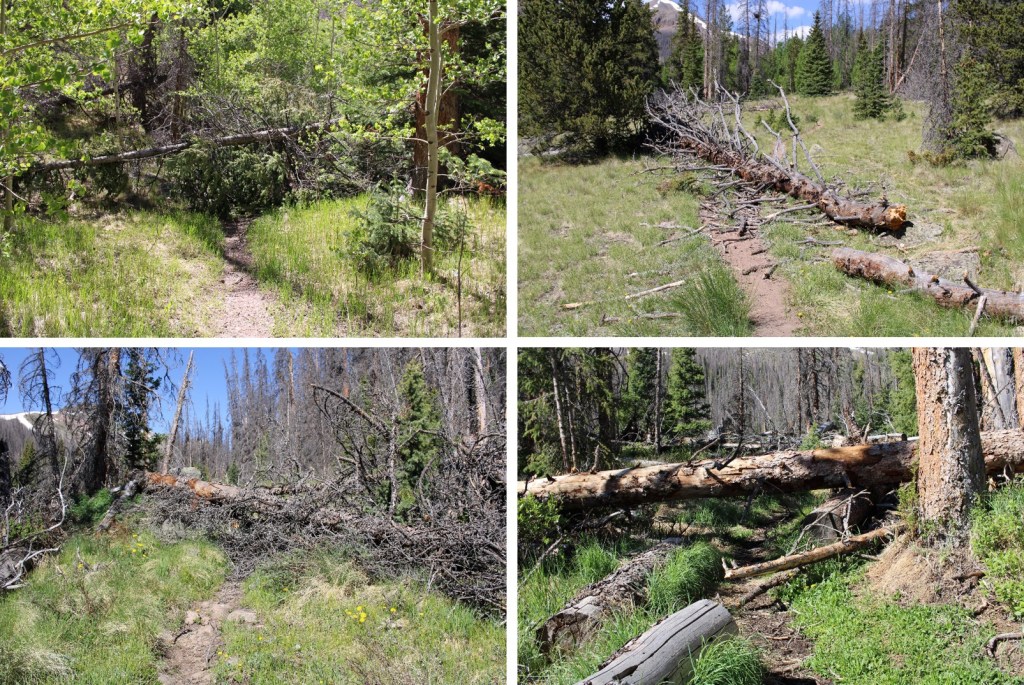
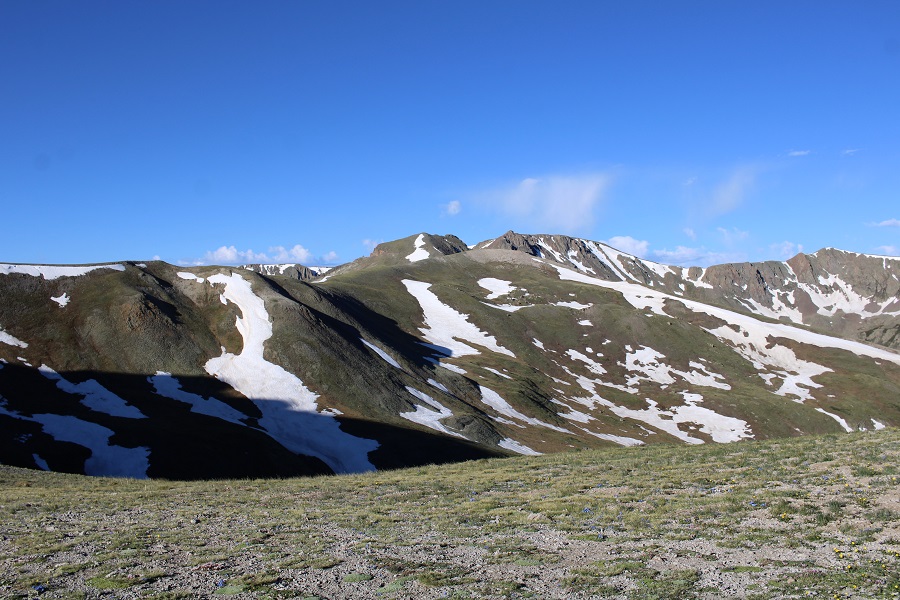
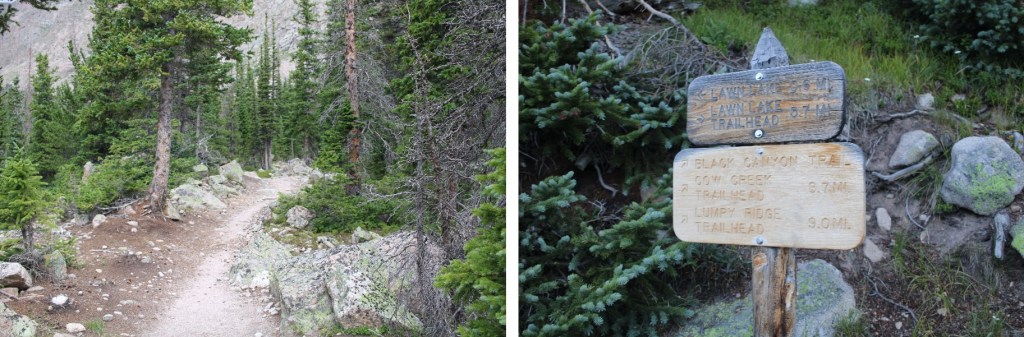
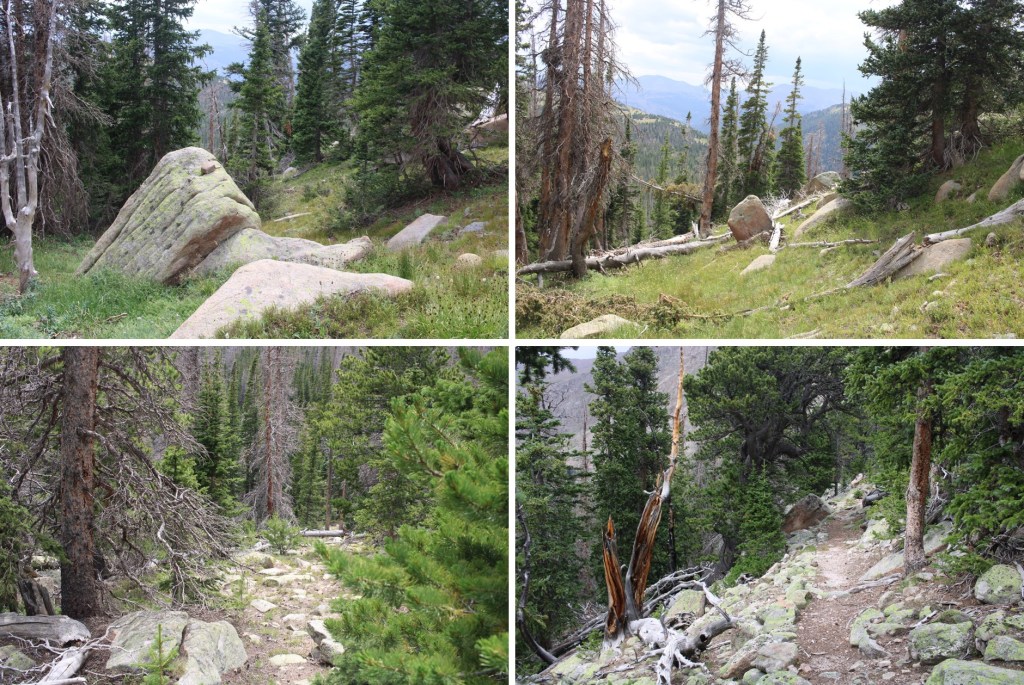
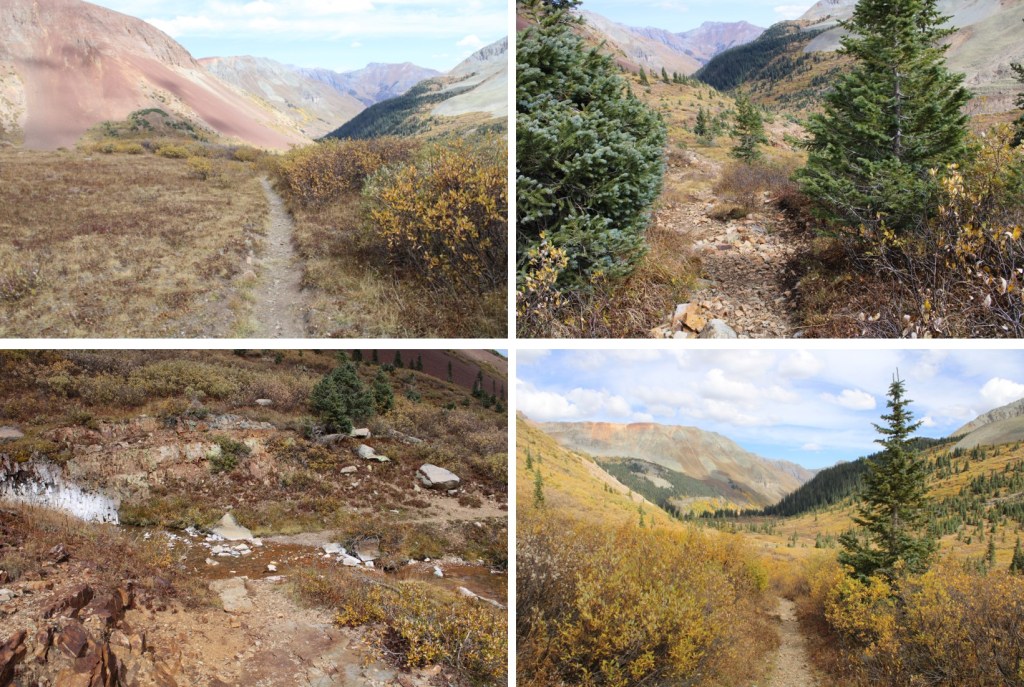
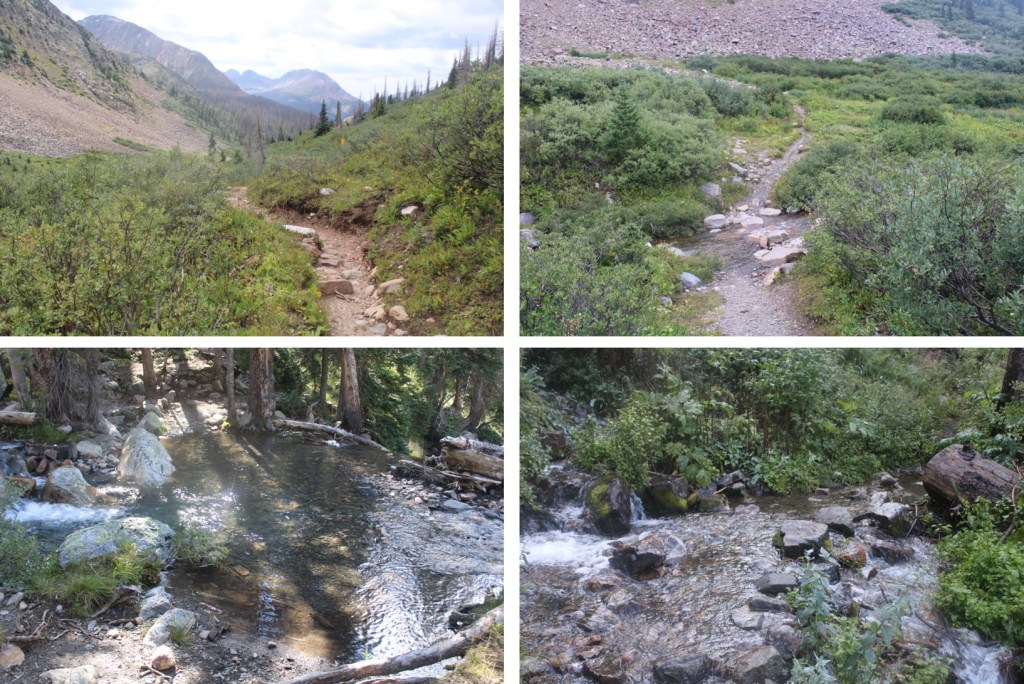
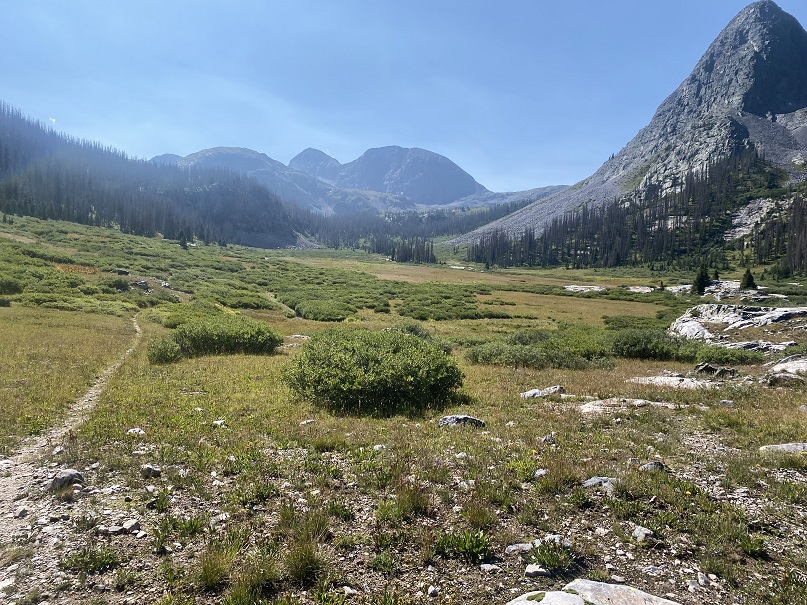
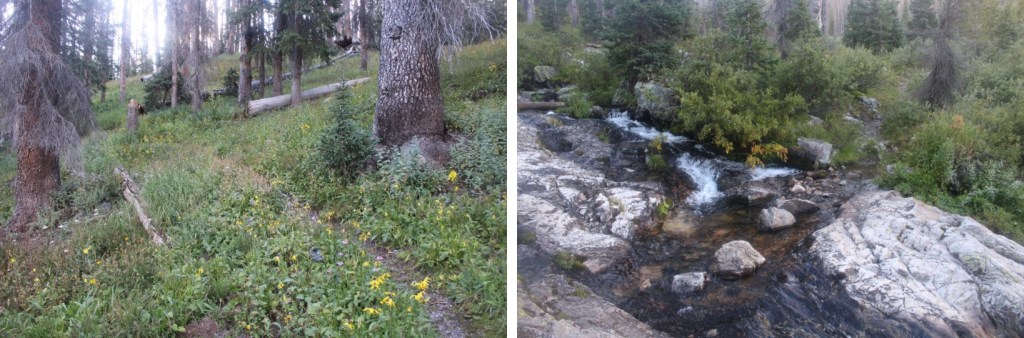
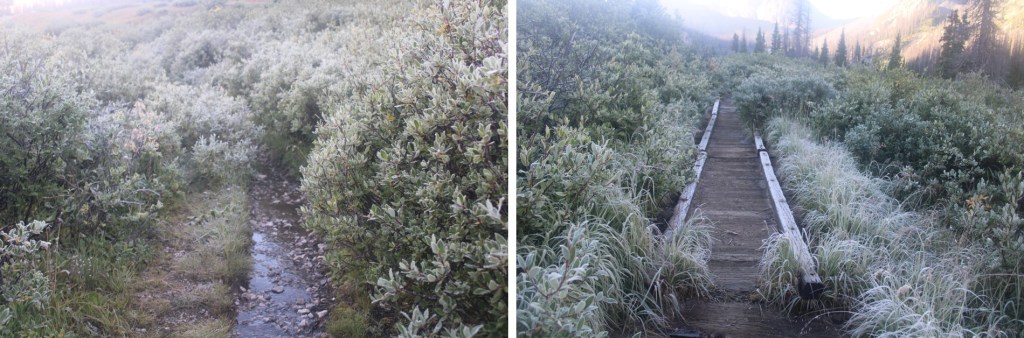
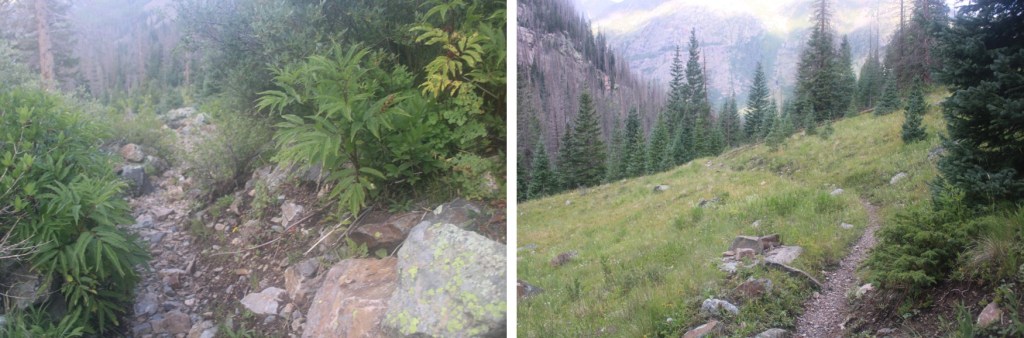
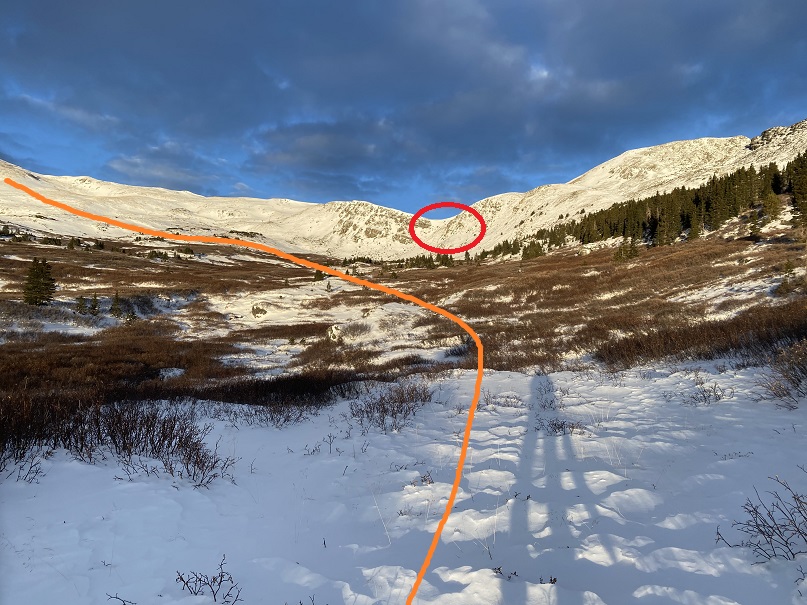
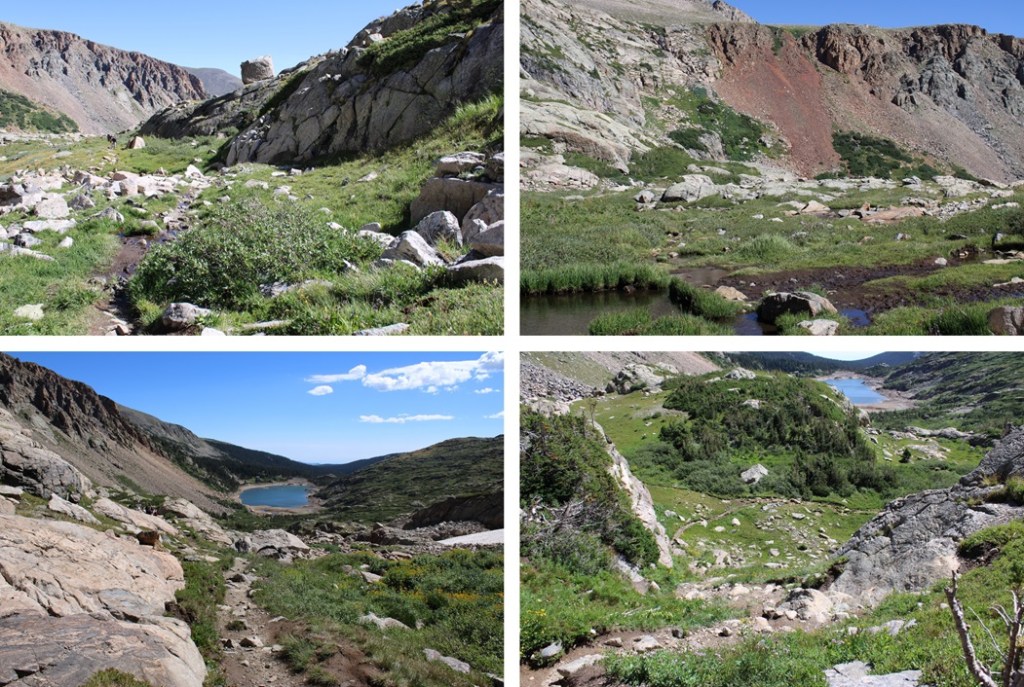
I followed this trail all the way past Isabelle Lake, west/southwest, through rocky areas and willows, towards Navajo and Apache Peaks. This is a class 1 trail, but the willows, rocks, and creeks overtake it at times.
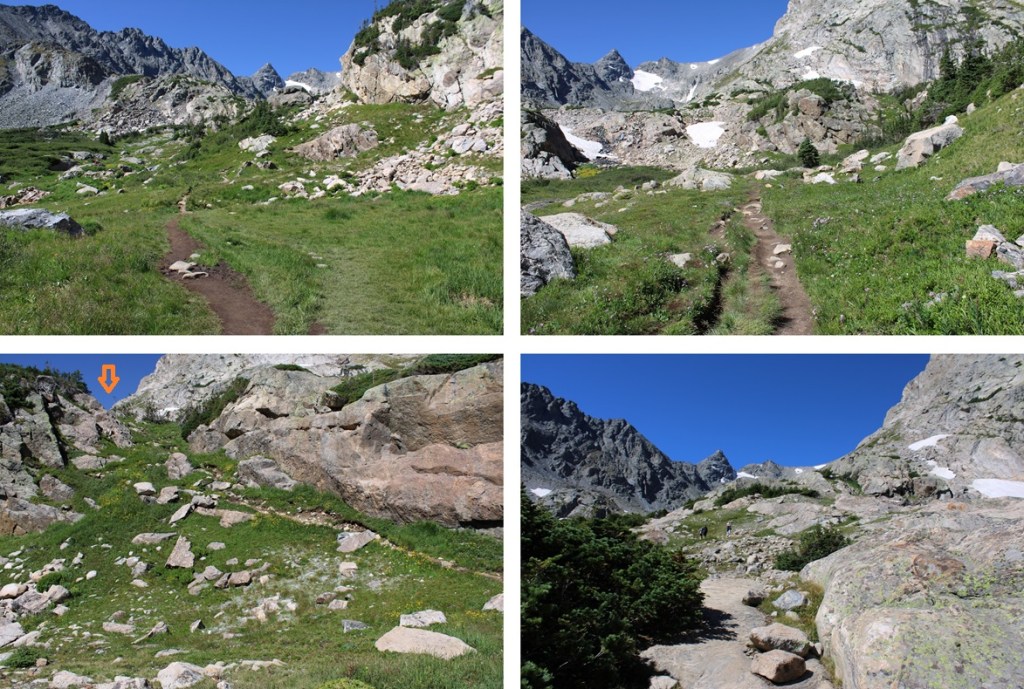

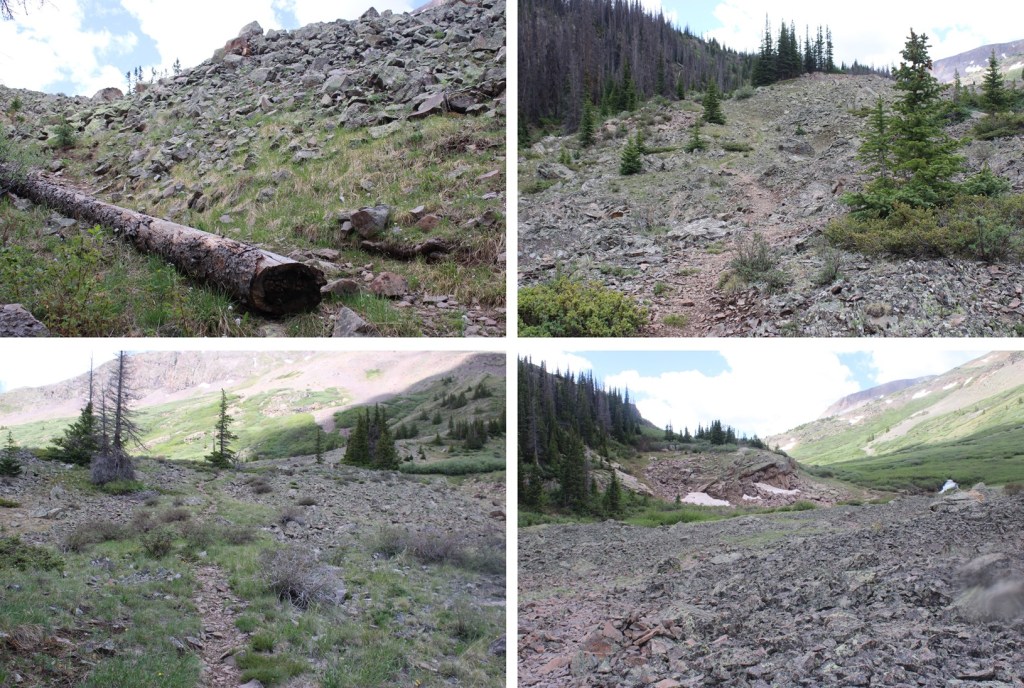
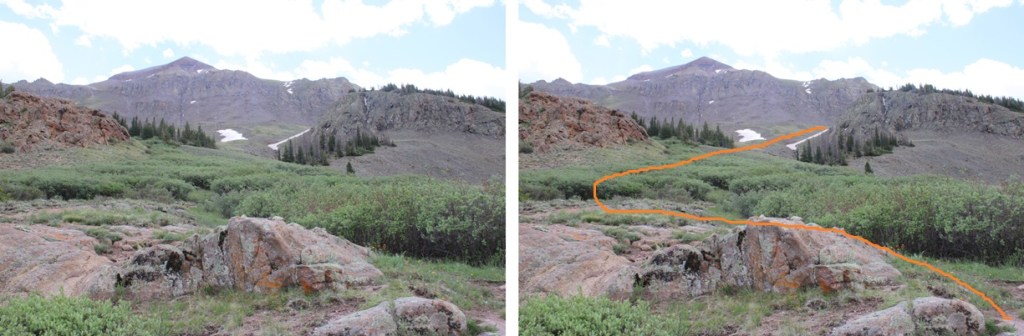
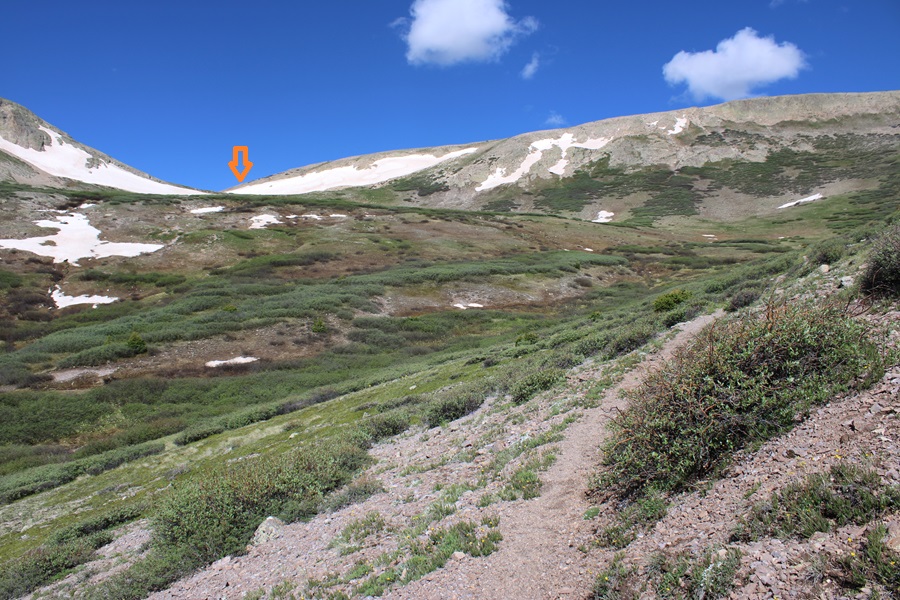
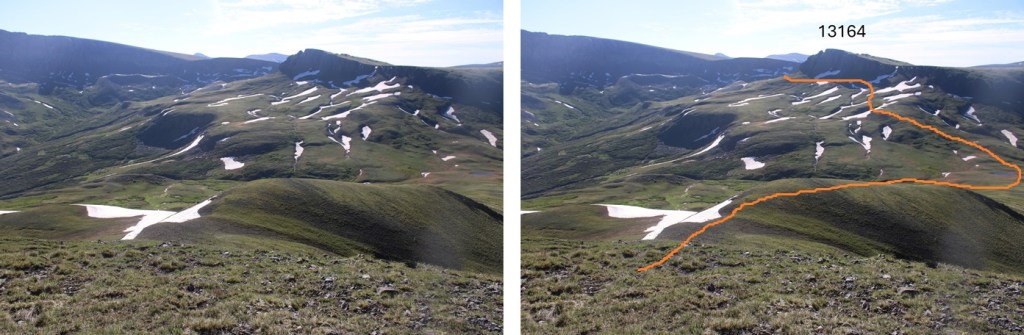
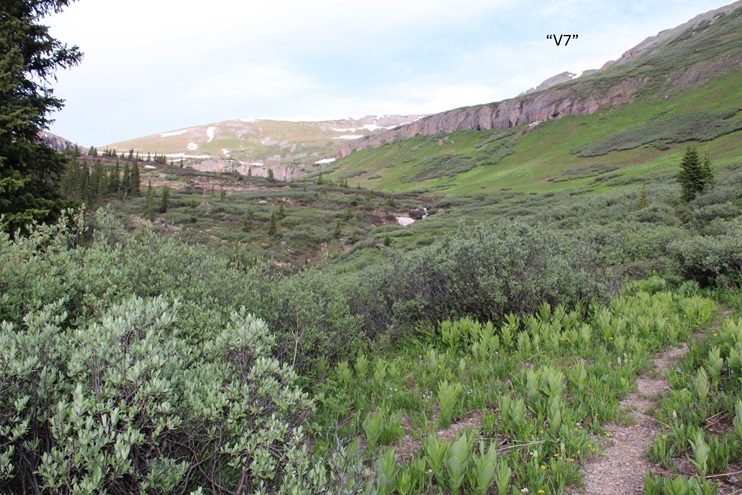
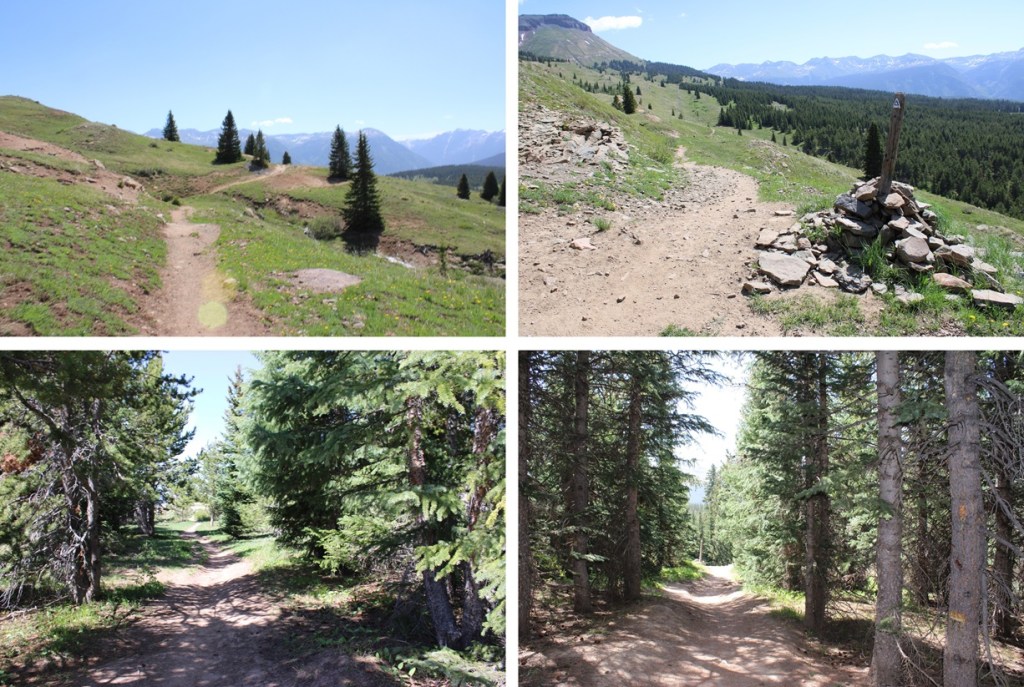
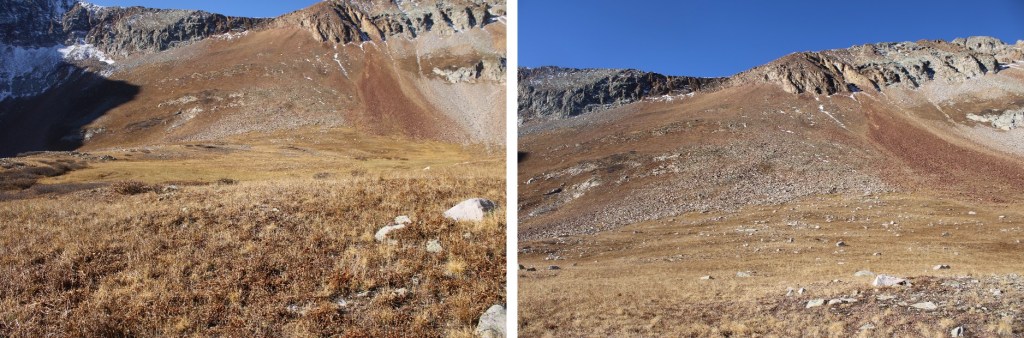
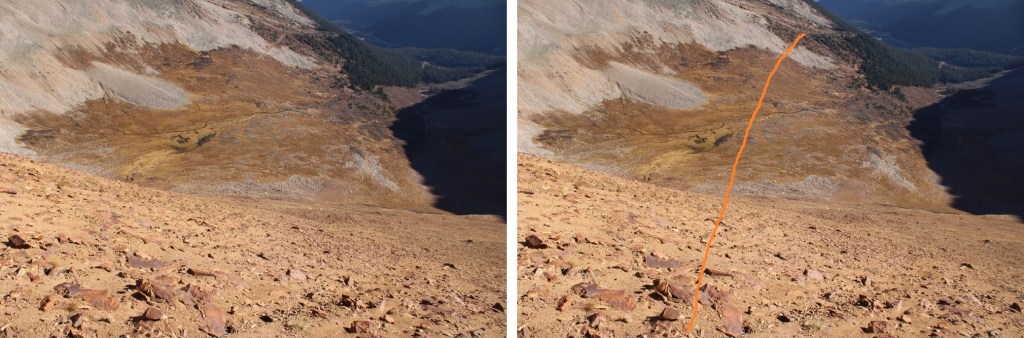
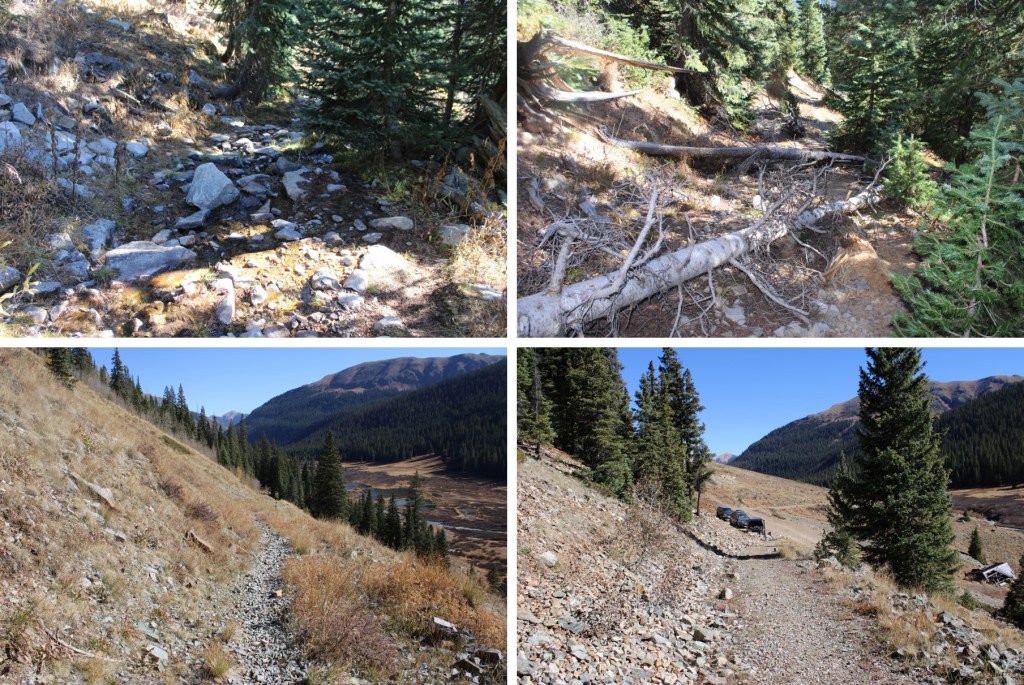
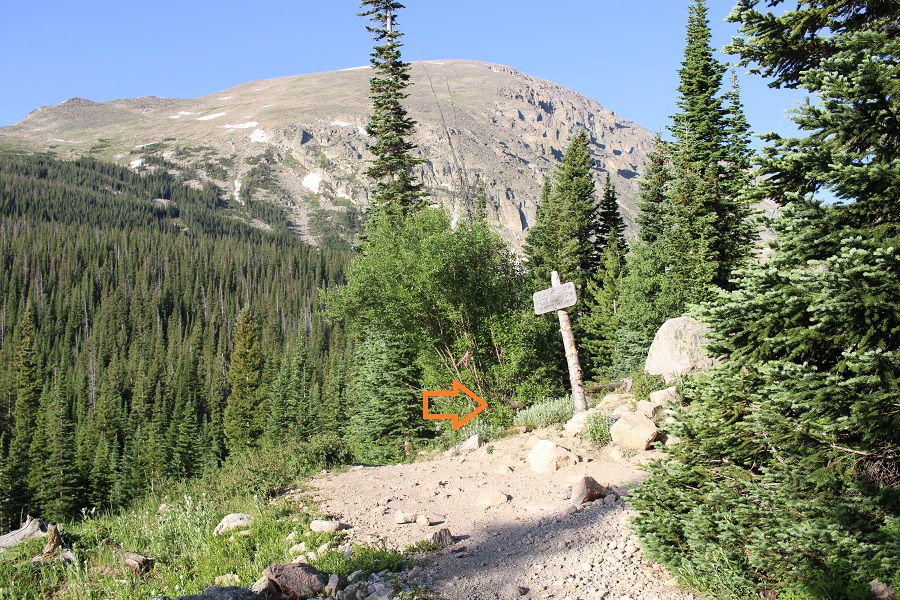
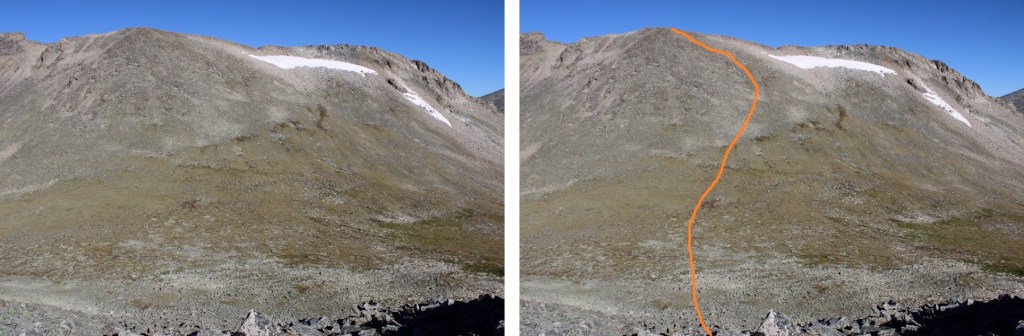
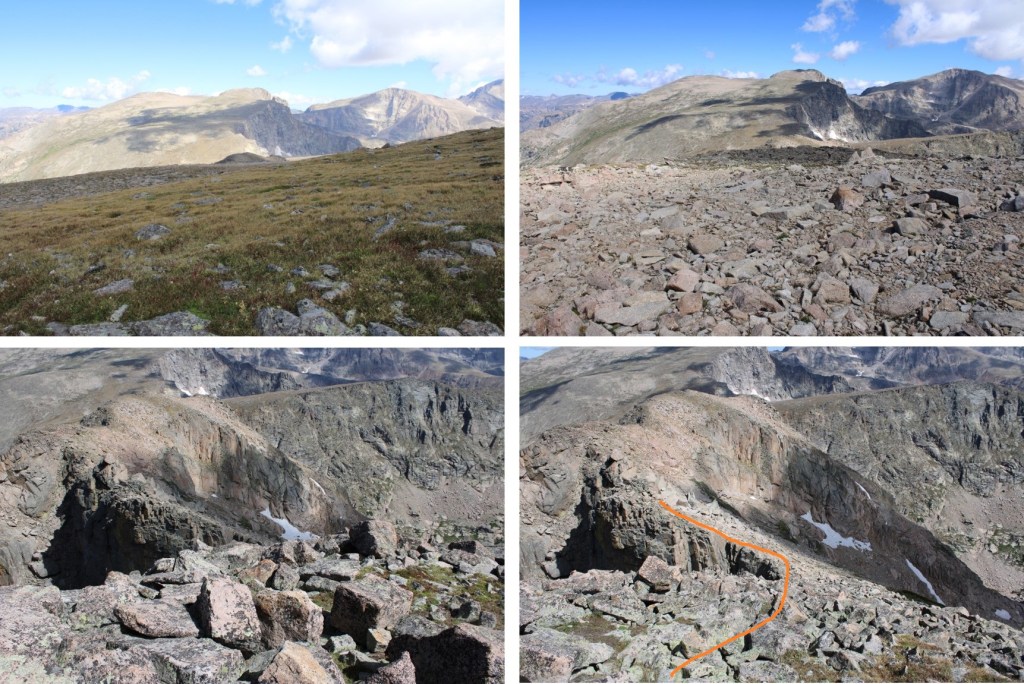
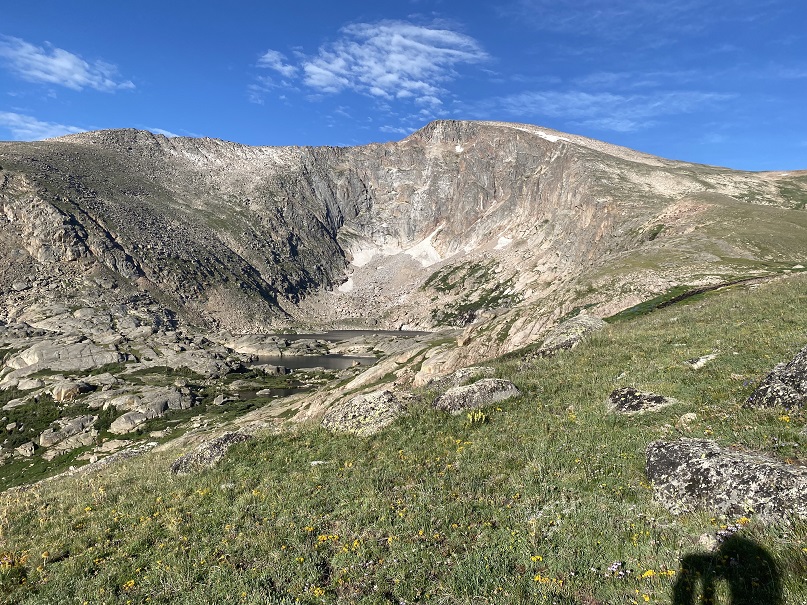
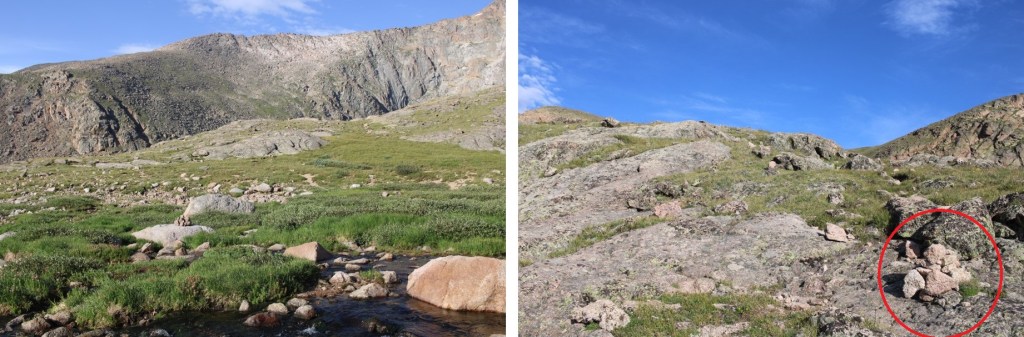
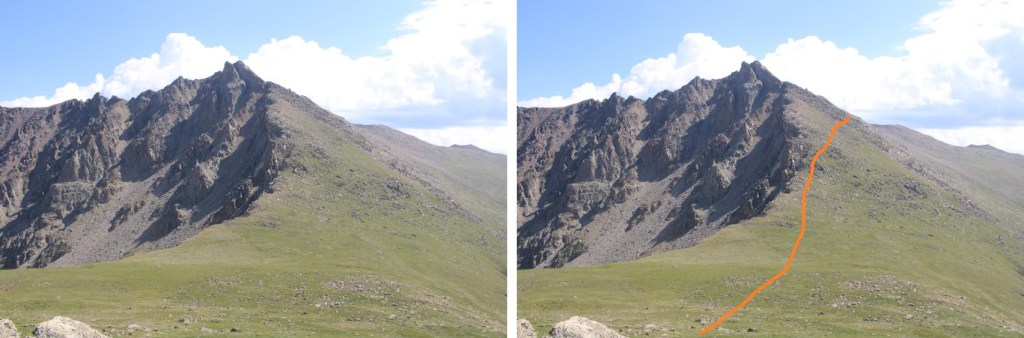
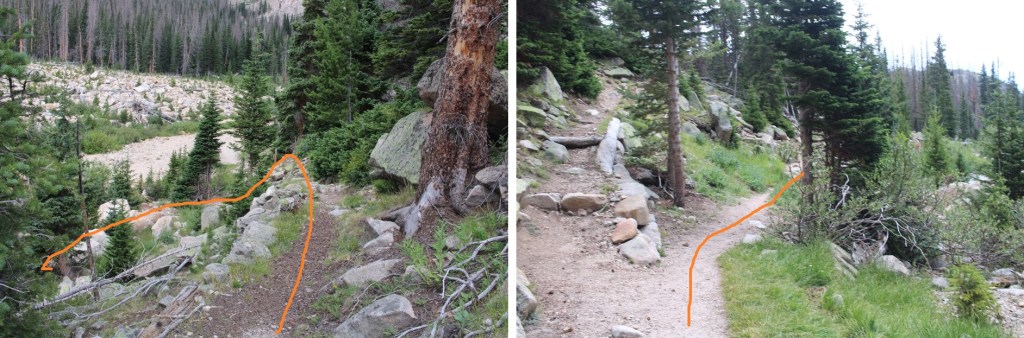
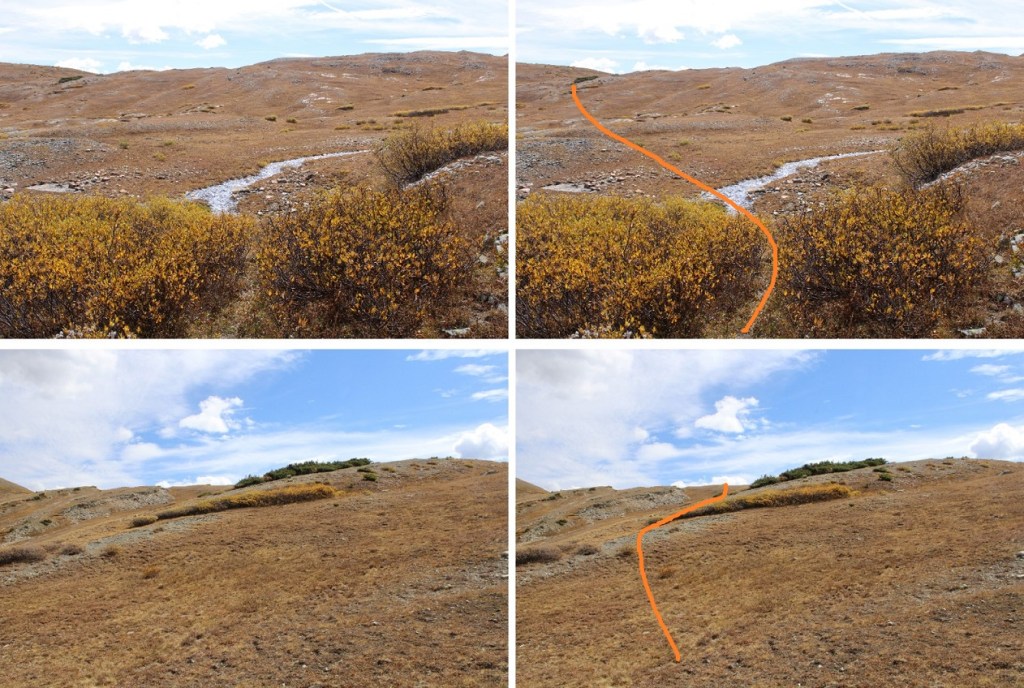
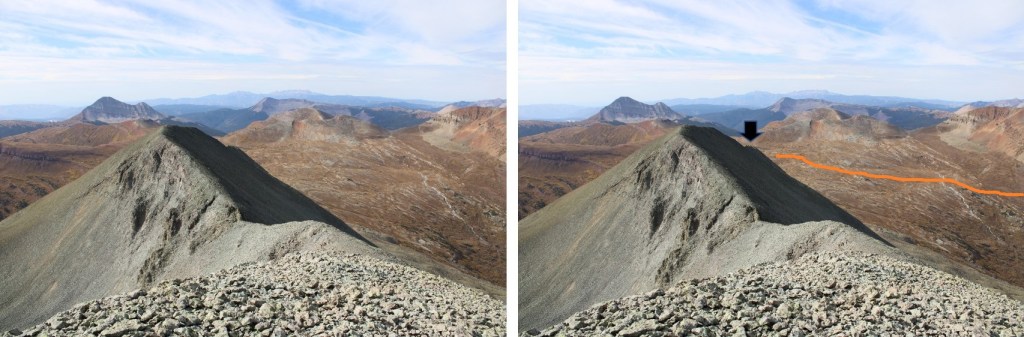
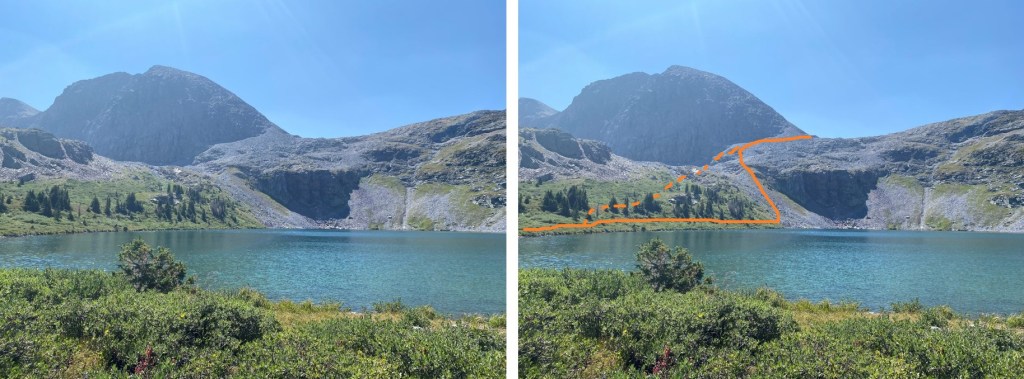
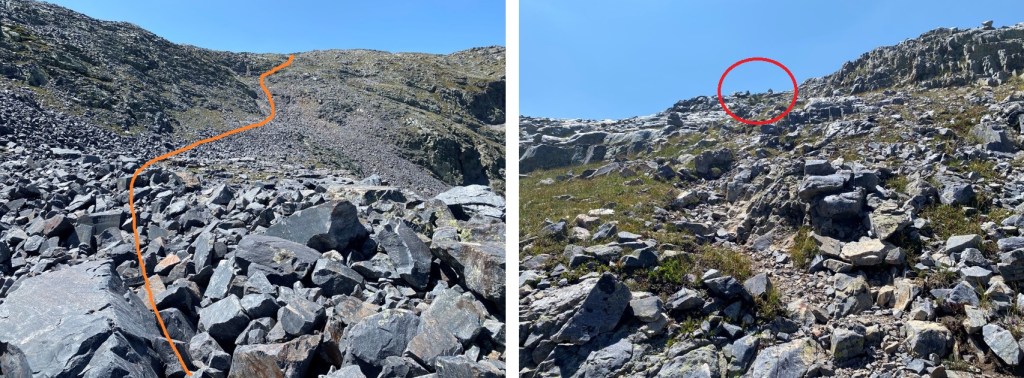
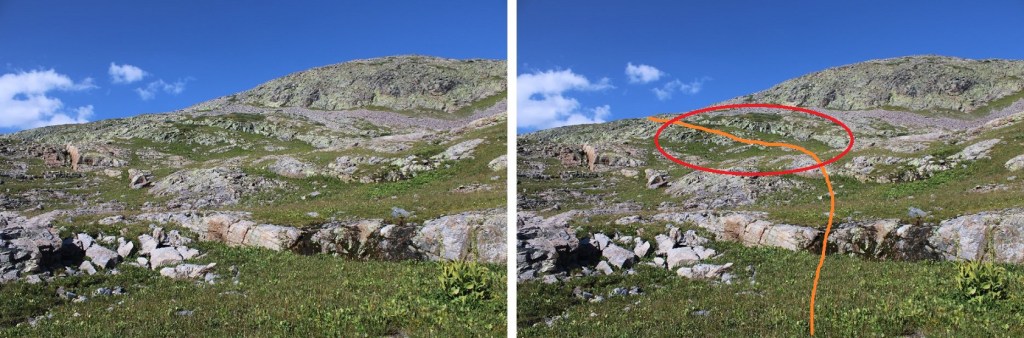
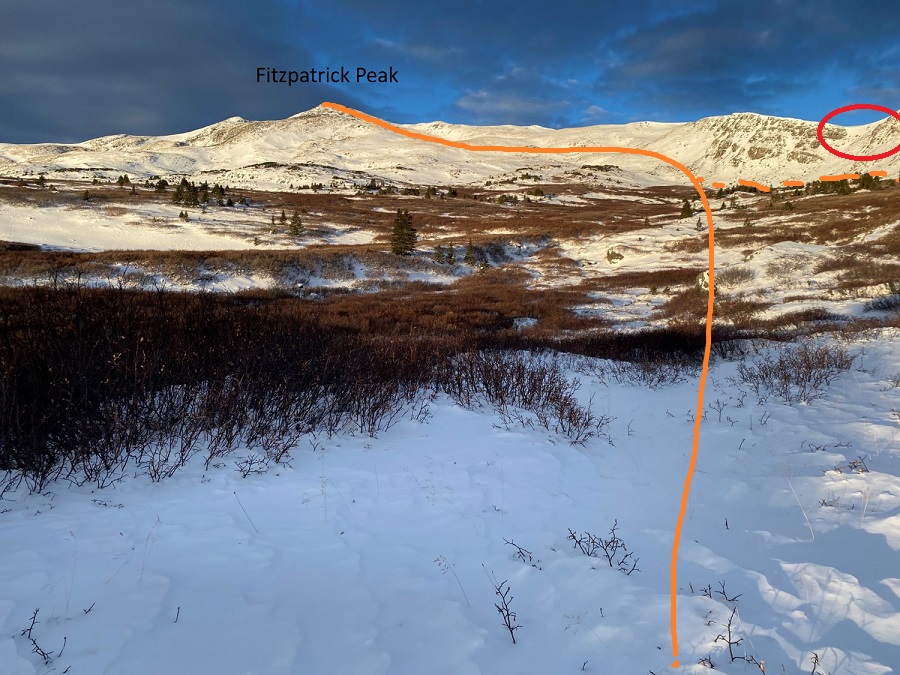
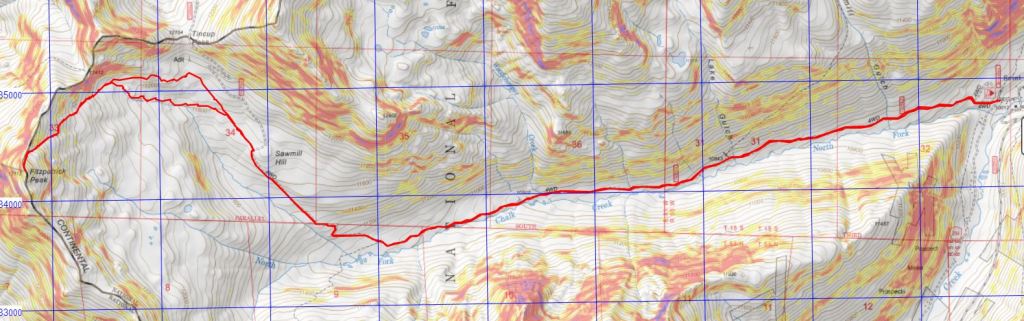
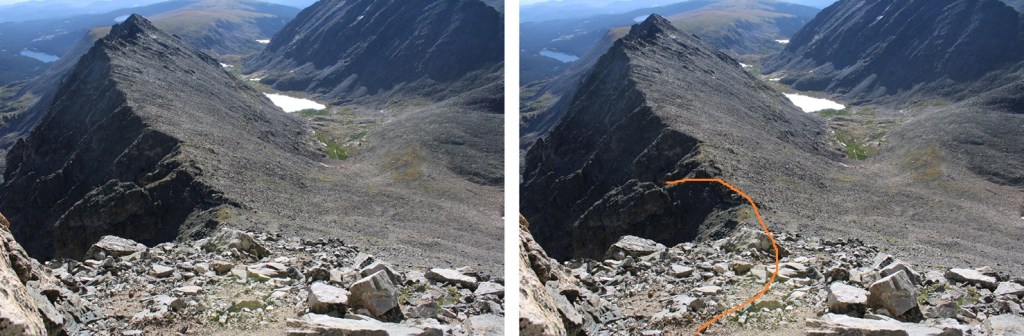
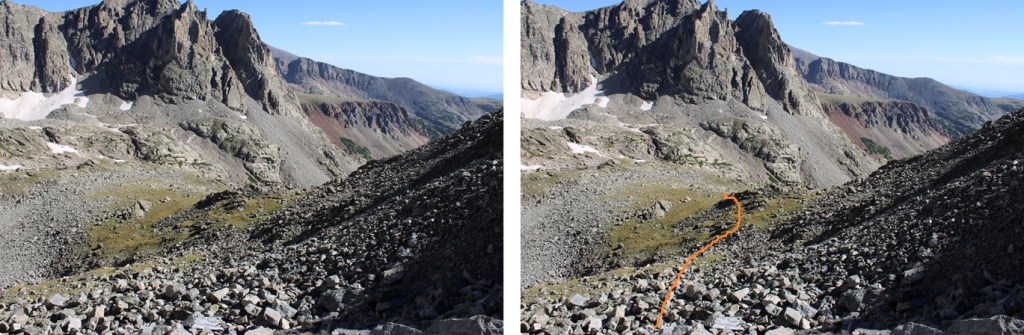
I came to the last pond before the glacier, and left the trail to head southwest into the upper basin. Here’s the route I took
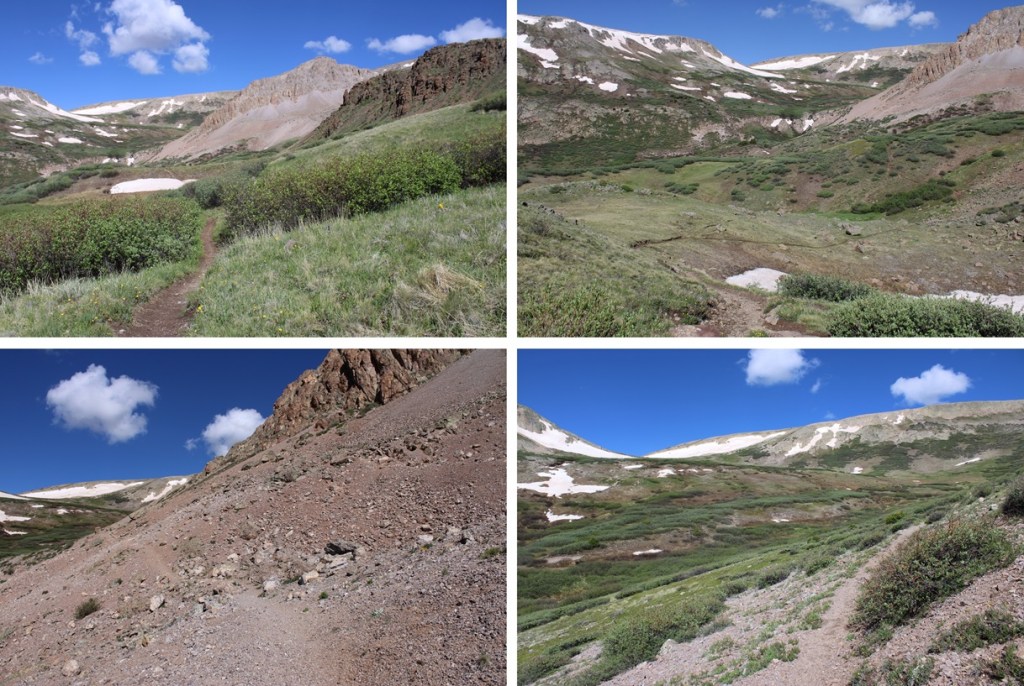
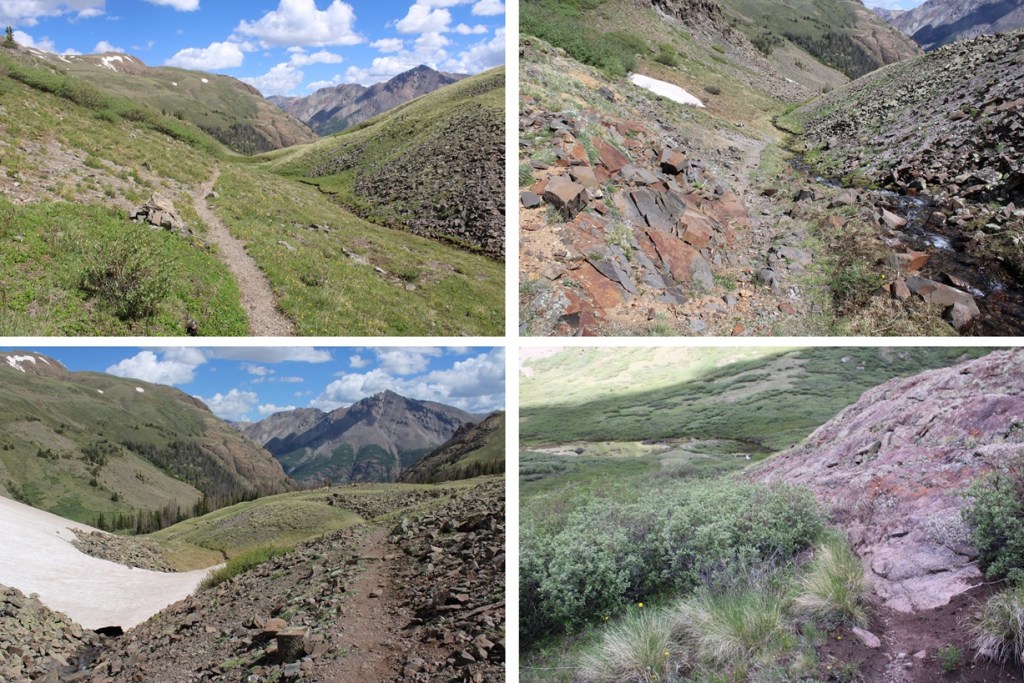
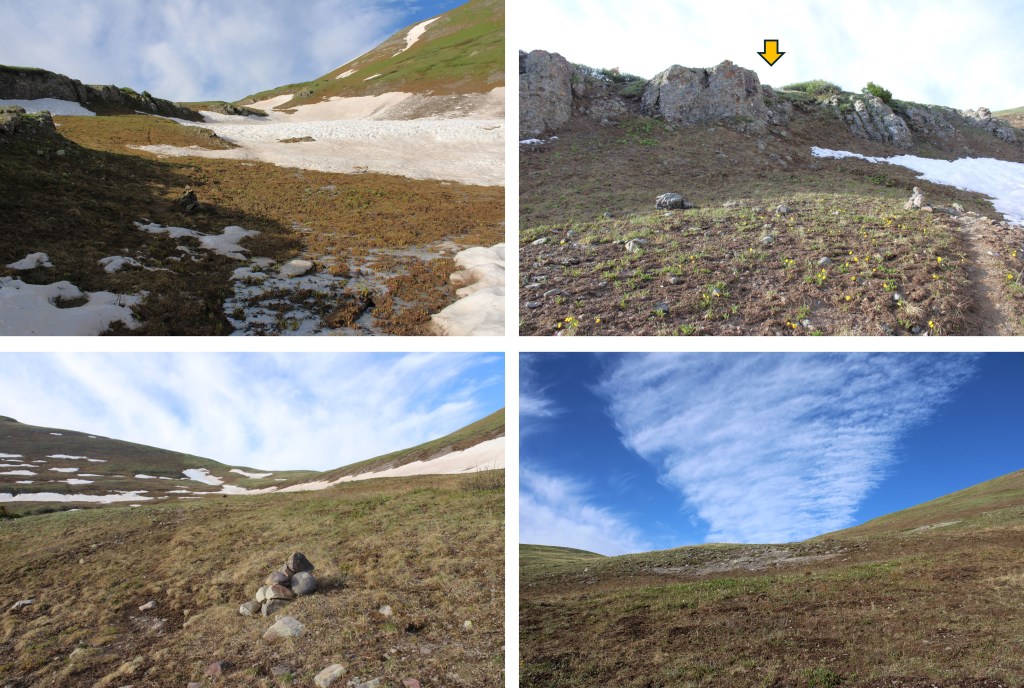
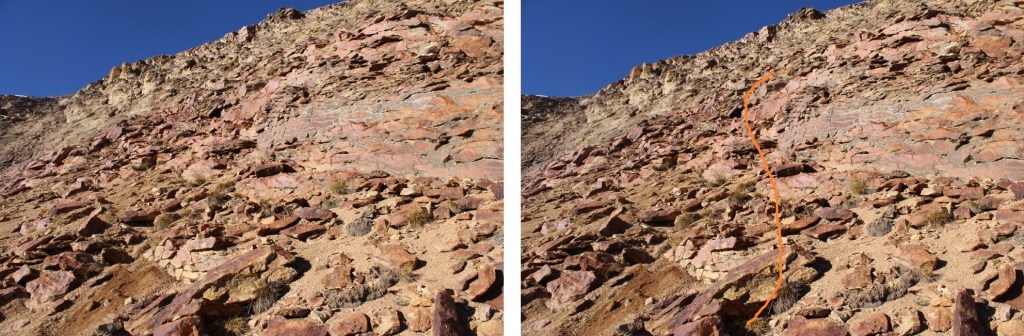
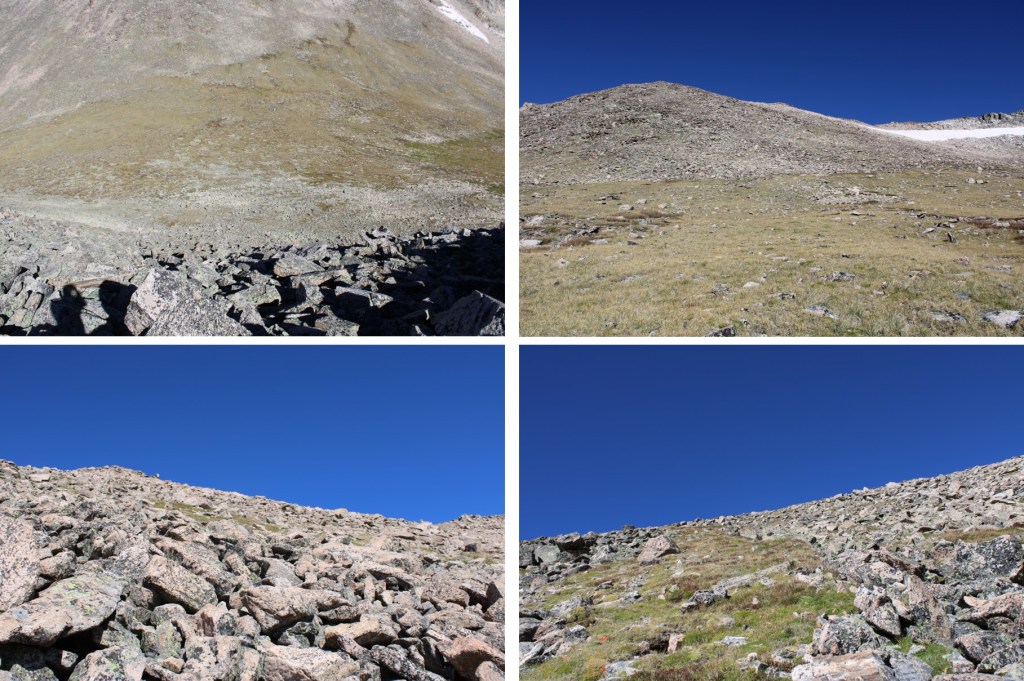
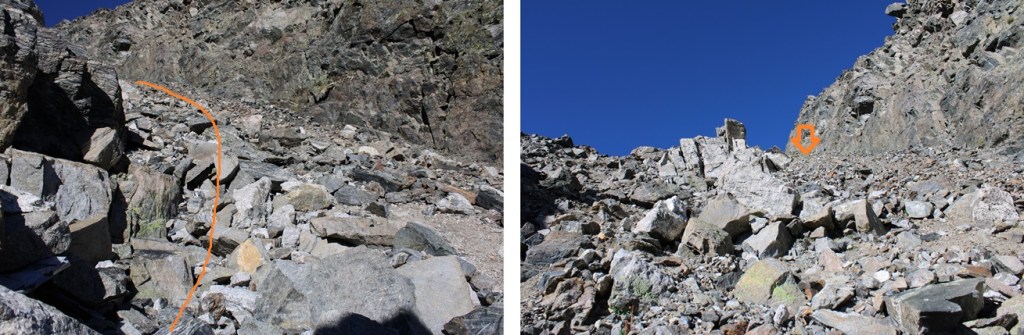
And some step by step pictures. First, I had to leave the trail. I crossed over the snow still skirting the lake, and headed towards the large boulder in the distance
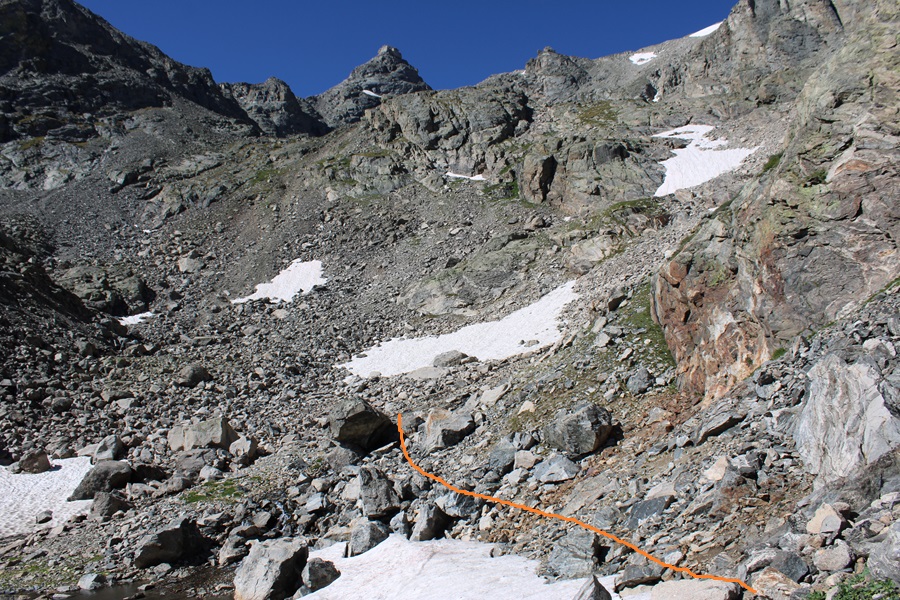
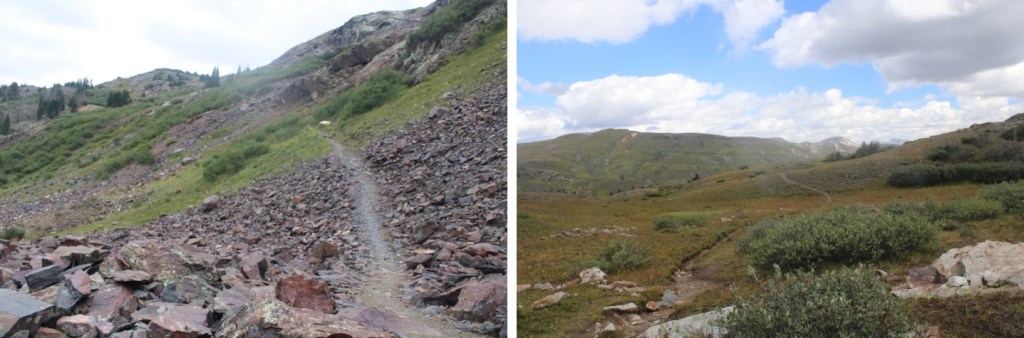
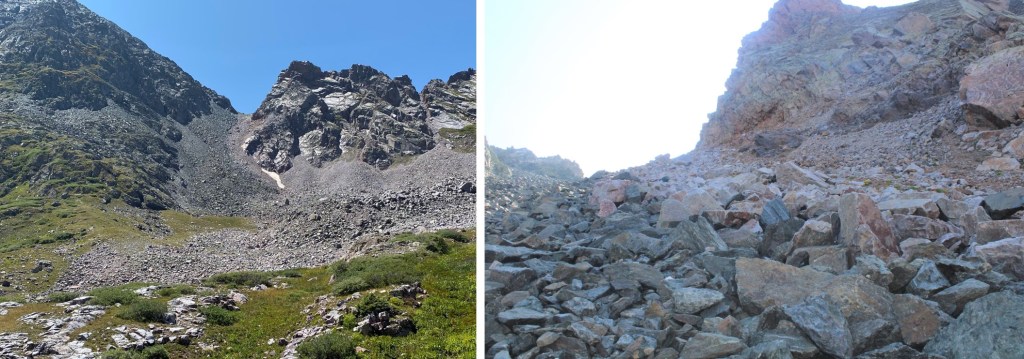
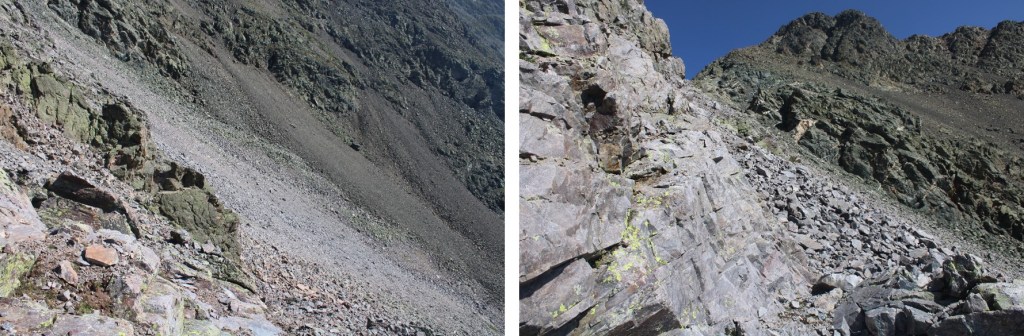
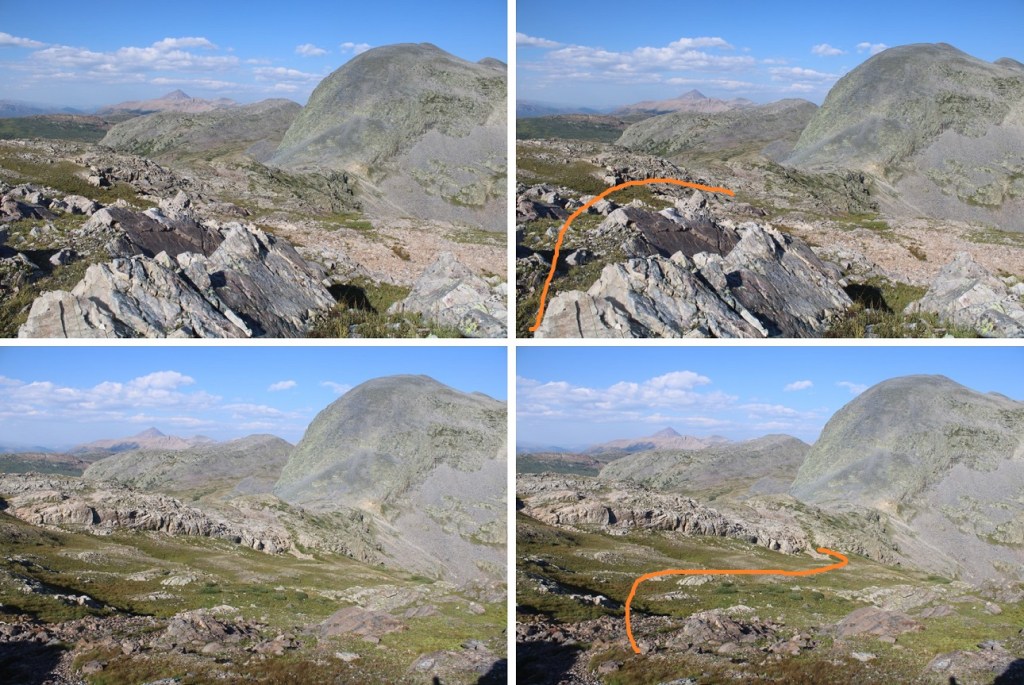
I then crossed the creek, crossed the boulders (some were loose, most were not) and headed for the scree. Luckily, it had rained last night, so the scree was easy to grip.
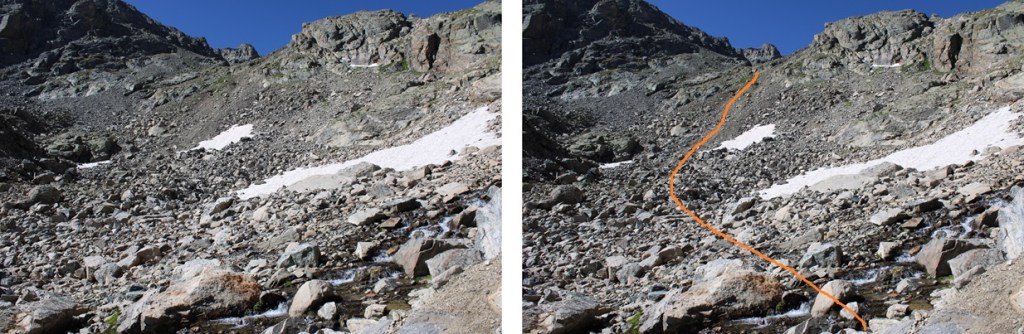
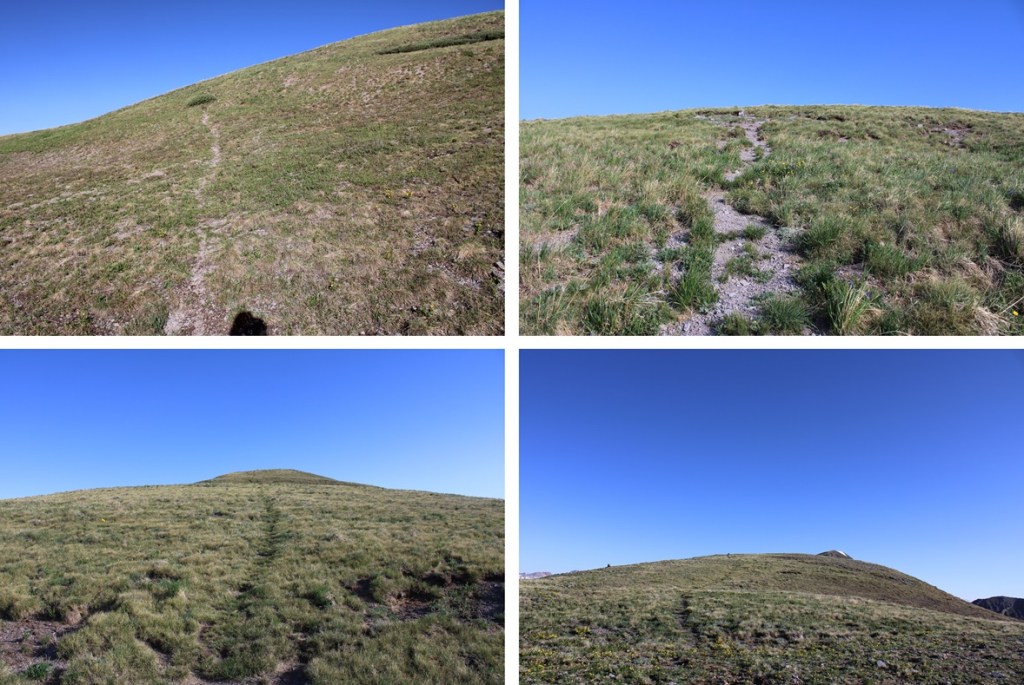
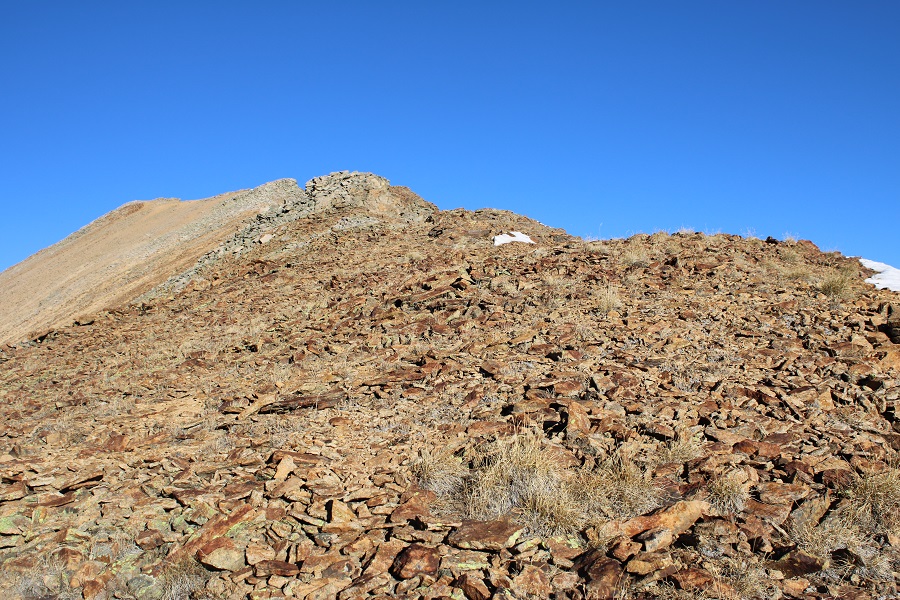
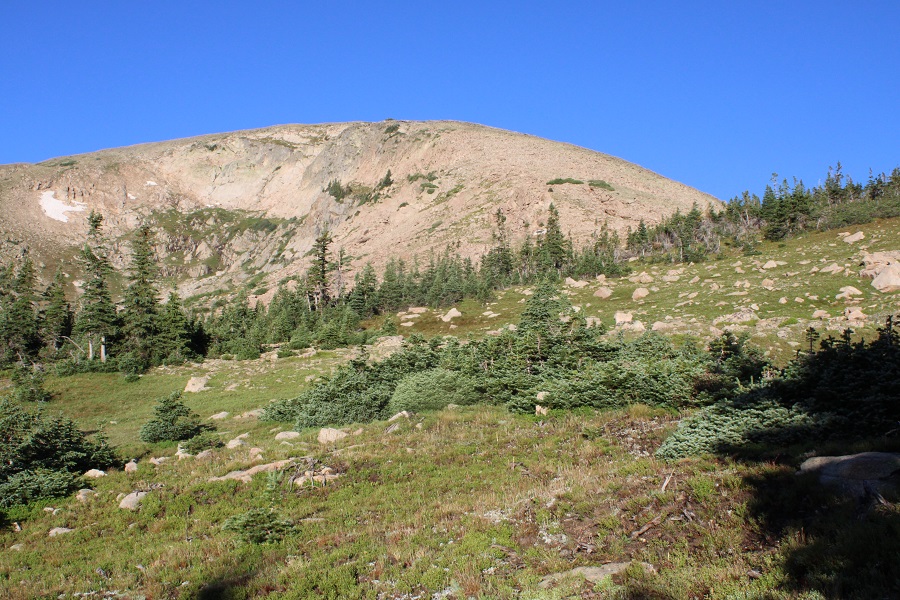
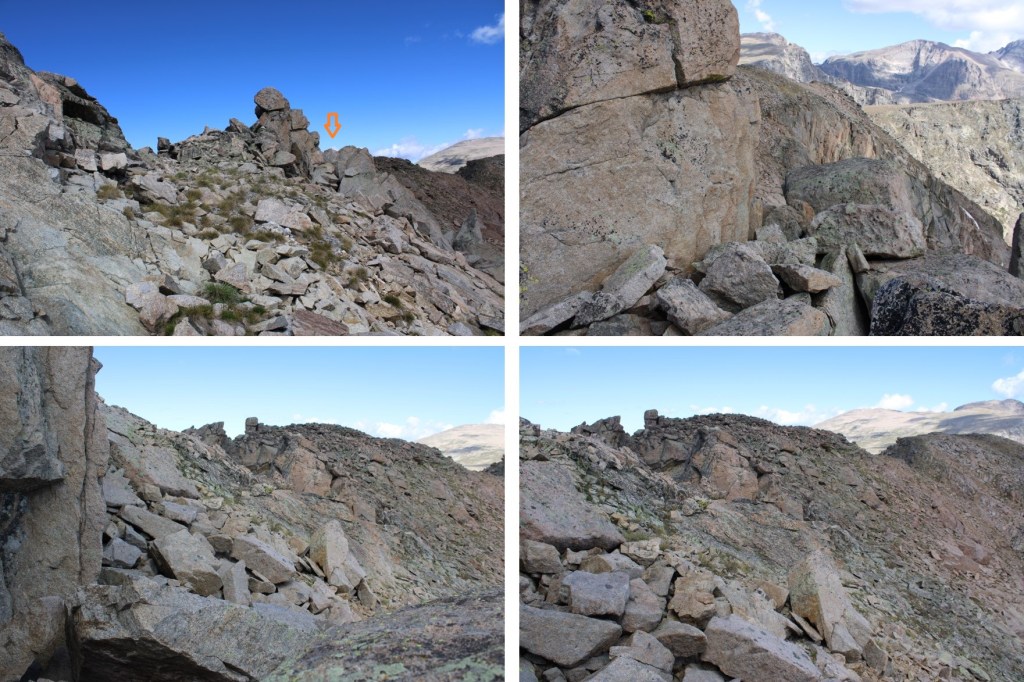
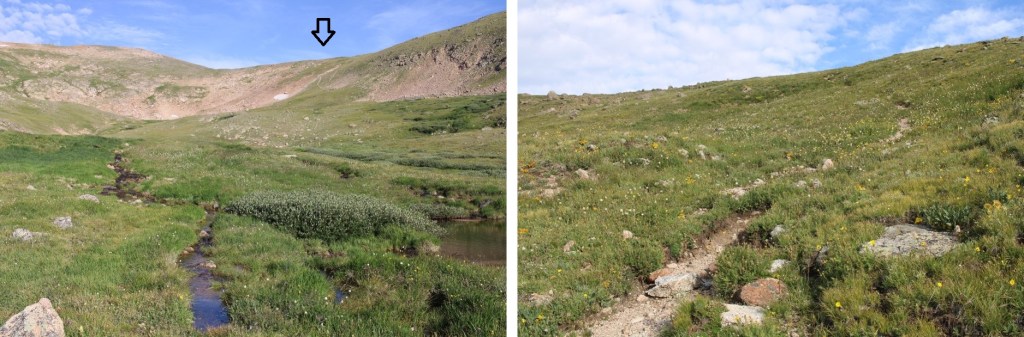
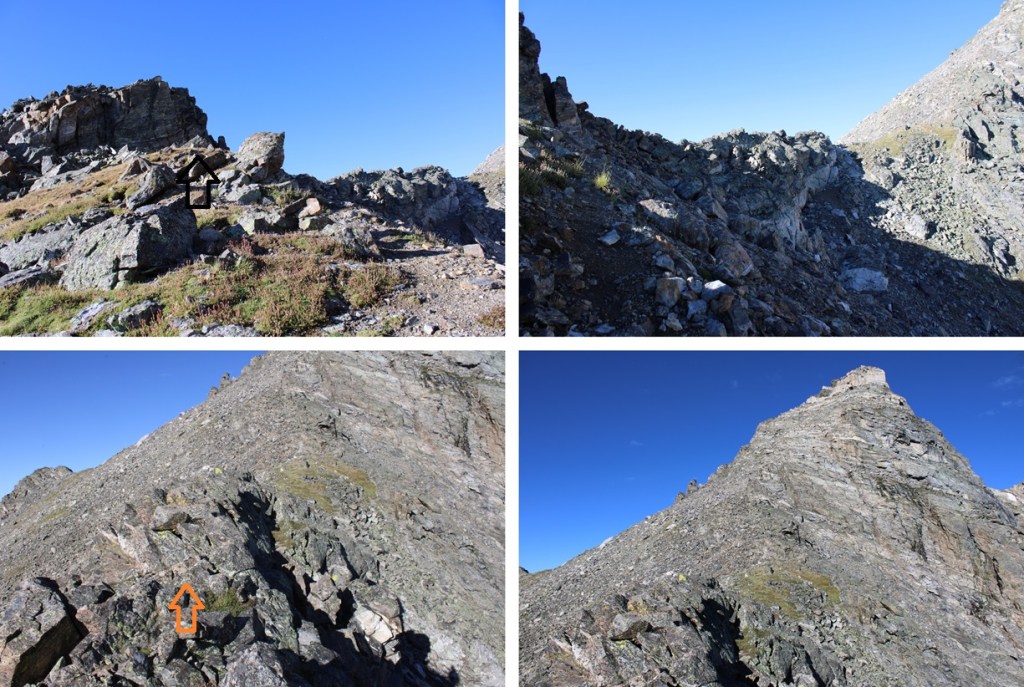
At the top of the scree I was greeted with tundra. I kept following it, heading southwest
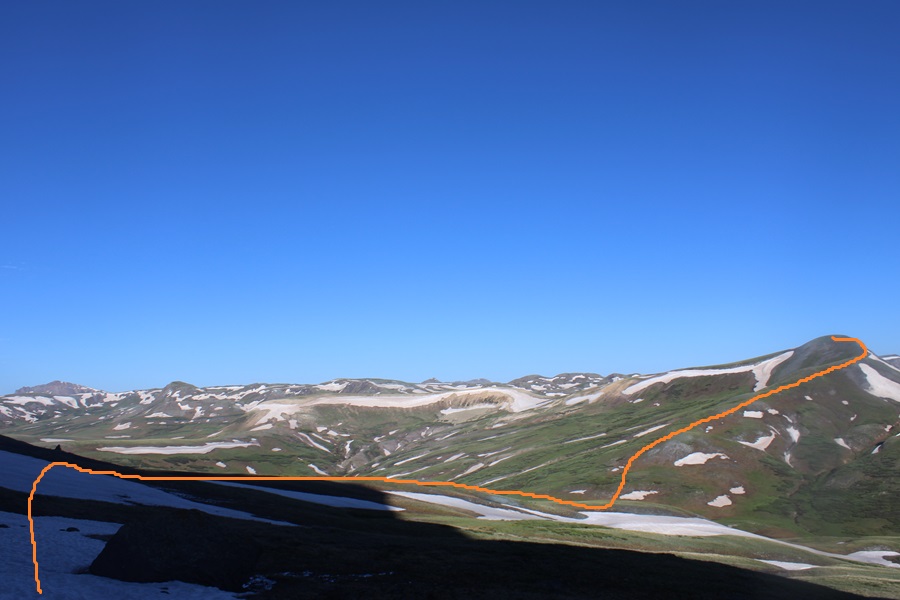
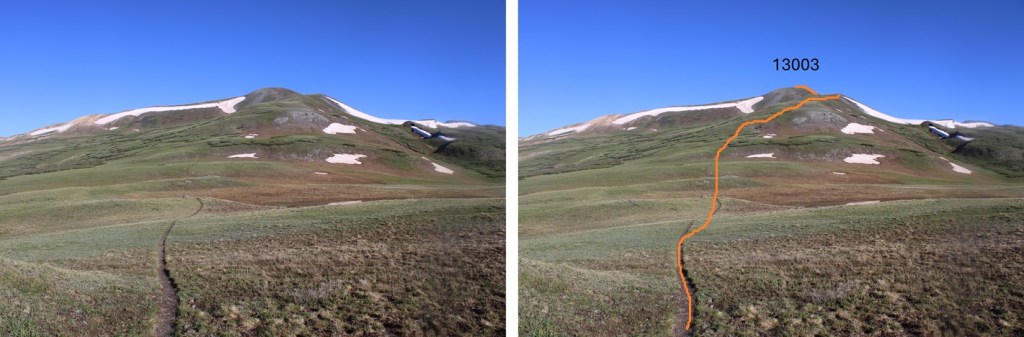
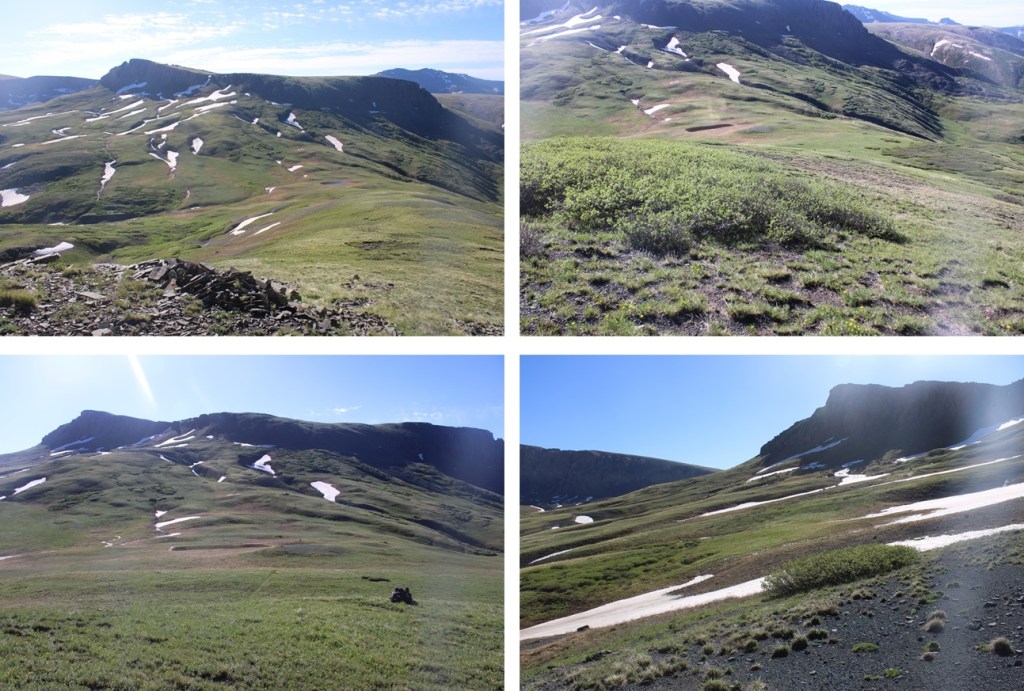
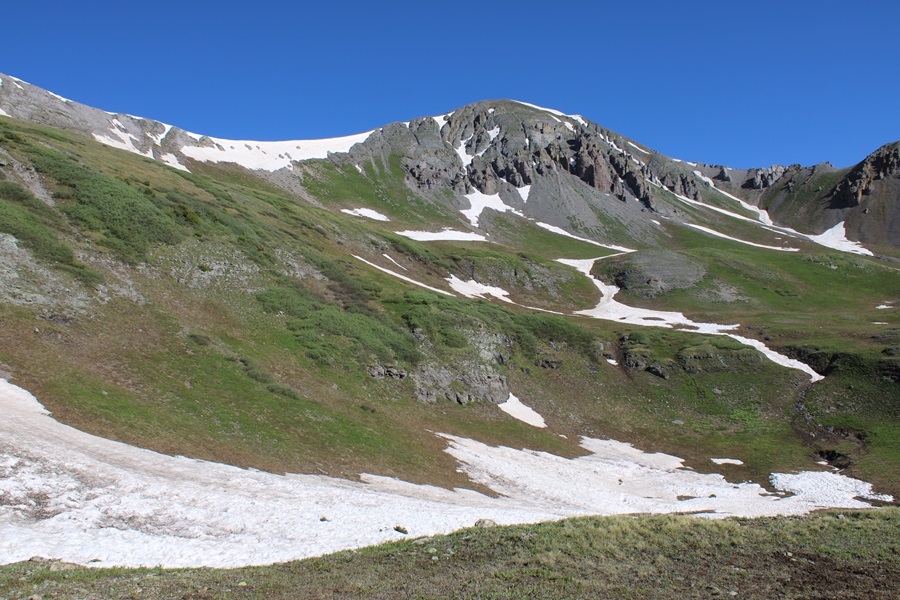
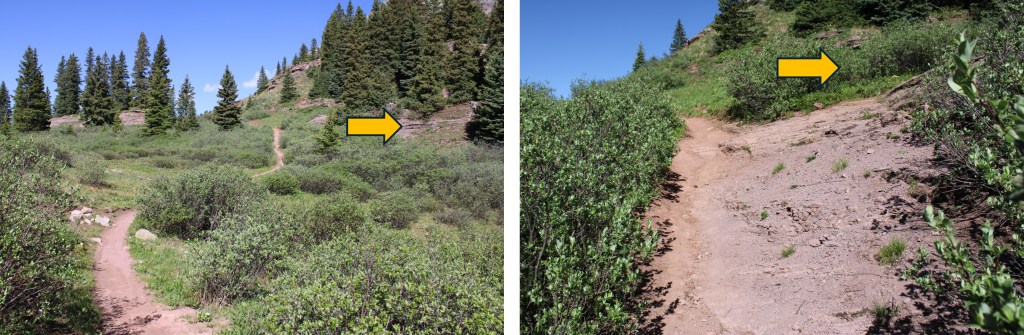
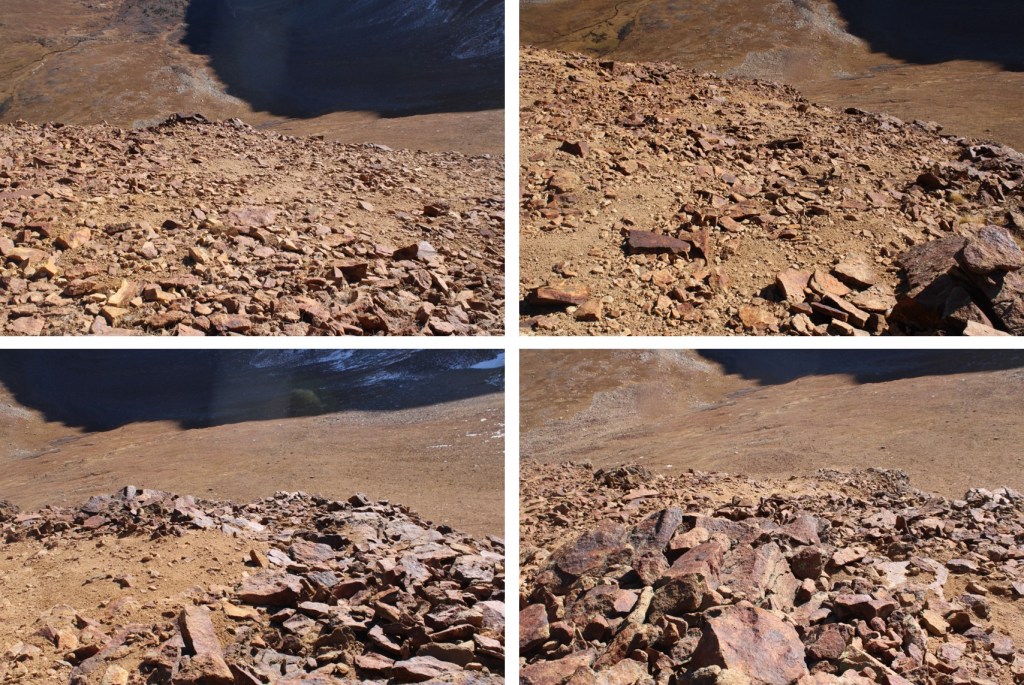
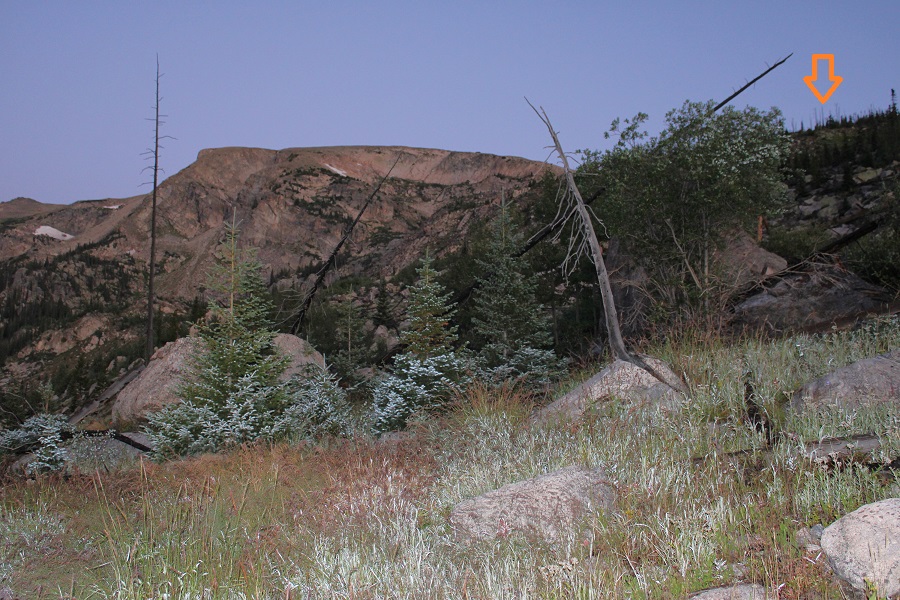
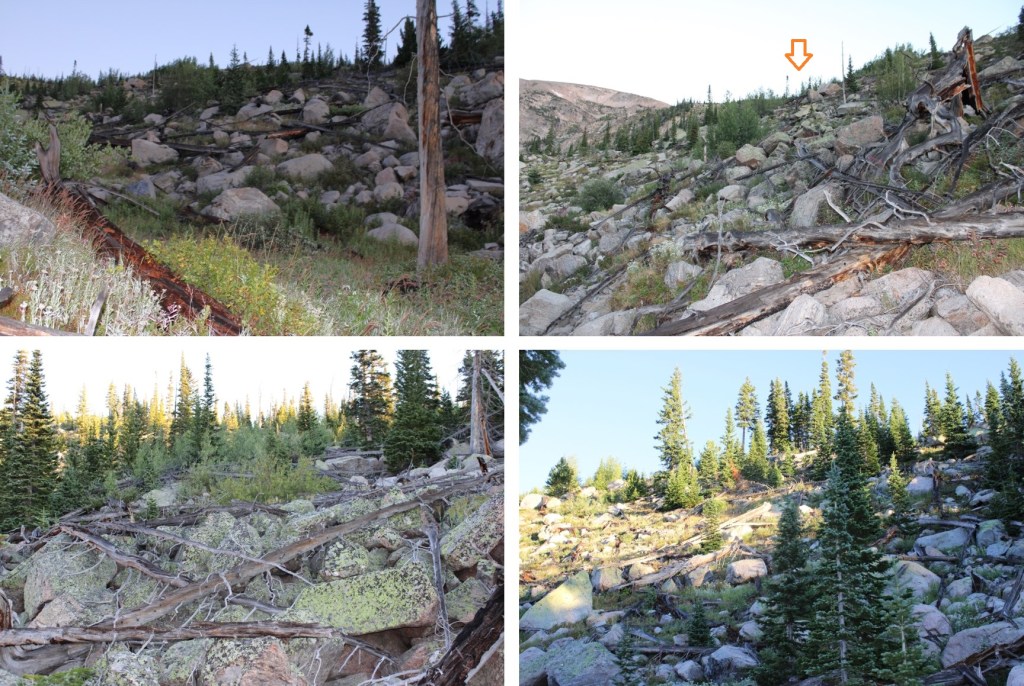
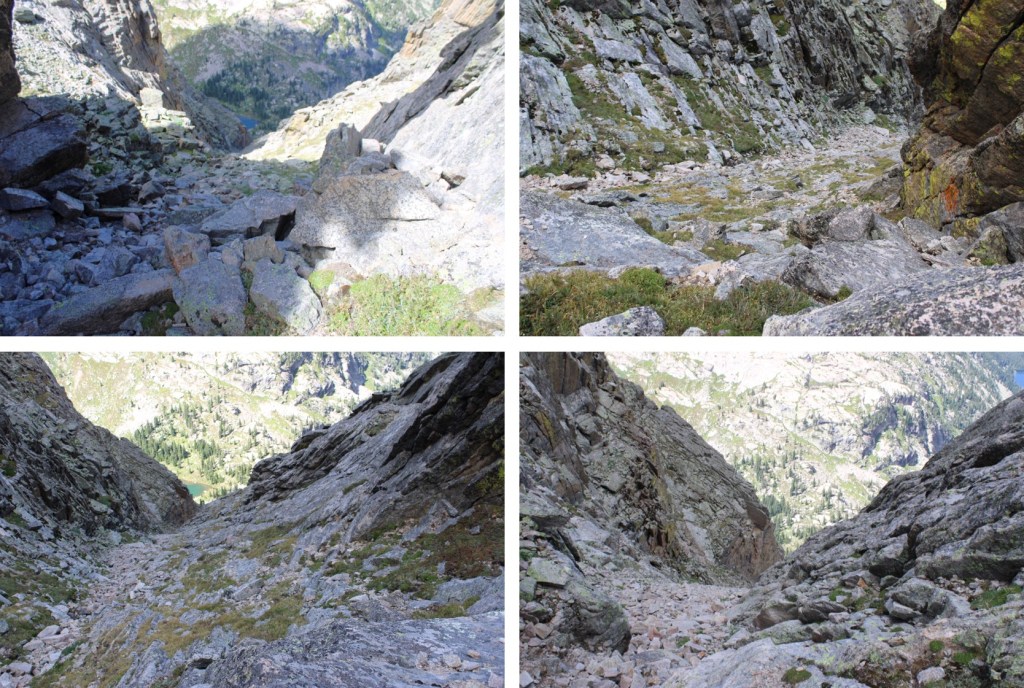
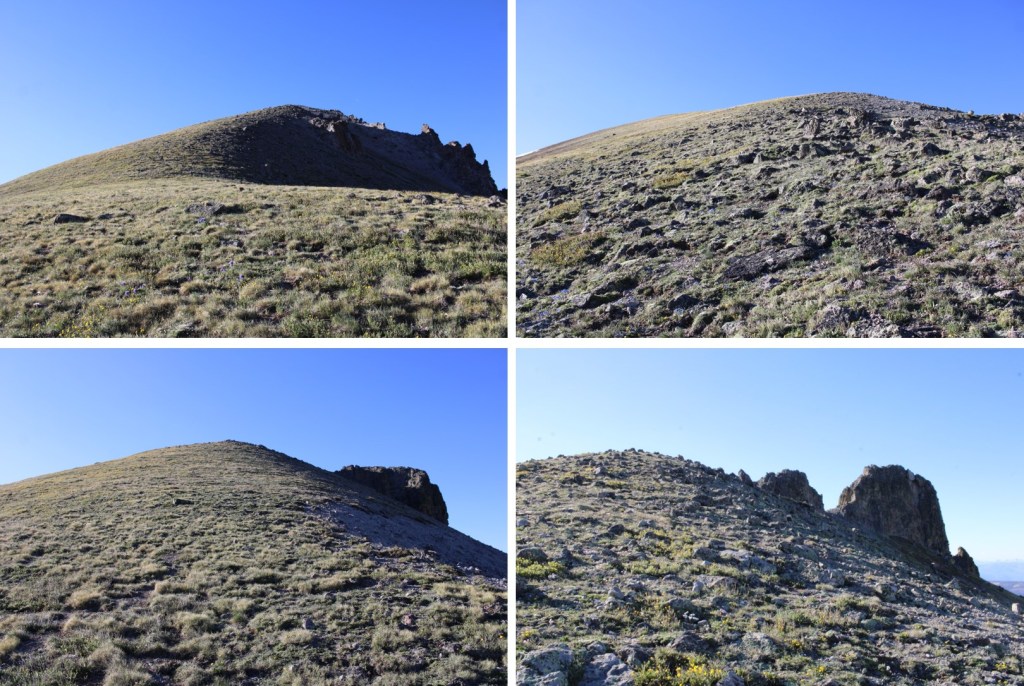
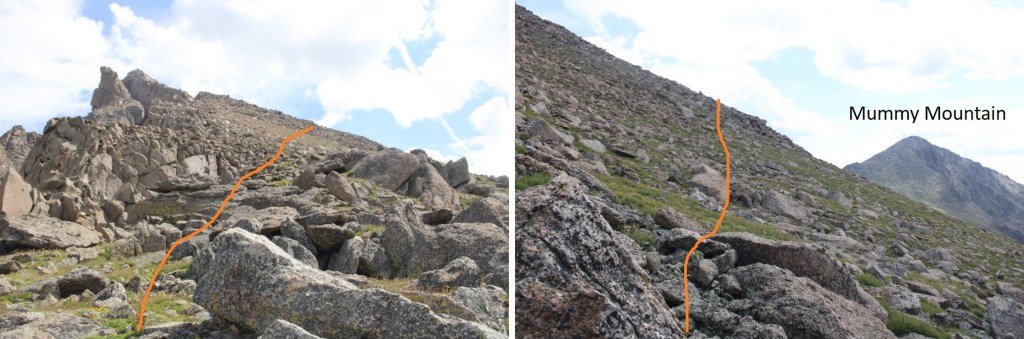
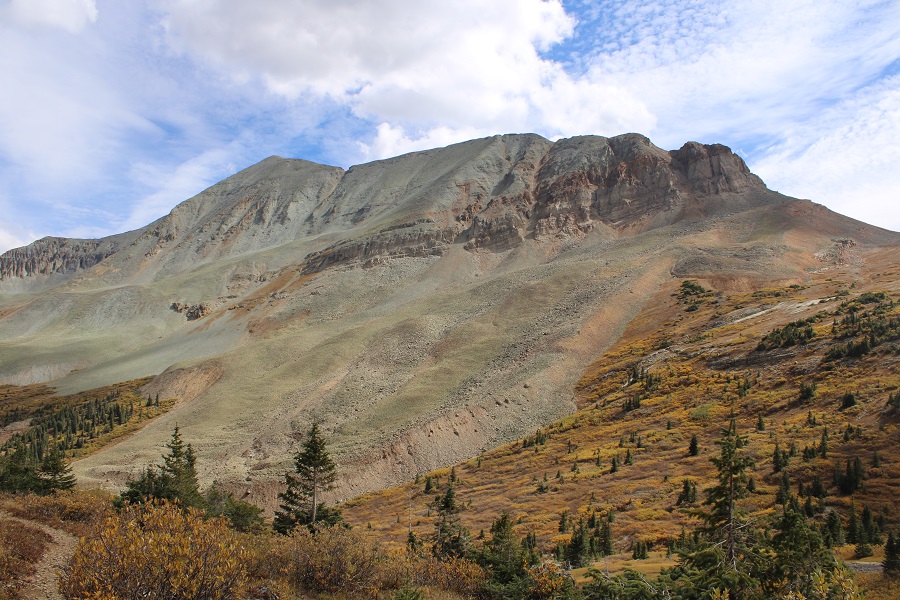
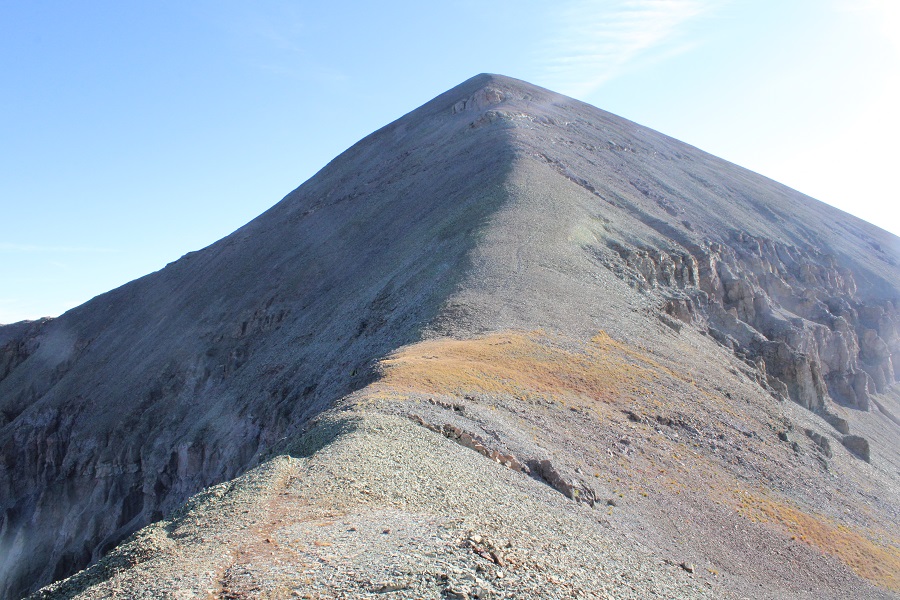
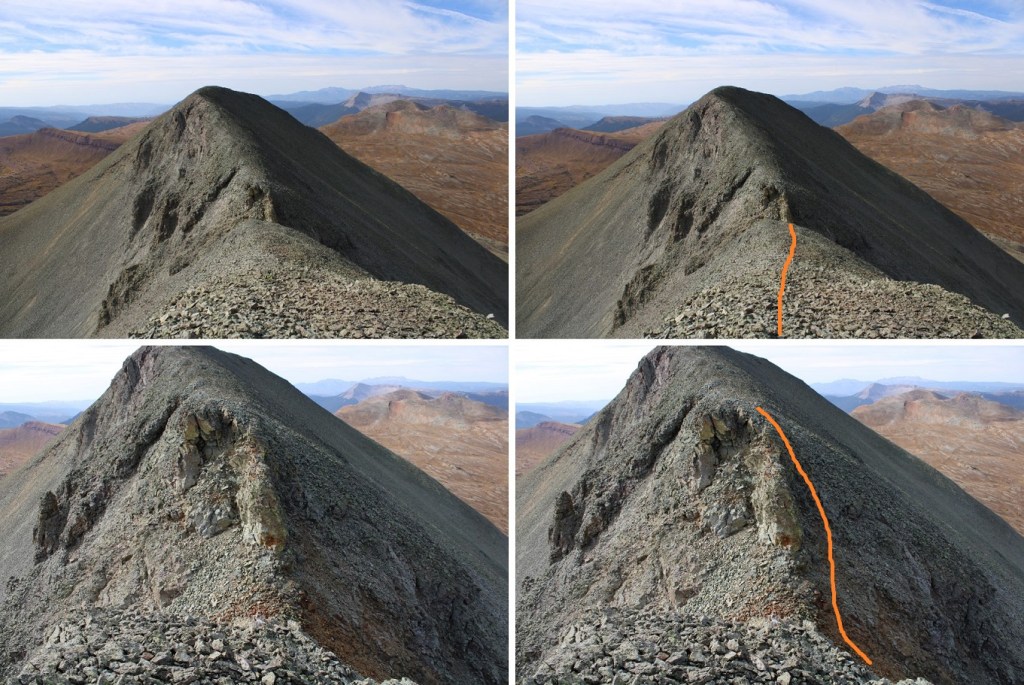
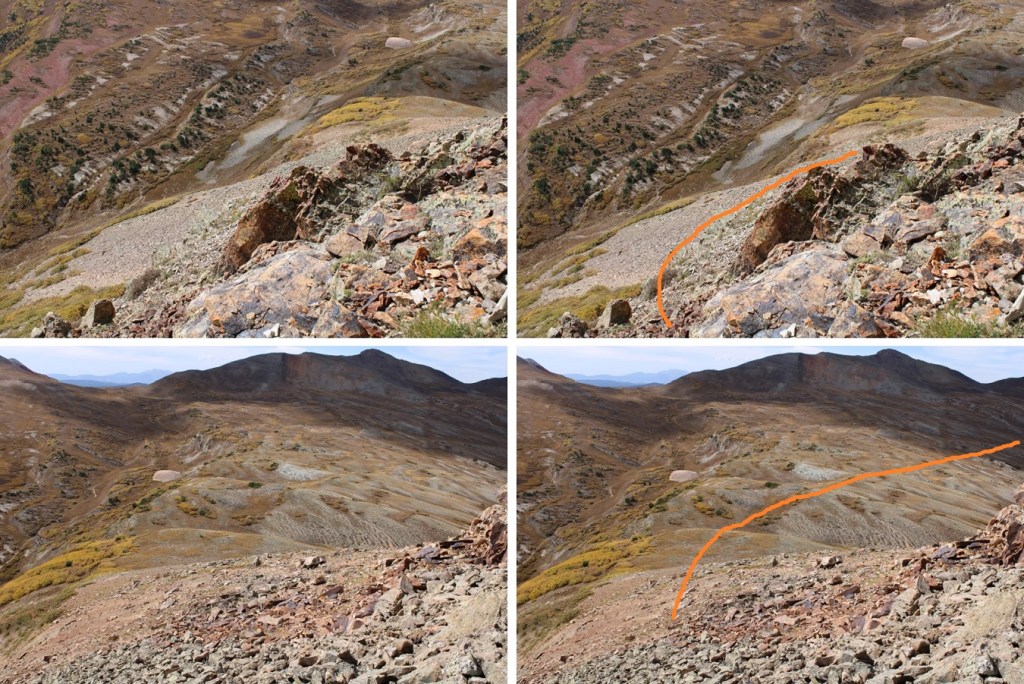
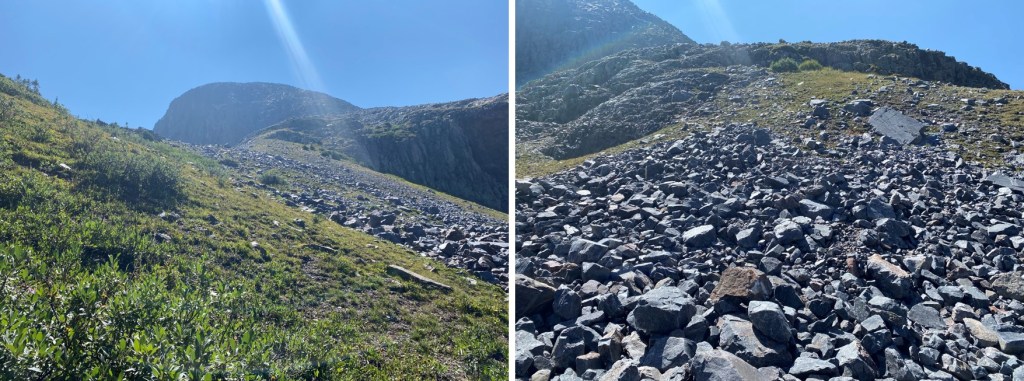
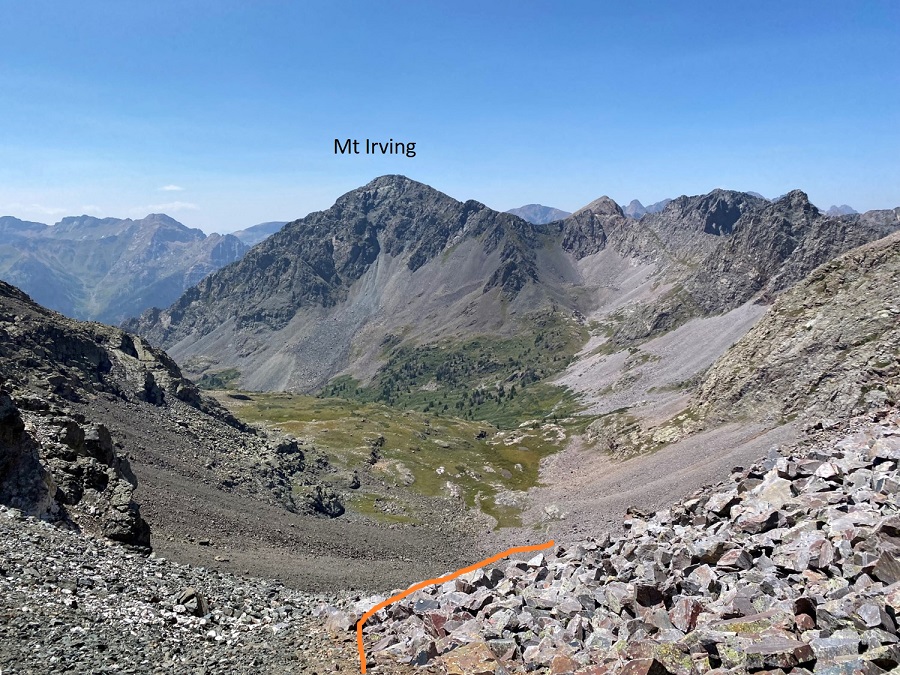
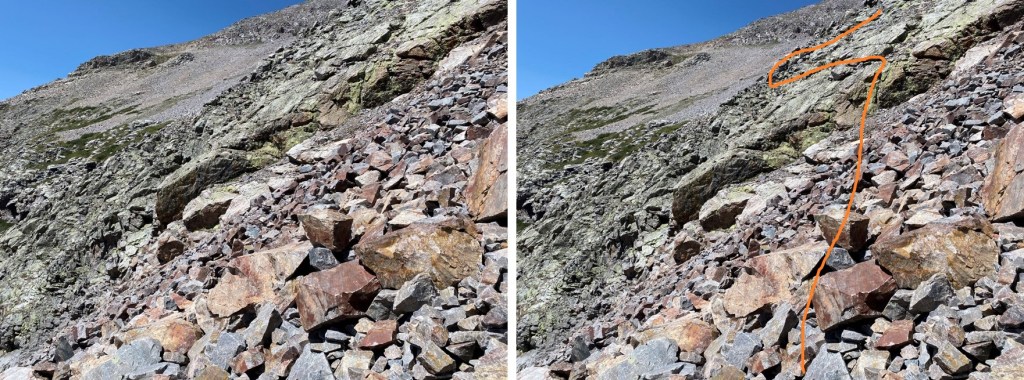
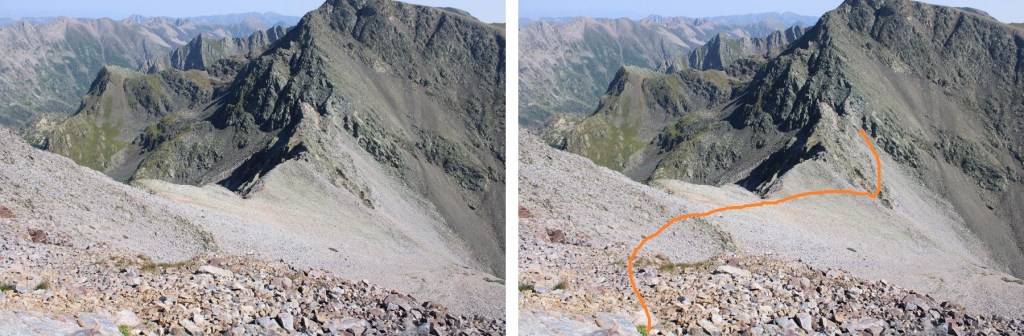
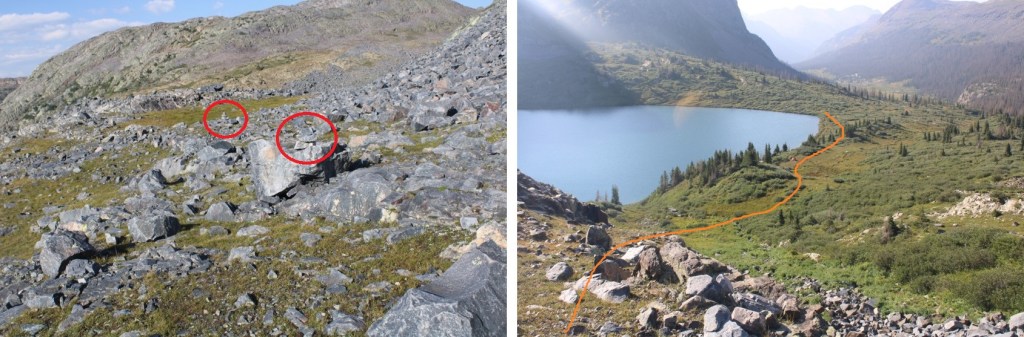
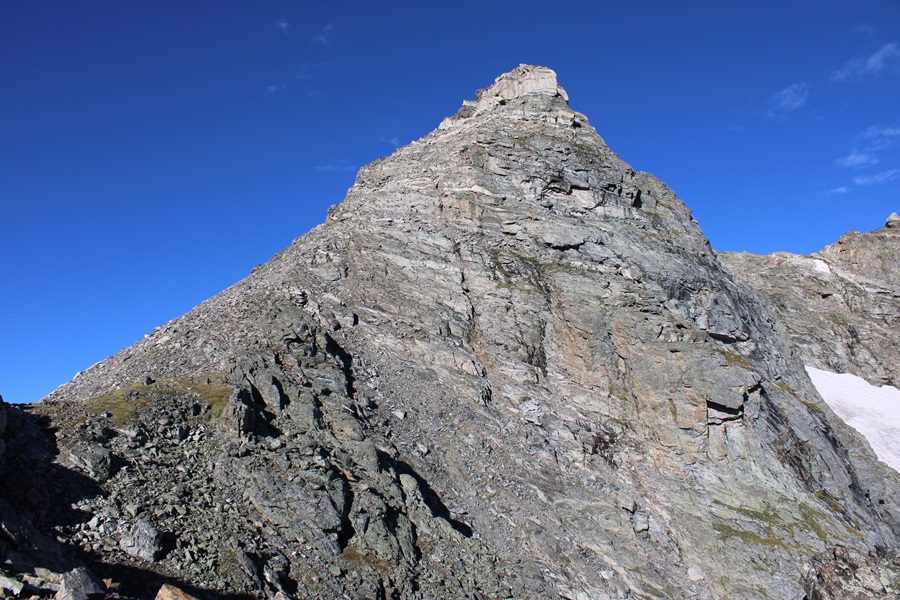
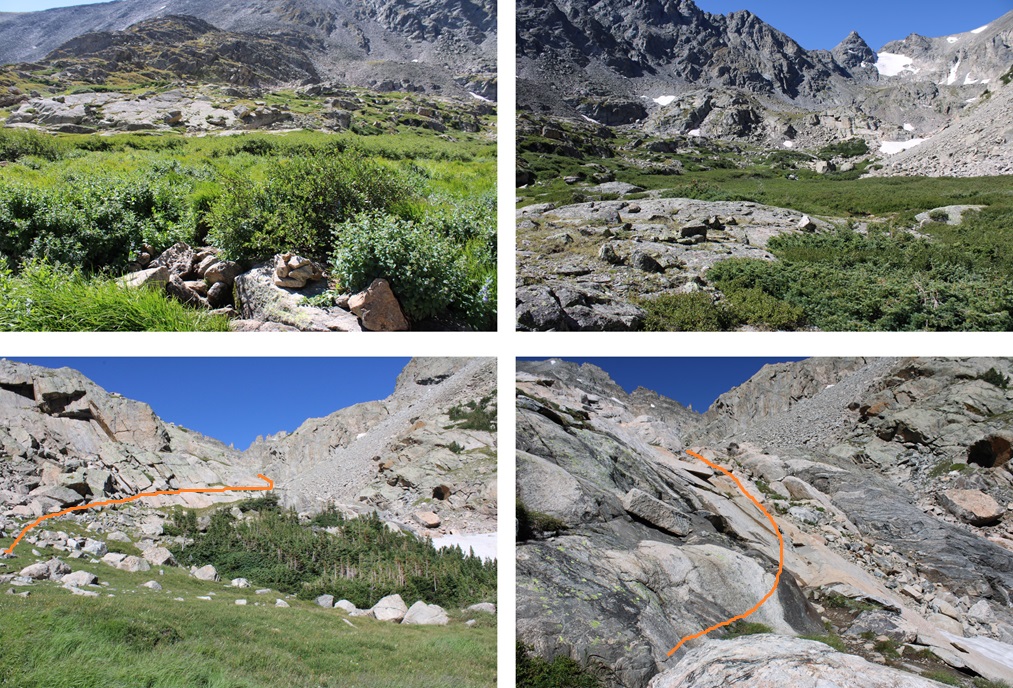
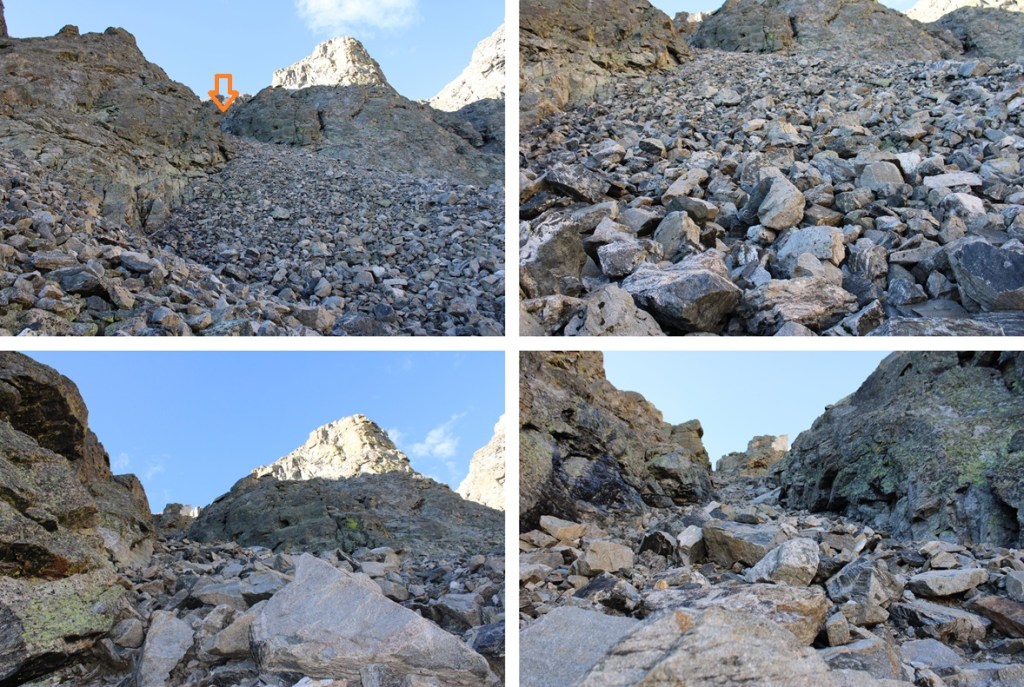
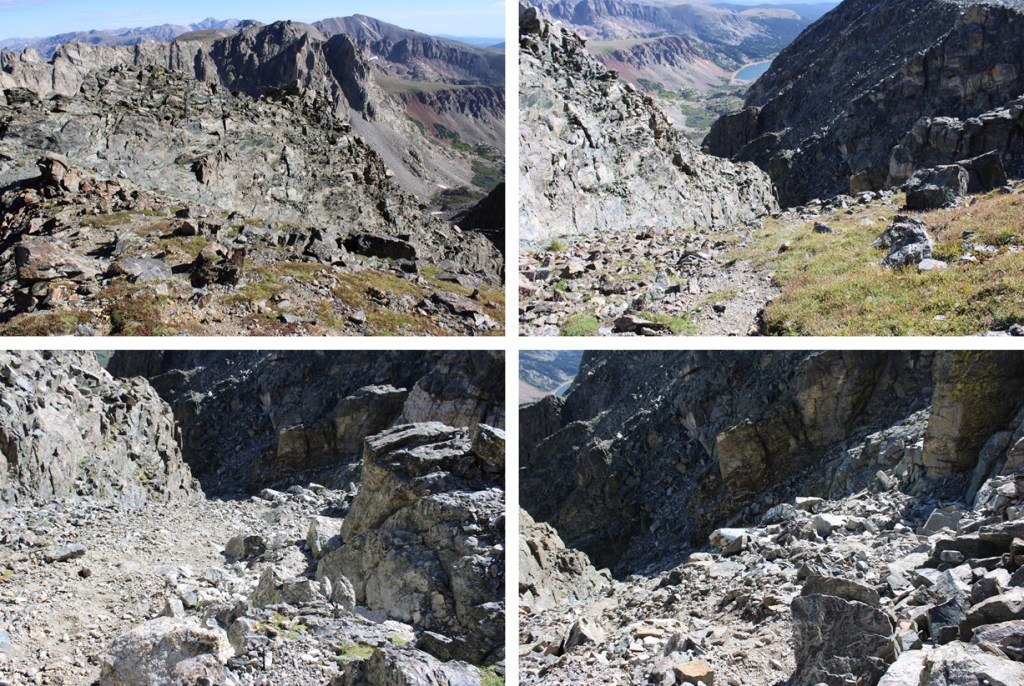
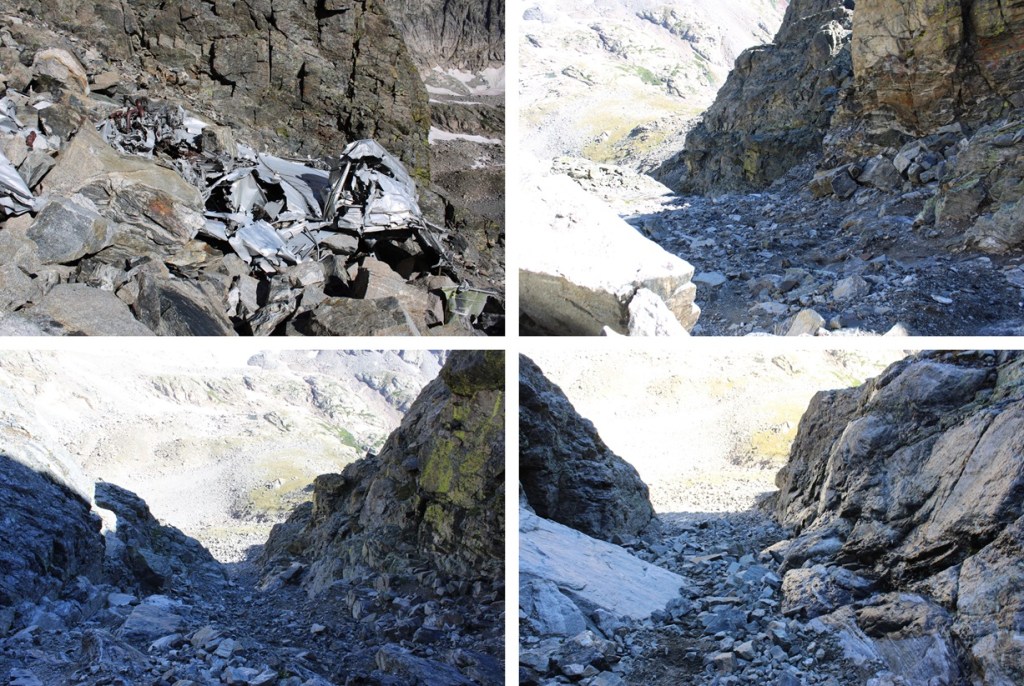
Now in the upper basin, I had a great view of the gully I wanted to take to ascend the ridge. If you look around, you’ll see remnants of a plane crash that happened in the 1950s. The higher you go up this gully, airplane gully as many like to call it, the more debris you’ll see. This is the route I took up the gully.

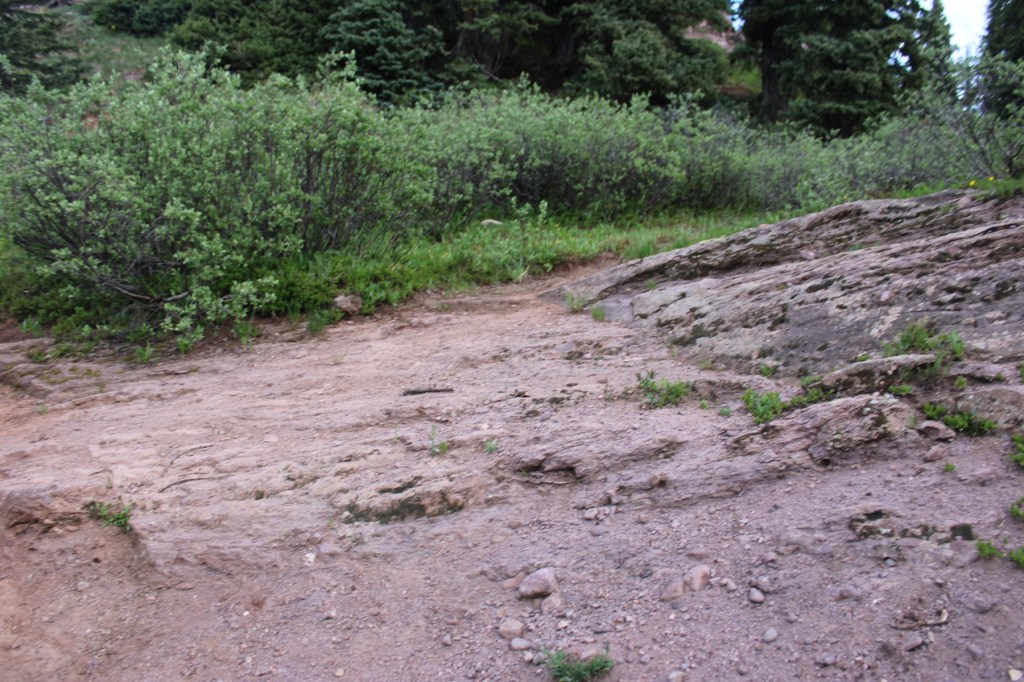
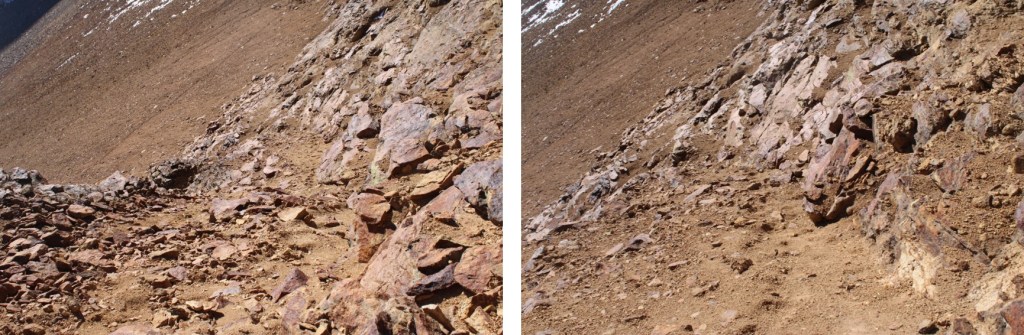
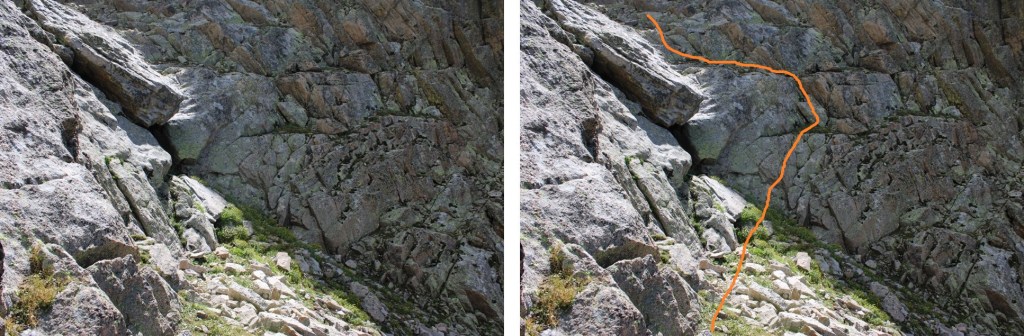
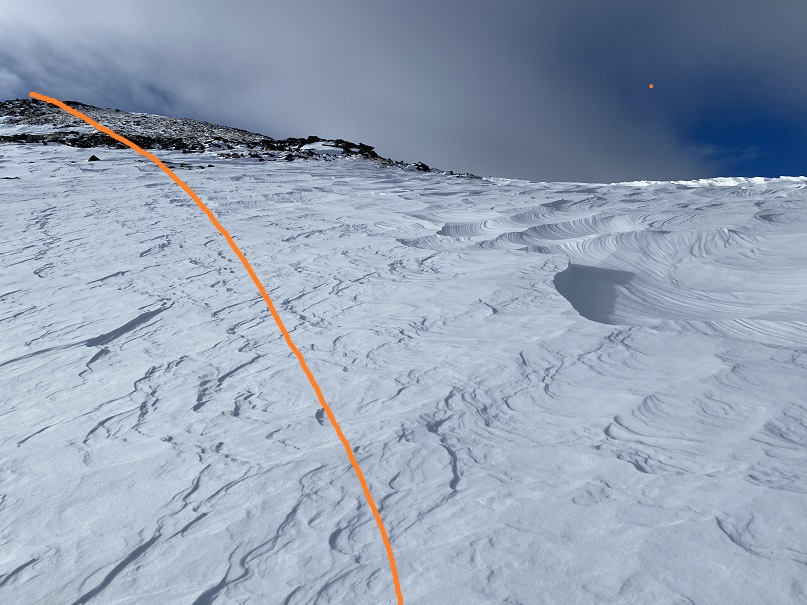
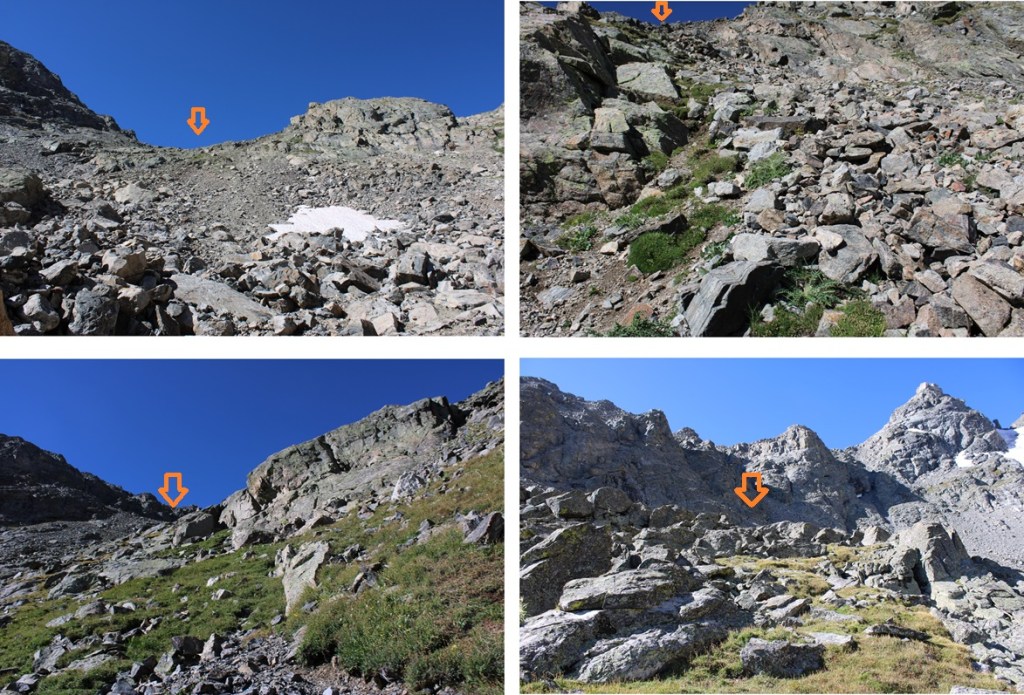
I made my way southwest over some boulders towards the gully, until I found a scree path. A few thoughts on this gully: Besides the fact this was the only part of the hike I experienced insanely intense winds all day, it was easy to navigate, there were social/game trails to follow, it wasn’t very loose, and the scree was solid. In short, it’s probably one of the easiest gullies I’ve ever ascended, and if they were all like this, I probably wouldn’t mind them so much. I headed south until I saw an obvious “y” in the gully, and went right. It’s easy to know where you turn right because you’ll see parts of the airplane to the right.
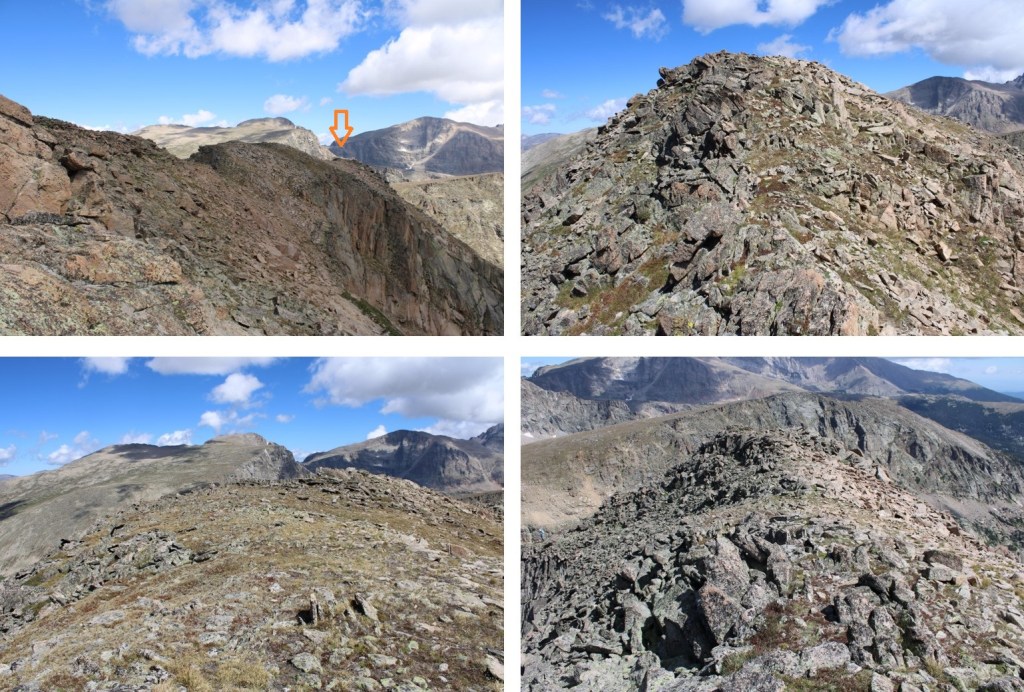
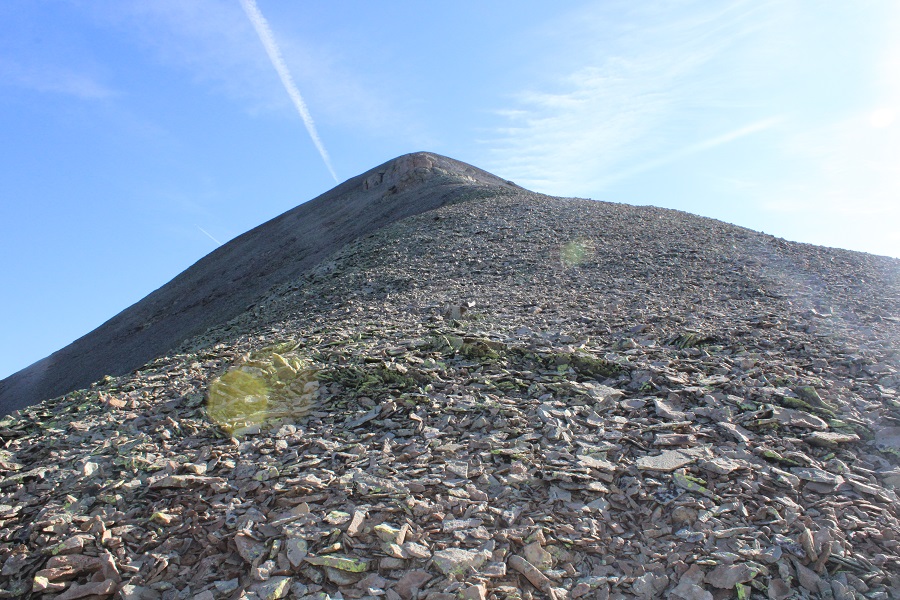
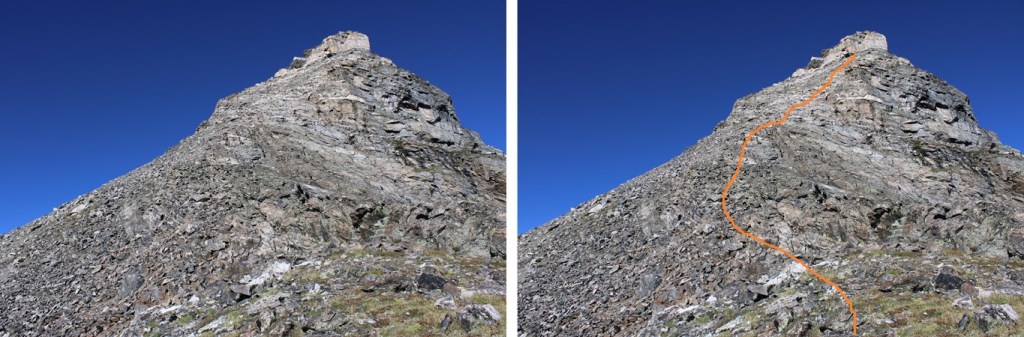
I went to the left of the airplane debris, then followed climbers right of the gully to the ridge (although both sides will get you there, just use the terrain you like best).


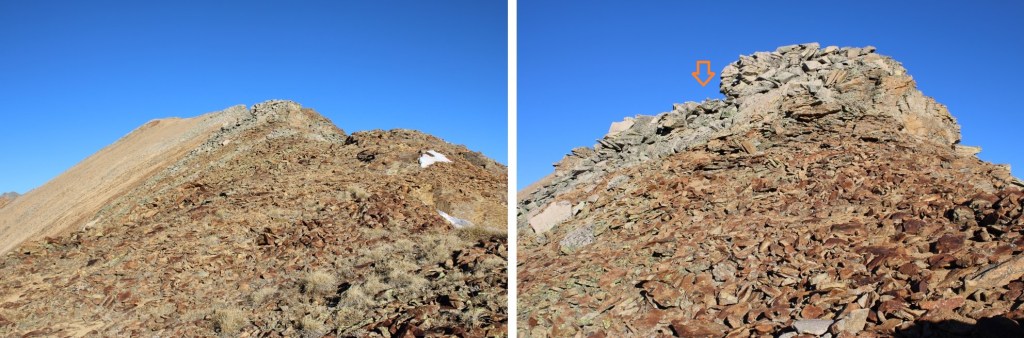
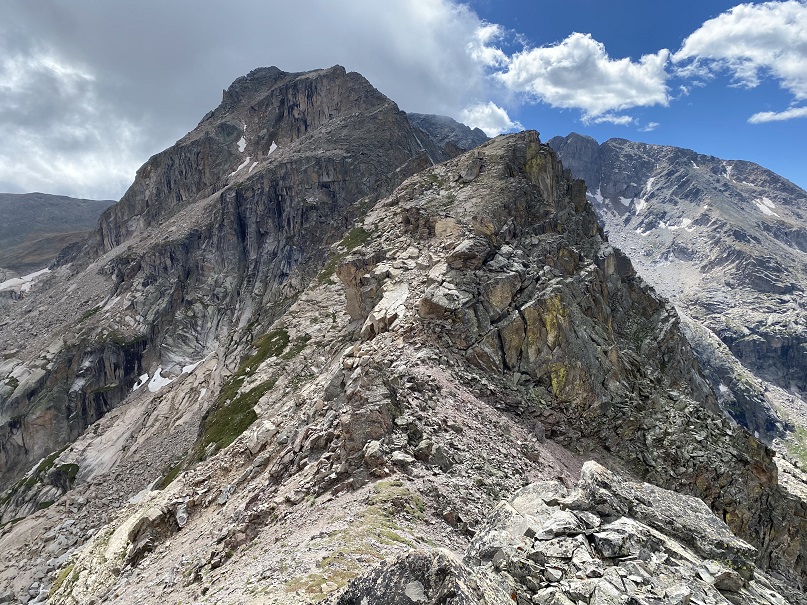
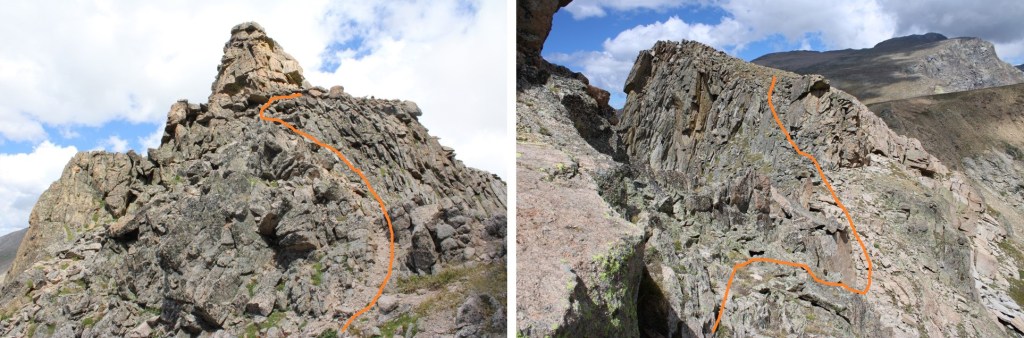
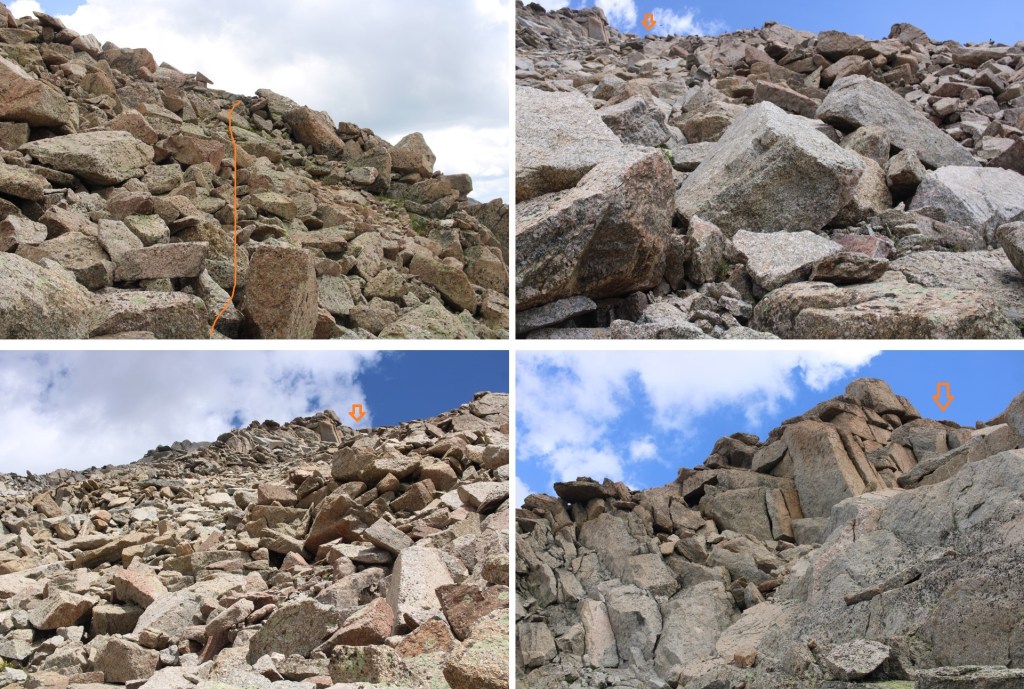
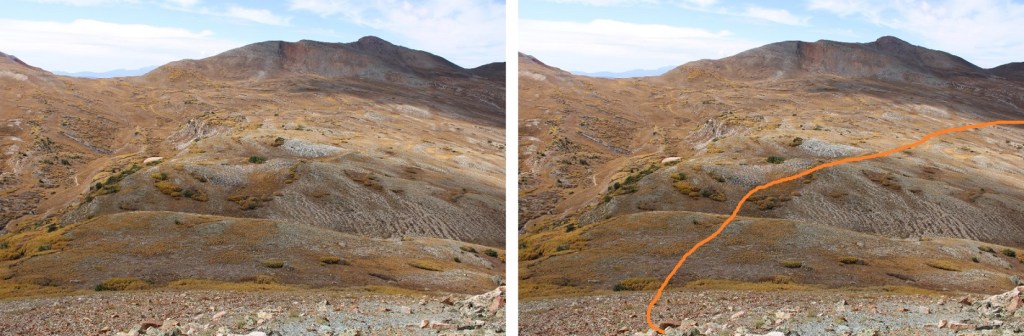
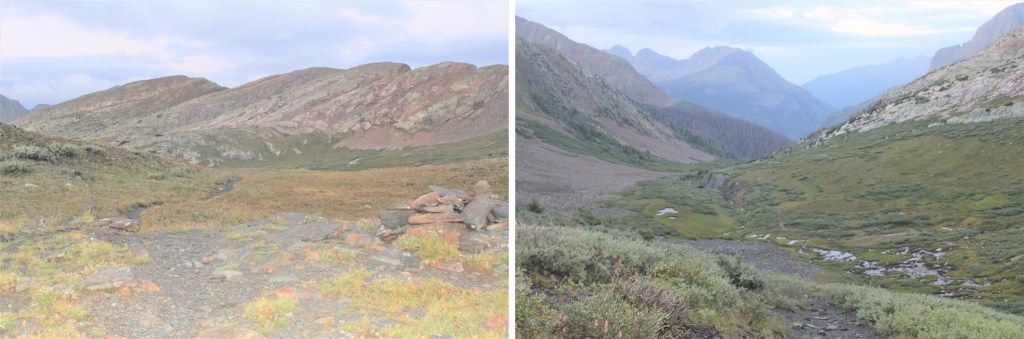
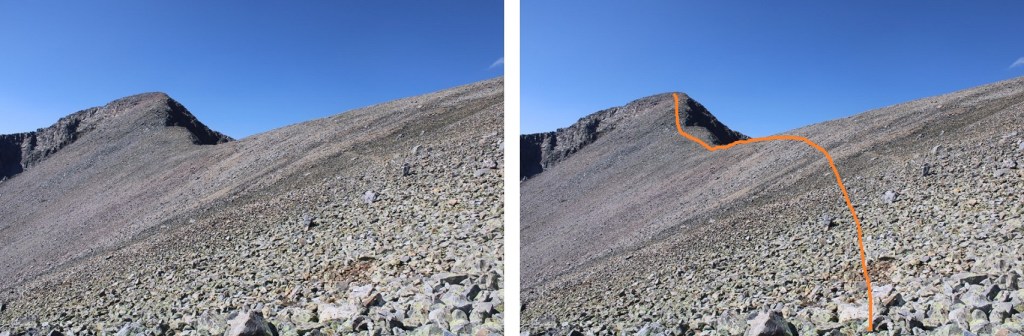
At the top of the gully, I could see the rest of my route to the summit of Navajo Peak. Until the chimney at the end, the rest of the route is class 2. If you find yourself in class 3 territory, you’re making it too difficult.
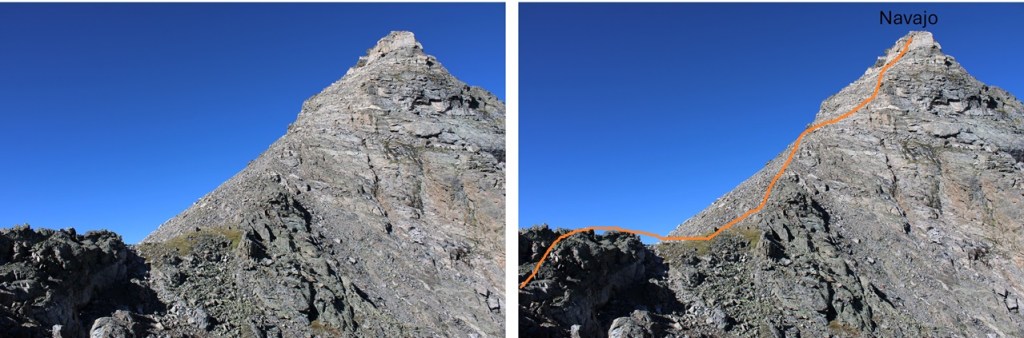
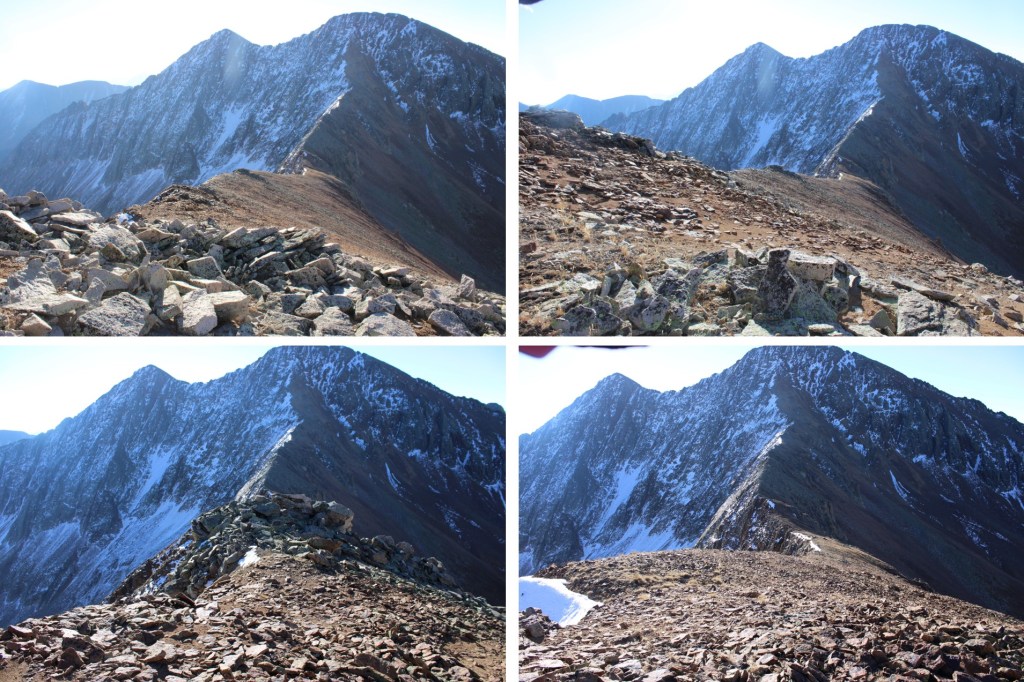
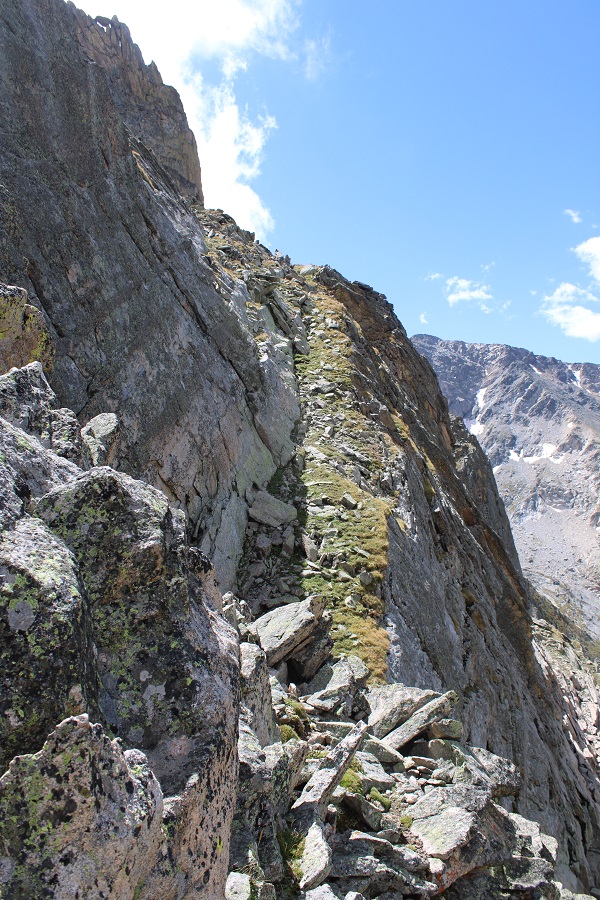
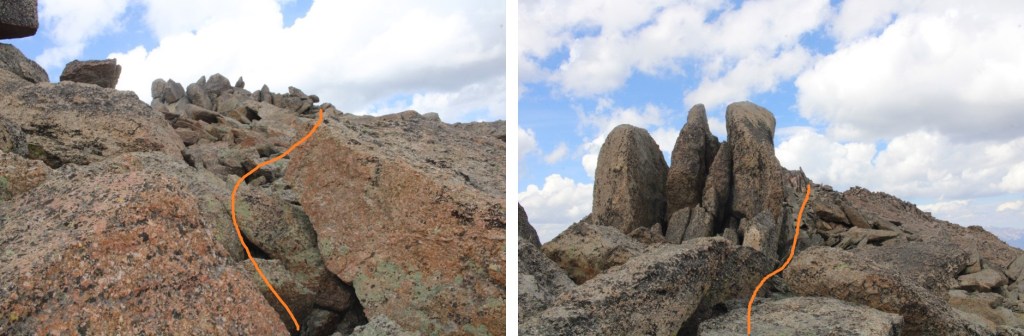
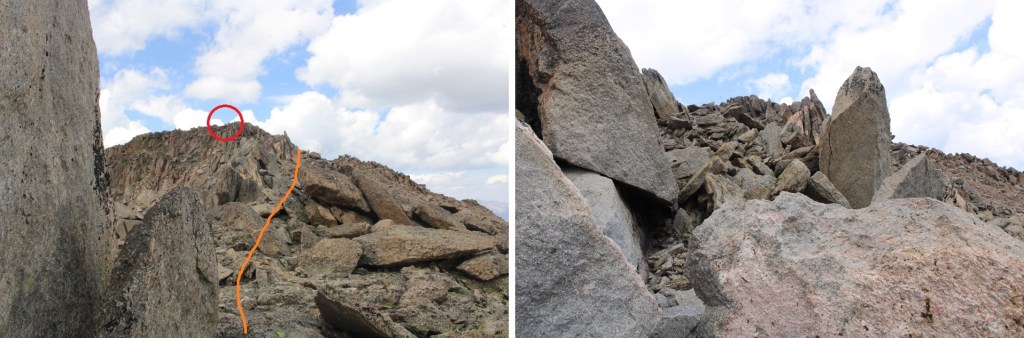
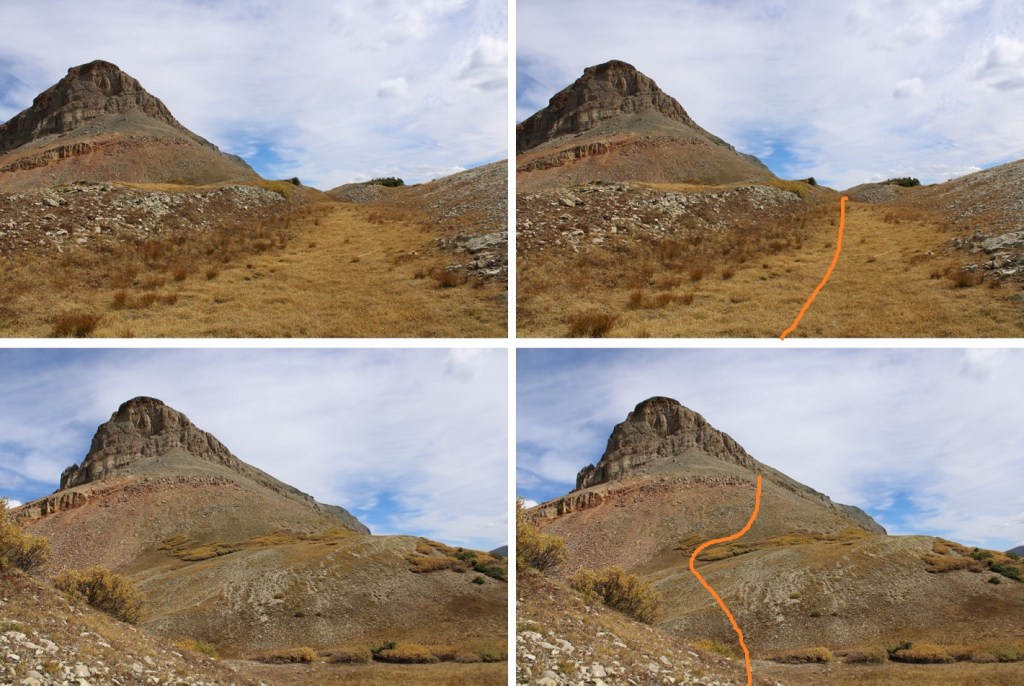
From the top of the gully I turned left and followed the saddle across a small ridge
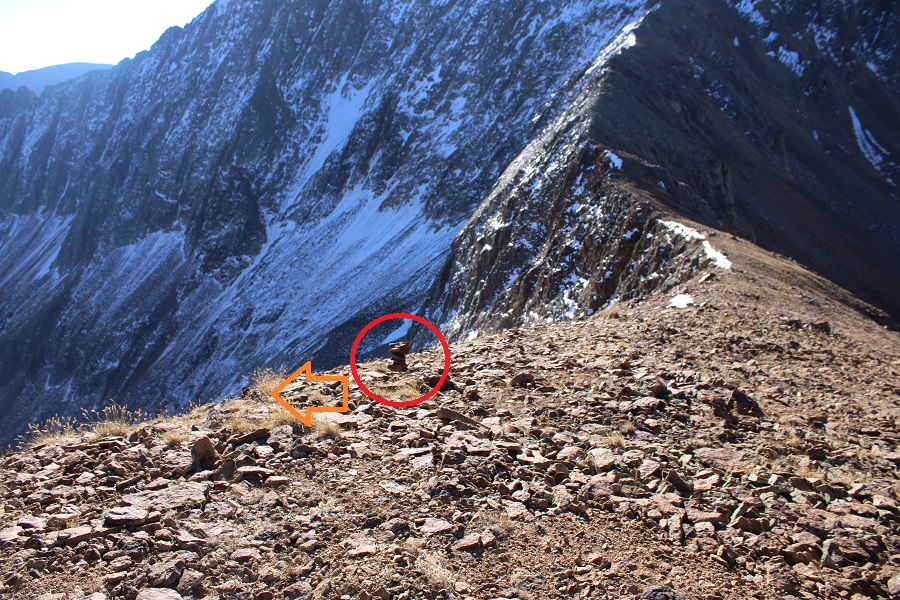
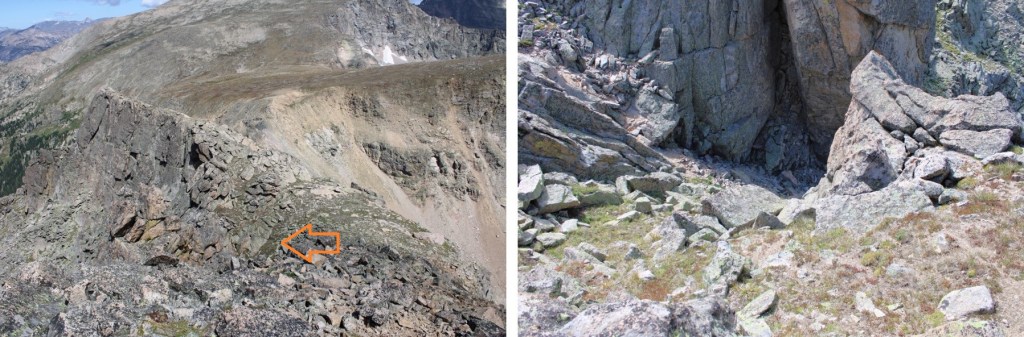
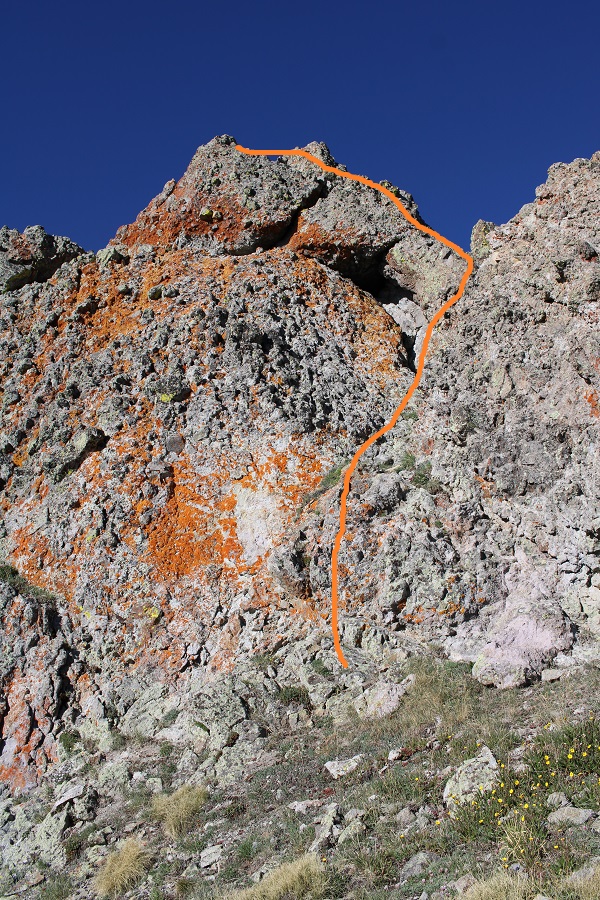
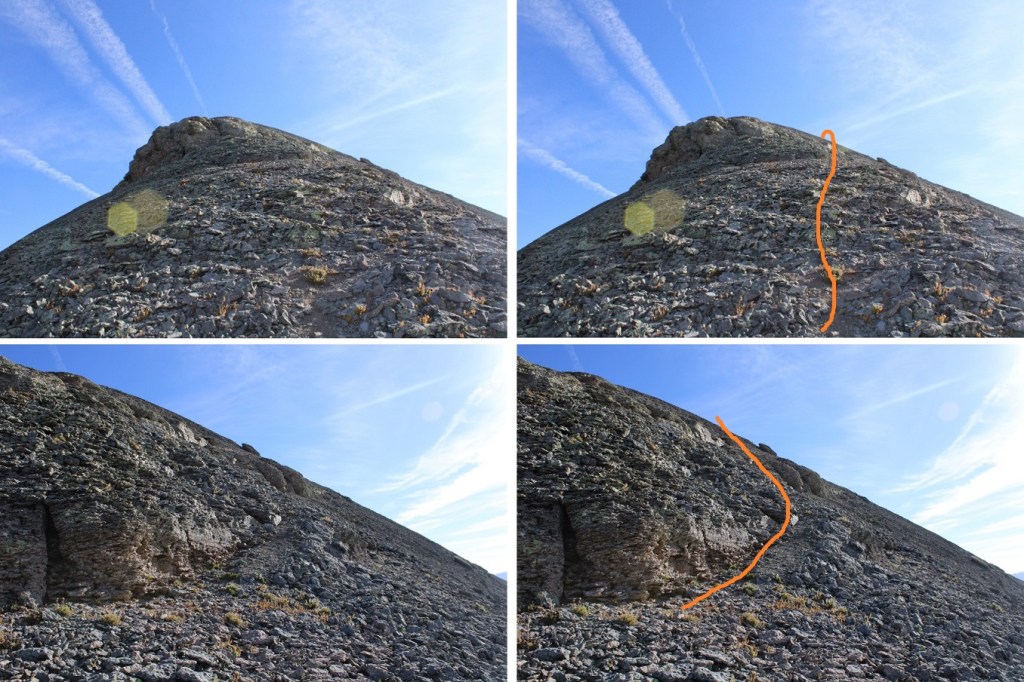
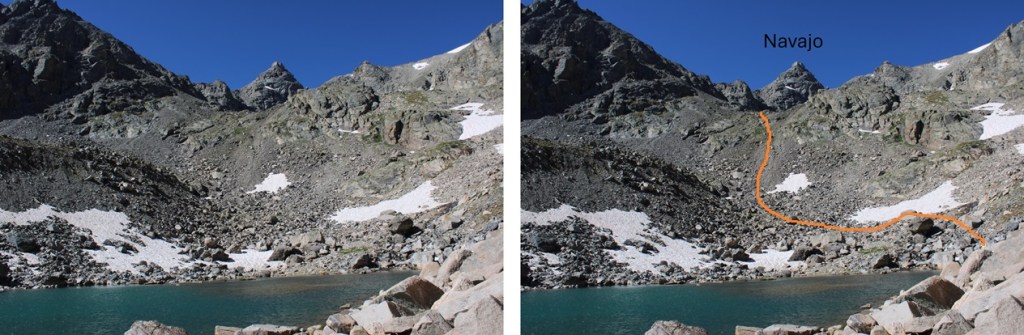
From here the rest of the route looks daunting, but there are tons of game trails that will get you to the right spot. Aim for the very right edge of the rock formation, where you’ll see a chimney. Once again, this should all be class 2.
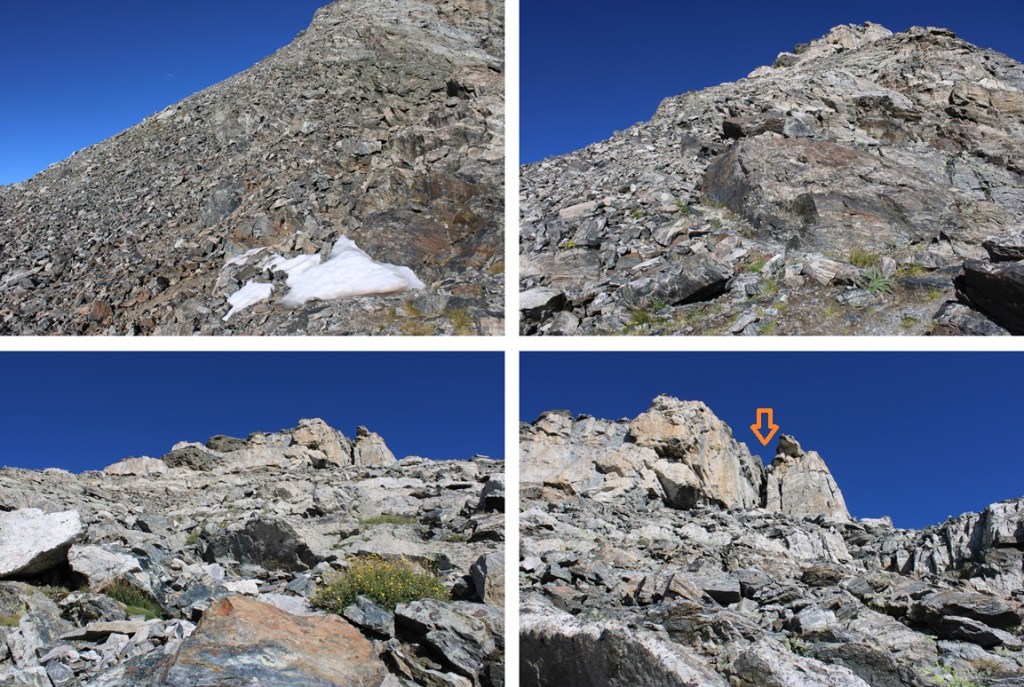
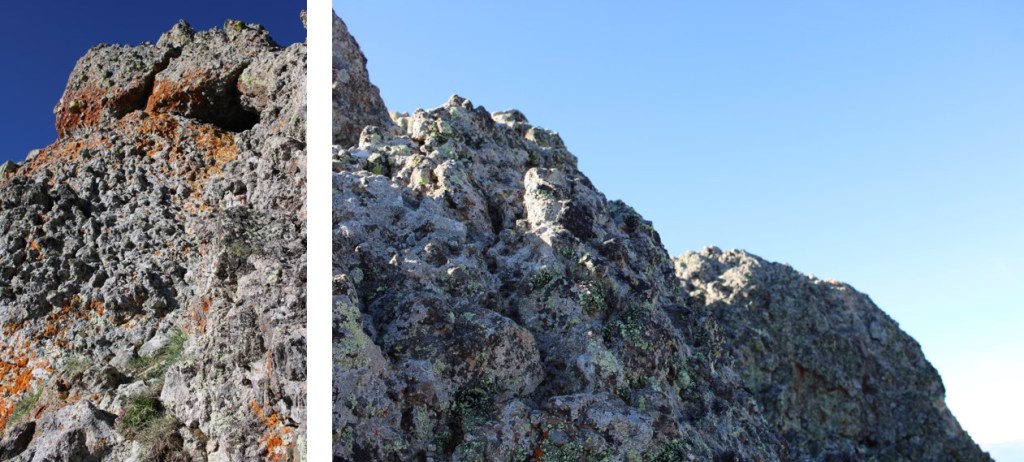
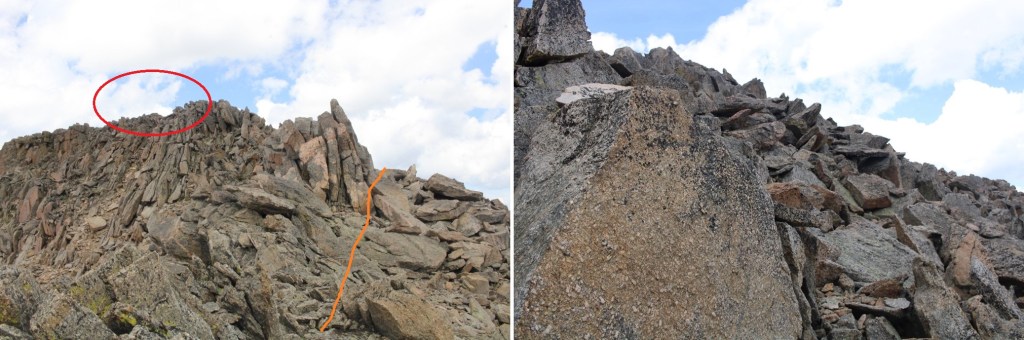
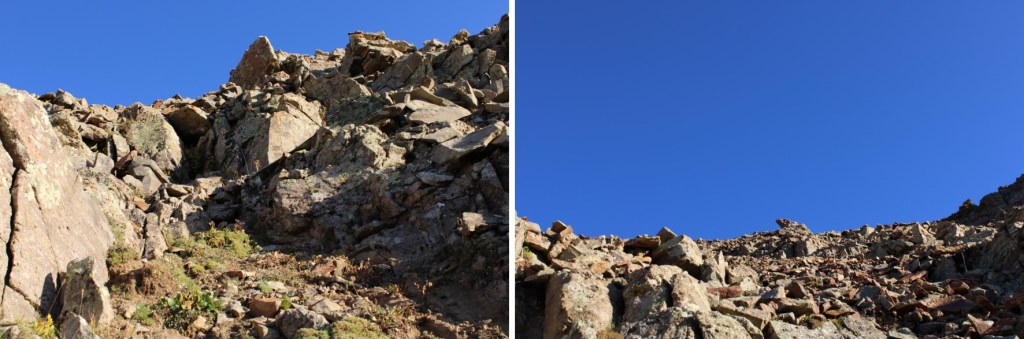
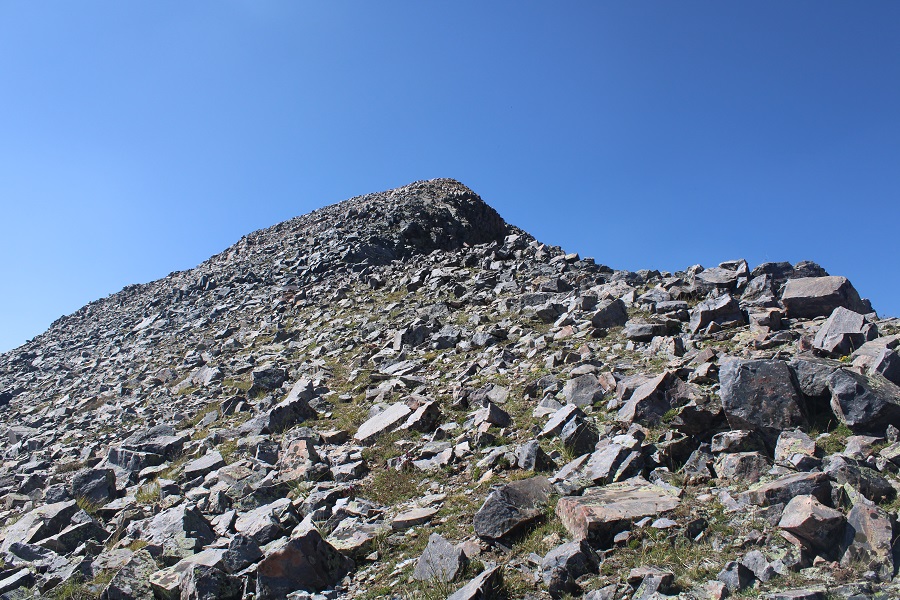
Here’s a look at that chimney. I found this chimney to be difficult class 3, easy class 4, so if you’re looking for a good practice chimney, this would be it. There isn’t a lot of exposure, and I was able to find adequate hand/footholds if I stretched a bit. At the top of the chimney, exit left.

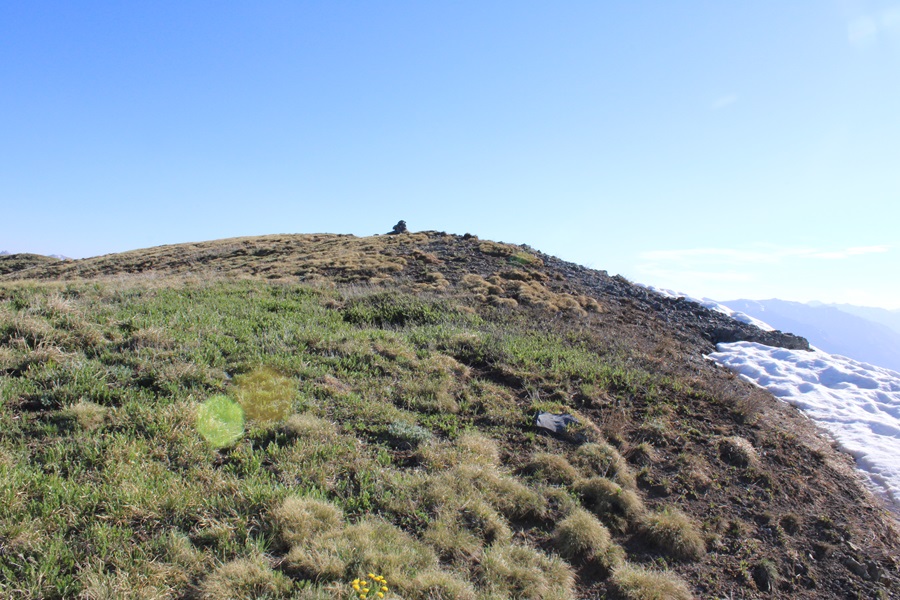
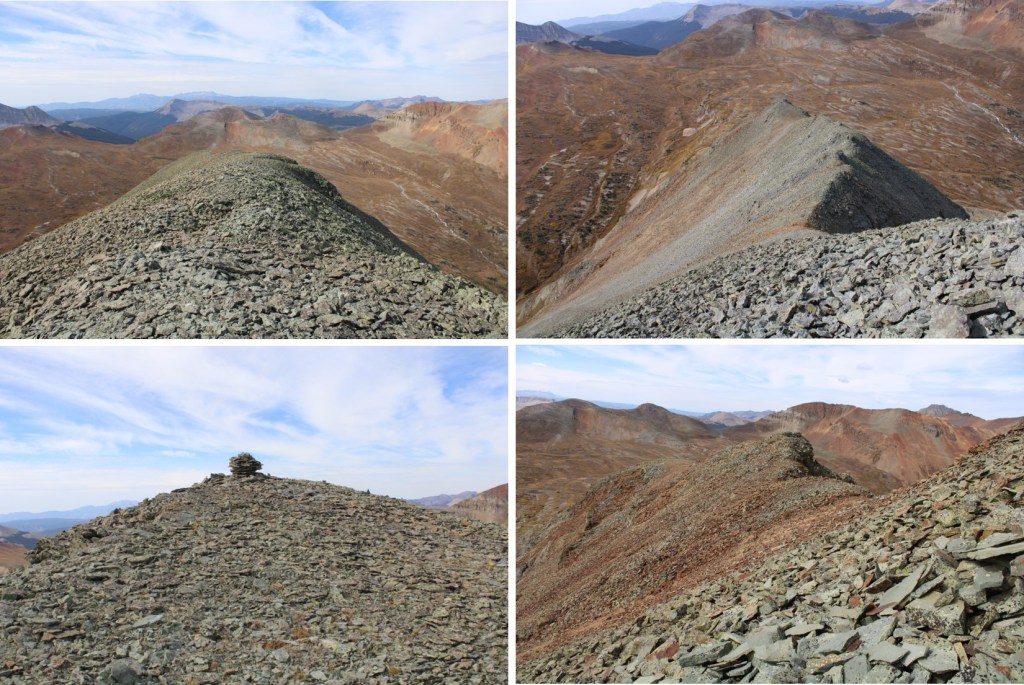
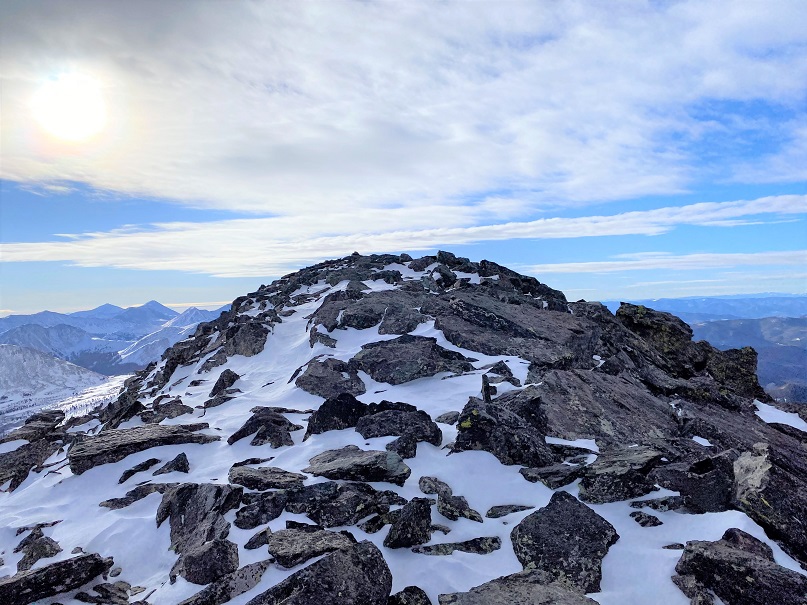
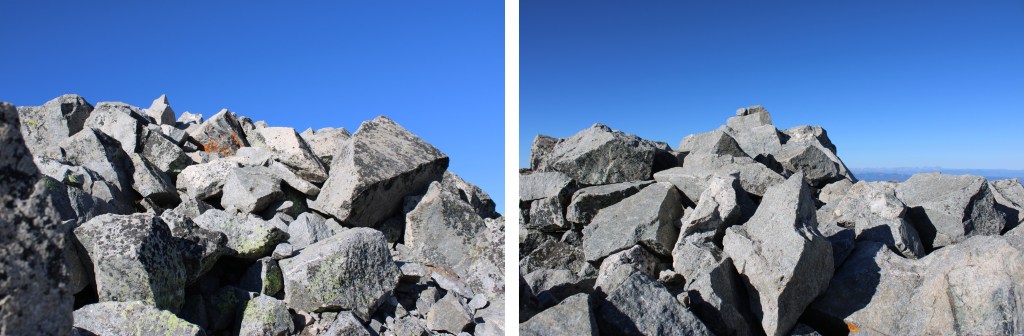
At the top of the chimney I turned left, and climbed over boulders a short distance to the summit
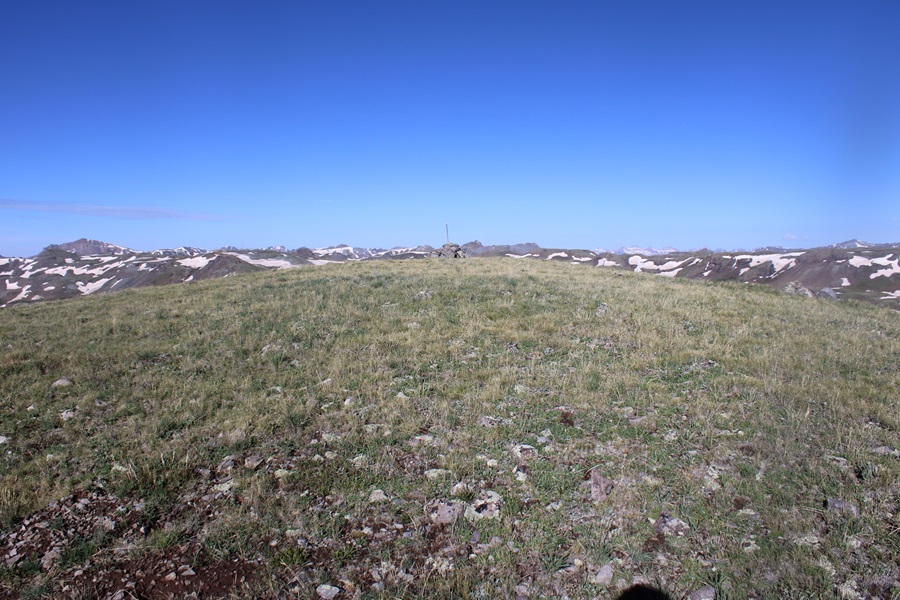
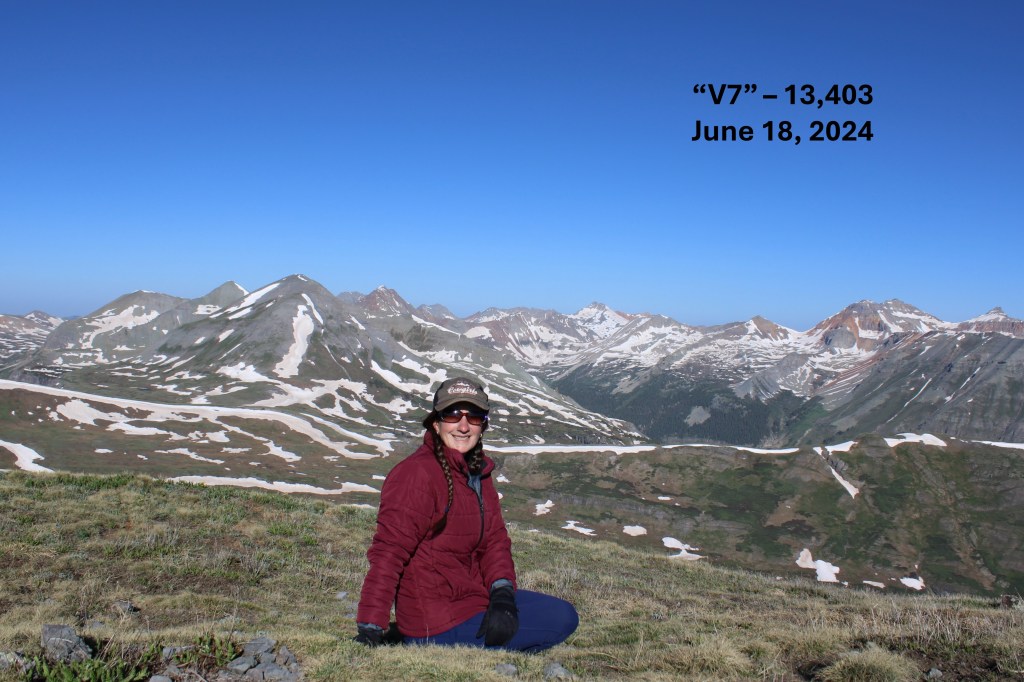
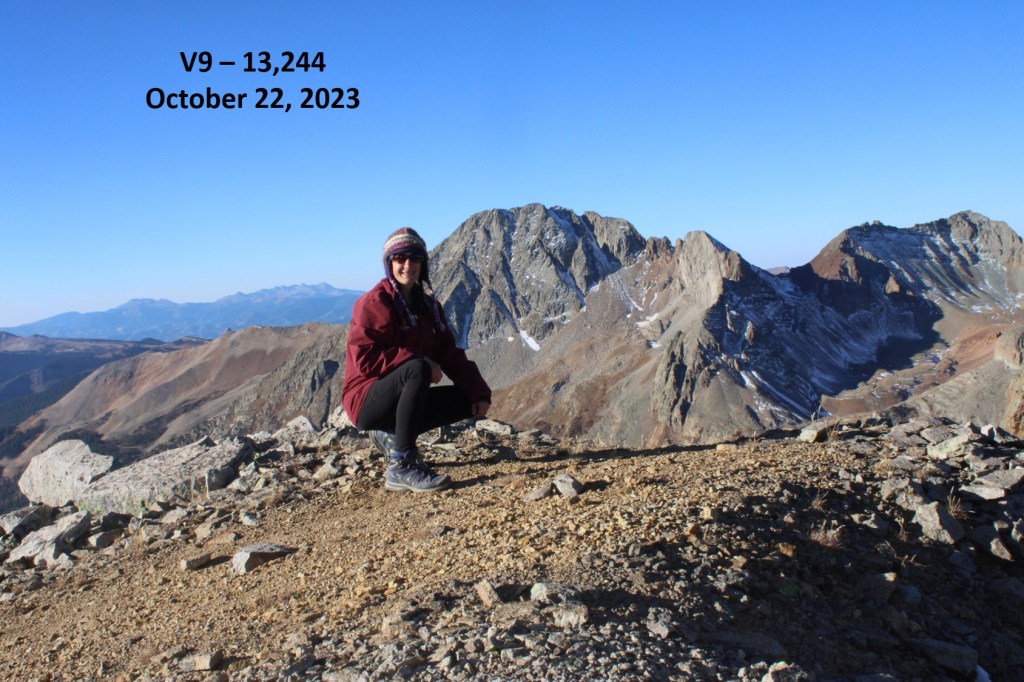
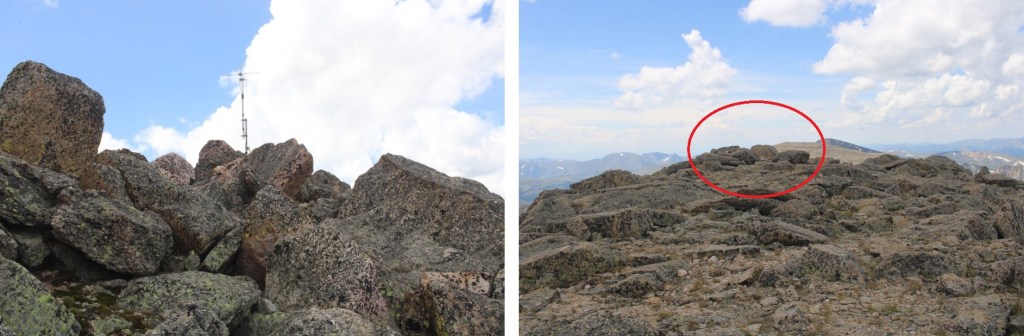
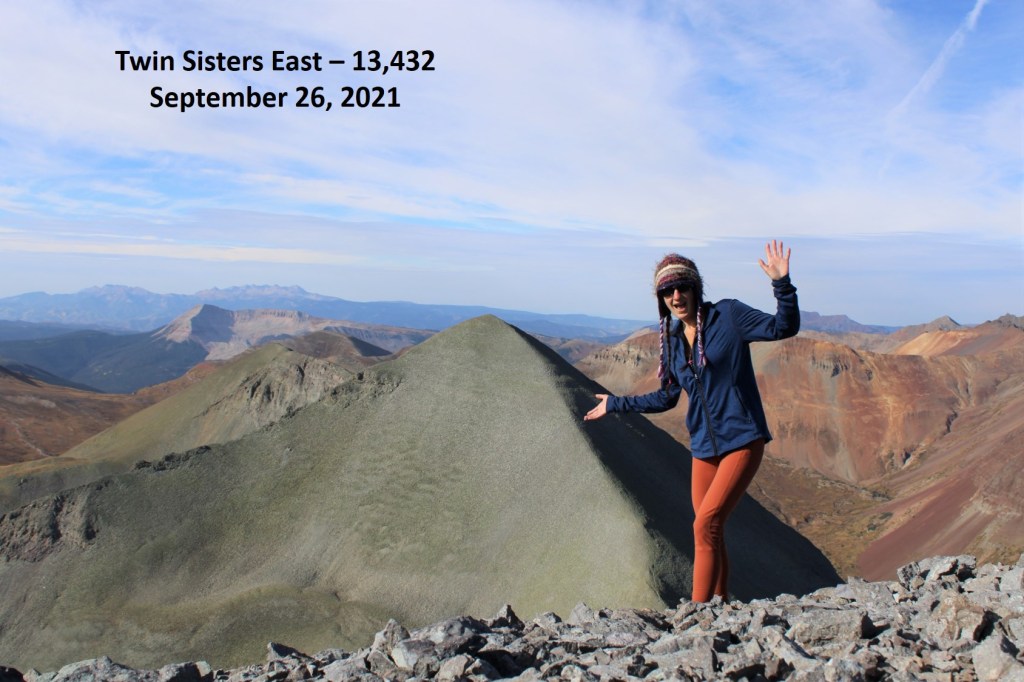
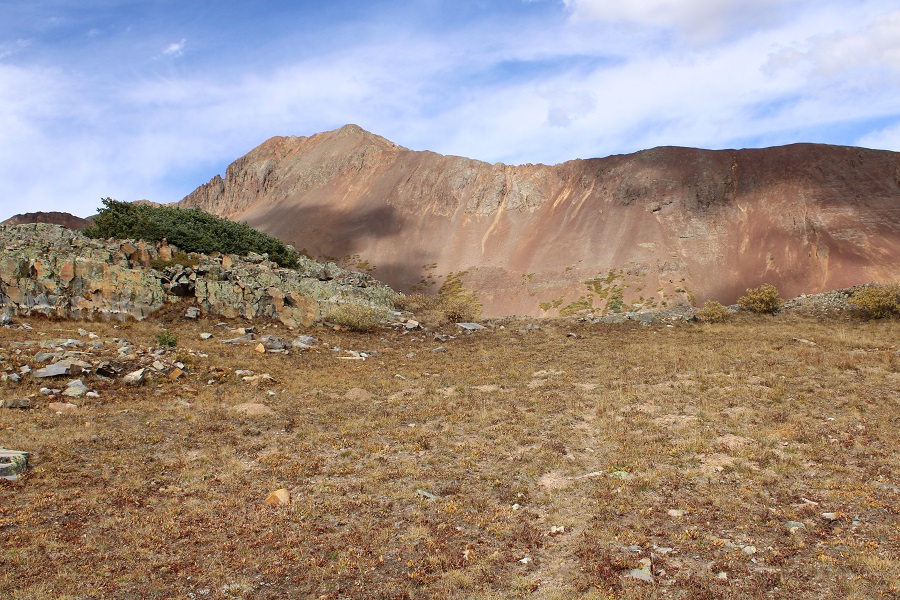
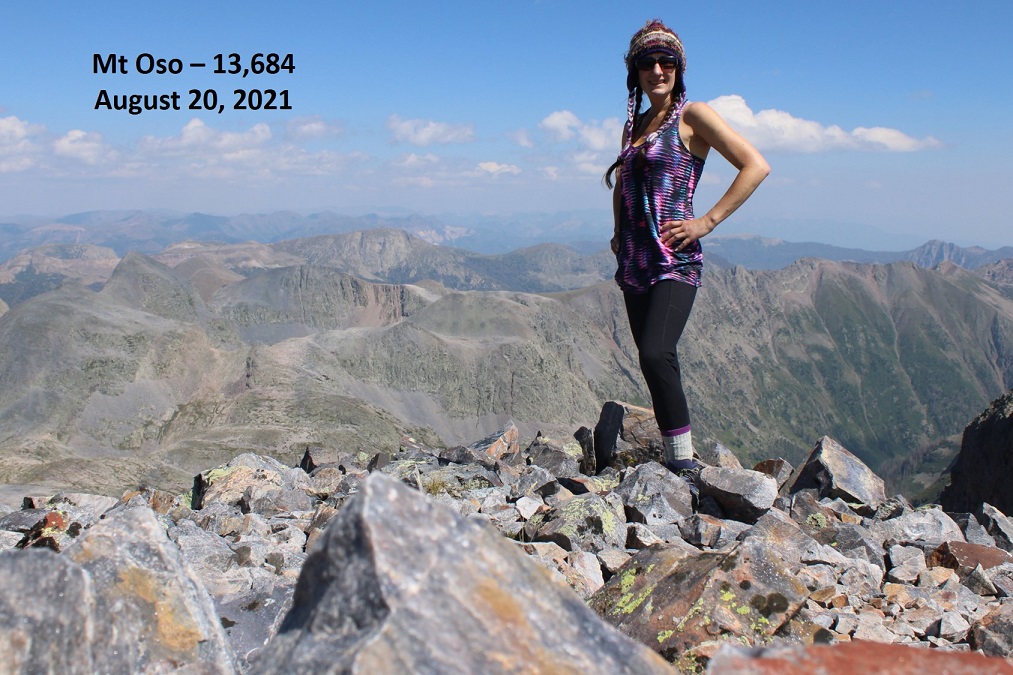
I summited Navajo Peak at 8:30am
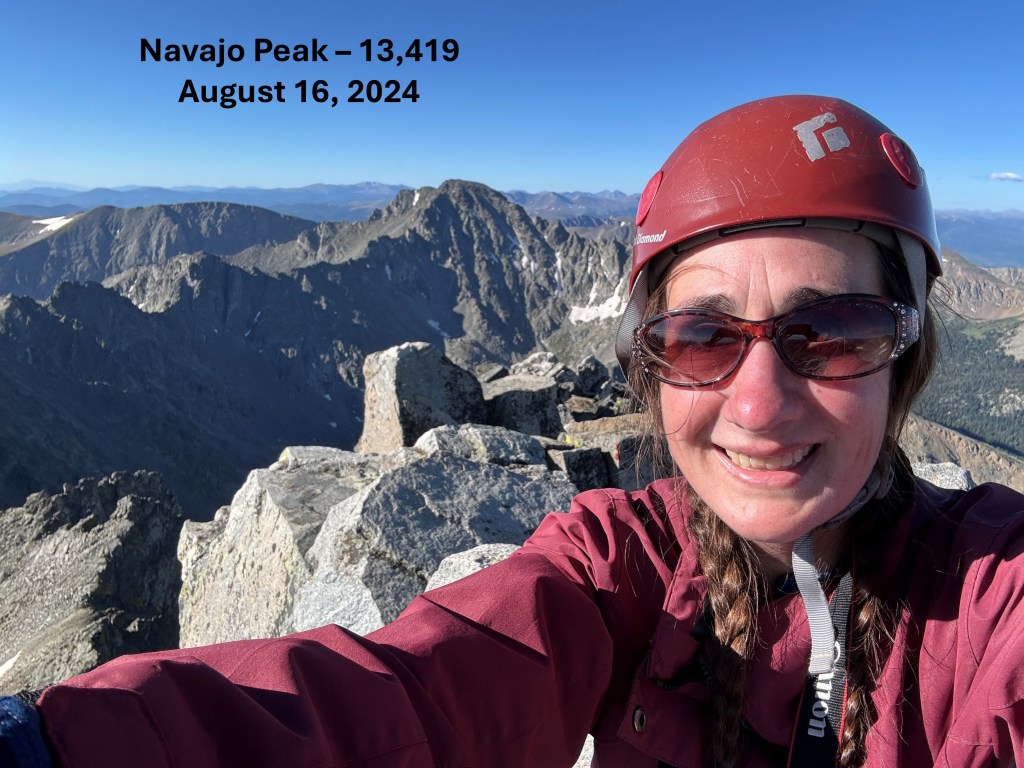
Navajo Peak:
This was an out and back hike for me, so I turned around and headed back towards the chimney.

I descended the chimney, and made my way back down to the saddle.


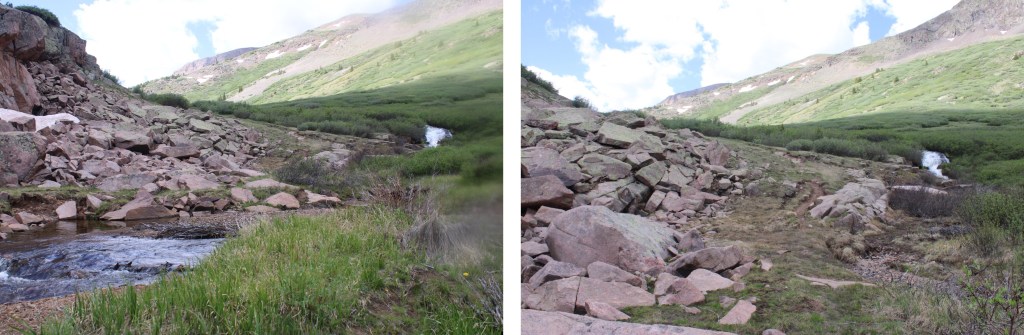
Then headed back down airplane gully
Passing the crash site, and continuing to follow the gully north
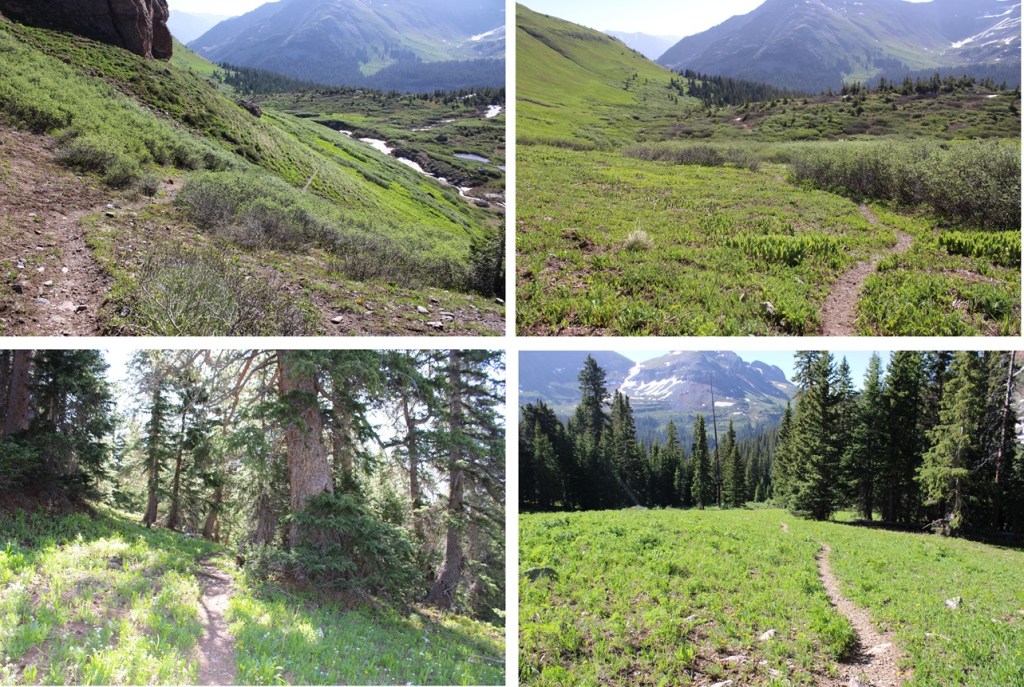
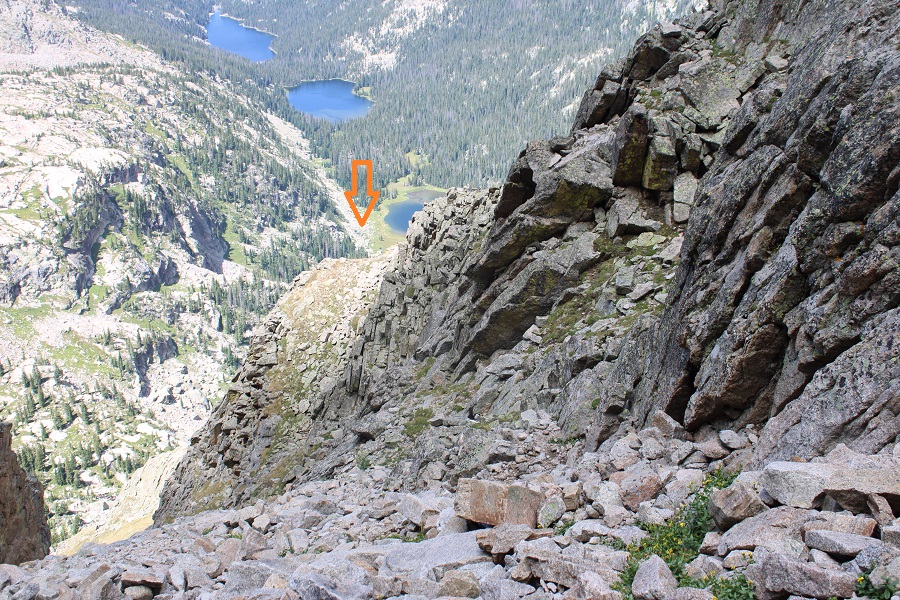
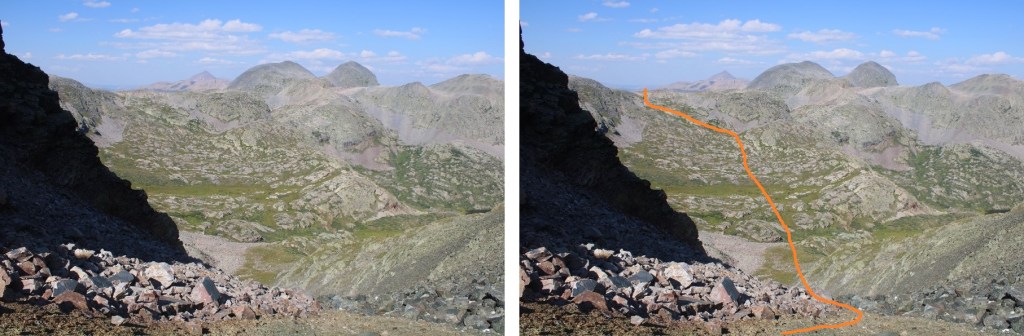
At the base of the gully, I rock hopped towards the tundra I could see in the distance
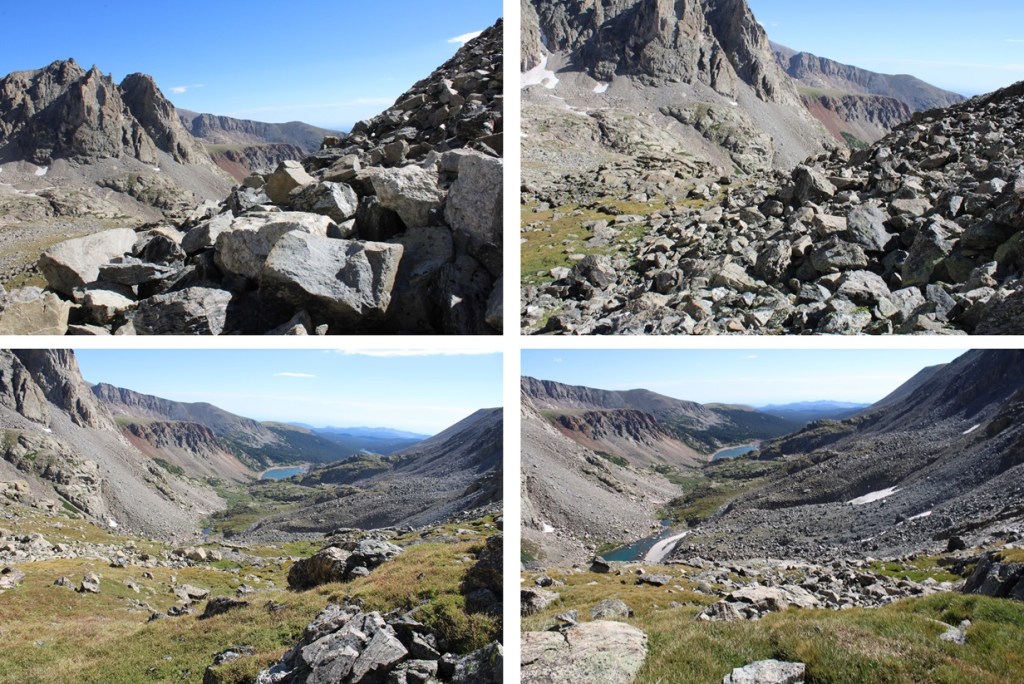
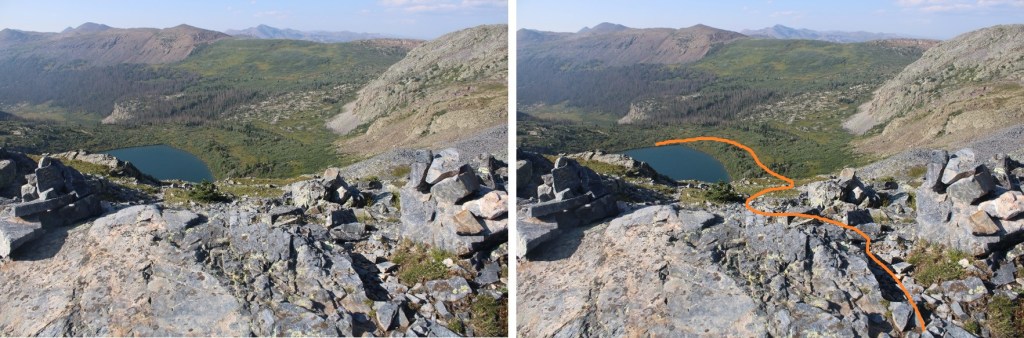
I could now see Isabelle Glacier trail in the distance, and descended down into the lower basin towards the trail.


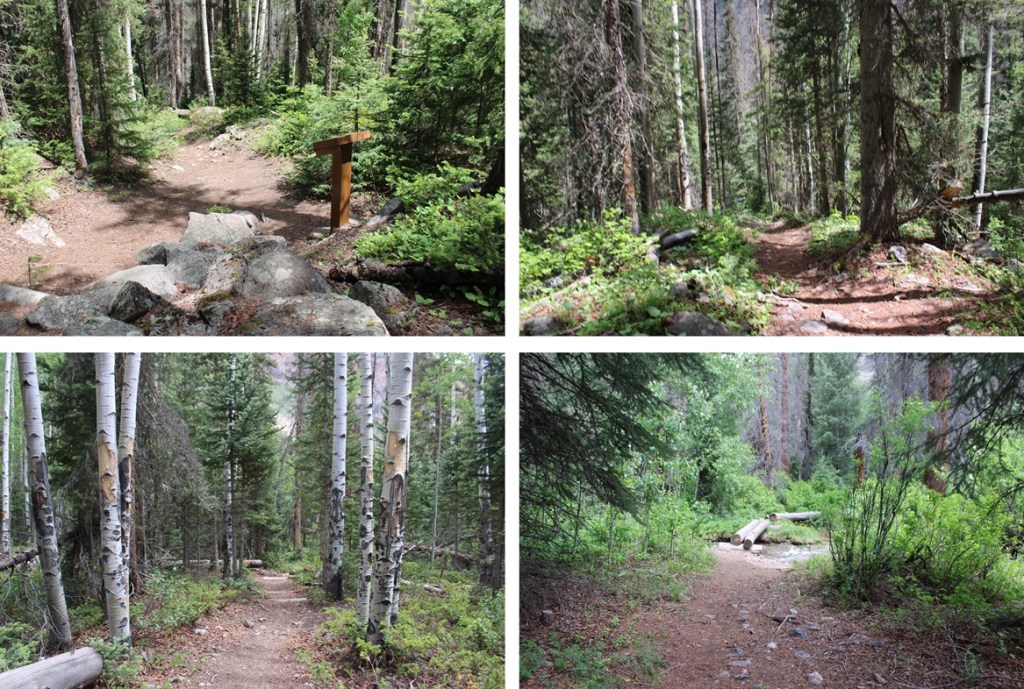
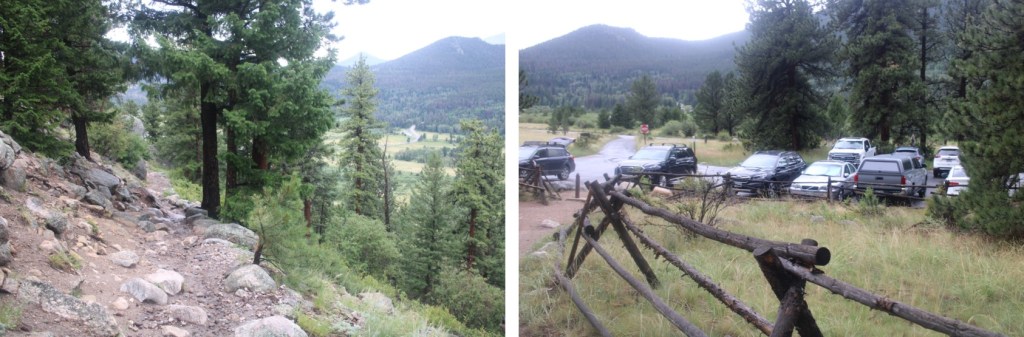
Back on the Isabelle Glacier trail, I followed it east back to the Long Lake Trailhead.


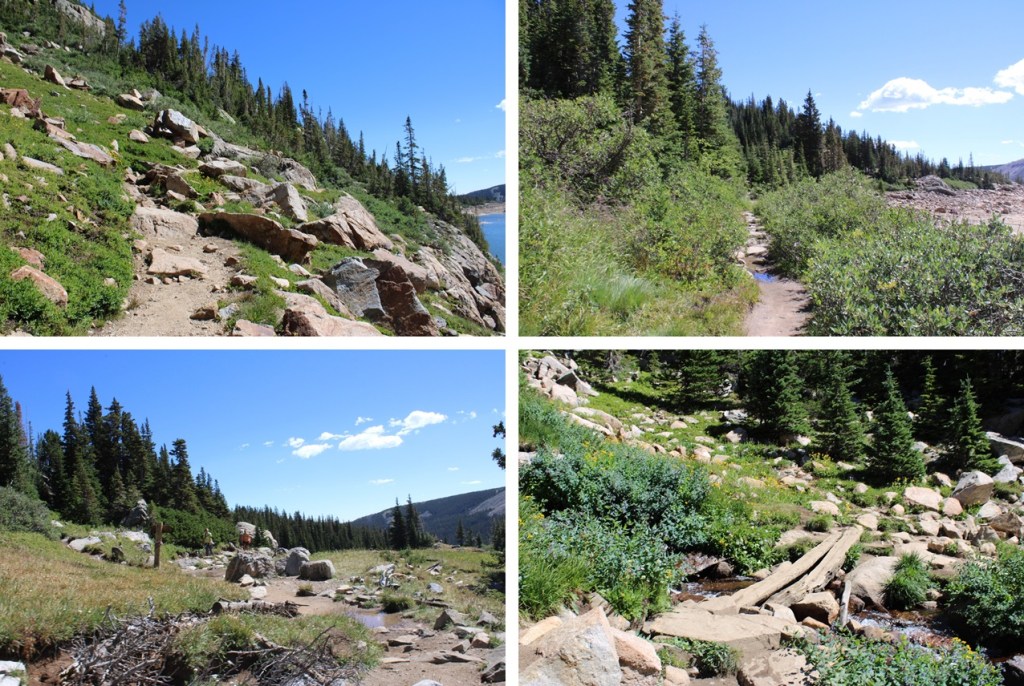
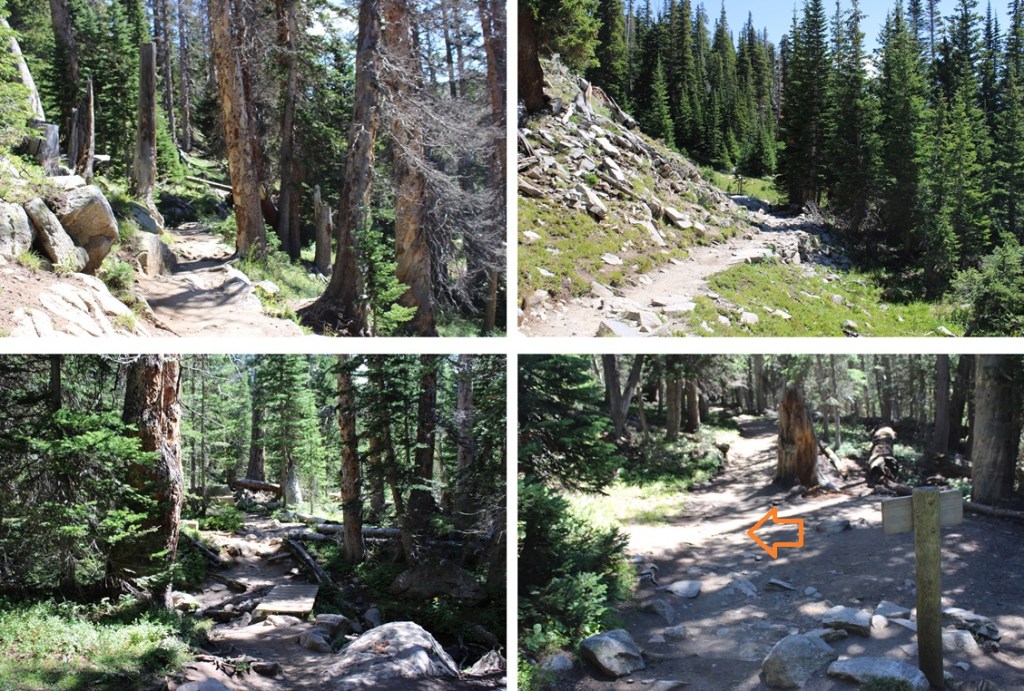
Back at the Long Lake Trailhead, I followed the road 1.3 miles back to Brainard Lake
I made it back to the trailhead at 12:30pm, making this a 14.52 mile hike with 3346’ of elevation gain in 7.5 hours