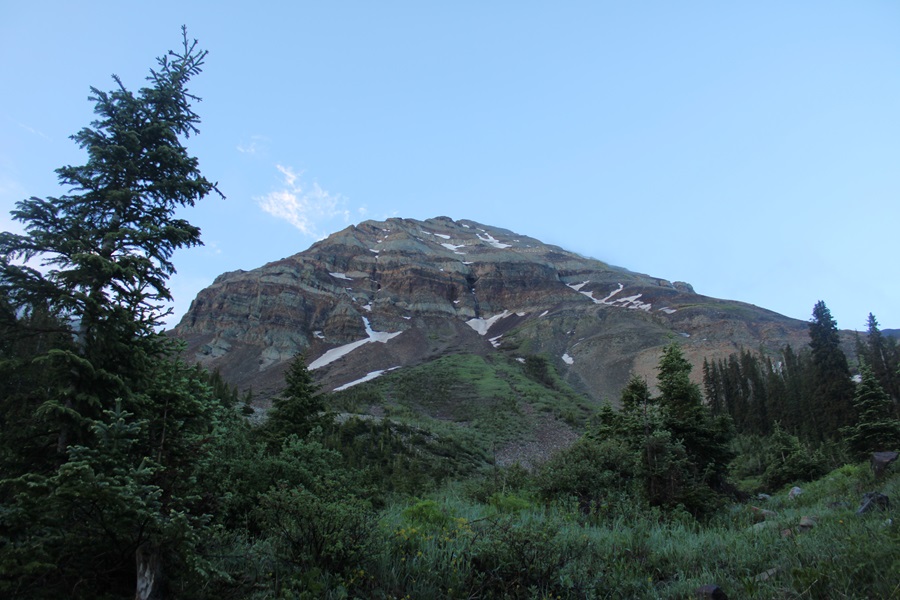
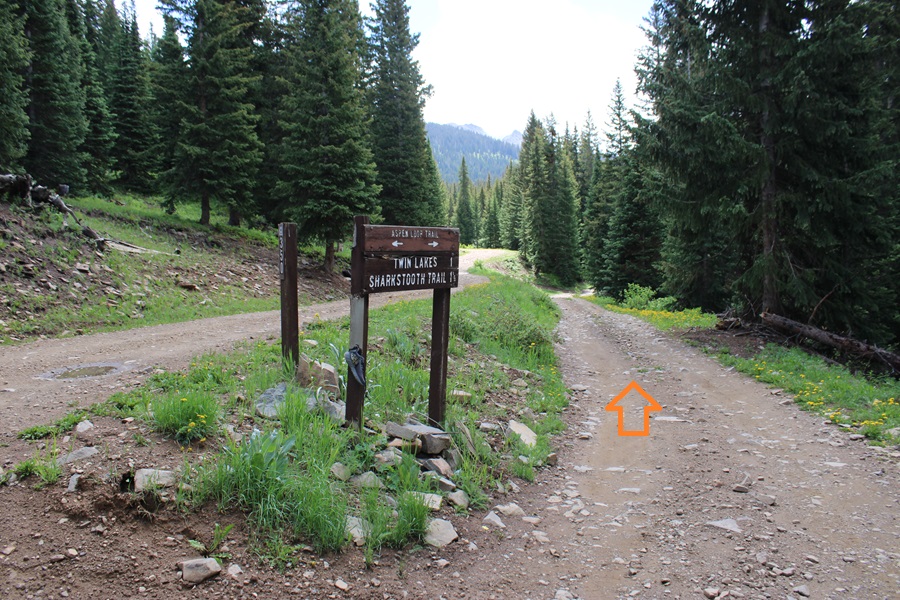
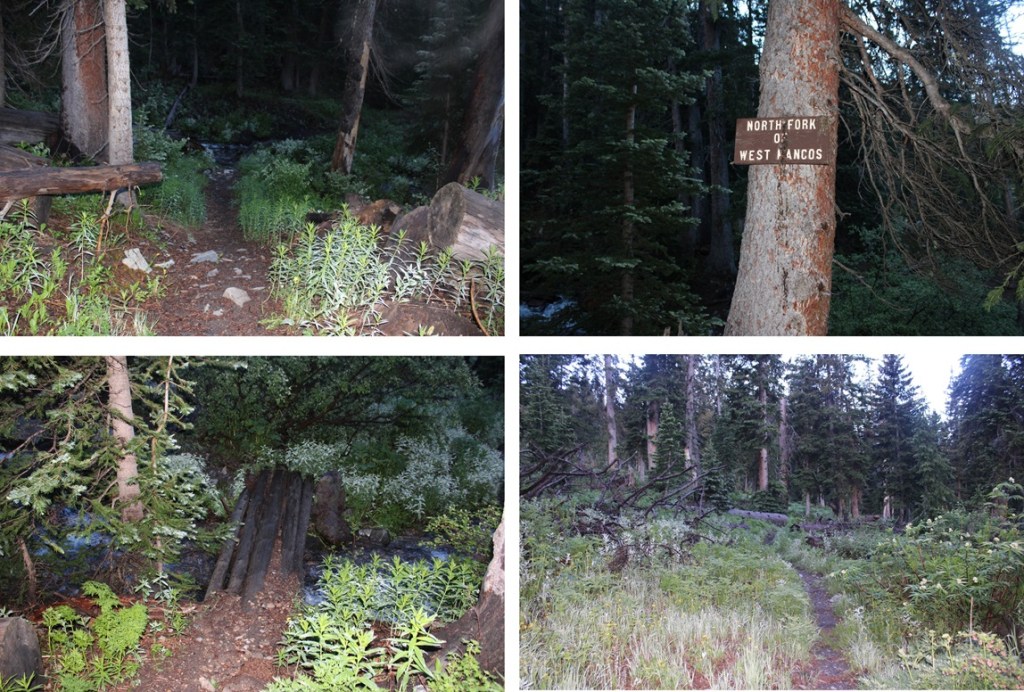
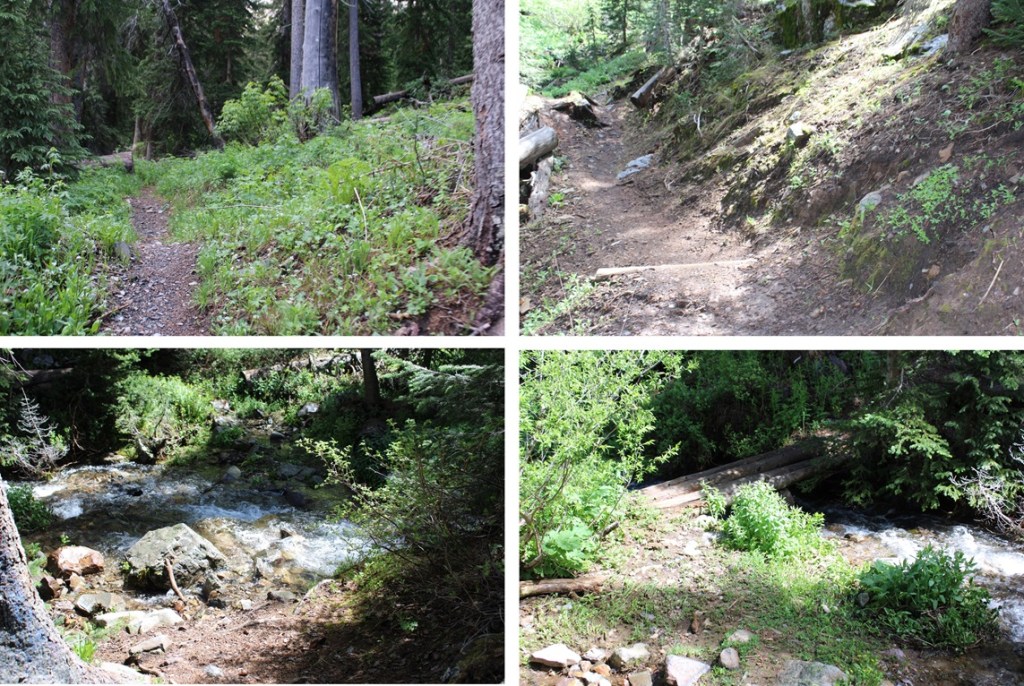
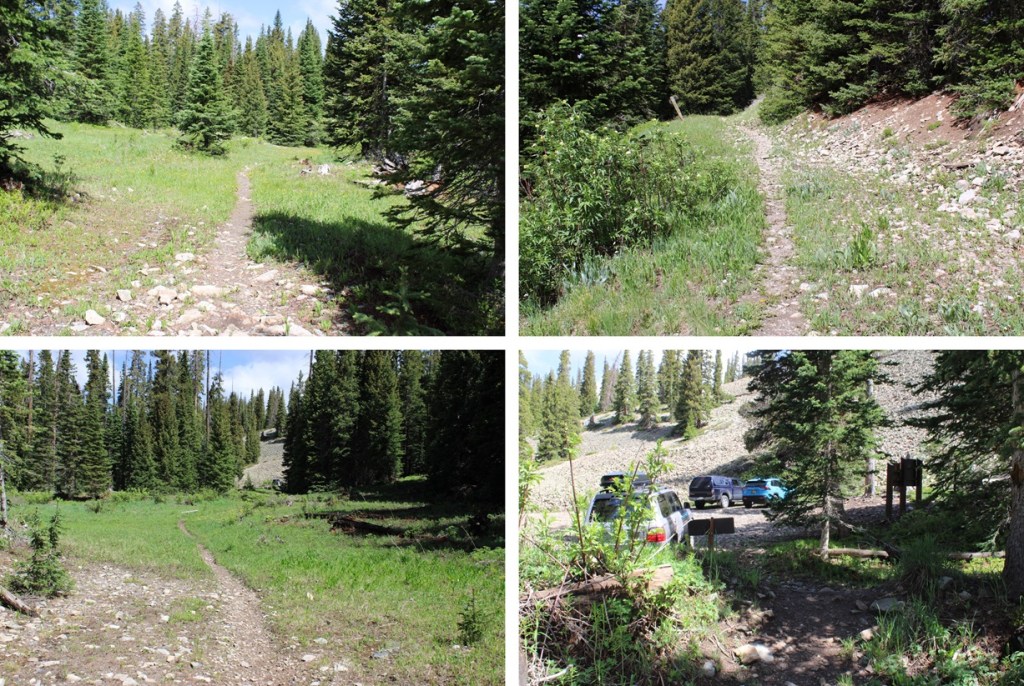
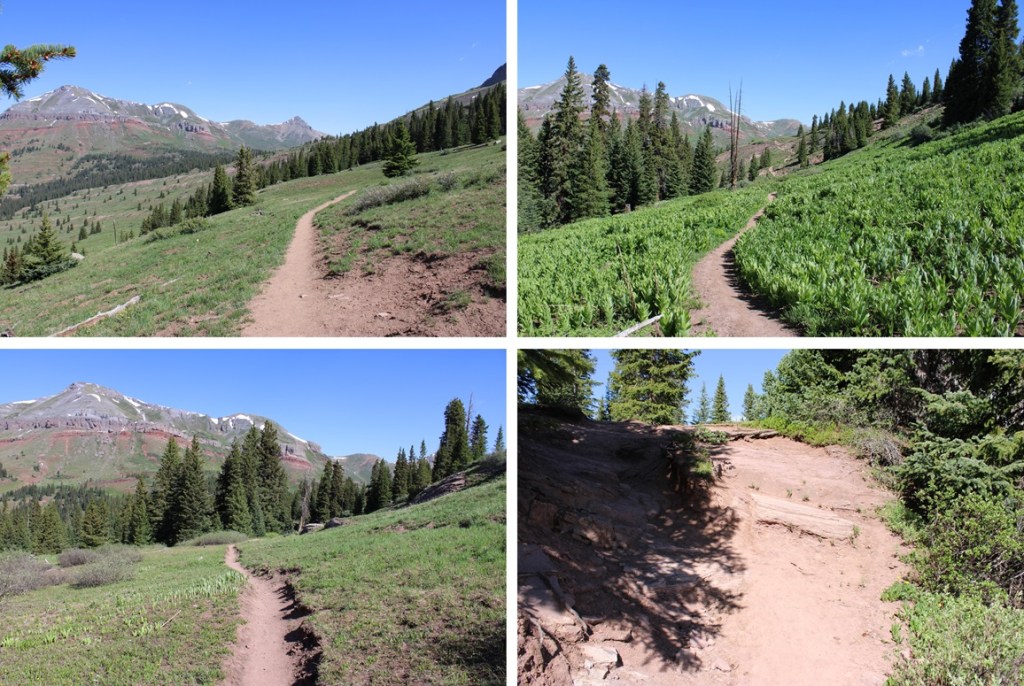
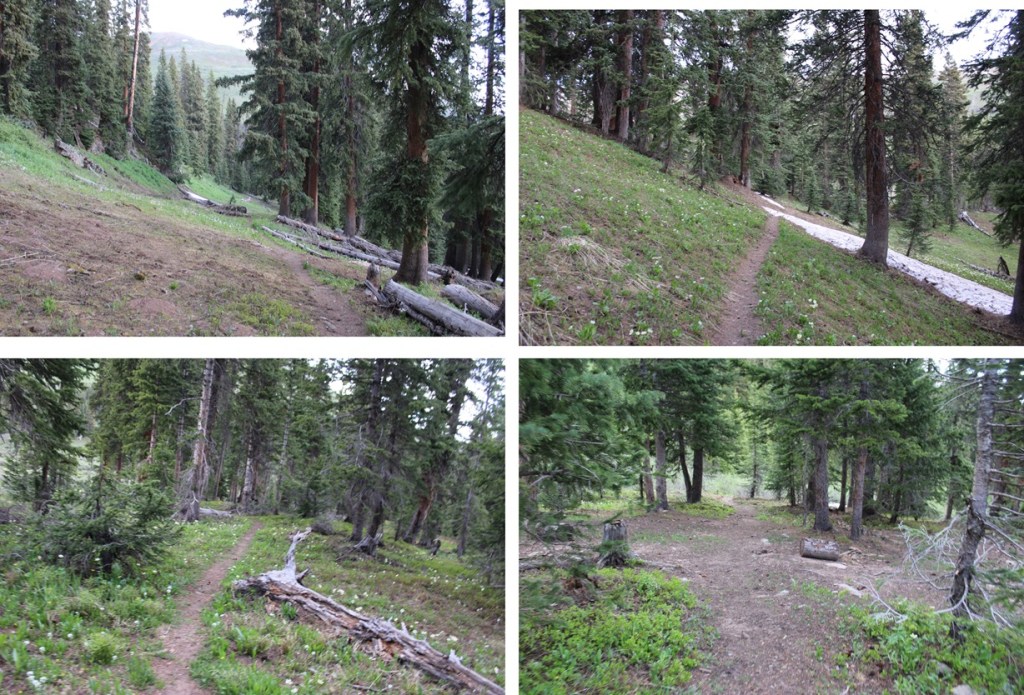
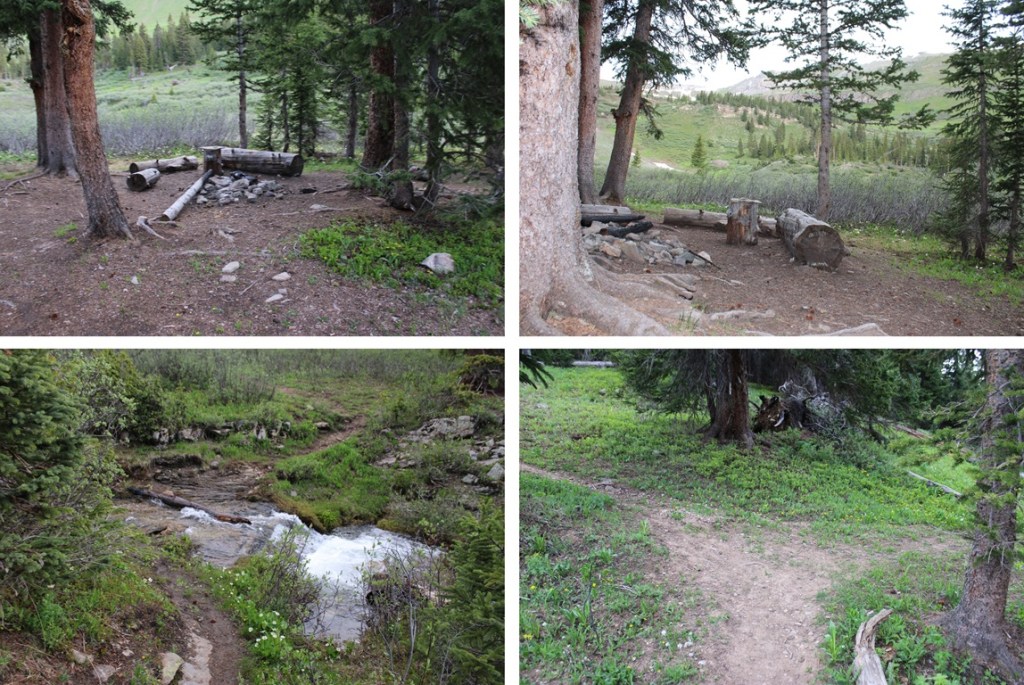
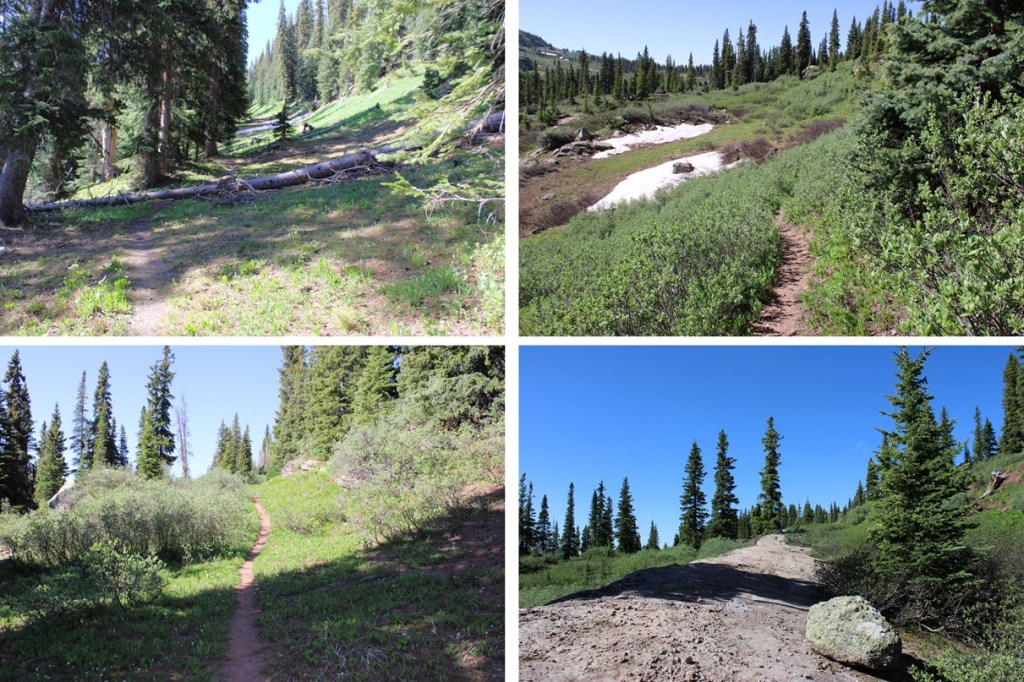
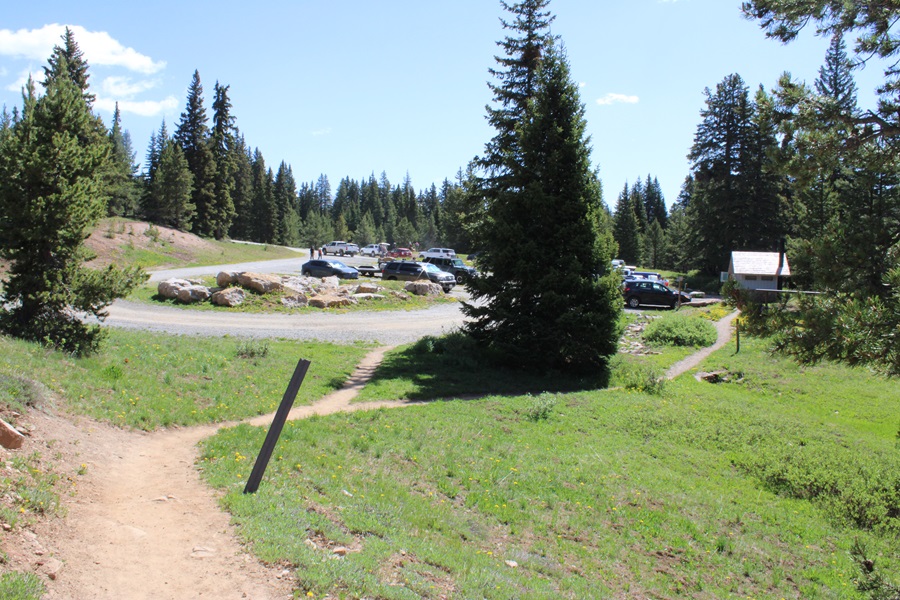
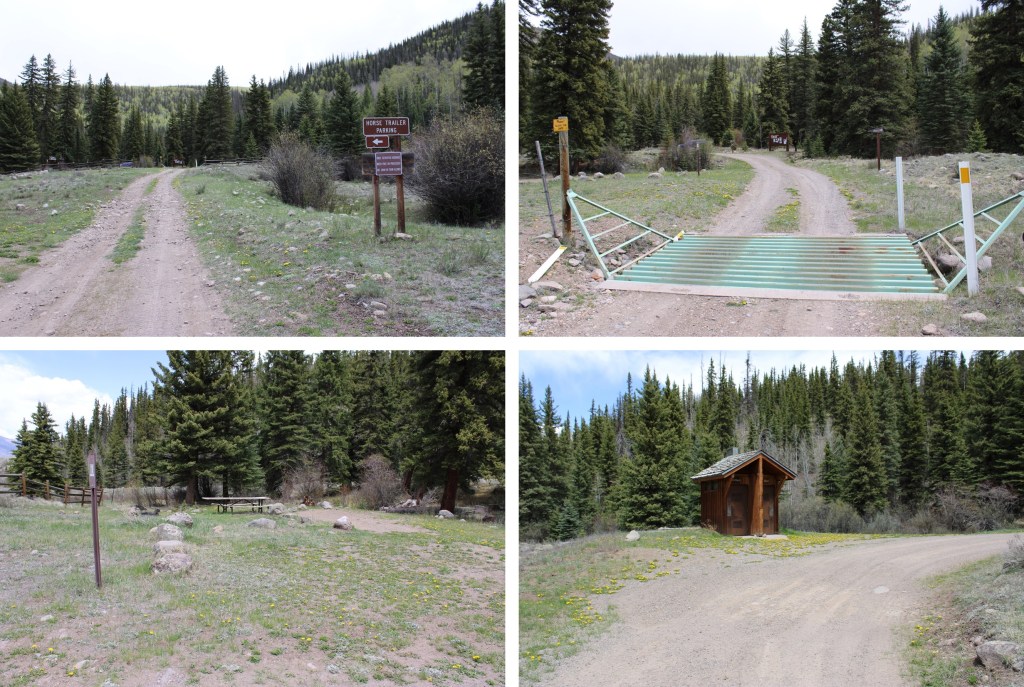
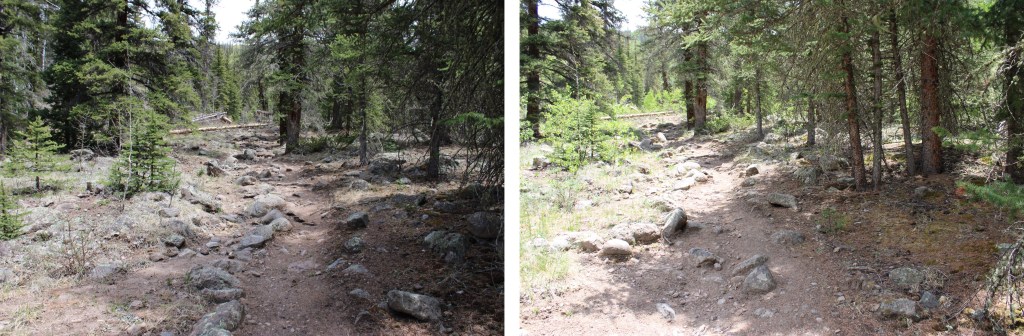
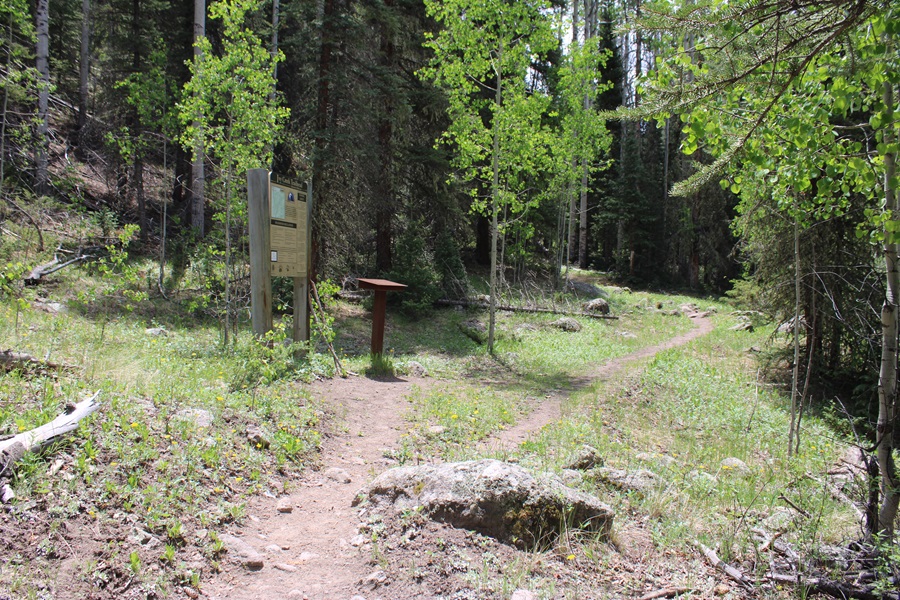
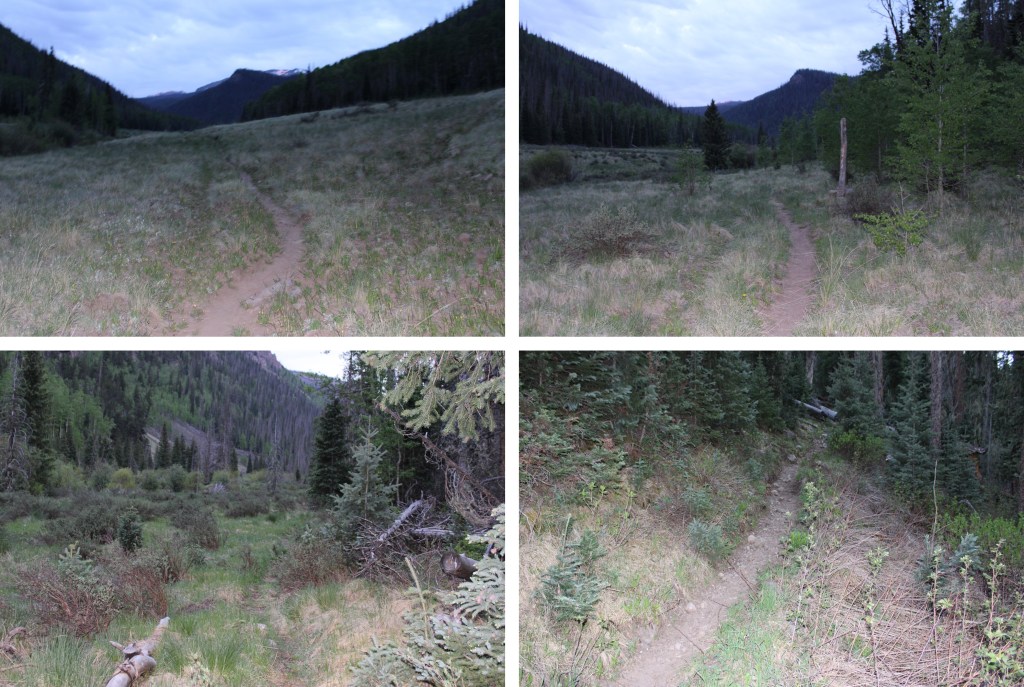
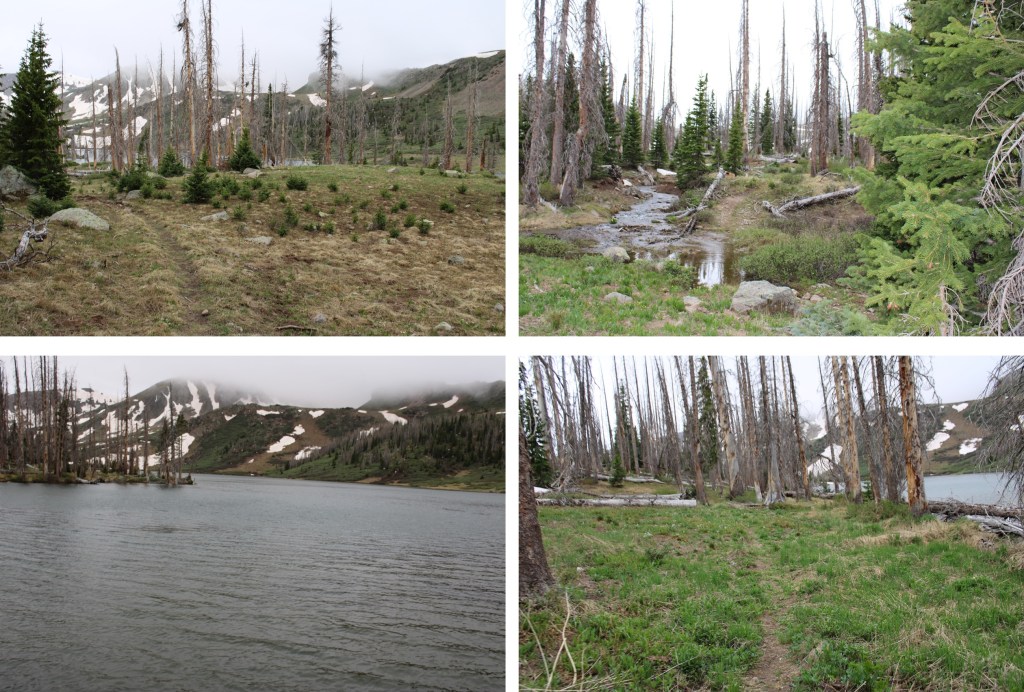
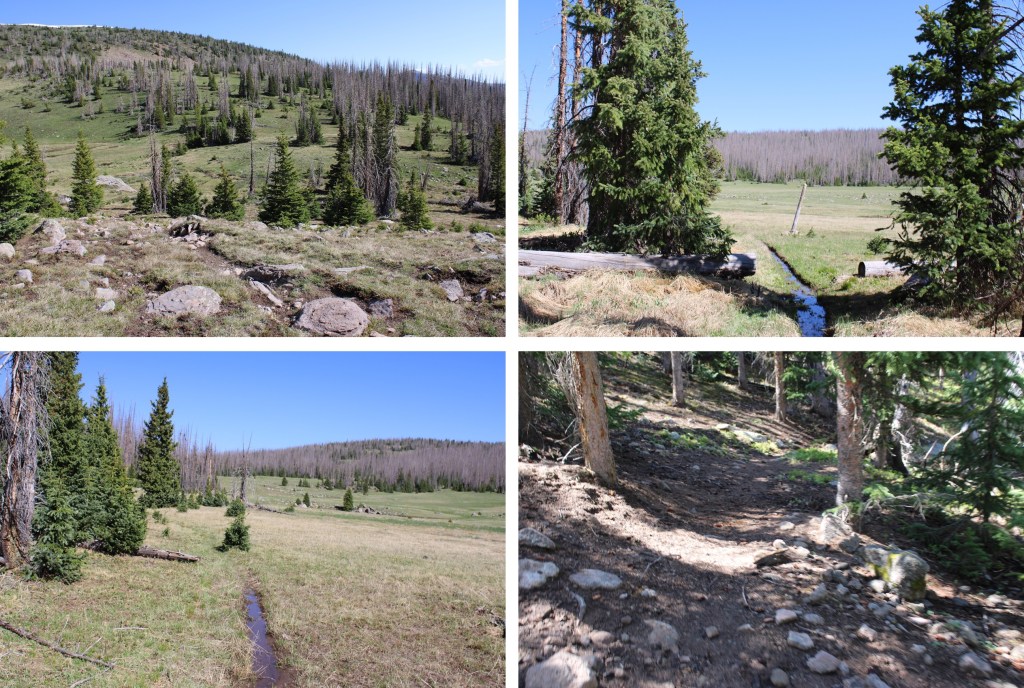
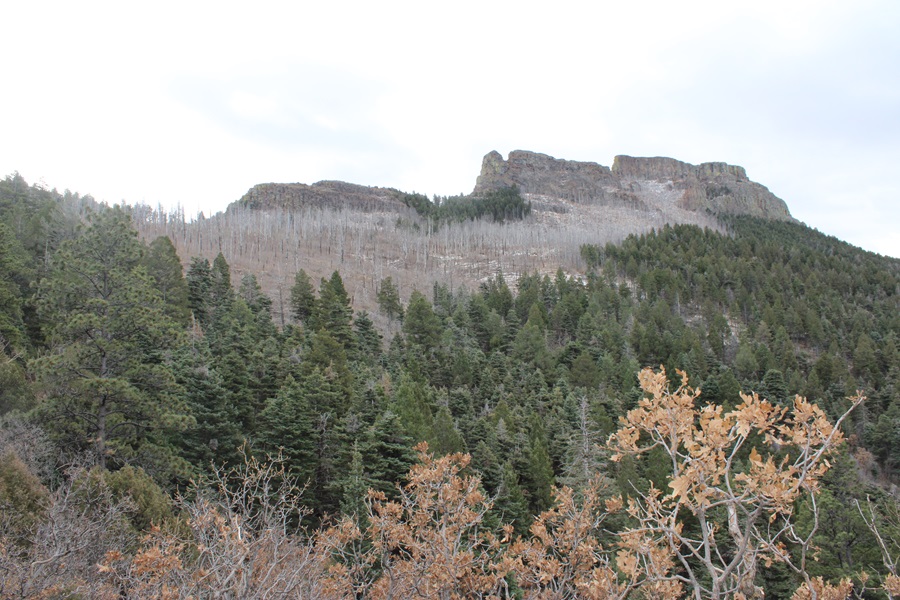
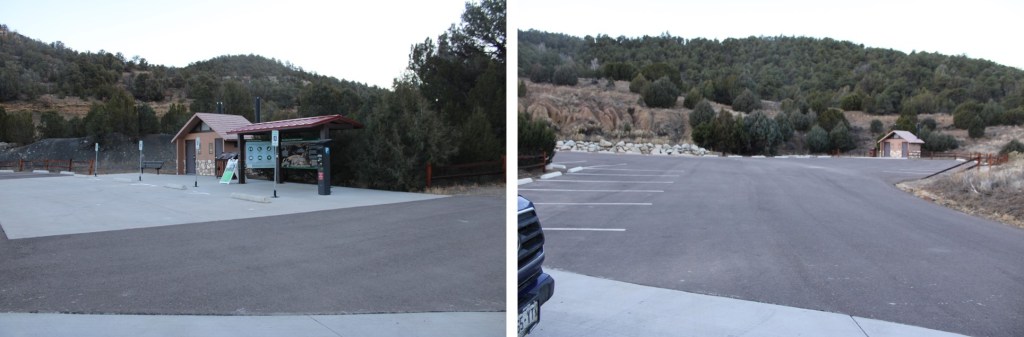
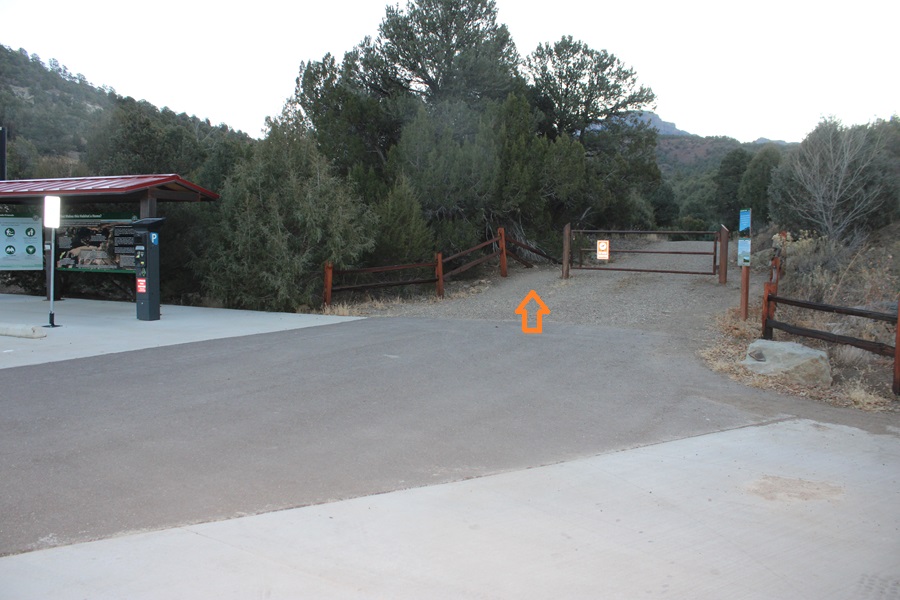
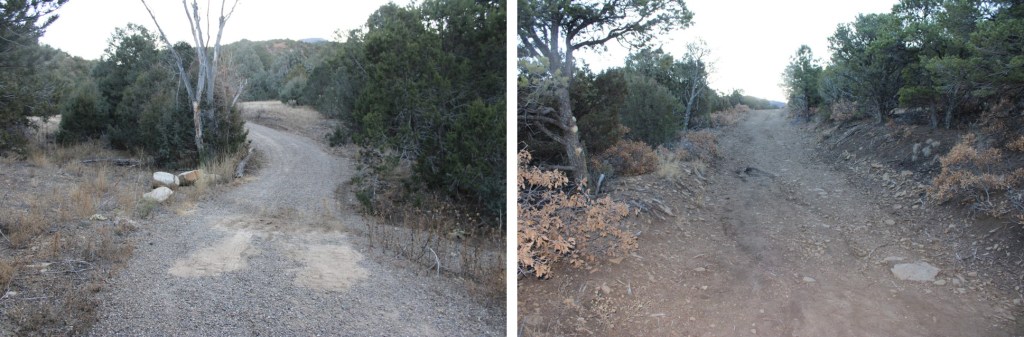
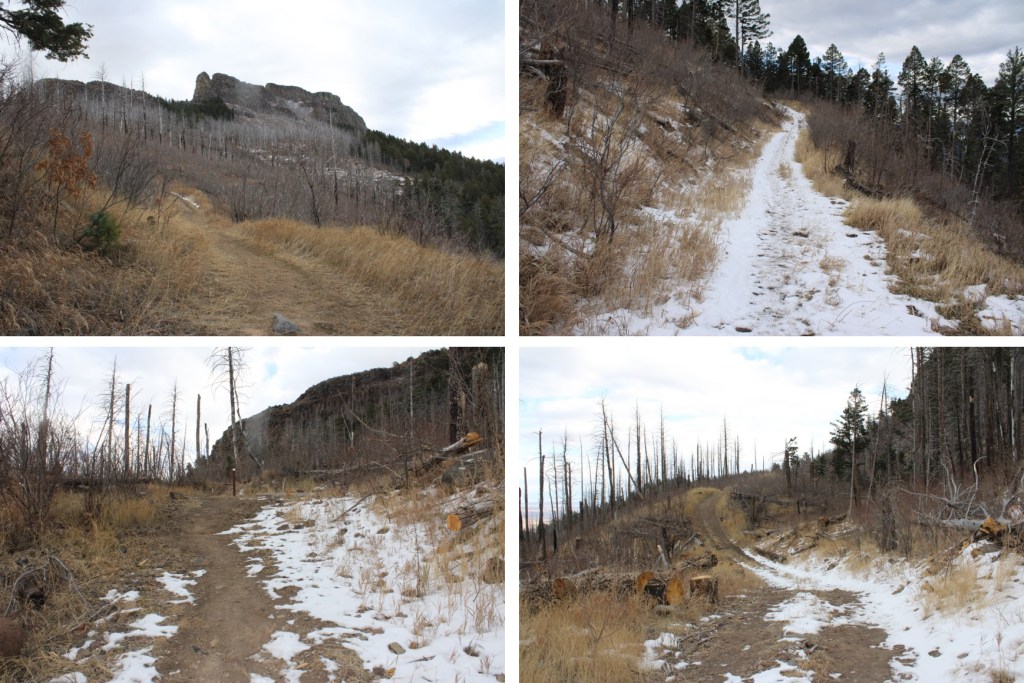
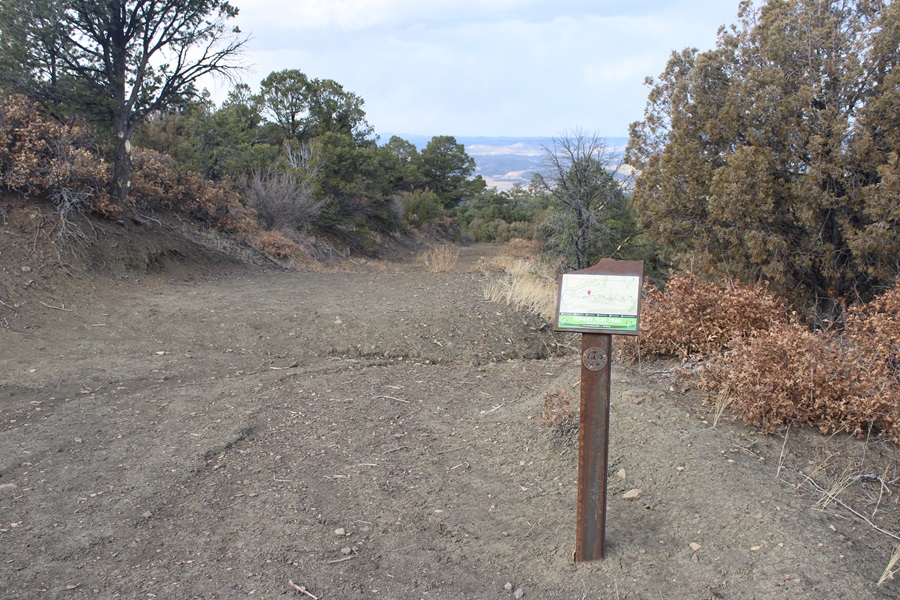
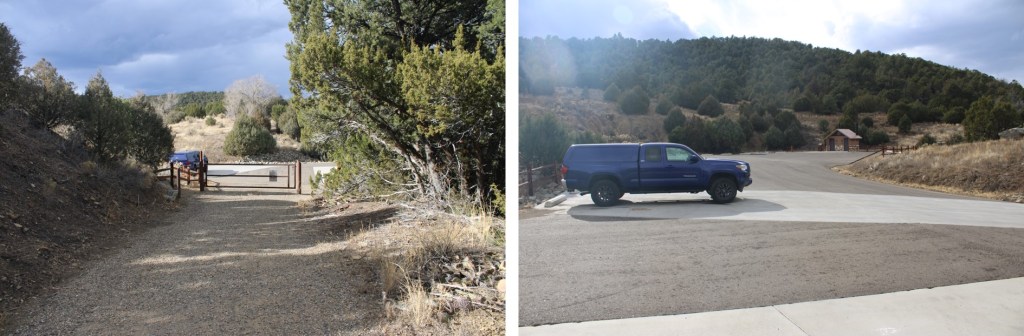
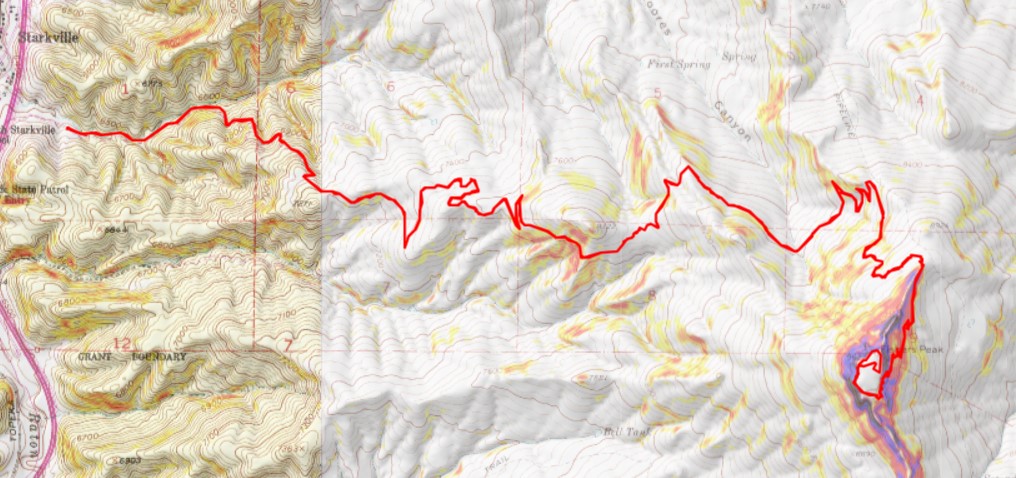
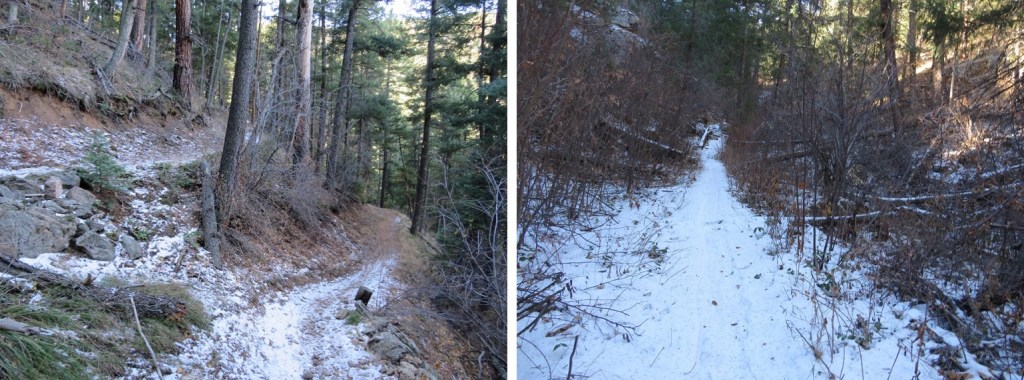
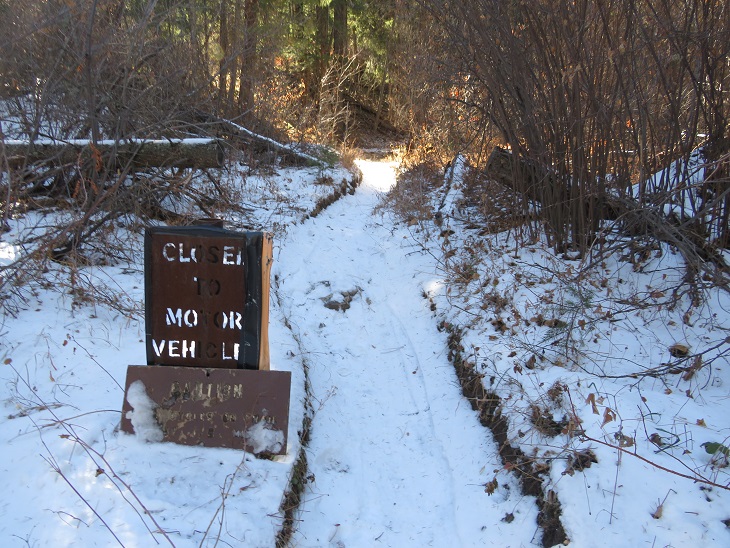
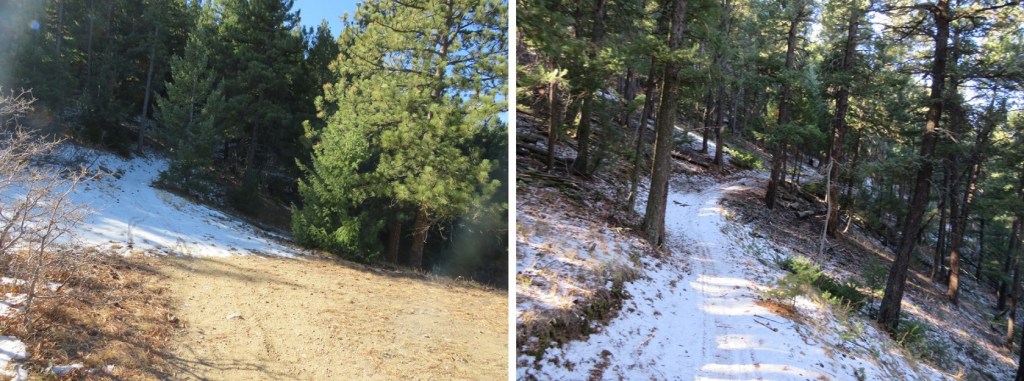
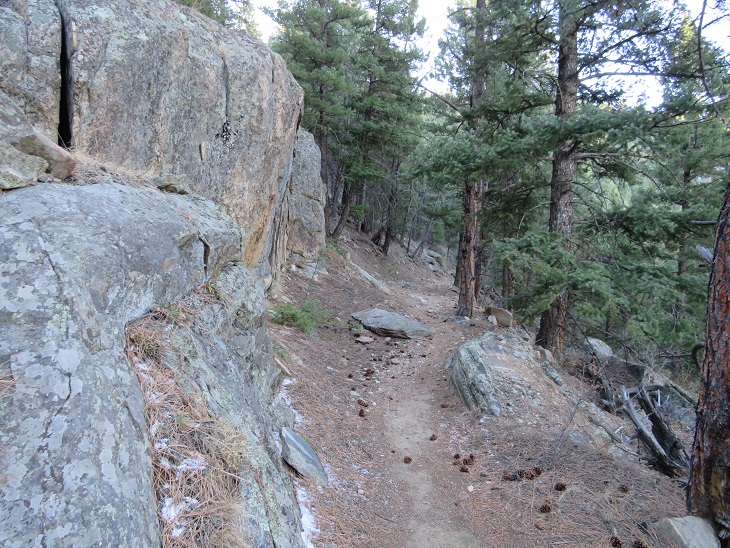
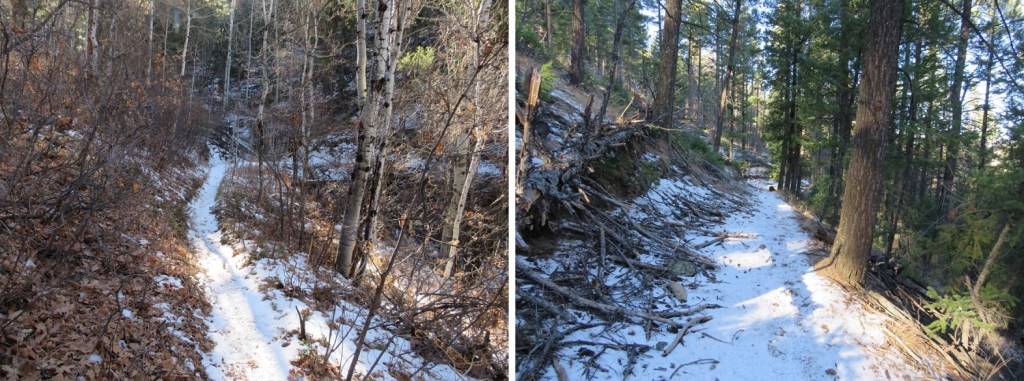
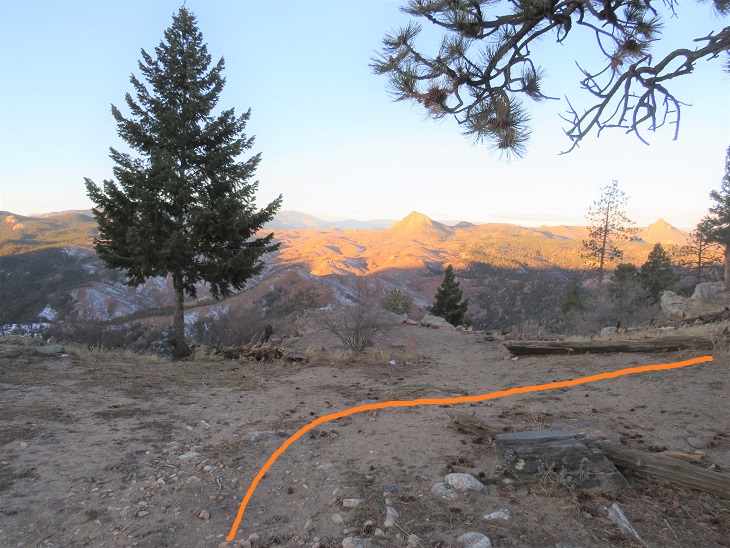
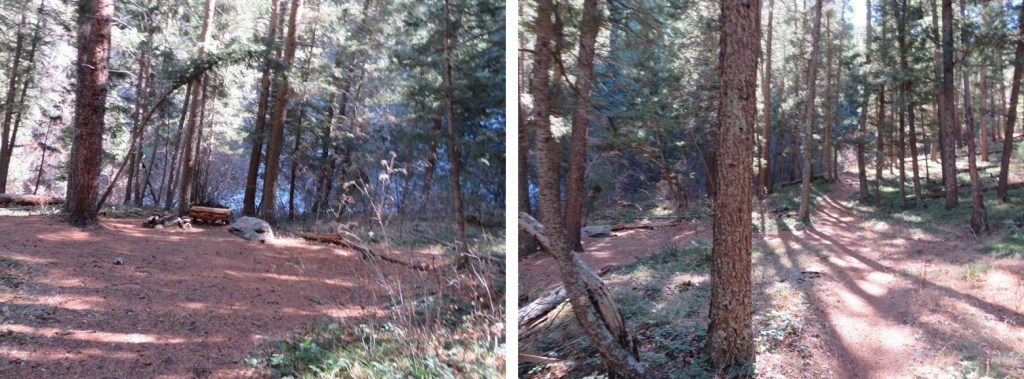
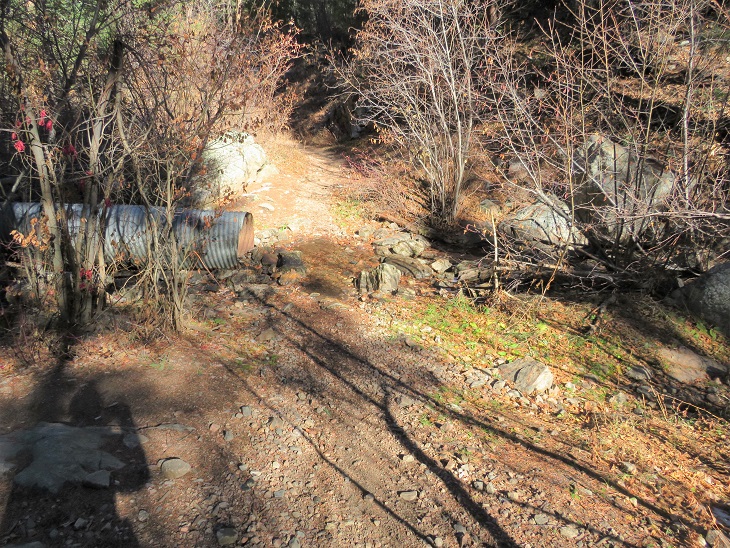
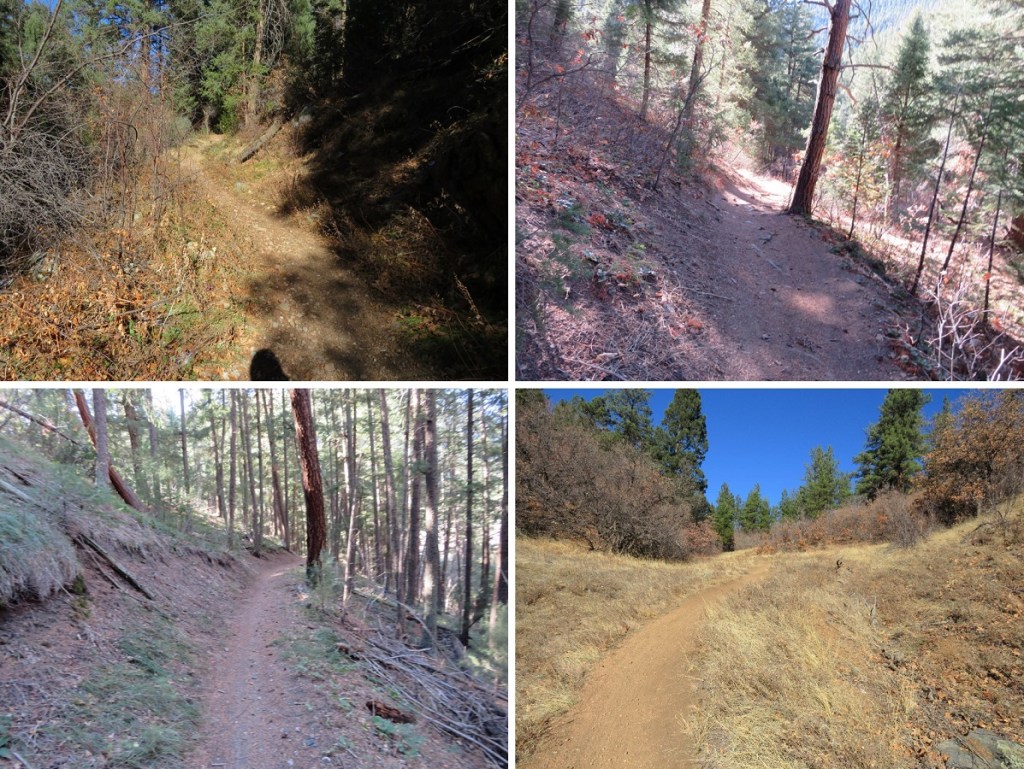
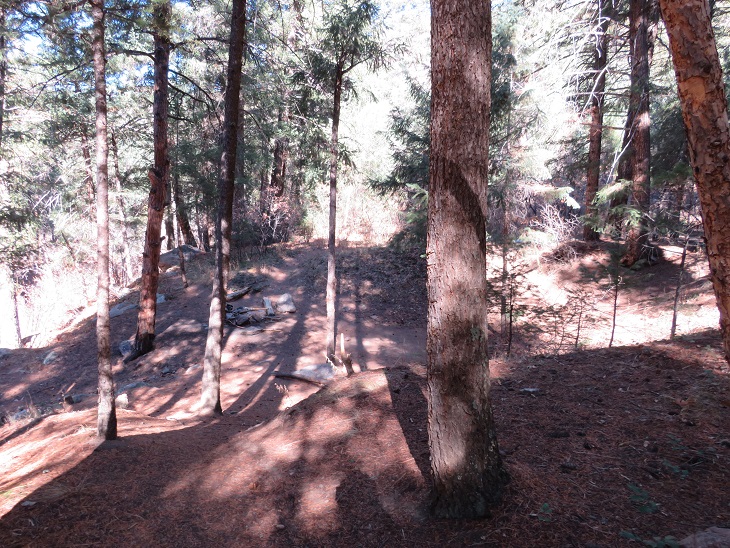
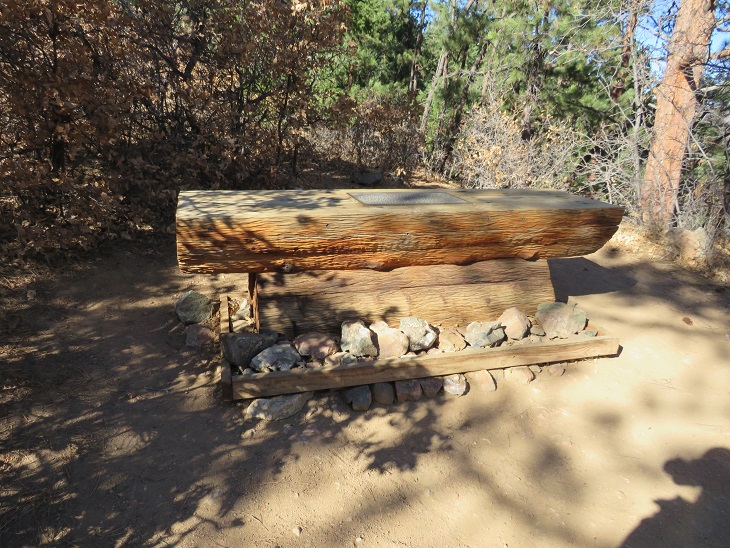
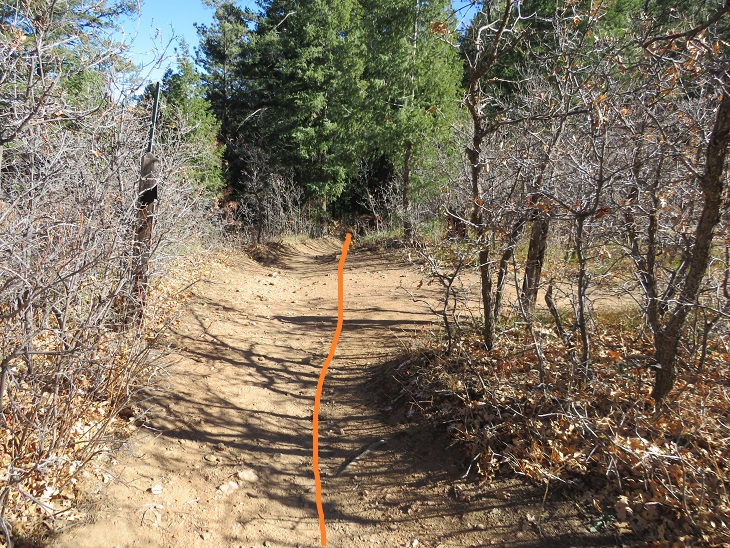
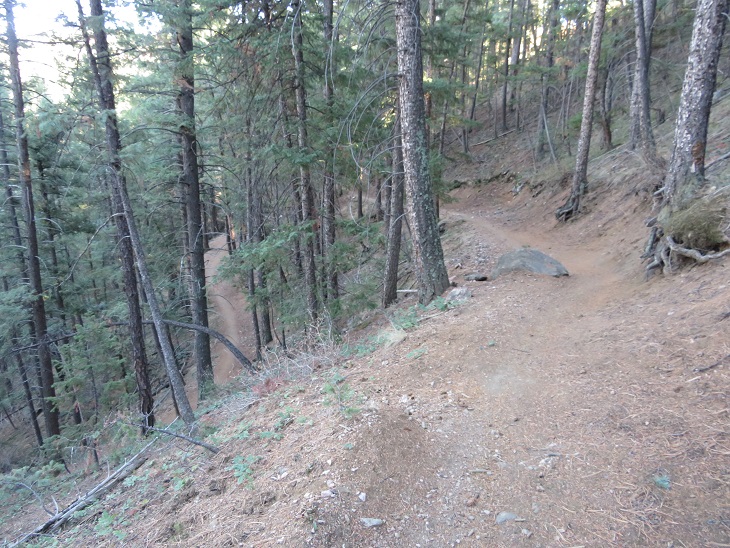
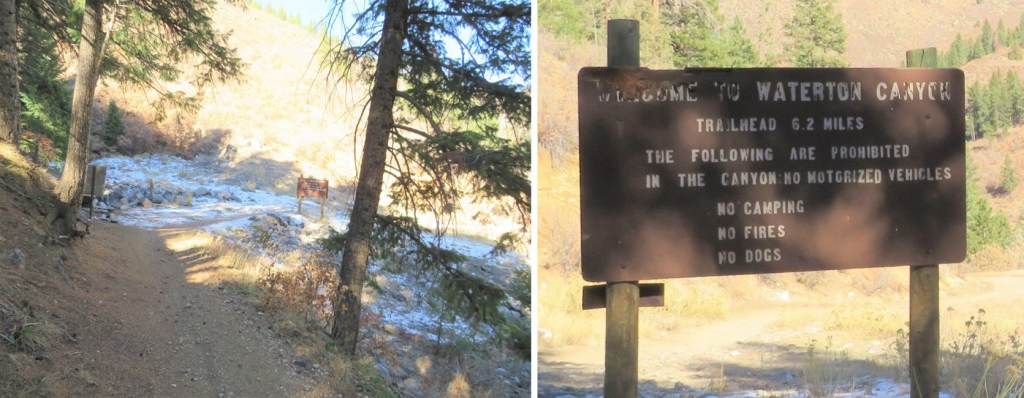
I parked at the 2WD Sharkstooth Trailhead the night before and waited out a thunderstorm. If you’re not familiar with the area, be sure to double check your directions: Google Maps kept trying to route me on ATV roads, and I got turned around several times trying to get to the actual trailhead. When I got there, I found there weren’t any parking spaces (as in, no place to park period… there weren’t any other vehicles there), so I had to park in a turnout a couple dozen yards from the trailhead. The drive was 2WD on a dirt road up until this point. This is what the lower trailhead looks like.
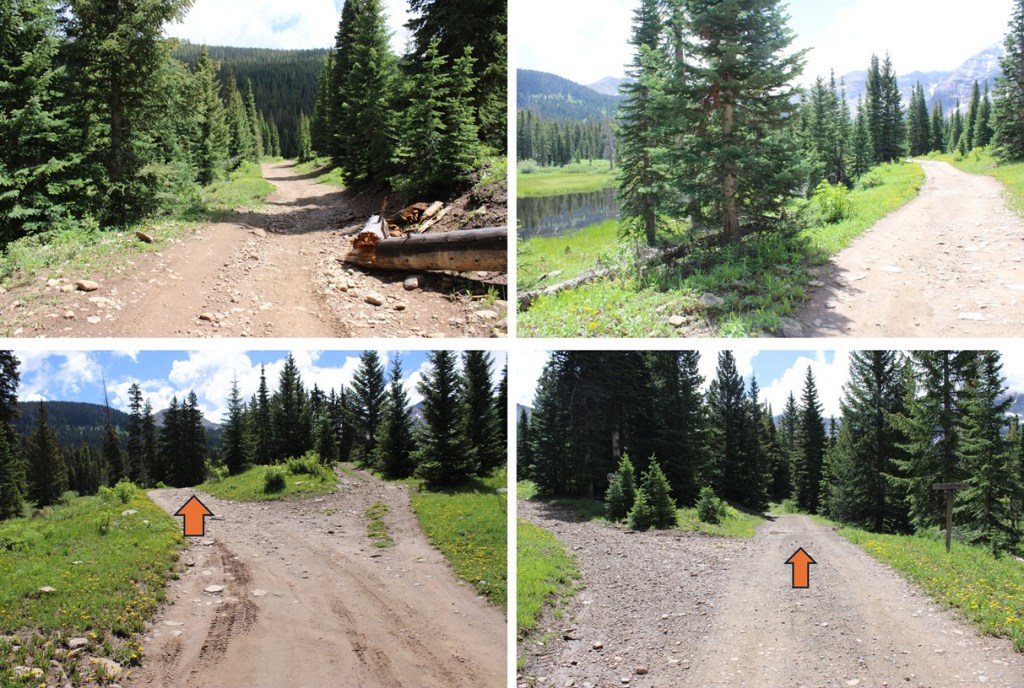
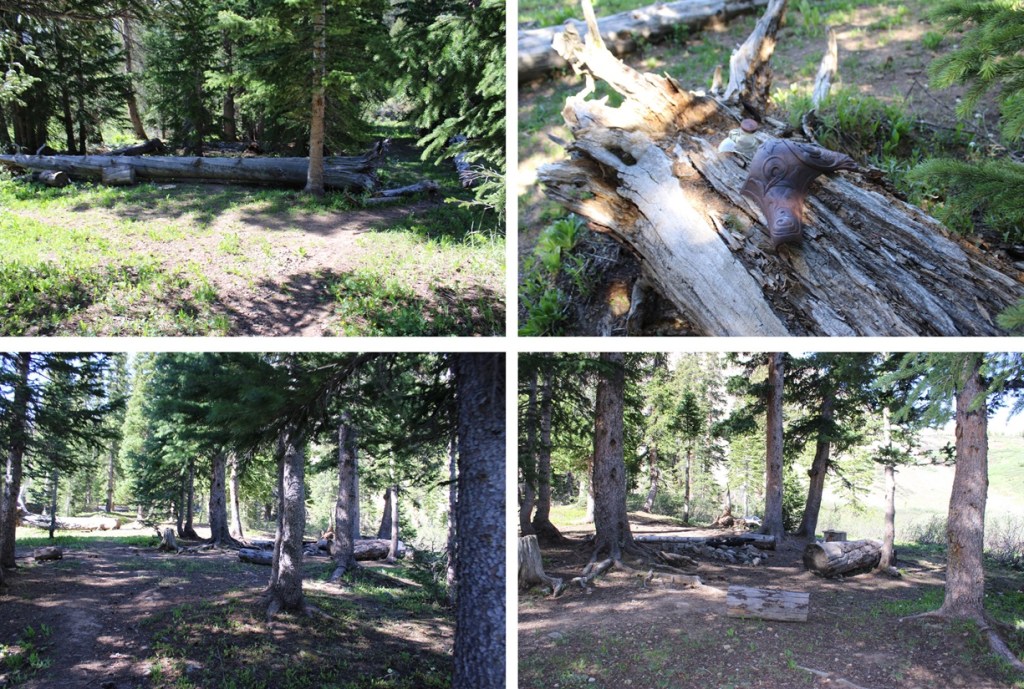
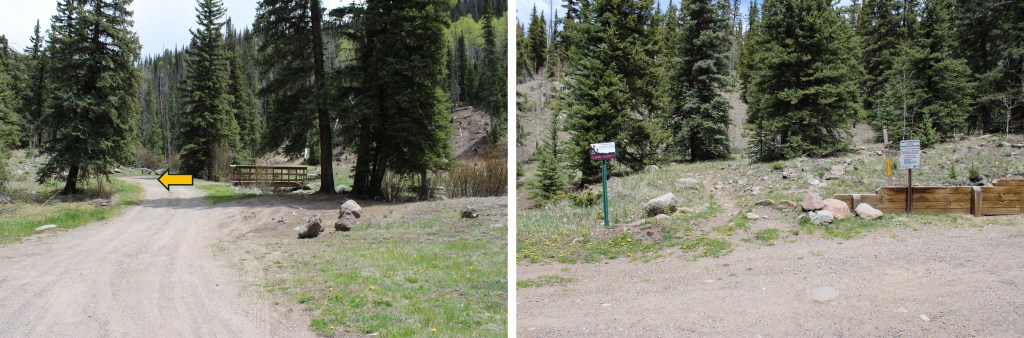
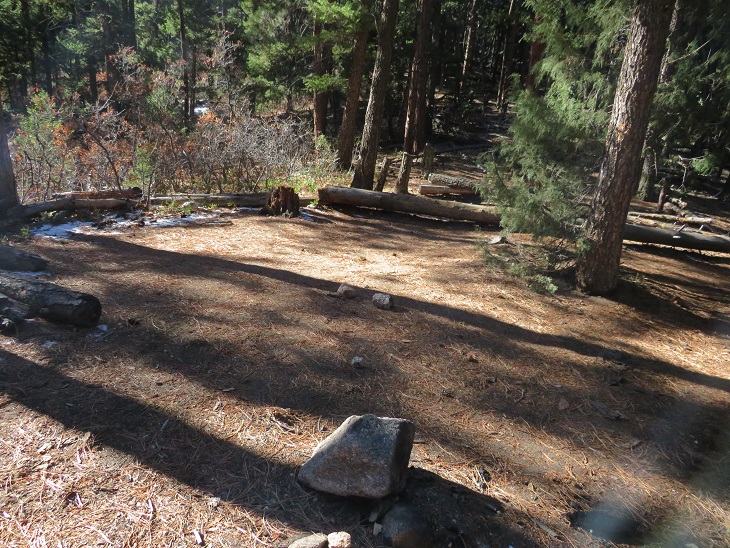
The next morning, after battling a night of storms and mosquitoes, I was up and on the trail at 5:30am. I realized rather quickly the 4WD road to the upper trailhead wasn’t all that difficult to navigate, and I could have easily driven all the way there. There were also several dispersed campsites along the way.
Now at the upper trailhead, I started following West Mancos Trail 621, which was the trail to the right.
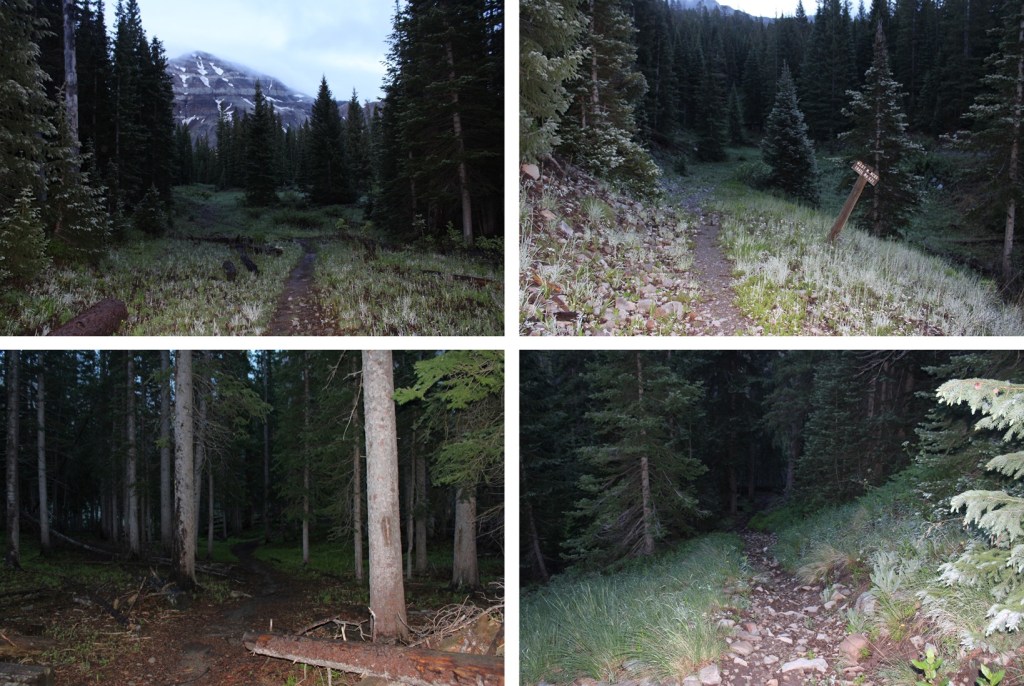
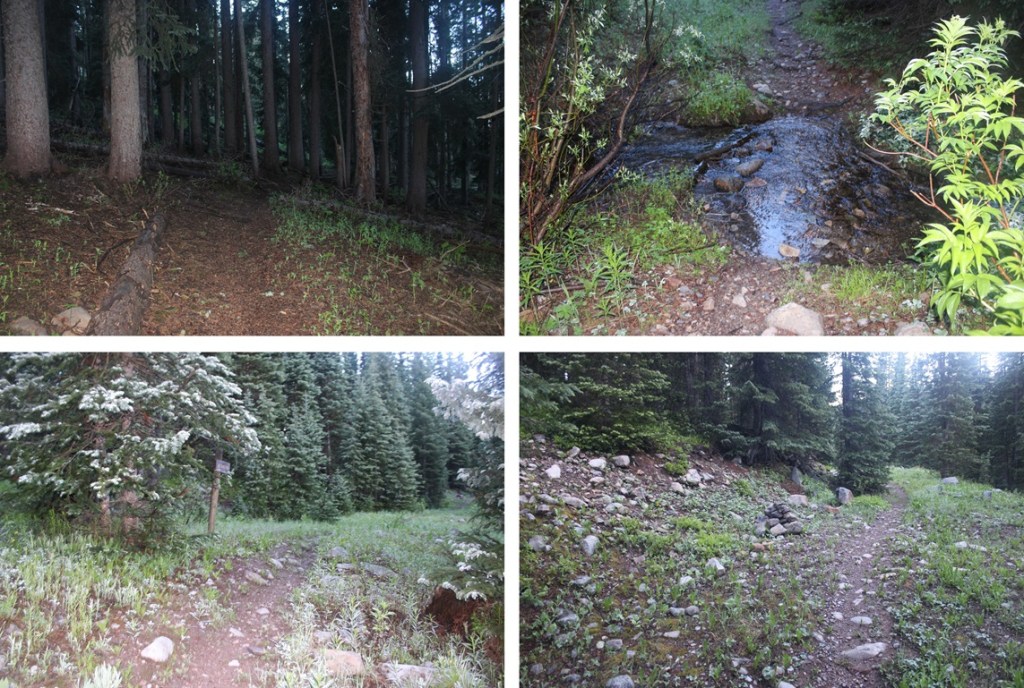
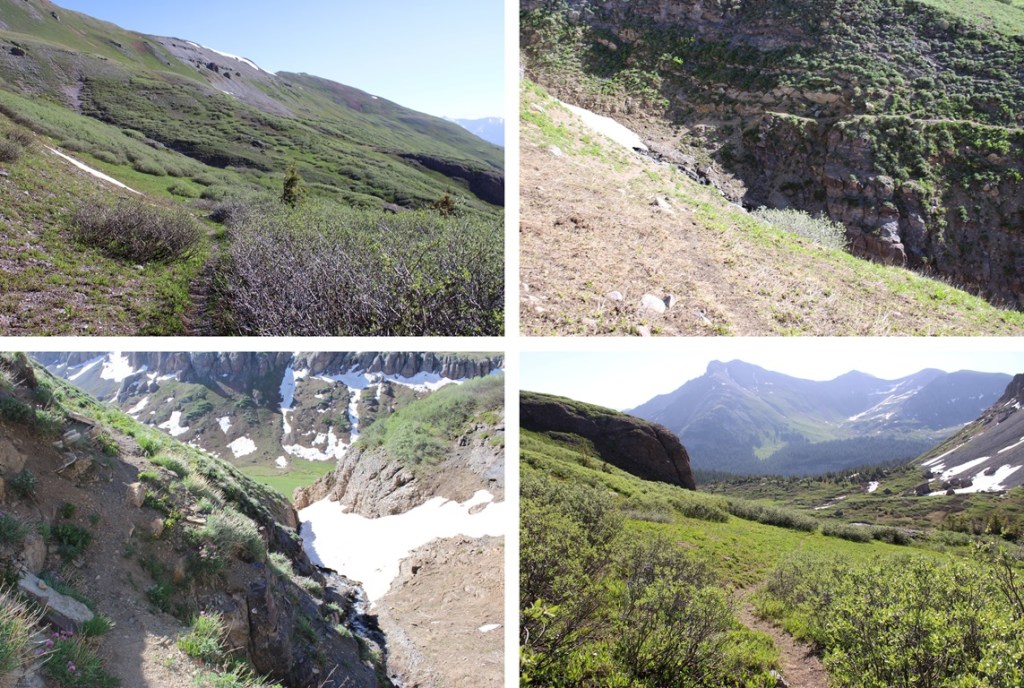
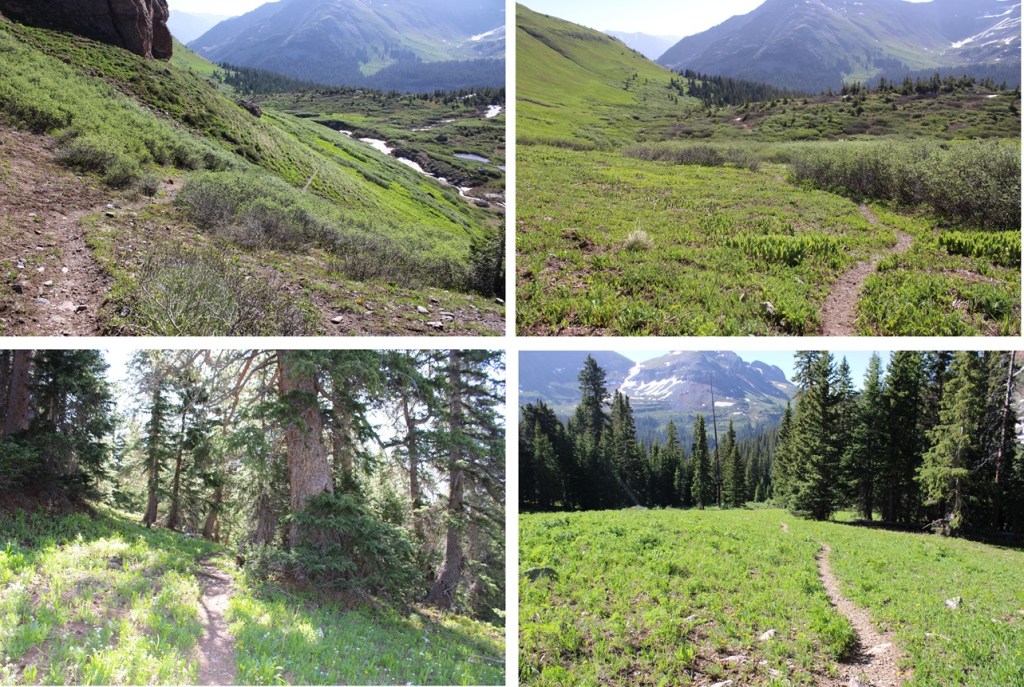
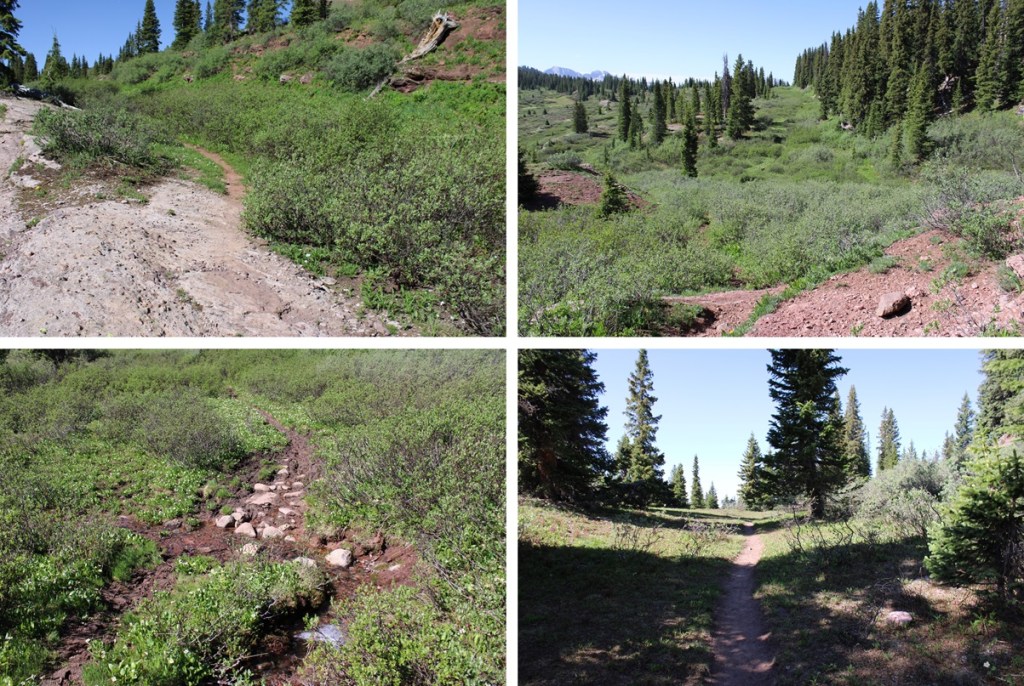
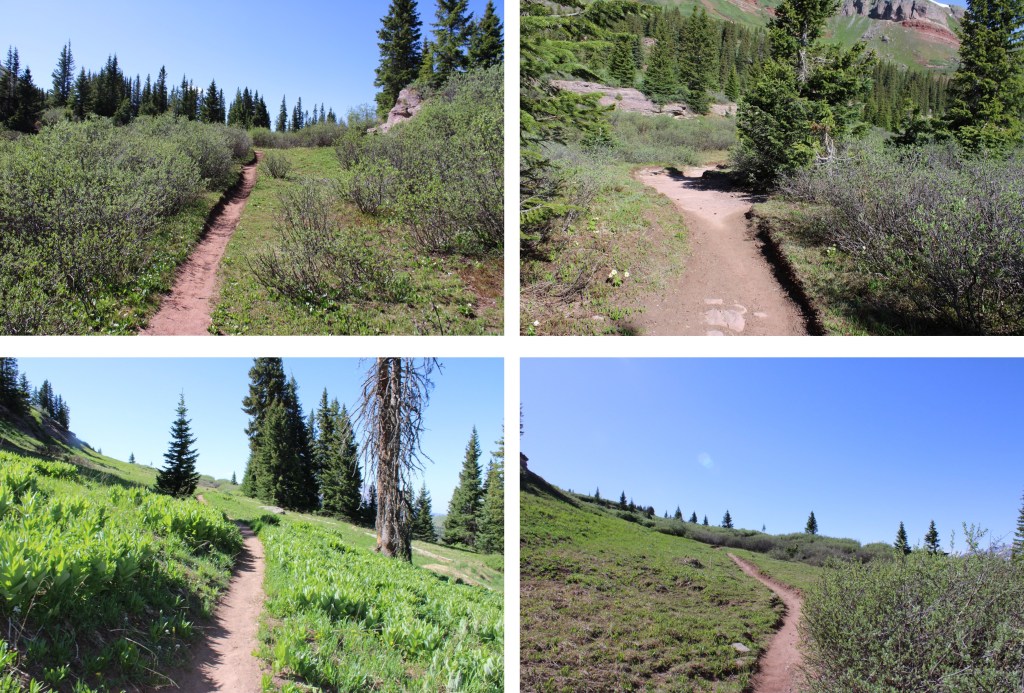
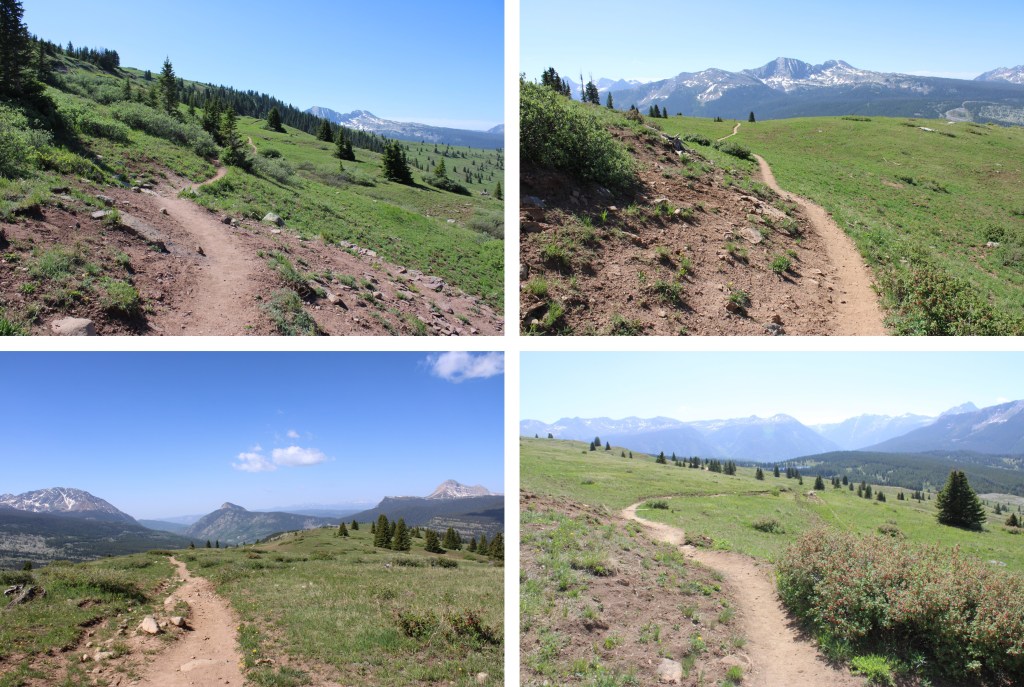
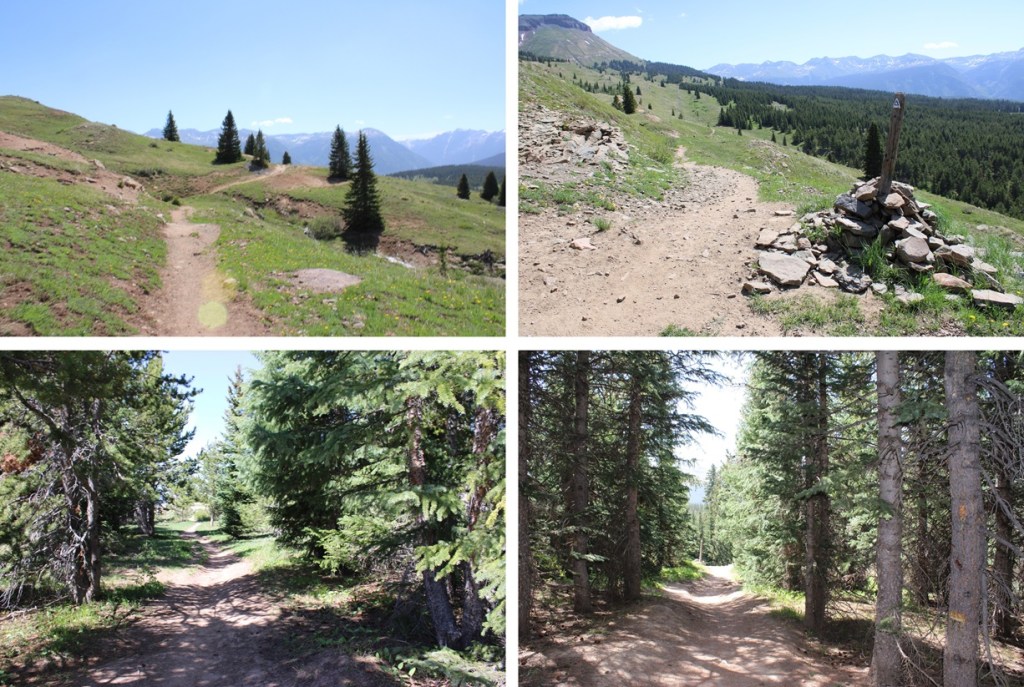
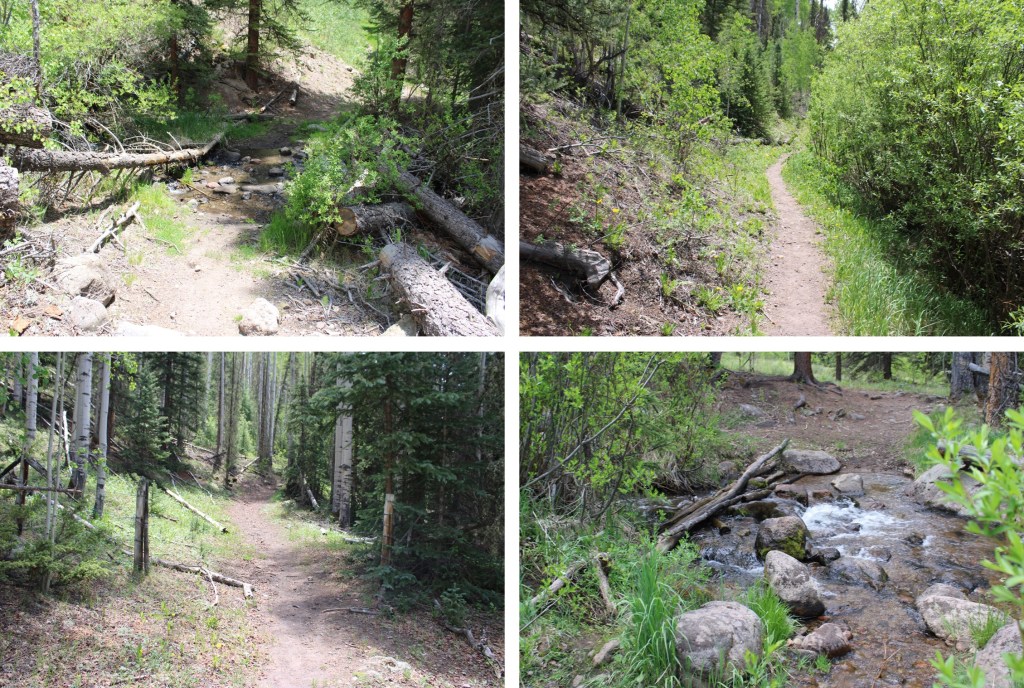
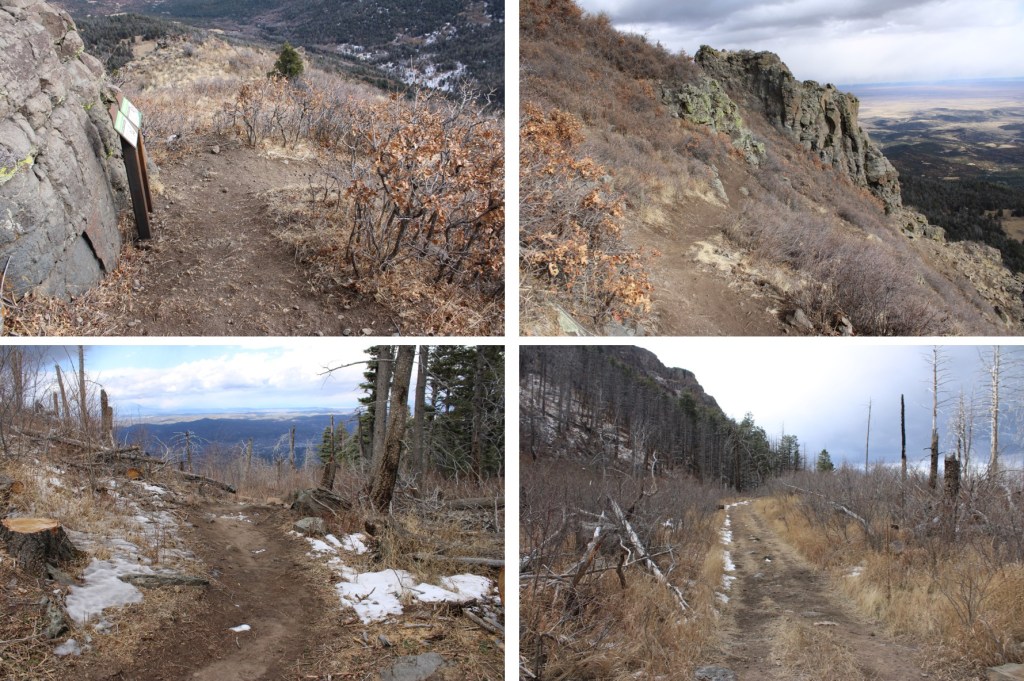
Hearing mixed reviews about how to climb this peak, I decided to take the ridge up, and the gully down. This meant descending about 600 feet and 2 miles from the upper trailhead to my turnoff point. I just kept following the West Mancos Trail. There were plenty of signs along the way to remind me I was still on the West Mancos Trail.
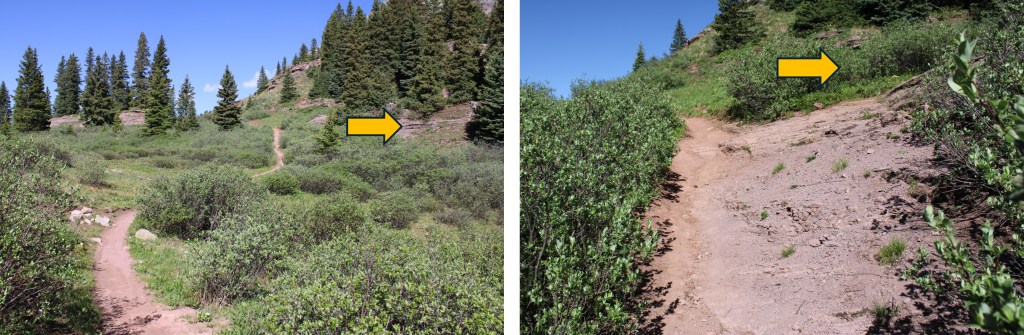
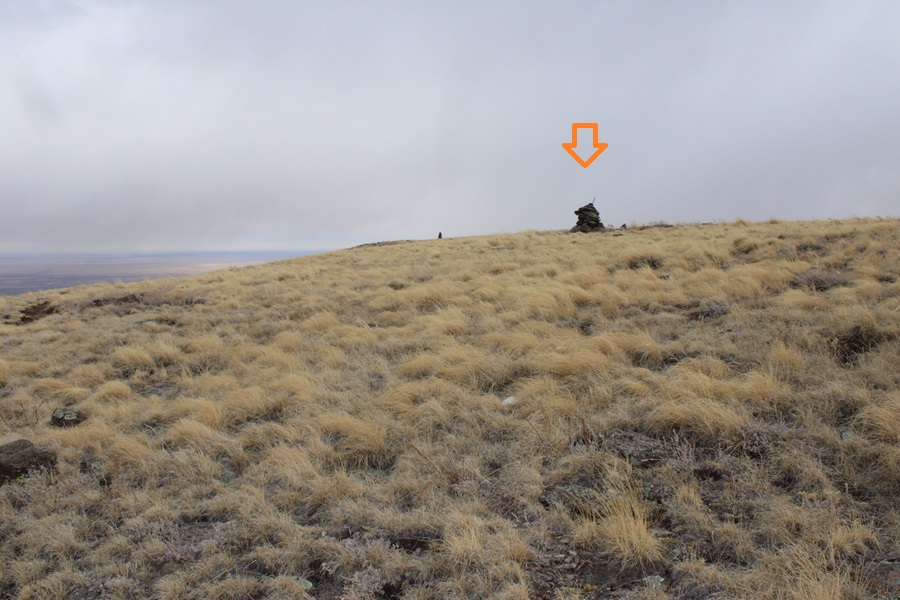
At about 10400’ of elevation, after I’d been hiking for a total of 3.9 miles, just when I was thinking I should leave the trail and head for the ridge, I saw a large cairn, indicating the cutoff point for heading towards the ridge.
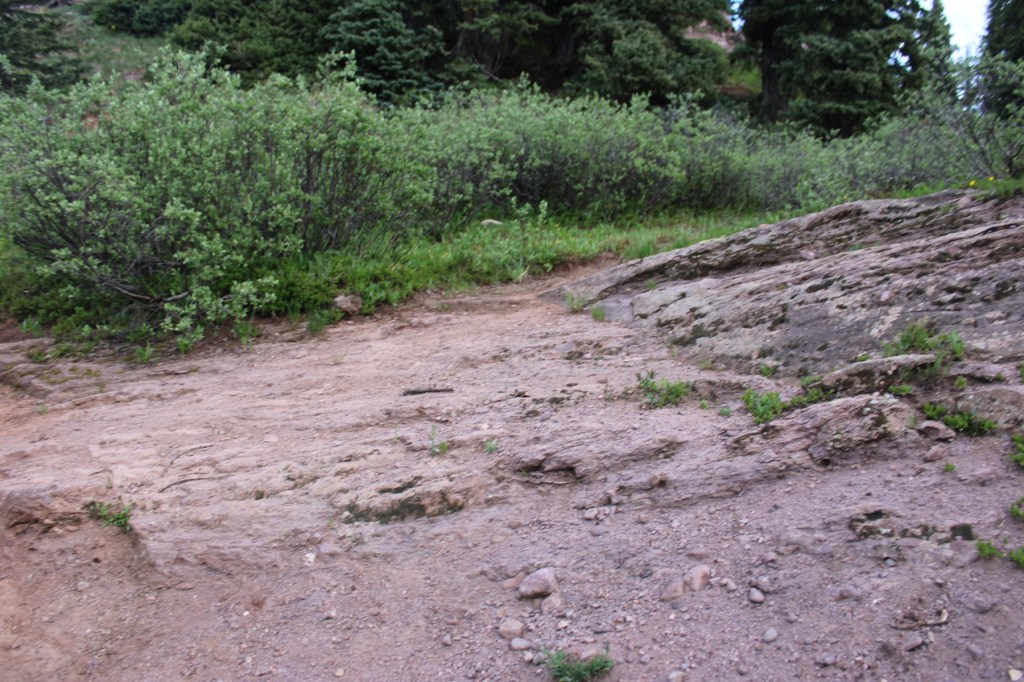
I turned left, and bushwhacked my way southwest towards the ridge. There was no visible trail here, but I soon made it out of treeline.
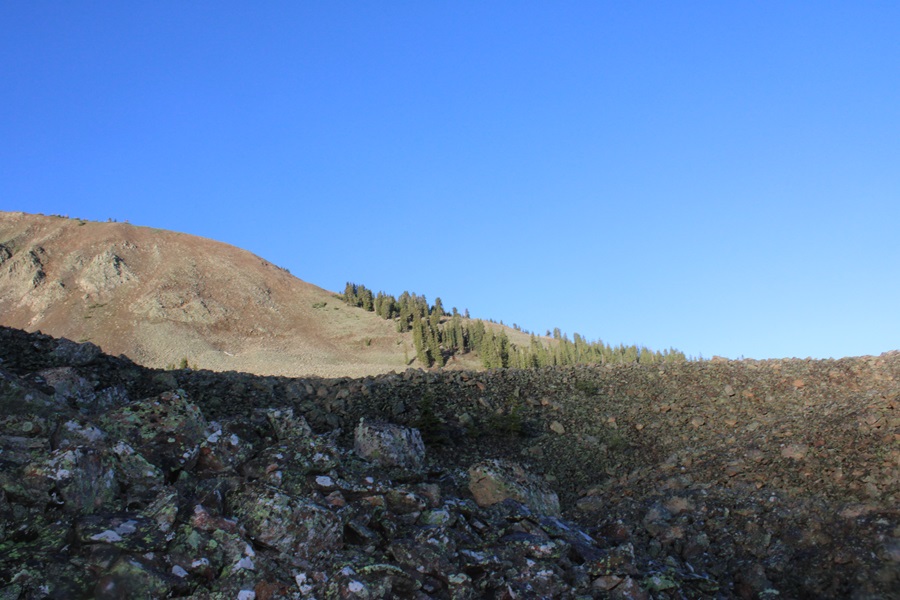
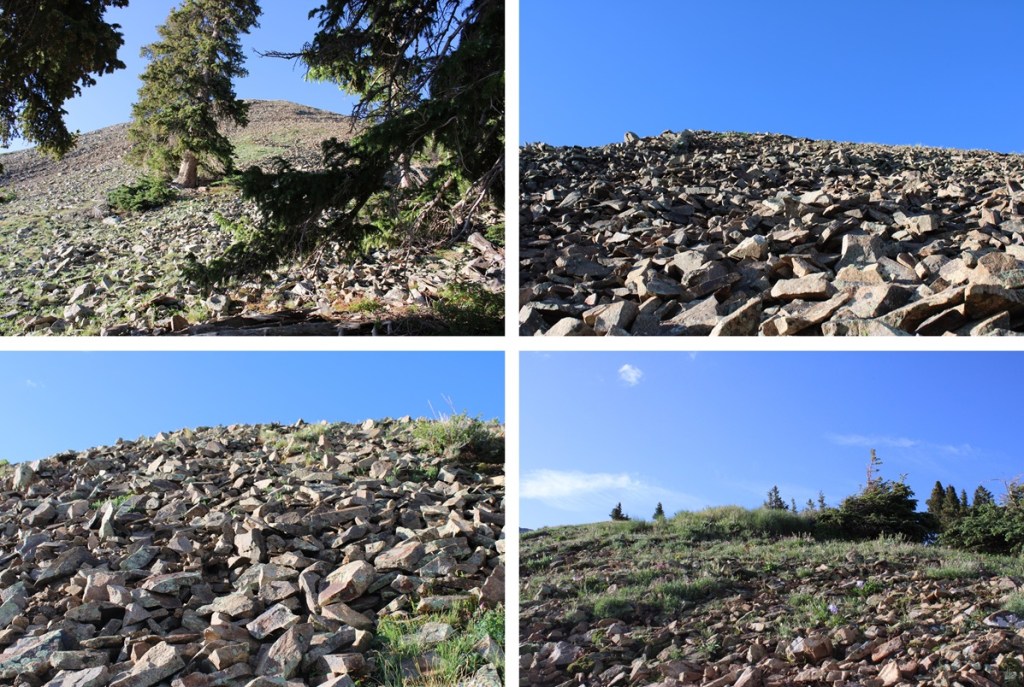
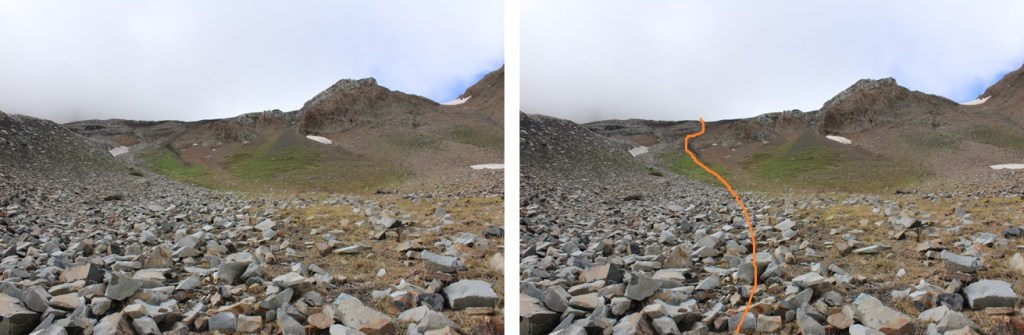
At treeline I came to a huge basin of rocks. To get to the ridge, I was going to have to head southwest, through this basin of loose, unstable rock. I did my best to stay low, and try to skirt the piles of rocks, but eventually I had to go up and over.
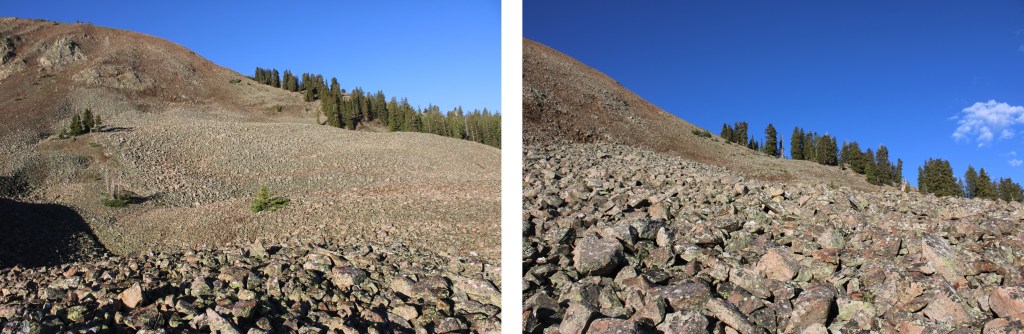
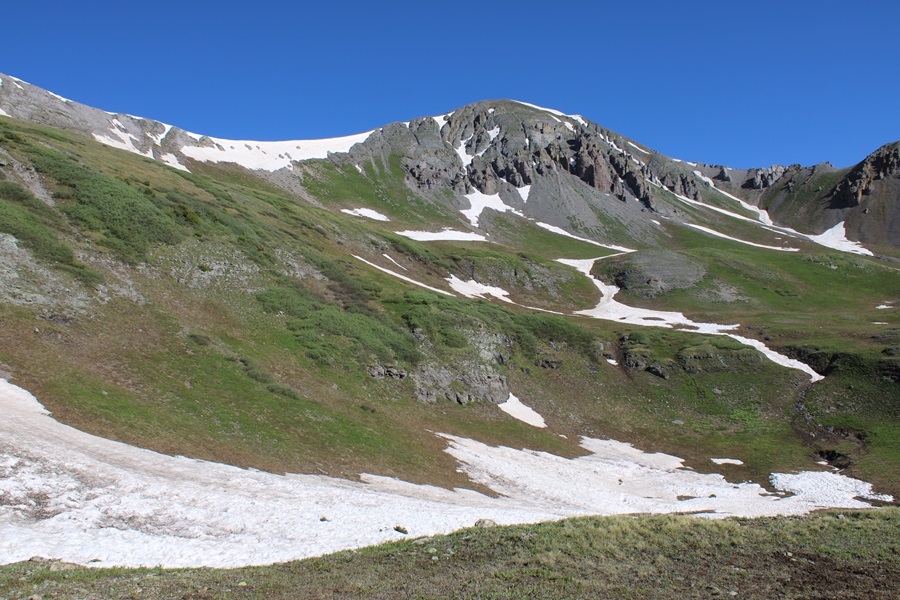
I now had a clear view of the ridge.
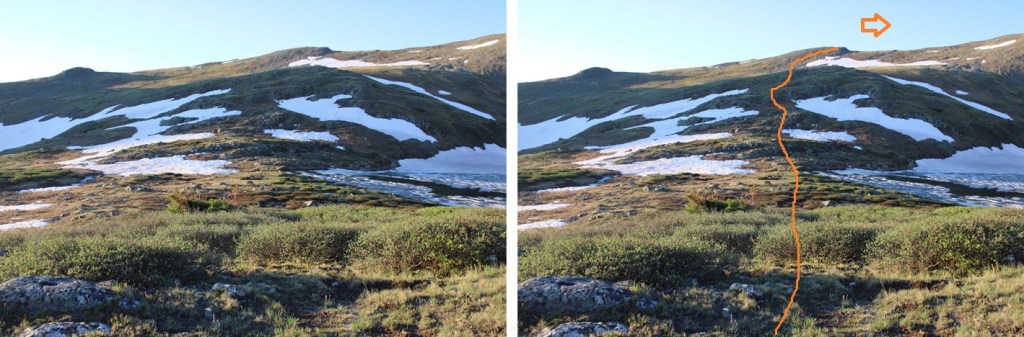
This is choose your own adventure, and none of it was pleasant. It was full of loose, rolling rocks. This is the route I took to gain the ridge.
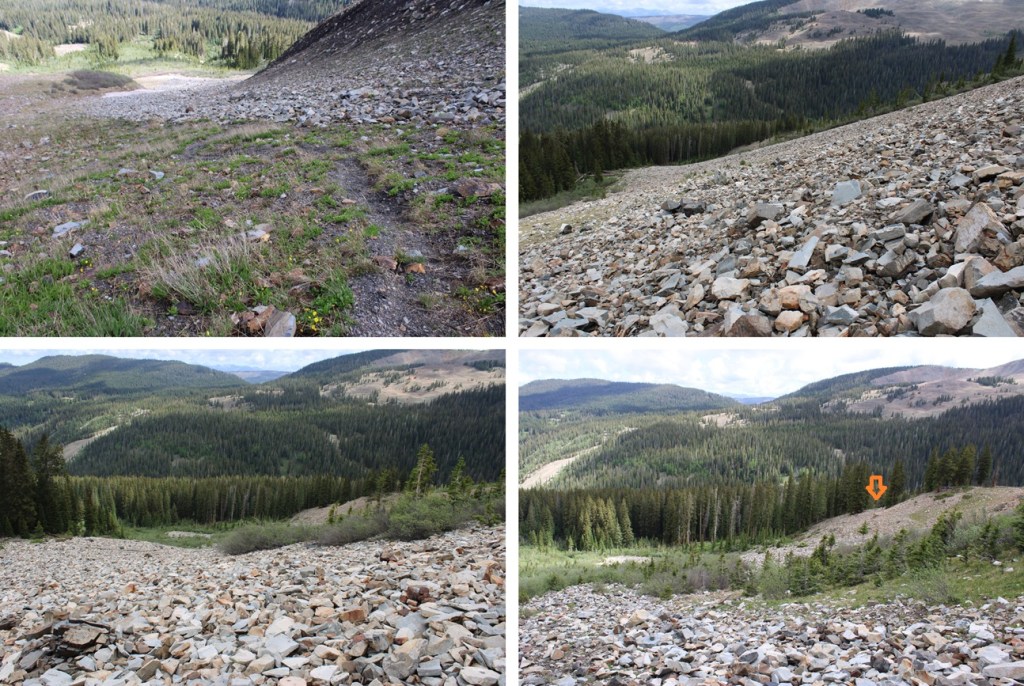
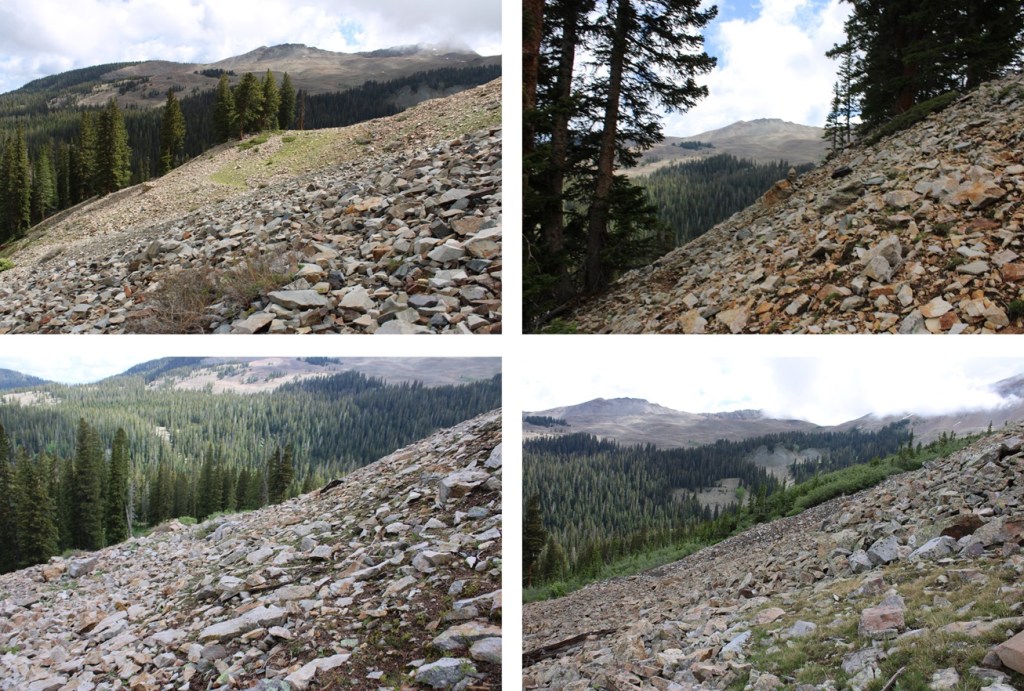
Once on the ridge, I turned left, and encountered the most difficult part of my day: Tons of mosquitoes and 350’ of elevation gain in 1/10th of a mile on dinner plate sized, extremely loose talus. There was no clear path or game trails, I just kept heading up. It was so miserable, I decided then and there I was not going to go back down this way if I could help it.
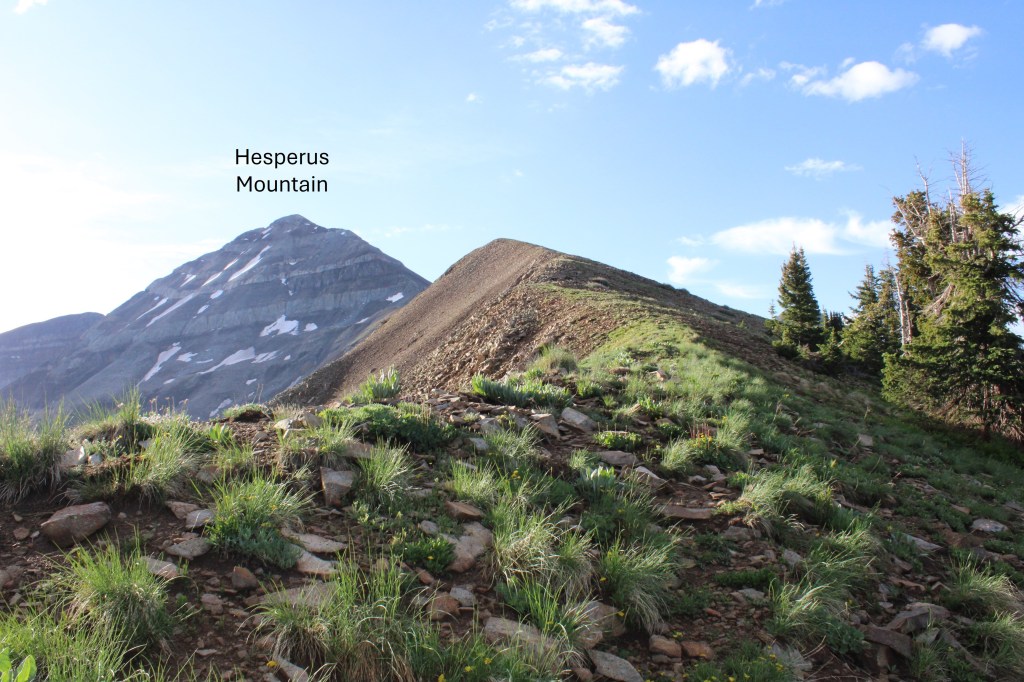
I was greeted at the top with a nice, gently sloping ridge that was easy to follow southeast towards Hesperus Mountain. There were some rocky sections, but clear game trails to follow.
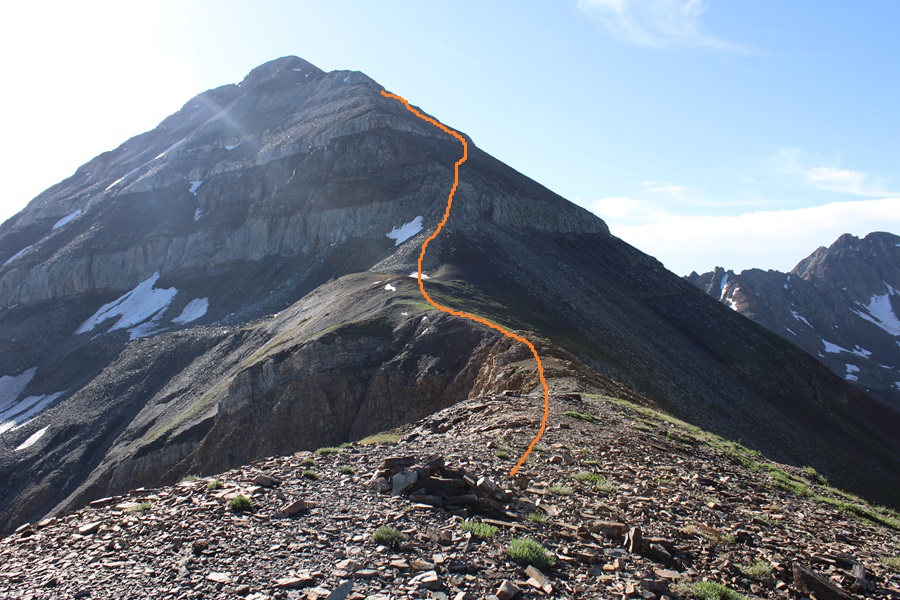
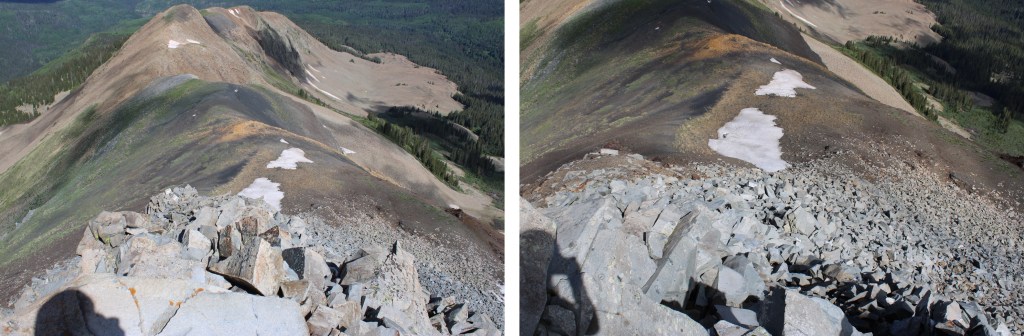
I came to the end of the ridge and where the fun began.
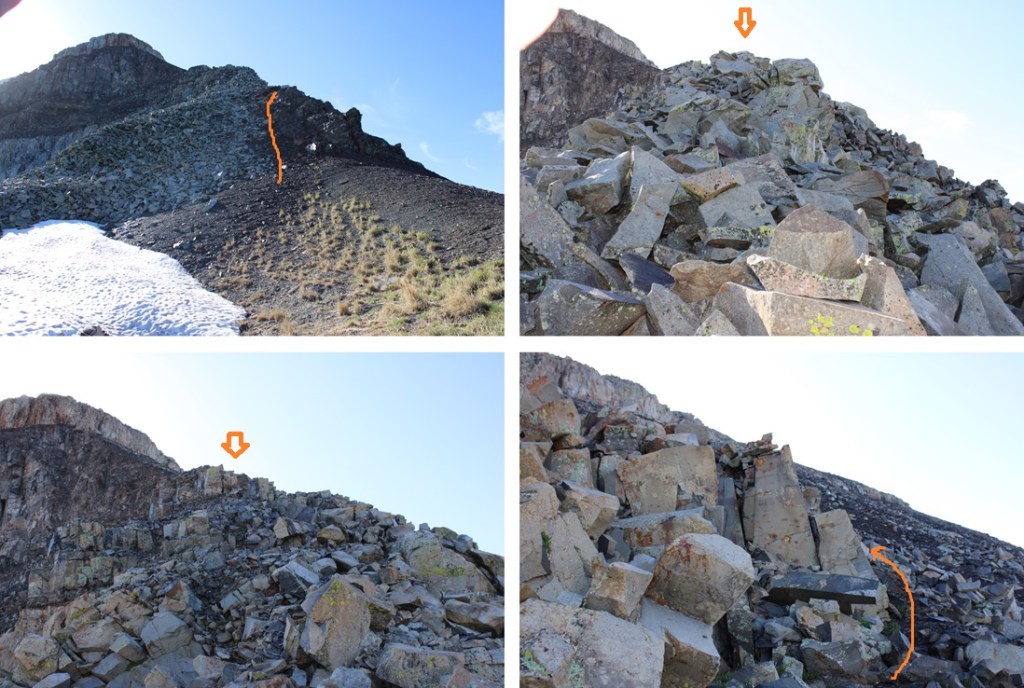
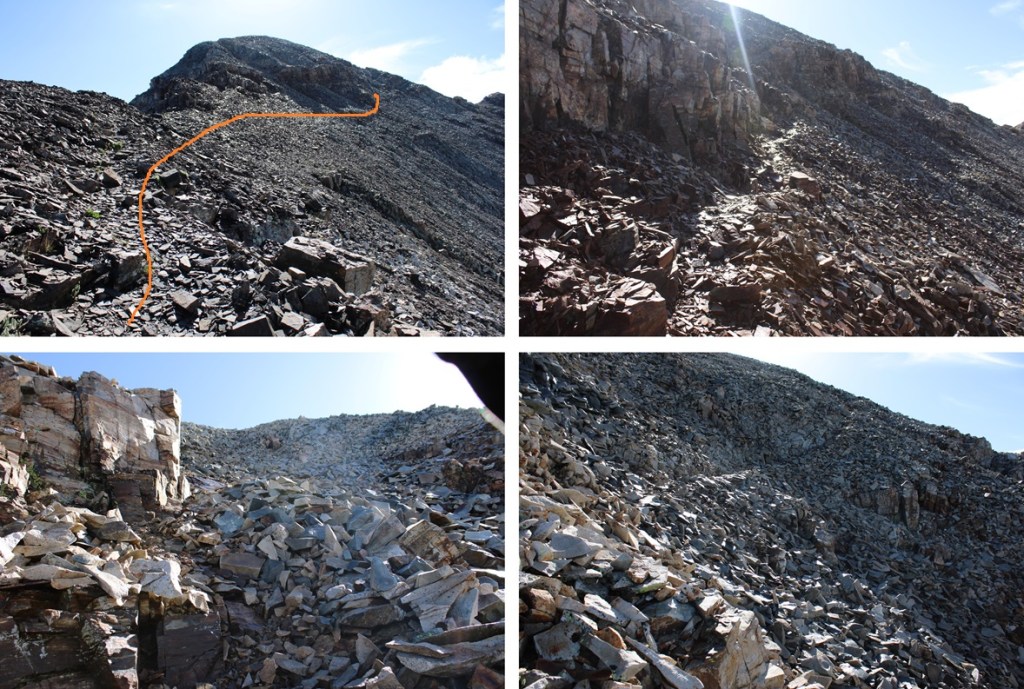
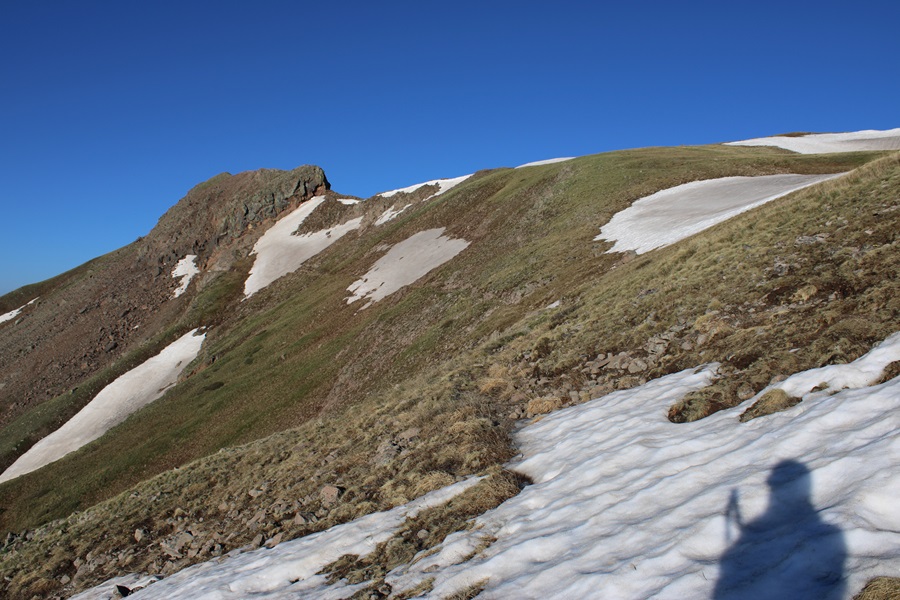
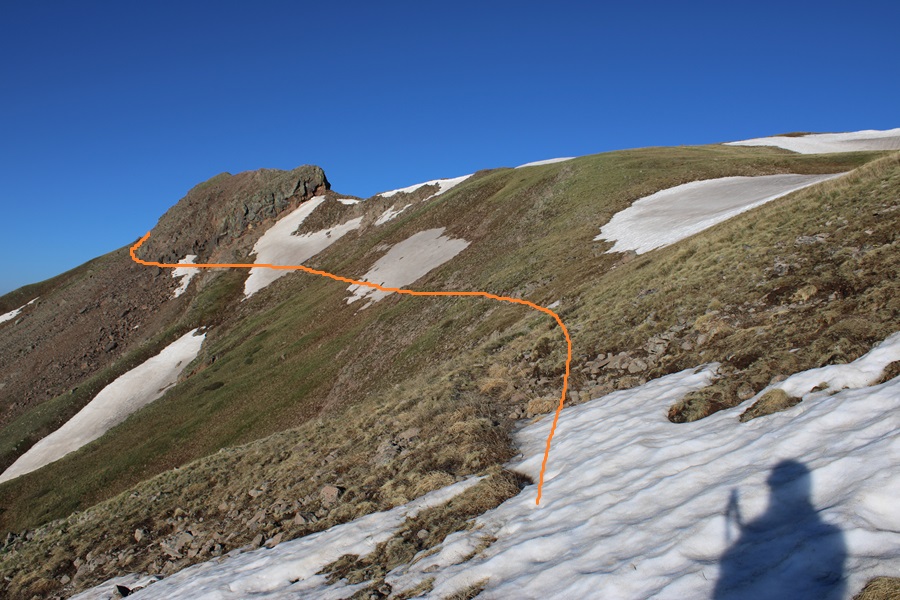
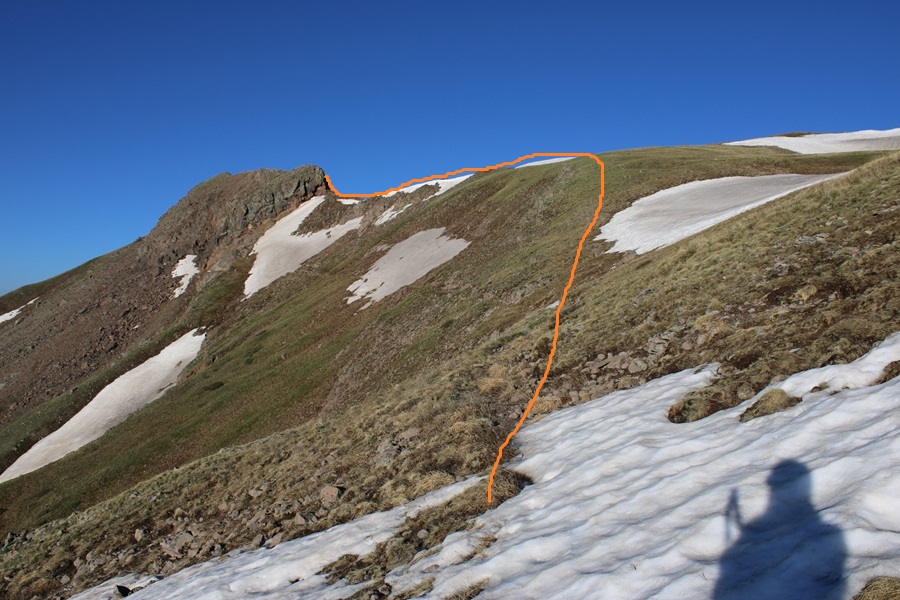
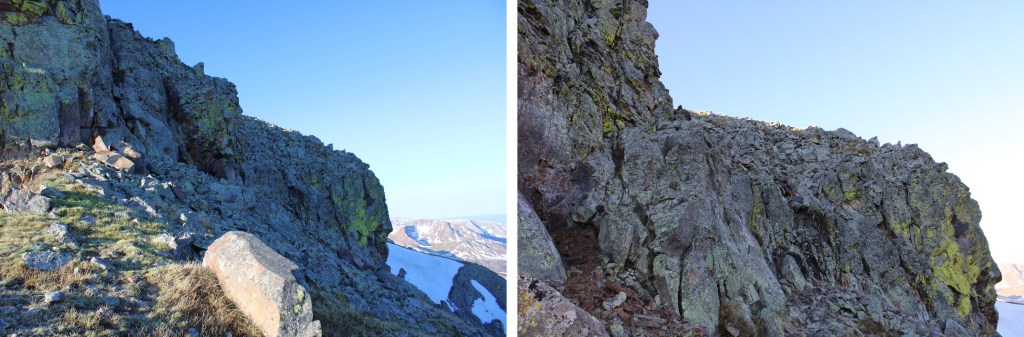
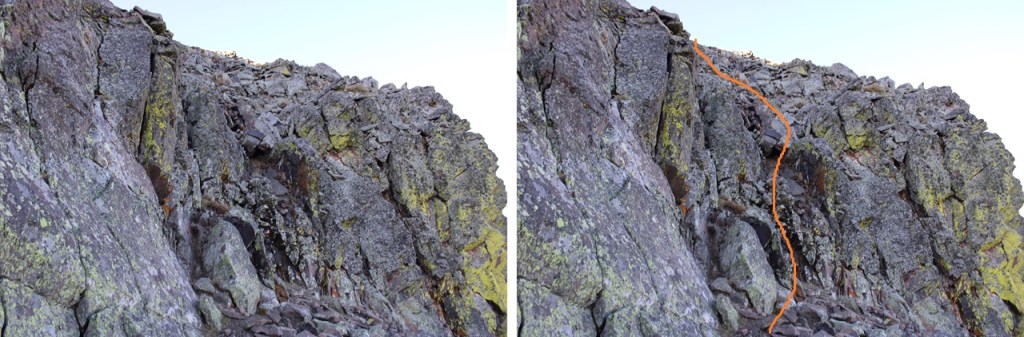
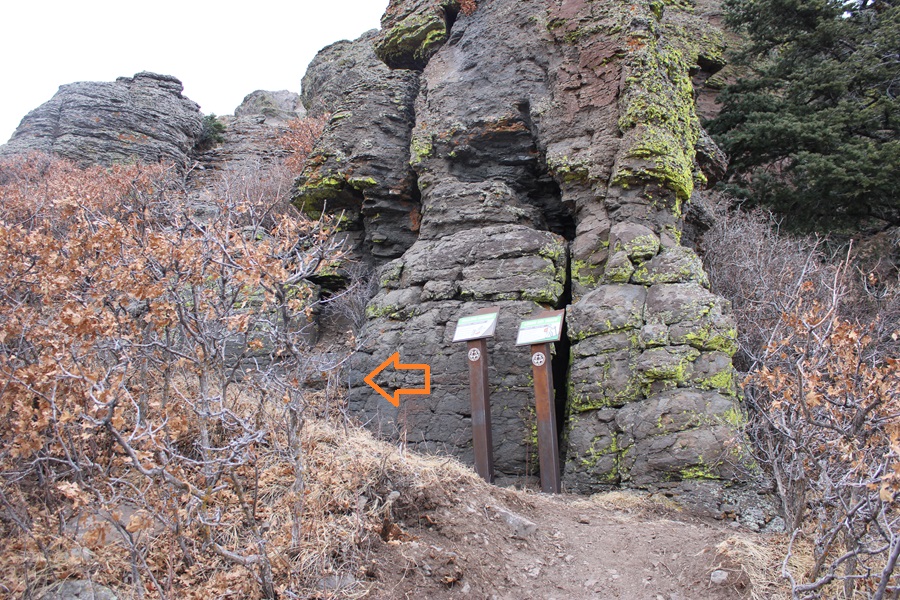
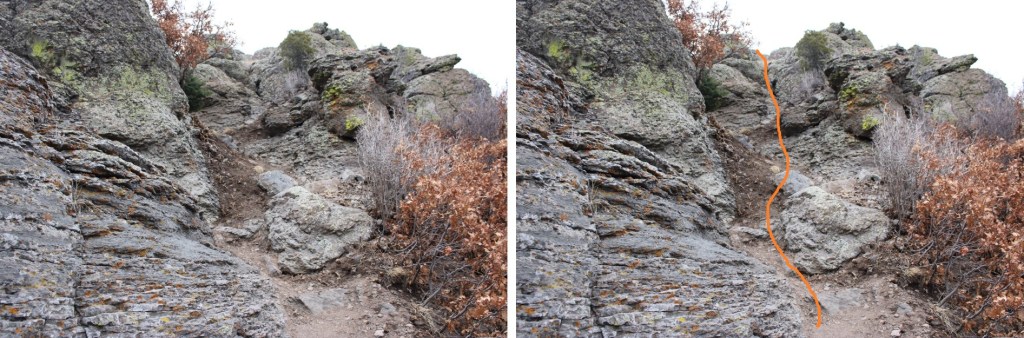
There were quite a few game trails here, and the sun was in my eyes the entire time, so I’m not sure if I picked the correct route. If you go to the right of the class 3 section you can keep it class 2, but it’s easy to get lost. I decided to head straight up the rocks, then found a game trail that wound me around up to the summit. As I kept getting higher and higher up the mountain I found more and more trails, all seeming to lead to the same place. As long as you’re headed up and east, you should be good. This is the route I took:
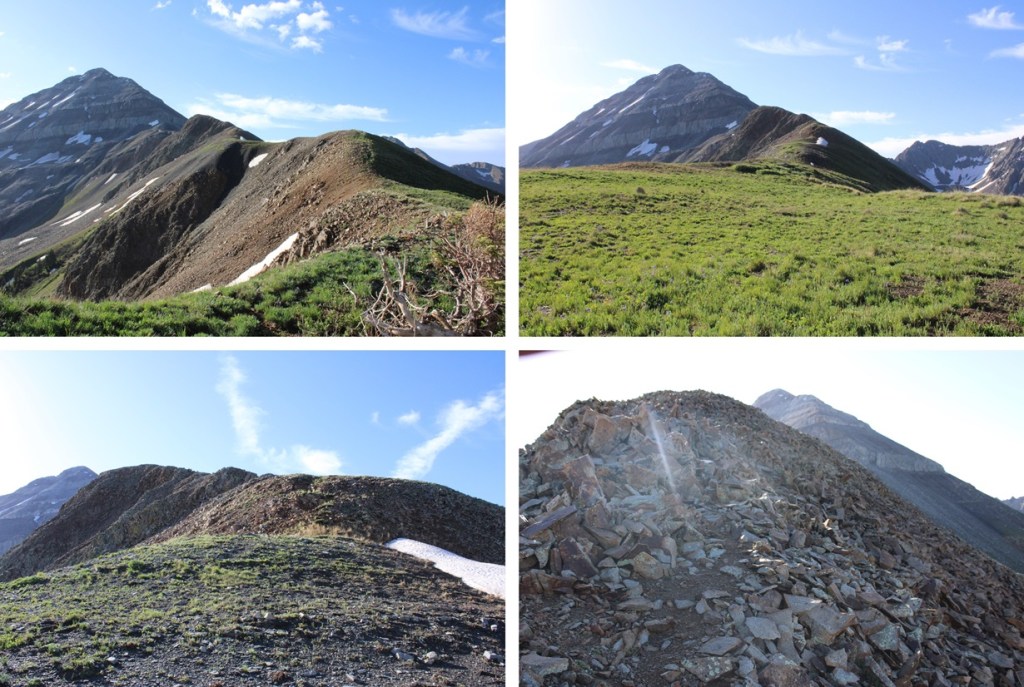
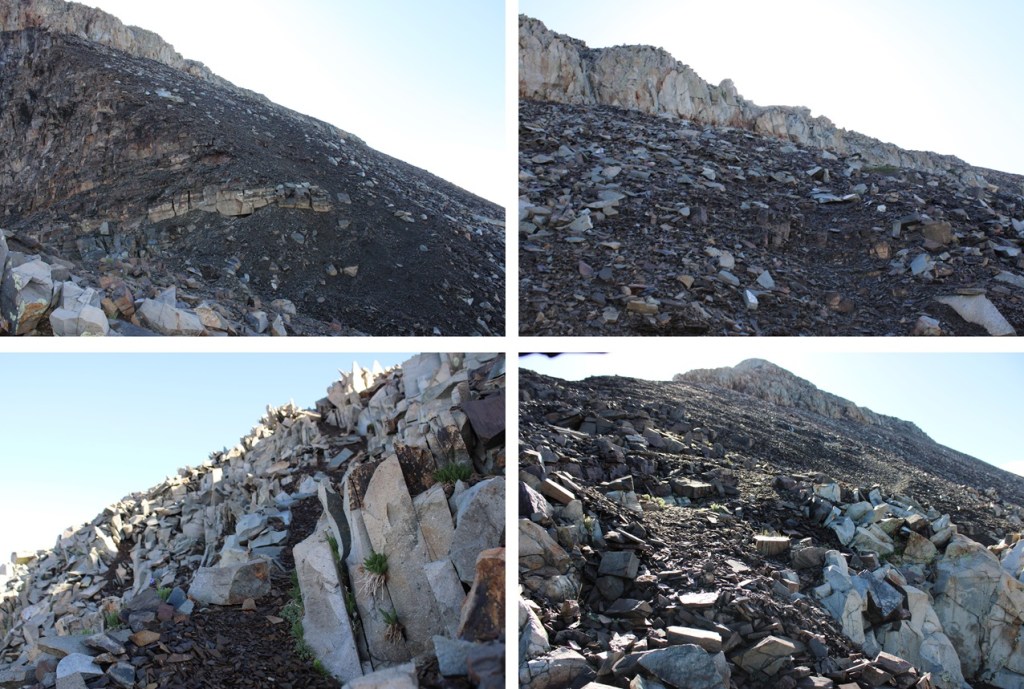
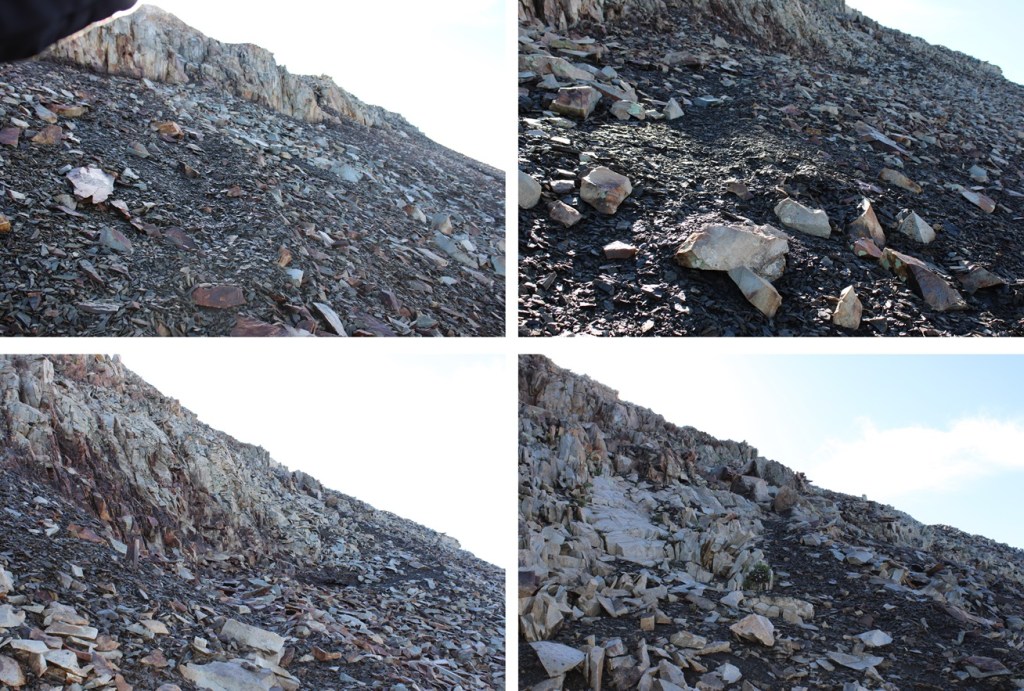
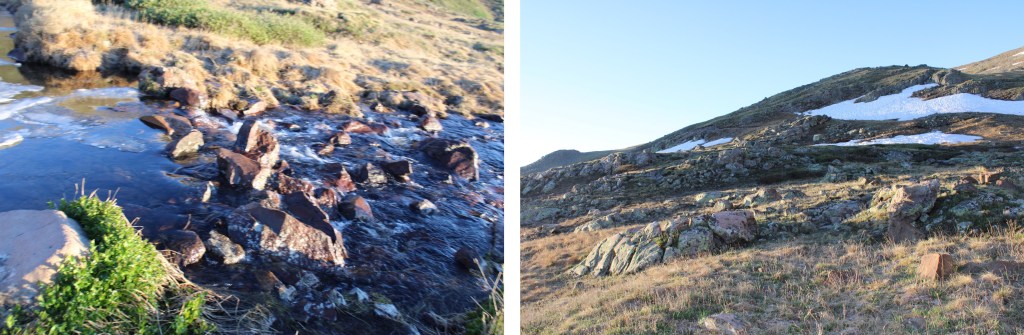
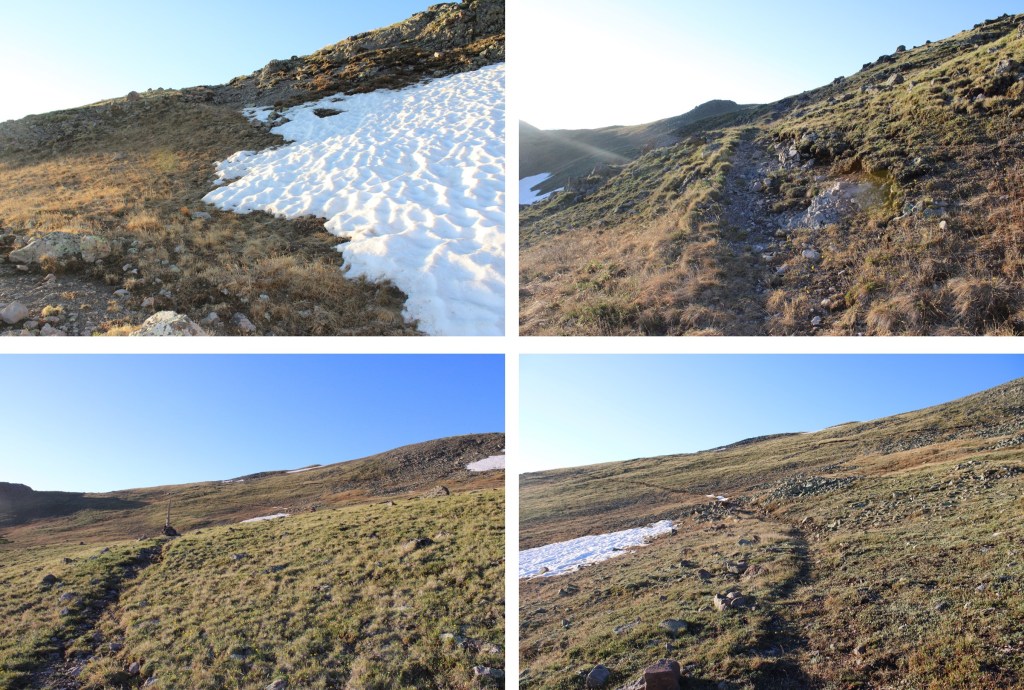
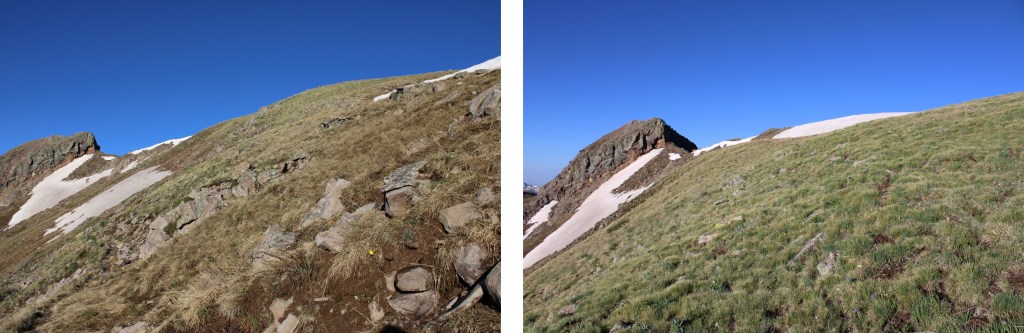
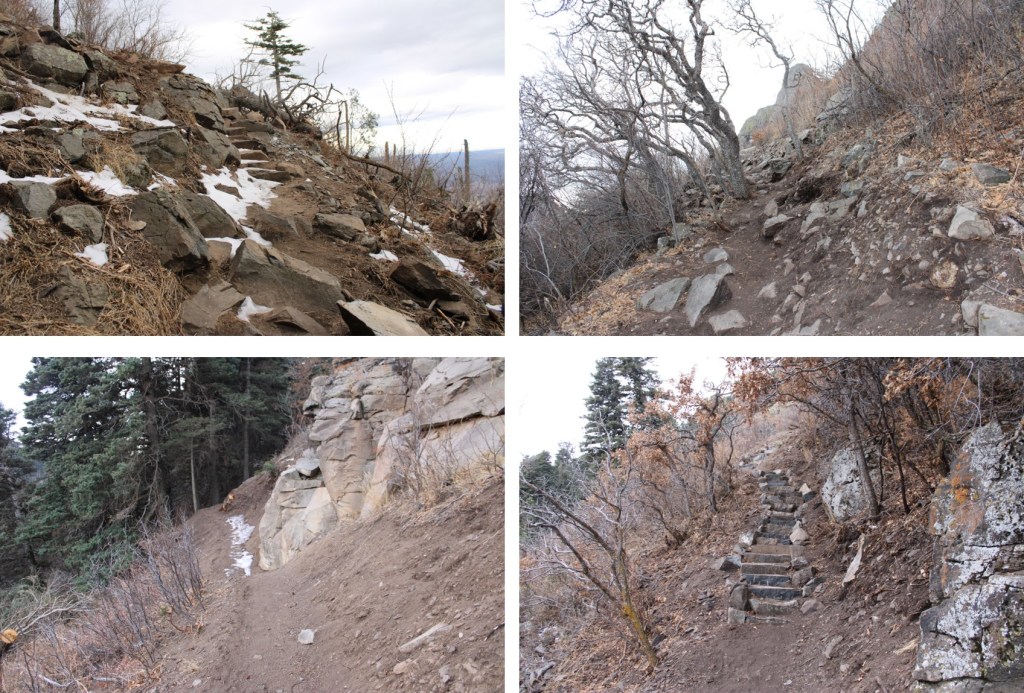
And some step by step pictures of the route I took, first navigating the class 3 section
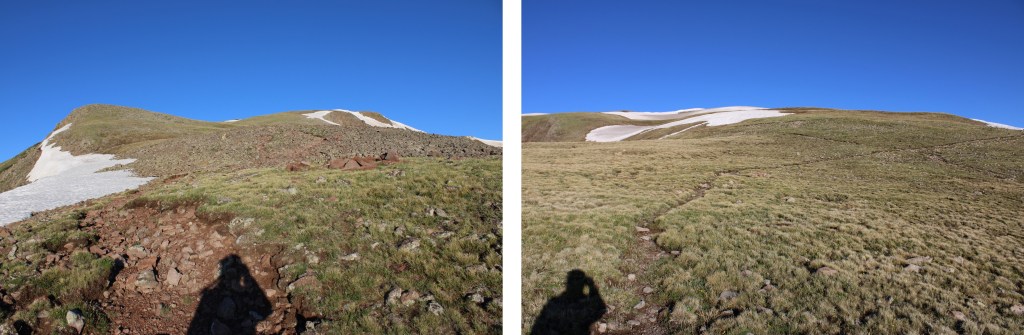
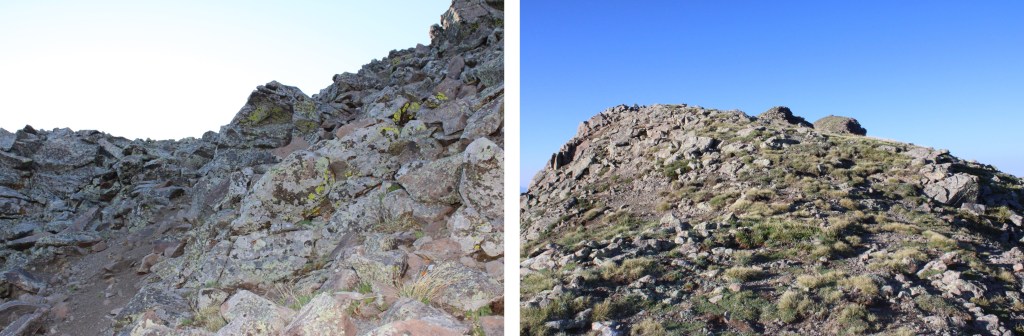
I was then able to pick up game trails that led me to the summit. I took a different path up than I did on my way back down, but all the game trails that went up led to the summit. As long as you’re keeping it class 2 you should be fine.
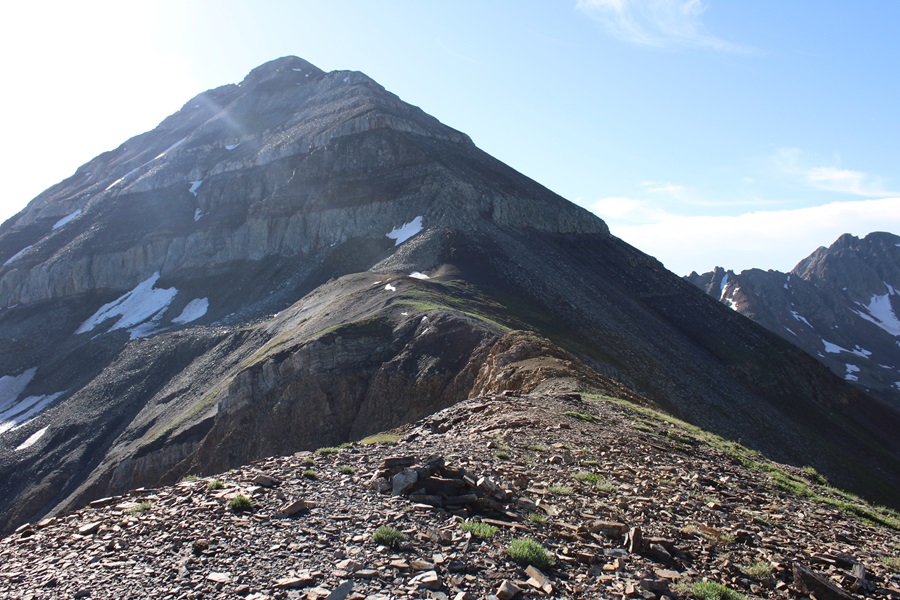
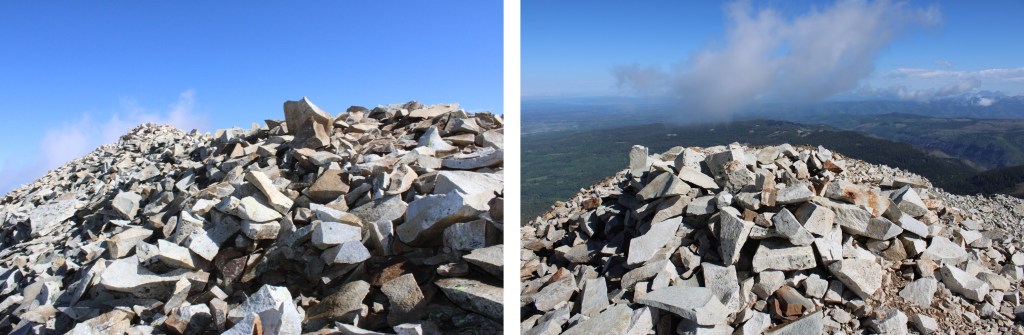
The summit was to the left of the trail, filled with large, loose boulders, and a wind shelter.
I summited Hesperus Mountain at 9:15am
Hesperus Mountain:
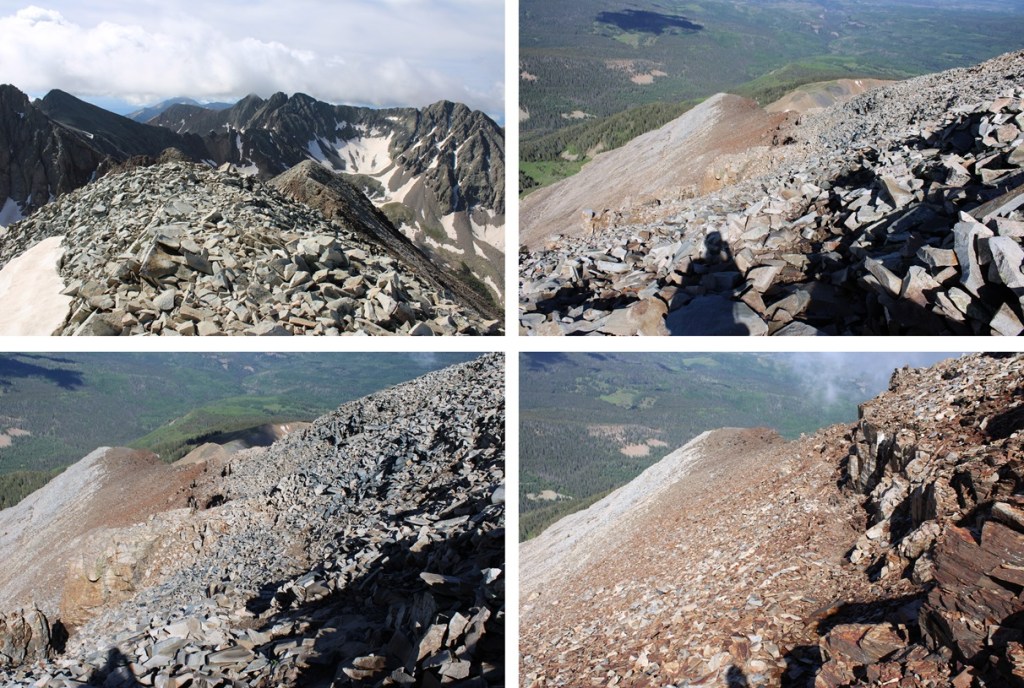
After spending considerable time on the summit, I turned and headed back down to the ridge. Once again, taking a slightly different route than I had on the way up, as trails were easier to see with the sun behind me instead of in front of me.
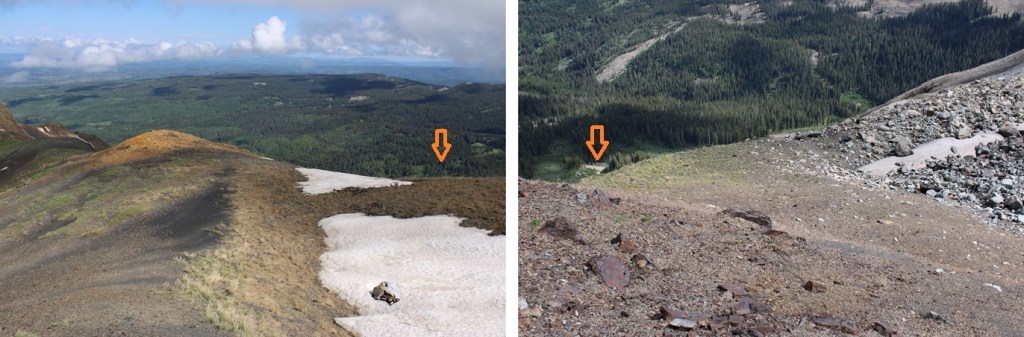
I made my way down the class 3 section
Ahead of me I could see the route I’d taken in, along the ridge
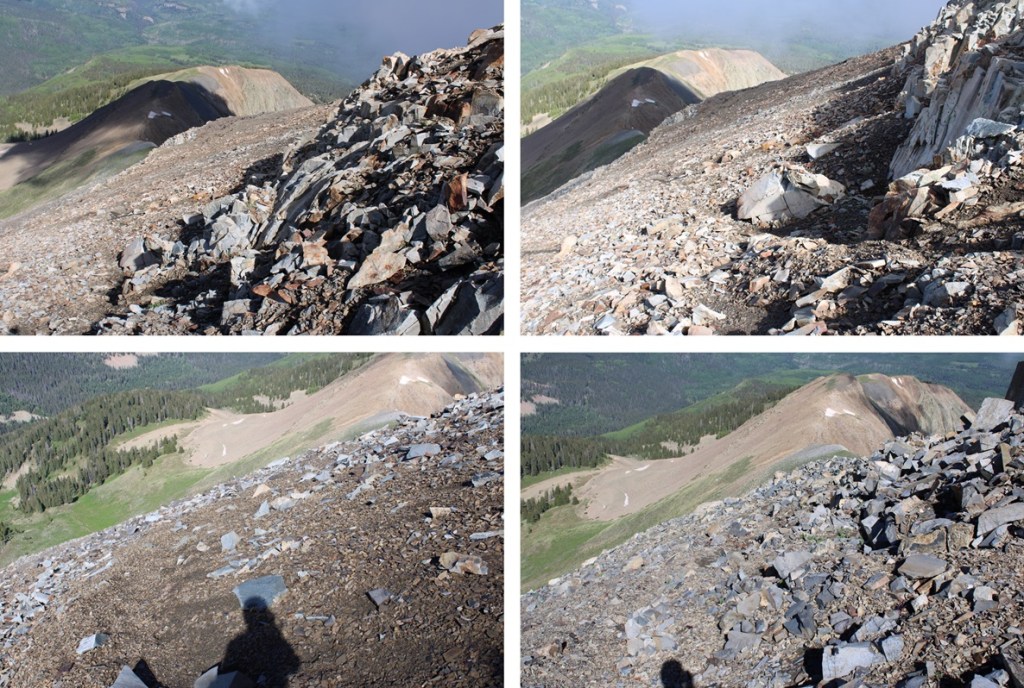
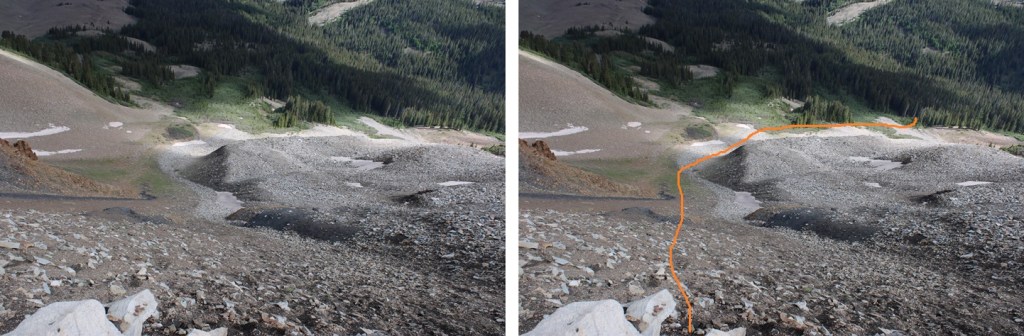
I looked to my right. I had a choice to make. I didn’t want to descend the same way I’d ascended, so I went over and took a look at the gullies. There were at least three to choose from, and I picked the middle one to descend, as it didn’t have any snow and I had a clear view of my exit route back into the trees.
Here’s the route I took down the gully. Since it had rained the night before, the scree was a bit muddy, and easy to grip.
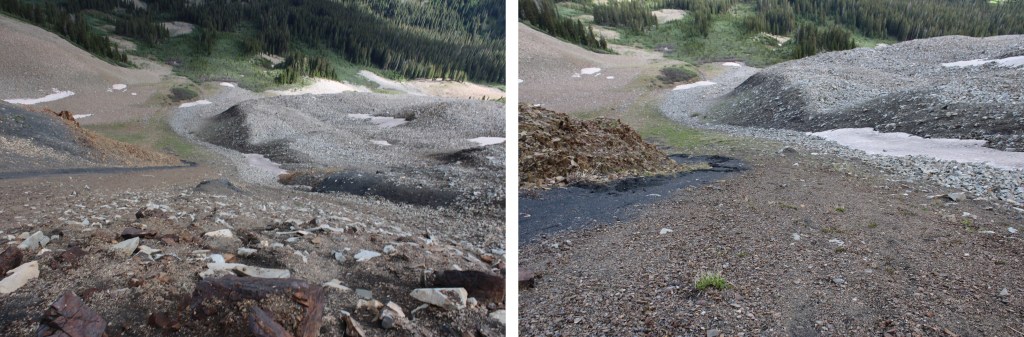
And a look back at the gully I came down. As you can see, I had several options to make it down from the ridge.
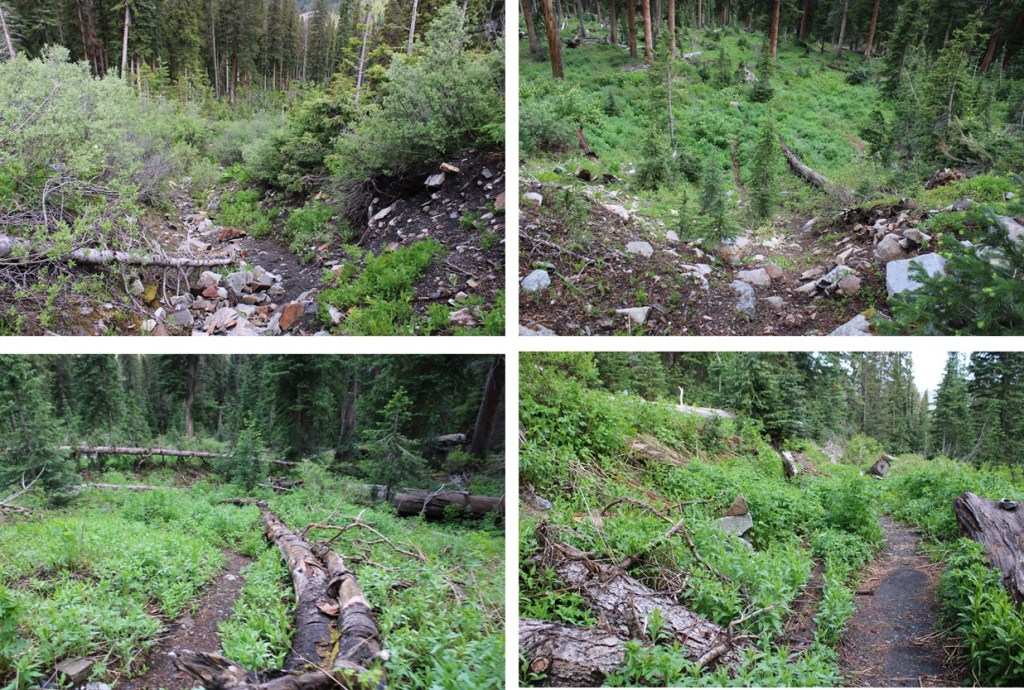
At the base of the gully I followed the rocks to the north (right), finding cairns along the way that led me towards a trail in the trees.
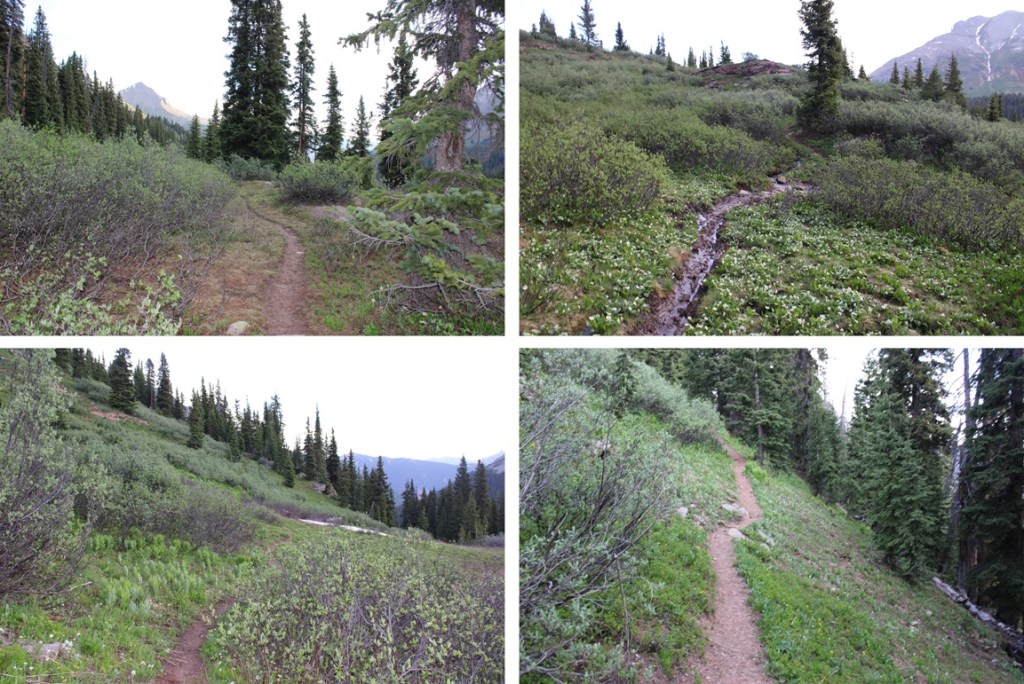
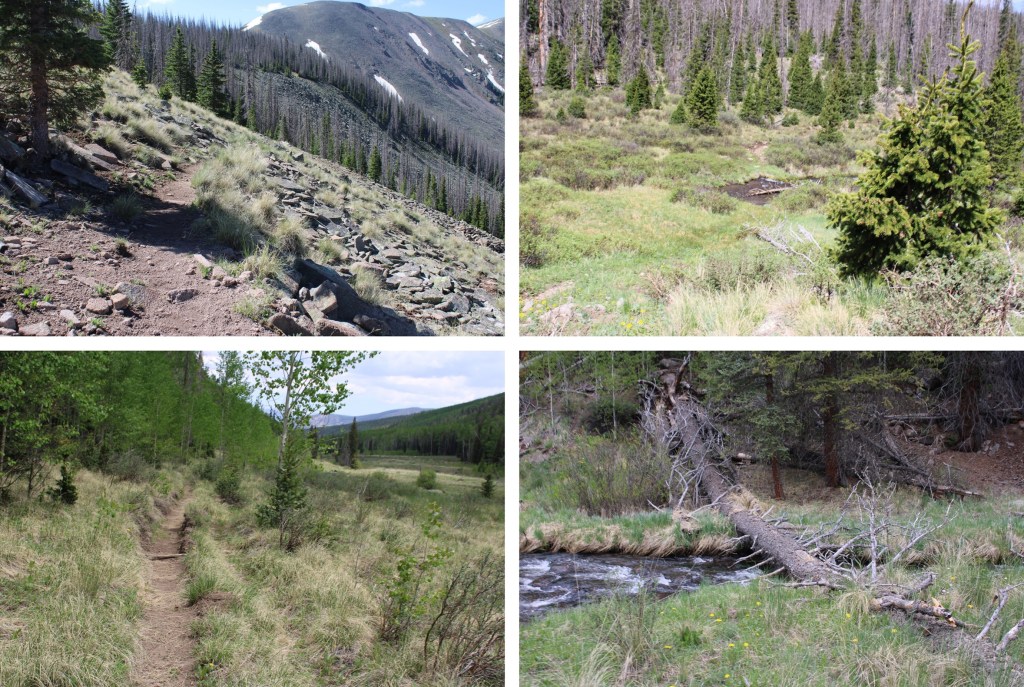
I followed this trail through the willows and into treeline north, back to the West Mancos River Trail.
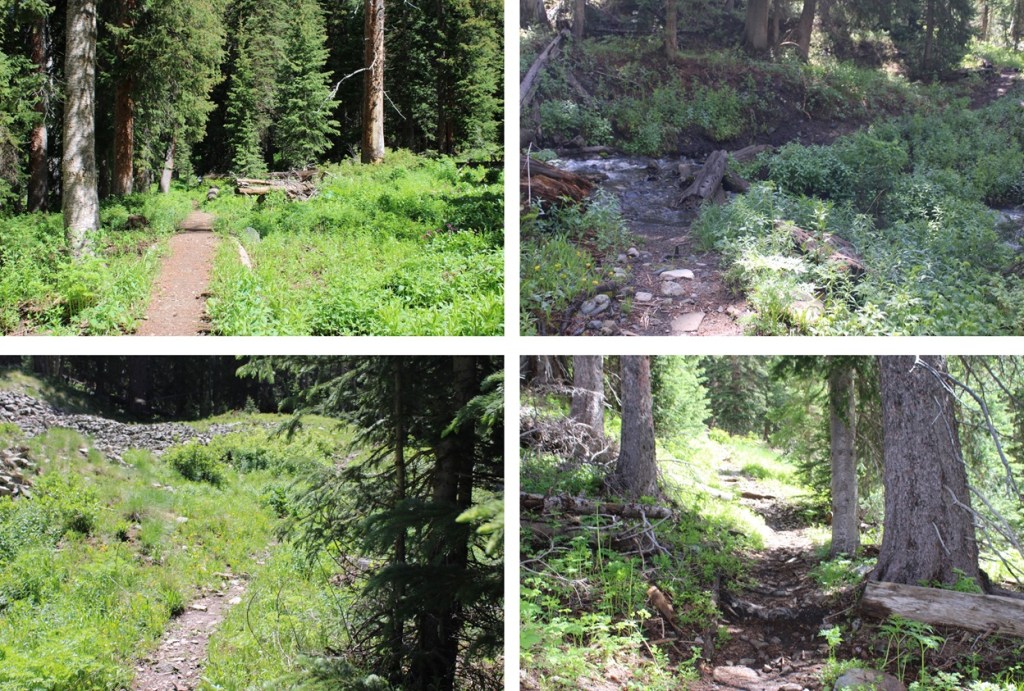
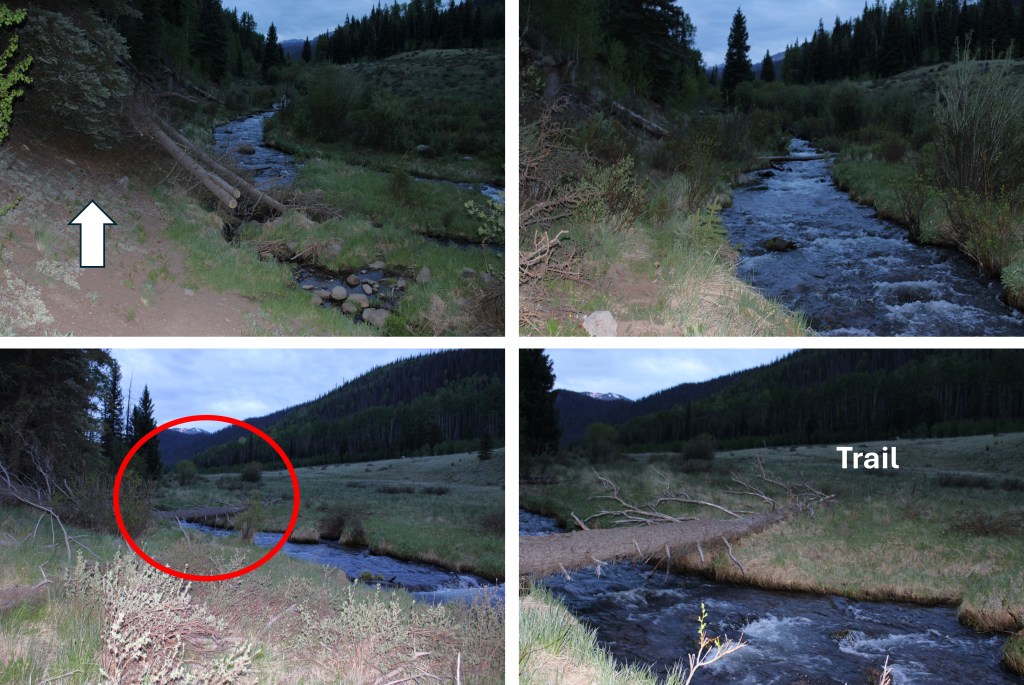
Back on the West Mancos River Trail, I followed it back to the upper trailhead, crossing the West Mancos River, and gaining elevation as I went.
At the Upper Sharkstooth Trailhead, I followed the 4WD road northeast, past Twin Lakes, just under 2 miles back to the 2WD trailhead.
I made it back to my truck at 11:30am, making this an 11.08 mile hike with 3440’ of elevation gain in 6 hours.
I don’t know why more people don’t hike this peak. It’s class 1 98% of the time, the trailhead is easily accessible, the views are amazing, and there’s abundant wildlife. In any event, I’m recommending it to trail runners especially because it looks like good terrain for trail running. I felt this peak was almost too easy.
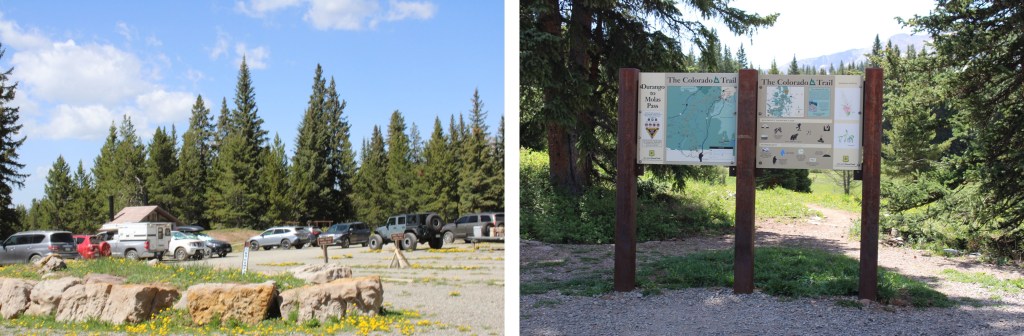
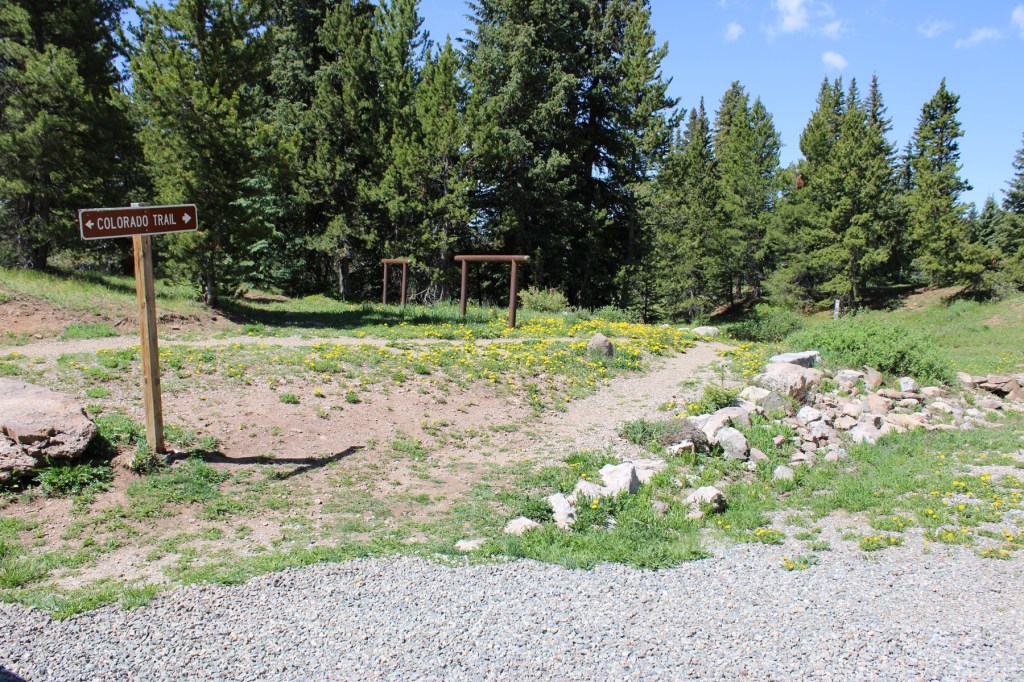
I started at the Colorado Trail Segment 25 Trailhead near Little Molas Lake. There are several dispersed campsites here, public restrooms (although the women’s side was closed for the season), and tons of parking.
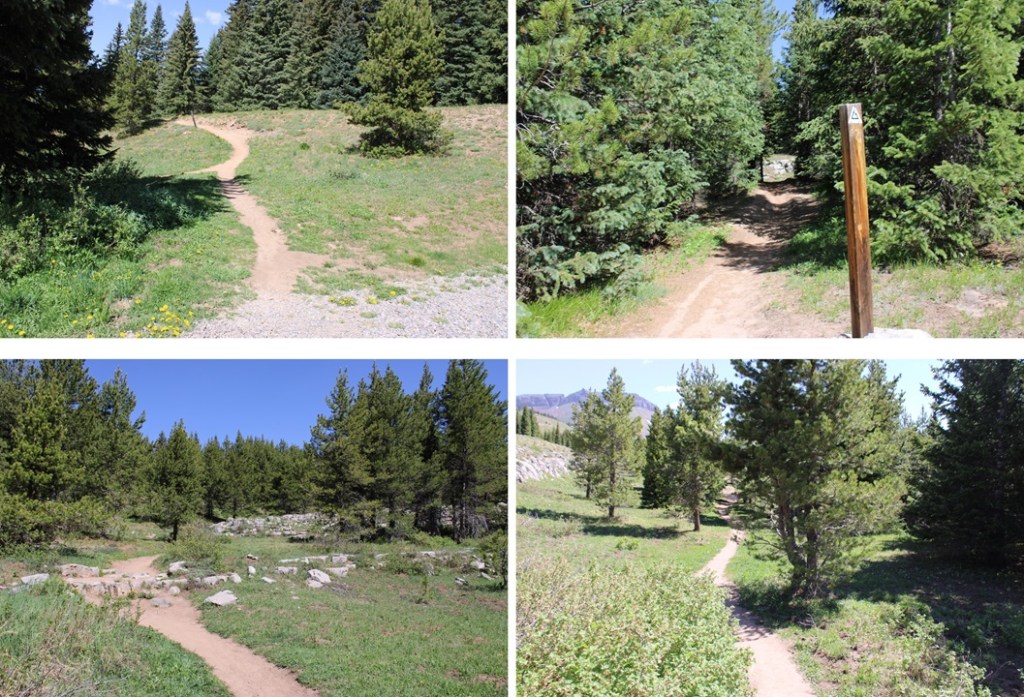
The trail is easily marked, and starts at the south end of the parking area
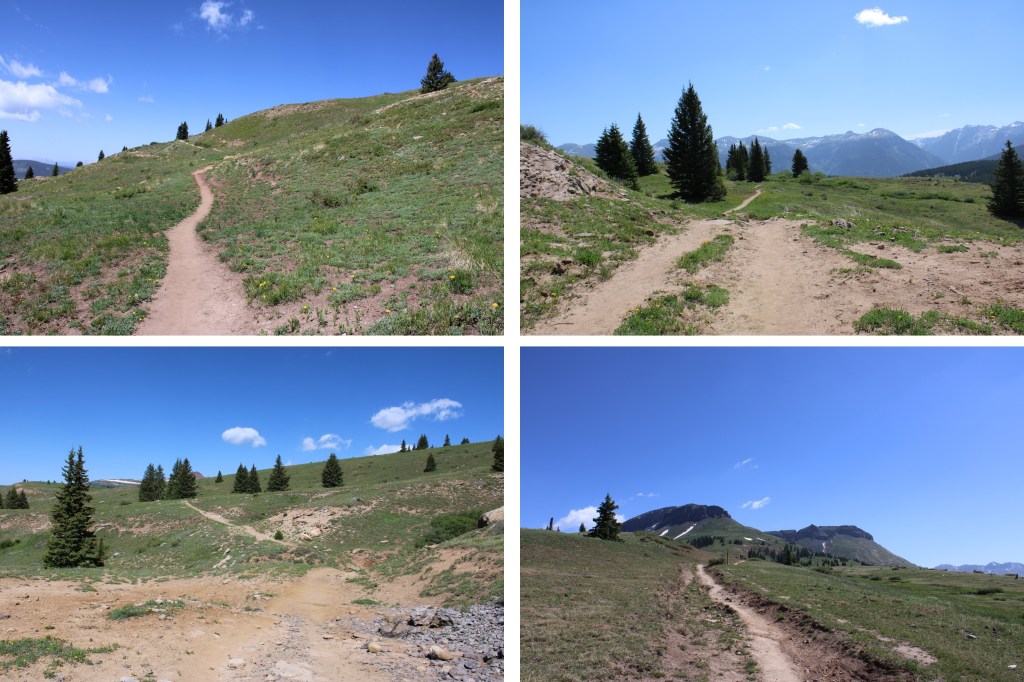
I followed this well-defined trail for just under 3.5 miles as it wove in and out of treeline. (Note, between miles 2-5 of this hike I gained and also lost a lot of elevation).
After hiking for just under 3.5 miles I found myself at the base of PT 12,864. The Colorado Trail continues to the left, but if you look closely, at the top of the rock formation here there is also a trail to the right. I left the Colorado Trail and took the trail to the right.
While not named, this is also a well-established trail. By the looks of all the tire tracks, it’s popular for the mountain bikers. It took me up and down and around to the north, towards Putnam Basin.
Just before the basin were a few campsites, and a creek to cross. There are a few social trails in the area due to the campsites, so if you’re given the option, go left.
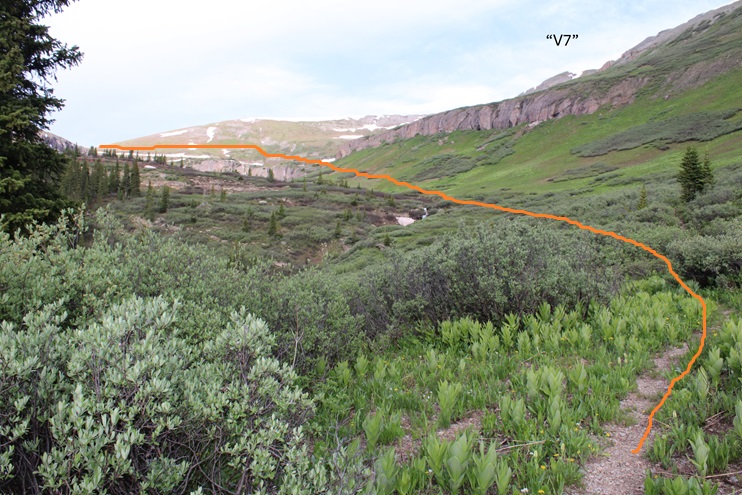
Now at the base of Putnam Basin, I had a clear view of the route ahead of me. No more losing elevation, I would just be gaining for the rest of the hike. This is still on a class 1 trail, all the way to the saddle.
This is the route I took
And some step by step pictures of the route:
Just before the ledge that brought me to the saddle there was some snow on the route, so I had to get a little creative. It’s all straightforward though, and there are several cairns to follow if you cannot see the trail. I just aimed for the saddle.
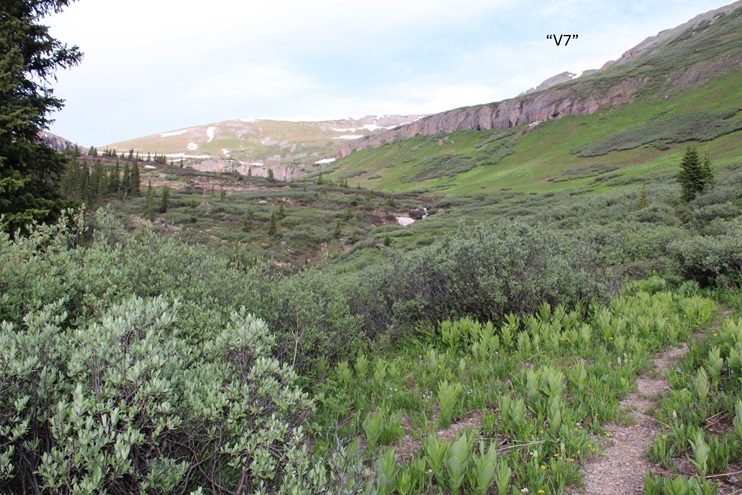
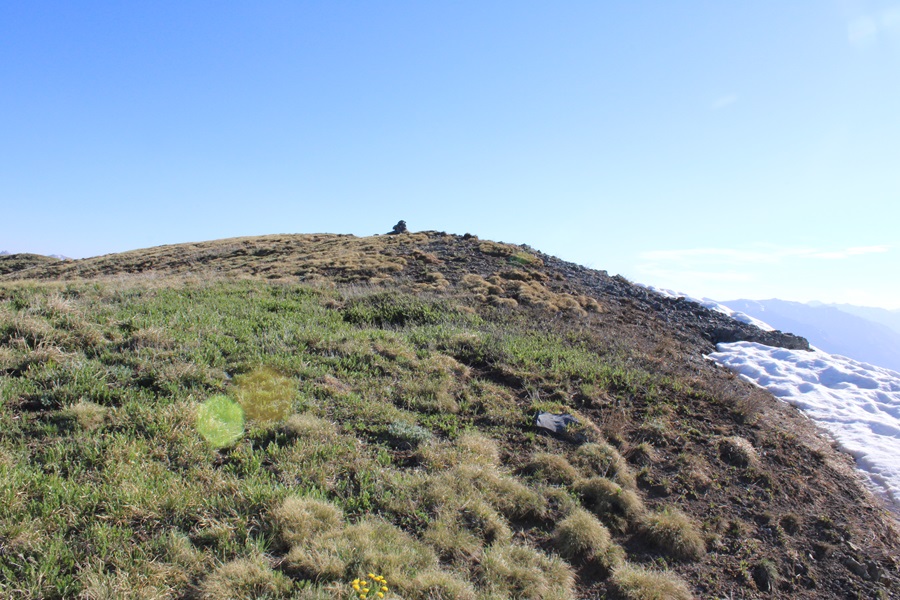
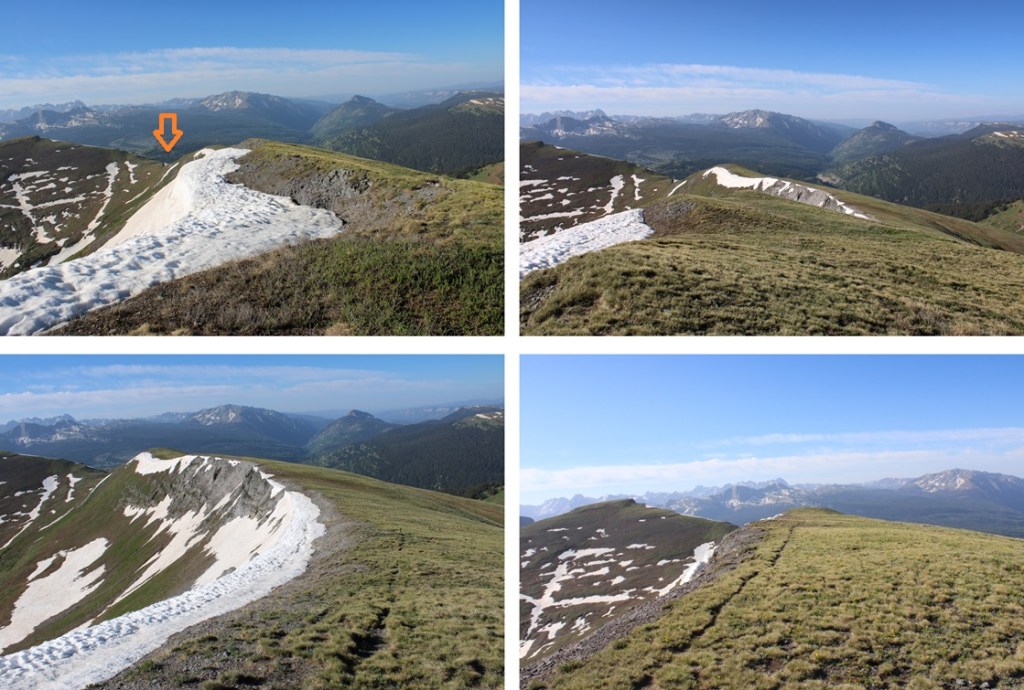
Once at the saddle, I turned right and followed the ridge north to the summit. If you’re lucky, you’ll find a game trail that leads all the way to the summit. Just make sure you stay on the ridge proper, as there’s a trail that goes to the left as well that will skirt “V7” and bring you towards Twin Sisters. The ridge is tundra the entire time.
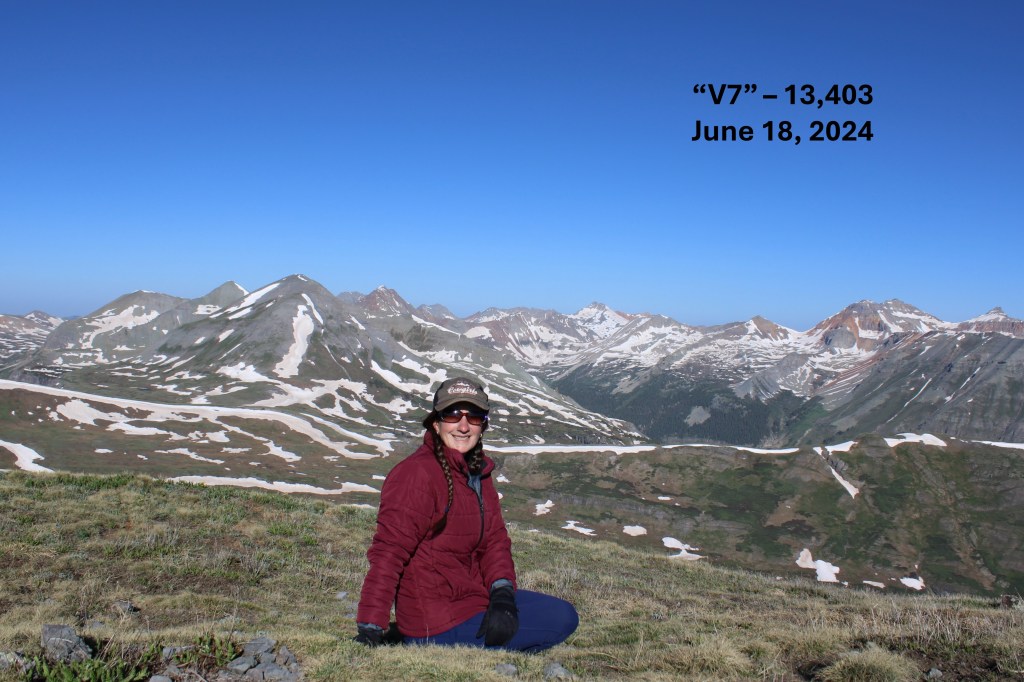
I summited “V7” at 7:45am
“V7”:
Now to head back down. This was an out and back hike for me, so I turned around and followed my route in. I followed the ridge and headed south, back to the saddle.
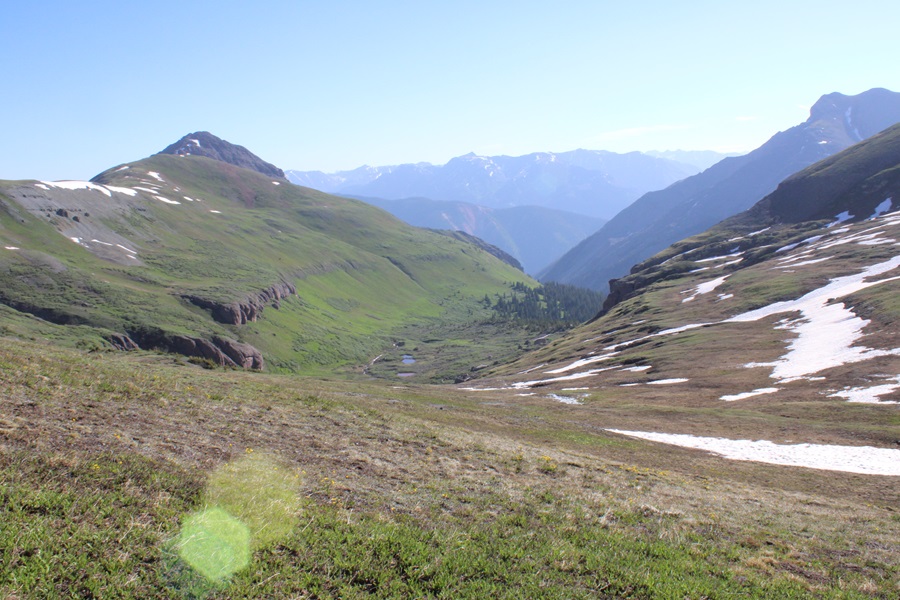
Here’s a view from the saddle of Putnam Basin.
At the saddle I turned left, and headed northeast, following the cairns back to the trail
I picked up the trail again, and followed it down the basin, sticking to the left side of the basin/creek.
I’d seen quite a few deer that morning. Mostly from afar, but deer nonetheless. As I was nearing the camping area near the base of the basin I saw one running towards me in a funny way, and realized quickly it wasn’t a deer, but a bear. As soon as the bear noticed me, it jumped 90 degrees, and started running the other way. I kind of got a picture, but it’s fuzzy, as the bear was quick.
I started wondering what the bear had been running from? About 20 feet later, I realized what it was: I spied a mama moose with her calf.
I hid behind a tree to watch them while giving them space. I love watching moose calves, especially the really young ones. They tend to bounce around everywhere, turning in circles, braying, and excited about life in general. After this video the calf got really jumpy, but I’d already turned around and started hiking away so as not to bother them.
Mama moose with calf:
I passed the camping area, and continued following the trail, now headed south (and uphill).
I made it to the Colorado Trail cutoff, turned left, and followed it 3.5 miles back to the trailhead.
I made it back to the trailhead at 10:30am, making this a 13.78 mile hike with 3029’ of elevation gain in 5 hours 15 minutes.
I parked at the Ivy Creek Campground and Trailhead. This campground is for tent camping only, and has 4 spots along Ivy Creek. The drive in is dirt 2WD, and there’s a bathroom there for use. There was only one vehicle there when I arrived, but as I was leaving, all the parking spots were taken.
The trail starts at the Ivy Creek Trailhead, southeast of the campsites. I left at 5:15am.
From there the Ivy Creek Trail heads east, and then curves south. I was headed south for most of this hike, on a class 1 trail that was well defined and easy to follow.
I came across a trail register and checked to see if anyone was ahead of me, and there was only one name. This made sense since there was only one truck at the trailhead. He indicated he was going to Goose Lake, so I expected to see him on my way.
There were a few small creek crossings to navigate, but I didn’t even need to get my shoes wet.
After hiking for about a mile, I came to a more demanding creek crossing. I’d been here two weeks prior, and knew the trail was on the other side of the creek, but it was running fast and cold.
Not wanting to get my feet wet if I could avoid it, instead of crossing the creek there, I hugged the creek to the left for about 100 yards, found a nice tree to cross the creek on, then headed west to pick back up the trail.
Back on the trail, I continued heading south for 3 more miles, keeping the creek to my left, passing marshes and willows, and heading in and out of the trees. There were tons of moose tracks and scat here, which stands to reason because I saw two moose in the area 2 weeks prior. I didn’t see them today however.
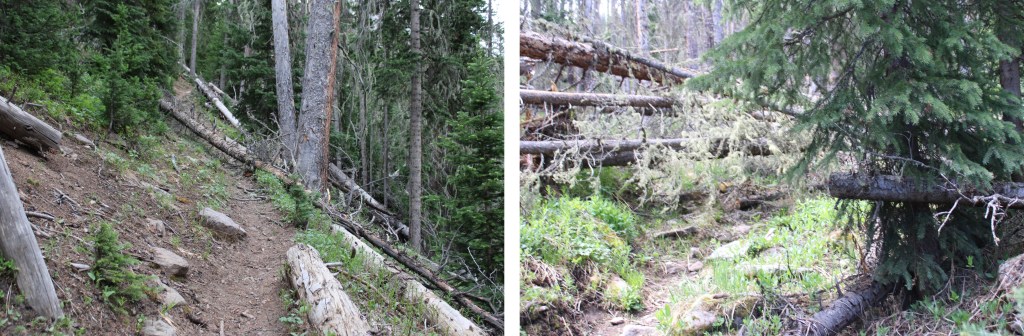
Did I mention the downed trees? They were littering the trail most of the way. Some were easy to hop over to craw beneath, but most required me to get creative, leave the trail to go around, then work my way back to the trail.
After hiking for 3 miles I came to another creek crossing. Here I met the man who’d signed the register and stayed the night at Goose Lake. He was heading back out to the trailhead. At this point, I was fairly confident there weren’t any other people on the trail, since there hadn’t been any other vehicles at the trailhead. I crossed the creek again, and picked up the trail on the other side.
I followed the trail southeast as it hugged the mountainside.
At about 5.5 miles the switchbacks began. They brought me east, above treeline.
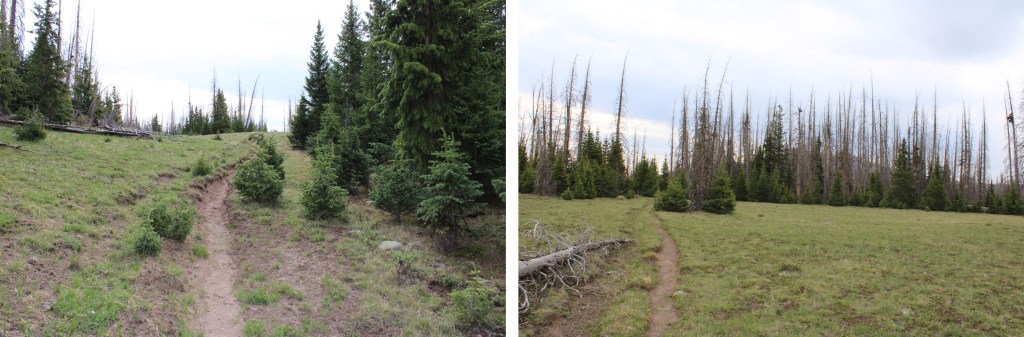
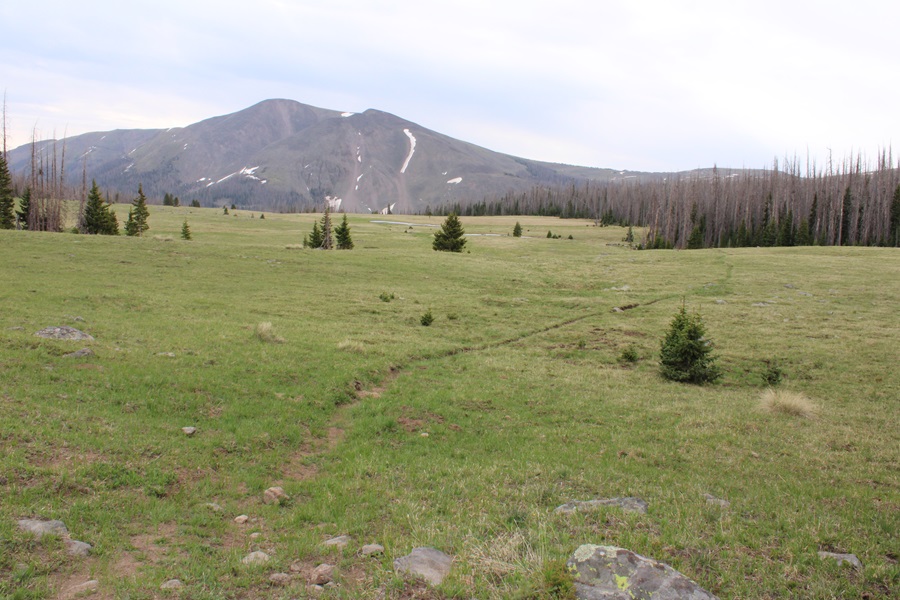
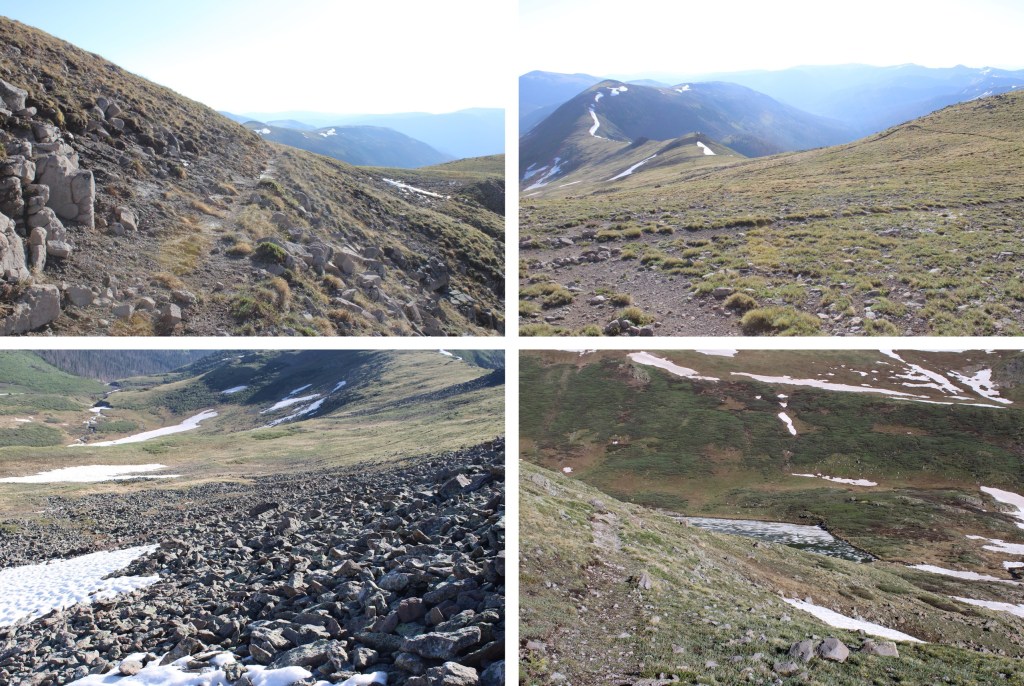
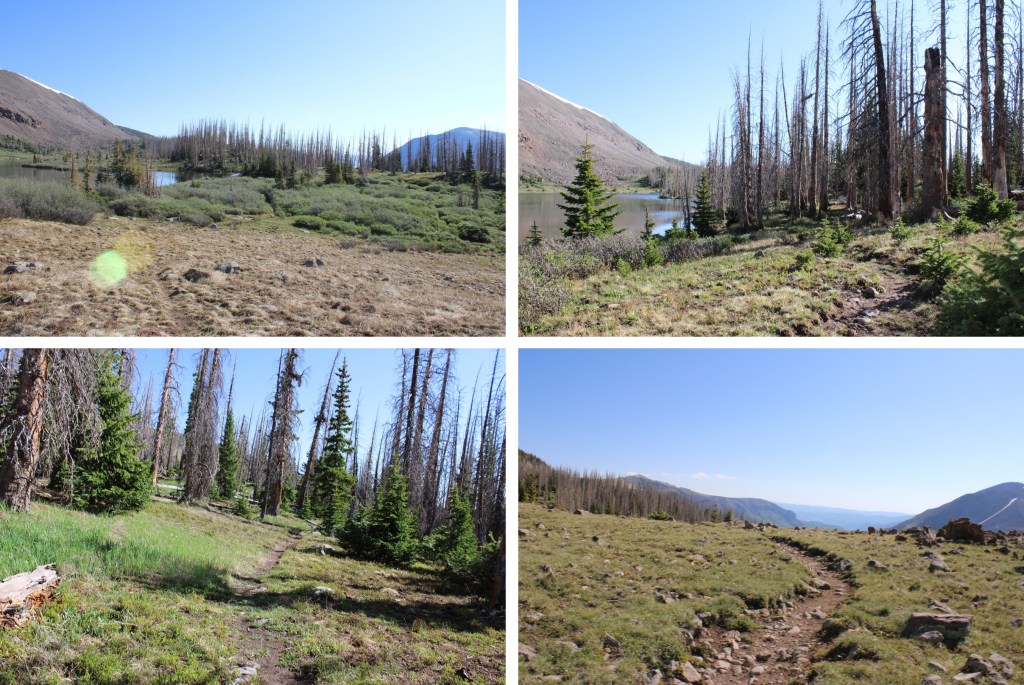
I was now in a wide, open meadow, following a trail that would slope up and down as it wound it’s way in and out of the trees south towards Goose Lake.
About half a mile before reaching Goose Lake it began to rain. Not a big rain, just sprinkles. It was about 9:30am, and I’d been watching the weather all morning. The storm was coming in from behind me. I’d done my due diligence, and knew weather was coming in. It was supposed to start raining around noon, and it was going to last until 6pm. Wind speeds were forecasted to be 5-7mph, with gusts 10-15mph. I’d planned on starting early, getting to my campsite at Little Goose Lake around 10am, setting up camp, and then waiting out the storm in my tent.
Nature had other plans.
Yes, it was sprinkling lightly, but I was about a mile from my intended campsite. I’d just hike a little faster to get there before the storm came in. It wasn’t supposed to really start raining for at least another 2 hours, so I figured I had plenty of time. I crossed over a stream that was flooding the trail and could see Goose Lake to my right.
This is when the trouble began. The rain unexpectedly picked up and started coming down in sheets. I was well prepared with my gear (rain pants, jacket, hat, gloves, etc.) but I was getting soaked. I was going to have to change my plans. No longer intent on making it to Little Goose Lake, instead I was going to set up camp at the south end of Goose Lake. I hiked another 1/3 of a mile in the rain, willing my hands to warm up and telling myself in another few minutes I’d have my tent set up and I could get warm.
I made it to my intended destination only to find a large group of campers already set up. They had identical tents, backpacks, and gear, and were all huddled under a shelter to keep dry from the rain.
Well, this was unexpected. I left the trail to go and talk to the campers sitting under the canopy. I was shivering, mildly hypothermic at this point, and when I went to speak, found words wouldn’t come out properly. I waved, and said something like: “Rain. Early. Cold.” I pointed to a place away from them on the hill, and clumsily got out “Can I set up there?”
They hadn’t paid attention to me as I’d walked up to them, and now that I’d spoken they all quizzically looked back and forth at one another. Probably thinking I was a lunatic. Either that or they didn’t speak English. I certainly wasn’t doing a very good job at it myself at the moment, but I have Raynaud’s, so I get very cold and lose function of my extremities and speech earlier than other people. All I needed to do was get out of the pelting rain and into a shelter.
One man left the group to come talk to me. He pointed back the way I’d hiked in, towards the incoming storm, and said firmly “There’s a nice campsite about half a mile back the way you came.”
It was obvious he wasn’t going to “allow” me to set up my tent anywhere near his group. I was unable to talk any further, and I knew time was now of the essence, so I gave him one long look, willing him to change his mind, realized that was futile, turned around, and started running back towards the other side of the lake.
Many, many things ran through my head as I was searching for another campsite. Most of them I won’t repeat here, but they were focused on finding a campsite as soon as possible, and wondering how that group could have turned me away, when the weather was obviously bad and quickly turning for the worse. I tried to give them the benefit of the doubt, but I couldn’t believe they’d turned someone away from shelter in such conditions.
Then the wind picked up and sleet started coming down in sheets. I was in a full-blown snow/sleet/rain squall, and needed shelter now.
I never made it to the other side of the lake. I could no longer see through the weather clearly, so I found the first patch of open ground I could and started setting up my tent. The wind kept blowing everything around, turning all pieces of my tent into a kite, and my numb and wet fingers weren’t helping things go any faster. The flaps of my tent were open when I unrolled it, and before I could close them the entire inside of my shelter was soaking wet.
I staked my tent and rain fly down, threw in all my gear, took off my shoes, hopped inside, and zipped the flaps closed. I was prepared to wait out the storm. I took off my outer layer and hung it up with a carabiner to the top of my tent to drip dry. Huddling and hugging myself to stay warm, I could hear the wind before it came, and in one big WHOOSH it pulled up my tent stakes and with it my rain fly. Rain now pelted me inside the tent. I cursed to myself, unzipped the tent, put my shoes back on, and clumsily re-secured the rain fly. There was an inch of slush on top of my tent now, which didn’t help my frozen fingers.
I had no dexterity, so even though I tried, I couldn’t undo the Velcro that had attached to itself to secure the rain fly to the tent poles. Instead, I just re-staked the rain fly down and hoped for the best. The wind would blow away my rain fly and I’d repeat the process 3 more times before it finally stopped, my hands warmed up, and I was able to properly secure the rain fly with the Velcro to my tent poles.
Now, I know what you’re thinking: Why didn’t you change your clothes or hop into your sleeping bag to stay warm? Well, I only had one change of clothes and one sleeping bag with me, and seeing as how everything was getting soaked every time the wind blew off my rain fly, I didn’t want the only items I had with me that were dry to become soggy as well. So I sat there in the middle of my tent soaking wet, saving my spare clothes to change into when the weather let up. Which it finally did, 3 hours later.
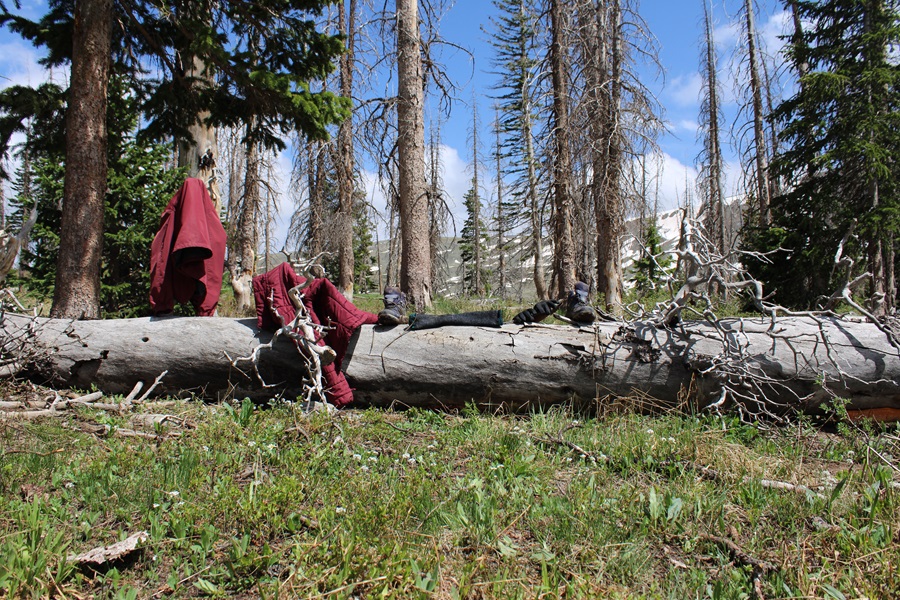
The wind/snow/sleet/rain stopped, the sun came out, and the birds started chirping. I took off all my wet gear and hung it out to dry on a nearby log, changed into dry clothes, and congratulated myself for not panicking, and making it through the past few hours. Then I went over and over all the mistakes I’d made, and what I’d learned from the experience. I know the dangers of hiking solo, and I was prepared for all kinds of weather. Next time, I’m going to stop as soon as the weather looks like it’s going to turn so I can properly set up my gear before I lose function in my hands. Yes, the weather came earlier than expected, but I should have known better. The mountains make their own weather, and only I can be responsible for what steps I take to keep myself safe. It had been quite the learning experience.
Finally starting to warm up, I set out my sleeping pad inside the wet tent to give me something dry to sleep on, rolled out my sleeping bag, and made it an early night.
It was probably the best night’s sleep I’d had backpacking in my entire life. I was warm and dry inside my sleeping bag, and besides the howling and yipping I heard back and forth in the middle of the night from what I’m hoping were coyotes, I slept all the way through. The next morning was warm and clear. Goose Lake was as still as glass. I was on the trail again at 5:30am. I passed by the campers I’d seen earlier as the sun started to rise. Two of them were awake and kept their backs to me as I passed, but the others were still asleep.
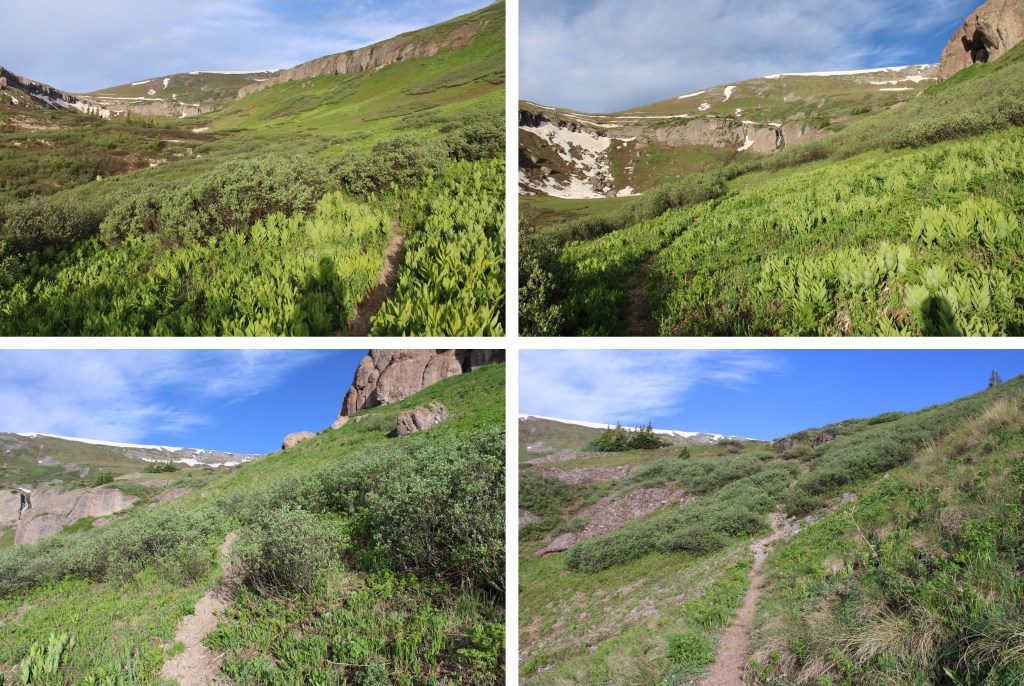
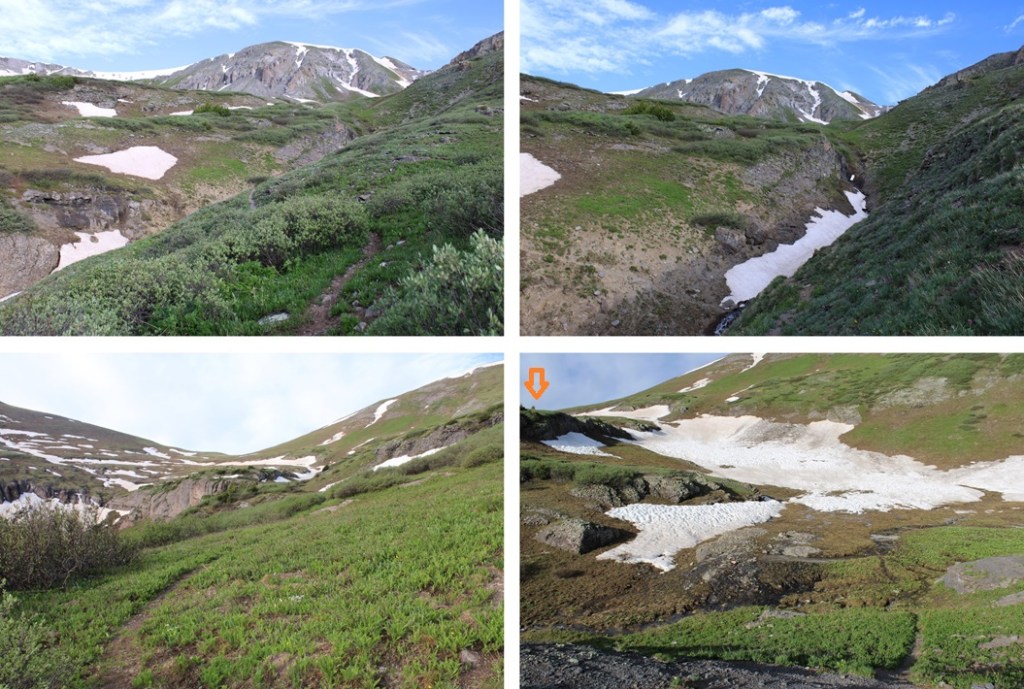
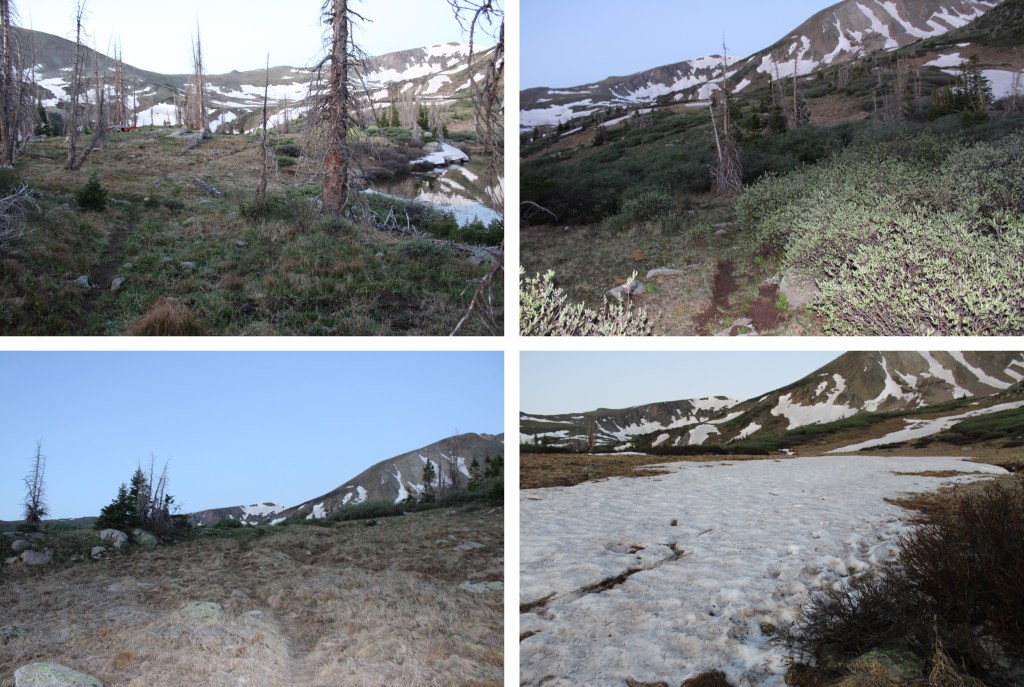
I continued following the trail south as it headed towards Little Goose Lake. There were a few snowfields along the trail, but it was still easy to follow, as I could always see where the trail dried out up ahead.
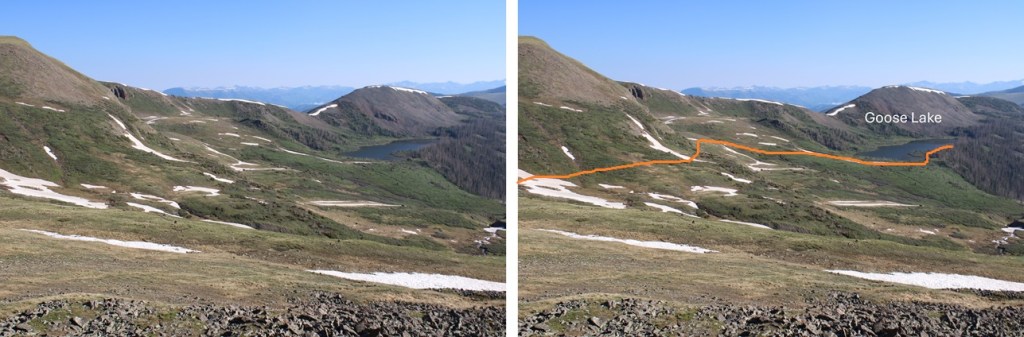
I followed the trail to the saddle to my left. Here’s the overall route I took:
There were snow fields to cross, but they were solid from the freeze the night before. I put on my microspikes and followed the trail south towards Little Goose Lake.
Little Goose Lake was beautiful in the morning light.
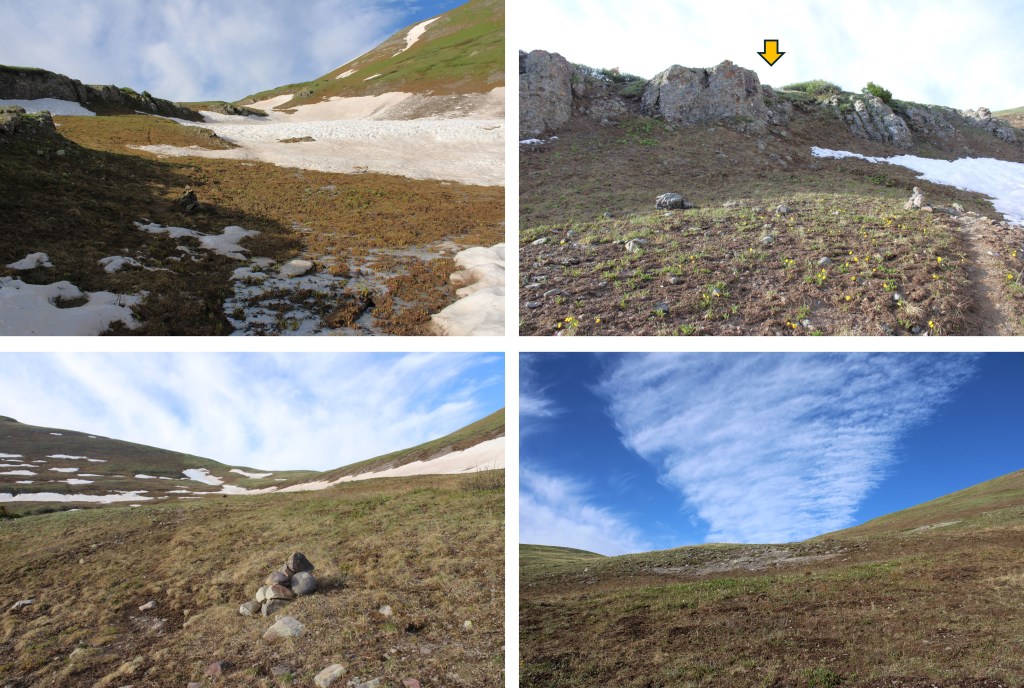
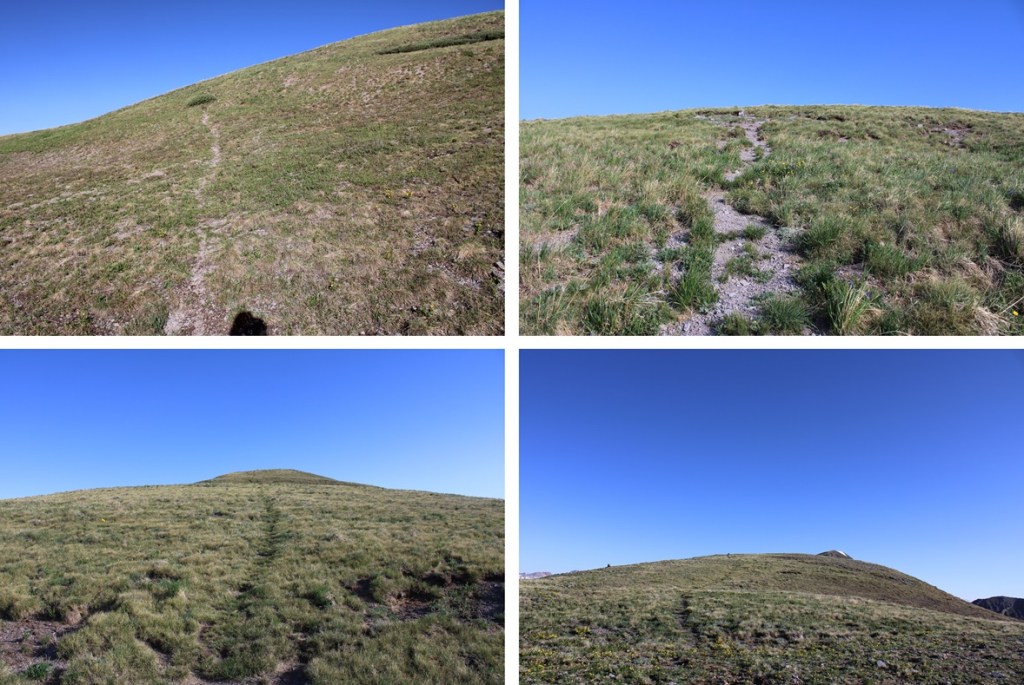
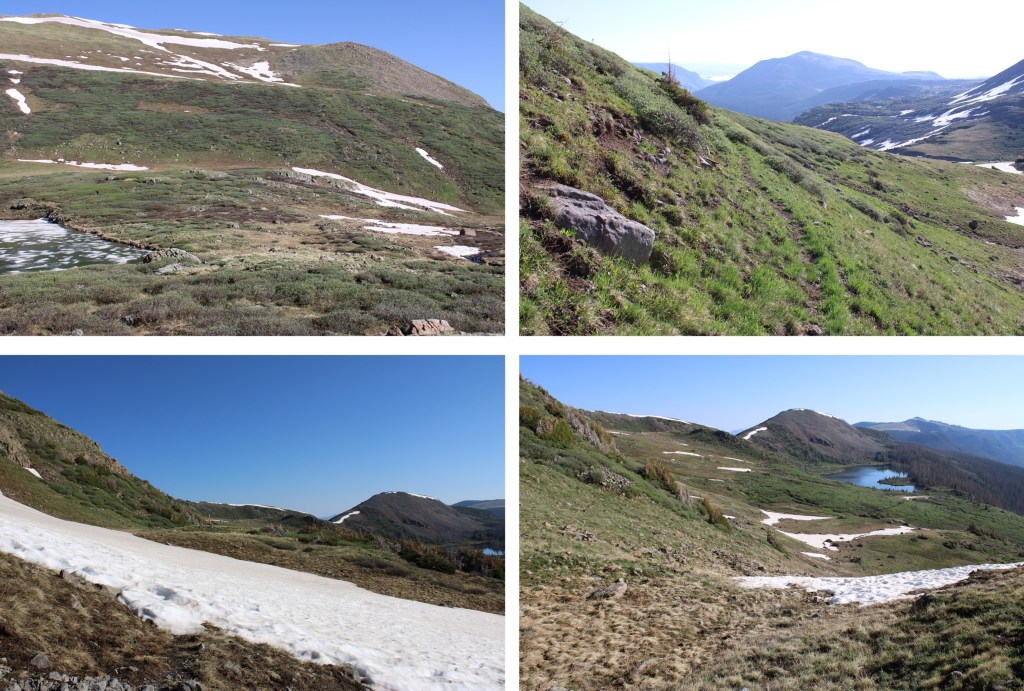
From there, I needed to make it to the saddle. There’s a constant trail that takes you to the saddle and beyond, but with the snow I had to get a little creative. This is the route I took:
I crossed over a small stream coming out from Little Goose Lake, and headed up the slope, taking the trail where I could find it.
Once on the saddle, I could see the summit of South River Peak to the southwest
I continued following the well-defined Ivy Creek Trail.
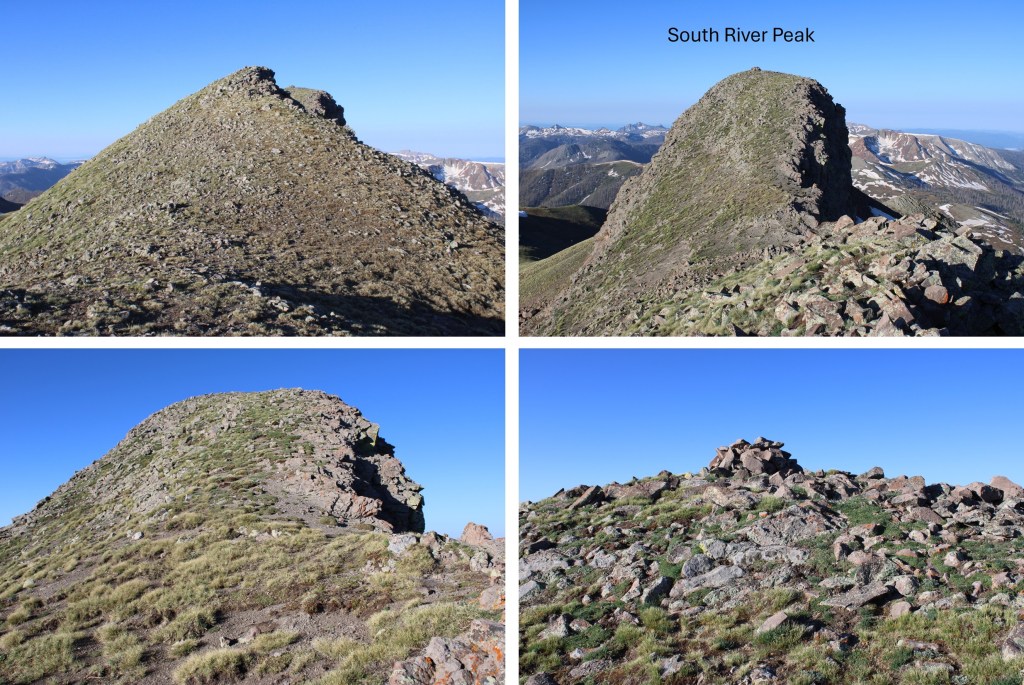
I now had a good view of South River Peak.
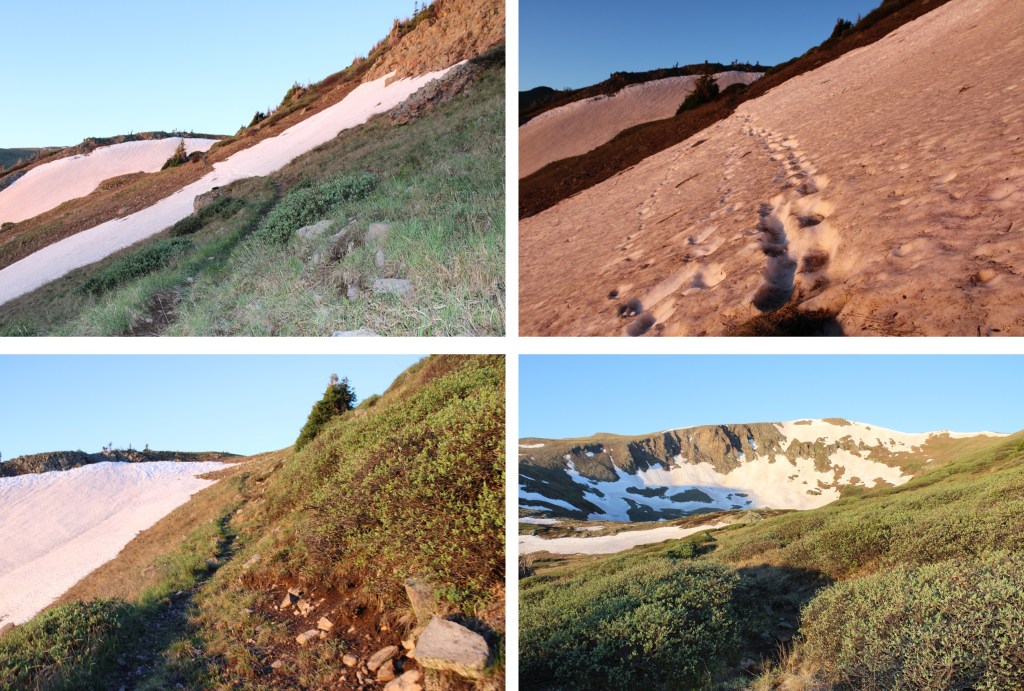
This would normally be a class 1 and easy class 2 trail to the summit, but today the trail was covered in a layer of ice I didn’t want to deal with without my ice axe. Here is the easy way to summit South River Peak:
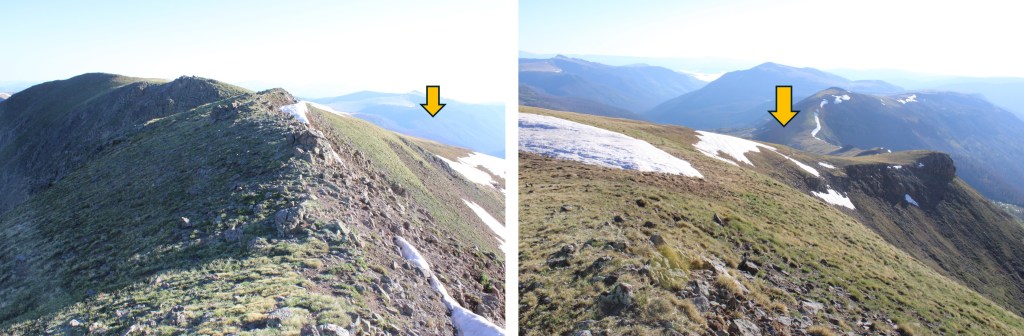
But that’s not the way I summited. Trying to avoid the snow, I decided to continue gaining the ridge, and summit instead that way. This is the route I took:
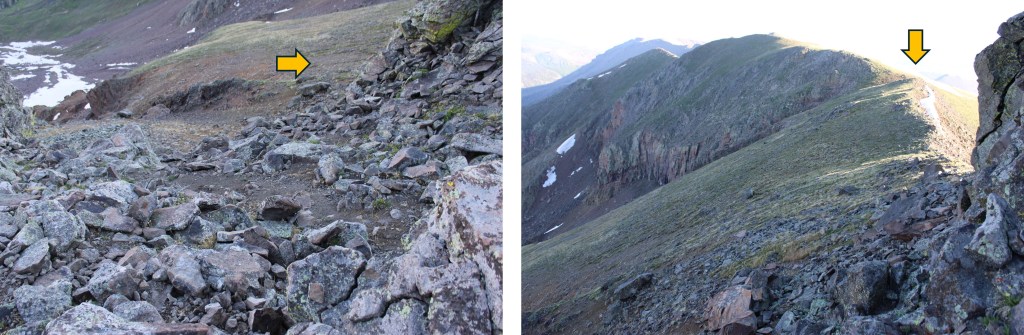
First, to gain the ridge
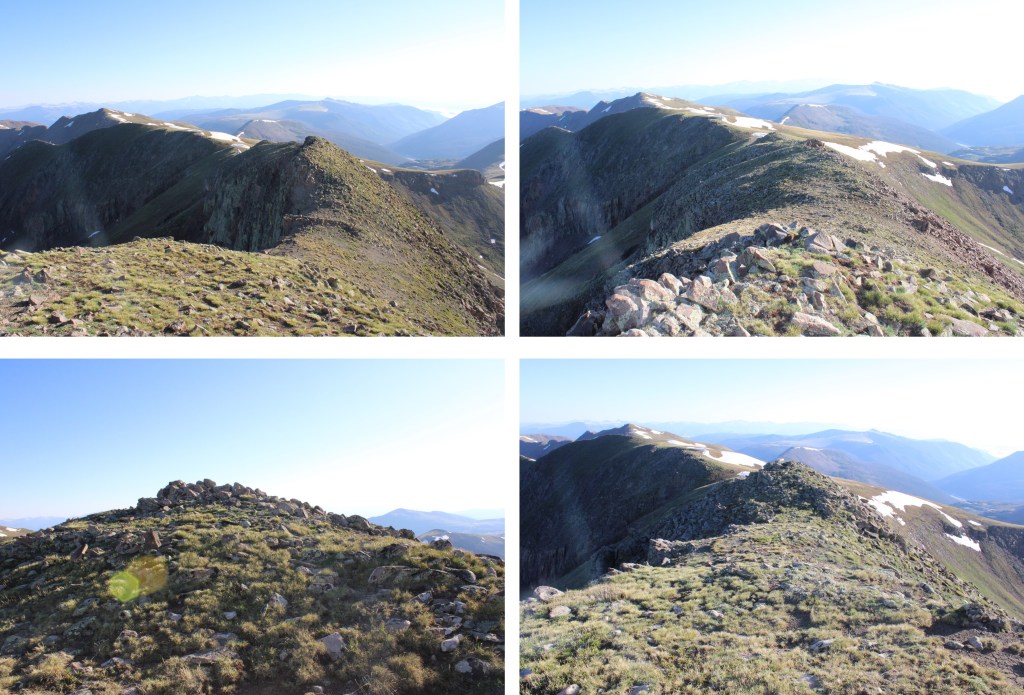
Then I followed it to the base of a rocky drainage, and climbed a short class 3 section
This was choose your own adventure, but there were a lot of options to the right, all easy class 3. It’s easier than it looks.
I topped out, and it was a short class 2 hike to the summit.
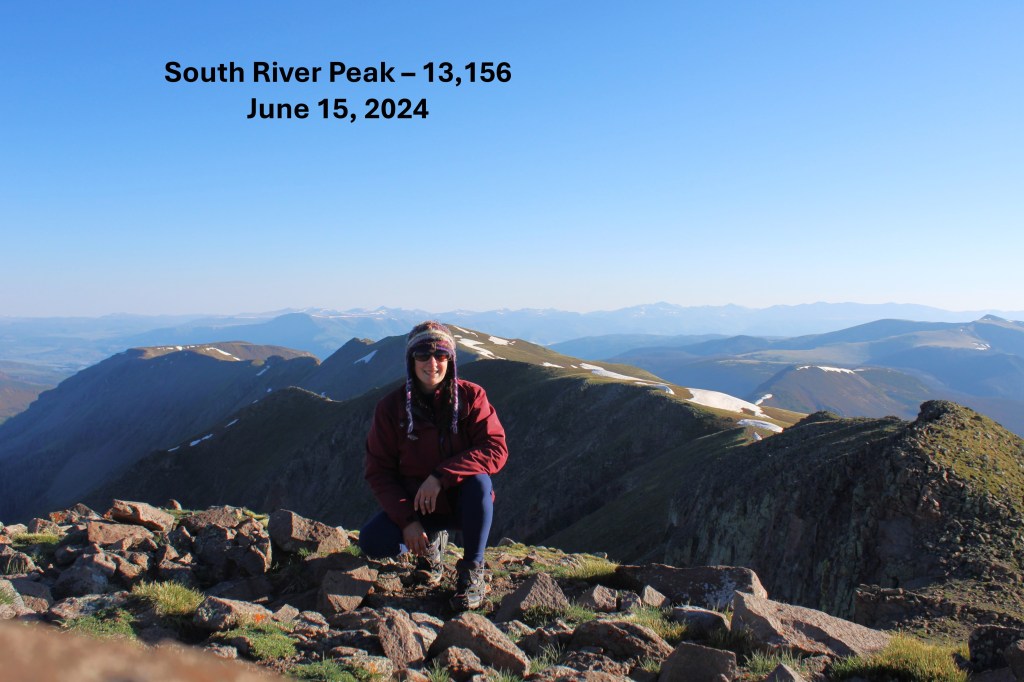
I summited South River Peak at 7:10am
South River Peak:
I was making this an out and back hike, so now to head back down. I turned around and followed the ridge north to the rocky section
Back down the rock drainage
And then down the slope, back to the Ivy Creek Trail.
Back on the trail, I followed it back to Little Goose Lake
Here’s the route I took back to Goose Lake
Once back at Goose Lake, I noticed the group I had encountered the day before had packed up and left. I made it to my campsite, packed up all my gear, and headed back down to the trailhead.
I quickly passed the group of campers I’d encountered earlier, and learned they were part of a Backpacking Ministry from Del Norte, which explained all the identical gear and lack of vehicles at the trailhead: they’d been dropped off and were being picked up at the end of their trip.
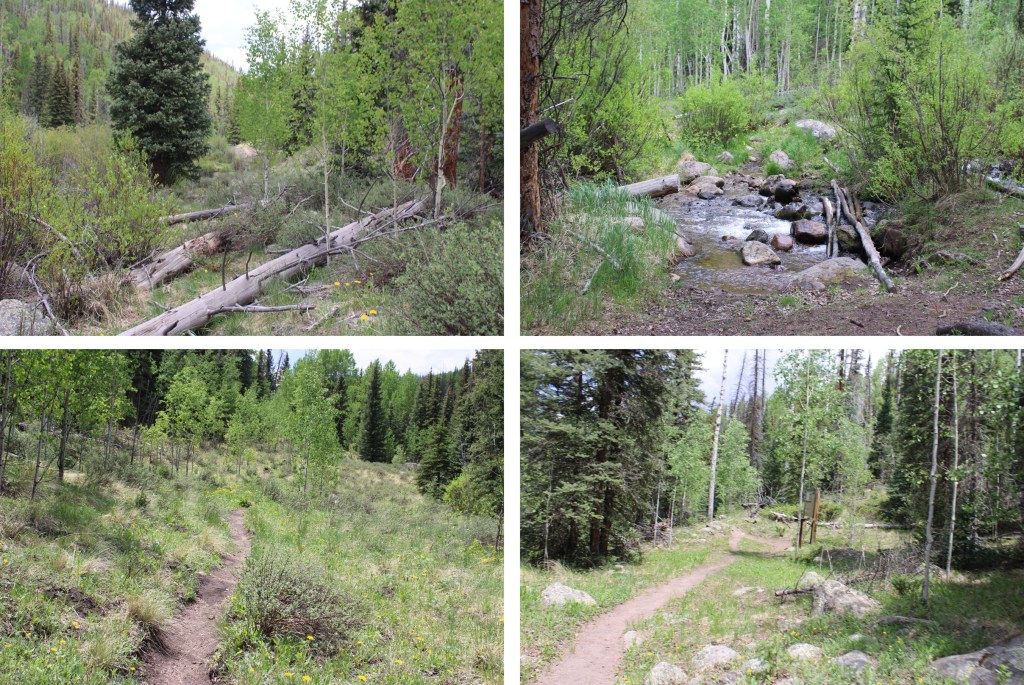
I continued on down the switchbacks, over the many creek crossings, around the downed trees littering the trail, and back to the trailhead.
I made it back to the trailhead at 12:20pm. I did this hike as an overnight, carrying a full pack, so my time isn’t as relevant, but Strava gave me 10 hours, 20 minutes of hiking time.
This peak has been on my bucket list for a while, but it was located on private property. Recently this property became a Colorado State Park (currently you need the Colorado State Parks Pass or to pay the $10 to park at the kiosk), and I was able to legally climb the peak. The park is open sunrise to sunset, so I didn’t get my usual pre-dawn start. There is plenty of parking at the trailhead, along with vault toilets and trailhead signs.
I parked at Fishers Peak Trailhead (the only trailhead in the park) and was on my way at 7am. The trailhead is obvious, at the east end of the parking area.
There were a limited number of trail maps at the trailhead, and I snagged one. If there isn’t one there, here’s a copy. I can tell you this isn’t the best map, and the signs can be confusing, but you basically want to take trail 1 to trail 2 to trail 3, then 4, 5, and 6. This may sound obvious, but trail 8 and 10 and 9 all lead to trail 2 as well (they just meander a bit).
Trail 1: Navy Blue on Map, Challenge Hill Section
Trail 2: Dark Magenta on map (as opposed to light Magenta), Osita Ridge Section
Trail 3: Blue on map (as opposed to Navy Blue or light blue), Shady Forest Section
Trail 4: Green on map, Stone Guard Section
Trail 5: Light blue on map (Peak Approach Section)
Trail 6: Brown on map (Summit Loop Section)
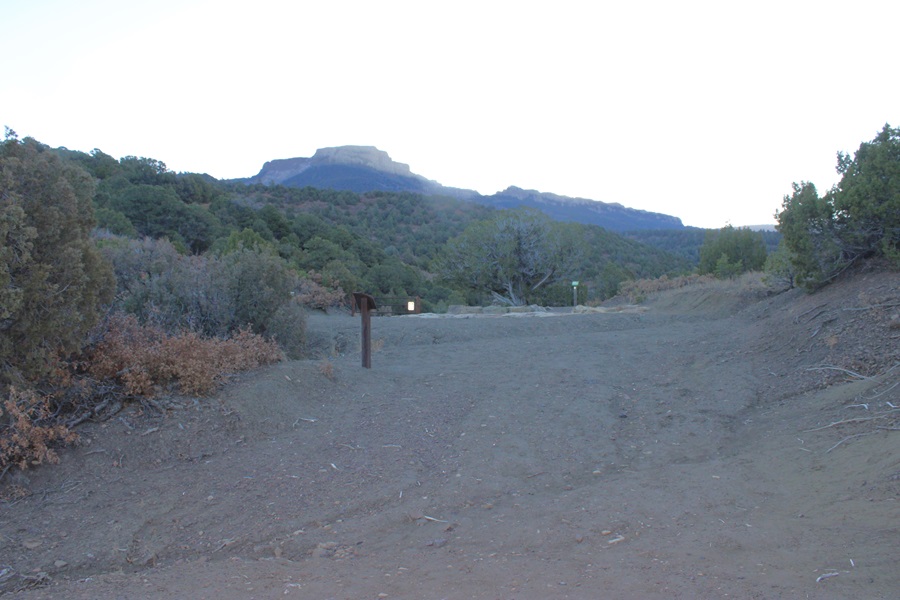
I followed the Challenge Hill section for a short while (maybe 100 yards) before coming to a junction with several other trails. I could see Fishers Peak from the parking area.
At the junction I stayed on the Challenge Hill Section, which is the wide path that goes straight (yes, this can be confusing, stay on the road).
The road quickly begins to gain in elevation. I gained 770’ of elevation in just under 1.5 miles.
After hiking for about 1.3 miles, I came to another junction. If you accidentally took trail 10 or 8 or 9, you’ll end up here as well.
I continued east, taking the Osita Ridge Section
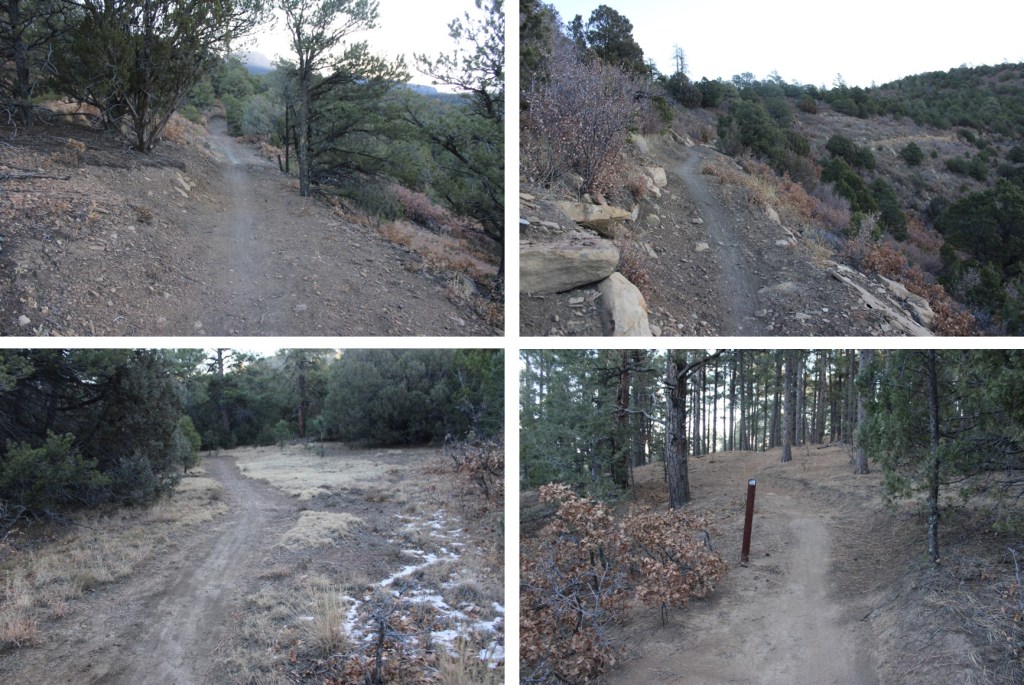
Now the trail became more of a bike trail than a hiking trail. It meandered around mountainsides instead of over them, and had a lot of small ups and downs, which I’m assuming make biking up hill easier? I can see problems in the spring with rain and runoff collecting in pools on this trail, but for now it was just mildly annoying.
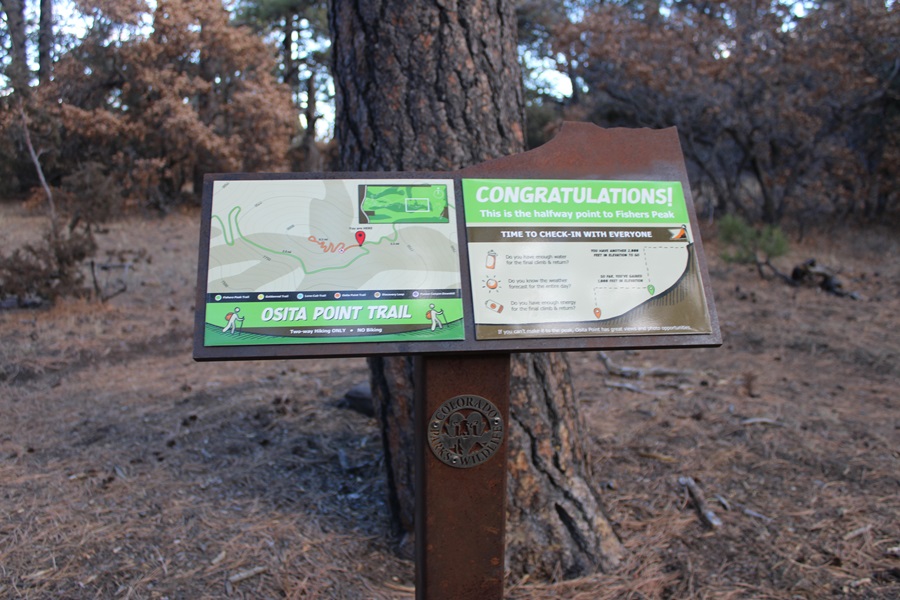
After hiking for 3.85 miles I came to a junction, which congratulated me for making it halfway. I like how the sign asks the hiker if they are truly prepared for the second half of the hike.
At this junction I turned right, and followed the Shady Forest Section. If you go left, you can hike .4 miles up to Osita Point.
About 2 miles of hiking brought me to a gate. The sign says this portion of the trail is closed March 15-July 31 for Raptor breeding season. So if you’re going to do the peak, don’t plan on coming during that time. This is also a good place to leave your bike if you rode one, as the trail becomes much more rocky and there are stairs involved.
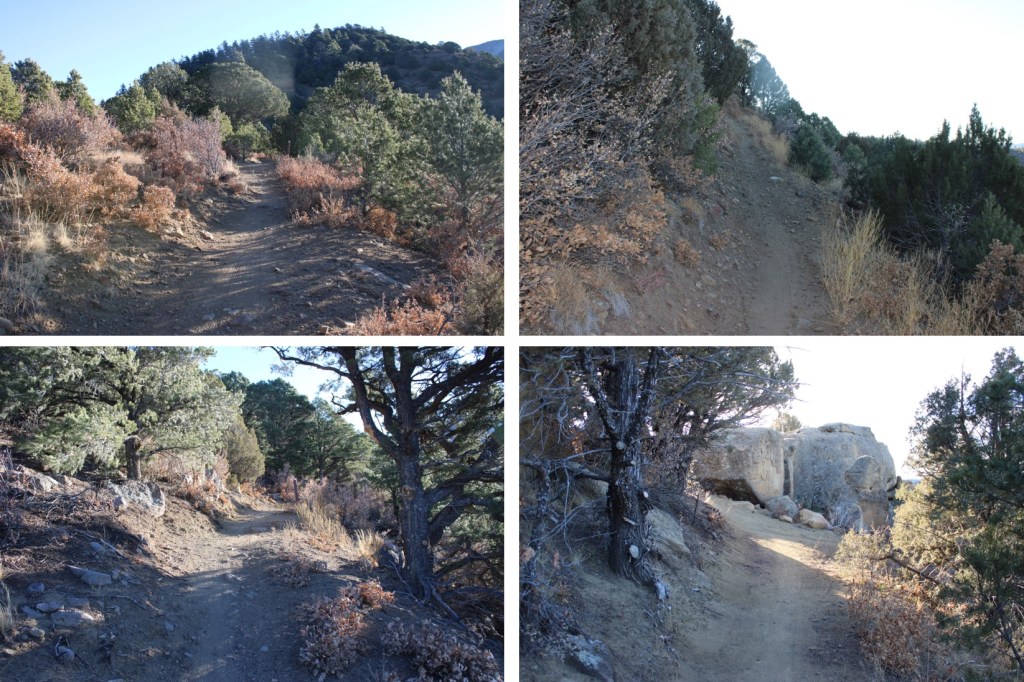
I was now in the Stone Guard Section, and followed the class 1 trail south as it gained the ridge.
There are a couple of gates here, but the trail doesn’t intersect them, and the path is obvious
I came upon some stairs, which is the beginning of the ‘hard’ part of this climb. This is a fairly new trail, but the workmanship in the stair and narrow areas doesn’t look like it will last long. I can see it eroding in a year or two, or even after this winter/spring season. Although this is a class 1 trail, care should be taken not to dislodge a rock or slip off the side of the trail.
When you see these signs, you’re almost to the summit. There’s a little bit of scrambling here, but only for about 20 feet or so.
The trail here is not obvious, but you’re trying to ascend these rocks.
At the top of the rocks I was surprised to be greeted by a mesa. There is a well-established trail here, that goes around the mesa. You can go either left or right. I went left. This is the Summit Loop section of the trail.
The actual summit can be difficult to discern, as there are multiple large cairns that look like the summit. It you go left as I did, the summit will be the first large cairn you come to. Because I wasn’t sure at the time, I went all over the mesa to make sure this was indeed the true summit.
I summited Fishers Peak at 10:15am. This video is from the middle of the mesa.
Fishers Peak:
Now to head back down. I simply re-traced my steps back the way I came
Back down the rocky area
Then I followed the trail backwards, taking sections 5-4-3-2-1
It wasn’t supposed to start snowing for another two hours, but mountains have a way of making their own weather. It started graupeling pretty heavily.
Graupel:
I continued on through the graupel, following the well established trail
At the junction of trail 1,2,9 & 10 I followed trail 1, the Challenge Hill Section (the one that’s a dirt road), back to the trailhead. You can take any of the routes, the others will just be longer.
When I got back to the trailhead, my truck was still the only vehicle in the lot, leading me to believe not many people know the park is open
I made it back to my truck at 12:45pm, making this a 15.3 mile hike with 3588’ of elevation gain in 5 hours, 45 minutes
My trail name is Wild Wanderer. I’m a mountaineer, and I have Raynaud’s. I’ve summited over 500 peaks above 13,000’, many of them in winter conditions. With the cold weather approaching (or already here!) I’ve been asked to put together some tips on how I successfully mountaineer in the winter and manage my Raynaud’s. I believe these tips can help all cold weather hikers and adventurers.
Disclaimer: These tips in no way all-inclusive or a substitute for the education you should receive before entering the backcountry in winter. Please consider taking classes in alpinism, orienteering, avalanche awareness, and wilderness first aid before entering the backcountry, especially in winter.
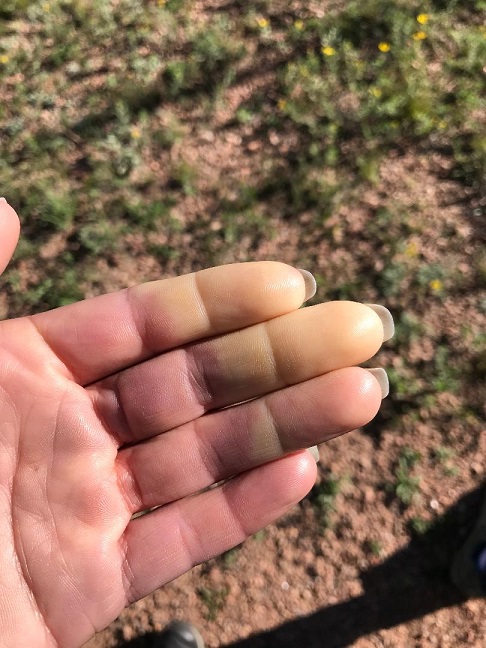
Raynaud’s causes some areas of your body — such as your fingers and toes — to feel numb and cold in response to cold temperatures or stress. In Raynaud’s disease, smaller arteries that supply blood to your skin become narrow, limiting blood flow to affected areas (vasospasm). This can happen even in warm weather. The picture below was taken of my fingers while camping on a 70-degree day.
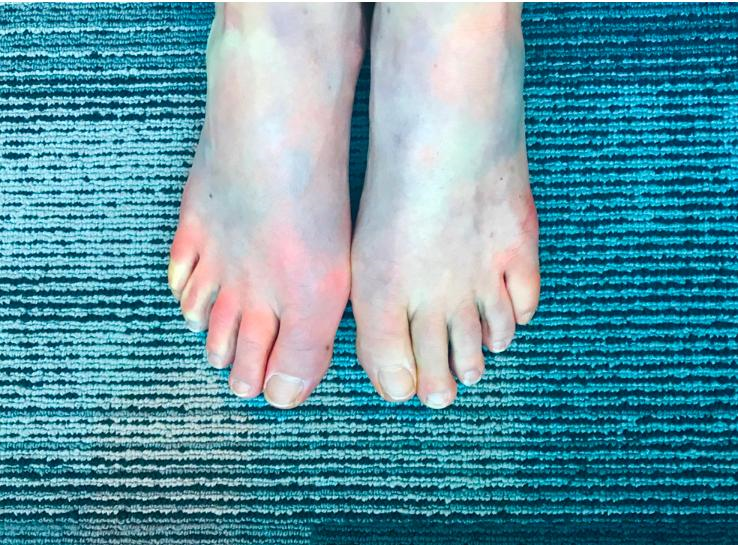
And these are my feet having an attack while I was at work, sitting at my desk
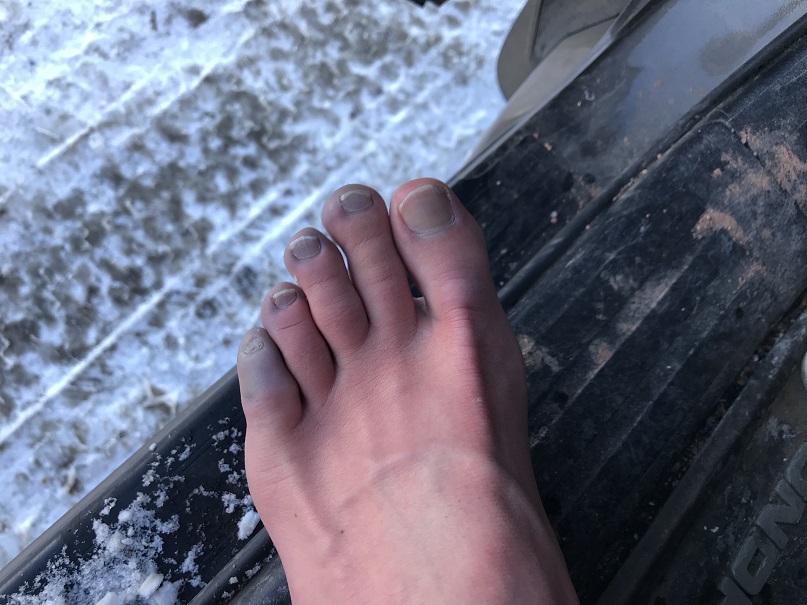
During an attack of Raynaud’s, affected areas of your skin usually first turn white. Then, they often turn blue and feel cold and numb. As you warm and your circulation improves, the affected areas may turn red, throb, tingle or swell. This can be a very painful experience. Many people mistake it for frostbite. This time I’d earned my blue toes, as I’d been snow-shoeing without the proper gear
Winter hiking is a wonderful experience. There’s a special reverence and tranquility to a winter mountain landscape. The trails are less crowded, the views are amazing, the wildlife easier to spot, and with this comes a unique sense of achievement to summiting a mountain covered in snow and ice. However, the cold and wind can be a barrier to this sport. I’ve been a mountaineer for 6 years now, and I’ve learned quite a few tips and tricks to keeping myself (and my digits) warm and attack free. It all comes down to prevention and preparedness.
What to Wear
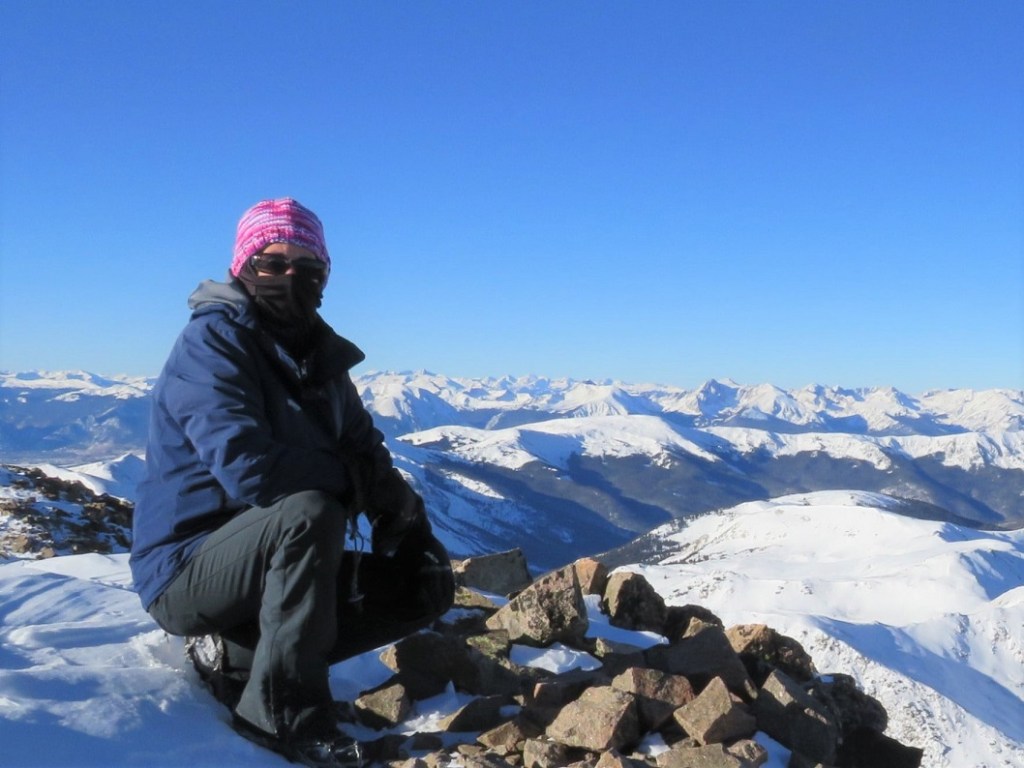
I usually wear the same outfit every time I mountaineer, emphasizing moisture wicking layers and fleece. It’s kind of boring and predictable, but it keeps me warm.
Here’s what I wear, from head to toe (scroll down for detailed information):
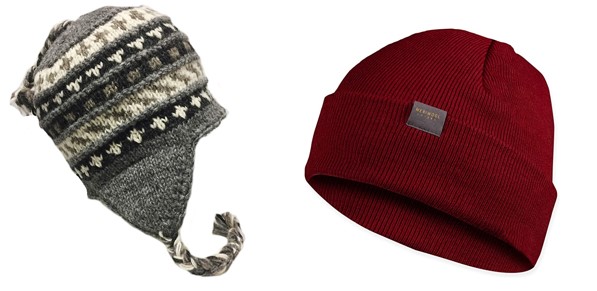
Knit/Wool Hat
Balaclava
Sunglasses / Snow Goggles
Sports Bra
Moisture wicking tank
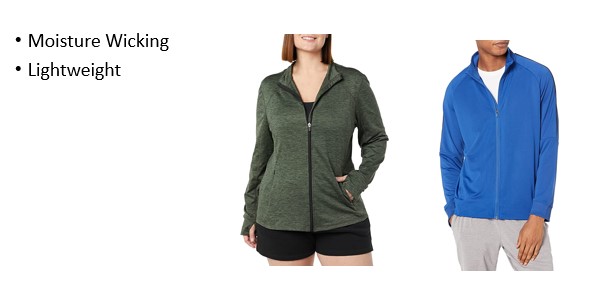
Moisture wicking jacket
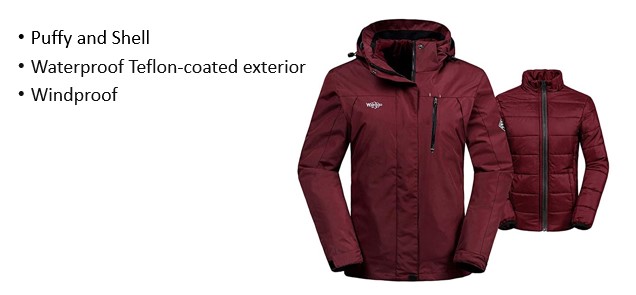
Puffy Jacket
Jacket Shell
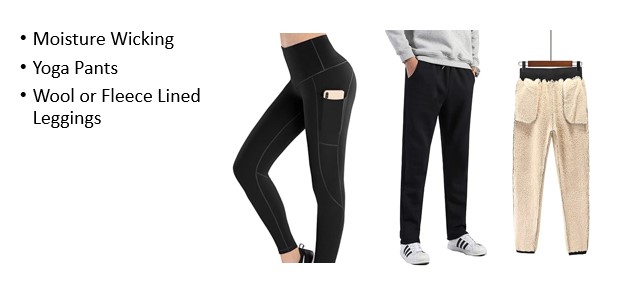
Yoga Pants
Snowboarding Pants
Wool Socks
Mountaineering Boots
Gloves
Bandana
Extra Gear (depending on weather/conditions)
Snowshoes
Microspikes
Ice Axe
Crampons
Solar Powered Battery Charger
Surveyors Tape
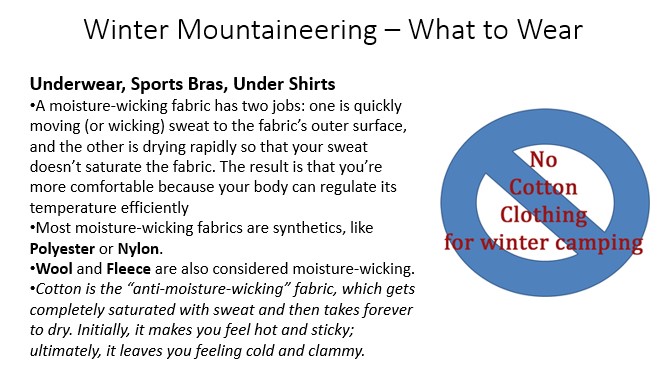
Note: Do not wear Cotton:
Knit/Wool Hat:
Balaclava: If it’s windy you’re going to want one of these. Make sure it covers your whole face and nose, is made out of a breathable fabric (polyester works) and covers your neck and is long enough to be tucked underneath your inner layers.
Sunglasses / Snow Goggles: The snow can be blinding, and you’d be surprised how a good pair of goggles cuts down on the cold the wind can bring. I put my sunglasses in my jacket pocket before setting out, so they’re easily accessible. I like sunglasses over goggles because they don’t fog up.
Upper Layers: I rarely take layers off during a hike, as I’d rather be too hot than too cold. With Raynaud’s it’s easy to cool off when hot, but difficult to warm up once cold. I wear a moisture wicking sports bra, tank, and jacket all the time, no matter what. On top of that I have a puffy and a shell (the shell doubles as a rain jacket). The shell has a hood, which I have prepped to fit my head if needed to block out the wind.
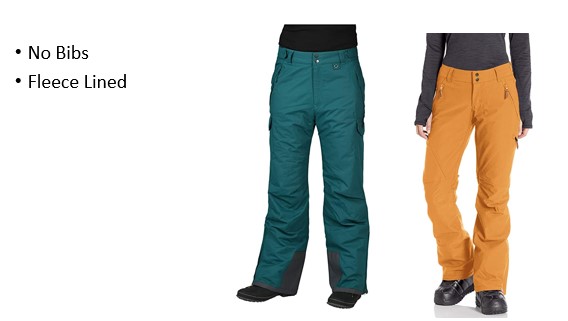
Bottom Layers: To prevent chaffing, I like to wear form fitting yoga pants (polyester/spandex) under fleece lined snowboarding pants. These snowboarding pants will get torn up from crampons, microspikes and snowshoes, so I reserve a pair primarily for mountaineering. NOTE: Ski bibs are a terrible idea, as you need to take off unnecessary layers to use the restroom. Make sure your pants are just that: pants.
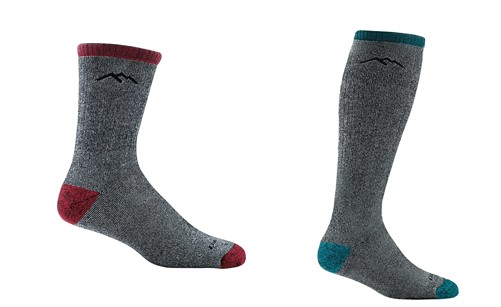
Wool Socks: Not cotton. Not too snug. You want your feet to be able to breathe and circulation to flow. Also, this is an instance where two is not better than one: only wear one pair of socks.
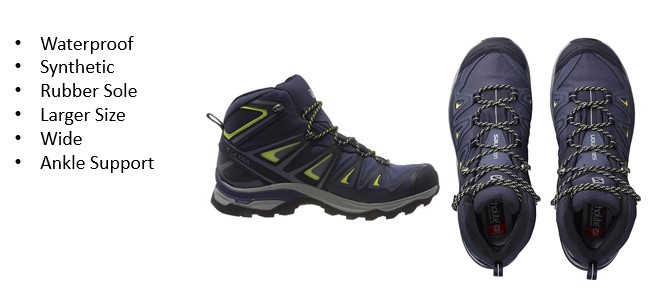
Mountaineering Boots: This is going to be a highly personal choice. I go through 4 pairs of boots a year, but to be fair I put a lot of miles in a year – around 2500 and over a million feet of elevation gain. What’s important here is to buy a pair a size larger than you’d normally wear, and, unless you have extremely narrow feet, get them in a wide size. This is because your feet will swell above treeline and you want them to have room to do so freely. A constricted foot is a cold foot. You don’t want to wear anything too constricting on your hands or feet. The footwear should also be waterproof, have a good tread, be flexible, and feel comfortable. Go to an outdoor recreation store and try on a few pair to see what works best for you before buying. If you plan on carrying more than 30 pounds of gear, you’ll want the added ankle support.
Gloves: Unfortunately, hand warmers have never worked for me (not the chemical ones, the battery-operated ones, or the ones that use fuel). Note: If you have Raynaud’s you can never take off all your gloves while winter hiking. Never. The cold will zap the heat out of your hands instantly, and regaining that heat is difficult.
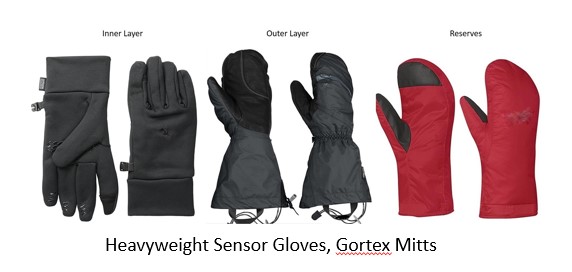
I bring along 3 pairs of gloves: I wear two at a time, and have the third in reserve in case I loose one I’m wearing: The wind above treeline can be ferocious, and I’ve seen gloves blow away in the wind. If you have Raynaud’s and you lose a glove above treeline it’s quite possible you’ll be losing fingers with it. I buy all gloves one size bigger than I normally wear. This allows for my hands to swell at altitude and makes them easier to put on/take off as needed.
The first pair I wear is made of a 95% polyester, breathable, wicking, quick drying fabric with 300-weight fleece and a 100 weight fleece liner. I always have a glove with fingers as the base layer so I can move my fingers to perform tasks that require dexterity with a layer still on, protecting my hands from the elements. I never take these gloves off. Ever. (See stylus information below).
The second pair I wear is a shell. They’re waterproof, breathable, windproof, wicking, fully seam-taped with a water-resistant leather palm. These do a great job keeping out the wind, and are easy to take on and off. It’s important the outer layer are mittens and not gloves because my fingers and hands stay warmer in a mitten.
My reserve pair is also a pair of mittens. They’re fleece lined and come with the outer mitts. I keep these as a back-up in case I lose one of my other gloves.
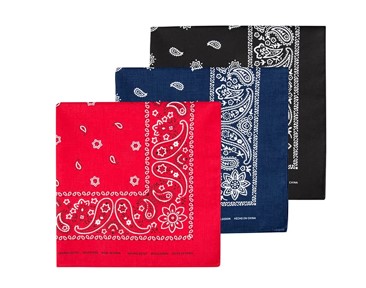
Bandana: This is very important! I tie one to a carabineer and put it on the side of my pack so I have easy access to blow my nose. My nose drips like a faucet above treeline, and it’s nice to have something readily available to wipe my nose. (Yes, learning how to clog one nostril and blow is helpful, but not practical with large mountaineering gloves). The bandana should be made of polyester so it dries out fast. If you buy a cotton one it will freeze faster, get stiff, and be unusable until it melts. It becomes frozen snot.
Snowshoes: When it comes to snowshoes, you most likely won’t be putting these on at the trailhead, but later in your hike. Thus, ease of use is very important: you want to be able to put them on without taking off your inner glove. The three things I look for in a snowshoe are that they’re made of steel (not aluminum), have heel risers, and ratchet bindings. Ratchet bindings are the most important feature: I climbed all of Colorado’s 58 peaks over 14,000’ in a cheap pair of snowshoes, but I wouldn’t have been able to accomplish this if they hadn’t had the ratchet bindings.
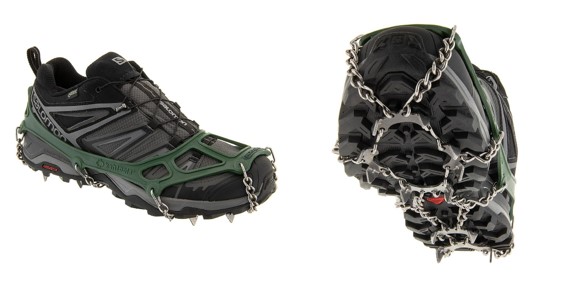
Microspikes: Don’t spend a lot of money on these, as a good pair is $10. I use them year-round (they work great on scree for stability). My advice here is if there’s any ice at the trailhead to put them on while you’re still in your vehicle, keeping your hands warm while doing so. I’ve worn microspikes for miles when they weren’t needed, and it didn’t damage them. It did however keep my fingers from getting needlessly cold by taking them off. (Remember, when it comes to the cold, prevention is key). Microspikes can also be worn with snowshoes: There’s no need to take microspikes off to put snowshoes on.
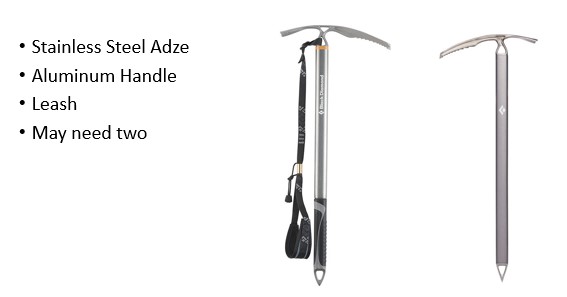
Ice Axe: These are usually made of stainless steel/aluminum, which gets cold. I have an ice axe with a rubber grip (which is moderately warmer) and a leash. The leash goes around my wrist, under my outer glove but on top of my shell. I try to hold the ice axe by the leash when it’s not necessary to hold the shaft for safety purposes. Another way to avoid the cold here is to put a bandana around the shaft while gripping it.
Crampons: Make sure they’re made of steel and not aluminum (aluminum bends) and have front facing spikes for traction. Learn how to use these before trying them in the elements for the first time, as they can be tricky to put on correctly, especially while wearing gloves.
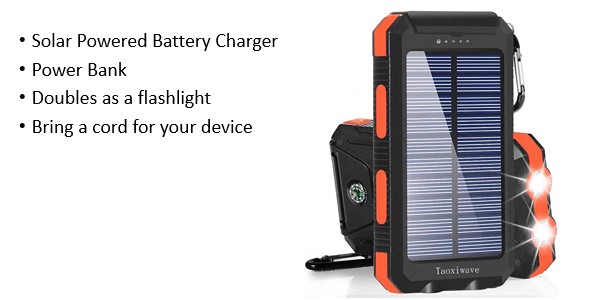
Solar Powered Battery Charger: Never worry about your phone losing battery again! I clip one of these onto the outside of my pack, and allow it to charge all day. Most double as a flashlight as well. Just make sure you remember to bring a cord for your device.
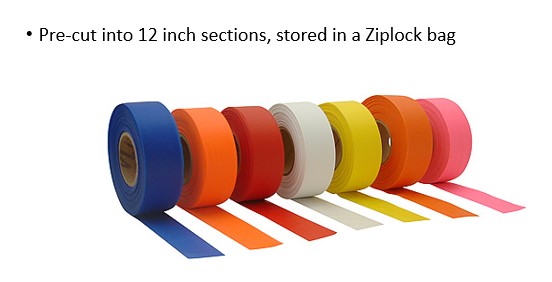
Surveyors Tape: I use surveyors’ tape as a way to self-rescue if I think I’m lost. I have a roll I bought at home depot, in a bright color so I can see it, like yellow or orange. I precut about a dozen or so strips about 12 inches long, put them in ziplock bag, and bring the roll with me as well. If I feel like I’m lost, I stop where I am, and create a ‘home base’. I get out my compass, and point it in the direction I think I should be going. Let’s just say that’s north. Then I mark a tree, rock, etc with a piece of the tape, and follow my compass north, adding strips as needed as I go. If I don’t find my way back on route, I follow the strips back to where I started, collecting them on my way. Then I try another direction, like east, and do this over and over until I find my way back on route. Surveyors’’ tape can also be used to mark and entry or exit point, or to signal danger. It’s inexpensive and lightweight and worth having in your pack
Keep Your Pack Packed
Unfortunately, those of us with Raynaud’s don’t have the luxury of packing light: we need to be prepared for all types of weather, and due to the possibility some of our gear might fail/get lost, we need backups. I like to keep all my gear in my backpack when not in use. When I get back from a hike, I usually wash my bandana, refill my water bottle, wash my sunscreen compact, and put them all back in my pack. I don’t forget important gear at home, as it’s always in my pack. In addition to the 10 essentials, I carry the following items (scroll down for detailed information):
Carabiners
Jetboil
16oz water bottle (in addition to my regular water bottle)
Stylus
Vaseline
Sunscreen
Camera
Collapsible trekking pole
Shovel
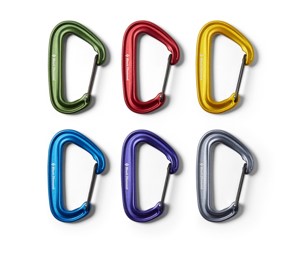
Carabiners: Carabiners are your friend! The larger the better, so they’re easier to manipulate while wearing gloves. I use them to attach my water bottle to my pack, as well as my ice axe, bandana, and any other gear I want easily accessible.
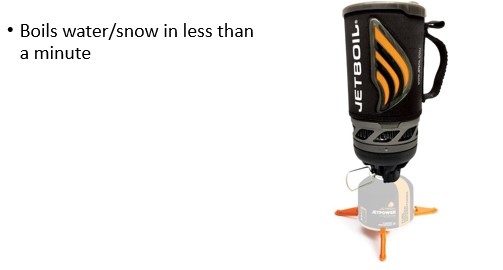
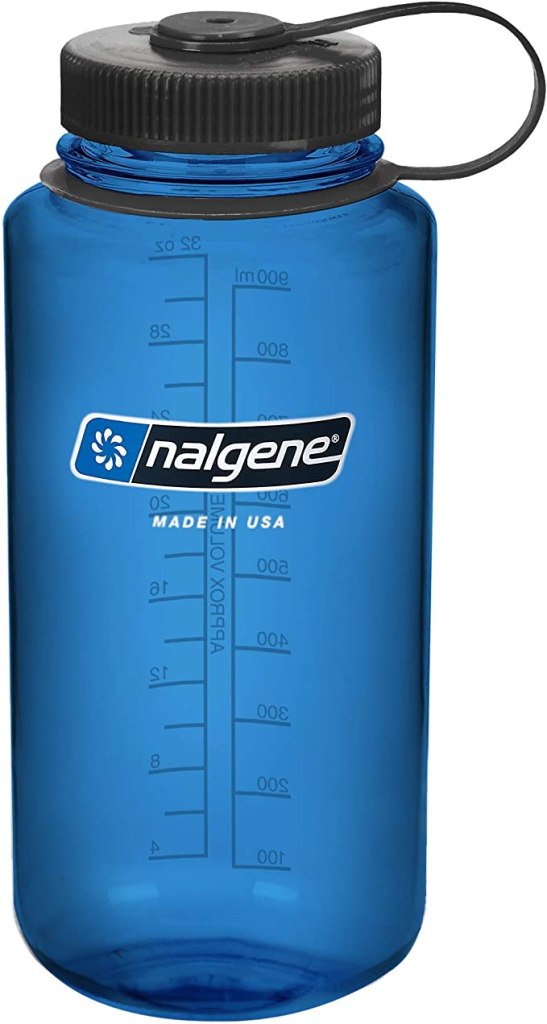
Jetboil and 16oz Water Bottle: Jetboils are a useful tool, as they are relatively lightweight and can boil water very, very quickly. I have one in my pack during the winter, along with a 16oz Nalgene. Before the hike I warm up water, put it in the Nalgene, and keep this smaller water bottle close to my skin as I hike (sometimes in a pocket, or the waist of my pants, etc.) This helps keep me warm. I also start my hike with warm water in my drinking water bottle to help prevent it from freezing. Keeping the water bottle close to my body (and not in my pack) helps to keep the water from becoming frozen during the hike. The Jetboil comes along with me, and if needed I can warm up the water again, or, if the water is frozen, I can quickly heat up snow.
Stylus: These are so helpful to people suffering from Raynaud’s! Our fingers don’t register well on touch screen devices, including ATMs, gas station machines, phones, and tablets. A stylus is cheap (I bought 12 in a pack from Amazon for $4) and solves the problem of using our fingers on screens. A stylus while hiking has the added benefit of reducing the need to take off your gloves to use your phone or GPS device to take pictures or find direction. I keep a stylus attached to all my devices that require touch to operate.
Vaseline: I’m in love with Vaseline/Petroleum Jelly. Movie stars have sworn by its beauty effects (wear it to bed to keep skin soft and younger looking), it helps wounds heal faster, restores moisture after wind burn, and when you’re a mountaineer, it keeps your nose from freezing. Before hitting the trailhead I slather a generous layer of Vaseline on my nose to keep my nose warm. It works wonders!
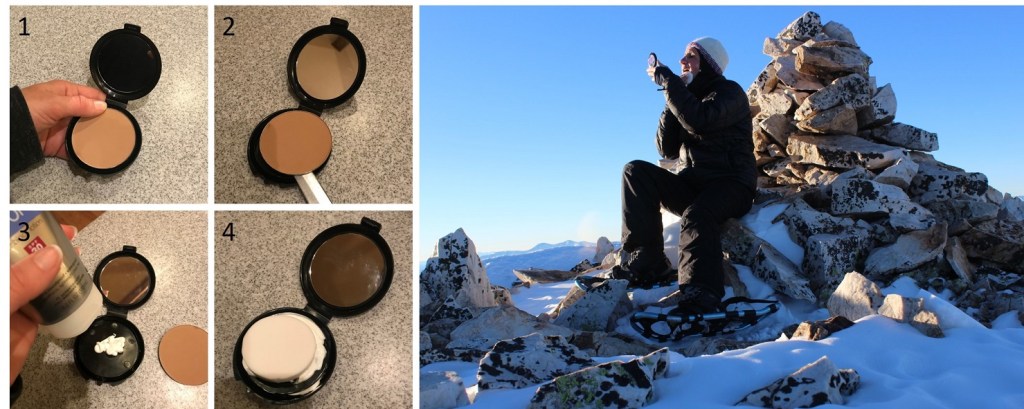
Sunscreen: OK, so it’s cold above treeline, but due to the reflection of the sun on the snow sunscreen is still needed. This can be problematic because a tube of sunscreen freezes in the winter above treeline. Using an aerosol spray isn’t practical for obvious reasons (wind) and the sunscreen that comes in a deodorant-like stick doesn’t apply evenly/melt when frozen. To combat this, I went to the dollar store and bought a compact, took out the powder, cleaned the compact out, and filled it with my favorite sunscreen. Then I placed a new compact sponge over it (30 sponges for $1 at the dollar store) and let the sponge absorb the sunscreen.
I keep the compact in my pocket as I’m hiking (inside of a plastic ziplock bag) and when the sun comes up, I take out the compact and apply the sunscreen. The first time I did this I was surprised at how well it worked: The sunscreen doesn’t freeze this way, and is easy to apply. The only downside is the set-up needs to be washed/replaced every time you use it.
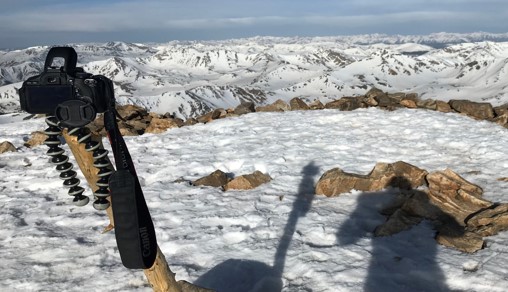
Camera: Of course, you’ll want to bring a camera, and the specific kind is up to you. Did you know cameras get cold too? The batteries freeze and they stop working. To combat this, I put my camera on a strap around my neck, and in between snapping photos keep the camera between my puffy and outer layer. This keeps the battery from freezing.
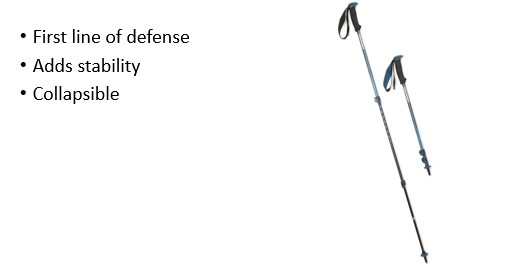
Collapsible Trekking Pole: These are indispensable for a variety of reasons at all times of the year. In the winter they are used for probing the snow to measure snow depth, determining the stability of ice at frozen stream/river crossings, and to whack snow off trees bent over with snow and blocking the trail. Make sure the handle is made of cork or plastic (not metal/aluminum) and easy to manipulate while wearing gloves. When not in use because you’re using your ice axe, collapse and attach to your pack with a carabiner. Also, a trekking pole is your first line of defense against 2 and 4 legged animals.
Shovel: Two different types, one for digging out of avalanches, one to dig your vehicle out of the snow.
Trail Tips and Tricks:
Use a water bottle, not a water bladder: The hoses in water bladders freeze in the winter, making them inoperable. I like a water bottle with a large opening, as it takes longer to freeze. I like to start with warm water, and if it’s very cold out, place it close to my body so it doesn’t freeze as quickly. Warm water in a water bottle is also a great way to warm up your hands.
Keep your toenails cut short: This will help prevent excess rubbing, discomfort, and blisters.
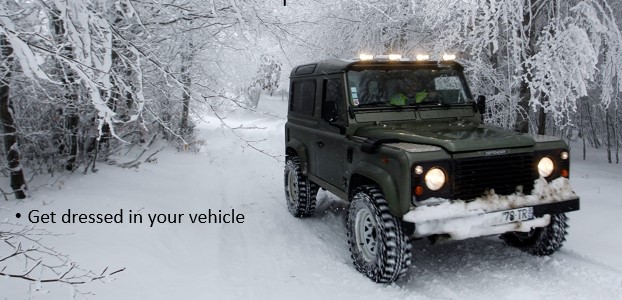
Get dressed in your vehicle: It’s cumbersome to drive to the trailhead wearing all my winter gear, so when I arrive at a trailhead I tend to get dressed in the car. I do so with the heat on high, and put all my gear on without opening the car door (this includes snowshoes). It takes a little maneuvering, but I start the hike warm.
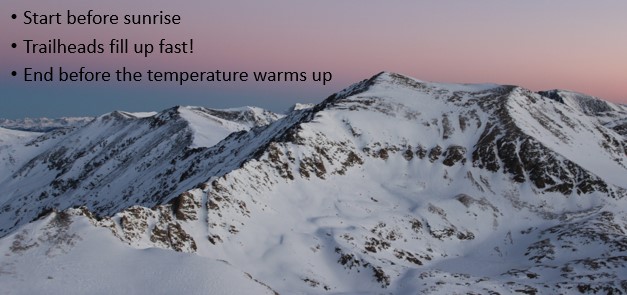
Start Early: Just like in summer, when you want to start early so you can be down below treeline before the noon storms,in the winter you want to start early so you can be down before the worst avalanche danger I’ve found the trailheads in Colorado fill up fast! Many of them before 7am. A side note with popular trailheads, don’t keep valuables in your vehicle, as thieves frequent these sites
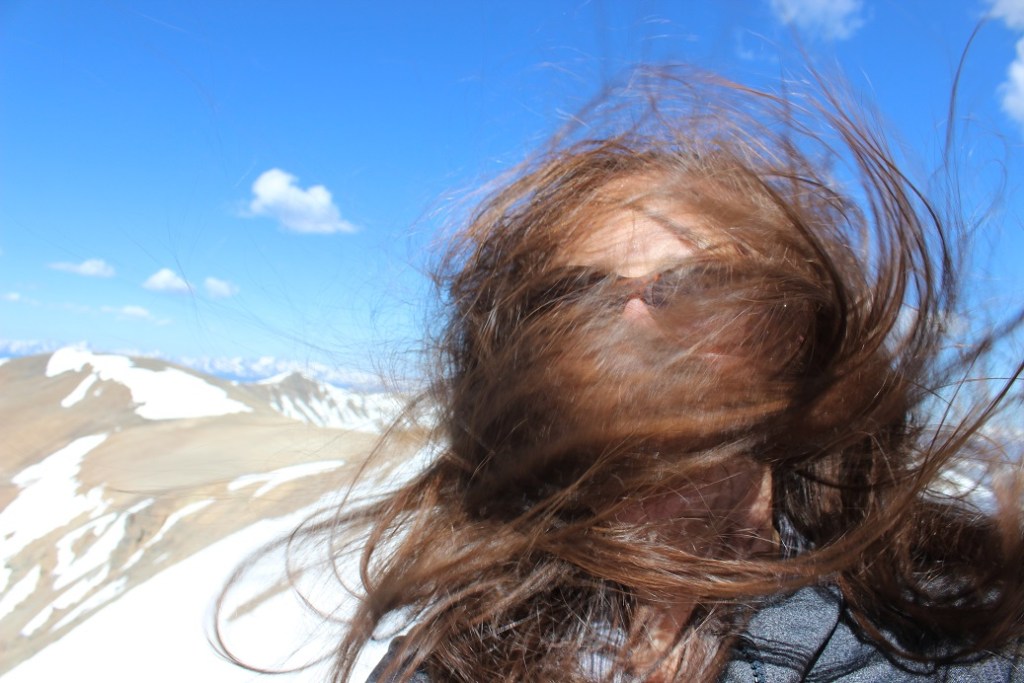
Tie your hair back: Here I believe a picture is worth 1000 words. I now braid my hair before a climb.
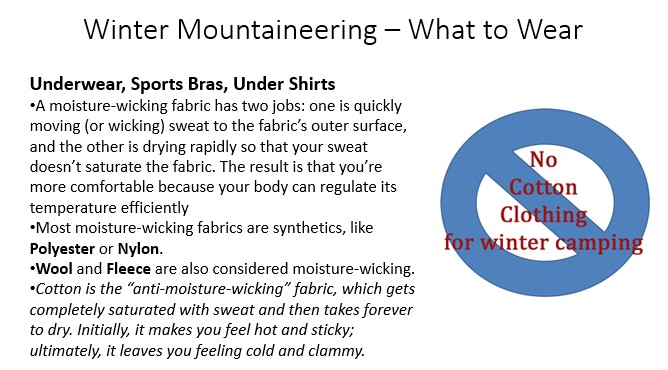
Don’t Wear Cotton: Cotton is heavy, takes a long time to dry, adds to rapid body heat loss, and absorbs too much moisture. That means you stay wet/cold for a long time. This includes jeans and that cool ‘It’s another half-mile or so’ t-shirt. Instead, pick a synthetic fiber such as polyester, nylon, fleece, or merino wool.
Add string to your zippers: Yes, wearing lobster-claw gloves is great for keeping your hands warm, but it makes manipulating your fingers and doing ordinary tasks, such as unzipping a zipper, difficult. I’ve added string to my zippers so they’re easier to grab while wearing bulky gloves. Note: don’t make the string too long, as it will flap in the wind and hurt when it hits you in the face at high speeds. 6 inches of string is best.
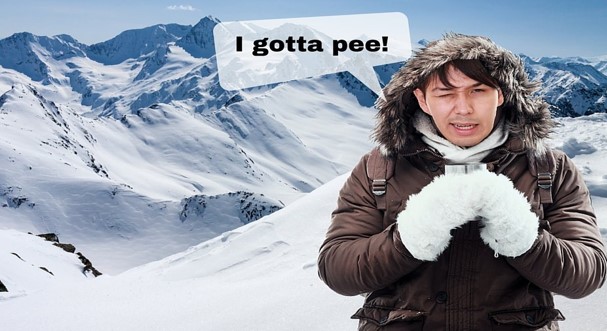
Pee Before Treeline: Wind intensifies at treeline, and stripping off layers in these conditions is not a good idea. If you’ll need to use the facilities (always assume you will), do so under the cover and protection of the trees.
Never Leave Gear Stashed: It’s tempting to leave your snowshoes stashed somewhere when no longer needed to pick up on your way back, but I’ve learned it’s important to carry all gear you’ll need to get down the mountain for your entire hike. I’ve had gear taken (either stolen or someone brought it down to the trailhead, thinking I’d lost it) and it’s easy to forget where you’ve placed the items. If you needed the gear to climb up the mountain, keep it with you so you’ll absolutely have it to get back down.
Keep Moving: There are times when rest is necessary, but resting can quickly lead to frigid body temperatures. Never allow your feet to stop moving, as this is when they cool down. If you’re taking a sip of water or rearranging gear, keep your feet engaged, moving them up and down (marching in place) as you do so. This will help prevent cold toes. Pump your fingers back and forth inside your gloves to keep the circulation going.
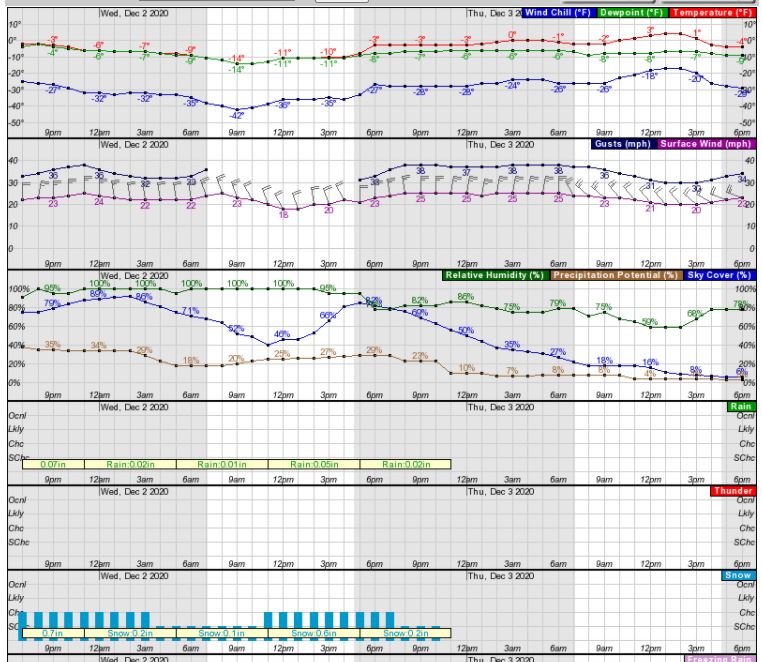
Become a Hobby Meteorologist: In winter the days are shorter, so daylight hiking time is less than in summer. Always check the forecast, but remember forecasts are often wrong and change during the day. Learn how to read weather forecasts and know how they relate to timing, topo maps, and geographic features. I’d recommend spending time learning how to navigate the NOAA weather forecasting site, particularly as it pertains to hourly weather forecasts for specific regions/peaks. You’ll gain information such as temperature, wind speeds, wind gusts, sky cover, potential precipitation, lightning, etc. in an hourly forecast. What you see may look daunting at first, but a few minutes studying and it’s mostly self-explanatory picture of the day’s conditions, letting you know the best times to climb, or if you should climb at all.
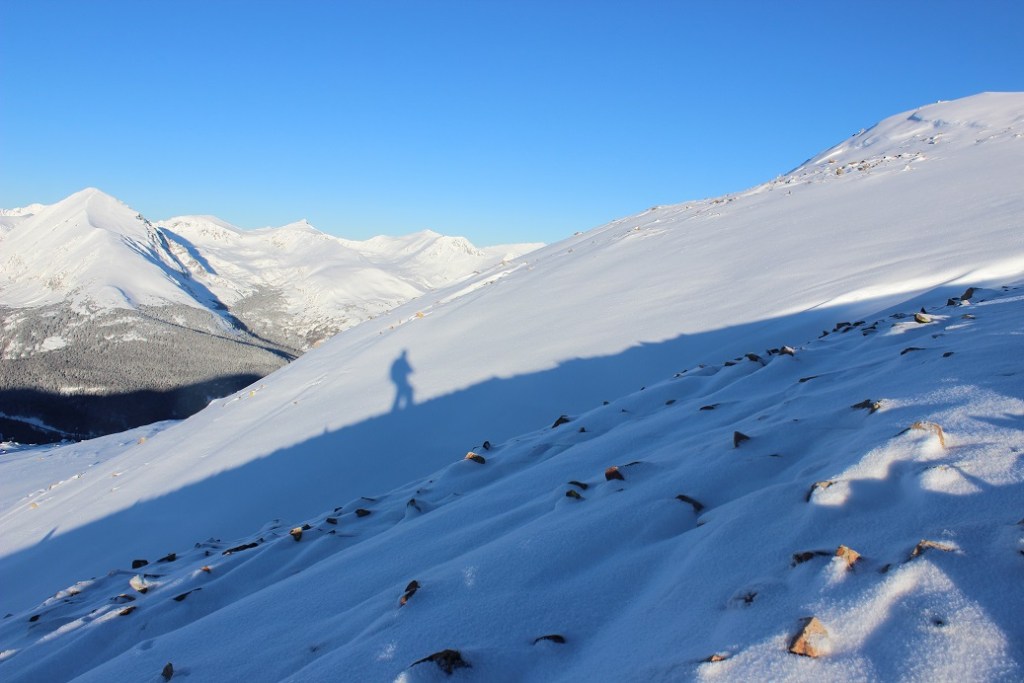
Windy Weather: When reading forecasts, know wind speeds/gusts are often much more important than how cold it is outside. Hiking in 20 degree weather is actually quite nice when prepared in proper gear and the sun out, but add in windchill and it can quickly become hazardous. I’ve mountaineered in winds up to 80mph, and from personal experience, if the wind predicted to be above 20mph I choose a different area or stay below treeline.
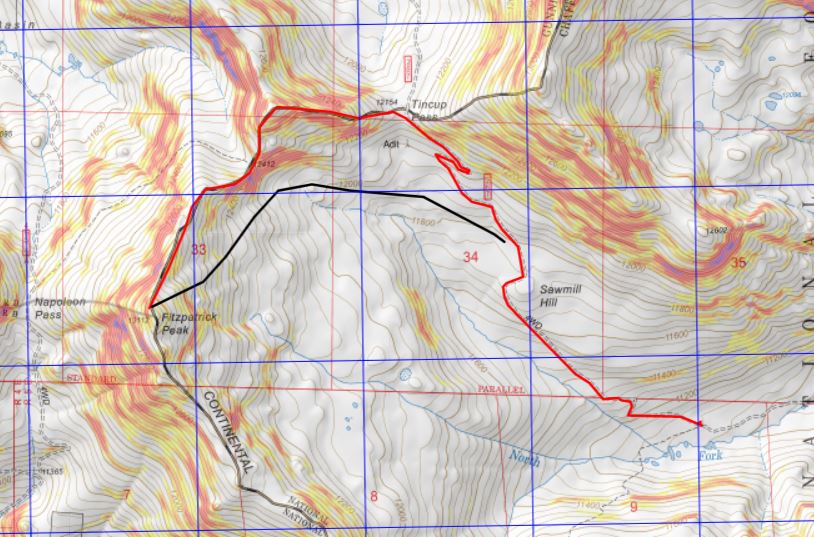
Learn how to read the forecasts to see which way the wind is coming from, and then you can plan your route to avoid ridges where there will be more wind, or at minimum design a route that avoids the brunt of the wind for as long as possible by staying below treeline for a longer period or in the shelter of the side of the mountain with less wind.
For example, in the picture below, if the normal route is in red, but there are winds coming from the north or west that day, you could avoid most of the wind by taking the black route instead, limiting your exposure time on the ridge.
The summit is only halfway: Know your limits, and realize when to turn back. People with Raynaud’s experience cold much more intensely than other people, with quicker and more drastic effects. Summiting is optional, making it back to the trailhead is mandatory. Preferably with all your digits intact. Know when to turn back. Also know when to celebrate. While a lot of people like to down a beer or a shot of whiskey at the summit, this is a dangerous practice, as often times the route down is more difficult than the route up. You want full use of all your senses.
Prevention is key: A Raynaud’s attack, once triggered, is very painful and can take a while to recover from, even after the affected area has been re-warmed. Doing as much as you can to prevent an attack is never wasted: Dress warmly, wear a wind barrier (outer shell), never take off your inner gloves, keep all your gear easily accessible, and bring along warm water. Start with short winter hikes and work your way up to longer, more technical climbs.
I hope this article has been helpful for those of you with Raynaud’s, as well as those of you who may not have Raynaud’s but are interested in staying warm while winter hiking. I’d love to hear from you! Do you have any advice for winter hiking? Comments? Questions? Is there a topic you’d like me to discuss? Contact Wild Wanderer here.
I know I’ve been silent for a few months, and I want to thank those of you who reached out to me asking how I was doing. Yes, I was still summiting peaks, but I was summiting repeat peaks, so I wouldn’t need to write up trip reports. Instead, I was spending my writing time… writing a book! I’m proud to say I’m officially a published author!!! I’m not going to promote the book for a couple of weeks, as I’d like some friends to read it and post reviews first. It takes 10 positive reviews to counter each negative one, so if you enjoy my book, please post a positive review on Amazon. If you notice a spelling error (etc.) please let me know: I can still fix it before the big launch. Please go easy on me: I’m more of a blogger than a writer. Thank you all for your continued support! Don’t buy the hard cover.
Waterton Canyon -> South Platte River -> Waterton Canyon
November 15, 2020
RT Length: 34.18 miles
Elevation Gain: 4308’
High Point: 7517’ Low Point: 5522’
Time: 11 hours, 20 minutes
The Colorado Trail has been calling my name for some time now, so I put it on my list of goals for 2020. When I put down a goal in writing, there’s a 99% chance I’ll hit it. I try to make my goals a bit of a stretch, varying, but still doable, which keeps things fun. This was my last goal to achieve this year, and I honestly didn’t think I was going to make this one. But, a very windy forecast across the state above treeline gave me the opportunity to hike segment 1 of the Colorado Trail (or is it “The Colorado Trail”? Since I’m from California, not putting “the” in front of a trail, road, highway, etc. feels weird, but this is most likely also technically wrong. Please indulge me).
I know I’ll never get enough time off to hike the trail as a thru hike, so I’m going to need to segment hike when possible. The cool thing about this is if I park at a trailhead, hike the segment, and then hike back, I’ll essentially be hiking both SOBO and NOBO. Pretty cool! (Does that mean I get to say I’ve hiked it twice?) At this point I’m thinking I’ll still start out SOBO and try to do the segments in order.
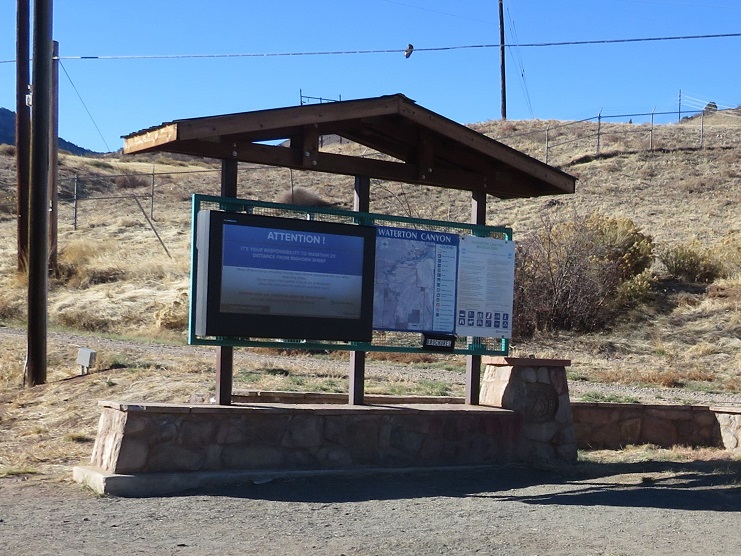
I arrived at the Waterton Canyon trailhead to find the lot empty. This wasn’t strange, as it was 2am, but it did tell me I wasn’t likely to see anyone as I was hiking this morning. The trailhead is positioned close to many large cities, and I was a bit worried my truck would be broken into, since it was the only vehicle in a lot that doesn’t get much ‘midnight traffic’ My only solace: I have a topper and a potential thief wouldn’t know if I was sleeping inside (or not) or if I was armed or not (I always am). It was much colder than I’d anticipated: 18 degrees at the trailhead instead of the forecasted 35 degrees. I knew it was supposed to get up to 60 degrees today, so I forwent the ski pants and instead put on my heavy-duty winter gloves. I said a prayer to the wind gods, asking them to play nice.
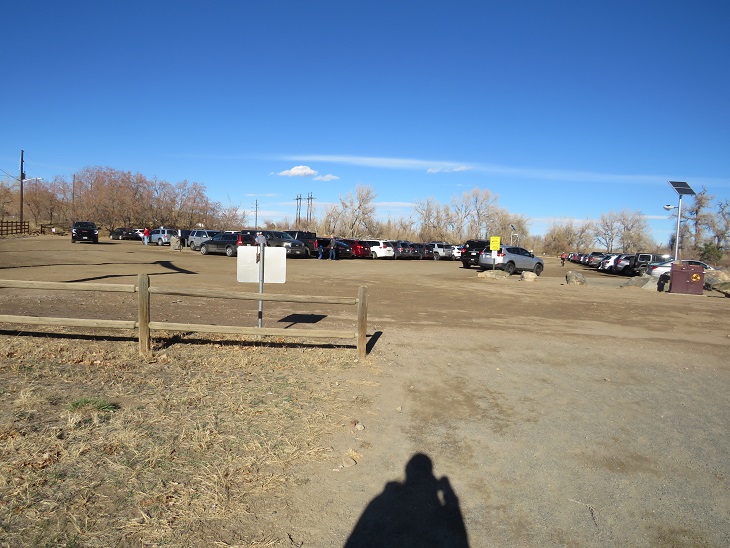
I was on the trail at 2:21am. Because it was still dark, most of the pictures I’ll be posting from the hike in were actually taken later in the day, on my hike out. Here’s a look at the parking lot. It was big enough to hold about 100 vehicles, and was past capacity when I got back.
The trail starts at the west end of the parking area. I had to first cross the street. This was easy at this time in the morning, but the button I pushed that enacted the flashing lights on my return to stop traffic were uber useful.
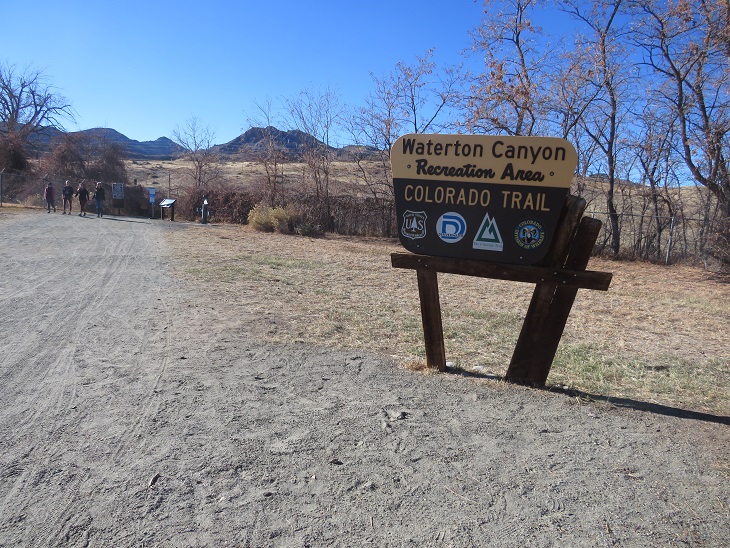
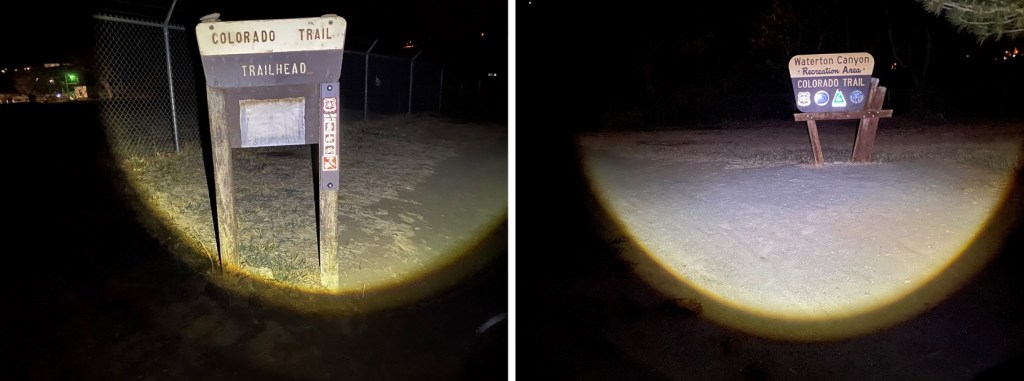
I saw signs indicating I was at the right place!
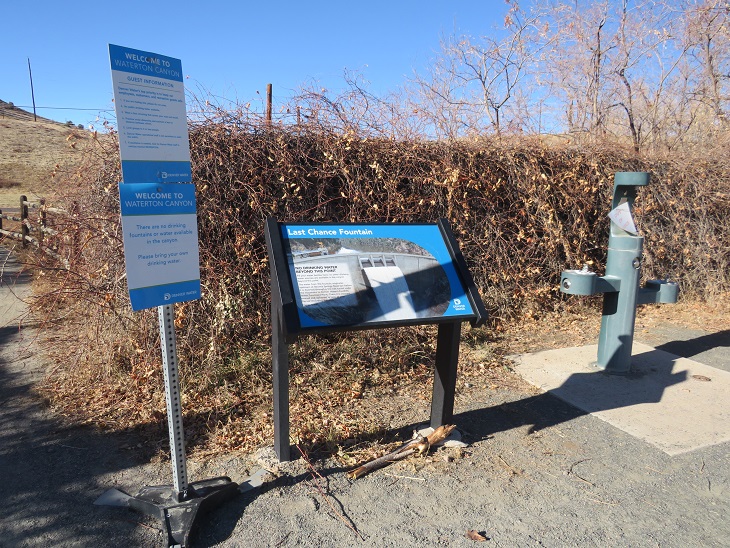
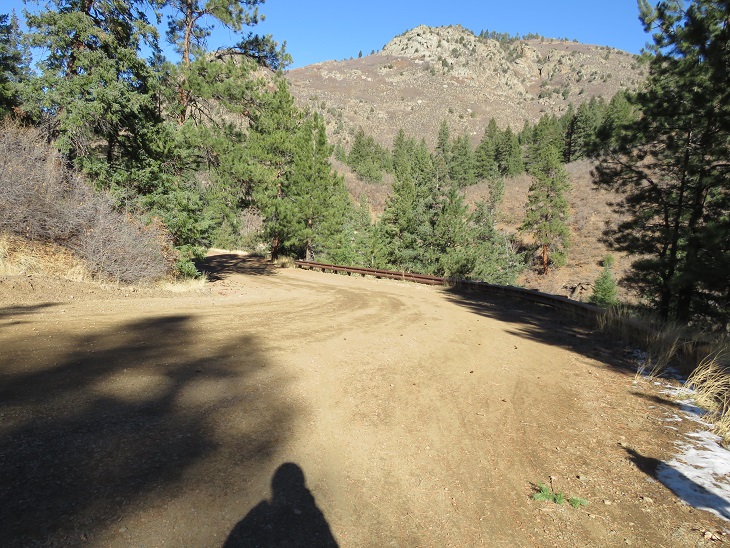
There was a ‘last chance water station’ that was unfortunately closed (most likely due to COVID). Side note: I didn’t drink a single sip of water on this entire hike, yet I brought along a full water bottle and filtration system. If you’re doing this as a day hike and are an experienced hiker, extra water isn’t a necessity. However: know yourself and your water intake. And prepare adequately. There is obviously water along the first 6 miles of this hike, and also at the end, so filtration is possible, and easily accessible.
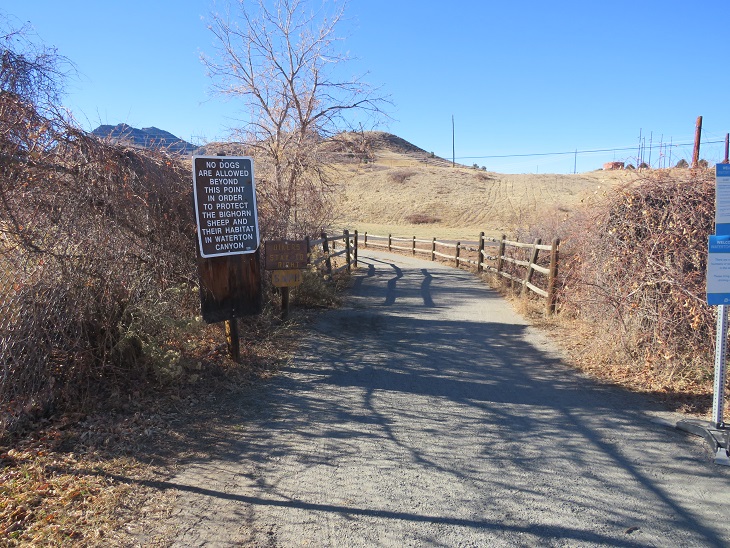
From the beginning there were signs indicating dogs weren’t allowed due to the Bighorn Sheep. I hoped this meant I’d been seeing some wildlife today. I also believe this is the only 6 mile segment of the trail dogs aren’t allowed, so if you want to bring along your canine, it might be prudent to start at the South Platte River Trailhead with your pup (well, start at the Waterton Canyon trailhead ad have a good friend bring you your pup the next day, because if you have a canine companion it’d be worth it).
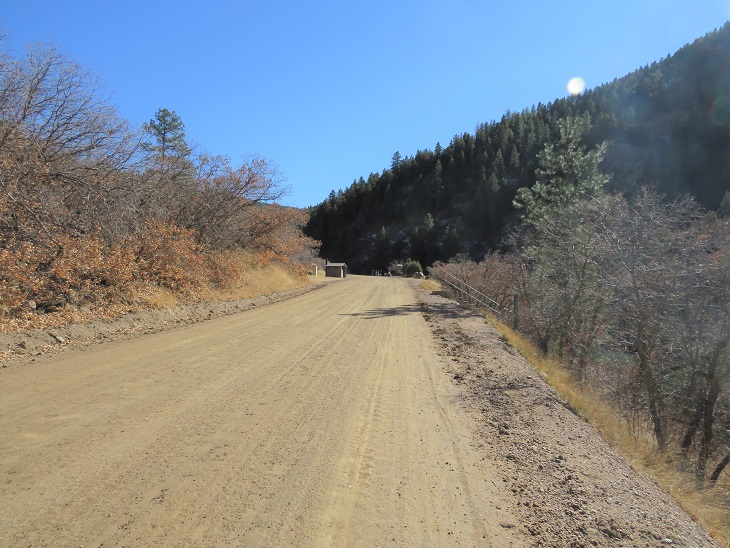
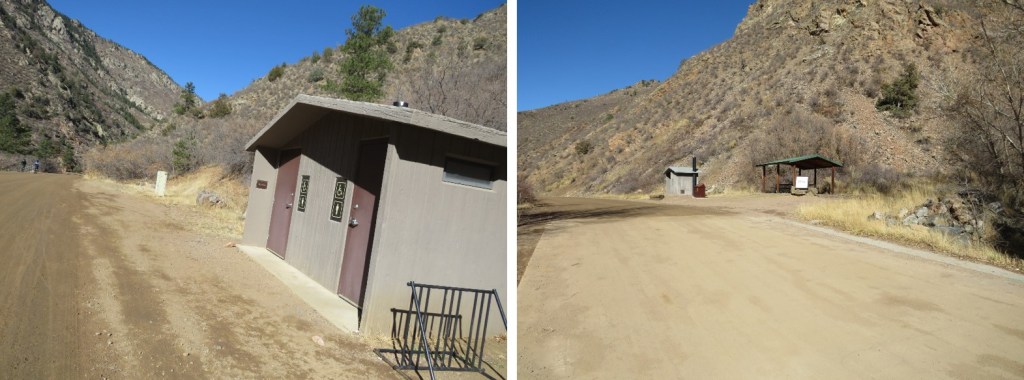
I passed some bathrooms (vault toilets) and smore signage. I just continued following the road west. It was dark out, but at times I could actually smell the bighorn sheep. I knew they frequented this area, and at this point they must have been close. It’s funny how your sense of smell can guide you at times. Side note: in the 6 miles to the Stronia Dam there are 3 bathroom stops. I felt this was quite excessive until I hiked back and saw hundreds of other hikers along the trail.
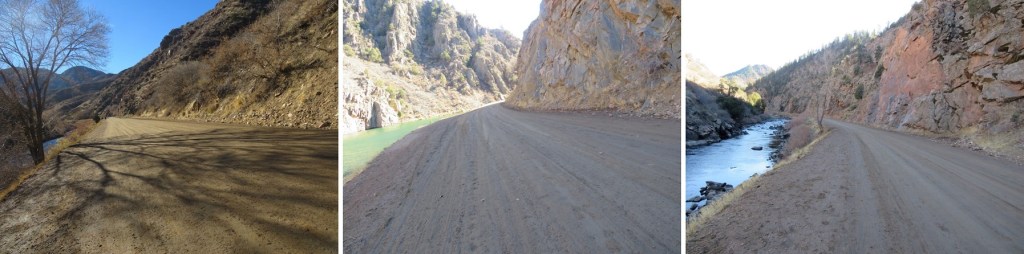
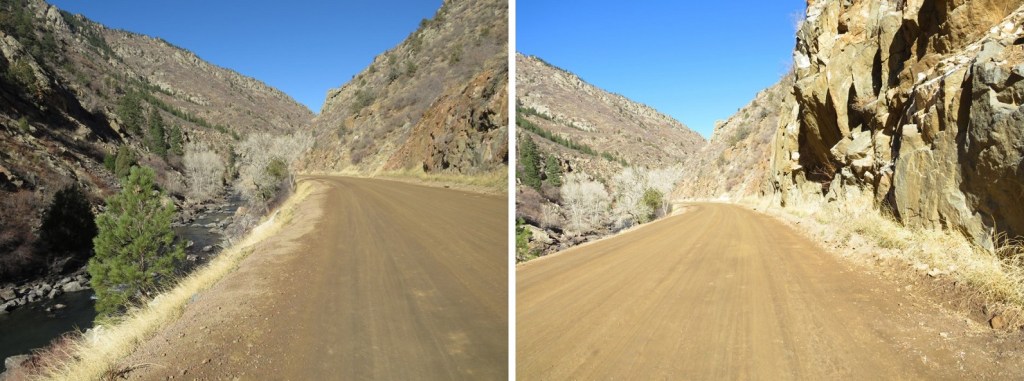
The road here is wide and there isn’t much elevation gain for the first 6 miles. There are mile markers every half mile or so, which are helpful. Interestingly, the mile markers switch sides of the road halfway through, so in the dark I ended up missing a couple, only to find I’d hiked further than I’d thought. In the daylight this made sense, as they followed the contour of the mountains. On the positive side, the miles were just flying by! This was good, because it was quite cold and I was willing the sun to rise. My fingers were frozen and I kept pumping them back in forth inside my gloves. Also, seriously, my fingers were frozen. I actually gave the thought to going back, but the knowledge it was supposed to be a warm day kept me continuing on.
The road follows the South Platte River, with several bathrooms along the way (no less than 3)
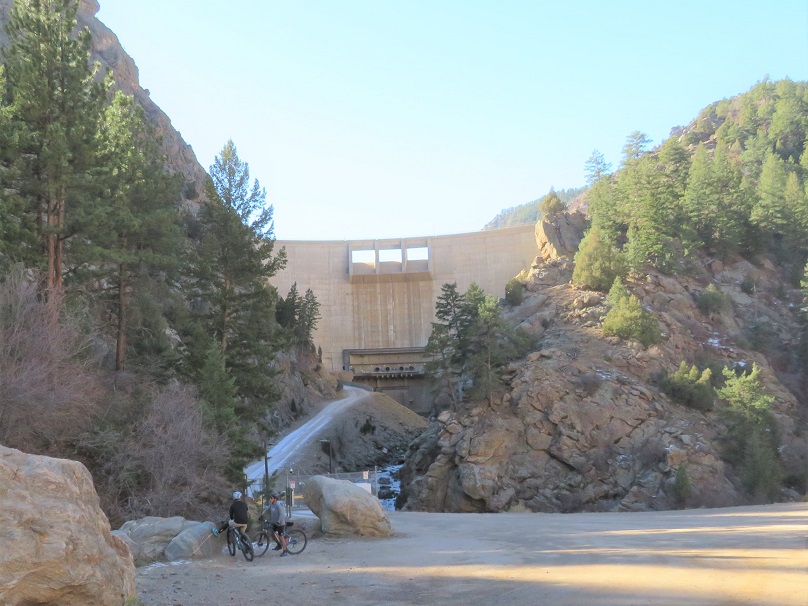
After hiking for 6 miles I came to the last bathroom area, and, in the dark, saw lights illuminating the Stronia Springs Dam on the right (there will be a better picture of this dam later)
I continued following the road for another half mile or so as the road began to narrow.
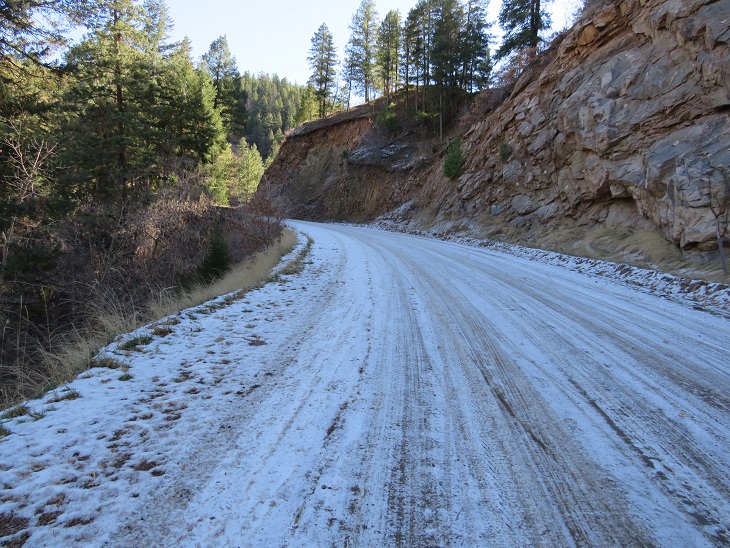
It was a bit icy out, even on the way back, but nothing that required spikes or even more than common sense to navigate.
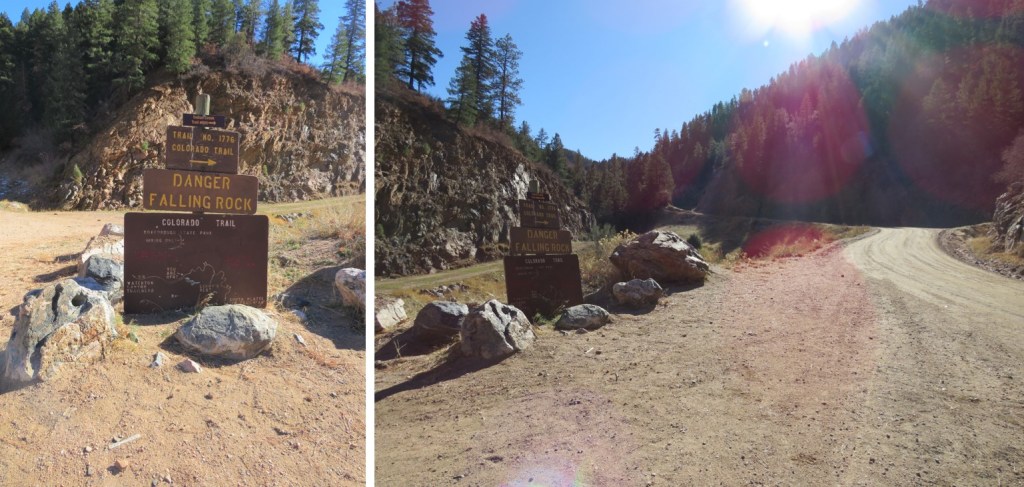
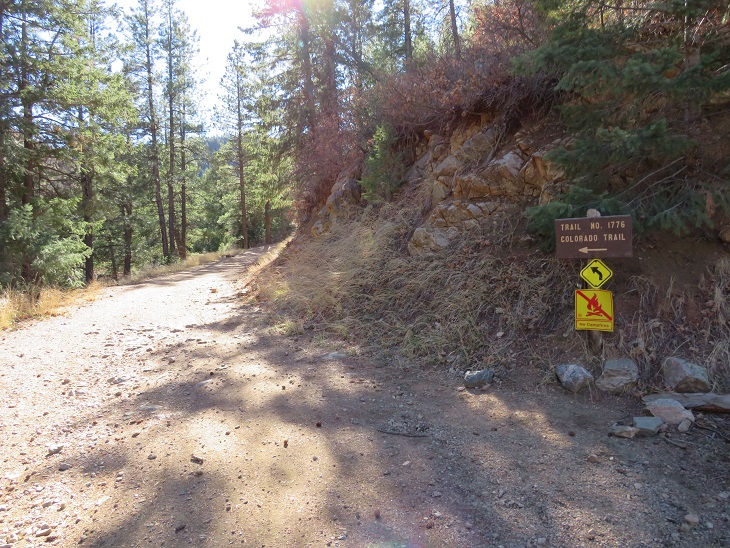
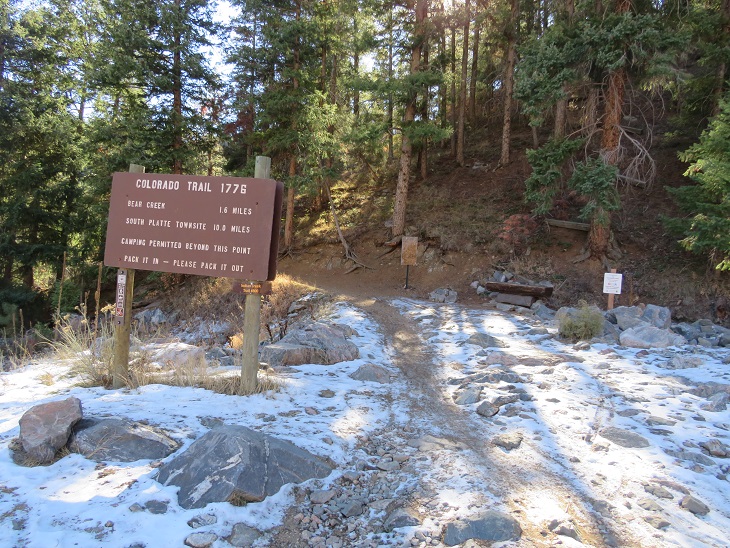
The trail is very well marked and easy to follow. I thought it was cool Colorado Trail is Trail 1776.
After hiking for 6.7 miles on a flat road, the real trail began. And so did the wind. I don’t want to make a big deal of this, mostly because the wind across the state this weekend was intense, but the wind didn’t stop for this entire hike. It was insistent, but always above treeline, which made it manageable. Yes, it had been a good idea to take this hike, as anything above treeline would have been intolerable. I’ll stop mentioning the incessant wind here.
I was surprised it was still dark outside. It had been my goal to get to this point before daylight, but daylight was still a long ways off. Woot! I didn’t check my phone to see the time (too cold for that) but the sky wasn’t even beginning to lighten. This was good news. Since I usually do intense elevation hikes I had no idea how long this hike would take me, but it seemed I was making better time than I’d anticipated.
From this point it was 10 miles to South Platte River Trailhead. The trail continues gaining elevation for 1.2 miles, switchbacking south, gaining about 725’ of elevation.
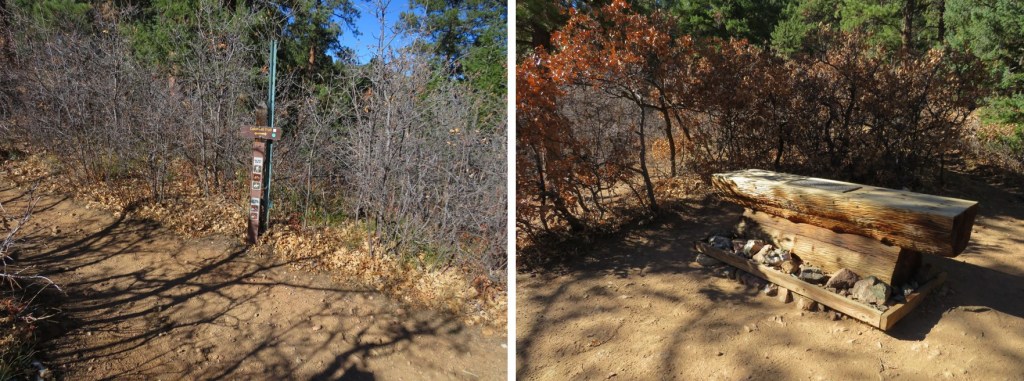
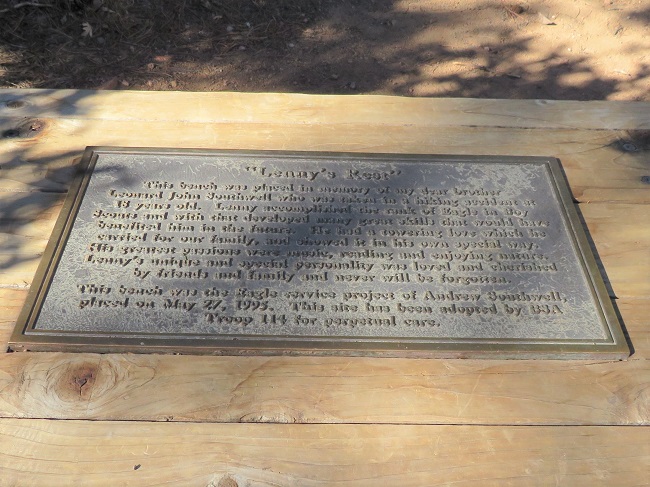
At the end of the 1.2 miles is a sign indicating the Colorado Trail, and a bench entitled ‘Lenny’s Rest’.
You should take time to read the plaque while there. My son is an Eagle Scout, and I’m an avid hiker, so I took time to appreciate this monument. I’m not providing a clear indication of the wording because I believe it’s best experienced in person. Rest here.
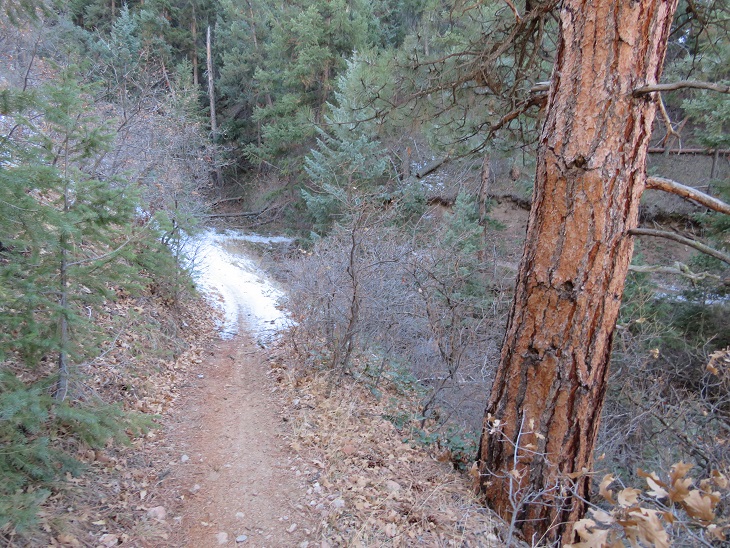
From Lenny’s Rest I was disappointed to find the trail started losing elevation. I lost a total of 350’ as I hiked down. Maybe I should have done more research? The hike started in chaparral and ended in pine. This seemed something of a paradox, but also fitting to the area. There are pinon pines, junipers, scrub oak, and ponderosa pines in this area.
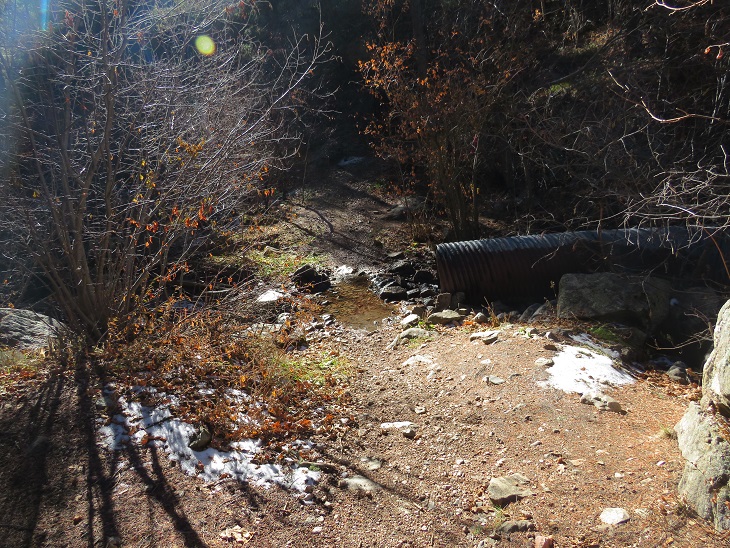
You’ll know when you’re at the lowest part when you cross this drain. Maps show this point as crossing Bear Creek. This was more of a jump across a drainage than a creek, but it was late in the year so water was low.
Then, it was all uphill for the next 4.2 miles, as I gained 1332’, switchbacking again. There are a lot of switchbacks on this segment. Switchbacks are a blessing and a curse, depending on where you are in your hike. If I’ to do this entire hike in segments, they will most likely be a curse, as I’d prefer elevation gain, but if I were a thru hiker, I’d appreciate the ease in elevation.
Some of the signage needs work. I’m not sure what the wooden plaque says?
There are a lot of good campsites in this area. I’m guessing that’s because it’s a nice ‘last night’ for Colorado Trail thru hikers before finishing up the next day (that, and camping isn’t allowed along the road). If this is the end of your NOBO journey, this is a great last place to camp. Also, high-five and congratulations!
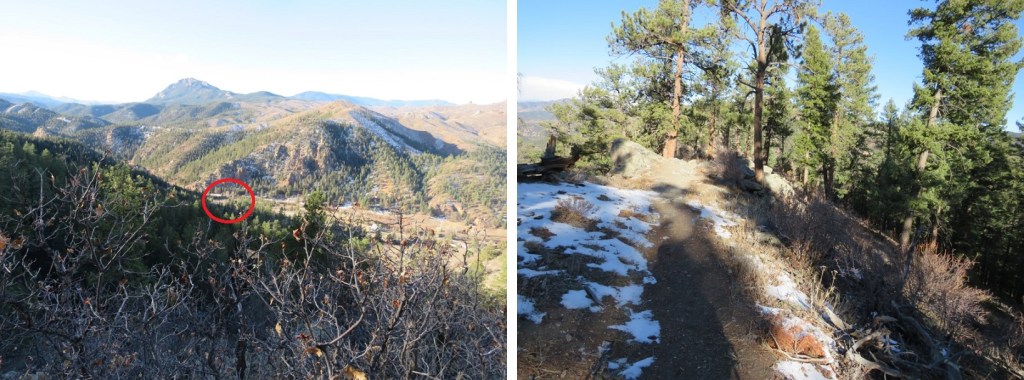
The highpoint of this hike came below treeline, where these metal signs are present. From here, it was (mostly) all downhill.
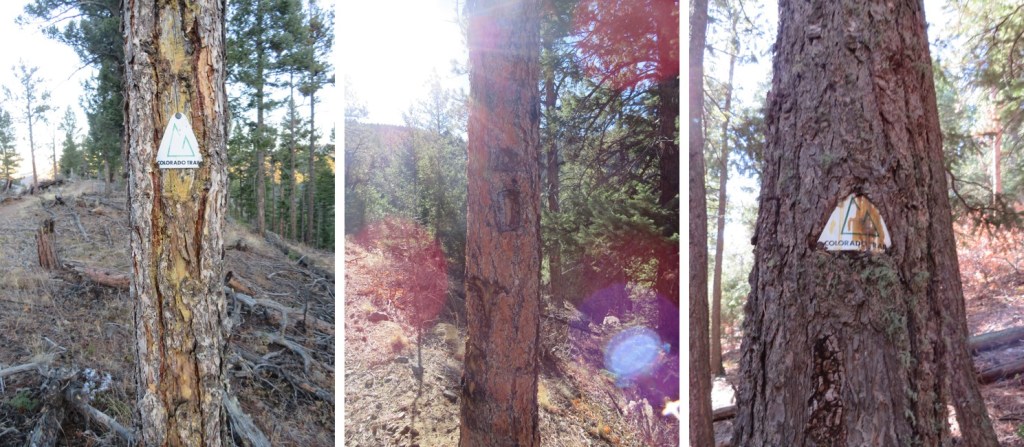
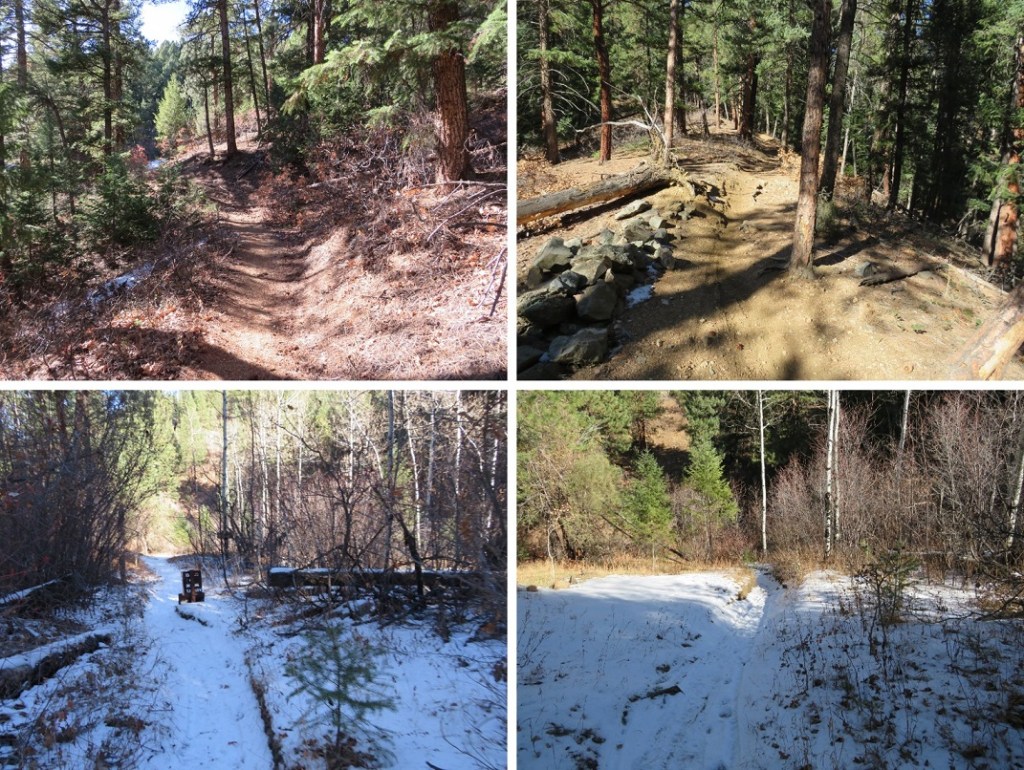
The sun hadn’t yet risen, and I was getting excited about my time, mentally calculating how much longer I had to reach the South Platte River Trailhead and the distance to my halfway point for today. As I hiked, I contemplated the different trail signs, which ranged from actual signs (wooden or metal) to the Colorado Trail Marker and blazes on the trees, both etched and painted. It seemed a shame the trees had been blazed, but this also makes sense, as the paint eventually goes away and people steal the markers (or the trees eat them).
Sometimes the markers are placed over the blazes. There were quite a few markers (it’s difficult to get lost on this trail). I spent a lot of time contemplating most of this. Also, if you’re hiking the Colorado trail and want a marker as a memento, you can buy one here for $5 and not have to carry it with you, and you don’t need to feel the need to take one from the trail (don’t take one from the trail. Don’t).
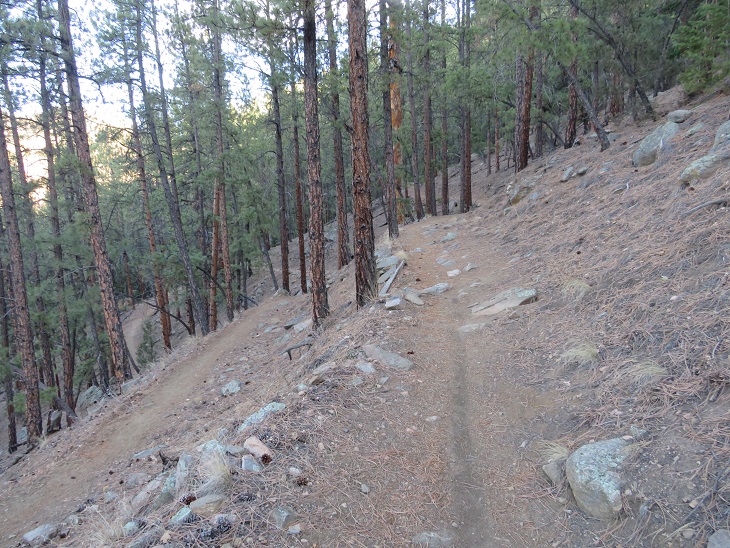
The trail continued to wind around the mountain
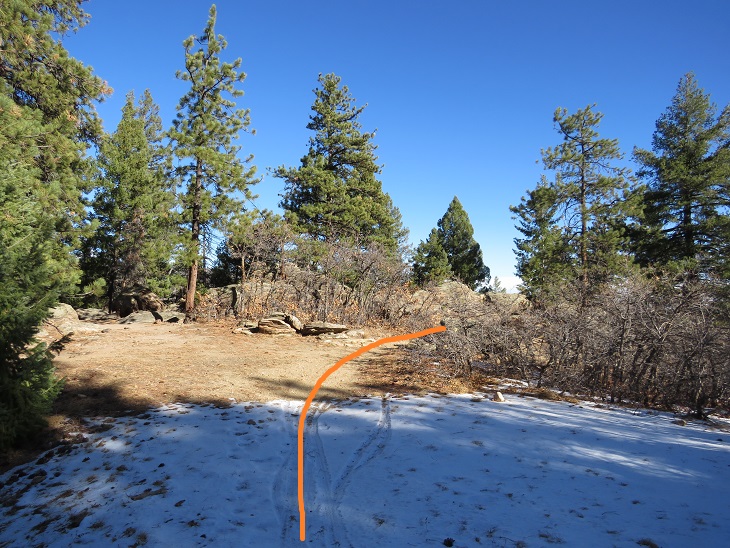
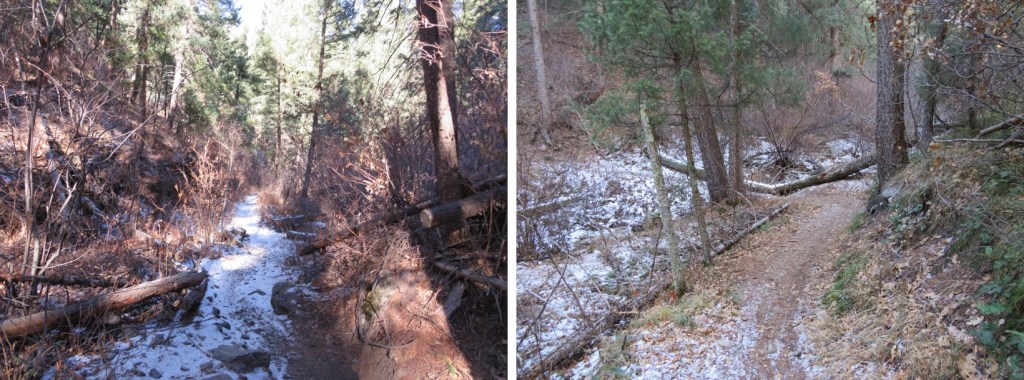
There was a considerable number of downed trees in this area, and also tree cutting boundary signs. (Another side note: a forest fire has decimated the corresponding segment, most likely spreading quickly due to dead/downed trees. This area needs to be cleared, or is most likely next to go up in flames).
I hiked around a spot that looked like it’d be a fun rappel point (for new learners)
And kept hiking, losing elevation as I went
In total, I’d lose 1375’ before making it to South Platte River trailhead. There was a small plateau with a great view of the South Platte River trailhead. I hit this point at sunrise, with the sun was rising behind me.
From here I swtichbacked what seemed like another 50 or so times before making it to the bottom. The good news: the sun was starting to rise and I had a great visual of the trail.
I made it to my half-way point, South Platte River Trailhead, at 8am. There were some other vehicles in the lot, with hikers putting on gear, getting ready for their morning hike. I was quick, took a few pictures to prove I’d made it, turned around and headed back. It had taken me 5 hours, 40 minutes to make it the 16.7 miles. I considered this a good time.
There is a vault toilet at this trailhead. It was now 8am and I’d hiked 16.91 miles so far this morning (in about 5.5 hours.
To head back, I just retraced my steps. However, now it was daylight, so I’d be able to get some appropriate pictures. Starting from South Platte River Trailhead, heading NOBO: The trail starts at the east end of the parking area
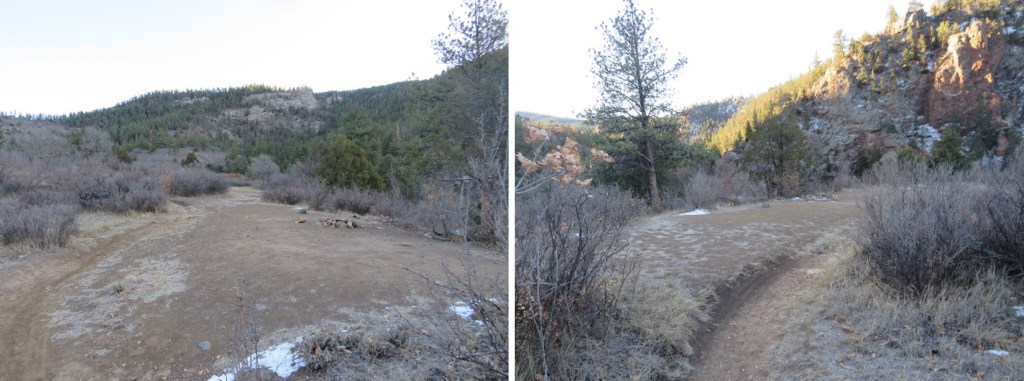
There are several great camping spots along the trail, just a few dozen yards from the parking area. I’m sure these are for CT hikers on their first (or last) nights. Lots of room here for a dozen or so campers that play nice.
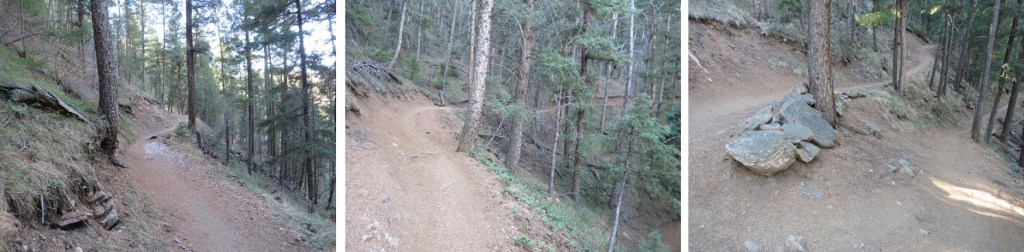
This was a very easy to follow trail that switchbacked northeast along the mountainside, first through chaparral, and then pine trees. There are lots of areas with chaparral, pinons, and pines along this trail.
Here’s another look at the quick plateau
And more hiking through pine trees. I promised I wouldn’t say anything more about the wind, so I won’t.
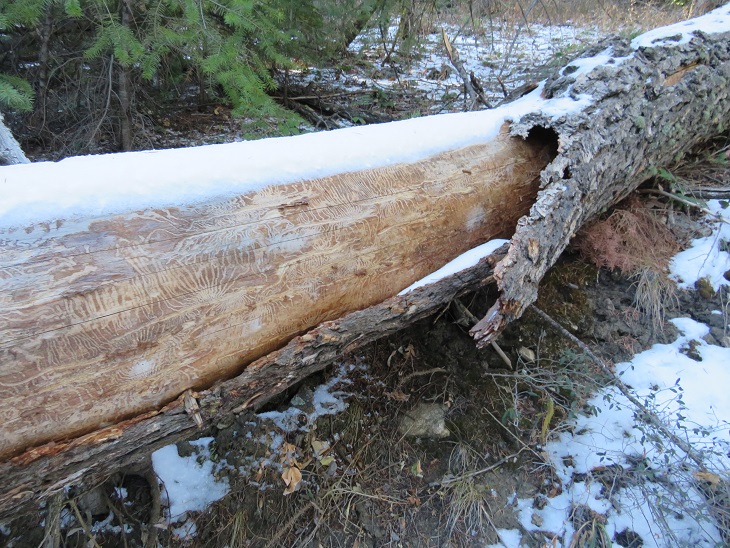
Here’s a cool log I hopped over on the trail. I’m a fan of the markings the beetles make, if not a fan of the beetles themselves.
And now I was back up at the highpoint/ridge
From here I’d lose 1319’ of elevation as I wound my way back down the mountain
There are several good camping spots directly off the trail, just before the low point and after (if you’d want to camp closer, rather than later in your end hike).
When you see this metal drain you’re at a low point. I believe this is Bear Creek.
From here I gained the last 350’ of this hike in elevation as I hiked back up to Lenny’s Rest
Another camping option, although this one is kind of steep to get to.
I made it to Lenny’s rest, and stayed straight to stay on the Colorado Trail (going right brings you to Roxborough Park
From here I switchbacked and switchbacked and switchbacked back down to the road.
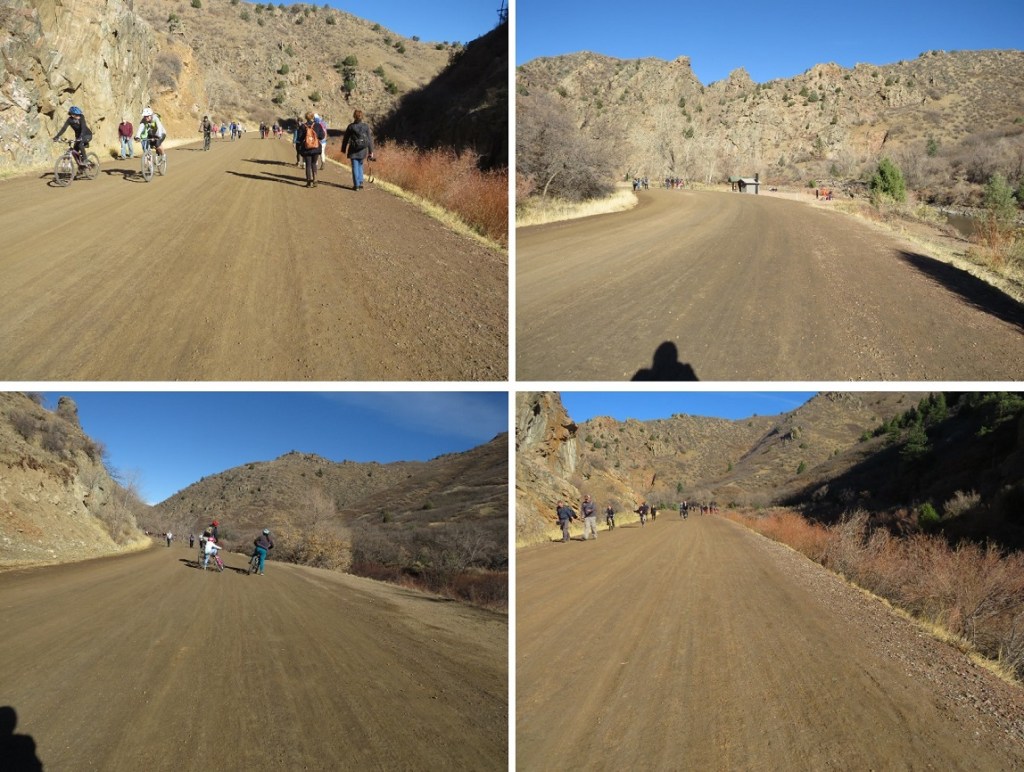
This is also where I encountered my first ‘people’ of the day. These people were riding bikes. I’ve encountered a lot of bike riders in my hiking experience, and I’d like to note everyone I encountered today was cordial. In Colorado Springs I’ve found the bikers had attitudes, but not here. I did my best to give them passing room on the trail, and they verbalized thank you’s. However, I was still frustrated. Over and over and over and over again I passed bikers headed towards me. Because I was hiking I gave them room and stepped aside. Again, and again. And again, and again. And again, and again. There were so may bikers I lost over an hour of hiking time giving them room. This was the right thing to do, but very, very frustrating. This is November, how many bikers could there be? (side note: dozens, if not hundreds). The trail eventually led to the road that navigates through Waterton Canyon
I was quite excited to see during the day what I’d missed hiking in at night. The first thing I noticed was a sign stating “This part of the Colorado Trail is maintained by the Colorado Mountain Bikers Association”. Well, that explained a lot. I just needed to prepare myself for bikers that wouldn’t end. The road led me past a maintenance yard and a ‘private residence’, which I believe belongs to a permanent/stationed worker here.
I quickly came to the Strontia Springs Dam, and got the feeling I’d be seeing a lot more people today than I’d imagined. And a lot more bikers. Sigh. Well, at least this was happening at the beginning of my journey. Also, I don’t dislike bikers, sharing trails is great, but I think we can all agree separate bike-motorcycle/ hiking trails is the optimal solution.
Most of the hike out was uneventful. I hiked for 6.2 miles along a well-maintained dirt road, doing my best to stay out of the way of the hundreds of bike riders along the way. Yes, hundreds. It was insane. There were bathrooms and picnic areas every 2 miles or so.
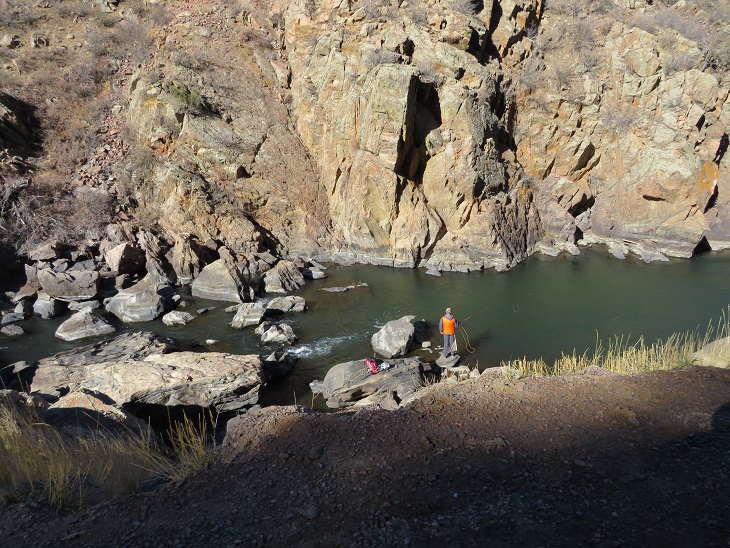
This road follows the South Platte River, which, according to the dozen or so fishermen I saw along the trail, is a good place to fish. Unfortunately, it must be too late in the year, as I didn’t see a single of these dozens of fishermen with a caught fish.
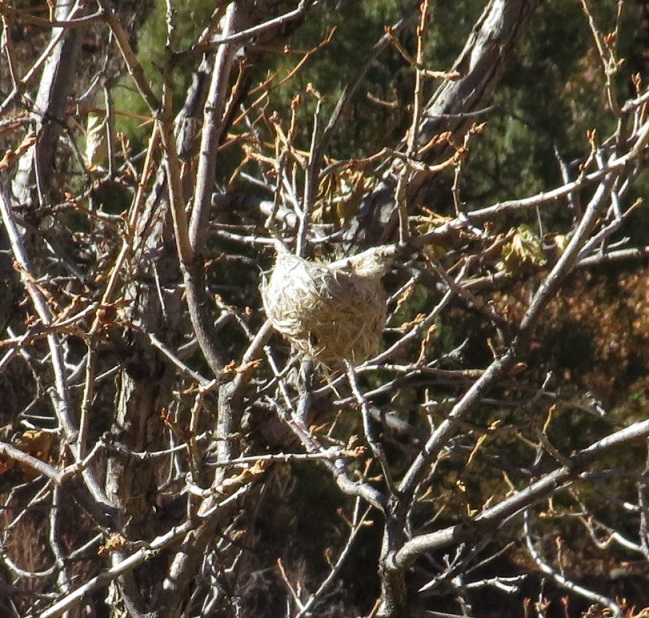
I saw birds nests in the trees
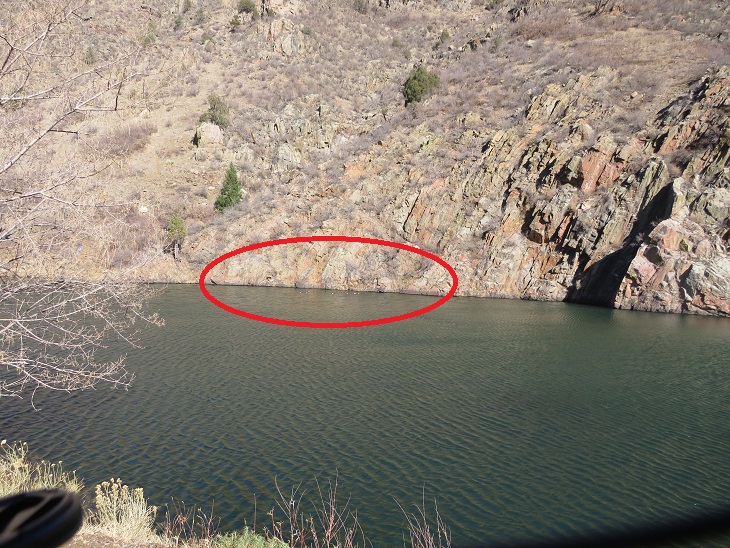
And wood ducks (the kind with red heads) floating in the river
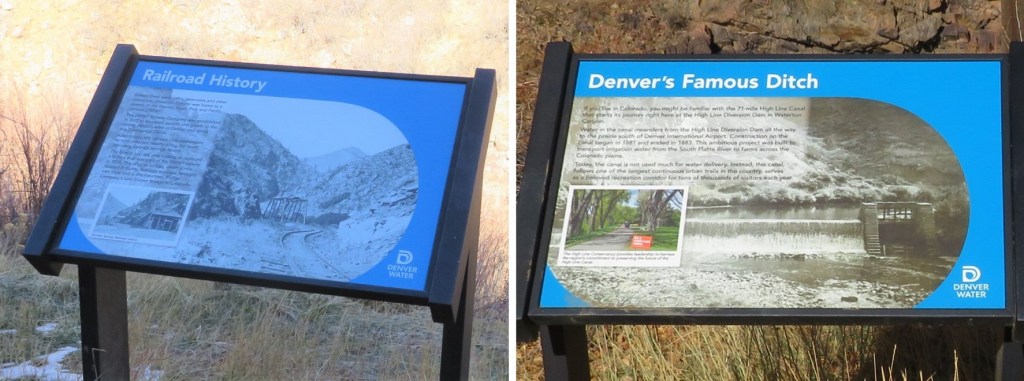
There were several interpretive signs along the trail as well
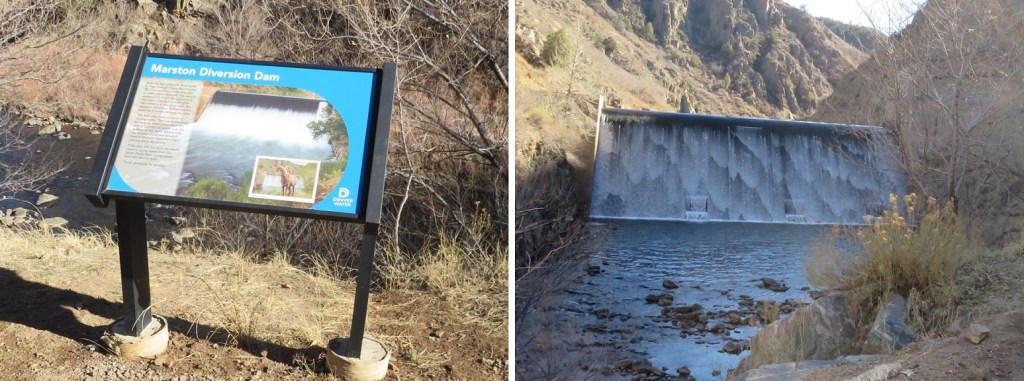
I passed the Marston Diversion Dam. At night, this was hard, yet amazing to see. Here it is in daylight.
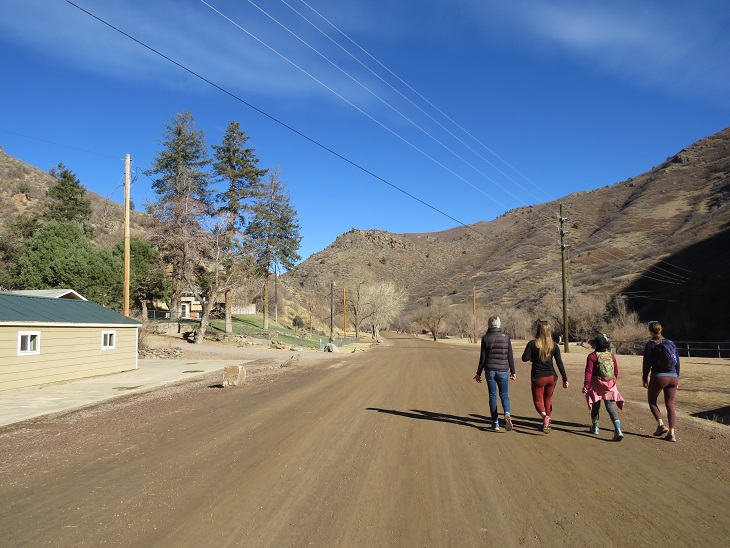
And some more buildings/houses. It looks like they store snow equipment here
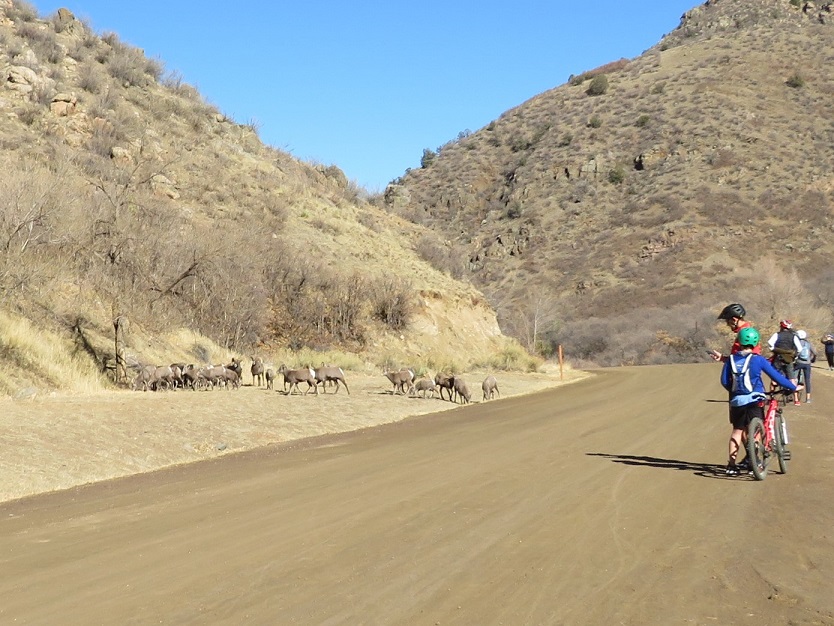
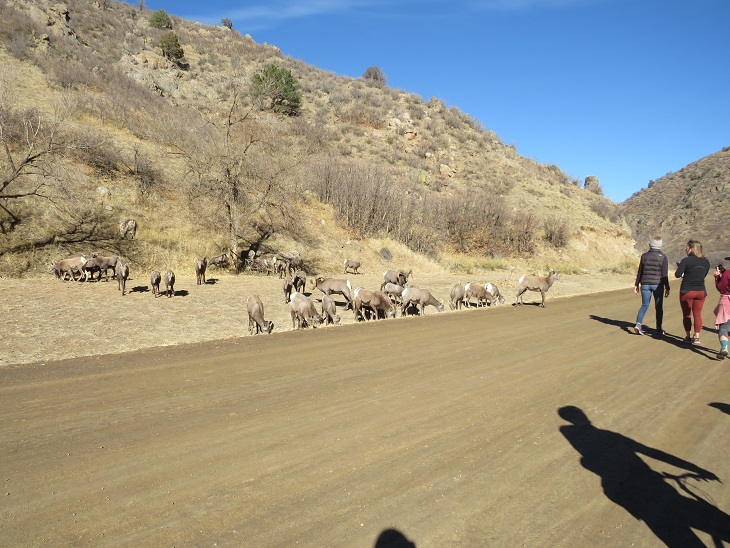
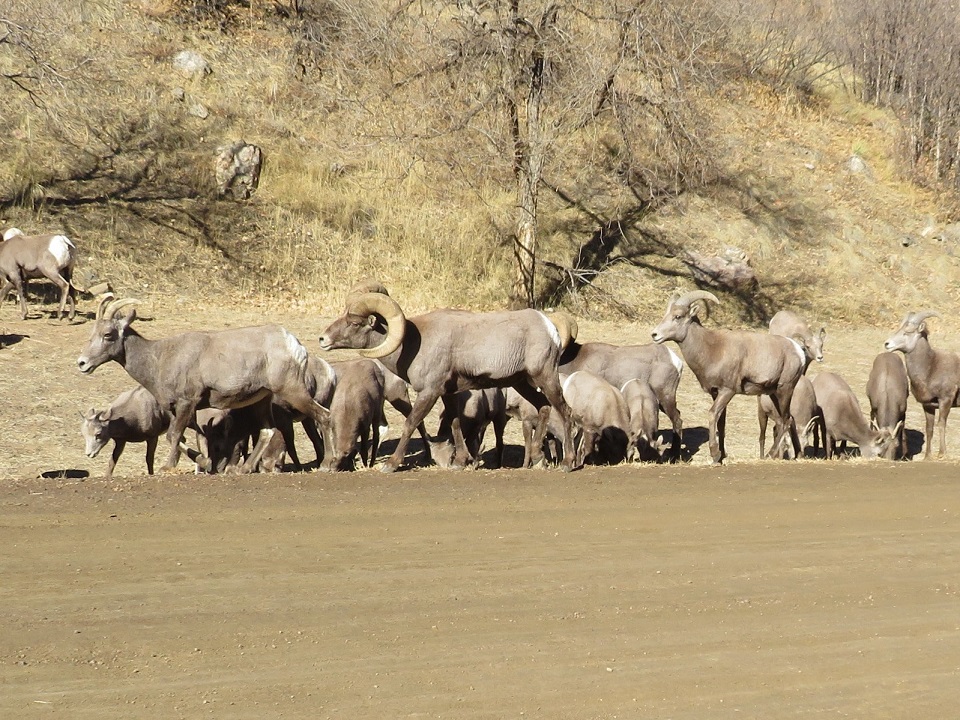
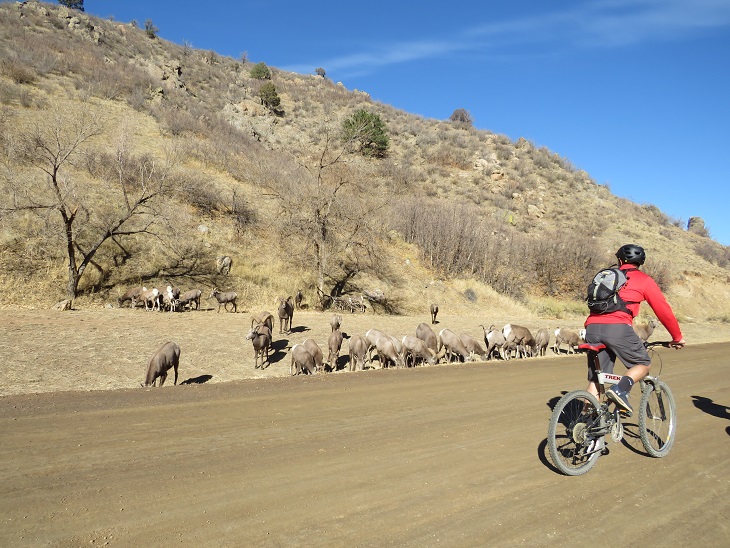
This is where it got really interesting: I could see people gathered along the side of the road ahead of me, and to the left of the road there was a large herd of bighorn sheep.
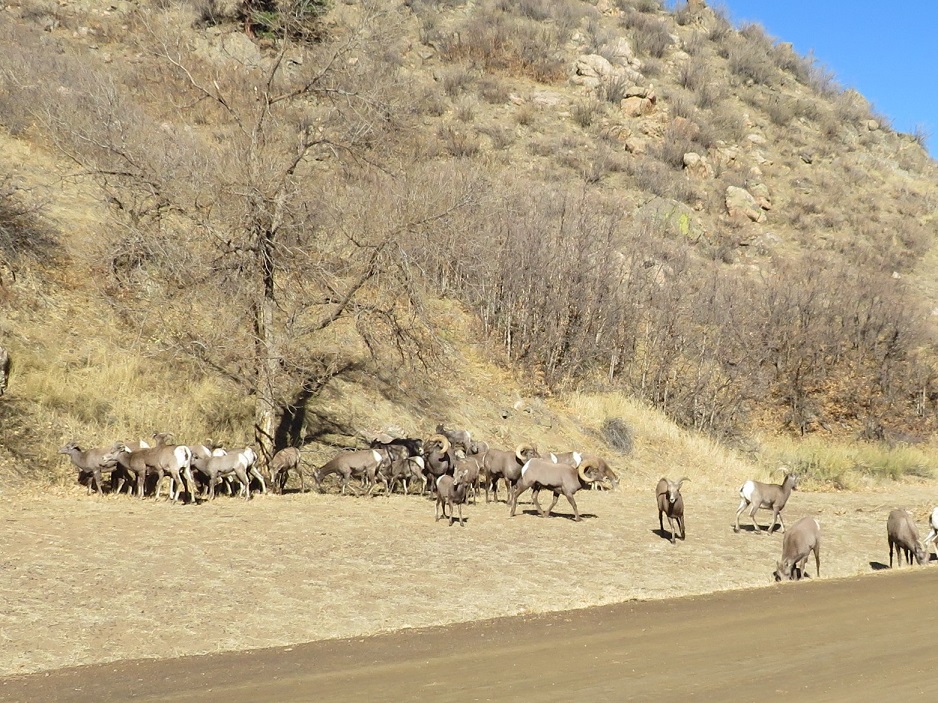
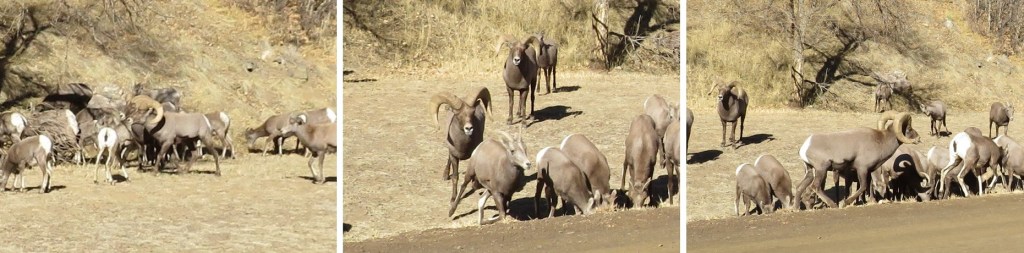
That’s when I heard it: the thundering of hooves quickly approaching from behind me. I turned and saw a rather large ram chasing an ewe down the mountainside at breakneck speed. They made it to the herd and everything settled down.
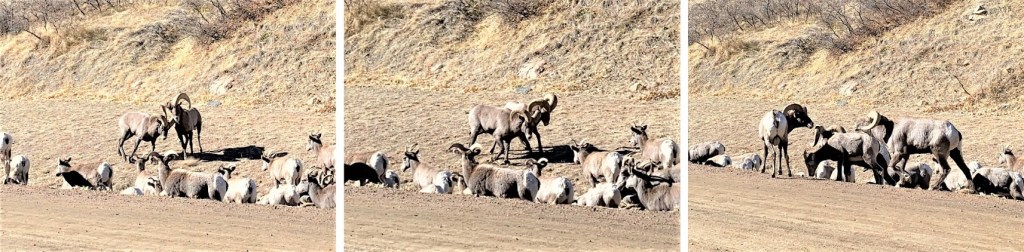
Well, kind of. It seems this is mating season, at least for the males. The rams kept chasing the females, sniffing their backsides and sticking out their tongues, testing if they were ready to mate. The females were having none of it, and kept darting away. You could see the power these animals have: lots of muscles and agility.
Bighorn Sheep – Waterton Canyon
Head Butt:
I was surprised at how close the people were to all this madness. There are signs posted asking you to stay a minimum of 25 feet away from the Bighorn Sheep, but it seems many people either hadn’t read the signs or forgot this. The sheep were all riled up (due to mating) and unpredictable.
I passed so many people on the way out. Hundreds of hikers, bikers, walkers, runners, and lots and lots of children on the trails. OMG, this was an insane entry point: One I’d love to do again, but never with this may people. INSANE.
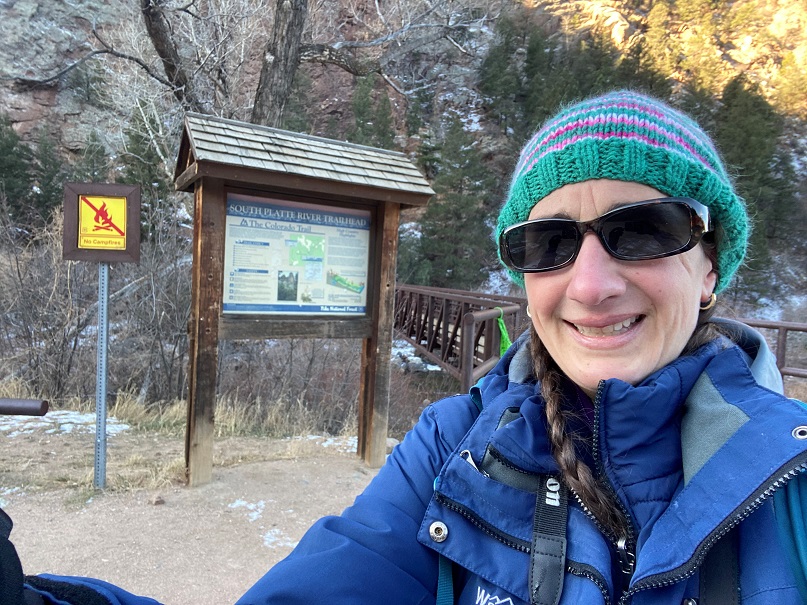
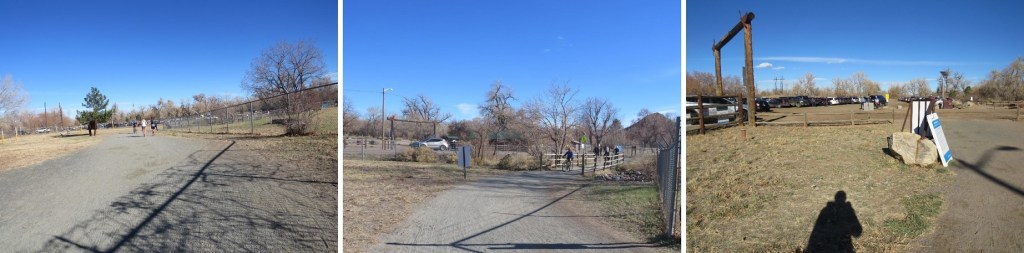
Here are some pictures of the end of the trail
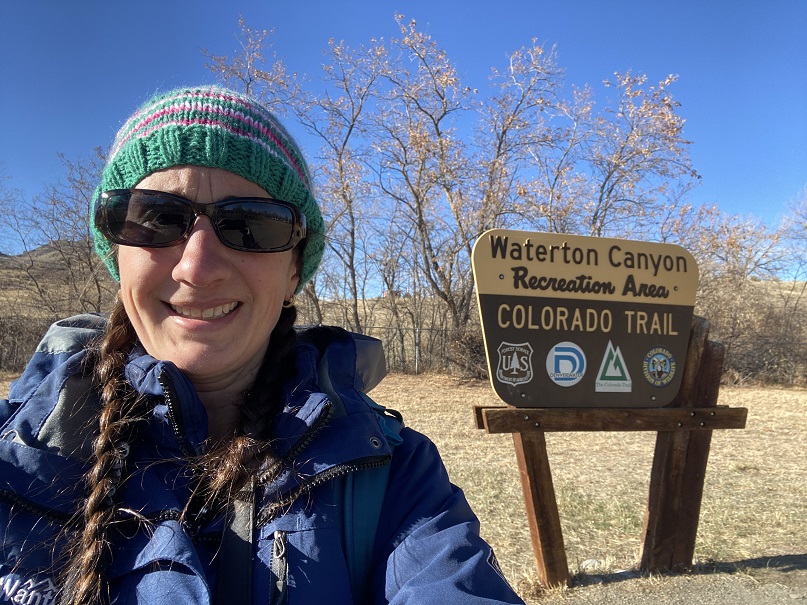
And a picture to prove I made it back
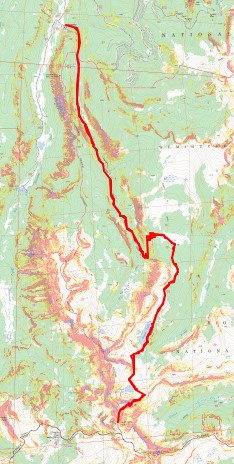
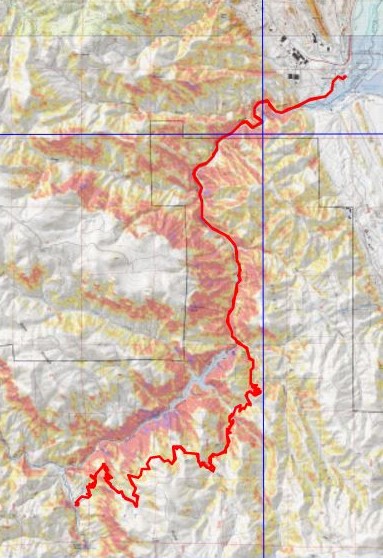
I made it back to my truck at 1:45pm, making this a 34.18 mile hike with 4308’ in elevation gain in 11 hours, 20 minutes. Added bonus: My truck was as I’d left it. I’d been a little bit worried, because about 5 miles in I realized I’d forgotten to lock the topper. Whoops! I was lucky this time. Here’s a topo of the route. (Side note: feel free to contact me if you’d like a copy of the GPX file for this route).
The most difficult part of this hike ended up being the drive out. It took no less than 15 minutes for me to leave the parking lot, due to the number of people using the crosswalk and drivers coming each way. A nice person finally realized my predicament and waved me on, even though they had the right of way.
When I got home I took out my journal to write notes, but decided I’d rather start a specific journal, just for the Colorado Trail. I have some stocked up, for just this reason. Emily drew the Colorado Trail logo on the front, and I started jotting down notes. I’m kind of liking this journal…
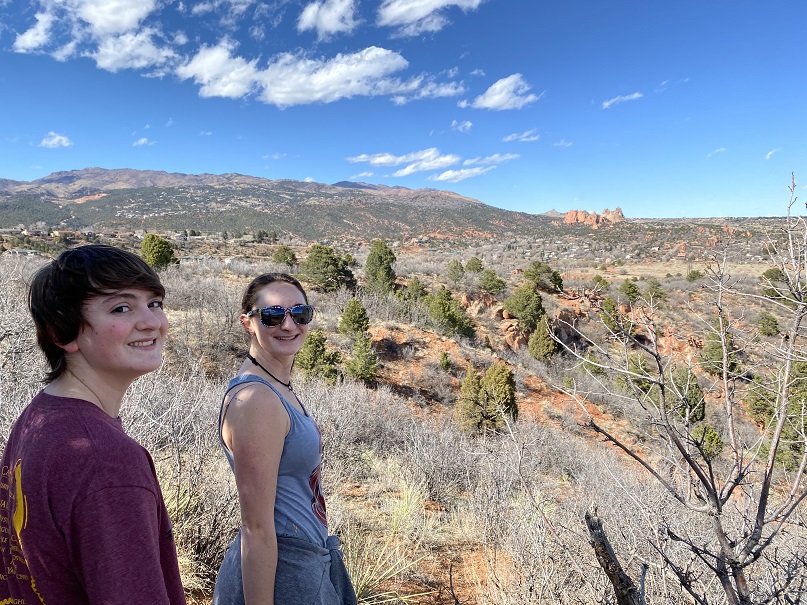
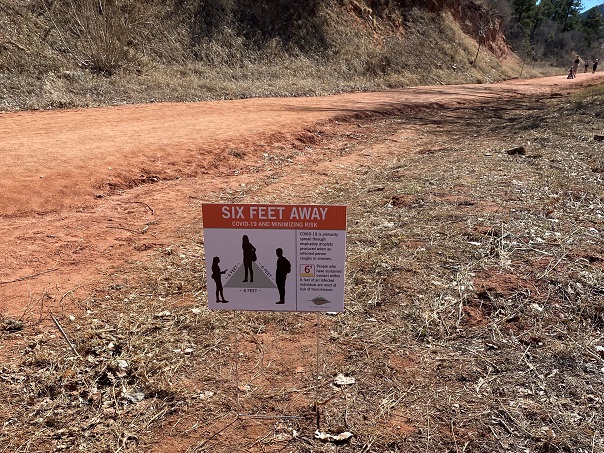
I took the girls to Red Rocks today to get out side. While they are fond of staying inside and playing on their phones (etc.) I suspect they’re beginning to get a bit of cabin fever. The parking lot was full when we arrived, but the nice thing about trailheads is once the parking lot is full, no one else can enter, so social distancing takes care of itself. There were signs asking people to practice social distancing
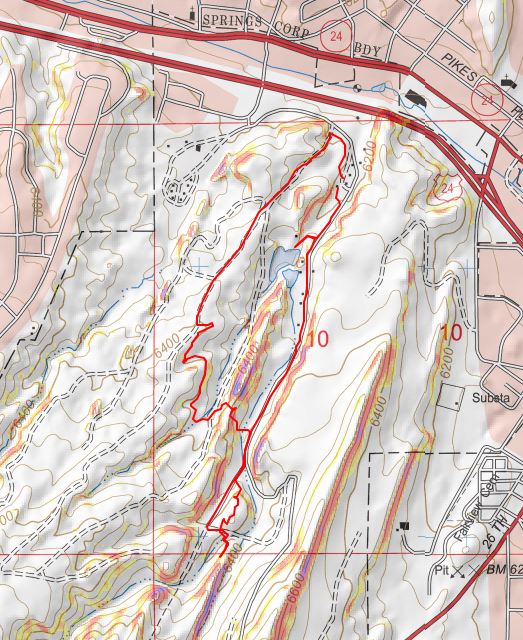
Because of where we ended up parking we decided to do the loop backwards, starting instead by the pond.
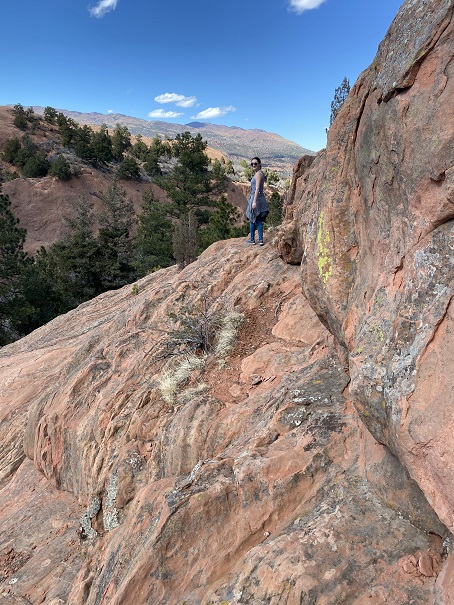
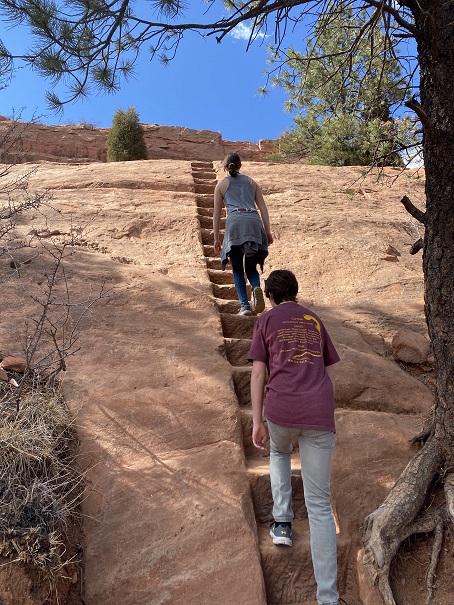
We continued past all the rock climbers and did a bit of scrambling ourselves.
I took the girls to see the landfill. I’d never really mentioned it to them before and they were curious as to why the city would pick it’s most beautiful location to dispose of trash, but on the bright side it looks like they’re trying to clean it up.
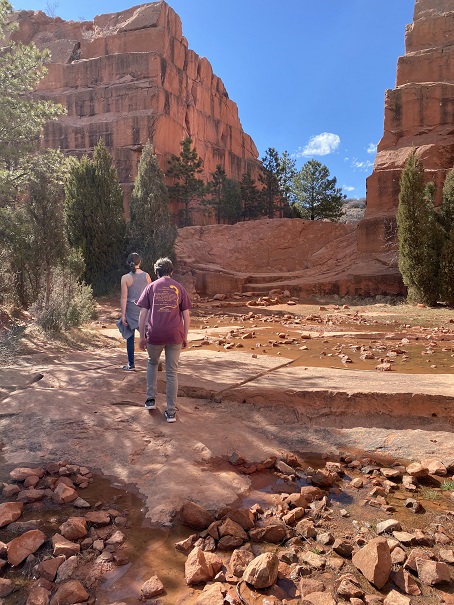
Next we hiked up the quarry
and then made our way back to the truck. There were a lot of people on the trails today but social distancing was no problem at all with the wide trails and lots of open space. I think we need to make hiking as a family a bi-weekly thing as long as we’re still allowed to be outside… I fear it won’t be long before our parks and open spaces are closed as well, which is truly a shame because it’s how I keep my mental and physical health…
We got in about 3 miles and 750′ of elevation gain in today.