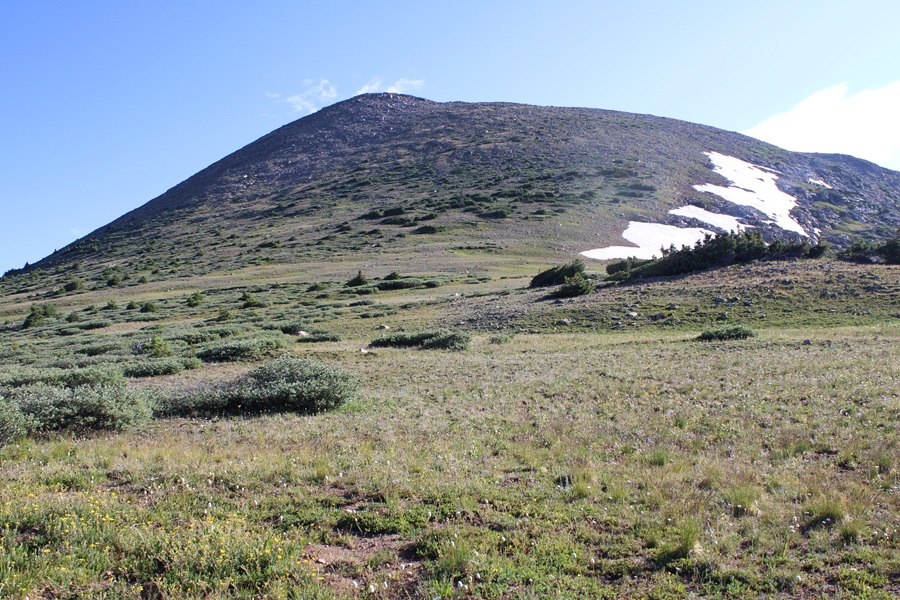
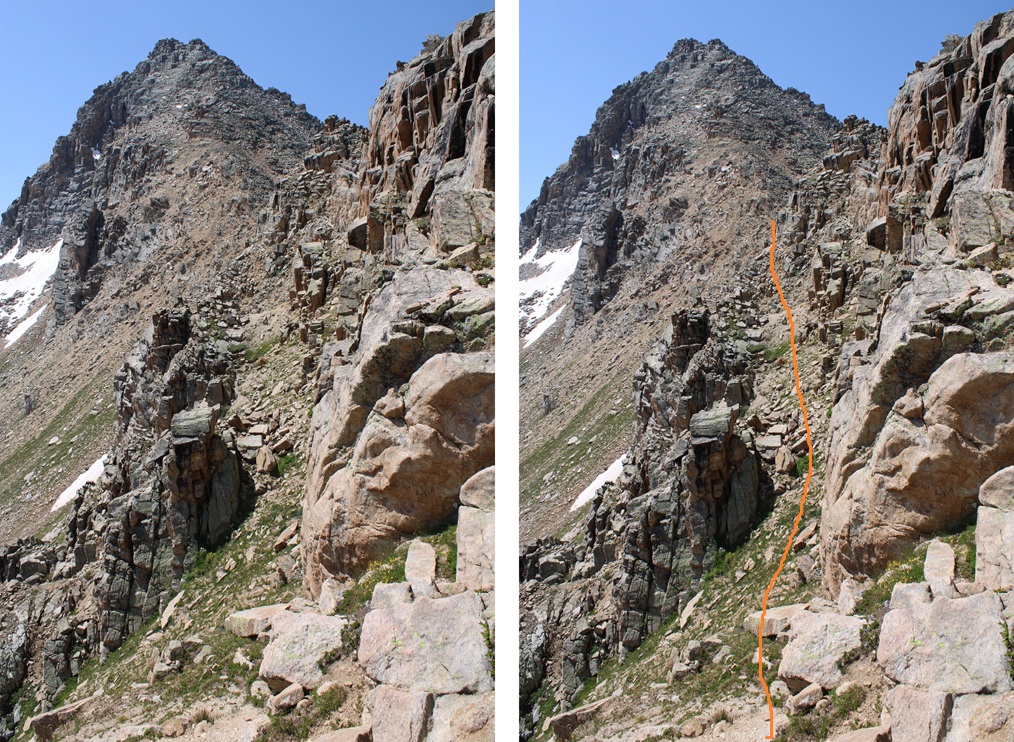
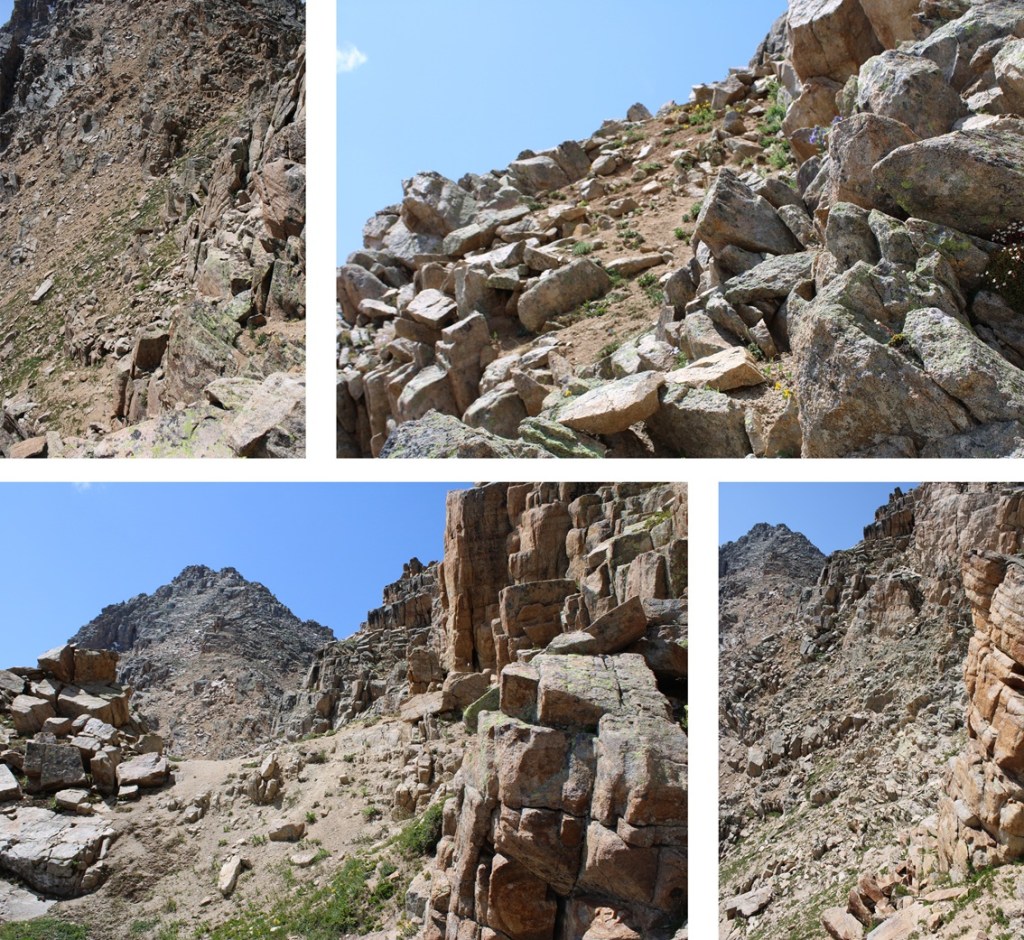
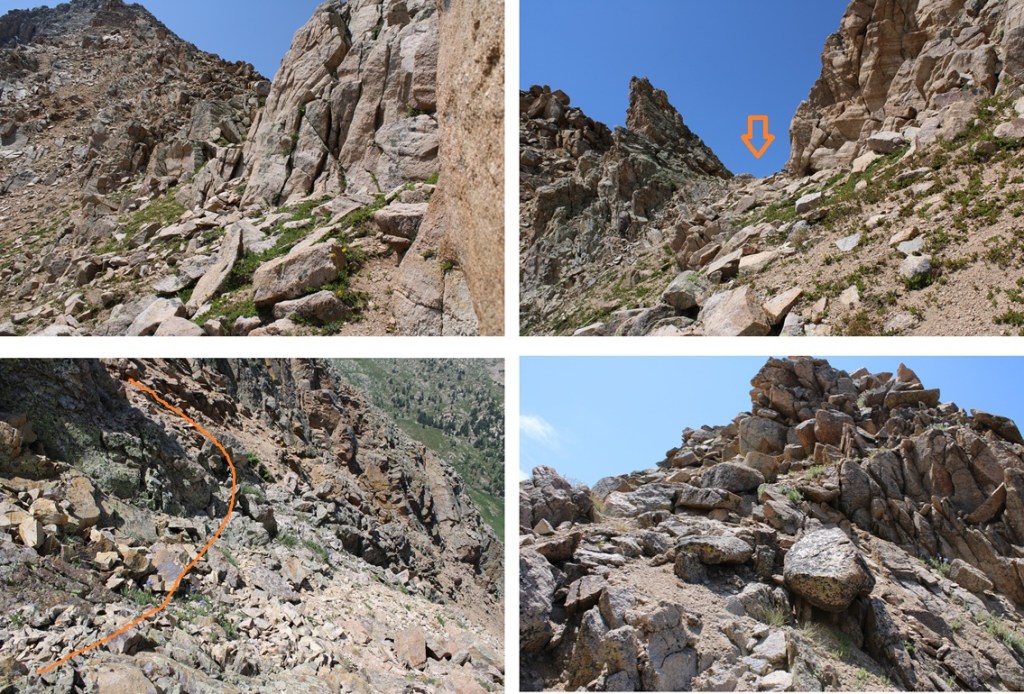
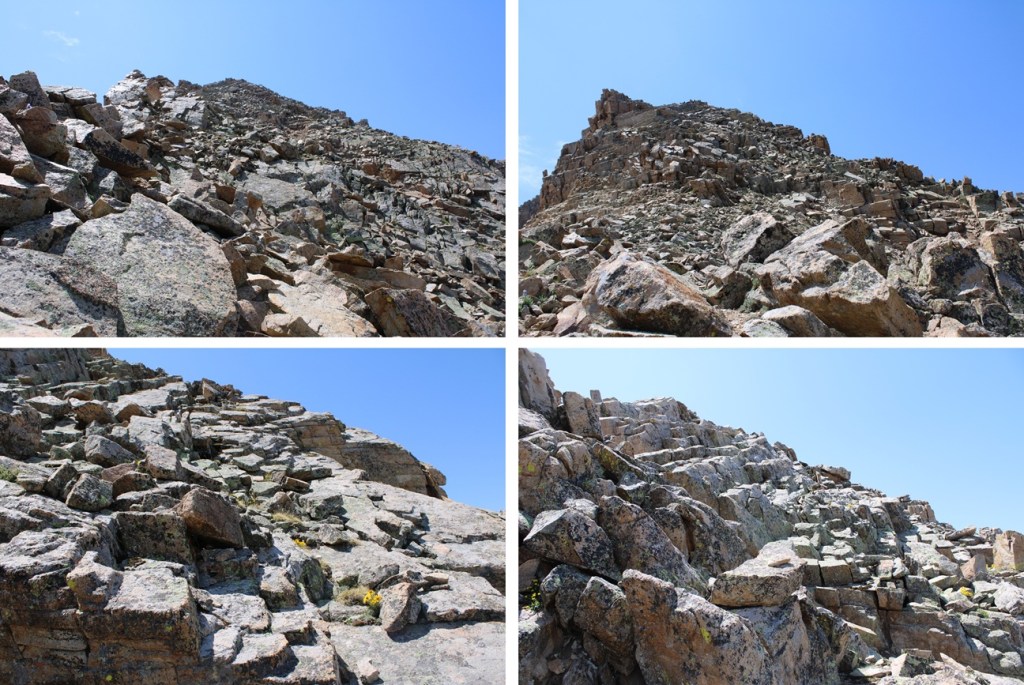
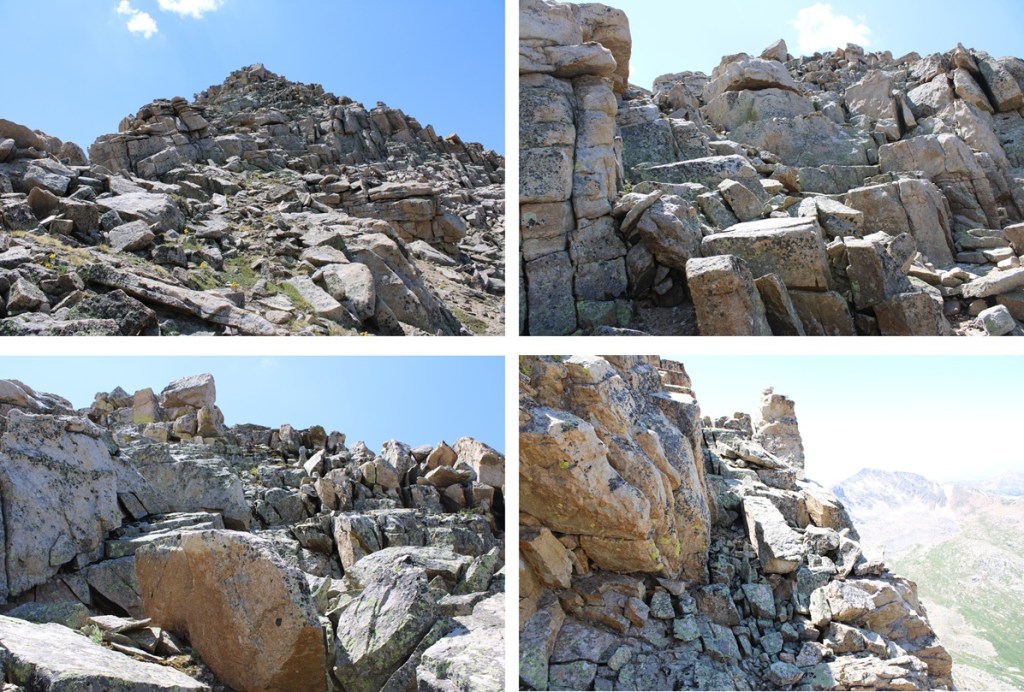
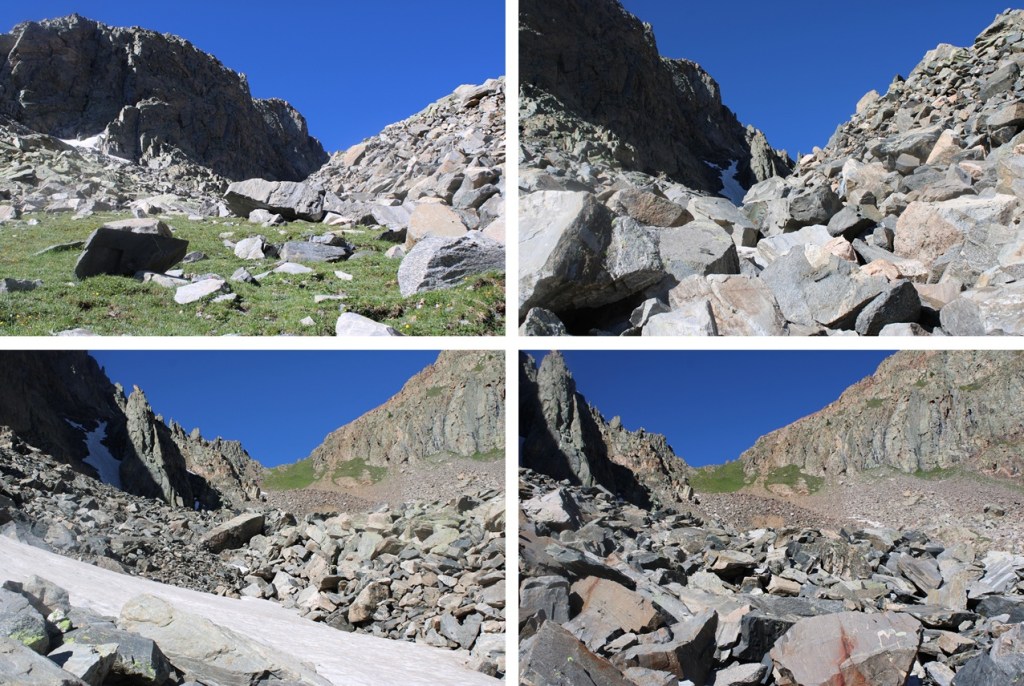
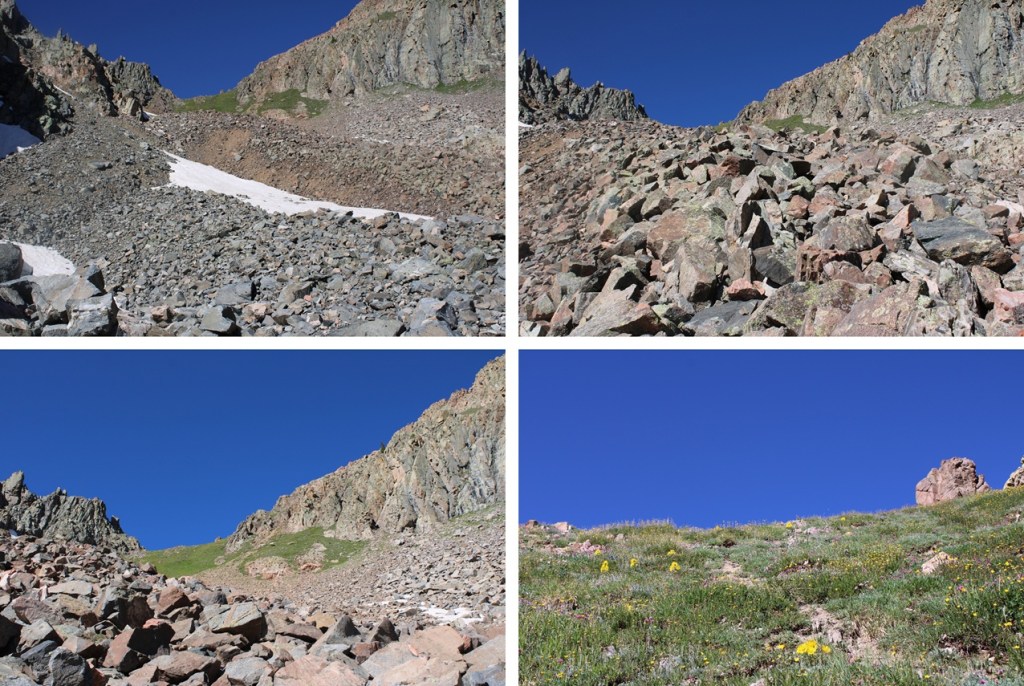
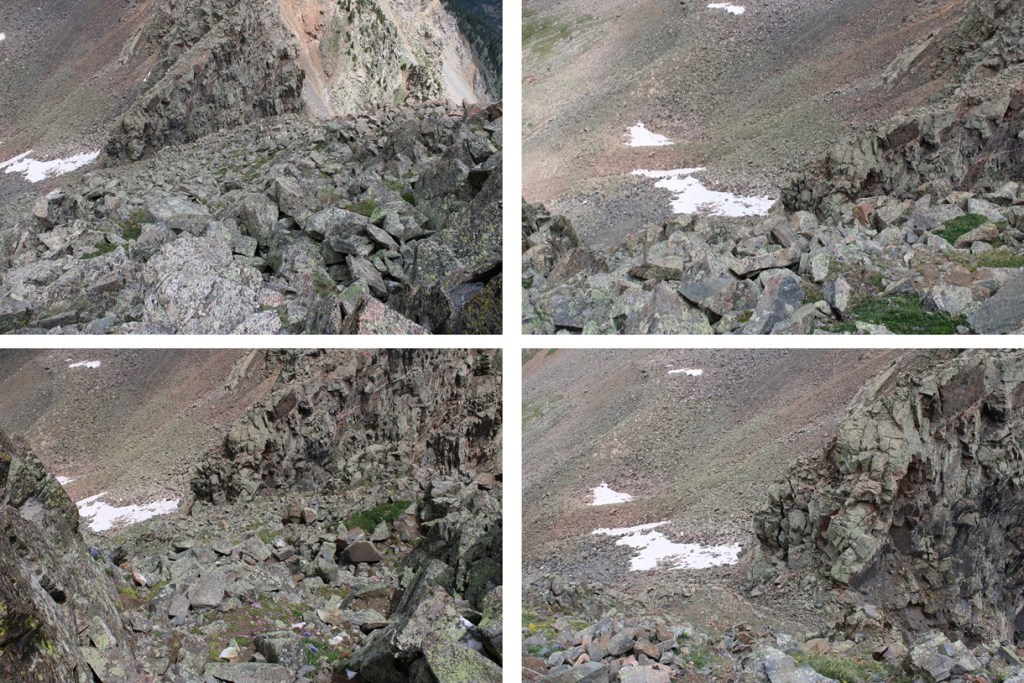
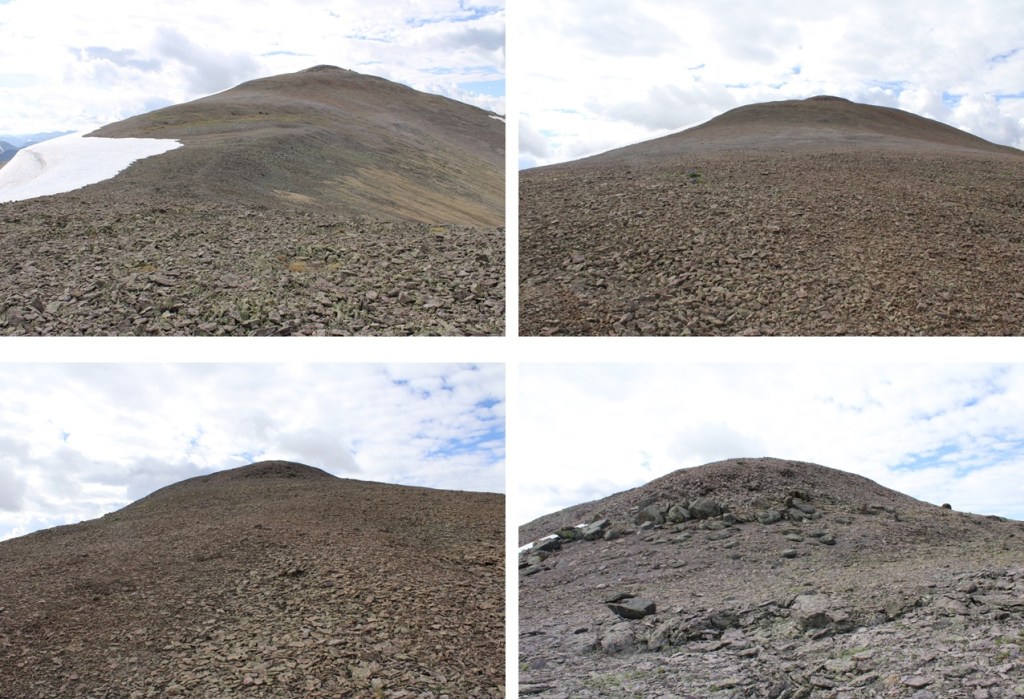
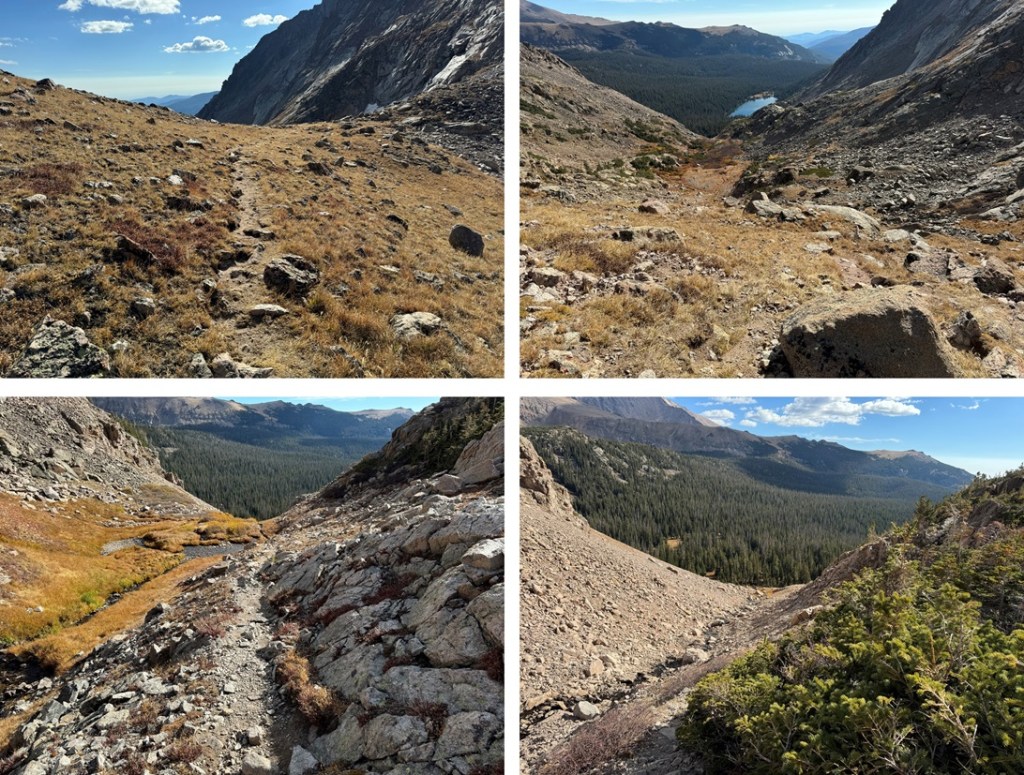
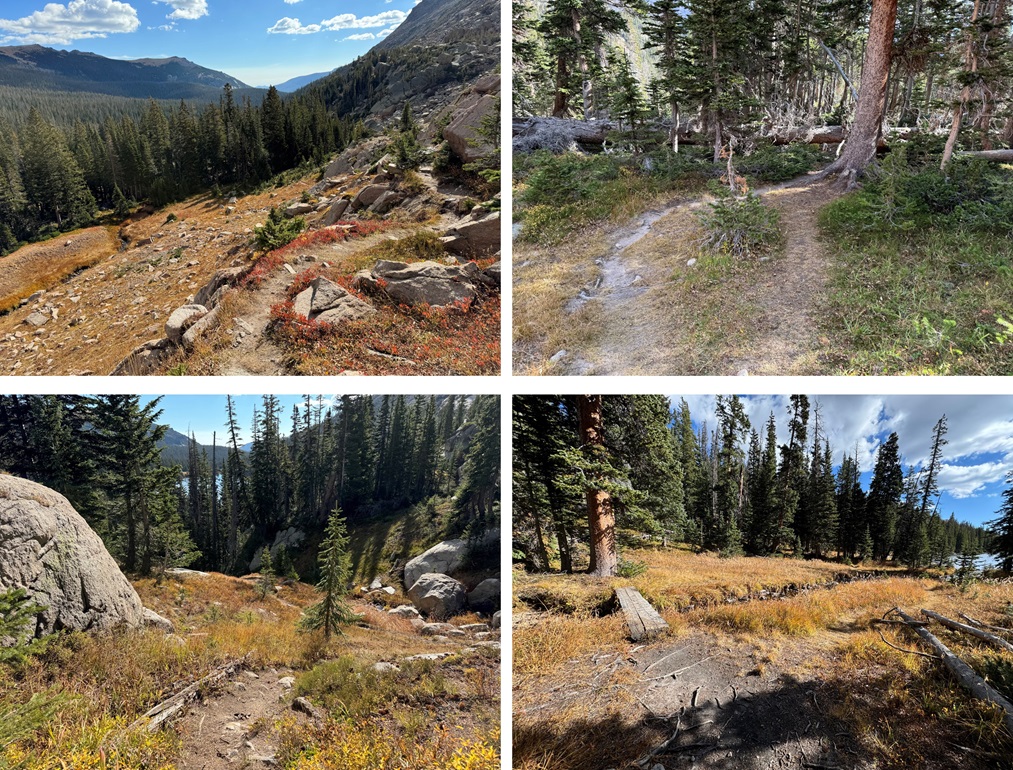
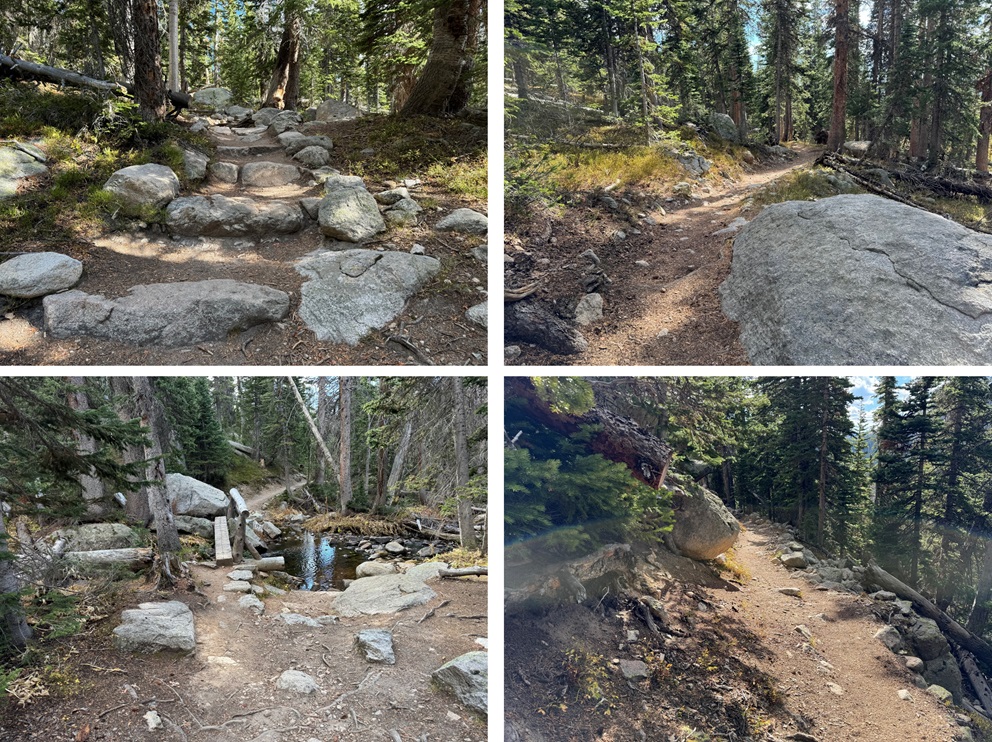
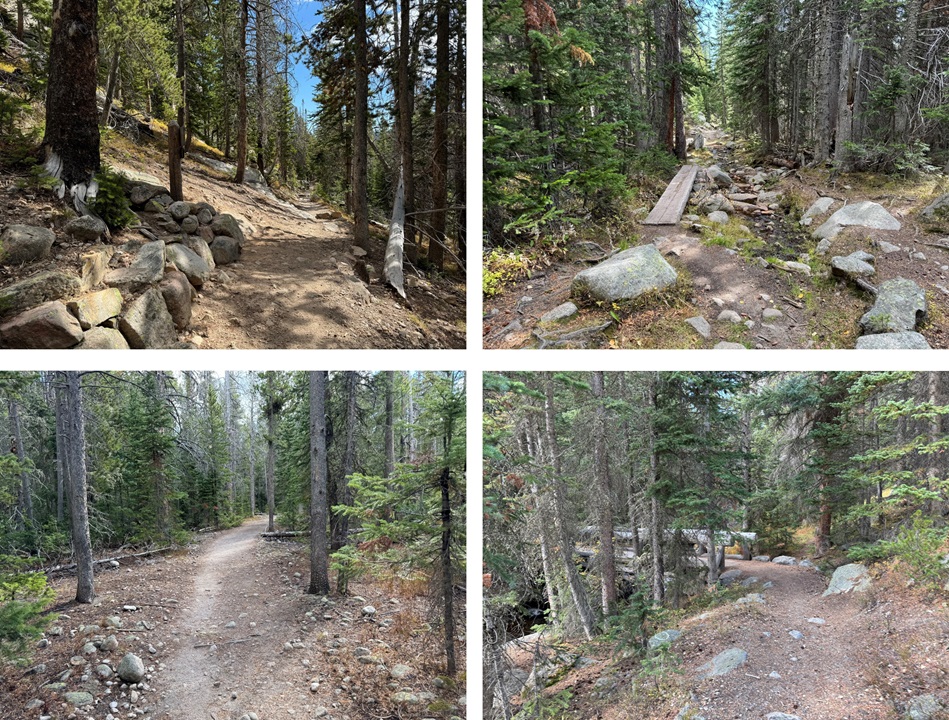
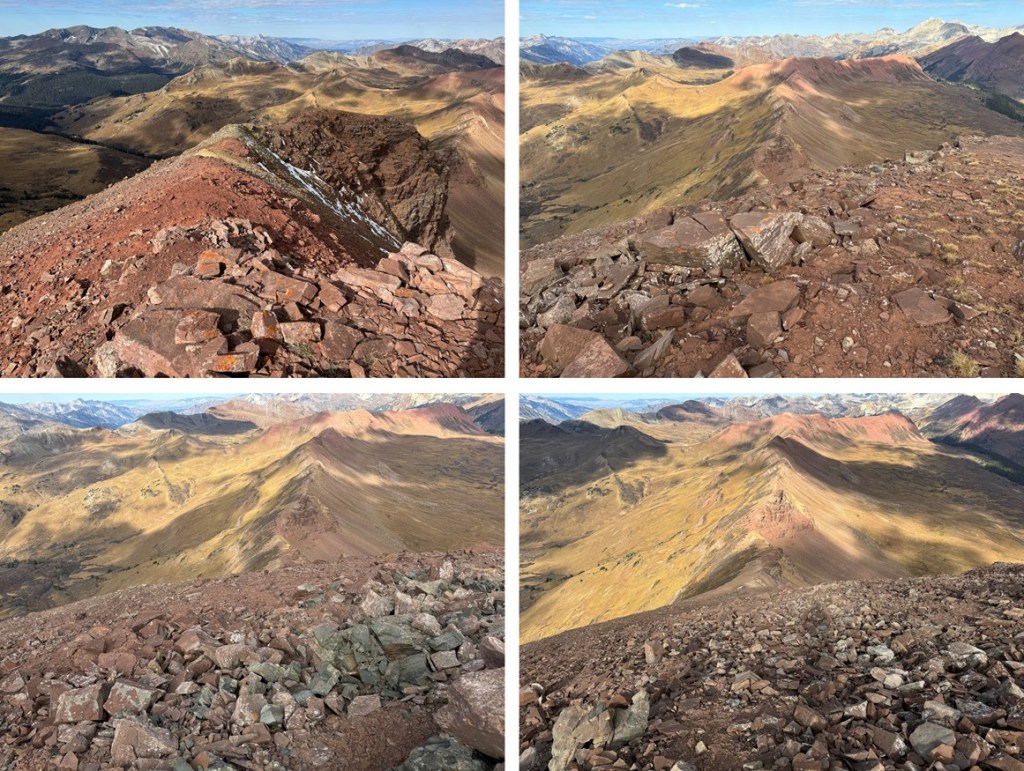
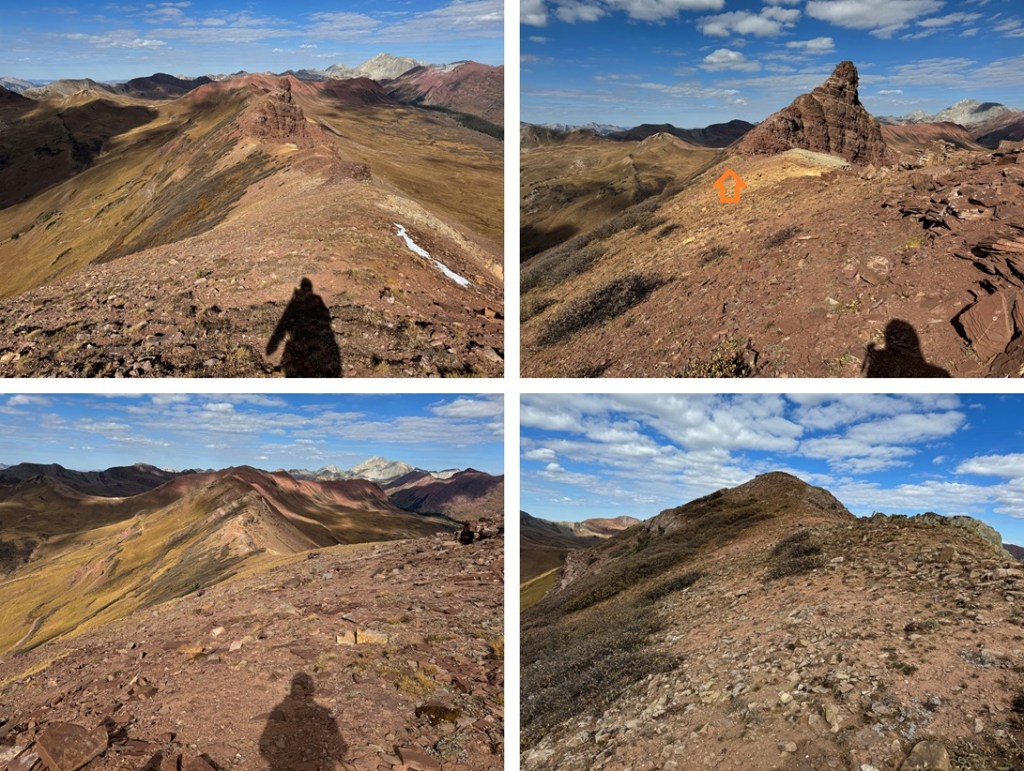
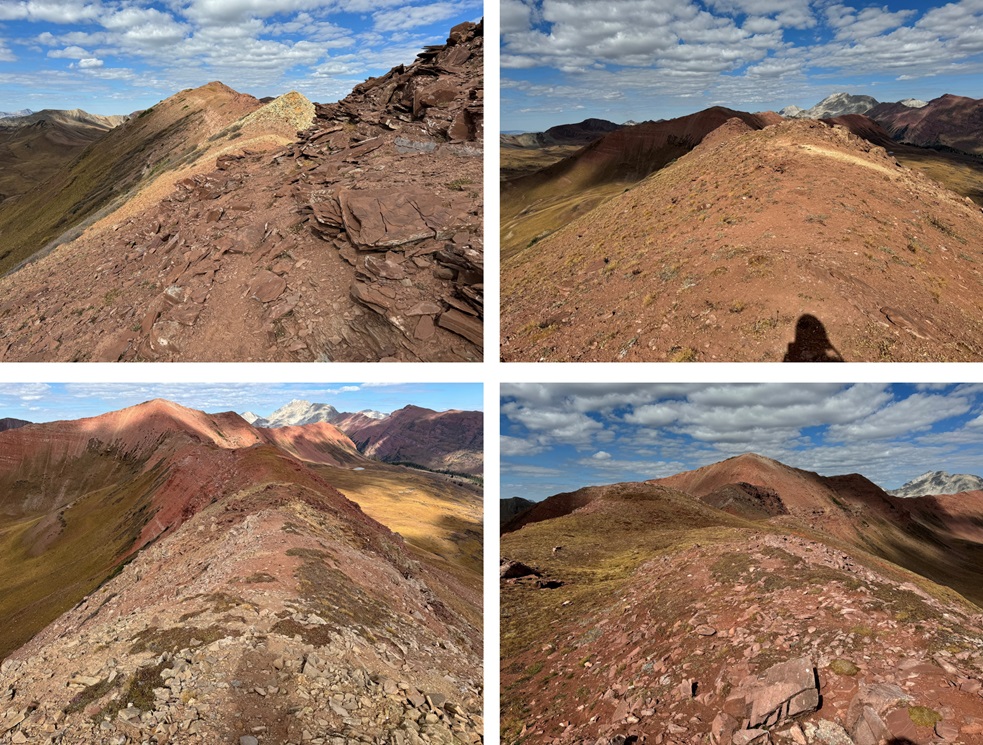
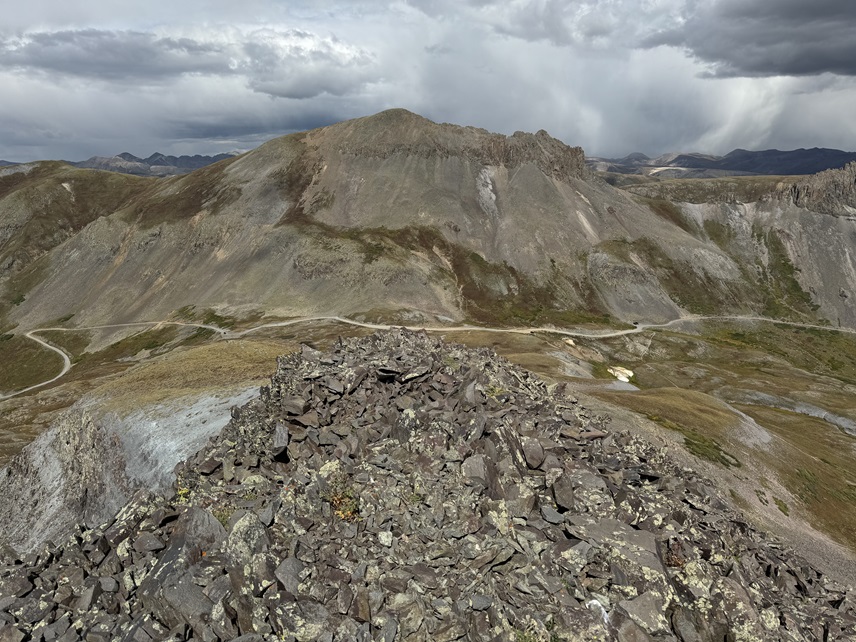
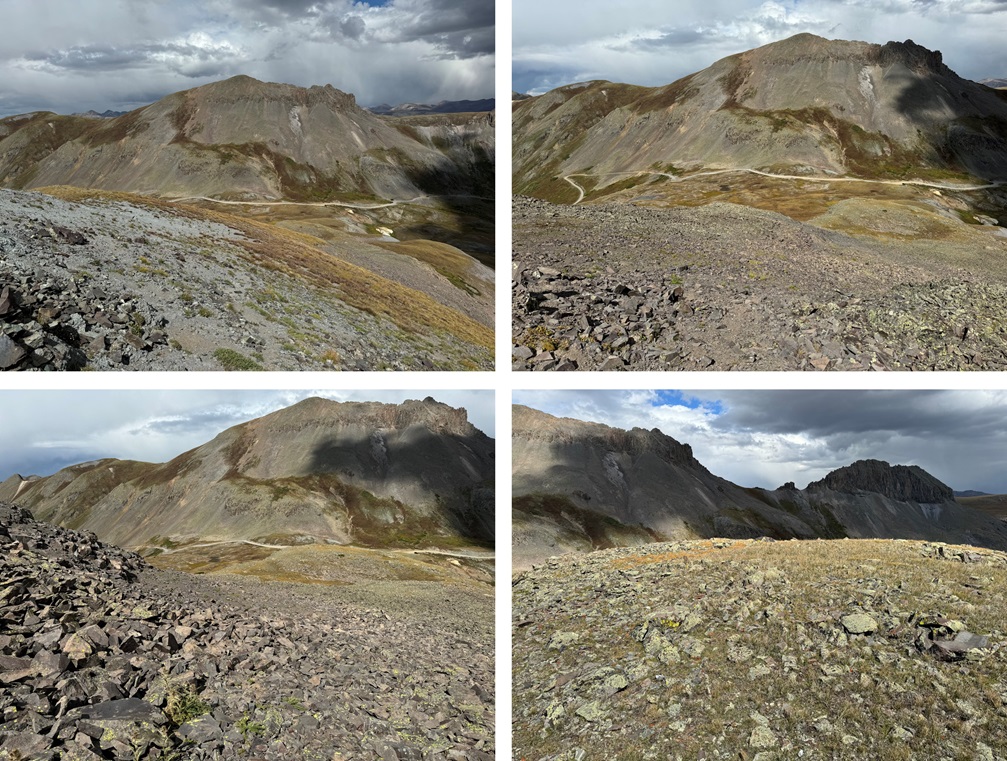
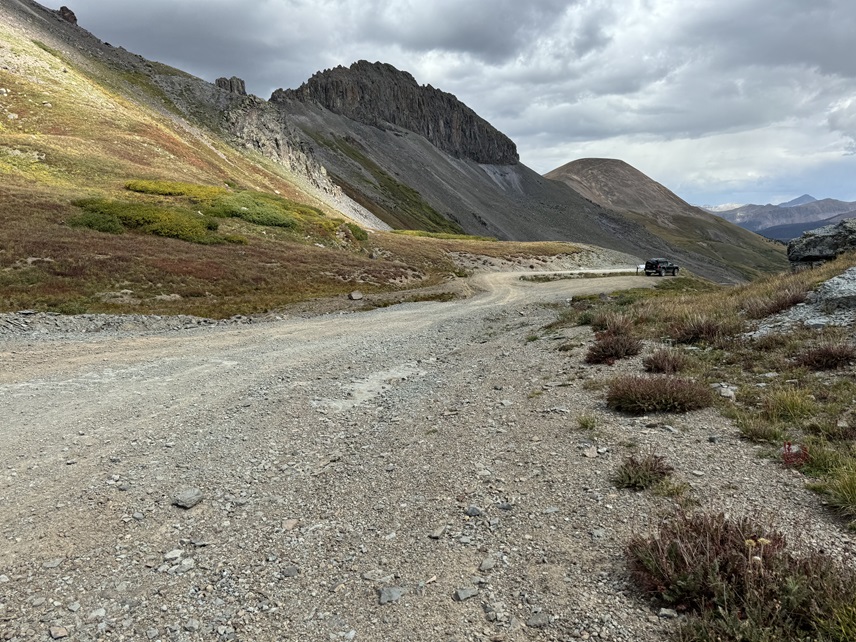
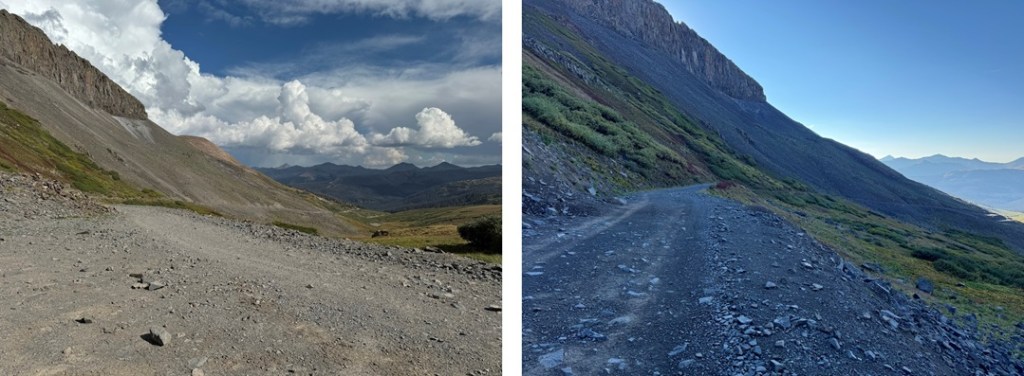
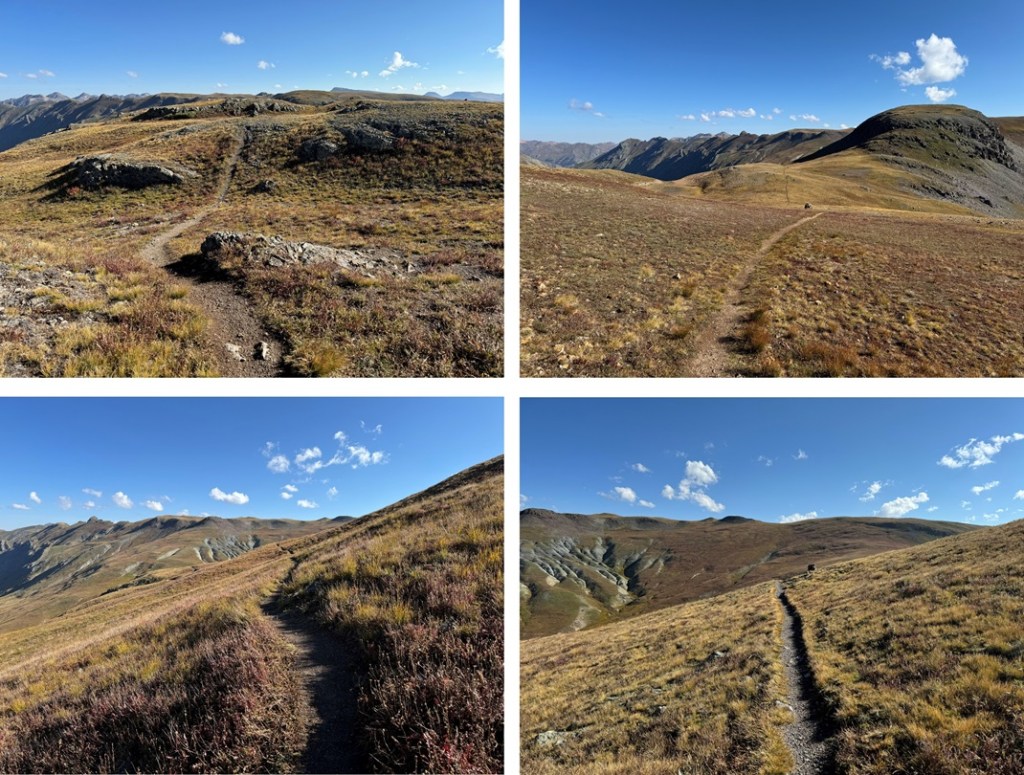
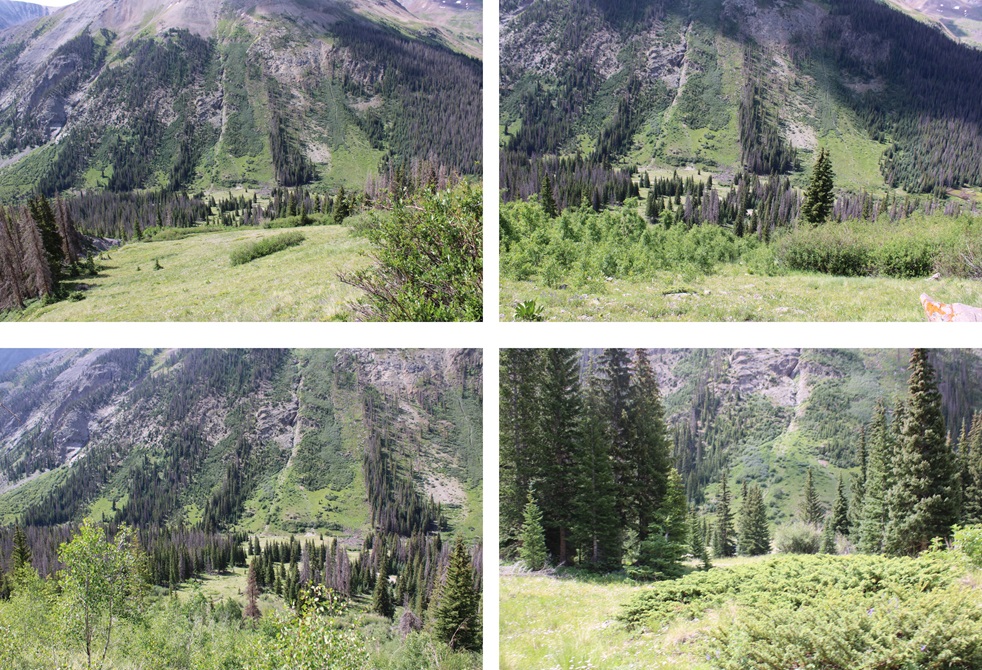
While the Williams Group is a serious class 3 scramble, PT 13039 is an easy climb. I just had a few hours this morning, so I decided to take a hike to the top to get a look at the terrain. If you’re looking for a great class 2 13er in the Sawatch Range that’s straightforward and not crowded, try this one out!
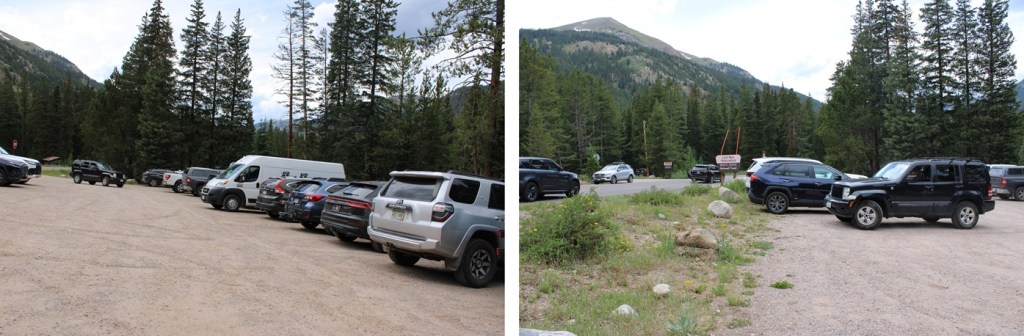
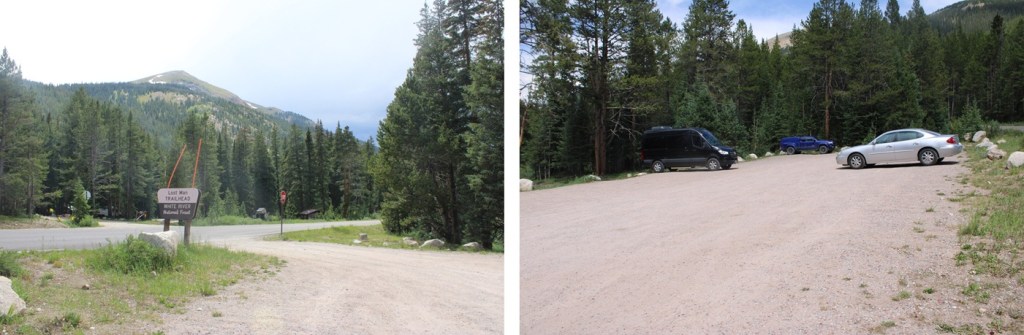
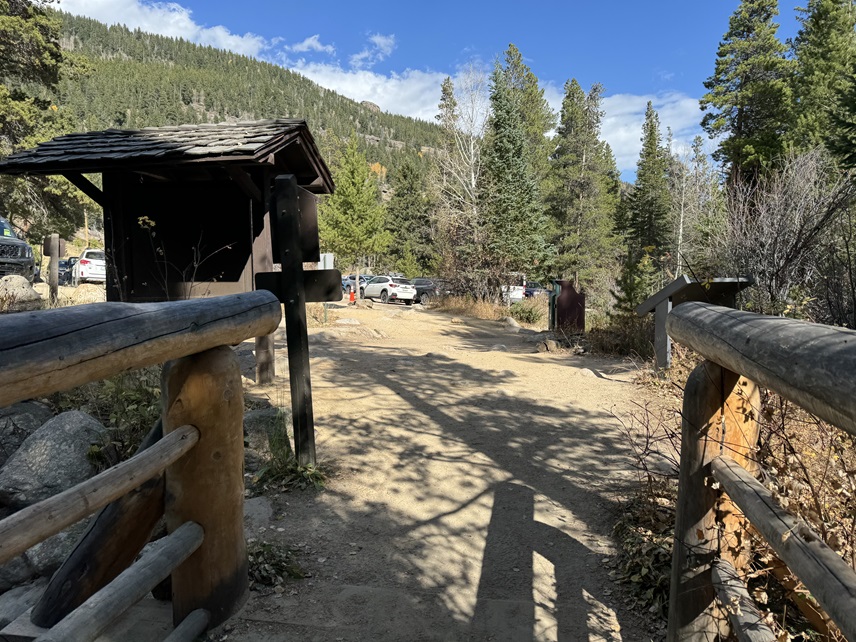
I started from the Lost Man Trailhead at 5am. This trailhead has plenty of parking (but it fills up on weekends), and is the one located directly across from Lost Man Campground. I just found out there’s a lower and upper Lost Man Trailhead. This is the Lower Lost Man Trailhead.
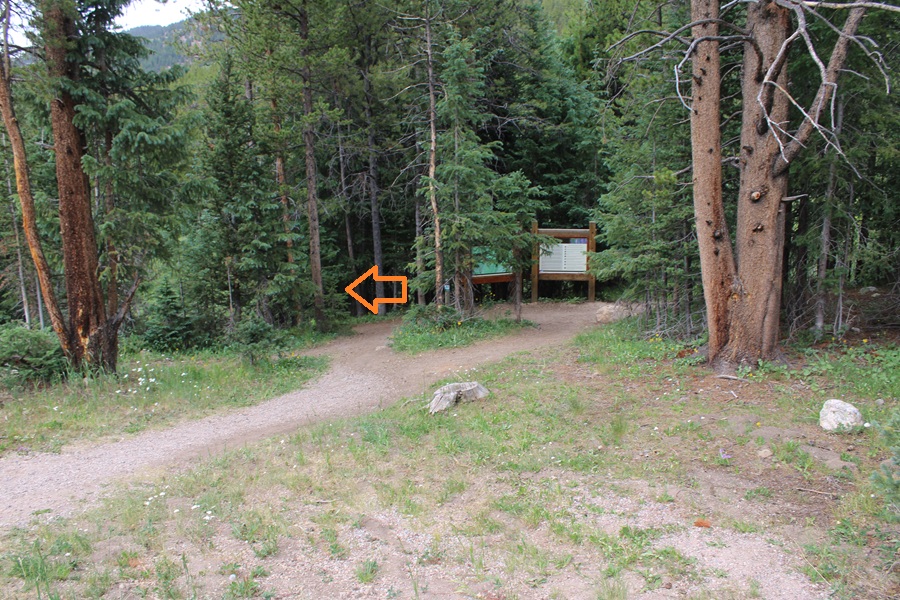
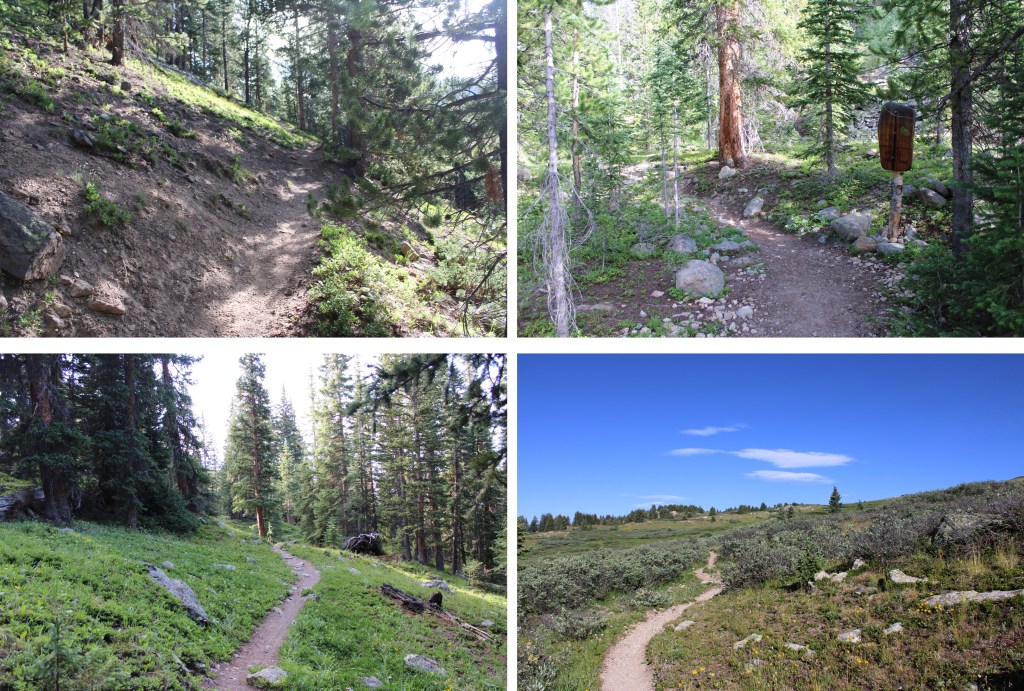
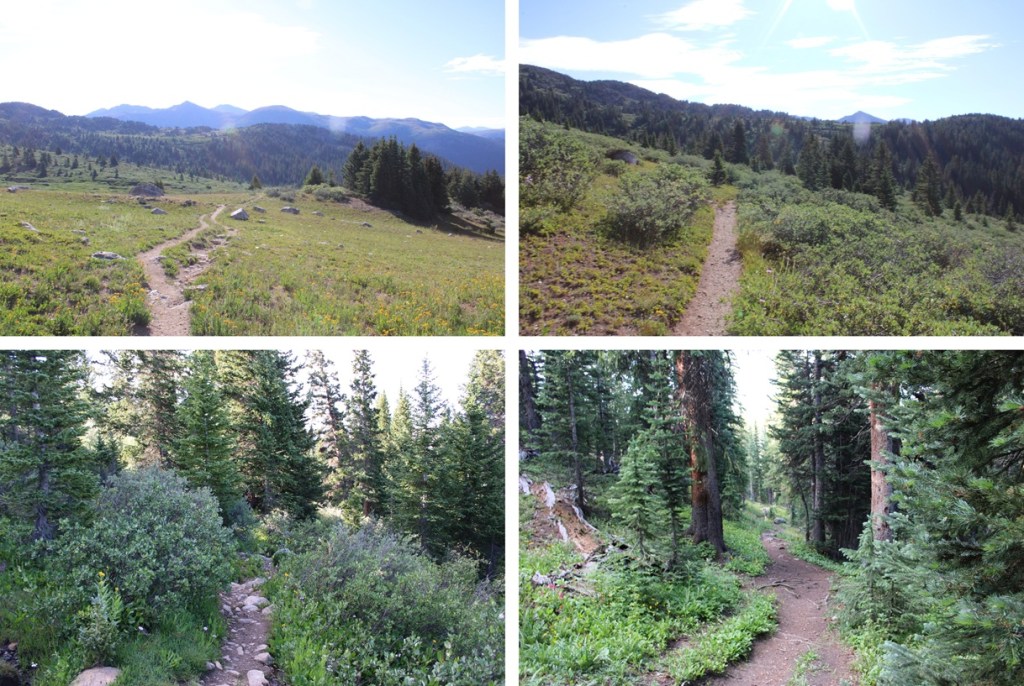
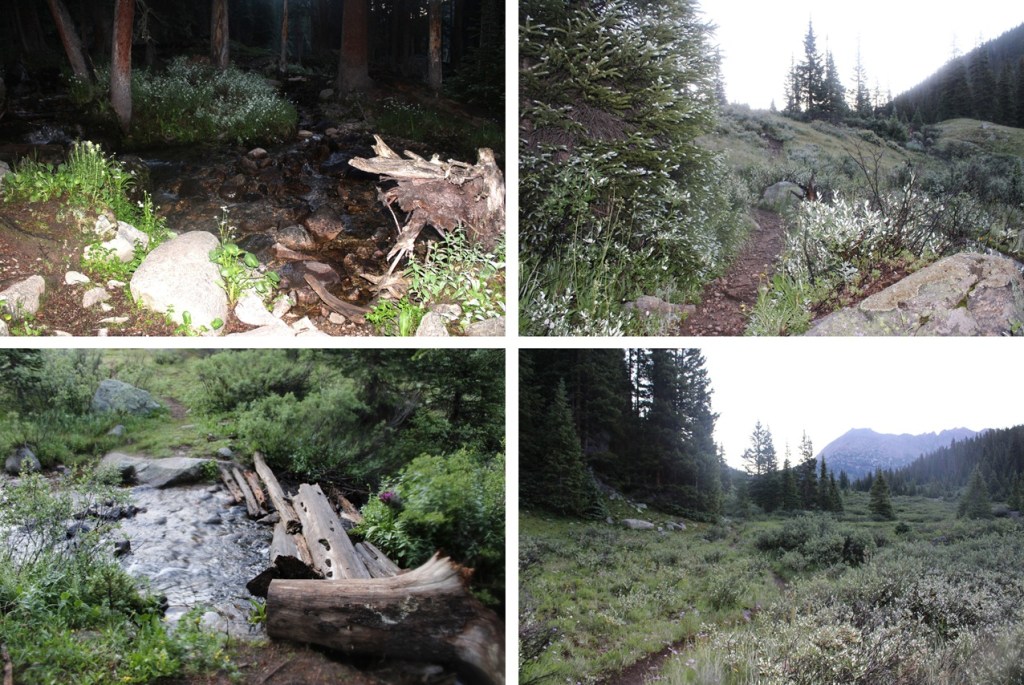
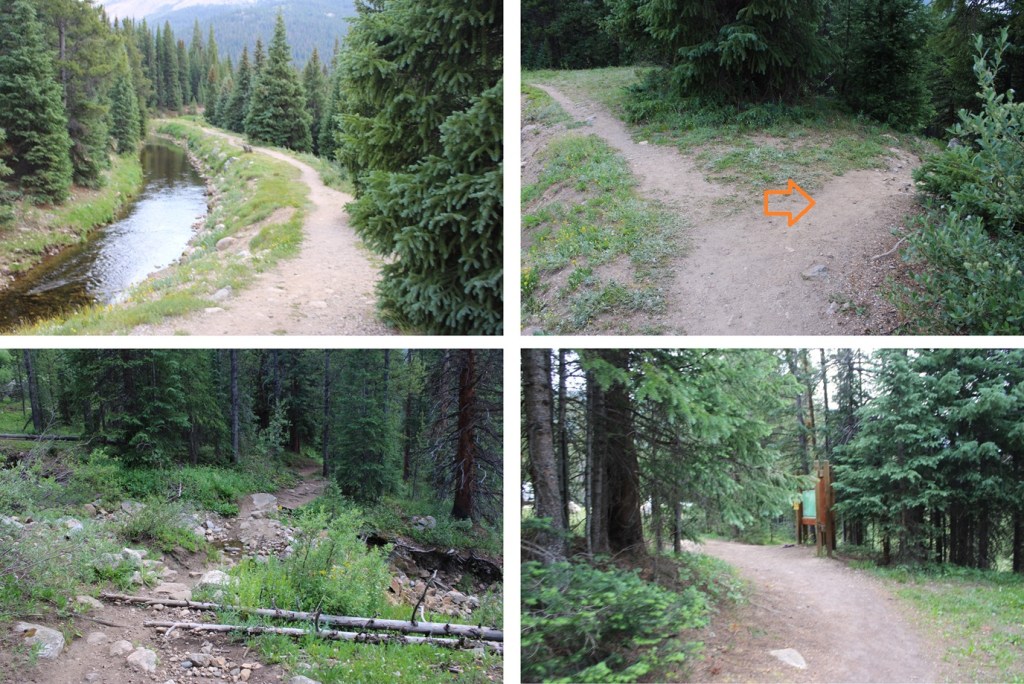
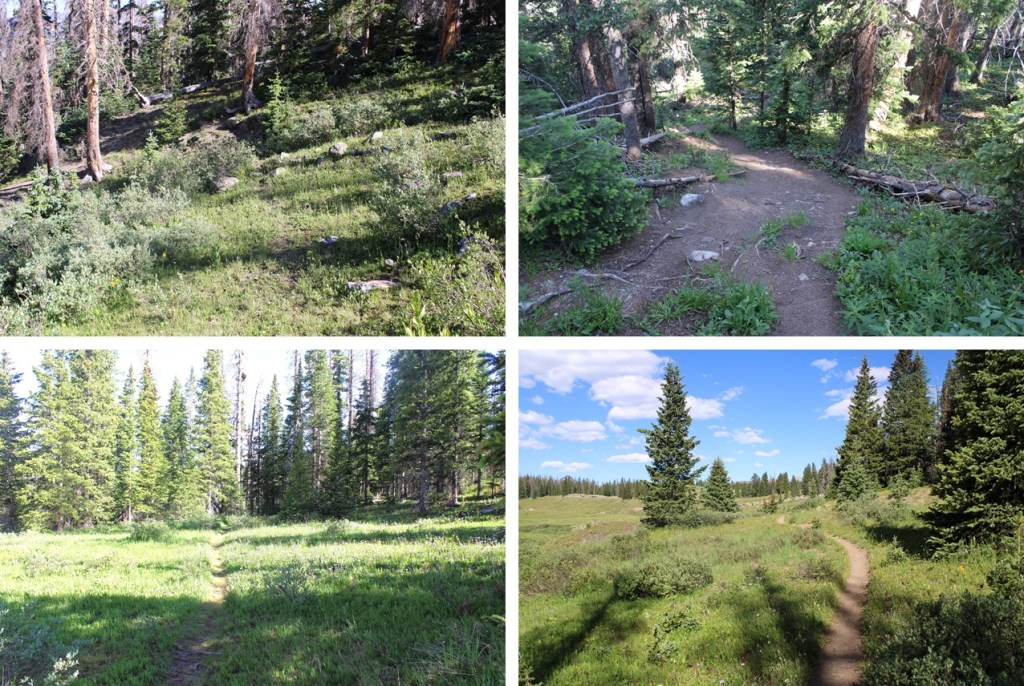
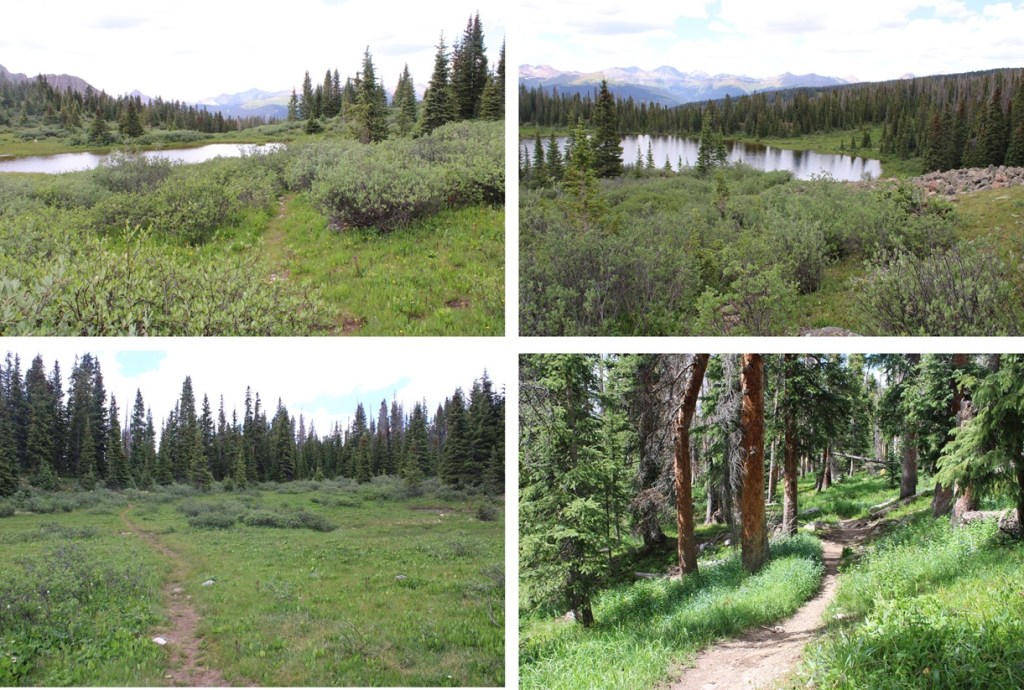
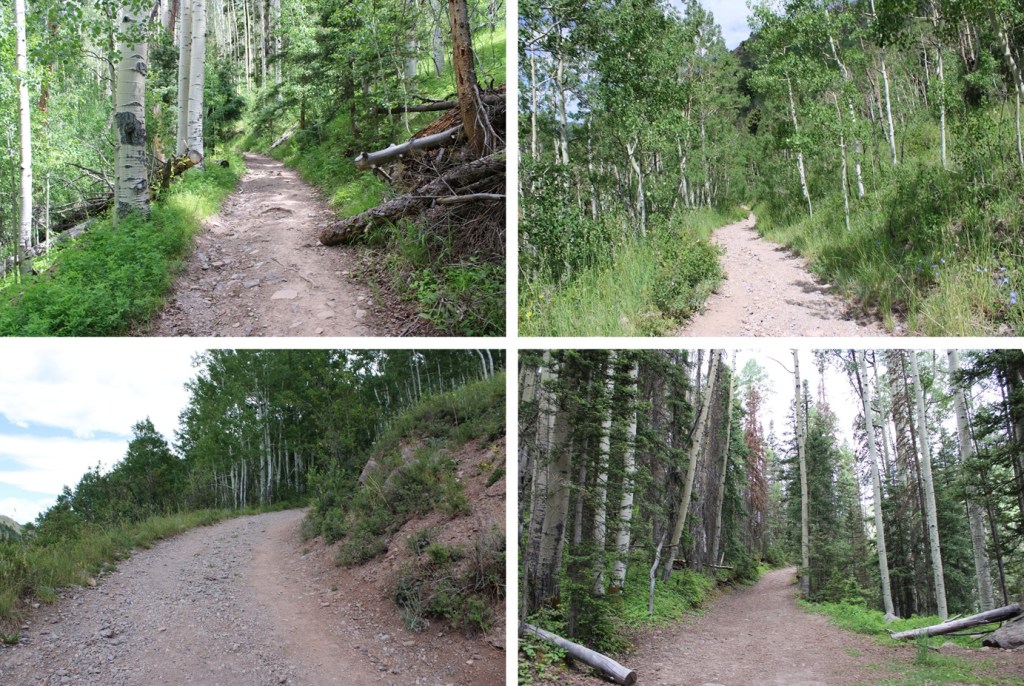
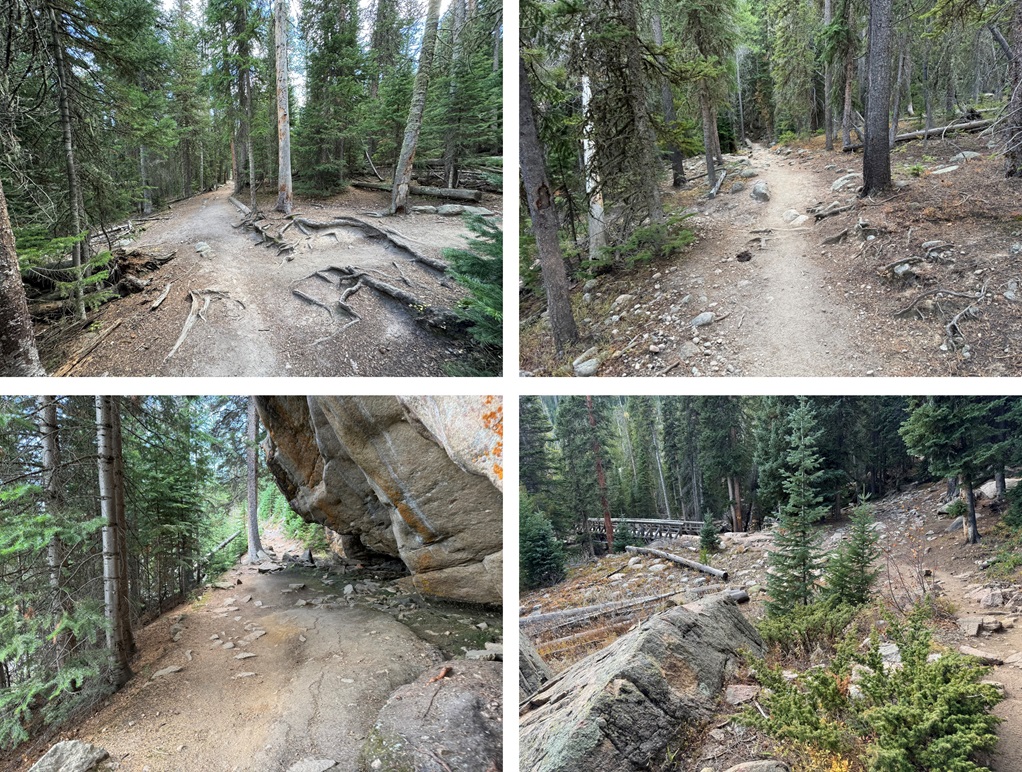
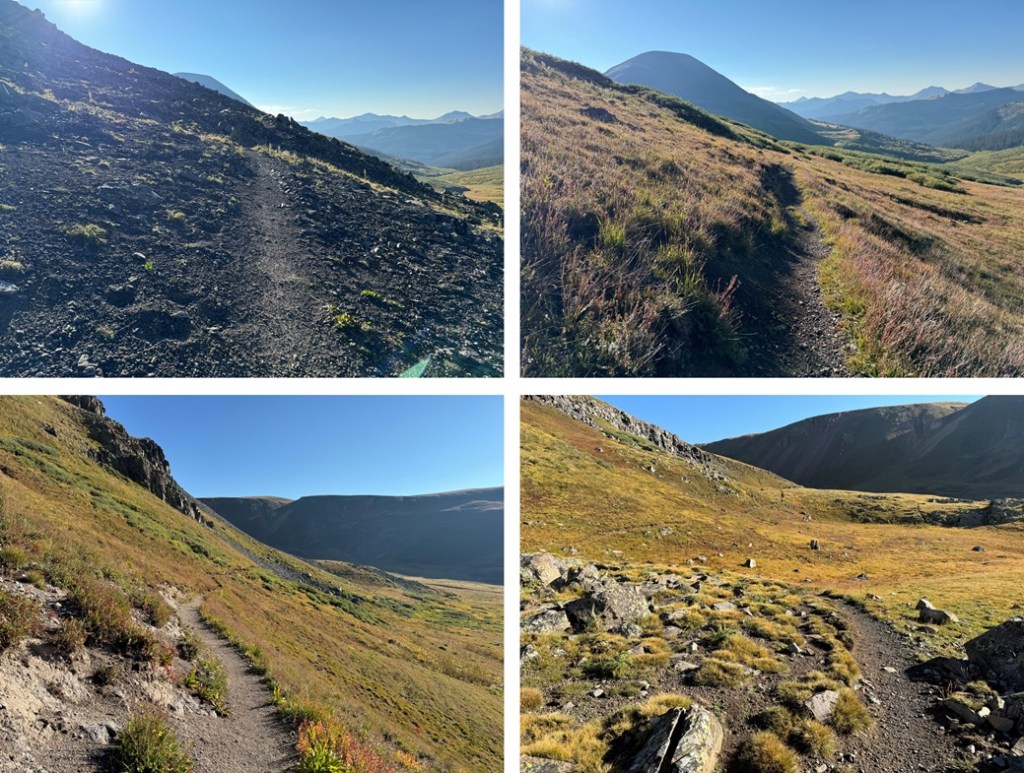
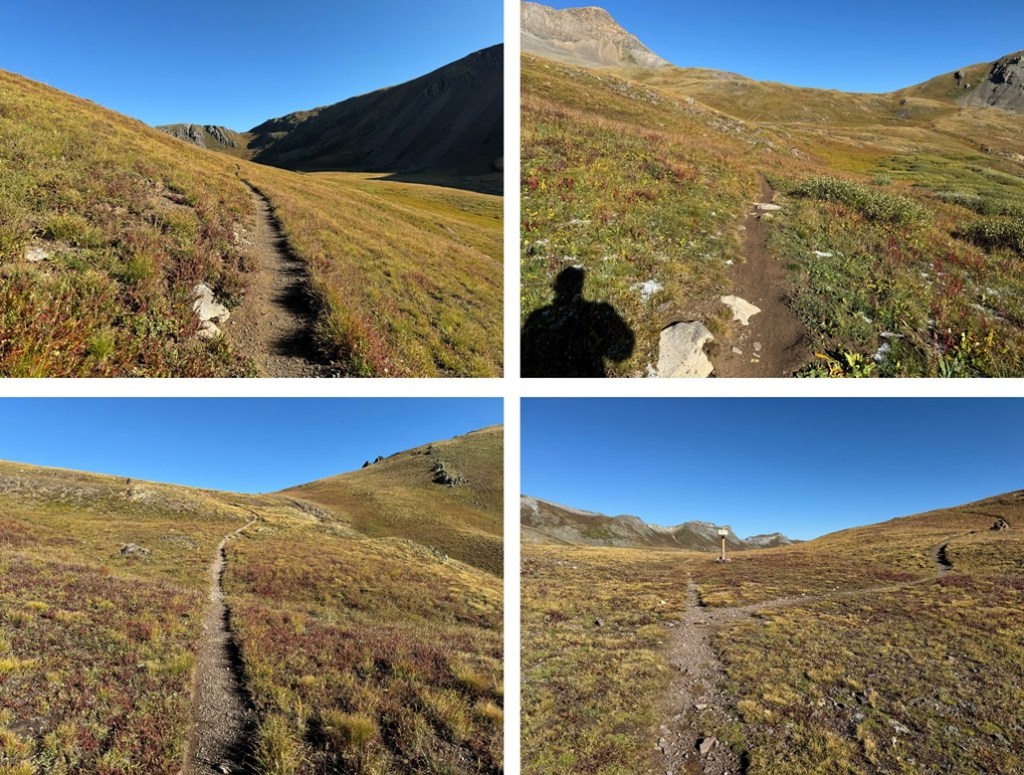
At the trailhead sign I went left and followed Midway Trail. It started out with willows that quickly changed to pine trees, then back to willows around treeline. If it’s been raining in the past day or so, you’re going to get wet walking through those willows, but the trail is easy to follow. There was also an abundance of wildflowers and I could hear the traffic from 82 below as I ascended.
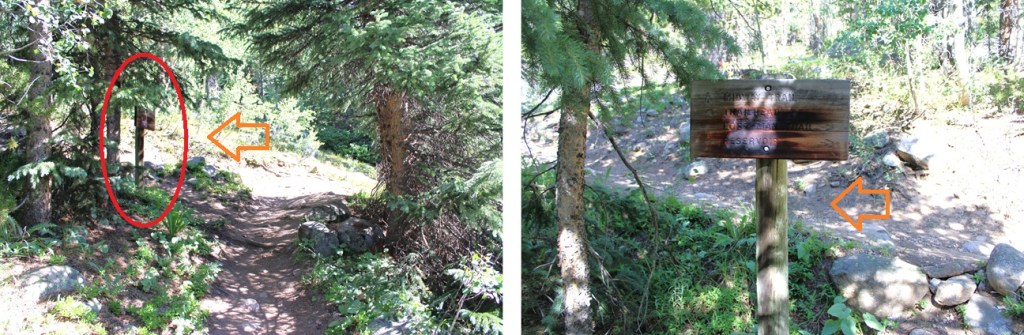
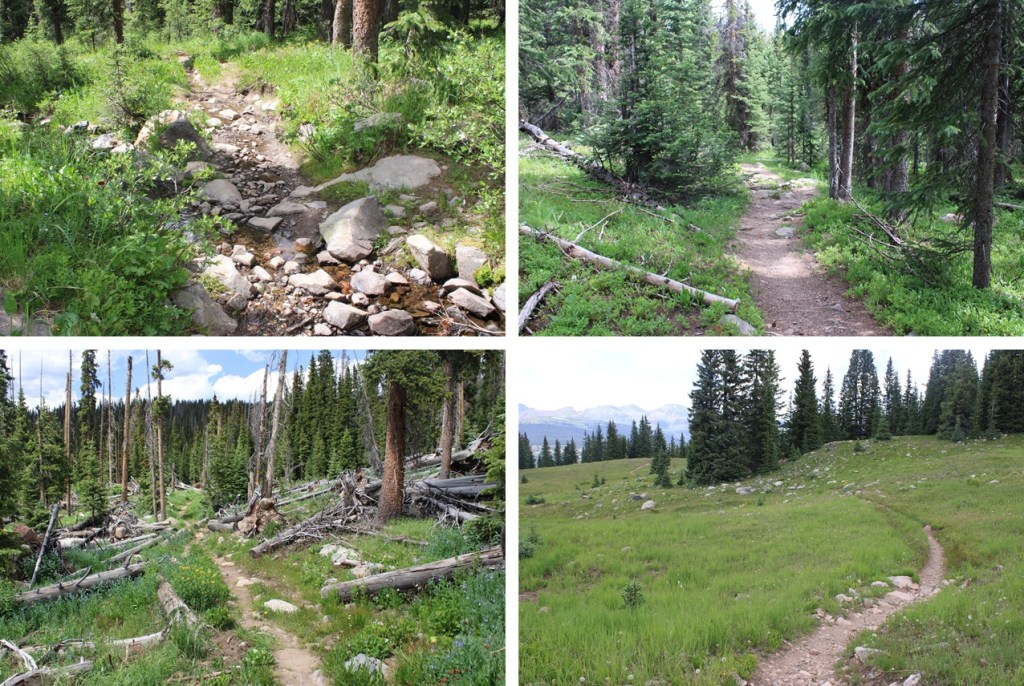
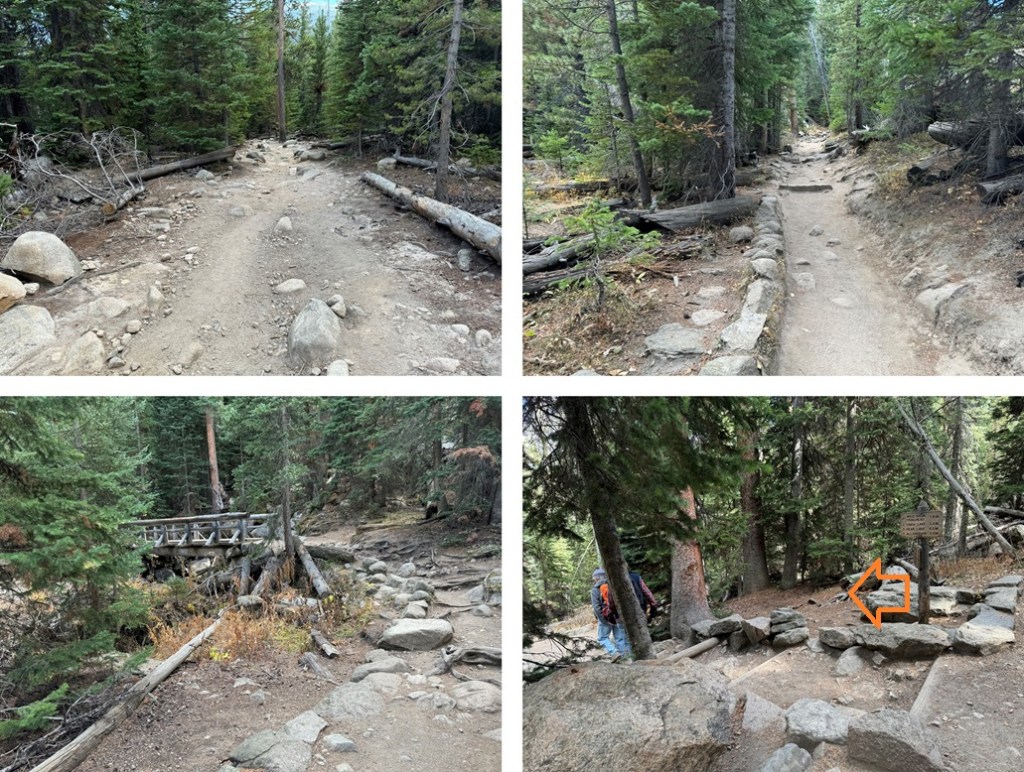
Midway Trail is an easy-to-follow class 1 trail. I followed it over a bridge.
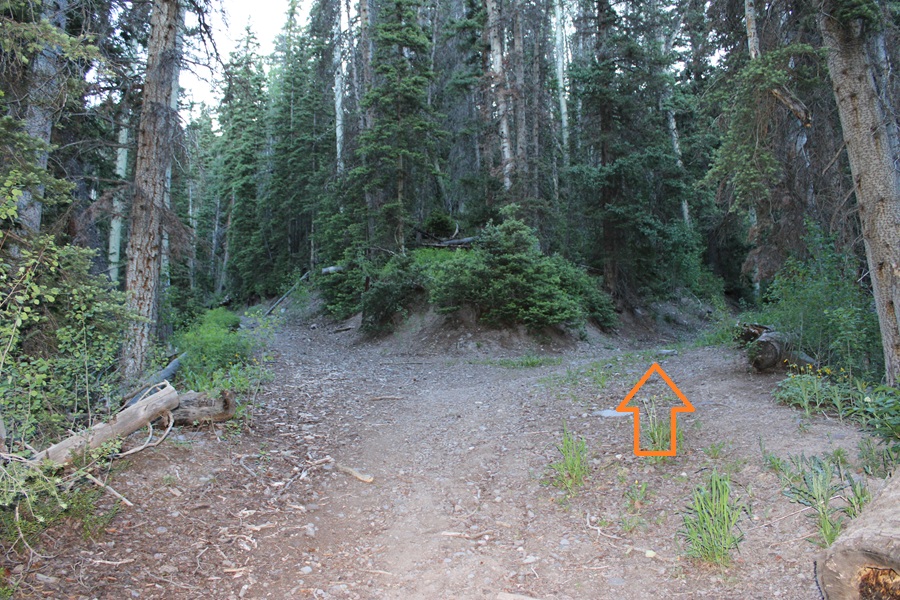
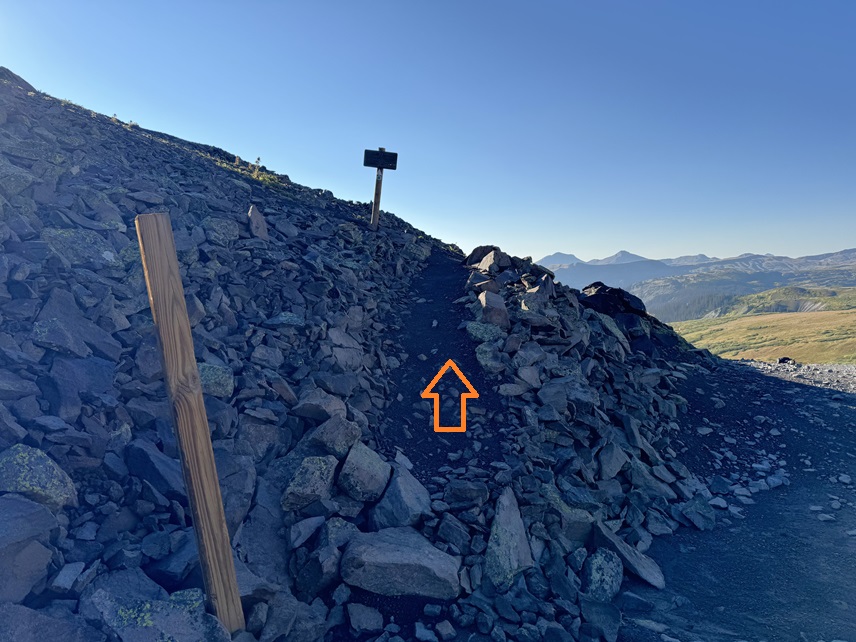
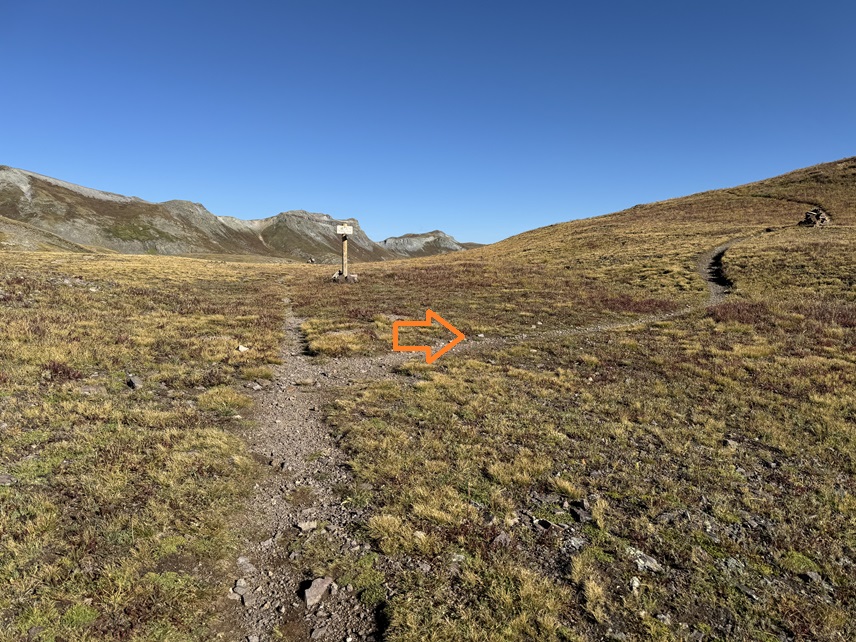
And then turned left at this junction to stay on the Midway Trail for as long as I was on a trail.
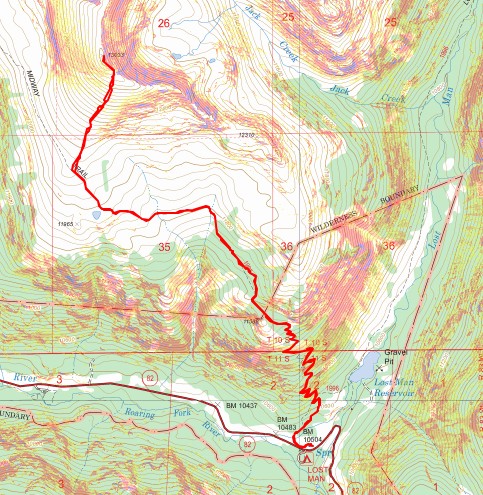
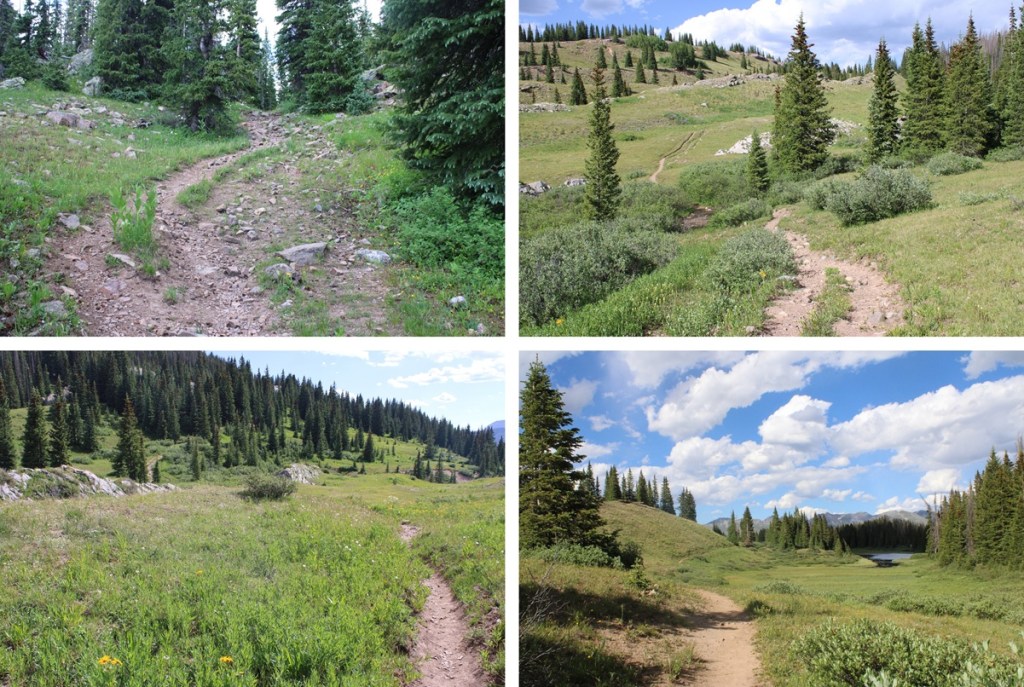
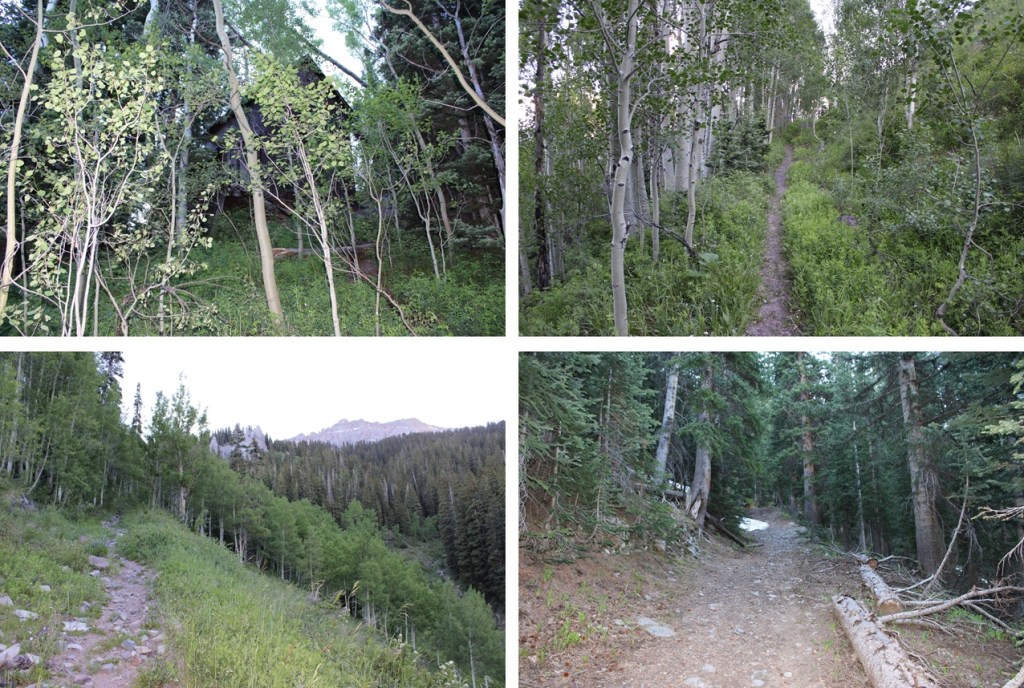
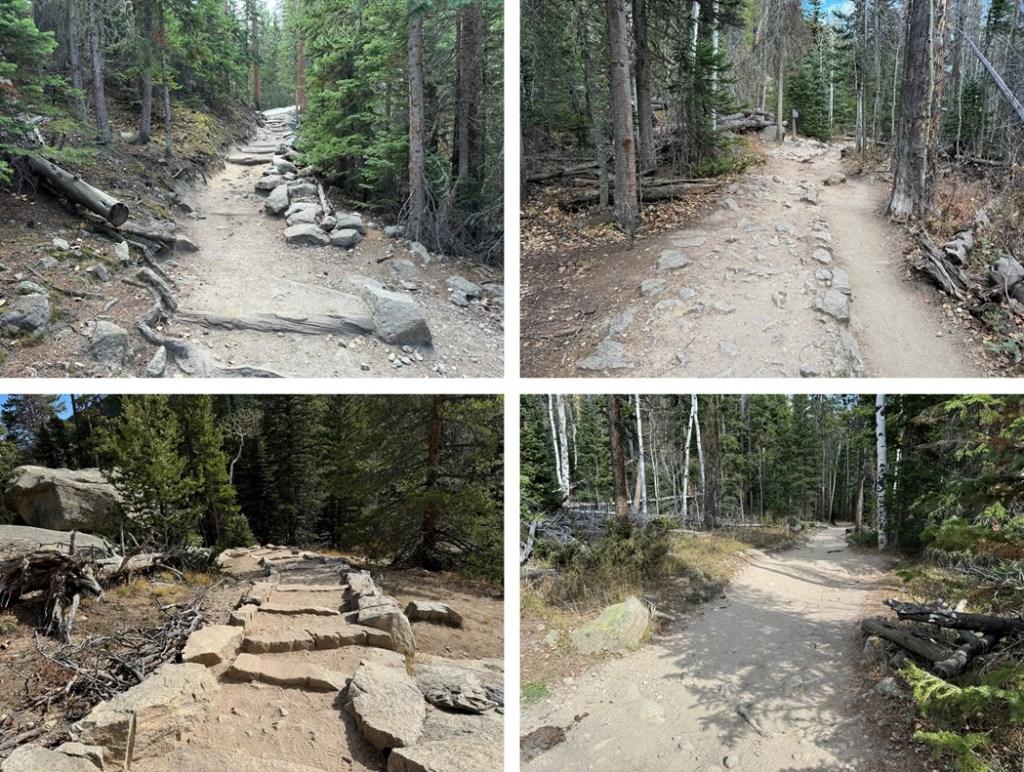
The trail switchbacked up to 11500’ and then continued along the south side of the slope.
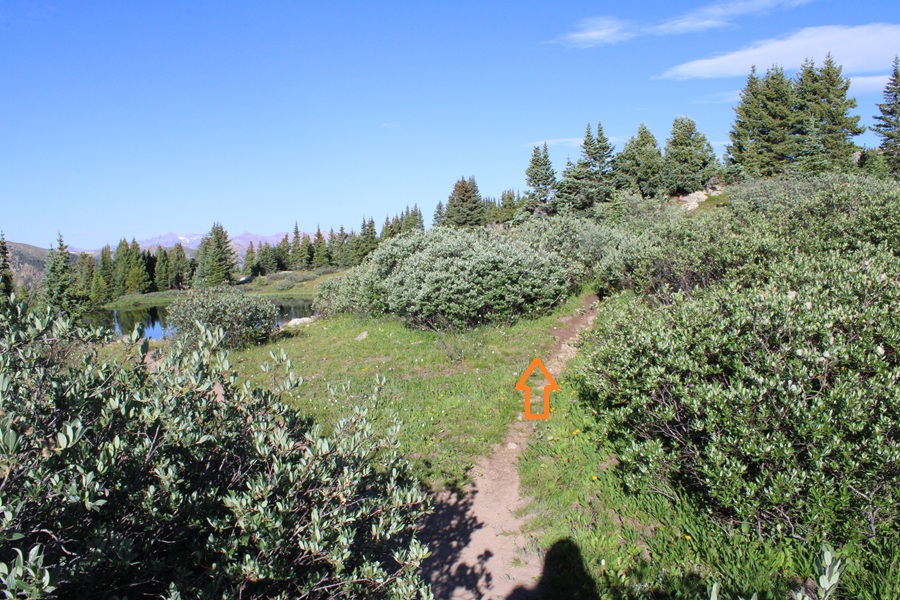
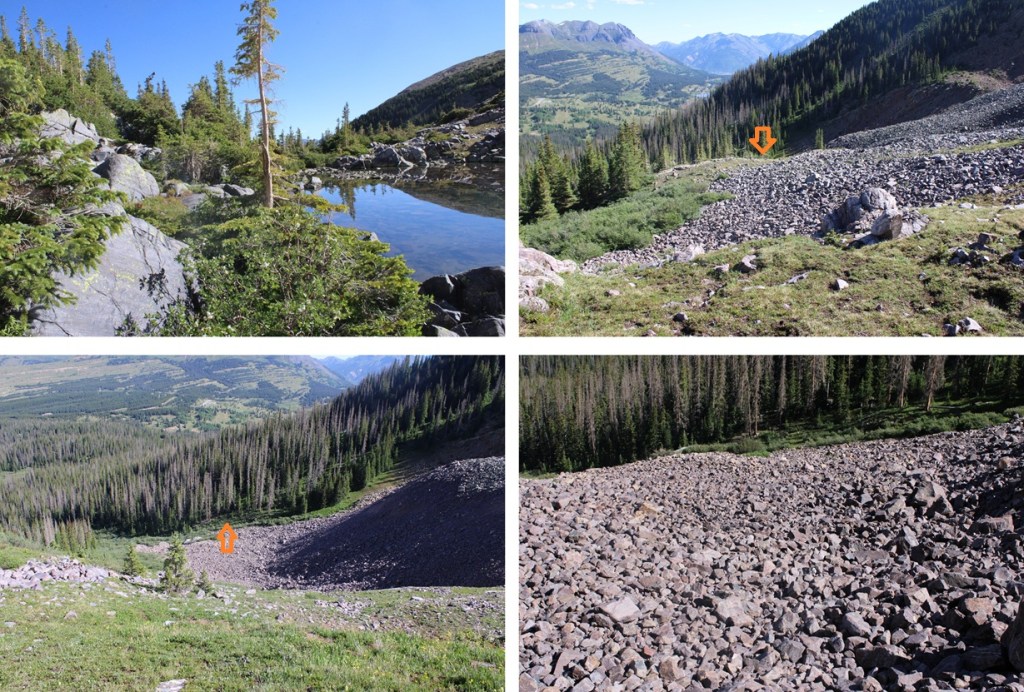
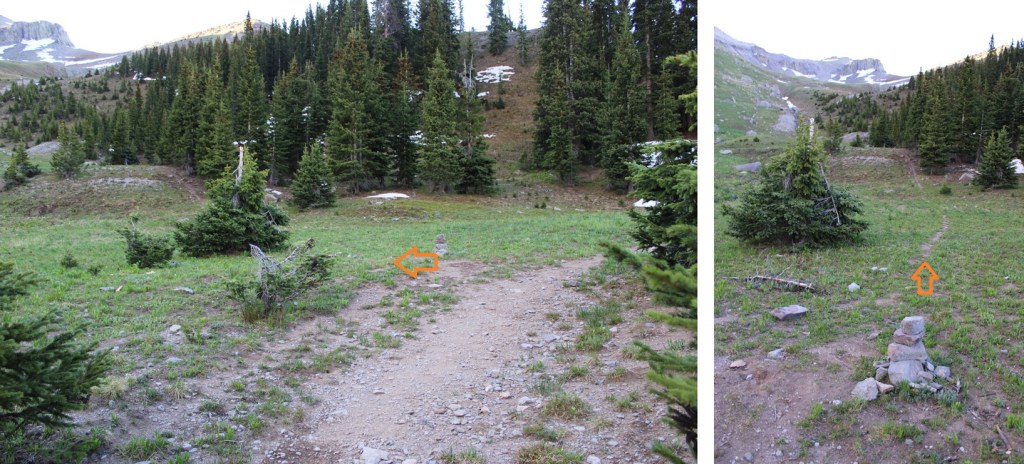
Just at about treeline I came to a small pond (11990’), and skirted it on the trail that goes to the right, following the trail up to 12100’
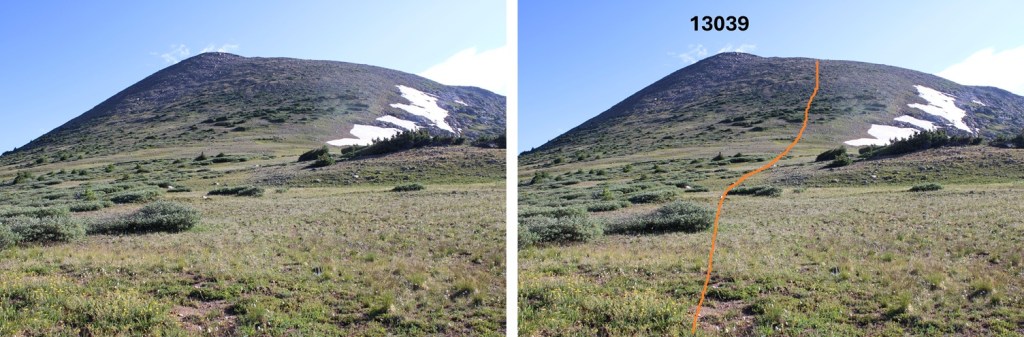
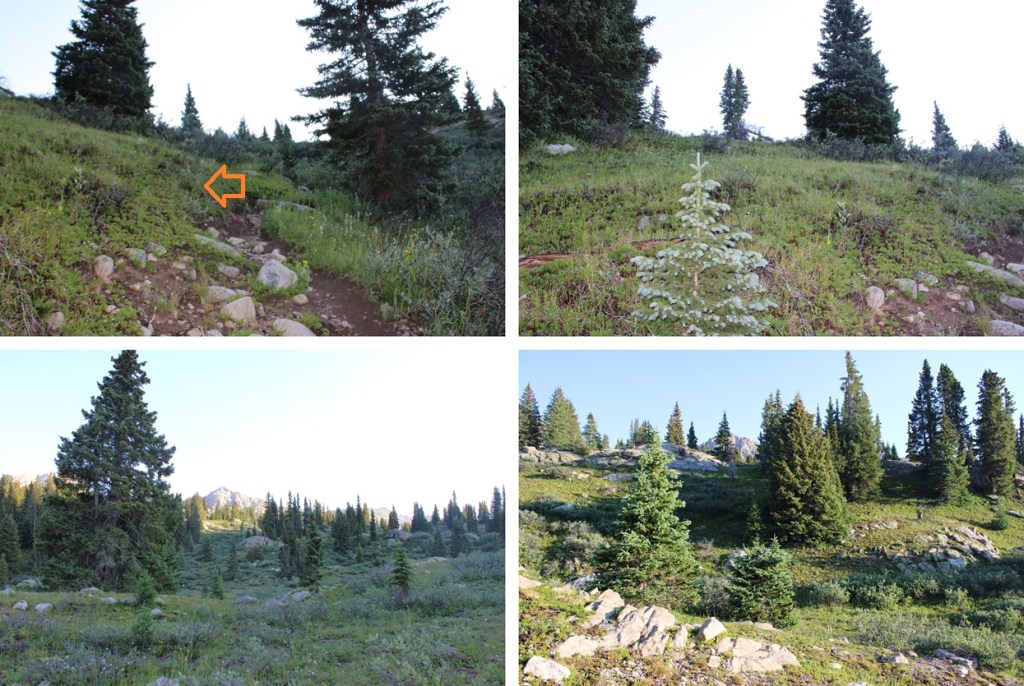
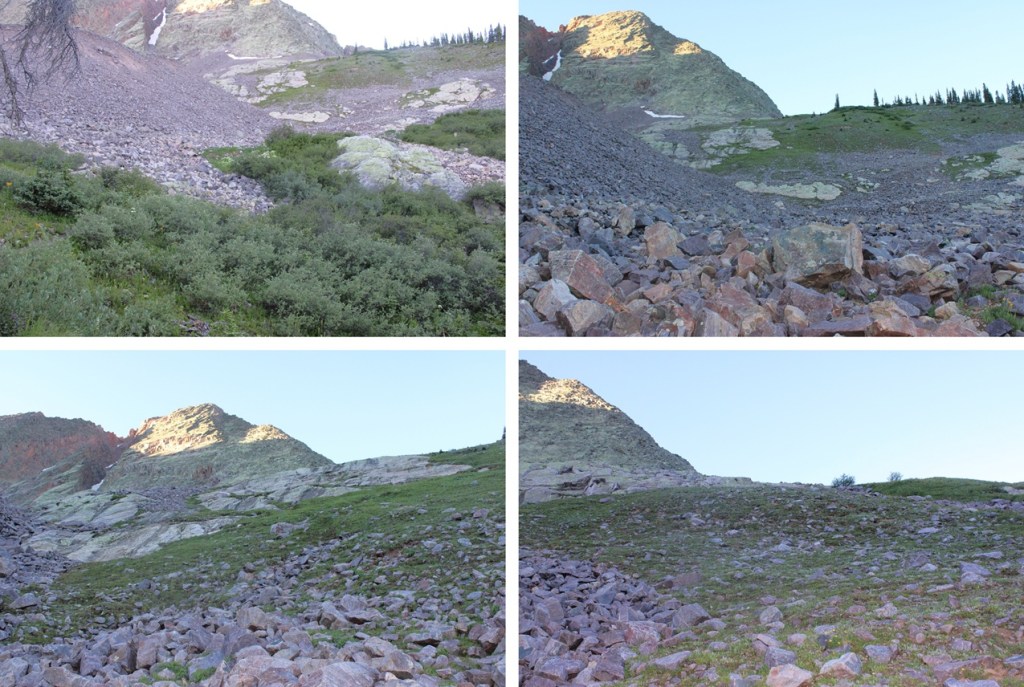
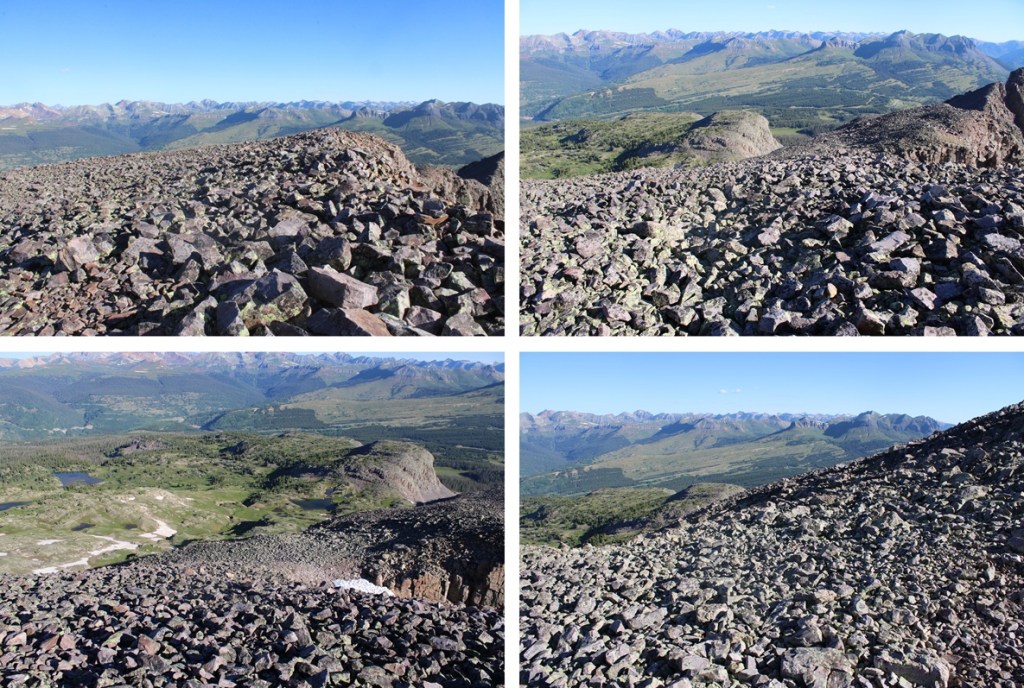
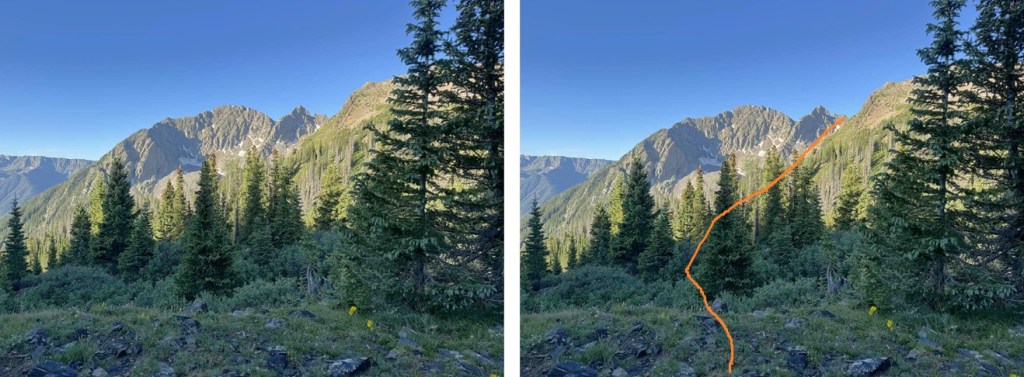
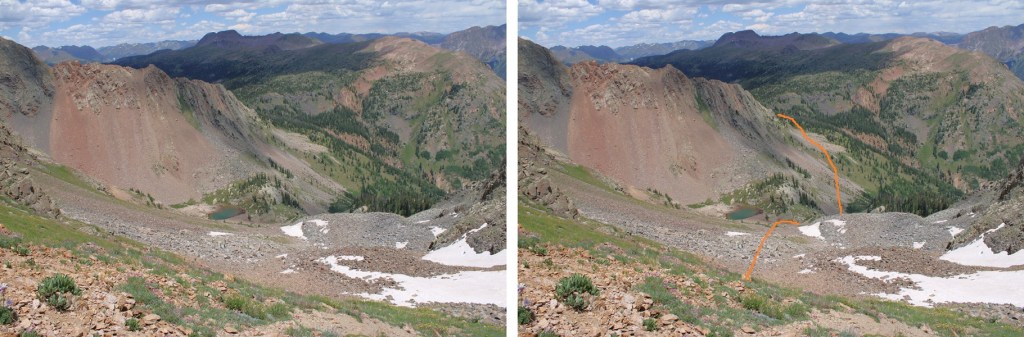
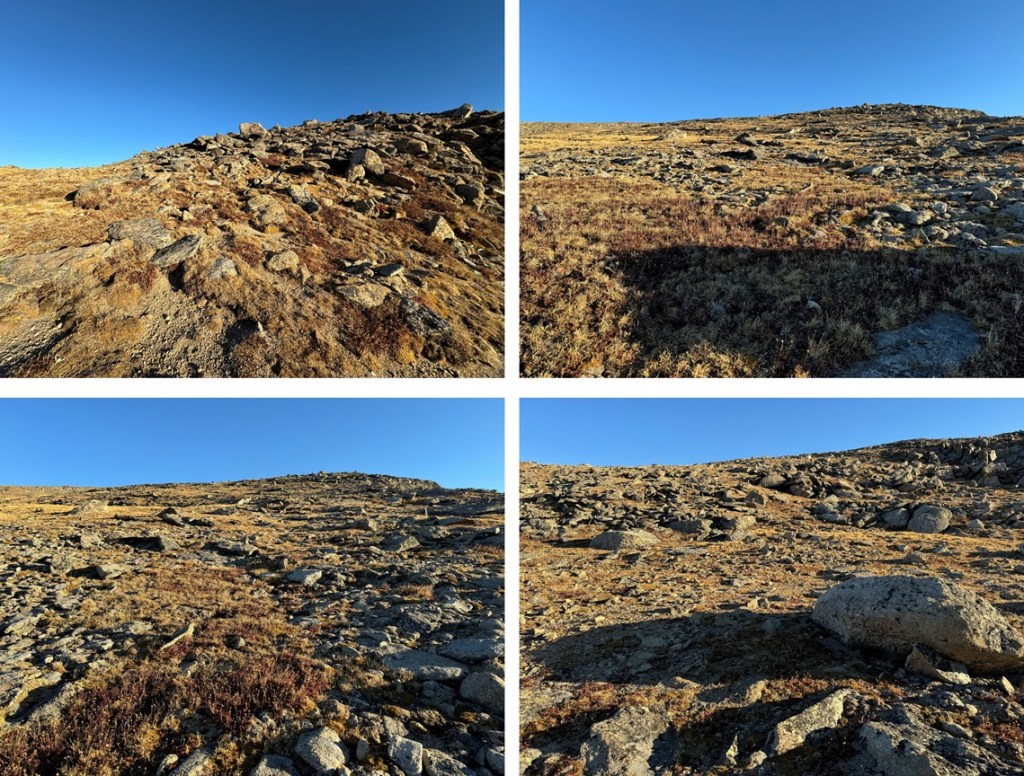
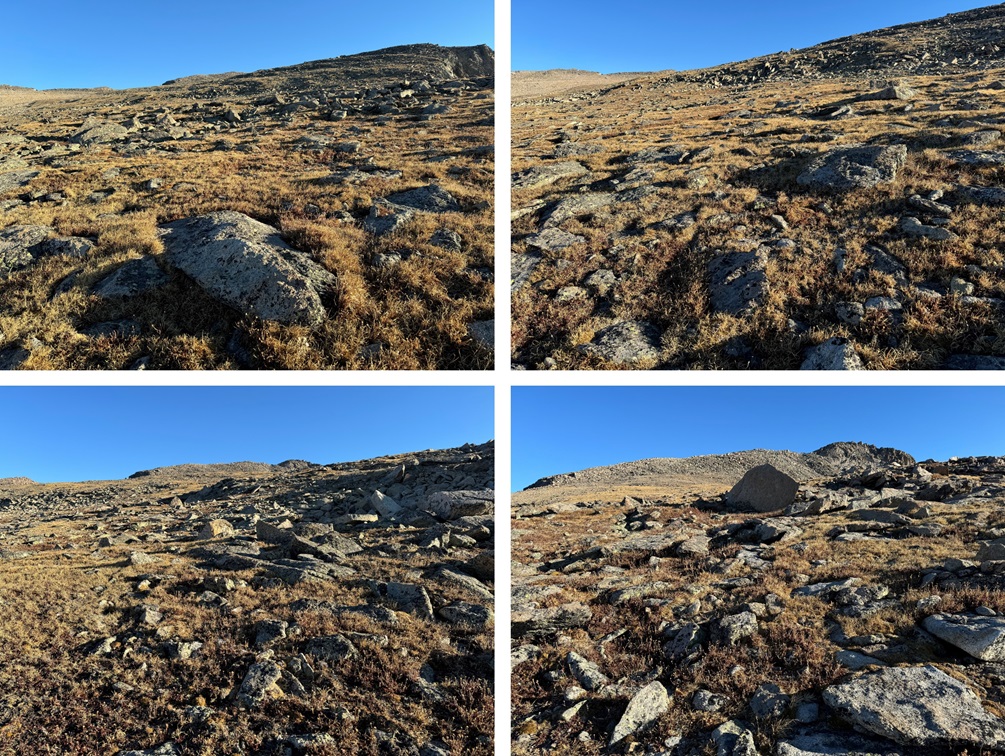
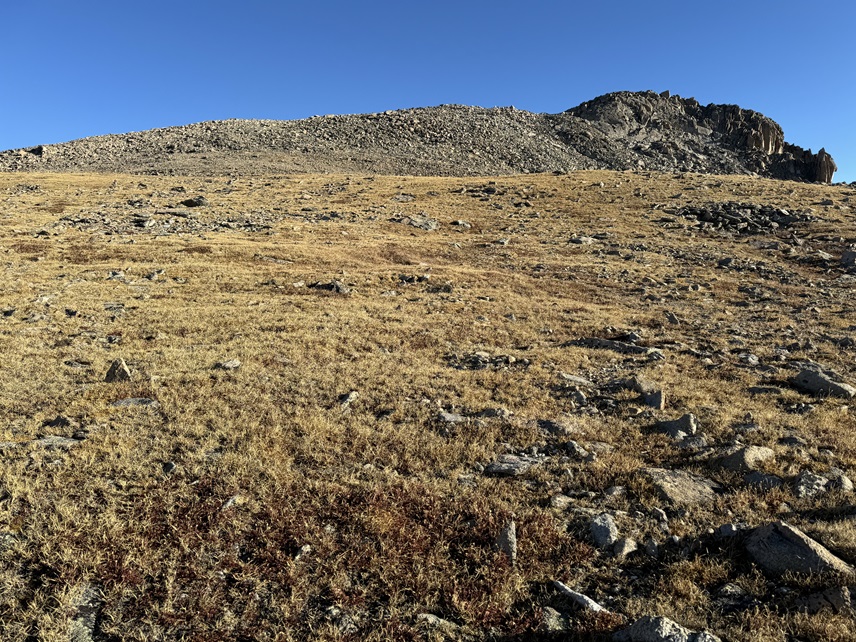
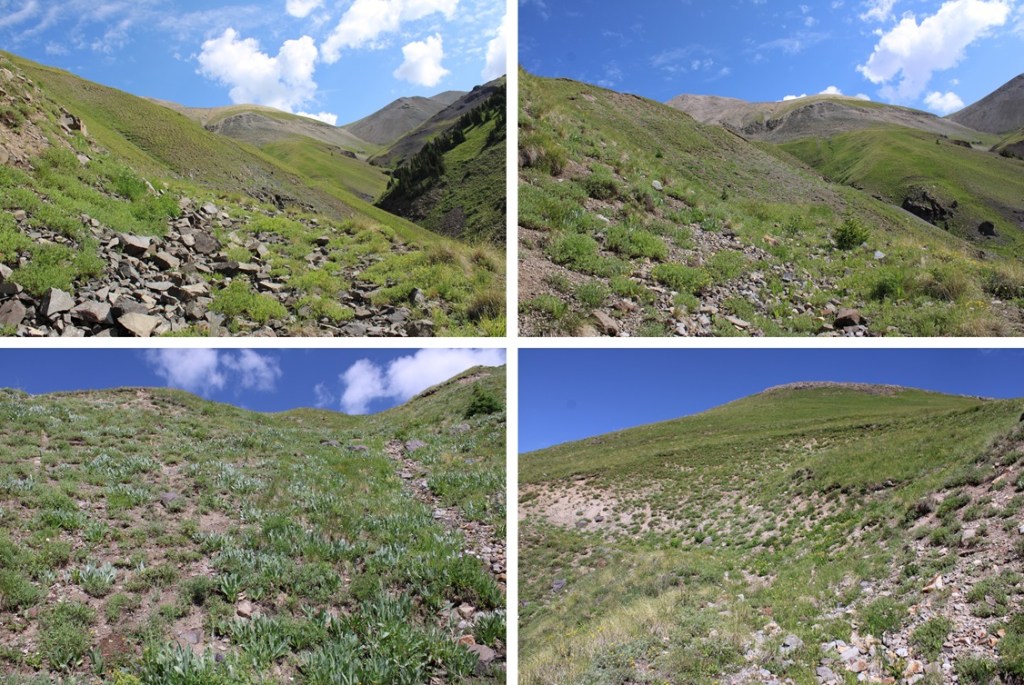
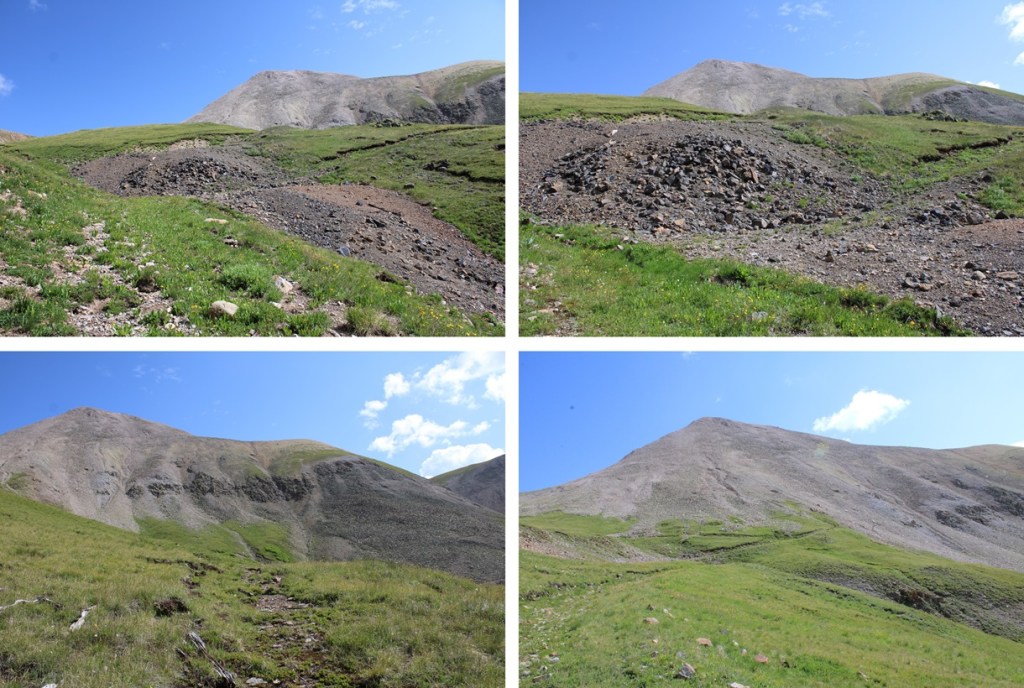
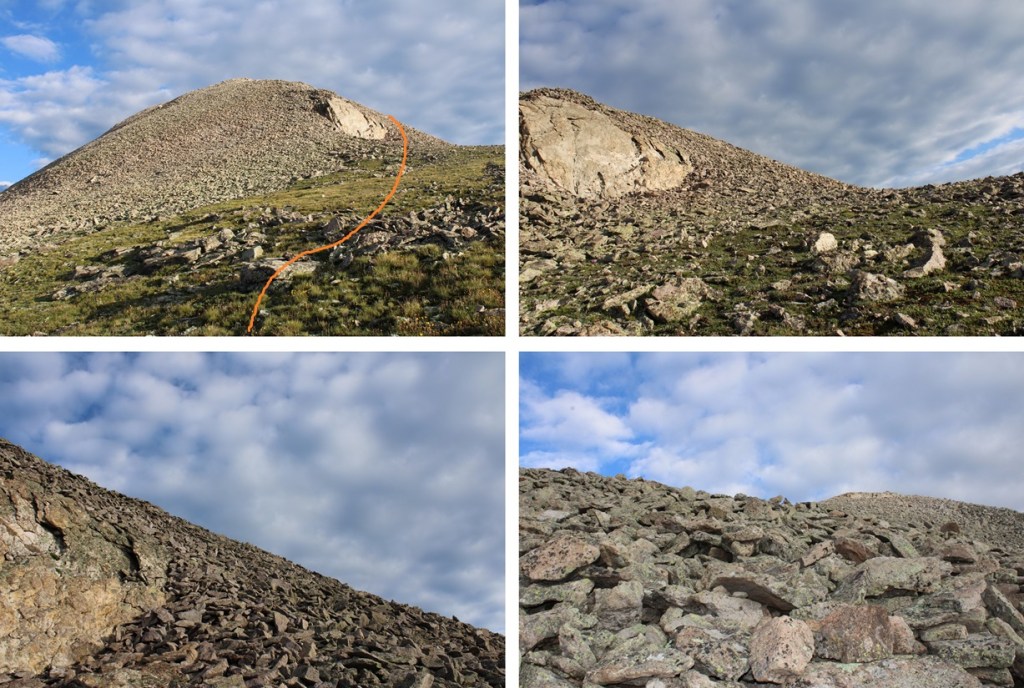
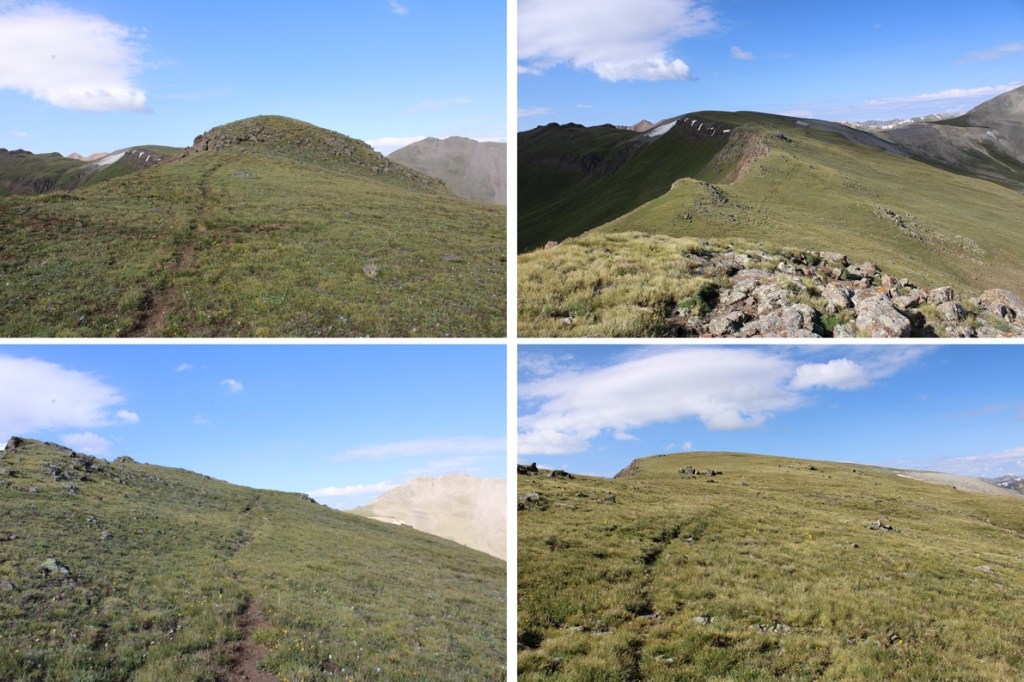
At 12100’ of elevation, just as the trail was starting to level out and after about 3 miles of hiking from the trailhead, I turned right and headed northeast up to the ridge of 13039. This is choose your own adventure, and all class 2. I did my best to avoid the willows and pine trees and aimed straight up the ridge, gaining about 850’ of elevation. Most of the rocky terrain can be avoided until you get to the top.
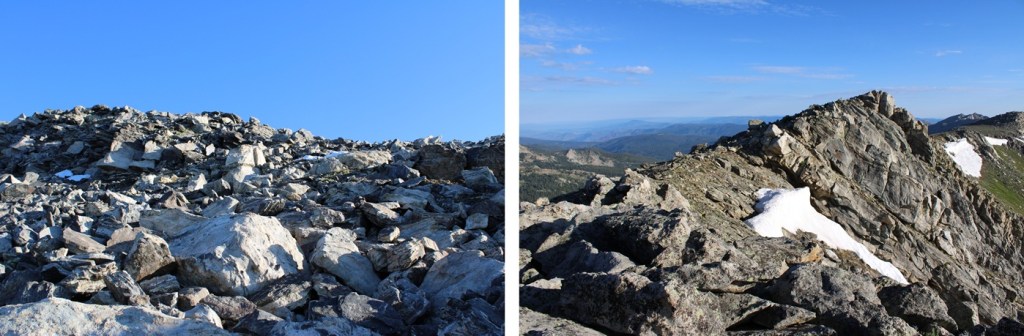
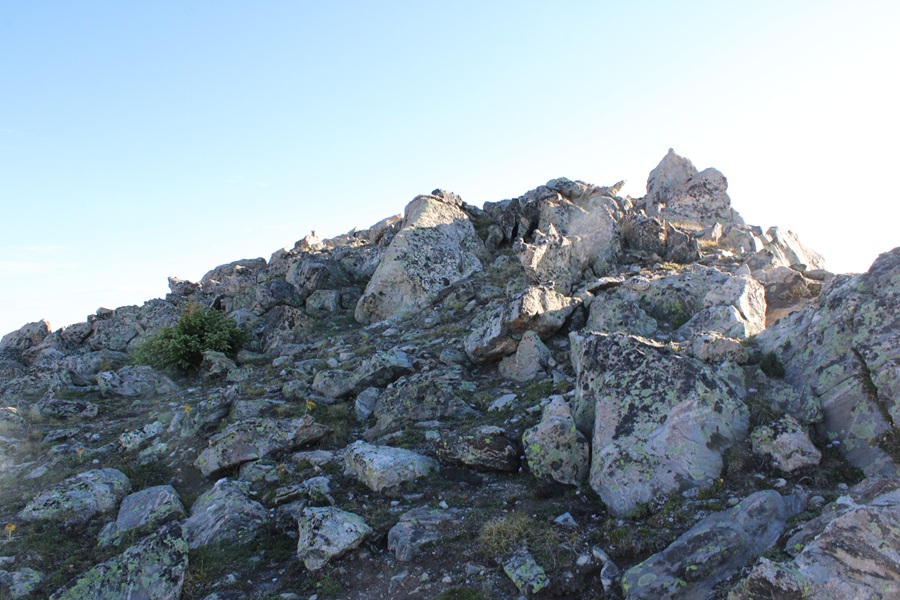
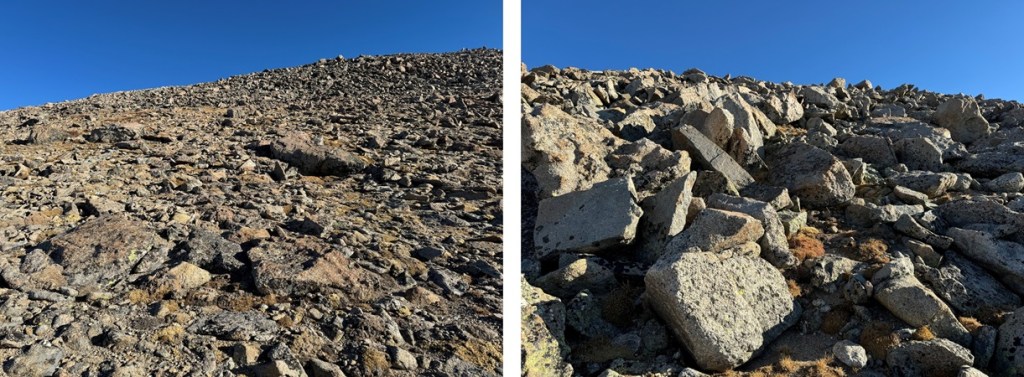
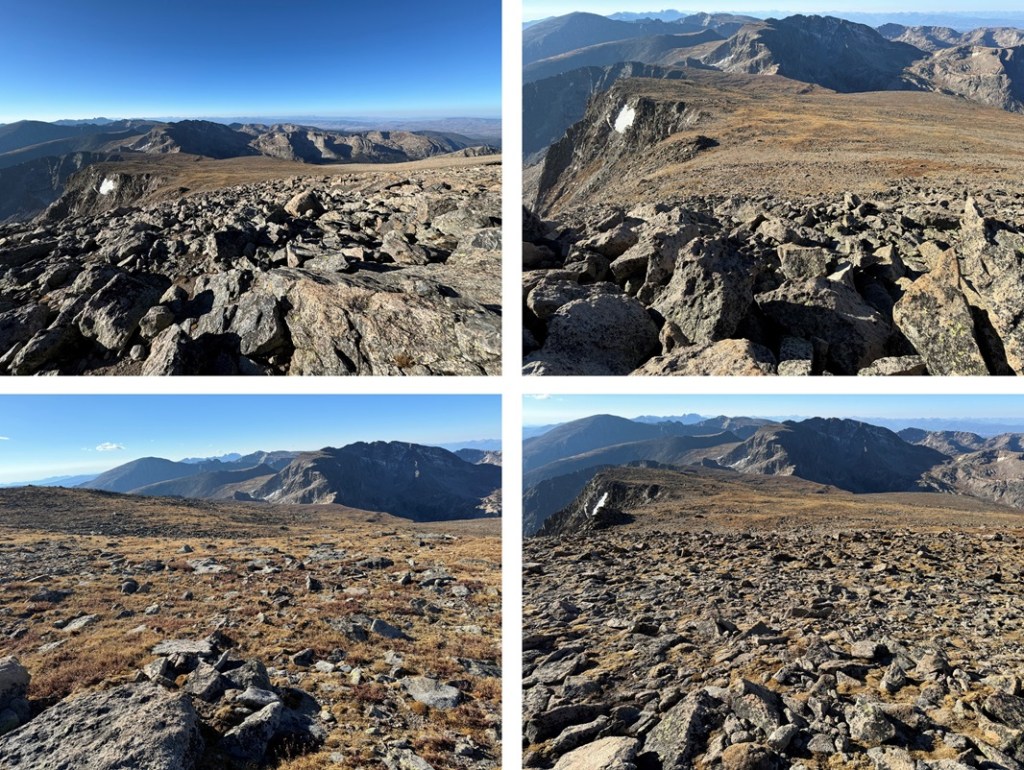
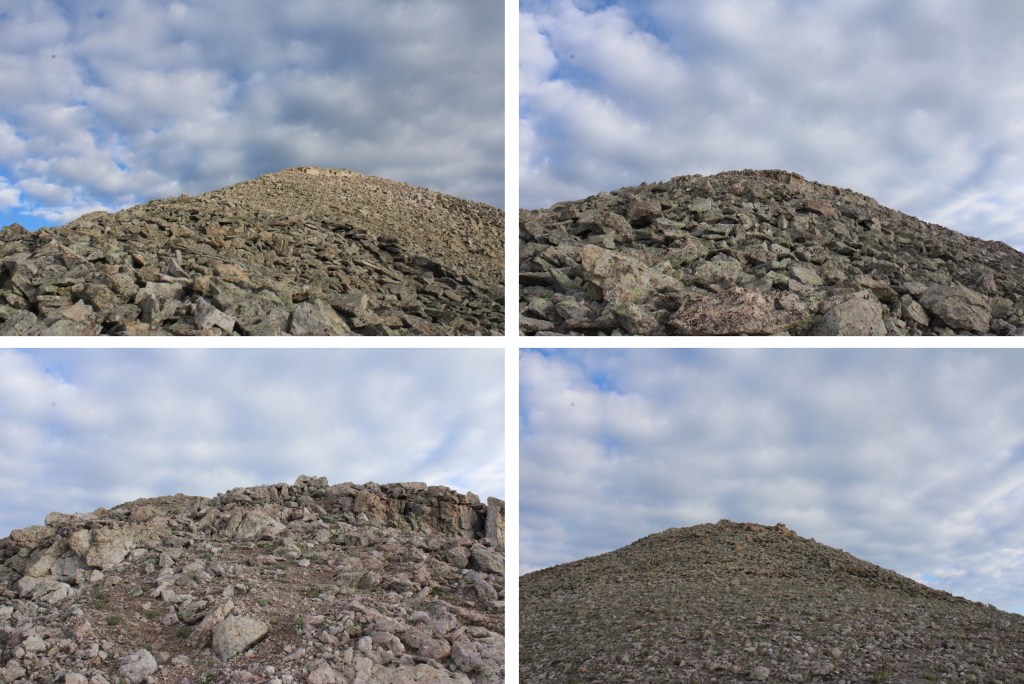
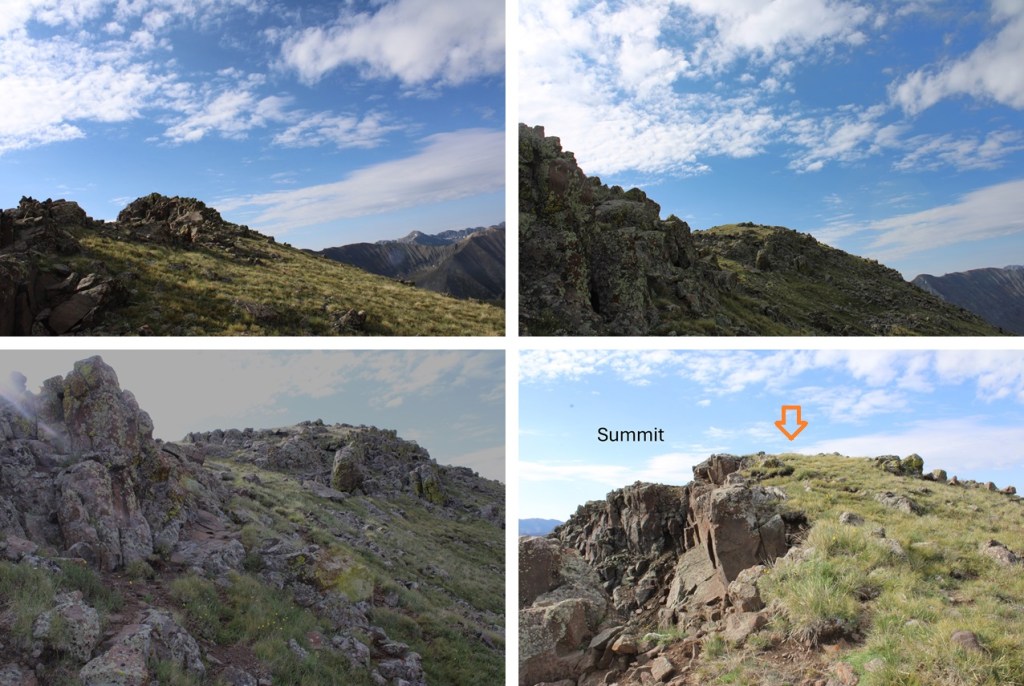
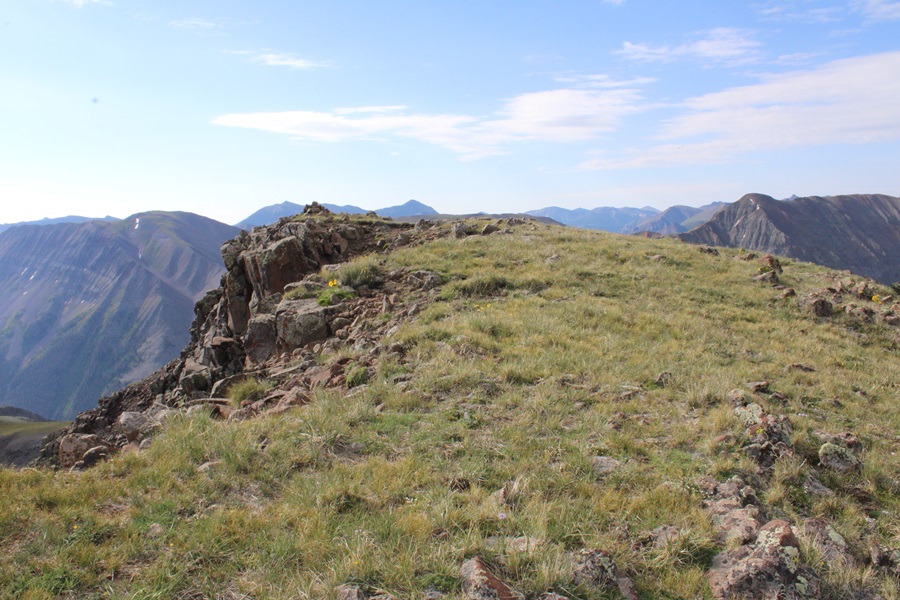
Once on the ridge it was a short, rocky, class 2 climb following the ridge west and then north to the summit.
I summited 13039 at 7:30am
13039:
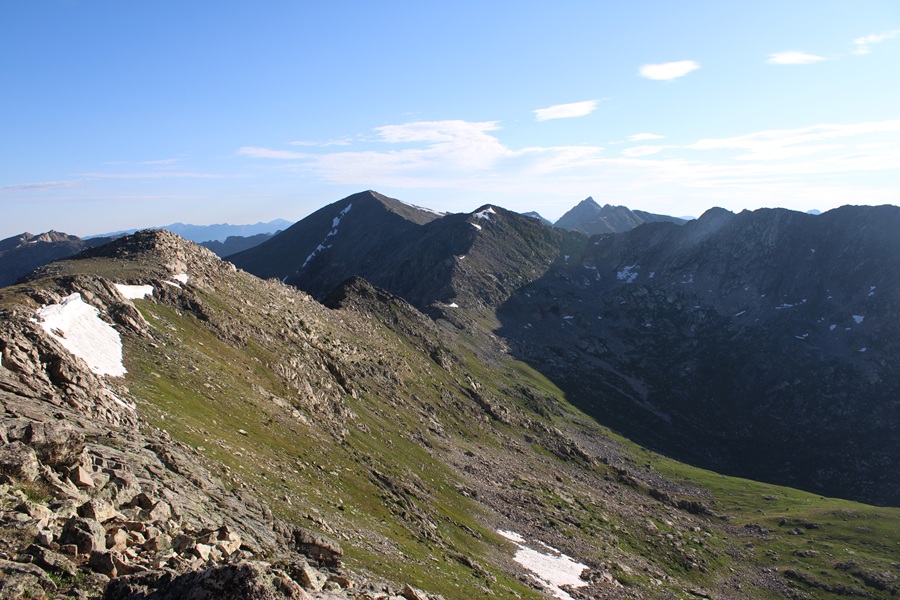
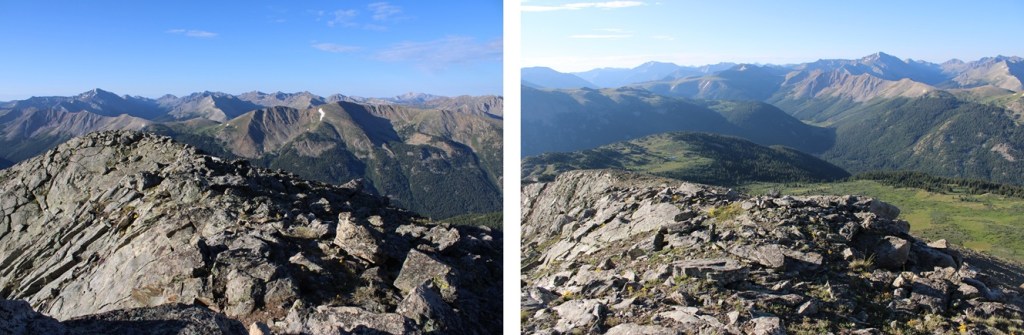
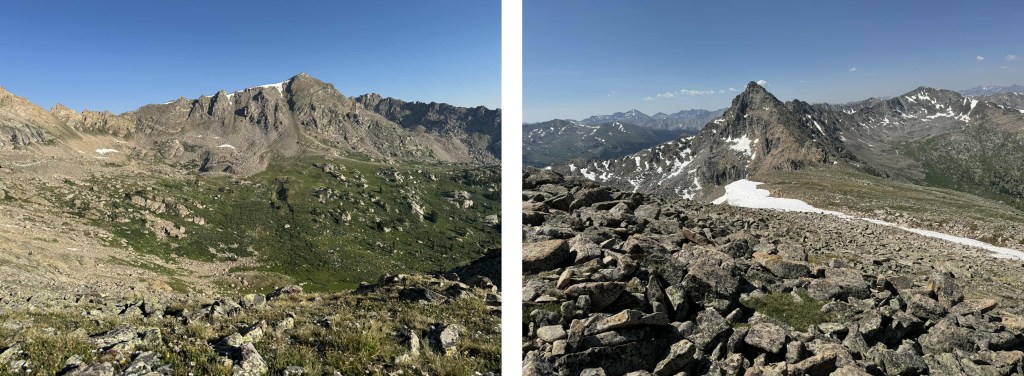
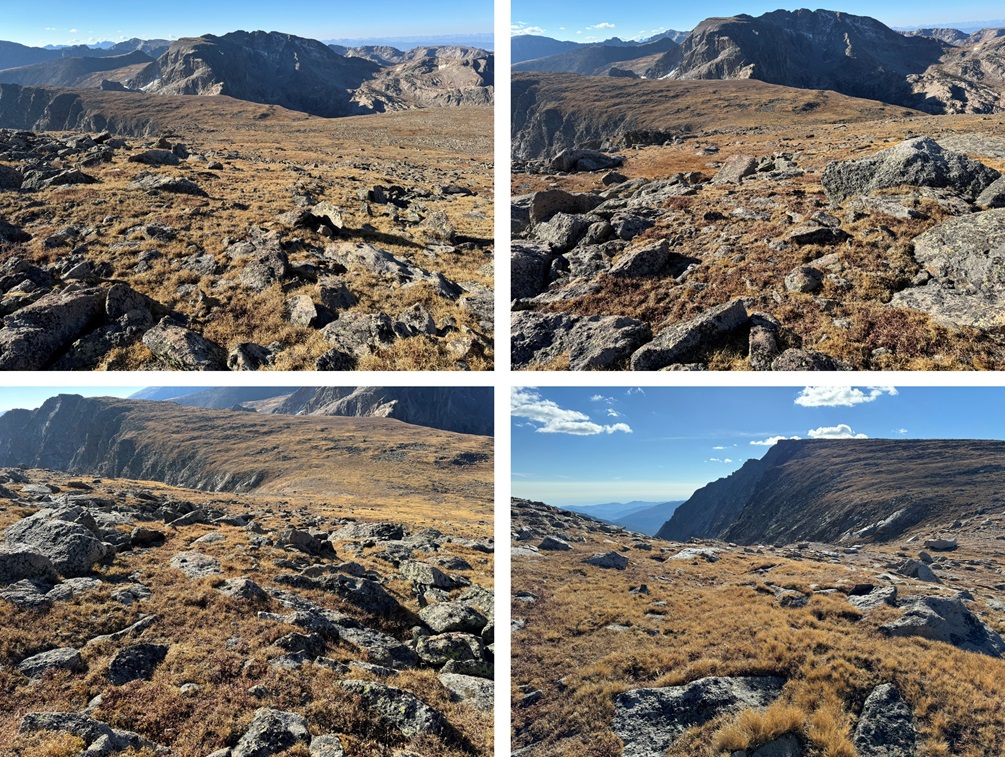
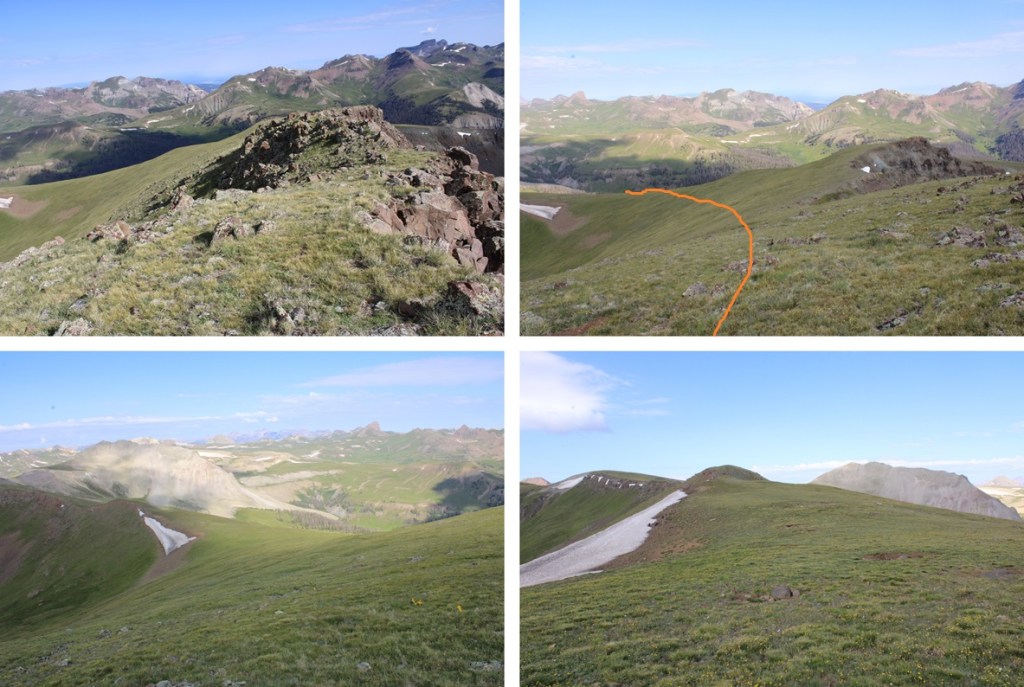
Due to time constraints this was my only peak of the day, but here’s a view of some of the other peaks you can link with this climb to make it a long and challenging class 3+ day:
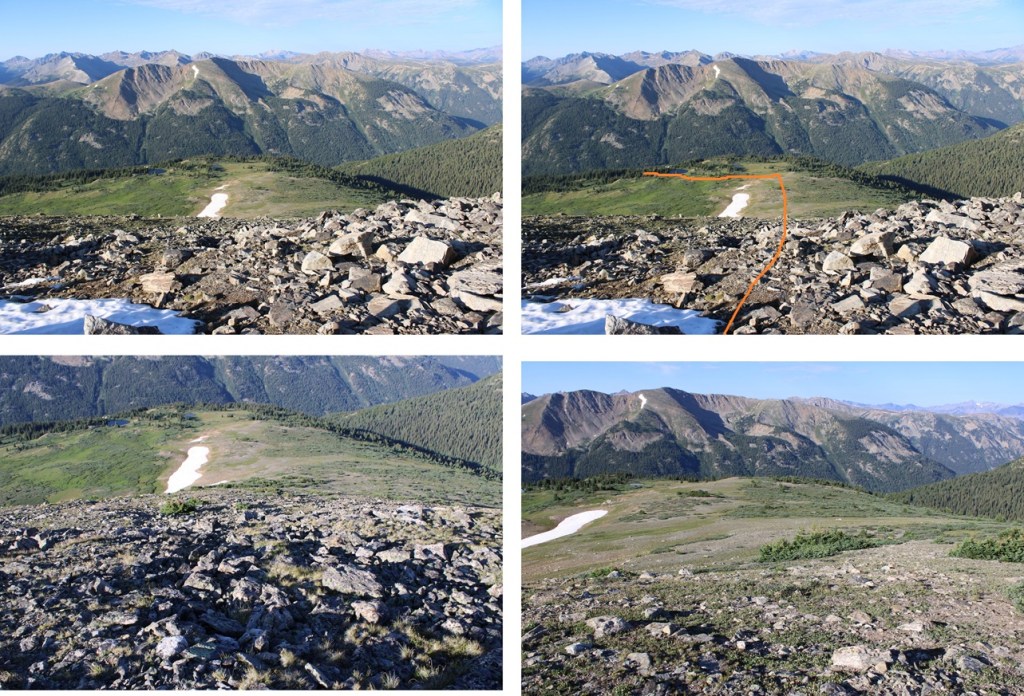
I turned and made this an out and back hike. I followed the ridge back down the way I’d ascended.
Then I headed south/southwest down the slope back to the Midway Trail.
Back on Midway Trail I followed it around 3 miles back to the trailhead.
I made it back to my truck at 9am, making this a 7.81 mile hike with 2560’ of elevation gain in 4 hours.
On to the Western Slope to volunteer at a Girl Scout camp for a week!
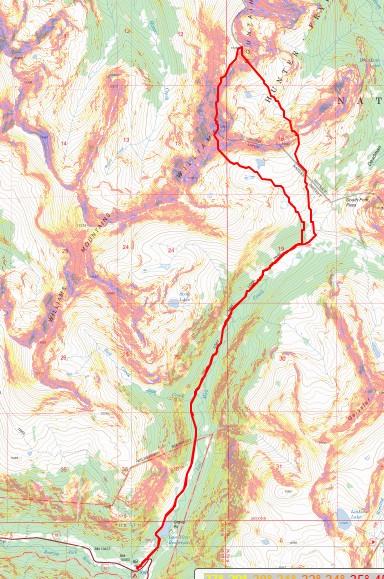
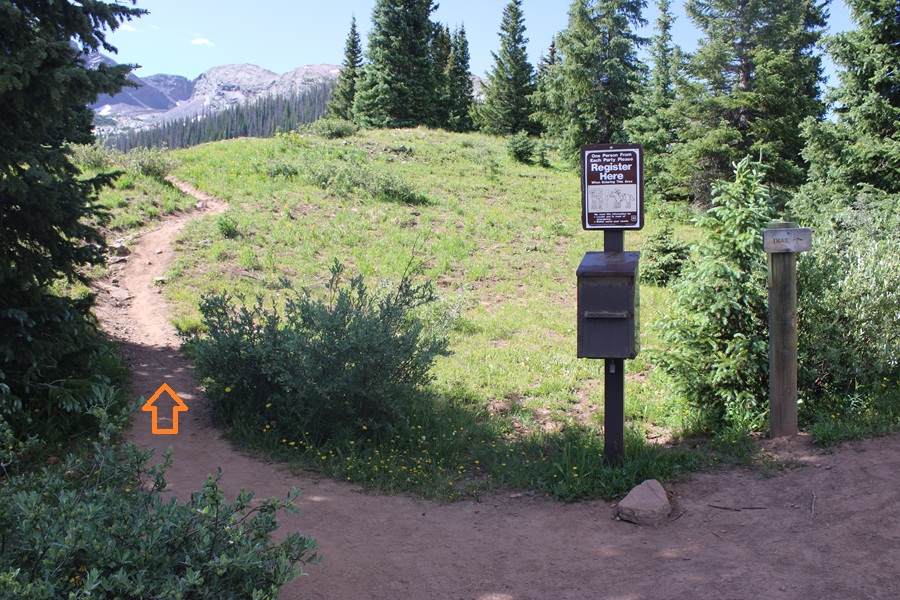
I started from the Lost Man Trailhead at 5am. This trailhead has capacity for around 35 vehicles, if everyone parks nicely. The trailhead is obvious.
At the trailhead sign I went right, following the Lost Man Loop Trail.
This is a well-maintained class 1 trail that passed by Lost Man Reservoir and then continued north, paralleling Lost Man Creek.
I followed this trail for about 4 miles. If you make it to South Fork Pass you’ve gone too far.
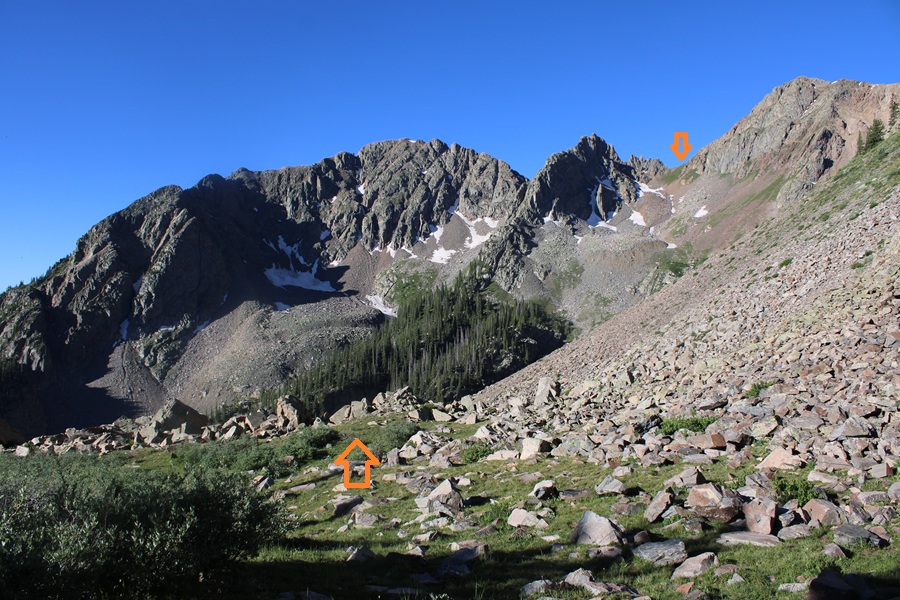
At 11550’ of elevation I left the trail and headed north towards an unnamed pass to the right of PT 12683.
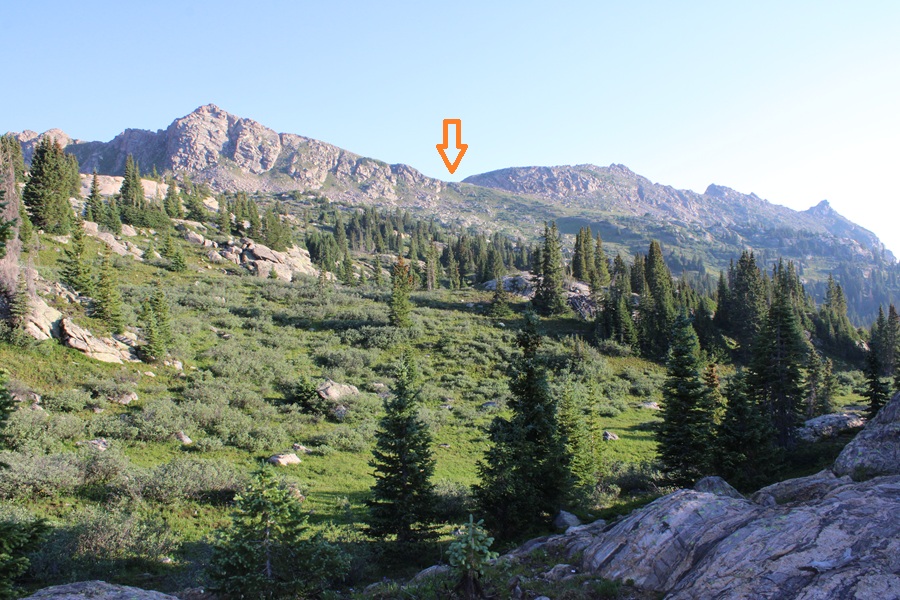
For a visual, I was headed here:
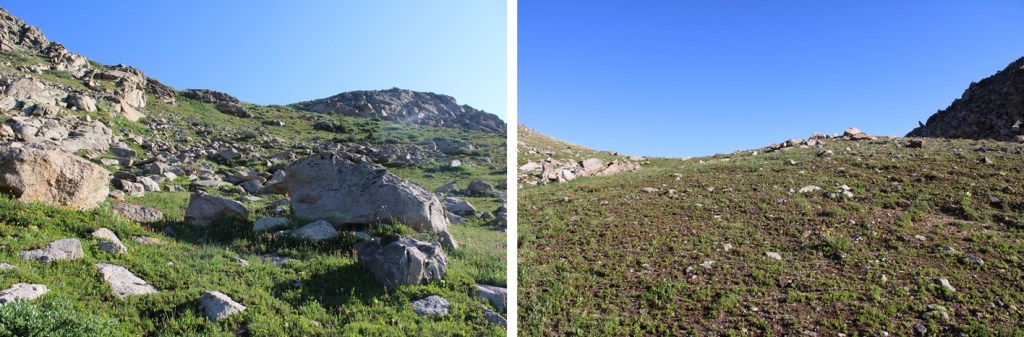
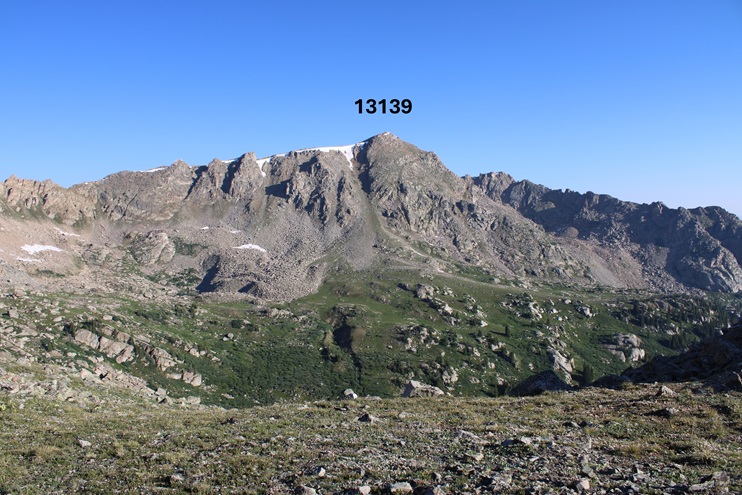
When I got to the top of this small pass I had a visual of the route before me to PT 13139.
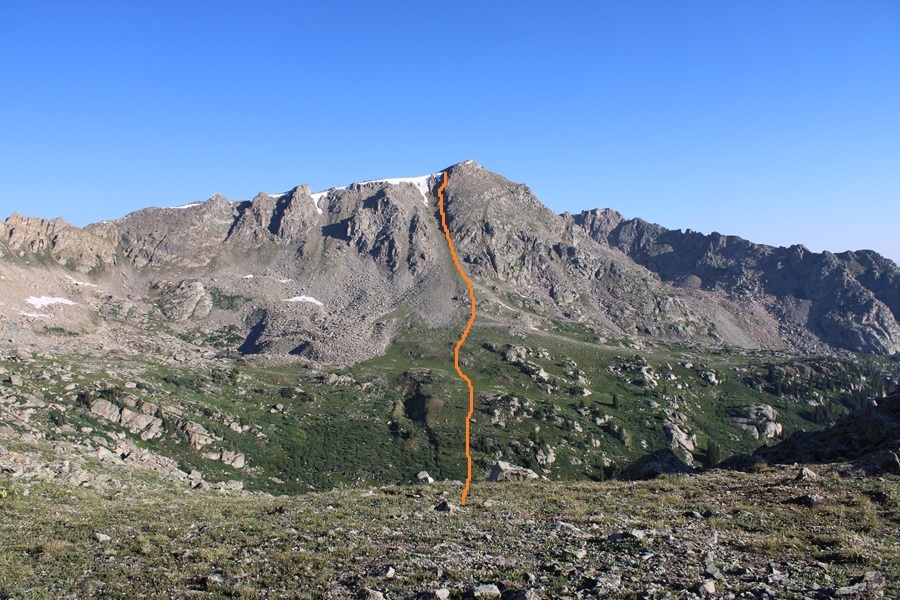
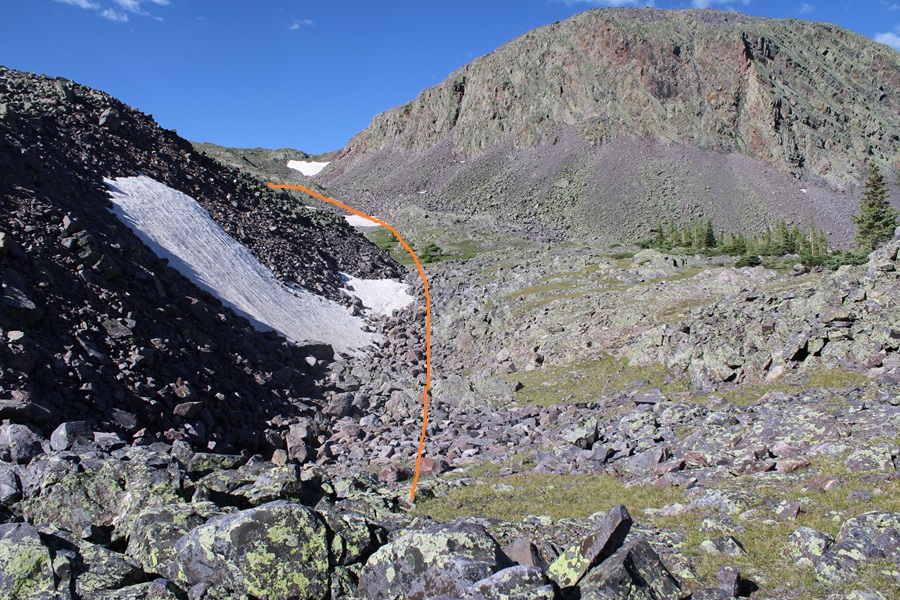
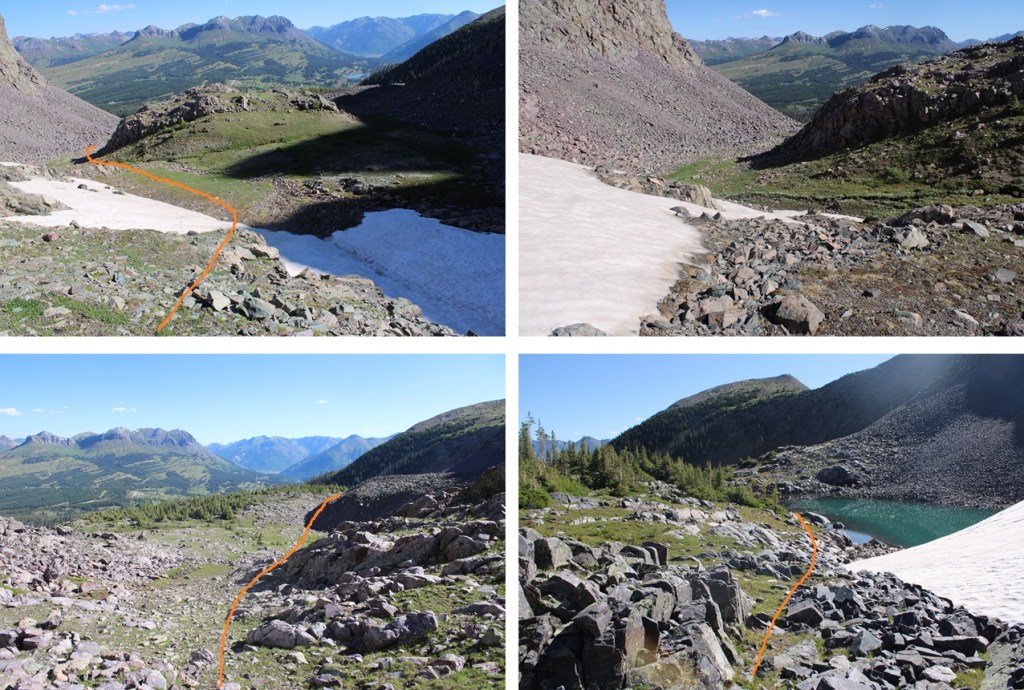
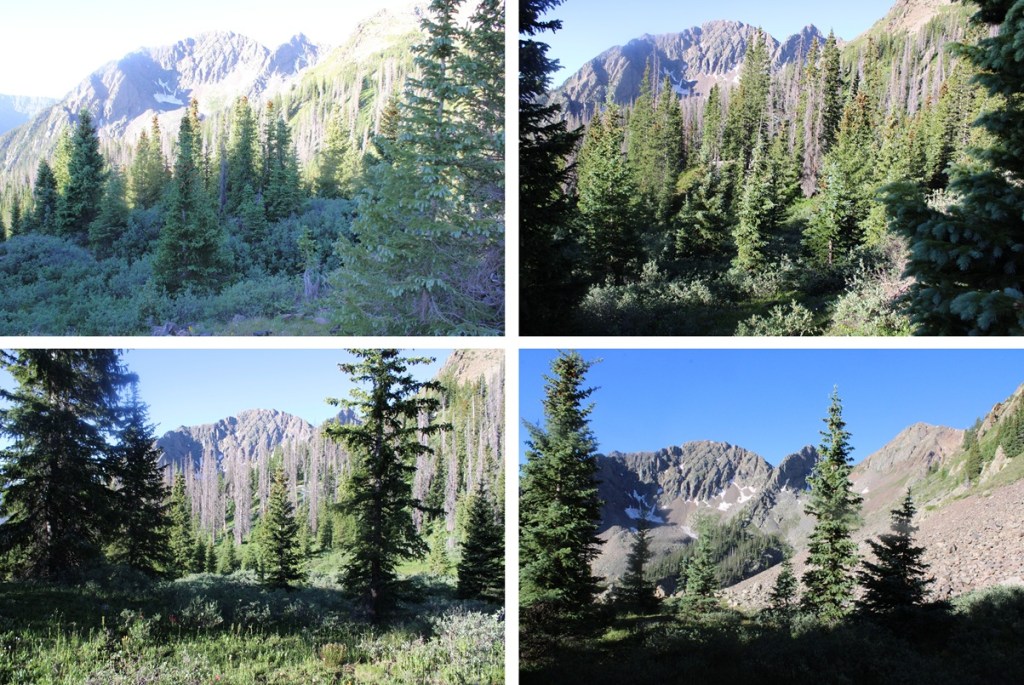
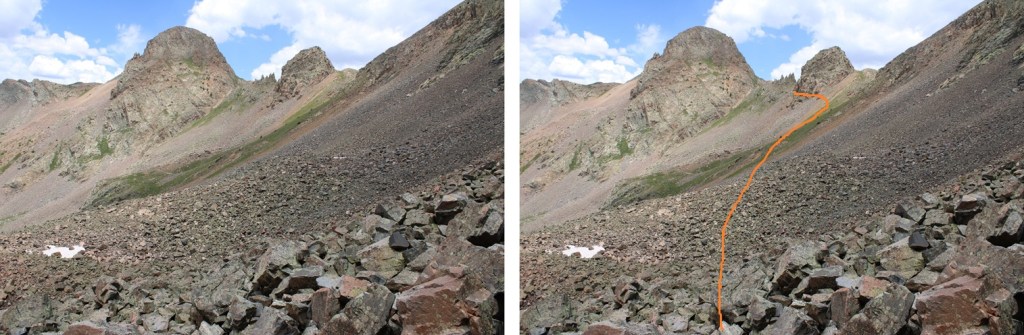
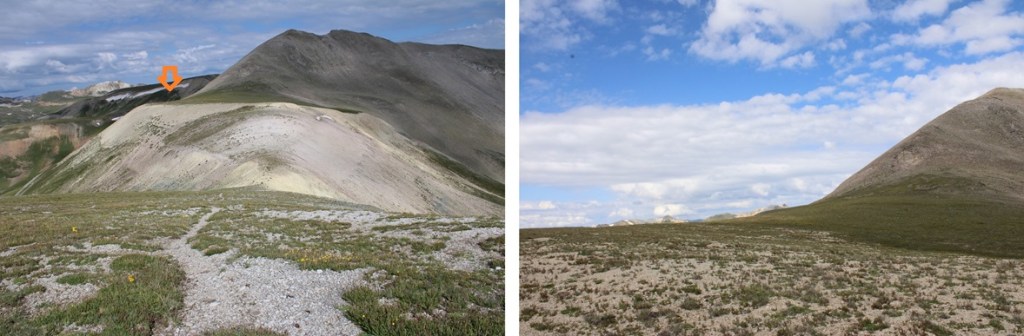
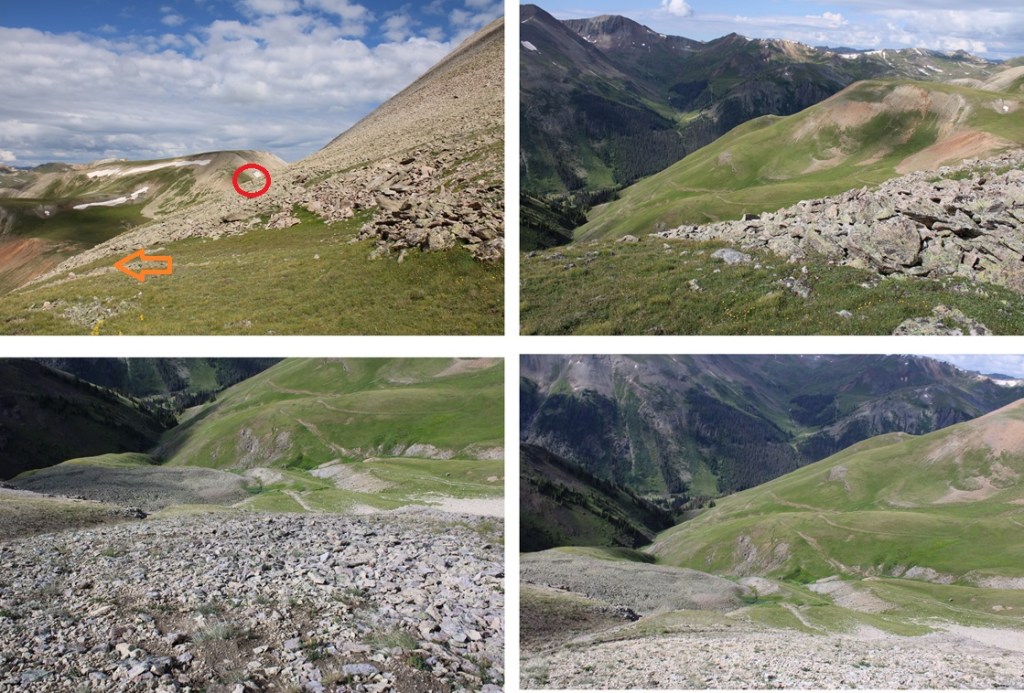
I was disheartened. That cornice looked big. I sat on that pass for longer than I wanted, contemplating my next move. It was only July 15, and I’d already had over a dozen failed attempts already this year. Mostly due to cornices, but also due to wildfires (I evacuated twice) and getting “the knock” twice and being told I can’t park my vehicle at a trailhead overnight (even to leave it to go backpacking: it would be towed). I remembered hearing (somewhere) that the entire Williams traverse was clear of snow this week, so in my mind I figured it was possible to make it around the cornice. Needing a ‘win’ I decided to go for it. Here’s my route, dropping 620’ into the basin on an adequate game trail, staying to the right of the creek and avoiding the willows, and then climbing up the gully.
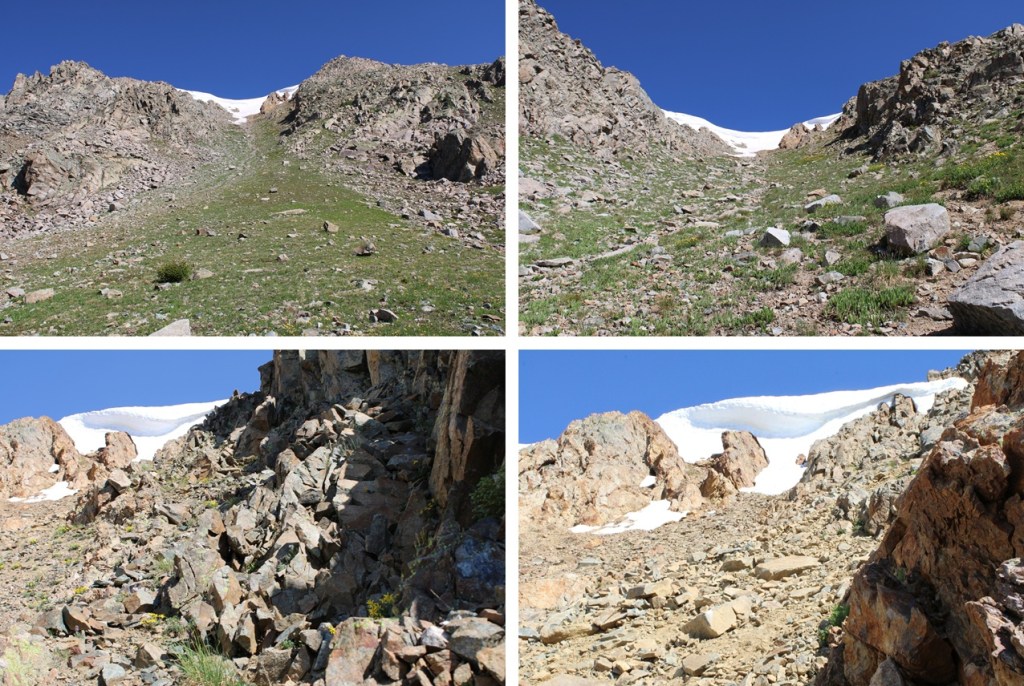
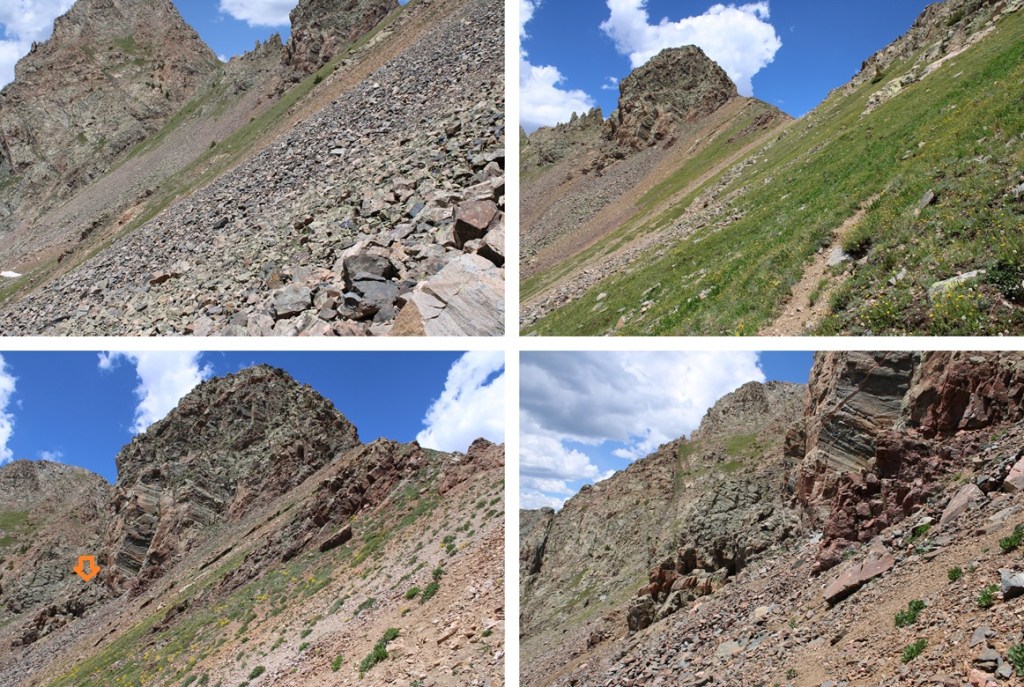
At the base of the gully I once again stopped to rest and contemplate the ascent. That cornice looked really big (it was). But it also looked like I could go around it to the right. I ascended the gully, trying to stay in the middle but drifting towards the right because the terrain there was more stable. This gully is steeper than it looks and it took quite a while to ascend.
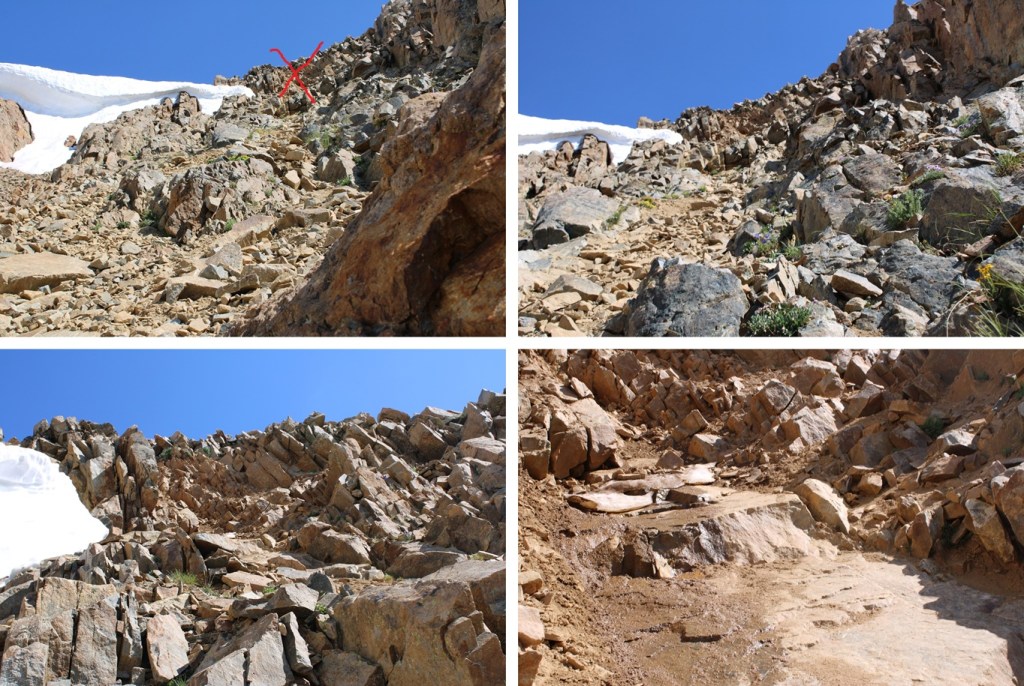
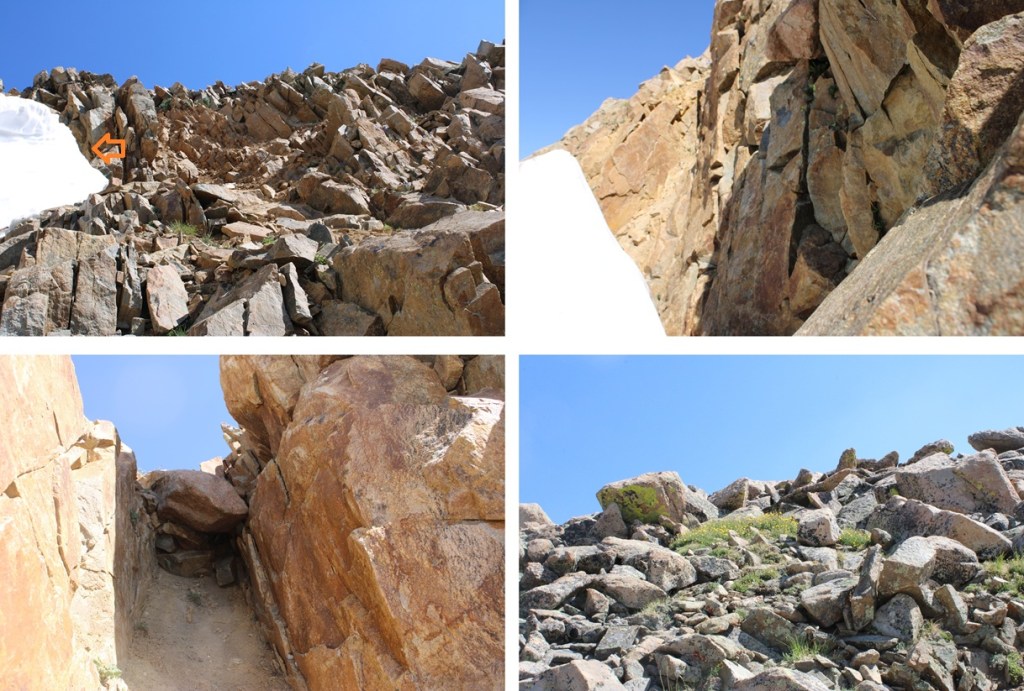
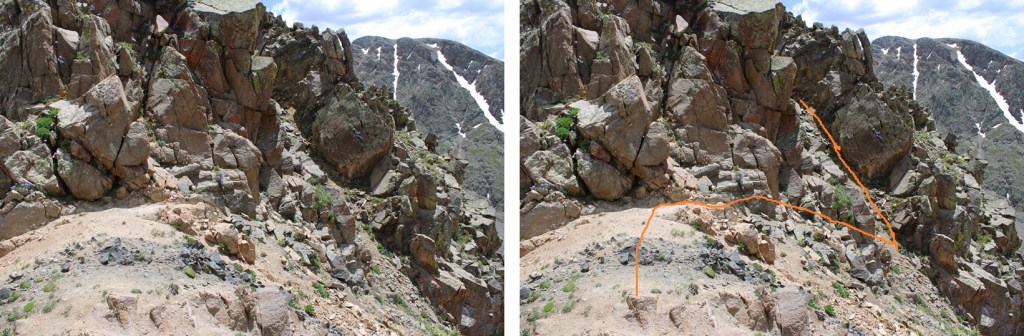
The cornice was indeed large. At the base of it I thought I saw a line to the right that would lead me to the ridge, so I headed that way. Long story short, it did NOT go. I got myself into a very scary situation where the rocks and dirt (which was wet) caved out from underneath me and slid down, leaving me standing on a slick rock slab with no traction, and no way to go up or down. While it looks like it goes, even when standing right beneath it, it does not (at least not safely). It is much steeper than it looks from below.
I was frustrated, especially since I’d heard someone else had already done the route this year. There were no footprints to be seen (I didn’t see any at all the entire hike), and no clear line to the ridge. I was heading back when I took a different look at the cornice, this time from above. There was about a foot of space behind the cornice I could crawl through (and get wet in the process) that would lead me to the ridge. I squeezed behind it and was quickly standing on the ridge.
Once on the ridge I turned right and headed northeast to the summit. The terrain was class 2, and very rocky.
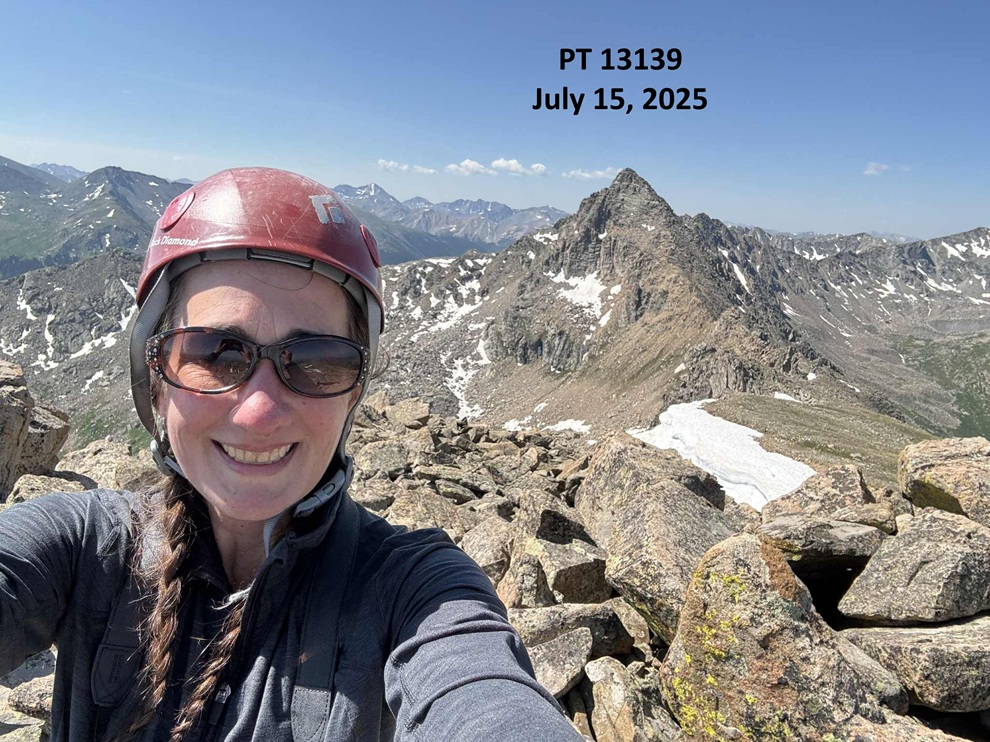
I summited PT 13139 at 10:40am
13139:
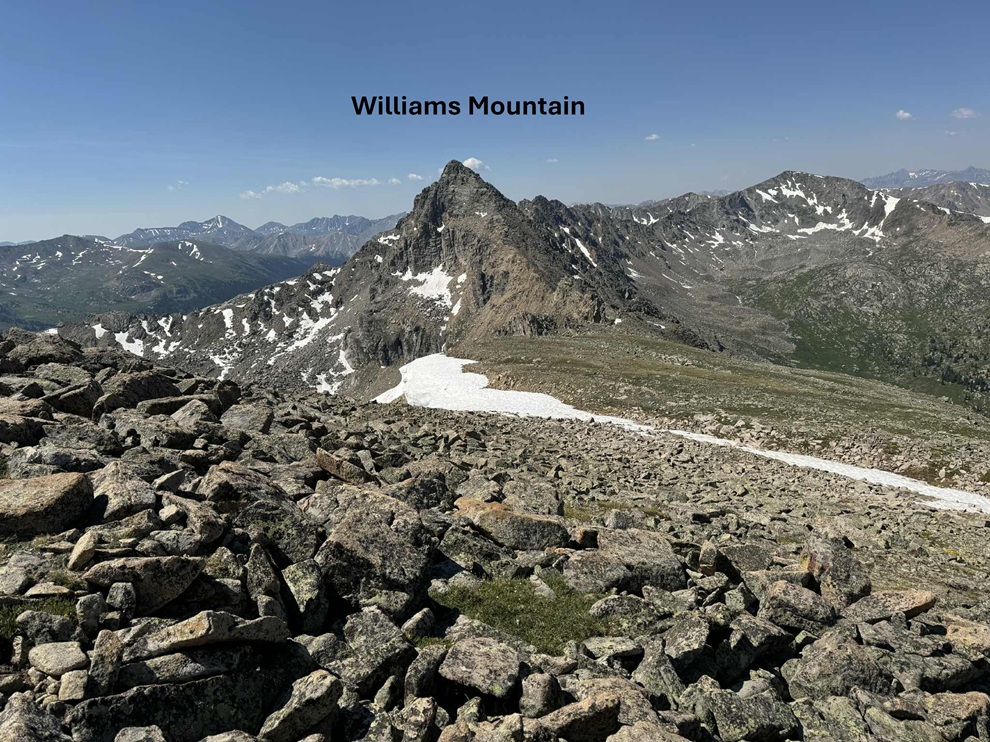
Once again I had a chat with myself on the summit. I am getting closer to finishing the 13ers, and when they’re done for me that’s it. I’m not going for 12ers, etc. because I’m starting a new phase of my life. However, I want to enjoy the 13ers for as long as possible. That’s a long way of saying I’m trying to stretch out my remaining climbs by making them multiple day trips. I’d planned on doing the Williams group in 3 days, but since if I returned the way I’d summited I’d need to gain over 600’ of elevation anyway, I figured I’d head over to Williams Mountain and summit that one today as well. So, I turned and headed southwest along the ridge towards Williams Mountain.
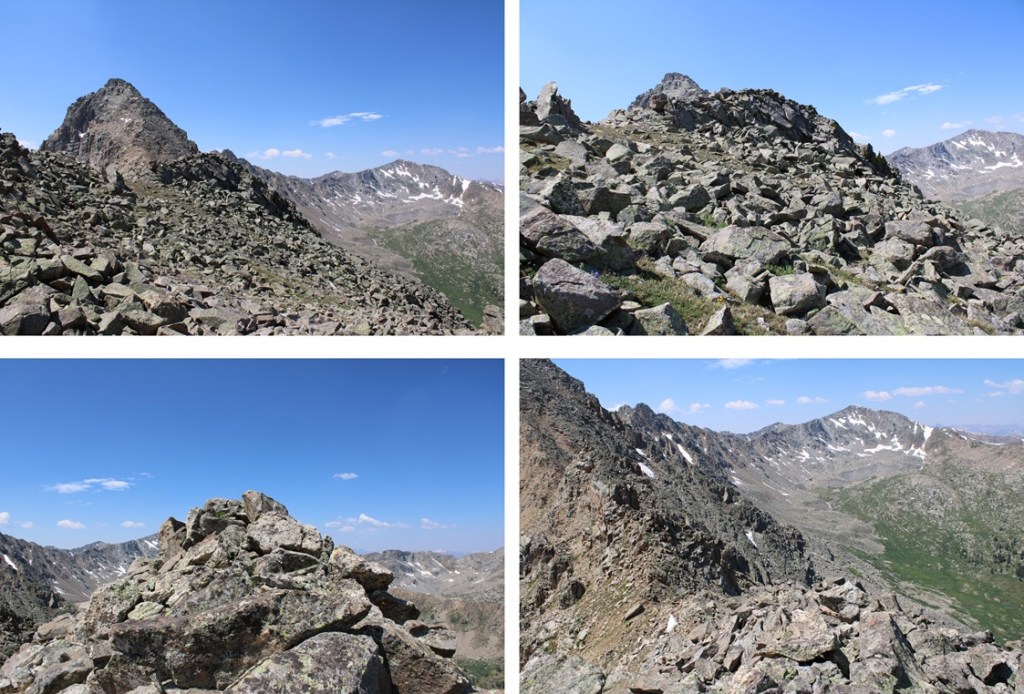
The ridge started out calmly, then quickly became rocky. I stayed to the ridge proper on class 2 and 3 terrain.
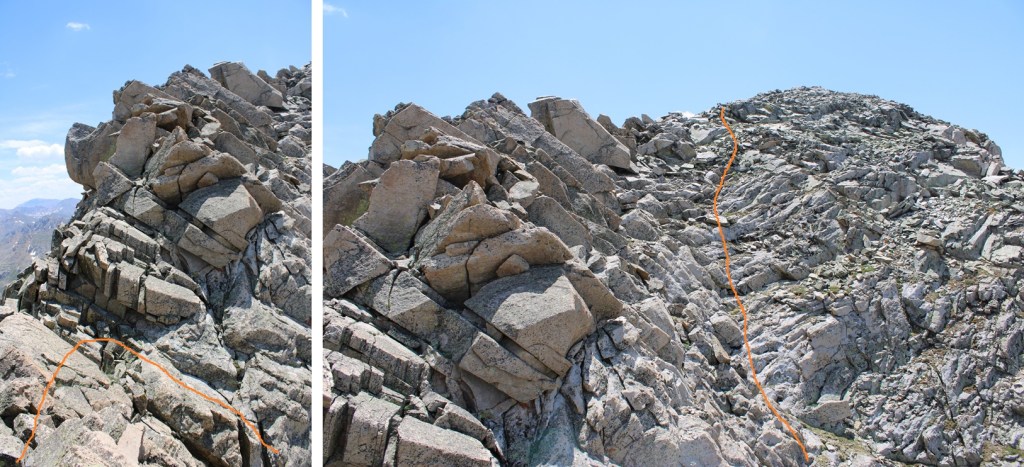
Until I came to this point, where I dropped down to the left and followed the scree filled slopes before regaining the ridge.
While it may look flat, there were a lot of ups and downs along the way.
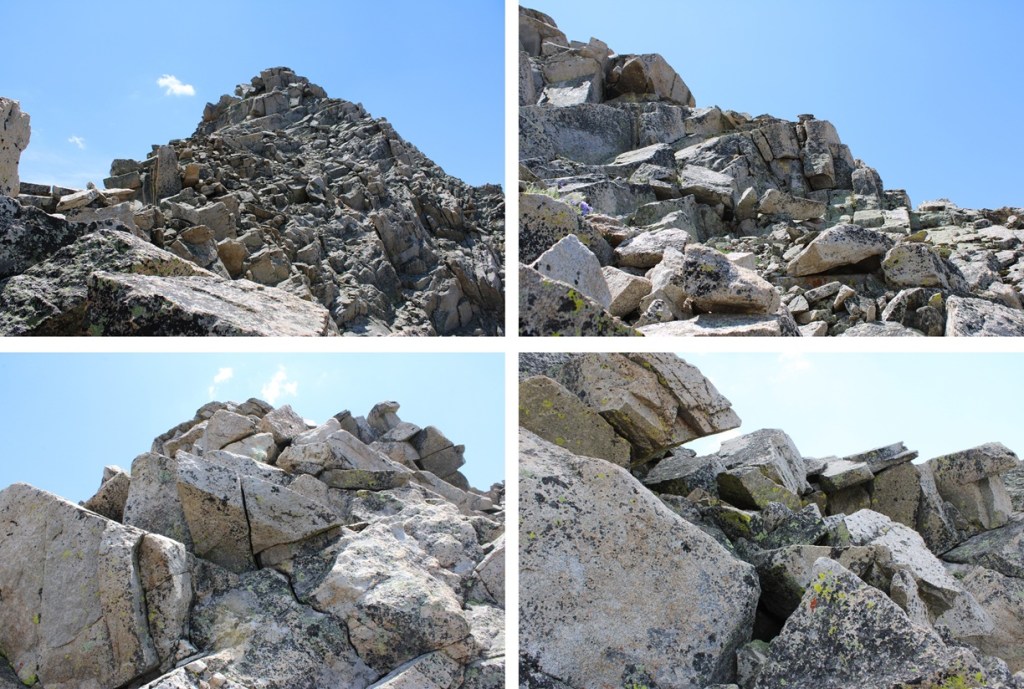
Once on the ridge again I followed it south. There were large boulders to navigate, but the rock was pretty solid. This is where the ‘fun’ begins. For the rest of the route to the summit it’s intense class 3, if not class 4. It’s probably the most difficult class 3 I’ve done to date, bordering on class 4 in areas (I’m short, so a lot of the holds are a stretch). There are a few cairns in this area, but don’t rely on seeing them. This was an intense, exposed scramble, and more than once I got myself ‘stuck’ in a not so friendly position and had to backtrack (which was also not so friendly). Be sure of your holds, be sure of your moves, and please have climbing experience before attempting this climb because it only gets more difficult as you ascend. I stuck a little to the west of the ridge, heading south.
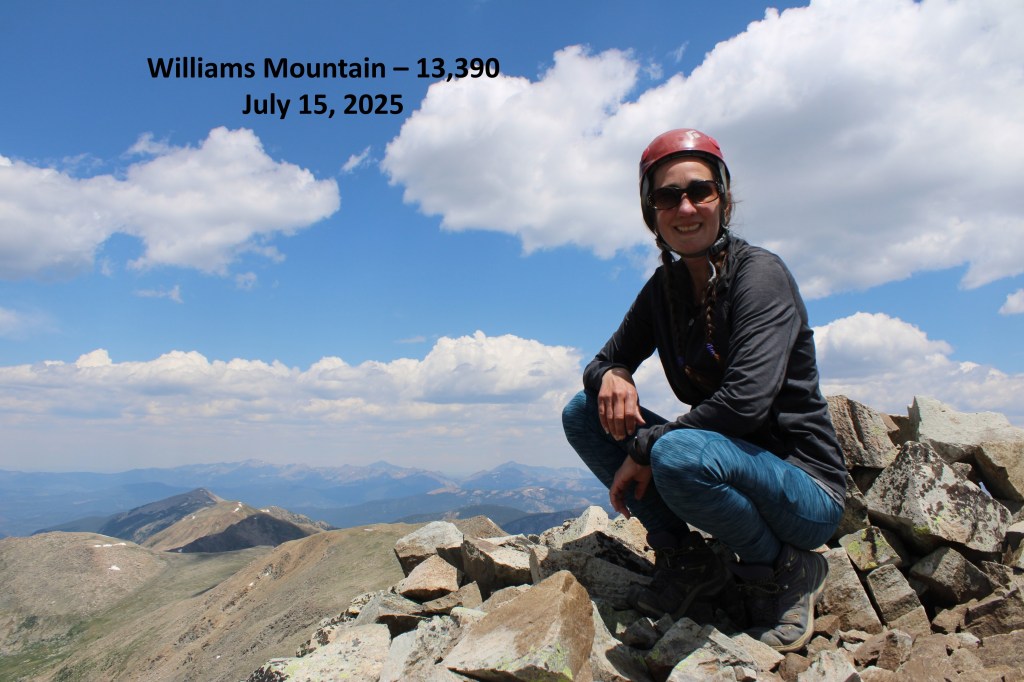
I summited Williams Mountain at 12:55pm
Williams Mountain:
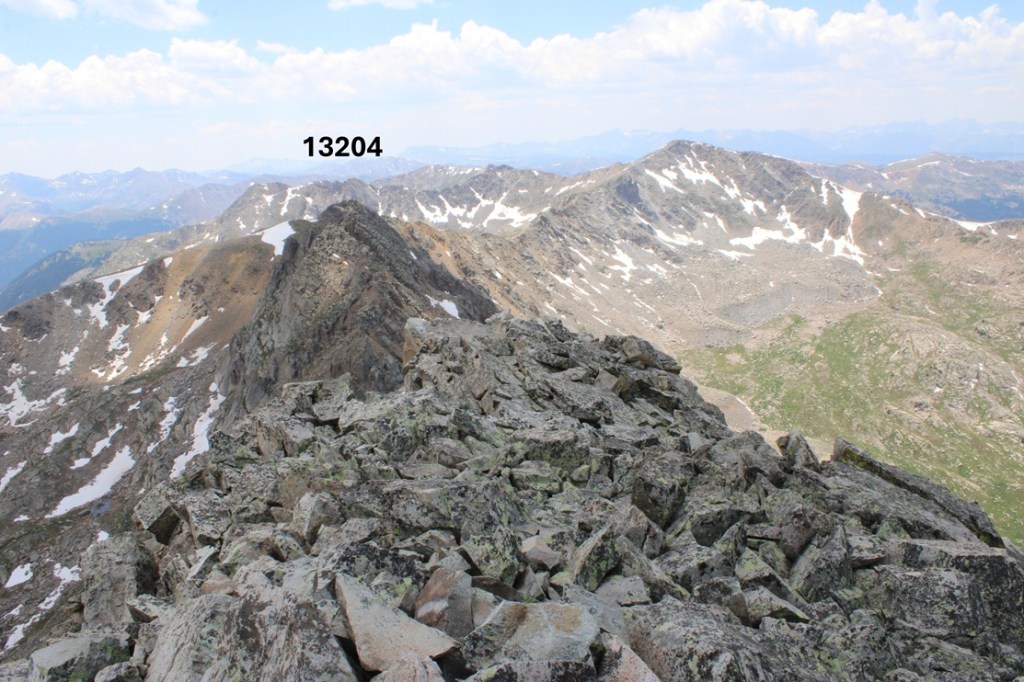
After summiting I kept heading south, towards 13204.
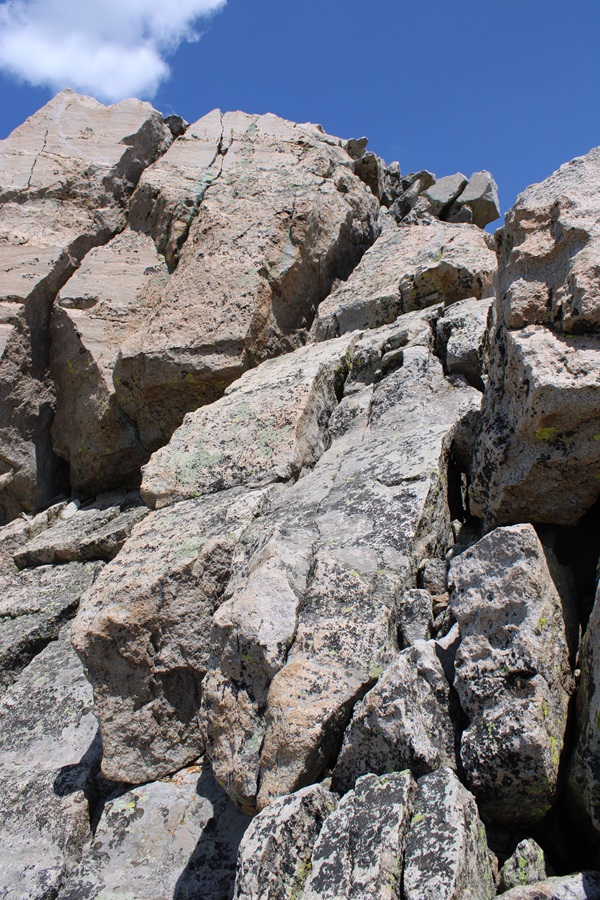
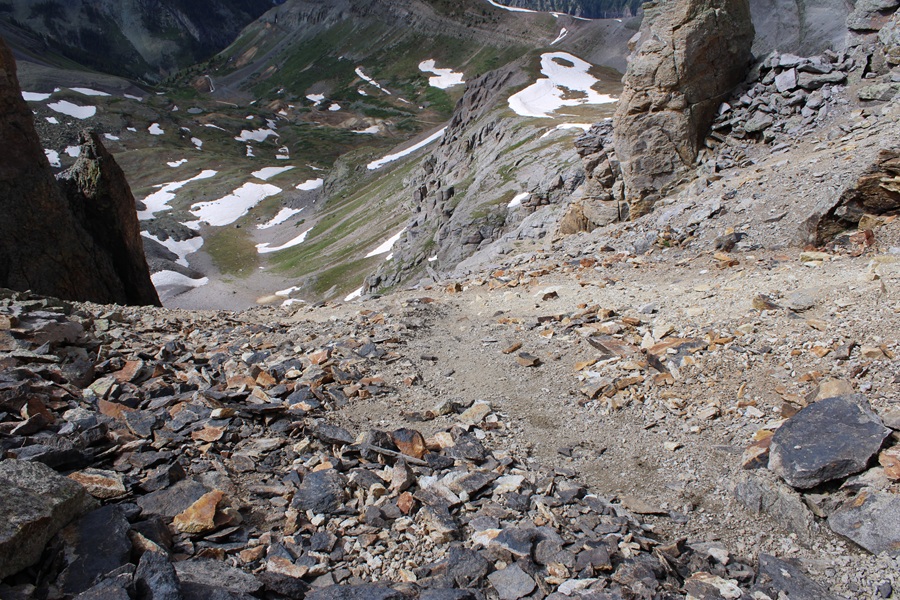
I’d thought the difficult climbing was over, but I was wrong. Almost immediately I was greeted with a rock slab I’d need to descend. I butt-schooched down this thing.
Here’s looking back up at the rock slab
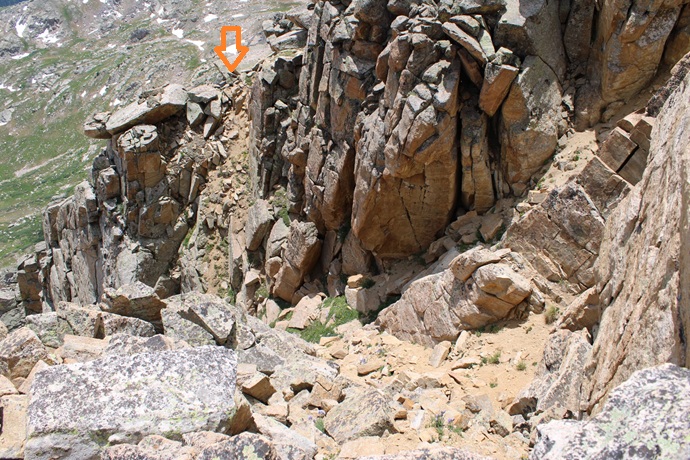
That was the worst of it though. I went left and descended and then reascended this little gully
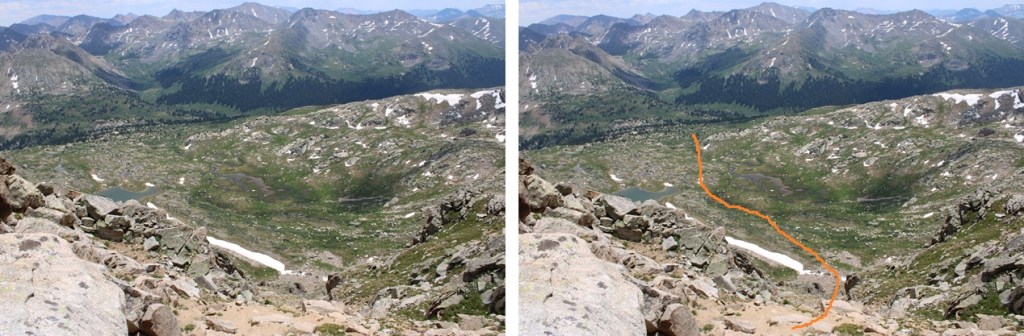
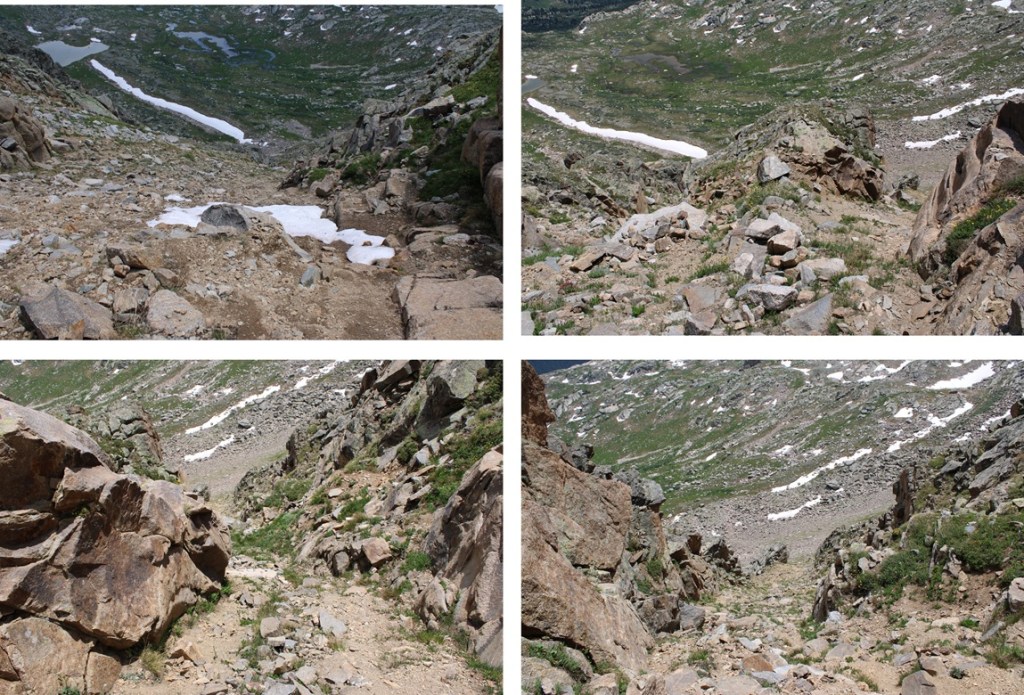
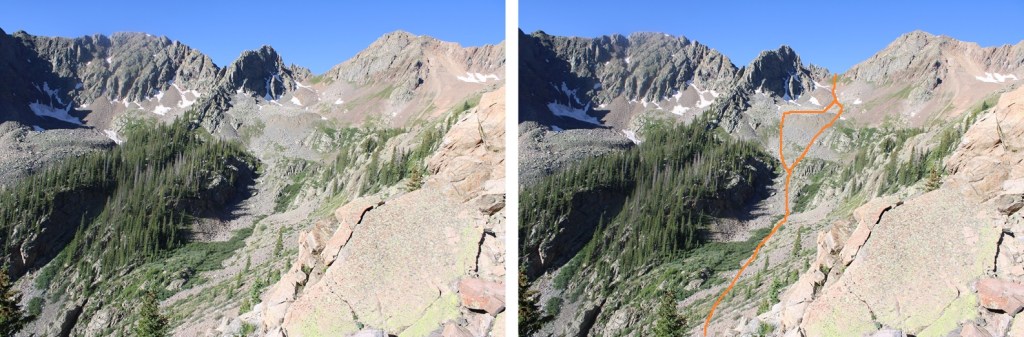
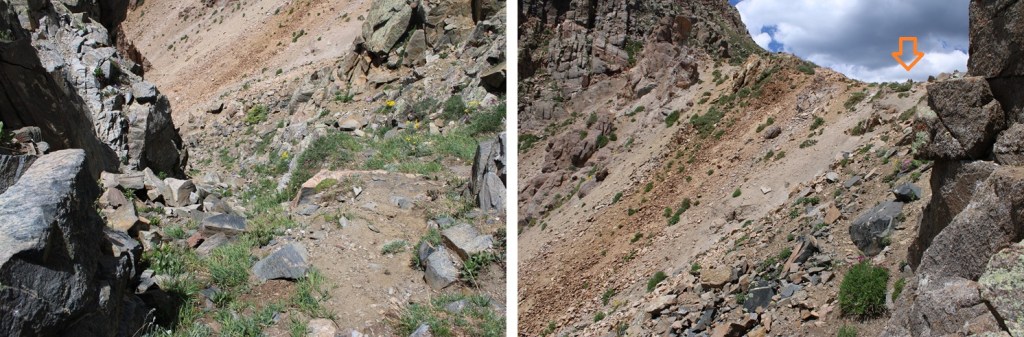
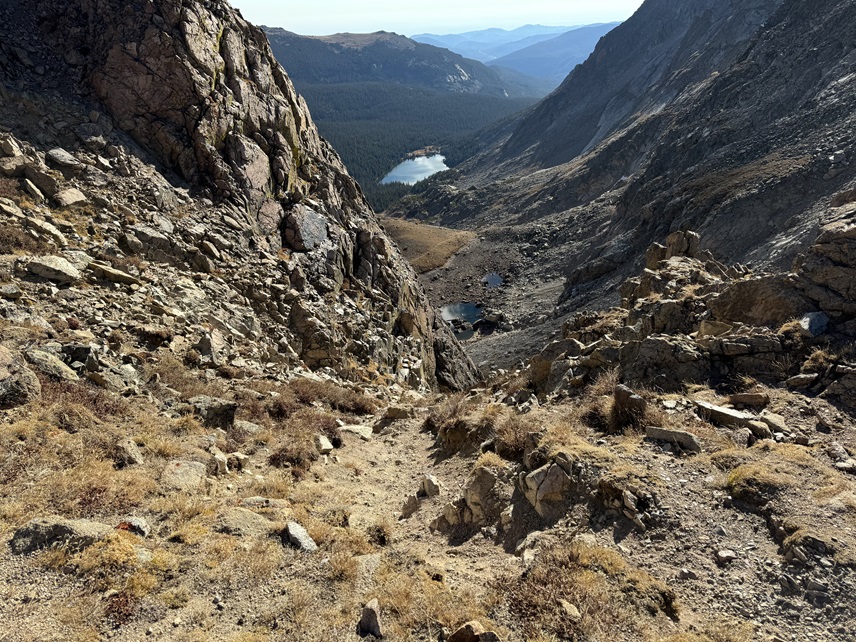
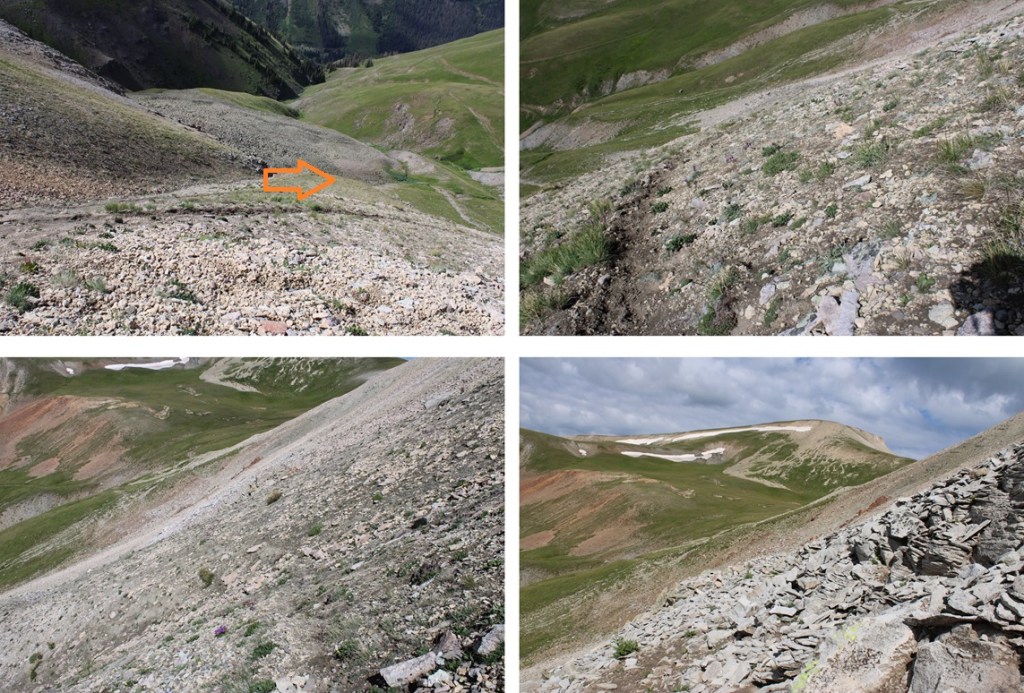
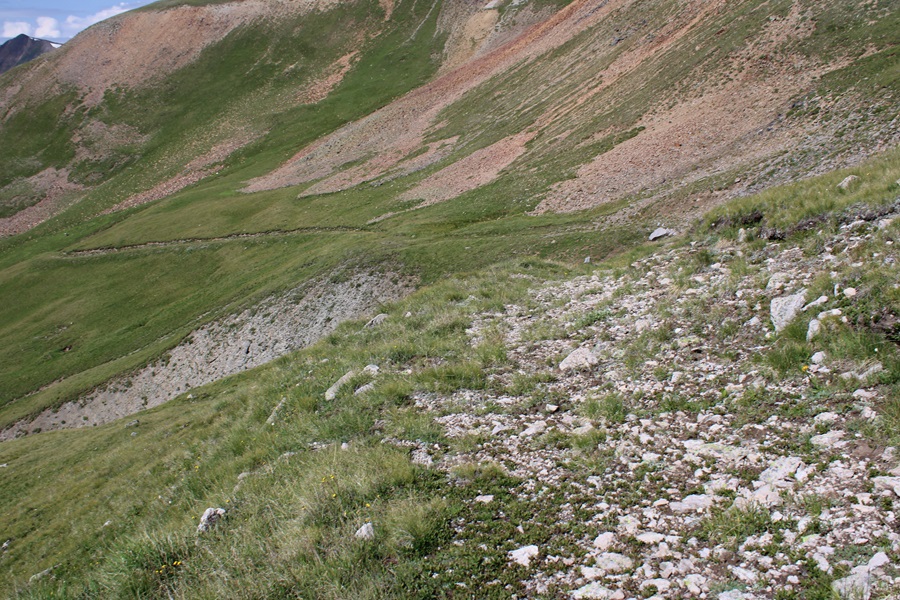
Then I made my way down the ridge to a larger gully and followed it southeast into a basin. This gully was easily manageable, with game trails to follow. Towards the middle there were options to go left or right. Both went, but I took the right side.
From the top of the gully you can see my route out of the basin.
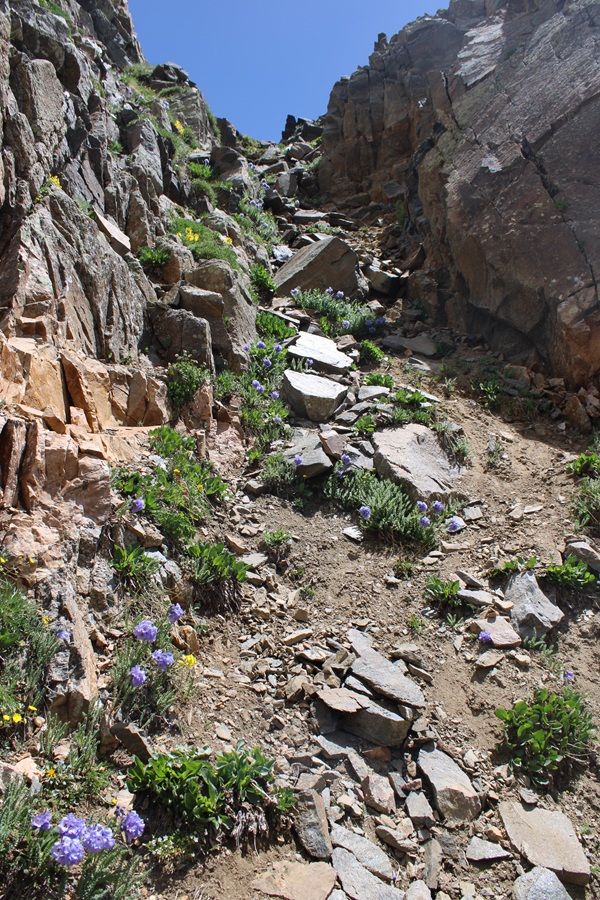
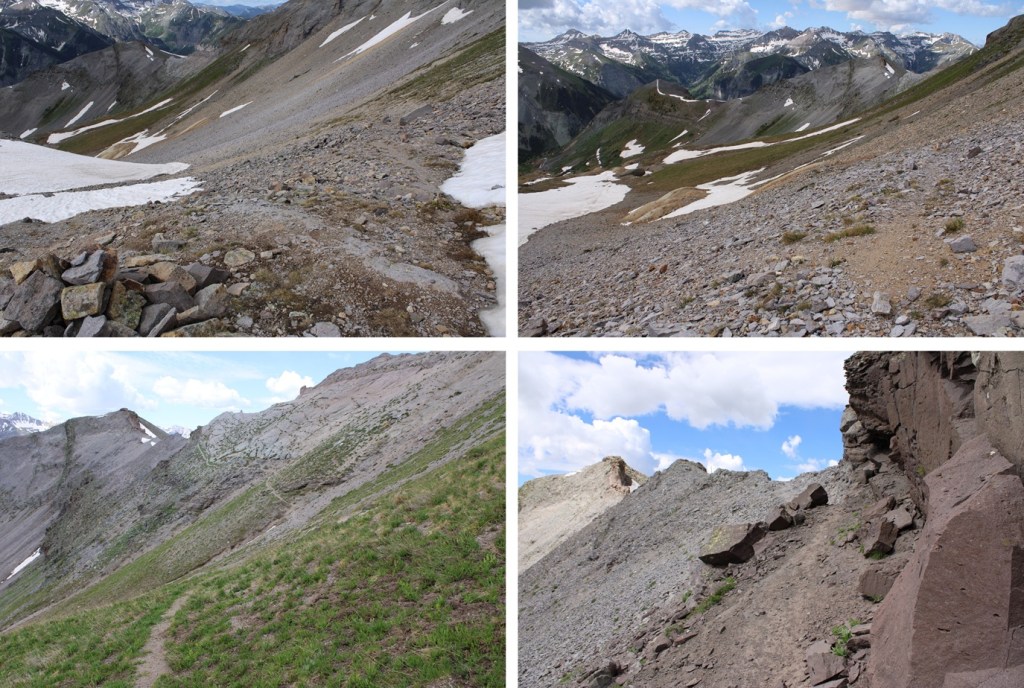
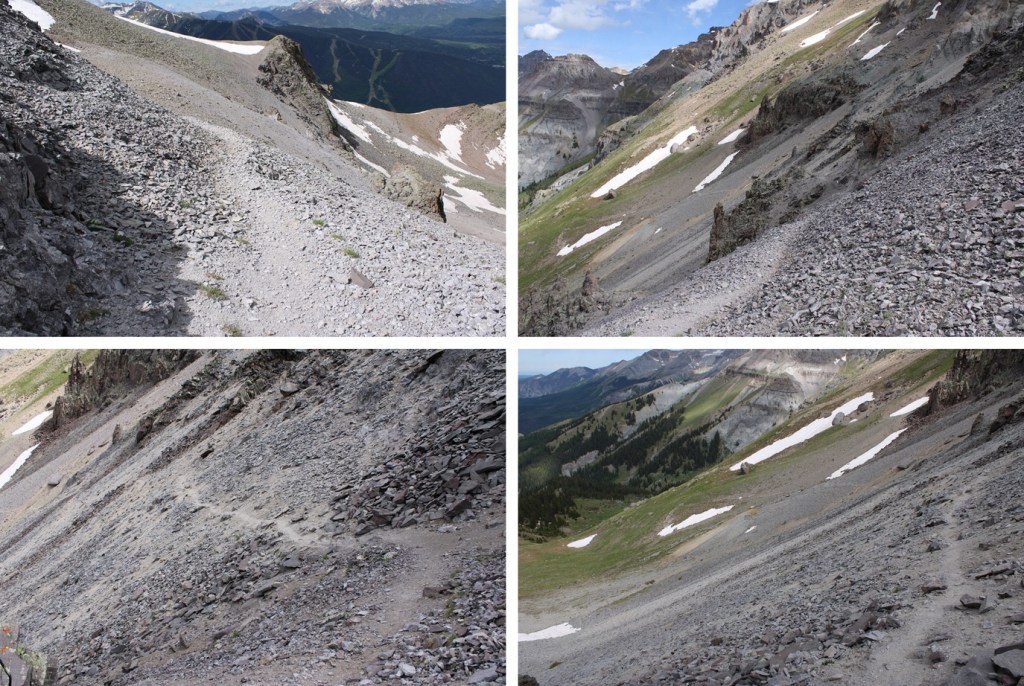
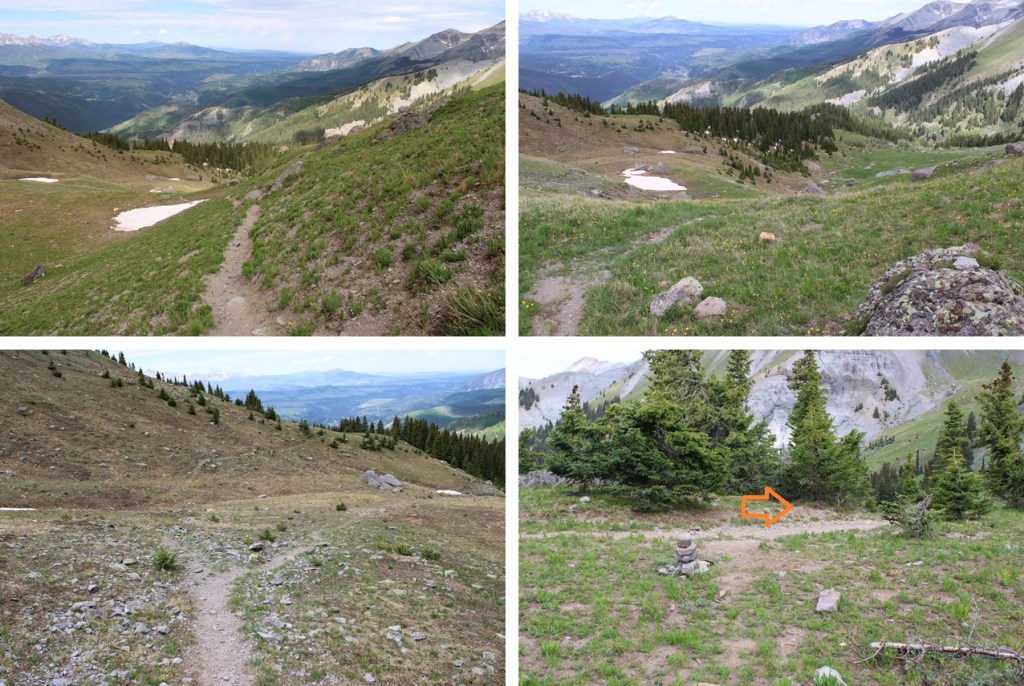
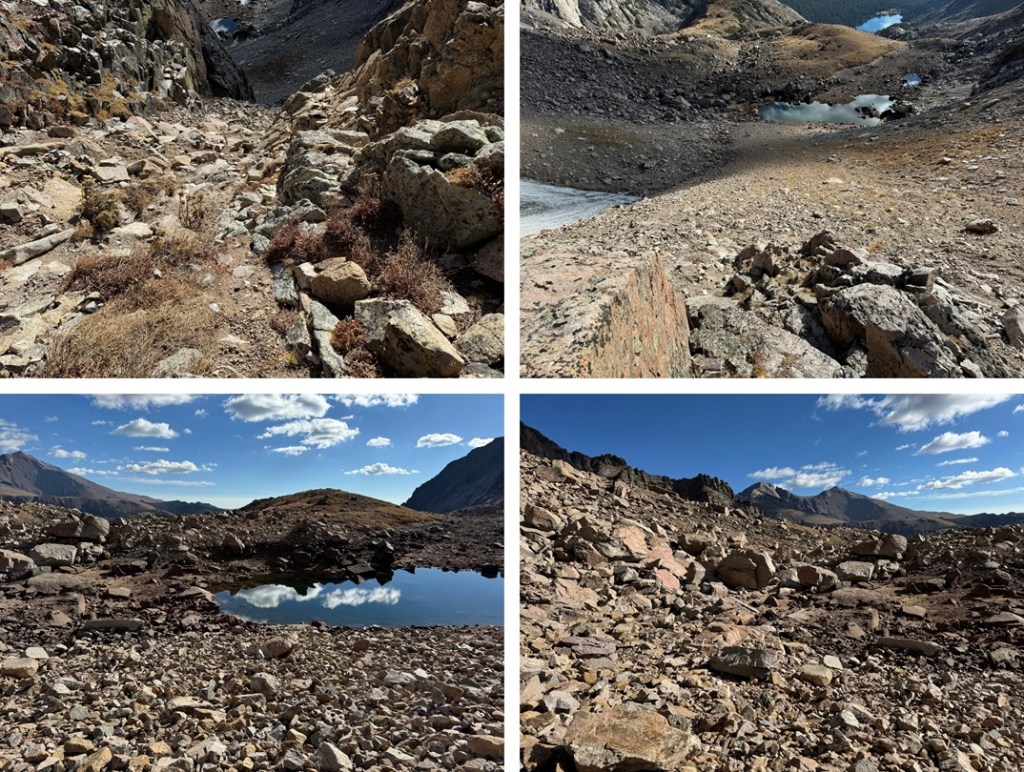
Here are some gully pictures
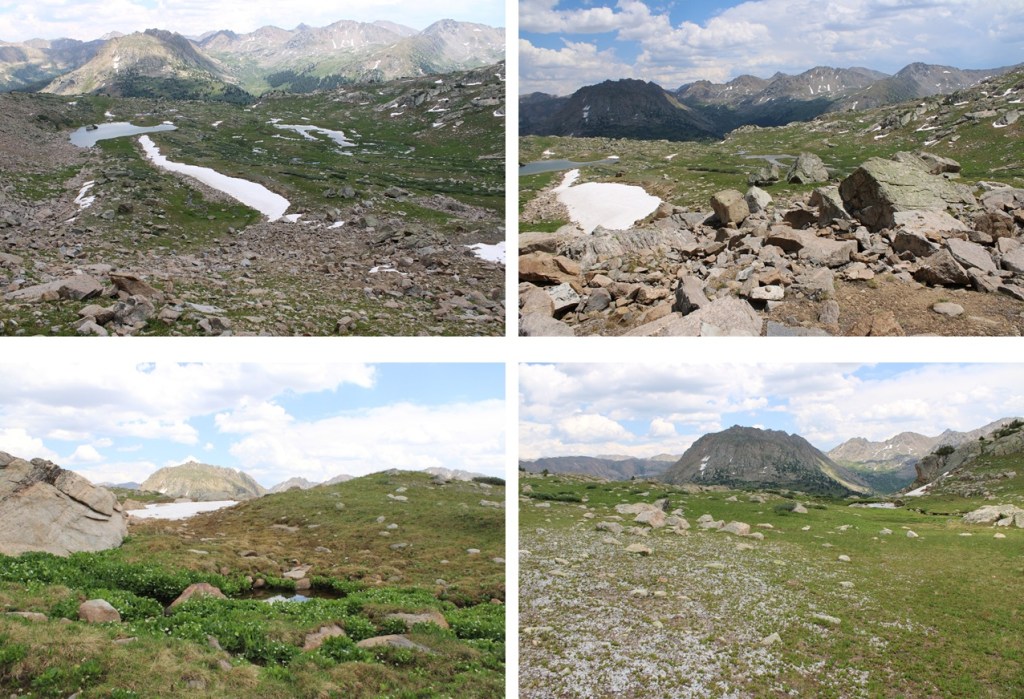
At the base of the gully I headed southeast along the basin.
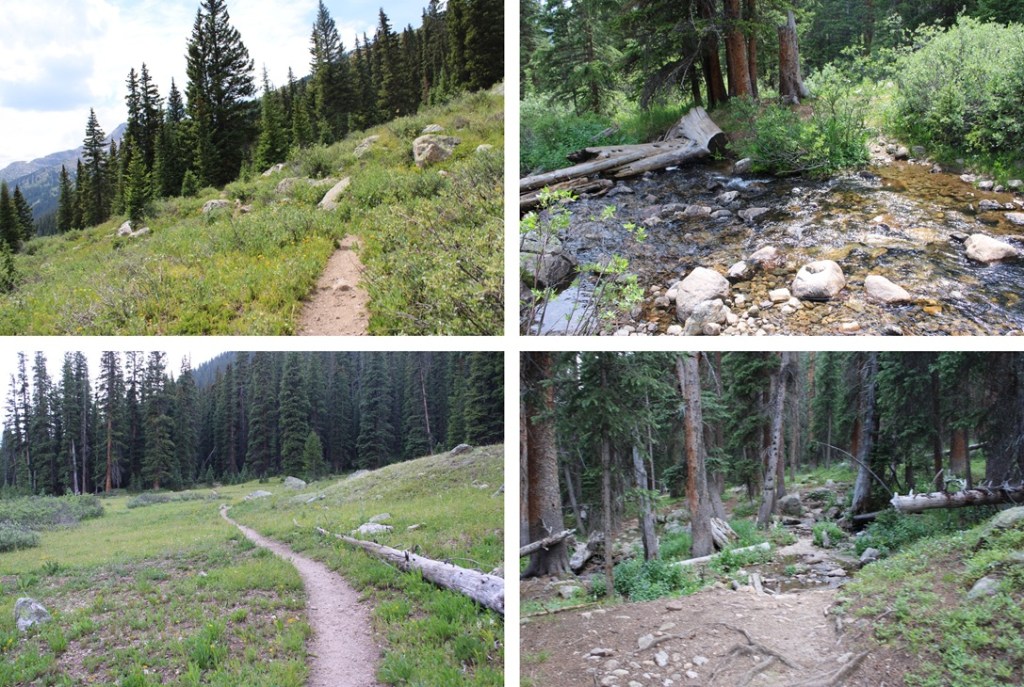
At the end of the basin I followed the stream that was running pretty strongly all the way back down to Lost Man Loop Trail, staying to the left of the stream the entire time.
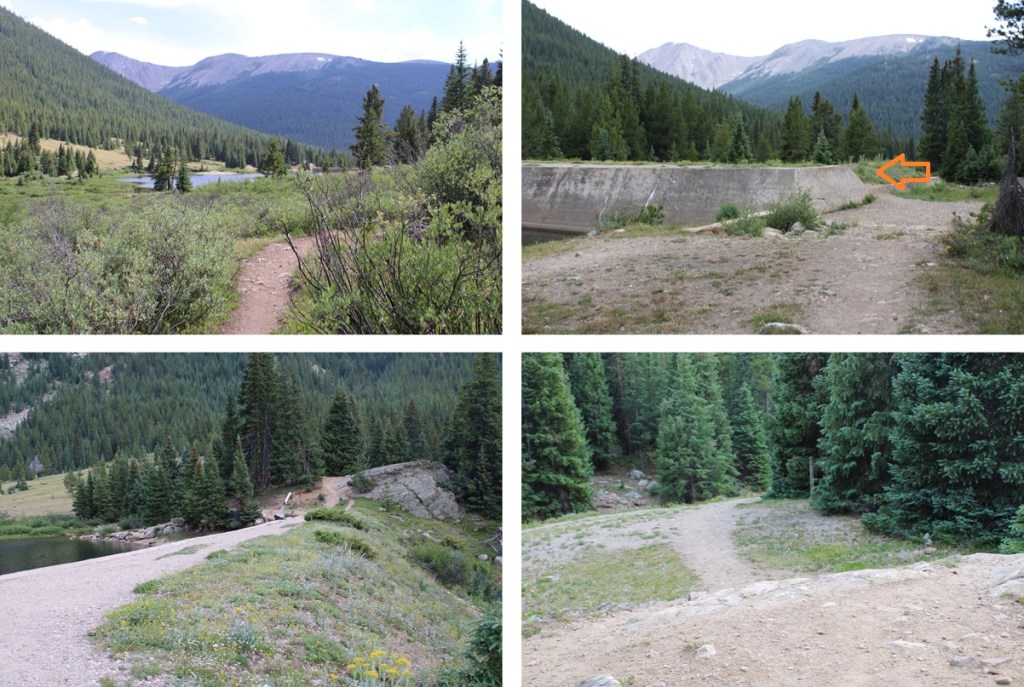
Back on Lost Man Loop Trail, I followed it southwest back to the trailhead.
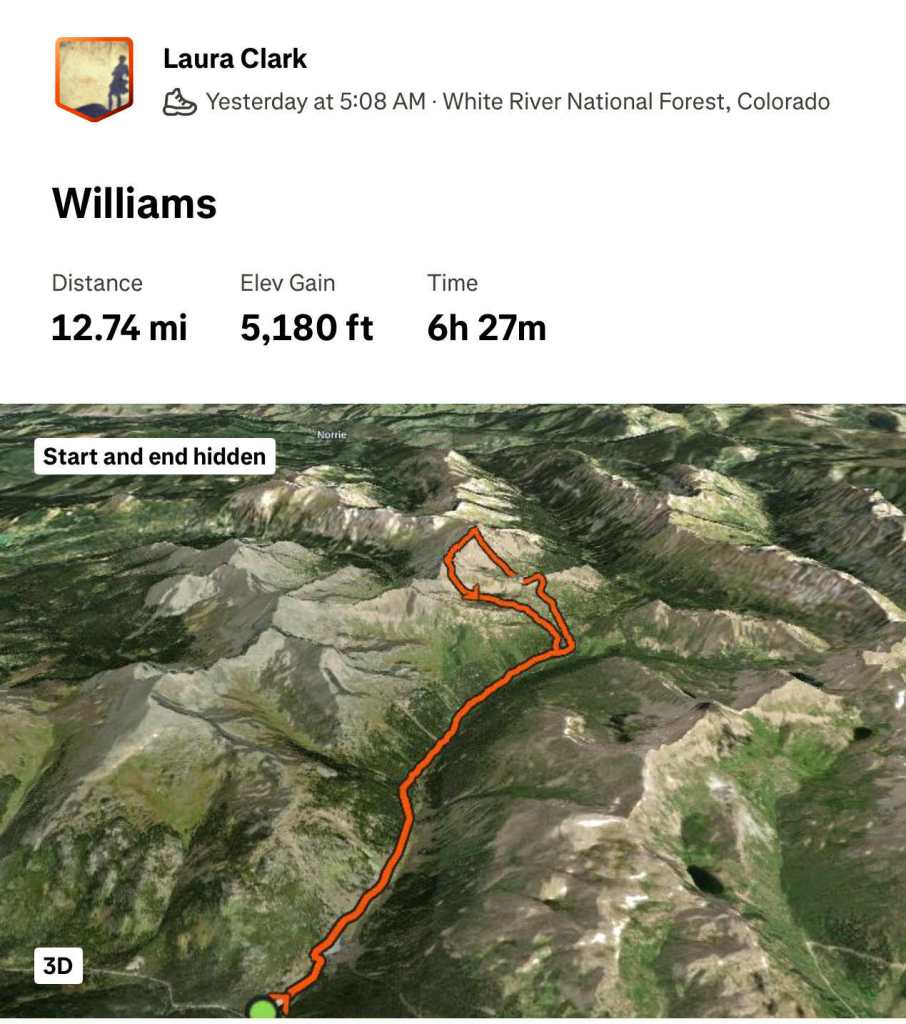
I made it back to my truck at 4pm, making this a 15.26 mile hike with 3918’ of elevation gain, according to CalTopo. My numbers with Strava were different.
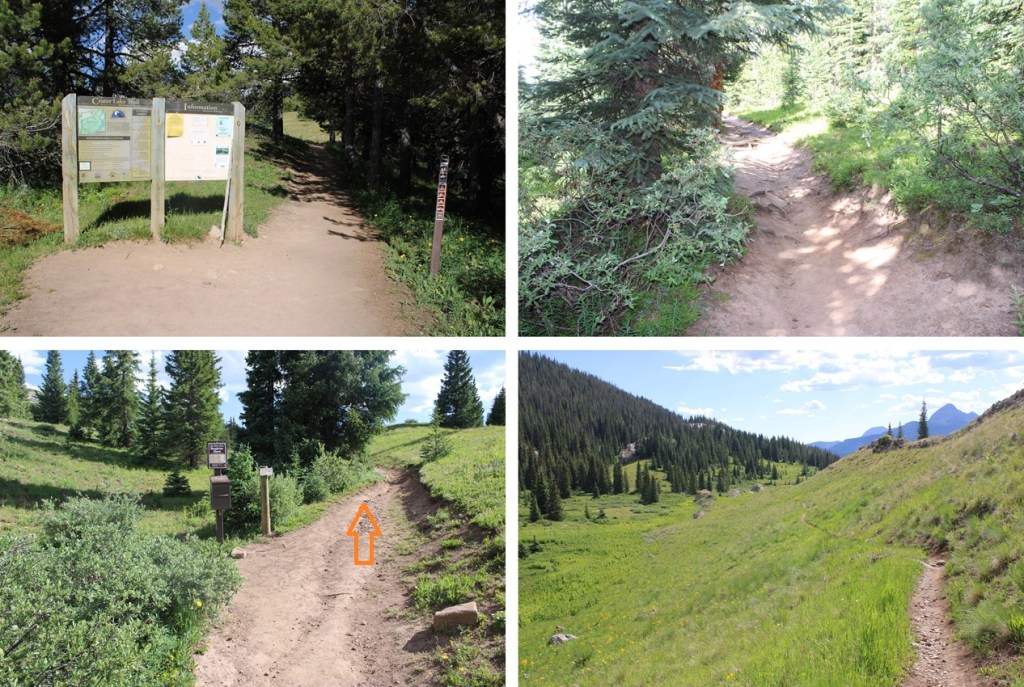
I once again started from the Andrews Lake Trailhead. When the bathrooms are clean this is a really nice trailhead, up close and personal with Andrews Lake. It’s also quite popular in summer, so get there early (yes, they have plenty of parking and an overflow lot, but it gets busy).
The trail starts by skirting the lake from the parking area and then ascends about 1.2 miles to a junction.
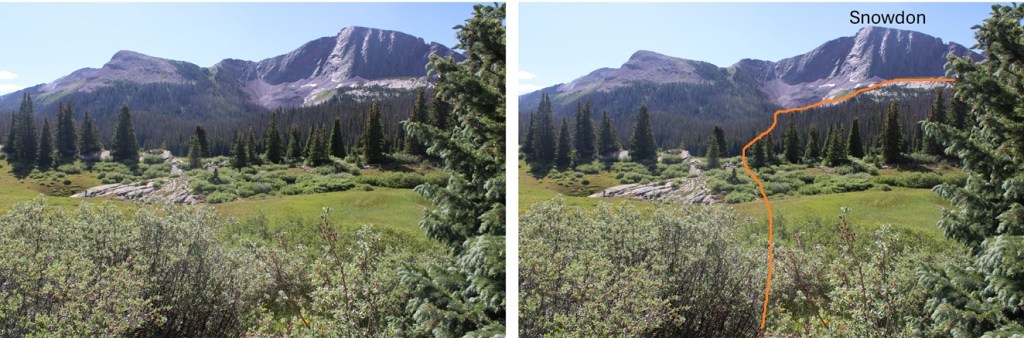
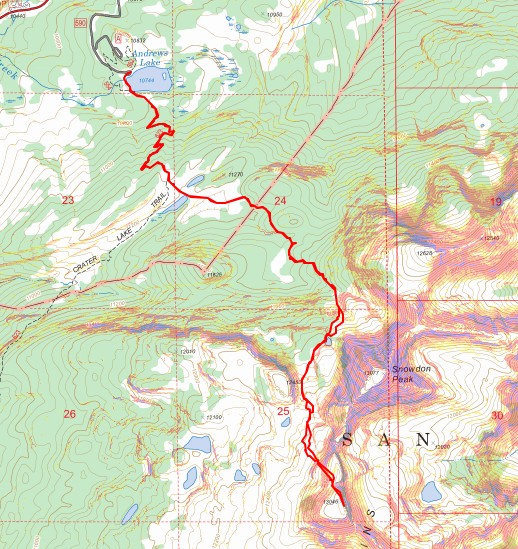
At the trail junction I went left and followed the trail through a meadow and towards the basin below Snowdon Peak. If you’ve done the West Buttress of Snowdon, it’s much of the same route. Here’s the basic overall route to the upper basin:
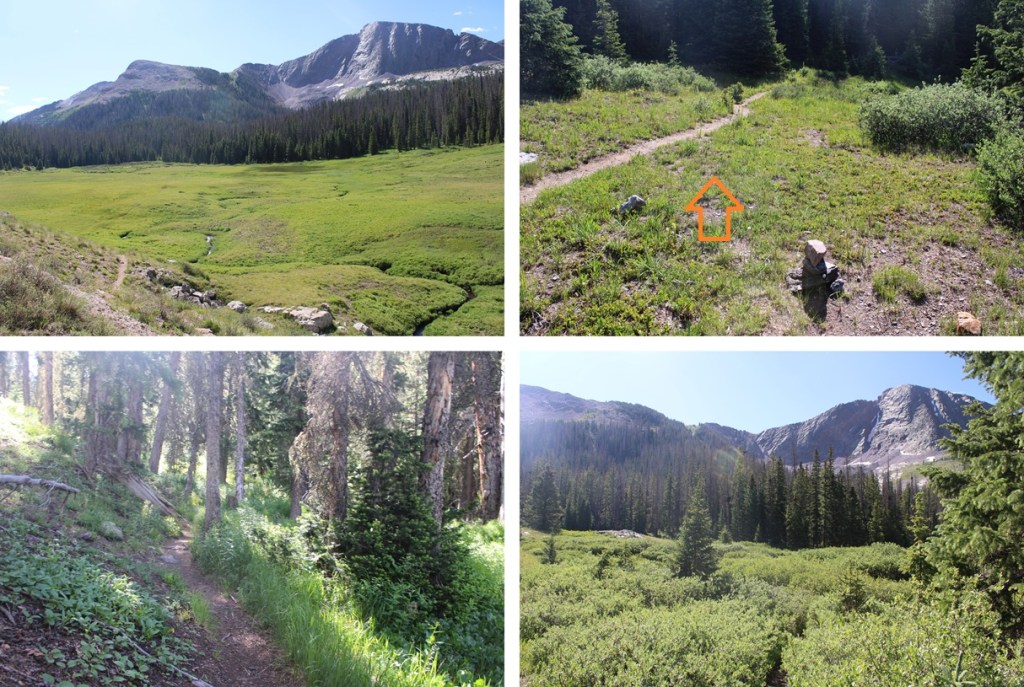
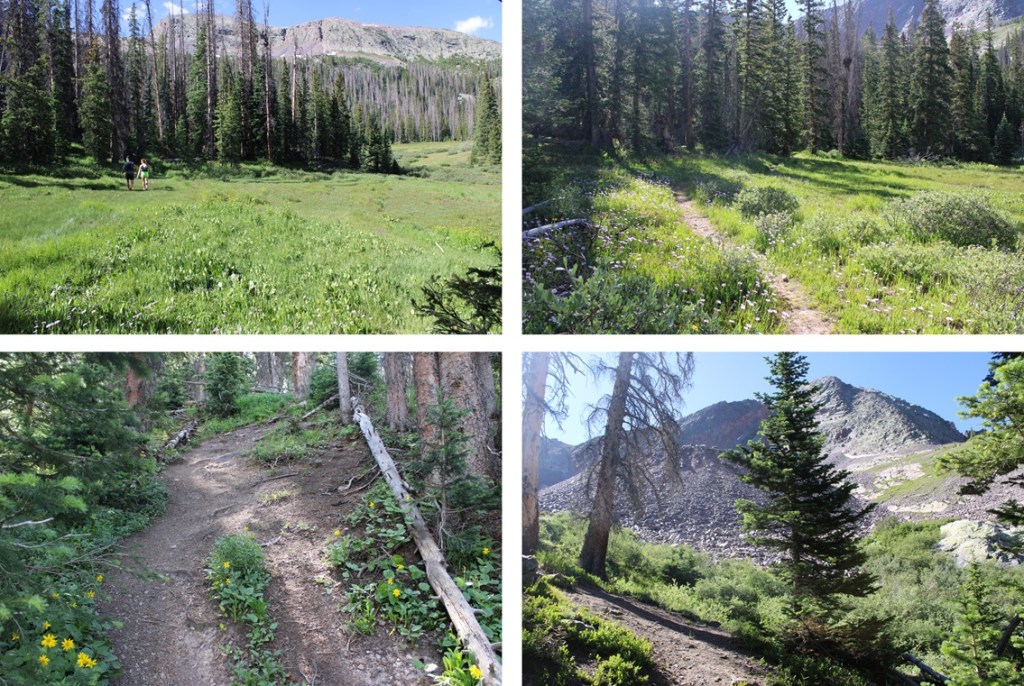
And some pictures of the way to the lower basin. I was lucky enough to see a herd of elk this morning.
At the base of the basin it’s time to leave the trail. I’d hiked about 2.7 miles to this point. Here I left the trail and headed southwest into the upper basin.
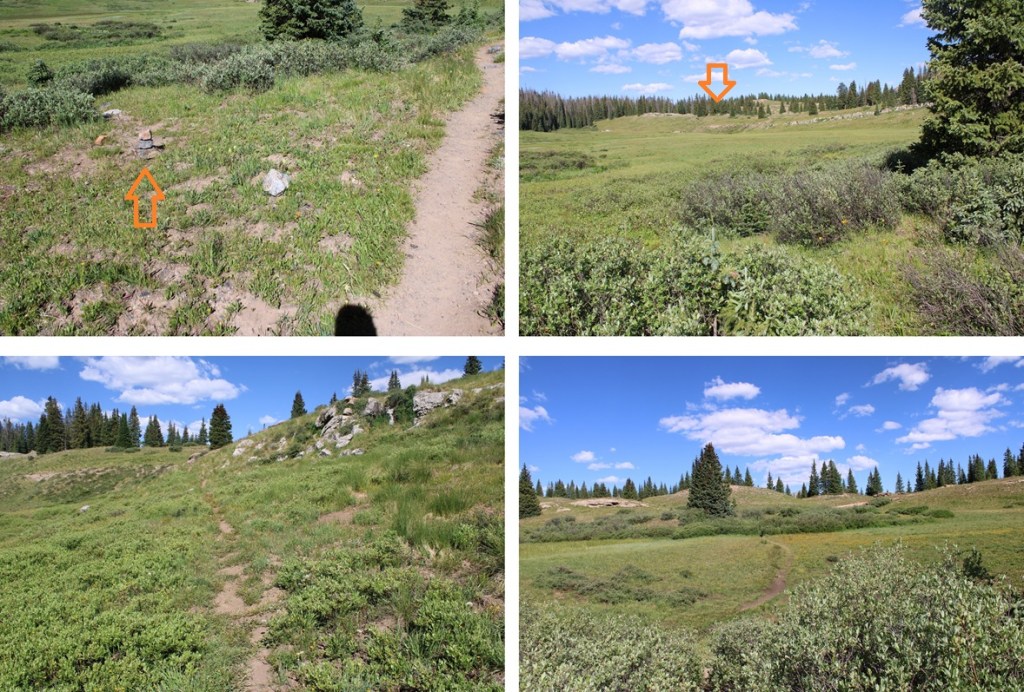
Heading southwest in the upper basin I came to a small pond and skirted it on a game trail to the west.
After skirting the pond, I came to a bit of a ravine. I followed it south. The route is a bit obvious, and the terrain is easy to navigate. You can’t really get lost if you keep heading south. Access to N2 will eventually be on your left.
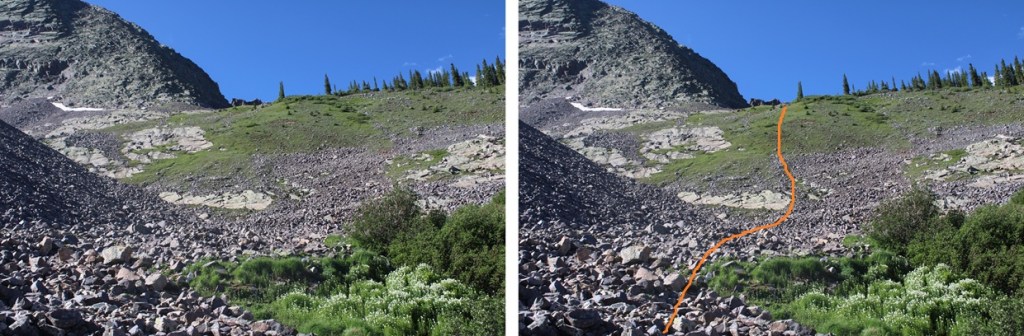
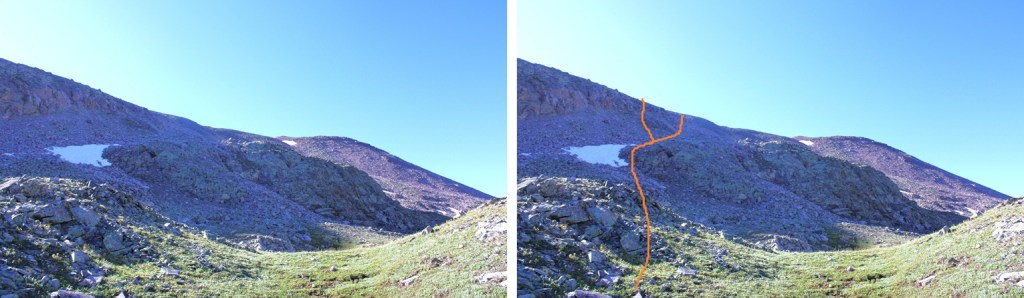
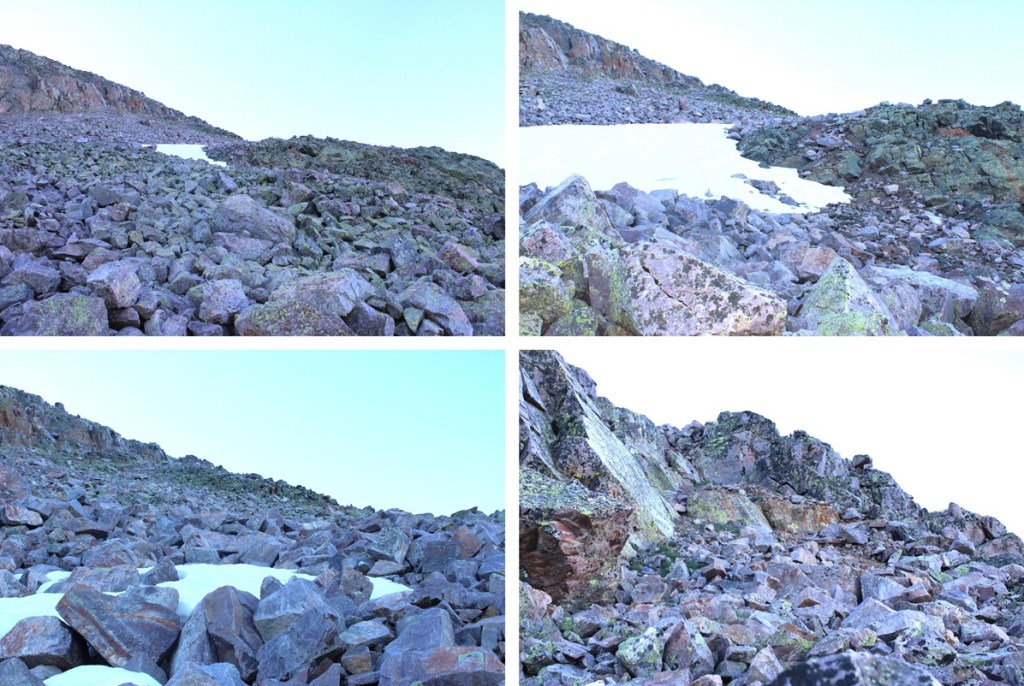
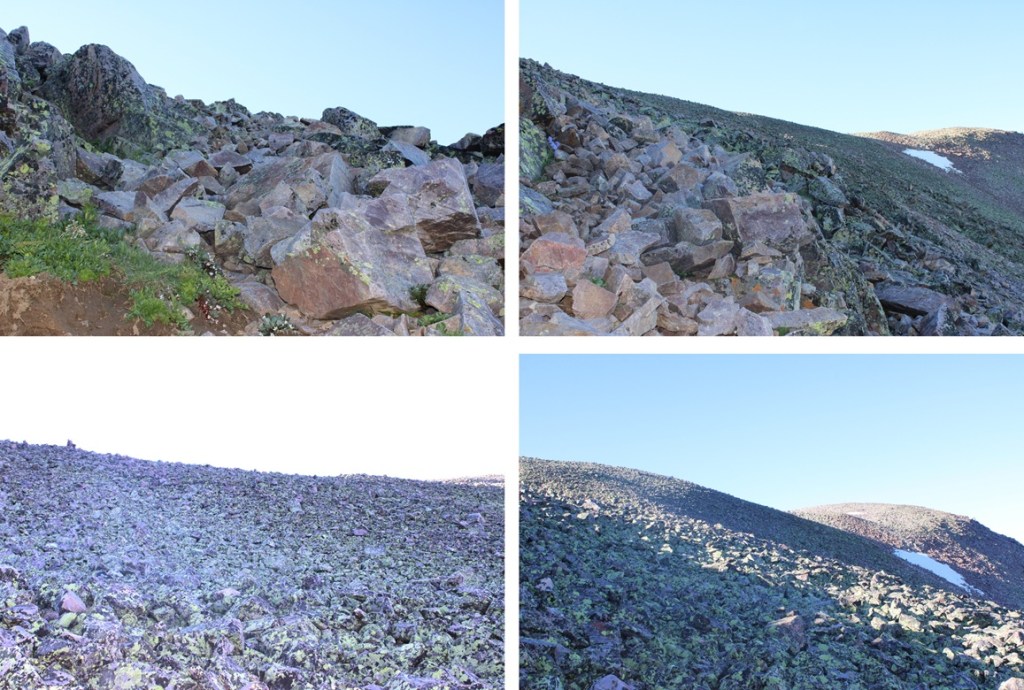
When I made it to 12355’ I started heading over towards the ridge. This is class 2 to the ridge and choose your own adventure. I was trying to avoid the rock outcropping. Most of the route is full of loose rock and boulders. I ascended the left route, descended the right route, and both were loose and a bit miserable, but the left route was a little more stable. Here’s the overall route:
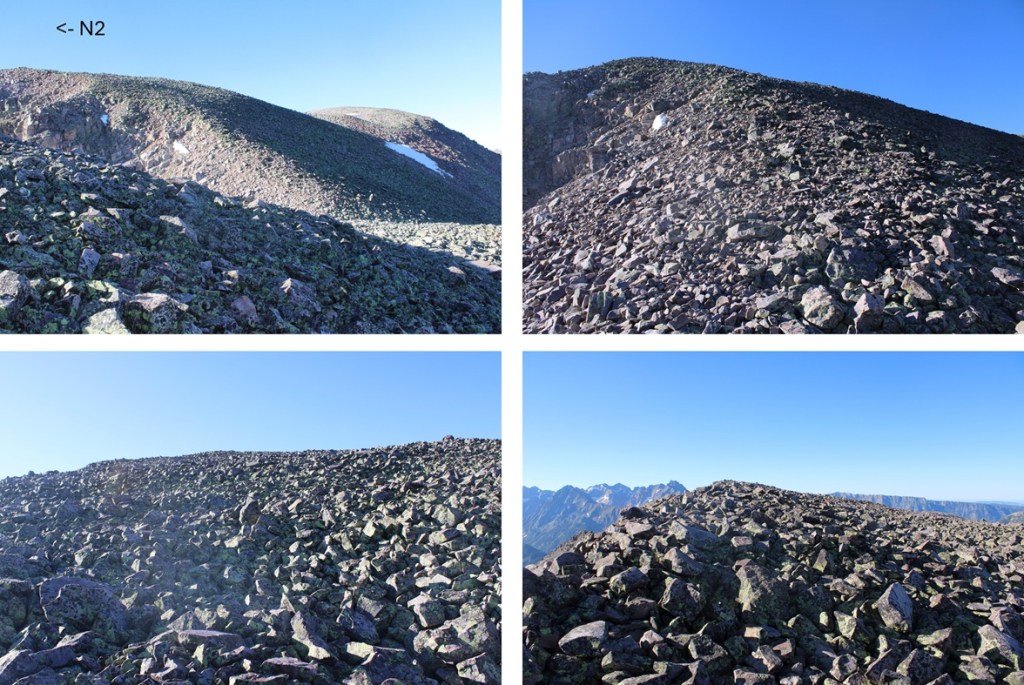
And some pictures of my way to the ridge
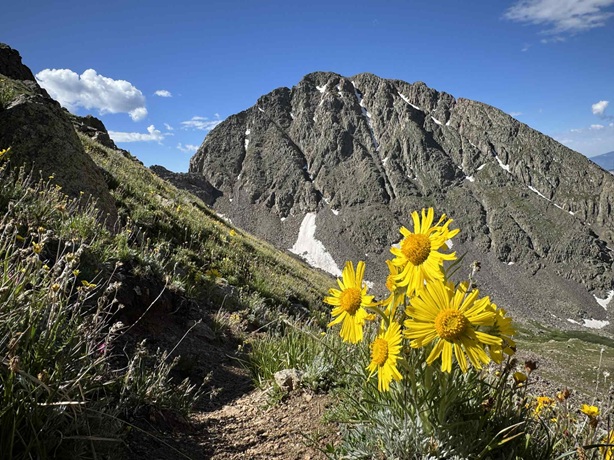
Once on the ridge I followed it southeast to the summit. Once again, very rocky, but all class 2.
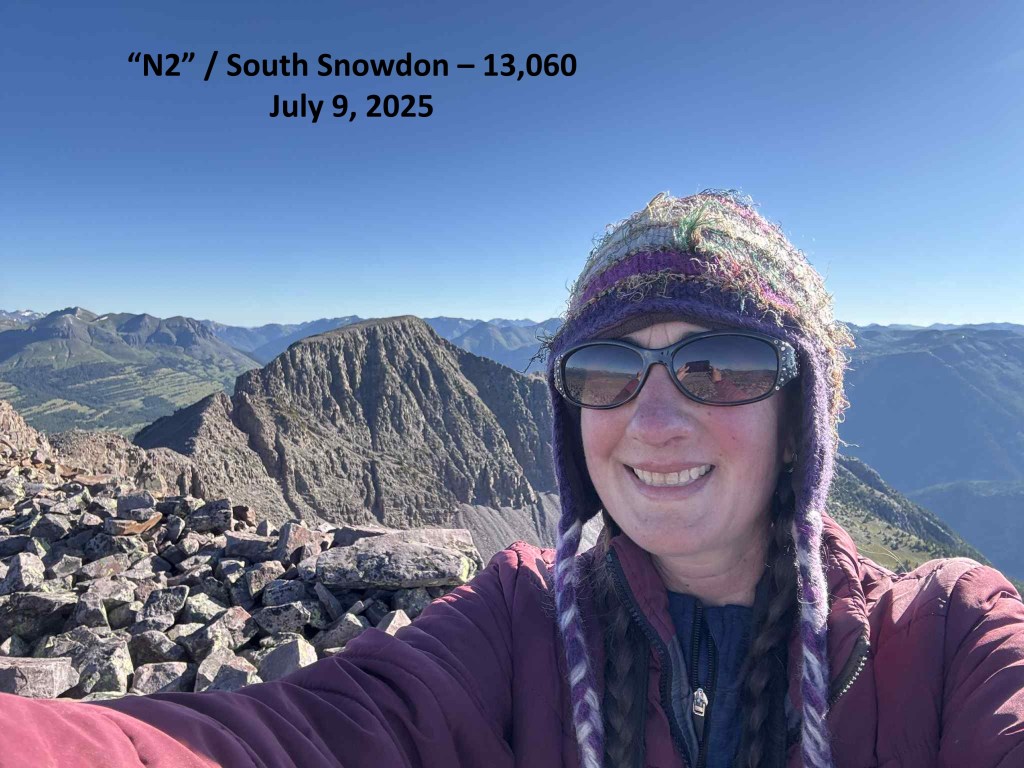
I summited N2 at 8am
N2:
This was my only peak for today, so I turned around and headed back the way same way I’d summited. I headed northwest down the ridge
Then back down into the upper basin on a slightly different route. Lots of loose rocks here.
Once I was done with the rocks I turned right and followed the upper basin north, staying on the grassy areas.
I came to the small pond and skirted it to the left, and then headed down into the lower basin and back to the trail
Then it was a quick 2.7 miles back to the Andrews Lake Trailhead
I made it back to the trailhead at 10:15am, making this an 8.15 mile hike with 2416’ of elevation gain in 4 hours, 45 minutes.
I started from the Andrews Lake trailhead at 6am. On a positive note, the bathrooms were clean this time! No toilet paper, but the seats were clean (always bring your own TP). The trail starts by skirting the south side of the lake.
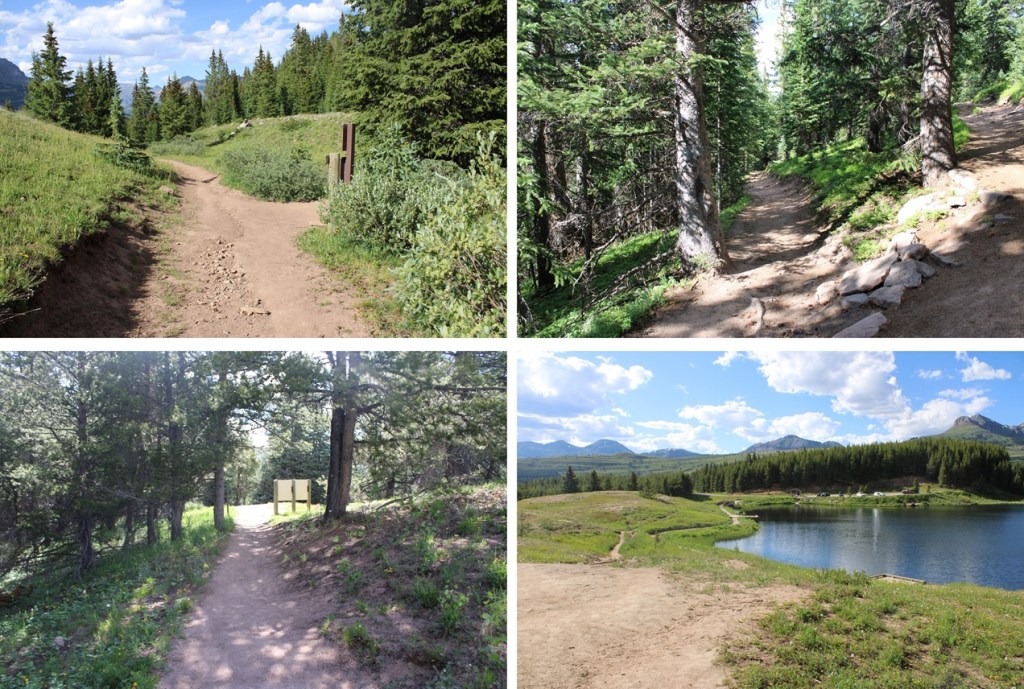
I then took Trail 623/Crater Lake Trail all the way to Crater Lake. This is an easy, class 1 trail that is easy to follow with no major junctions. I hiked the 5.5 miles to Crater Lake on this trail.
Once at Crater Lake there’s a side trail that goes off to the left. This trail stops at 11750’ at a small pond. I took the trail to the pond.
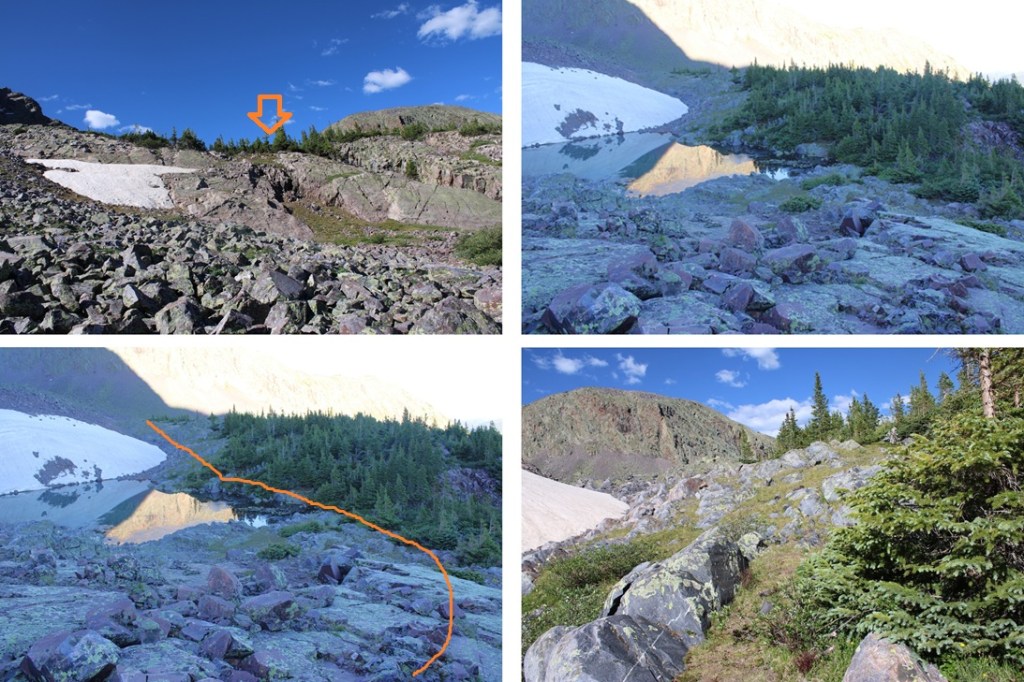
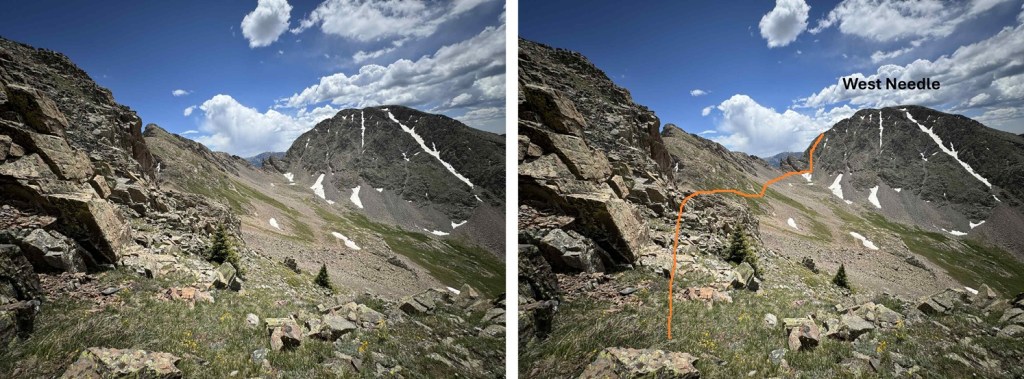
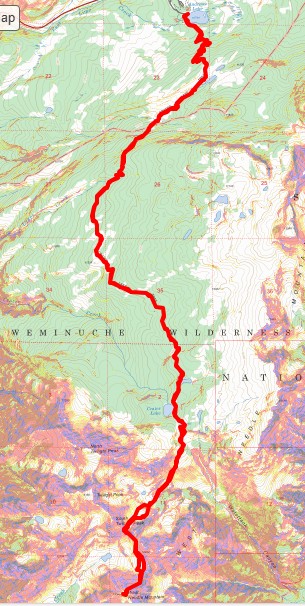
The trail stops at 11750’ and now it’s time to bushwhack. I lost 400’ of elevation as I headed southwest towards a gully I couldn’t yet see. Here’s an overview of where I was headed.
Aiming southwest I skirted the hillside until I came to the end of the trees.
I now had a clear view of my path to the saddle between South Twilight Peak and PT 12932. I kept descending towards the creekbed and then ascended up 1260’ towards the saddle.
The route was obvious but not marked. I went to the left on the way up, to the right on the way down, and both were similar. The left side had larger boulders and the right side had more tundra, but both were essentially snow free and clear.
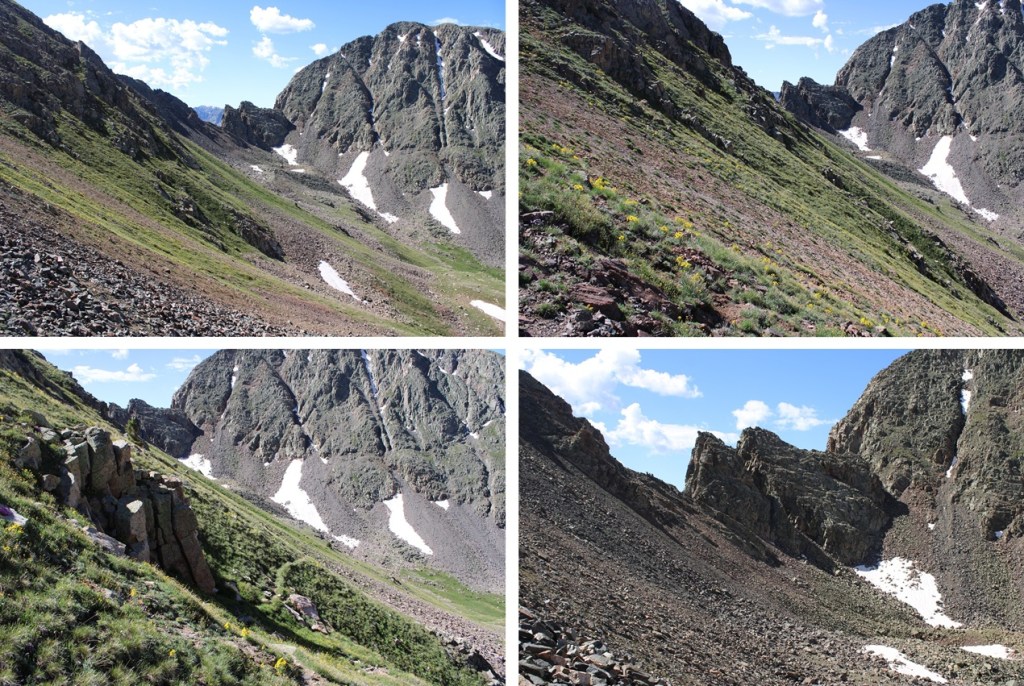
Here are some pictures of the route to the saddle
Now at the saddle I had to descend a bit to traverse towards West Needle Mountain. I descended about 25 feet to the south and found an access gully on the left that would get me around the rock outcroppings.
I ascended the class 2 gully
From the top of the gully I could see my intended route for West Needle Mountain. I would initially stay high, just under the rock outcroppings, then pick up a game trail for a while and follow it towards the base of the ridge in the distance, aiming towards just below the two large outcroppings and up a gully.
Here are some pictures of the route to the base of the gully I used.
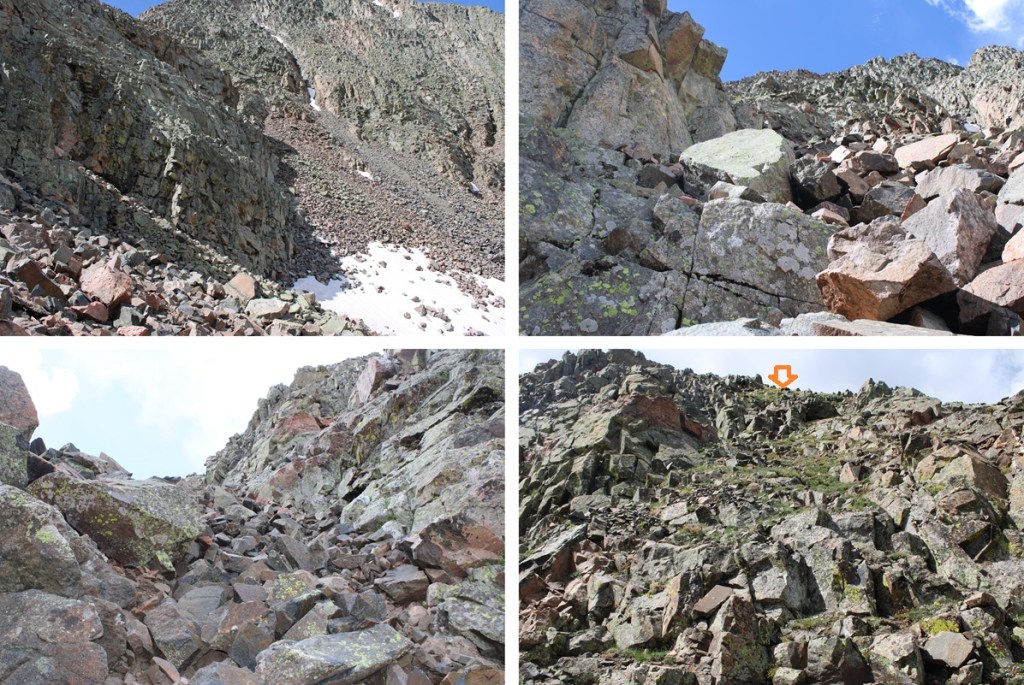
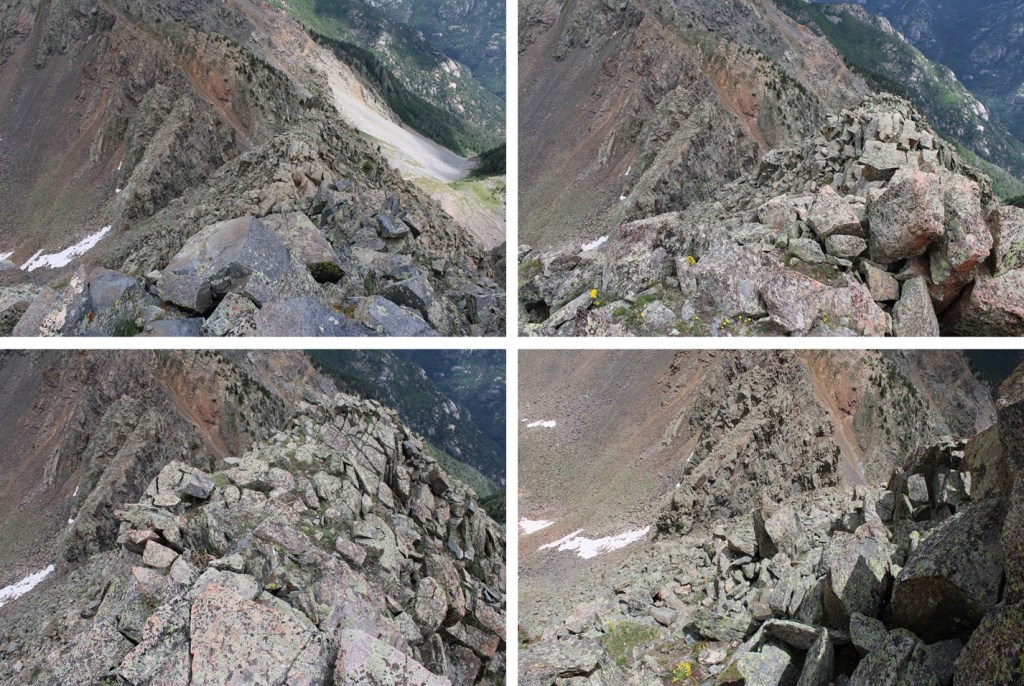
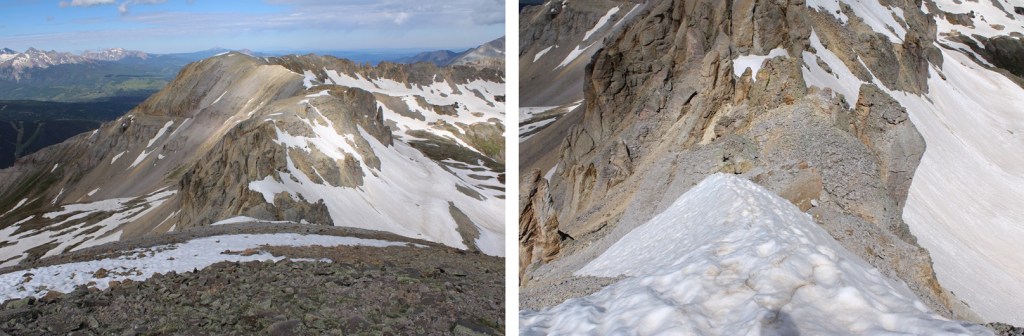
From here it’s a great time to look at the route before you. This is choose your own adventure, and there seem to be a lot of different possibilities for gaining the ridge. All class 3. This is the route I chose, first going up the loose and rocky gully then straight up the class 3 face.
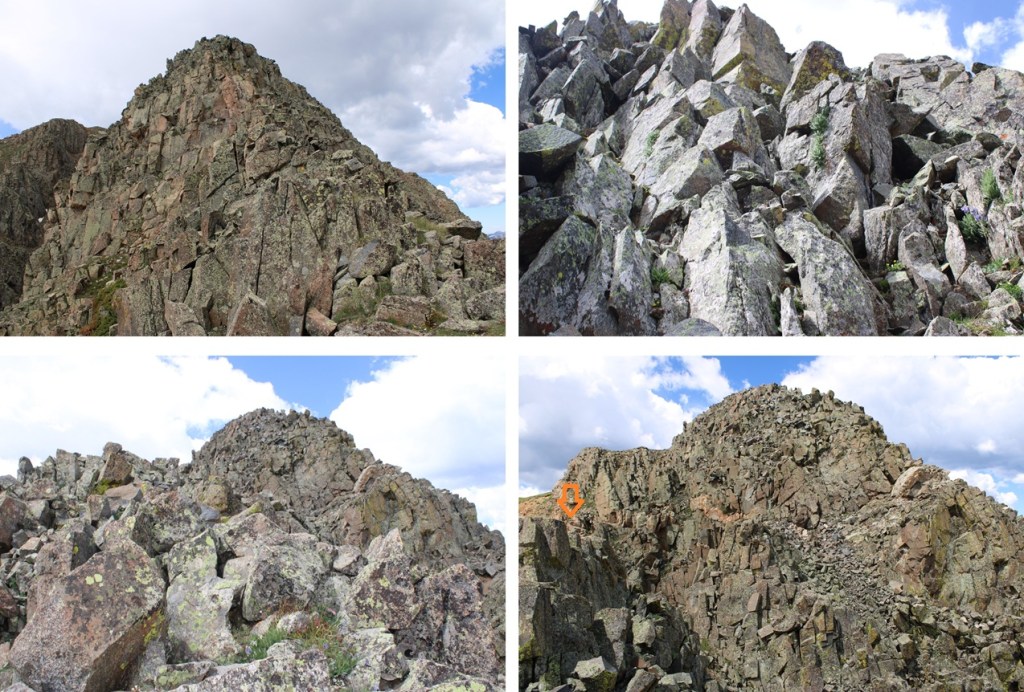
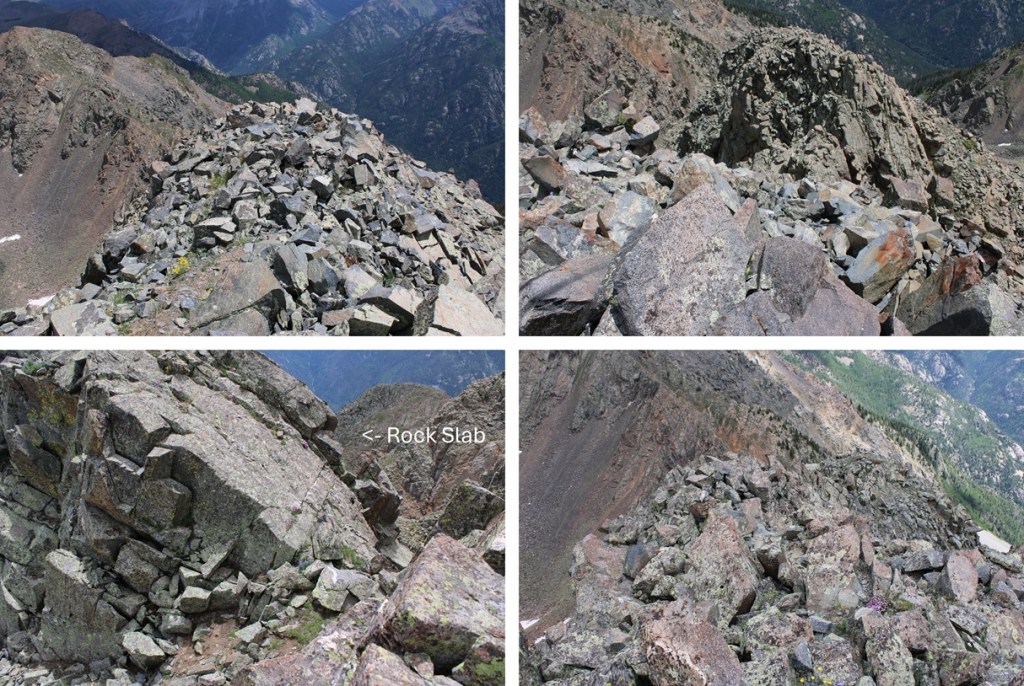
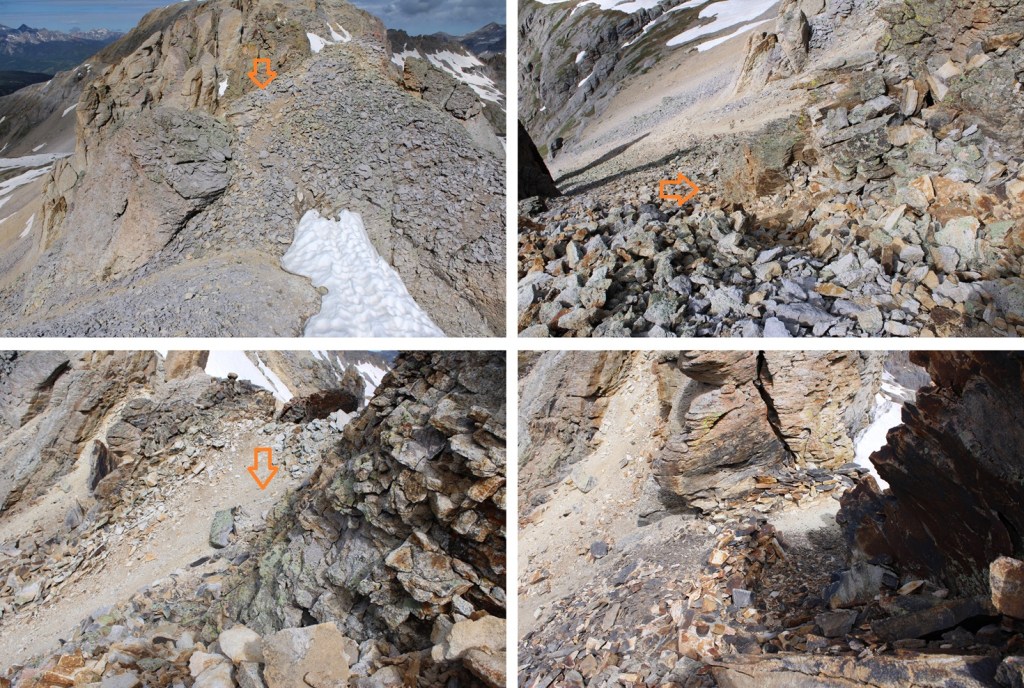
Once on the ridge it was still choose your own adventure. I stuck mainly to the ridge itself in class 3 terrain. There was one ‘sketchy’ move where I had to slide down a 10-15 foot boulder/rock slab and shimmy down. It wasn’t difficult, but there was exposure. The entire ridge for me was ‘figure it out as you go’. I just kept following it up, never cliffed out, and kept heading southwest.
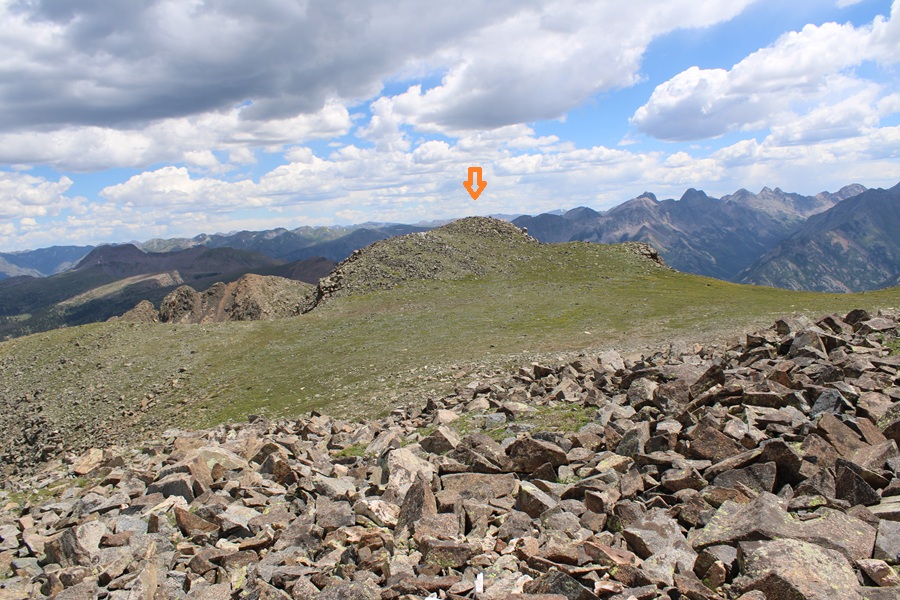
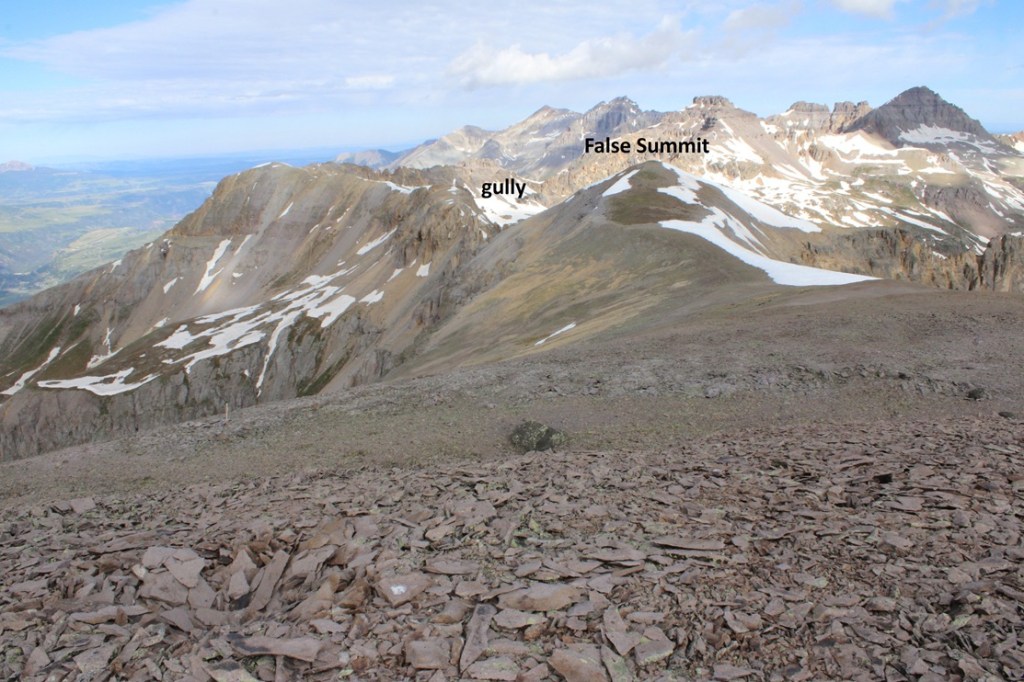
Of course there was a false summit, but luckily the terrain got easier from there.
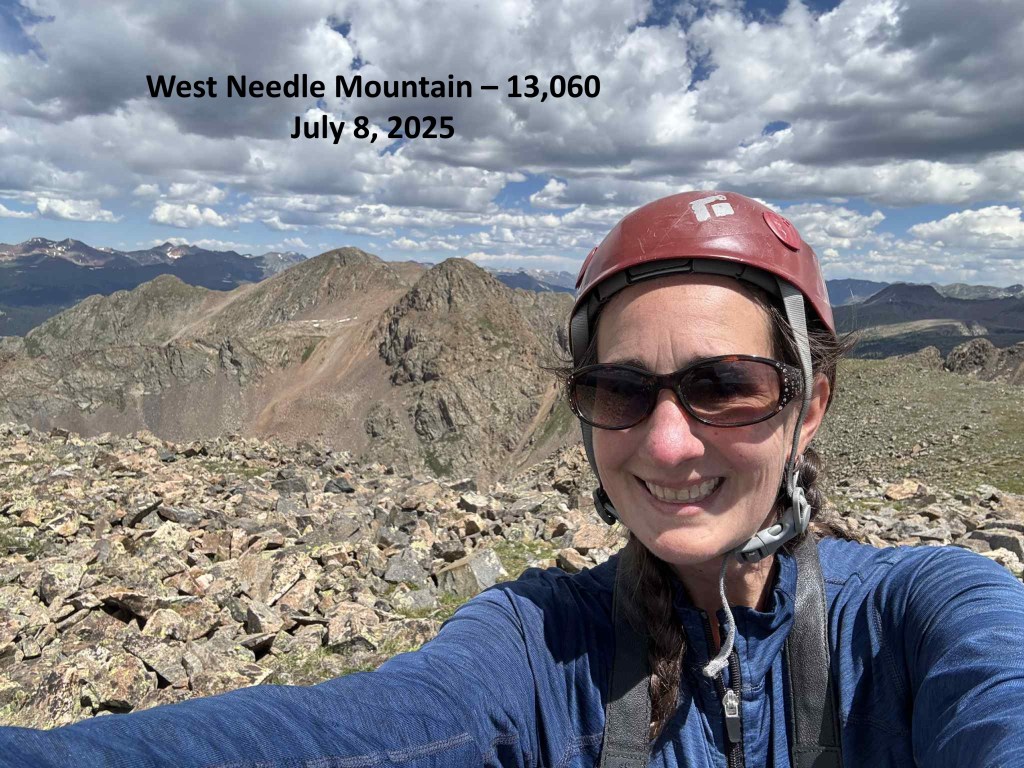
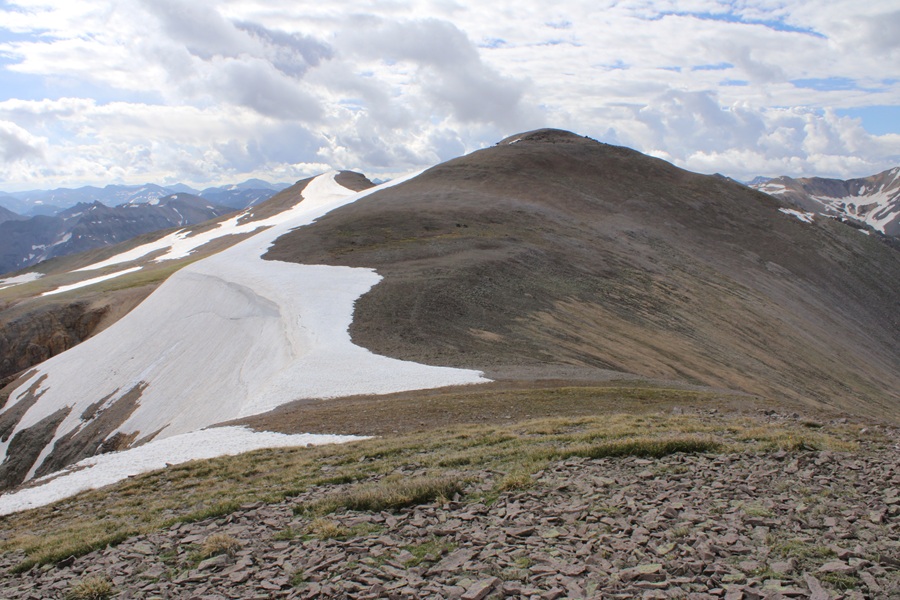
I summited West Needle Mountain at 11:40am
West Needle Mountain:
This was an out and back hike for me, so I turned around and headed towards the false summit
Then back down the ridge. Downclimbing seemed much easier than upclimbing on this route. The route was easier to ‘find’ on the way down.
And then back towards the gully. It’s easy to know when to start the descent towards the gully as the terrain gets noticeably easier and you have a line of sight as to where you need to descend.
From the base of the gully this is my route back up to the saddle. I’d be ascending about 250’ to get there.
Then it was back down the gully and up towards the saddle
From the saddle I could see my route back towards Crater Lake. I’d descend back down 1260’, then up 400’.
First to head back down the drainage
Then to head back up towards the pond at 11750’. To help me navigate I first aimed for this large boulder in the distance, then headed north through the trees.
Once at the pond at 11750’ I found the Crater Lake Trail and took it the 5.5 miles back to Andrews Lake.
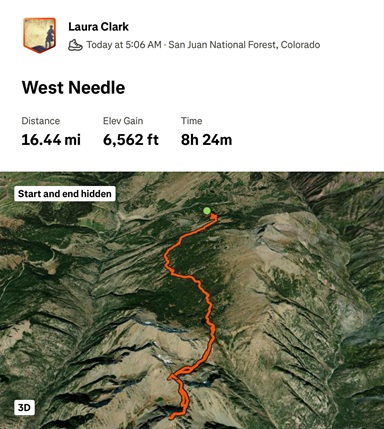
I made it back to my truck at 5:30pm, making this a 19.1 mile hike with 4853’ of elevation gain in 11 hours, 30 minutes. At least according to CalTopo. Strava gave me different numbers.
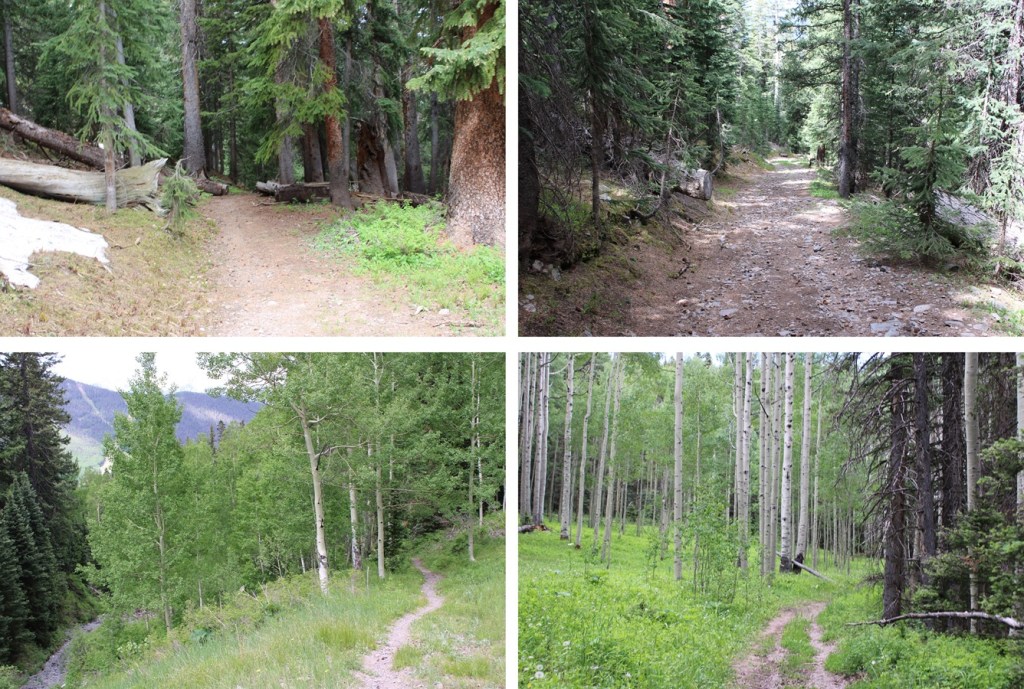
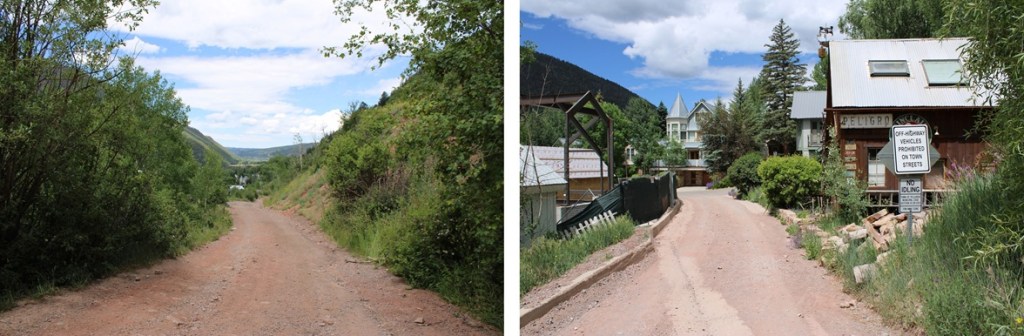
First of all, parking in Telluride is challenging. I arrived the day before and when I got to the trailhead there weren’t any parking spaces available for any vehicles to park there at all, so I turned around and looked for a place to park in town. Nope. Nothing. There were signs everywhere stating it is illegal in Telluride to sleep in your vehicle (how can THAT be legal?), and all lots had 2am-6am “No Parking or you’ll get towed” restrictions. Street parking was limited to 2 hours unless you were a resident and had a pass. This was frustrating! I was glad I’d arrived a day early. Not sure of what to do, I called the Chamber of Commerce/Tourism and they told me I could park in the parking garage ($2 per hour, but $50 if I stayed overnight), or try the residential area off Galena and park in front of someone’s house. I couldn’t park there overnight, but it should be ok for day use. I found a dispersed campsite away from town and came back early in the morning to try Galena Street. I was able to find a spot in front of someone’s house, which I felt weird parking in, and I was on my way. With all of the crazy restrictions I hoped no one would tow my vehicle. I took Galena to Tomboy and hiked the road to the trailhead.
This was labeled on CalTopo as Liberty Bells Trail, but the trailhead called it the Jud Wiebe Trail. I’ve found a lot of inconsistencies with Telluride trail names. The gate was locked to vehicles so I walked under it and was on my way. The trail starts out heading northwest towards some water tanks and then continues heading northeast to treeline. The trail was very well maintained and easy to follow. The wildflowers were on point.
On CalTopo this trail is labeled as the Liberty Bell Trail, and it goes through Liberty Flats. Let me tell you, there was nothing flat about this trail. It kept climbing up, up, up, alternating from being a trail to being an old 4WD road.
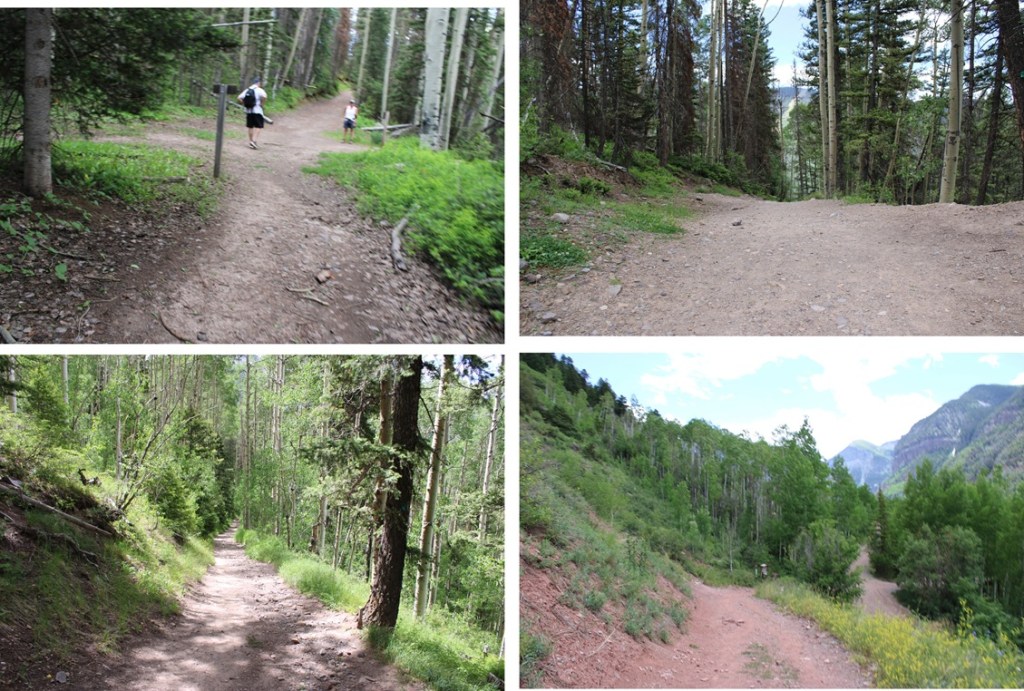
After hiking for around 1.3 miles (from where I’d started) I came to a junction for the Jud Wiebe Trail. I continued straight on the Liberty Bells Trail.
I came to another unnamed junction, and not really knowing which way to go since it wasn’t on any of my maps I went right. This happened to be the correct choice.
I continued following the trail past an old mine and up to treeline.
At treeline I came to a junction with the Sheridan Crosscut Trail and turned left.
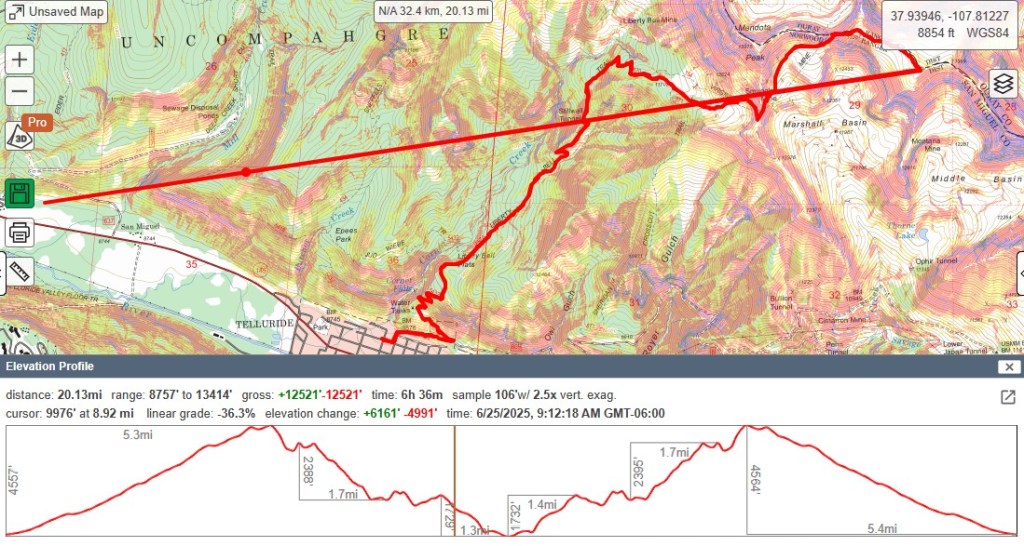
This trail was a bit fainter but still easy to follow. I headed northeast up the basin to a ridge. Here’s an overview of the route:
And some pictures to that ridge. Here is where I put on my microspikes and kept them on to the summit. The trail in many areas looks like it has been washed out due to rockslides/snow and some of the areas are sketchy. Unstable scree abounds.
At the top of this ridge the trail turned and started heading northeast, rounding down into the basin and then gaining the ridge.
Here’s an overall picture of where you’re headed. There’s a good trail to get you to the base of a gully in the distance (but still keep an eye out for loose rocks/scree).
And some pictures along the way to the small gully
It’s obvious where to ascend the gully, as the trail stops. I turned and headed north to the ridge. The gully isn’t very long, maybe 100 feet or so of elevation gain.
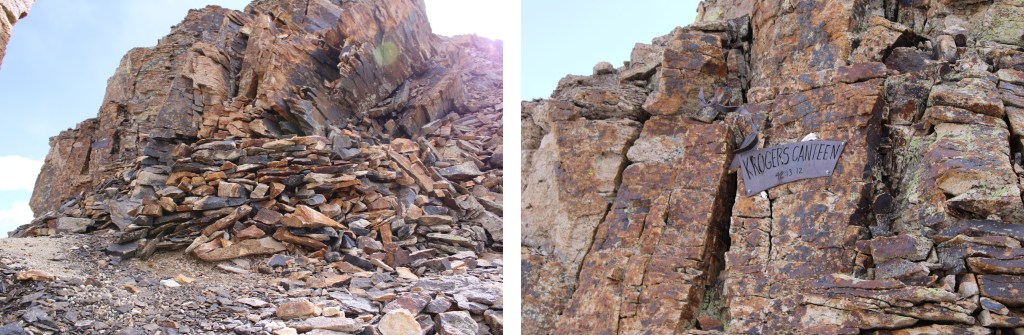
At the top of the gully is a wind break made out of rocks, and a sign that says “Krogers Canteen”. There were also beer bottles on the ground that hadn’t been opened (but were only halfway full).
I walked through the wind break and followed the ridge east
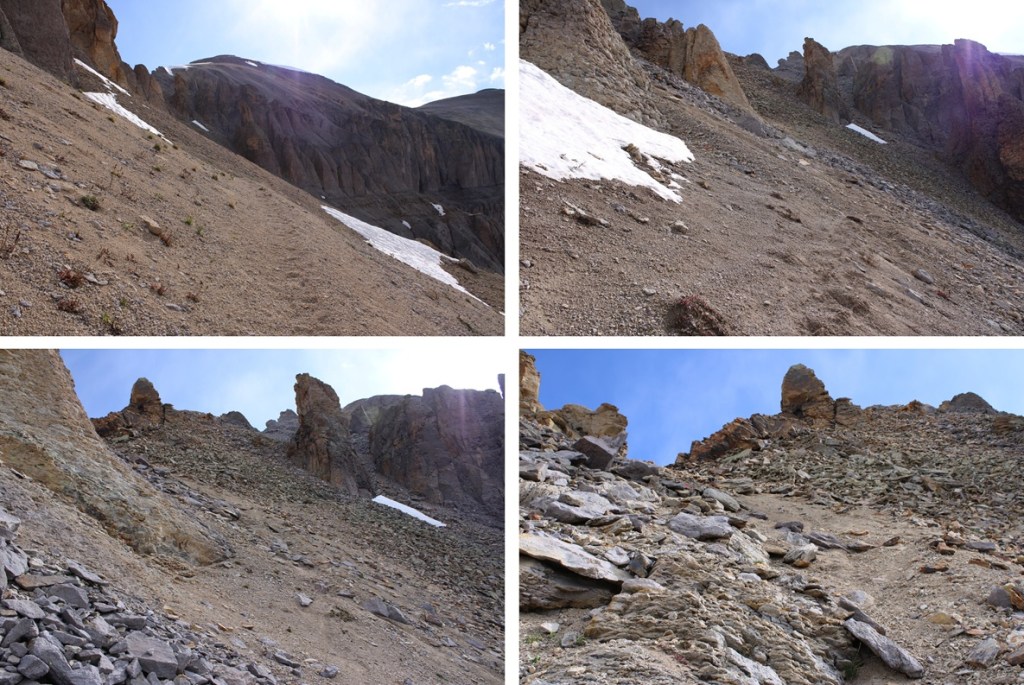
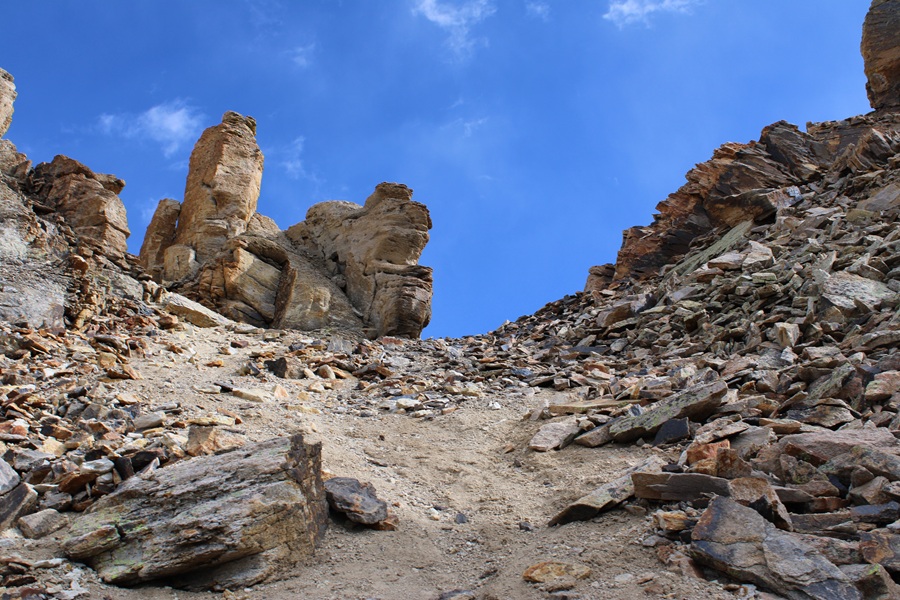
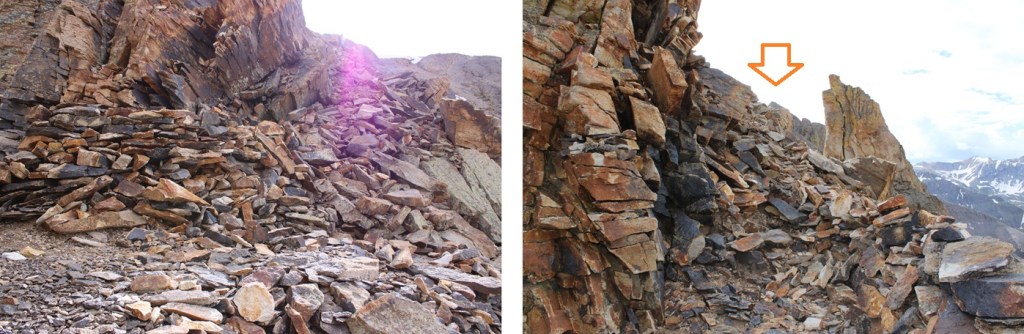
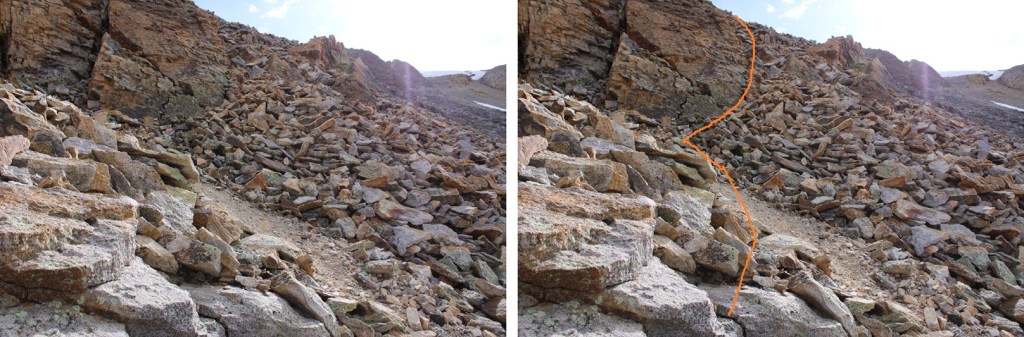
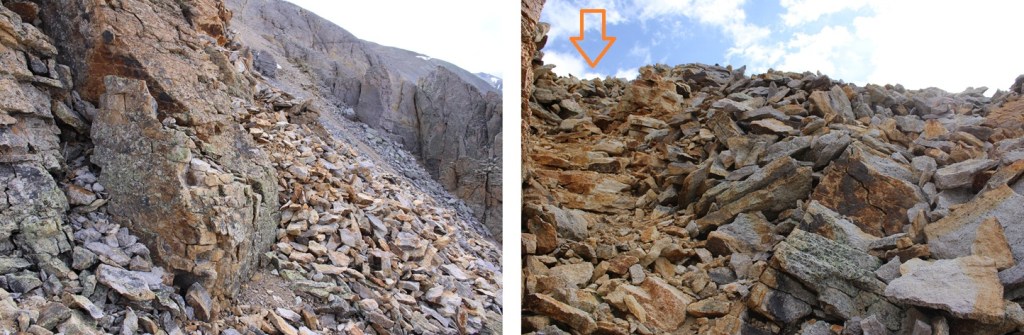
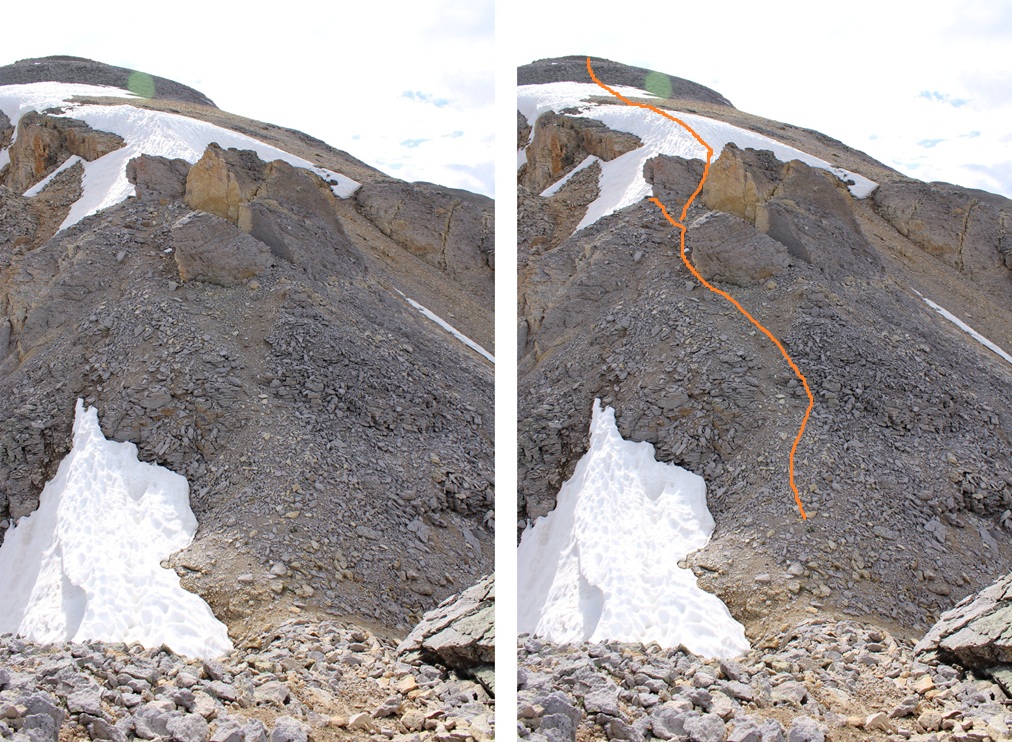
This is what I considered the “spiciest” part of the route. I’ve outlined the route up, but recent rockfall has made this area especially unstable. Scree-valanches will start from underneath you and rocks will fall like an hourglass from above and below. It looks like there used to be an easier way to ascend, but recent rockfall has changed the route. There are parts of what used to be a trail here.
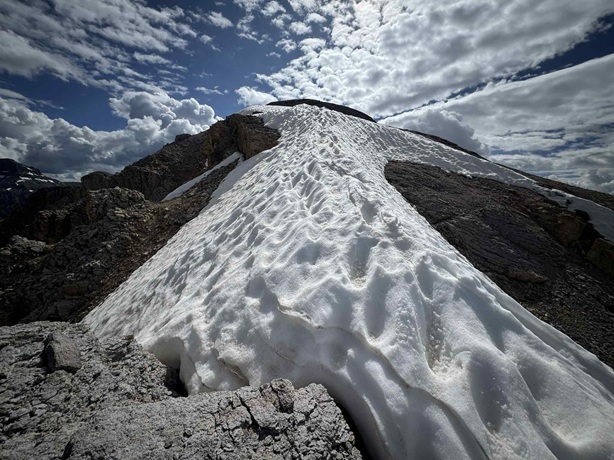
Now on the ridge I followed it east towards 13337 (false summit). There was some unavoidable snow to traverse. I went both ways around the boulder in the middle, one on the ascent, the other on the descent. Both were class 2.
The toughest part was over, now it was a class 2 ridge hike following the ridge to the summit (after going over the false summit first).
From the top of the false summit it was an easy ridge hike to the summit of T5
I summited T5 at 9am
T5:
Now to head back down. This was an out and back hike for me, so I turned around and headed back the way I came.
I headed back towards the false summit
And then back down the snow to the gully
I then carefully navigated my way back down the to the gully and back to the trail below.
Once on the trail I followed it around 4 miles back to the trailhead.
I made it back to my truck at 11:45am, making this a 10.6 mile hike with 4688’ of elevation gain in 6 hours 30 minutes. Sorry about the poor topo. Something happened with Strava halfway through my hike and it pinged back near 145, then back up to me for the descent. Gotta love technology.
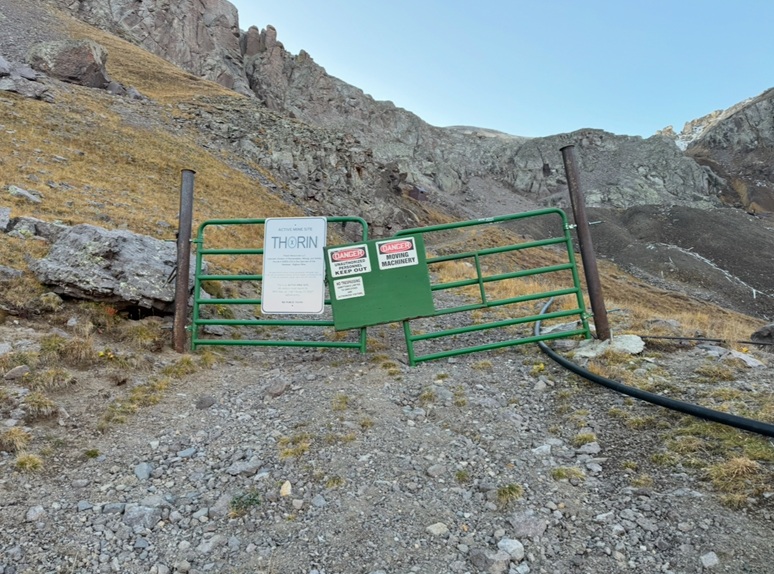
Also, I’d already attempted this peak the easier way, through Governor Basin, but there’s now a sign saying it’s a working mine and you need permission to hike through there, so I turned around and tried a different route.
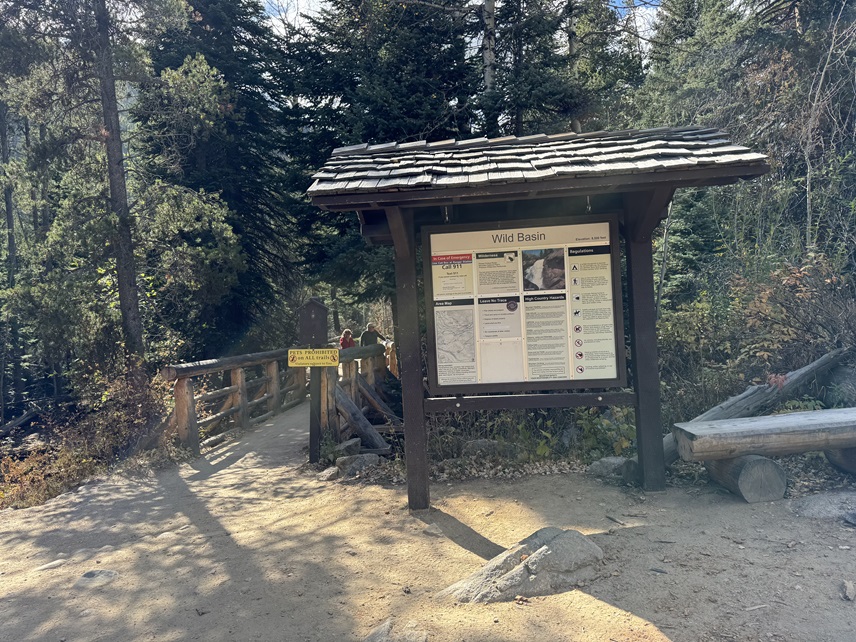
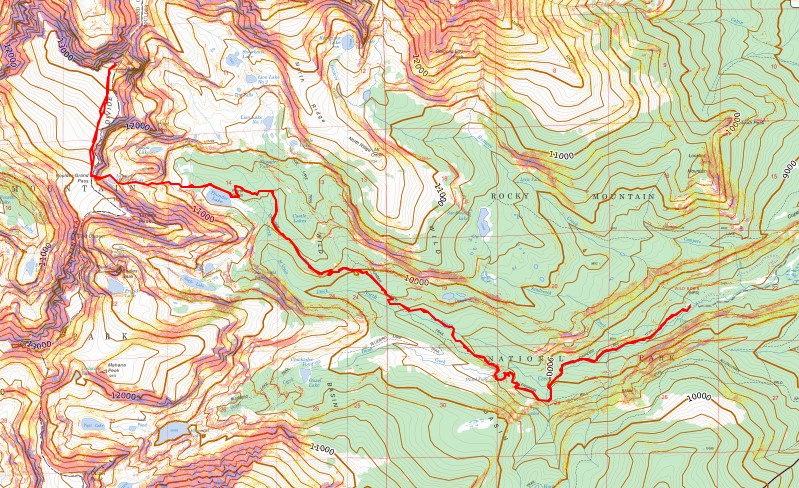
This hike, while long, was much easier than anticipated. I arrived at the Wild Basin Trailhead inside Rocky Mountain National Park and was on the trail at 4am. I’m sure most of you know this, but the park has an entrance fee, and timed entry for this trailhead between the hours of 9am-2pm. The trailhead holds dozens of vehicles, and there’s a bathroom there.
The trailhead starts at the west end of the parking area and is clearly marked.
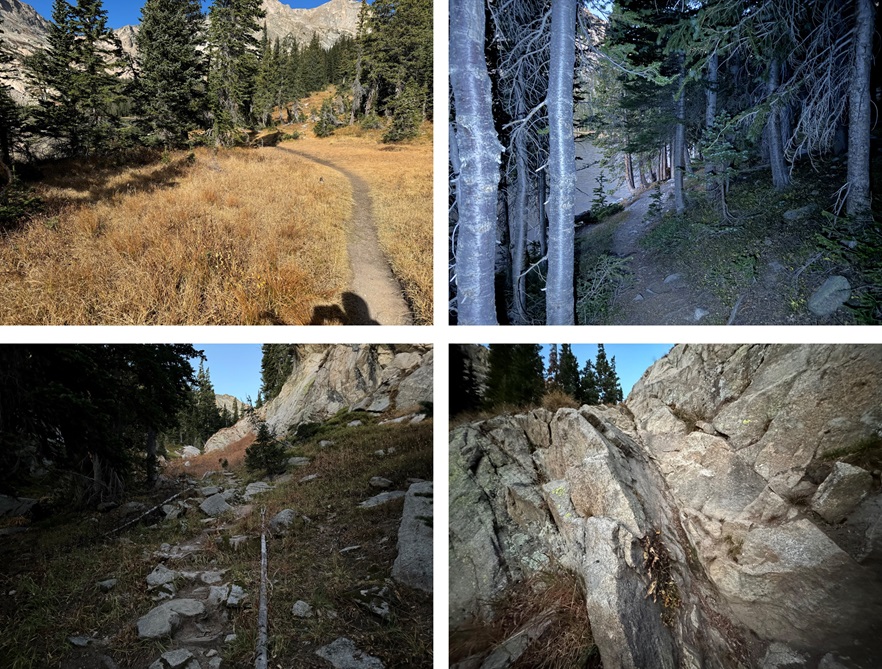
I followed the trail all the way to Thunder Lake. This is a class 1 trail with many junctions, but they are all clearly labeled. I just kept heading towards Thunder Lake, and if Thunder Lake wasn’t on the trail sign (which it wasn’t always), I followed the signs to Ouzel Falls, and then Thunder Lake was on all the rest of the signs. Along the way I passed Calypso Falls and Ouzel Falls. Here are some pictures of the trail and junctions to Thunder Lake:
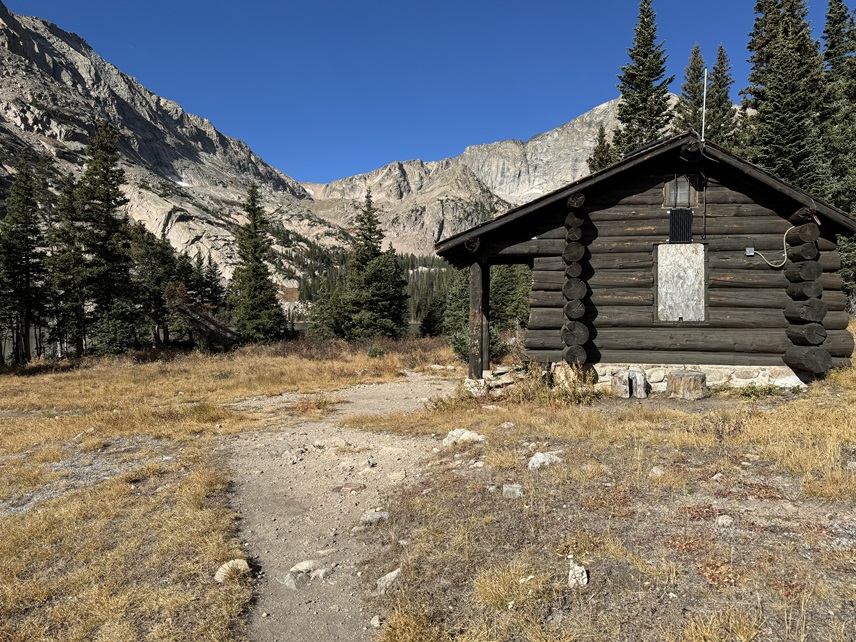
After hiking for a total of 7.2 miles I made it to Thunder Lake, and the Patrol Cabin (which was now boarded up for the winter).
Here the trail continues, skirting the north side of Thunder Lake, then continuing into the trees, heading west all the way up to Lake of Many Winds.
At Lake of Many Winds the trail stops, but the route finding is class 2 and easy to figure out. I kept heading west, aiming for the saddle between 12er Tanima and Mt Alice, otherwise known as Boulder-Grand Pass.
This part is choose your own adventure, but the remainder of the hike is class 2. You’re just trying to gain the saddle. I’d been here before (when I was climbing Isolation), and just went down the scree, which worked well. However, this morning I wanted to try the gully to the right. It was more solid than the scree and offered hand and foot holds. You can take the scree up as well, as all routes here lead to the same place.
Once at the saddle, I turned right and ascended the ridge north. The true summit is to the west (as per LoJ and my Peakbagger app, and summit register placement).
This ridge has a gentle slope and is filled with tundra and large boulders. I was easily able to navigate around the boulders, staying on tundra most of the way. I just kept heading north. I gained 1250’ of elevation in about 1.1 miles to the summit from the pass.
Eventually I could see the summit of Mt Alice come into view
This is the overall route I took to get there
The boulders here were stable, and rock-hopping was quick. Before I knew it, I was at the summit of Mt Alice (which had a cairn and a summit register, but the register was open and empty).
I summited Mt Alice at 9am
Mt Alice:
Now to head back to Boulder-Grand Pass, I turned around and headed south, back the way I’d ascended.
I took the same gully back down to Lake of Many Winds
And then picked up the trail that would lead me back to Thunder Lake.
I skirted Thunder Lake to the north, then followed the clearly marked trail signs for the Wild Basin Ranger Station back to the Wild Basin Trailhead
I made it back to my truck at 12:45pm, making this a 19.98 mile hike with 5159’ of elevation gain in 8 hours, 45 minutes.
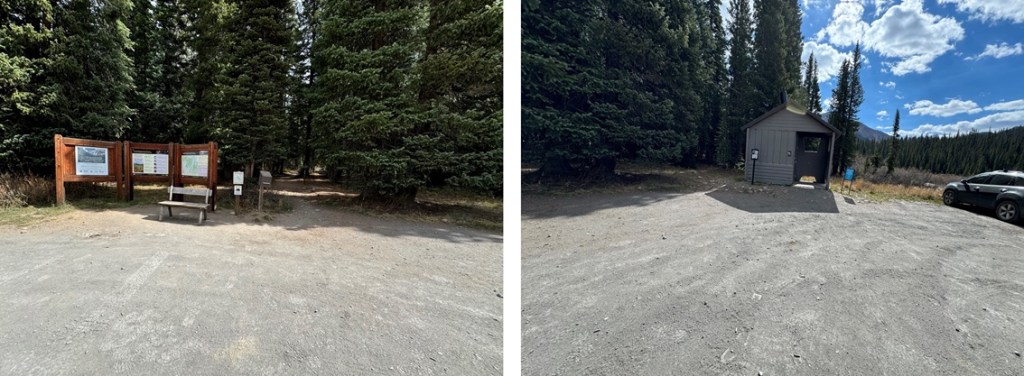
I parked my truck at the East Fork Trailhead outside of Gothic, just passed Schoefield Pass. The road in is 4WD, but a high clearance 2WD vehicle with a competent driver can make it to the trailhead. There are bathrooms at the trailhead, and spaces for about 20 vehicles.
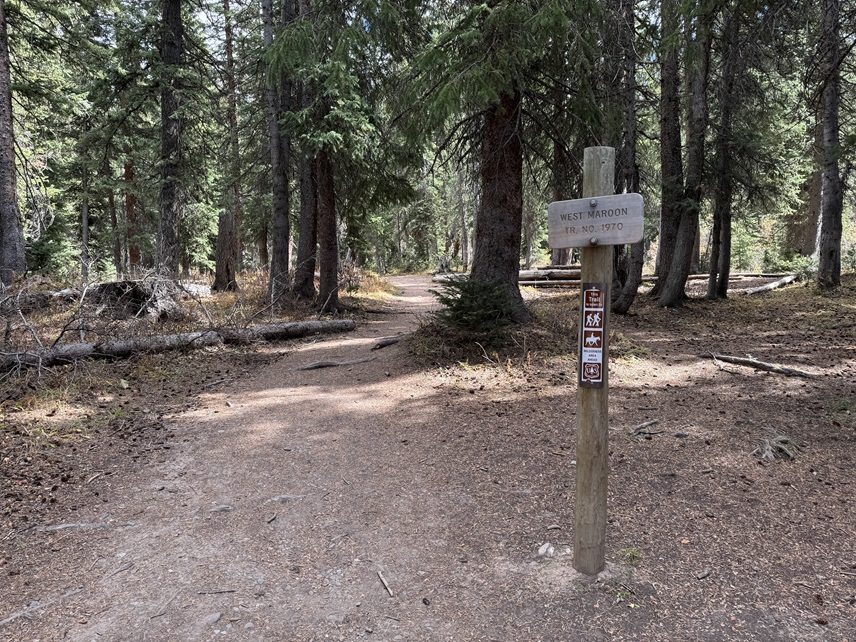
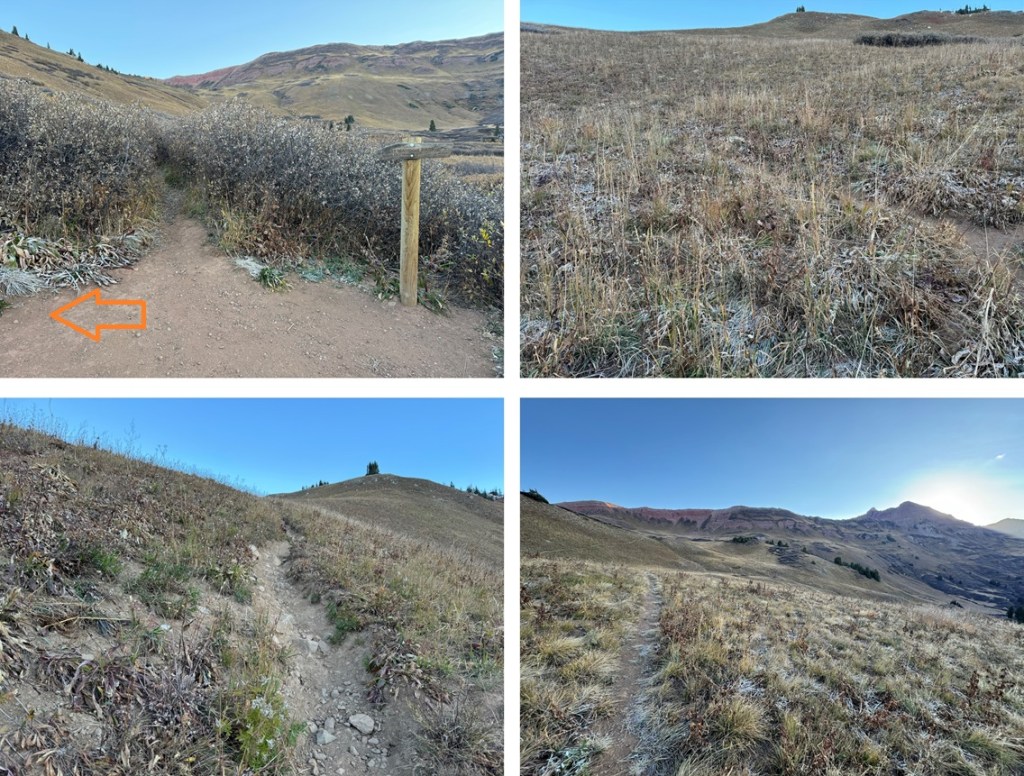
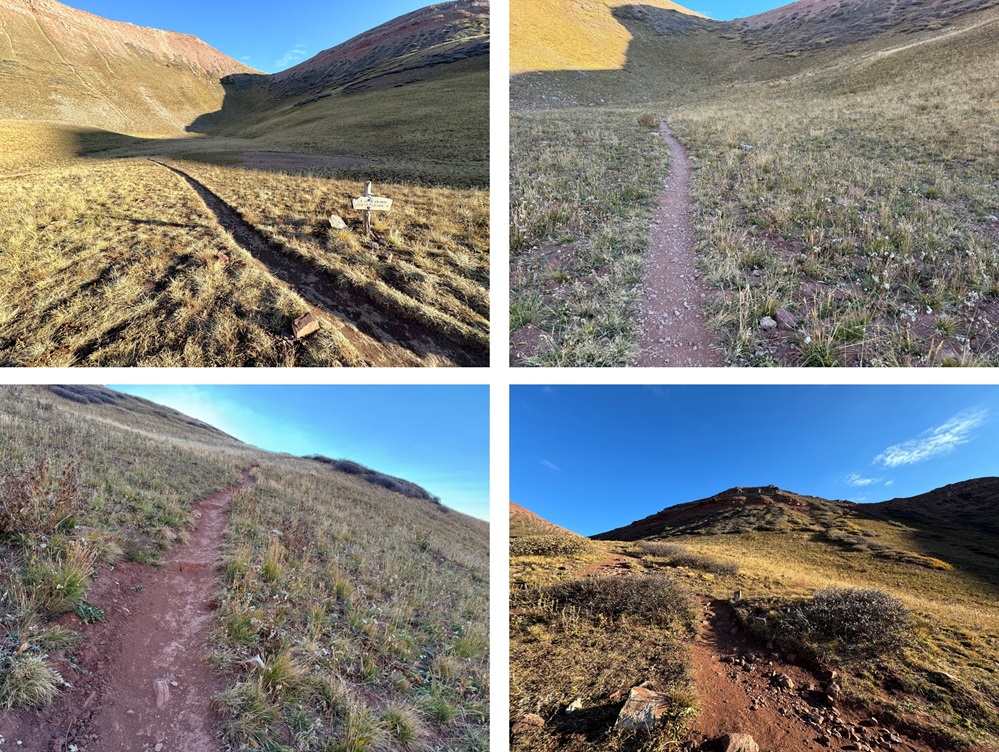
I was on the trail at 7am, following West Maroon Trail 1970
I stayed on this trail for about 2.2 miles. The trail began at treeline but quickly turned to tundra.
After hiking for about 2.2 miles, I came to a sign that said “West Maroon Pass”. Here there was a trail to the left that was unmarked. It’s trail 1974. I took that trail as it switchbacked northeast up the hillside.
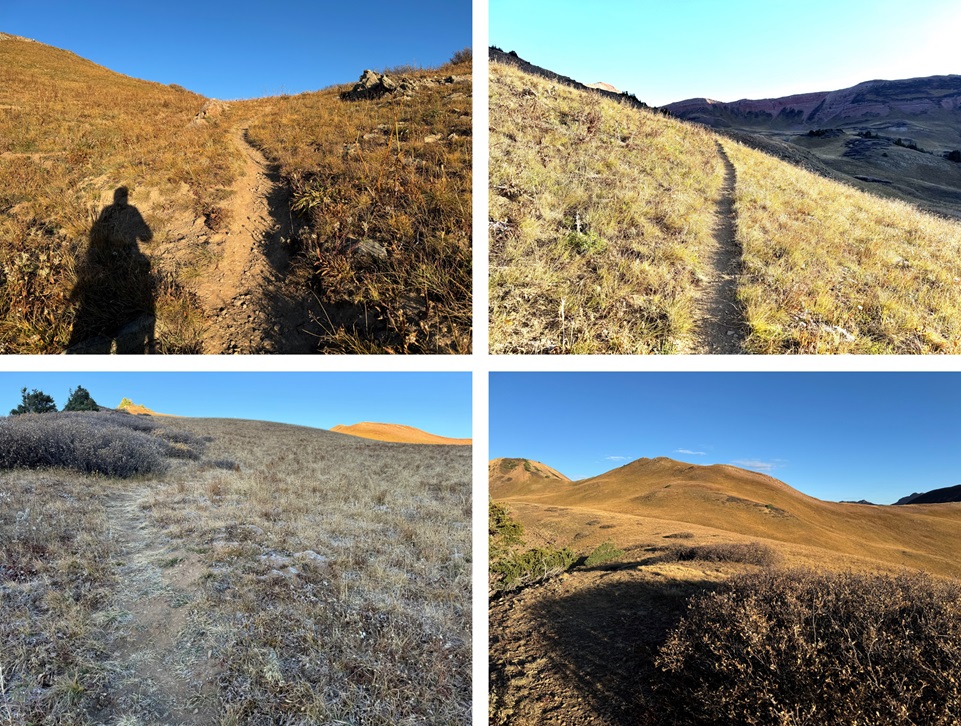
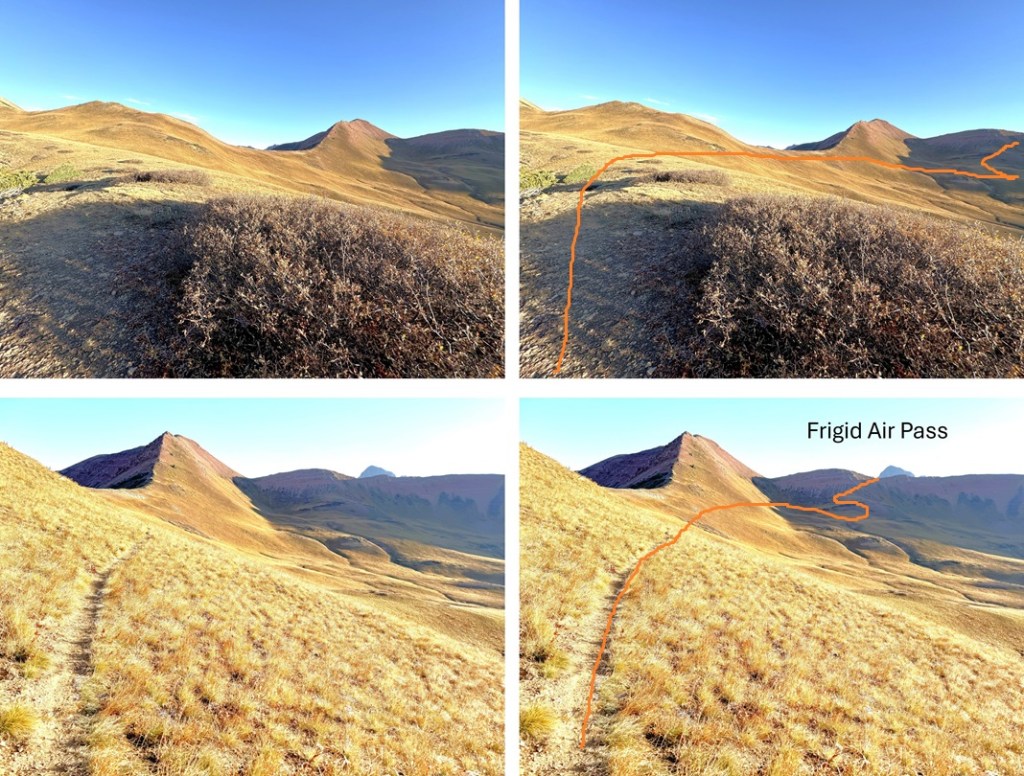
I was headed for Frigid Air Pass on this class 1 trail.
Here are some pictures of the route from the upper basin to Frigid Air Pass. The trail intersected with the West Maroon Trail again, and I followed the trail north at the intersection to Frigid Air Pass.
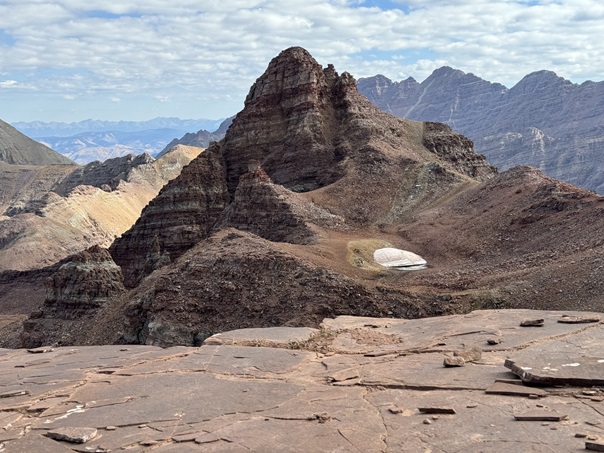
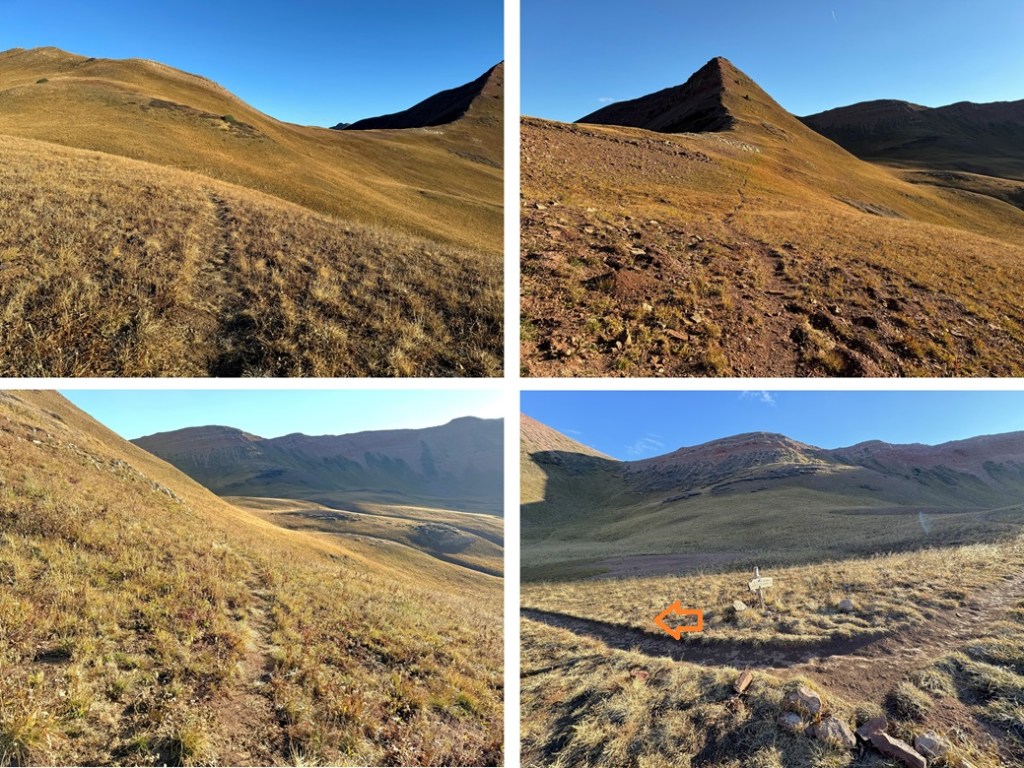
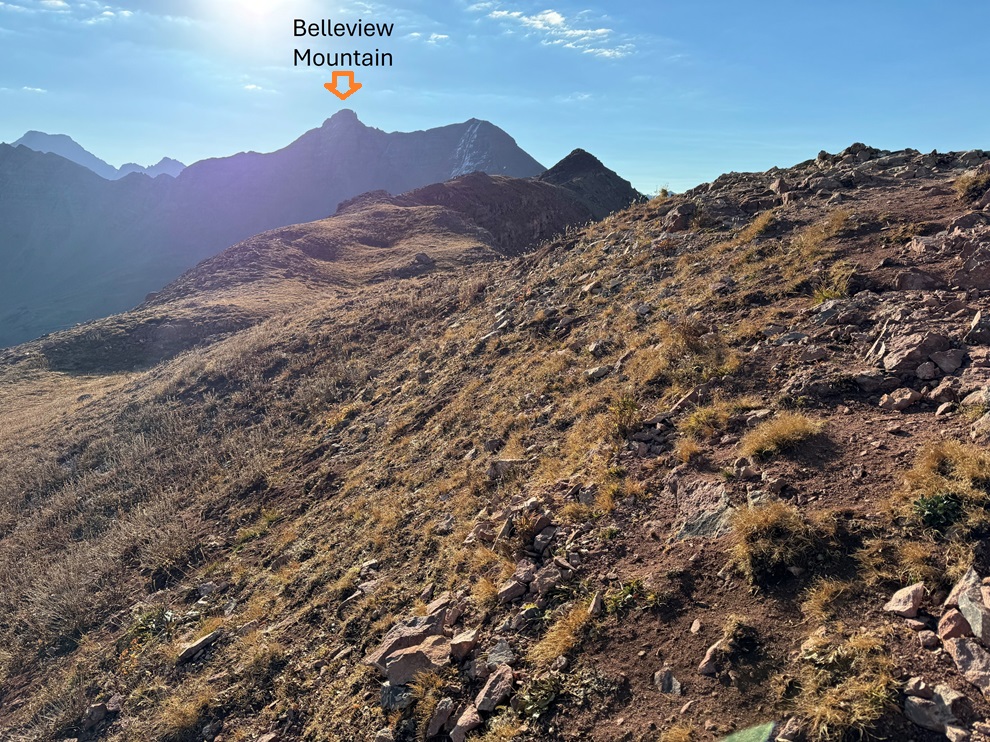
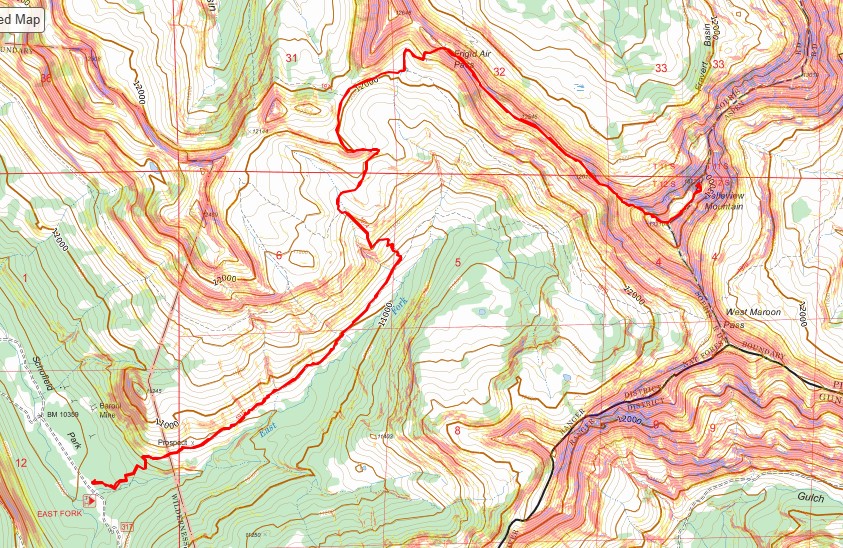
At the top of the pass, I could see Belleview Mountain. I turned right and followed the ridge southeast. This is a long ridge, but it’s all class 2, with game trails to follow to the right to keep it class 2
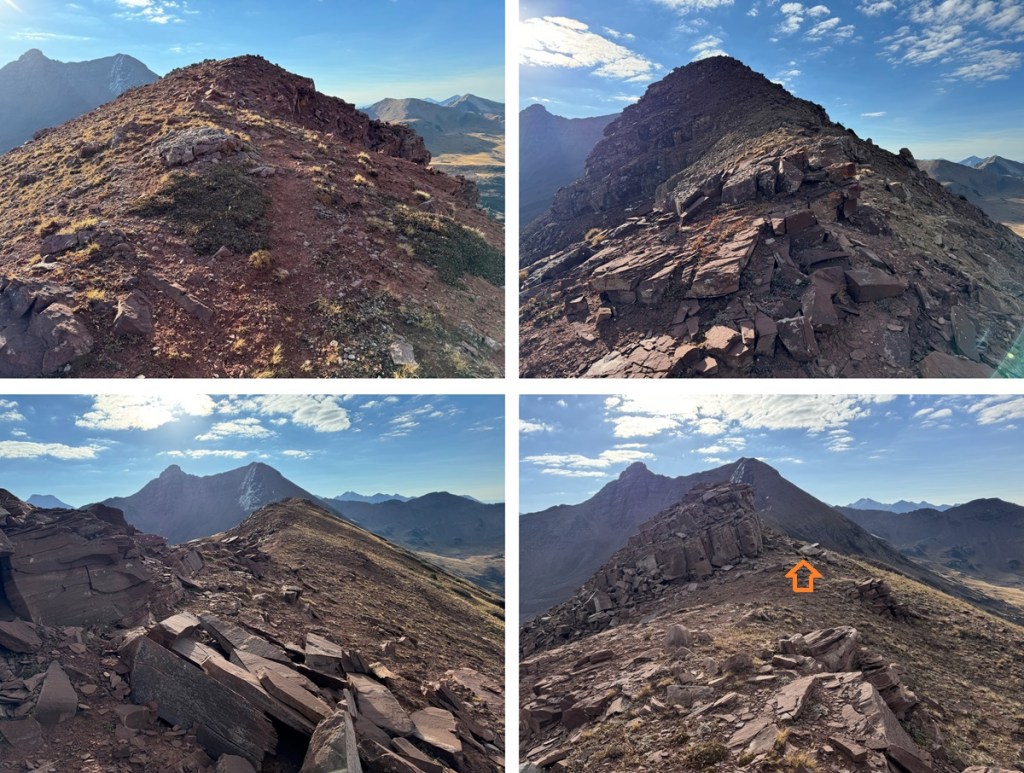
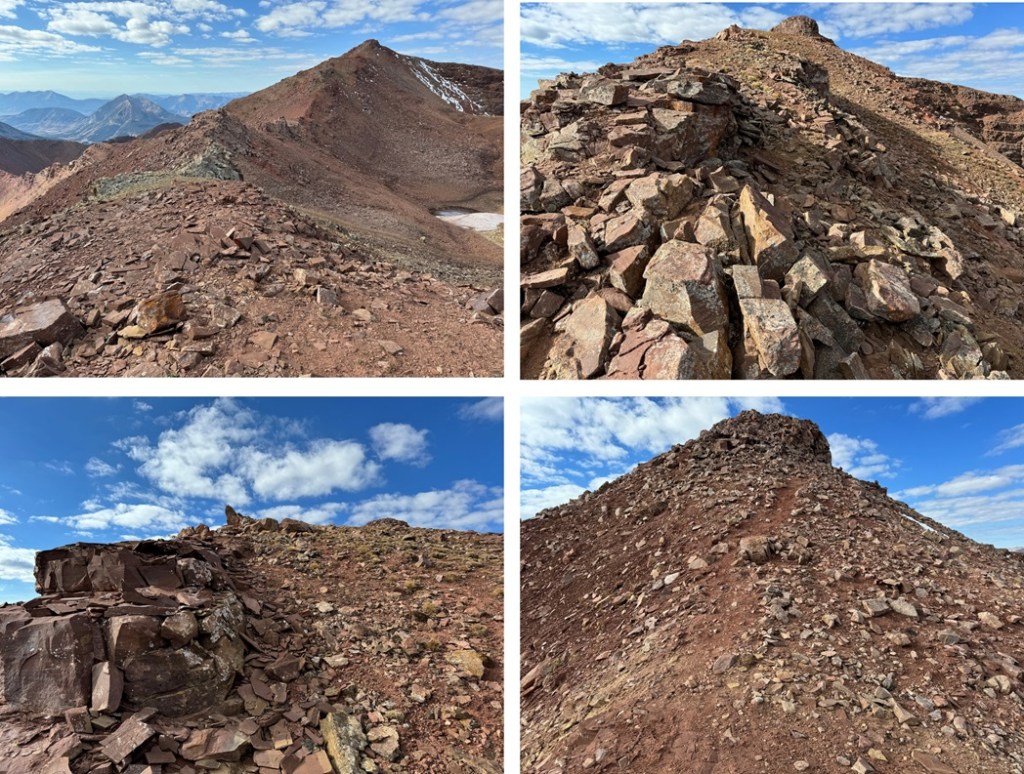
Here are some pictures of the ridge:
12
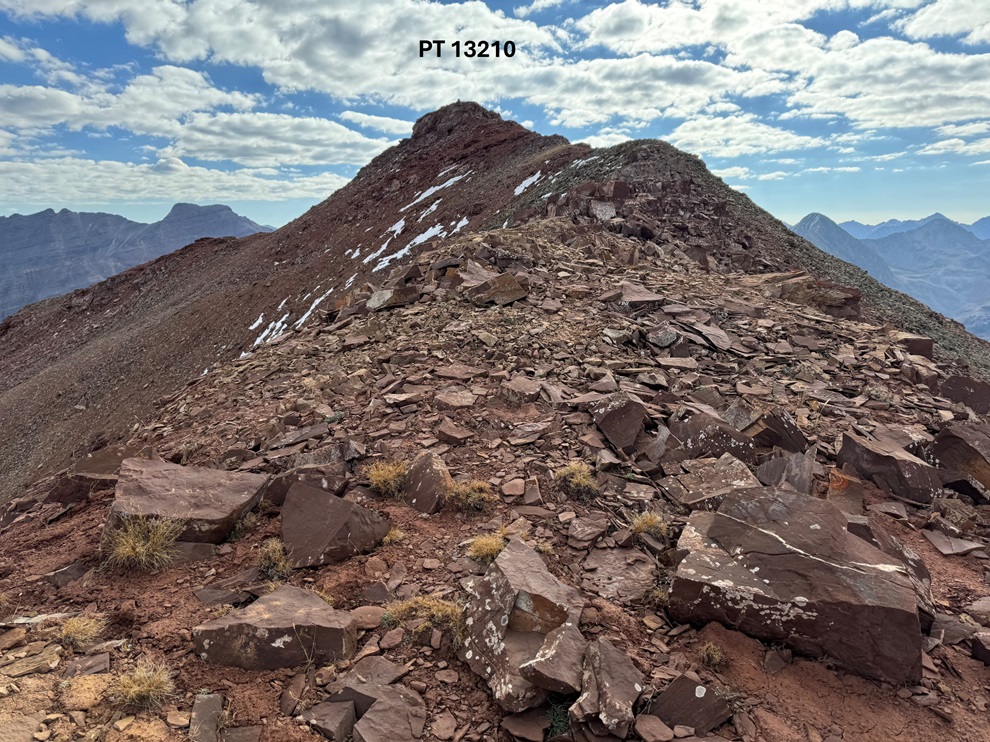
The ridge ran out and it was time to start gaining elevation again. I continued southeast to PT 13210. There were no obvious trails here, but there were a lot of loose rocks and scree. This is still all class 2.
From the top of PT 13210, looking northeast I could see Belleview Mountain.
This is the overall route I took to get there:
I followed the ridge northeast on class 2 terrain, and then stayed to the right of the rock outcropping.
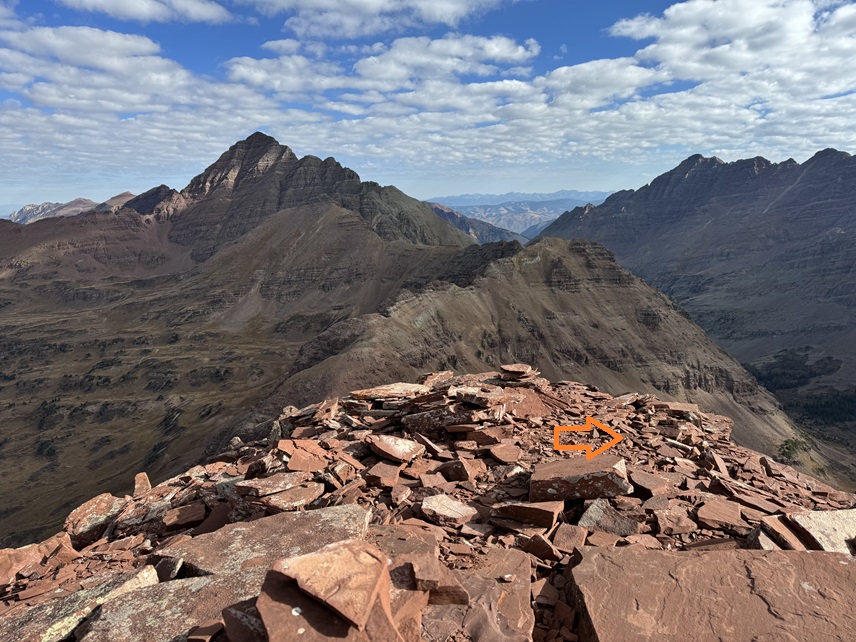
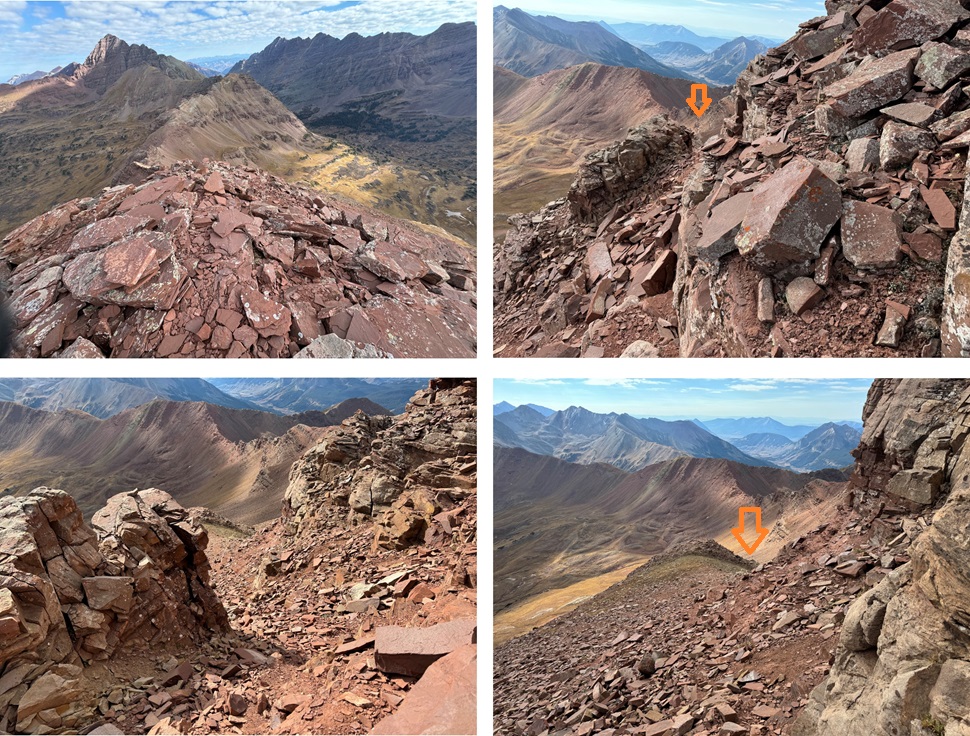
From the top of the small gully I turned left, and had a couple of options. I could ascend to the summit by going either left or right. Both options were difficult class 2. I went to the left first, to the right on the way down. The left side is difficult class 2, but there is more exposure on that side.
Then it was a class 2 rocky hike to the summit
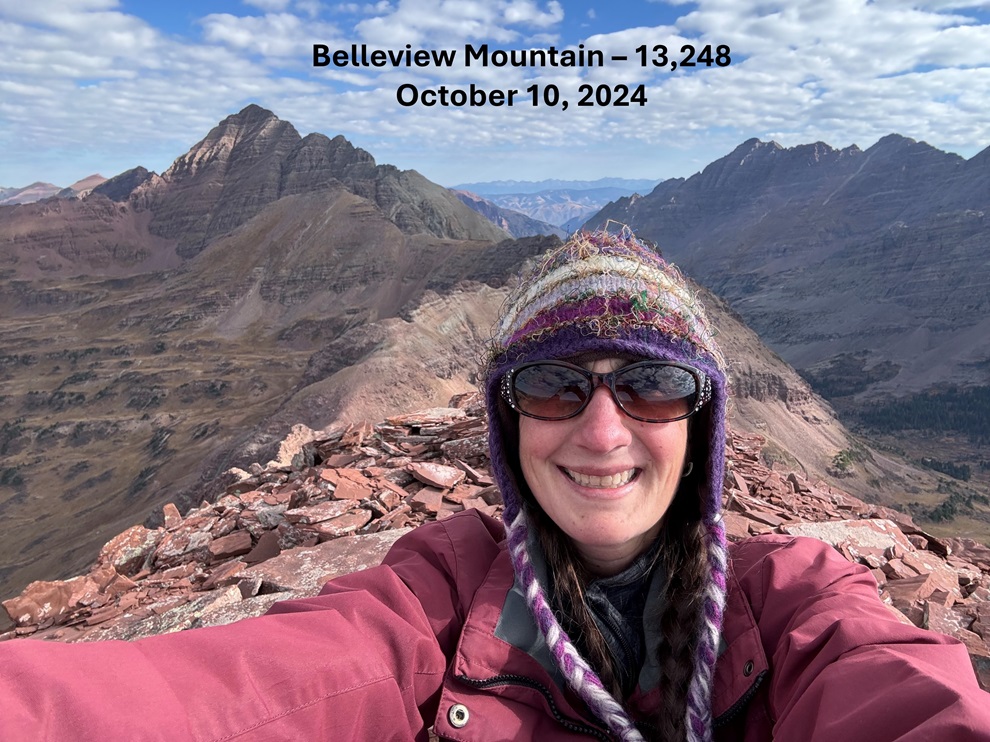
I summited Belleview Mountain at 9:50am
Belleview Mountain:
On my way down I headed to the north of the summit, and then descended back to the small gully by heading south on scree.
Then it was back over to PT 13210
Back at PT 13210, I headed northwest back to the ridge
And then followed the ridge northwest towards Frigid Air Pass.
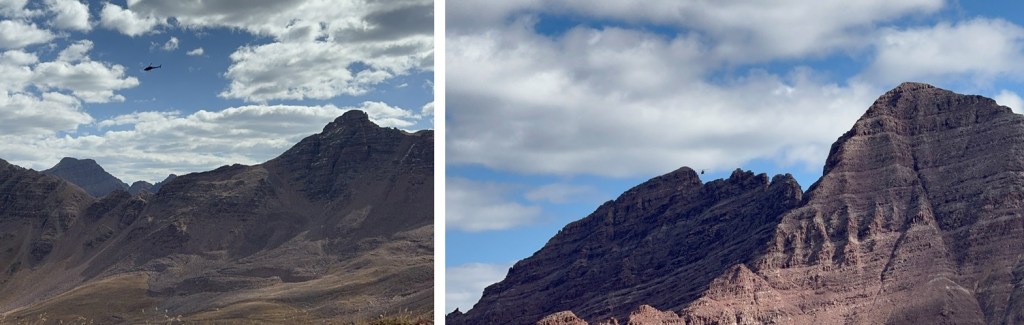
Along the ridge I got buzzed by a fast-flying helicopter, headed over to the Bells. It circled a few times, and then I never saw it again. I’m hoping it wasn’t a rescue mission. It was flying pretty close to the summits and ridges.
From Frigid Air Pass I regained the trail and headed southwest back into the basin. Here’s a visual of the class 1 route:
And some pictures. I took the trail back to the shortcut (1974, not labeled on signs), and then back to the West Maroon Trail
Back on the West Maroon Trail, I followed it southwest back to the trailhead
I made it back to my truck at 12:30pm, making this a 12.15 mile hike with 3516’ of elevation gain in 5.5 hours.
I had just gotten back from summiting PT 13076, and I wasn’t feeling it today. I was tired and achy and sore, and just wanted to rest. I had some lunch, and about 2 hours later decided to do some scouting on Stony Pass Peak, to figure out how I wanted to summit it the next day. Well, suddenly I had a burst of energy, because instead of scouting it, I just summited the peak.
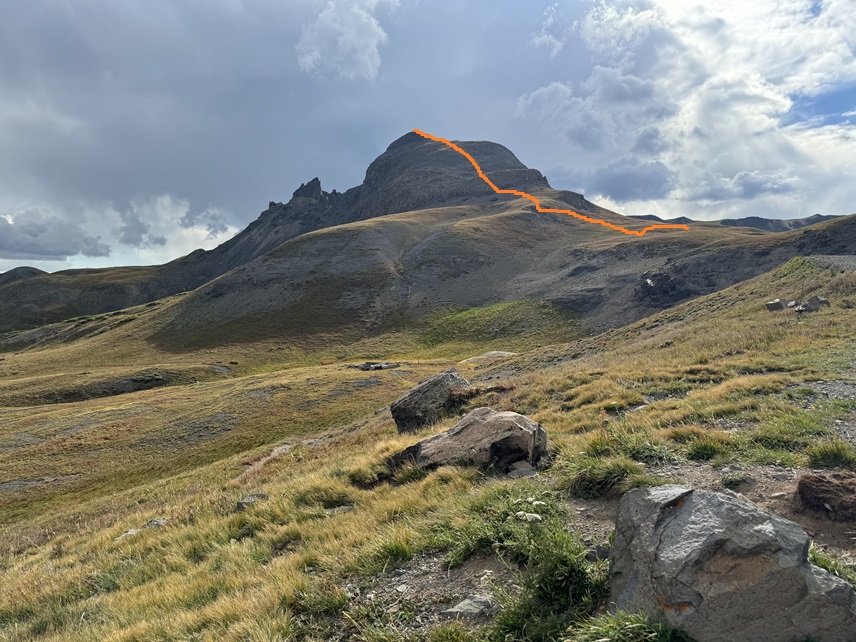
I could see Stony Pass Peak from my parking spot at Stony Pass.
I headed towards Stoney Pass Peak around 2pm. This is the overall route I took to get to the summit.
First, I headed southwest on the tundra towards the ridge
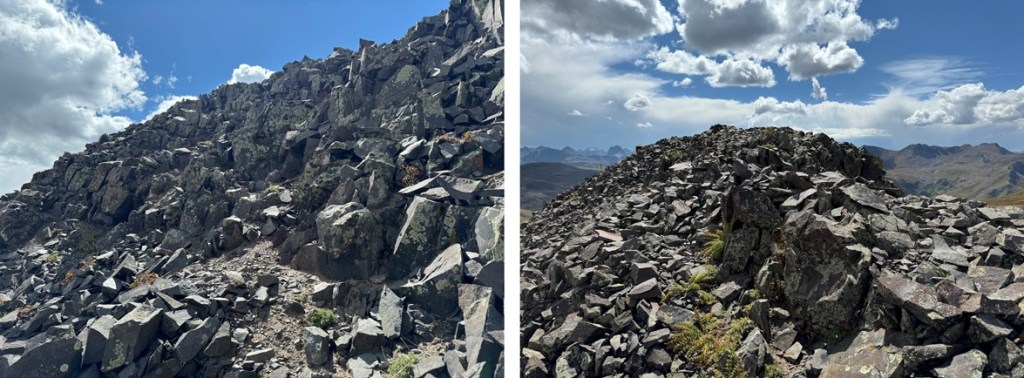
The terrain became rocky, but there were various social trails in the area, making navigation easy. I just kept heading southwest and up, following the social trails to the summit. There was talus, and it became rocky, but this was all class 2.
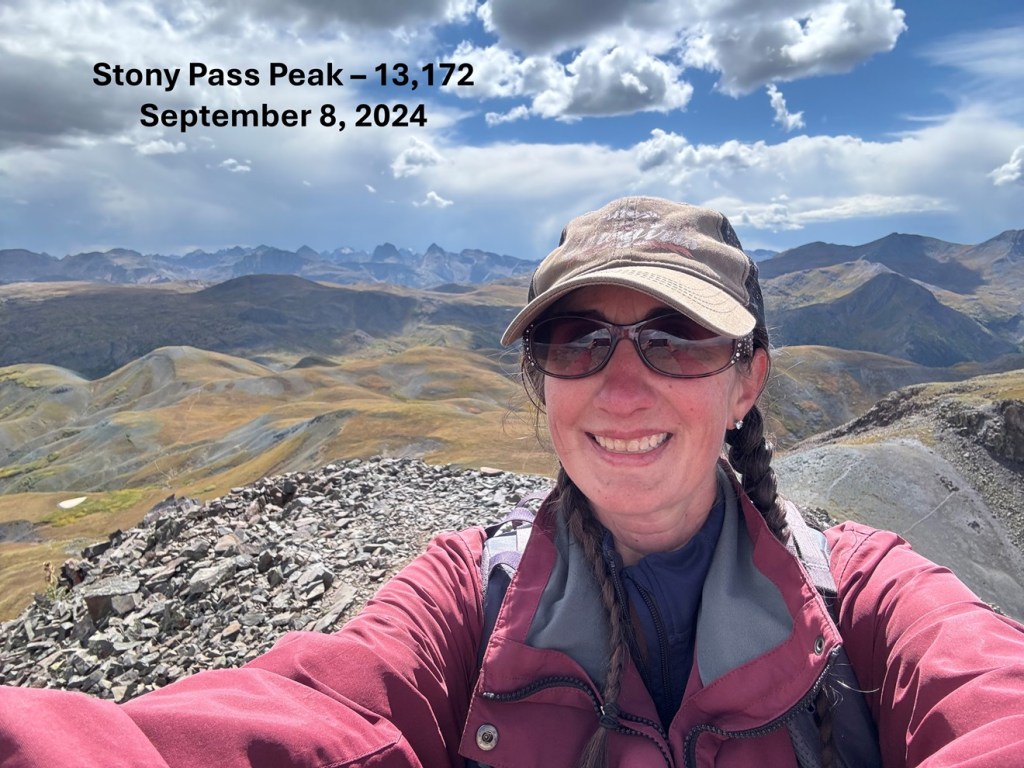
I summited Stony Pass Peak at 2:35am
Stony Pass Peak:
From the summit I could see the road and my truck parked below.
I made my way back down towards the road.
Then followed the road to my truck
I made it back to my truck at 3pm, making this a 1.5 mile hike with 618’ of elevation gain in 45 minutes.
I woke up nice and cozy in the bed of my truck and sat there in the dark waiting for my alarm to go off. After waiting quite a while, I looked at my phone and noticed it was 8:15am! My alarm hadn’t gone off, and I was late getting on the trail. I was ready 15 minutes later, following the 4WD southeast towards the CDT trailhead. Doing this meant I lost 160’ of elevation in .3 miles, which I would need to regain at the end of my hike. There is one parking space near this trailhead, but when I got there the day before there was an ATV parked there, taking up the entire spot.
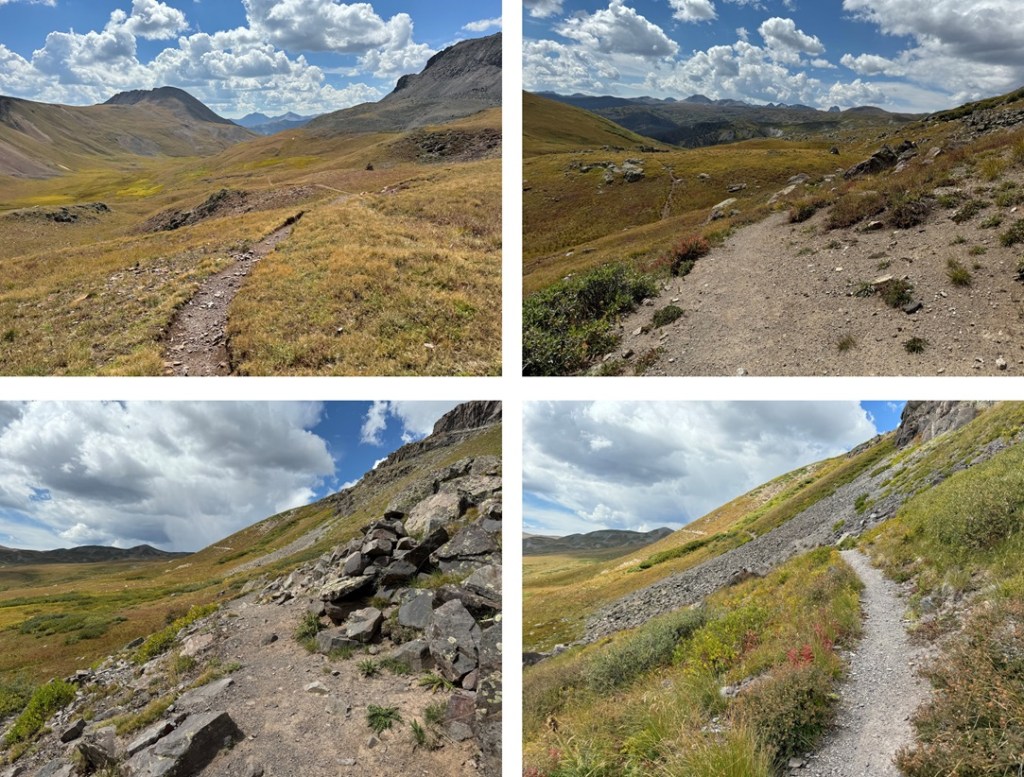
Once at the CDT trailhead, I followed the CDT north for a total of about 3.5 miles, gaining and losing elevation as I went.
At the top of a small pass I came to a junction for the CDT and Moose Gulch, and turned right, continuing on the CDT.
I continued on the CDT until I made it to 13000’
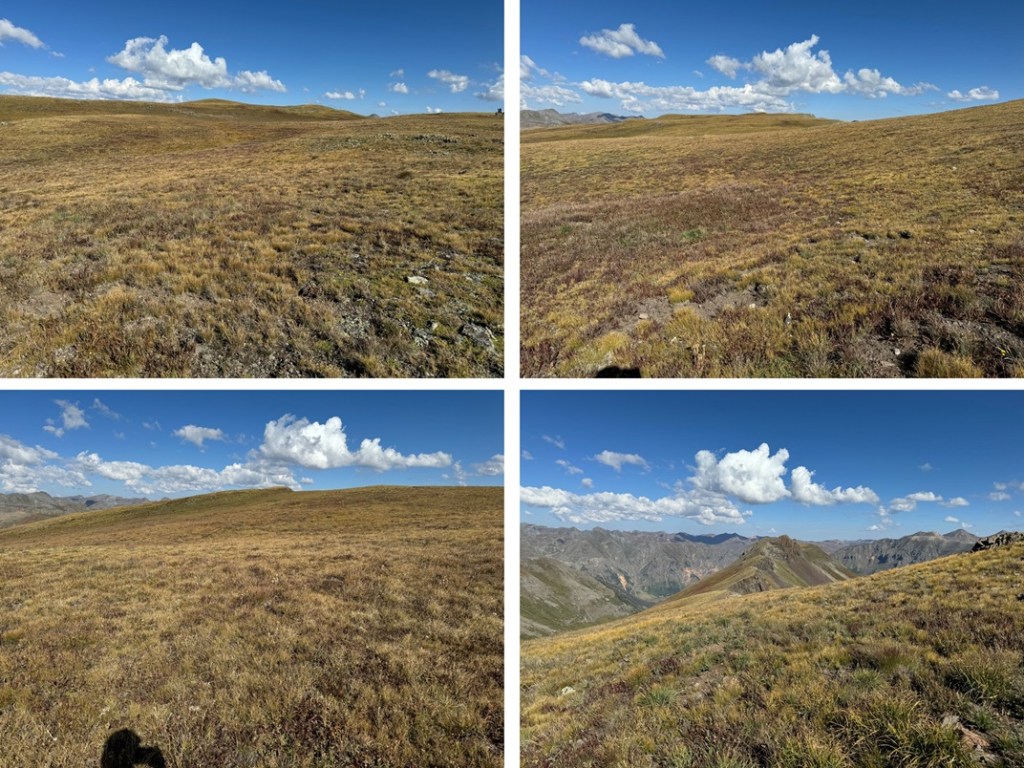
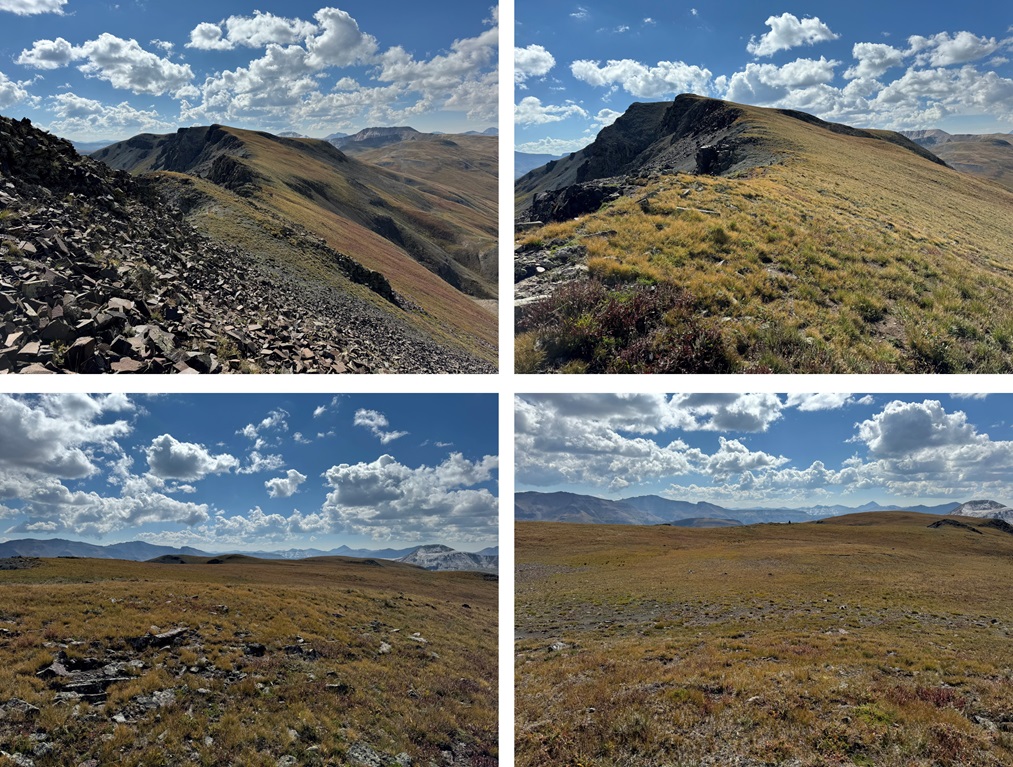
I then turned left, and walked across the tundra northwest, following the gently sloping tundra on the ridge.
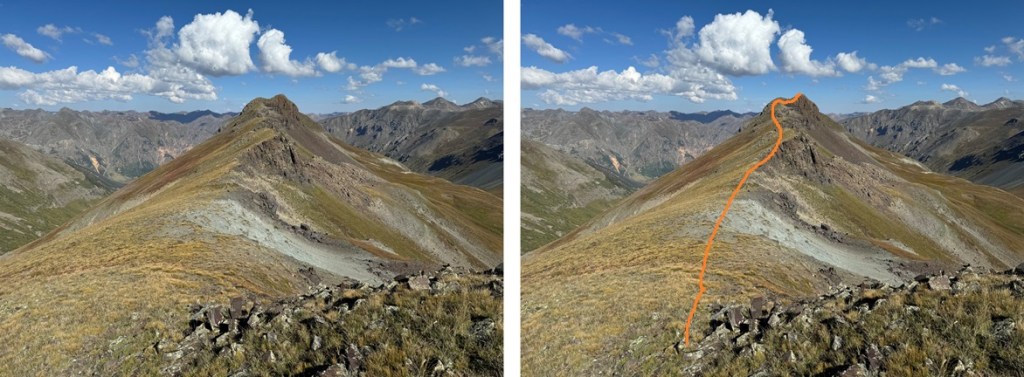
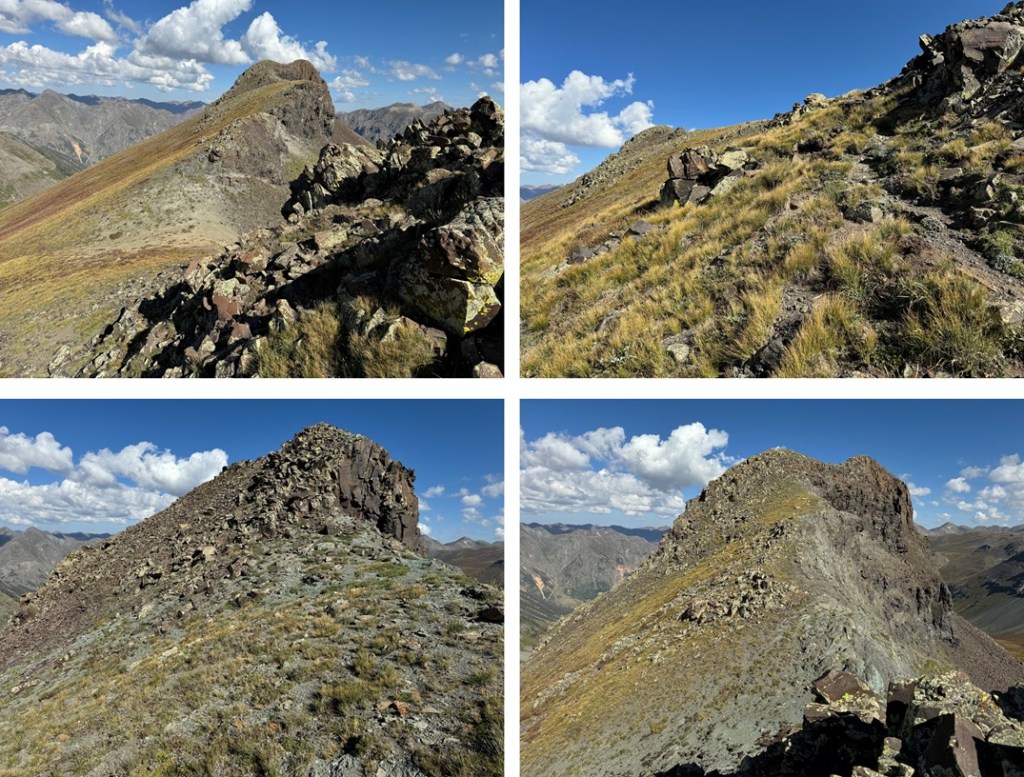
Eventually, the peak came into view. This looks harder than it is. By sticking to the ridge, this is all class 2.
Here are some pictures of the class 2 ridge to the summit.
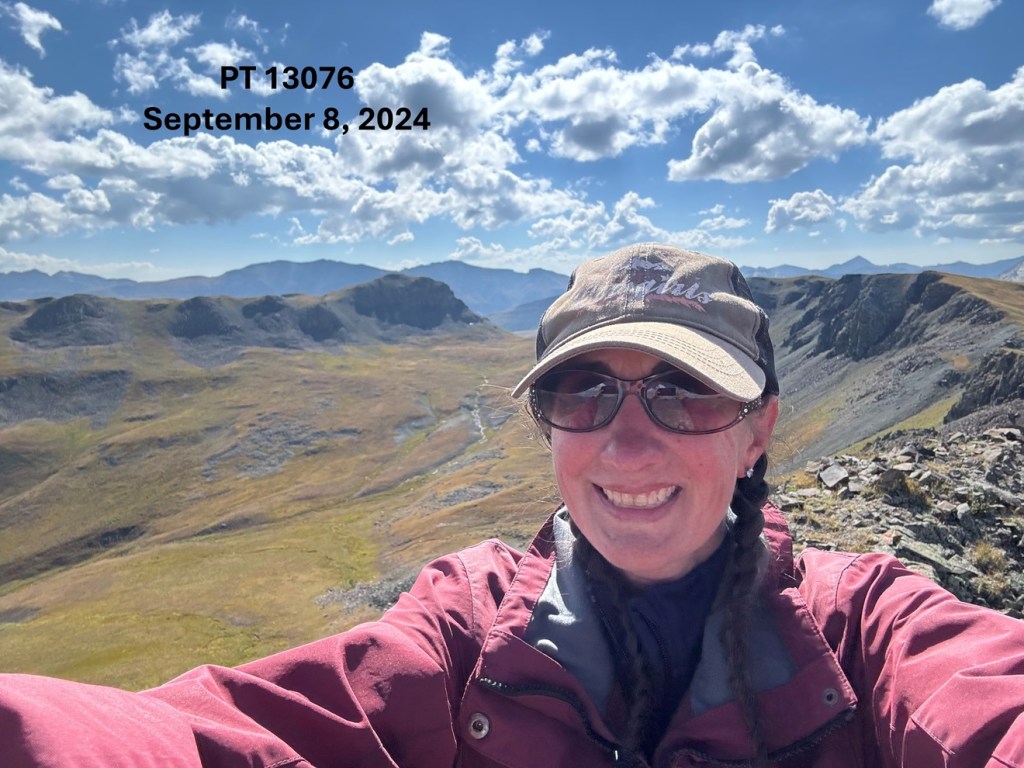
I summited PT 13076 at 10:15am
PT 13076:
This was an out and back hike for me, so I turned around and followed the ridge southeast back to the CDT.
Once back to the CDT I turned right, and followed it south as it wound back to the 4WD dirt road.
I then followed the dirt road back to my truck, parked at Stony Pass.
I made it back to Stony Pass at 12:30pm, making this a 9.64 mile hike with 2129’ of elevation gain in 4 hours.
I was exhausted, and decided to take a lunch break at my truck.
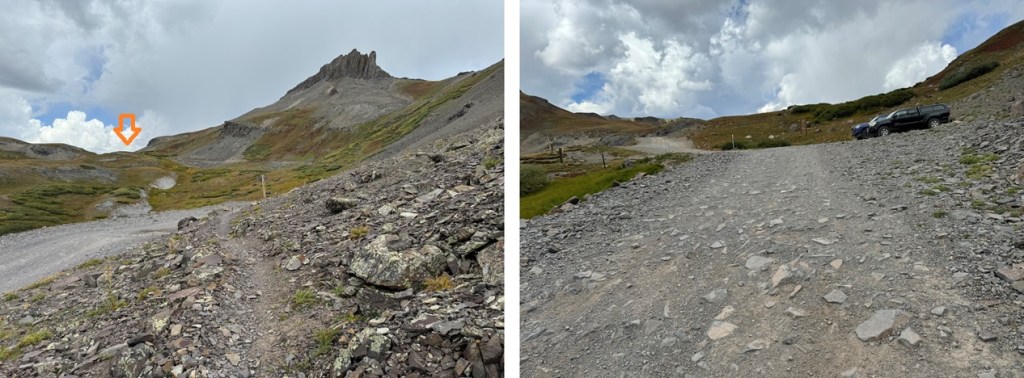
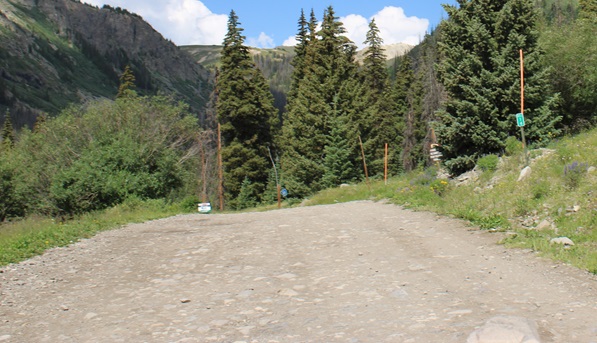
I parked at MM 14 off CR 20 in Lake City, just before the turnoff for 22, at 10900’.
I was up early, but it rained until about 6:15am, so I was on the trail at 6:30am. As you can see by looking at the topo map, I didn’t ascend the same way I ascended, mainly because it was terrible. Down wasn’t great either, but a bit more manageable. I’m going to describe the route to ascend how I came down. Note: There are tons of mining roads in this area, and they don’t all meet up.
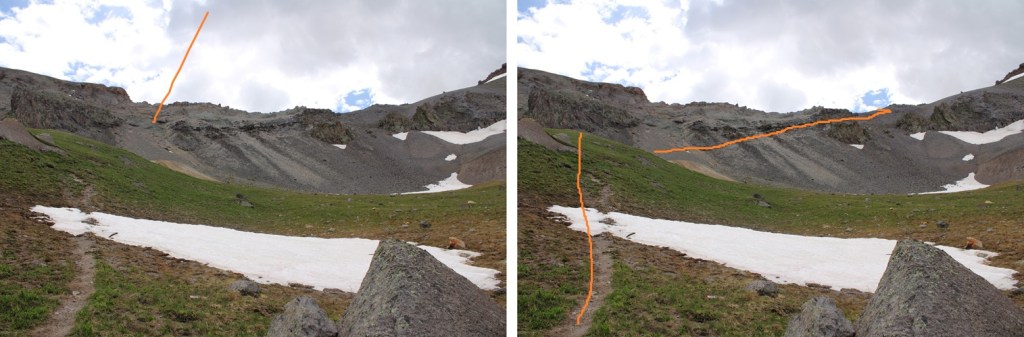
From my parking spot, I needed to be here.
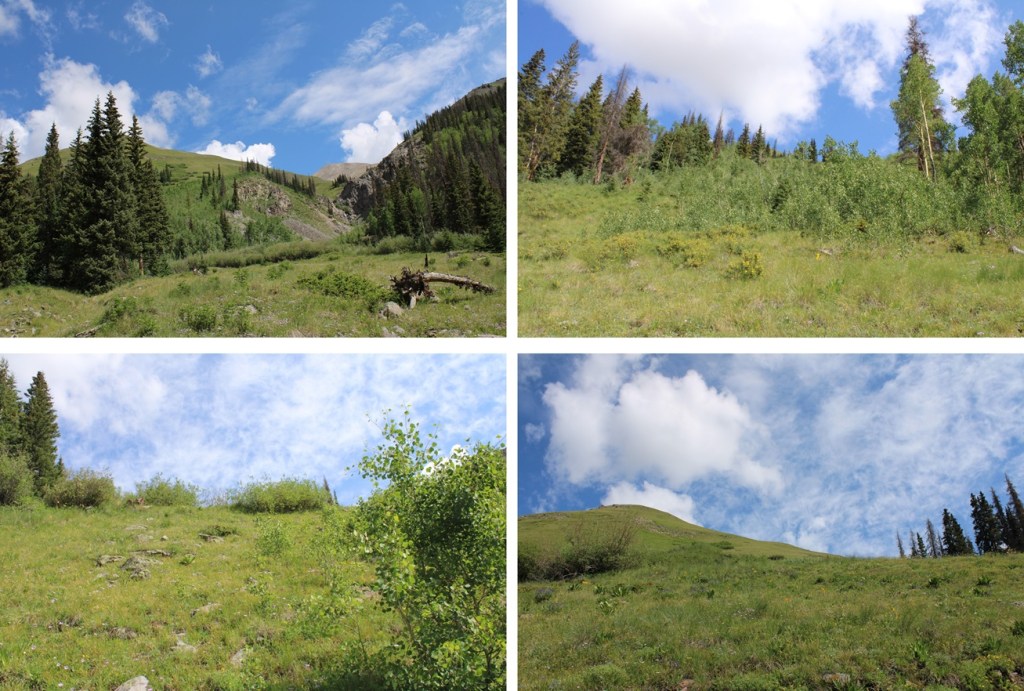
The best way to do this is climb to the left of the gully, navigating through the aspen trees to treeline. This is choose your own adventure quest, but it doesn’t last long, and is manageable if you have good route finding skills and can follow game trails.
It’s important to note I passed 2 different mining roads before I hit the one I was looking for, at about 11600’
I followed this road as it curved around the mountainside north. The road was overgrown, and lost in places, and intersected with a lot of other roads. I just kept turning left if there was an option, heading north.
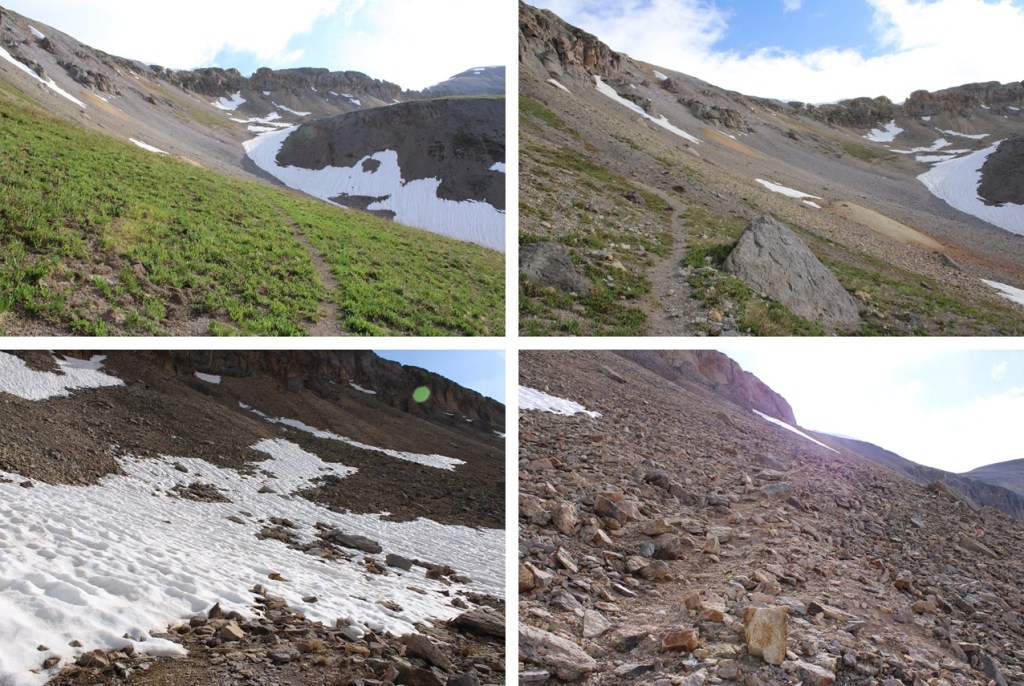
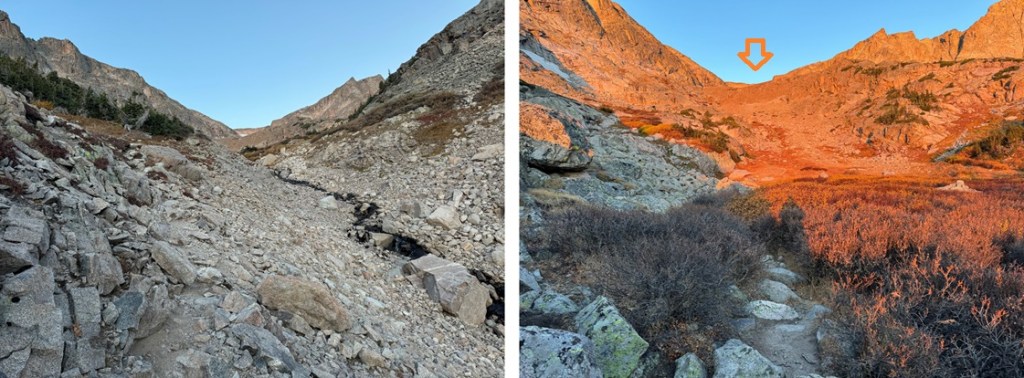
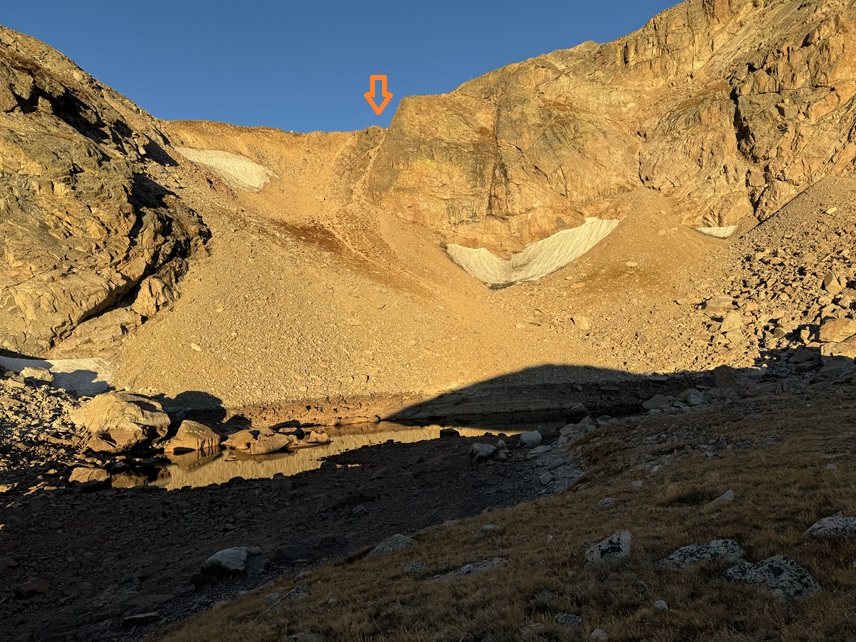
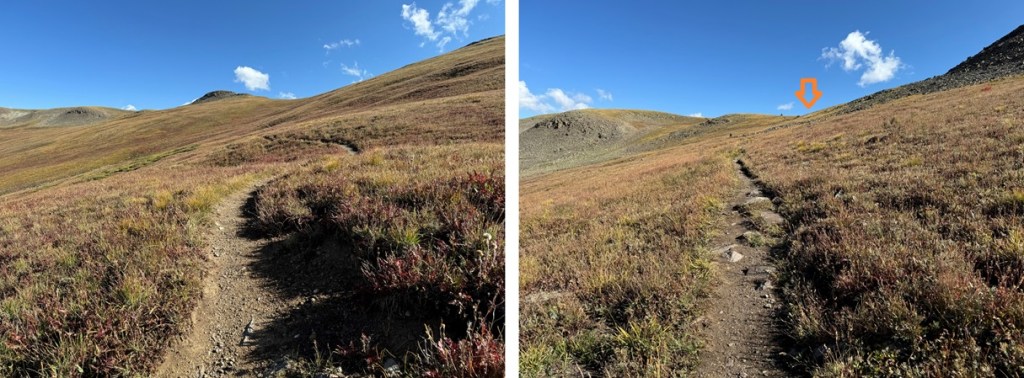
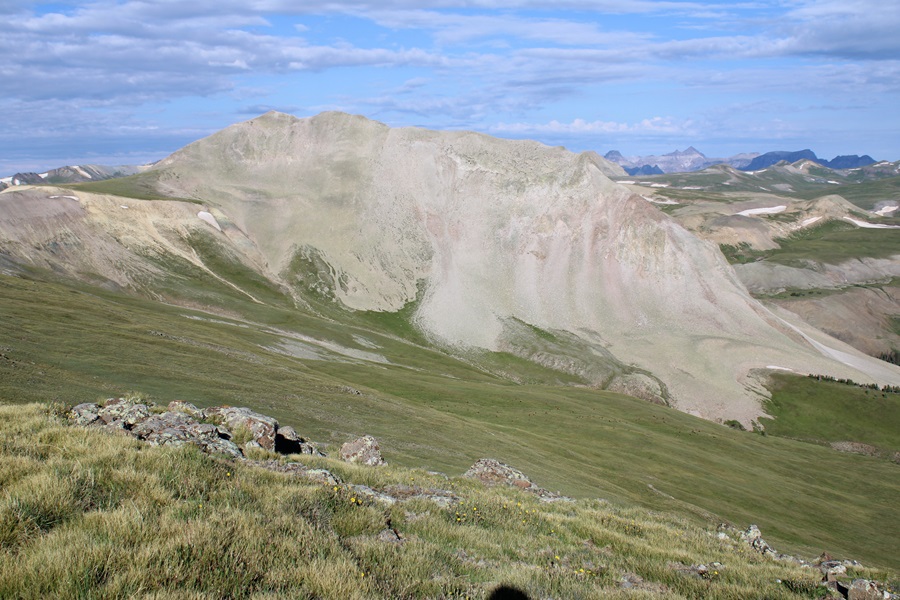
Once in the upper basin, I could clearly see PT 13093. This is the route I took to get to the ridge.
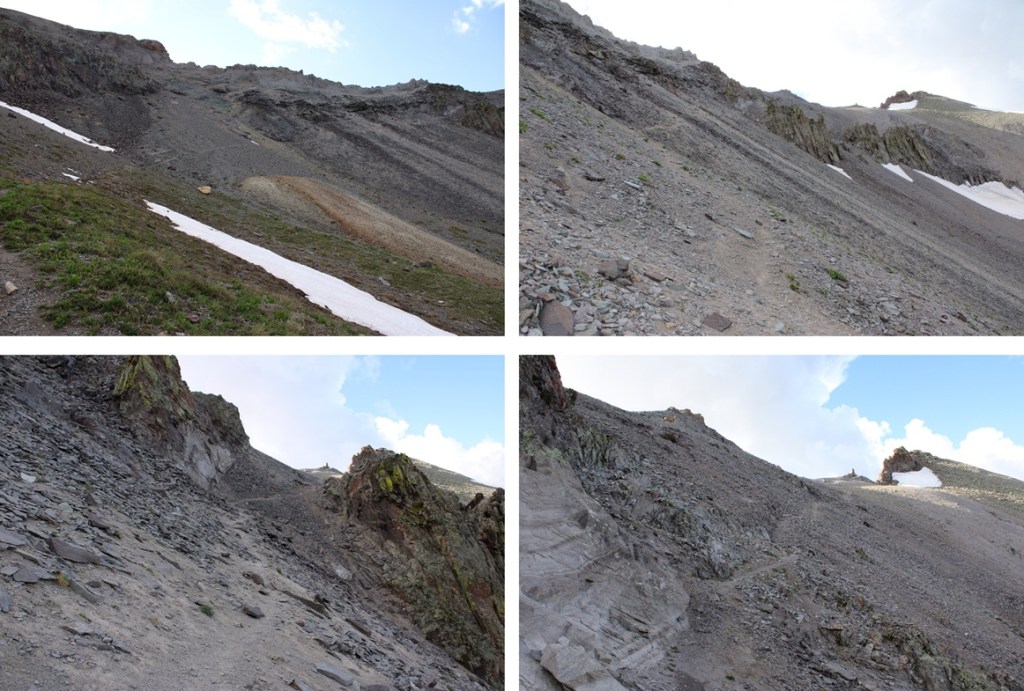
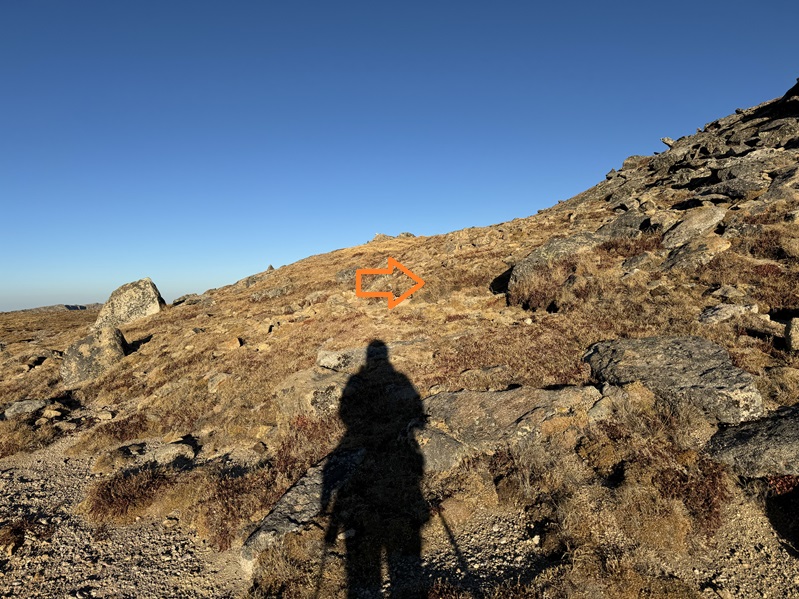
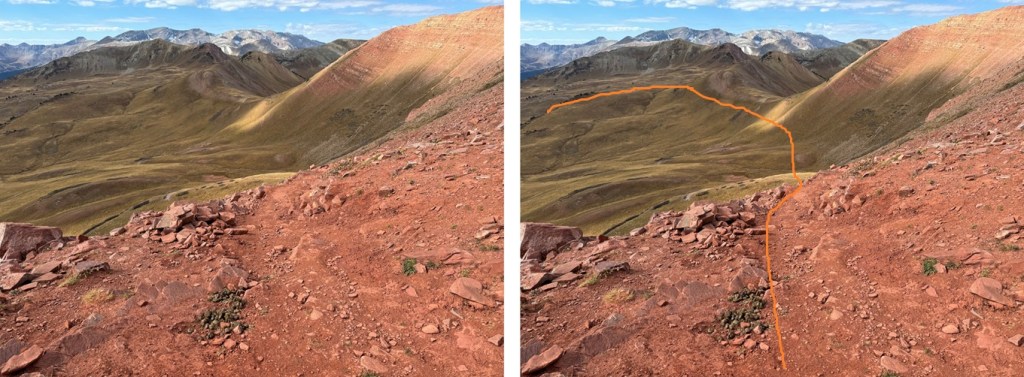
I walked the mining road for a while, and then it turned into a game trail. This is a good game trail I followed east until I came to a sketchy part. You’ll know it because the dirt turns black. Here I turned northeast and aimed for the ridge, using fainter game trails. (On my way down I realized this game trail probably goes all the way to the saddle, but I felt confident in my decision to turn and head for the ridge here.
I made my way to the ridge
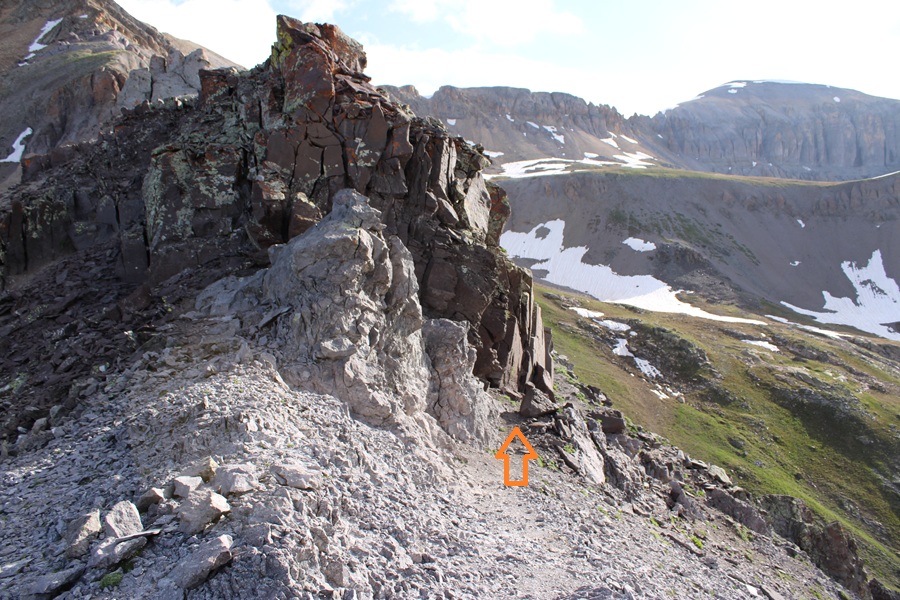
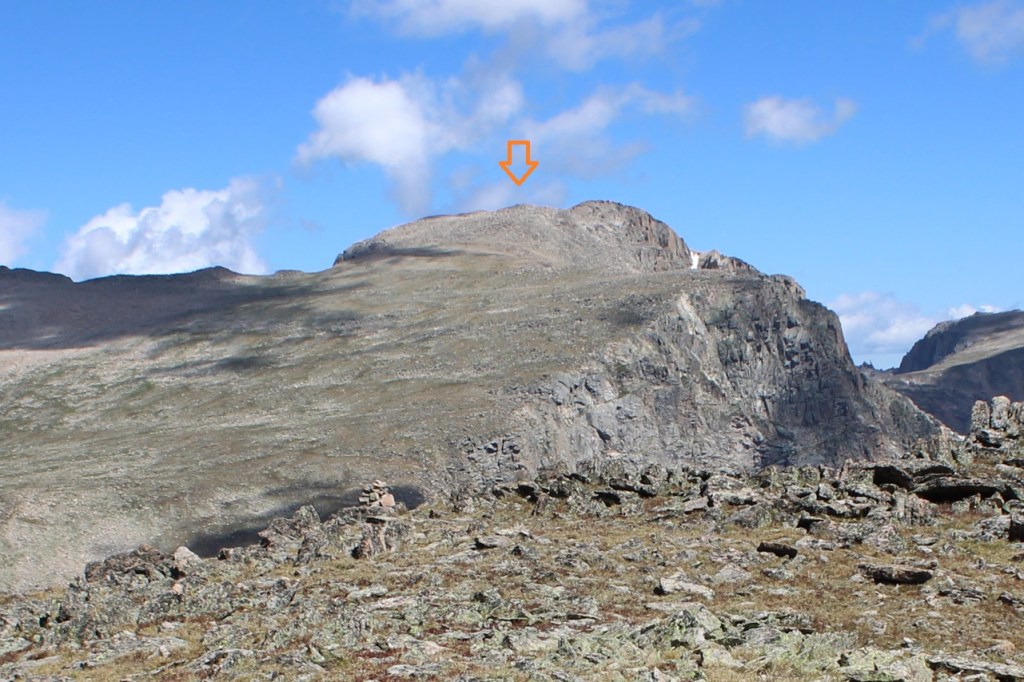
At the ridge, I could see PT 13093 to the northwest
The terrain here was very rocky, and those rocks were loose. This is how I started my climb, avoiding the rock slab and climbing it to the right
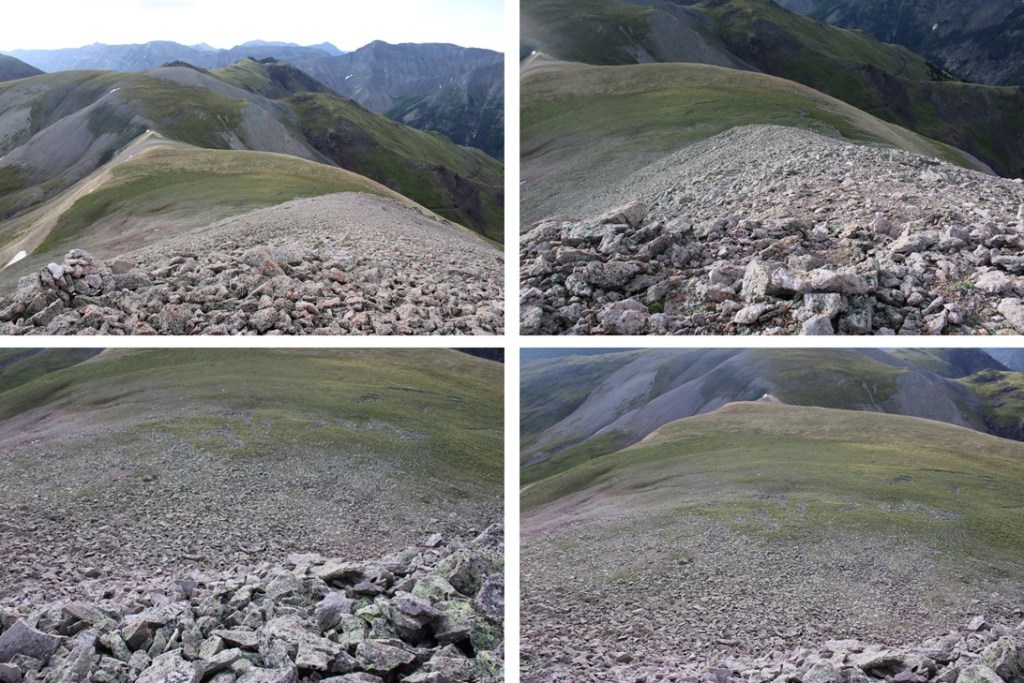
From here, it was a rocky climb northwest along the ridge to the summit. This was all class 2
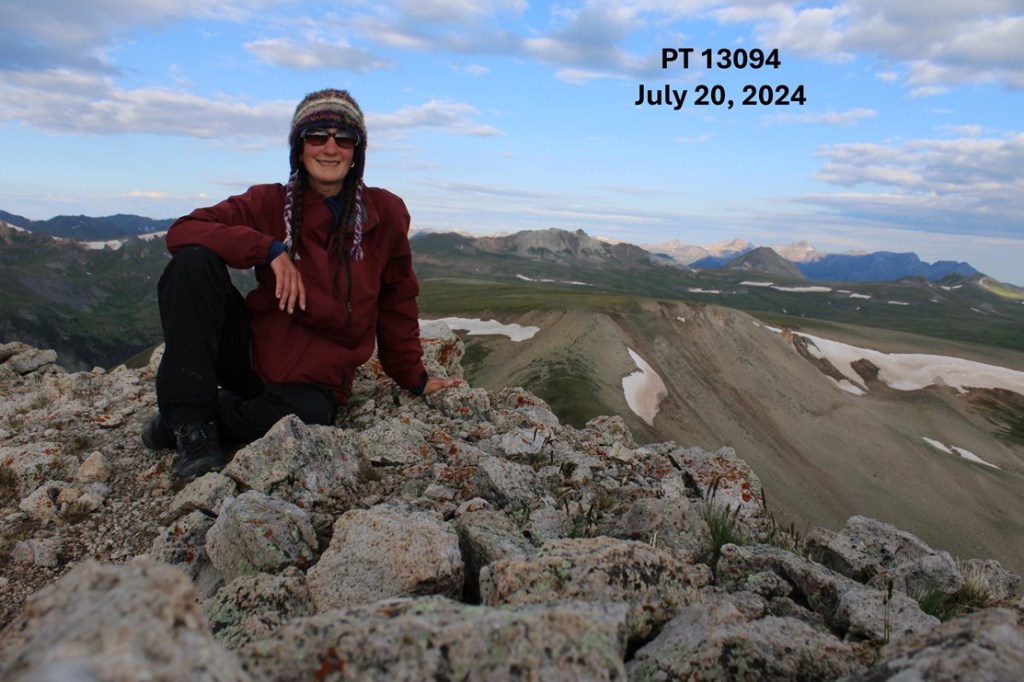
I summited PT 13094 at 7:30am
PT 13094:
My next objective was Sunshine Mountain, to the northeast
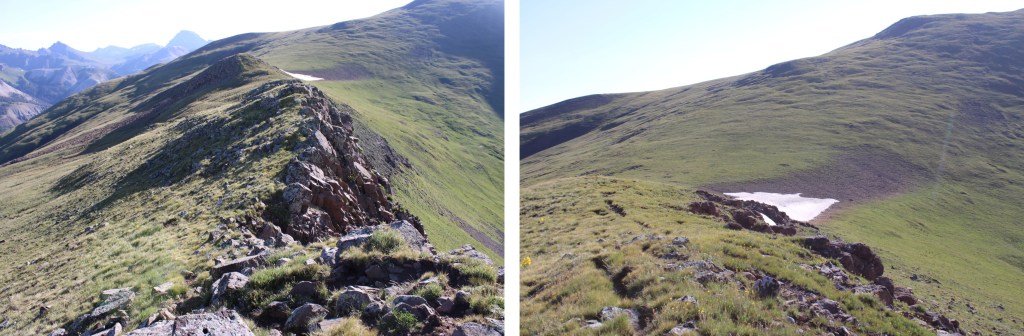
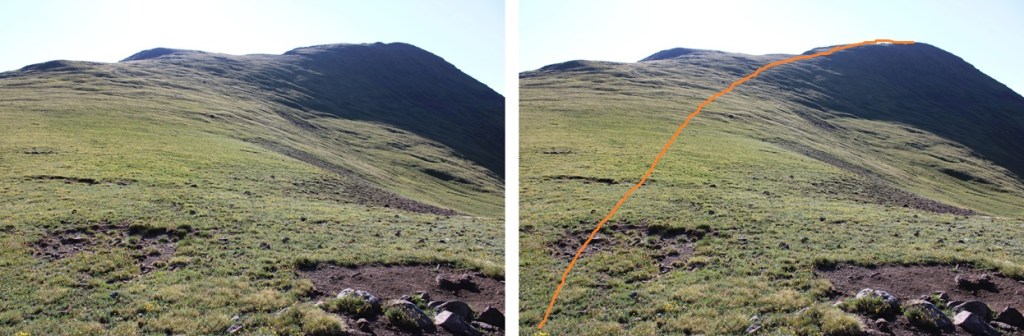
After the initial downclimb off 13093, this was a simple ridge hike on tundra. This is the overall route I took:
First, I downclimbed the rocky section
Then headed towards the sunshine/13094 saddle
From there I picked up a solid game trail that led me to the ridge, then down to the saddle.
From the saddle I followed the tundra east 570’ towards the summit.
There was a short rocky section towards the summit, with tons of game trails to the right to keep it class 2, but honestly, going over the rocks is probably class 2 as well.
I summited Sunshine Mountain at 8:45am
Sunshine Mountain:
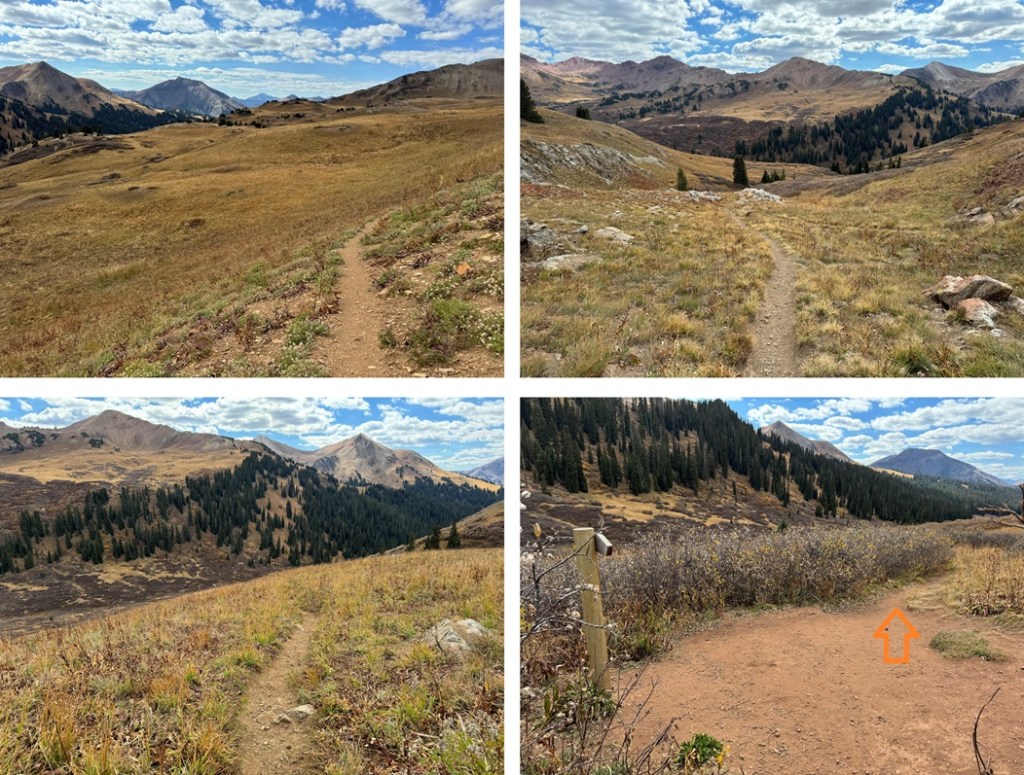
I turned and made my way back down the tundra ridge, and to the saddle
I made my way towards the left side of PT 13094. Here’s a little hint to help you descend: There’s a wooden post sticking out of the ground about 20 feet after you should descend. Use this as a visual for where to start heading down the side of the mountain.
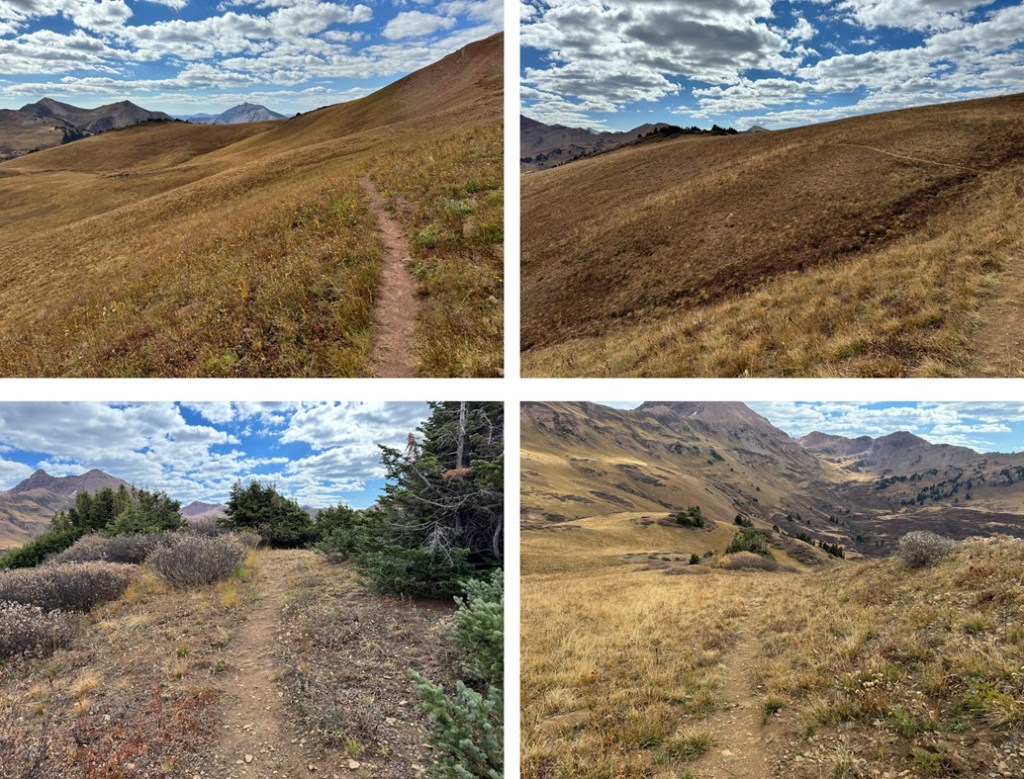
Back on the game trail, I turned right and followed it back to the mining road.
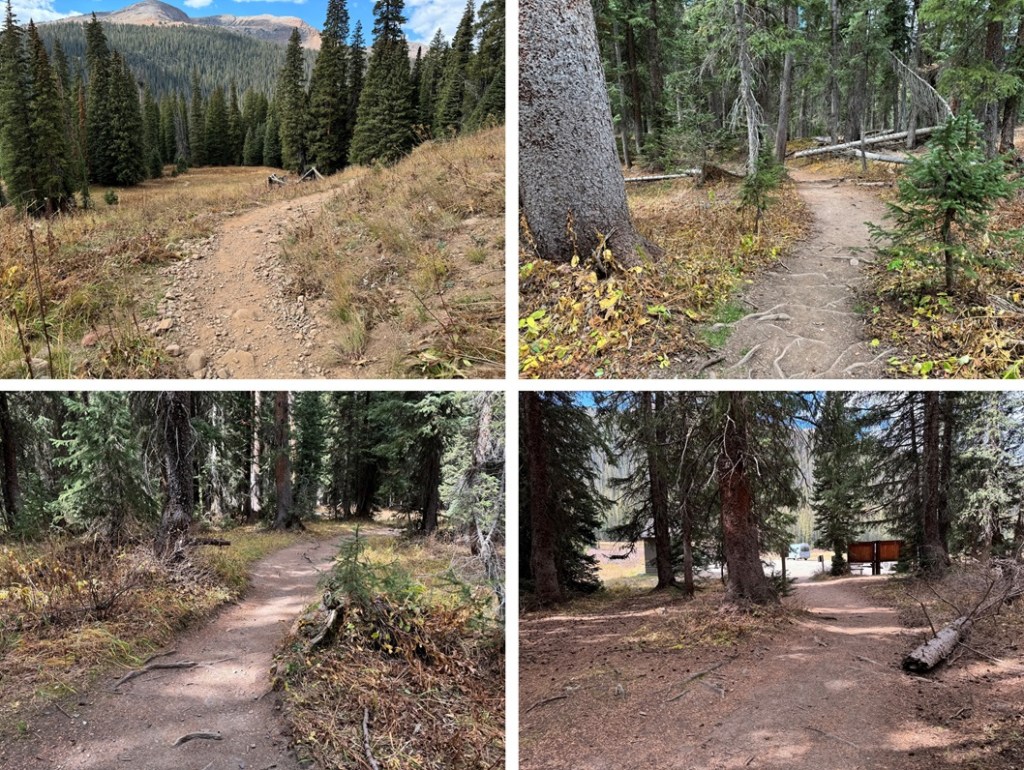
Then I took the mining road back to about 11600’
From here, I could see my truck parked below, and just made my way back to it, bushwhacking the entire way.
I made it back to my truck at 10:30am, making this an 8 mile hike with 3171’ of elevation gain in 4 hours.