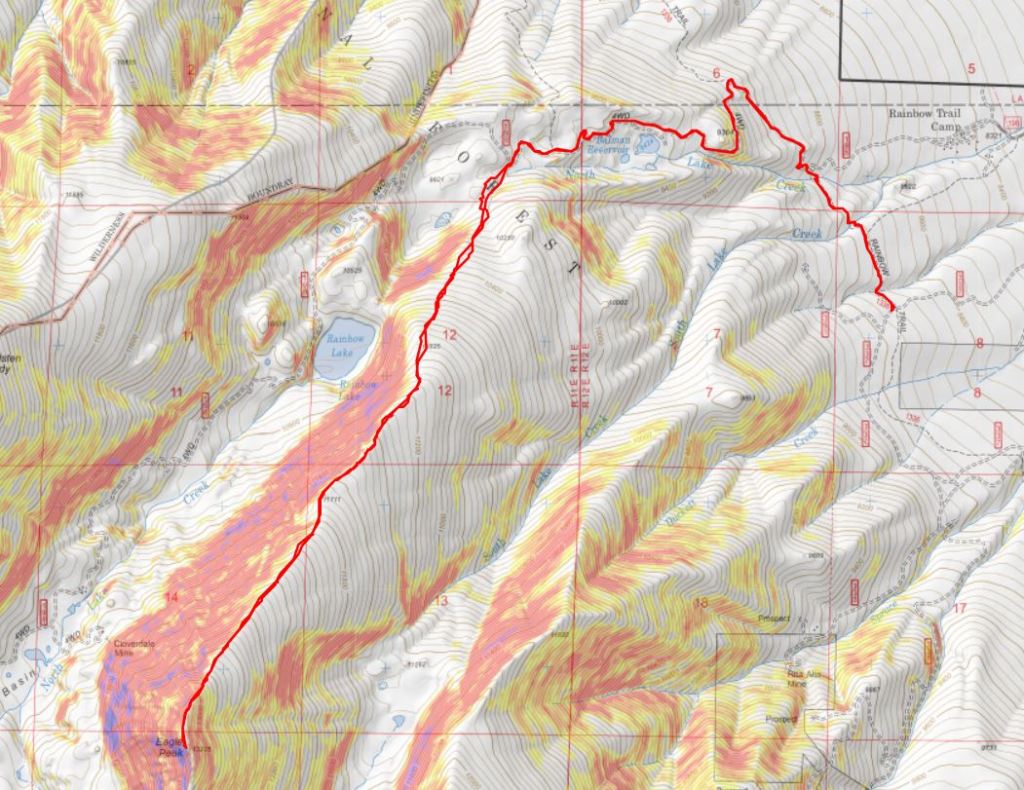
Eagle Peak – 13,205

RT: 12.14 miles

Elevation Gain: 4691’

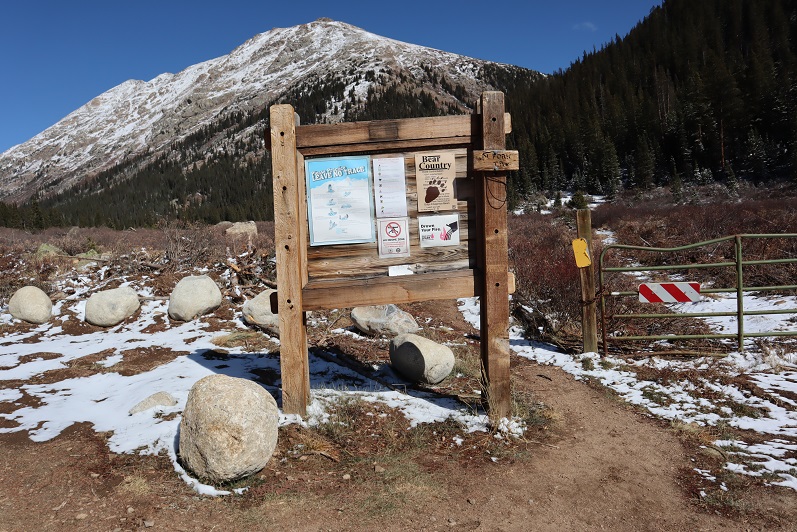
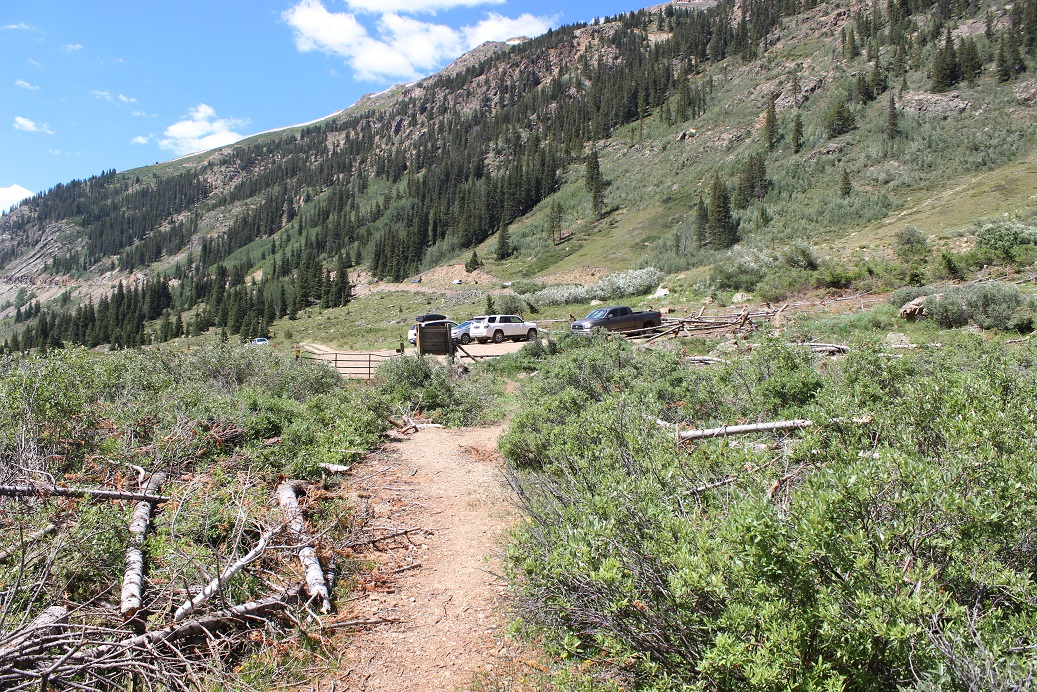
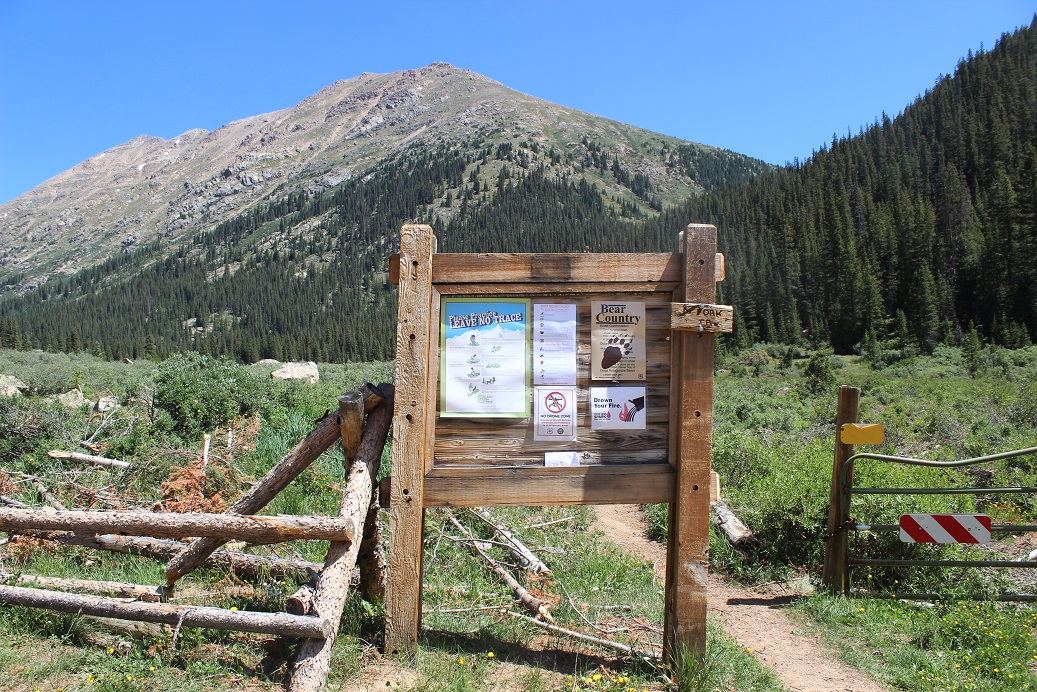
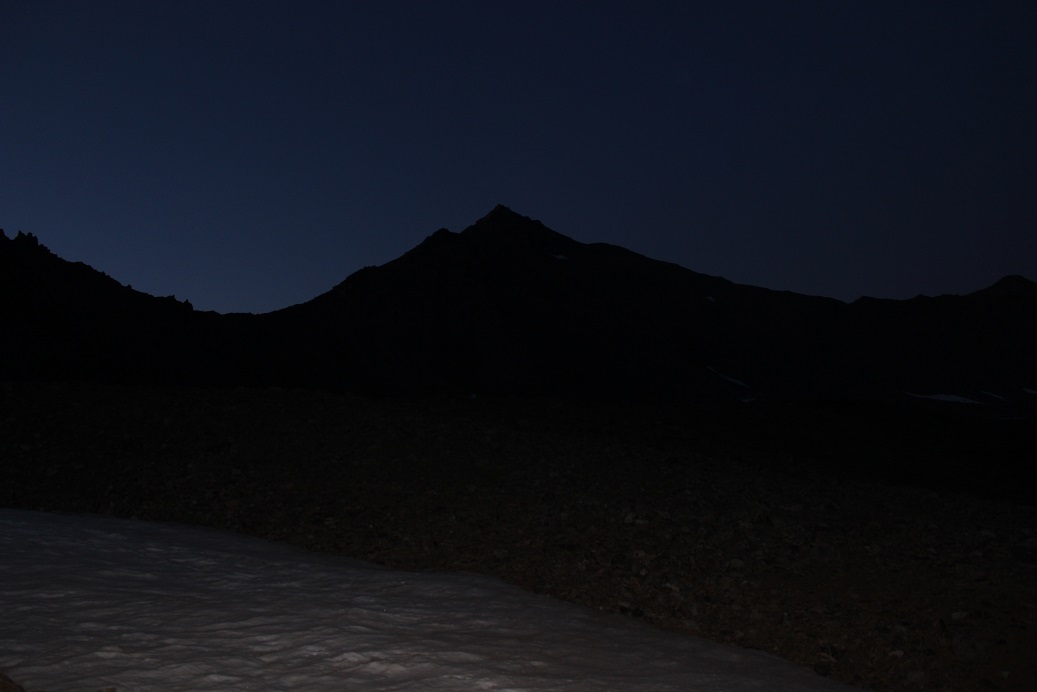
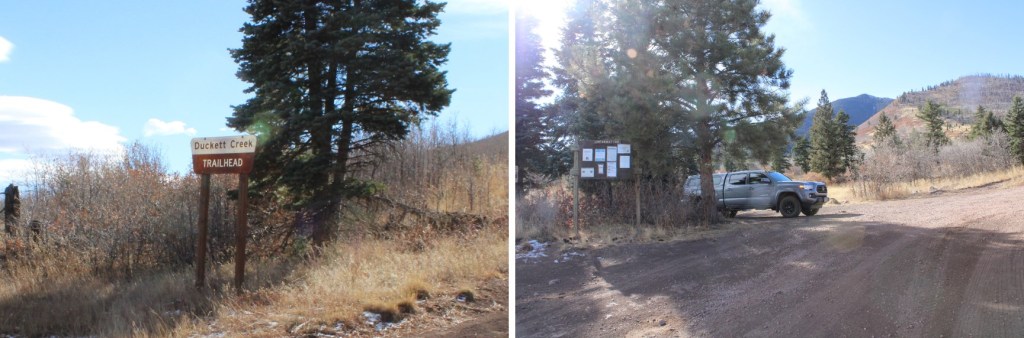
I knew it was supposed to be windy today, but the past few weeks the wind hasn’t materialized in the Sangres as predicted, so I decided to take a chance. I arrived at the Duckett Creek Trailhead, the only vehicle there. 

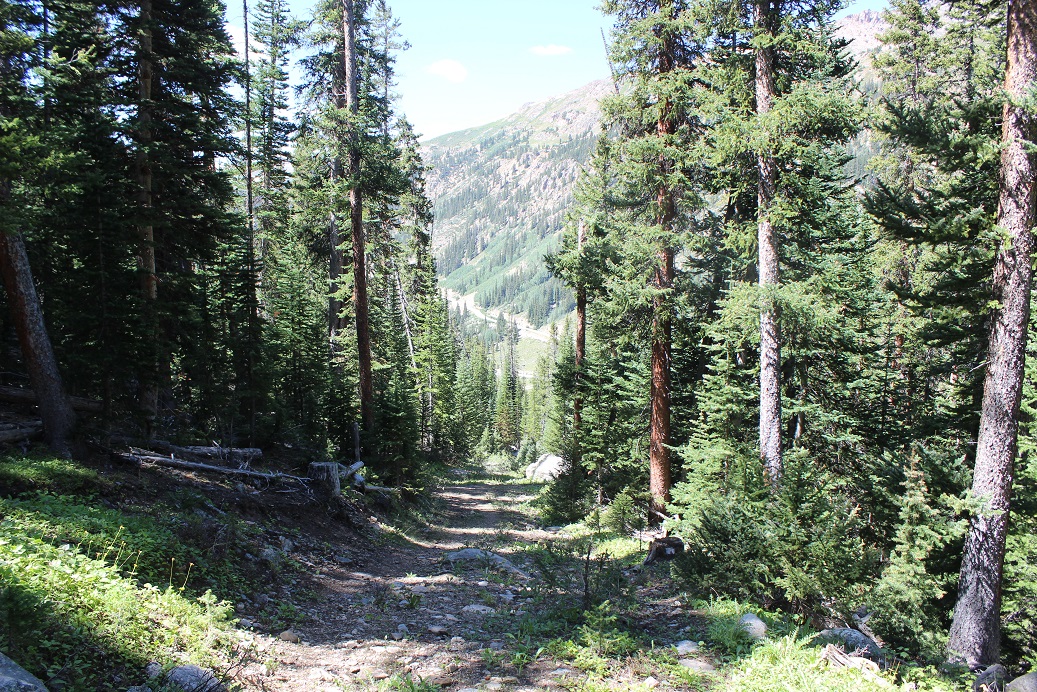
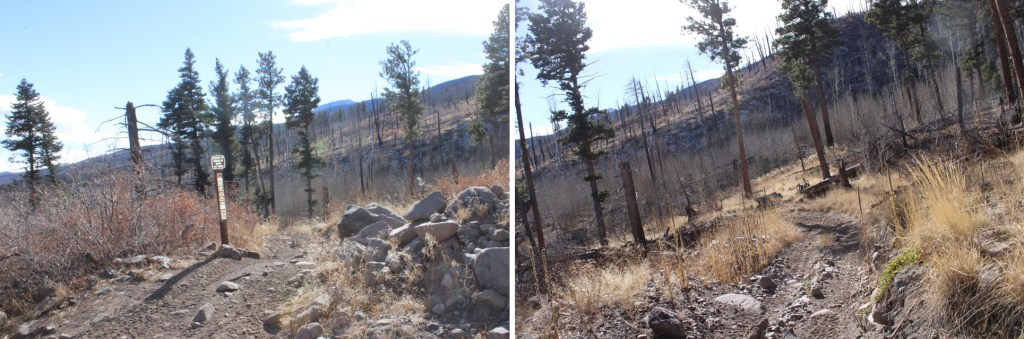
I actually started out taking the Rainbow Trail, which is located at the north end of the parking area.

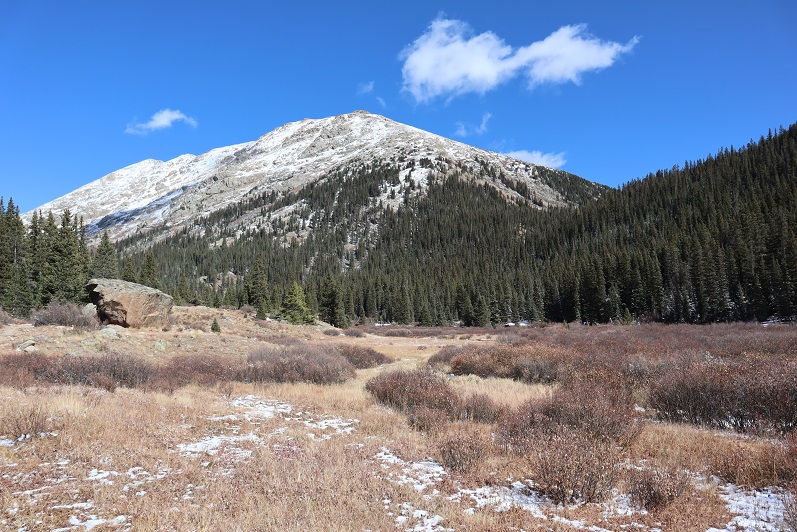
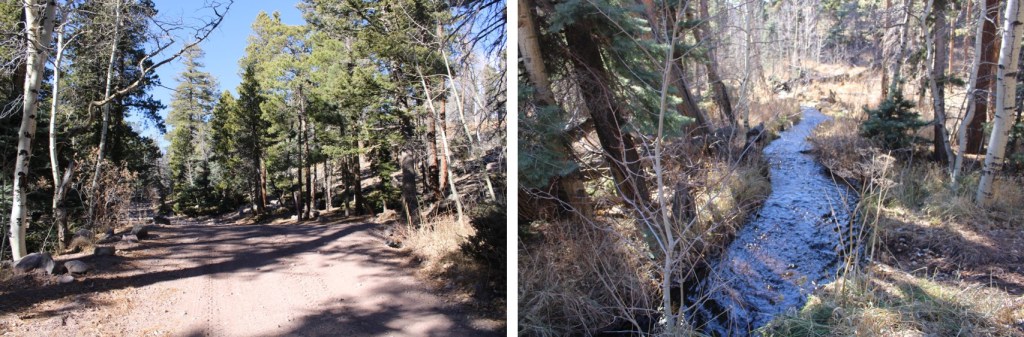
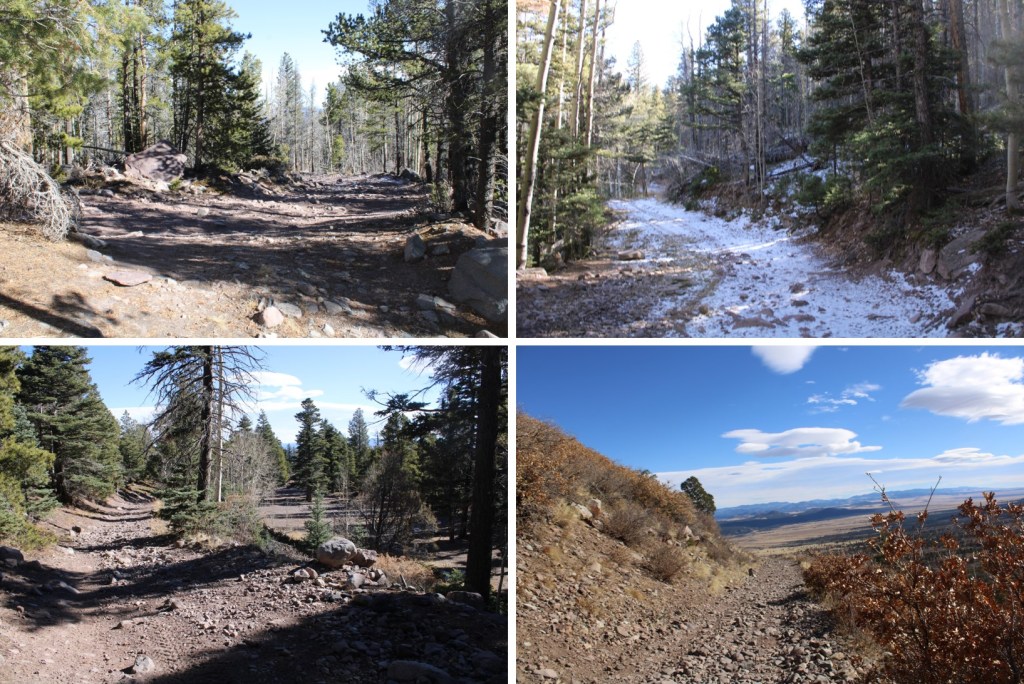
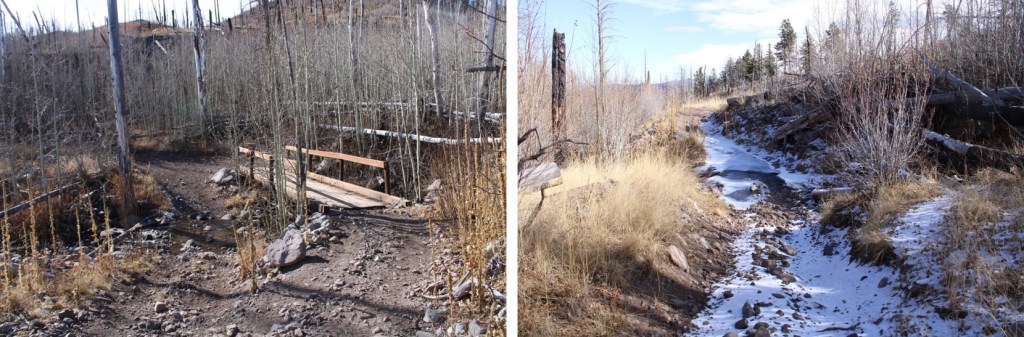
The Rainbow Trail is wide enough to fit an ATV, and it looks like a lot of people take advantage of this.  There weren’t any footprints on this part of the trail, but there were a lot of tire tracks.  I lost a little elevation here, but nothing too dramatic.  I followed the Rainbow Trail northeast, as it passed through a burn area and crossed South Lake Creek Drainage (which was half frozen).

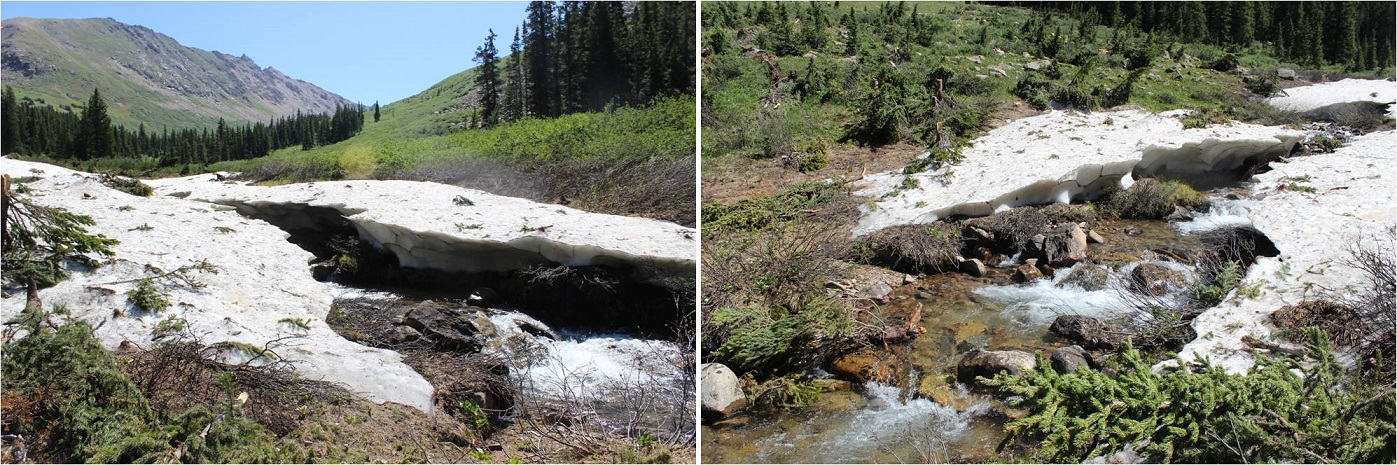
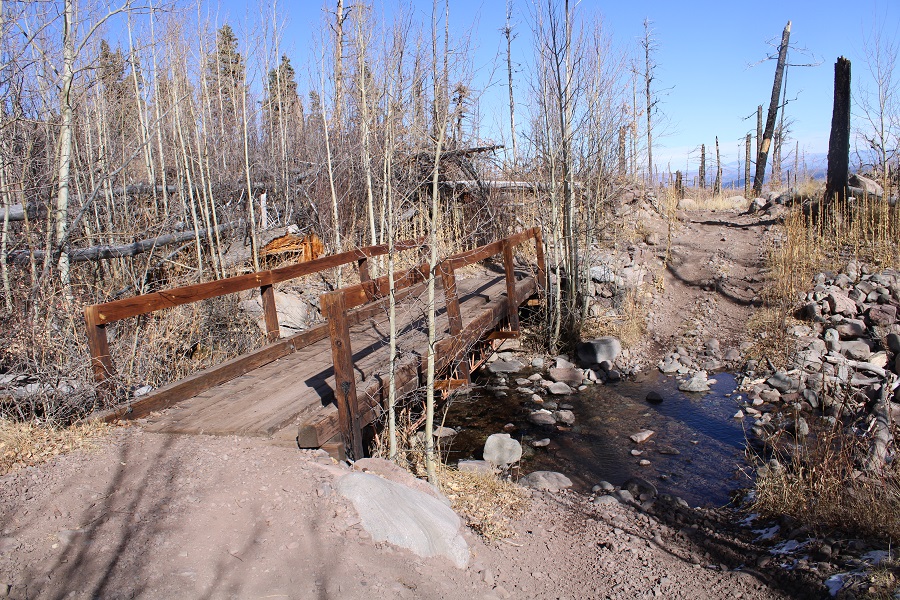
There was a nice bridge over North Lake Creek

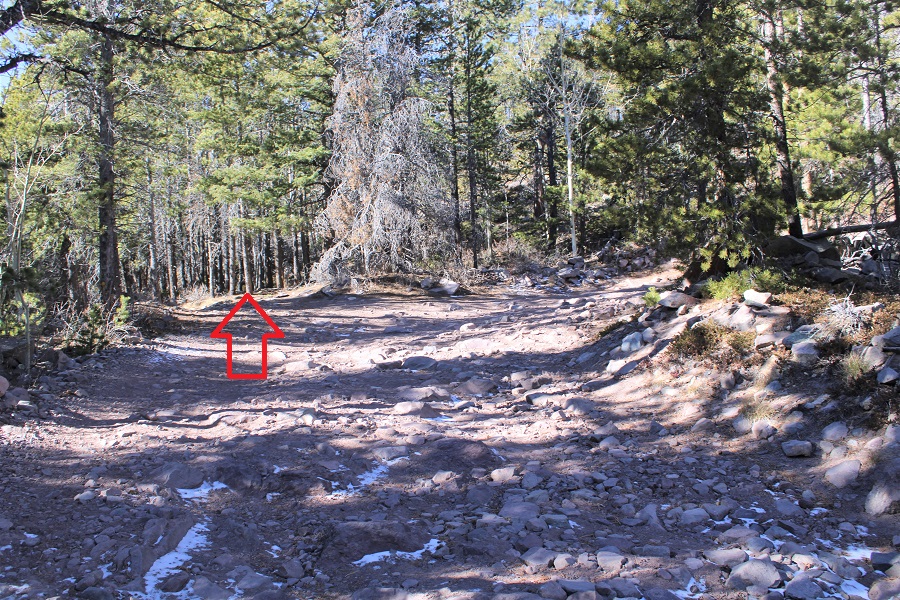
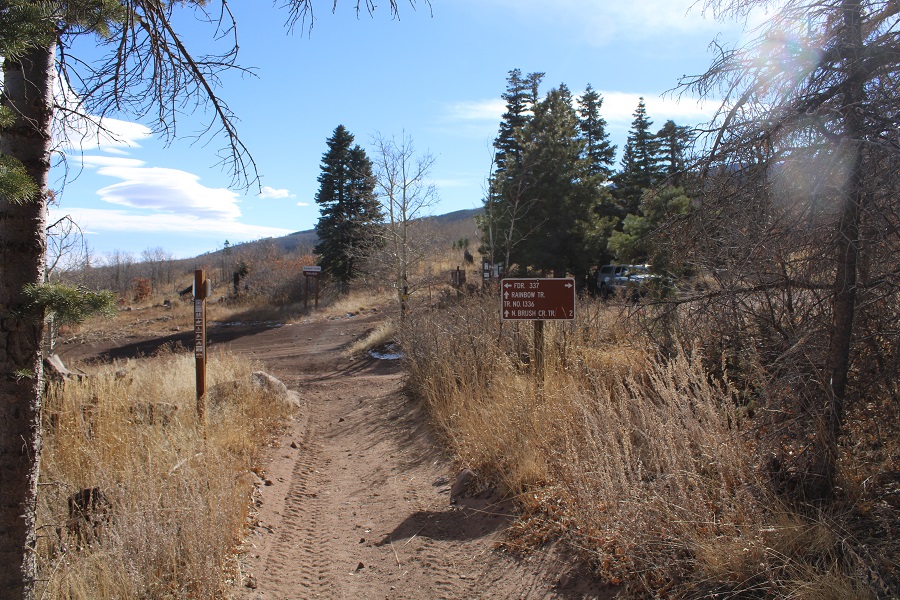
After hiking for 1.35 miles, I came to a junction with 4WD road 198.  I turned left, and started following FDR 198.

I followed this road as it crossed a section of North Lake Creek, skirted the Balman Reservoir, and passed several nice dispersed camping sites.

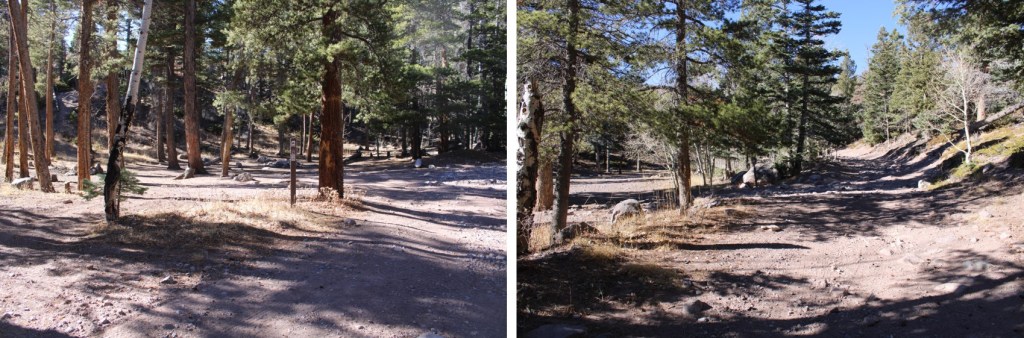
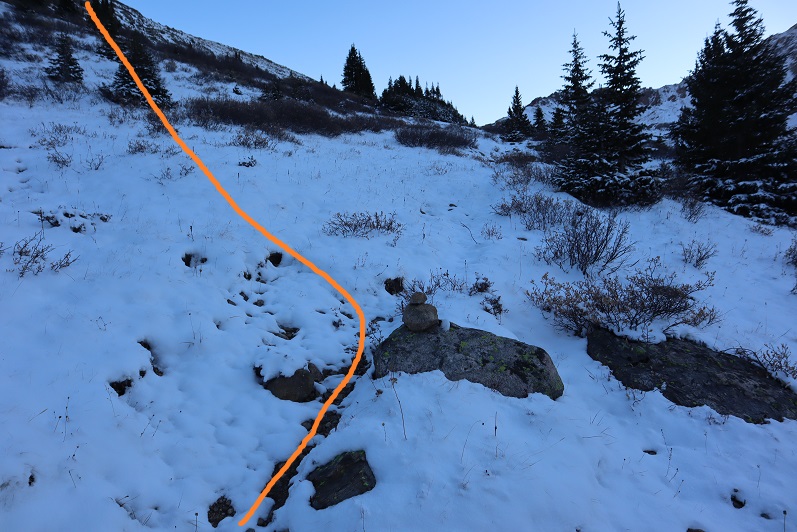
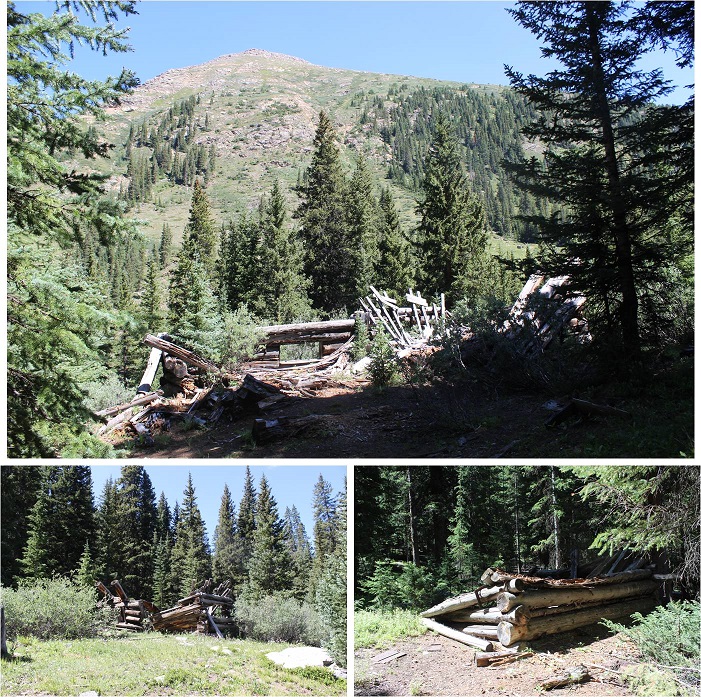
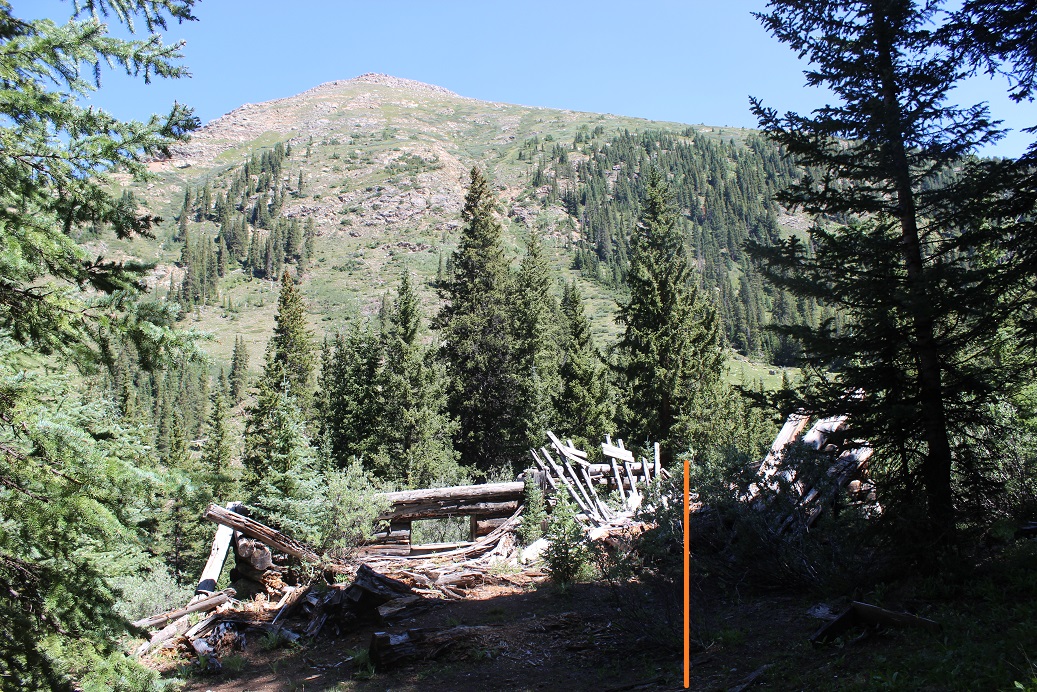
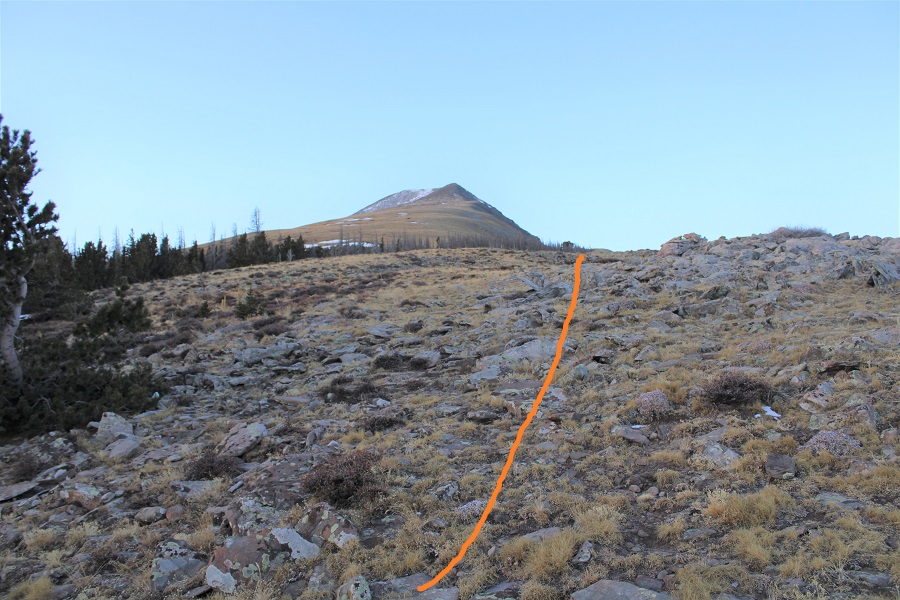
I hiked 2.9 miles from the trailhead to 9800’ of elevation, and a curve in the road.  This is where I left 198 and bushwhacked to treeline. 

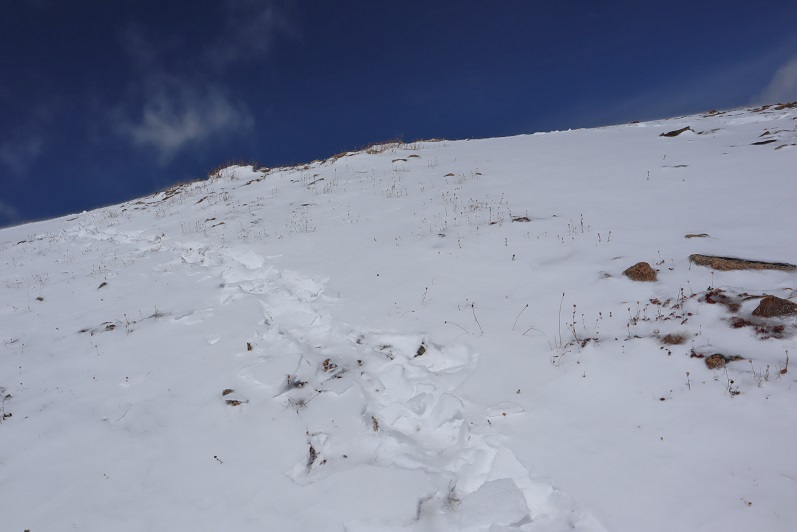
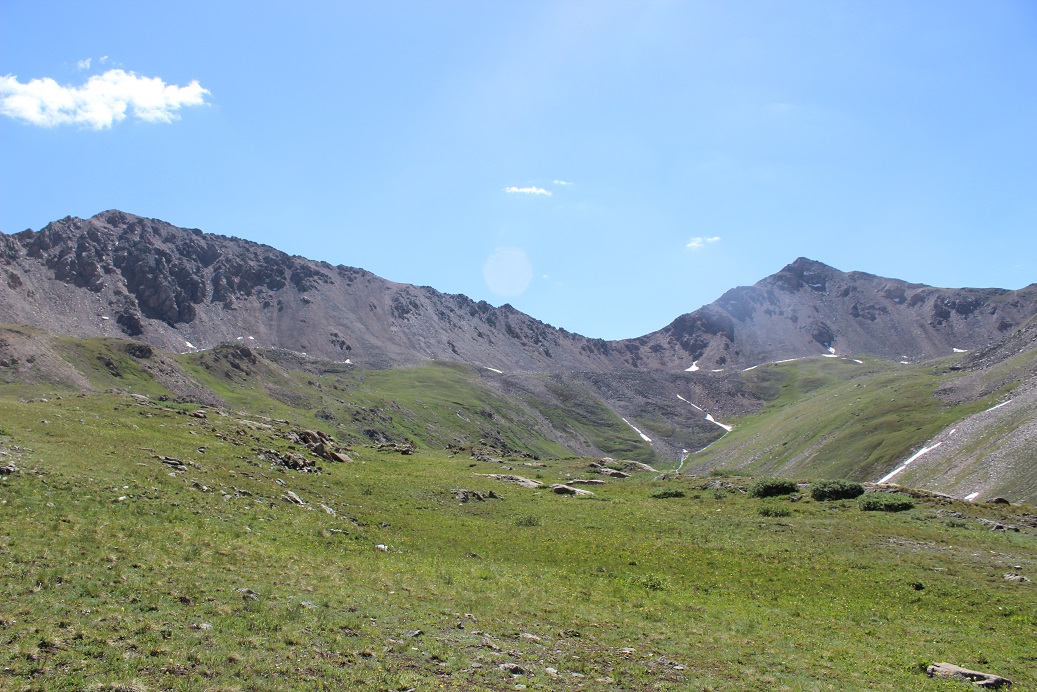
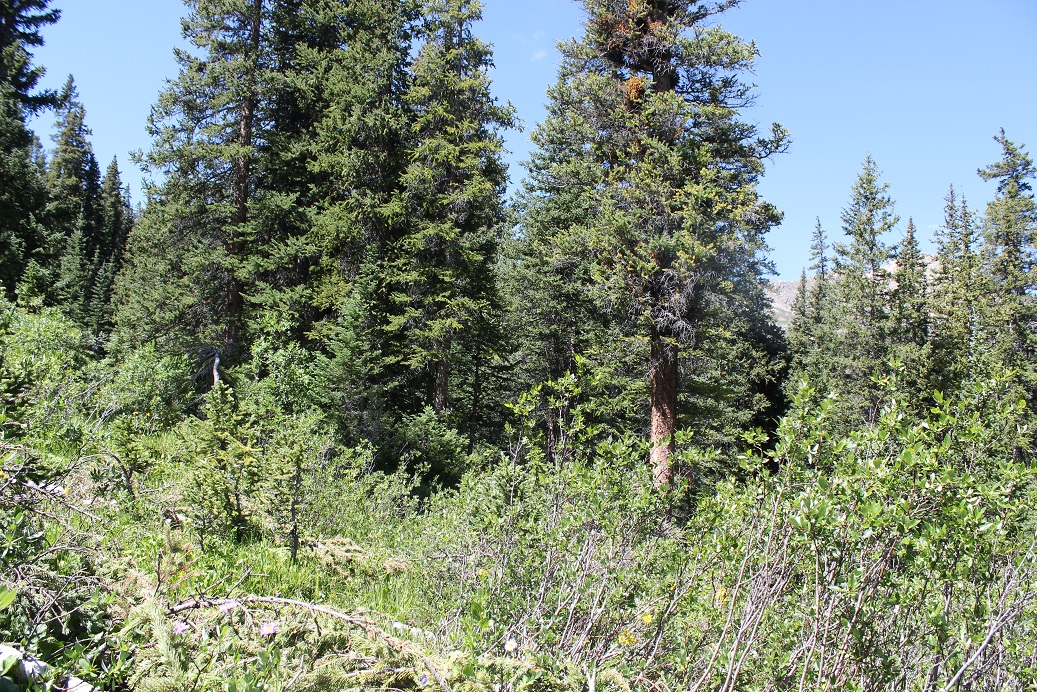
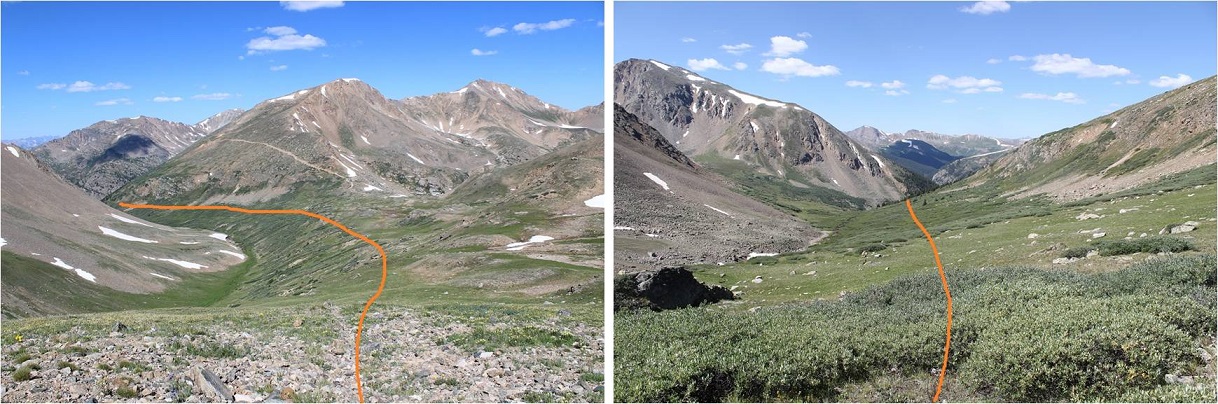
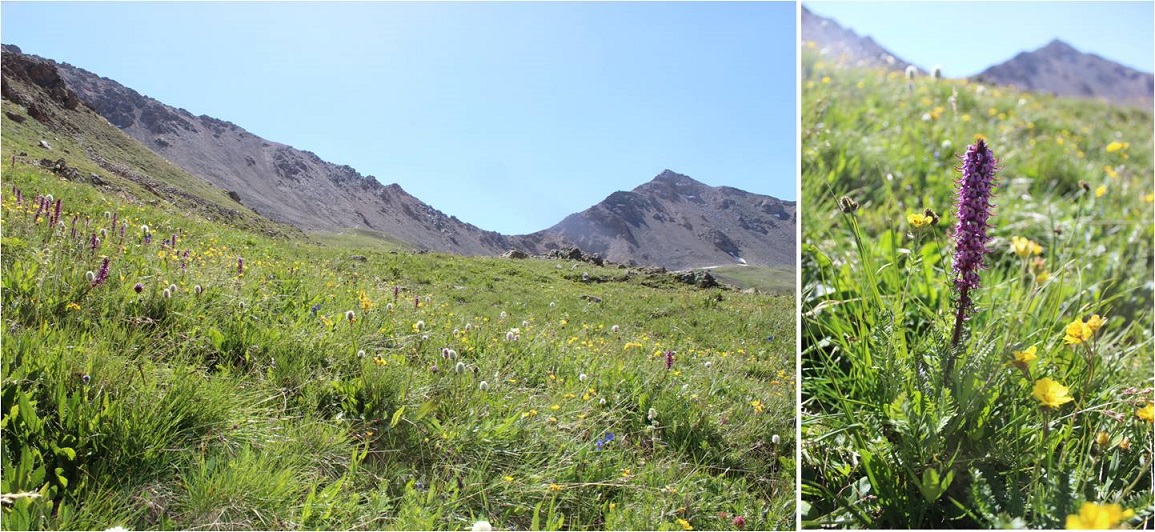
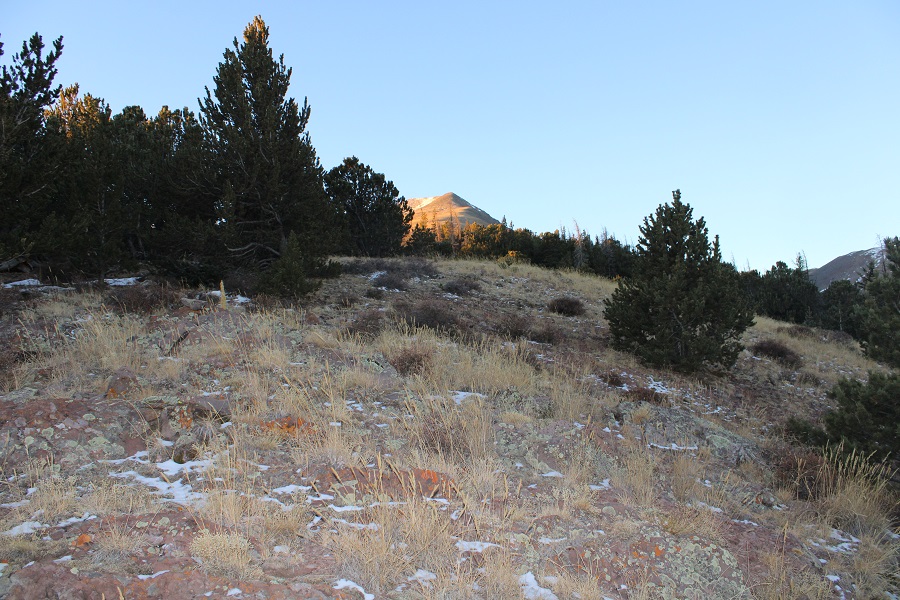
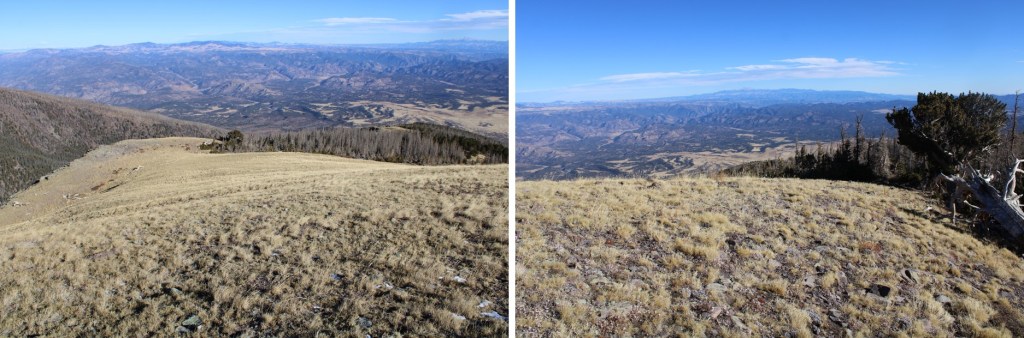
It was just under 2 miles and 2000’ of elevation gain to treeline from where I left the road.  The trek was interesting without any visuals:  the pine trees obstructed any view.  I was however, able to hear the wind.  I followed the ridge proper southwest

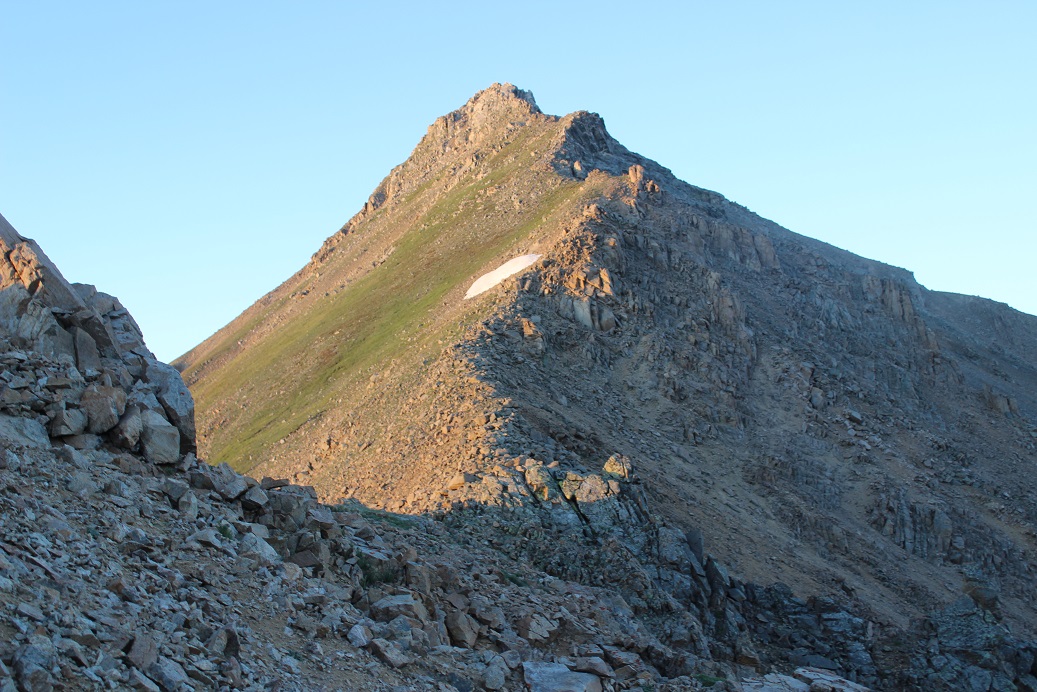
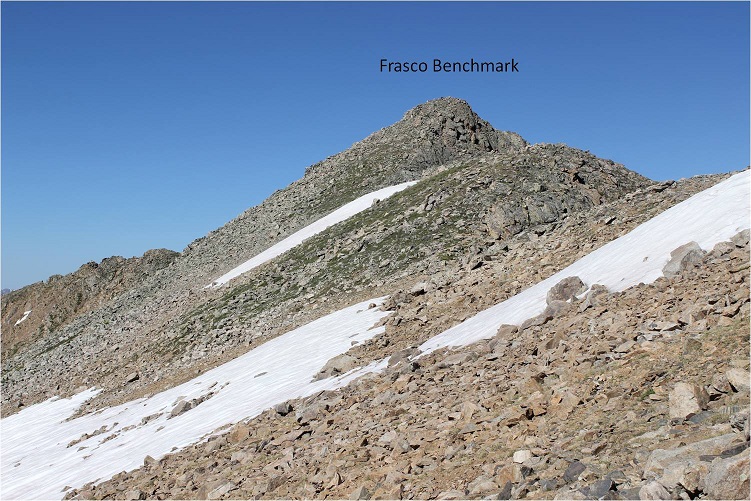
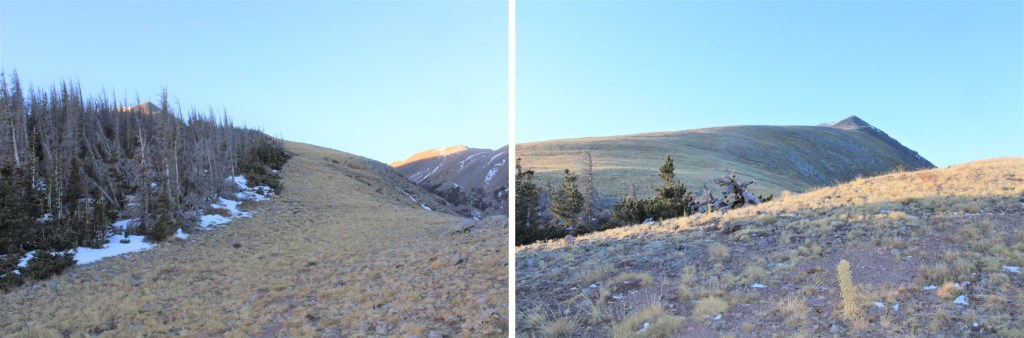
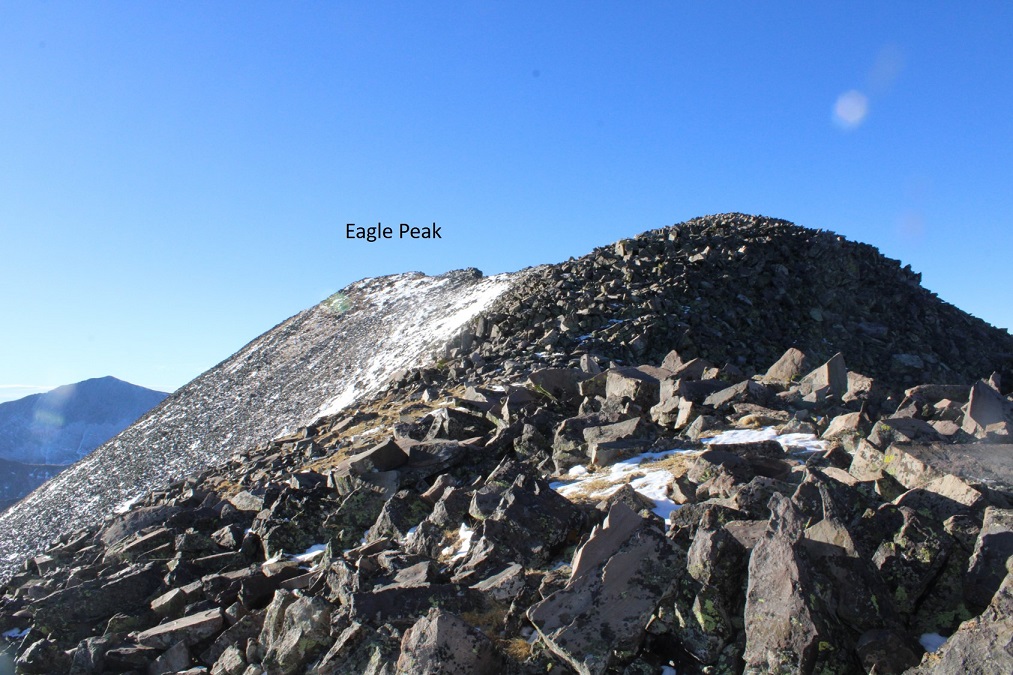
Just before treeline I got a glimpse of Eagle Peak, before heading into the trees again

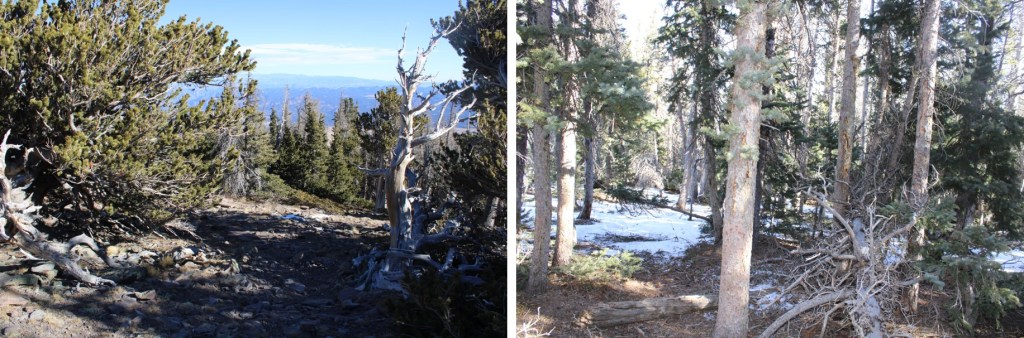
At this point, I came across what kind of looked like a trail, but it fizzled out

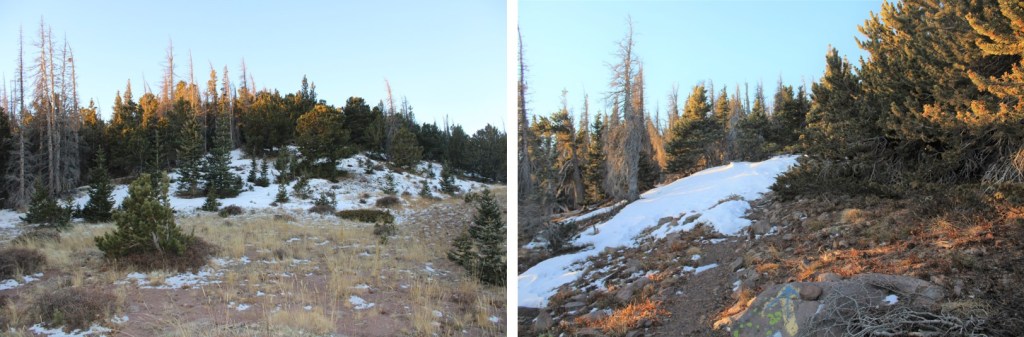
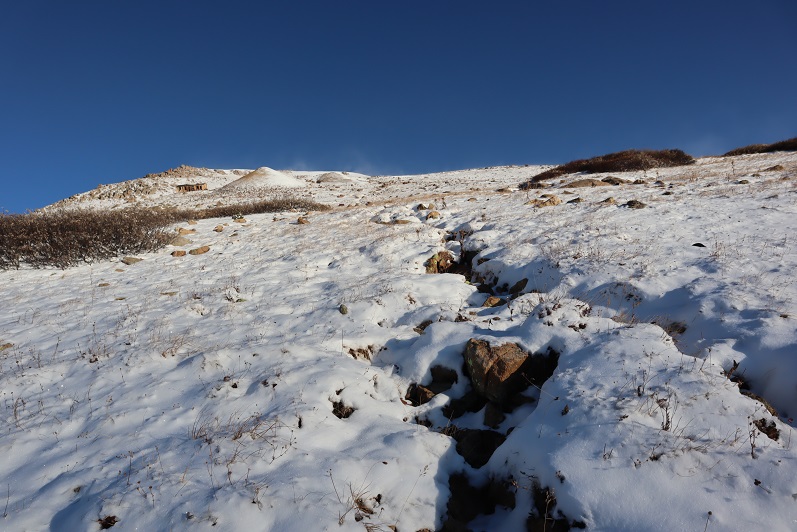
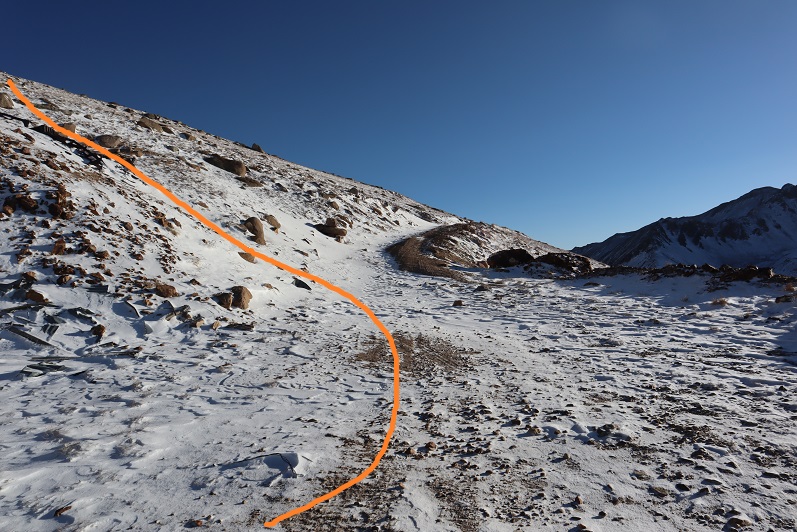
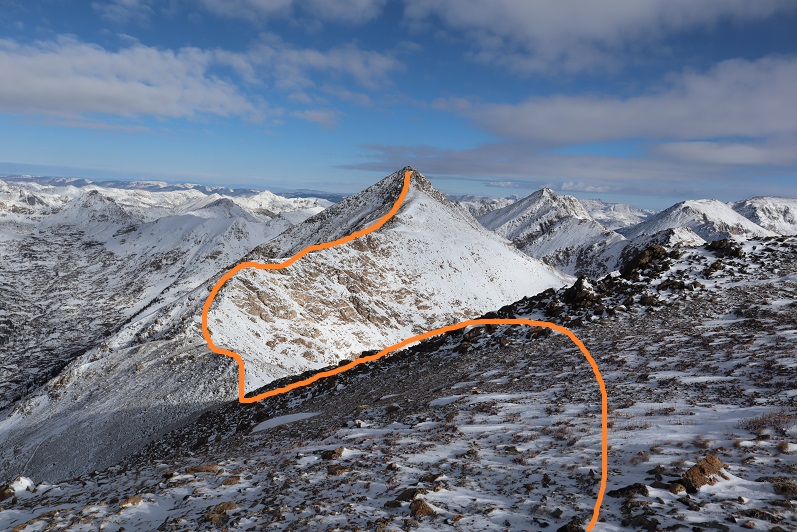
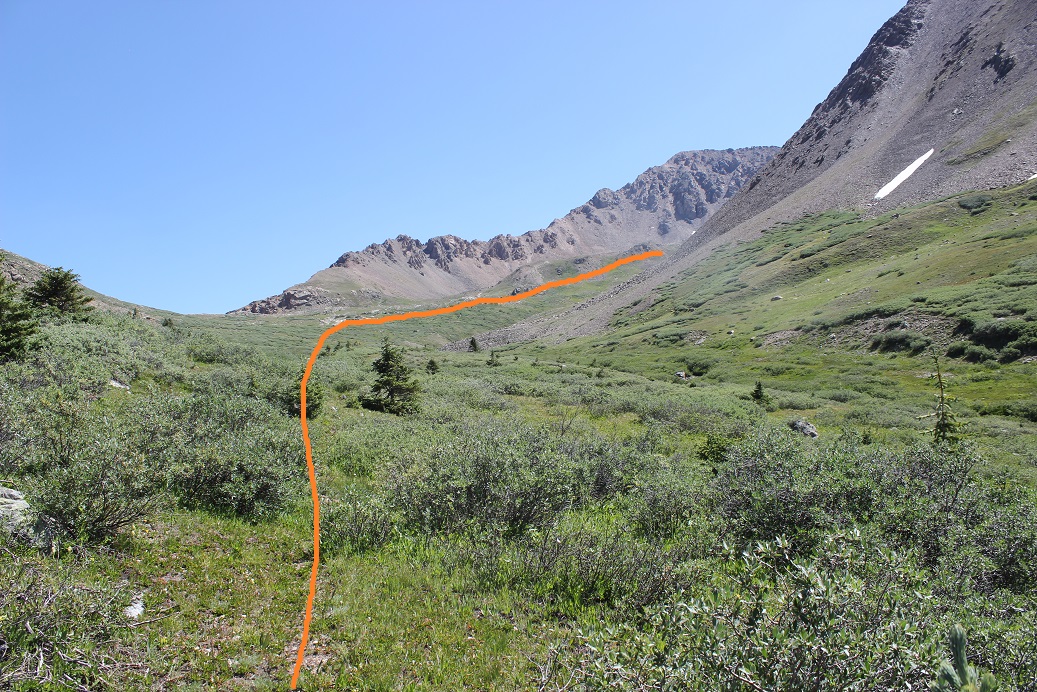
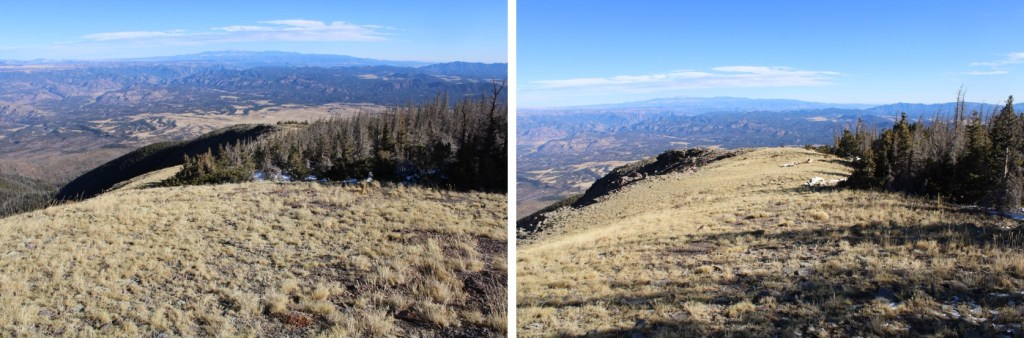
Once at treeline, you’ll be tempted to cut through the trees and head straight for the ridge. 

Today, the area with trees had snow, so I skirted the trees to the right on tundra. I’d recommend this, as there weren’t any obstacles.

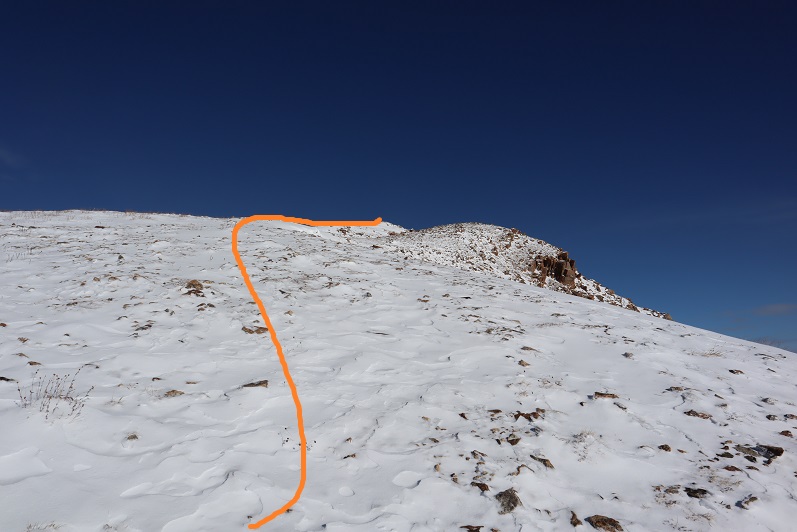
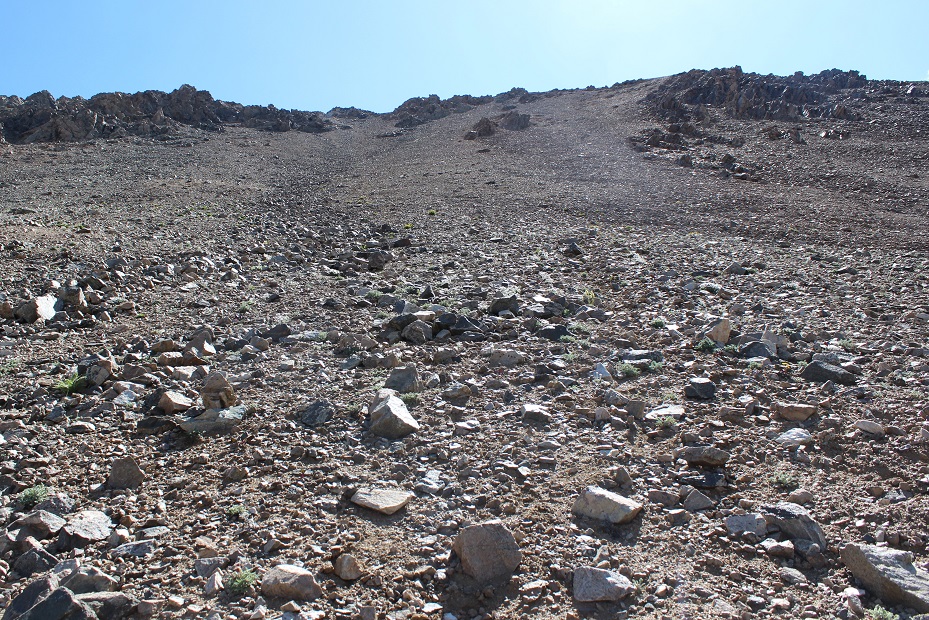
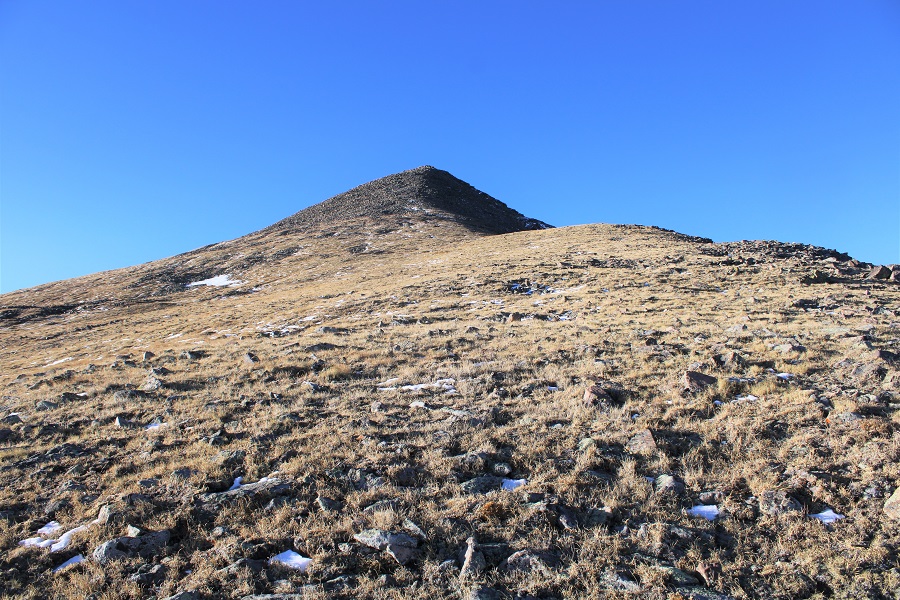
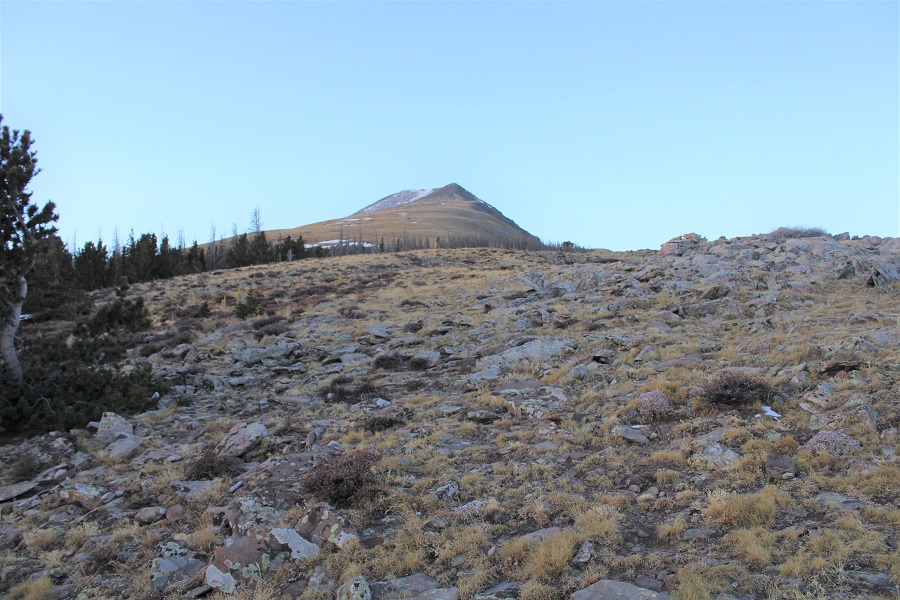
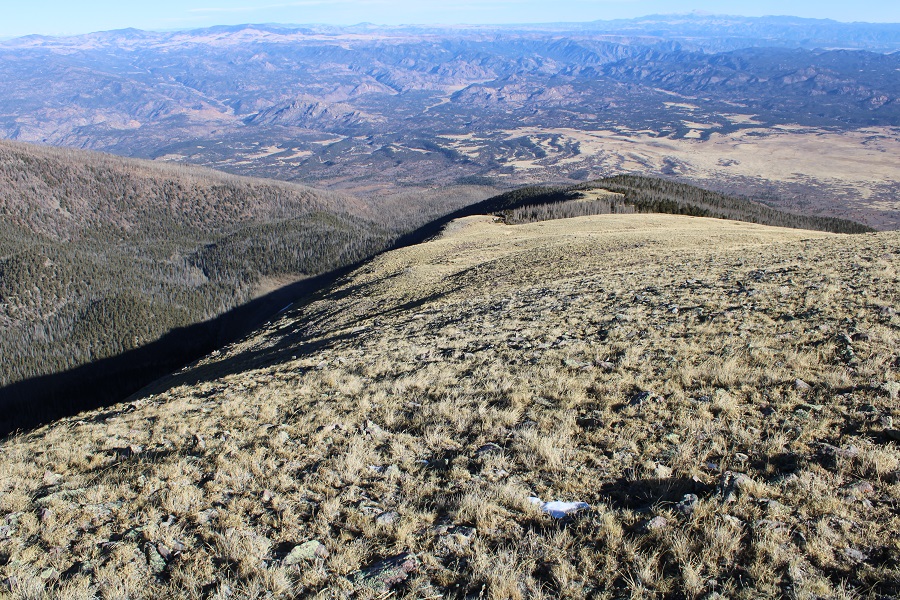
The hike towards the peak is obvious, and completed on 90% tundra.  The slope angle is low:  This would have been an easy summit, if it weren’t for today’s wind.

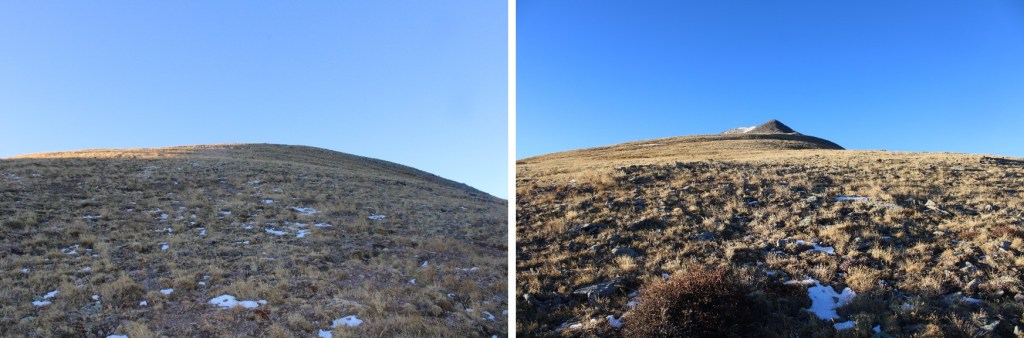
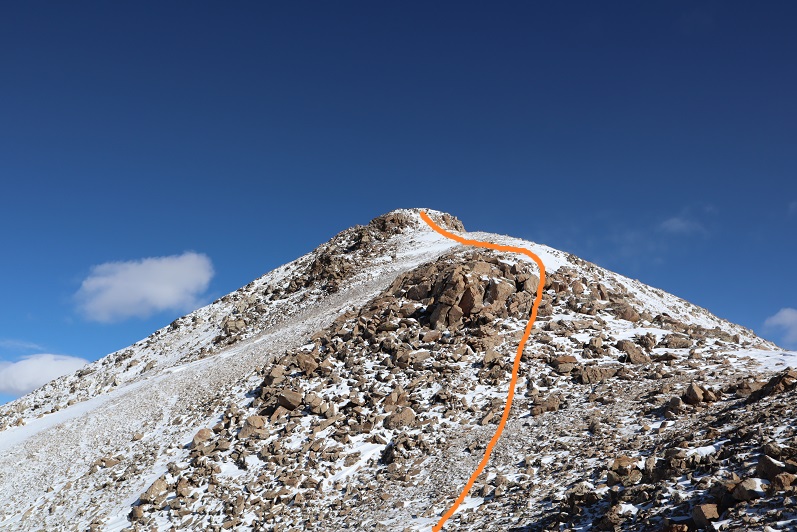
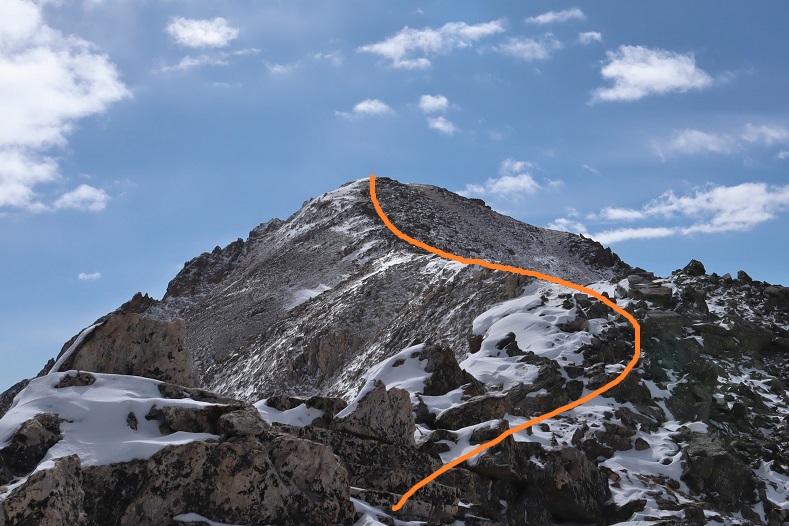
Tundra stopped at rocks.  I just went directly up the face.  This is a false summit.

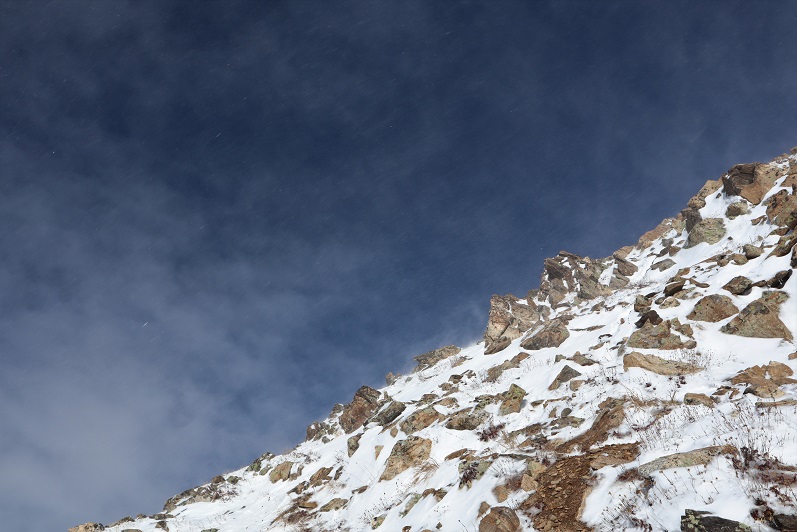
Today this was tricky to navigate, as the wind was intense:  it never stopped.  I’m guessing there were sustained winds of 35mph, which are tolerable, but the unexpected gusts of 50+mph made things tricky.  I’d have to lean into the wind to remain upright as the winds were a constant 35mph, but every once in a while a gust came from the opposite direction and knocked me back (or pushed me forward).  It was added fun when this happened on the rocks that rolled and I skipped a few steps with my feet and flailed my arms in the air to regain balance, hoping not to fall.  I sat and laughed more than once as I waited for a gust to pass after falling down. Also, during one of the cross-directional gusts I hit my knee (again) on a rock in the same place for the third time this week.  I jumped up and down to relieve the pain and made up a few words in the process. 

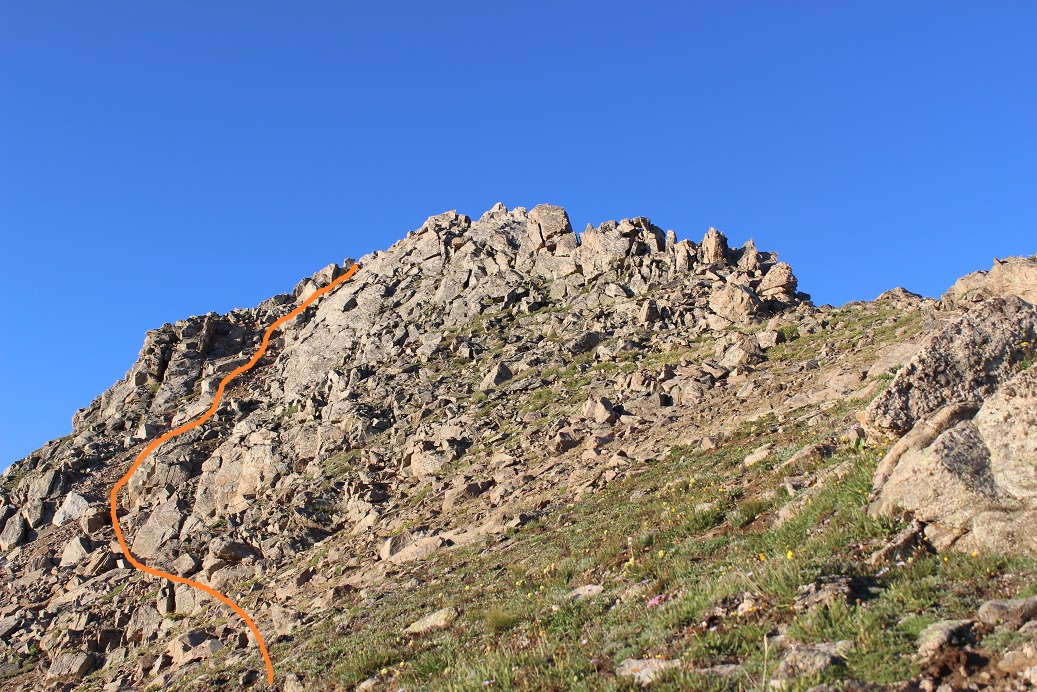
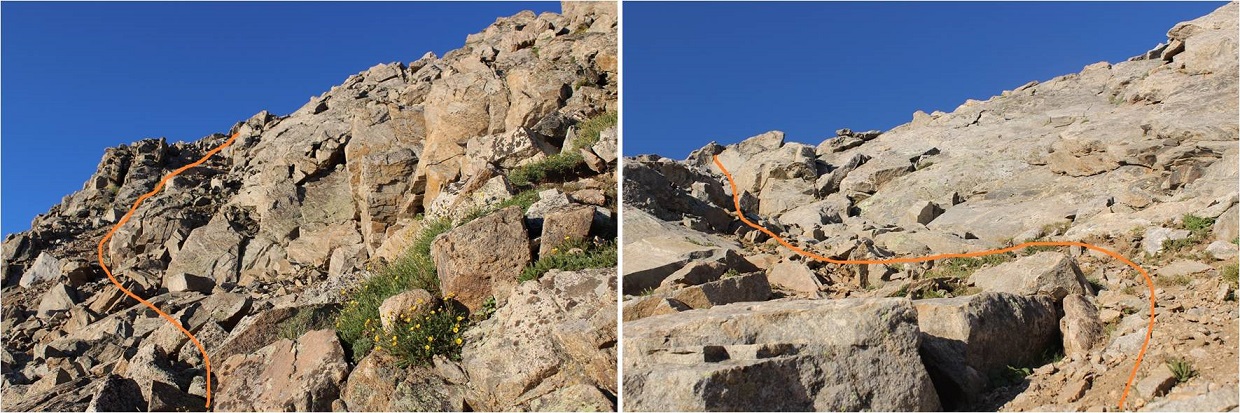
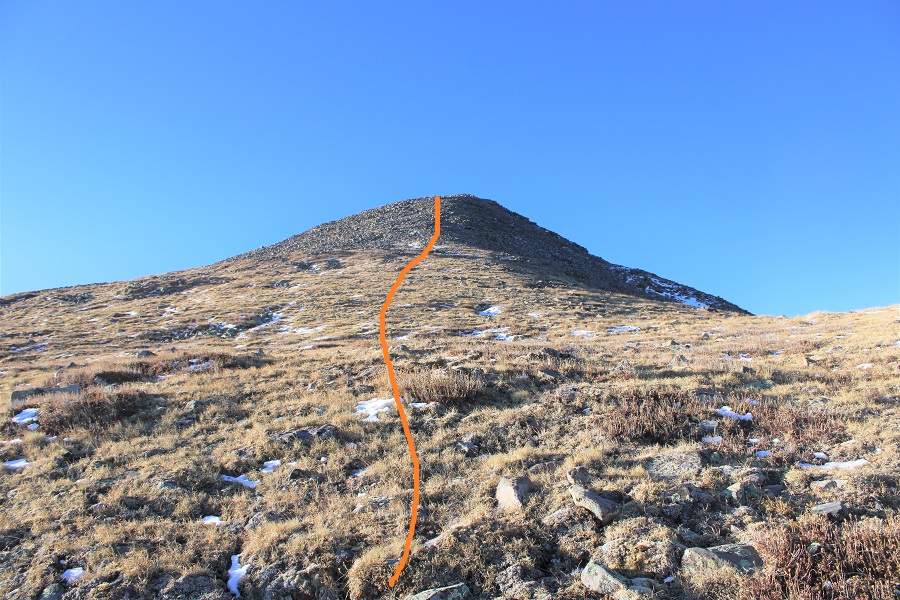
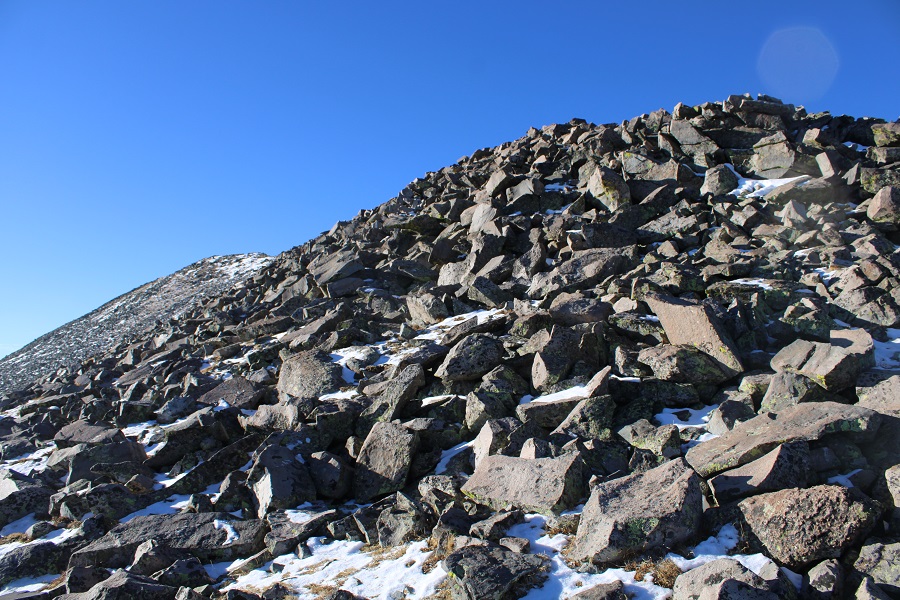
Back to the rocks.  These are microwave size, and some roll, especially the smaller ones. Choose your own adventure.

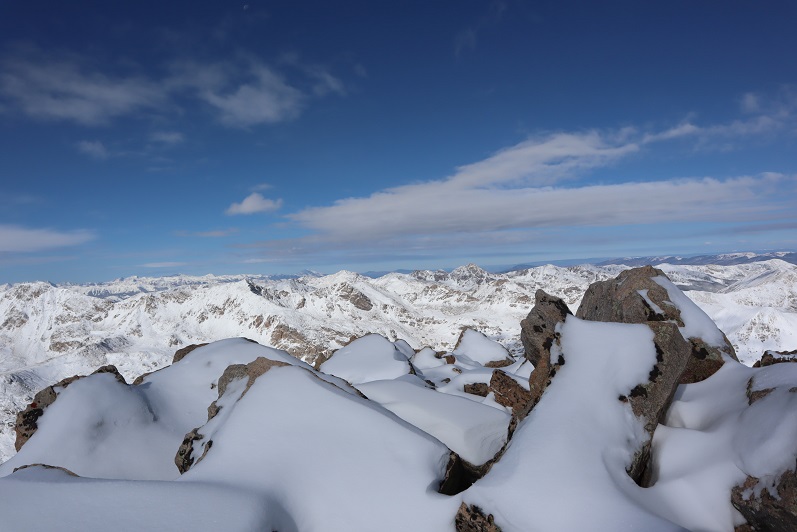
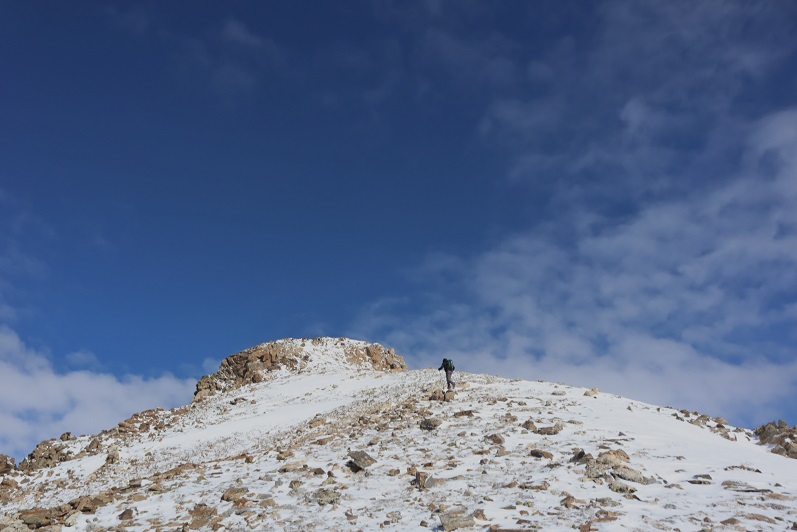
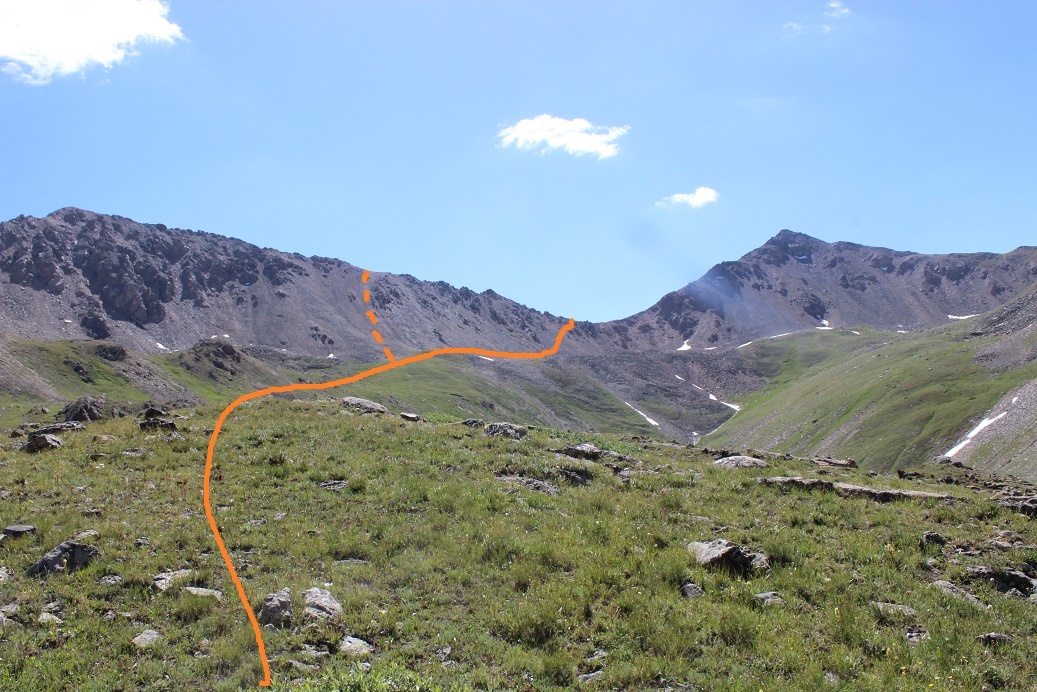
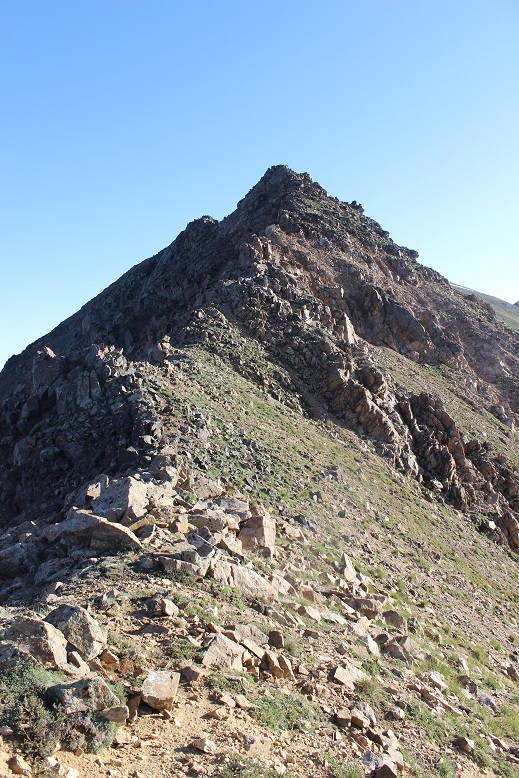
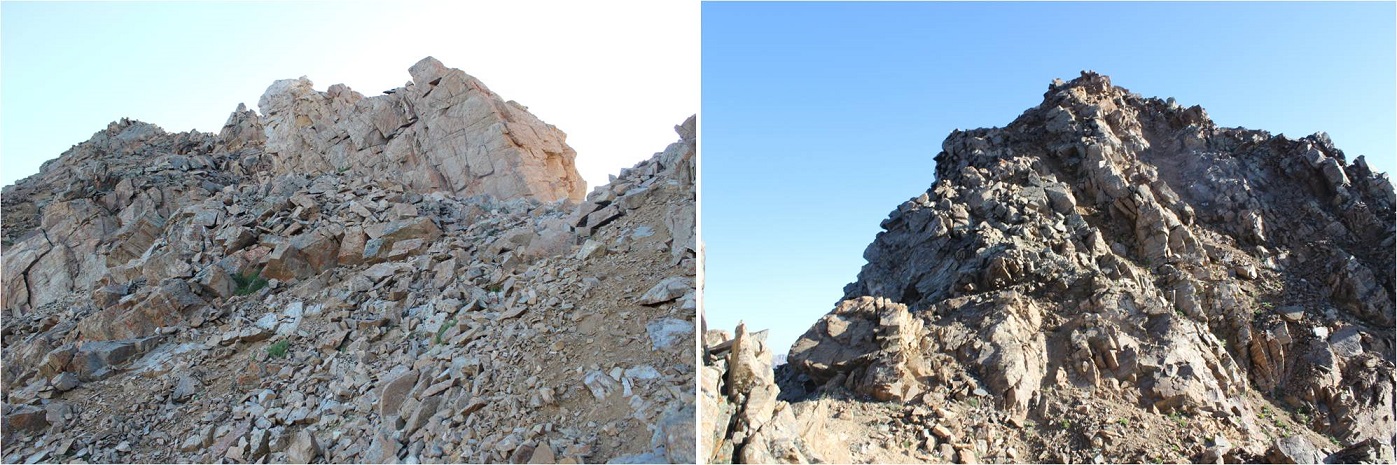
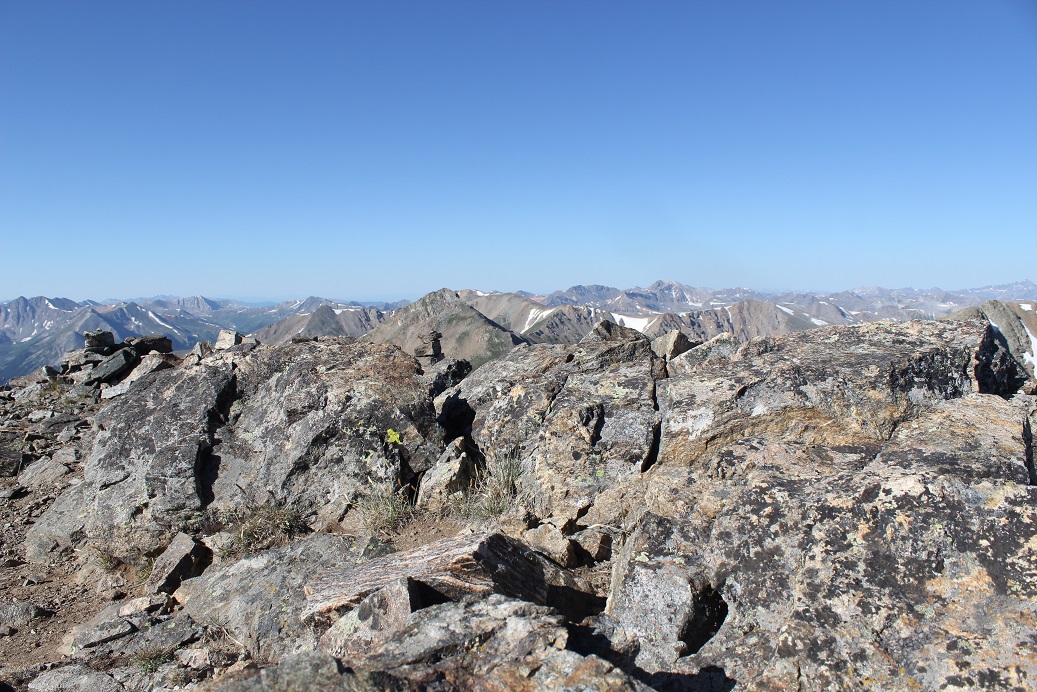
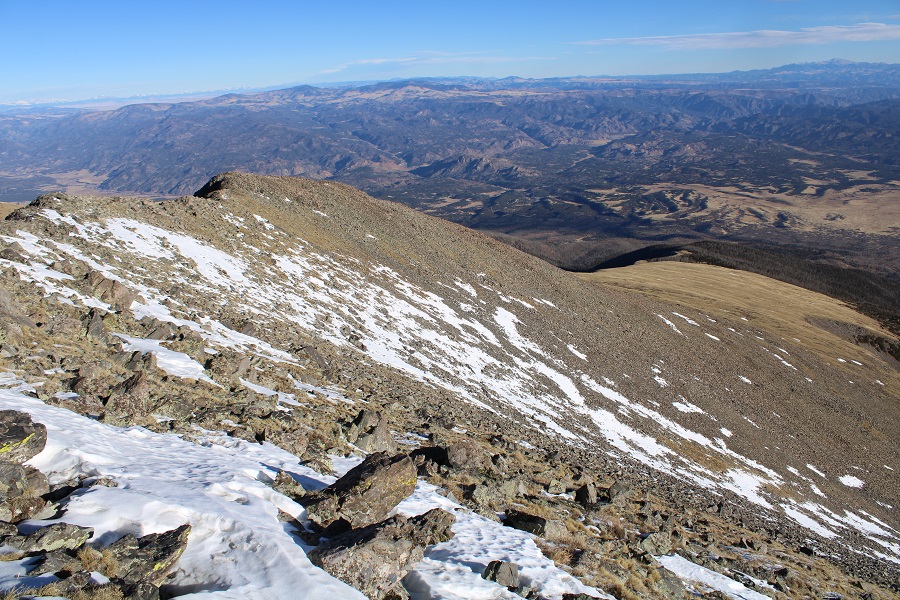
At the top of the rock pile you can see the rest of the route to the summit

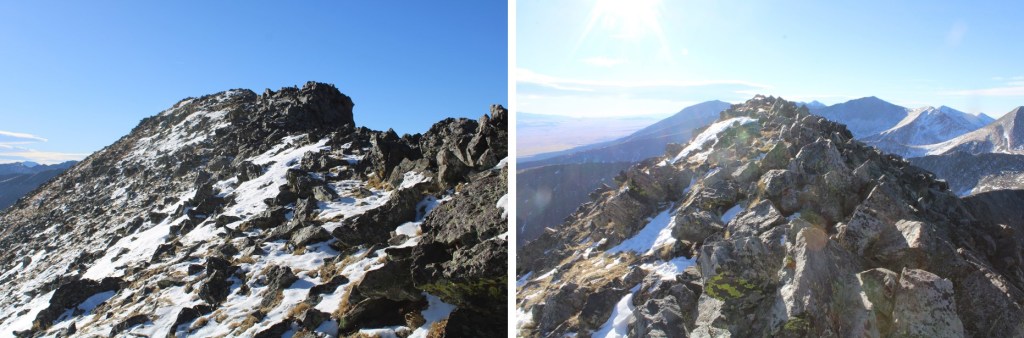
I just followed the ridge to the summit, hunkering down when the gusts of wind came.  This ridge is class 2

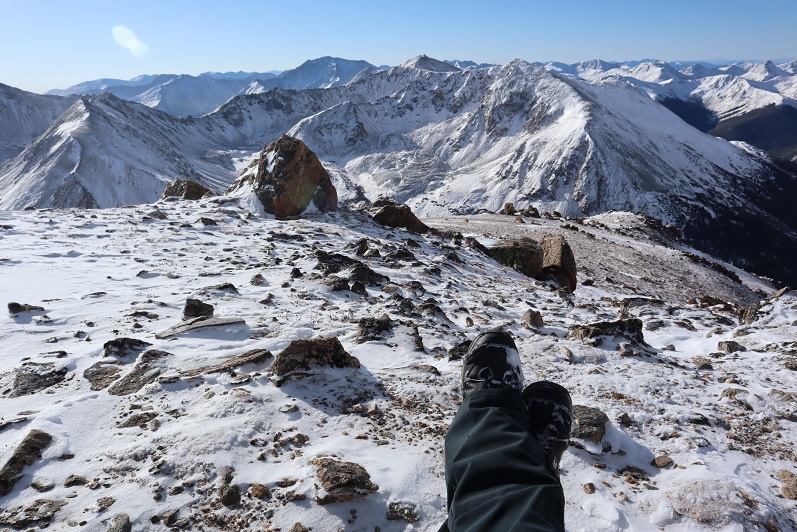
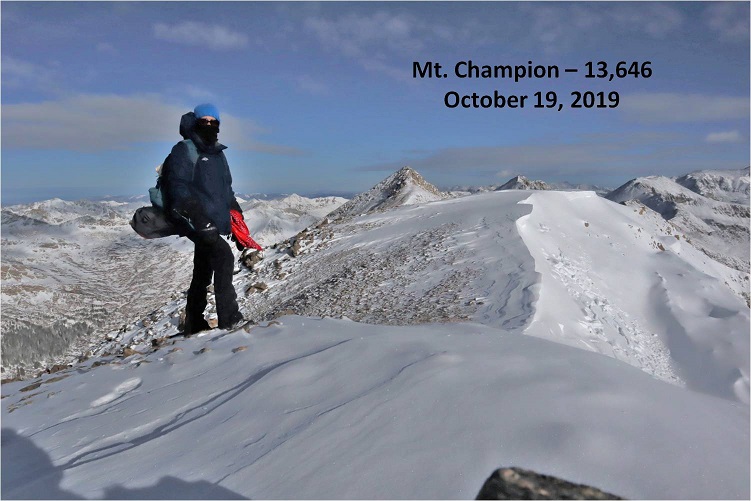
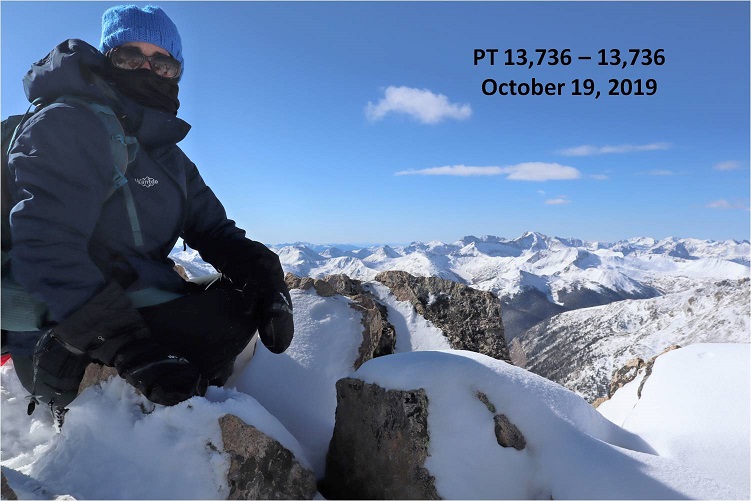
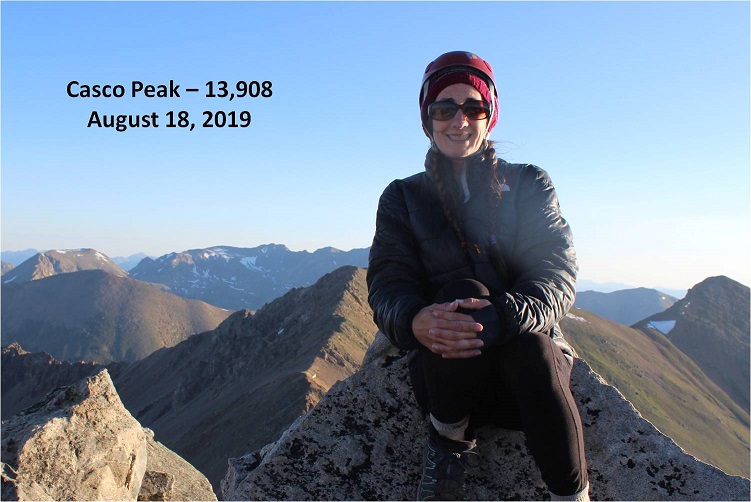
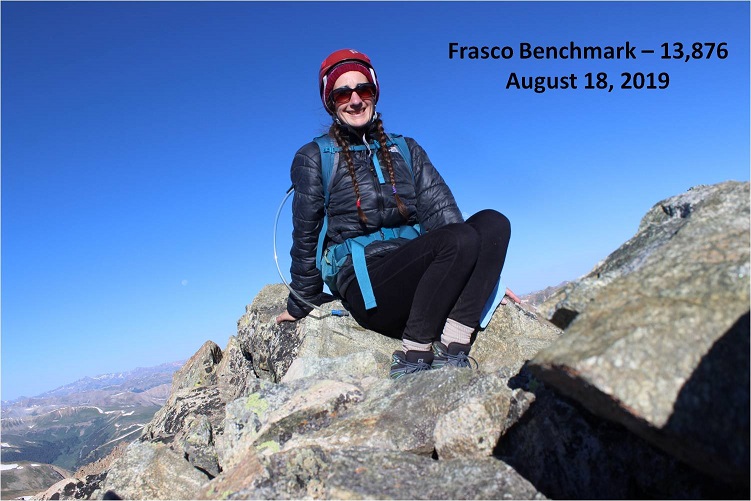
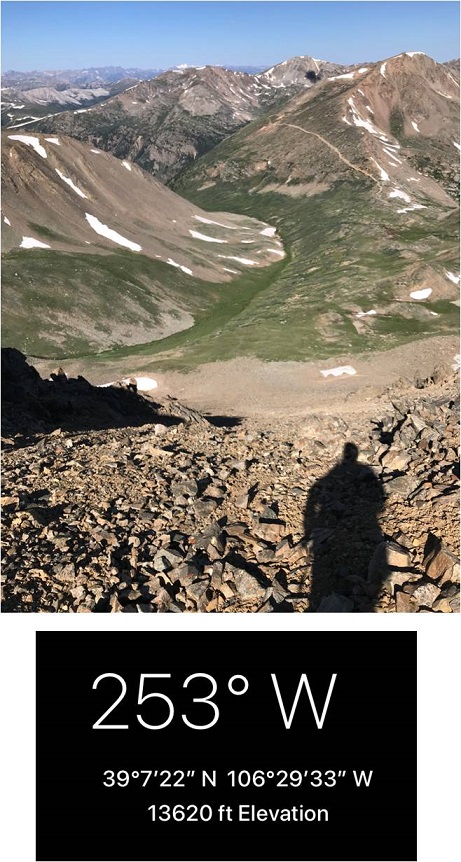
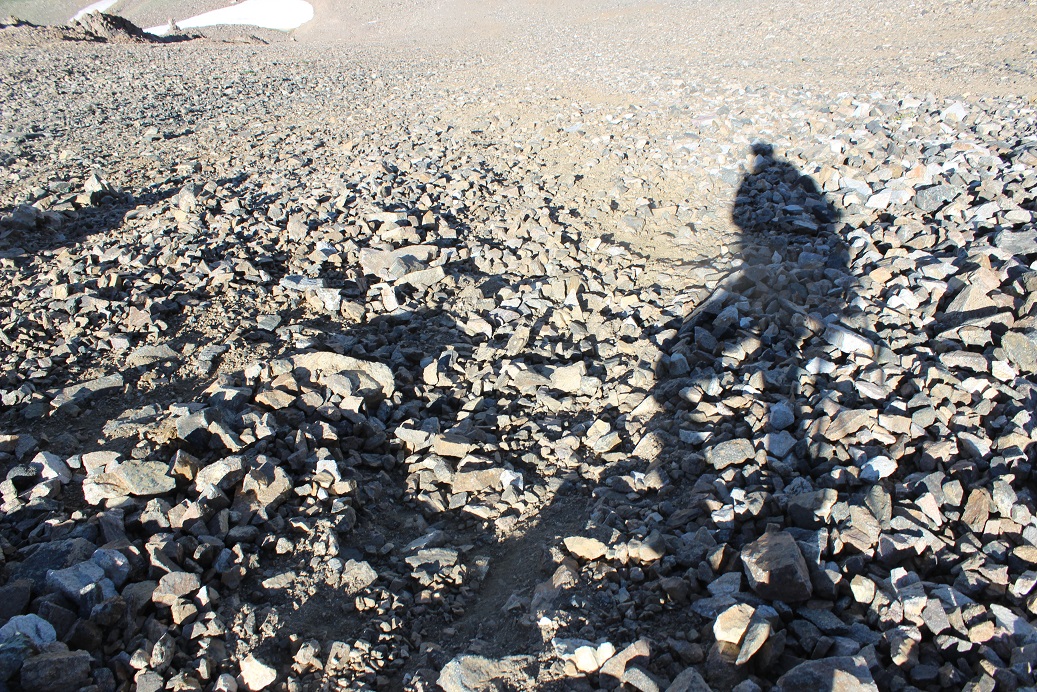
I summited Eagle Peak at 8:45am.  Yes, this is the best picture I got:  the wind kept knocking over my DSLR camera, and it was cold, so I didn’t make many attempts. I didn’t even attempt to take off my backpack for the photo:  I figured if the wind could knock me down while wearing my pack, I’d most likely lose my pack if I took it off.  I could picture it tumbling in the wind down the side of the mountain.  I probably wouldn’t stay standing long without my pack either.
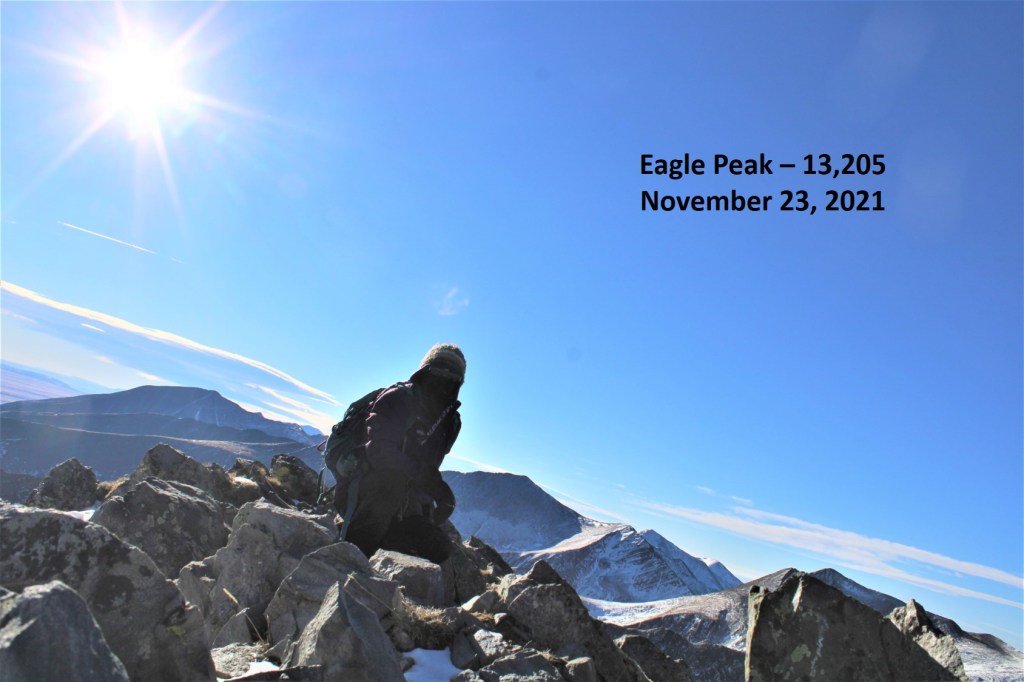
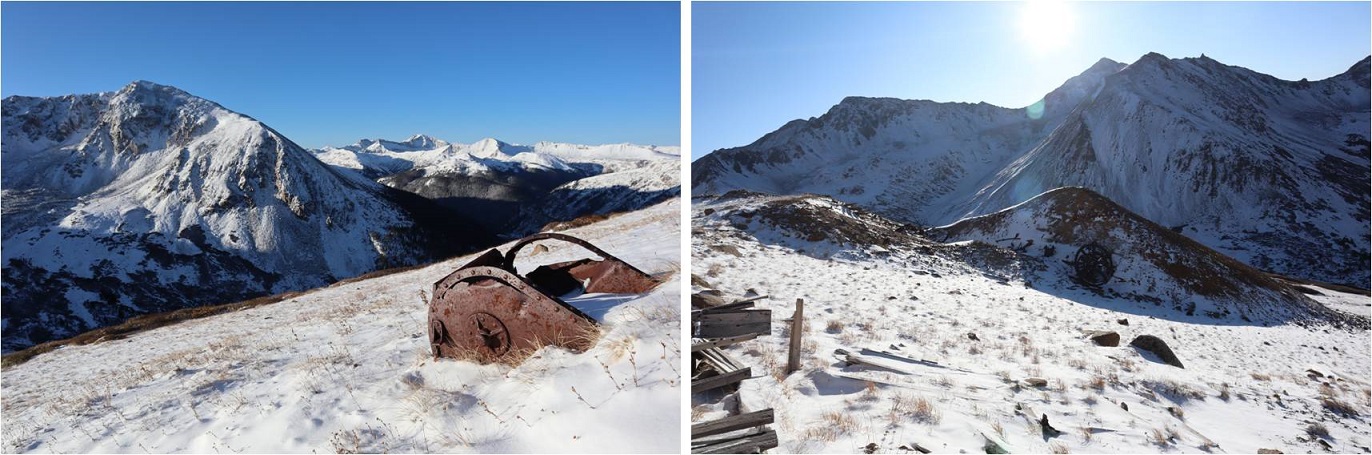
Eagle Peak:

I didn’t stay long at the summit, as I wanted to get out of that wind asap.   This was an out and back hike, so I re-traced my steps back over the ridge

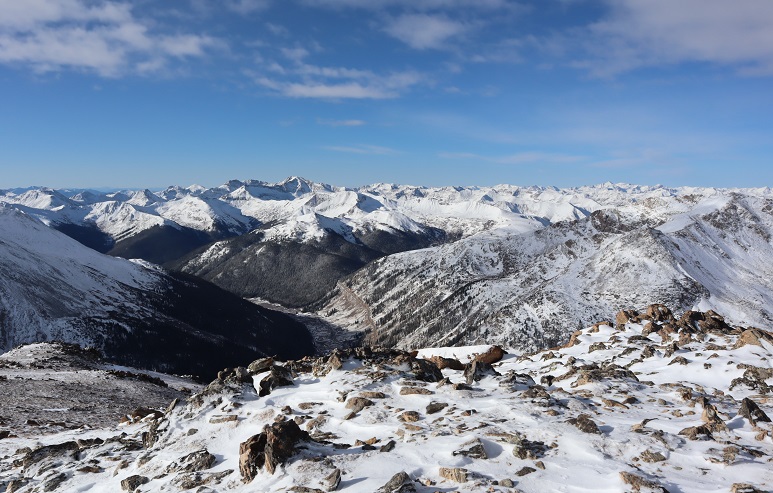
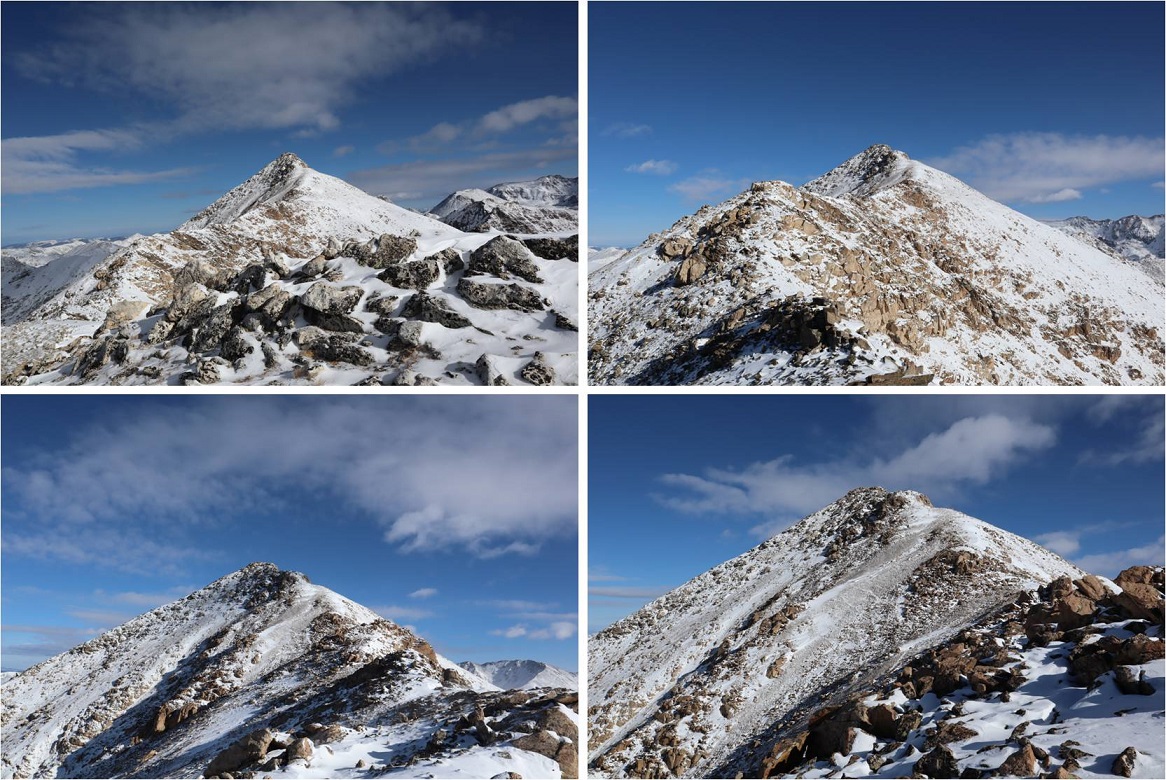
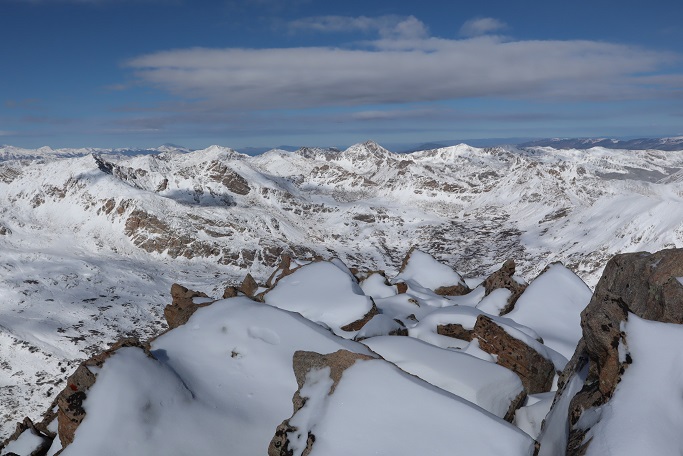
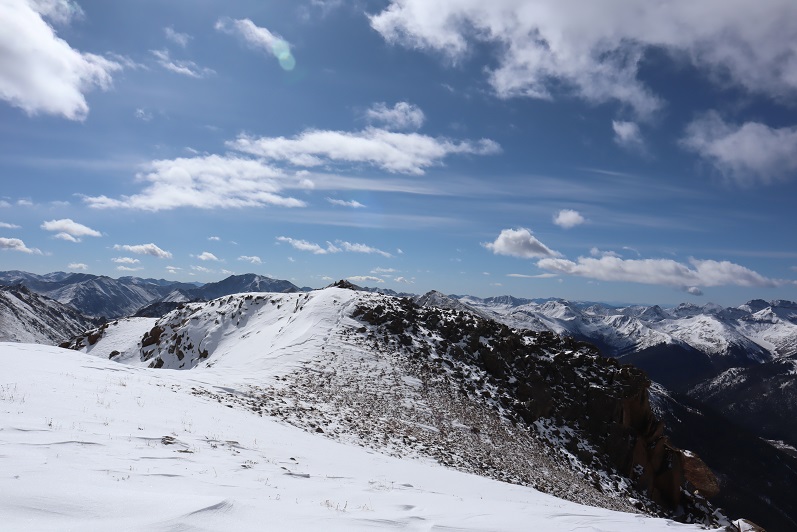
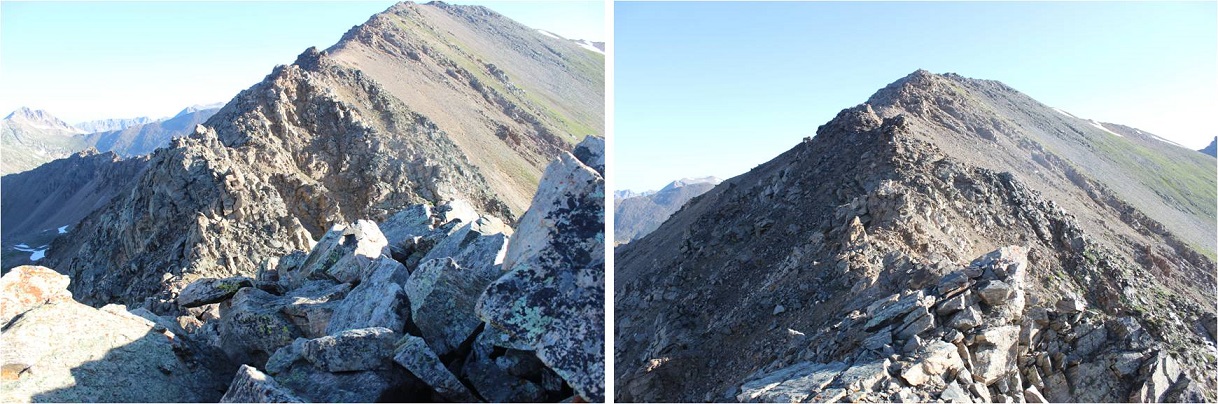
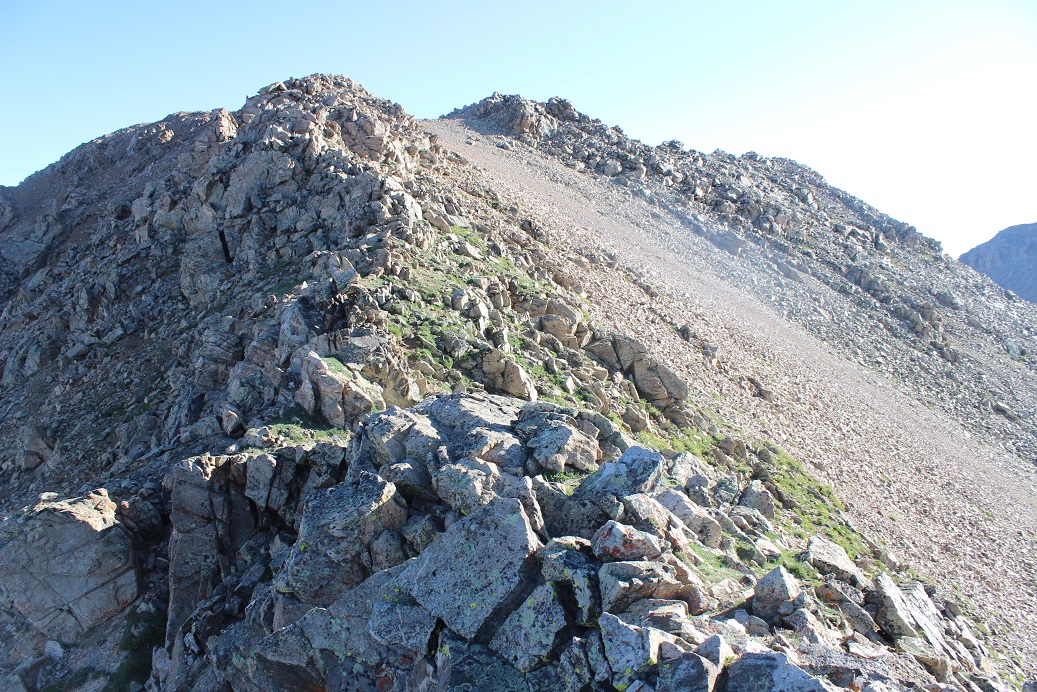
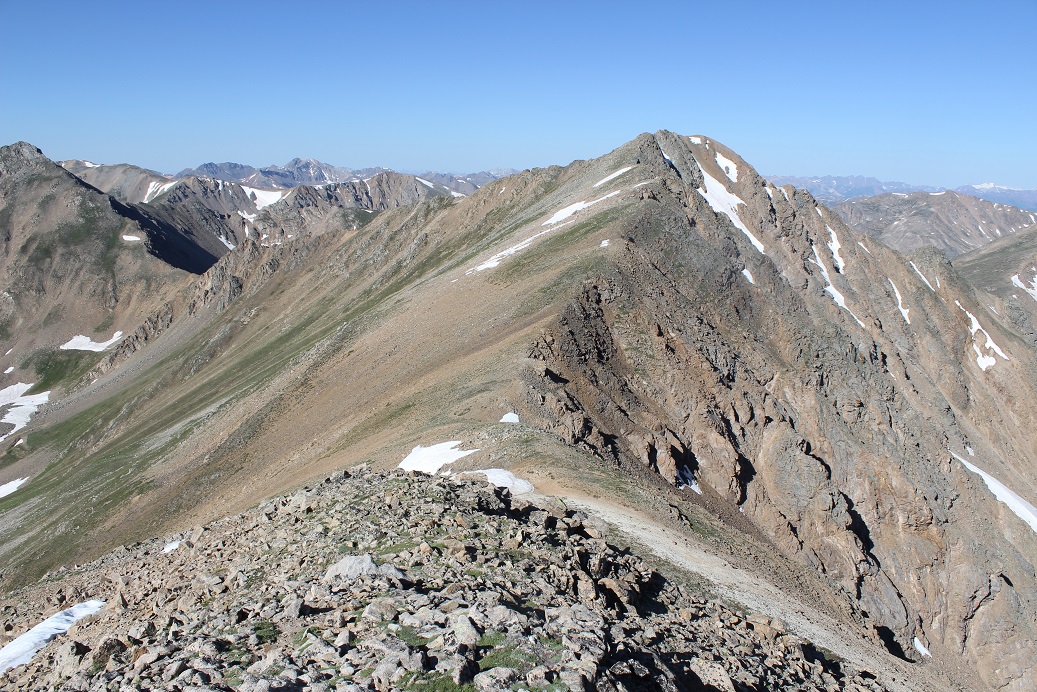
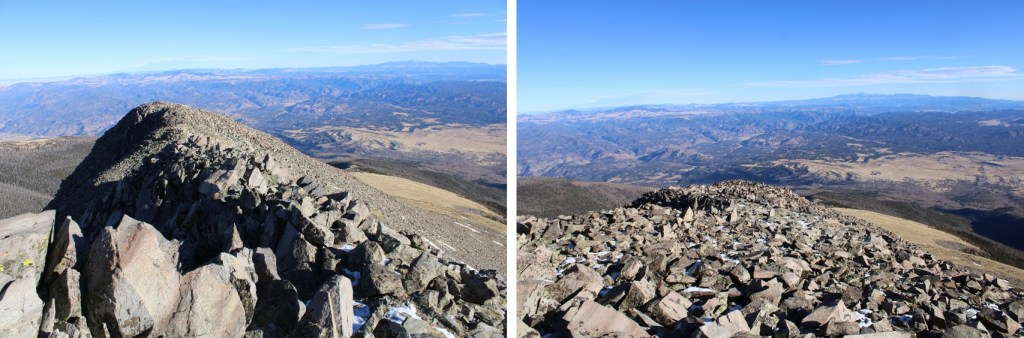
More ridge pictures:

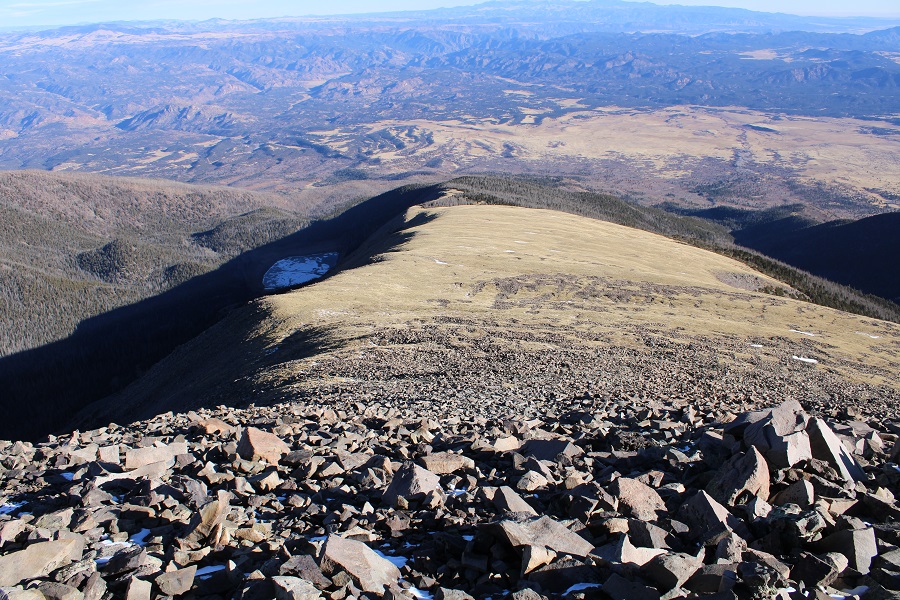
Following the ridge back to treeline was easy.  I aimed for the tundra to the left of the bristlecone pine trees.

Here’s a quick video of the wind near treeline, once it started to die down.  I wish I’d captured a video of the wind gusts, but they weren’t predictable.

Wind: 

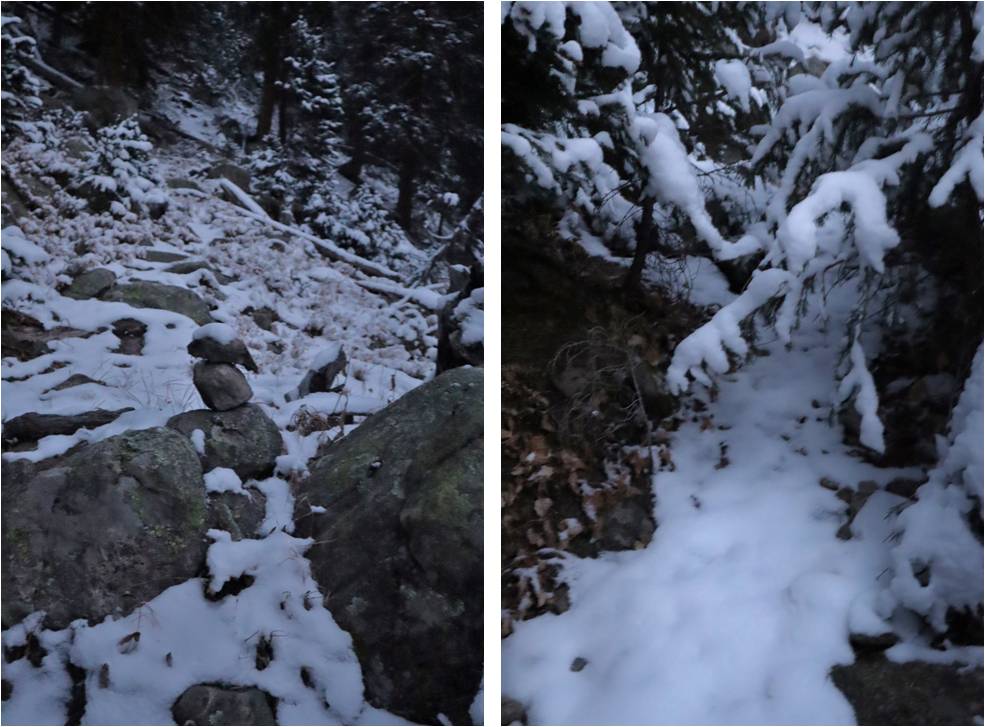
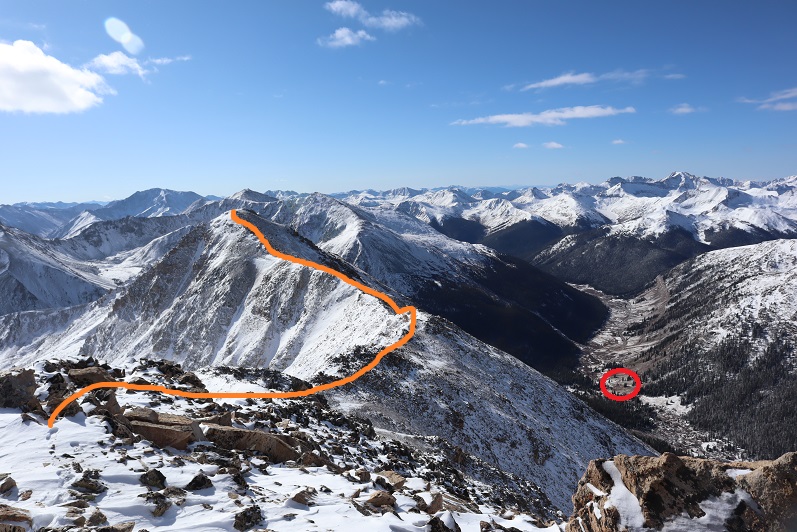
The hardest part of this hike was navigating back down the ridge, because I didn’t have any visuals.  I relied heavily on my compass, heading northeast back towards the road

I made it back to the 4WD road, and took it back to the Rainbow Trail

I then took the Rainbow Trail back to the Duckett Creek Trailhead

I made it back to my truck at 12pm, making this a 12.14 mile hike with 4691’ of elevation gain in 7.5 hours.

And now, to drive home and wake up my daughter.  She’s home on college break, and will most likely still be sleeping at 2pm when I get home.  Since it’s just the two of us this year, we decided to have an early Thanksgiving dinner so we can have all week to eat the leftovers before we leave.  

Mt Champion 13,645 & PT 13,736

1

RT Length: 8 miles

Elevation Gain: 3692’

I really wanted to get in this hike before they close Colorado 82 for the winter, and this weekend seemed like a great opportunity: The weather had a nice forecast so I decided to go for it.  I made it to the trailhead and was on the trail by 6am.   My truck was the only vehicle in the lot, and there was frost on the ground and glittering in the moonlight on the willows.  It had snowed 3-5 inches the night before and right now it was cold, cold, cold!

2

I’d just started out when I heard the loudest sound of tires screeching I’ve ever heard. I turned around and saw a truck’s headlights stopped in the distance.  In the dark the driver had missed the last turn before ascending up to Independence Pass and had driven about 40 feet off the road.  They were very lucky this part of the road was relatively flat!  I watched the truck as it backed up, stopped, backed up again, stopped, and backed up a third time to make it back to the road.  Once they were successfully on their way so was I.

I’ve been in this area before and the instructions I’d put together said to follow Lackawanna Gulch. So I did, but I had difficulty with the frozen stream crossings.  The usual areas had more water than I’d expected so I had to walk up and down the banks of the creek to find a place to cross.  I didn’t feel comfortable taking off my boots and fording the stream with all that ice.  I ended up turning back and starting over again when I came to an area I didn’t recognize.  Yes, I’d been here before and I knew the way I was going would get me to the gulch, but I wasn’t headed the way I’d left instructions I said I was going, so I backtracked and crossed the creek again and headed northeast until I came across a cairn, which led me to another cairn and another and I knew I was on the correct trail.

3

4

The snow was fresh and I used my trekking pole to knock it off the trees when they were covering the path.

5

The sun started to rise and through the trees I could tell the views today were not going to disappoint.

6

The trail was faint but easy to follow, even in the snow, until I made it to the avalanche area.

7

Here the trail ended so I followed some fresh deer tracks through the debris and into the trees. Keeping the creek to my right I made my way west.

8

There are a bunch of game trails here, and they all lead in the correct direction. Just before making it to the creek again I found a cairn and turned left (north) and headed up Champion’s east ridge.

9

There was no trail here, or if there was it was covered in snow. I followed a steep rocky drainage up the slope and towards a mine.

10

11

Once at treeline the wind picked up a bit, but stayed at the forecasted 20-30mph. I made it to a 4WD road and decided to do some exploring of the Champion Mine as an excuse to get out of the wind for a bit.

12

There was old equipment littered about the area

13

I stayed here for about half an hour taking pictures. I didn’t spend too much time inside because in the wind it didn’t feel too stable.  There was a lot of creaking going on.  I headed back to the road and continued heading northeast up the side of Mt Champion.

14

15

This was by far the most difficult part of the hike for me. It wasn’t technical at all, but I haven’t hiked in snow for many months and I was using muscles in my calves and quads I haven’t used for a while.  I’d brought snowshoes and seriously considered putting them on, but in the end didn’t because I felt they would be overkill in such little snow and this was actually good conditioning for the months to come.  The snow was about 6-8 inches deep in its deepest spots, and at times there was bare dirt. I aimed for the ridge and followed it up.  Note: this is not the summit

16

But it’s close. This is the true summit

17

The summit was marked with a cairn and summit register (which I didn’t touch).

18

I was surprised to find a cornice already beginning to form on the summit. Surprised because this was the first snowfall here of the season.

19

I was quite cold and debated heading over to PT 13,736: that last bit of elevation gain after the mine had worn me out!  Did I mention the views?  Absolutely amazing!!!

20

21

Of course I decided to continue on (I wasn’t that tired, just a bit out of hiking-in-snow shape).  The trek over to PT 13,736 is a straightforward scramble along the ridge

22

I had to be careful because some of the rocks were large and the spaces in-between them was often covered in snow and my feet could fall between the cracks if I wasn’t paying attention. I probably took more time on this ridge than it required, but I didn’t slip, fall, or twist an ankle.  Microspikes didn’t seem necessary, my boots provided enough traction here.

23

Once again, windy, but with the balaclava and hat it was tolerable

24

Here’s the last push to the summit

25

26

The summit was small and full of large, snow covered rocks.

27

I set up my camera, sat on a snow covered rock and took 1 picture of myself. I was super glad when I got home and saw the picture turned out ok because it was the only one I took (logistics made it difficult to take a picture of myself on this summit).  I didn’t see a summit register, but it was probably buried under the rocks and snow.

28

The views from here were as equally amazing as from Mt Champion

29

Here’s the route back to Mt Champion, and the North Lake Creek trailhead is circled in red.

30

A short way down from the summit I met another hiker! I was very surprised to see anyone else out here today.  We talked for a short while, but I don’t do well standing still in the cold so I was probably a little quick to end the conversation.  He said he might be headed over to French Mountain after this, and had taken the road in.  I wished him luck and was on my way

31

Re-summiting Mt Champion was easier than I’d thought it would be: I wasn’t nearly so tired after taking the ridge. Heading back was a breeze as all I had to do was follow in my previous footsteps.

32

33

Here’s the route down from the summit of Mt Champion

34

By now the sun was warming up the snow and it was getting slippery, but I still didn’t feel I needed traction

35

36

I found the rock drainage again and followed it back down the mountain

37

I slipped here. Twice.  Turns out snow covering moss that’s still green is slippery when the sun warms it up.

On my way out of the gulch I stayed higher in the trees than on my way in because I found a cairned trail. I followed it until it disappeared and then followed game trails to the avalanche area.

38

Where I linked up with the trail I’d followed in and followed it back out. The sun had already melted out a lot of the snow from this morning.

39

The creek crossing was much easier to navigate in the daylight and I found an easy place to cross

40

From here I could see the dirt road, so I aimed for it and followed it back to the trailhead.

41

I made it back to my truck at 1pm, making this an 8 mile hike with 3692’ in elevation gain in 7 hours. I was surprisingly but pleasantly sore from such little mileage/elevation gain.

42

43

Casco Peak 13,905 – Frasco Benchmark 13,885 – French Mountain 13,942

1

RT Length: 10.5 miles

Elevation Gain: 4549’

I chose this route mainly because I haven’t used the North Lake Creek Trailhead before, and since all the other routes started from trailheads I’ve already used I wanted to try something new. I began at 3am, and when I arrived at the trailhead my truck was the only vehicle in the lot.

2

The trail begins at the east side of the parking area, heading north-northwest. There had been a recent avalanche in this area but the debris had been cleared off the path and in the dark I couldn’t even tell there had been an avalanche.

3

After about 1/10 of a mile I turned right at this boulder.

4

There is no distinct trail here, but if you continue northeast you’ll eventually run into what could have been a trail at one time (or a dried up creek bed).

5

This led me to a creek crossing that was just deep enough to make it necessary for me to take off my shoes.

6

There was another crossing just after this one, but it was small and easy to cross. From here I followed an overgrown 4WD dirt road switchbacking up the mountainside.

7

Curiously there was an old outhouse right alongside the trail, which looked useable.

8

The 4WD road led to a smaller trail that led to a bunch of dilapidated cabins (I’m guessing there were 3?) and here is where the trail ended.

9

From here the goal is to head down the hillside that’s behind this cabin (a few dozen yards), cross the creek, and continue west.

10

However, I was doing this in the dark on my way in and it proved to be more difficult that it sounds, especially the creek crossing.  I was unable to find a crossing in the dark due to avalanche debris in all the wrong places, so I once again sat down, took off my shoes, put on my sandals, and crossed the creek.  On my way back I noticed snow bridges that were no longer usable, but also a few areas to cross on the rocks.

11

This part of the hike was actually a challenge in the dark, but simple in the daylight. There was no defined trail here, but many game/social trails.  I tried to follow a trail alongside the creek, but there just wasn’t one that was continuous.  What made this difficult in the dark were the overgrown grass and downed trees everywhere.

12

However, if you just follow the creek (staying about 10 yards to the north of it) it will lead you up and out of Lackawanna Gulch and into an unnamed basin. Every once in a while I’d come across what looked like a proper trail, and even a cairn or two, but the trail always ended (usually at a tree or bush or over a cliffside).

13

Here’s your path through the basin. You’re aiming for a low ridge at the end of the basin. Once again, there are lots of trails here, but I’m pretty sure they’re all game trails.  Also, the willows aren’t that high and the ground was mushy with water.  This wasn’t fun to cross in the dark, but at least there weren’t any trees to contend with. In the daylight it was beautiful.

14

I was fully expecting to see some sort of wildlife, especially with all the hoofprints and game trails I was coming across, but alas, nope. From the north end of the basin I continued east on a low lying ridge towards Casco Peak. Knowing there was a lot of loose rock above me I was aiming for the lowest point on the ridge for my ascent.  You can basically gain the ridge from anywhere.  I took the solid line up, dotted line down.

15

Before gaining the ridge I passed through some muddy/wet areas

16

Here’s what it looked like as I was nearing Casco Peak

17

I couldn’t see much but the sun was beginning to rise, which was helpful. I could tell the scree was pretty bad in some areas, but it looked like there was talus ahead (which I prefer to scree for an ascent) so I headed for the lowest point in the ridge and began the climb. The talus eventually turned to scree just before the ridge.

18

Ridge gained I turned right (south) and looked at the rest of the route before me

19

This wasn’t technical in the slightest. I just stuck to the ridge until I came to the base of the summit.  Here it became a short class 2+ trek to the top.

20

21

I summited Casco Peak at 7am

22

Casco:

From here the route to Frasco looked straightforward, but let me tell you, that section north of the saddle (named Fiascol) was a rough and loose ridge

23

Here’s your first look at the ridge

24

This is a class 2+ ridge that looks harder than it is. It took careful footing but wasn’t actually technical.  I mainly stayed to the top of the ridge, dropping to the left or right as needed.  Most of the time if I had to drop off the ridge it didn’t matter if I went left or right:  both ways went.  Here are some close ups of the route

25

26

The final push to the top of Frasco is actually longer than it looks, with a small false summit

27

28

I summited Frasco Benchmark at 8:30am

29

Frasco:

This summit had a summit marker (curious, the unranked peak had a marker, yet neither of the ranked ones did?).

30

To get to French Mountain from Frasco is straightforward: just follow the ridge (named Friscol). I was surprised at how narrow the beginning part of this traverse was.

31

I descended 250’ to the Frasco/French saddle, stayed left (north) to avoid a snow patch

32

and then ascended 320’ to the summit of French Mountain.

33

I summited French Mountain at 9am

34

French:

From French, here’s a look back on the route from Casco to Frasco to French

35

It was a beautiful day so I sat for a bit on the summit, enjoying the views before starting my way back.

36

Here’s a look at the look to Frasco from French

37

I mainly stuck to the ridgeline. Around the French/Frasco saddle I saw a ptarmigan and a caterpillar I thought was living pretty high

38

Here are the areas of avoidable snow on the ascent of Frasco from French

39

After summiting Frasco a second time it was time to head back towards the Casco/Frasco saddle for my descent. Also, it wasn’t lost on me how much easier the route looked coming up from the Halfmoon Creek area: the scree was almost nonexistent on that side when compared to the Lackawanna Gulch side.  The decent along the ridge to the saddle was uneventful.

40

However, I didn’t go all the way to the saddle: Instead I chose to descend earlier because I liked the scree here better.

41

Here’s a look at the route back down the basin and towards the creek

42

The scree here was the kind of scree you want to descend, not ascend. It allows you to scree surf, but doesn’t allow for much traction.  I put on my microspikes and headed down the slope, sliding one foot in front of the other.  I got a quick video:  quick because it wasn’t safe to take a video while scree surfing, but I was basically moving down the hillside with the sliding scree.  You can see why this wouldn’t be fun to climb up.

43

Scree:

Here’s a look back up that scree slope from the bottom

44

and a look at the route out of the basin

45

Also, the flowers here didn’t disappoint

46

As I exited the basin and descended into the Lackawanna Gulch I couldn’t help but think how much easier route finding was in the daylight. I wasn’t concerned as much with where I was because I had visuals that told me I was ‘close enough’ to where I needed to be.  I could tell the difference between game trails and actual trails (which is much harder than you’d think in the dark).

47

The hike back was beautiful! I loved seeing the cabins, flowers, trees, and creeks in the daylight.  I took off my hiking boots and put on sandals for the last creek crossing.  The cold water felt wonderful on my feet!  I decided to keep my on sandals for the rest of the trek to my truck (maybe a quarter mile).

48

When I made it back to my truck at noon my feet were still wet. This was a 10.5 mile hike with 4549’ in elevation gain completed in 9 hours.

49

50