Mount Marcy – 13,490 and Silver Peak – 13,513

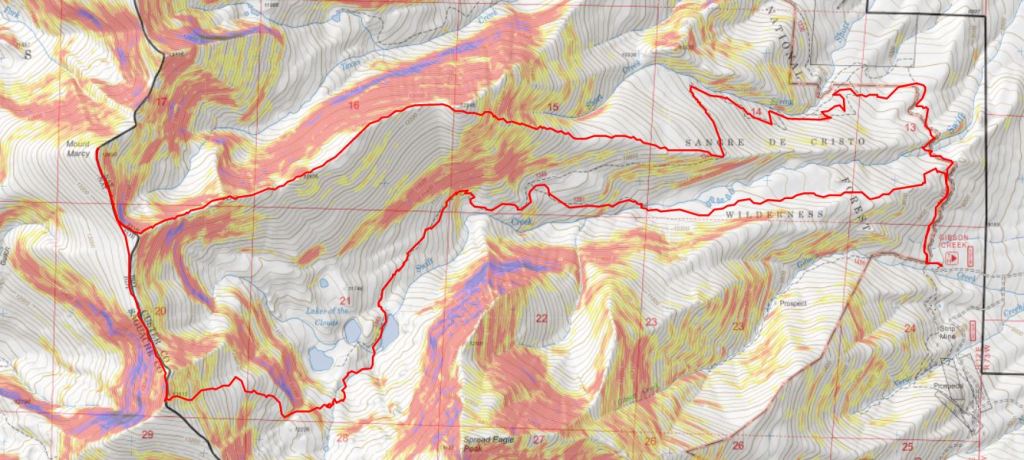
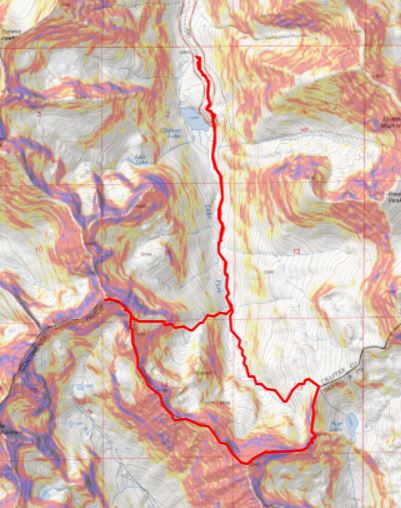
RT Length:  16.6 miles

Elevation Gain: 5573’

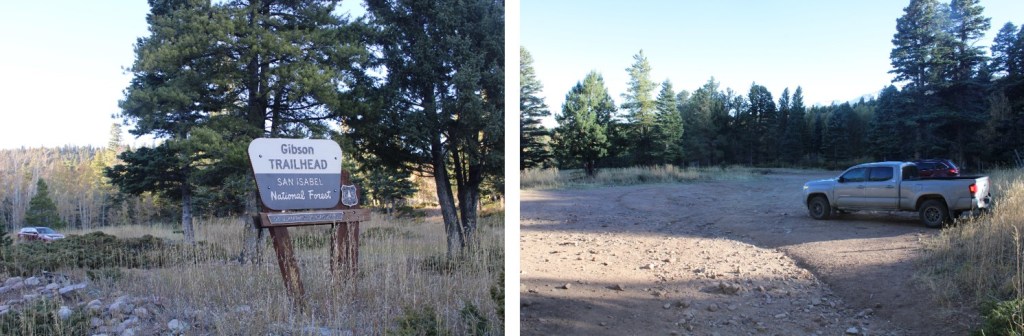
I wanted an early start for this peak, but not too early.  I knew it had snowed the past couple of days, but only a few inches:  I had no idea what to expect when it came to conditions, above or below treeline.  I got a later start than usual because I was making this a loop and wanted to get pictures on the way in of the route.  I gathered my gear and was on the trail at 5:30am.

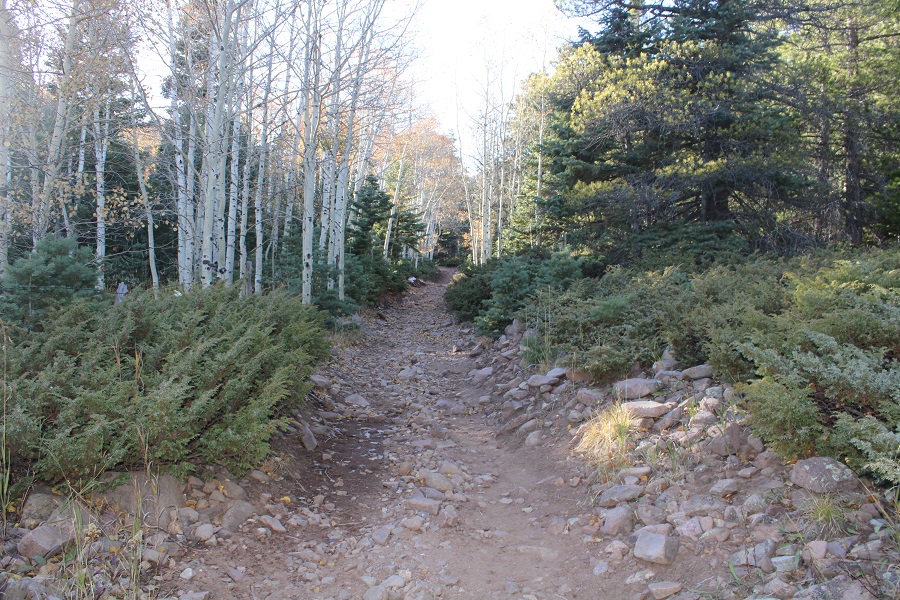
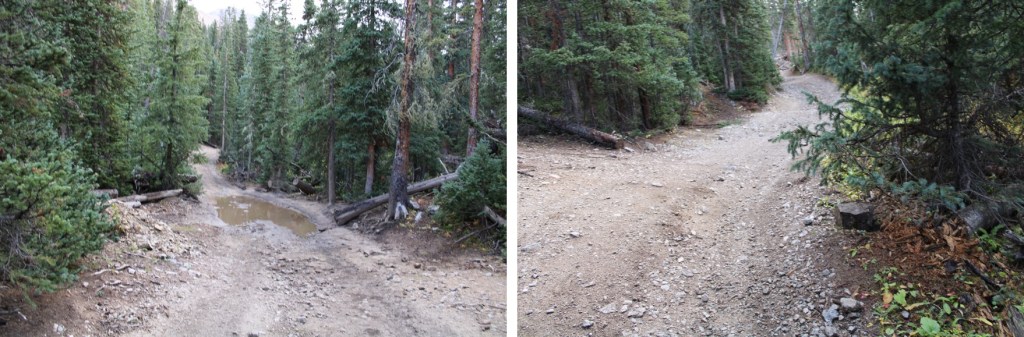
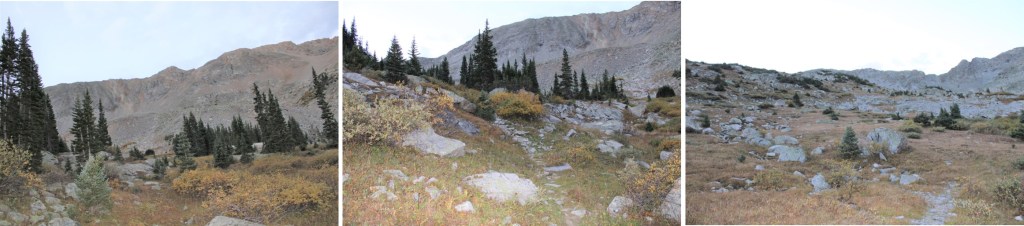
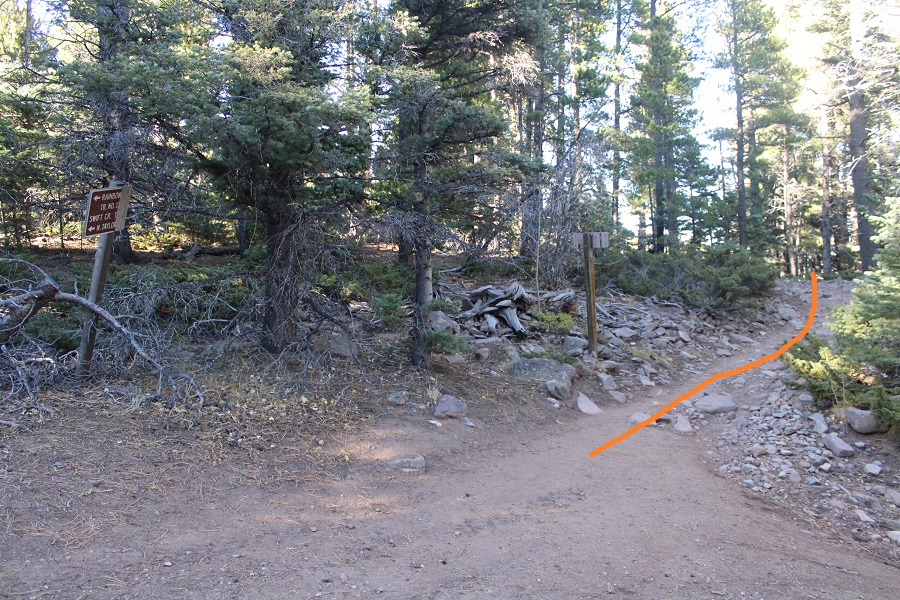
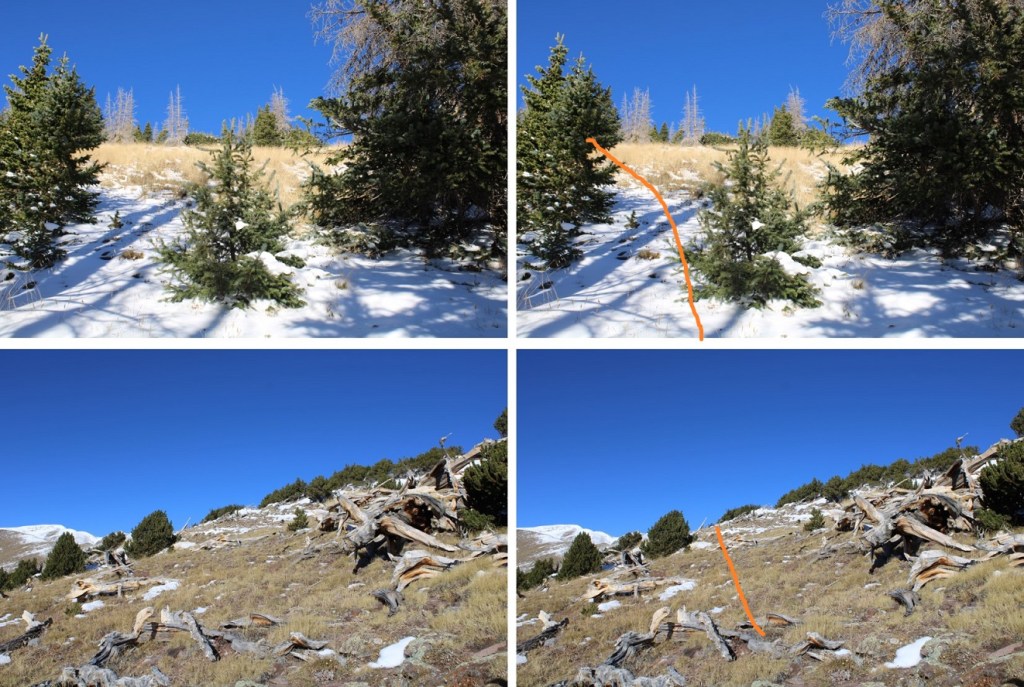
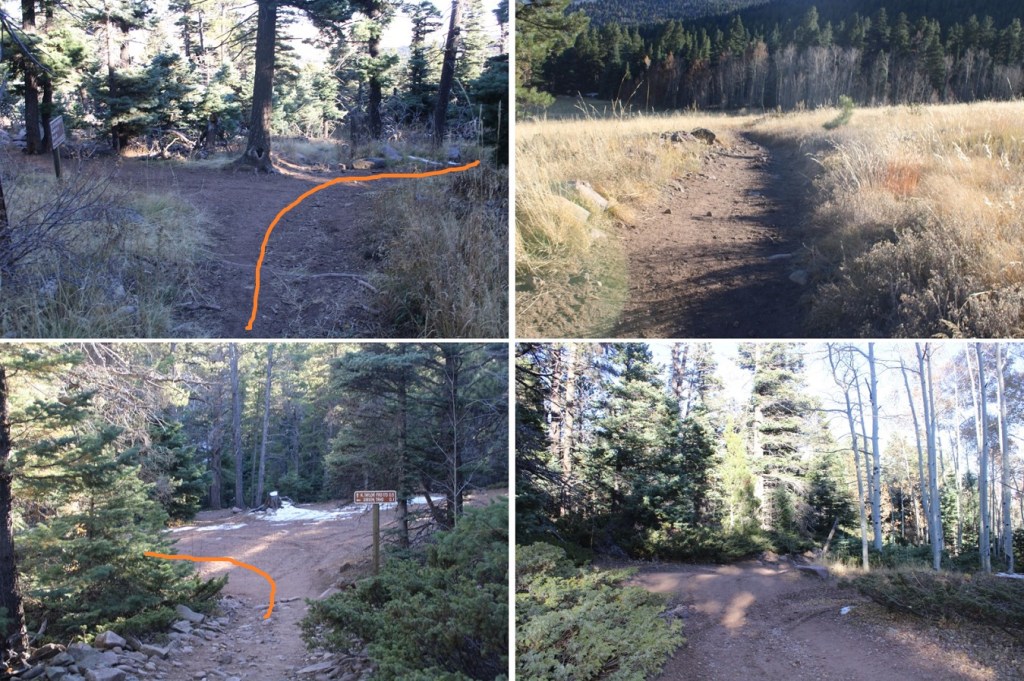
I started following the Gibson Creek trail west, and after about .1 of a mile, turned right onto 1336 (the sign is still damaged) and followed 1336 past the first junction (this is where the loop connects) and turned left onto 1349.  I had hiked for a total of 1.3 miles at this point.

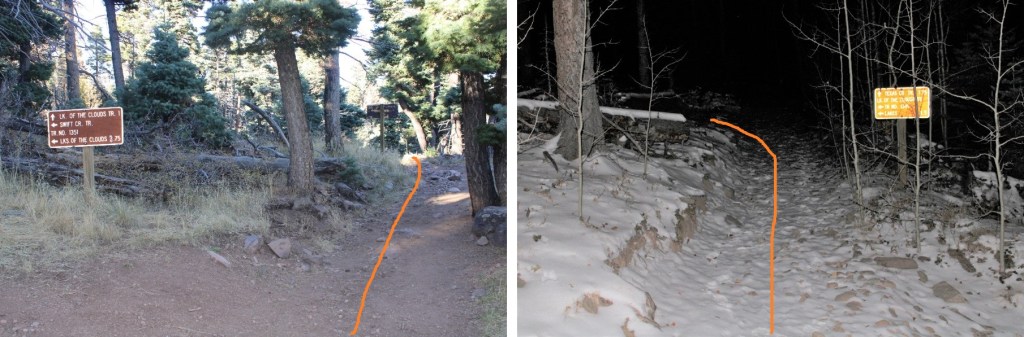
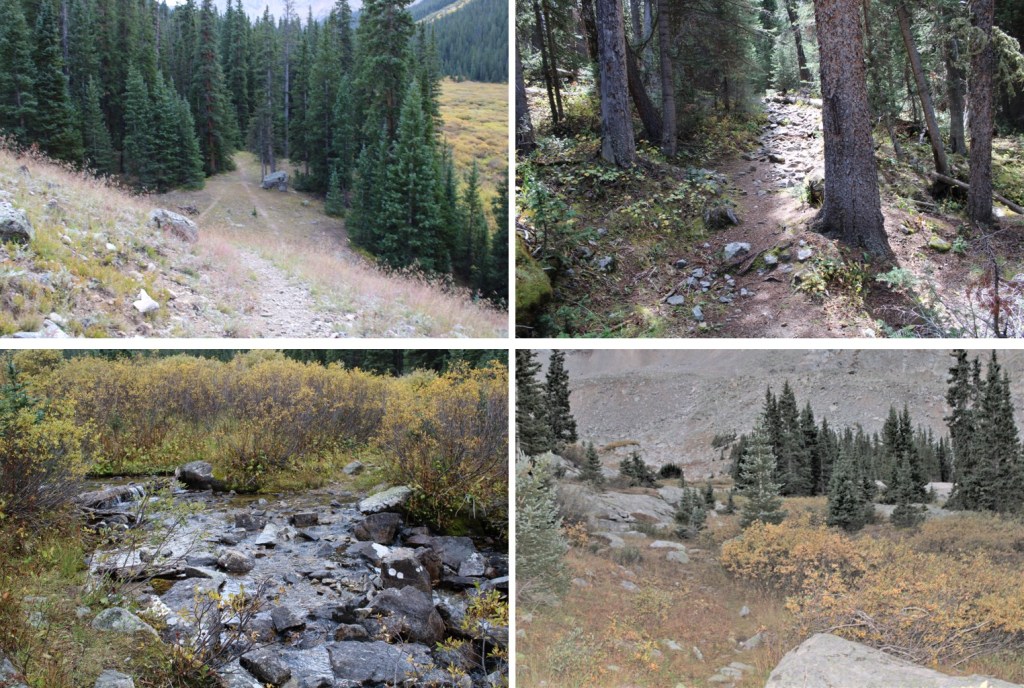
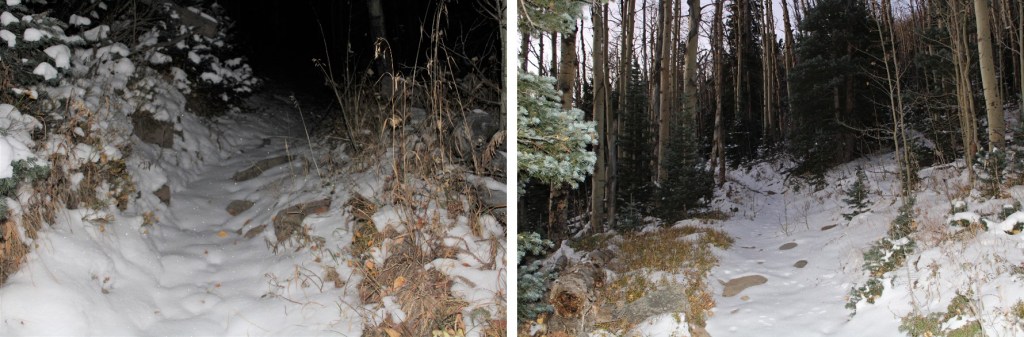
There was now snow on the trail.  It was still dark, and I could hear an owl hooting in the trees. I saw lots of rabbit tracks, and some elk tracks as well.  Mine were the first footprints. I continued following trail 1349 as it switchbacked up the mountainside.

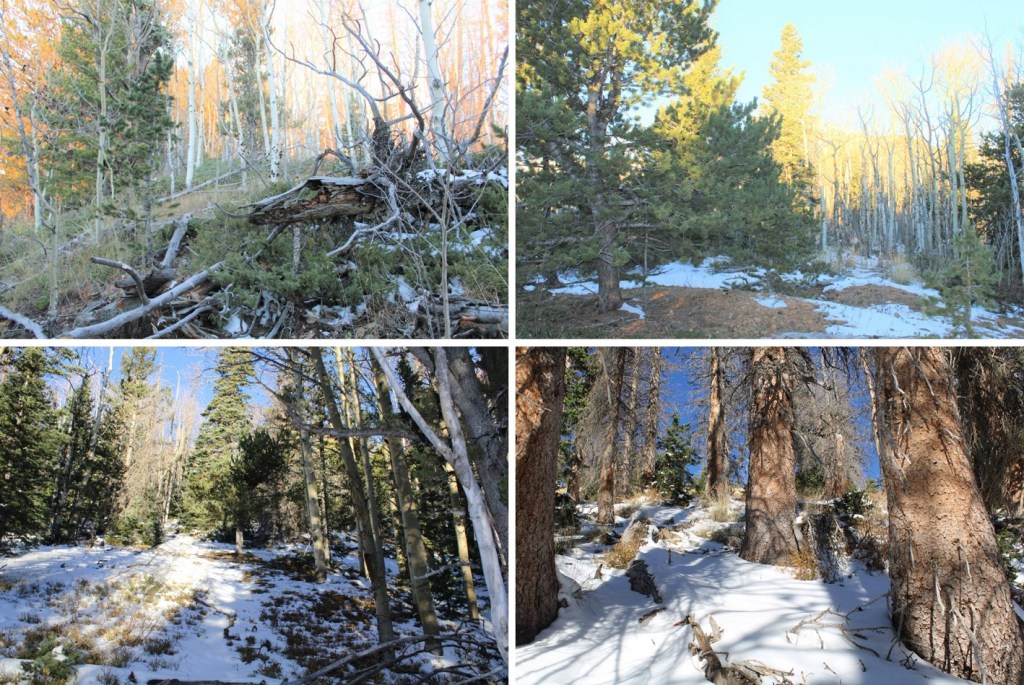
At 10350’, and after a total of 3.4 miles of hiking, the trail will stop increasing in elevation and start heading towards trail 1351.  It was here I left the trail and headed west up the ridge.  I was worried there would be a lot of downfall here, like there is when heading up towards Gibbs Peak, but the ridgeline was surprisingly manageable below treeline.

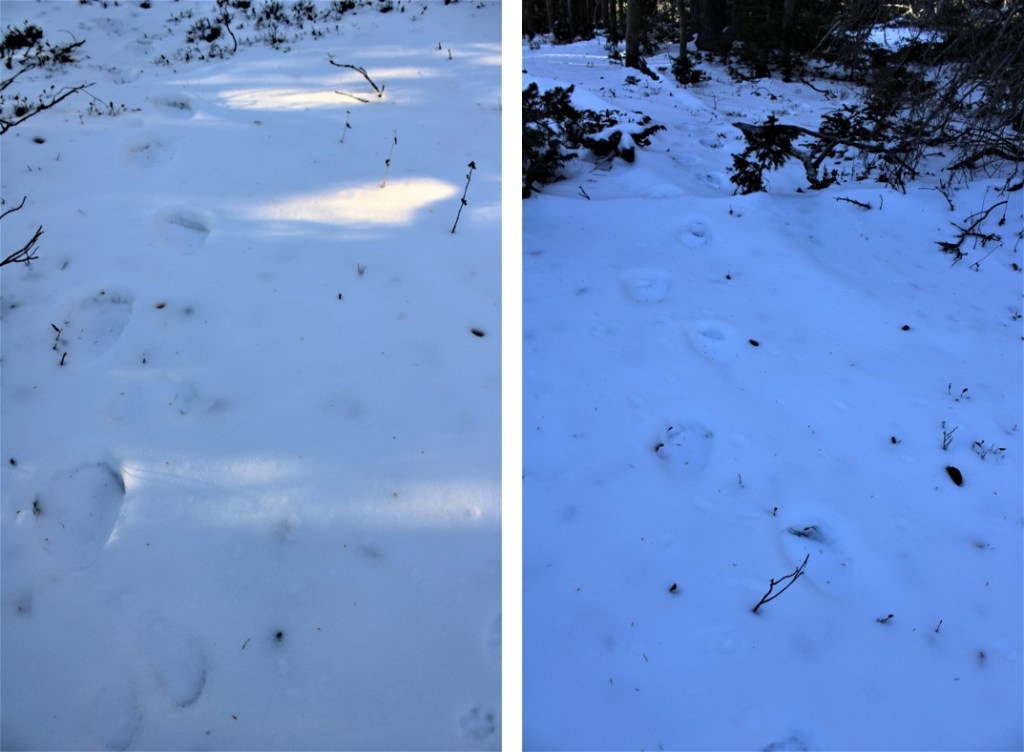
Along the ridge I came across two separate sets of bear tracks, both heading south

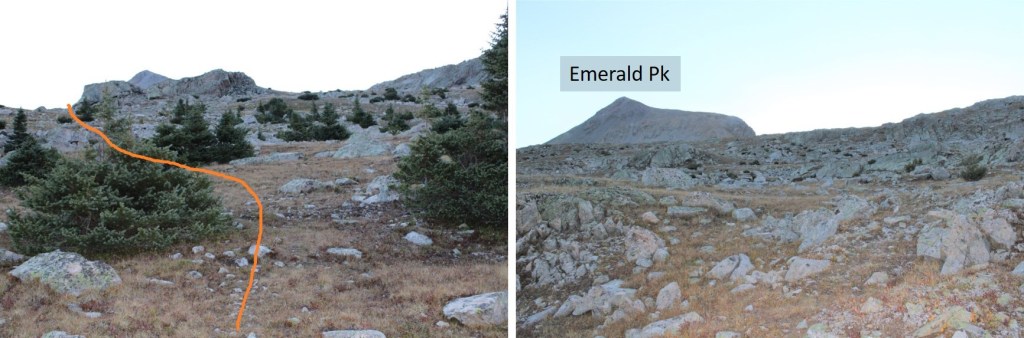
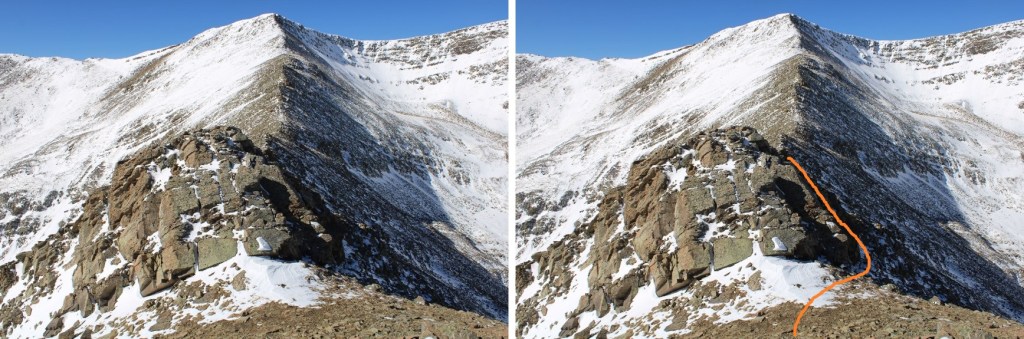
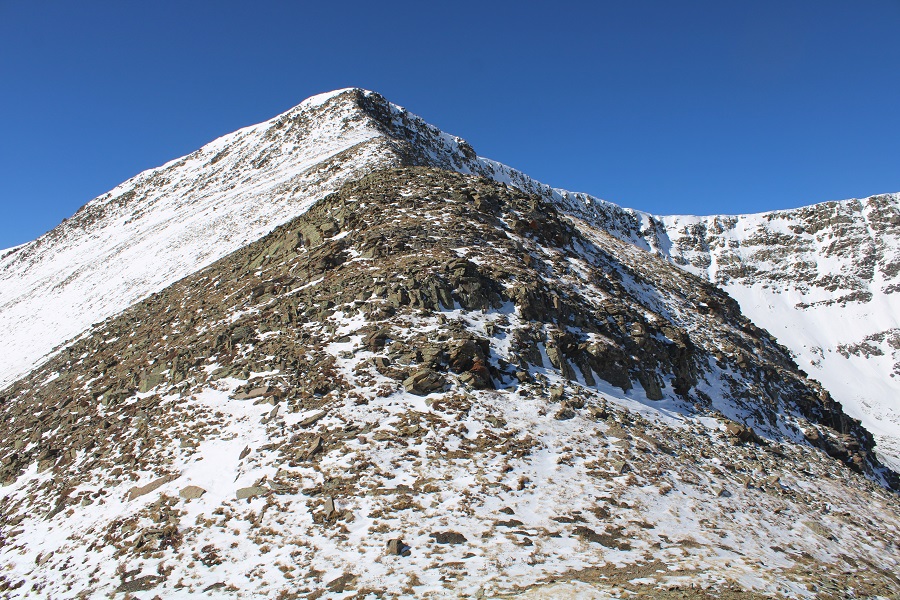
I kept heading west, following the ridge.  Just at treeline, and before topping out, I skirted the ridge to the left. 

There is no need to ascend to PT 12245.  Instead, I stayed just a bit south of the point, then gained the ridge by losing elevation.

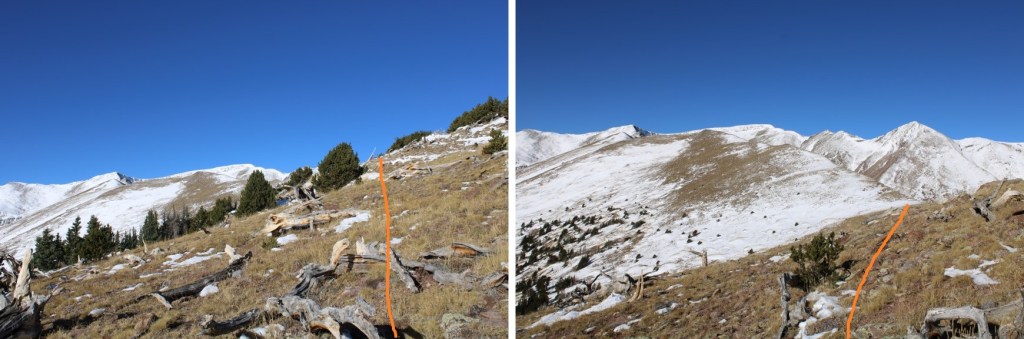
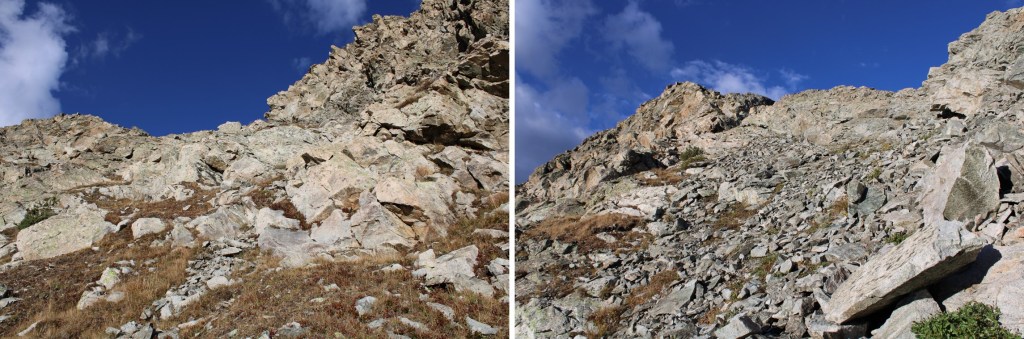
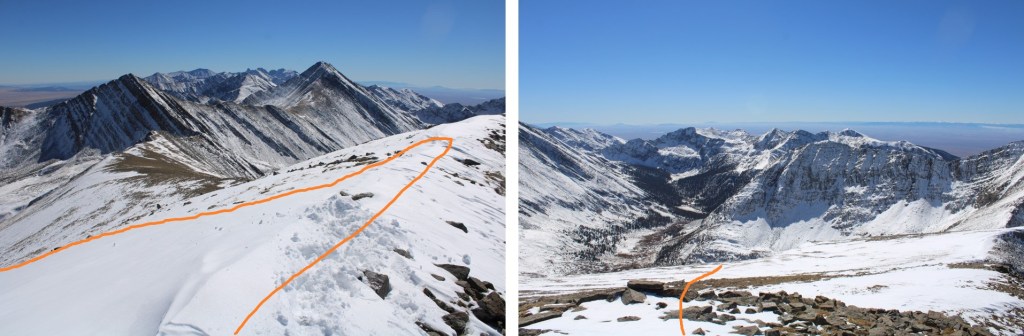
Once on the ridge the conditions varied.  They started out with easy, lightly covered-in-snow tundra.  I followed the ridge southwest.

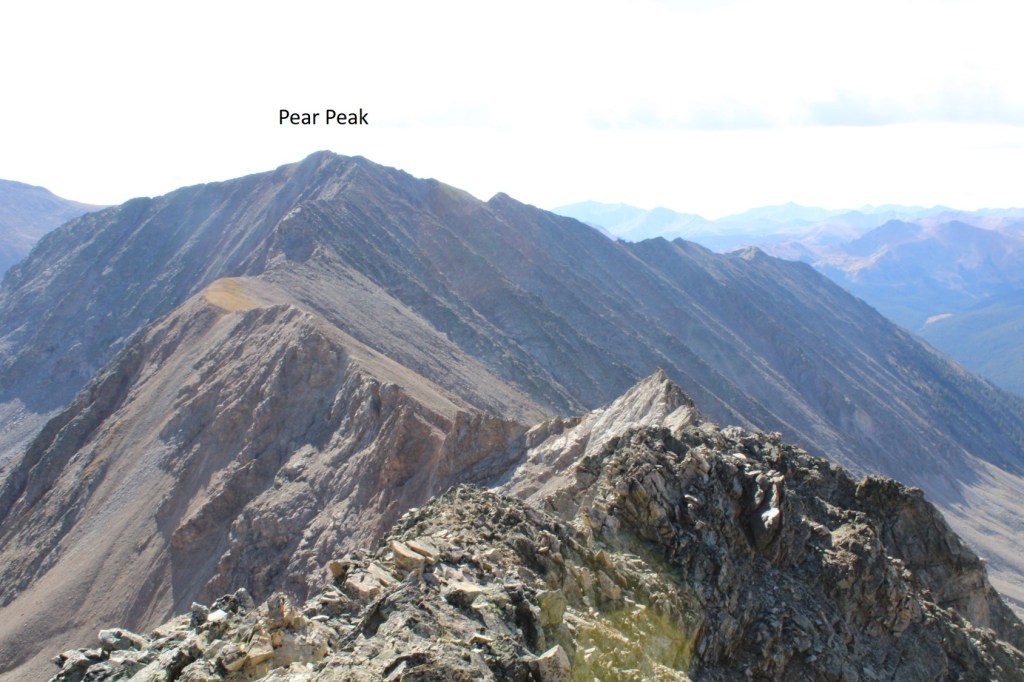
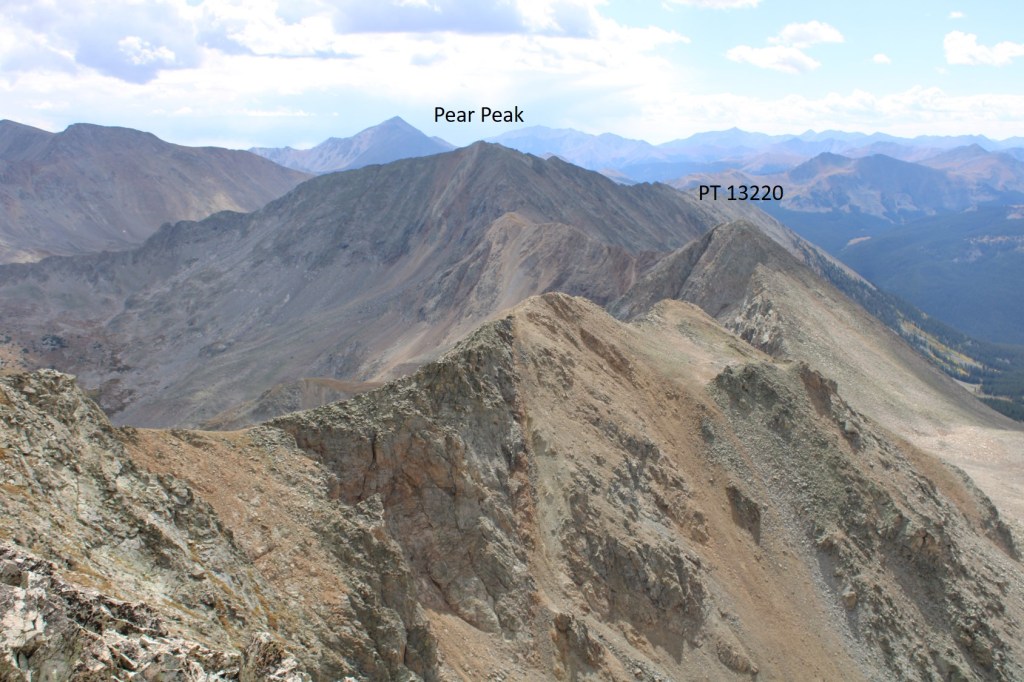
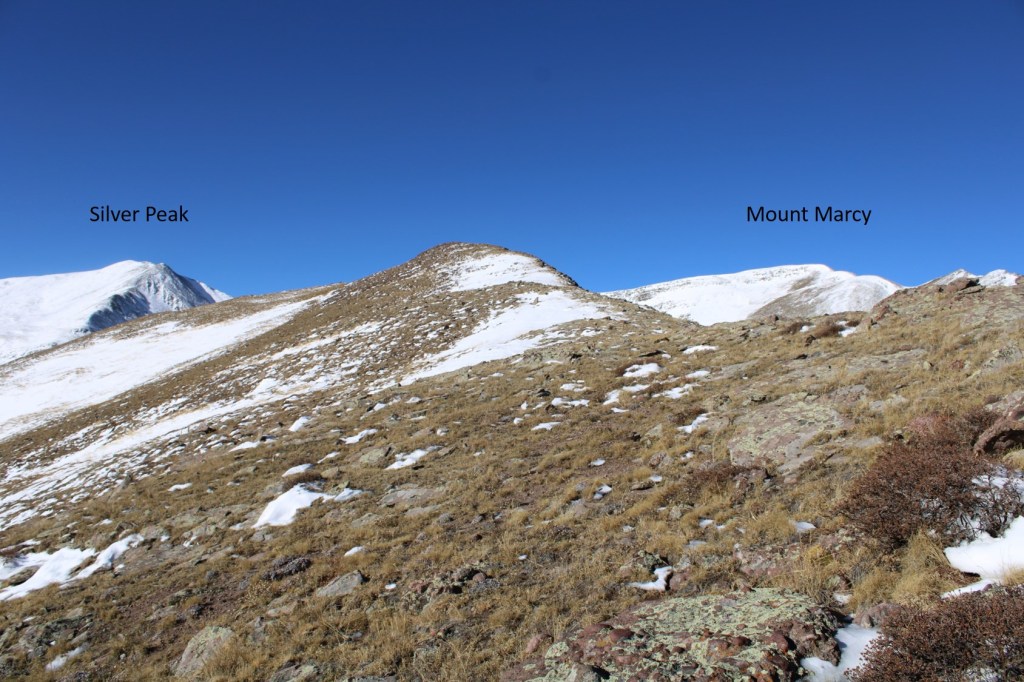
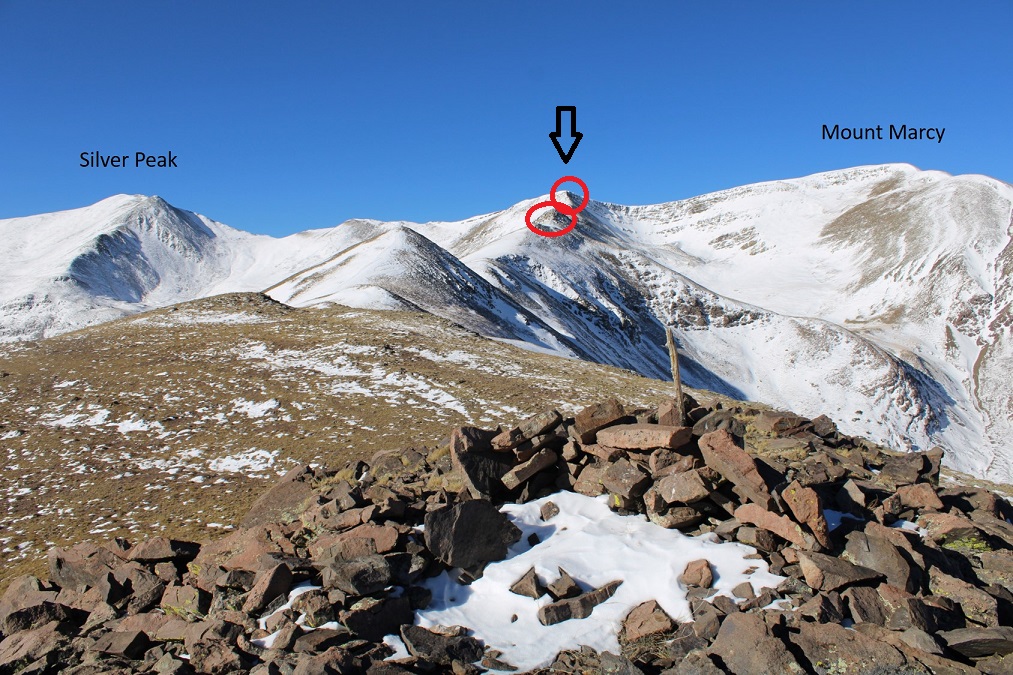
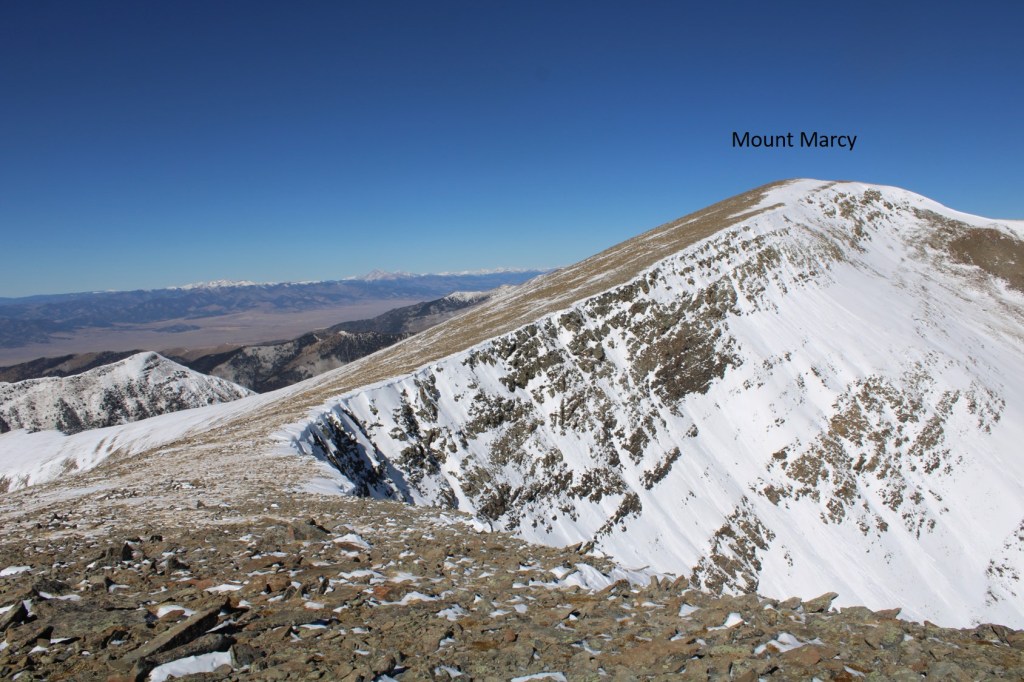
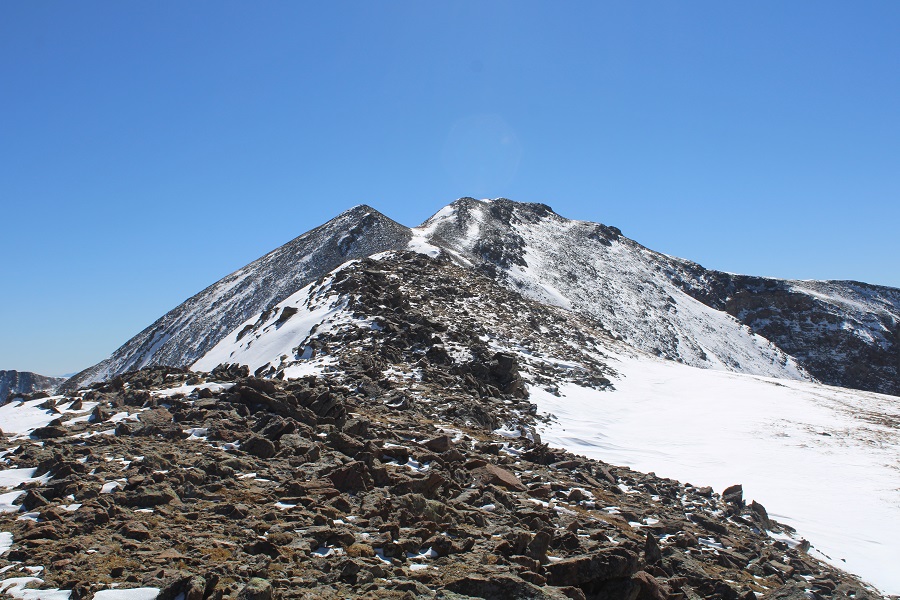
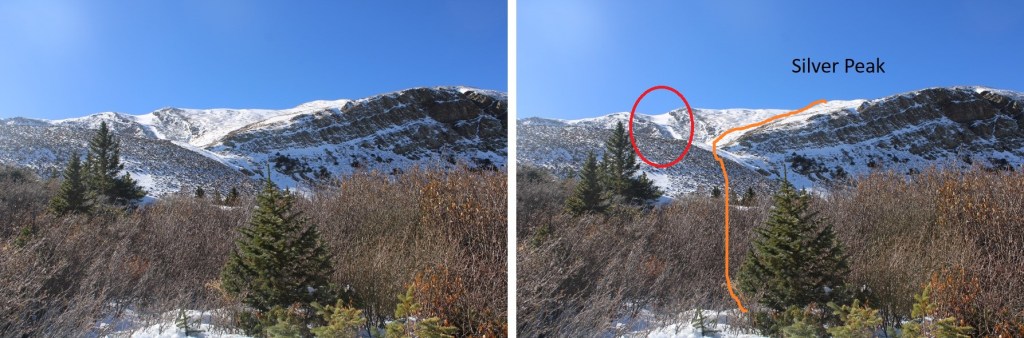
I was able to see Mount Marcy and Silver Peak clearly at this point. 

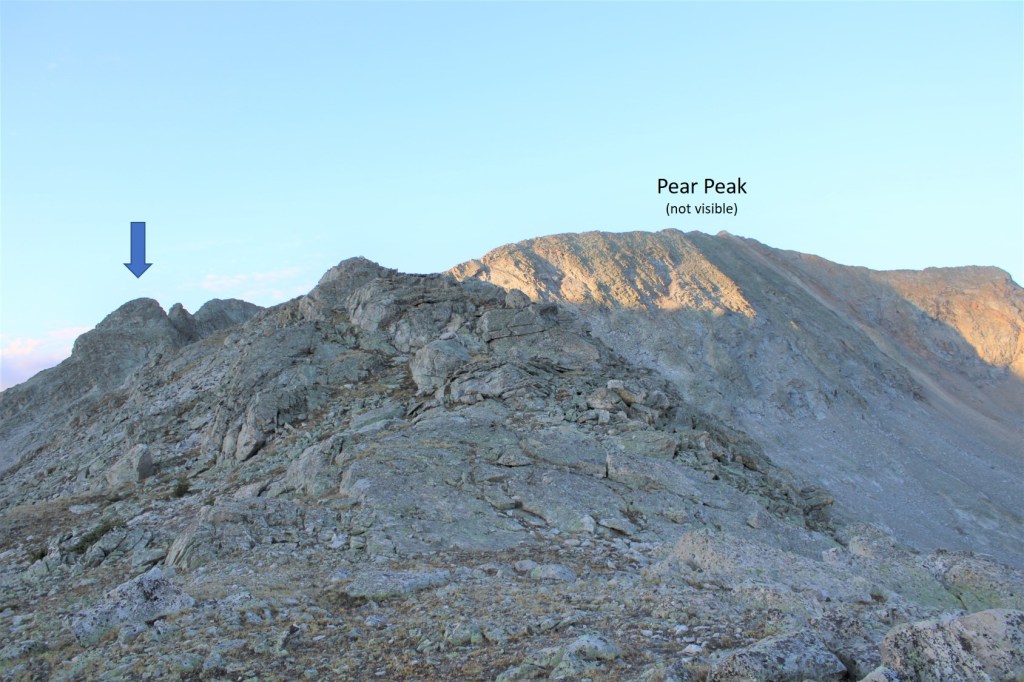
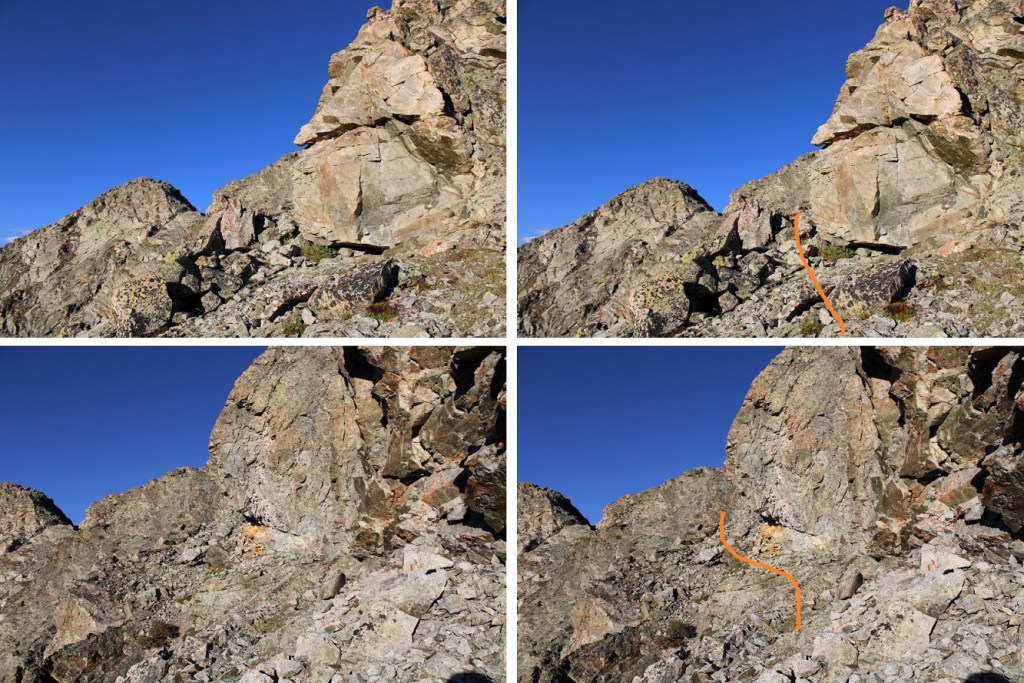
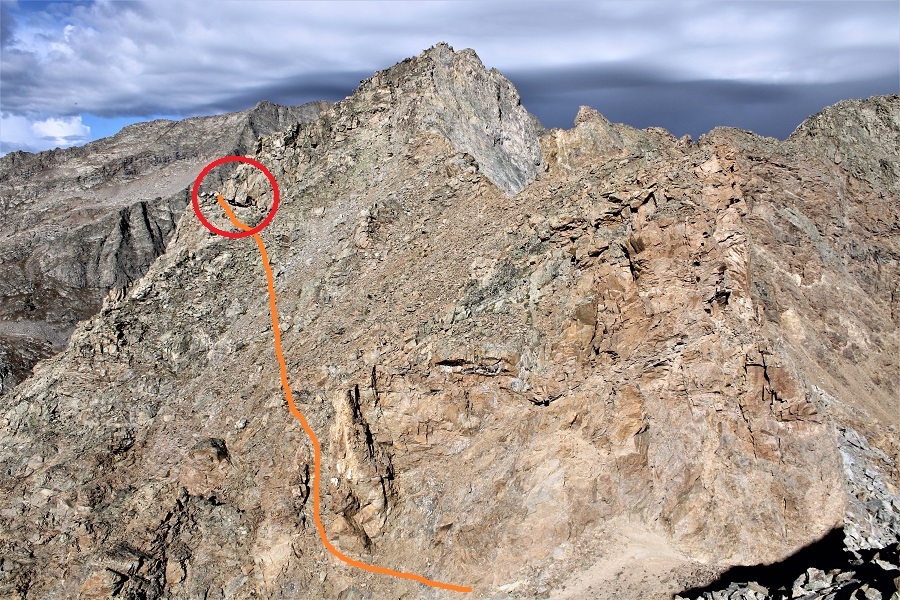
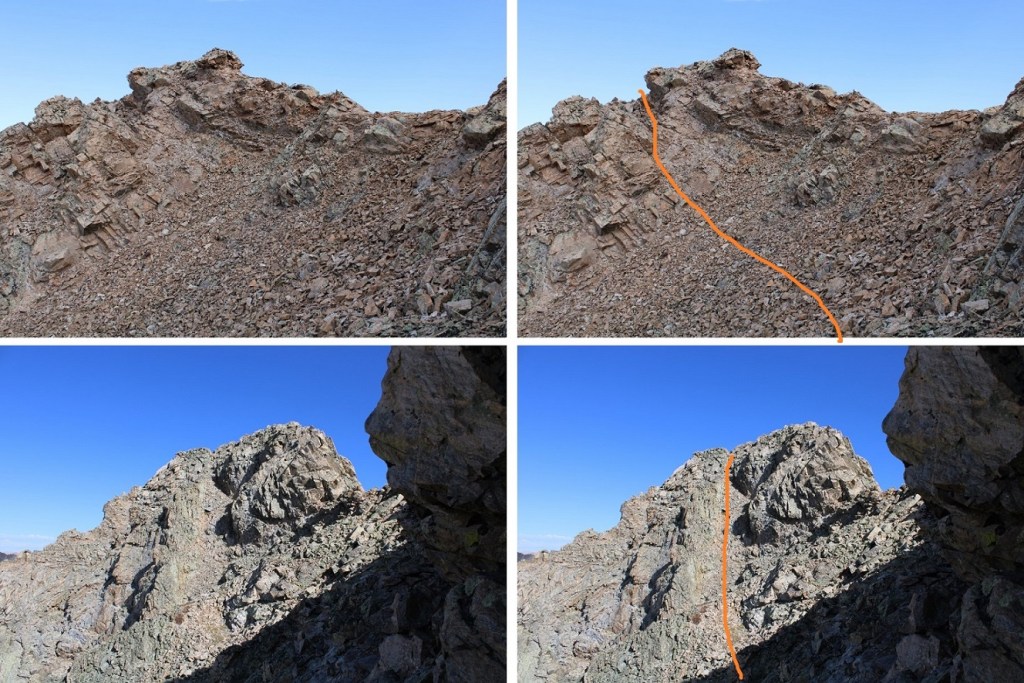
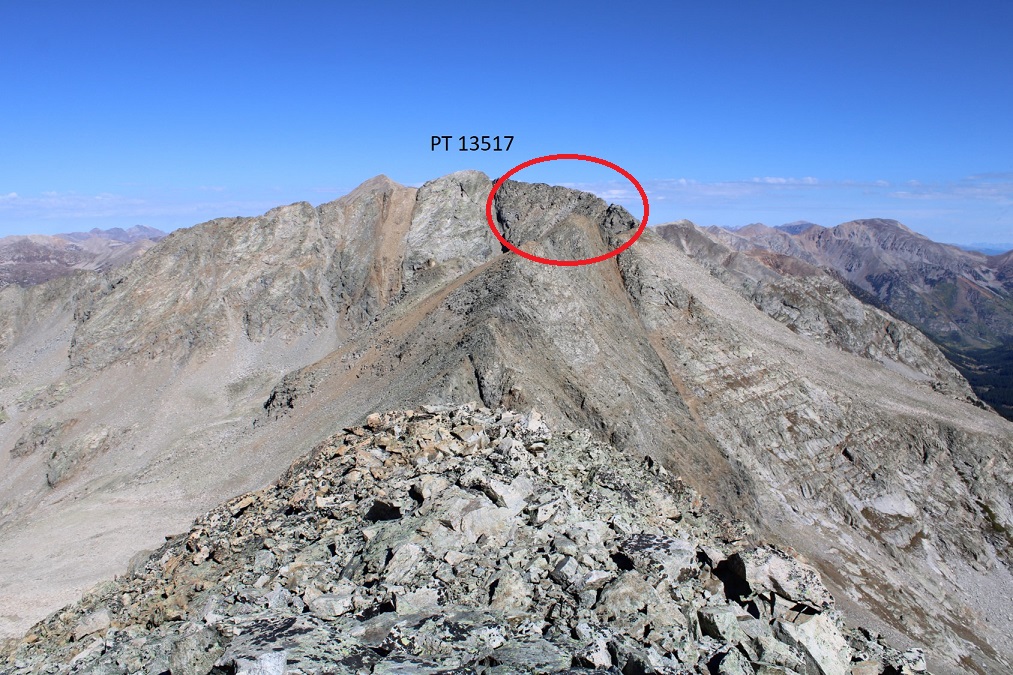
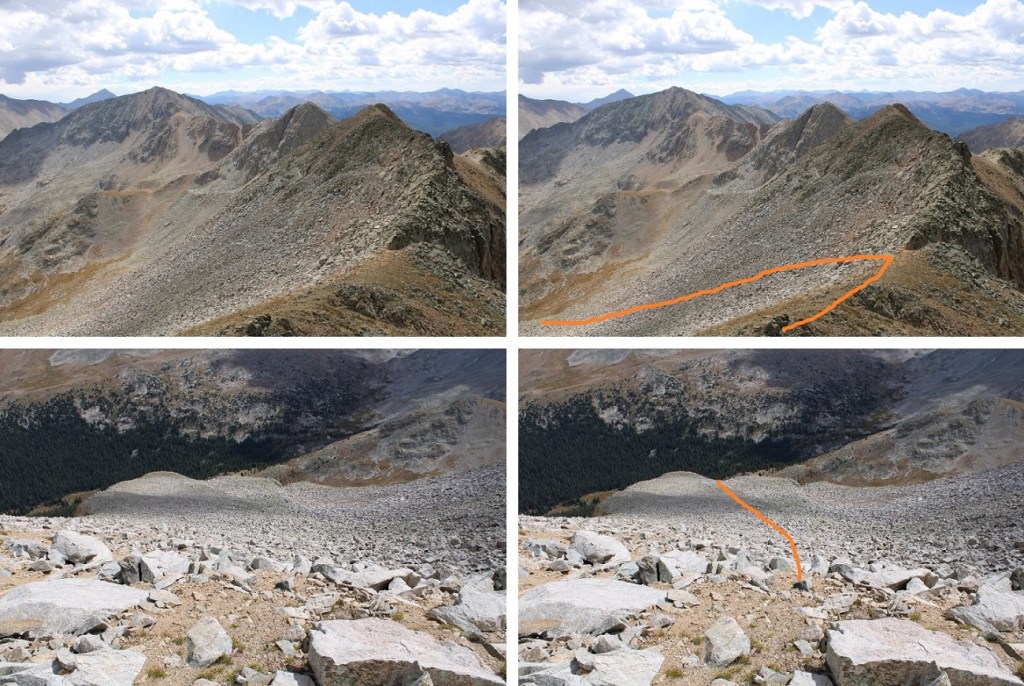
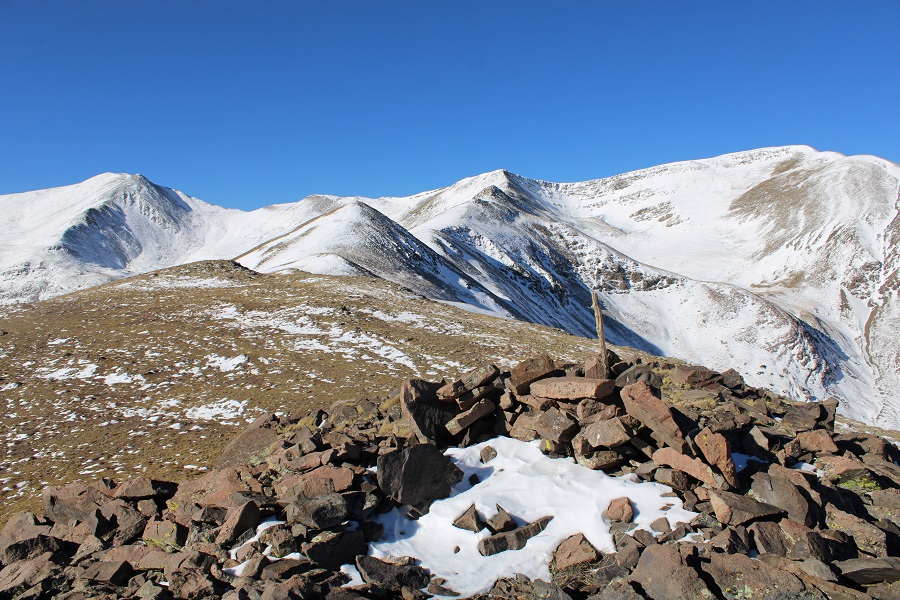
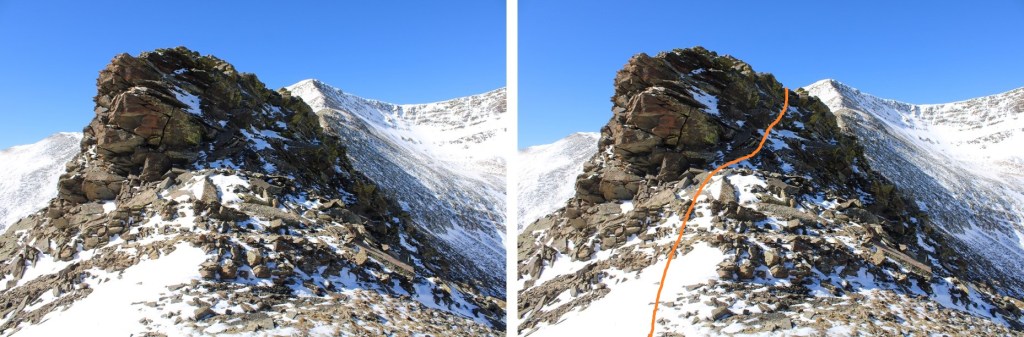
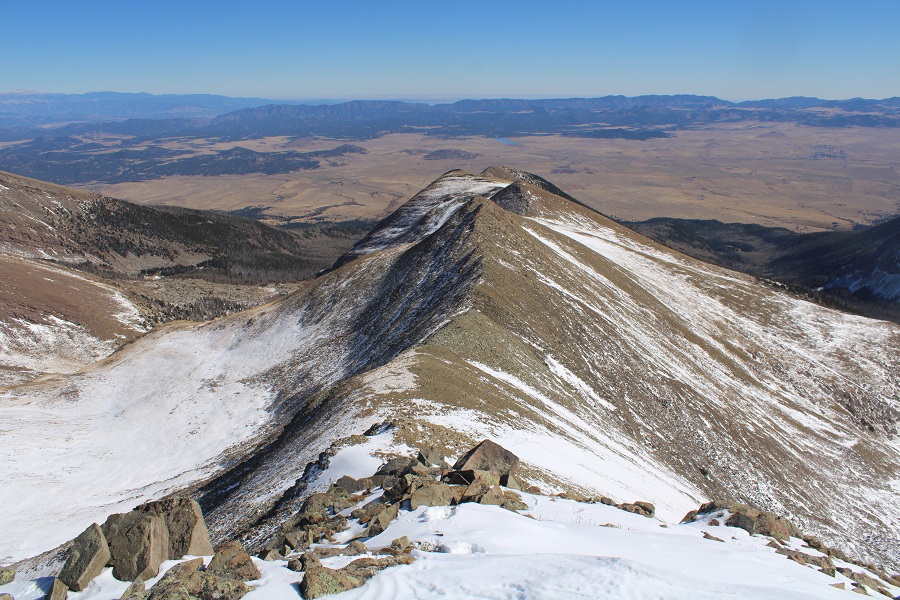
I continued following the ridge southwest, through varying conditions.  There were a lot of elevation gains and losses. I was aiming for the point in the middle. The difficult areas are circled in red (only difficult because of today’s current snow conditions). The rest of the ridge was a class 2 ridge walk. 

The snow had drifted in some areas, and snowshoes were helpful.

I went straight up and over this, using snowshoes in the beginning, and then taking them off to scramble up the rock.

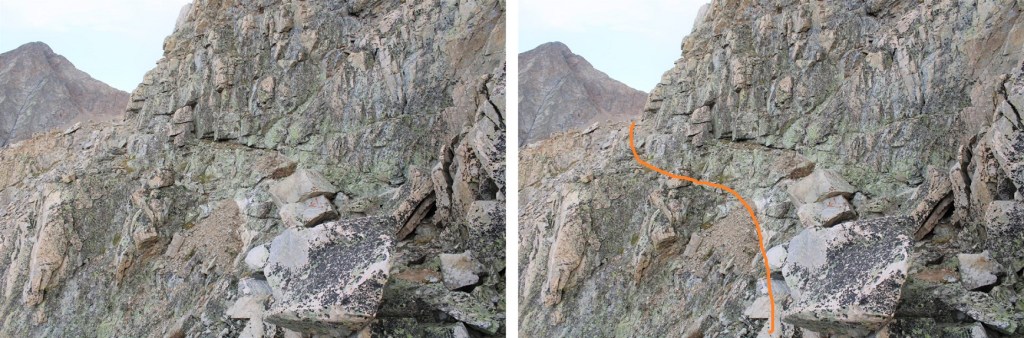
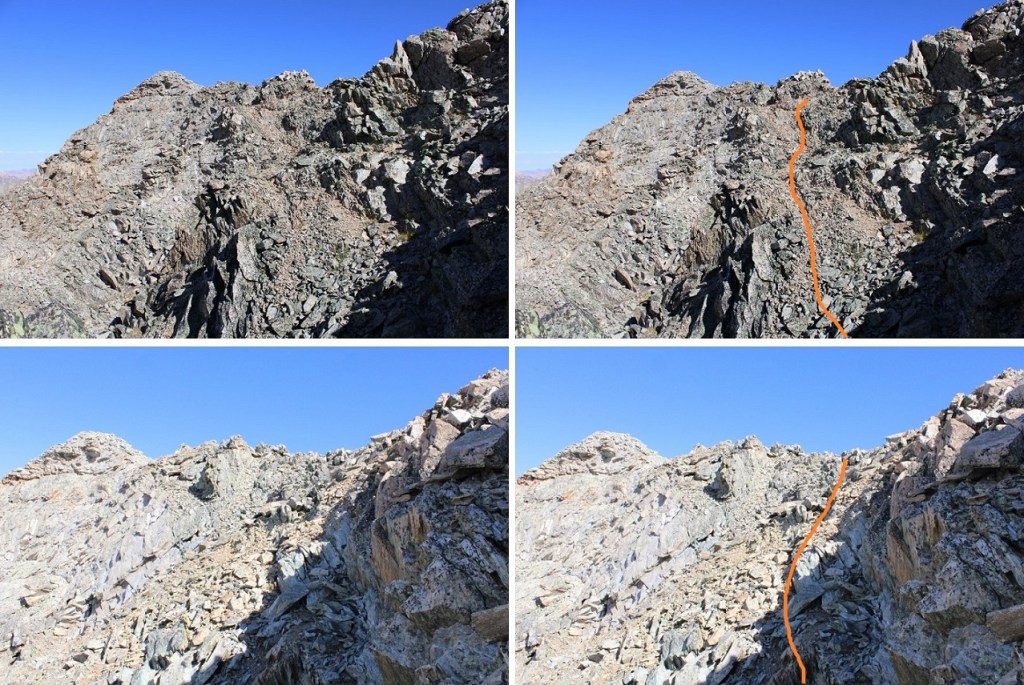
Here I dipped down to the right to navigate the rocks, and then quickly re-gained the ridge

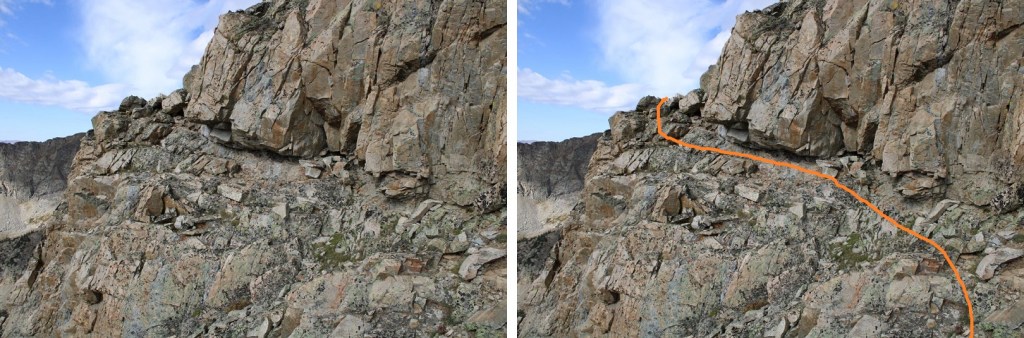
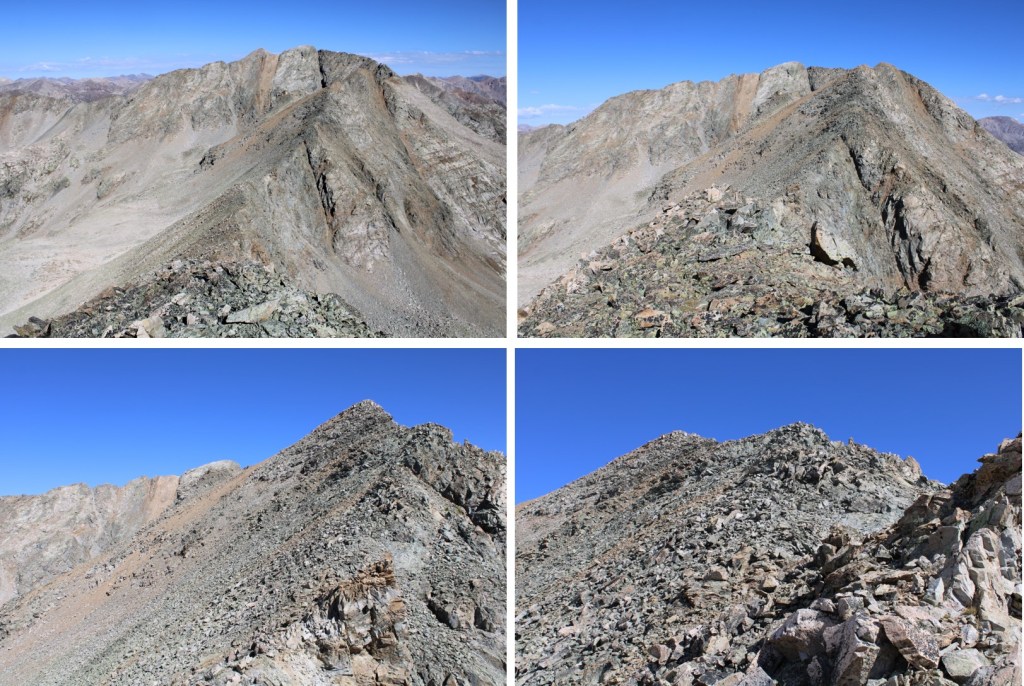
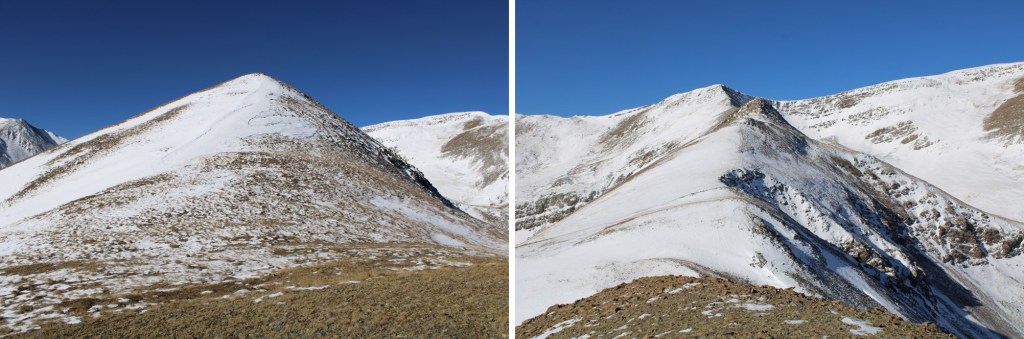
Here are the next few obstacles, and the path I took.  If I didn’t stay directly on the ridge, I dipped to the right.

I kept aiming for the highest point on the ridge

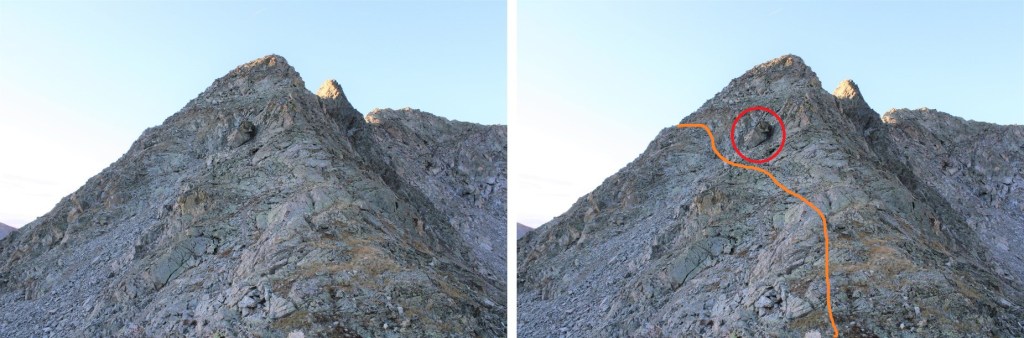
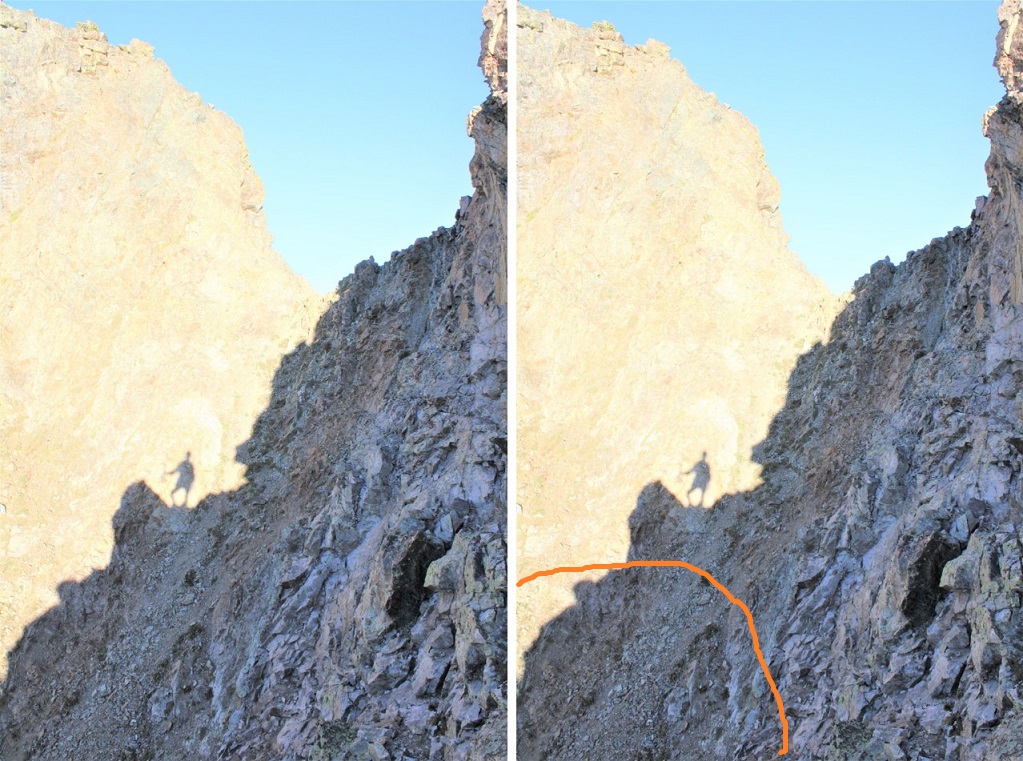
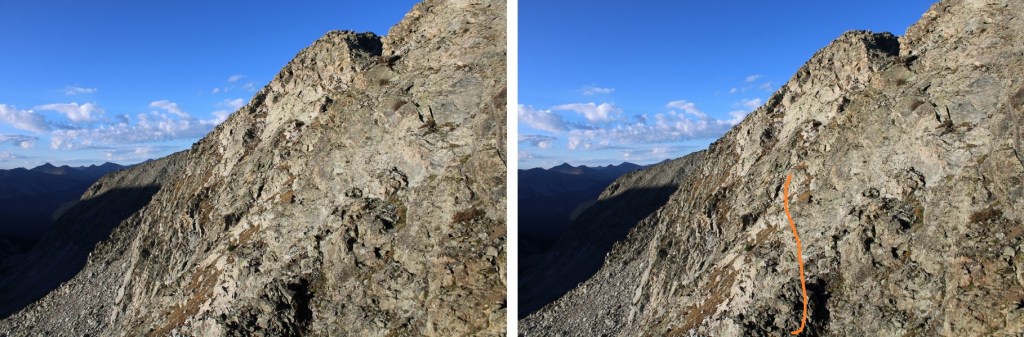
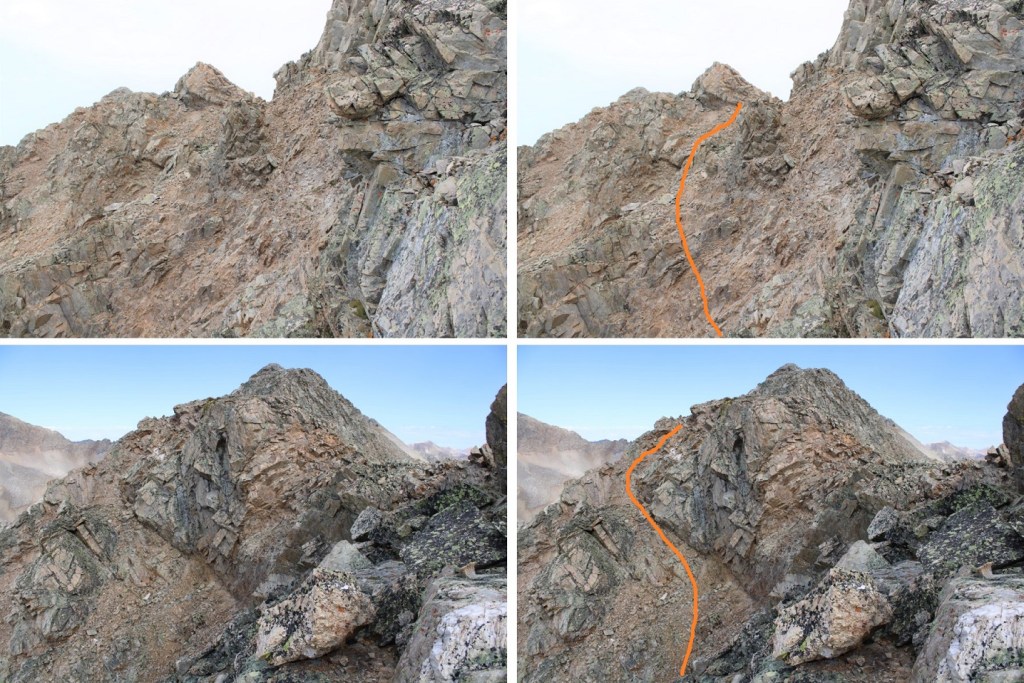
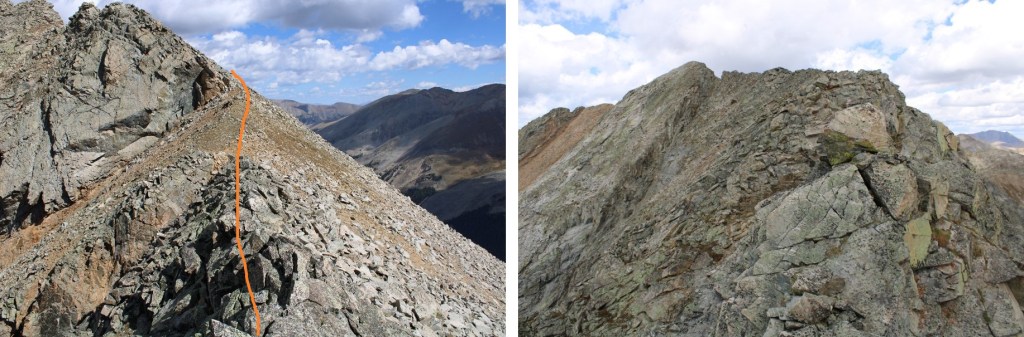
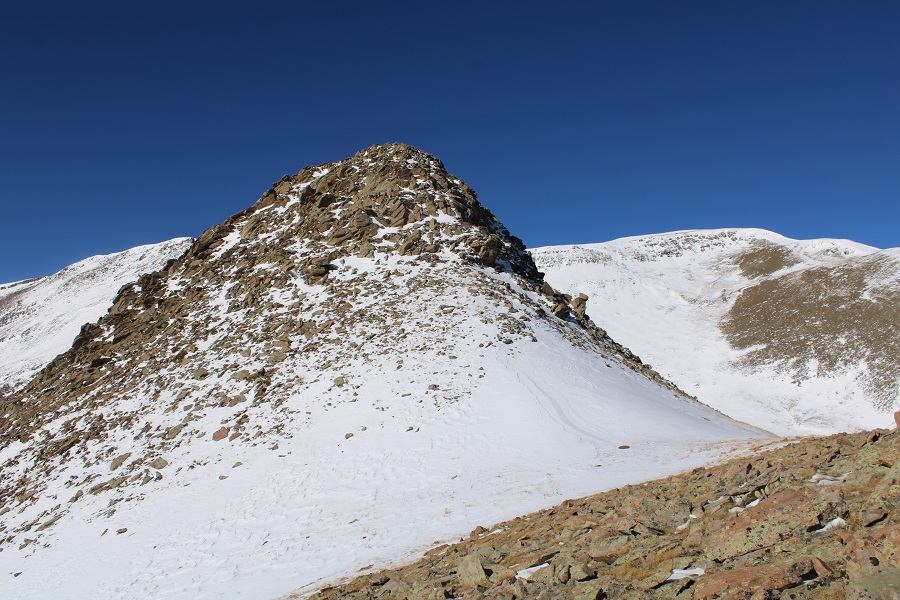
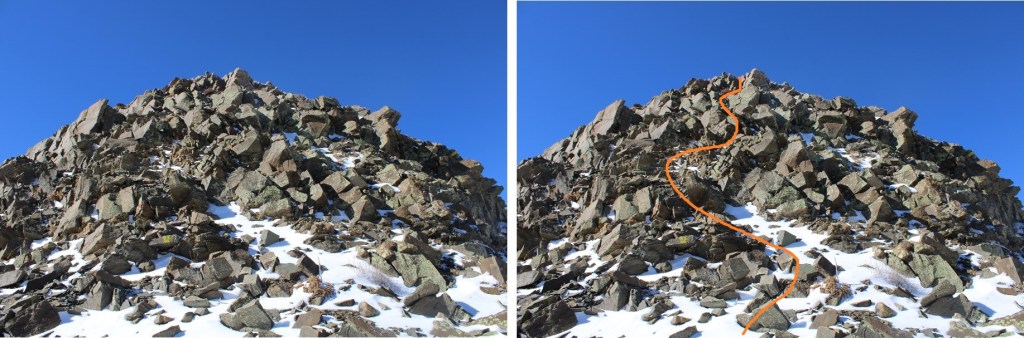
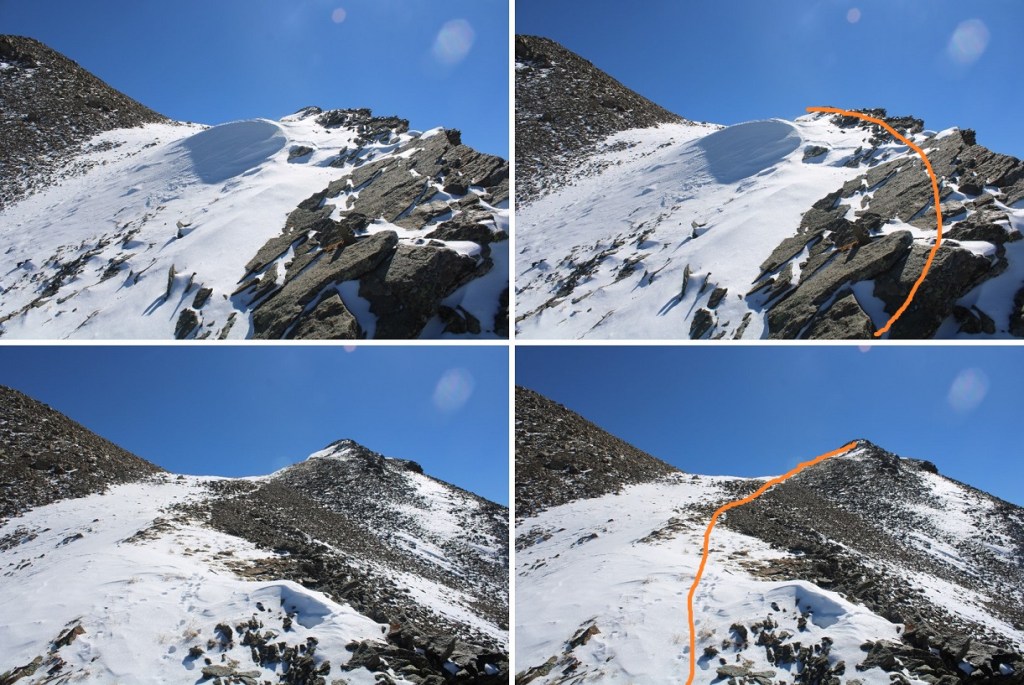
The last push was the hardest.  This was difficult class 3 climbing on the snow.  I stayed mostly in the center of the ridge

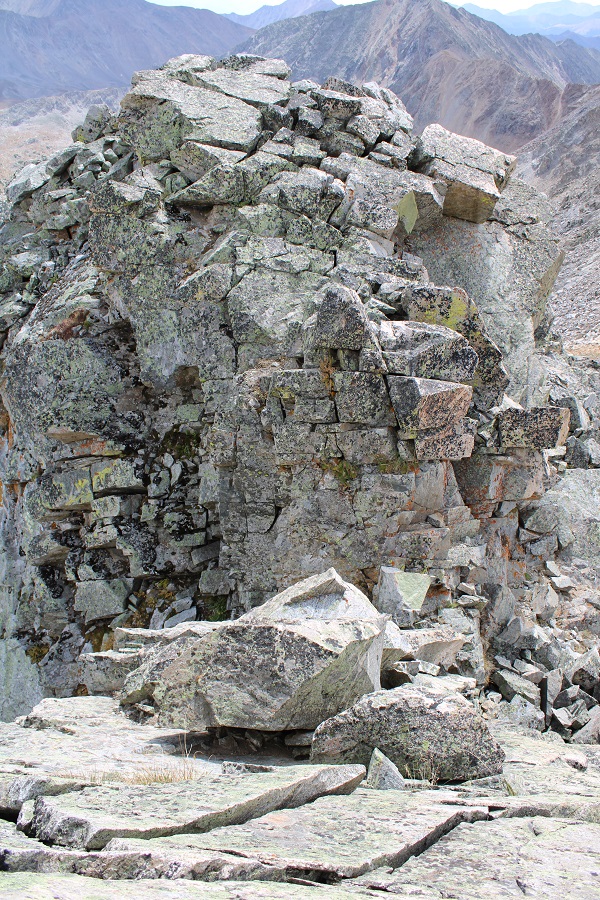
Here are some closer pictures of the class 3 scrambling to the top

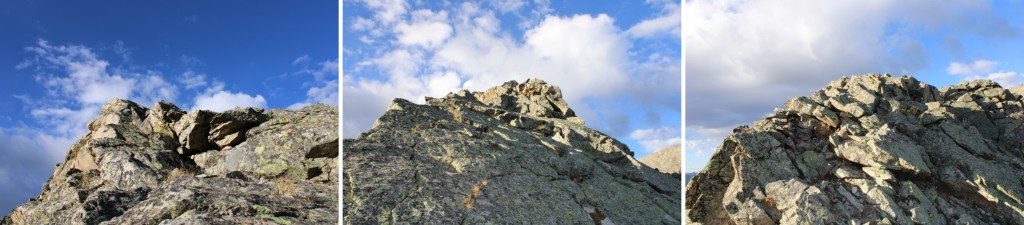
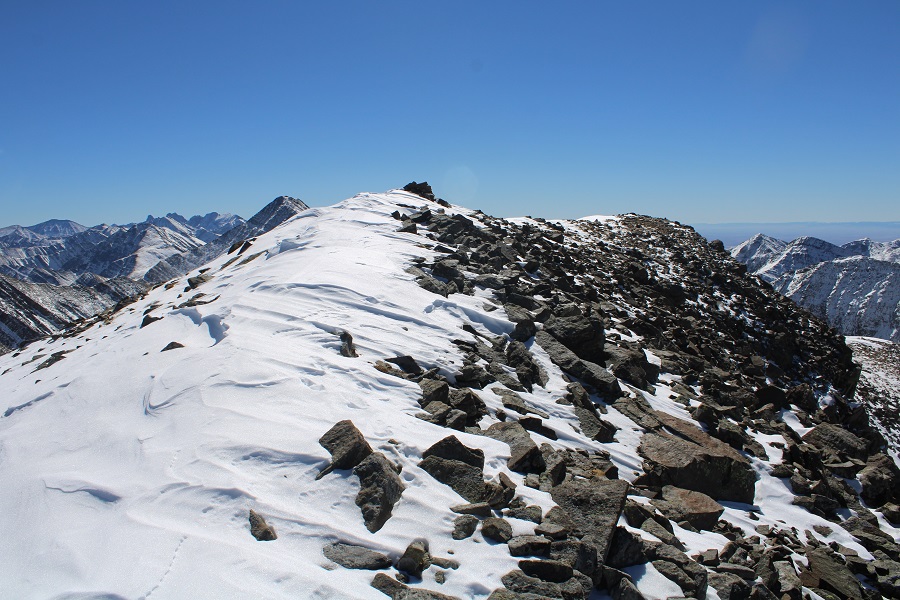
From the top, here’s looking back at the ridge

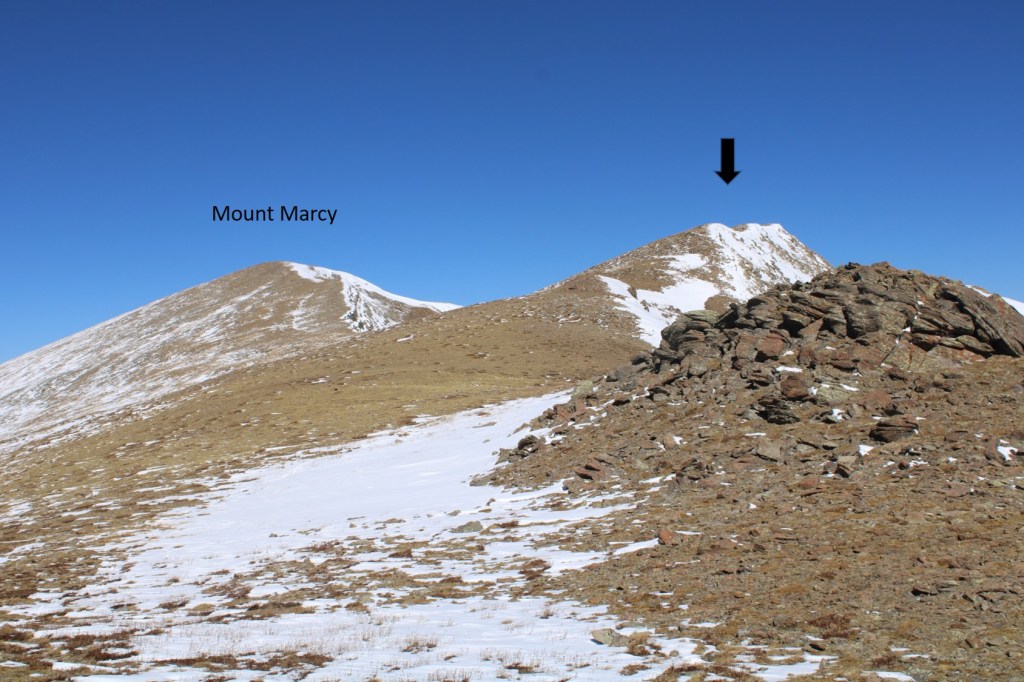
I now turned right and followed the easy ridge towards Mount Marcy

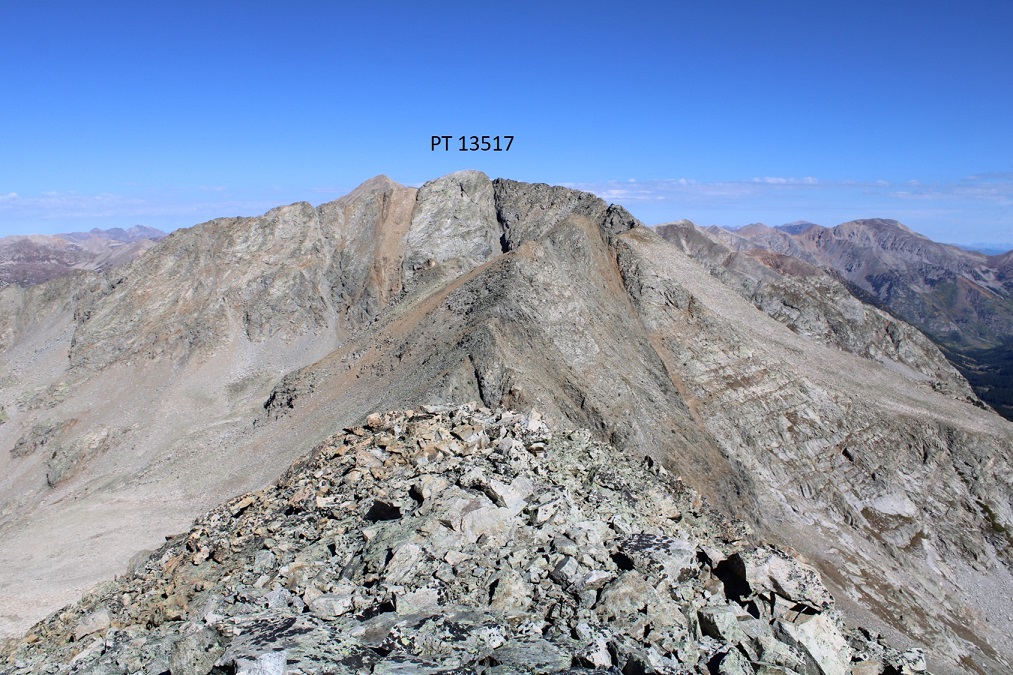
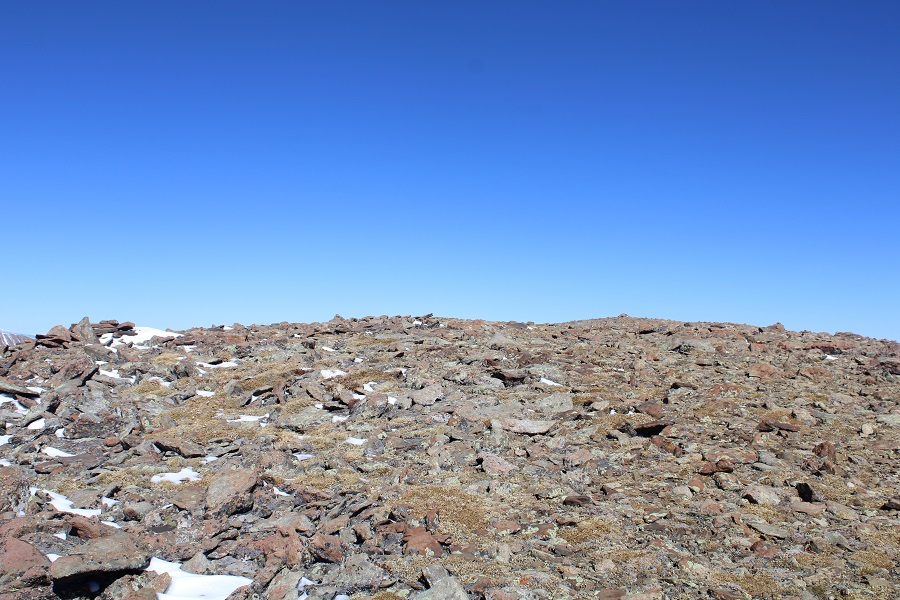
It was difficult to tell where the true summit was, and there were two cairns at the top.  I went with the one furthest north, as it had a summit register and required me to pass the first cairn, thus ensuring I’d hit the summit at some point. 

I summited Mount Marcy at 11:40am
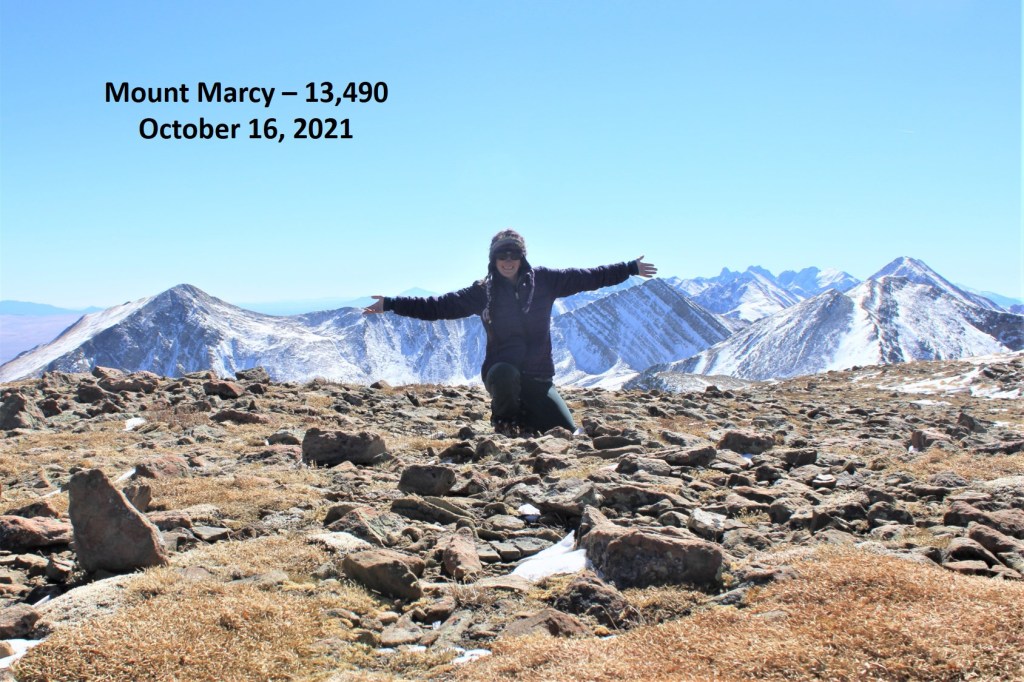
Mount Marcy:

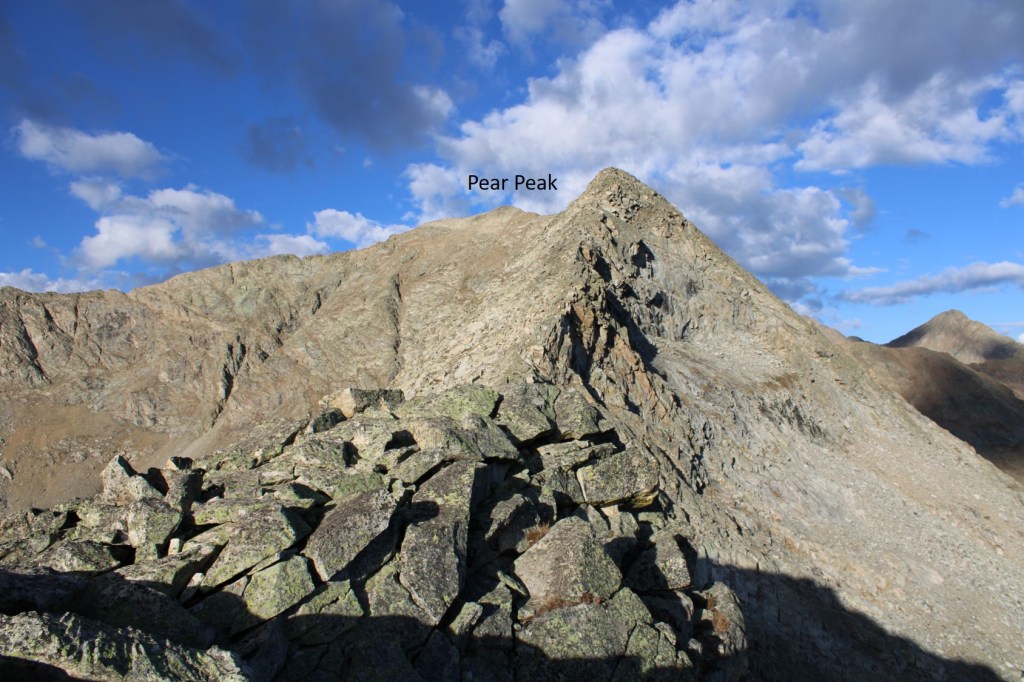
I headed back the way I’d come, and headed towards Silver Peak.  I didn’t re-summit the high point, but skirted it to the right on easy terrain

And then followed the ridge to the saddle

Here’s looking back at Mount Marcy.  The black arrow is how I accessed the ridge

But now, to continue towards Silver Peak

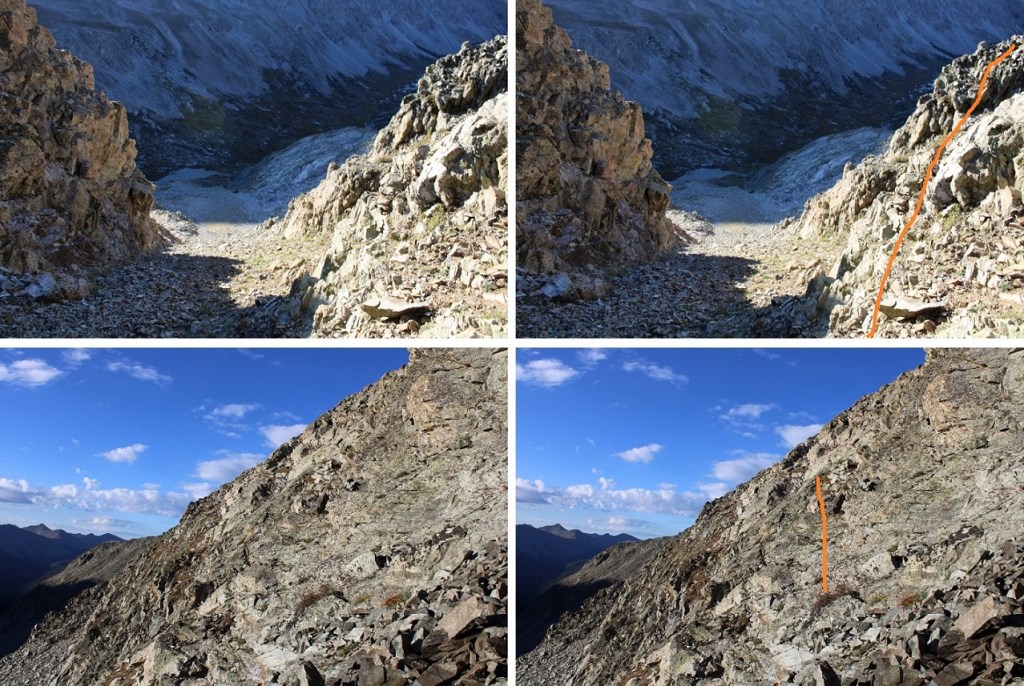
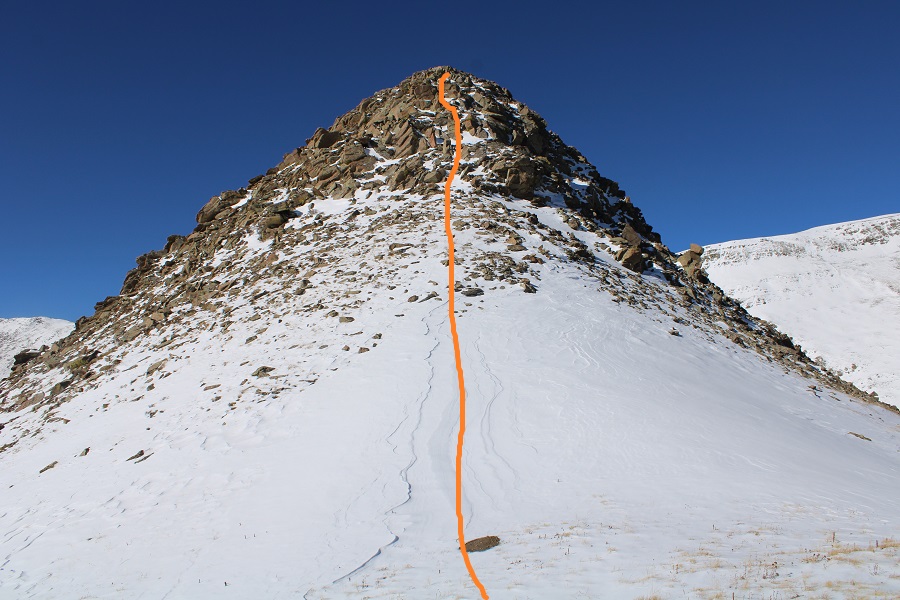
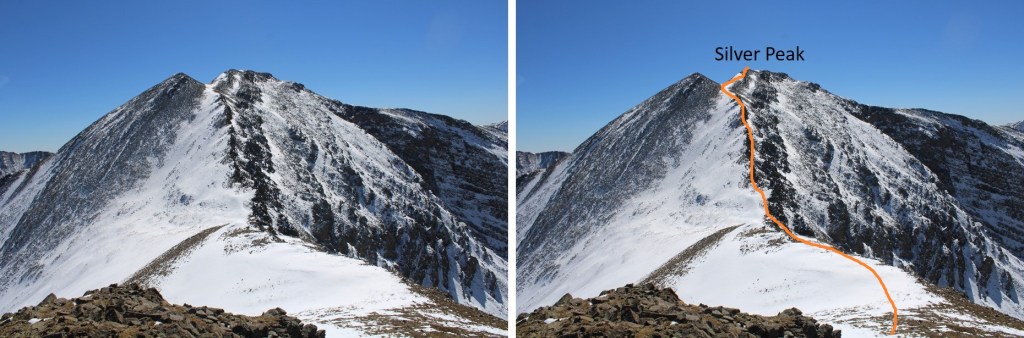
I made it to the saddle, and picked my route. By sticking to the very top of the ridge I was able to keep this class 3, although there were some tricky moves with the snow. Here’s the route I took

And some closer pictures of the ridge

Topping out of the ridge was class 2

I then headed south towards the summit

I summited Silver Peak at 1pm
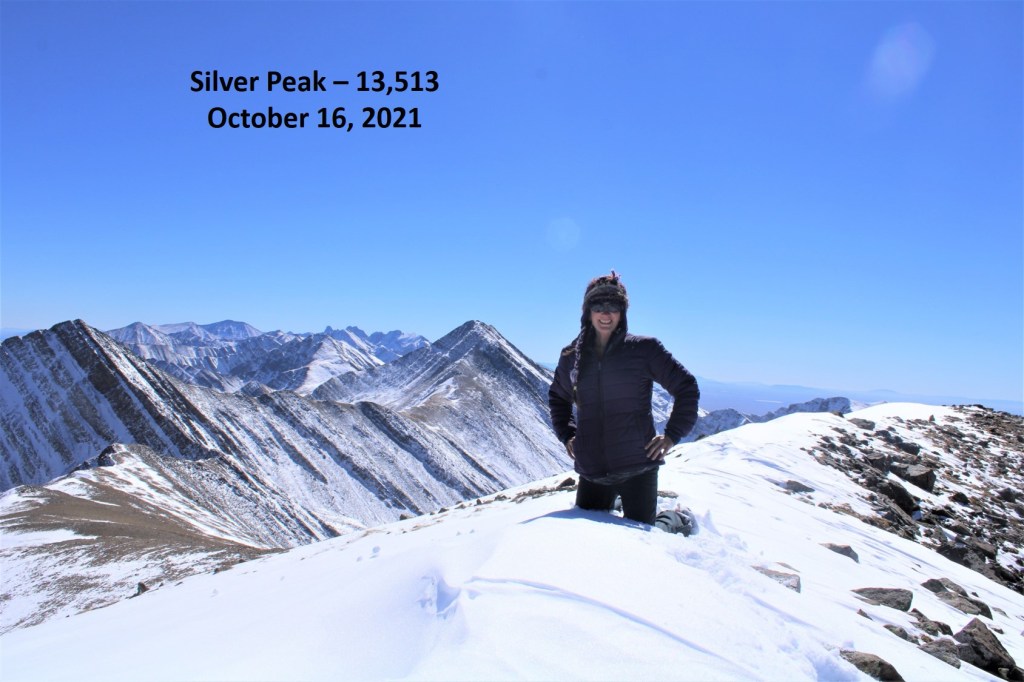
Silver Peak:  

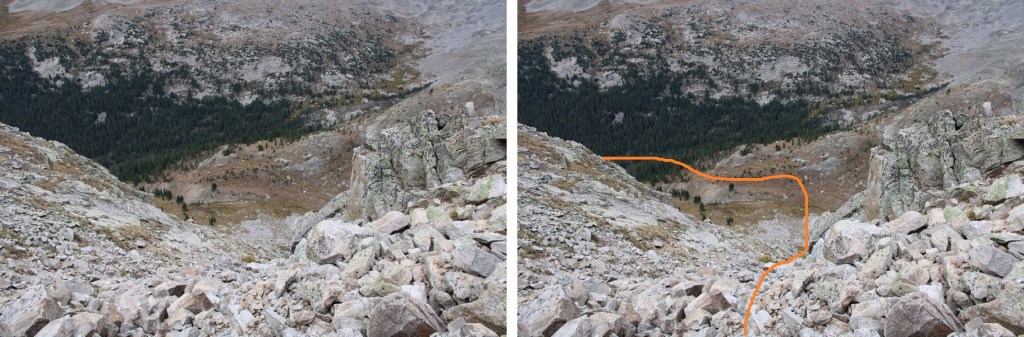
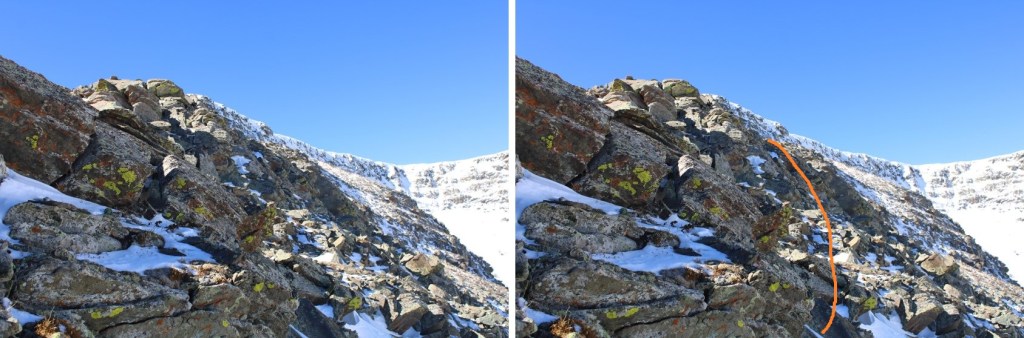
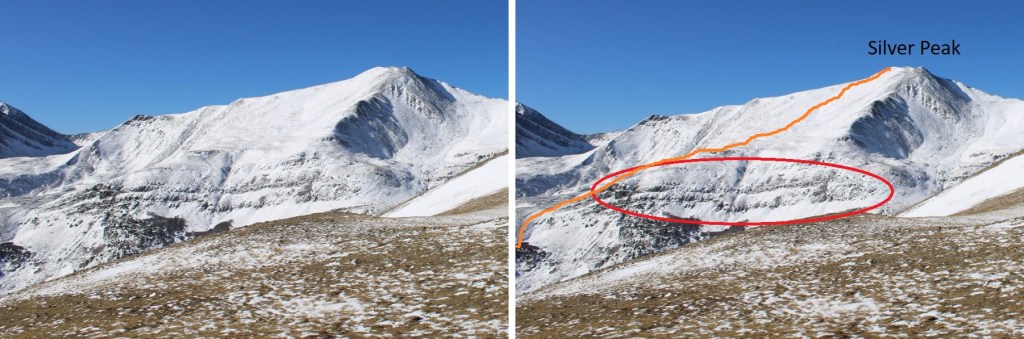
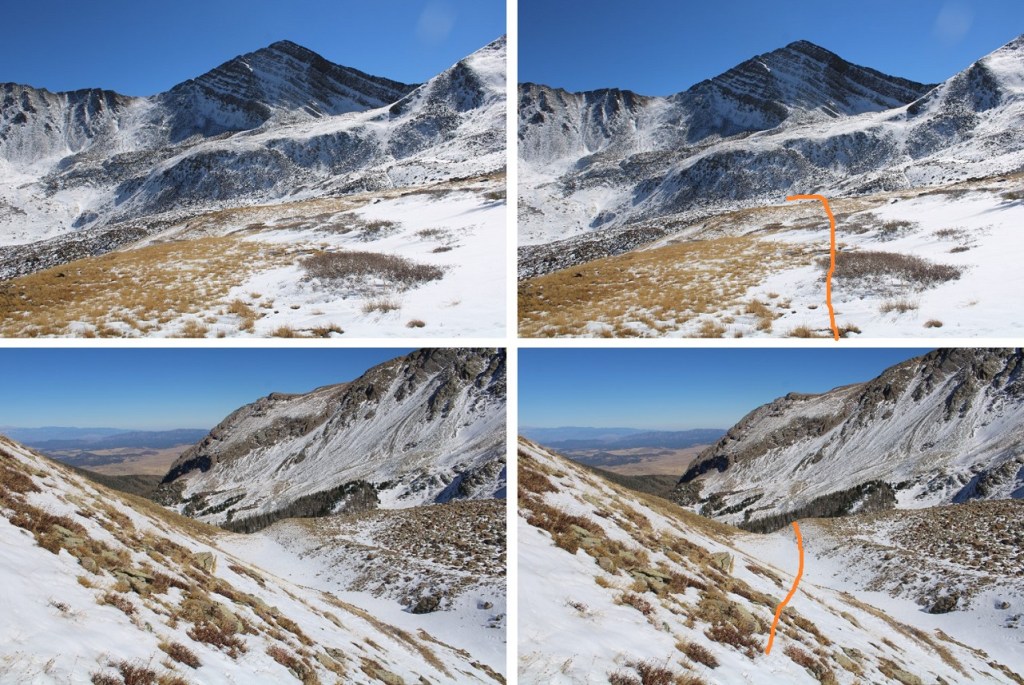
I was making this a loop, so from here I wanted to descend into the Lakes of the Clouds basin.  To do this I followed the ridge about 50 feet south, then turned left and headed east.  It’s important to follow the contour of the ridge, as it cliffs out if you go too far north.  Here’s a visual from earlier in the day.  You’re trying to avoid the cliffs I the circled area

Please note:  I’ll show you how I made it down to the Lakes of the Clouds, but I do NOT recommend this as a winter/winter conditions route, and it’s probably not ideal in summer either.  There was snow in the top of the avalanche chute, and it was mid-October.  The gullies were unstable and difficult to navigate while covered in snow, and it was hard to find a direct route down.  The only positive was the creeks were low, so I was able to walk directly in them to avoid the willows.  (Willows:  another reason to avoid this route, just go back and take the ridge down). 

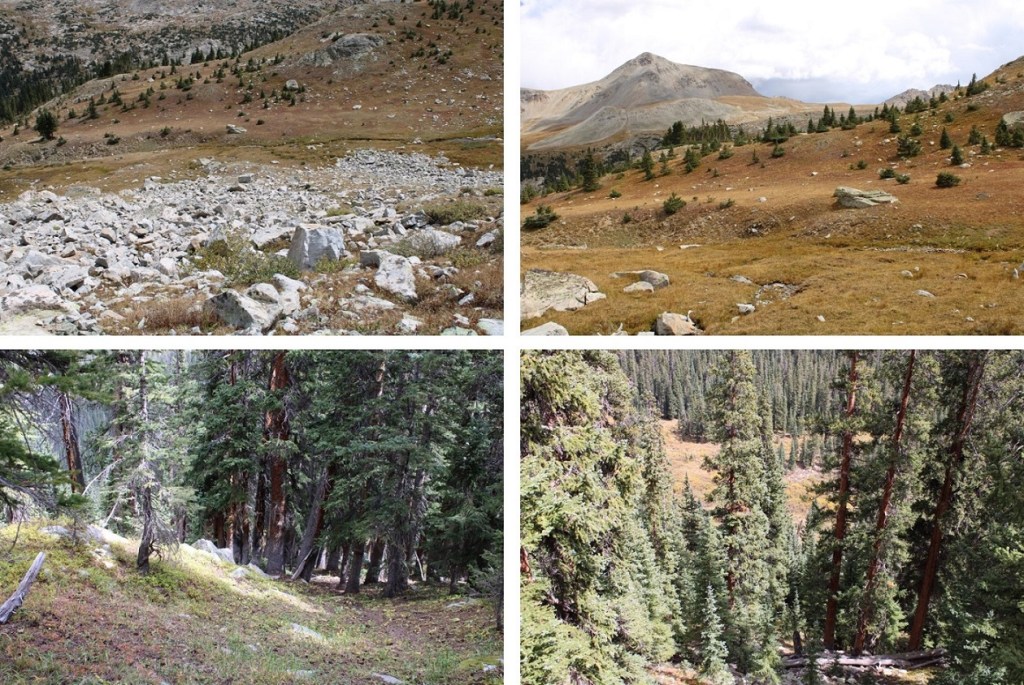
I made my way into the basin, first heading south, and then east

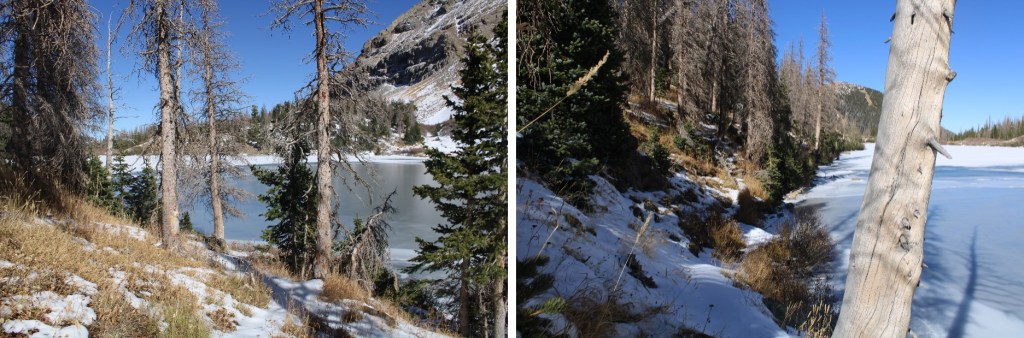
Once I could see them, I was aiming for this lake, where a trail would pick up

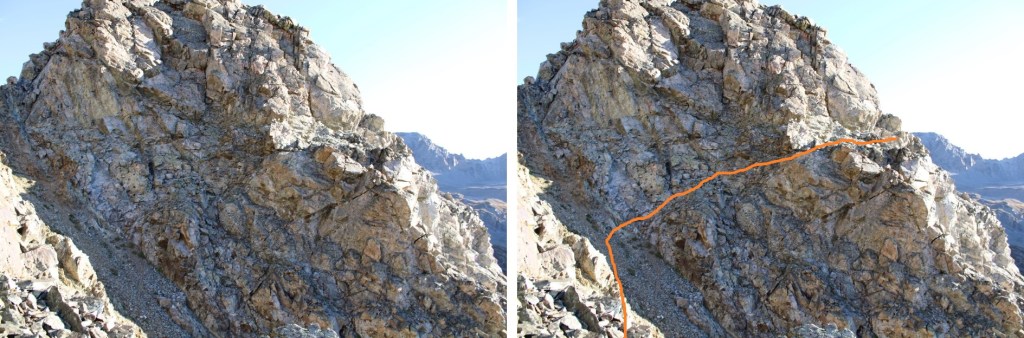
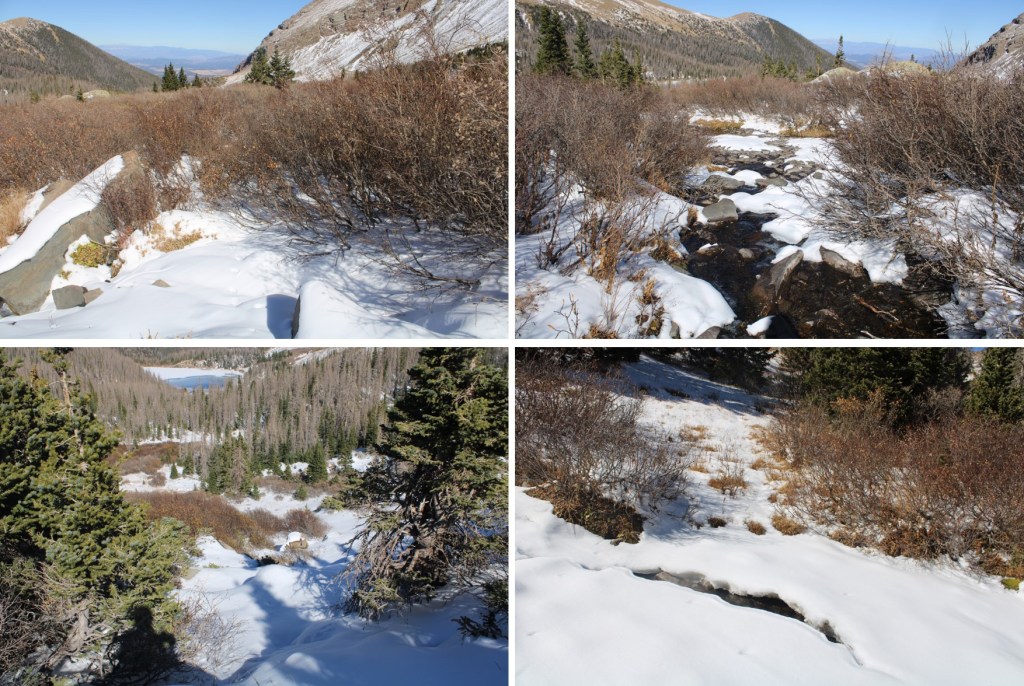
The route required me to cross/use an avalanche route/drainage area.  To navigate this, I stayed as high as possible, once crossing the drainage

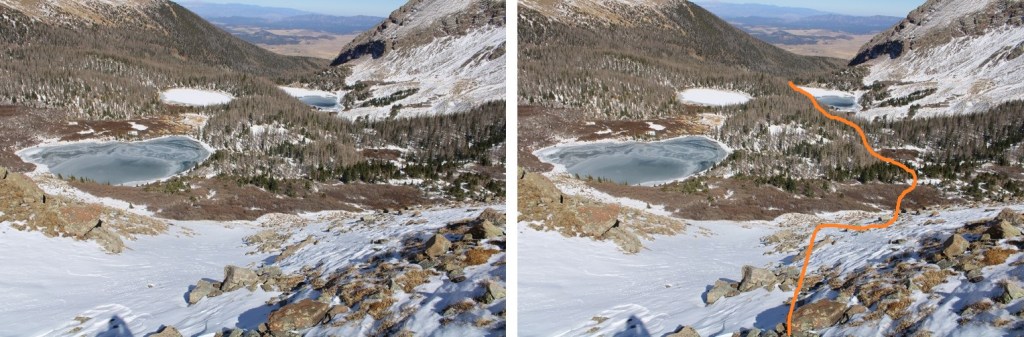
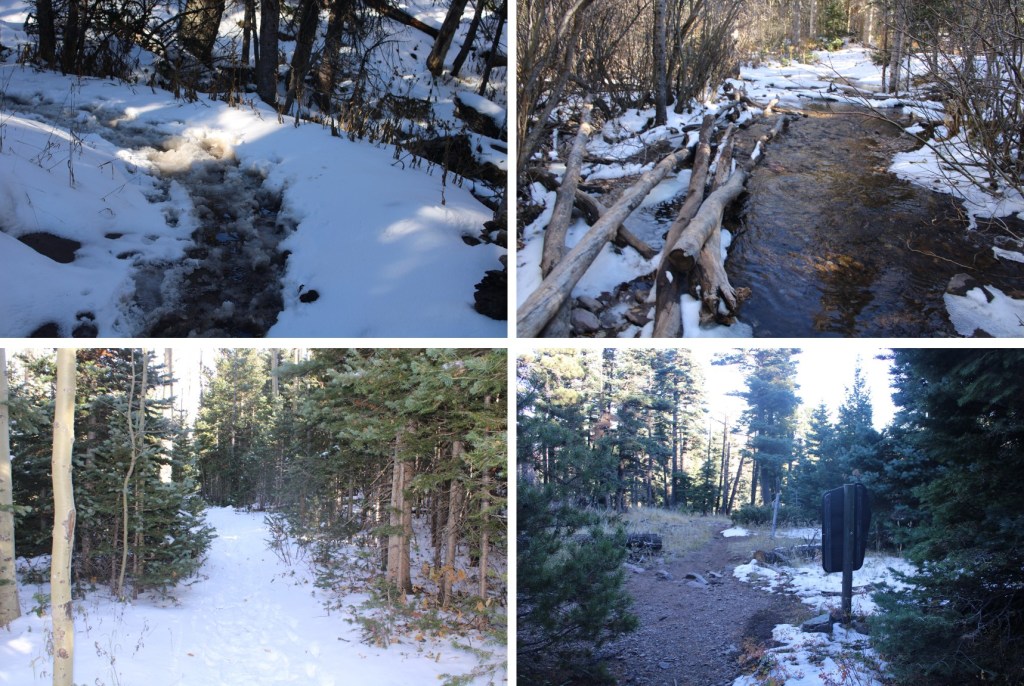
I stuck to the stream whenever possible, which would ultimately lead to the lake

I have to say, this part of the hike was miserable.  I had to watch every step, and took considerable time dusting snow off rocks to make sure I had secure hand/foot placement.  It was getting later in the day, so snow stuck to my microspikes.  I lost a spike somewhere along the way… probably in a stream crossing, as the snow that had built up on my foot became engorged with water, much as a snow cone would when adding syrup, became heavy, and slushed into the muck.  Long story short:  my feet were wet the entire hike back to my truck.

Here’s looking back at how I came down from Silver Peak.  The top of the avalanche area is circled in red, and flows all the way to the lakes

I skirted the lake to the left and at the north end of the lake came upon trail 1349, which was packed down this morning by fishermen heading to the lakes

I took Trail 1349 for 3.75 miles, back to Trail 1336, and the to the Gibson Trailhead.  This is a great, class 1 trail.  The only downside are all the softball-volleyball sized rocks littering the path

I made it back to my truck at 4:30pm, making this a 16.6 mile hike with 5573’ of elevation gain in 11 hours.

Pear Peak – 13,462, PT 13220, PT 13513

RT Length: 11.89 miles

Elevation Gain: 3995’

I’m not a fan of the Rockdale Trailhead. It’s an adventure in itself, starting with a drive through Clear Creek

And then the road to get to the trailhead is littered with dips and rocks. I feel I’m a pretty good driver on 4WD roads, but I have a hard time avoiding some of the obstacles on this one.  If you drive to the upper trailhead be sure of your driving skills/vehicle.

I made it to the trailhead and was on the trail at 5:30am. The trail is class 1, and starts out by heading south along trail 1461.

After hiking for less than half a mile I came to the avalanche area. Last time I was here was recently after the avalanche, and it was difficult to navigate.  They did a lot of work in this area, and now you can drive a car through it (if vehicles were allowed, that is).  I passed around the gate, and continued along the trail.

Just before making it to Clohsey Lake there’s a junction in the road and it becomes a trail.  You can take this, or continue taking the road to the lake and pick up the trail on the other side. I chose to take the trail up and over the small mountain

I followed this trail south for 3 miles from where I parked, through pine trees, willows, across streams, and eventually to treeline.

After about 3 miles the trail kind of disappeared/fizzled out.  Last time I was here I found cairns to take me to the ridge, but this time I didn’t see any.  No worries though, I just kept rounding the hillside, heading northeast towards the ridge. You’ll want to just head towards the ridge, but easier terrain is to your left (northeast).

It was 3.75 miles to the ridge.  Once on the ridge I turned right and followed the ridge south.  I could mainly stay on the top of the ridge, dipping to the left a few times when necessary.  I was headed towards the black arrow.

To continue to follow the ridge I had to make it around this point. I aimed for just below the large boulder, then went left, following dirt and scree and hugging the mountainside.

This part was easy, but as I rounded the corner, I came upon gullies full of choss. This area felt class 4.  To navigate these, I hugged the gullies, dipping down to cross the first big one, and then remaining level before eventually finding what looked like a game trail to the ridge.

Here’s the view and my route from the first big gully. I stayed level to get across the chossy gullies. It’s harder/steeper than it looks.

Safely across the first gully, here’s looking back at the route I took down

Now I continued at level elevation heading south, until I found an obvious route to the ridge.  Until this time the ridge had been rock slabs, spires, and choss, but once it became rocks and tundra I headed up, then turned left to follow the ridge.

From this point on, the ridge ‘goes’.  It’s mostly on large, solid rock, but remember, these rocks can move. It’s about three quarters of a mile from here to the summit of Pear Peak.  The ridge felt consistent class 2-3. I didn’t feel there were any class 4 moves on this ridge.

If I ever felt the need to dip off the ridge, I went left.  Pear Peak is actually to the left, past the false summit (which isn’t really a false summit because you can see the true summit most of the time)

Here are some more ridge pictures

I summited Pear Peak at 8:45am

Pear Peak:

Now the easy part, as I turned northwest and descended the ridge to the Pear Peak/PT 13220 saddle.  This was class 2, once again sticking to the ridge and dipping to the left when necessary.

Here’s an overview of the rest of my route, mostly following the ridge, except for a short area on the way to 13220 where I stayed left (more on this later).  You also have a good view of the decent route from here. Now’s a good time to study it.

Ok, down the ridge to the Pear Peak/PT 13220 saddle.  It’s all class 2, and you’re aiming for a scree filled gully, circled in red

Once you make it to the gully, the choss and adventure begins.

I dipped down into the gully, crossed it, and then stayed level in elevation as I rounded the south side of the peak, aiming for two protruding rocks.

Once I started heading north, I followed game trails up gullies and back to the ridge.  This area seemed to go on forever.  

Once on the ridge it was class 3 to the summit

I summited PT 13220 at 10am

PT 13220: 

Here’s looking back at the route from Pear to PT 13220.  It was 1.5 miles from Pear to 13220.

Next up, PT 13517 (more ridge work!)

I followed the ridge the entire time.  The ridge to the saddle was class 2.  The difficult part is the ridge circled in red, which I felt was consistent class 3, with a bunch of class 4 moves thrown in.

The trek to the saddle was mostly on rocks, with a short ridge at the end (yes, you can stick to this ridge too)

I entered the final ridge by going around to the east, then ascending the ridge by heading northeast.

As I said before, this is a class 3 and 4 ridge.  There are too many specific moves to illustrate here, as the climbing is consistent, so I’ll just show a few of the fun ones. While the rock looks solid, and mostly is, please be careful of the ones that look solid but roll. If you can’t go straight up the rocks, look for game trails to the left.  Nothing should feel over class 4.  To put it in perspective, I consider difficult class 4 anytime I need to remove my DSLR camera from around my neck, or put my trekking pole away to climb.  I didn’t have to do either of those things on this ridge, but it was the most difficult climbing of the day.

The last little dip before the final push to the summit was class 2

I summited PT 13517 at 11:15am

PT 13517: 

PT 13517 was a little over a mile away from PT 13220. Here’s looking back at PT 13220 and Pear Peak

I turned and retraced my steps back to the saddle. 

Here’s the other side of that initial class 4 move

Back at the saddle, I headed east, and took the gully to the left down

The gully had scree, tundra, and bounders.  I was easily able to find a way down this gully, but it looked challenging to find a good way to go up. I was glad I chose to do Pear first.

Here’s my overall route down the gully, across the small basin (I stayed high here) and back down to the trail.  I followed a waterfall northeast, keeping the waterfall to my left to exit so I wouldn’t need to cross the water. This brought me to willows and the trail I’d used to hike in.

The hike out was uneventful, except it rained.  I know it looks like it was a beautiful day, but in reality, just before PT 13220 it was snowing, and it rained/hailed/graupeled a bit on my way down. There were also people fishing at Clohsey Lake who had a few dogs. I was about 100 yards from them, but their dog wouldn’t stop barking at me.  I’m sure that made for wonderful fishing.

I made it back to my truck at 1:45pm, making this a 11.89 mile hike/scramble with 3995’ of elevation gain in 8 hours, 15 minutes.  And now, for the fun drive out!

Here’s a view of Clohsey Lake and the basin from Pear Peak