RT Length: 33.61 miles
Elevation Gain: 9833’
This trip changed so many times before it even began. I have an actual job, with responsibilities, meetings, etc. I drove down to Durango Wednesday night, slept in the cab of my truck at a Walmart (the topper is still on order), got “the knock” at 10:30pm, moved, then woke up and worked/had meetings in my truck the next day. Then I drove to Hunchback Pass through Silverton (my favorite way to get to Hunchback pass). It started raining as soon as I hit the dirt road, and didn’t stop. There was a 60% chance of rain today, but I was still hoping to find a window and hike either 5 or 10 miles to a camping spot (depending on when it got dark, weather, etc.).
The road over Stony Pass was sketchy in the rain. Miles did great, but there were a few times I was worried the mud was too deep to get through. I was a bit worried about the river crossings too, but Miles once again had no trouble.
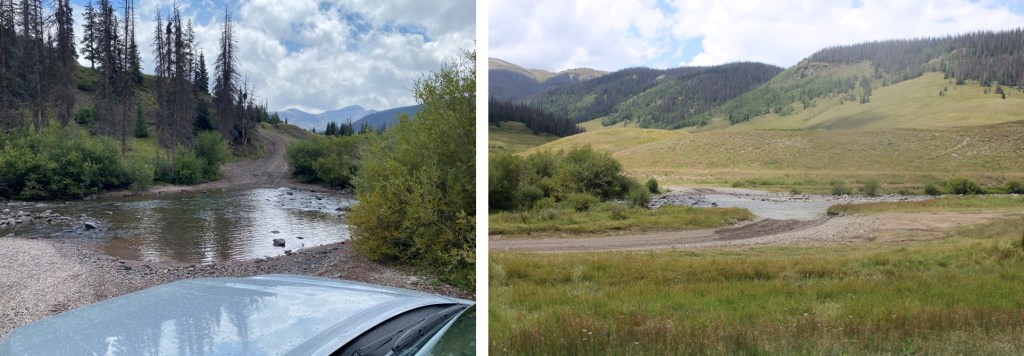
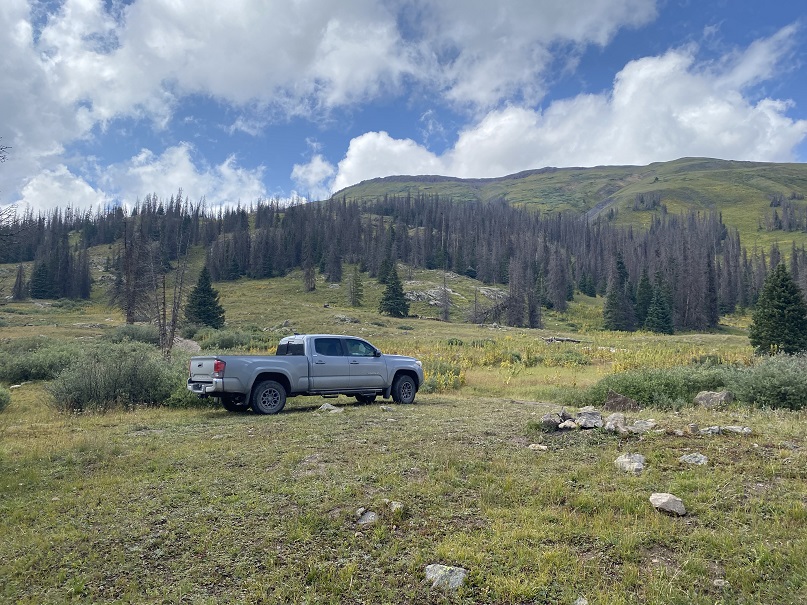
I’ve been to this area 3 or 4 times, and know the perfect place to park: It’s a pullout at 11230’, just before you hit the trees (again), and before getting to Beartown. My truck can make it further, but from past experience I know it’s going to get Colorado pinstripes from the willows and I have the opportunity to scrape the frame a couple of times as well. I love my truck, so I parked here, about 1.3 miles from the trailhead, in a flat spot with a campfire ring at 11235’.
I parked and waited for the rain to stop. The rain turned to graupel, then rain again, then hail. I could see the clouds coming over Hunchback Pass, and they weren’t getting any prettier. Wave after wave of new sets of clouds kept cycling in. After waiting for a few hours, I decided to just get some sleep. I know many of you would start out in the rain, but with my Raynaud’s I can’t risk it: If I get wet/cold that’s it for me, as I cannot warm up. I woke up every hour to check on the weather. The rain didn’t stop/clouds didn’t clear until 4:30am. That was a 15 hour rain delay that was seriously messing with my summiting plans.
I put on my rain gear to ward off water on the trail dripping from plants, and was on the trail before 5am.
Day 1 went like this:
- Gained 1275’ over 2.8 miles (to Hunchback Pass)
- Lost 2350’ over 5 miles (to Rock Creek Junction)
- Gained 2503’ over 6.4 miles (to pass over Rock Lake)
- Lost 500’ over .5 miles (From pass across basin)
- Gained 1150’ over 1 mile (from basin to Oso/Soso saddle/to Oso Summit)
- Woot! Summit!
- Lost 1150’ over 1 mile (back to basin)
- Gained 500’ over .5 miles (back to saddle)
- Made it back to Rock Lake (losing about 600’ more)
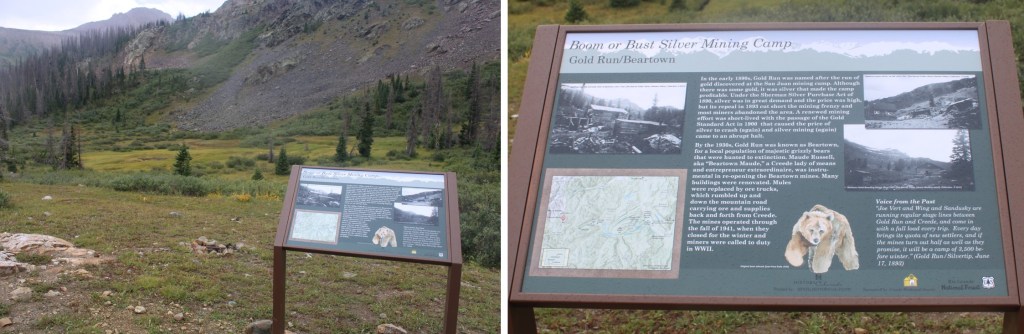
Ok, so, let’s start from the beginning: From my parking space at 11235’, it was an easy hike to the trailhead, passing through Beartown. There were two other 4WD vehicles parked here, a 4Runner and a Tacoma like mine, unmodified, so you know it’s doable (choose wisely).

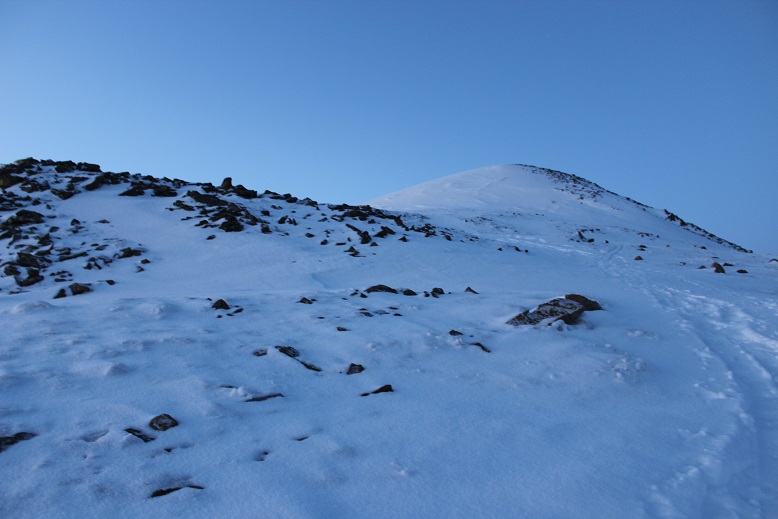
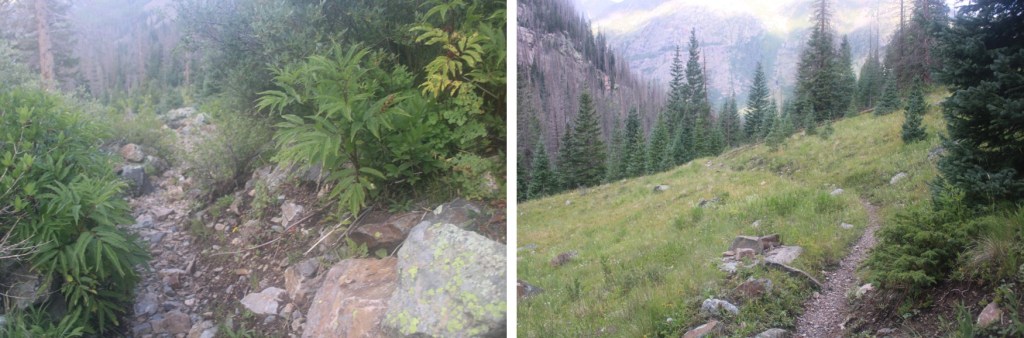
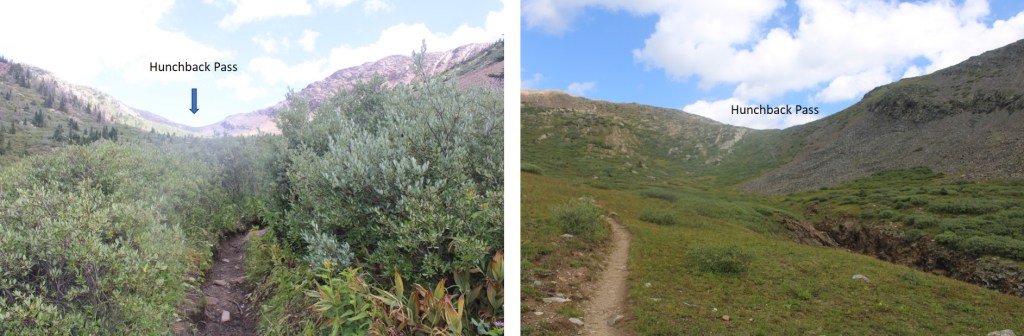
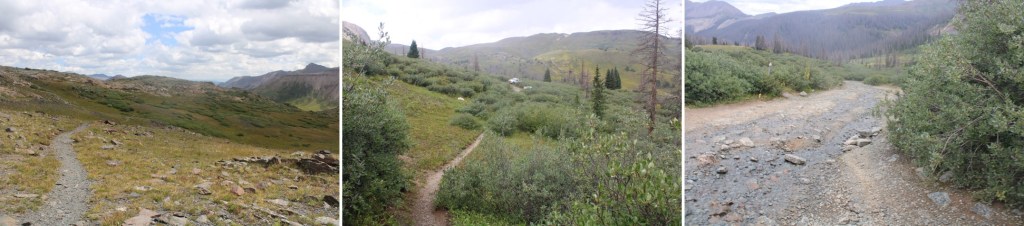
Once at the trailhead (813) I followed the Vallecito Trail up to Hunchback Pass
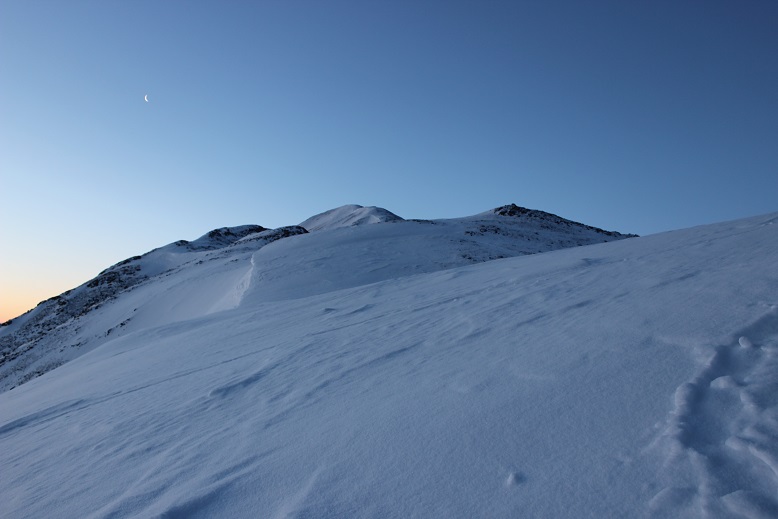
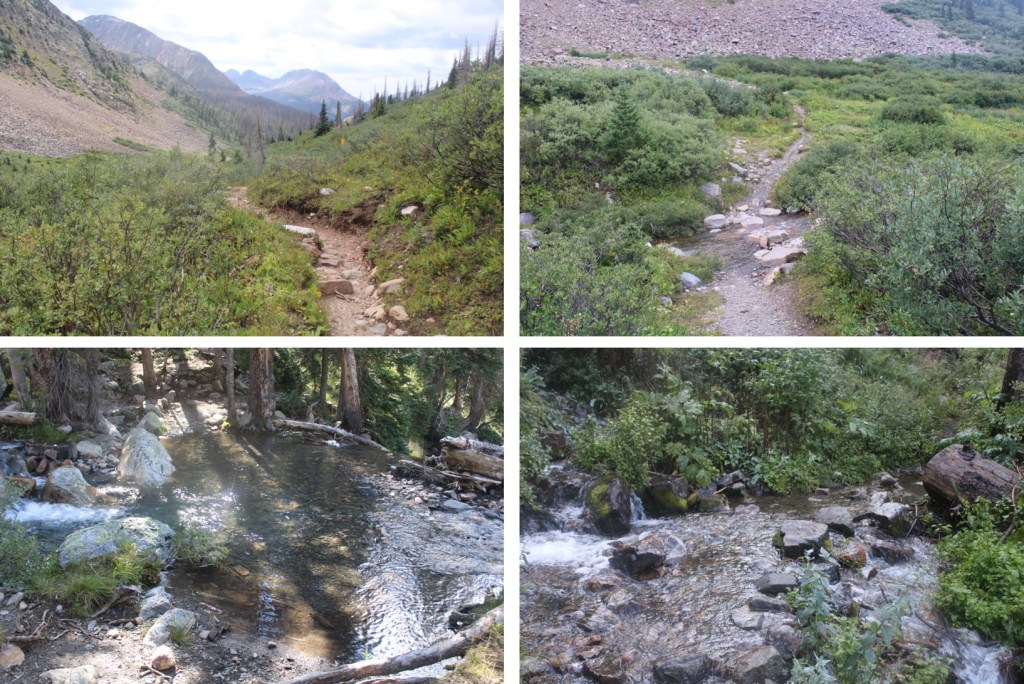
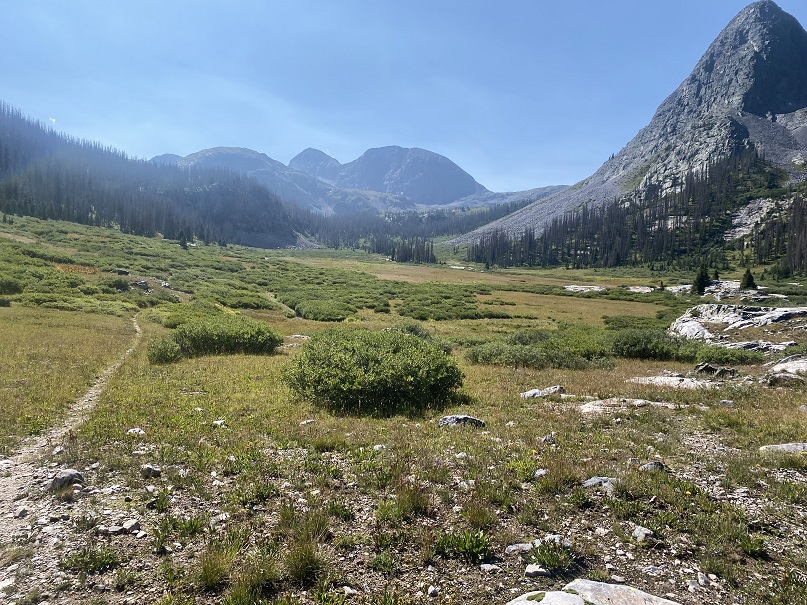
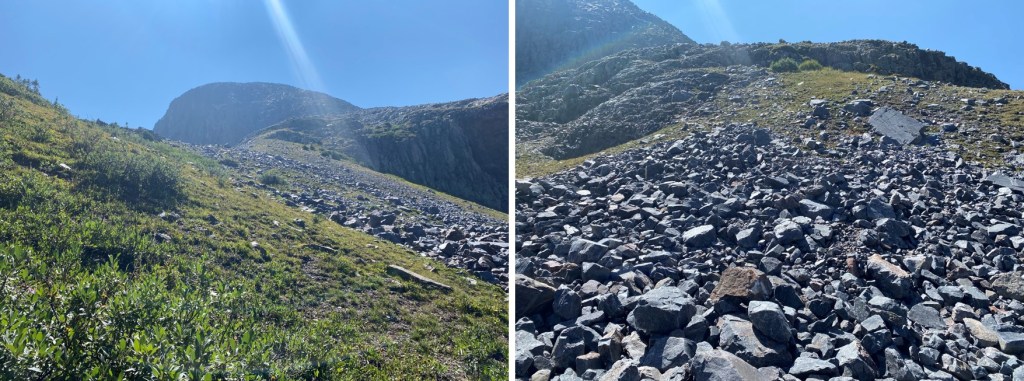
And then I headed south through the basin, following the trail down for 5 miles as it lost 2350’ in elevation
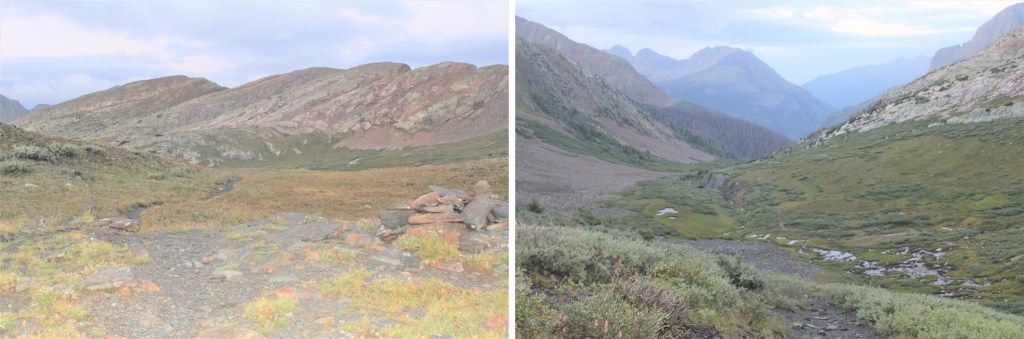
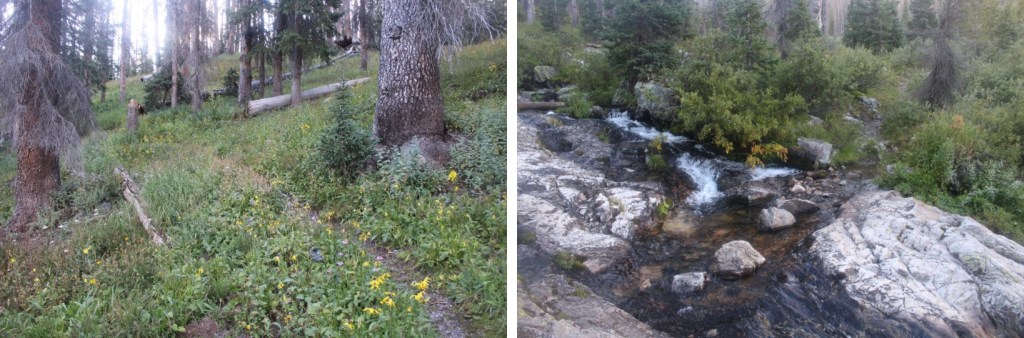
There were willows here, and I was glad to have on my rain pants. There were a few stream crossings, all easily crossable.
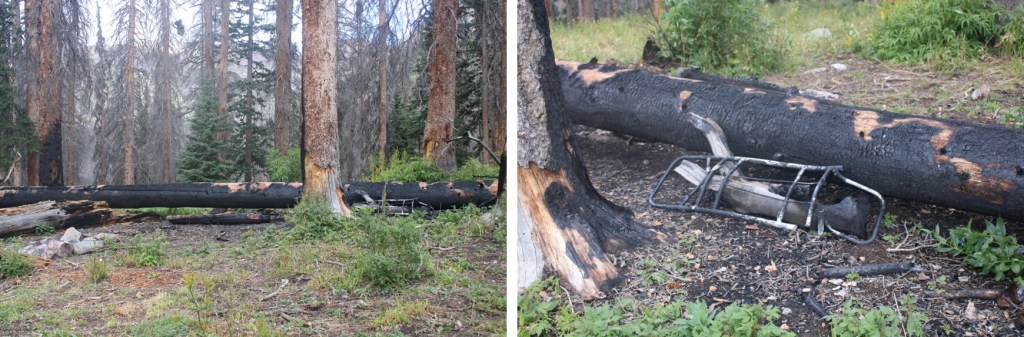
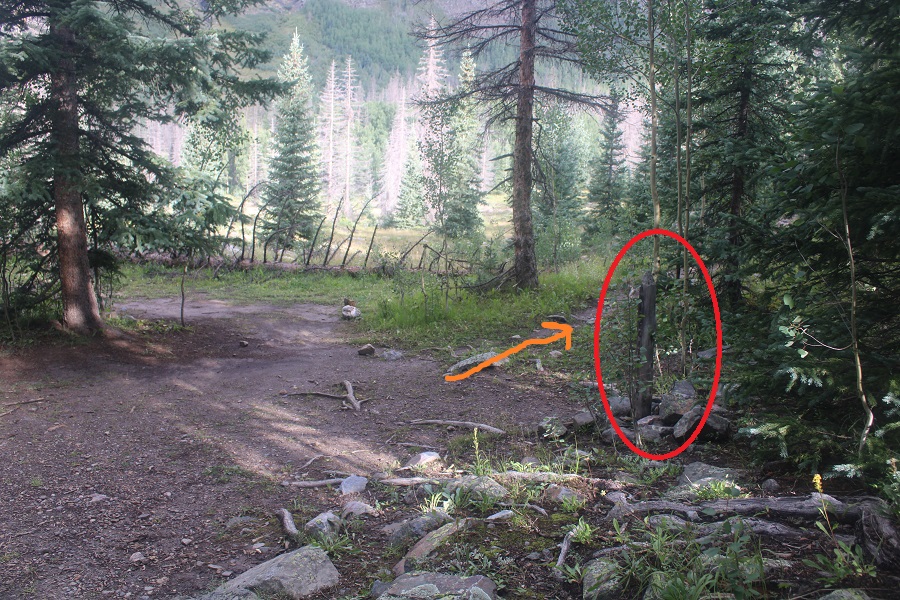
I saw evidence of someone’s fire getting out of control: looks like they lost their pack in the process. I wonder how they put it out? In case you’re wondering, yes, the ground was cold and the fire was out (I’m sure the 15 hours of rain last night had helped).
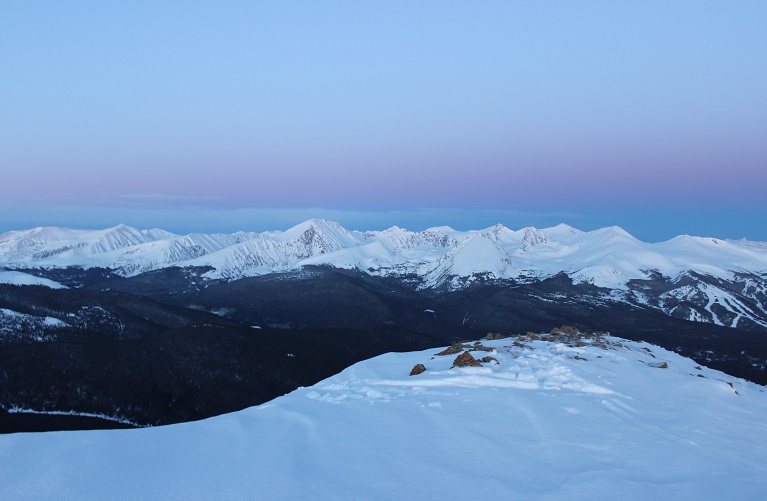
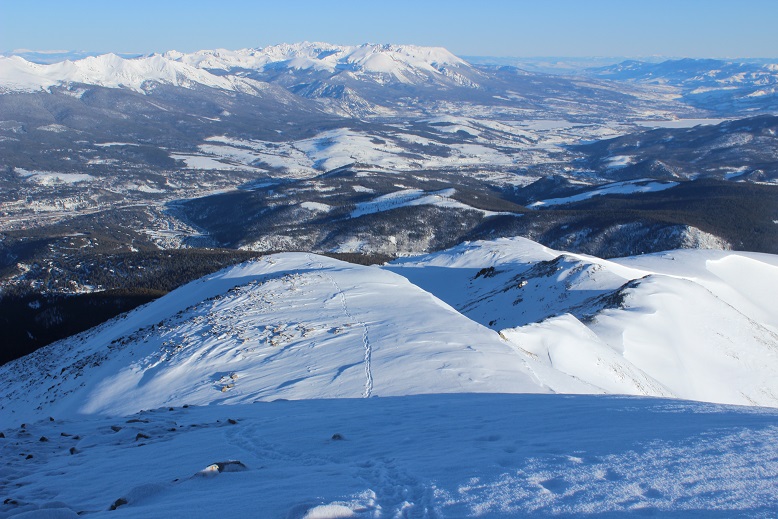
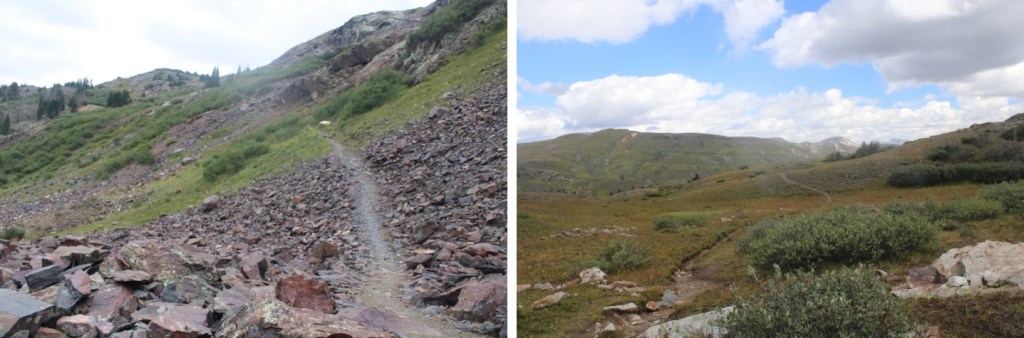
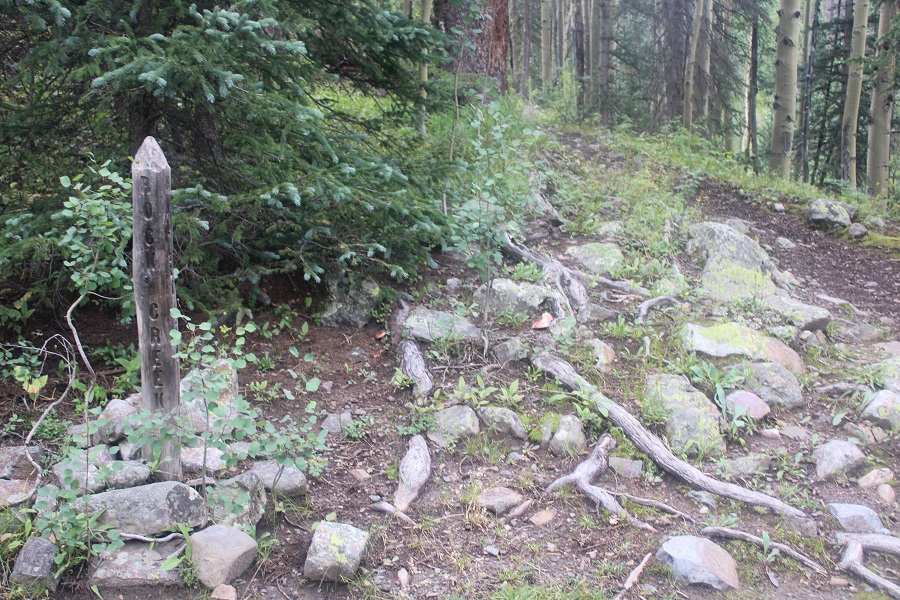
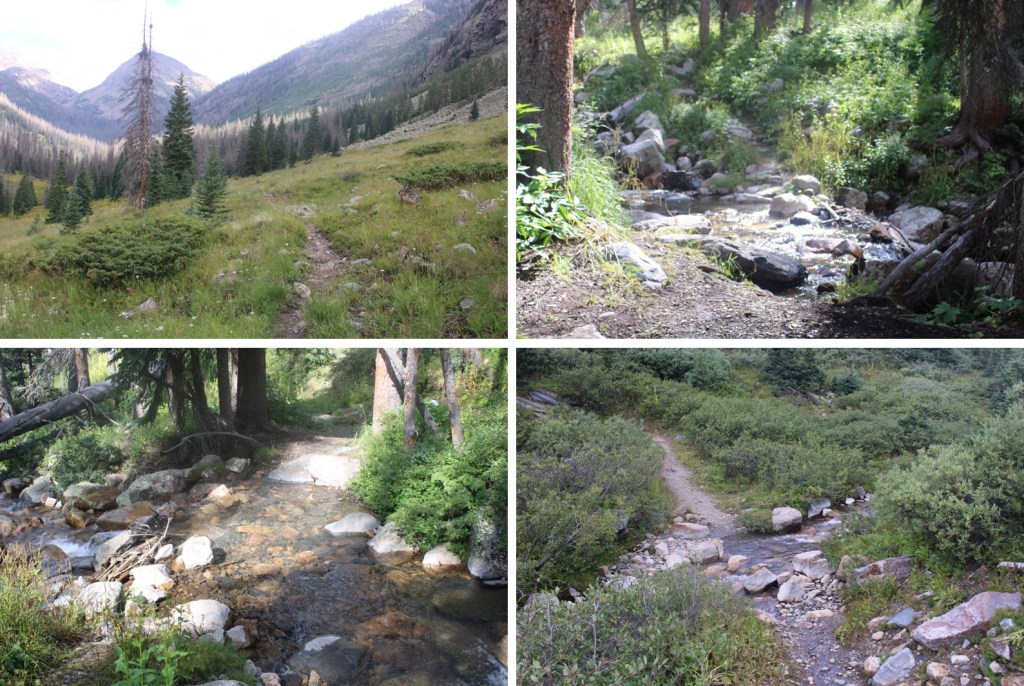
After hiking for a total of 7.8 miles (from where I parked) I made it to the Rock Creek Junction, and followed that trail southeast for another 5 miles up to Rock Lake. This trail was also class 1, and easy to follow.

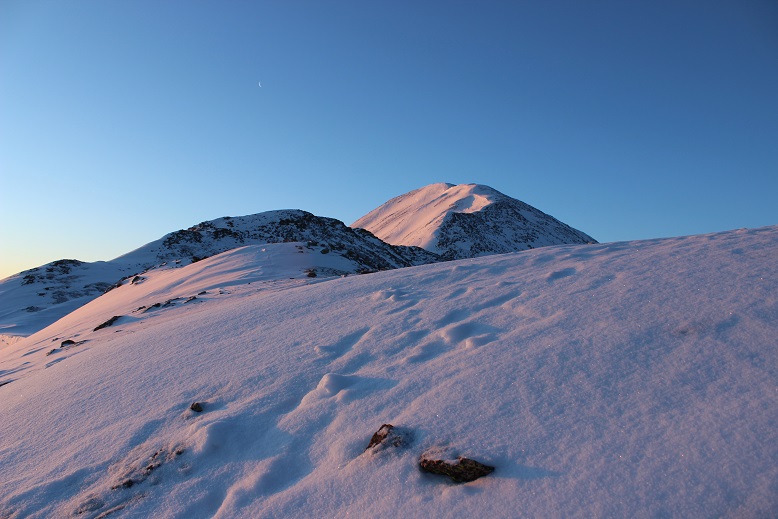
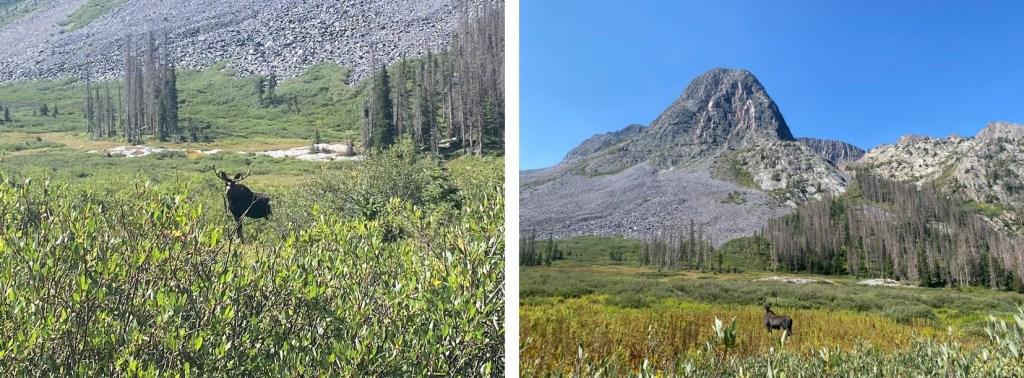
Just before making it to Rock Lake I passed through a basin
In this basin was a bull moose. I didn’t worry too much about him, because he was hundreds of yards away from me, on the opposite side of the basin. I continued on the trail, but once he noticed me, he raced towards me and stopped a few yards away. He charged me (it was a bluff). I knew not to make eye contact with him, which was what he wanted. I could actually feel him willing me to look at him. I kept my head straight and walked the trail with a purpose, ignoring him. He continued snorting and pawing at the ground and shifting his head from side to side. Then he paralleled me for about 50 yards, walking about 5 yards to the west of me. When he was done, he trotted away and took in a view of the mountains.
As he trotted away I breathed a sigh of relief, and continued on the trail, exiting the basin and making my way to Rock Lake.
I arrived at the lake at 11am and decided to set up my campsite for the night. I didn’t see anyone else here.

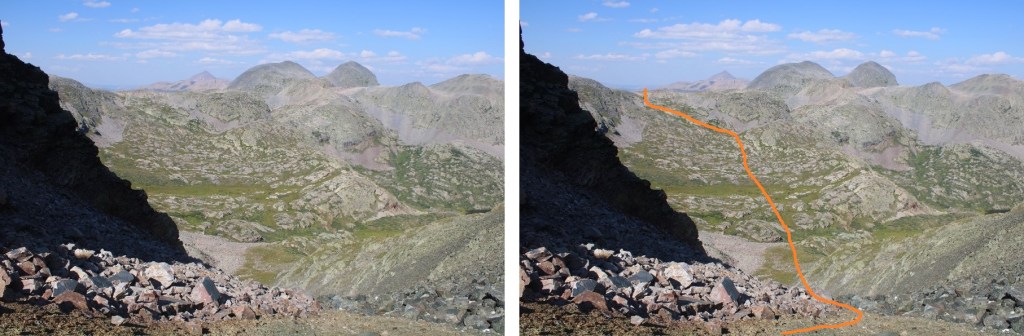
It was still early in the day, so after a quick snack I left my heavier gear and just brought the essentials: I planned to summit Mt Oso today. To do that, I skirted Rock Lake to the east and ascended the rocks
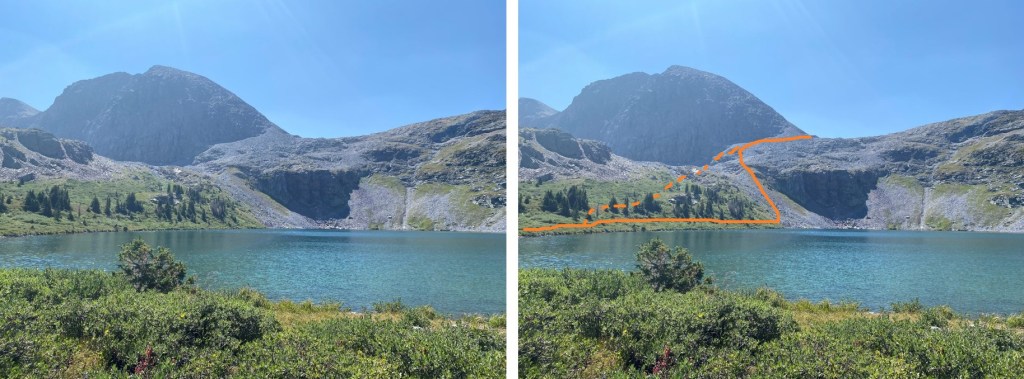
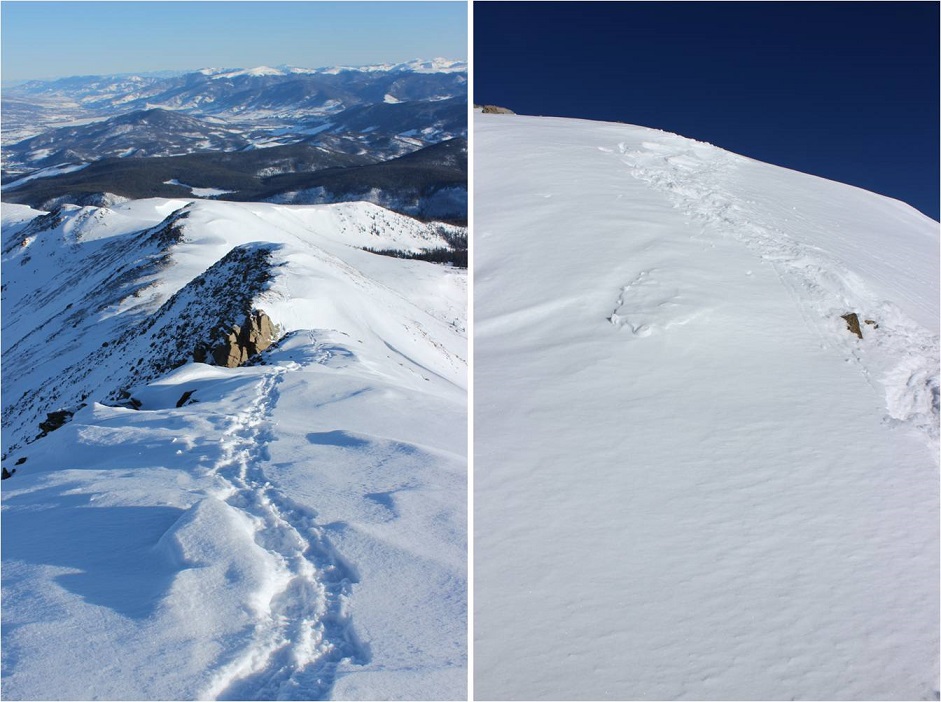
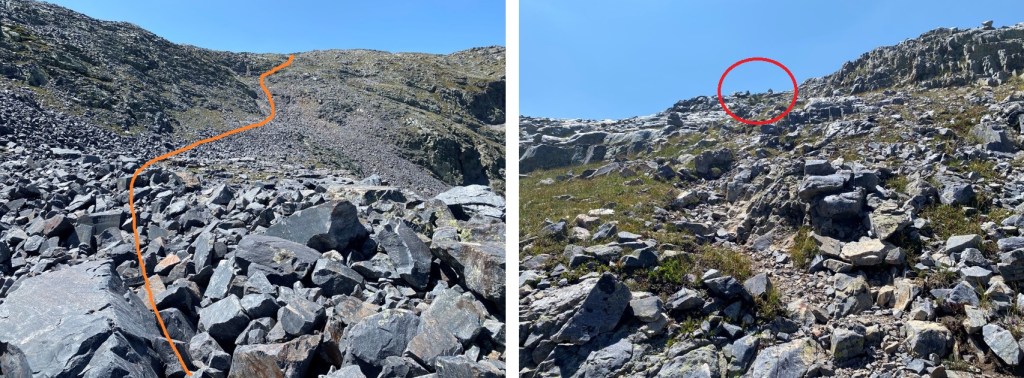
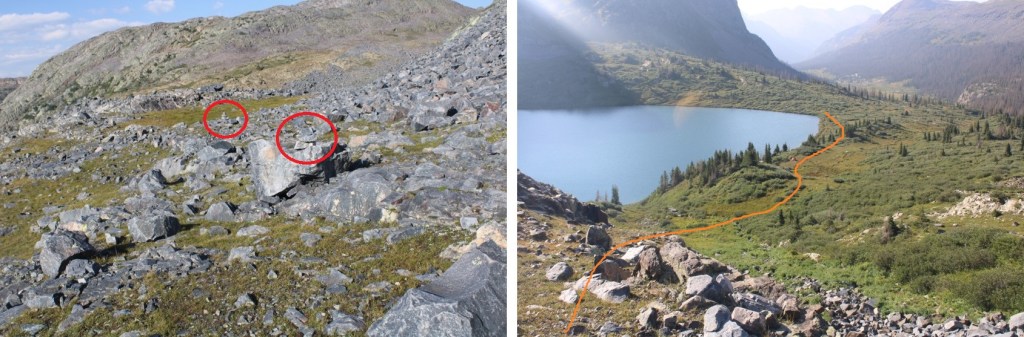
As I made it to the rocky area, I came across a cairned trail, and followed that trail southwest. Note, I took the solid line up, the dotted line down. The dotted line was easier, but both ‘went’. You can’t tell from below, but there’s a grassy area by the dotted line that helped me avoid the willows (pictures on my way down).
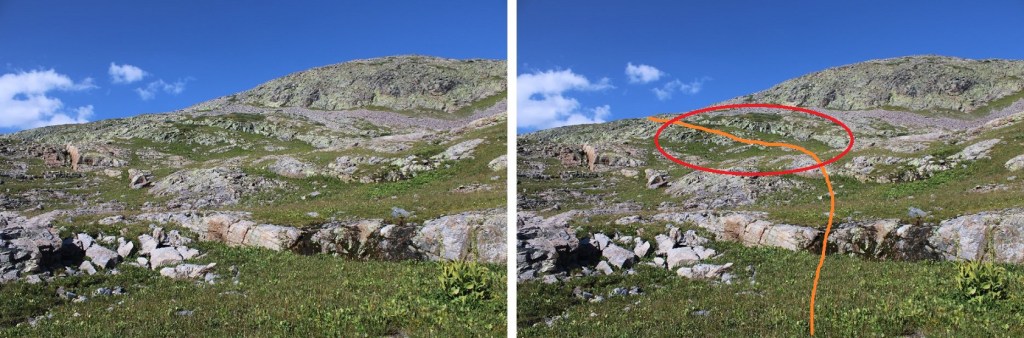
Here’s the cairned route, with the ‘exit cairns’ circled in red
Here’s where I left the trail. If you continue following the cairns, you’ll go down to Half Moon Lake. I was headed towards Mt Oso, so I left the cairns and continued heading up (west).

Time for more elevation loss, and gain. I was headed for the Mt Soso/Mt Oso saddle. This required me to lose 500’ through this basin, and then ascend the gully.
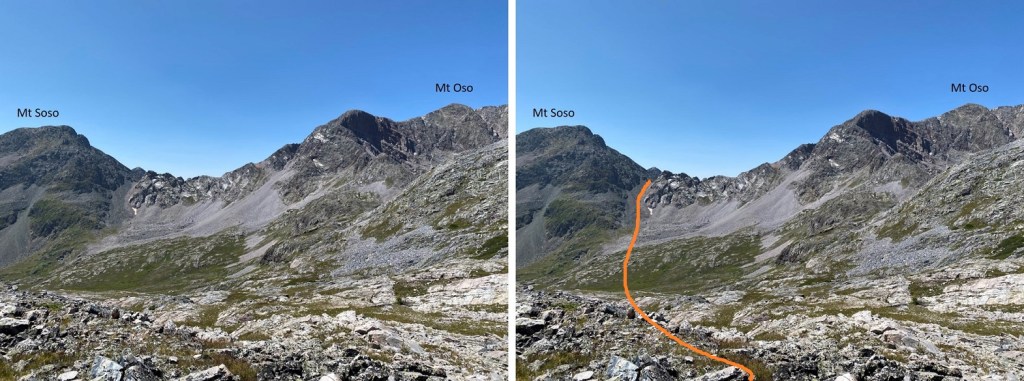
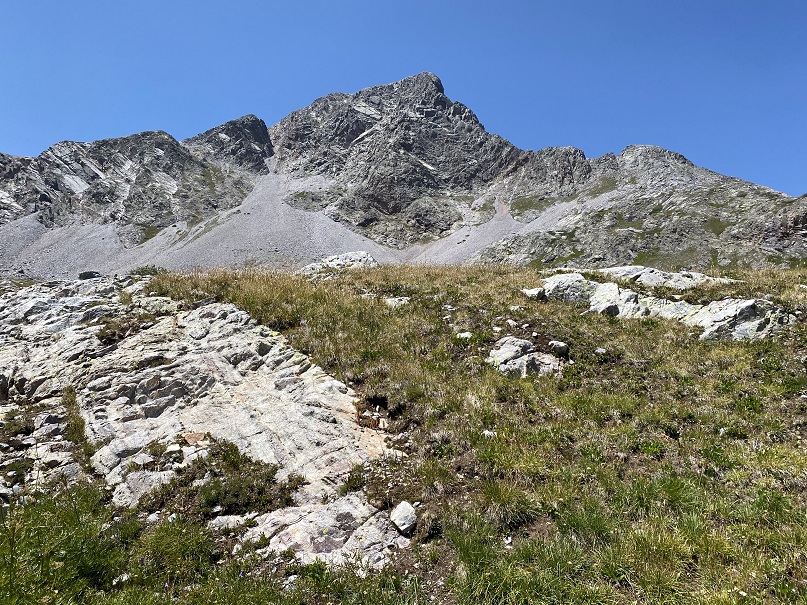
The basin was easy to cross. There were small streams and some willows to navigate, but the route was obvious (and choose your own adventure: just keep heading towards the gully/saddle). The gully was a mix of large, loose boulders, smaller loose rocks, and scree.
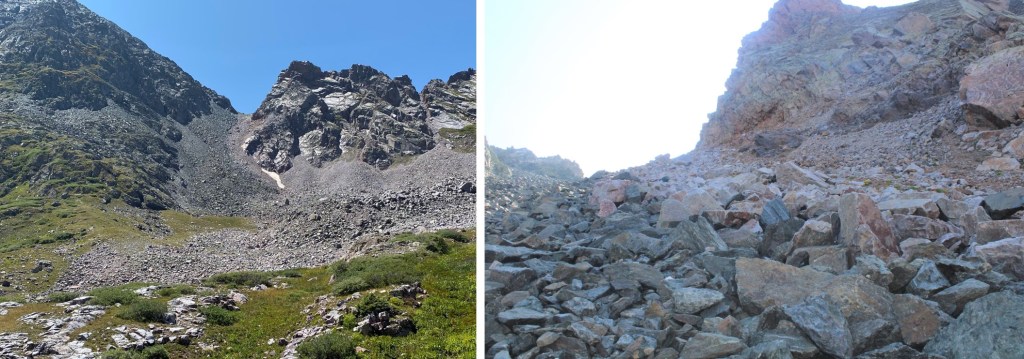
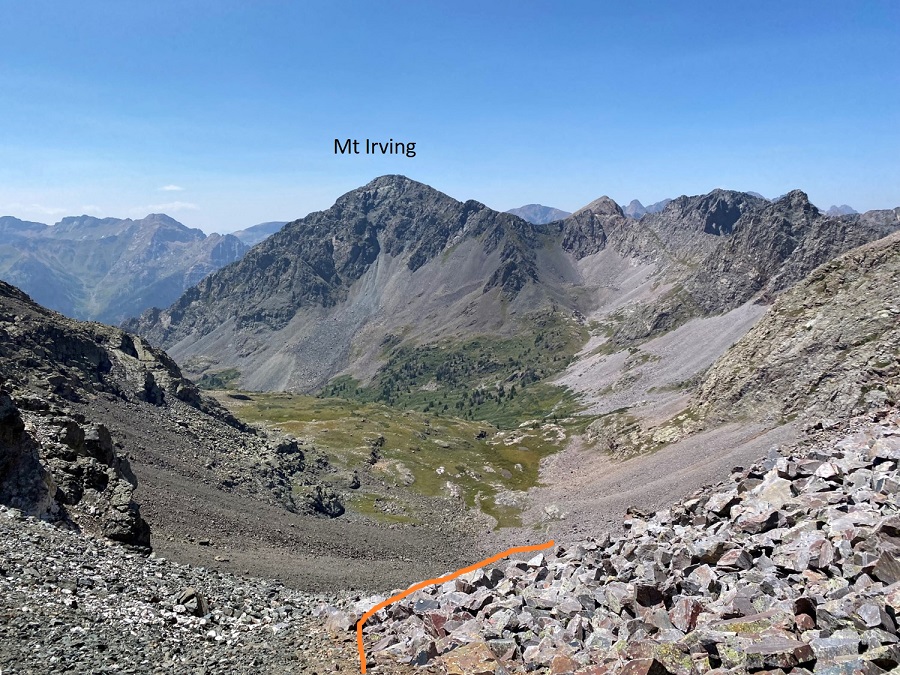
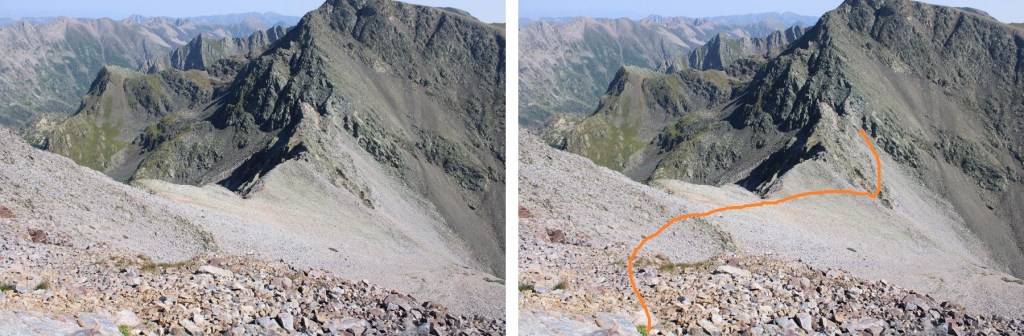
Once at the top of the gully/saddle, it was once again time to lose elevation. Being here also gave me a great view of Mt Irving. I descended the gully to the northwest, staying on the scree at the base of the rock outcroppings, rounding them, and losing 175’ in elevation.
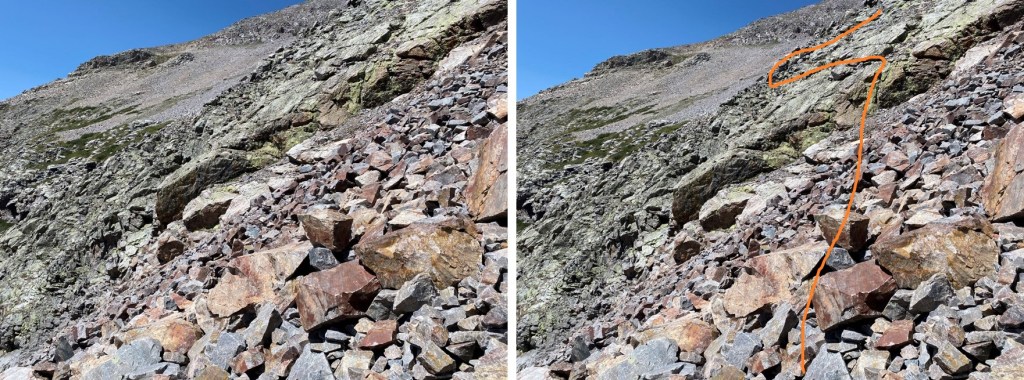
Stay low here. You’re going to want to stay high, but you’re aiming for a green rock band to cross. It’s lower than you’d like it to be (around 12600’)

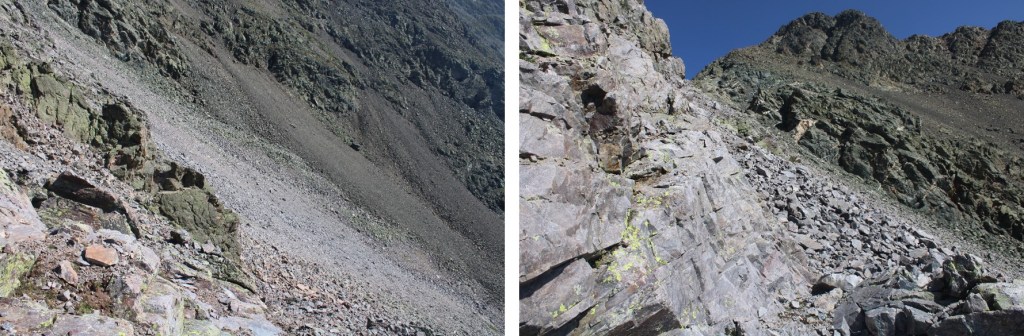
There’s a little bit of scrambling to get over the rock band. I was able to keep it as easy class 3 by taking this route
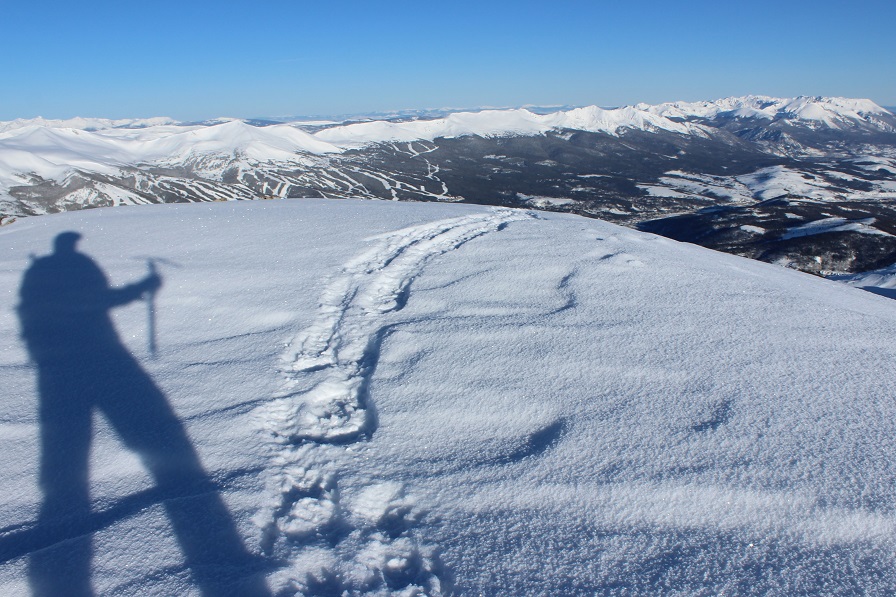
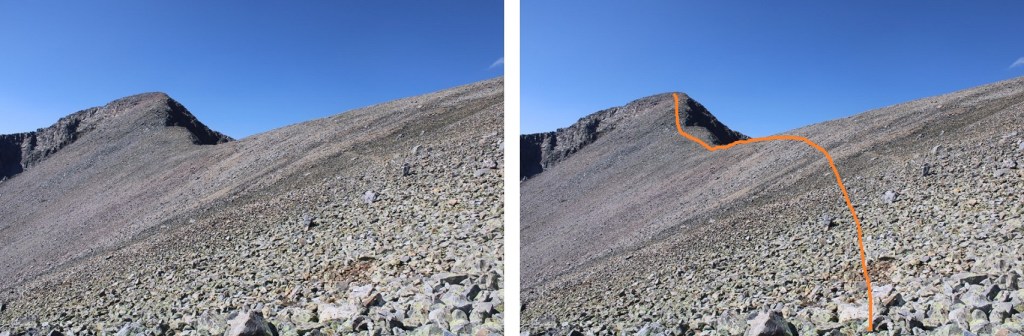
Once across the green rock outcropping, it was time to gain the ridge. I turned and headed north. The rocks here were large and loose, with some scree mixed in.

I went low just before ascending the ridge, following a scree/game trail

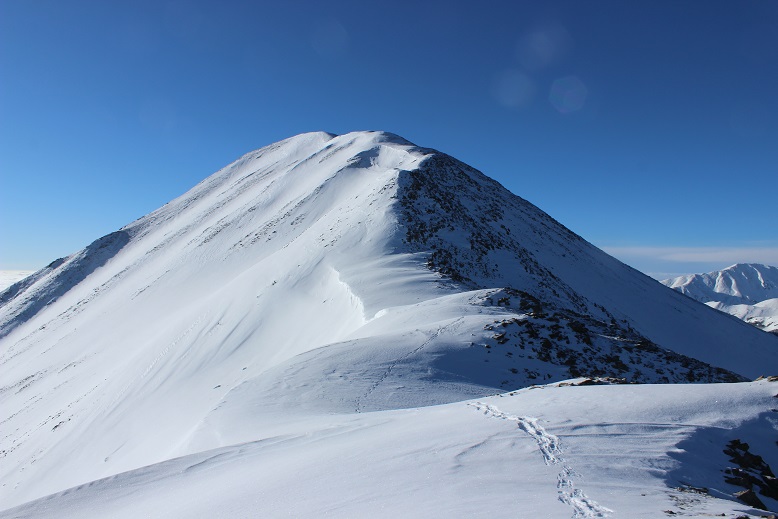
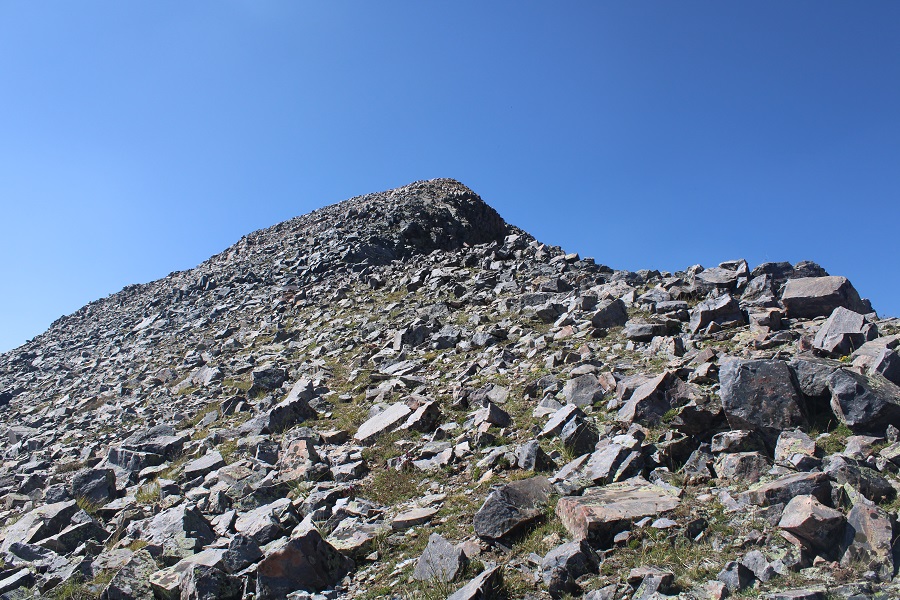
And then followed the ridge to the summit
Summit of Mt Oso
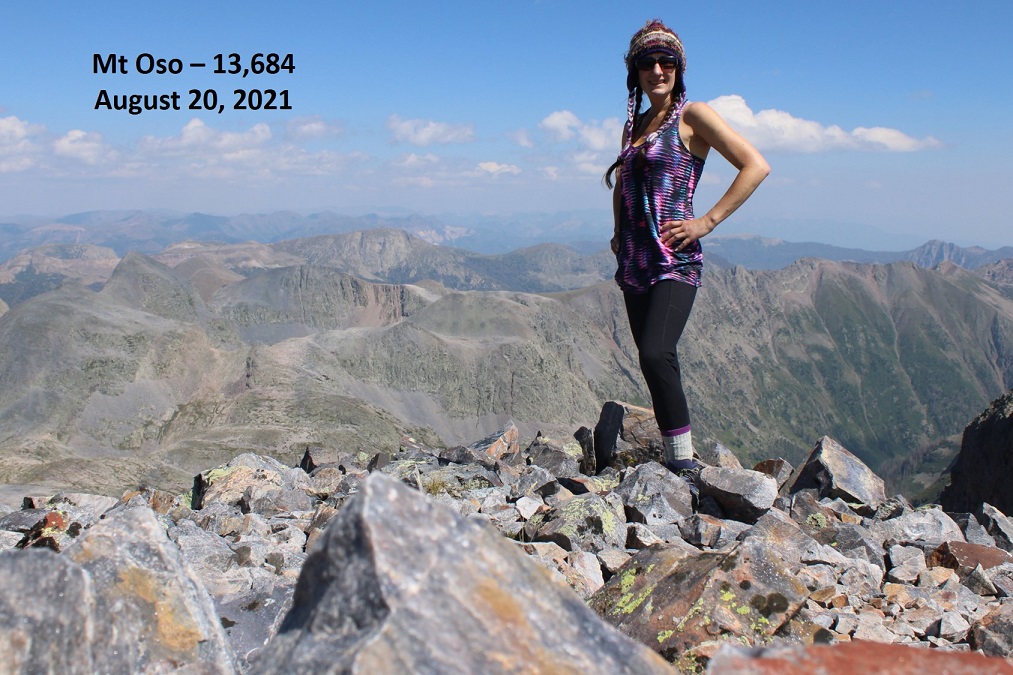
Mt Oso:
There was a large, military grade summit register, with a moving dedication inside, as well as some ceramic bowls (I’m sure that’s not what they actually are, ad that they have a purpose?).

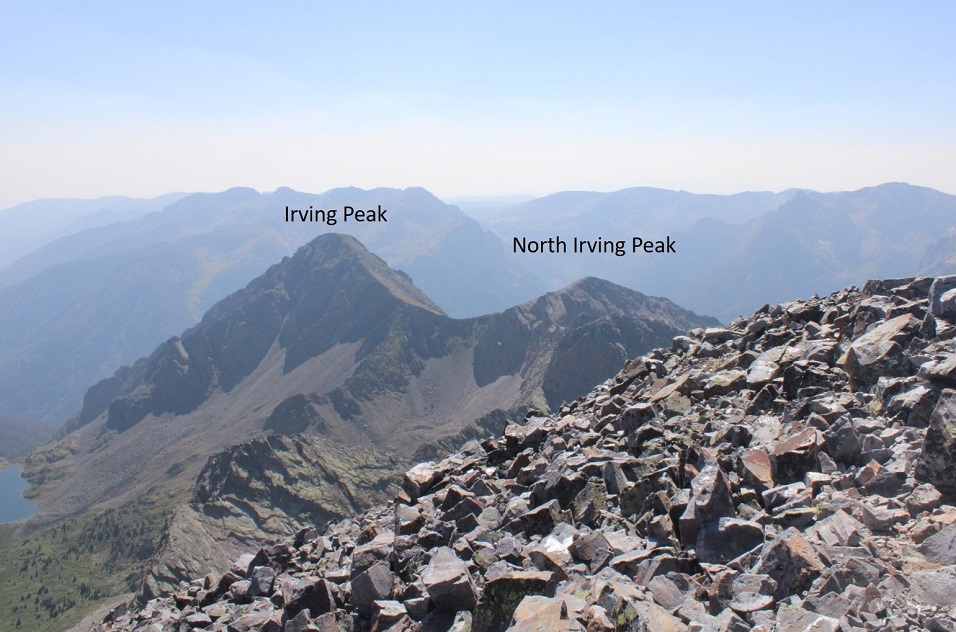
I looked over at Irving and North Irving. I did the math in my head, and there was no way I had time to loose the 1500’ of elevation, then regain 1300’ to summit Irving, plus hike back with all those ups and downs to Rock Lake before sunset. It’s important I’m in my sleeping bag before the sun goes down, which limits my hiking time. Oh well, just one peak for this trip.
So, I turned and headed back towards the Oso/Soso saddle

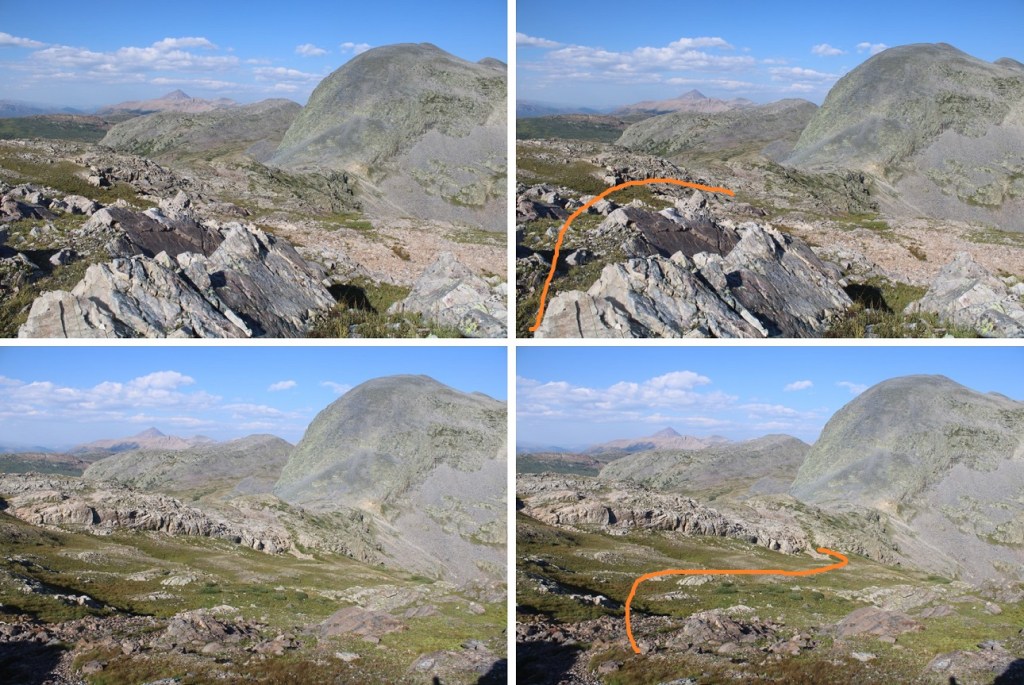
Back at the saddle I retraced my steps down the gully, back across the basin, and up to the next ridge, finding a grassy bank to ascend
The route looks much different heading back, so be sure to study it on the way in. Stay just below this cliff band
And now to head back down to the trail
You know you’re back on trail when you see cairns

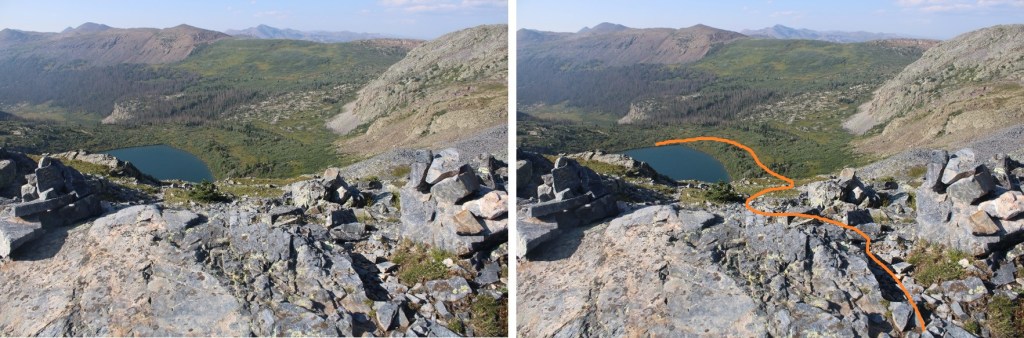
Back down to Rock Lake. Here’s an overall view of the route I took down, and check it out: another camper! I walked by his tent, and apologized for doing so, but told him he was camped in the only area without willows…
There are lots of cairns here to guide you back down.
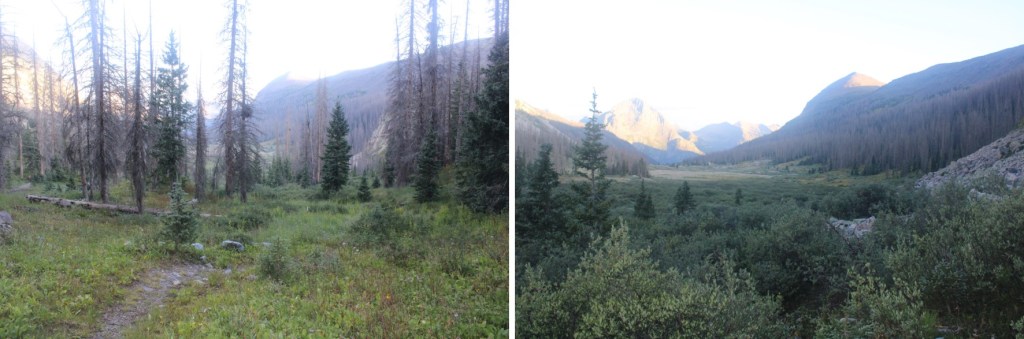
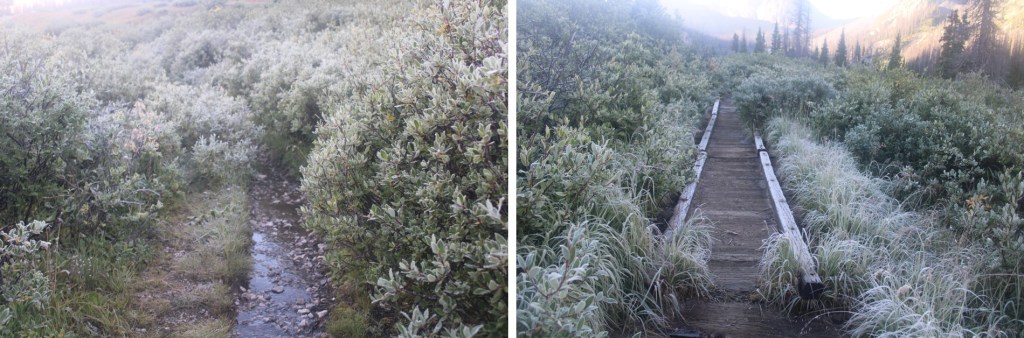
I made it back to my campsite as the wind started picking up. I was glad I’d made the decision to head back. I jotted down some notes, and looked at my tracker: I’d done 18 miles today, with almost 7500’ of elevation. I sat in my tent for a while, glad I’d decided to bring a tent, listening to the wind howl outside. I eventually fell asleep, and woke up to frost inside my tent. Lovely. I quicky broke camp and headed back down into the basin. Everything was covered in a thinl layer of frost.
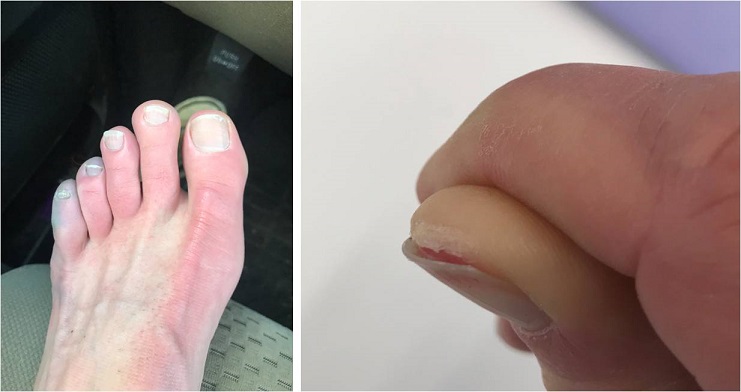
Oh, did I mention the trails were mucky? It was from all of that rain yesterday. The entire way in, and out, I was walking on water/mud/avoiding puddles, glad I was wearing new hiking boots that were still waterproof.
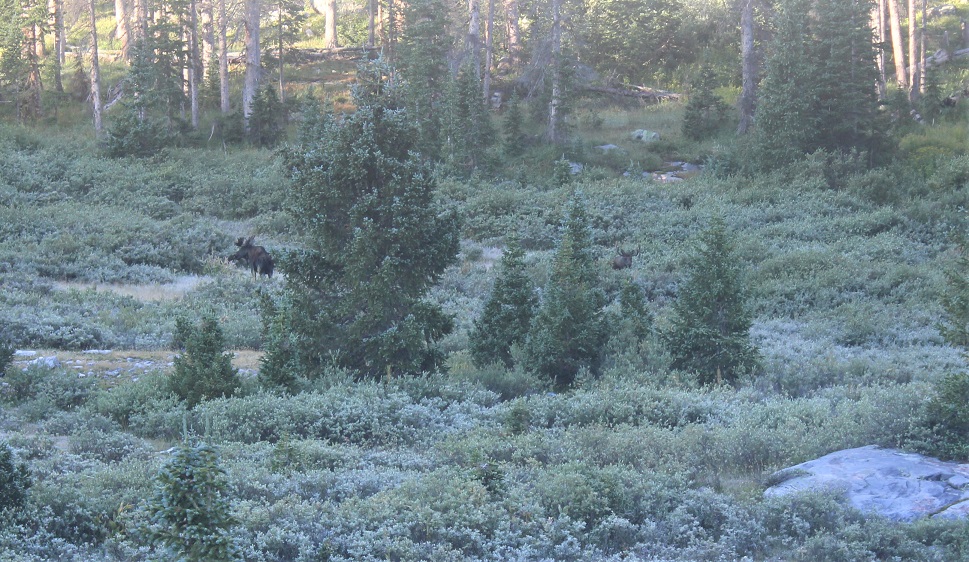
On my way out of the basin I decided not to take any chances, and wore my helmet. Towards the end of the basin I spotted the moose again. This time he had a friend, and didn’t seem to care I was there. I’ve seen over 20 moose in Colorado while hiking, and this was the first aggressive one I’ve come across. It’s interesting today he had no interest in me, while yesterday he was overly intrigued/agitated I was there.
I followed the Rock Creek Trail back down to the Vallecito Trail
Then took the Vallecito Trail back up to Hunchback Pass
And then back to the trailhead, the road, and my truck
When I made it back to my truck, my tracker told me I’d hiked 33.61 miles with 9833’ of elevation gain.

Now, for the hour and a half drive back to Silverton! Oh, also, side note: If you’re driving these back roads, make sure you know where you’re going! It’s easy to get lost back here. I met a man in a jeep as I was hiking back to my truck who was totally turned around. He wanted to know how much further down the 4WD road to the ‘real’ road. I had to tell him he wasn’t going in the right direction (this road is a dead end) and that Silverton was many, many miles away. An easy way to not get lost out there without cell service is to load your track onto CalTopo, then add a line and trace the roads you wish to take, then use that track your drive.
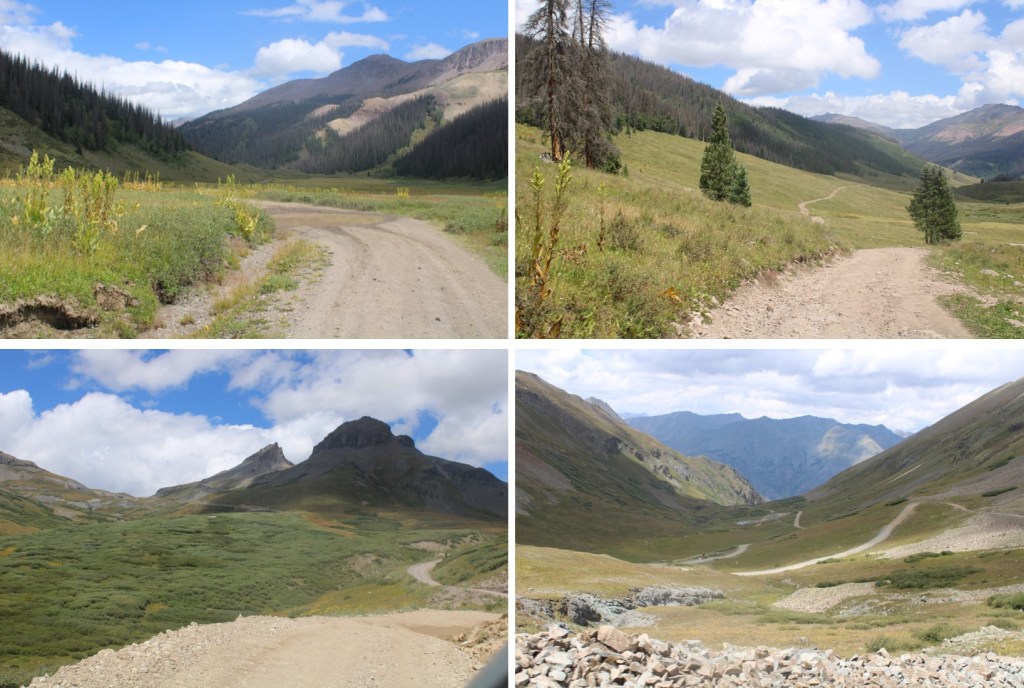
Just for fun, here are some pictures of the road out…