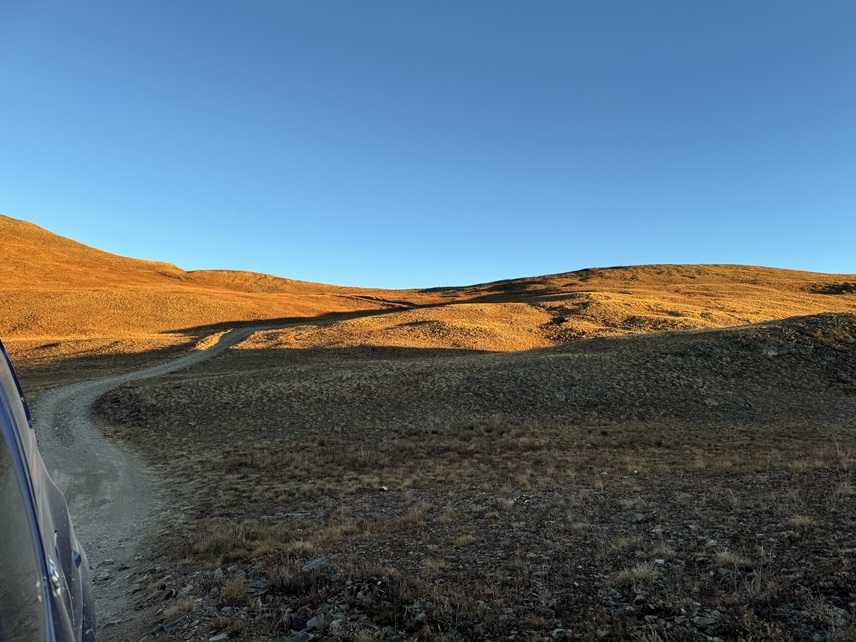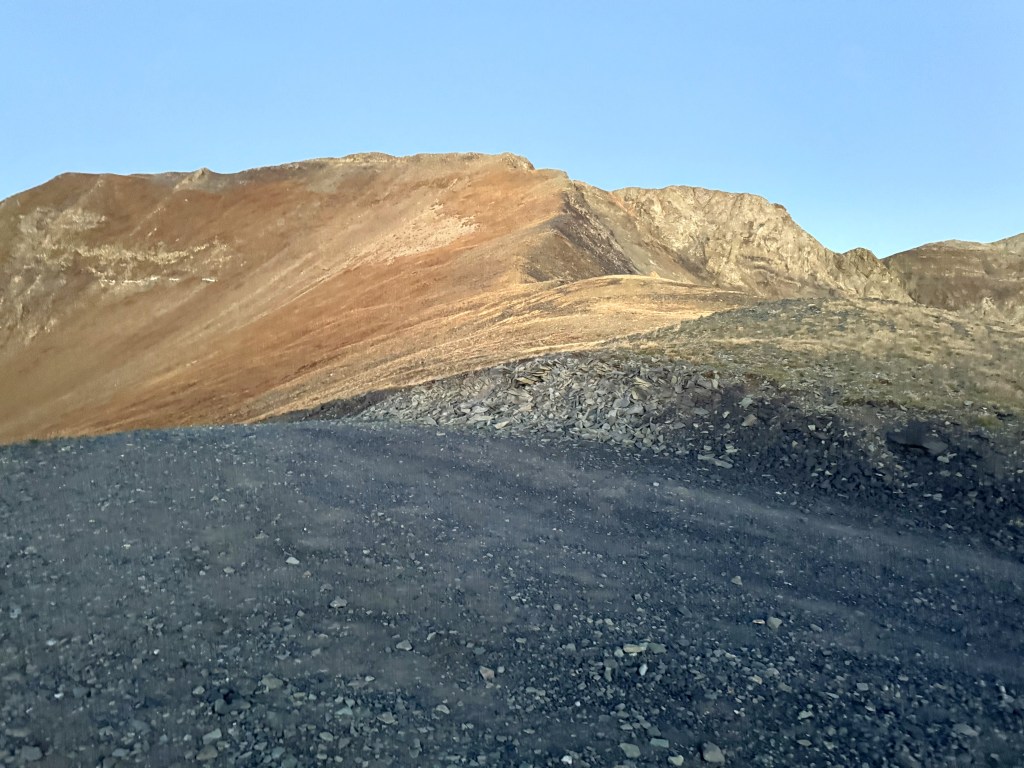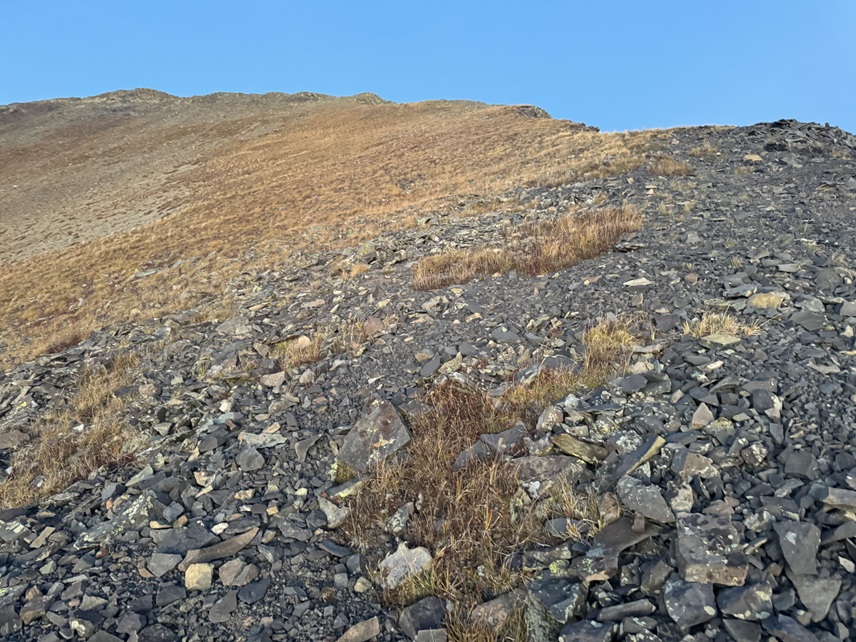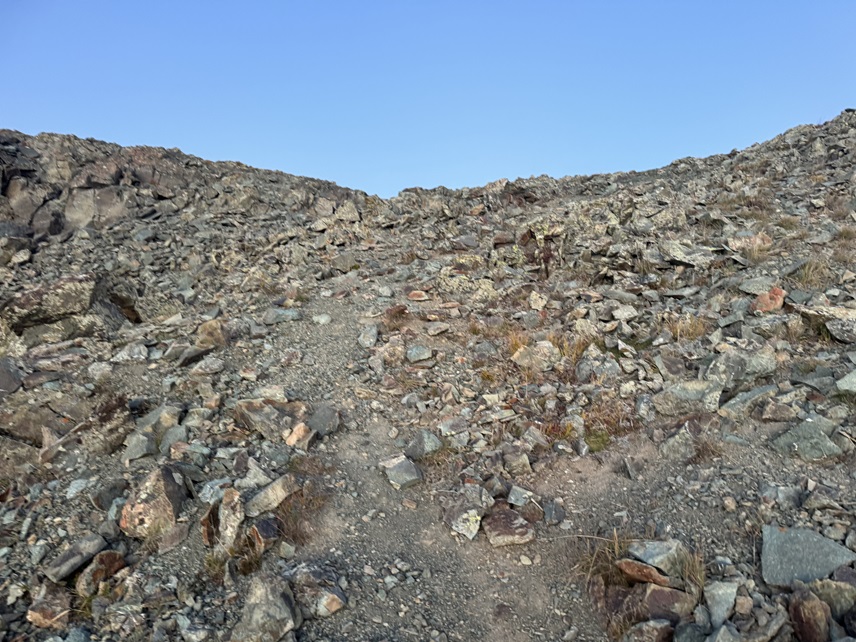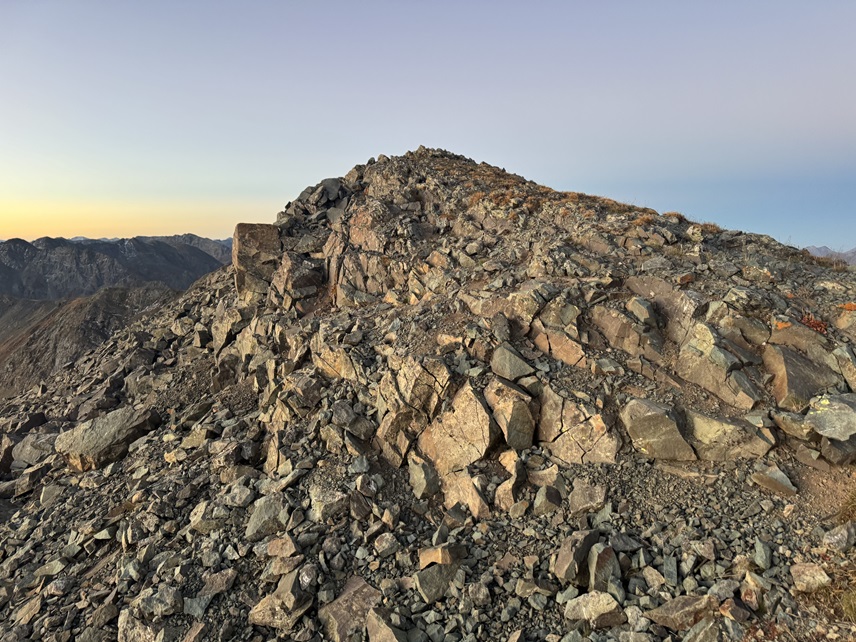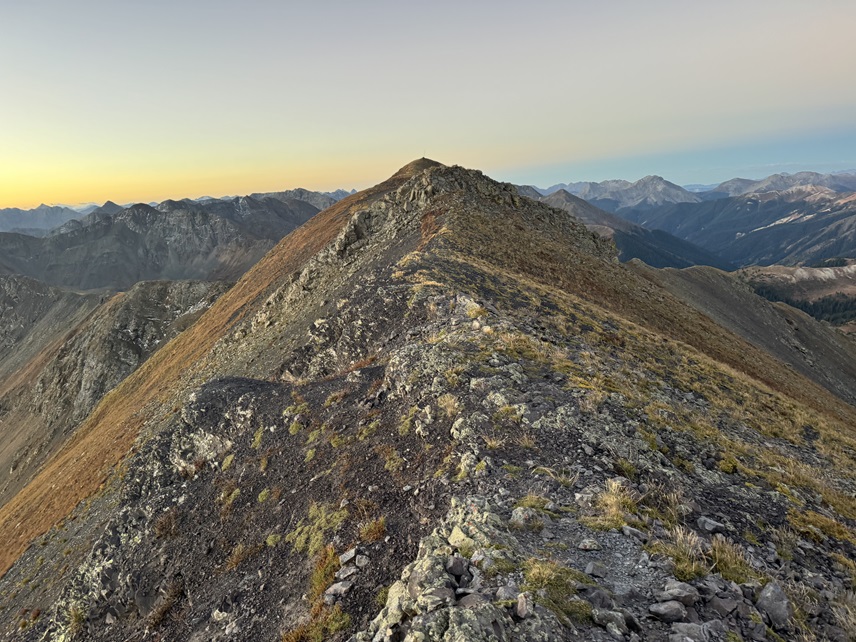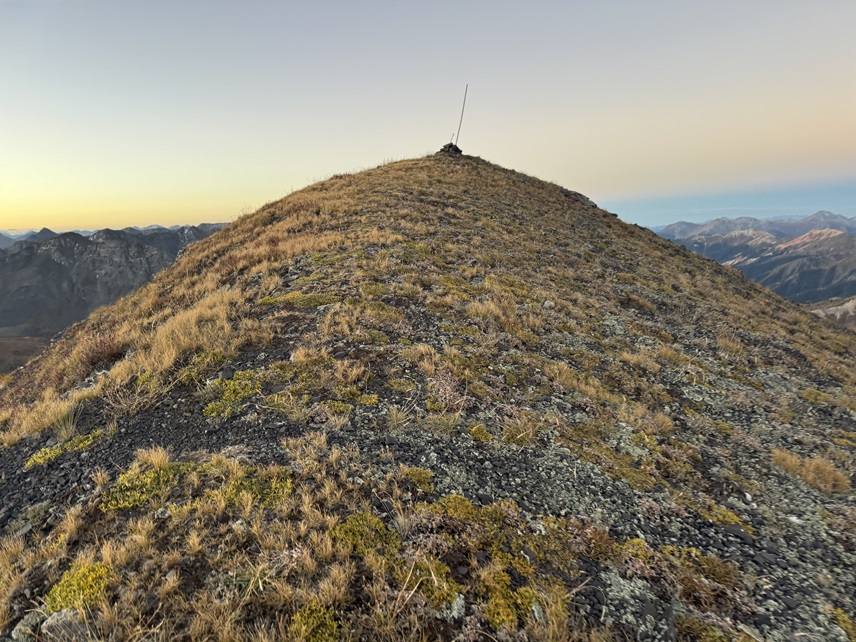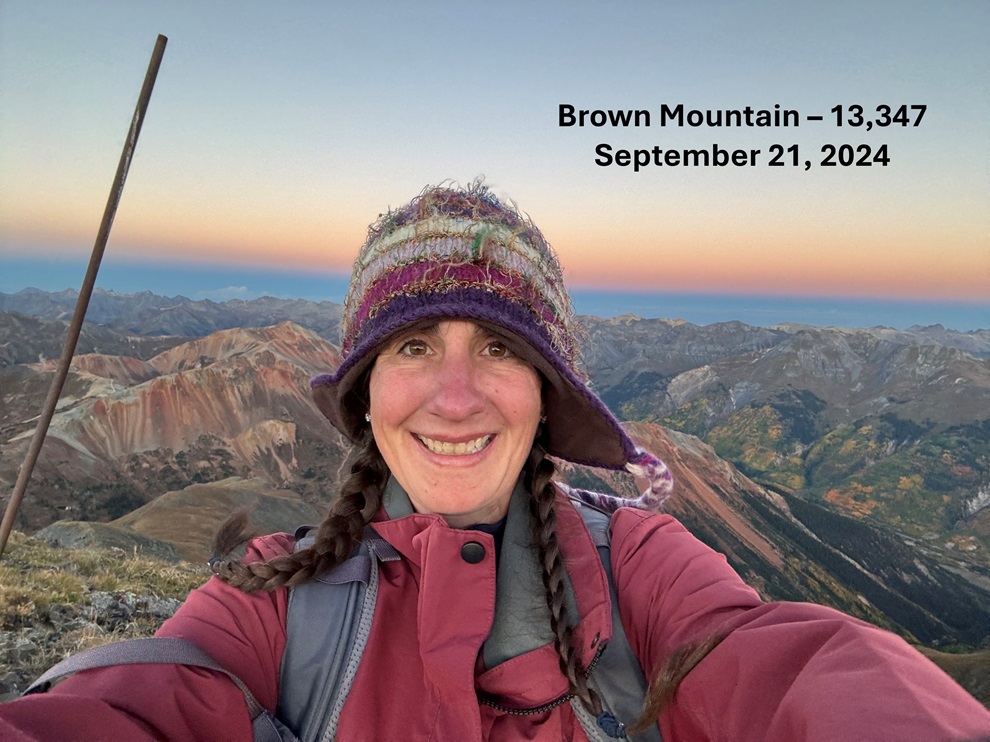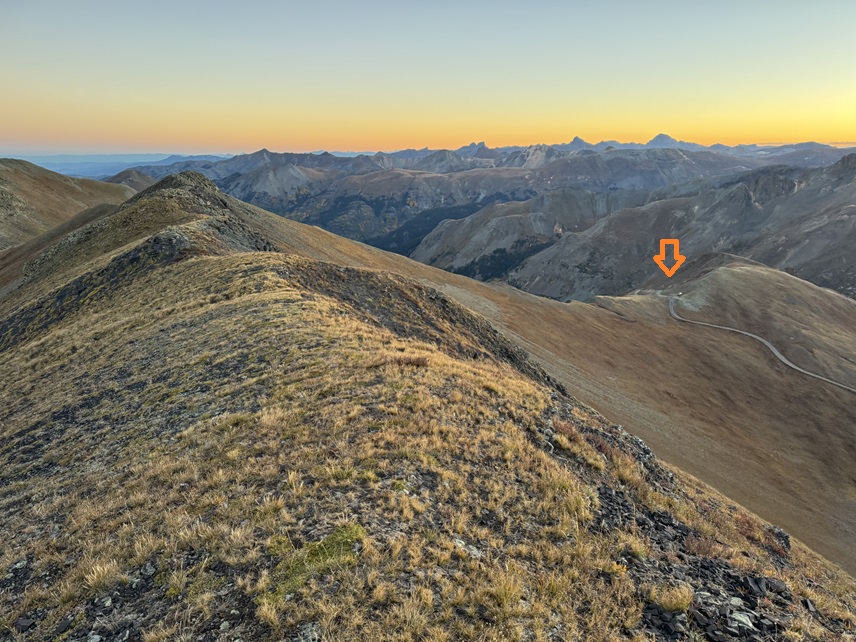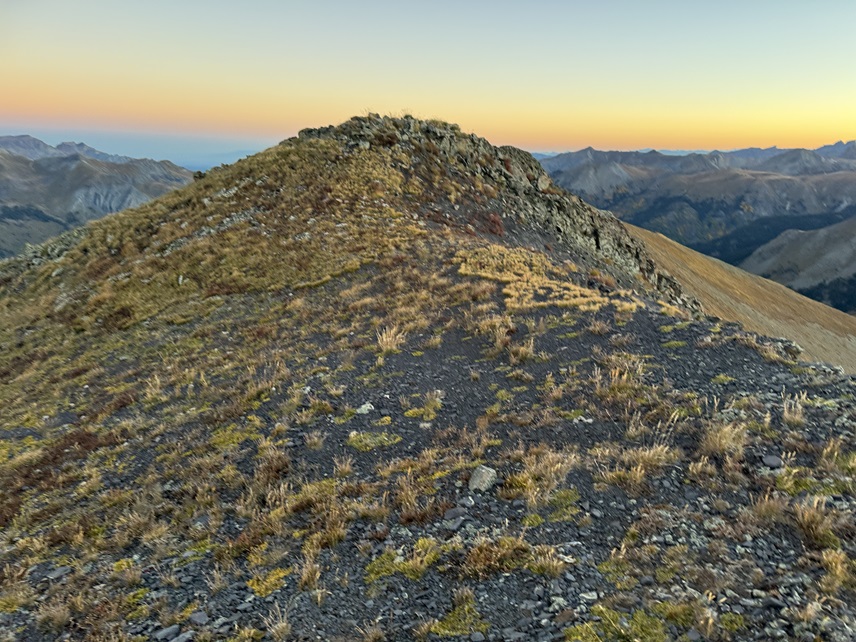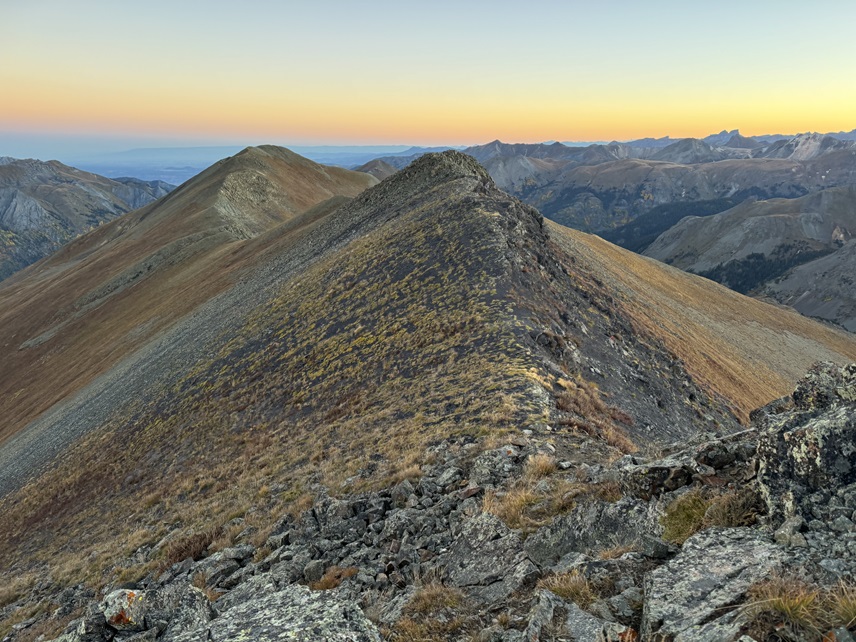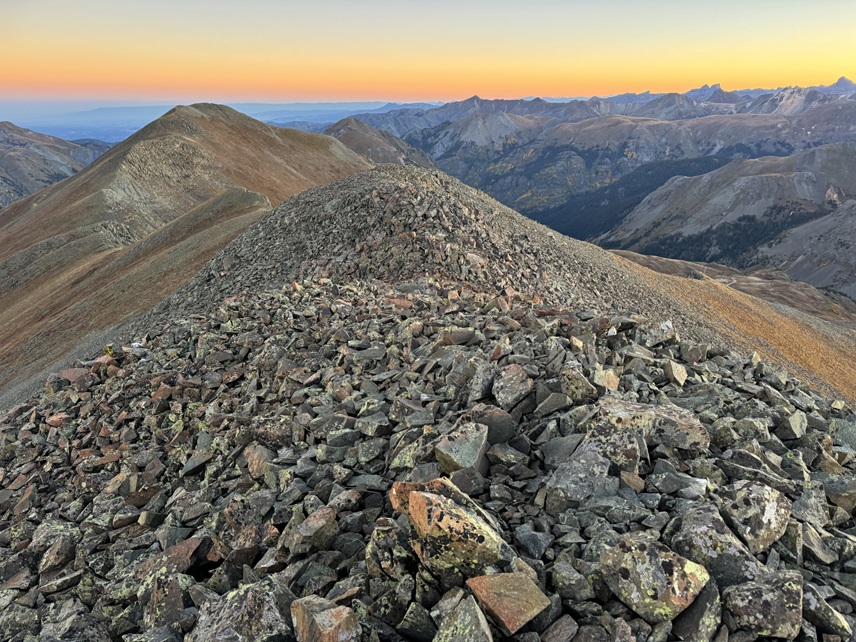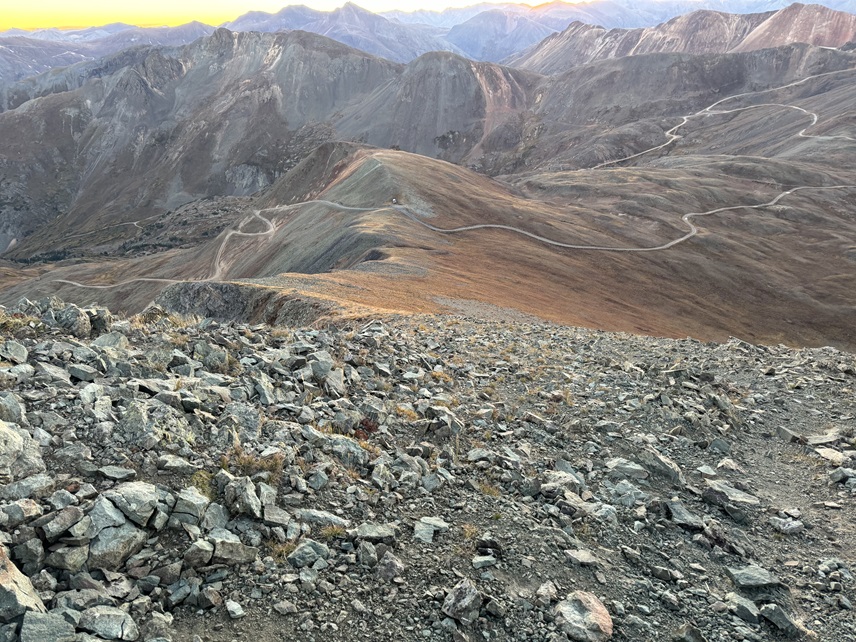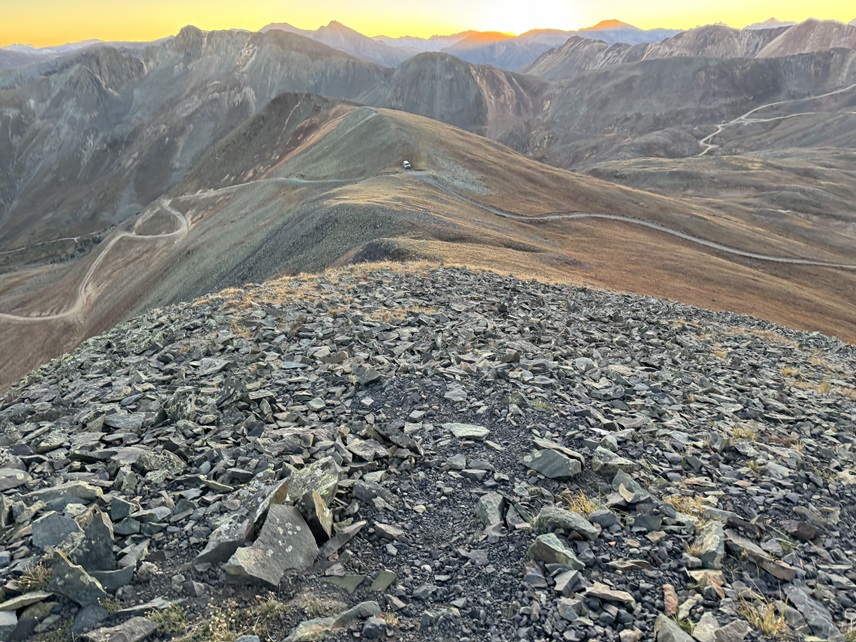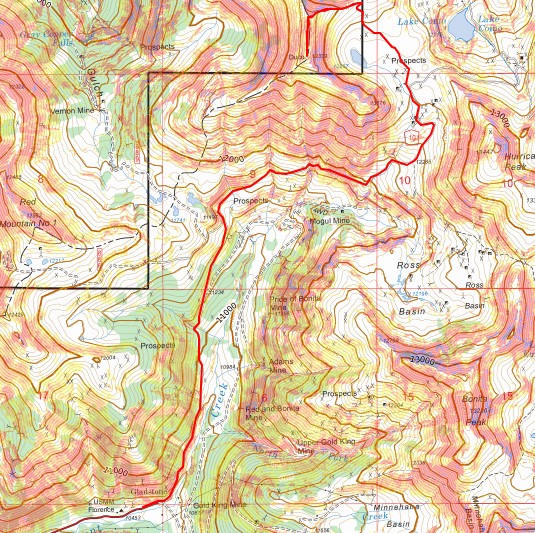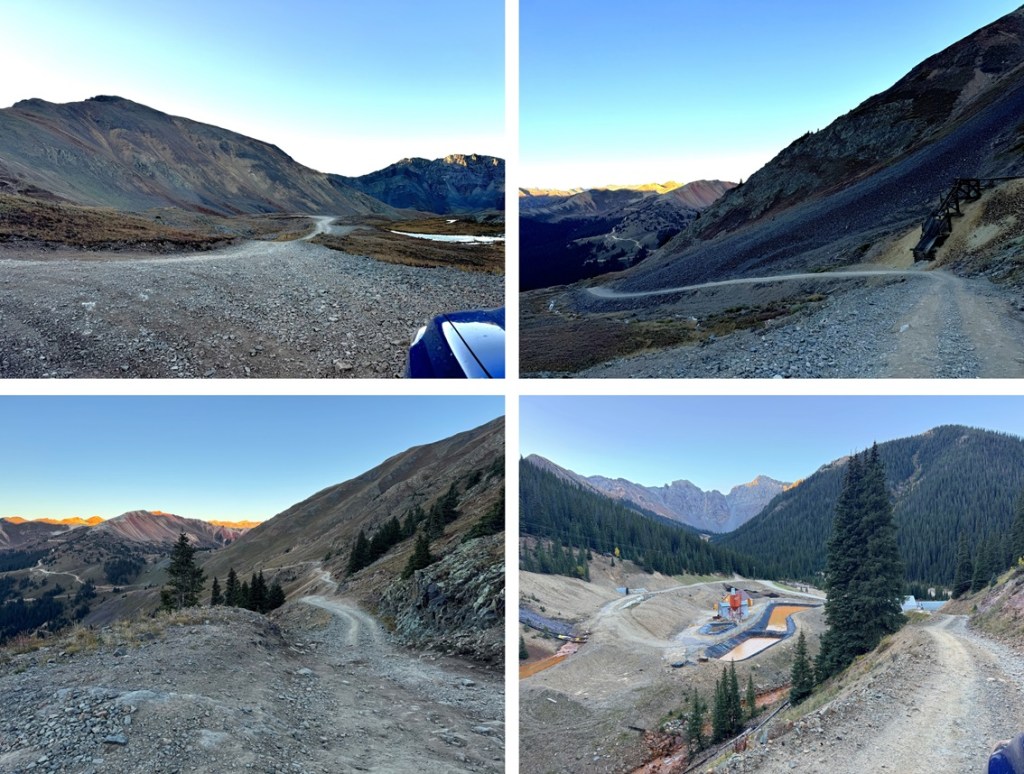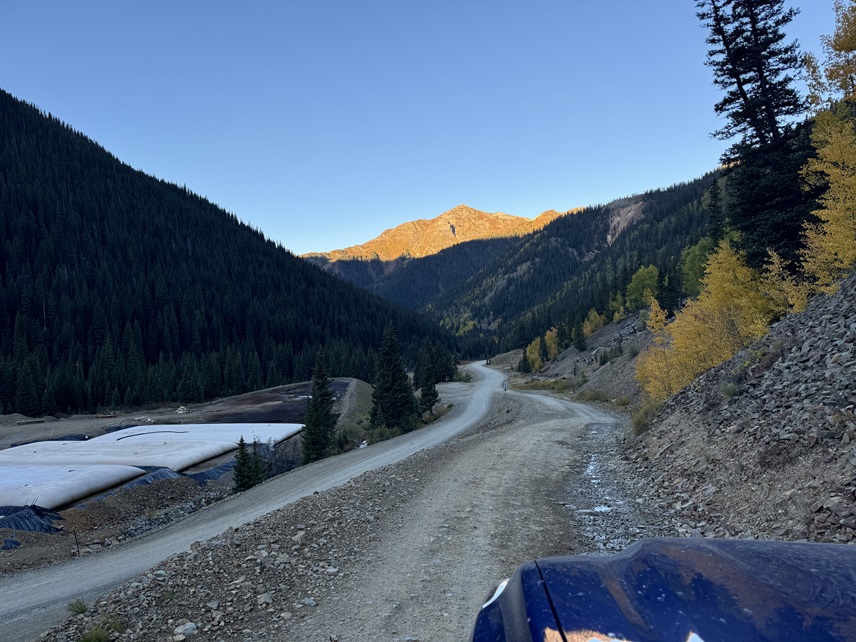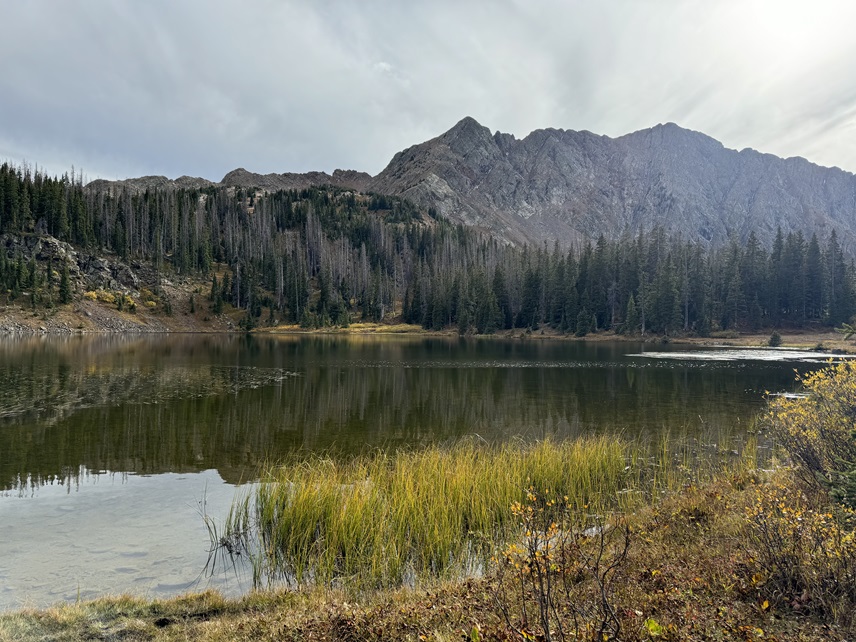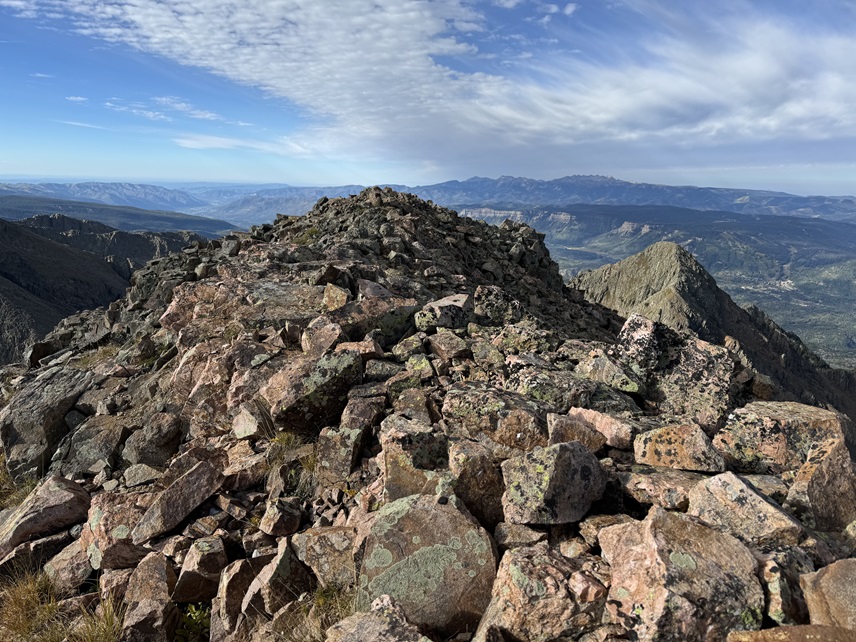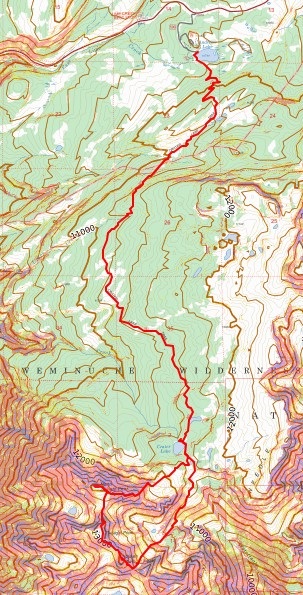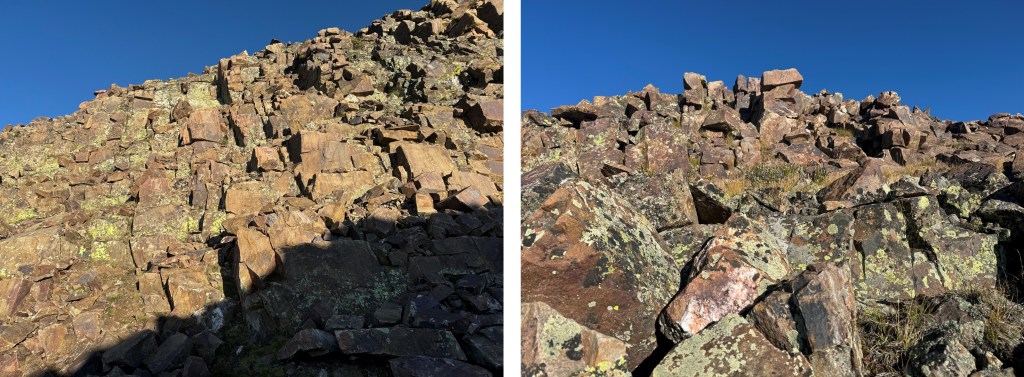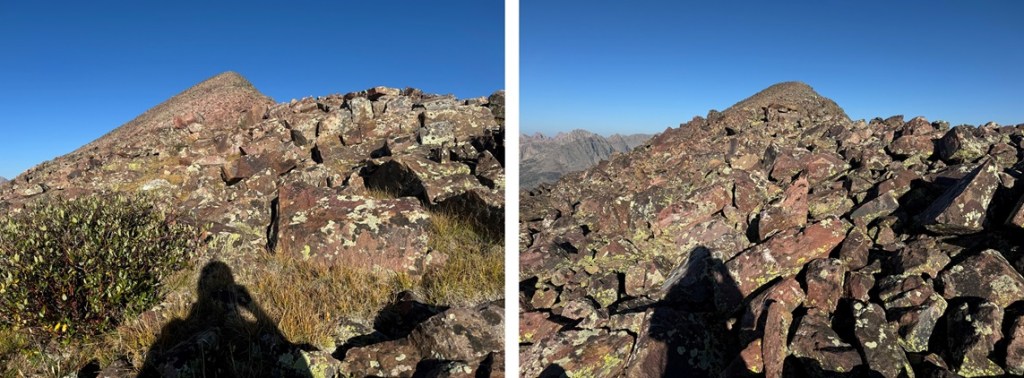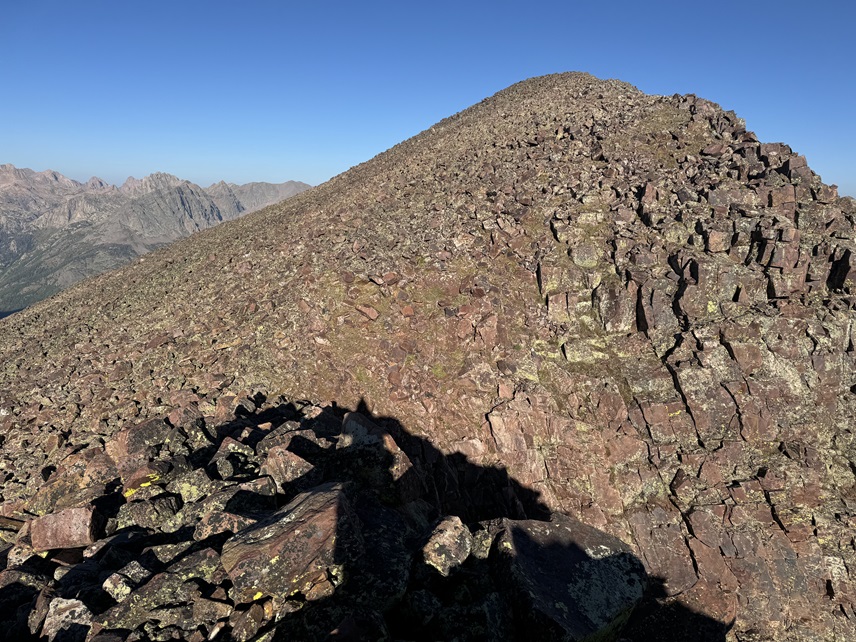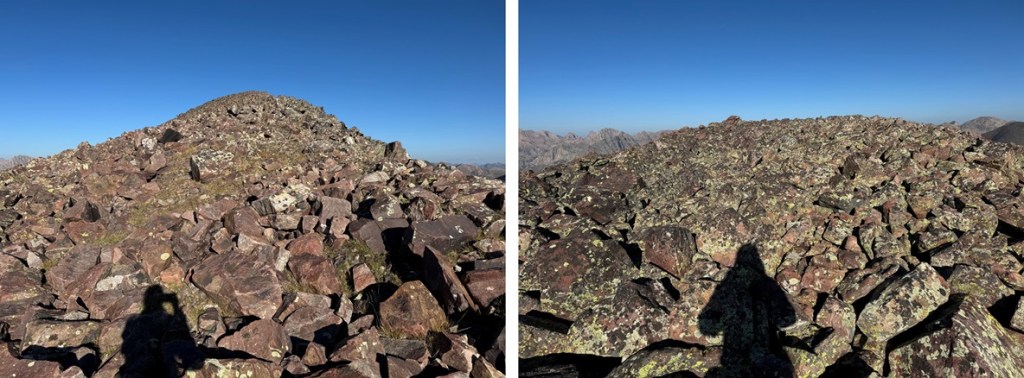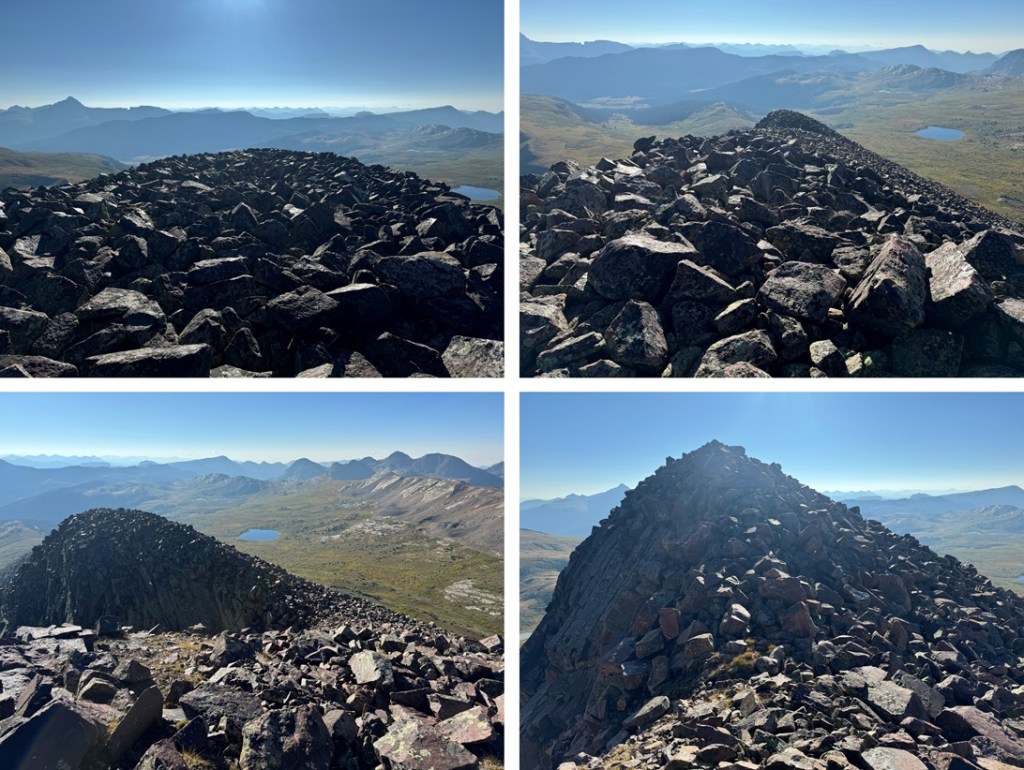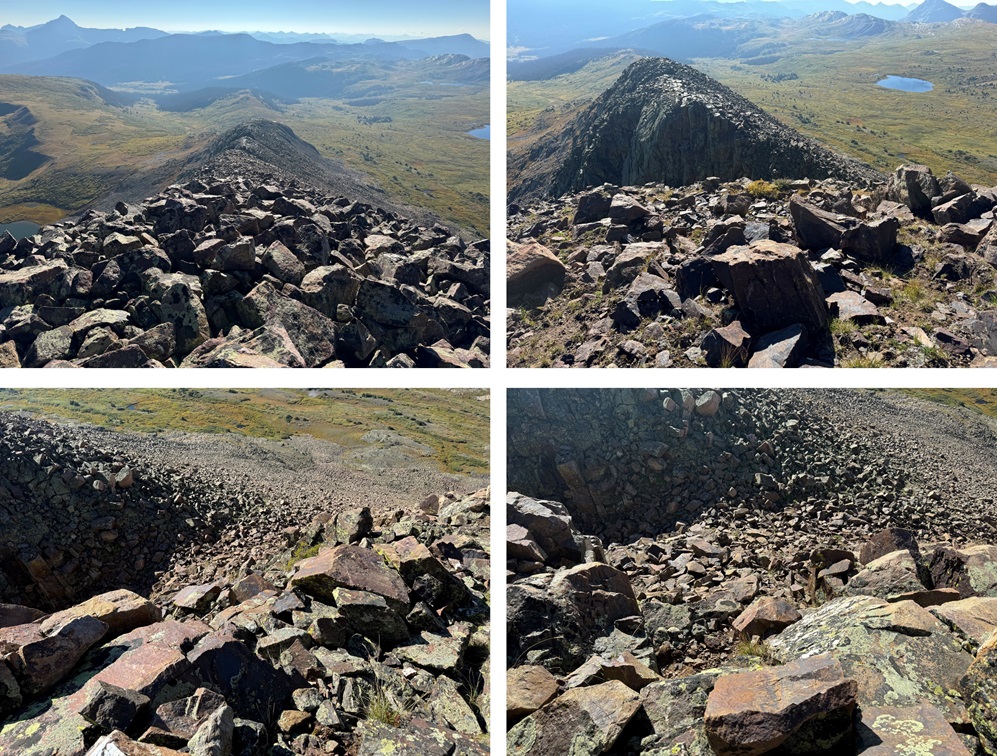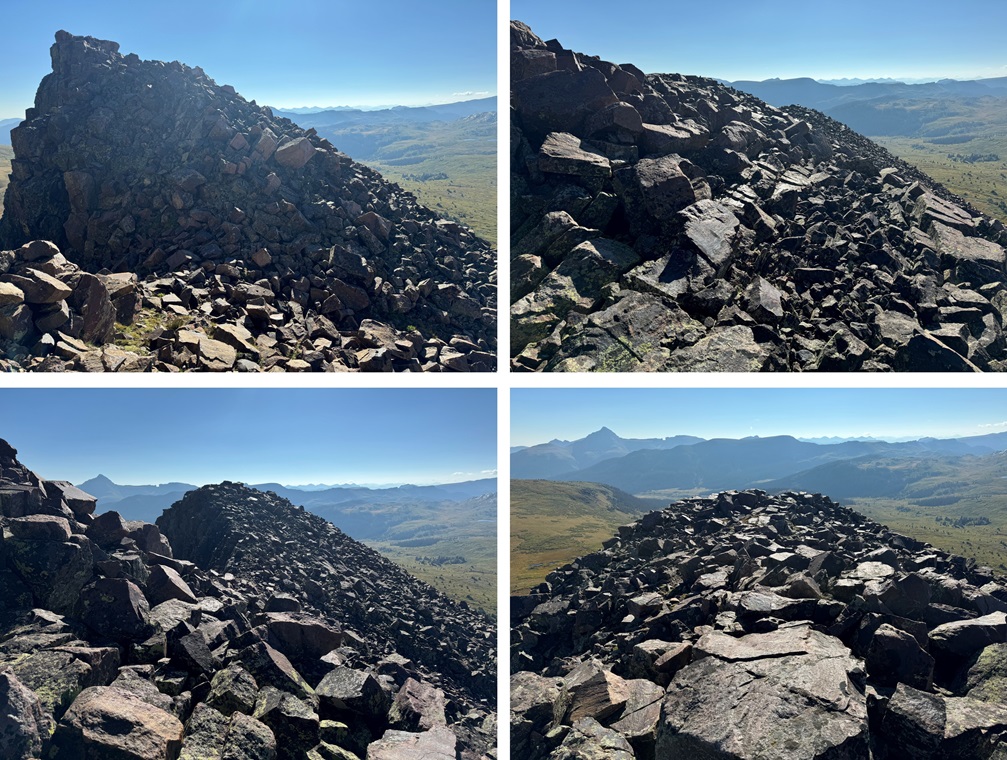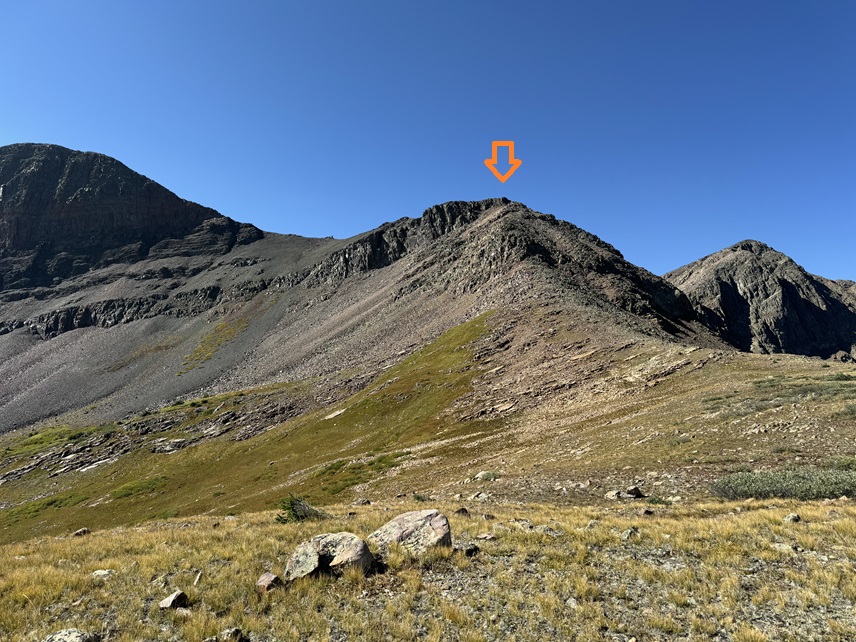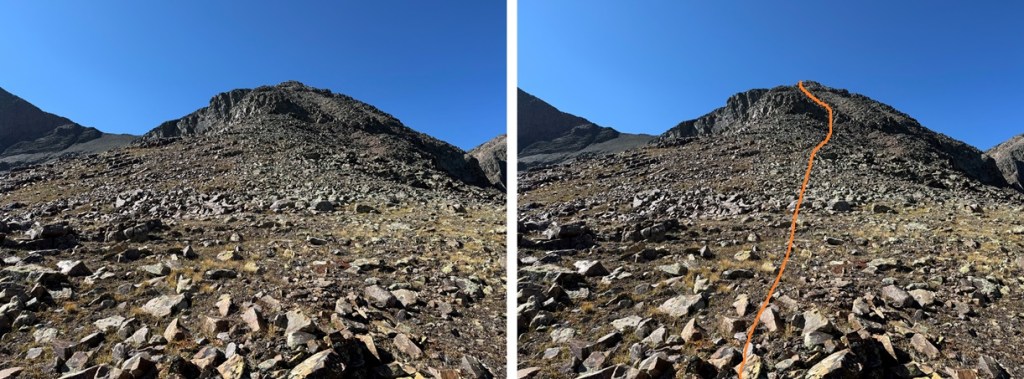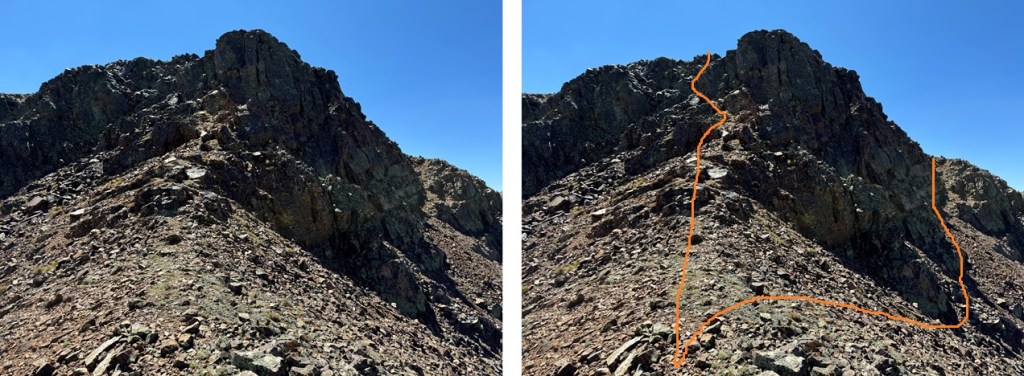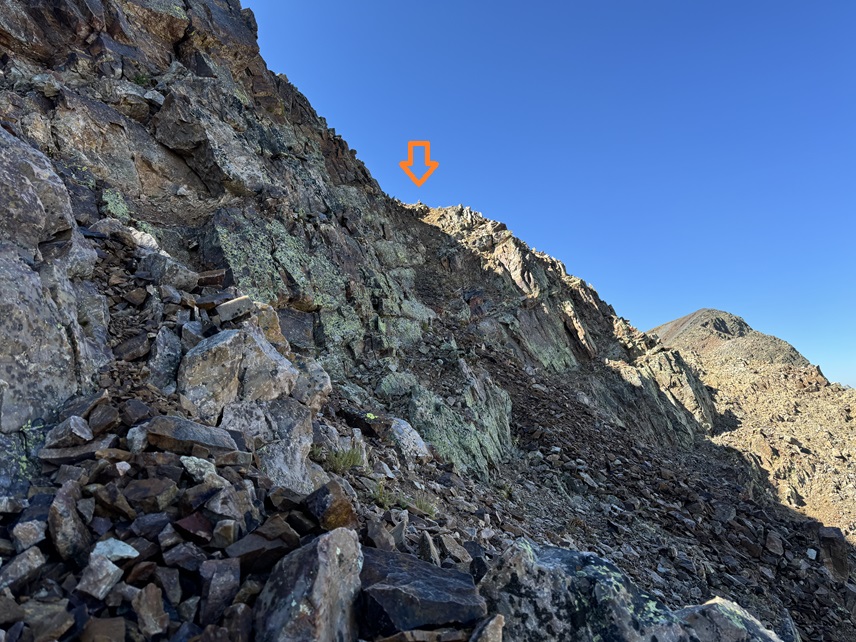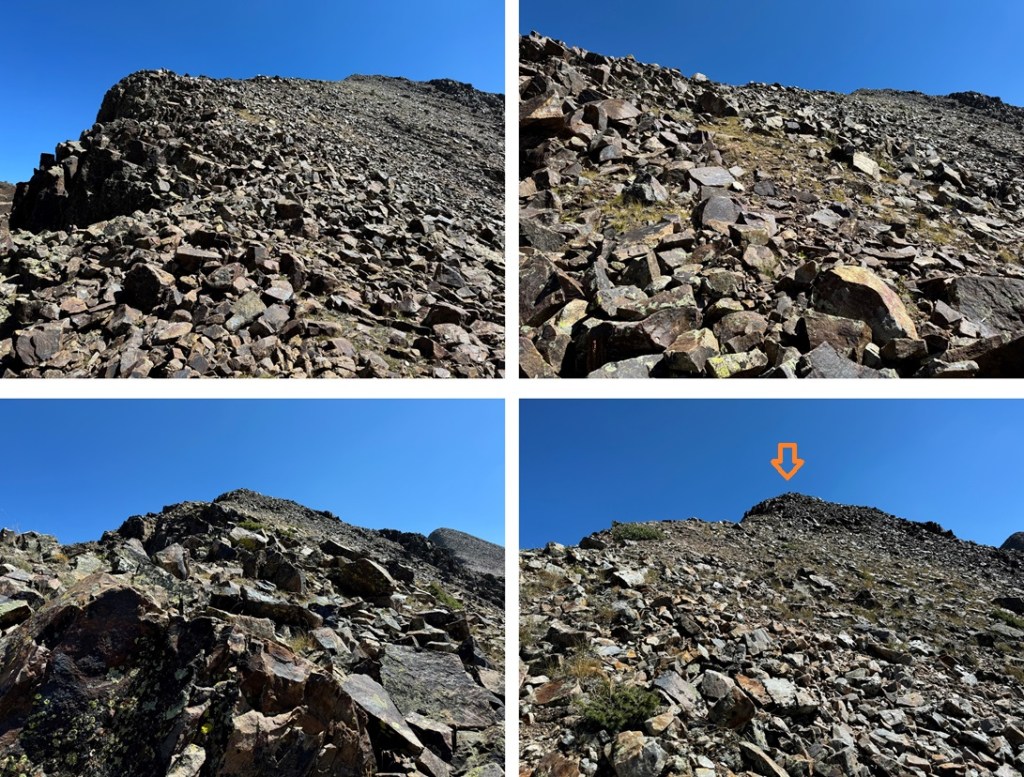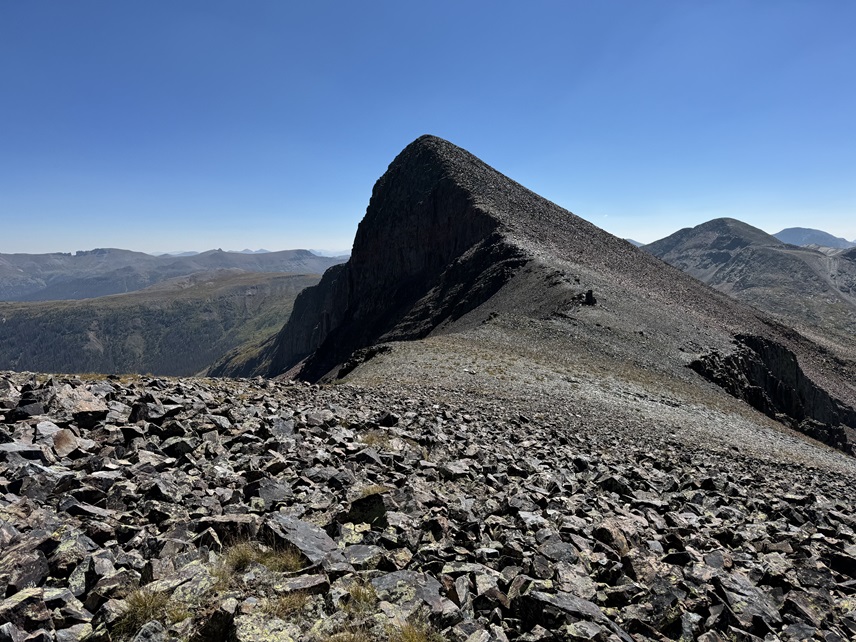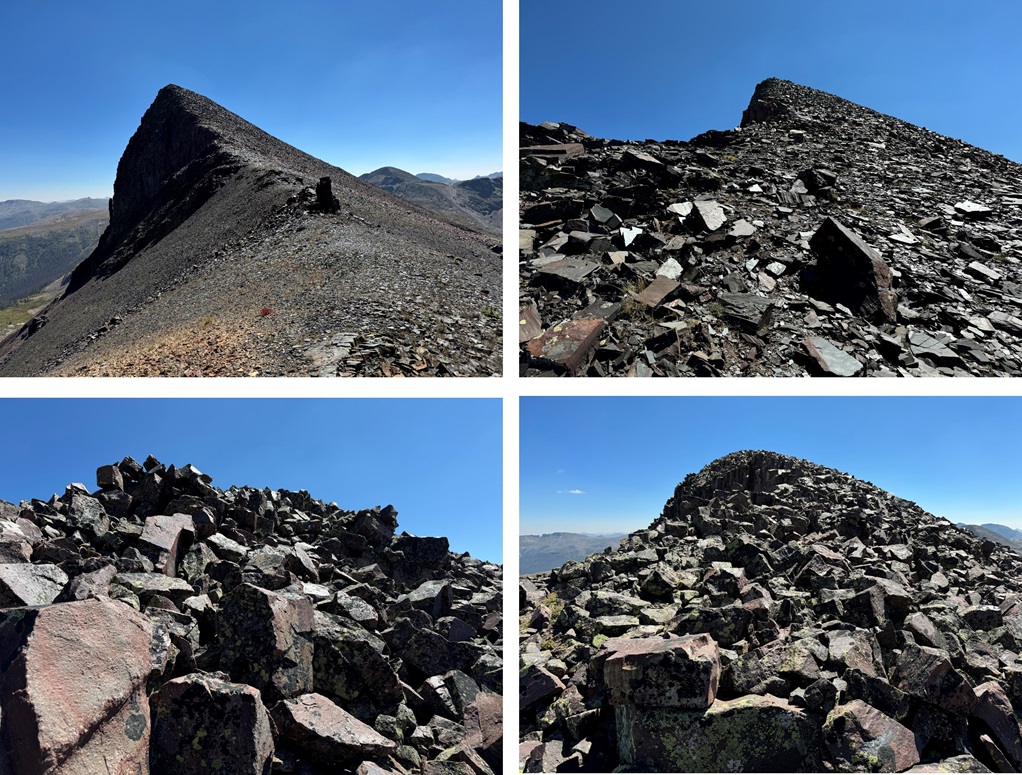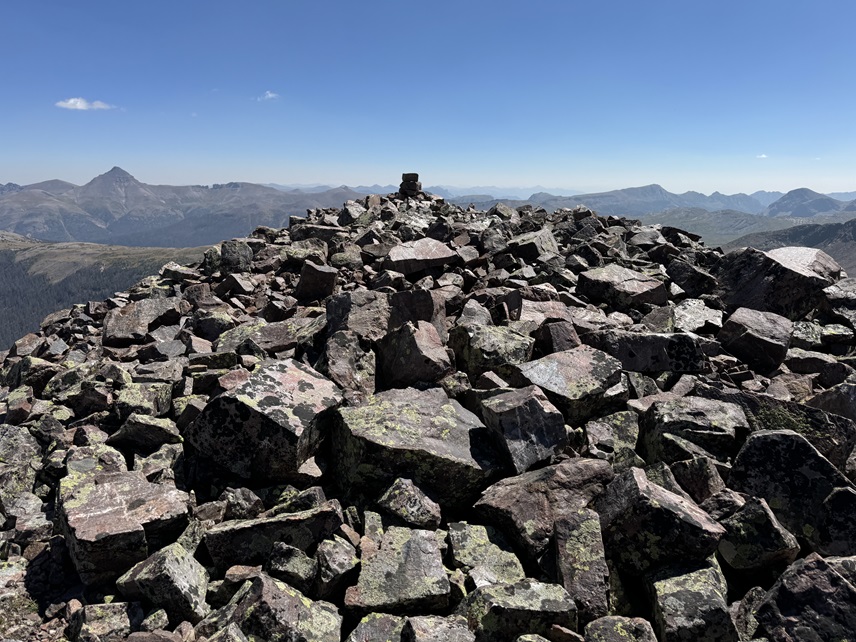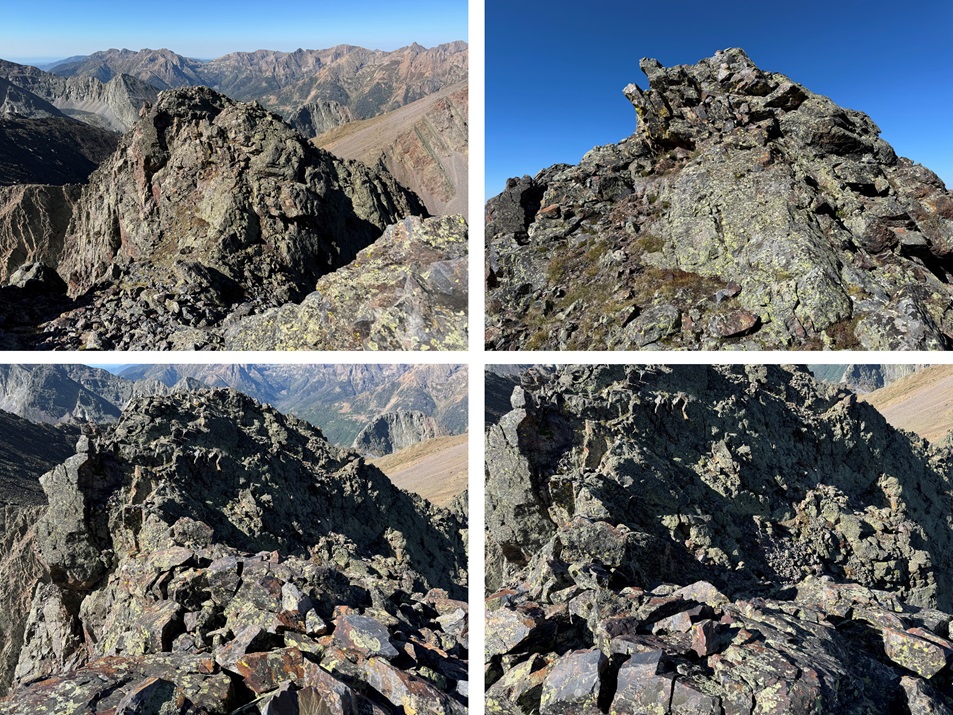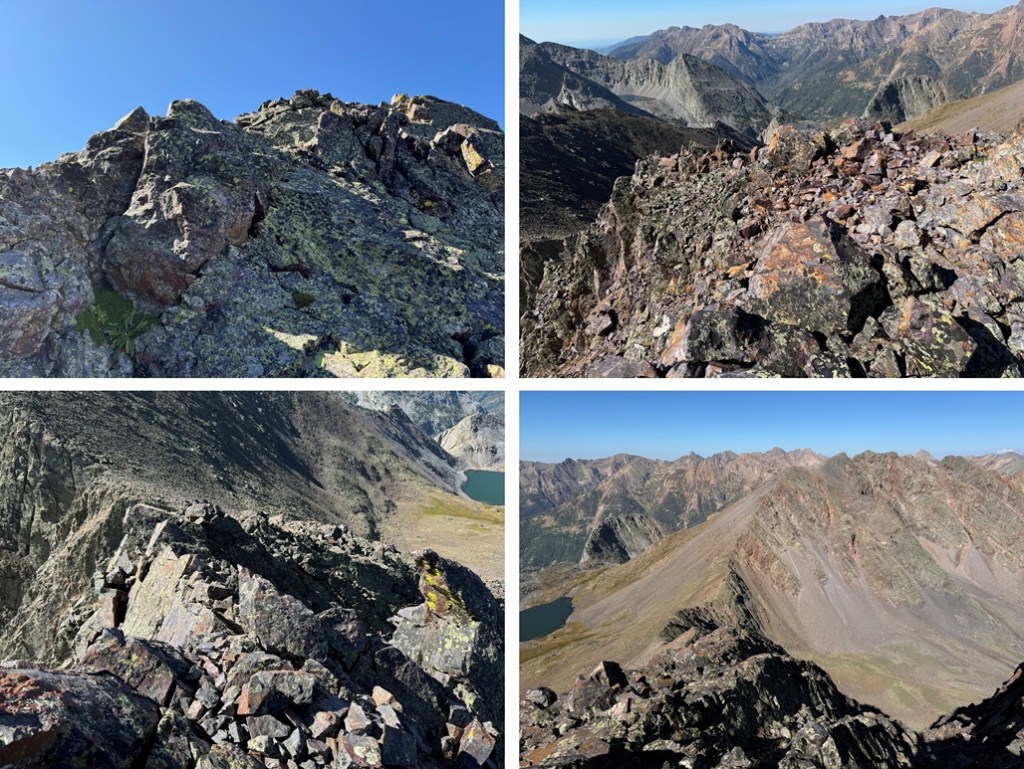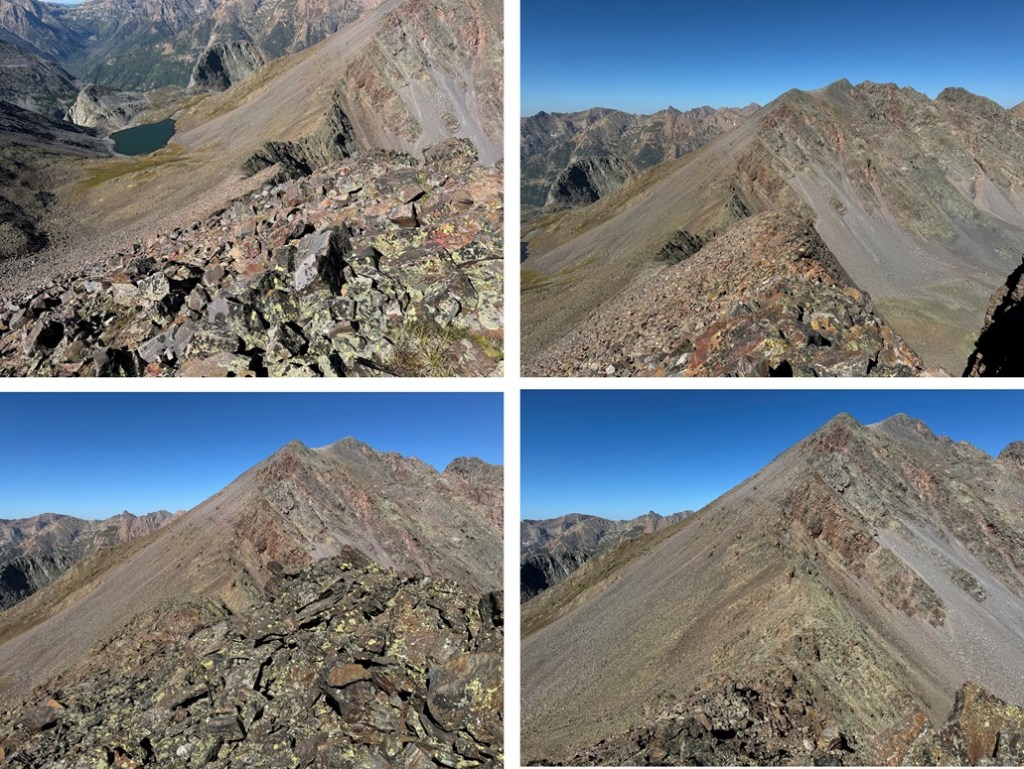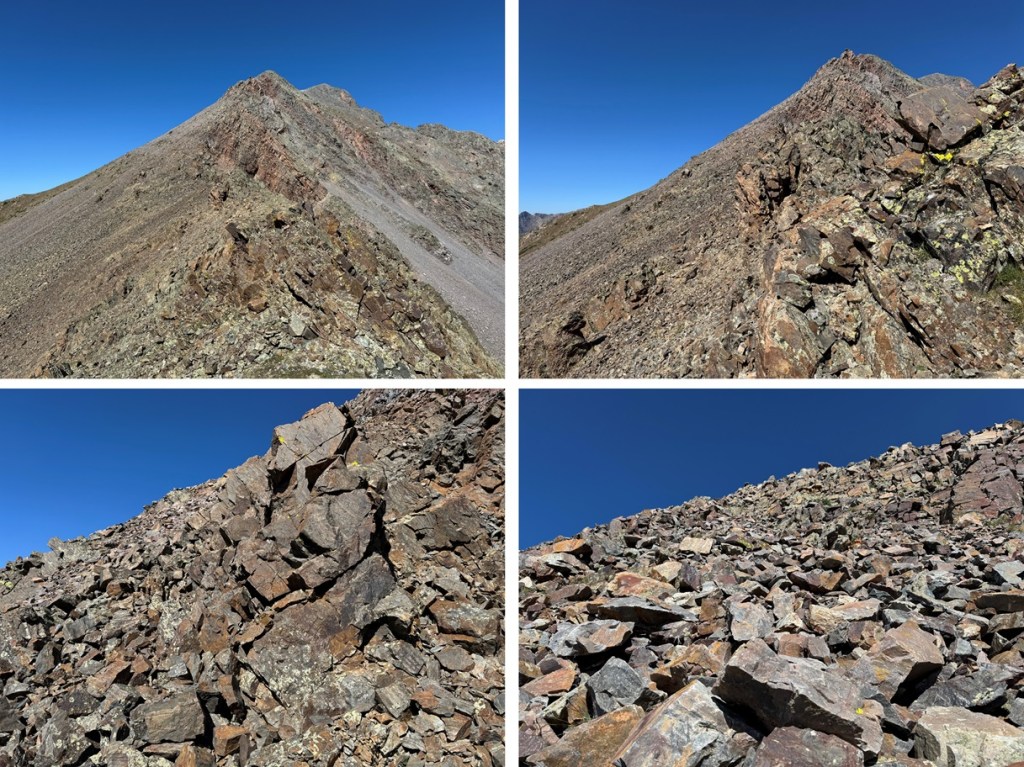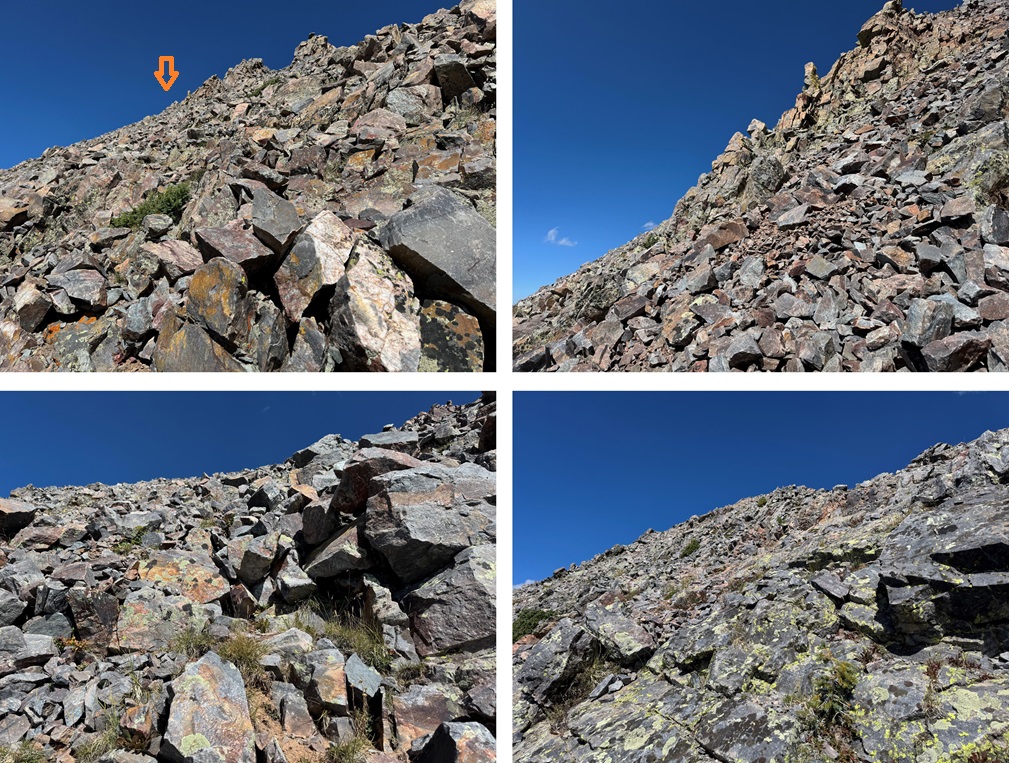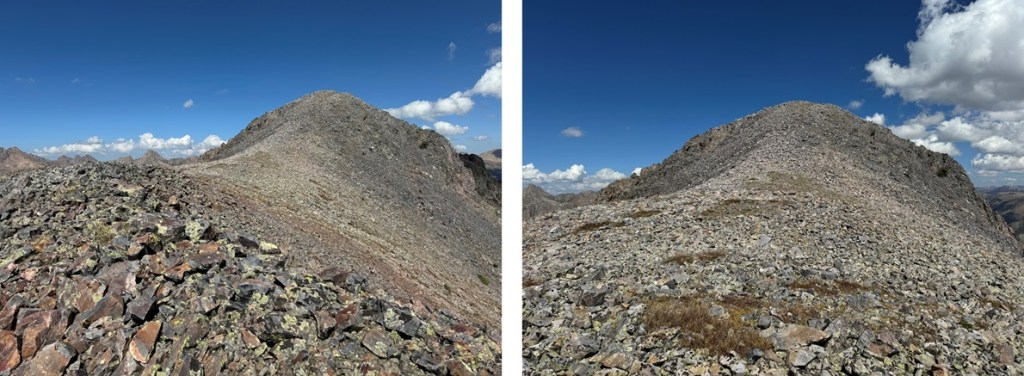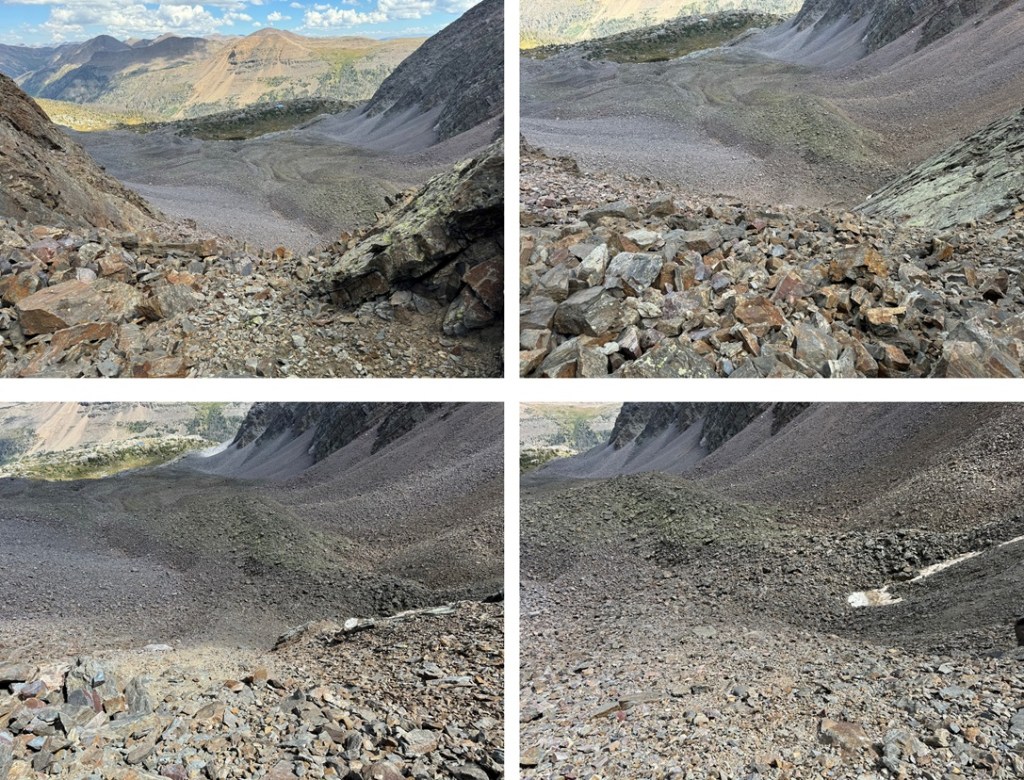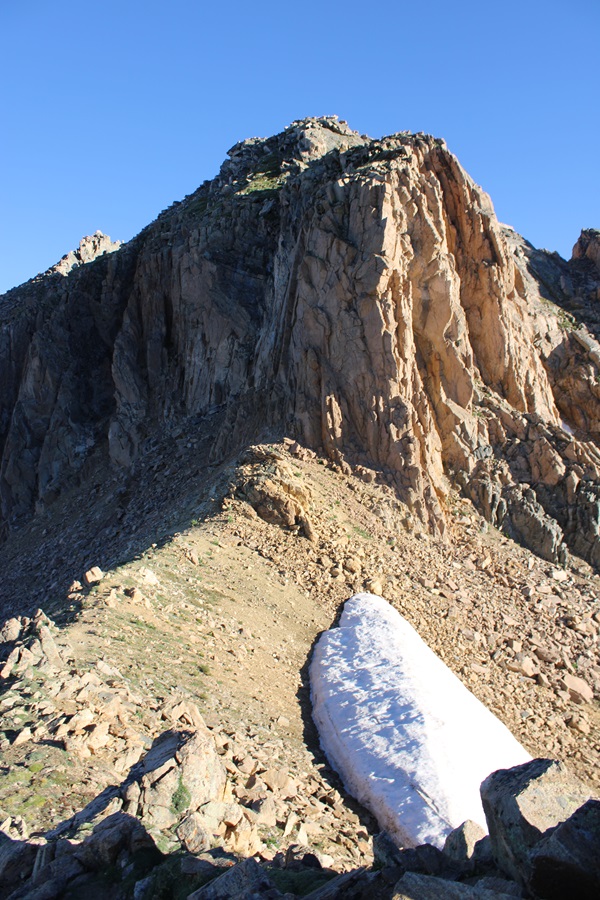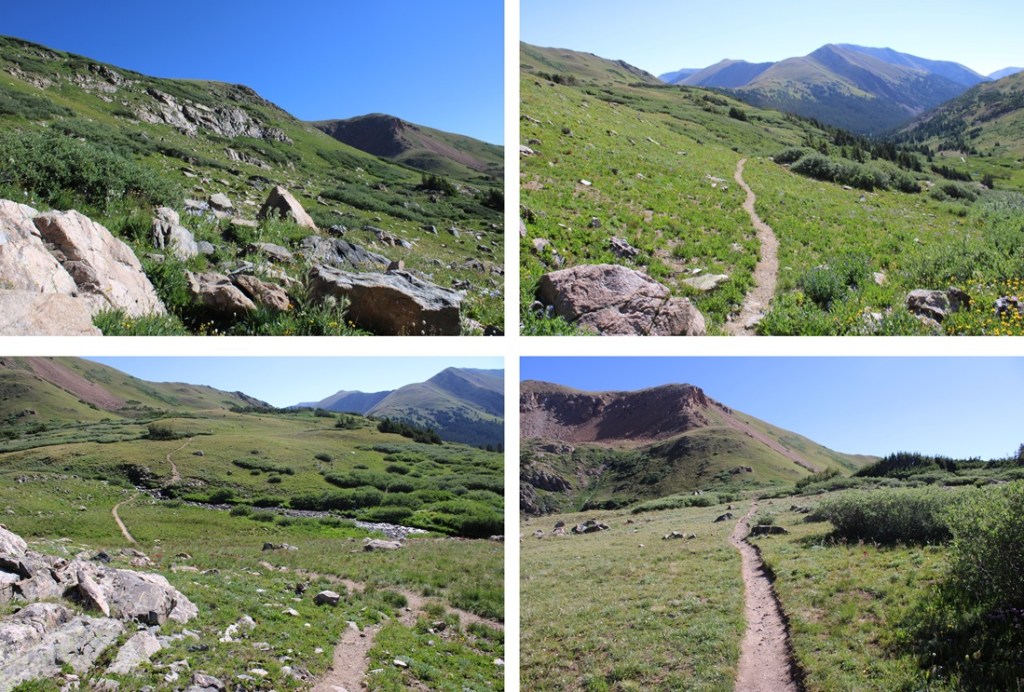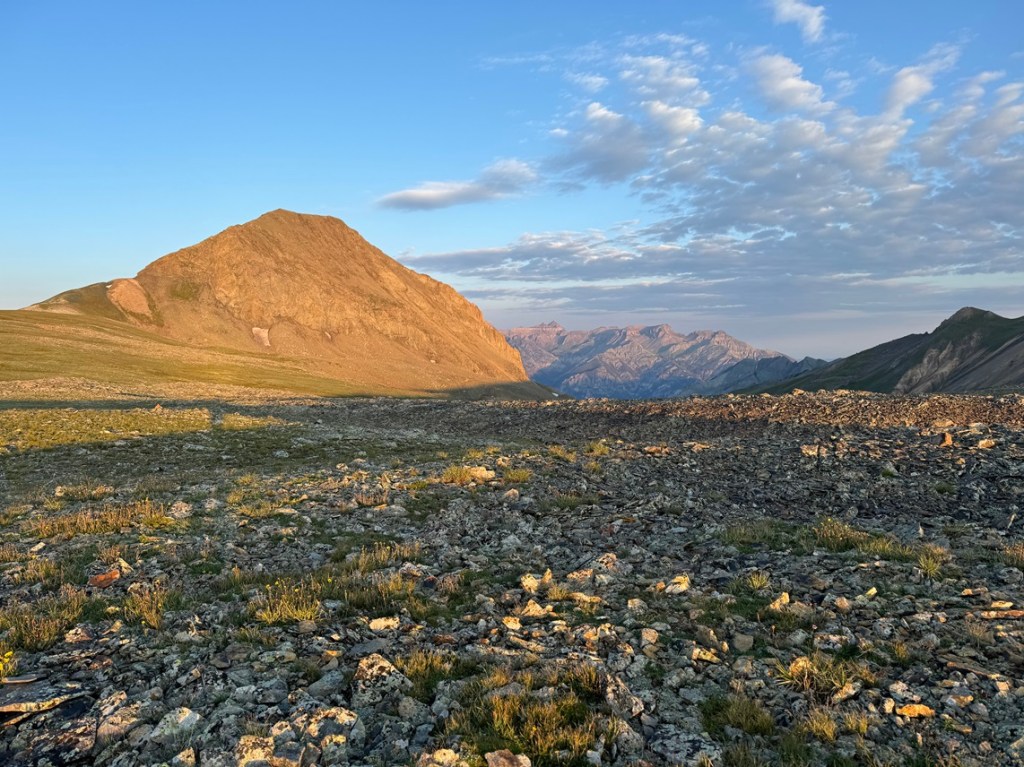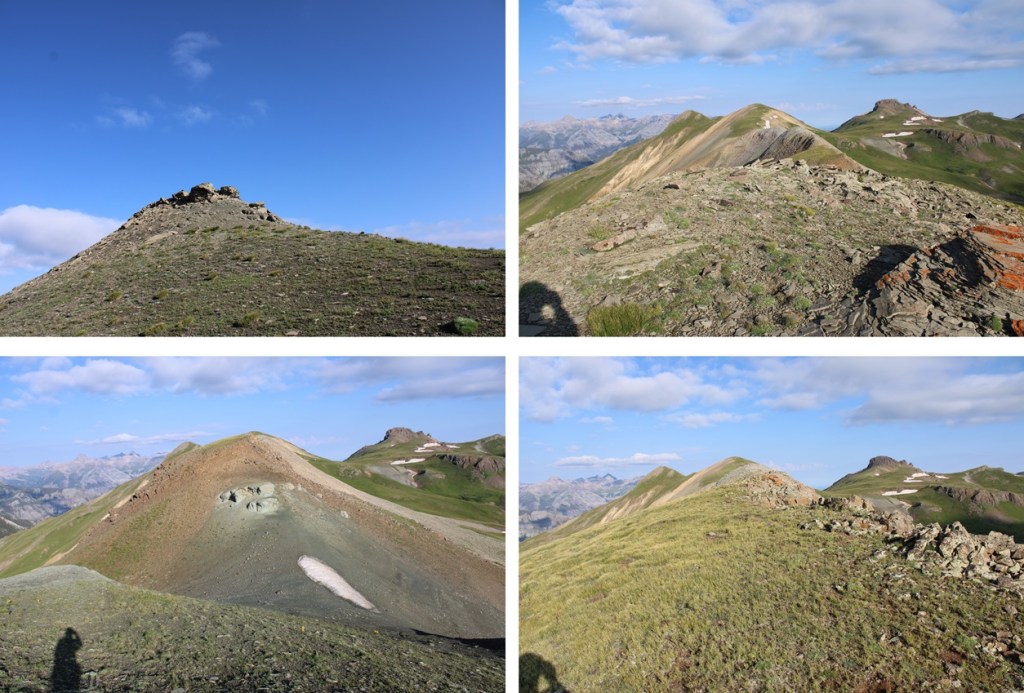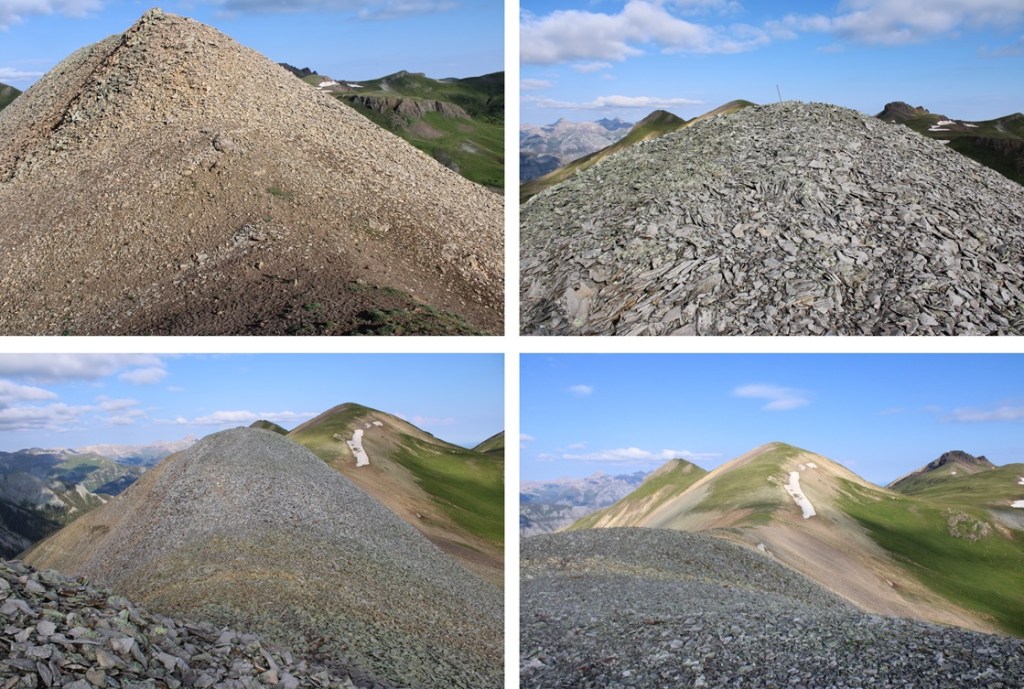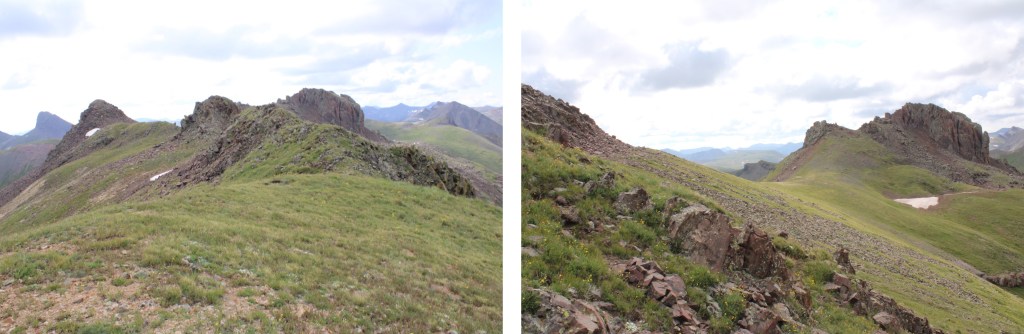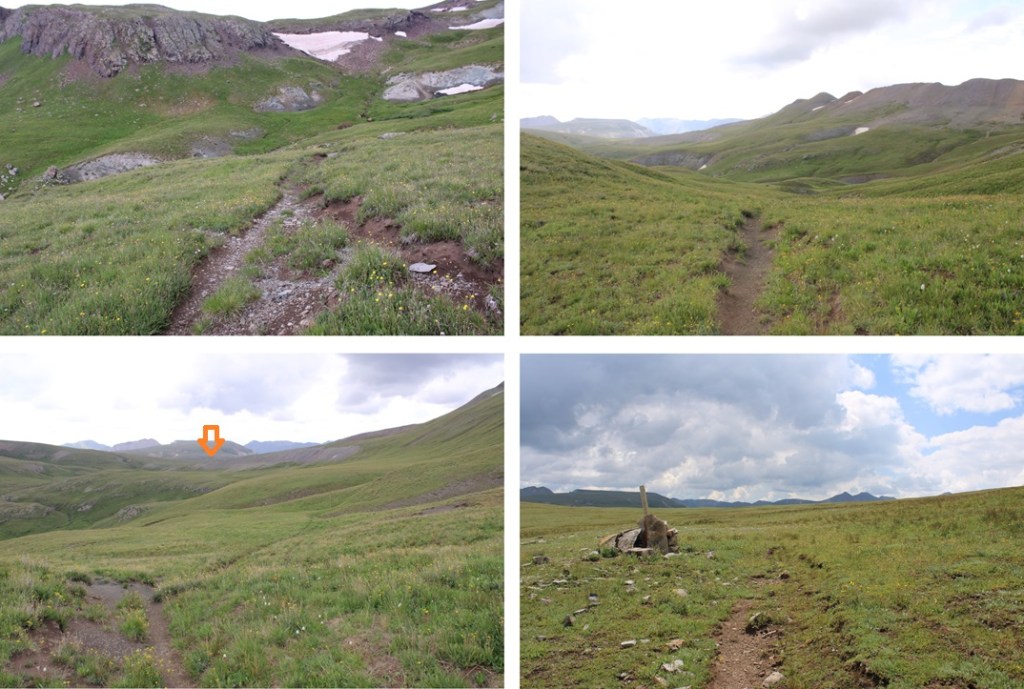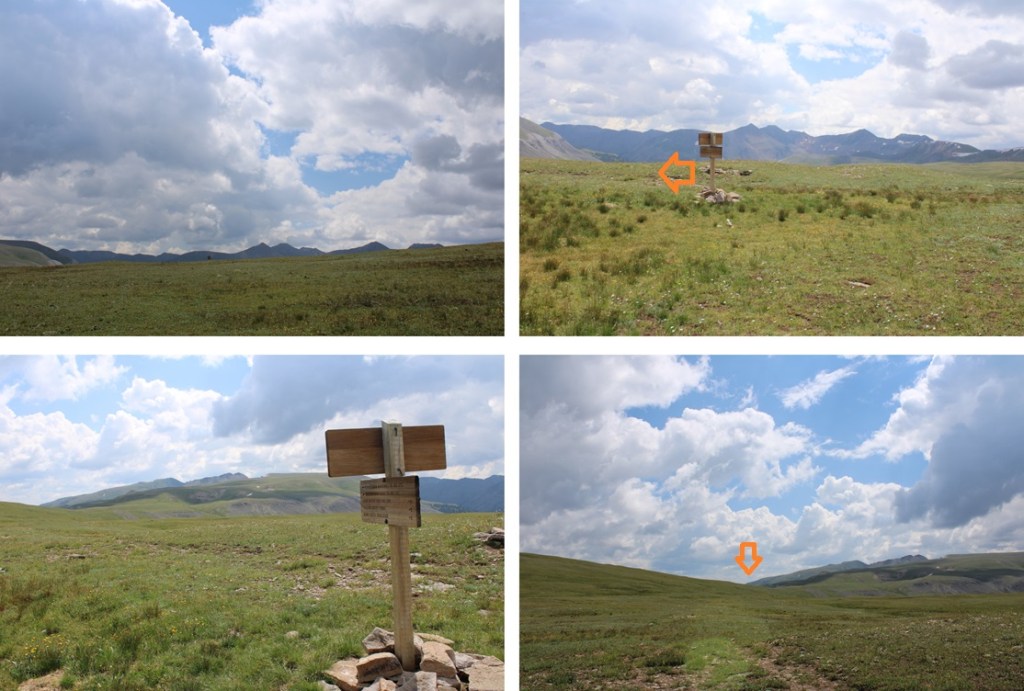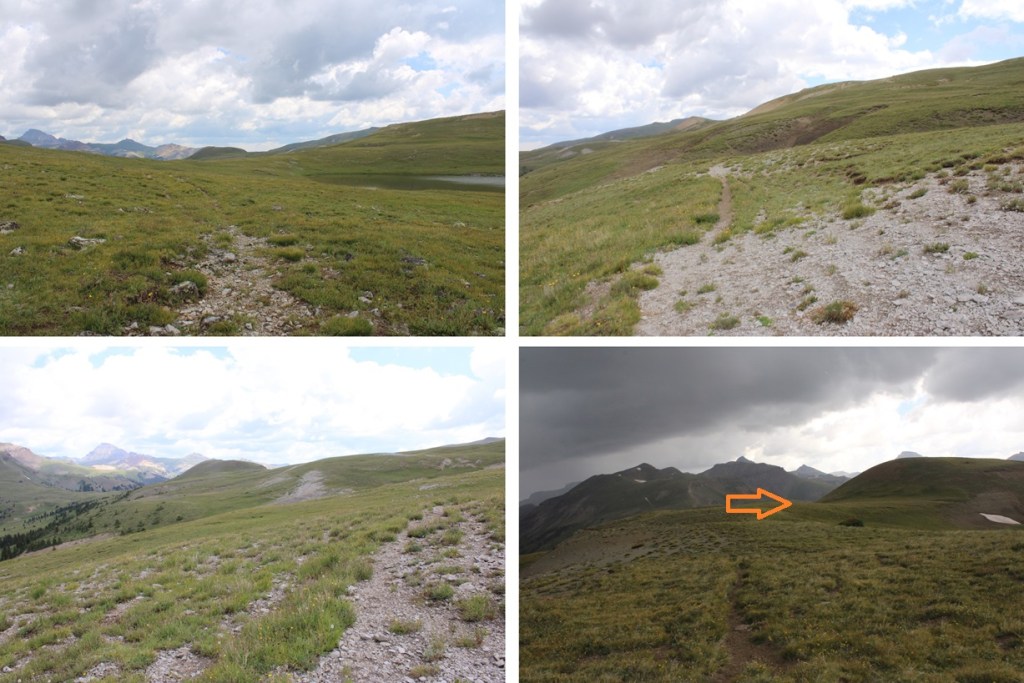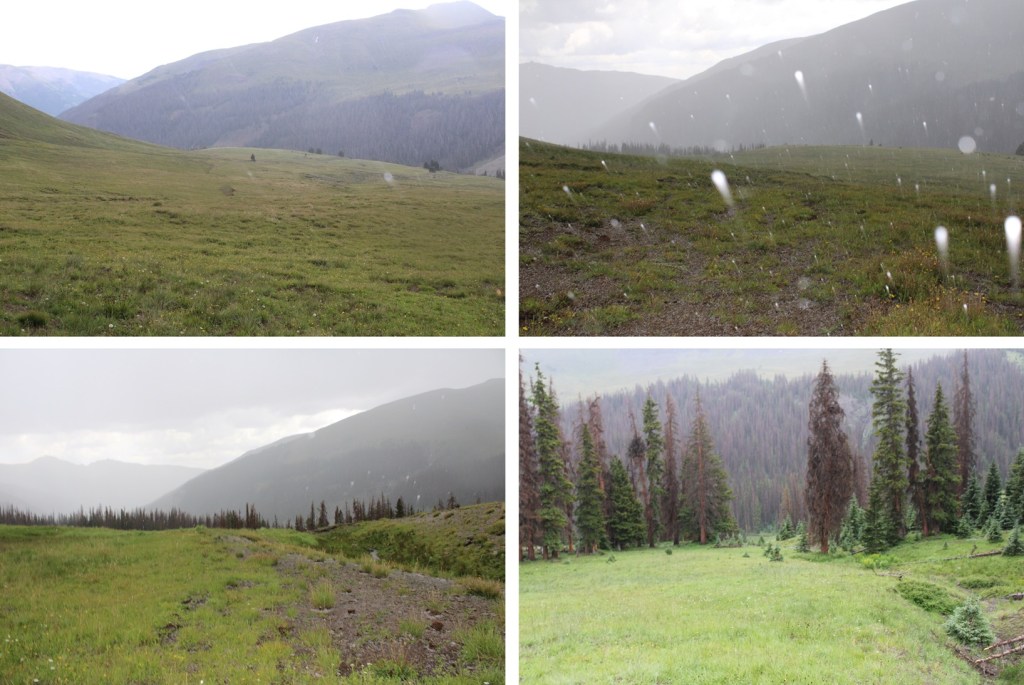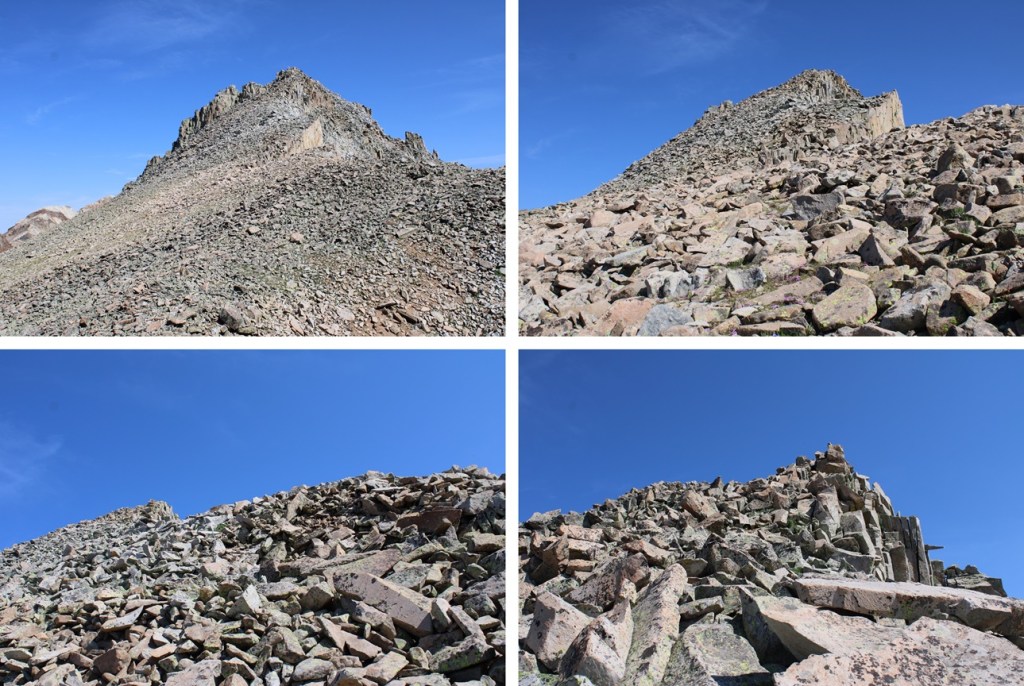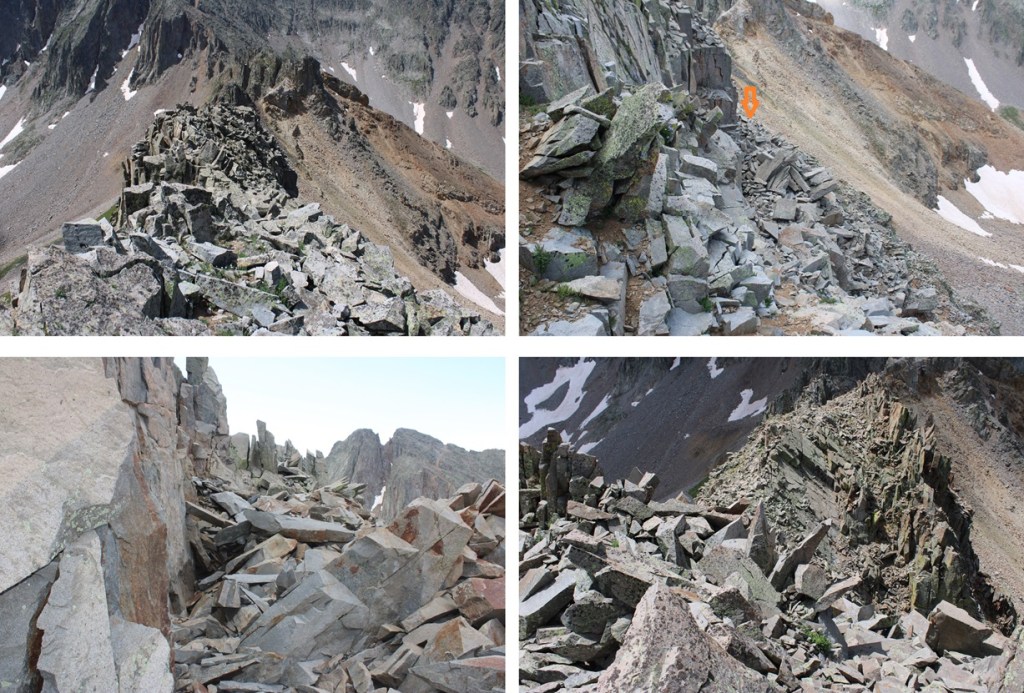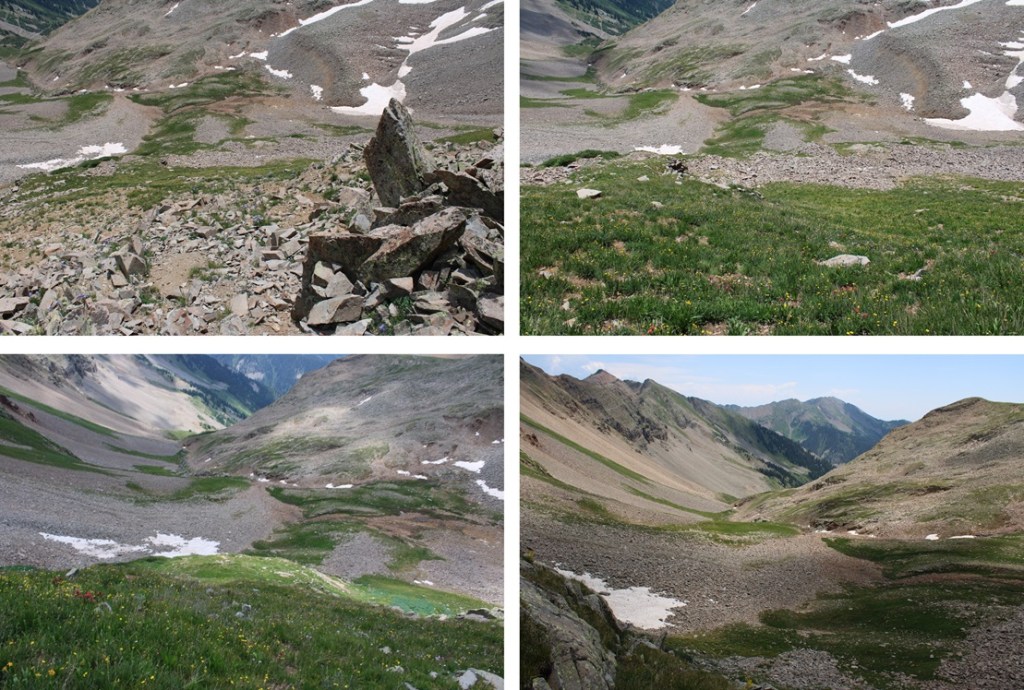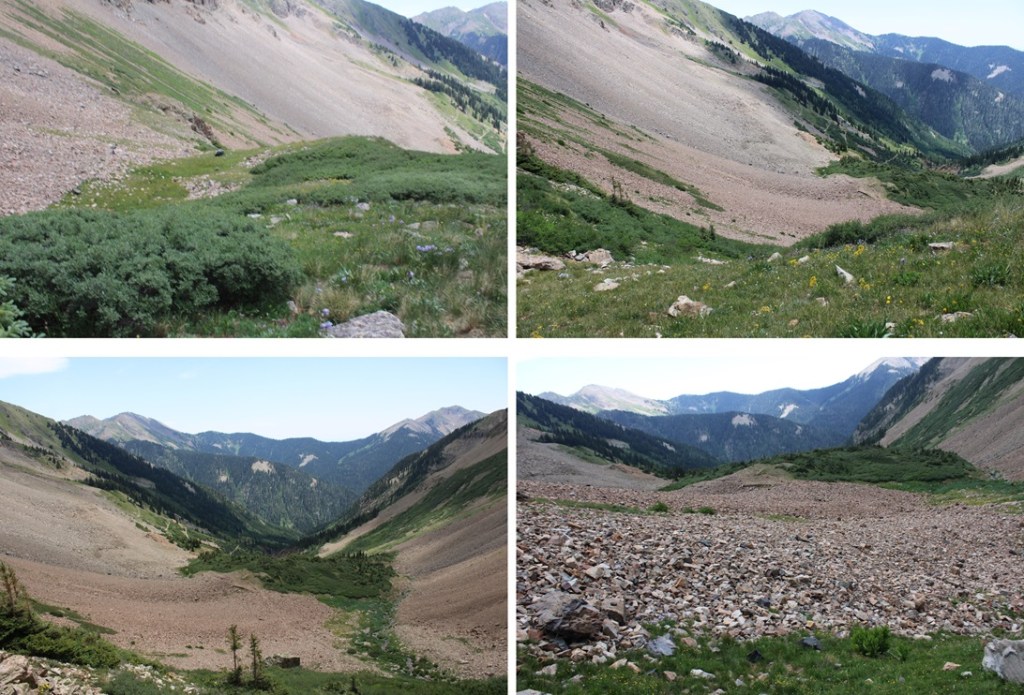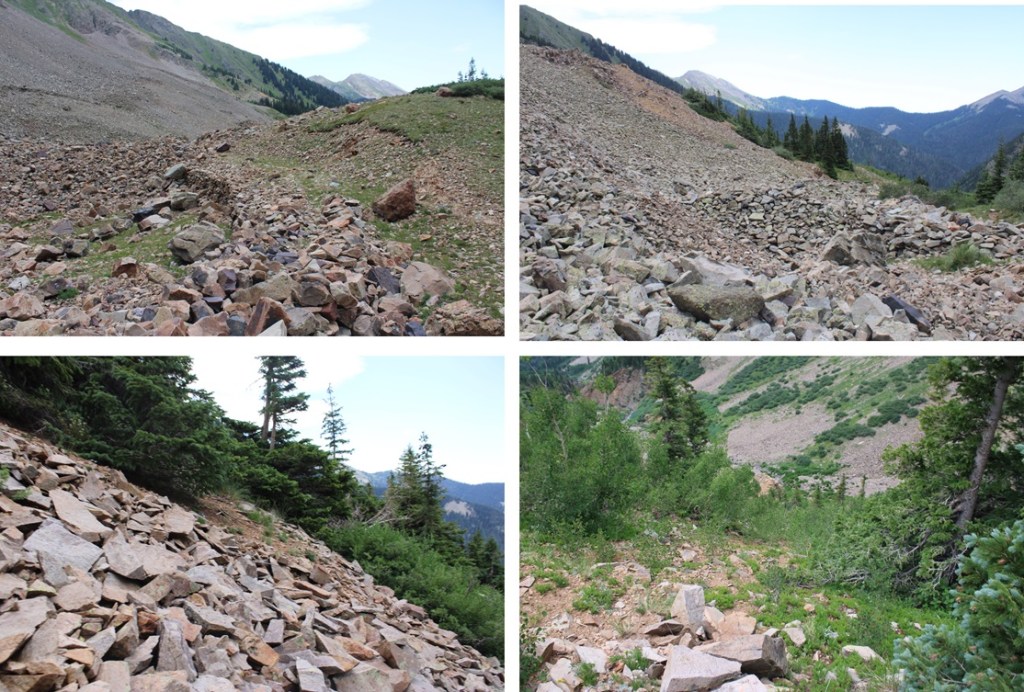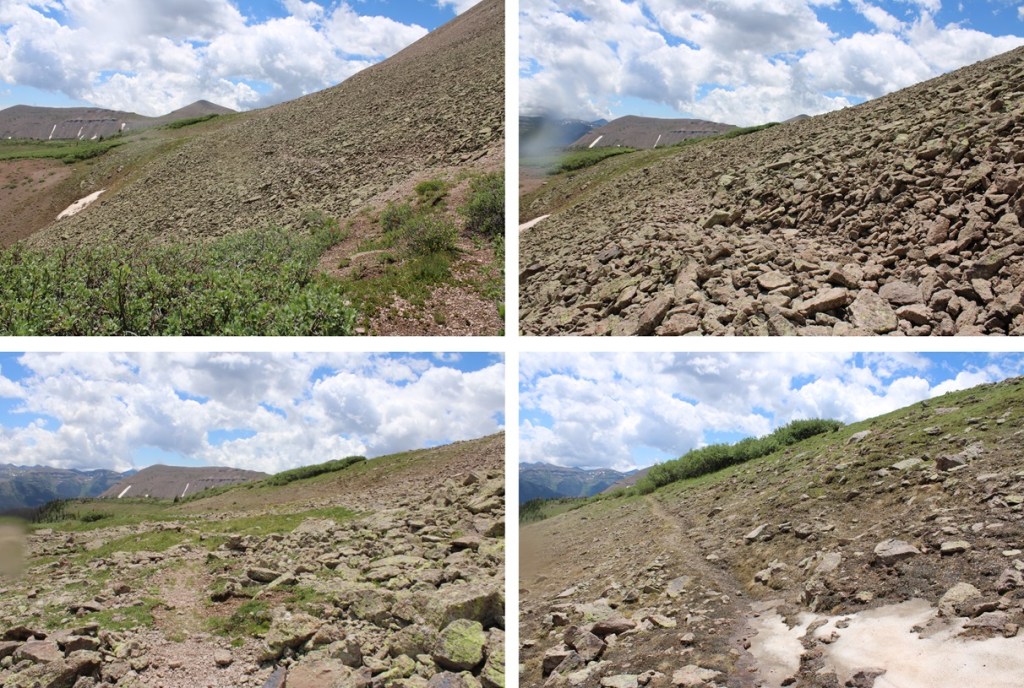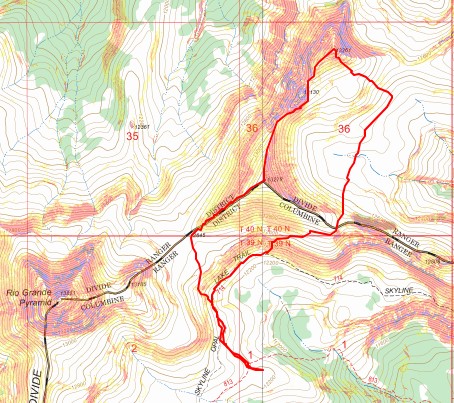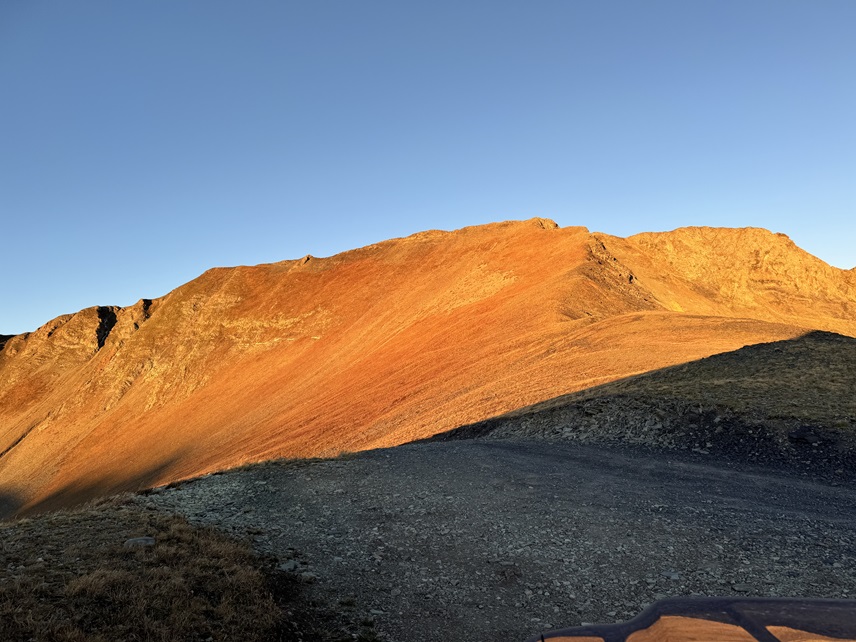
South Twilight Peak – 13,105, Twilight Peak – 13,162, North Twilight Peak – 13,084

RT Length (from Andrews Lake): 17.11

Elevation Gain (From Andrews Lake): 4573’

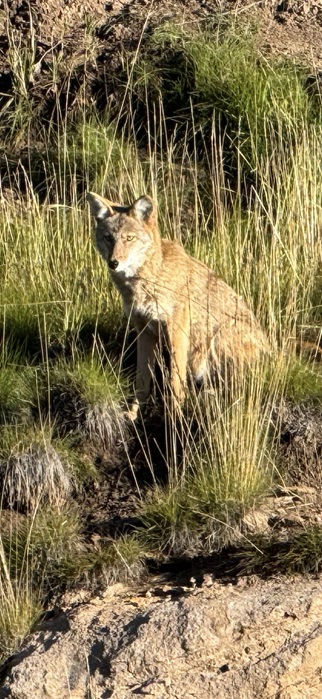
I arrived at the Andrews Lake trailhead and noticed a rather robust coyote sitting along the shoreline, just staring.  He wasn’t bothering anyone, so I let him be.

About 20 minutes later, I heard a woman screaming from not too far away.  The coyote was attacking her Golden Retriever (which was luckily leashed).  I ran over there with my trekking pole to help her out.  The coyote had been stalking them for a bit and wanted the dog as food.  After scaring the coyote away, we chatted for a while, and she told me this wasn’t the first time her and her dog had been stalked by a coyote.  I was surprised the coyote would be so bold as to go after such a big dog.  We quickly became friends, exchanged contact information, and we were both on our way.

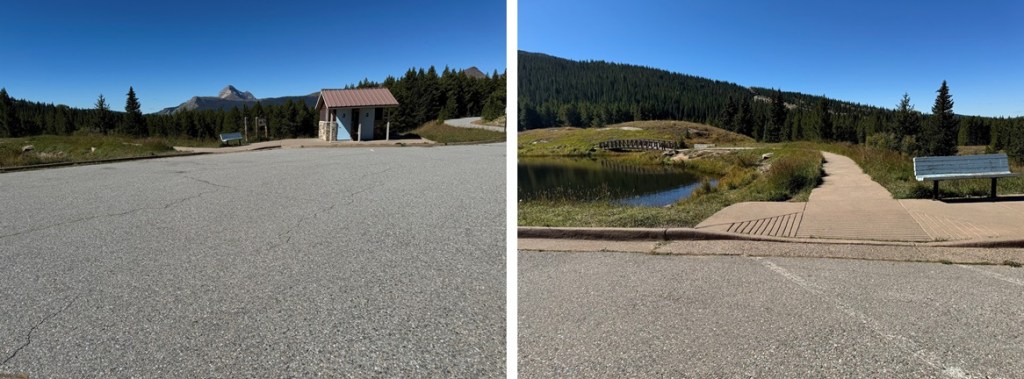
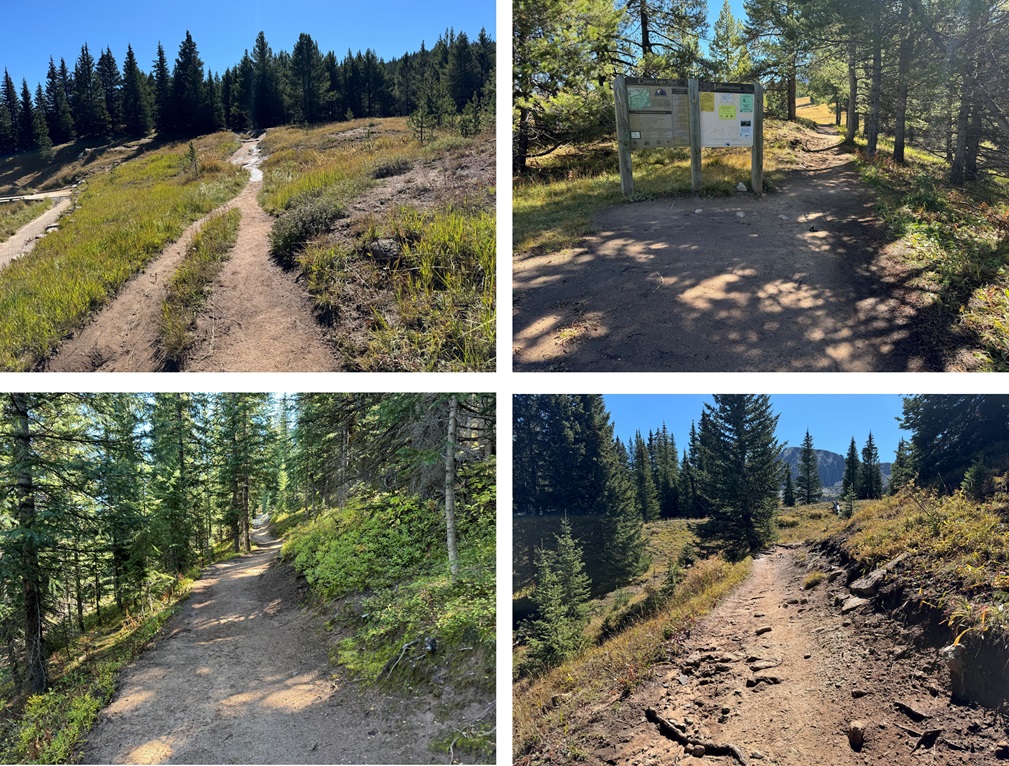
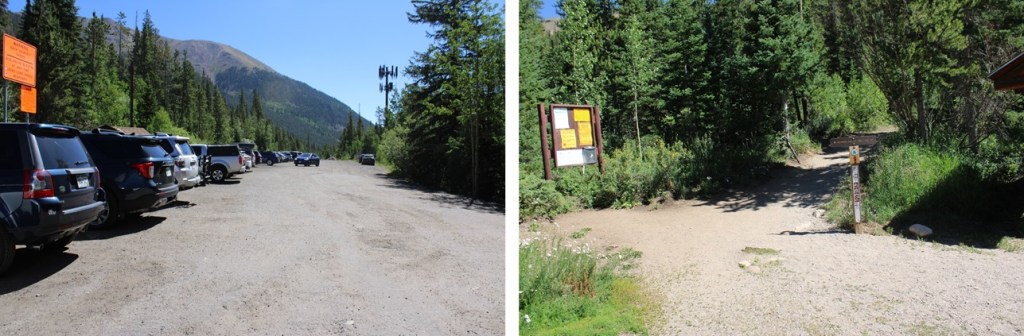
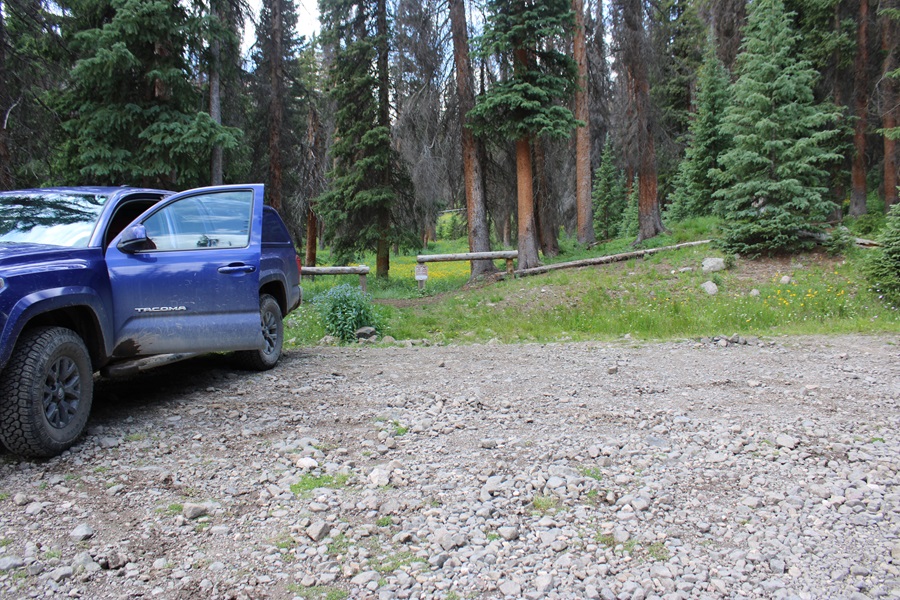
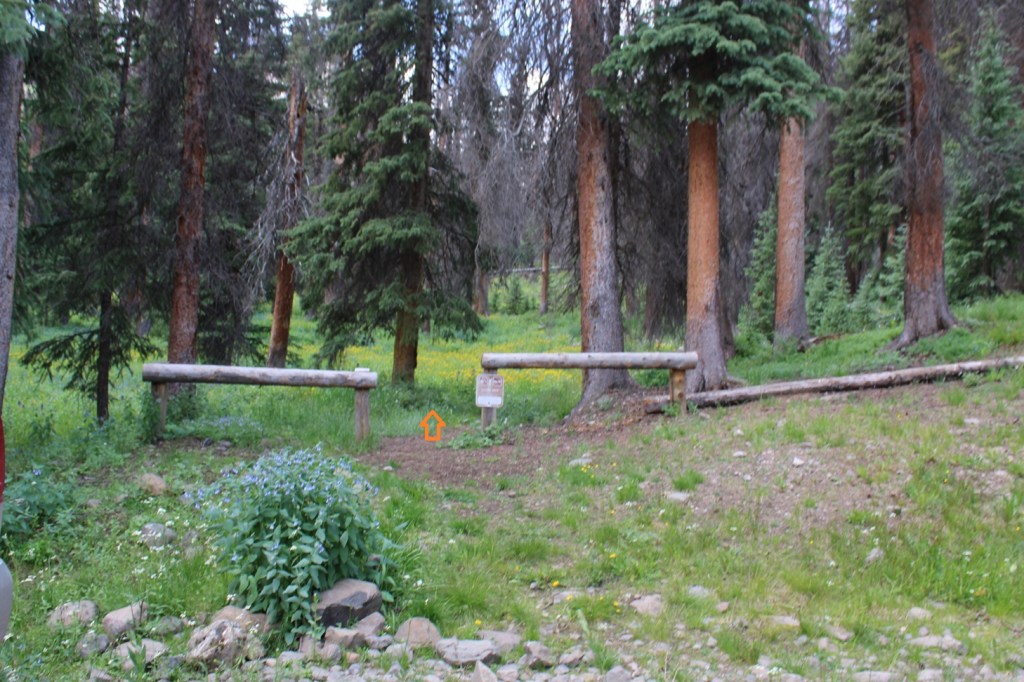
I started my hike at the Andrews Lake Trailhead, which is at the west end of the lake.  The trailhead has vault toilets (but women be mindful:  the door lock moves left and right but doesn’t actually lock).  There are about 15 parking spaces here, with an overflow lot on the way in to accommodate more vehicles.

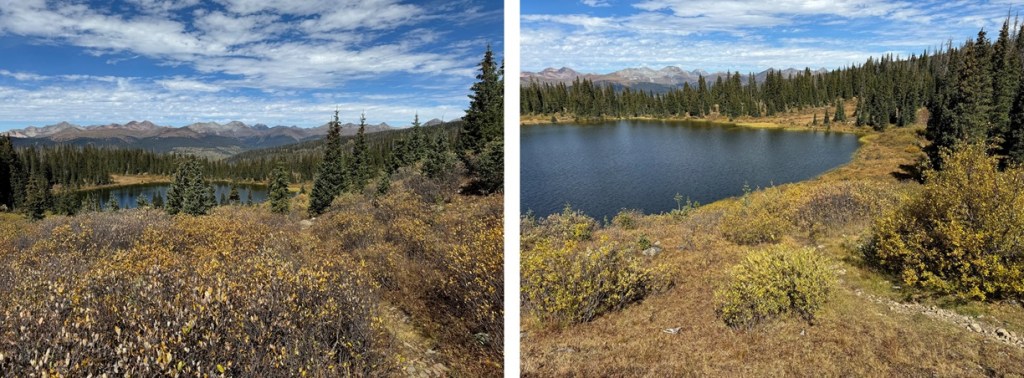
My goal for day 1 was to make it to Crater Lake, since I had a late start, not starting until about noon.  I followed the class 1 trail as it skirted the lake, then switchbacked up to some ponds at 11200’

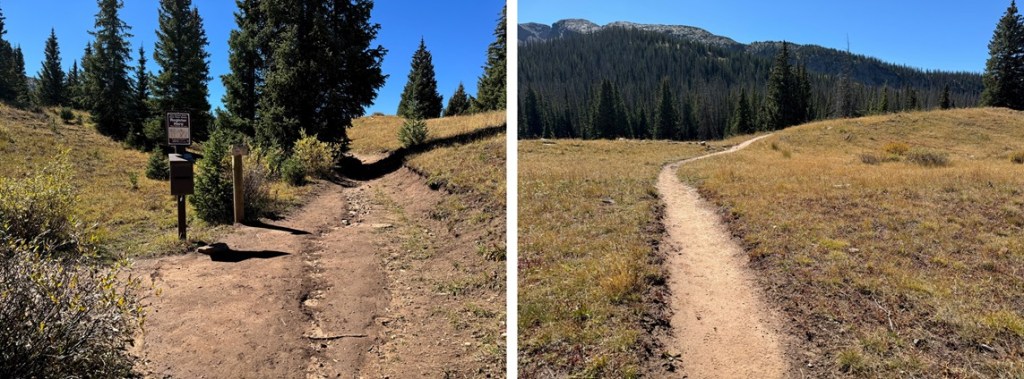
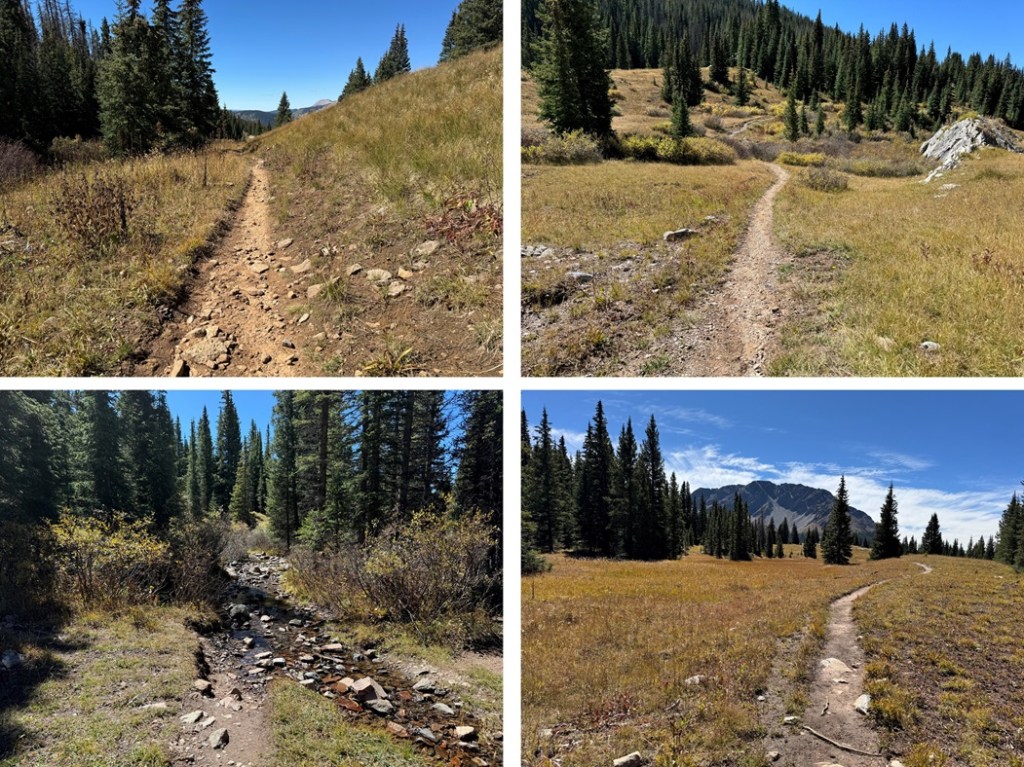
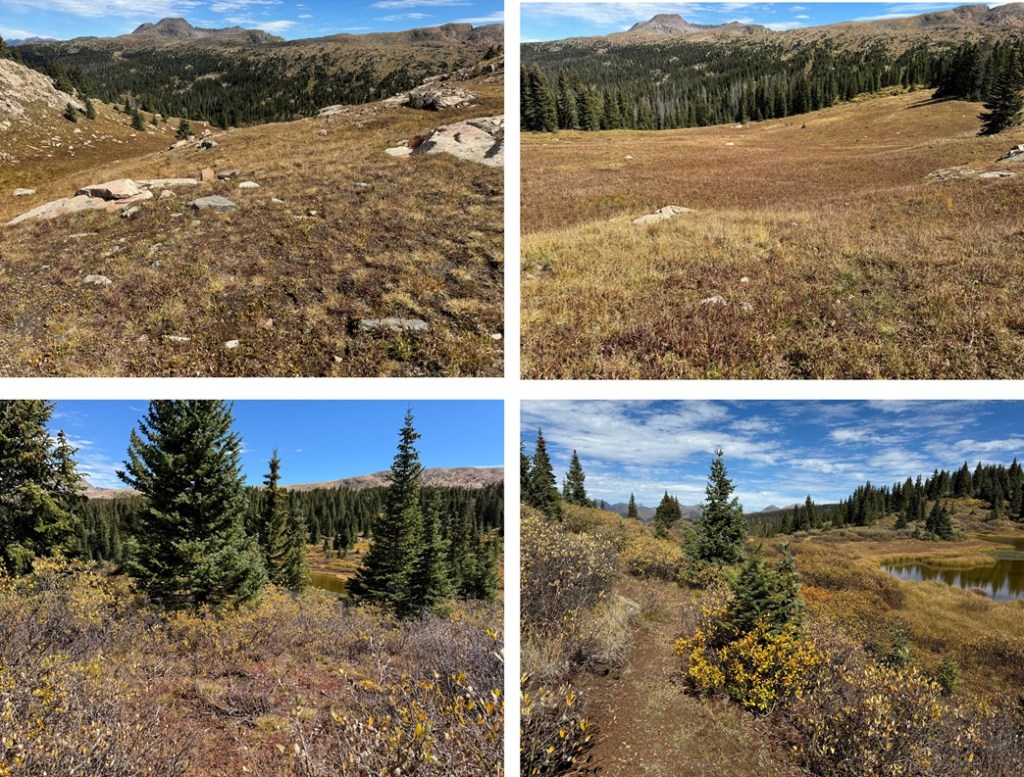
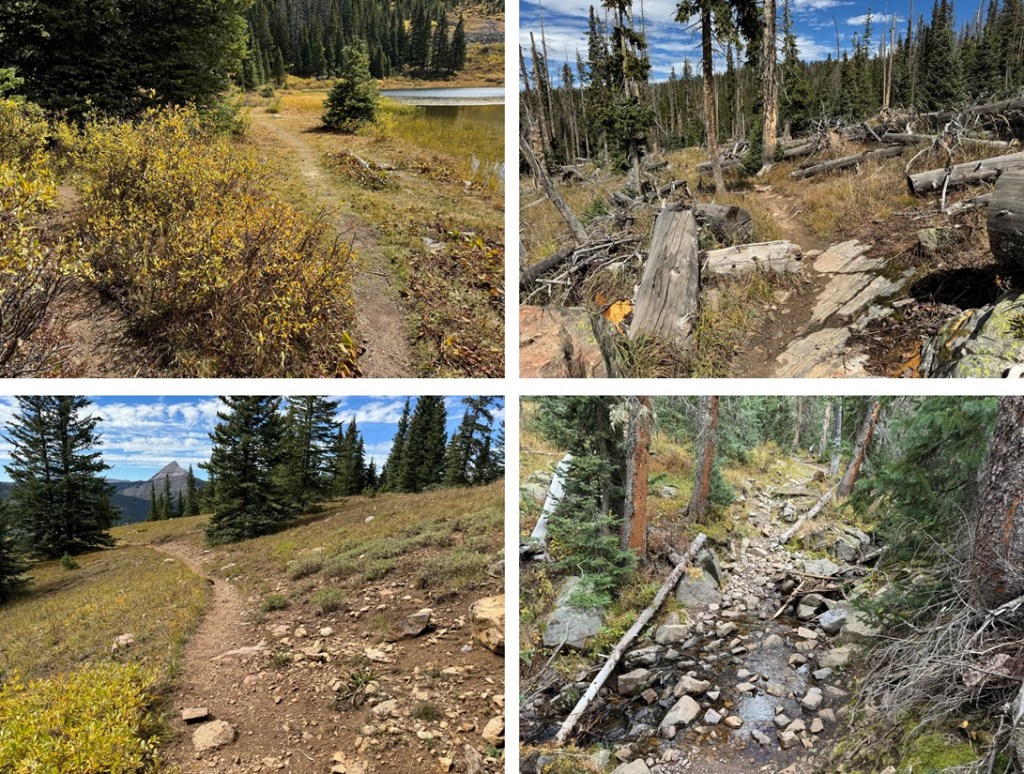
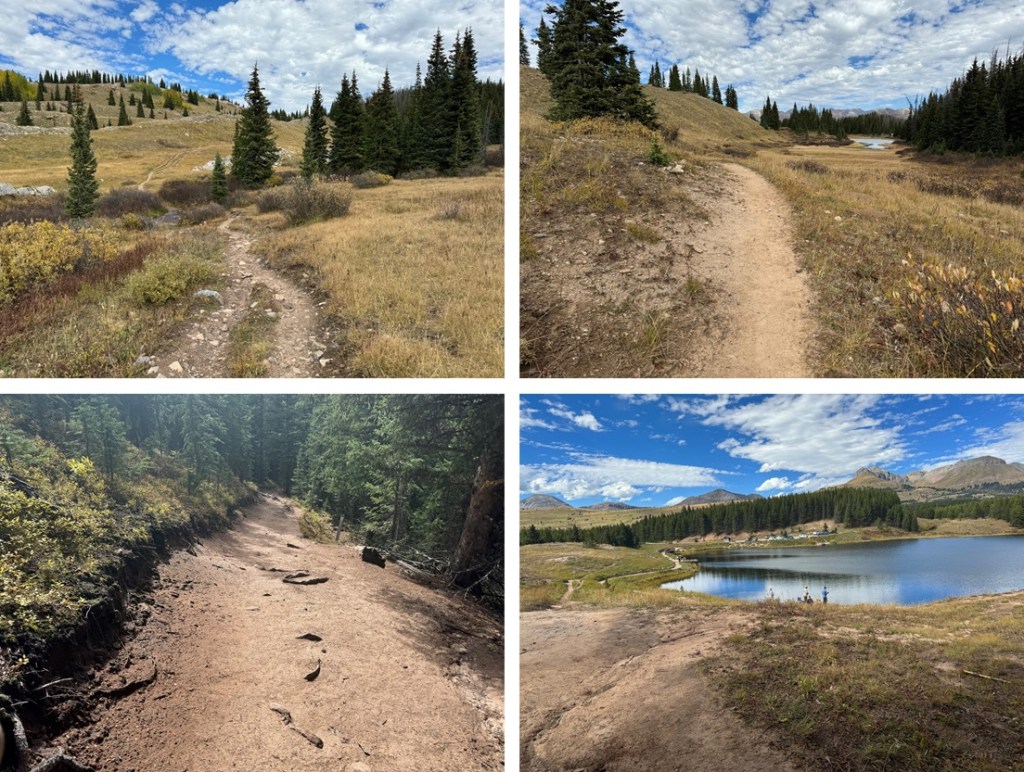
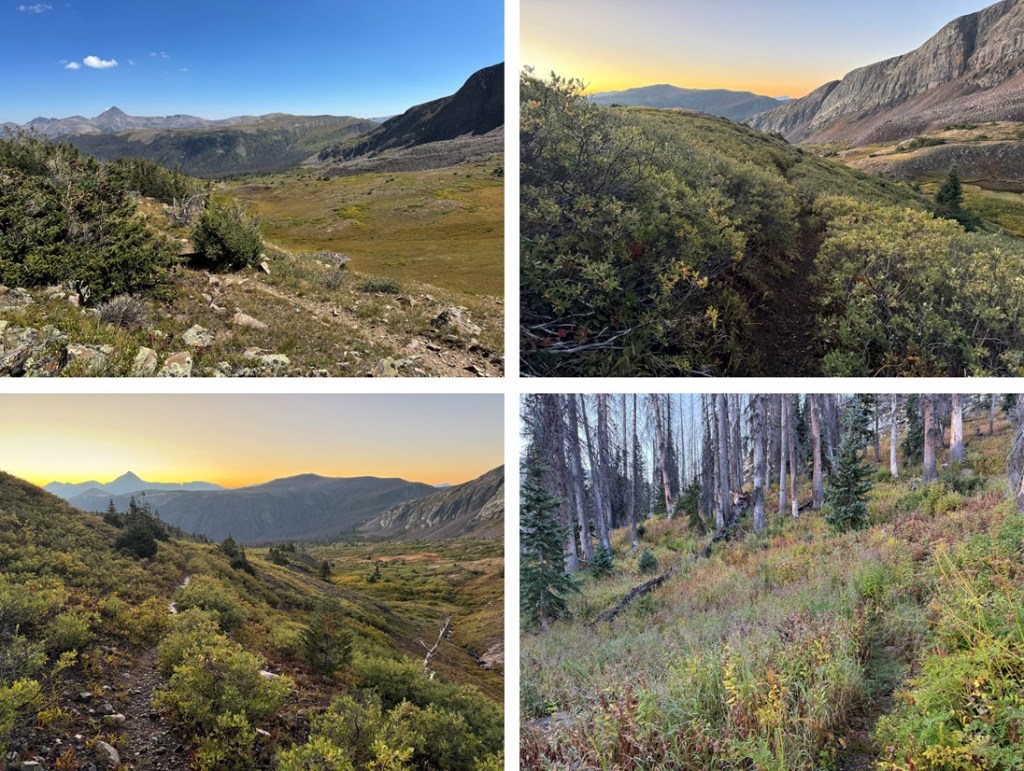
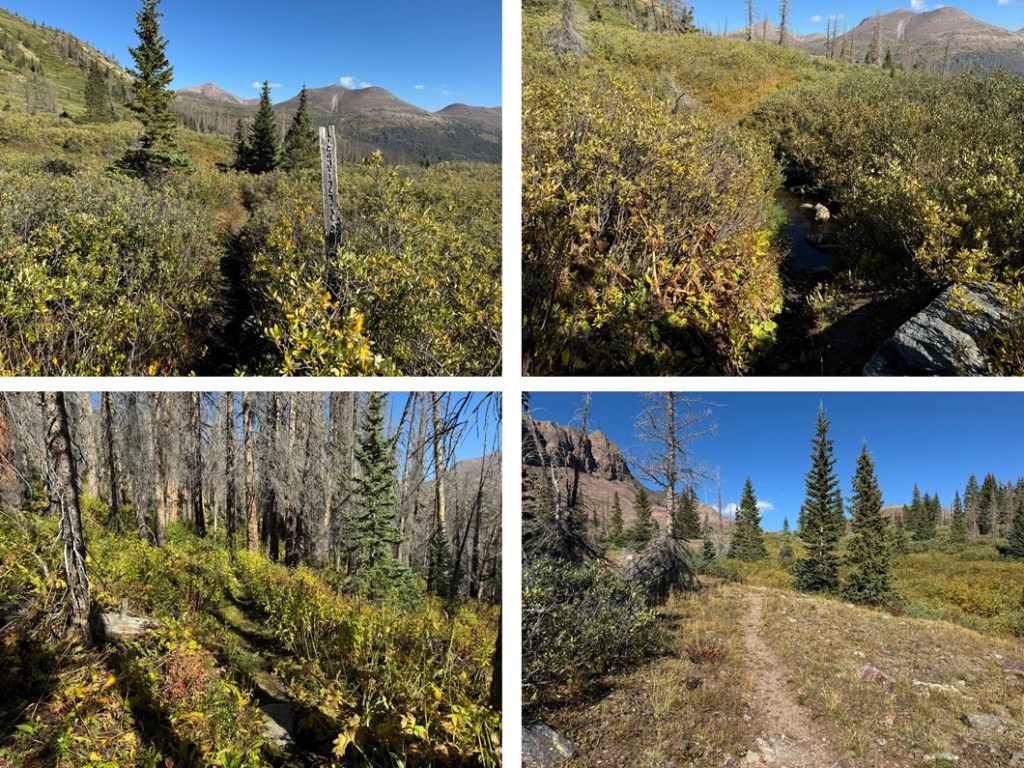
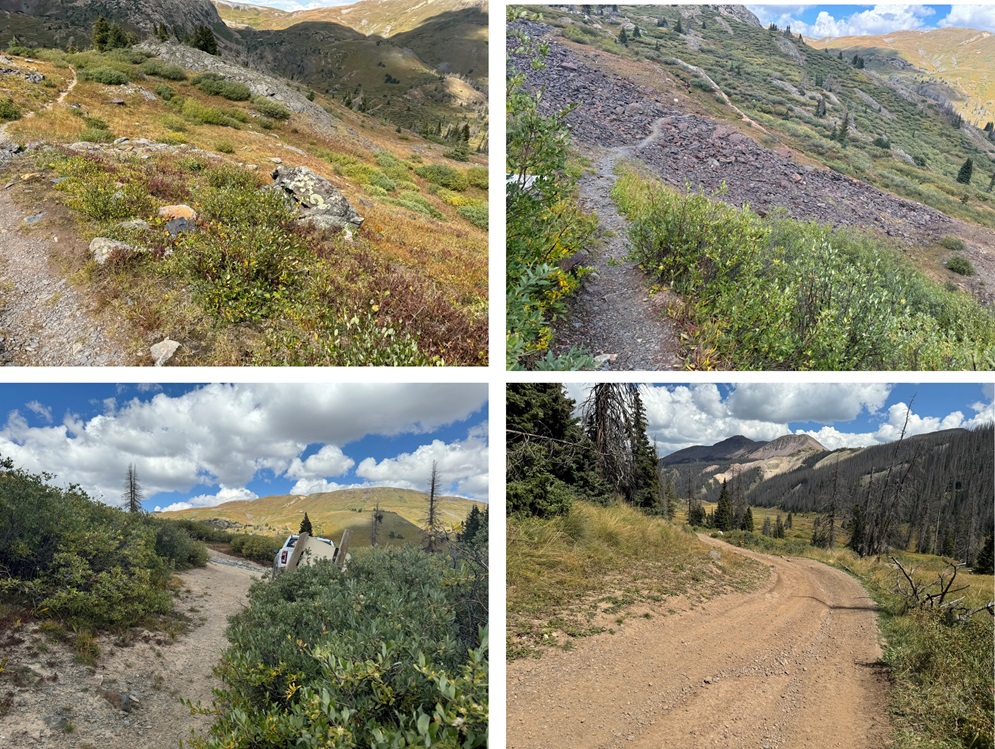
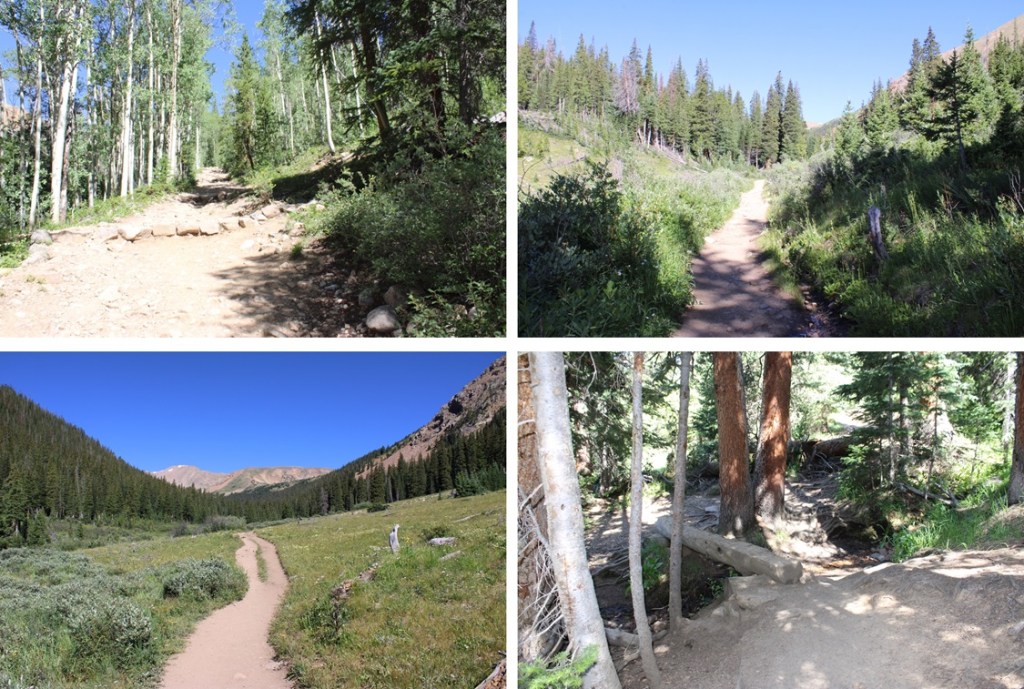
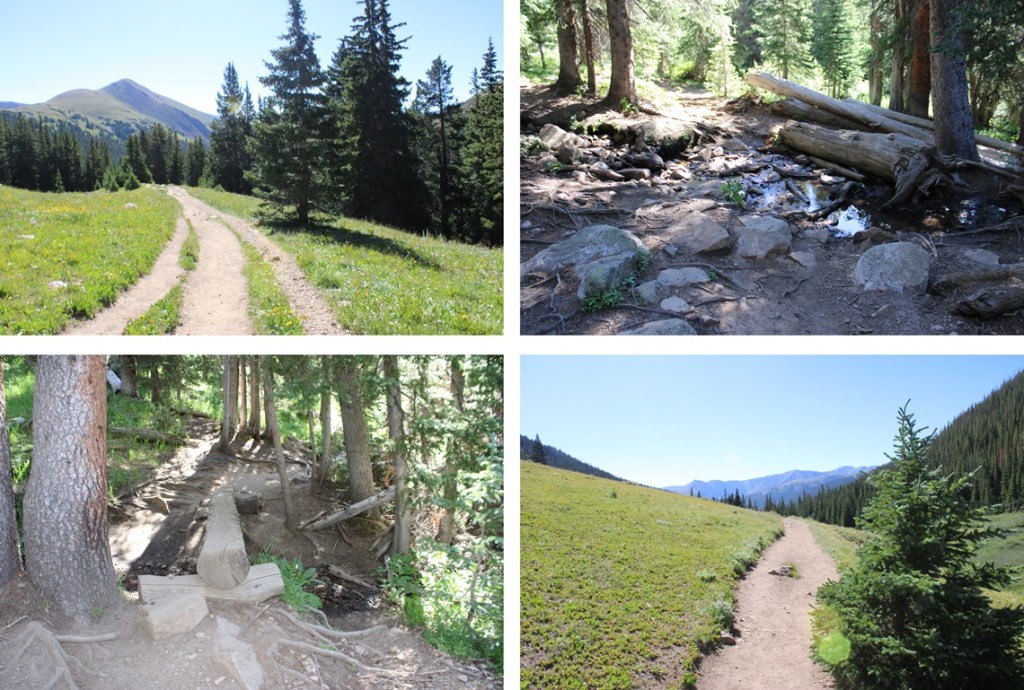
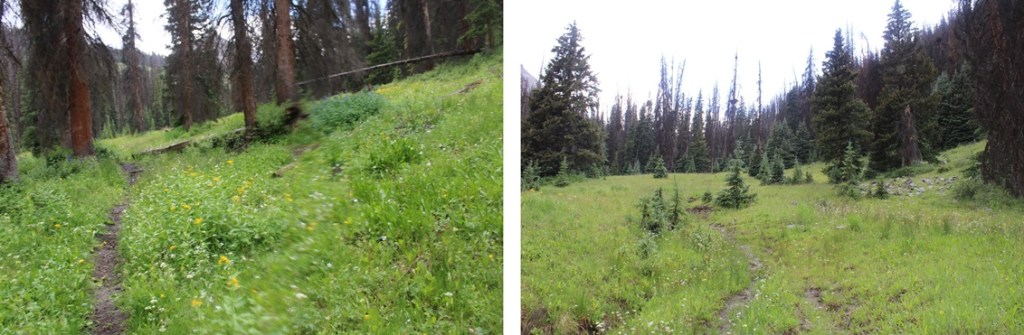
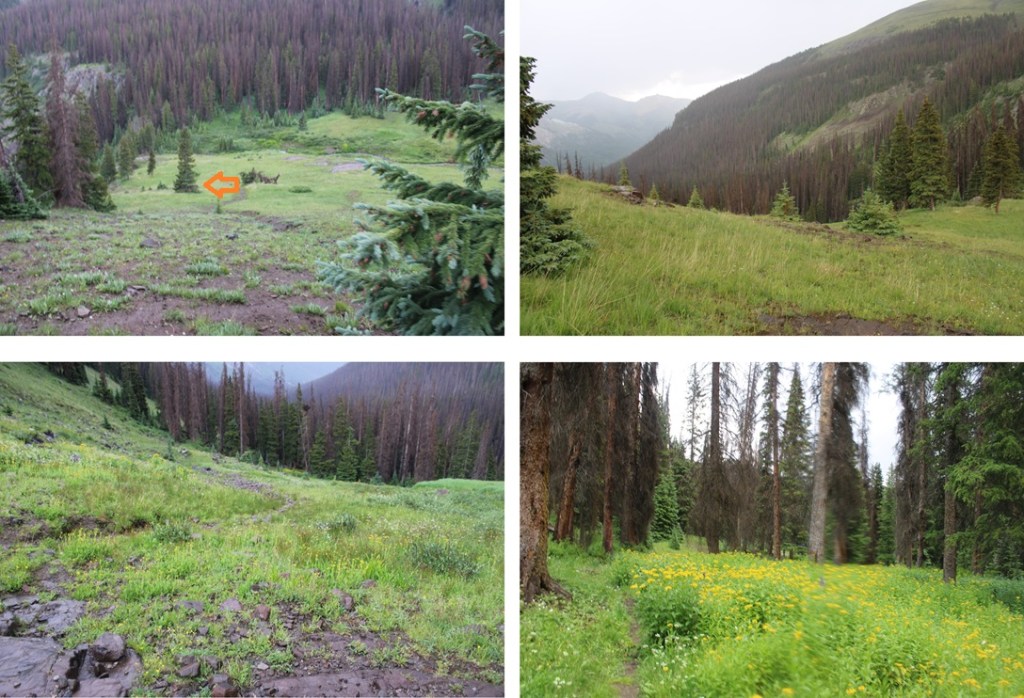
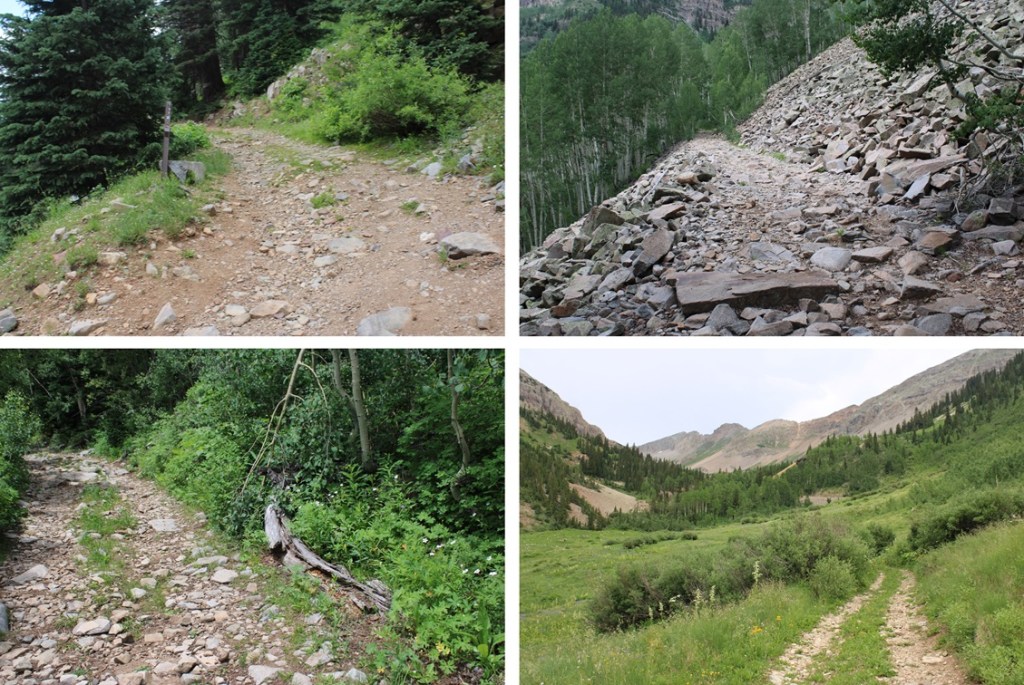
I then continued following the trail as it wound south to crater lake, rolling up and down in elevation as it went.  Pictures of this trail are difficult to give reference points to, as most of it was below treeline and the views were always the same.  However, there are no junctions or side trails, so just stay on the main trail and it will take you to Crater Lake.  There are several small creek crossings that are easily manageable, and the trails were a bit muddy.

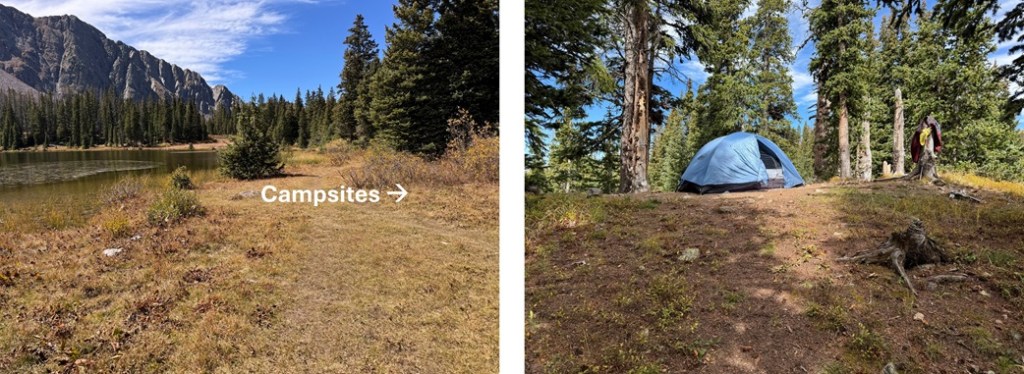
It was 5.5 miles and 1530’ of elevation gain from Andrews Lake to Crater Lake.  It took me 2.5 hours to get there with a full pack.  There are some good campsites up the slope in the trees to the north of the lake (your right when you arrive).  I set up my tent and made it an early night. 

The next morning I was up and on the trail at 7am.  To the left (east) of the lake there’s a trail that will take you through the willows and up to another small pond.

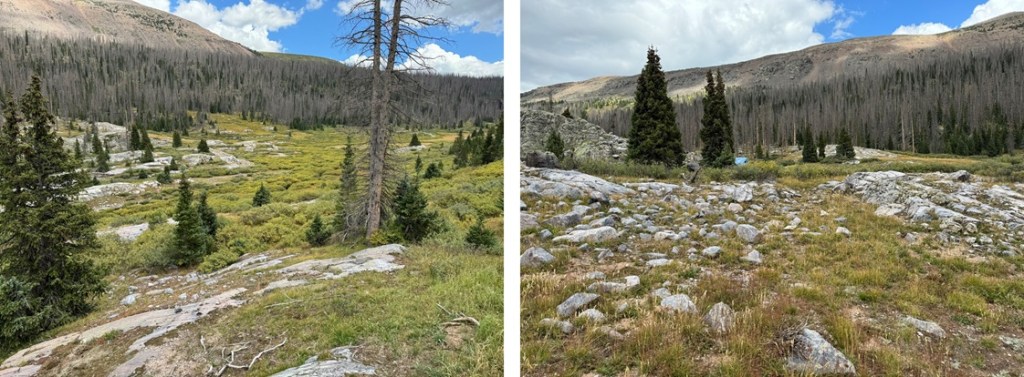
I skirted the small pond on a trail to the left

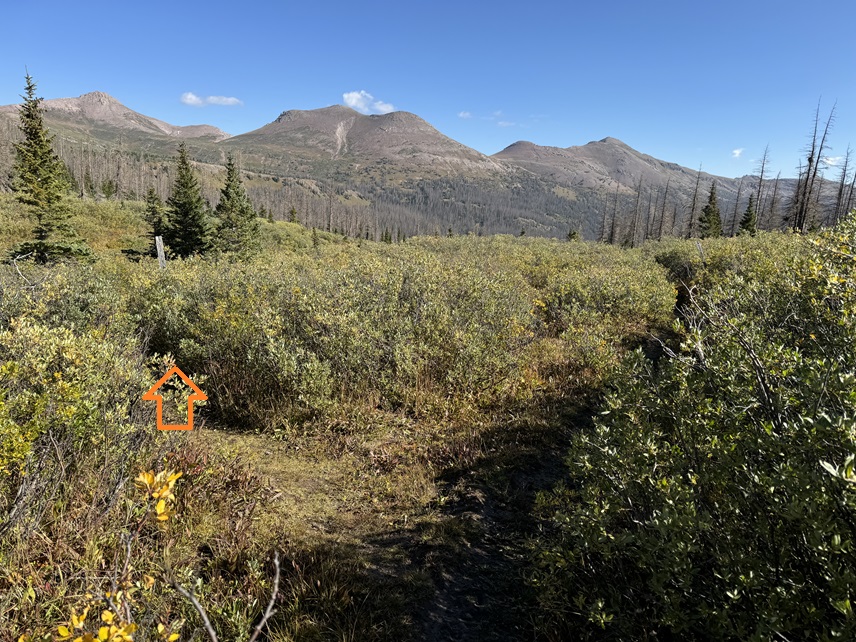
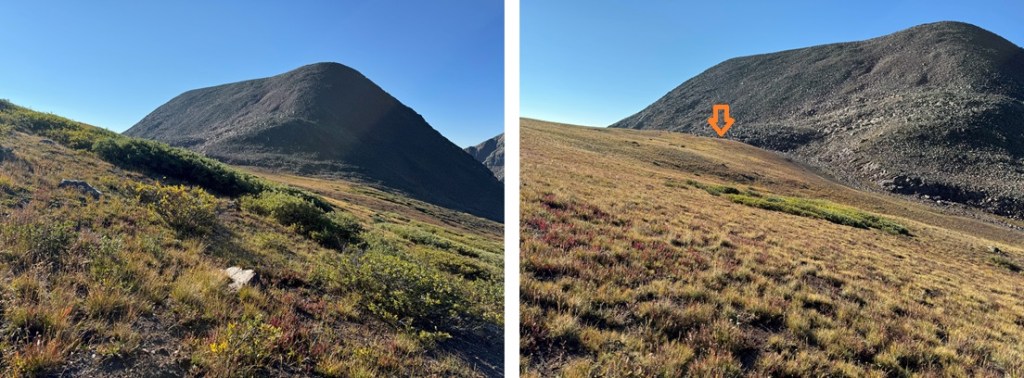
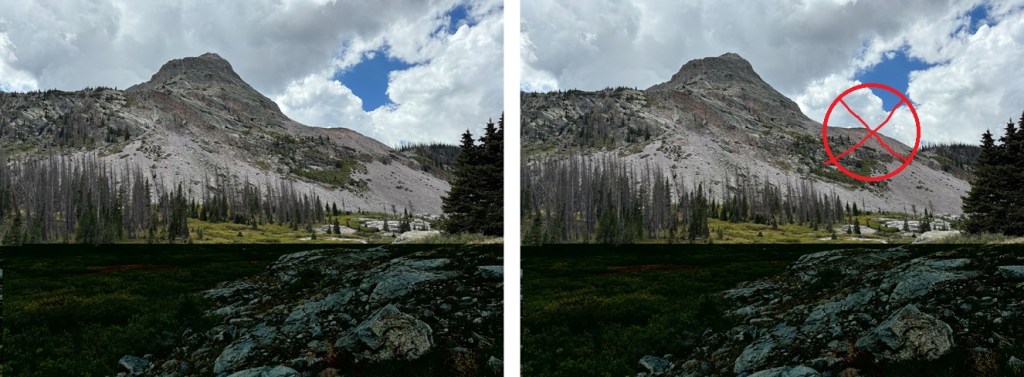
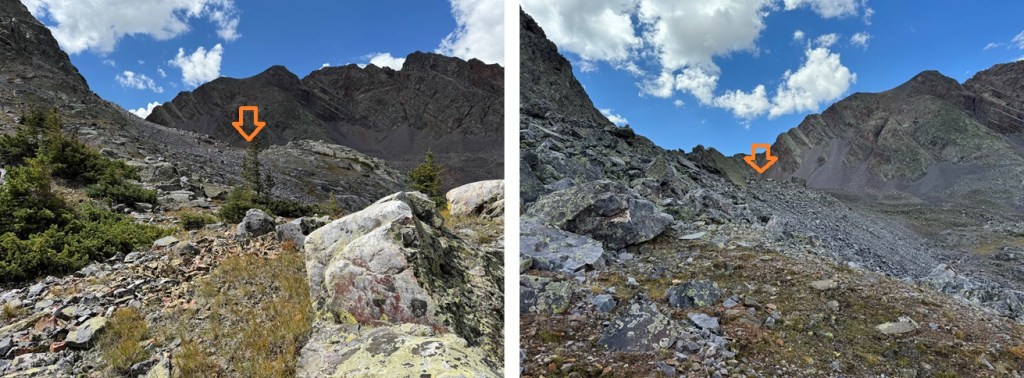
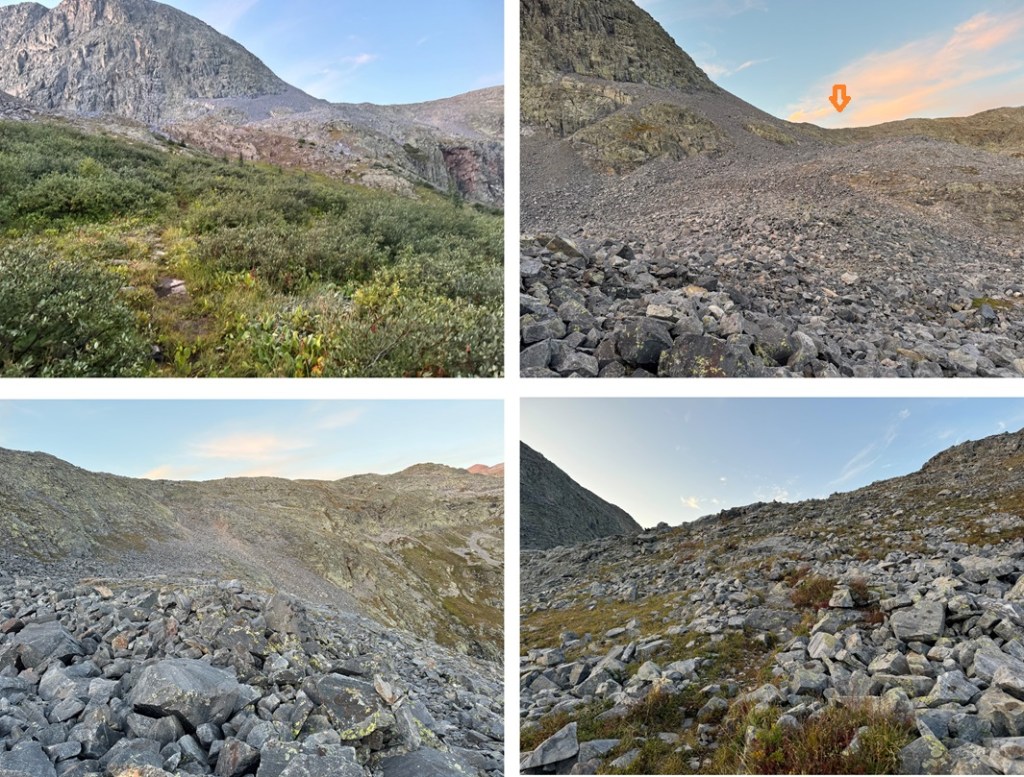
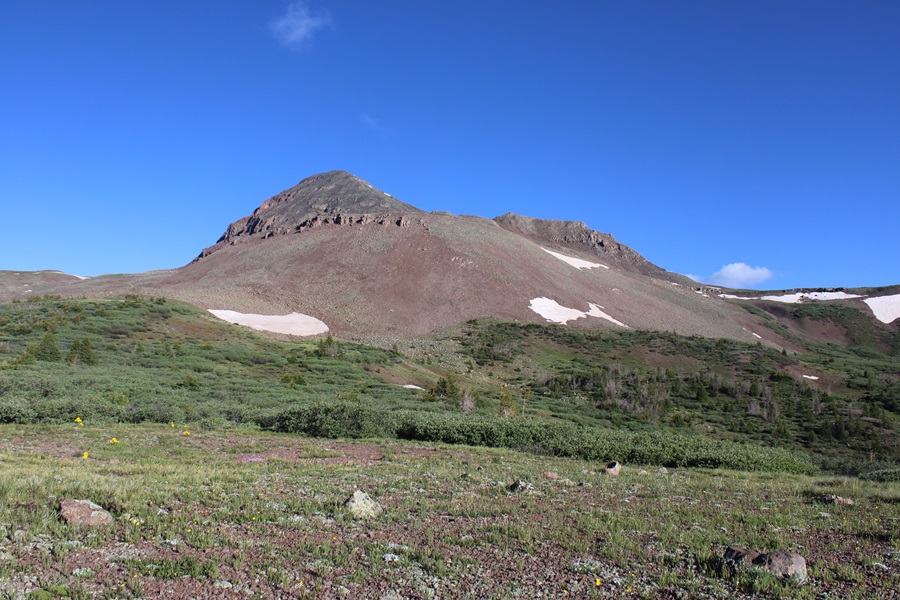
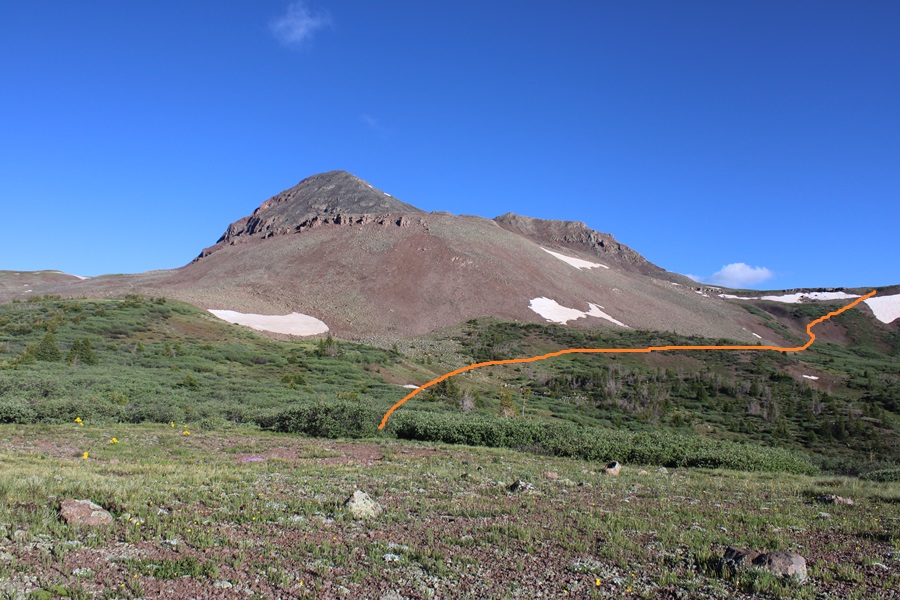
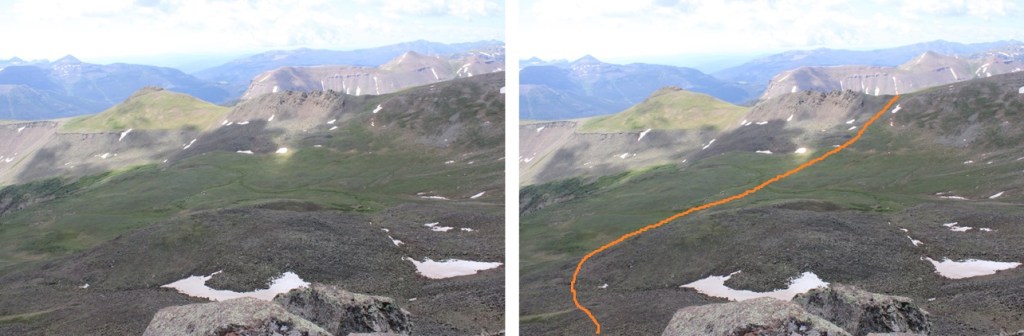
And then the trail ended, but I could see my route to the southwest.   Here is where I was aiming:

To do this, I went down a grassy gully, then headed southwest, losing about 400’ of elevation total as I rounded the mountain, avoiding the rocky gully below.

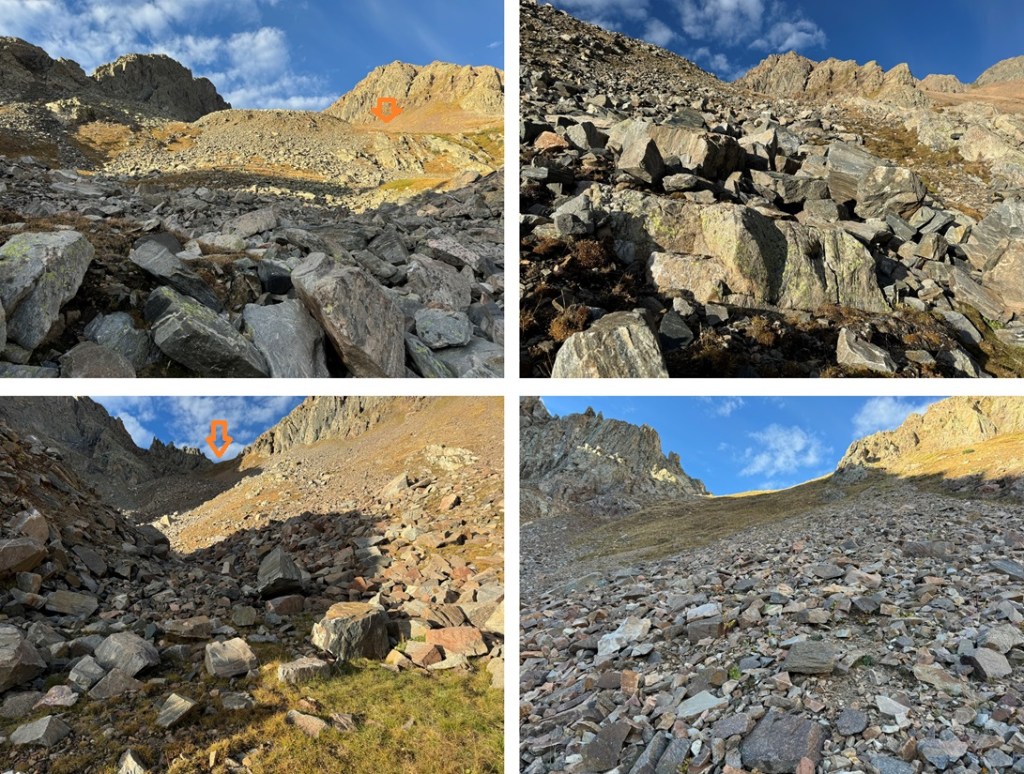
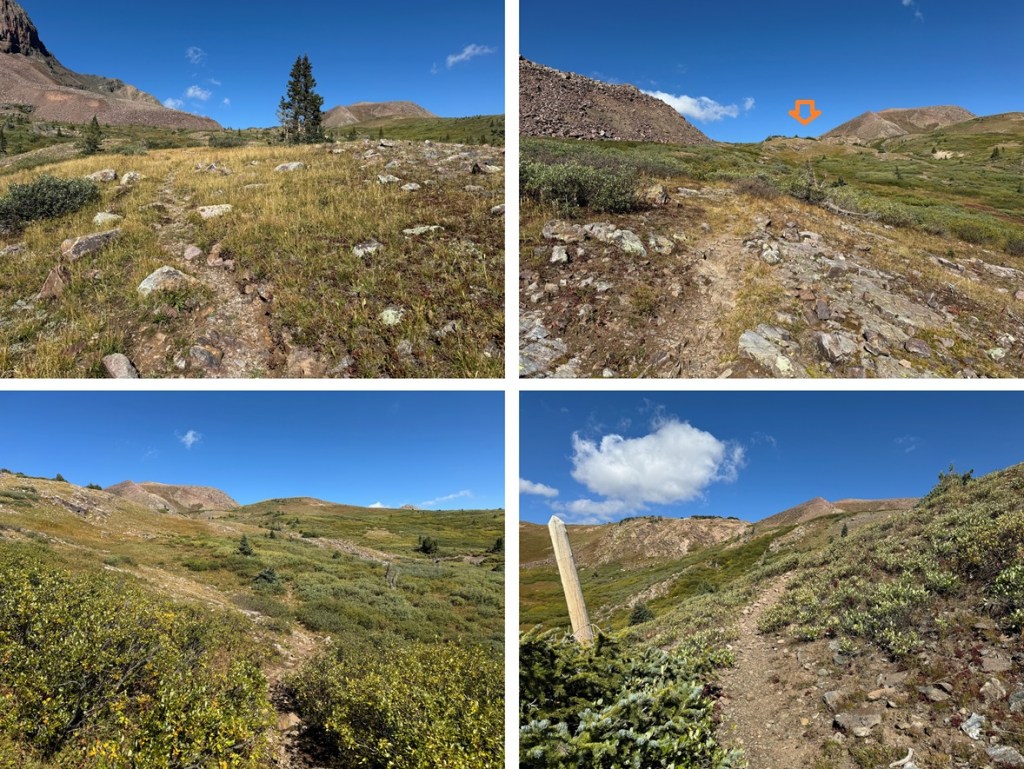
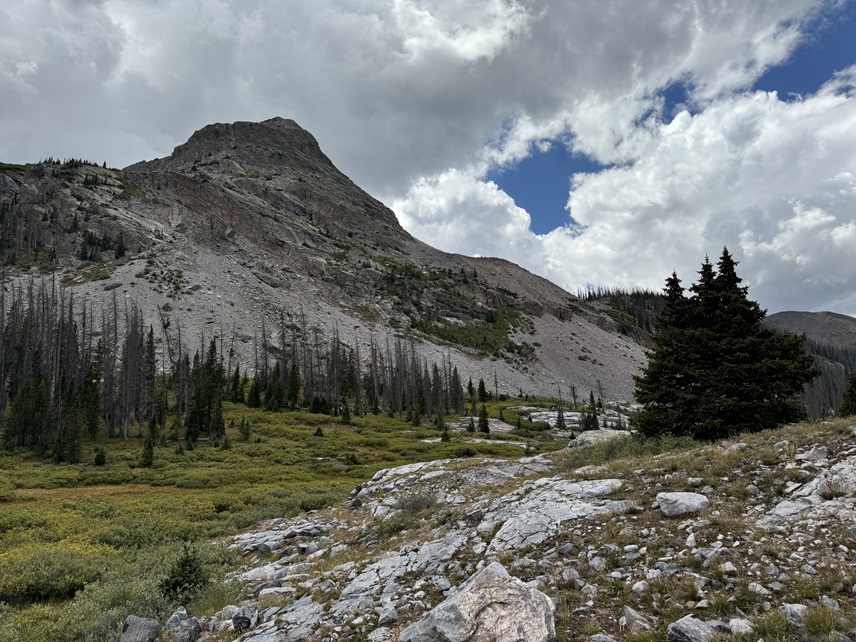
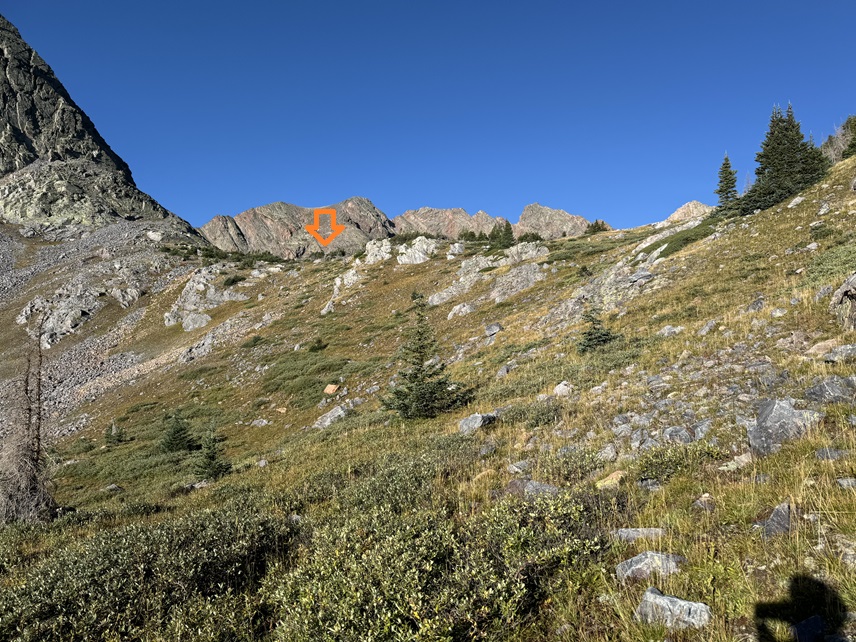
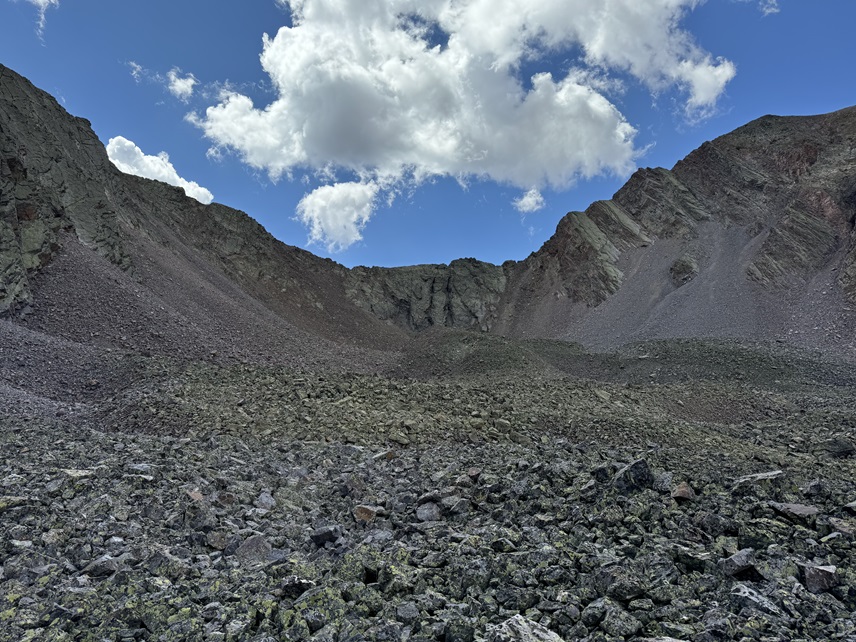
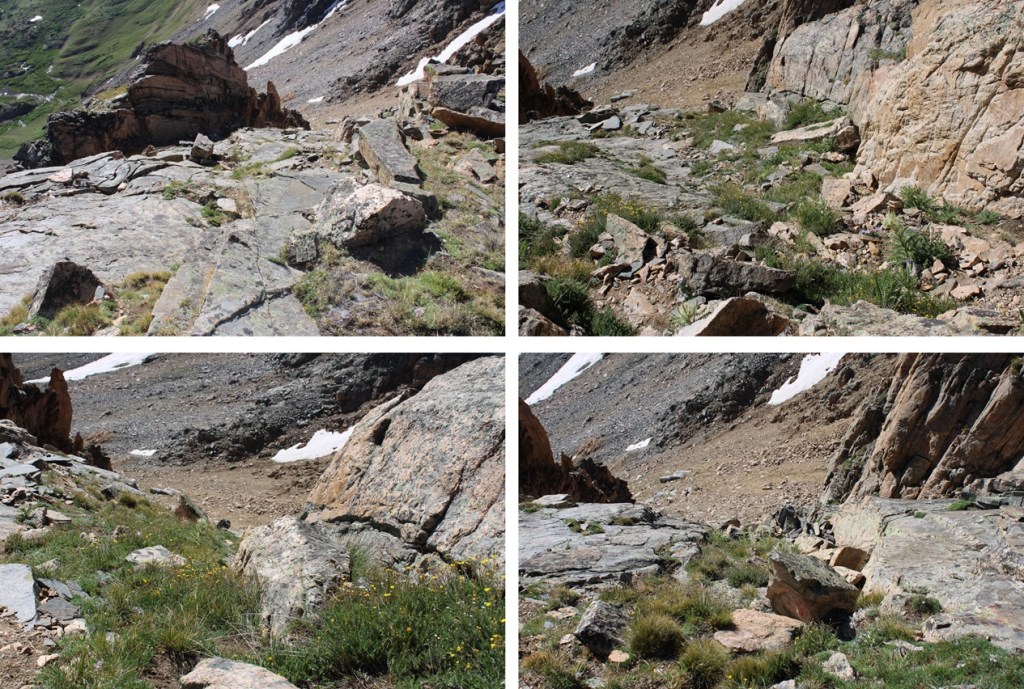
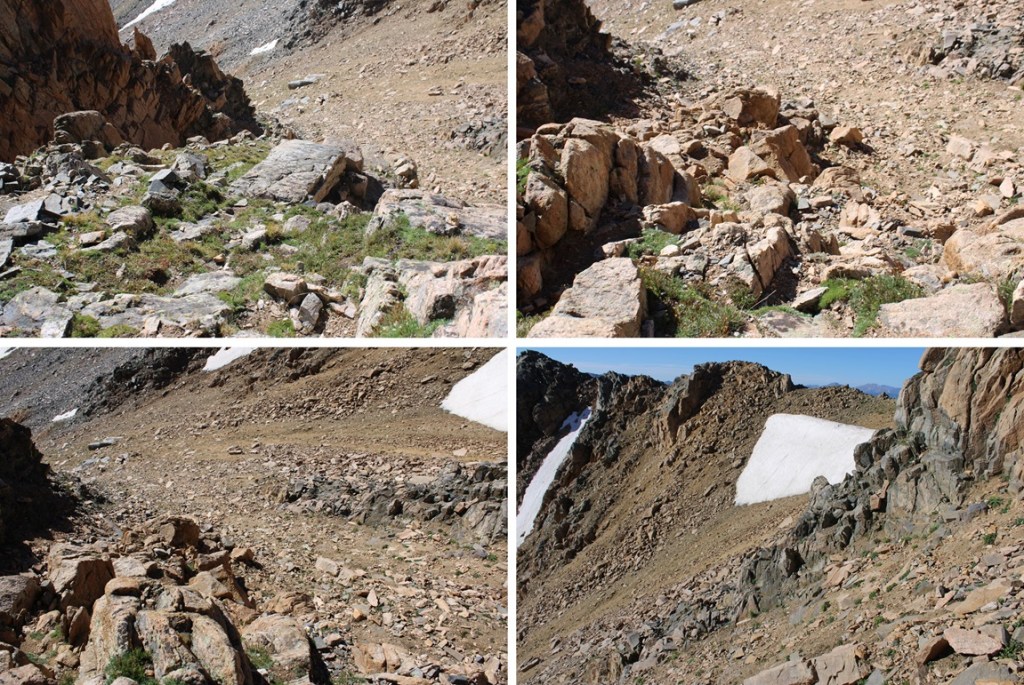
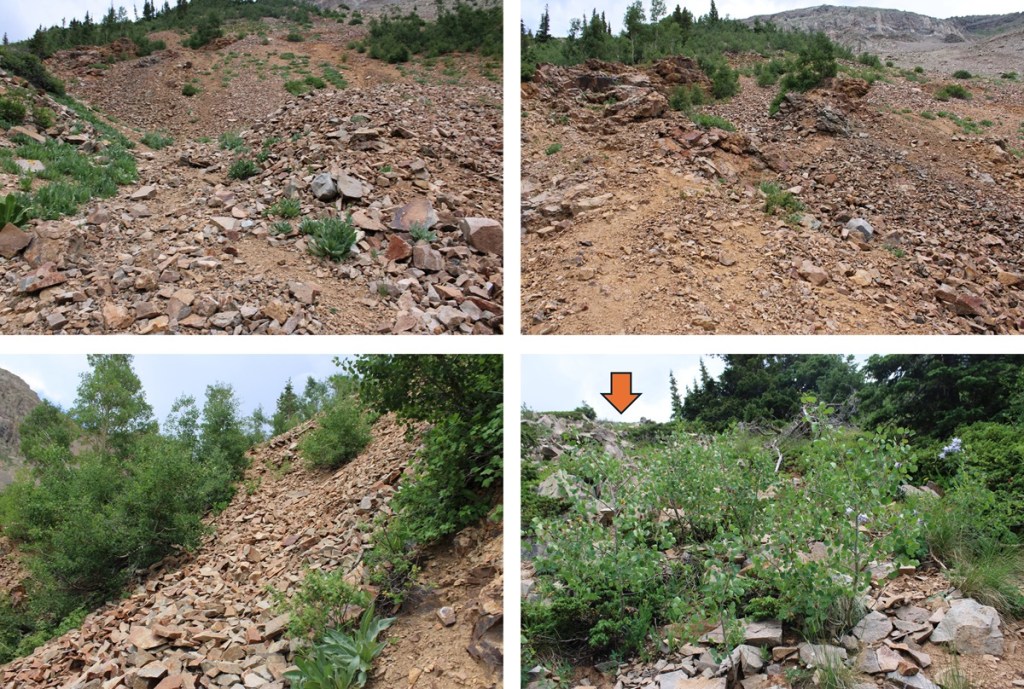
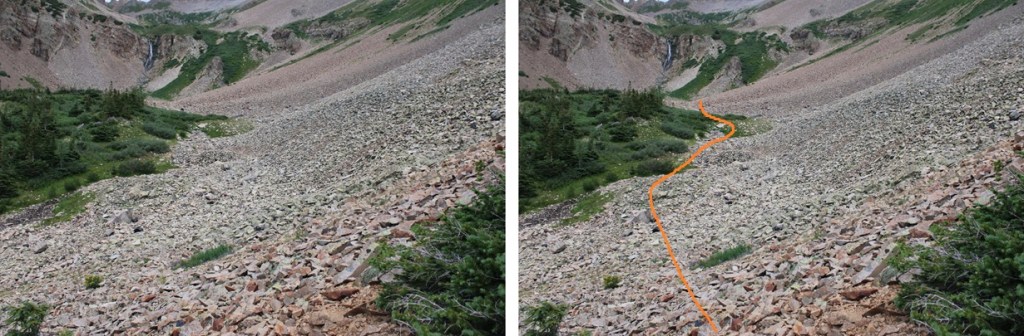
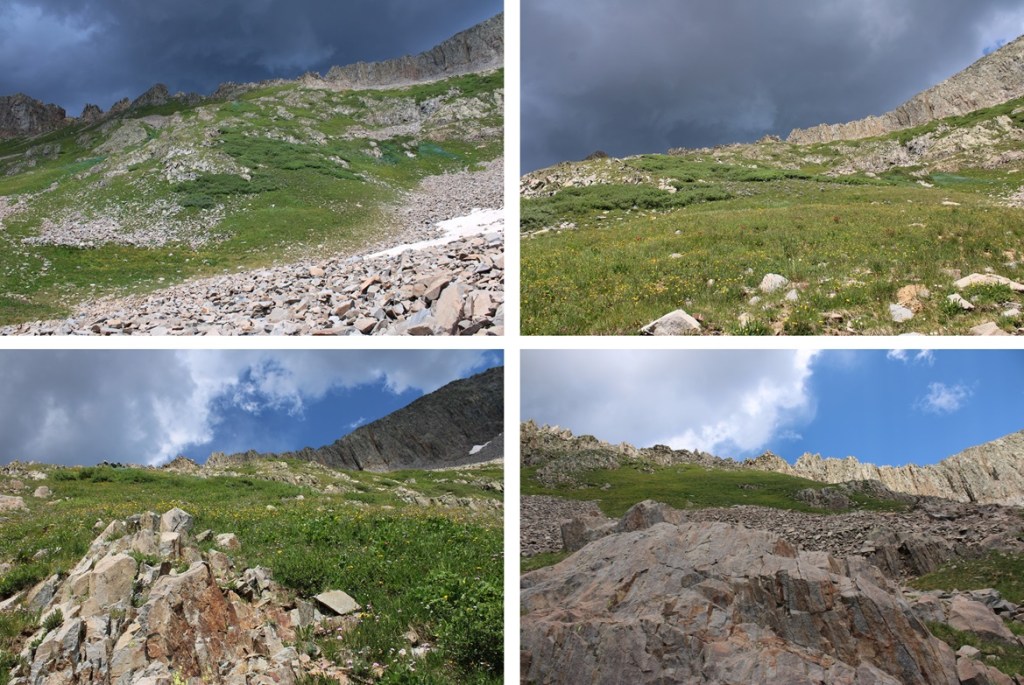
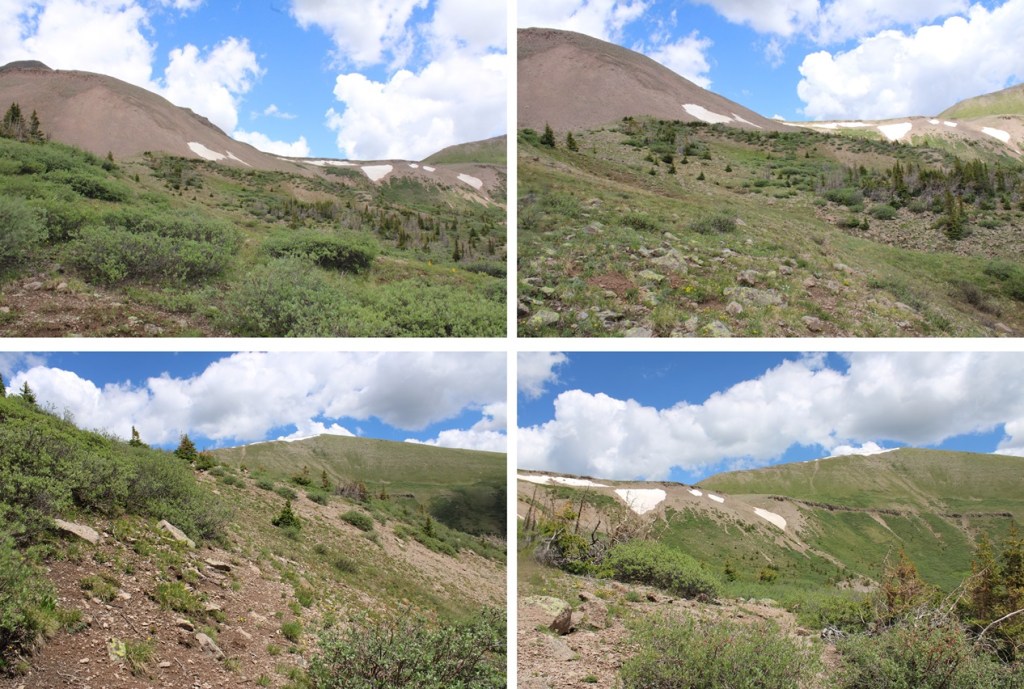
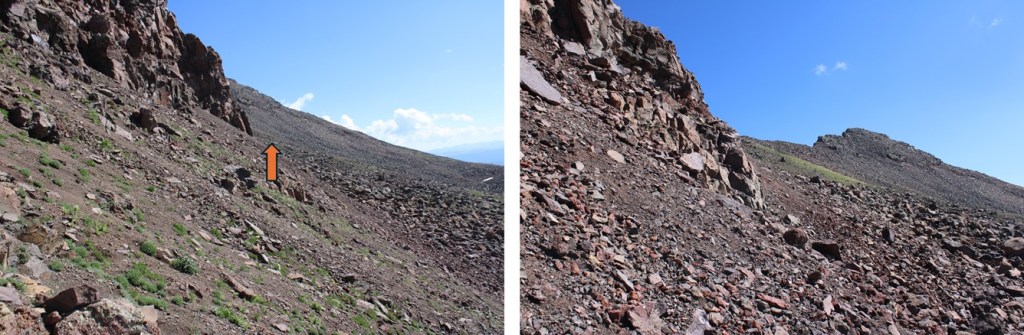
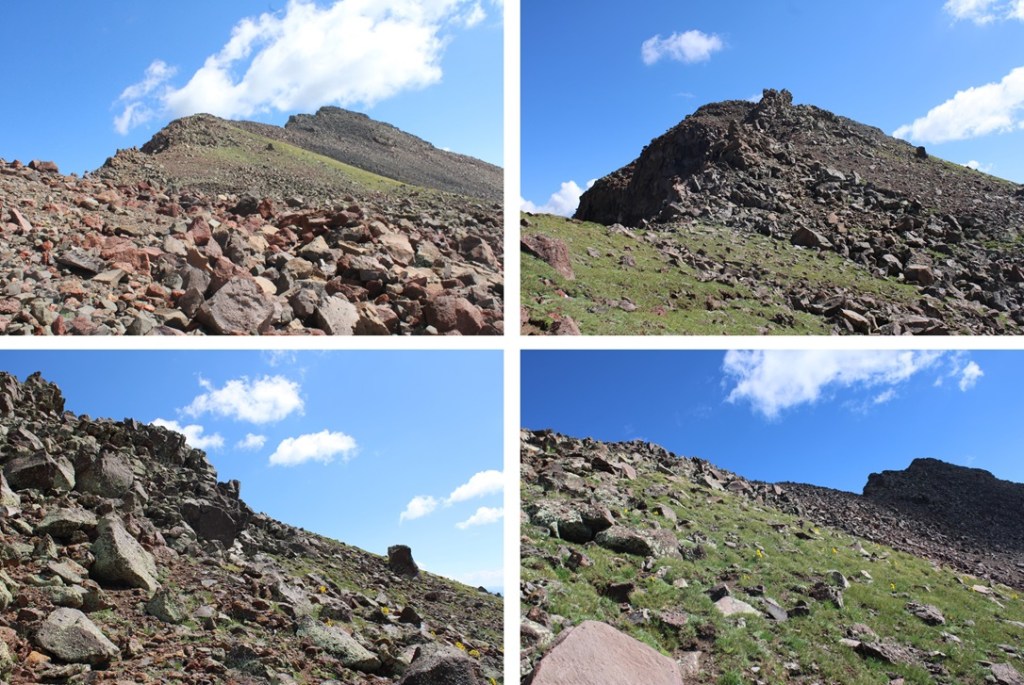
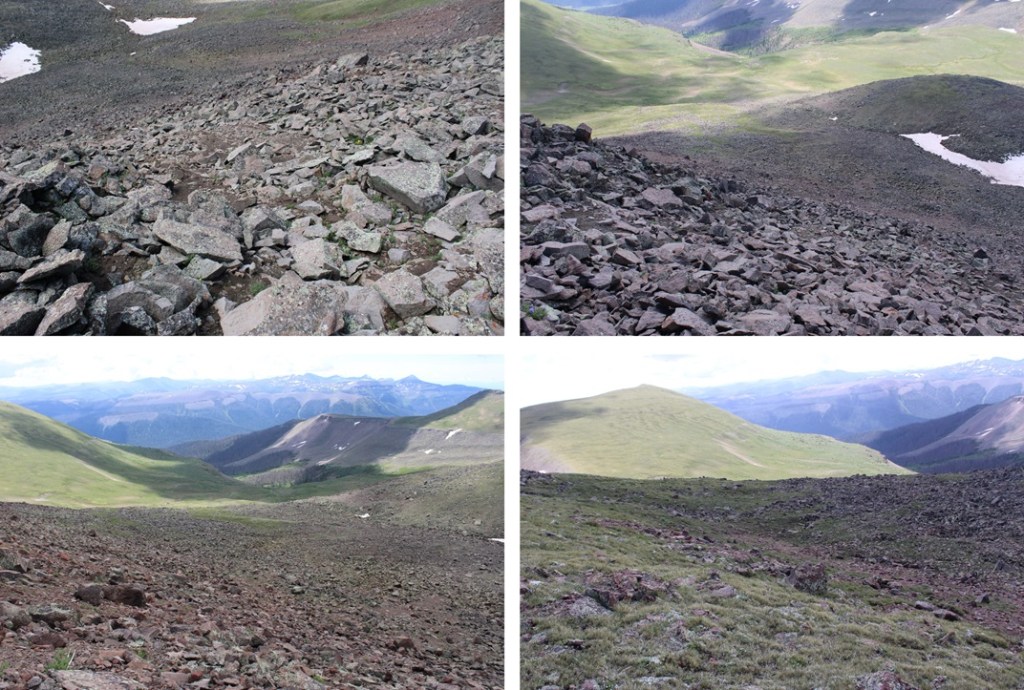
I made it through the trees, and the terrain became rocky.  I was headed towards a saddle to the left of South Twilight Peak. 

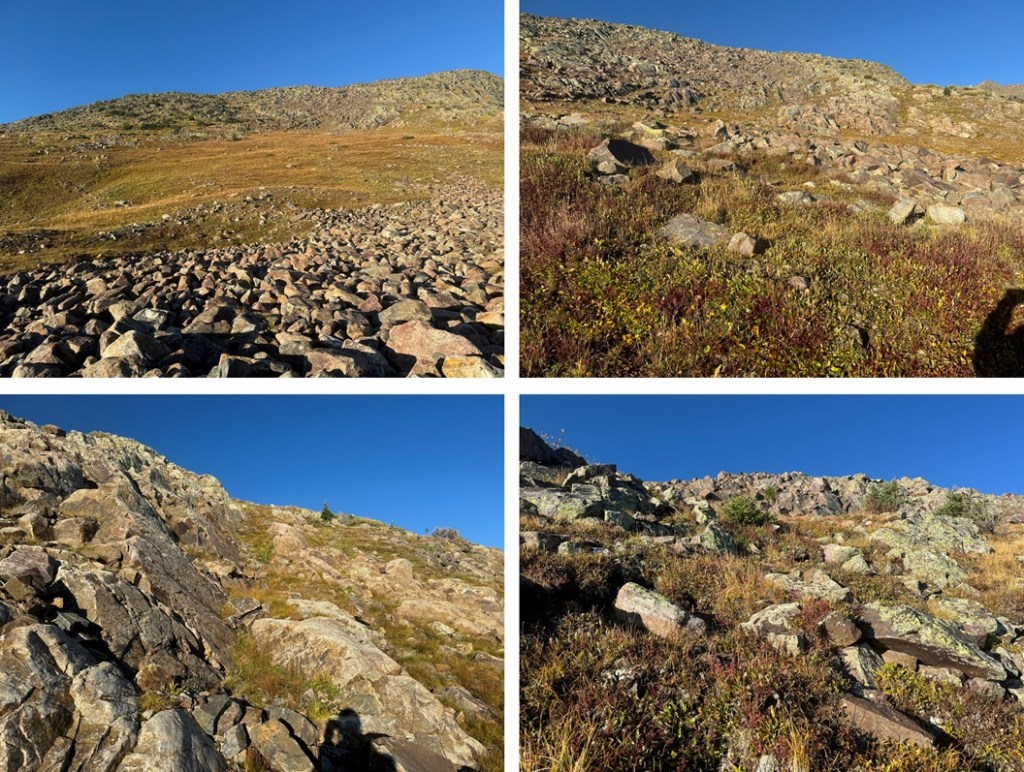
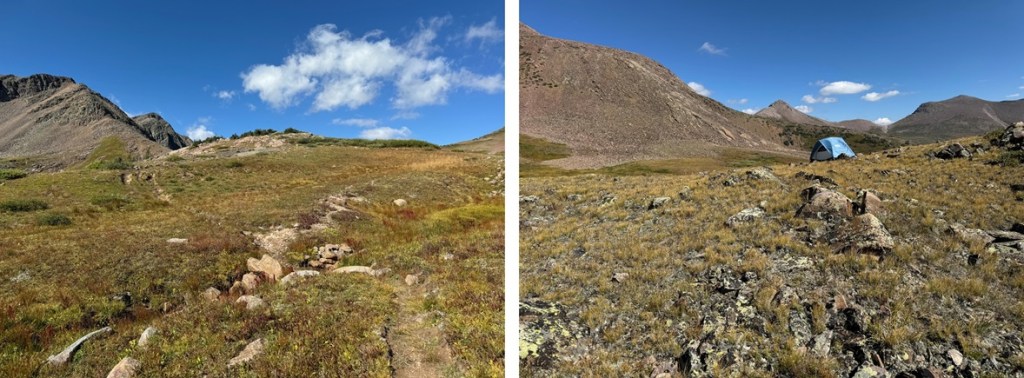
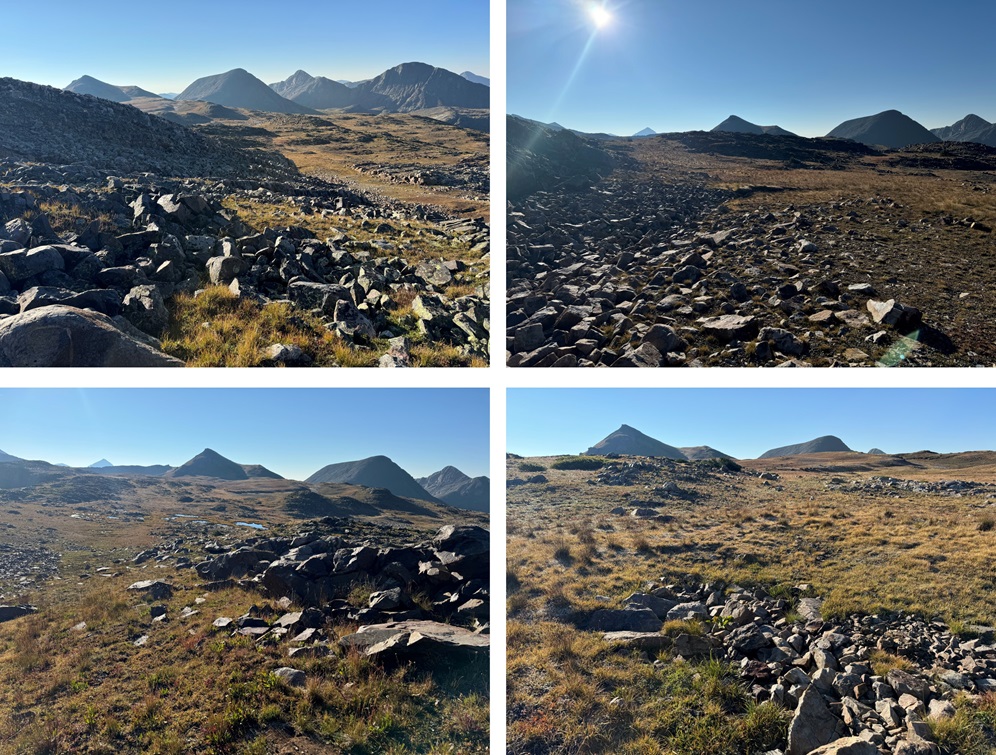
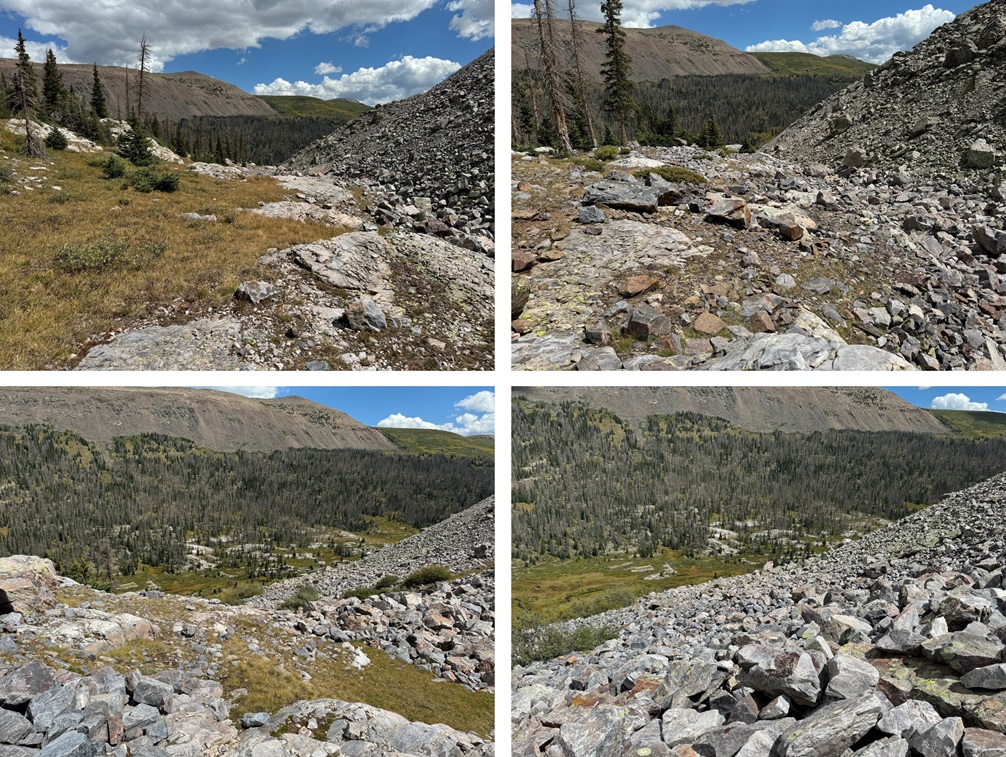
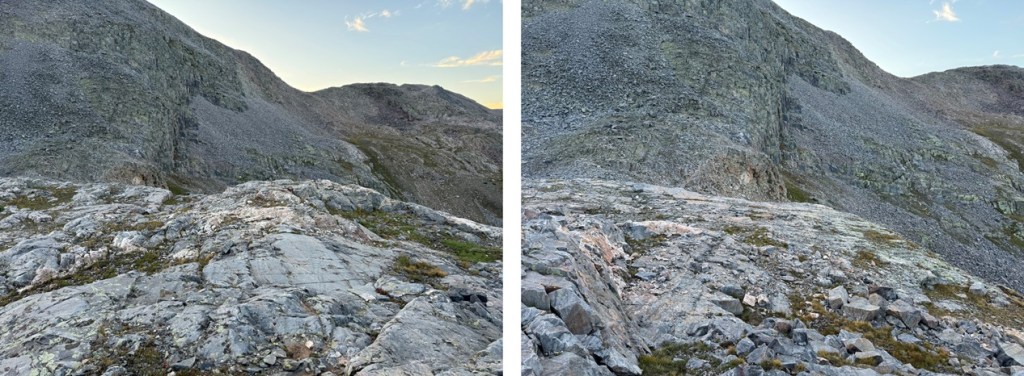
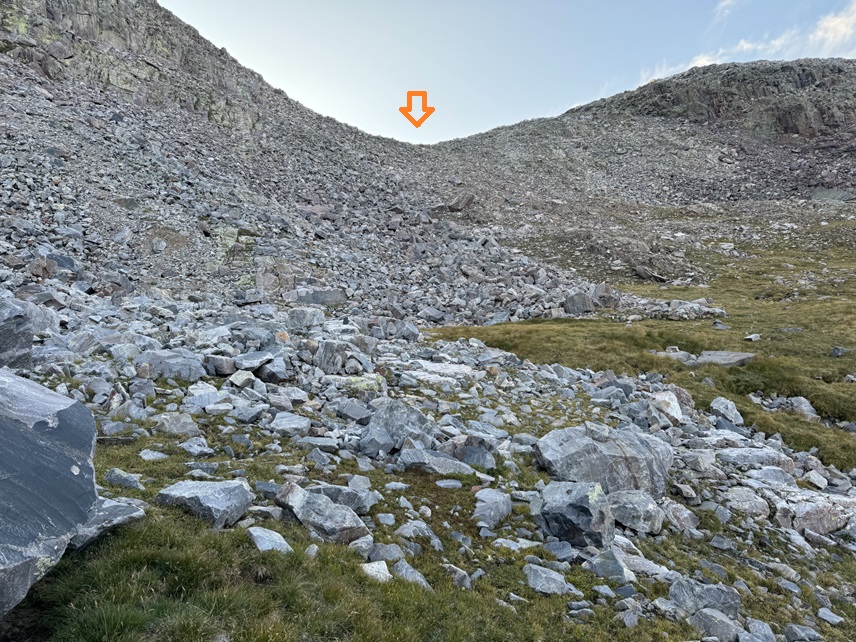
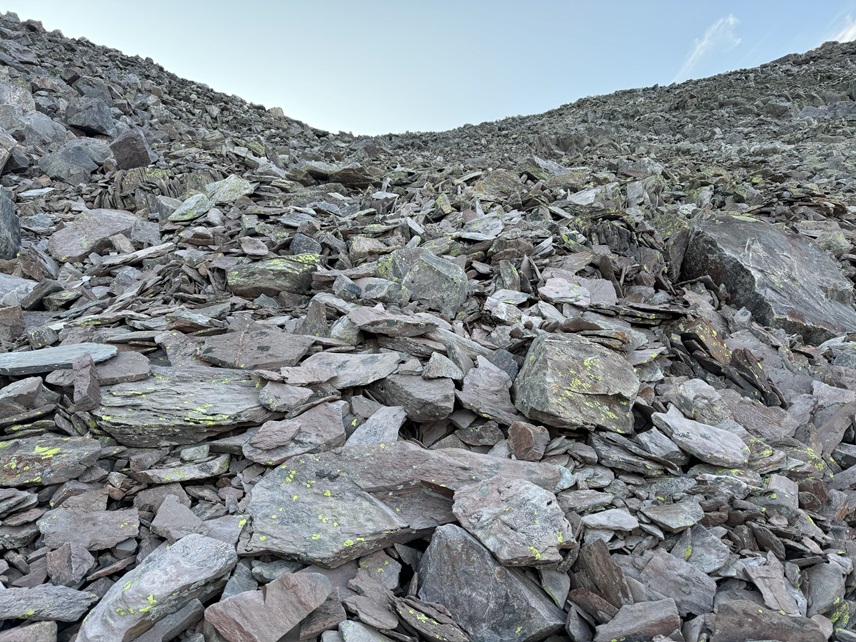
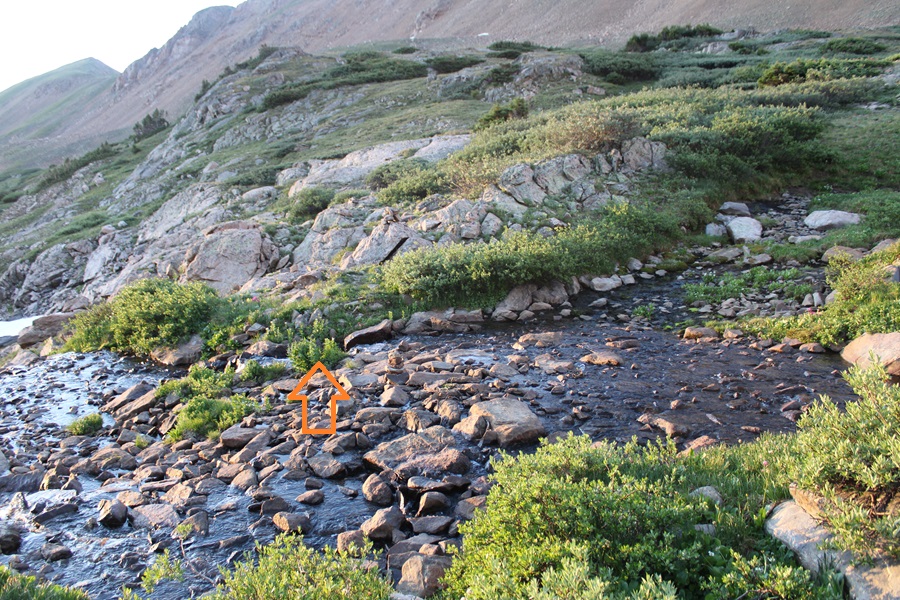
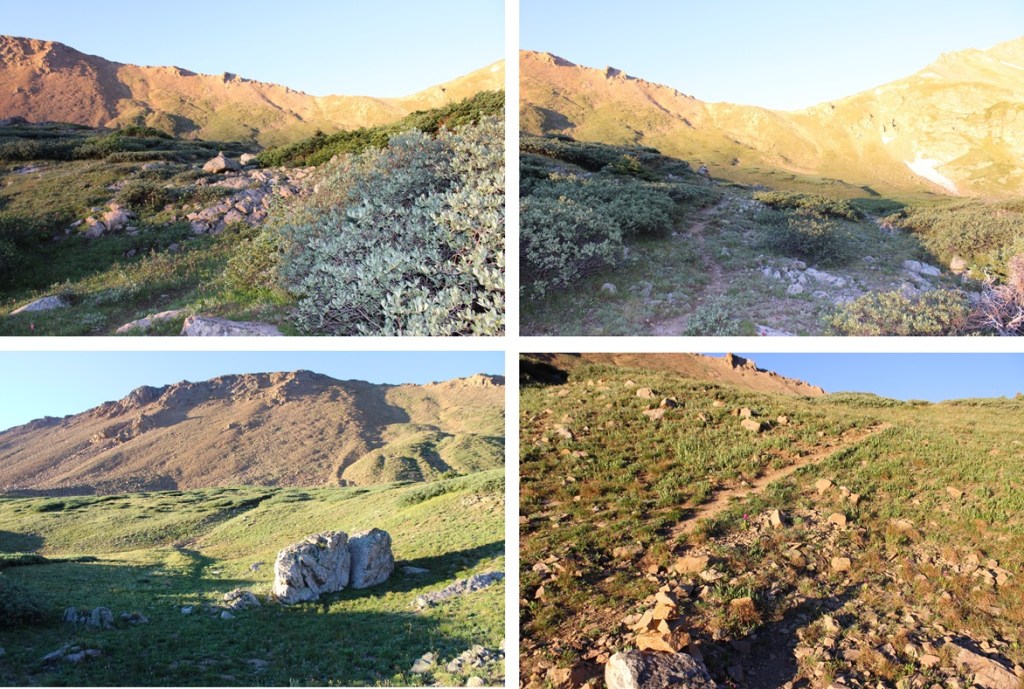
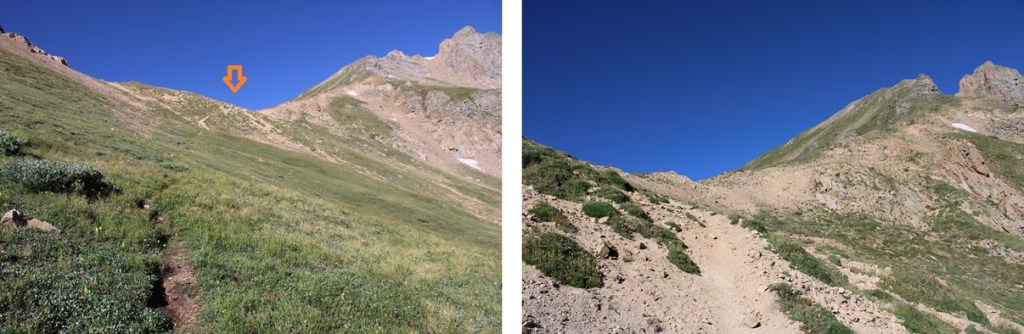
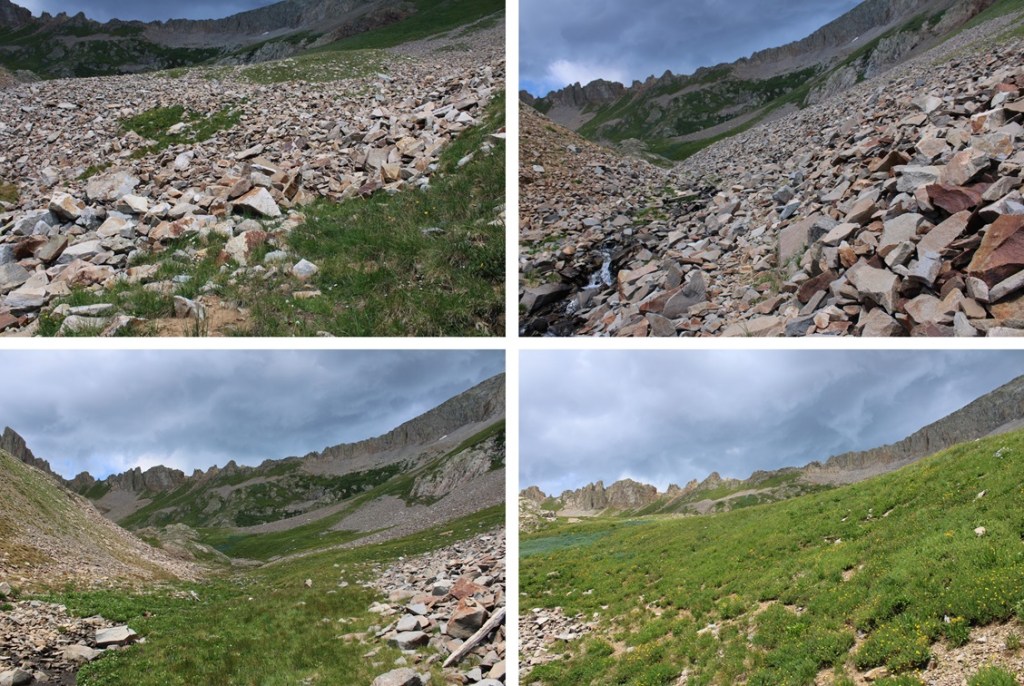
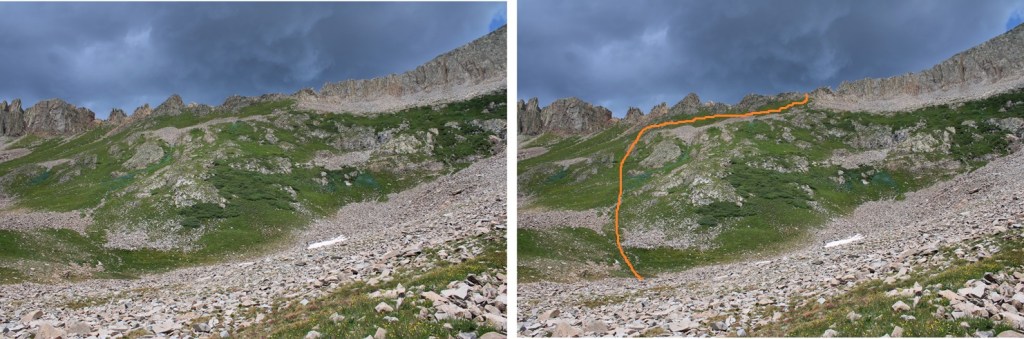
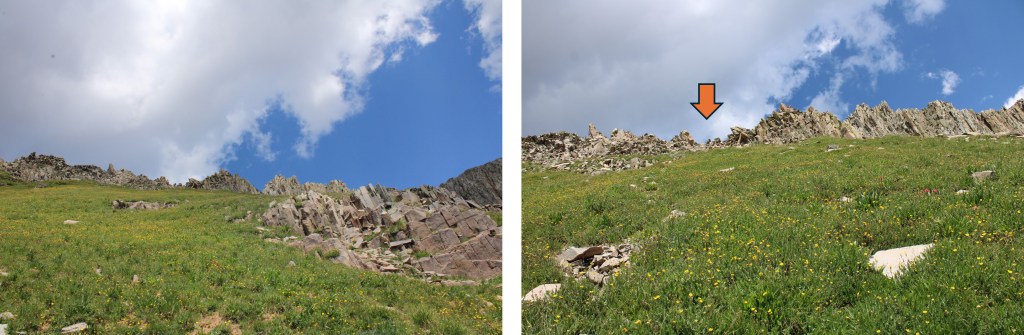
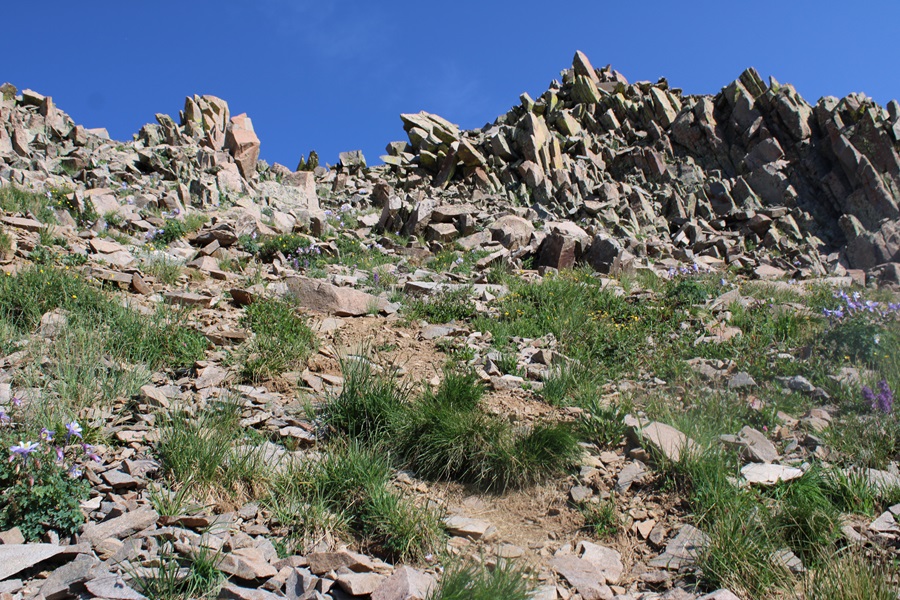
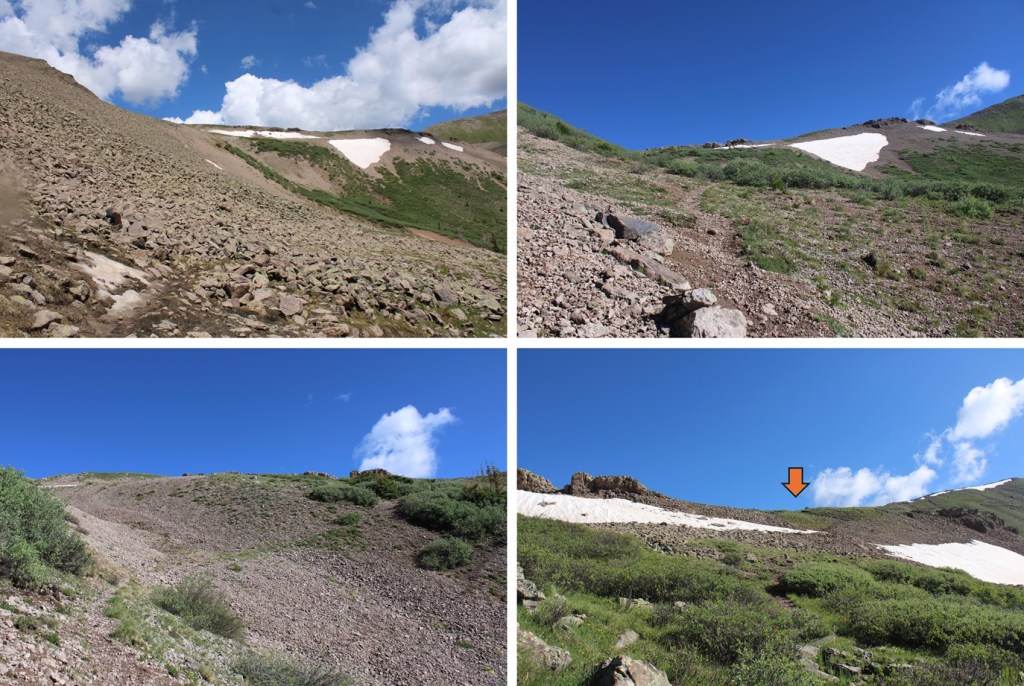
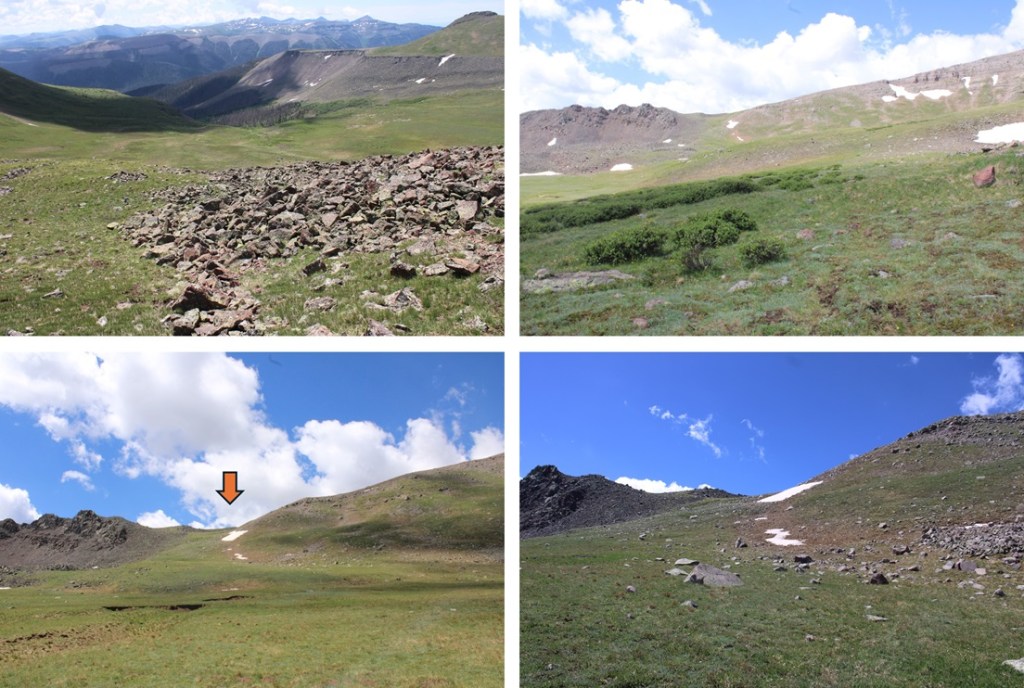
This is choose your own adventure.  I chose to stay low, heading for the small stream below, then ascend by following the tundra, going to the right of the rock pile (it’s obvious as you get higher), and up the tundra slope. 

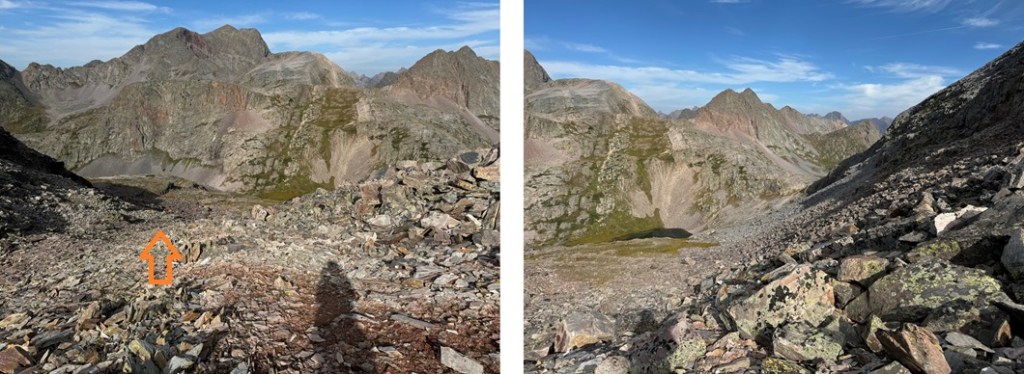
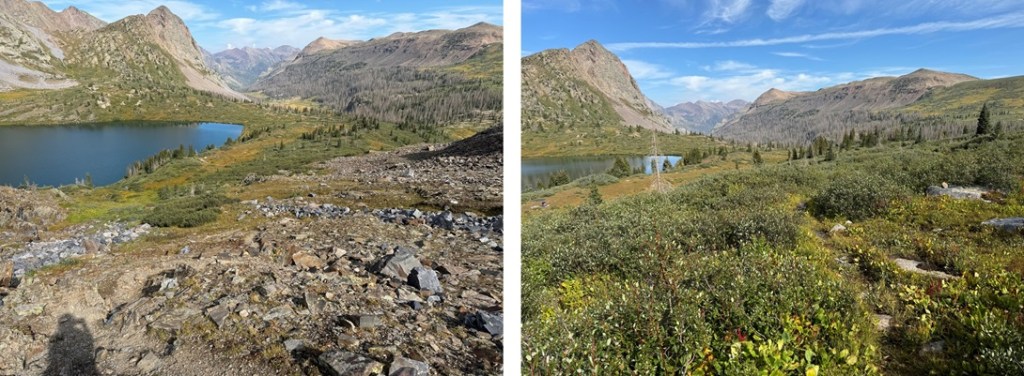
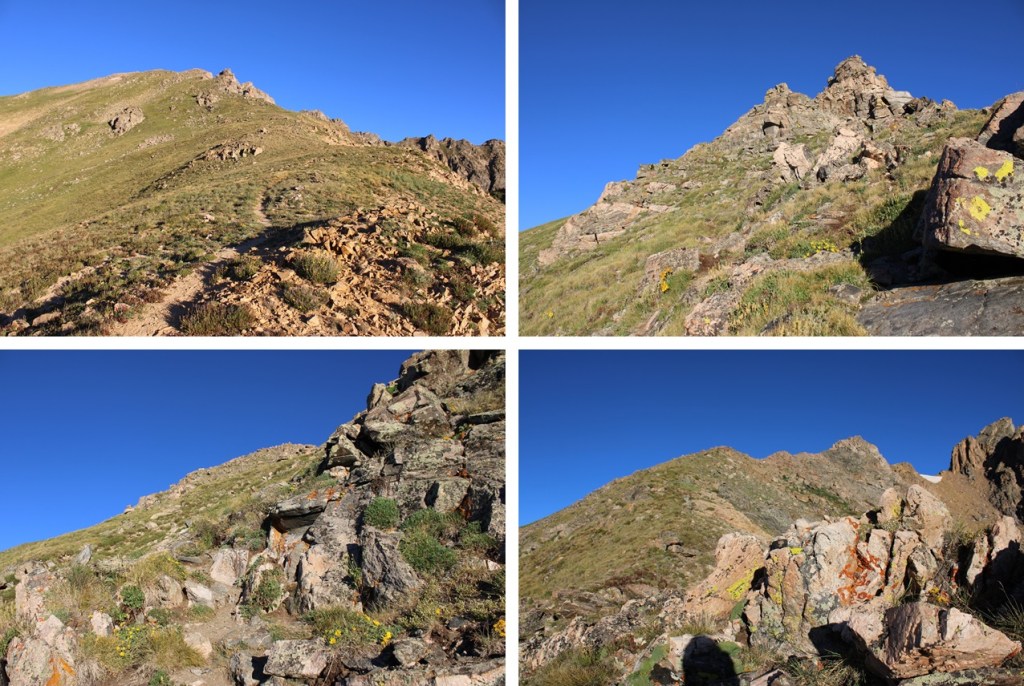
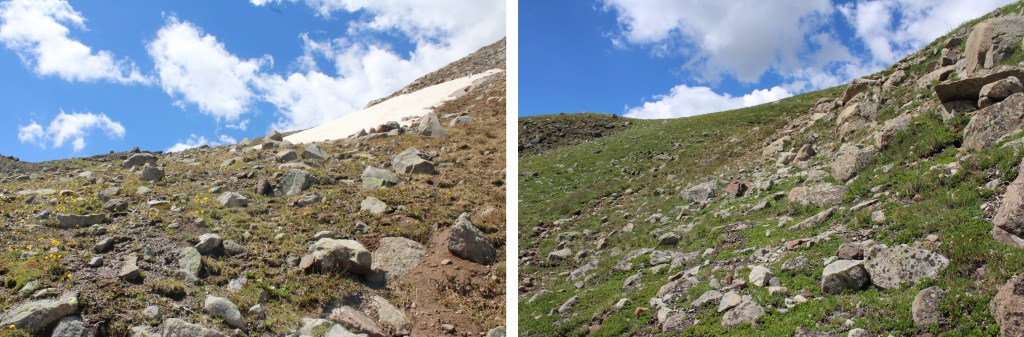
Here are some pictures of my way to the saddle:

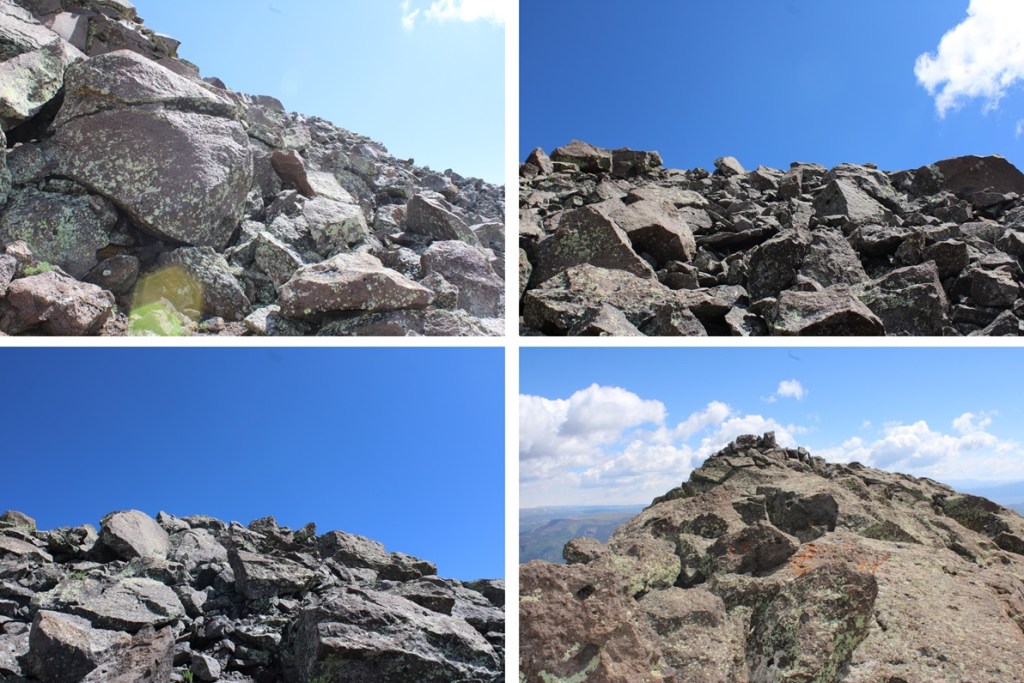
Once on the saddle I turned right, and scrambled northwest to the summit of South Twilight Peak.  This was mostly class 2.  I just looked for grassy gullies and ascended them, heading northwest, until I came to the top, then walked the short distance southwest to the summit. 

I summited unranked South Twilight Peak at 9:10am

South Twilight Peak:

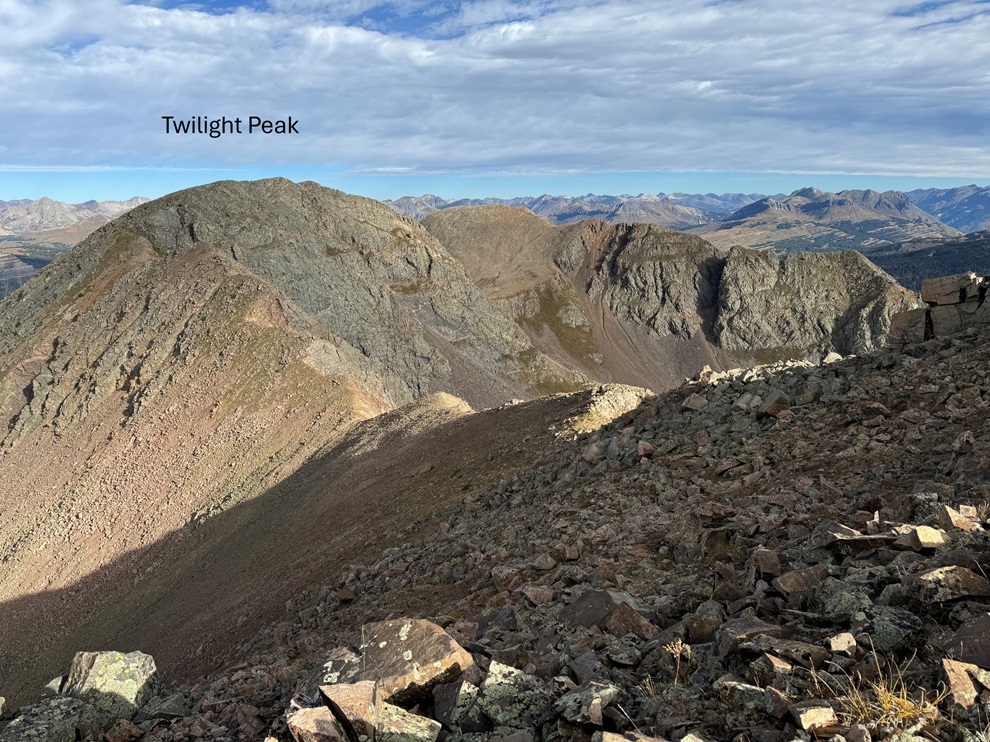
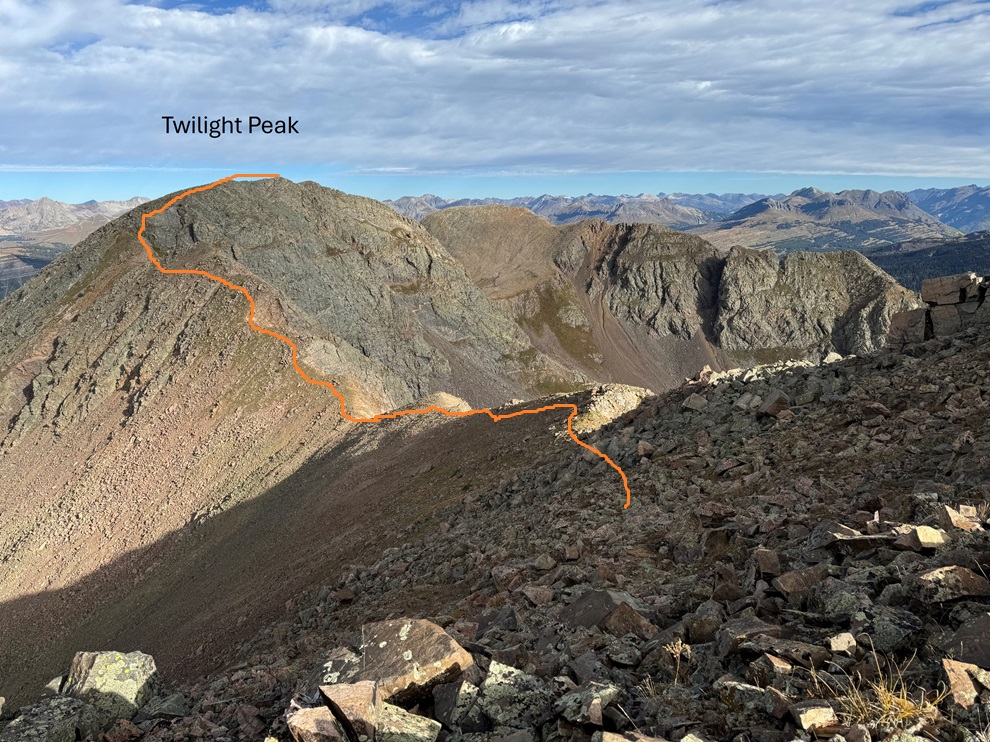
From South Twilight Peak, Twilight Peak was to the northwest.

It was a class 2 tundra/rock walk to get there that only took me 20 minutes.  This is the route I took, sticking mostly to the ridge.

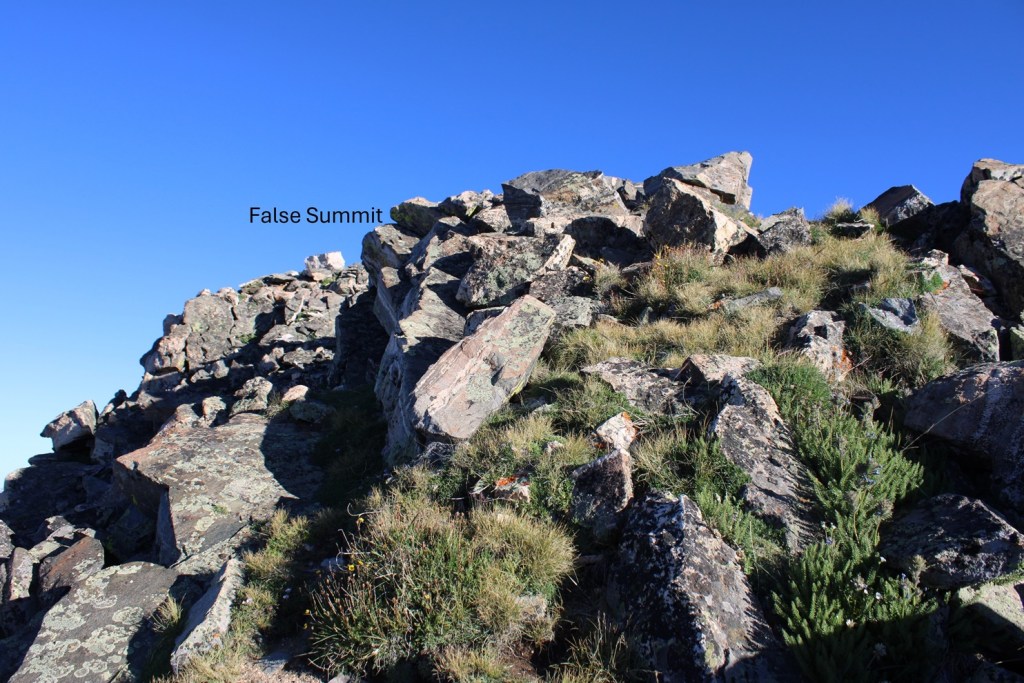
There was a bit of a false summit.  The summit is to the north.

I summited Twilight Peak at 9:30am.  Sorry, no summit video: I thought I took one, but when I uploaded it, it was only 1 second long, so it wasn’t very helpful. 

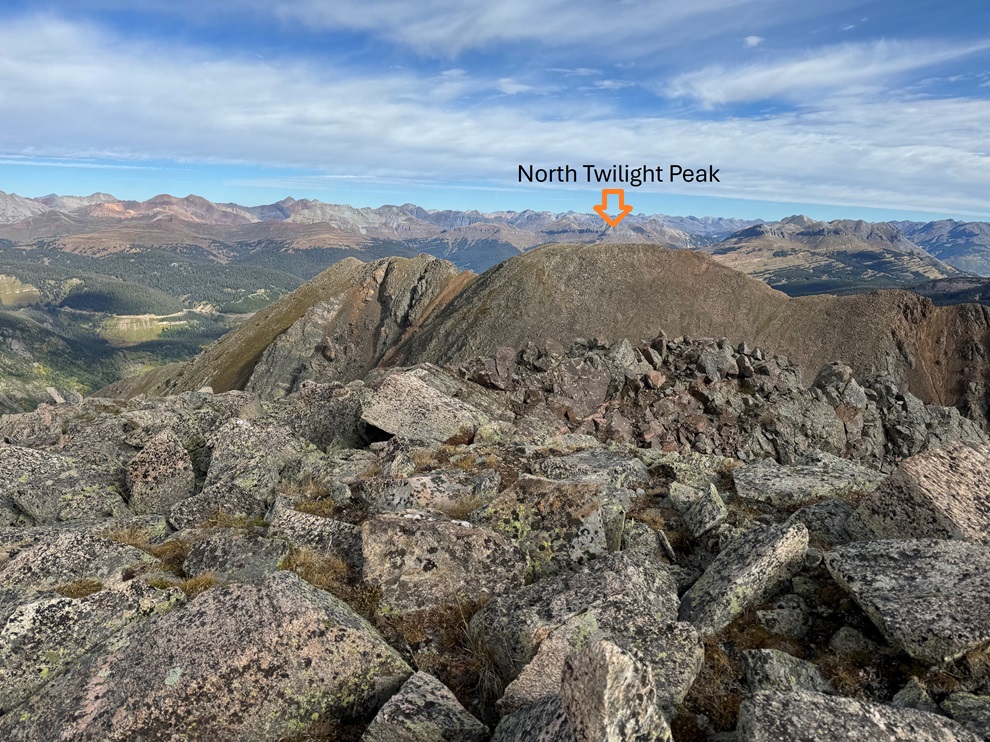
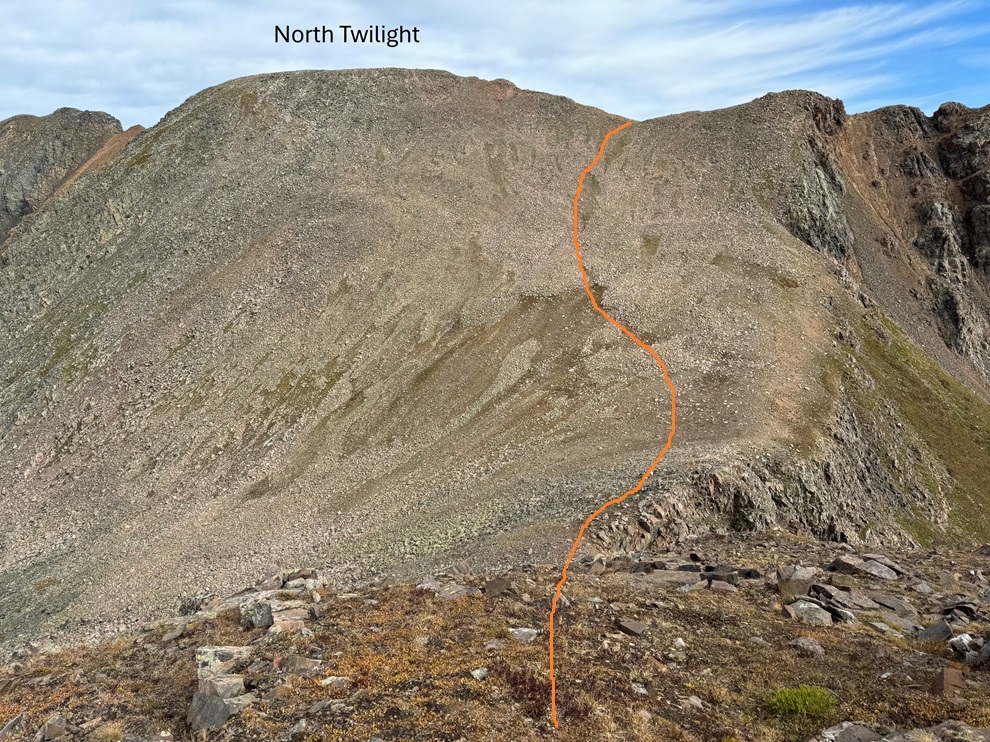
From the summit of Twilight Peak, I could see North Twilight Peak to the North.

To get there, I continued following the ridge north.

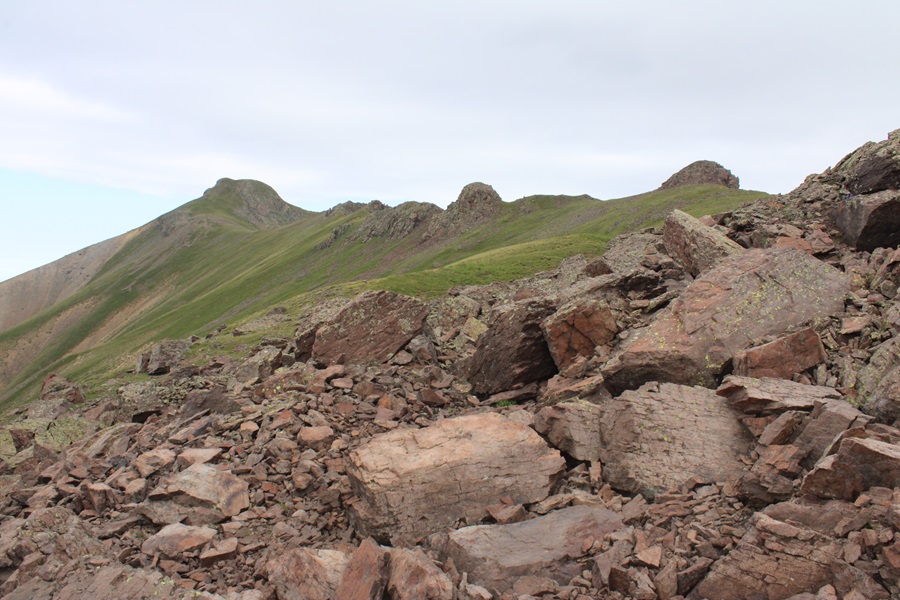
It was all class 2 until I got here. 

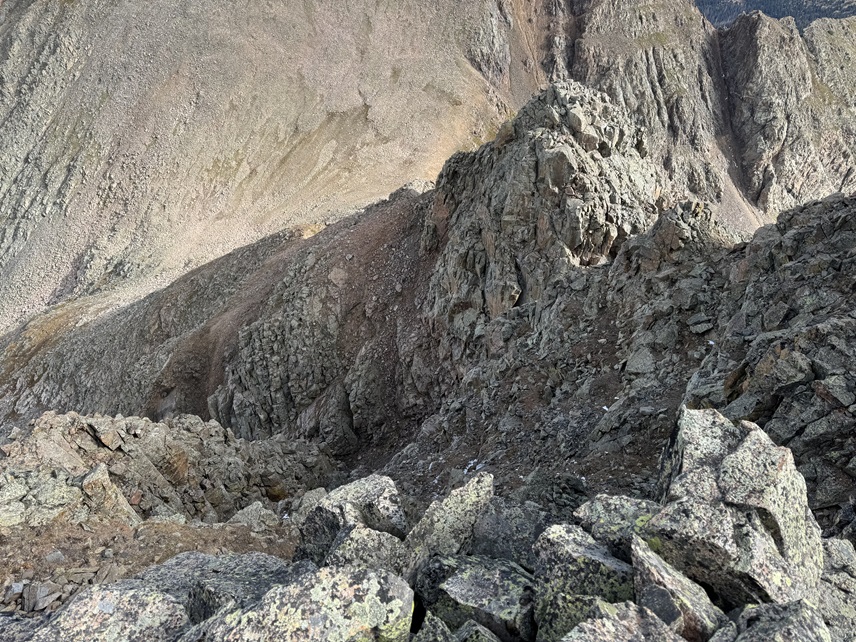
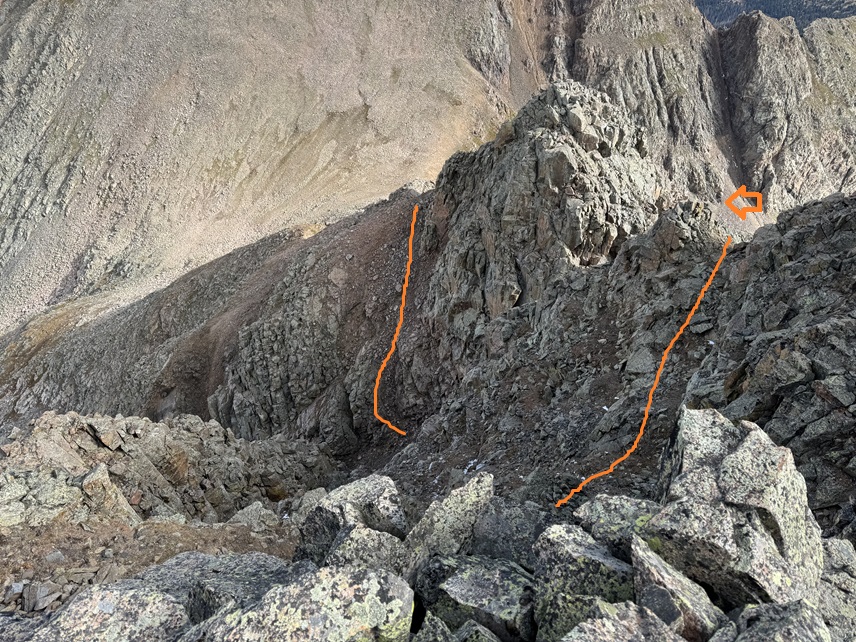
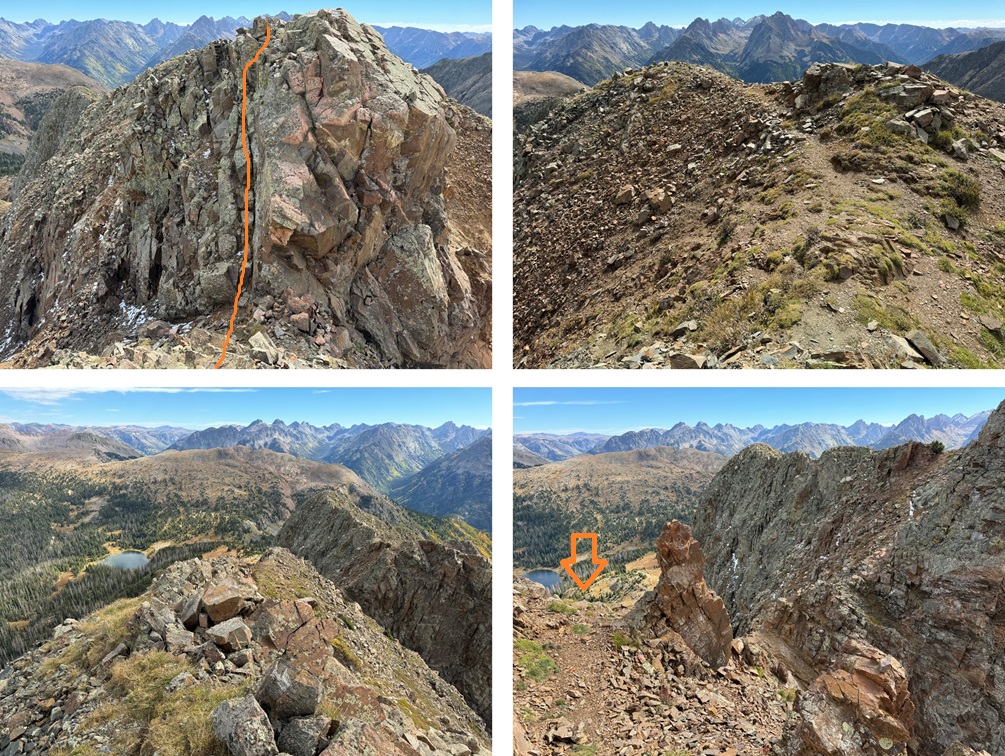
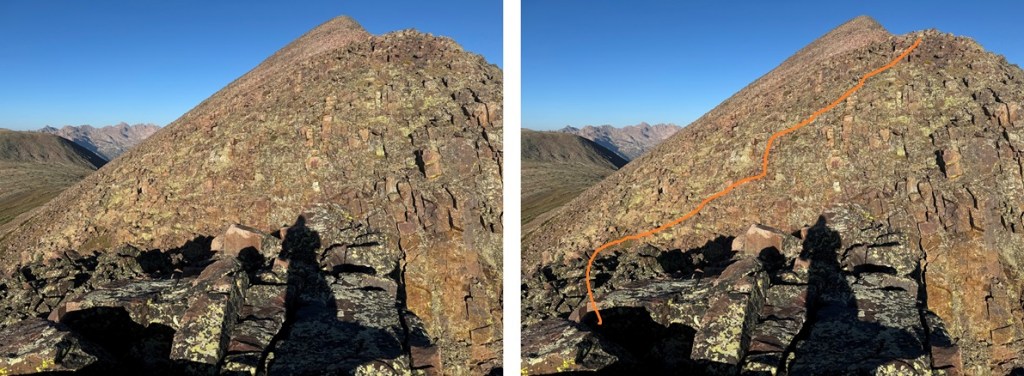
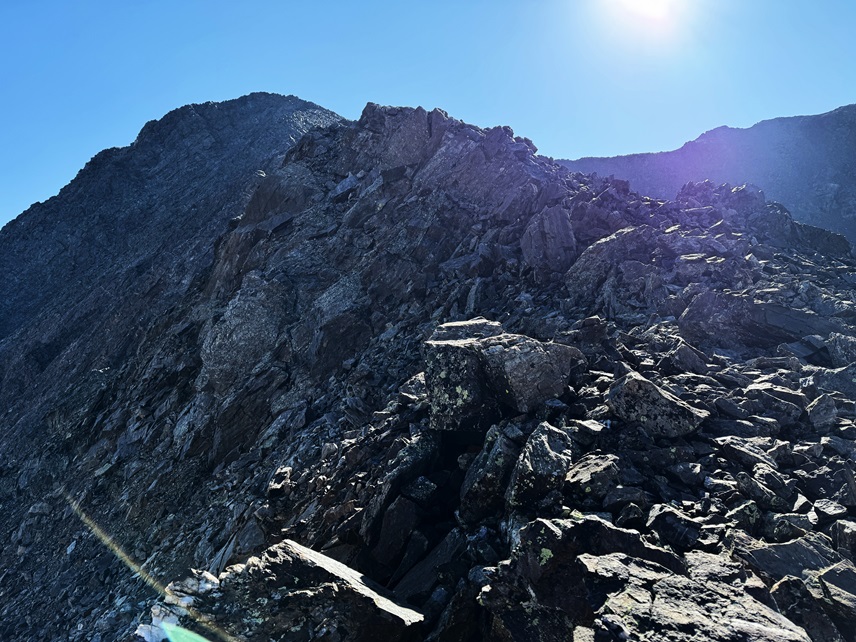
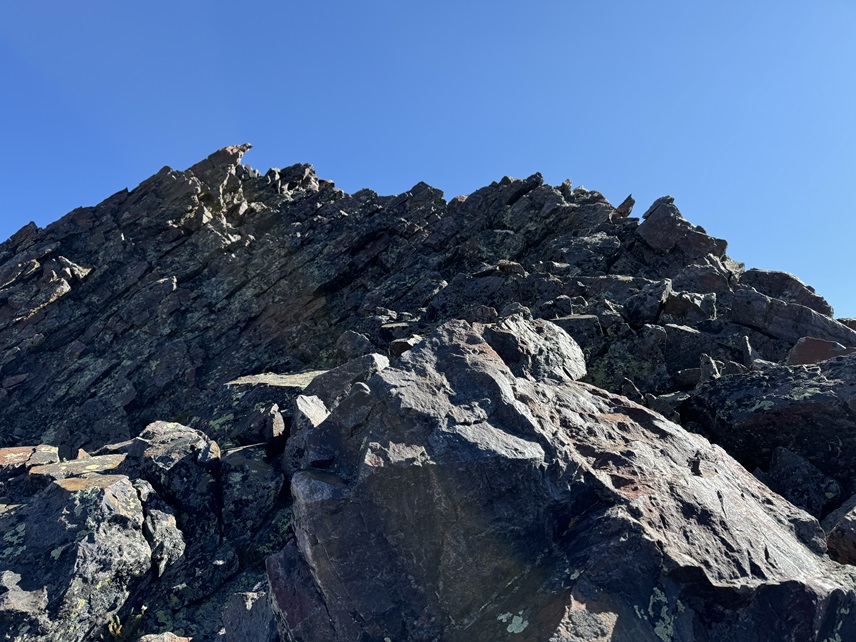
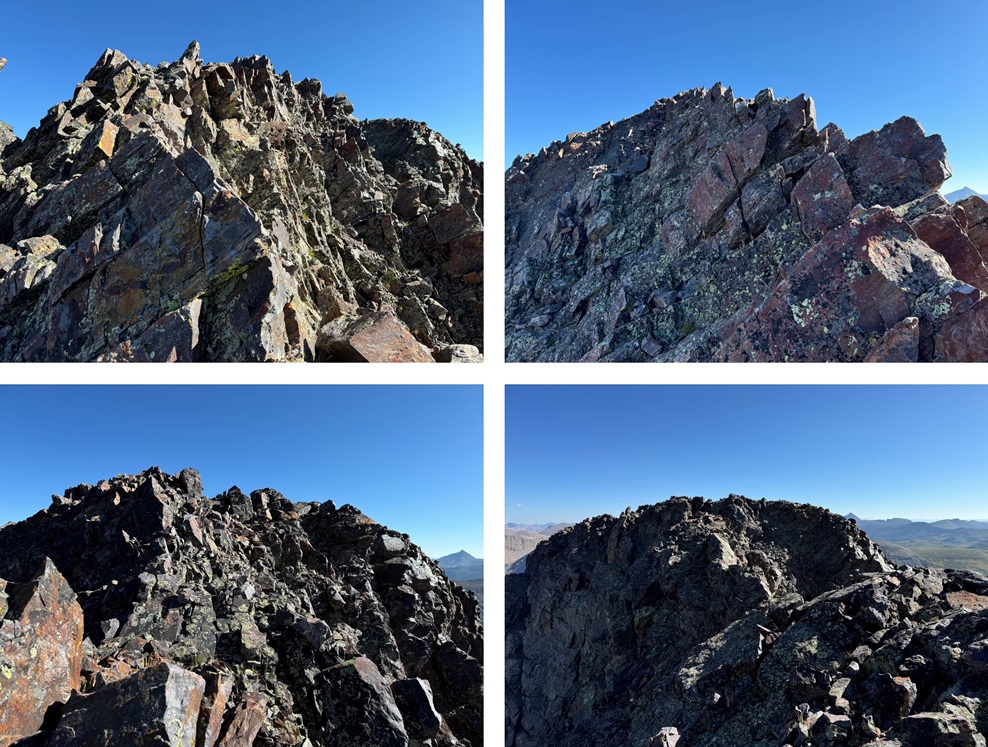
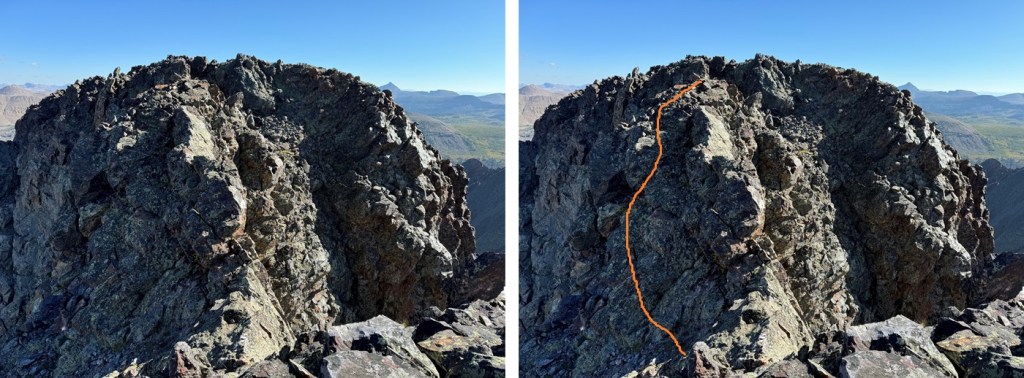
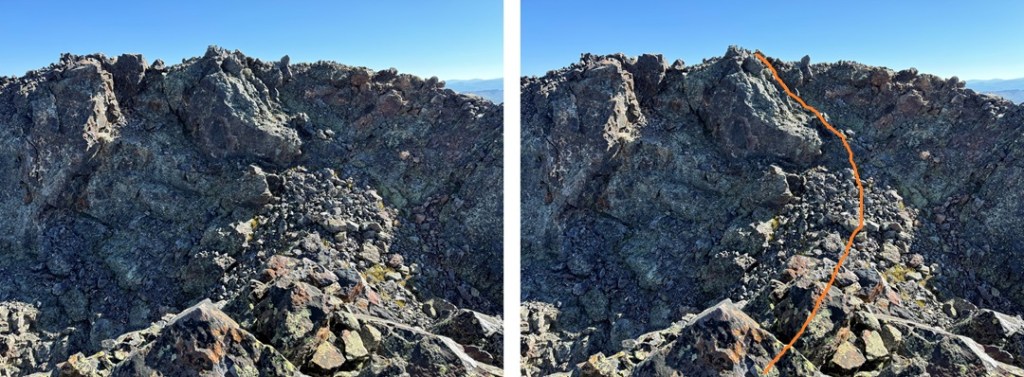
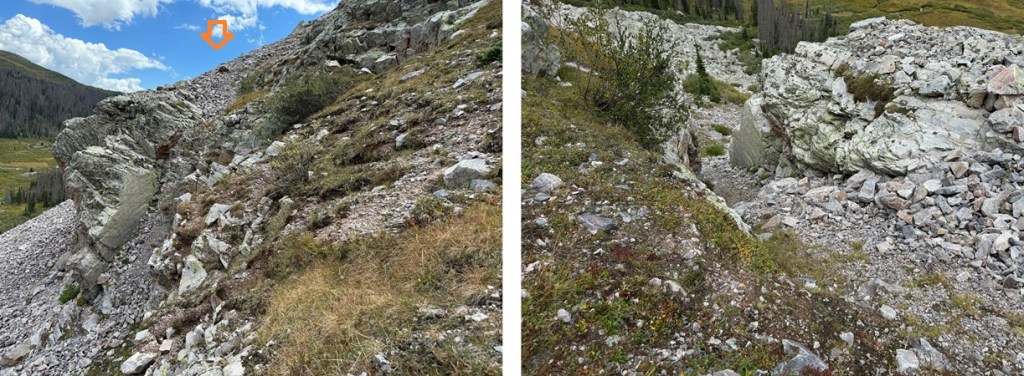
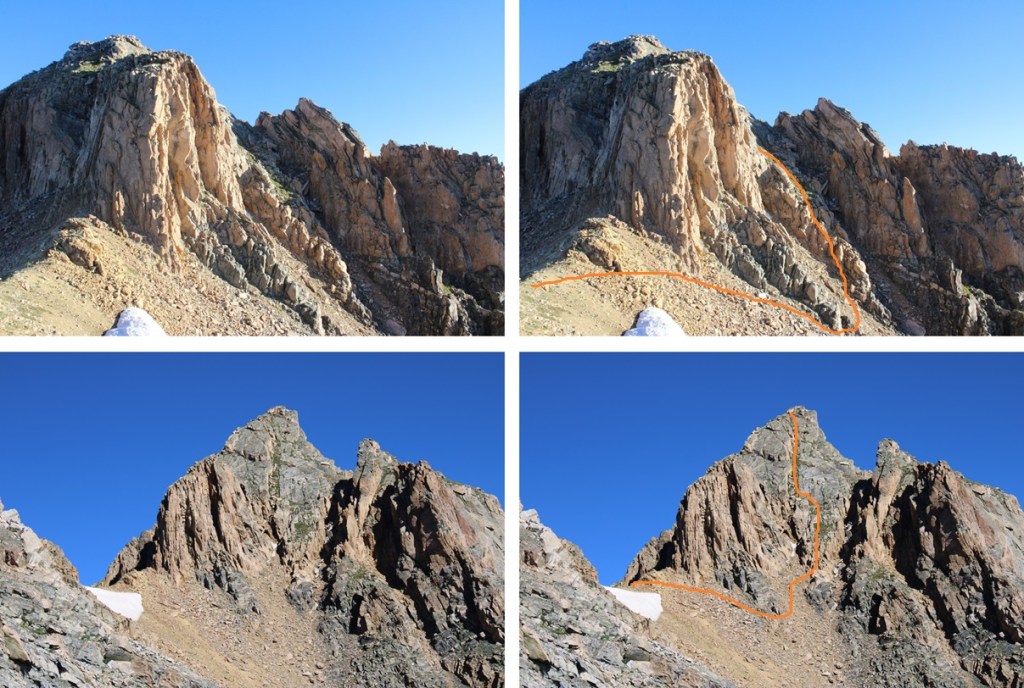
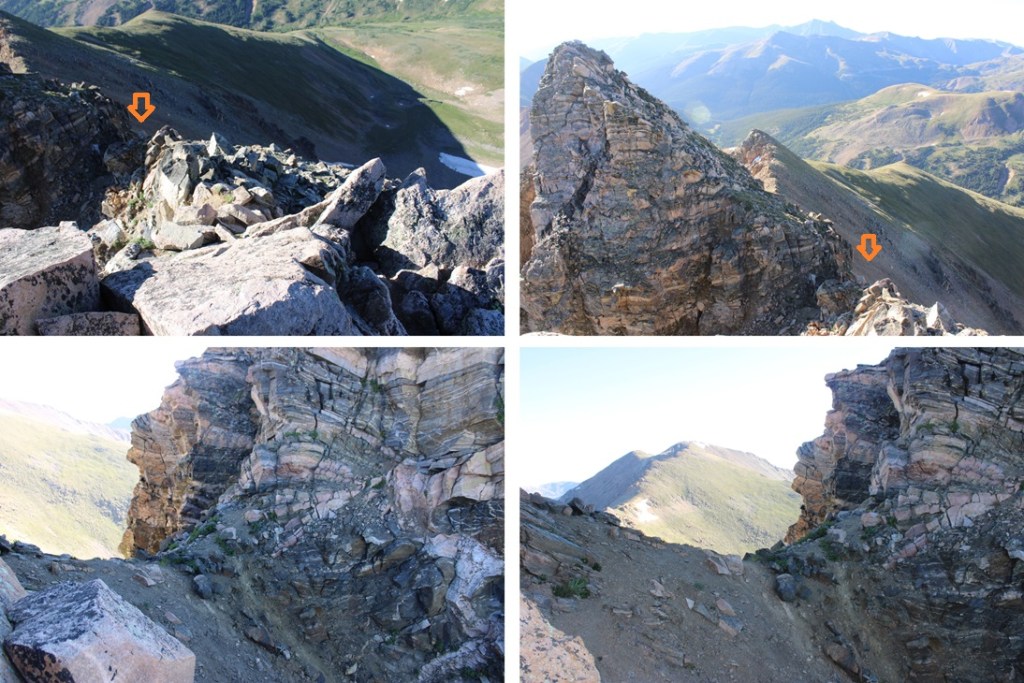
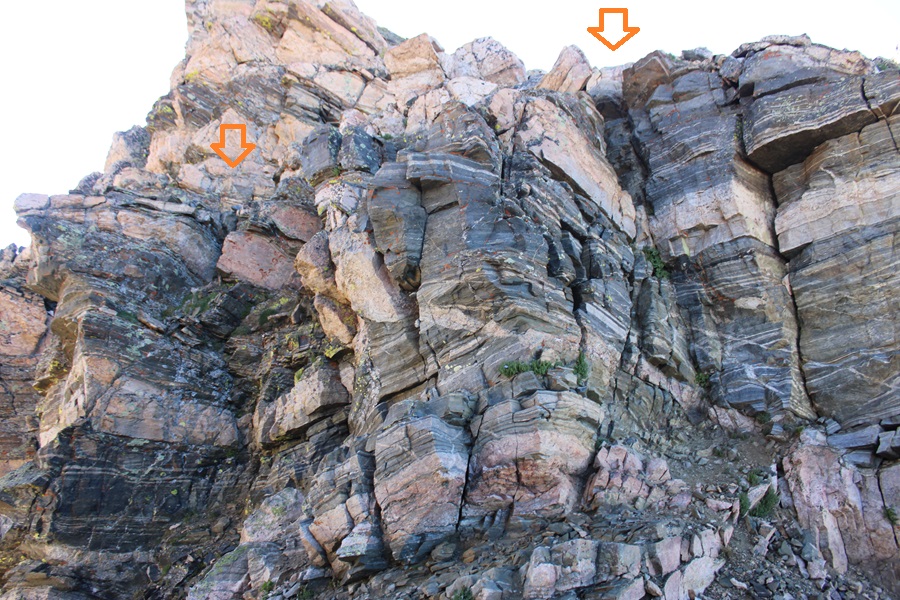
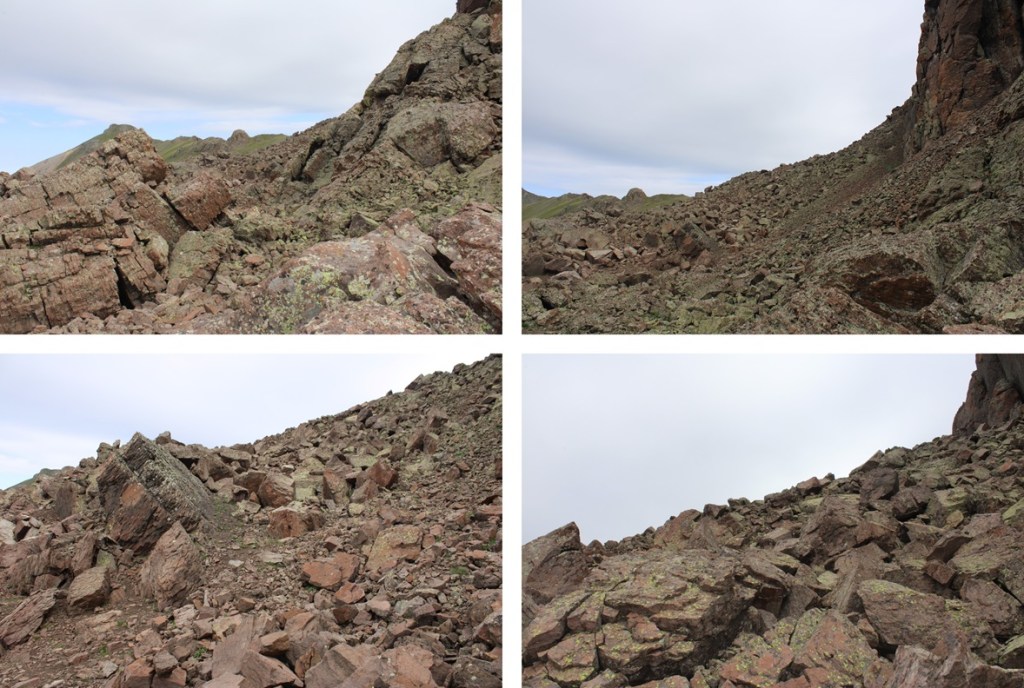
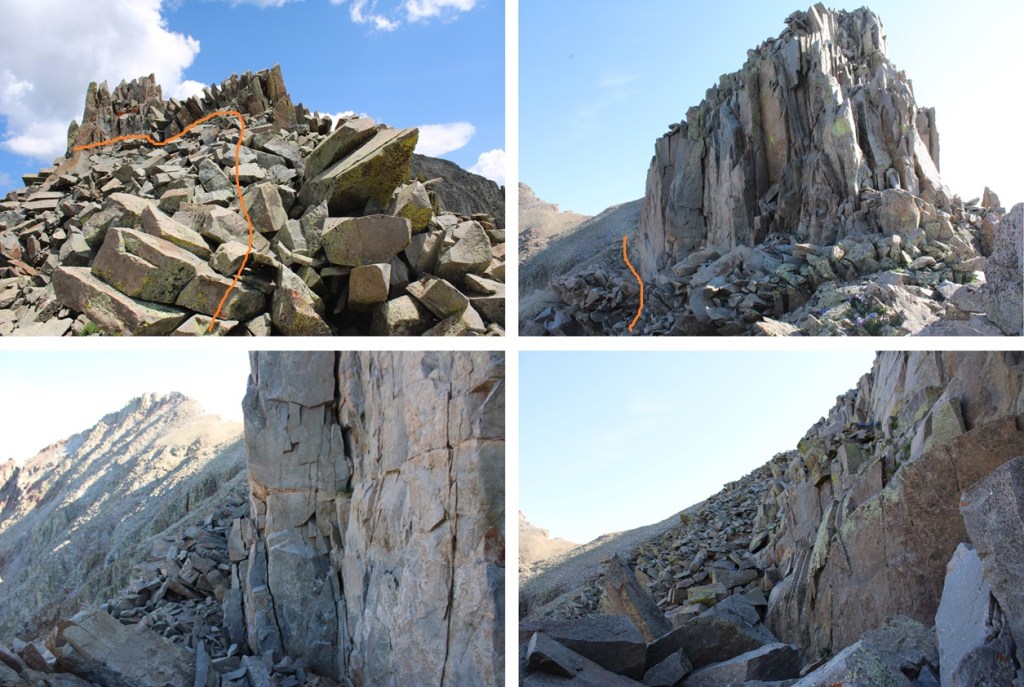
This is where the route finding and class 3 fun began.  If you haven’t already put on your helmet, now is a good time to do so.  I could tell there were a lot of ways to navigate this ridge successfully, but many would end in getting cliffed out.  I chose to go right.  Here’s an overall view of my route out of this fun.  There’s a hidden gully I took to get back to the ridge.

This is class 3, and pretty steep, but if you choose your line carefully and drop down just to the right of the gully, the gully is easy to access.

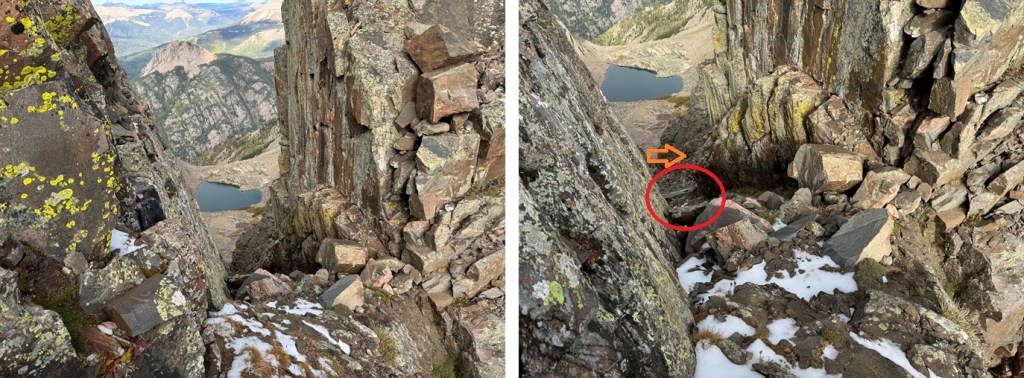
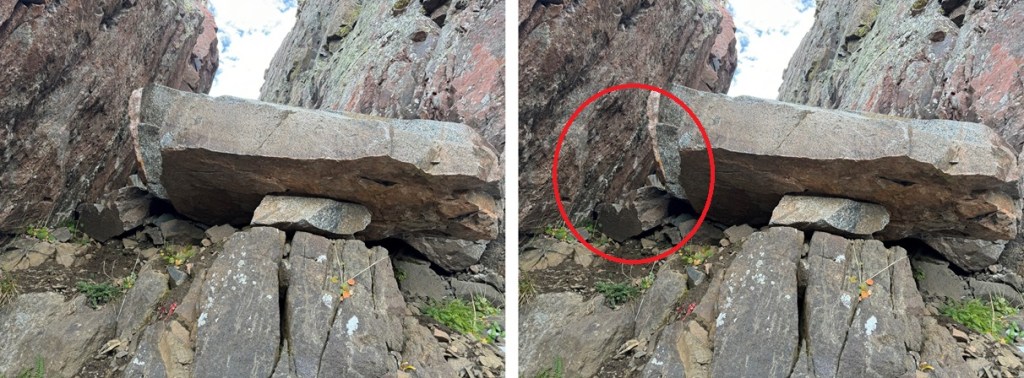
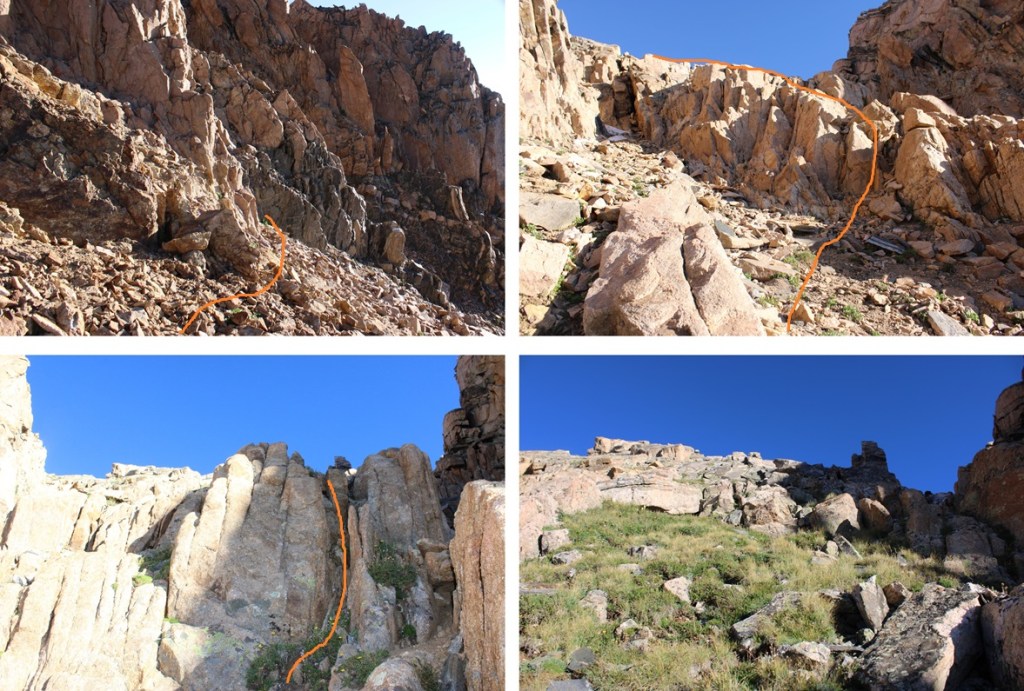
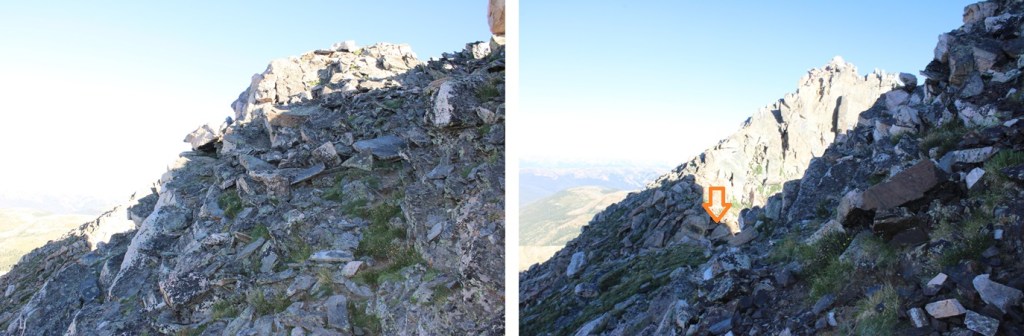
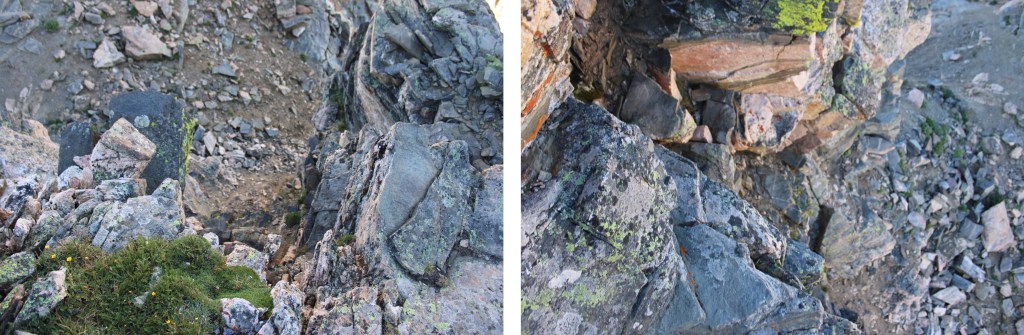
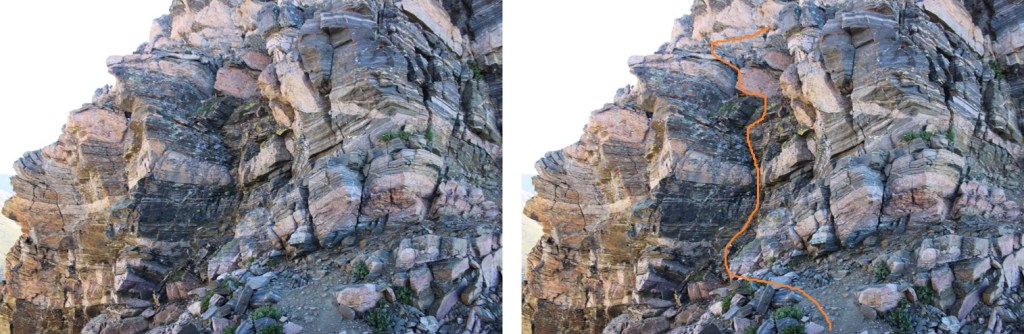
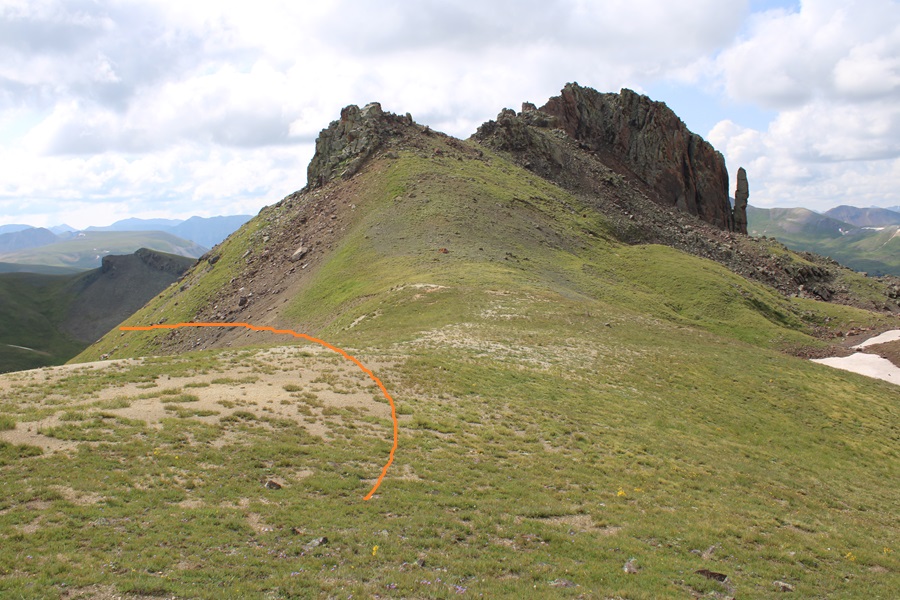
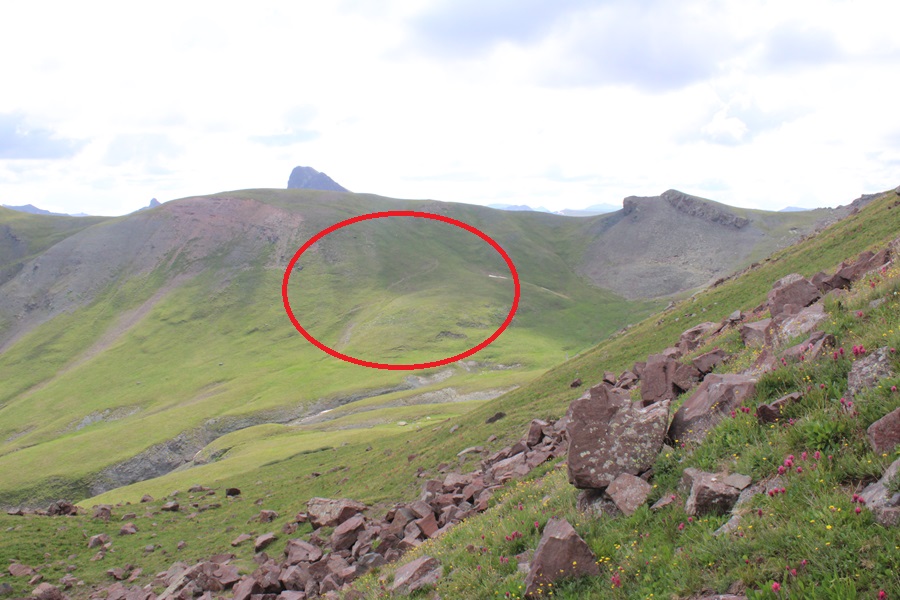
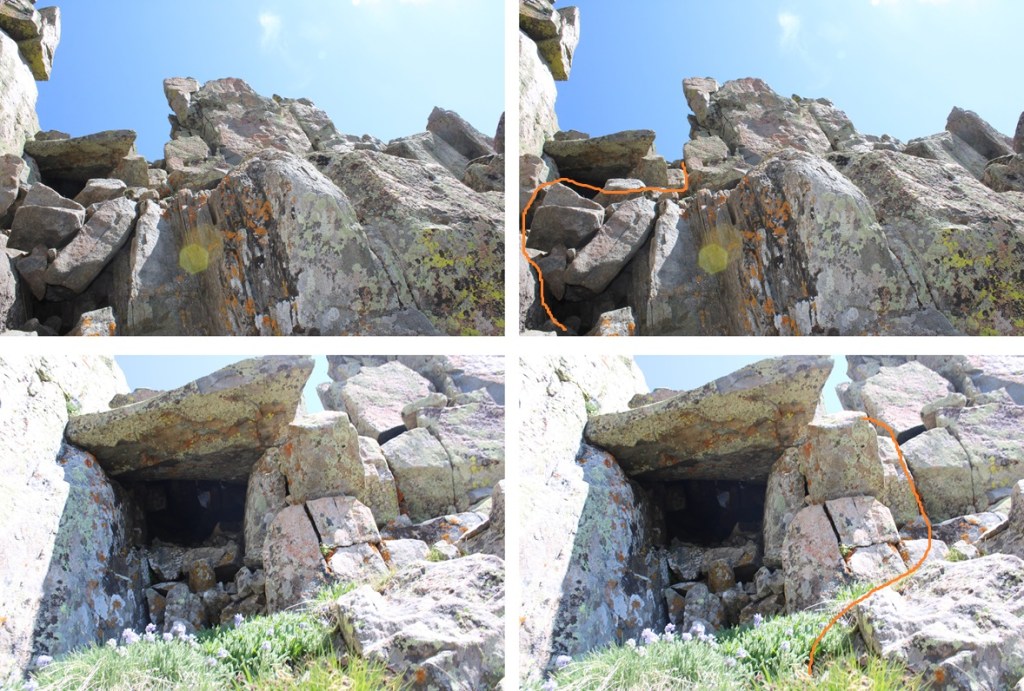
I passed through the gully, which was a bit sketchy.  These photos don’t do the terrain justice, but the graupel here had turned to ice, and there’s a bit of a waterflow on the rocks, which had also turned to ice.  I put on my microspikes (they’re ALWAYS in my bag), and carefully navigated through the notch and down the gully, being deliberate so as not to slip on the ice.  There’s exposure here, so falling would be detrimental.  At the bottom of the gully was a large boulder.  This can easily be climbed up from the other direction, but heading down the gully I found a very small hole to the right I was able to crawl through (I’m glad I’m small!).  You can also climb over it to the left, but I didn’t like the conditions (ice) on that side.  The boulder is circled.

Here’s looking back up at the boulder at the base of the gully.  I crawled through the hole to the left (circled).  

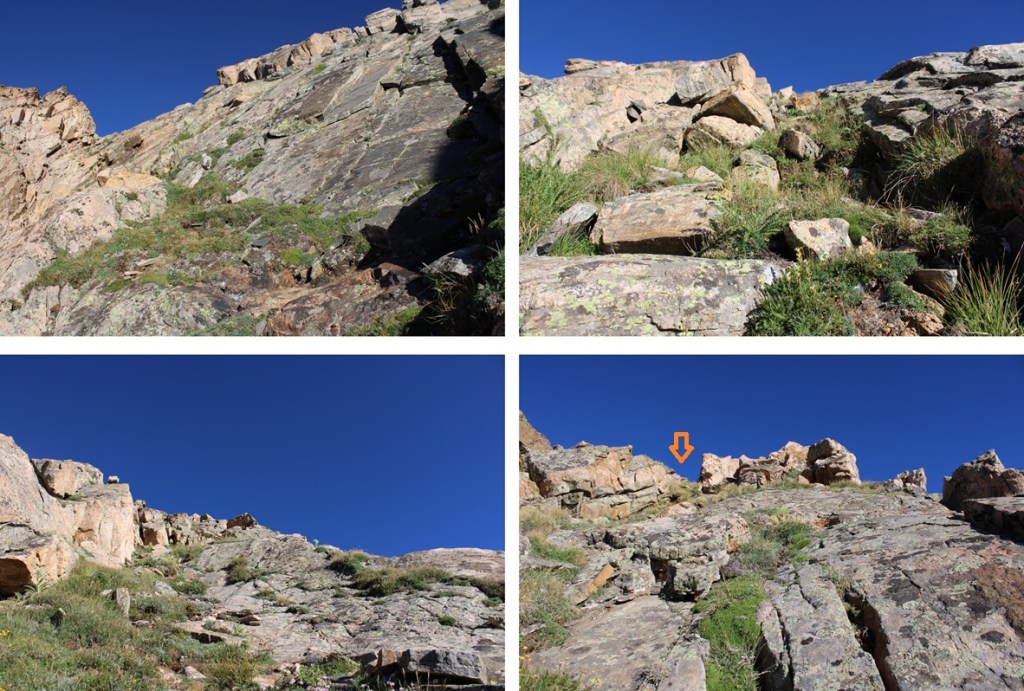
Once passing around the boulder, I immediately turned right and re-gained the ridge.

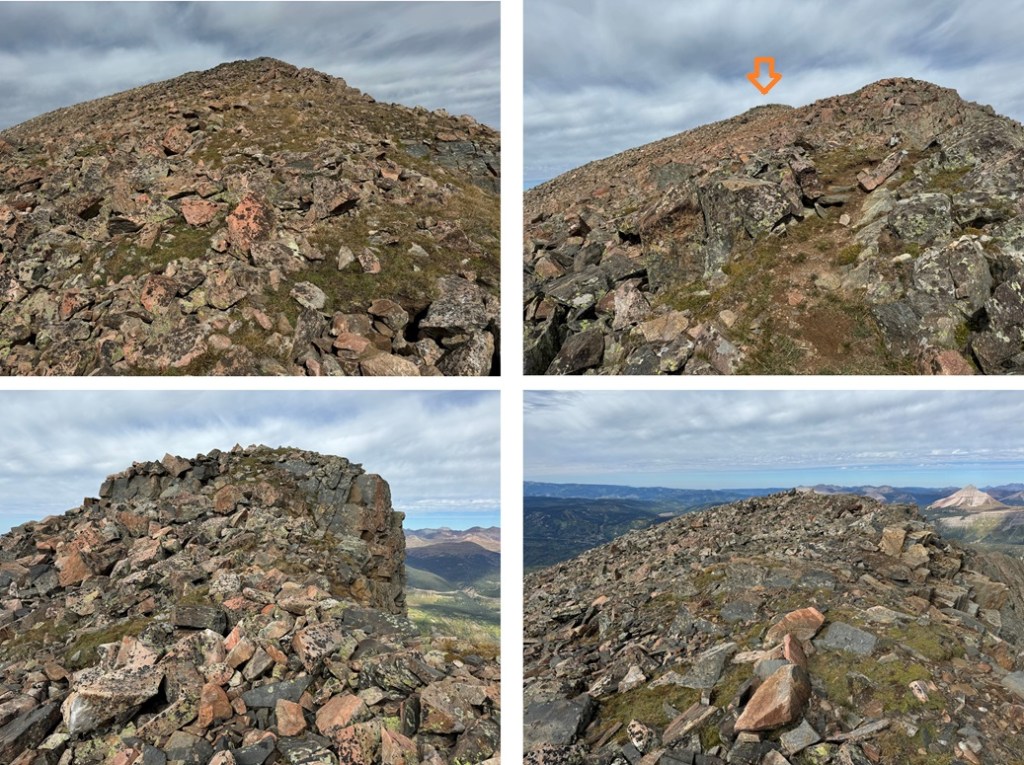
The rest of the route to North Twilight was class 2.  I descended to the saddle, then re-ascended to the ridge on a small patch of tundra.  The slope angle was low, so it was an easy trek.

Once on the ridge, I turned left and headed west for the summit.

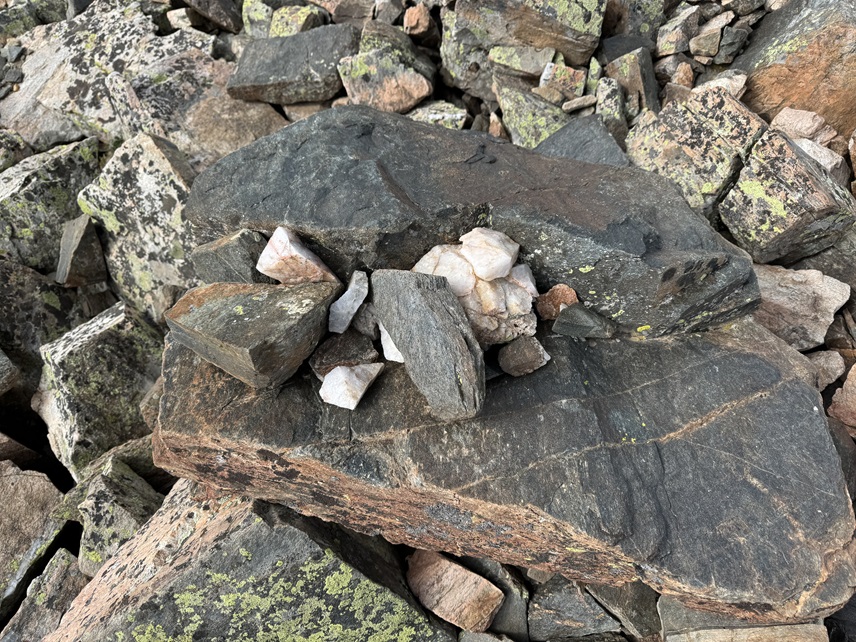
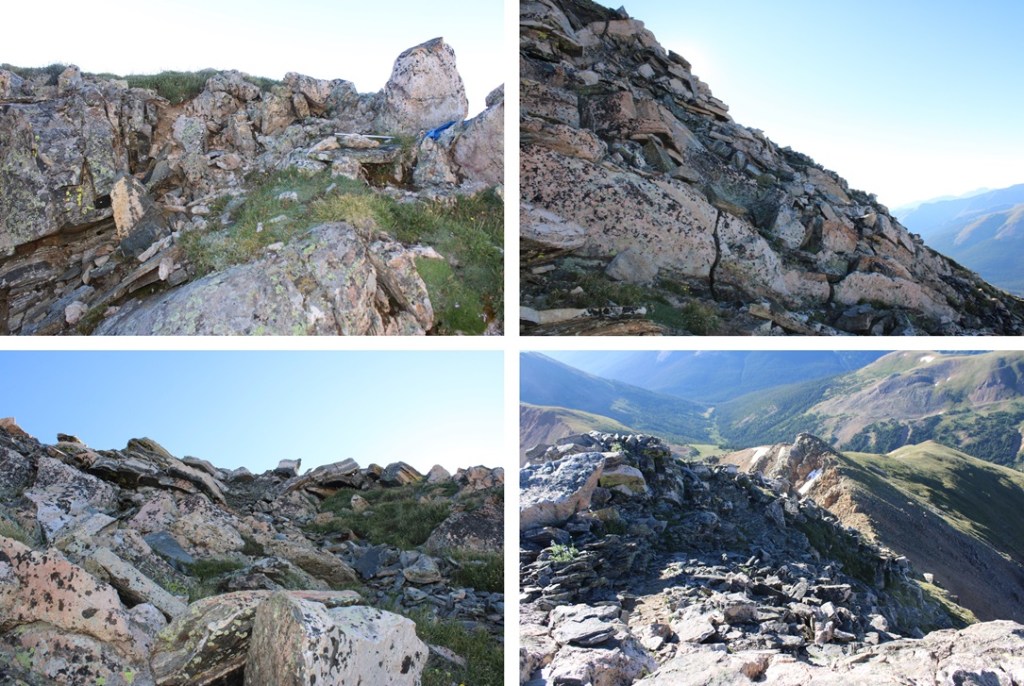
The only problem?  The summit ridge is rocky but flat, so it’s difficult to tell exactly where the summit is.  I walked the length of the summit, but I’m pretty sure the actual summit is in the middle (not the far west end as indicated on a map).  There aren’t any cairns, but there is a circle of rocks on the middle of the ridge placed on top of another rock that look ‘intentionally’ placed.

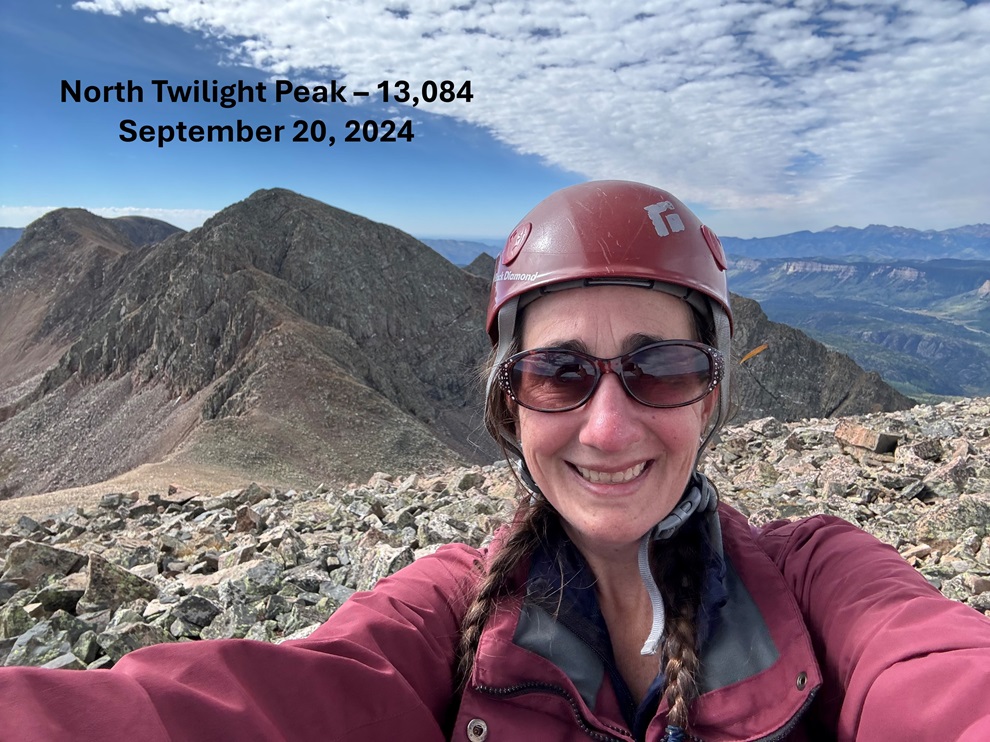
I summited North Twilight Peak at 10:40am

North Twilight Peak:

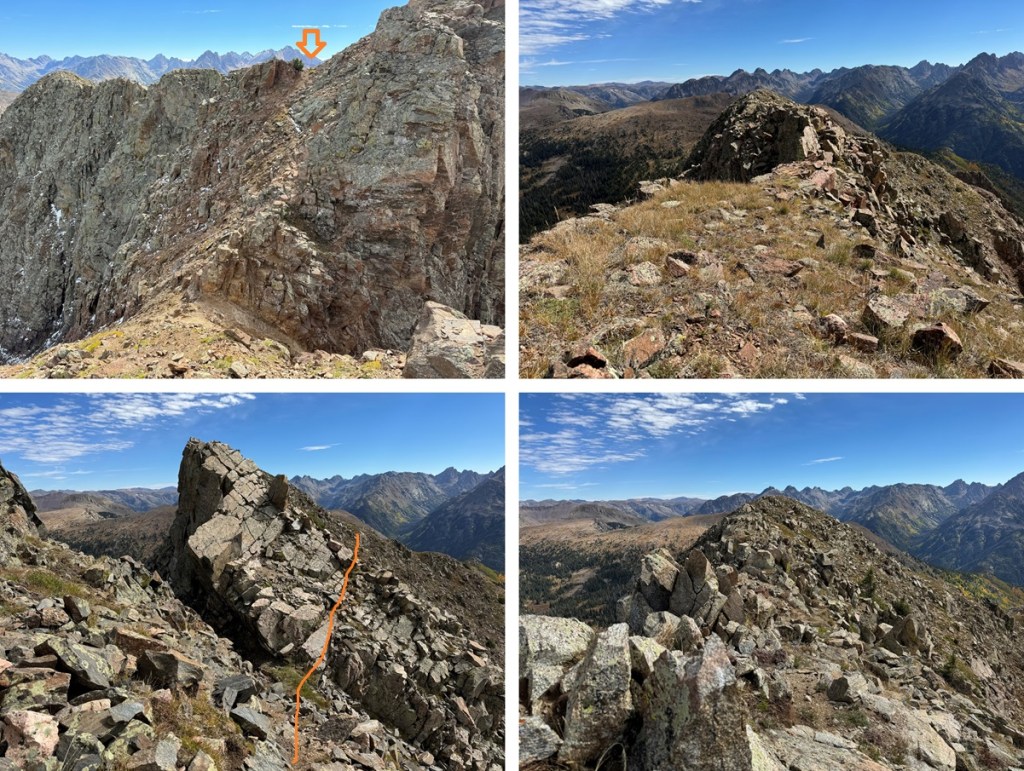
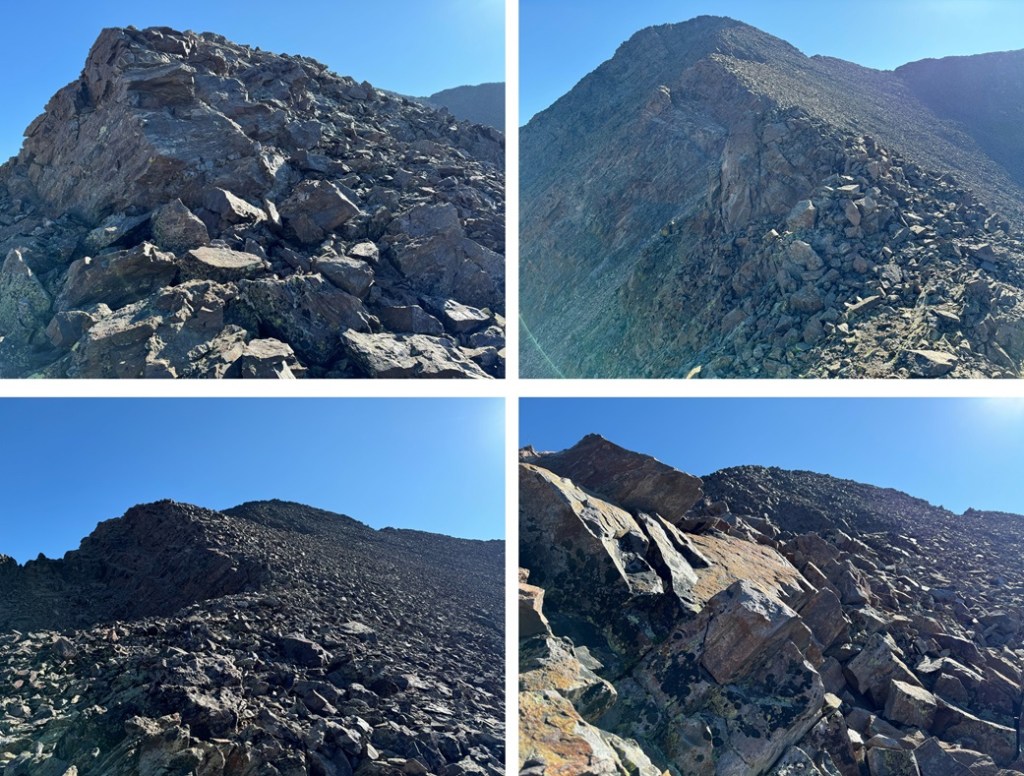
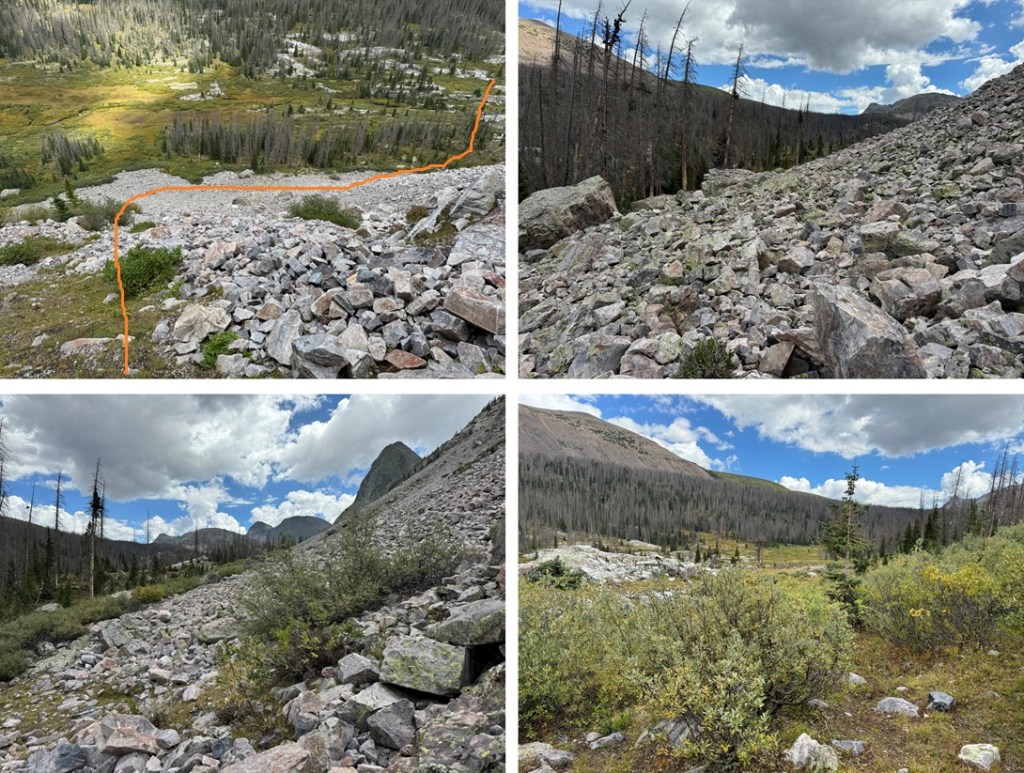
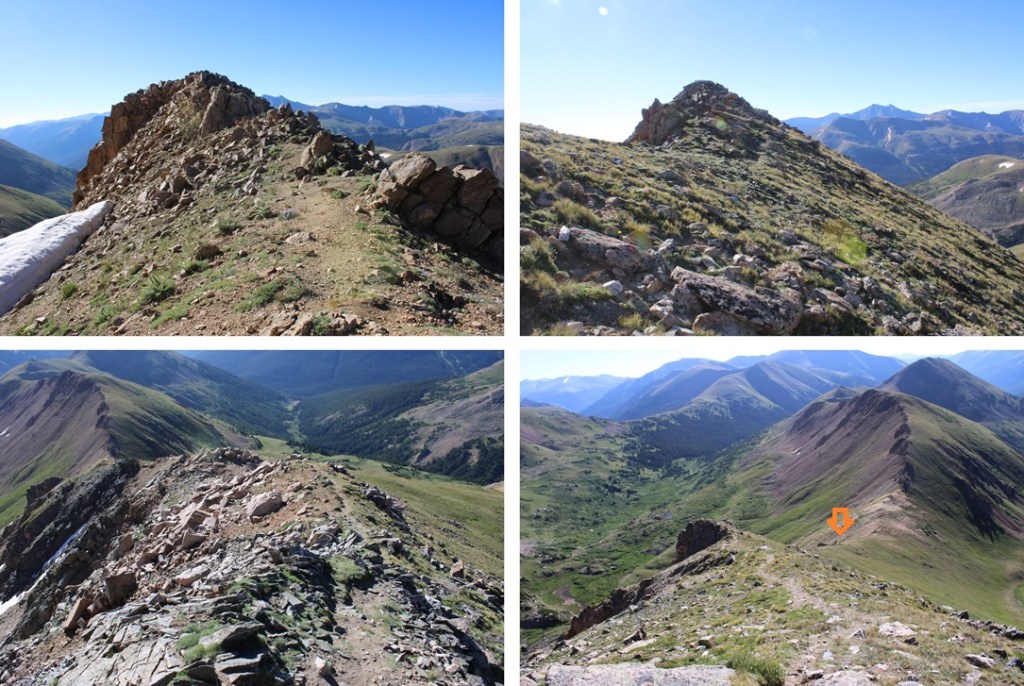
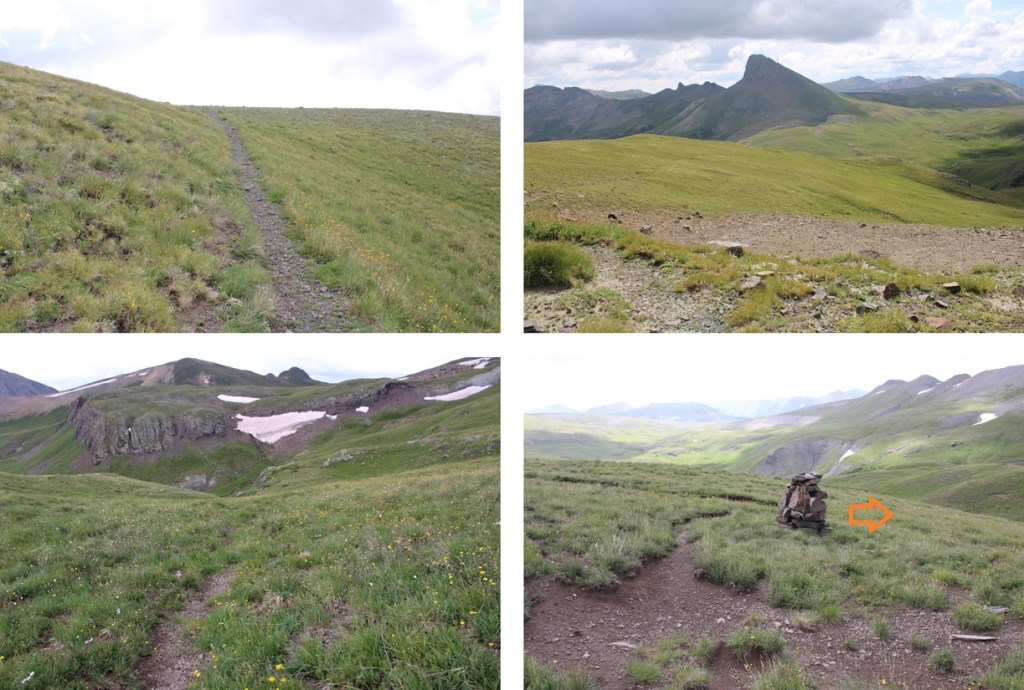
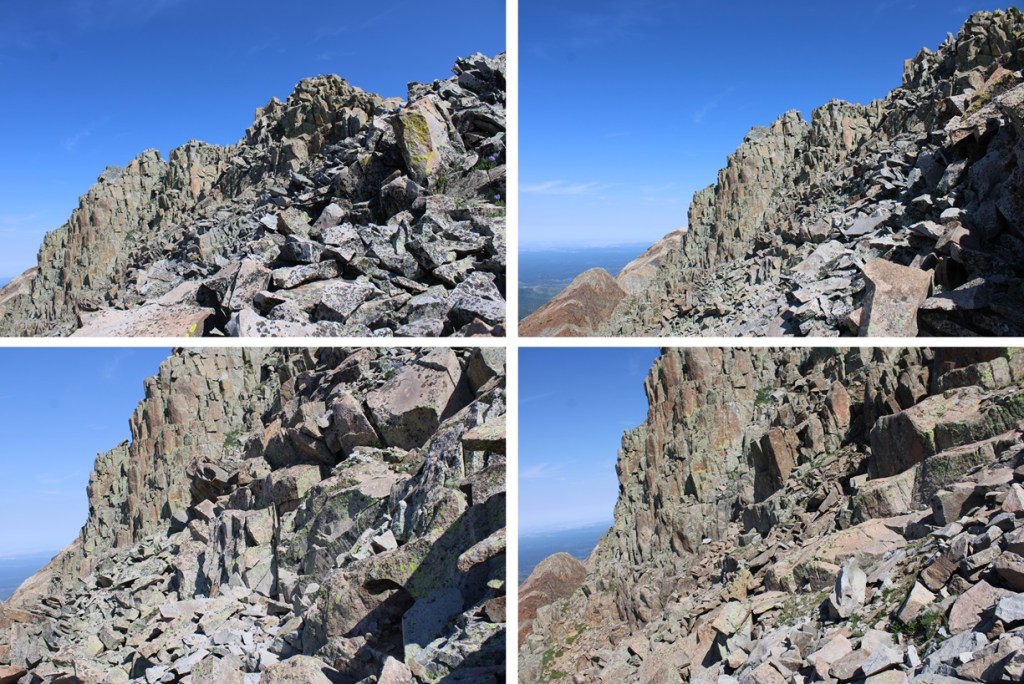
Now to head back to Crater Lake.  I did this by turning around and following the ridge east.  While there are some ups and downs on this ridge, there are game trails that can help keep this a class 2 trek with one or two easy class 3 sections (I’ve labeled the route below).  Here are some pictures of the ridge.

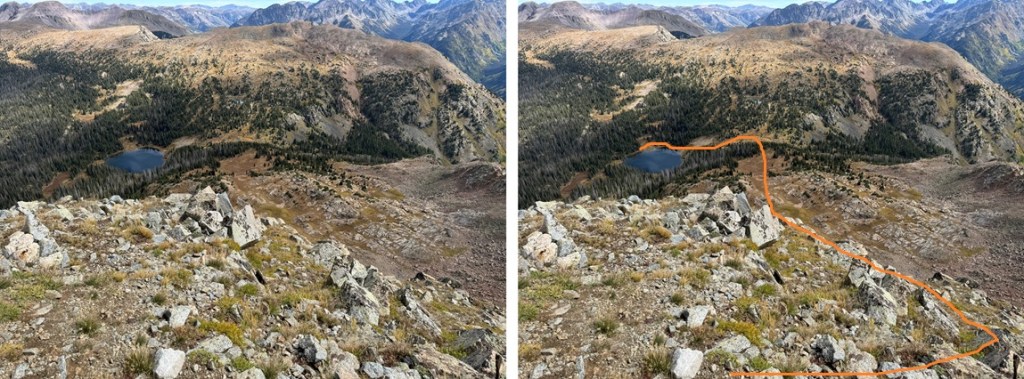
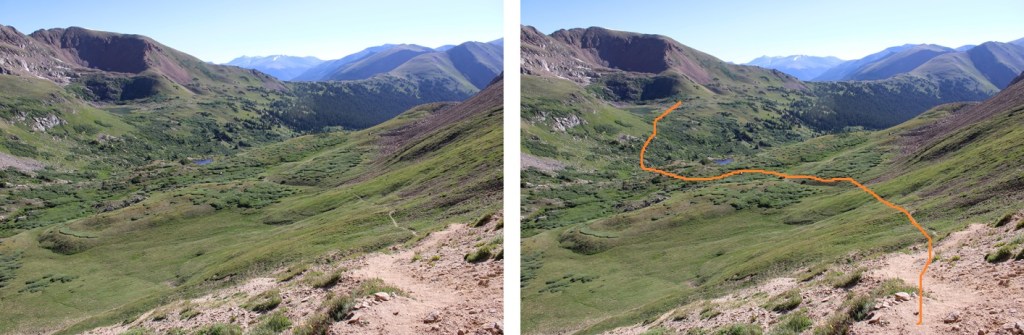
I could now see Crater Lake in the distance.  Here I found a game trail that would lead me most of the way there.  I descended on the tundra, heading northeast, towards the small pond I’d seen early that morning.  There I picked up the trail that headed west back to Crater Lake.  Here’s the overall view of the route:

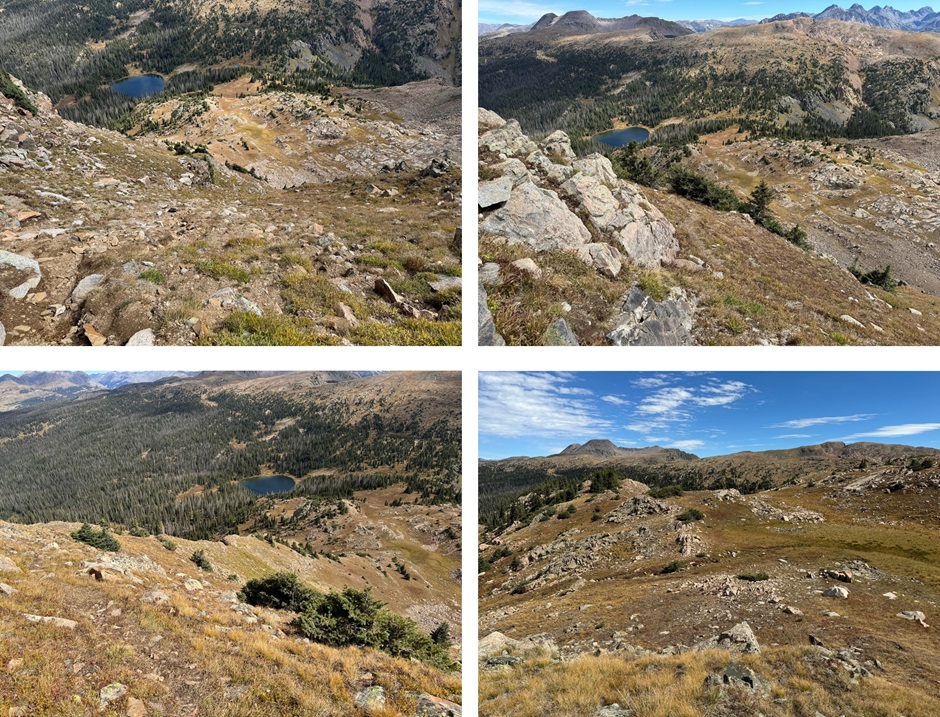
And some pictures.  First, I found the tundra to the right of me, and descended on the game trail that wound its way back to the ridge.

This trail ended in a meadow, so I headed northeast through the trees towards the small pond.

Once at the pond, I followed the trail back to Crater Lake.

I made it back to Crater Lake at 11:20am.  Once back at Crater Lake I checked the weather (I had cell service for almost this entire hike).  Forecasts for the next day were all over the board (calling from anywhere from half an inch to a foot of snow, starting anywhere from 7am to noon), so I decided to pack it out and come back another day for the other peak I had in the area.  I packed up my tent and followed Crater Lake trail back to Andrews Lake. 

I made it back to Andrews Lake at 2:45pm, making today’s hike 11.61 miles with 3034’ of elevation gain, and the total hike 17.11 miles with 4573’ of elevation gain.

On to the next trailhead!

PT 13171

Route Length: 13.85 miles

Elevation Gain: 3207’

To see the approach, view my previous post of Mt Nebo from Beartown, as this was the second day of my trip.  Or, if you’re only doing this peak, the hike in from Beartown to the Nebo Creek Trail is easy to follow, and described on my descent.

I was up and on the trail at 6:30am, startling a small herd of elk as I opened up my tent.  I continued following the CDT east, down towards West Ute Lake.  I lost about 700’ of elevation as I headed back down to treeline.  This is an easy to follow, class 1 trail.

From West Ute Lake, I could see PT 13171, and I followed the trail up to the saddle.  From this vantage point, you can see 3 notches in the ridge to the peak.  The first notch is class 2, the second is class 3 or 4 (depending on the route you choose), and the third is class 2. 

At around 12250’ of elevation I left the trail, and headed for the ridge, doing my best to avoid the willows.  The route here is all class 2, and you can pretty much pick any line of tundra and it will get you to the ridge. This is the route I took:

Once on the ridge, I turned right and followed it west.  The ridge was rocky, but went at class 2 (except for the second notch).  The first notch was an easy class 2 walkaround.

The second notch was an easy downclimb, then a choose your own adventure upclimb.  I kept it class 3 by staying to the right of the white rock.  The rock was solid, but there was also a lot of talus littering the solid rock. This is the route I took:

I made my way back to the ridge

Here’s a look at that third notch, another easy class 2 workaround by going left

Then it was a rocky, class 2 hike to the summit

I summited PT 13171 at 8:30am

PT 13171:

This was my only peak for the day, so I re-traced my steps back down the rocky ridge

Then I navigated my way down off the ridge, back to the CDT

Back on the trail, I followed it forth (then northwest as it curved)

There was one point where the trail intersected with the West Ute Trail, just after West Ute Lake.  I didn’t notice it on my way in, but if you notice it here, go left.

I made it back to treeline, then gained 725’ of elevation back to my campsite at 12500’

I took down my tent, and continued hiking west on the CDT, towards Vallecito Trail.

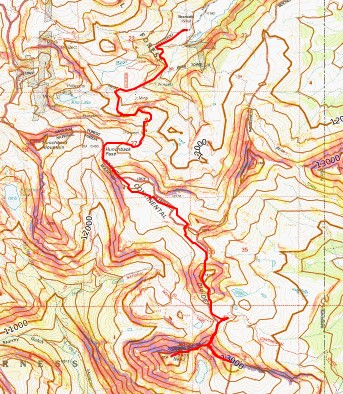
Once I made it to the Vallecito Trail, I turned right, and followed it north to Hunchback Pass, gaining 955’ of elevation up to the pass

Then I continued following the trail back down to Beartown, and my truck.

I made it back to Beartown at 1:30pm, making this a 13.85 mile hike with 3207’ of elevation gain, including campsite tear down, in 7 hours.

On to the next trailhead!
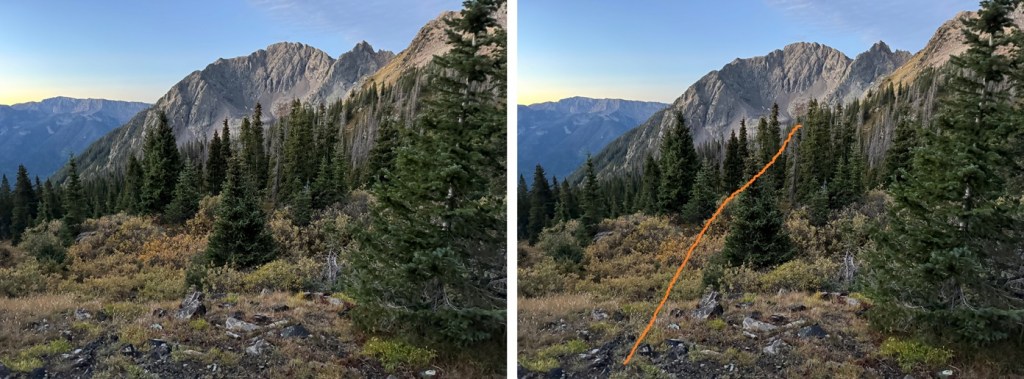
PT 13121, Mt Nebo – 13,209, and PT 13232

Route Length: 8.55 miles

Elevation Gain: 3732’

I was up and following the 4WD road towards the Hunchback Trailhead at 6:30am.  It was cold because it had rained the night before, and everything was covered in a film of ice.  I followed the road for 1.5 miles to Hunchback Pass Trailhead.

I then followed the trail another 1.5 miles to Hunchback Pass

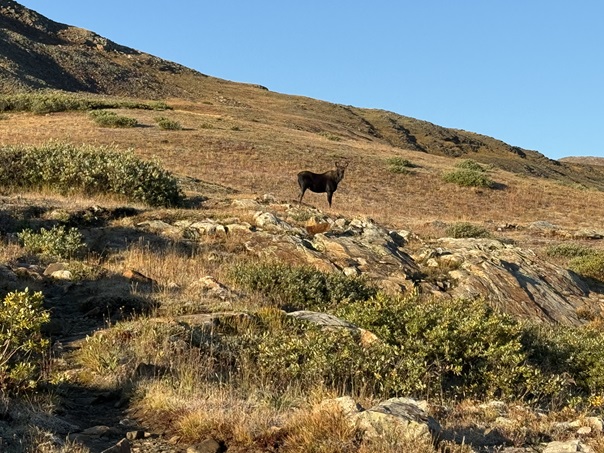
Oh, and I saw a moose along the way.  Well, actually two moose, but the male got scared and ran away before I could get a picture.  The female wasn’t too bothered.

Once at Hunchback Pass, I turned left, and followed the ridge south, then southeast. Here’s the general route I took.  This is choose your own adventure, and this morning I went slow because the rocks were icy.

At the top of the ridge I could see PT 13121, Mt Nebo, and PT 13232 in the distance.  I followed the tundra towards PT 13121.  If you are following my GPX file, you’ll notice it’s a little erratic here.  That’s because my compass kept doing crazy things.  Just keep heading towards the base of 13121.

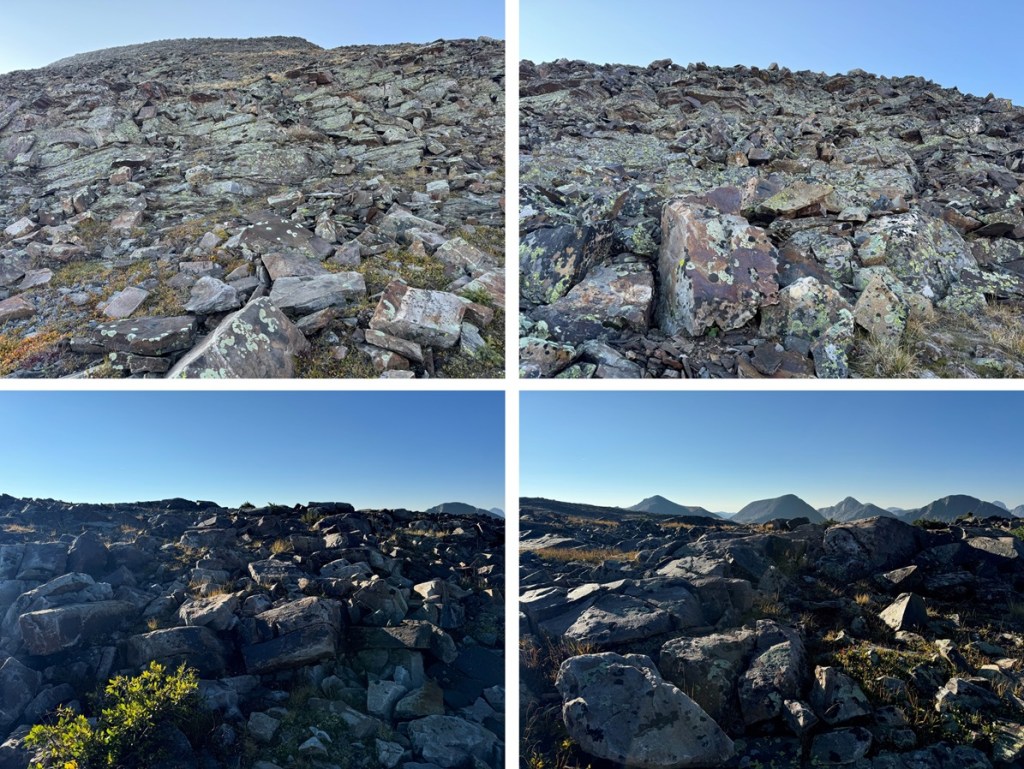
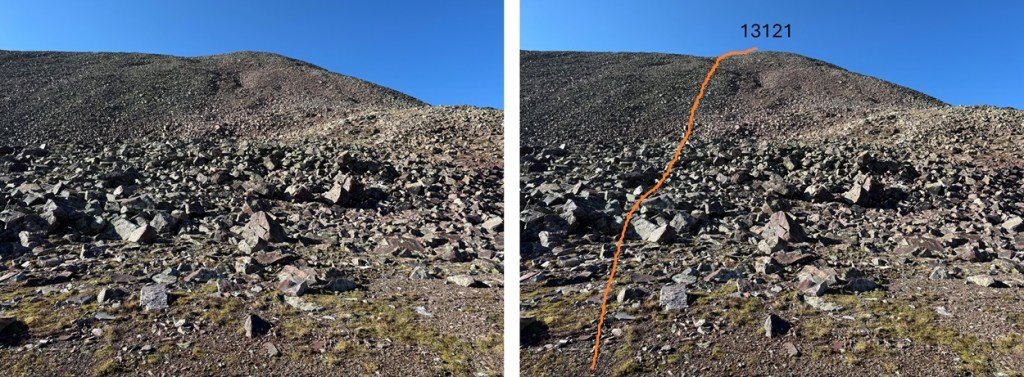
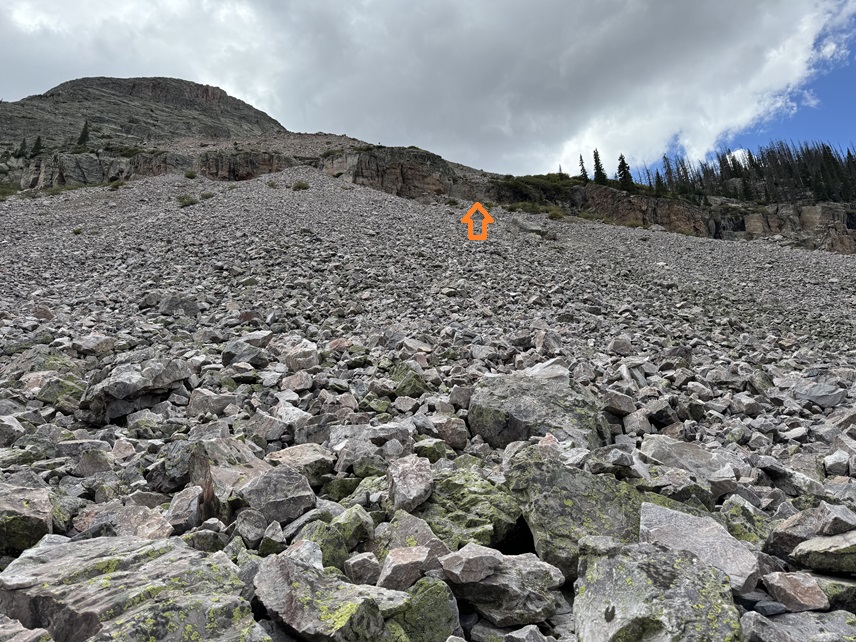
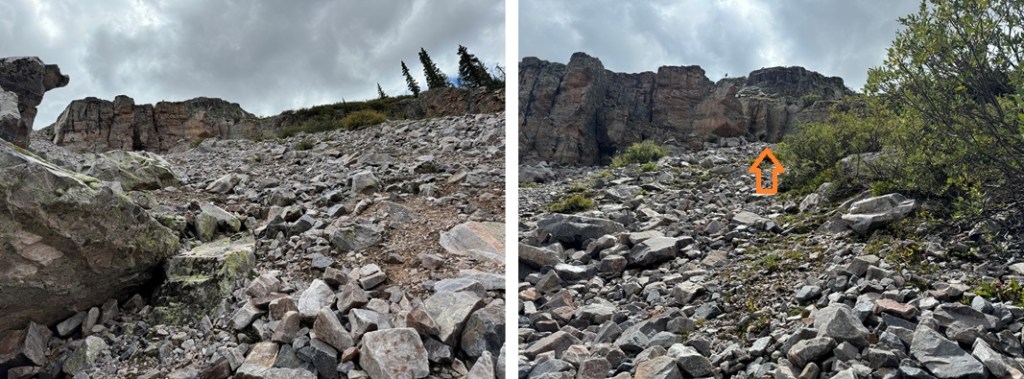
From the base of PT 13121, I headed south on the rocks towards the summit. I would gain 400’ in .2 miles to get to the ridge.  The rock here was loose and steep and not fun to climb at all.  If you have the option, I’d summit this peak from the way I descended.  However, I did not do that, so here is my route, and a few pictures of the rock mess towards the ridge.

When I made it to the ridge I turned right, and walked the short distance to the summit

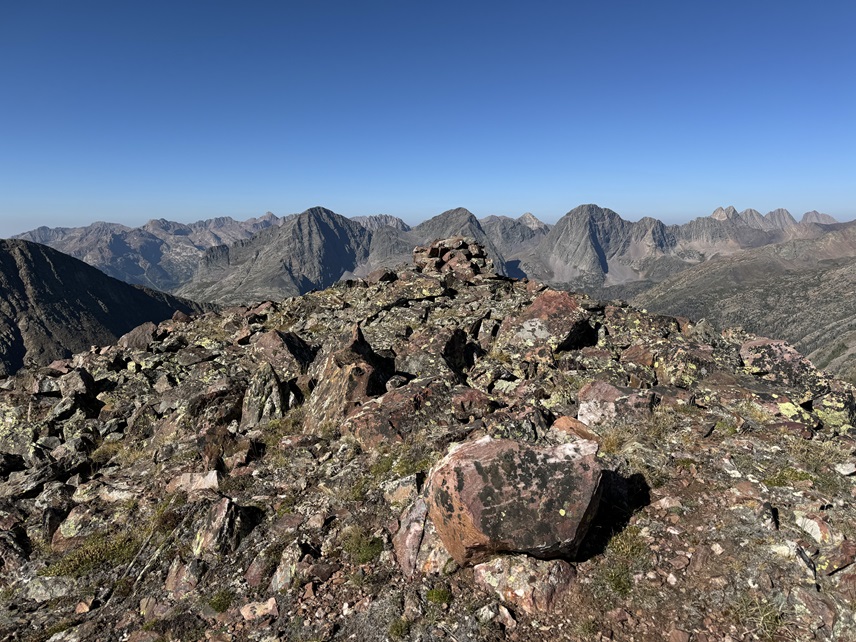
I summited PT 13121 at 9:40am

PT 13121:

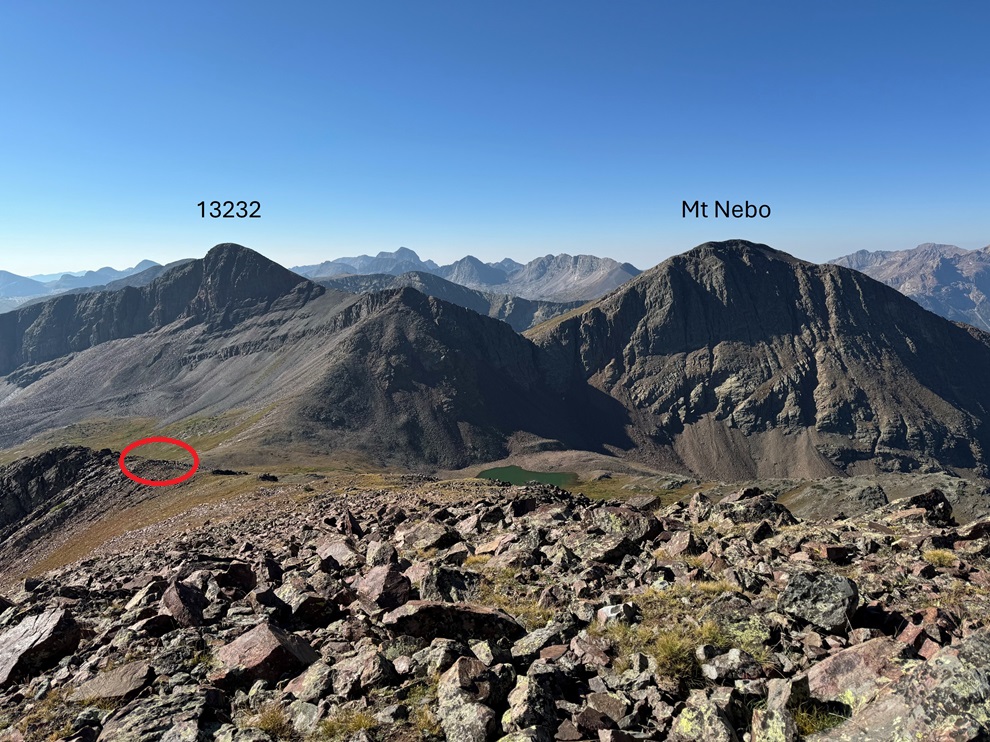
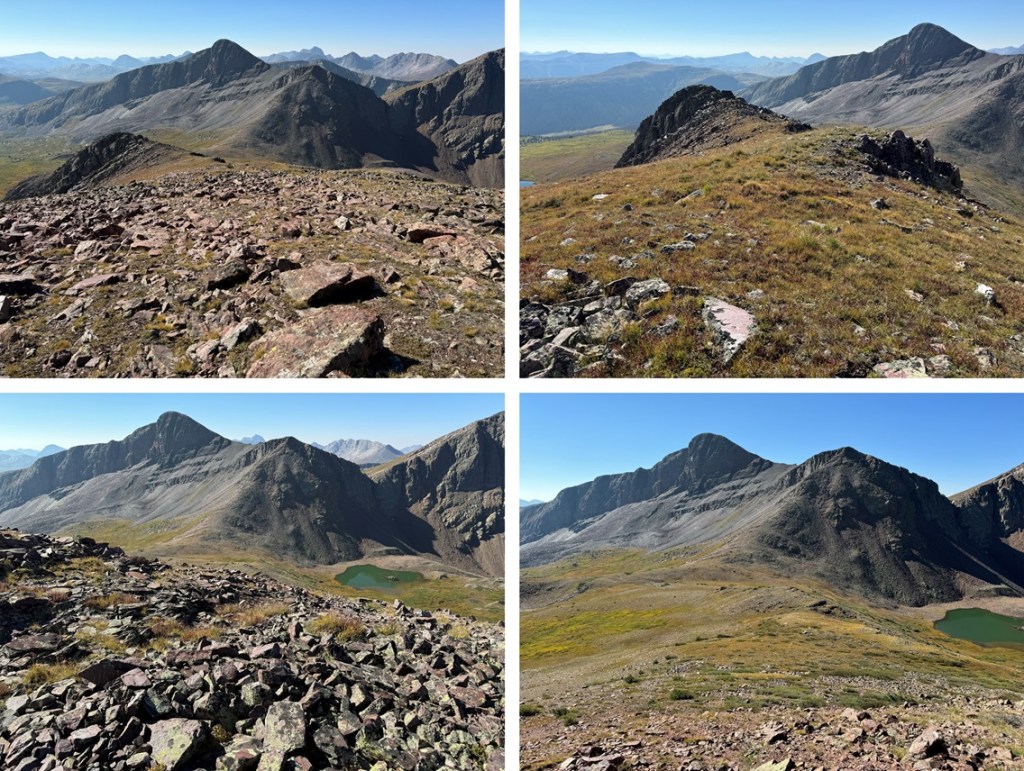
I could see PT 13232 and Mt Nebo to the south.  I descended the rocky and tundra ledge towards the PT 13121/Mt Nebo saddle.   Circled is where I set up camp for the night.  That’s where I was headed.  It’s adjacent to the CDT.

I took some time to set up my tent, then I was on my way again, headed up this ridge

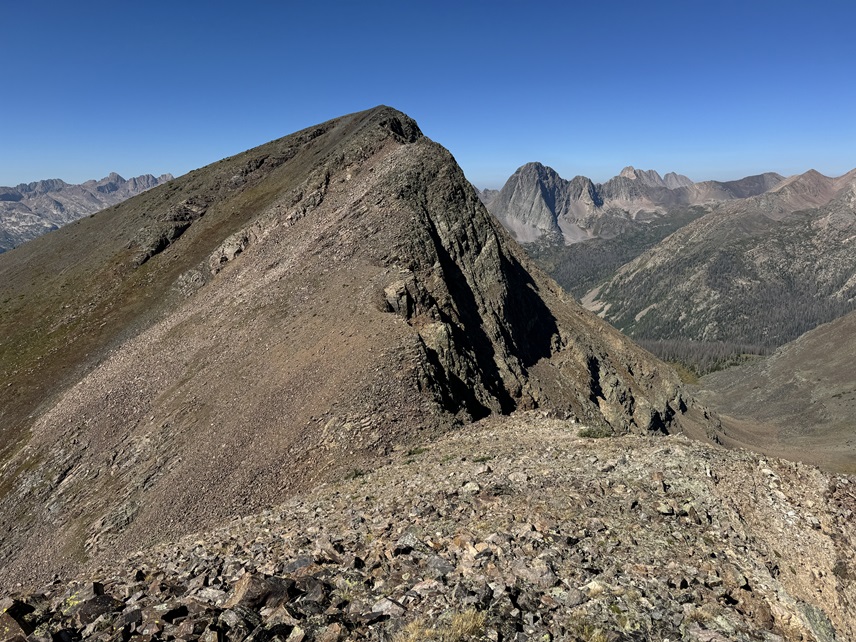
There was a lot of scree and talus here, but it’s all class 2+.  There’s a bulge in the middle I skirted to the right, then headed back to the ridge proper, and towards the top you can go either to the left or the right, and I chose right for the way up (towards Nebo), and left on the way down. 

Here’s the option to go either right or left.  Both class 2, but the left is on more solid rock.

I chose to go right (there’s a cairn where the arrow is)

From here I could see Mt Nebo to the west

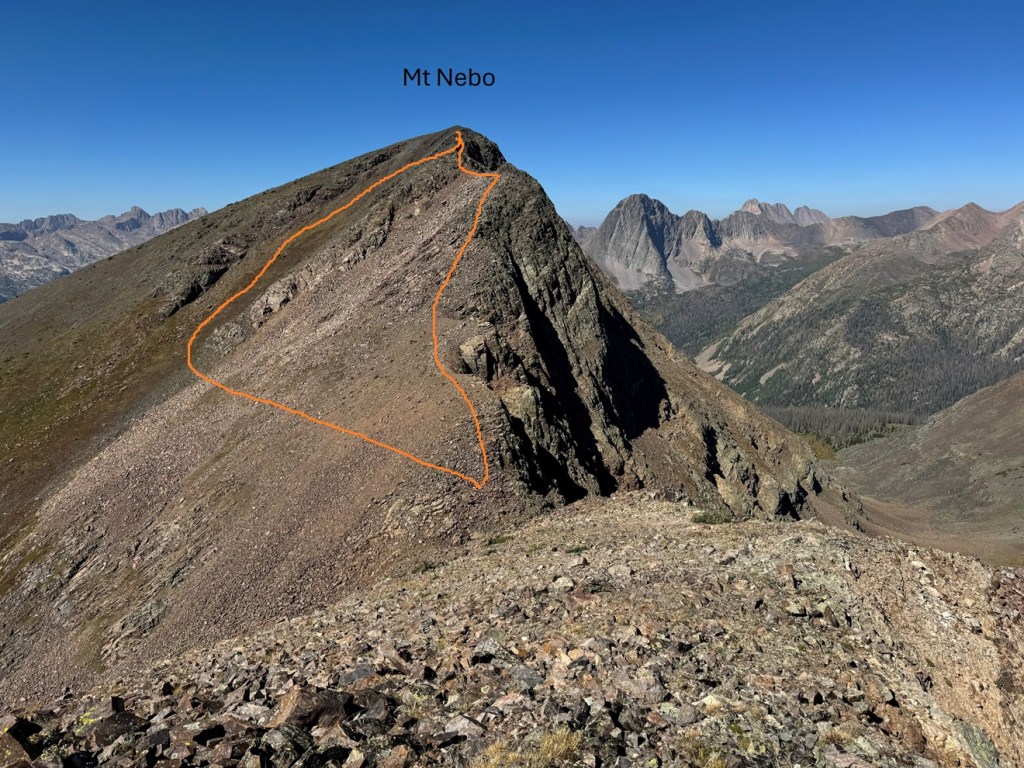
I needed to make my way towards the saddle, but now is a good time to choose your route,  You can go up the tundra that turns to talus on the left, and keep this route 2+, or you can take the ridge to the right, which goes at difficult class 2, maybe some easy class 3, and includes a lot of rock/boulder hopping.  I chose to stick to the ridge.

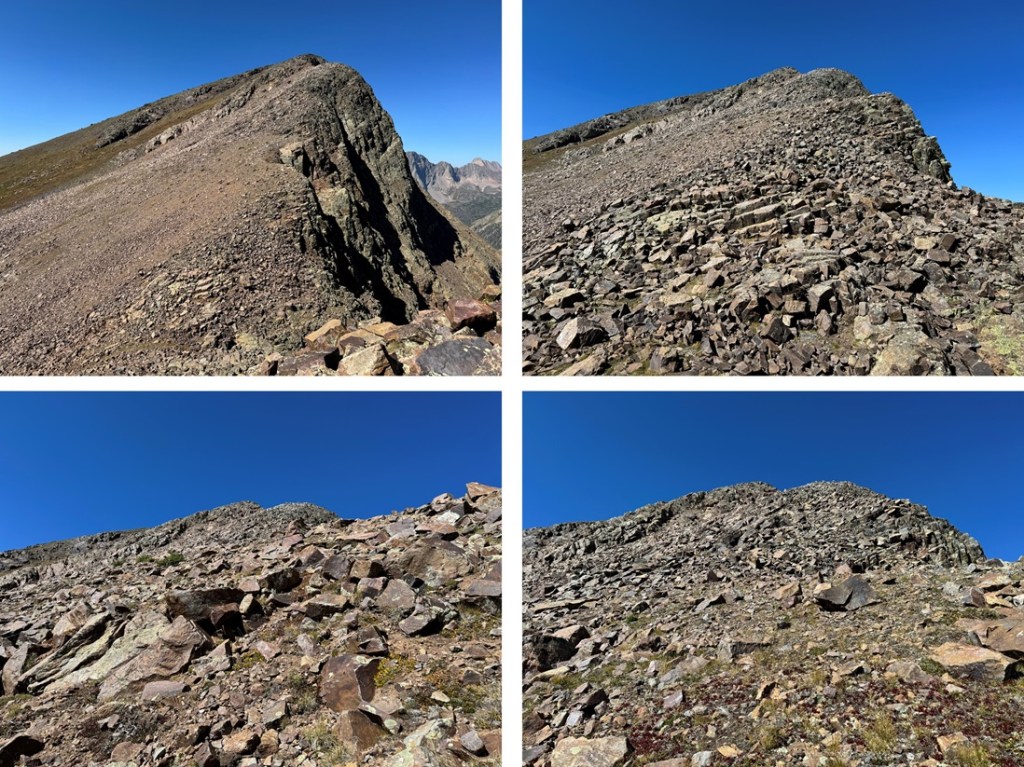
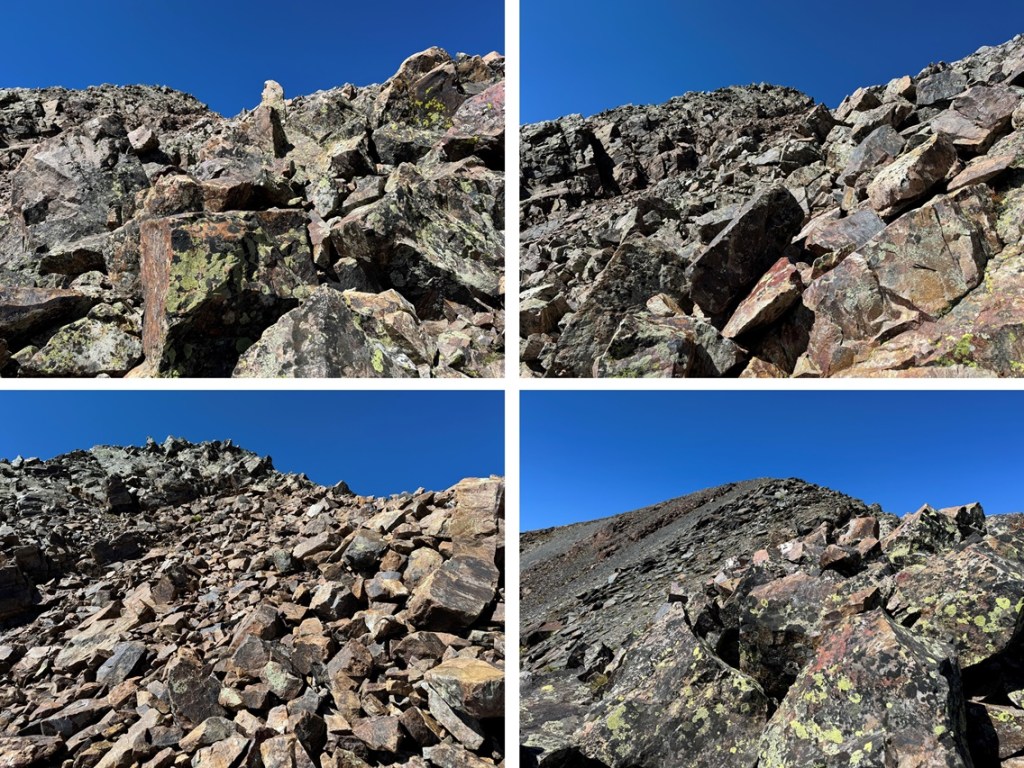
But first, descending down to the saddle. This was rocky, but class 2.  From the saddle, here are some pictures of the route up the ridge towards the summit

There was one ledge section that went at class 2 but had some exposure.  I crossed the ledge, and it was an easy hike up talus to the summit.

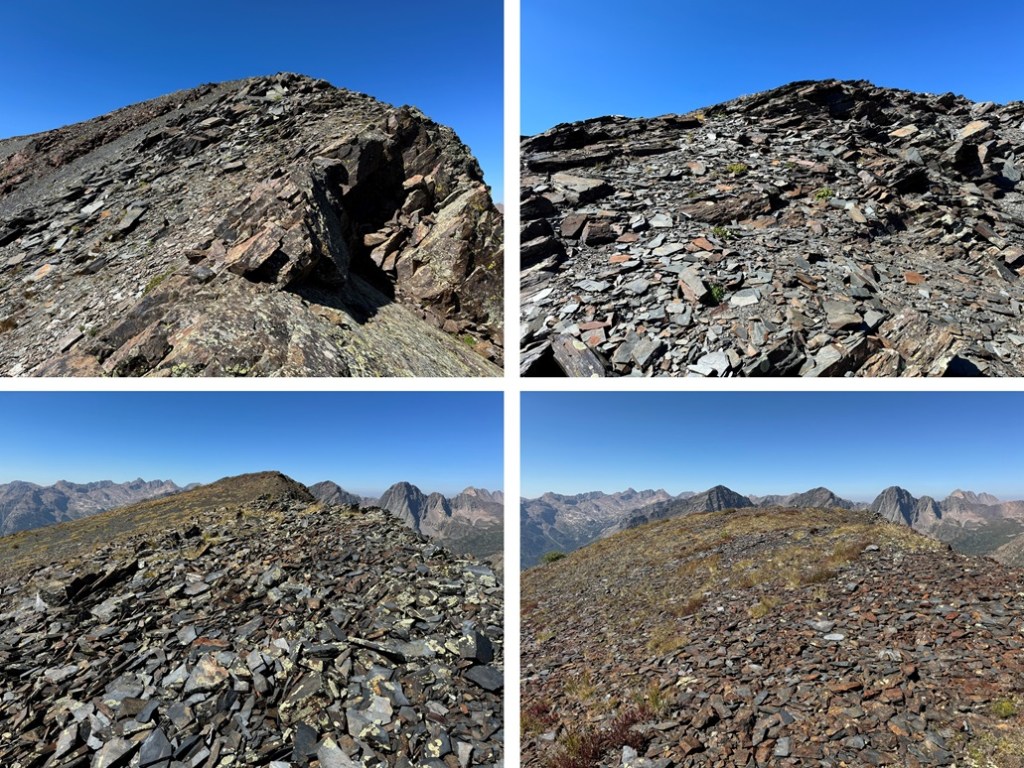
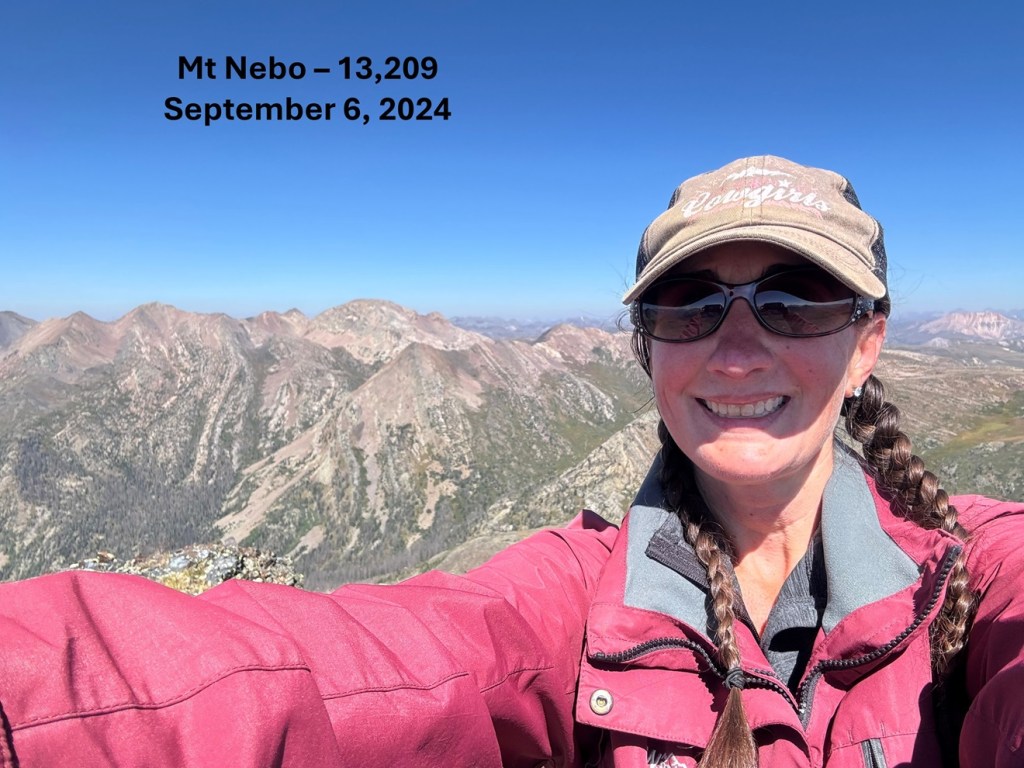
I summited Mt Nebo at 11:30am

Mt Nebo:

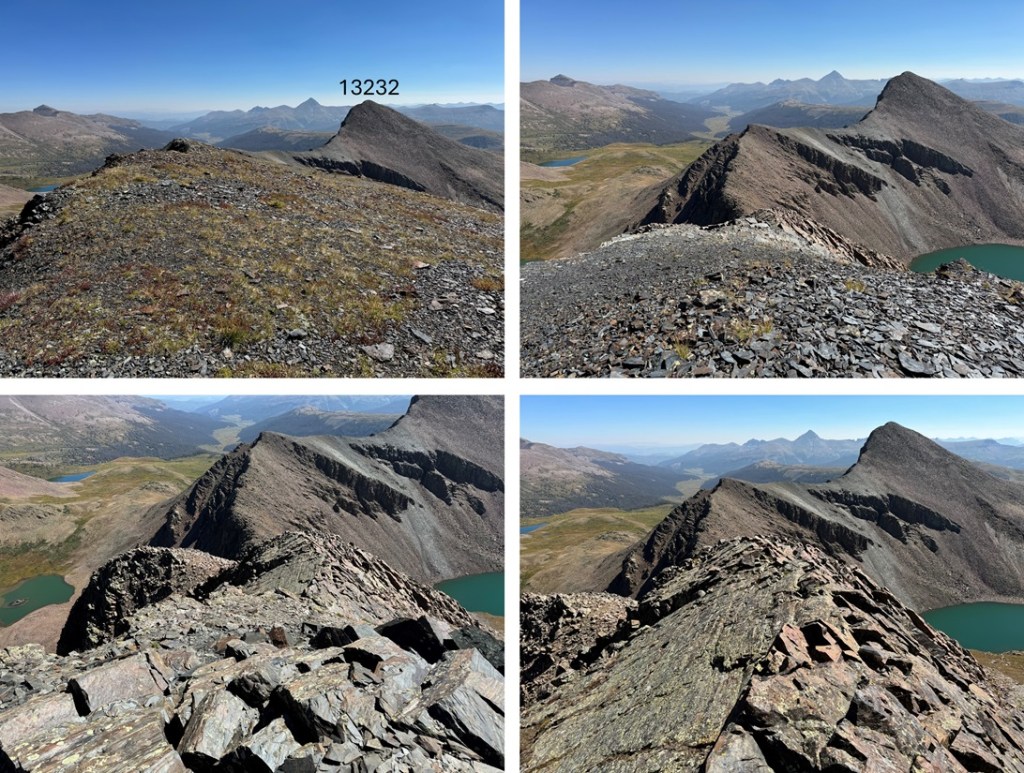
To the east was PT 13232.  I descended back to the saddle.

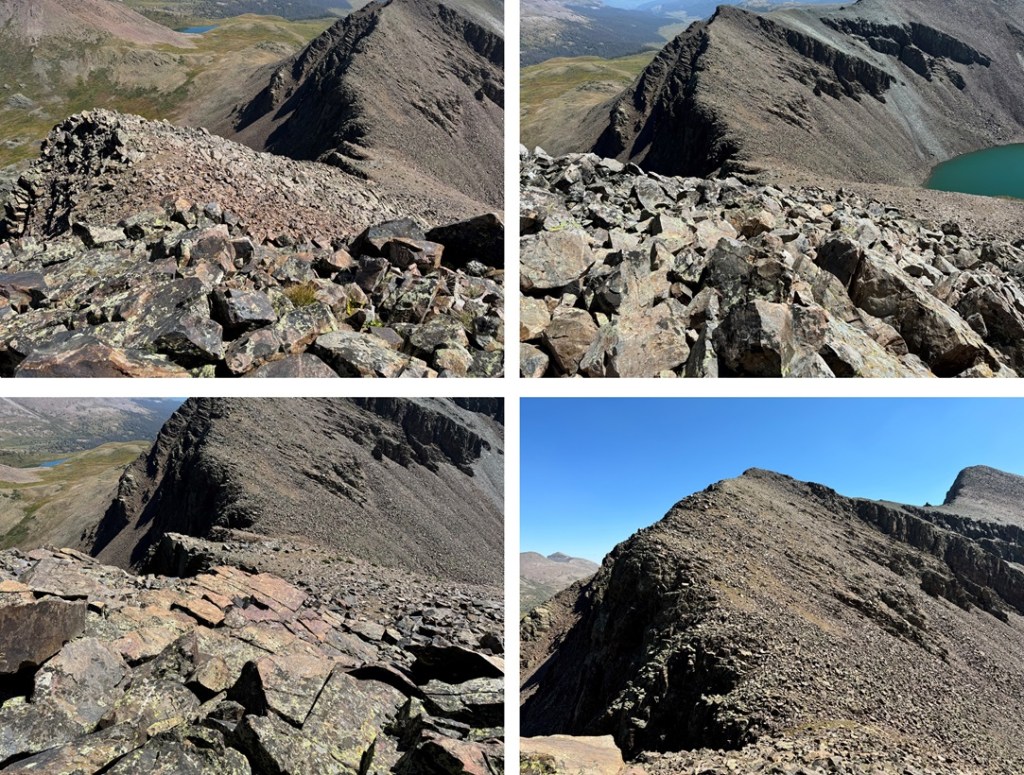
Then it was back up the rocks, following the ridge.  The rest of the hike was all class 2 to the summit, mostly boulder/rock hopping.

Once back on the rocky point that splits the two peaks, it was now easy to hike southeast to the summit.  I followed the talus to the rocks, and kept ascending.  The ridge proper goes at class 2.  Here are some pictures of the route.

I summited PT 13232 at 12:30pm

PT 13232:

Now I was headed back to my campsite.  I turned around, and followed the ridge as it descended northwest.

I then went right when I made it to the bump in the ridge, descending on talus and rocks before making my way back to the ridge.

I then followed the ridge back to my campsite and the CDT, being careful to go left to avoid the steep sections.

I made it back to my campsite at 1:15pm, making this a 8.55 mile hike with 3732’ of elevation gain in 6 hours, 45 minutes, including time to set up my camp and eat lunch.  This report continues with PT 13171 the next day, along with a hike out back to Beartown.

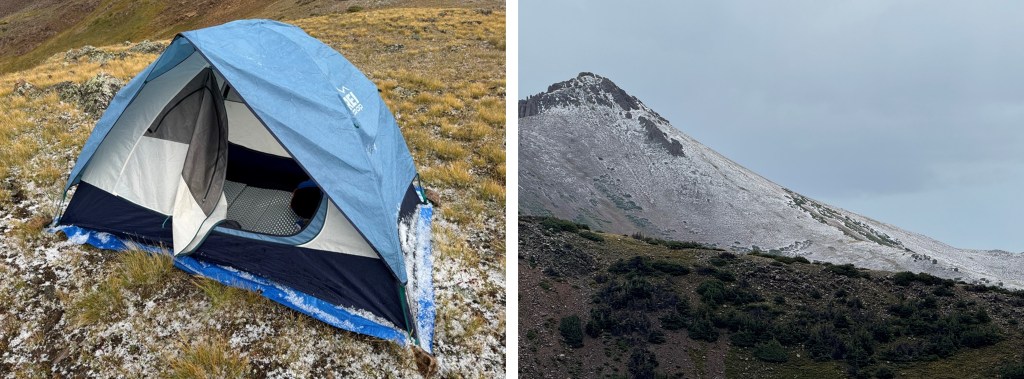
Oh, and it rained and hailed and graupled that night.  For hours. I kept punching the top of my tent to get the slush off so it wouldn’t freeze overnight.  Here’s a picture from about half an hour into the 4 hour storm, when I got a little break.  Gotta love late summer storms above treeline!  Good times!

P3 – 13,279 and P2 – 13,288

RT Length:  6.61 miles

Elevation Gain: 2539’

Edited to add:

I came back a month later and was successful in summiting P2.  Details below.

Full disclosure, I did NOT summit P2.  However, I came very close, and thought I’d share the information I have for those who might find it useful. 

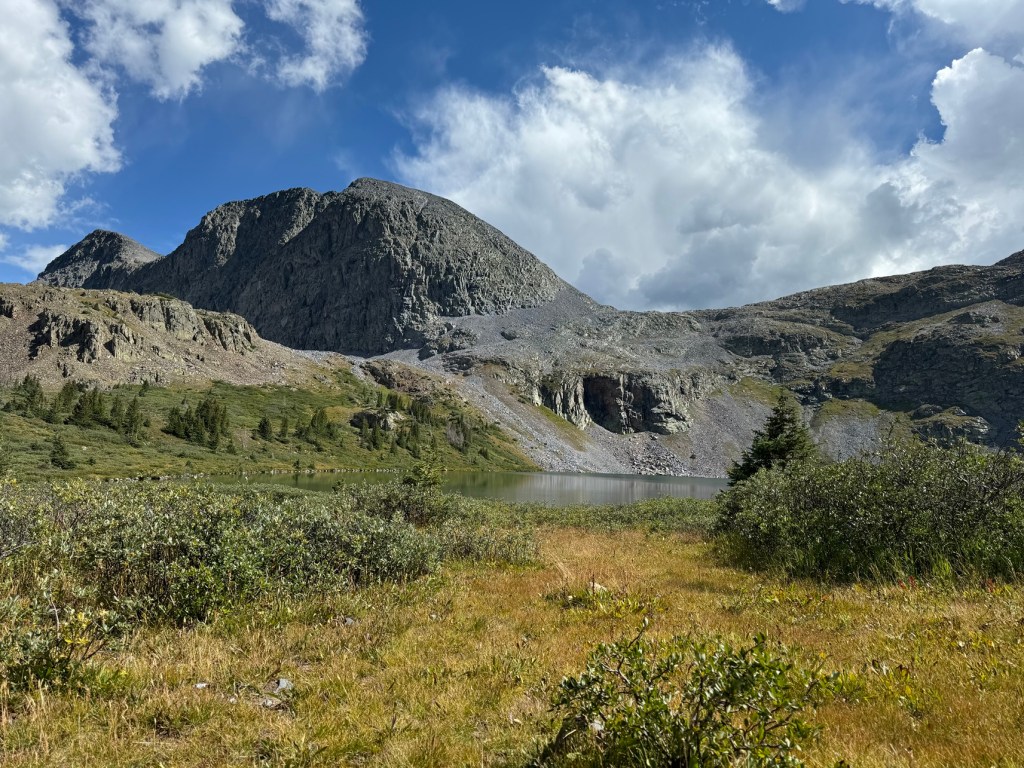
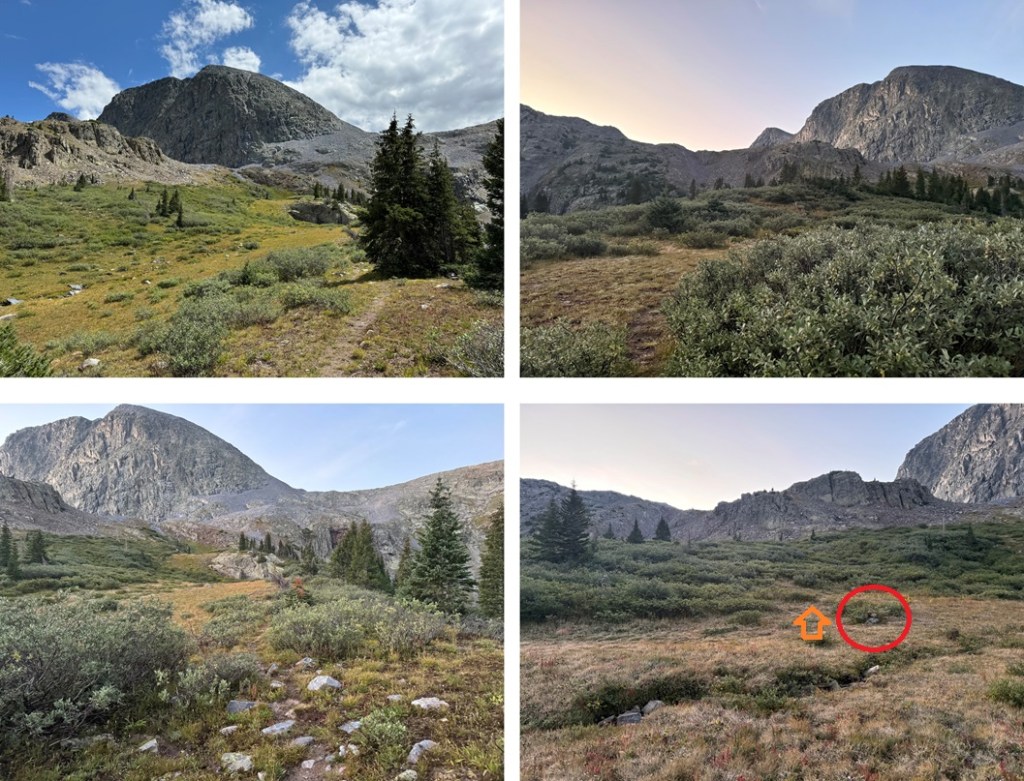
I camped at 11330’ of elevation, along the Rock Lake Trail that parallels Rock Creek in the basin just before Rock Lake

The next morning I was on the trail at 6:30am, heading west.  My goal was to gain this ridge, and I did it poorly.  I spent way too much time route finding, so I’m going to try to make this easier for you.  You need to ascend this ridge, but DO NOT do it here.  There is a way to find a weakness and ascend here, which I did, but I was greeted with the steepest, worst scree I’ve ever encountered, where if I’d have fallen, I would have skidded all the way down, over the edge.  It was dangerous, and put me at a too high position and I needed to descend anyway. 

Instead, start out by crossing Rock Creek (I was able to jump across it) and head for the rocky section.

Parallel the rocky section until you come to just before the waterfall.  Then turn left, and head up the scree to what looks like a solid rock wall.  There is a very well-hidden access gully here, that will easily get you where you want to go. 

Climb up this easy gully, and immediately turn right, and head towards a drainage.

When I made it to the drainage, I followed it west as far as it went, until I was on a small ridge parallelling a pond.  There are a few game trails here that will lead you up.  Stay in the drainage, which goes from rocky to grassy as it ascends.

I came to a ridge and turned left.  Here I could see a rocky basin.  I followed the basin southwest, left, until it ended.

From here you can see two gullies.  One leads to P3, the other to P2.  I went up the gully to the left, and came down the gully to the right.  Both are loose and scree filled.  The P2 gully had larger rocks, which would have made it better (for me) to ascend, and the P3 gully had more scree, which would have made it better (for me) to descend.  Alas, I ascended the P3 gully, and descended the P2 gully.

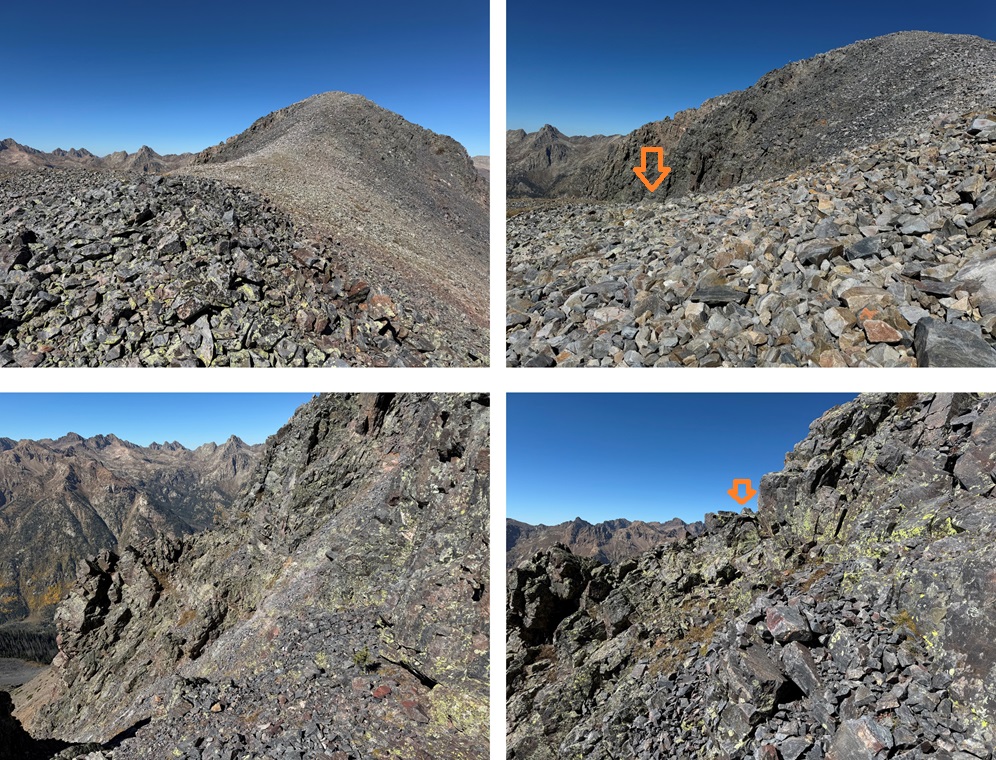
Here are some pictures of the P3 gully.  I ascended on scree, sticking close to the rock band, and headed towards the ridge.

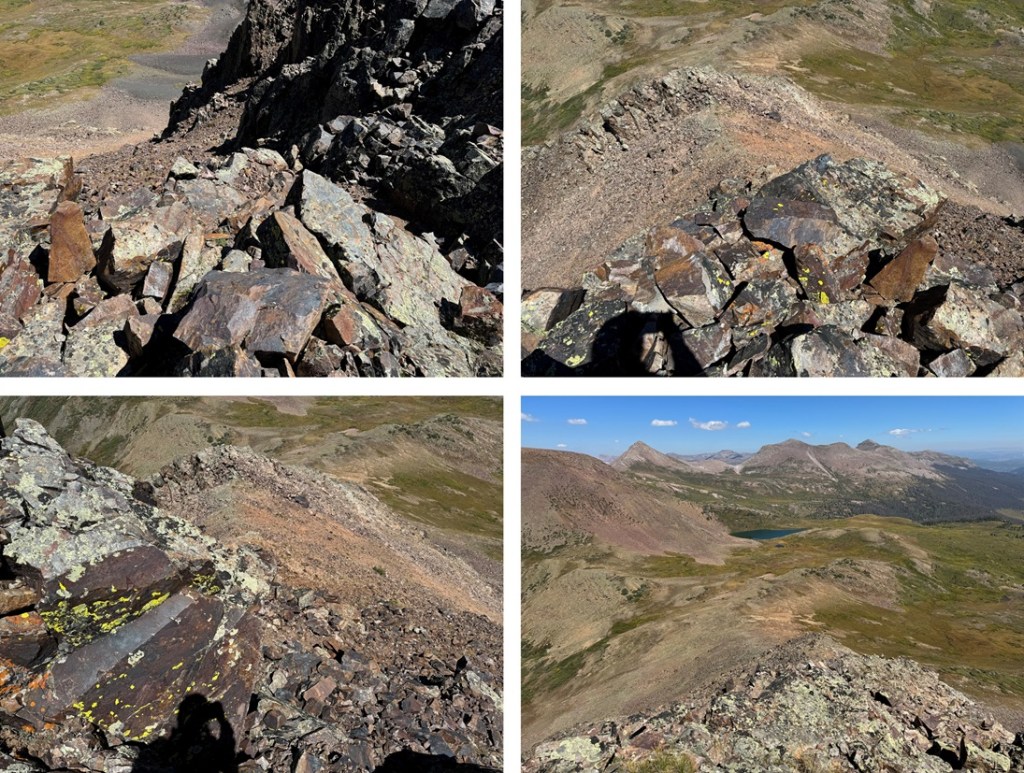
Once on the ridge I turned left, and followed it northeast.  While it looks daunting, this was all class 2 on stable rock, and not so stable rock. 

Until I got to here.  If you haven’t already, now is your time to put on your helmet.  From here the rest of the route is exposed class 3 and class 4 climbing.  I chose to stick to the ridge.  Luckily, the rock here is solid and there are plenty of hand and footholds.

I stuck to the ridge here, so I won’t include direction lines, but I’ll show you a few pictures of this part of the ridge, which I considered class 3

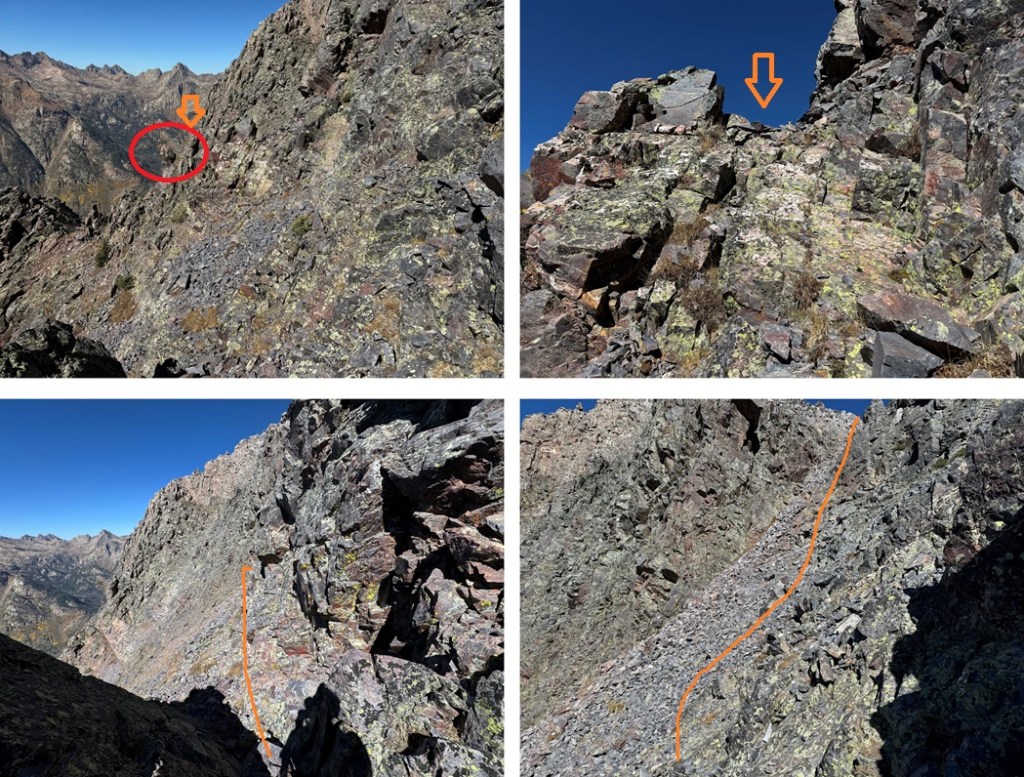
Until I got to here.  I felt this was class 4, and the crux of P3.  This is the route I took, sticking a bit to the left as I felt there were more holds, but I can see how someone with a higher risk tolerance would have gone straight up the middle.

I could now see the summit of P3.  This is the route I took.

I summited P3 at 9:45am

P3:

From the summit of P3, I made my way back to the ridge.

Back on the ridge, I followed it to the P3/P2 saddle

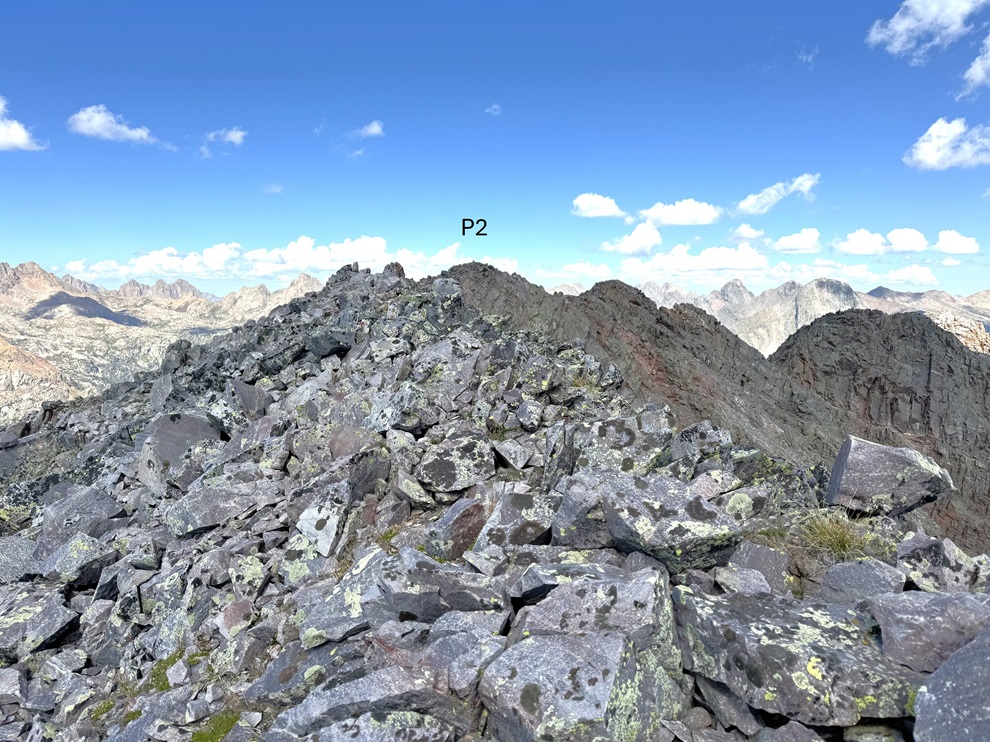
From the saddle, I headed up on talus and scree, following the ridge towards P2, but avoiding the large rock structures to the right.

I then came to a sloping section, with a false summit.  I made my way towards the false summit

From the false summit, I could see the true summit of P2 in the distance.

I followed the ridge, and this is what I saw in front of me

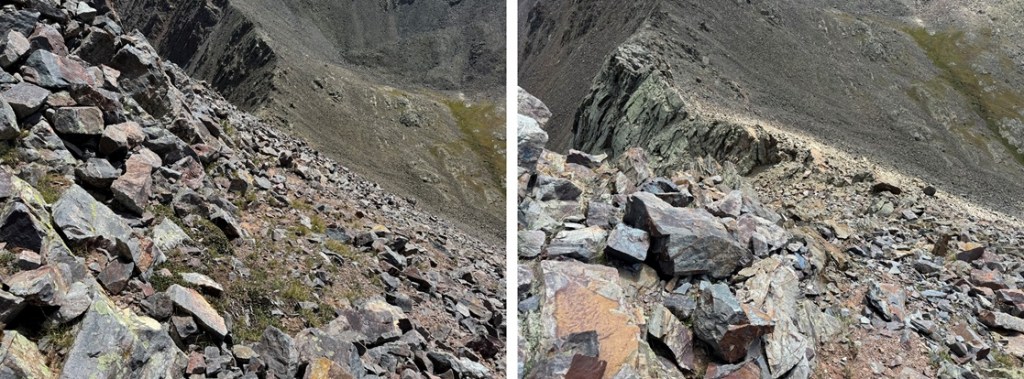
The climbing wasn’t what bothered me here.  It was that long, yellow rock slab.  I’d heard it was maybe 40 feet, but being there in person, it looked double that.  I downclimbed a bit to get a better view, and the view didn’t get any better. Pictures DO NOT do this slab and it’s exposure justice.

At this point I had to make a very difficult decision.  I do a lot of crazy stuff while hiking solo, but it’s always within my abilities, and I try not to take unnecessary risks.  This rock slab was an unnecessary risk, and that’s coming from someone who’s favorite 14er is Capitol because of the knife’s edge.  I did not feel safe downclimbing this slab solo, or even with another person present, although I would have tried it going from the opposite direction if I didn’t need to downclimb it again.  I had about a 75% certainty if I attempted to downclimb this slab, I would fall.  And the exposure wasn’t pretty.

One of the reasons my husband encourages me to hike solo is he knows I don’t take unnecessary risks in the backcountry, and I want to come home safe to him.  I also want to be a Grandma someday, and I can’t do that if I die. 

I knew there was another way to summit by dropping down to the left, so I got out my cell phone and checked the weather.  The 10% chance of rain after 12pm had now become 80% chance of thunderstorms.  I wouldn’t have the time needed to route find my way to the summit of this peak and make it back to my tent in time before the storm came in.

So, I turned around at the final crux to the summit and headed back down.  I did a lot of scouting around while I was up there and know how I want to attempt this peak next time (I’m thinking of dropping down to avoid the edge or coming in from a different angle).  I’ll be back to summit this peak another way.

So, I turned around and headed back towards the P3/P2 saddle.

Just before the saddle I turned left, and took the P2 gully down into the rocky basin.

I then followed the basin back to the drainage, staying mostly to the right of the basin.

When I came to the drainage, I turned right followed it, staying to the left of the pond, back to the ledge, following game trails where I could find them.

Just before making it to the waterfall I headed right, found my access gully, and headed down.

I descended the rocks, then headed back to my campsite.

I made it back to my campsite at 1:30pm, making this a 6.61 mile hike with 2539’ of elevation gain and tons of route finding in 7 hours.

Oh, and that storm?  It dumped about 4 inches of slush, rain, snow, and hail on top of my tent in about 2 hours.  So now, I had another difficult decision to make:  Stay there overnight and wake up at 5am to a tent frozen solid, pack it up, and hike out, or just hike back to Beartown now.  For those of you who know me (and my Raynaud’s), you know what I did.  I packed it up and headed back to Beartown, hiking in the dark to make it back to my truck in time for my work meeting in the morning. It was NOT a fun hike out, as the trails were now covered in slush (I slipped a few times in the granite rock sections) but I stayed (relatively) warm.

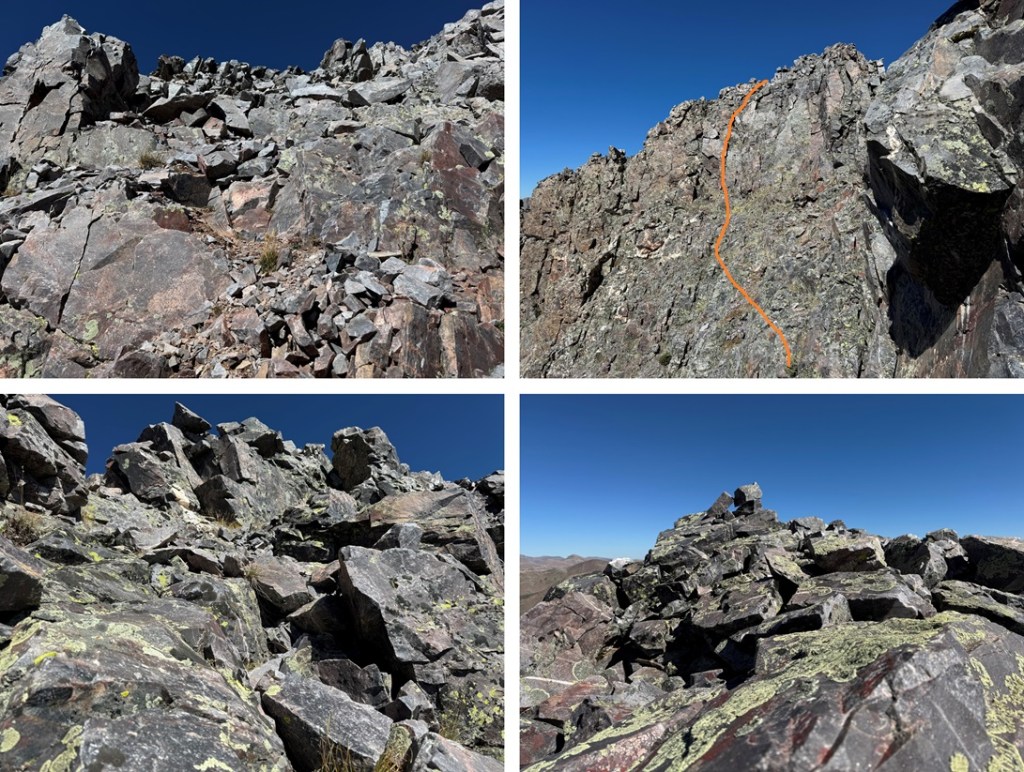
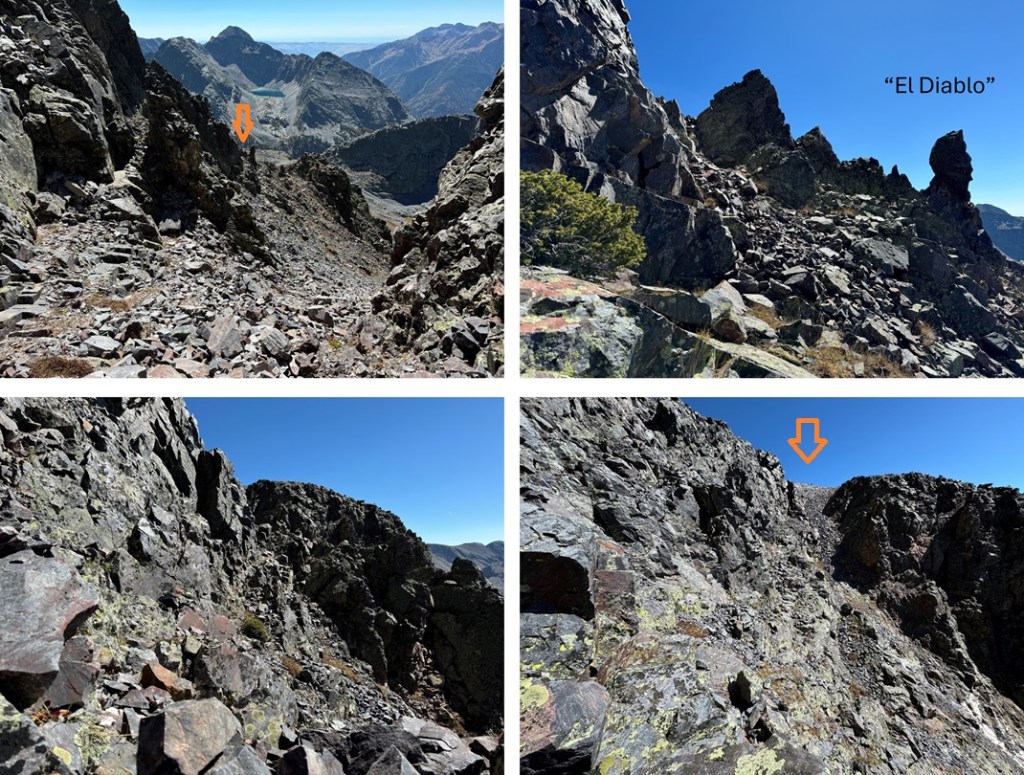
From the saddle of P3 and P2, I followed the ridgeline to 13190’, where you can see the false summit. From below the false summit, I went left (east) and found a gully.  I descended this gully, but not all the way.  Instead, I stayed high and traversed these rock outcroppings.  This route is basically class 3 and choose your own adventure.  I stayed high so as not to have to re-gain elevation, and this worked for me.  Here are pictures of the route I took:

See this rock formation here?  While it’s difficult to see from this angle, I’m nicknaming him “El Diablo”, because to me he looks like a lot of things, but also closely resembled my High School Mascot, the Diablo.  Yes, my high school mascot is the devil.  For middle school we were the Banditos (imagine Yosemite Sam as a Mexican, complete with the mustache and beard, bullet harnesses and a gun in each hand).  Alas, after I went there the parents got upset and changed things and now they’re the “Leopards”.  The parents keep trying to change the Diablo mascot as well, but the students won’t let them.  In any event, I digress.  I went to the right of El Diablo on my way in and used him as a spotting point on my way out.  After passing El Diablo I could see a large gully to the right.  I stayed high on class 3 terrain and climbed the gully, which brought me to the base of the rock slab.

From there, I turned left, and it’s a class 3 climb to the summit.  I tried a lot of different routes that others said ‘went’, but I found climbing straight up the face was the easiest way to summit and stayed at easy class 3.  Climbing straight up the face is easier than it looks, with lots of ledges.  From there I was on a small ridge, and it was 10 feet or so of walking northeast to the summit. Here’s the overall route:

And my summit Photo:

P2:

Here are some pictures of the route back:

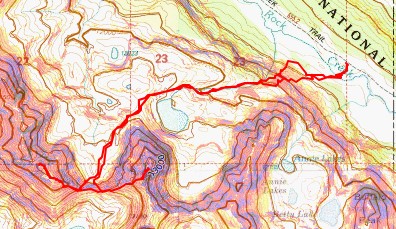
And the TOPO for P2

On to the next trailhead!
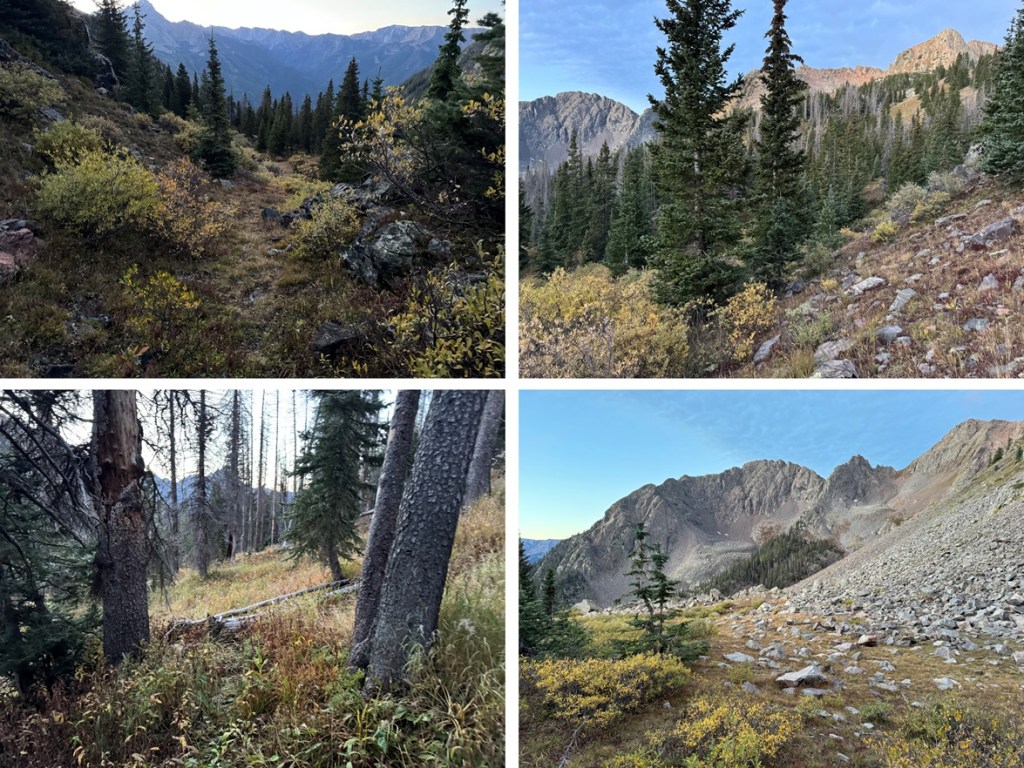
Weminuche Peak – 13,240

RT Length: 4.16 miles

Elevation Gain: 1550’

From my base camp at Rock Lake, I was up and on the trail at 6:30am, headed for the pass that leads towards Moon Lake.  There’s a nice trail that will lead you all the way from the left side of the lake to the pass.

Once at the top of the pass, I looked left, and found the route I wanted to take to get to the gully.  I aimed for the white strip of rock in the middle, staying on tundra and solid rock most of the way.  This was all class 2.

Once in the gully, I followed it east towards a saddle. There was a lot of loose rock in this area, but it was all class 2.

Once at the top of the gully, I turned left and headed north up to the ridge.  The rocks here were large, loose, and easy class 3 terrain.  The rest of the route to the summit would be rocky.

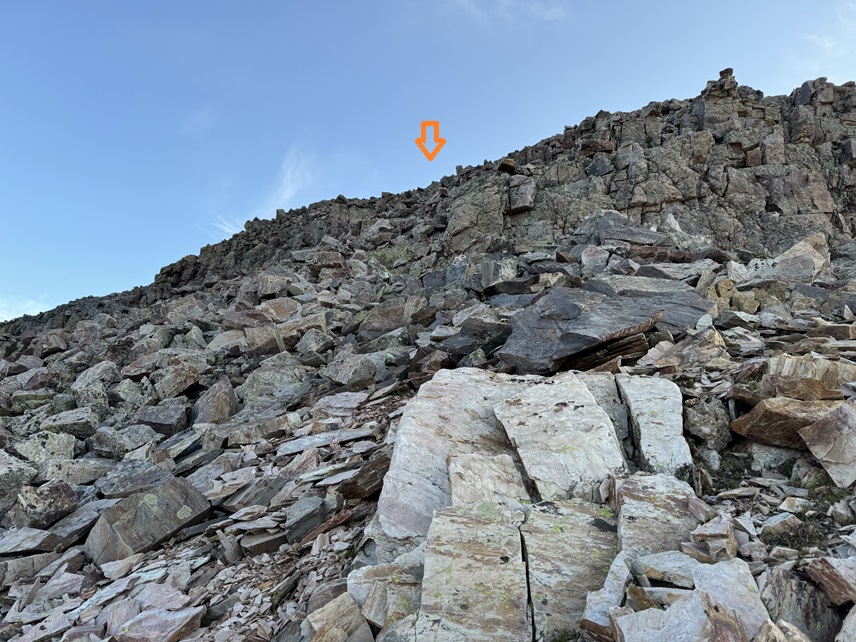
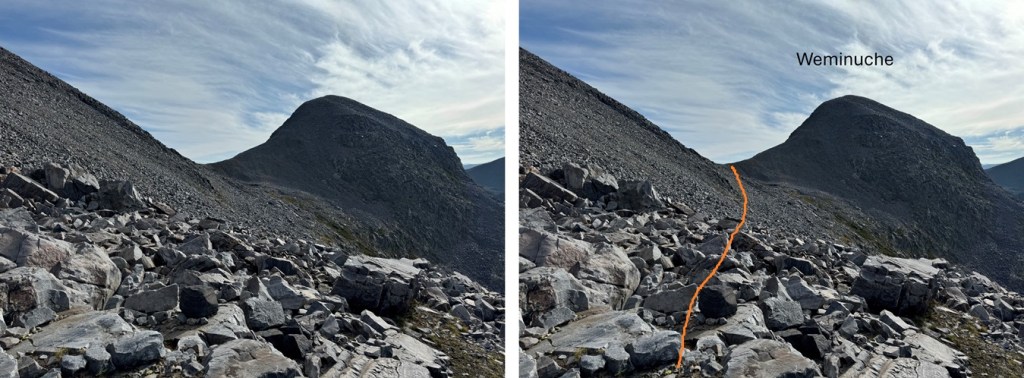
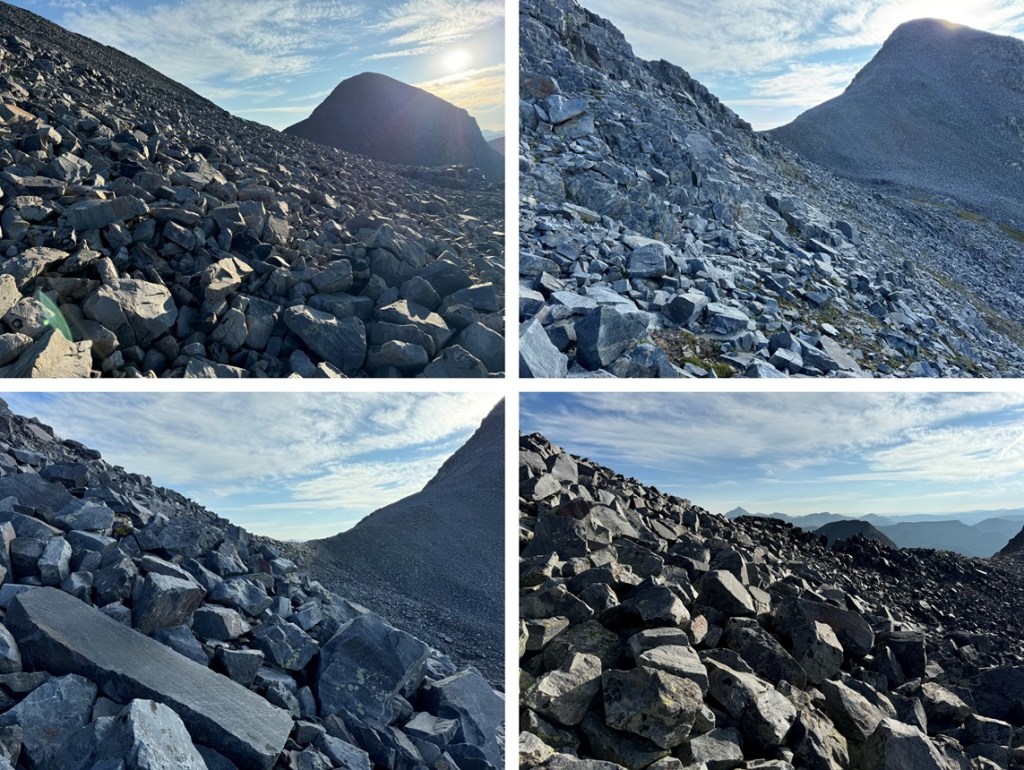
I could now see Weminuche Peak to the east.  To get there, I’d need to gain another saddle.  This is choose your own adventure, but this is the route I took to the next saddle.  Very rocky terrain here.

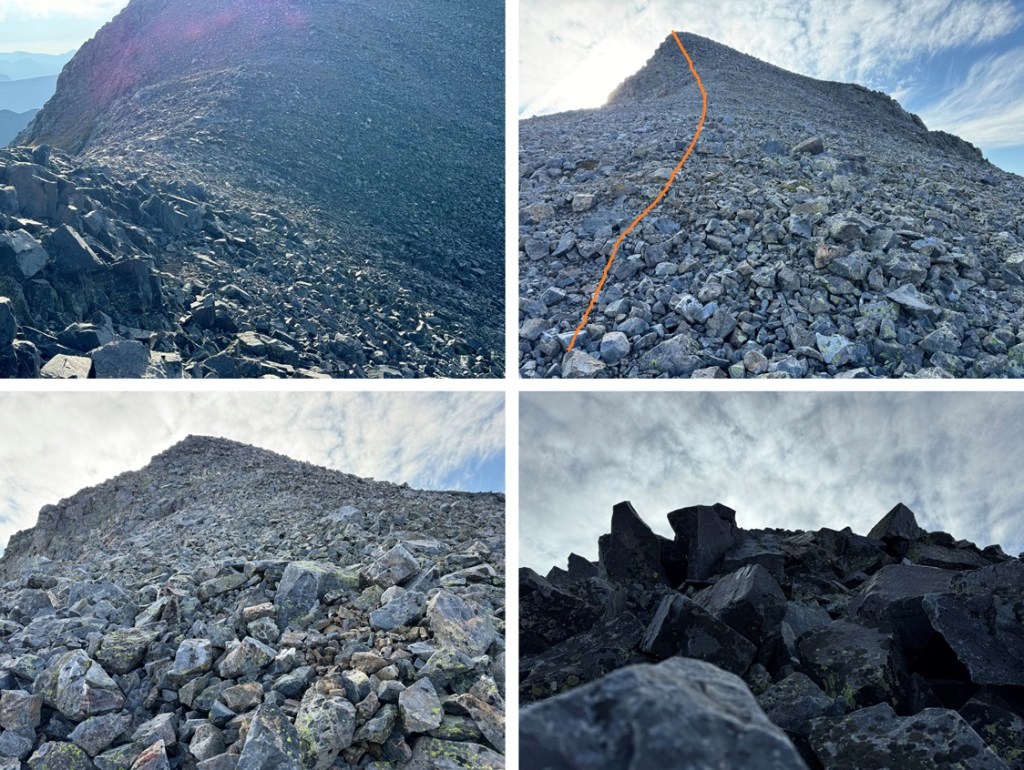
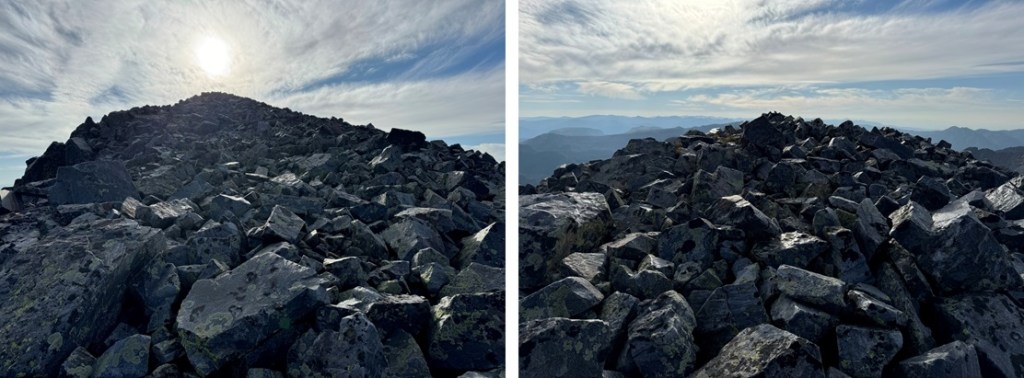
Once at the next saddle, I followed the rocky ridge east to the summit.  This is class 2+. The rocks are the size of microwaves, and many of them are loose, or surrounded by talus.  There are no game trails here.

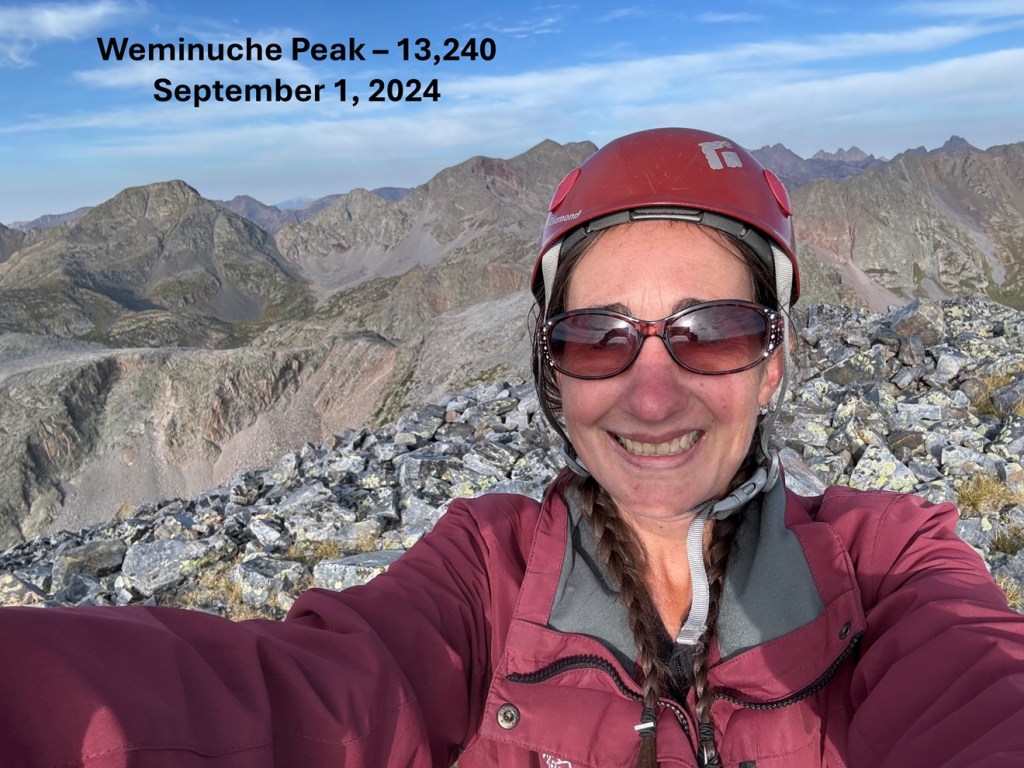
I summited Weminuche Peak at 8:20am

Weminuche Peak:

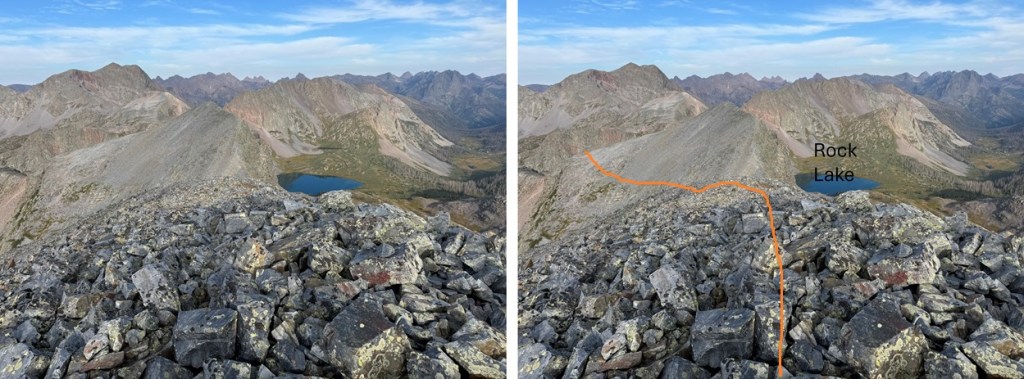
This was an out an back hike for me, so I turned around and retraced my steps back to Rock Lake.  Here’s my overall view of the route back down.

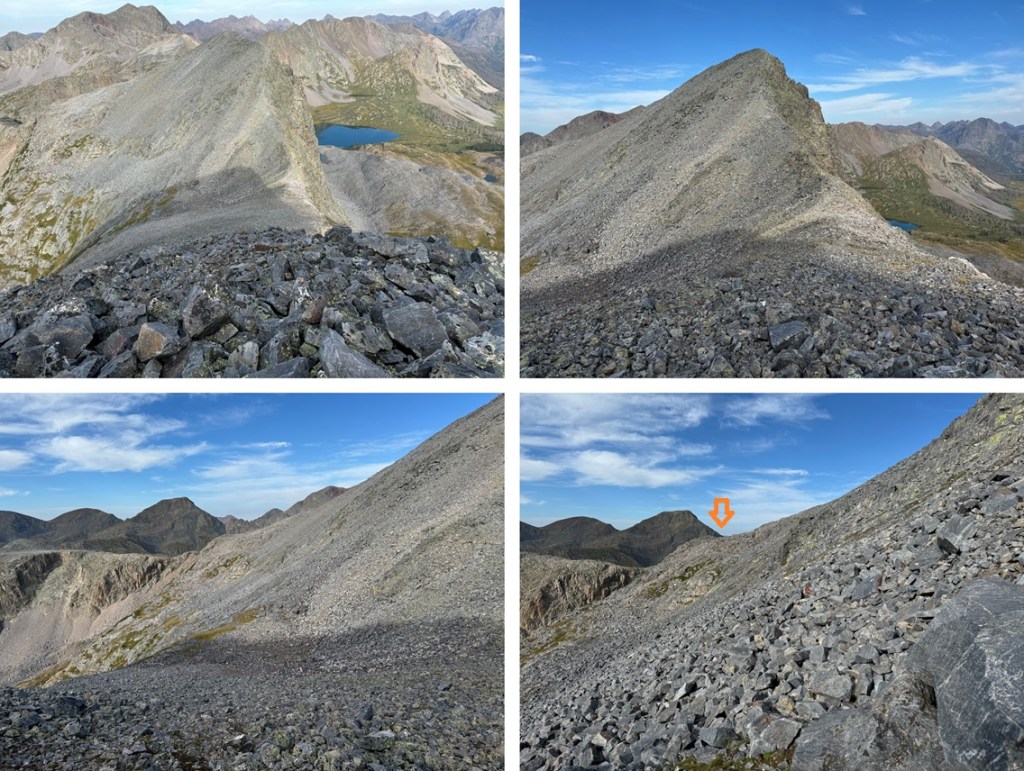
First, heading west down the ridge to the saddle

And then heading southwest towards the next saddle

Back down the short but mighty rocky section

And then northwest down the gully until I could see the pass to my right that would lead me to Rock Lake.

I headed towards the pass, staying mostly on rocky tundra.

Once at the pass, I picked up the cairned trail that would lead me back to Rock Lake

I made to Rock Lake at 10am, making this a 4.16 mile hike with 1550’ of elevation gain in 3.5 hours

On to the next trailhead!
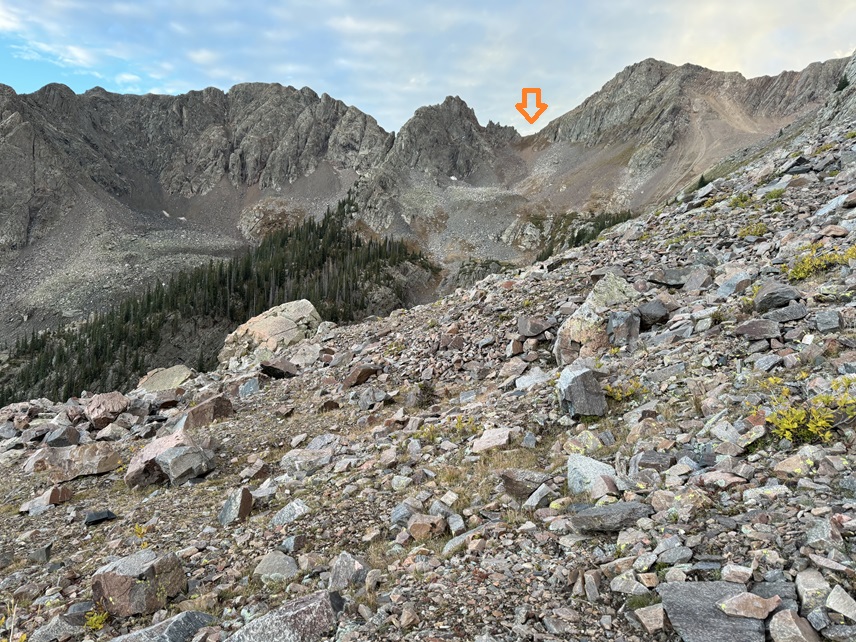
The Citadel – 13,295

RT Length:  11.45 miles

Elevation Gain:  3255’

I arrived at the Herman Gulch Trailhead and was on the trail at 4:30am.  The trailhead has spots for dozens of vehicles (if not more), and the trail is clearly marked. 

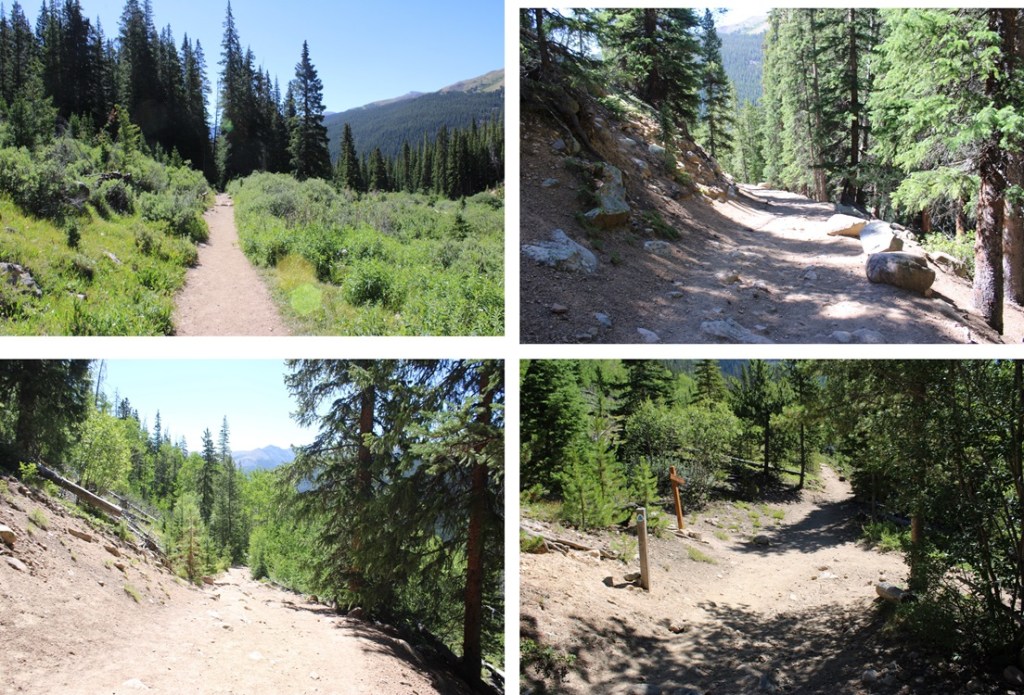
I followed the Herman Gulch trail for less than a quarter of a mile, until I came to the junction with Waterous Gulch Trail, turned left, and continuing following the class 1, well-defined Herman Gulch Trail all the way to Herman Lake.

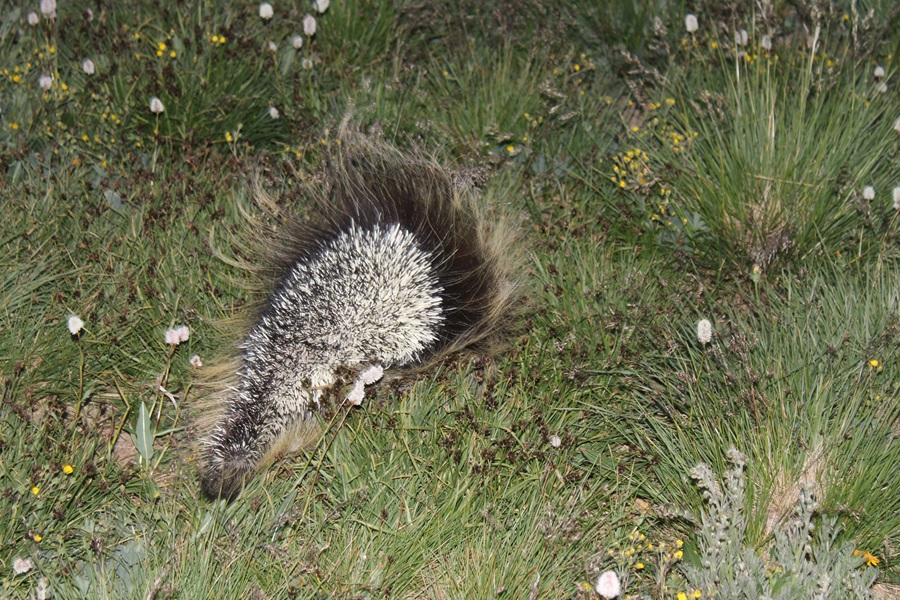
It was at about here I encountered a porcupine, which immediately turned and ran away from me. 

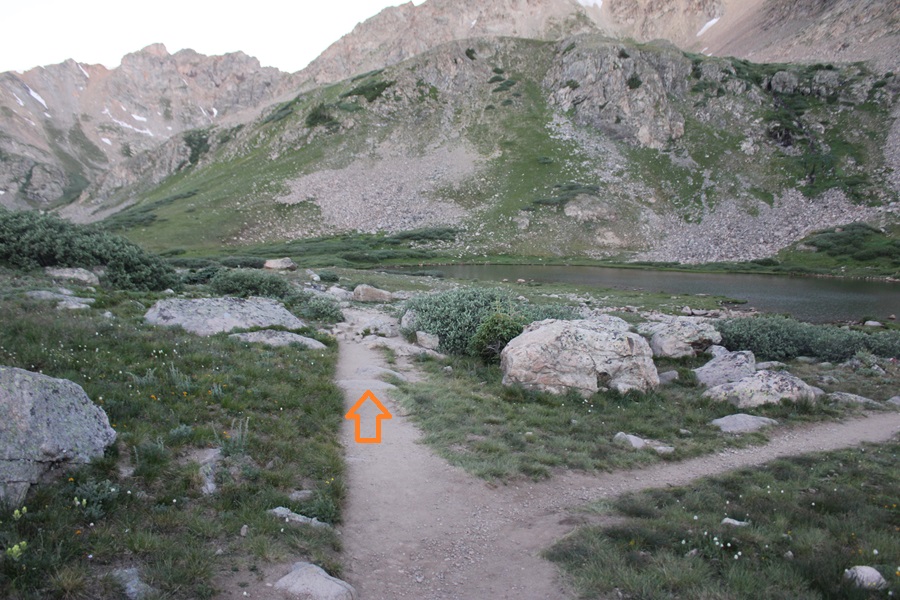
I continued following the trail, skirting the south side of Herman Lake

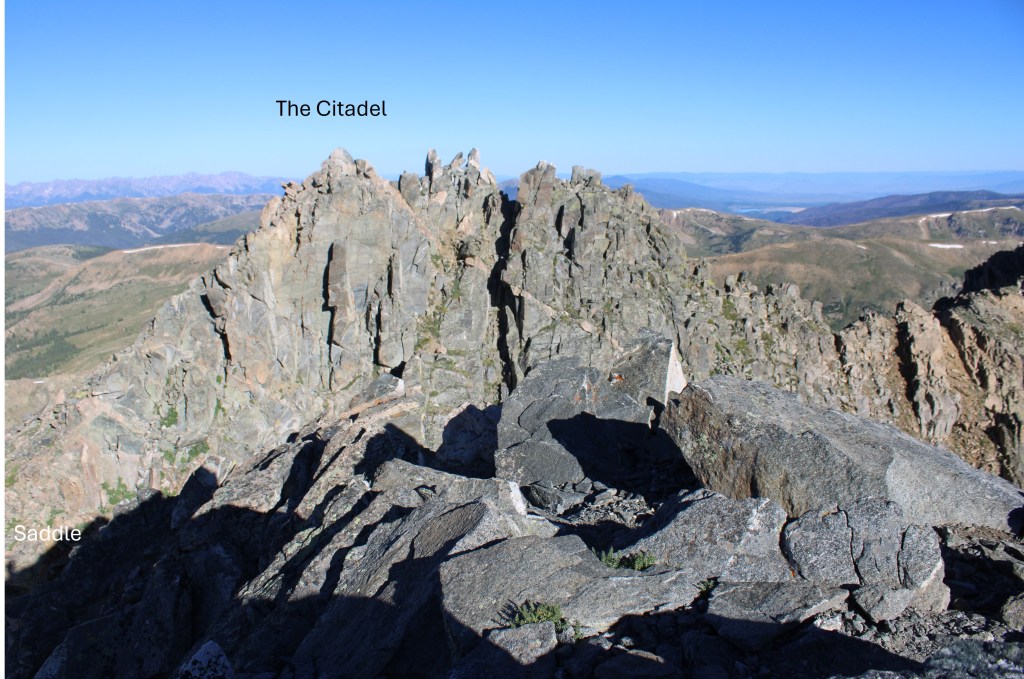
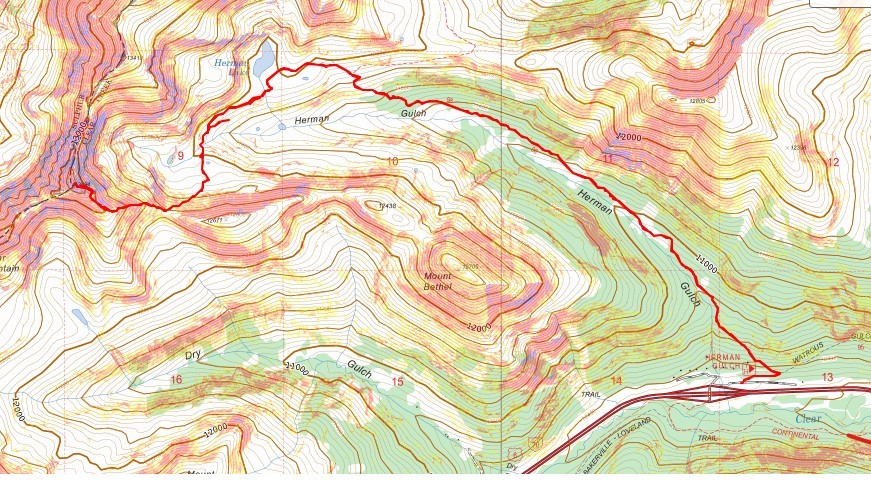
I followed this trail as it headed southwest towards the saddle of The Citadel and PT 12671.  Here’s where I was heading:

There’s a pretty good trail that goes MOST of the way, crossing the creek that flows out of Herman Lake and through the willows.  I lost a little bit of elevation during this part, but it was negligible.

At about 11970’ I came to another large creek, and here I left the trail to cross the creek

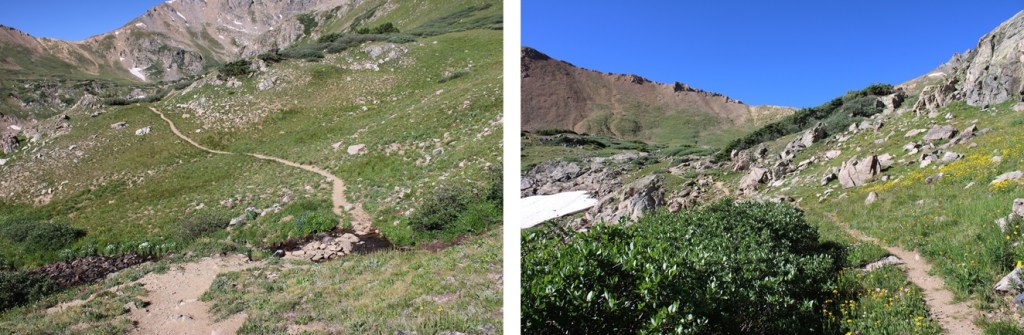
From here the trail is difficult to follow, but there are plenty of cairns to follow to get you to the saddle.

Now on the saddle, I turned right and headed west up the ridge, on a good game trail that was easy to follow.

Now to make my way towards the saddle.  The route will be obvious.

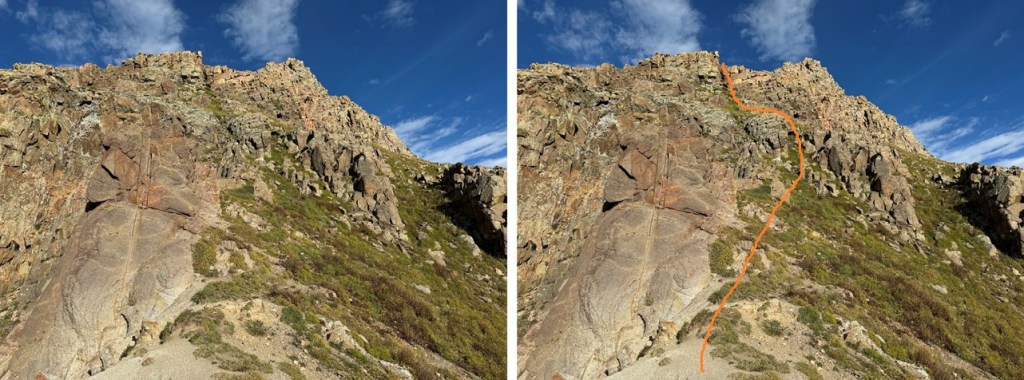
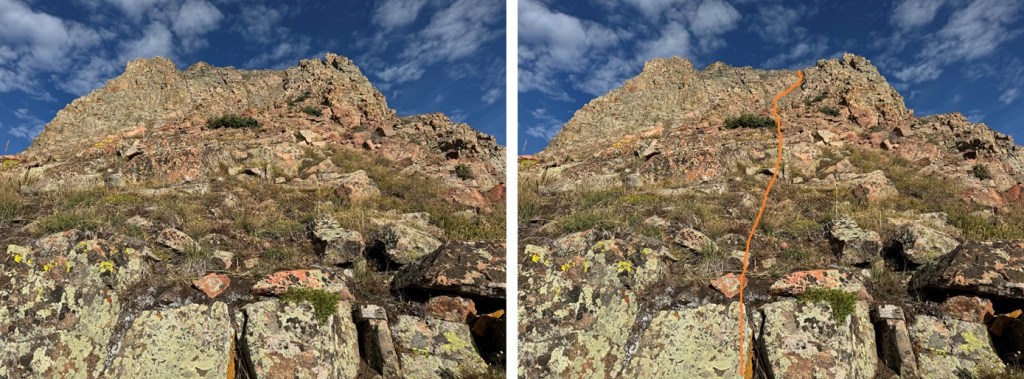
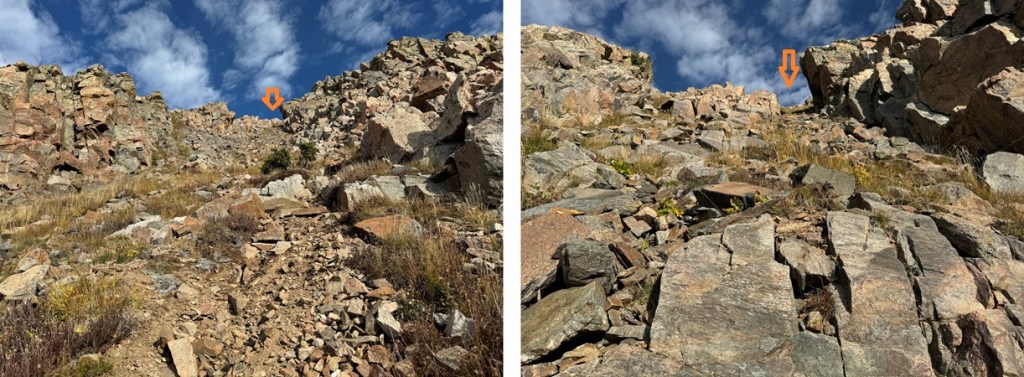
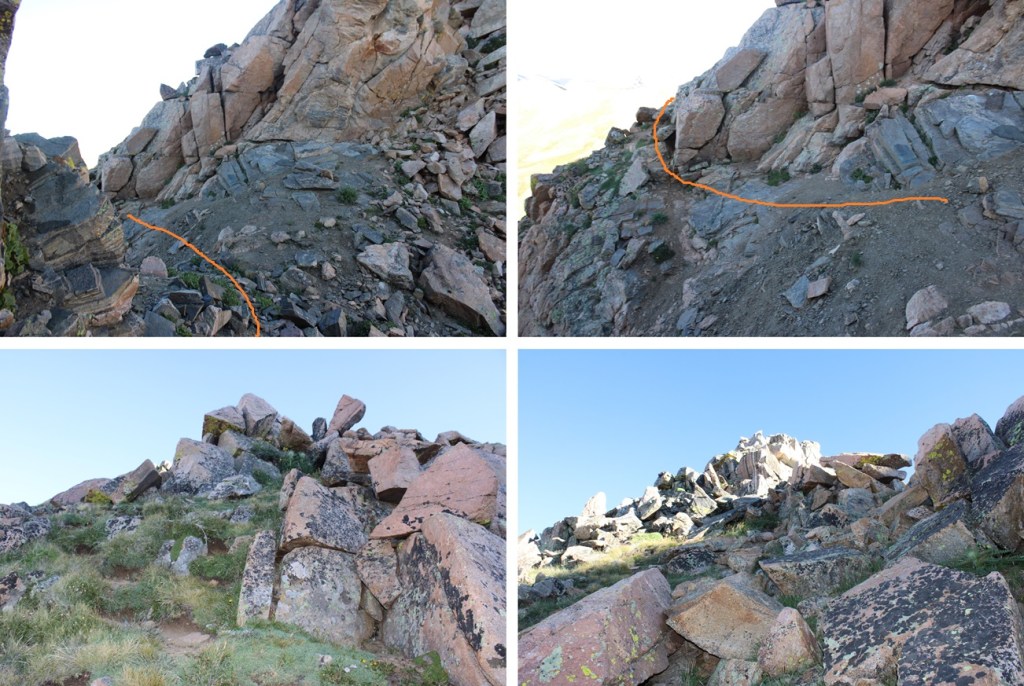
If you haven’t already, now is a good time to put on your helmet.  From the saddle, head northeast and look for a solid band of rock.  This rock band is important, because the gullies are miserable.  Once on the rock band, ascend towards the tundra, then follow the line of tundra northeast.  Once you’re on the tundra, you can stay on tundra until the top.  This is class 3, and a slip would have you falling quite a ways, like hundreds of feet before you stop, so take care in this area.  Here’s a visual representation of how I climbed from two different angles.  It’s probably a good idea to start memorizing the route as you’re hiking up the ridge from the saddle of The Citadel and PT 12671. 

And some pictures of my route:

From here, to the north, I saw what I thought was the summit.  It wasn’t, but I headed towards it anyways.

I made my way to the false summit, and could see the true summit to the west.

So, I downclimbed a bit, and headed towards the saddle ahead of me. 

At this saddle, there was what I would consider a class 4 chimney to downclimb.  I sat there for about 10 minutes, waiting for the wind to die down before downclimbing.  The wind was insane, and I had to hide behind rocks to get away from it.  The downclimb was much more difficult than the upclimb, as it was committing, and I wasn’t sure there would be adequate footholds down below where I couldn’t see (there were).  Here’s what the wide chimney looked like to downclimb.  It was probably 10-15 feet of downclimbing.

Now to head to the saddle, and summit the peak.

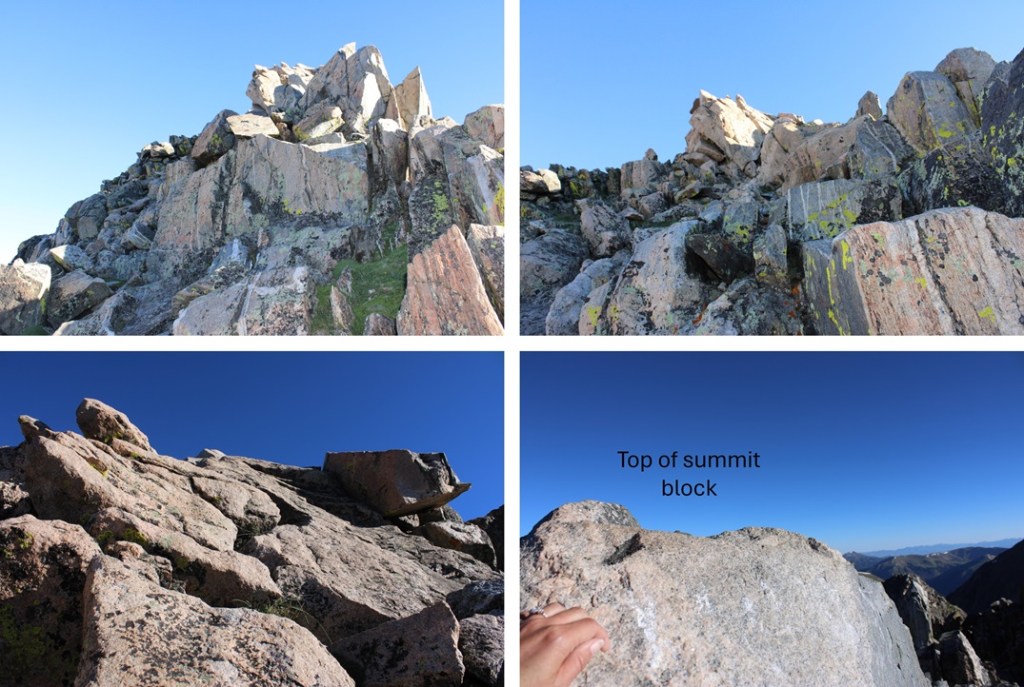
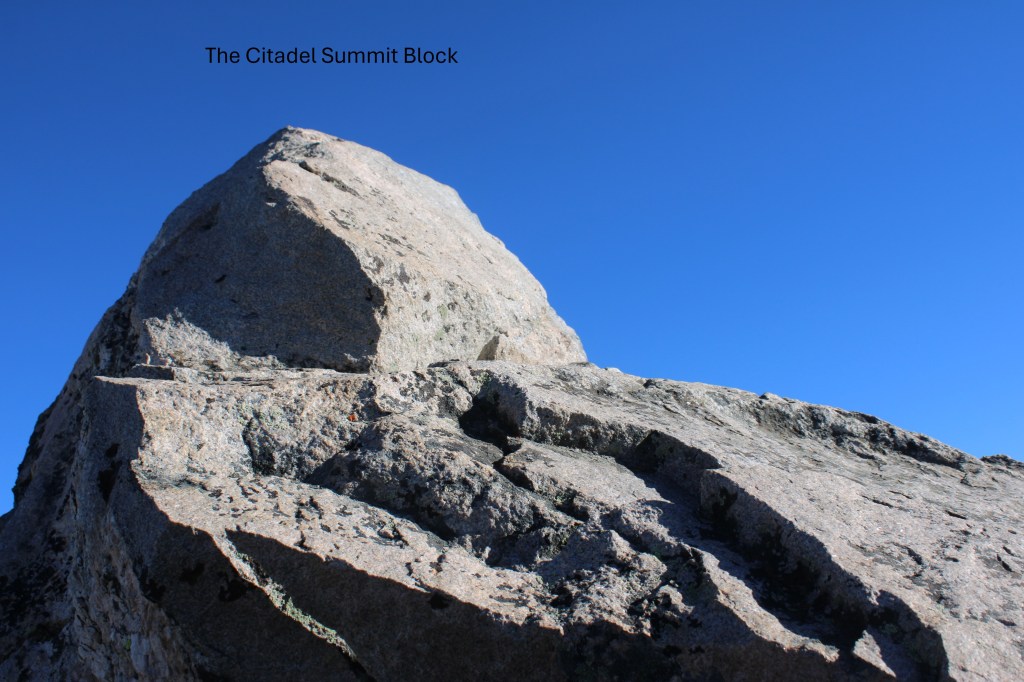
The summit was a short class 3 scramble to the summit block, which is a bit exposed. It was EXTREMELY windy today, and I had to hold on tight to keep from being blown over, but I was able to summit.

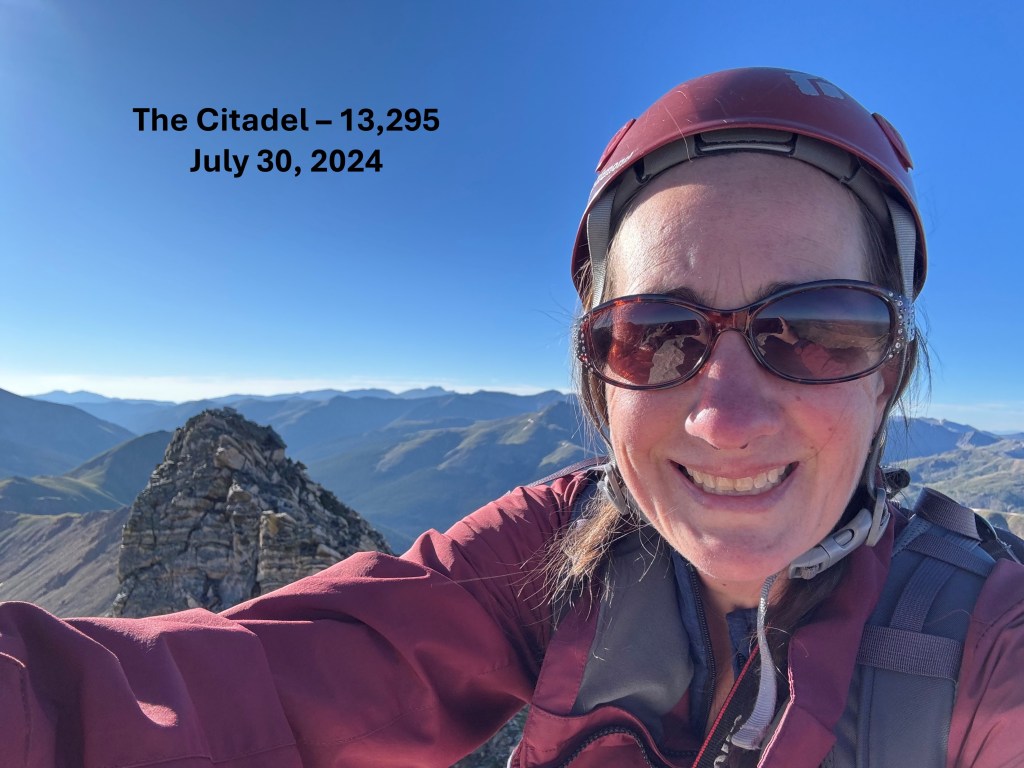
I summited The Citadel at 7:45am.  Sorry for the terrible picture and less than stellar video… I only took 1 photo, because I was afraid of losing my phone to the wind, and there wasn’t much room to move around on that summit block without falling (once again, wind).

The Citadel:

Here you can see the false summit to the east

I made my way back to the saddle between The Citadel and the false summit

Here’s a look at your options to upclimb.  There are two, I took the one to the left do downclimb and upclimb.

And now to make my way back to the grassy ledge.  There’s a cairn indicating where to descend.

And now to downclimb the grassy ledge.   Once again, I stayed on the tundra until I reached the rock rib, then headed for the saddle to the right.

I was now back on a trail, and followed it to the saddle of The Citadel and PT 12671.

Here’s an overview of my hike to Herman Lake from the saddle.  This was on a mostly class 1 trail, with cairns to help when needed.

Back at Herman Lake, I followed the Herman Gulch trail east back to the trailhead.  You’ll know you’re getting close when you can hear the illustrious sounds of I70 in the distance.

I made it back to my truck at 10:30am, making this an 11.45 mile hike with 3255’ of elevation gain in 6 hours.

On to the next trailhead!
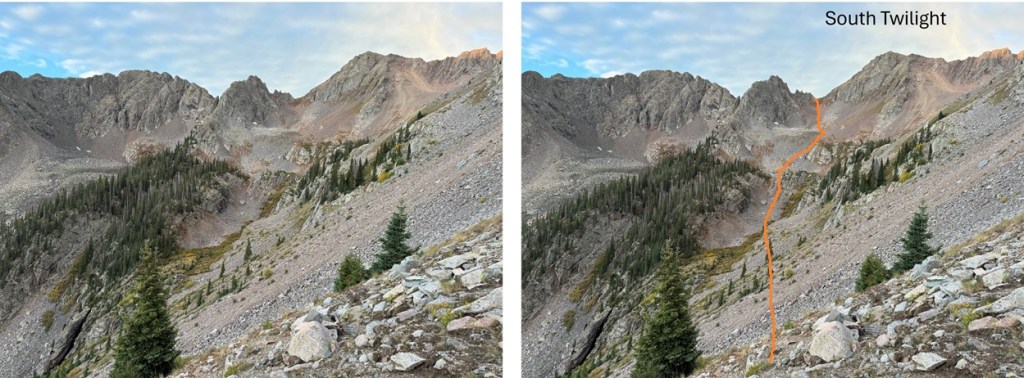
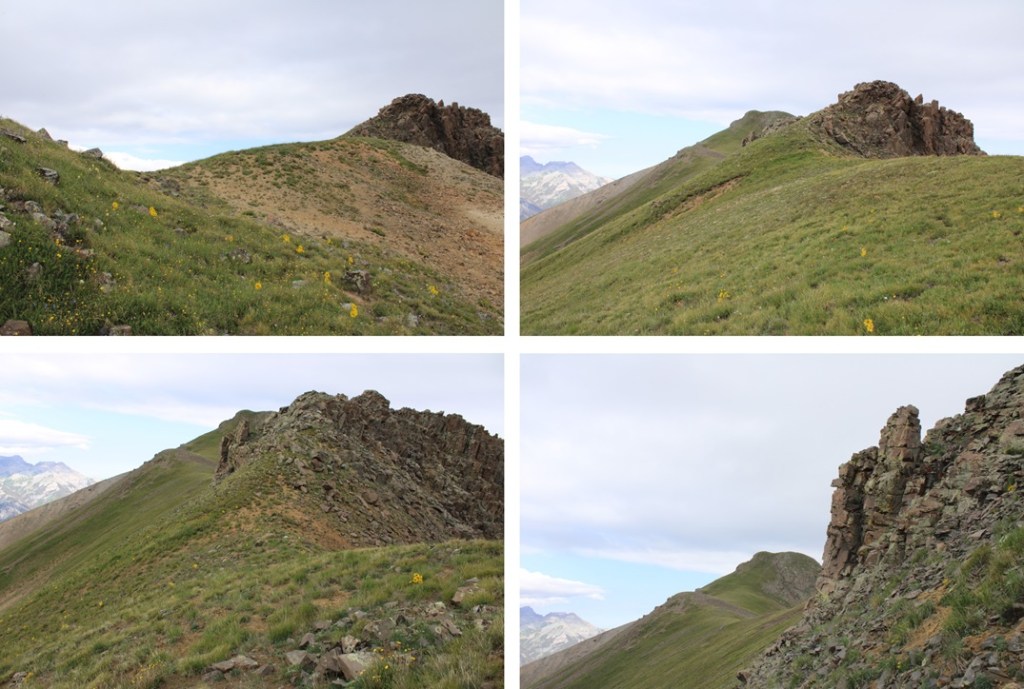
ST Bear Creek Benchmark – 13,140 and Cow Benchmark – 13,116

RT Length: 16.06 miles

Elevation Gain: 3570’

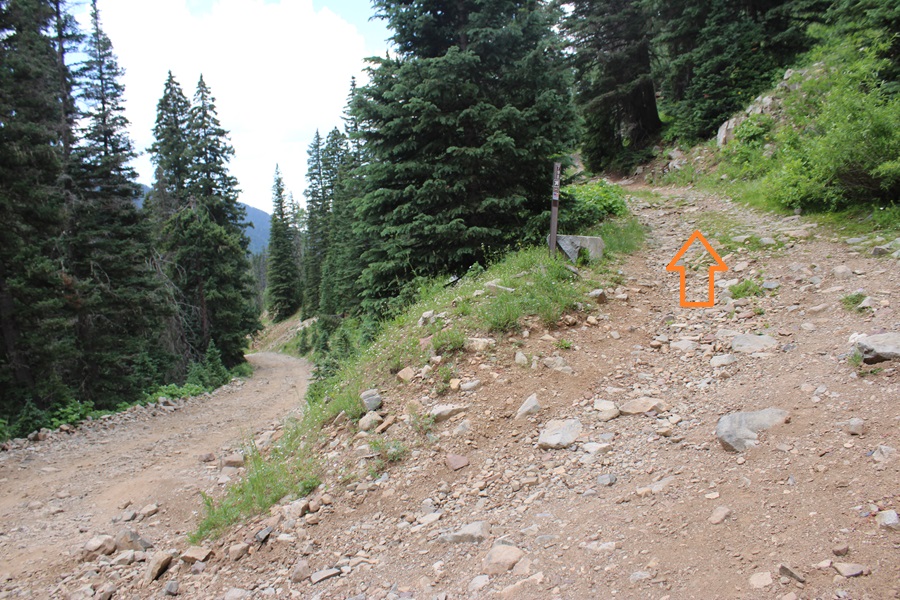
I parked at the end of North Fork Henson Road off CR 20 in Lake City at about 12000’.  This is a couple of miles past the Matterhorn/Wetterhorn trailhead, and 4WD.  There are parking spaces here for 3-4 vehicles, if everyone parks nicely.  This is also where the porcupine and marmot and pine marten chewed my wires last week, so make sure your vehicle is rat taped.  Click here if you want to see pictures of the damage done to my vehicle last week.

Knowing the high potential for thunderstorms today after noon, I was up and on the trail at 4:30am.   The trail starts out easy to follow, heading southwest.

After hiking for half a mile, I came to treeline, and an upper basin. I turned right, and followed a drainage northwest past treeline.

Sorry for the lack of pictures at this point, but I was in a thunderstorm, experiencing hail and rain when I took these pictures, so they’re few and far between.  I was headed for the ridge.  For a better initial route description, see my Wildhorse and Blackwall trip report, where I wasn’t caught in a thunderstorm.

There are faint trails here, but they mostly look like drainage ditches.  Follow those.

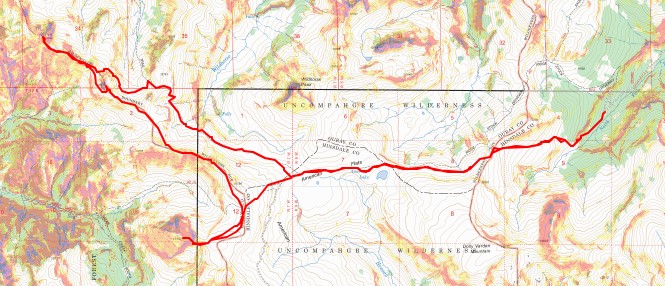
At the top of this hill a fairly good game trail appears.  I followed this west all the way to American Flats and the first junction I came to, which was about 3.5 miles from the trailhead.

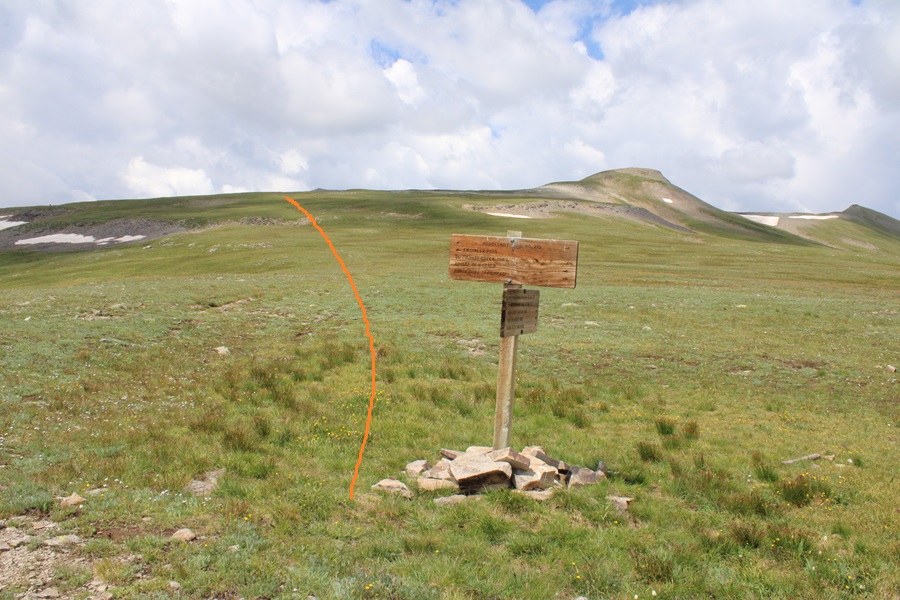
This junction is significant, as I’ll be returning here later, and not on a well-defined trail.   Like so many trails in this area, they aren’t really trails but more of ‘suggestions’, where you follow your best judgement to get to the next post or cairn, and celebrate if you find a game trail.

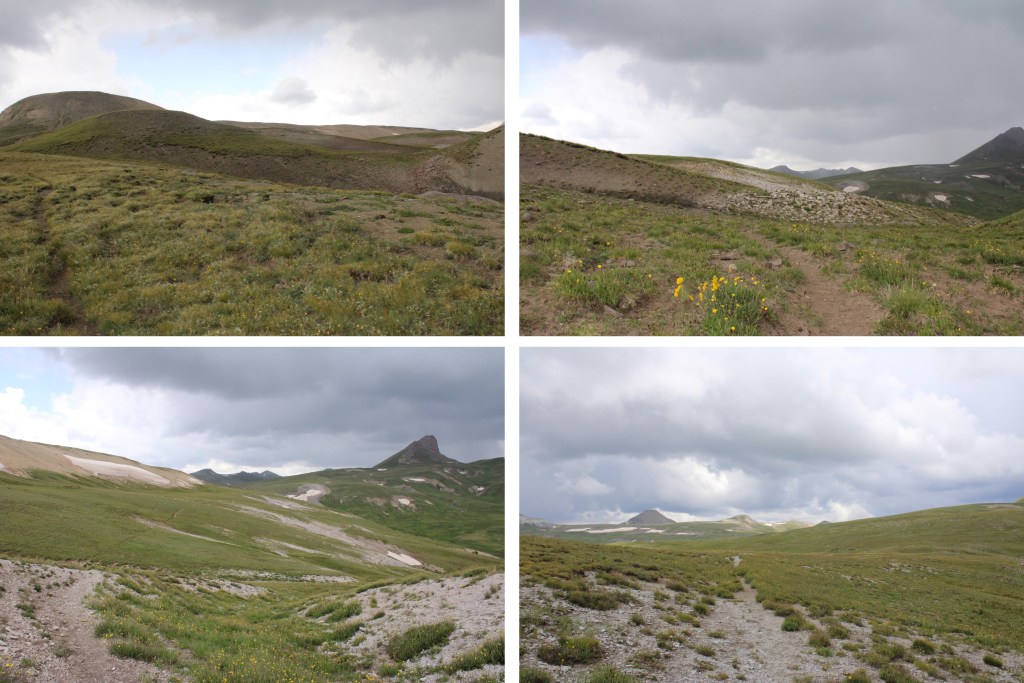
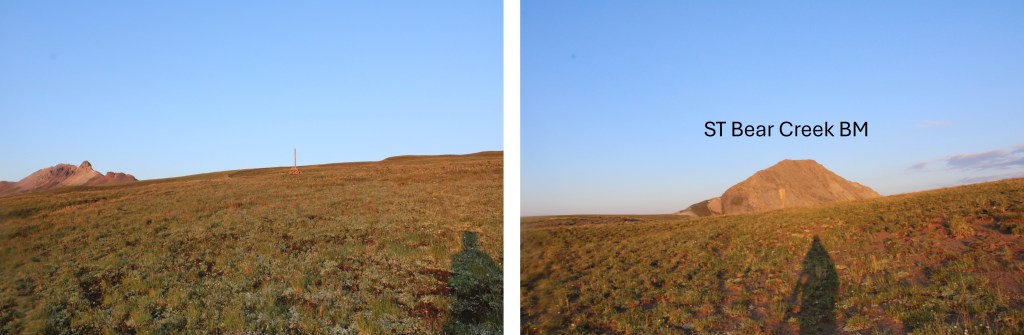
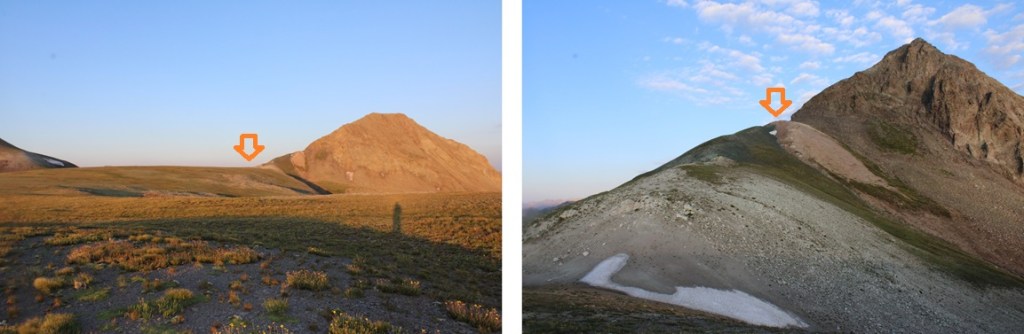
From this junction I headed southwest, following posts and cairns towards ST Bear Creek Benchmark. 

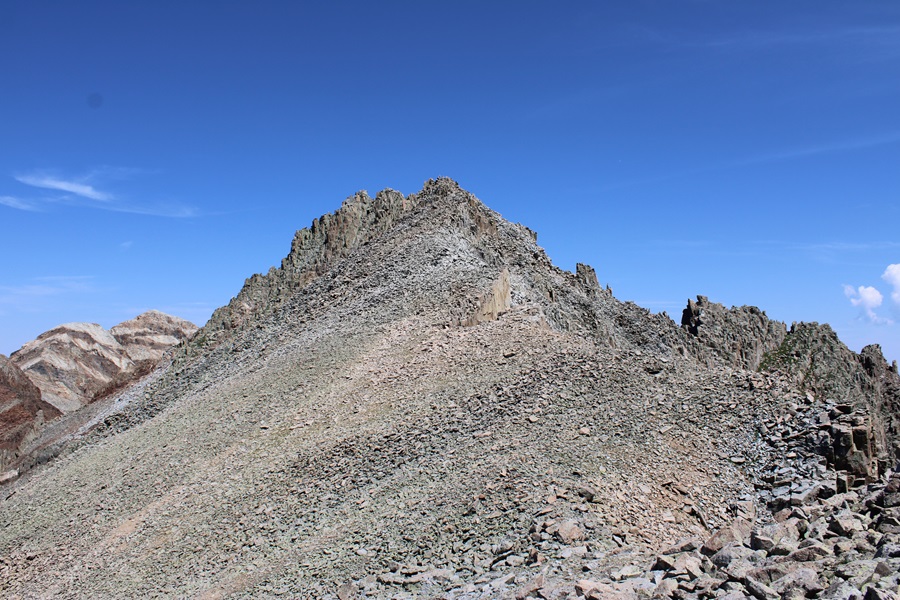
I aimed for the saddle, then started climbing the ridge.  This was all class 2 on easy terrain.

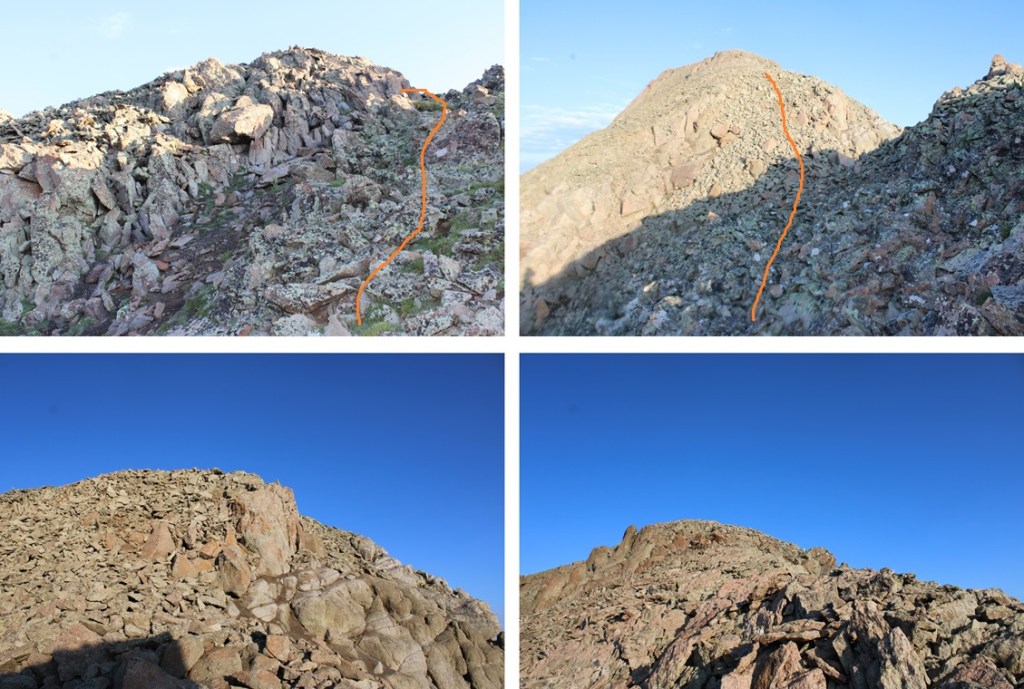
Then the fun started.  At the end of the white sand/scree the choss began, and it didn’t let up until the summit.  This can all be kept class 2, but be prepared for a lot of loose choss and rolling rocks.  I found once I started ascending the ridge, staying to the right gave me game trails to follow.  First, I entered the ridge here

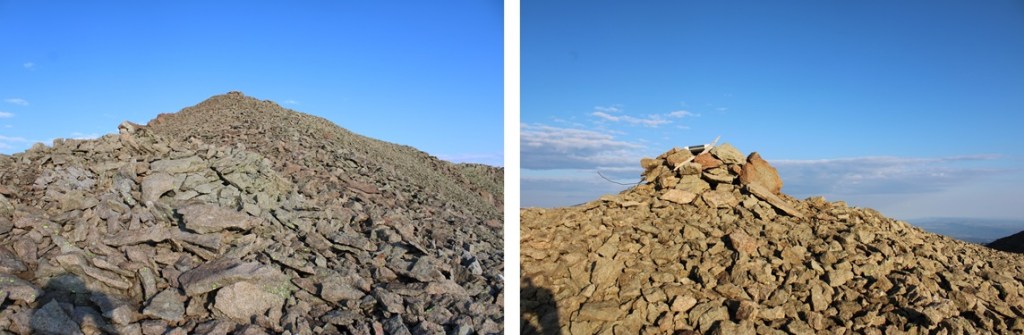
Then ascended, staying to the right as much as possible to avoid the gullies to the left, following game trails.

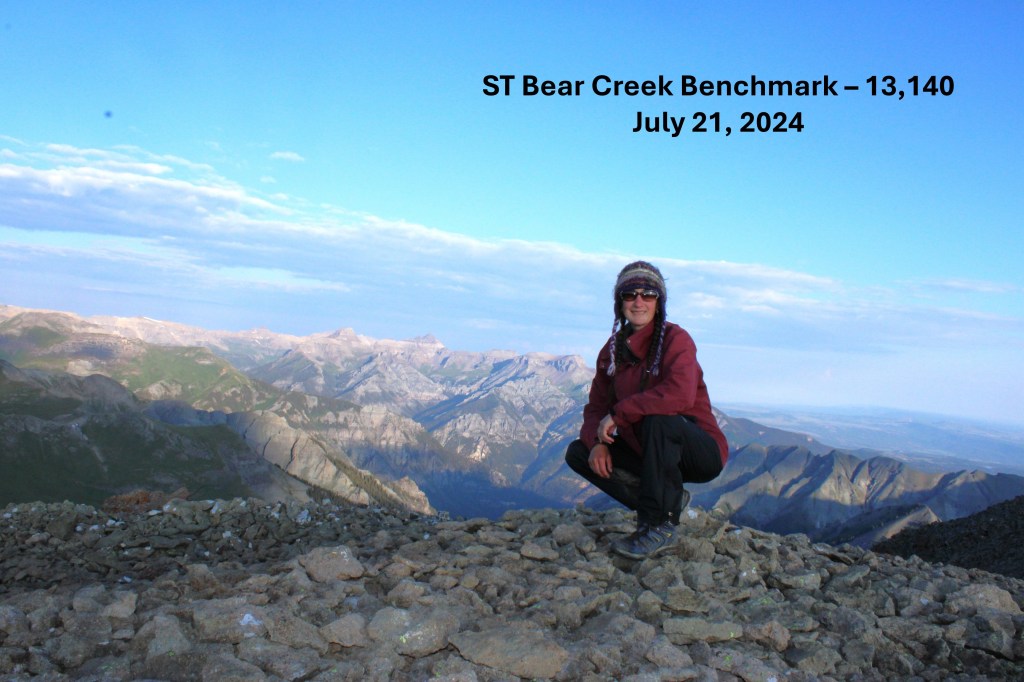
I summited ST Bear Creek Benchmark at 7am

ST Bear Creek Benchmark:

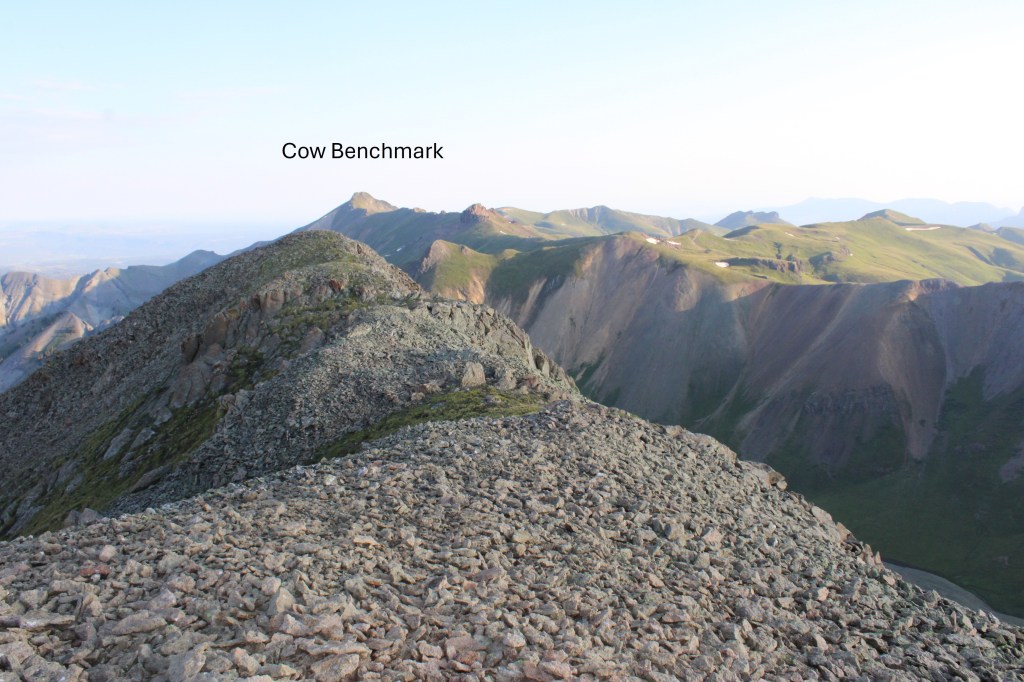
Way off to the northwest I could see Cow Benchmark, my next peak of the day

To get there, I was going to need to descend the way I’d ascended, and head back to the saddle.

There is no good, fast, or easy way to get to Cow Benchmark from here.  I decided to take the ridge, which included a lot of elevation gain and loss.  I aimed for the ridge, and followed it northwest

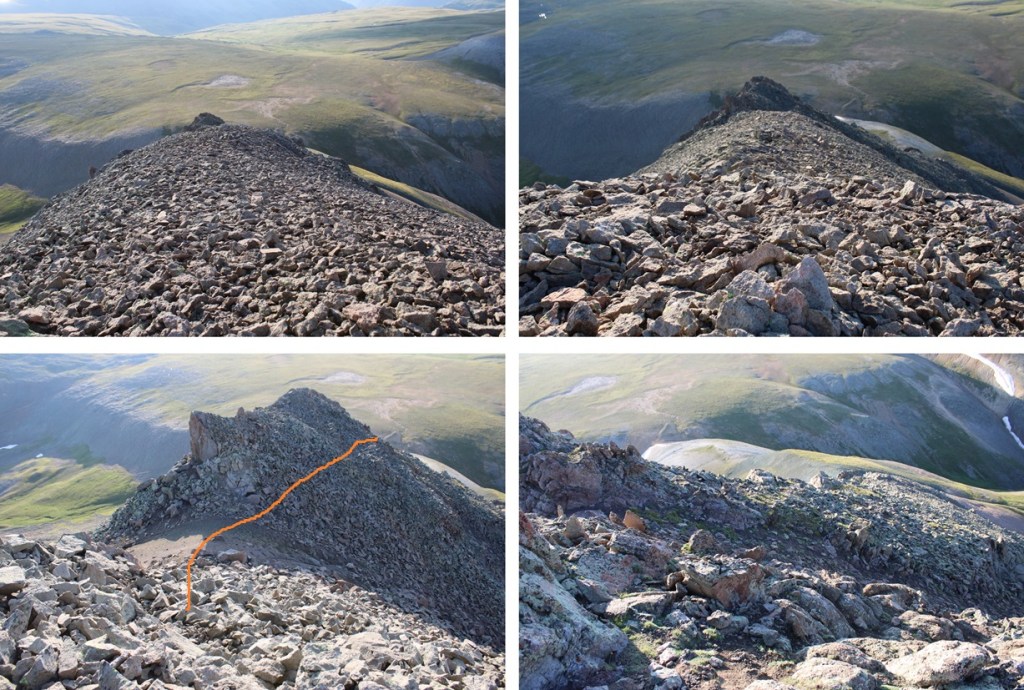
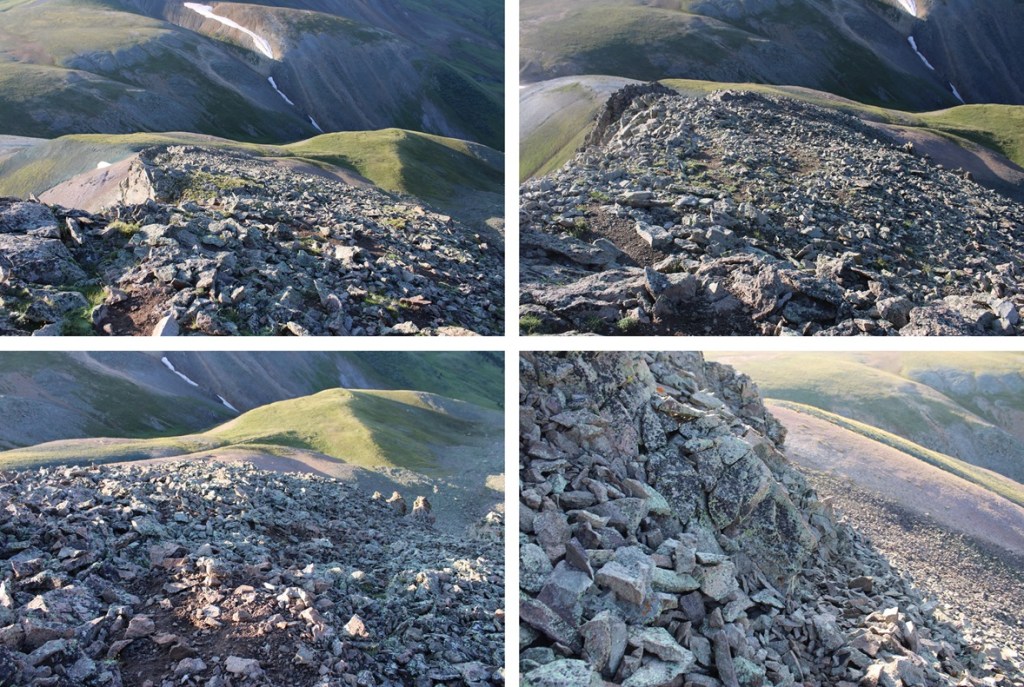
Here are some pictures of the ridge.  It’s all class 2, and goes for about 1.5 miles.  I cut across the last section (I’d had enough elevation gain and loss by this point)

Here is where I skirted PT 12976 and just headed for the saddle, which just gave me another ridge to climb

This rocky outcropping looks scary, but this can be kept class 2 by skirting it to the left, entering a rocky area, staying at about 12730’, and skirting around to the ridge.  This is choose your own adventure, but the route is obvious.

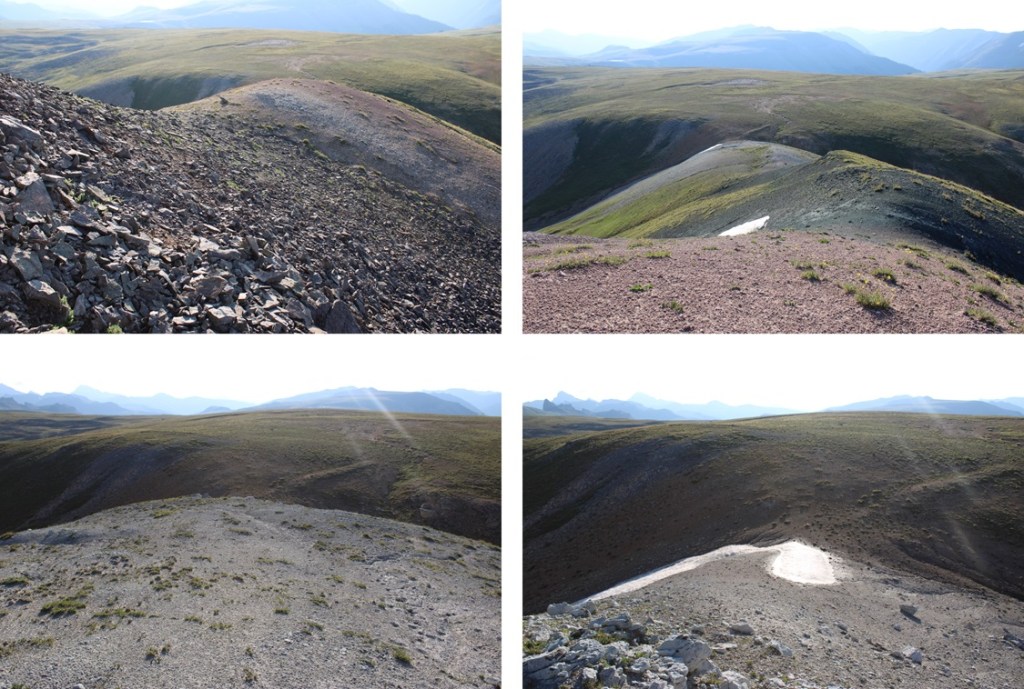
This brought me to the final ridge. 

Here’s my suggested route to summit the ridge

However, the ridge does go at class 2/easy 3.  Here are some pictures of the ridge, should you wish to climb it. 

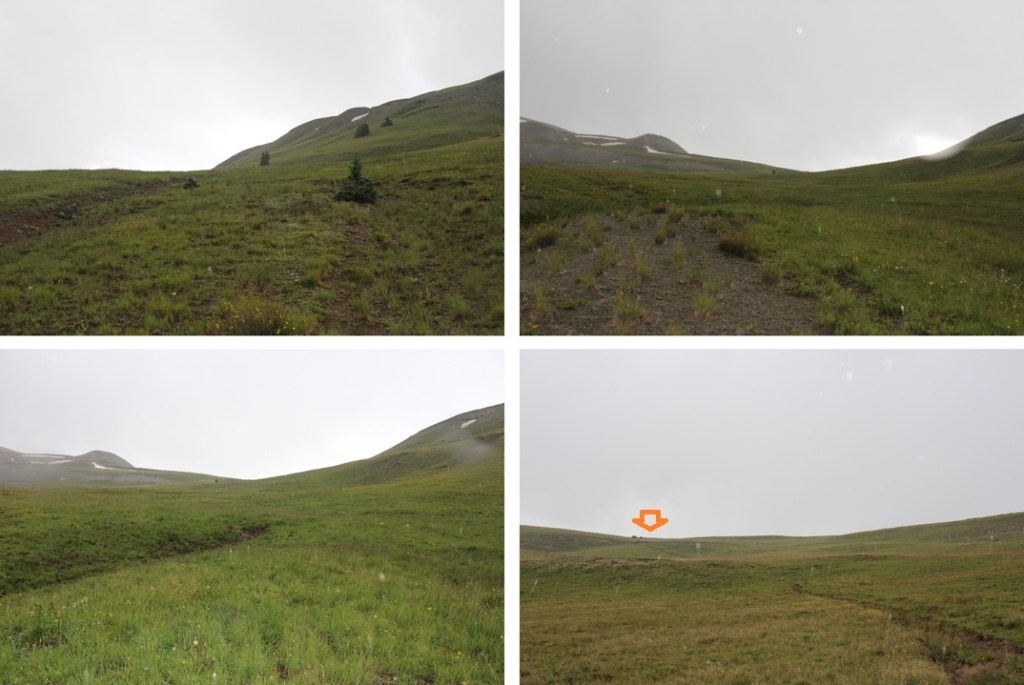
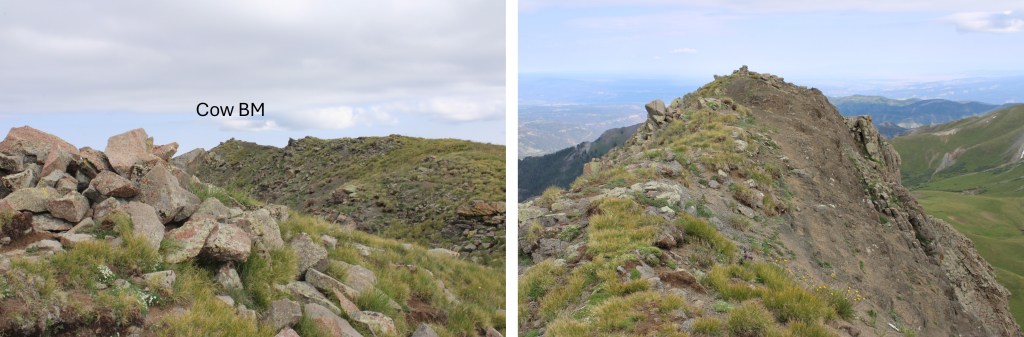
The final push to the summit was steep, but full of tundra.  Also, there’s a false summit, but that’s ok because the real summit isn’t too far away, and it’s a relatively flat walk to get there.

Also, there’s a benchmark, and a marker to let you know where the marker is…

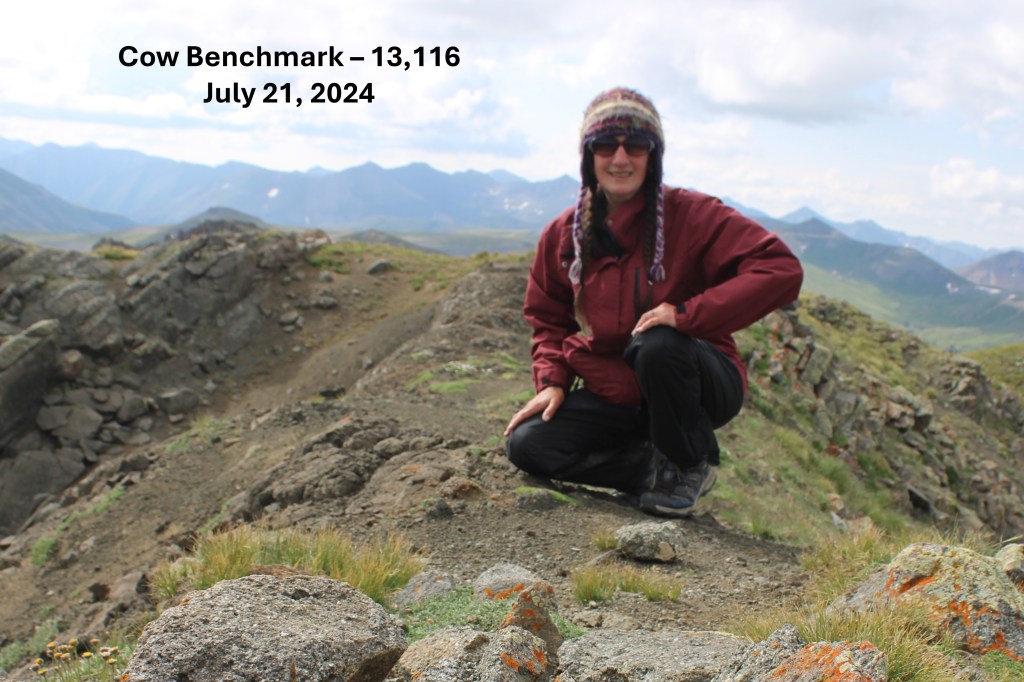
I summited Cow Benchmark at 9:30am

Cow Benchmark:

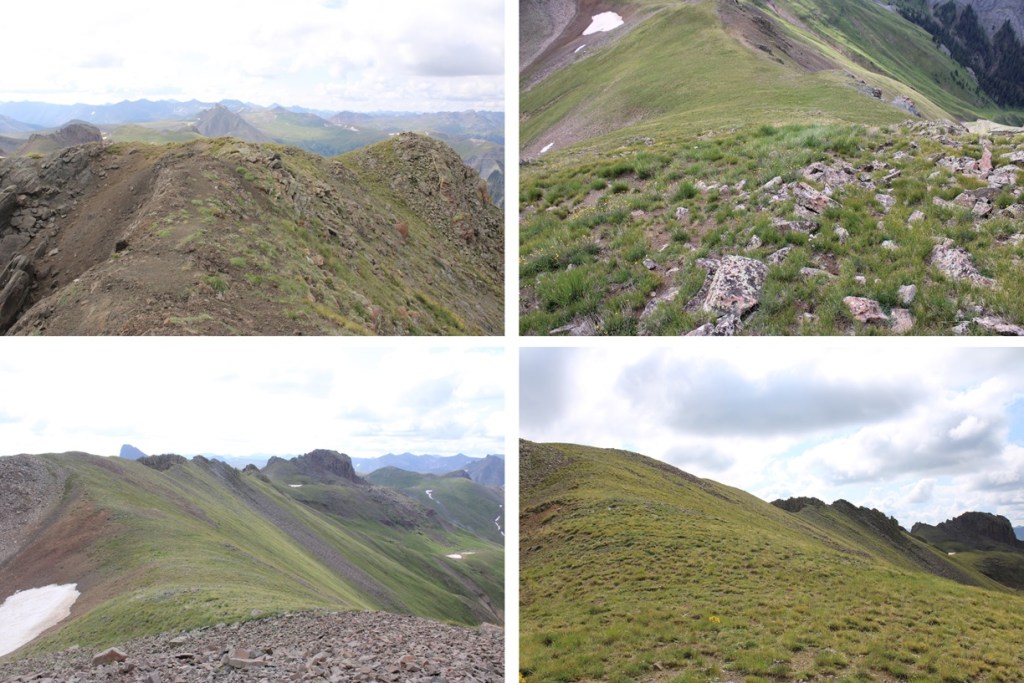
And now to head back.  I turned and re-traced my steps back down to the ridge

This time, I followed the ridge proper

Instead of descending the way I’d ascended, I went left here, descending into the basin.  I knew Horsethief Trail was on the other side, that would eventually lead me back to that junction I pointed out earlier. To I left the ridge, descending to the left

I then looked for the trail on the other side.  When I found it, I tried to lose as little elevation as possible to pick up the trail on the other side.  I’ve circled where the trail is

I skirted the mountain, and made my way towards Horsethief Trail

Here’s a view of how I descended Cow Benchmark back to the trail

Back on a trail, I followed it 2 miles to the junction with American Flats.  However, please remember what I said earlier… about trails being more of ideas than paths in the dirt.  There were times I had to look for posts, or presume which way to go.  Note, if you have the option, stay high instead of taking a trail that leads low. 

It was 2 miles on the Horsethief Trail heading southeast to get me back to the junction, losing the trail several times and looking for a cairn or post to follow.

At the junction I turned left, and followed the trail east back down to the trailhead.  Sorry for the lousy pictures… I know to be down below treeline before noon, but it was 11:45 and I was 15 minutes from treeline when the sky let loose, and it started raining and hailing.  (Forecast said to expect storms between 12pm-1pm, so they weren’t far off, just a little bit early…) 

Once back in the lower basin, I turned left and followed the trail half a mile northeast back to the trailhead.

I made it back to my truck at 12pm, making this a 16.06 mile hike with 3570’ of elevation gain in 7.5 hours

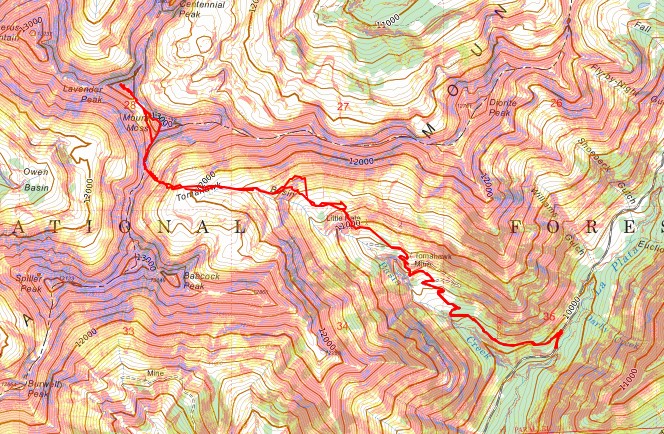
Mount Moss – 13,194 and Lavender Peak – 13,327

RT Length: 10.58 miles

Elevation Gain: 3604’

Once again, this wasn’t the peak I’d planned for today.  In fact, due to my carelessness with my new truck and forgetting to wrap the wires with rat tape, I had a 2am encounter with varmints and had to abandon a days worth of hiking (where I’d hoped to get in 5 ranked 13ers).  Not to bore you, but if you want to hear the story and see video footage, click here to find out what creature got stuck inside my truck, and the damage they did.  Also, rat tape your wires people.

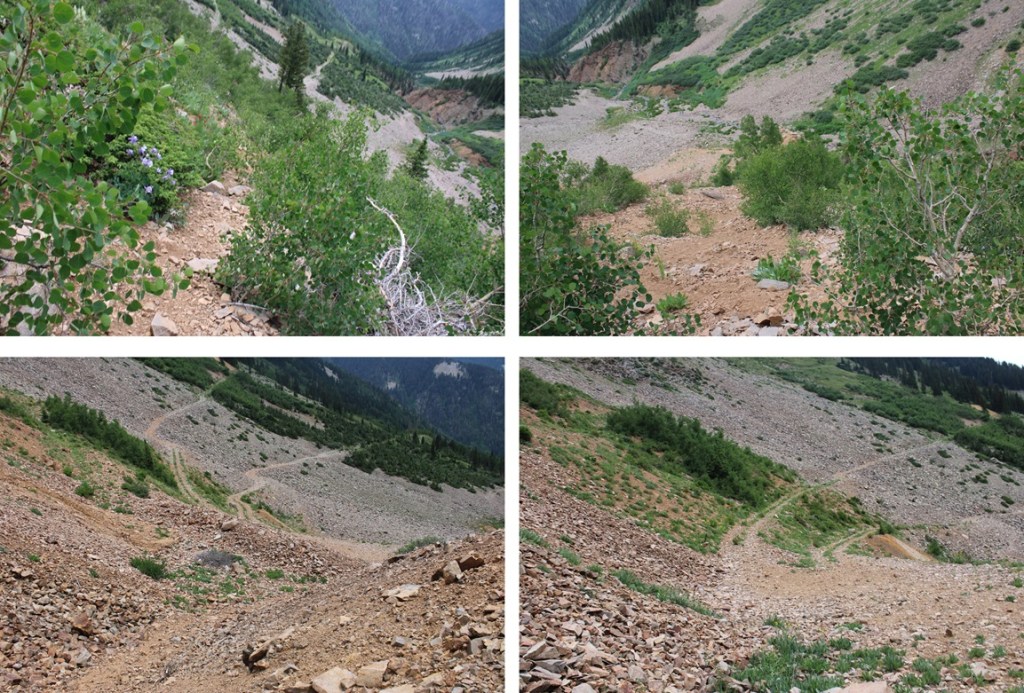
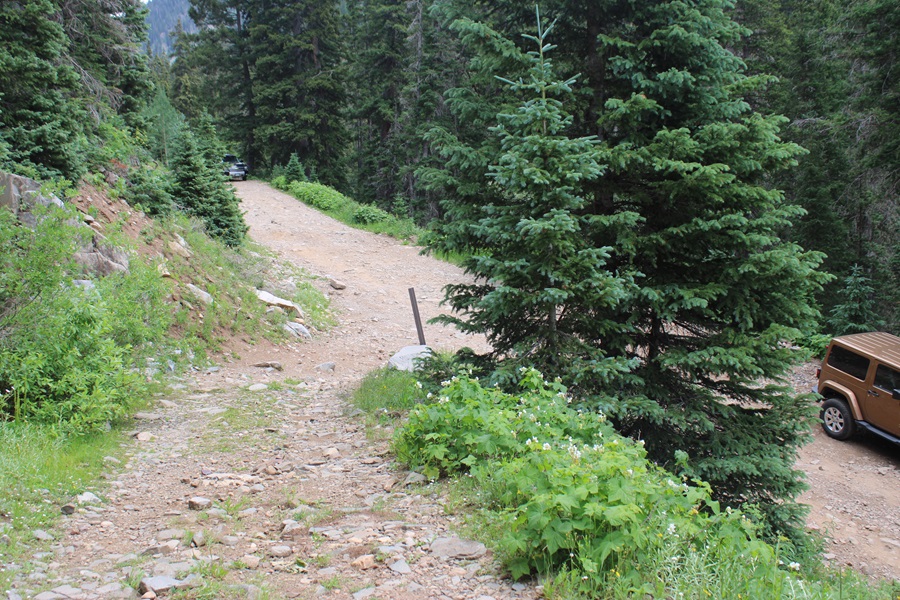
So, after an 8 hour detour, I found myself at around 9800’, at the base of the Tomahawk Mine, parked off road 124 and 798 near Mancos.  I was up and on the trail at 6am

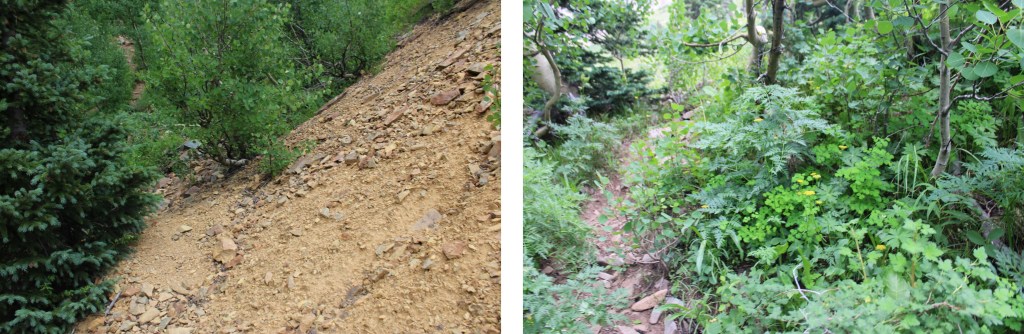
I followed road 798 for about 1.5 miles northwest.

After about 1.5 miles I came to a junction, and turned left.  You can continue on the road here, as it will eventually get you to the same place, but I wanted to see the Tomahawk Mine.  If you’d like to see the mine, turn left here, and follow the road.

The road will quickly end, but a trail will pick up to the right.  It will take you to Tomahawk Mine.

If you look closely, to the left of the mine is a trail that will lead you north, back to the 4WD road.

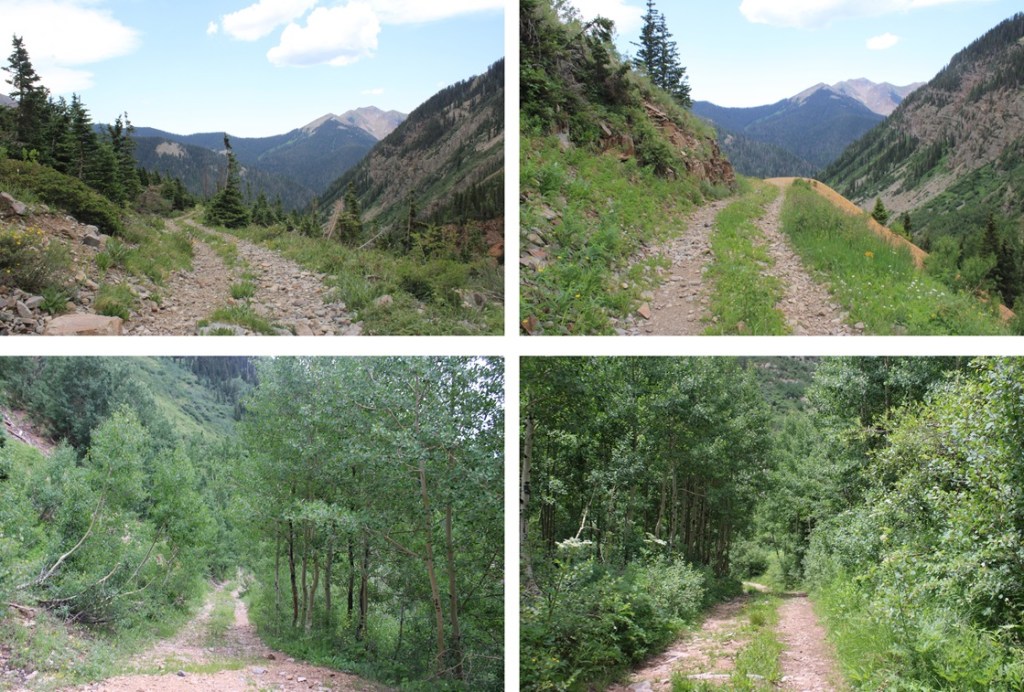
I turned left, and followed this road northeast until Little Kate Mine.

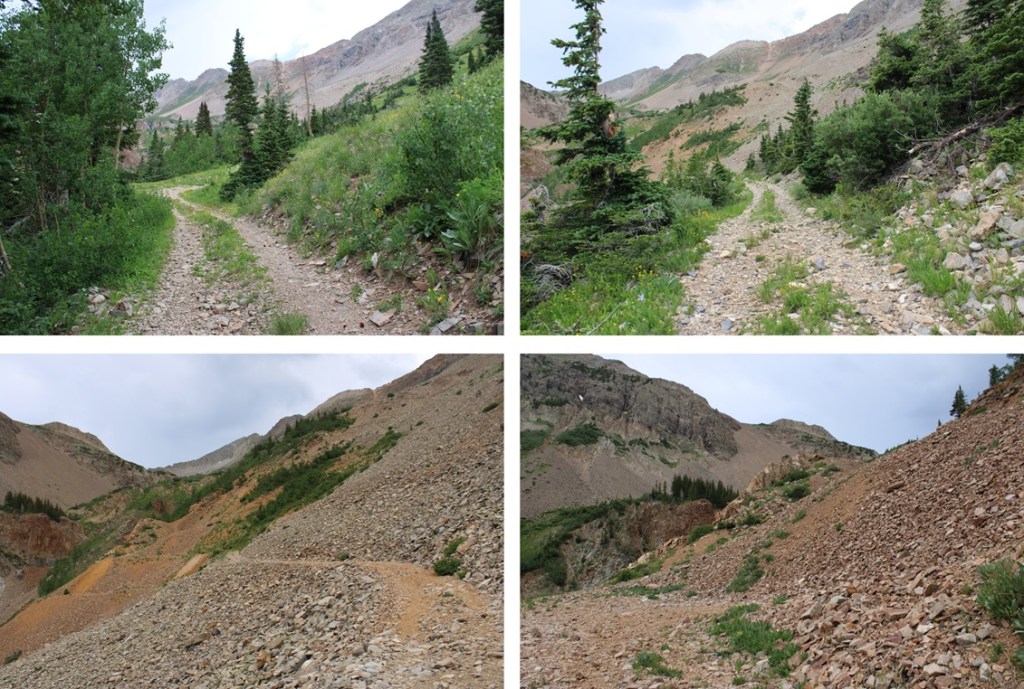
At the base of the mine, just as the road switchbacks to the right, I ascended a scree game trail northeast to treeline.  The trail is obvious, and splits and comes together a few times, but I generally headed towards treeline.

At treeline I headed west, towards Tomahawk Basin.  There’s kind of a trail here, but it’s really faint.

Now I needed to ascend into the upper basin.  There are several ways to do this (I went up a different way than I descended), but you basically want to get above the waterfall.  If you take the route I’ve outlined, there will be a faint game trail to the top, but you may need to search a bit to find it. 

I followed the creek as it headed west.  There is a faint game trail, but eventually it goes away.  Just keep heading west. 

Now in Tomahawk Basin, my next goal was to gain the ridge.  This was extremely steep.  I gained 665’ of elevation in .3 miles.  Luckily, the terrain was easy to navigate.  Here’s the route I took.

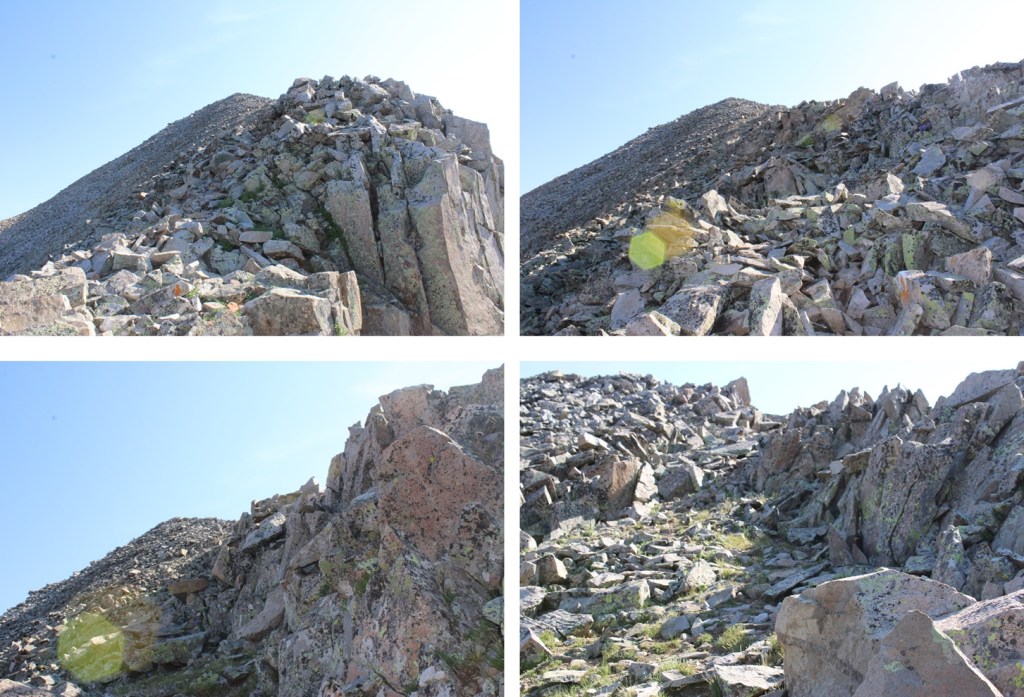
And some pictures of the hike to gain the ridge, staying mostly on tundra.

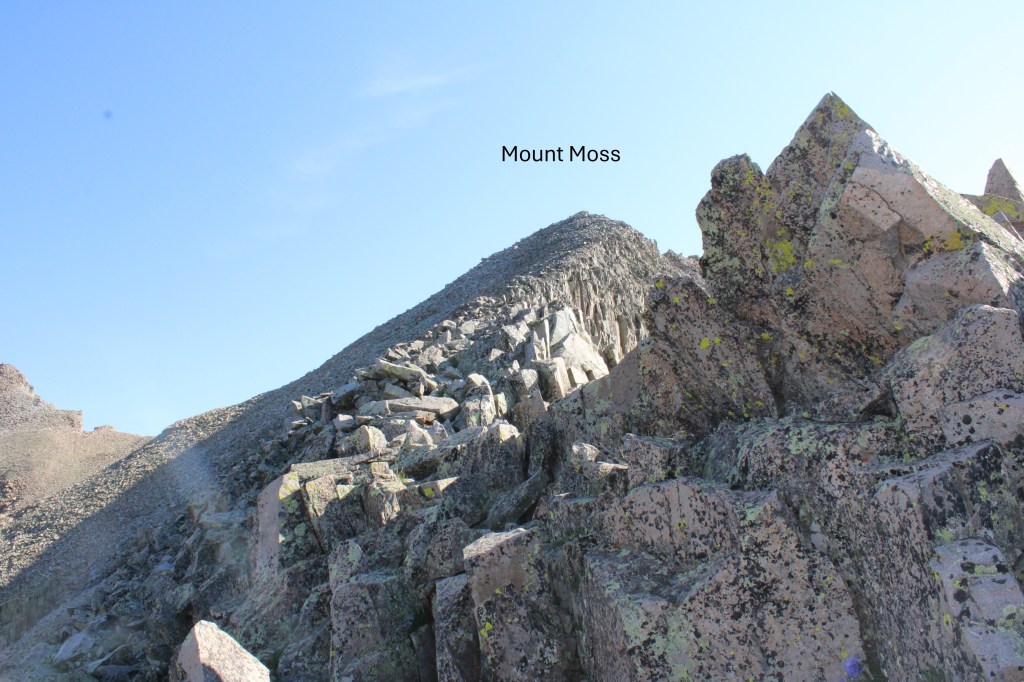
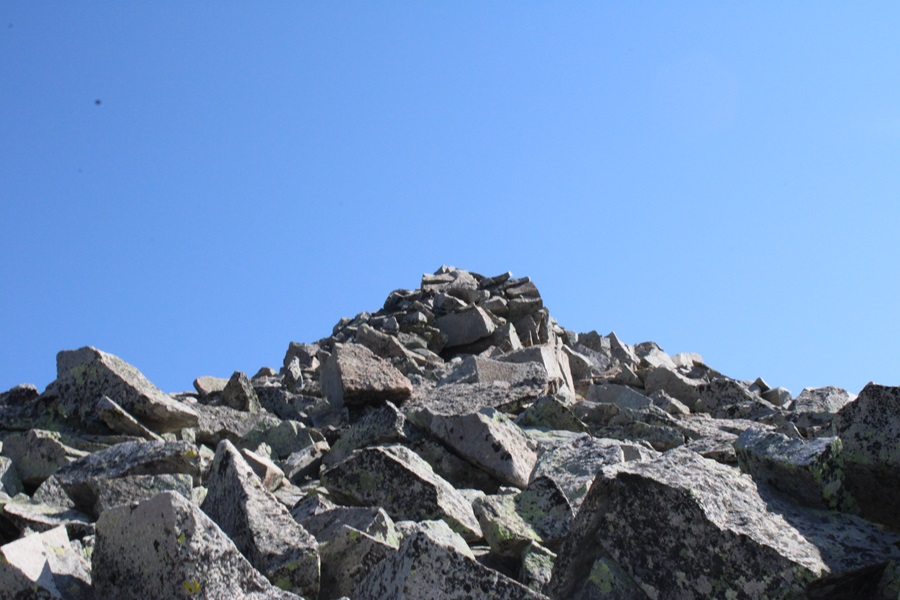
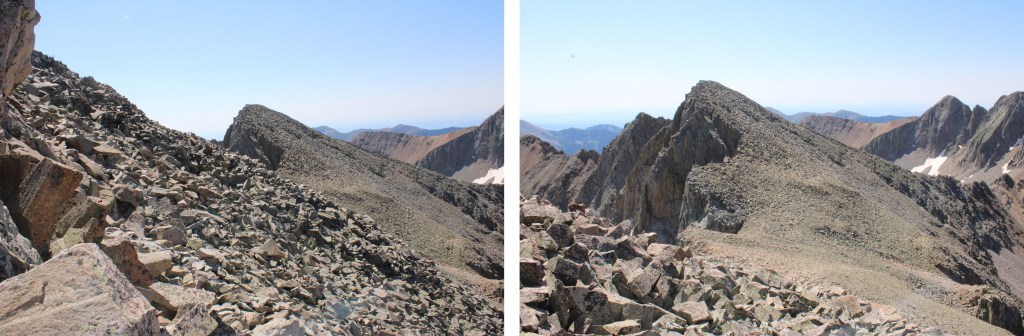
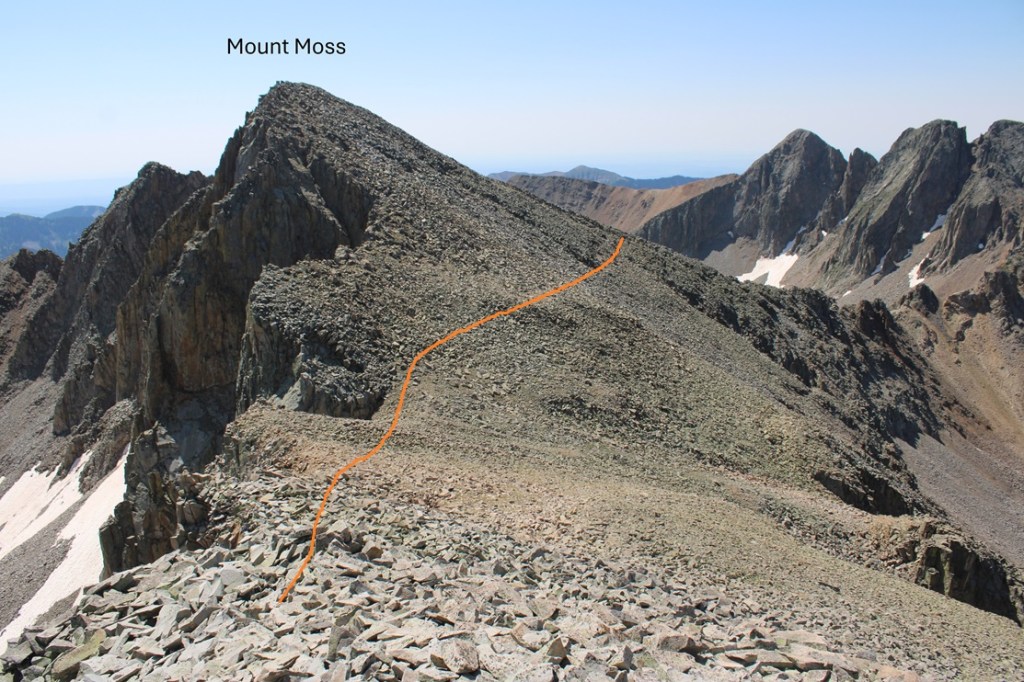
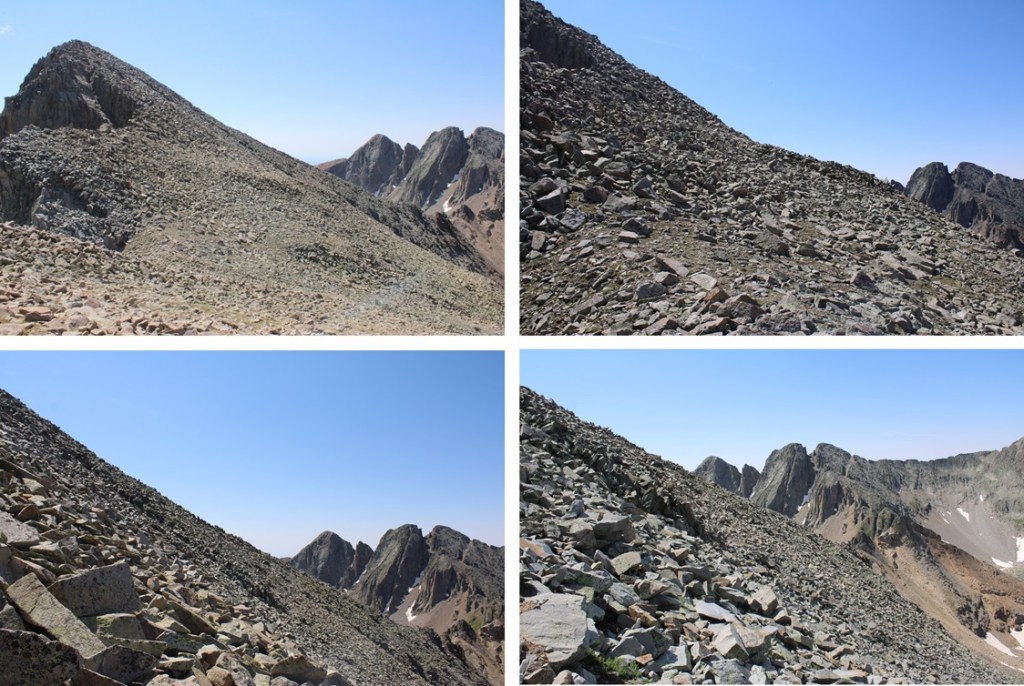
Once on the ridge I took a little break and put on my helmet.  There was a short class 3 section and some scrambling to do from here on out.  I headed north, following the ridge and then dipping down to the left.  It should be noted the ridge goes at class 3 most of the way, after the initial drop off to the left and re-gaining the ridge, but to make it easier there are game trails to the left of the ridge that I followed most of the time.   It should also be noted the rocks here are loose, so watch your footing.

I summited Mount Moss at 9:30am

Mount Moss:

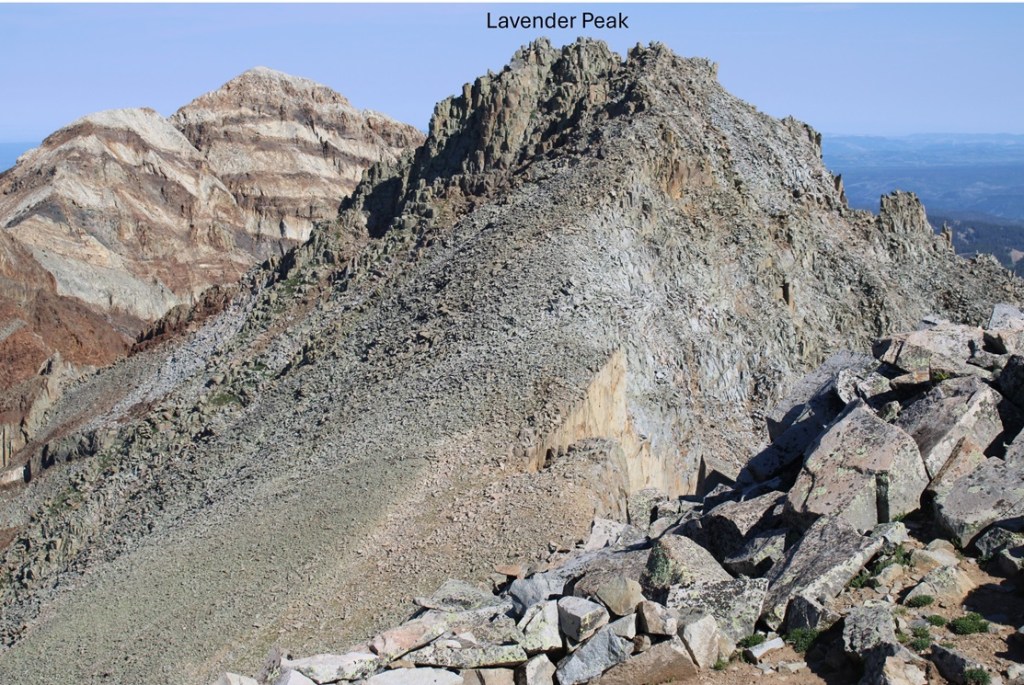
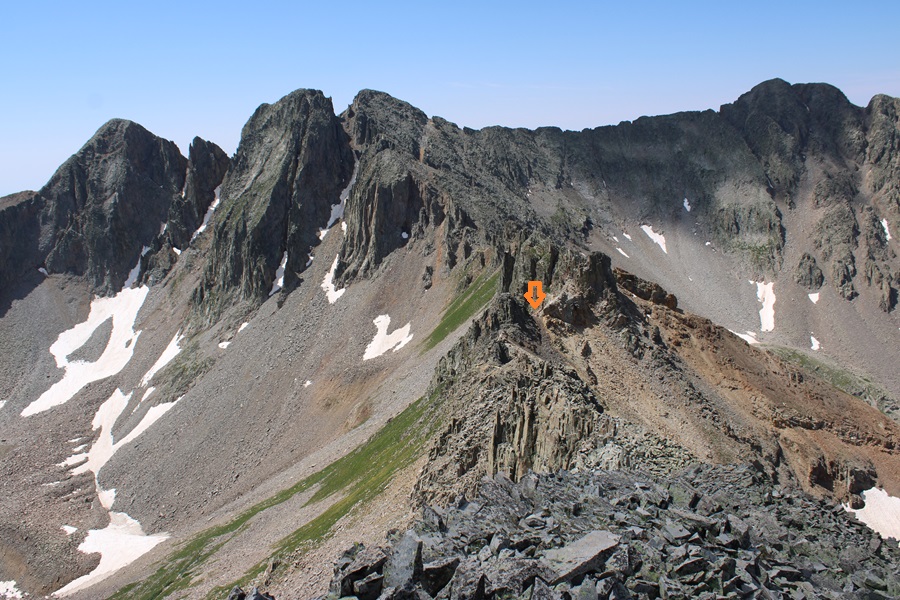
From Mount Moss I could see Lavender Peak to the northeast

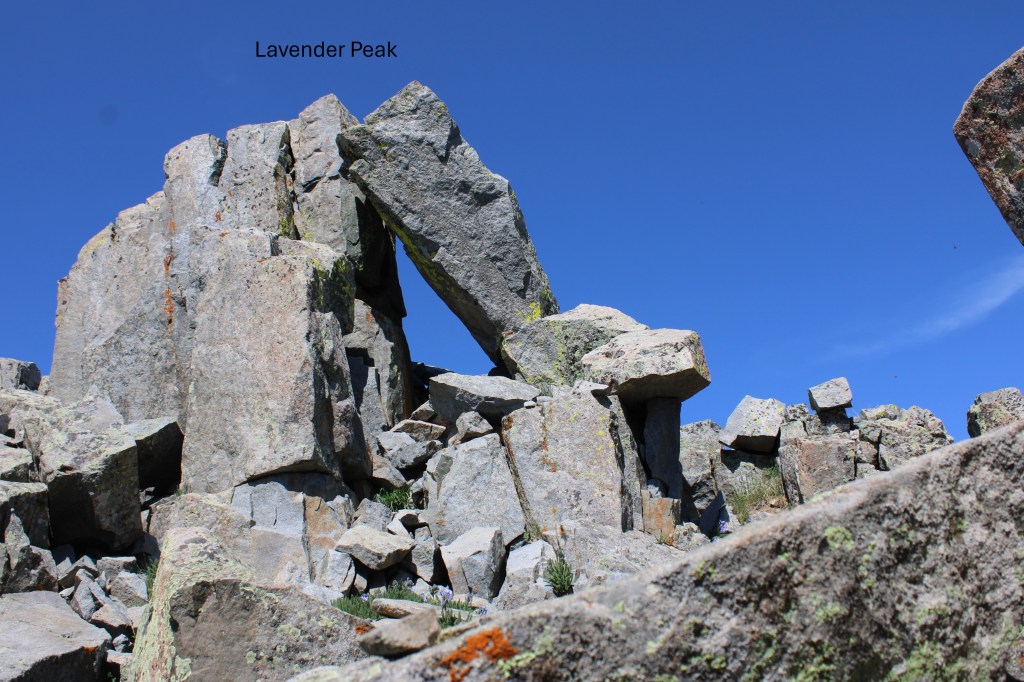
It’s a really good idea to take a good look at the route you’d like to take now, as when you’re below the summit it can be difficult to figure out where you’re at.  The summit of Lavender is the point furthest west.  This is the route I took to the summit, which was mostly class 3, but included a class 4 chimney.

First, I descended to the Moss/Lavender saddle.  Once again, lots of large, loose rocks.

From the saddle, I ascend the ridge to Lavender to just below the gullies, at around 13125’

Next, I traversed west, looking for the gully I wanted to ascend. 

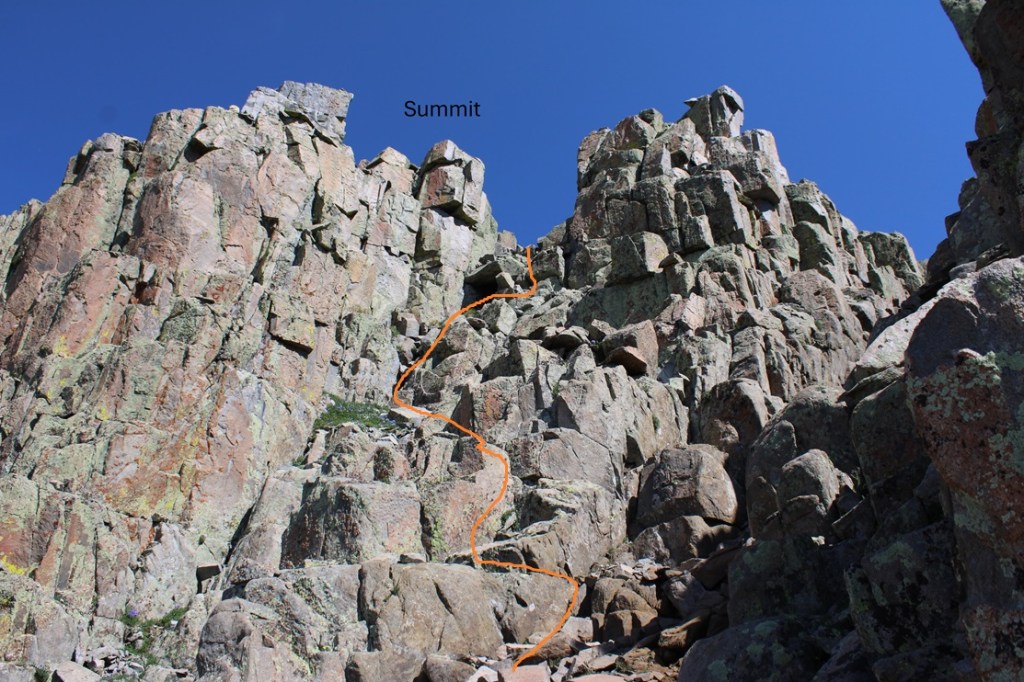
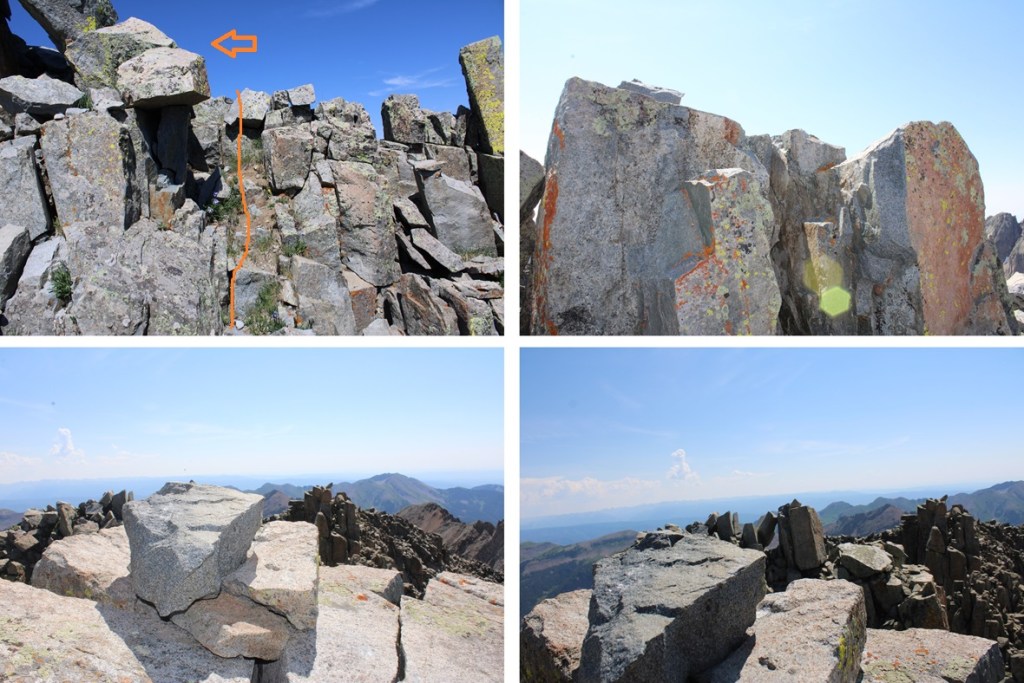
This is the route I took to ascend the gully.  There’s a difficult 3/easy 4 chimney to ascend, just below a cool looking cave.  Ascend straight up to the cave, to right around the cave, and the summit will be to the left. 

And some pictures up the gully.

Once you get past the cave, the summit is to your left

It’s an easy trek to get there, up a small ramp

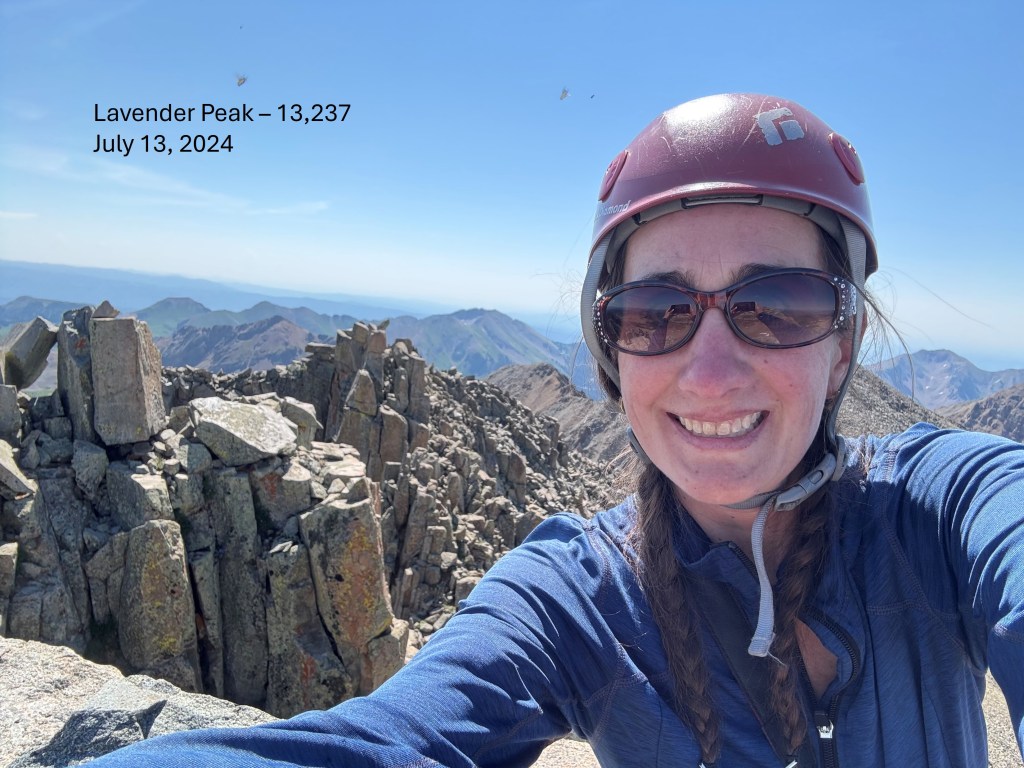
I summited Lavender Peak at 10:45am

Lavender Peak:

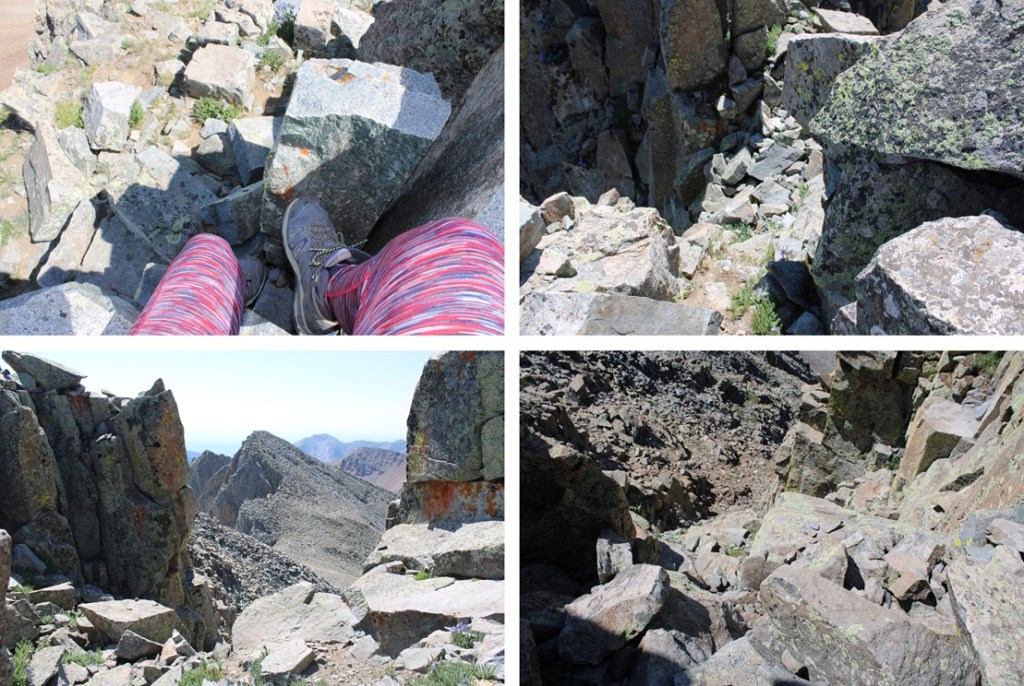
And now to head back down.  Here are some pictures of my way back down the gully.  I turned and faced the mountain for much of the trek down.

Safely down the gully, I made my way back to the Moss/Lavender saddle

Having no desire to summit Mount Moss again, I decided to traverse below the summit, staying at around 12900’ to get to the ridge

Once on the ridge, I followed it south to my entry point

And then back down into Tomahawk Basin

I made my way back to the scree trail

Then followed it back down to the 4WD road.

I followed the road a little more than 2 miles back down to the trailhead

I made it back to the trailhead at 1:30pm, making this a 10.58 mile hike with 3604’ of elevation gain in 7.5 hours

On to the next trailhead!
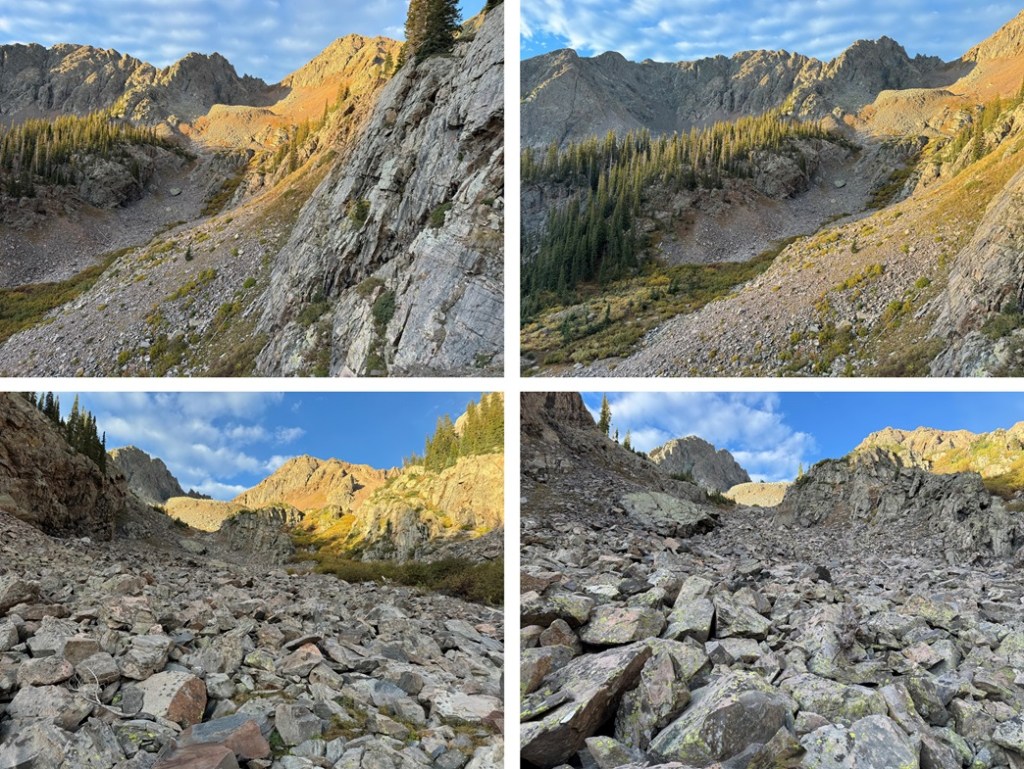
Fools Pyramid – 13,290 and PT 13274

RT Length (from basecamp):  1858’

Elevation Gain (from basecamp): 5.12 miles

Note: there’s a long approach for these peaks, so I decided to make this a backpacking trip.  I found a great basecamp for the Rio Grande Pyramid 13ers (and others).  The approach is about 10 miles and 3100’ of elevation gain, coming from Thirtymile Campground.  The approach can be found here.   I started from Thirtymile campground at 2:30am and made it to 12210’ at 7:30am. 

I took some time to set up my campsite, and was on the trail again at 8:30am.  From my campsite near the Continental Divide Trail I headed northwest.  Maps show a trail here (Skyline Opal Lake Trail), but it was difficult to find.  Much of the trail was overgrown with willows and grass, so when I couldn’t find a trail, I kept heading northwest, and eventually found it again. 

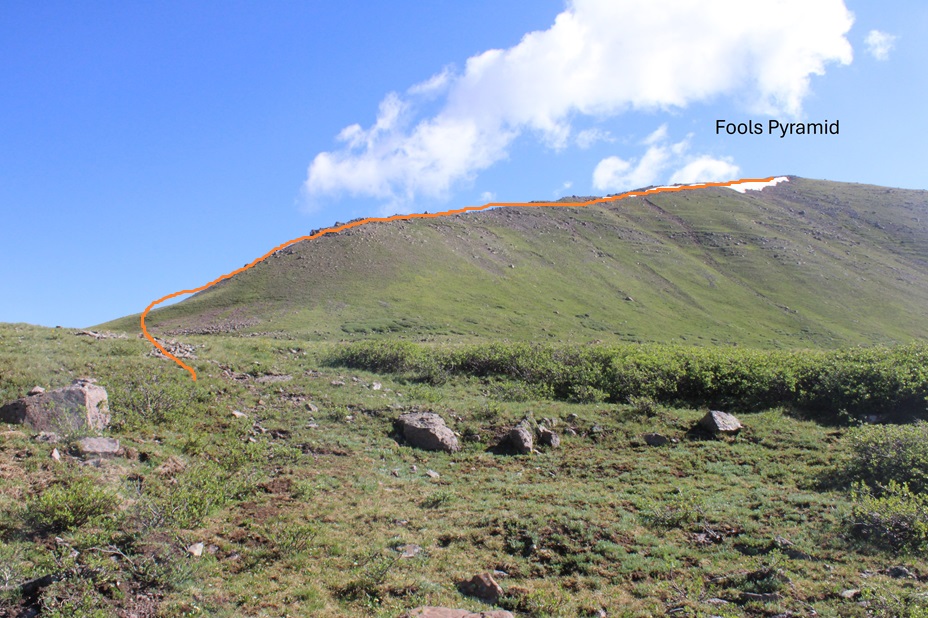
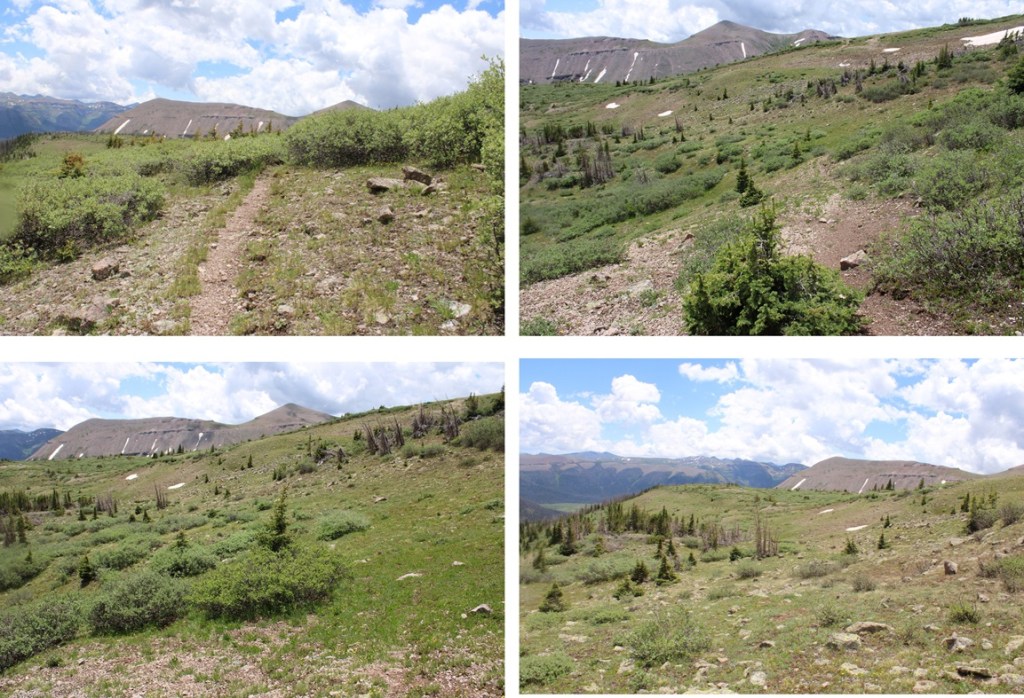
This is the overall route I took to gain the saddle between Rio Grande Pyramid and Fools Pyramid:

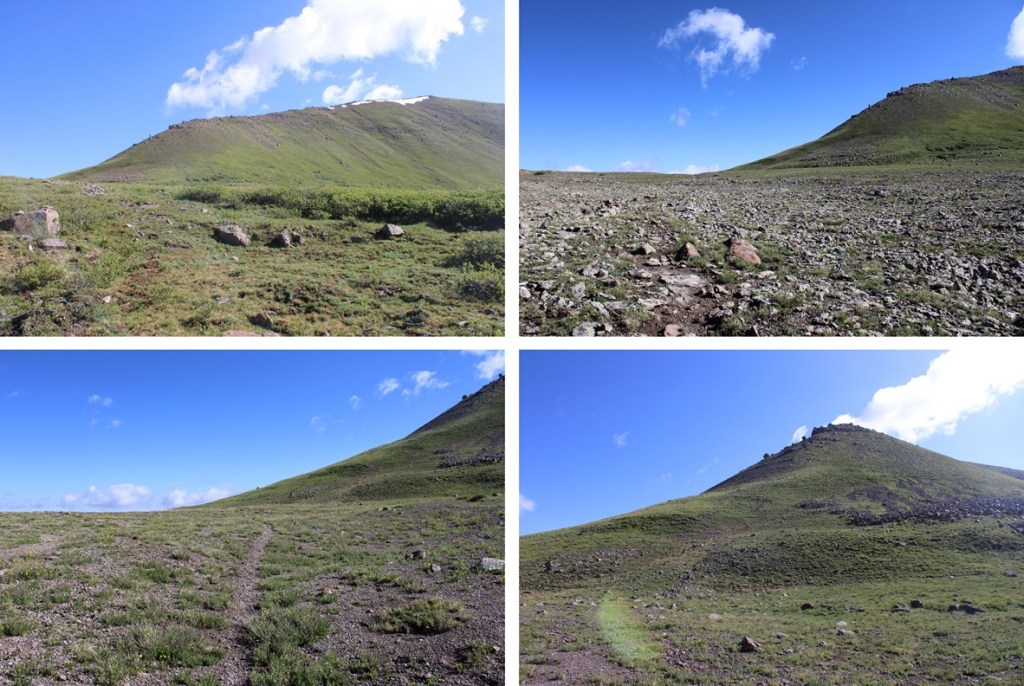
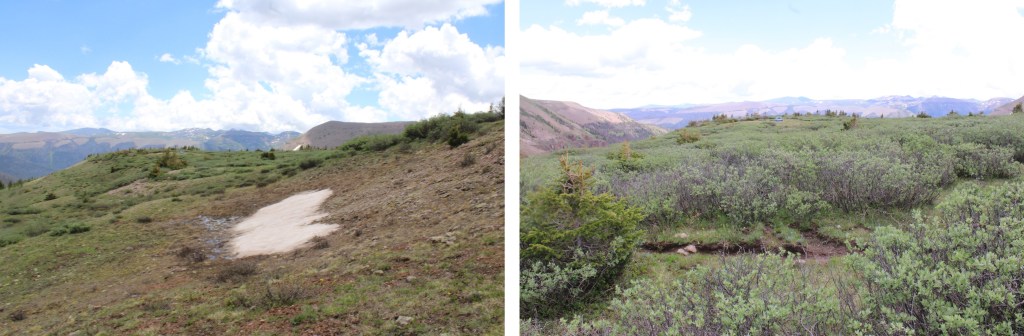
There is a point where you have the option to go east through the willows, or north on the gravel.  It’s a difficult junction to see, but if you see it, go north (it’s the way you’ll want to go anyways, because it’s a more defined trail.  Here are some pictures of the route to the saddle

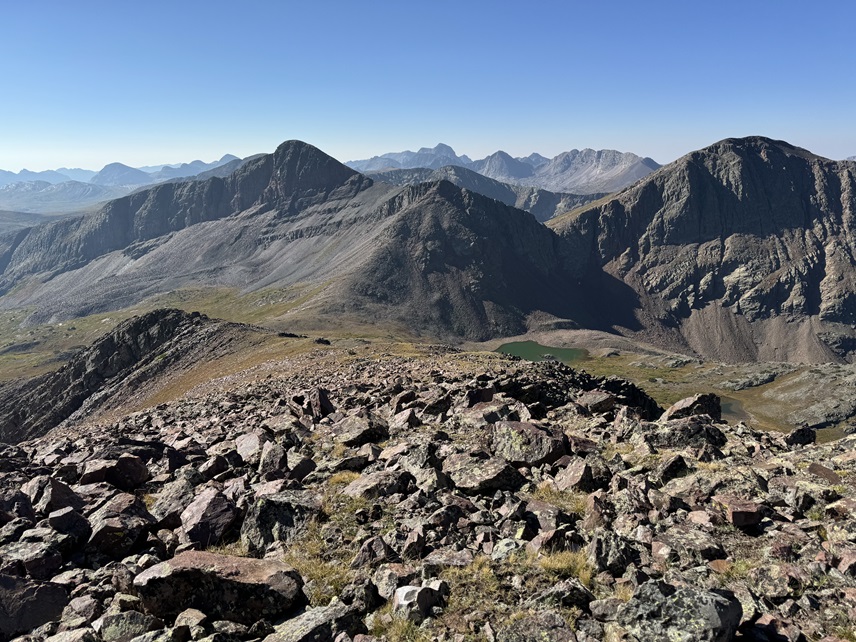
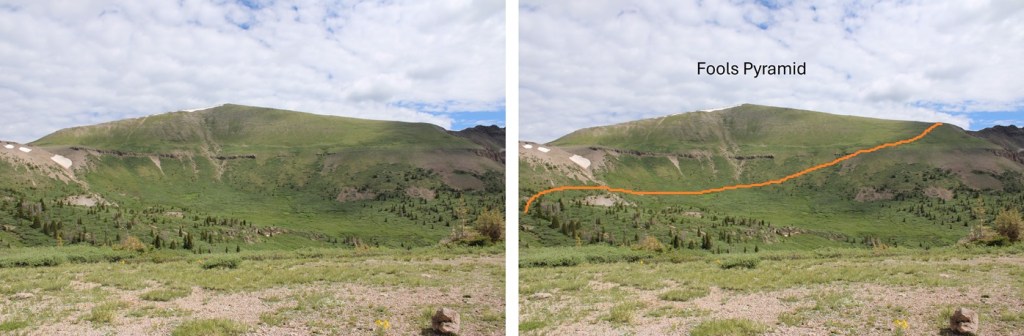
Once at the saddle, I had a clear view of Fools Pyramid

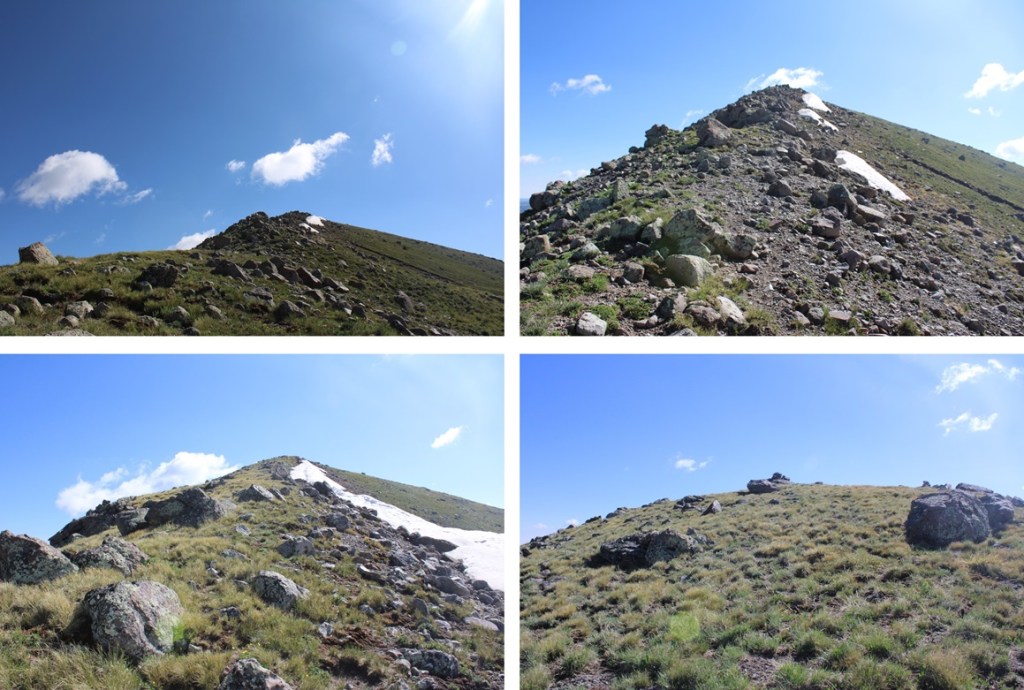
As you can imagine, it was an easy class 2 tundra walk to the top, with some rocks thrown in.  Here’s the overall route I took, heading straight for the ridge and then climbing the ridge to the summit:

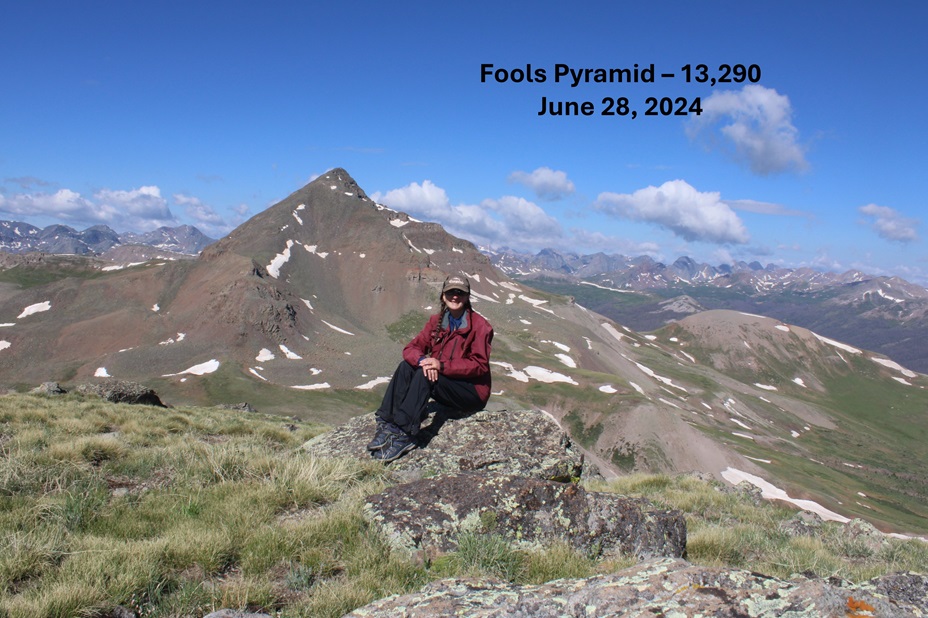
I summited Fools Pyramid at 9:30am

Fools Pyramid:

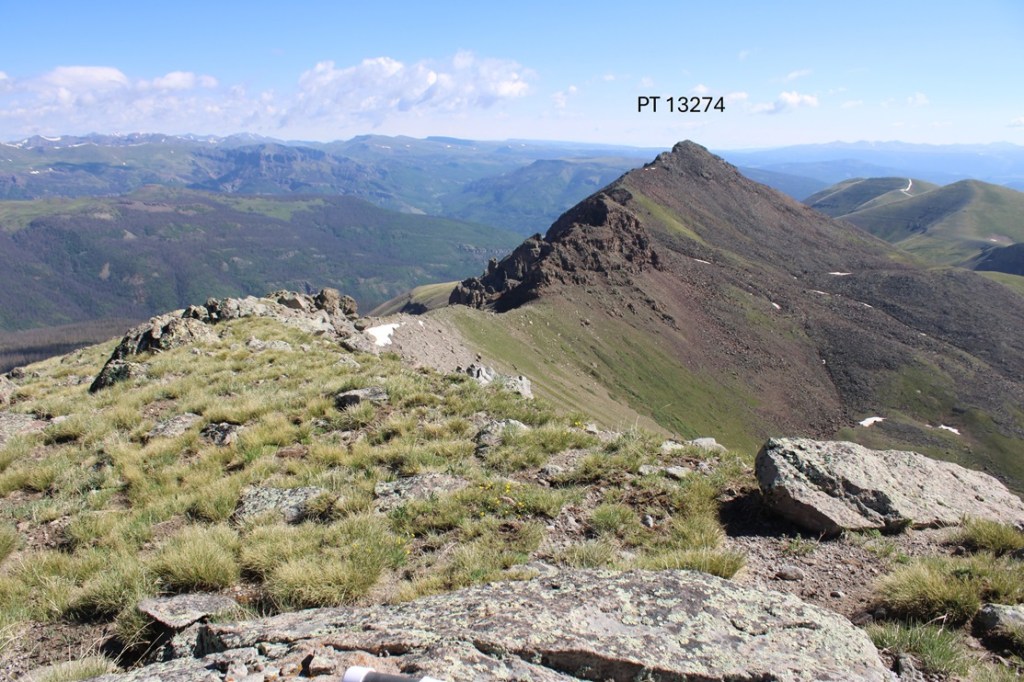
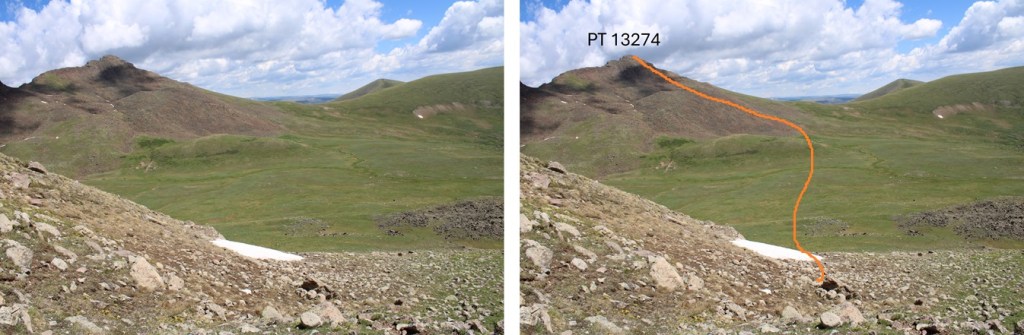
To the northeast I could see PT 13274

This looks daunting, but the route can be kept class 2 if you skirt the ridge.  Here’s the overall route I took:

First, I headed north towards the Fools Pyramid/PT 13274 saddle

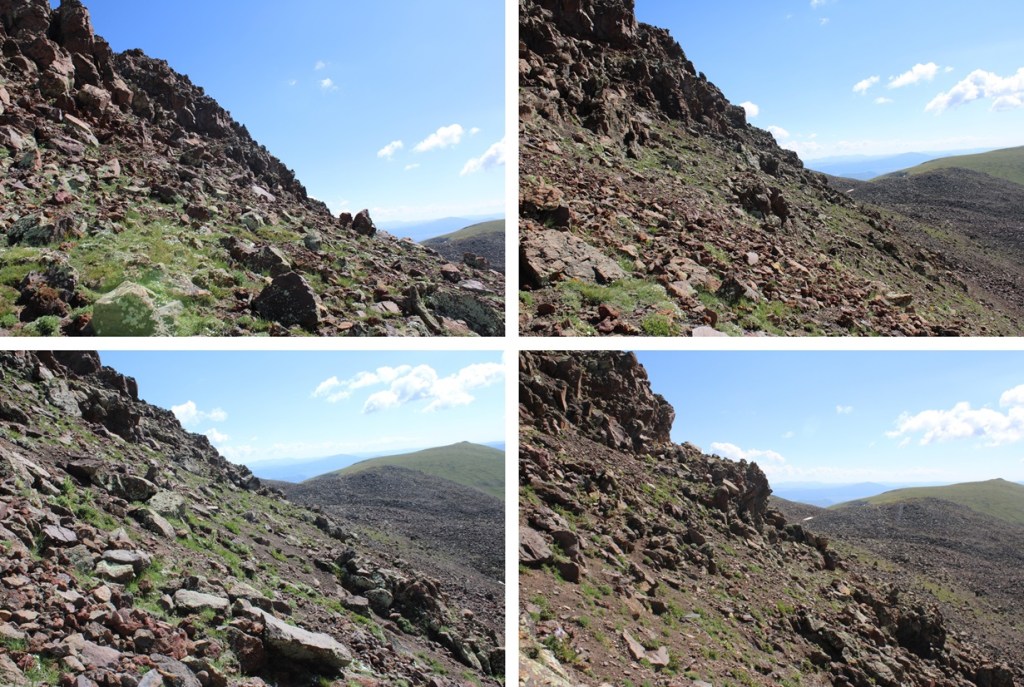
At the saddle I skirted the crumbly rock formations to the right, dropping down to about 12990’

Then I found a gully and re-gained the ridge. 

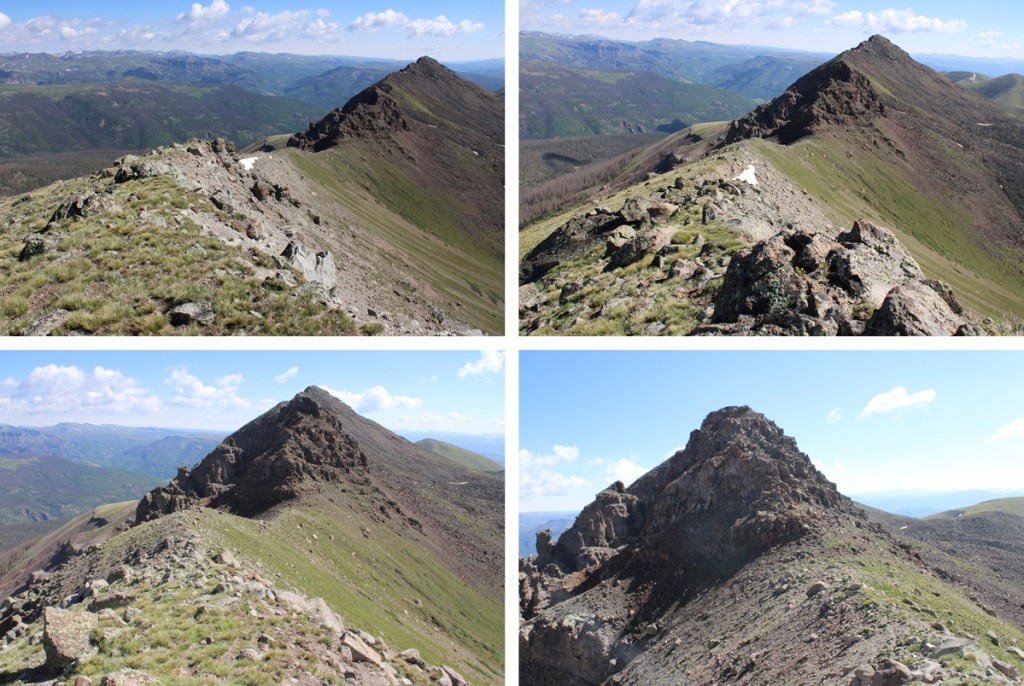
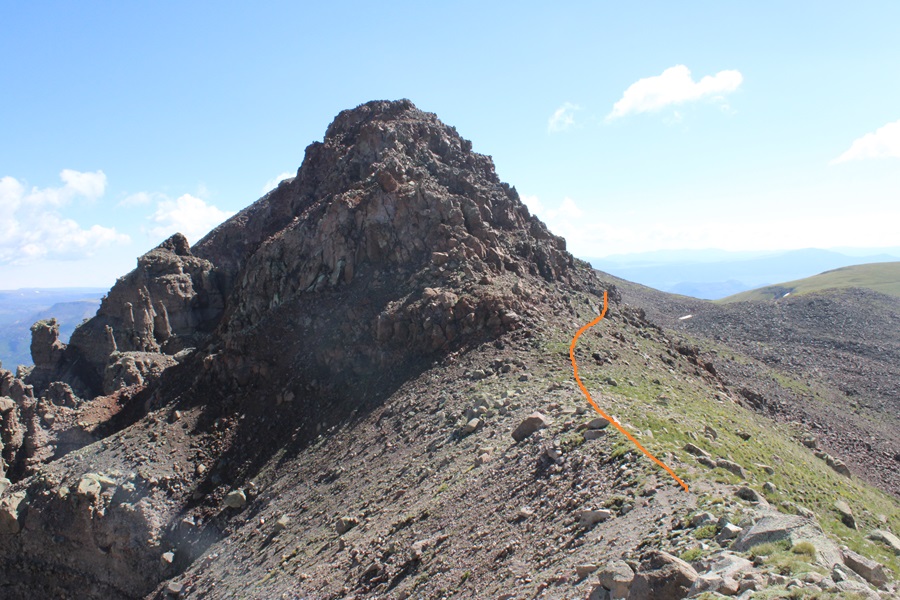
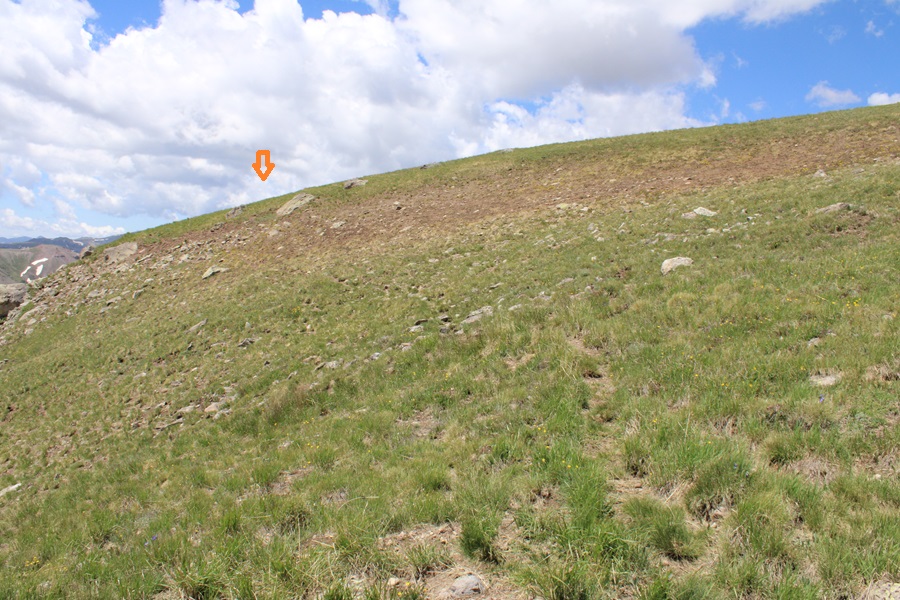
I then followed the ridge to the summit.  Even though it’s rocky, this can be kept class 2.  If you’re in class 3 territory, you’re trying too hard.  Here are some pictures of my route to the summit.  I stayed to the right of the ridge the entire time.

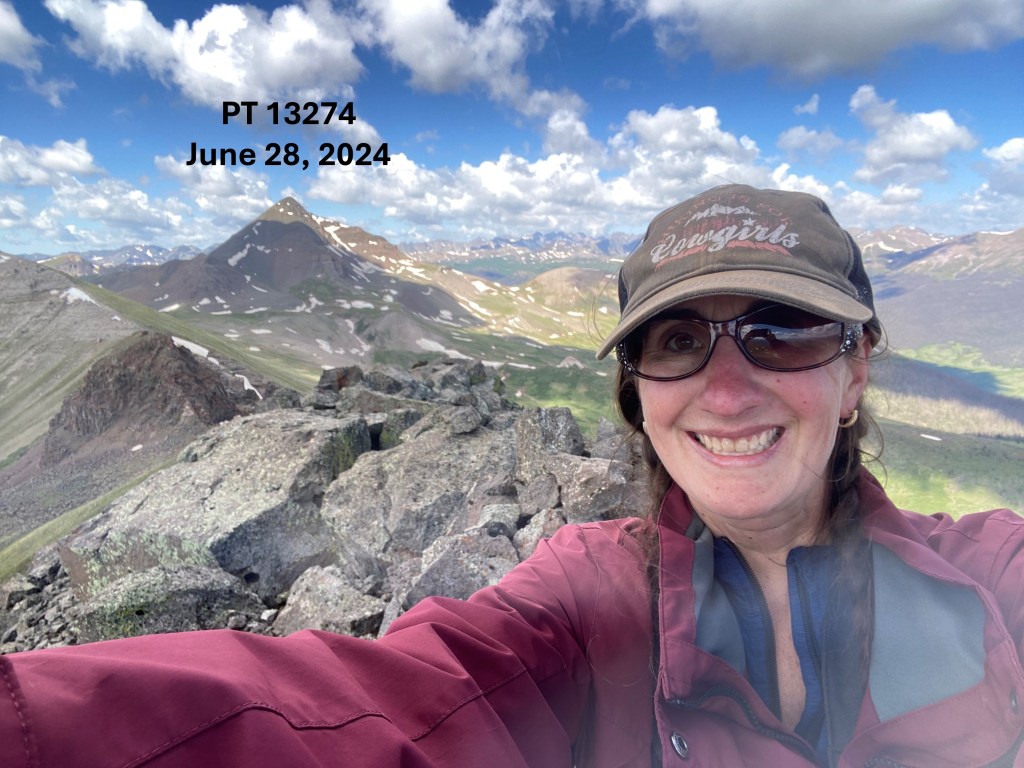
I summited PT 13274 at 10:30am.  Funny story, I didn’t realize I’d lost one of my lenses until about 20 minutes after taking this picture.  I later found and replaced the lens (which had popped out in my pocket).

PT 13274:

From the summit, here’s looking back on Fools Pyramid and Rio Grande Pyramid

I was making this a bit of a loop.  From the summit of 13274, this was my overall route to the saddle to the south.  This was choose your own adventure, but the route was obvious.

I found a lot of game trails here to get me down into the basin.  I lost 770’ of elevation heading down into the basin, then re-gained 340’ of elevation up the saddle.  

From the saddle, here’s a look back at my route down from PT 13274

The saddle was wide, so I headed a bit to the right, staying on the tundra.

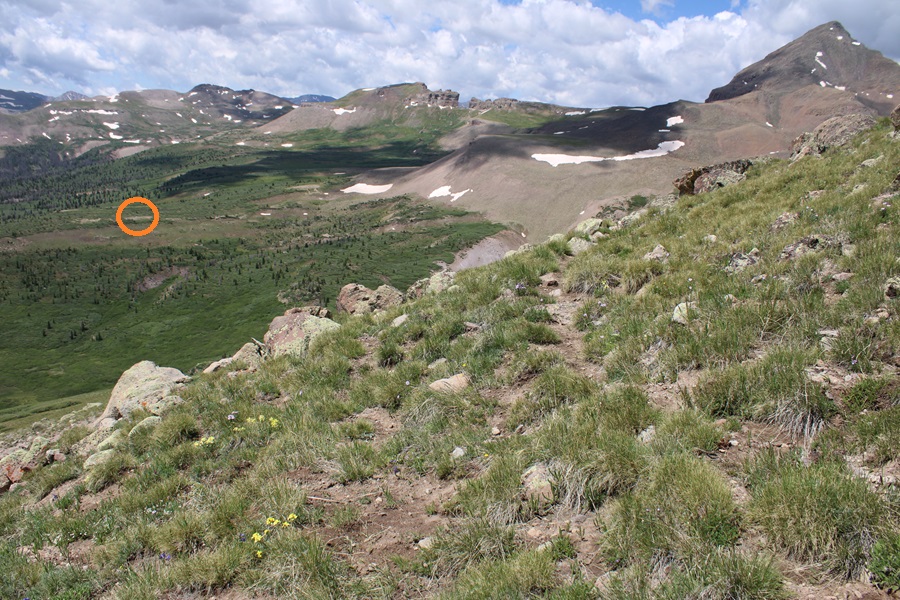
From the here, I could see my campsite to the southwest. 

There are several ways to make it back down into the basin.  I considered just staying parallel with the ridge at about 12600’ and picking back up the trail I came in on at the saddle of Rio Grande Pyramid and Fools Pyramid.  There are no established trails here, but I knew the Skyline Opal Lake Trail was directly below me, so I decided to do my best to make it back down to the trail.  If you look closely, you’ll see the trail below you.

I headed east and south down the slope to find the Skyline Opal Lake Trail

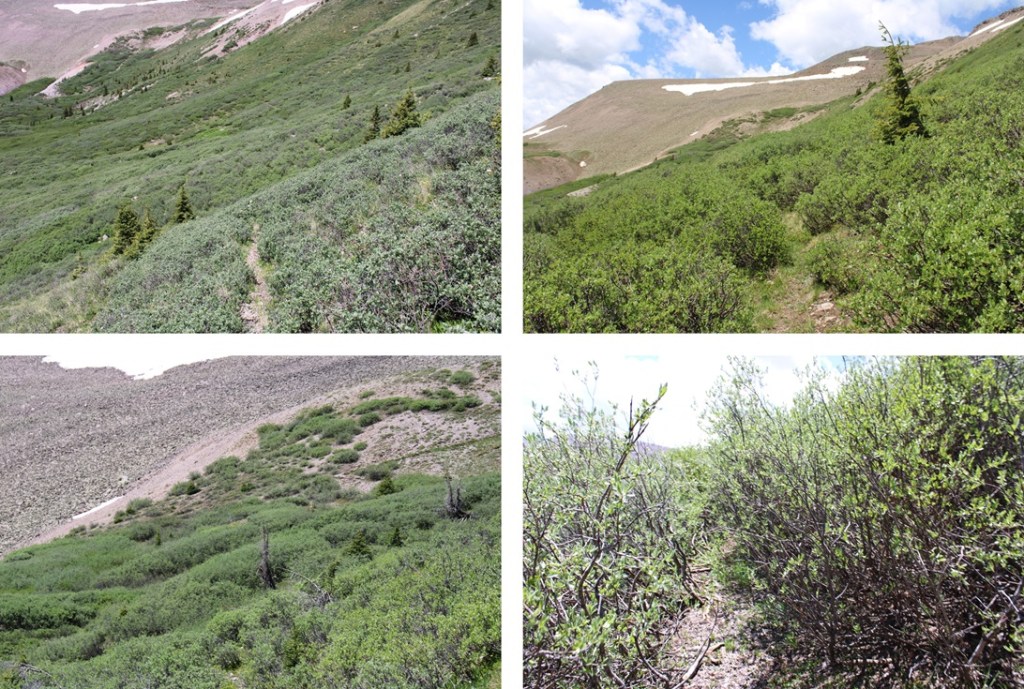
Now on an established trail, I followed it as it hugged the side of the basin, losing it every once in a while and finding it again through the willows.

This brought me back to the trail I came in on, near the rocky area

I followed the trail south as best I could back to my campsite at 12210’

From my campsite, here’s a view of my descent from the saddle back to the Skyline Opal Lake Trail.

I made it back to basecamp at 12pm, making this a 5.12 mile hike with 1858’ of elevation gain from 12210’

Basecamp for Rio Grande Pyramid 13ers

This report will get you to many of the 13ers and 12ers in the Rio Grande Pyramid Group, starting from the trailhead in Thirtymile Campground.  It’s a 10 mile trek with 3150’ of elevation gain just to this basecamp, not including adding on mileage and elevation gain for the peaks, so while these peaks are certainly doable in a day if you’re fit and experienced, I decided the last time I was here to take my time and make it a several day trip on my next adventure.  As an added bonus of spending the night at this basecamp, the views of Rio Grande Pyramid, Fools Pyramid, PT 13022, and Window Peak/Window Rock are breathtaking. 

There are several ways to get to this basecamp at 12210’, and I’ve taken many of them, but the one I’m detailing here is by far the most direct and easiest to follow.  The other trails require good route finding and navigating through endless willows, making the trail more difficult to find/follow, especially in the dark. 

I started by parking at the hikers parking lot at Thirtymile Campground. There are plenty of spaces here, and bathrooms nearby. 

The trail starts to the south of the parking area, and is clearly marked

After hiking for a short distance you’ll come to a trail register.  Here you have two options:  Squaw Creek Trail to the left, or Weminuche Creek Trail to the right.  Take the trail to the right.

I followed Weminuche Creek Trail (818) for a total of 7.25 miles. This trail starts off by skirting the south side of Rio Grande Reservoir

Then the trail goes through a rocky section before crossing a waterfall.  The waterfall is about 2 miles into the trek.

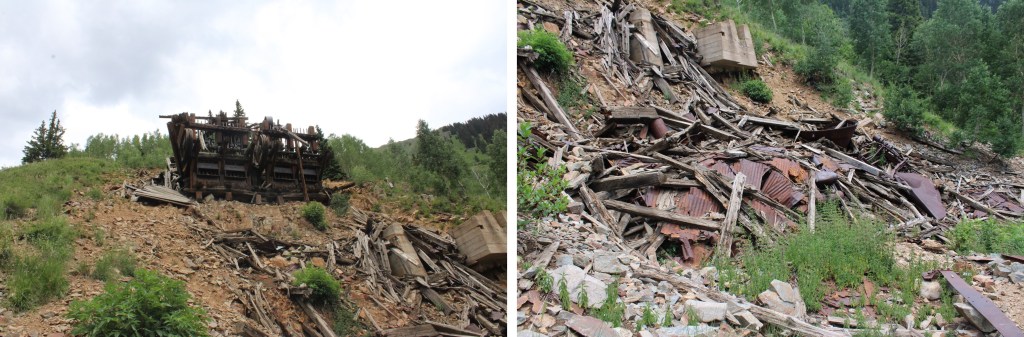
After the waterfall, there was a quick uphill section that would bring me to a large gulch, sprinkled with sections of hiking in the trees and small creek crossings.  I followed the trail southwest for another 5 miles.

Just after this post (which indicates the cutoff for the Opal Lake Trail, which I wouldn’t recommend taking, as it will lead you through bushwhacking adventures to the murderous willow section), there are some nice camping spots to the left, should you want to camp here.  There’s a fire ring, and the ability to filter water.

I continued on the Weminuche Trail, always staying to the right of Weminuche Creek.

After hiking for a total of around 7 miles, I came to the cutoff for the Continental Divide Trail.  Here I went right, onto the Continental Divide Trail. 

This is where the fun (elevation) begins.  For the next 3 or so miles it was uphill all the way, across meadows, around ponds, through trees, beside waterfalls, and through rocky areas.  From the very beginning you can see Rio Grande Pyramid to the northwest.  Just keep heading that way.

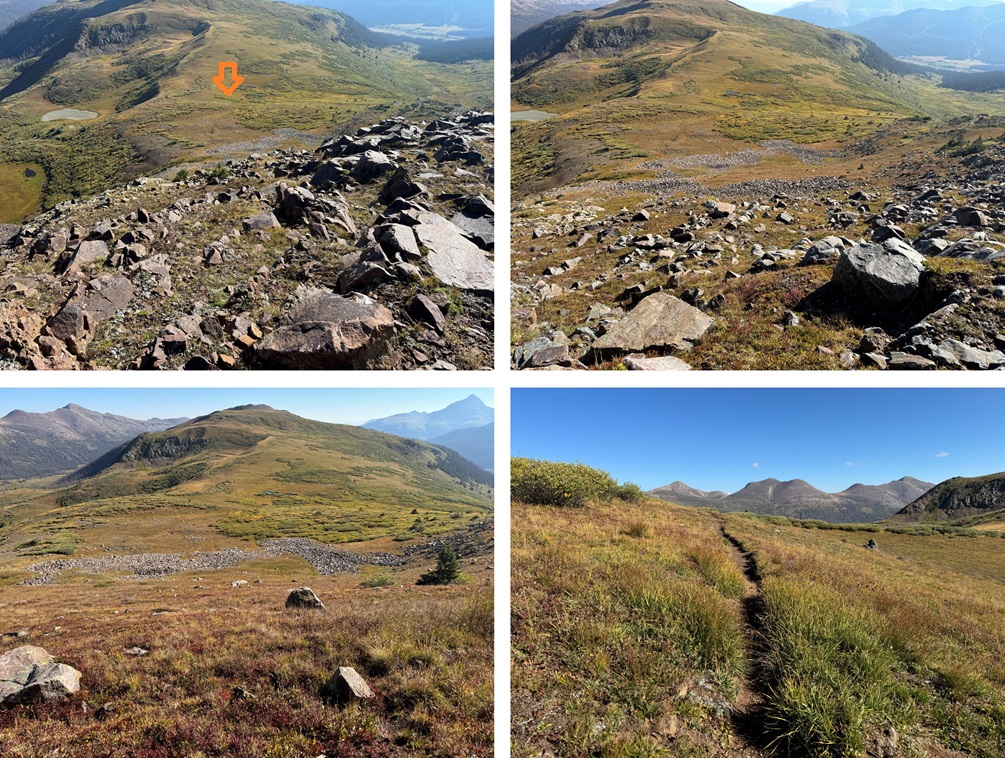
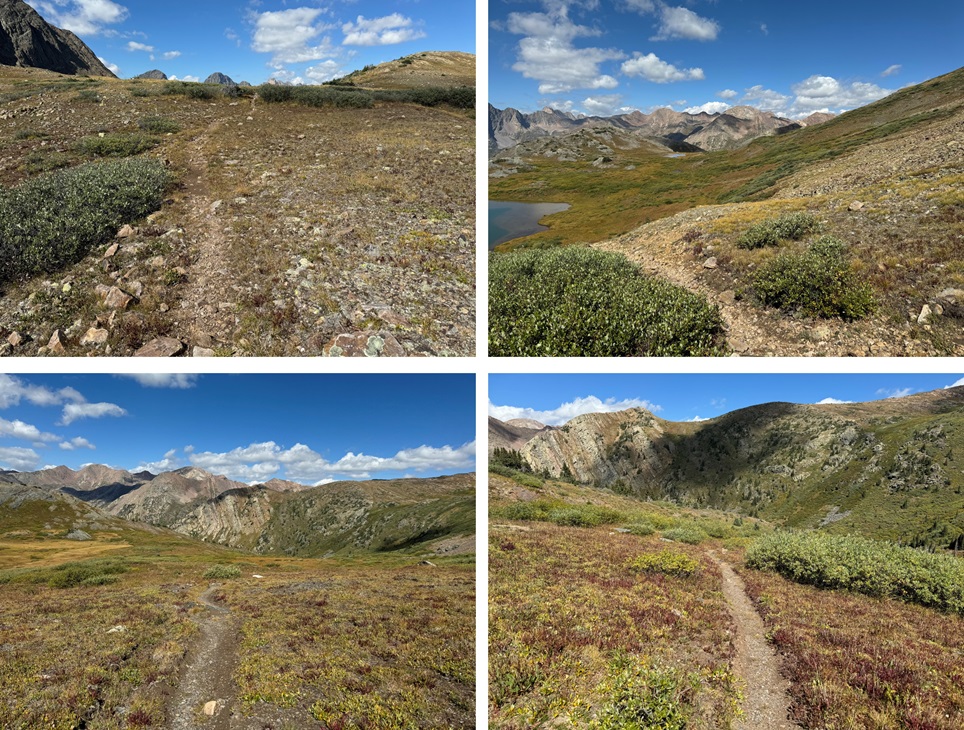
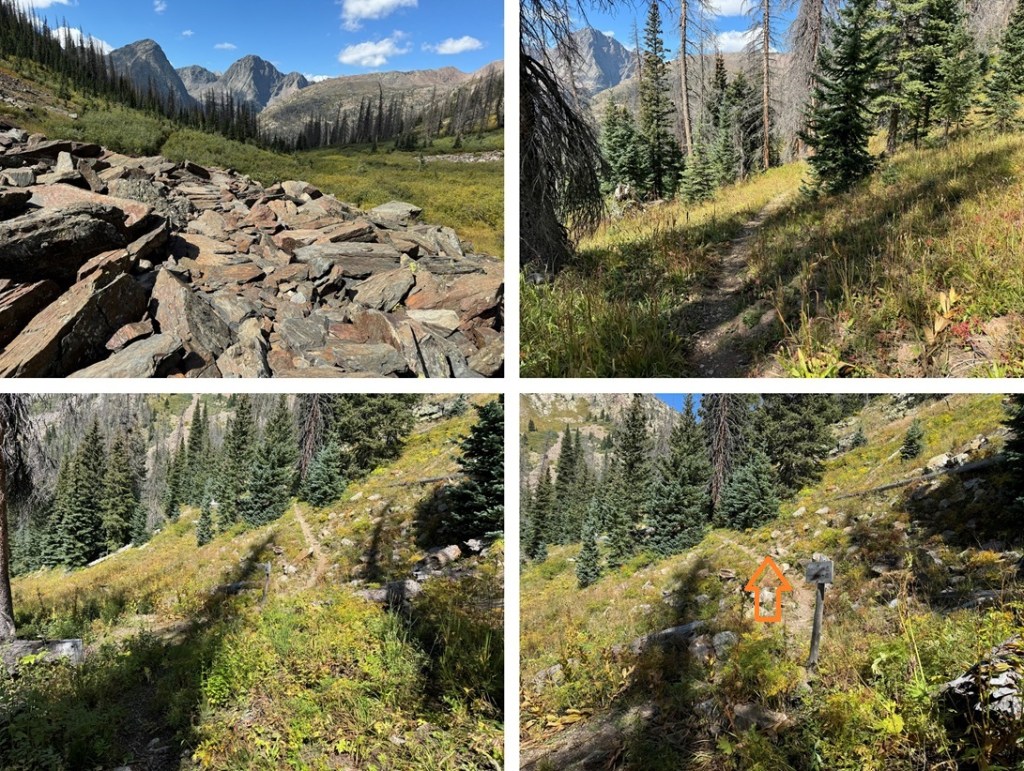
Here are some pictures of my way towards treeline

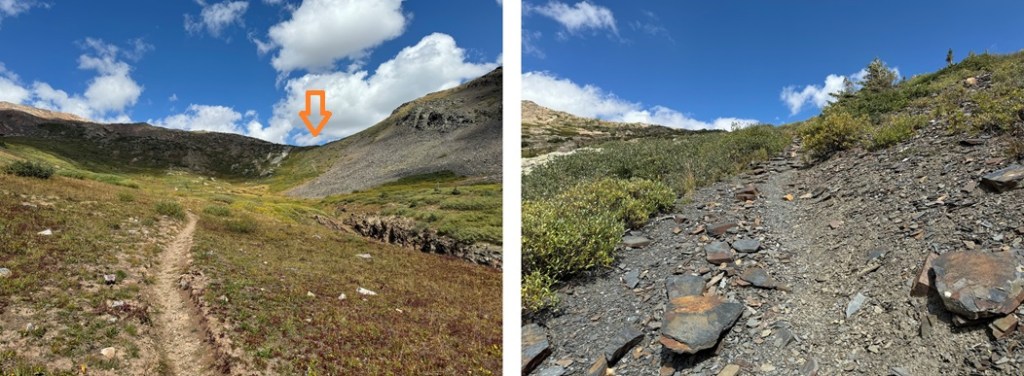
Just before treeline I came to a sandy area.  I’d been here before.  Make sure you take the trail to the left, across a small creek, and DO NOT take the sandy trail that goes straight. This will lead you into the willows. 

I crossed the small creek, and followed the trail for about another half mile, to about 12210’ of elevation.

Here there was a willowy area to the left, and a few yards away, plenty of camping space.   The camping area are hard to see from all those willows, but trust me, they’re there.

From my campsite, here’s my view of Rio Grande Pyramid.  The trail is in those willows.

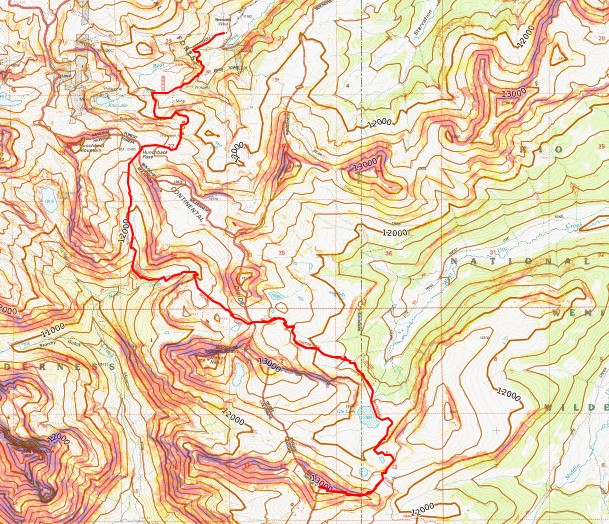
From here you’re at a great base area to climb 13022, Window Peak, Rio Grande Pyramid, Fools Pyramid, 13274, and various other peaks in the area.  Here’s a topo map of the route thus far:

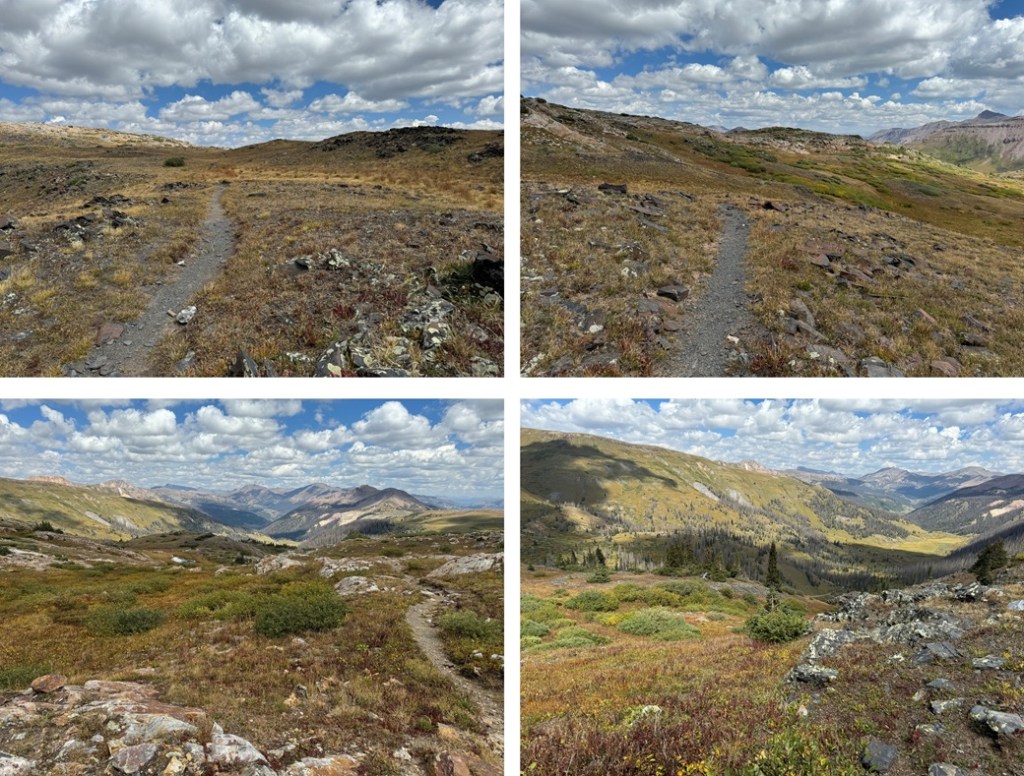
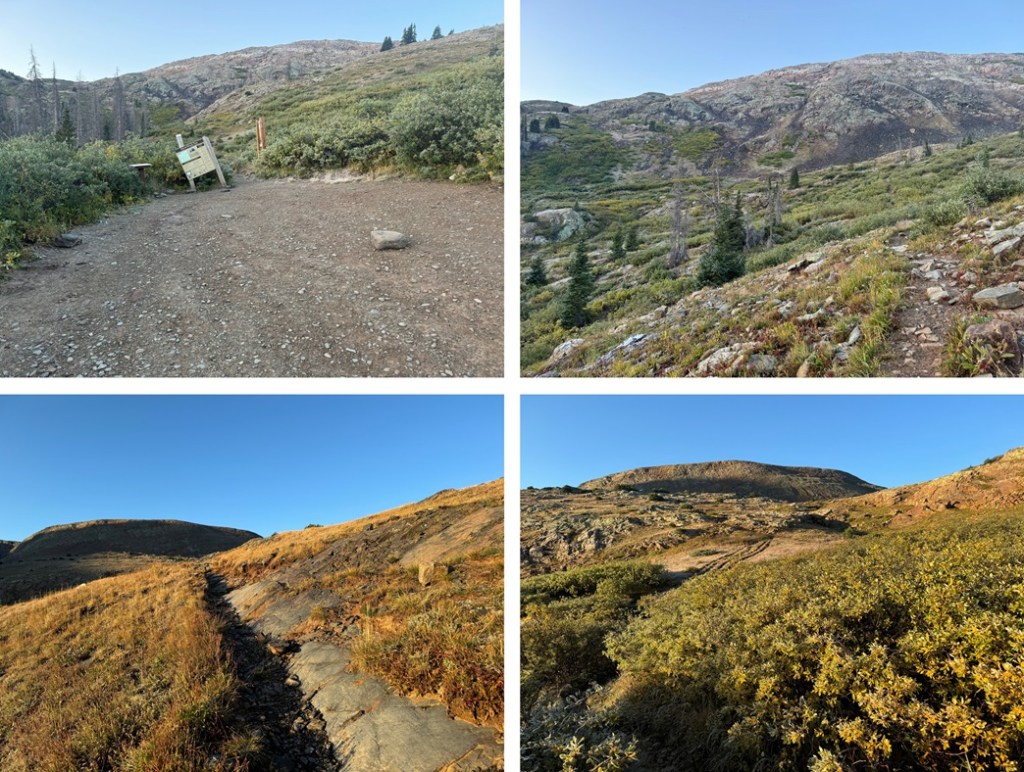
And now some pictures of the way out: