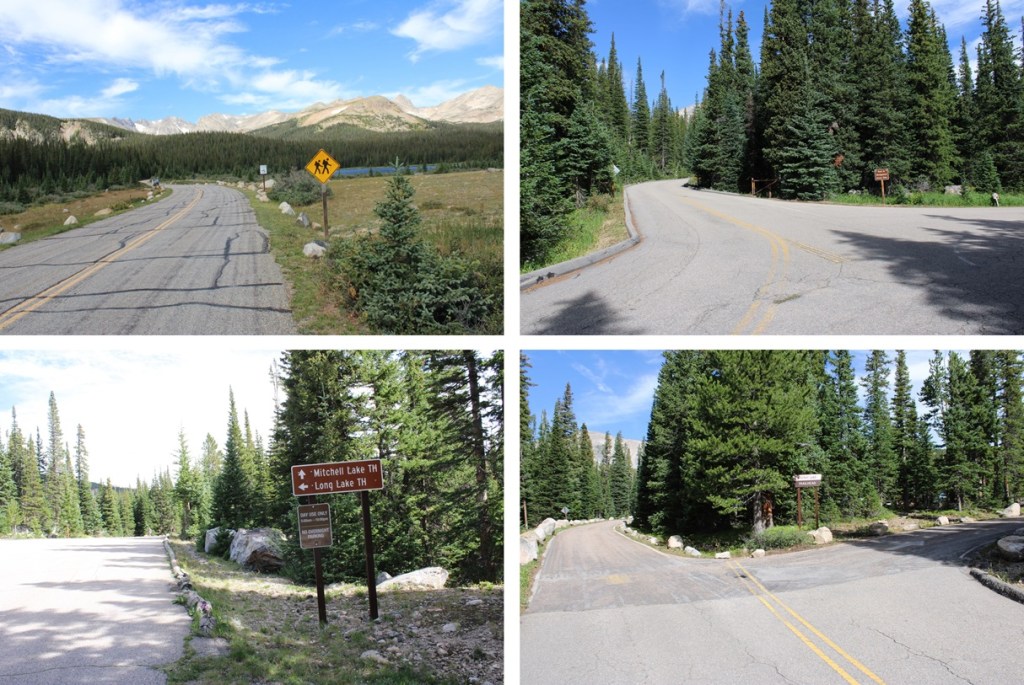
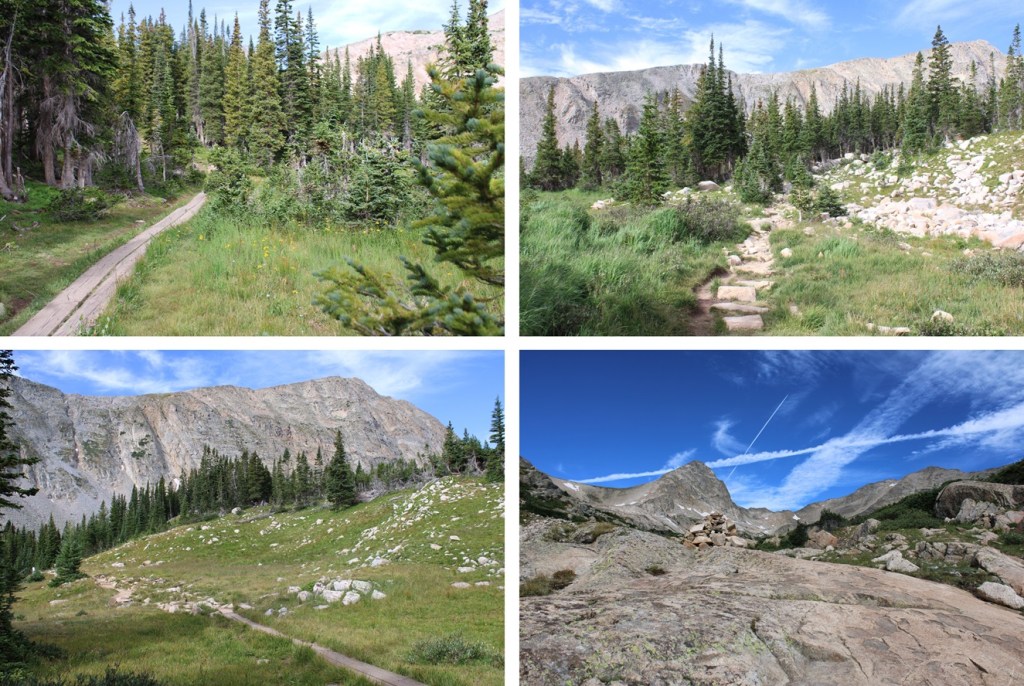
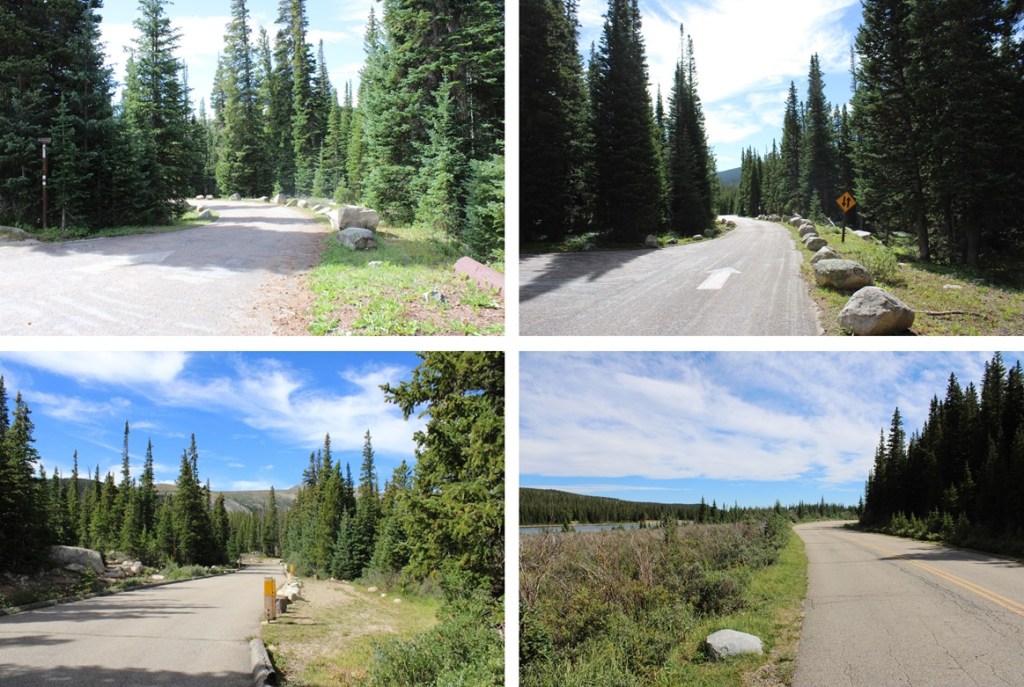
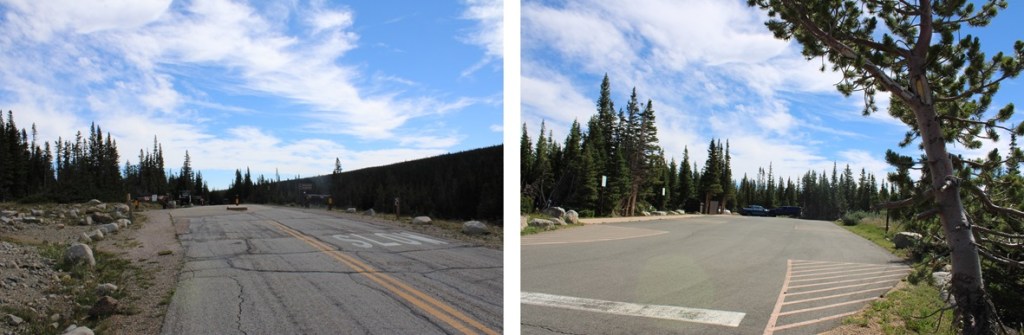
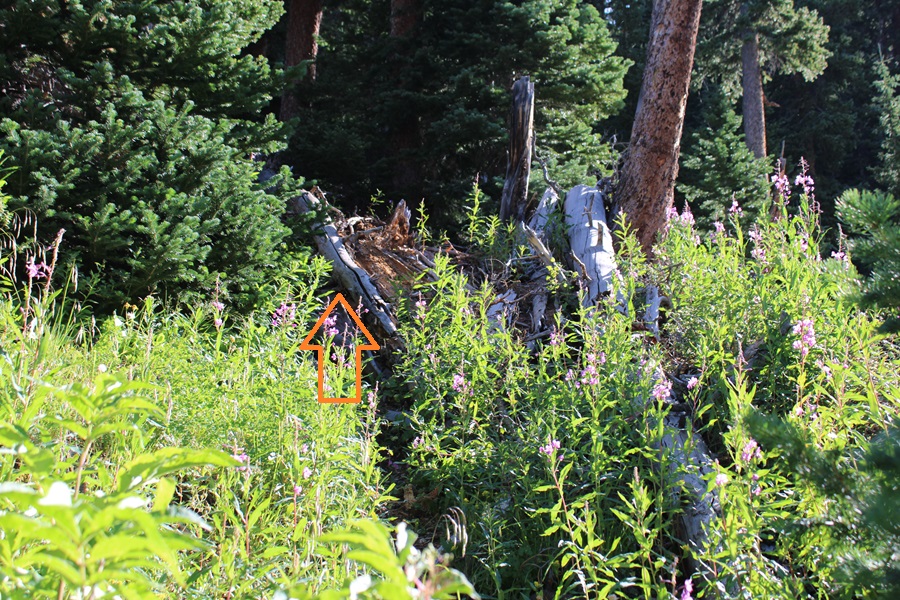
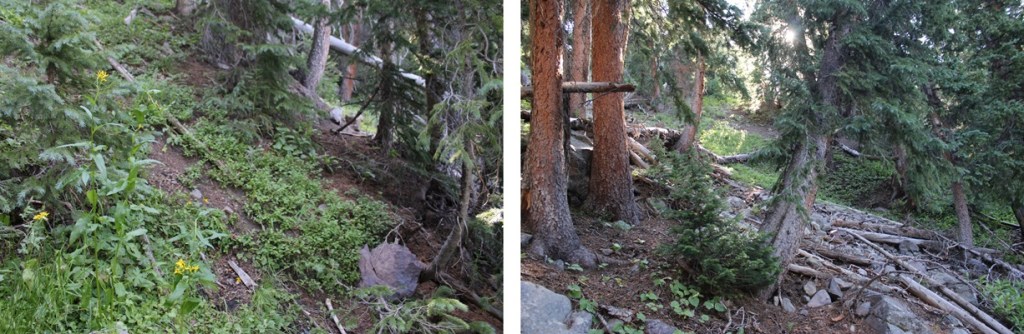
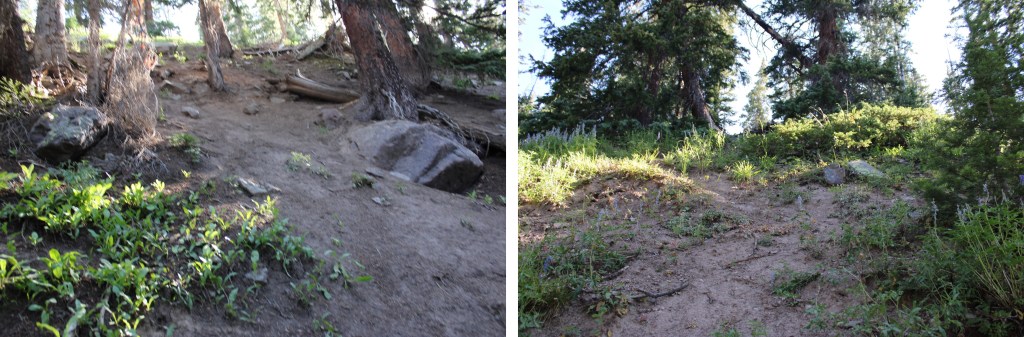
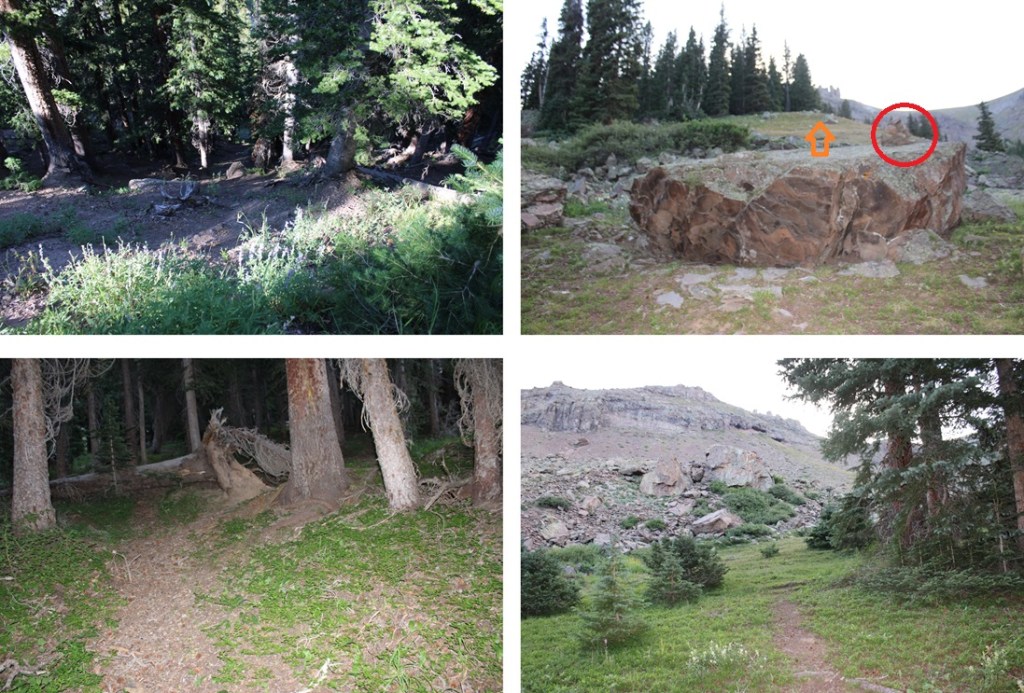
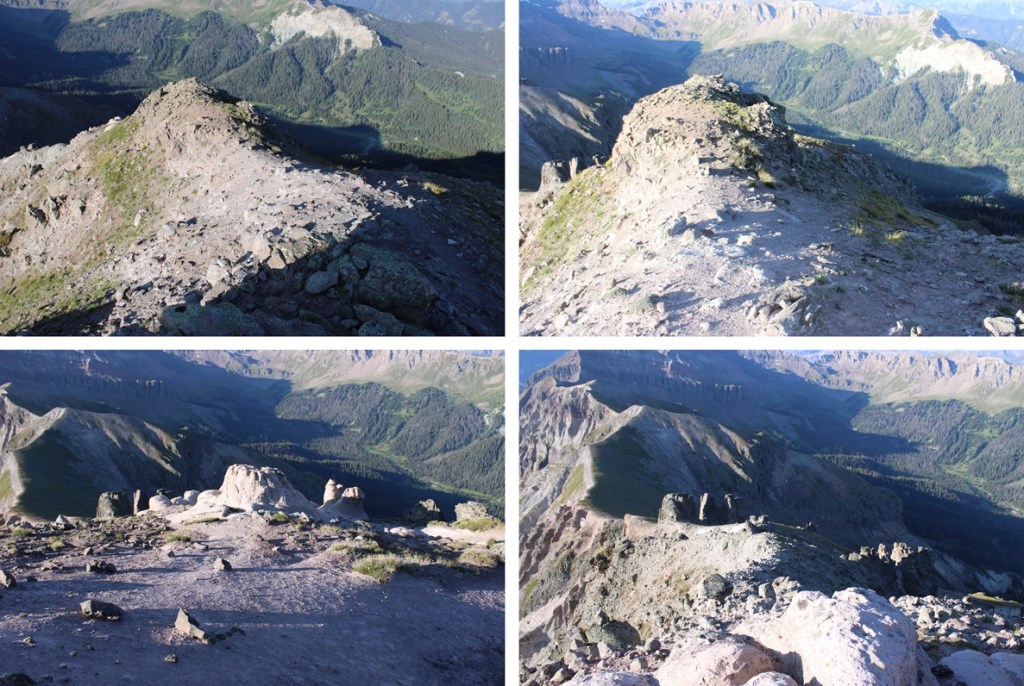
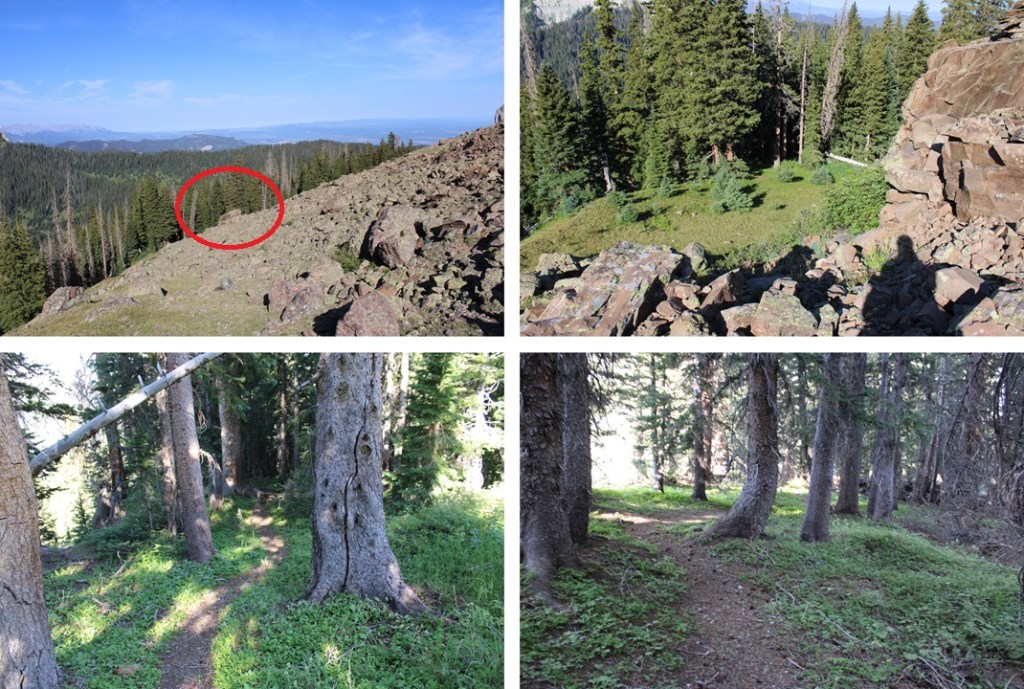
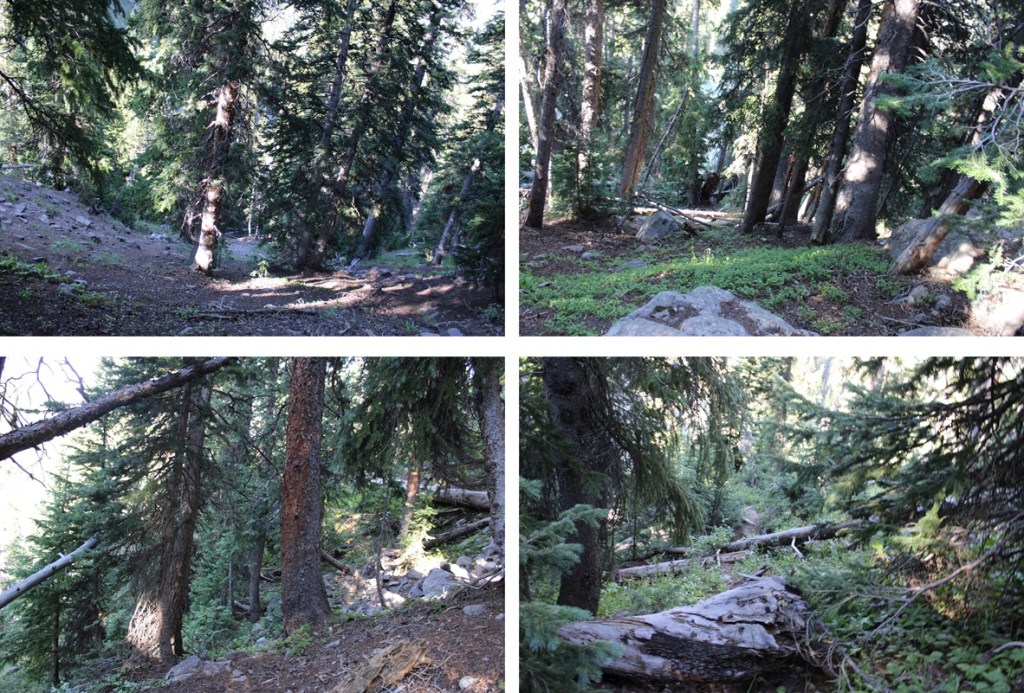
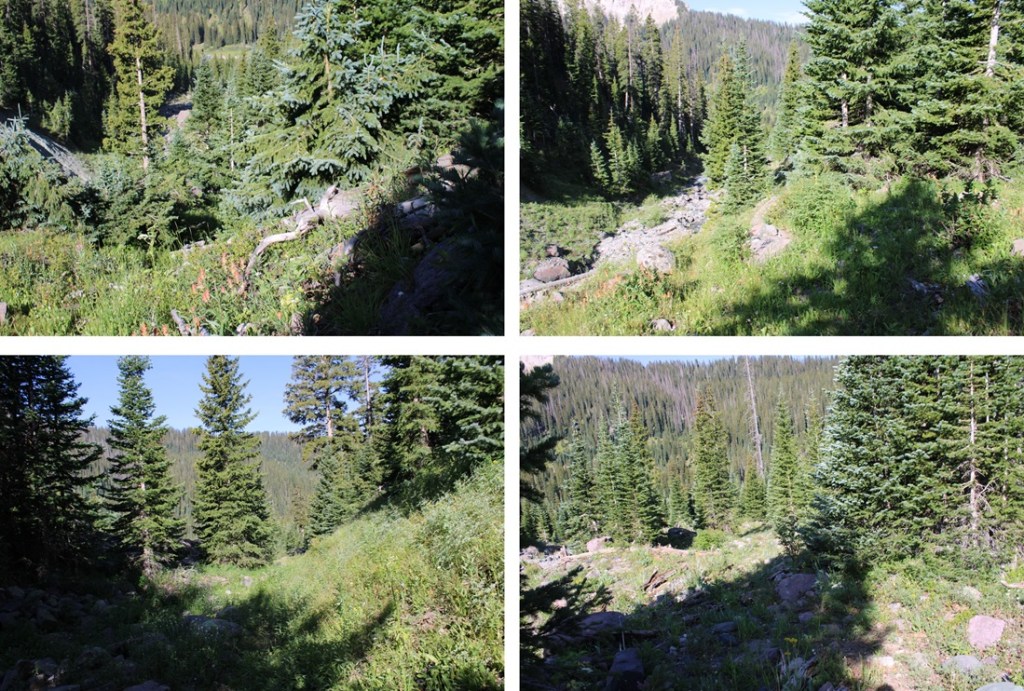
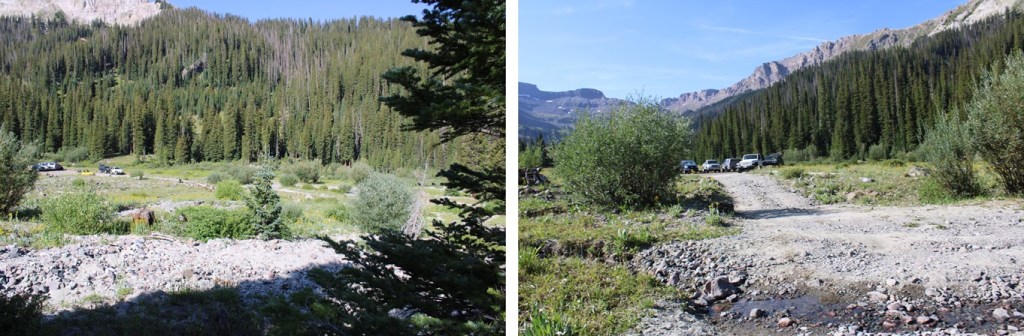
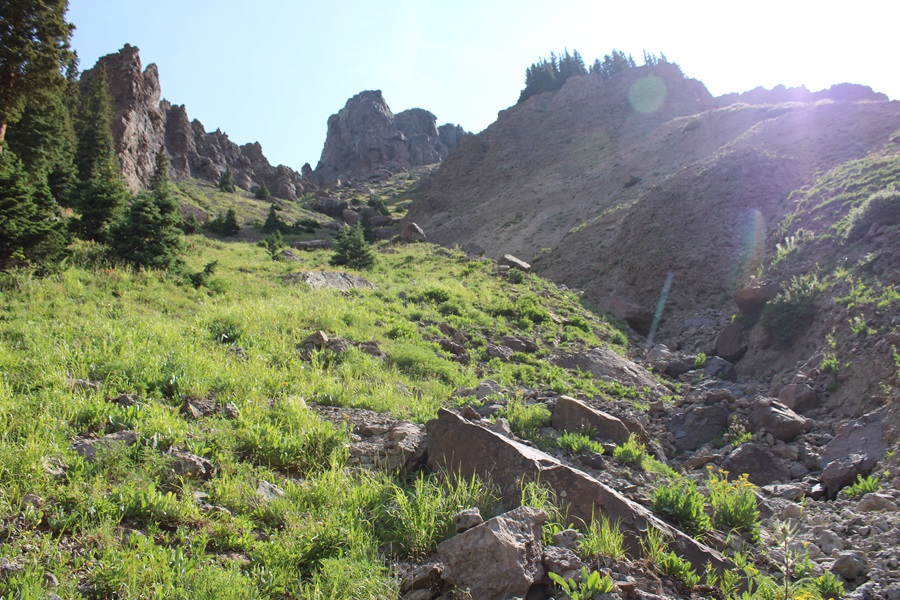
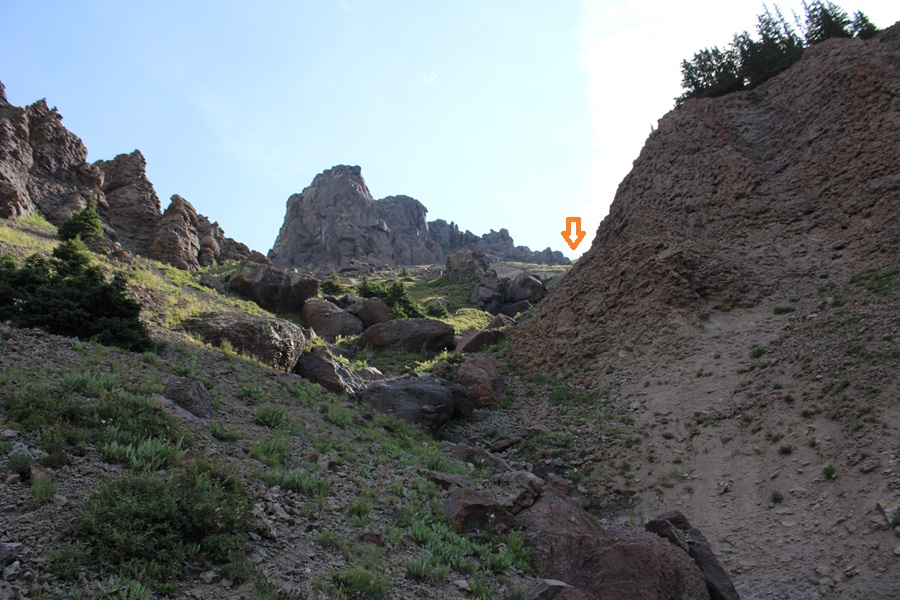
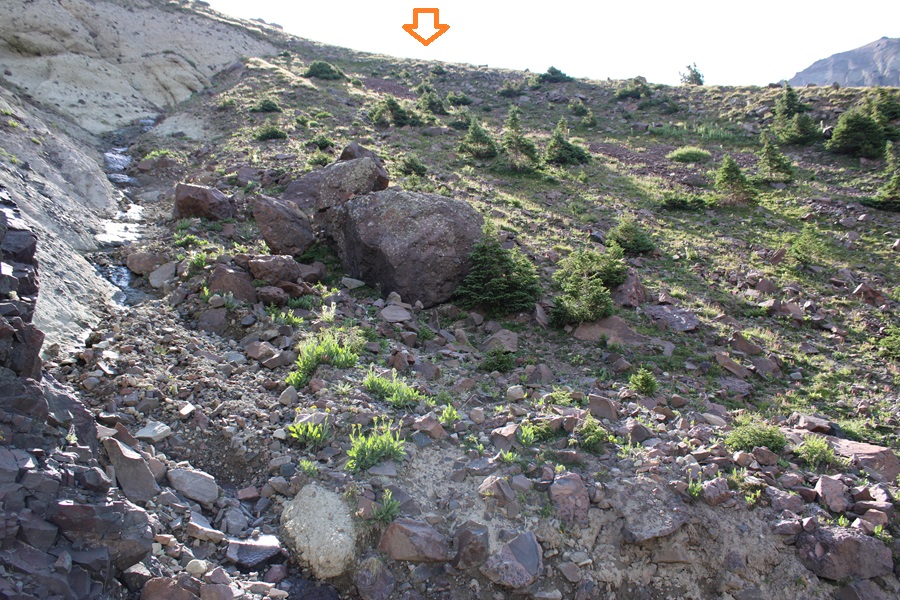
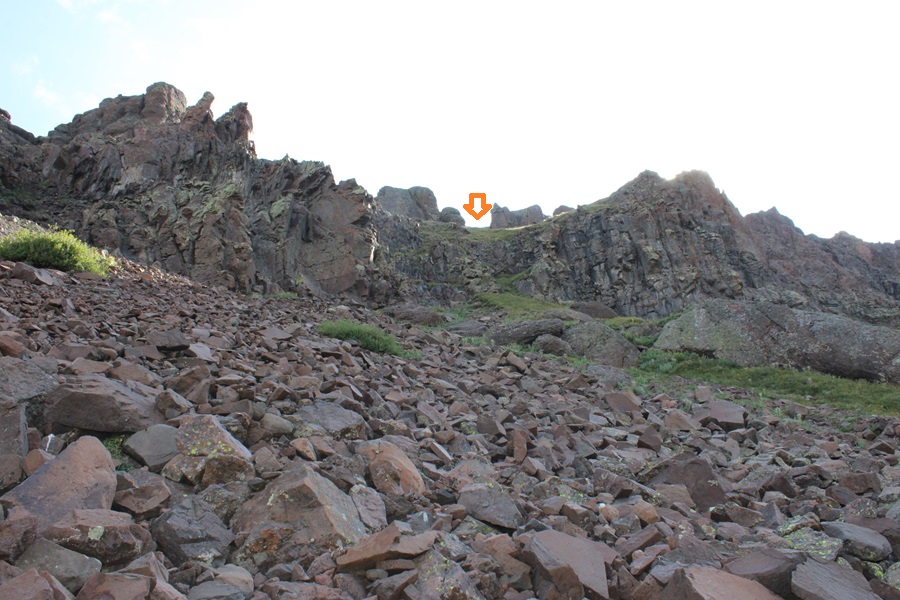
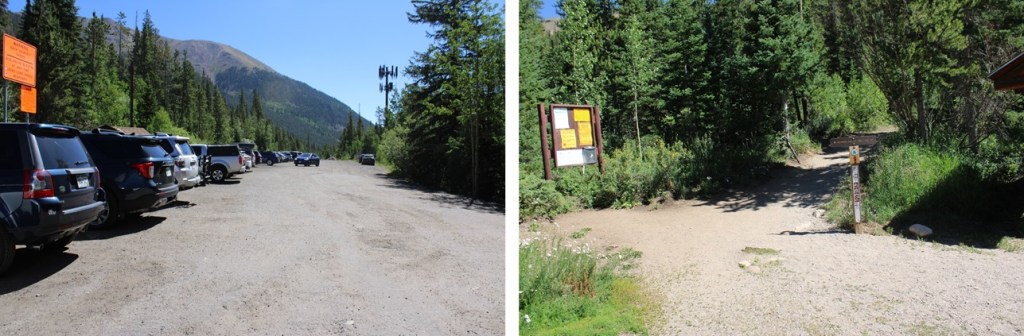
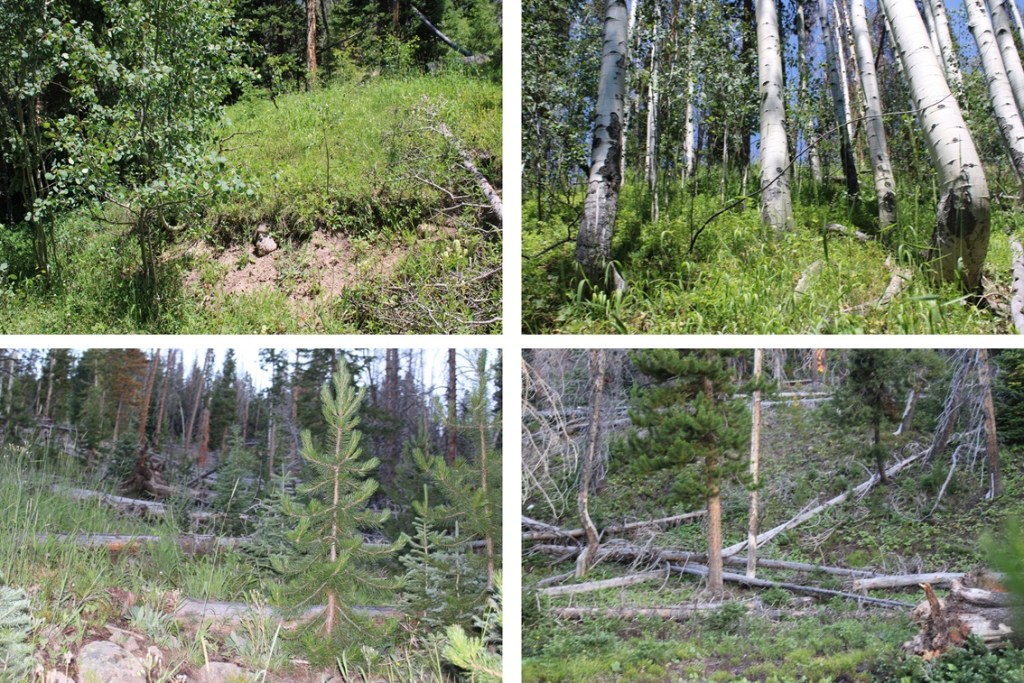
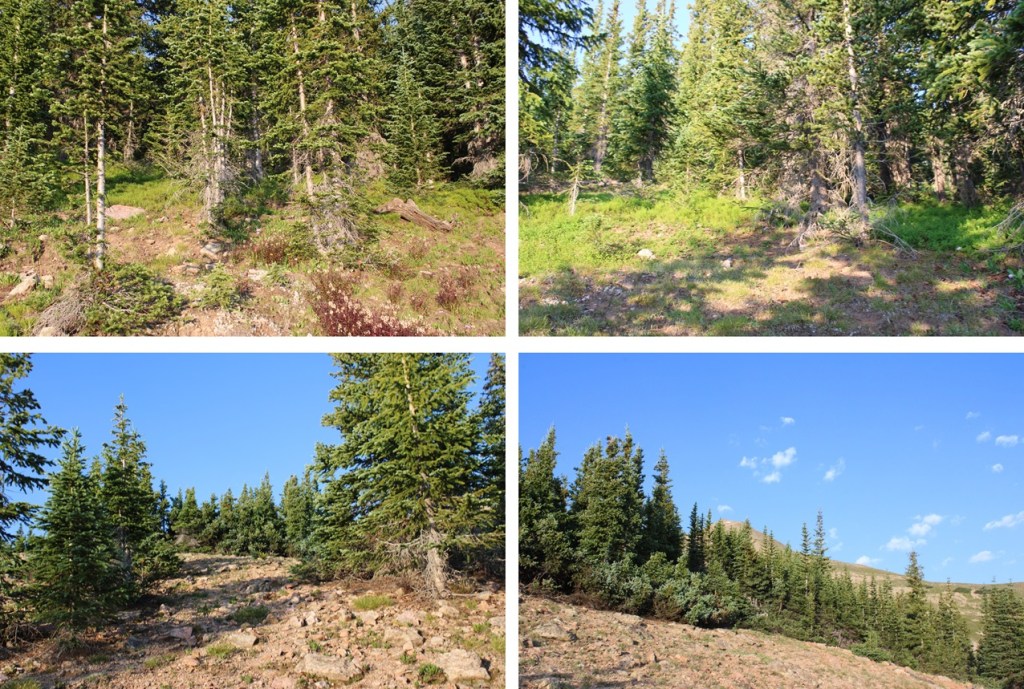
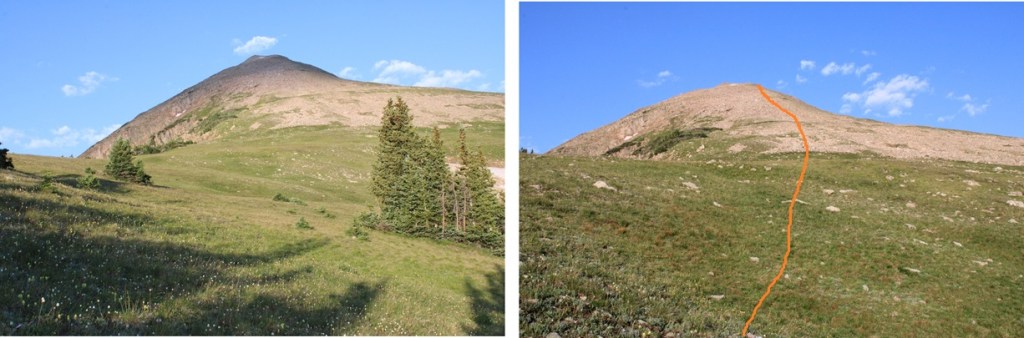
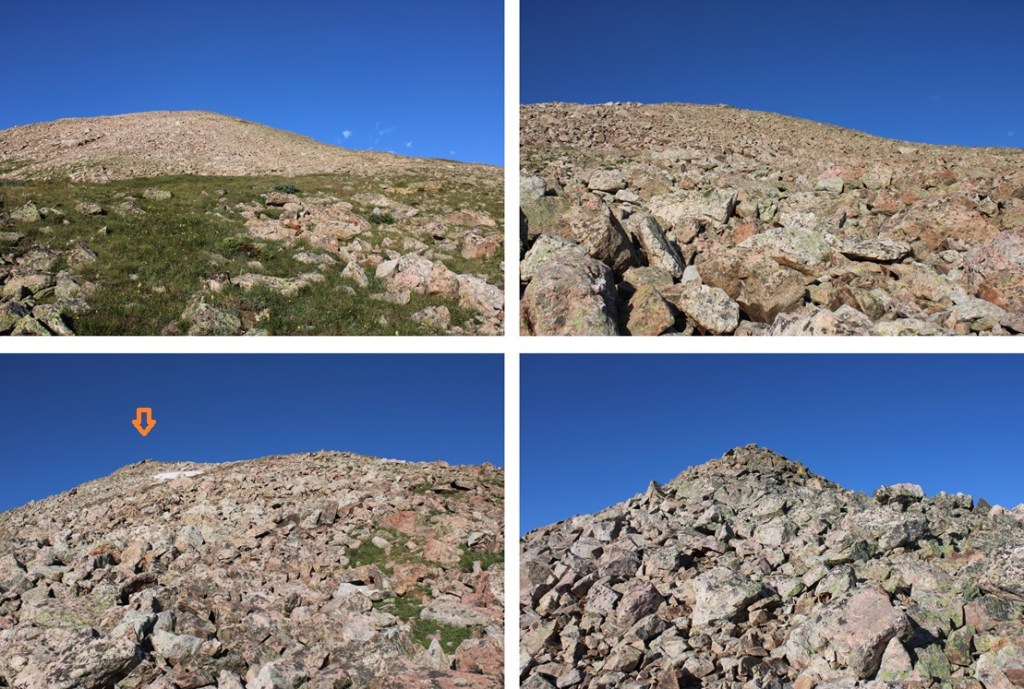
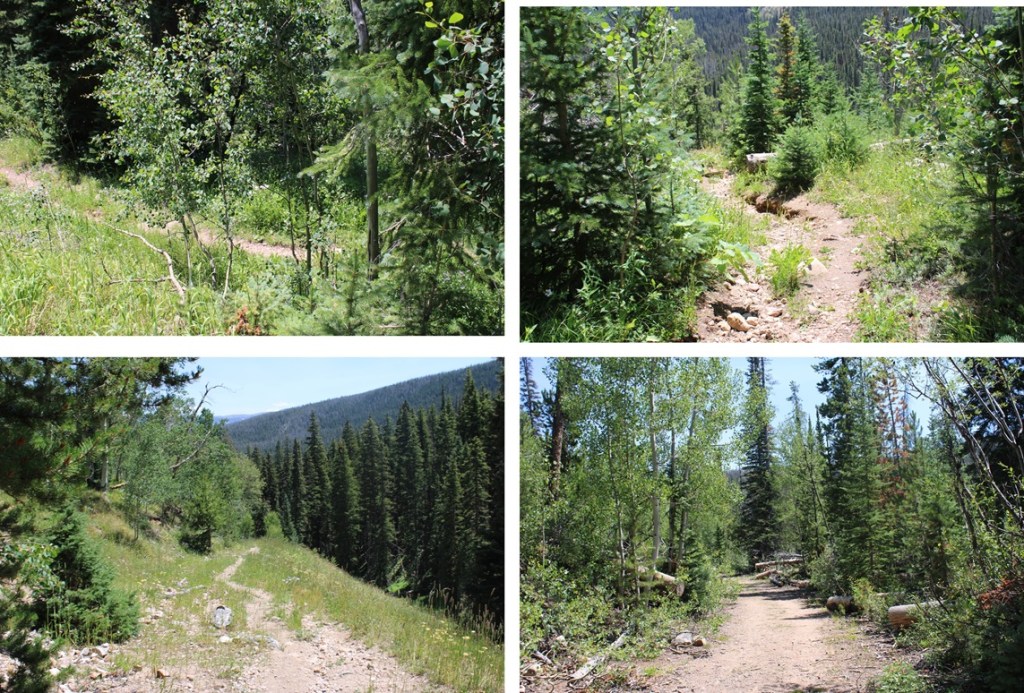
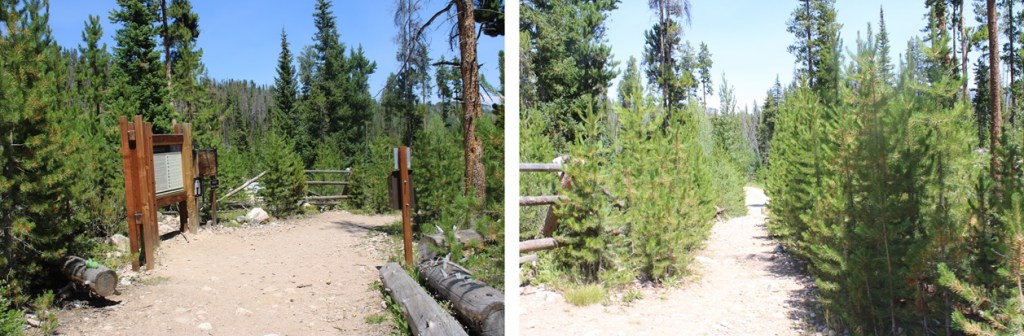
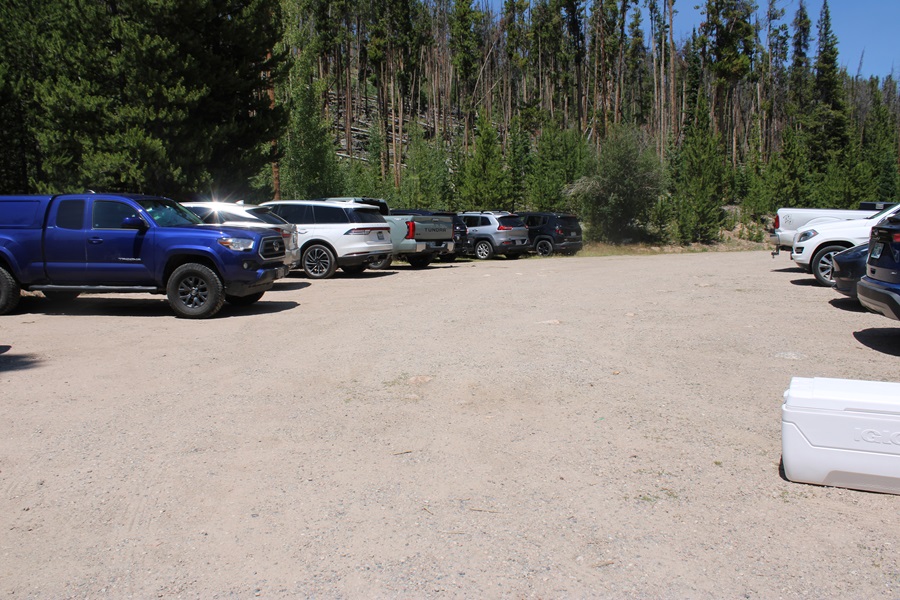
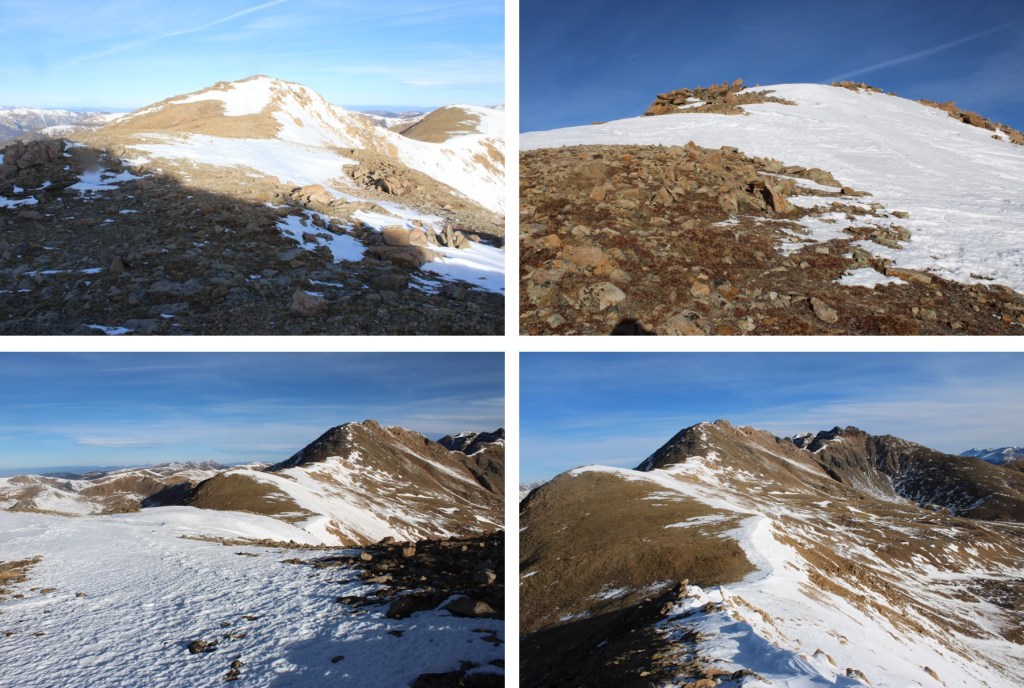
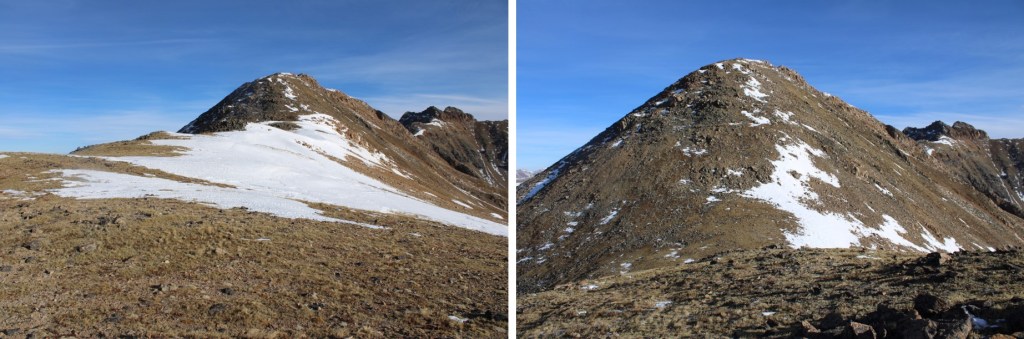
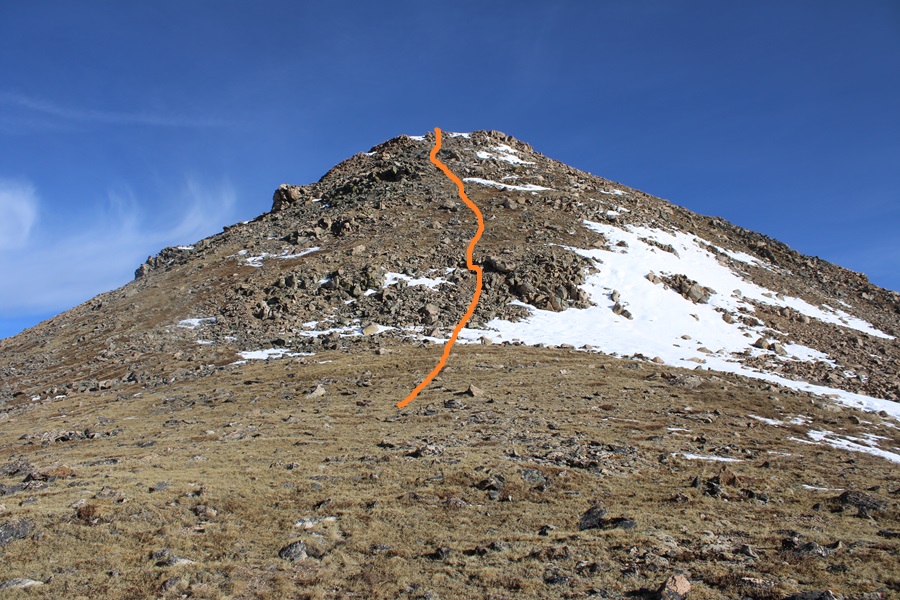
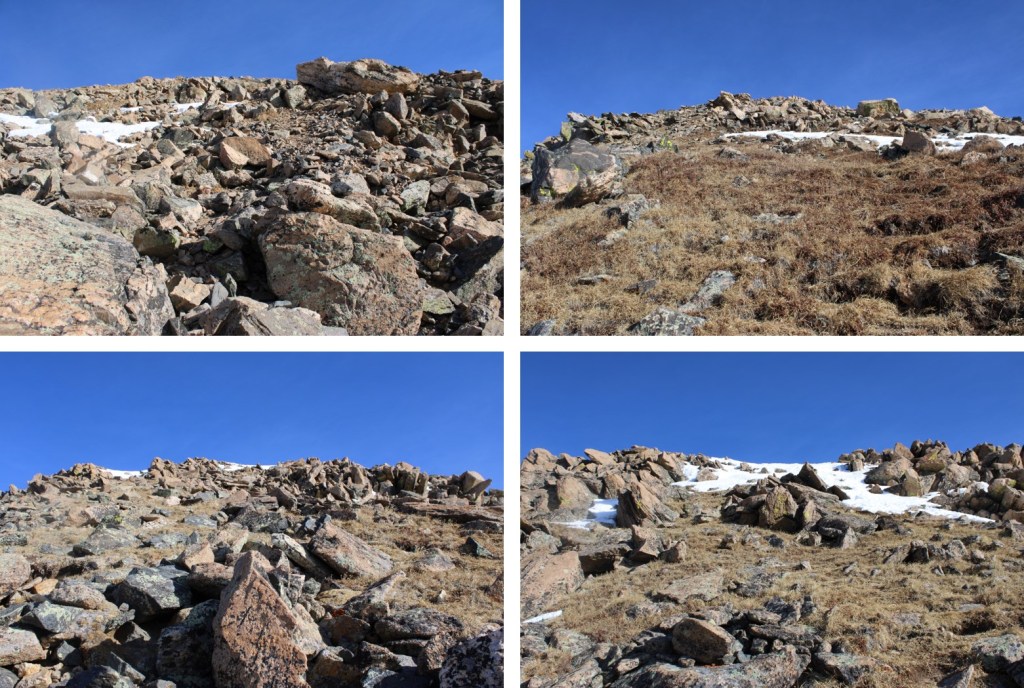
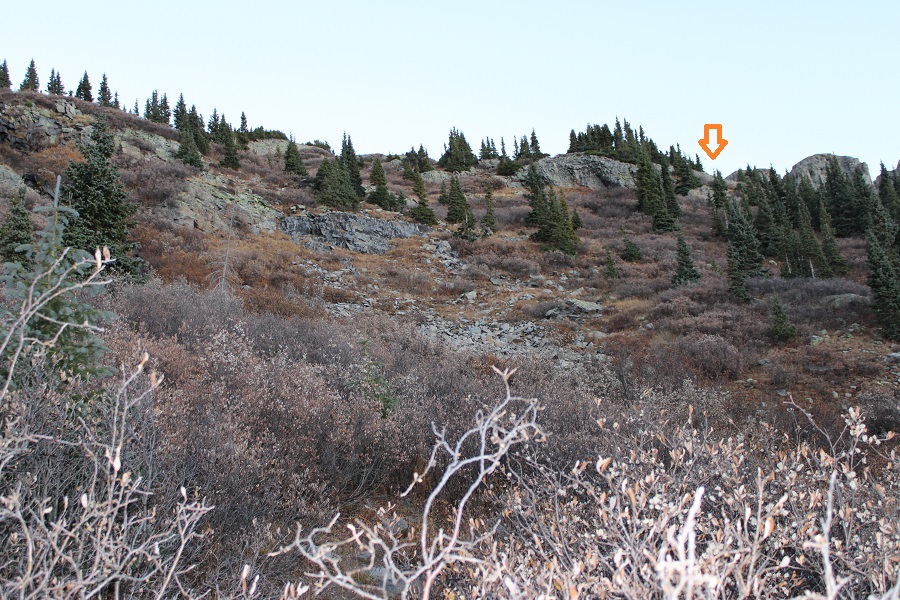
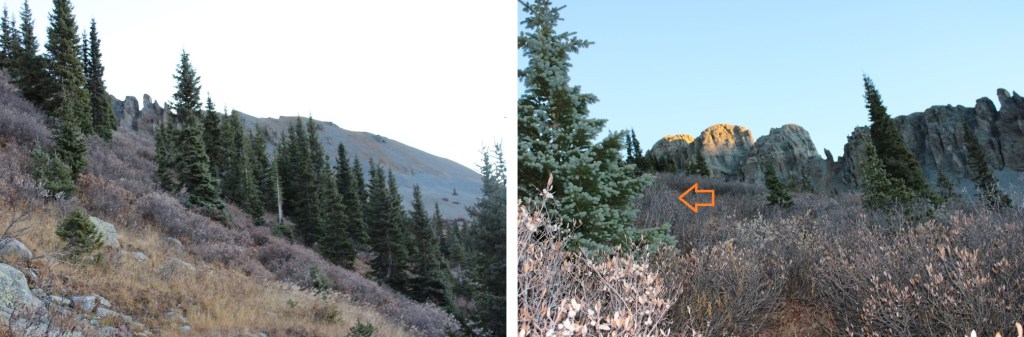
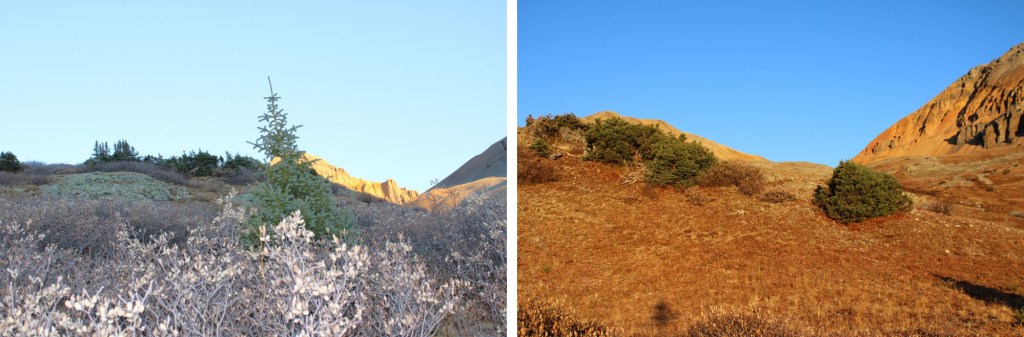
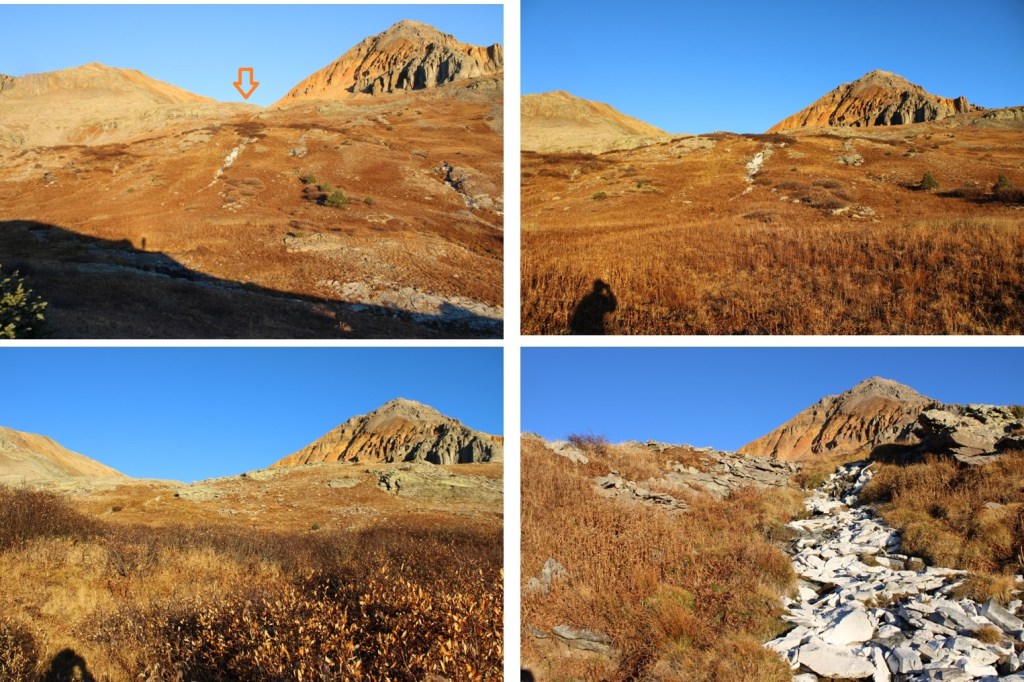
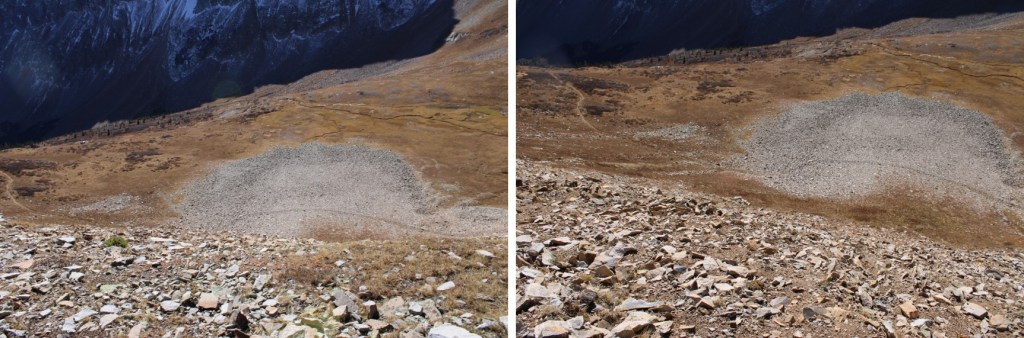
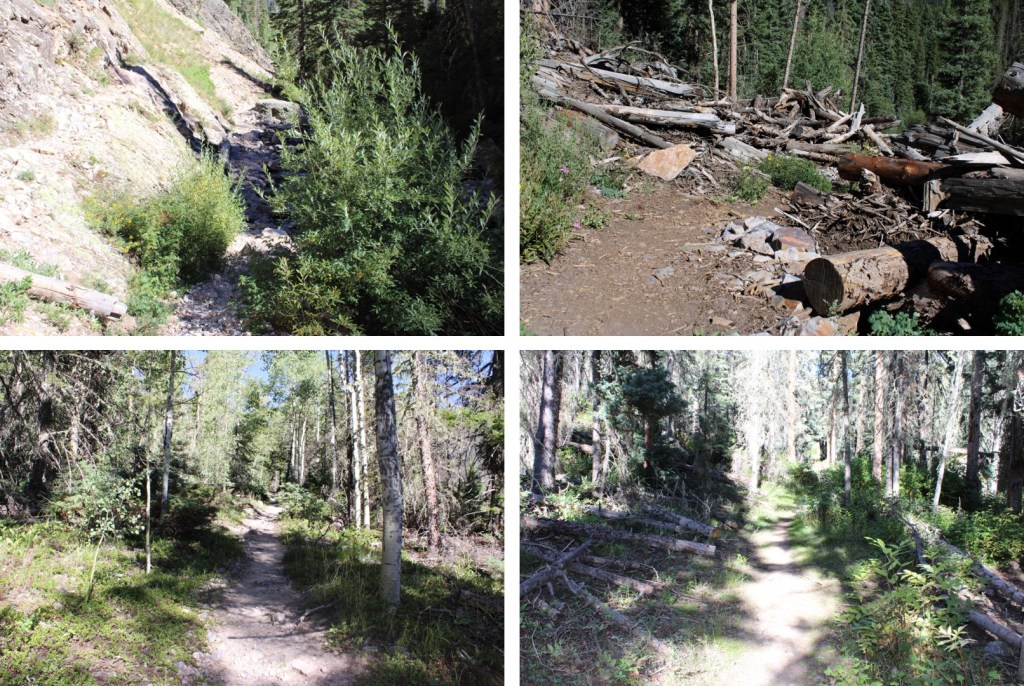
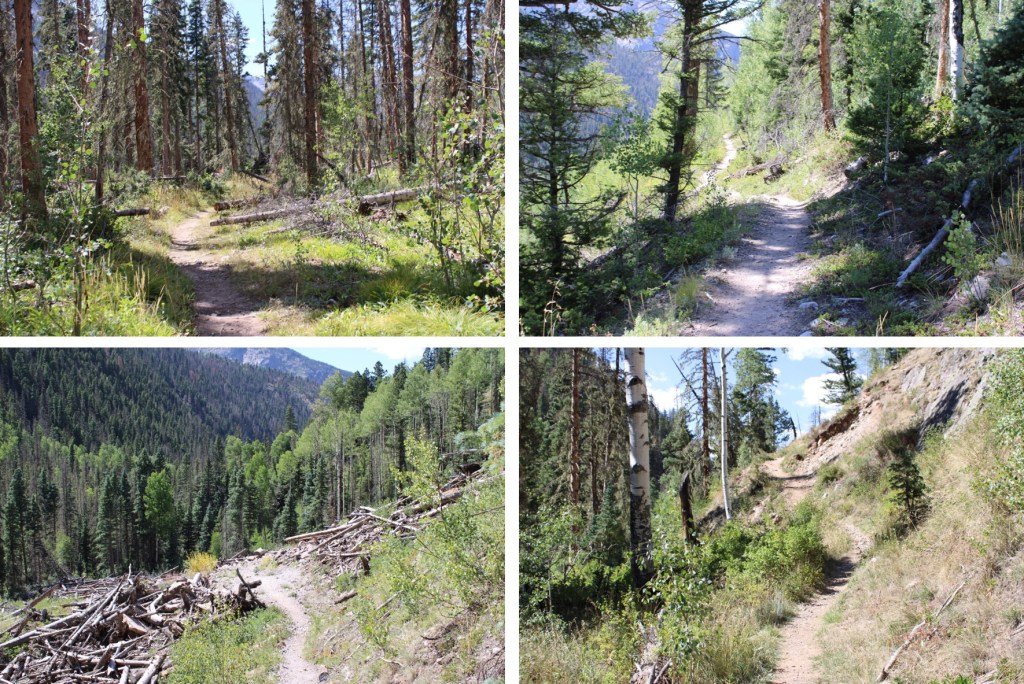
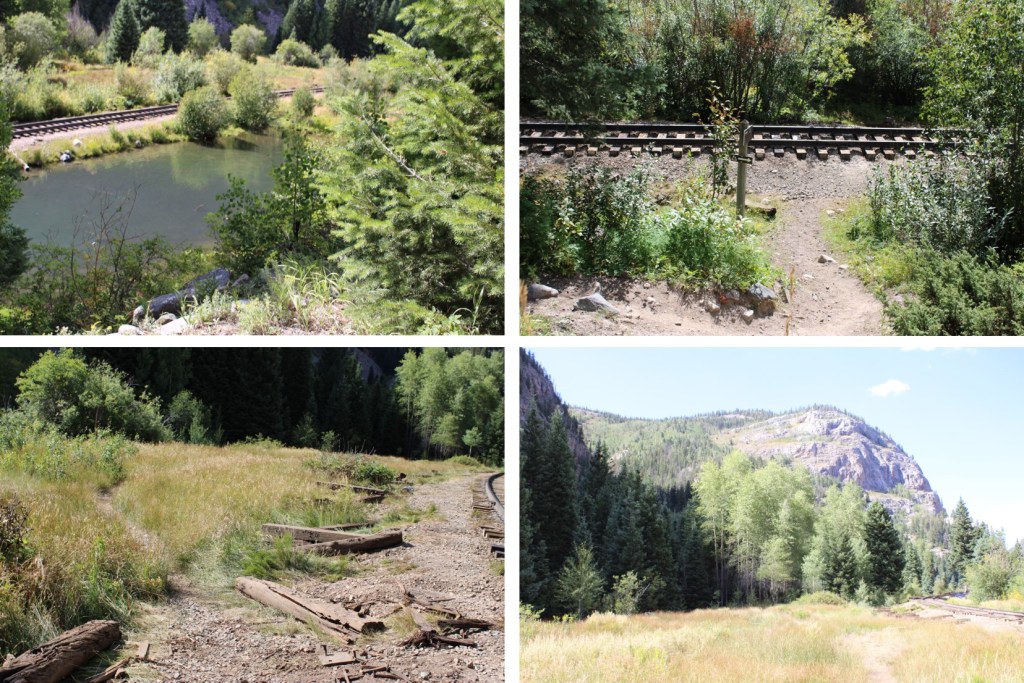
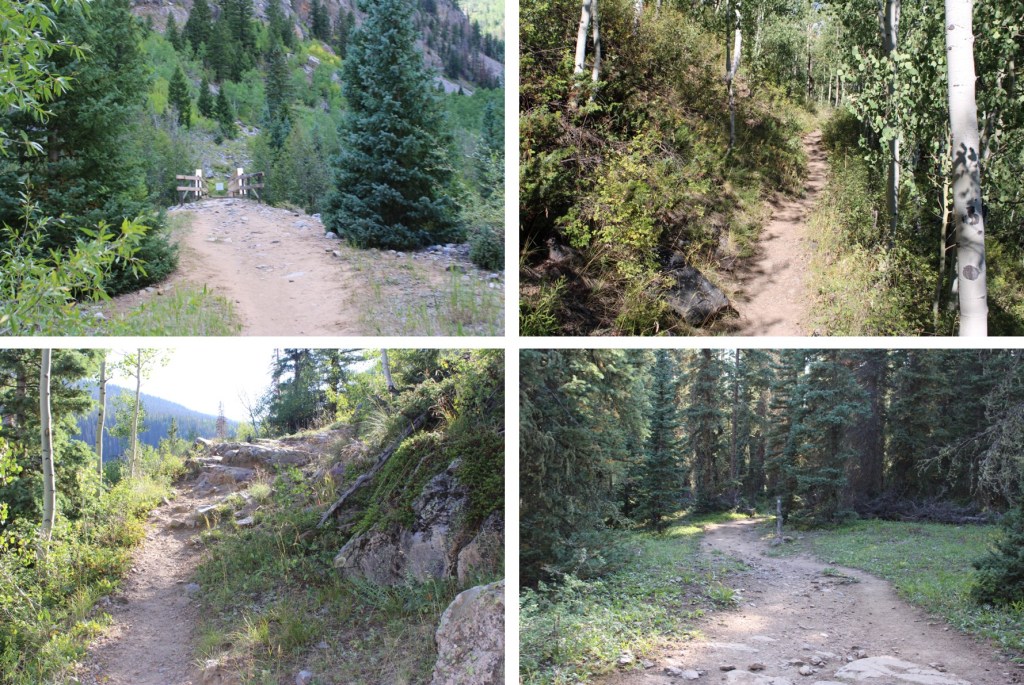
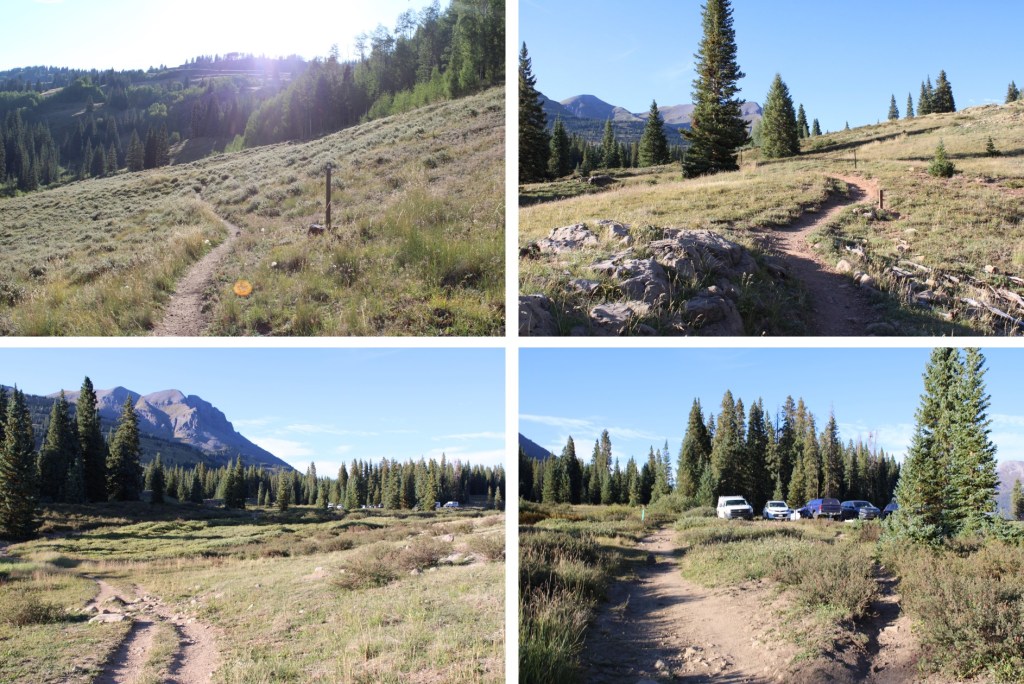
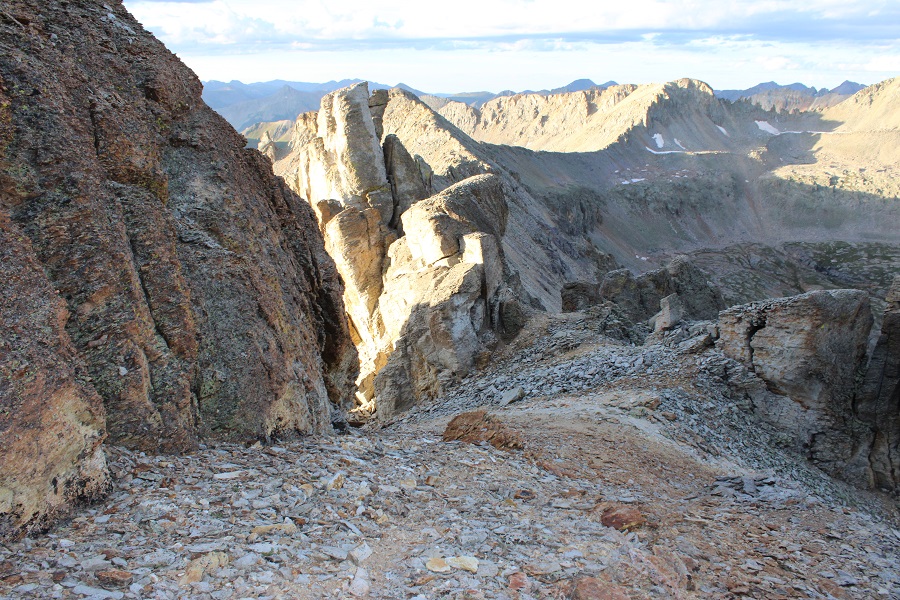
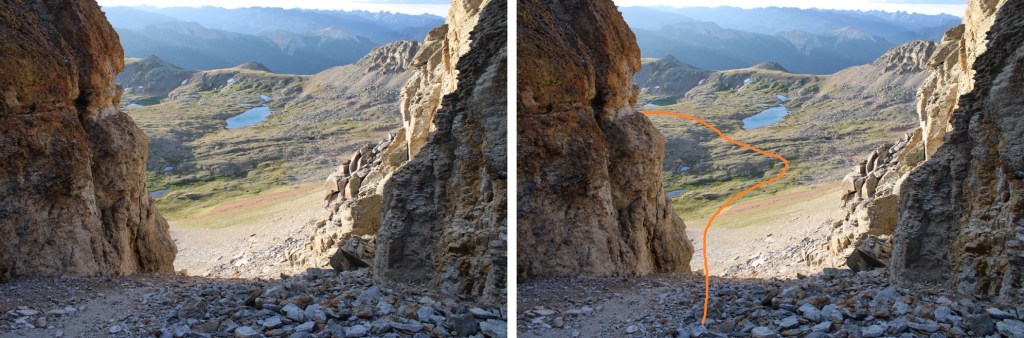
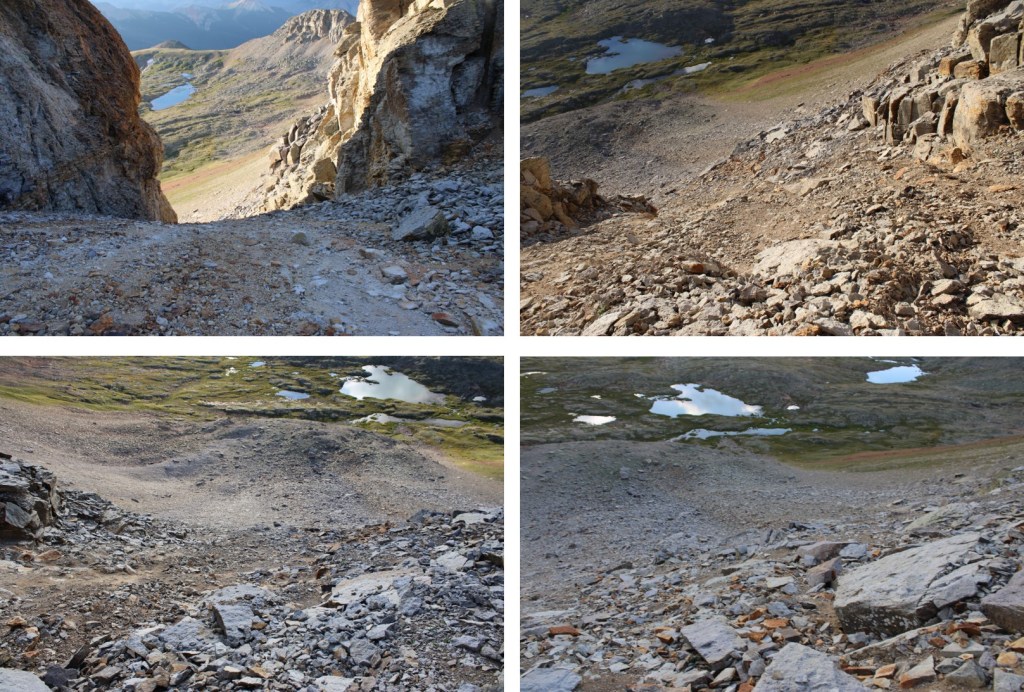
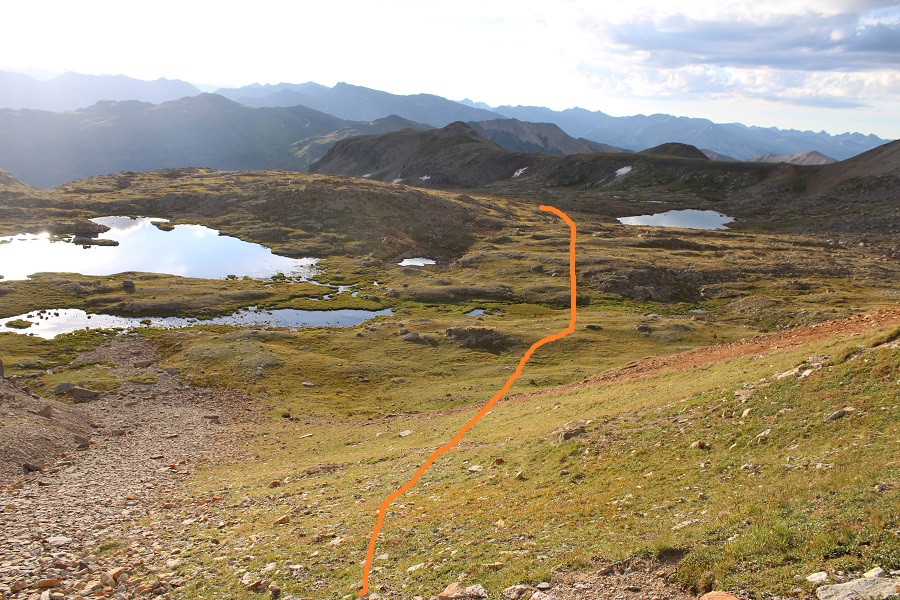
I was parked at the Brainard Lakes parking lot. I already posted about why I was parked there, and not the Mitchell Lakes trailhead, so I’m going to skip that part this time.
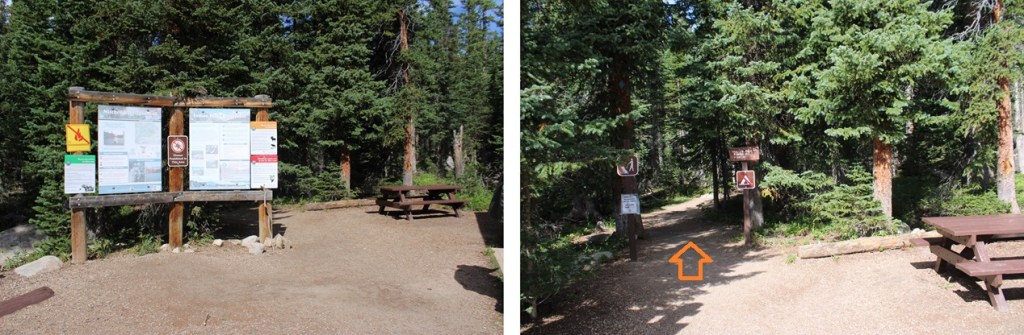
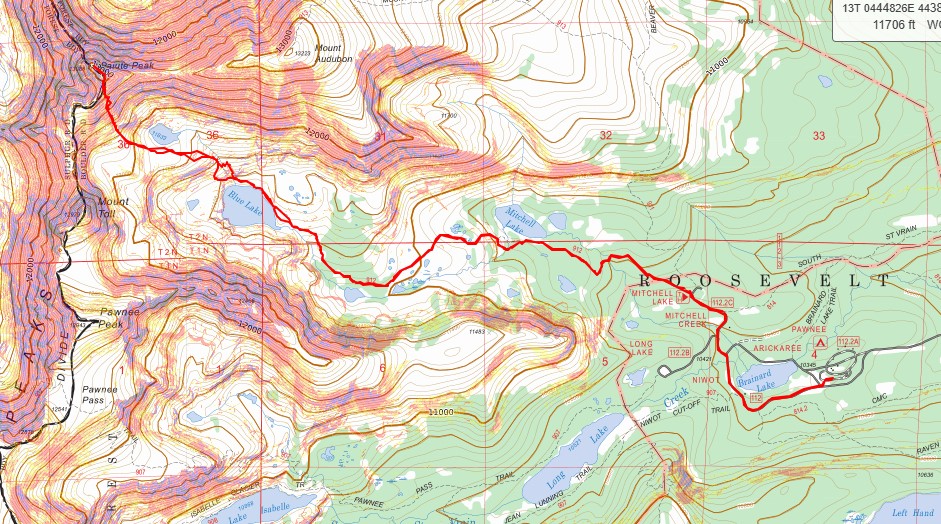
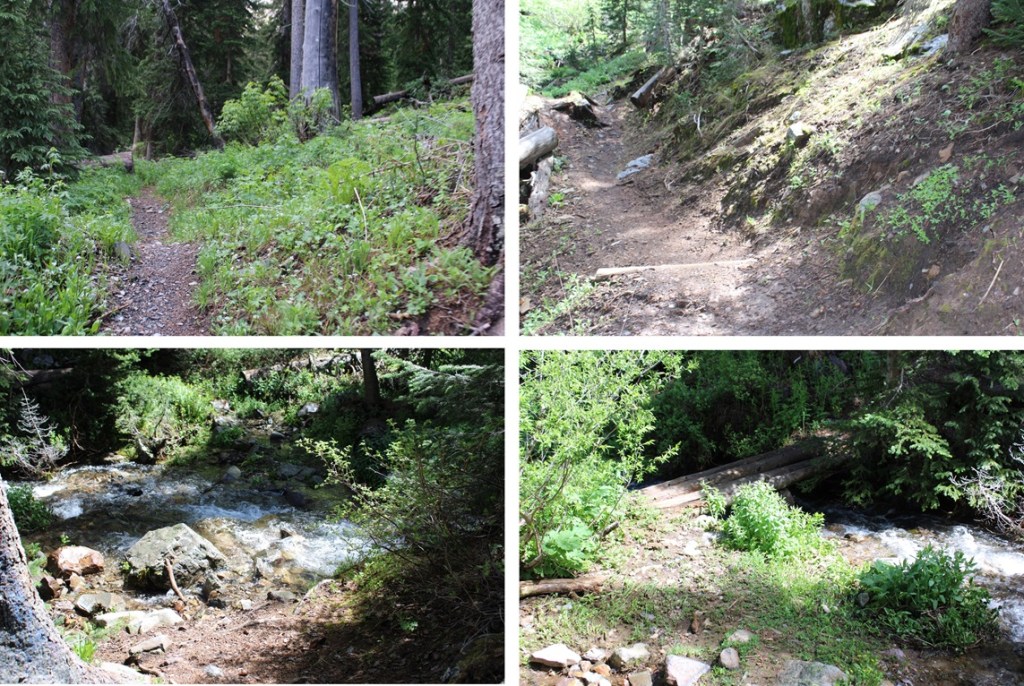
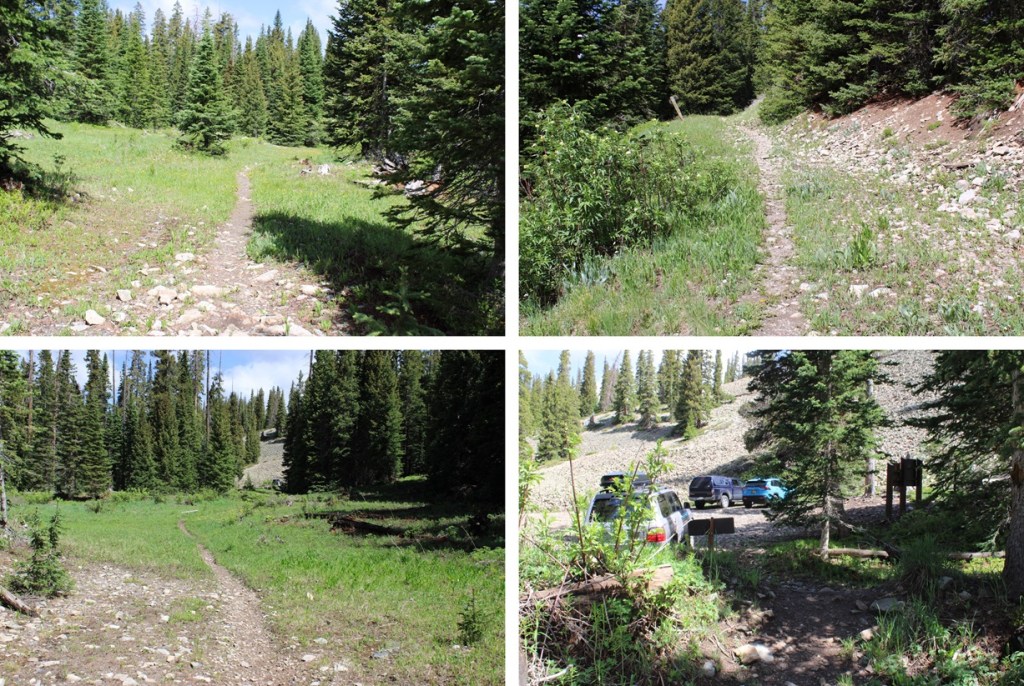
I was on the trail at 4:30 am. My first order of business was to hike the 1.3 miles to the Mitchell Lake Trailhead.
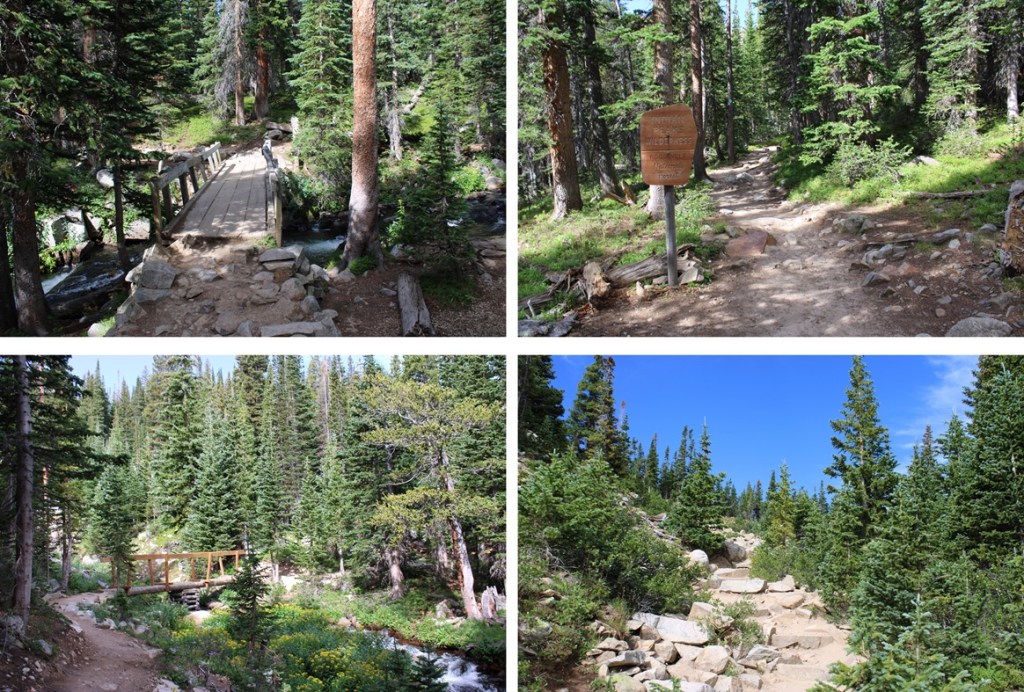
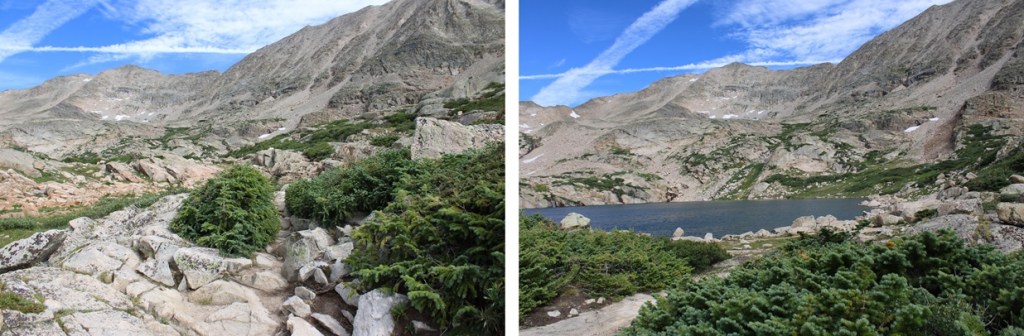
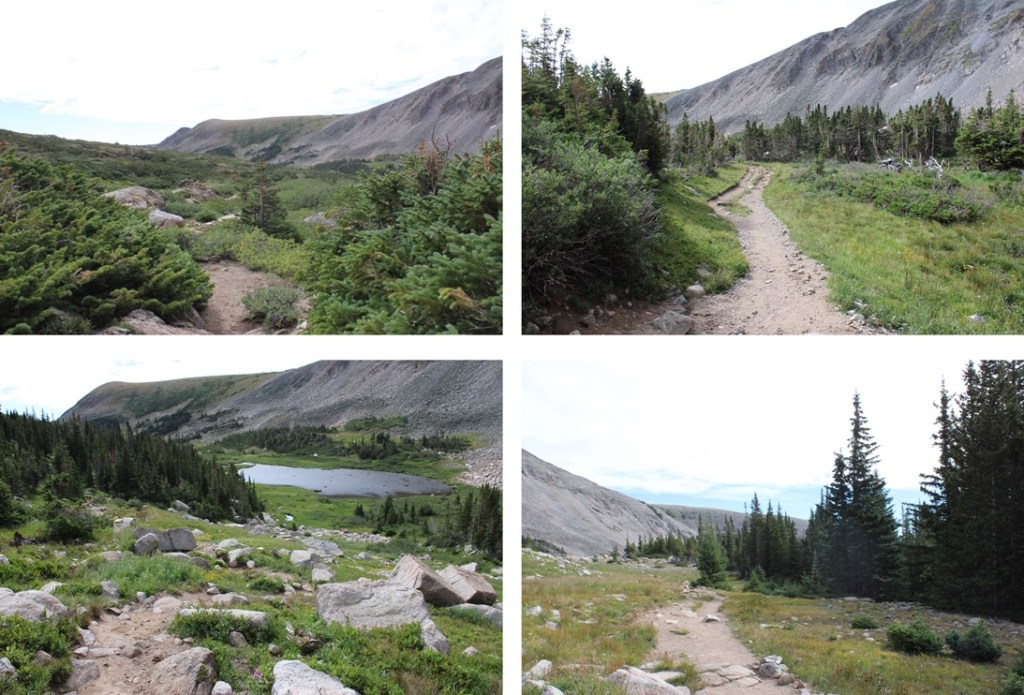
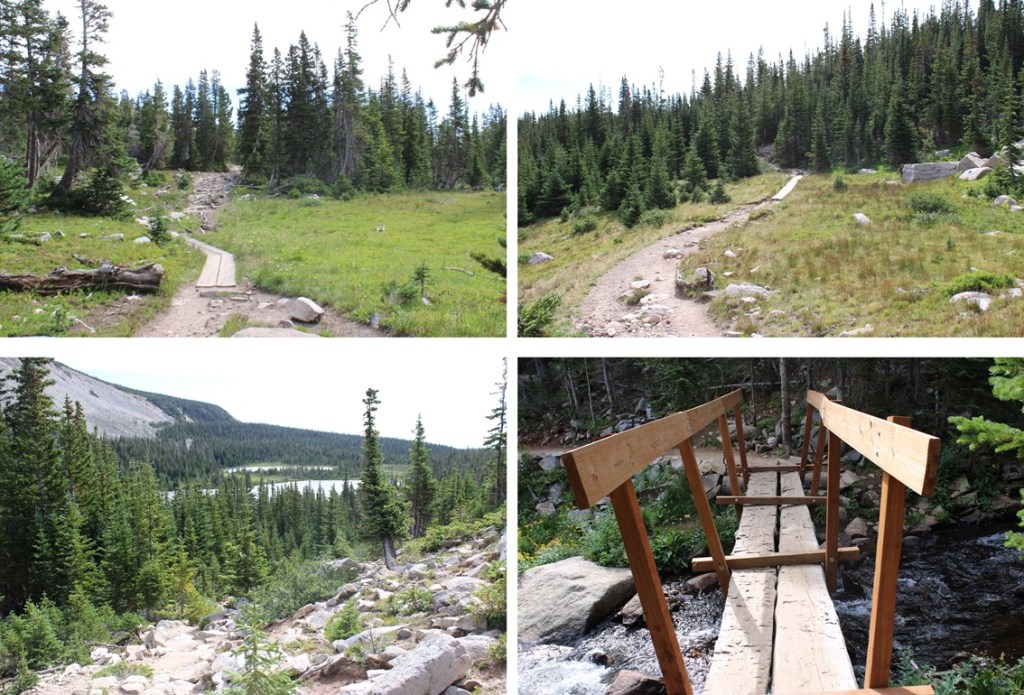
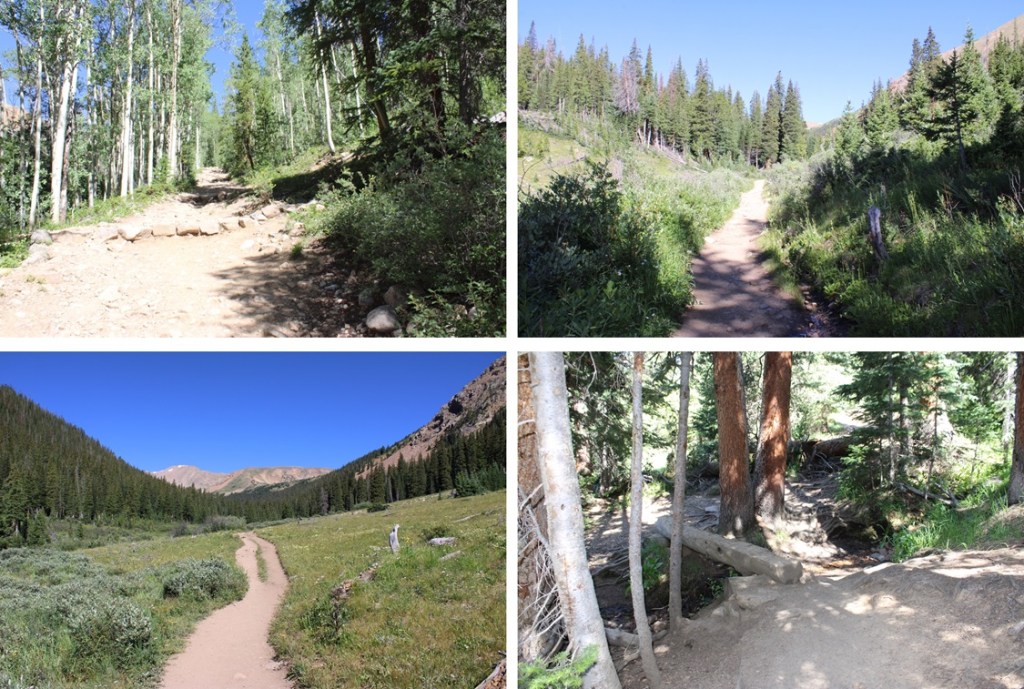
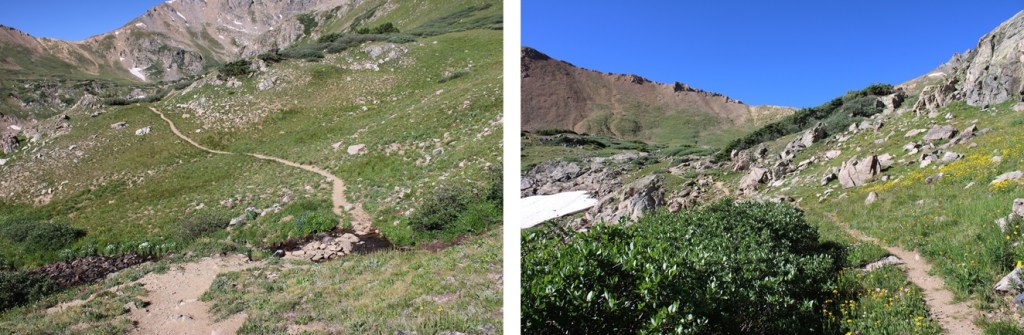
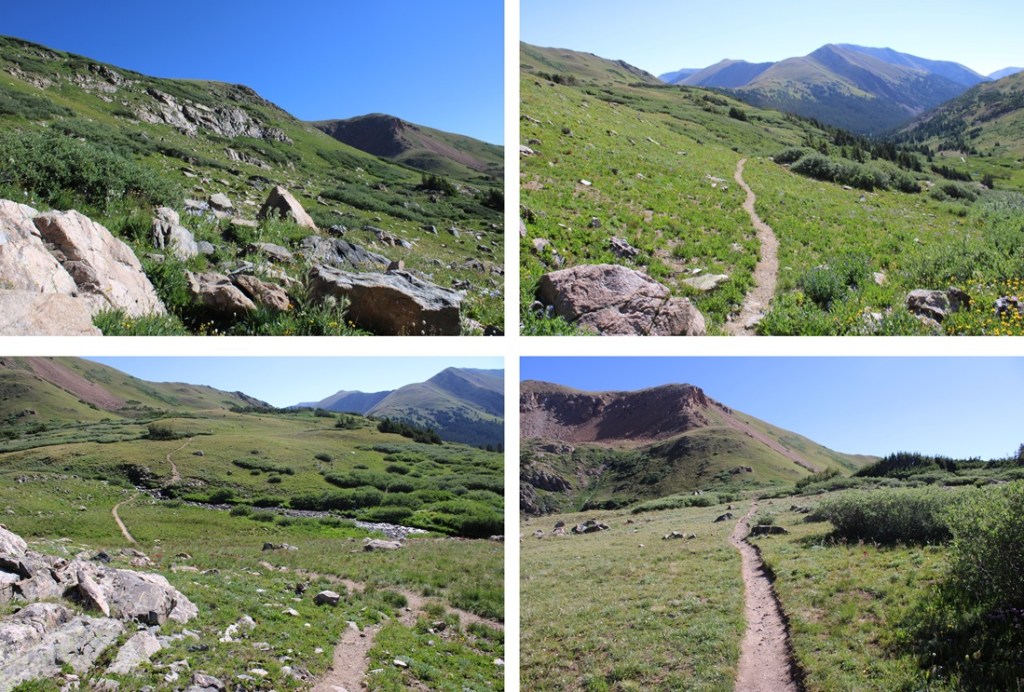
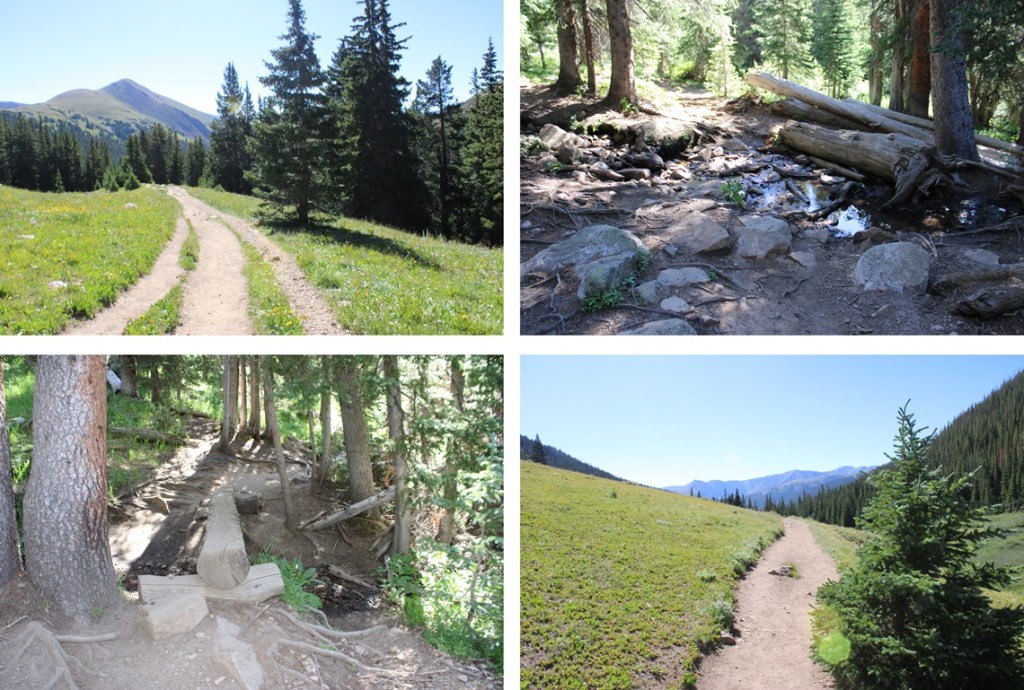
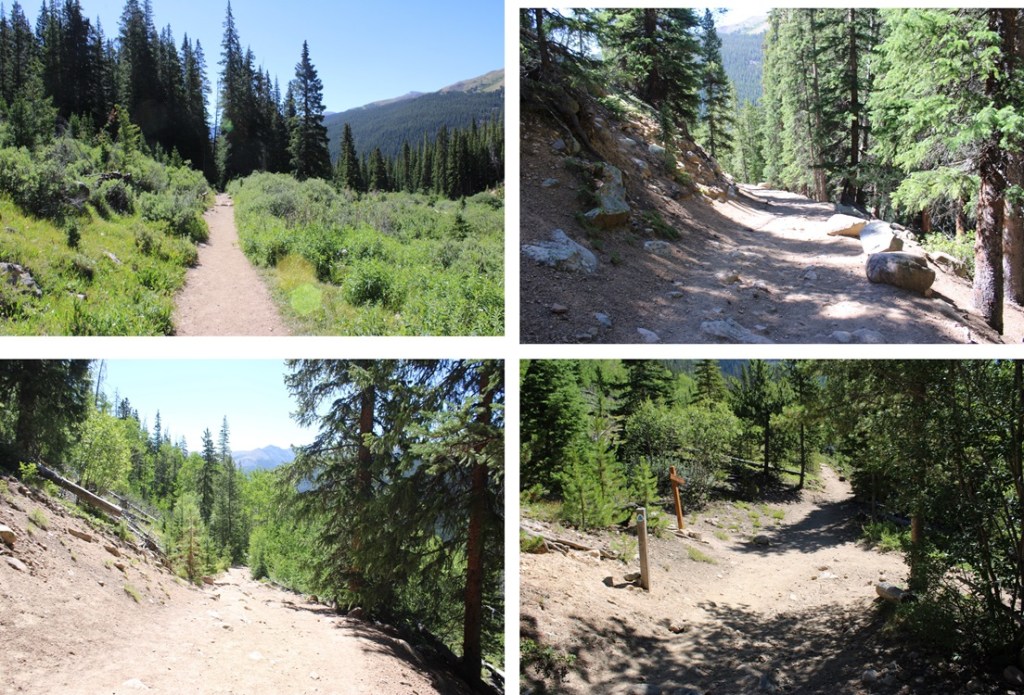
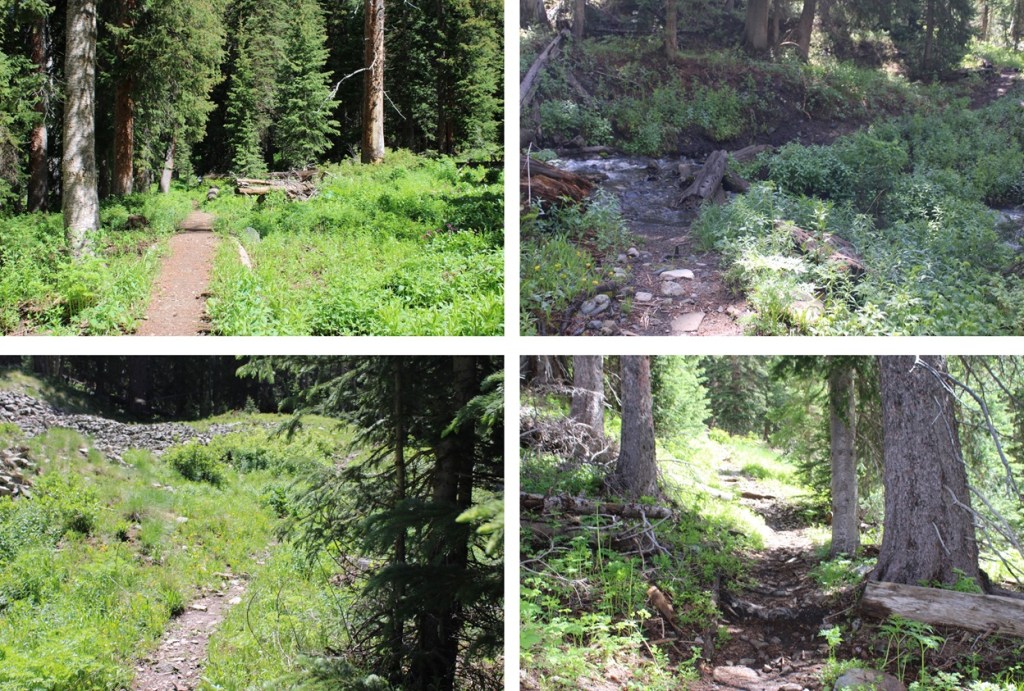
From the Mitchell Lake Trailhead, I followed the Blue Lakes Trail west towards Blue Lake. This is a well defined, class 1 trail with no junctions, so I was able to follow the trail the entire way. From the Mitchell Lake Trailhead, it was around 3 miles to Blue Lake.
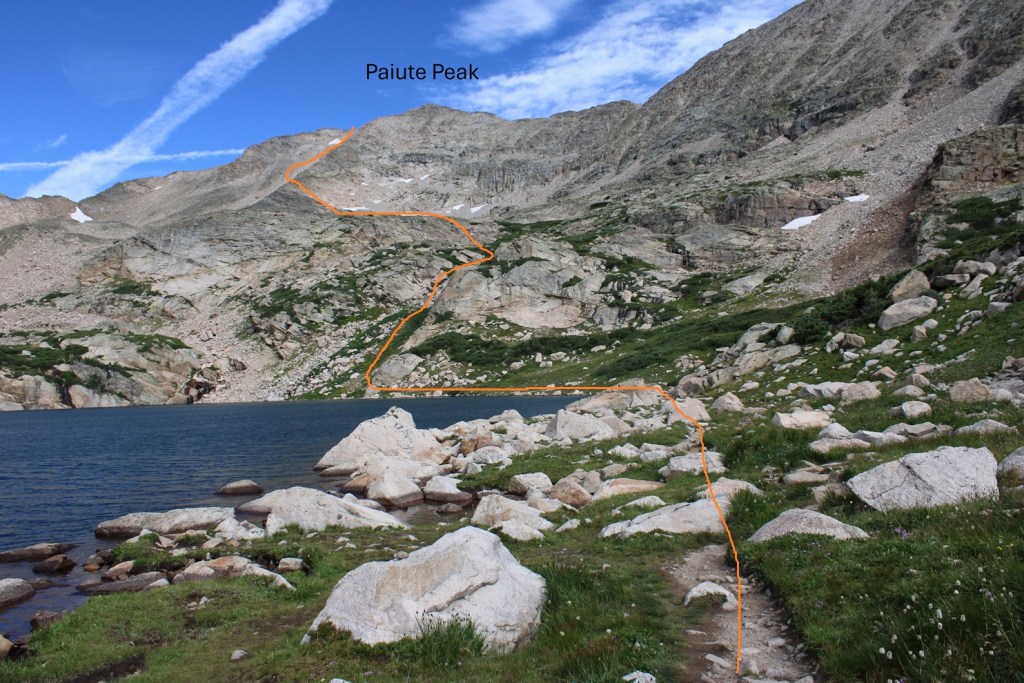
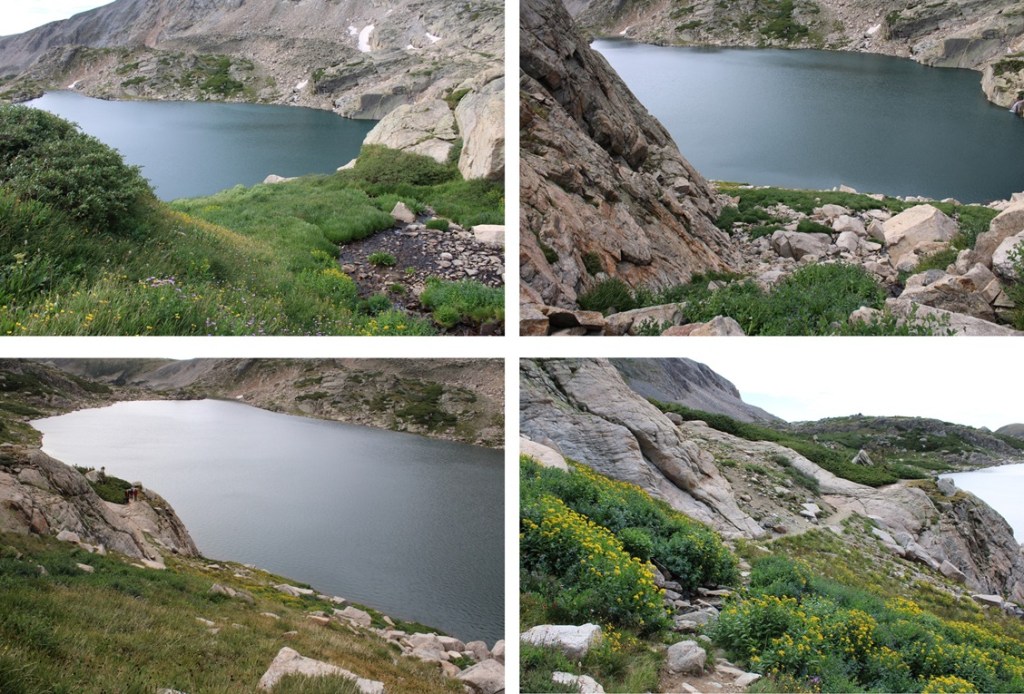
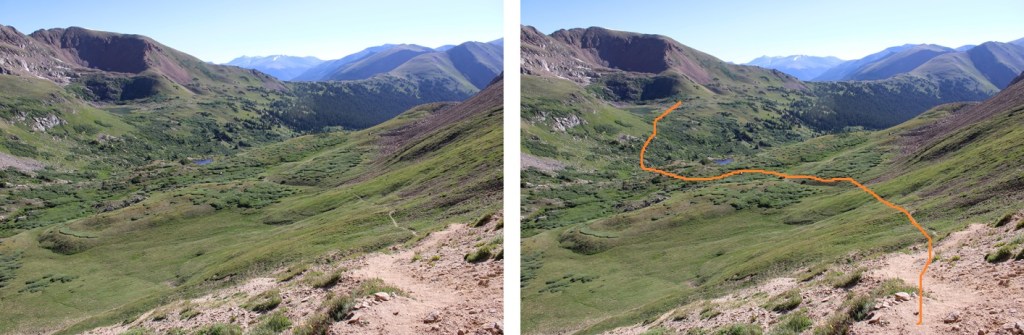
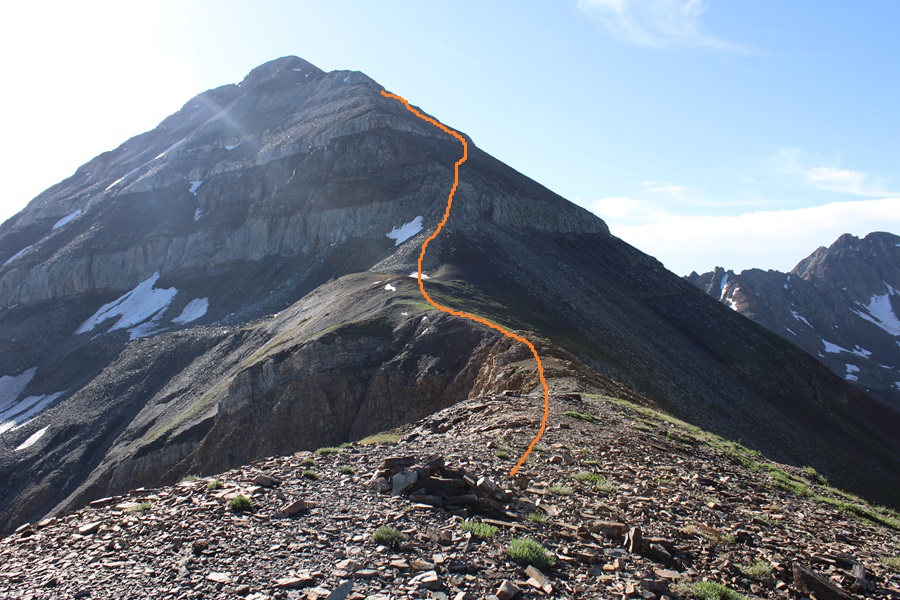
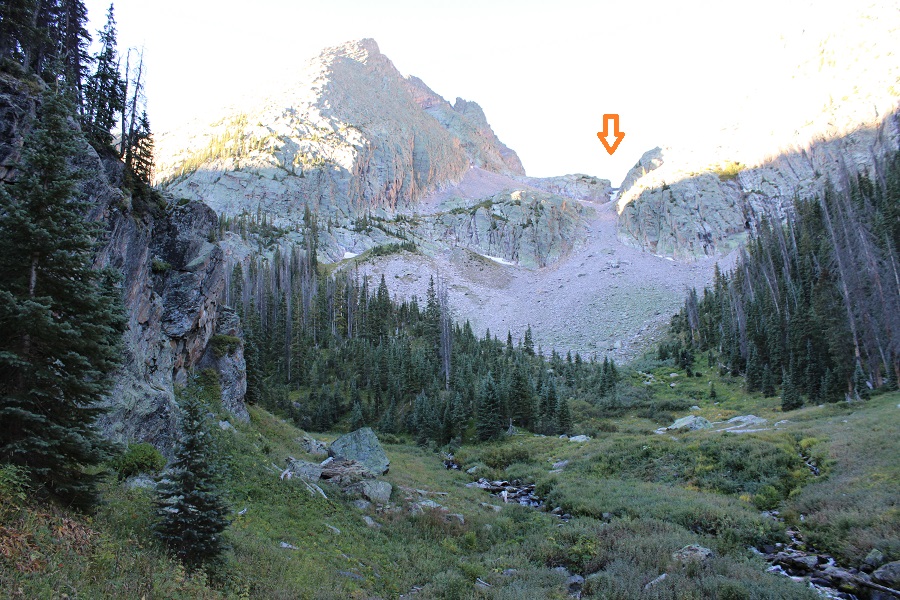
From Blue Lake I had a clear view of Paiute Peak. Here’s an overview of the rest of my hike
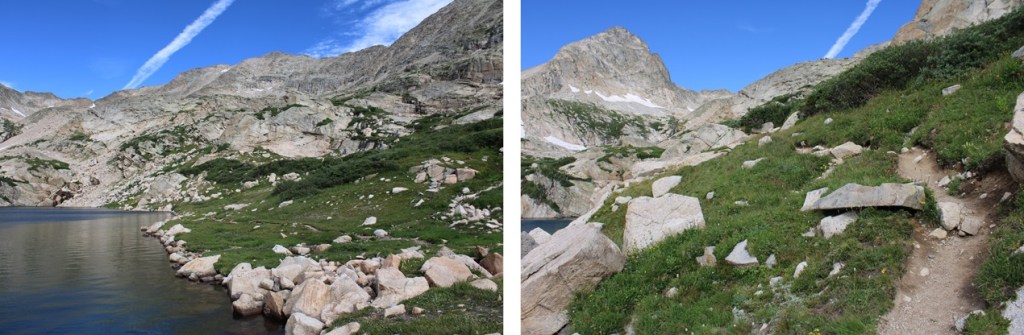
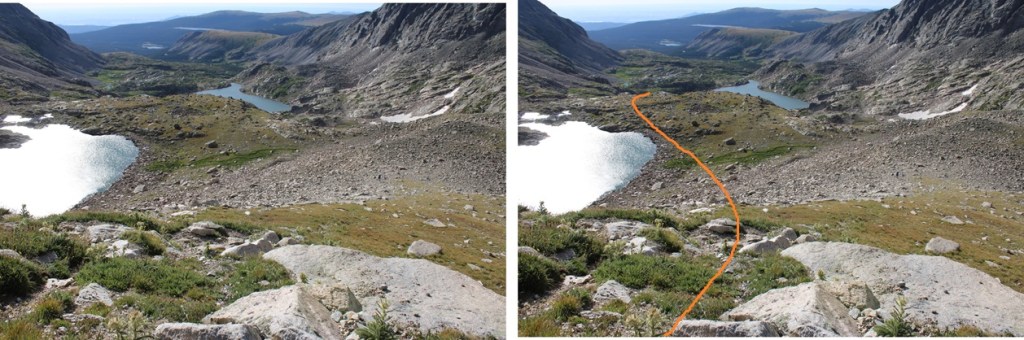
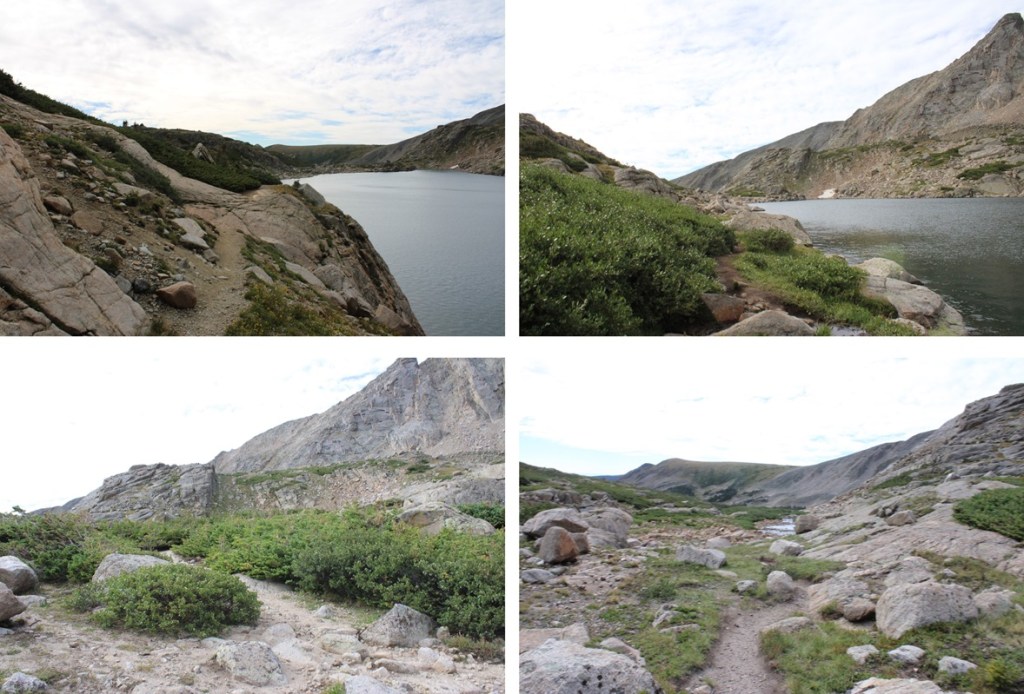
First, I followed the trail around the north side of the lake
When I came to a grassy drainage, I left the trail and followed the drainage north
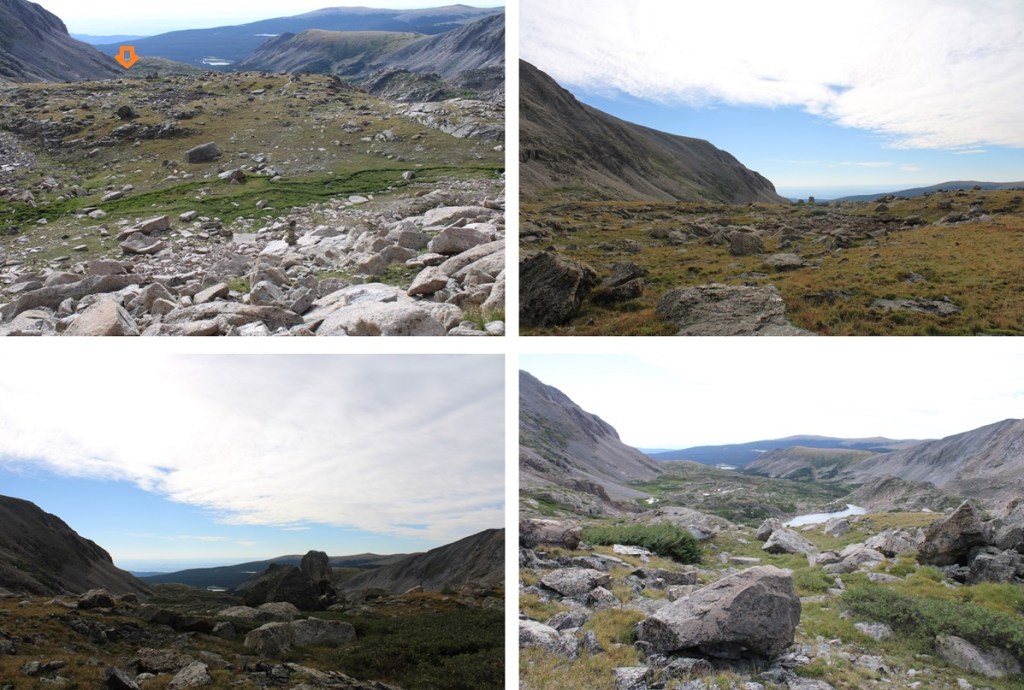
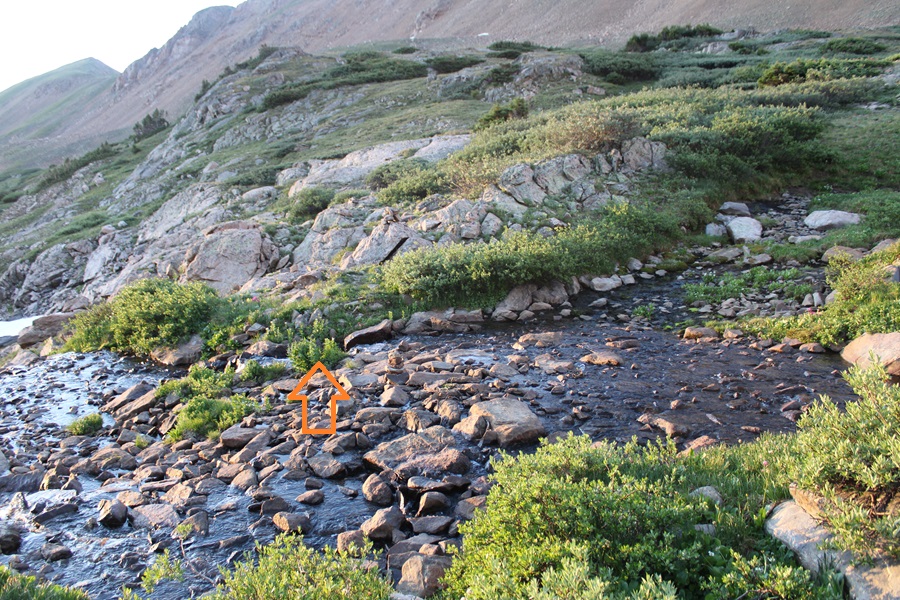
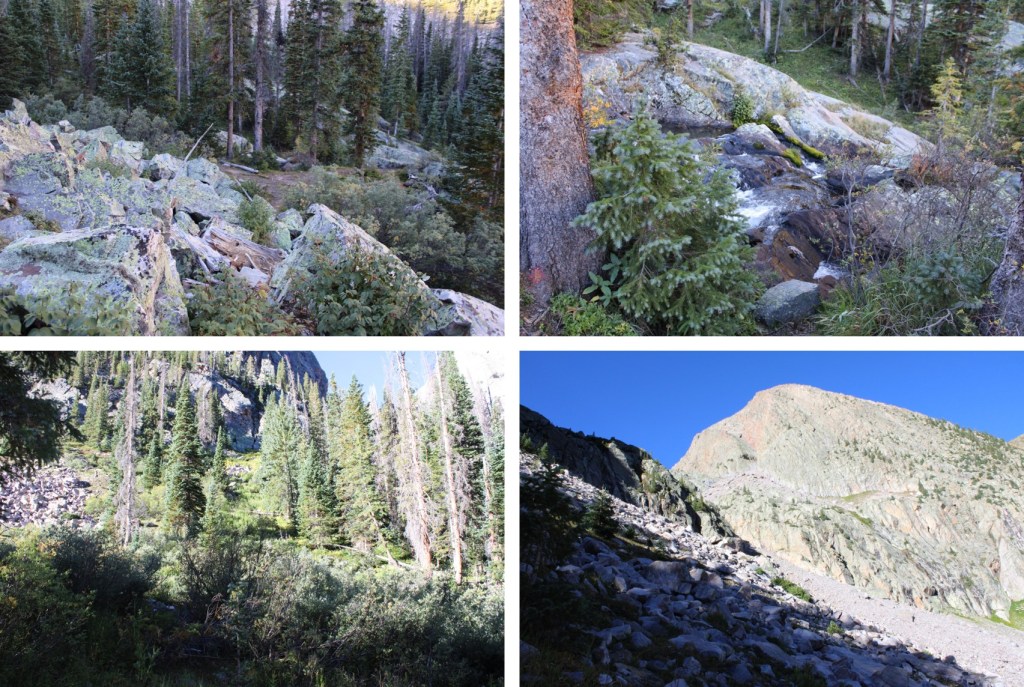
At around 11580’ I crossed the creek at a small waterfall, and headed northwest.
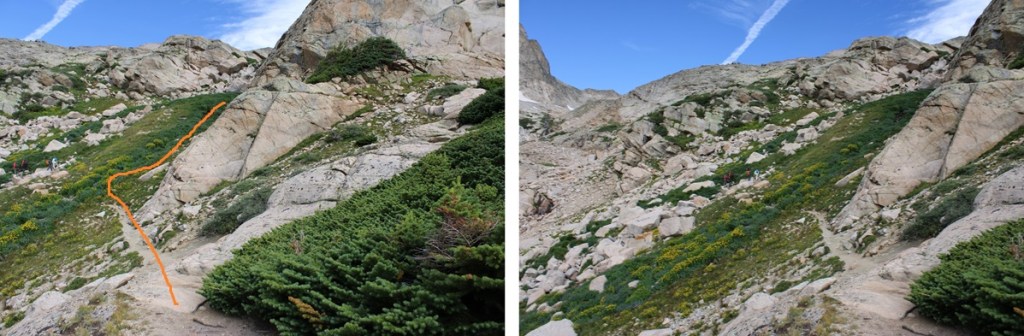
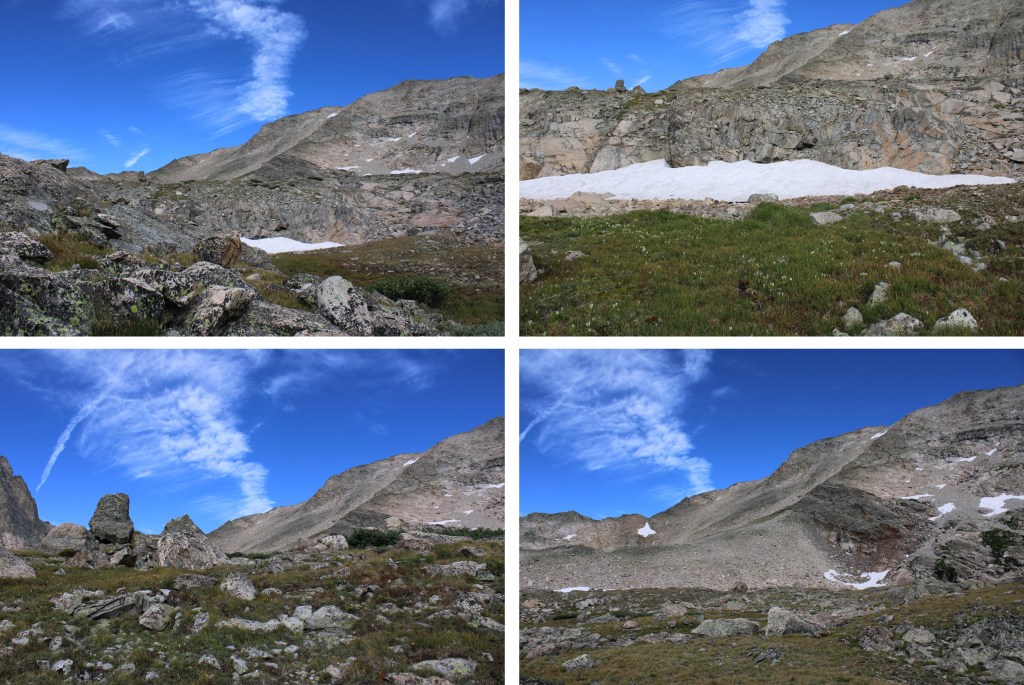
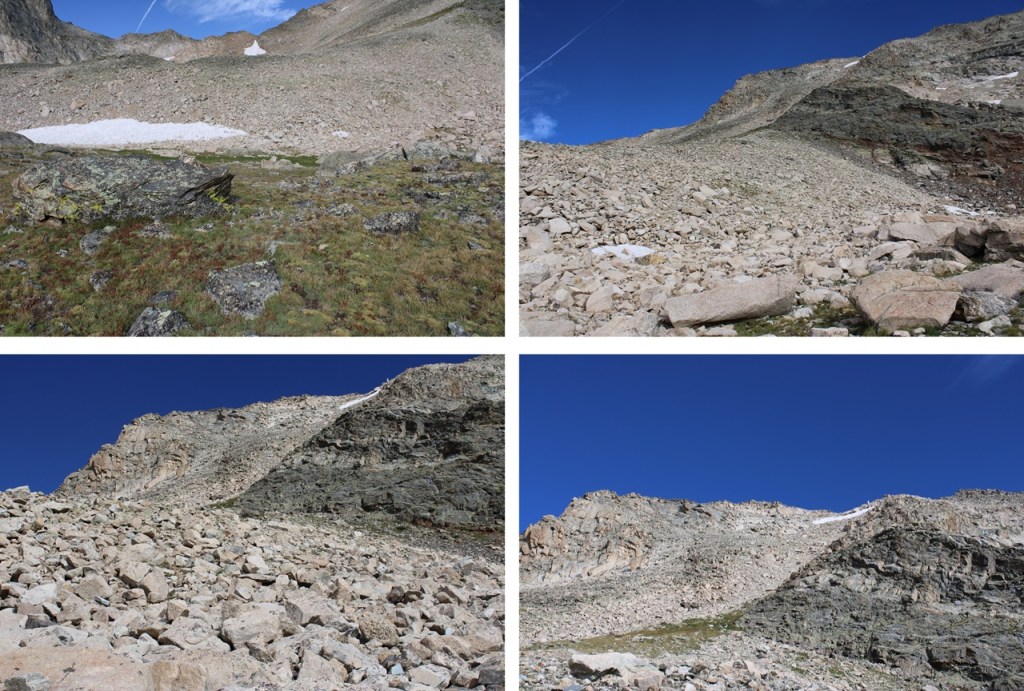
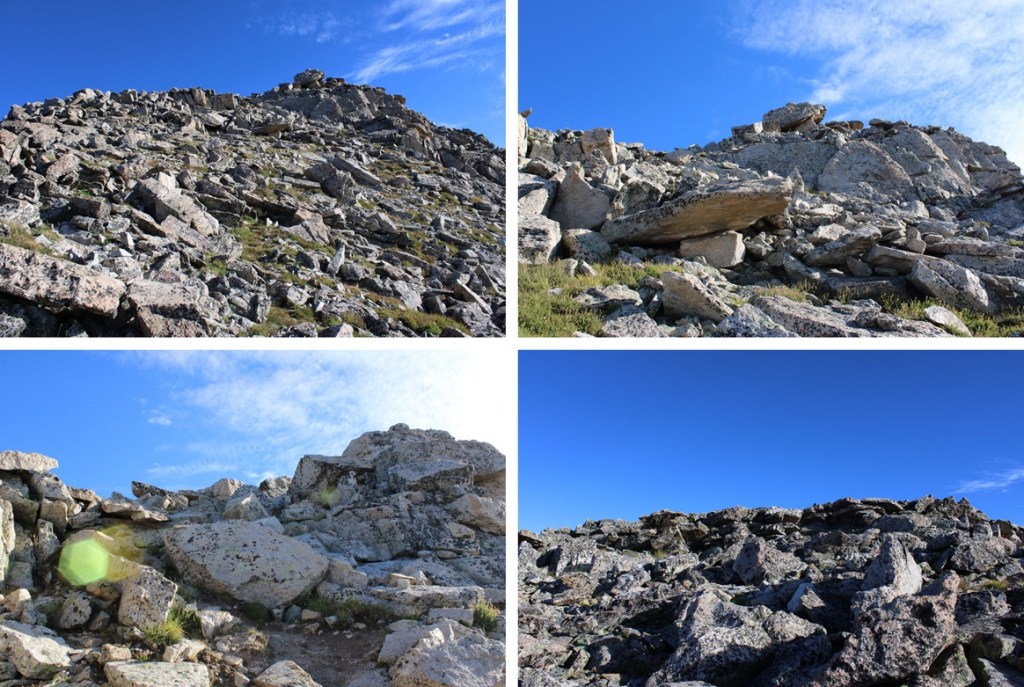
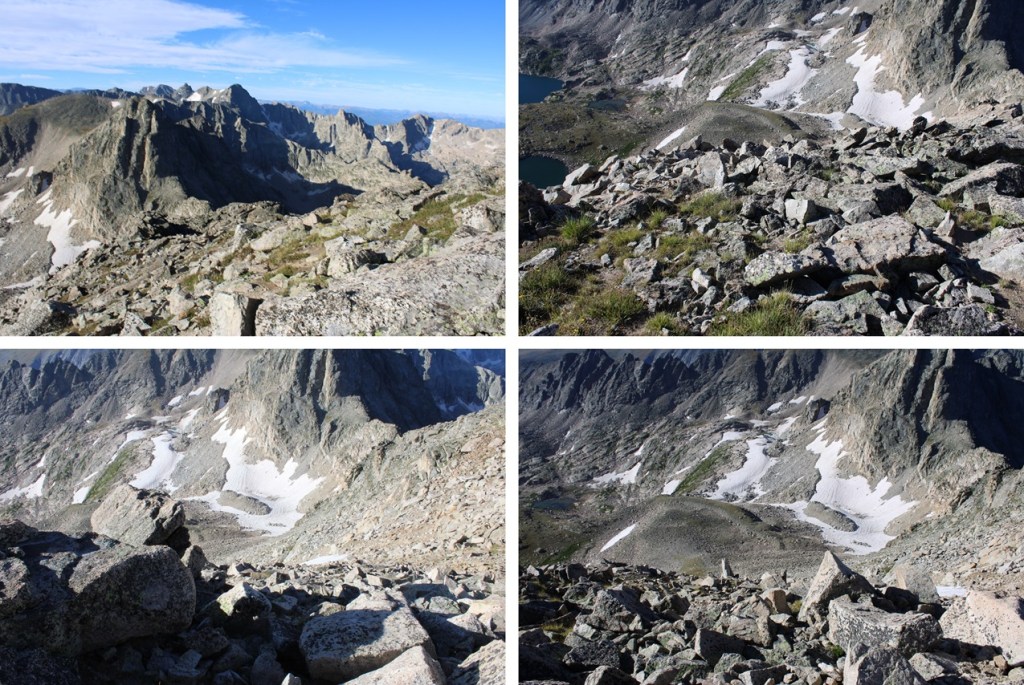
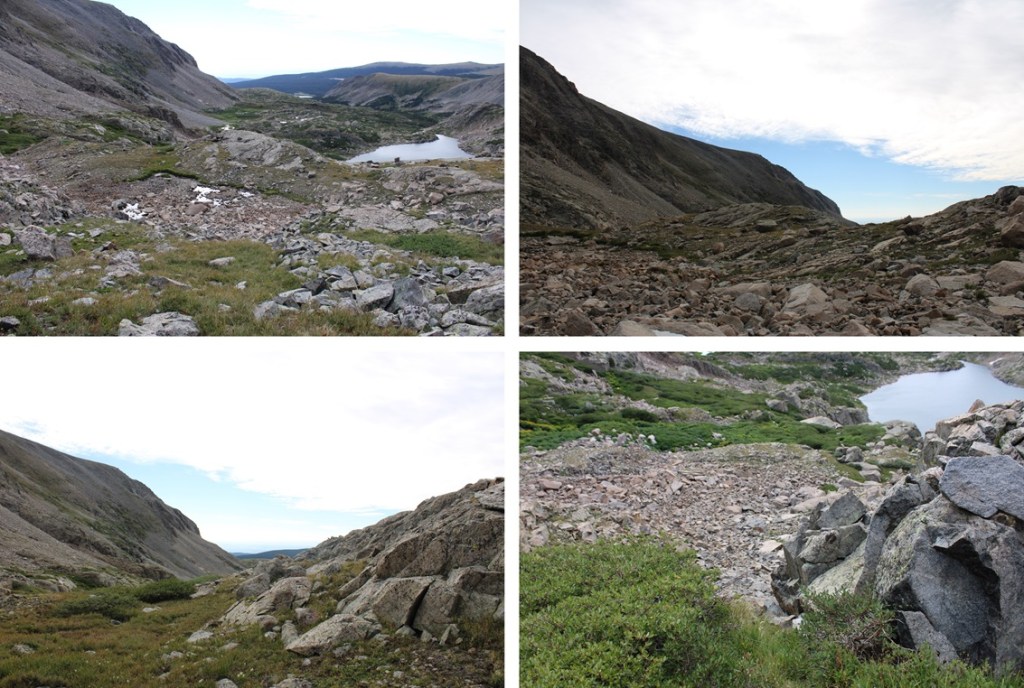
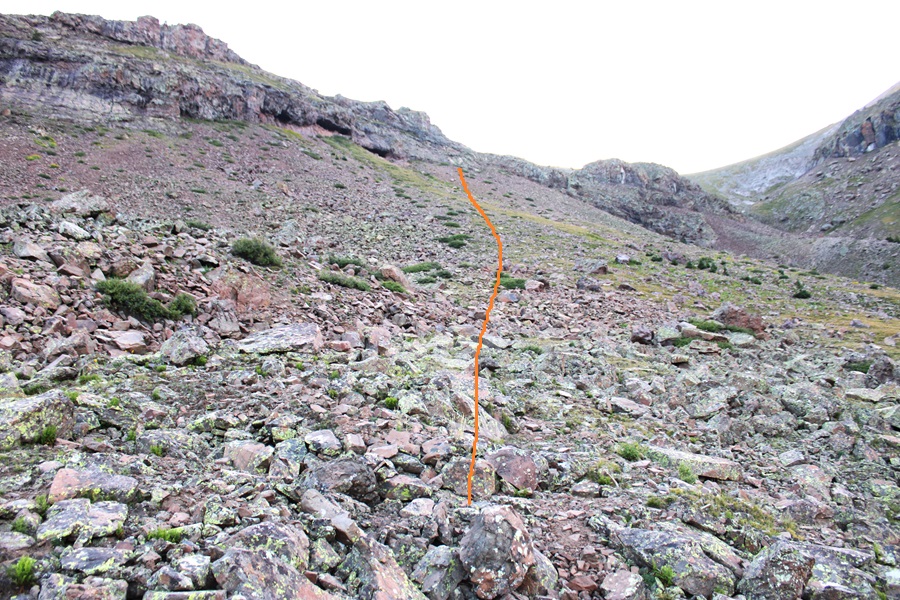
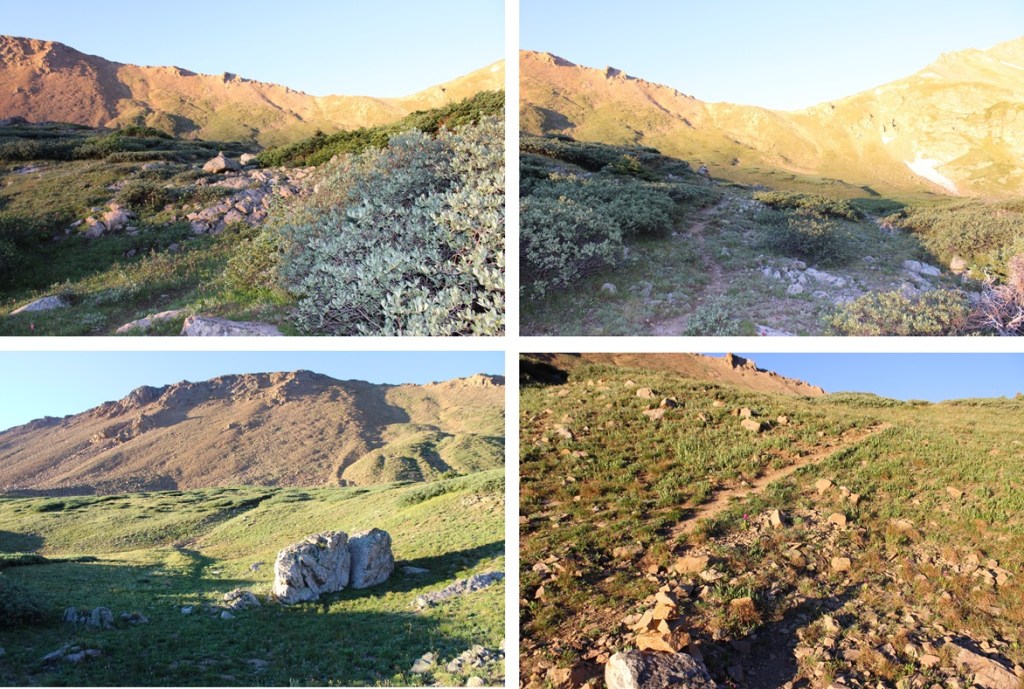
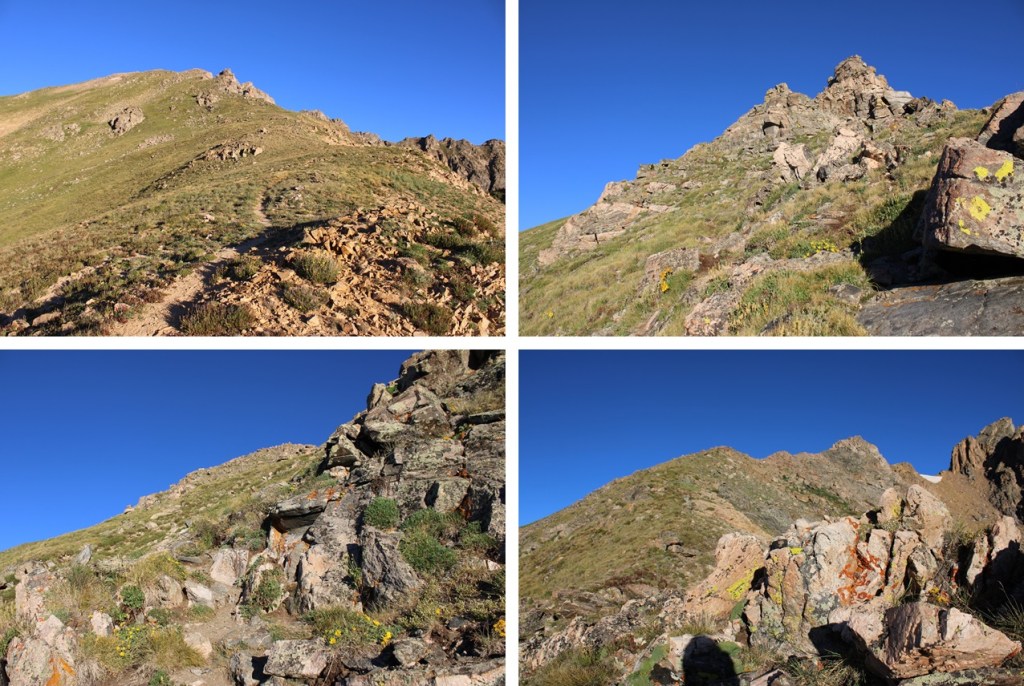
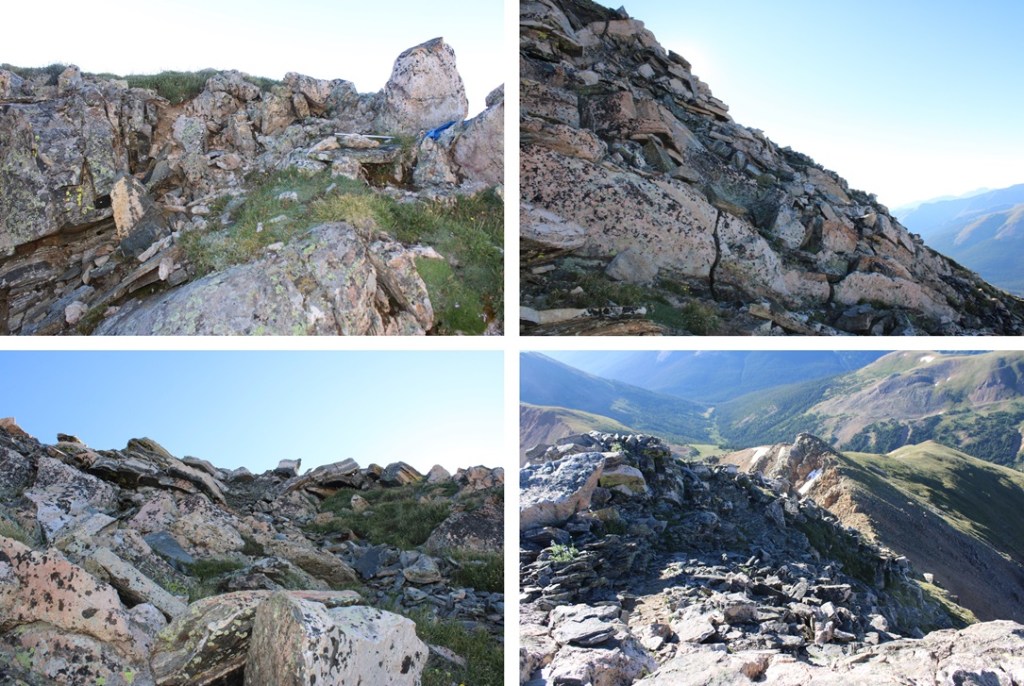
After crossing the waterfall I kept heading west, aiming for the ridge in the distance. This was choose your own adventure. I chose to go up and over the rocky gullies, doing my best to avoid the snow. This can all easily be kept class 2.
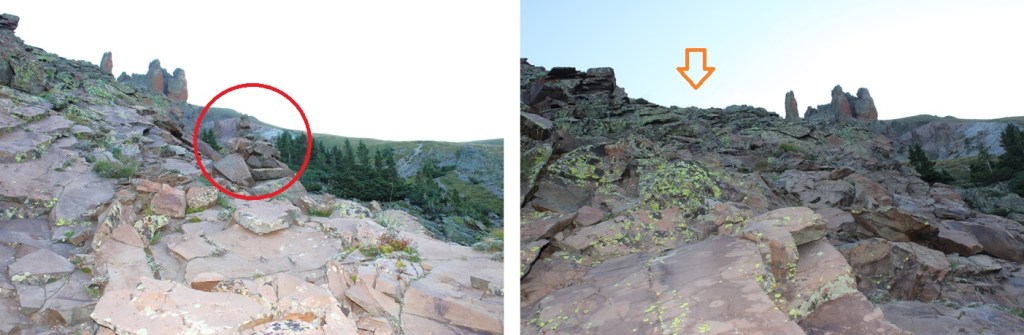
At this point , the lake at 11833’ was to the north of me, on my right. I kept heading west, to gain this ridge. There are a couple of cairns here, and parts of a game trail, but the main goal is to head towards the gully.
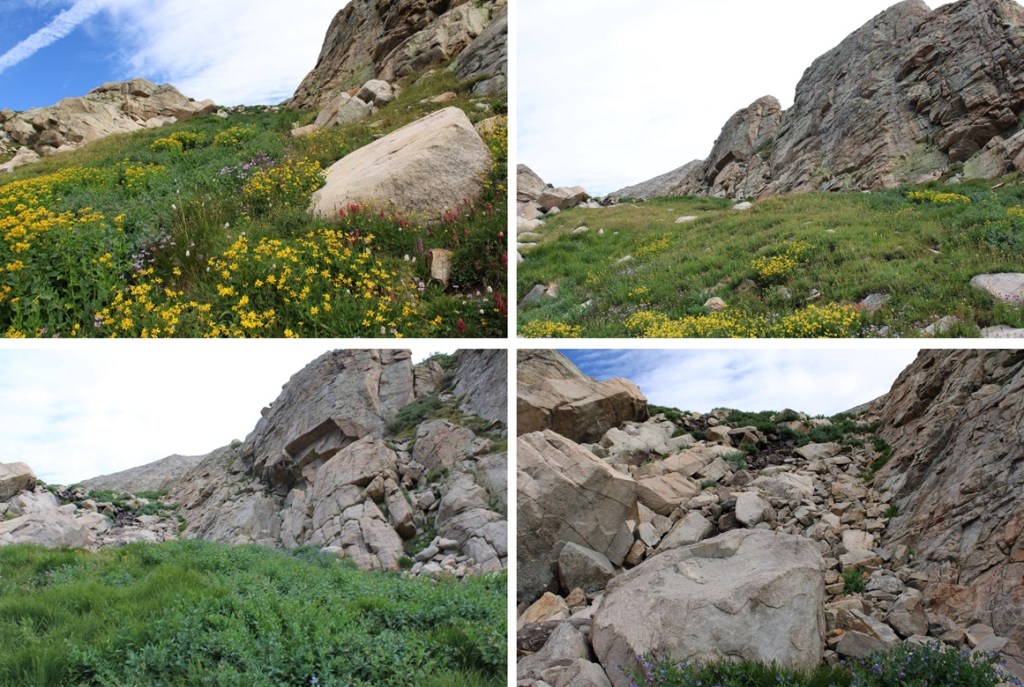
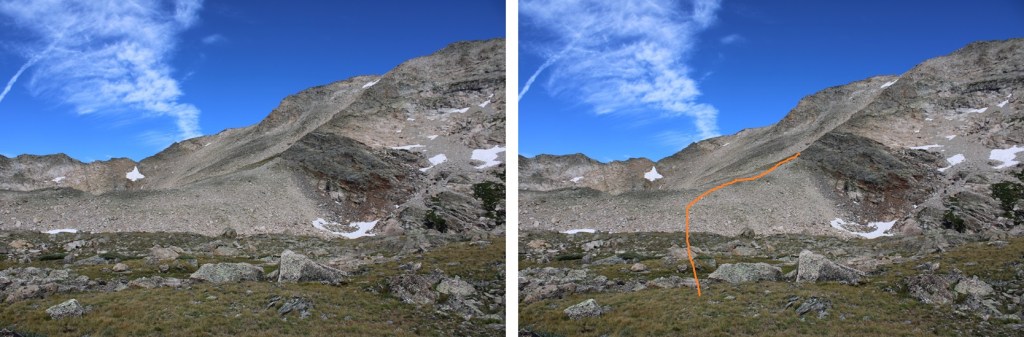
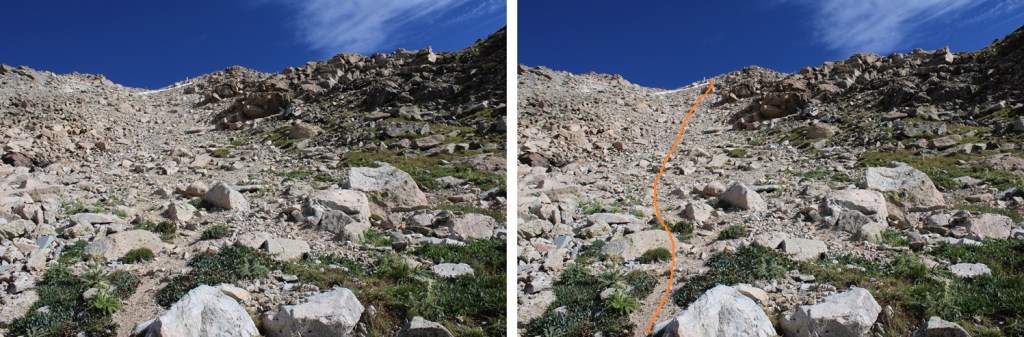
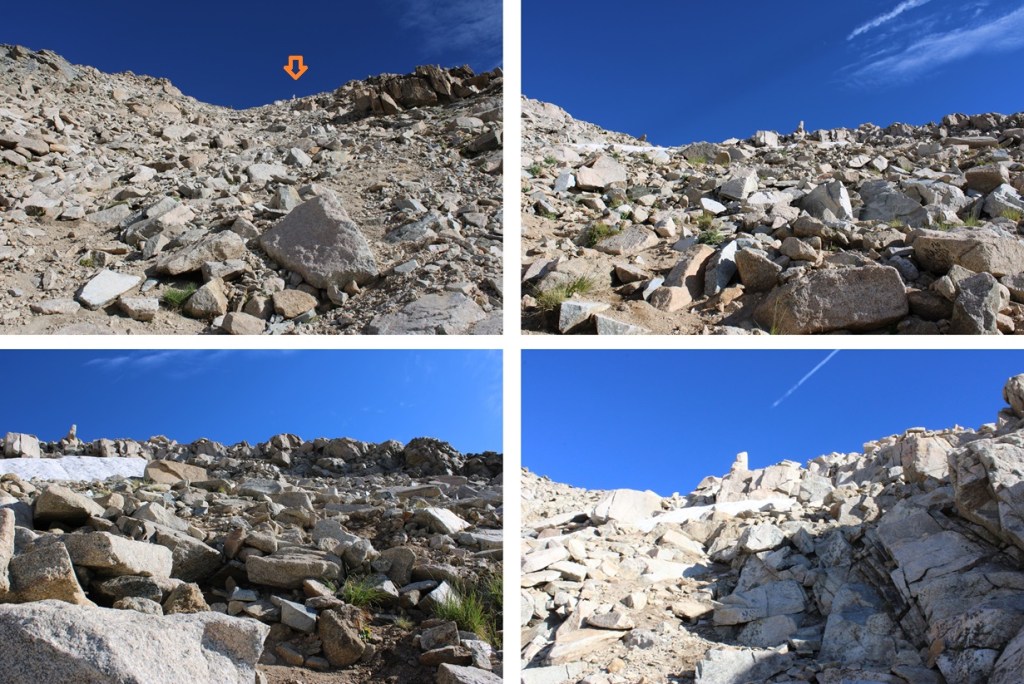
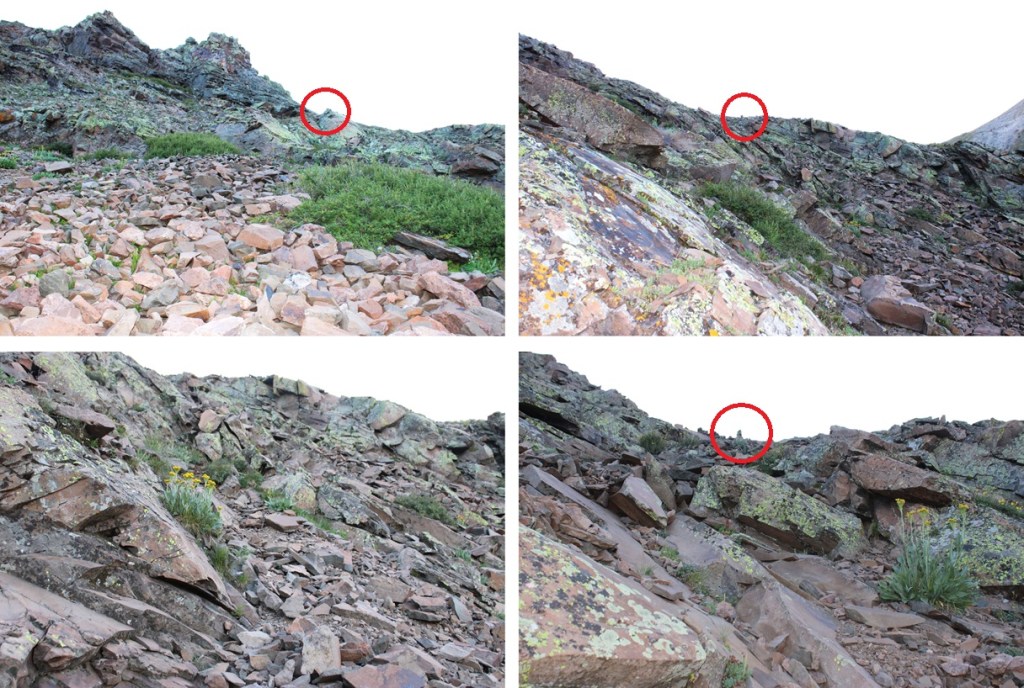
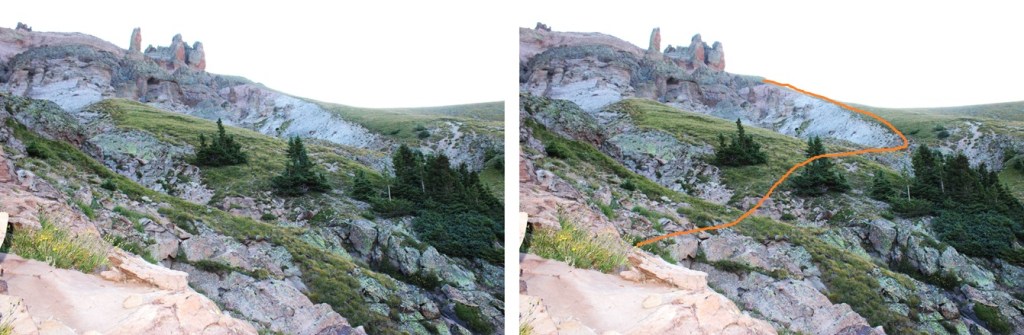
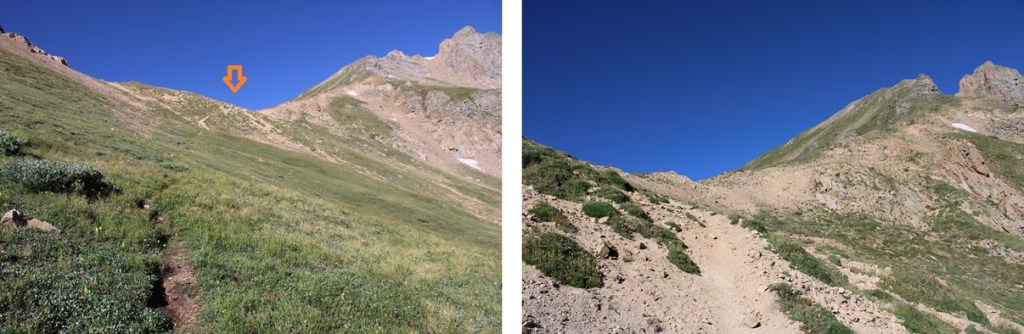
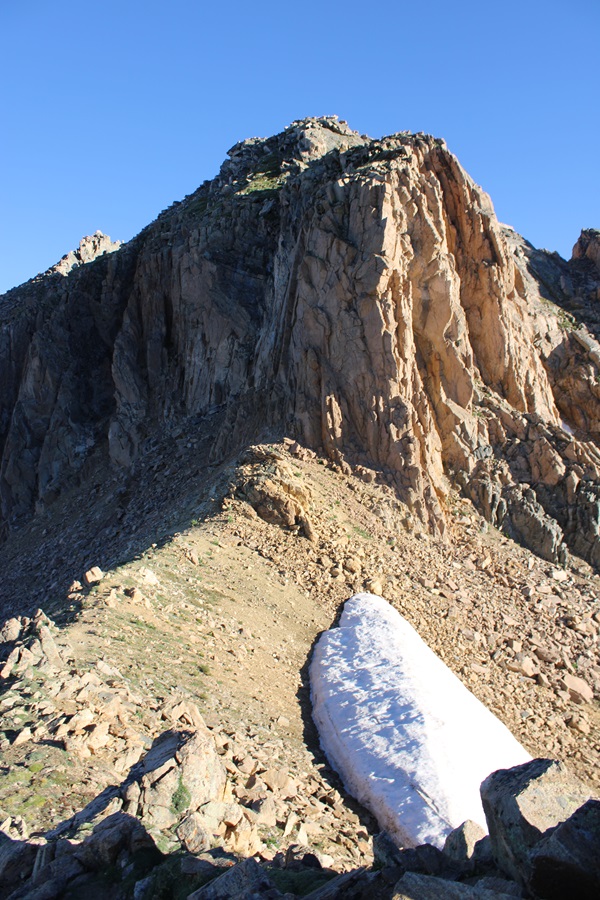
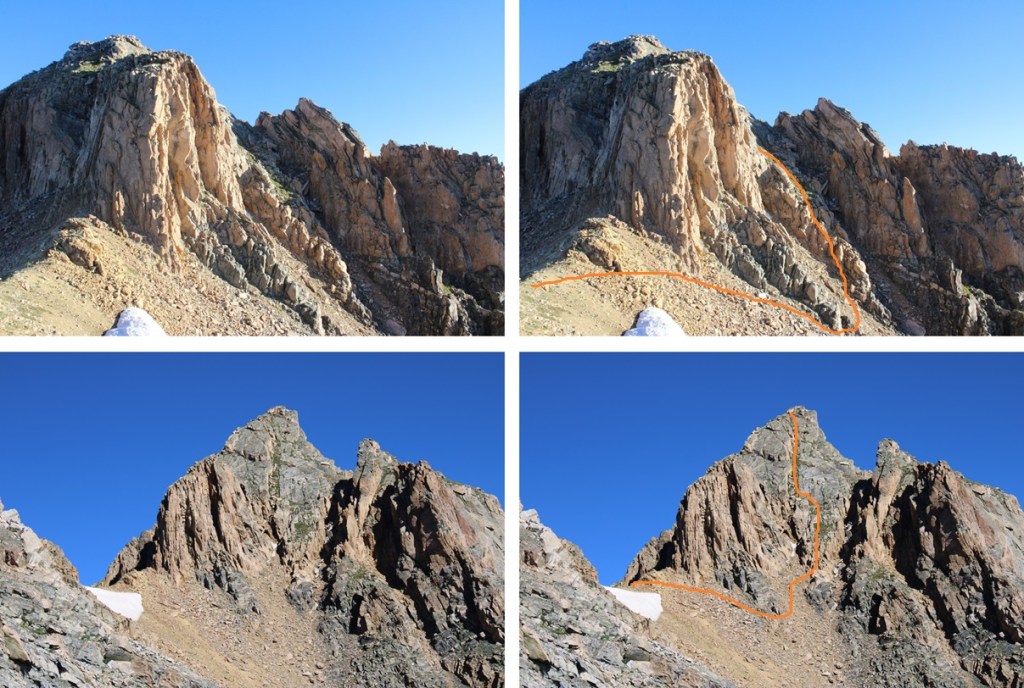
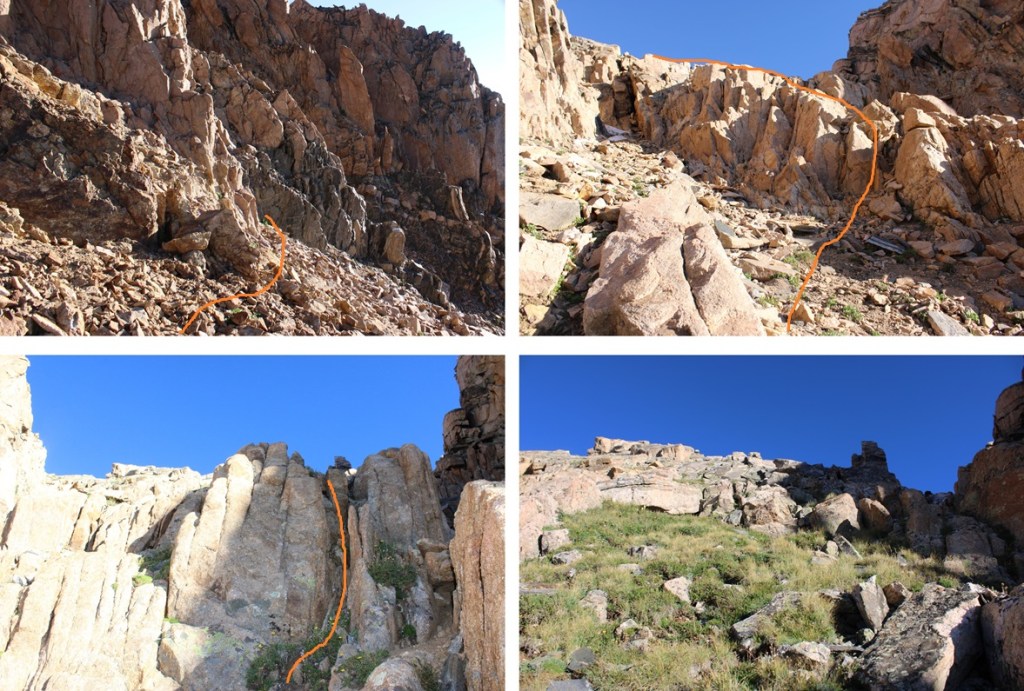
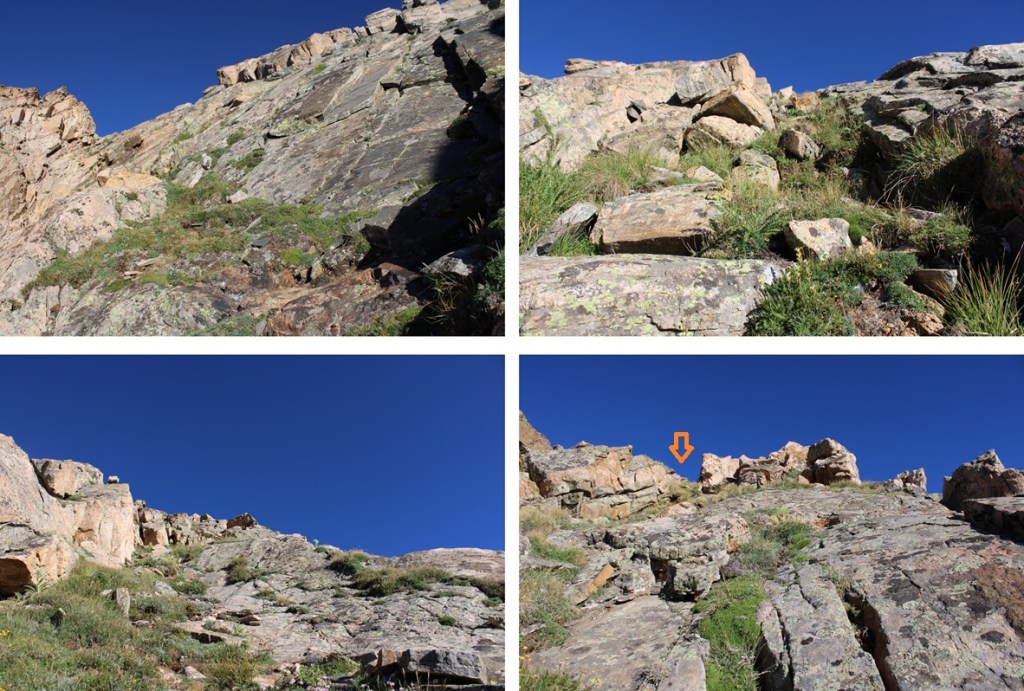
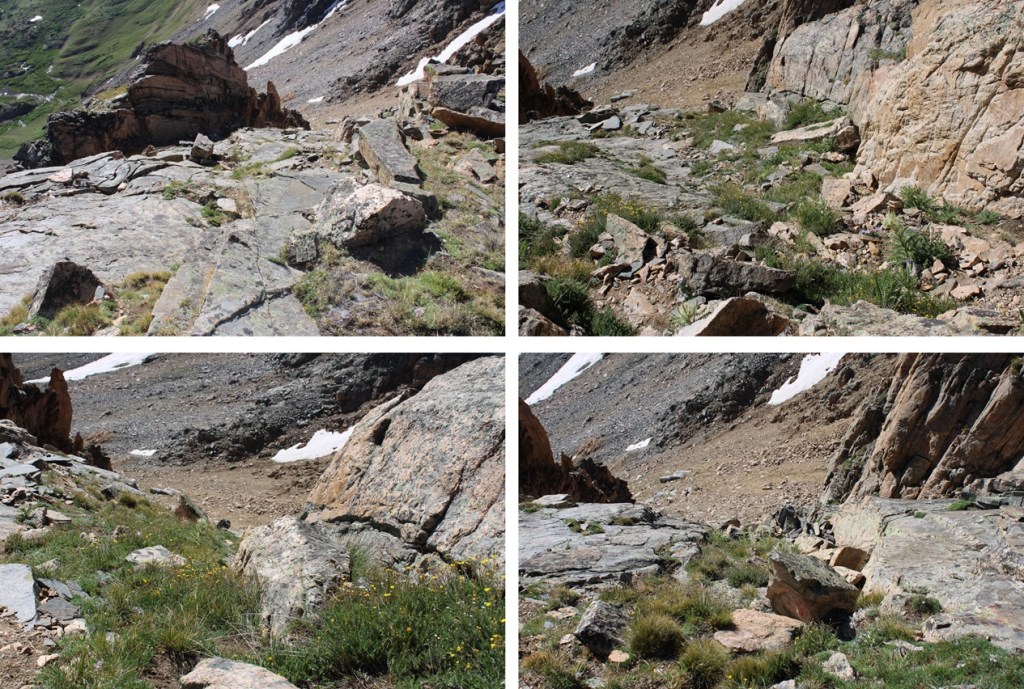
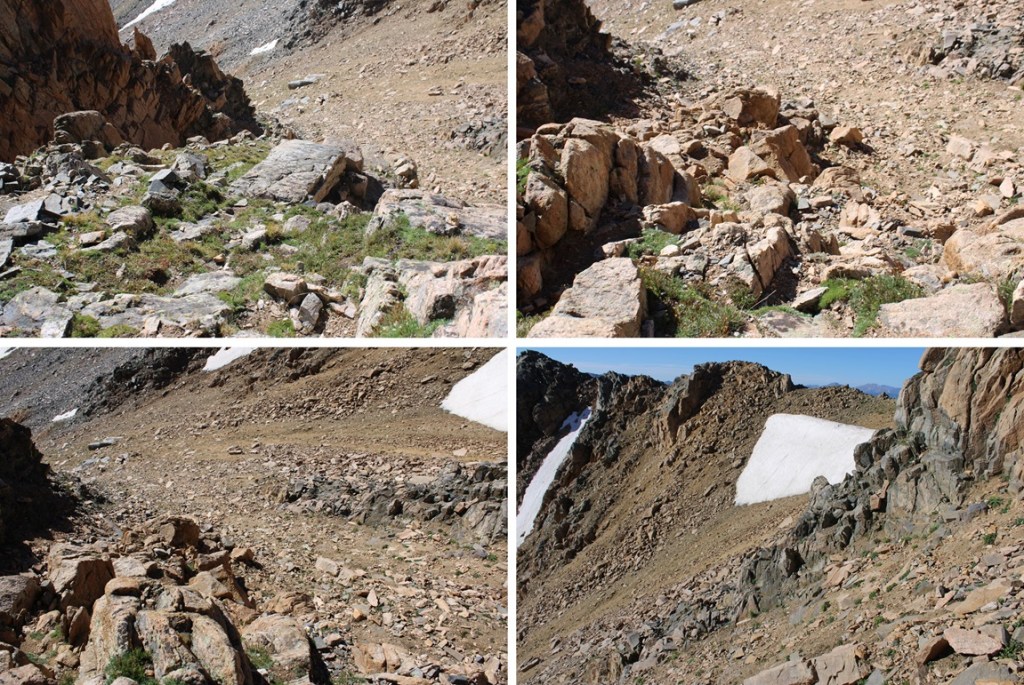
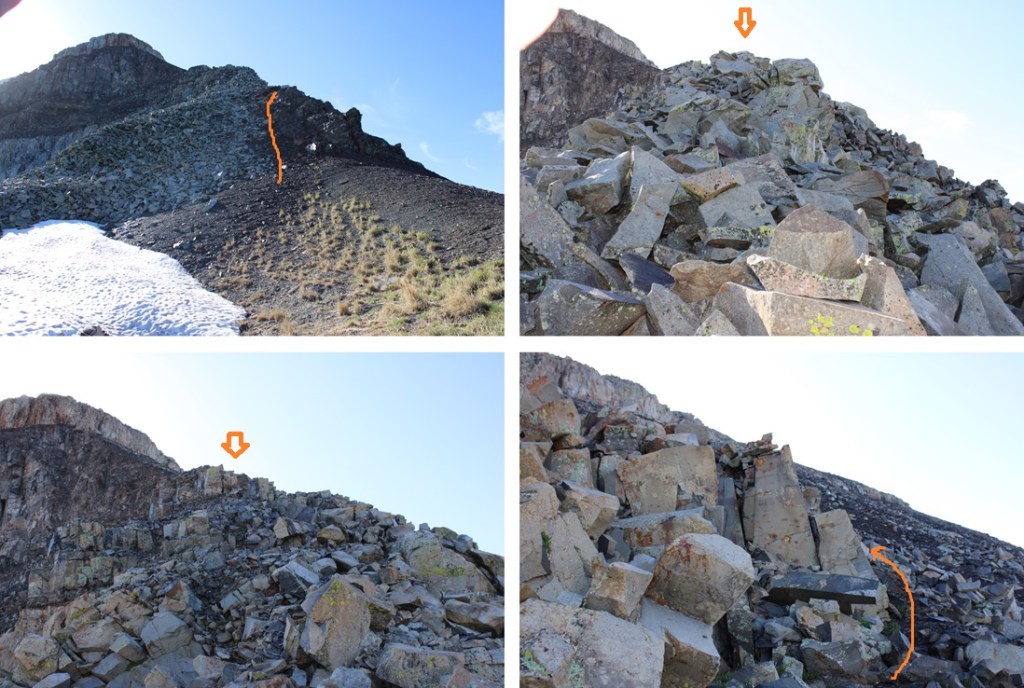
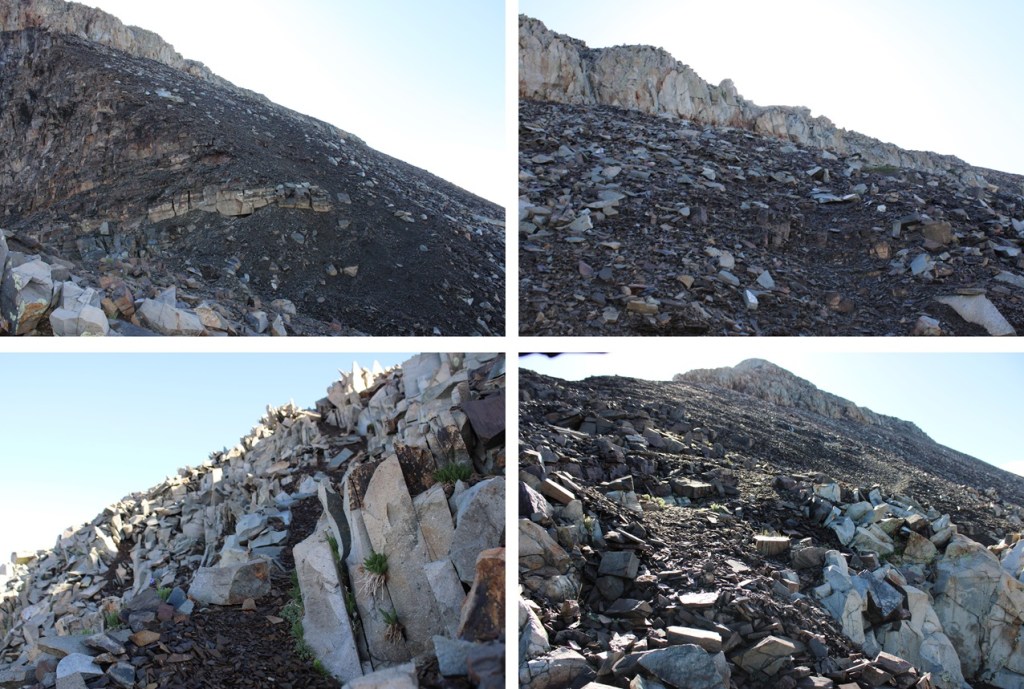
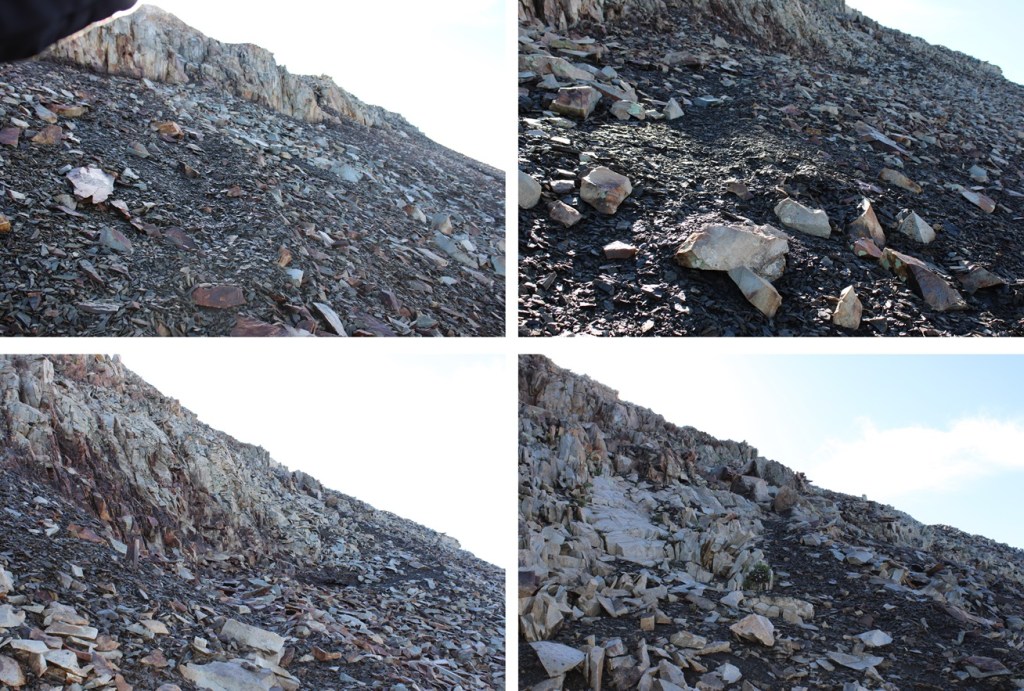
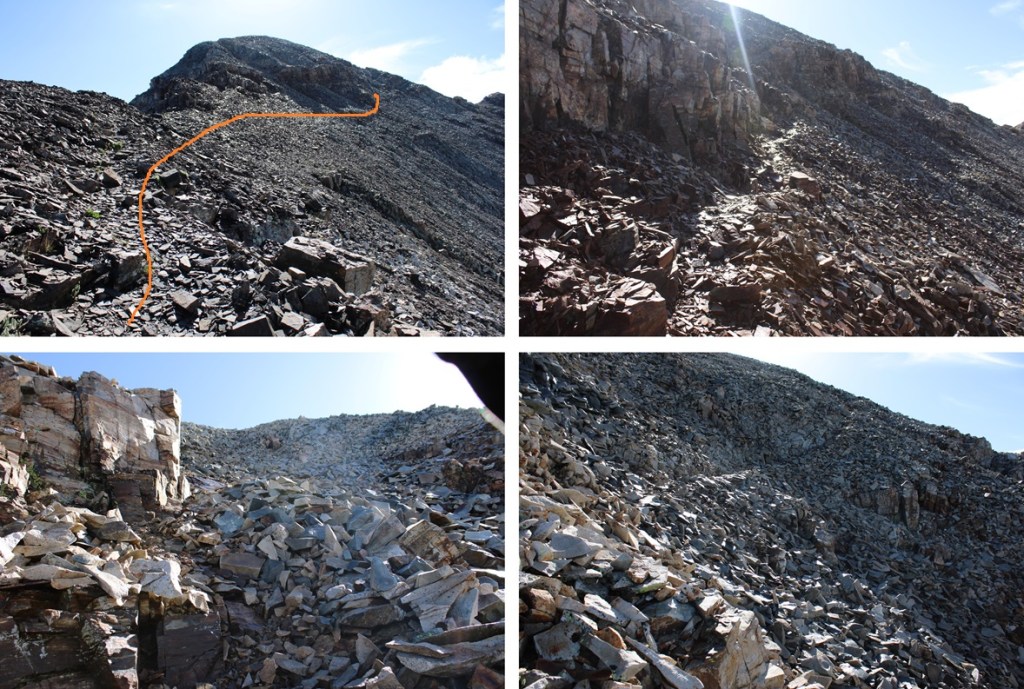
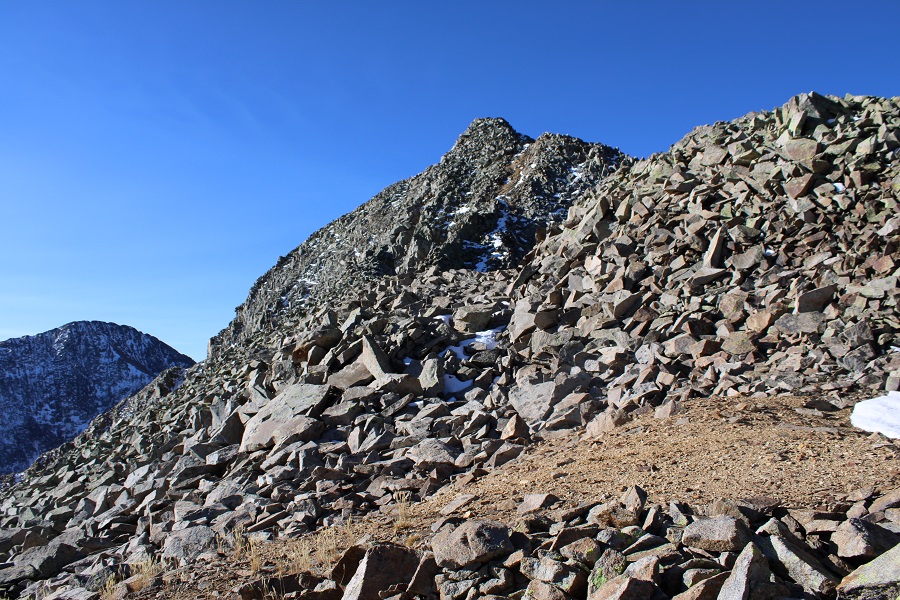
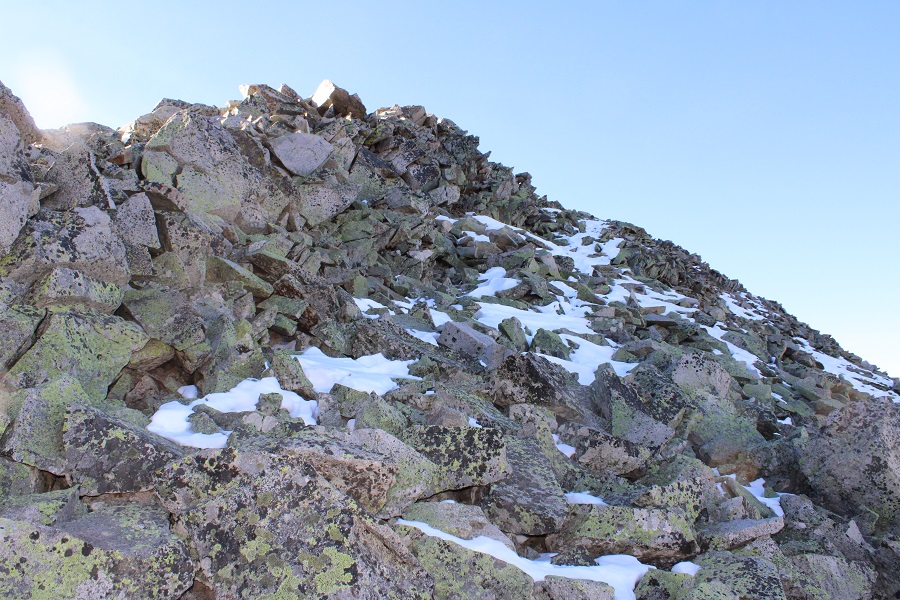
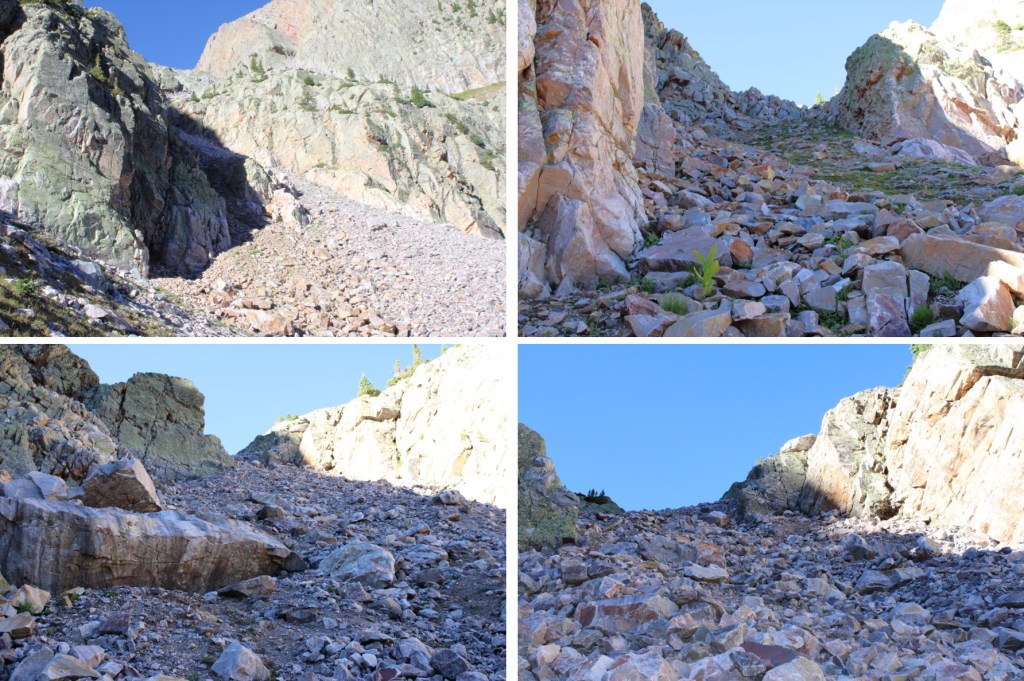
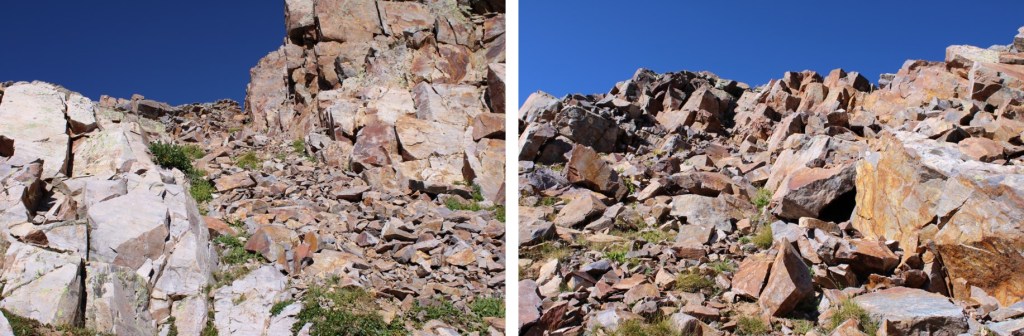
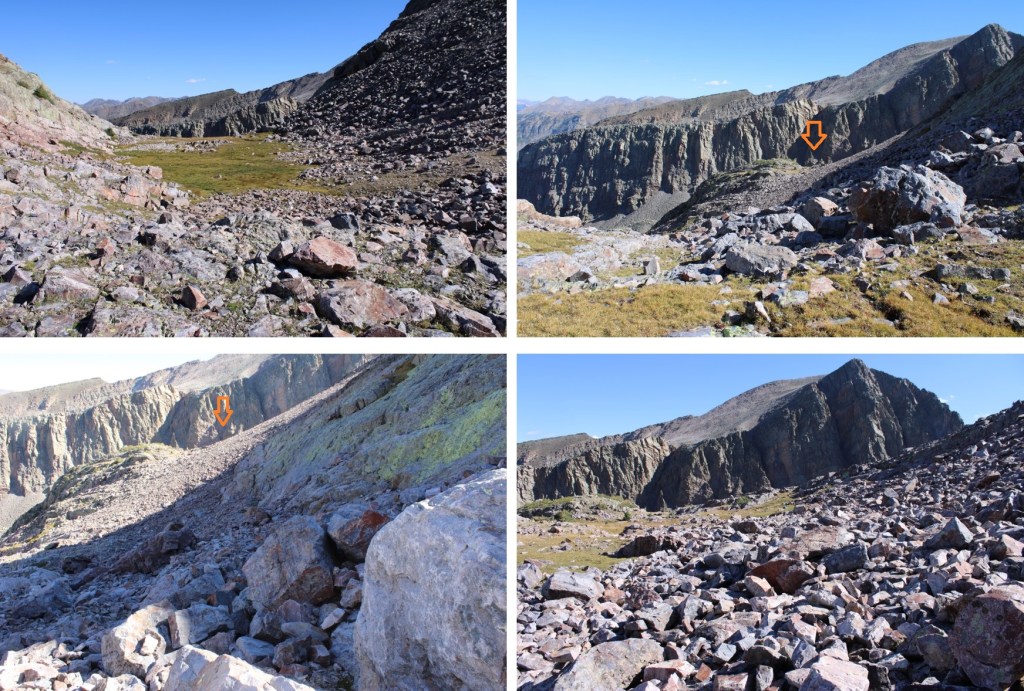
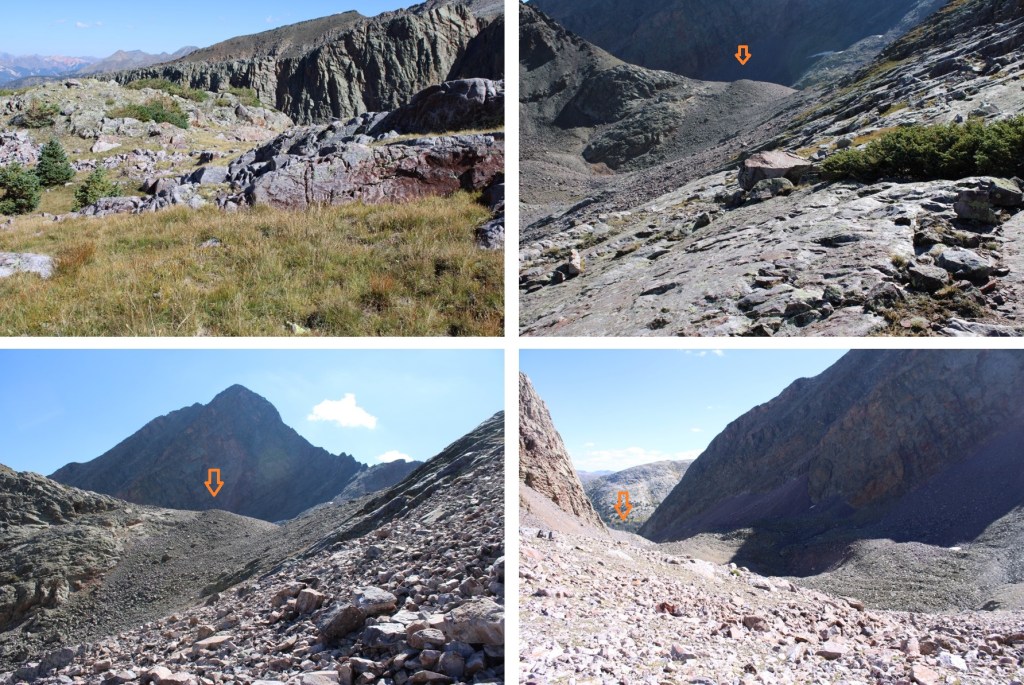
And now to head up the gully. I did this by heading north, staying to the right of the snow. If there isn’t snow when you’re doing this route, you can aim for a rather large vertical rock sticking up straight (you’ll know it when you see it, as it stands out). This gully had game trails leading to the top, and I’m sure you could take them all the way to the top of the gully. However, I stayed to the right of the snow and then climbed up the rocky rib. This was mostly class 2, with a few easy class 3 moves thrown in.
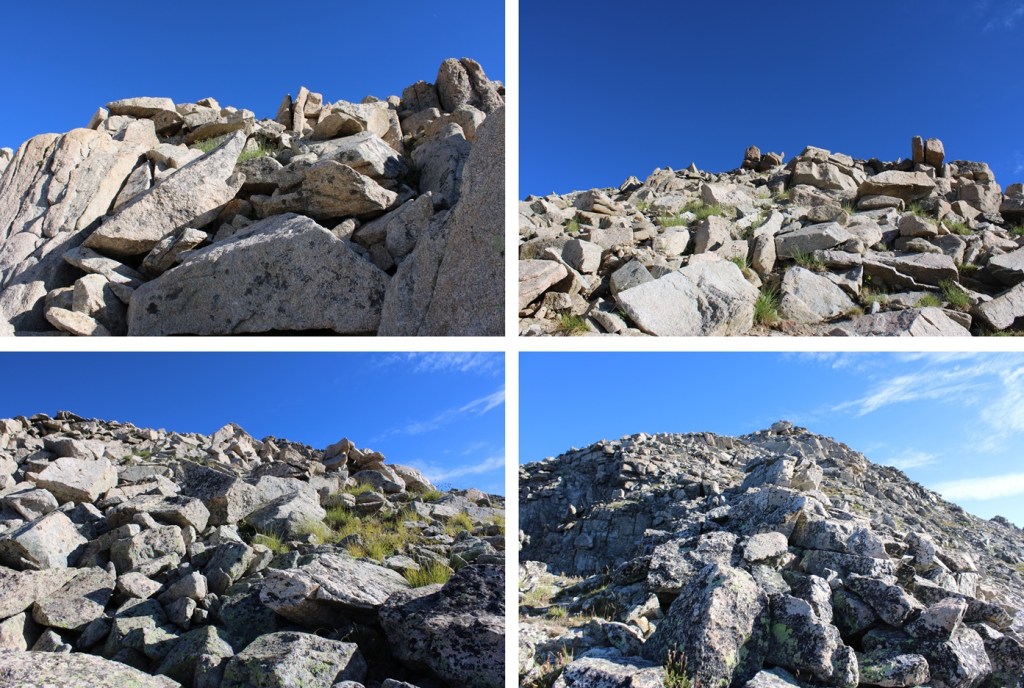
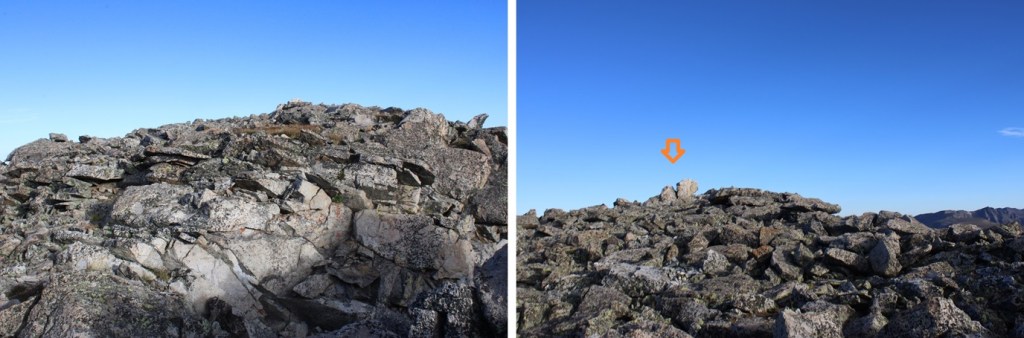
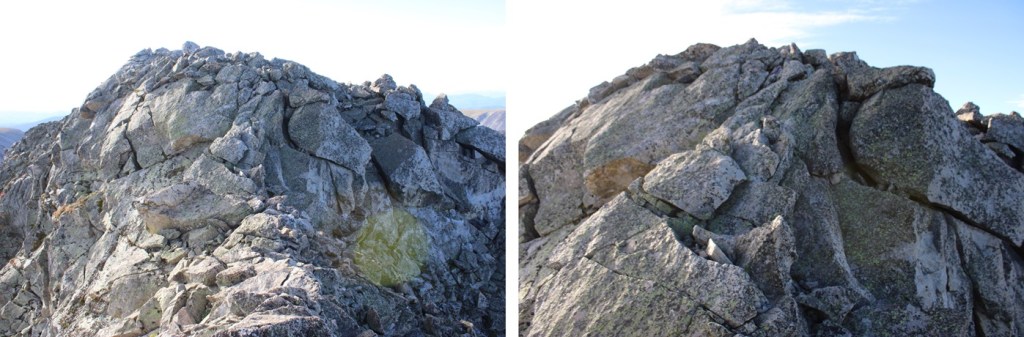
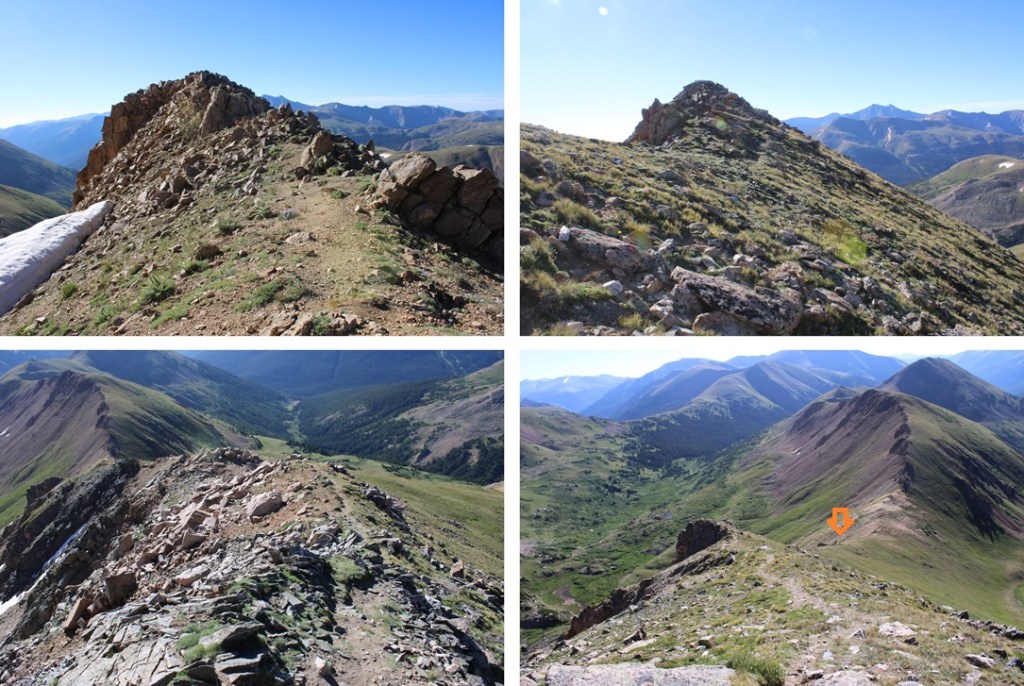
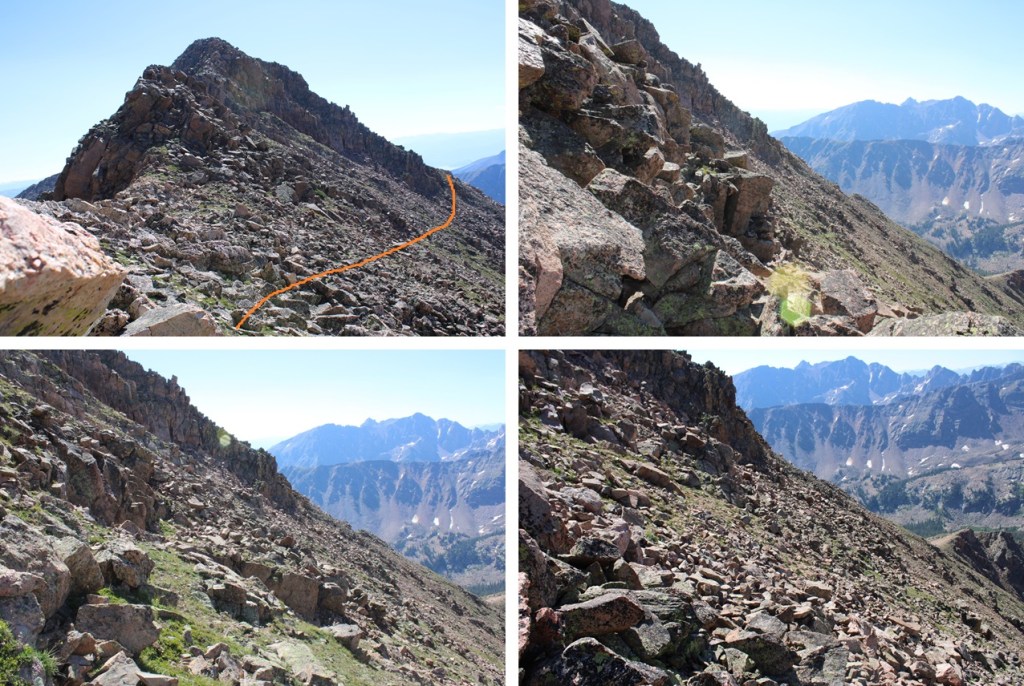
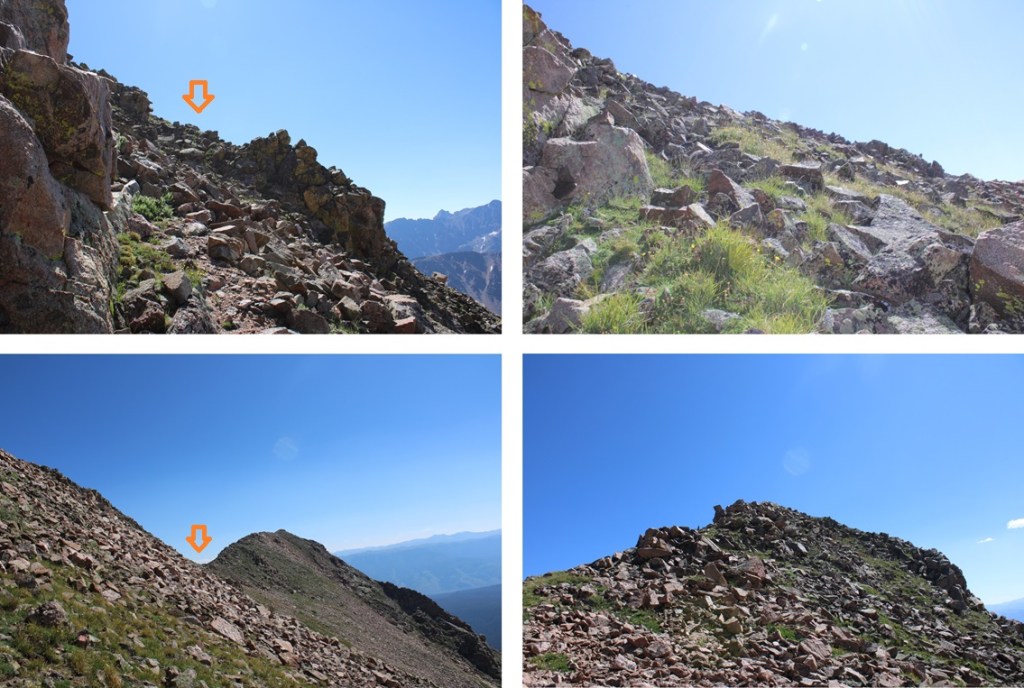
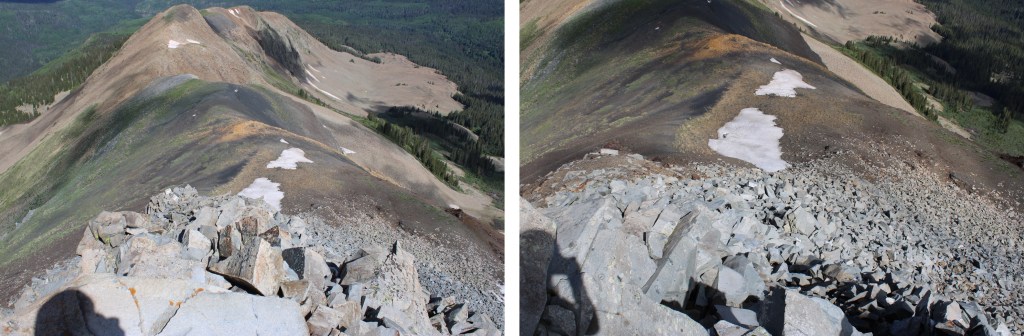
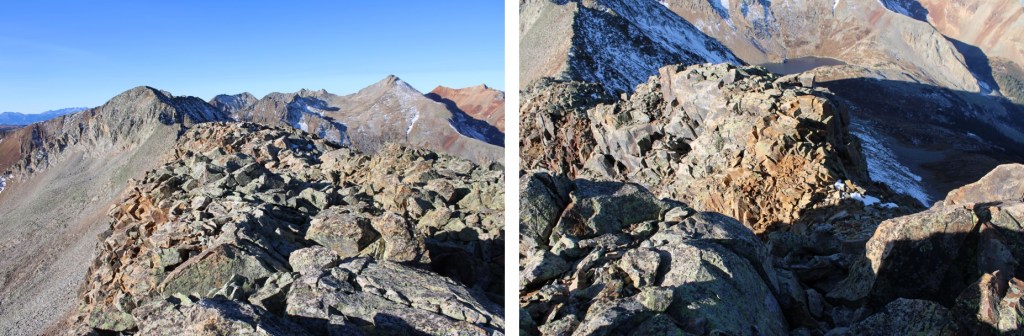
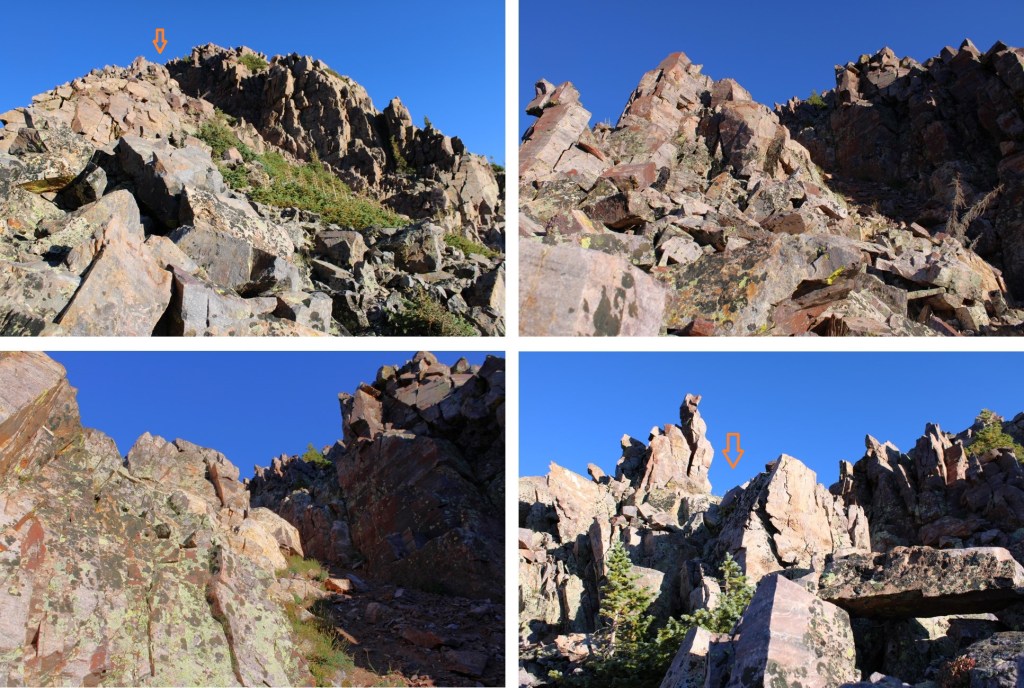
At the top of the rock rib, you’ll see what appears to be the summit of Paiute Peak to the north. It’s actually a false summit, but aim for it.
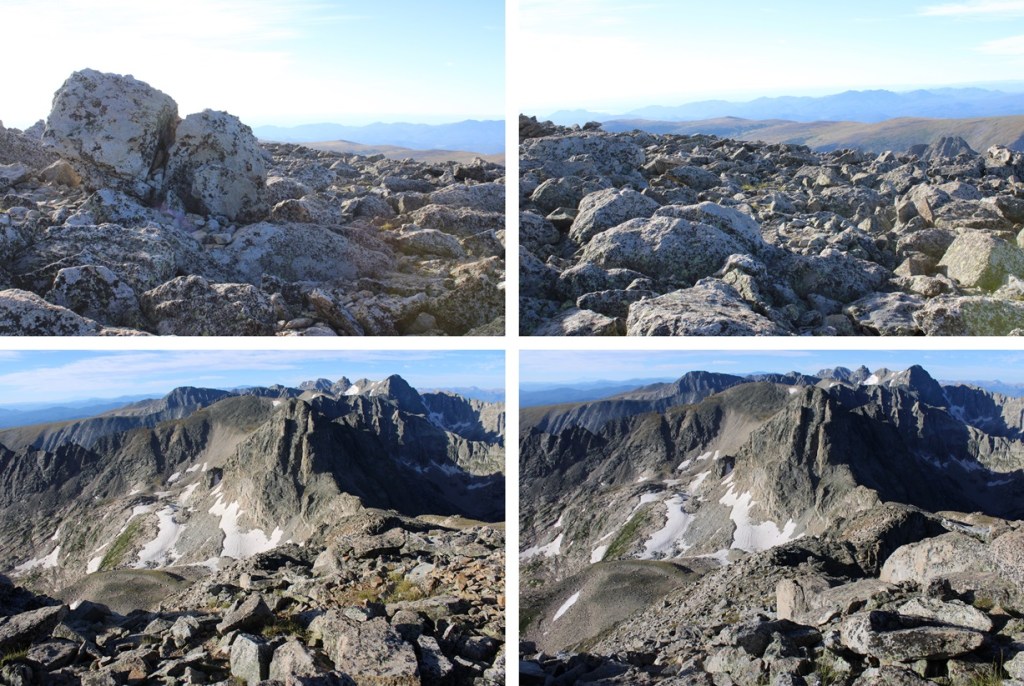
From here, the true summit is to the northeast. Head towards two boulders that look like the summit (they’re another false summit)
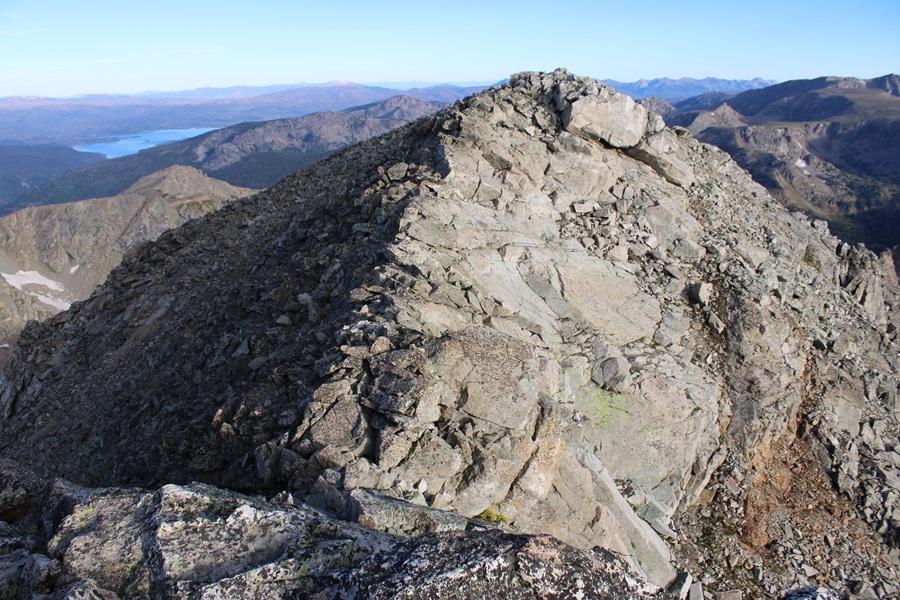
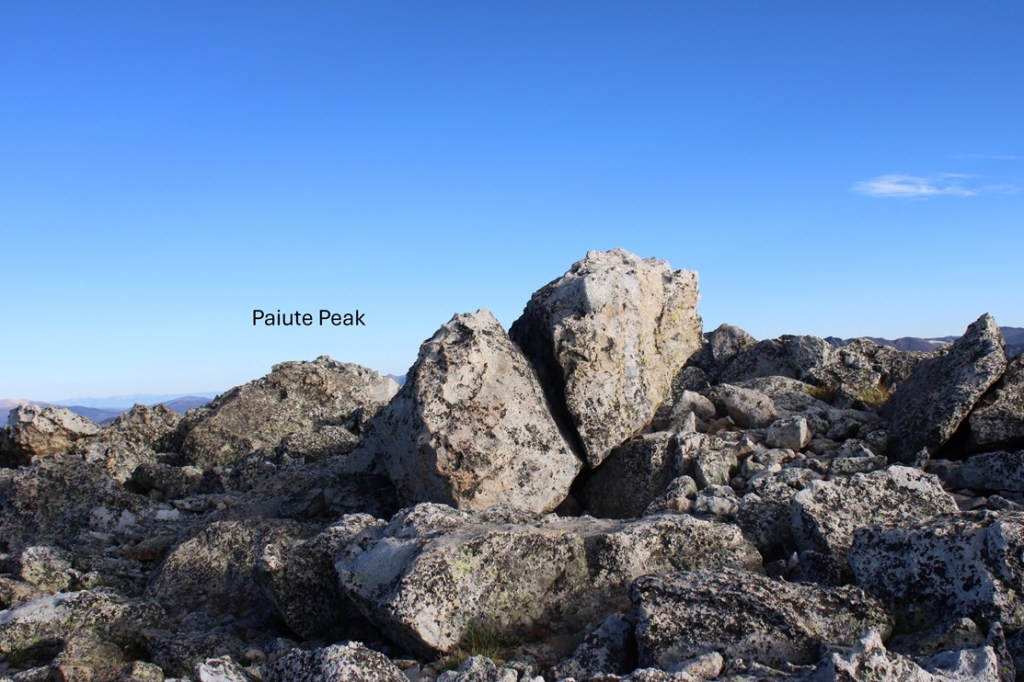
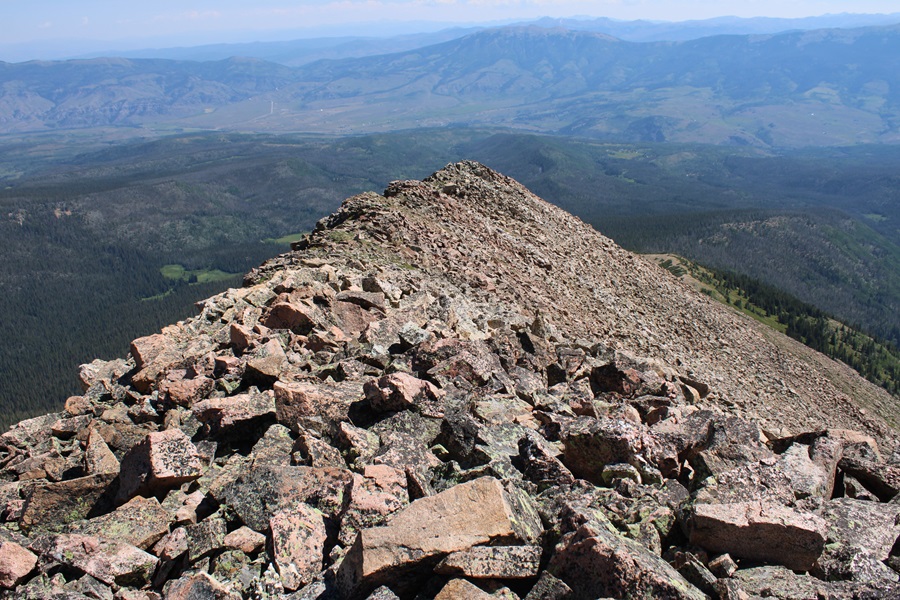
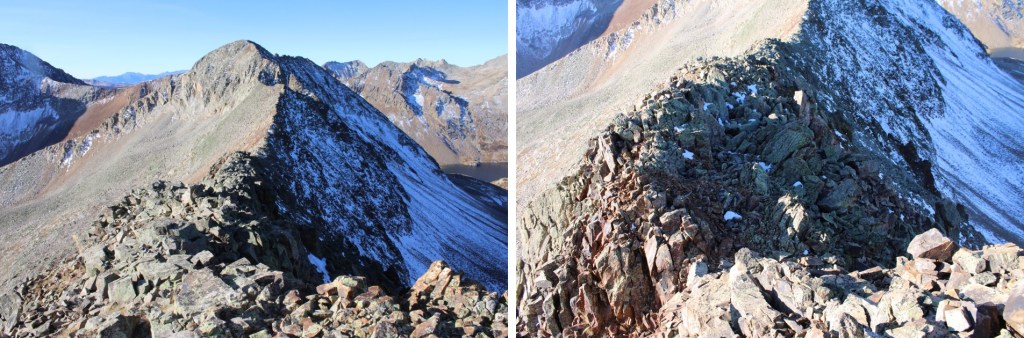
From those two boulders, the summit of Paiute Peak is visible to the north.
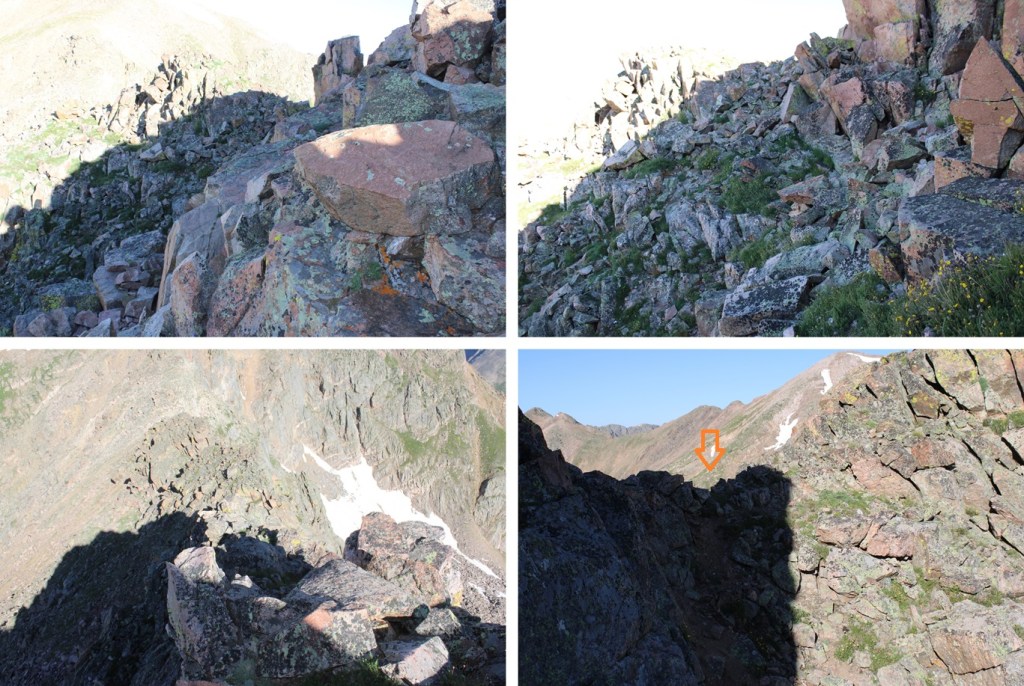
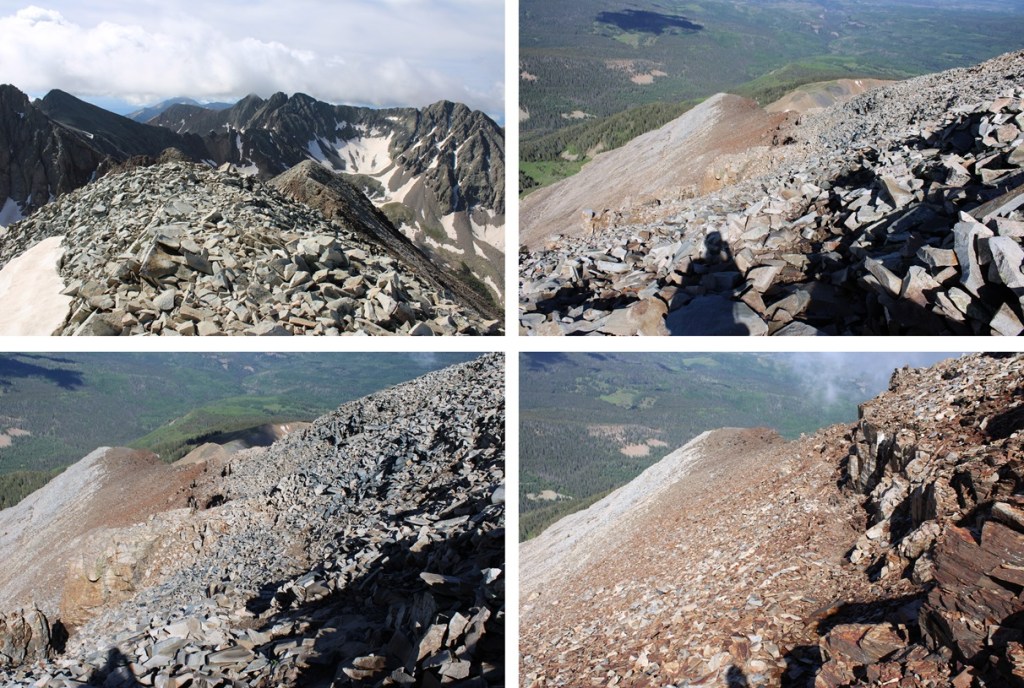
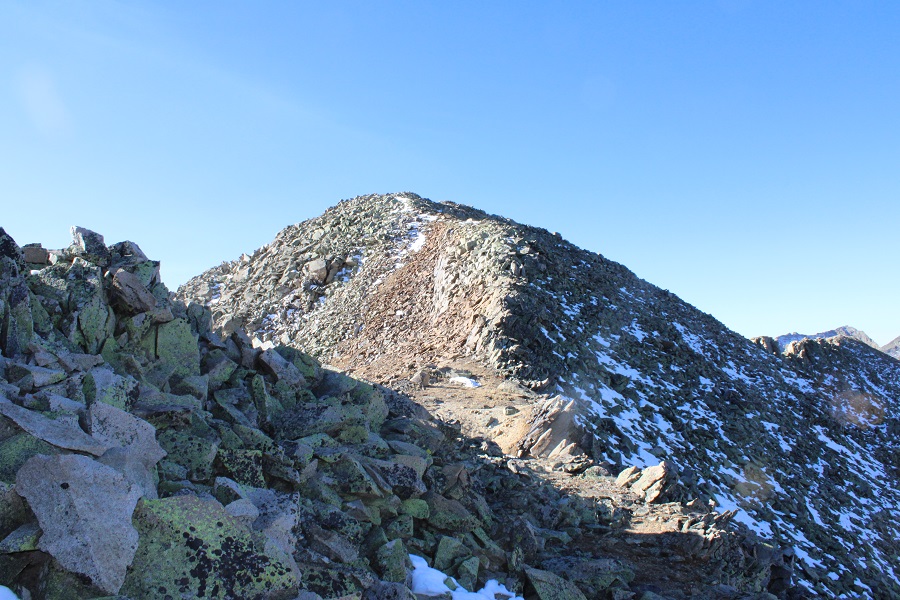
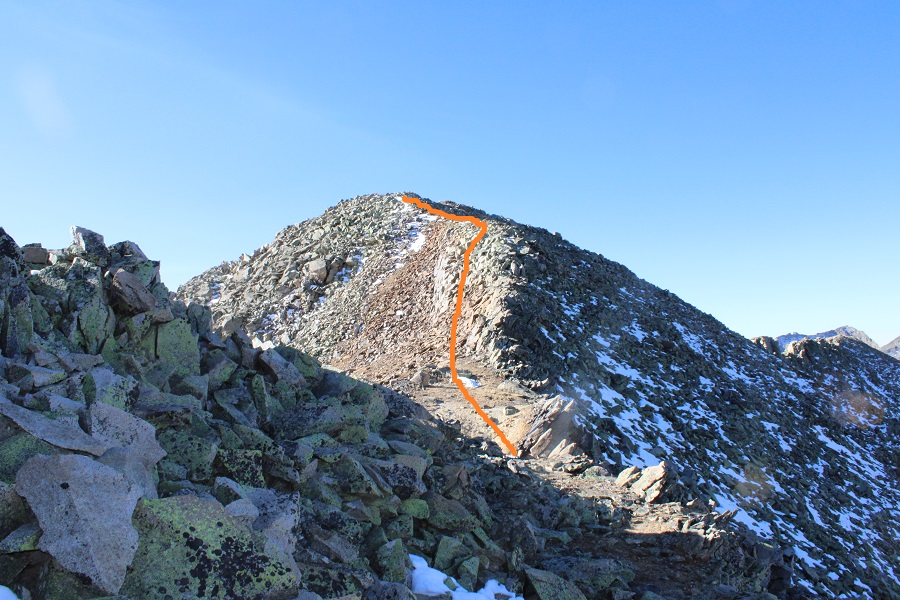
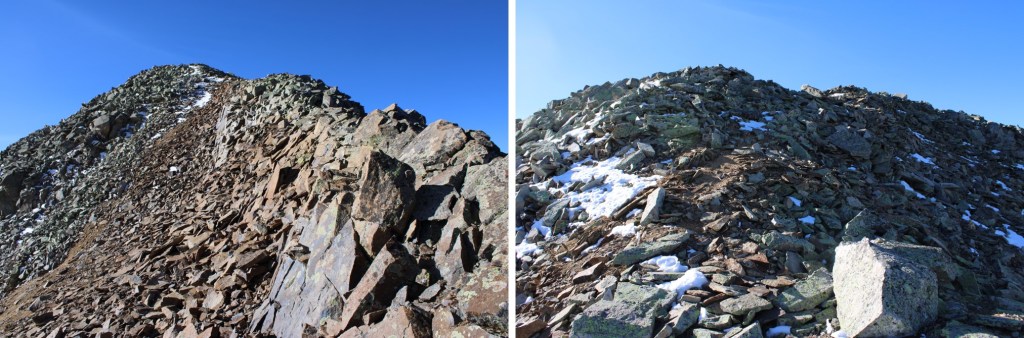
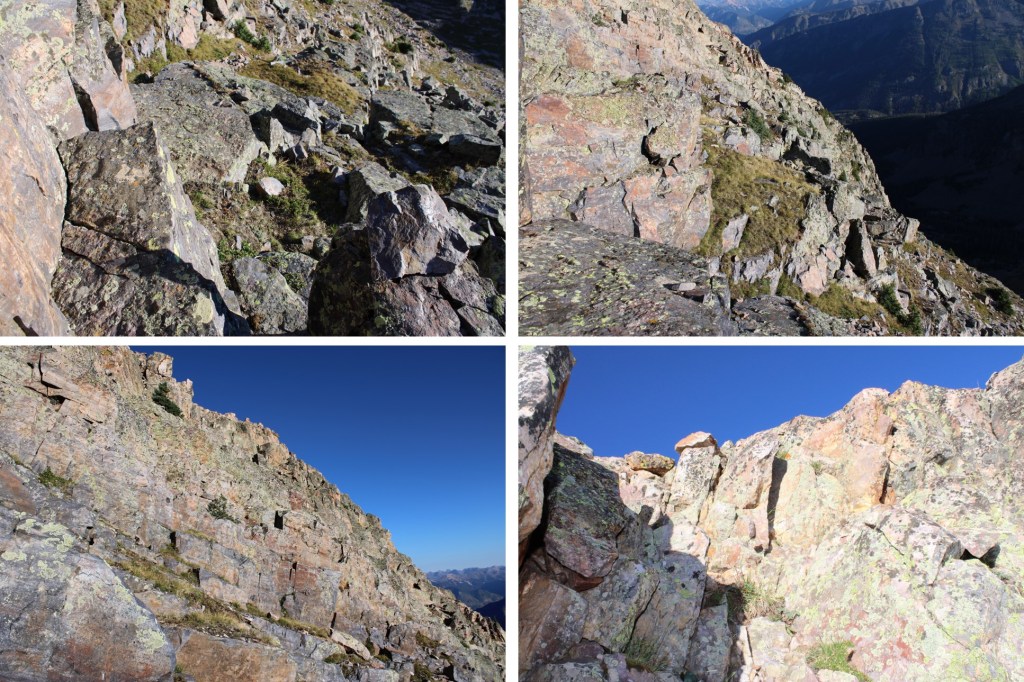
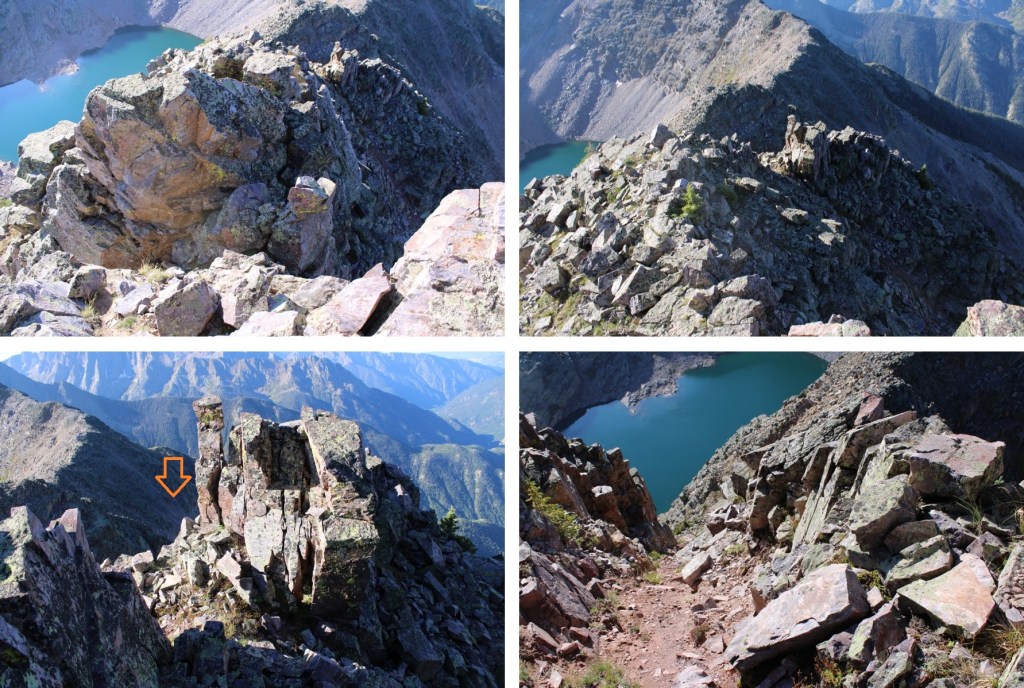
To get there I downclimbed a difficult class 3 section (or easy class 4) with exposure. This was much more difficult to downclimb than to upclimb. And it was very windy this day, making this ridge extra spicy. The route down and then up to the summit are obvious. There was a cairn at the top, and a summit register.
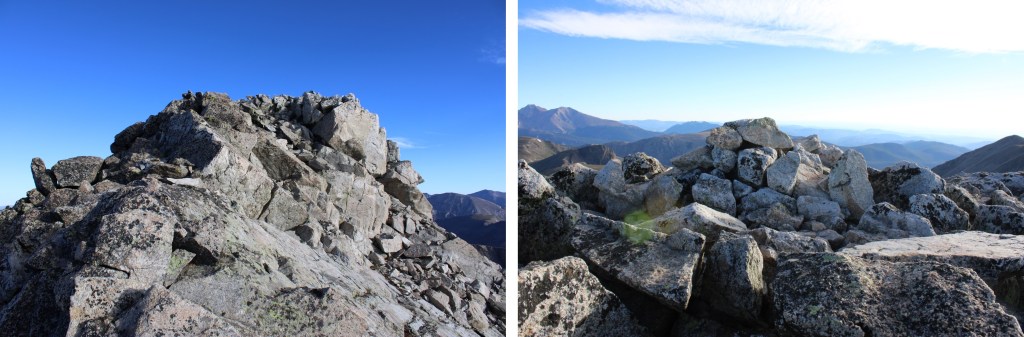
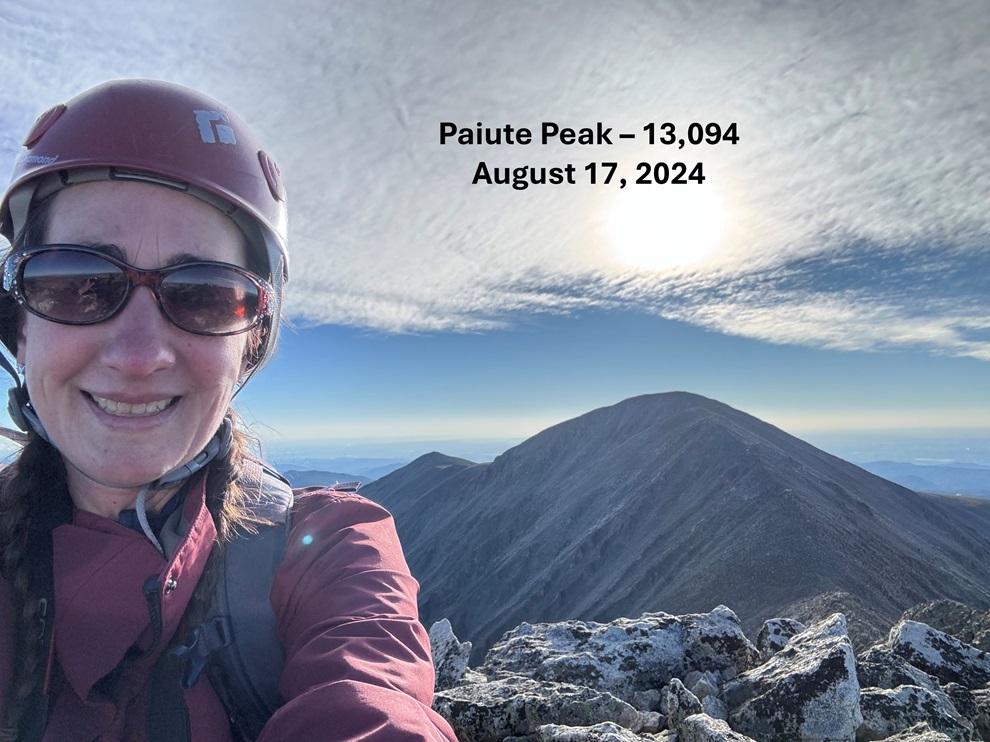
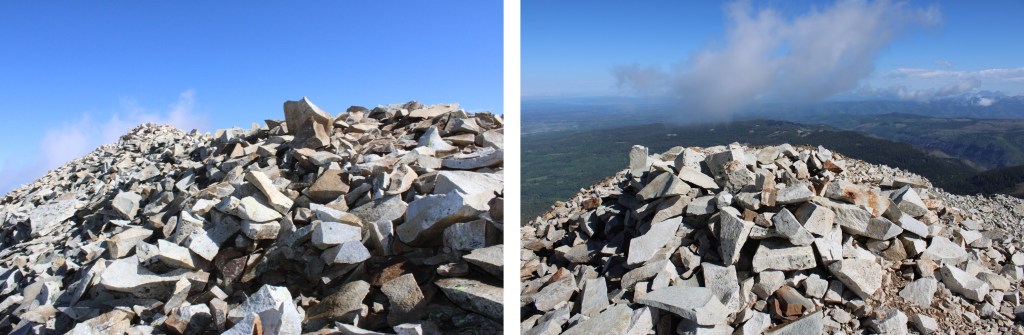
I summited Paiute Peak at 7:30am
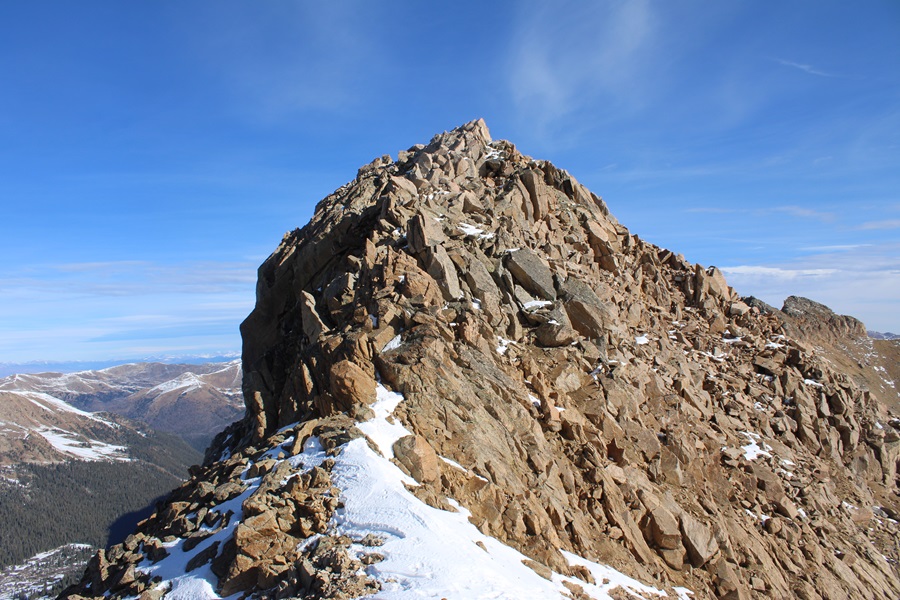
Paiute Peak:
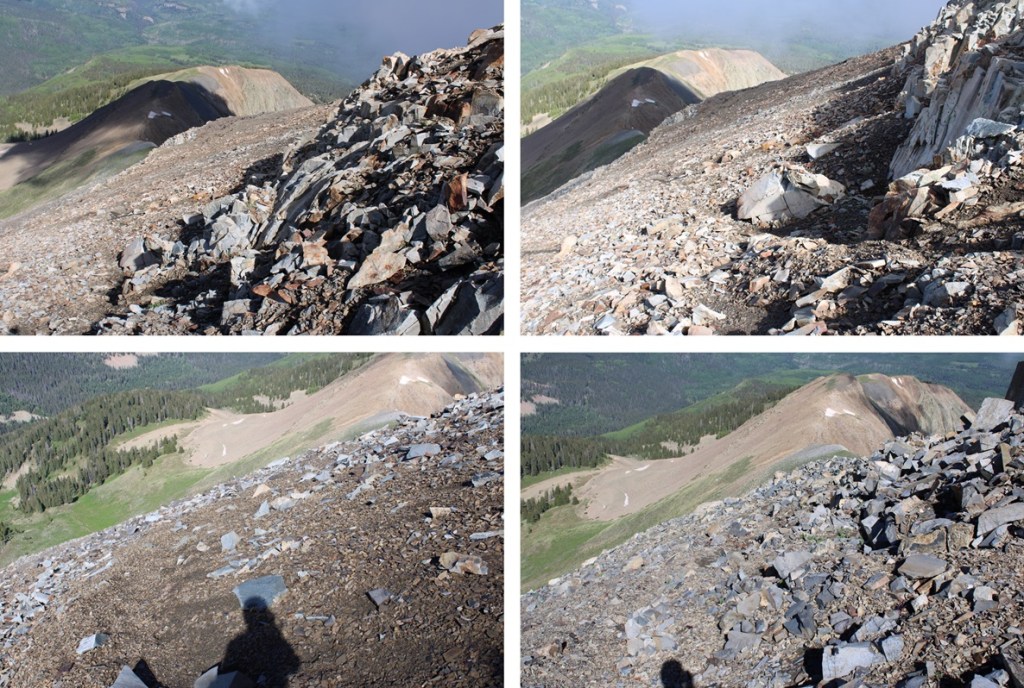
From the summit looking back, it really, really looks like where those two boulders are is higher, but there was a register here, so I’m assuming it’s the true summit. Now to head back. This “v” was much easier to upclimb. I used the same route down as I did on my way back up.
I then made my way towards the gully.
I went southeast down the rocky rib
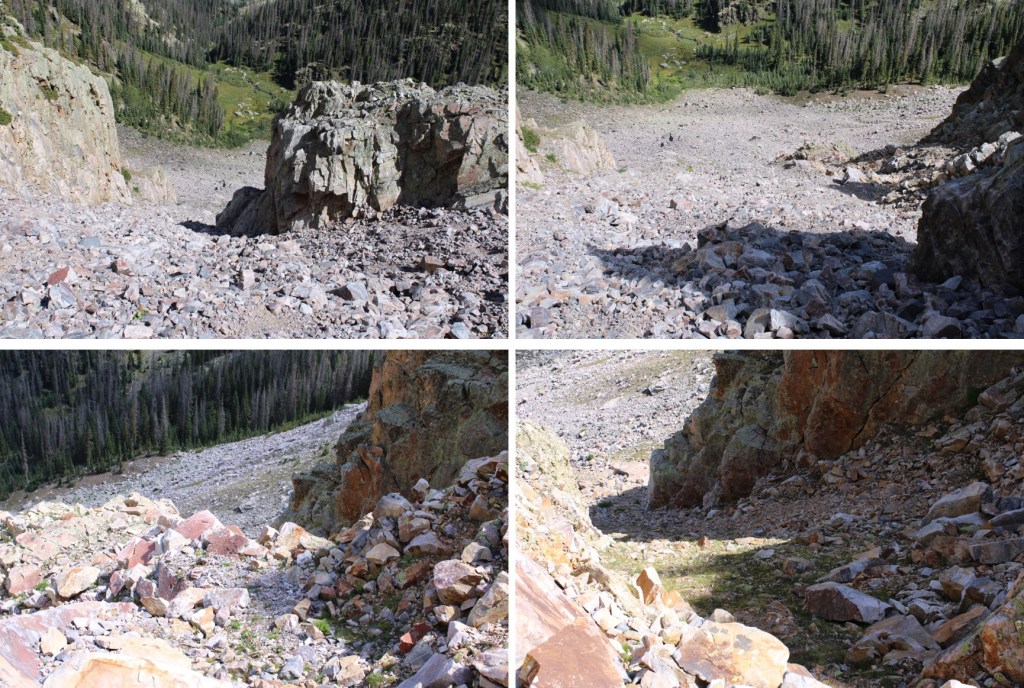
Then descended the gully
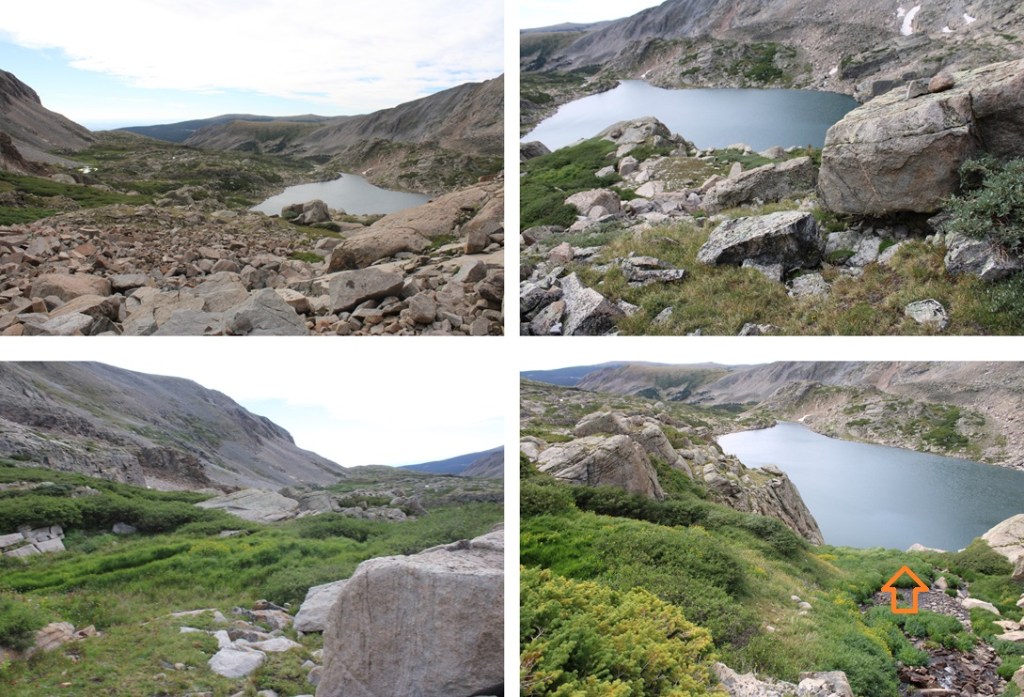
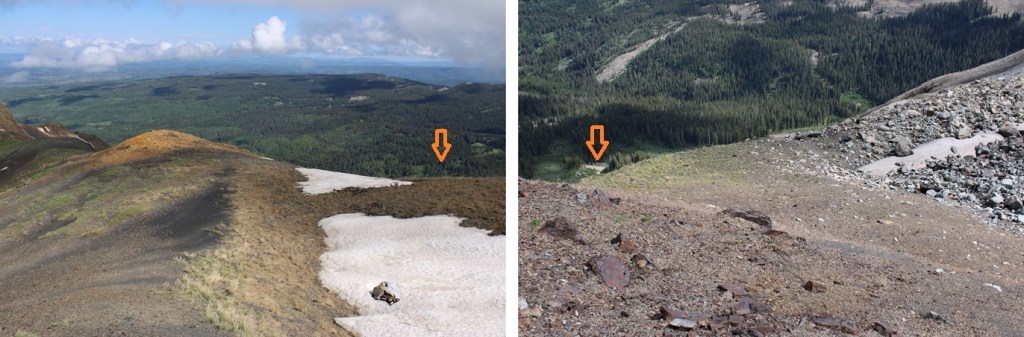
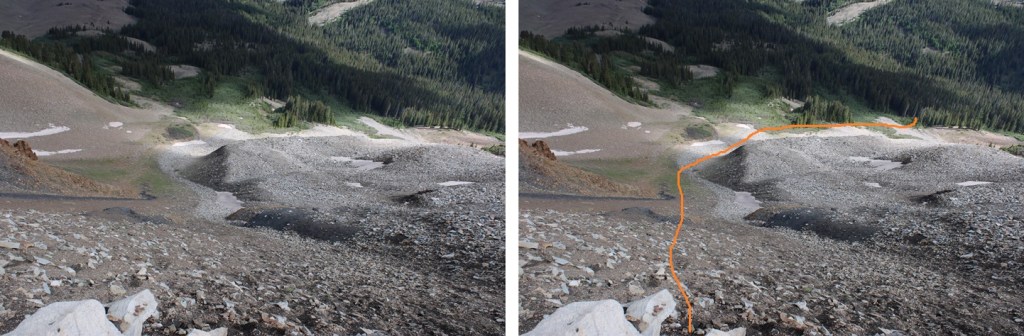
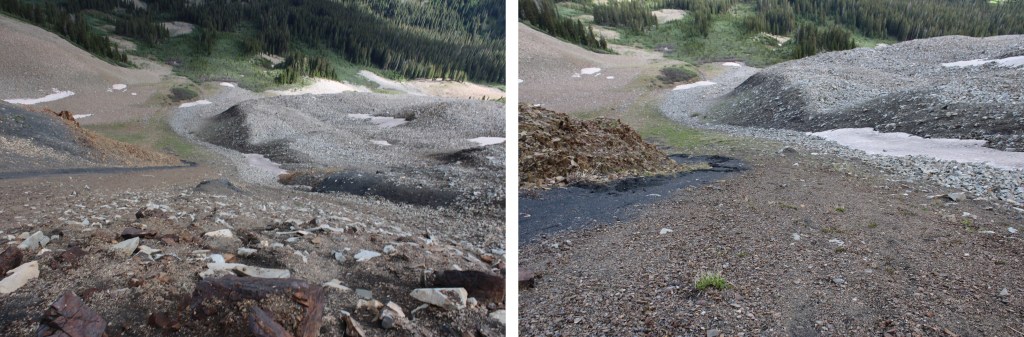
At the bottom of the gully I turned left, and made my way back towards Blue Lake
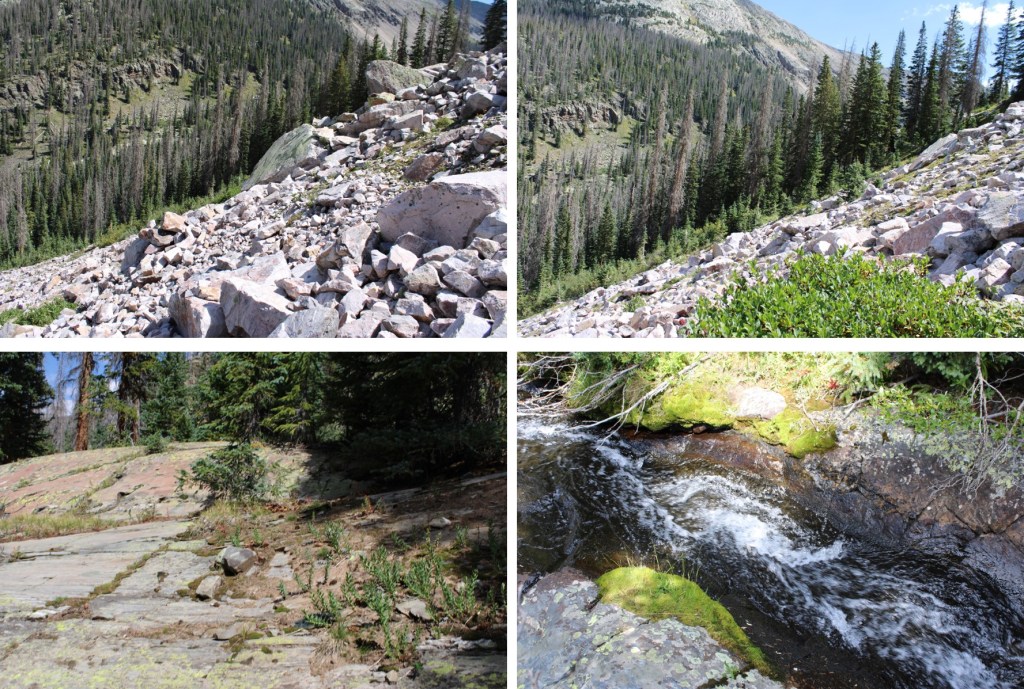
I aimed for the drainage, then followed it south towards Blue Lake and the trail below
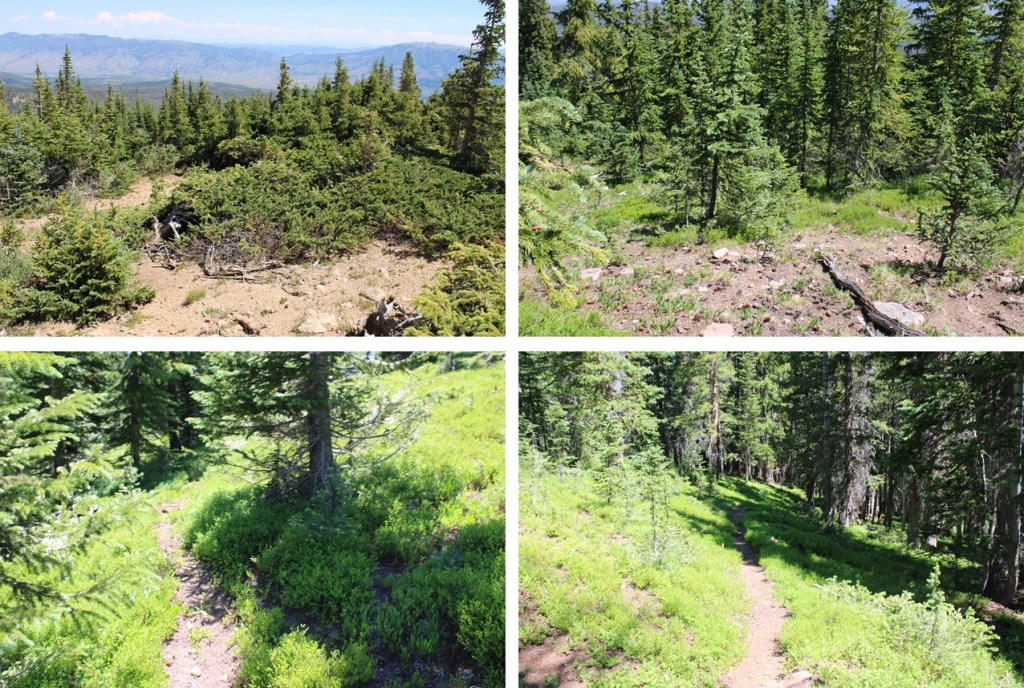
Back on the trail, I followed it east back to the Mitchell Lake Trailhead, passing several lakes along the way.
Back at the Mitchell Lake Trailhead, I followed the road back to the Brainard Lake parking area.
I made it back to the Brainard Lakes trailhead at 10:30am, making this an 11.32 mile hike with 2781’ of elevation gain in 6 hours.
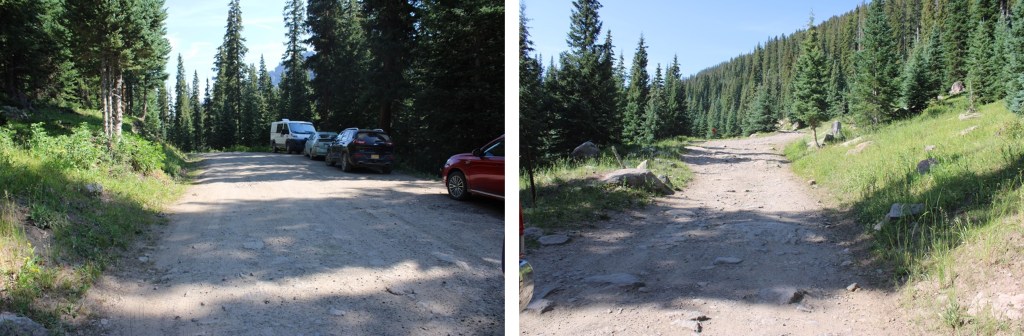
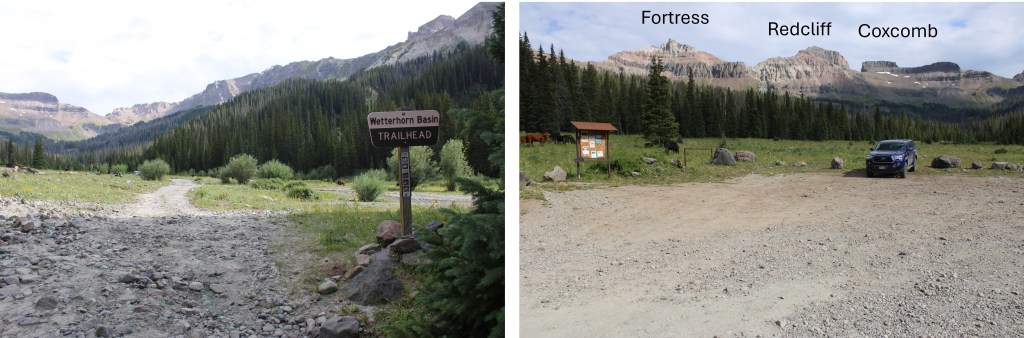
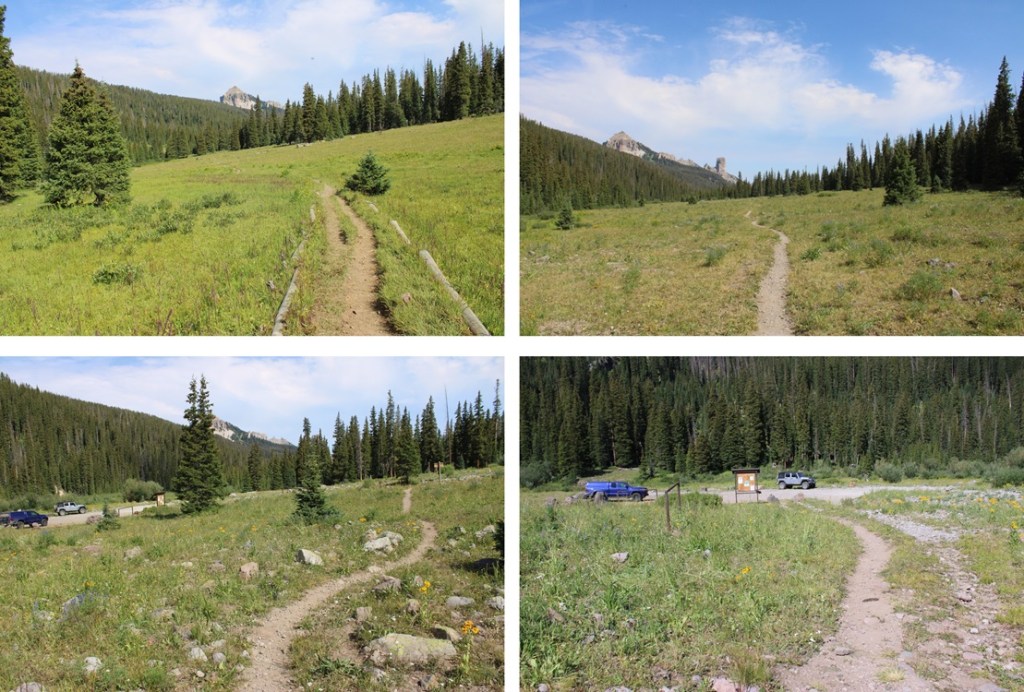
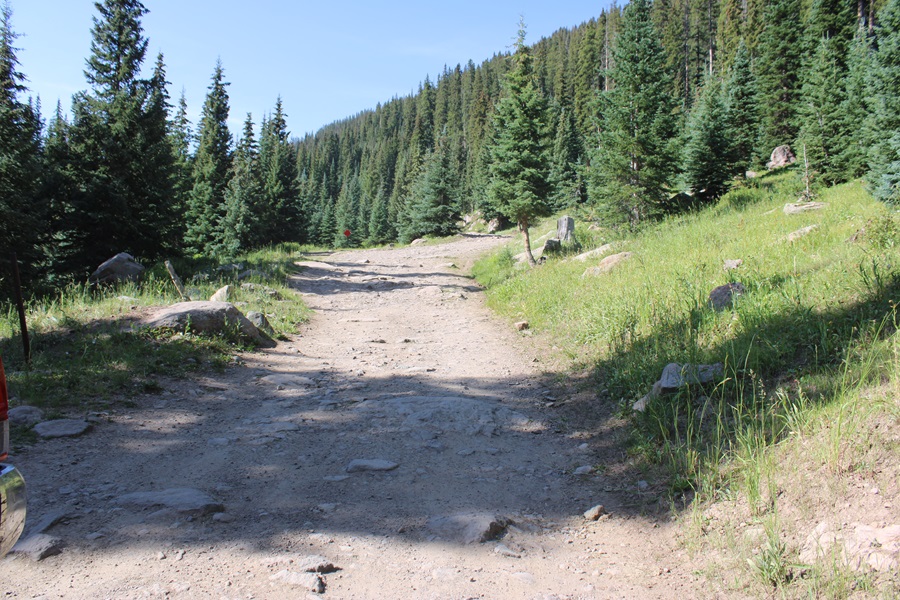
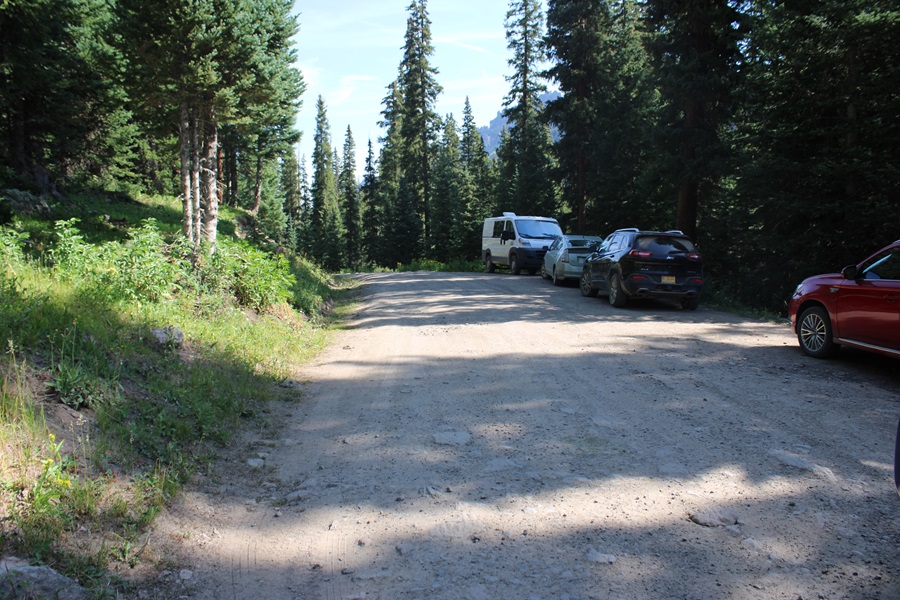
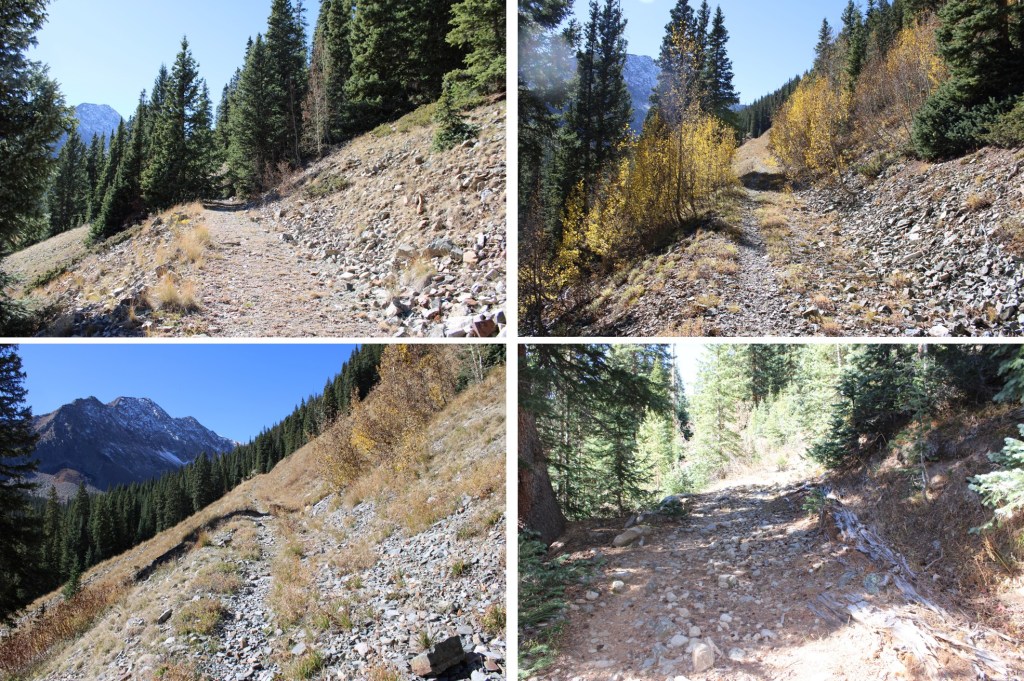
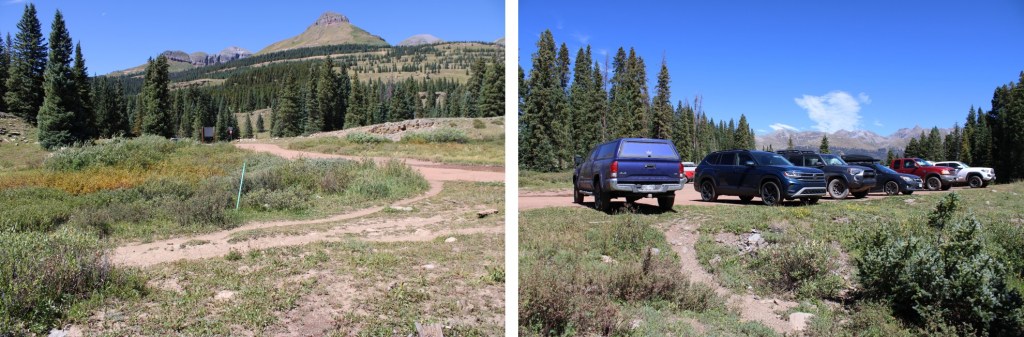
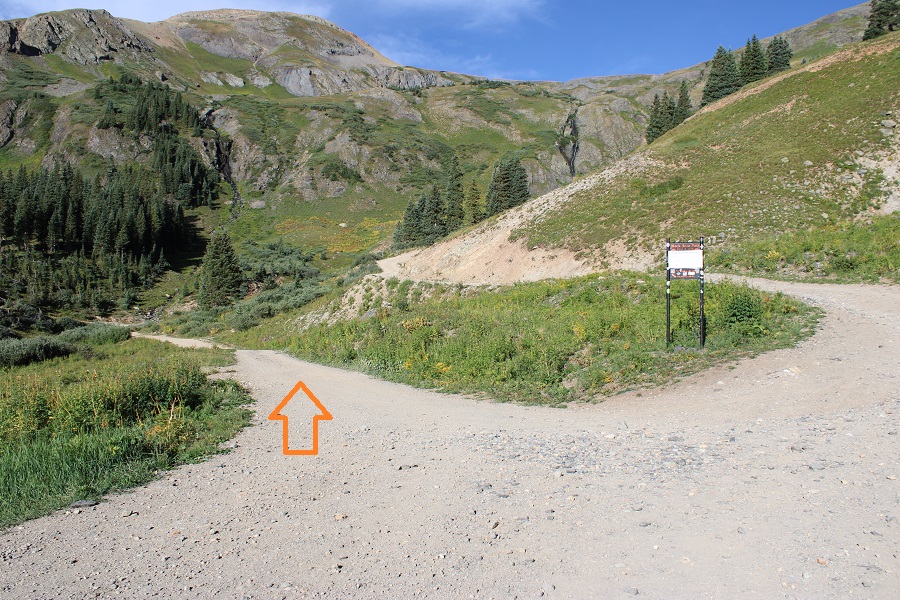
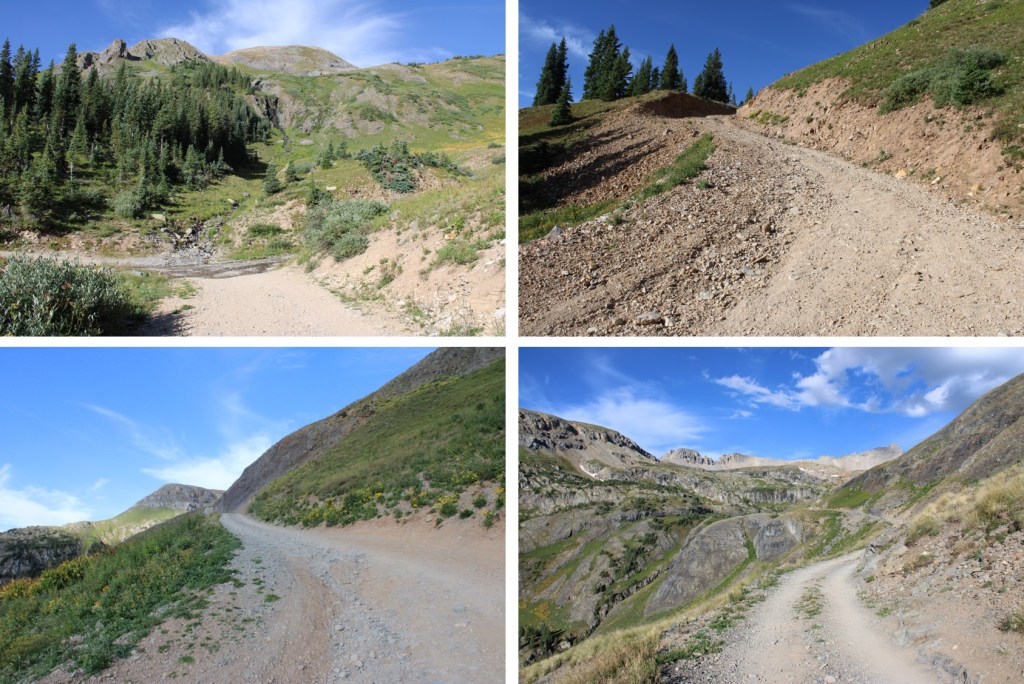
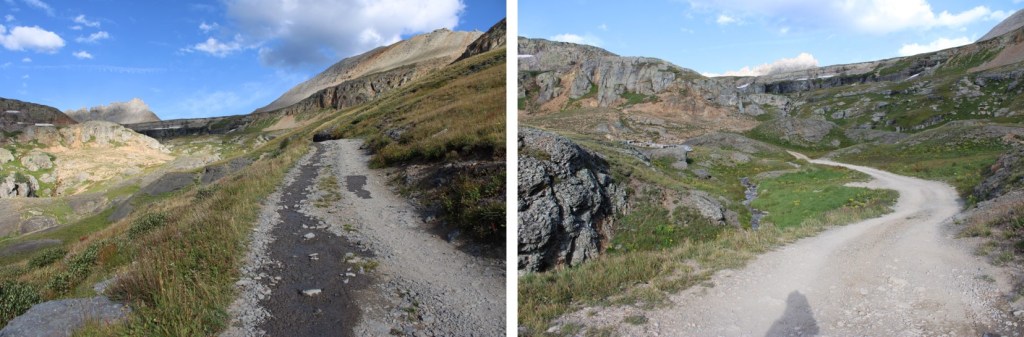
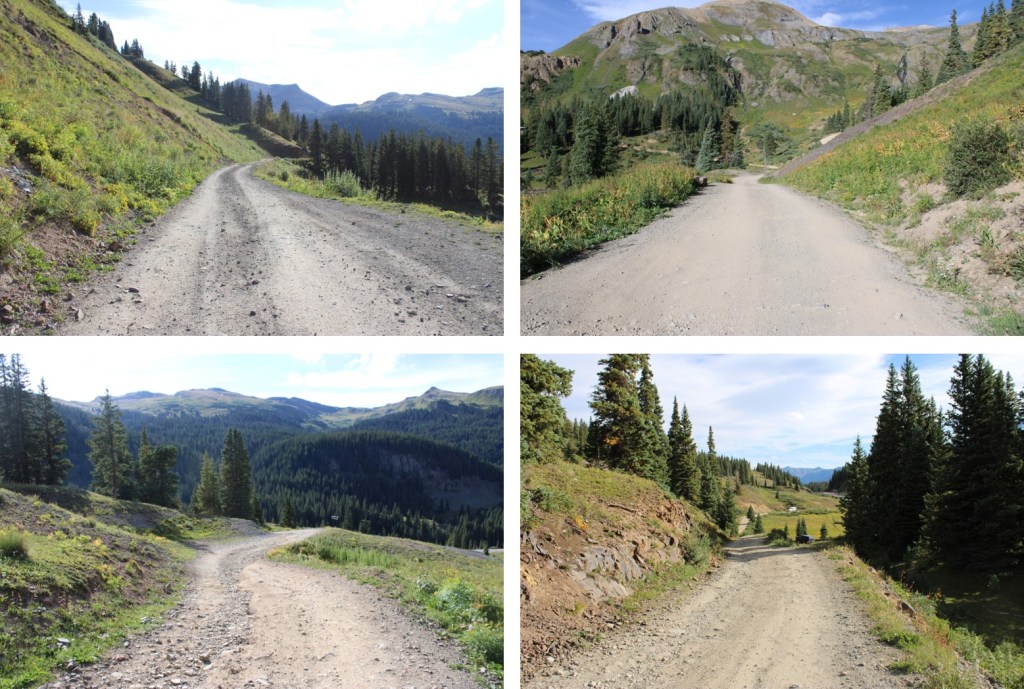
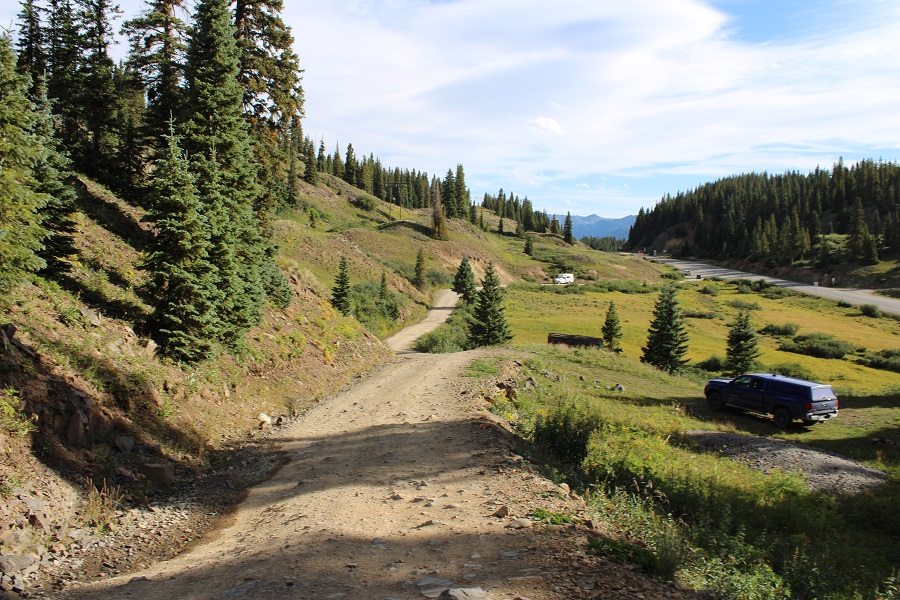
I know most people do Fortress and Precipice together in one day, but for personal reasons, I wanted to spend more than one day in the basin, and these were the only two peaks I had left, so I made it a two-day trip. I parked at the Wetterhorn Basin Trailhead, at about 10750’. The road to get in is mostly 2WD, until the last 2 miles, which are 4WD and requires clearance. Here’s where you park for the 2WD trailhead
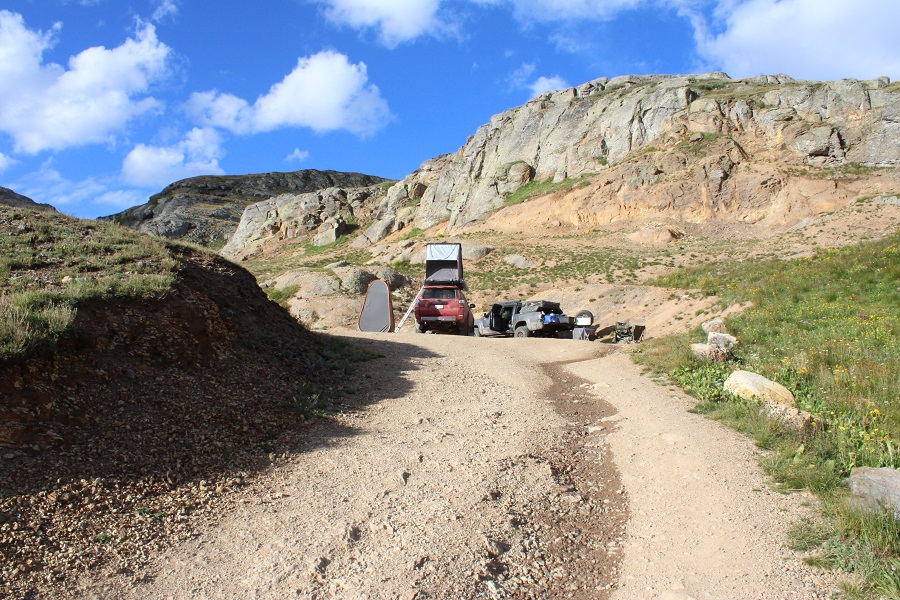
And here’s a picture of the Wetterhorn Basin Trailhead parking area. The road in was worse than I remembered from two years or so ago.
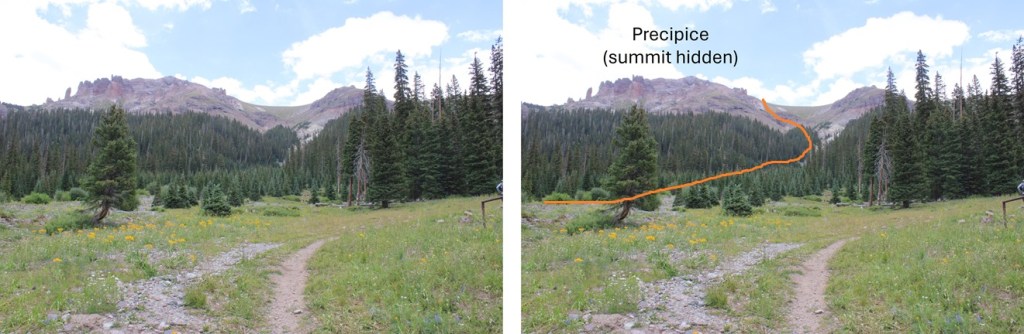
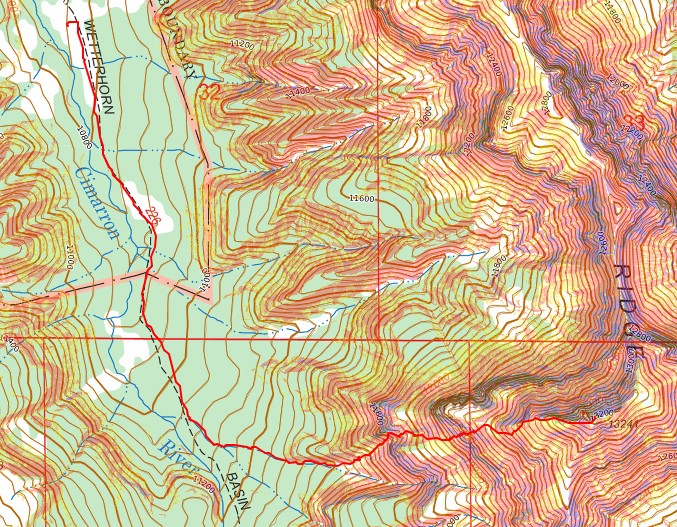
From the parking area, here’s a visual of the route to the ridge
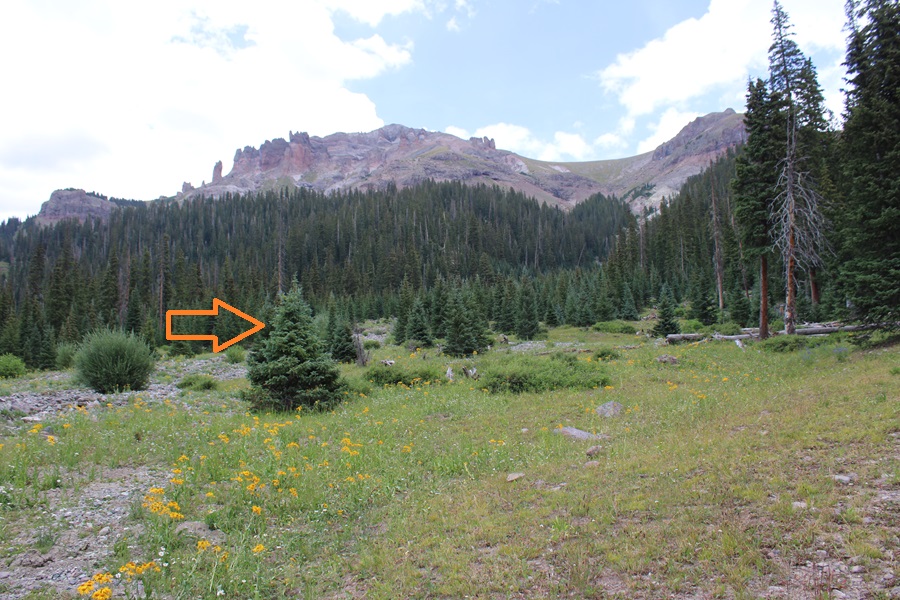
The route starts to the north of the parking area, parallel to the “Wetterhorn Basin” sign, at the drainage. I headed east up the drainage.
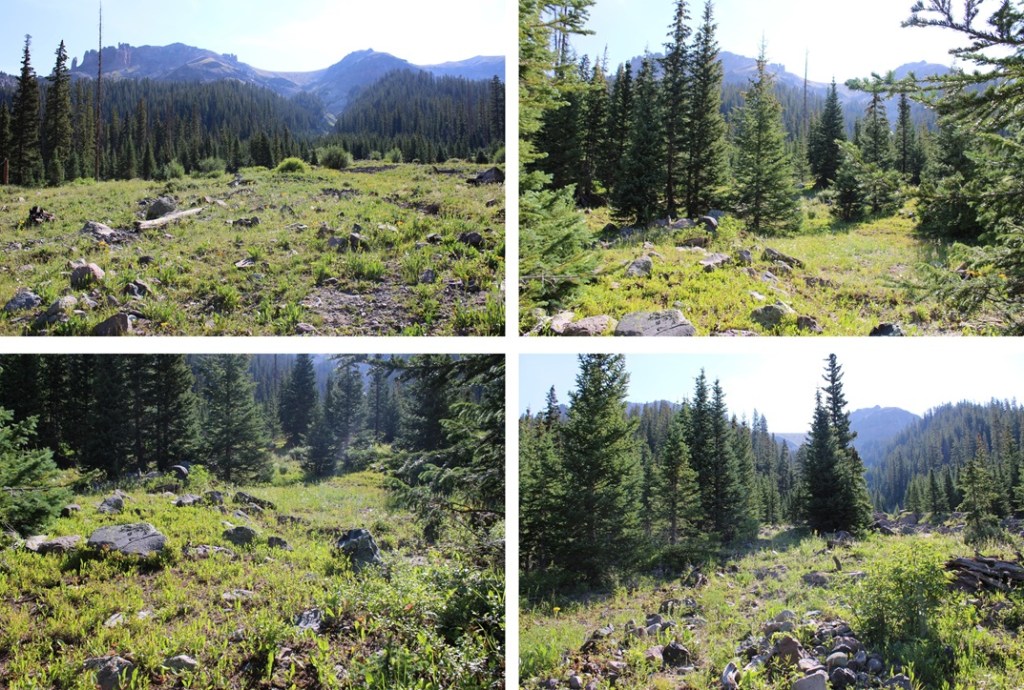
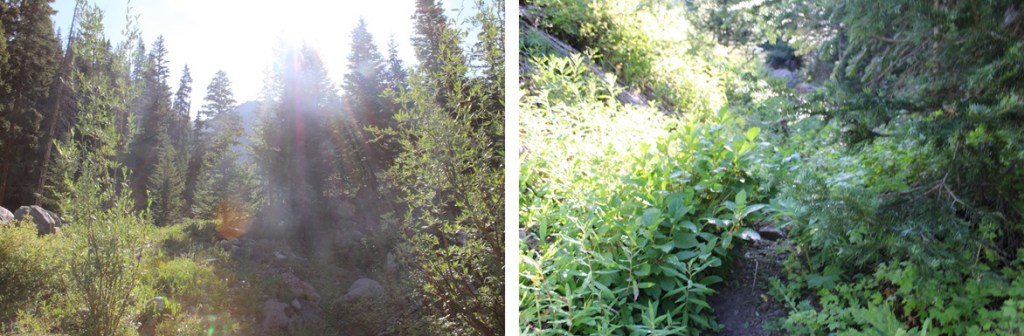
There’s a faint trail here, that I kept finding and losing, but as long as you stay to the left of the drainage and right of the hillside, heading east, you’re going in the right direction.
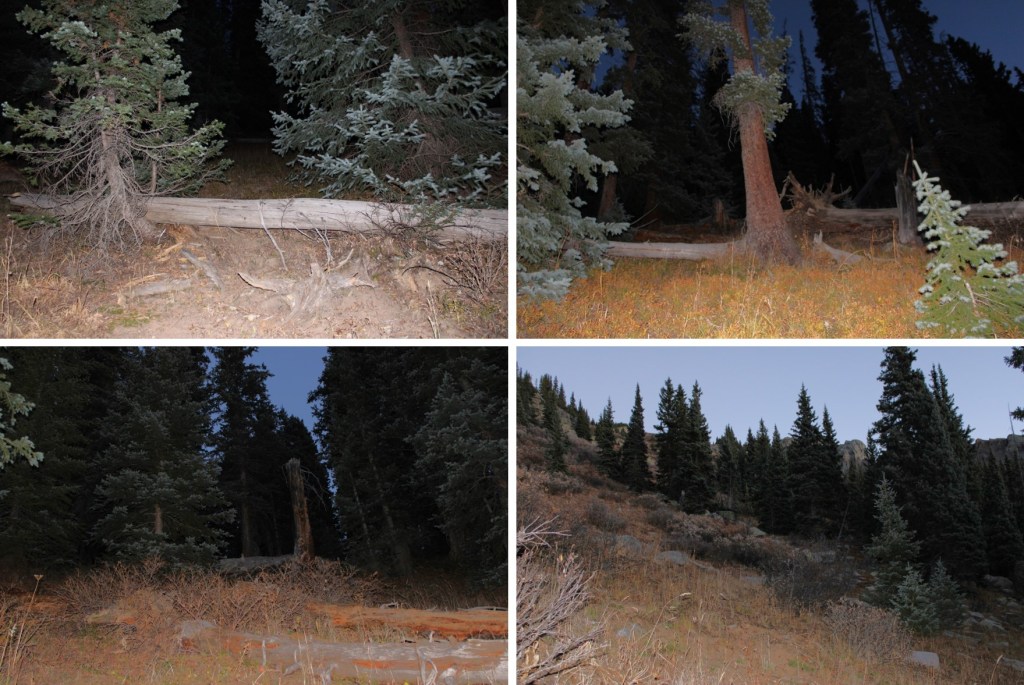
After hiking for about half a mile, there will be a large tree blocking the trail (the trail is obvious here). Climb over the tree, and head north/northeast, looking for a dirt gully. There are a few cairns in this area to help, but I wouldn’t rely on them.
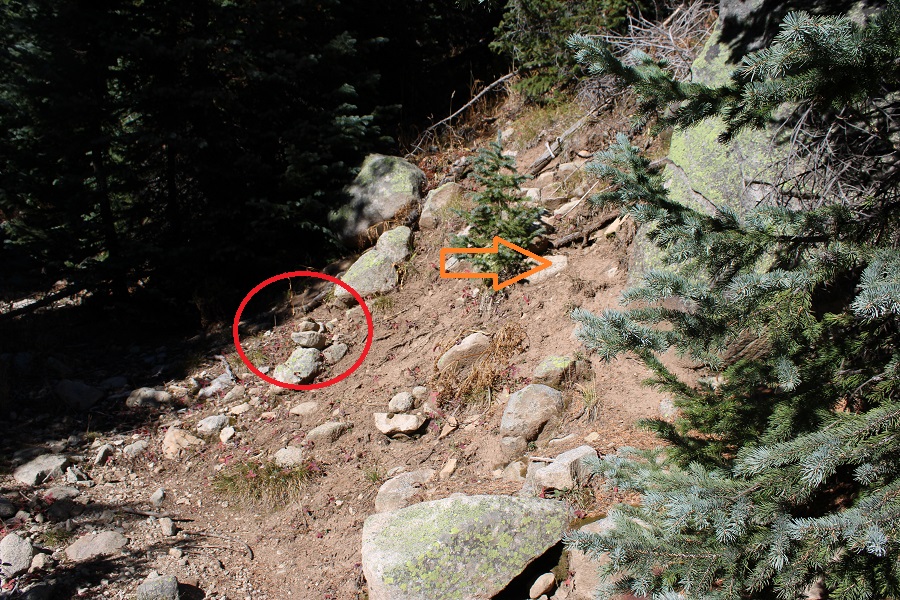
I found the dirt gully and headed up, towards the ridge. This dirt is very steep and very slippery. I’d recommend wearing microspikes for traction. I gained about 300’ of elevation to 11400’.
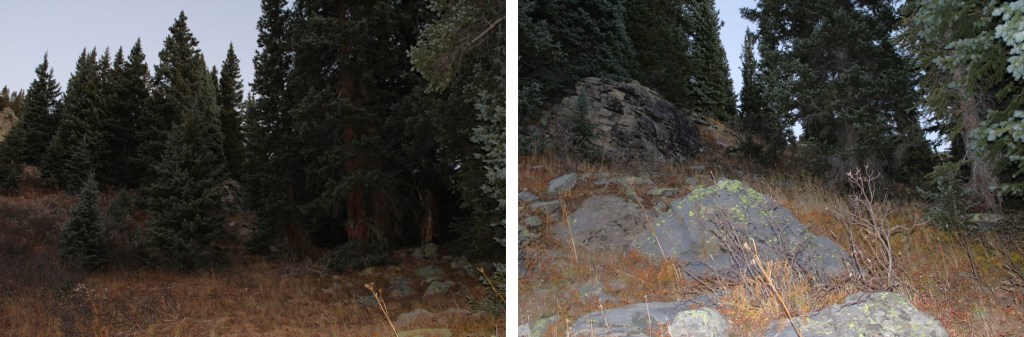
At the top of the gully, around 11400’, a trail will pick up that heads right (east) along the ridge. There are cairns here to help get you to treeline, and a faint game trail to follow. There are also cairns in the clearings (but I didn’t find any in the treed areas).
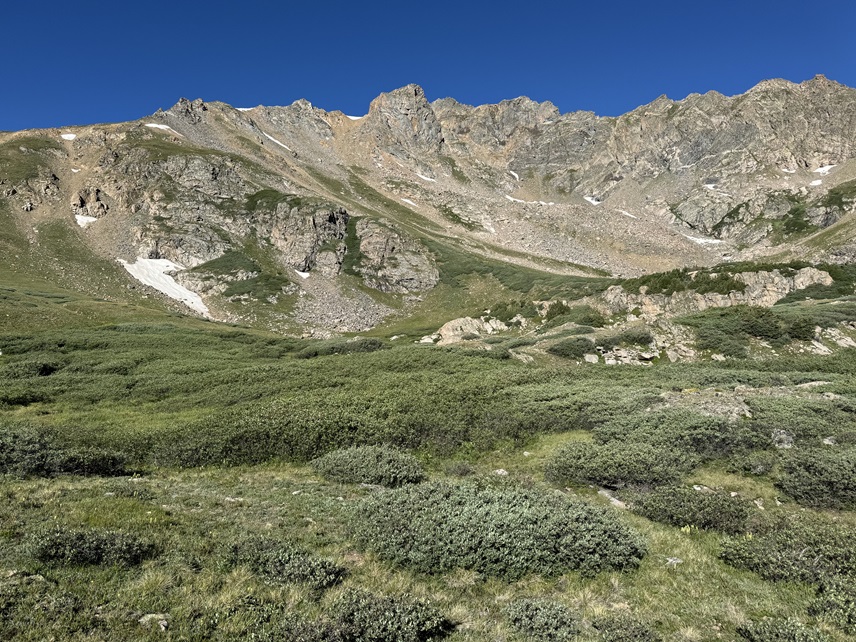
Once at treeline, here’s a visual of the route to the saddle
First, I went around this large rock, which has a cairn on it. It’s important to remember because it’ll be your exit point on your descent.
Then I headed northeast, across the rock/scree field, aiming just to the right of the caves in the distance.
At the base of the caves, a faint trail picks up, and you should be able to spot cairns in the distance to your right. Put on your helmet, and follow cairns through the class 3 rocky terrain.
When the rocks end, so do the cairns, but from here the route is easier to figure out. You’ll want to dip down a bit into this drainage, and ascend on the tundra towards the large rock towers
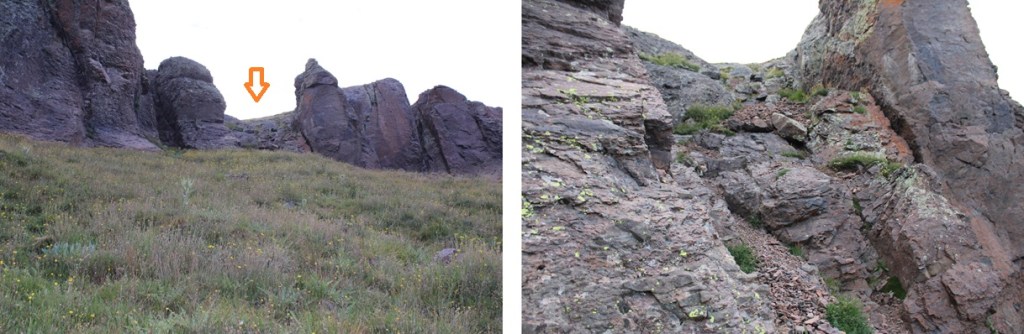
Stay to the right of the towers, aiming for this small saddle
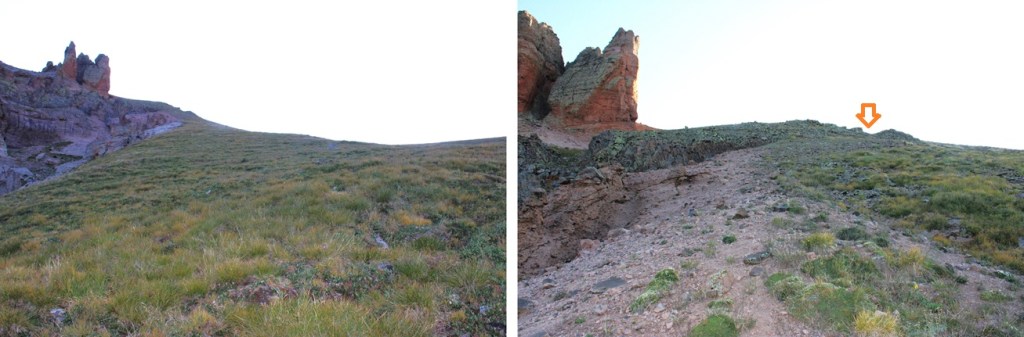
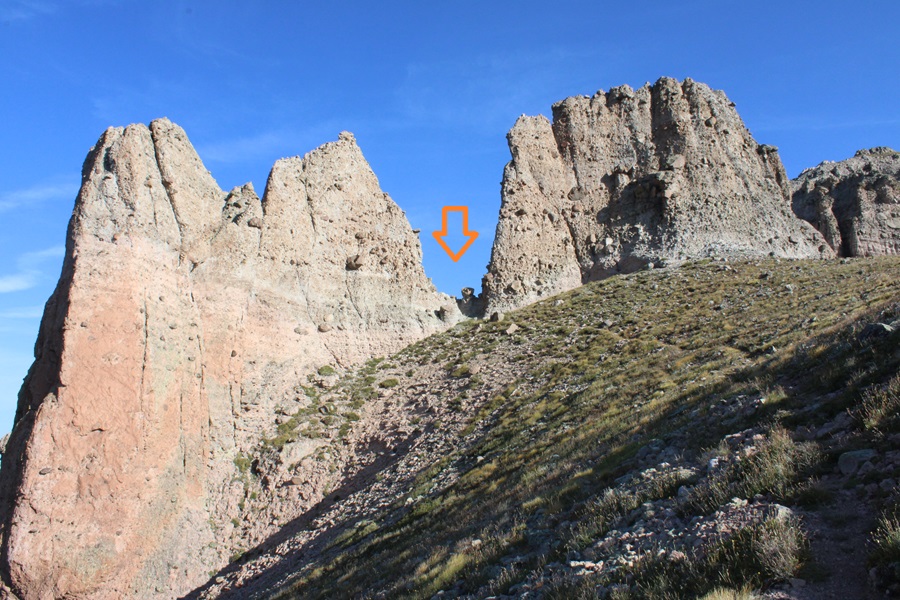
When you hit this small saddle, turn left, and head towards the window in the rock ahead of you. There will be a very good trail leading the way.
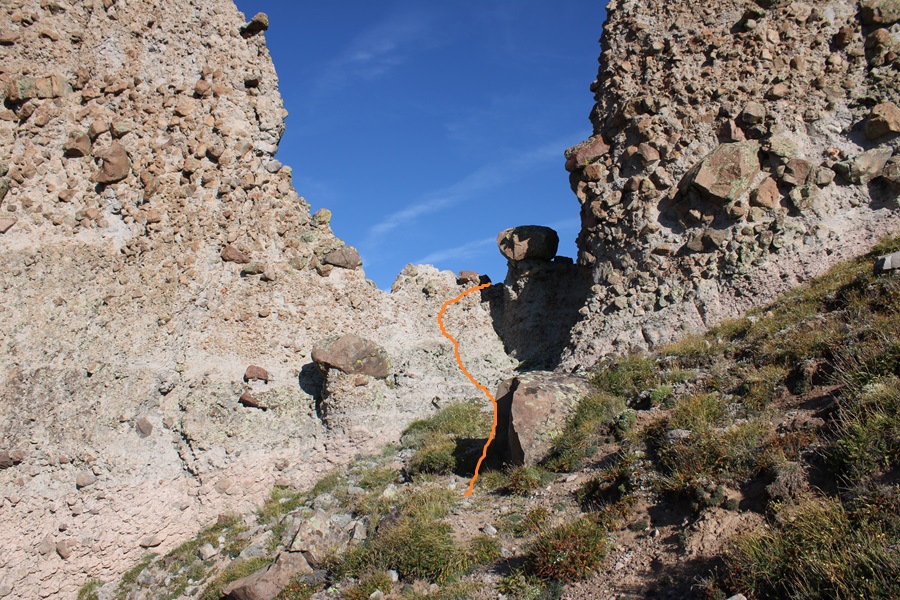
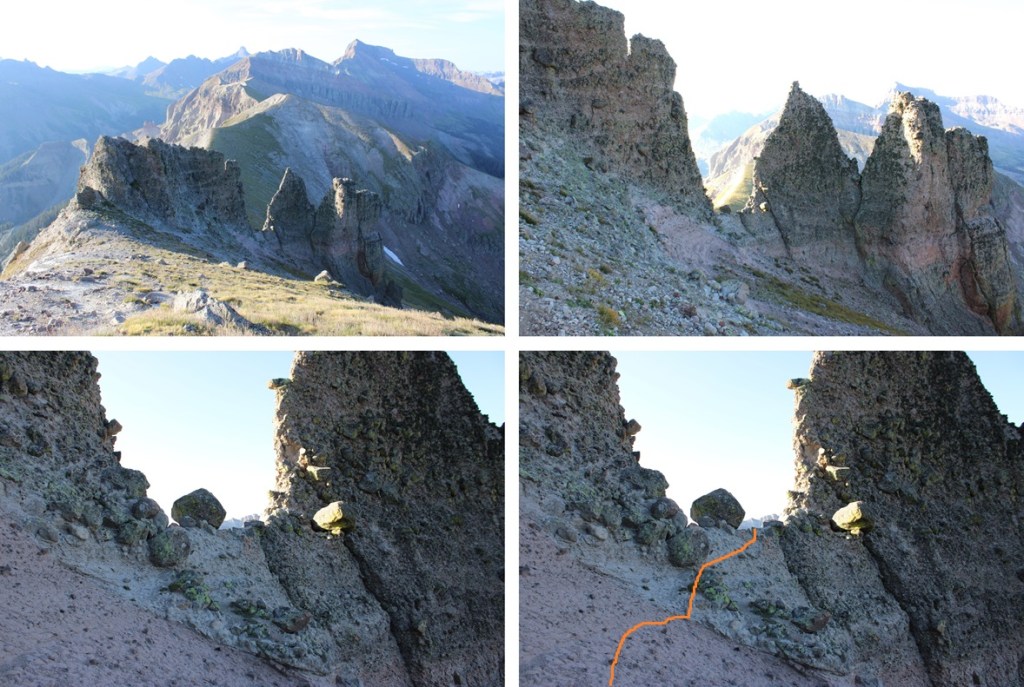
Climb up and over the center of the window. This is class 3, and there are plenty of hand and footholds. It’s probably no more than 7 feet high. Just be careful, as the holds are rocks in held together by loose dirt, and could come loose.
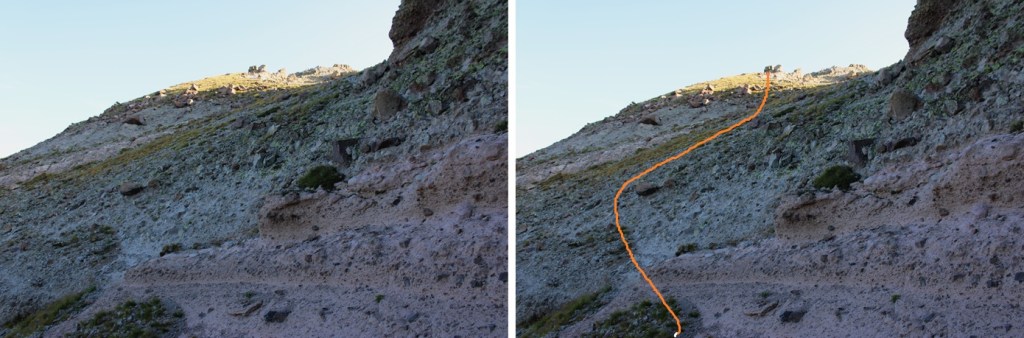
Once you climb through the notch, turn right, and ascend this hill. I did my best here to stay on the scree and tundra, away from the rocks.
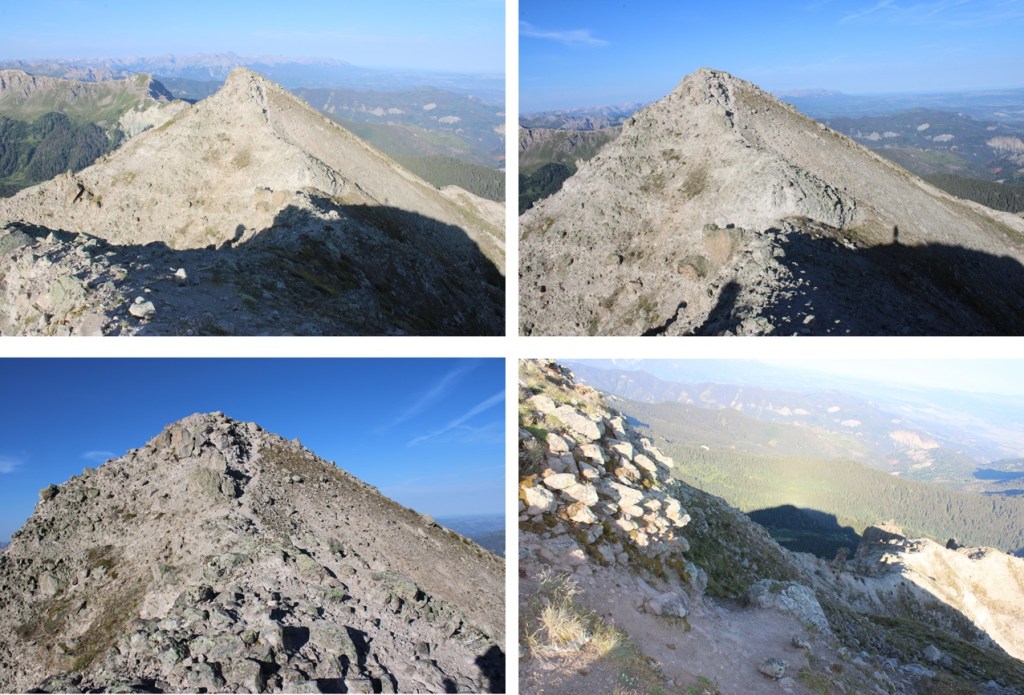
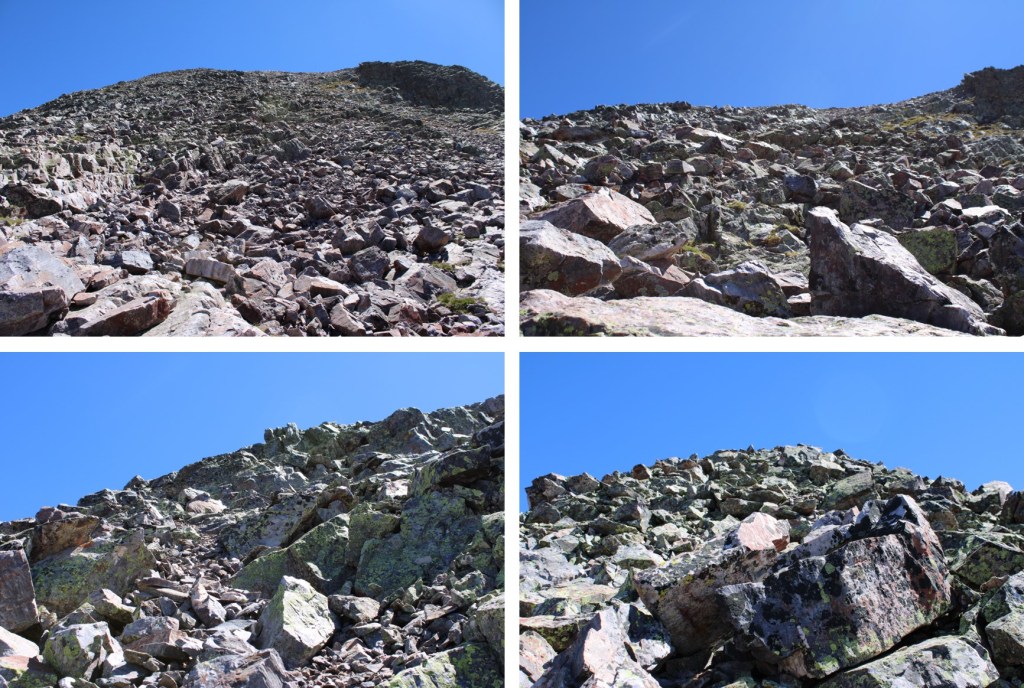
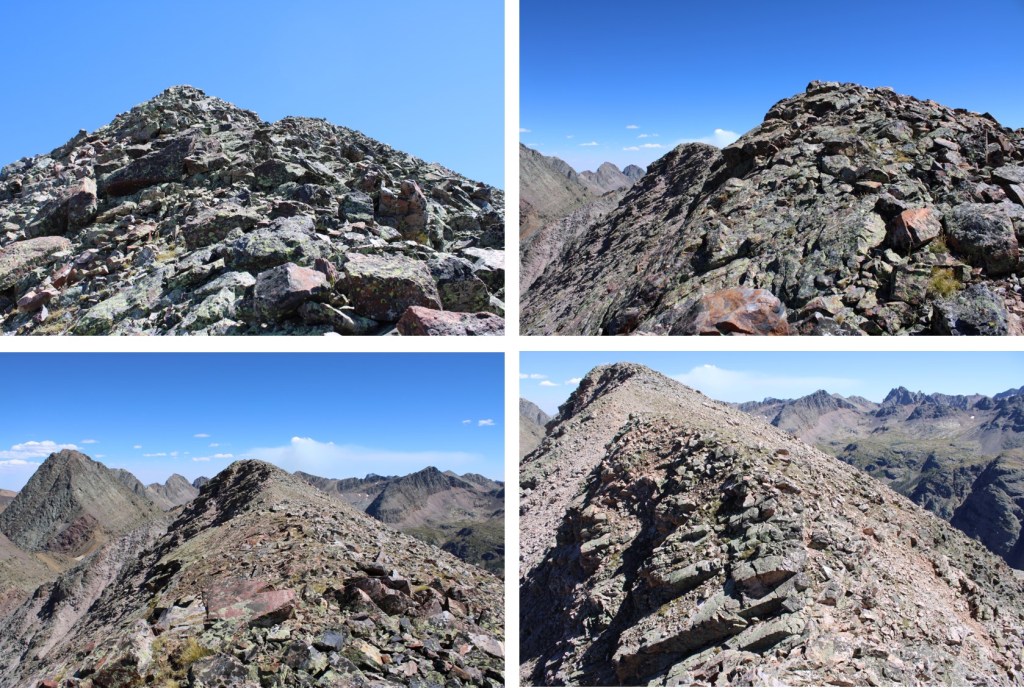
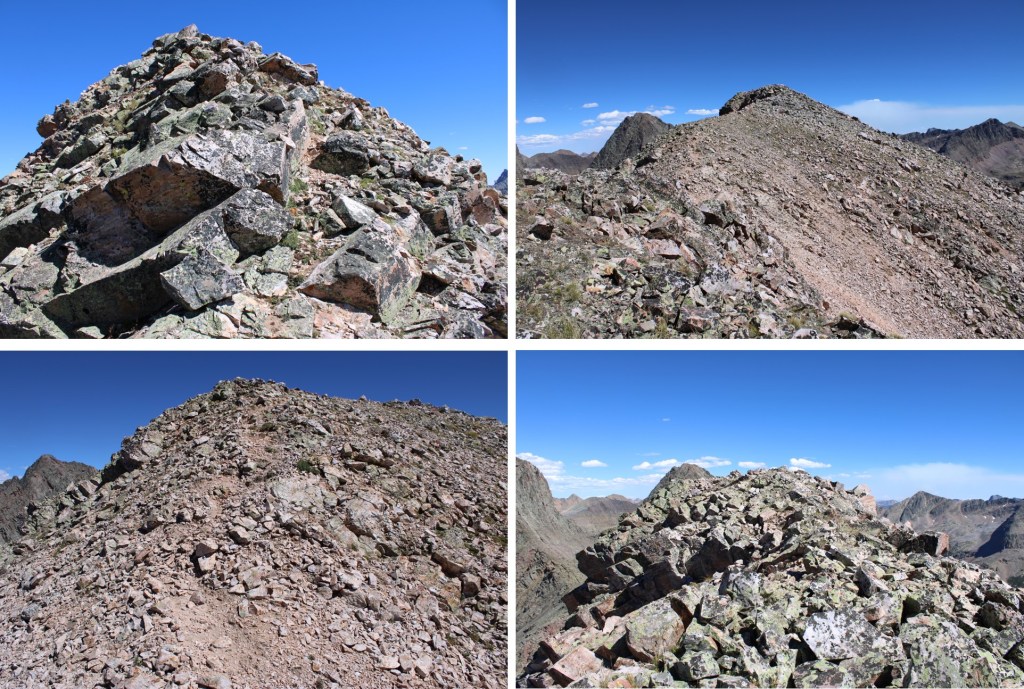
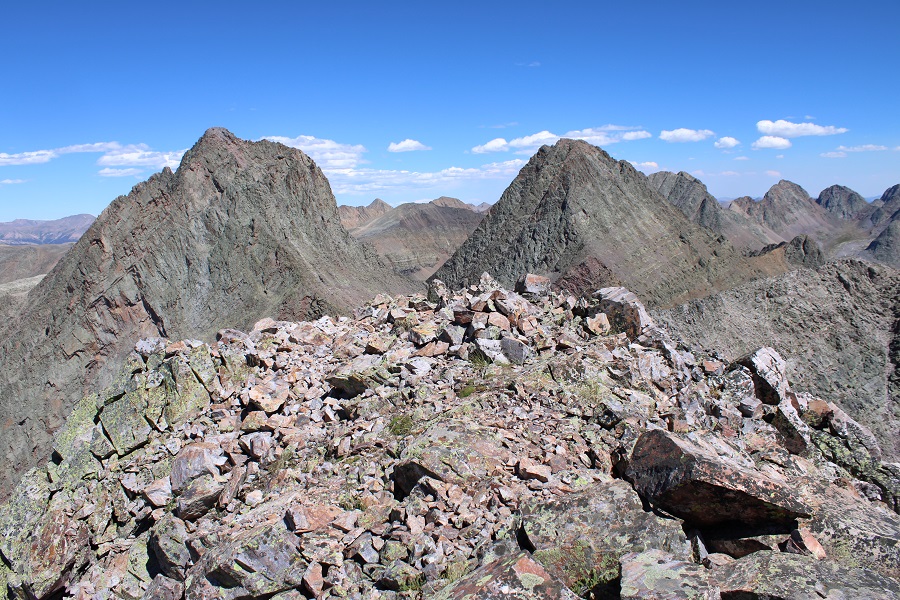
From here I mainly stuck to the ridge, except for two times when I went left to keep this class 2. There is a visible (yet faint at times) trail from here to the summit. Here are some pictures of my route up the ridge.
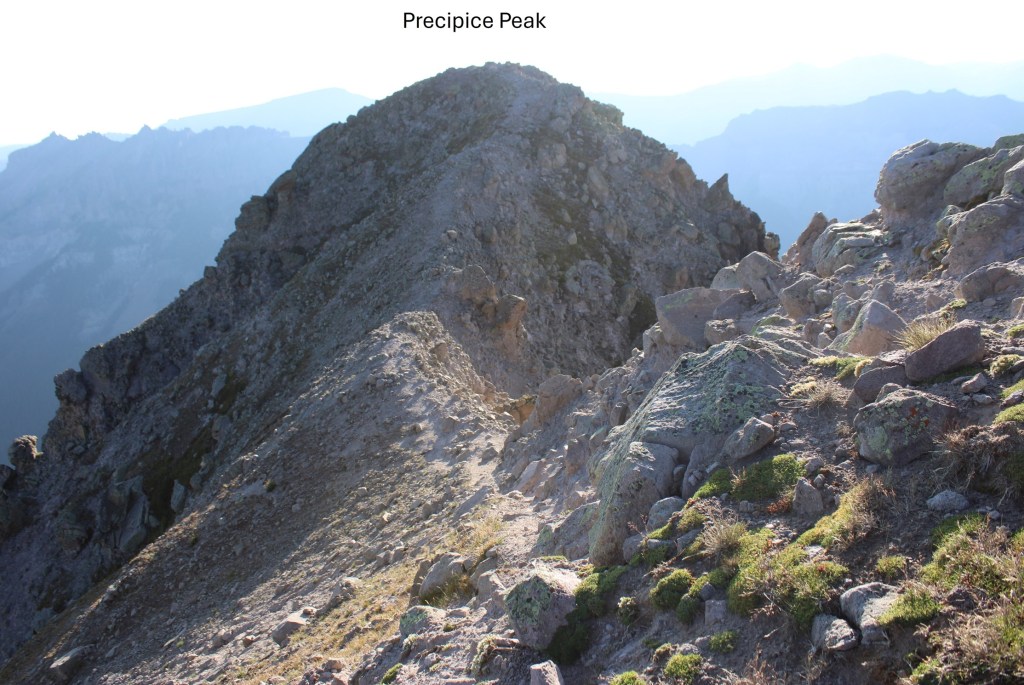
Here is what I thought was the summit. It’s not. This was the second time I went left, around the block on a nice trail
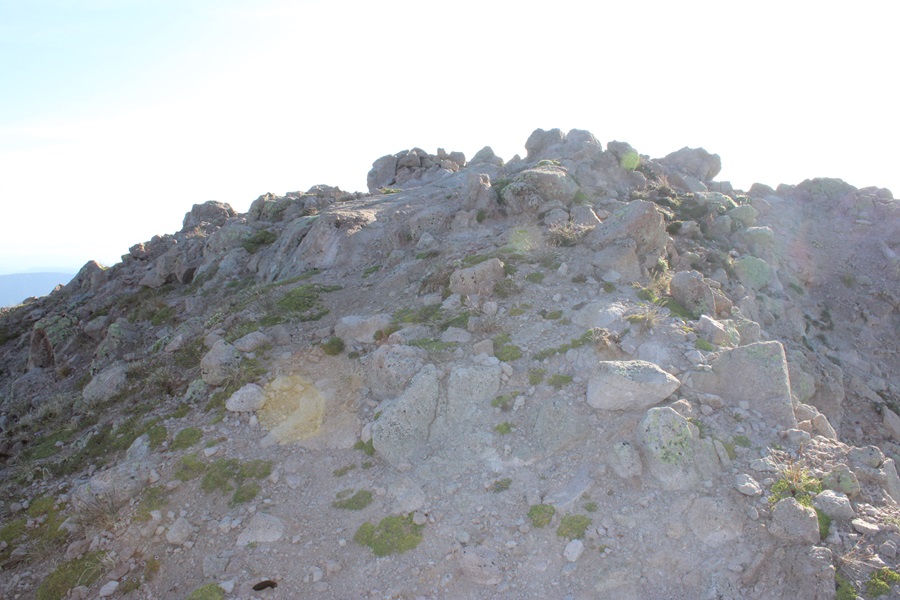
And from here I could see the true summit, which was an easy hike on a well-worn trail
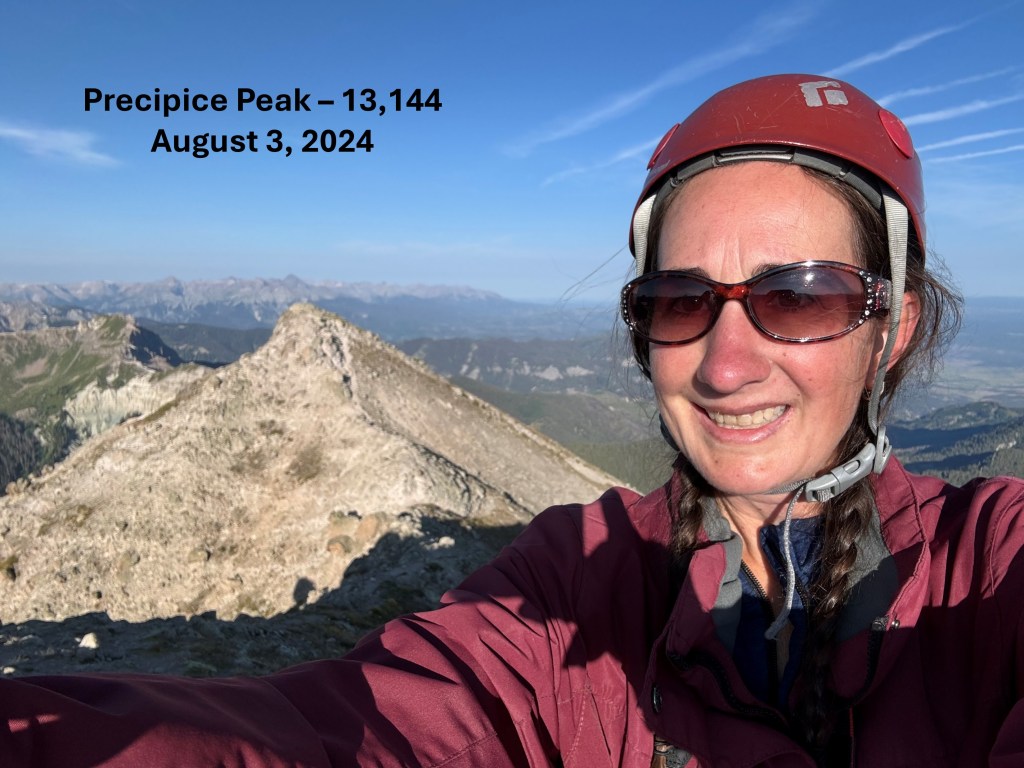
I summited Precipice Peak at 7:45am
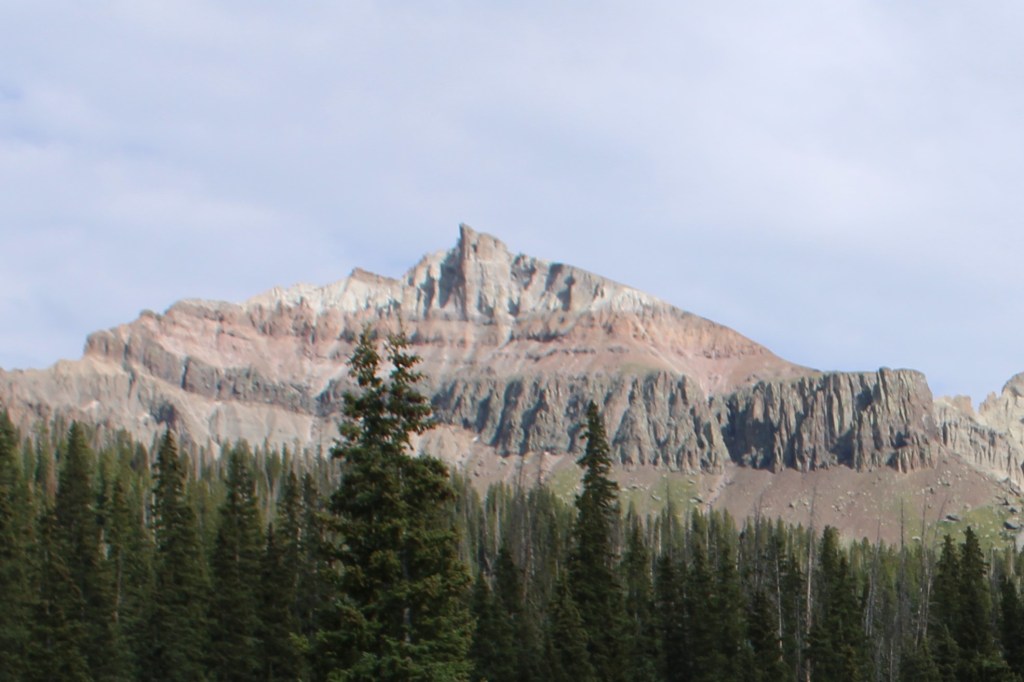
Precipice Peak:
This was an out and back hike for me, so I turned around and made my way back to the false summit
And then back down the ridge to the notch
I climbed through the notch
And made my way back down to the tundra
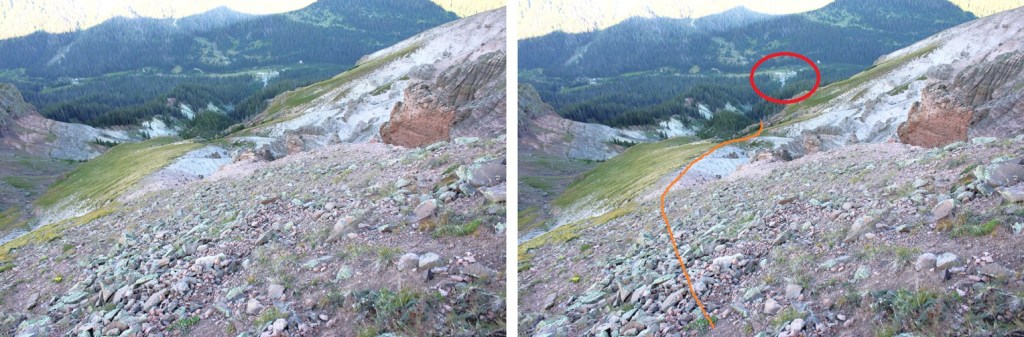
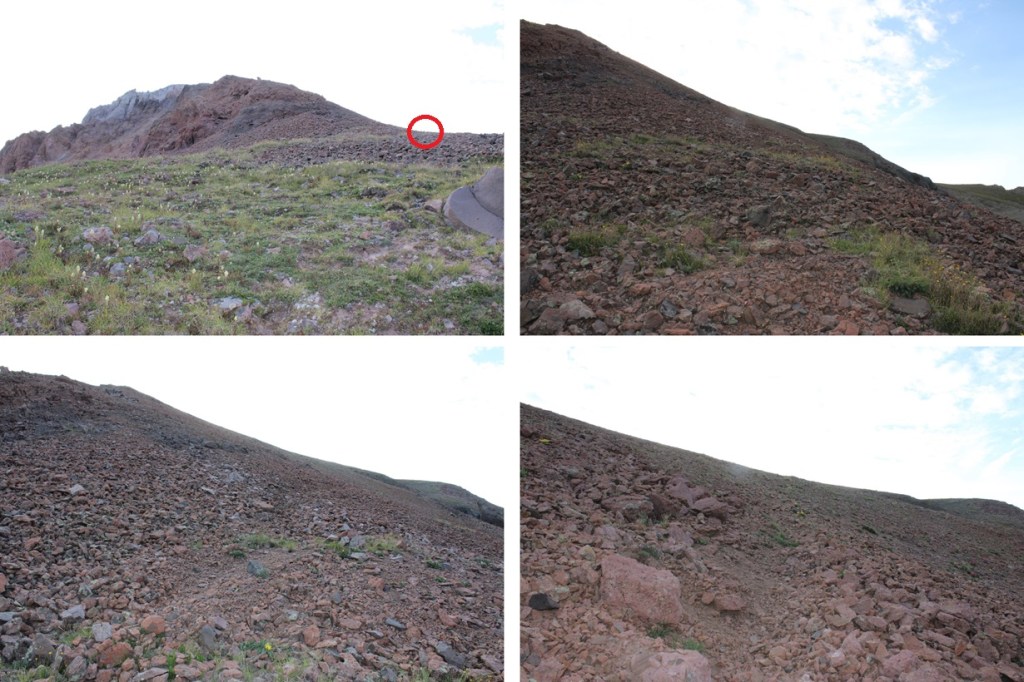
Where the tundra stopped at the rocks I turned right, and headed back down towards the basin. Also, from here I could see the parking area (circled in red)
I made my way towards the rocky area, and followed the cairns back down into the basin
I was aiming for that large boulder in the distance
Once at the boulder, I picked up the trail through the trees, and followed it until about 11400’
At 11400’ I found that dirt gully, and headed southwest towards the drainage, losing 300’ of elevation.
Once I was close to the drainage, I turned right, and followed a slight trail west towards the parking area
I made it back to my truck at 9:30am, making this a 4 mile hike with 2364’ of elevation gain in 3 hours, 45 minutes.
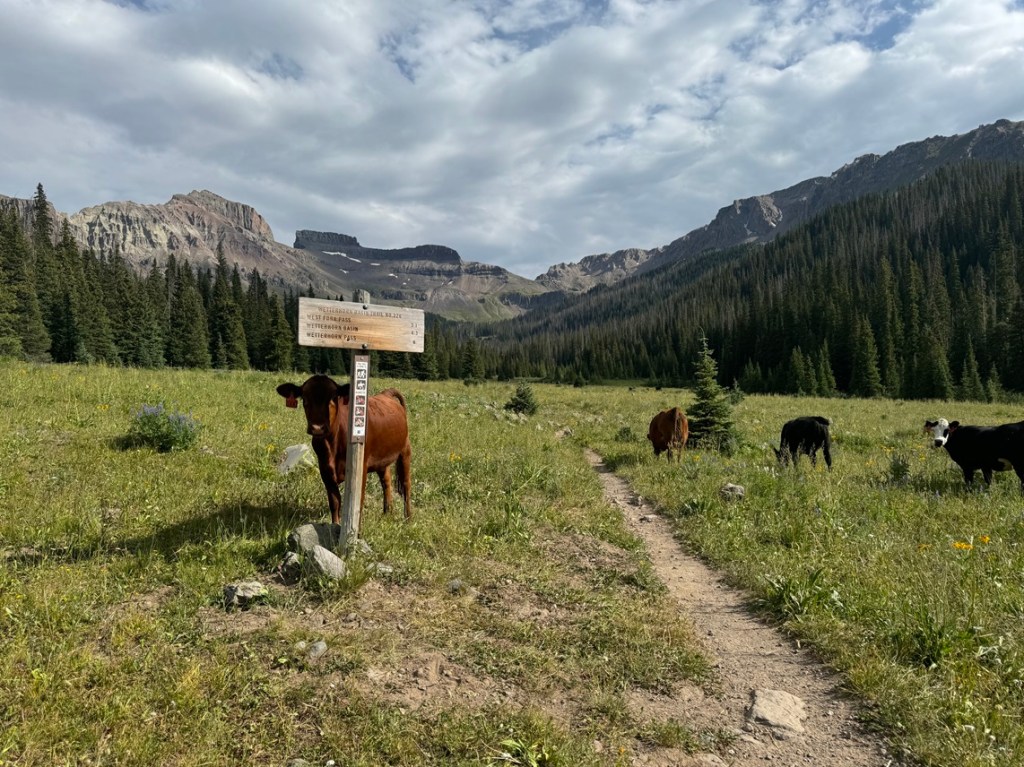
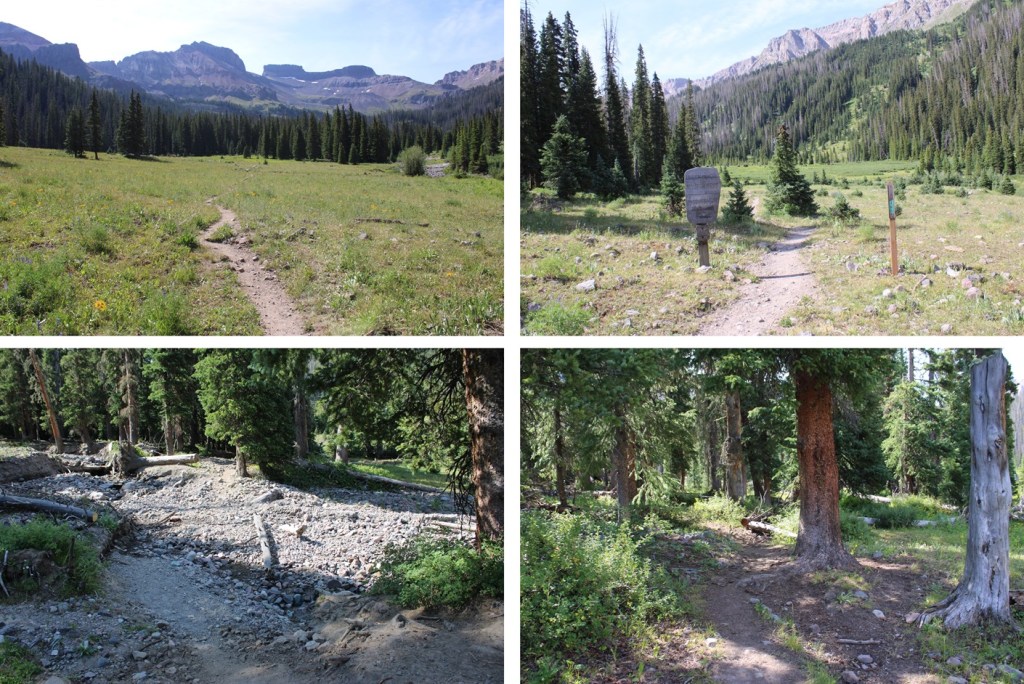
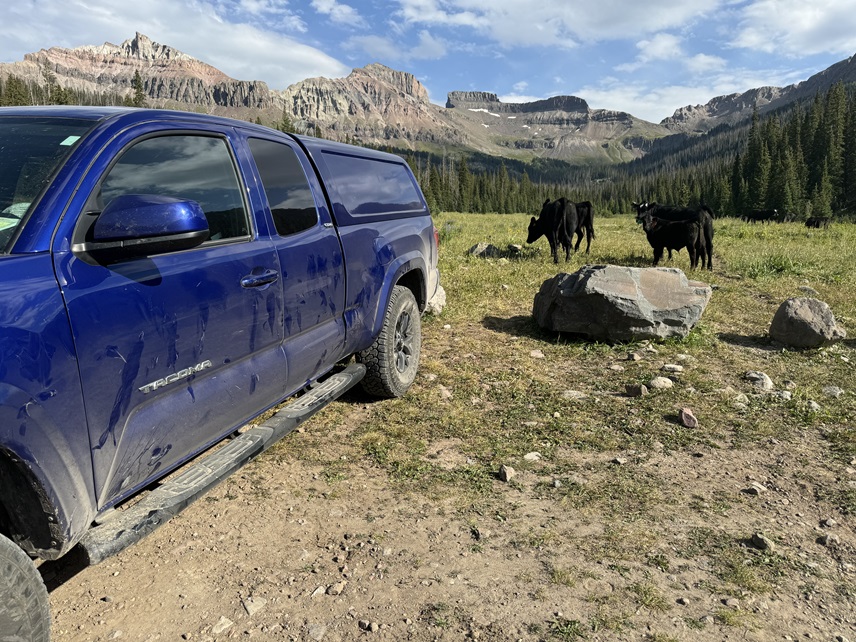
I parked at the Wetterhorn Basin Trailhead, and was greeted to a herd of cows. They were all over the basin, and would be my companions for the next few days. They had a penchant for licking my truck. The drive in is 2WD on a dirt road until 2 miles before the trailhead, where it becomes 4WD and requires clearance. None of these pictures are as clear as I’d like. The fires weren’t helping in the morning, and the sun wasn’t helping with shadows in the early afternoon. I know not to head east early in the morning, but I did it anyway. Sorry!
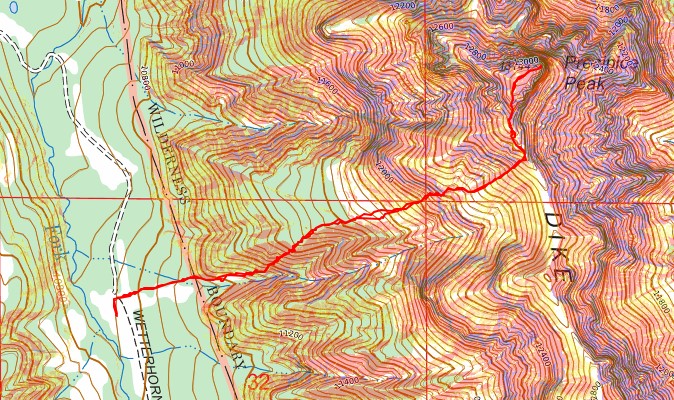
I was on the trail at 6am, following Wetterhorn Basin Trail No 226 south for just under 1.5 miles.
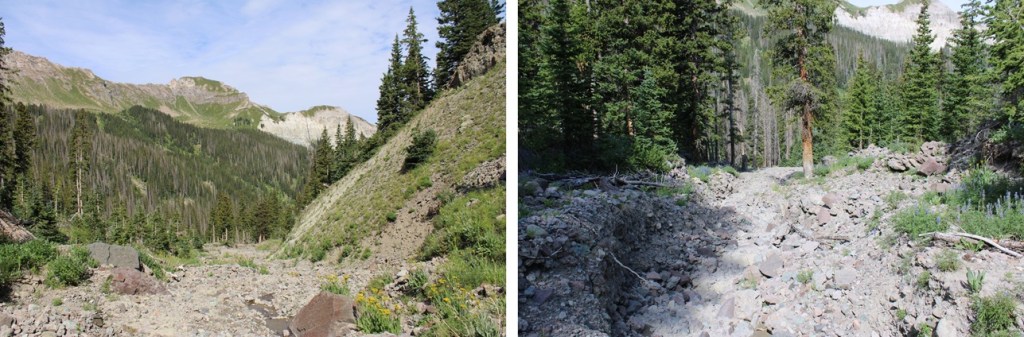
After hiking for 1.4 miles, and at around 11050’, I came to a drainage, and followed it east
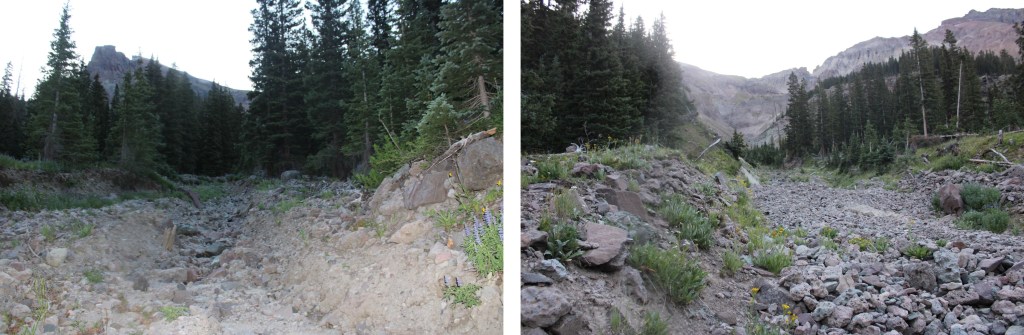
I came to an obvious “y” in the drainage, and went left, still following a drainage.
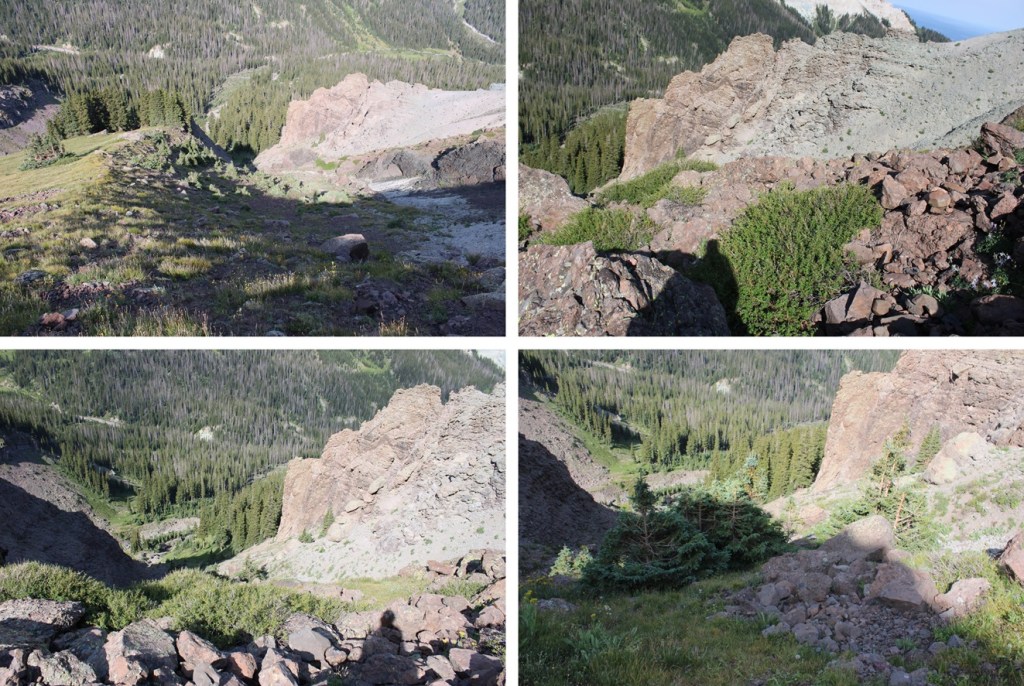
The drainage became narrower, so now I hiked to the left, trying to stay on tundra, but mostly staying on rocks
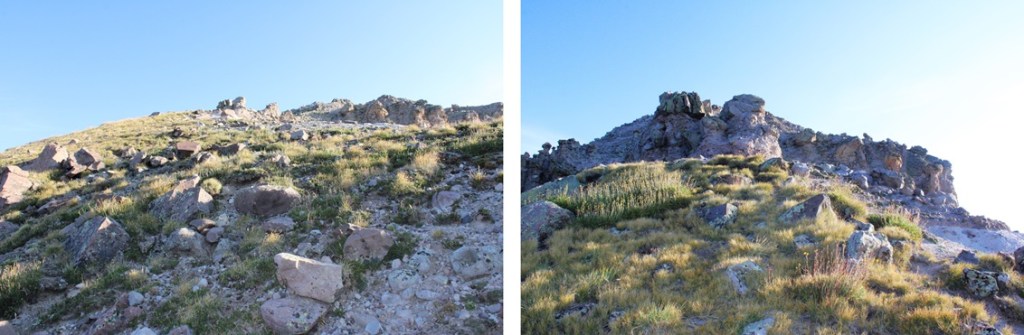
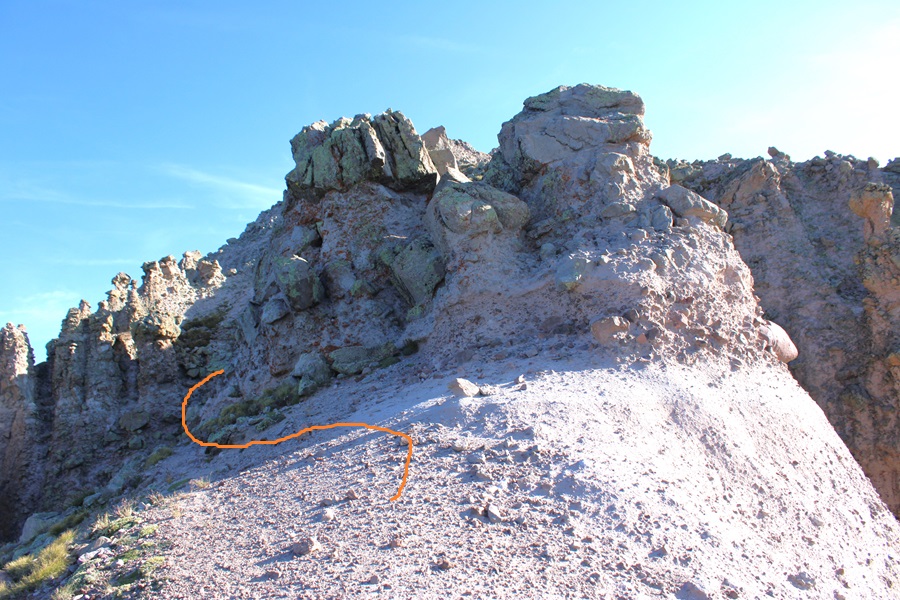
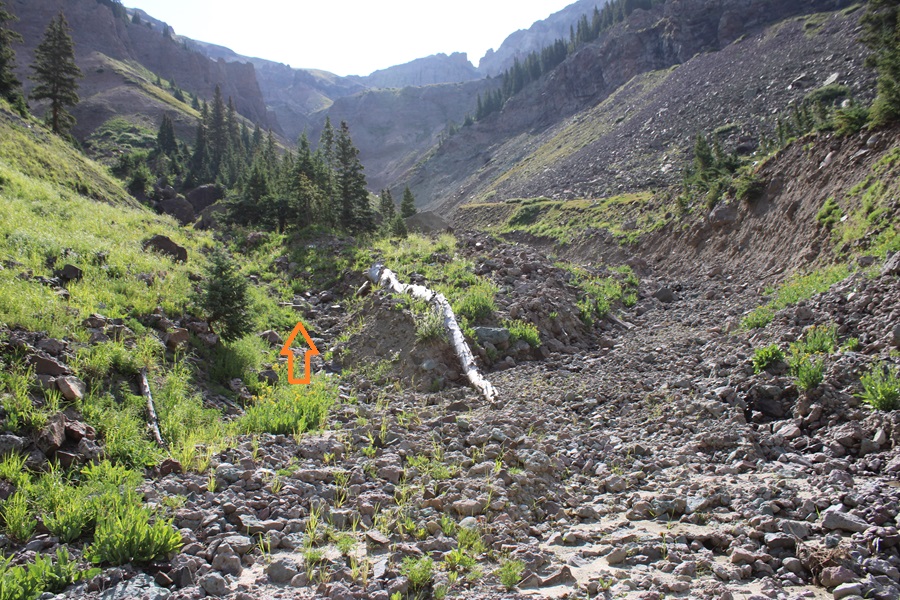
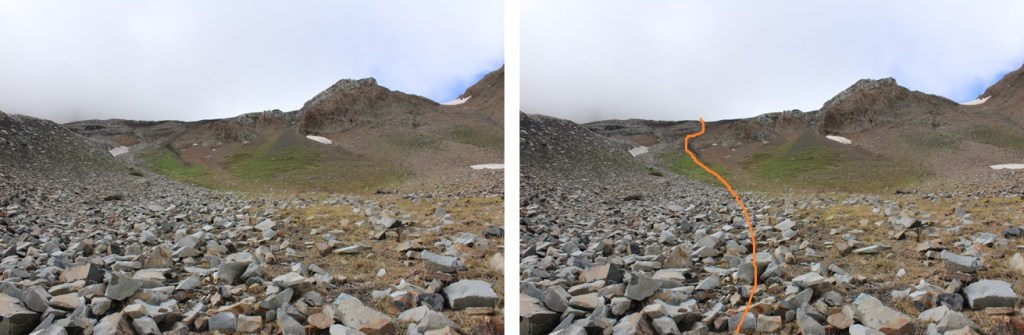
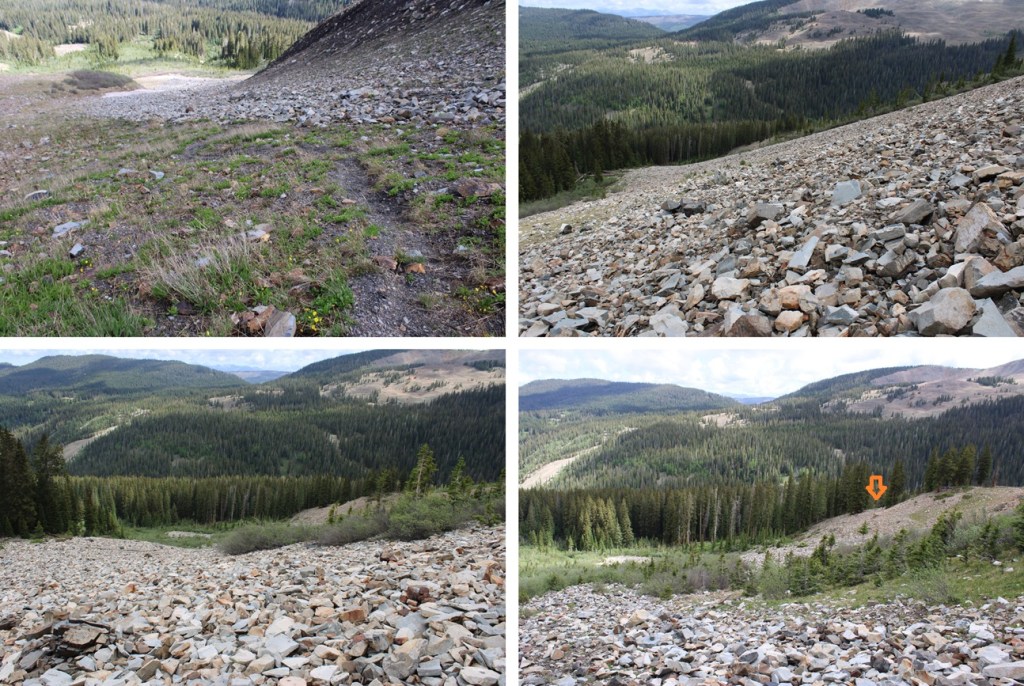
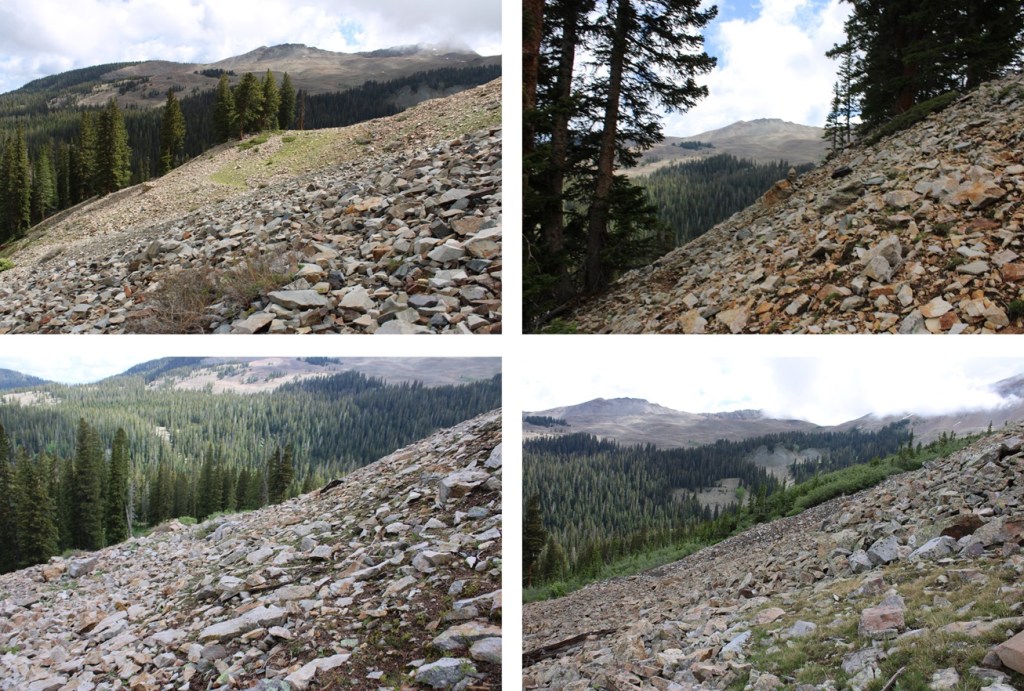
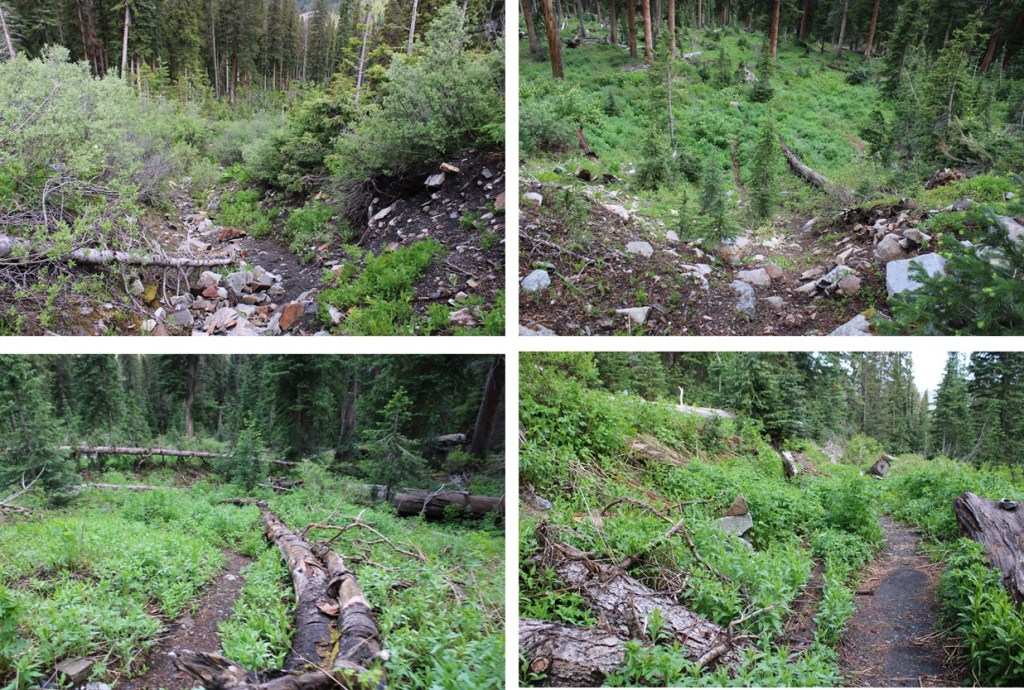
This next part is difficult to explain. You’re going to WANT to head straight up to the rock formation in front of you, but don’t do that. Instead, continue following the drainage, but aim to the right of the rock formation.
You’re trying to avoid the mess to the right of this picture… loose kitty litter on solid rock
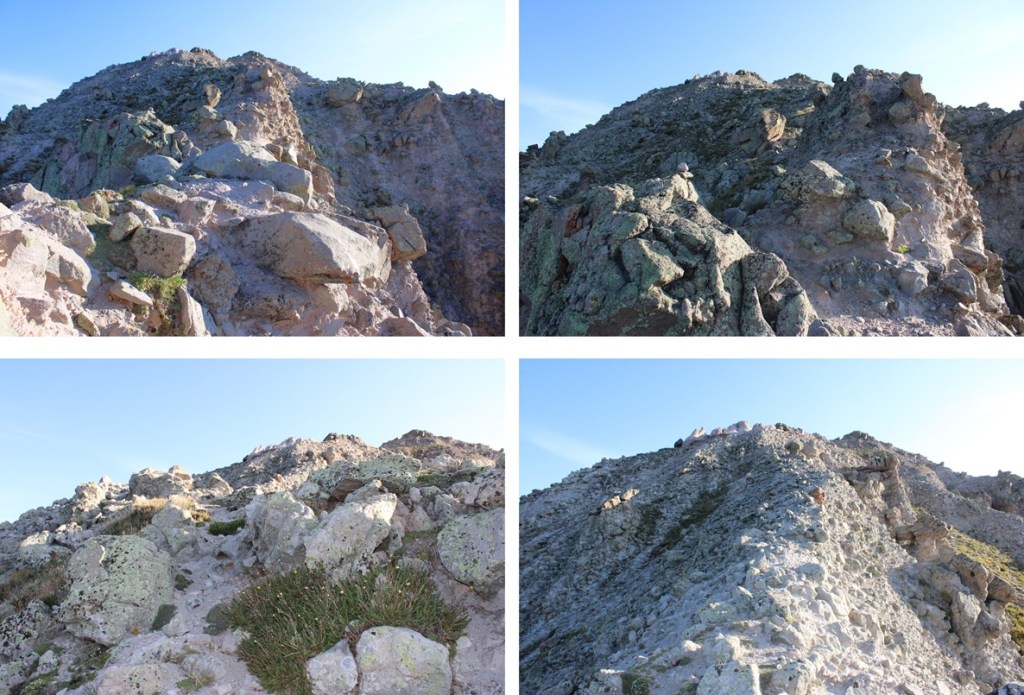
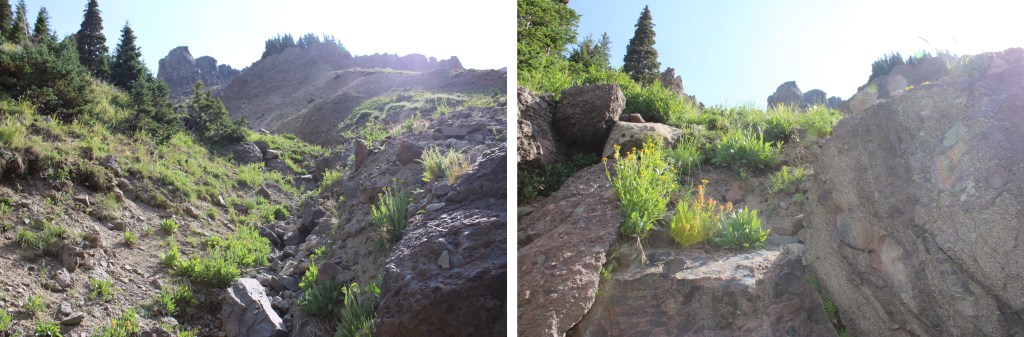
Now is the time to put on your helmet. Ahead there’s a more solid gully to climb. You can climb either to the left or right, I chose right.
At the top of this gully is another gully to the northeast.
This one was more difficult then the last. Solid on the sides with large scree down the center. I went straight up the center
And then walked on tundra to the ridge.
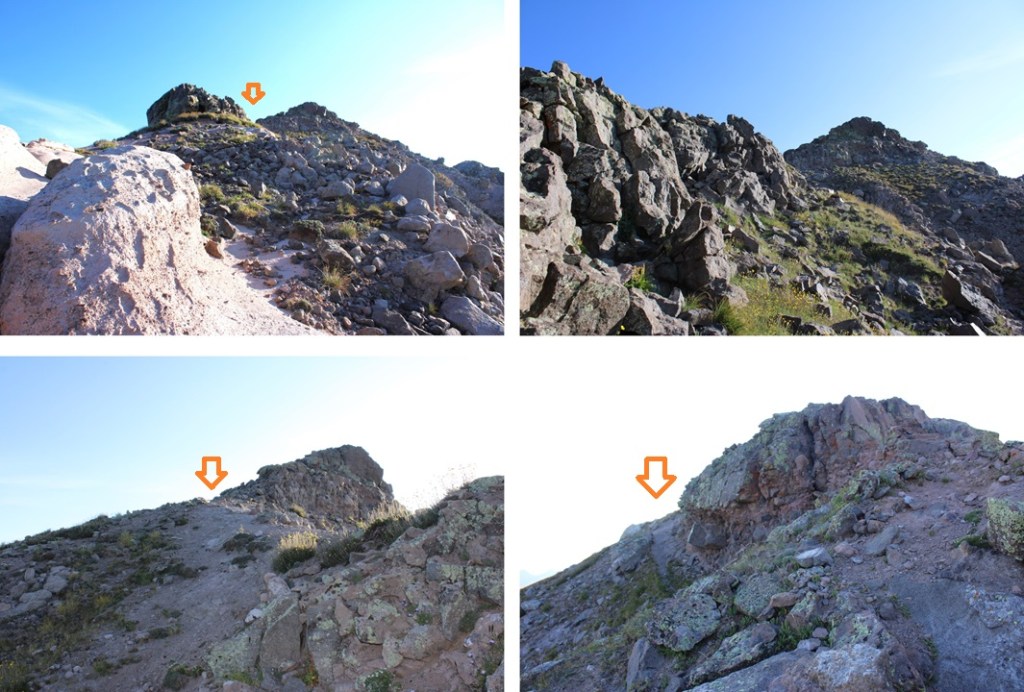
Once on the ridge, I turned right and followed it east, staying below the ridge. I noticed a cairn that marked an ok game trail, and followed that trail as it skirted below the ridge. The cairns especially helped in this area.
At 12700’, just before the rock formations directly in front of the trail, I left the trail and headed northeast for the ridge once again, this time on scree.
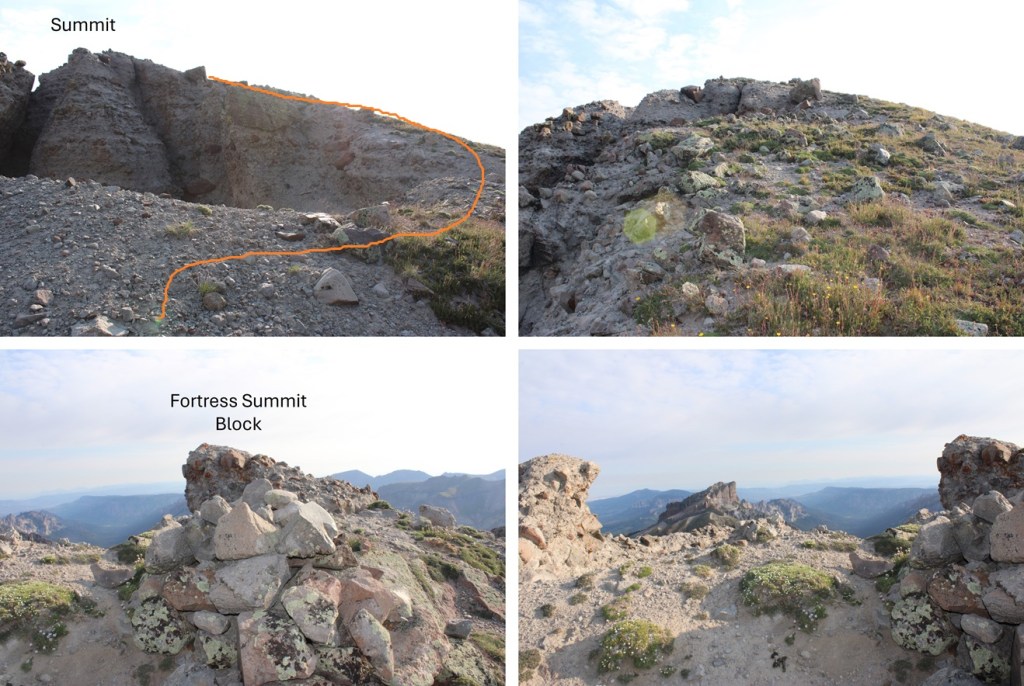
Back on the ridge, I followed it east towards the summit. The terrain here became slippery. Rocks the size of softballs and footballs were held together by dirt, and that’s what I was walking on. There were steep runnels on either side of the trail, which at times was less than 2 feet wide. A slip would have been dangerous here, on either side. This was all class 2, but I’d advise wearing microspikes for traction.
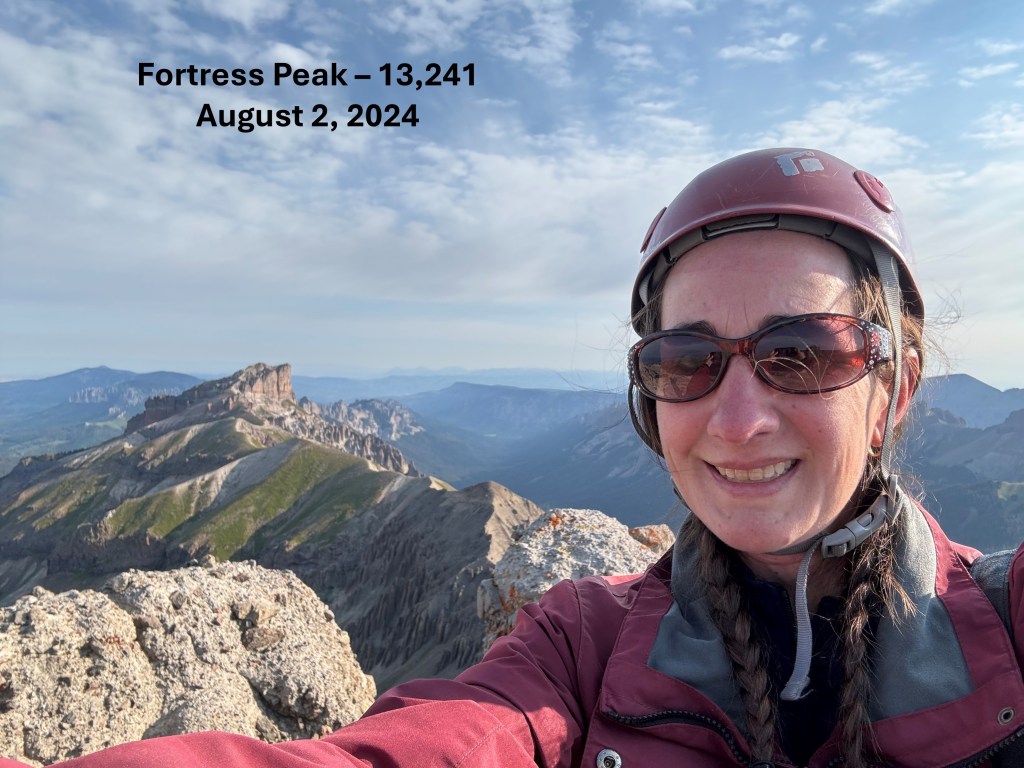
I summited Fortress Peak at 8:15am. There was a summit register in one of those pipe tubes, but the paper inside was so wet I didn’t want to disturb it, so I left it alone.
Fortress Peak:
Here’s what some of that exposure looks like
Now to head back down. This was an out and back hike for me, so I just retraced my steps, back down the sketchy section with no traction just below the summit.
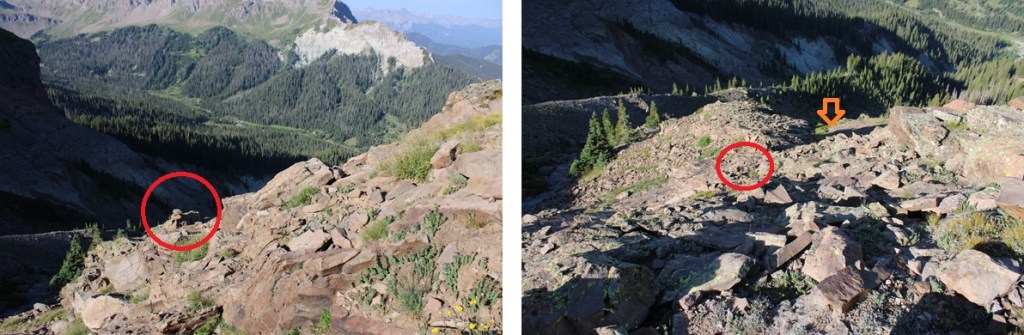
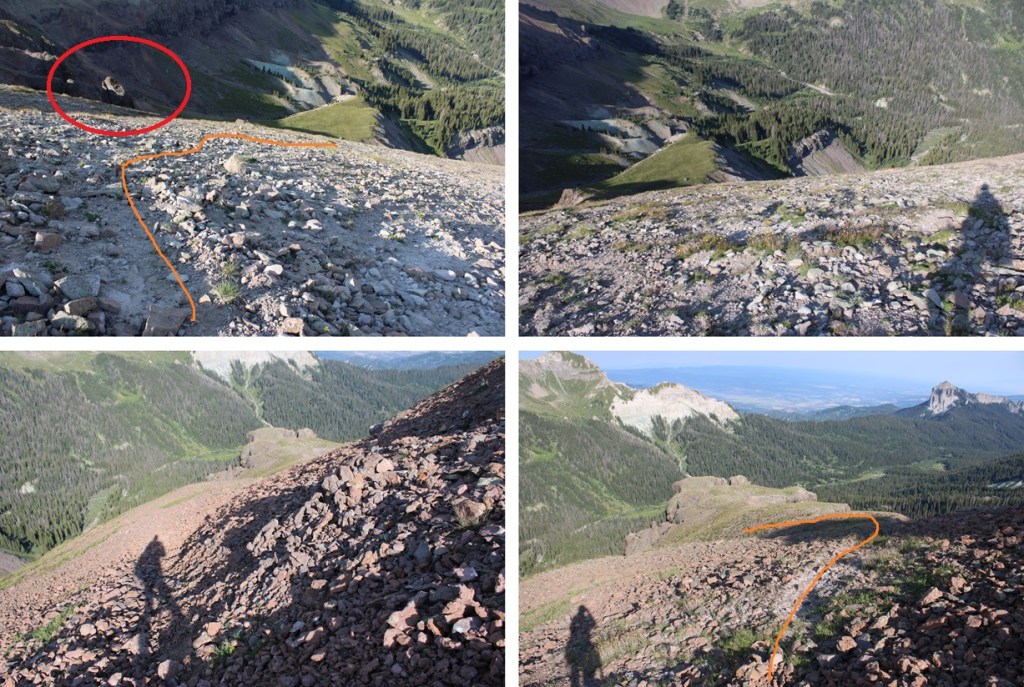
Then I hiked down the ridge until I was parallel with the rock formations on my left (circled). Here I turned and headed southwest towards the game trail.
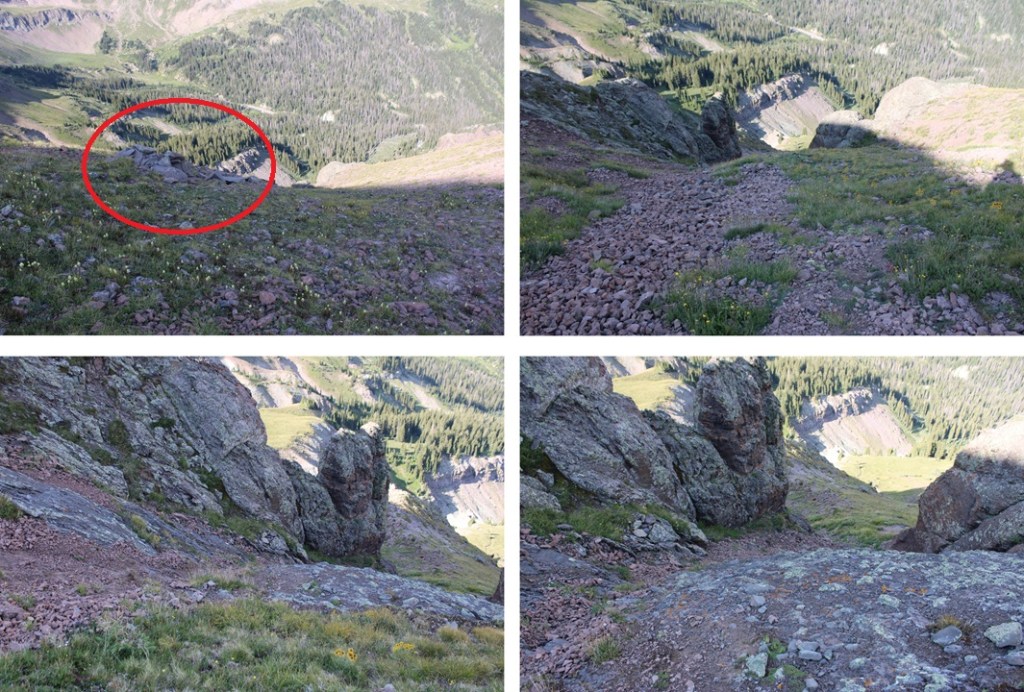
I then followed the game trail south, back to the gullies. I descended near this big rock (circled).
Now for the second gully.
At the base of the second gully, I headed west towards the tundra ridge that would bring me to the drainage.
And now to follow the drainage back to Wetterhorn Basin Trail No 226
Back on Wetterhorn Basin Trail No 226, I followed it 1.4 miles north back to the trailhead.
Where the cows were still licking my truck
I made it back down to the trailhead at 10:30am, making this a 5.76 mile hike with 2482’ of elevation gain in 4.5 hours.
Here are pictures of the start of the 4WD road, and where to park if you have a 2WD vehicle
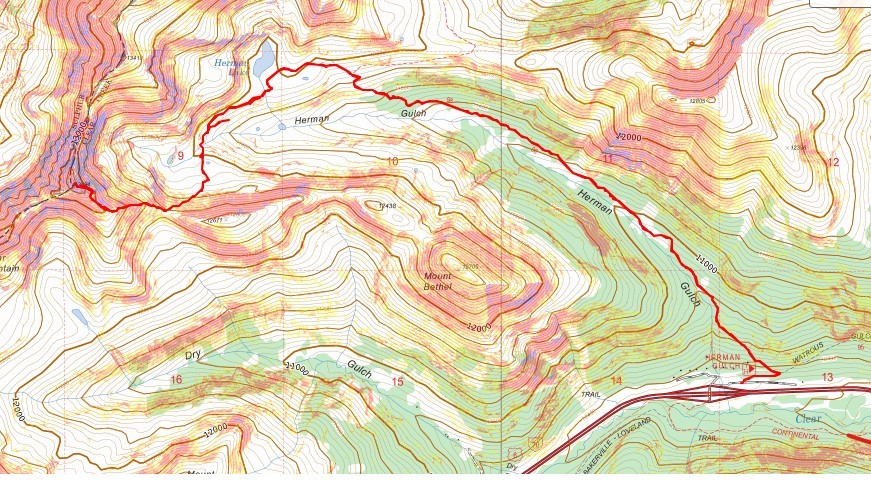
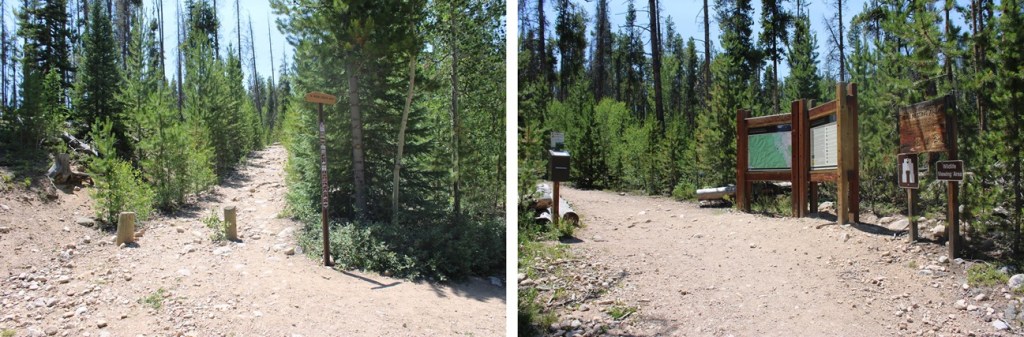
I arrived at the Herman Gulch Trailhead and was on the trail at 4:30am. The trailhead has spots for dozens of vehicles (if not more), and the trail is clearly marked.
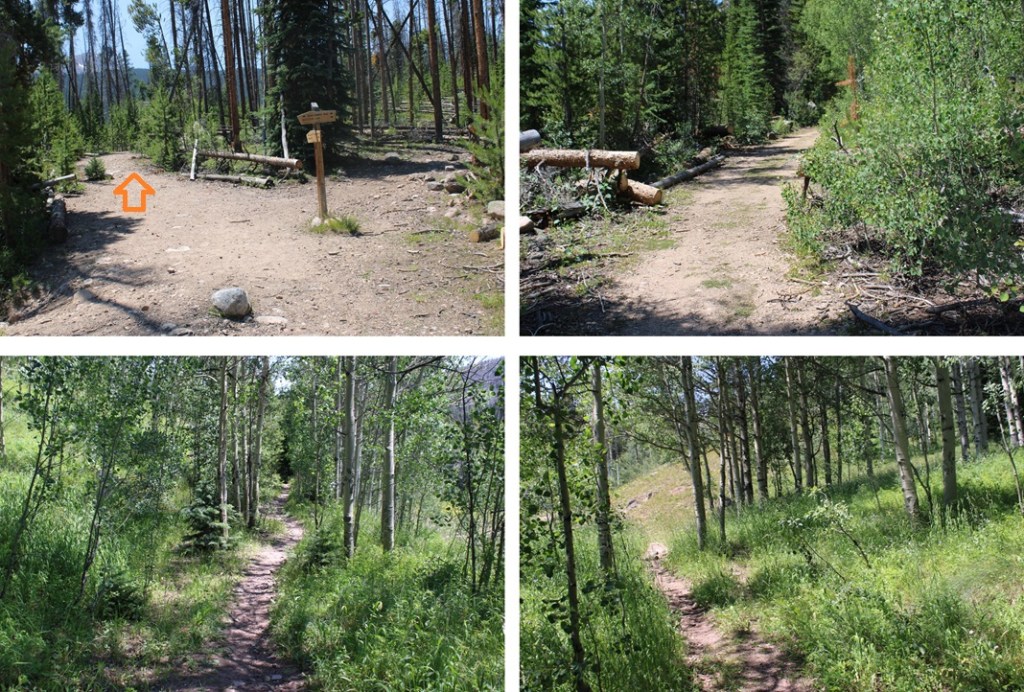
I followed the Herman Gulch trail for less than a quarter of a mile, until I came to the junction with Waterous Gulch Trail, turned left, and continuing following the class 1, well-defined Herman Gulch Trail all the way to Herman Lake.
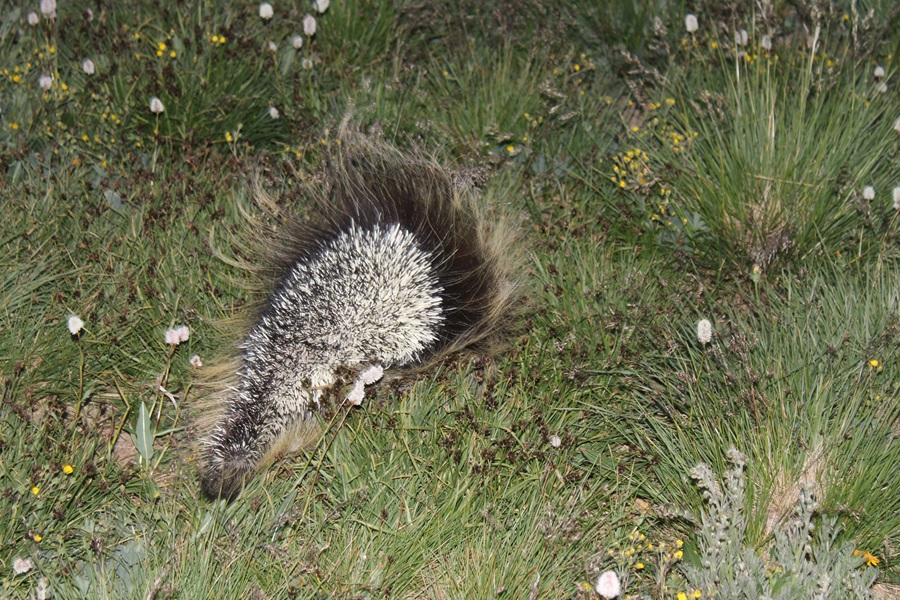
It was at about here I encountered a porcupine, which immediately turned and ran away from me.
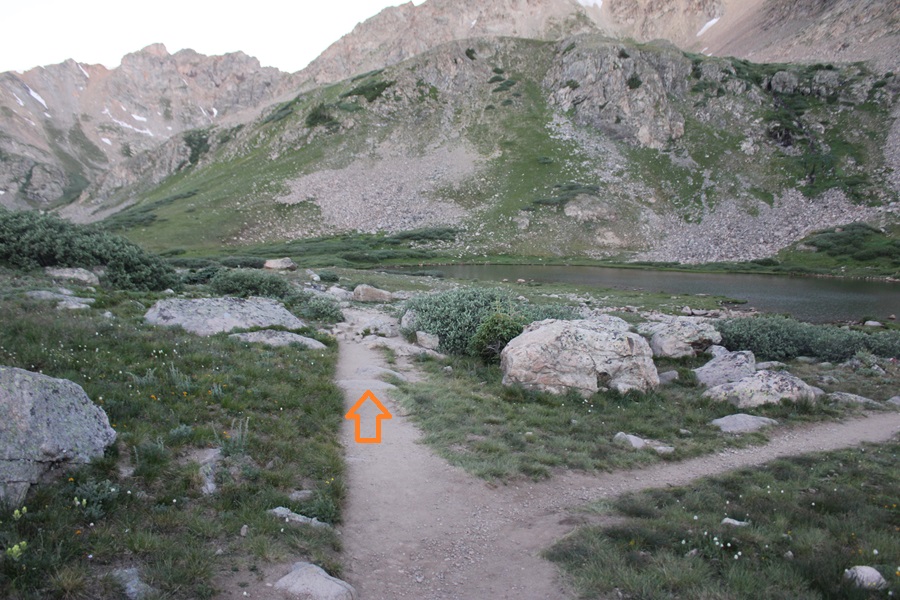
I continued following the trail, skirting the south side of Herman Lake
I followed this trail as it headed southwest towards the saddle of The Citadel and PT 12671. Here’s where I was heading:
There’s a pretty good trail that goes MOST of the way, crossing the creek that flows out of Herman Lake and through the willows. I lost a little bit of elevation during this part, but it was negligible.
At about 11970’ I came to another large creek, and here I left the trail to cross the creek
From here the trail is difficult to follow, but there are plenty of cairns to follow to get you to the saddle.
Now on the saddle, I turned right and headed west up the ridge, on a good game trail that was easy to follow.
Now to make my way towards the saddle. The route will be obvious.
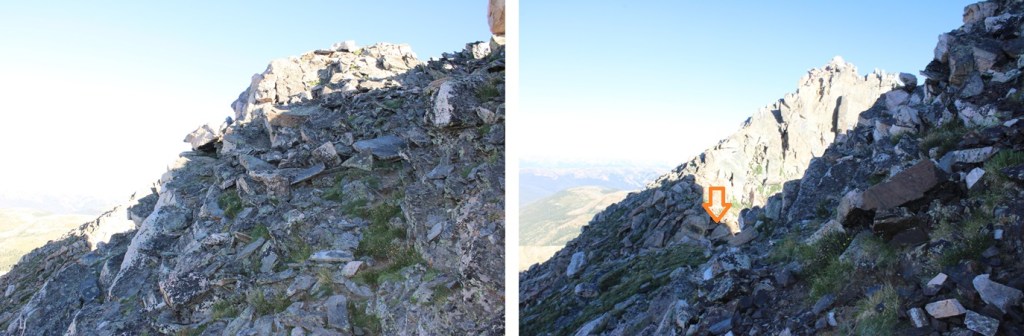
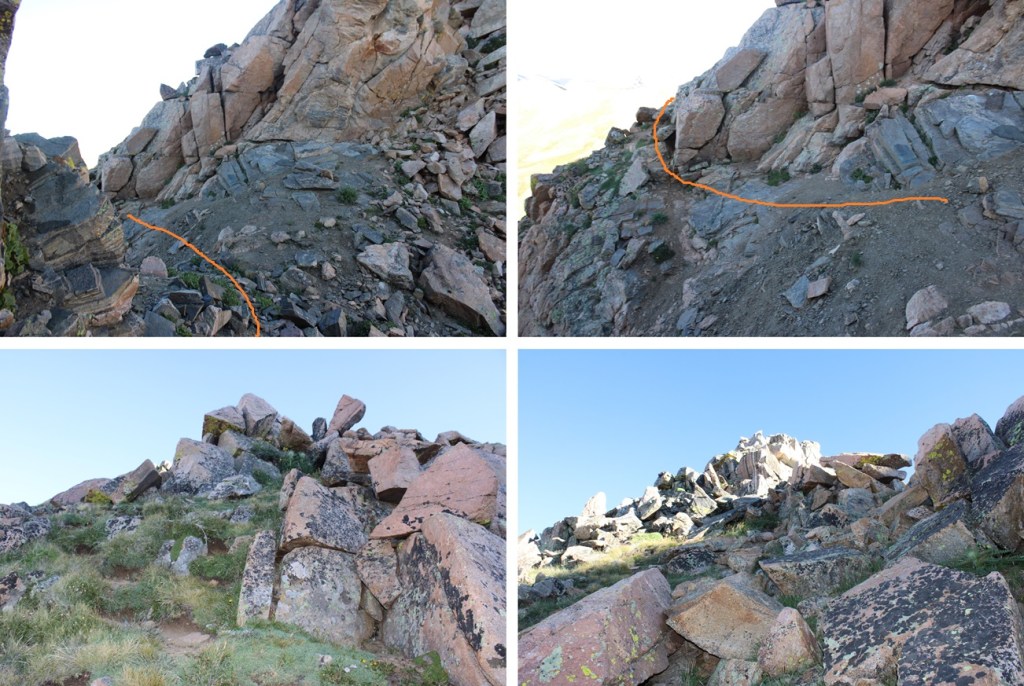
If you haven’t already, now is a good time to put on your helmet. From the saddle, head northeast and look for a solid band of rock. This rock band is important, because the gullies are miserable. Once on the rock band, ascend towards the tundra, then follow the line of tundra northeast. Once you’re on the tundra, you can stay on tundra until the top. This is class 3, and a slip would have you falling quite a ways, like hundreds of feet before you stop, so take care in this area. Here’s a visual representation of how I climbed from two different angles. It’s probably a good idea to start memorizing the route as you’re hiking up the ridge from the saddle of The Citadel and PT 12671.
And some pictures of my route:
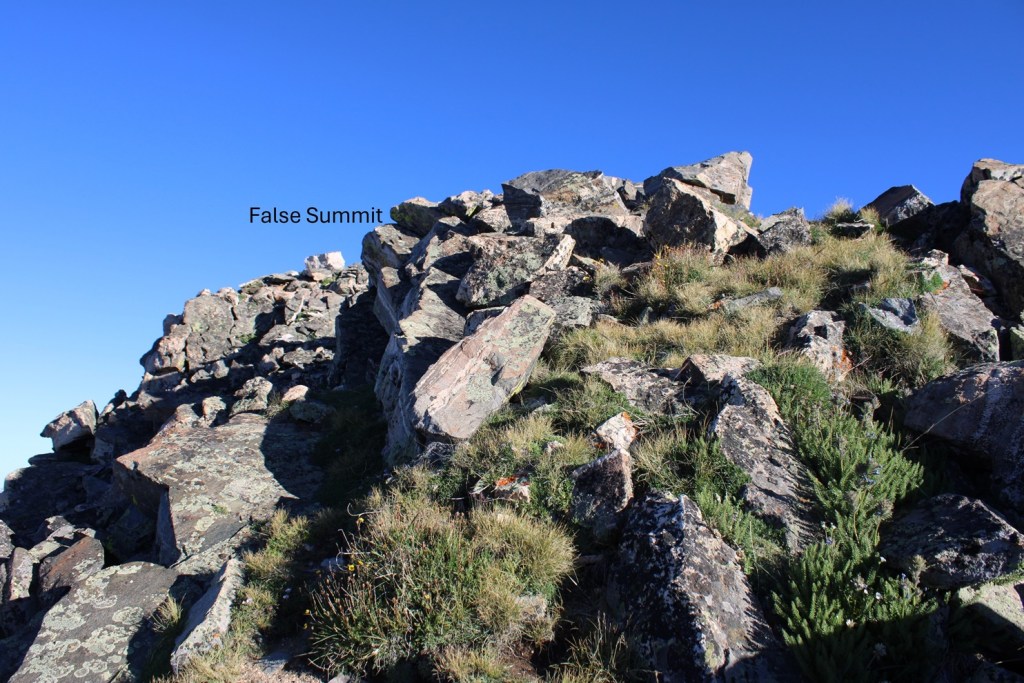
From here, to the north, I saw what I thought was the summit. It wasn’t, but I headed towards it anyways.
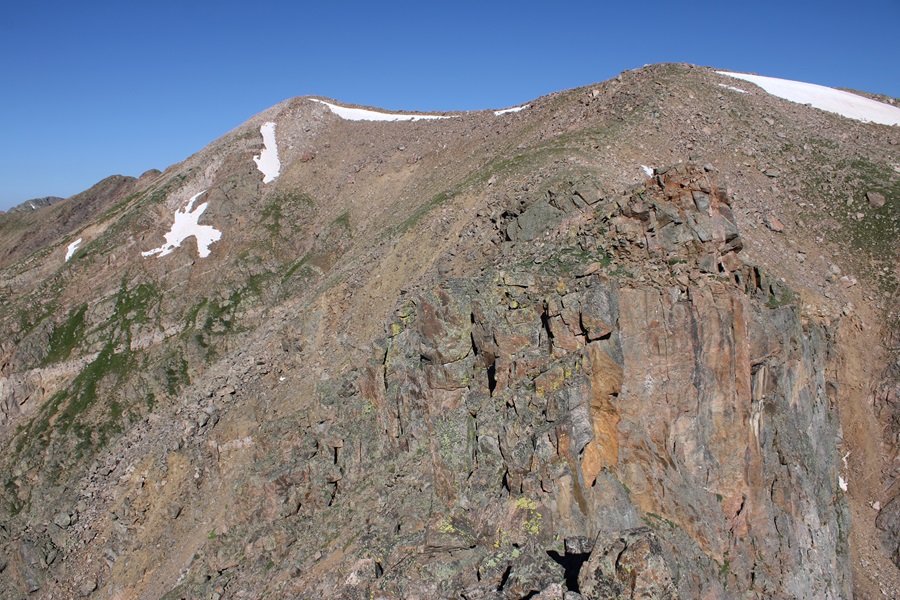
I made my way to the false summit, and could see the true summit to the west.
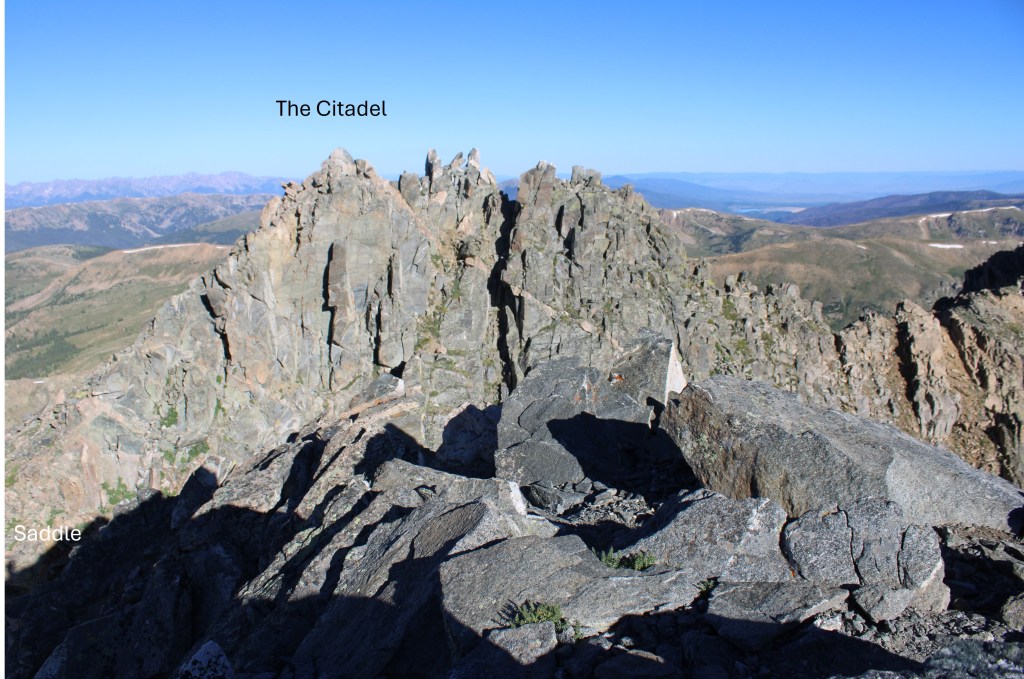
So, I downclimbed a bit, and headed towards the saddle ahead of me.
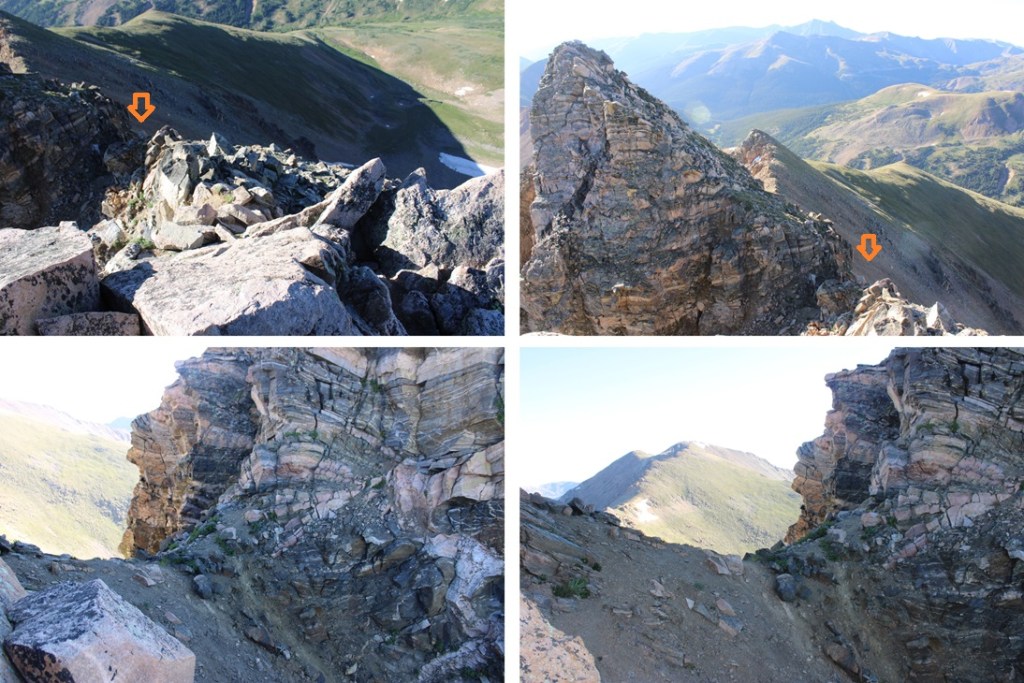
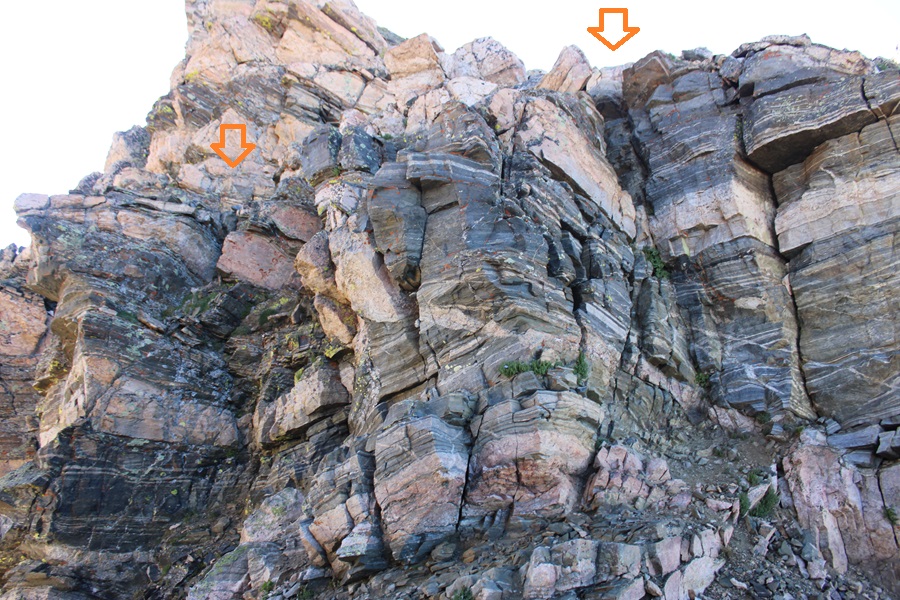
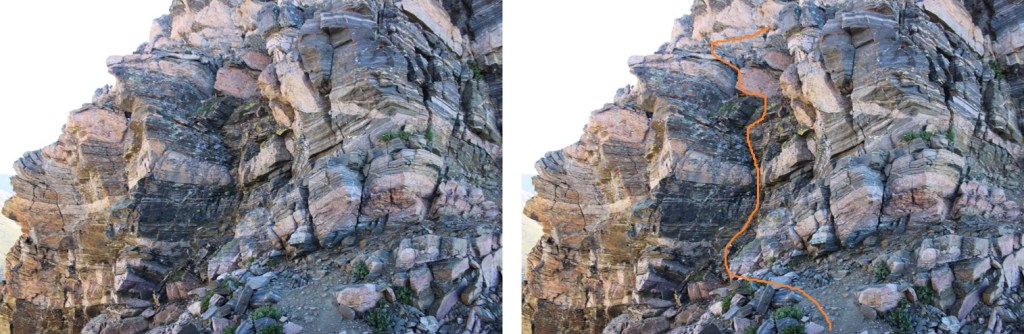
At this saddle, there was what I would consider a class 4 chimney to downclimb. I sat there for about 10 minutes, waiting for the wind to die down before downclimbing. The wind was insane, and I had to hide behind rocks to get away from it. The downclimb was much more difficult than the upclimb, as it was committing, and I wasn’t sure there would be adequate footholds down below where I couldn’t see (there were). Here’s what the wide chimney looked like to downclimb. It was probably 10-15 feet of downclimbing.
Now to head to the saddle, and summit the peak.
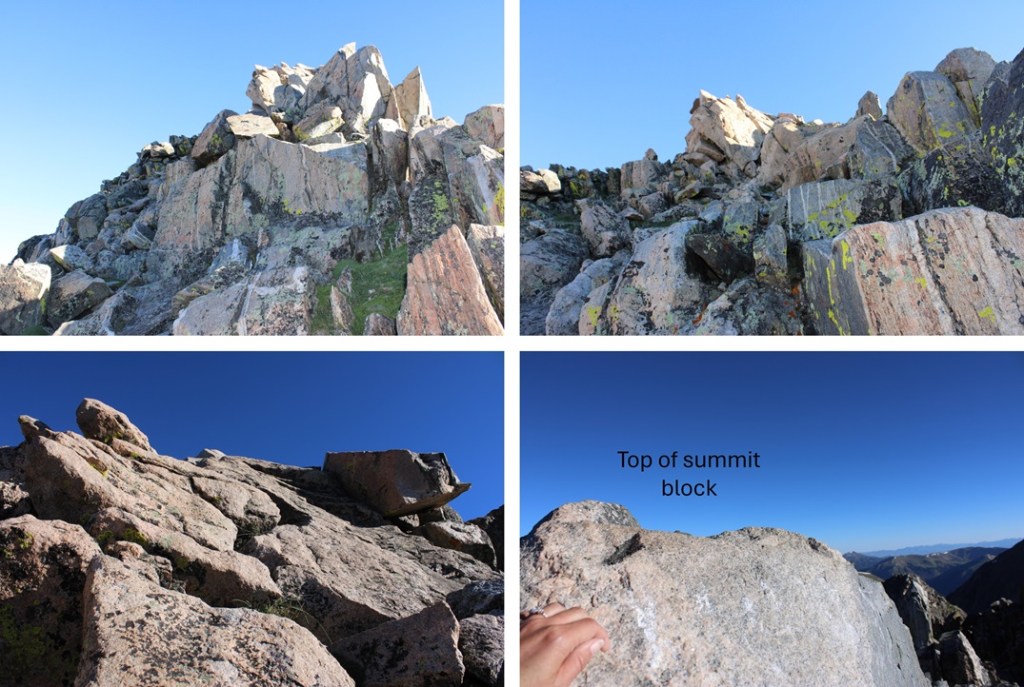
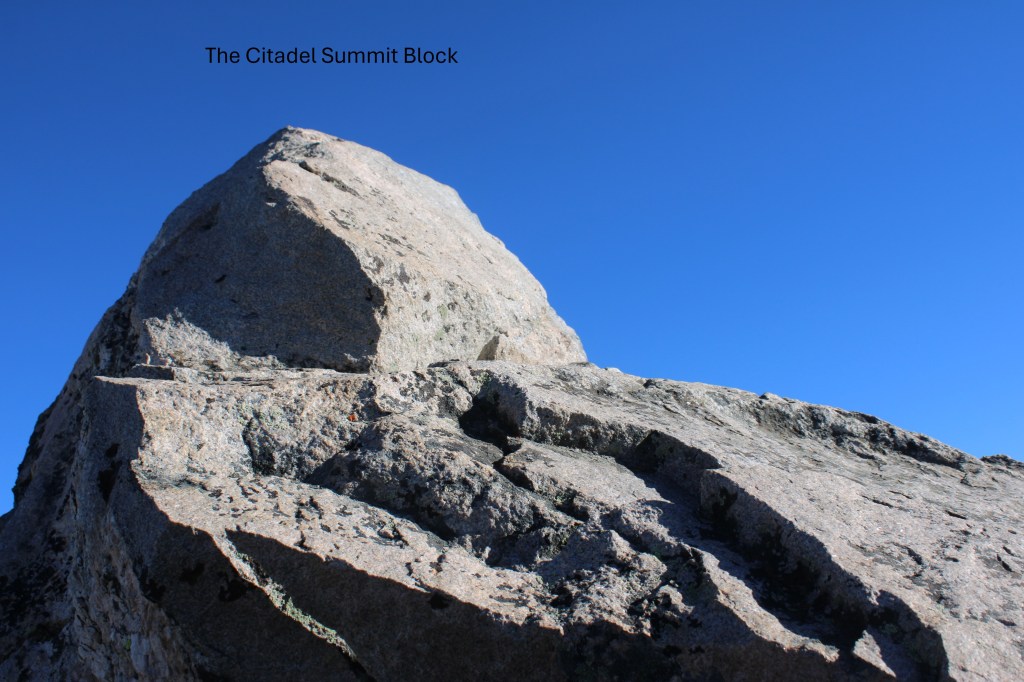
The summit was a short class 3 scramble to the summit block, which is a bit exposed. It was EXTREMELY windy today, and I had to hold on tight to keep from being blown over, but I was able to summit.
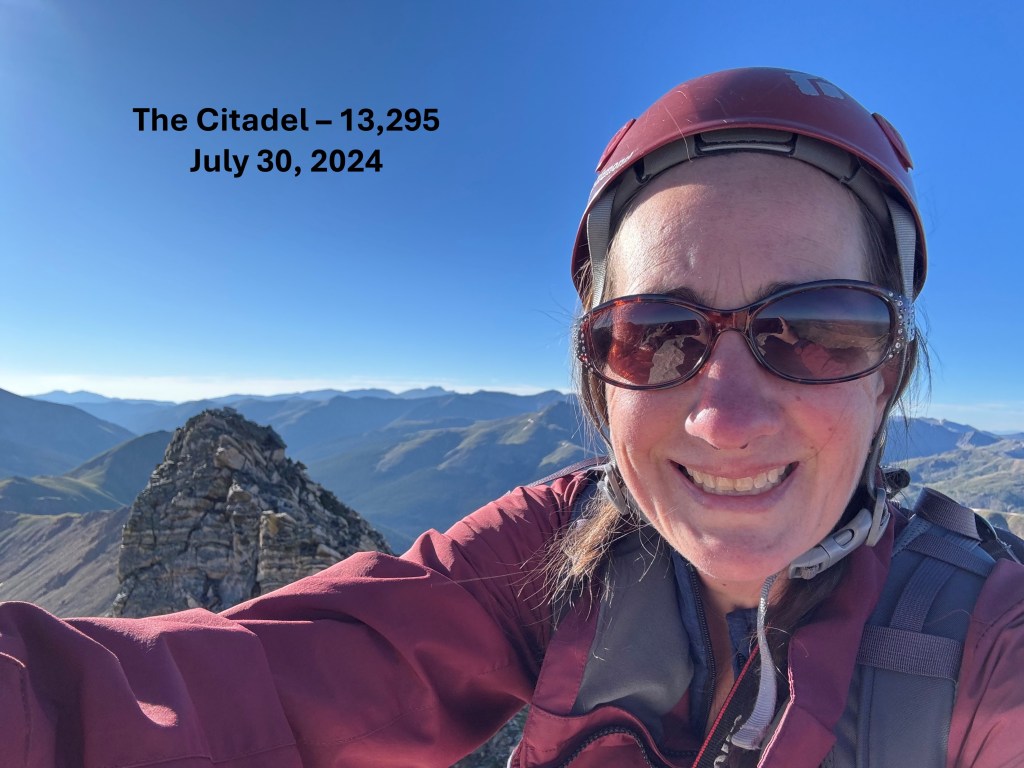
I summited The Citadel at 7:45am. Sorry for the terrible picture and less than stellar video… I only took 1 photo, because I was afraid of losing my phone to the wind, and there wasn’t much room to move around on that summit block without falling (once again, wind).
The Citadel:
Here you can see the false summit to the east
I made my way back to the saddle between The Citadel and the false summit
Here’s a look at your options to upclimb. There are two, I took the one to the left do downclimb and upclimb.
And now to make my way back to the grassy ledge. There’s a cairn indicating where to descend.
And now to downclimb the grassy ledge. Once again, I stayed on the tundra until I reached the rock rib, then headed for the saddle to the right.
I was now back on a trail, and followed it to the saddle of The Citadel and PT 12671.
Here’s an overview of my hike to Herman Lake from the saddle. This was on a mostly class 1 trail, with cairns to help when needed.
Back at Herman Lake, I followed the Herman Gulch trail east back to the trailhead. You’ll know you’re getting close when you can hear the illustrious sounds of I70 in the distance.
I made it back to my truck at 10:30am, making this an 11.45 mile hike with 3255’ of elevation gain in 6 hours.
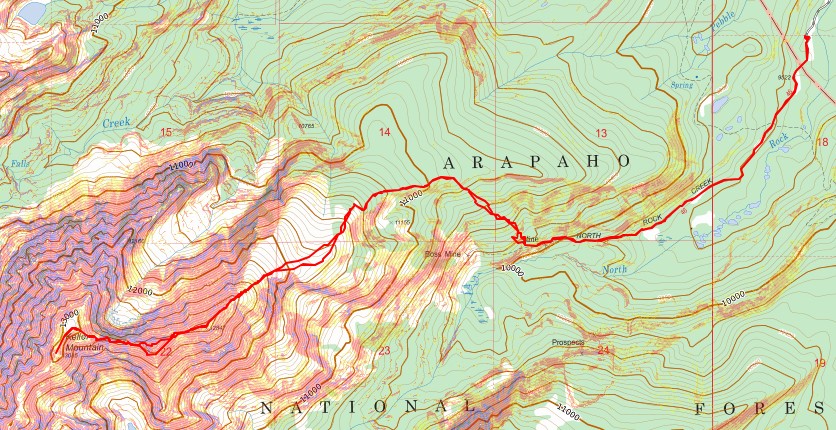
I parked at the Rock Creek Trailhead at 5am, and the parking lot, which holds about 20 vehicles total if everyone parks nice, was already full. I’m guessing all the vehicles were from weekend backpackers (I arrived on a Sunday morning). The drive in is mostly 2WD on a dirt road, but you’ll want high clearance for the last quarter mile or so. I saw someone trying to head down in a Honda Odyssey who was having major issues (although it was probably just the driver, not the vehicle).
I was on the trail at 5:30am. The trail starts at the east end of the parking area.
I followed this trail for 2.3 miles, headed west, and staying straight at the first junction to stay on North Rock Creek Trail No. 46.
After hiking for over 2 miles on this class 1 trail, I turned right, and started bushwhacking northeast to the ridge. There were a lot of downed trees in this area, so navigation was an adventure. I just kept heading northeast, gaining 760’ of elevation in .7 miles as I made my way to 10900’
At 10900’ I came across a well-established game trail, and followed it west towards treeline.
At 11400’ the trail fizzled out, but the route was obvious. I was headed southwest, following the ridge to treeline.
At treeline my next goal was to ascend the tundra and then rocky slope, still headed southwest. The rocks here were solid, and easy to navigate. I just kept following the rocky, class 2 ridge.
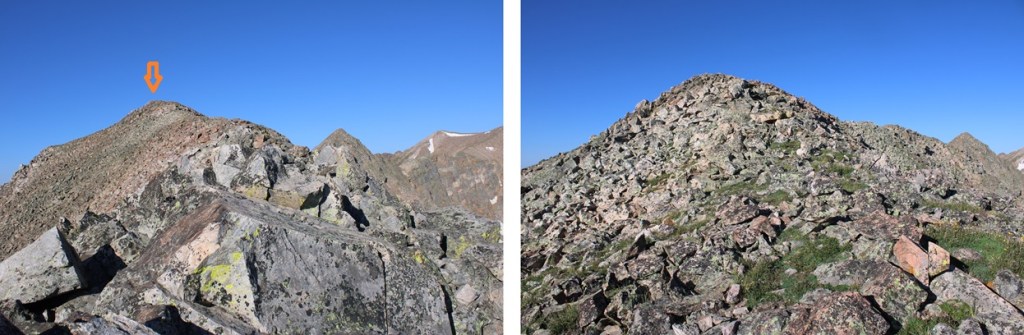
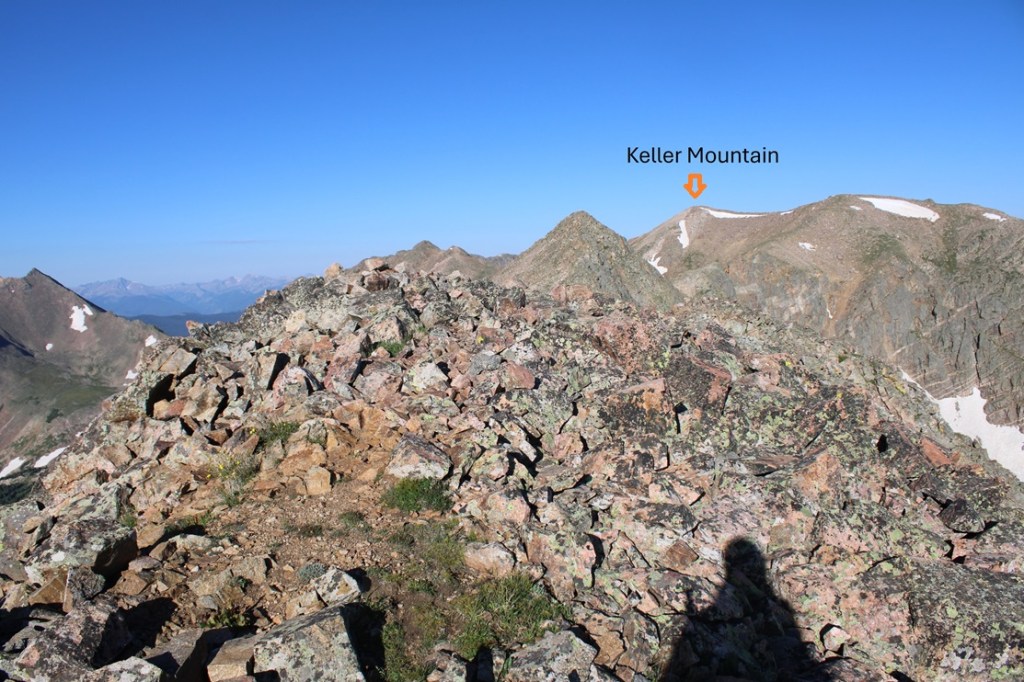
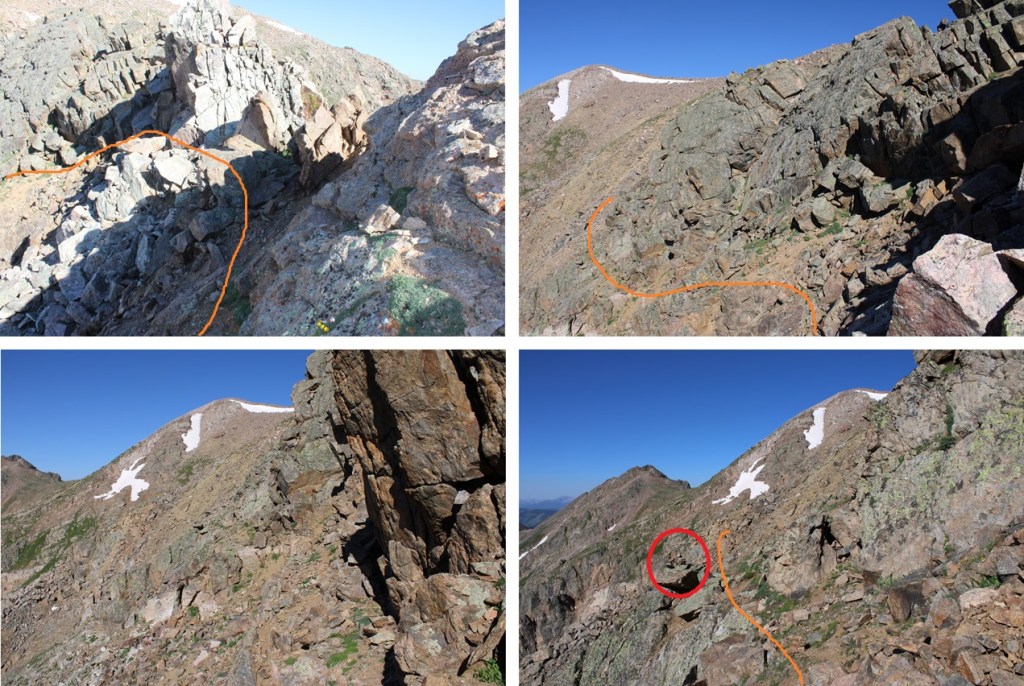
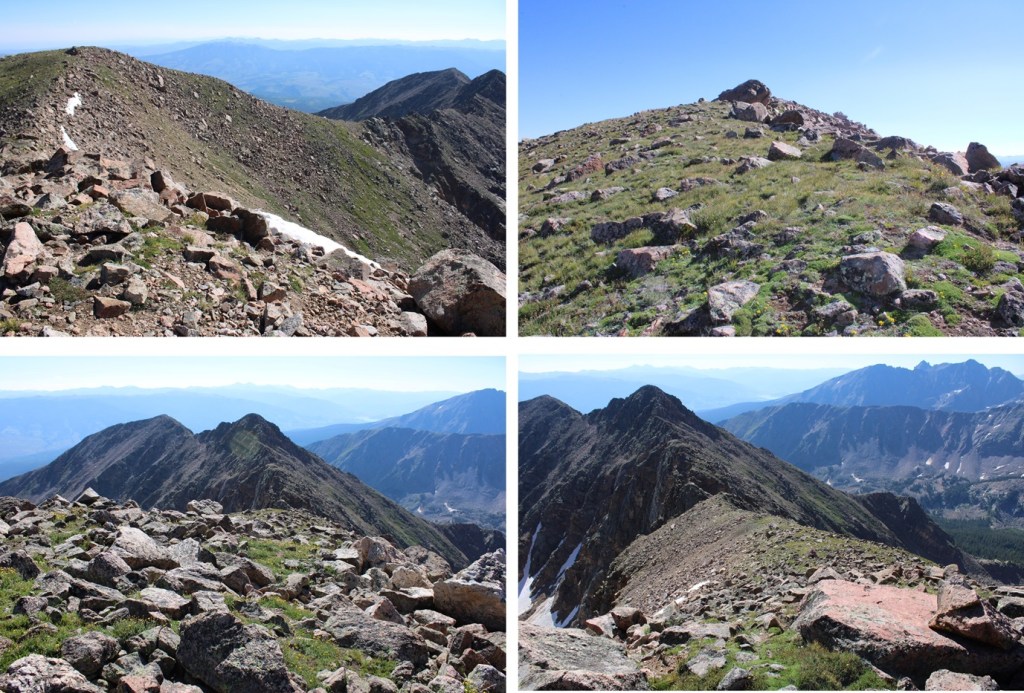
If you get here and think “Wow! That was almost too easy!” it’s time to strap on your helmet, because you’re only at PT 12847, and the rest of the route is about to get class 3. Here is the real summit of Keller Mountain, a mile off in the distance and a fun ridge to get there.
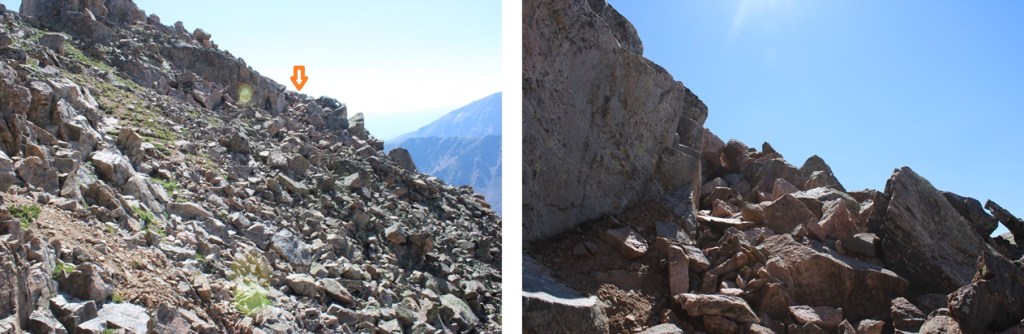
First, I had to get around this point. Going up is straightforward, and I stuck to the ridge. Going down, however, was a bit more challenging in the route-finding department. You can go directly up and over this class 3 ridge, or descend to 12750’ and keep this section class 2 by skirting the ridge.
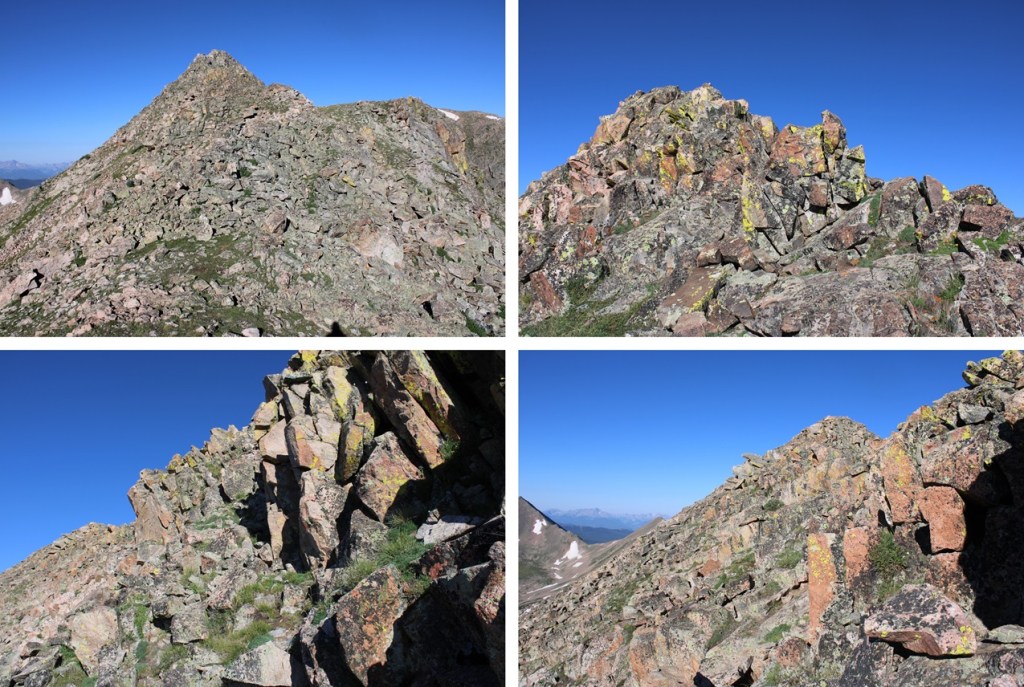
I took the ridge on my ascent, and skirted it on my decent. Here are some pictures of this ridge. At times I dipped down to the left (never to the right) to ascend on rocky tundra.
The descent off this ridge was a little more challenging, as there were gullies to navigate that had recent rockfall, and were unstable. I stuck to the left side of the ridge all but in one obvious spot, where I dipped to the right and re-ascended to this small saddle.
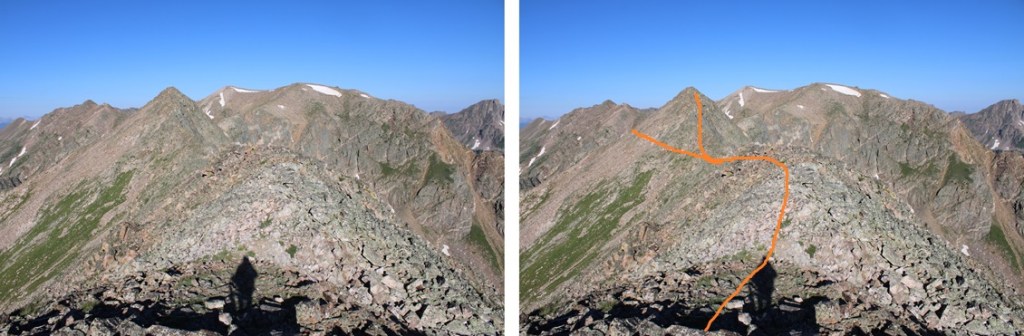
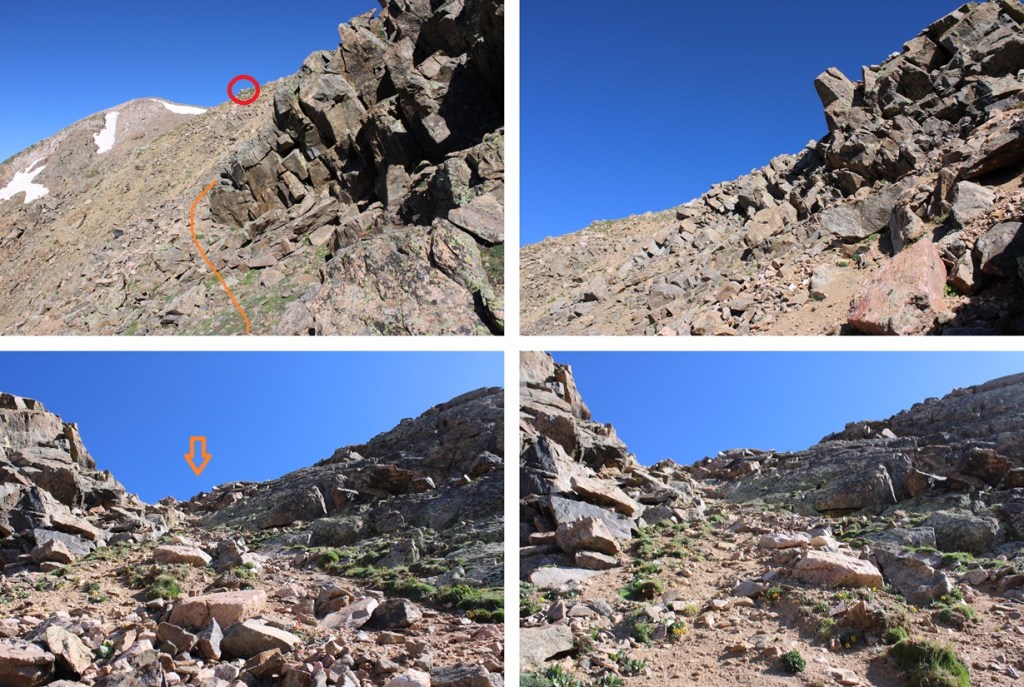
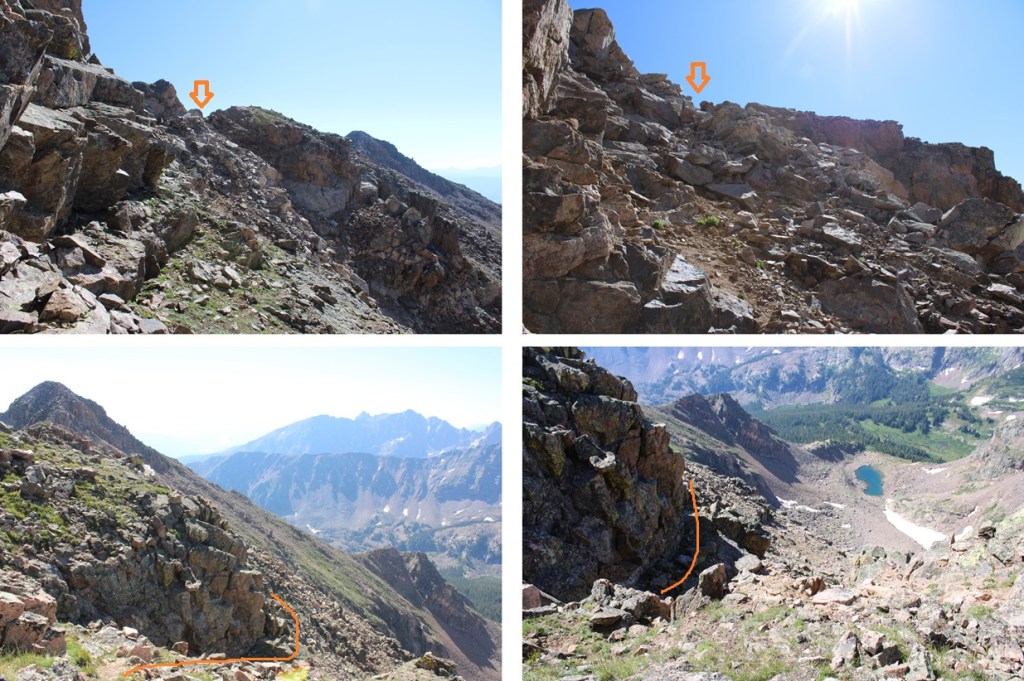
Now the real fun begins. There are several more gullies to navigate, but luckily here, I found a few cairns. Once again, I stayed to the left of the ridge. I kept wanting to head back to the ridge, but found the gullies and large rock outcroppings kept keeping me about 50 feet below the ridge proper, so every time I’d make it to the ridge, another gully or rock outcropping would pop up and I’d have to descend again. Here are some pictures of my route along the ridge (red circles are cairns).
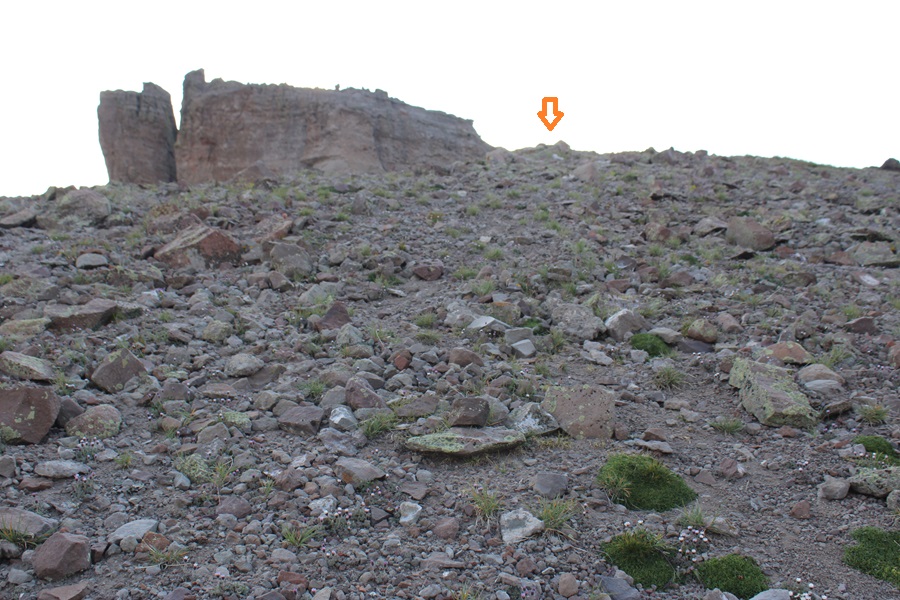
Here’s a picture of the final gully, the only one filled with scree. You’ll see a cairn off in the distance here on the tundra ahead of you on the hillside, but don’t aim for it (circled in red). Go around the rock outcropping and ascend the gully instead. It keeps you from some sketchy stuff below.
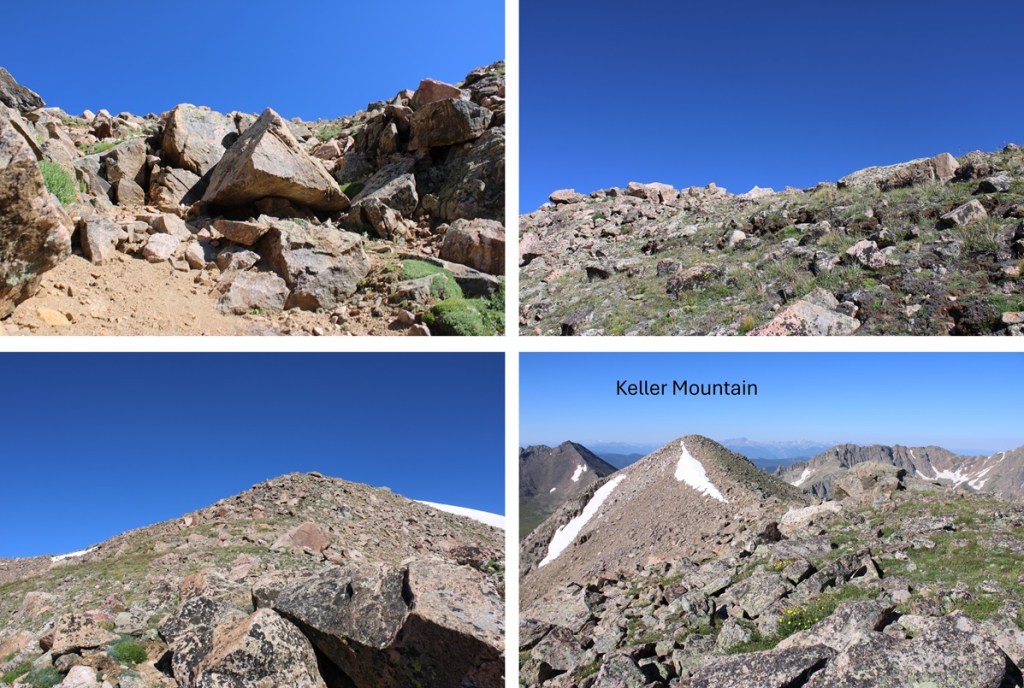
At the top of this last gully I turned left, and followed the ridge west, and then southwest to the summit of Keller Mountain. This part was all class 2. There was no summit cairn, but there was a summit register here
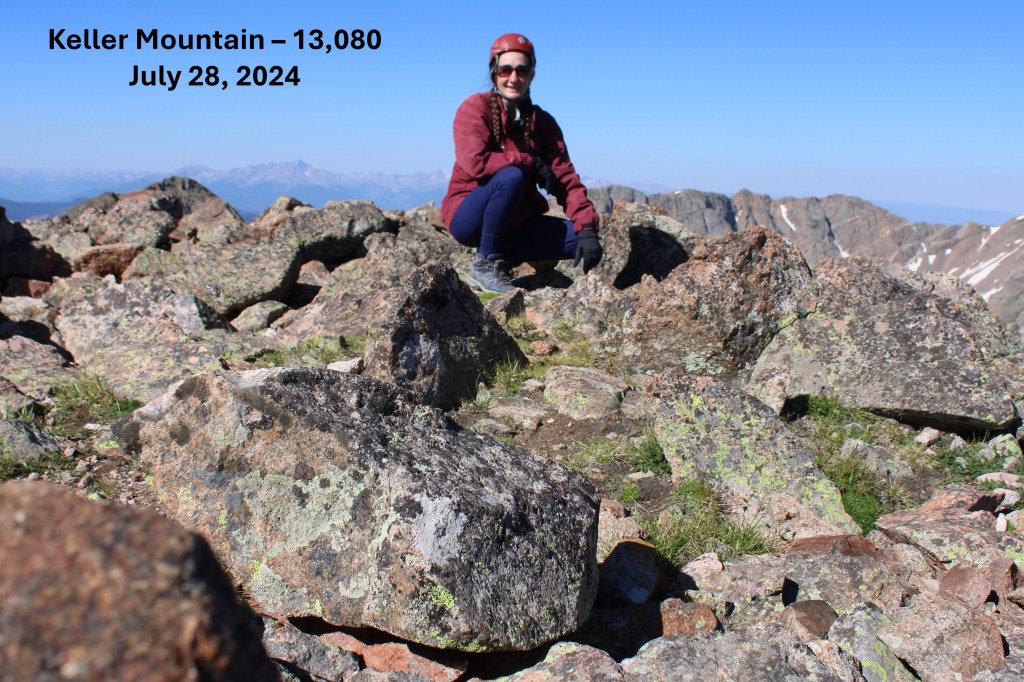
I summited Keller Mountain at 9:15am
Keller Mountain:
Here’s a look back at that ridge, and the route I took to get to the summit. Notice how you don’t want to dip too low on the ridge, due to the chasm below.
This was an out and back hike for me, so I headed back to the false summit, and descended the ridge back to the gullies
By now I’d had enough of this fun ridge route finding and decided to stay at 12750’ and skirt this part of the ridge, keeping the rest of the hike class 2.
Back on the ridge, I followed it to the top of PT 12847
And then back down to treeline
Once at treeline, I followed the ridge northeast until I came back to the game trail, then followed the game trail to 10900’
At 10900’ I turned and headed southeast down the hillside, aiming for the North Rock Trail No 46 I knew would be below, bushwhacking through grass taller than I was and tons of downed trees.
Back on the trail, I turned left and followed it just over 2 miles east/northeast back to the trailhead.
I made it back to the trailhead at 12:30pm, making this an 11.89 mile hike with 4086’ of elevation gain in 7 hours.
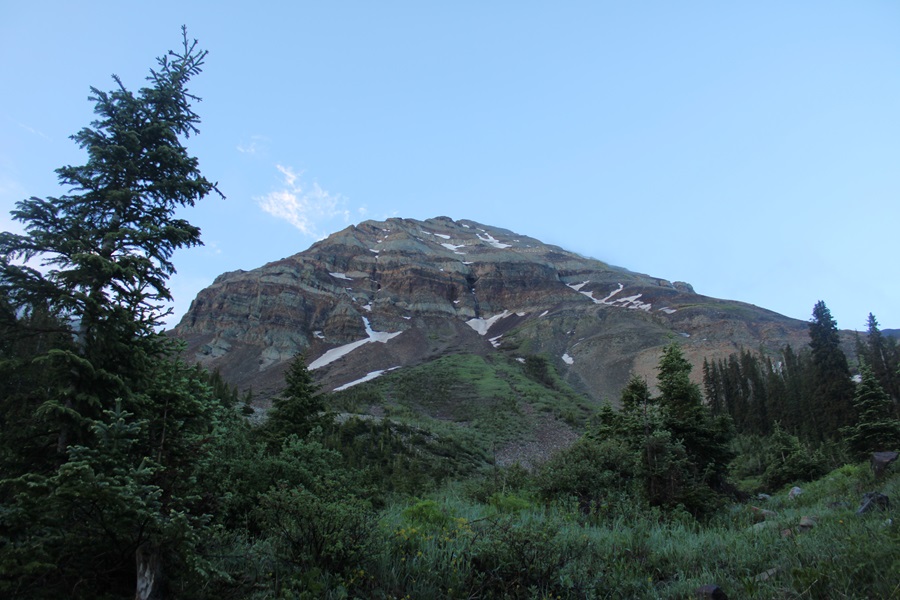
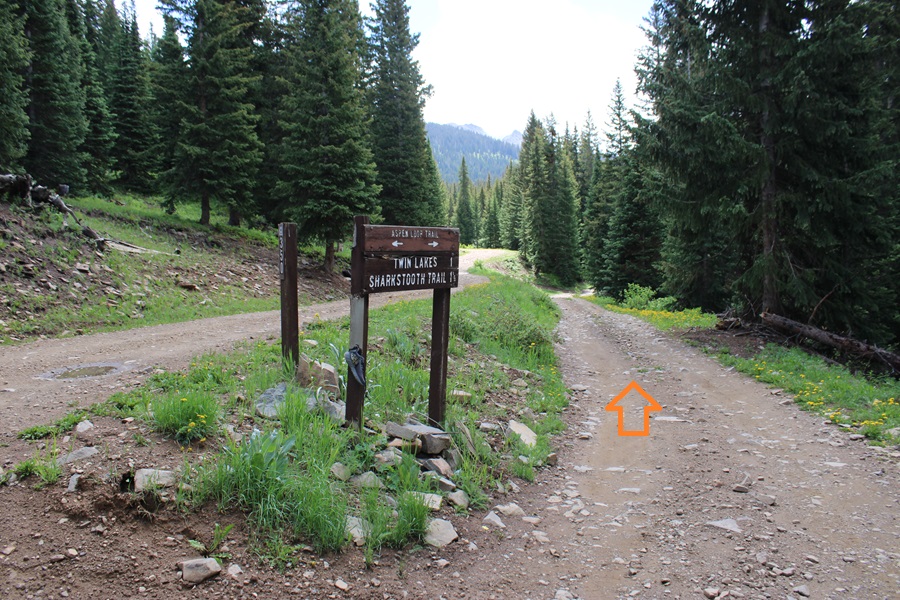
I parked at the 2WD Sharkstooth Trailhead the night before and waited out a thunderstorm. If you’re not familiar with the area, be sure to double check your directions: Google Maps kept trying to route me on ATV roads, and I got turned around several times trying to get to the actual trailhead. When I got there, I found there weren’t any parking spaces (as in, no place to park period… there weren’t any other vehicles there), so I had to park in a turnout a couple dozen yards from the trailhead. The drive was 2WD on a dirt road up until this point. This is what the lower trailhead looks like.
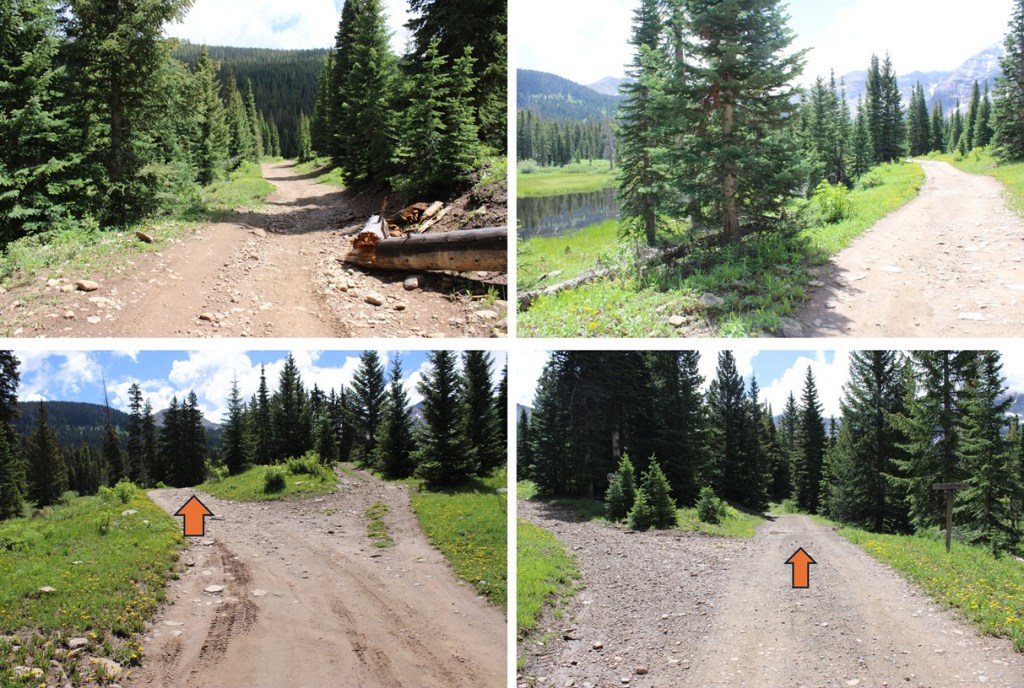
The next morning, after battling a night of storms and mosquitoes, I was up and on the trail at 5:30am. I realized rather quickly the 4WD road to the upper trailhead wasn’t all that difficult to navigate, and I could have easily driven all the way there. There were also several dispersed campsites along the way.
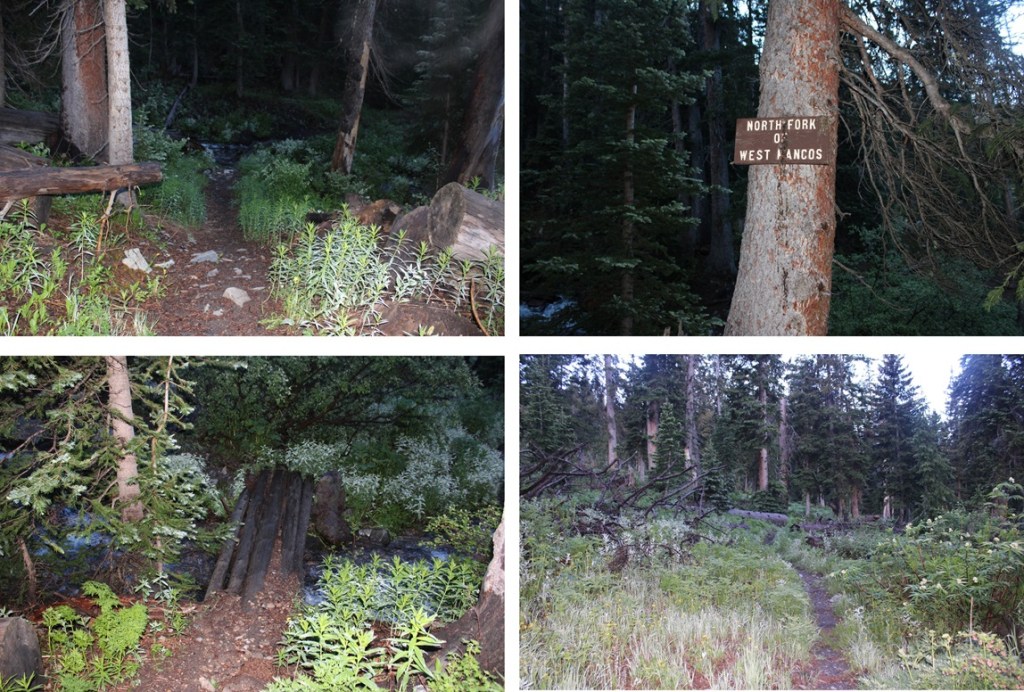
Now at the upper trailhead, I started following West Mancos Trail 621, which was the trail to the right.
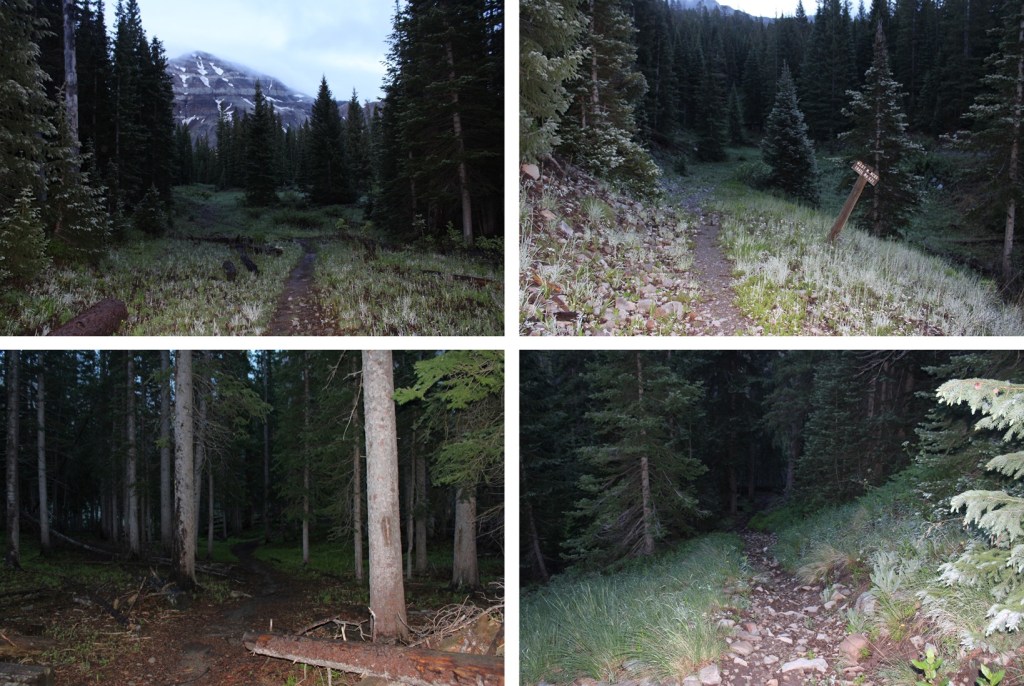
Hearing mixed reviews about how to climb this peak, I decided to take the ridge up, and the gully down. This meant descending about 600 feet and 2 miles from the upper trailhead to my turnoff point. I just kept following the West Mancos Trail. There were plenty of signs along the way to remind me I was still on the West Mancos Trail.
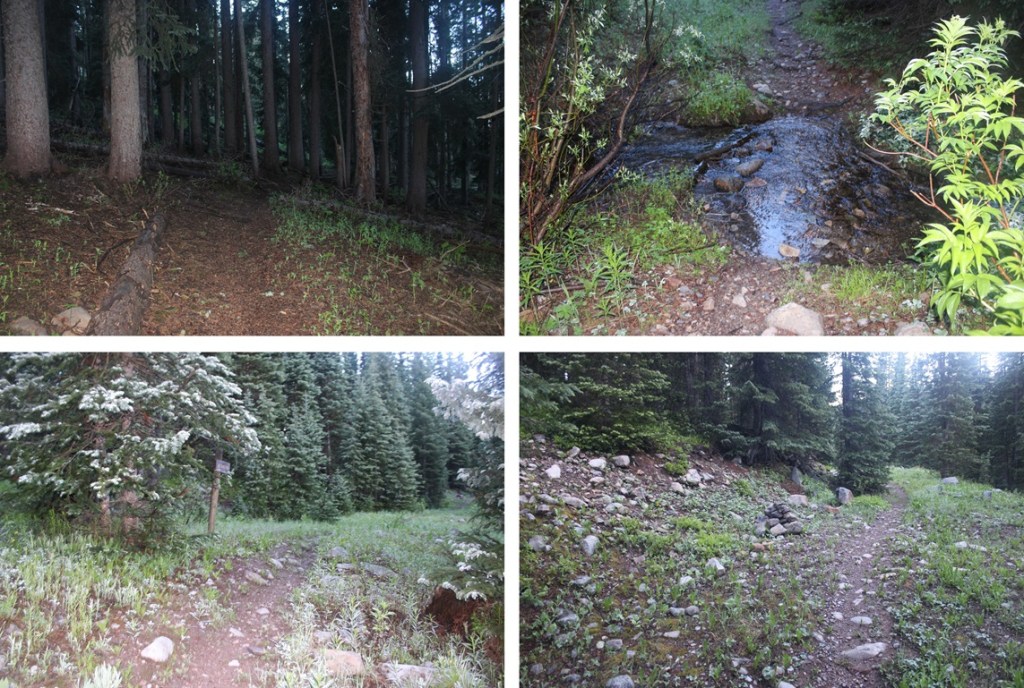
At about 10400’ of elevation, after I’d been hiking for a total of 3.9 miles, just when I was thinking I should leave the trail and head for the ridge, I saw a large cairn, indicating the cutoff point for heading towards the ridge.
I turned left, and bushwhacked my way southwest towards the ridge. There was no visible trail here, but I soon made it out of treeline.
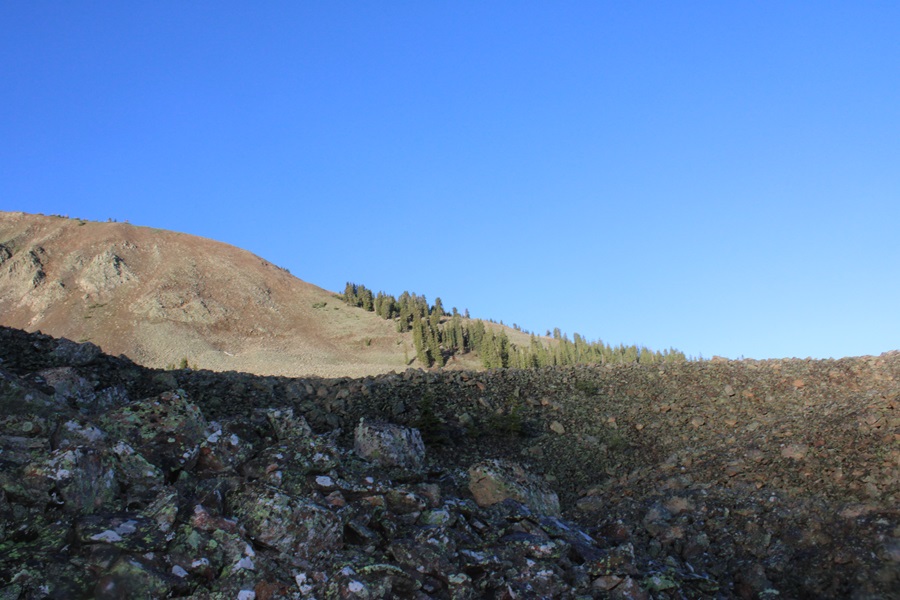
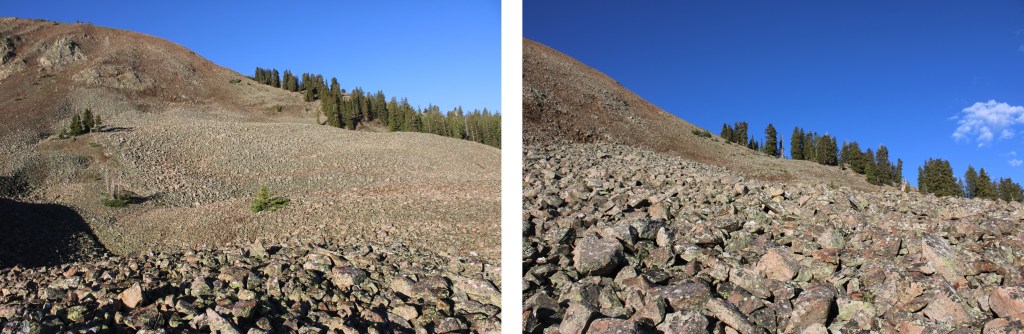
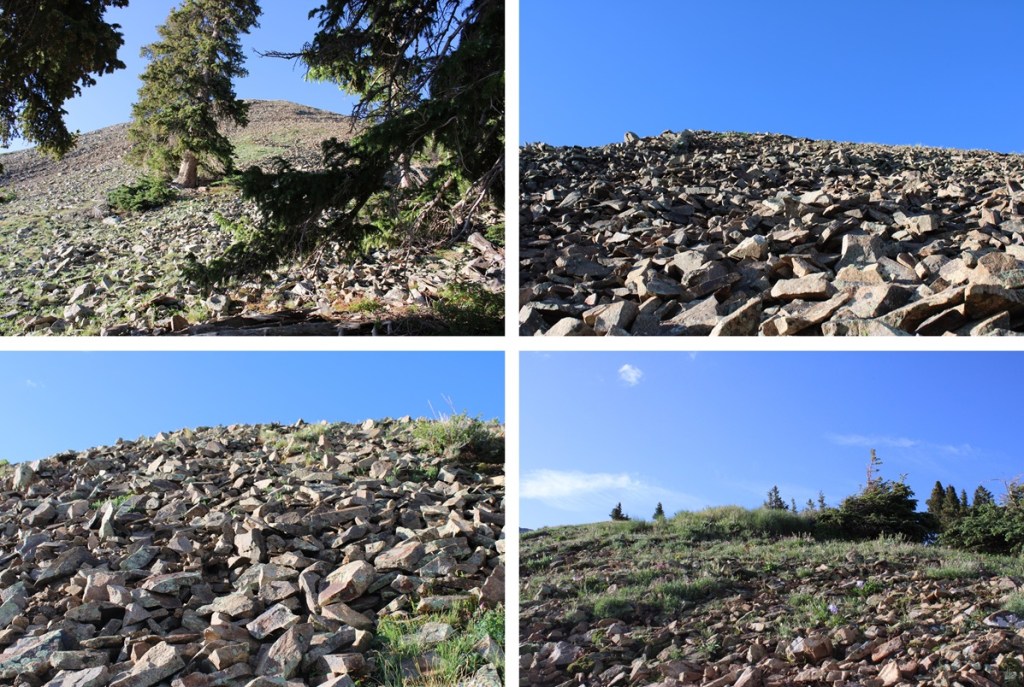
At treeline I came to a huge basin of rocks. To get to the ridge, I was going to have to head southwest, through this basin of loose, unstable rock. I did my best to stay low, and try to skirt the piles of rocks, but eventually I had to go up and over.
I now had a clear view of the ridge.
This is choose your own adventure, and none of it was pleasant. It was full of loose, rolling rocks. This is the route I took to gain the ridge.
Once on the ridge, I turned left, and encountered the most difficult part of my day: Tons of mosquitoes and 350’ of elevation gain in 1/10th of a mile on dinner plate sized, extremely loose talus. There was no clear path or game trails, I just kept heading up. It was so miserable, I decided then and there I was not going to go back down this way if I could help it.
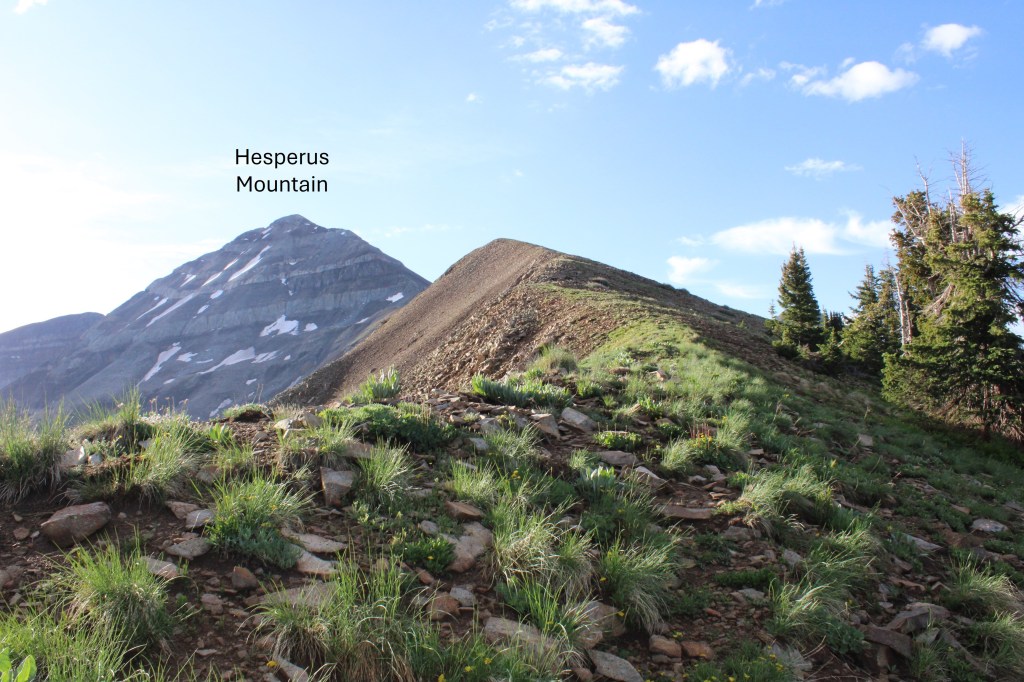
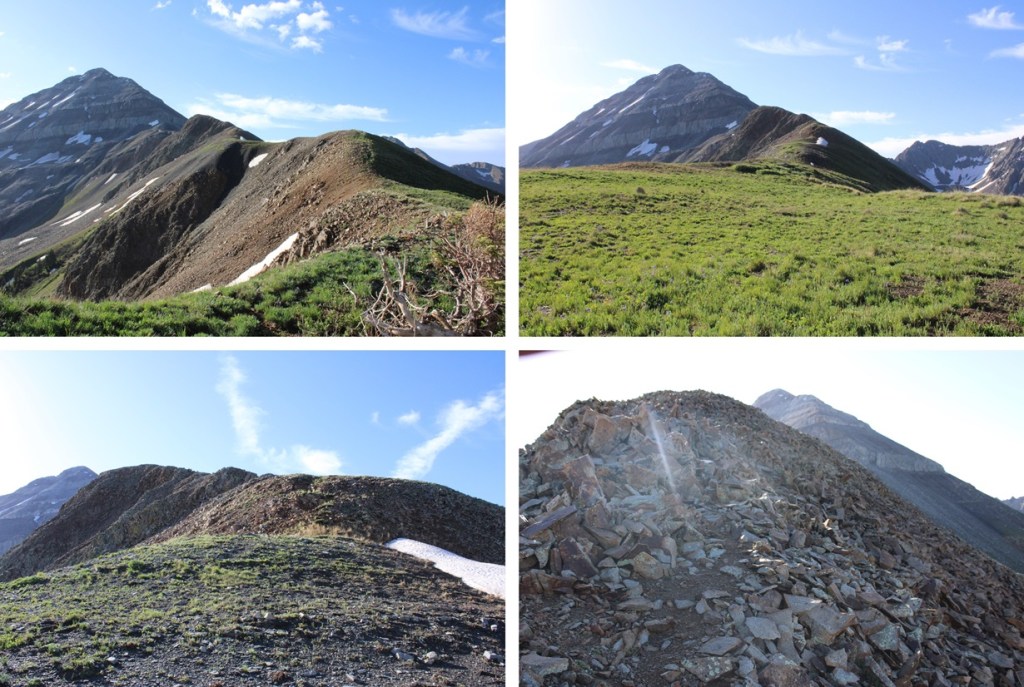
I was greeted at the top with a nice, gently sloping ridge that was easy to follow southeast towards Hesperus Mountain. There were some rocky sections, but clear game trails to follow.
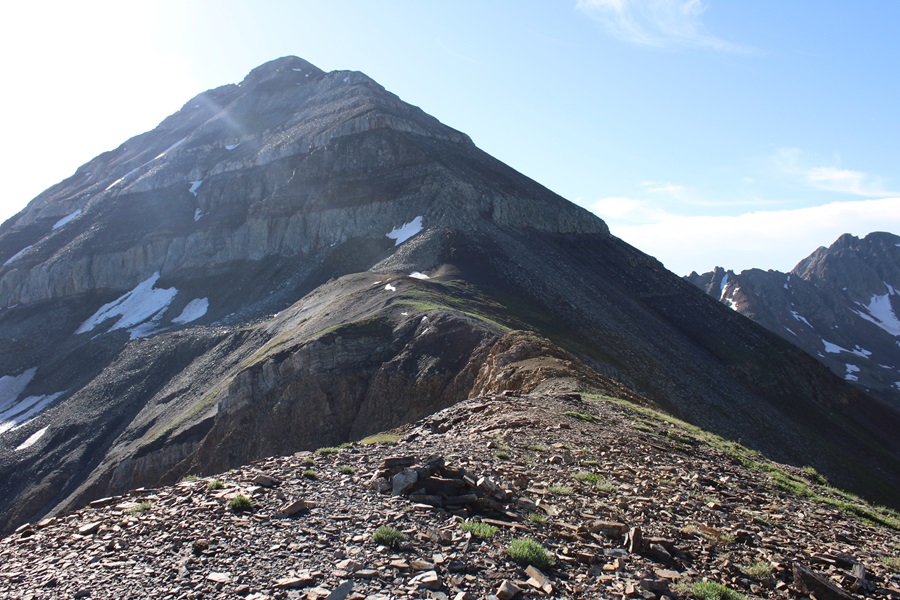
I came to the end of the ridge and where the fun began.
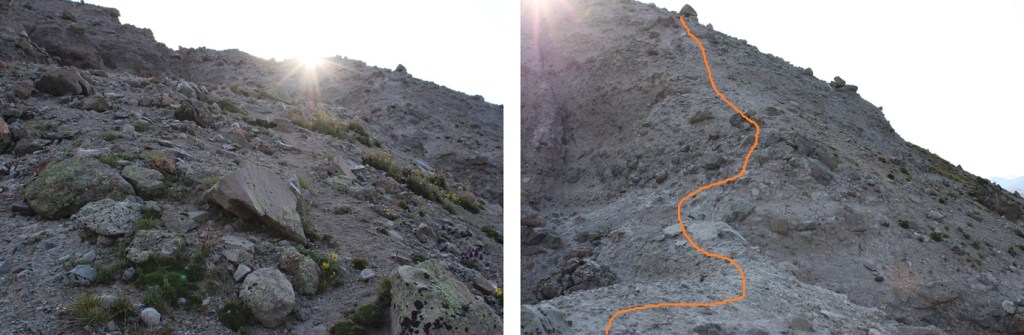
There were quite a few game trails here, and the sun was in my eyes the entire time, so I’m not sure if I picked the correct route. If you go to the right of the class 3 section you can keep it class 2, but it’s easy to get lost. I decided to head straight up the rocks, then found a game trail that wound me around up to the summit. As I kept getting higher and higher up the mountain I found more and more trails, all seeming to lead to the same place. As long as you’re headed up and east, you should be good. This is the route I took:
And some step by step pictures of the route I took, first navigating the class 3 section
I was then able to pick up game trails that led me to the summit. I took a different path up than I did on my way back down, but all the game trails that went up led to the summit. As long as you’re keeping it class 2 you should be fine.
The summit was to the left of the trail, filled with large, loose boulders, and a wind shelter.
I summited Hesperus Mountain at 9:15am
Hesperus Mountain:
After spending considerable time on the summit, I turned and headed back down to the ridge. Once again, taking a slightly different route than I had on the way up, as trails were easier to see with the sun behind me instead of in front of me.
I made my way down the class 3 section
Ahead of me I could see the route I’d taken in, along the ridge
I looked to my right. I had a choice to make. I didn’t want to descend the same way I’d ascended, so I went over and took a look at the gullies. There were at least three to choose from, and I picked the middle one to descend, as it didn’t have any snow and I had a clear view of my exit route back into the trees.
Here’s the route I took down the gully. Since it had rained the night before, the scree was a bit muddy, and easy to grip.
And a look back at the gully I came down. As you can see, I had several options to make it down from the ridge.
At the base of the gully I followed the rocks to the north (right), finding cairns along the way that led me towards a trail in the trees.
I followed this trail through the willows and into treeline north, back to the West Mancos River Trail.
Back on the West Mancos River Trail, I followed it back to the upper trailhead, crossing the West Mancos River, and gaining elevation as I went.
At the Upper Sharkstooth Trailhead, I followed the 4WD road northeast, past Twin Lakes, just under 2 miles back to the 2WD trailhead.
I made it back to my truck at 11:30am, making this an 11.08 mile hike with 3440’ of elevation gain in 6 hours.
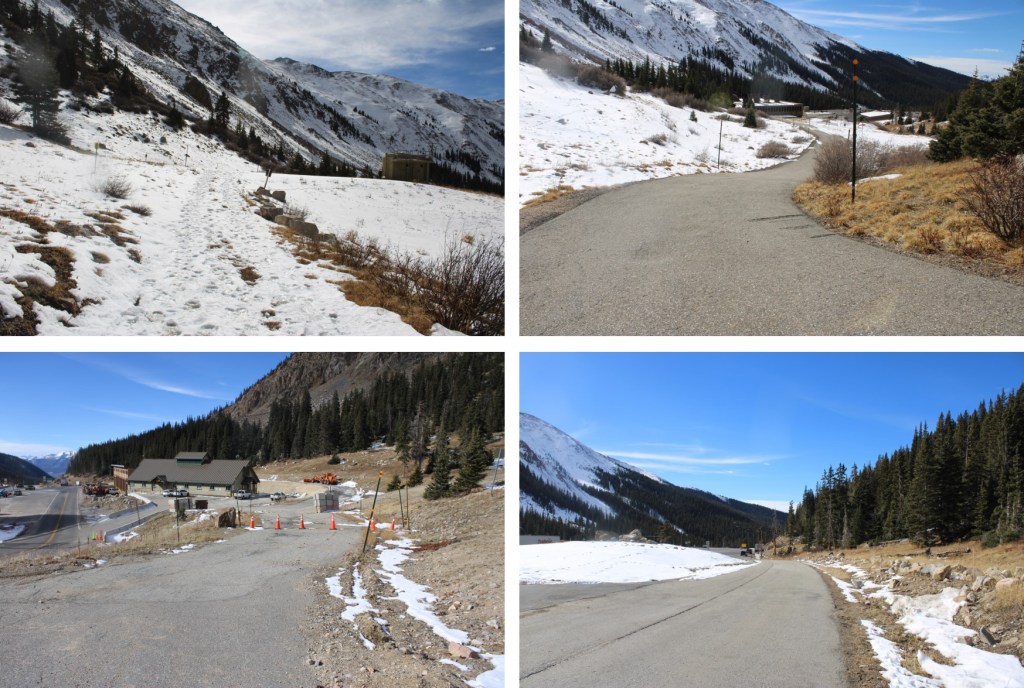
I parked behind some semis at the I-70 MM 213 Westbound Chain Station and was on the trail at 6:20am. I started by taking a paved service road northeast.
The road eventually becomes a dirt road
The dirt road quickly becomes a trail, and this morning that trail was filled with a couple of inches of ice. The kind that microspikes slip on. I followed it as it headed northeast into a basin
After hiking for 1.3 miles I came to a service road and turned right to follow the road towards the ridge.
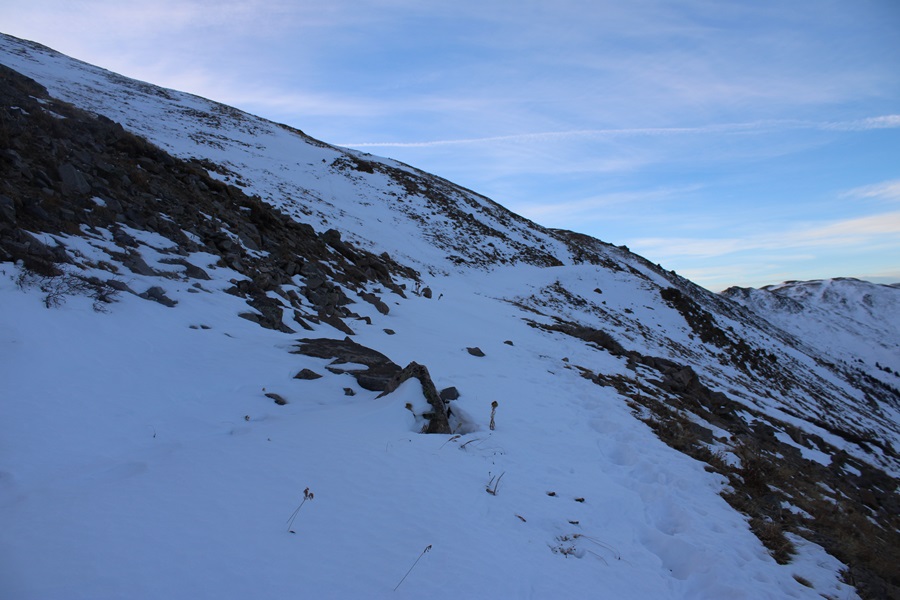
As you can see from further away, this road goes all the way to the ridge.
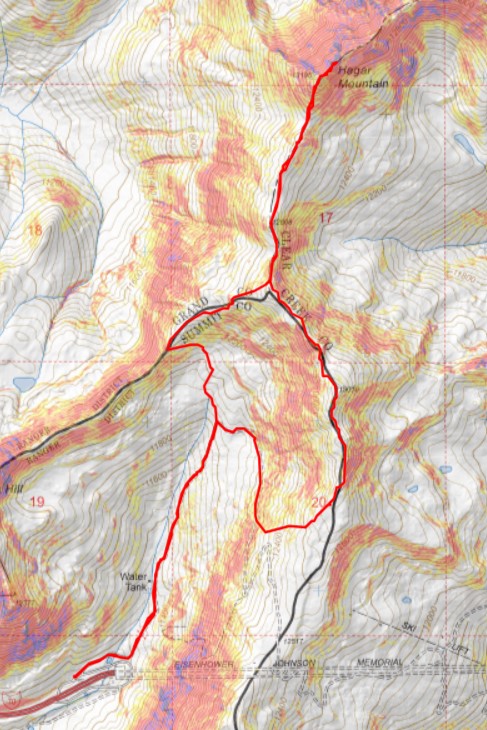
However, I did not take the road to the ridge. The road was full of several feet of snow, but the mountainside only had a few inches of snow, so instead of trenching the route, I headed east towards the ridge. This is the route I took.
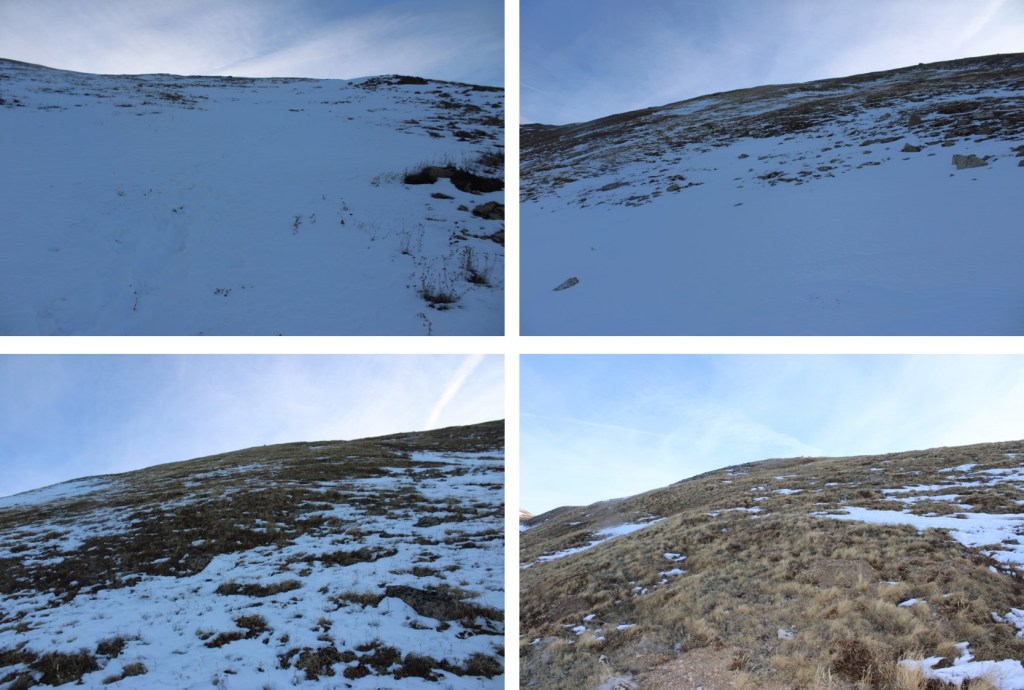
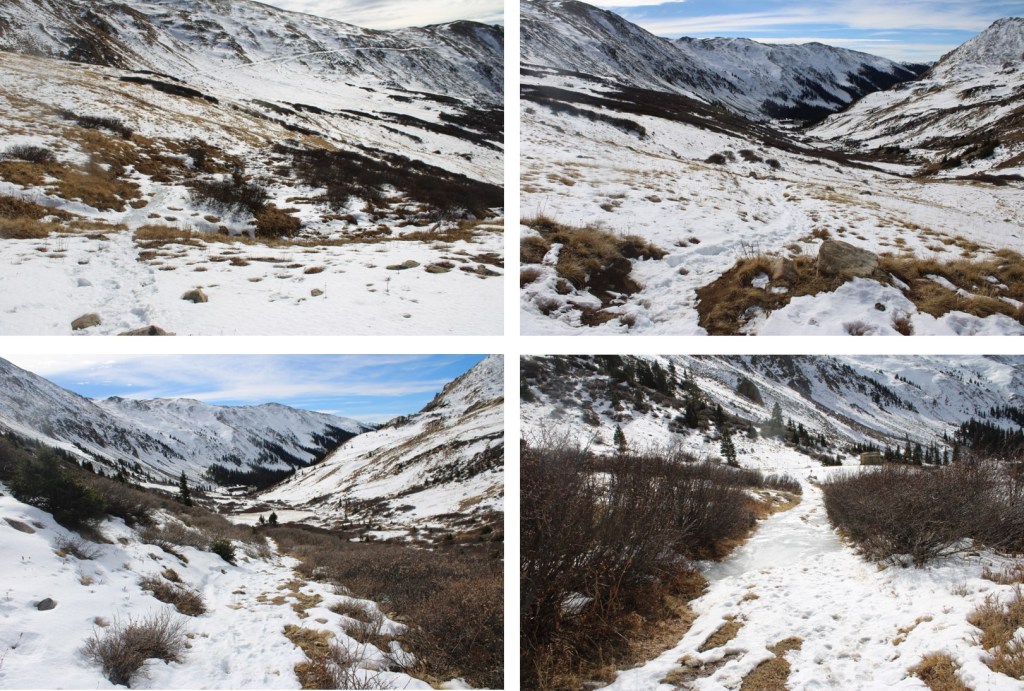
Here are some pictures of the road
At 12160’ I left the trail and headed up towards the ridge
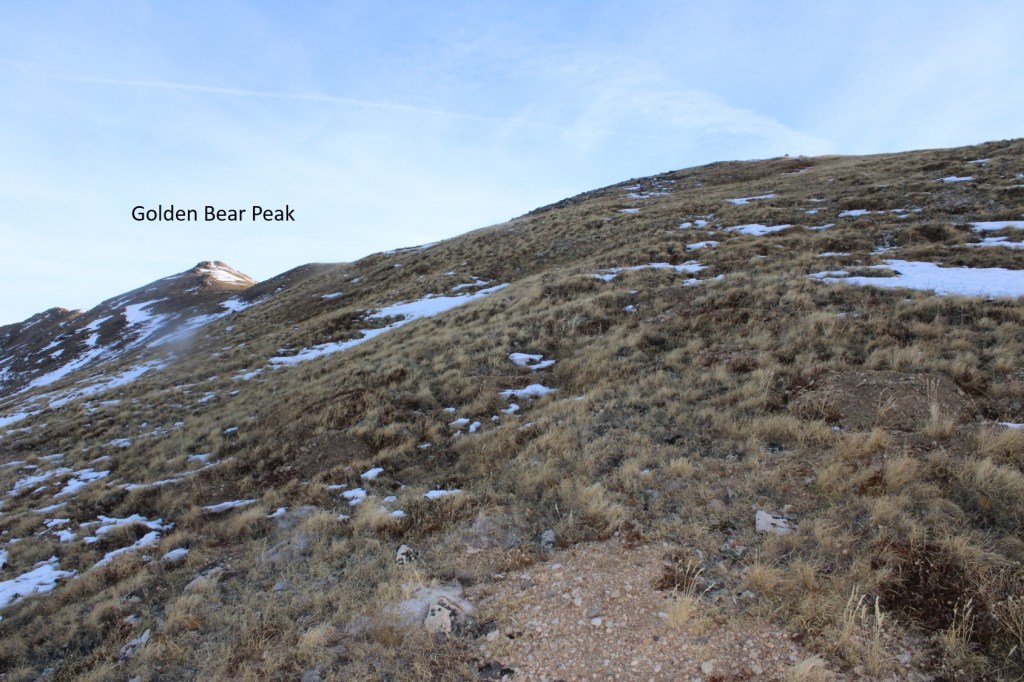
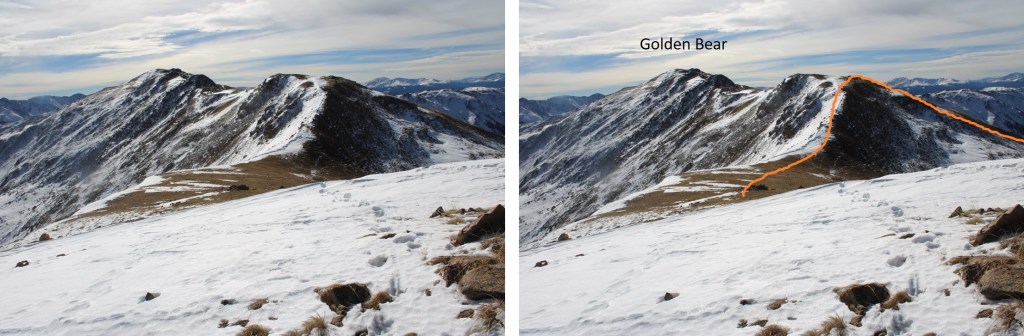
I could now see Golden Bear to my left.
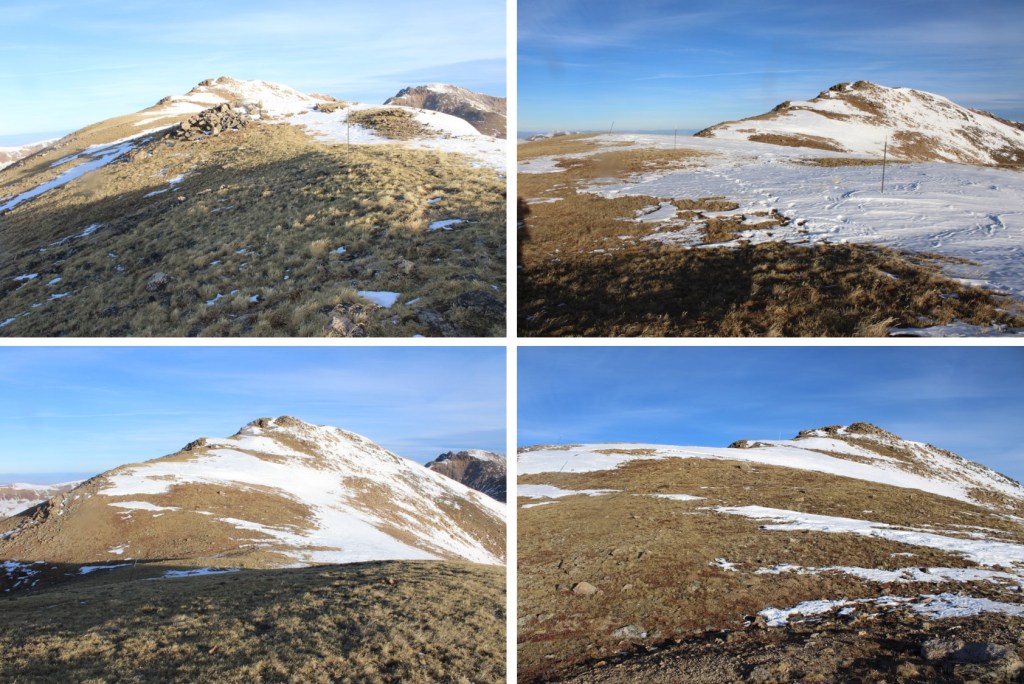
I gained the ridge, and followed it north to the summit of Golden Bear. This was all class 2
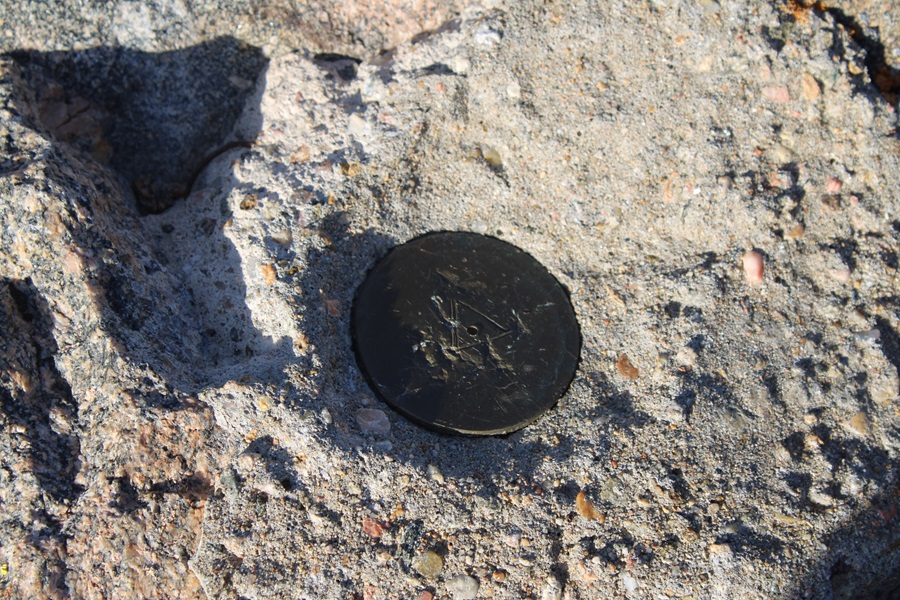
There was a marker at the summit
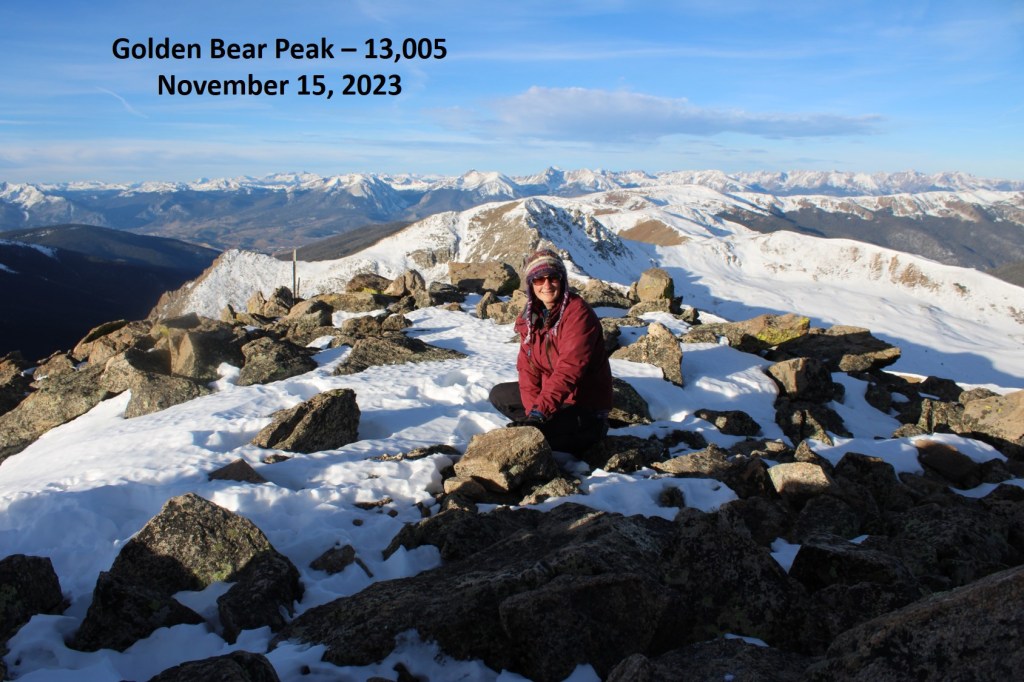
I summited Golden Bear Peak at 8am
Golden Bear Peak:
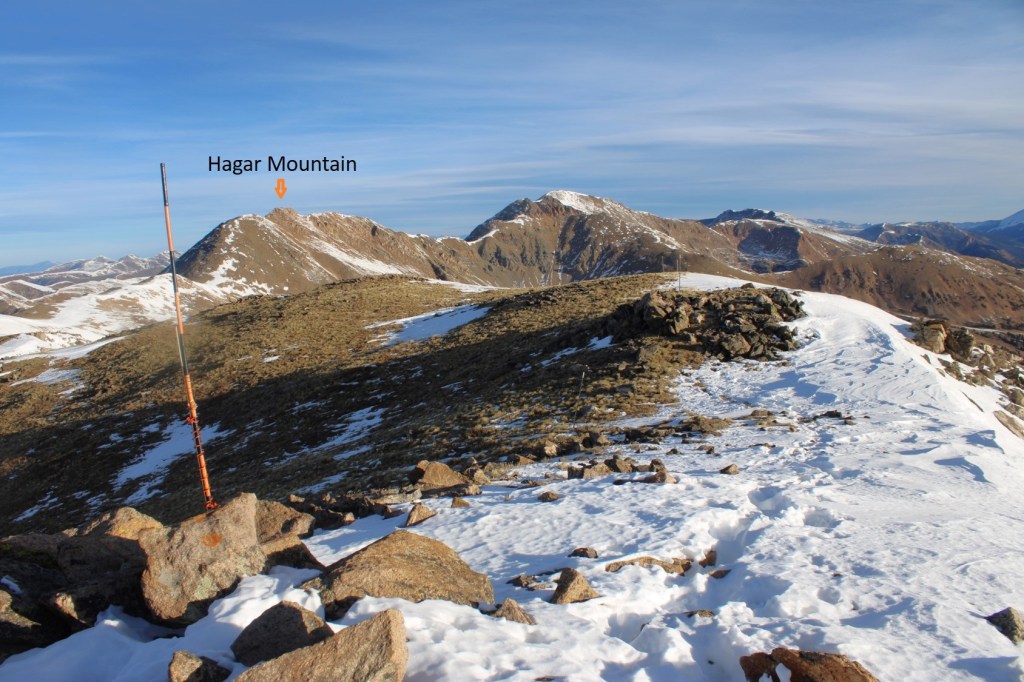
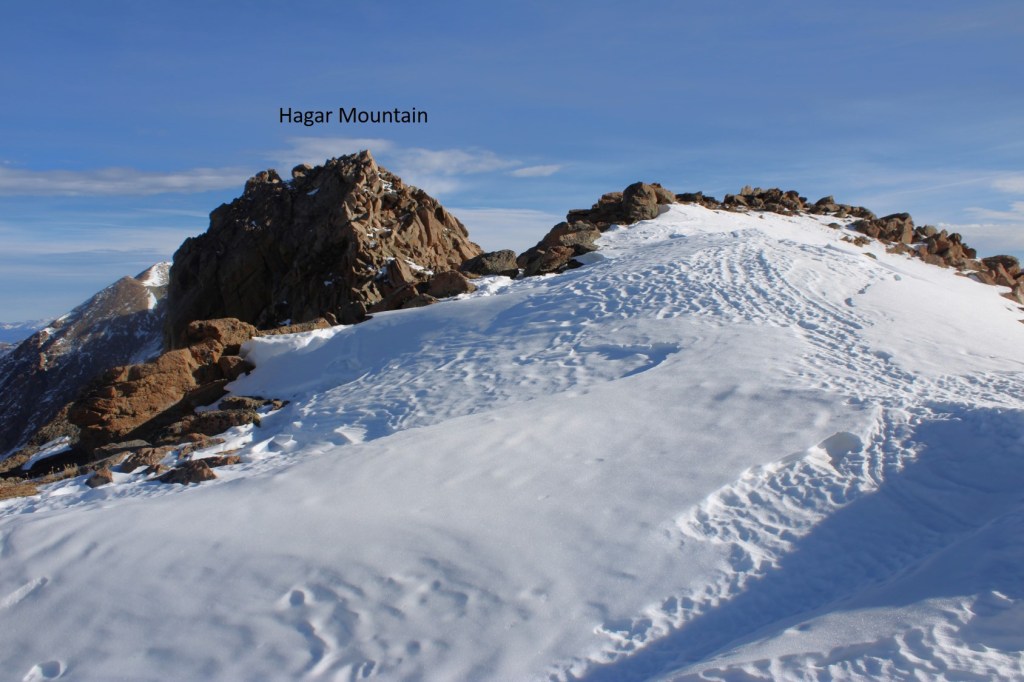
I could see Hagar Mountain to the north
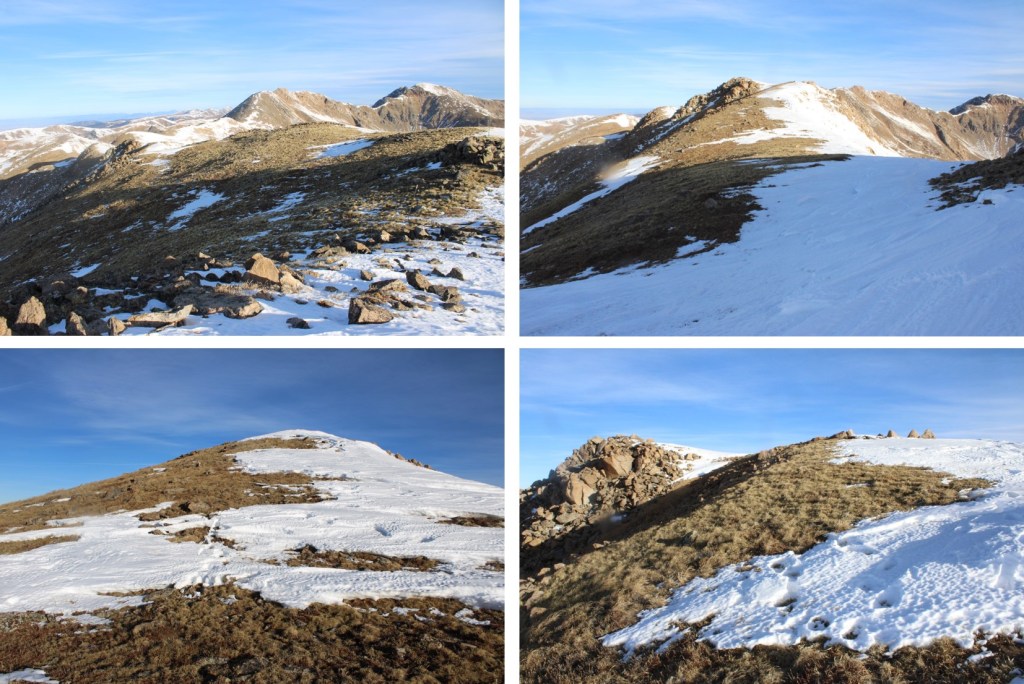
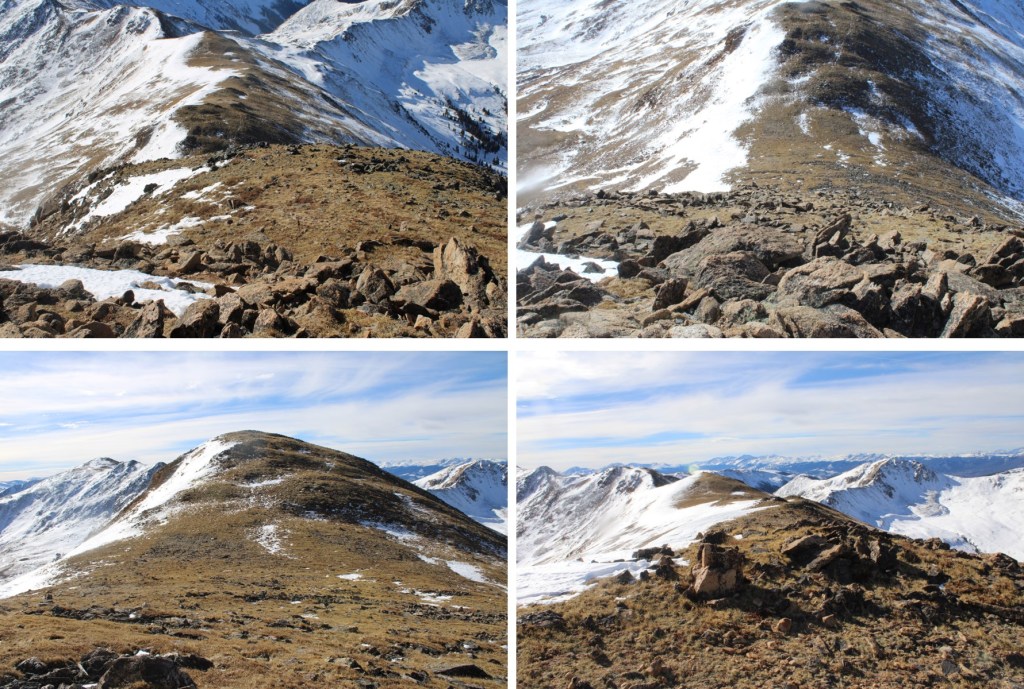
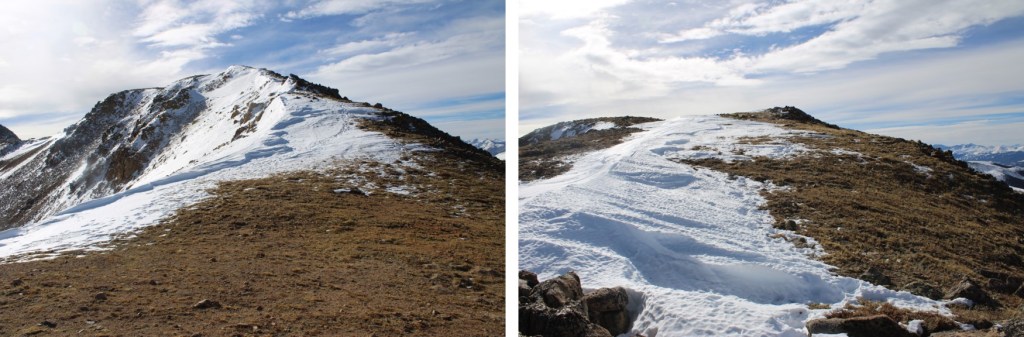
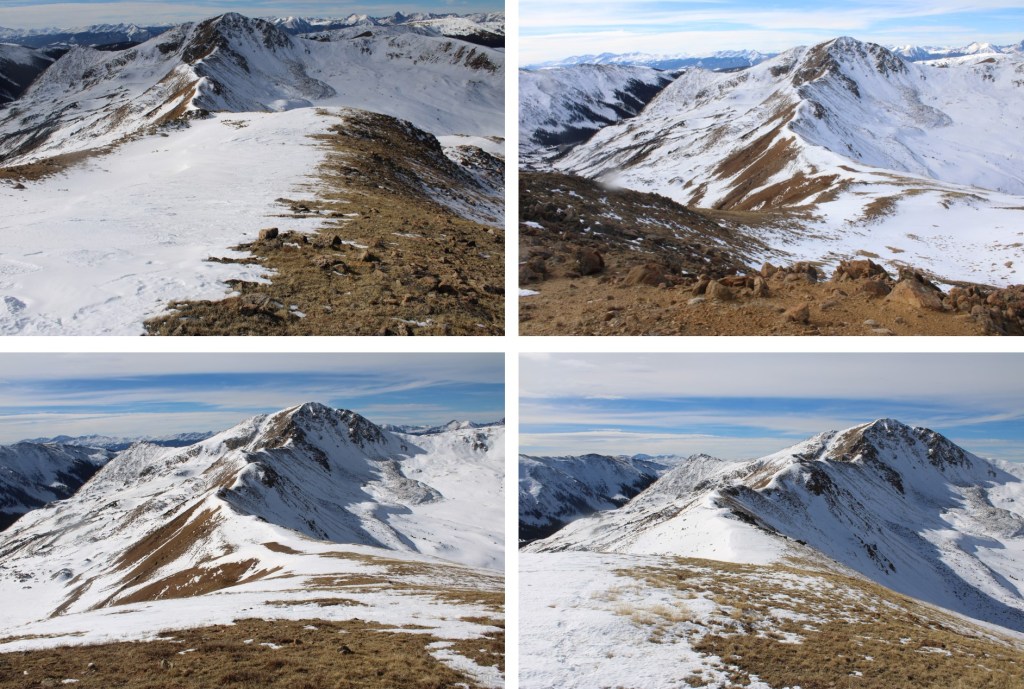
To get there, I continued following this class 2 ridge. There were a lot of ups and downs, but it remained class 2 (until the last 50 feet of elevation gain or so). Here are some pictures of the ridge
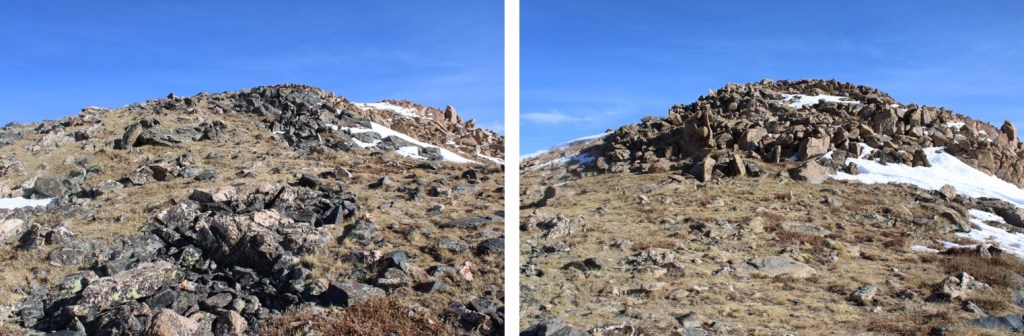
Now the fun begins. It’s class 2 to the top of this ridge. There are a few cairns, but it’s basically choose your own adventure. I went straight up. It’s steeper than it looks, so get a good view before you ascend. This is the route I took.
And some pictures of the route up.
At the top I was greeted with a view of the final approach to Hagar Mountain.
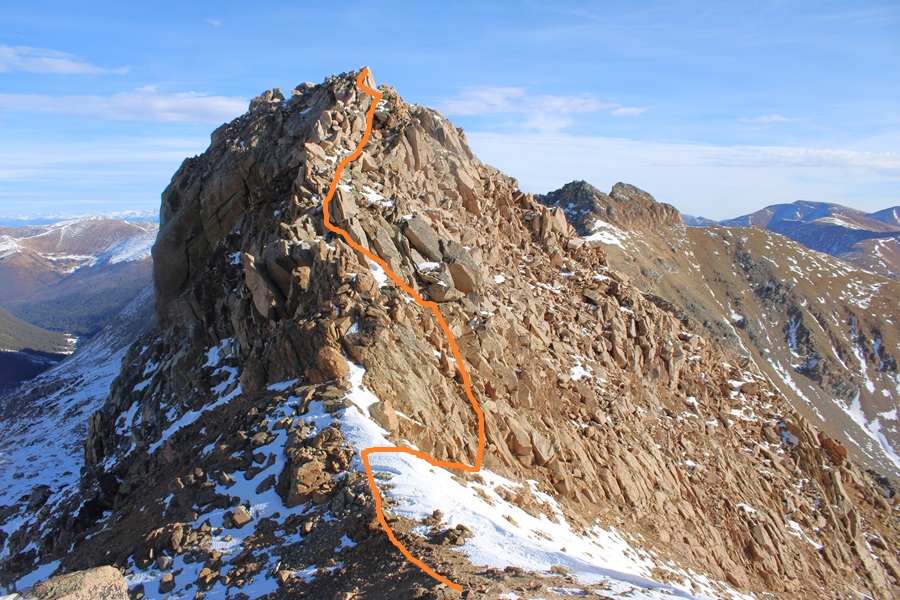
To be honest, I hadn’t done a lot of research on Hagar, and was surprised to find the last bit was class 3. In other words, I didn’t have a helmet. Be sure to bring one! I dropped my pack, descended a bit to the saddle, and then started climbing up.
This is again choose your own adventure. This is the overall route I took.
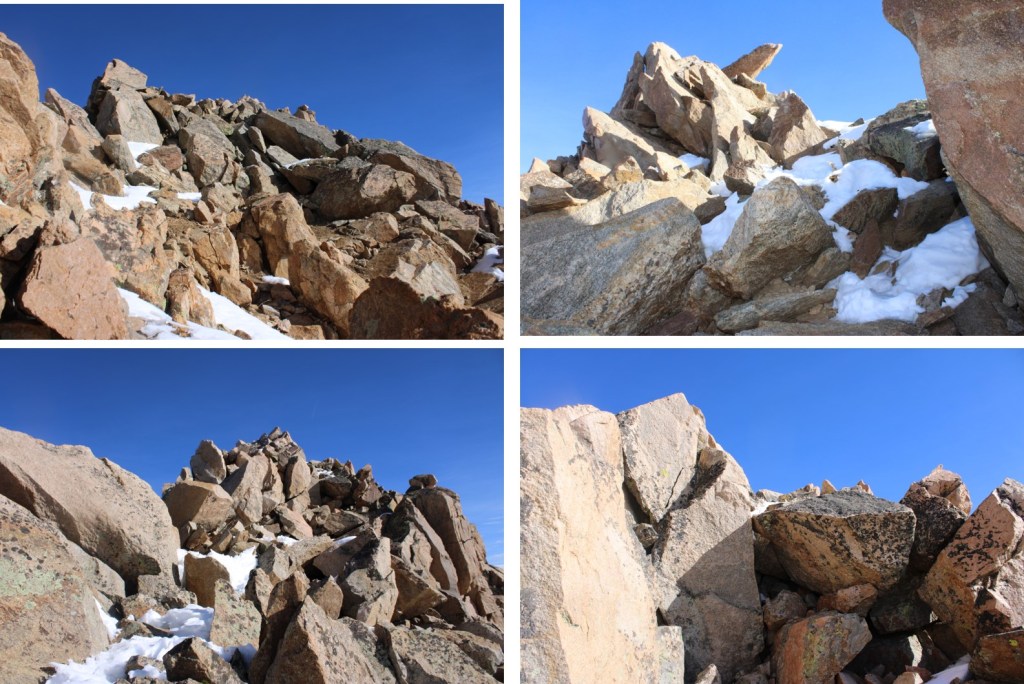
And some pictures of the scramble
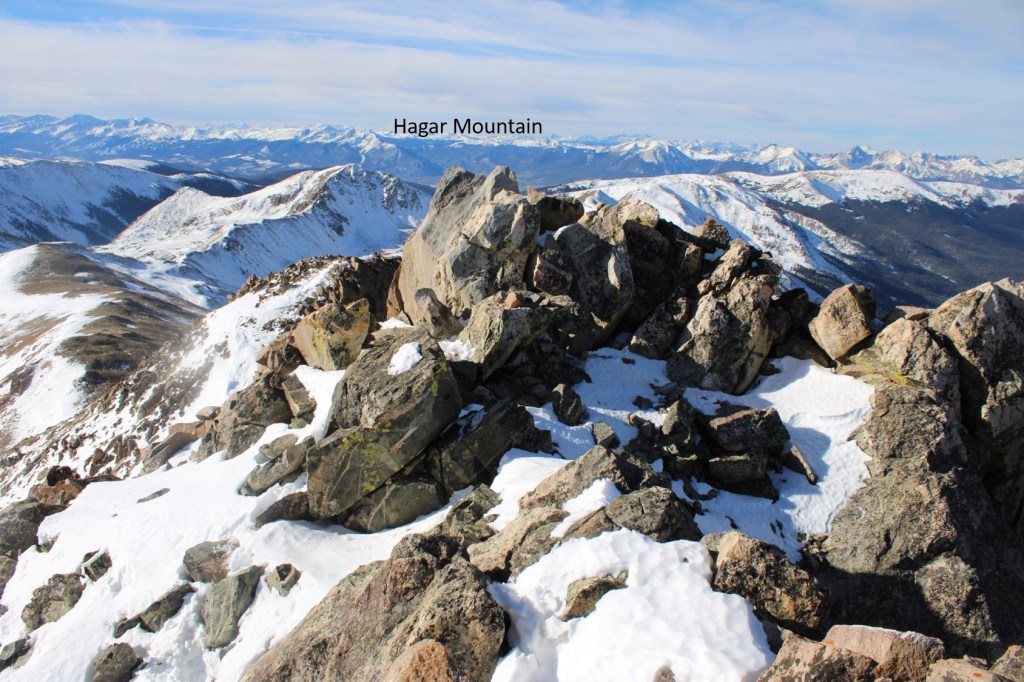
Here’s the actual summit block. It’s the first one you come to.
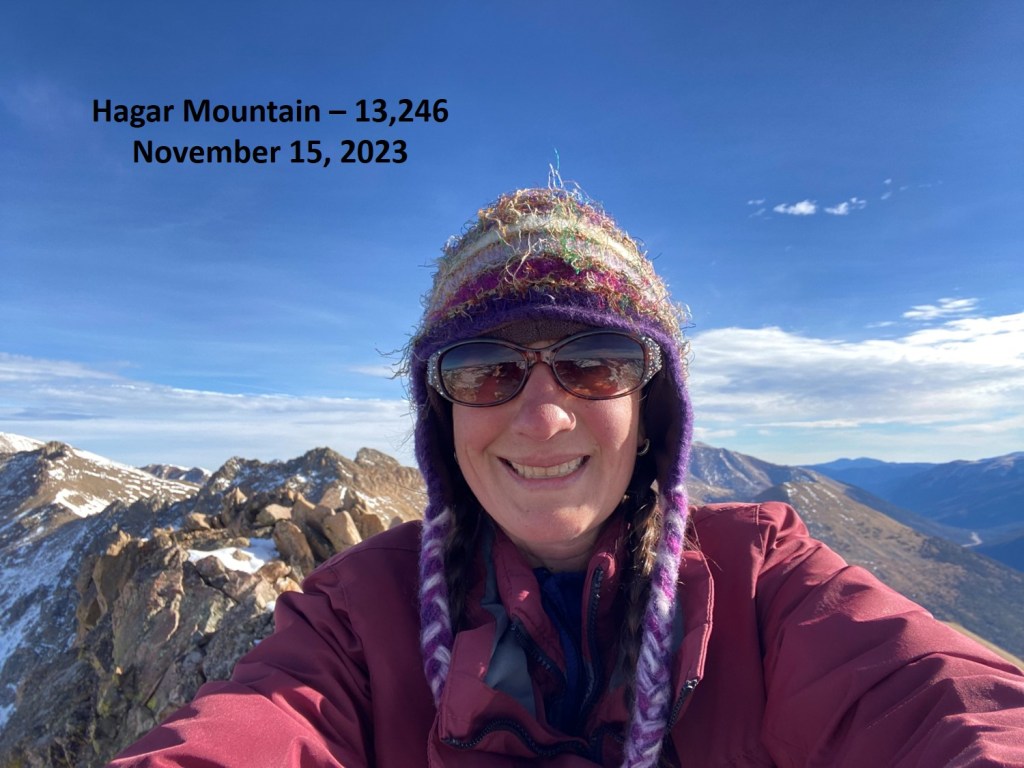
I summited Hagar Mountain at 9:20am
Hagar Mountain:
From the summit looking north, it seemed as if the next point was equal height to where I was currently, so I scrambled over there too in case any LiDAR issues should arise.
Here’s looking at Hagar Mountain from the second block
I trekked back over to the first block, and found a summit register, so I’m assuming the first block is the true summit. Now to head back. I retraced my steps, aiming for the Golden Bear/Hagar saddle.
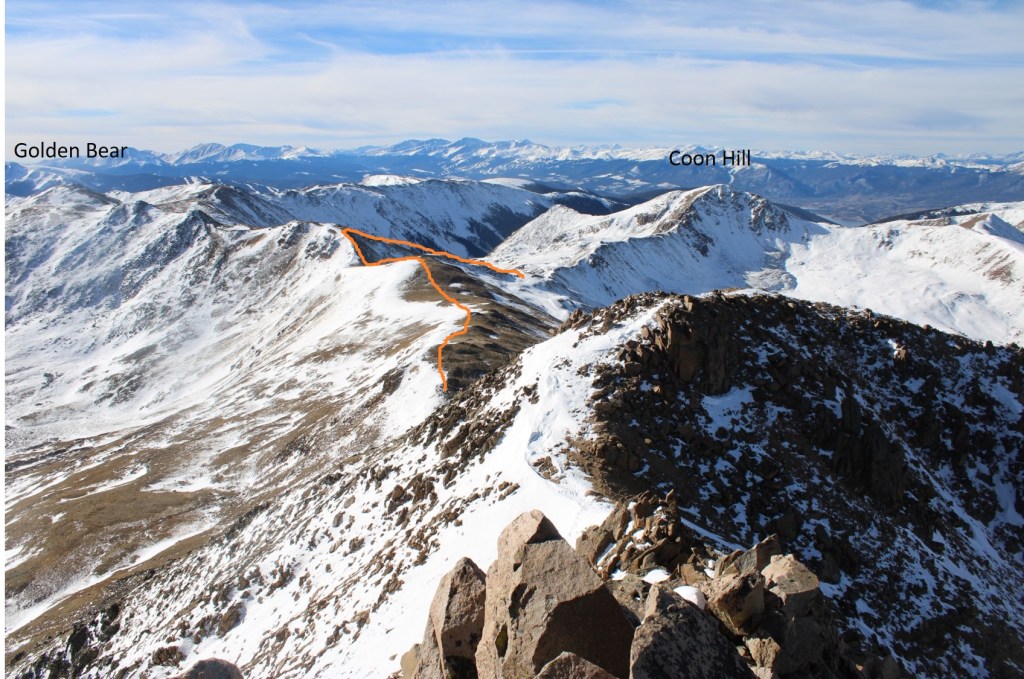
Here’s the overall route I took back to the basin, aiming for the Golden Bear / Coon Hill saddle
First I headed back down Hagar the way I ascended
After making it to the saddle, I followed the ridge up to 12830’
At 12830’ I turned and headed southwest towards the saddle.
At the saddle I found an obvious trail and turned left. This led me back down into the basin and back to the trailhead.
I made it back to the trailhead at 11:20am, making this a 7.82 mile hike with 2760’ of elevation gain in 5 hours.
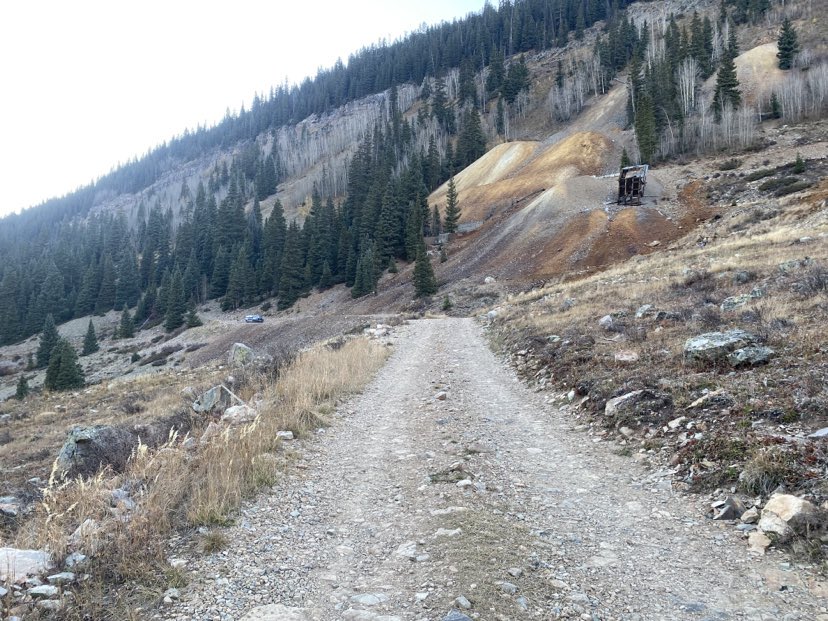
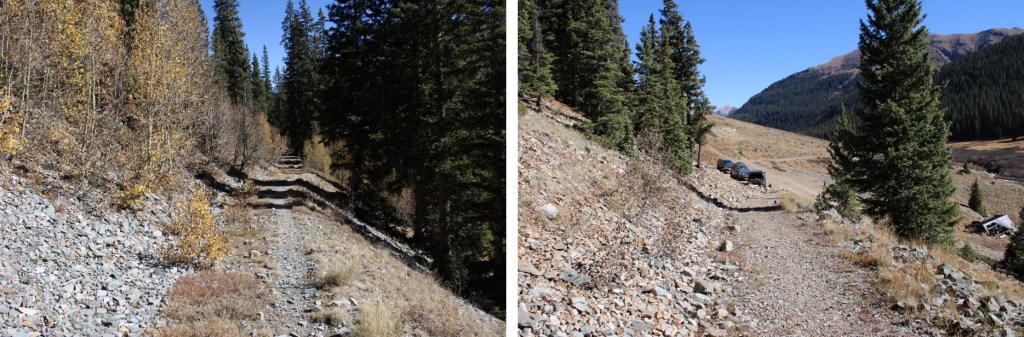
I made it to the Bandora Mine the day before, and spent the day scouting potential routes.
In the evening I did a little catch and release fishing, the beavers came out of their lodges, and I saw one tail flip a coyote who got too close.
Beaver and Coyote:
Then a bull moose came strolling around, and I went to bed. I was on the trail at 6:30am the next morning. I took the trail to Lake Hope, which started just to the south of the parking area.
I took this class 1 trail southwest for about .8 miles.
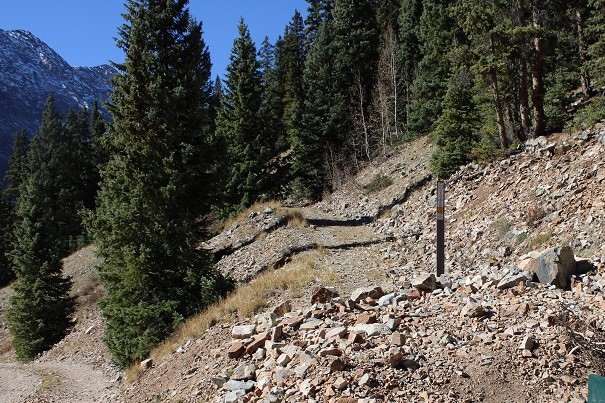
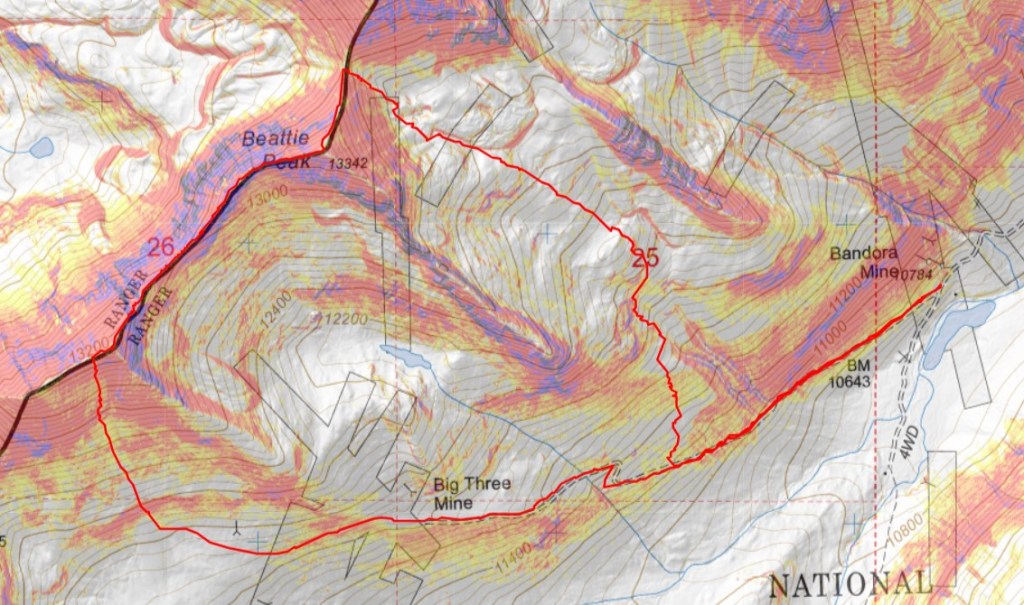
At around 11160’ of elevation I left the trail, and turned right. If you get to the Big Three Mine you’ve gone too far. I placed a cairn here, and headed north.
I bushwhacked north up the mountainside to treeline
I was headed here, which included some willow navigation. I found if I stayed high I could follow game trails.
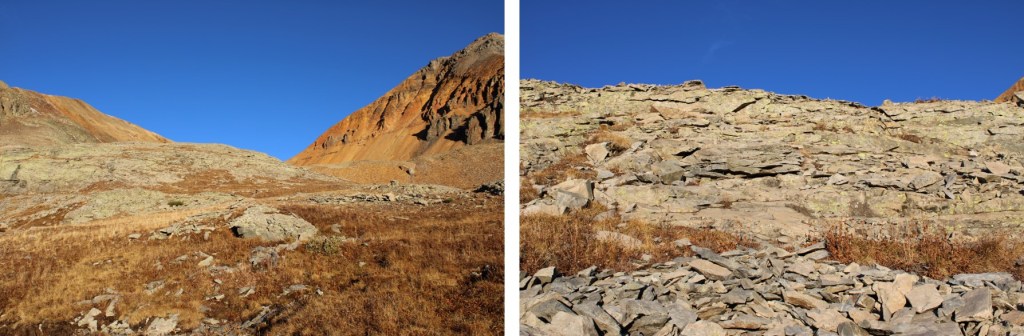
Once I could see this ridge I turned left and headed northeast to a basin
I kept heading northeast, as the tundra changed over to talus
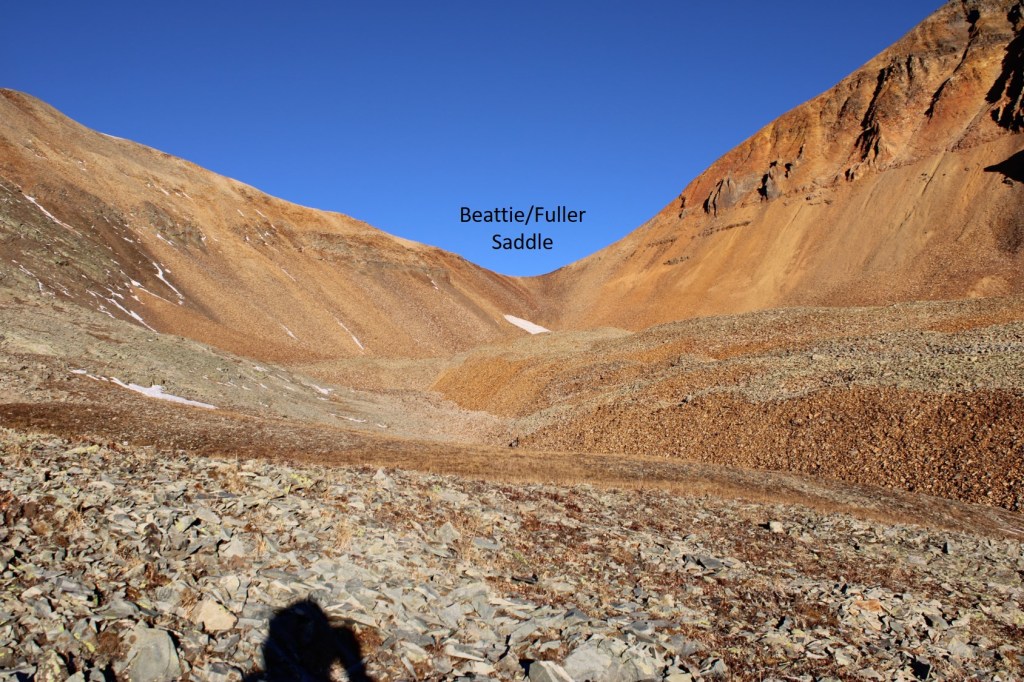
Now in the upper basin, I aimed for the Beattie/Fuller Saddle.
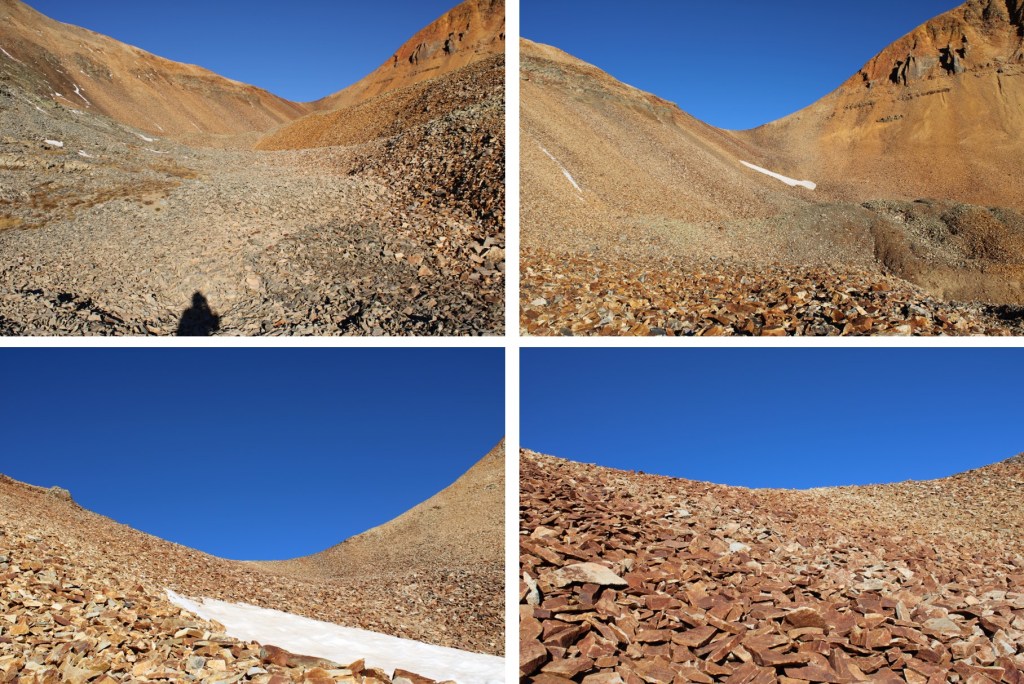
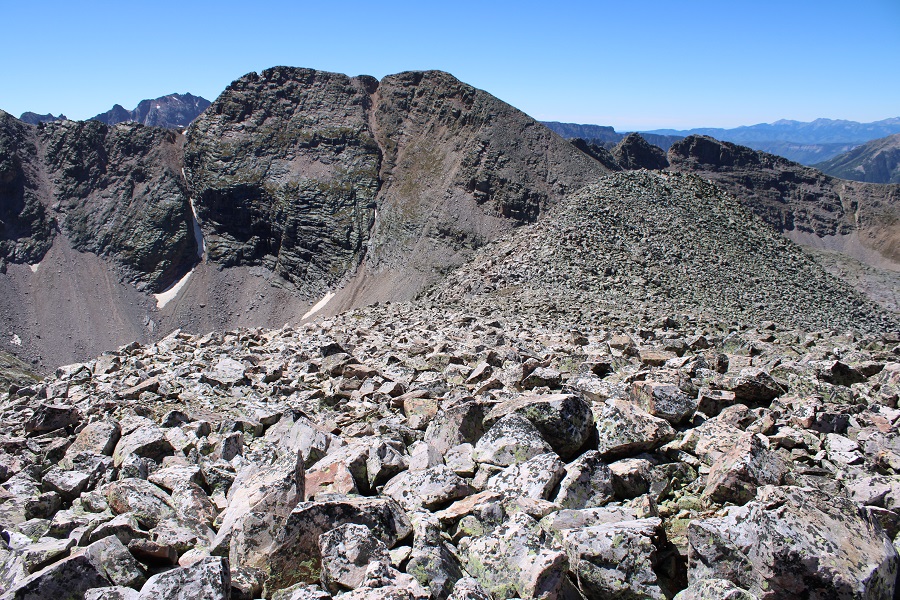
I stayed to the left of the snow, and found the talus was surprisingly stable.
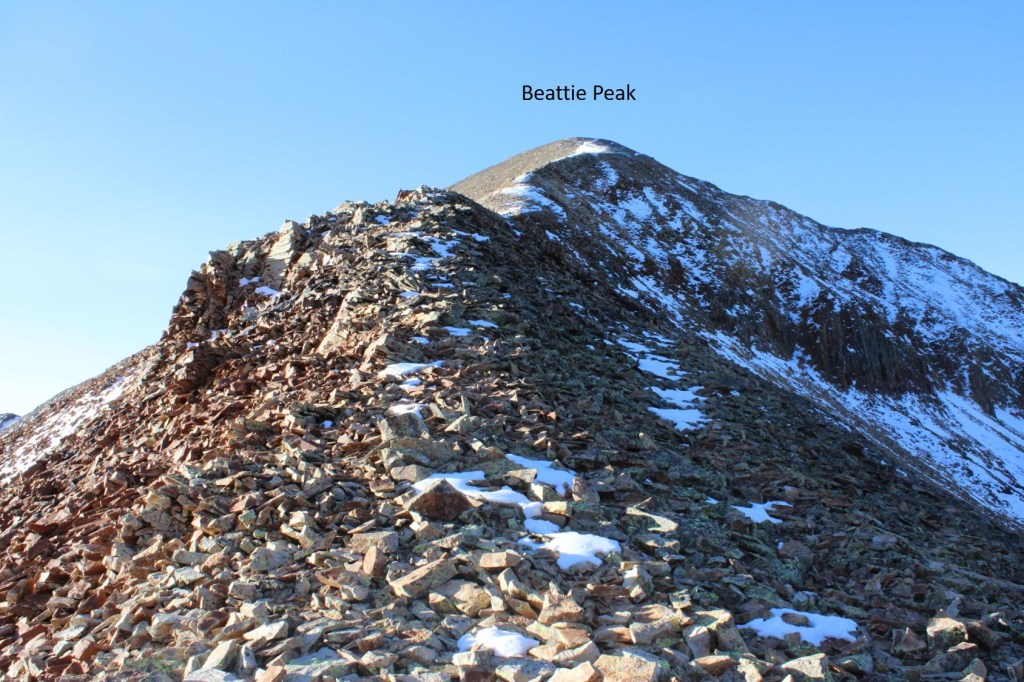
Once at the saddle, I turned left and followed the class 2 ridge to Beattie Peak
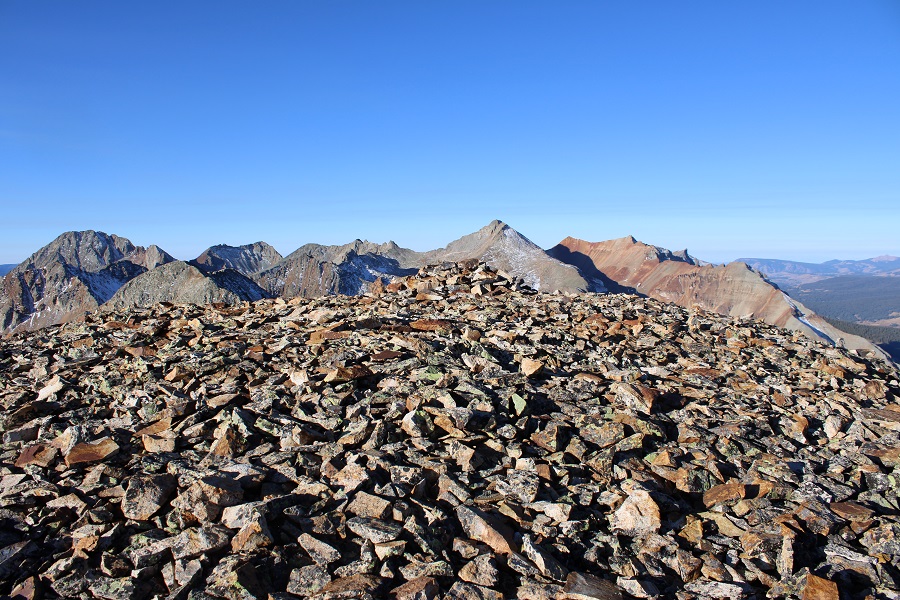
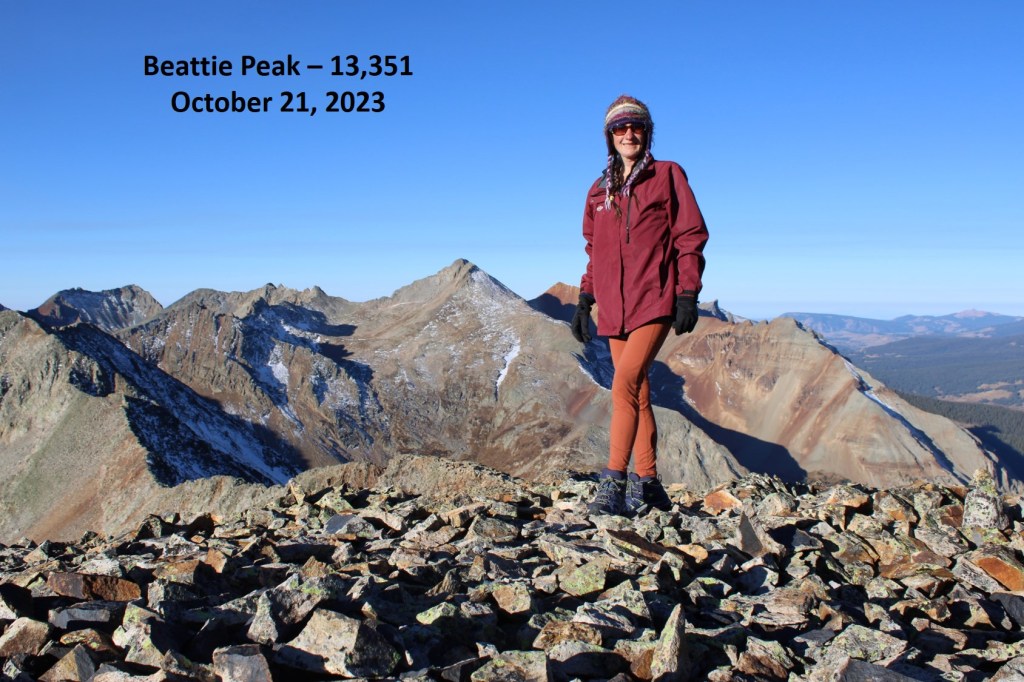
I summited Beattie Peak at 8:45am
Beattie Peak:
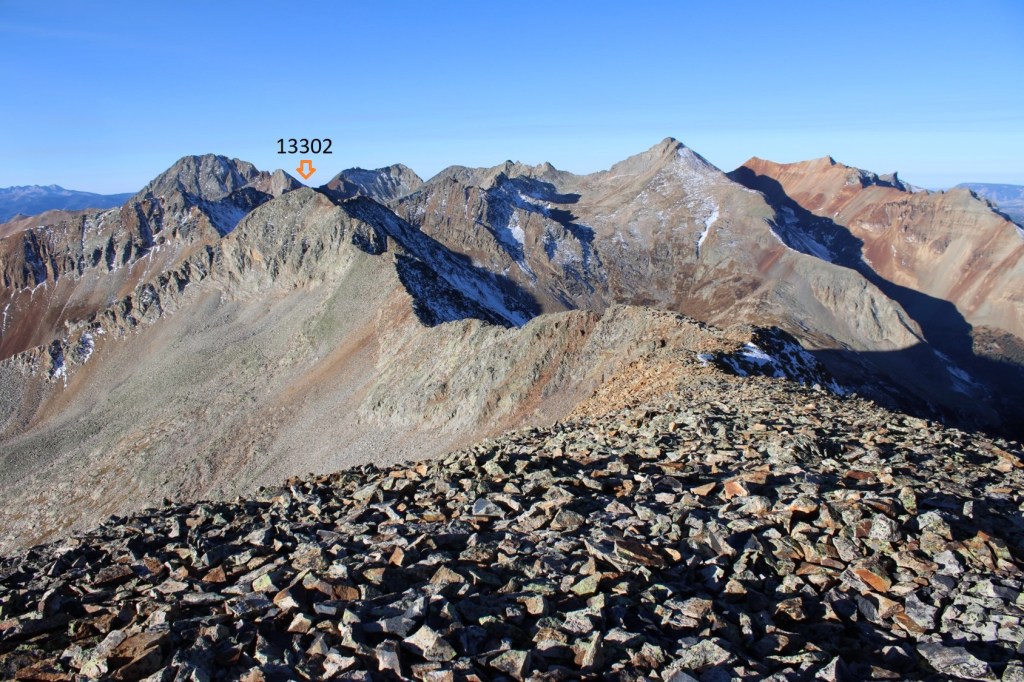
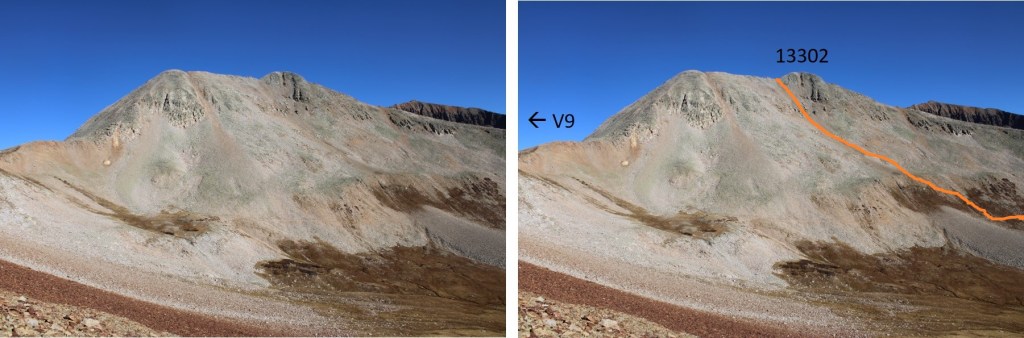
I could see PT 13302 to the southwest.
Now is a good time to put your helmet on. This is a class 3 ridge, but starts out as class 2. This is the overall route I took to get there, taking the ridge to a gully.
The initial descent of the ridge is class 2
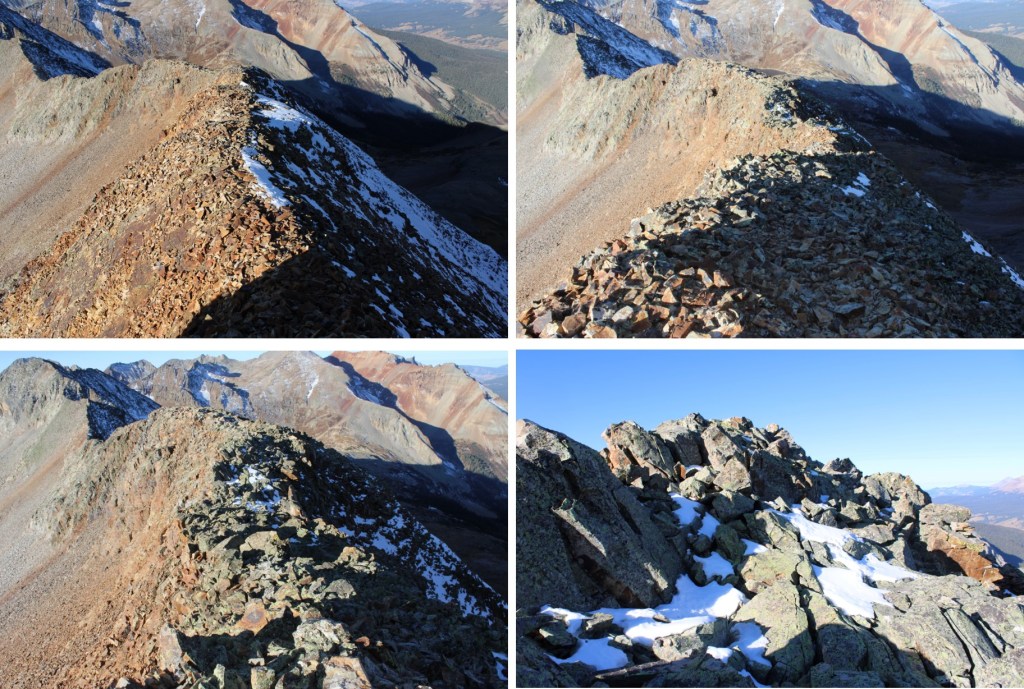
But quickly becomes narrow, sustained class 3 with exposure. The ridge proper goes at class 3, but twice I dipped down to the left to avoid the exposure involved. Here are some pictures of the ridge
I was now at the base of the gully. Microspikes helped here.
This is the route I took
And some pictures of the gully
At the top of the gully I went right
And then I could see the final approach to the summit
This is the overall route I took to the summit
There were two summit cairns, each about 15 feet apart. They looked to be of equal height.
I summited PT 13302 at 10am
PT 13302:
I know the traditional way to descend from PT 13302 is to head southwest and down to the V9/PT 13302 saddle, but I’d been there the day before, and did not want to descend that way. Instead, I headed southwest towards a small saddle, then turned left and scree-surfed south.
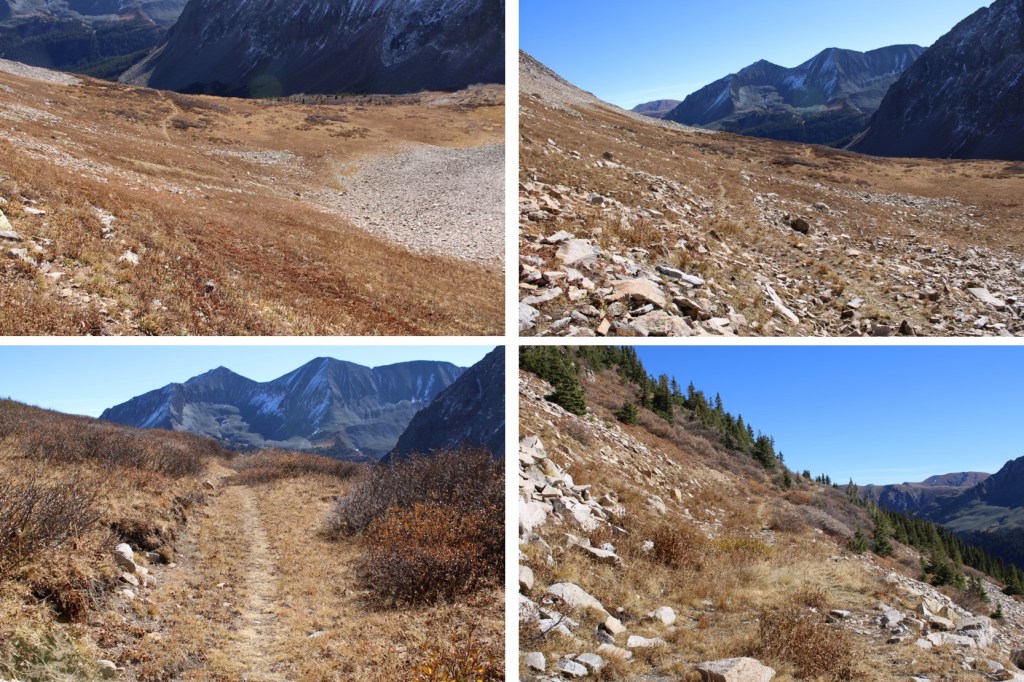
This route brought me back to the Lake Hope Trail.
Here’s looking up at the route I scree-surfed down
And here’s an overall view of the route I took
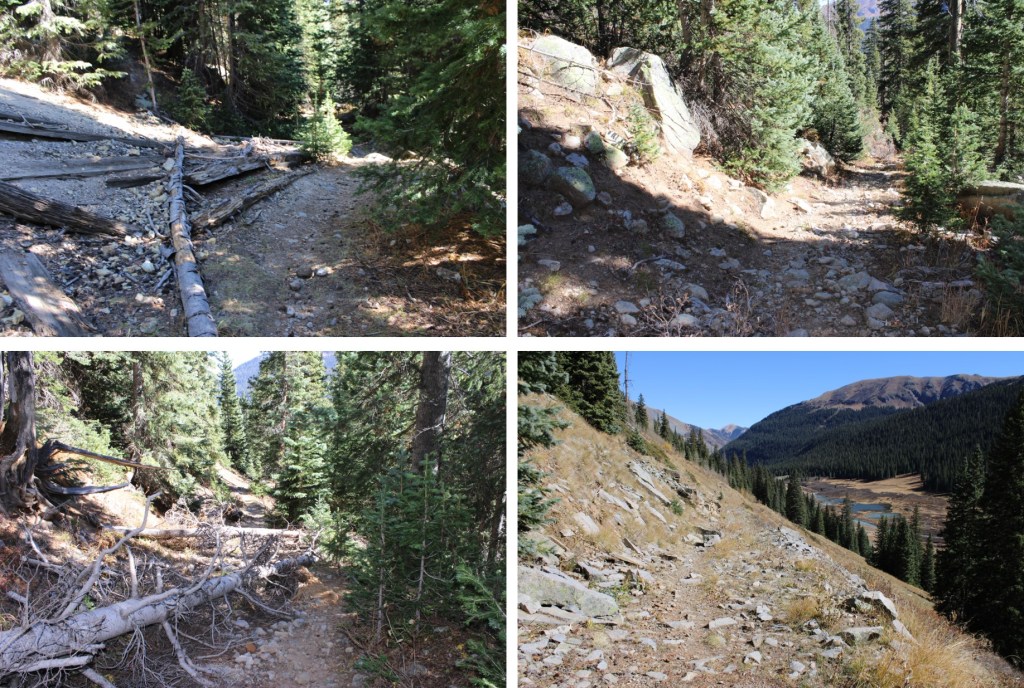
Back on the Lake Hope trail, I followed it east back to Bandora Mine
I made it back to Bandora Mine at 11:45am, making this a 6.87 mile hike with 2945’ of elevation gain in 5 hours, 15 minutes.
I started from the Molas Trailhead parking area. This trailhead has plenty of parking, and is a popular spot among CT hikers.
The trail starts at the south end of the parking area.
Much of the approach route follows the Colorado Trail, so it’s well maintained and easy to navigate. I followed the trail as I descended 1700’ to the Animas River.
I crossed the river on a well-maintained bridge, and then followed the trail as it crossed the railroad tracks
Here is where the elevation gain begins. I hiked along the Colorado Trail east to the Beaver Ponds, following Elk Creek and passing through a couple of cleared avalanche areas. This trail is easy to follow, with no trail junctions.
This part trips people up all the time when headed towards Vestal Basin: Once at the beaver ponds, I turned right off the trail and traversed behind this large boulder. There’s a faint trail here that picks up again once you’re past the ponds.
The trail picks up again after the beaver ponds, but it’s no longer as well maintained as the Colorado Trail. There are fallen trees to navigate, but the trail is easy to see. I followed the trail as it crossed a beautiful creek and headed south.
At 11260’ of elevation I left the trail. There are several options to do this, but here’s a visual of where I was headed.
This is the route I took:
I headed a little further up the trail, crossed the creek at an easily accessible spot, and headed southwest up the slope. However, this is choose your own adventure, and you can climb straight up the talus/scree if that’s your choice. I decided to skirt around it.
This gully wasn’t too bad as far as gullies go, but I put on my microspikes anyway.
Towards the top I could see quite a bit of snow still left in the gully.
I traversed the gully to the right, finding there was about 2 feet of space where the snow had melted away from the rock. The snow was avoidable until the last 30 feet or so, when I climbed on top of the snow and walked to the top of the gully on several feet of rock-solid snow.
However, if this is outside of your comfort zone, you can also traverse to the left and make it to the top of the gully on more scree. Both routes lead to the same place (I took this route on my way down).
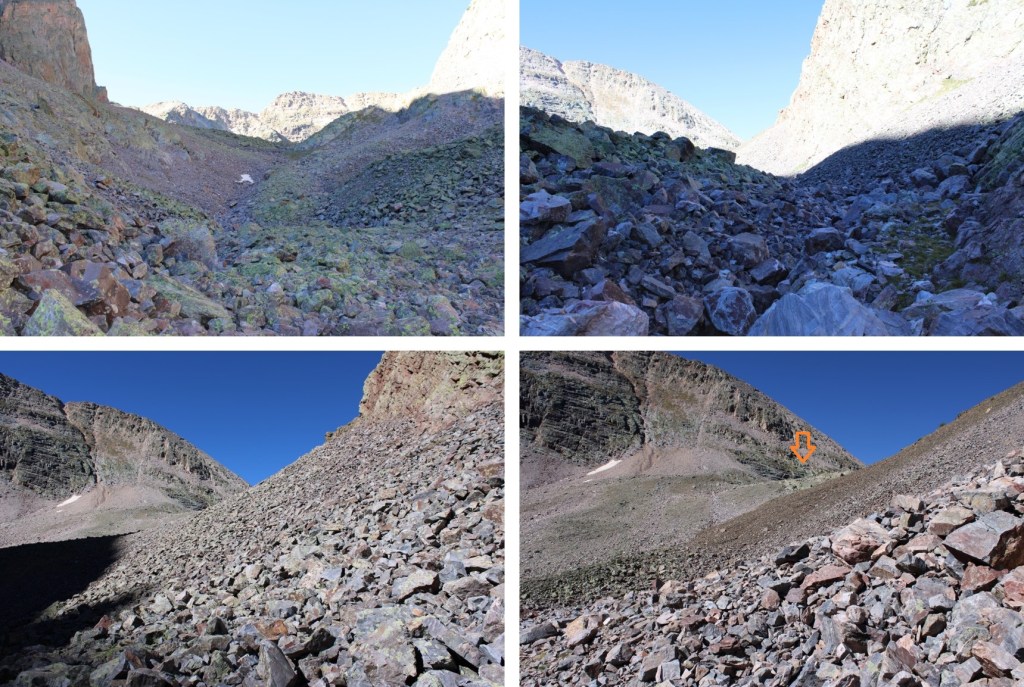
I was now in an upper basin, full of all different sizes of loose rocks. This wasn’t difficult to navigate, but it was extremely time consuming. I was headed southwest, staying to the right.
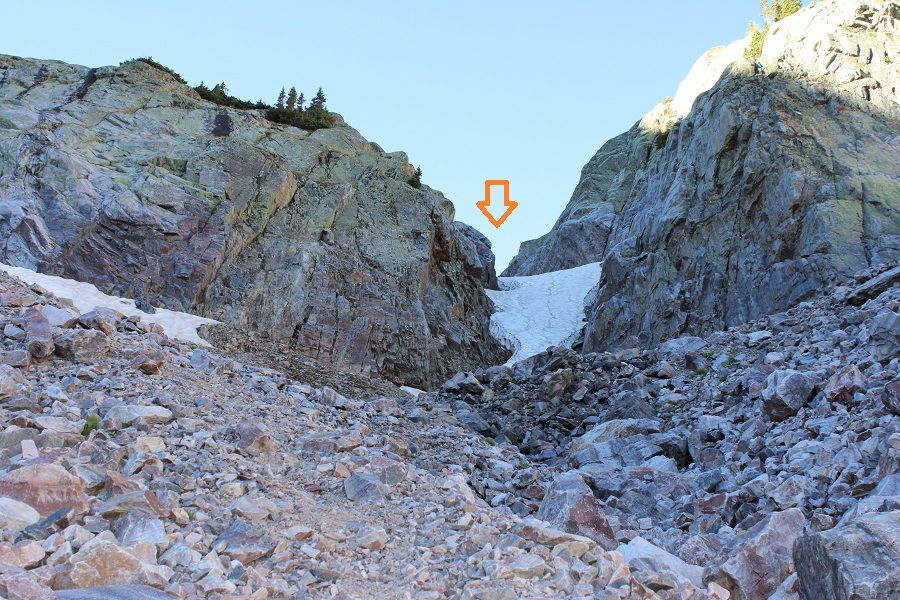
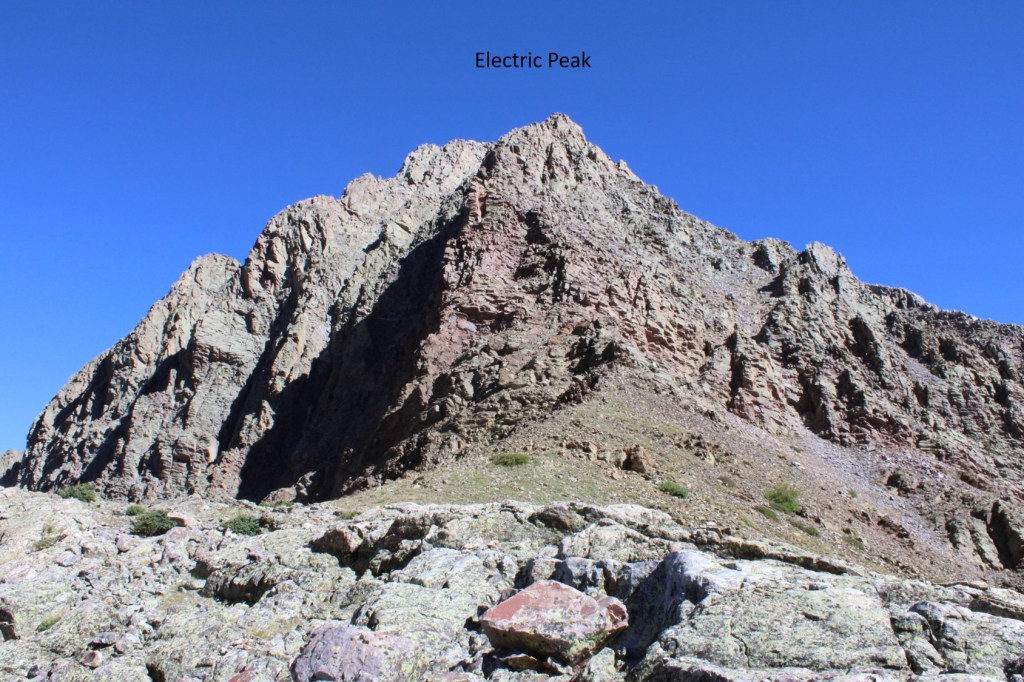
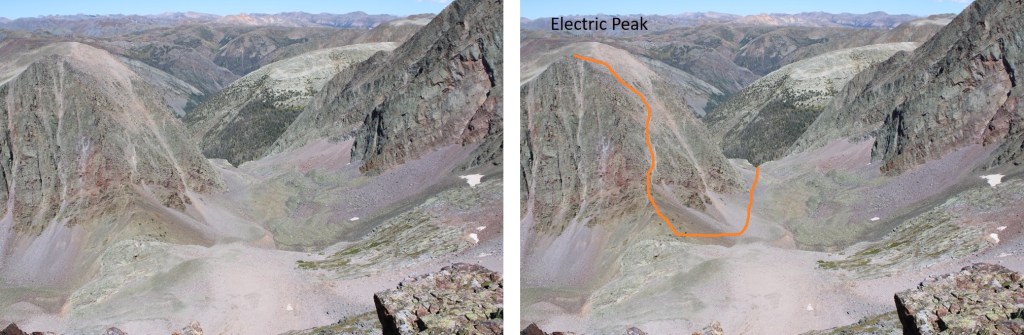
At 12500’ of elevation I turned right to start my climb up Electric Peak’s south side. If you don’t already have your helmet on (I usually put them on for scree-filled gullies) now is the time to do it.
Much of the route to the summit is hidden at this time. I started by climbing up a class 3 gully to the right
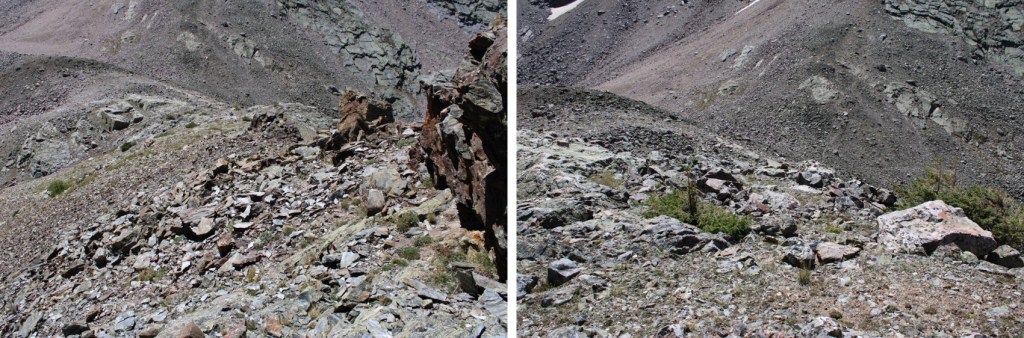
From Graystone Peak, I had a good visual of the route I took, keeping it mostly class 2 after the initial class 3 gully
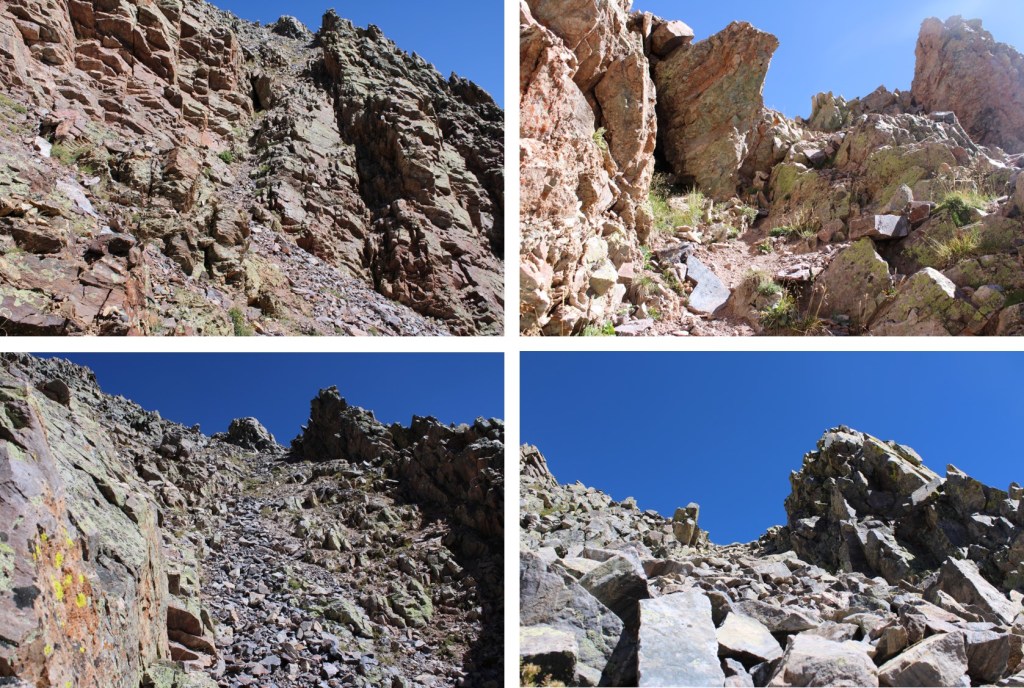
Once on top of this gully, there are several options to make it to the summit. Here are some on the ground pictures. The terrain was rocky most of the way to the summit.
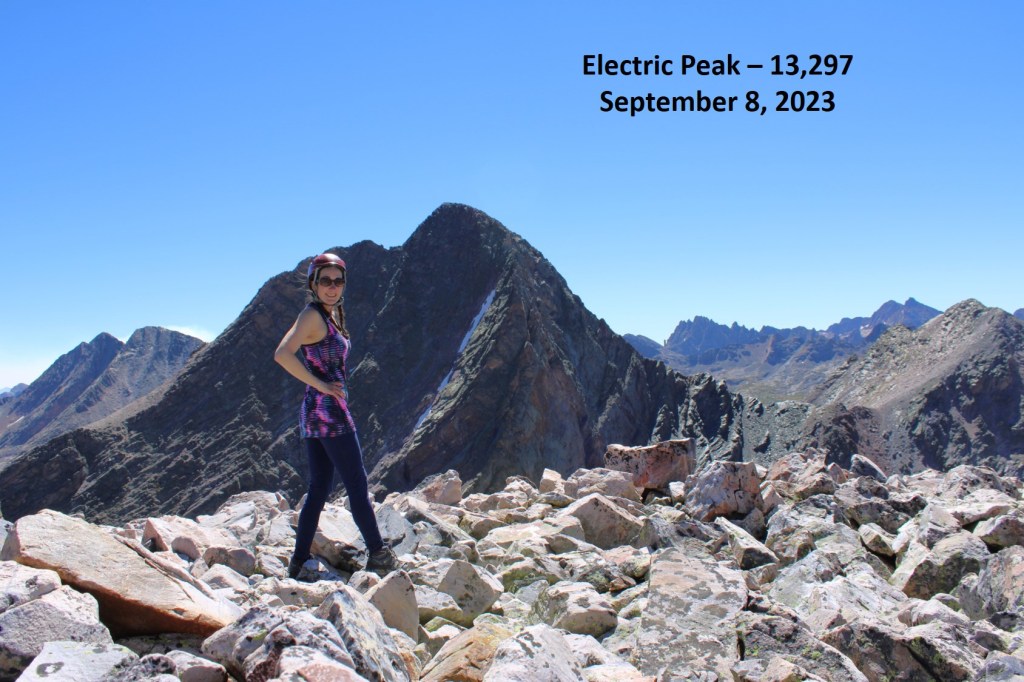
The summit was fairly flat and rocky.
Electric Peak:
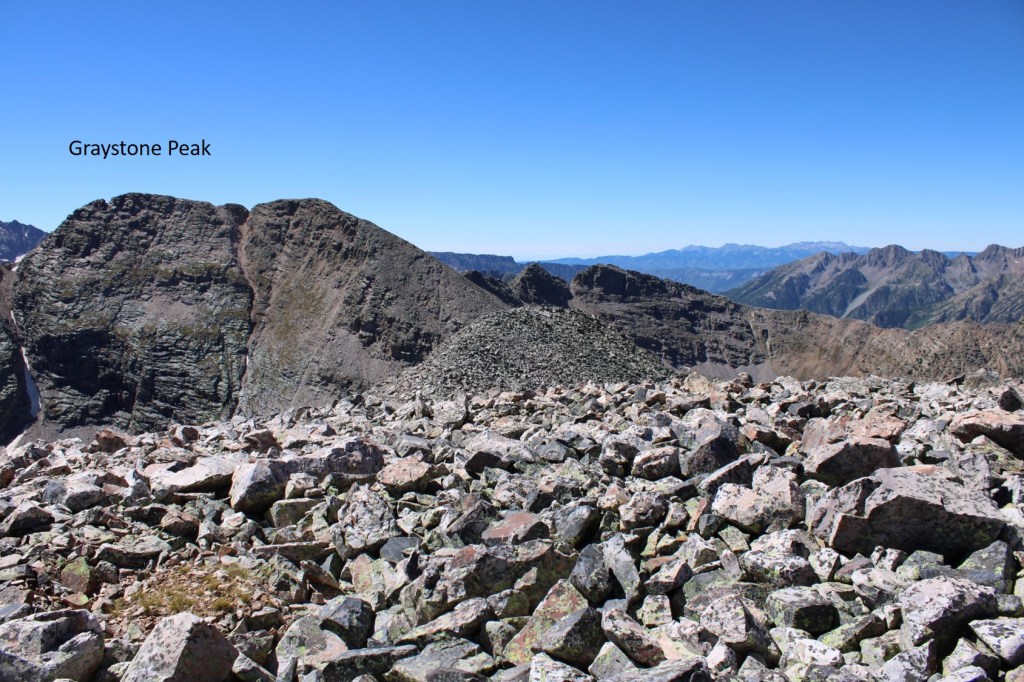
From the summit of Electric Peak, I could see my next objective, Graystone Peak, to the south.
I re-traced my steps back to the saddle
Now to head over towards Graystone Peak. I looked east, and saw these wonderful rock slabs.
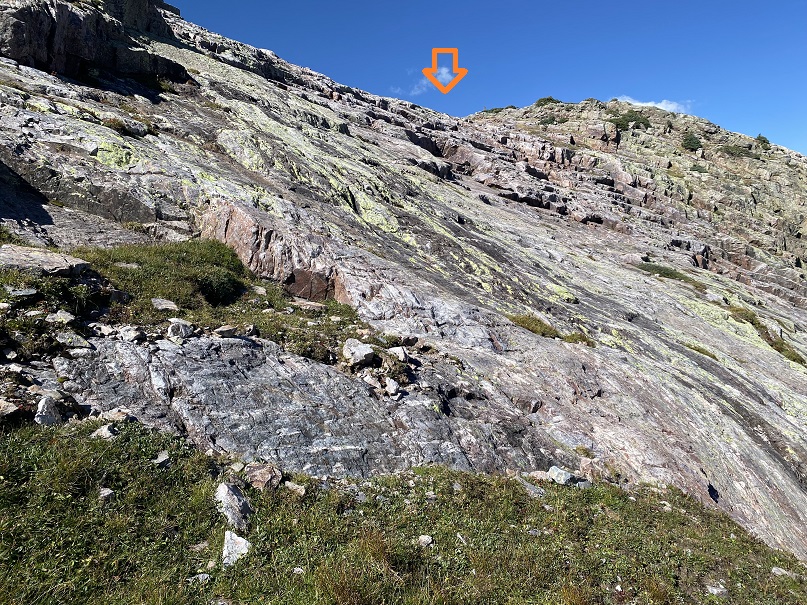
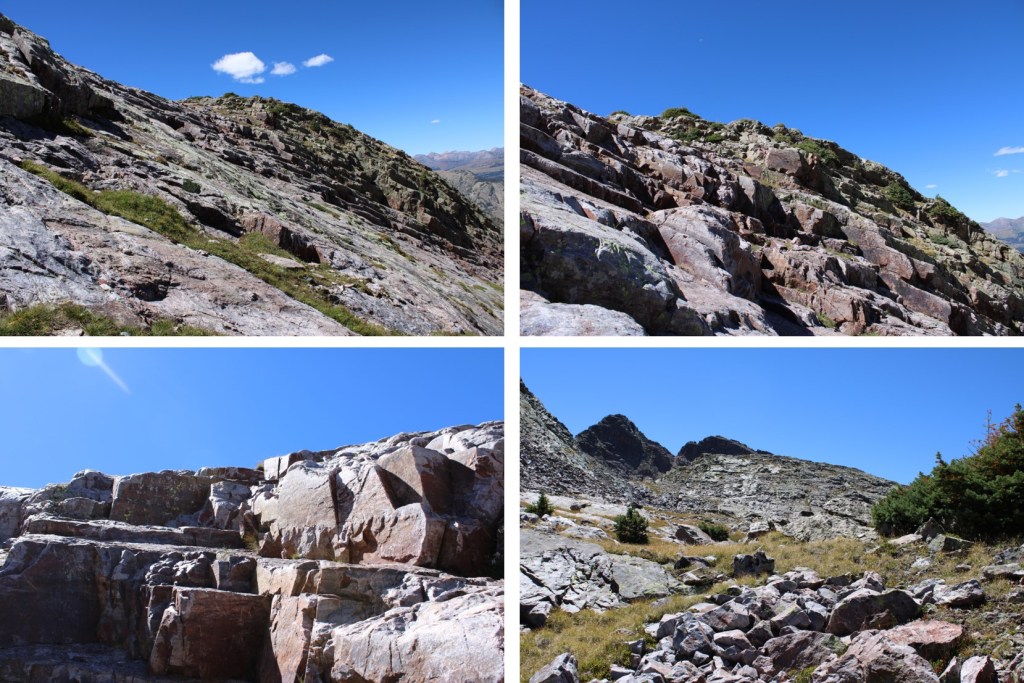
Traversing up and down large rock slabs is mostly a mental exercise in not freaking out. I kept telling myself “My shoes have got this, trust your shoes. Also, don’t look down”. This is the route I took. There’s no avoiding the slabs.
Another view of the rock slabs, with a little bit of climbing towards the end (which was favorable to the smooth slabs)
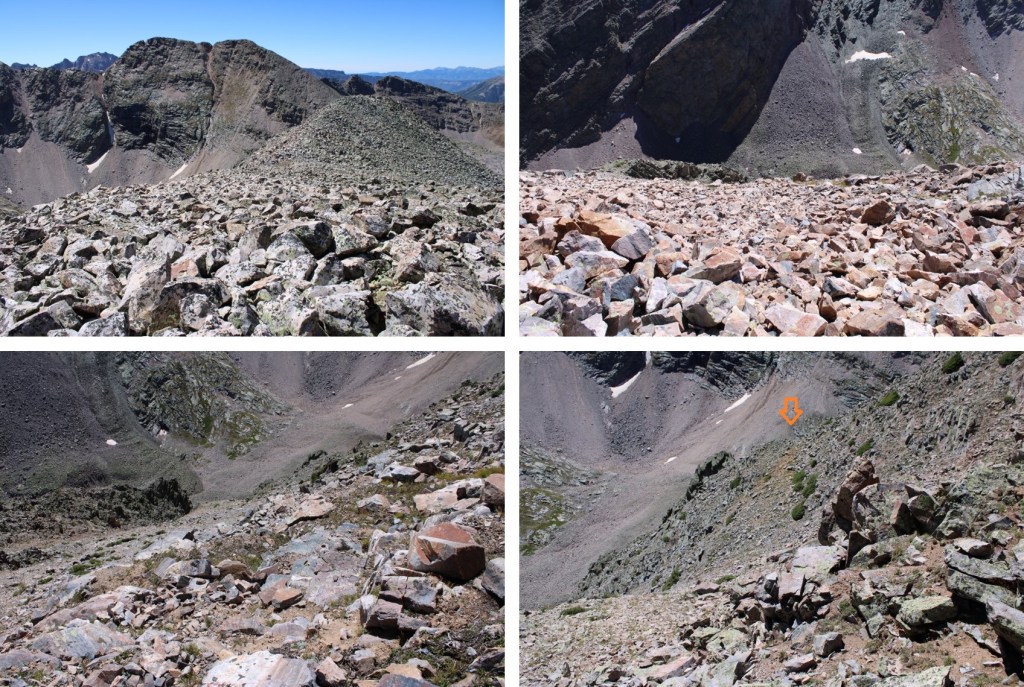
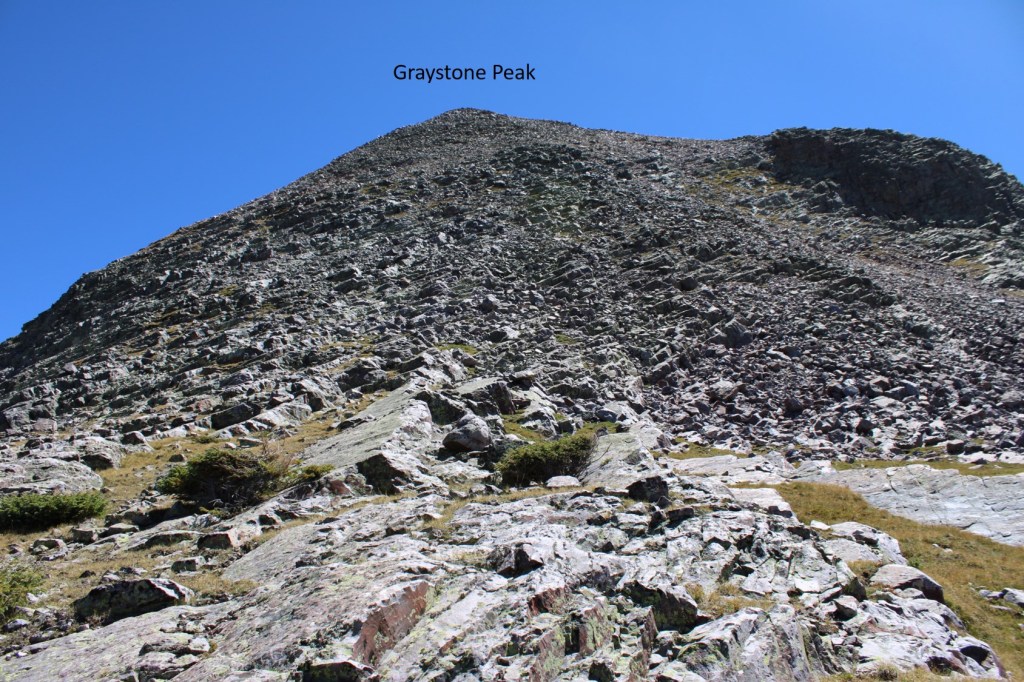
After making it up the rock slabs, I turned left, now ready to scale Graystone Peak
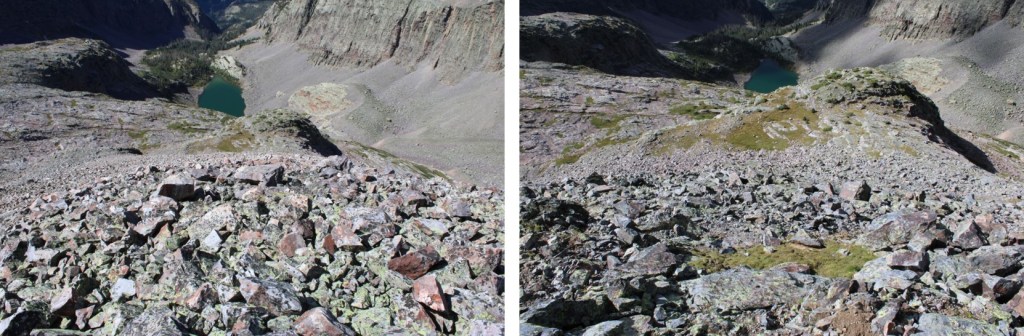
Scaling this peak is exactly what it looks like: straight up the side with a lot of various sized rocks to traverse that are loose. I headed southeast up the mountainside.
Once making it to the ridge, I stayed on the ridge proper to the summit, with some easy class 3 ups and downs along the way.
There was a large cairn at the summit
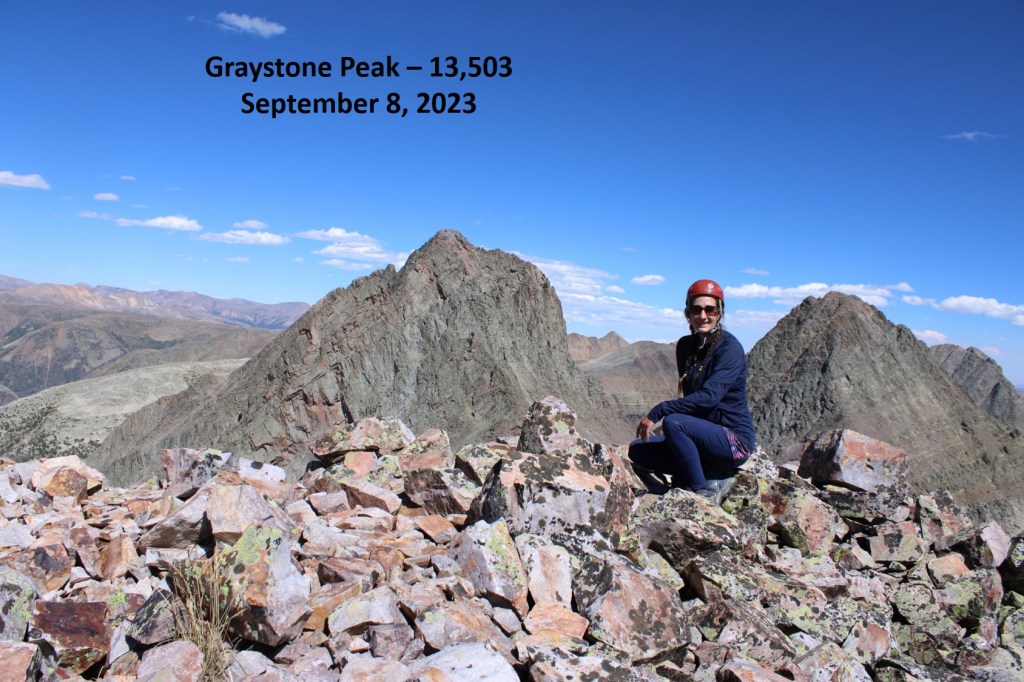
Graystone Peak
I turned around and headed back down the peak the way I’d ascended, doing my best to keep my balance and navigate the loose rocks.
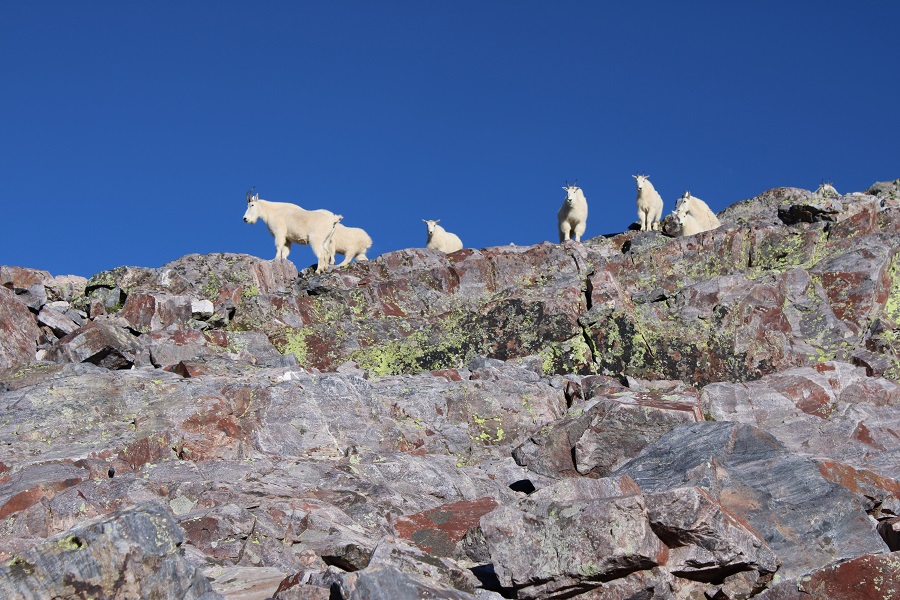
It had been a long day, so once I made it back down to the little patch of grass at the base of Graystone Peak I decided to call it a night and set up my bivy. I dried out my clothes, ate some dinner, and wrote notes down in my journal. Just before settling down for the night, I heard rocks tumbling and then skidding to a halt behind me. I turned around, and about 30 mountain goats were standing on the ledge, about 20 feet away. Most of them dashed away before I got a picture, but they seemed just as surprised to see me as I did them. They were probably headed towards the patch of grass I was using as a bivy site, and seemed a little disappointed to find me already occupying the space. I wish I could have told them I wouldn’t bother them and they were free to stay, as there wasn’t any other grazing areas around, but they all bounded away to find another site.
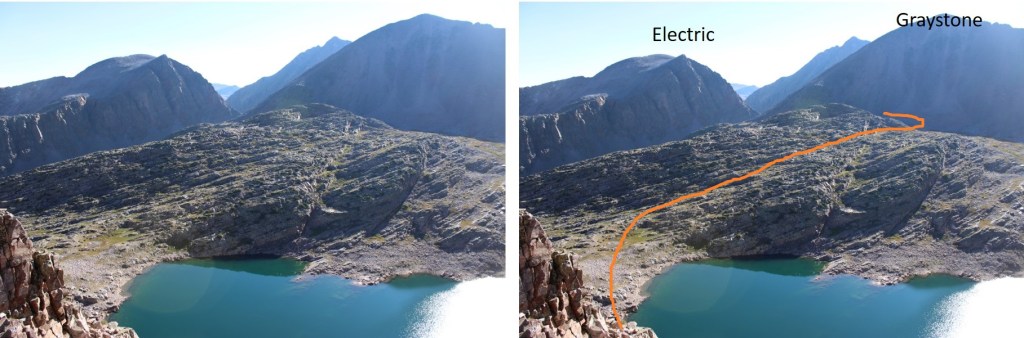
I was up early the next morning and on route to Mount Garfield. Even though this was the shortest of the peaks I was doing this weekend, it was by far the most challenging. Once on the ridge it was consistent class 3 the entire way. I started out by heading southeast around the base of Graystone Peak. I was headed here:
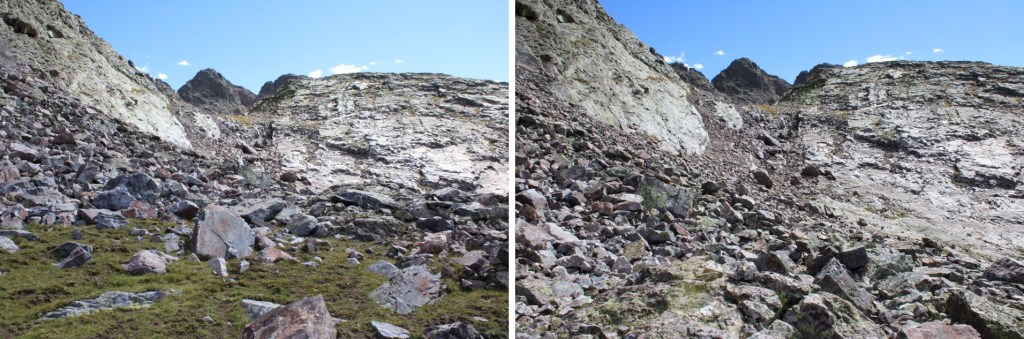
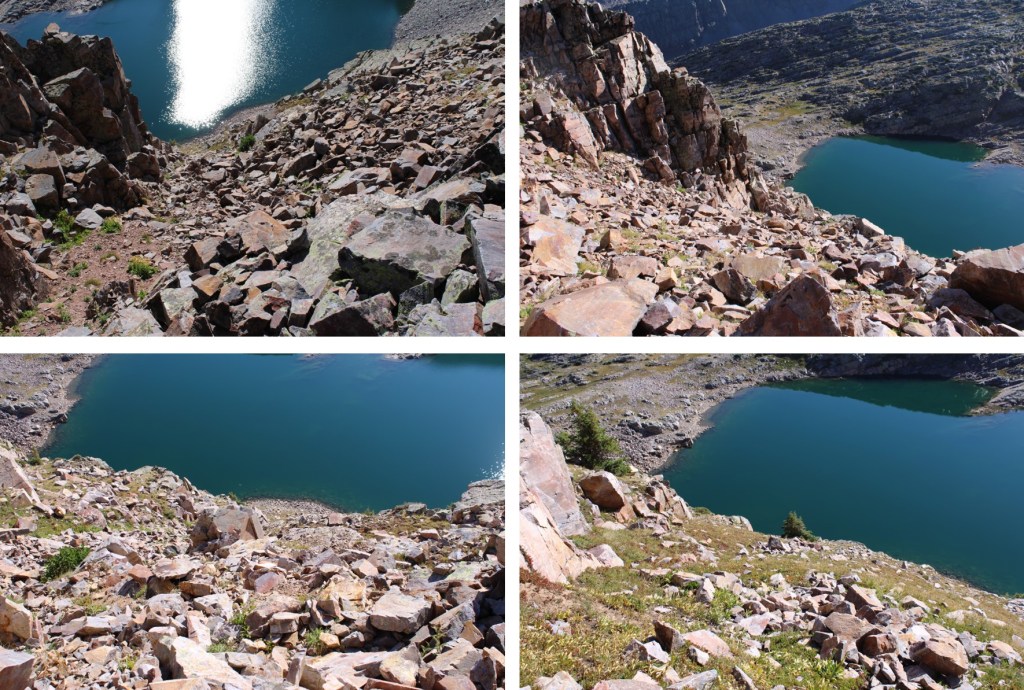
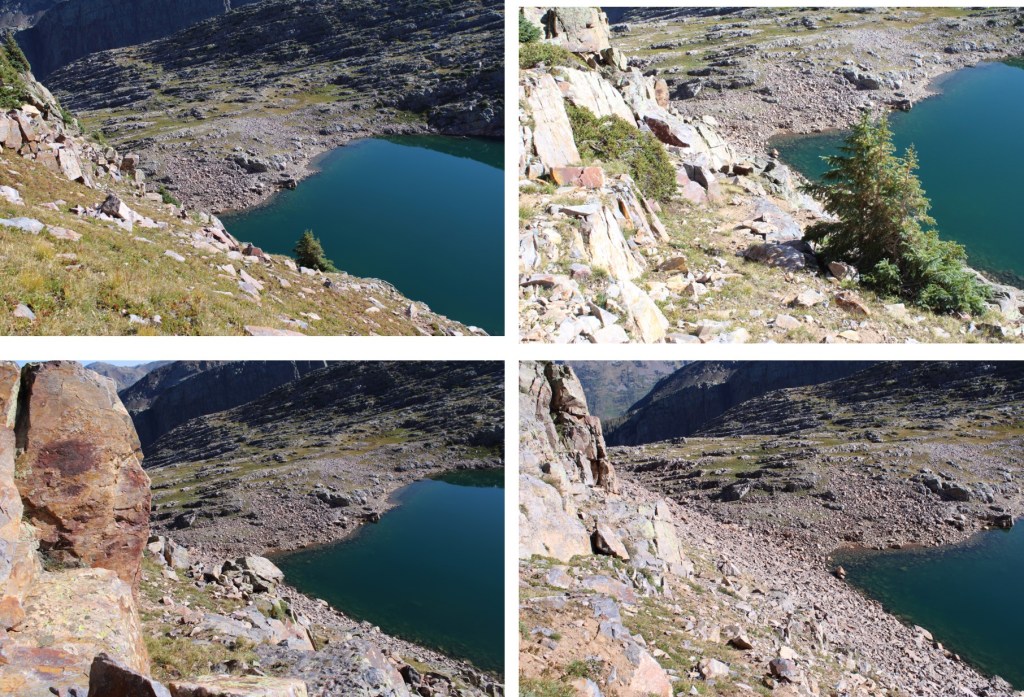
This was a quick and easy gully to climb. Once out of the gully, I passed through an open grassy area and then descended over 300 feet down grassy slopes to the right, towards Garfield Lake.
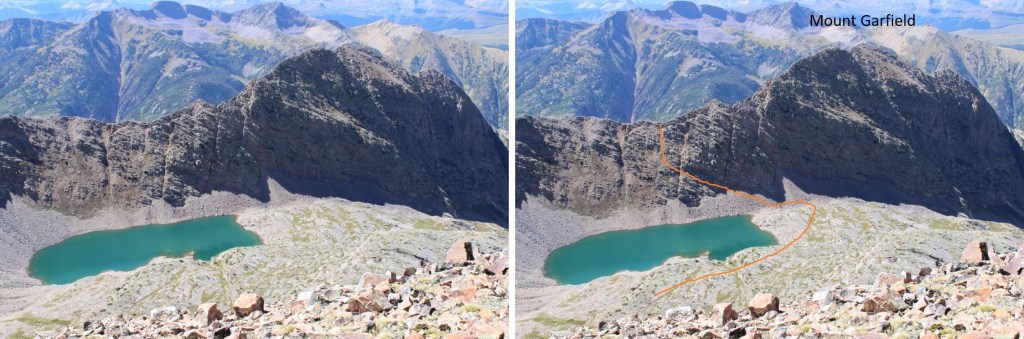
Once at Garfield Lake, I needed to gain the ridge. This can be done in several ways, but this is the overall route I took. There were a couple of nicely placed trees I used as a guide on the ledges. I just aimed for one tree, and then the next. Here’s an overview of the route to the ridge as seen from Graystone Peak
From Garfield Lake, I aimed for the rock ledge with two trees on it, spaced about 300 feet apart. It was class 2 to the ridge.
When I’d passed the two trees, I looked up and saw this gully.
I made my way straight up the gully to the ridge.
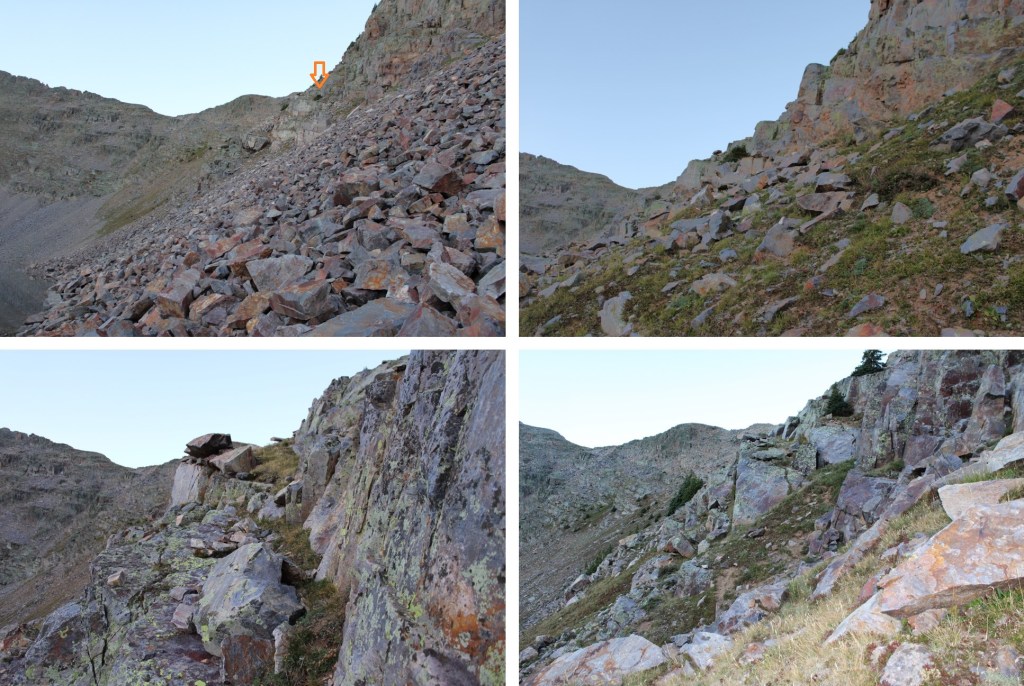
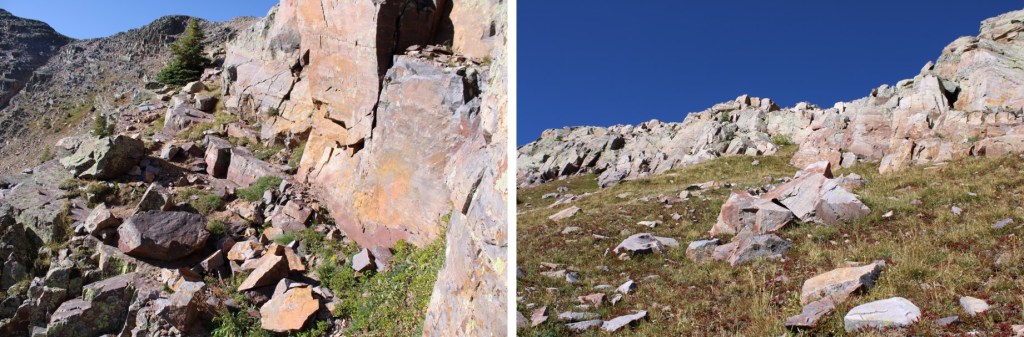
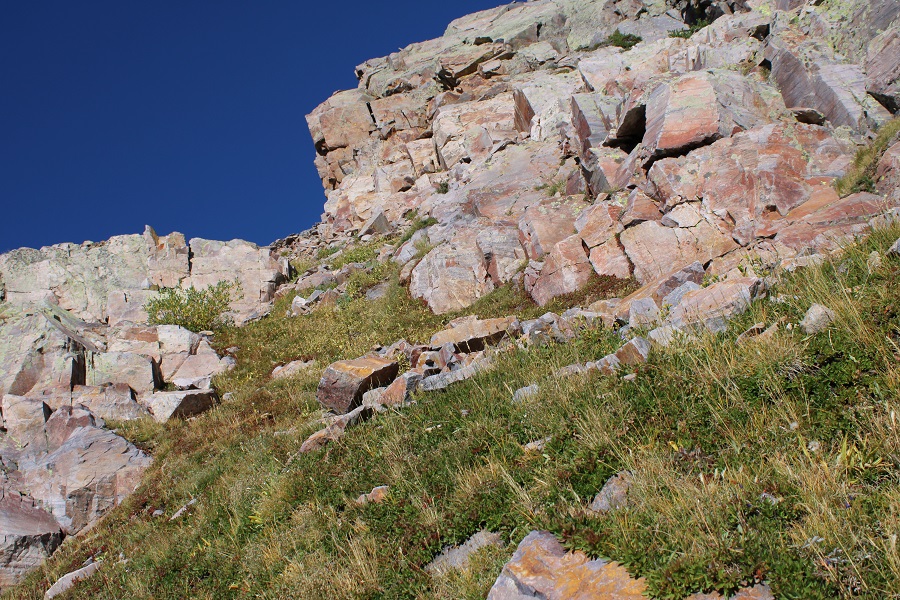
Once on the ridge I turned right, and this became a class 3 ridge hike all the way to the summit. I was able to mostly stay on the ridge, dipping to the right one time. If you encounter a class 4 move, you’re off route. Here are some pictures of the ridge.
I stayed to the left of this gully, climbing up the rocks instead of on the scree.
At the top of the gully I turned right, and continued following the ridge.
The only time I dropped off the ridge was when I came to this large rock. At this point I dropped to the right and descended about 30 feet before re-gaining the ridge.
Back on the ridge, I followed it to the summit, class 3 the whole way
Mount Garfield
Here are some pictures of the route back down the ridge
Then back down the gully to Garfield Lake
Back at Garfield Lake, I took the same route back to the base of Graystone Peak, this time going up the grassy ledges
This was an out and back hike, so I re-traced my steps down the rock slabs, across the rock field, and back down the gully to the trail.
This time, instead of going down the snow-filled gully I went to the right, and descended on scree
Back on the trail, I followed it back to the Beaver Ponds
Then I followed the Colorado Trail back to the Animas River
I crossed the train tracks, and trudged back up to Molas Pass, something I timed just right so I’d be doing later, during the cool part of the day.
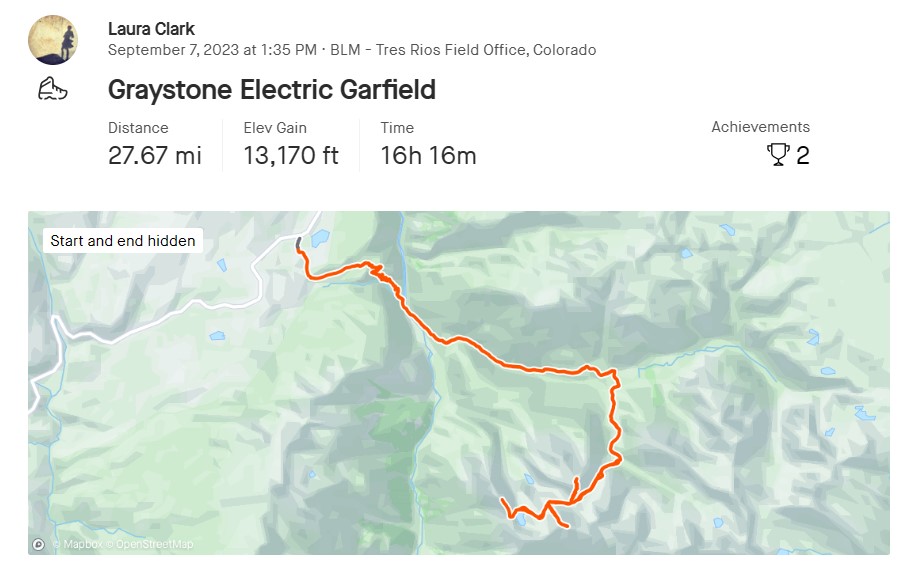
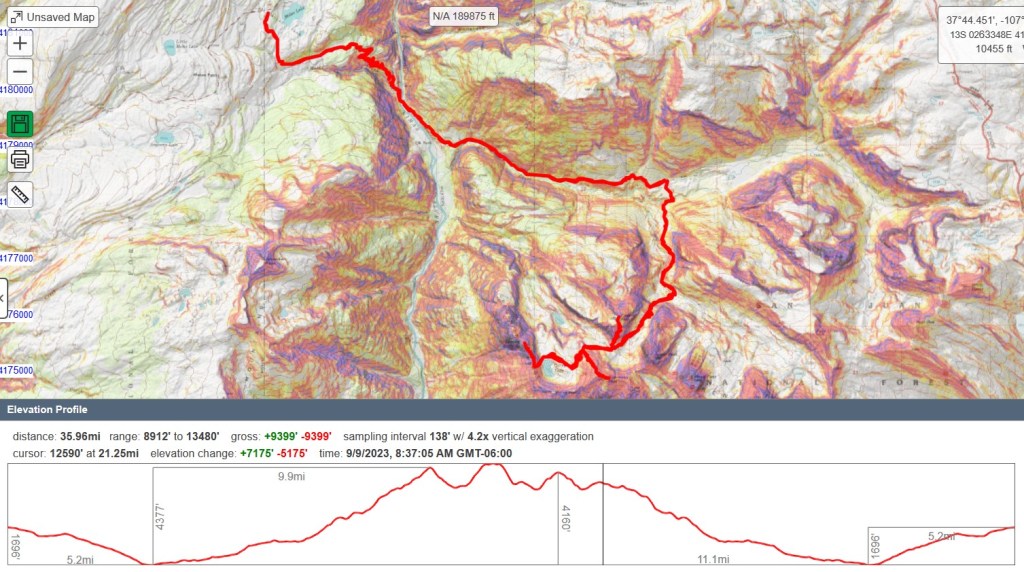
I usually go by CalTopo stats to keep things consistent. CalTopo gave me 35.96 miles with 9399’ of elevation gain, but Strava gave me 27.67 miles with 13,170’ of elevation gain. Take your pick!
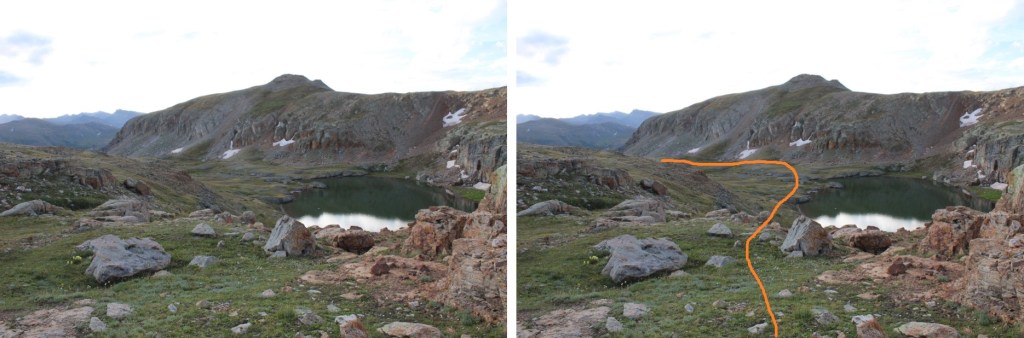
I drove up the night before, and parked at Red Mountain Pass. There’s a dispersed campsite you can see from the road that I like, so I parked there. There are a few more sites further up.
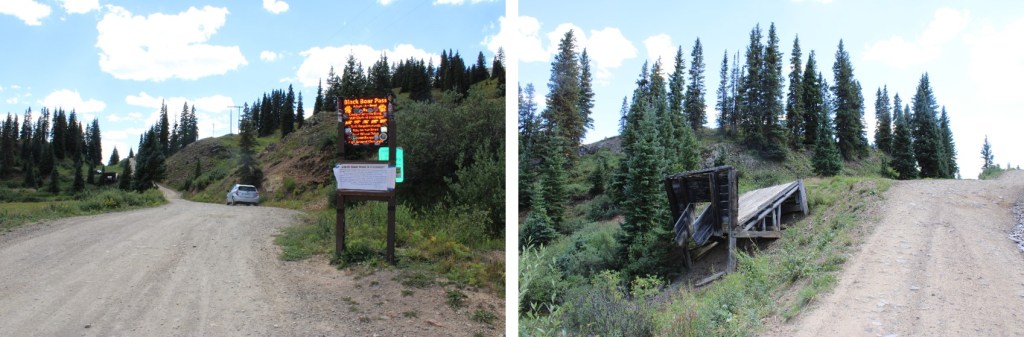
Knowing the area was supposed to get rain and storms starting at 9am, I was up and on the trail at 4:30am. I followed Road 823 to the junction with Black Bear Pass.
At the junction with Black Bear Pass, I turned left and followed Road 622 through Porphyry Gulch
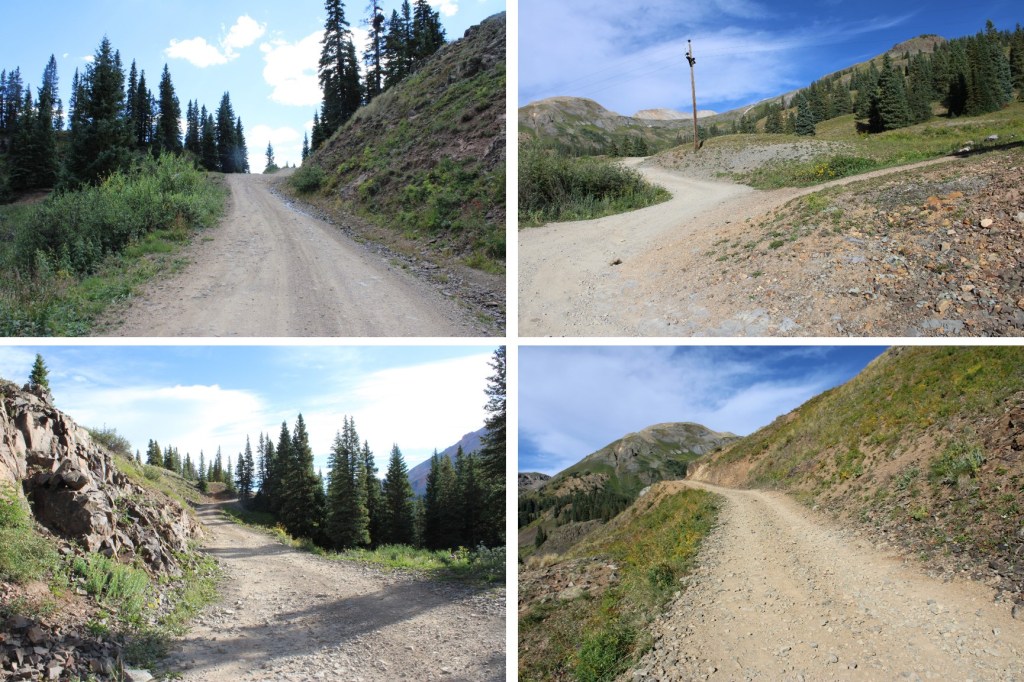
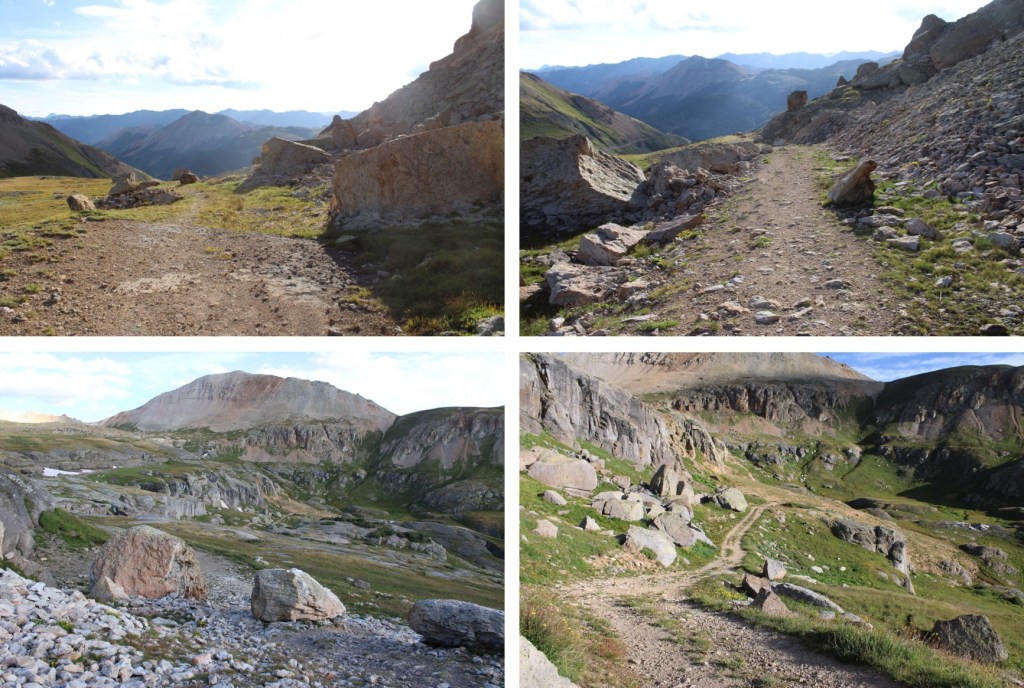
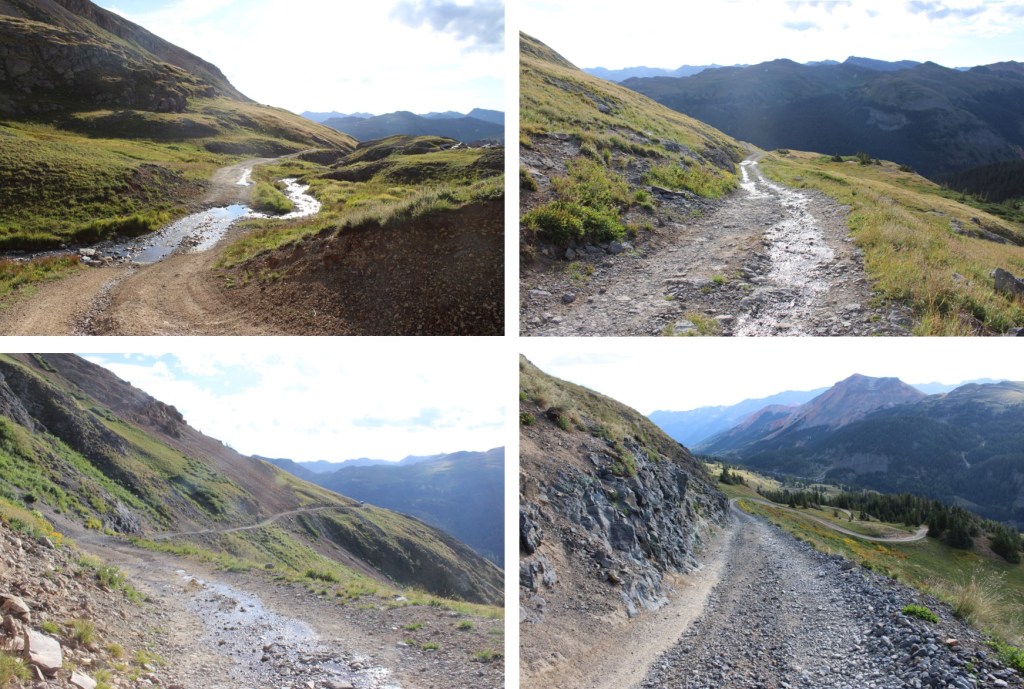
It was 2.6 miles from Red Mountain Pass to the upper trailhead, on an easy 4WD shelf road with few passing areas. When I got to the upper trailhead, I was surprised to find someone had set up camp in the upper parking lot/turn around area. Normally, there’s room for 7 cars here, but these people took up at least 4 spots. When the ant train of 4WDs come up later today, they are not going to be happy.
The trail starts to the left of the parking area, and is initially well defined.
In the dark, the trail was difficult to find for a bit. I was aiming for these rocks
Just behind these rocks, a nice trail picks up to the right, and brings you to Bullion King Lake.
Here’s where the trail ended. I skirted the lake to the right, and started heading northeast into Porphyry Basin
There’s no need to climb all the way to the top here. I skirted to the left, and continued heading northwest. If you look around, you’ll see remnants of old mining equipment and structures in the area, but they’re all flattened at this point.
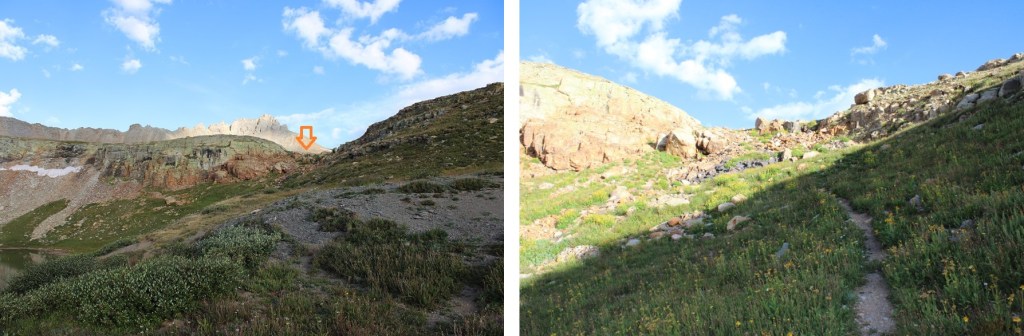
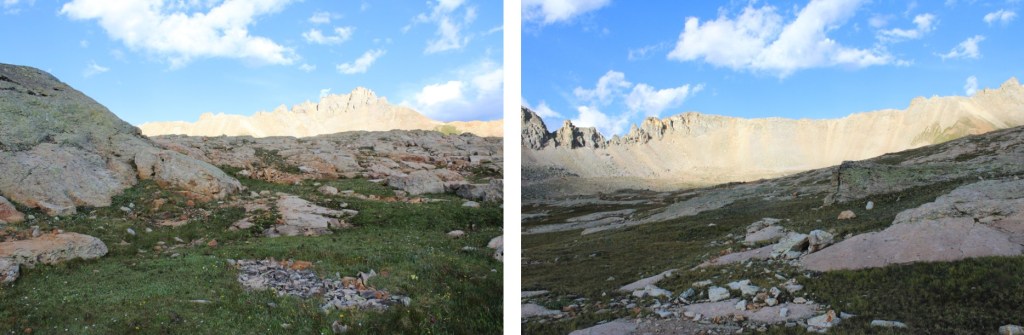
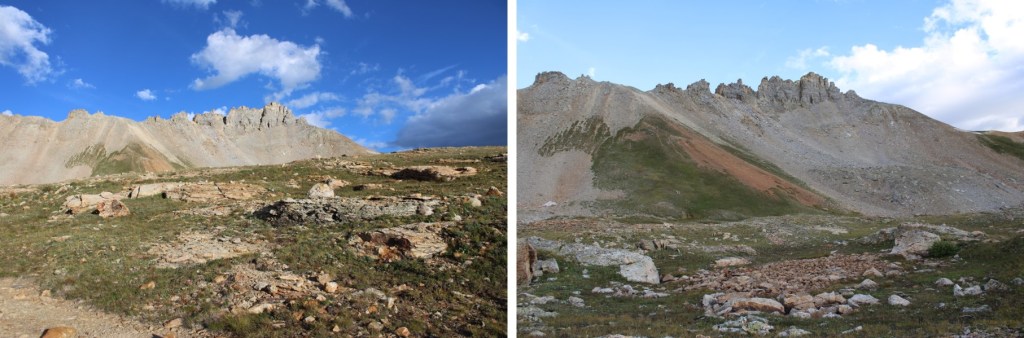
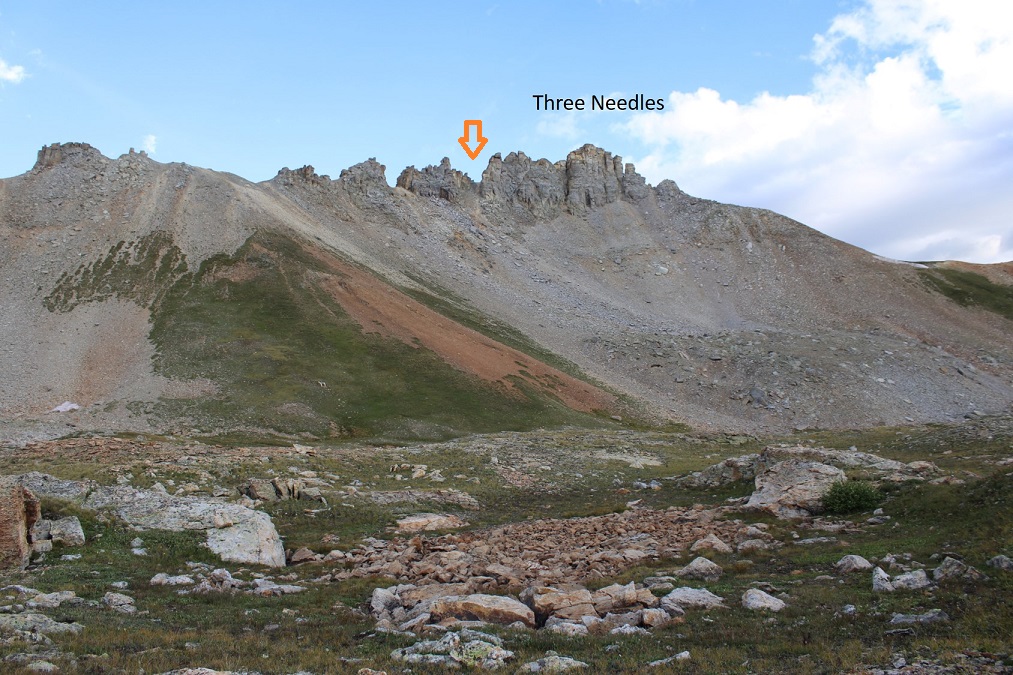
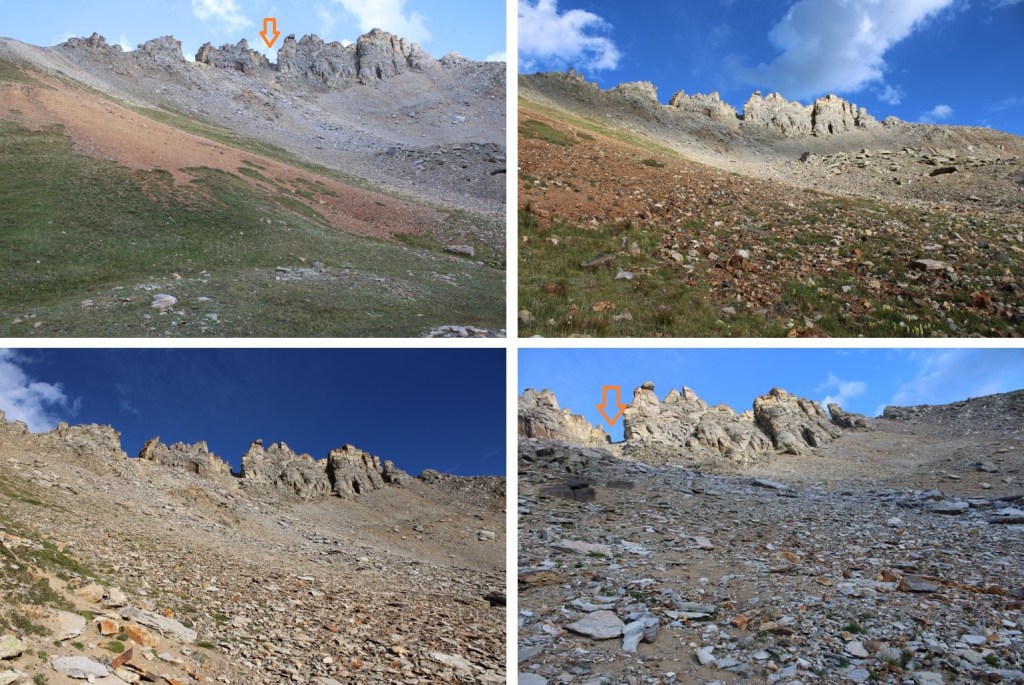
Here is where I strapped on my helmet and microspikes. I could clearly see Three Needles in front of me. I went straight up this gully.
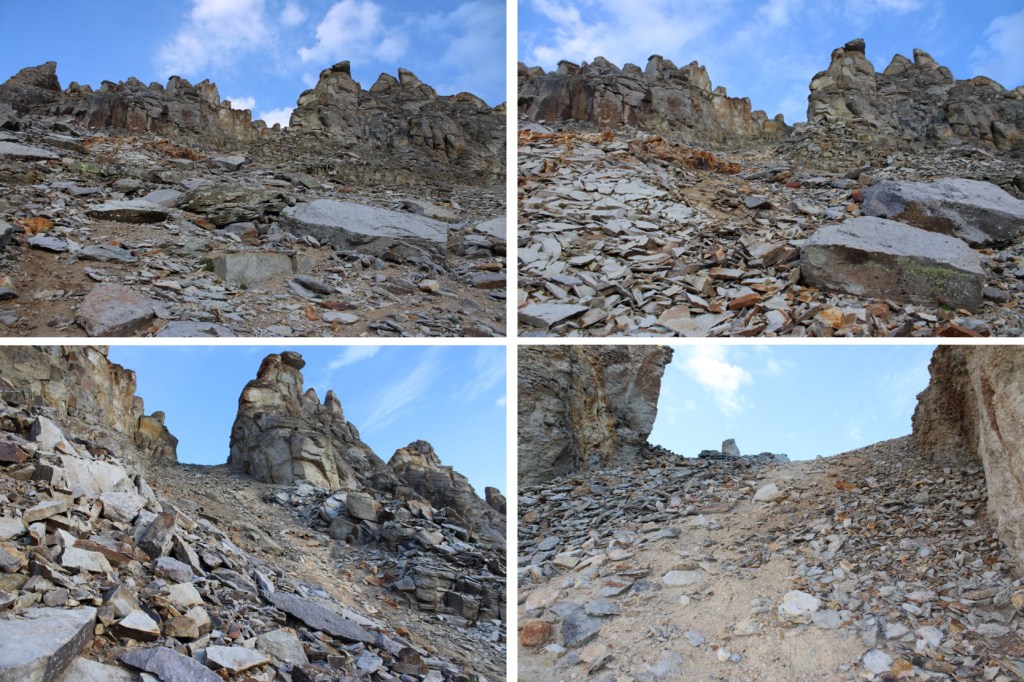
The gully was full of shale and scree. It was loose, and hard to get stable footing. I was glad to have on my microspikes. It looks like the terrain shifts every year, as well as every time it rains. Towards the top there are game trails, but they were more needed down below. Here are some pictures of the gully
At the top of the gully, I turned right, and followed the scree
I was headed here
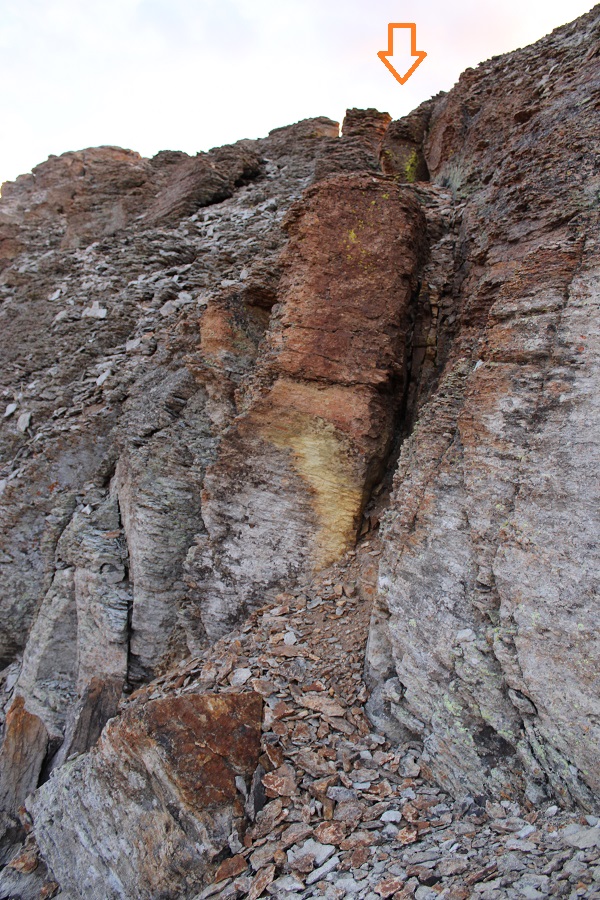
I looked for a weak point to ascend, and found this chimney. I didn’t climb up the chimney, but you certainly could
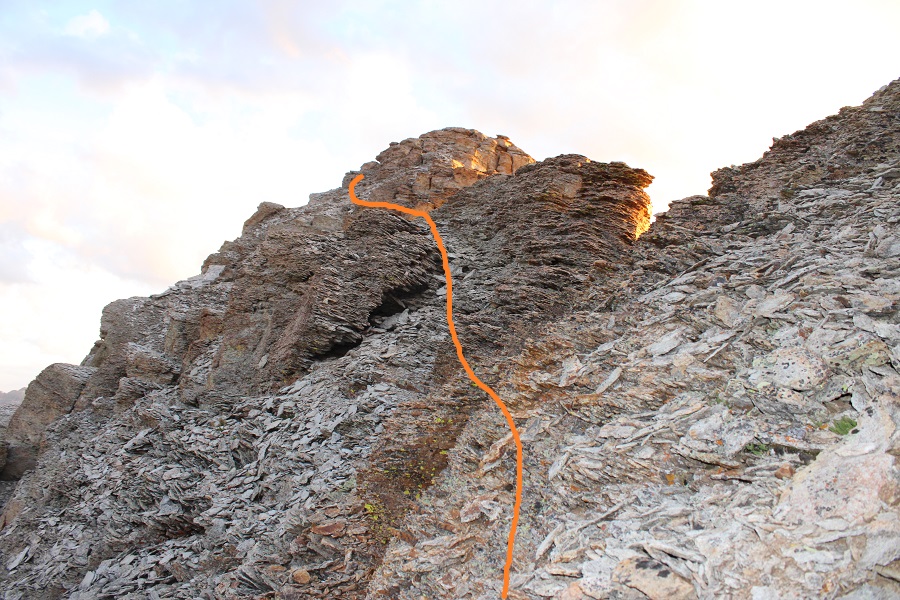
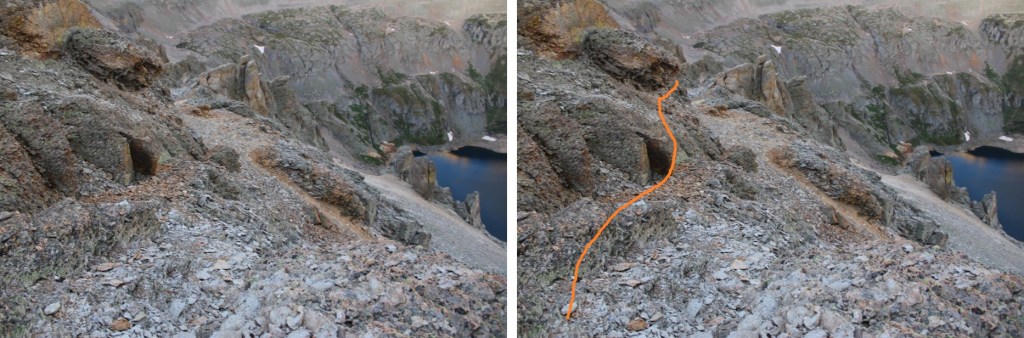
Instead, to the right of the chimney I found a narrow ledge. Yay! Being short is finally working out for me when it comes to scrambling! I climbed up to the right of the chimney, they traversed left to the ridge.
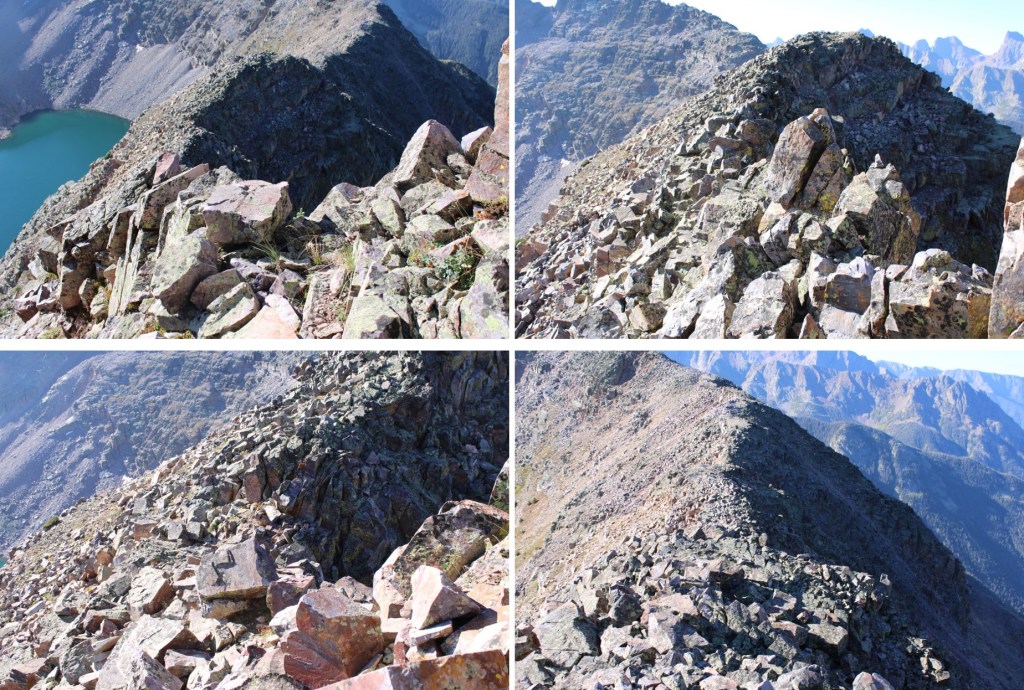
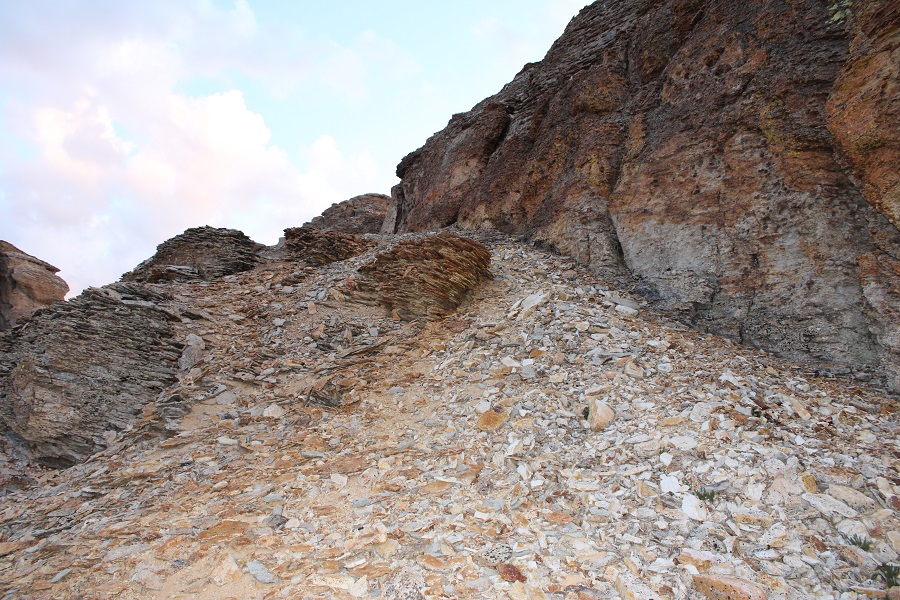
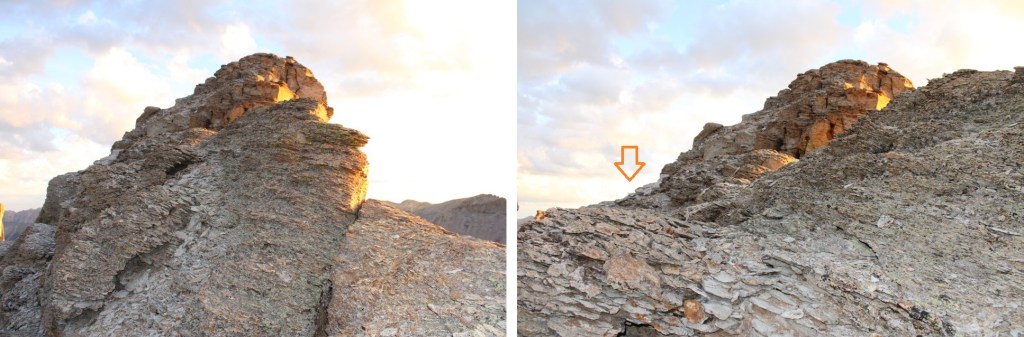
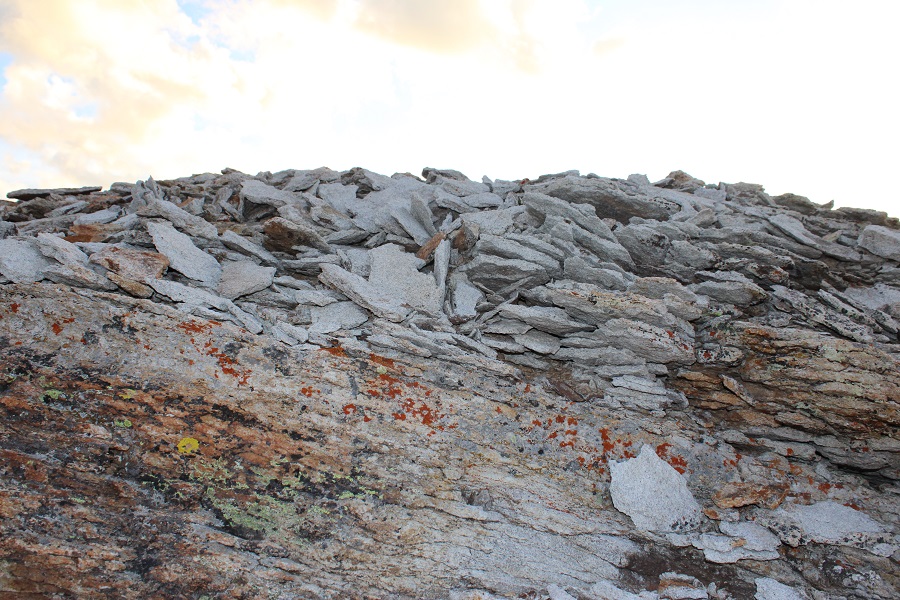
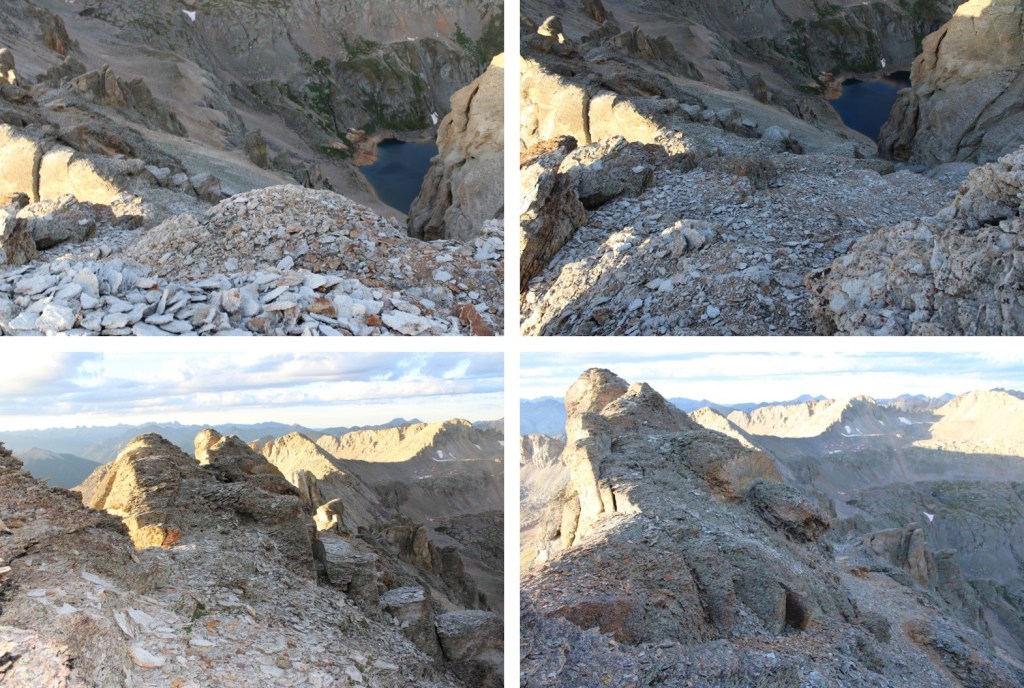
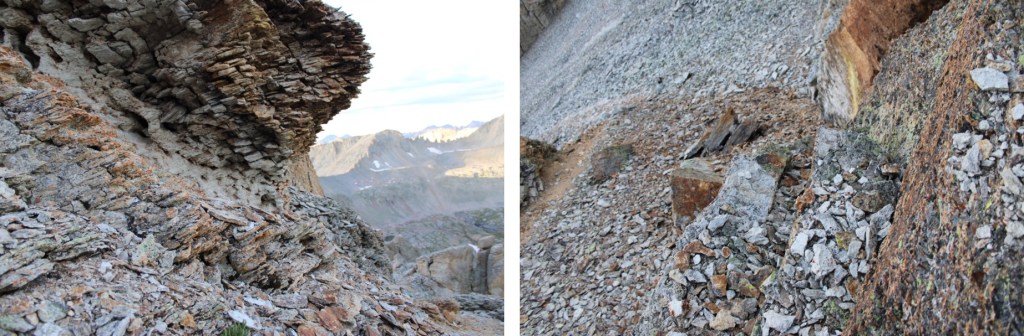
The ridge was short but full of kitty litter and talus. It never got worse than easy class 3, but it was loose.
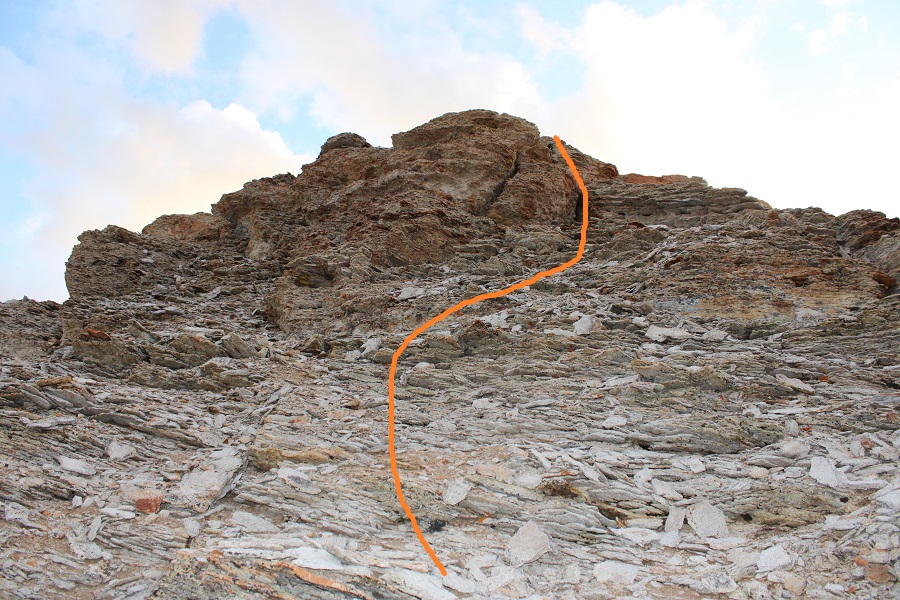
This is the overall route I took to the summit
And some step-by-step pictures
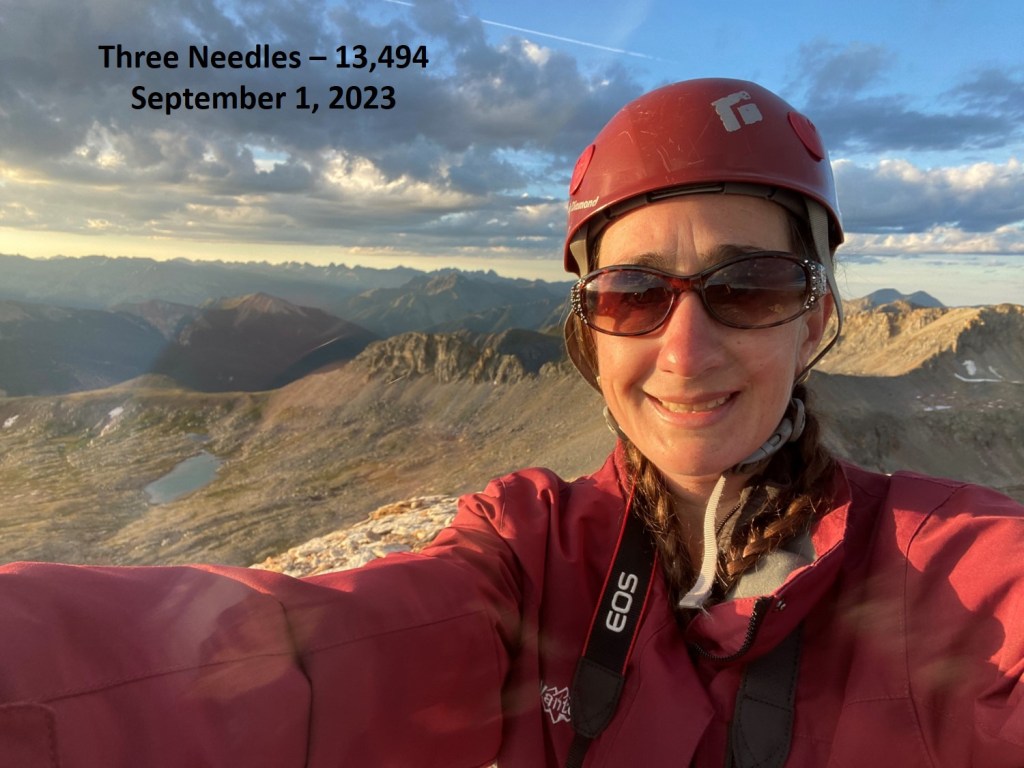
I summited Three Needles at 6:45am
Three Needles:
I had cell service, so I checked the weather, and even though I could see dark clouds and virga in the moonlight this morning, it looked like the weather had been pushed back until later in the day. So I decided to sit on the summit for a bit, and enjoy the cell service and sunrise.
This was an out and back hike for me, so I retraced my steps to the access gully
Once again, I did not descend the chimney, but ducked under a rock ledge to the left, then headed down
At the bottom of the chimney I turned left, and headed back to the access gully
From the top of the gully, I could see my route out of the basin
The gully was much easier to navigate heading down, but still very loose.
Now to make my way back to Bullion King Lake
And pick up the trail on the other side that lead me back to the 4WD road
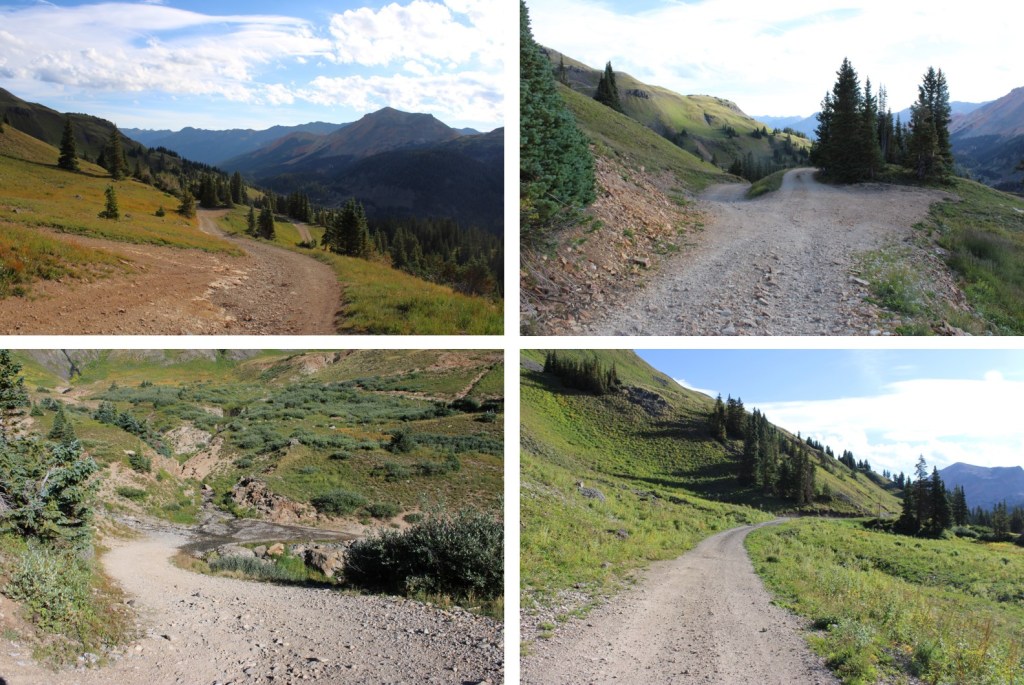
Back at the upper trailhead, I followed the 4WD road back to Red Mountain Pass
I made it back to Red Mountain Pass at 9am, making this an 8.82 mile hike with 2420’ of elevation gain in 4.5 hours.