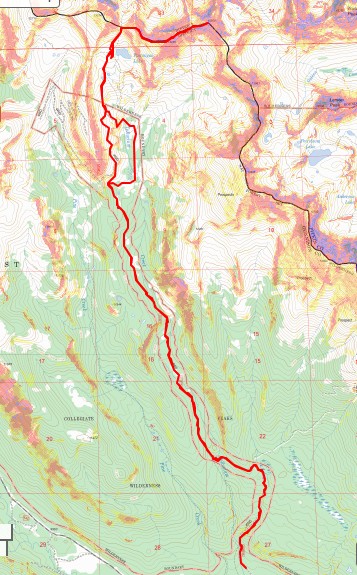
RT Length: 16.42 miles
Elevation Gain: 4219’
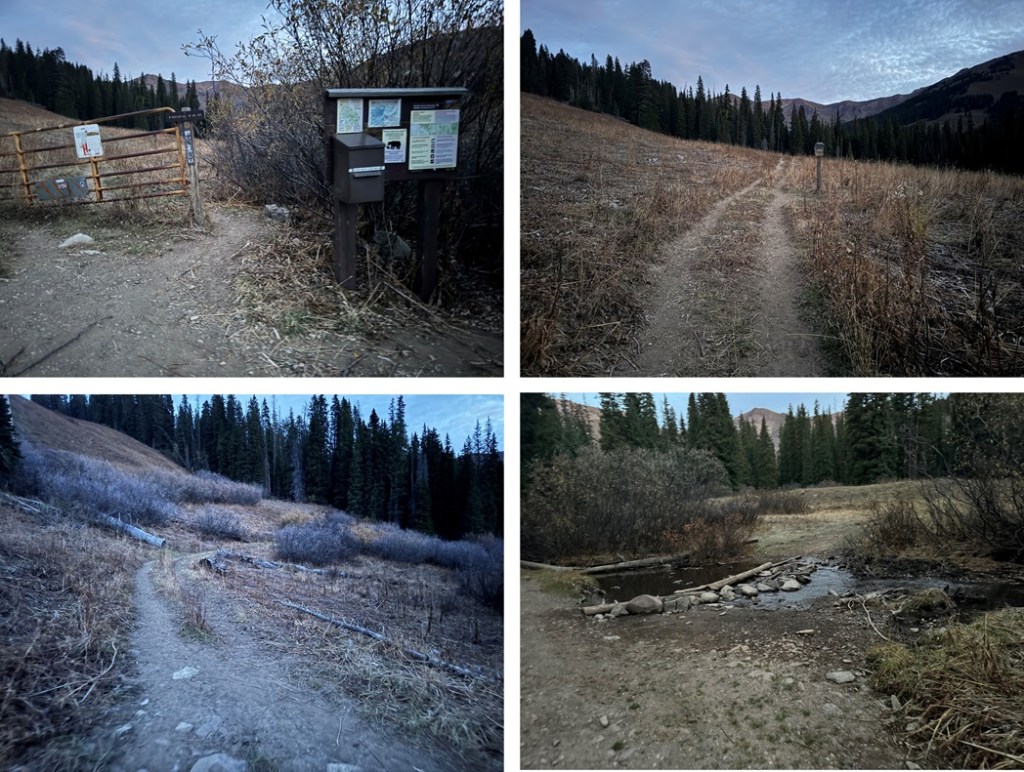
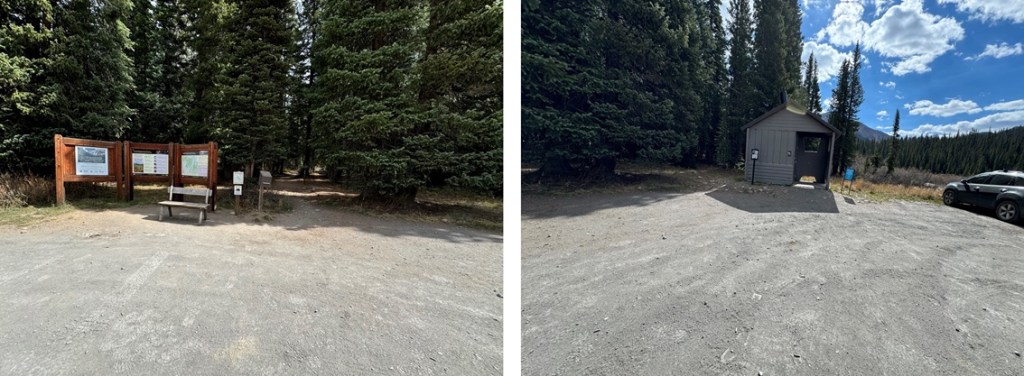
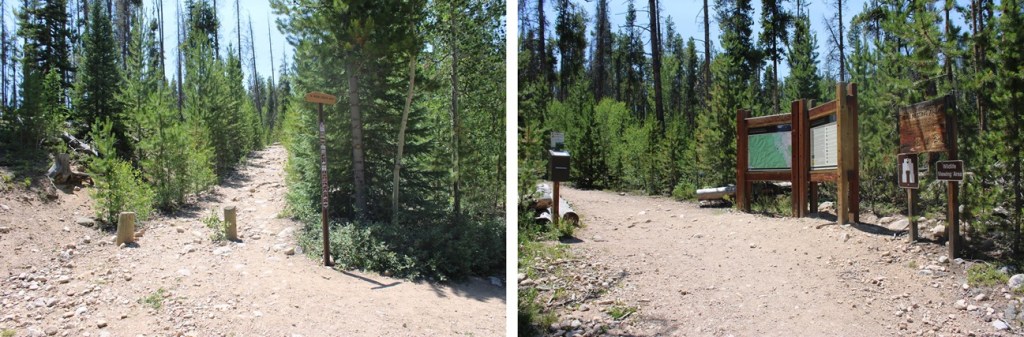
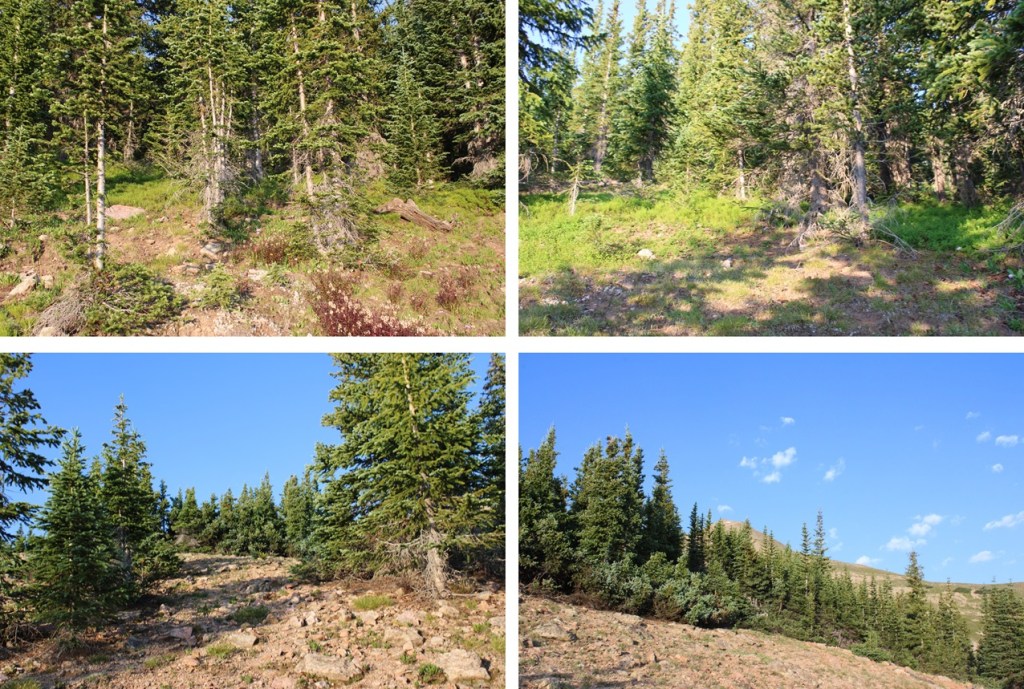
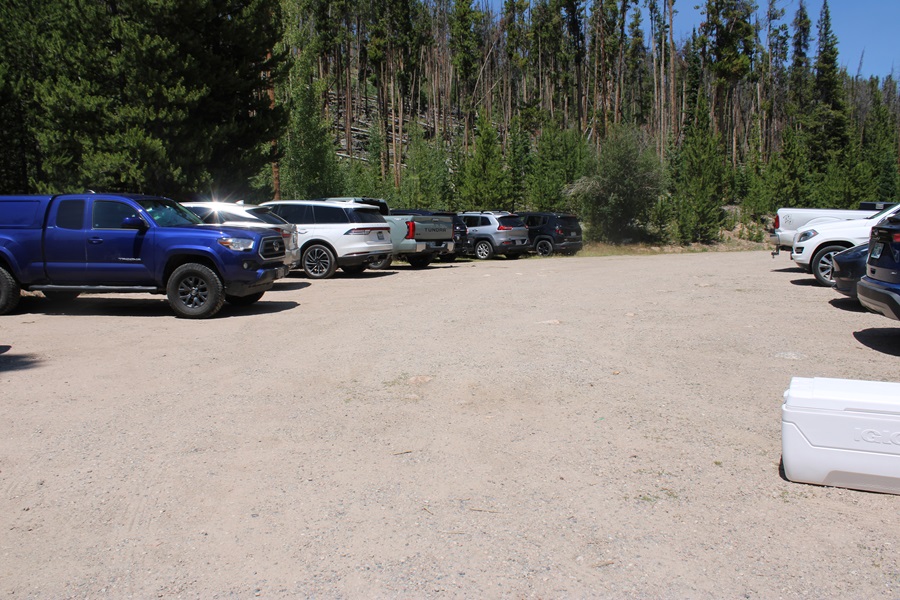
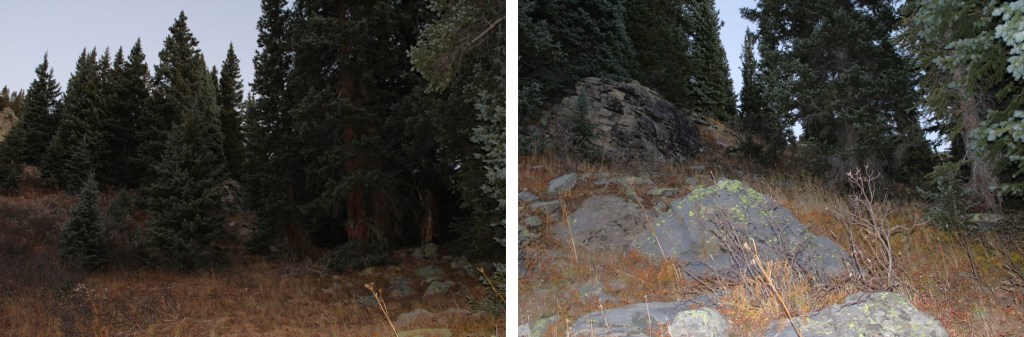
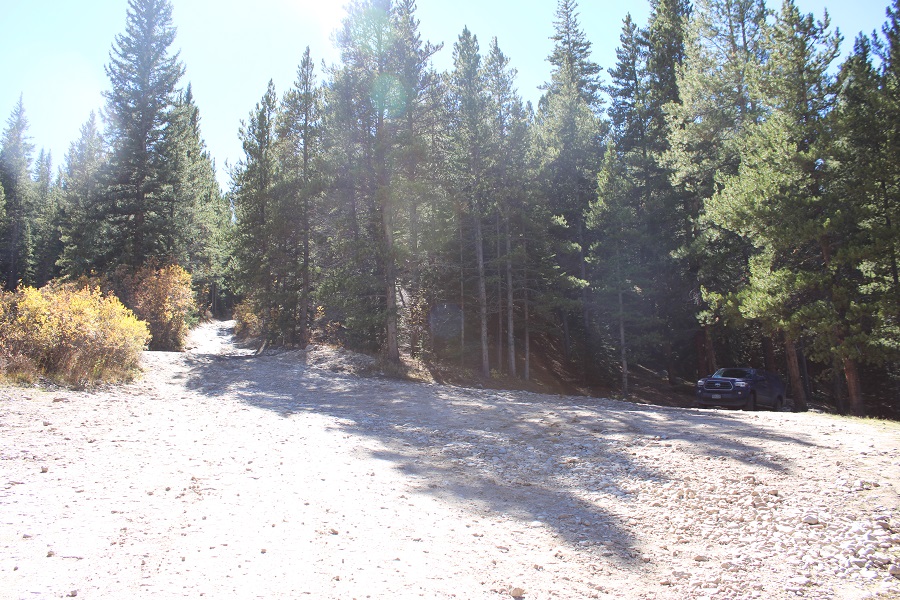
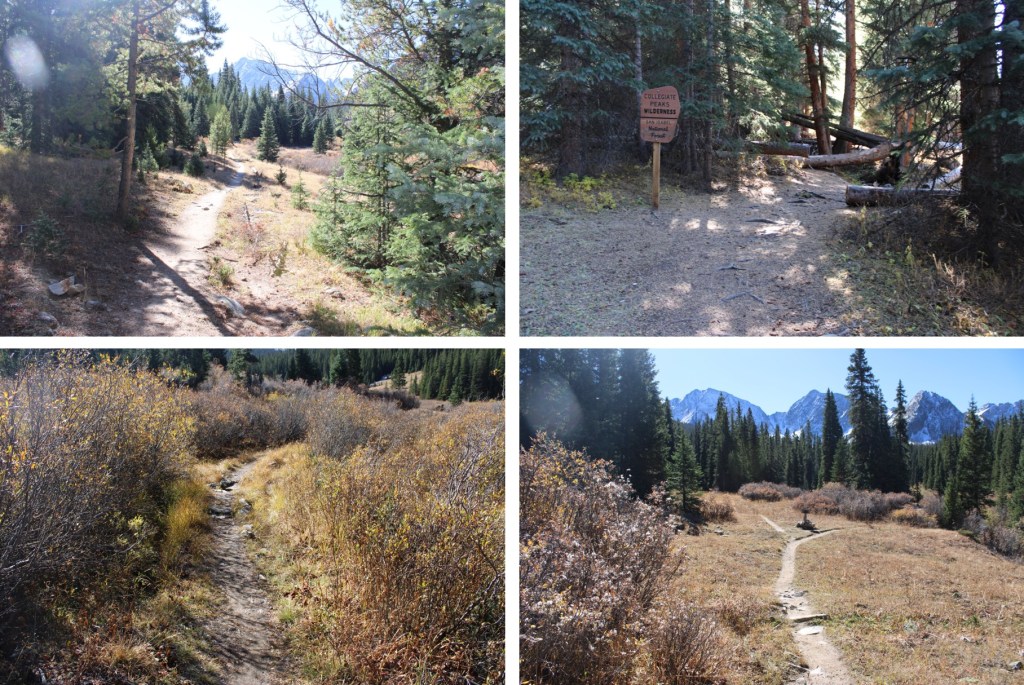
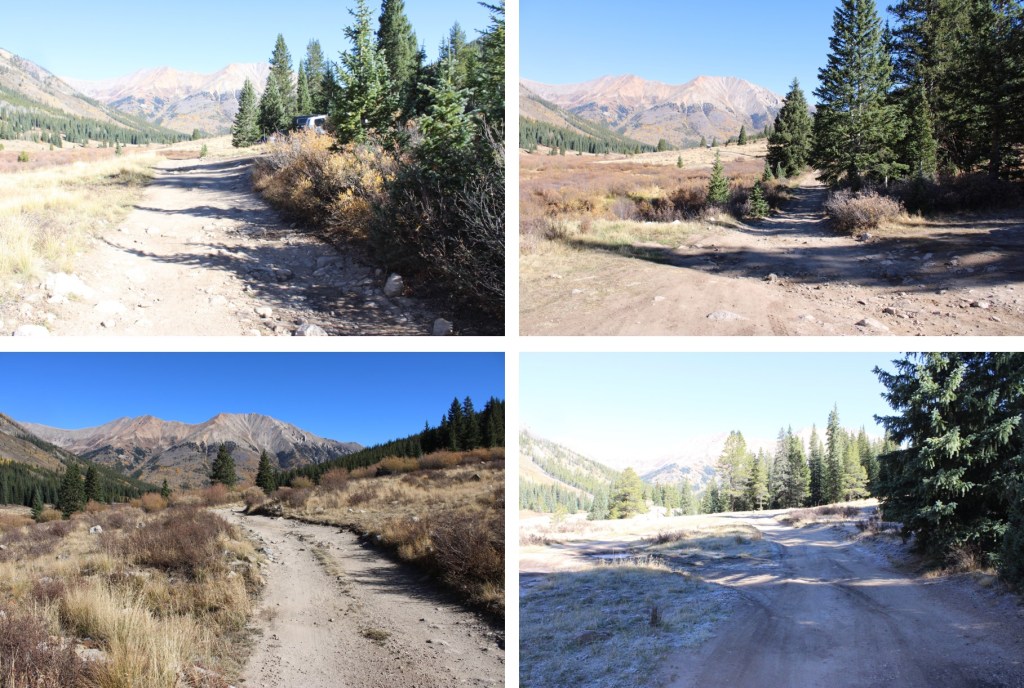
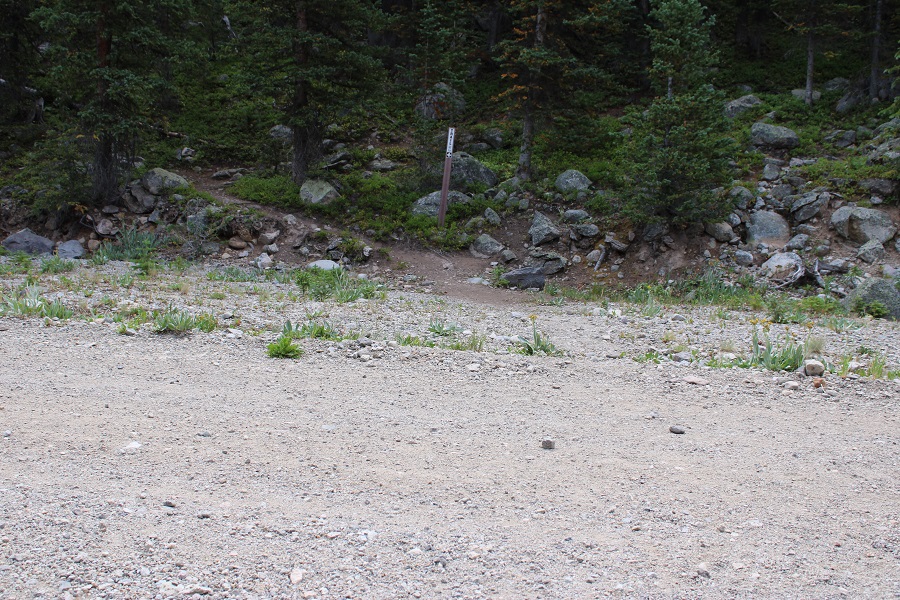
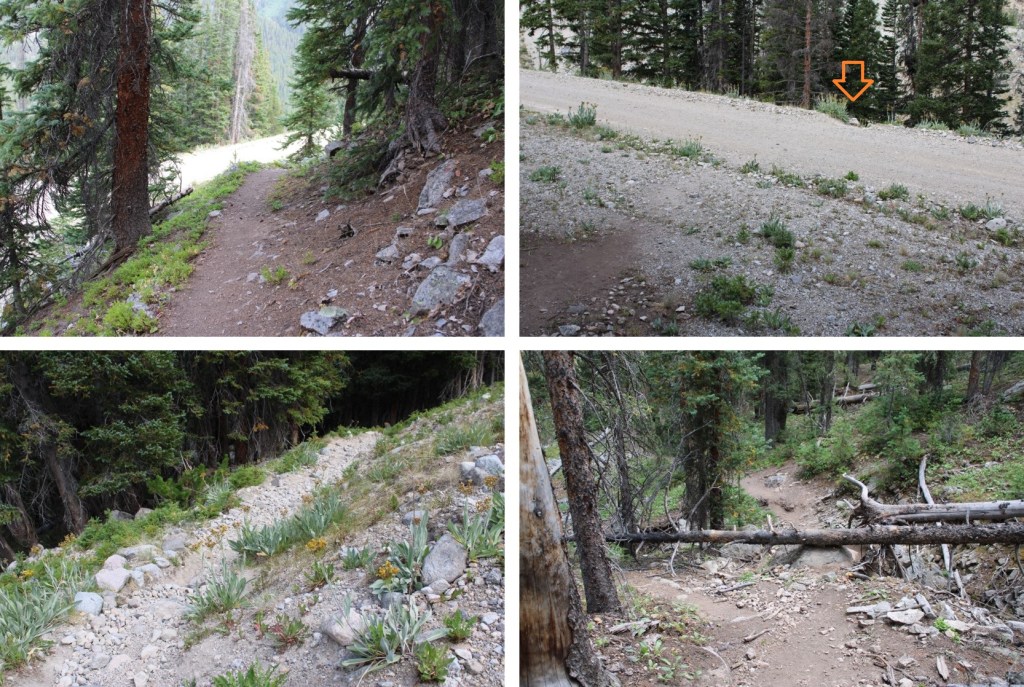
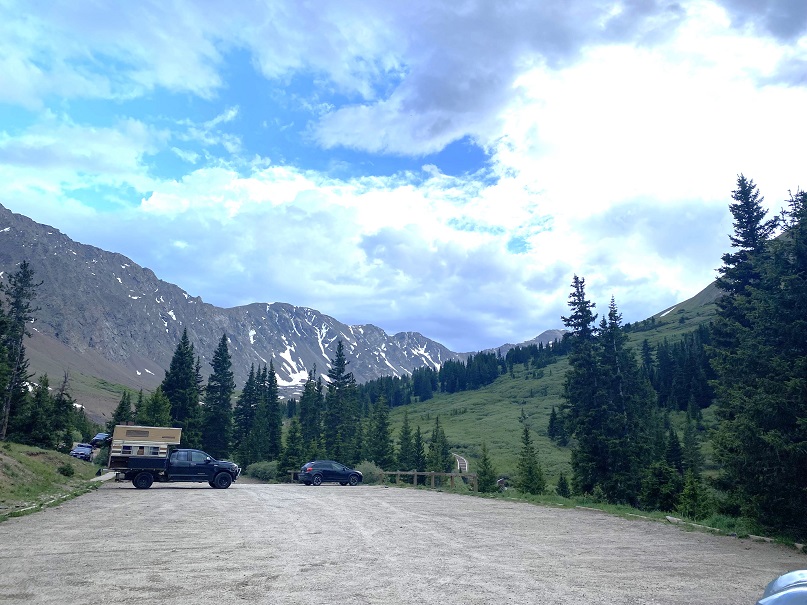
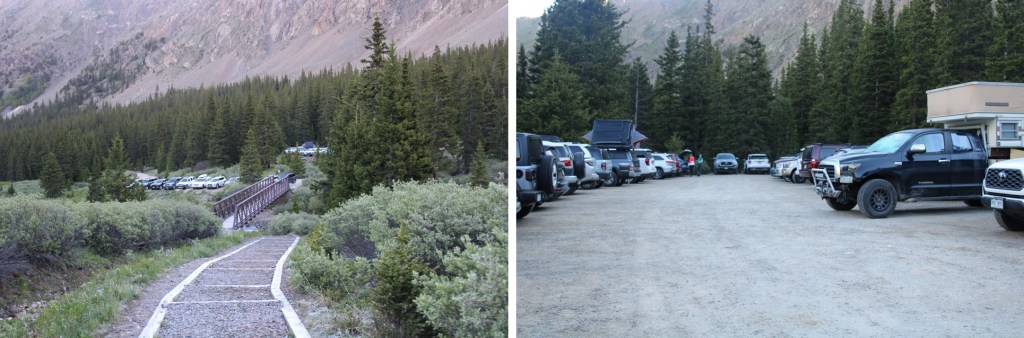
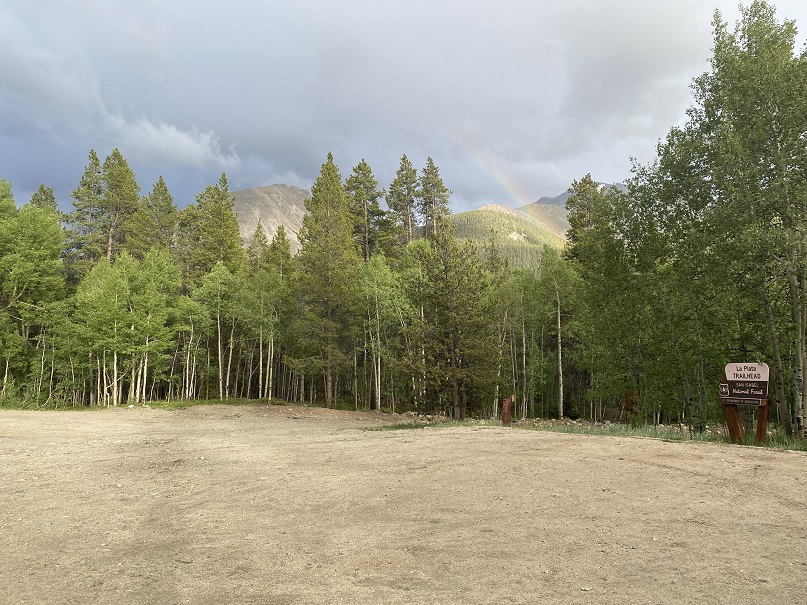
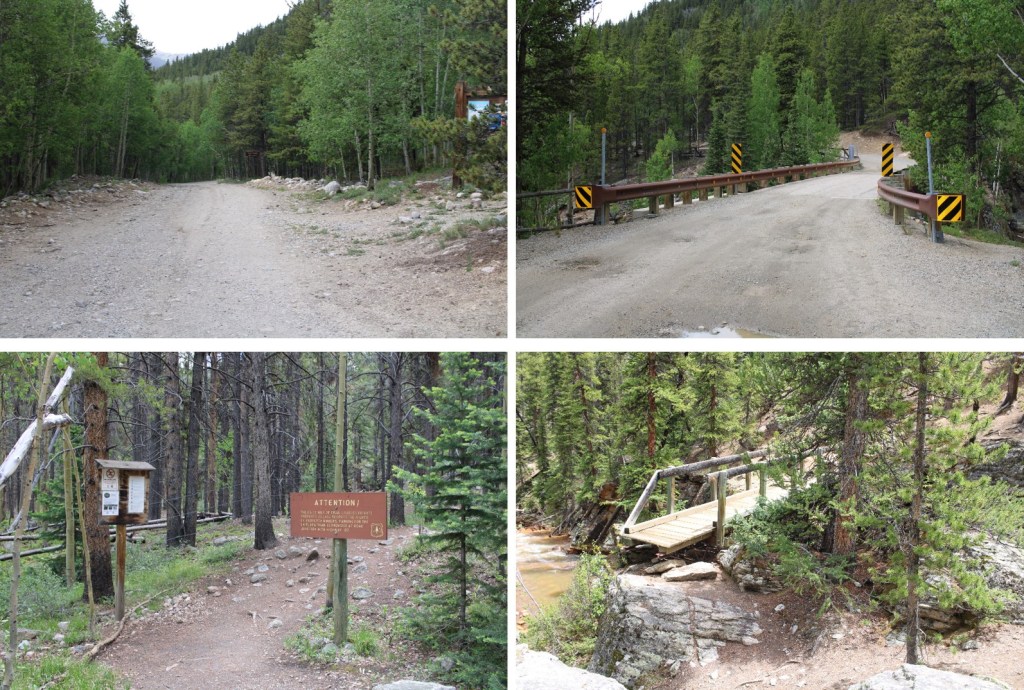
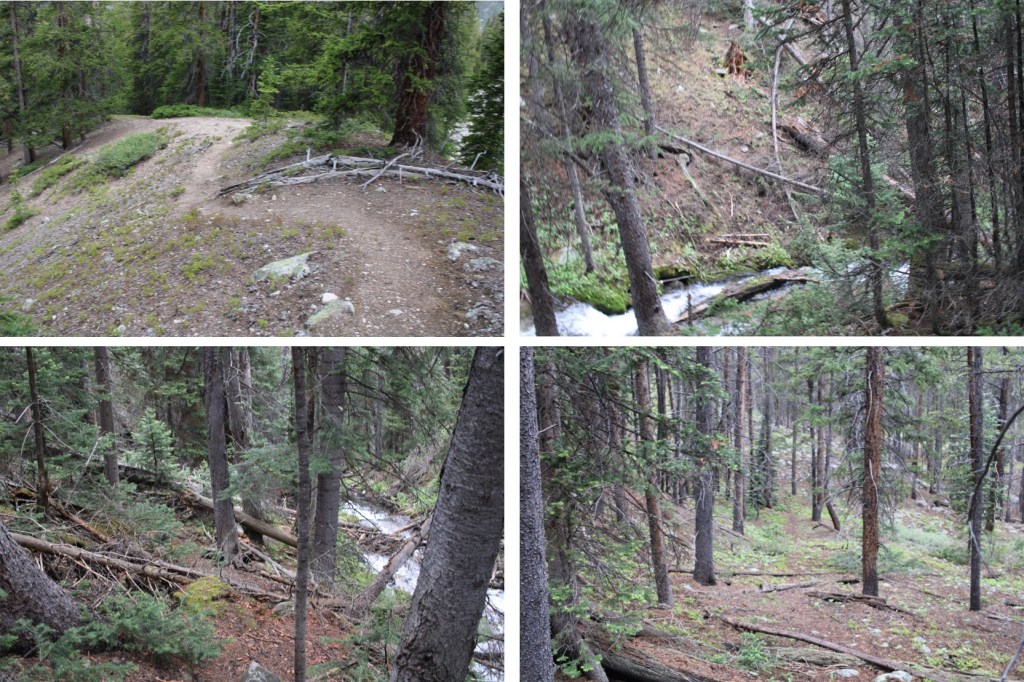
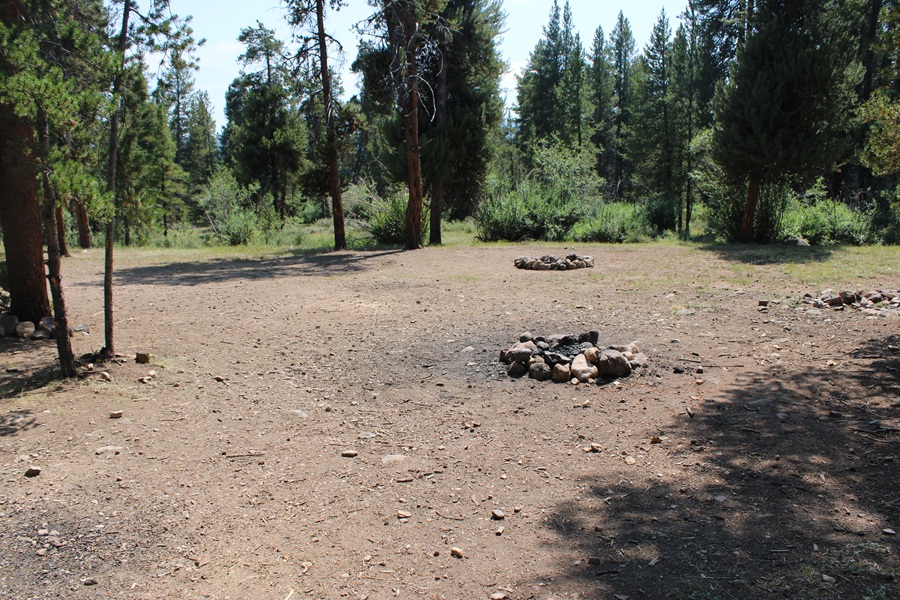
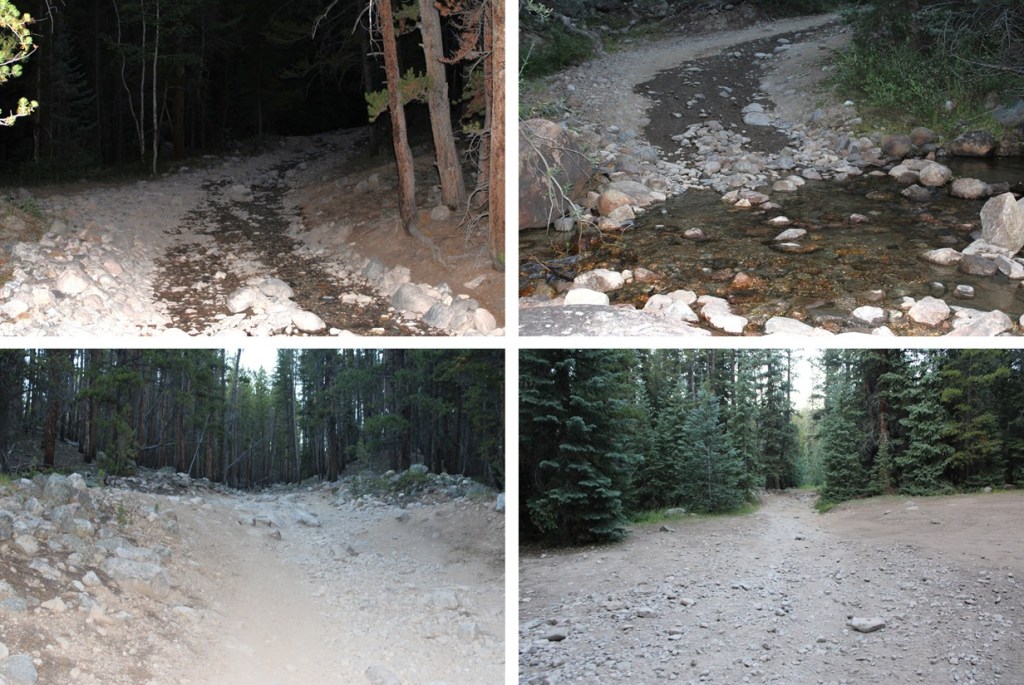
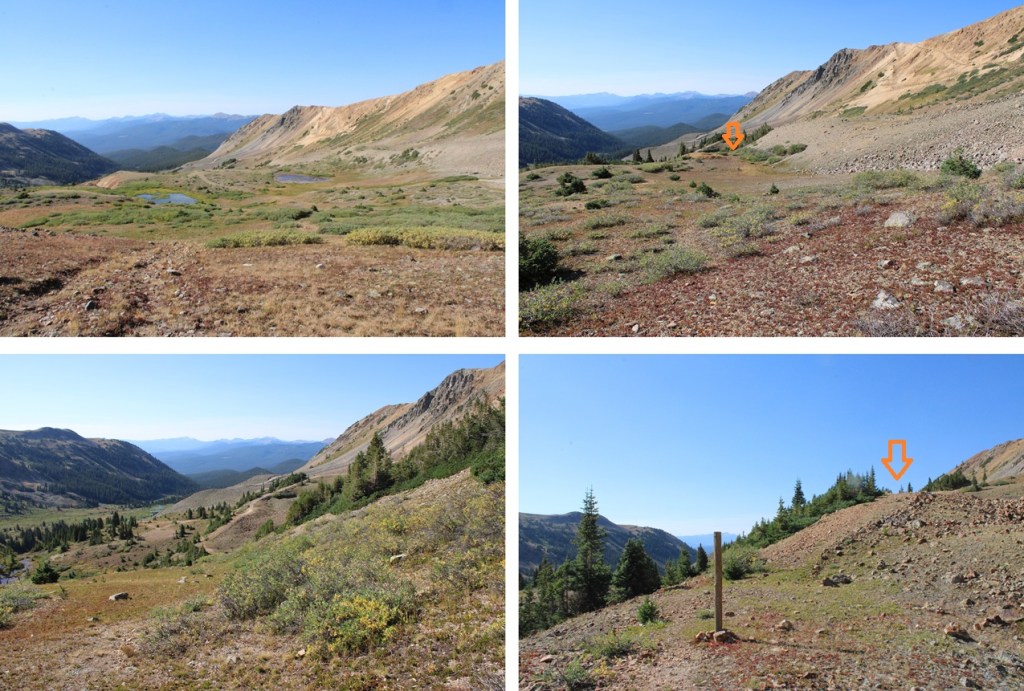
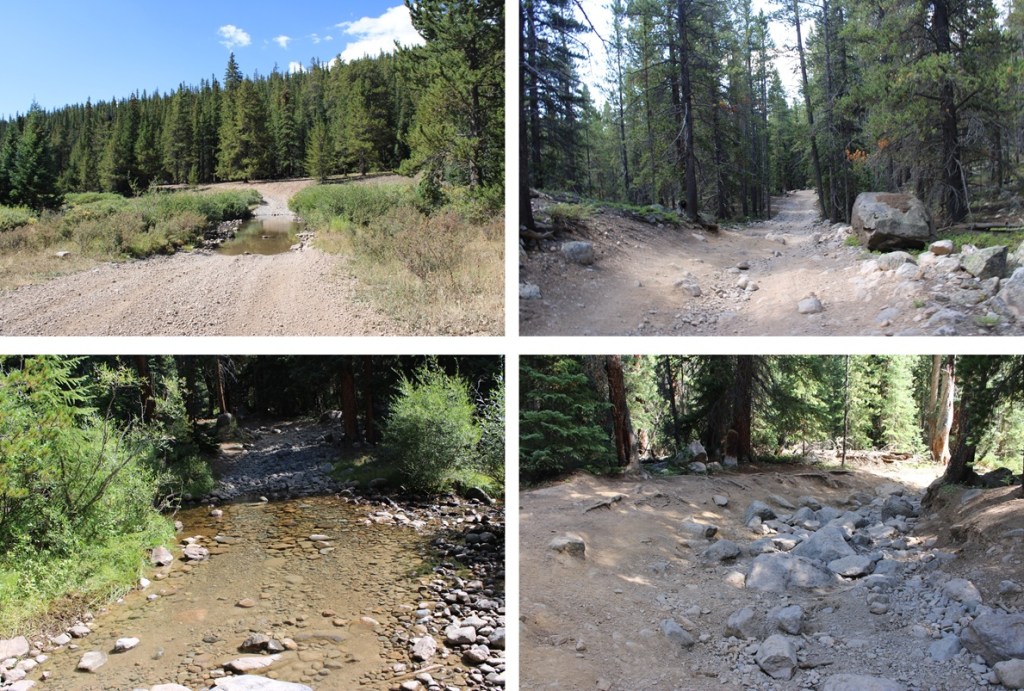
Last time I went to Ptarmigan Lake I did it in my side by side and it took over an hour and a half to drive up. This time, feeling like I needed to ‘earn’ this hike, I parked in the dispersed camping area and hiked 6 or 7 miles (depending if you trust Strava versus CalTopo) to Ptarmigan Lake. Here’s a picture of the camping area. There are several large, dispersed campsites at the beginning of the 4WD road. Vehicles (Tundra, Subaru, Tacoma, 4Runner, etc.) are not allowed on this road, so unless you have a side by side, Razor, etc. you’ll need to hike in.
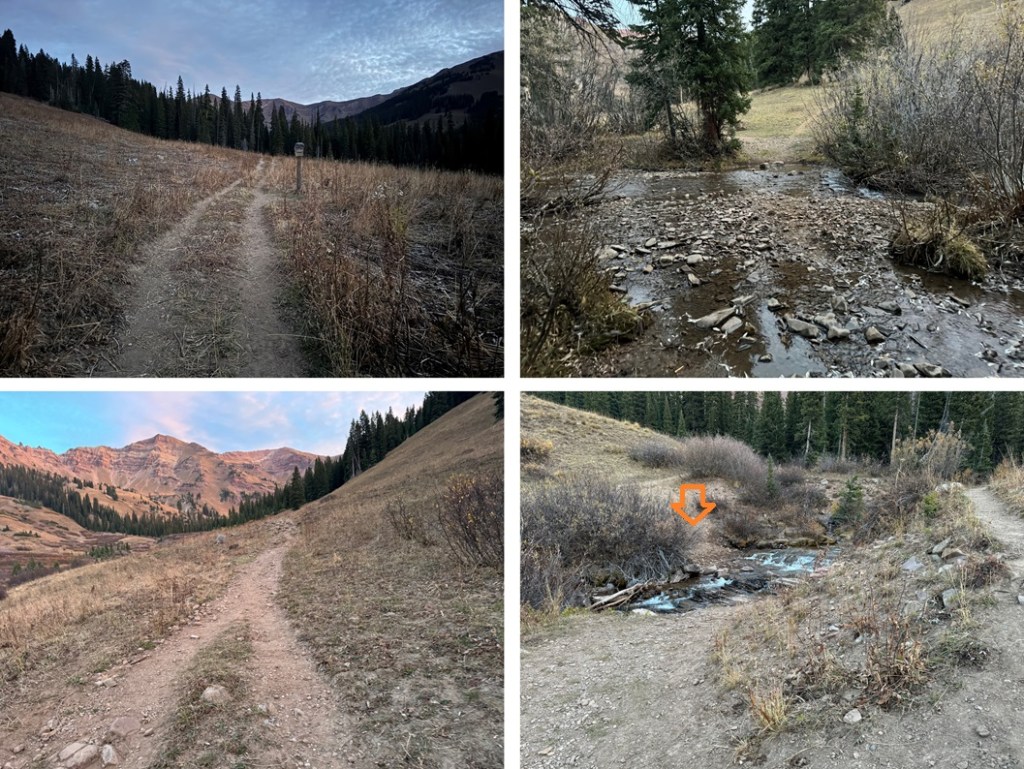
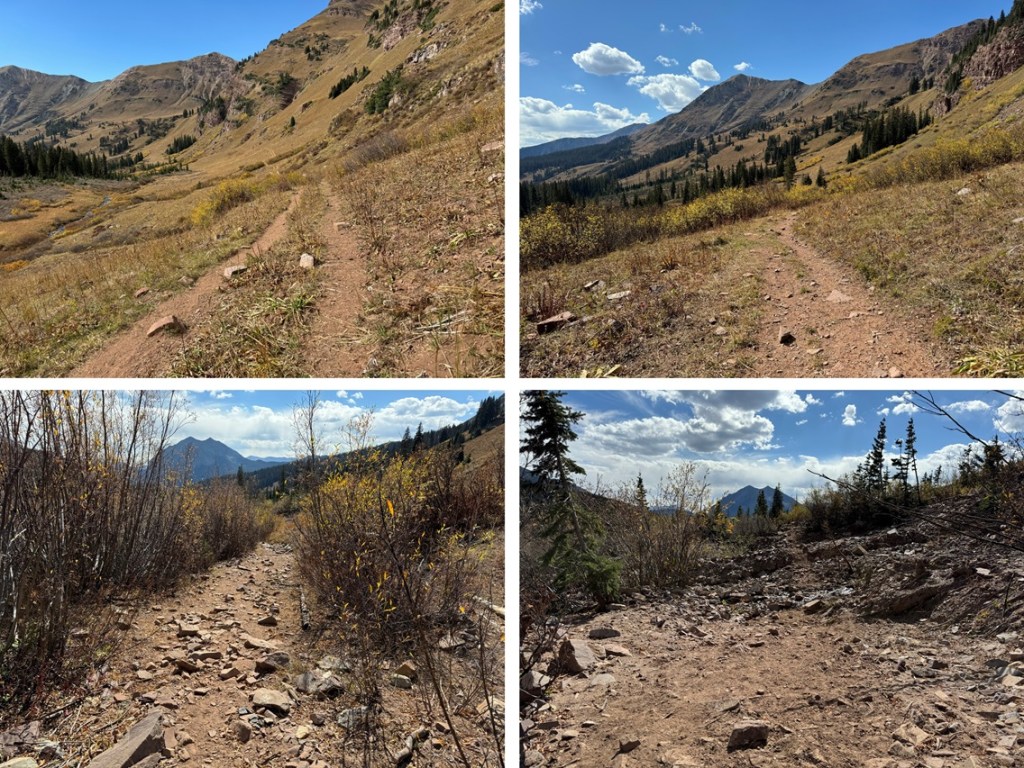
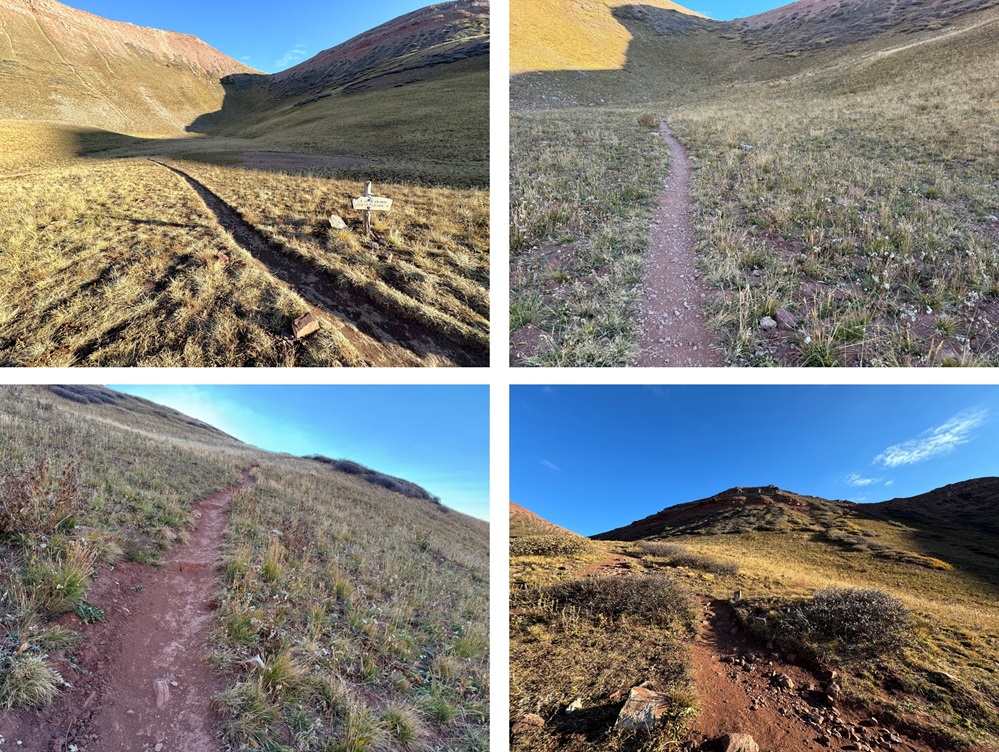
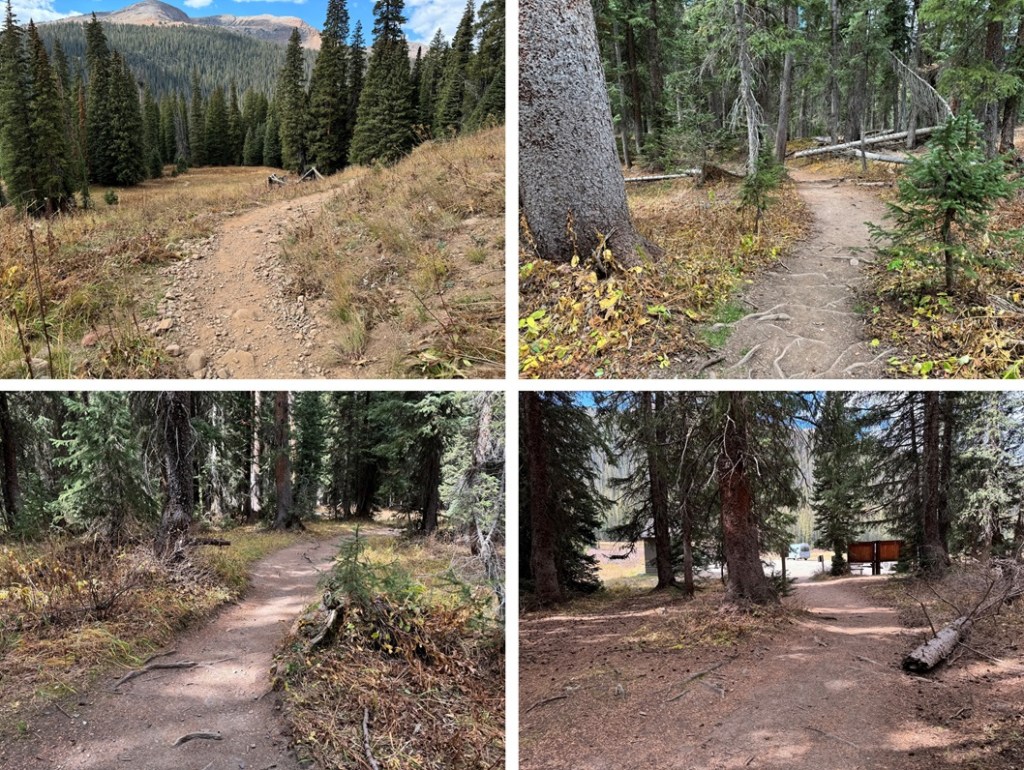
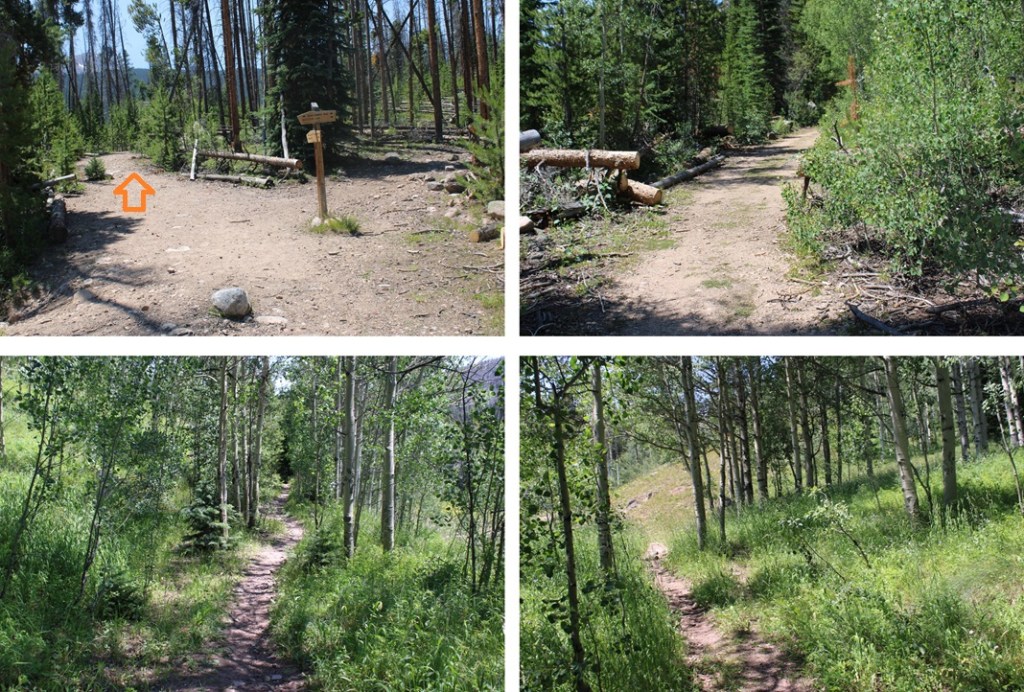
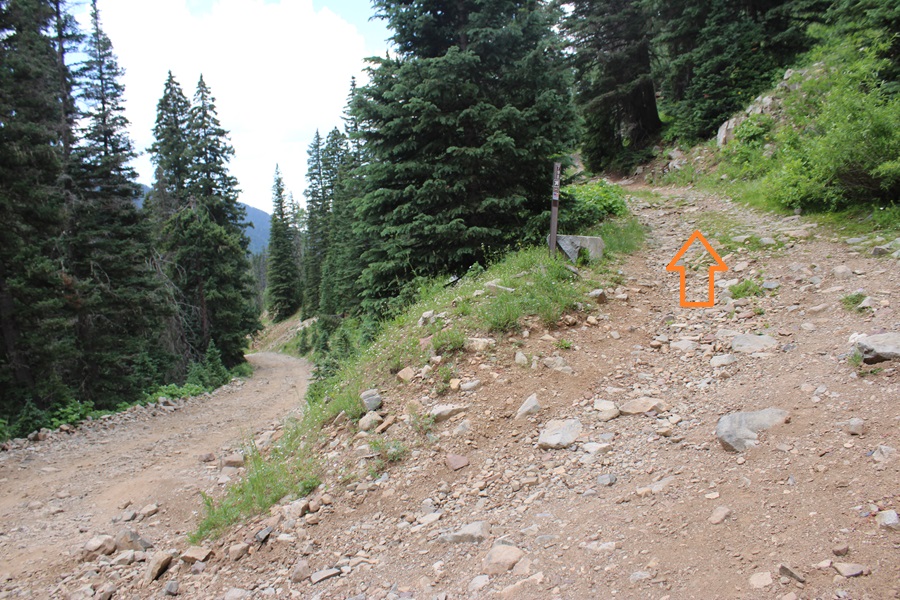
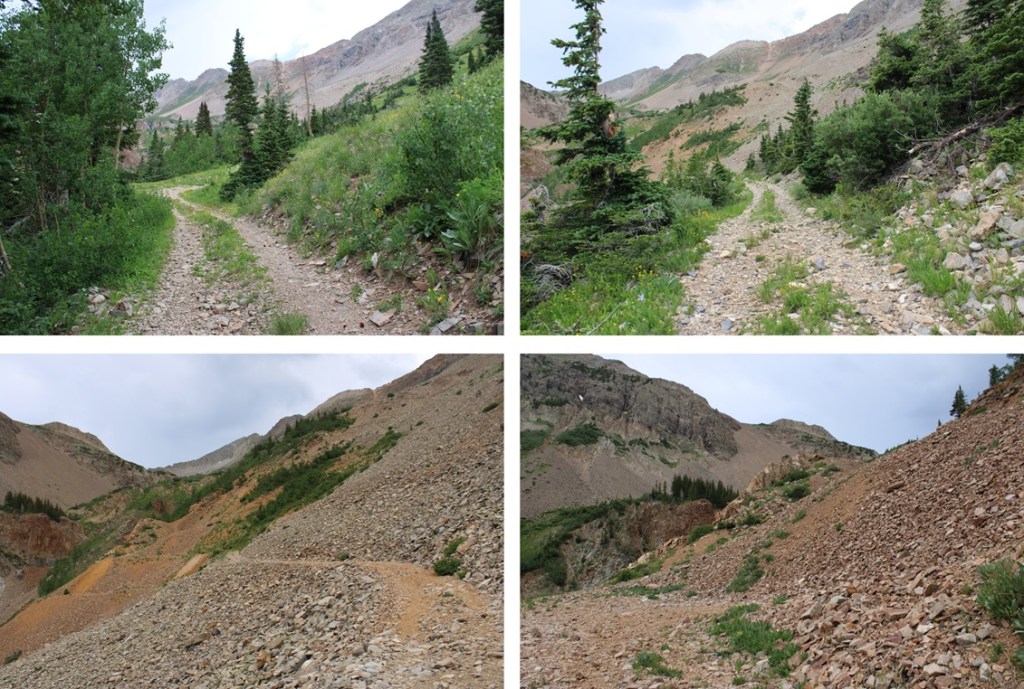
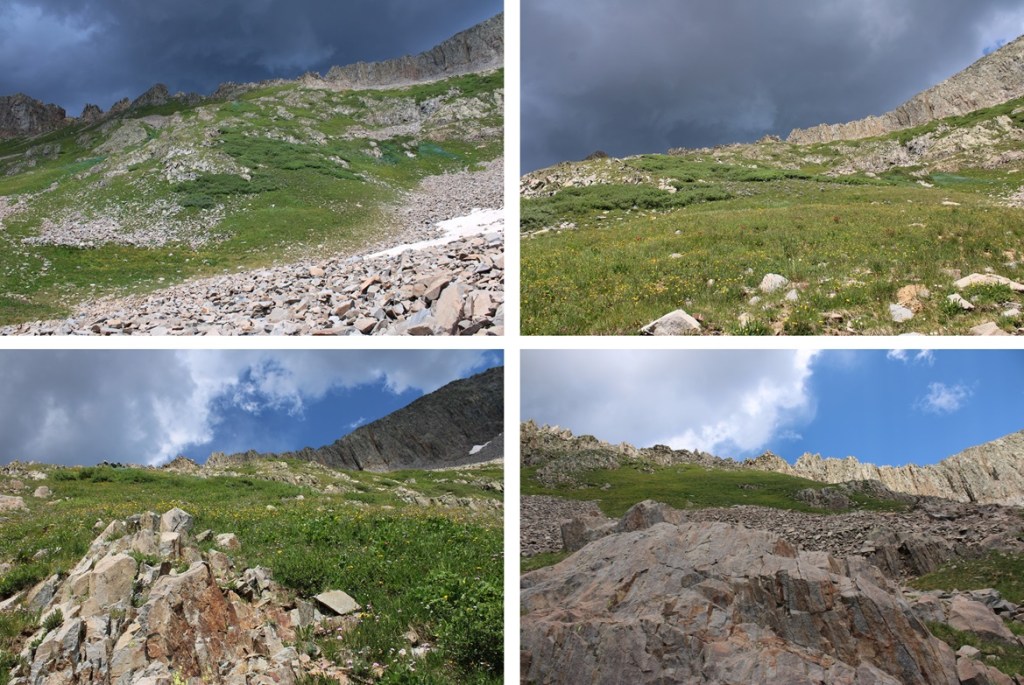
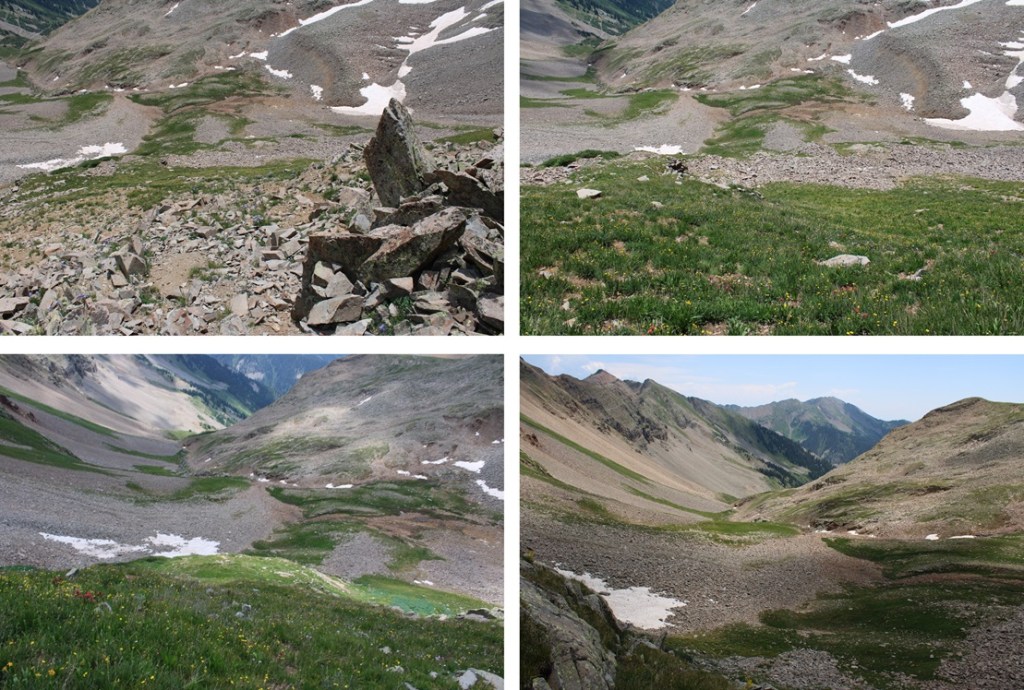
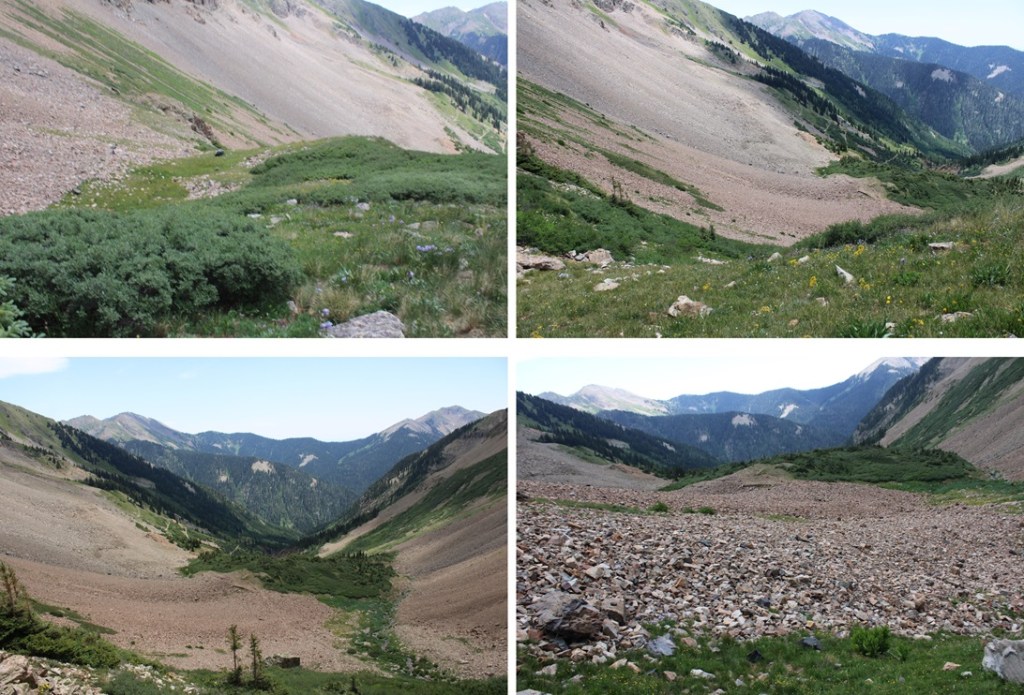
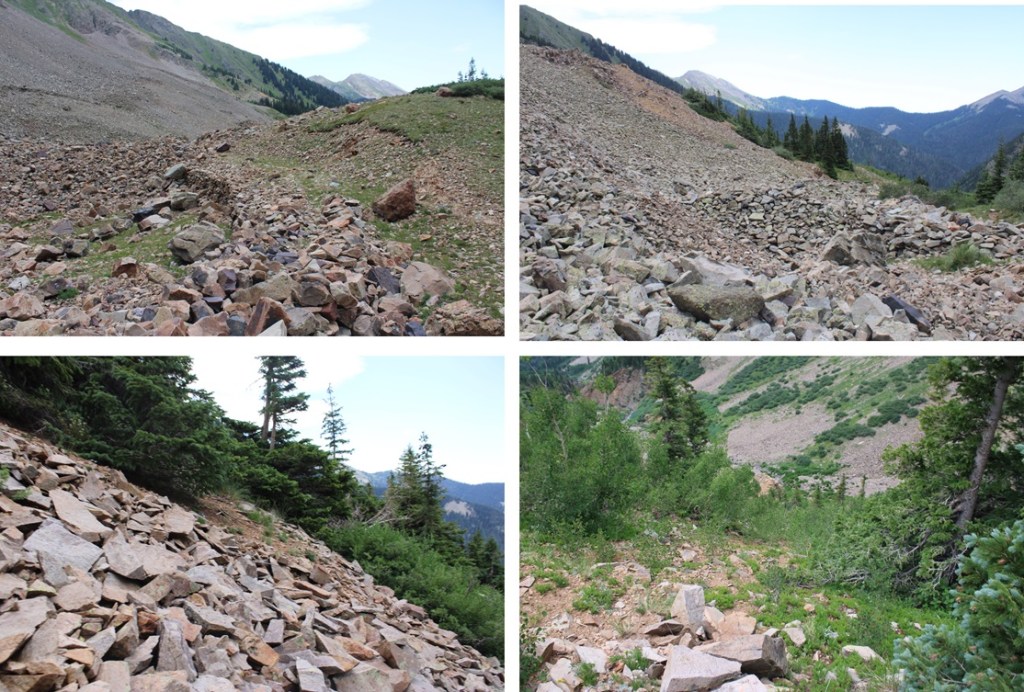
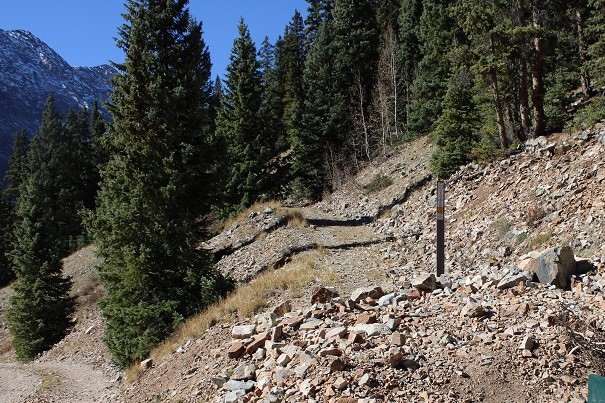
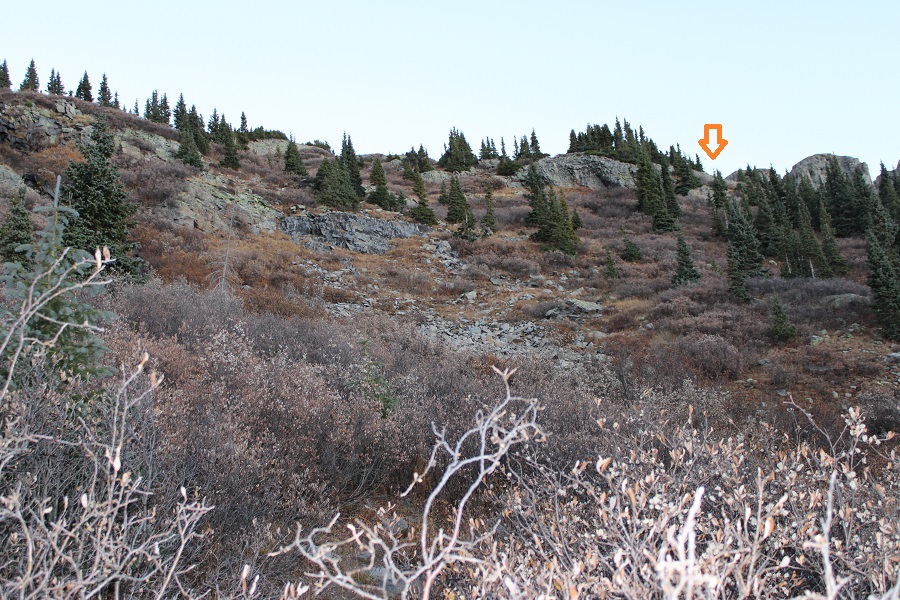
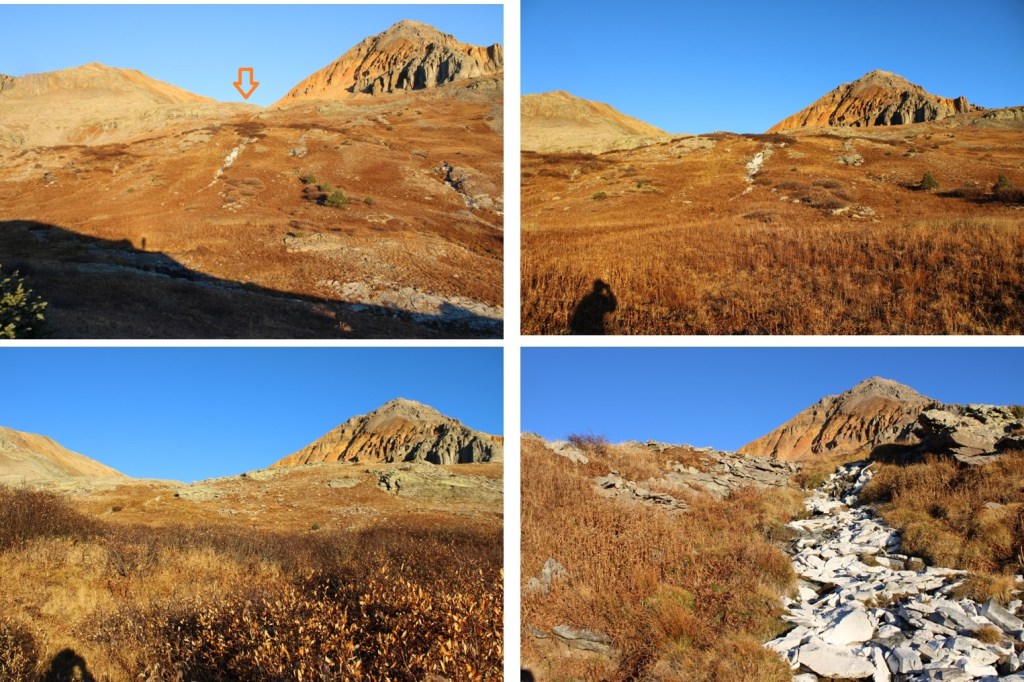
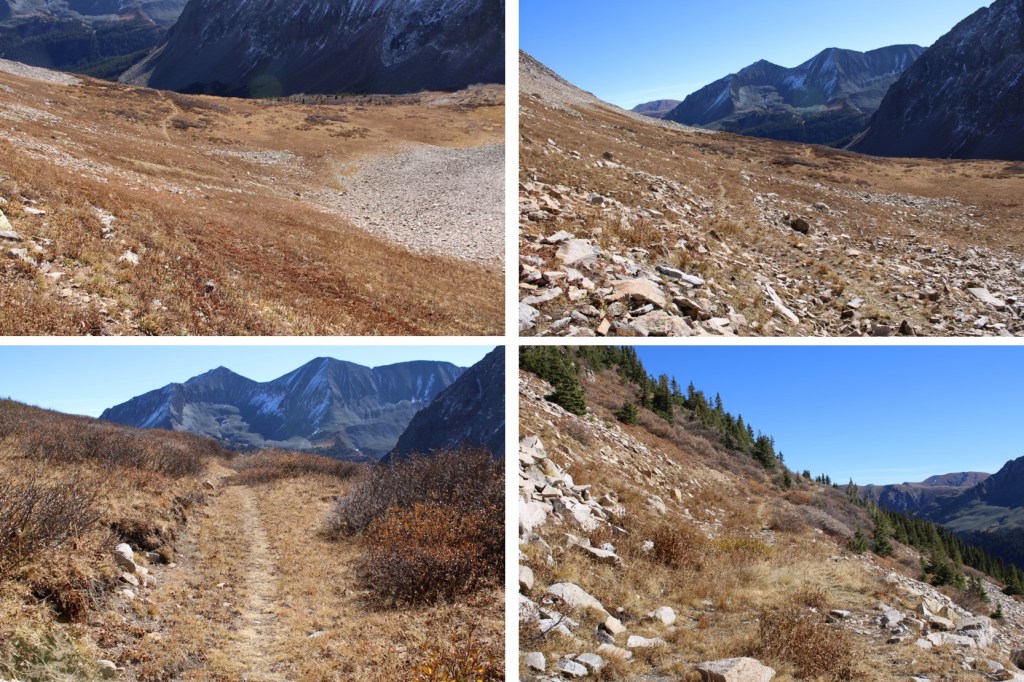
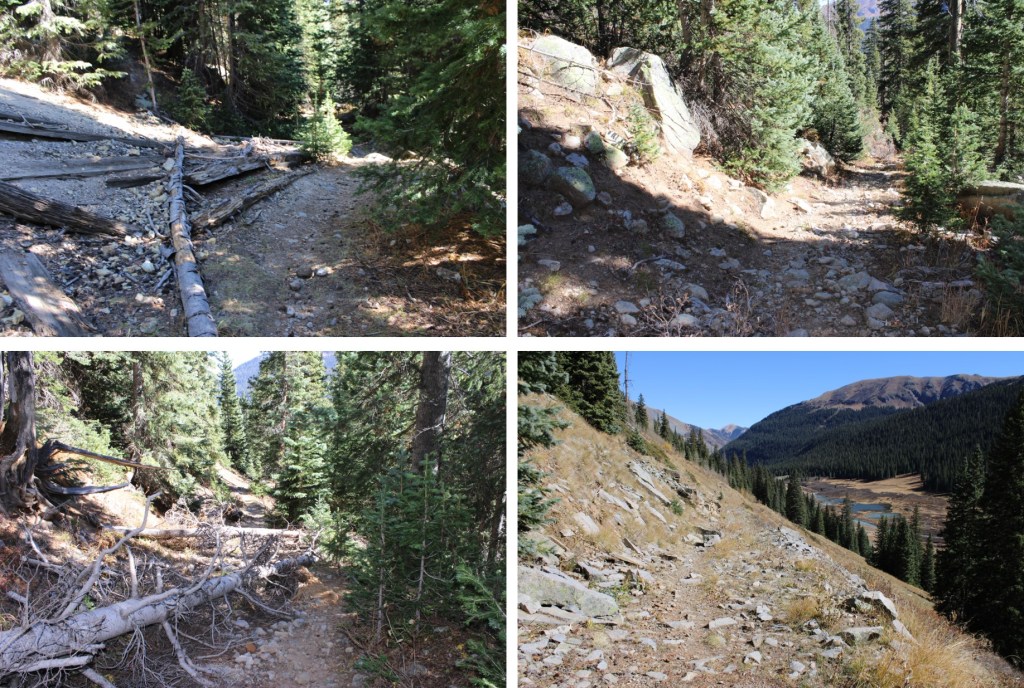
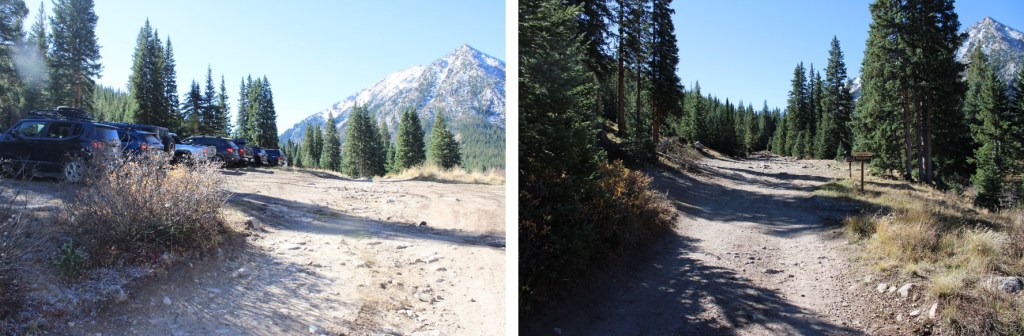
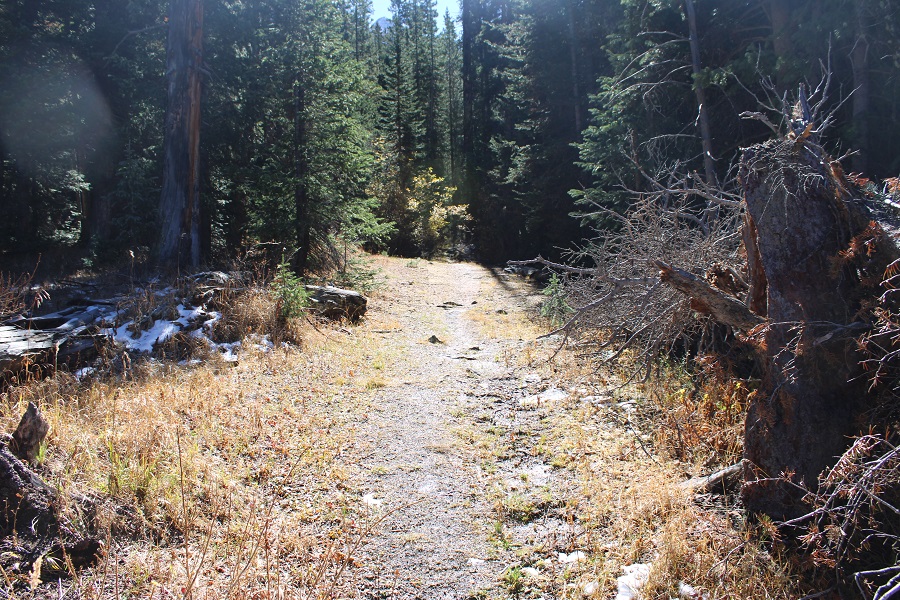
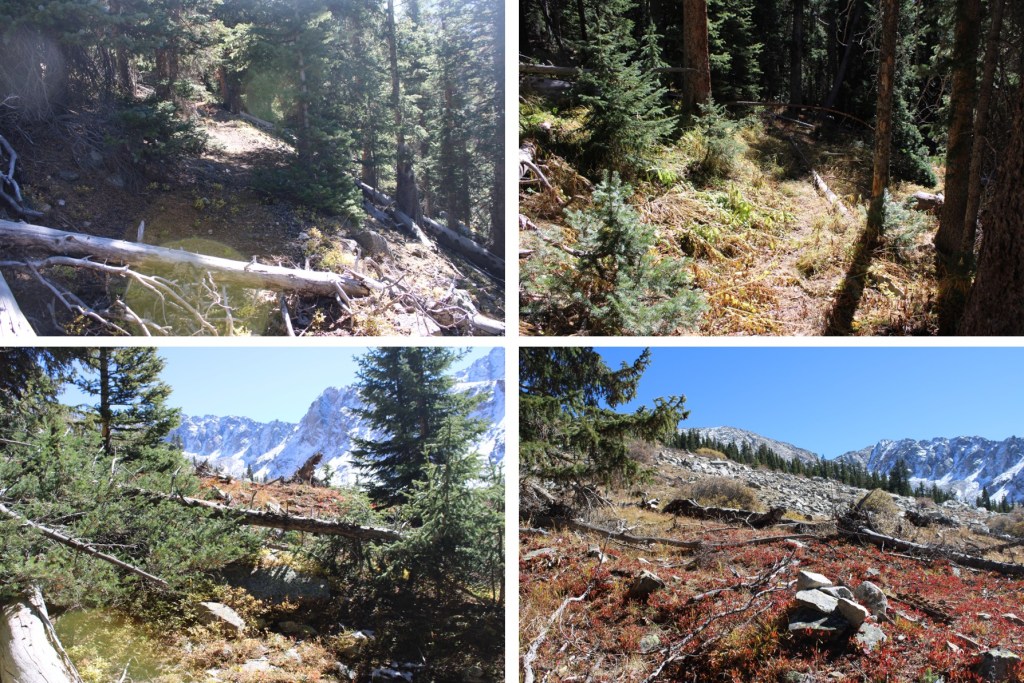
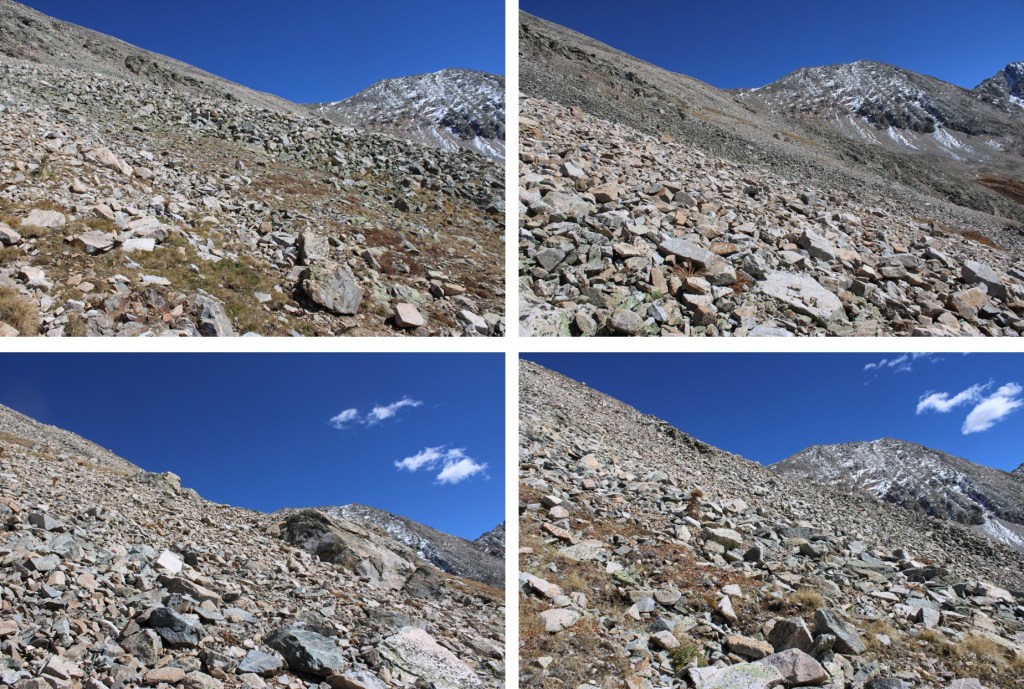
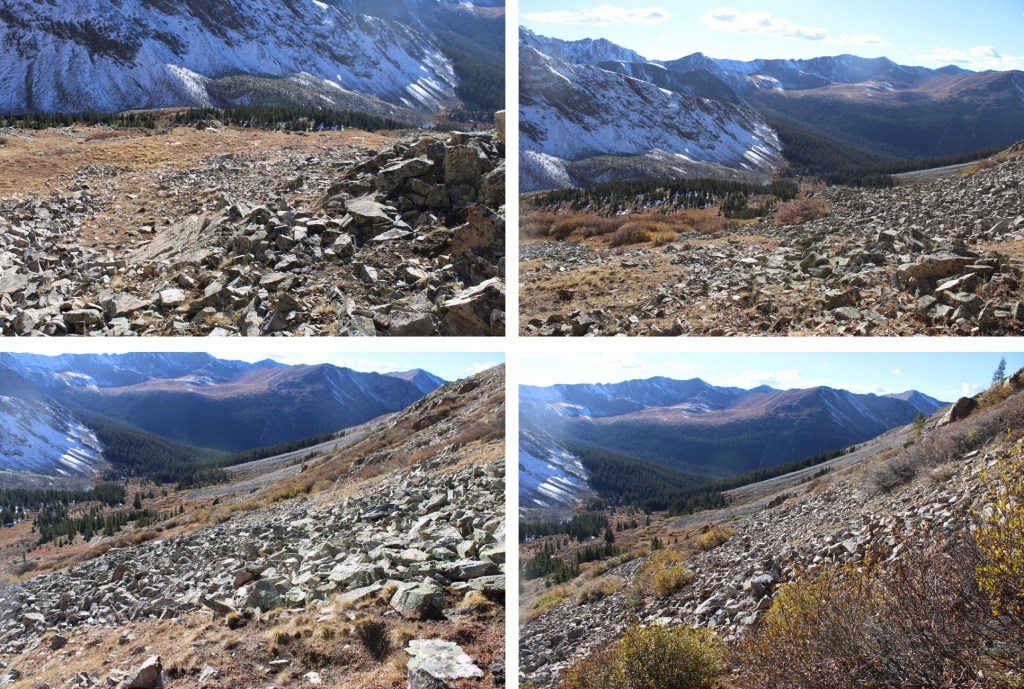
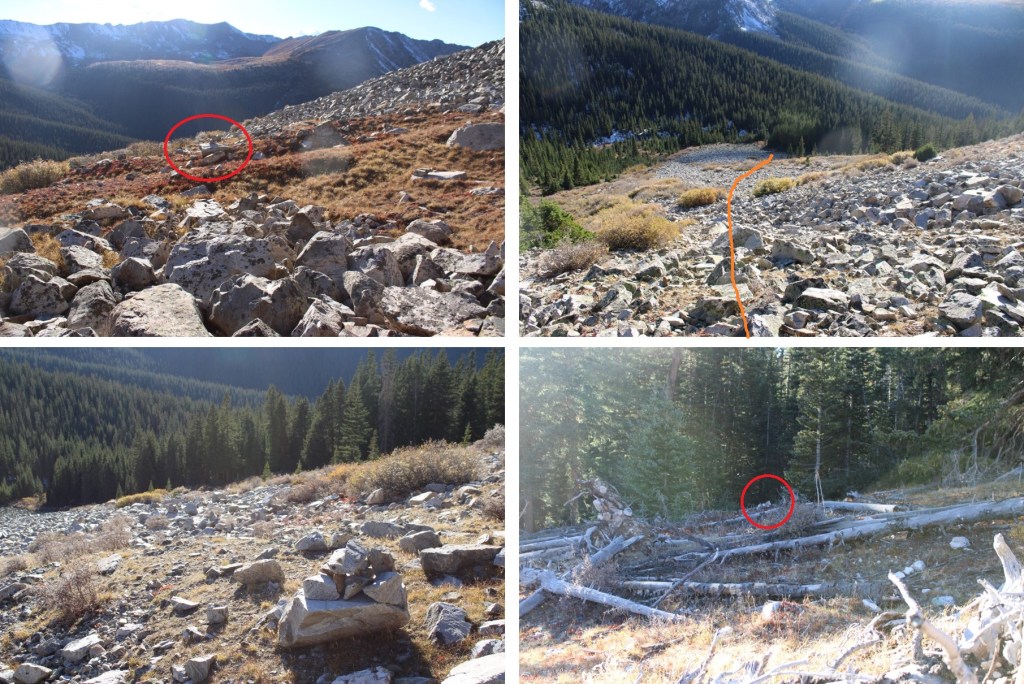
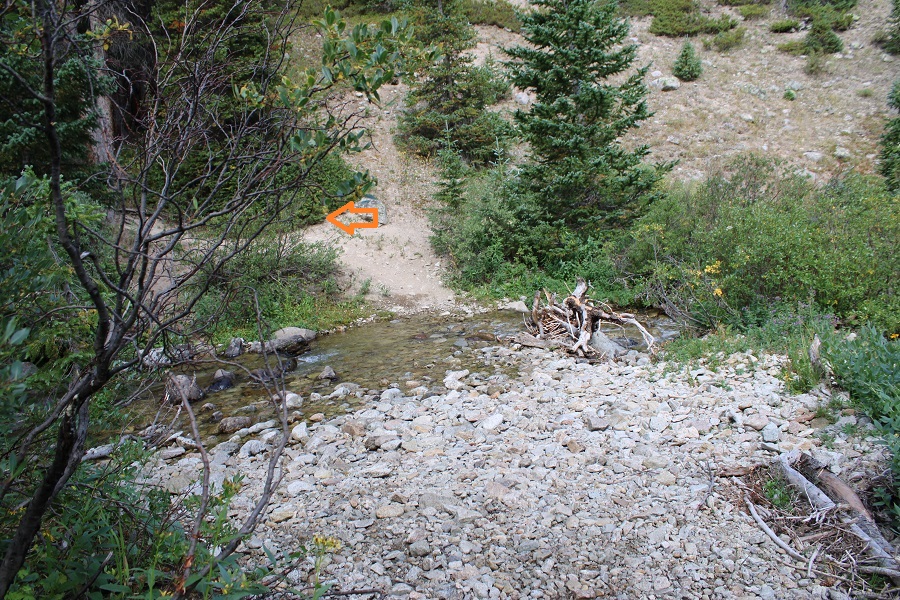
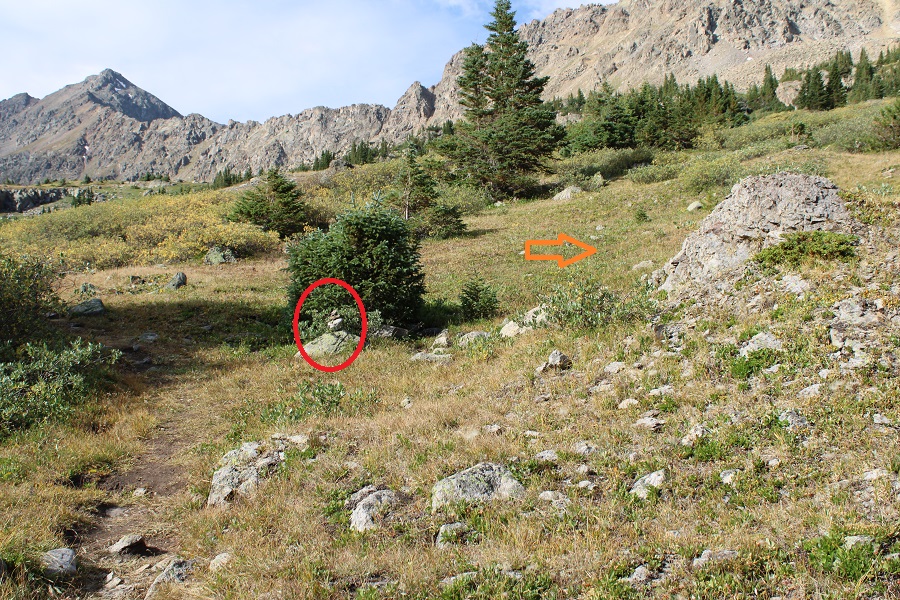
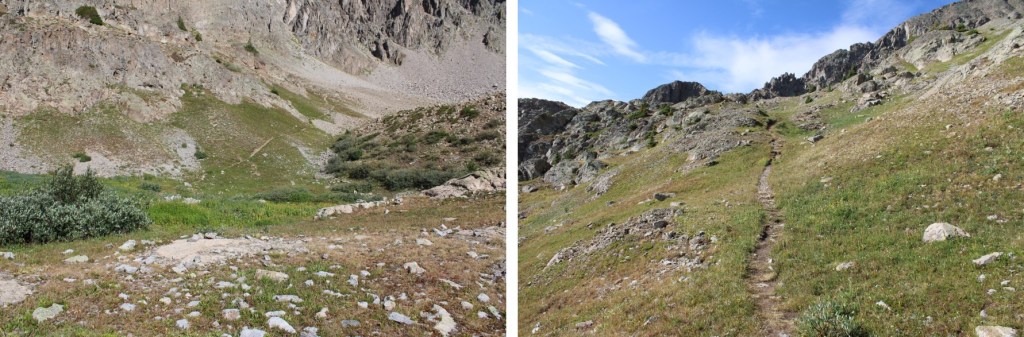
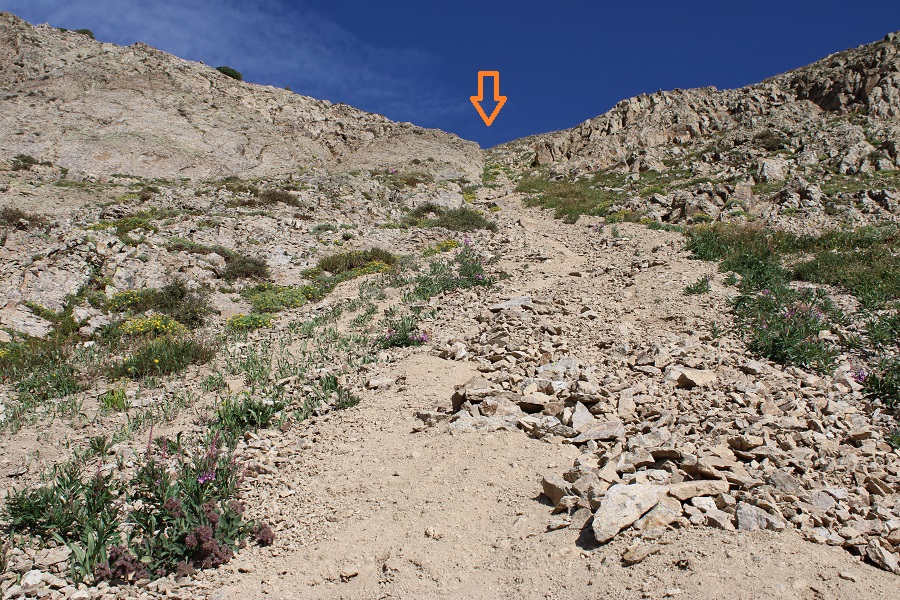
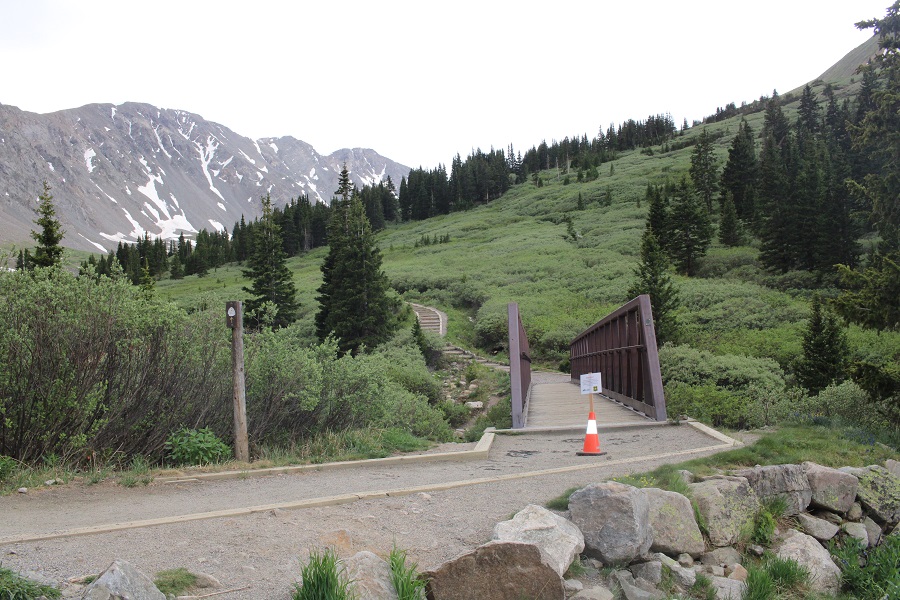
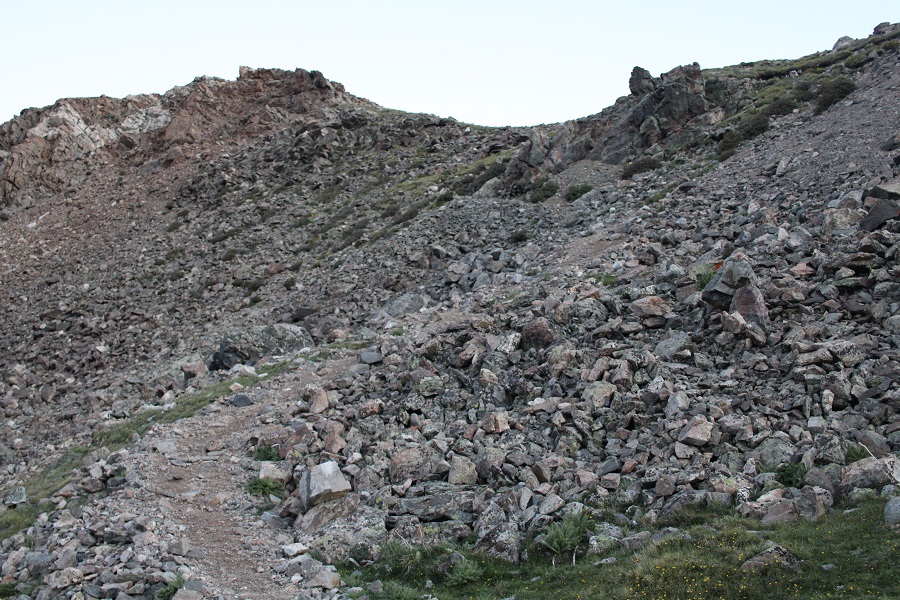
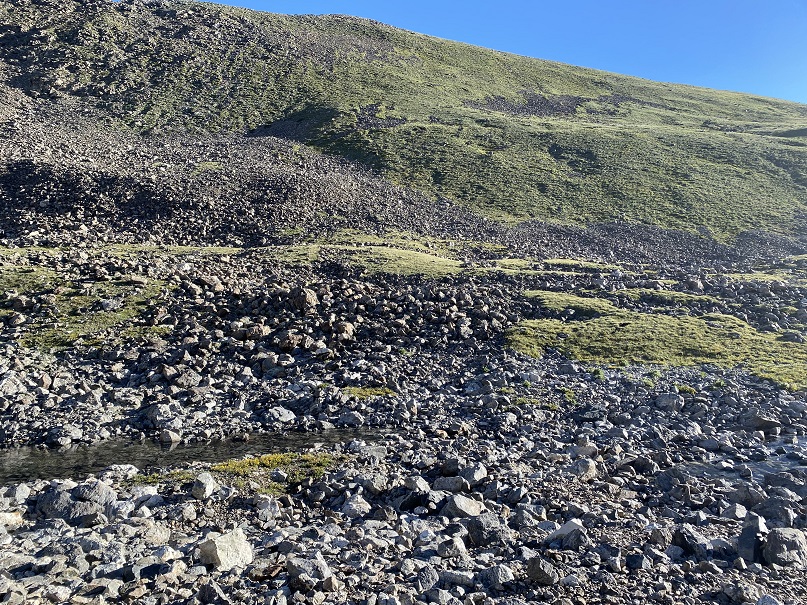
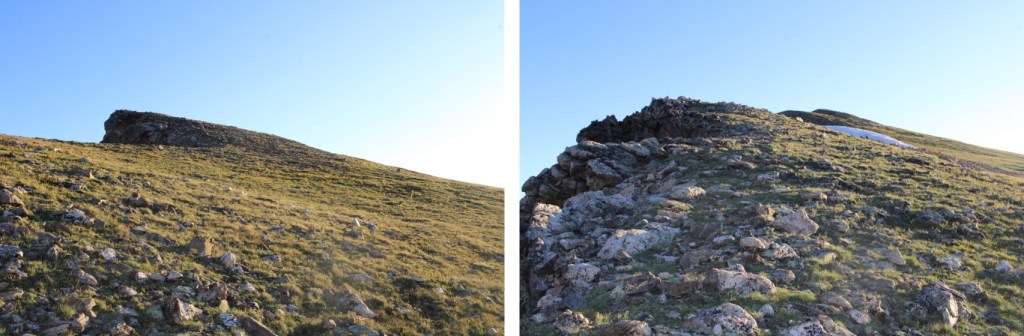
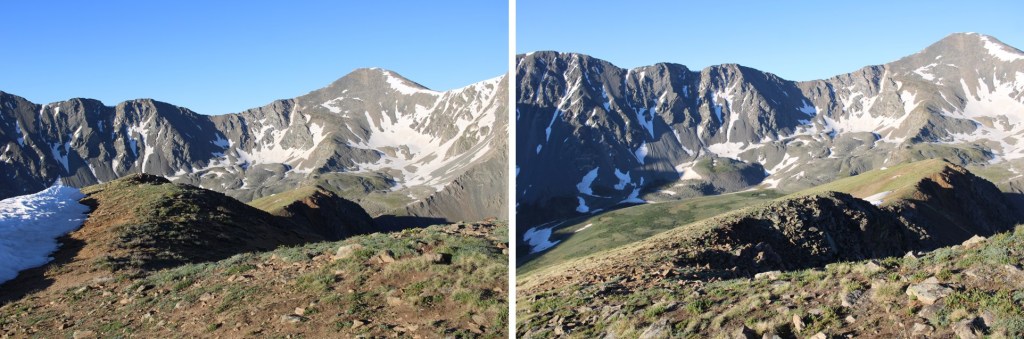
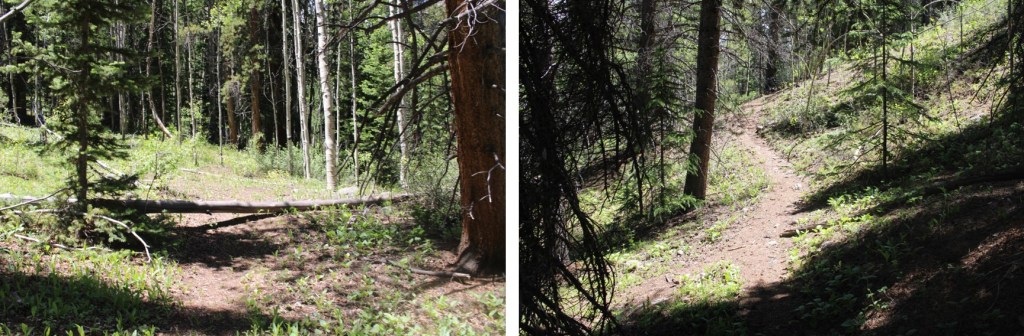
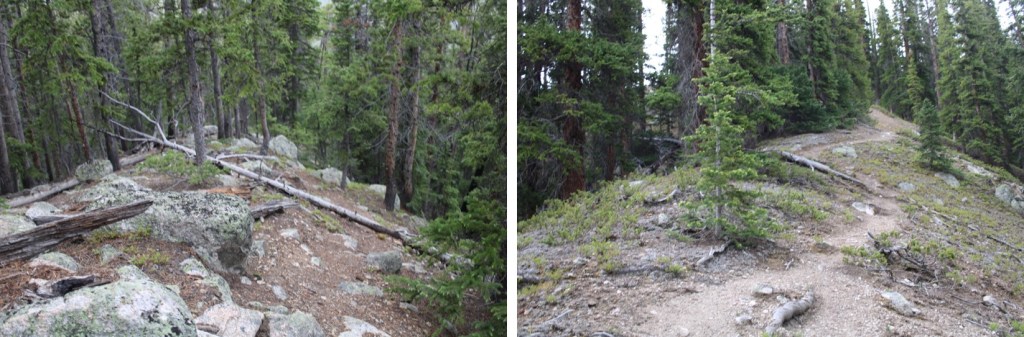
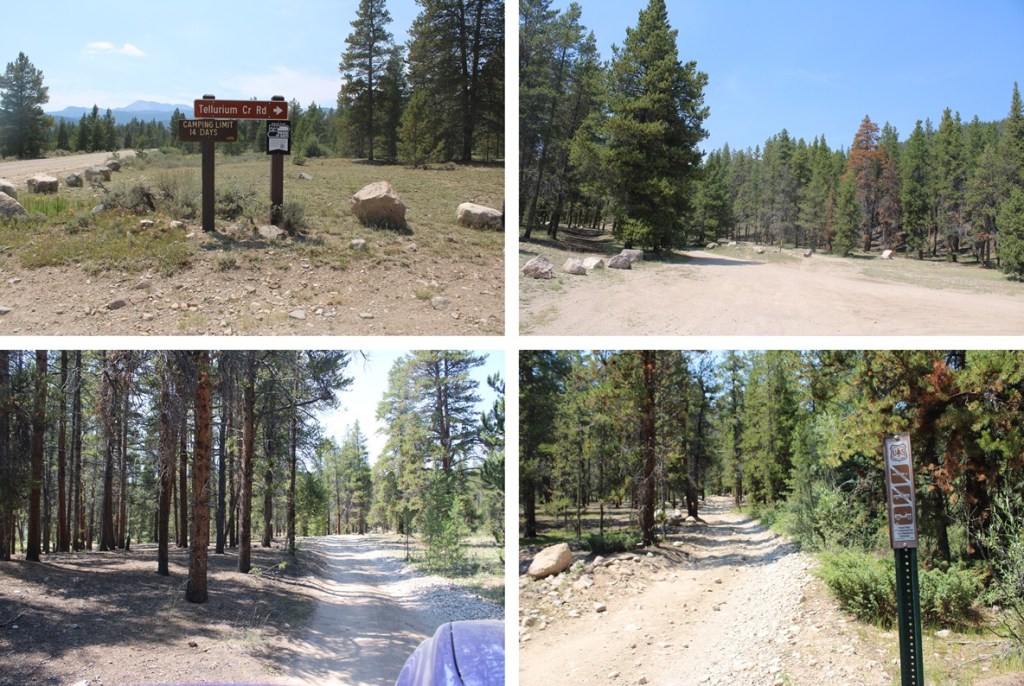
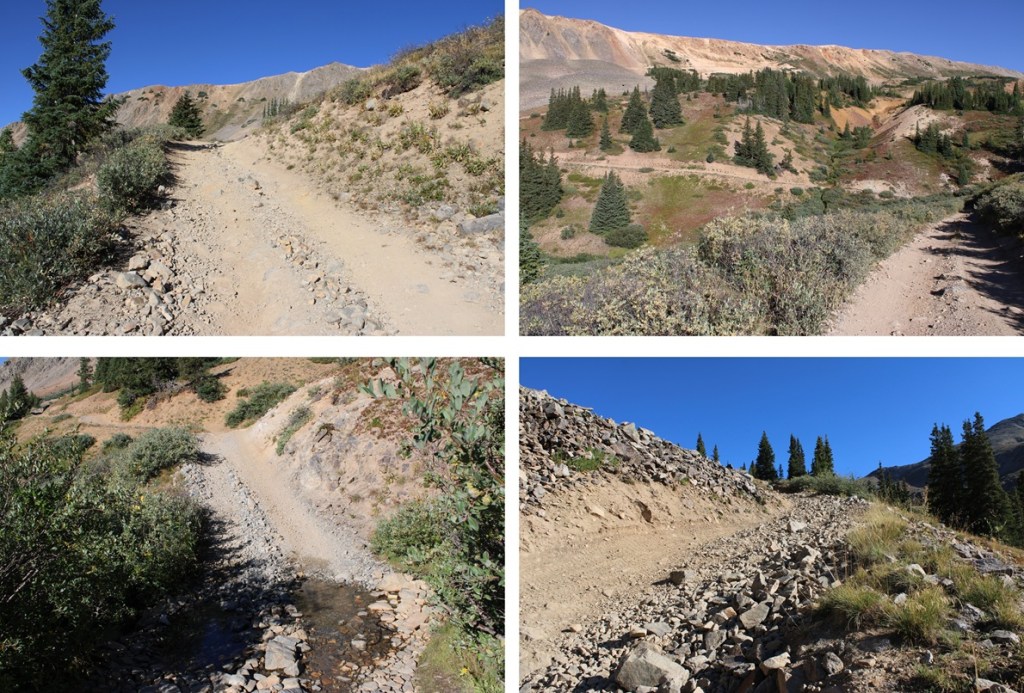
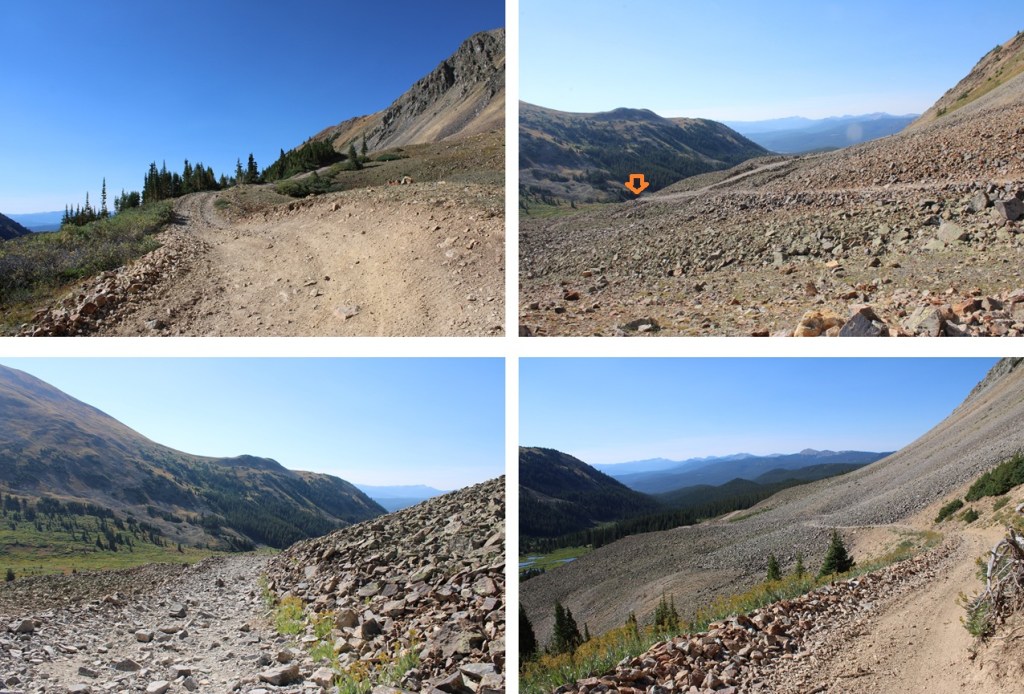
It took me 3 hours carrying a full pack to make it to the lake. The road is easy to follow but very rocky. Here are some pictures of the road up to 11900’, where the junction is with the trail that takes you to the lake. There are several stream crossings along the way, but this time of year they were all low enough I could rock hop across.
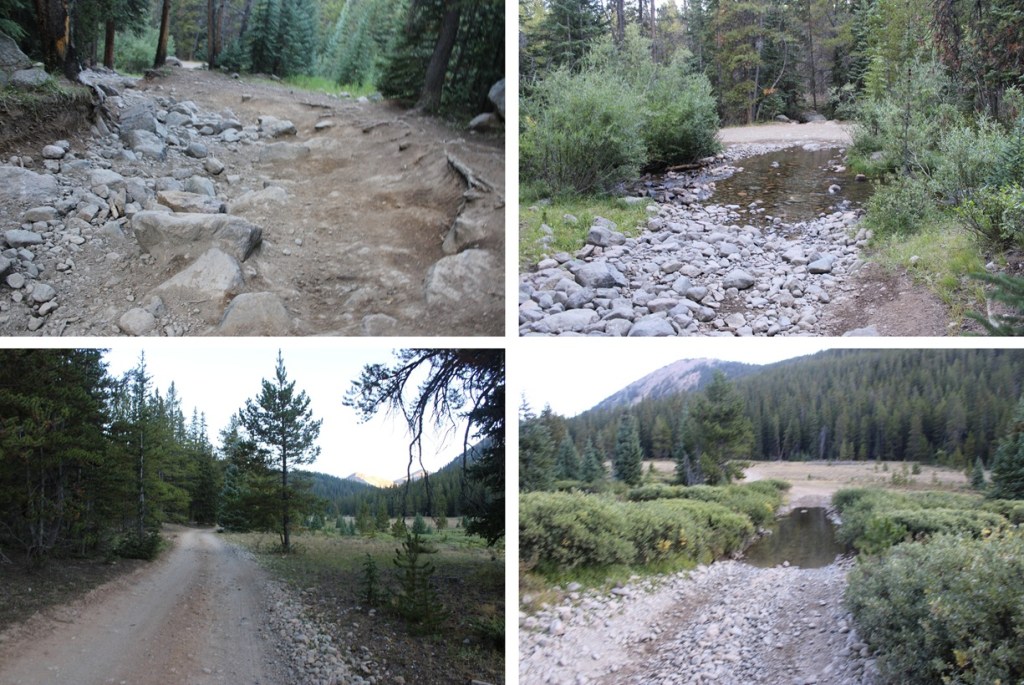

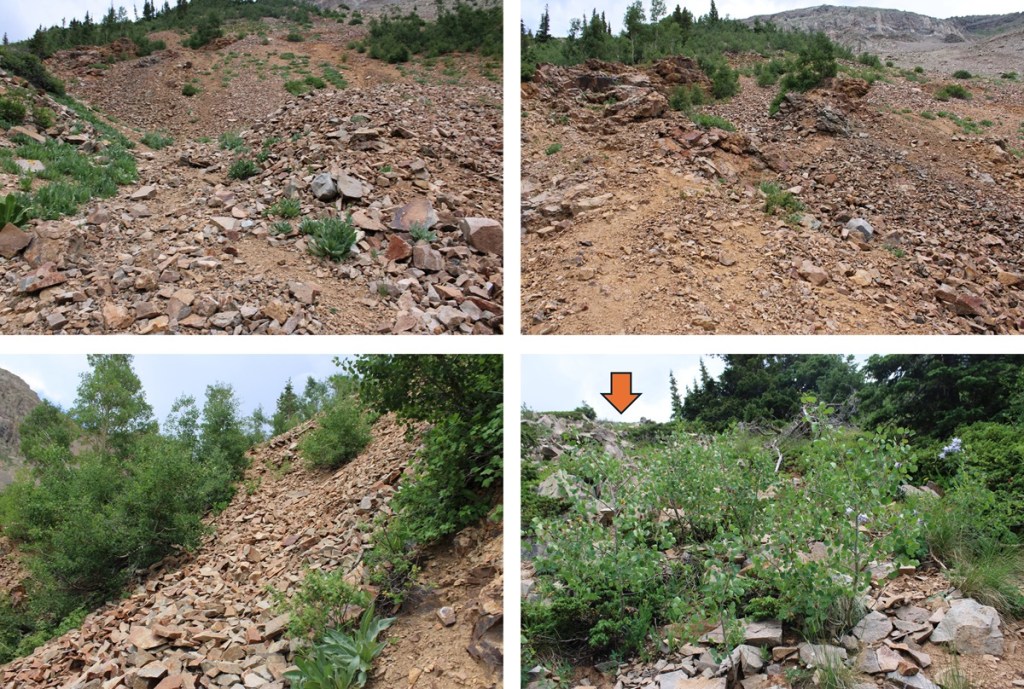
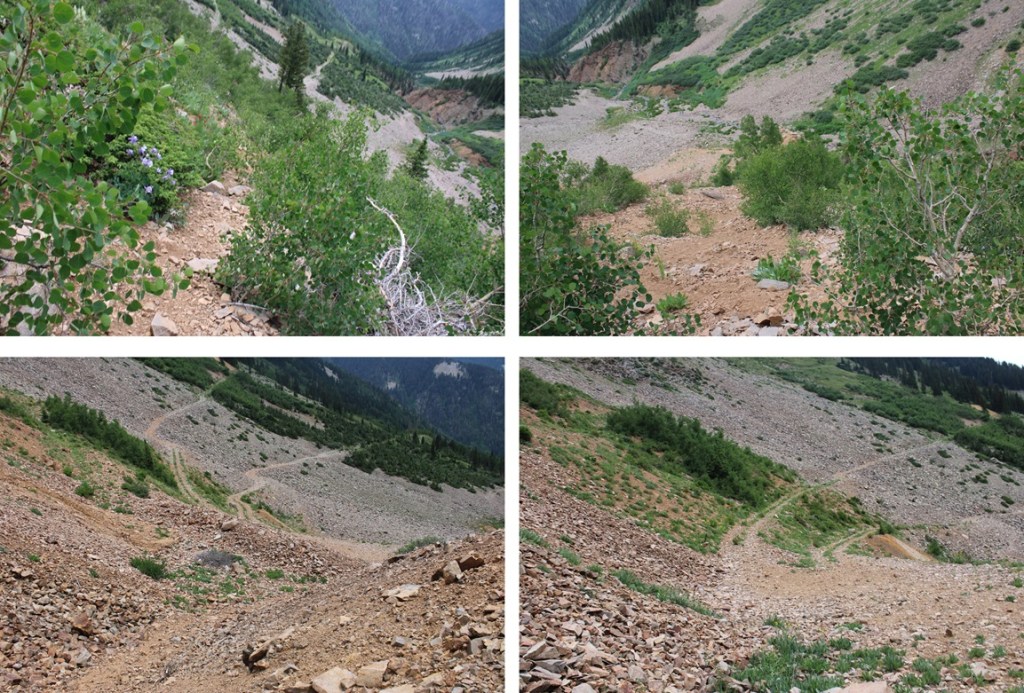
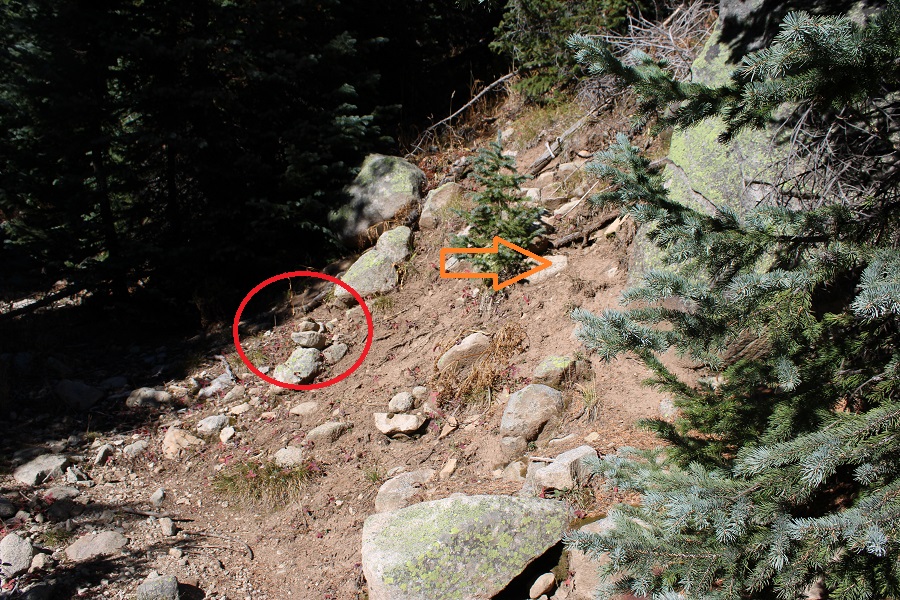
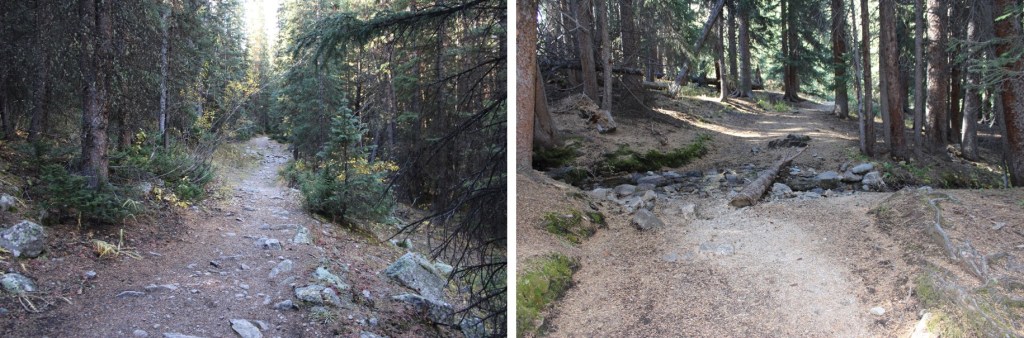
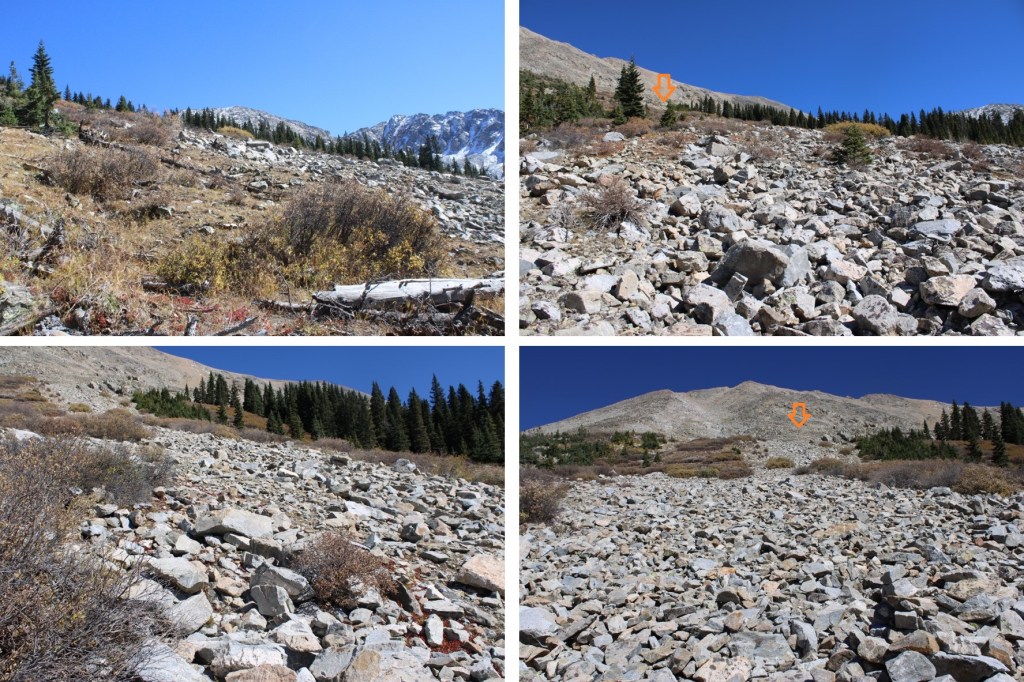
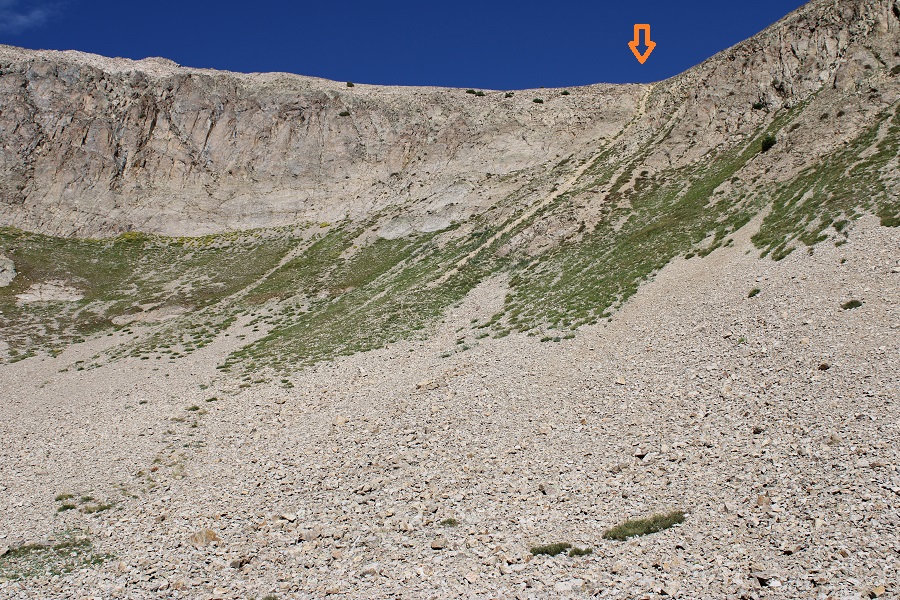
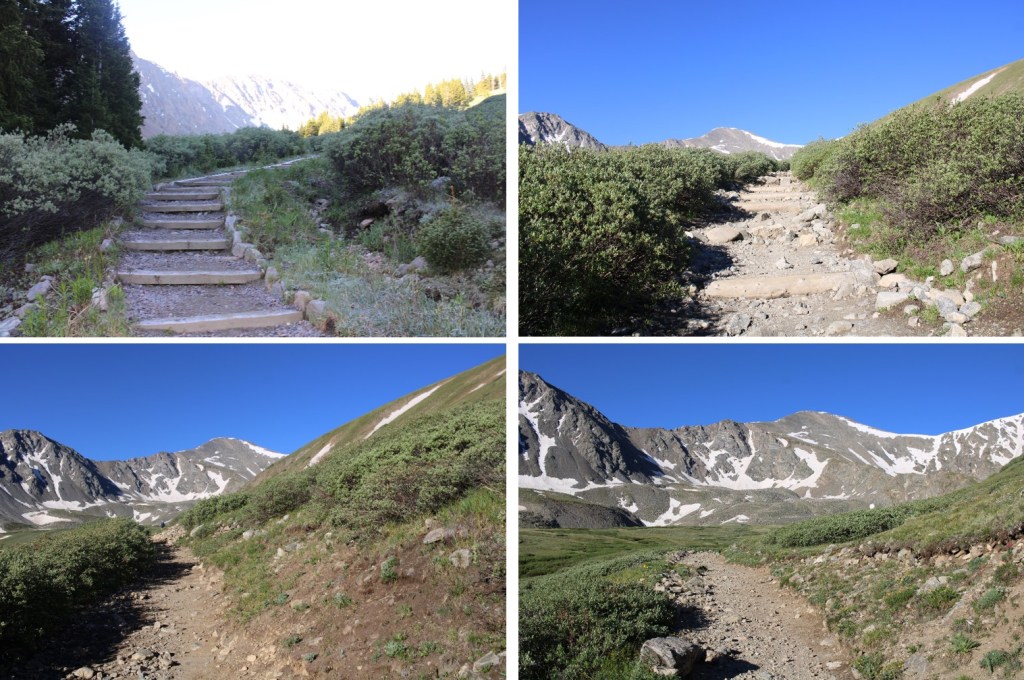
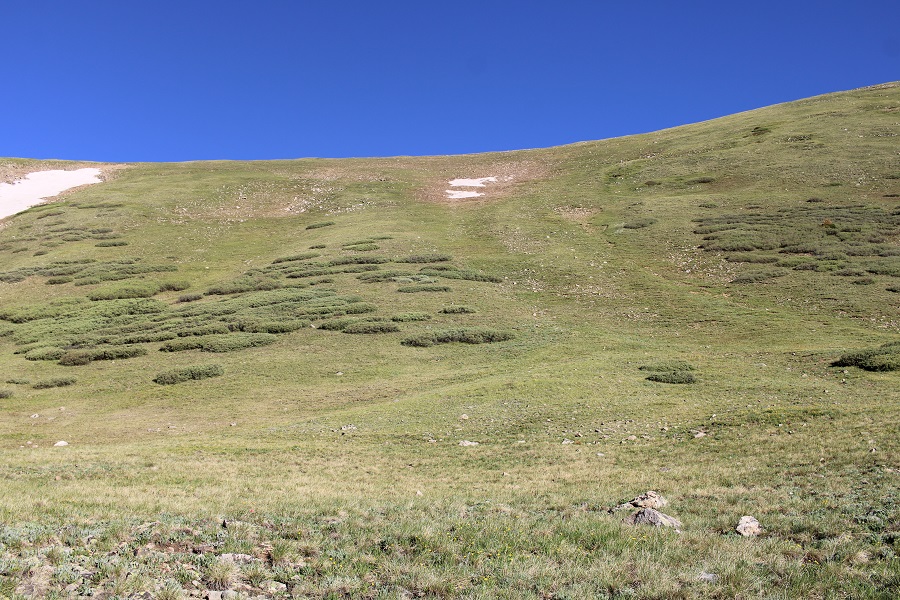
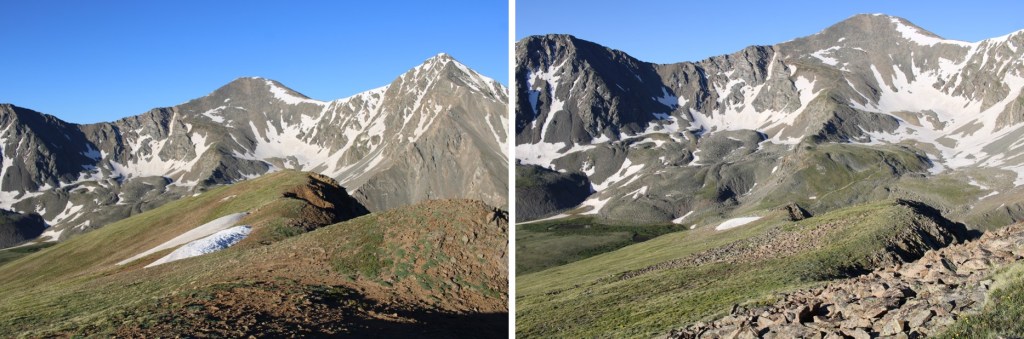
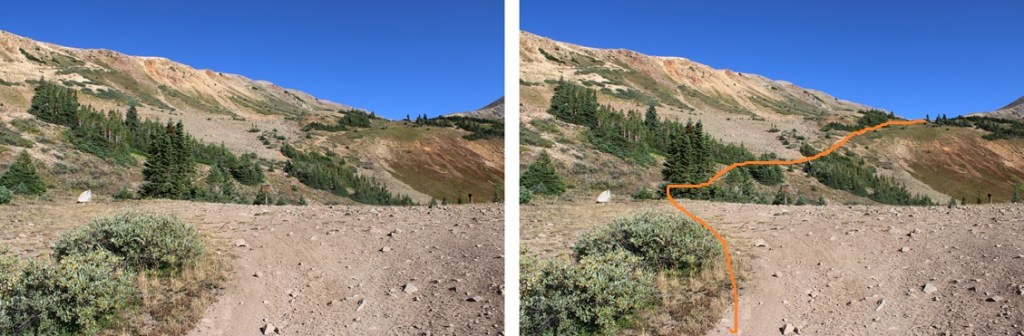
At around 11480’ there’s a junction in the road. You can go either way. To the right you’ll go through a marshy area, to the left you’ll stay high and see the marshy area. I went right on the way in and hiked out the other way. Both were comparable, but the road to the left is a little shorter.
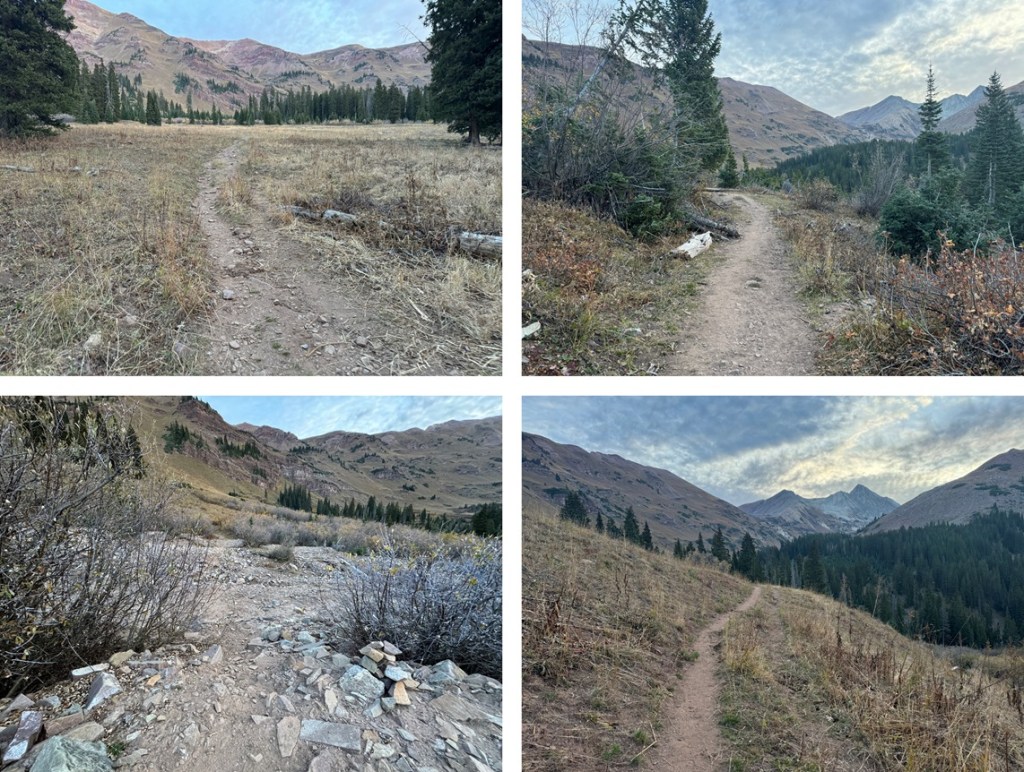
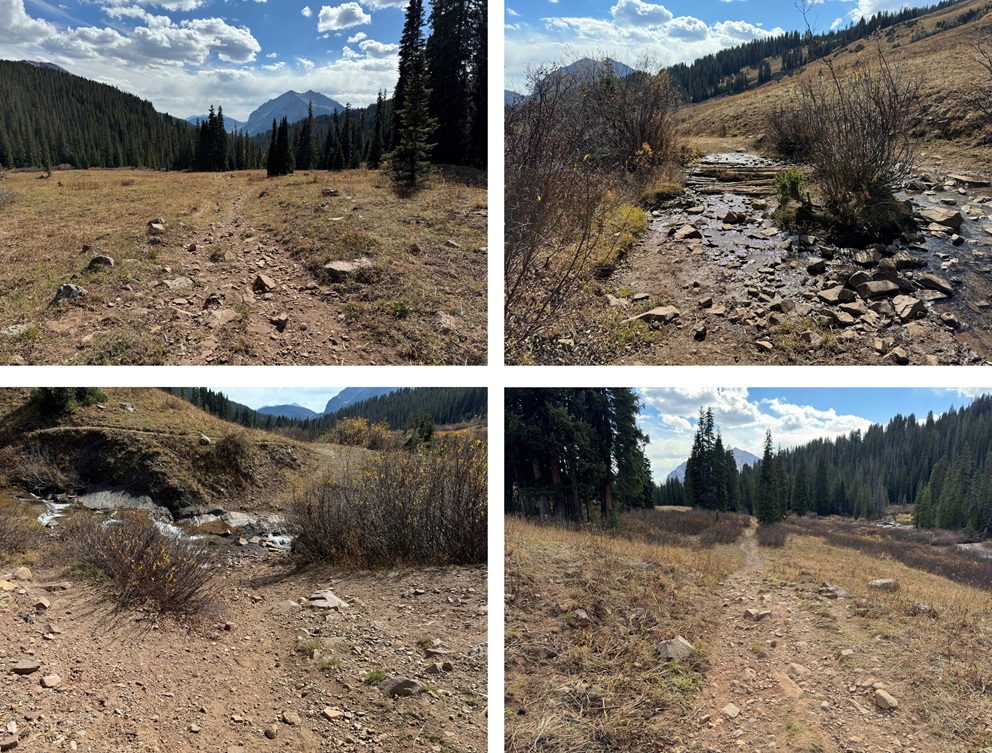
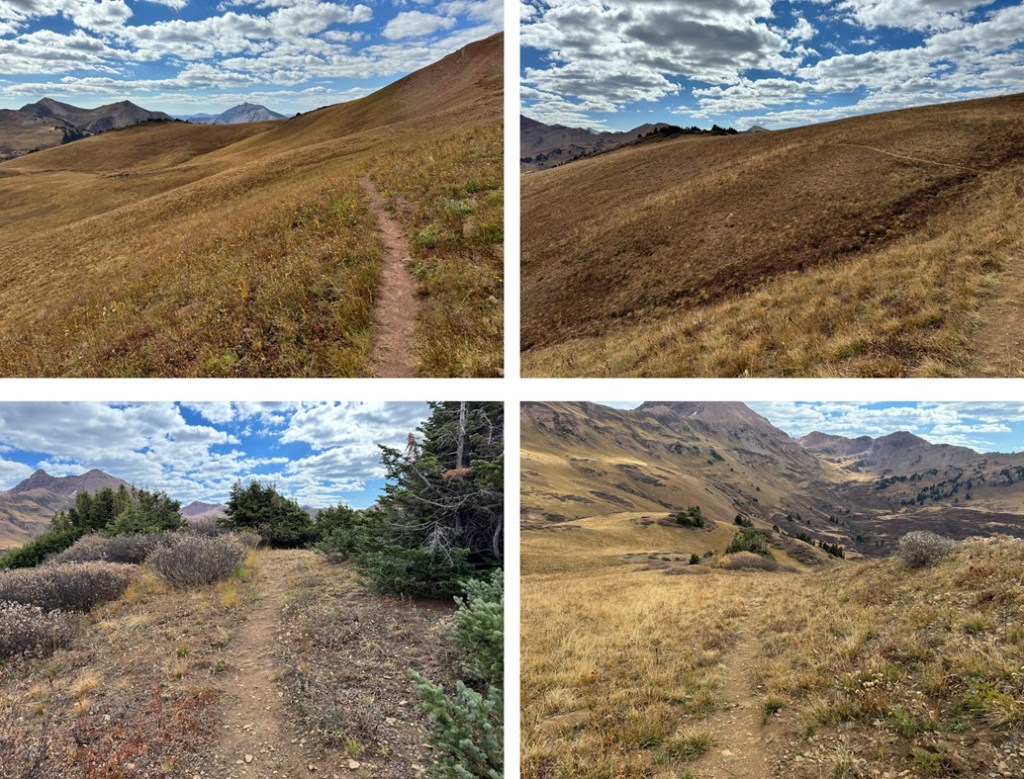
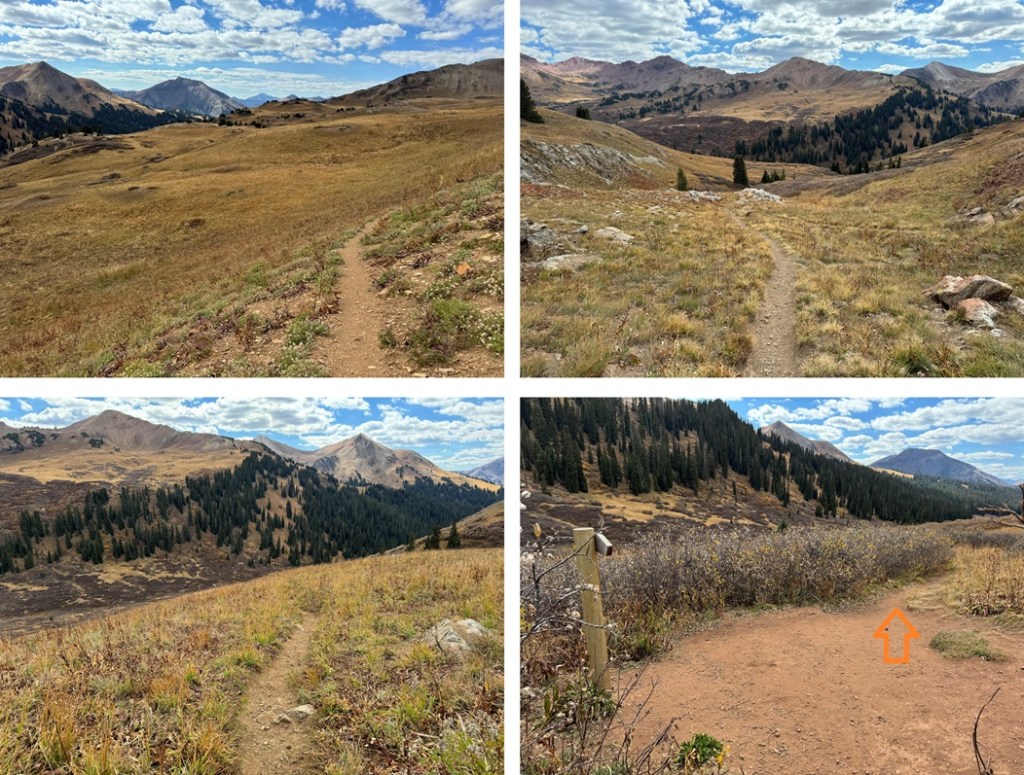
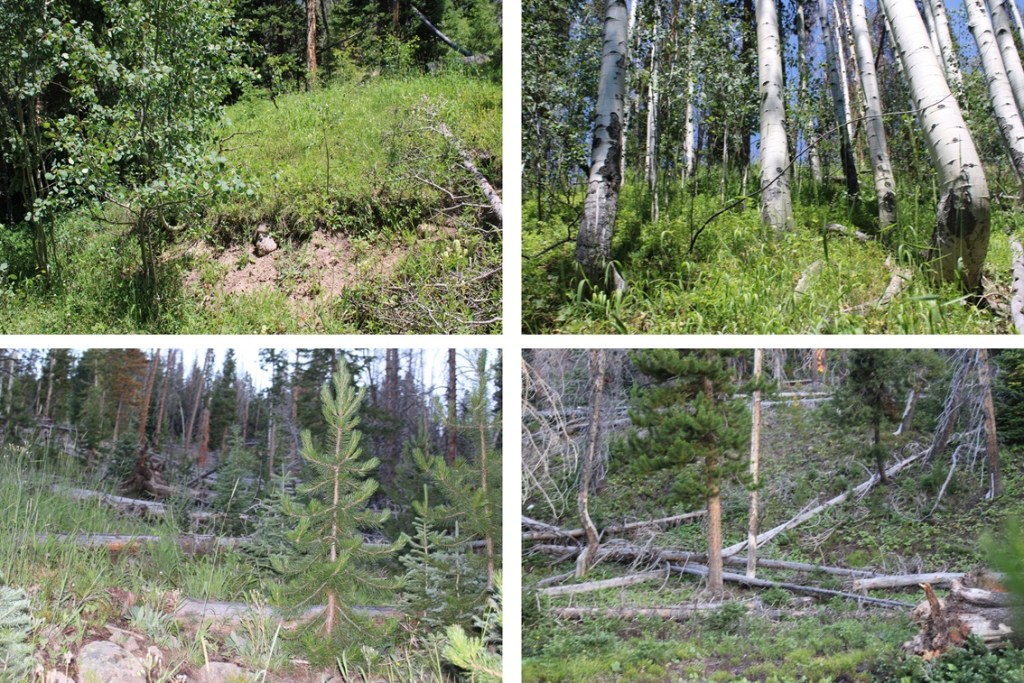
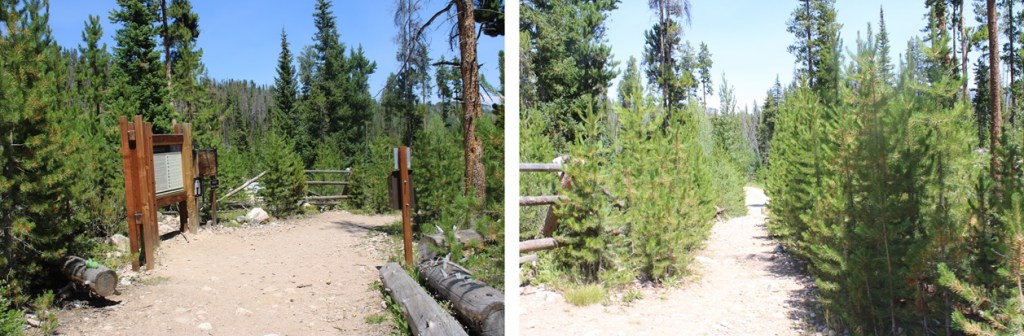
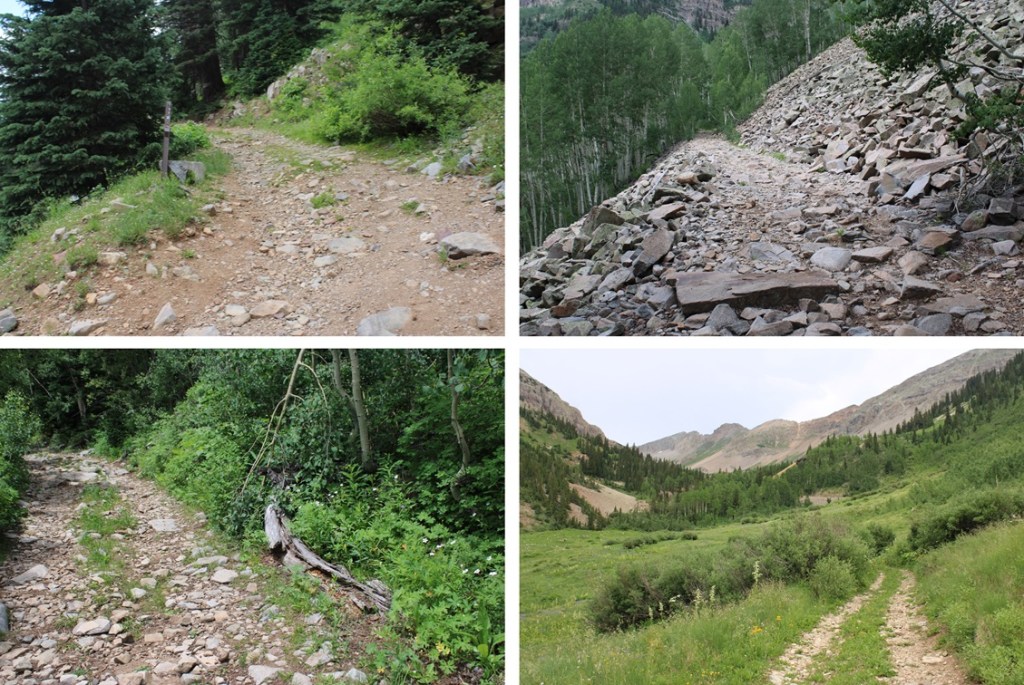
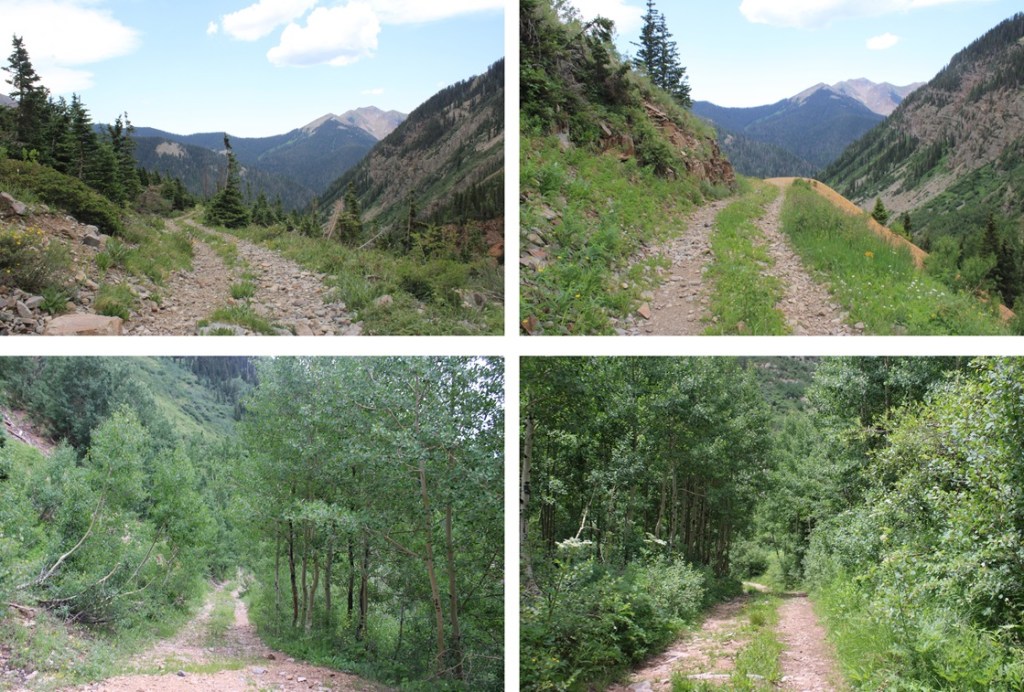
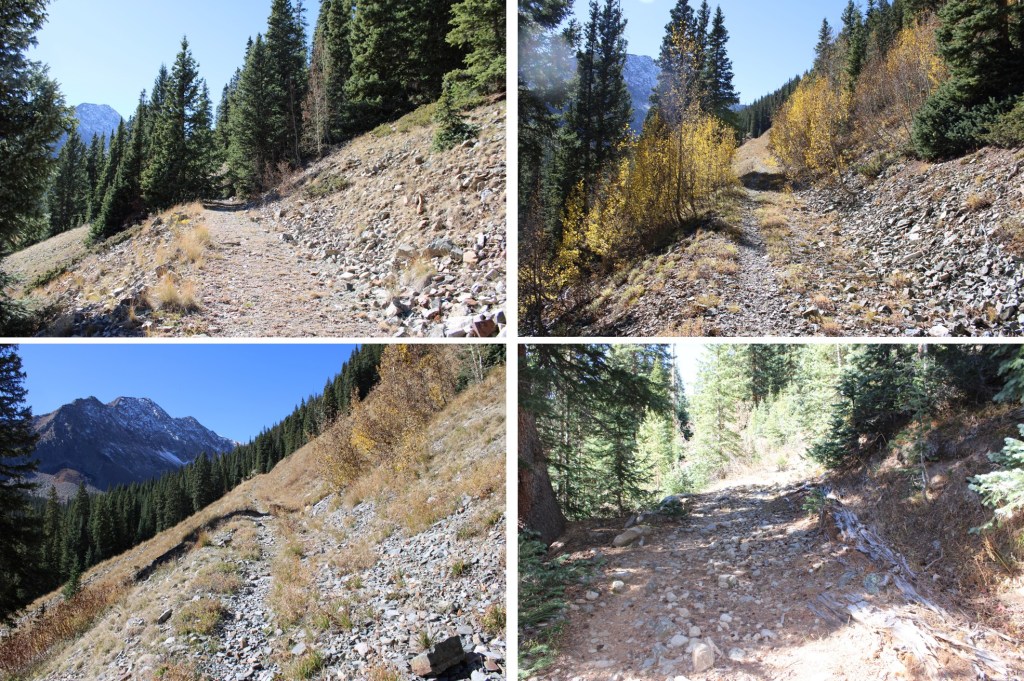
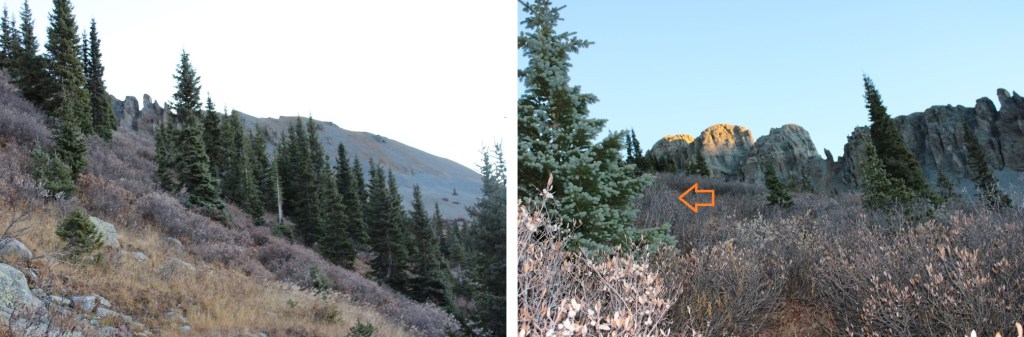
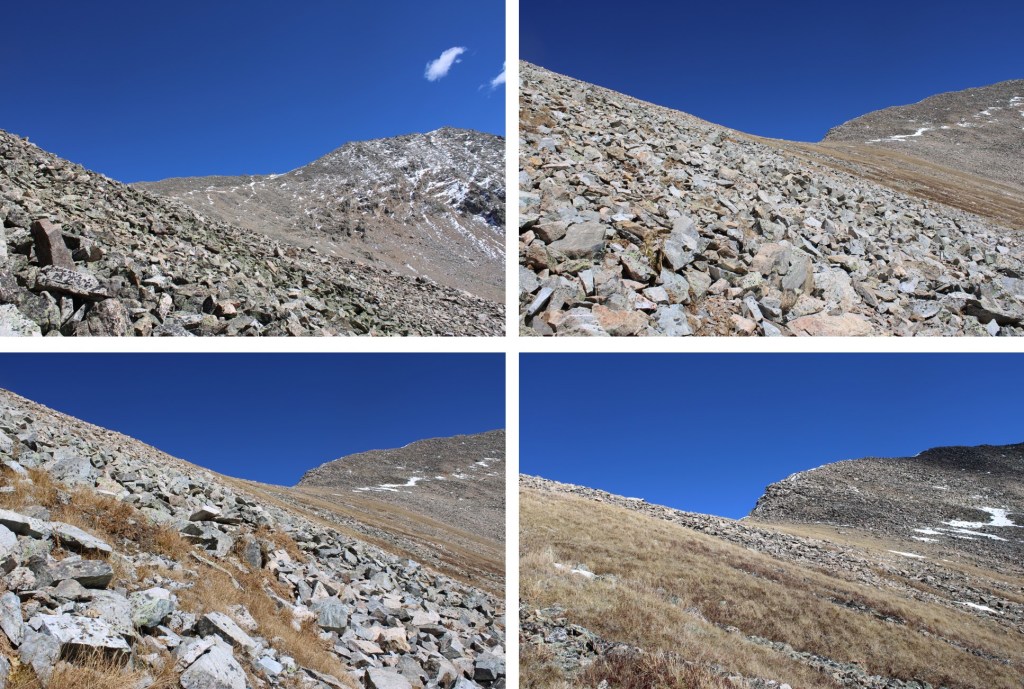
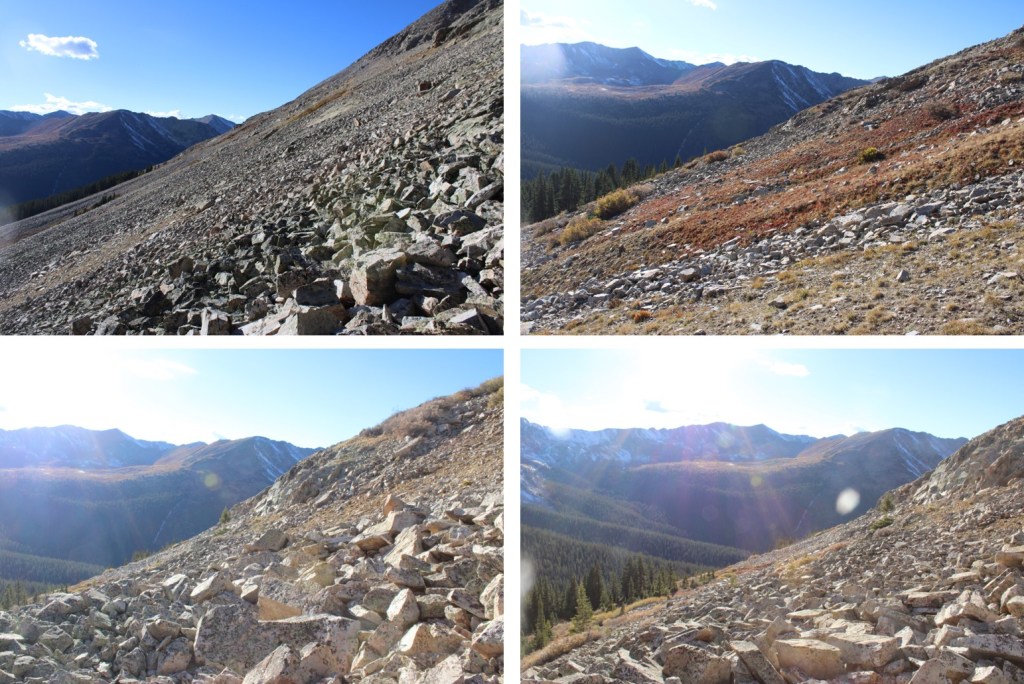
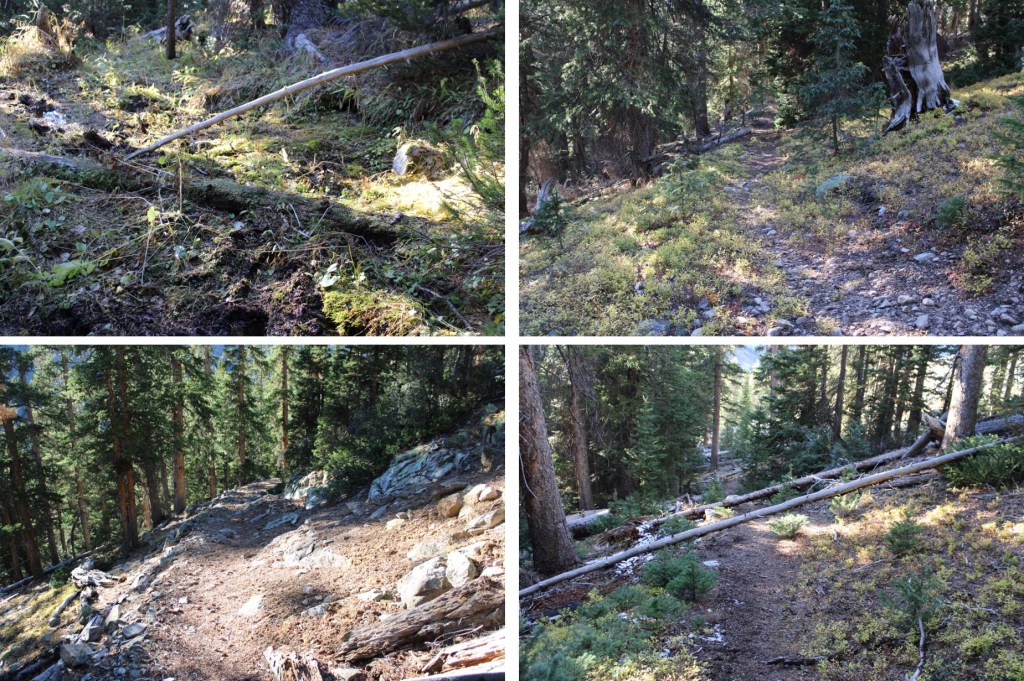
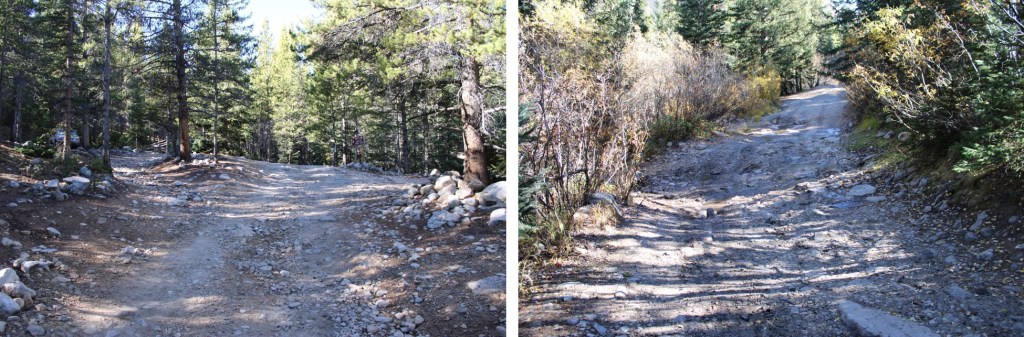
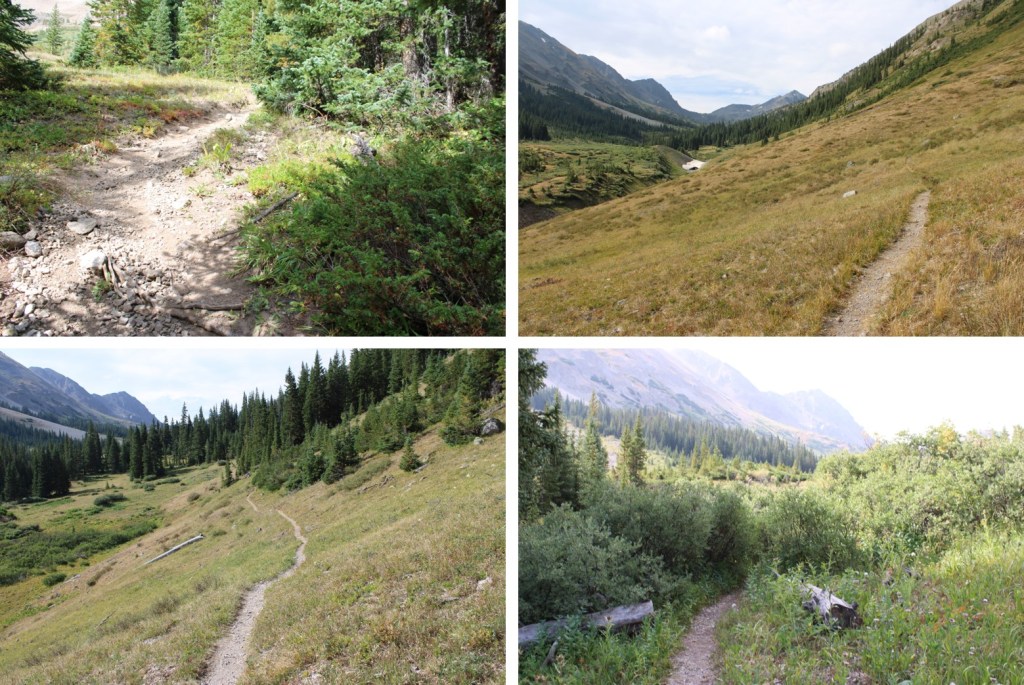
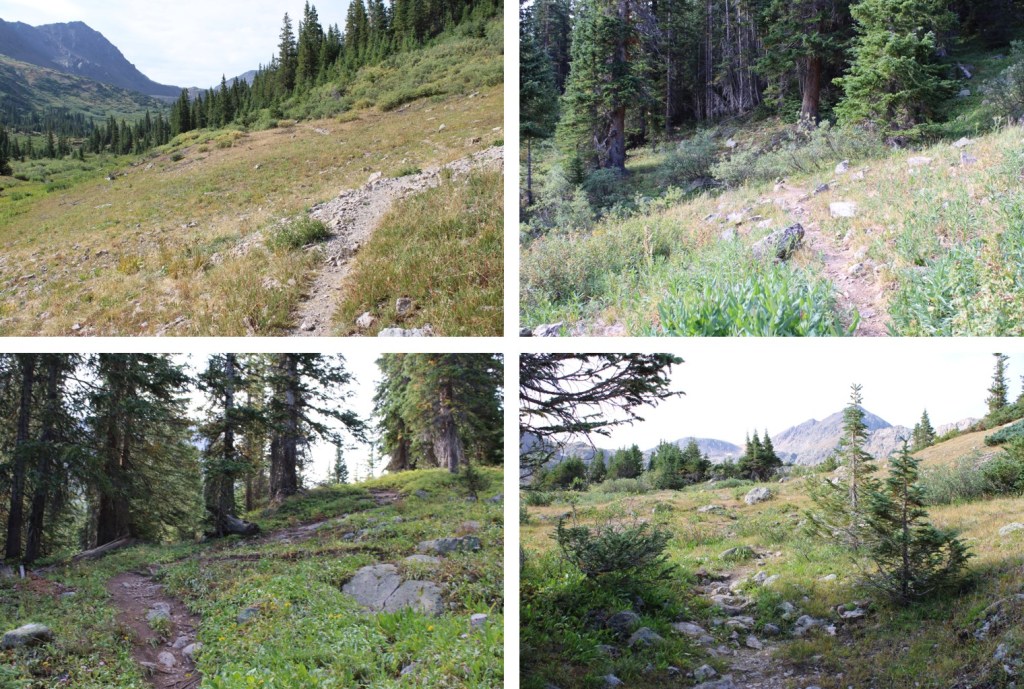
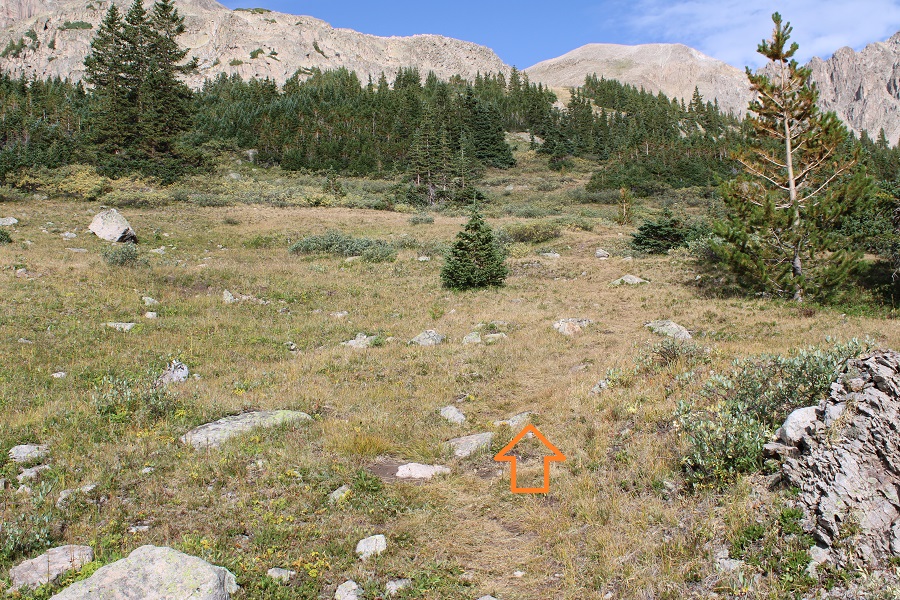
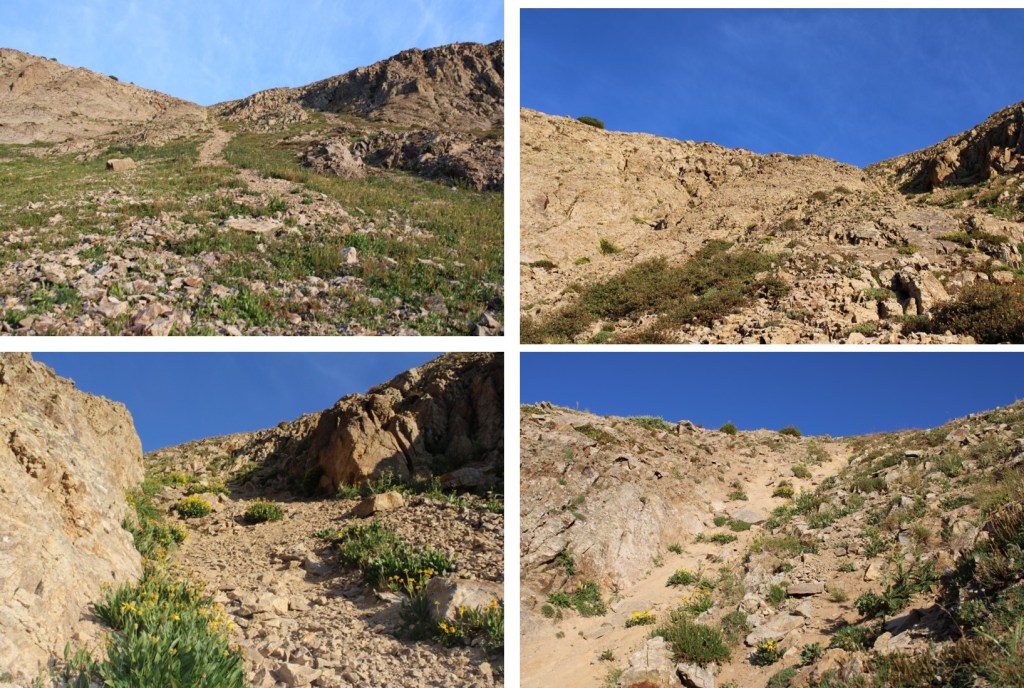
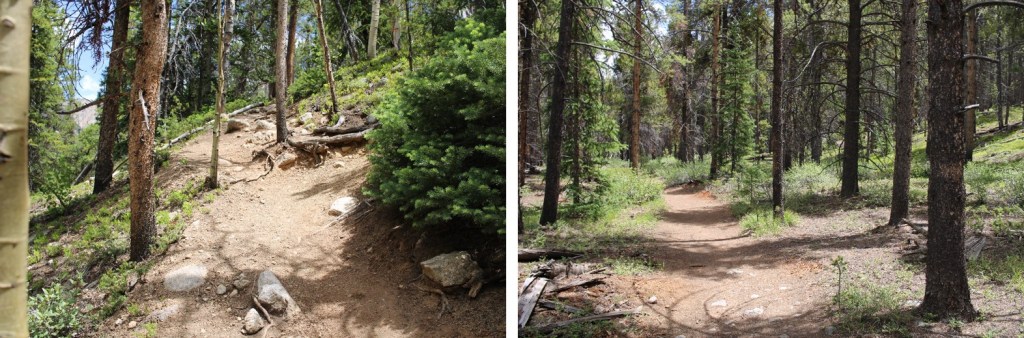
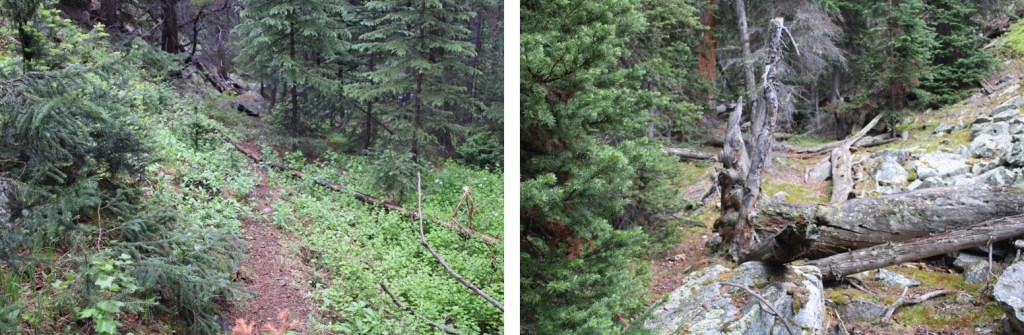
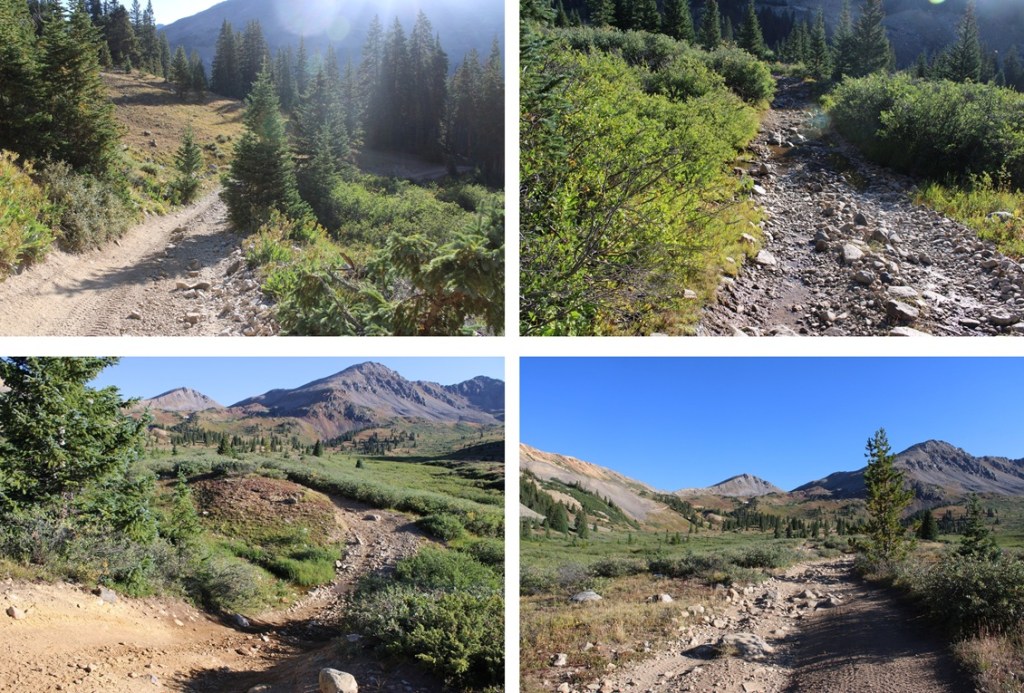
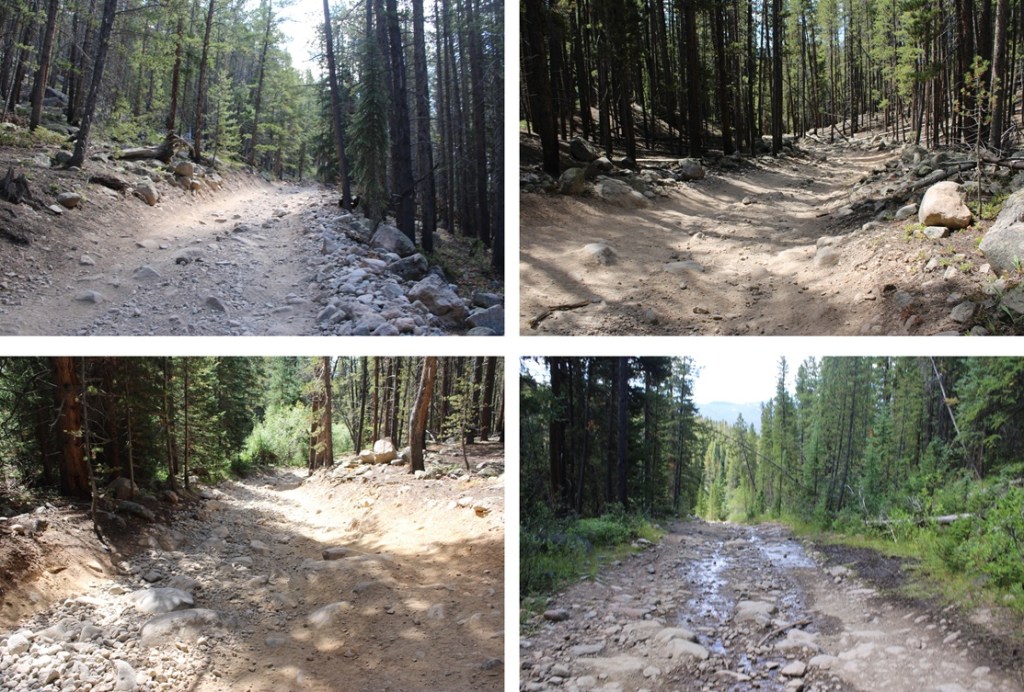
Here are some pictures of the rest of the route up to the parking area.
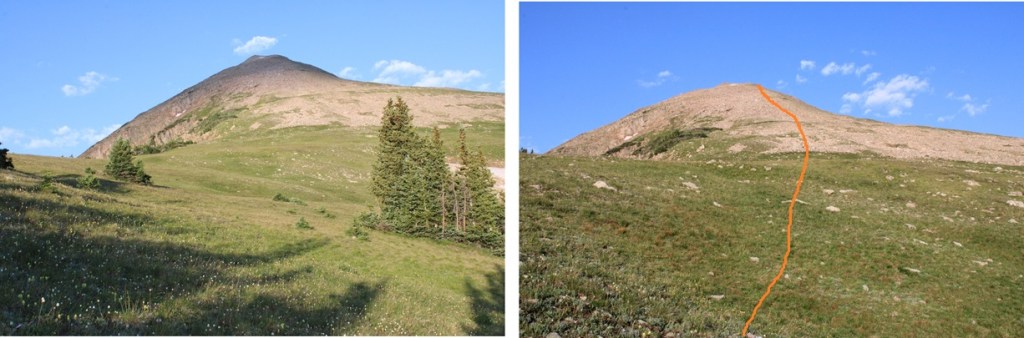
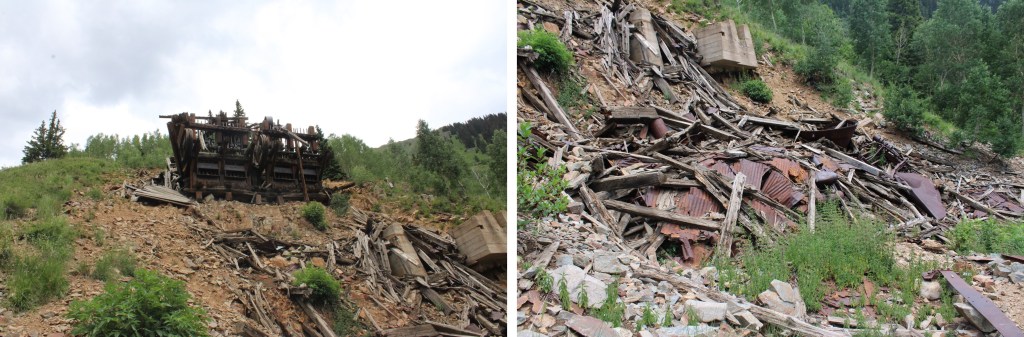
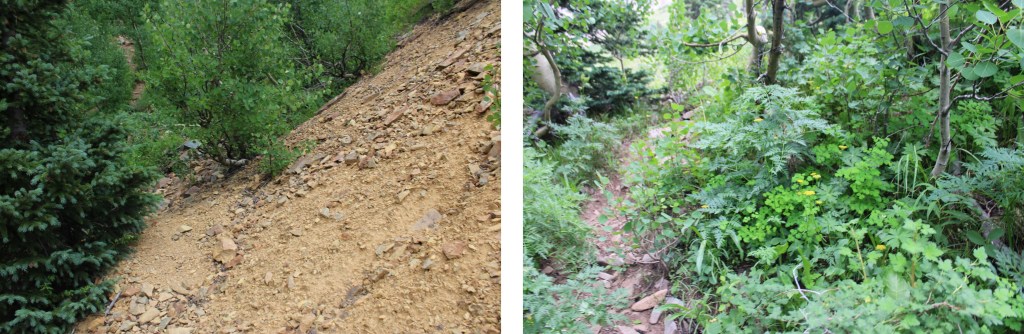
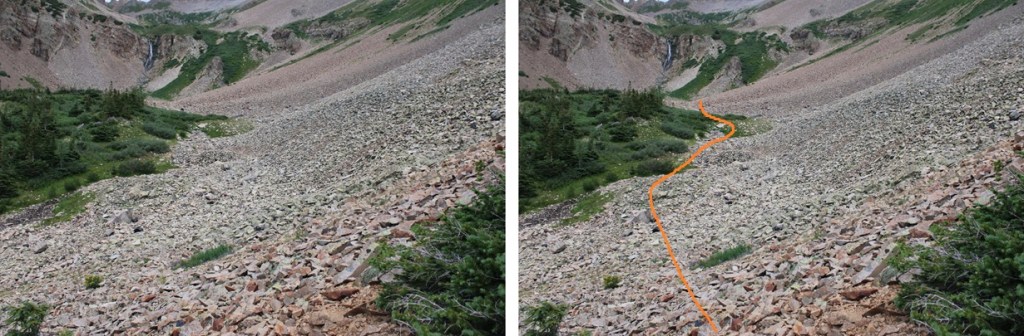
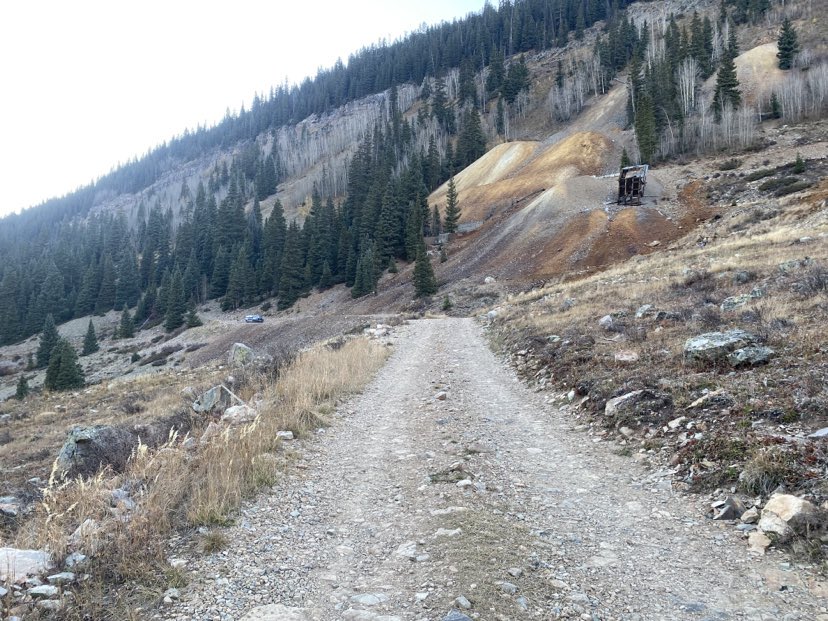
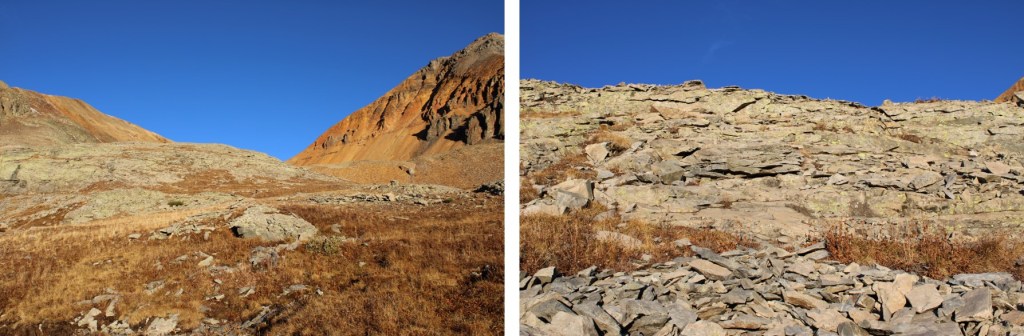
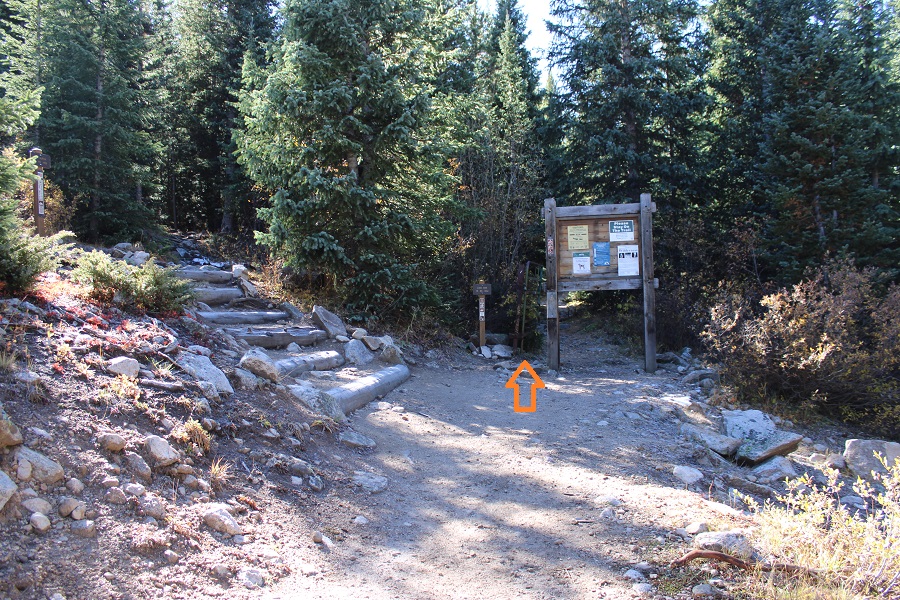
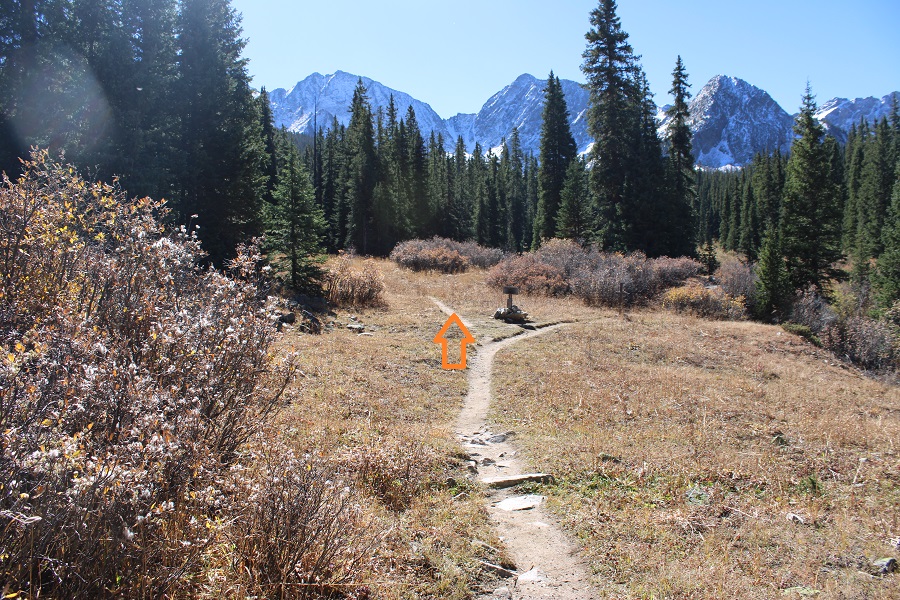
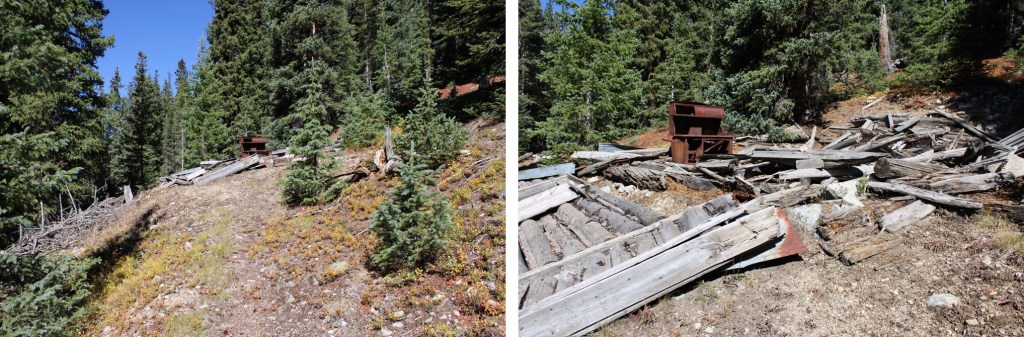
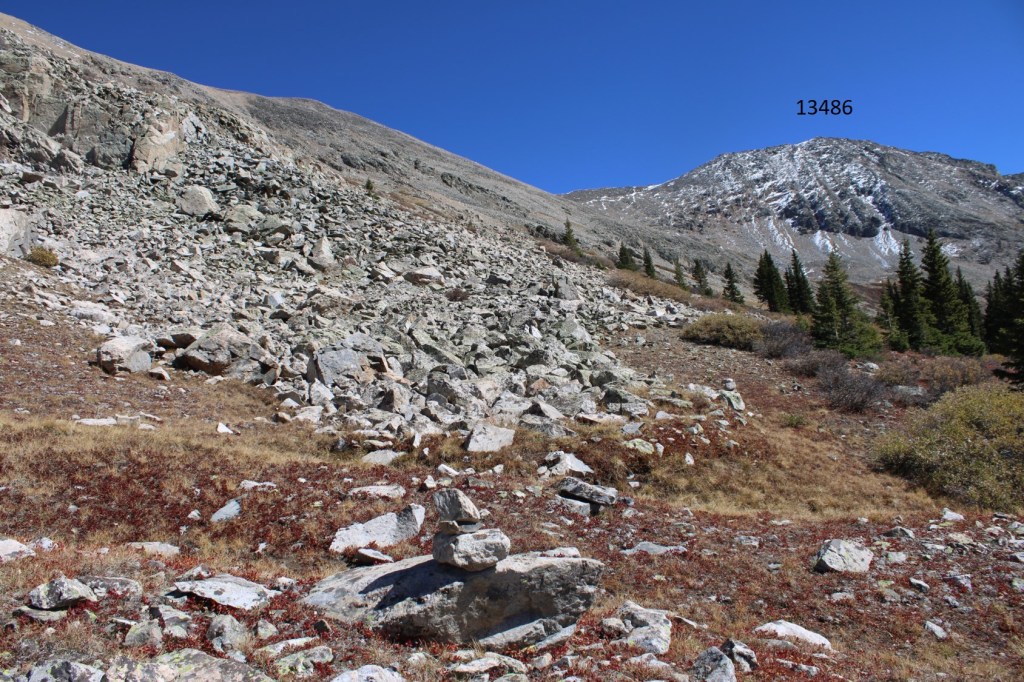
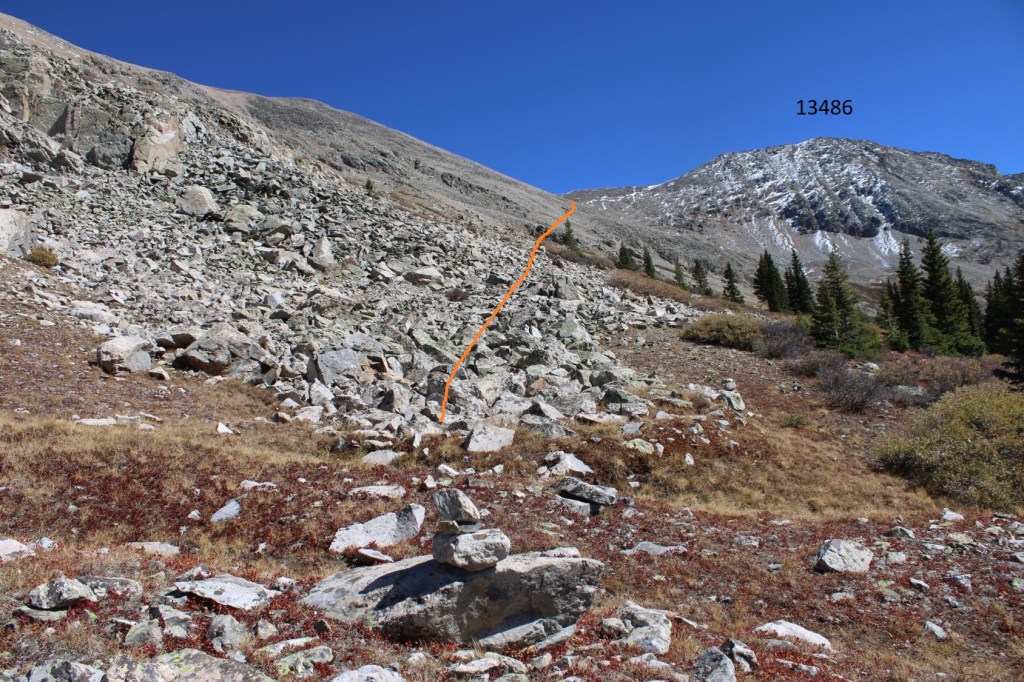
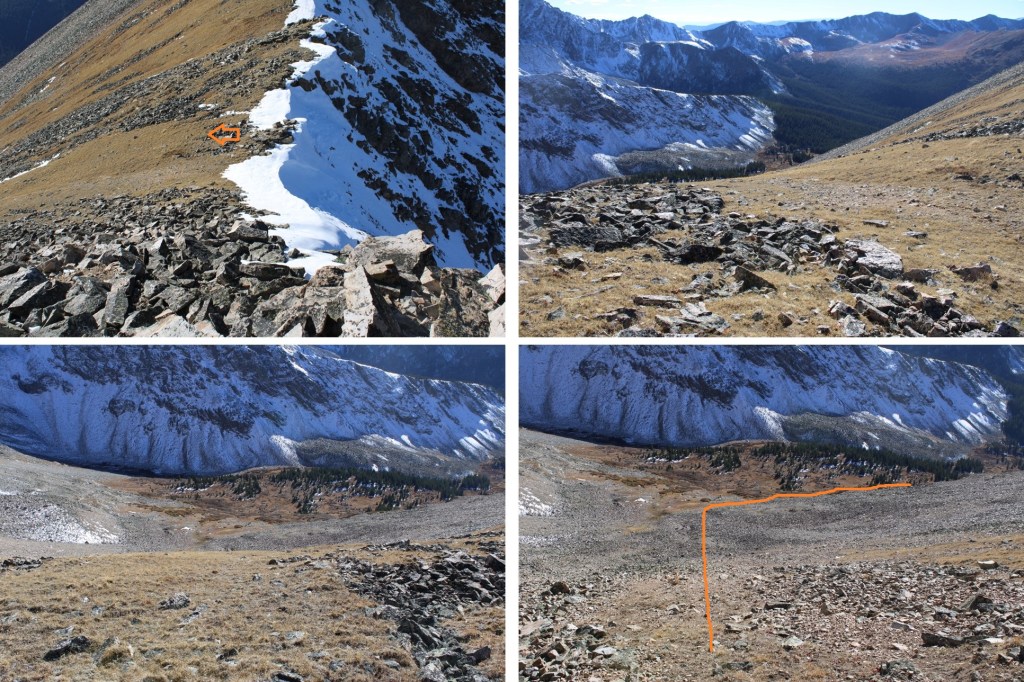
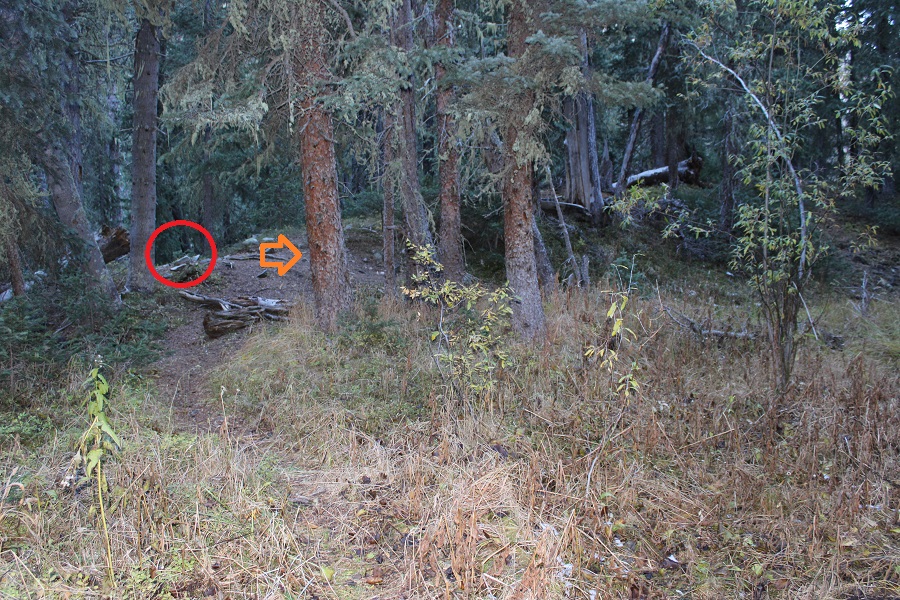
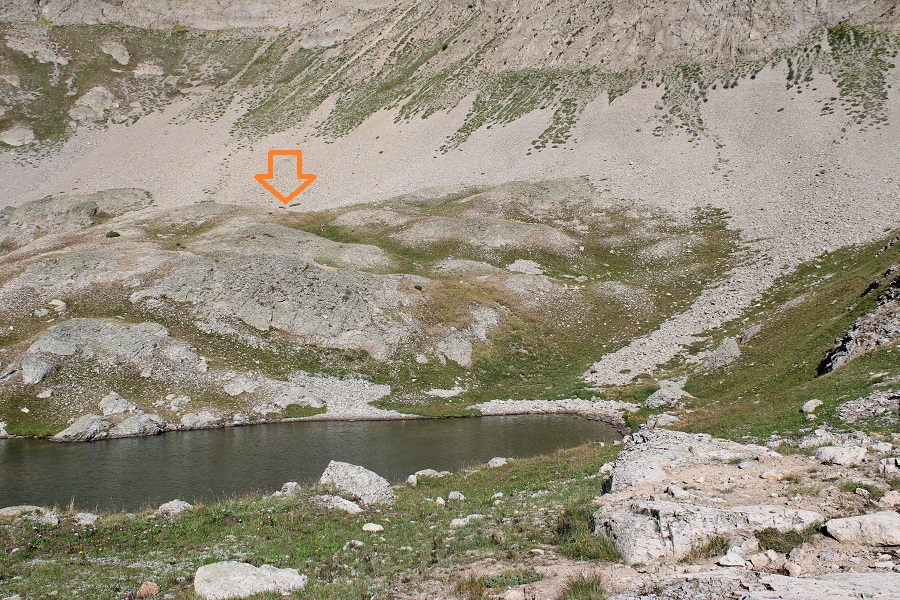
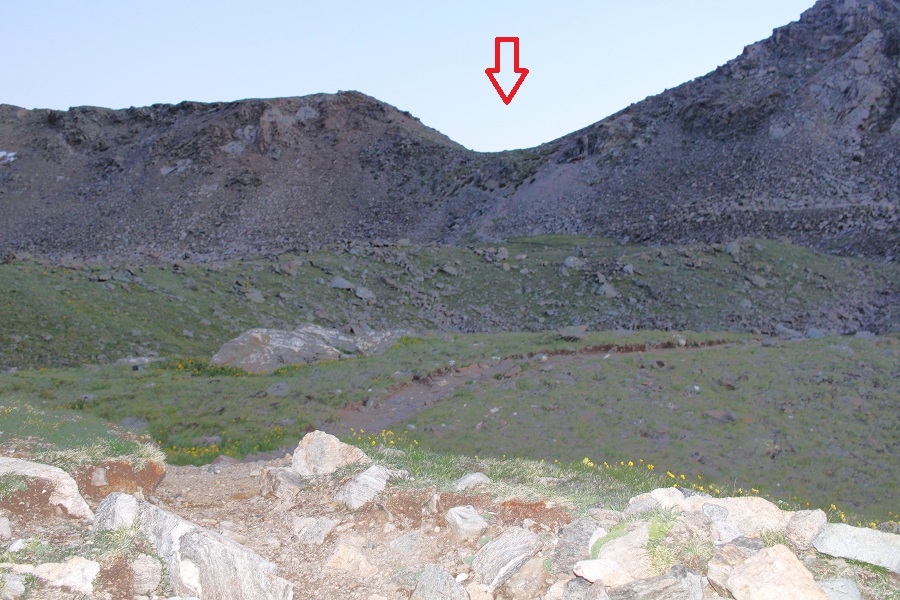
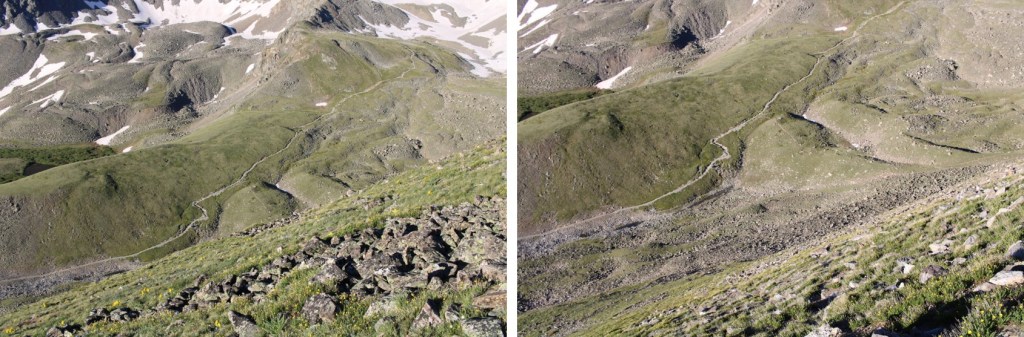
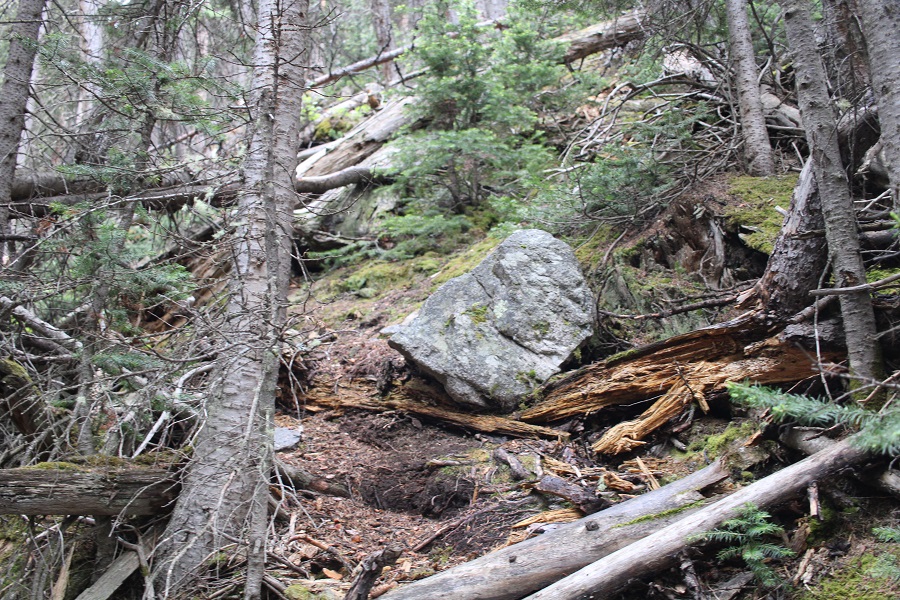
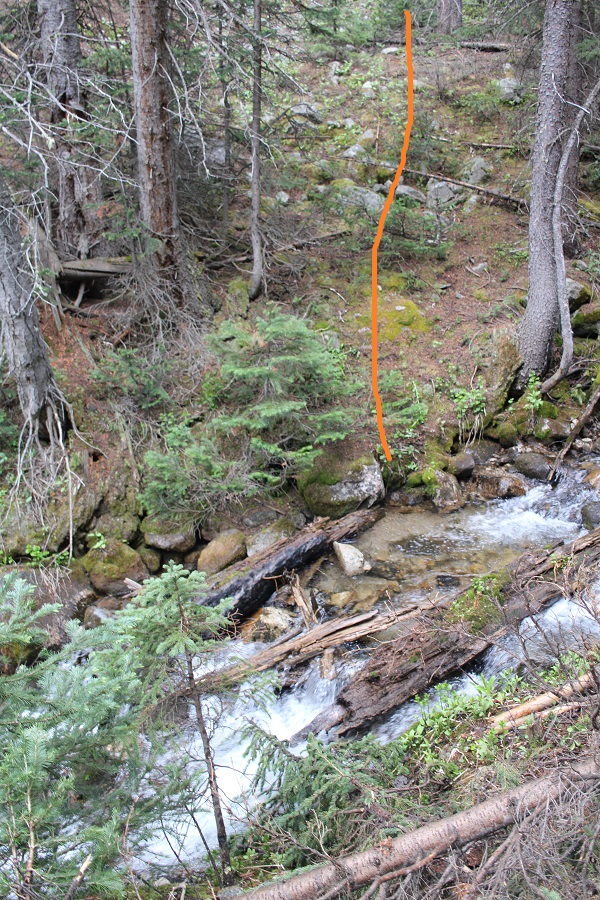
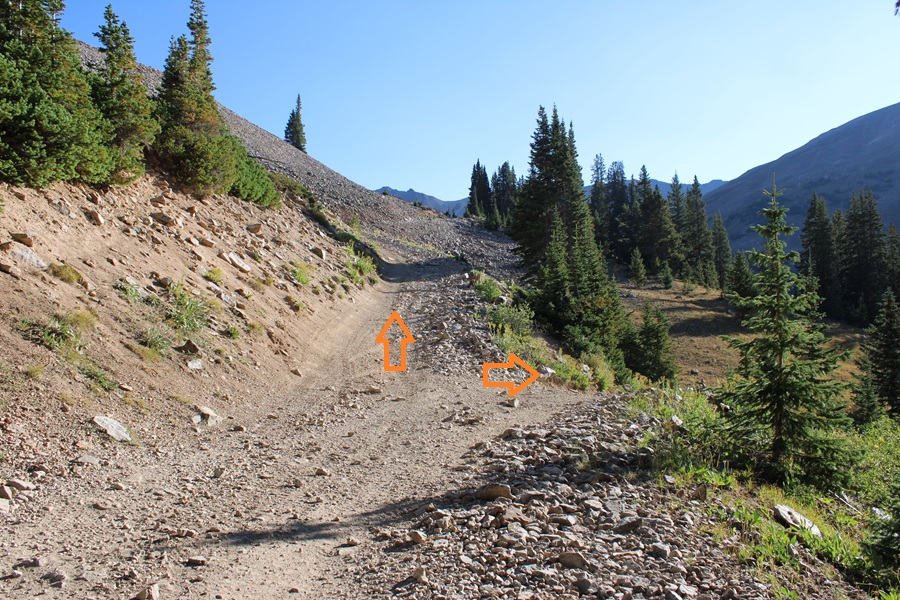
At 11900’ there’s a parking area and a closed gate. To the left if the gate is a trail that will take you to some old mines. The trail stops at the mines, but in the distance you can see where the old road to Ptarmigan Lake used to be. I aimed for that and hiked up to the lake.

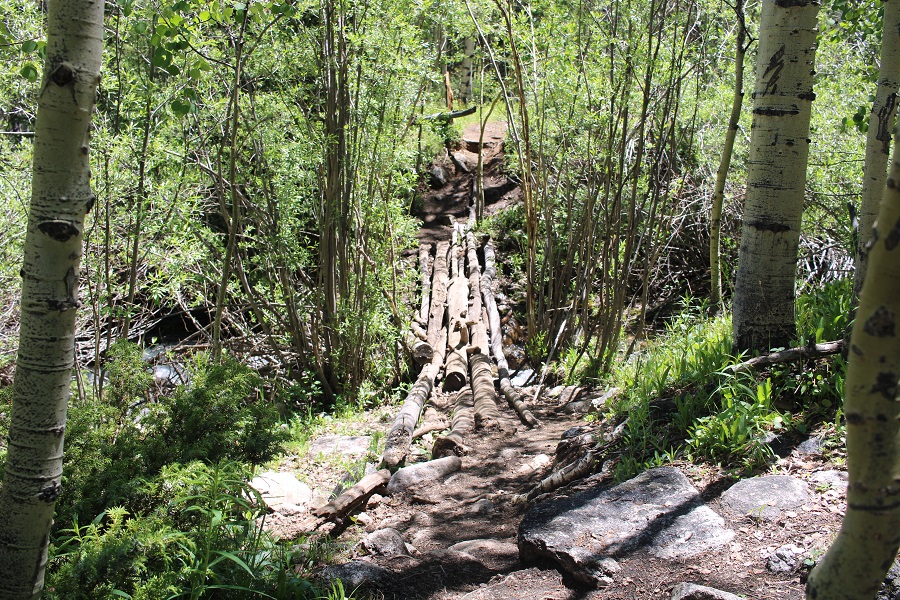
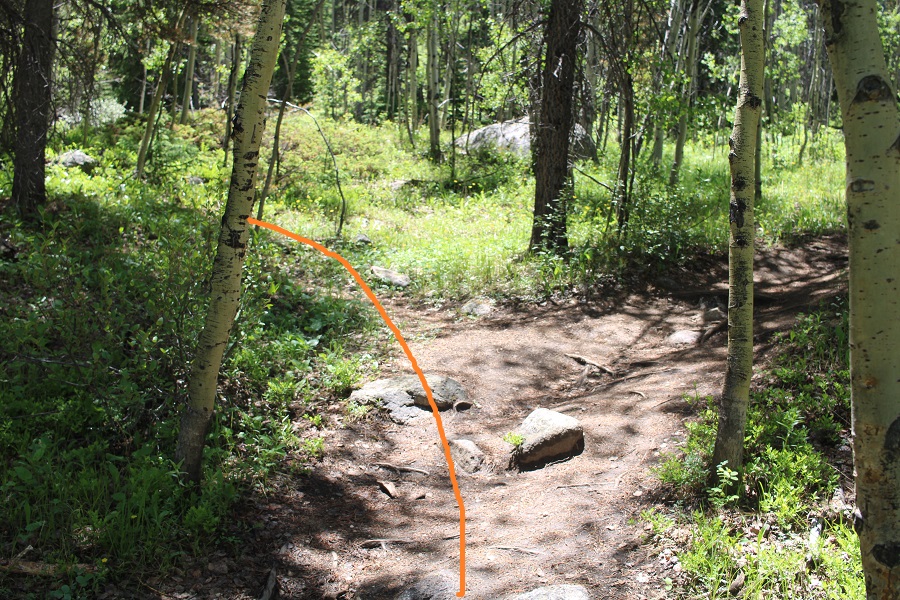
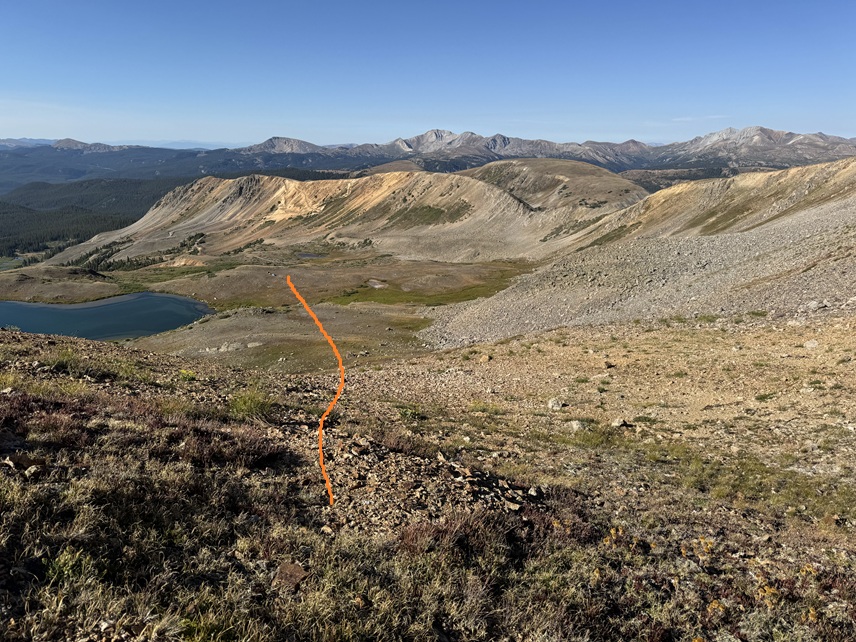
From here you can go right to Ptarmigan Lake or continue your hike. I stopped at the lake and set up my tent for the night. My watch said it was 6 miles to the lake, CalTopo gave me 7 miles and 2650’ of elevation gain. It took me 3 hours to get to the lake.

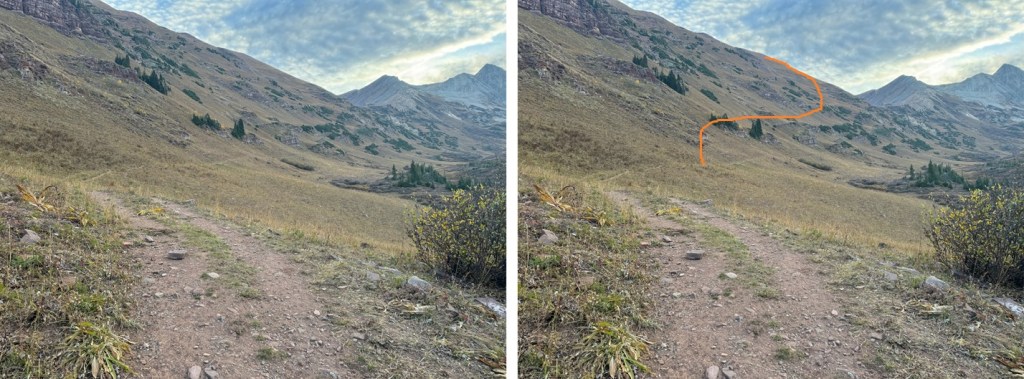
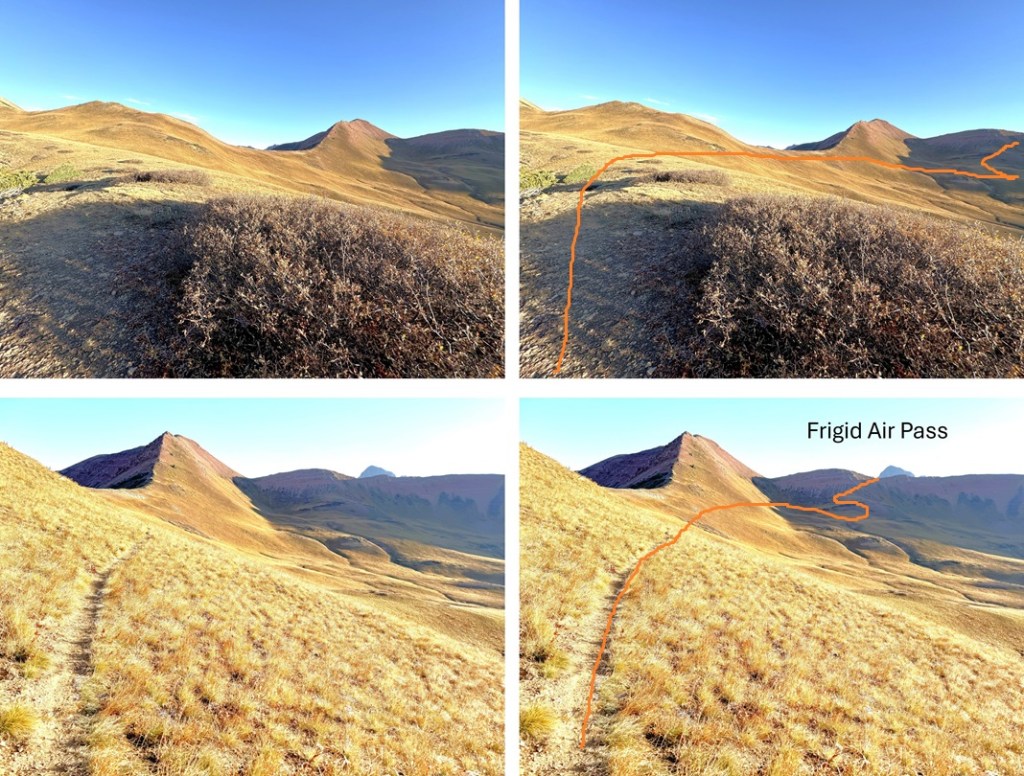
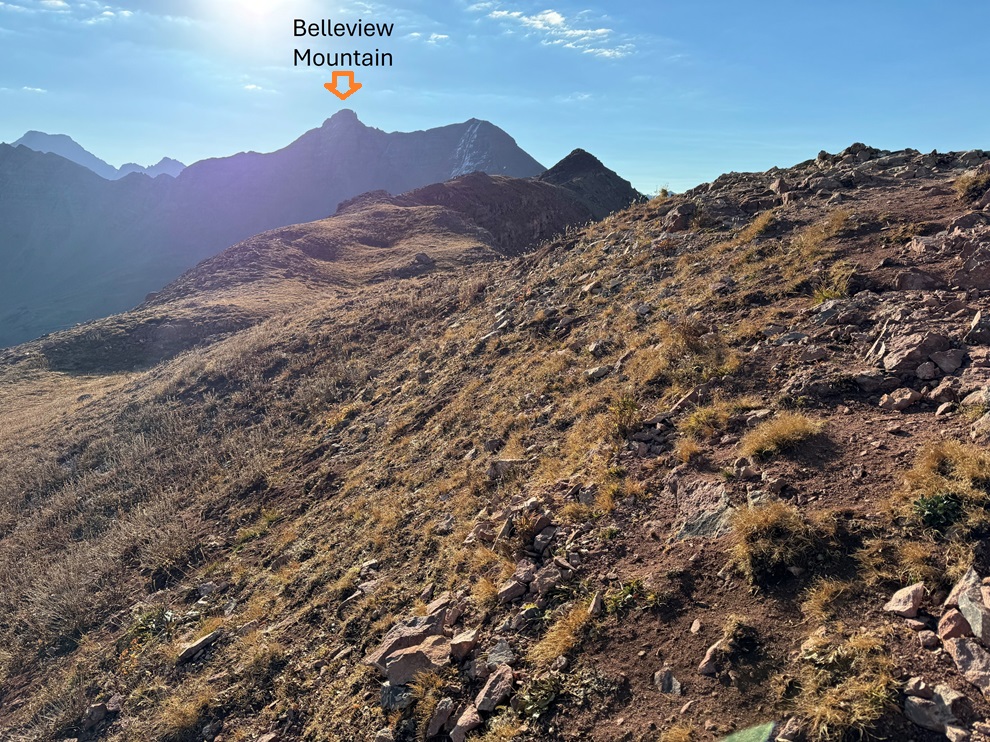
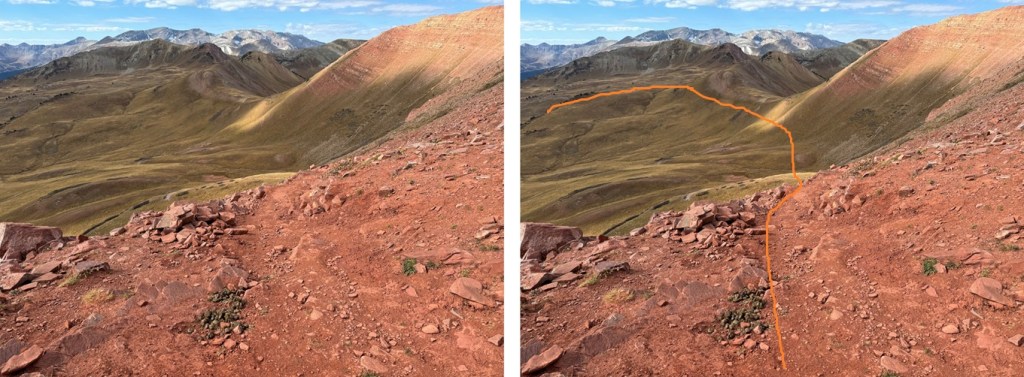
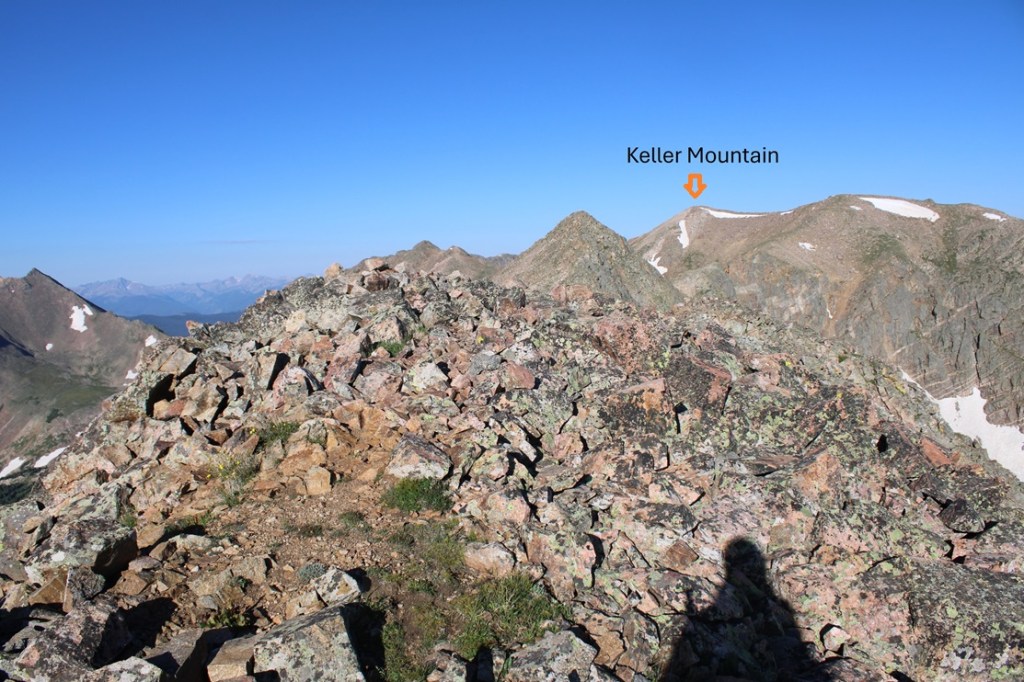
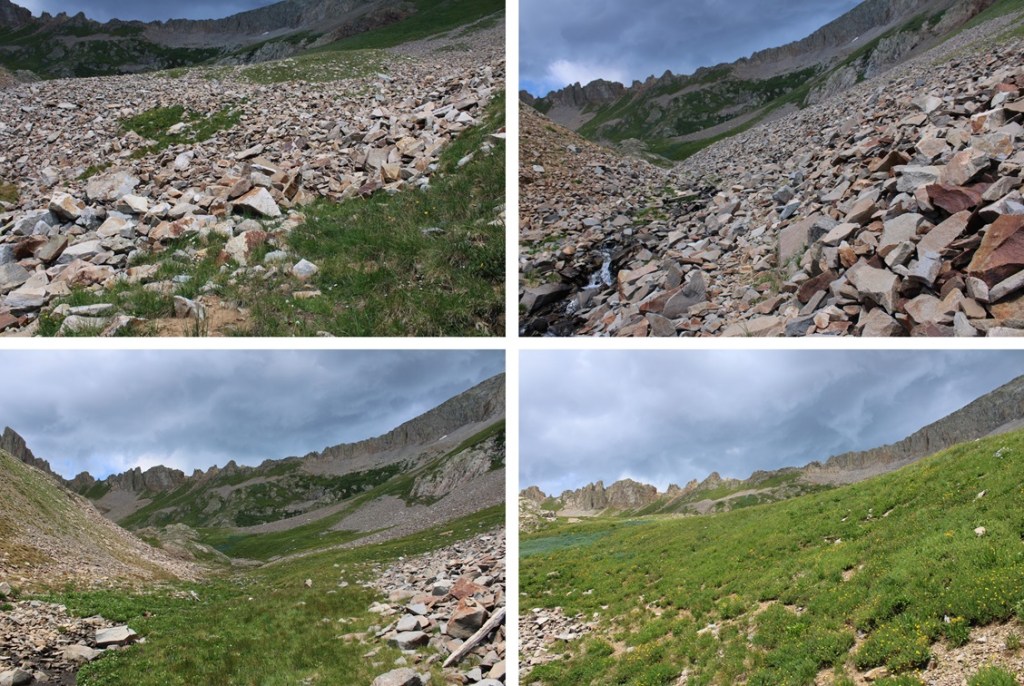
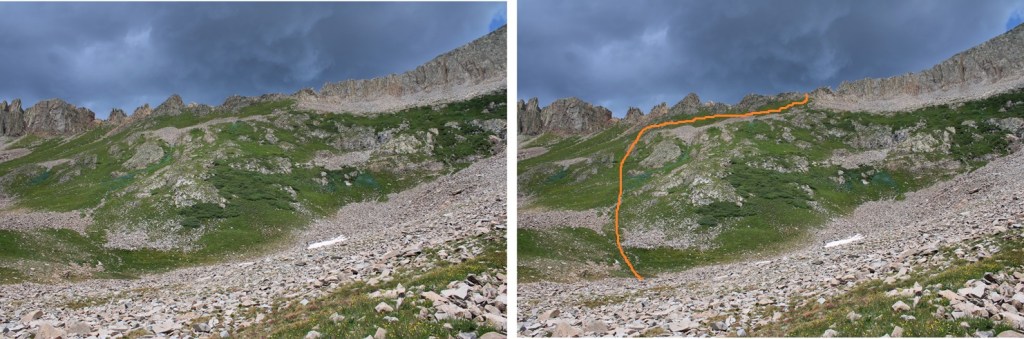
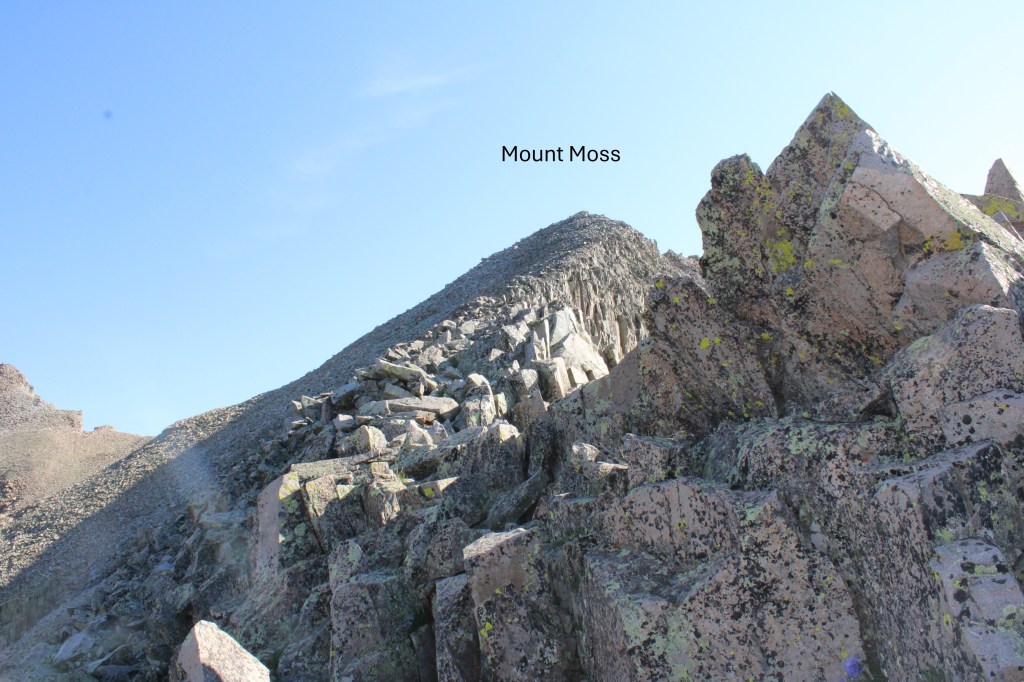
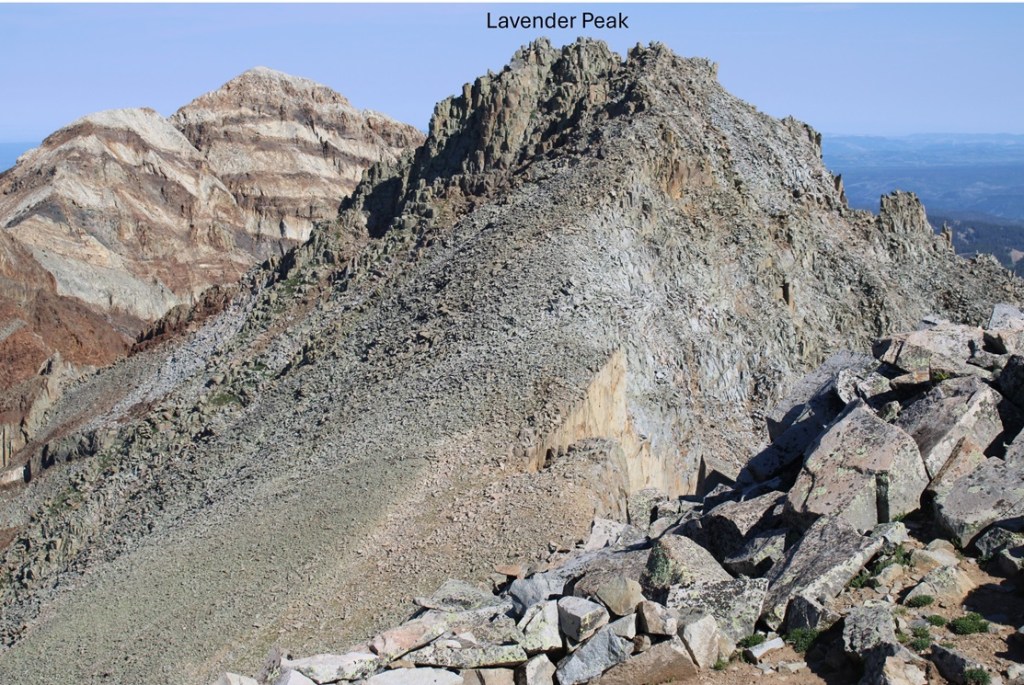
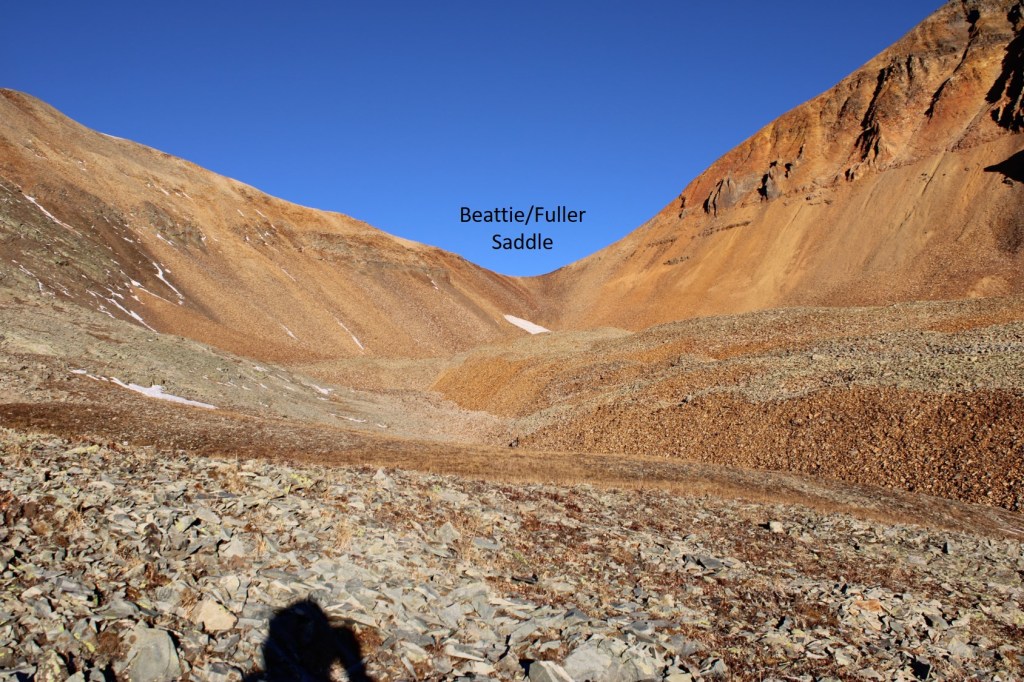
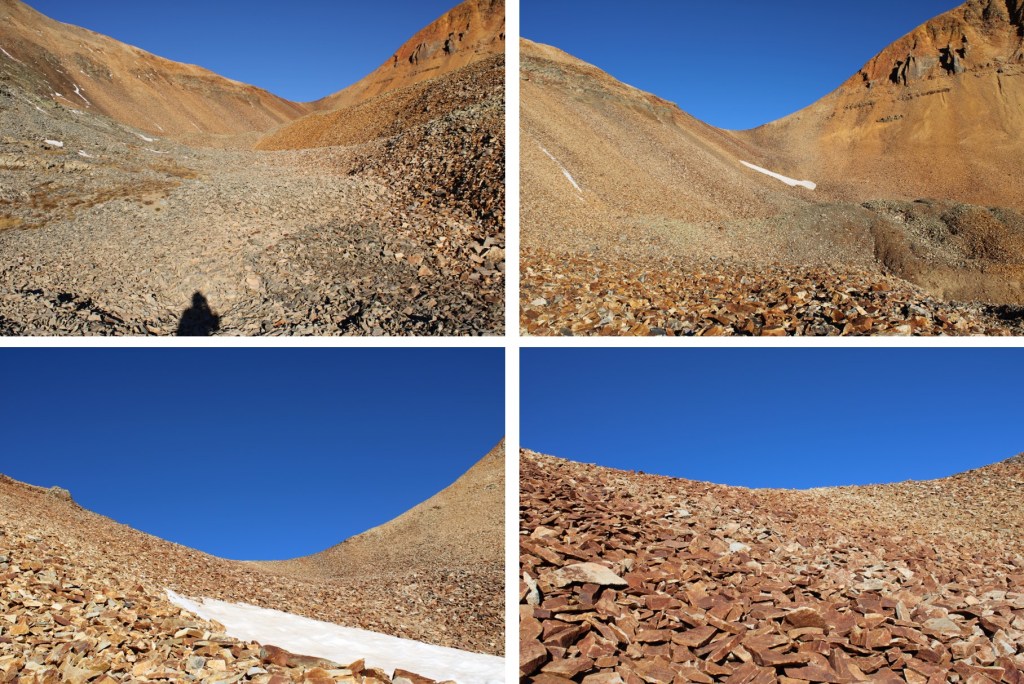
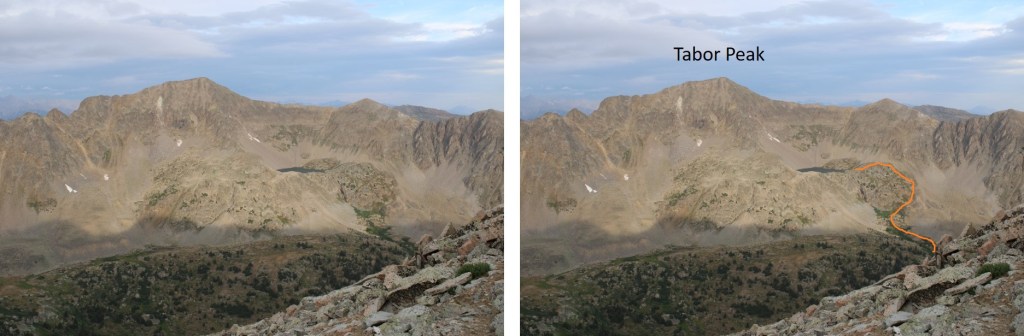
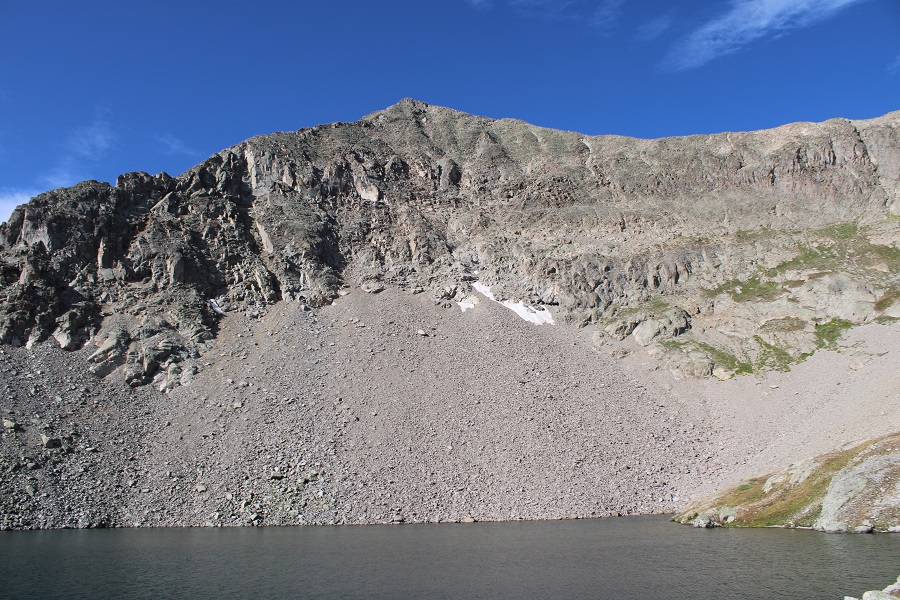
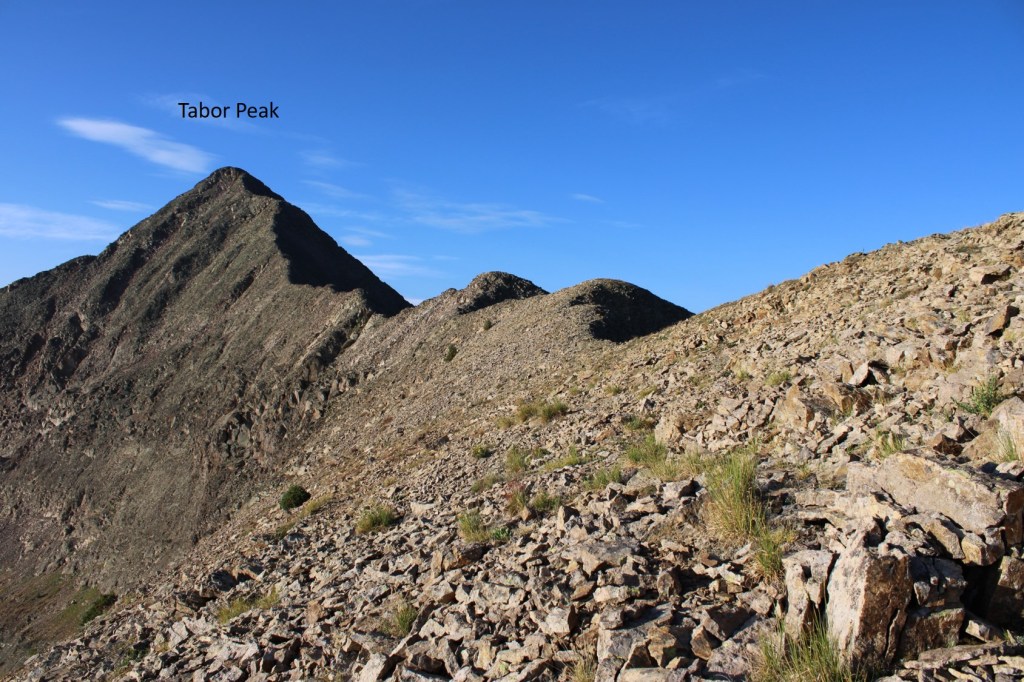
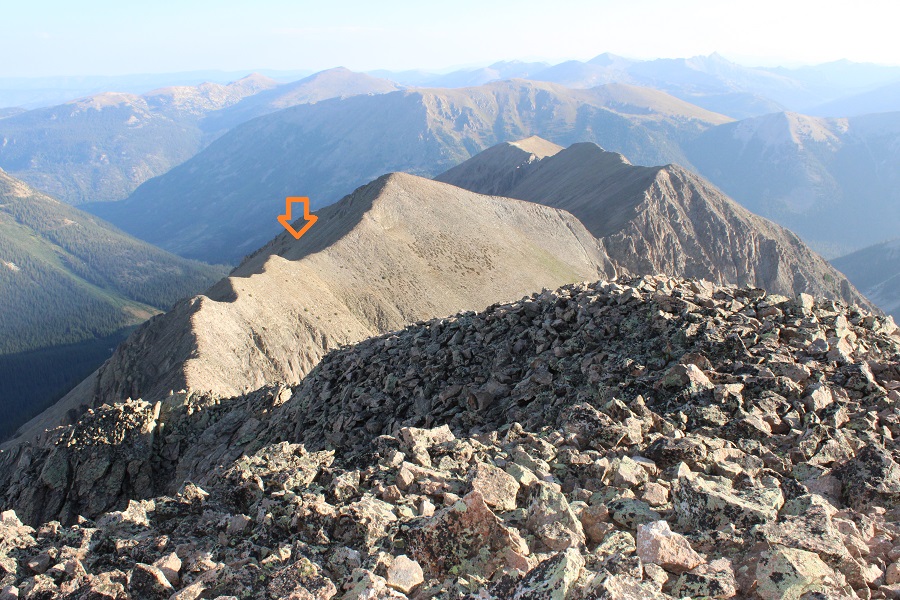
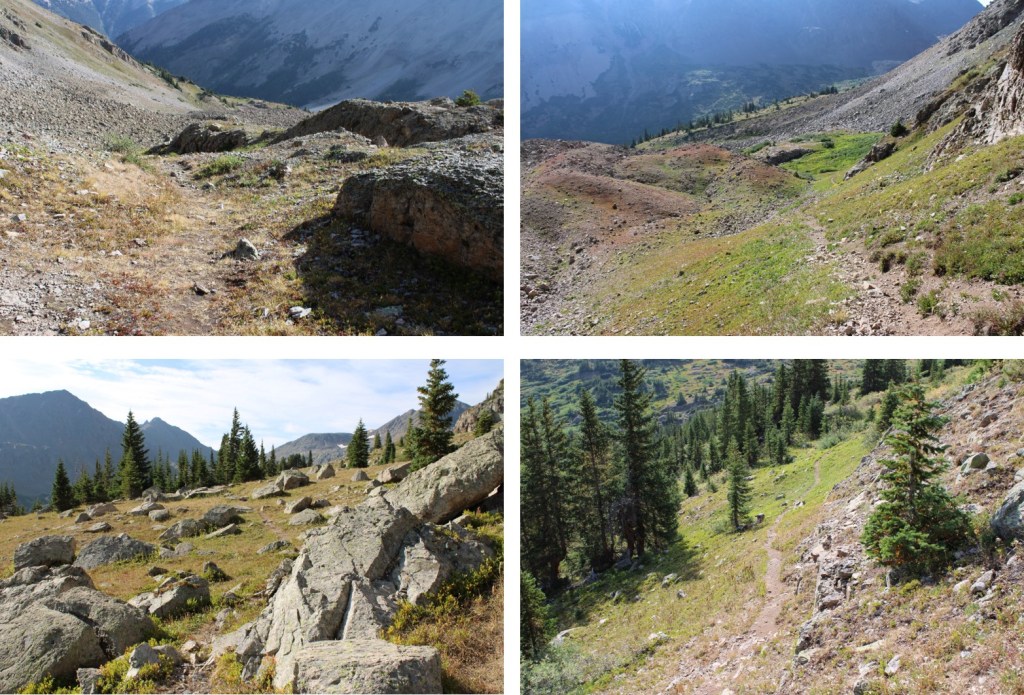
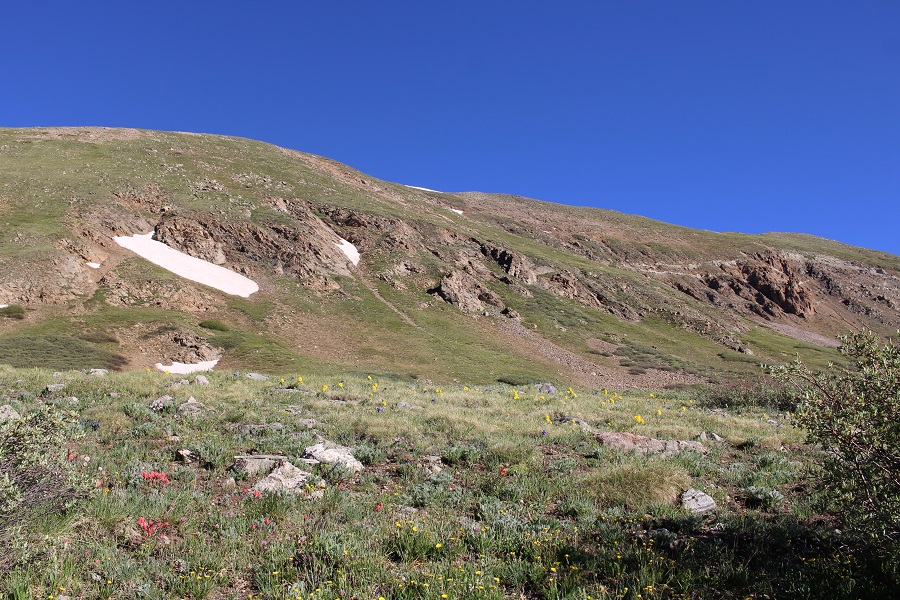
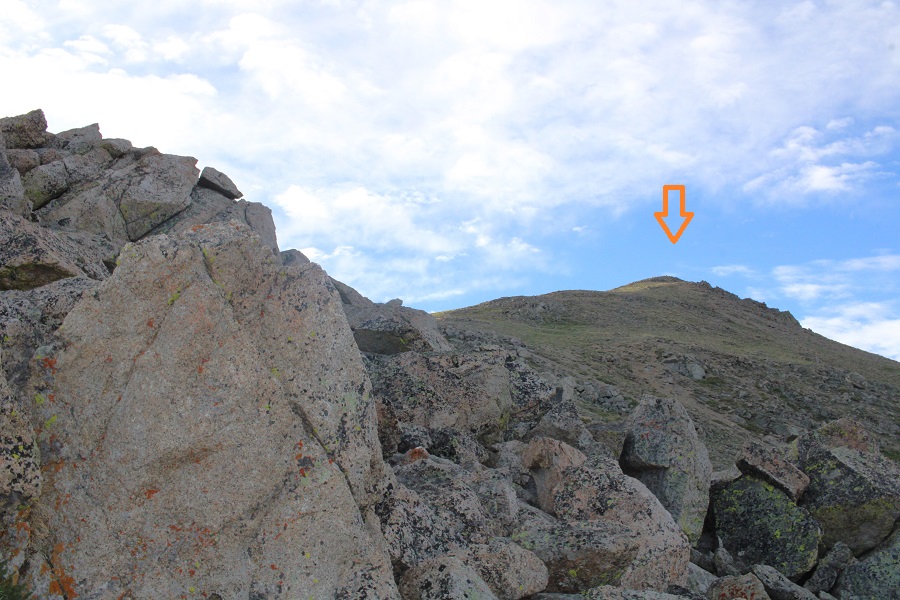
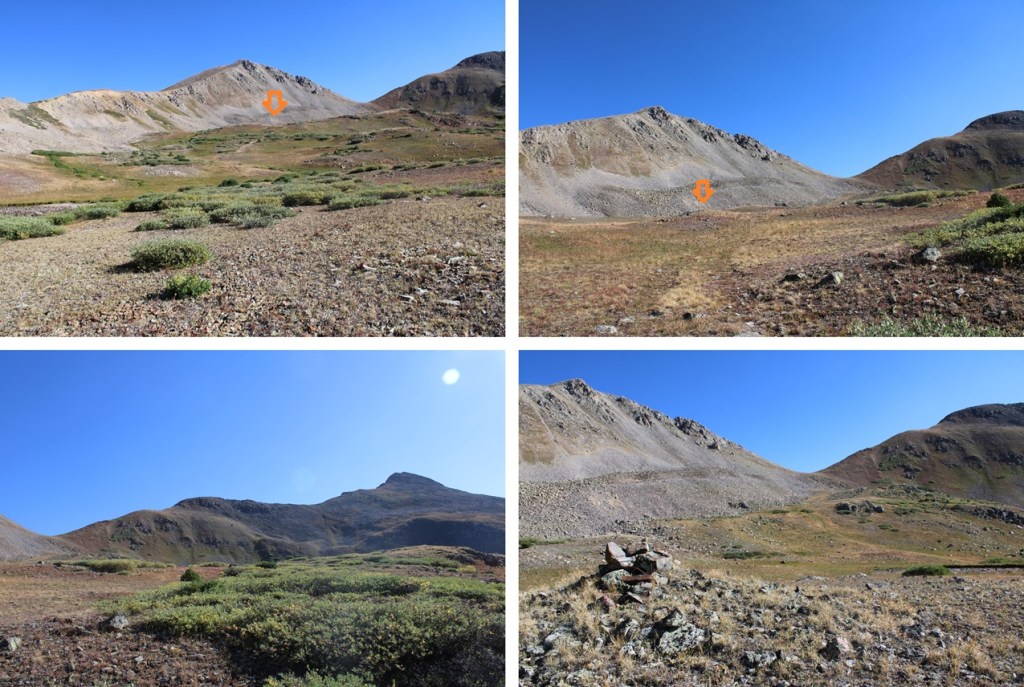
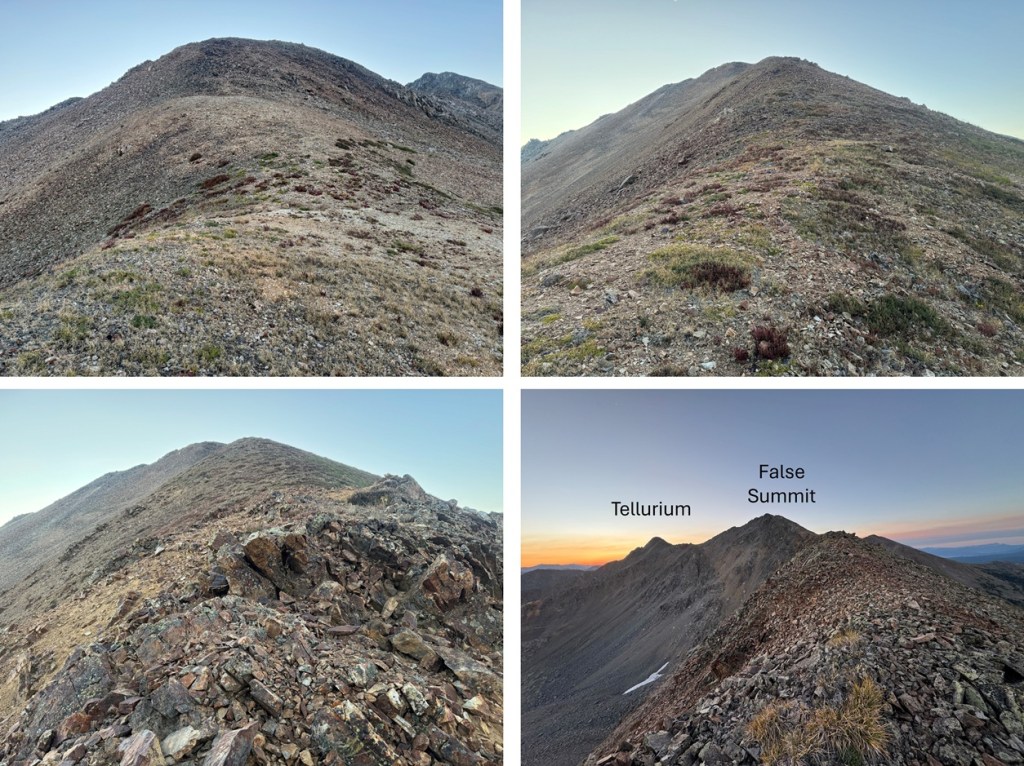
From Ptarmigan Lake the next objective is to head northeast to make it to the saddle of West Tellurium/Tellurium. It’s an easy class 2 hike to get there.

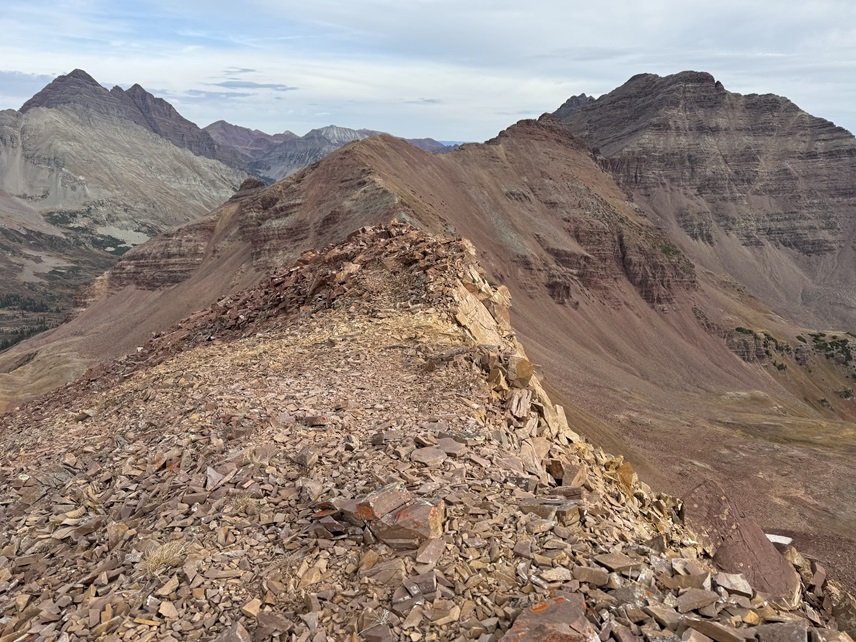
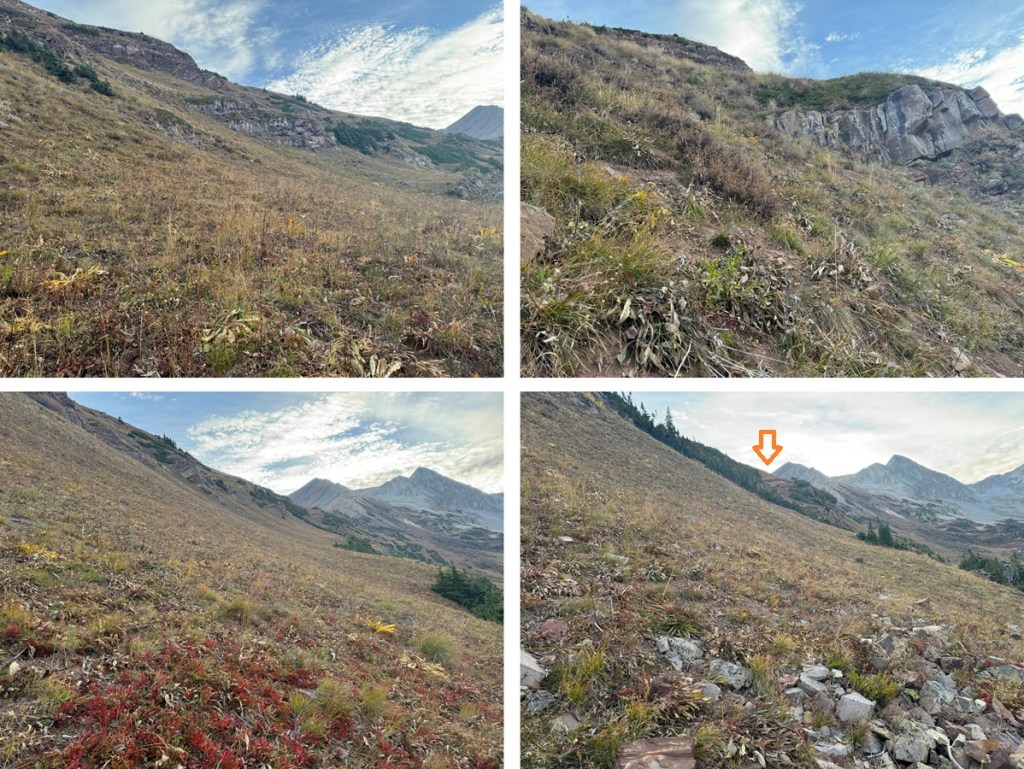
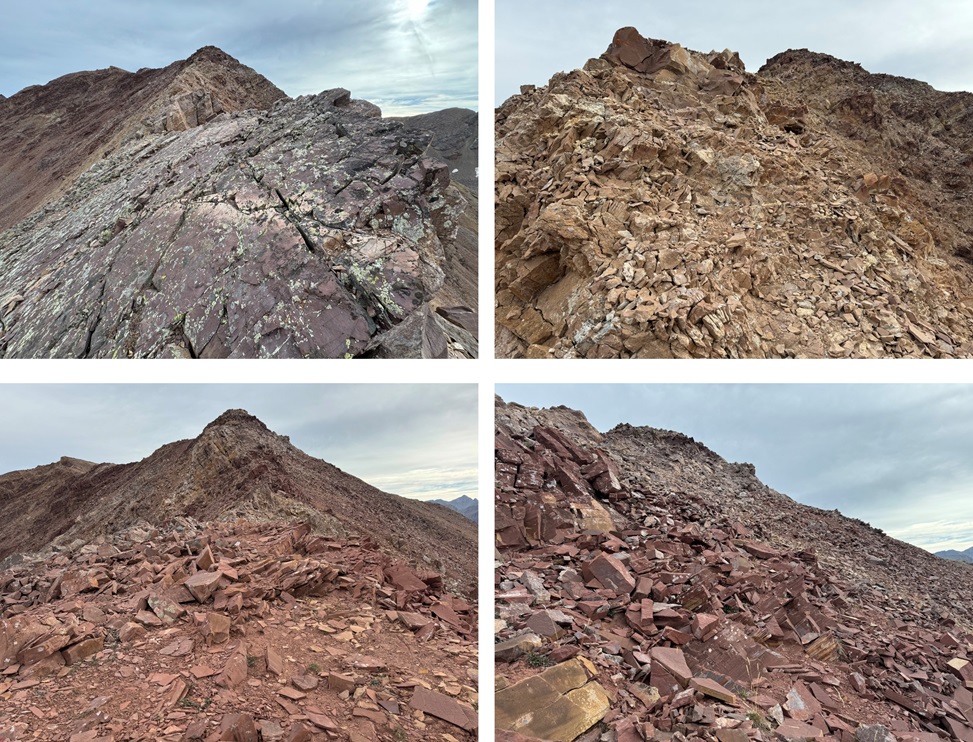
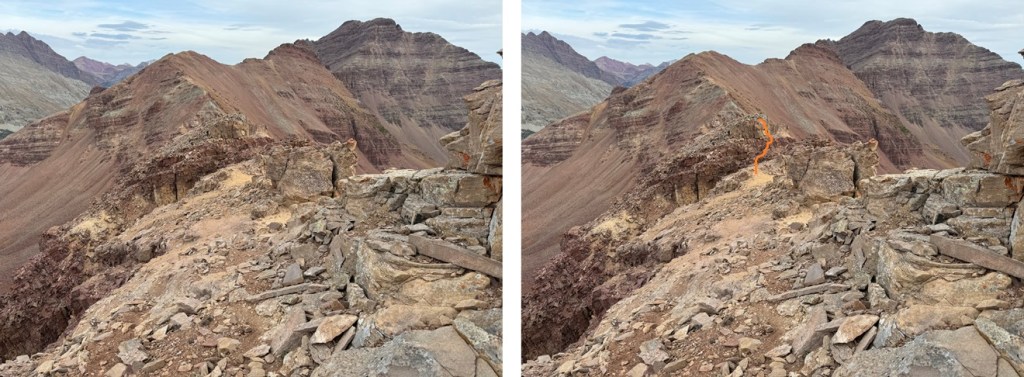
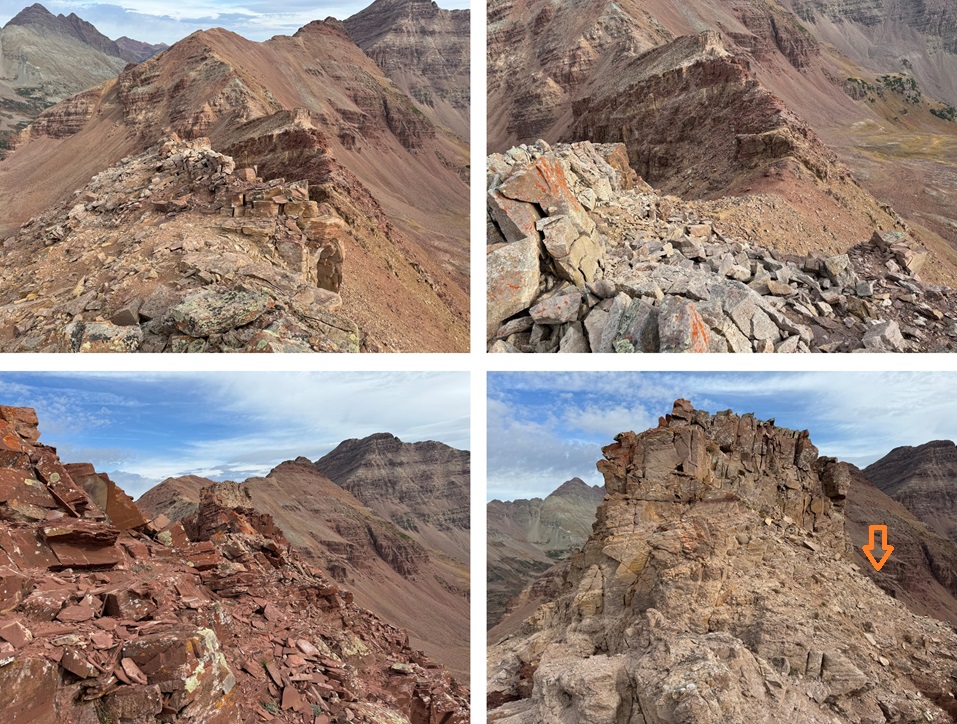
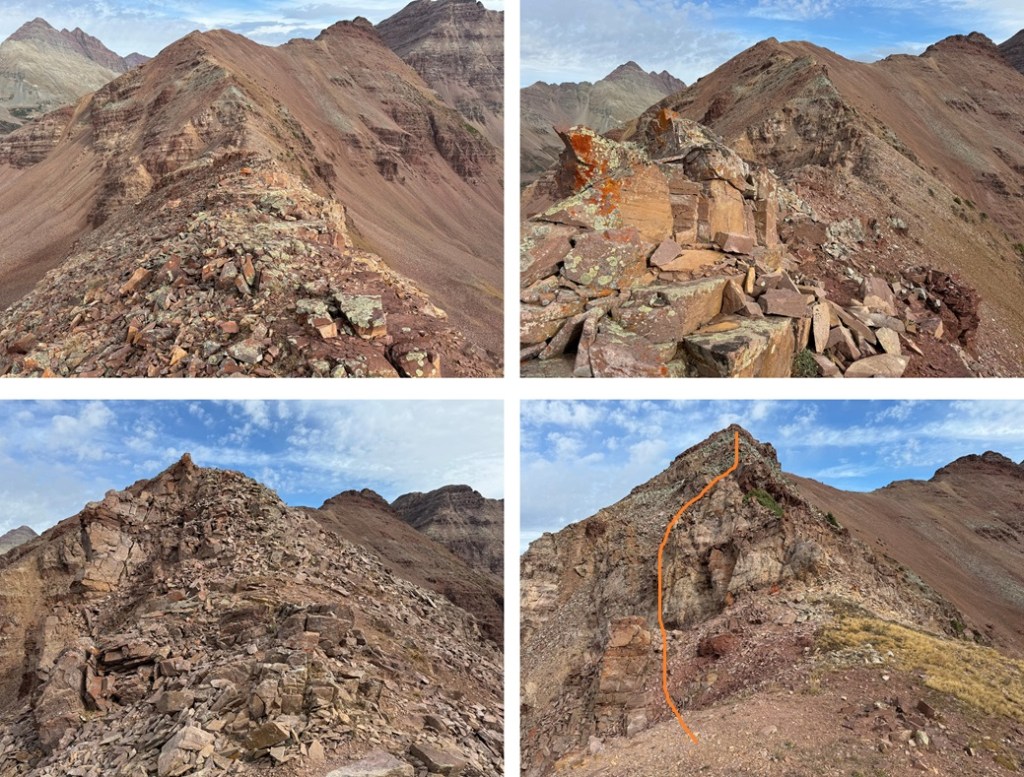
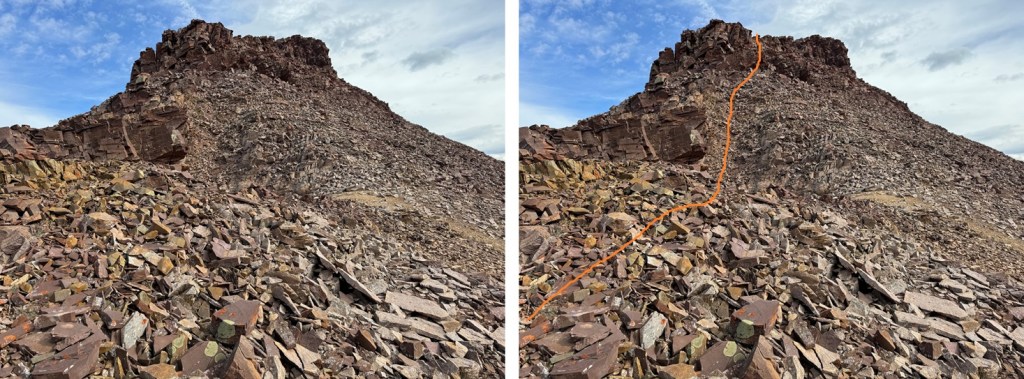
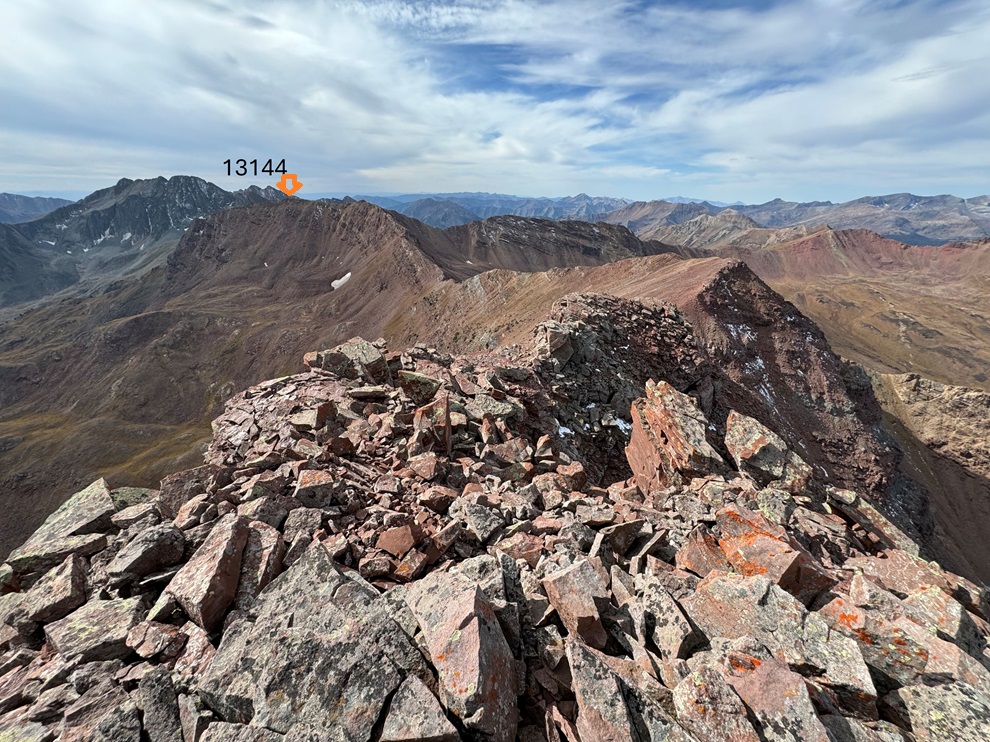
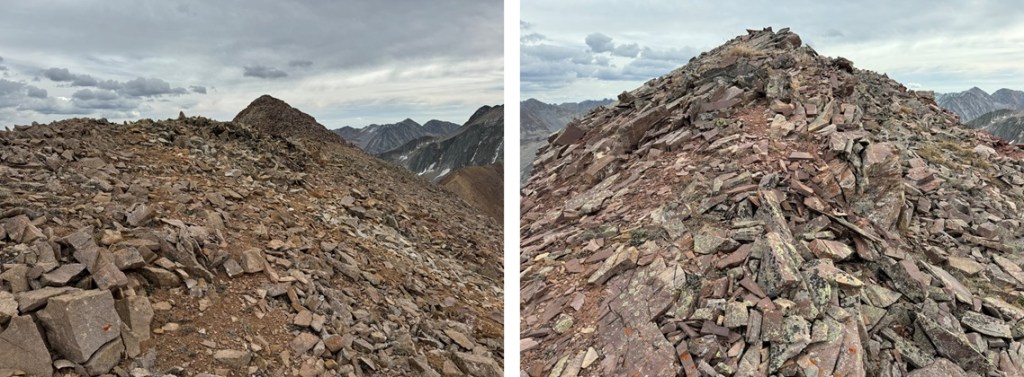
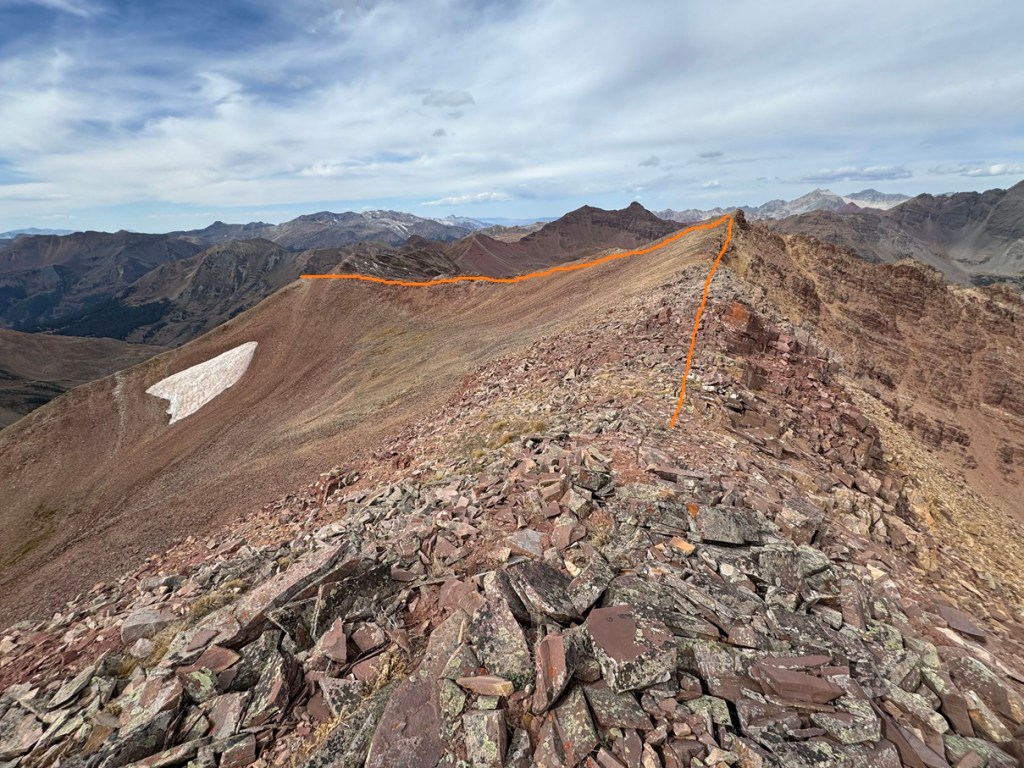
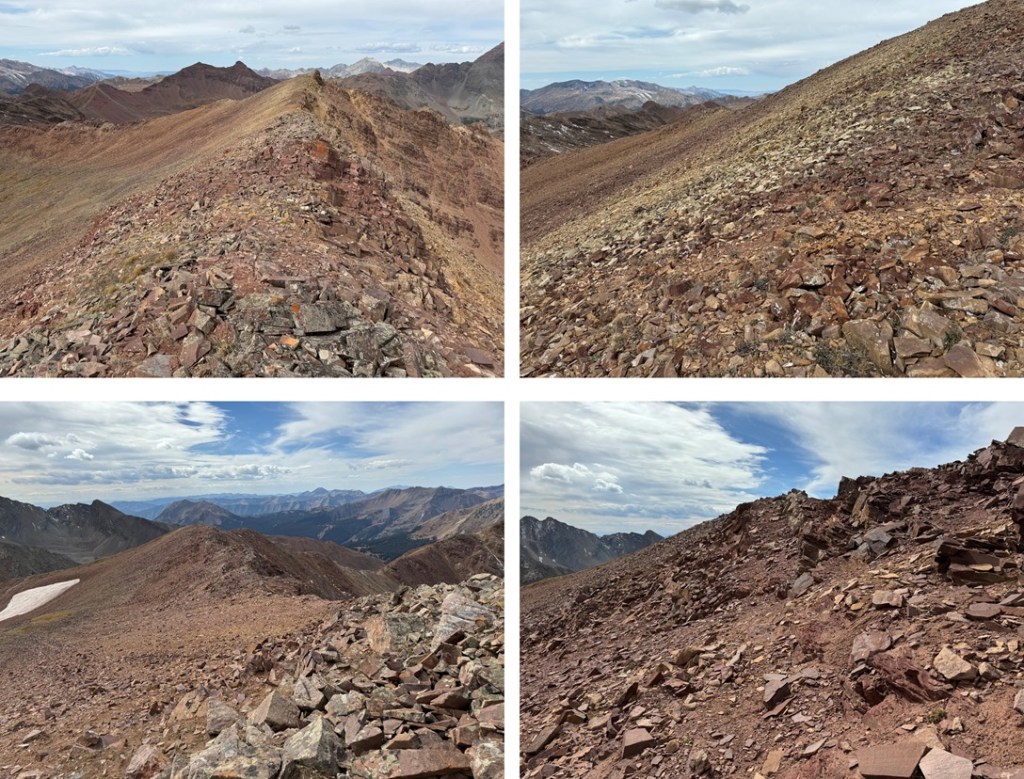
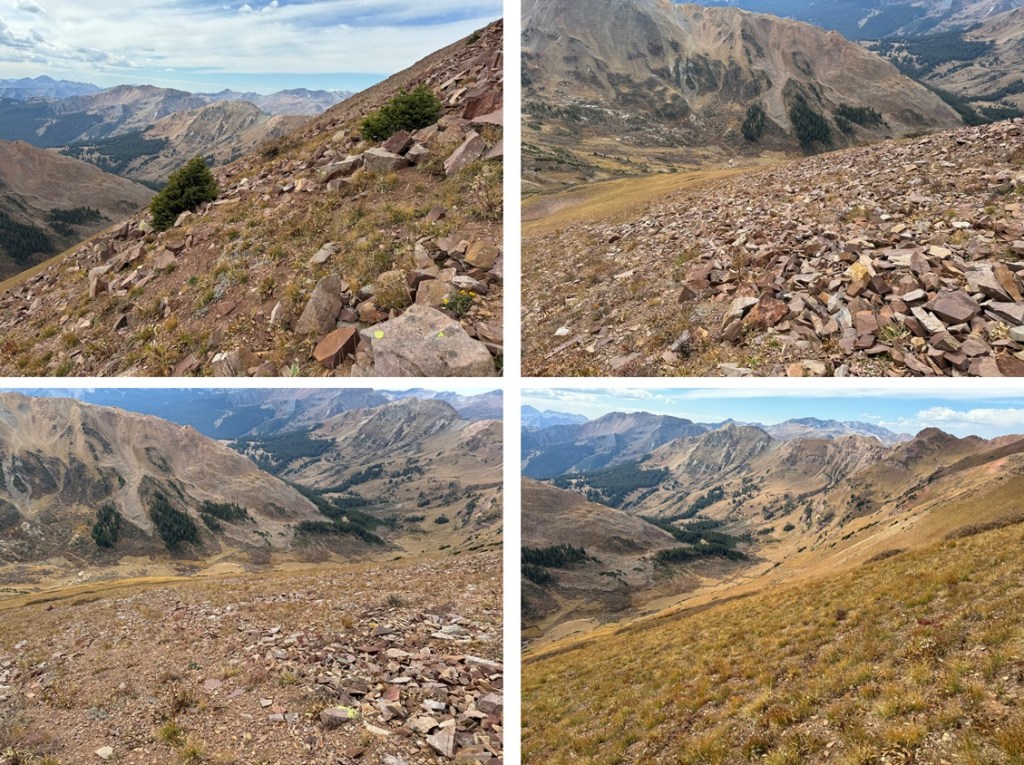
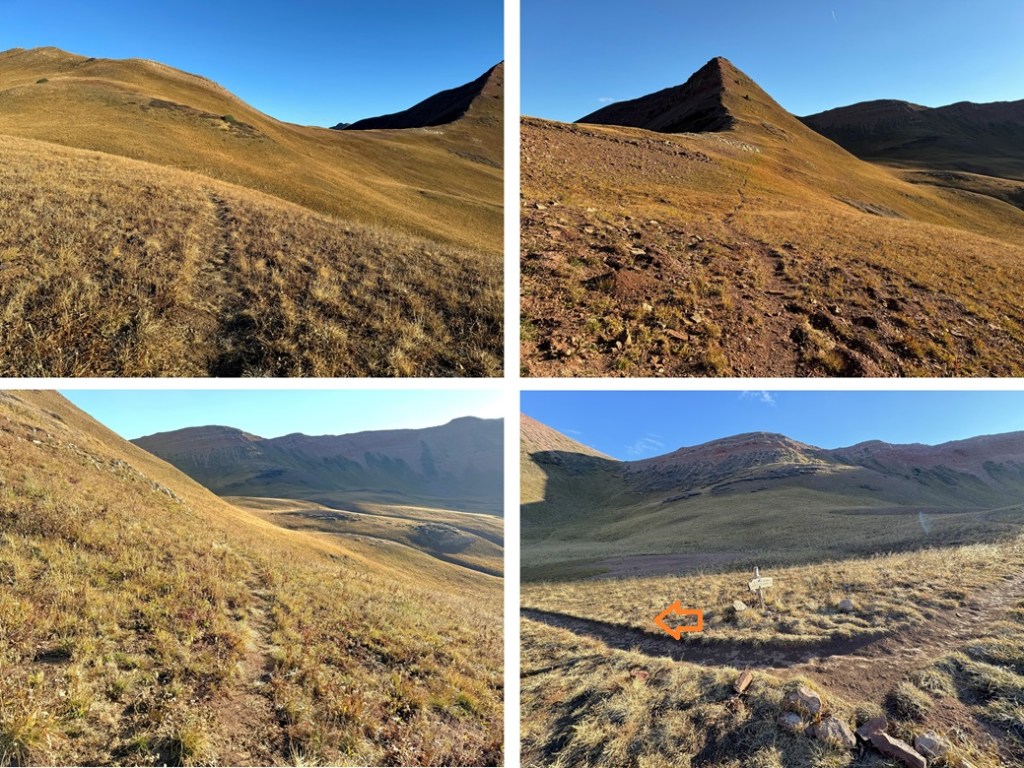
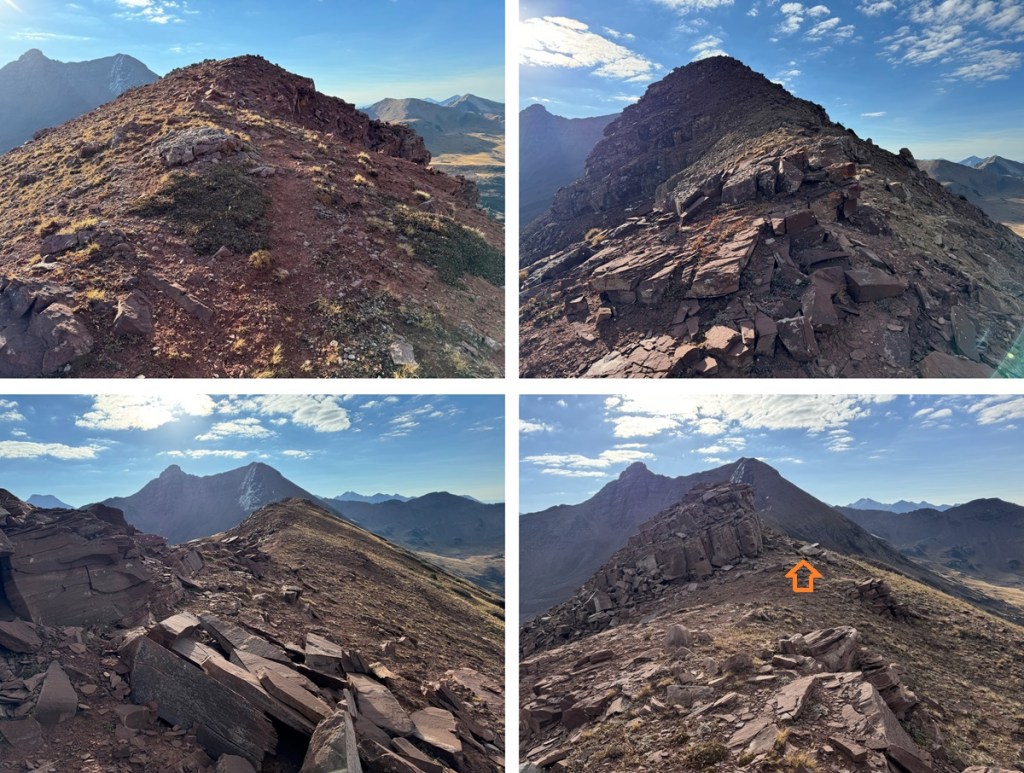
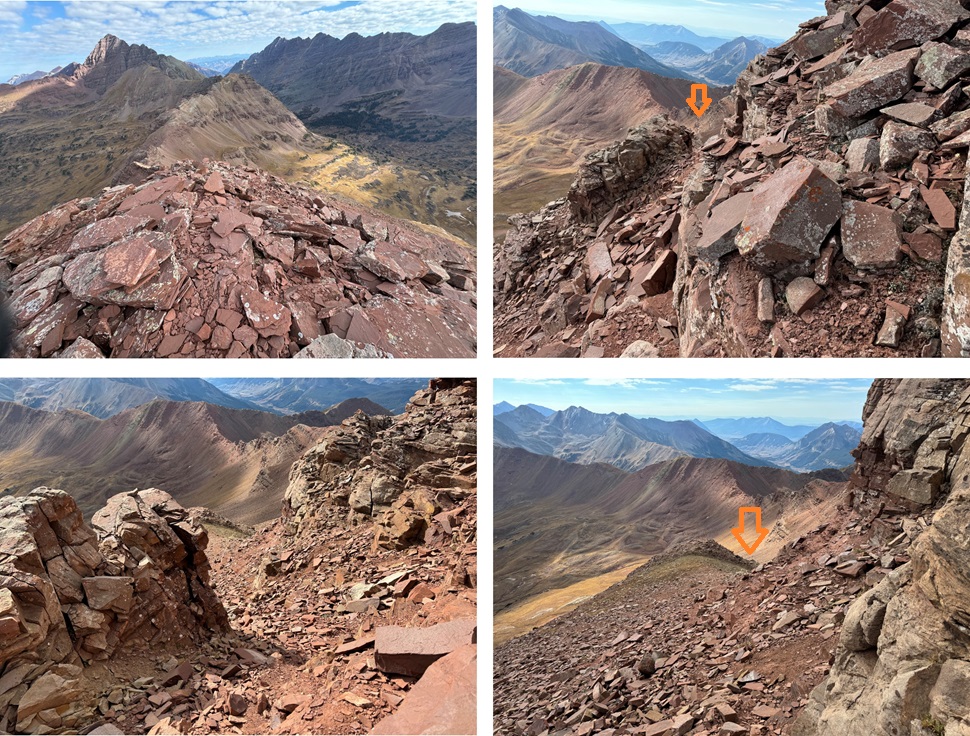
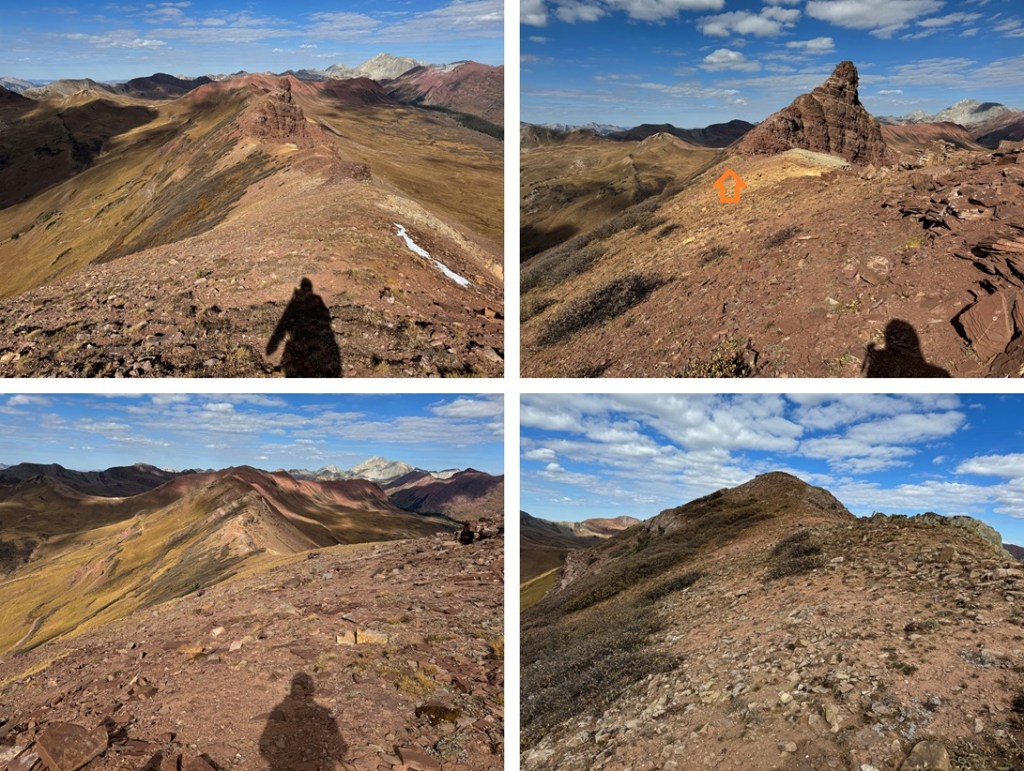
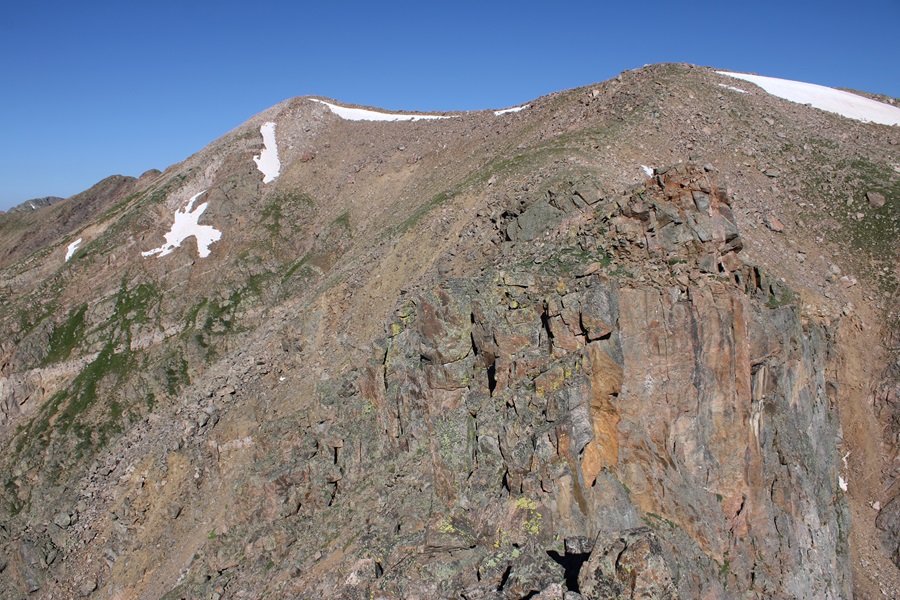
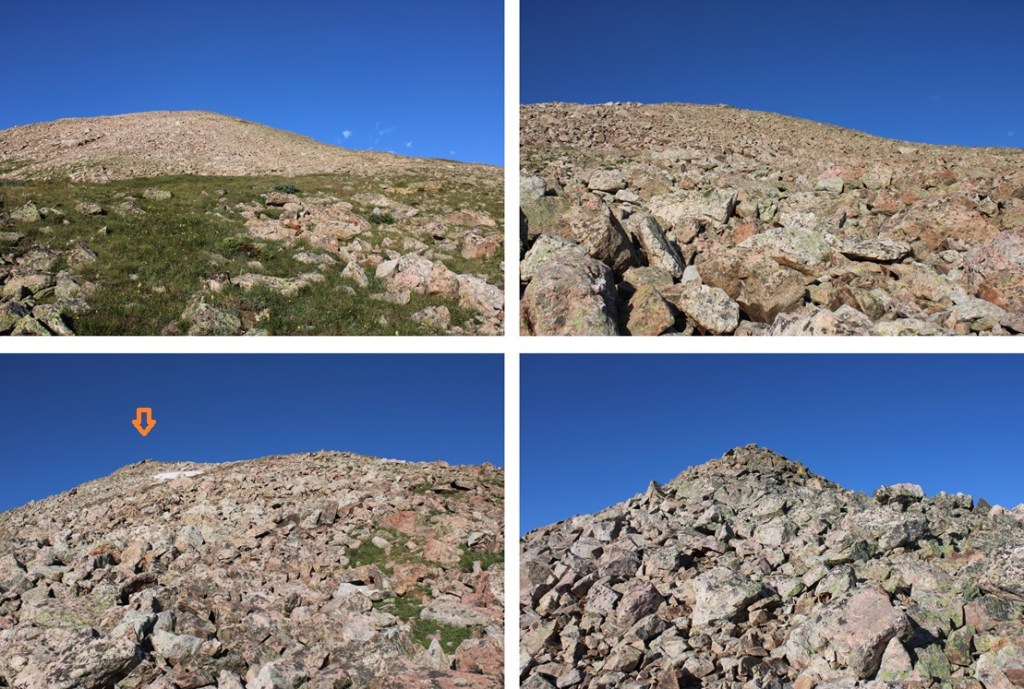
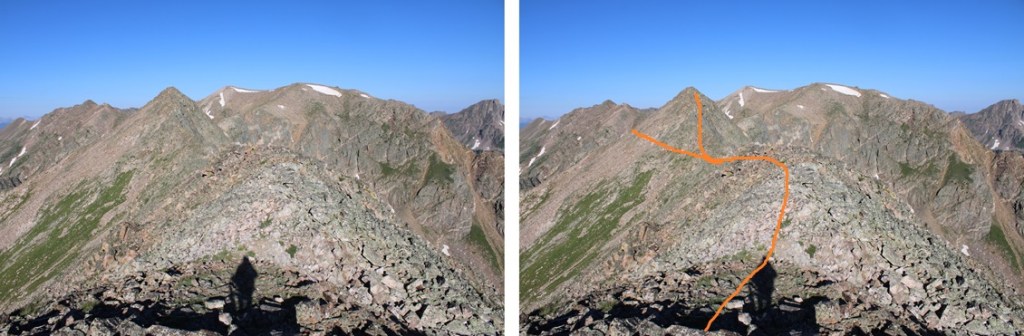
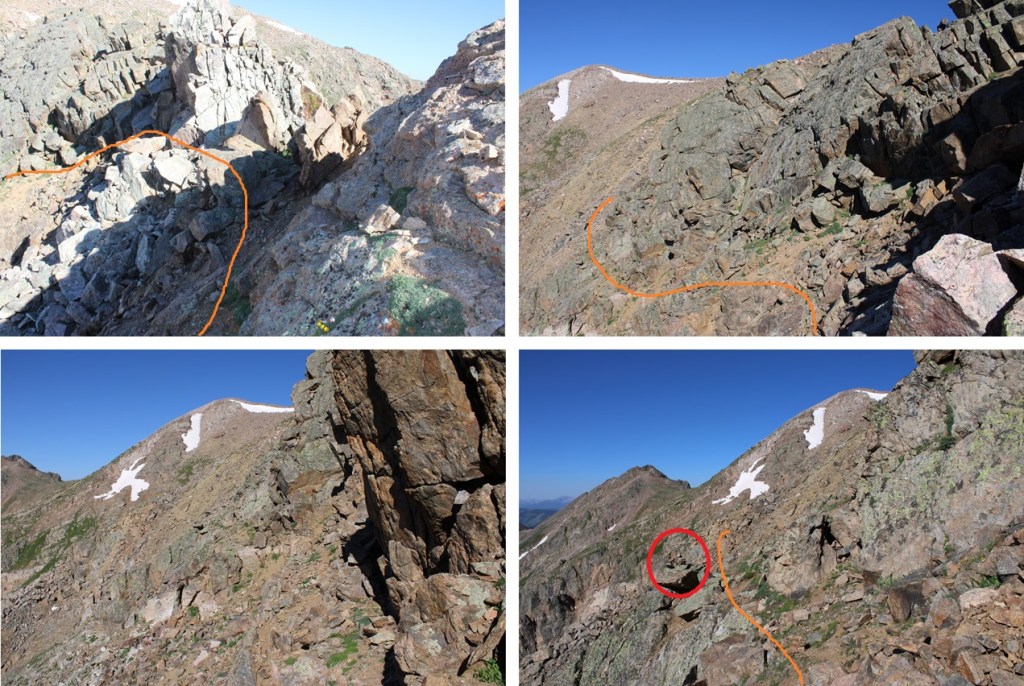
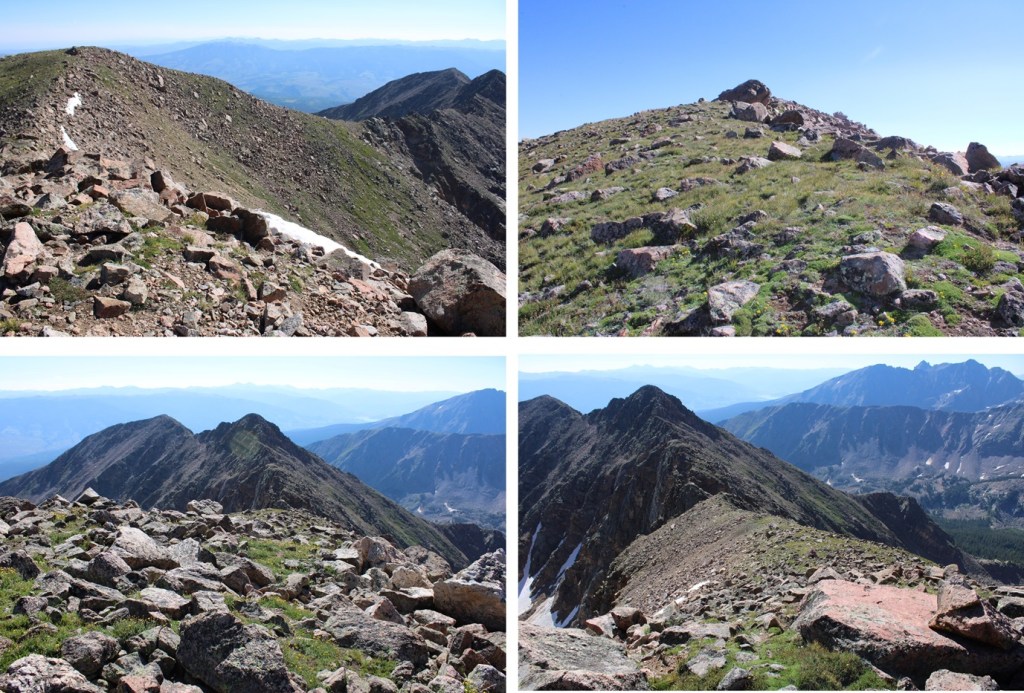
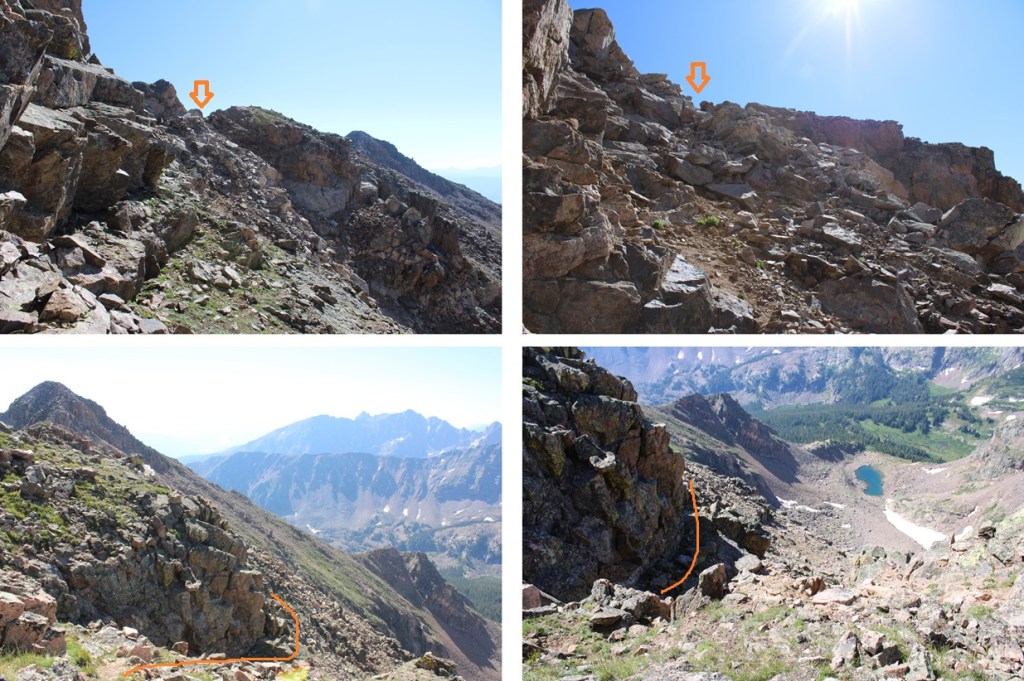
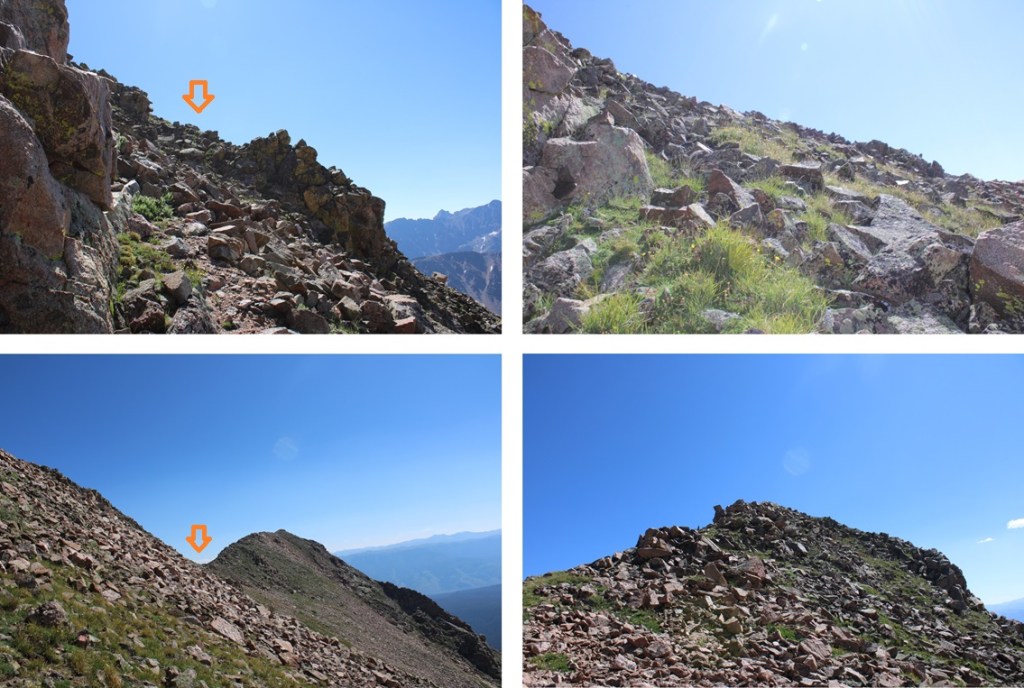
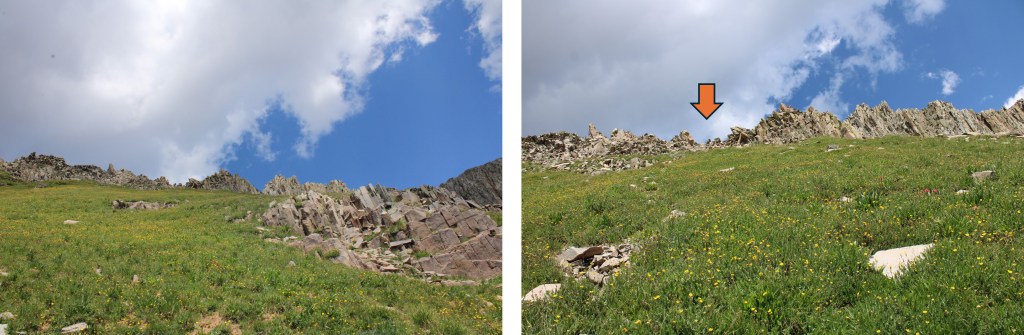
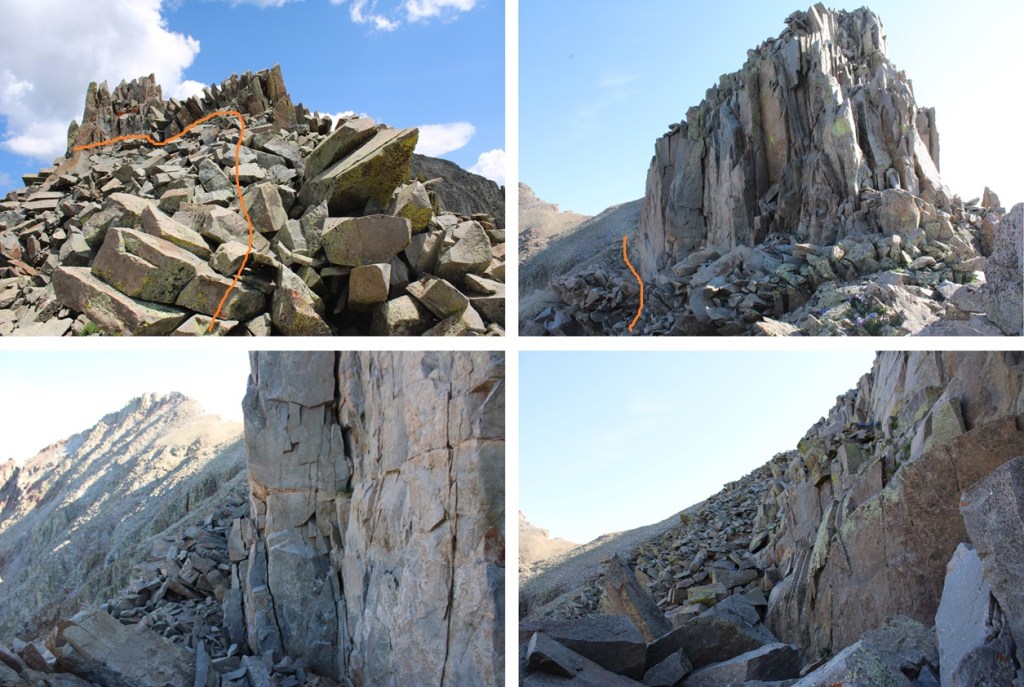
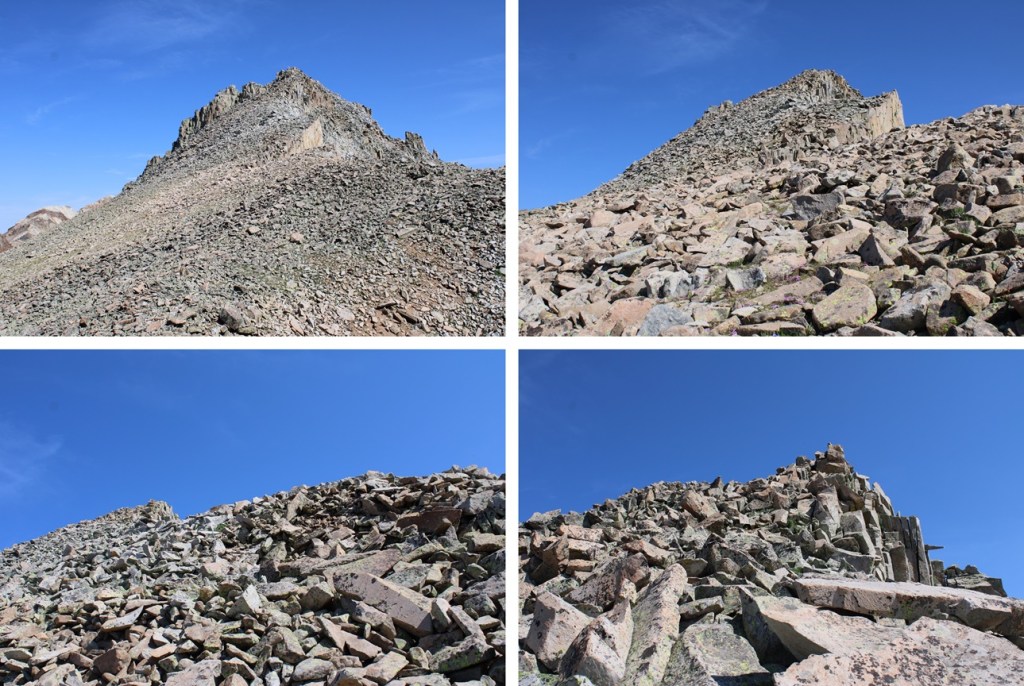
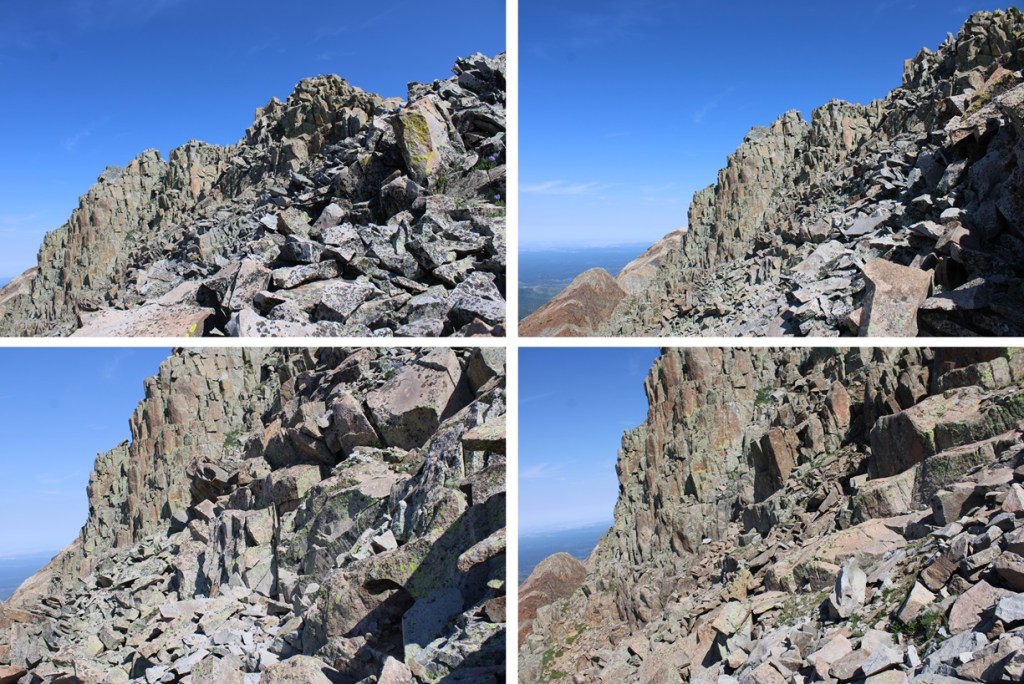
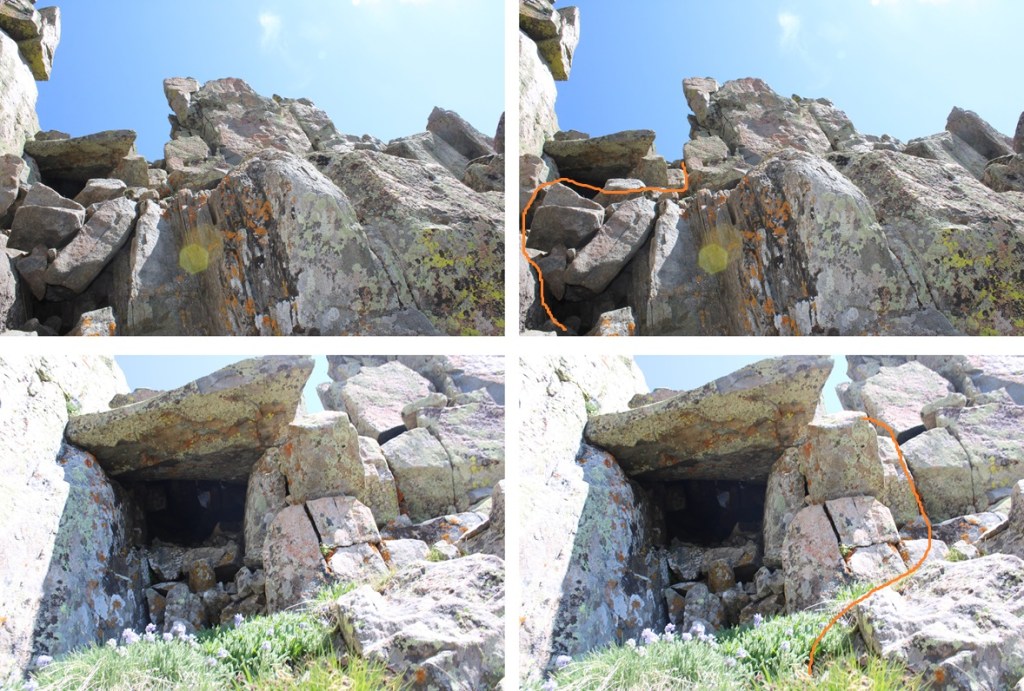
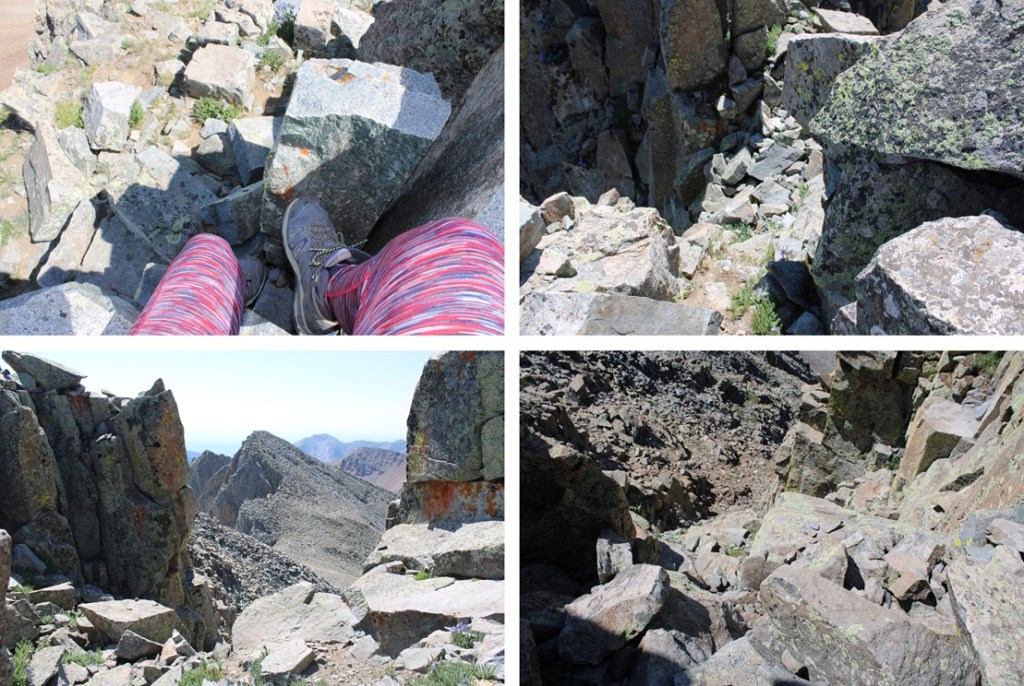
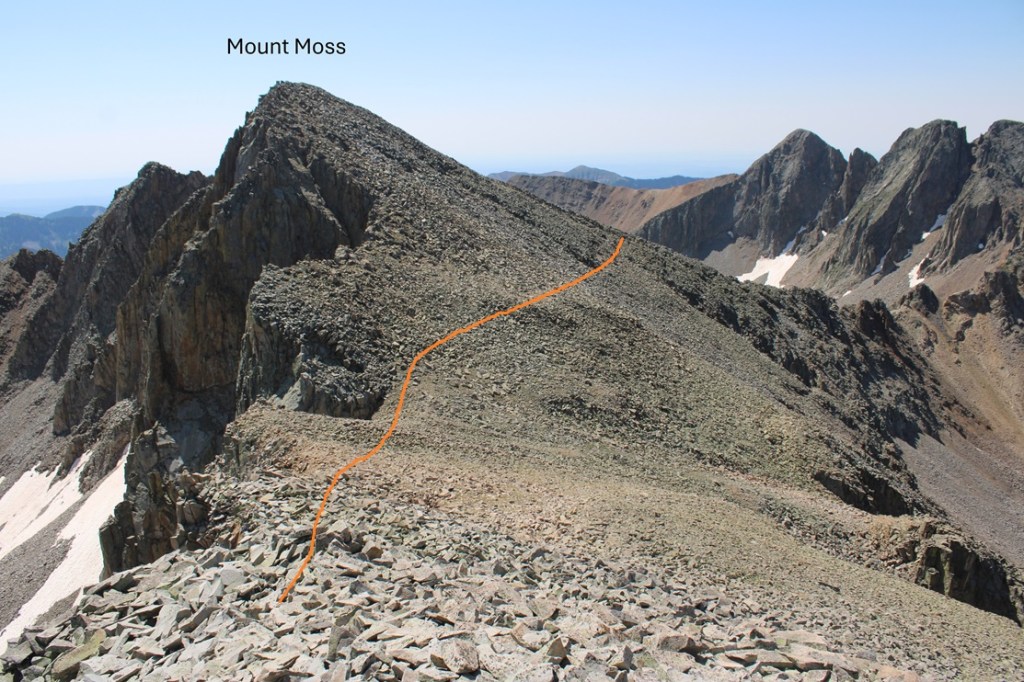
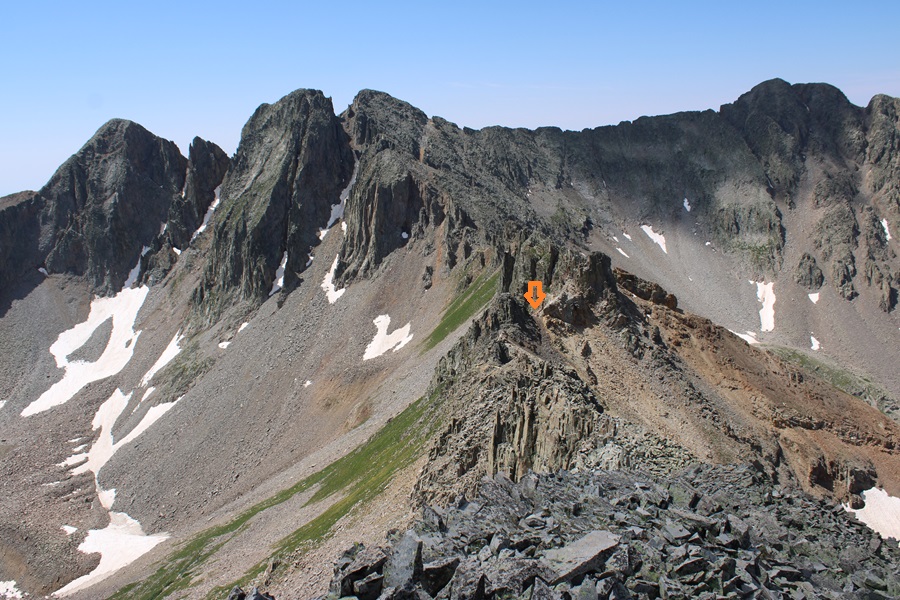
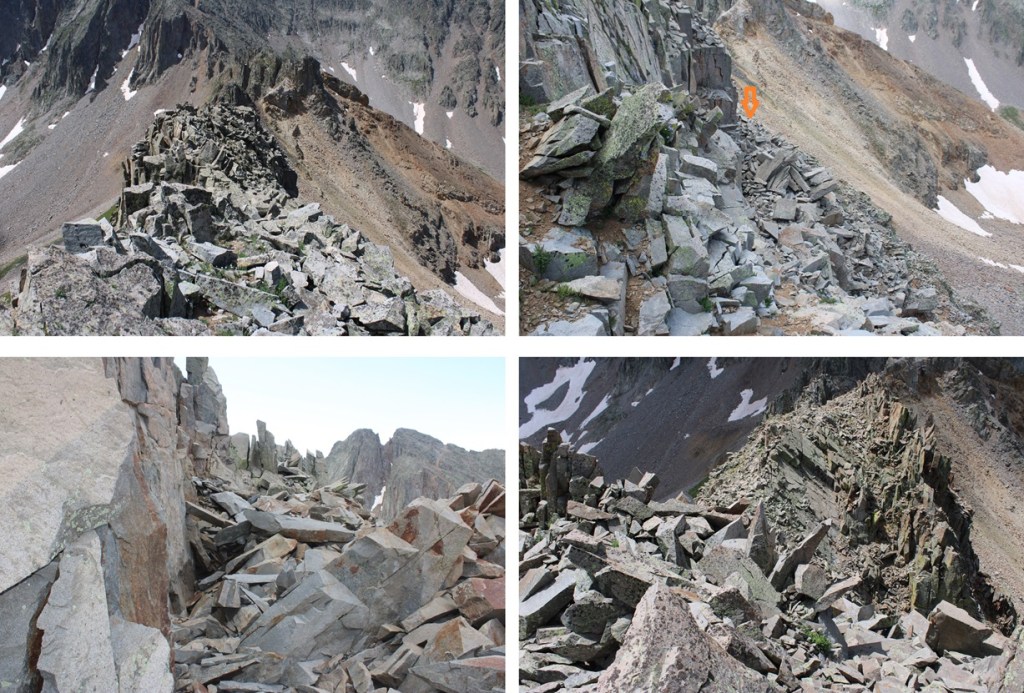
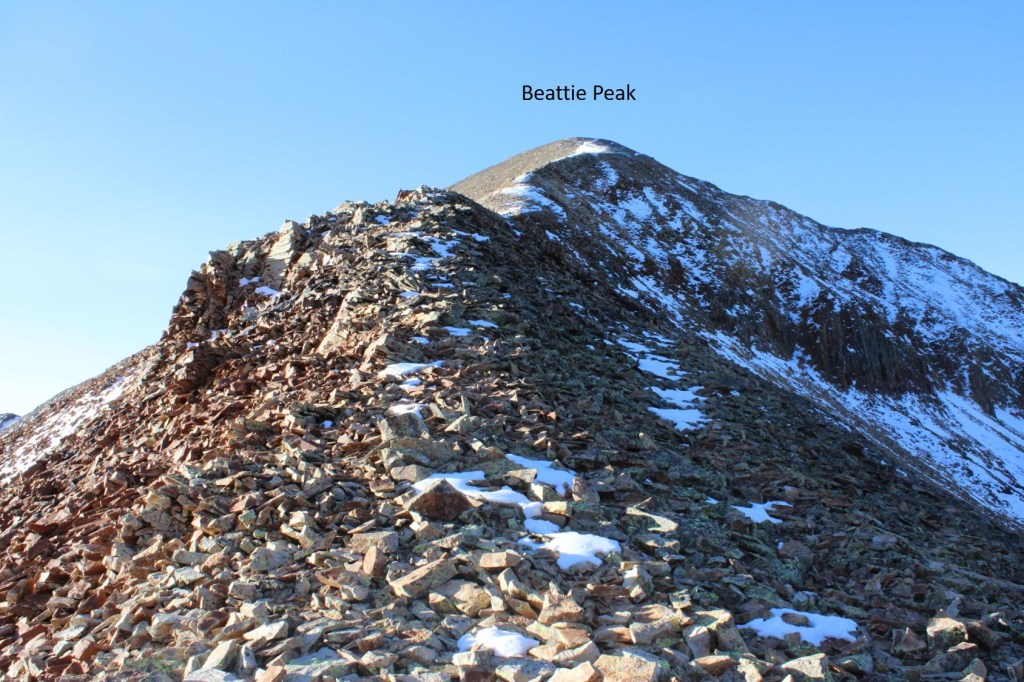
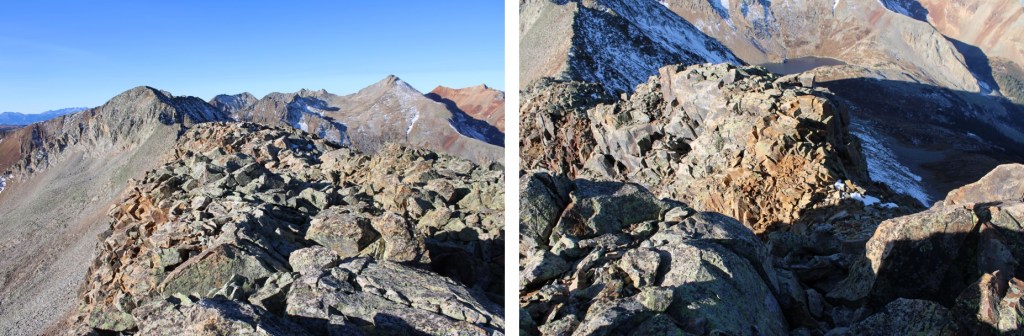
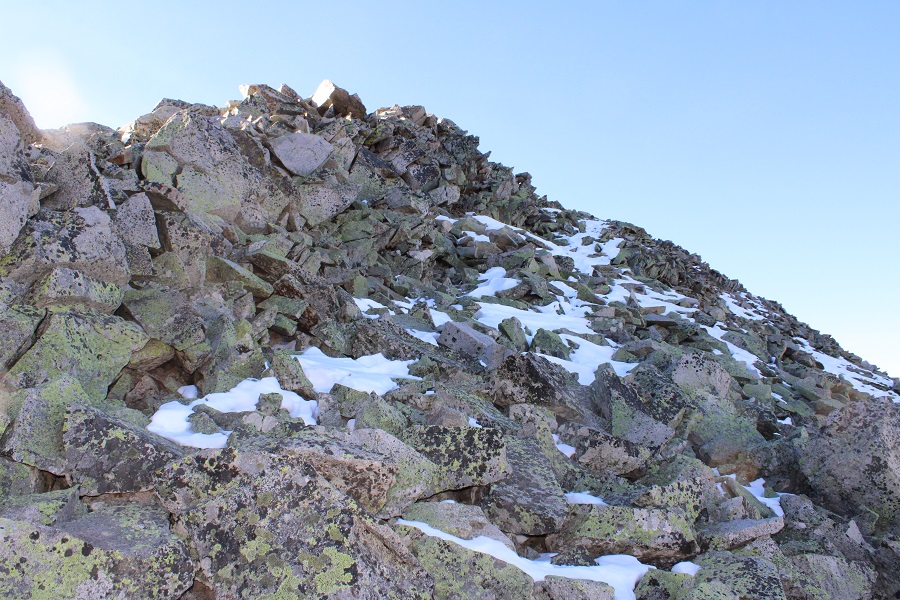
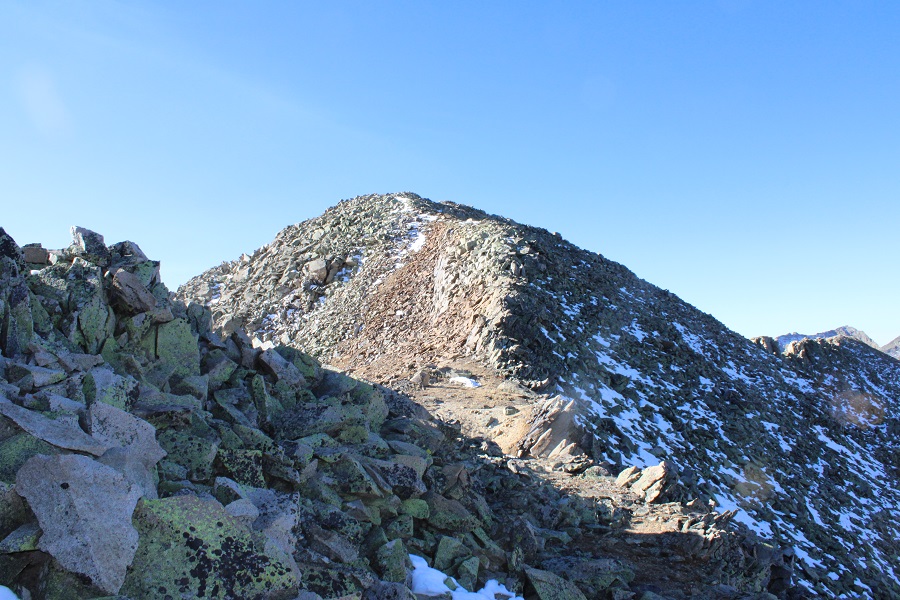
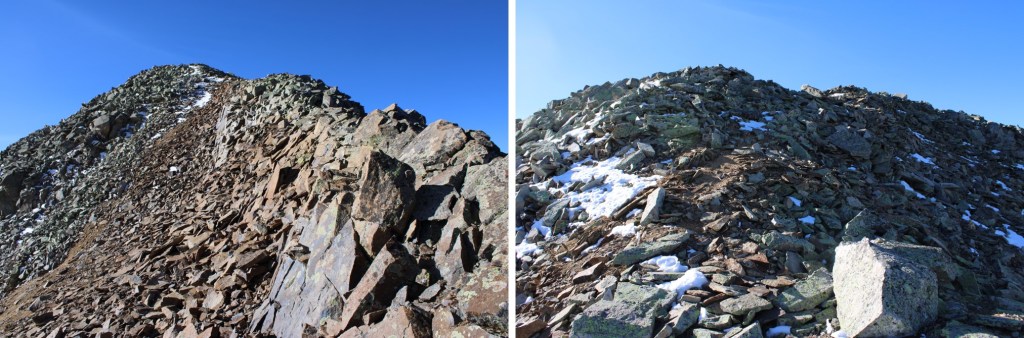
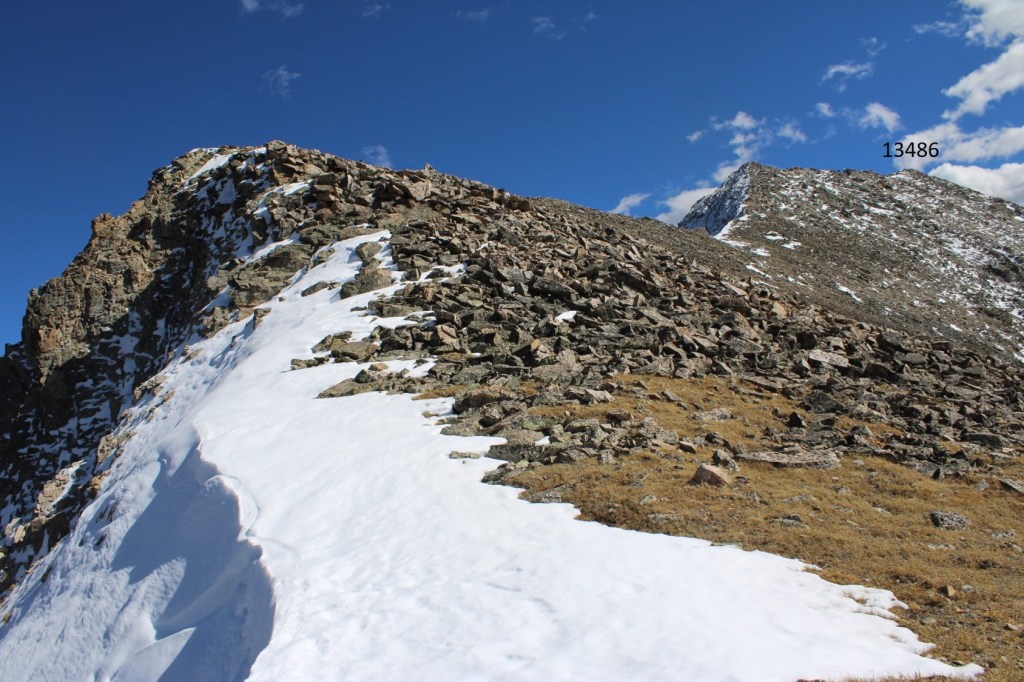
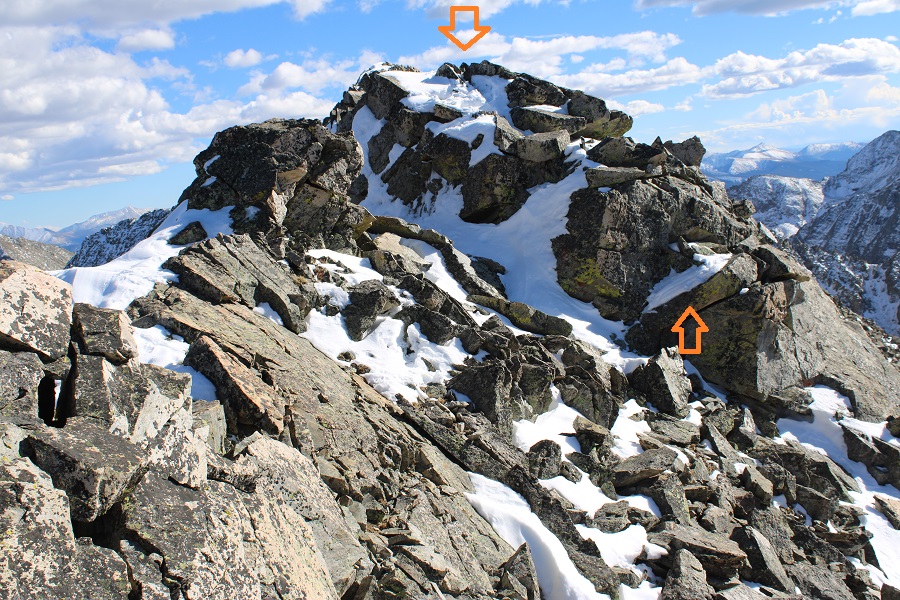
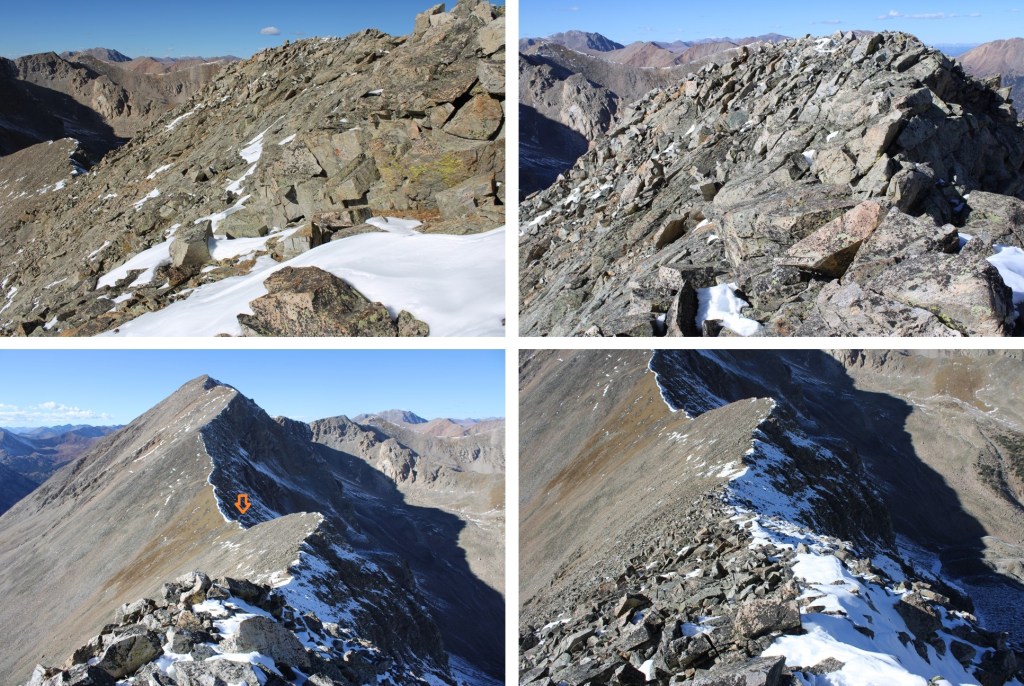
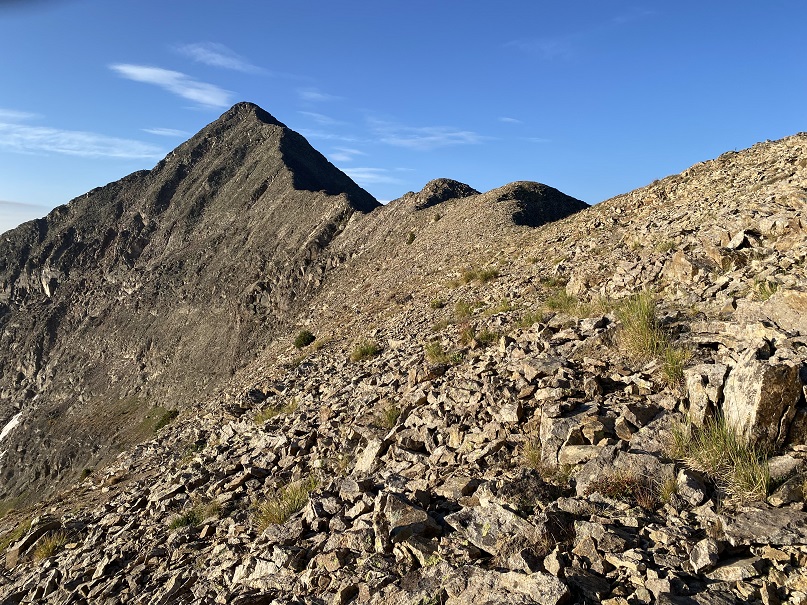
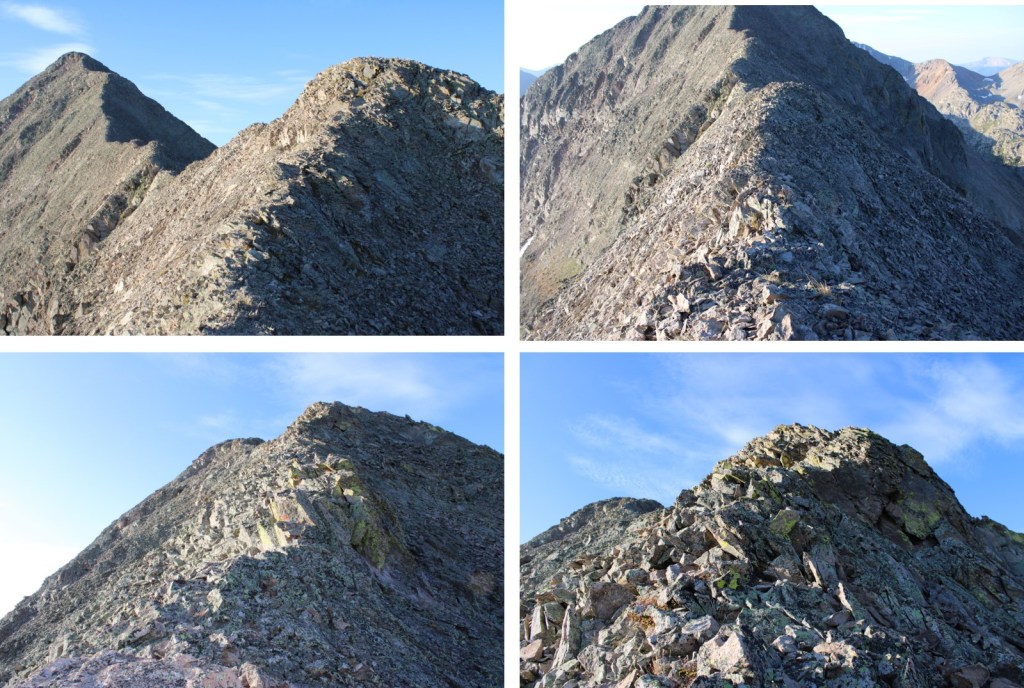
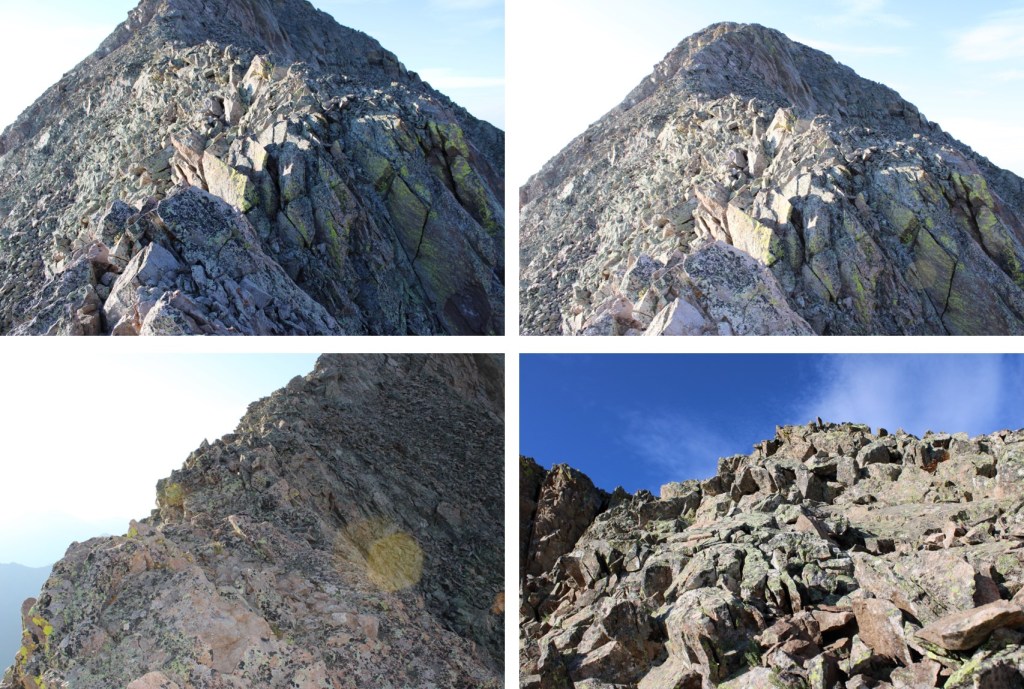
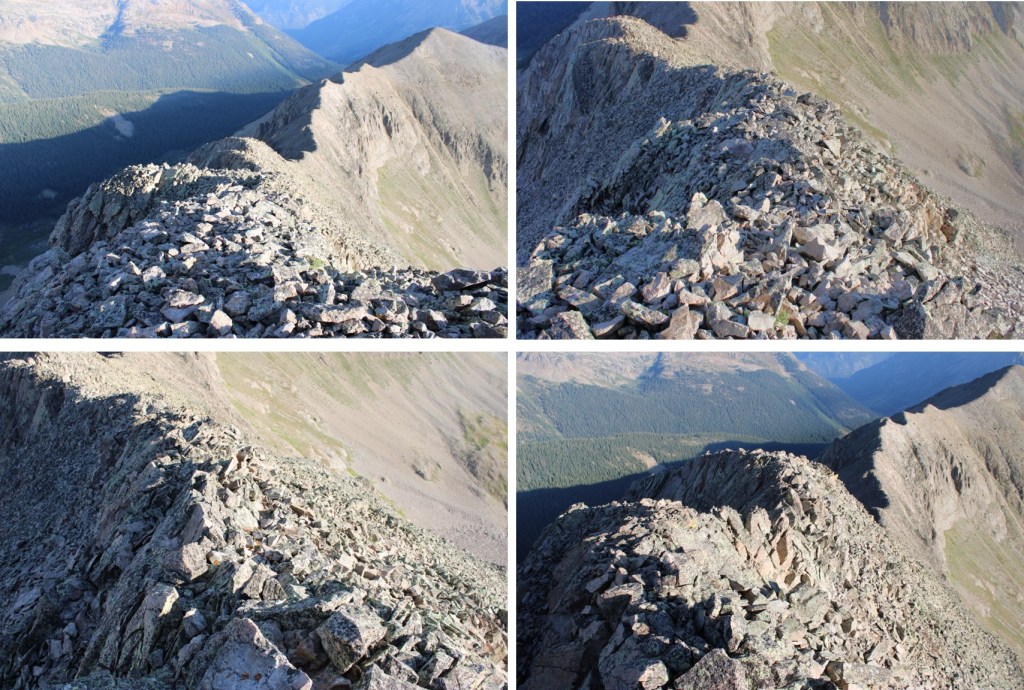
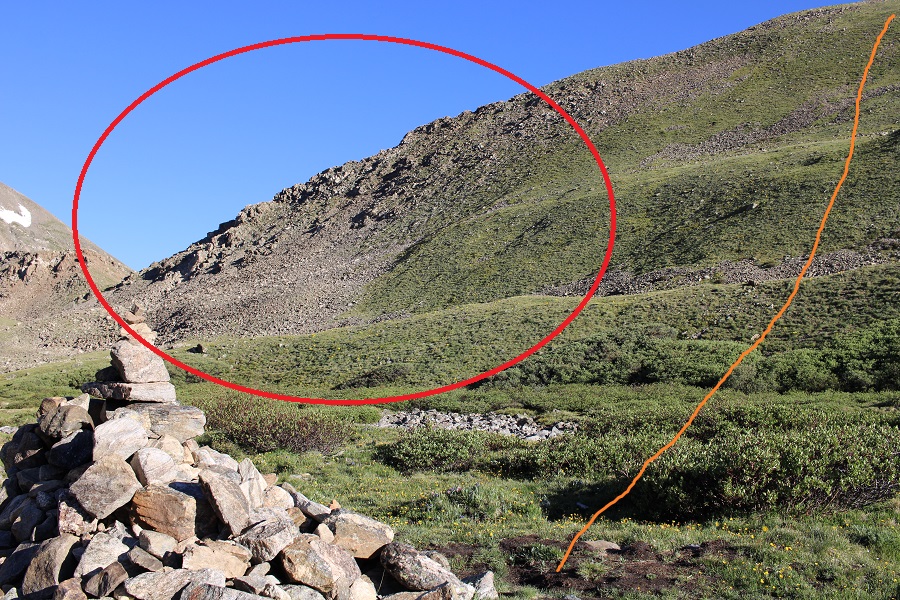
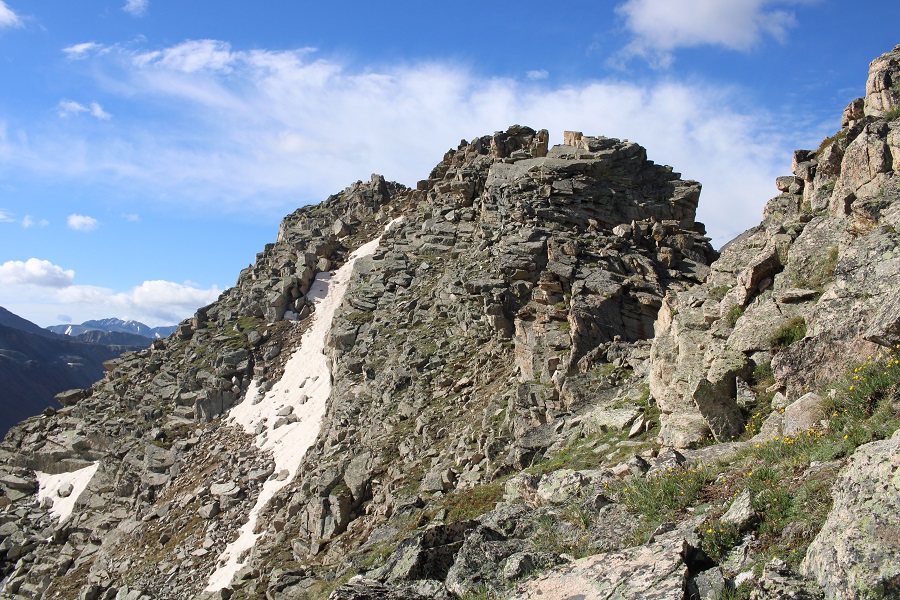
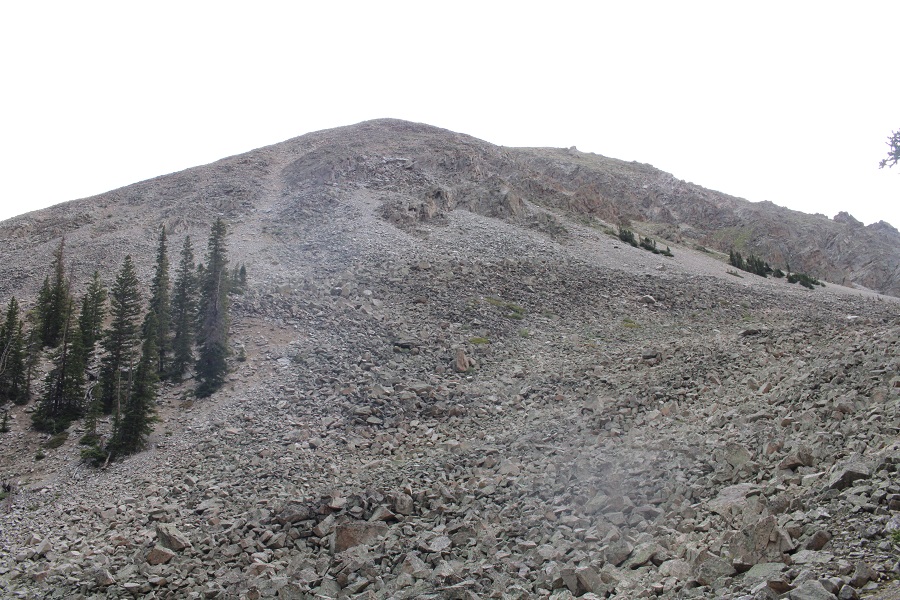
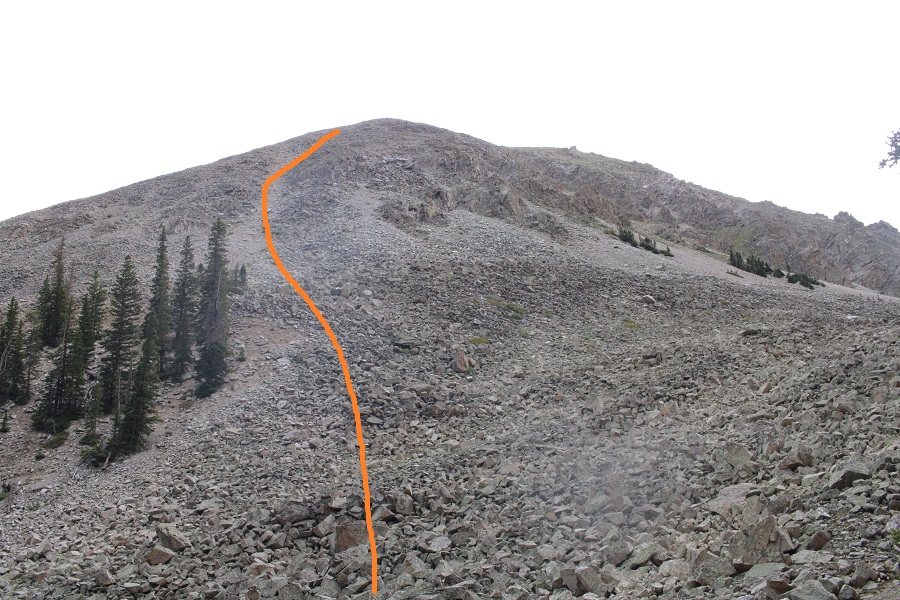
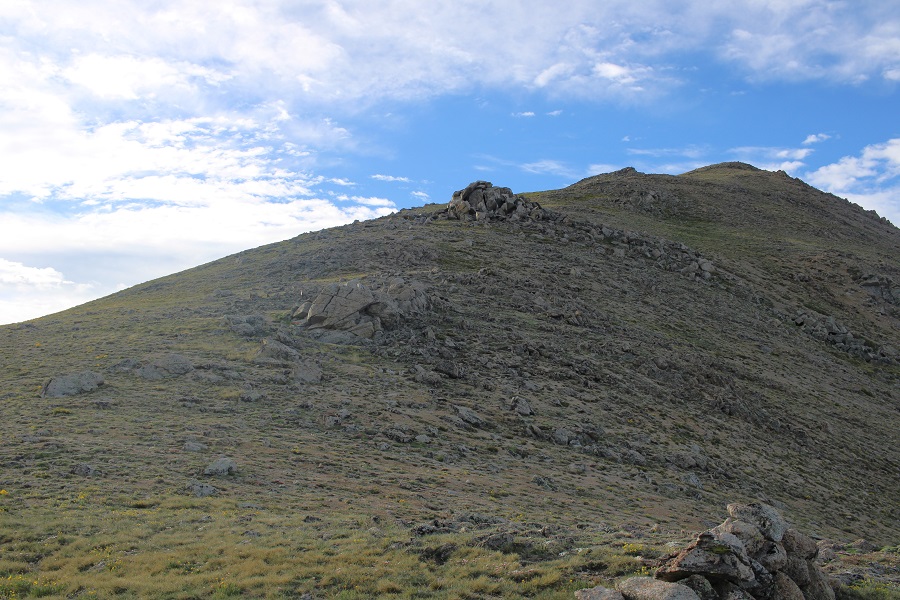
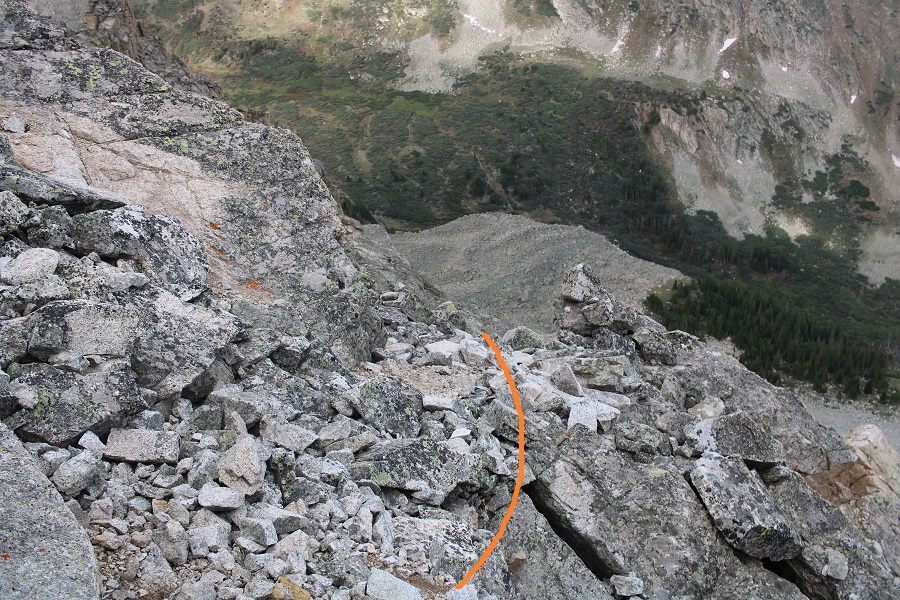
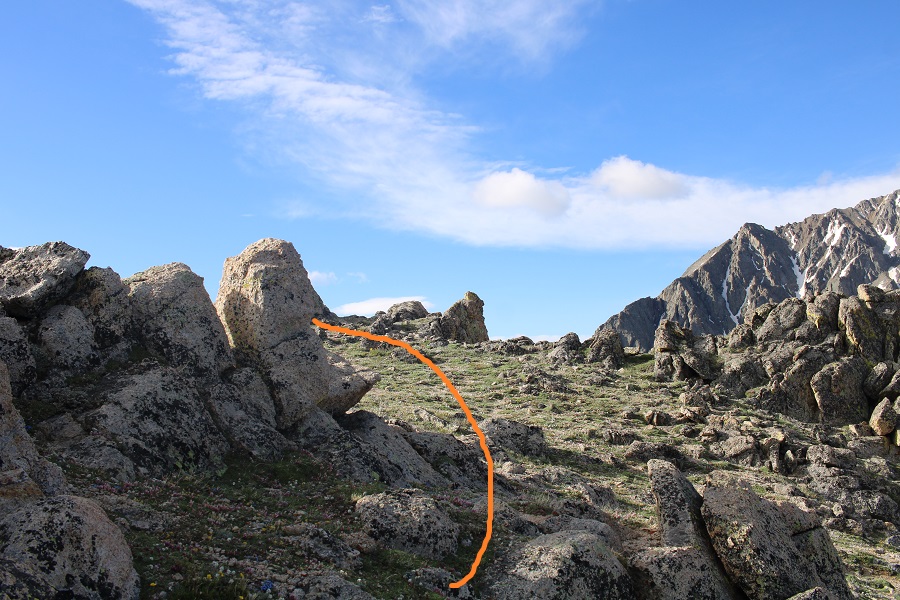
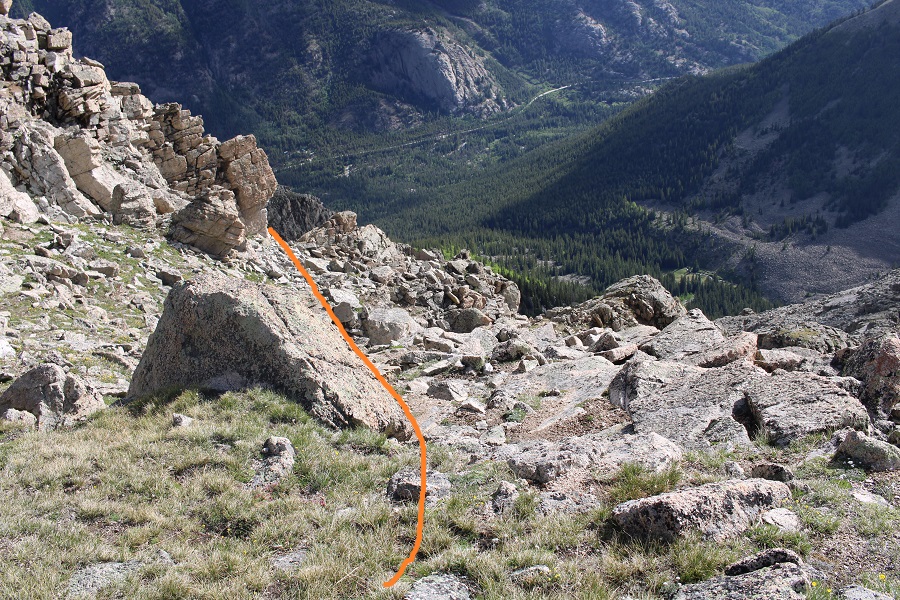
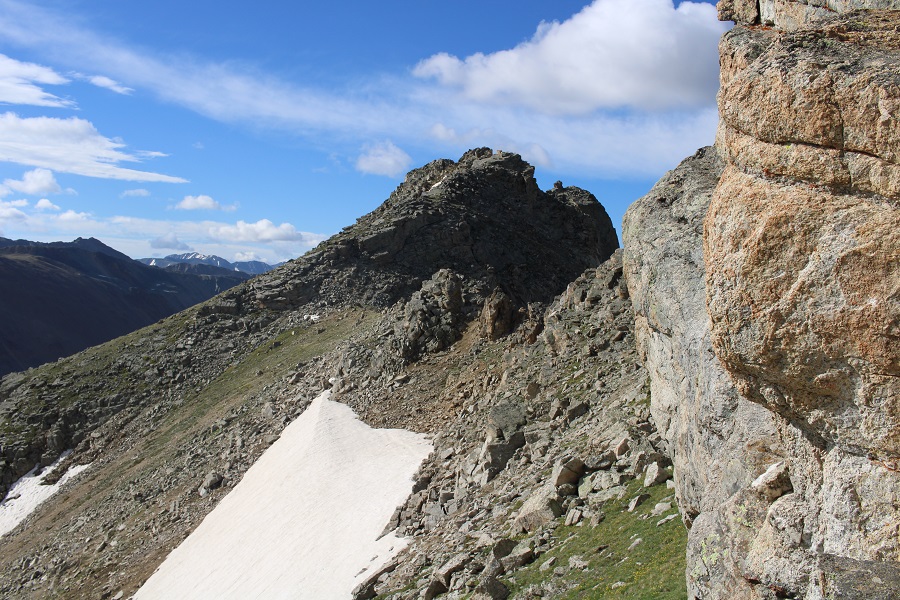
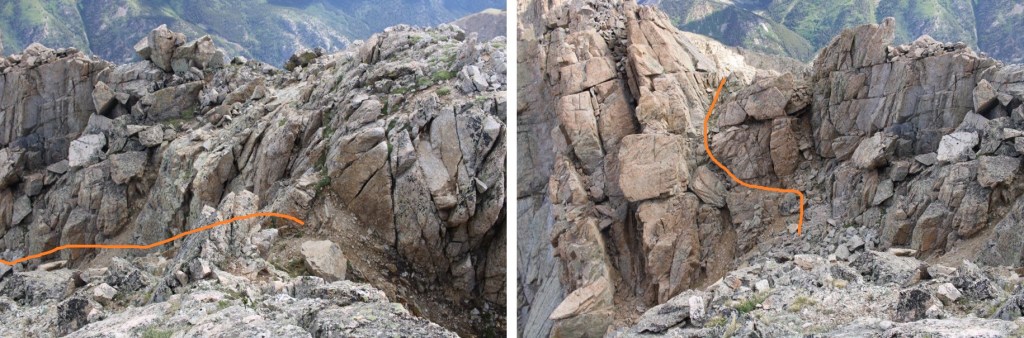
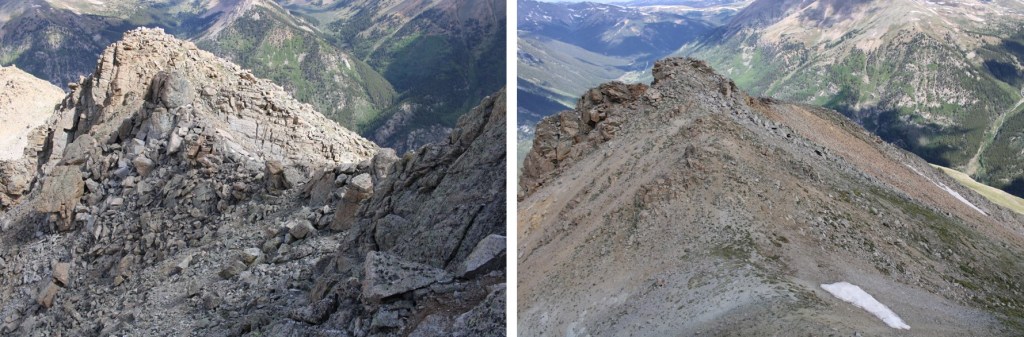
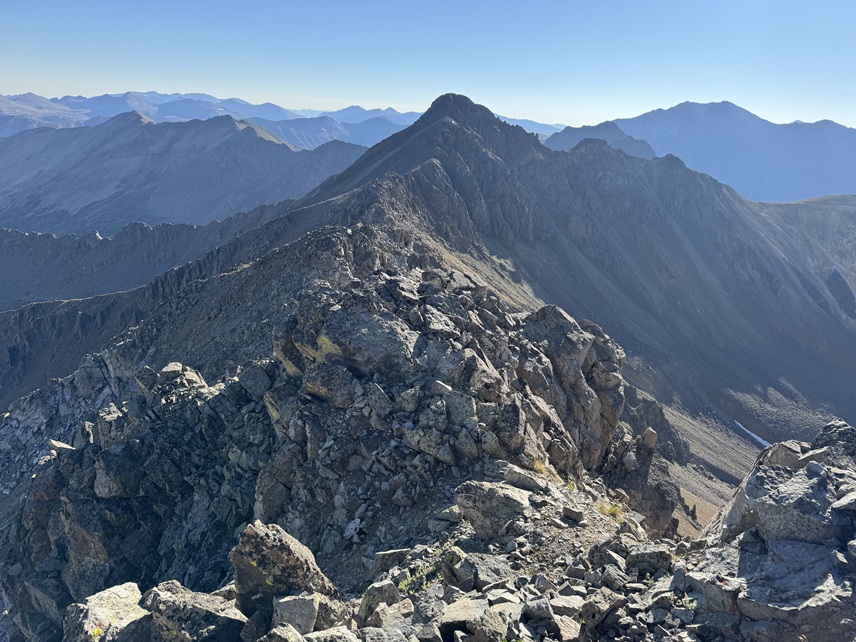
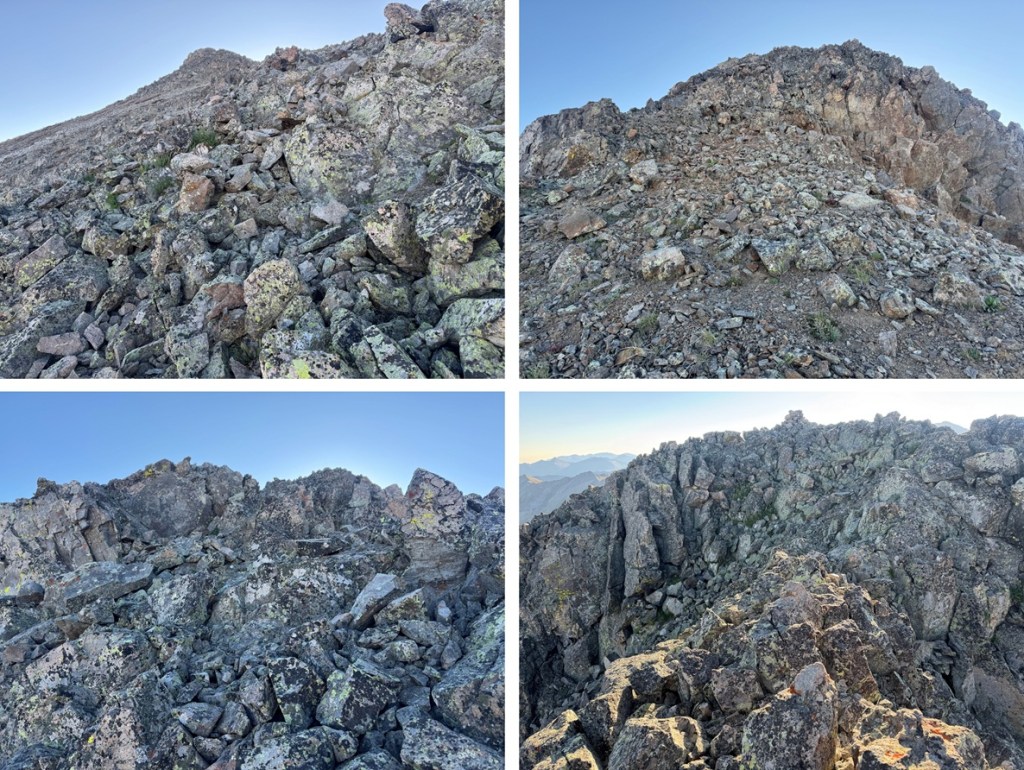
Once on the saddle I turned right, and this became a ridge hike. I followed the ridge east. It started out as class 2 and continued to be class 2 until the false summit. Just before the false summit the terrain became rocky but stayed at class 2.
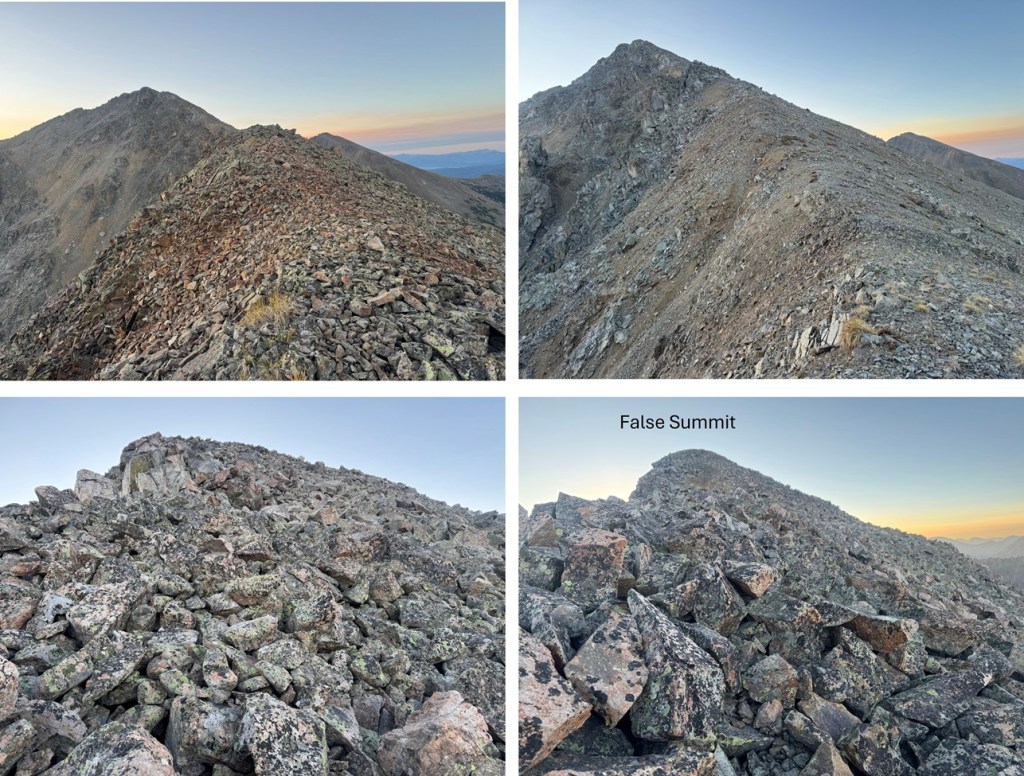
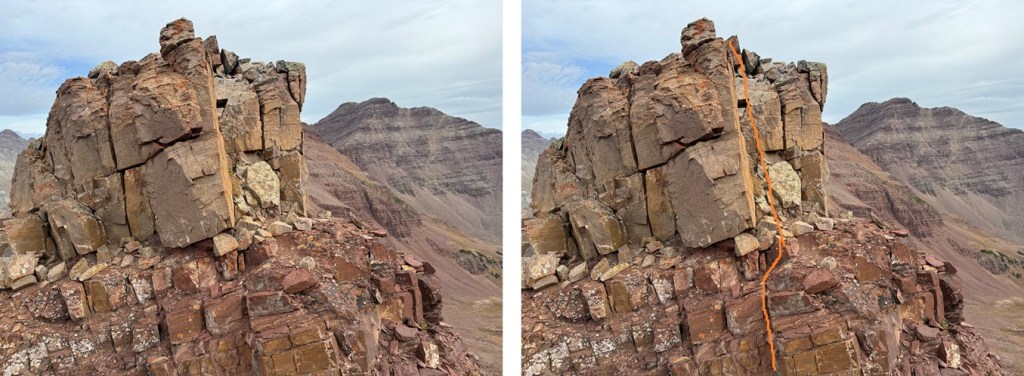
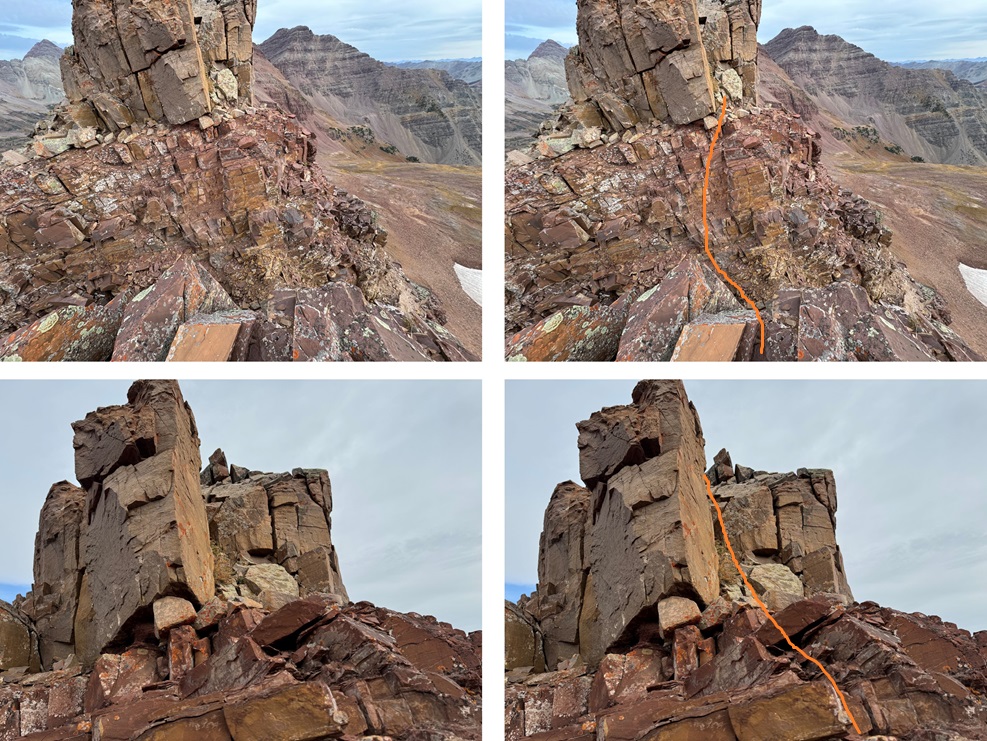
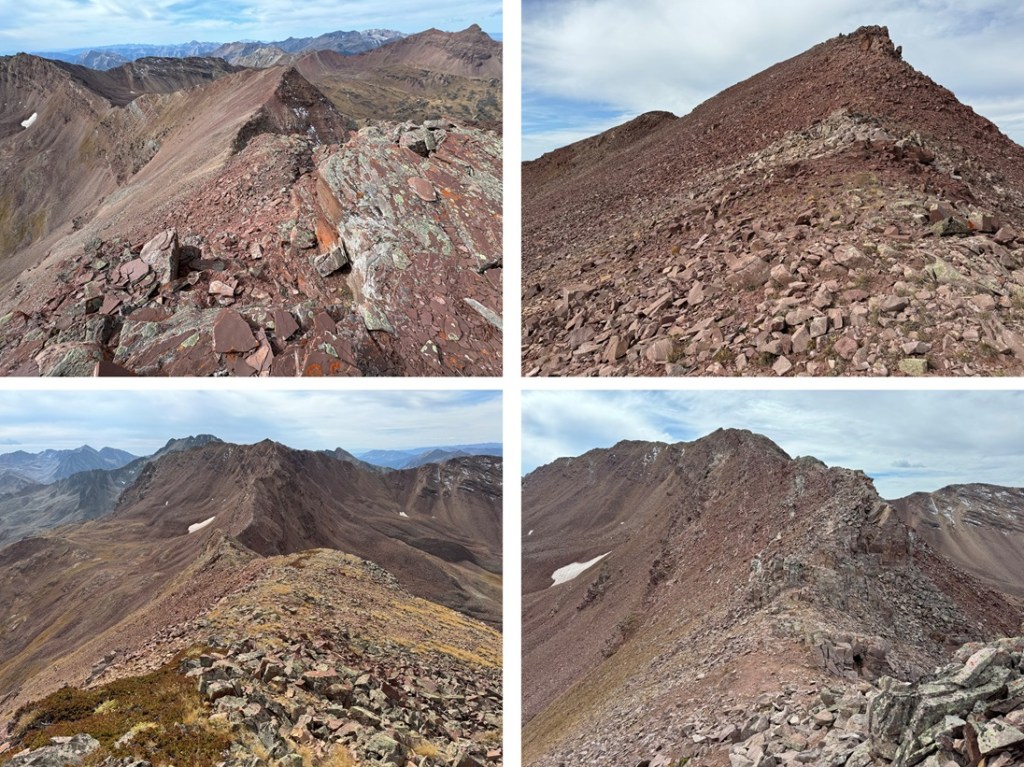
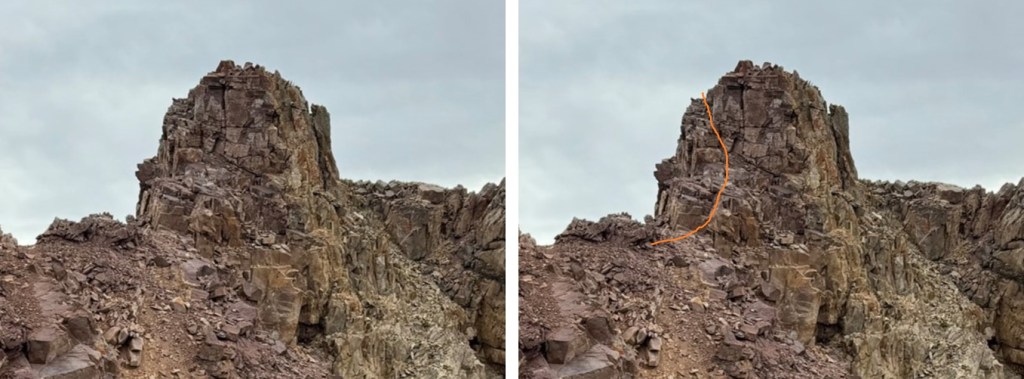
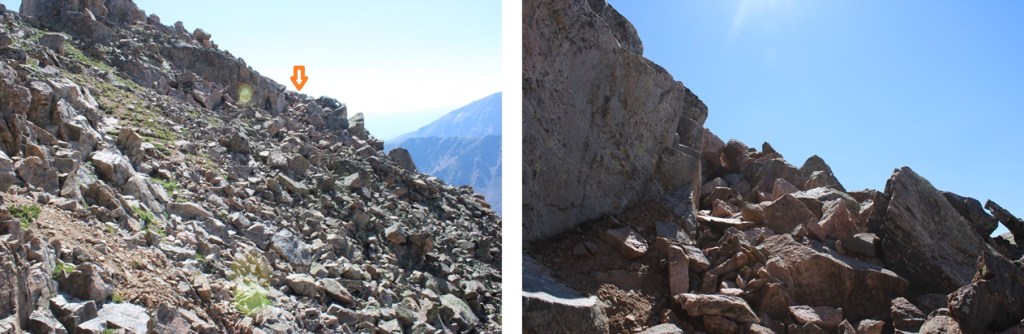
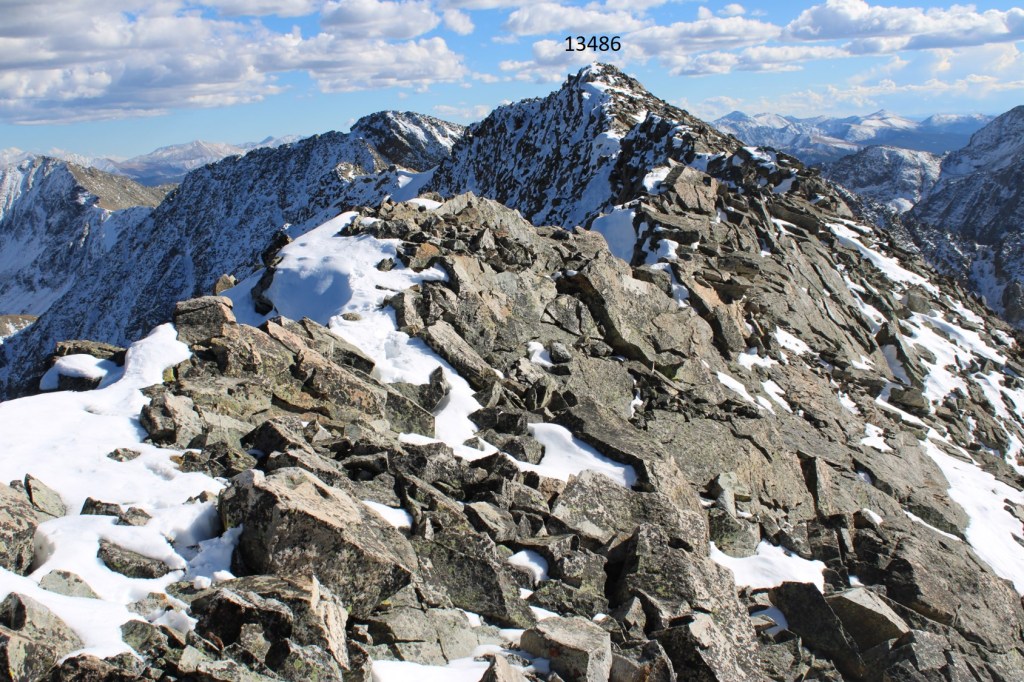
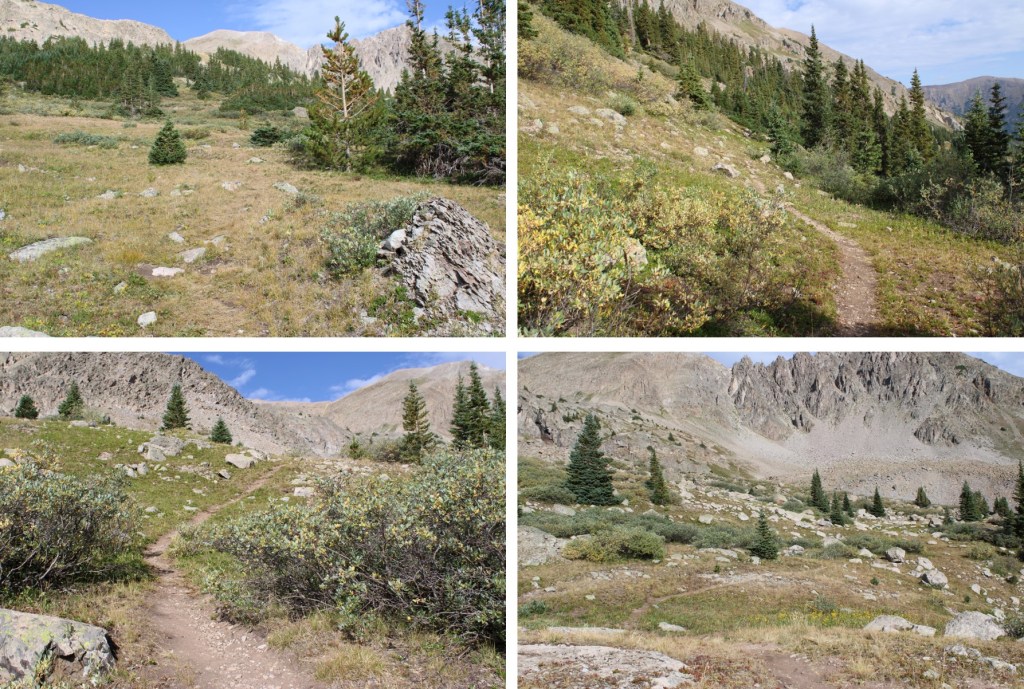
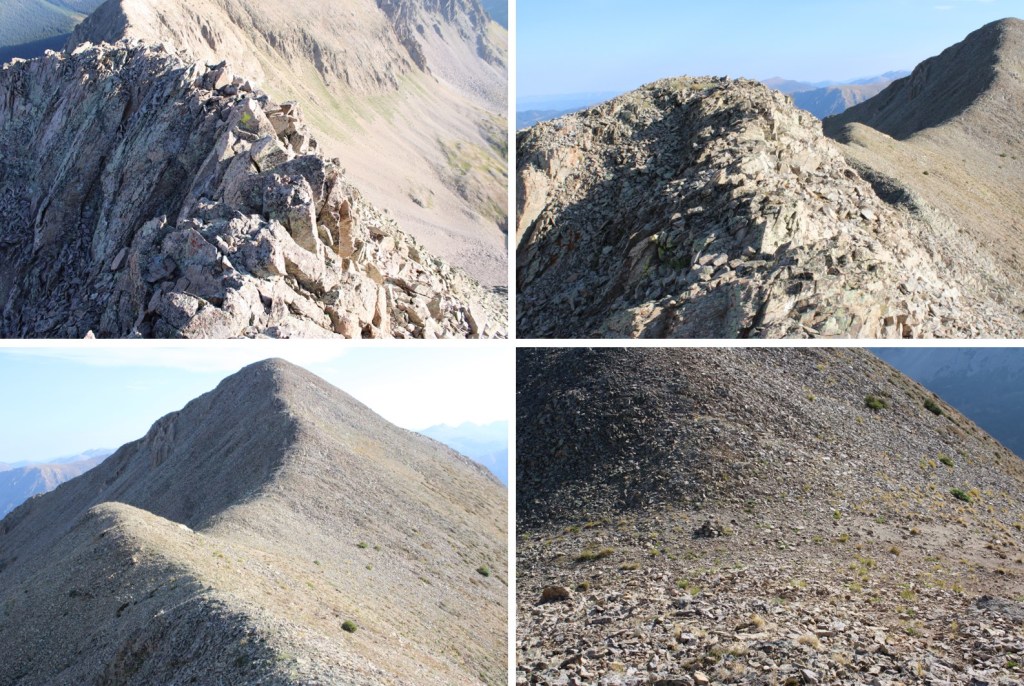
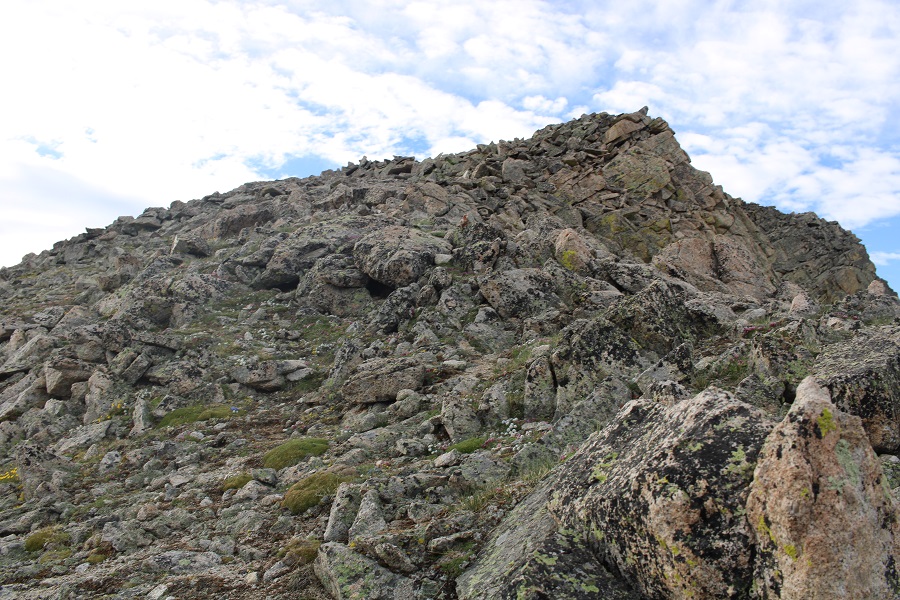
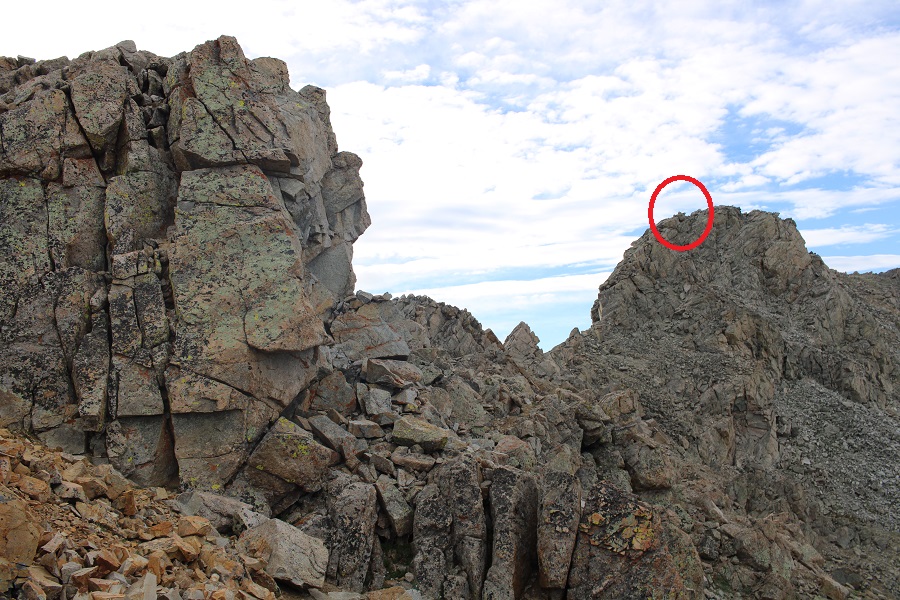
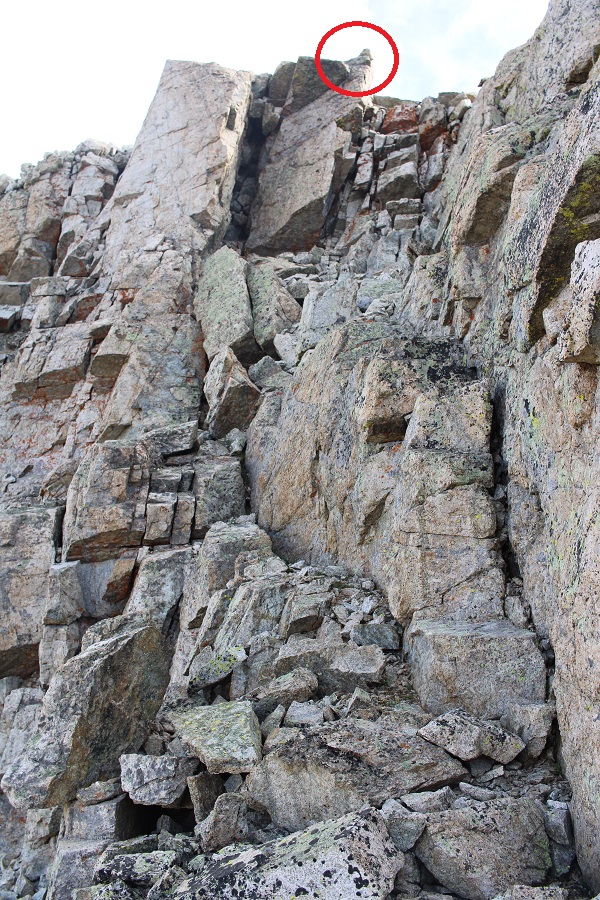
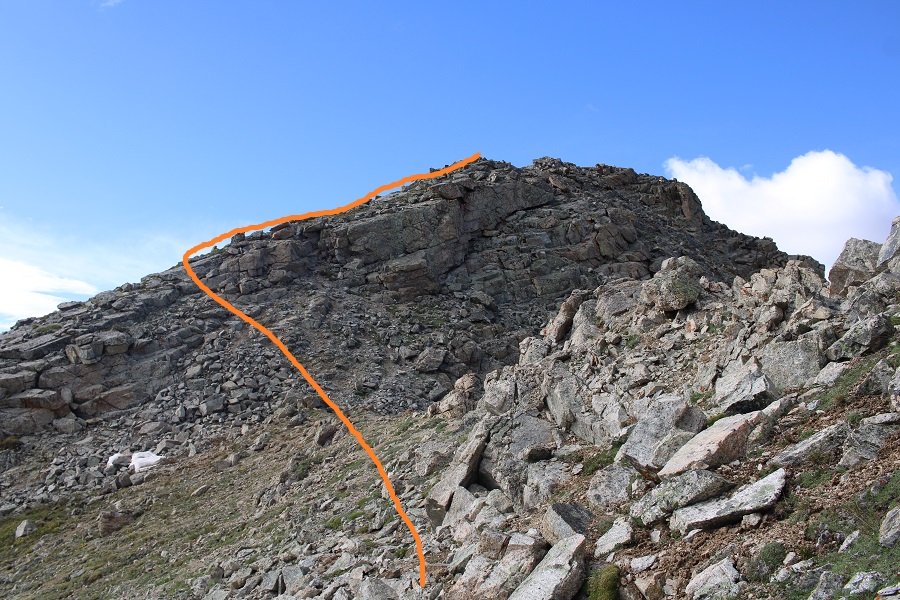
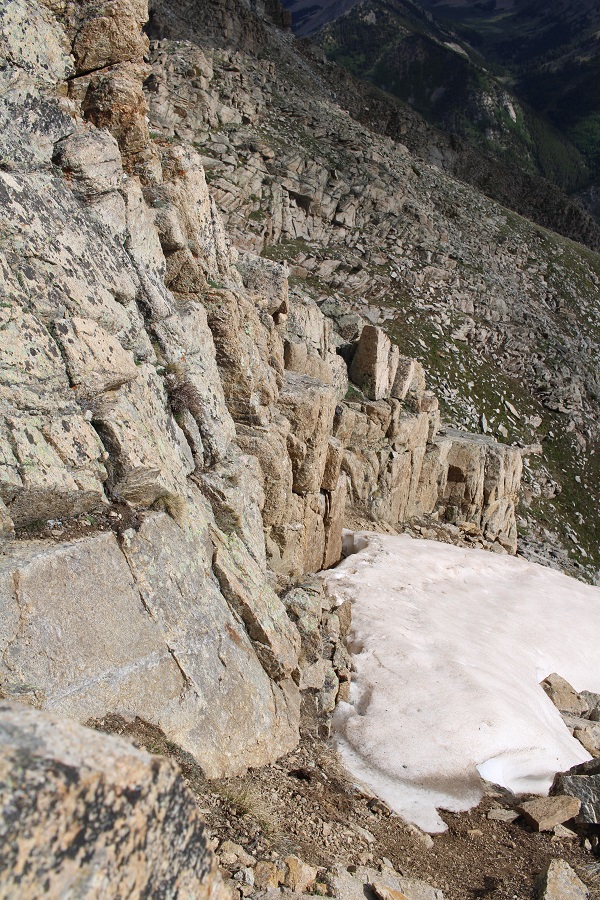
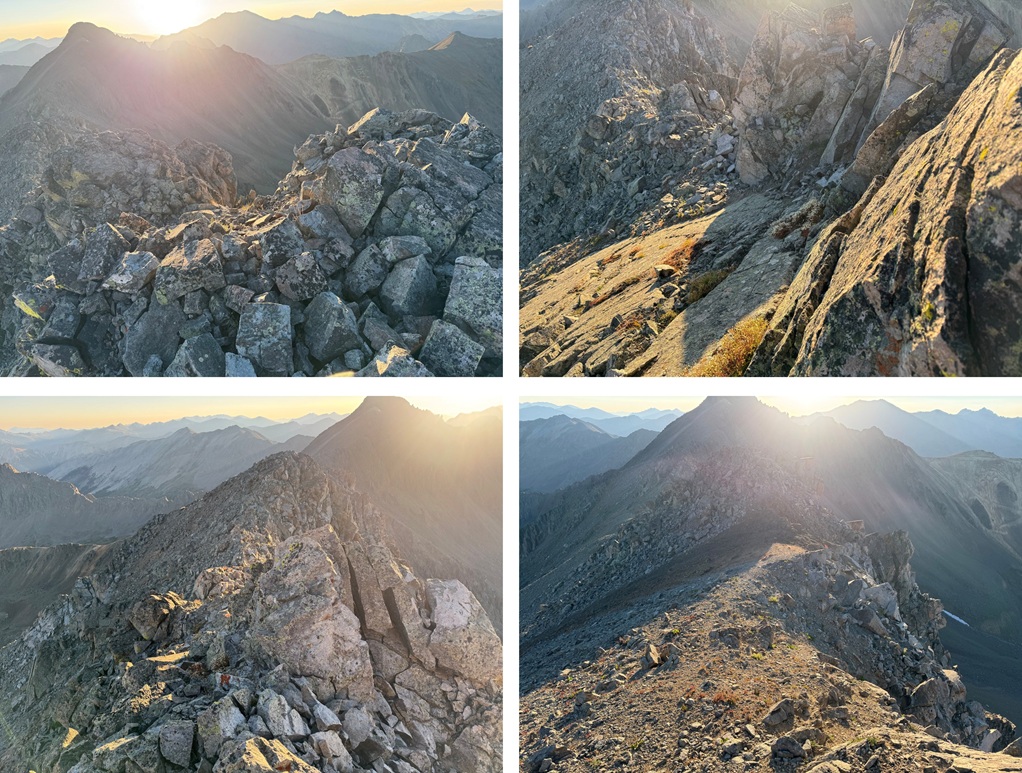
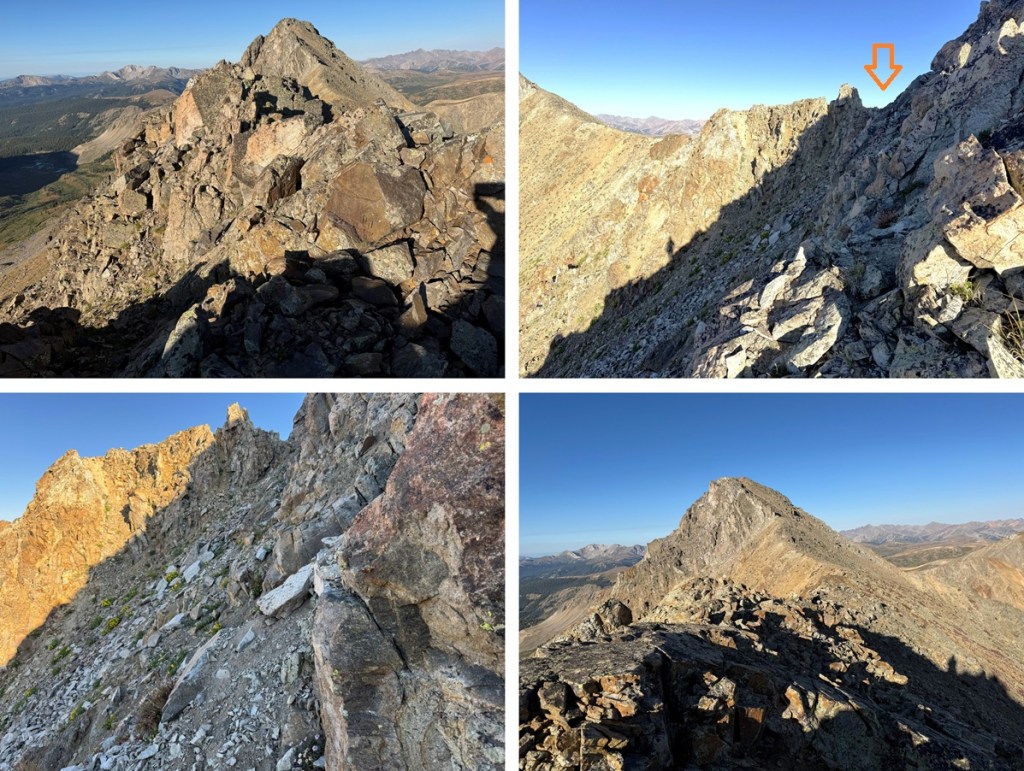
From the false summit I continued to follow the ridge east. The terrain became more difficult as I descended about 150’, then reascended up to Tellurium. I mainly stuck to the ridge, unless it was obvious to drop down to easier terrain. I felt this was easy class 3, but with a lot of choss/talus and exposure.

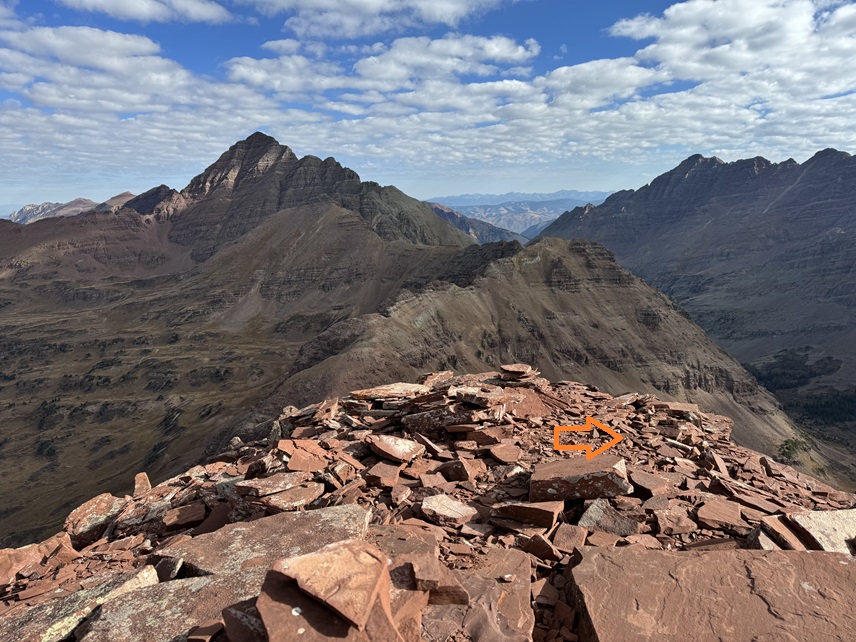
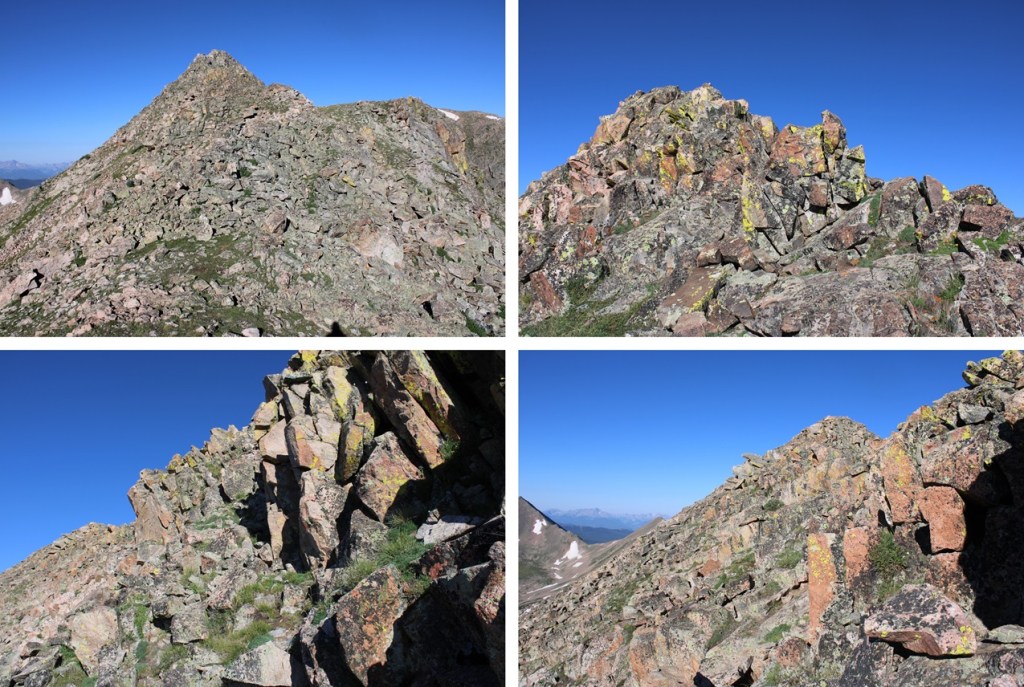
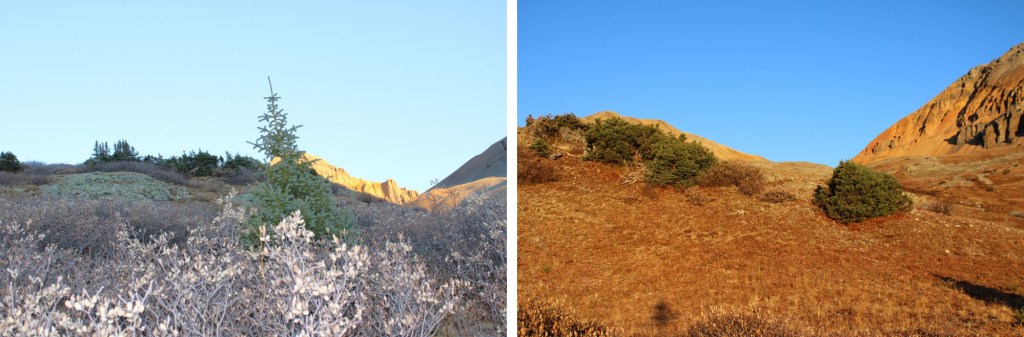
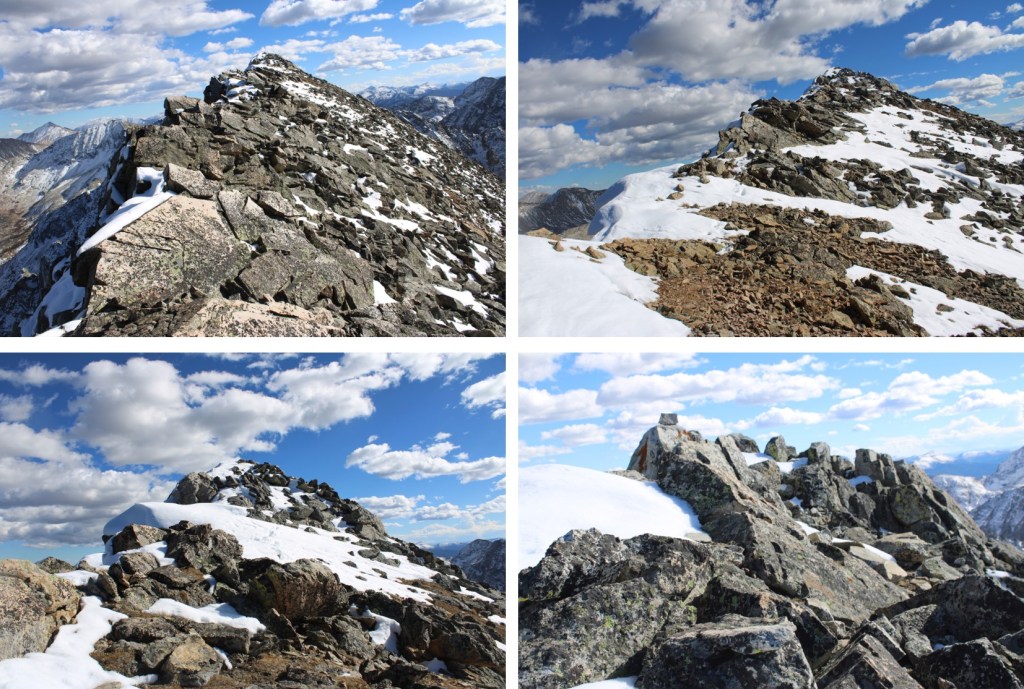
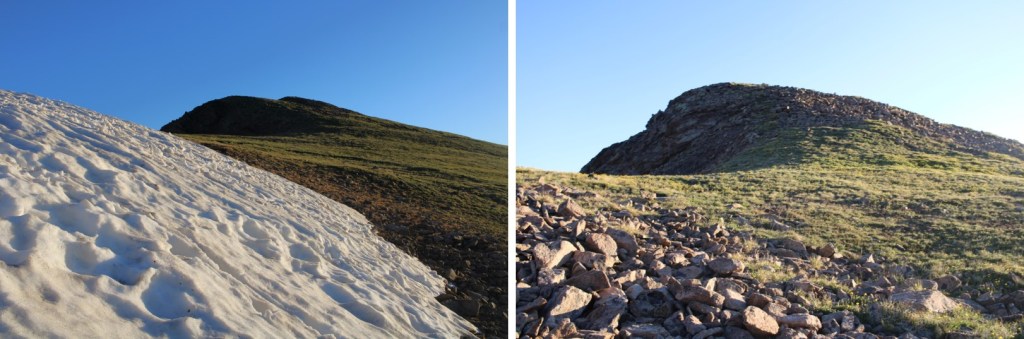
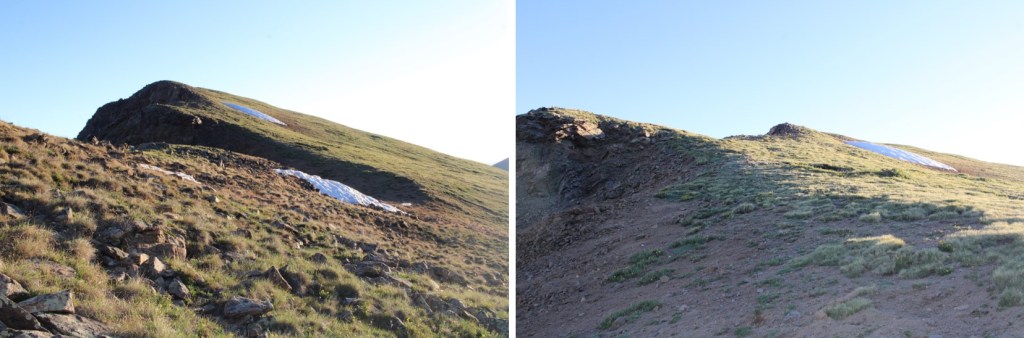
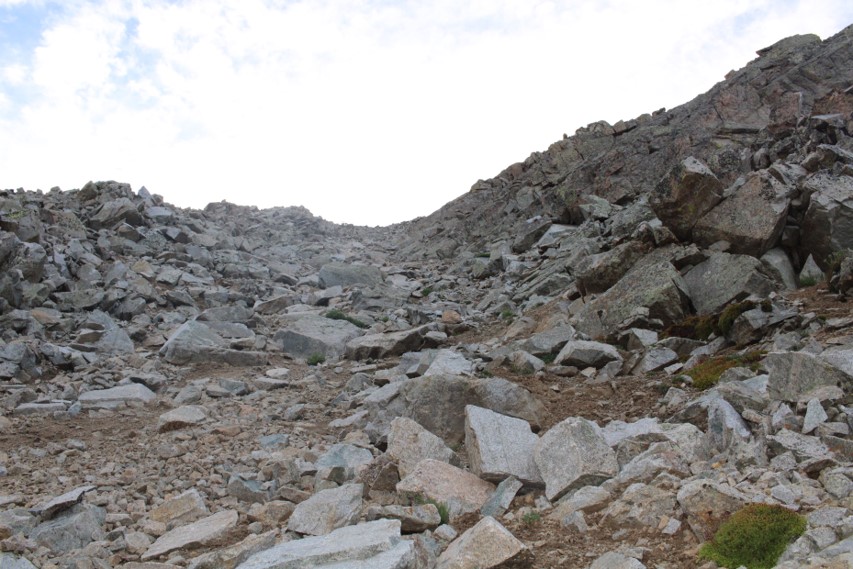
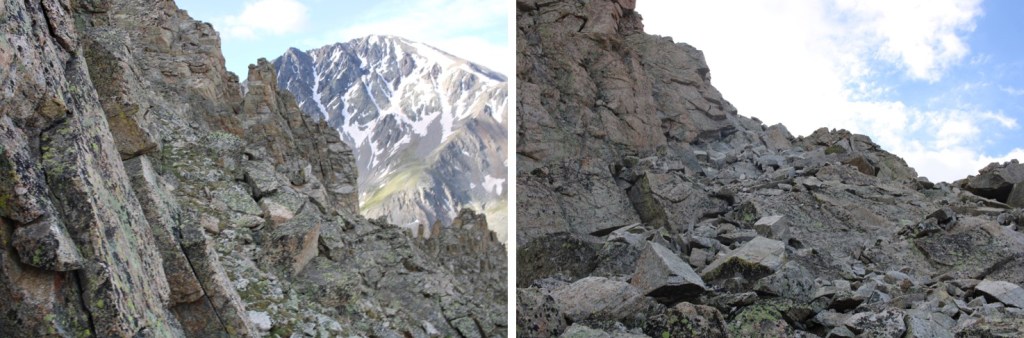
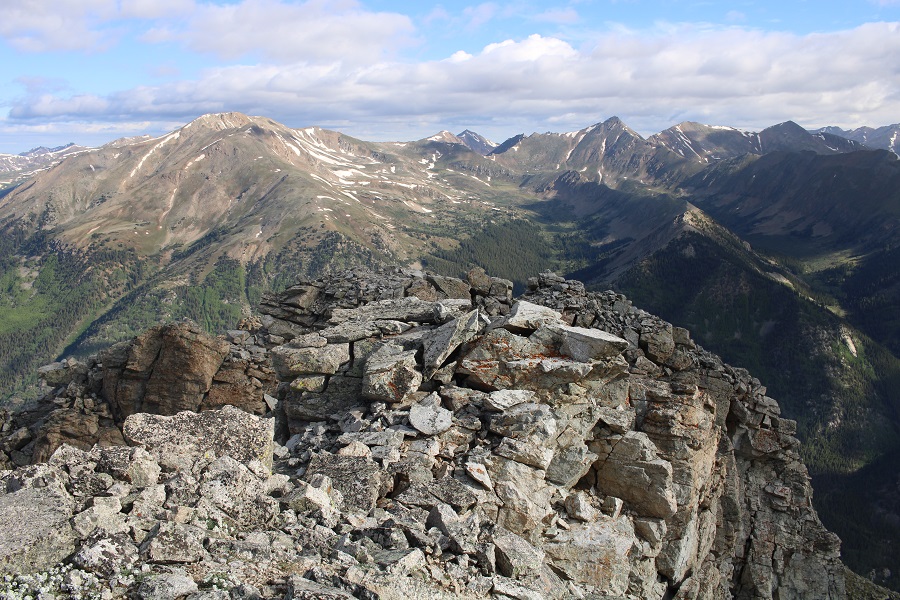
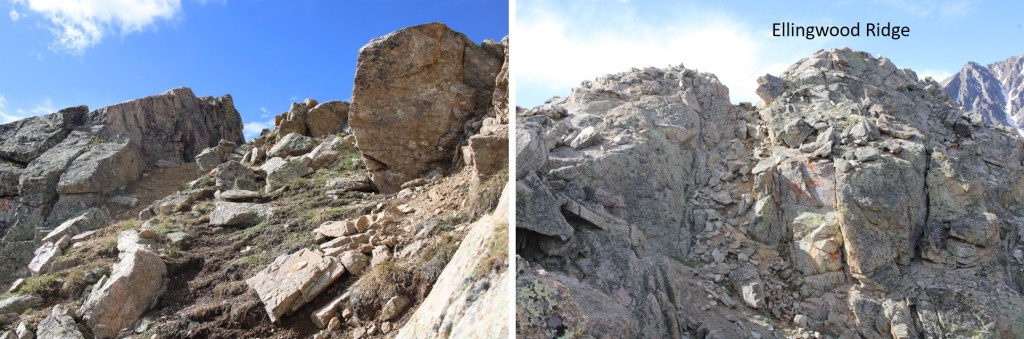
Here are some pictures of the ridge:
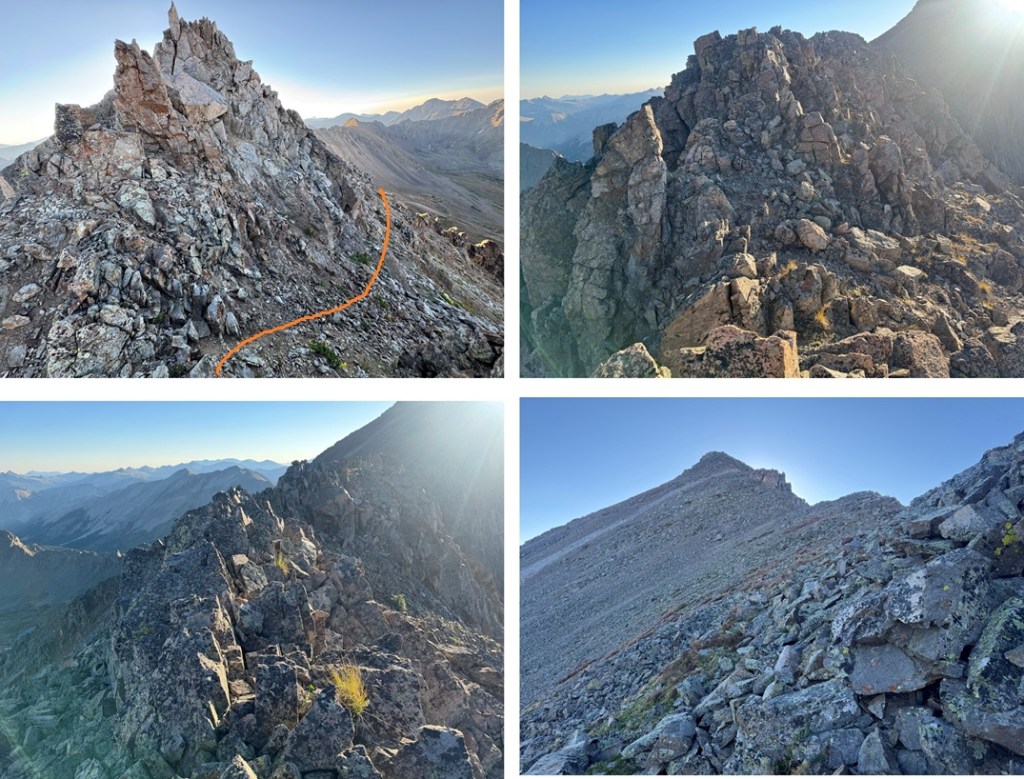
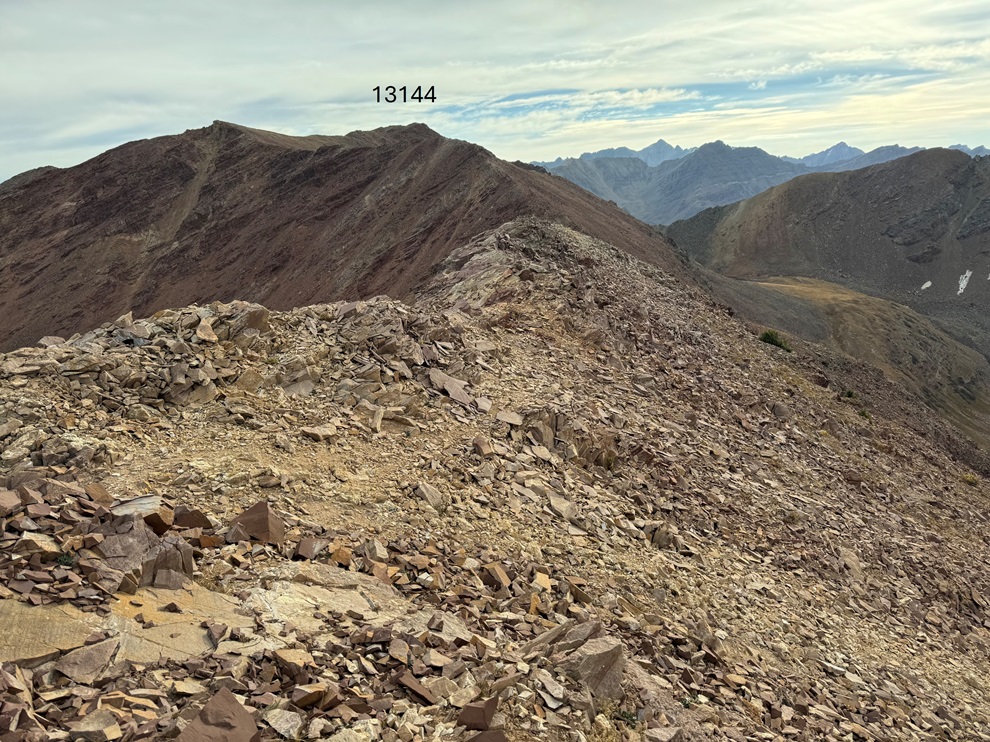
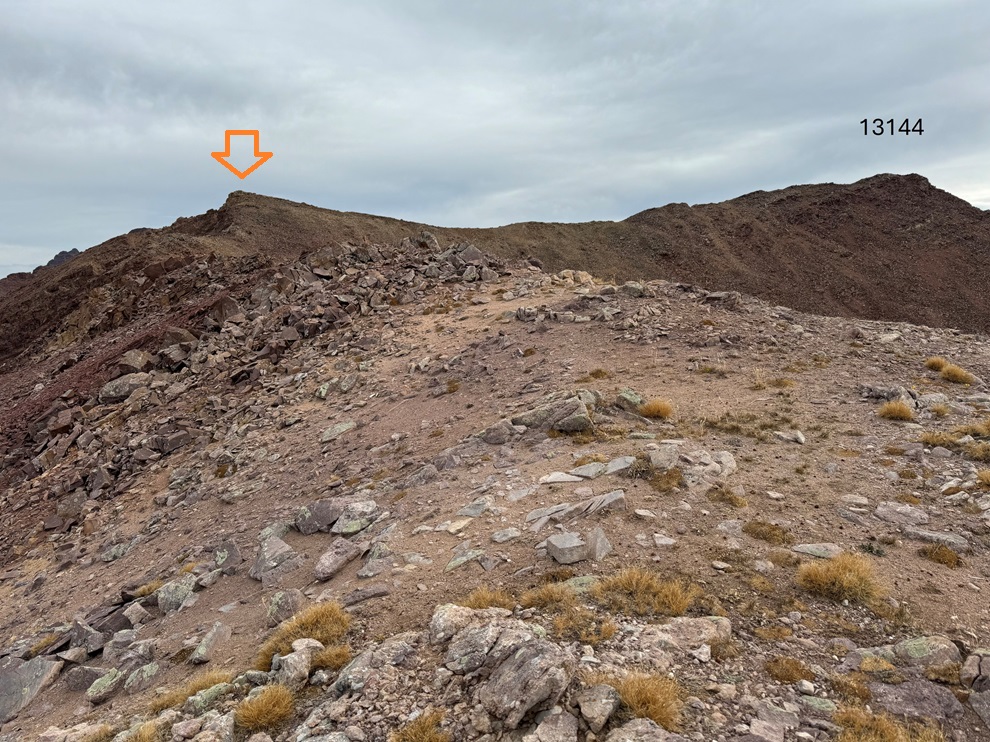
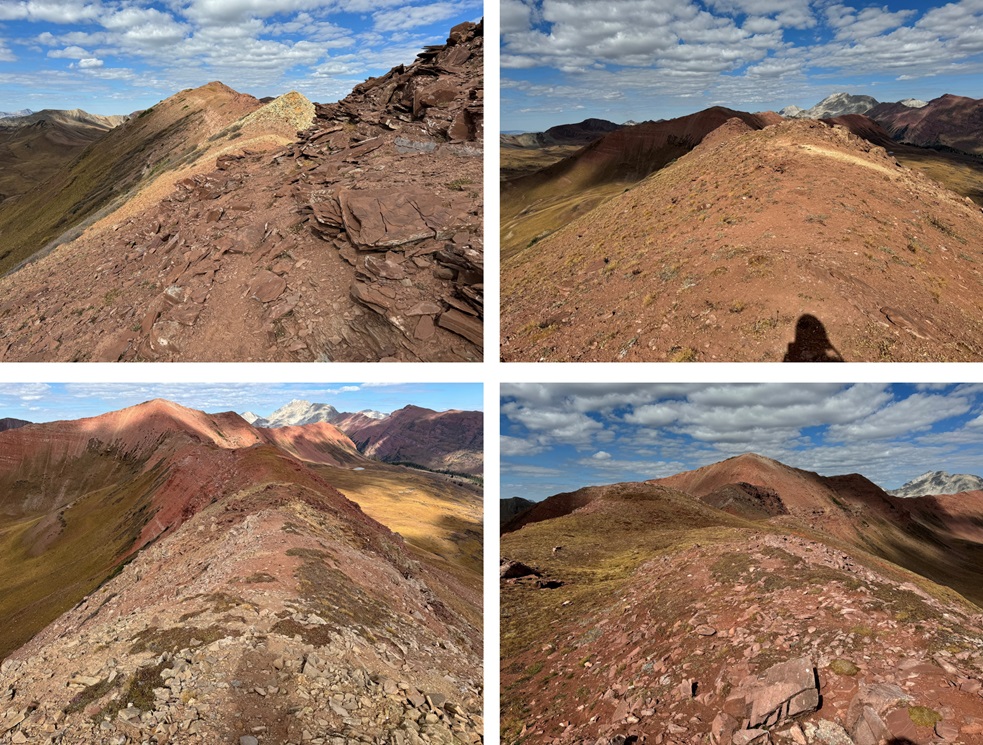
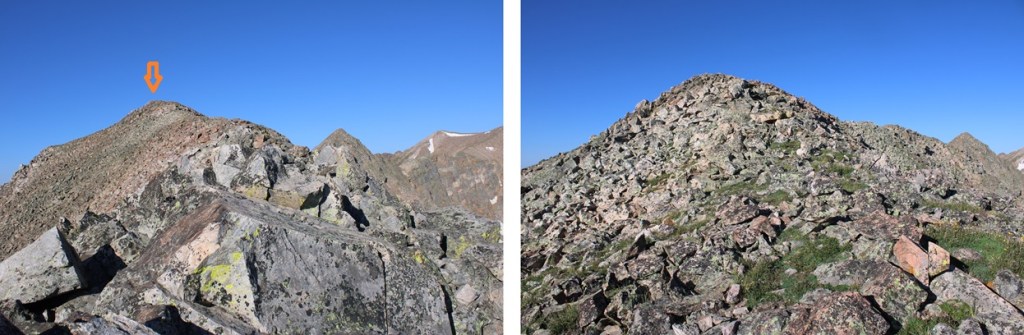
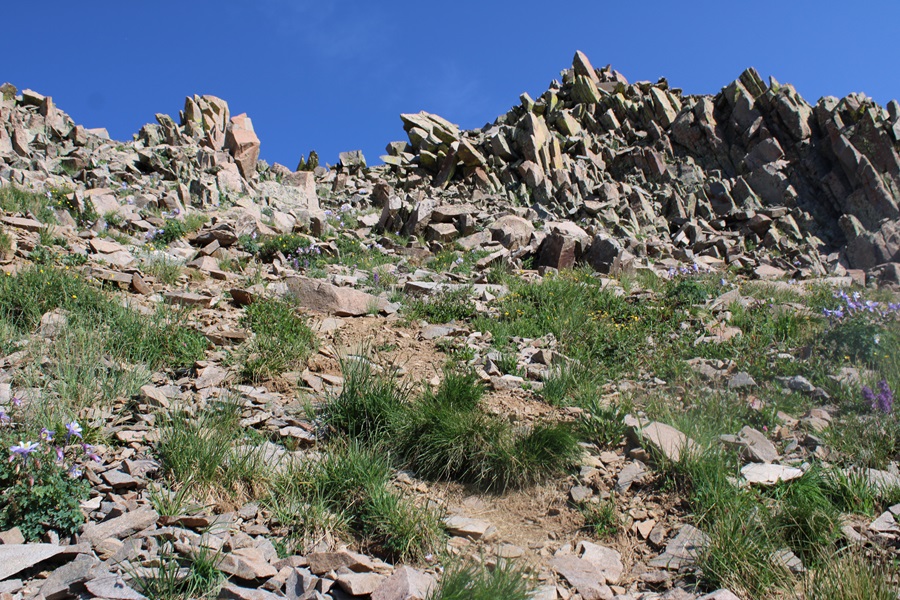
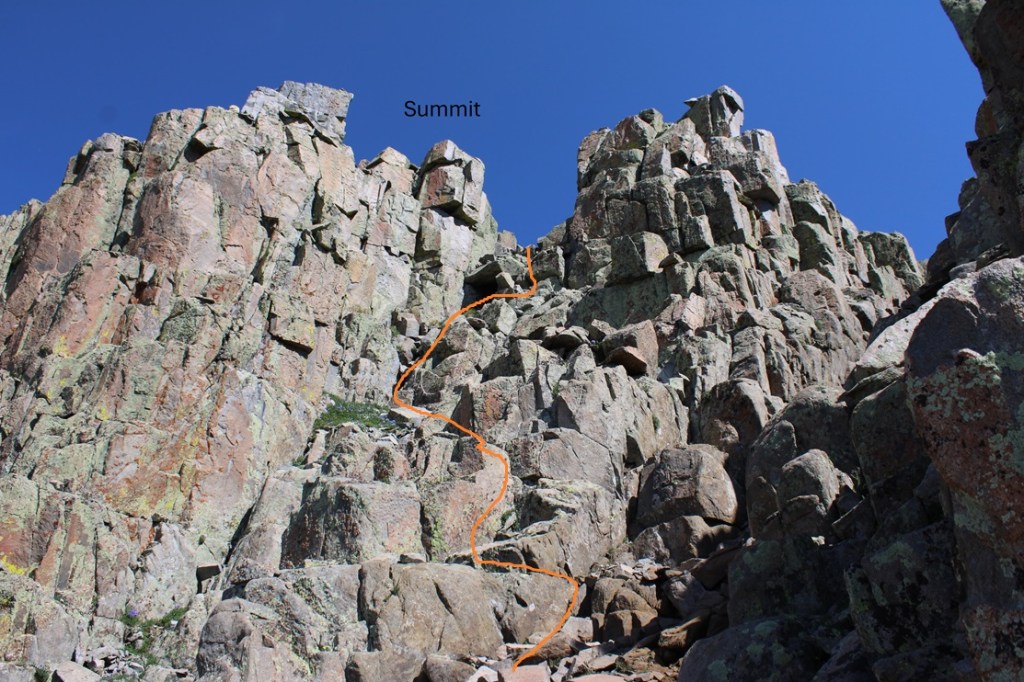
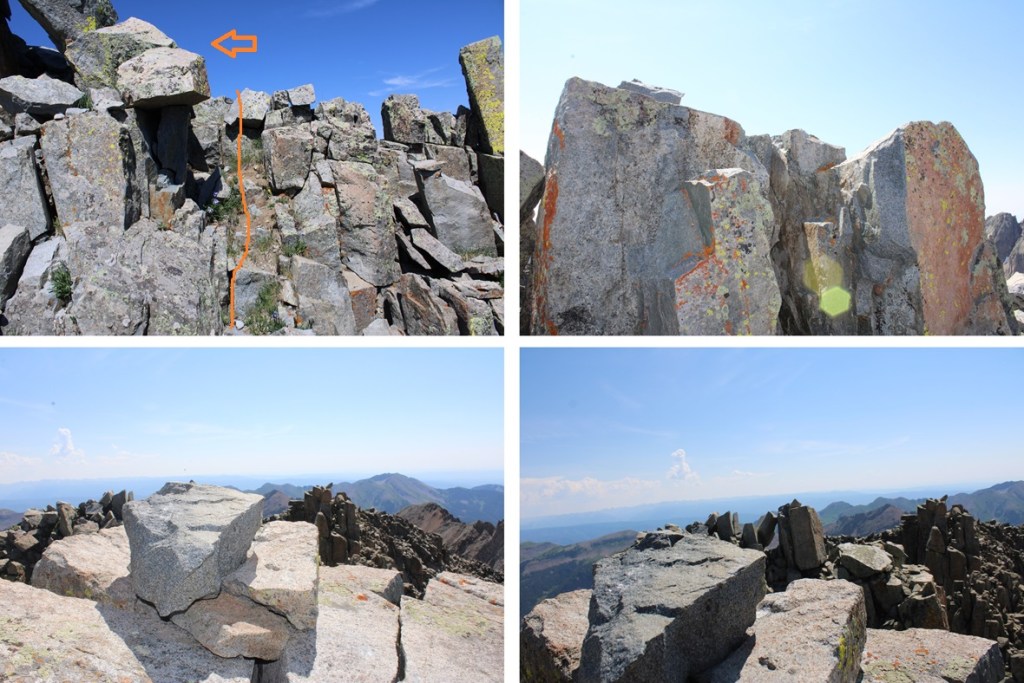
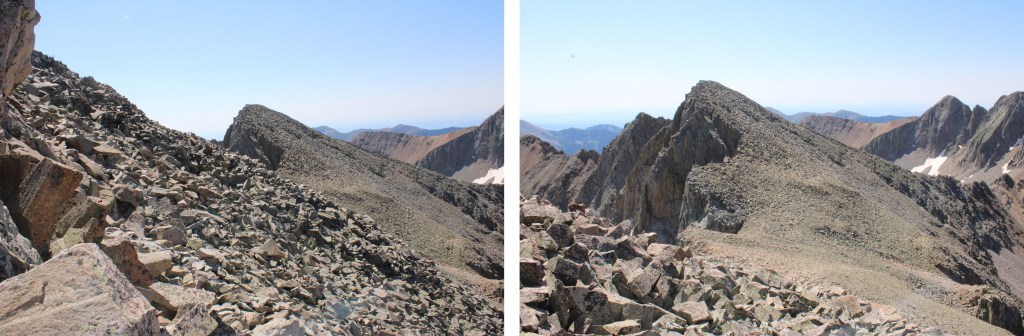
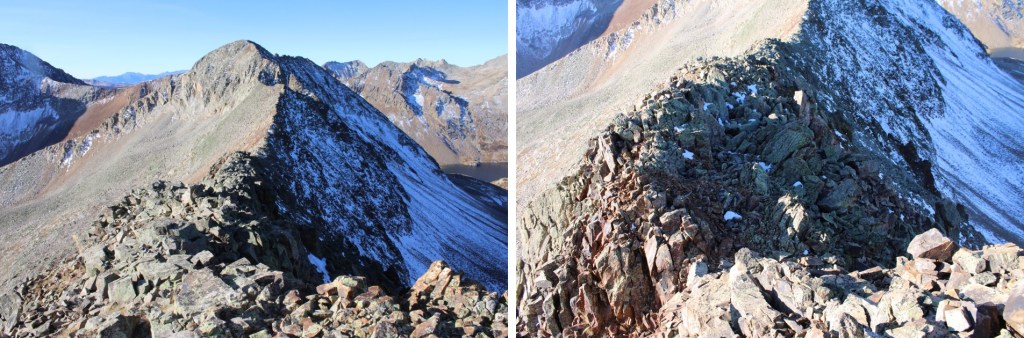
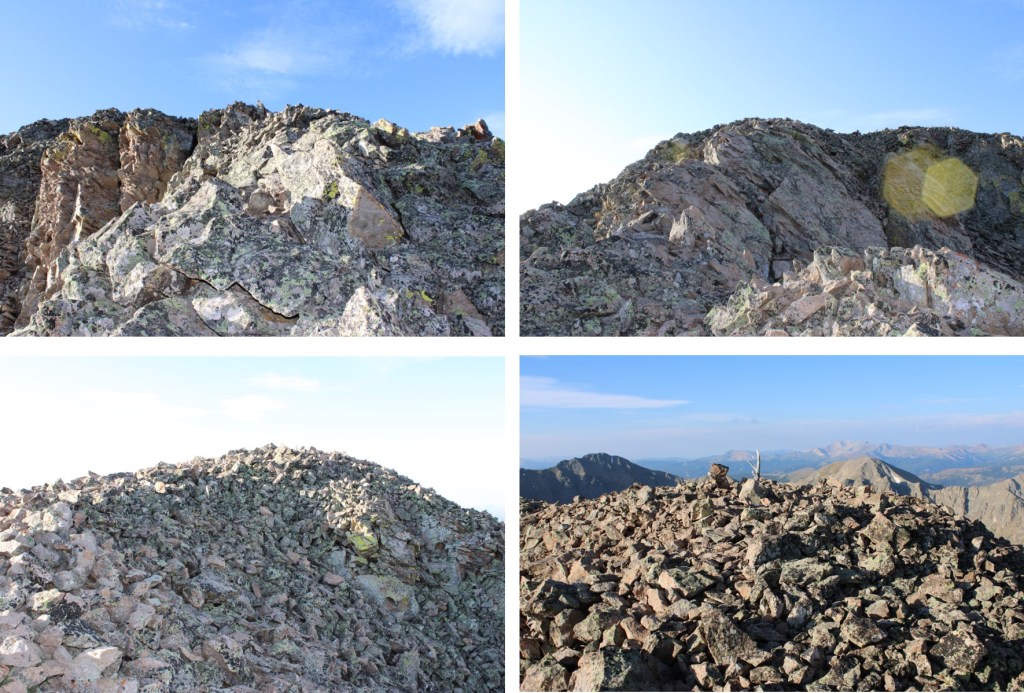
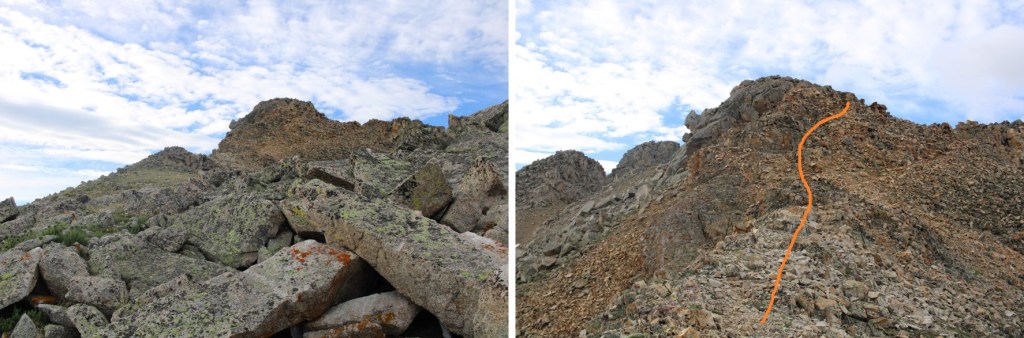
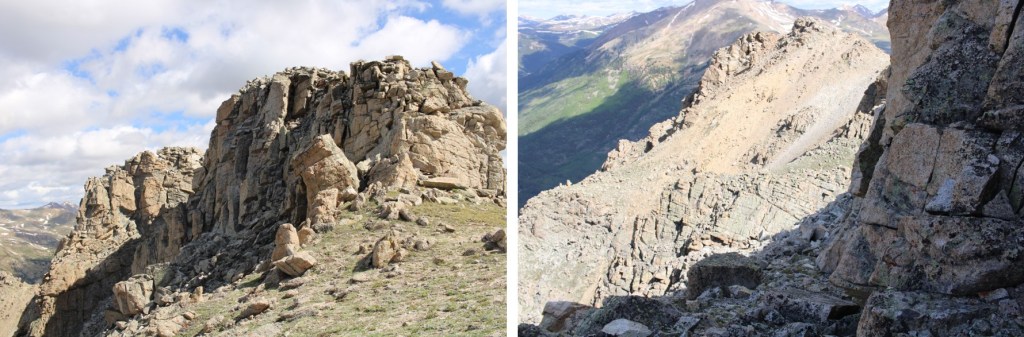
The last section of the ridge just before the summit became rocky, but a class 2 rocky
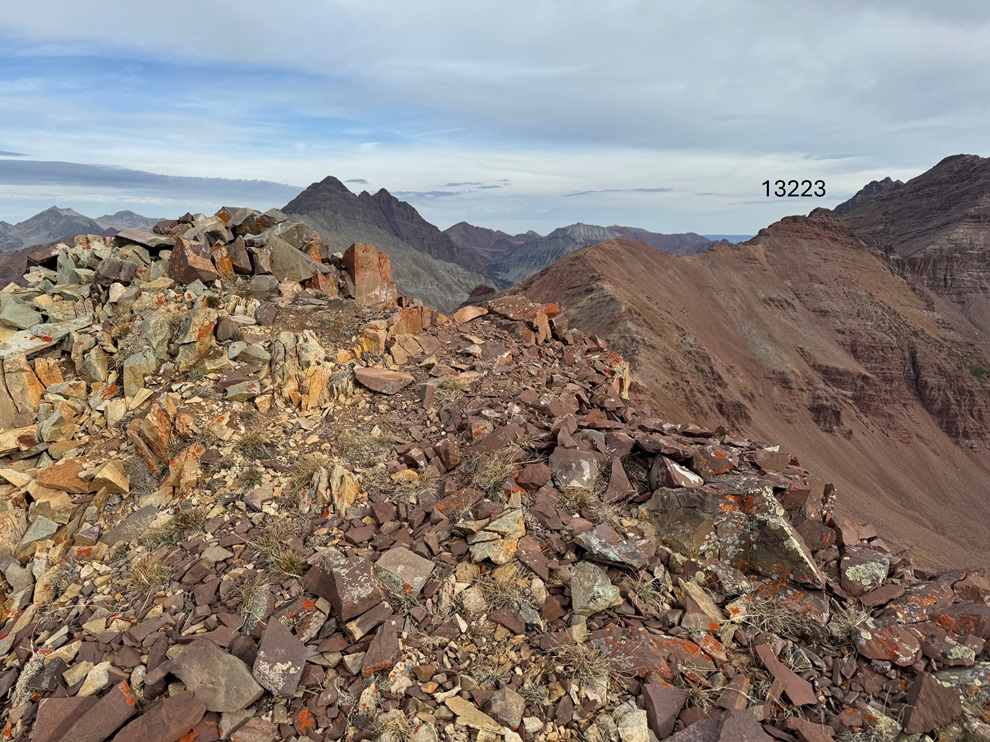
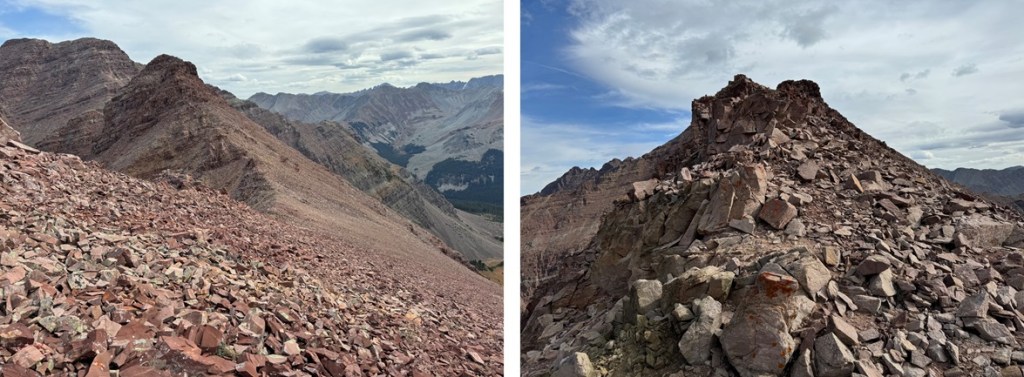
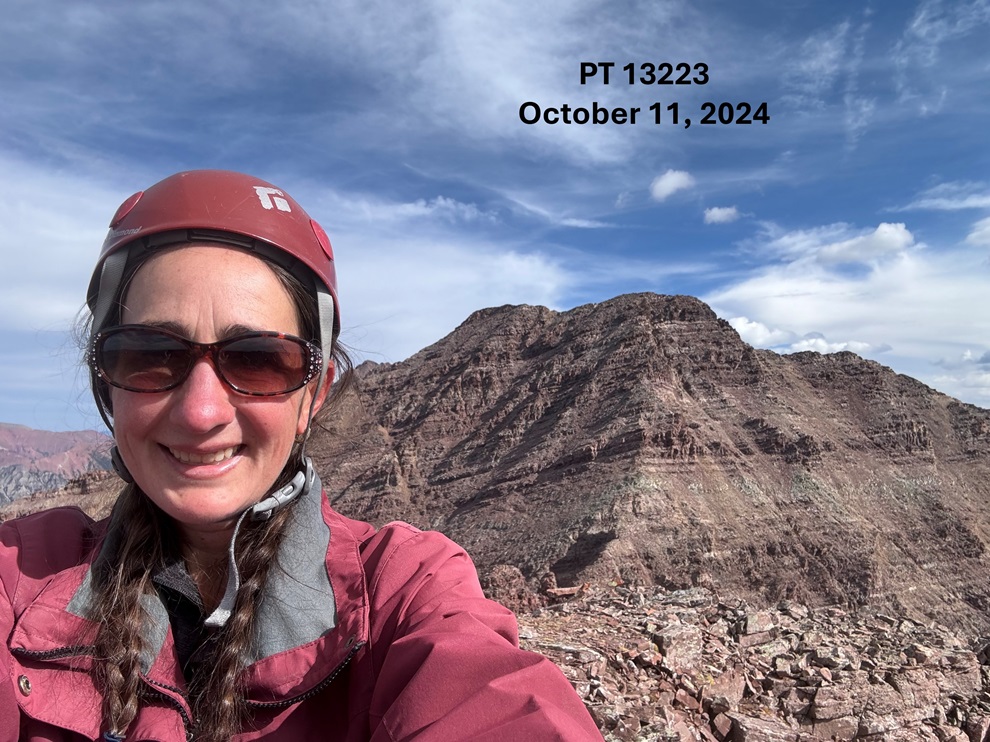
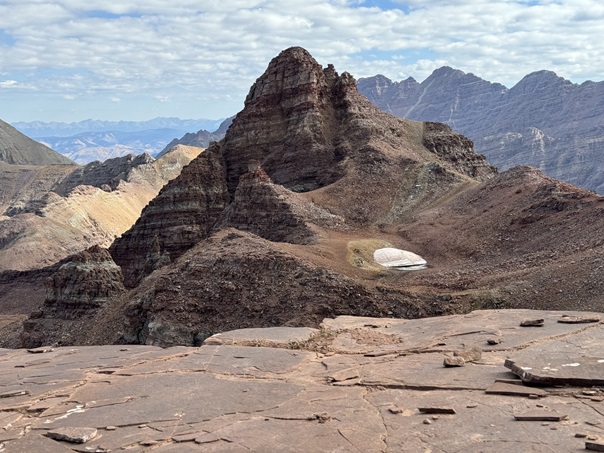
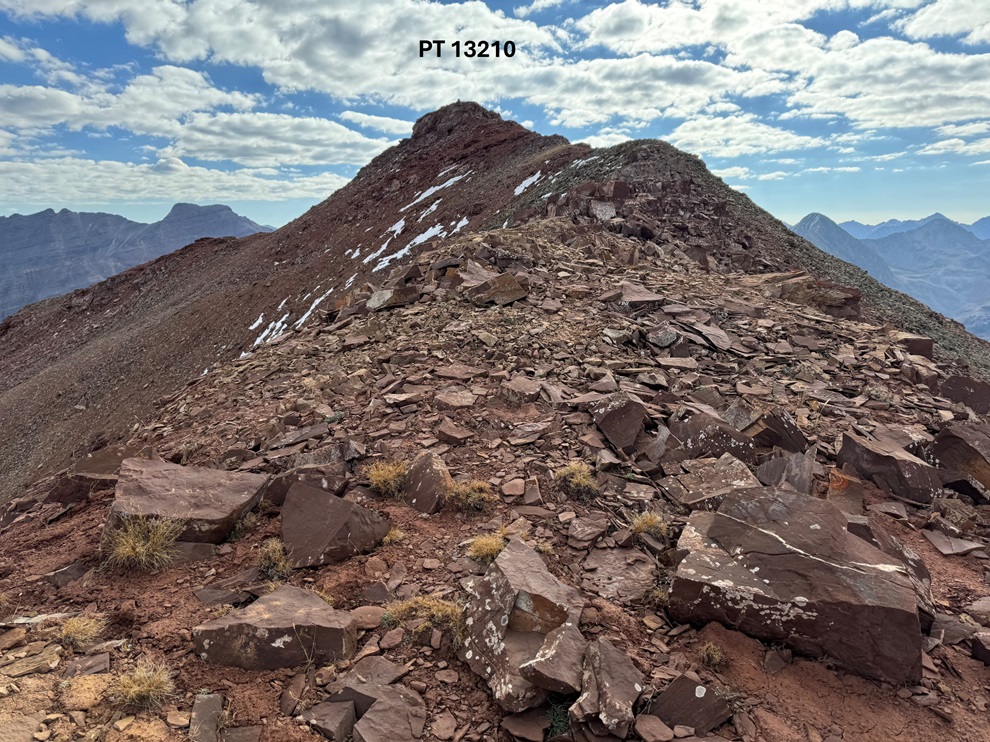
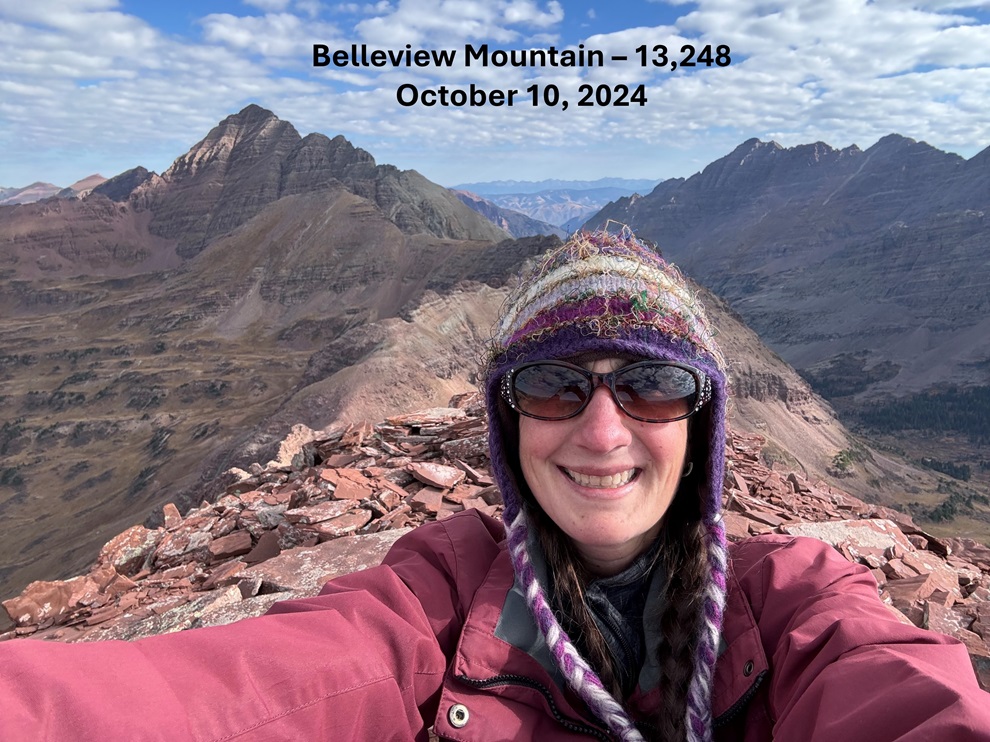
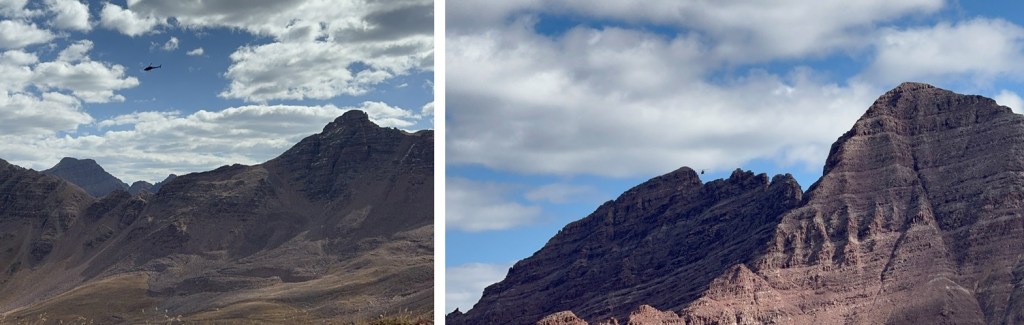
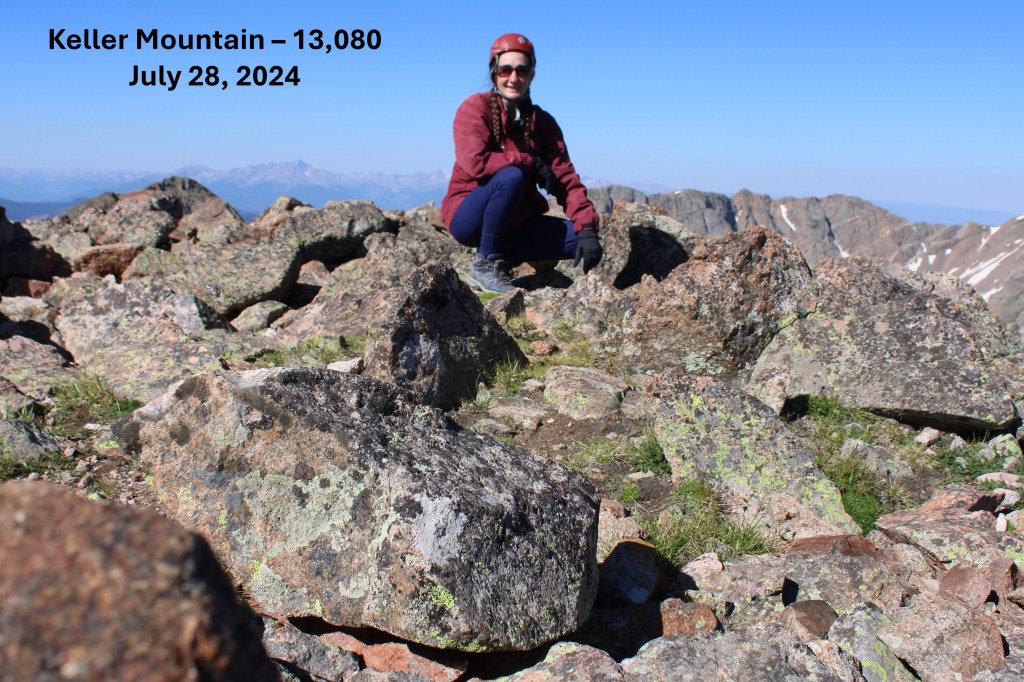
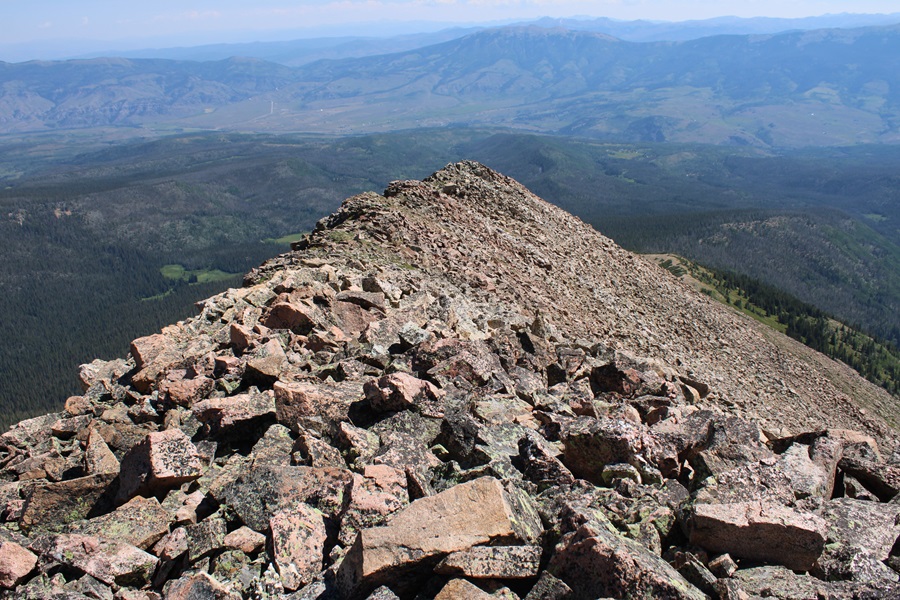
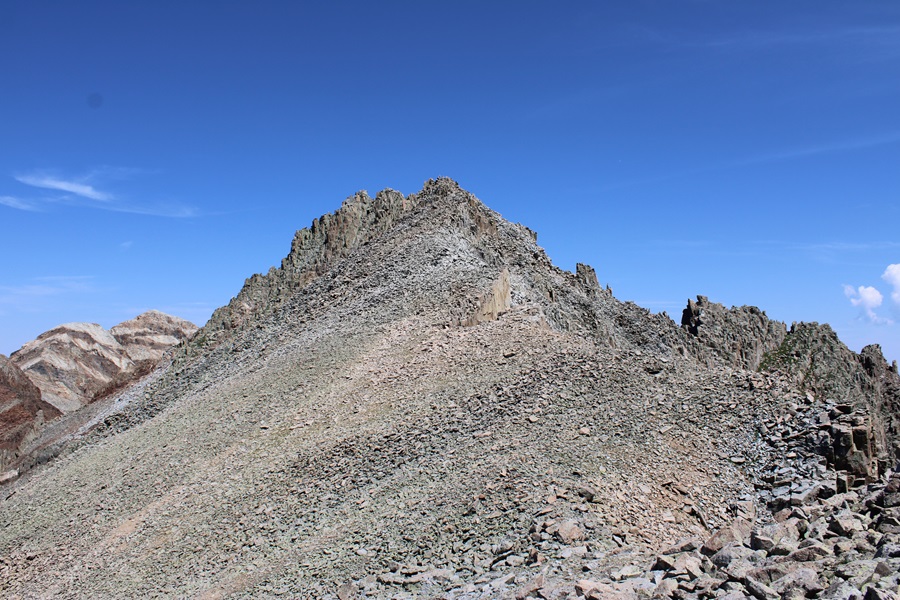
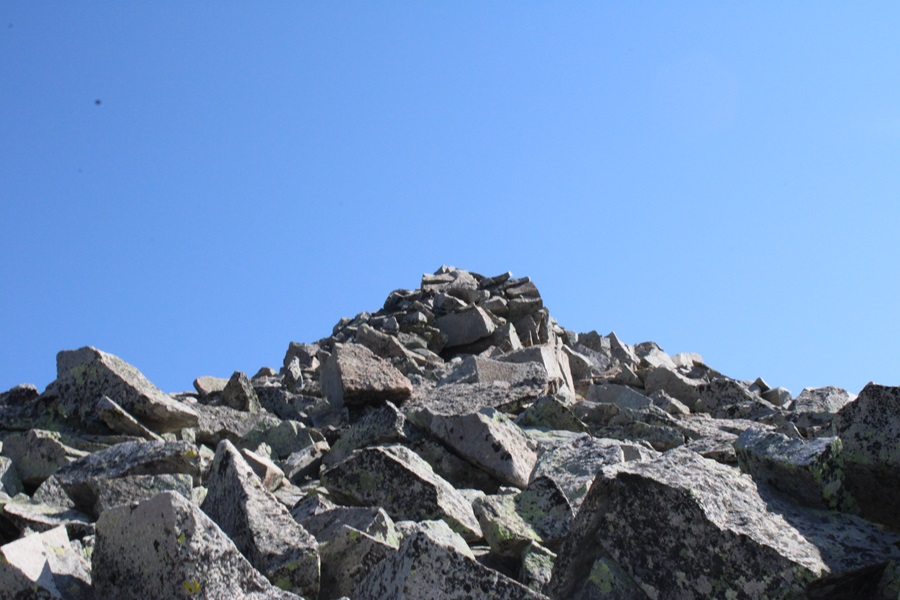
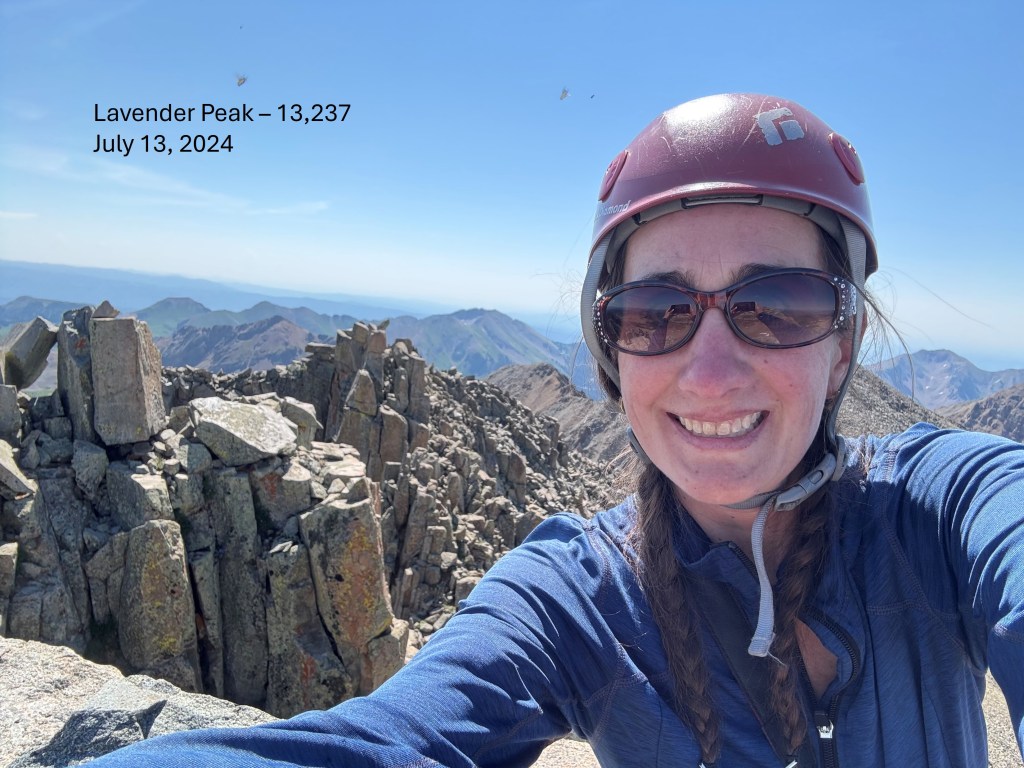
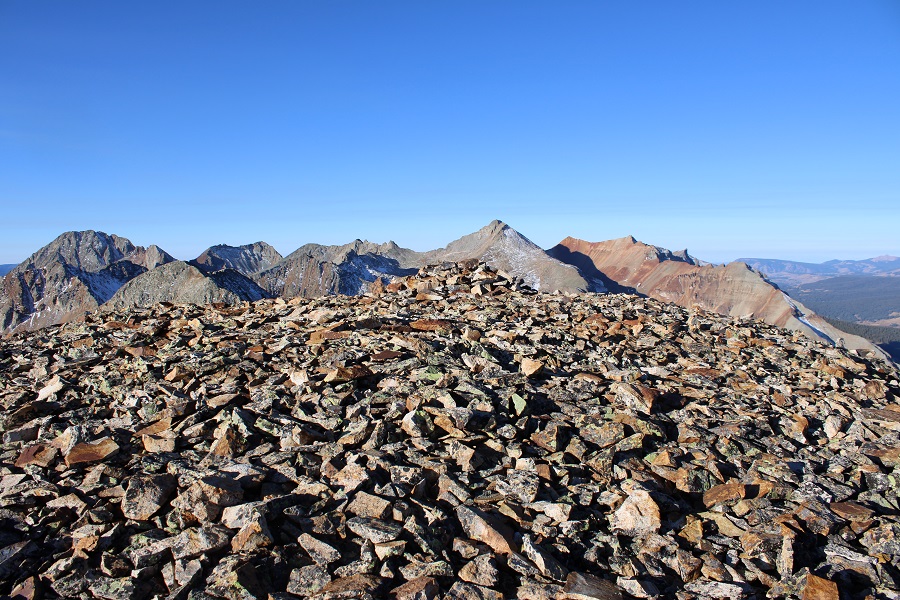
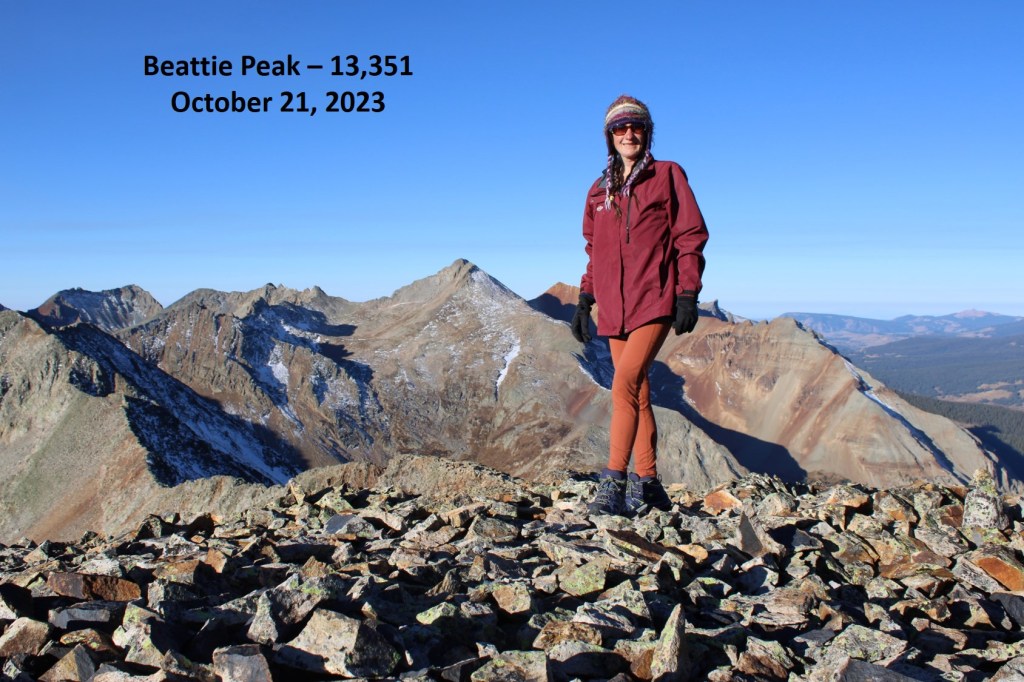
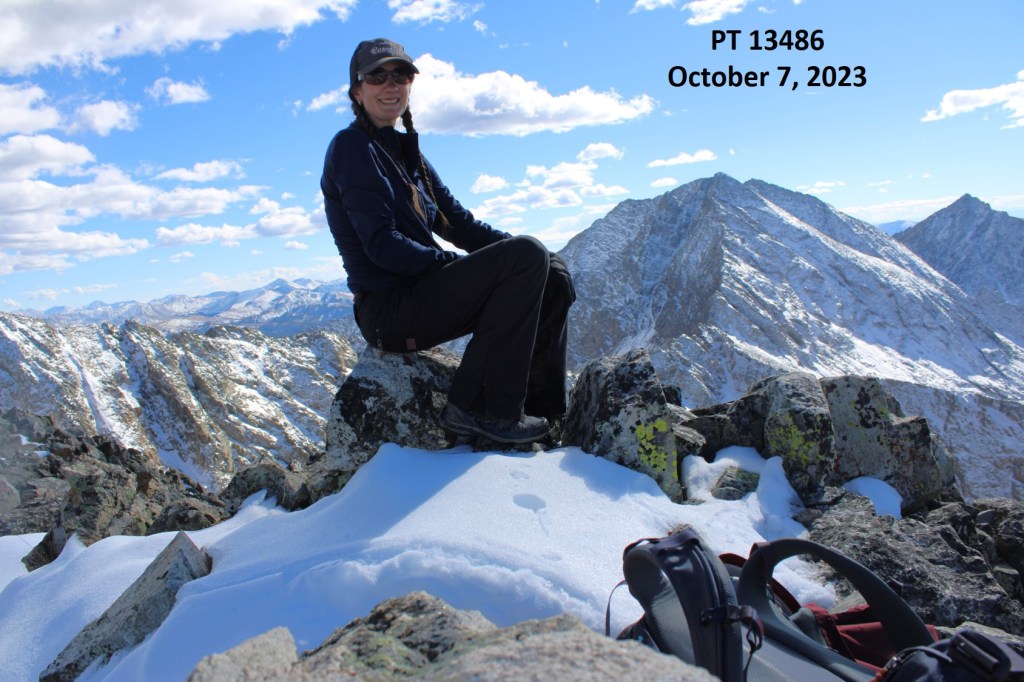
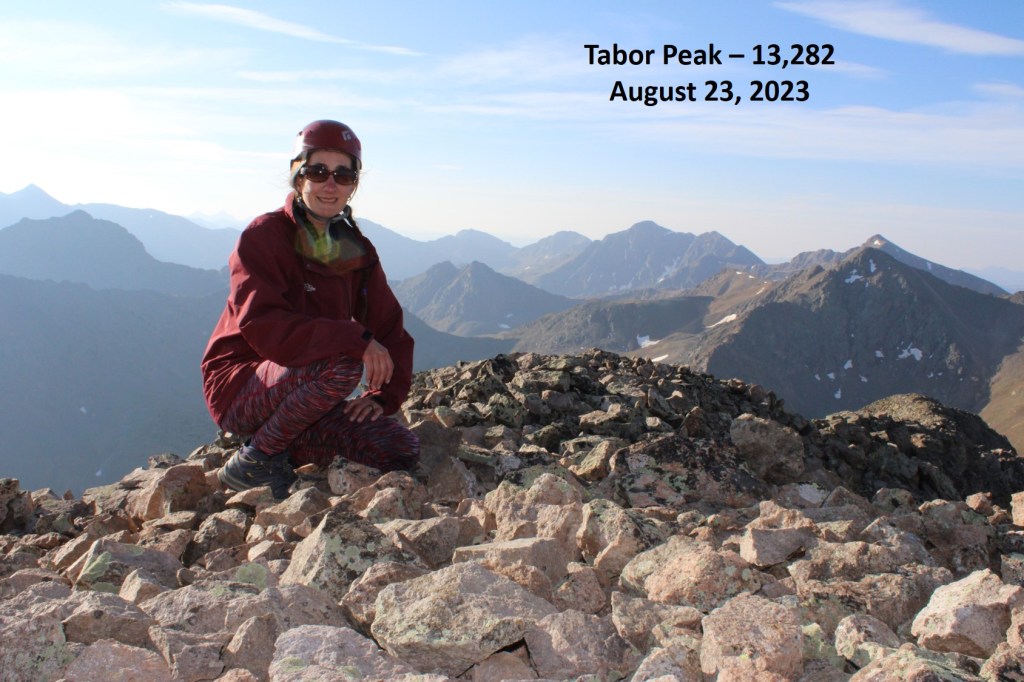
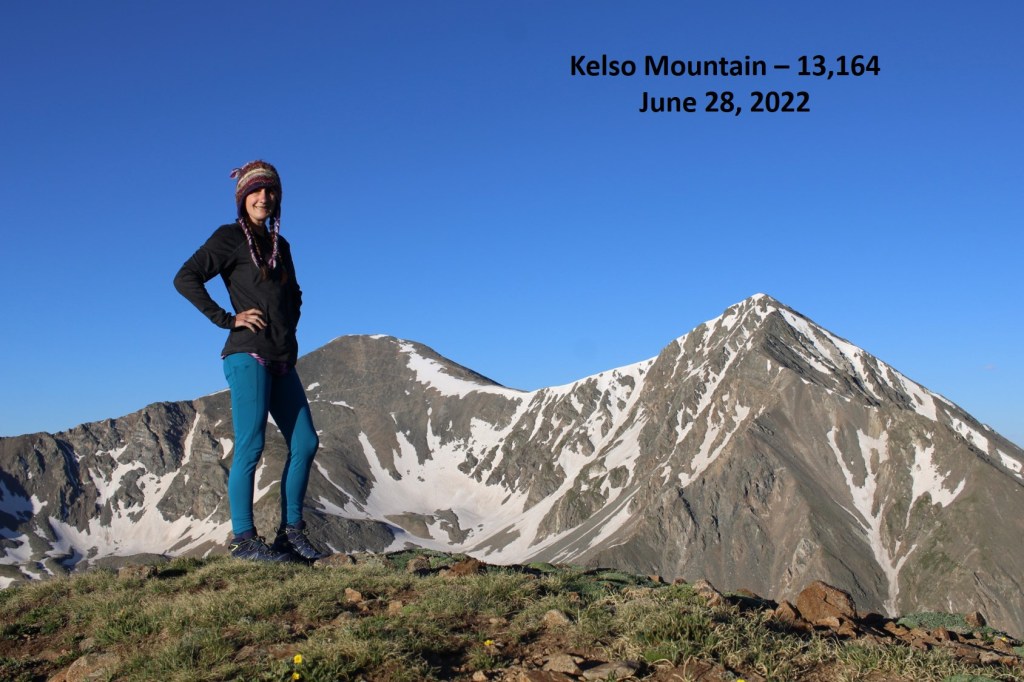
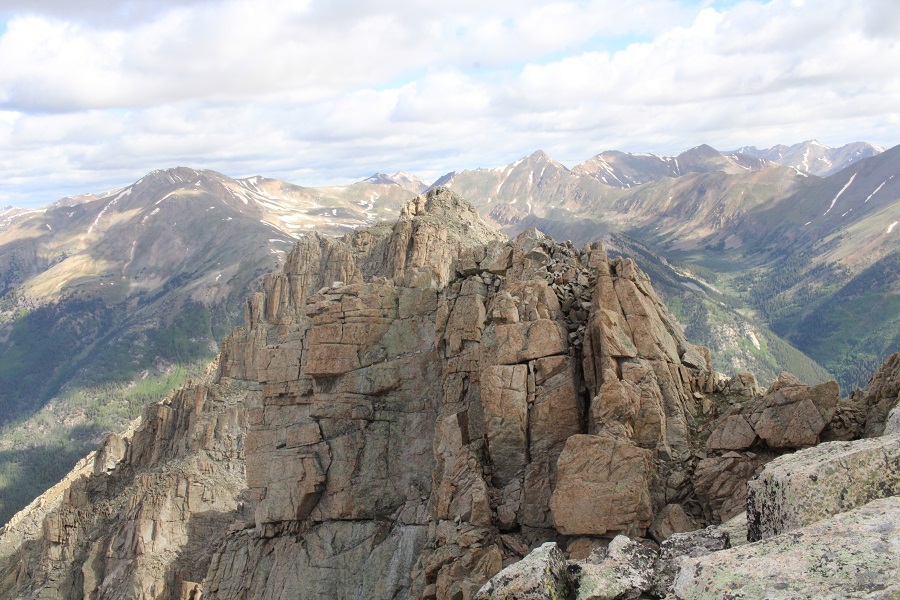
I summited Tellurium Peak at 7:40am

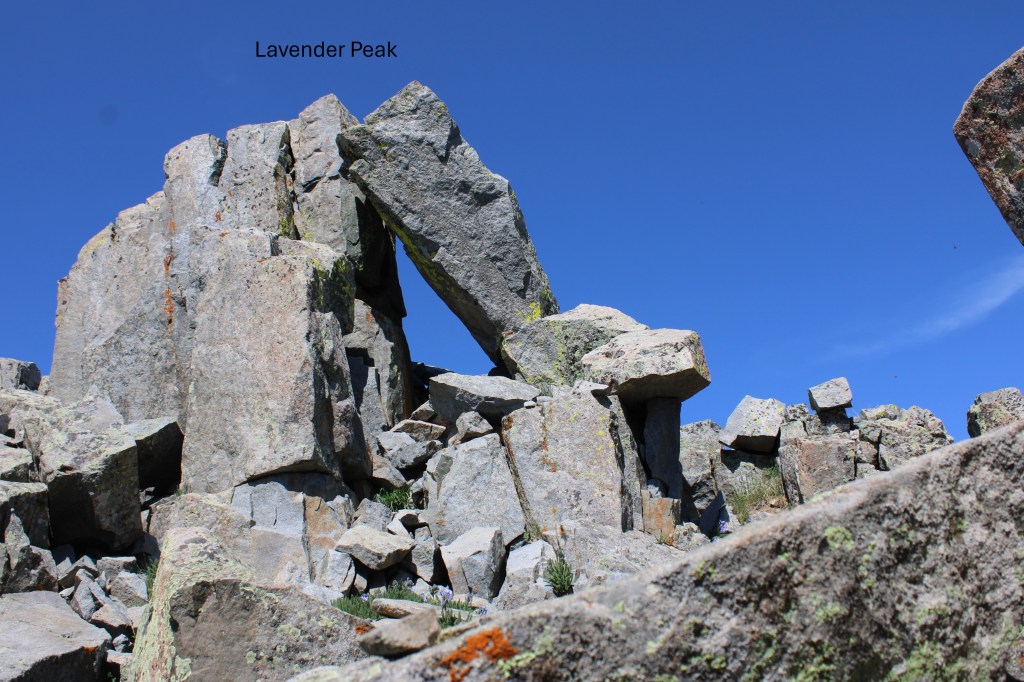
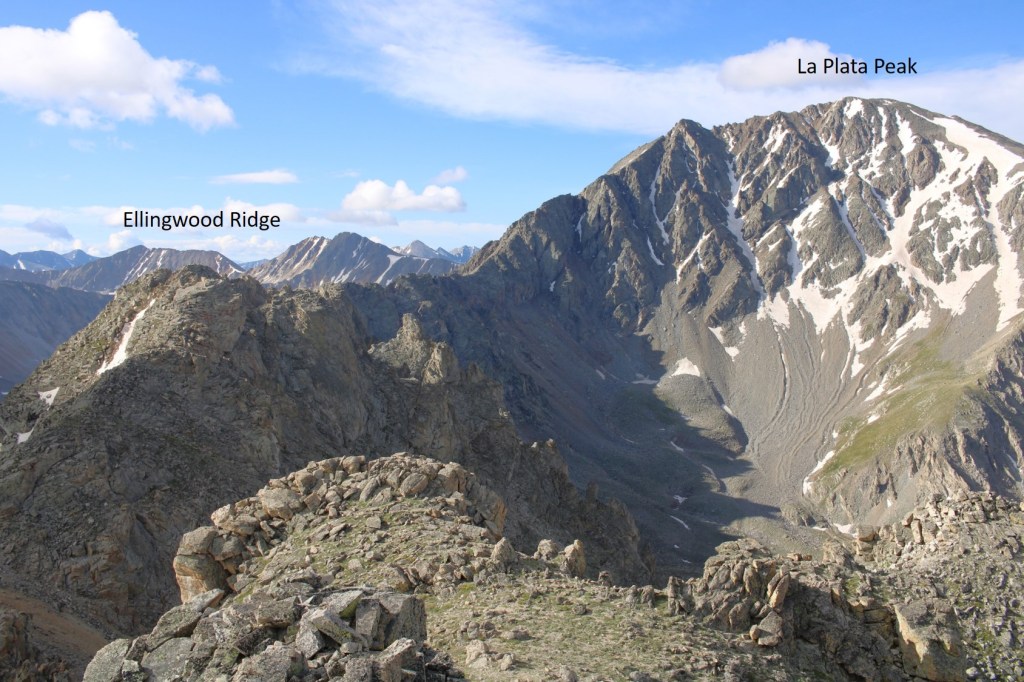
Tellurium Peak:
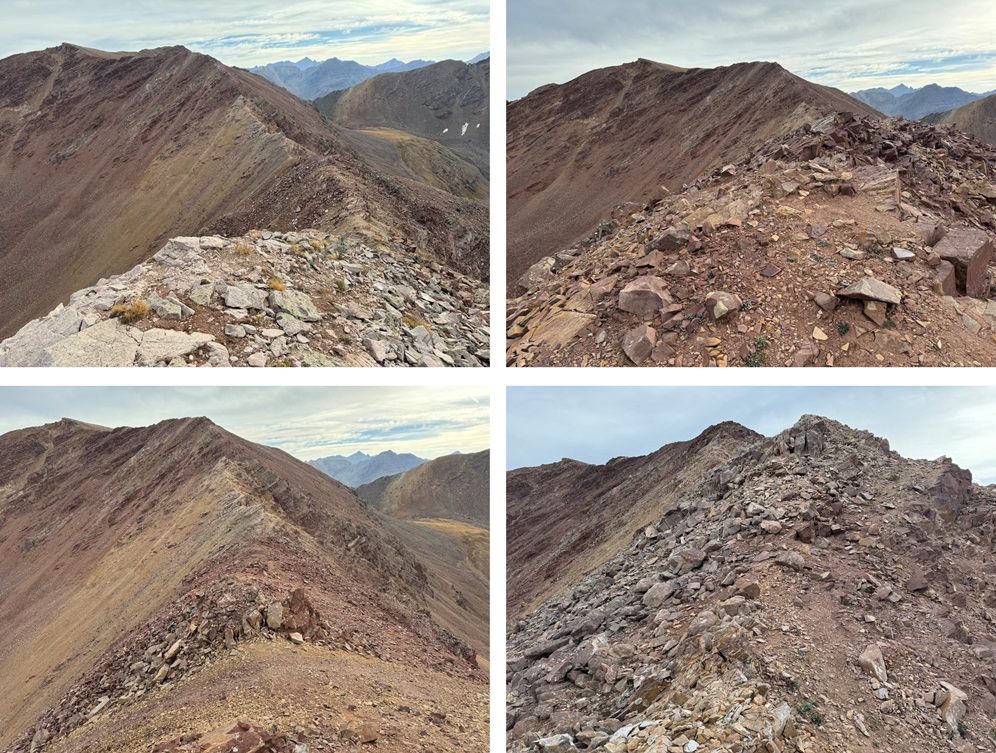
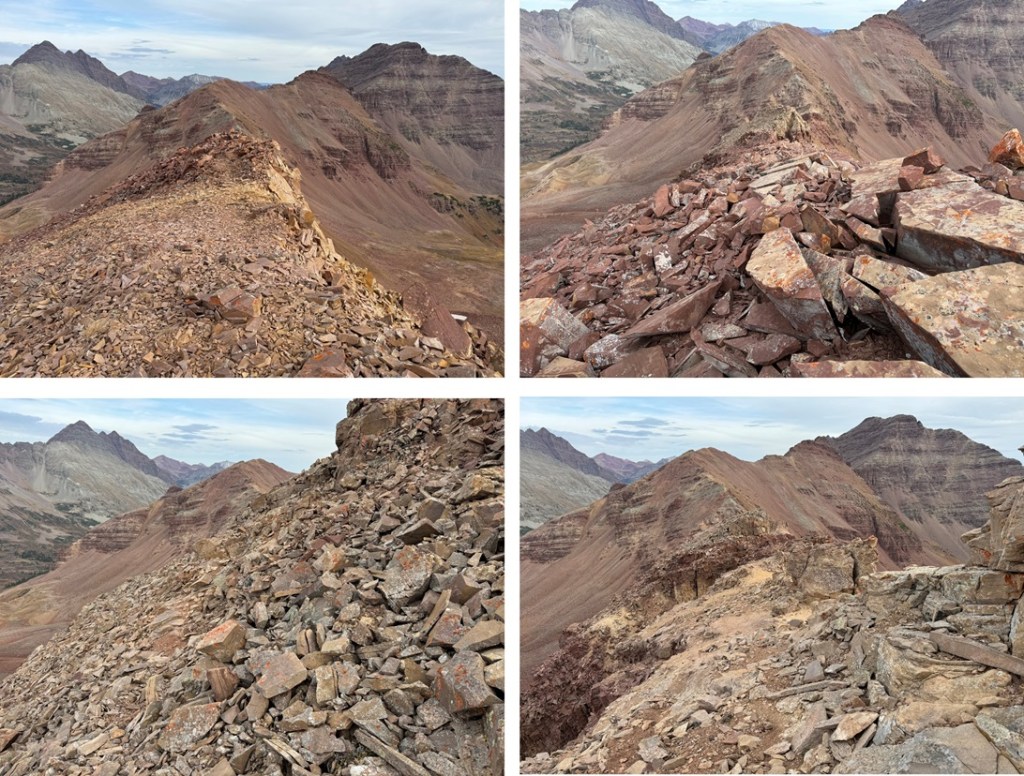
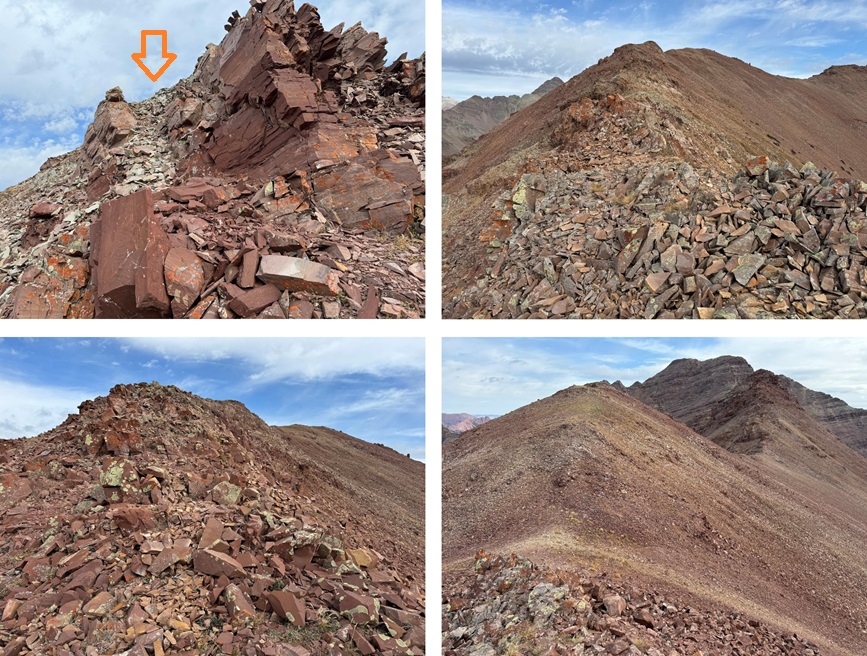
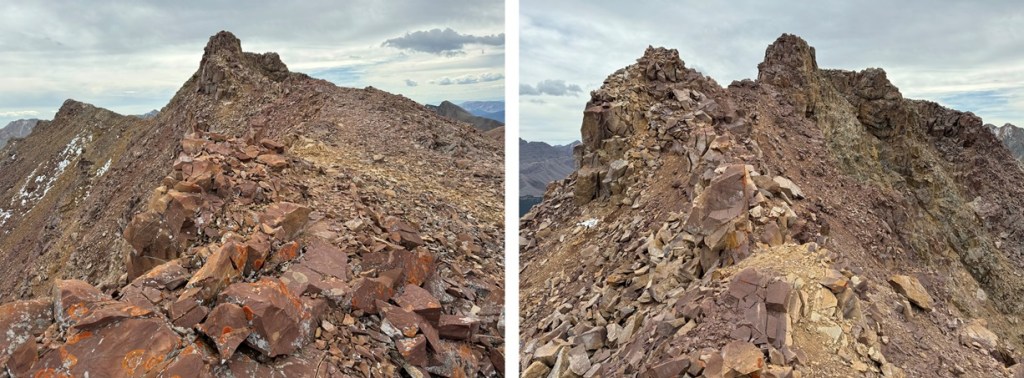
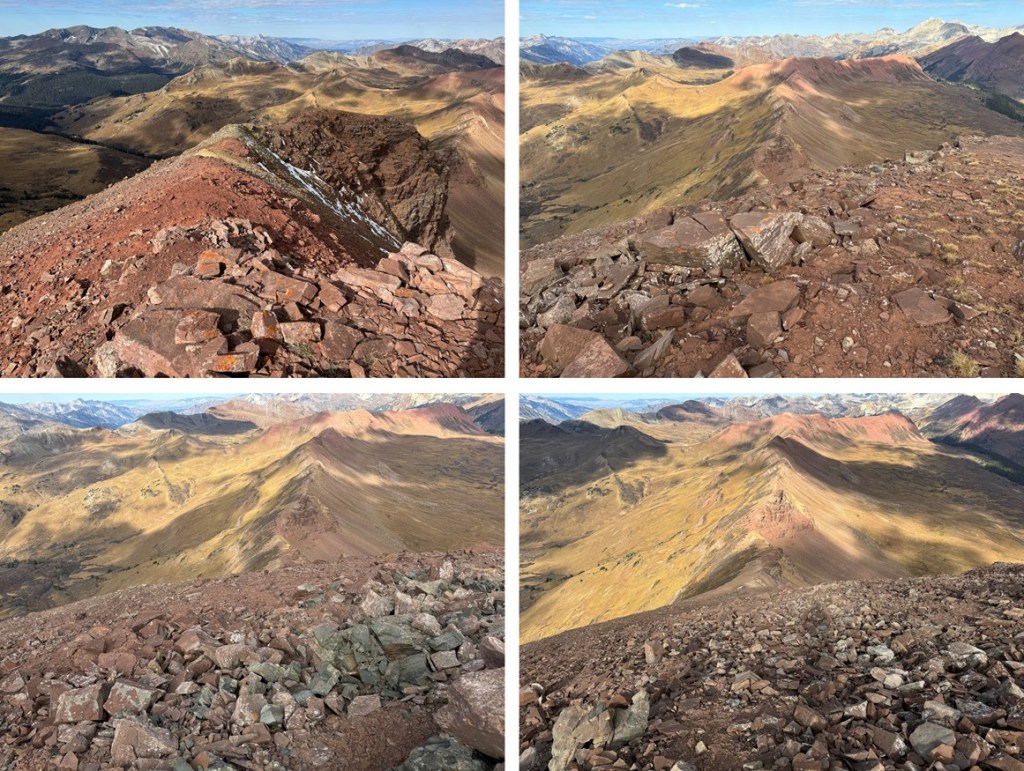
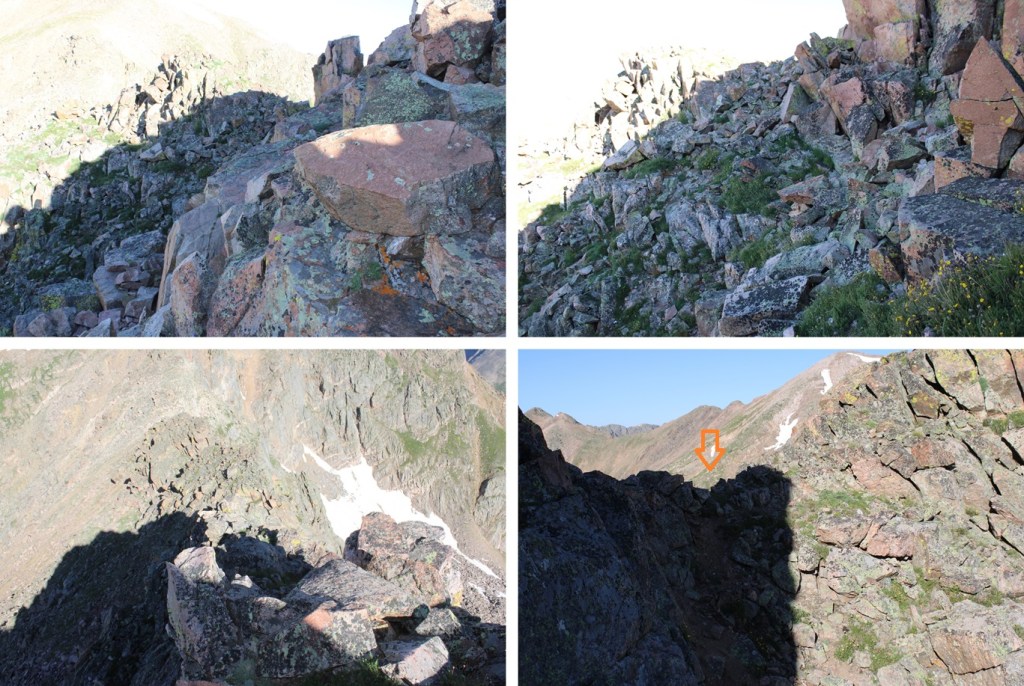
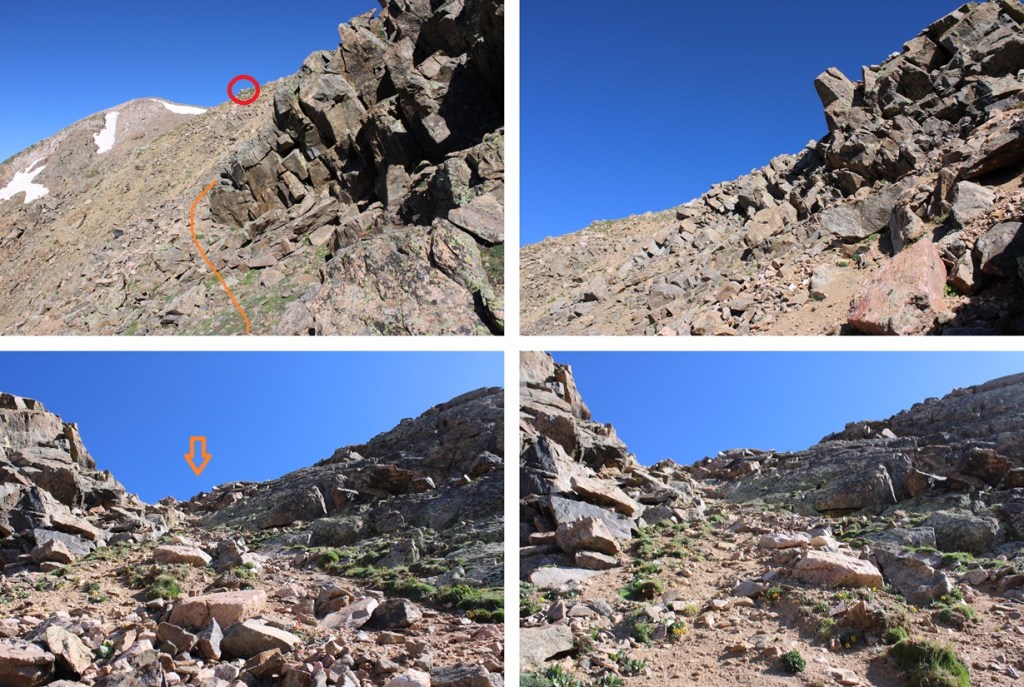
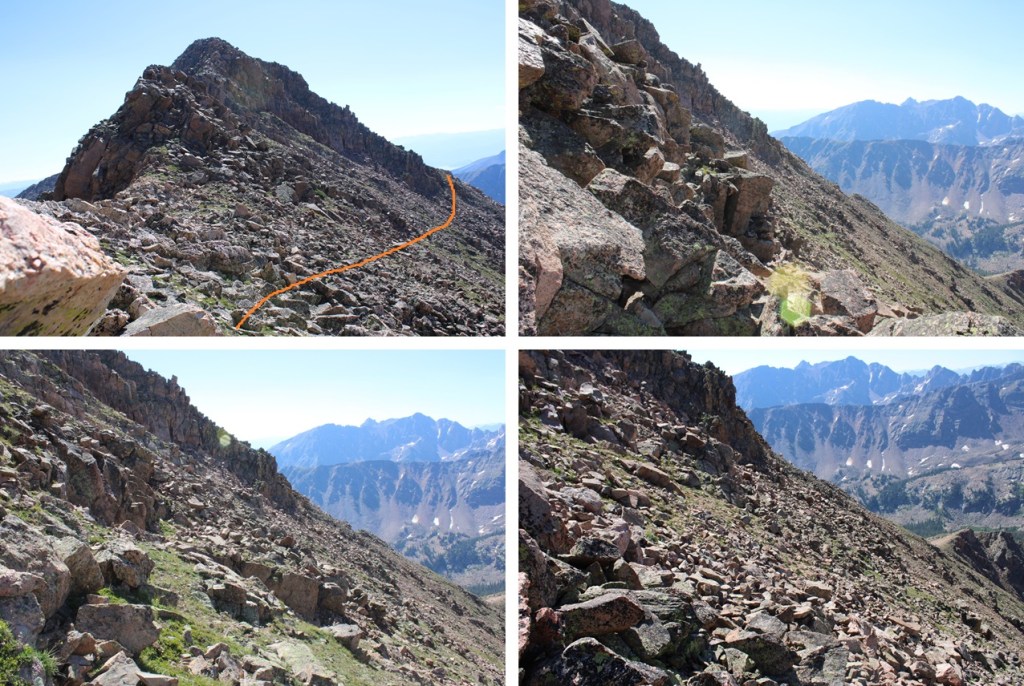
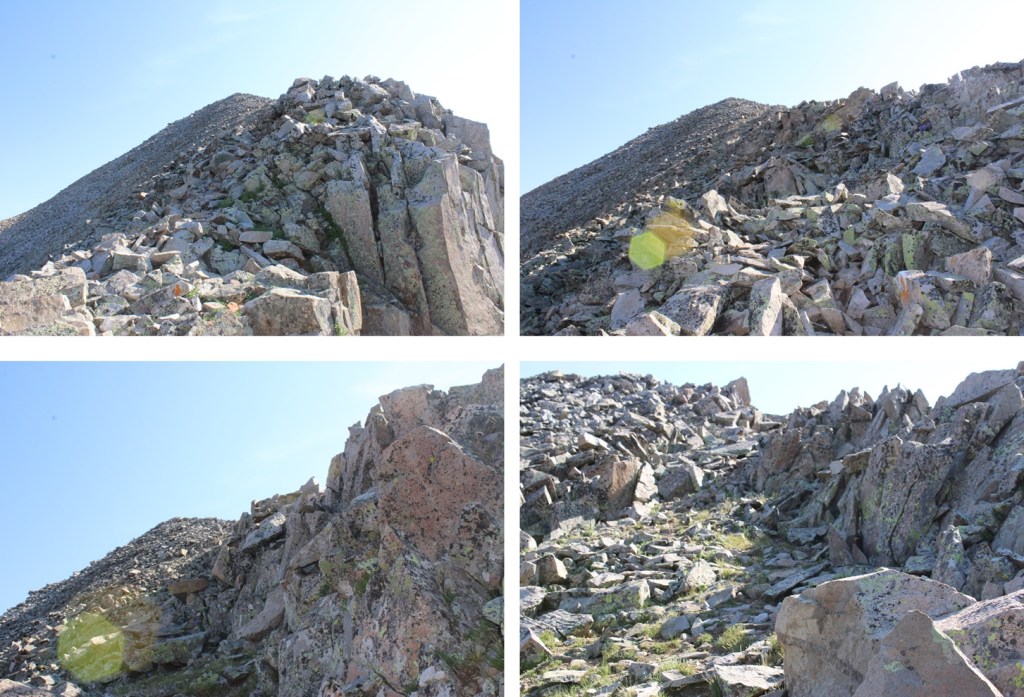
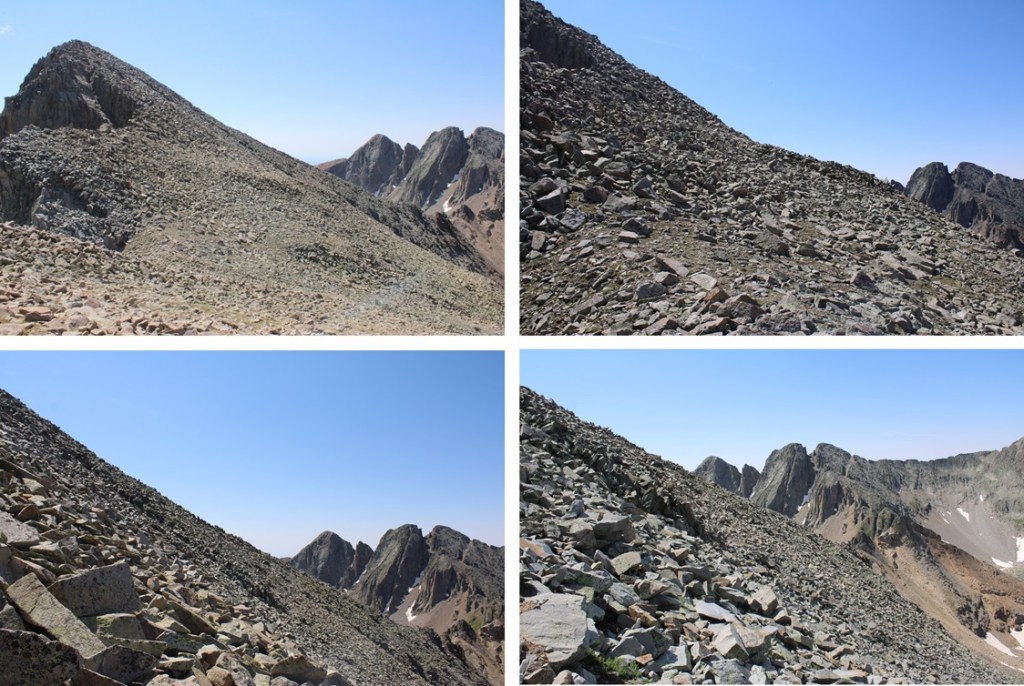
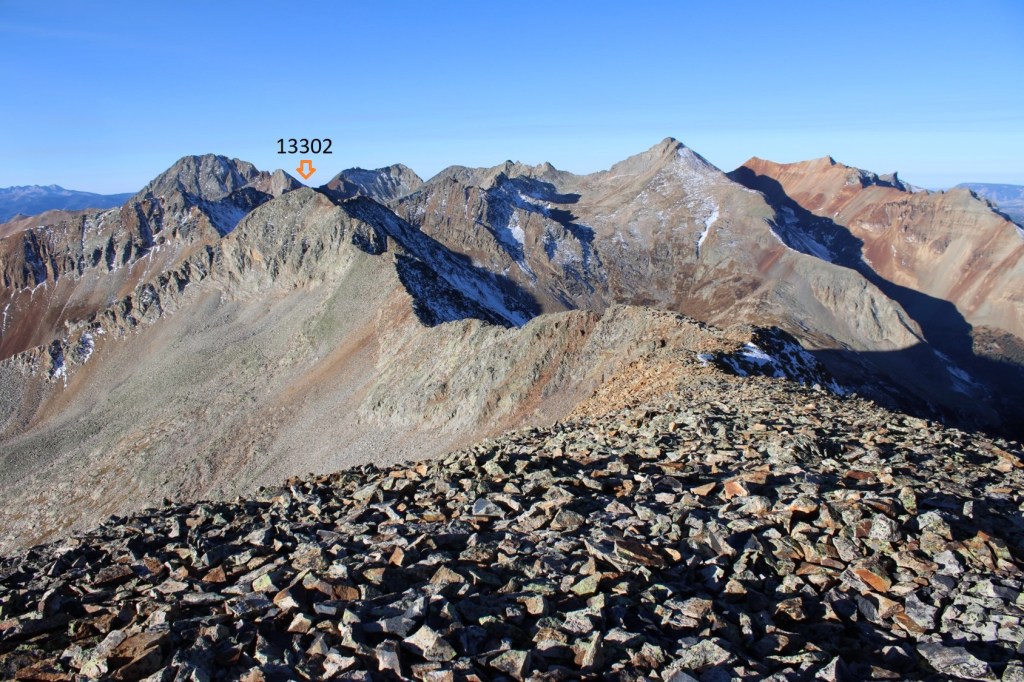
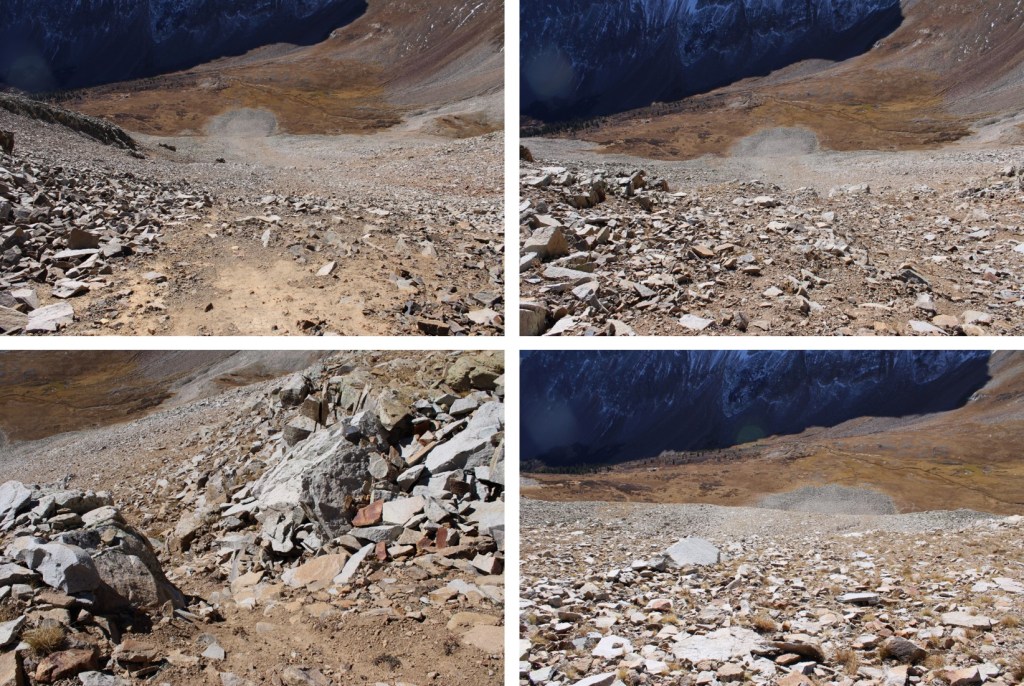
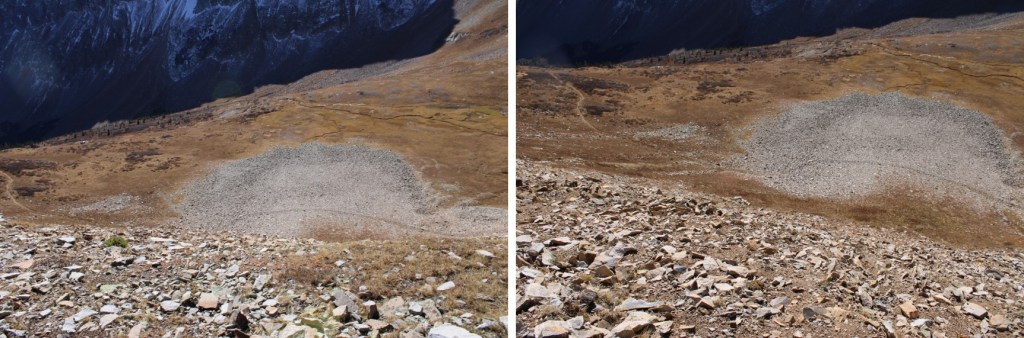
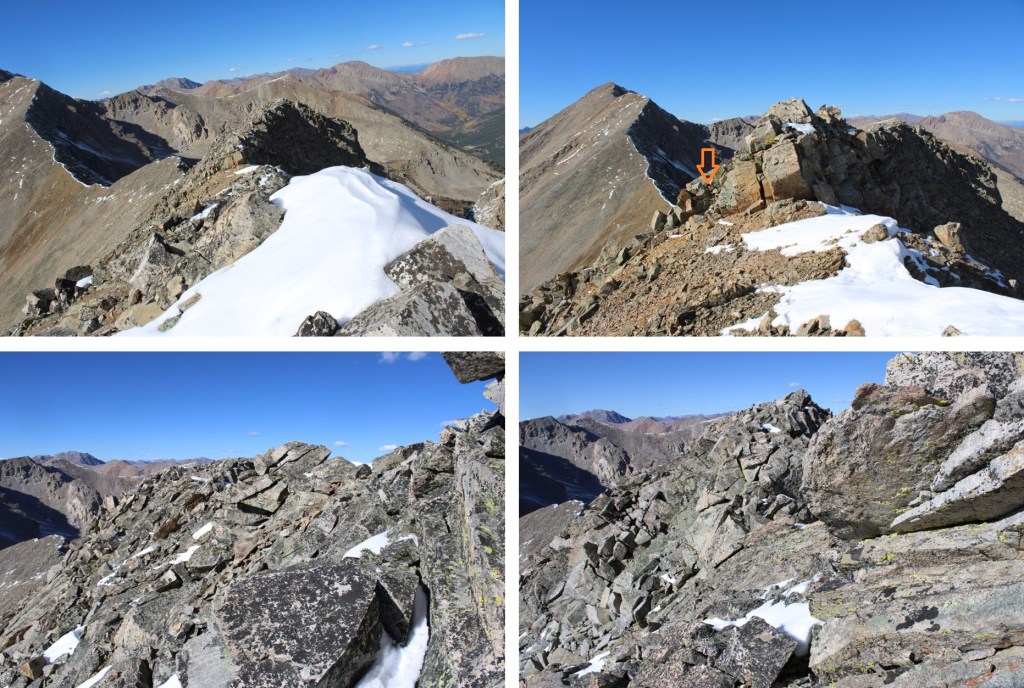
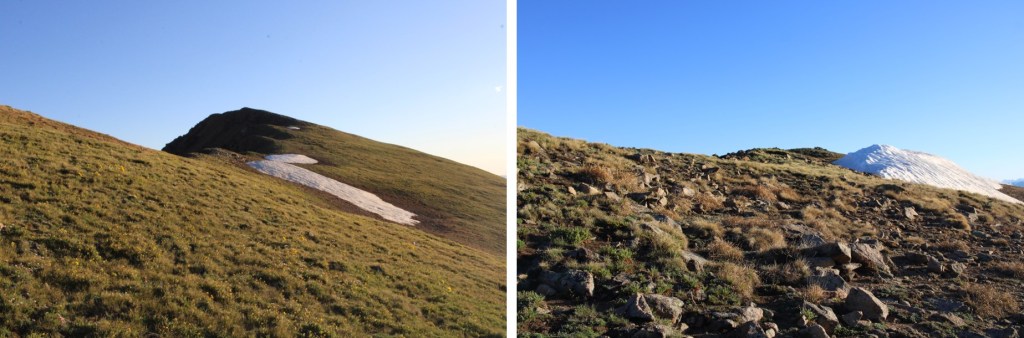
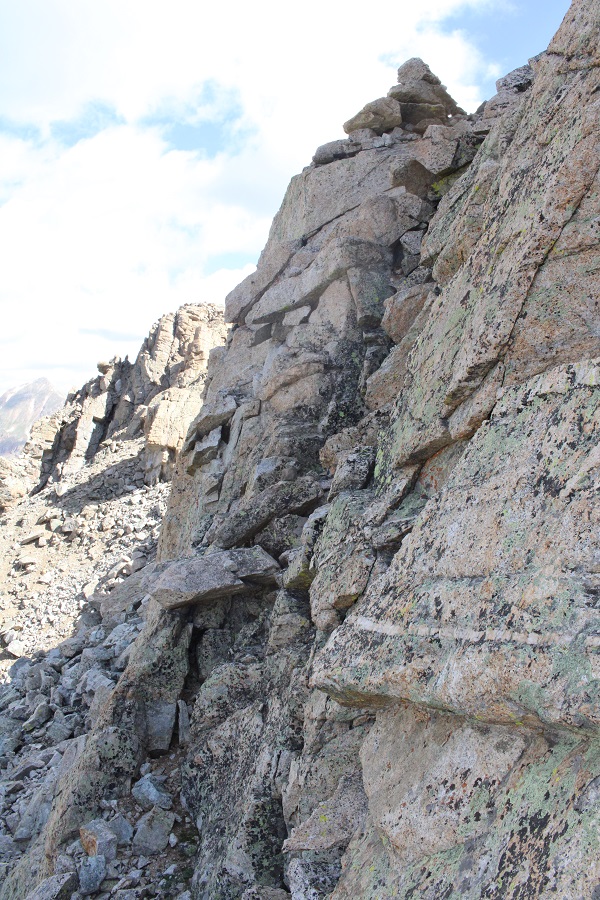
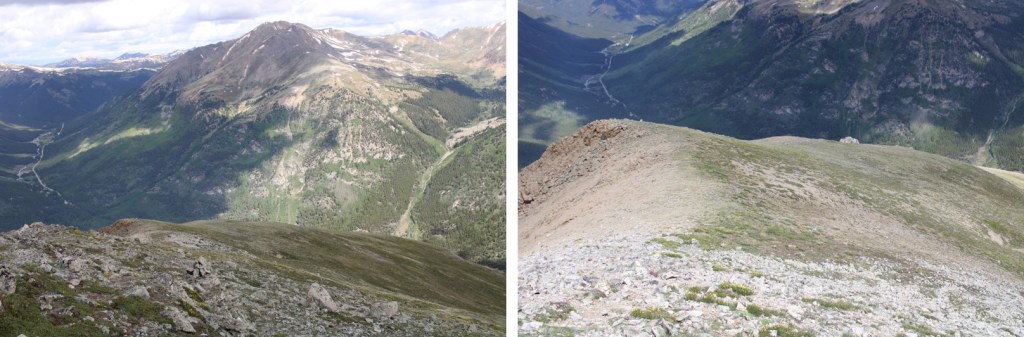
This was my only peak for today, so I turned around and headed back down/up/down the ridge. Here are some pictures of my way back over to the false summit.

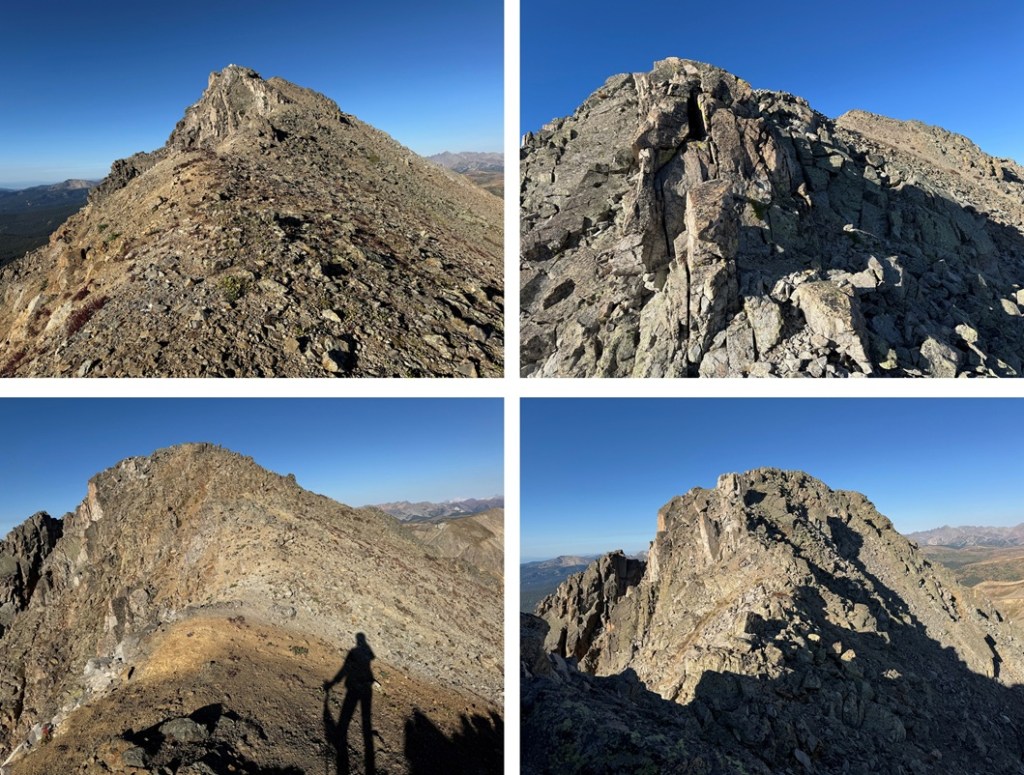

Then it was back to the West Tellurium/Tellurium saddle.
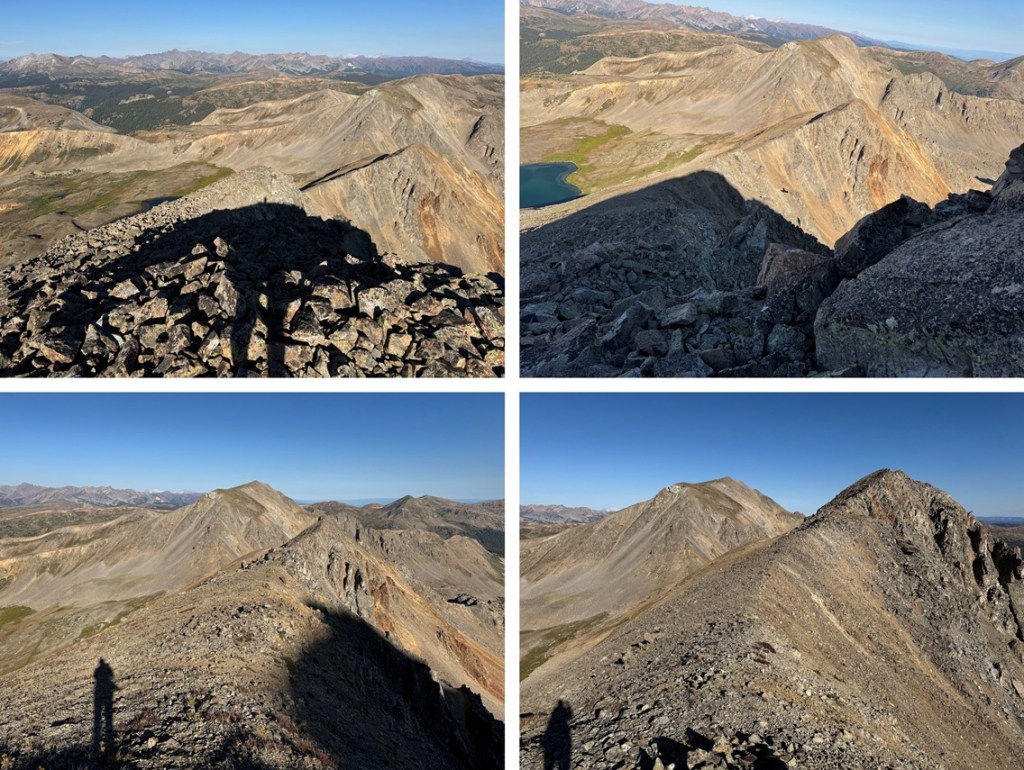

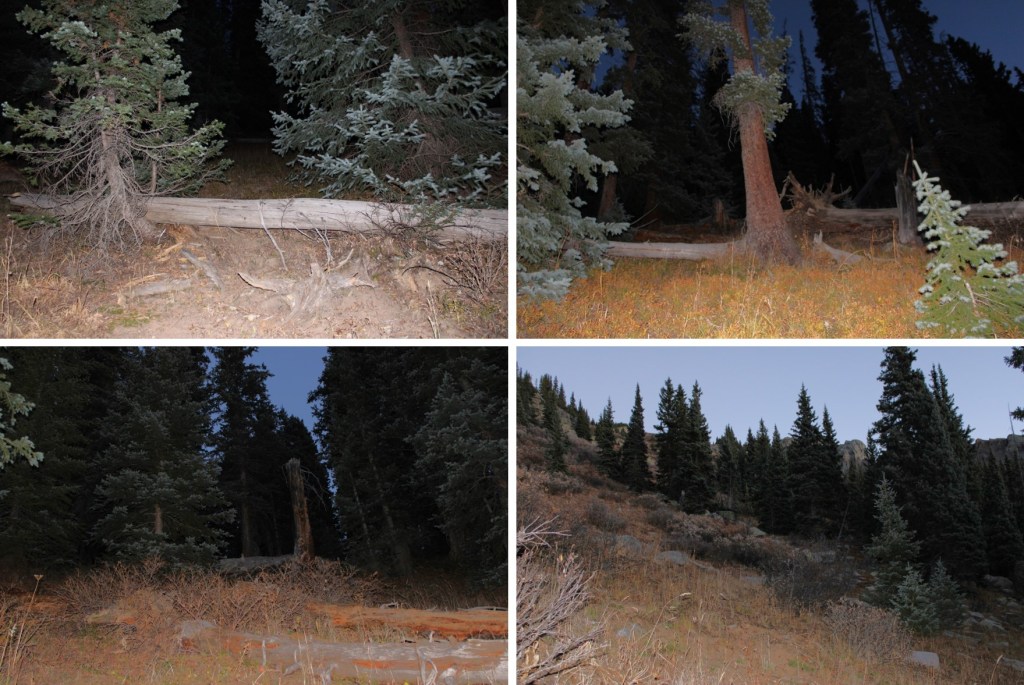
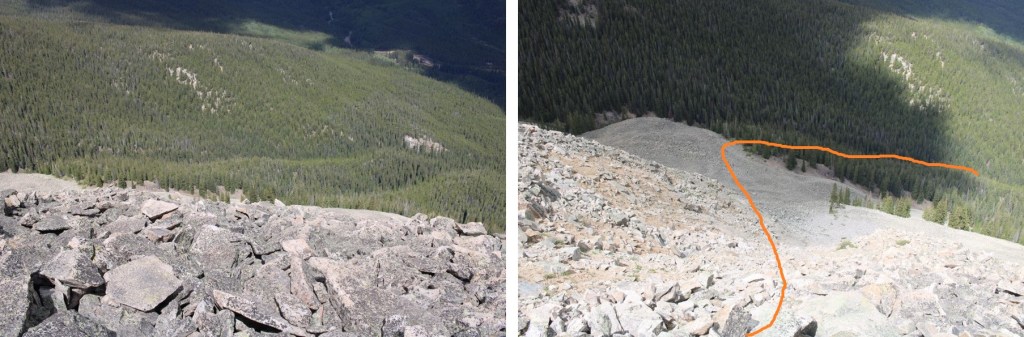
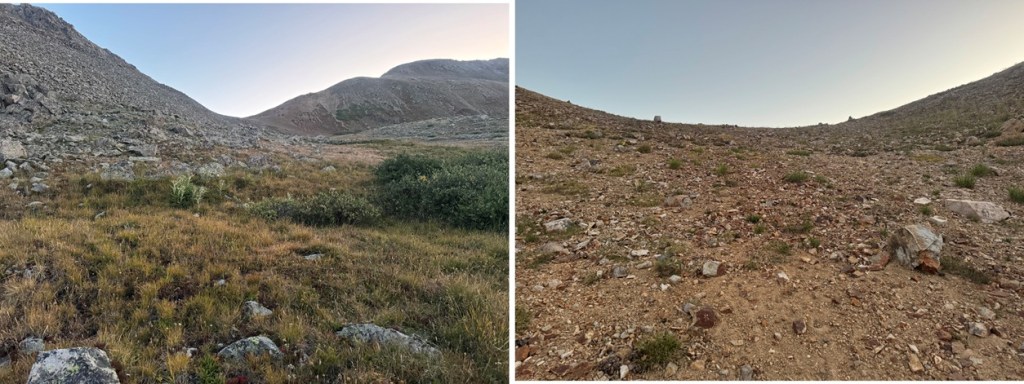
Then from the saddle I hiked back to my campsite at Ptarmigan Lake

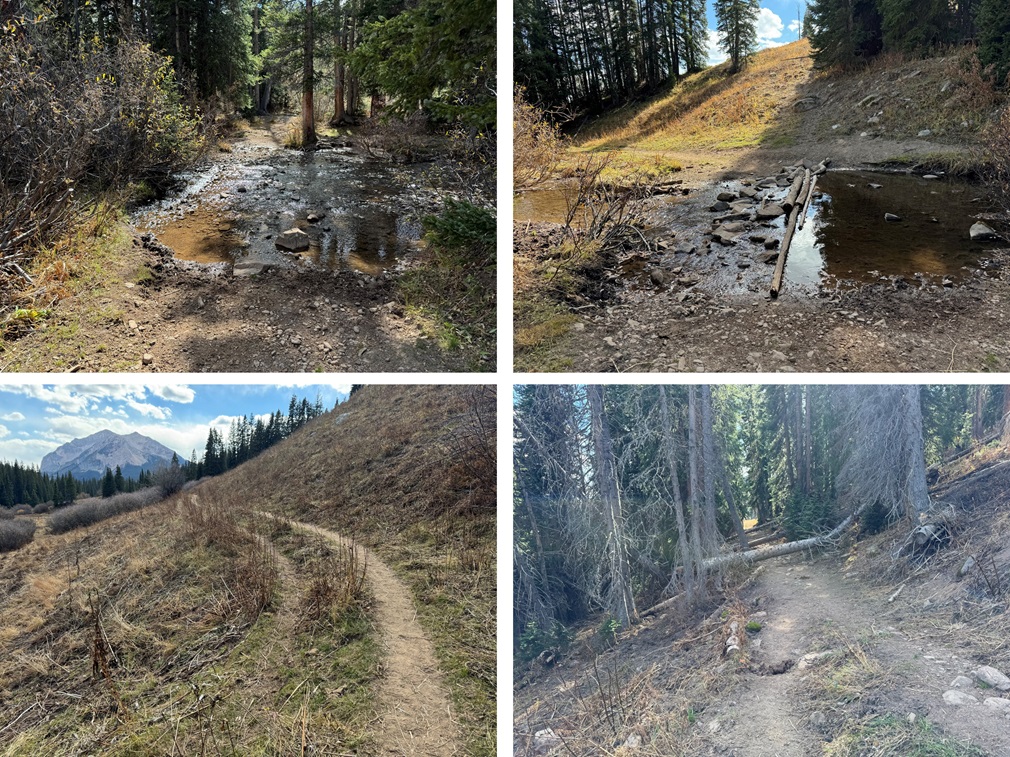
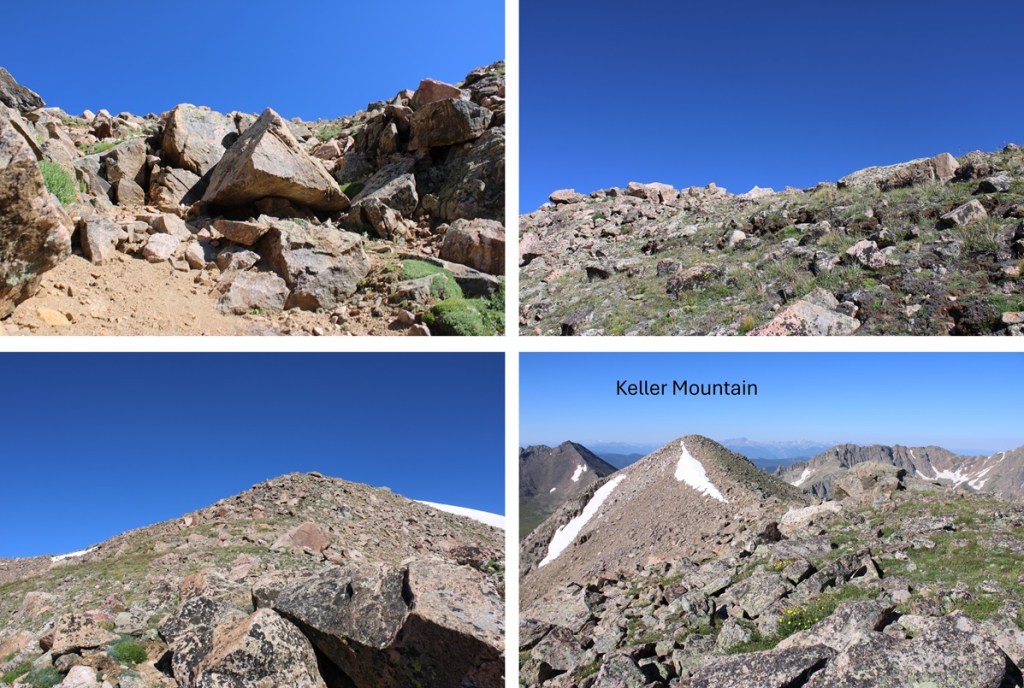
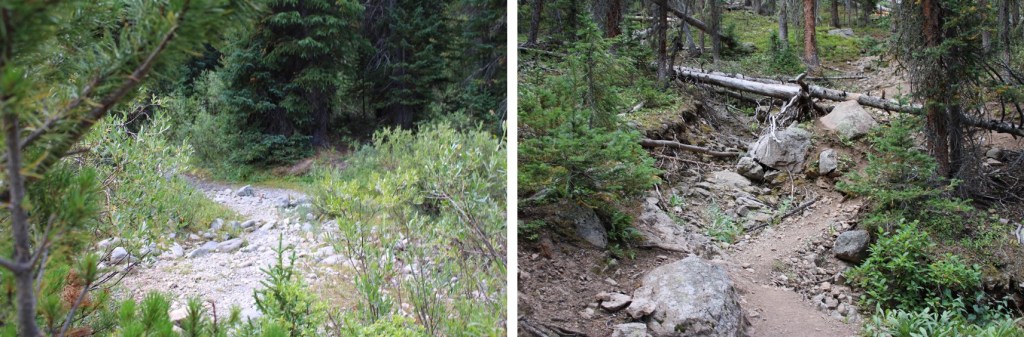
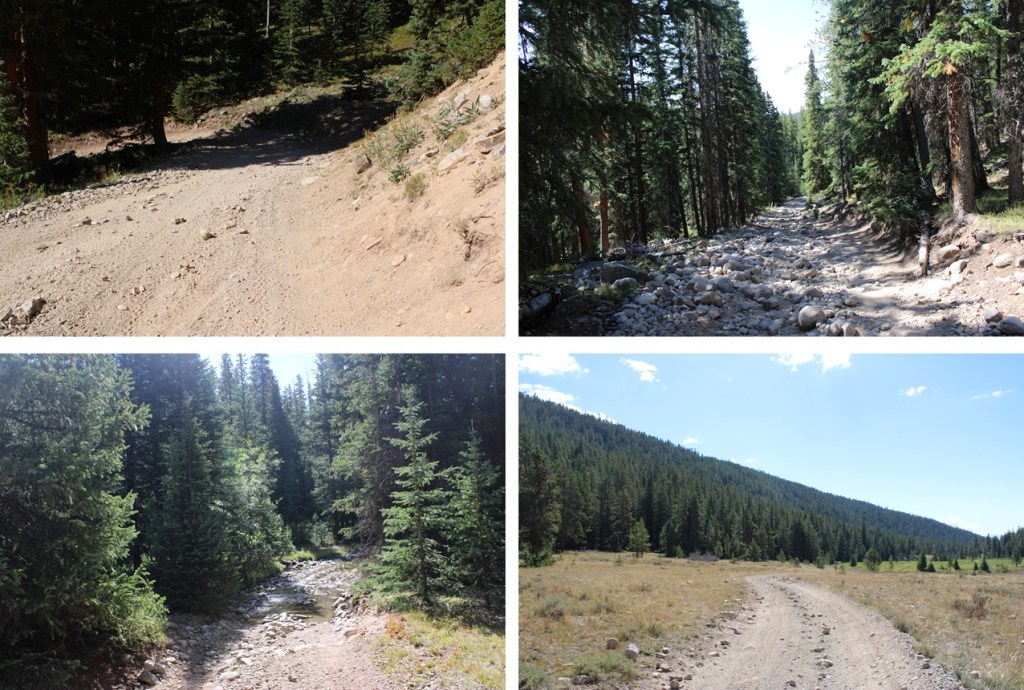
From the lake to the summit and back took me 3 hours total, with a stop on the ridge to make a phone call. Now to head out. From the lake I followed the 4WD road back to the trail/mines

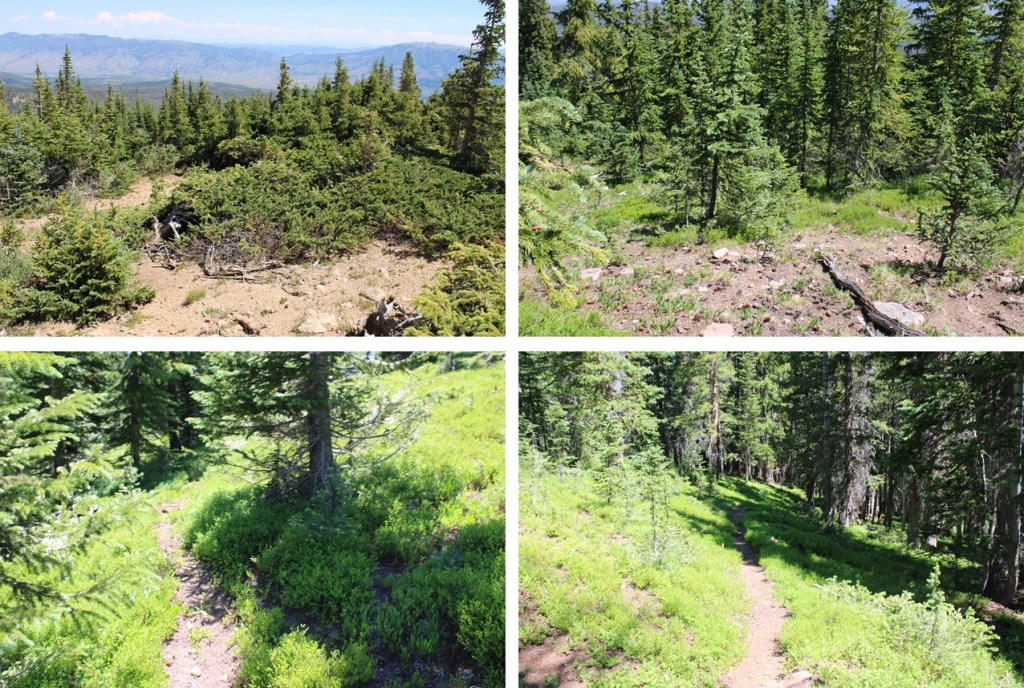
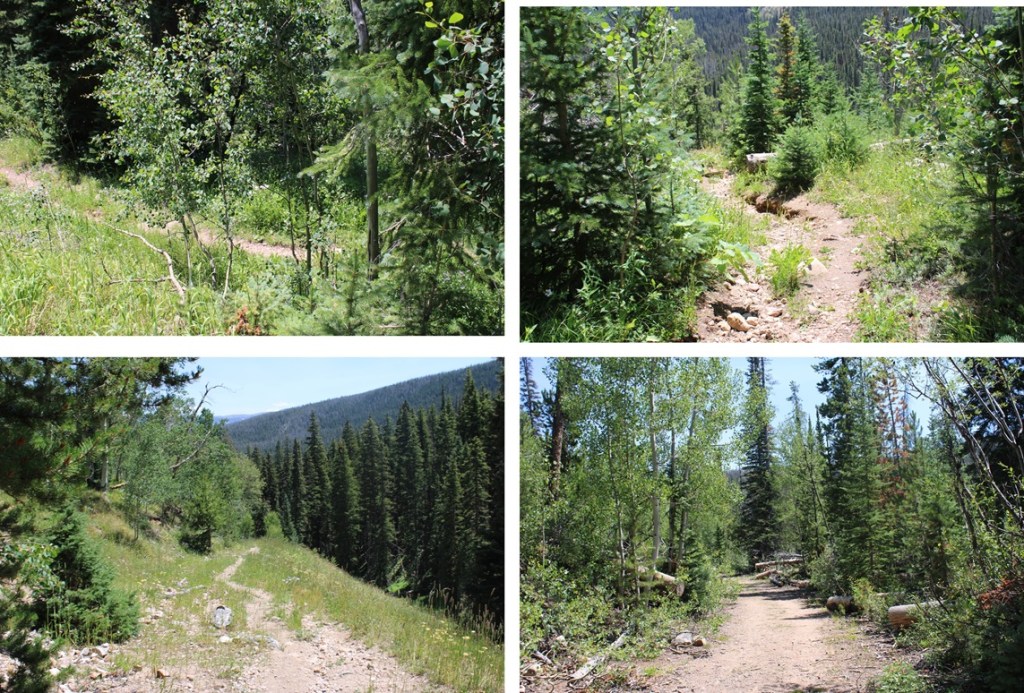
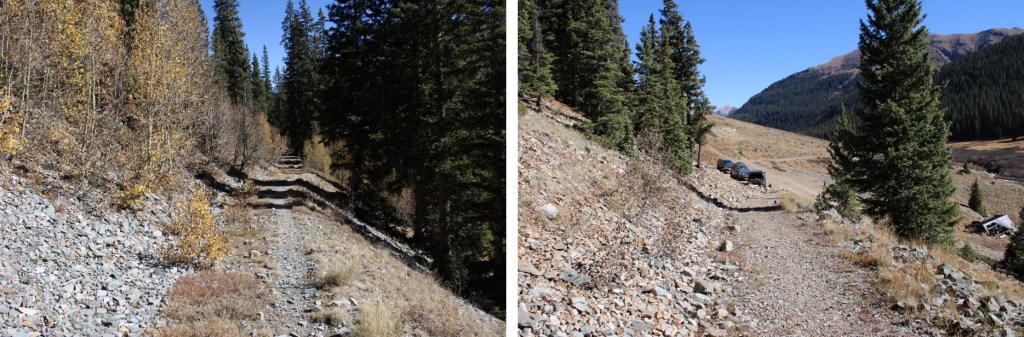
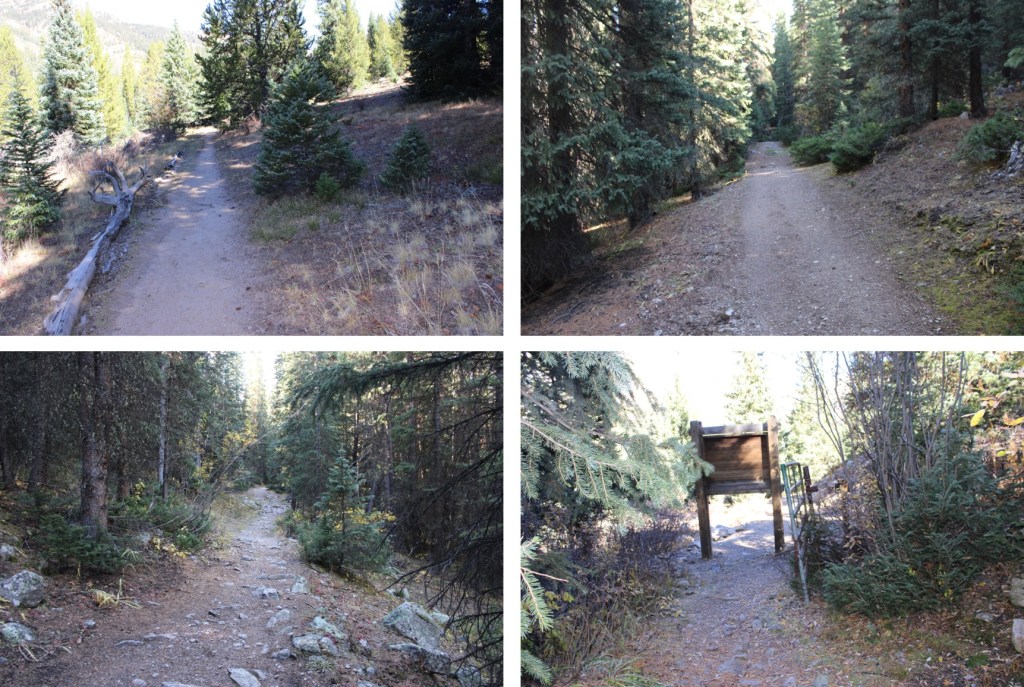
Then I followed the road all the way back to the dispersed camping area, taking the upper road this time (both roads make a loop).

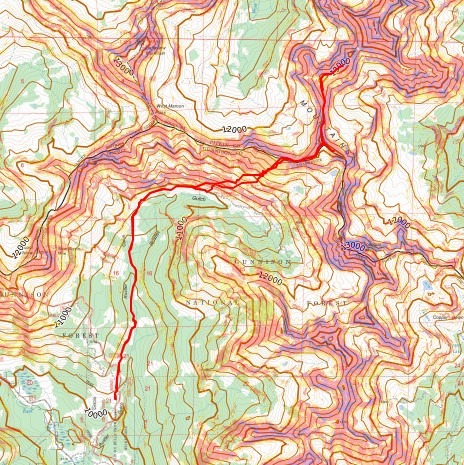
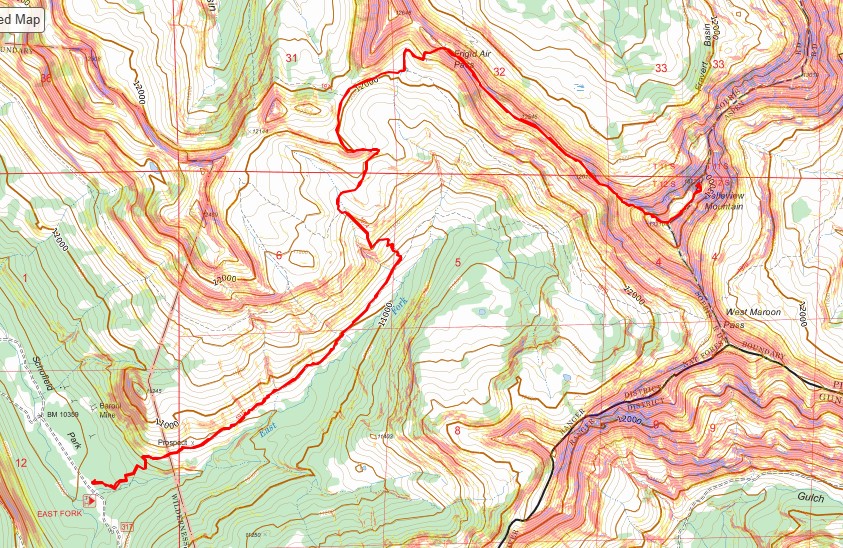
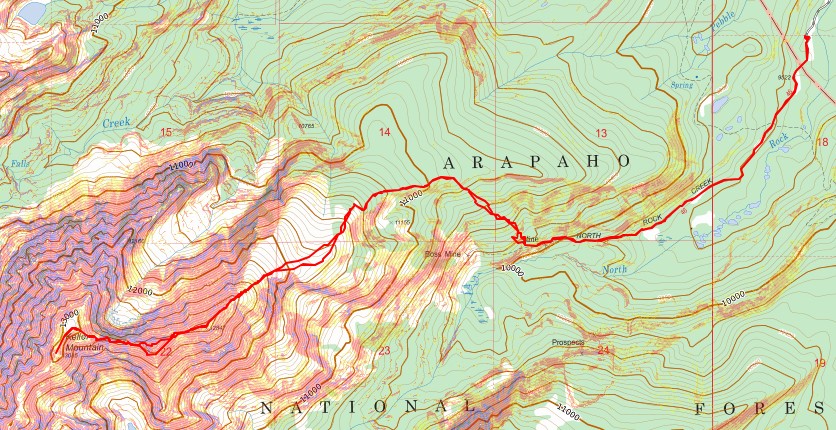
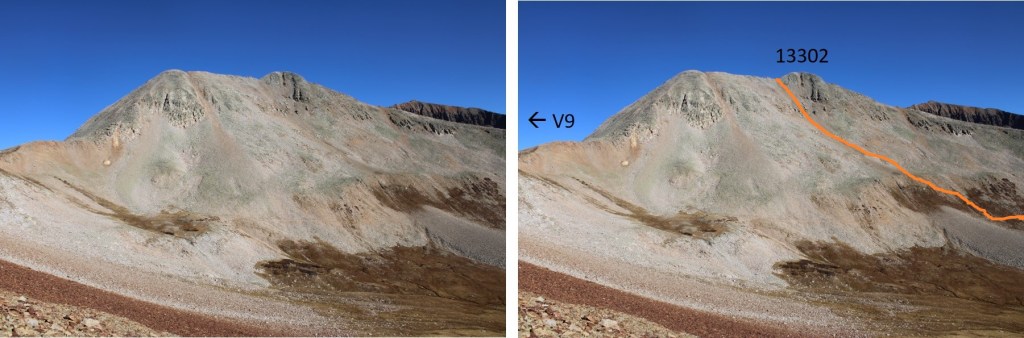
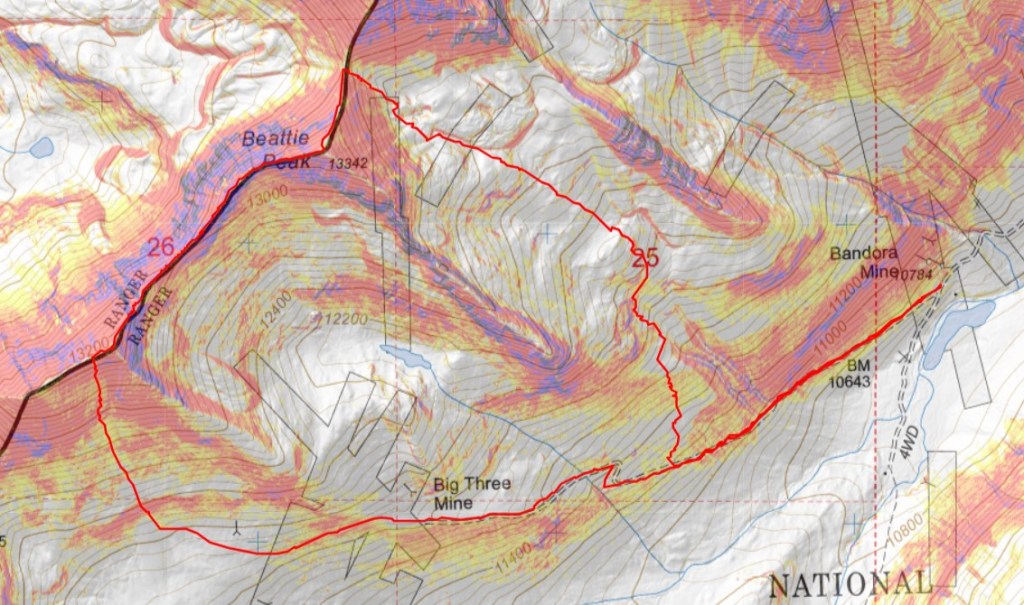
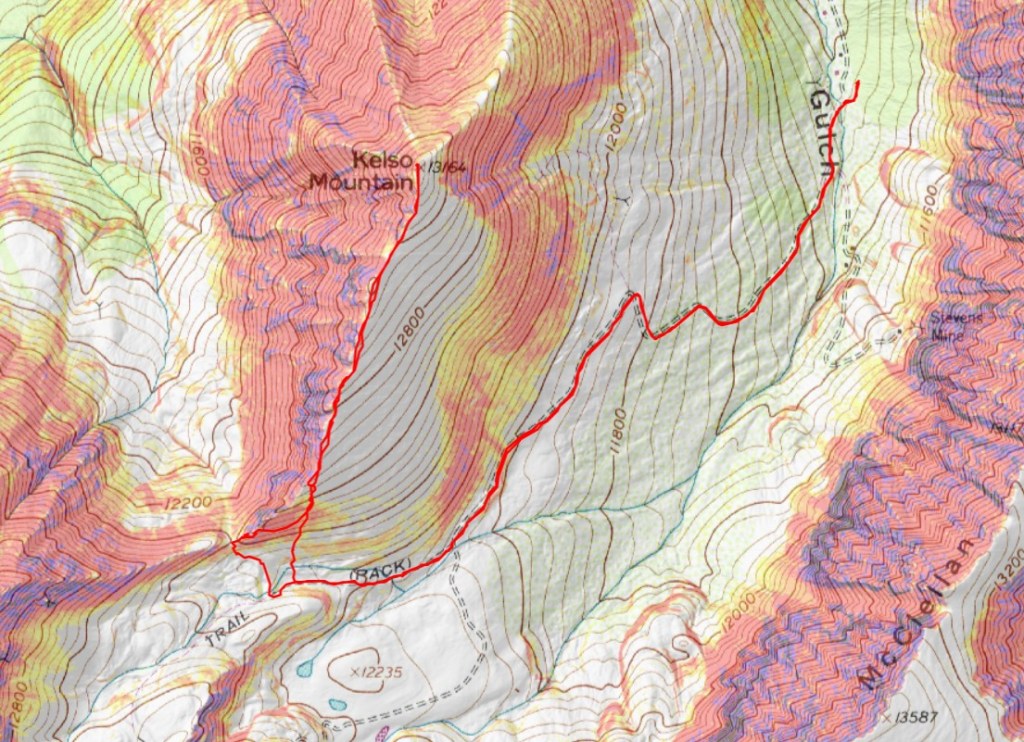
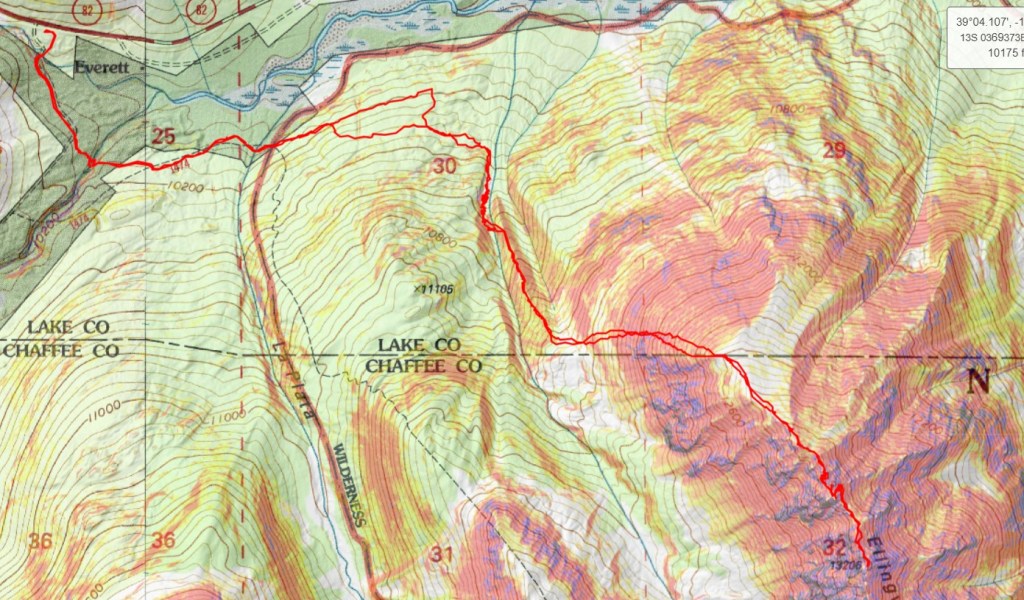
I made it back to my truck at 11:45am. This hike totaled 16.42 miles with 4219’ of elevation gain. Here’s the topo of my entire route
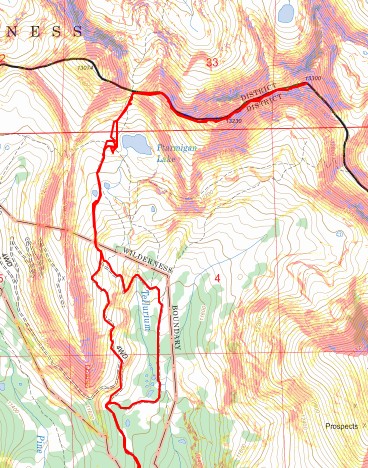
And one closer up
On to the next trailhead!