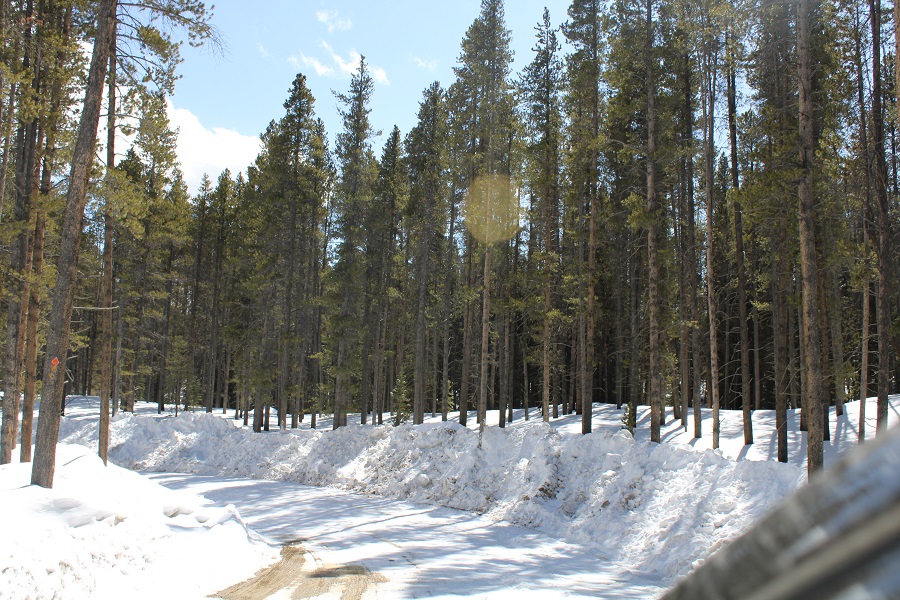
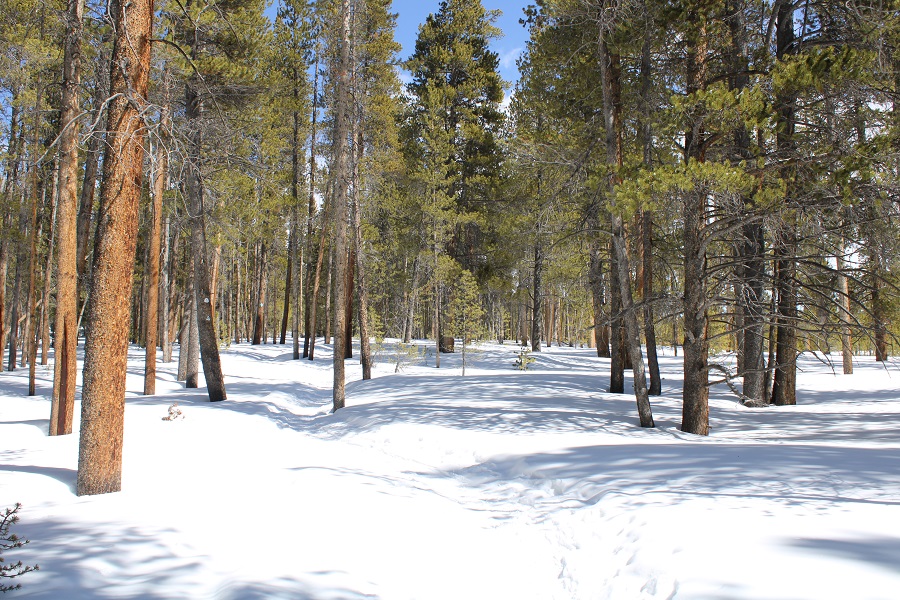
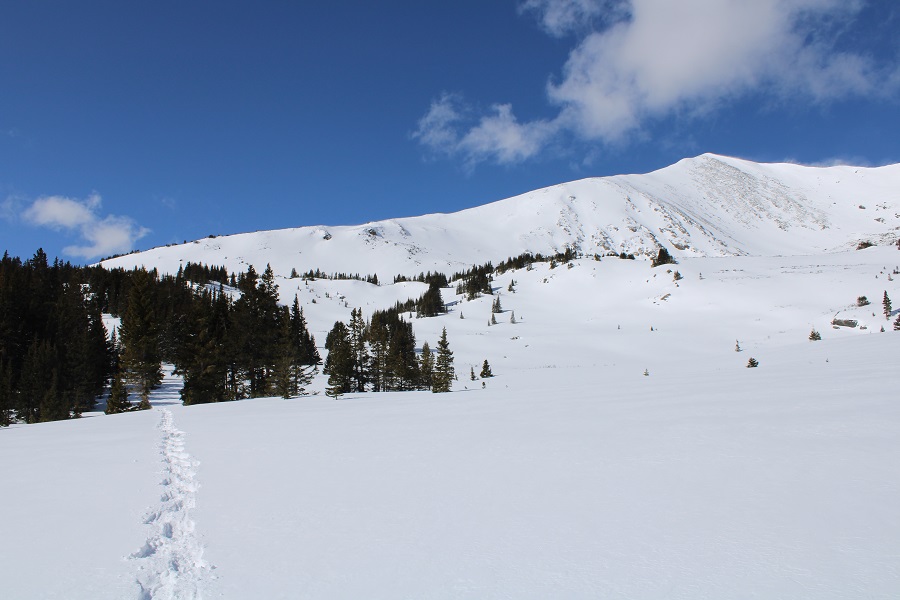
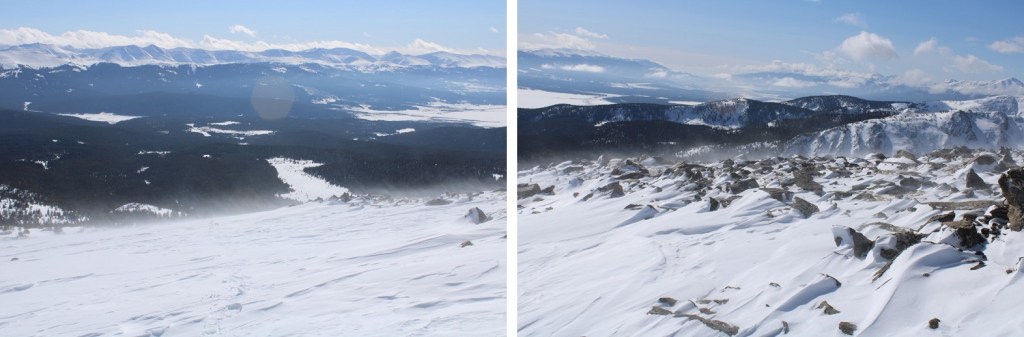
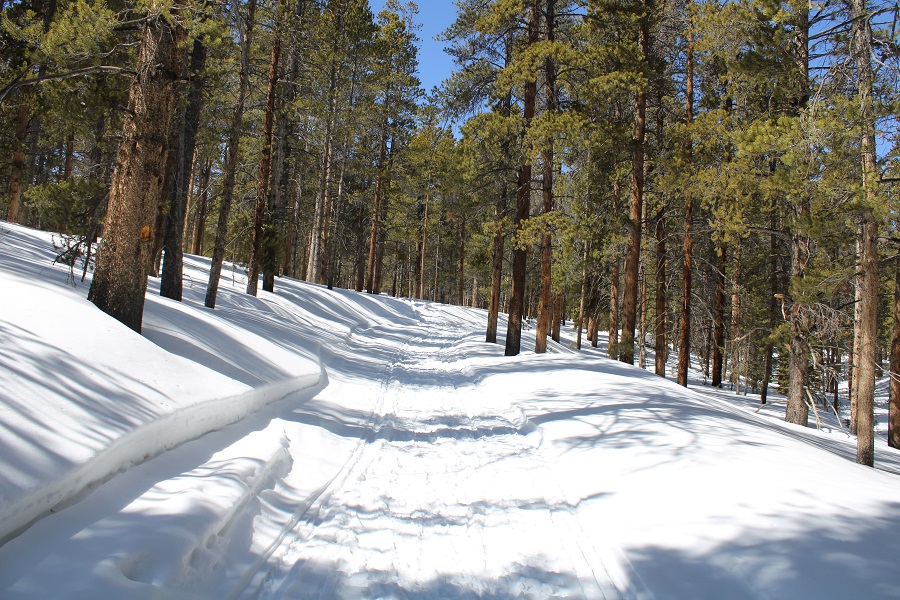
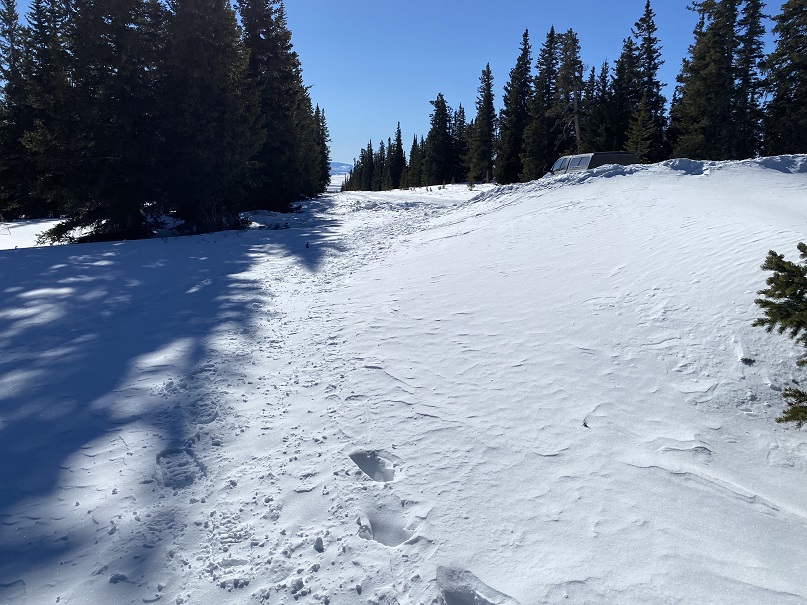
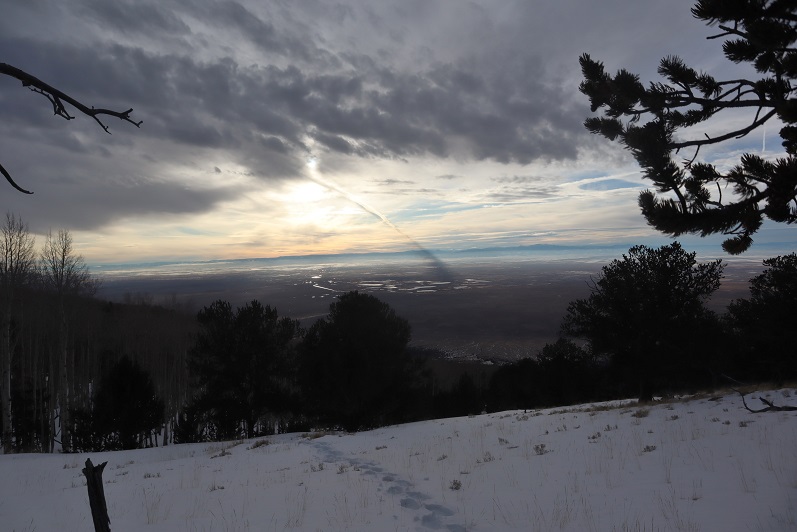
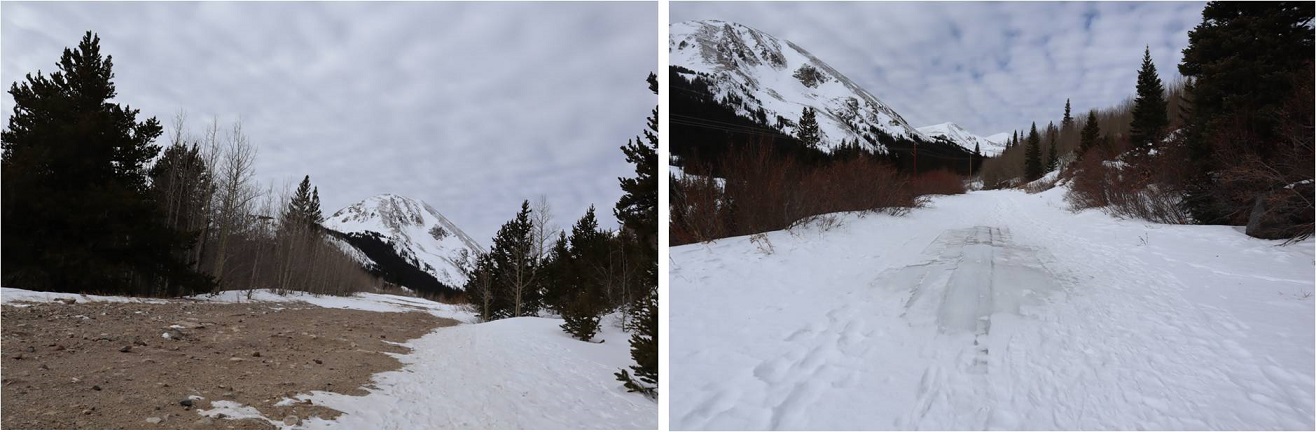
The road was nicely plowed from the Crane Park area to the trailhead, so I continued driving up the road and parked at the beginning of Trail 100.
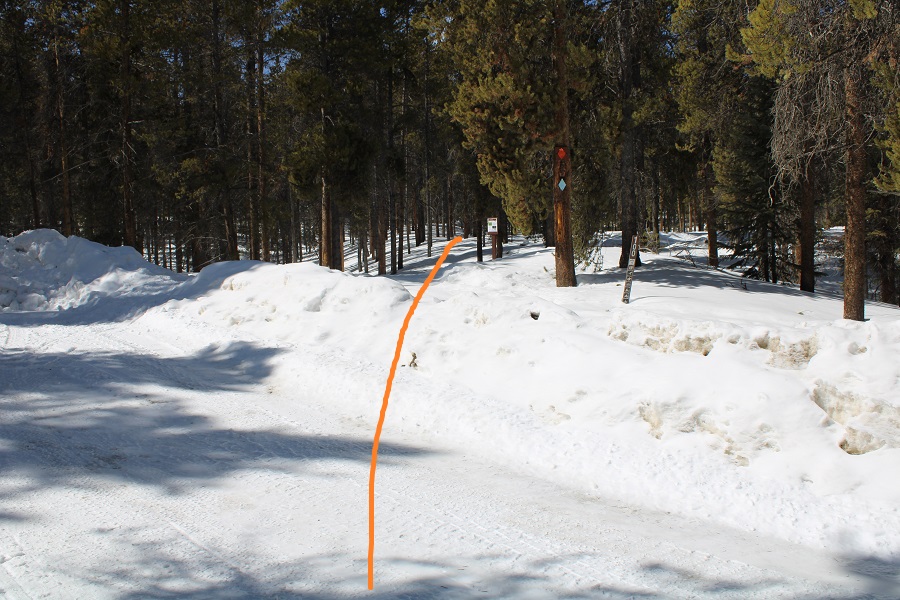
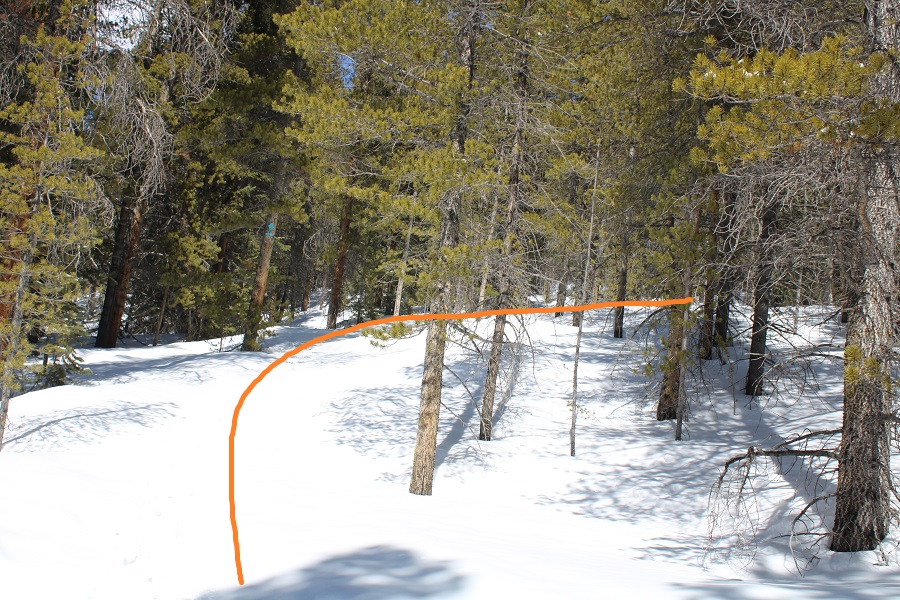
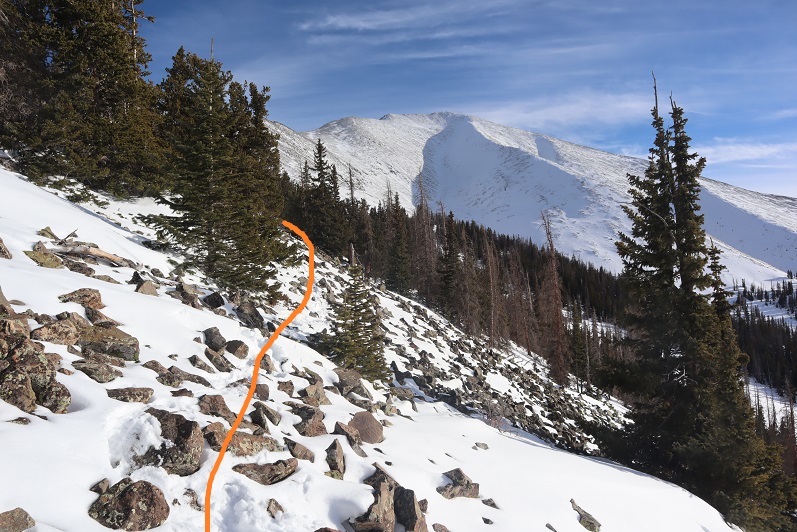
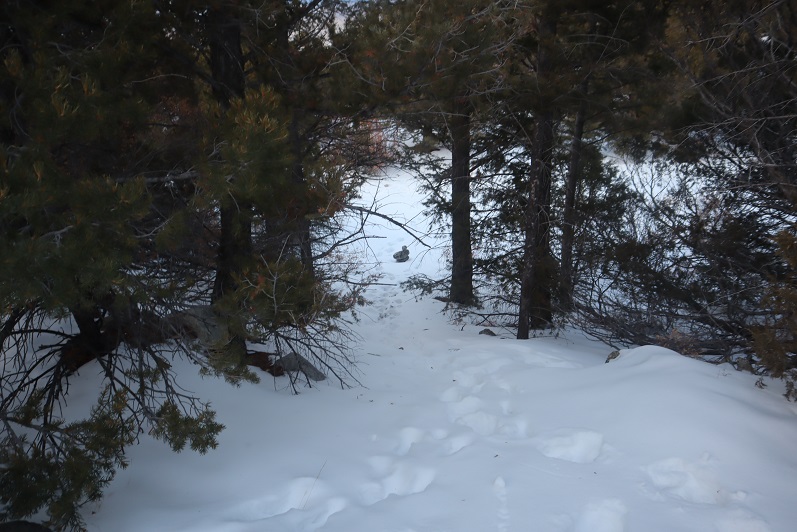
I was the only vehicle in the lot, and it was supposed to snow this afternoon, so I didn’t anticipate a lot of people on the trail today. I put on my snowshoes and started out. The trail starts by heading northeast for a third of a mile before turning onto the trail that leads you to the 10th Mountain Division Hut. I took the winter route.
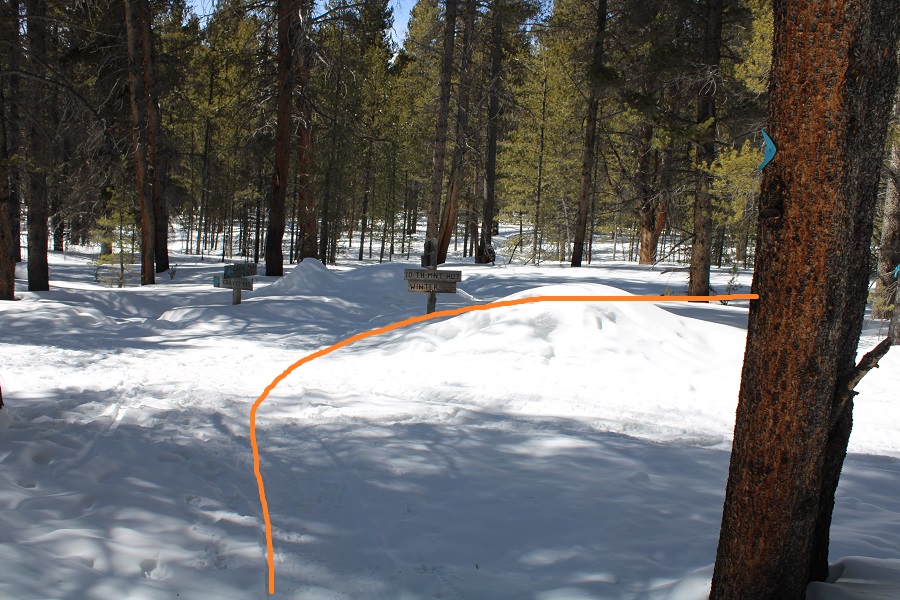
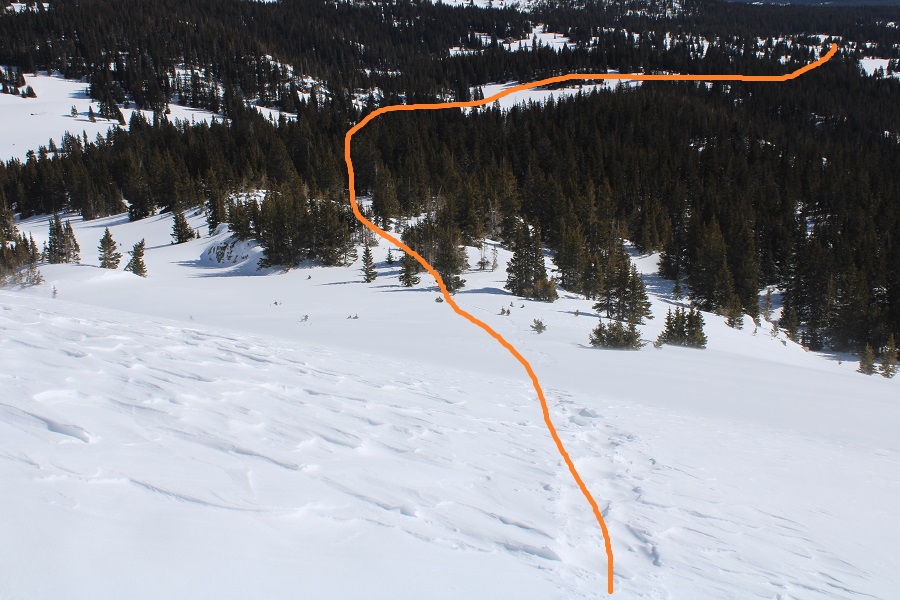
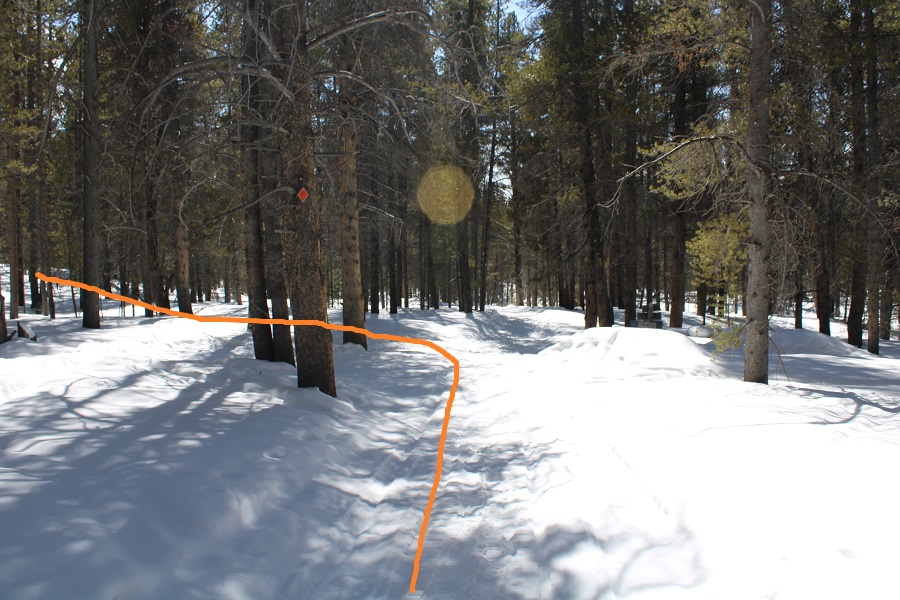
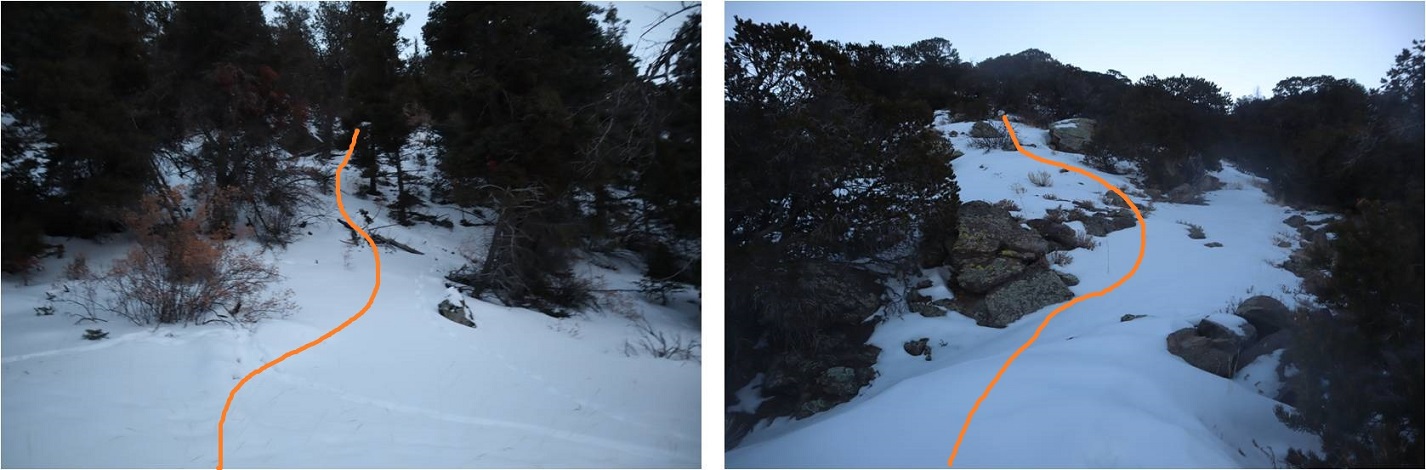
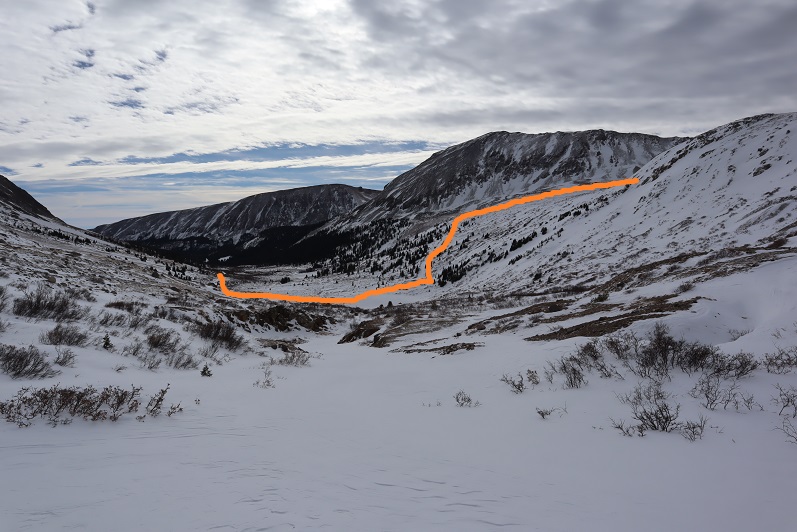
I followed the trail for about a mile to a junction, losing elevation as I went.
When I made it to this junction it was dark and I misread the sign. I ended up continuing straight and it wasn’t until I crossed the second bridge I thought to myself “I don’t remember crossing any bridges when I did this trail last time” and realized I should have turned right at the junction, instead of continuing to follow the Colorado Trail. This mistake cost me a mile of hiking. So, long story short, turn right here and follow the 10th Mountain Division hut signs, and if you come to any bridge, you’ve gone too far.
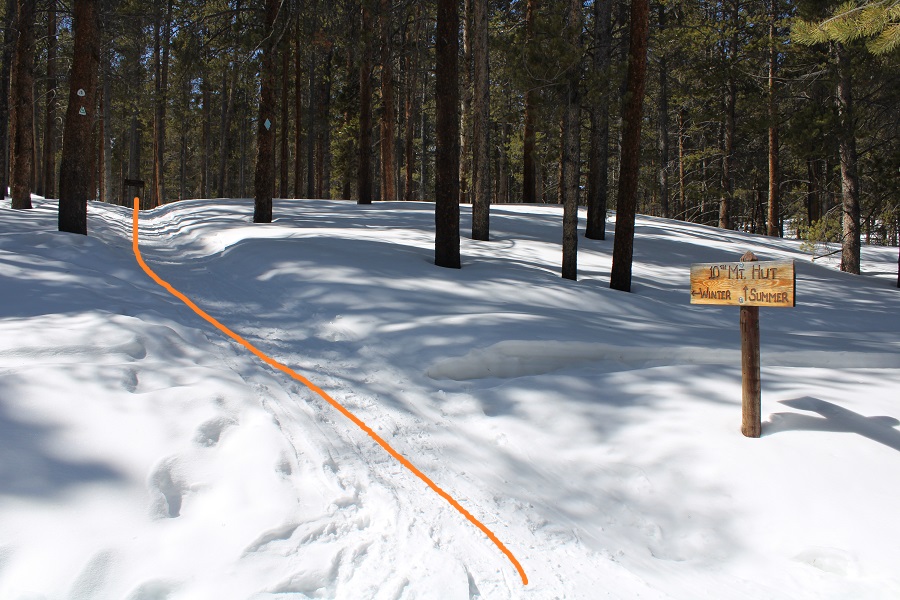
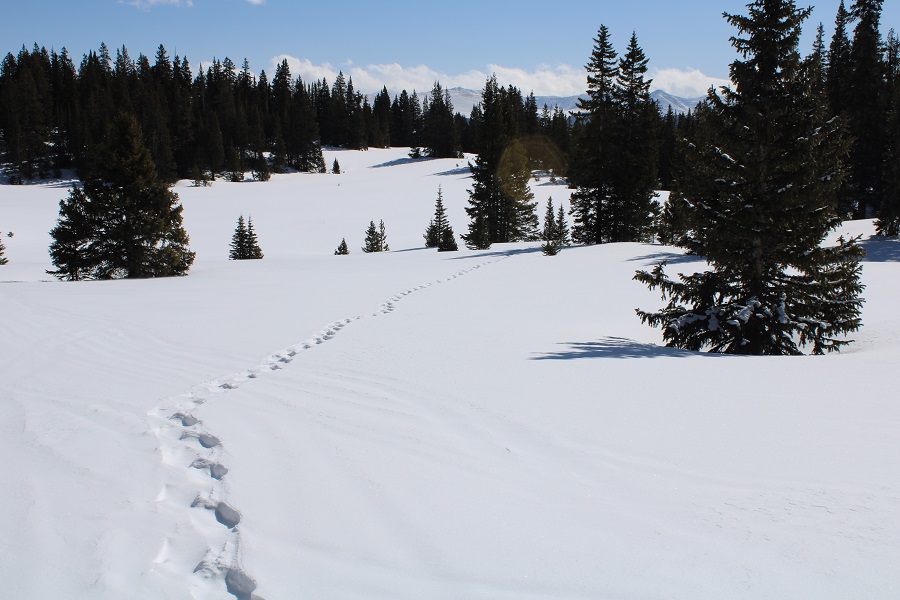
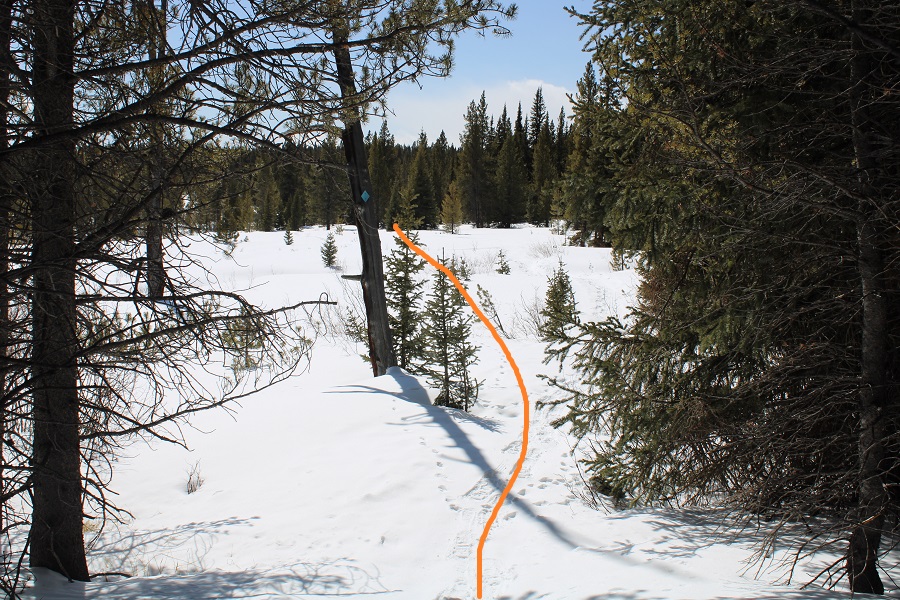
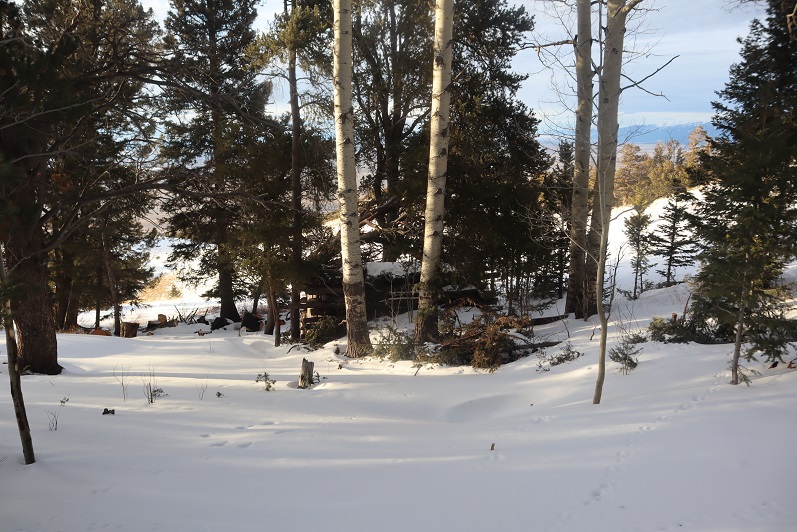
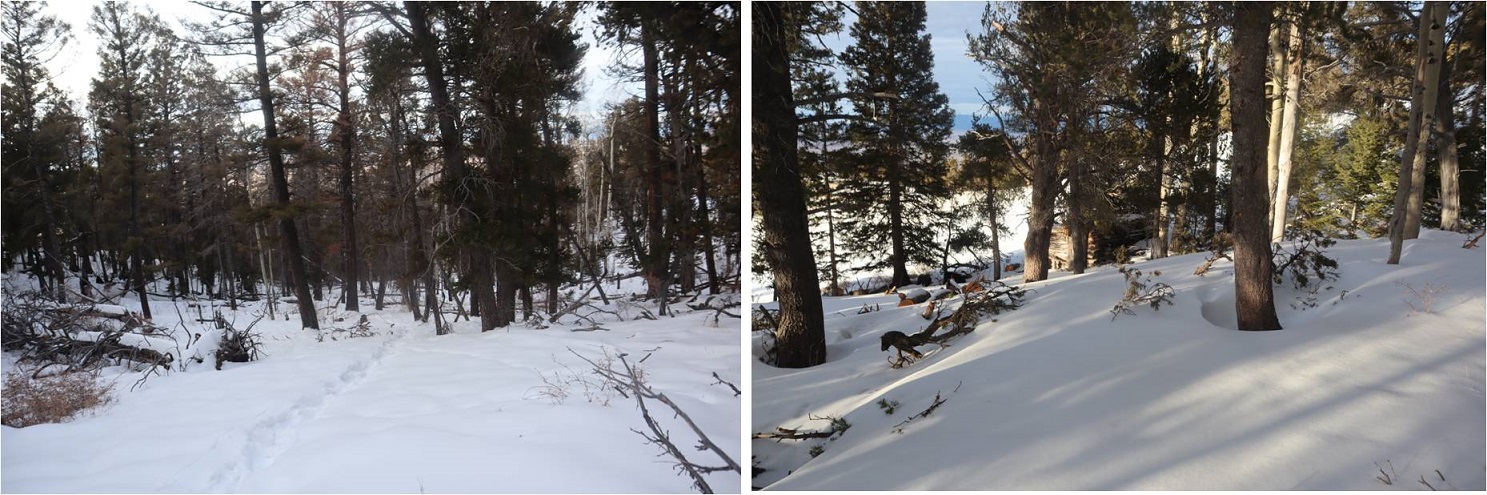
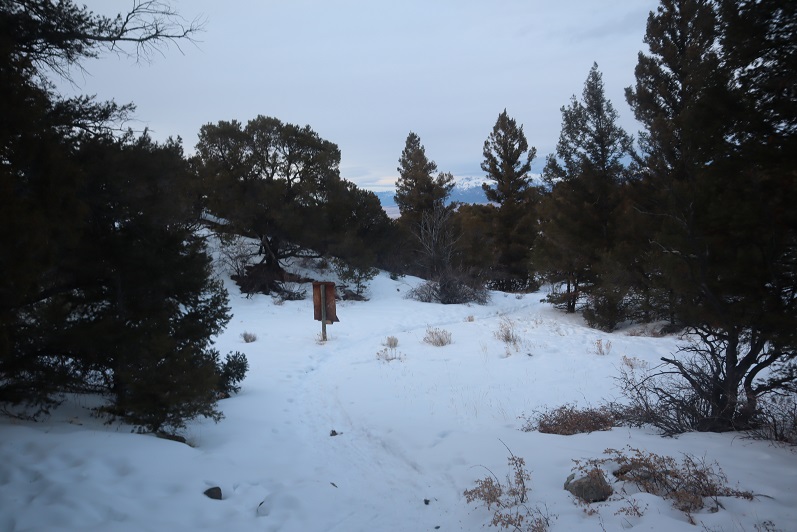
This put me on a 4WD road that took me to a marshy area, covered in fox prints. Here the snowmobile tracks ended and I’d be trenching the rest of the hike.
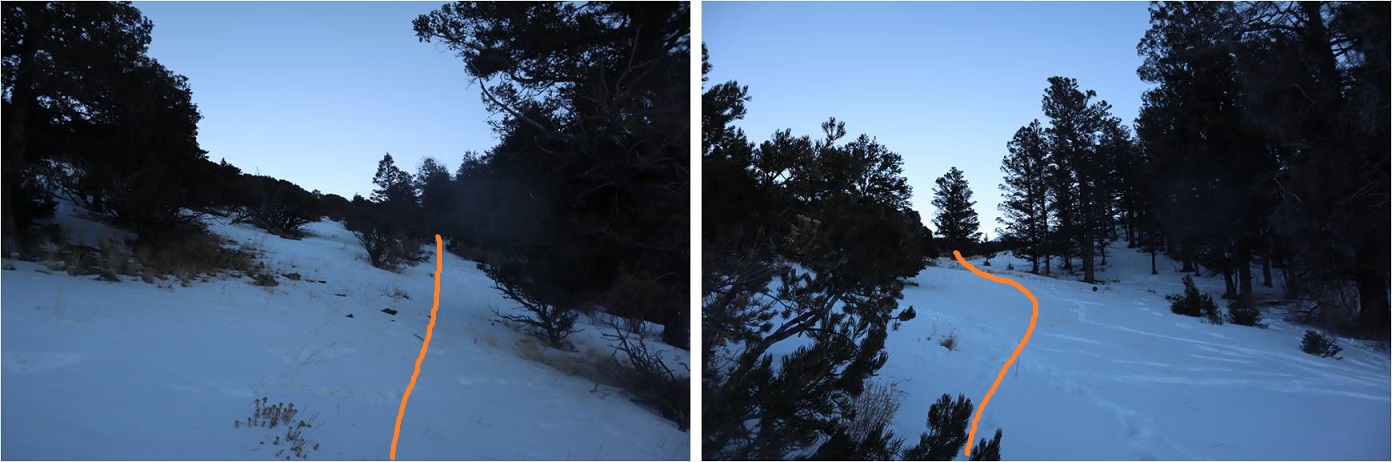
From the marshy area I followed the blue arrows to the 10th Mountain Division hut. The arrows are conveniently placed along the trail every 20 yards or so. When the trail is covered in snow and just when you aren’t sure which way to go, you find another blue marker. These were extremely helpful, as I was trenching at this point (and for the rest of the hike). There were tons of rabbit tracks in the area on the recent snow.
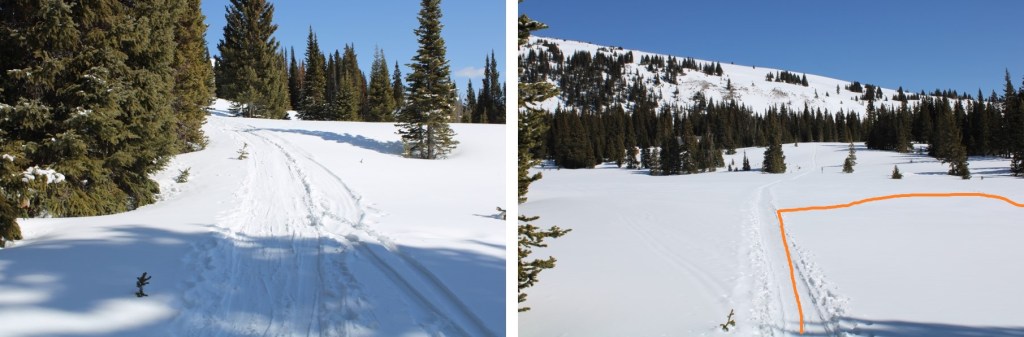
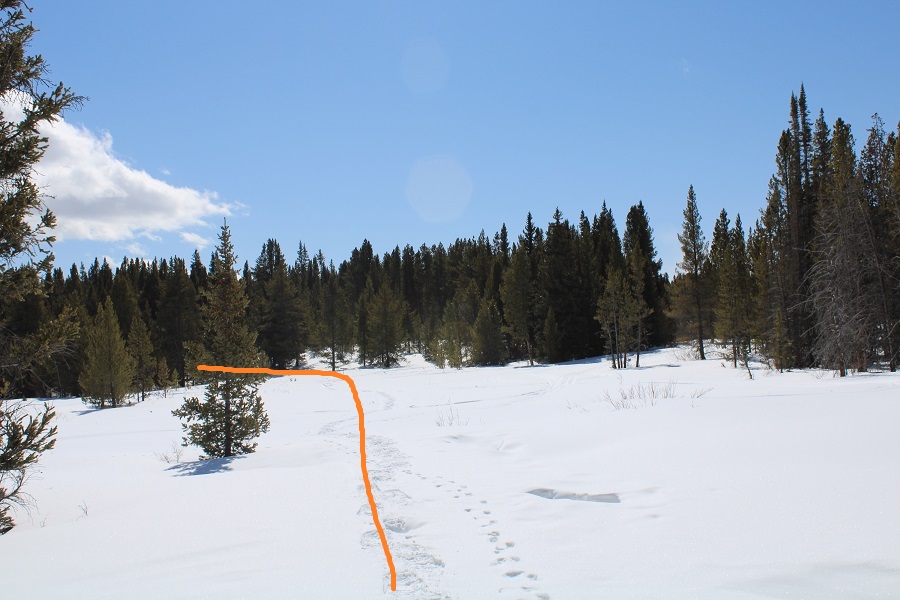
Just as I made it to the 10th Mountain Division Hut I came across what looked to be a recent ski trench. Even though it was earlier than I’d planned on heading west I turned left and followed the trench (I was getting tired of trenching). This trench led me to a bunch of skis standing in the snow.
I didn’t see anyone with the skis, and I knew I’d hiked too far following the trench (hopeful it turned and headed to Homestake’s ridge, which it didn’t), so I backtracked and found a low rib to hike up and follow northwest to the upper basin.
At this point I was frustrated: I was in a bad mental attitude I had to kick myself out of. Due to a recent conditions report I expected there to be a trench to treeline, and there wasn’t. I was having trouble finding any semblance of a trail, and the trenching was getting tiresome. I kept trudging along and backtracking, telling myself I’d only stop if the snow became more than I could handle (usually for me this means postholing past my waist). Also, this was my second attempt at this peak, as the last time I was here the snow was too soft to trench. I didn’t want to come back a third time if I could help it. I knew I was off the typical trail, but I also knew I was headed in the right direction, and I had the added benefit of being able to follow my tracks on my way out.
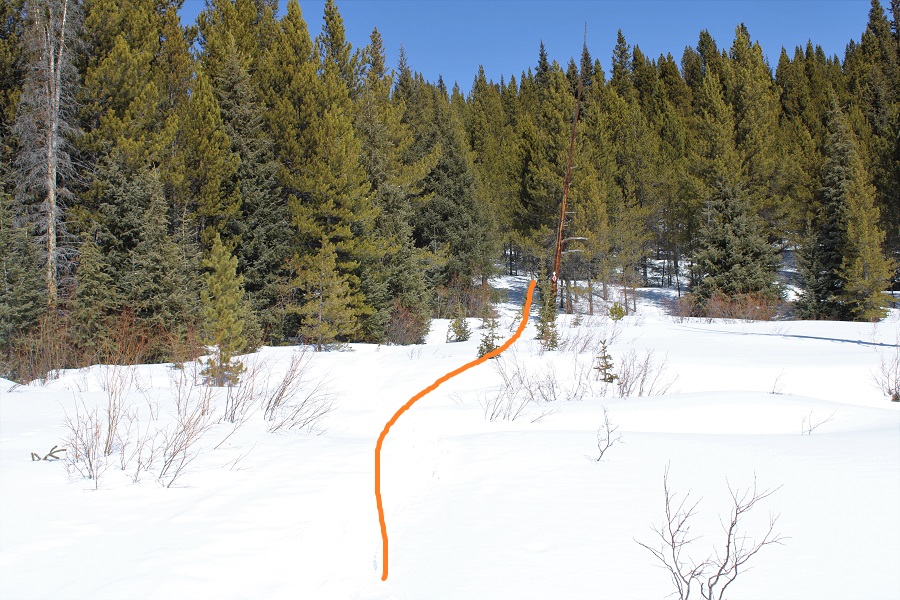
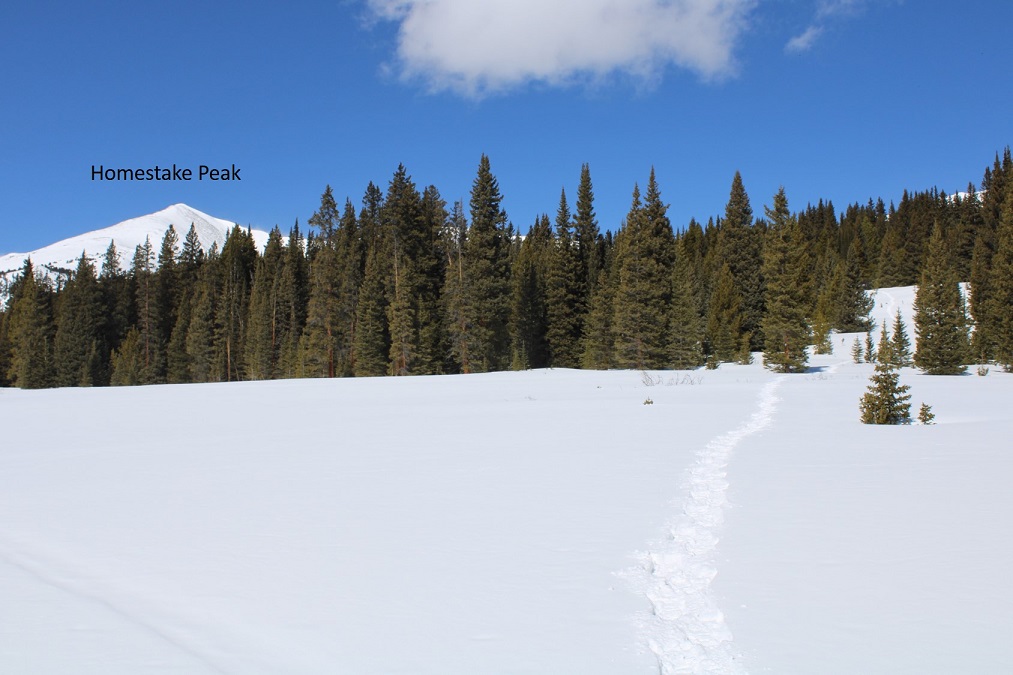
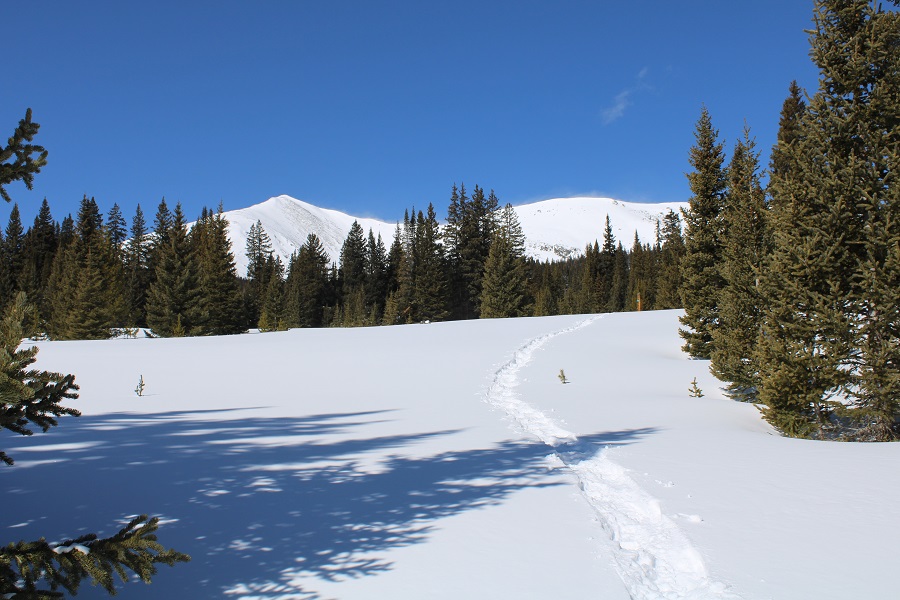
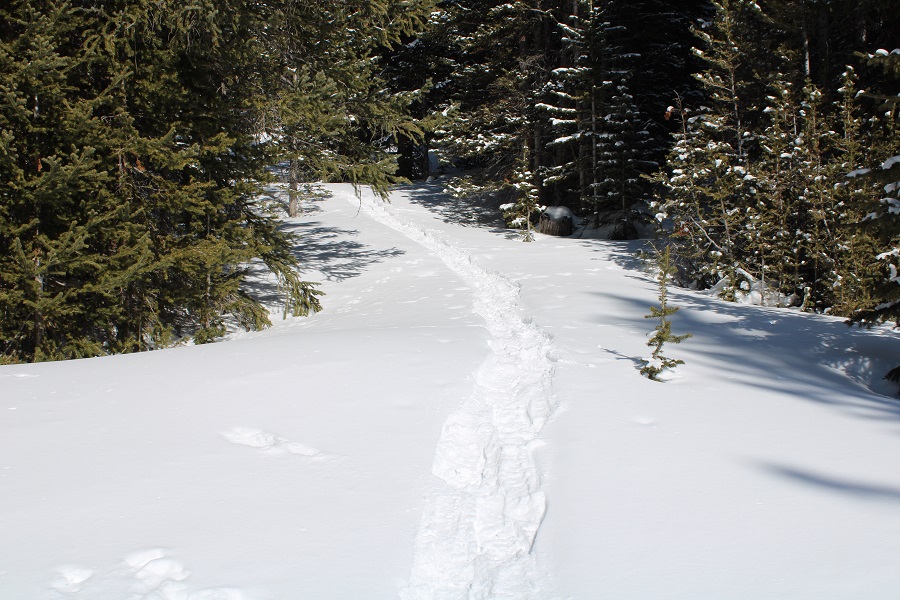
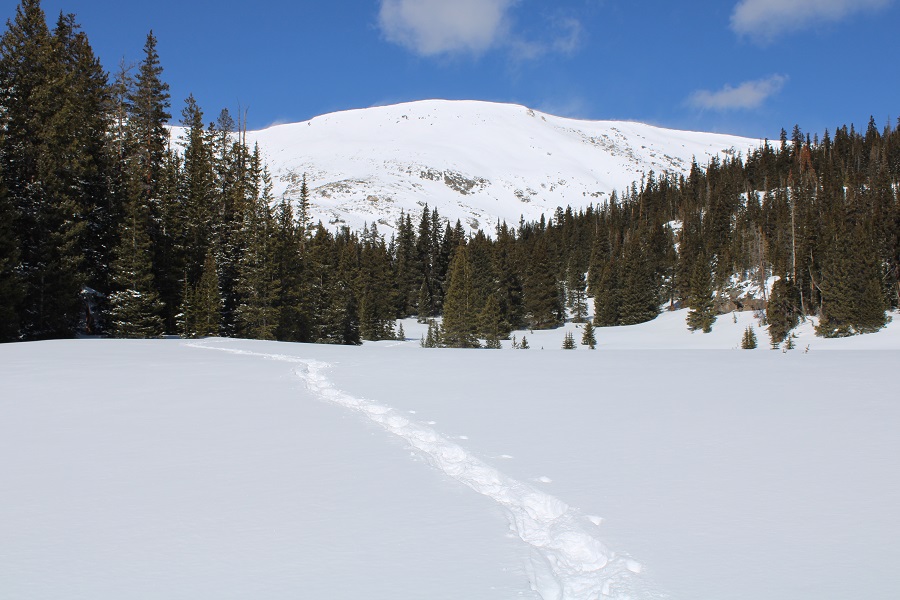
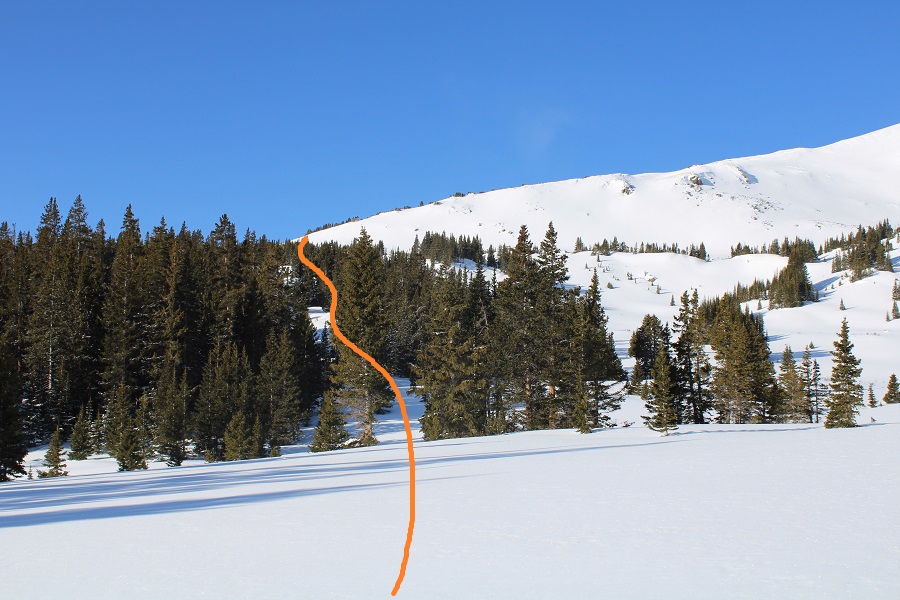
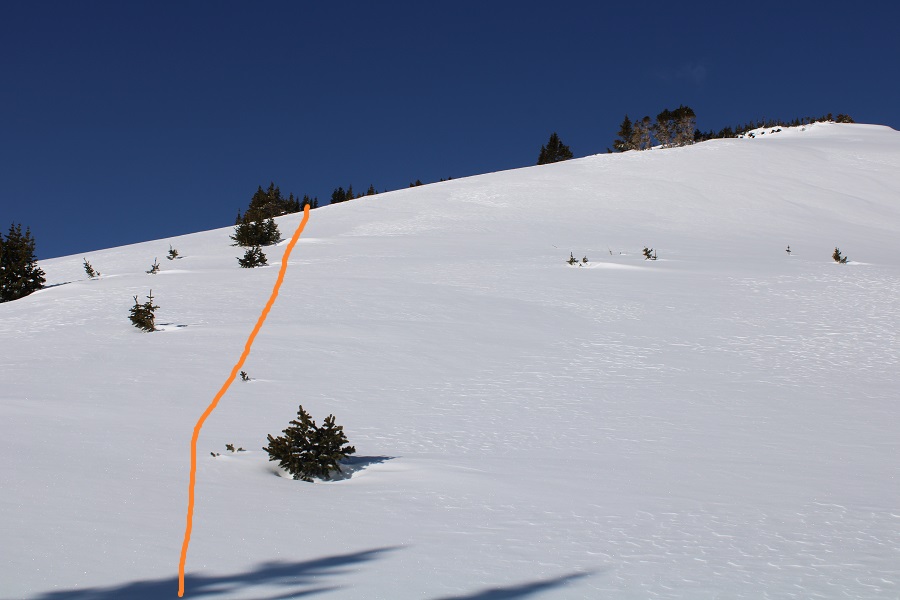
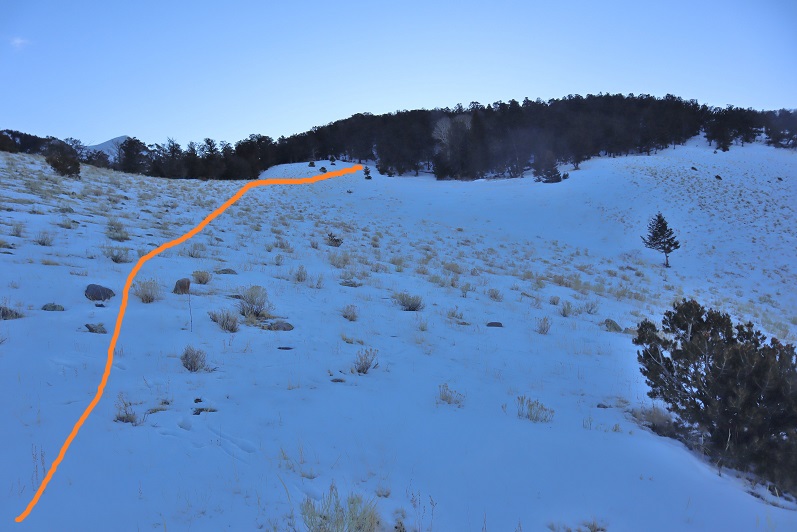
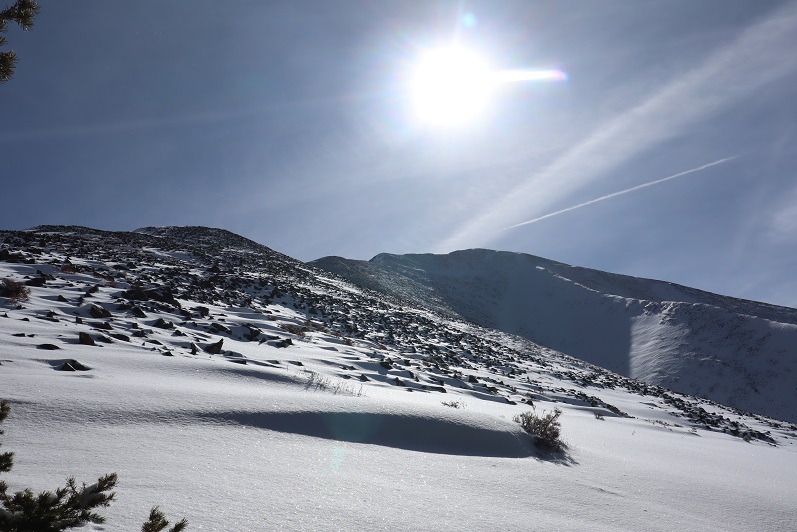
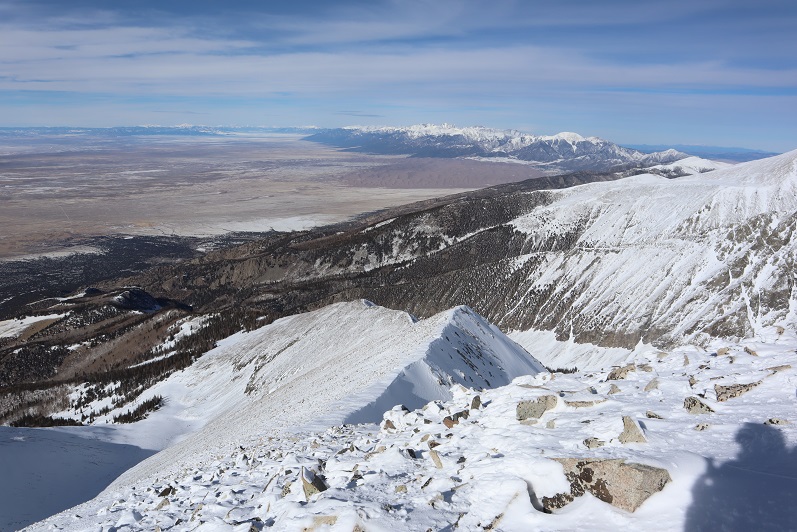
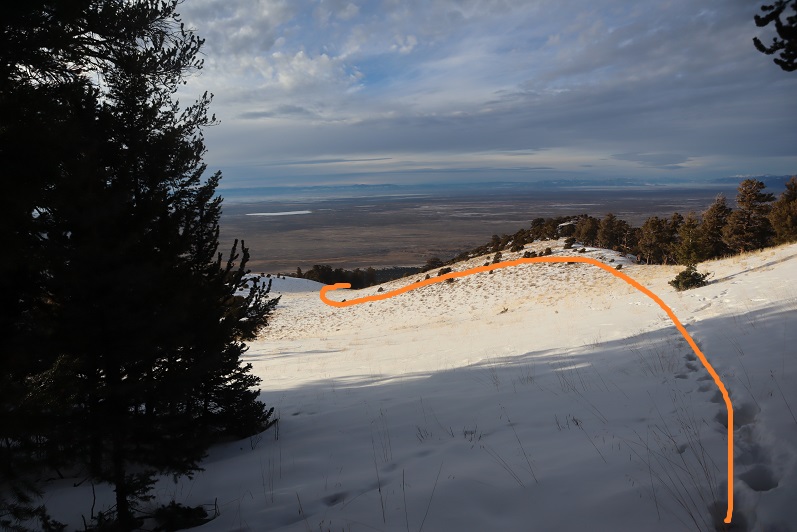
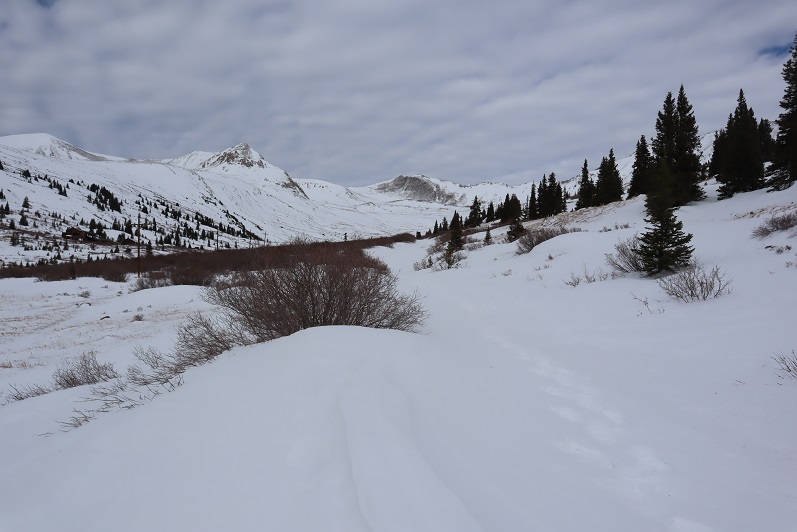
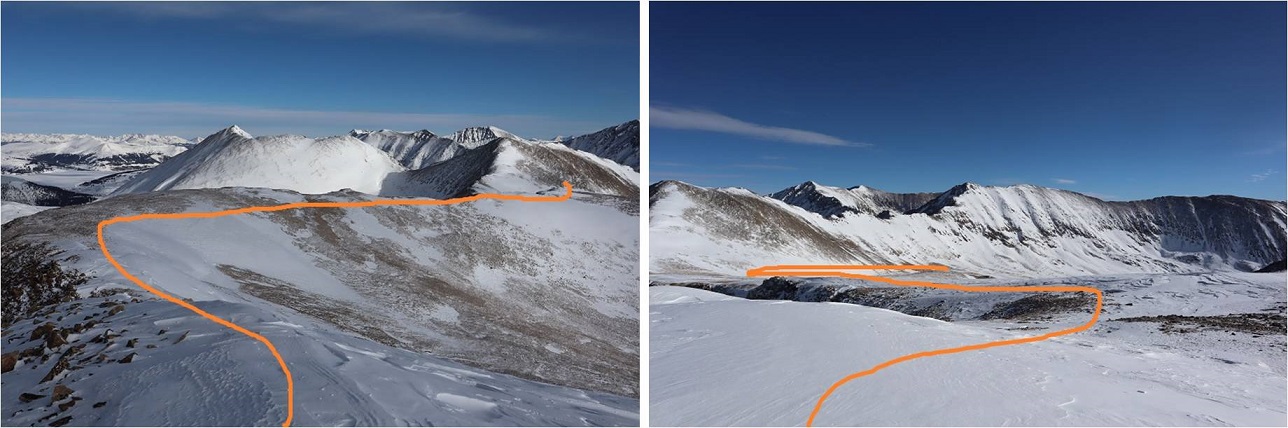
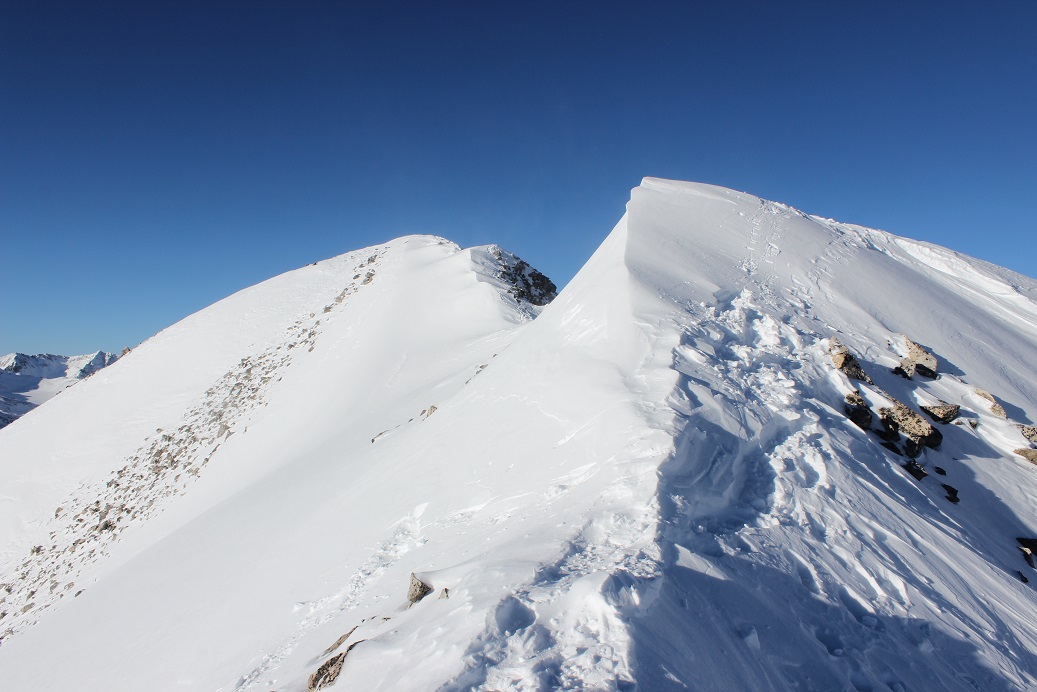
Once in the upper basin I turned left and followed a rib to the ridge.
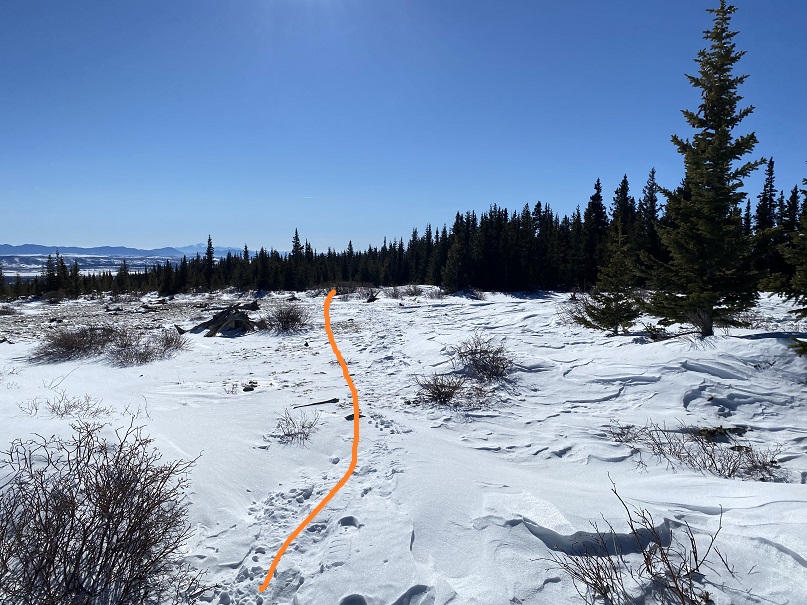
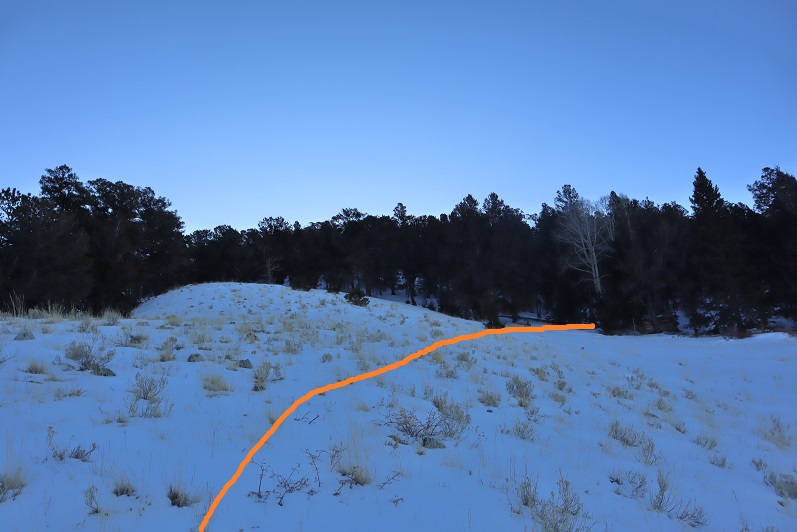
Here’s the access point to the ridge at treeline
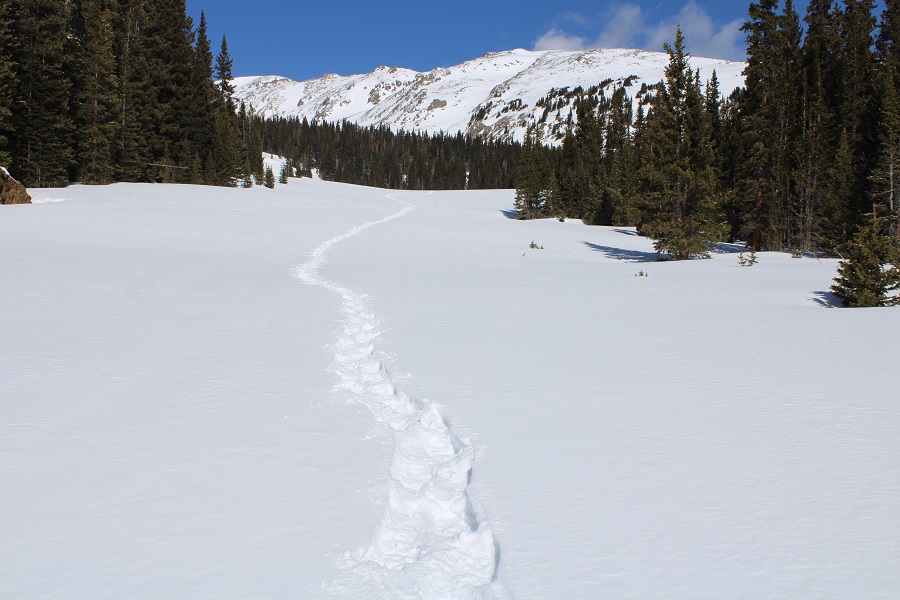
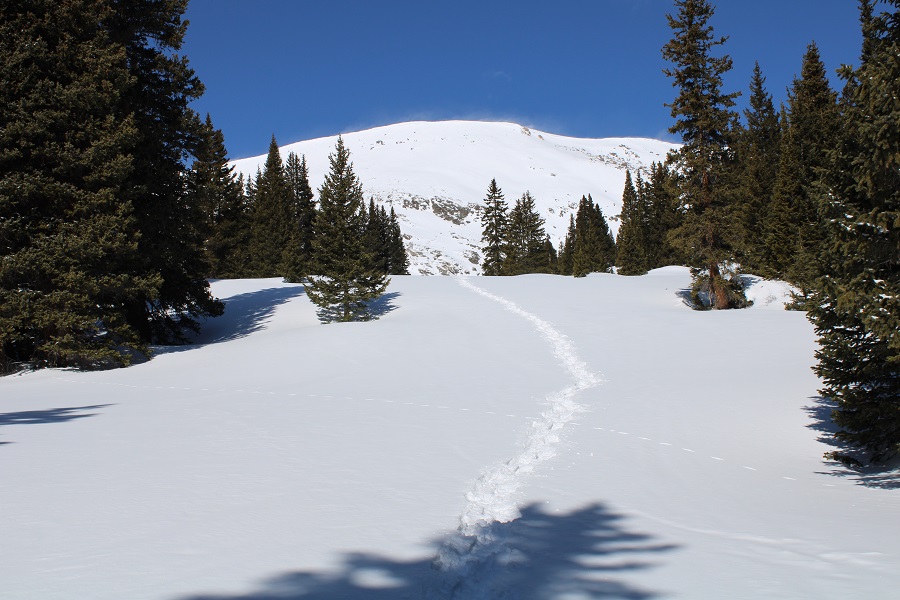
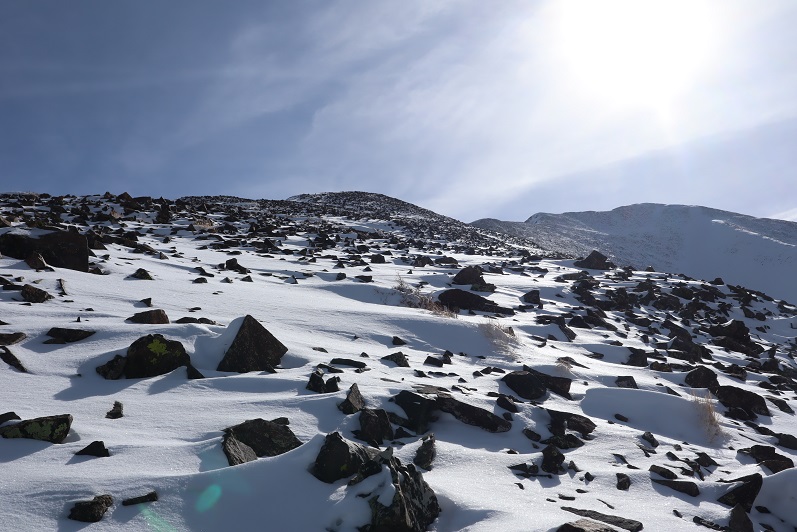
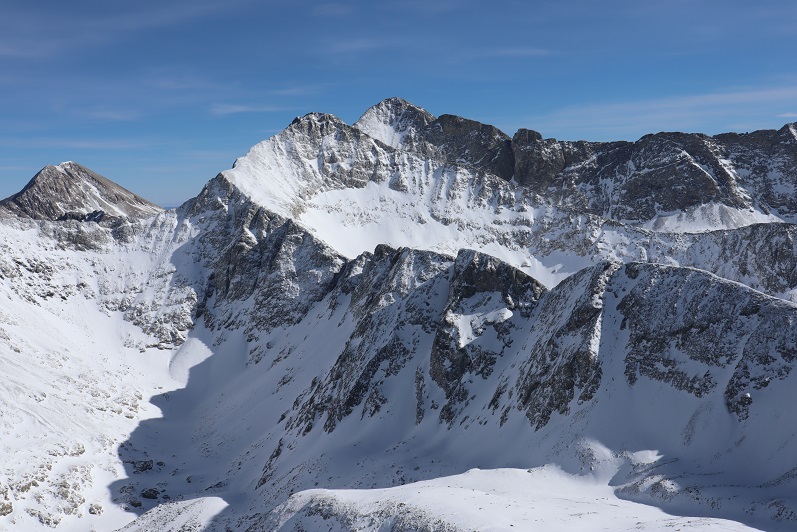
And a picture of the beginning of the ridge
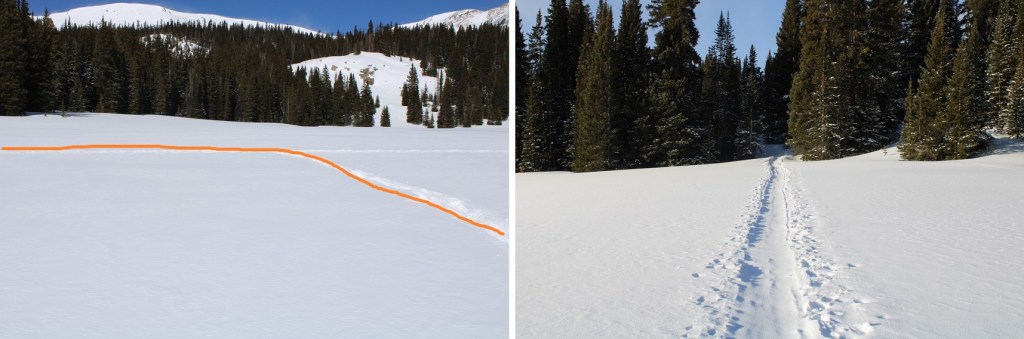
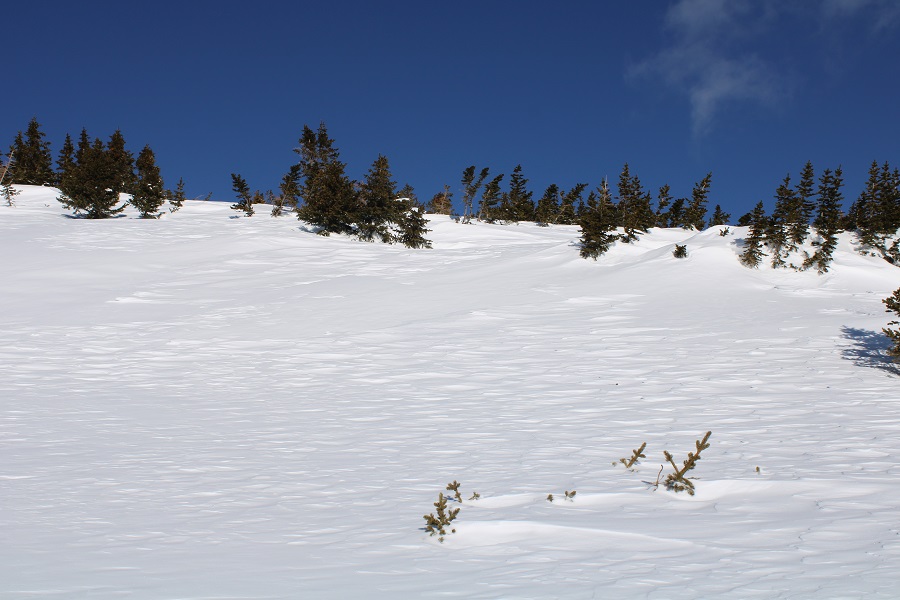
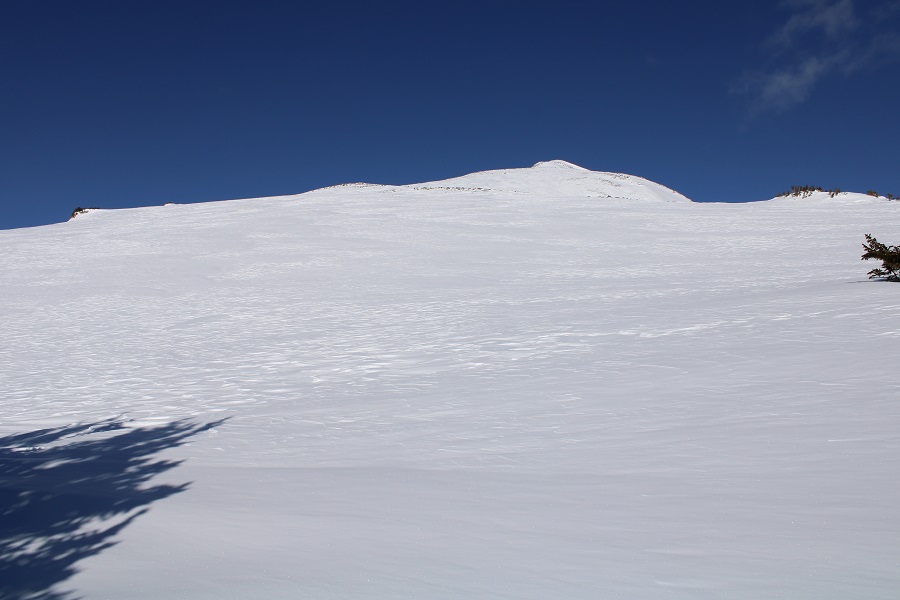
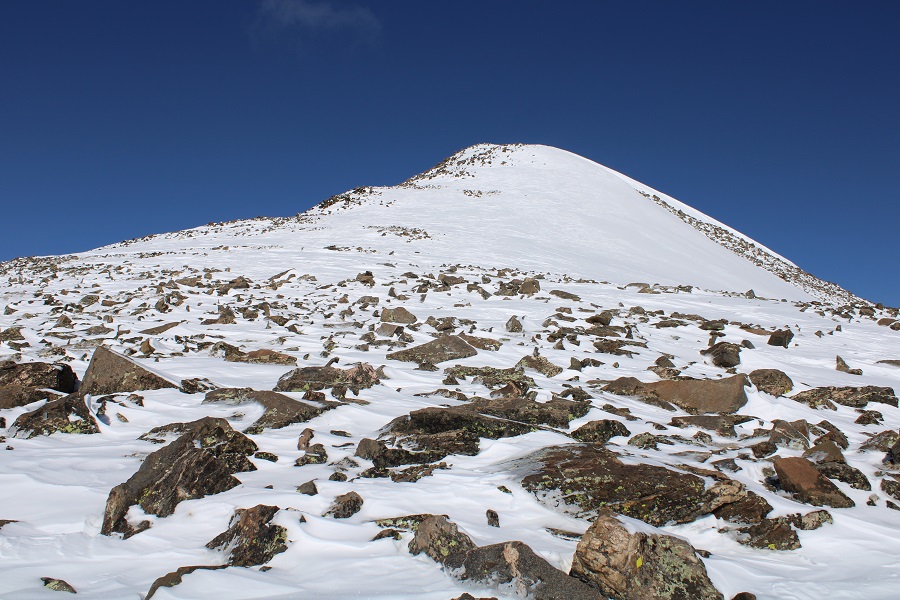
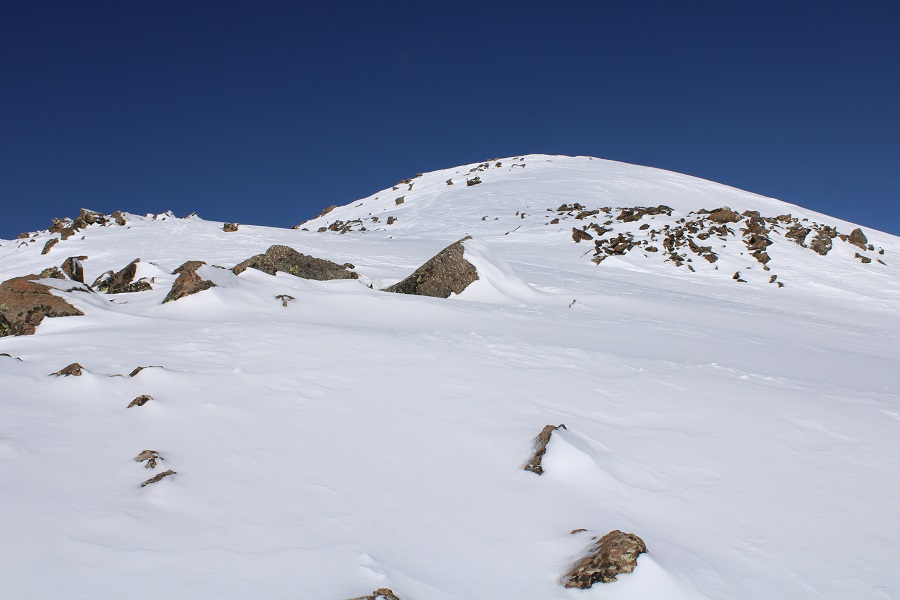
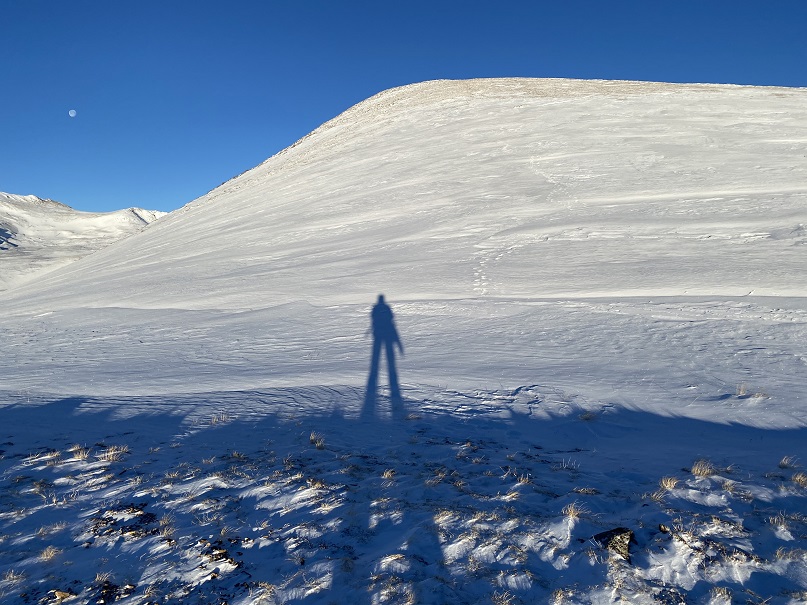
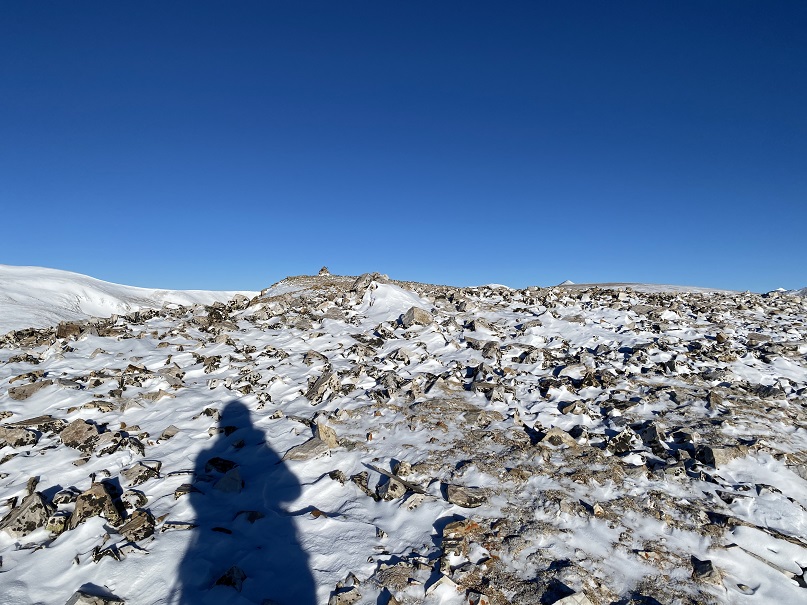
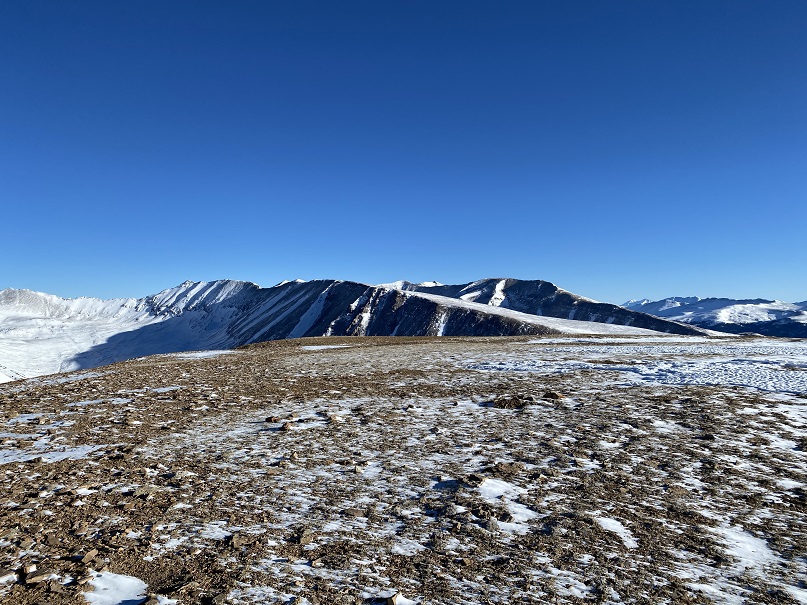
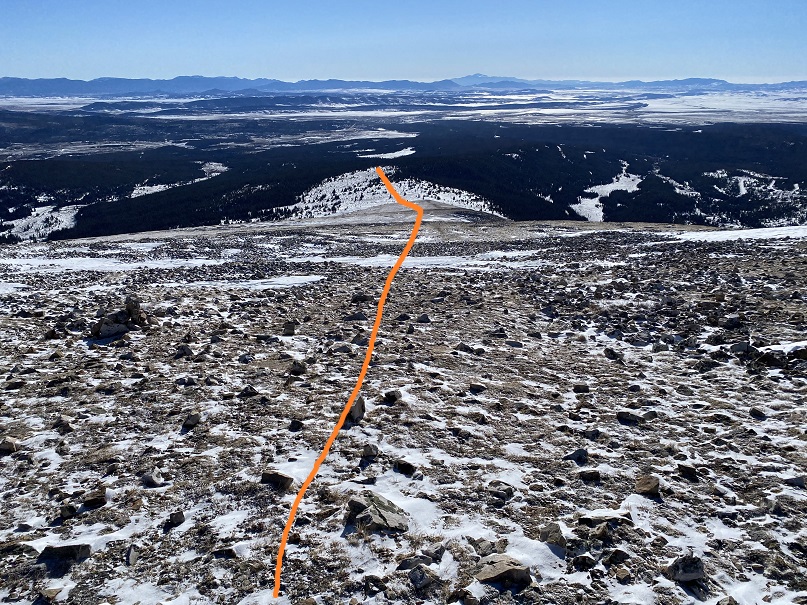
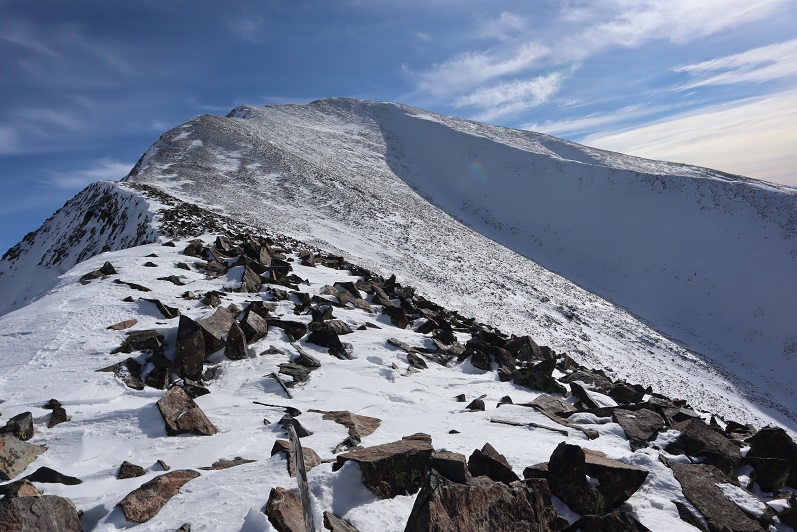
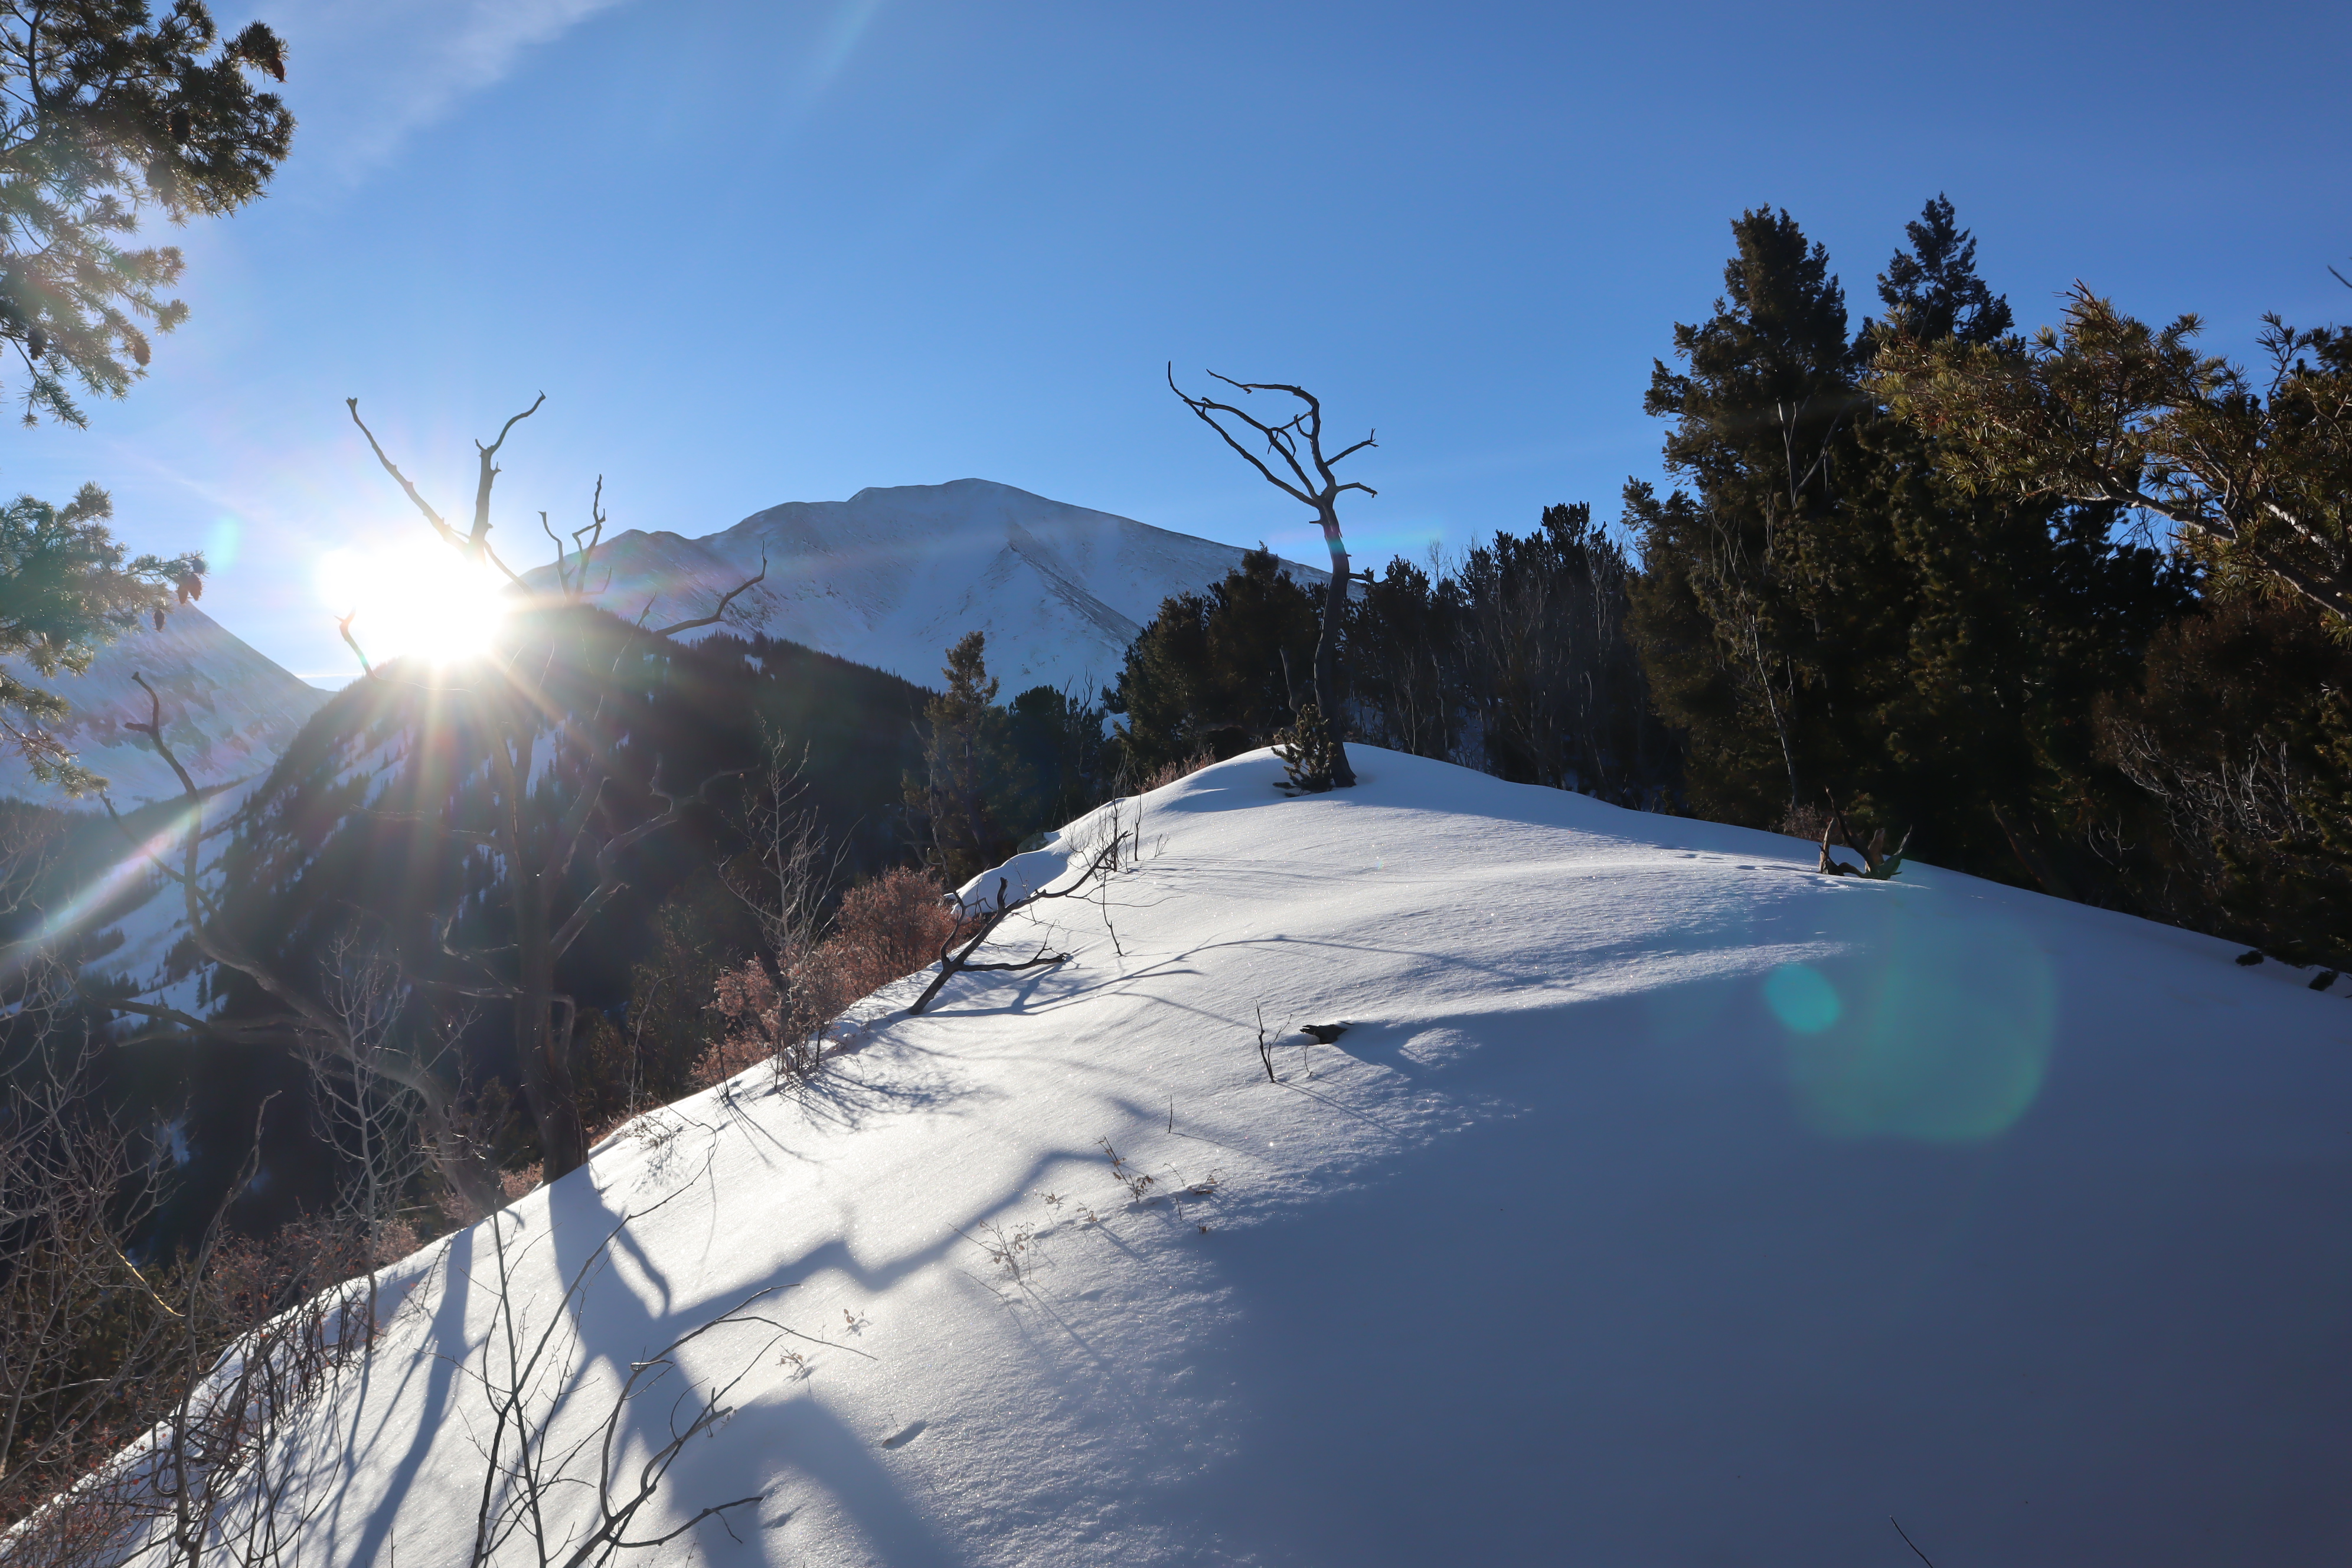
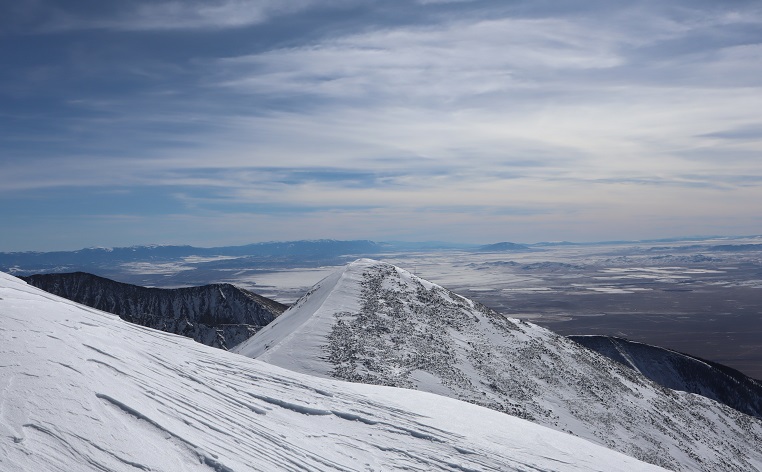
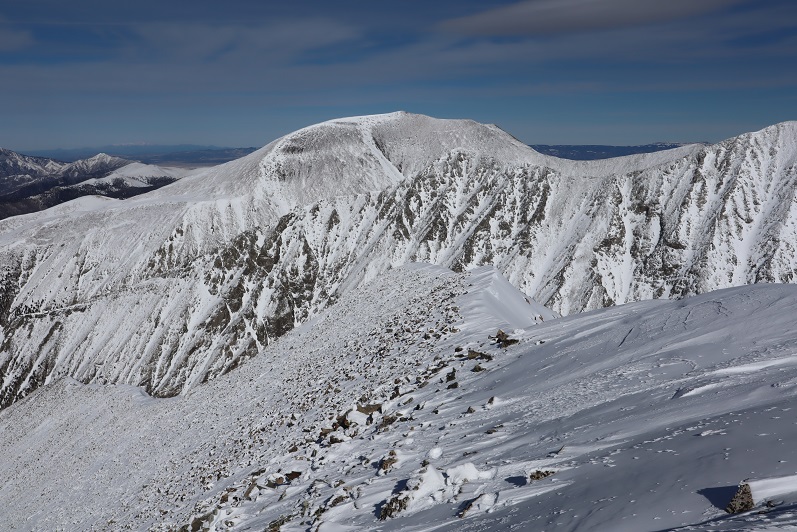
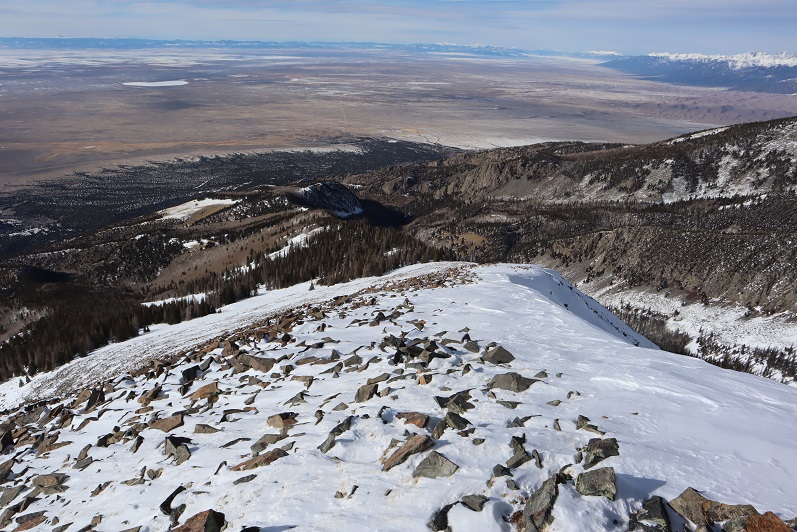
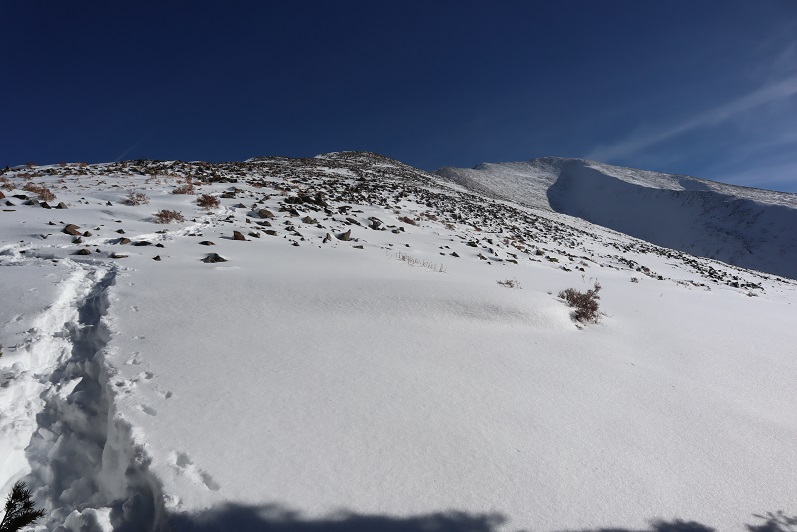
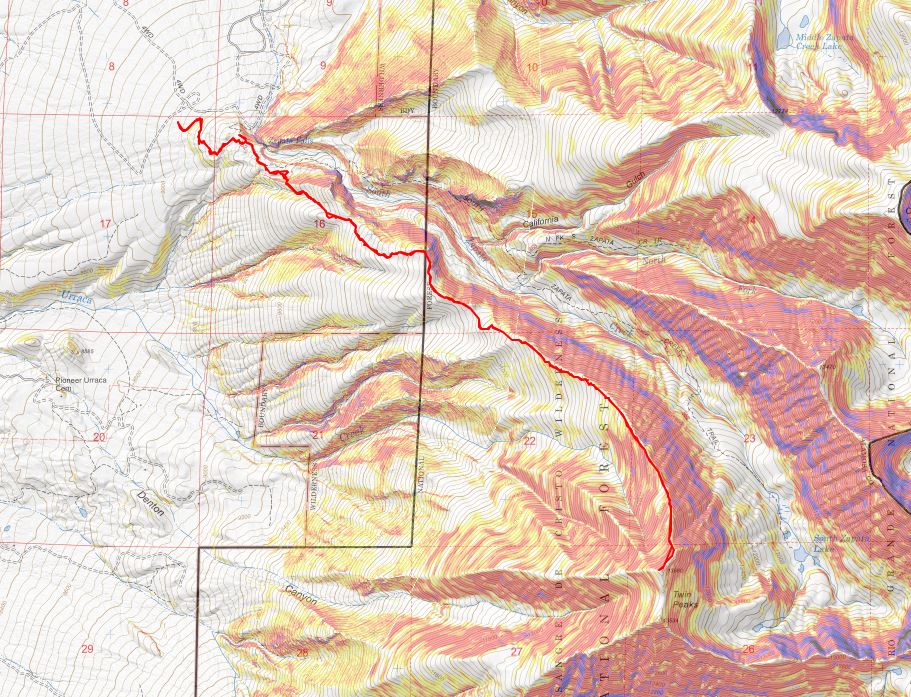
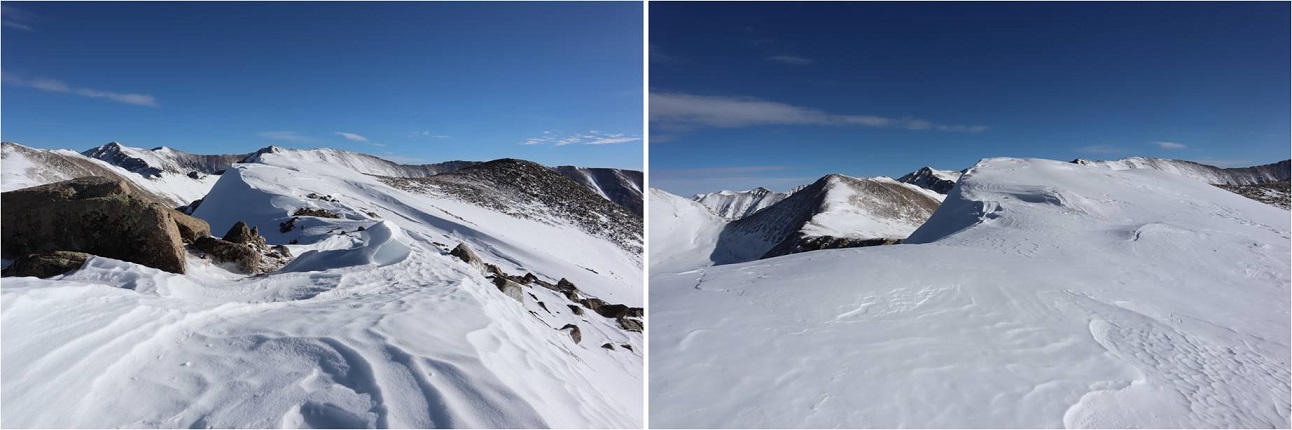
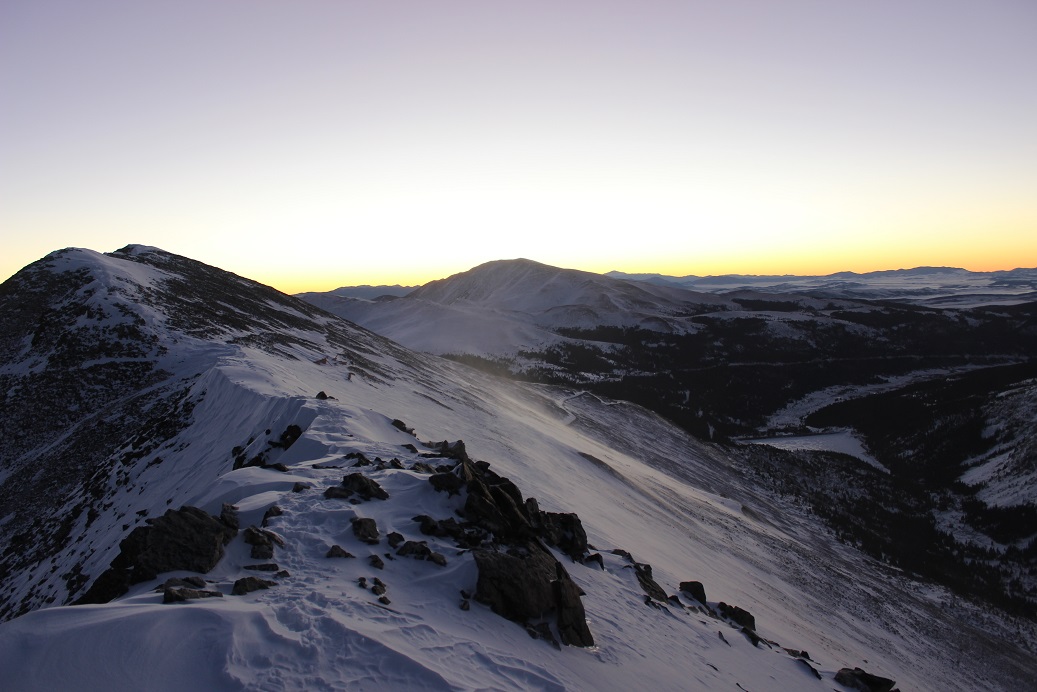
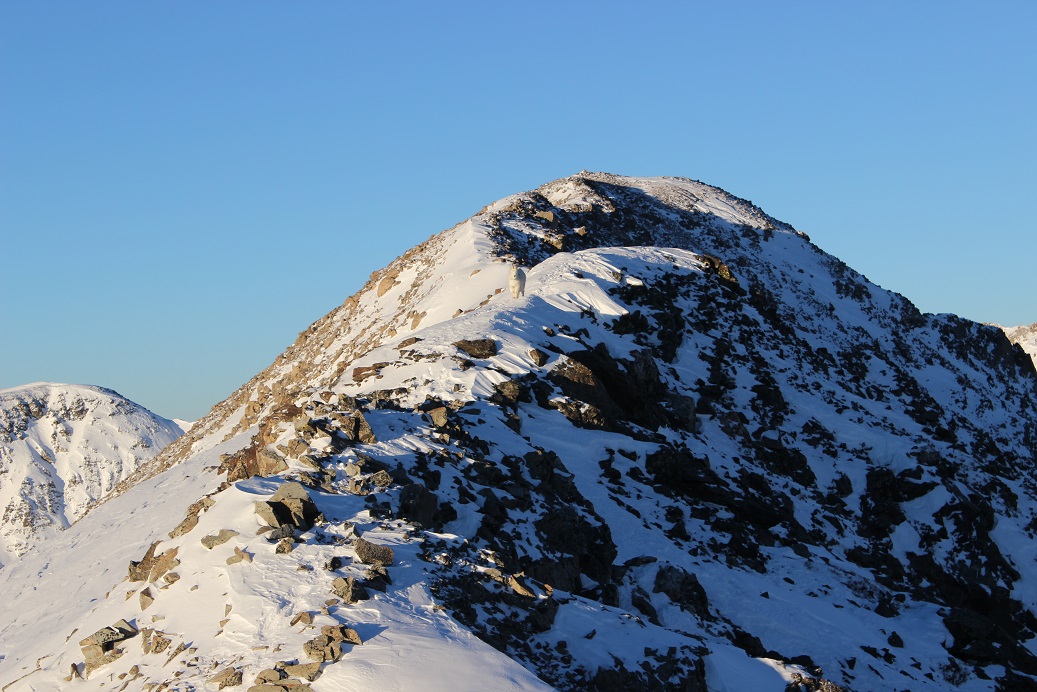
Once on the ridge I turned right and followed it northwest to the summit. This looks like a great place to do some skiing! Here’s the overall route
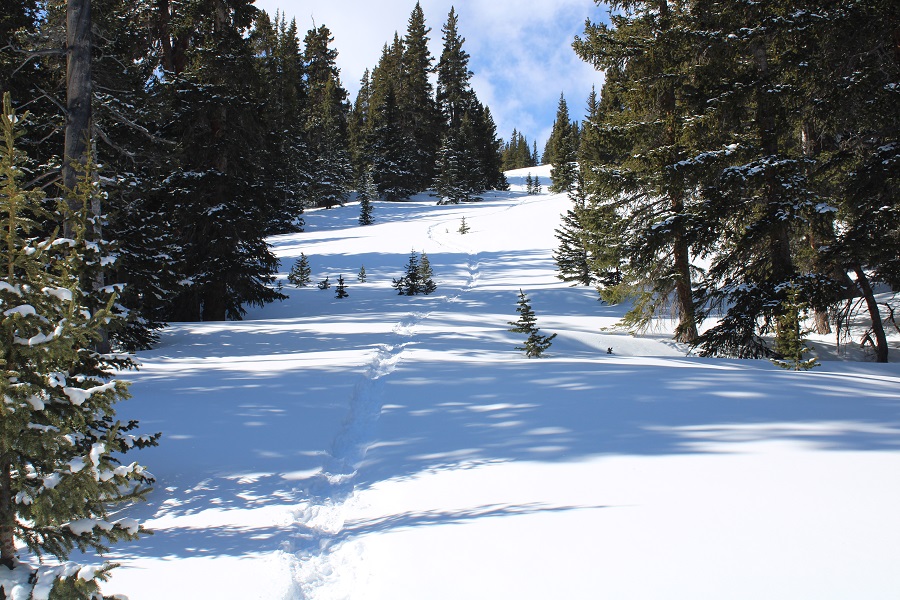
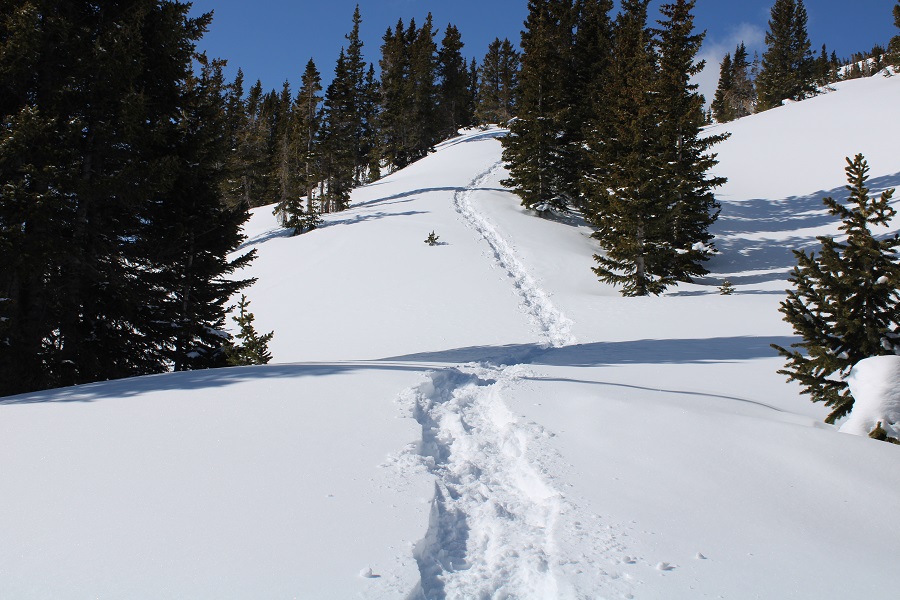
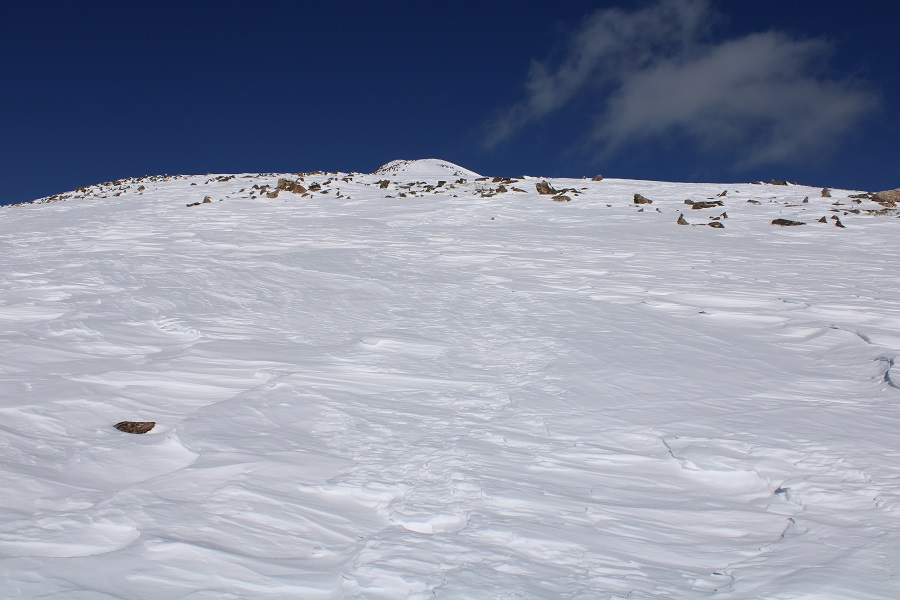
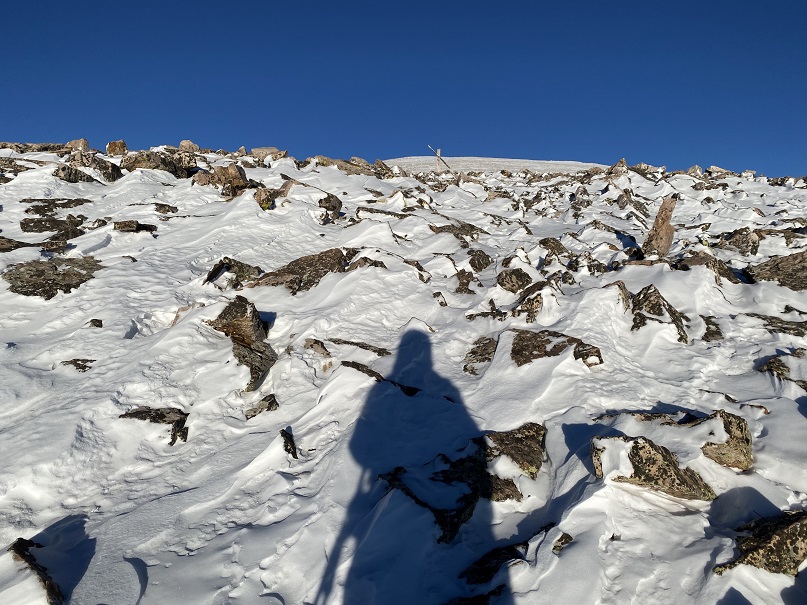
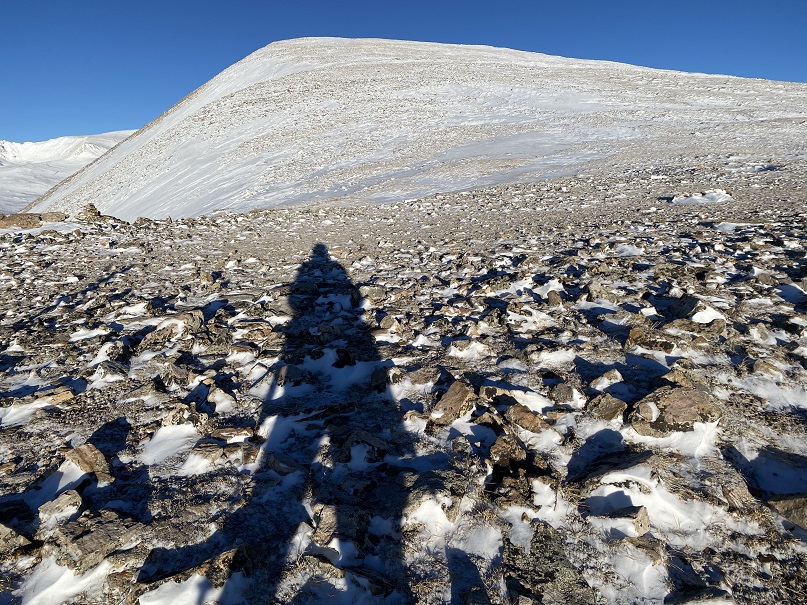
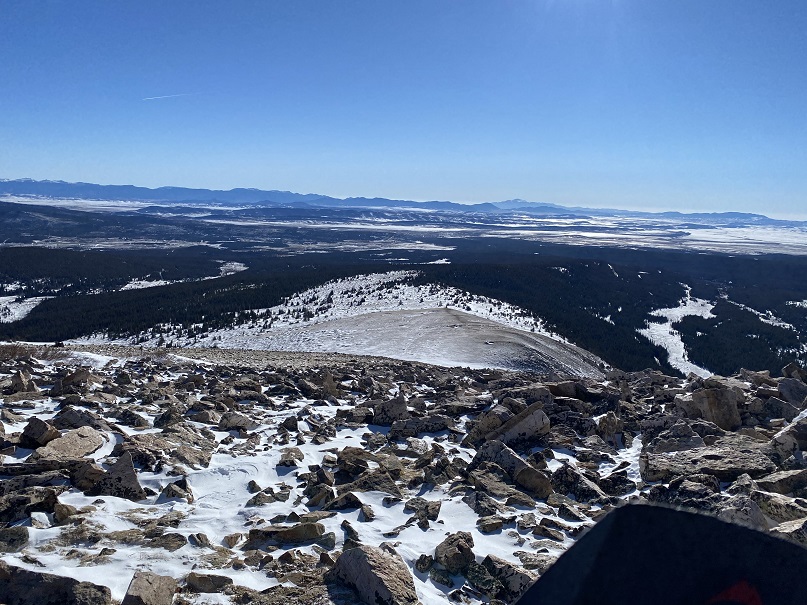
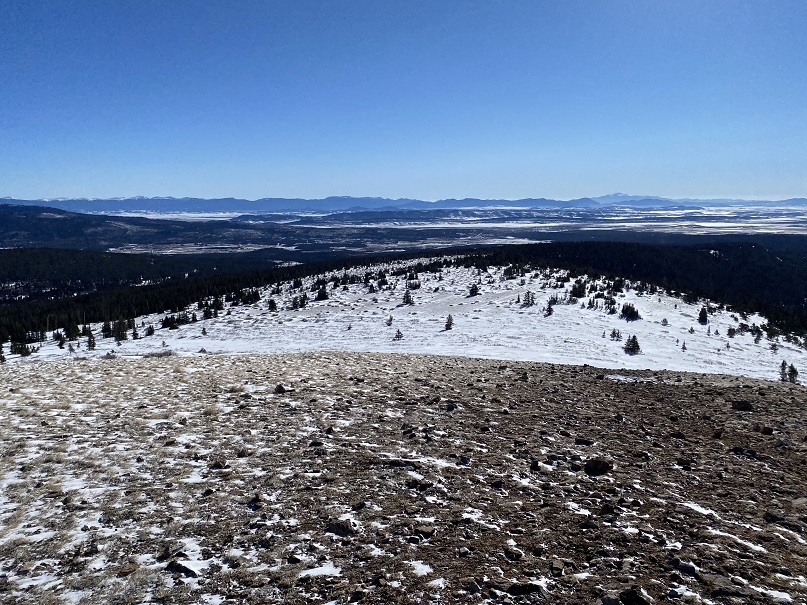
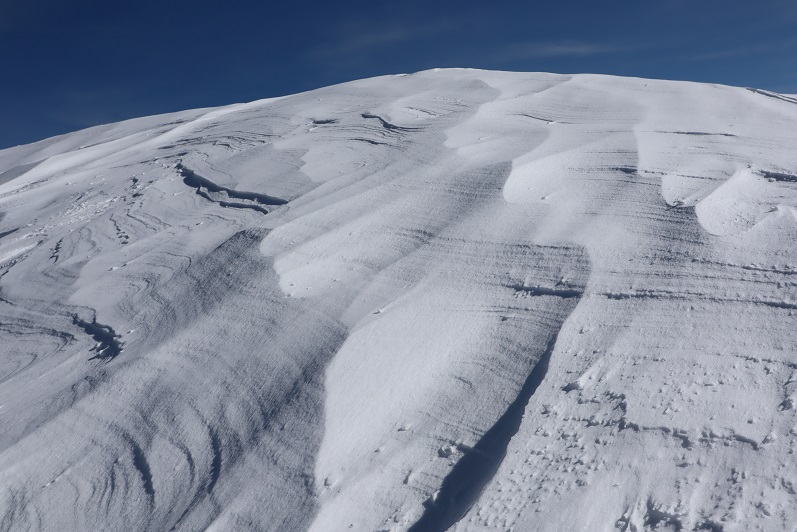
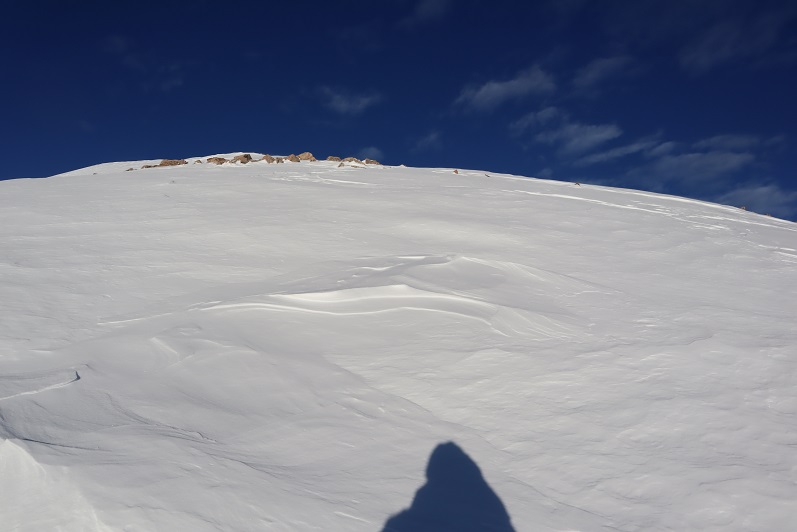
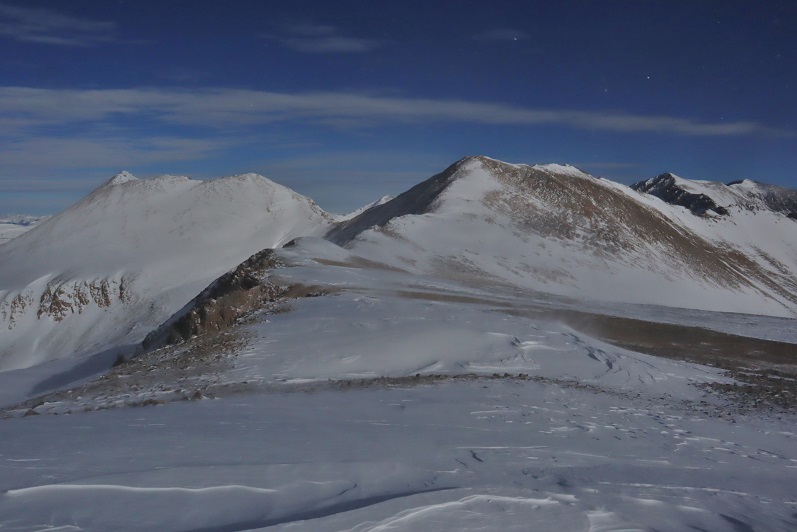
This ridge was about a mile of steady elevation gain. The snow was firm but the wind was picking up. Here are some pictures of the hike to the summit
Towards the top everything was windblown and the snow became sugary. I was slipping and sliding a bit, but other than my snowshoes, no other equipment was needed.
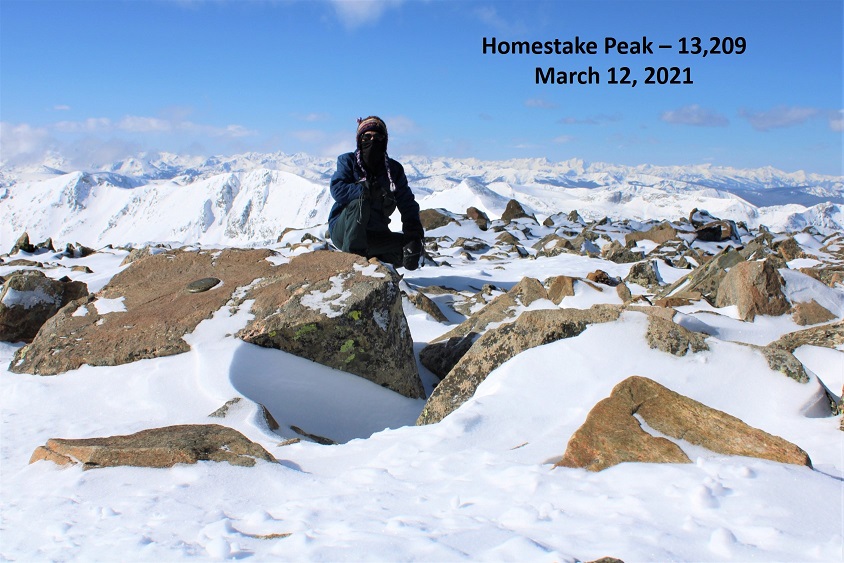
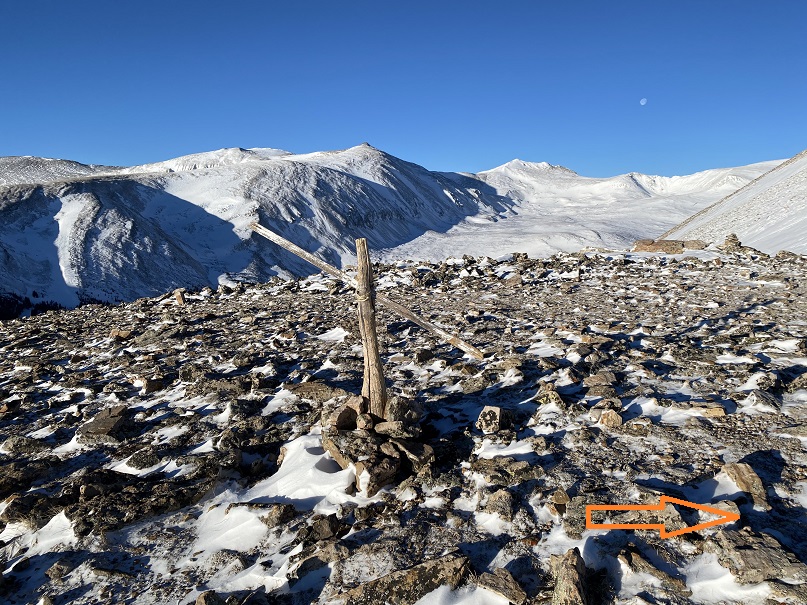
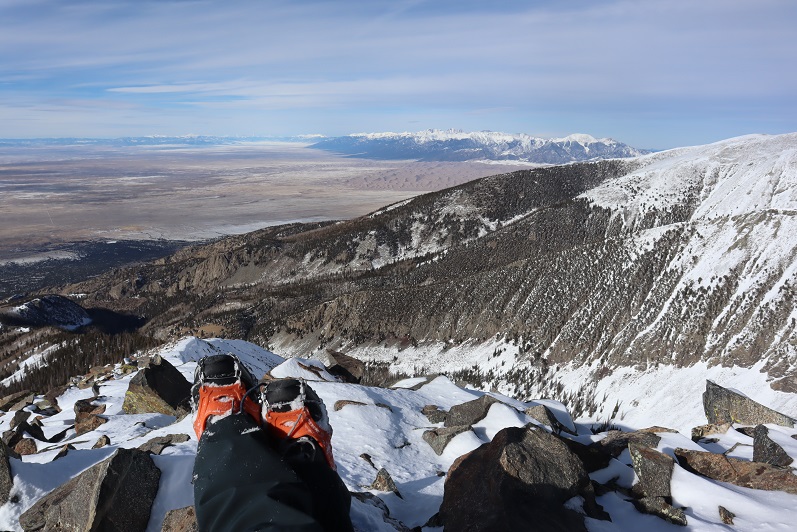
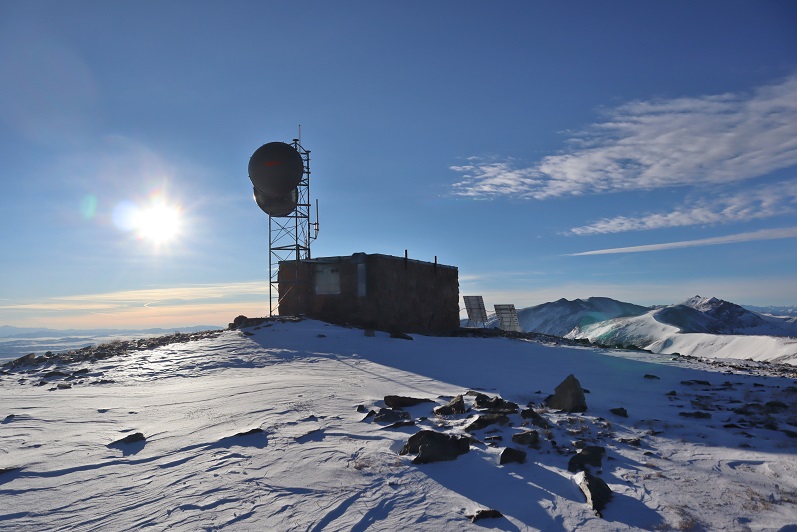
I summited Homestake Peak at 9am (there’s a benchmark at the summit)
Homestake Peak:
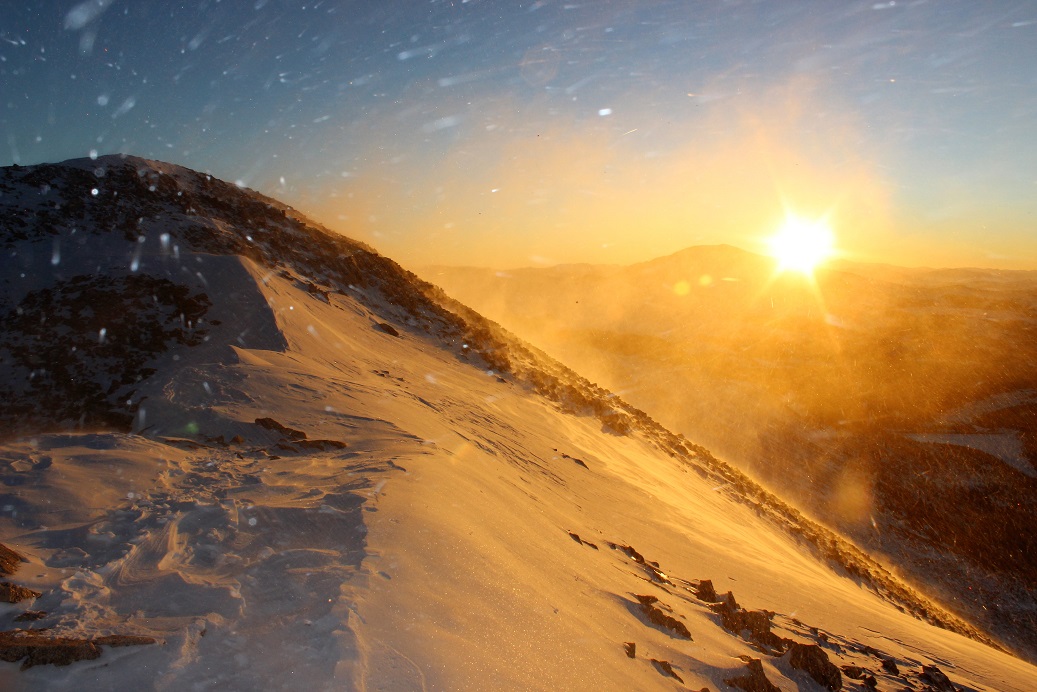
The wind kept picking up, bringing in the Albuquerque Low we’re expecting tonight and through the weekend. I was cold, so after leaving a summit register I hurried back down the ridge.
Check out the wind
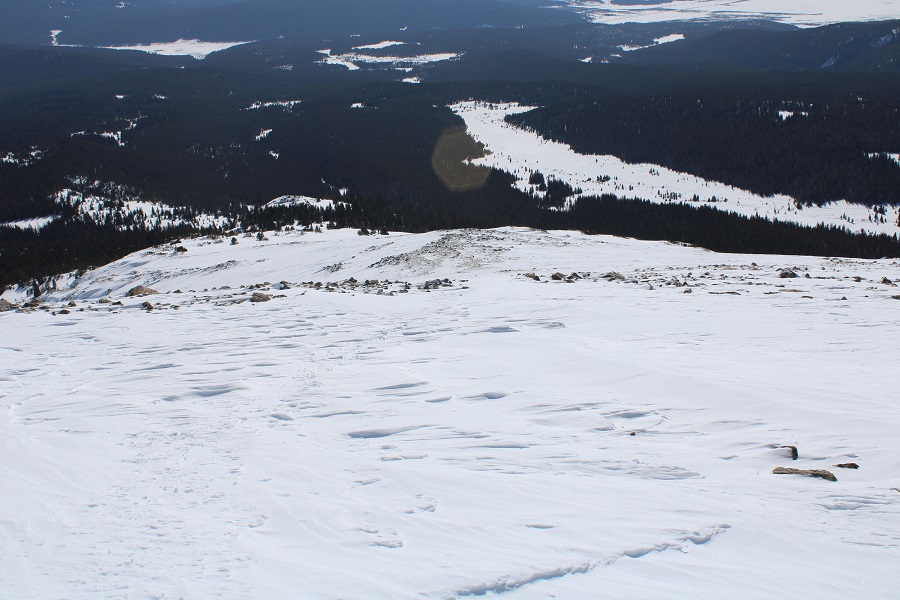
Here’s a look down the access point to the ridge and my trek down.
The wind had blown some of my tracks in, but I was able to still follow them back to the ski trench
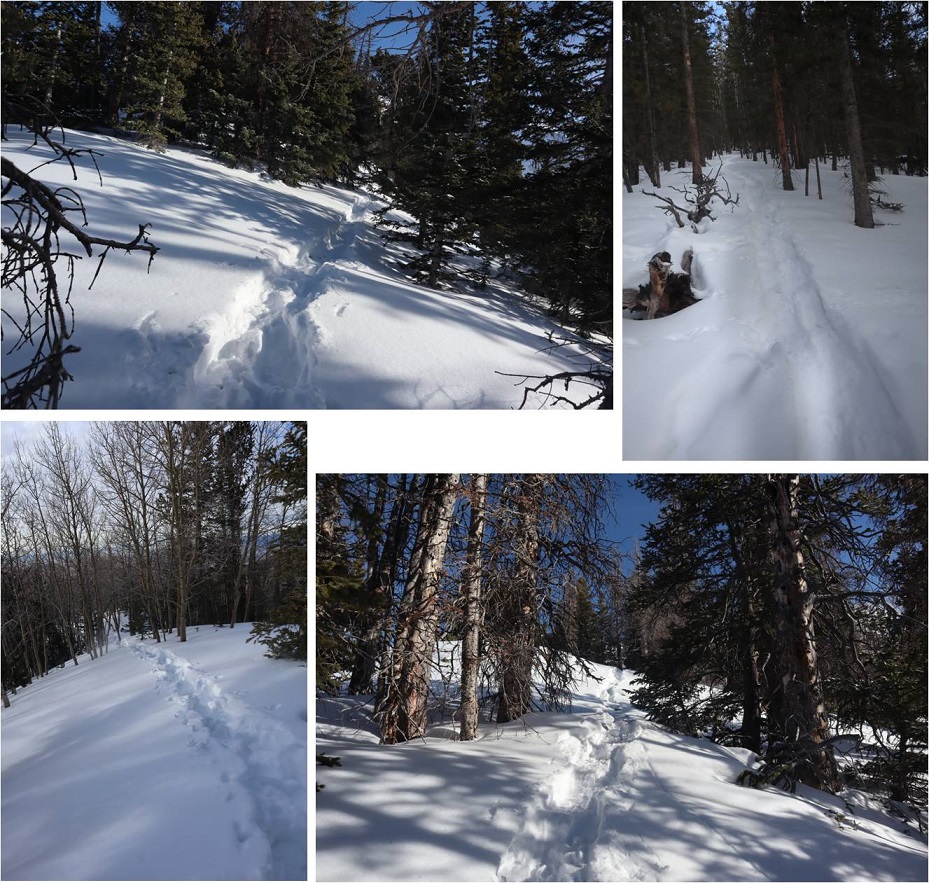
I took the ski trench back to the hut, and then followed my tracks back to the marshy area
Once back in the marsh, just before the 4WD road I could smell a fox (they have a strong scent too, similar to a skunks, just more mild). I looked around and saw one prancing about 100 feet away. She was a magnificent red fox, quite large and all fluffed up due to the cold, making her look even bigger. She stopped only briefly to glance my way, and then carried on. I watched as she pranced through the willows and disappeared into the trees. No pictures: I just decided to enjoy the experience, as I knew pictures wouldn’t turn out anyway from this distance. All those tracks must have been hers.
At the end of the marshy area I came to the snowmobile tracks that led me back to the junction to the trailhead
I turned left at the trail indicating Crane Park and followed the trail to the trailhead. This was actually the most difficult part of the hike, as my thighs were tired from trenching earlier, and at this point every step I took included 5 pounds of snow sticking to the bottom of each snowshoe. I trudged here slowly, using my trekking pole to knock off excess ice and snow every few feet.
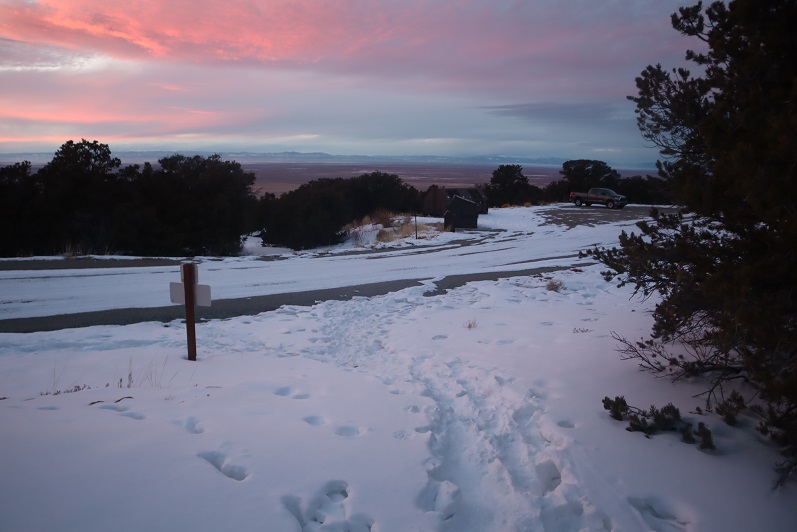
I could hear the wind screaming through the trees. Yep, the storm was coming in. I made it back to the road, and followed it to my truck
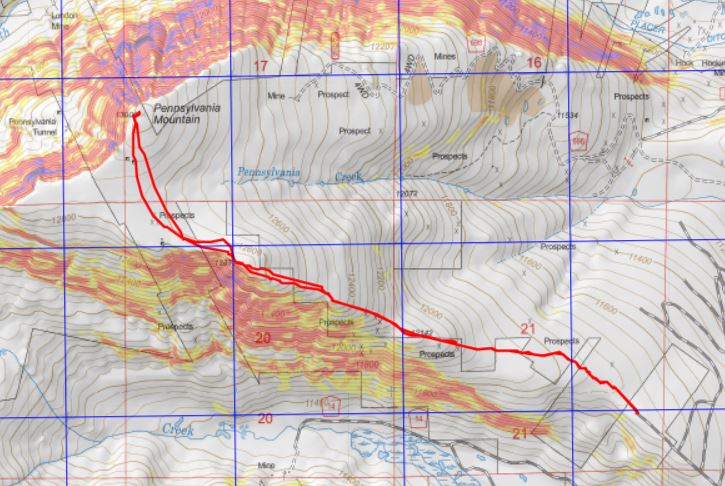
I made it back to my truck at 11:45am, making this a 13.33 mile hike with 3363’ of elevation gain in 6 hours, 45 minutes. Note, as you’ll see from my topo map, I made a few wrong turns and did some backtracking. I’d still recommend this overall route however (minus the wrong turns and backtracking).
I had a lot of work to get done today, but the weather was really nice and I was itching to get out and hike something above 10K, so I picked a peak I could do relatively quickly. In fact, I think the drive to the trailhead was longer than the hike. I arrived at the Pennsylvania Mountain Trailhead at 6am and got out my gear. There are a few turns to navigate to get too the trailhead. Pro tip: When I’m unsure if I’ll have cell service on my drive out (thus being able to pull up Google Maps, etc.) I create a road map using CalTopo and add it to my GPX coordinates for the day. This way I can follow a GPX track back to the main road when I’m done with my hike and don’t need to worry about memorizing or printing out directions.
I parked at the end of a plowed dirt road in a residential area. The trail starts to the right
I began with my snowshoes on, and kept them on until making it out of the trees. I’m sure there’s a trail here in summer, but in winter there wasn’t a solid trail (but there were a lot of ski tracks). I headed northwest through the trees and willows to treeline.
Once at treeline the route was obvious. I started climbing the east ridge
The only downside? There were a few false summits
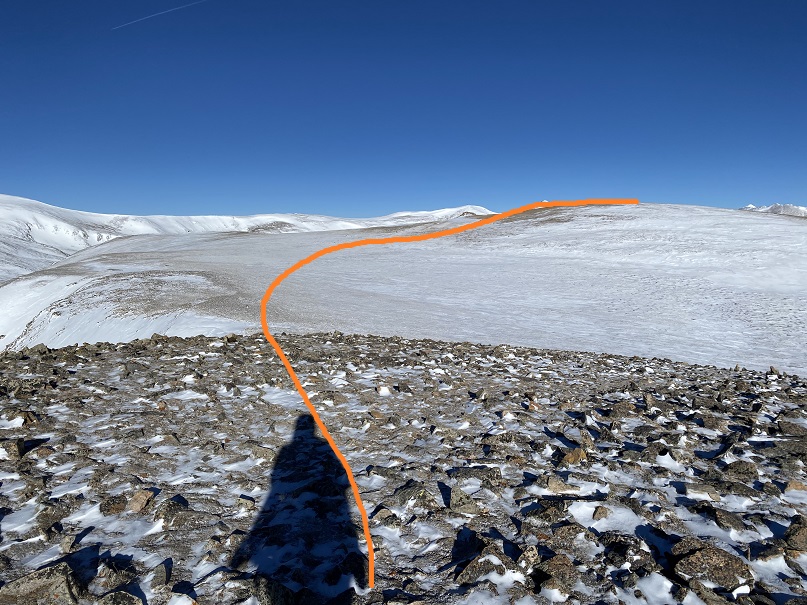
This was the last one however, and included a small decrease in elevation and a plateau before increasing in elevation again. Here’s the overall route. It’s really more of a hill at this point than a peak
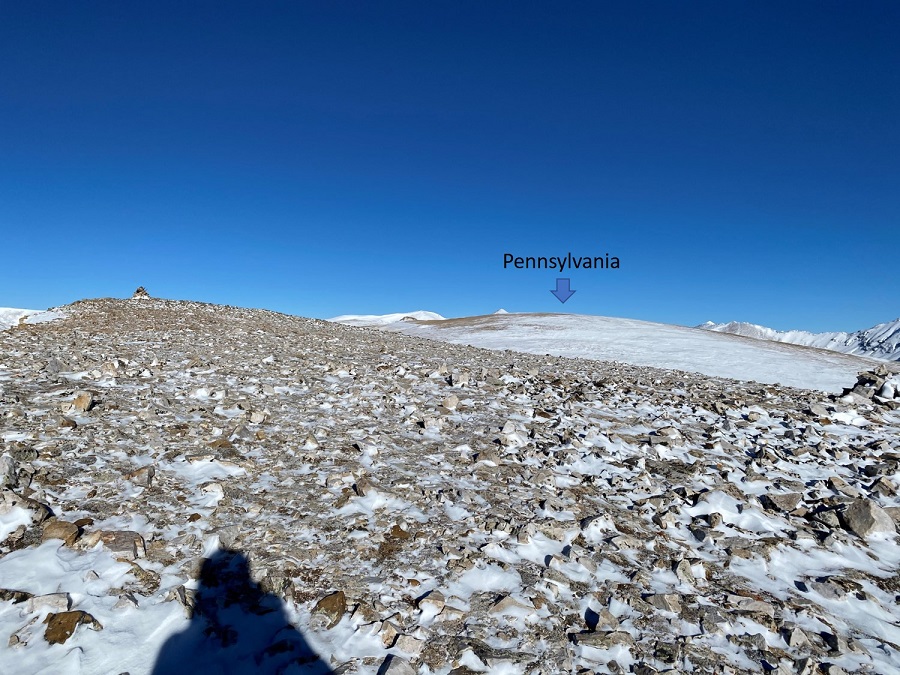
It’s best to stick to the ridge so you don’t lose too much elevation. Here I saw a small herd of elk. They’re in the photos, but too far away to really make out. I headed northwest towards a mining claim and rock outcropping
Here’s the final push to the summit
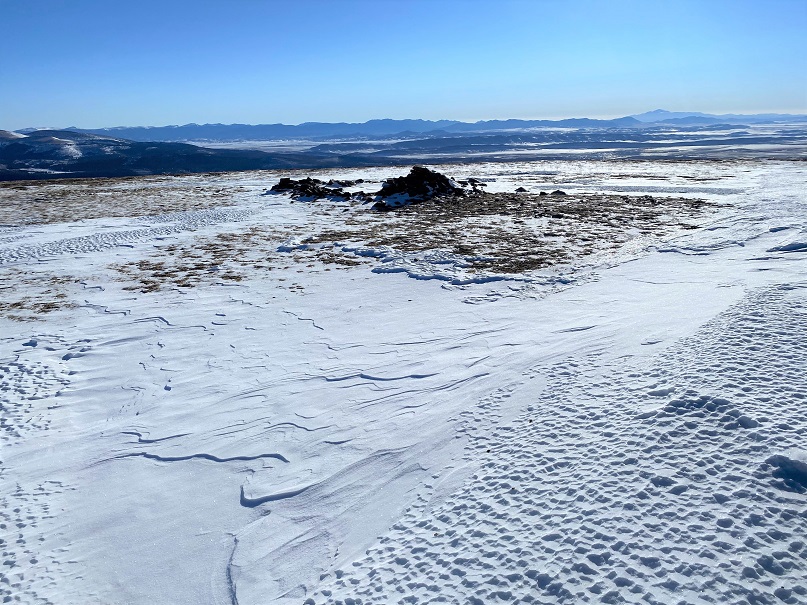
The summit was relatively flat. It was difficult to determine exactly where the true summit was. There was a wind break and a cairns, but they didn’t seem to be at the true high point. I decided to just walk around all over the summit.
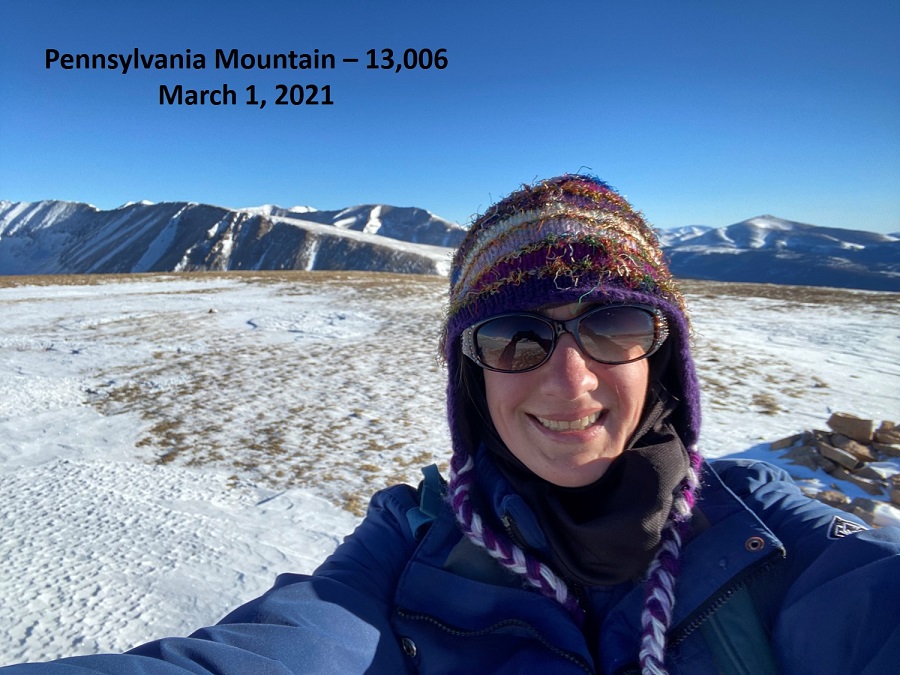
Summit Selfie
Summit of Pennsylvania Mountain
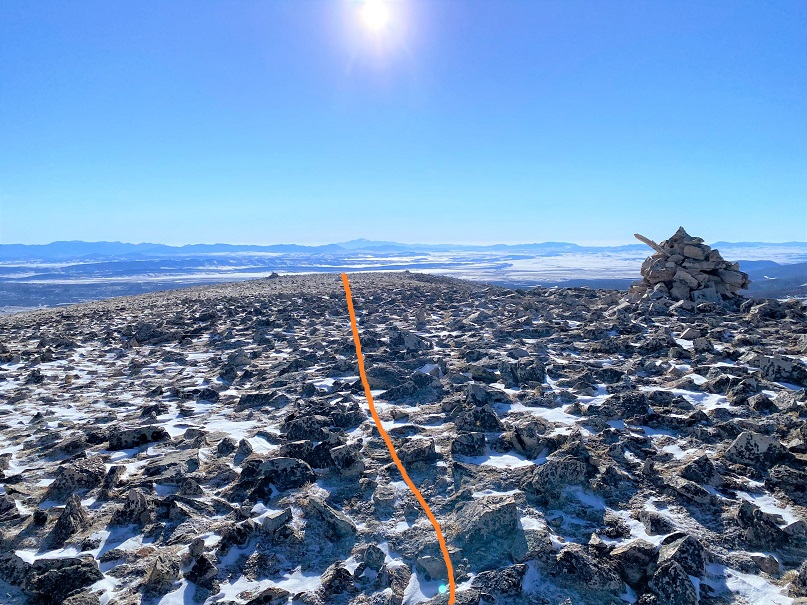
This had been a quick hike so far, and the day was beautiful. I wanted to stay longer on the summit, but I had to get to work. I turned around and headed back the way I’d hiked in
I stopped by the mine on the way back. There wasn’t much left of the structure
Then I aimed for the knob in the ridge
And then headed back down all those small, false summits
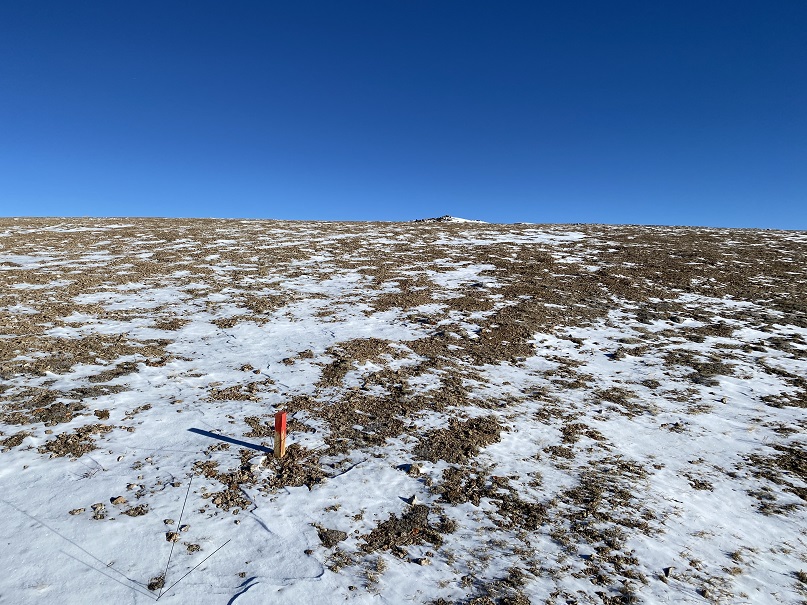
There were numbered markers scattered all over the hillside. I think they have something to do with the mining claims
Back near treeline I put my snowshoes back on and headed through the trees and willows to the parking area.
Here’s a look at the road out
I made it back to my truck at 8am, making this a 5.35 mile hike with 1509’ of elevation gain in 2 hours.
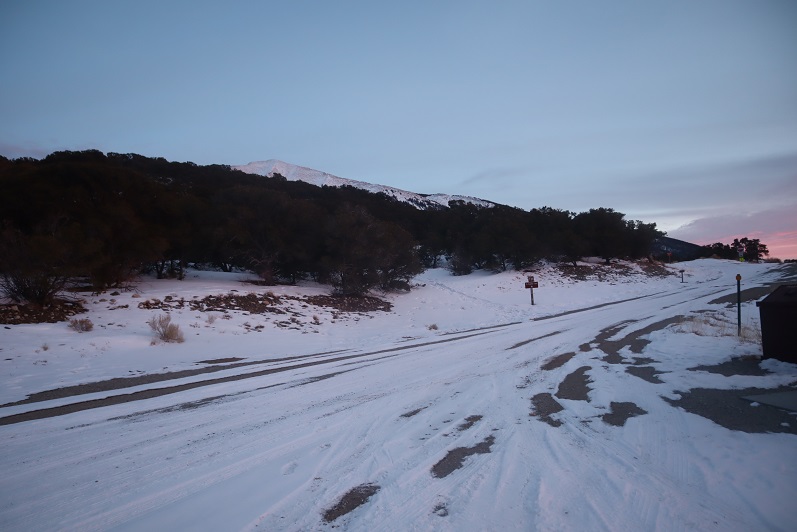
Any time your hike begins in the Piñon Pines and Junipers you know it’s going to be a long day. I arrived at the South Zapata Creek Trailhead after mistakenly being directed to a gated community a few miles away (Google Maps was taking me to South Zapata Creek, not South Zapata Creek Trailhead: I’d suggest putting in Zapata Falls as it will direct you to the campground and trailhead). No worries though, I was free all day and this only put me back about 15 minutes from schedule. The 4WD road to the correct trailhead was a little rough in the beginning with a lot of softball-bowling ball sized rocks, but after the first mile or so it smoothed out. I parked my truck just before the campground entrance and was on the trail at 6:30am.
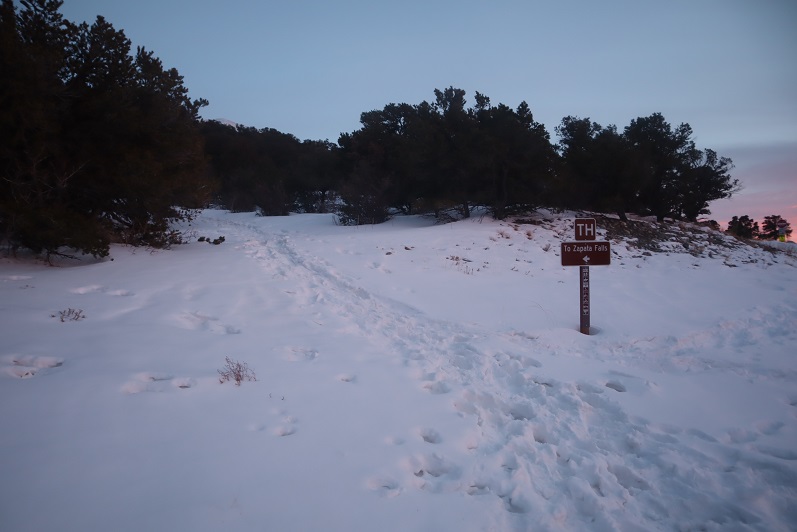
I followed the trail that led to Zapata Falls for .85 miles
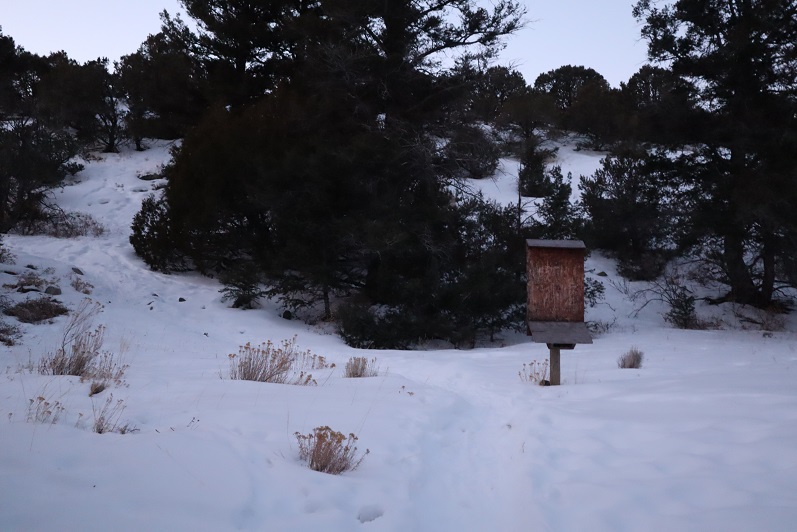
Just past a defunct trail register
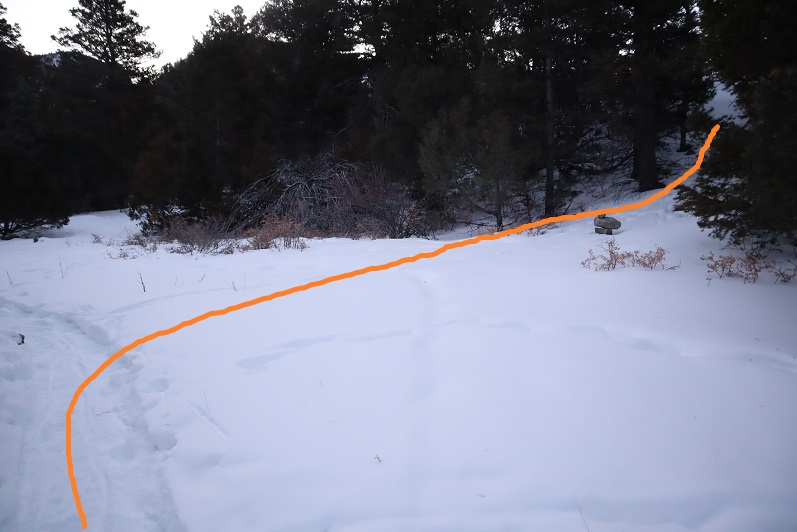
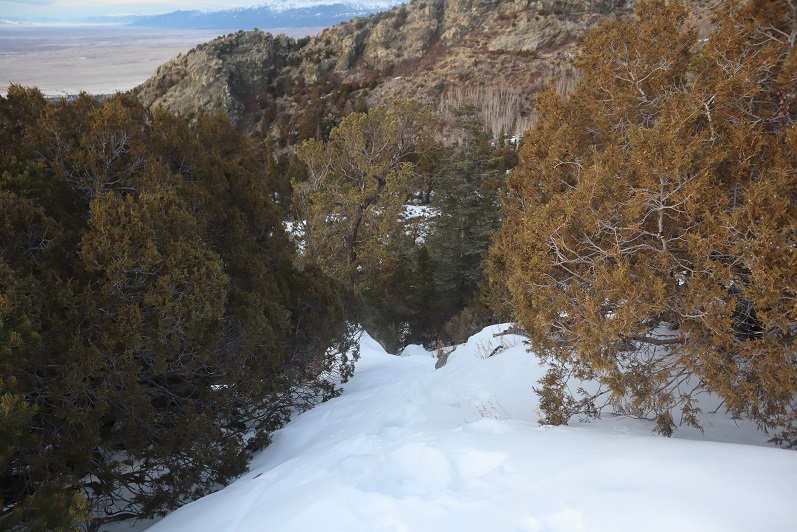
And at this cairn left the trenched trail and turned right and headed up the hill.
From here on out I was ‘off trail’. At this point I should have put my snowshoes on, but I tend to be stubborn about such things and kept hiking in just my microspikes. My next objective was to gain the ridge to the south. This ridge was steep and I kept sliding backwards in the snow. Yep, snowshoes would have been a good idea. Here the snow was soft but I was only postholing about a foot at a time. To make things easier I did my best to follow recent game tracks. It looked like there were a lot of deer in the area.
From the top of this ridge I followed the drainage up to a small plateau. Once again, there were tons of deer tracks here and it looked like they’d bedded down in the area last night. I even saw a buck bounding away as I arrived.
I also got my first view of Twin Peaks A
The view was short lived however, as I dipped back into the trees again.
In the trees I came upon an unexpected cabin. It looked old but well kept up. I would have taken a closer look but the snow was really deep here. I broke down and put on my snowshoes.
From here on out the snow just kept getting thicker and stayed sugary. I kept heading southeast, this time through some thick aspen groves. Shout out to the deer/elk that helped me by breaking about 250 vertical feet of trail: I followed their tracks through the trees until they disappeared over the ridge.
This route mainly follows the ridge, but it takes forever to get to treeline. Well, it took me forever because I was trenching the entire time. This was the most challenging trench I’ve ever put together: the snow was deep, unconsolidated, and never ending. Several times the snow was so deep I couldn’t go forward and I had to get creative and zig-zag my route to make it possible to continue. This type of trenching is tiring!
I’d make it to what I thought would be the treeline, only to find more trees ahead of me. Here’s a look at the route from one such area
More trenching through the trees
And I came to an area so thick with snow it was untrenchable. I was exhausted and seriously considered turning back: where was treeline anyway?!?! Last week I’d had to turn back on Rinker Peak due to unconsolidated snow, and I really didn’t want to repeat the same scenario twice. I decided instead of continuing along the ridge to descend a little to the south to see if the terrain was any easier, and it was! I came across a rocky area and easily traversed a little below the ridge and then regained the ridge (to more snow)
I (finally!) exited treeline and had just a little bit more trenching to do before taking off my snowshoes and tackling the rest of the route in just microspikes. Up until this point I wasn’t sure I was going to complete this hike: all that trenching had worn me out and I thought I’d never make it to treeline. Several times I’d thought about turning back, but I’d put in so much work I didn’t want to give up. This clear view of the peak renewed my spirits and I was ready to go.
I could see the summit ahead of me and it was a nice day: warm with no wind. I thought taking off my snowshoes would be a good idea and could also save some valuable time. In the beginning, this was a good idea. I was able to quickly rock-hop up the ridge
After gaining the first bump however, things changed. The snow was no more consolidated here than it had been before treeline. In fact, the snow was 4-6 inches deep: a thin layer over rocky terrain. The snow never held my weight and I frequently postholed in areas where I could easily have twisted an ankle. I was cursing myself for taking off my snowshoes, and would have put them back on except the wind had now kicked up and I was afraid to take off my gloves because of the exposure. I was just going to have to be careful and rock-hop whenever possible.
I followed the ridge as closely as possible, but those cornices were weak. I kept postholing in the shallow snow and my feet were becoming frozen. I wasn’t giving up though: I could see the summit!
Here’s a look at Twin Peaks B (unranked) and Twin Peaks A. There was a lot more snow at the summit than I’d been able to see from below, those cornices are bigger than they look, and once again, hollow. I followed the ridge to the summit.
I took a few steps up the cornice to try and get as high as possible and heard a hollow sound below my foot. I quickly retreated: In no way was I going to climb to the top of the cornice.
I found the summit wind break, set up my camera on top of my backpack, got a (terrible) picture, and decided to book it back down. I wasn’t going to play with that cornice.
I had no desire to climb Twin Peaks B today as well: The cornices were hollow and I would need to go over one just to start, that wind was becoming insane, and I could no longer feel my feet.
Time to head back down the ridge
There were some great views along the way of Lindsey, Ellingwood Point, Blanca, and Little Bear
And also the Sand Dunes
Here’s the rest of the route down the ridge and back into treeline
And a look from treeline up the ridge
I stopped to put back on my snowshoes at treeline and headed back to the trees, carefully retracing my steps and making my tracks into a solid trench. This is more tiring than it sounds.
I followed the ridge and in a small clearing between hills saw what looked like a reverse shadow far ahead of me. Anyone know what this is?
I made my way back to the cabin
And decided to keep my snowshoes on for the rest of the trek back to the trailhead. Here’s the way down the ravine
And down the ridge
Back to the Zapata trail
It had been a long day, and it was starting to get dark. I’d originally wanted to visit Zapata Falls while I was here, but looking at the time I wouldn’t make it there until after dark. I’ll just have to come back when I’m here later this season. The trail was easy to follow from here
Back to the trailhead.
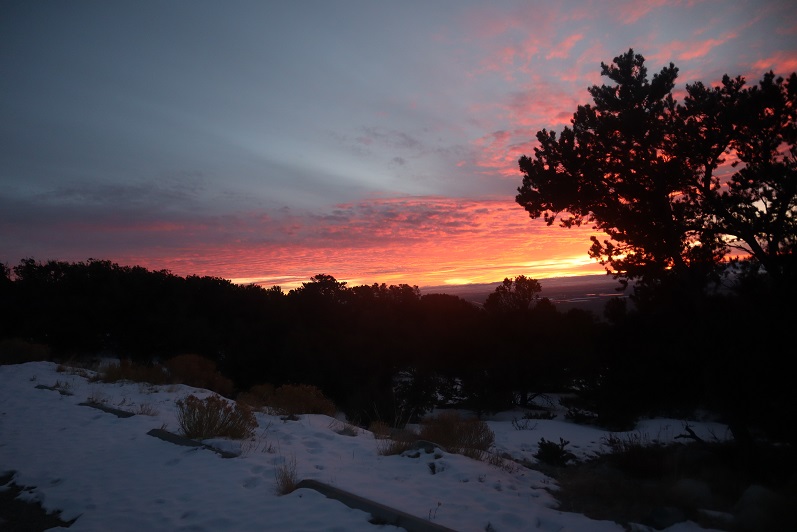
I watched an absolutely stunning sunset as I broke down my gear and got ready to head home.
I made it back to my truck at 5:30pm, making this a 9 mile hike with 4625’ of elevation gain in 11 hours. This was by far the most tiring day I’ve had trenching ever, but totally worth it!
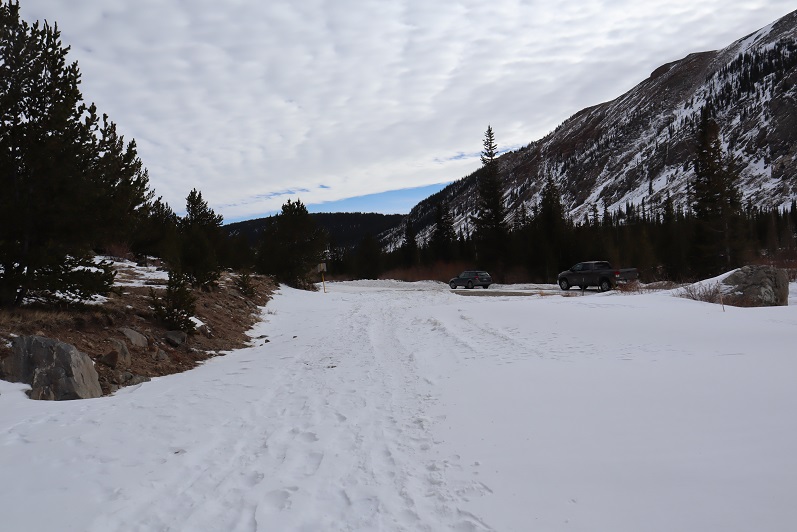
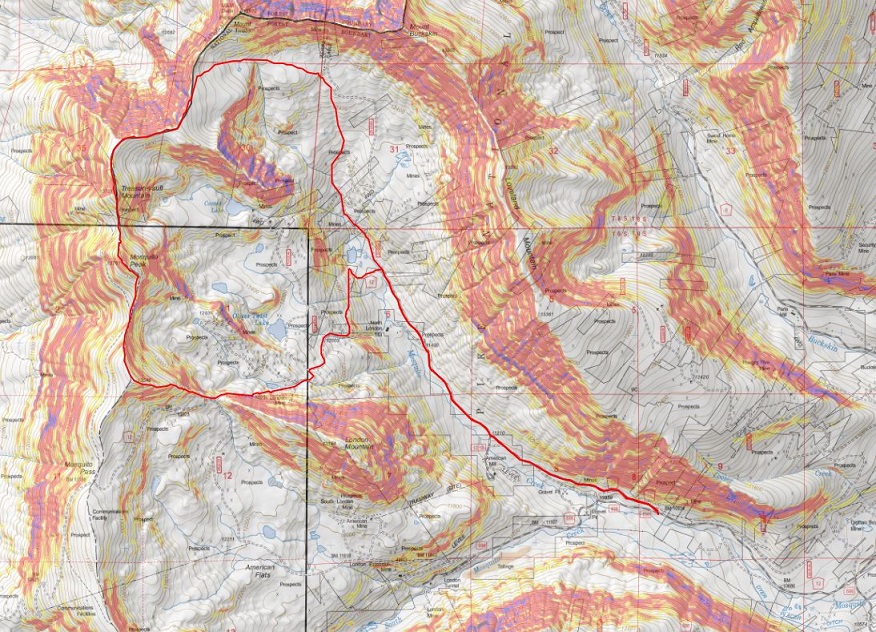
I’ve been excited to head to the Mosquito Creek/Pass area since I was here last month. I’d avoided the area in the winter in years past, thinking it would be closed, but the 2WD dirt road in is actually plowed quite a ways.
In fact, it’s plowed at least past the turnoff to Mosquito Pass, which is where I parked.
I started on the trail at 5:30am, wearing my snowshoes. I kept them on all day even though they were overkill at times. The 4WD road was impassible in a vehicle, with the conditions ranging from bare dirt to ice and drifts with several feet of snow.
I followed the road, making fresh tracks as I went
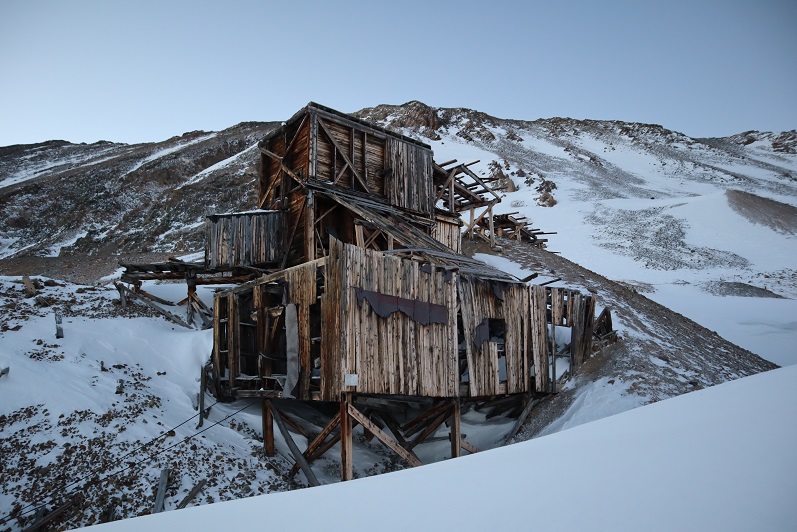
Passing the London Mill
And hiking along the road for a few more yards until I reached the junction of 12 and 856. Here I turned left (west) and followed the snow covered dirt road
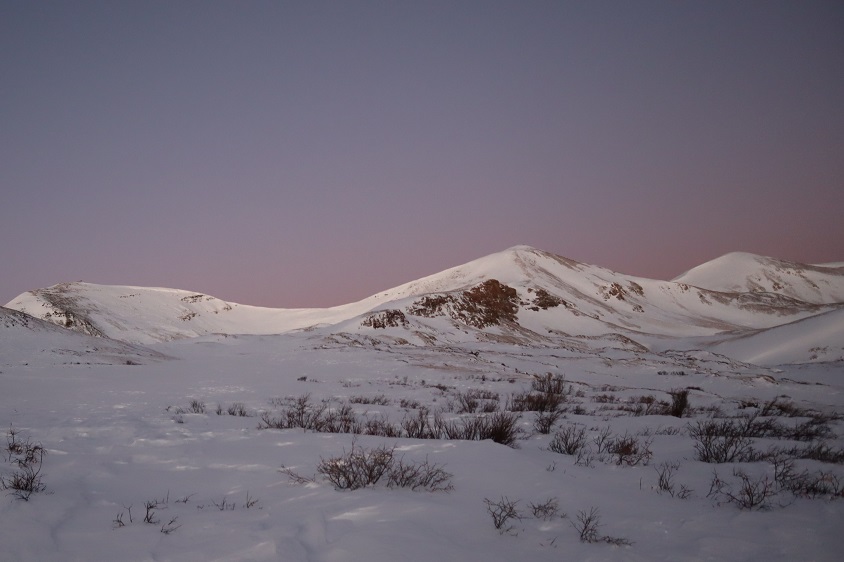
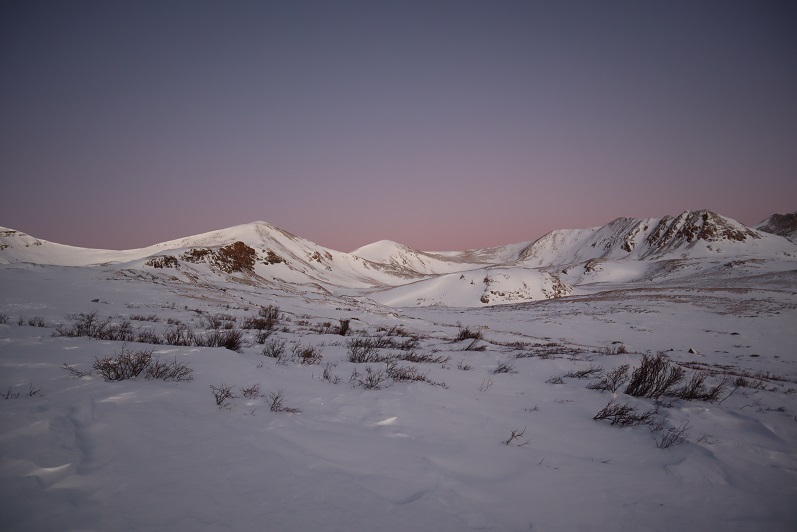
The road was covered in drifted snow and difficult to walk in, even with snowshoes. Around this time the ptarmigans began to wake up and the sun started to rise. I could see the white birds flying against the pink landscape and thought to myself how lucky I was to be here right now.
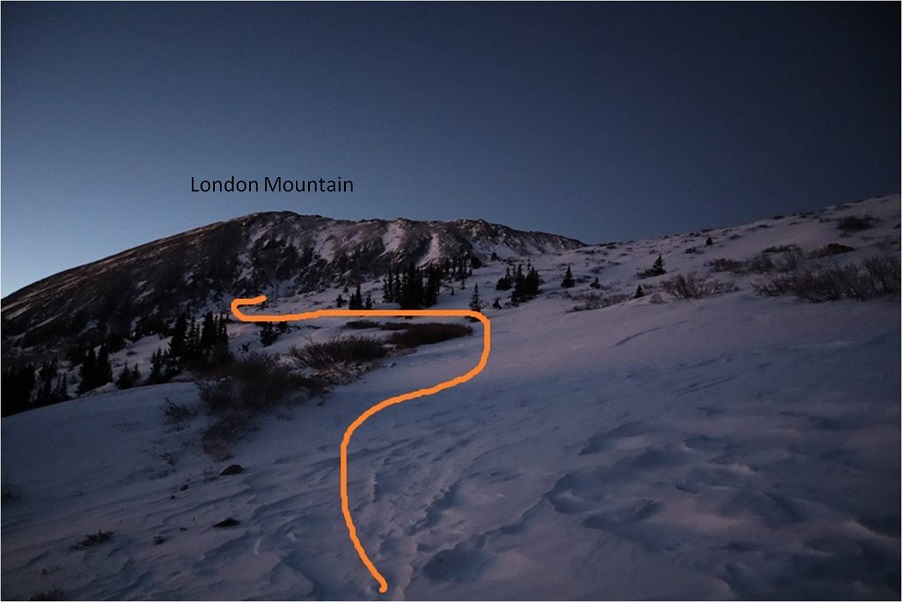
I continued following the road around London Mountain towards the North London Mine
From the mine is where things got a bit tricky, as the road I was supposed to take was covered in snow.
It didn’t start out difficult, but about a quarter of the way to the London/Kuss saddle I switched my trekking pole for my ice axe. The path felt similar to the alleyway on Kit Carson and I was glad I was wearing my snowshoes: a lot of the snow was consolidated but every few steps I’d sink up to my knees in an unexpected drift.
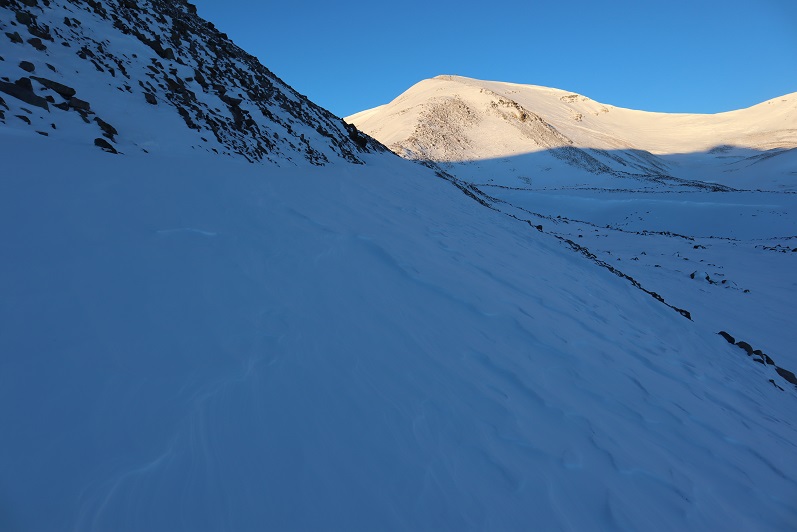
I breathed a sigh of relief when I finally made it to the saddle. From here it was a straightforward hike up the ridge.
I kept my snowshoes on, and they became helpful towards the end
Cool findings at the top
Also, it was windy
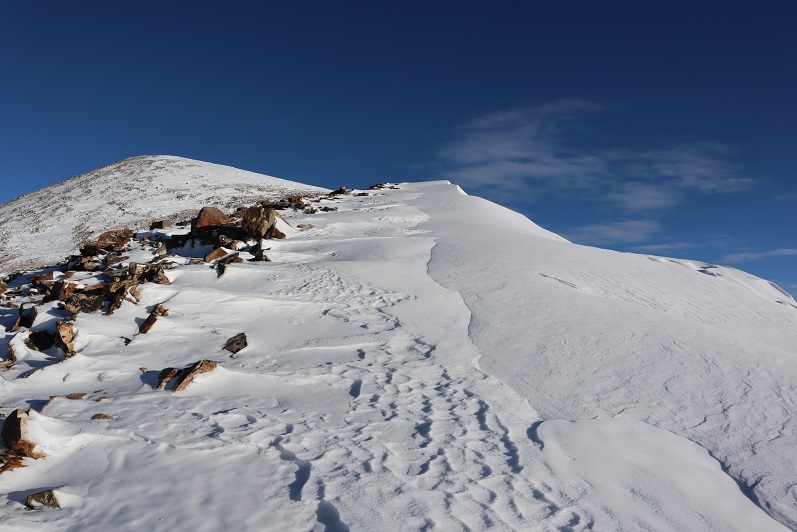
Making this a loop, next I was headed for Mosquito Peak. There were cornices the entire way, but sticking to the ridge it was easy to avoid any danger. Snowshoes here were overkill but I was too lazy to take them off.
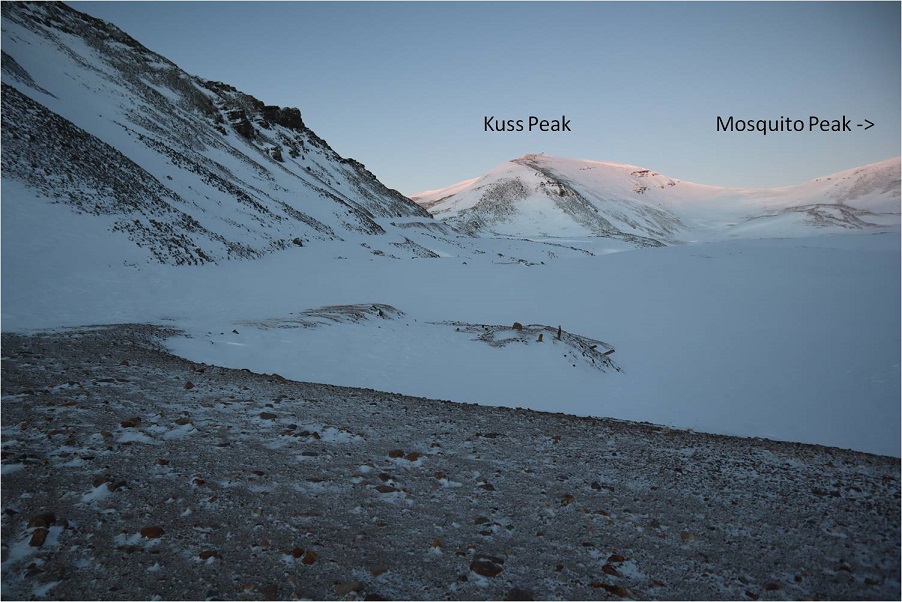
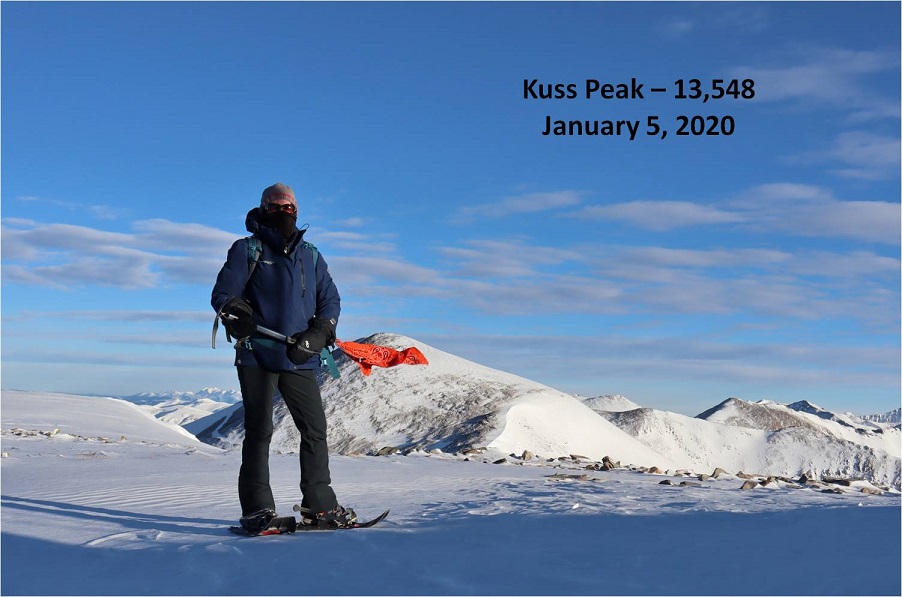
Looking back up at Kuss Peak
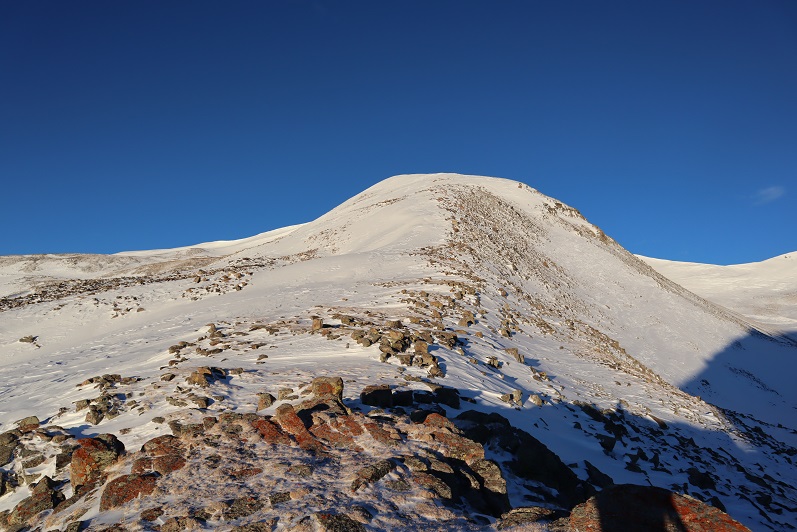
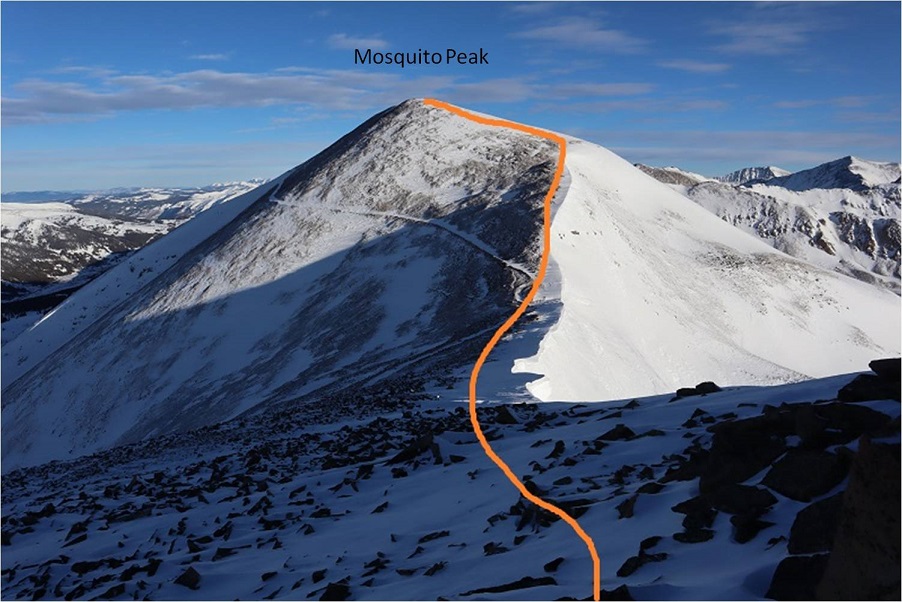
And up the ridge to Mosquito Peak
Snowshoes were helpful once again for the final push to the summit
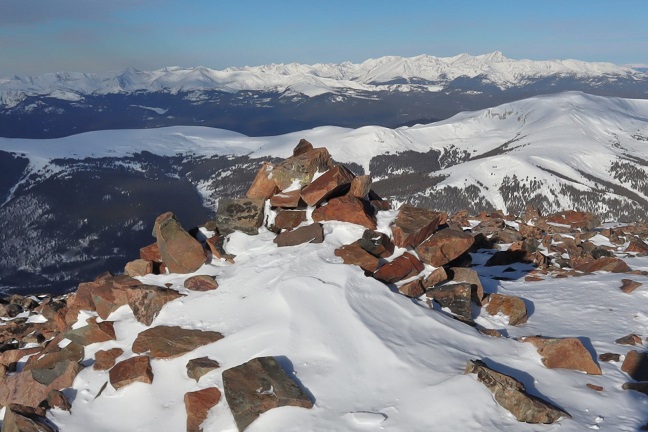
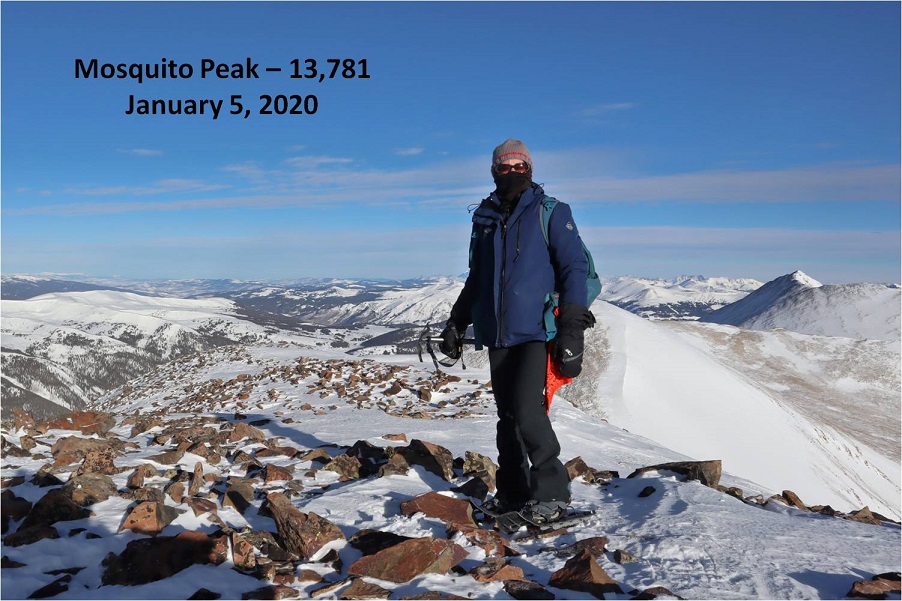
Summit photo
I was anxious to finish this ridge loop before the wind picked up this afternoon so I didn’t stay long on the summit of Mosquito Peak. I turned towards Treasurevault Mountain and immediately slipped on the soft scree/snow mix, landing on my knee. Wonderful. I could tell before I even hit the ground it was going to hurt, but picked myself up right away and headed down the side of the mountain, more careful now, realizing the snow was sugary atop loose scree and talus.
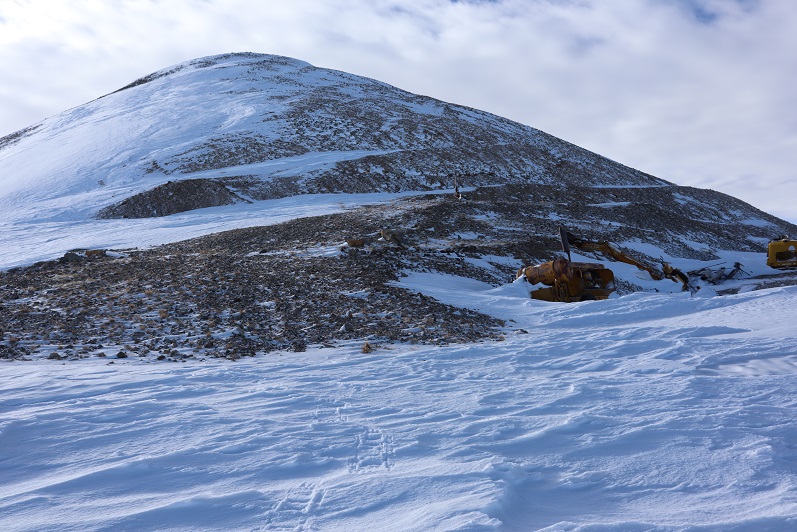
At the Mosquito/Treasurevault saddle I saw a bunch of mining equipment, which I thought was pretty neat for 13K+.
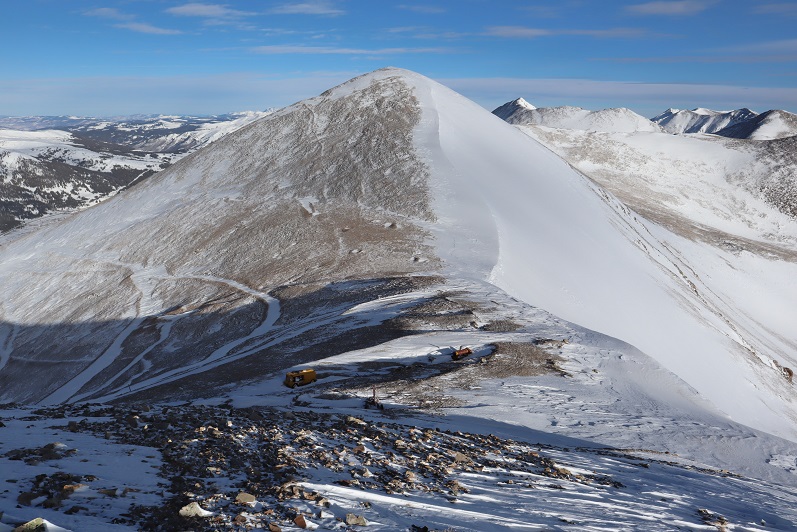
Here’s looking back up at the scree/snow that is the ridge down from Mosquito Peak
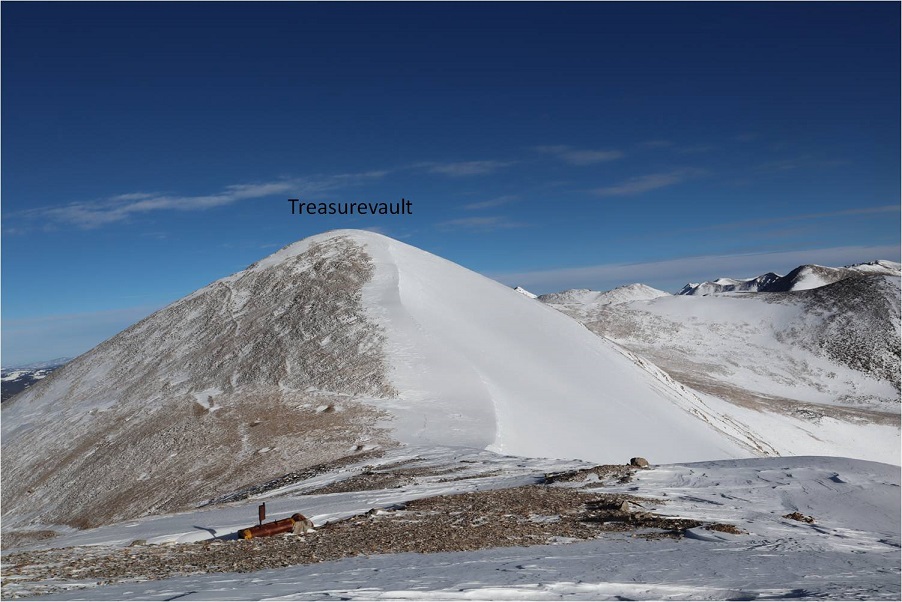
And a look up the ridge to Treasurevault Mountain. All three of these peaks had similar ridges to their summits. Snowshoes were nice.
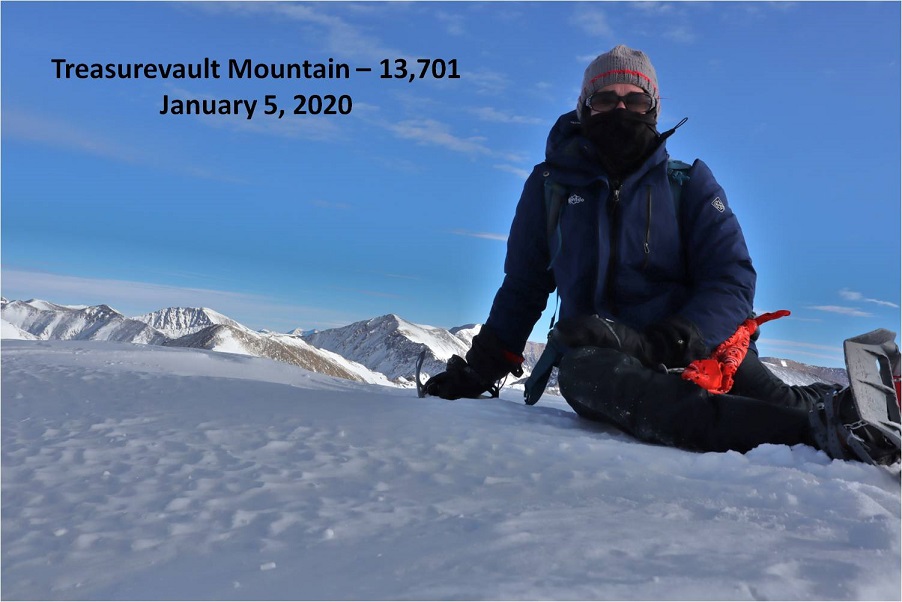
There weren’t any rocks to set up my camera on and my trekking pole was tied to my backpack so I just set it up on the snow for a picture. Not the best, but it gets the point across.
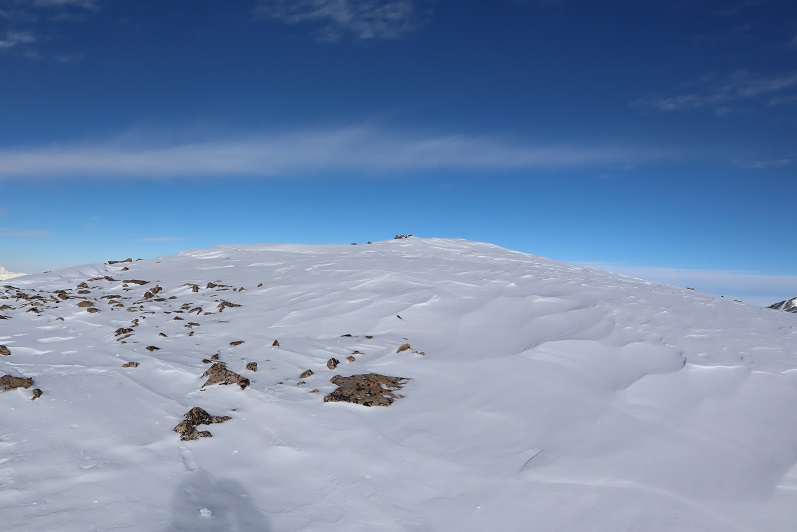
Completing the loop turned into a really long ridge hike from Treasurevault over to Mt Tweto, which felt more like 2 ridge hikes
The cornices were fun to look at along the way
Just before the saddle with Mt Tweto the wind really began to pick up. I’d considered re-summiting Mt Tweto again today, but with the increased winds thought it would be best to just head back. I’m kind of kicking myself for that decision now…
There was a lot less snow here today than there had been last month. Here’s the route back into the basin
And back up towards the saddle for Mt Tweto
Hiking out of the basin I aimed for the trail I’d hiked on the way in, making this upper part a loop
The snow here was sugary and I kept sinking to my knees while wearing snowshoes. Here’s another view of the route I’d taken up to the London Mine. On my way out I was just headed back towards the road, as all the 4WD roads in the area were covered with snow and I couldn’t find them.
Here’s a look back at my trek out of the basin
I followed the snow packed 4WD road back out
And just before making it to the road noticed a recent (and small) avalanche slide.
I made it back to my truck at noon, just as it was starting to get really gloomy out. It felt like snow was approaching.
This was a really fun and easy winter hike. I look forward to exploring more of the area this winter, but will most likely do so from the South London Mine side next time.
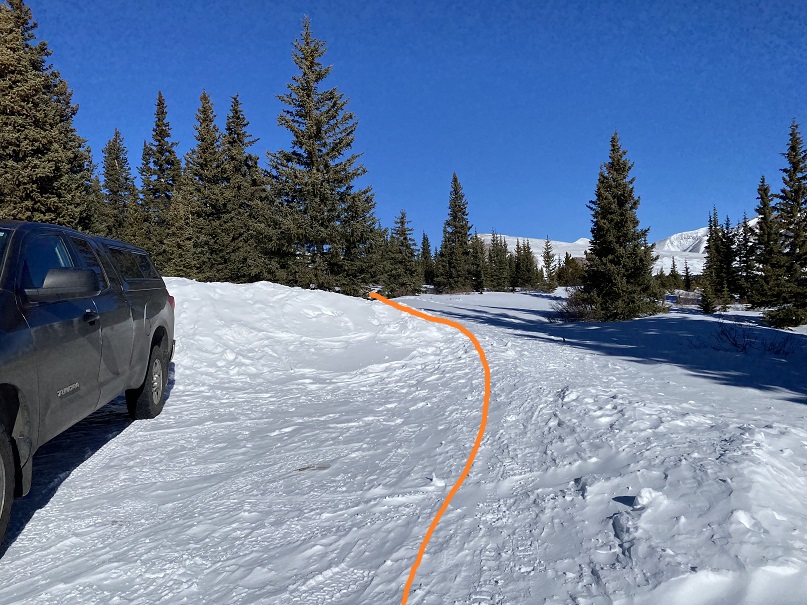
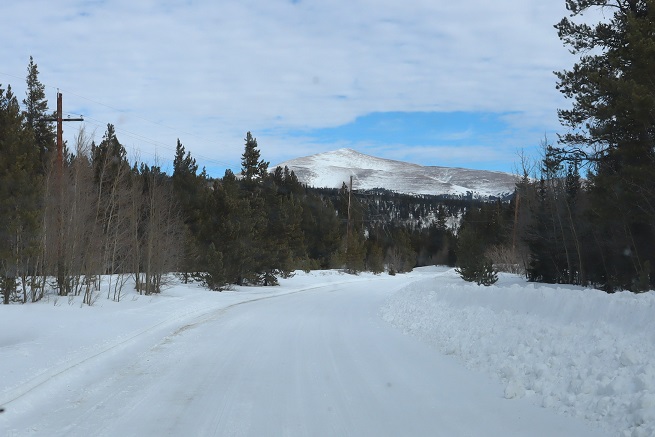
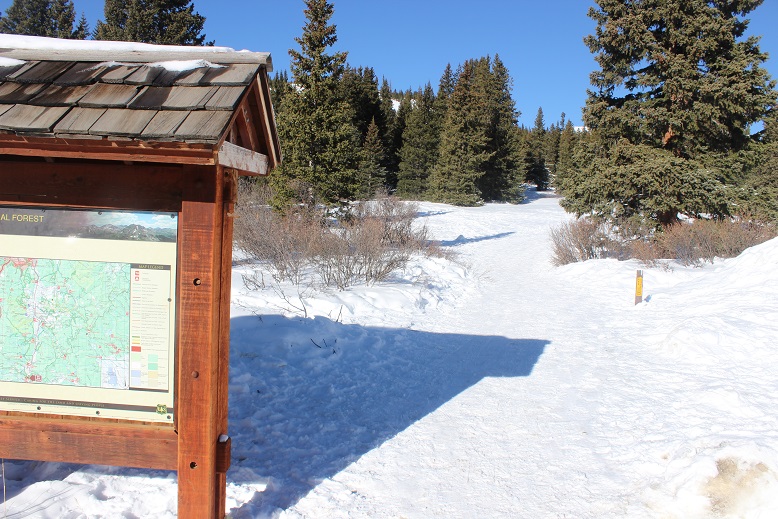
First hike of 2019! I’d spent the past week at sea level and once again my time was constrained (I needed to be back by 2pm because my daughter had her final driving lesson) so I chose something I knew I’d be able to complete before noon: minimal elevation gain with moderate mileage at an open trailhead seemed a good choice, just to get me back out above treeline. I was debating doing Quandary to get in my first winter 14er of the year, but the wind looked more favorable just a little to the south on North Star Mountain, so I decided to save Quandary for later.
Monitoring the temperature while driving I was a bit put off when it reached -2* around Hartsel but felt better when it rose to 27* in Alma (it was 20* when I arrived at the Hoosier Pass trailhead).
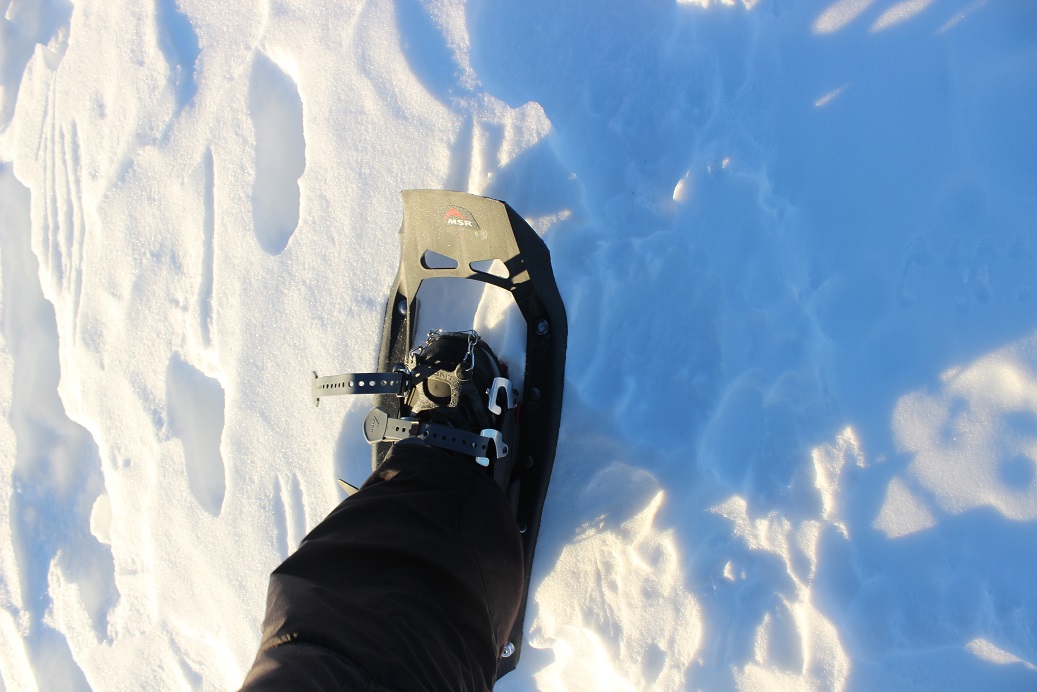
I arrived at 4:45am to an empty parking lot full of ice and decided to just put on my snowshoes while sitting in my truck (with spikes underneath so if I needed them I wouldn’t need to take off my gloves to put them on). For Christmas I bought myself a new pair of snowshoes (EVO ASCENT MSRs) and was anxious to try them out.
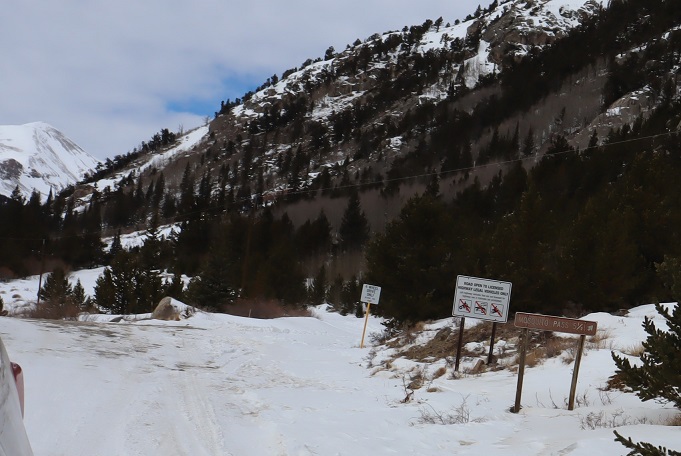
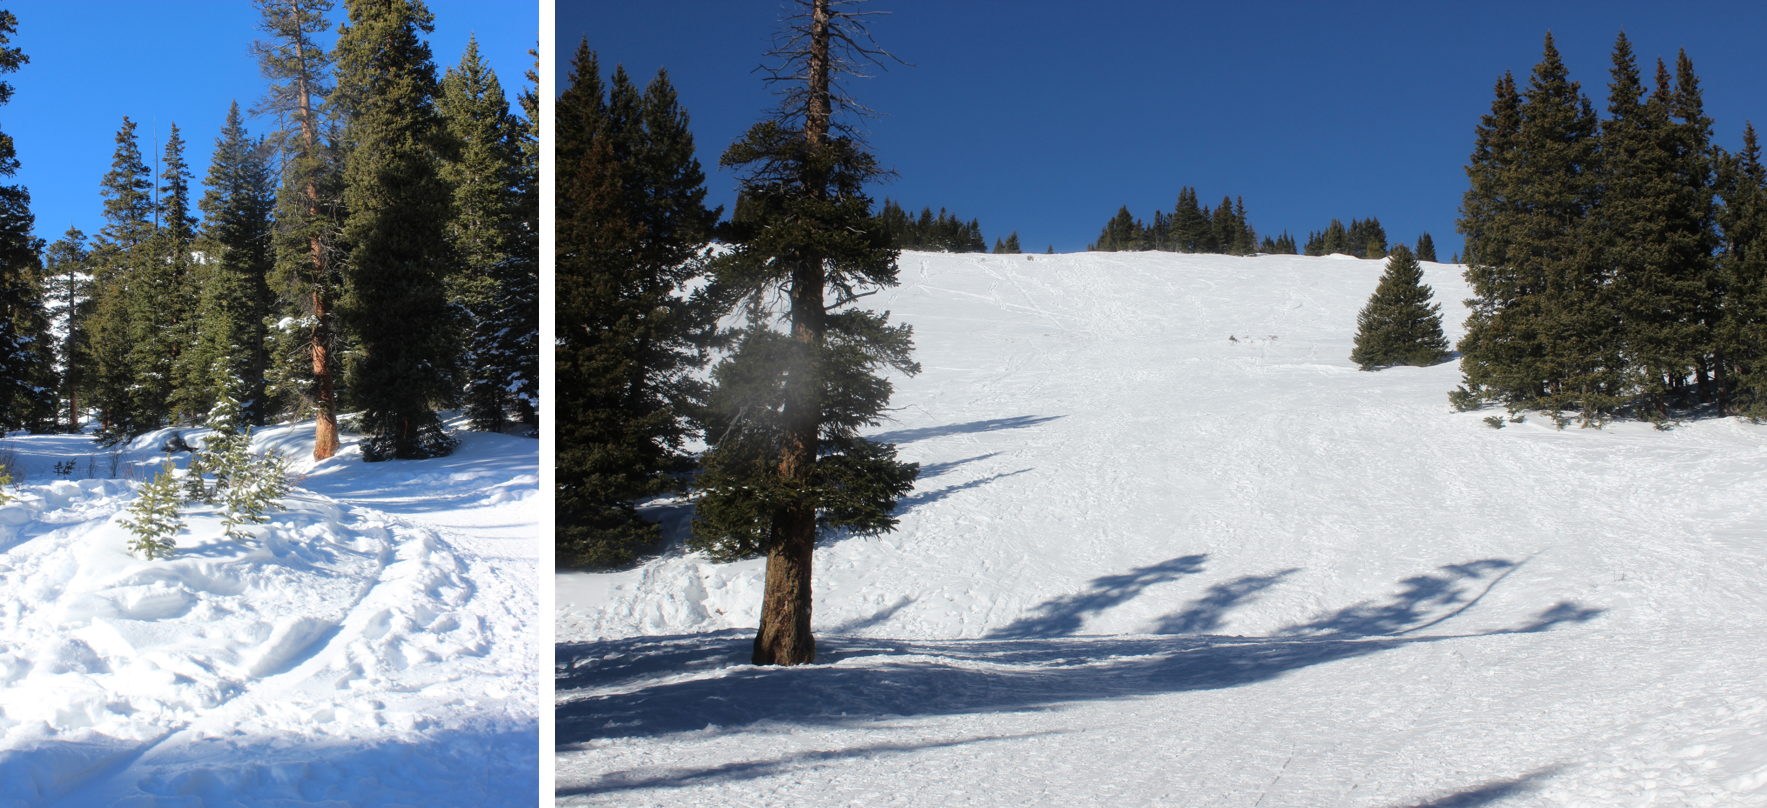
I started on the trail just after 5am. The 4WD road was blocked off by plowed snow, but easy to follow and packed down by previous hikers/skiers/snowboarders/etc. The road starts just beyond this sign.
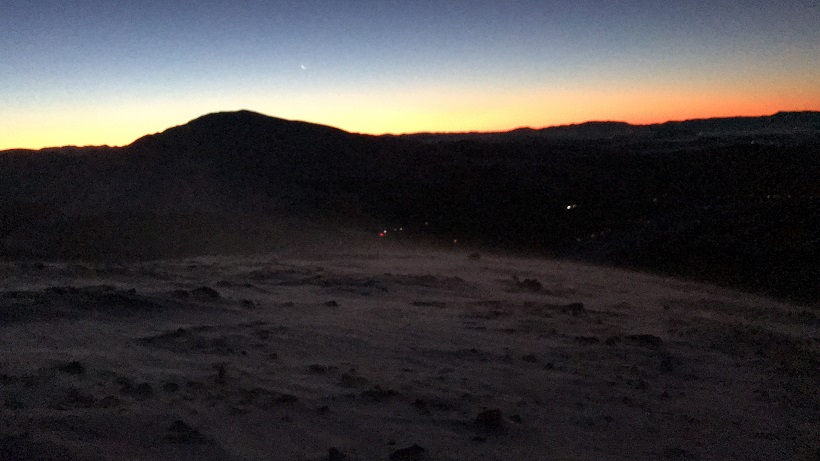
This part of the trail was great, as it followed a well packed and wide 4WD road. I followed it as it curved to the left. It was sill dark out, but I could faintly make out the sledding/skiing hill ahead of me.
I stopped briefly to fix my snowshoes (the band had come loose on one of them). It was cold but clear and every time I looked up I saw meteors from the Quadrantid Meteor Shower. I kept stopping to watch and just absorb the night and finally had to kick myself in gear and tell myself to get going: I was on a time schedule.
As many of you know, route finding is different when it’s dark: there aren’t many visible landmarks, and even the easiest route can cause you trouble when you can’t see what’s ahead of you. Following the road around 12,000’ I suddenly found myself on the side of a mountain, road gone. I looked at my map and compass, knew I was heading the right way, and continued on. It seems the road was covered in snow, making it indistinguishable from the hillside. This made me a bit uneasy as it was exactly where the avalanche danger was forecasted for today, and I couldn’t quite make out the angle of the slope or consistency of the snow. I got out my caltopo map, noticed it was less than a 20* angle, and just decided to be careful and stay as close to the road as possible. Bonus points if I could actually find it (which I could once in a while). Once again I looked down, and the band had come undone on my left snowshoe, so I put it back into place.
As I rounded the corner the road became visible again and I breathed a sigh of relief, until the wind picked up. It started out strong and didn’t let up until I made it back to that spot on my way back down. Here’s where the route finding truly got fun. I still had over an hour of darkness, and with the wind I could no longer see clearly what was ahead of me as the wind was ferociously blowing up the snow and made everything appear… grey. When I turned around and looked back at Mt Buckskin I could see much better. The sun was rising and there wasn’t much wind behind me to obscure my view, so I kept looking back to give me a visual reference for later. I took out my camera and kept trying to get a picture of the moonrise as well (just to the right of Buckskin), but the camera had a hard time focusing with all the wind.
OK, back to route finding. I was now at the 4WD parking area, although I didn’t know it. In the dark and with the wind I couldn’t’ see much, so I just kept heading west. Good news: I came to a road! Bad news: it was the wrong road. So was the next one, and the next. Apparently there are tons of mining roads in this immediate area, all parallel with each other, and none of them were the correct “road”. However, heading up and west seemed to keep me on the right track, so I did so, even though I couldn’t see much.
I lightened this video on my computer to give it more visibility, but here’s an idea of the terrain and mild wind in the dark (well, I guess not “dark” because I lightened it, but this shows where I was at)
VIDEO
At about this point my phone shut off. I’d been trying to take videos/pictures, and it decided it was too cold to continue. Hmph. I stuck it in my backpack to let it ‘warm up’ and hoped it’d turn on again later, looked down, and once again fixed the band my snowshoe (both sides this time).
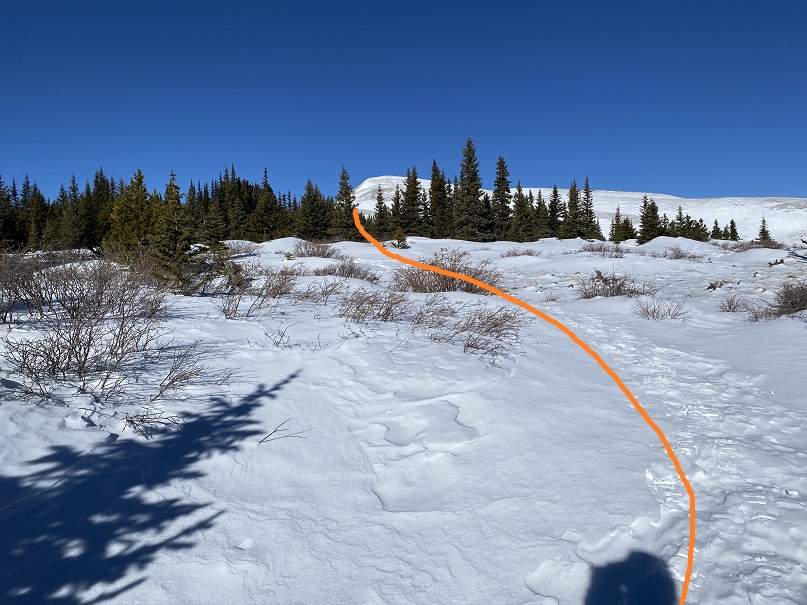
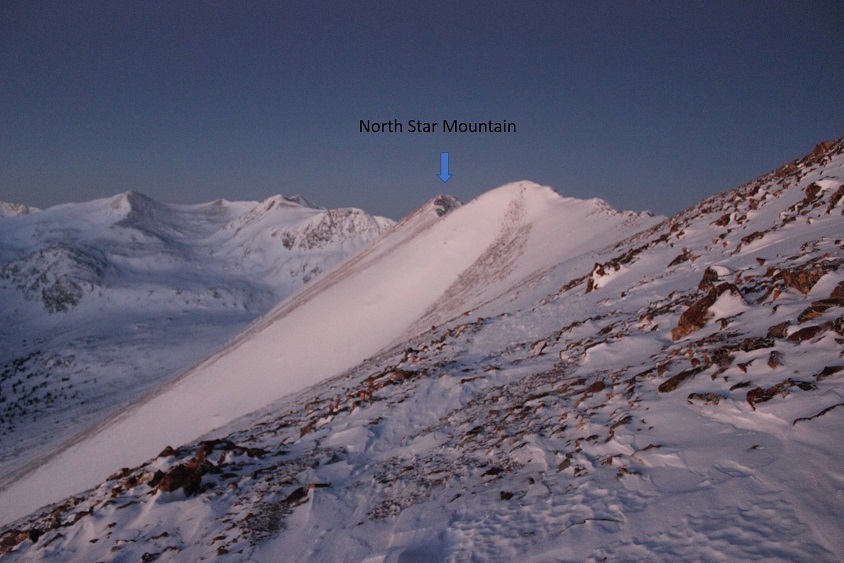
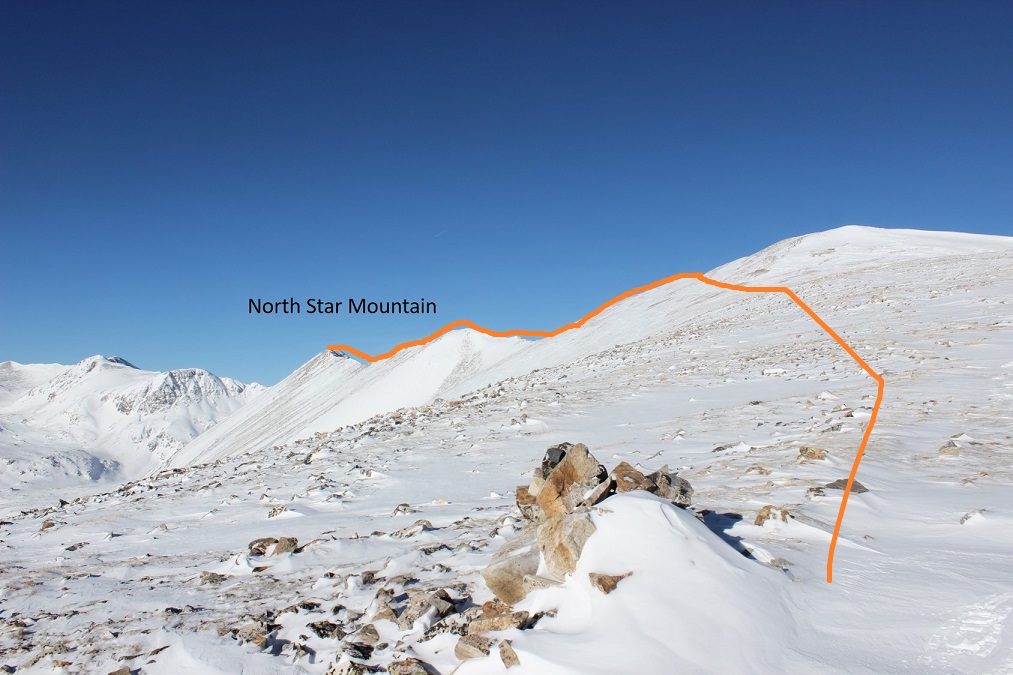
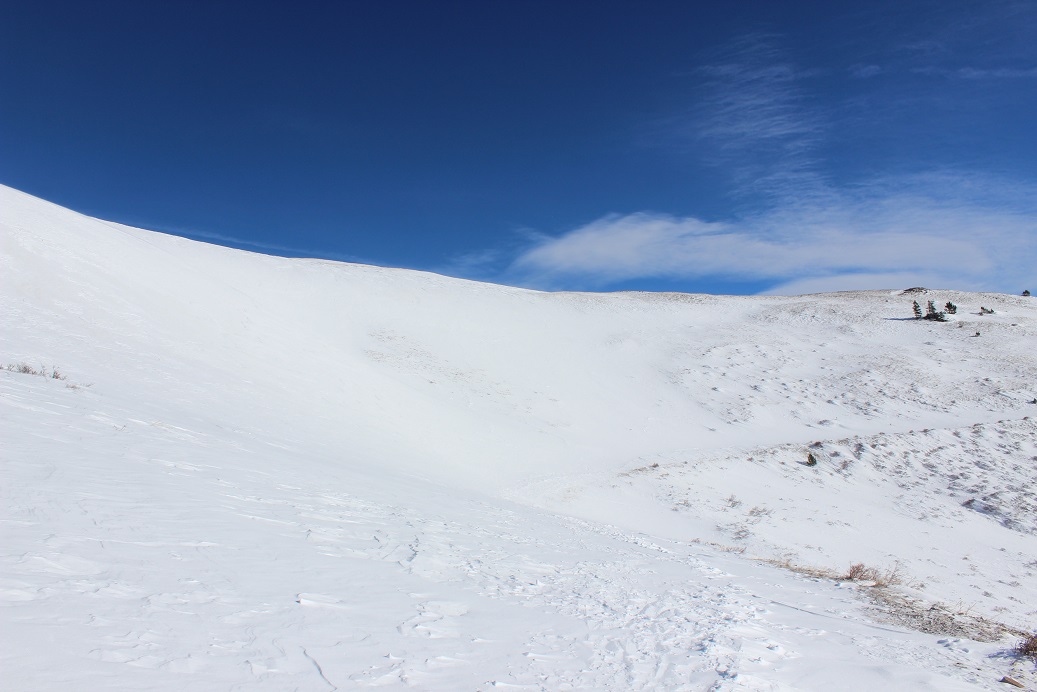
Up and west ended up being the correct navigation, and soon I was at the top of North Star Mountain’s shoulder. The snow was about a foot thick in most places and consolidated. It was perfect for a winter hike: Not tiring or difficult at all. I never did see the gate that was mentioned, or the ‘parking area’ but it was getting lighter out and I could now see the rest of the route before me
I had several options, but decided to head towards the old mine
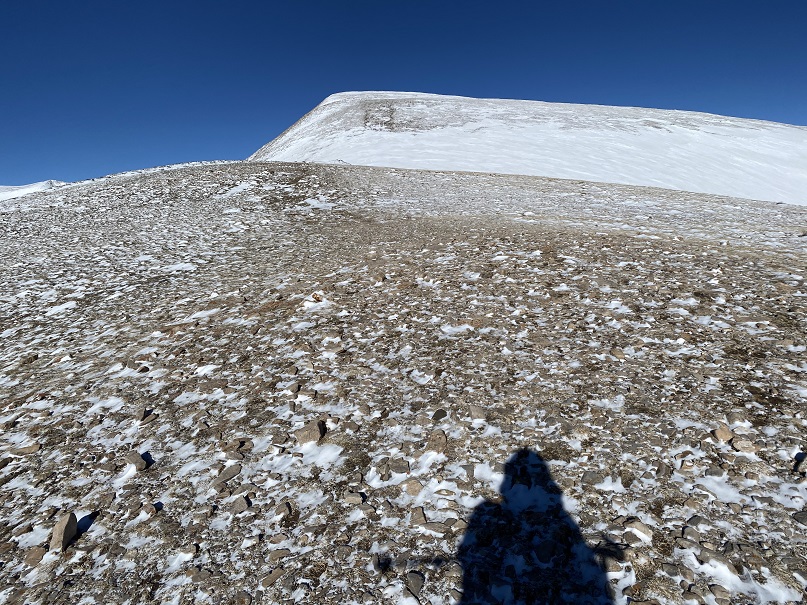
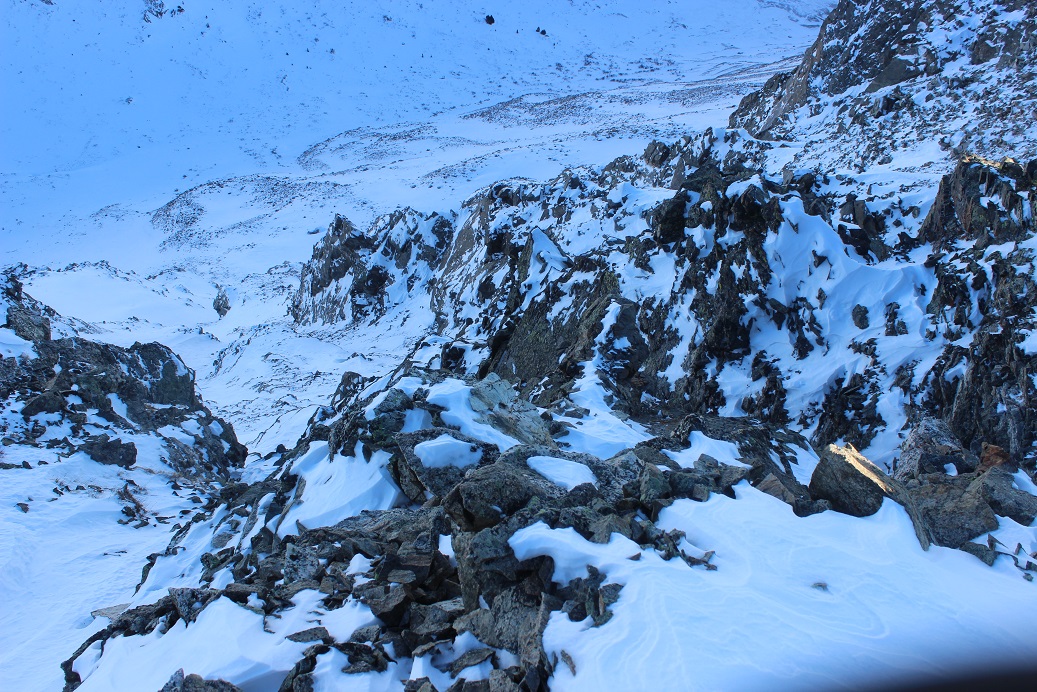
When I got there the mine was mostly covered in snow. I traversed above it to the ridge.
Wow. I mean, just. Wow. I needed to cross this ridge to make it to the summit, and I was excited! From a physical standpoint this had been an easy hike so far, and I wasn’t even close to being tired: I was ready for a challenge. Due to the wind, most of the snow had accumulated on the south side of this slope.
Check out my morning view of Quandary! I kept thinking to myself the wind on Quandary HAD to be better than the wind I was experiencing on North Star Mountain. It just had to be.
I turned around to look at the route I’d taken and was surprised to see a well established mining road. Hmph! I wondered if it led to the old mine I’d stopped at? In any event, I’d taken the higher trail to get to where I was now, and took it on my way back as well
Woohoo! The sun began to rise! Oh, and did I mention that wind?!?! It hadn’t let up yet… and each one of those ice crystals is deceptively a chard of glass, waiting to cut you down. Luckily I was wearing goggles and my balaclava.
VIDEO
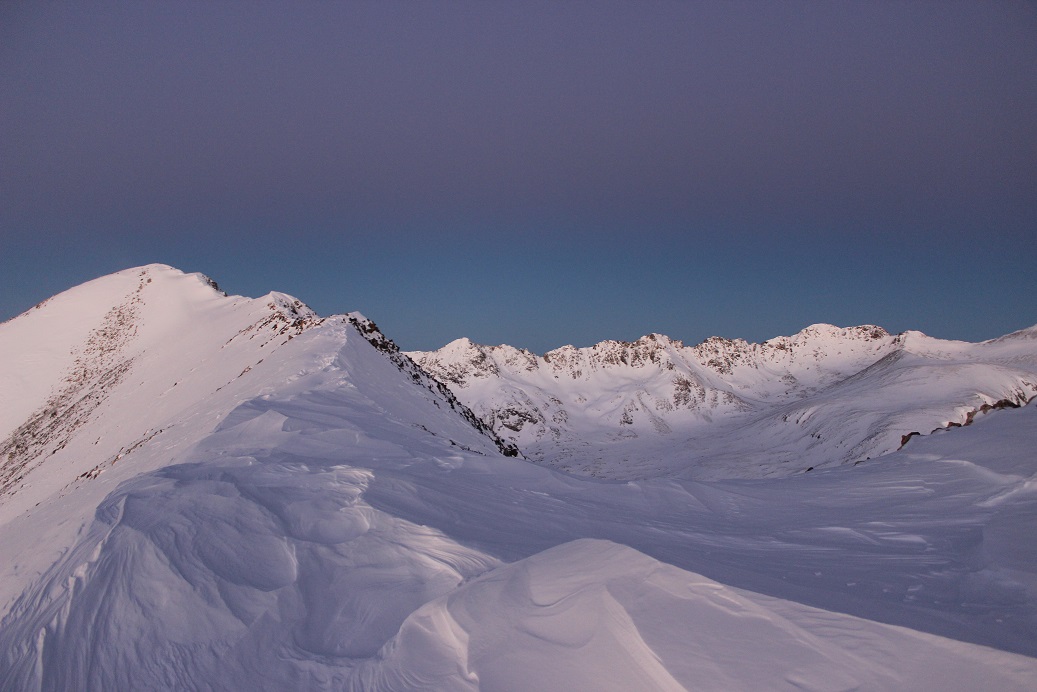
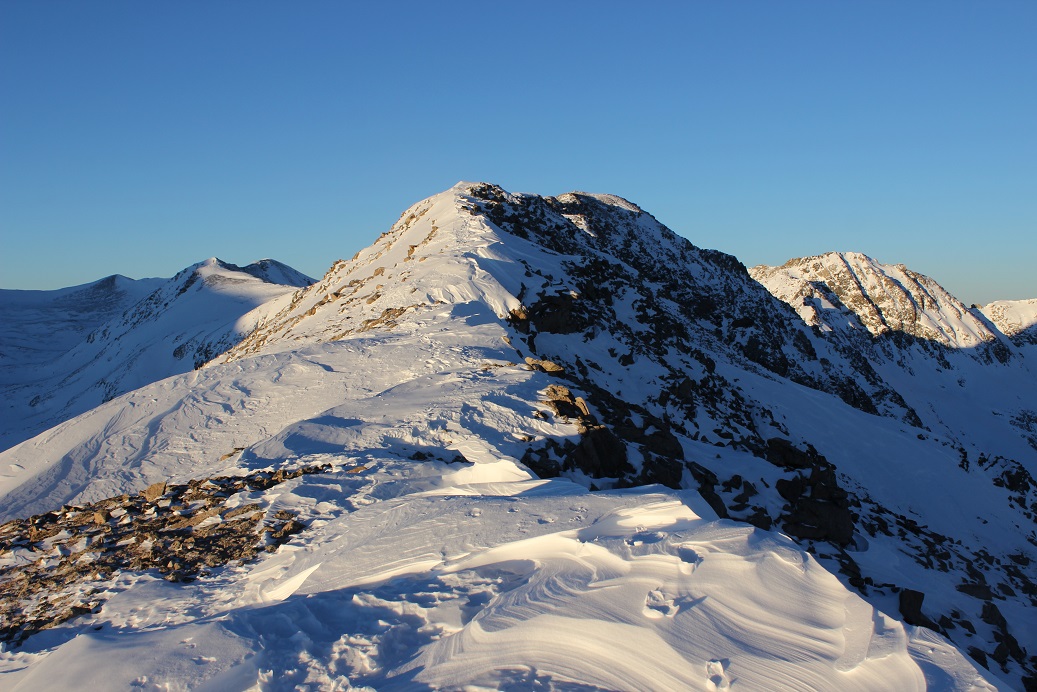
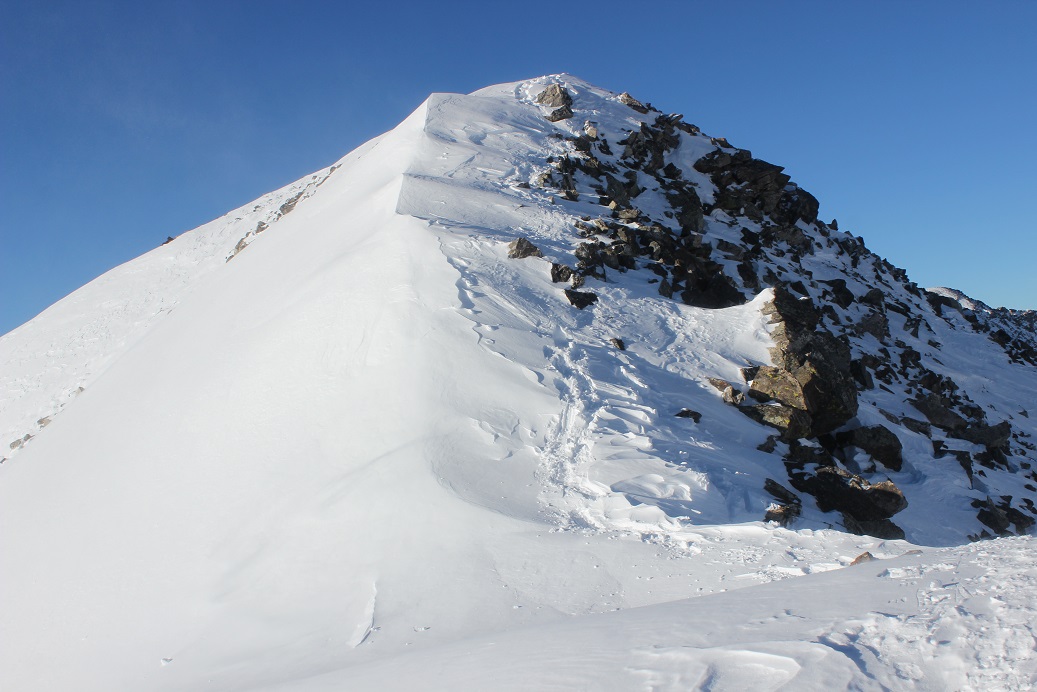
OK, back to the ridge. This is what I got to follow
Traversing this ridge was tricky, as in many places the passable area was no more than a foot wide. I decided to keep on my snowshoes (after fixing them once again), even though they obviously weren’t needed or indeed helpful for the entire route. I started and looked down: ugh! They’d come undone AGAIN. I stopped and put them back into place.
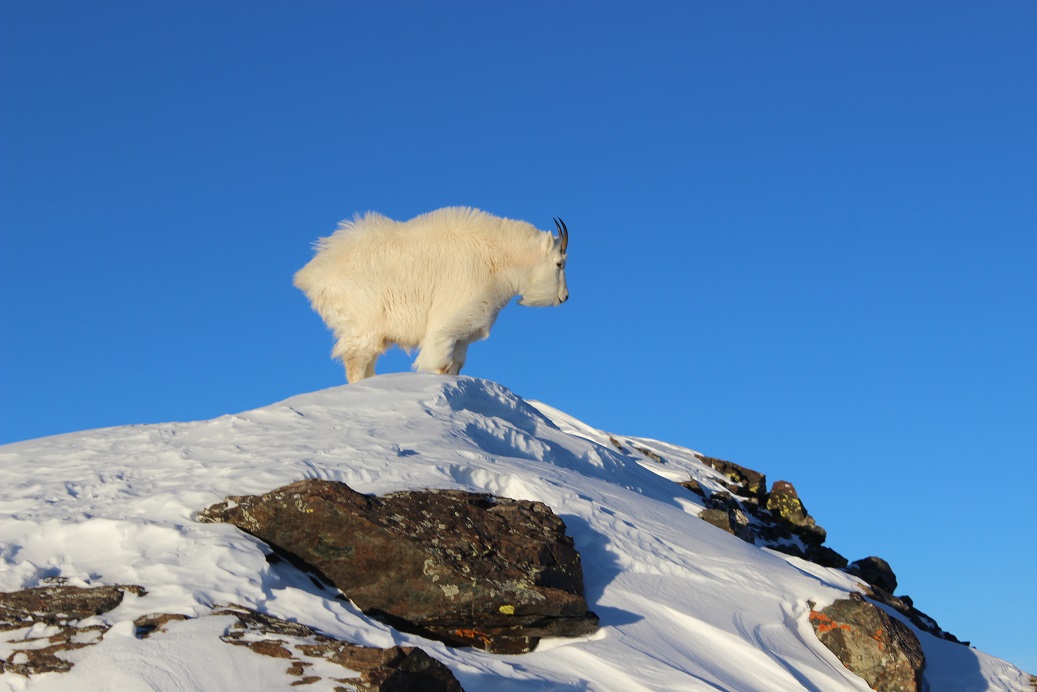
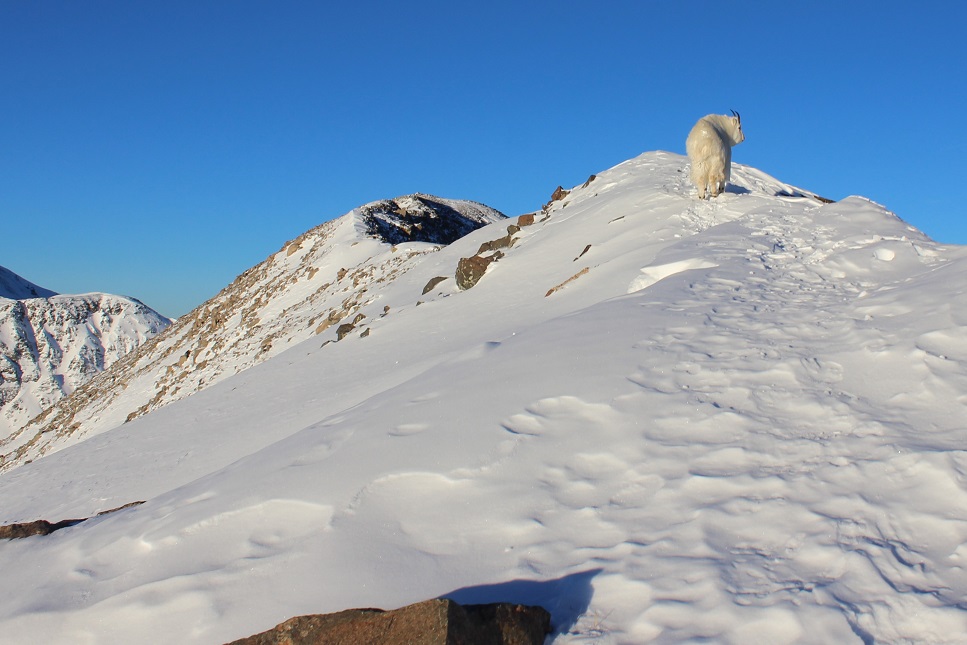
I knew I was straddling the Park and Summit county lines, and when safe decided to hop back and forth as often as I could, just because it sounded fun. I kept encountering several different kinds of snow, from soft and sugary to tough and consolidated, and most of it was wind blown. At this point I started seeing goat tracks and could tell they weren’t very old (due to depth of prints, current wind conditions, etc). There must be a goat ahead of me! Awesome! I also encountered several medium sized cornices, and this one as well (picture taken on the way back down)
This cornice gave me pause, and I wasn’t entirely sure I wanted to continue. I stopped and traded my trekking pole for my ice axe. I could see the cornice from earlier on the ridge, and I’d been mentally planning out my route. I’d wanted to traverse under the cornice, as it didn’t look that steep, but when I actually got there and started my horizontal traverse I realized what a terrible idea this had been! The snow was soft, and I could tell if I made a trench I’d be undermining the stability of the cornice.
Immediately I turned back and thought about my options. This seemed to be the ‘crux’ of this route. I felt if I could cross this cornice the rest of the route would be wind blown in enough areas to make traversing it easy. But I wasn’t sure about the stability of the cornice. As with most of my hiking decisions, I didn’t actually make one until I was close to the issue. I ended up going over the top to the right where it was easy to climb up and delighted to find it eventually became consolidated and climbable with crampons and an ice axe. I’d been following a goat’s fresh tracks this morning and could tell the cornice was eventually consolidated because the goat hadn’t sunk in the snow: however he was more comfortable on the cornice and went even further right. I was up and over it in 20 seconds and mentally thanked myself for keeping those snowshoes on (with built in crampons).
I was super proud of myself for making it over that obstacle, hiked about 20 yards further to the next ledge, and looked at the rest of the route before me
This looked very doable, and like a lot of fun! The only downside? The wind!!! I’d known to expect wind, but this was insane, and much more than the anticipated 14-18mph
Video
I stopped here because I was actually being blown a bit sideways. This was not good. I was close to the summit but worried about the wind. With a light pack (5-10lbs?), myself weighing 105lbs and winds stronger than forecasted I just didn’t weigh enough to keep from being blown sideways. I decided to pick up some rocks to add weight to my empty pack (I’m guessing about 30lbs worth). That seemed to stabilize me a bit.
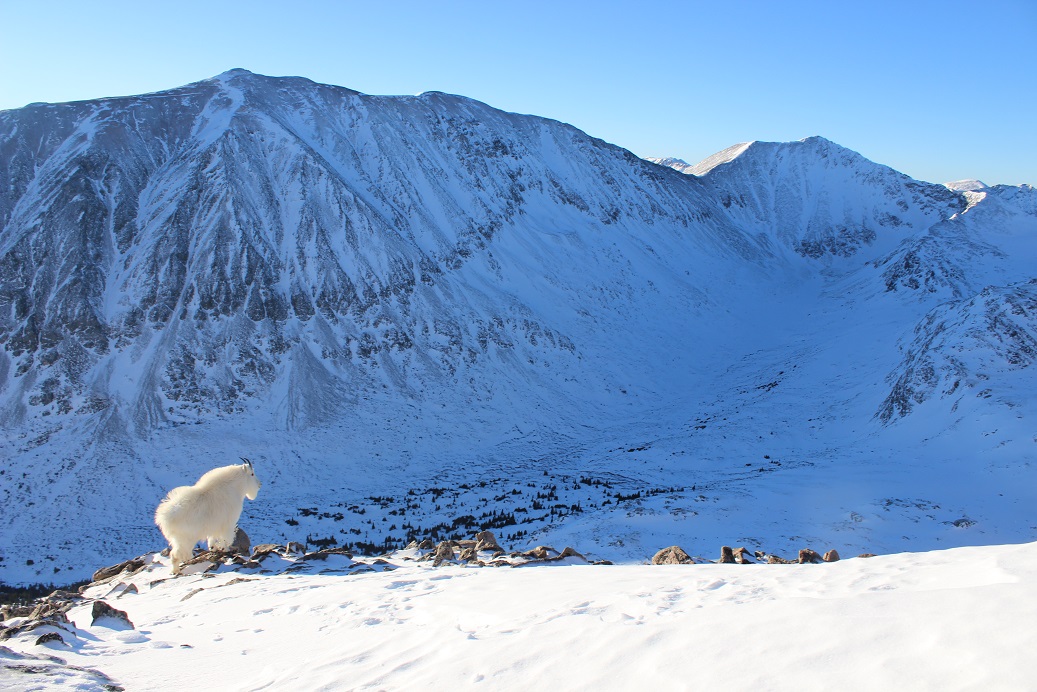
My weight and confidence up again I kept traversing…. And came across the goat!
I stopped and enjoyed the experience. This is the first time I’ve seen a mountain goat while climbing in winter, and I intended to enjoy it. We looked at each other and sized each other up.
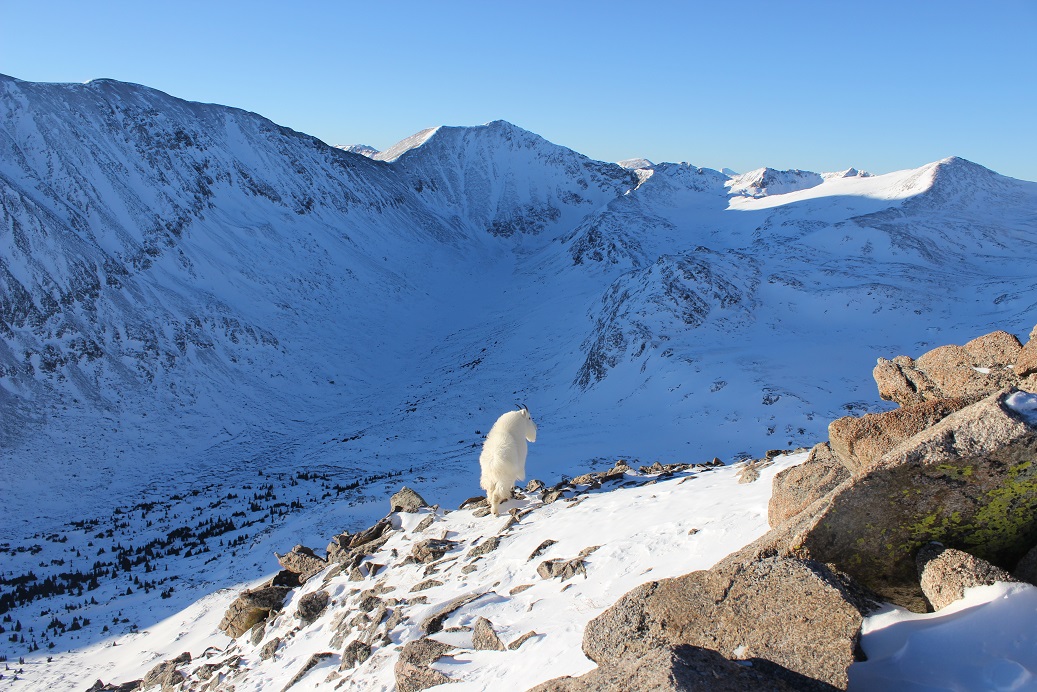
I didn’t want to disturb the goat, but also wanted to traverse the ridge, so I slowly kept inching forward, stopping every once in a while to fix my snowshoe (this was seriously getting annoying!). Eventually the goat looked back at me as if to say “are you joining me or not?” and continued across the ridge. I took my time (and the opportunity to take dozens of photos). The wind was intense and I was trying to get the goat/wind thing, but in still pictures you just can’t really tell how windy it is…
I followed quietly behind, and the goat didn’t seem to mind. I spent much more time than necessary slowly following in its tracks, careful not to disturb it but thankful for the photos. Just before the final summit push it seemed to have had enough and deviated off the ridge. I took advantage of the photo opp…
And finished the short distance to the summit on my own
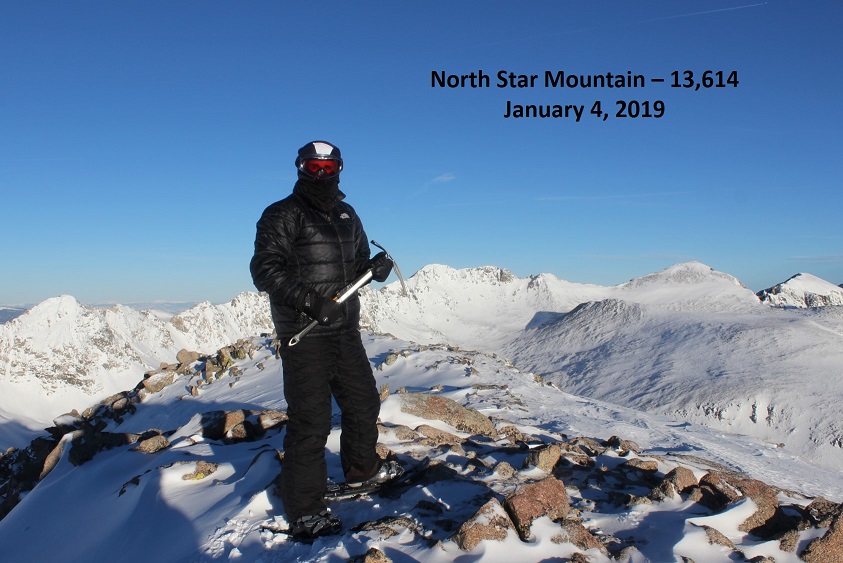
I summited at 8am
Video
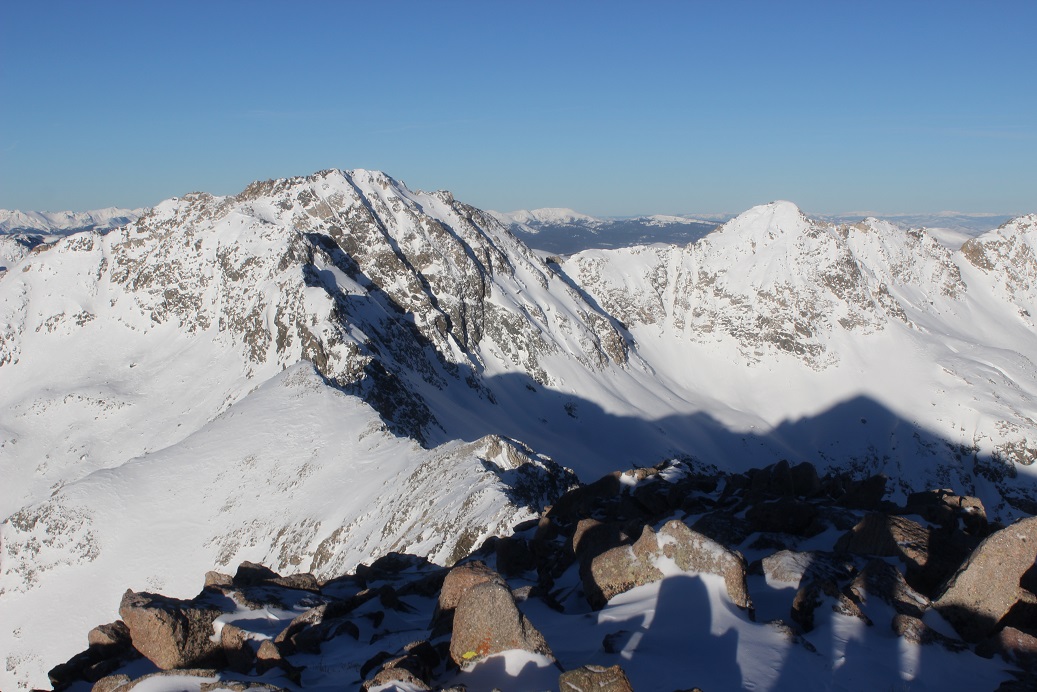
I dropped my bag to get out my phone for a video and realized I’d lost my trekking pole at some point on the route. Drat. I’m assuming the wind had blown it out of my pack. Next time I need to be sure to clip it on with a carabineer. Luckily my phone wasn’t so cold anymore, and I was able to get a quick video of the summit before it died again, but on the downside my DSLR was showing low battery now as well. Drat! So I only took the time to take one summit photo and decided to start taking photos of the peaks around me to help out friends who wanted to hike in the area tomorrow. Here’s what I got…
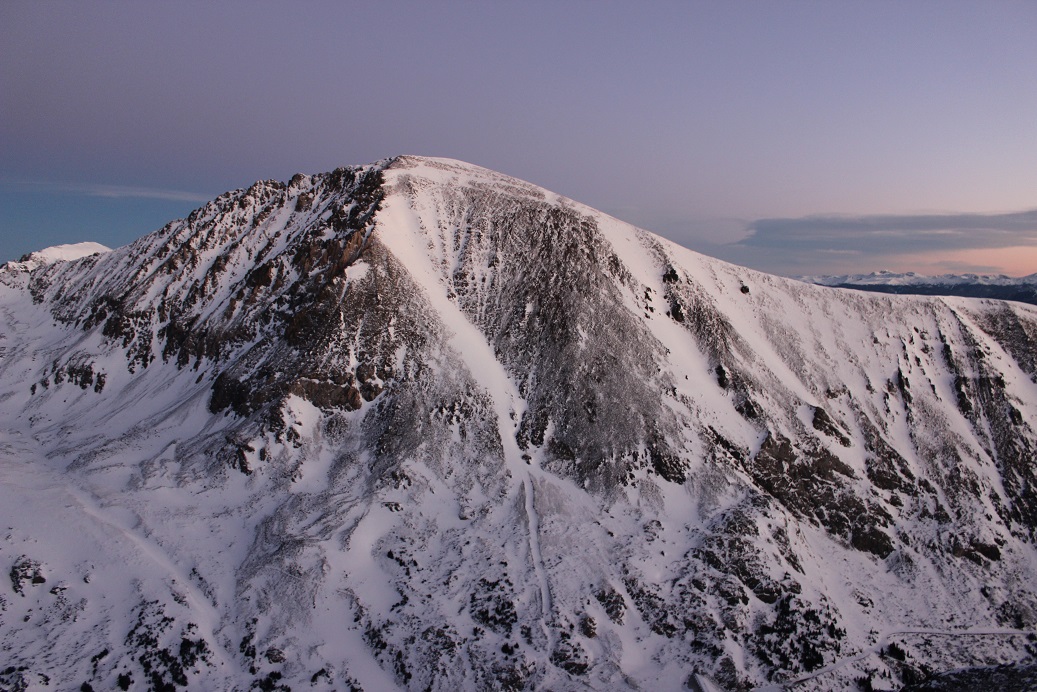
The ridge to Wheeler
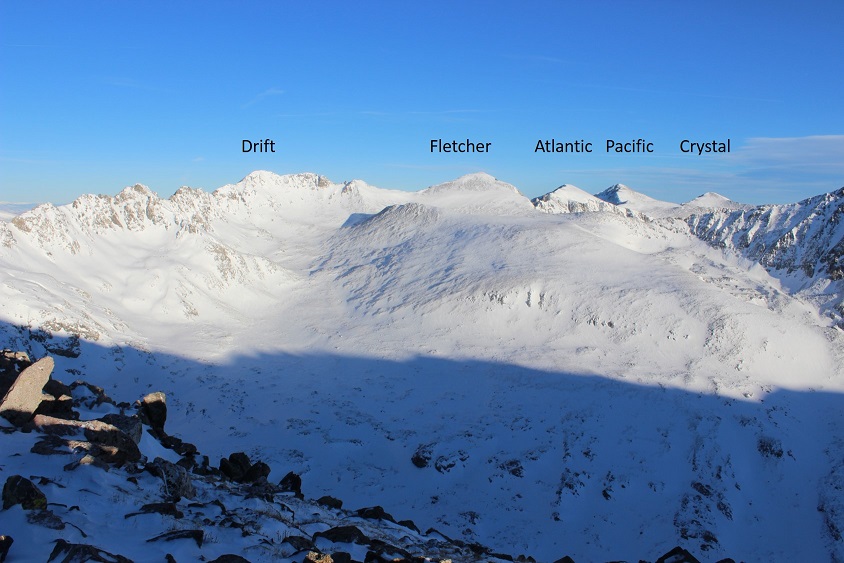
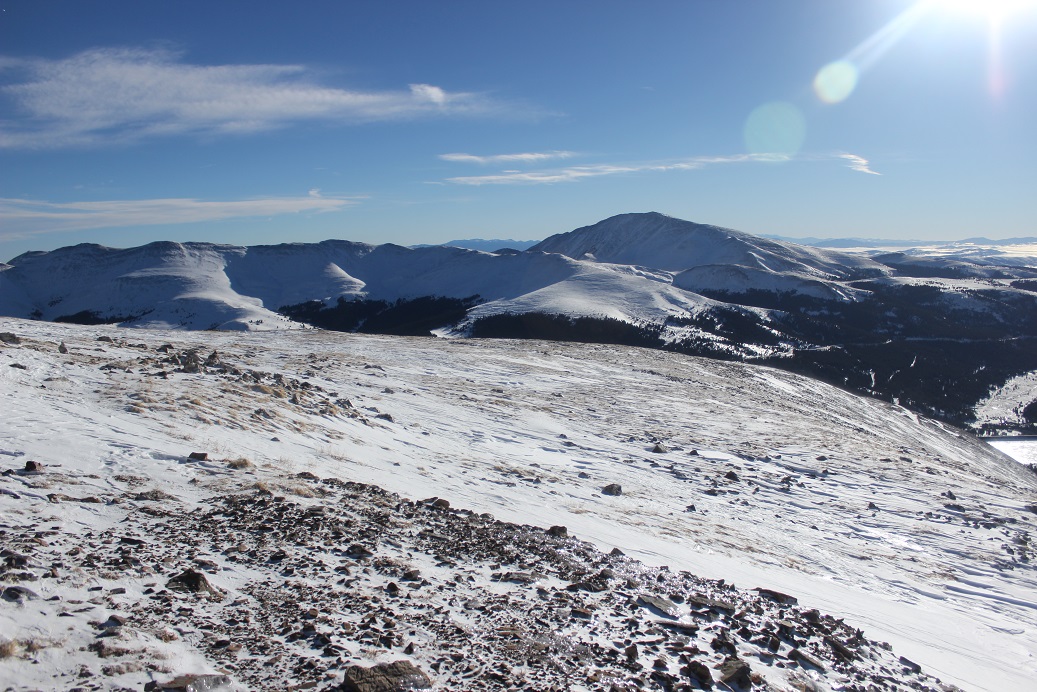
Drift, Fletcher, Atlantic, Pacific & Crystal Peaks
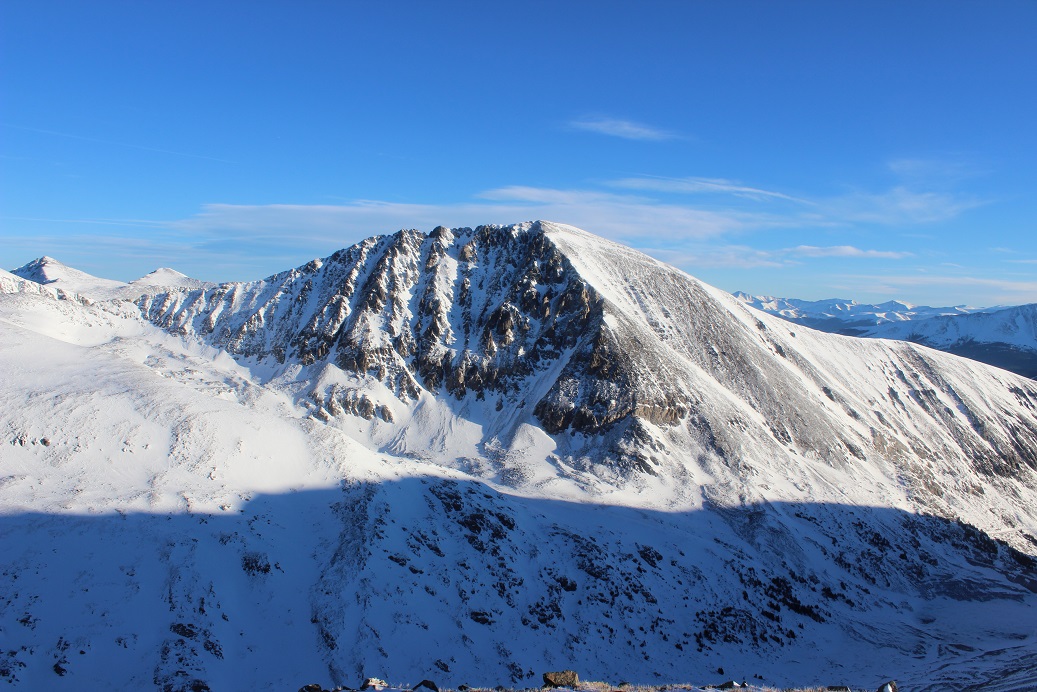
Quandary
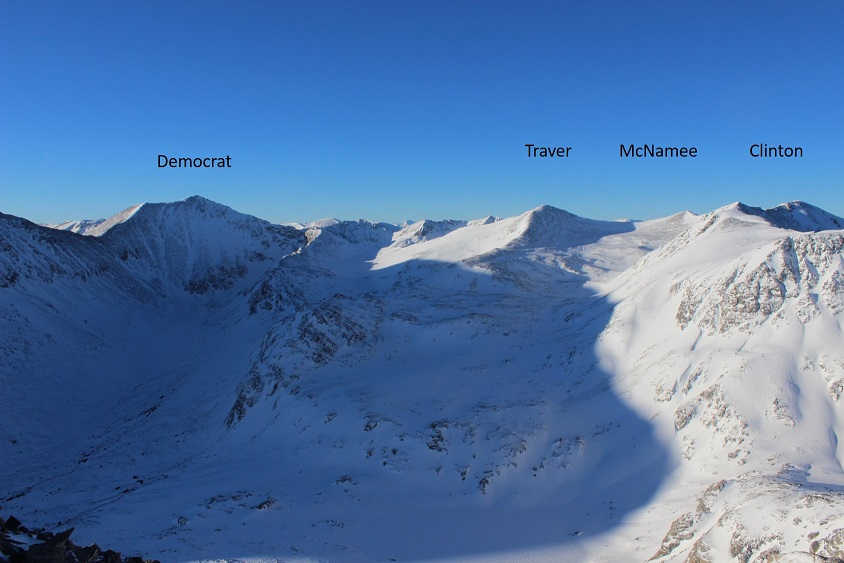
Democrat, Traver, McNamee, & Clinton
OK, time to head back. I took a look at the route back across the ridge. It looked so much easier from this angle!
I looked down at my snowshoe and thought fixing it again was more trouble than it was worth.
I appreciated the fact it was easy to ‘fix’ while wearing gloved but was disappointed I’d needed to do so so often. I left them undone for the rest of the hike down.
On the way back I took a picture of one of the fun cornices I saw on the way in
And another at the exposure… not too terrible, but those rocks wouldn’t be fun to land on if a gust of wind decided it was necessary (hence loading my pack with rocks)
On my way back I took some pictures of some of the more fun small ridges I gained
And once I was done with ridges a look back on the way I’d trekked…
Here I unexpectedly found my trekking pole lying on the ground trapped between some rocks. Woot! This was great! Not only had I found my trekking pole, but I didn’t need to pay penance for leaving something on the mountain. I clipped it to my backpack, took out the rocks, and headed down the slope. The sun was great on the way down, even if the wind decided to join her. I mostly just followed the tracks that were still there (surprisingly with the wind I could still follow most of them). Oh, and there were cairns! Imagine that! In the dark I hadn’t noticed any of them, but once I made it back to the shoulder in the daylight I could clearly see large ones placed about 200 feet apart.
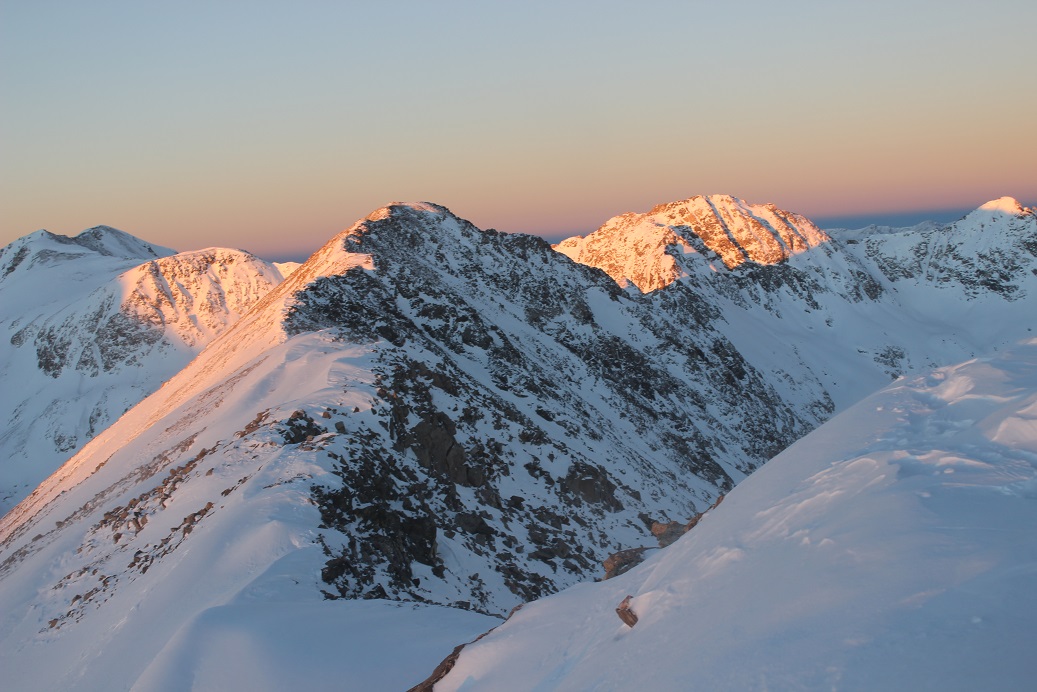
Here’s looking back on the route I took to the summit
On my way back I kind of followed the cairns to the end of the shoulder, and looked over at the rest of the route before me. The gate and road were clearly visible in the light of day
And looked back at the way I’d come.
I found that gate I’d missed in the dark. It was actually two very large gates, and looking back, I seemed to pass them unseen by taking a path to the south of them and then just gaining the ridge.
Here’s my path up (solid) and down (dotted)
I found some pretty cool inverted tracks on the descent
Here’s looking at the route I took. Notice how traversing too far to the right (north) would have ended badly in the dark?
And here’s a view of the unstable area I was worried about at 12,000’: It didn’t look stable in the daylight either, but at least I could see a road.
Here’s a great view of most of the lower route (once I got back to the road the wind stopped)
I didn’t see anyone all day until I made it back down to about ½ a mile before the trailhead. There I saw several skiers, a few snowshoers, and about a dozen hikers enjoying the morning out.
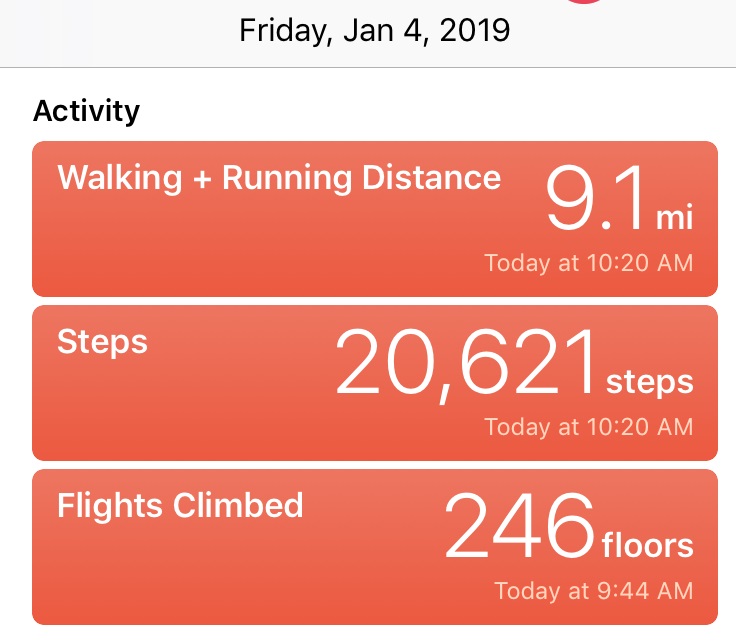
I made it back to my truck at 10am, making this a 9 mile hike with 2400’ in elevation gain in 5 hours. I’d made it back 2 hours ahead of schedule. I was a bit bummed to find I’d forgotten to pack my beef jerky (I make a fabulous jerky for hiking and must have left it in the bread box) but overall pleased with today’s hike.
I took off my snowshoes and was a bit upset to notice they’d taken more wear than I’d anticipated from such a short hike and such expensive snowshoes! The plastic bottoms were ruffed up in a lot of places, but at least the metal pieces were completely intact. I’m still not completely sure they’re worth the money. I didn’t use the heel lifts (they weren’t necessary today), but overall they didn’t work any better than the $50 pair of trekkers I put 200 miles on and enjoyingly destroyed this year. I had to continually re attach the straps, and missed the ratcheted bindings of the cheaper model that didn’t need to be continually adjusted. I’m a bit worried I paid too much for a nice pair of snowshoes I’ll destroy in a year, when I could have paid just $50 and destroyed another pair of cheap snowshoes this year. This is something I’ll closely monitor: I’d rather destroy a $50 pair of snowshoes every year rather than “baby” a $200 pair of snowshoes that still end up needing to be replaced in a year.
But back to the peak: In the summertime this would be a great intro hike for someone looking to get into easy ridge climbing.
Also, my phone “died” several times due to the cold, but it wasn’t actually that cold, just windy (which made it cold). Do phones suffer from “wind chill factor” as well? It kept turning back on again after some time being in my backpack, but it was annoying when it kept dying during a video, etc. especially when it wasn’t that ‘cold’ out. Also, it lost track of my navigation when it turned off, so I don’t have a track for this hike.