What would you add?
What would you add?

RT Length: 7.84 miles
Elevation Gain: 2974’
I needed a win. The past 7 (yes, 7) trailheads I’ve tried to access have been closed due to snow, Sage Grouse mating / nesting season, and/or calving season. Note: these were trailheads to obscure 13ers, so there wasn’t a lot of information on them in the first place, especially for this time of year. One trailhead was open, but not passable due to snow. I tried it again the next week, thinking the snow would have melted out by then. It had, but now the gate was closed. Ugh.
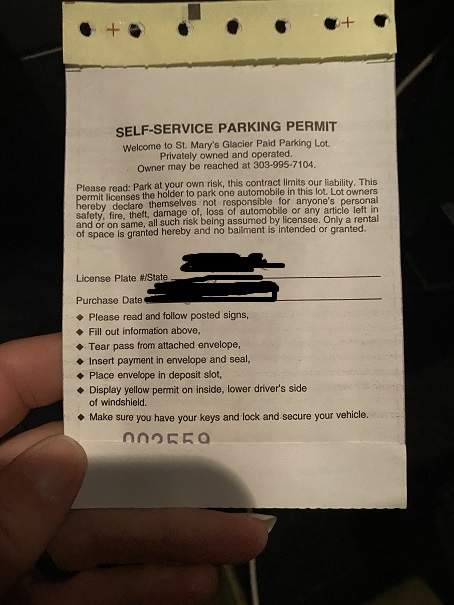
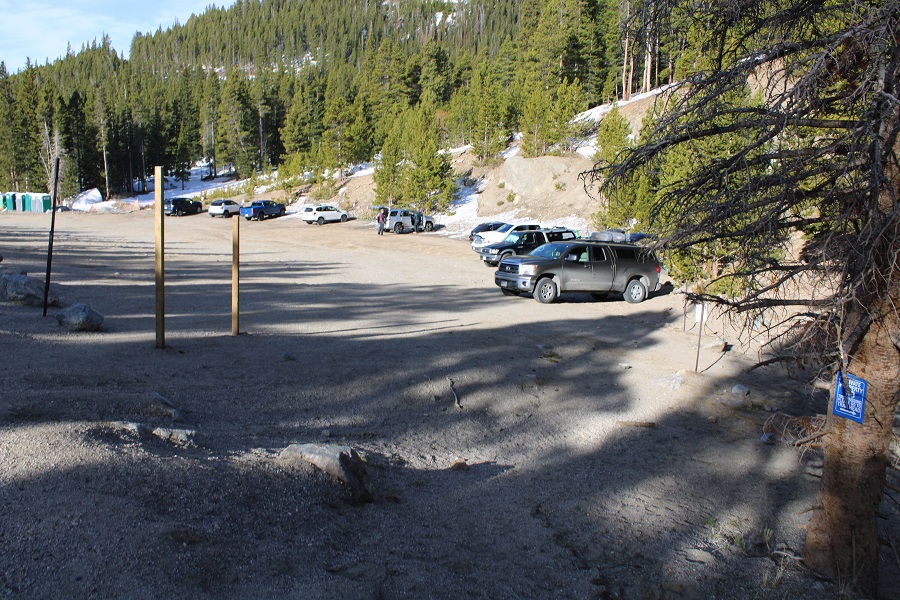
So, even though there was a $5 parking fee, like I said, I needed a win. I arrived at the St Mary’s Glacier/James Peak trailhead at 3:30am, the first vehicle in the lot. I paid the $5 at the self-pay station (located near the porta potties) and was on the trail before 4am.
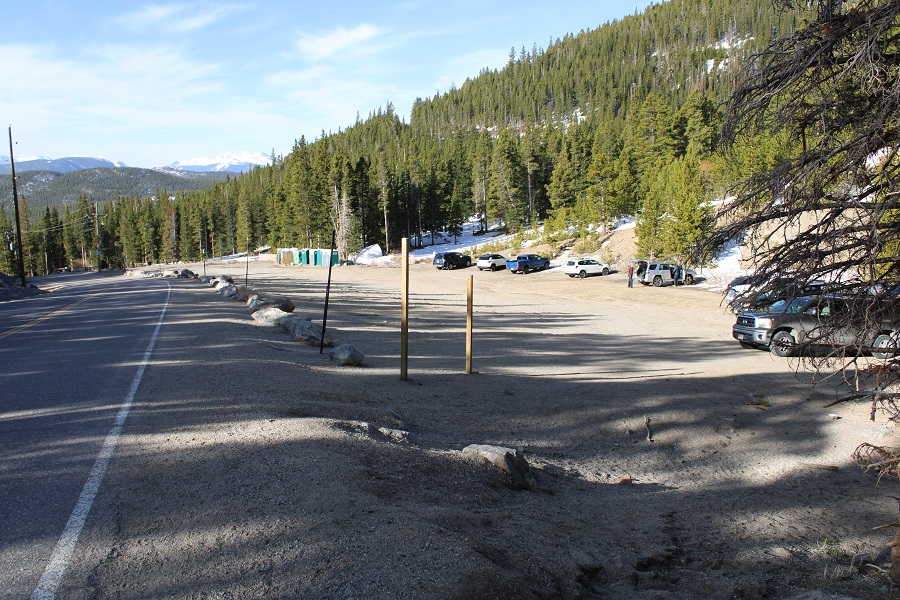
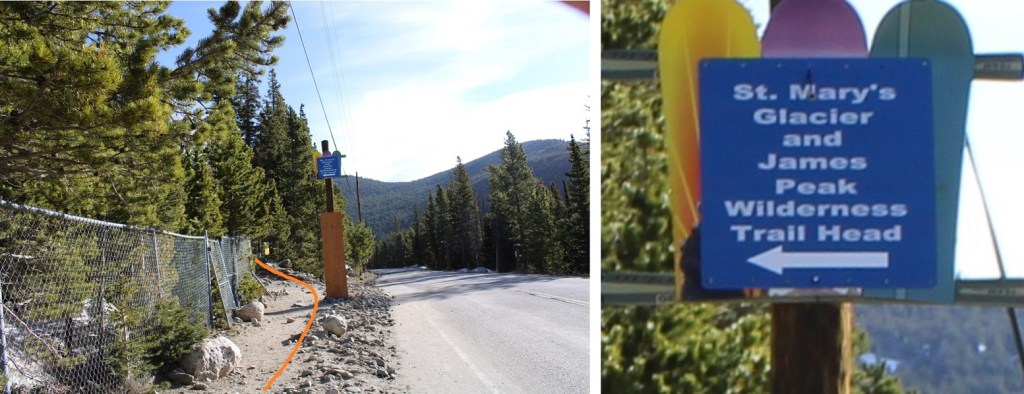
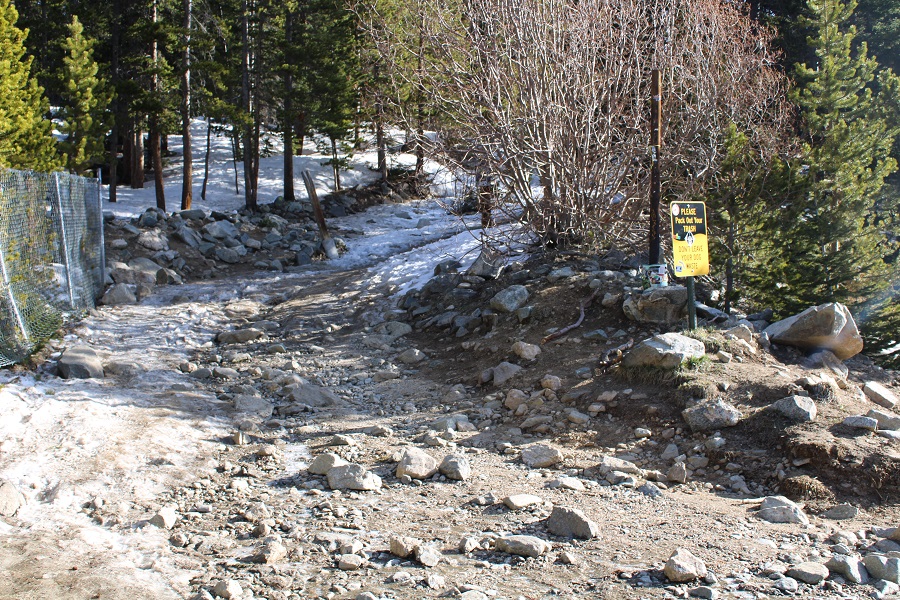
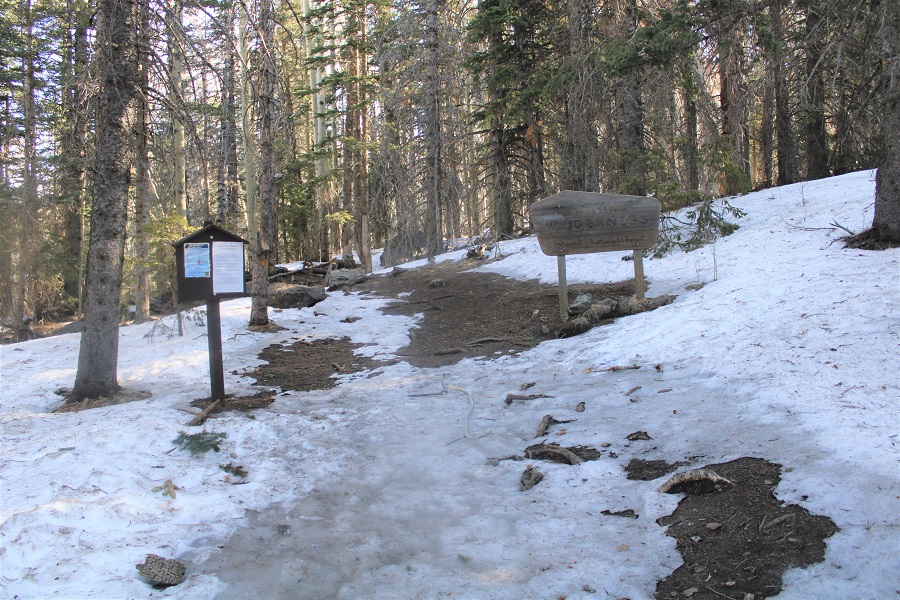
The trail starts at the north end of the parking area, and follows the road shortly before turning left and heading into the trees. There’s good signage here.
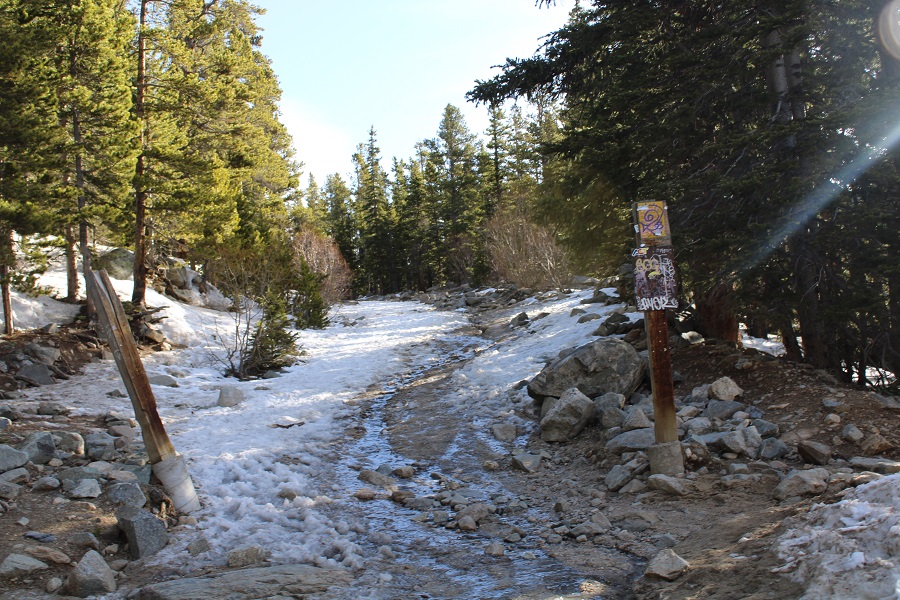
The trail started out a mixture of rocks, ice and snow, and eventually became mostly ice-snow. I quickly put on my microspikes and wore them for the rest of the day.

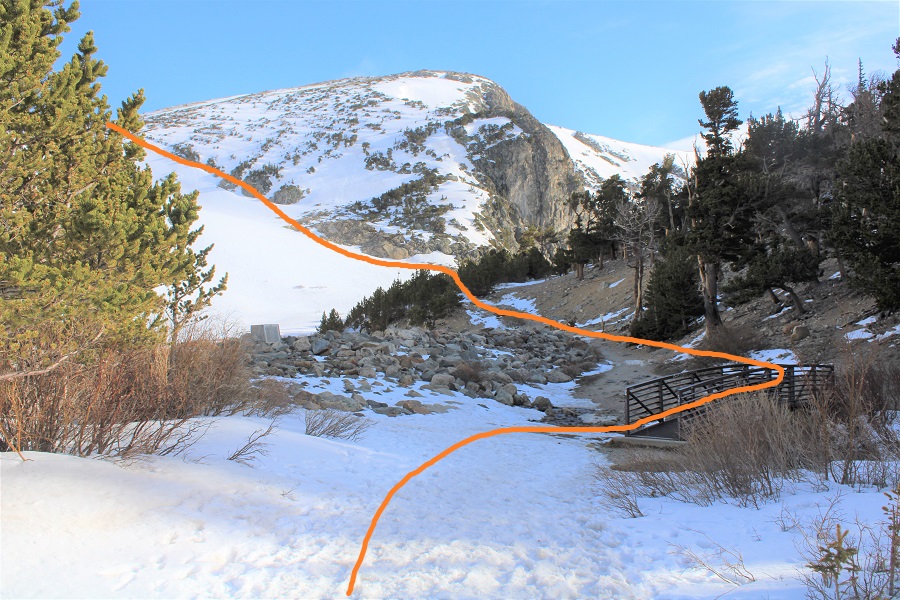
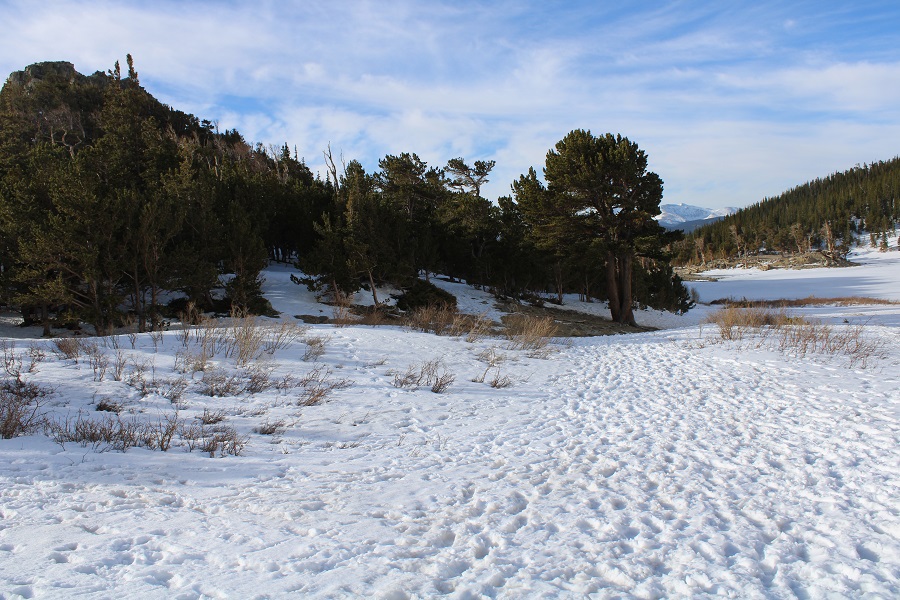
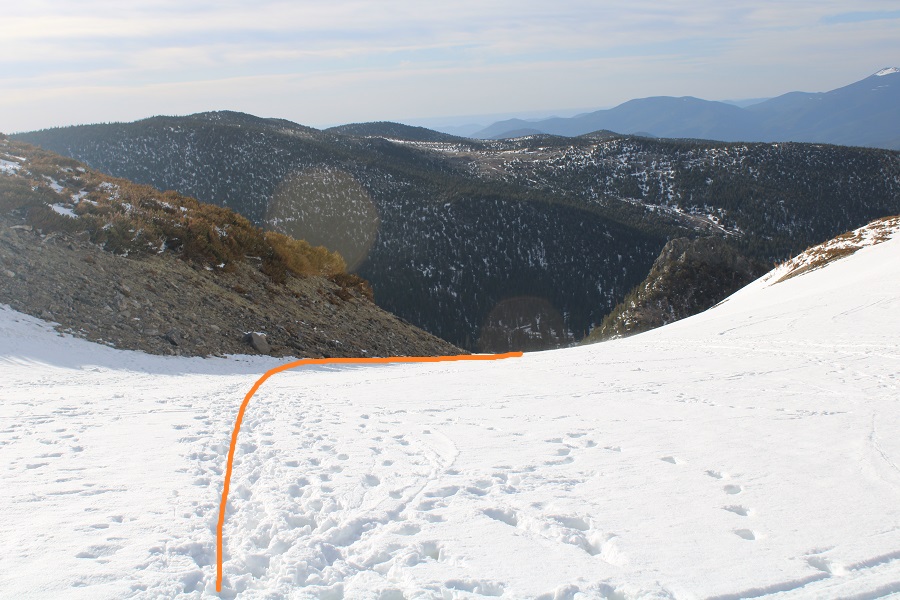
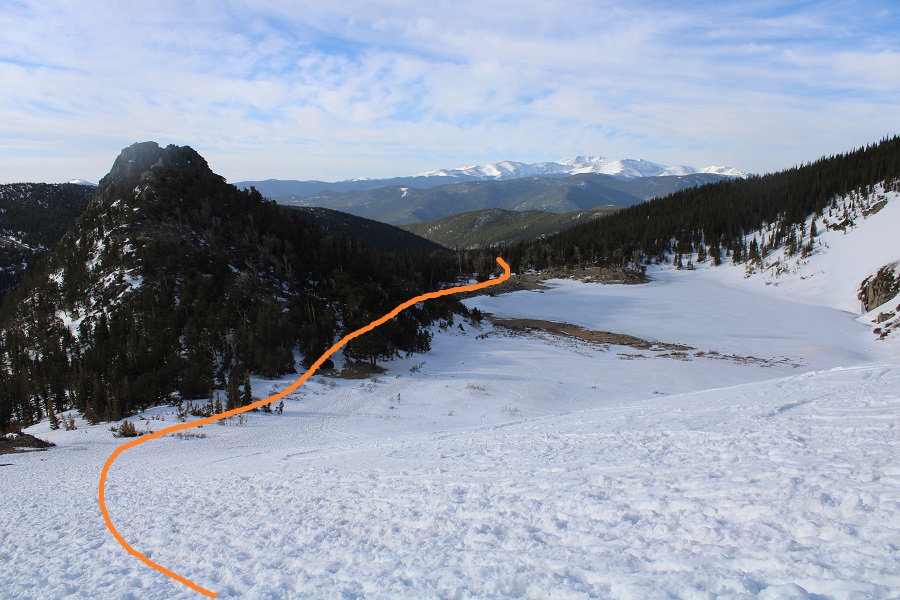
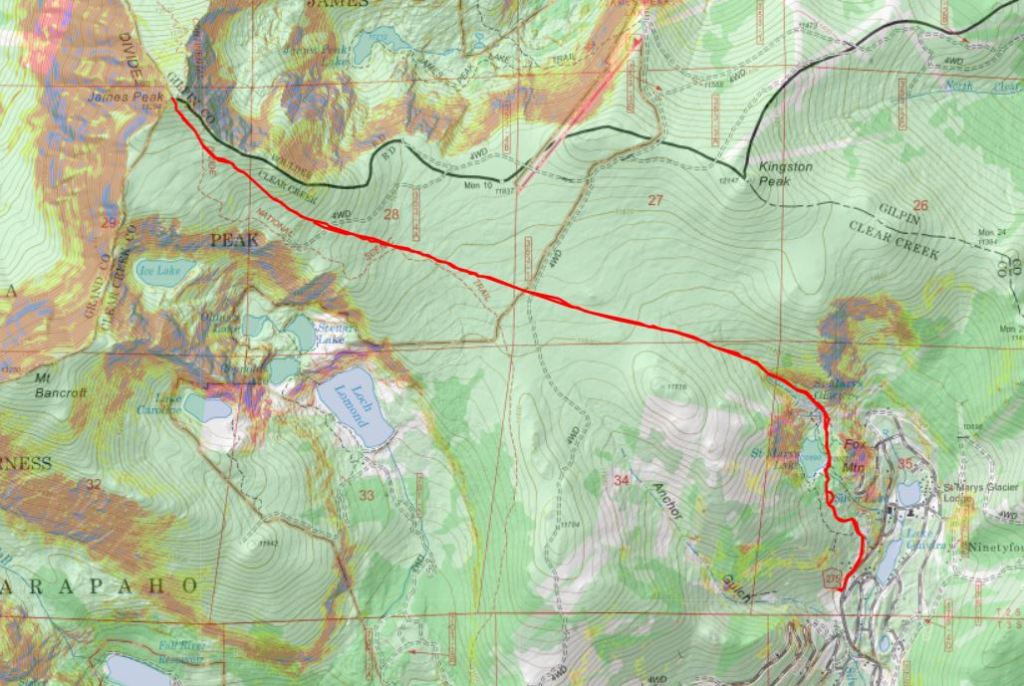
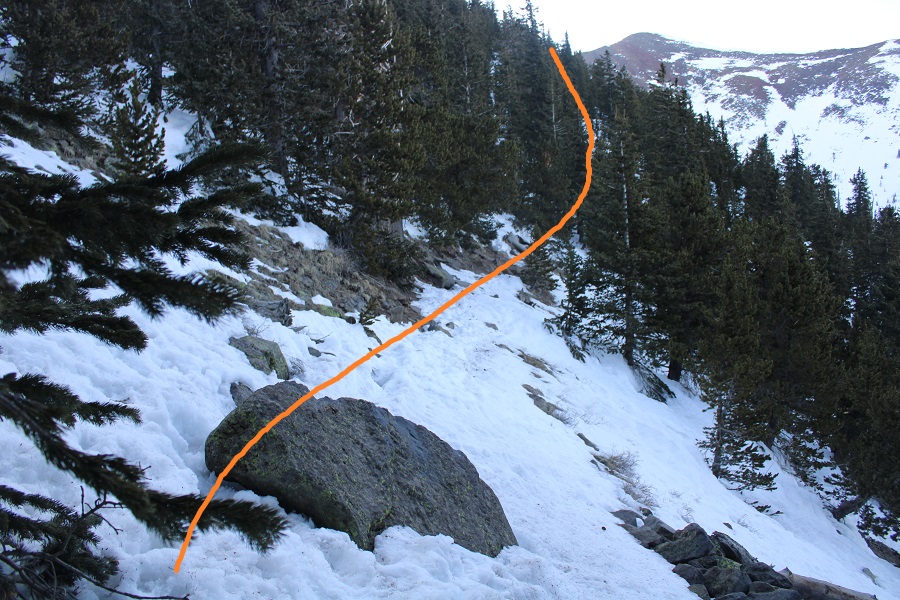
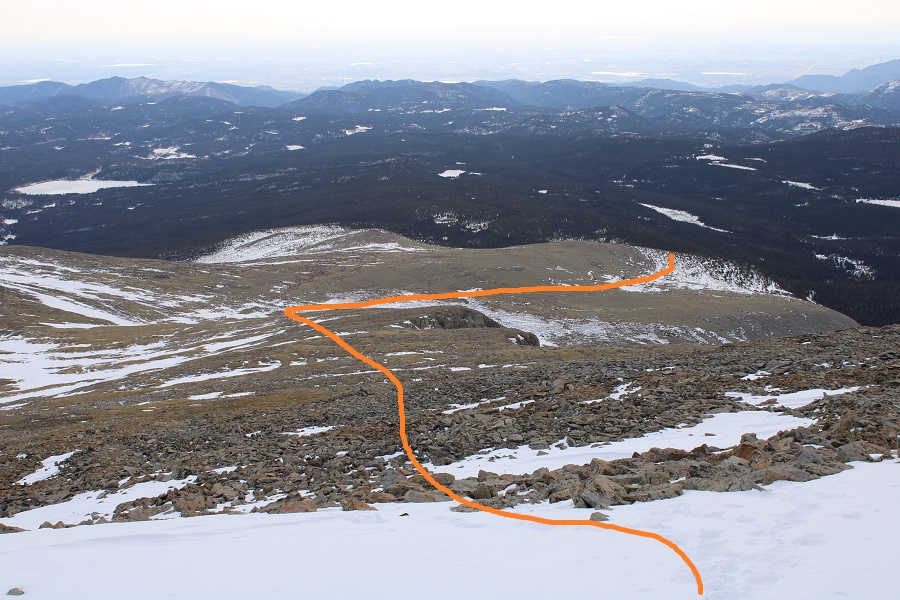
After hiking for .75 miles I came to St Mary’s Lake. It’s covered in snow right now, and to the left of this picture. St Mary’s Glacier is directly in front. Here’s the route I took, crossing the bridge, skirting the lake, and then heading up the slope.
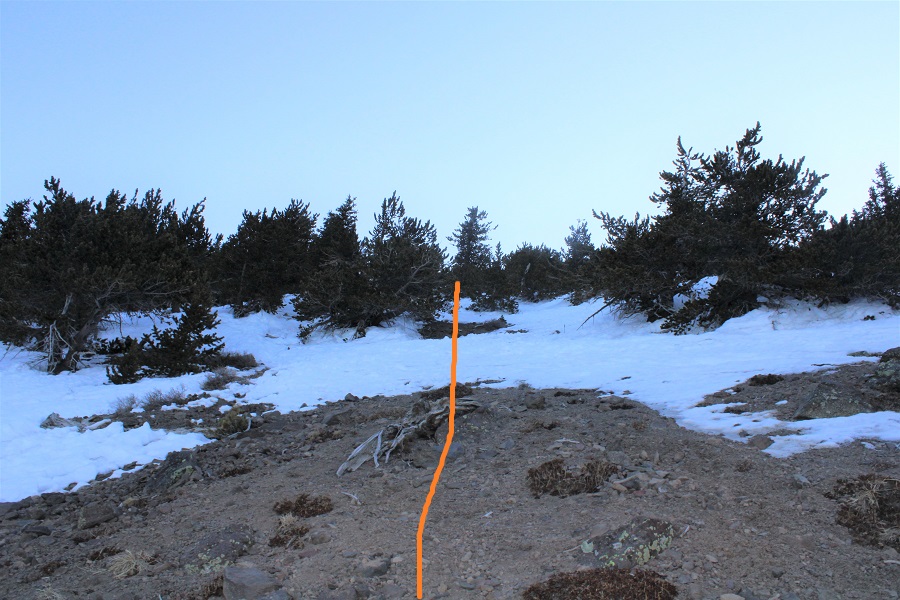
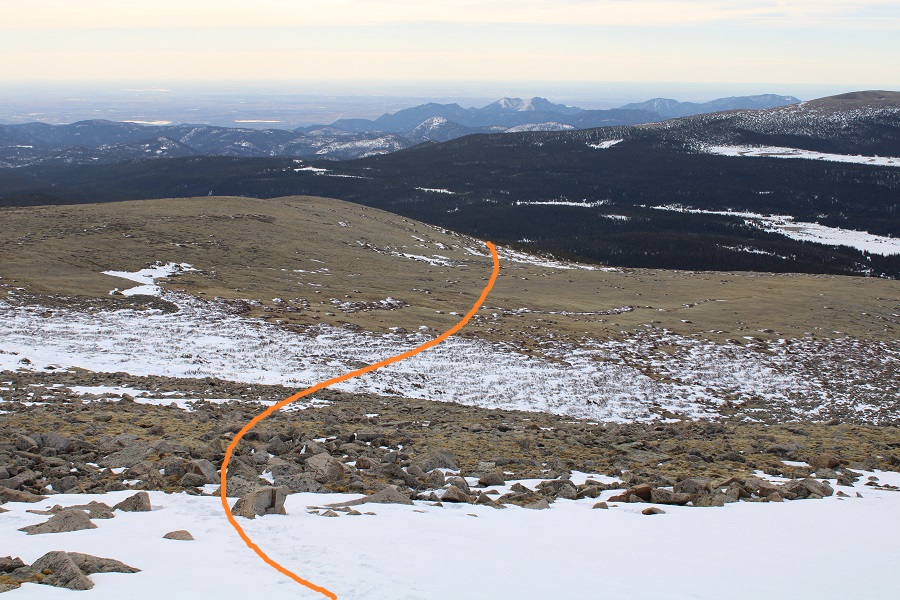
Here are some step by step photos to the top of the slope.
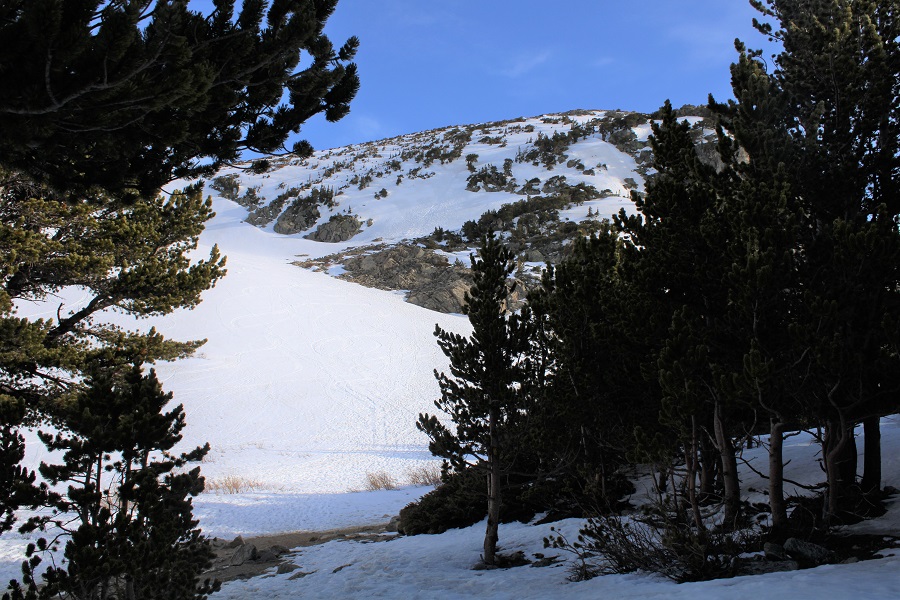


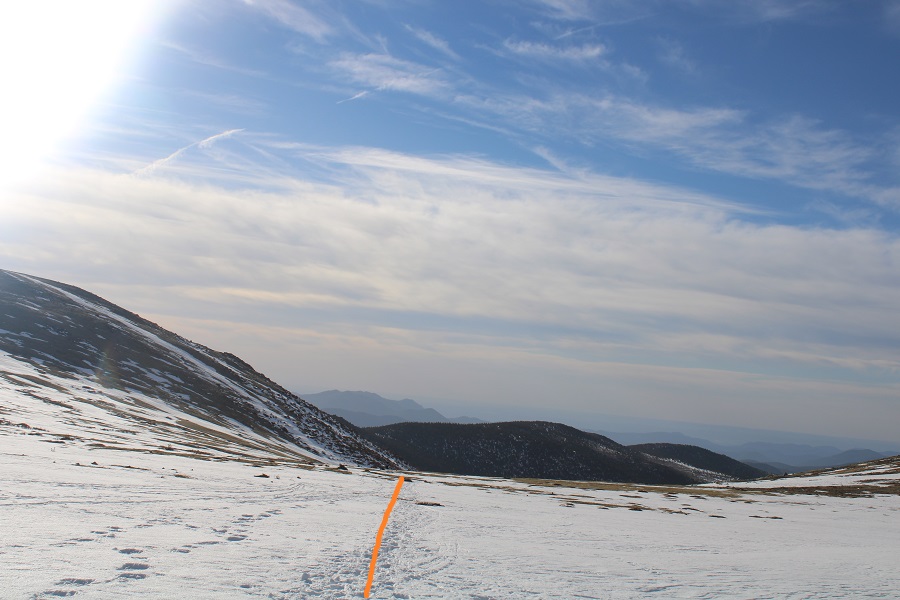
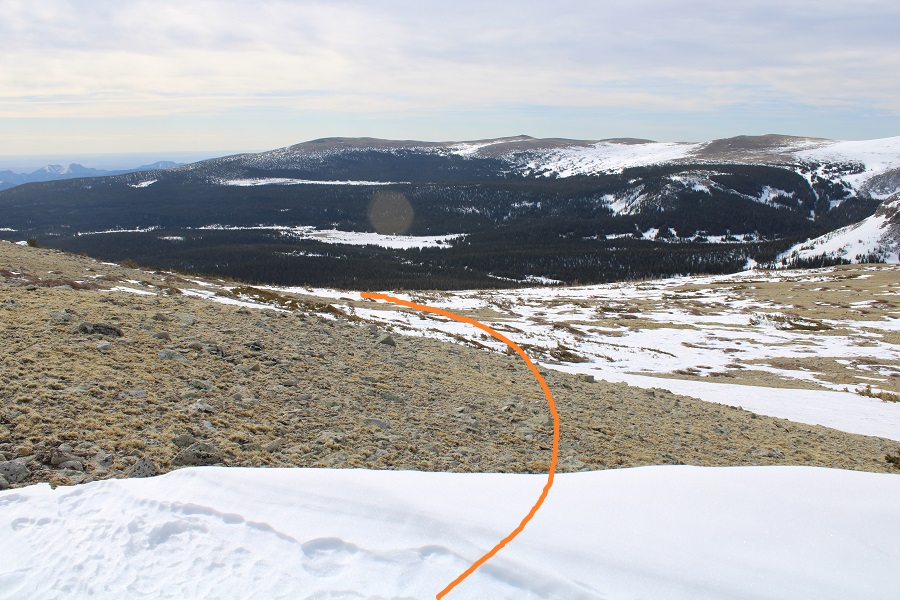
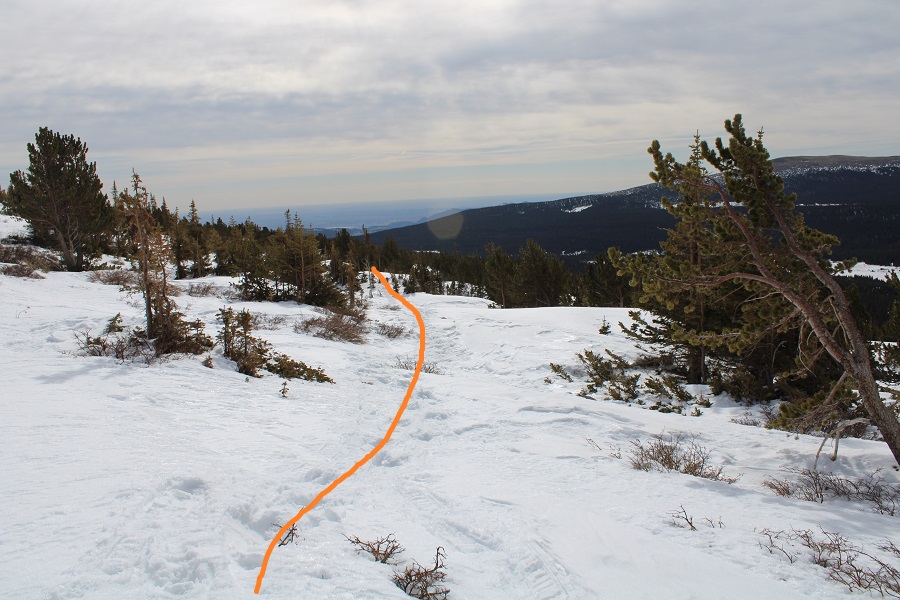
Once at the top I came to a plateau, and could see James Peak in front of me. Well, I couldn’t really in the morning, as it was still dark, but I could tell it was a clear morning by the shooting starts I kept seeing (that was about to change). At the top of the slope, just head northeast.
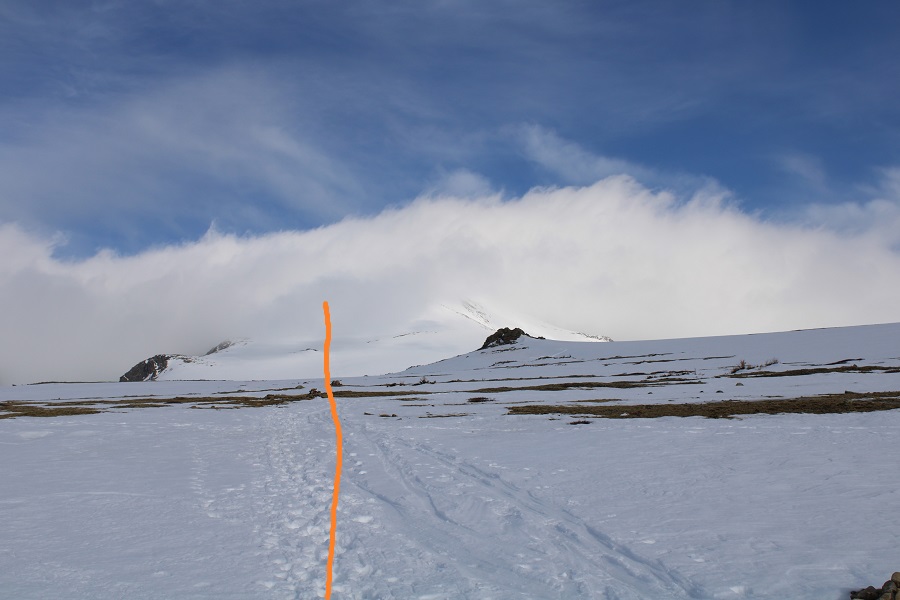
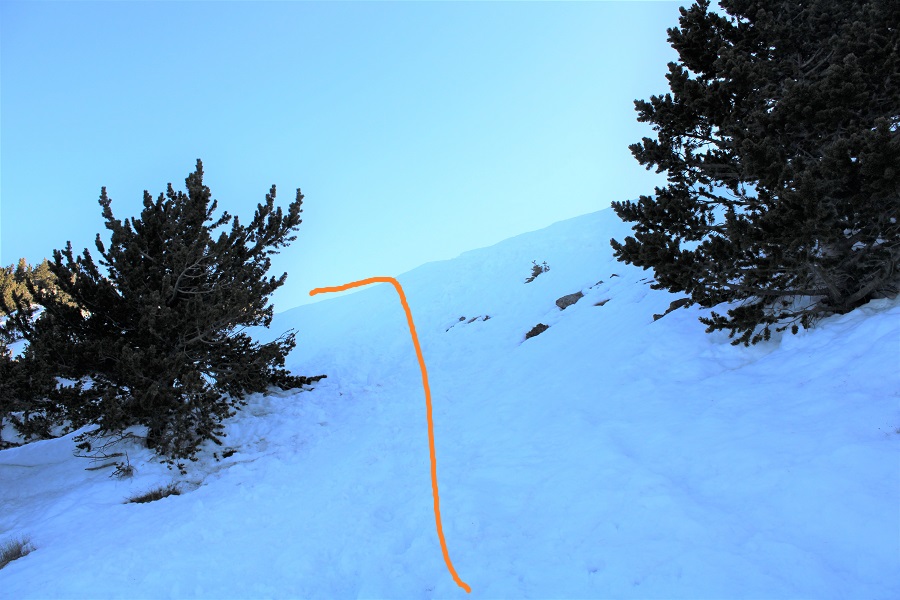
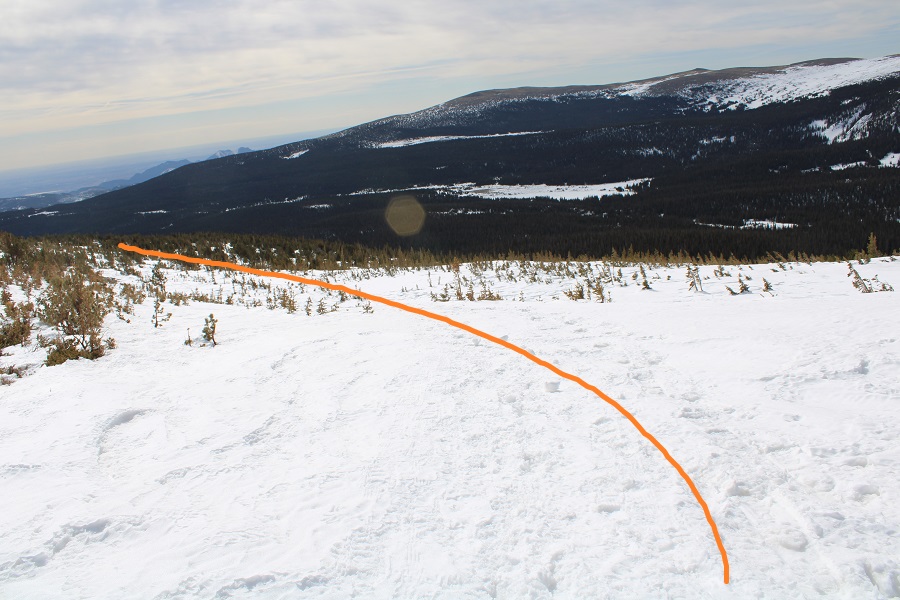
This is where the wind started. The wind never stopped, and in fact just got more intense as the morning went on. I put on my balaclava and headed northeast. Here are some step by step pictures
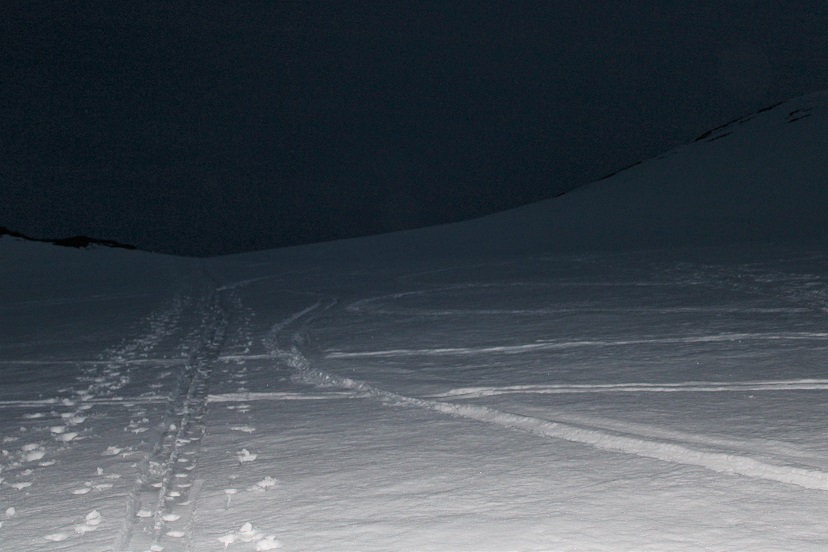
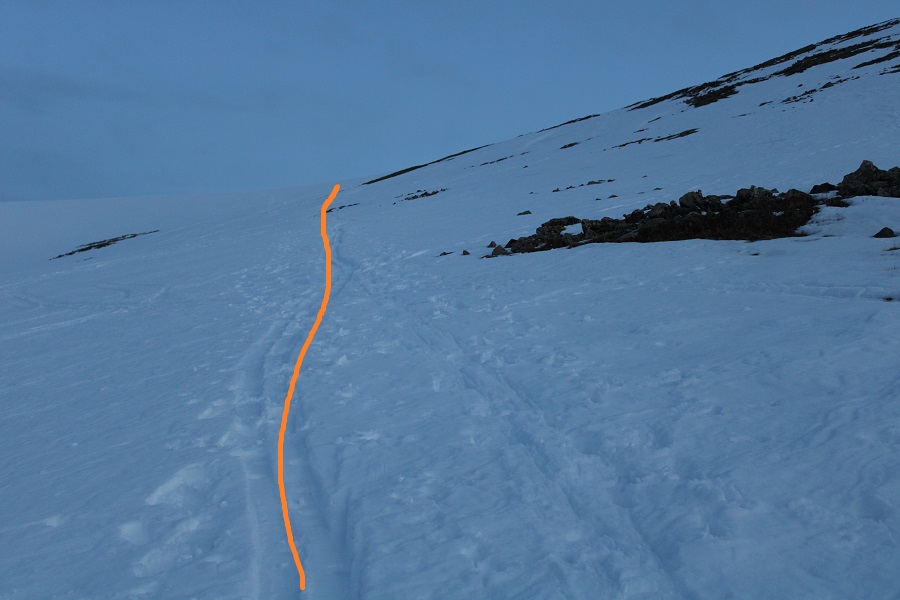
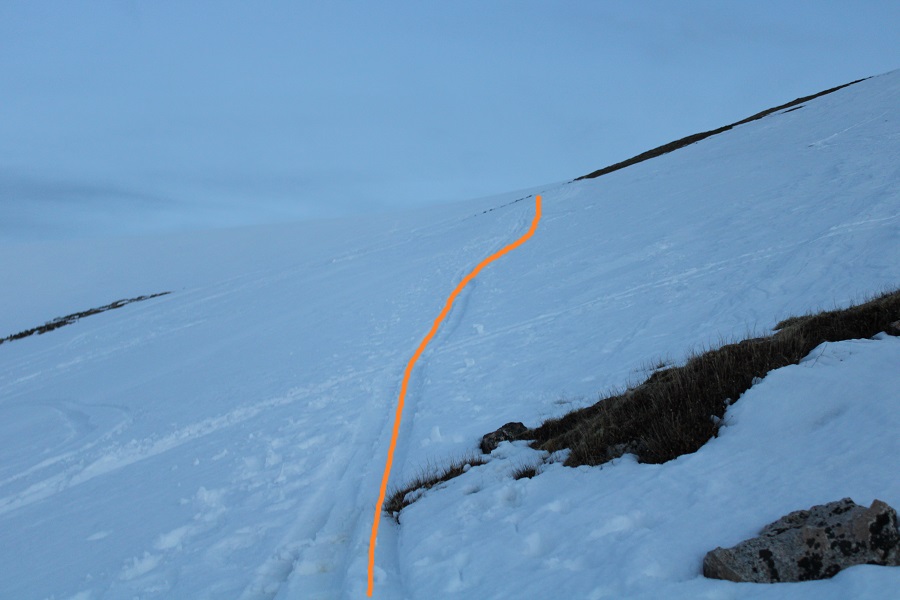
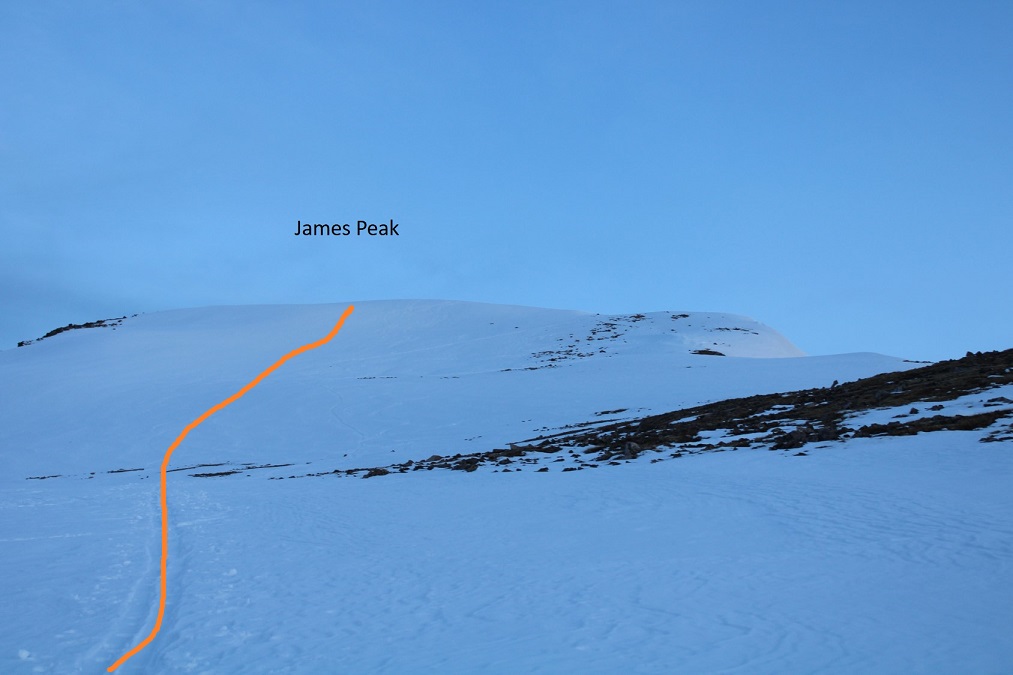
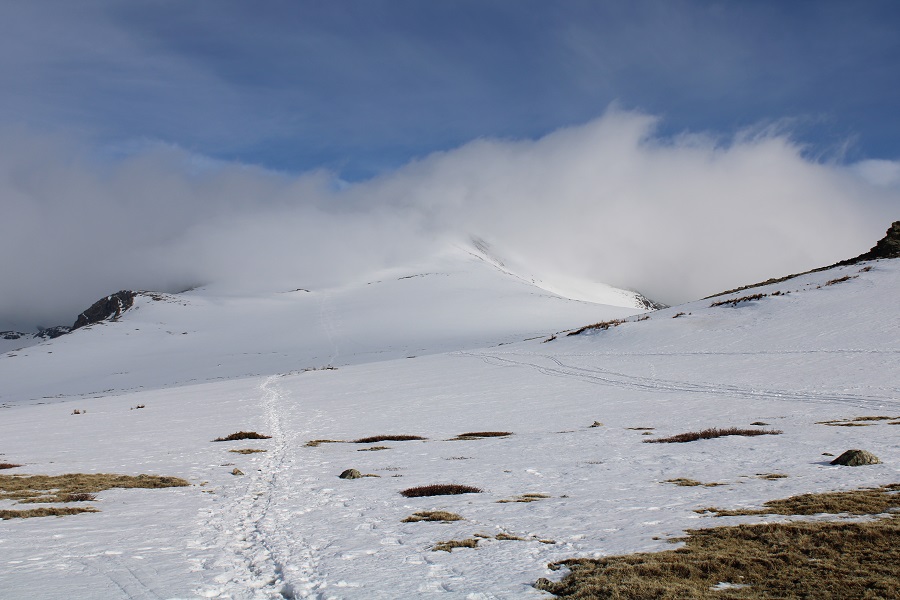
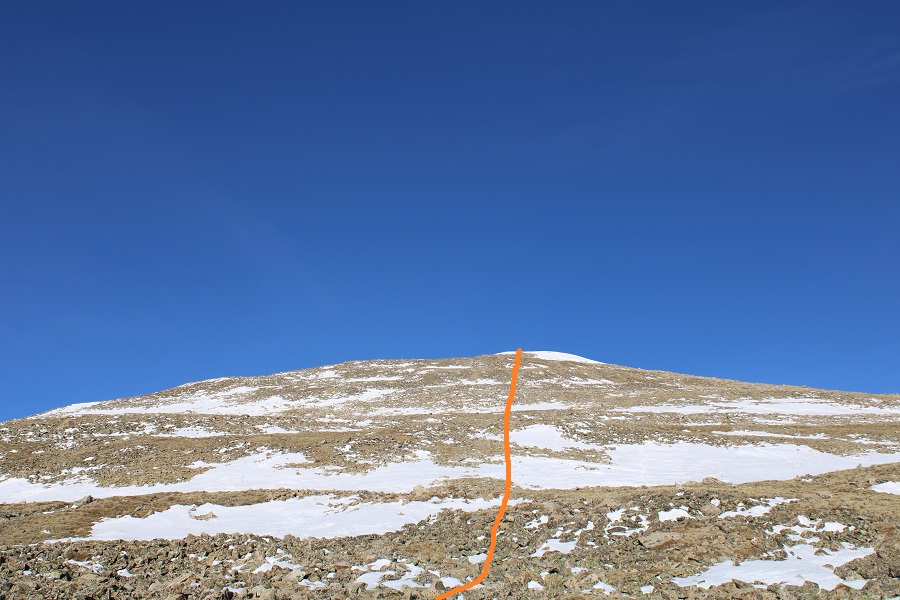
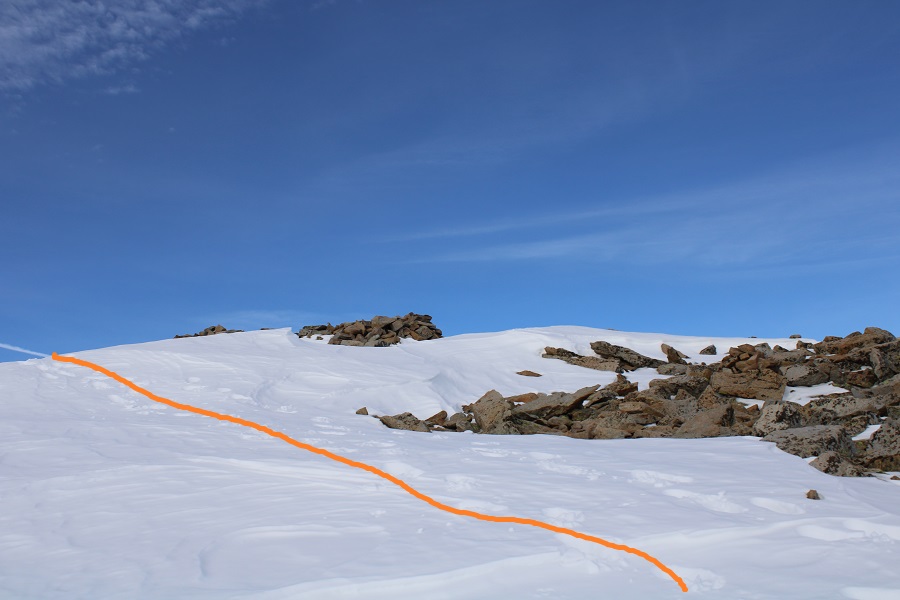
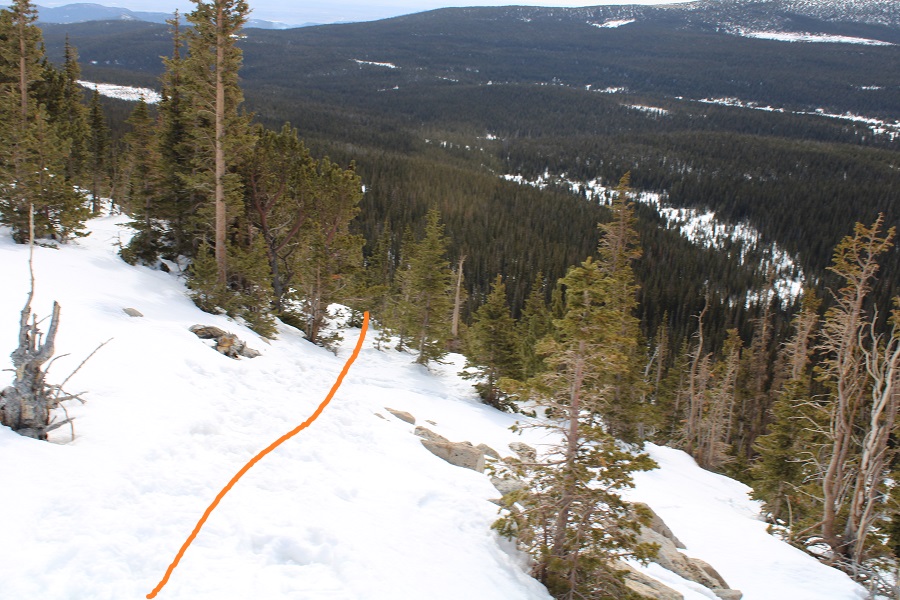
The very last part of this hike included turning north and heading up this slope. I did not need crampons/ice axe on my way up (microspikes were fine) but I did use my ice axe on the way down. This could have been prevented by zig-zagging the slope (dotted line), but I felt it was better to get in some glissading practice.

I summited James Peak at 6:25am
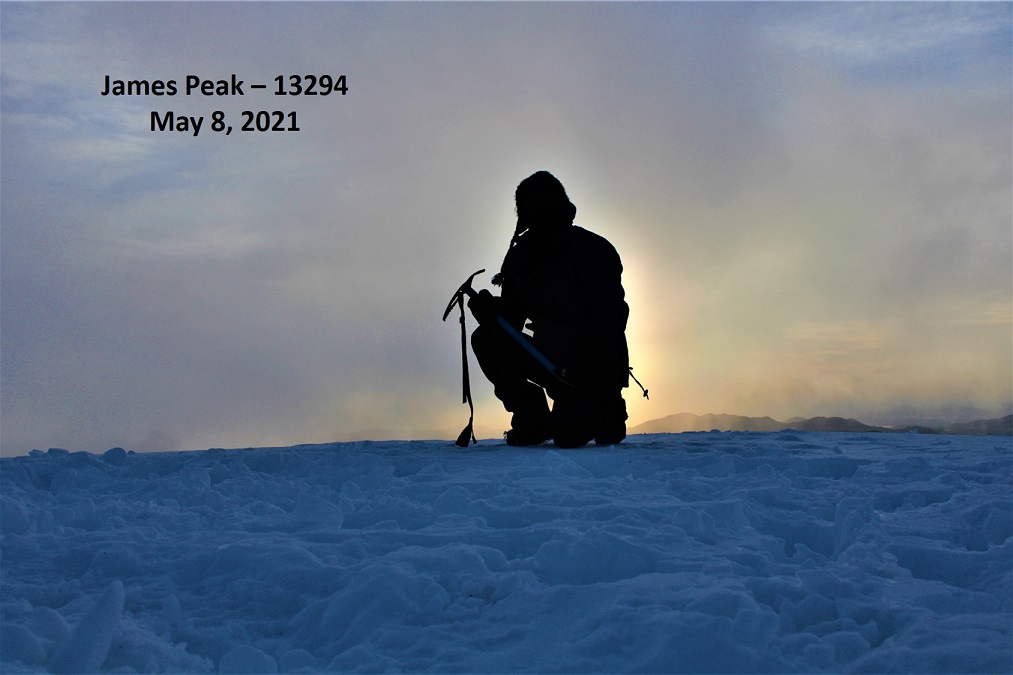
James Peak:
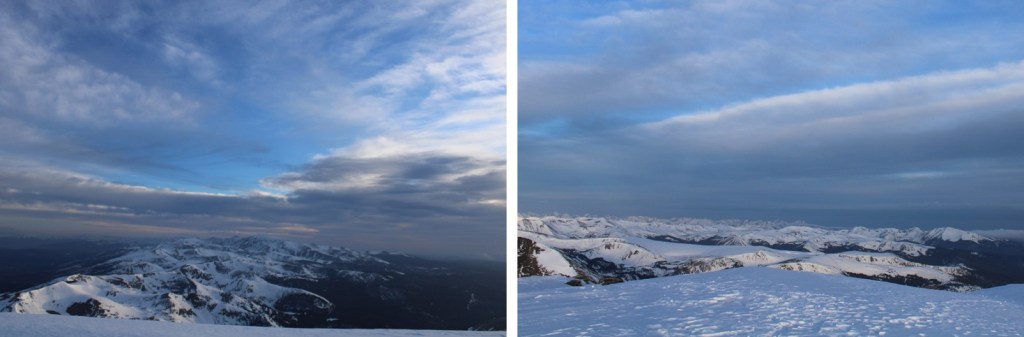
I was surprised at how fast the clouds were coming in: The wind was stronger here on the summit, and soon I lost most visibility.
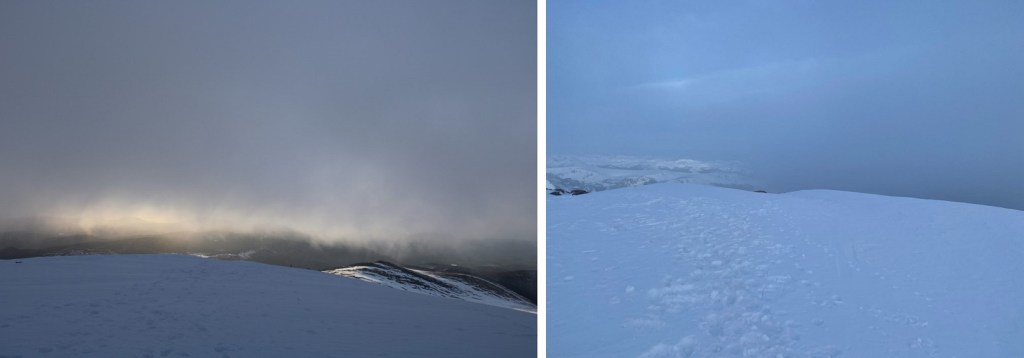
I headed back the way I’d come, careful to follow my footprints as it was getting increasingly difficult to see. I faced the mountain and used my ice axe for the initial descent, then turned and glissaded for a bit. Here’s an overall view of the route back down to the lake
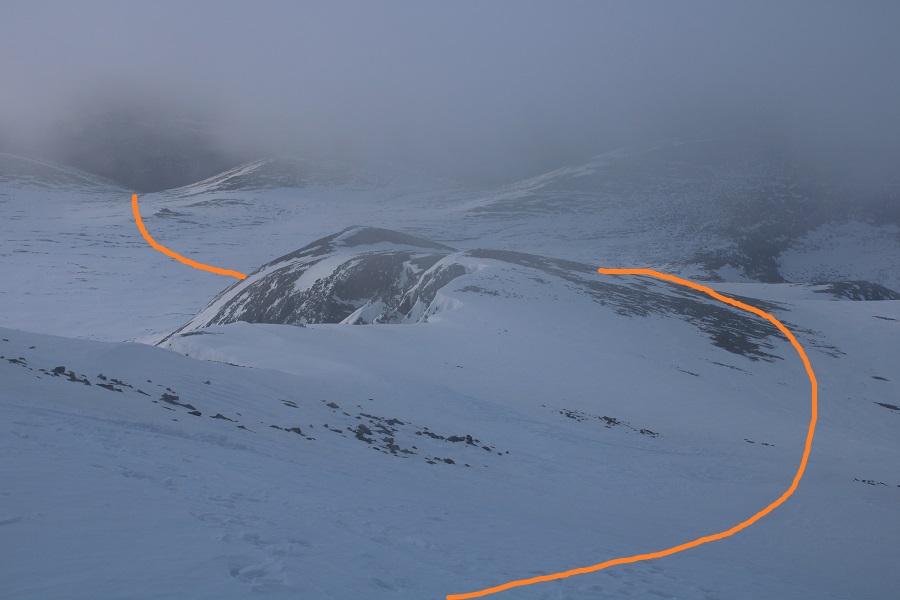
And step by step, once I got out of the clouds
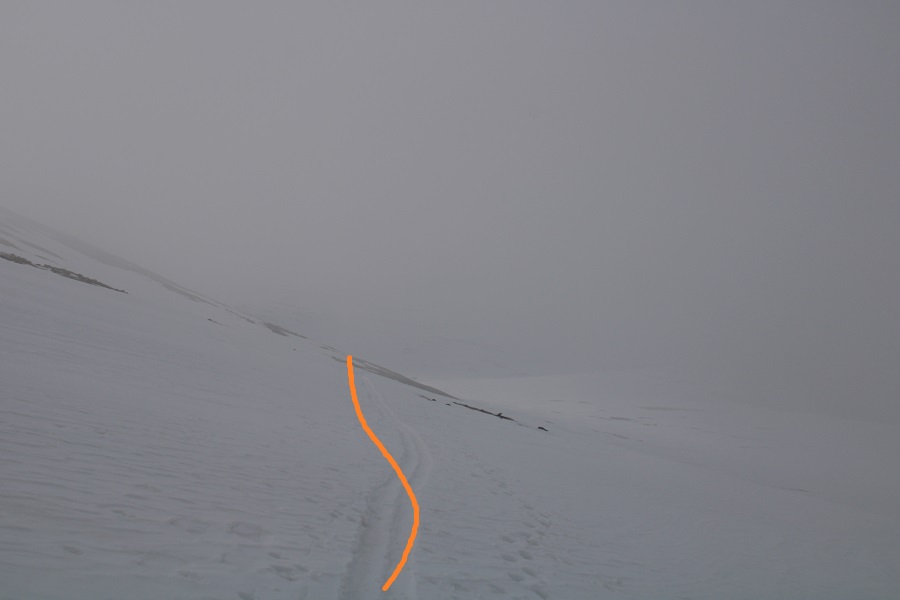
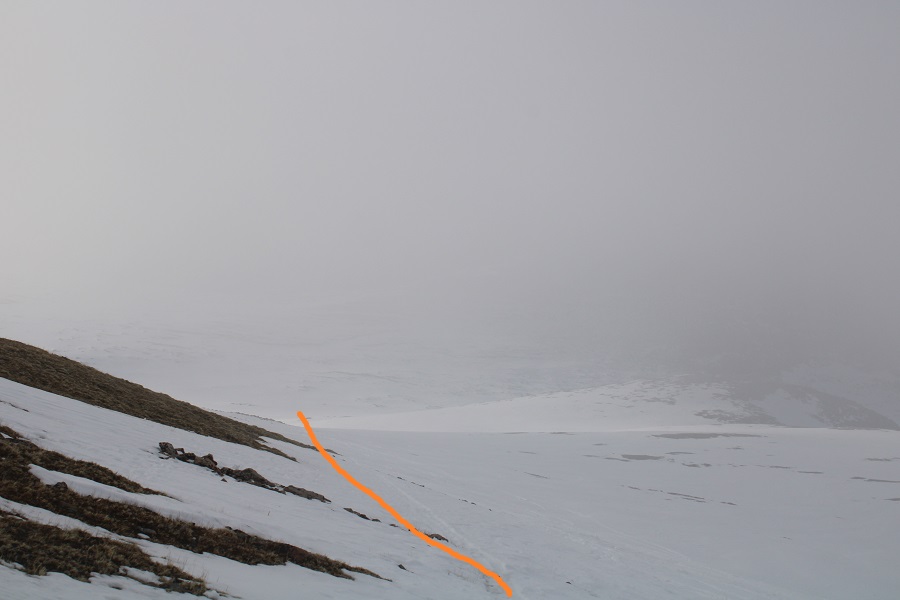

The wind never stopped, but the clouds stayed up by the summit, making it for a clear morning down below (by afternoon it was snowing).
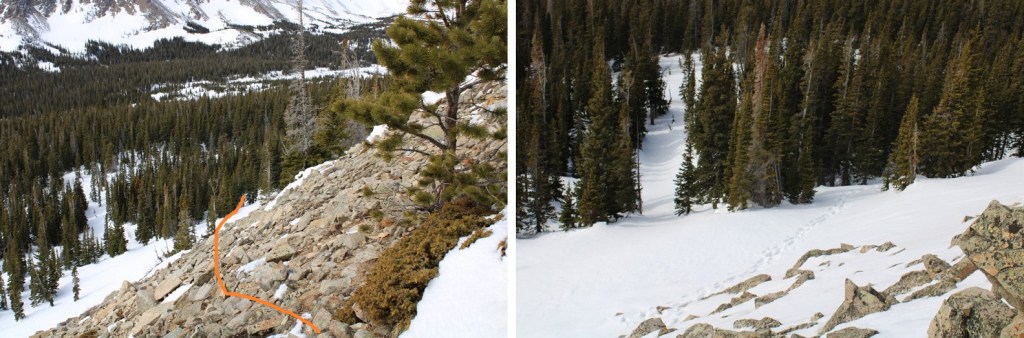
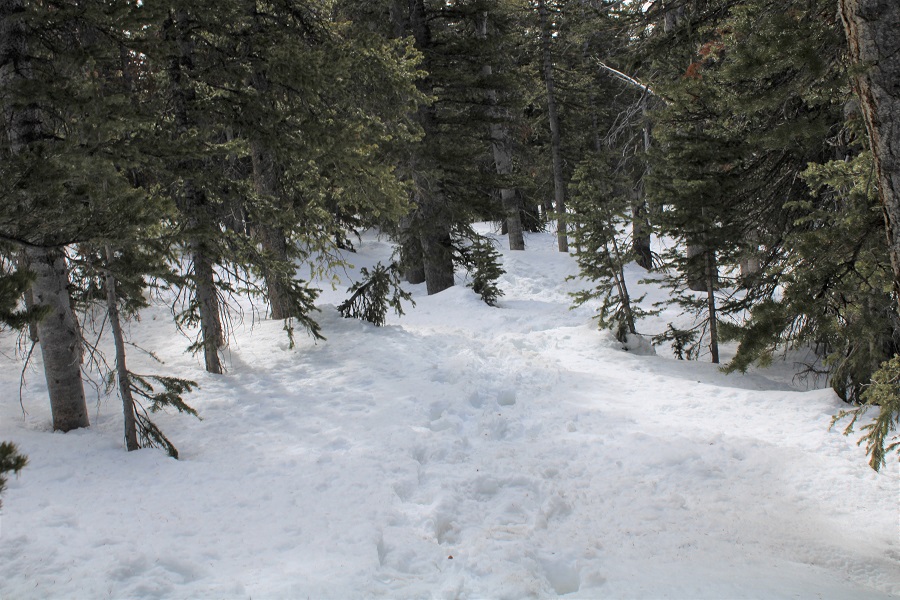
It was still morning, but the snow was already turning to slush, and the steps I’d put in earlier were now ice. I kept slipping and couldn’t figure out why? I had on my microspikes, but they weren’t catching me like they usually do (it wasn’t until I made it back to the truck and took the spikes off I realized in the dark I’d put one on inside out, and the spikes were facing the sole of my boot. Whoops!). Here are some photos of the way down the slope and back to St Mary’s Lake
And over the bridge, back on the trail that led to the street.

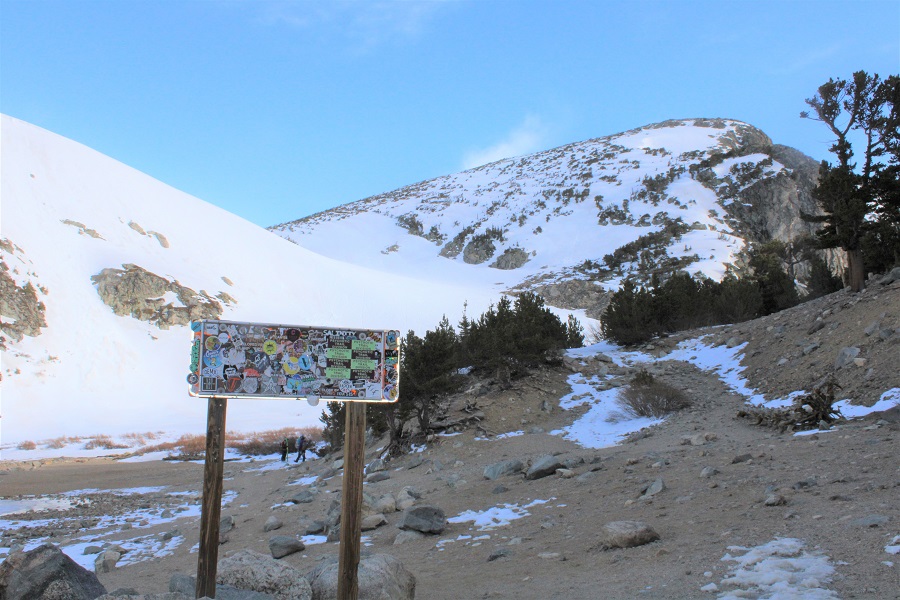
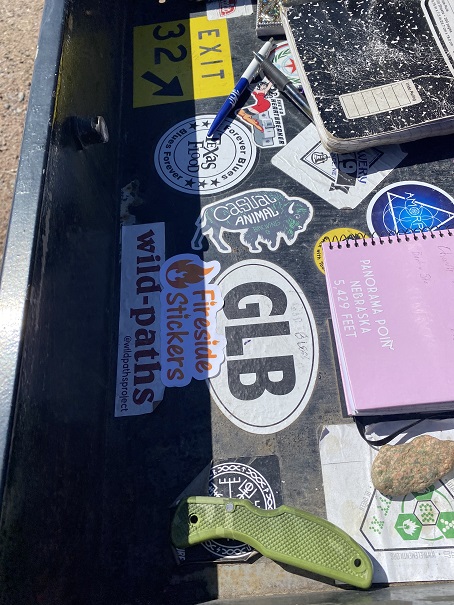
There was a sign near the bridge. I’m guessing it said “St Marys Glacier” or “James Peak Trail”, or something like that, but it was covered in stickers and useless. I thought to myself I should have brought some 14er Fireside Stickers. Oh well, I’ll be back to make this a ridge hike, or at a minimum get some 12ers in the area: I’ll bring stickers then.
It was less than a mile on the trail back to the parking area. Note: Some parts of the trail were slick, as skiers and snowboarders have smoothed down the trail.
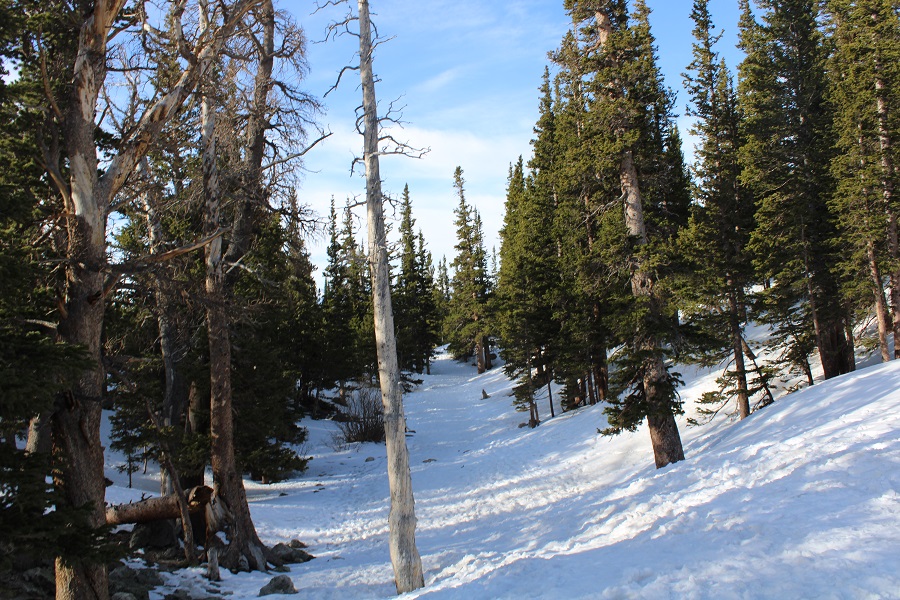
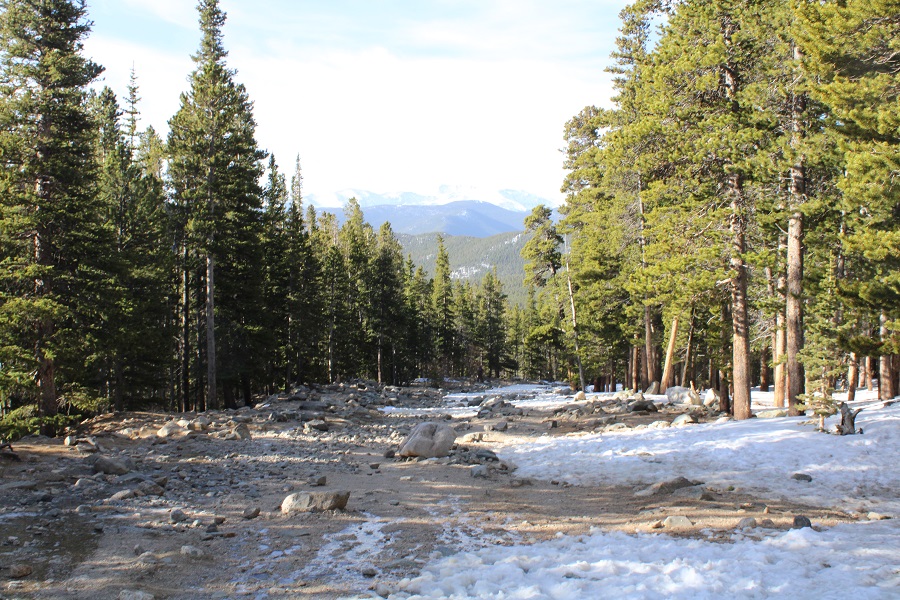
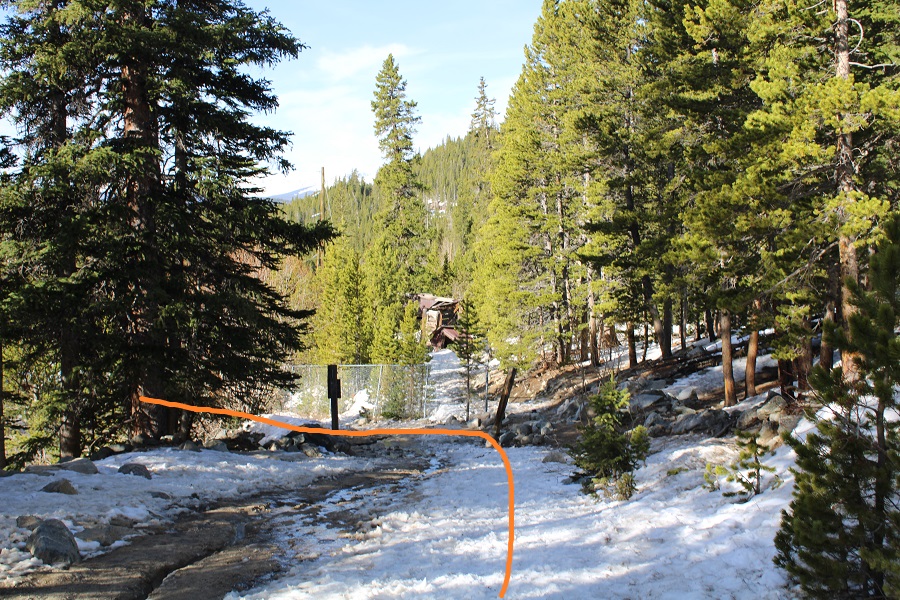

I made it back to my truck at 8am, making this a 7.84 mile hike with 2974’ of elevation gain in 4 hours.
RT Length: 17.42 miles
Elevation Gain: 4099’
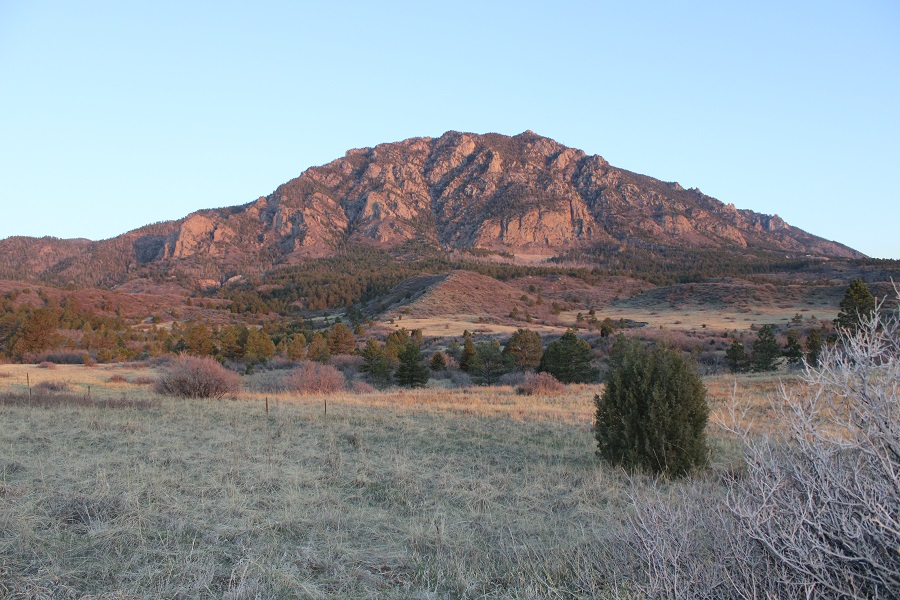
I’ve been asked to write up a trip report on the Dixon Trail from a few different people, but I was waiting until the conditions were right to take this hike. Contrary to popular belief, the Dixon Trail DOES NOT go to they top of Cheyenne Mountain: a reporter erroneously stated it did when the trail first opened, and the falsehood unfortunately stuck. This reporter obviously never hiked the trail before writing their article.
To start this hike I paid the $9 State Park entrance fee at the ranger station, and parked in the Limekiln parkin area of Cheyenne State Park. There was only one other vehicle parked in the lot when I arrived. I was on the trail at 6am.
The trail starts at the west end of the parking area, in between the bathrooms and information sign. I could immediately tell this was a mountain bike friendly park: there was even a station to fix bike tires.

At the start of the trailhead there was a register specifically for people hiking the Dixon Trail.
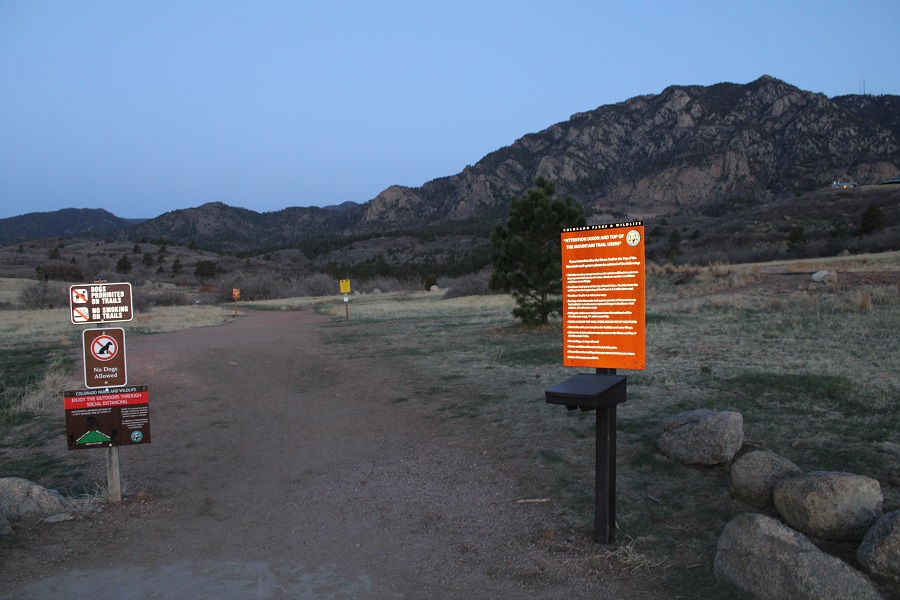
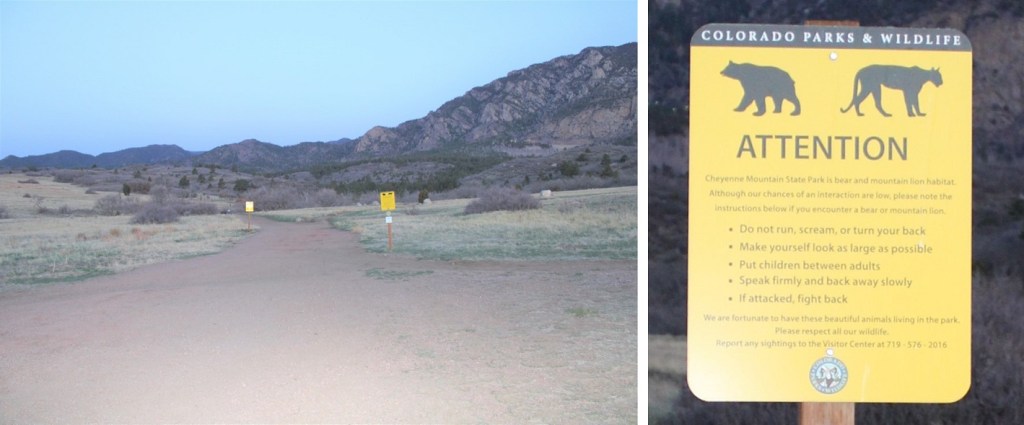
And a lot of signage. This park has tons of signs…
A word of advice: Even though this park has tons of signage, it’s obvious the area was designed for mountain bikers and not hikers: The trails aren’t efficient, and instead meander and do not take a direct line to the intended destination. It’s a good idea to have a GPX file for this route (message me if you need one) because, while overall you want to head west to gain the ridge, you’ll often times be heading south or north instead.
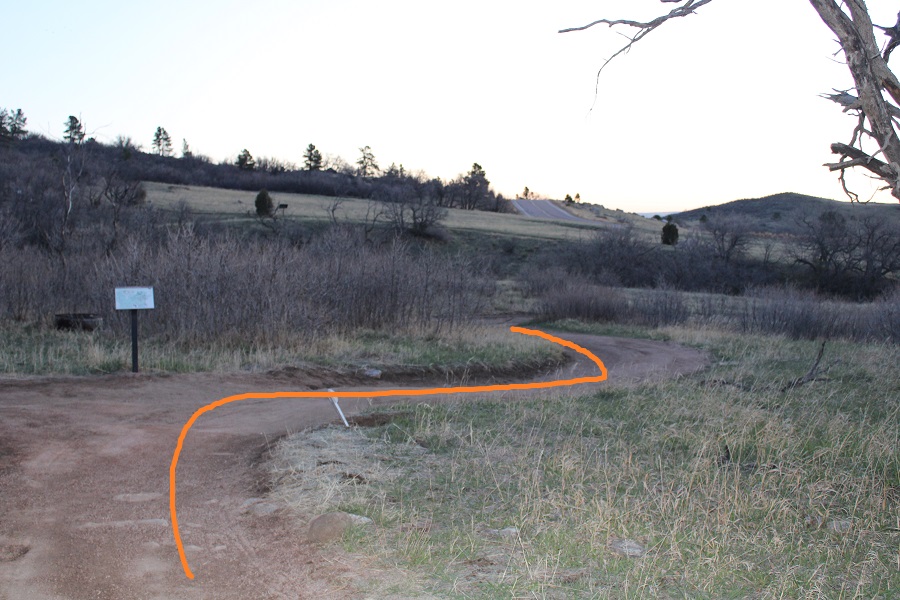
There are many ways you can get to the Dixon Trail from the Limekiln parking area. This is the route I took:
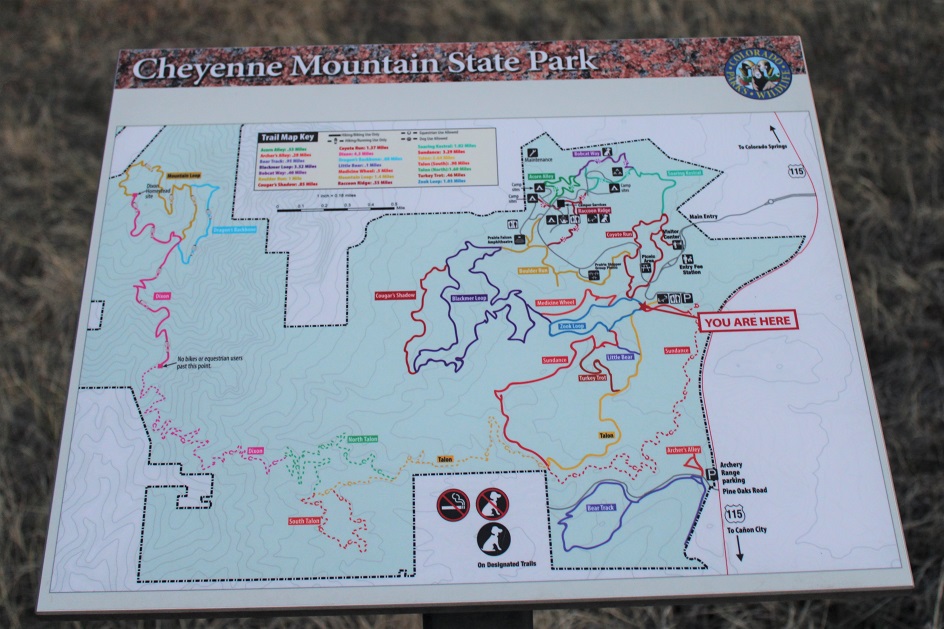
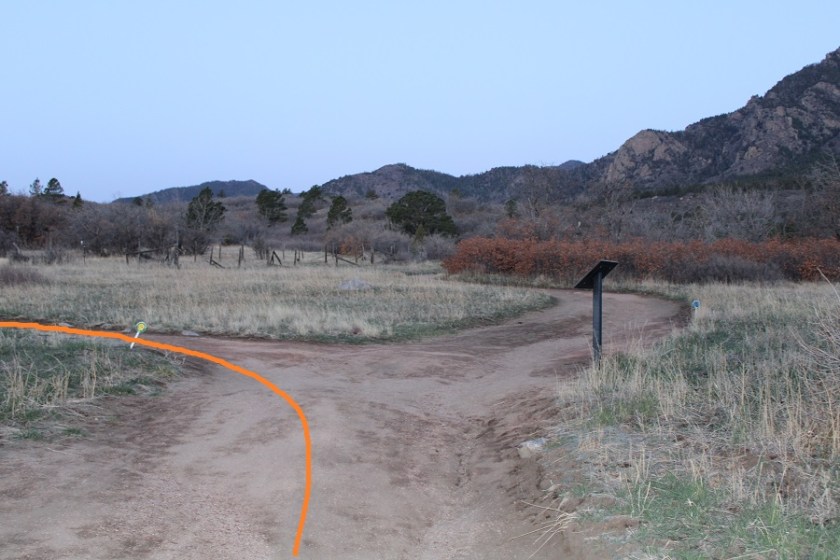
There are trail markers the entire way, indicating which route you’re on. I started by crossing the bridge, and following the Yellow / Talon Trail
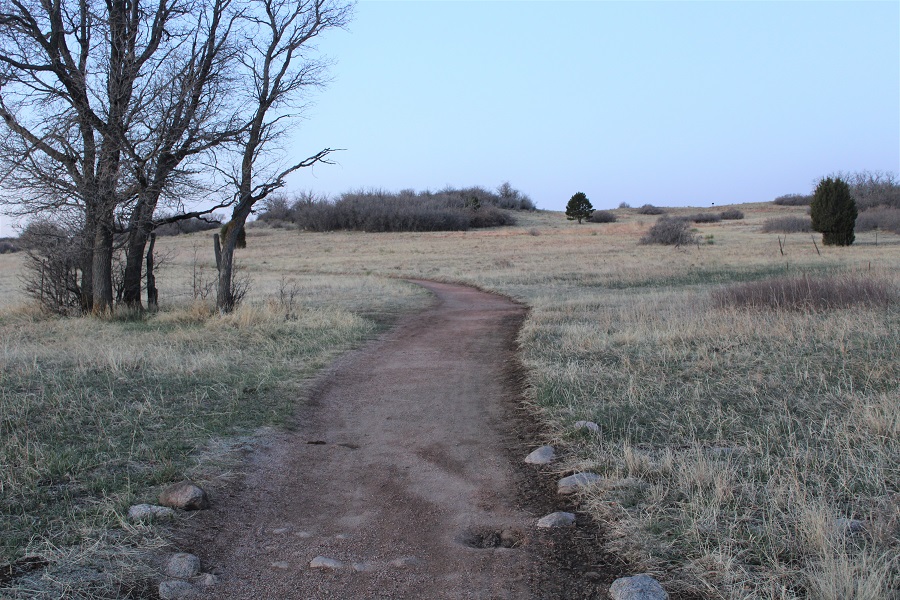
Here’s a look at the Yellow/Talon Trail

There were a lot of information plaques
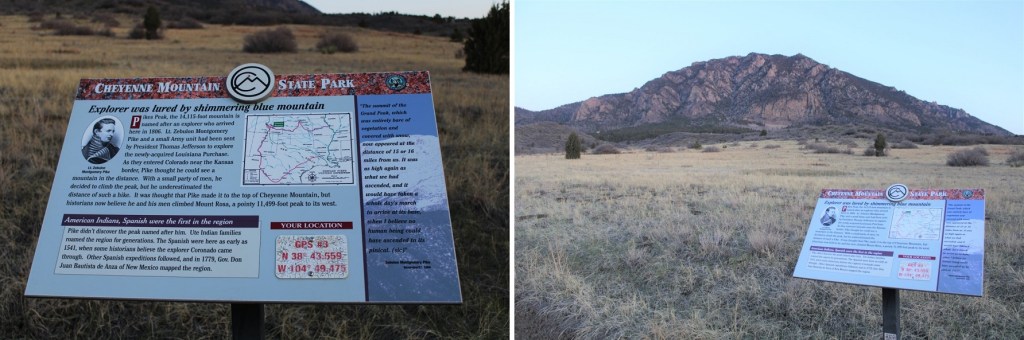
The terrain changed from prairie to scrubland and eventually to evergreen

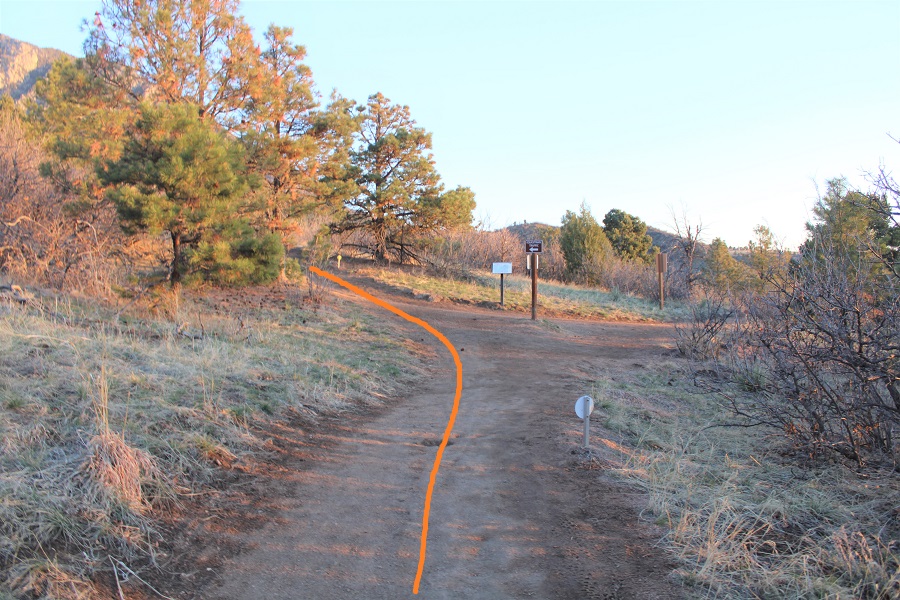

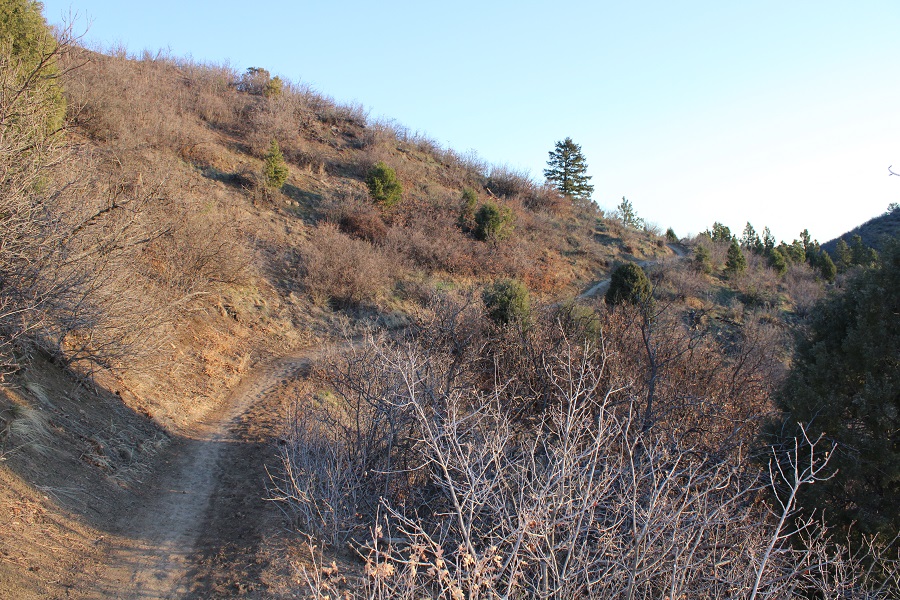


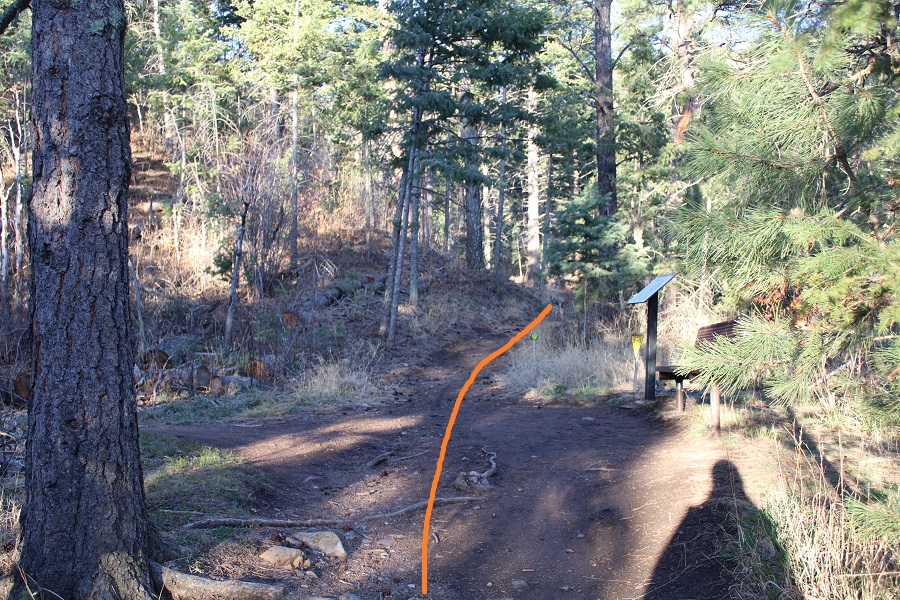
After hiking for 2.75 miles I turned right onto the Green / North Talon Trail. There’s a 3 day junction here, where the yellow trail ends and the red and green trails begin.
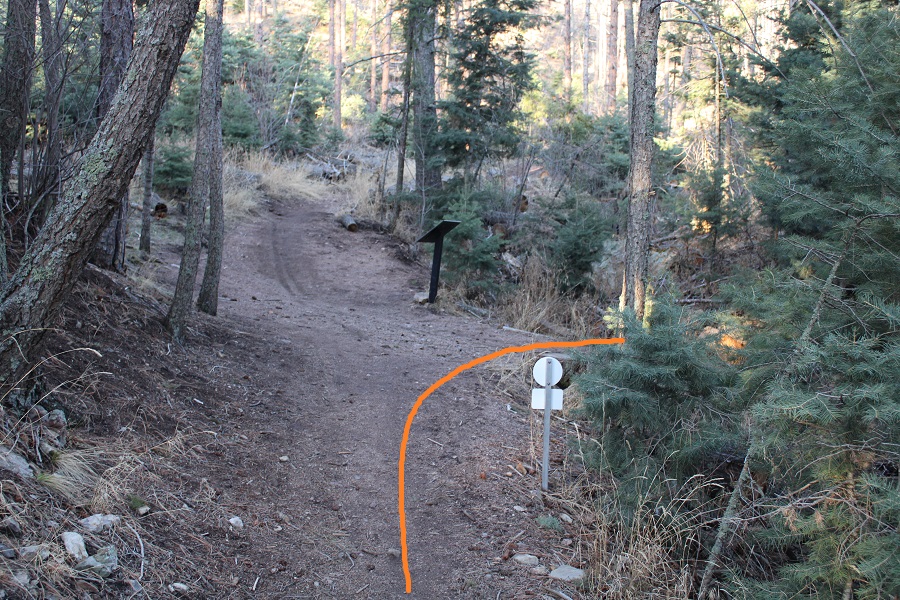
I continued following the Green / North Talon Trail for about half a mile until it came to the Pink / Dixon Trail. This is where the switchbacks start, and unfortunately, don’t let up.


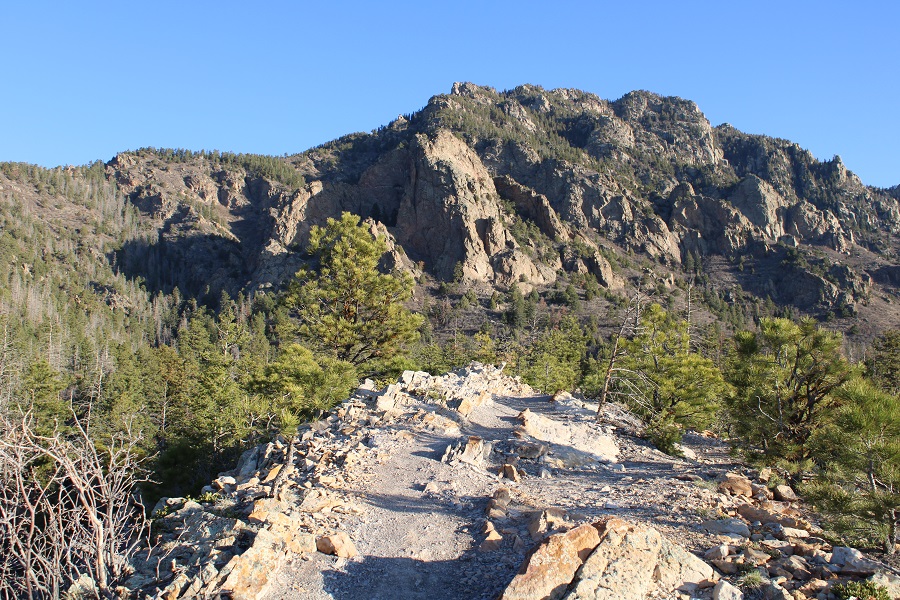
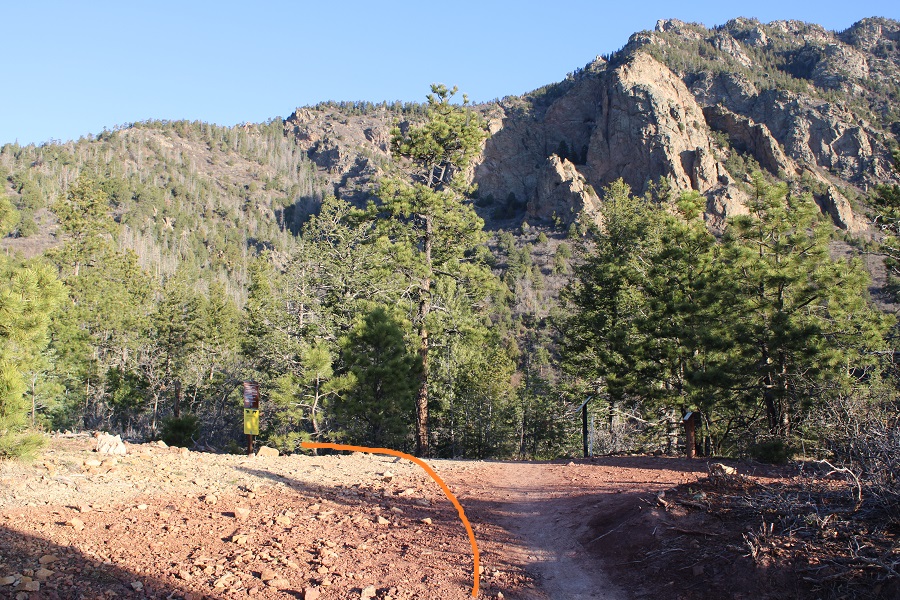
I hiked a total of around 3.5 miles to get to the start of the Dixon Trail. Here’s the start of the Dixon Trail
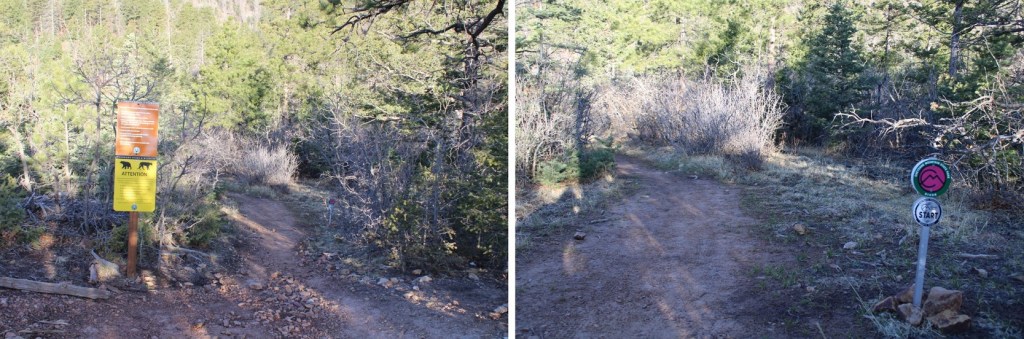
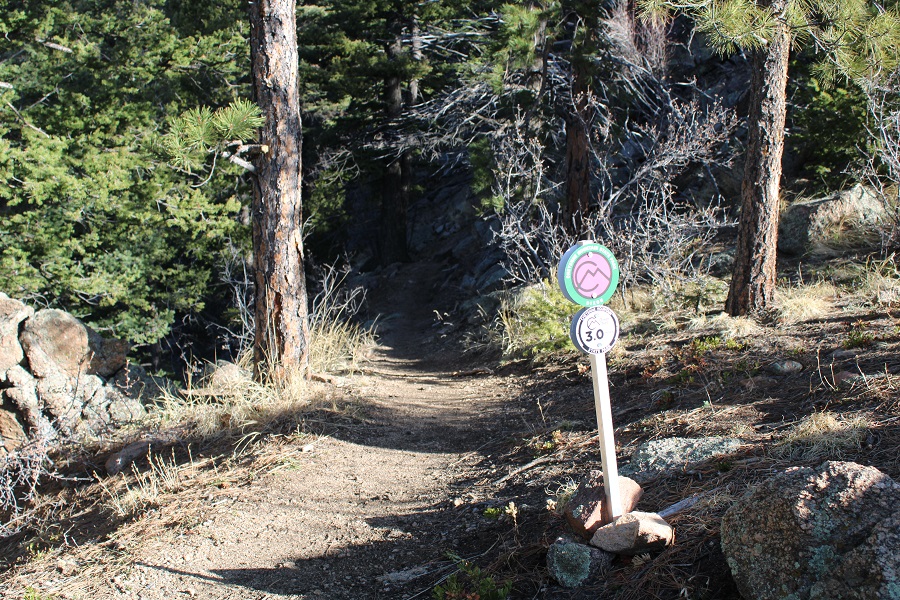
The Dixon Trail is 4.5 miles long (each way), and conveniently has mile markers every .5 miles.
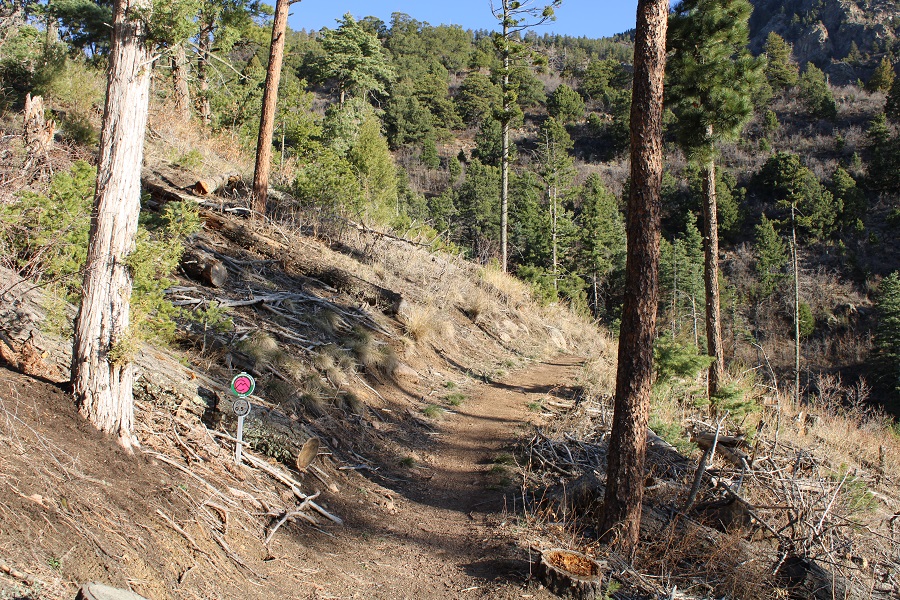
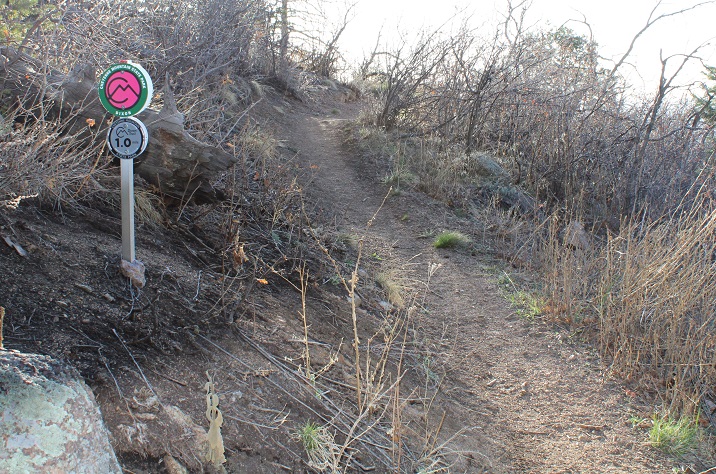
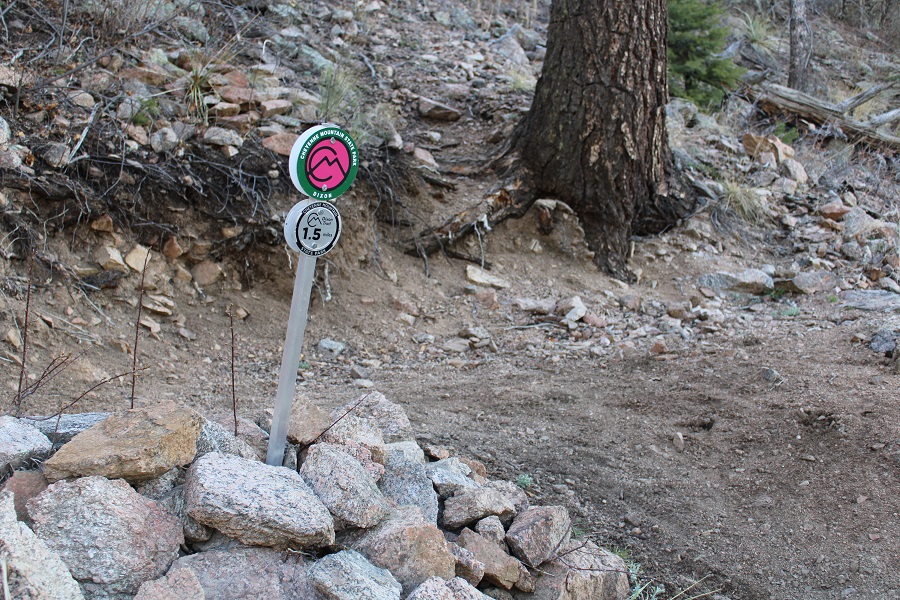

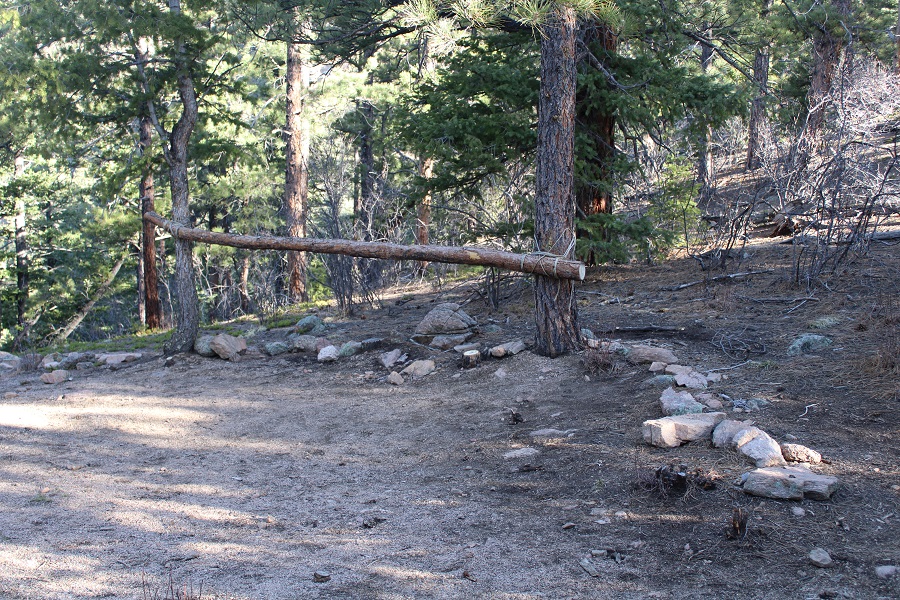
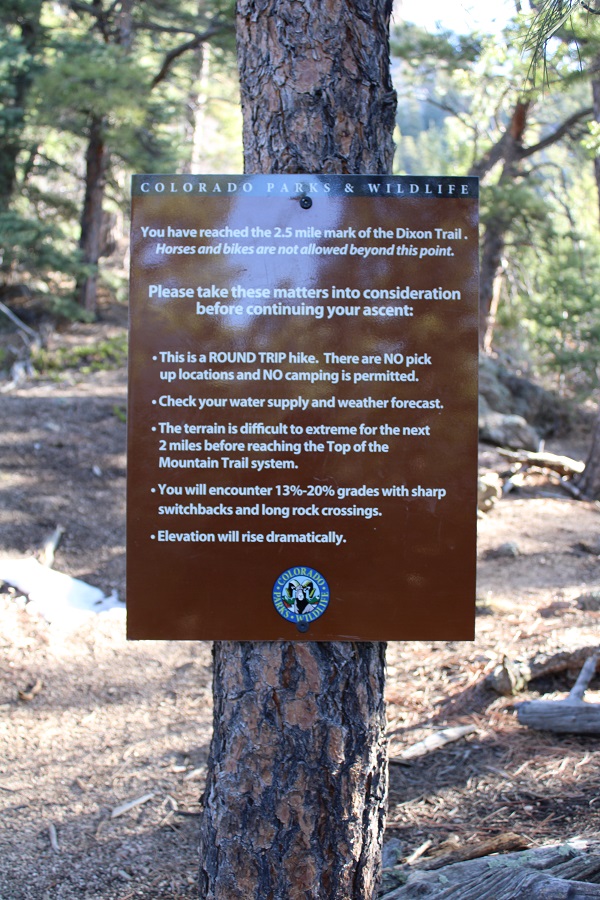
After hiking for 2.5 miles on the Dixon Trail I came to what I initially thought was a camping area. Once I read the sign however, I realized it was a place to park your bikes/horses, as they aren’t allowed any further on the trail.
This sign makes the hike sound harder than it is. There are so many switchbacks and it’s mostly in the shade, so it wasn’t actually that difficult
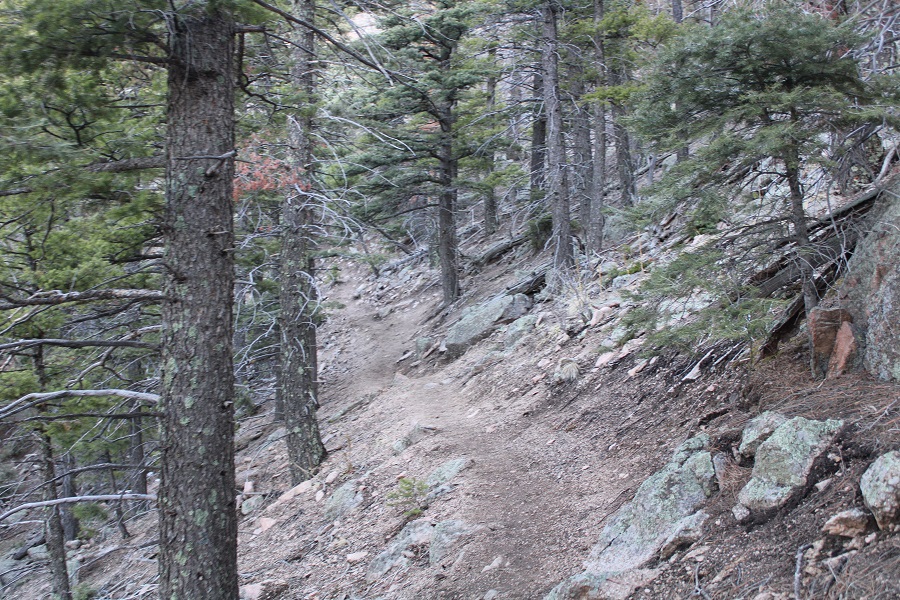
The rest of this hike takes place in the pine trees.
Between markers 3-3.5 miles on the Dixon Trail I came upon pieces left over from plane wreck in 1957

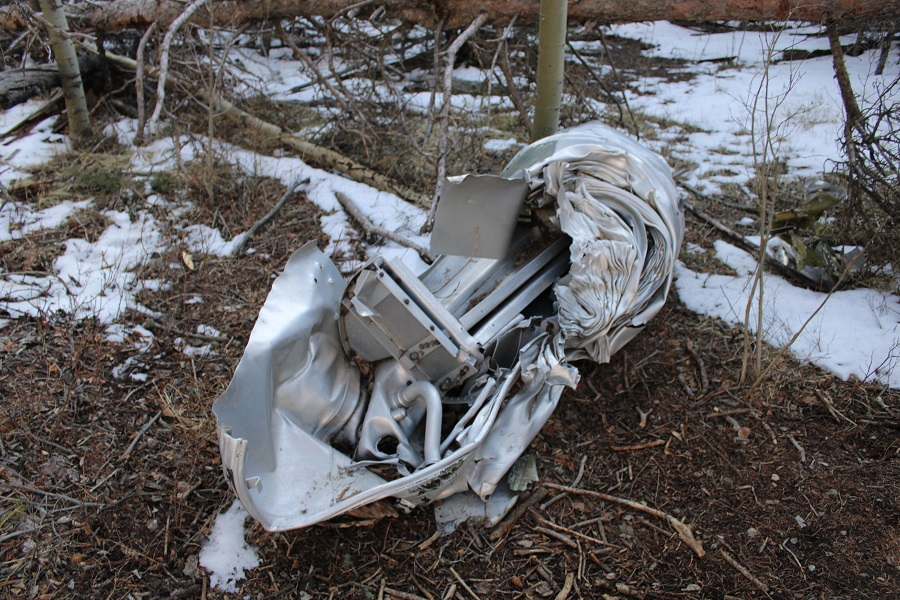
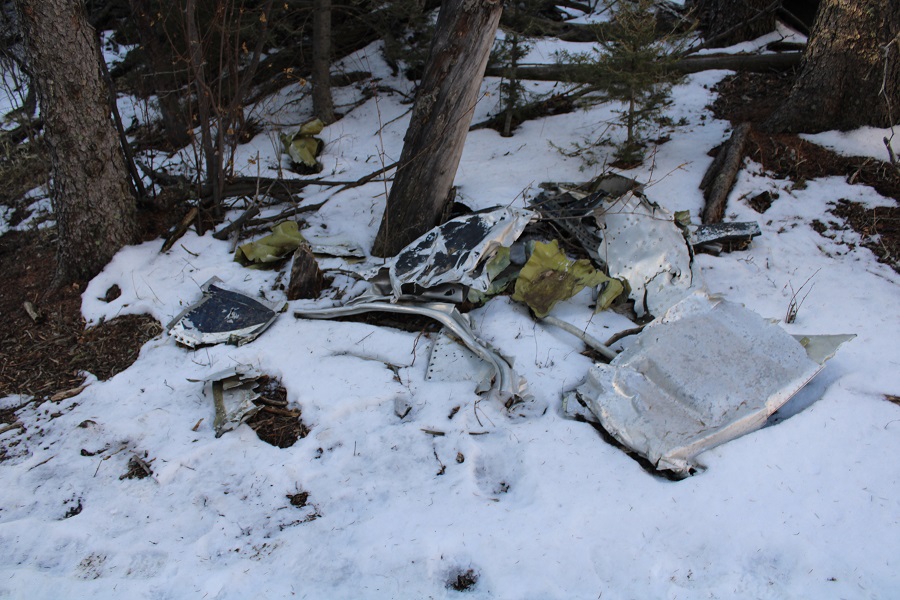
There were bits and pieces of the plane strewn about the area. I was surprised no one had taken them, as some were easy enough to carry.
I continued following the trail north, through an aspen grove
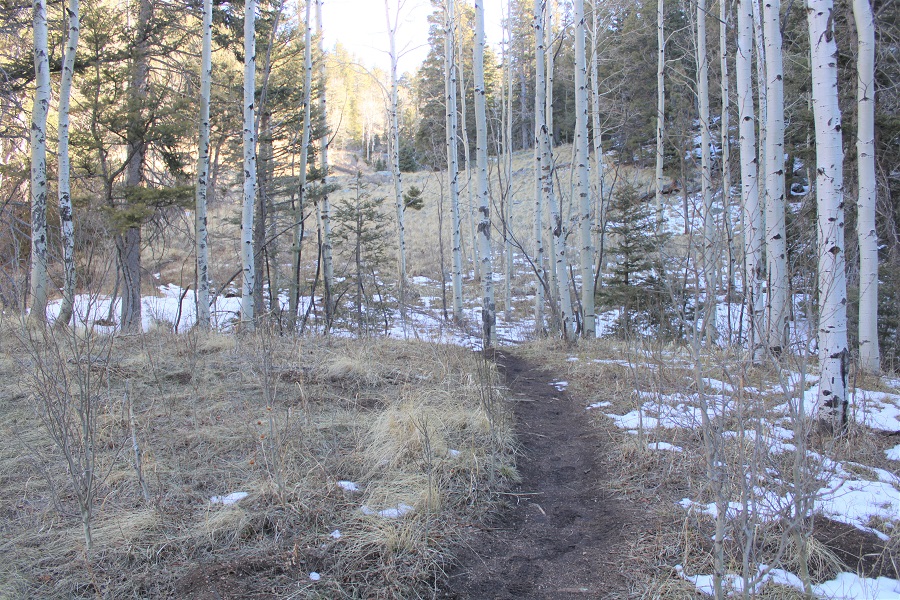
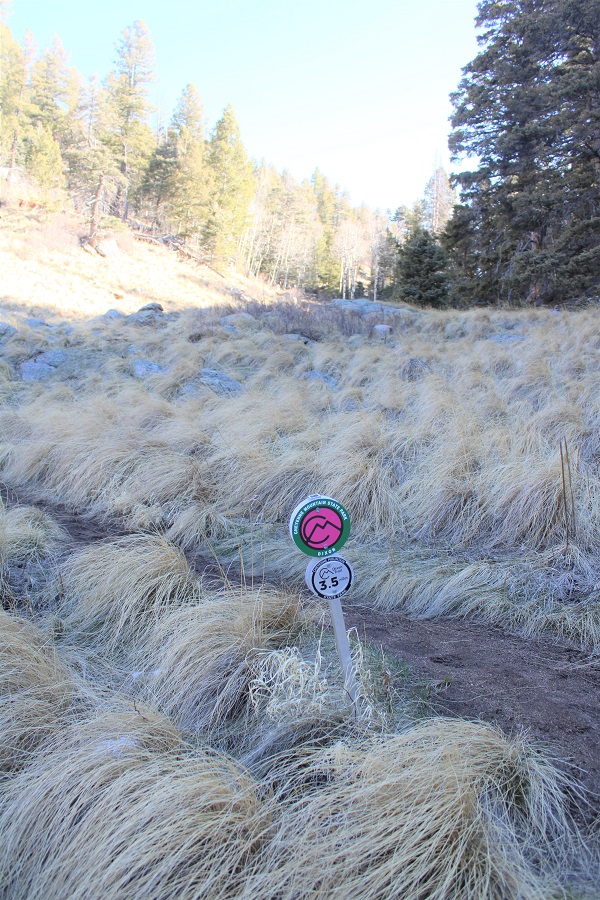
The snow on the trail started picking up, and would be present for the rest of the hike
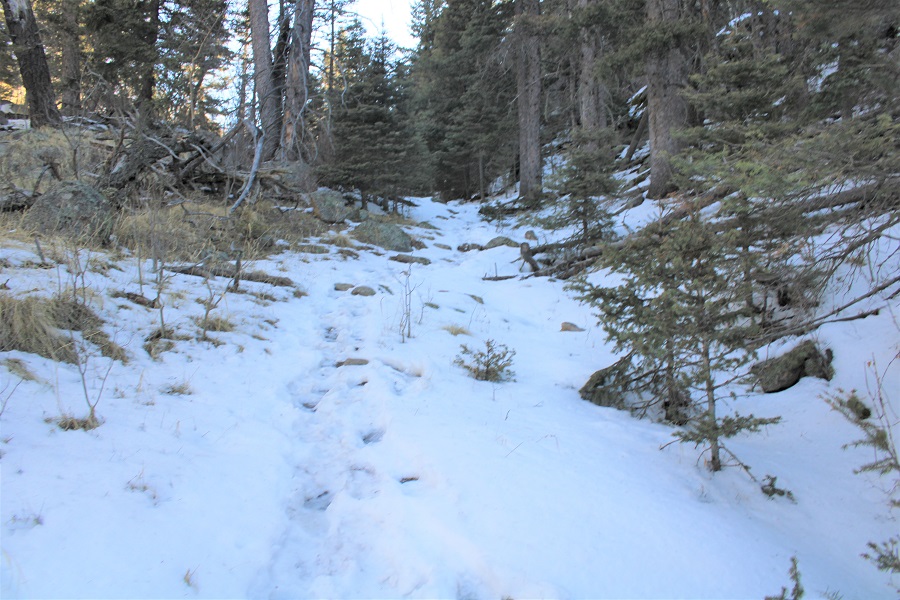
It was my goal today to take the Teal / Dragon’s Backbone trail. Here’s the cutoff
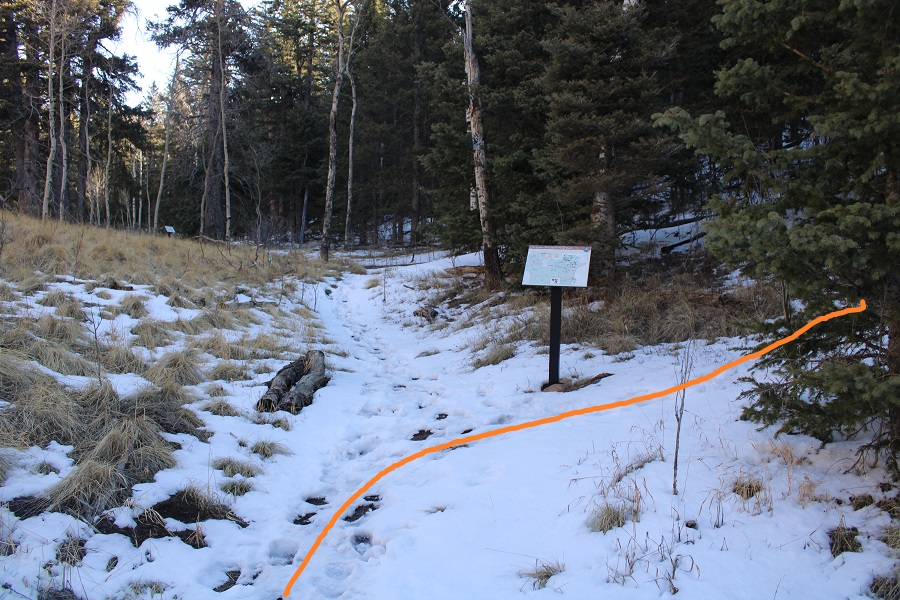
From here on out there were still signs, but there was also pink surveyor’s tape on the trees, making this an easy route to follow.
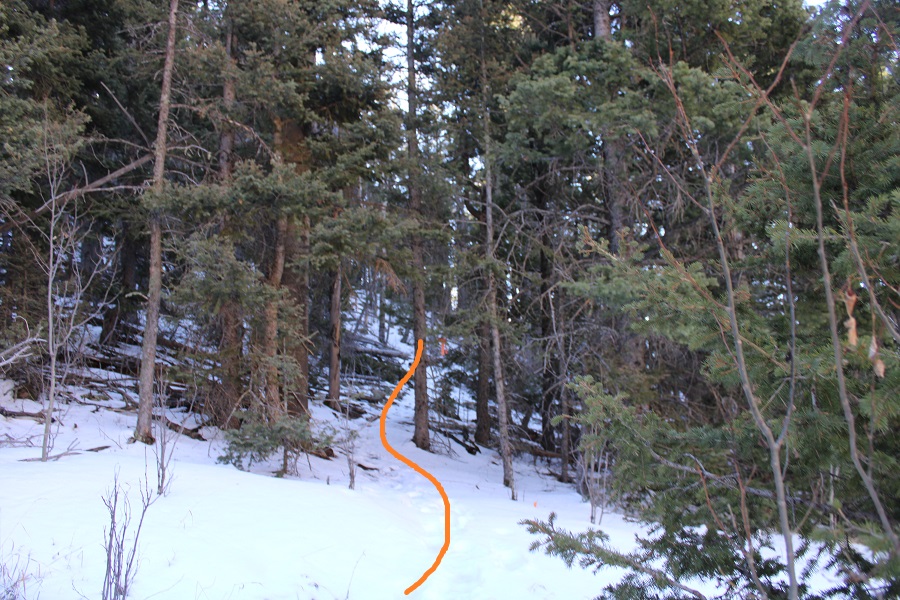
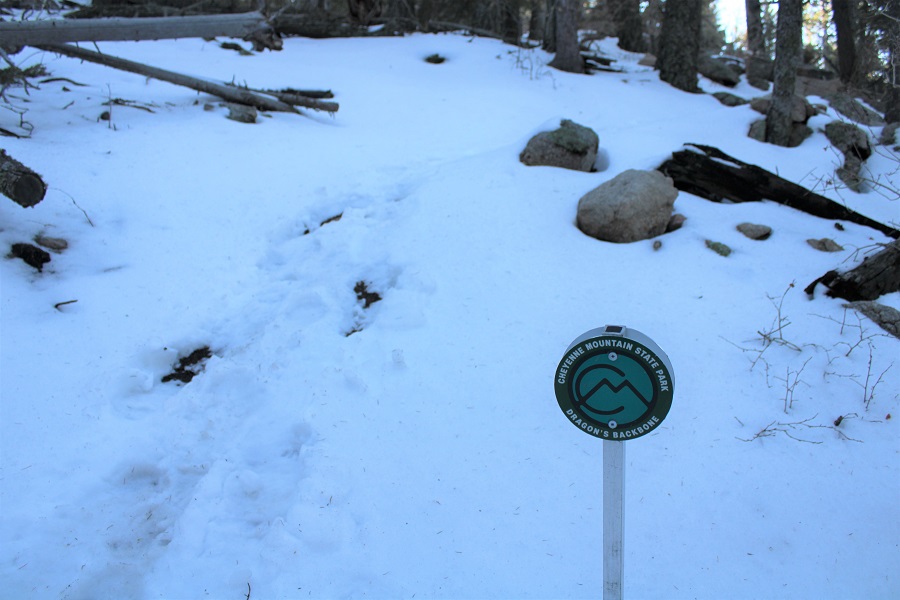
I gained the ridge and immediately came upon “Dragon’s Backbone”, an unranked peak


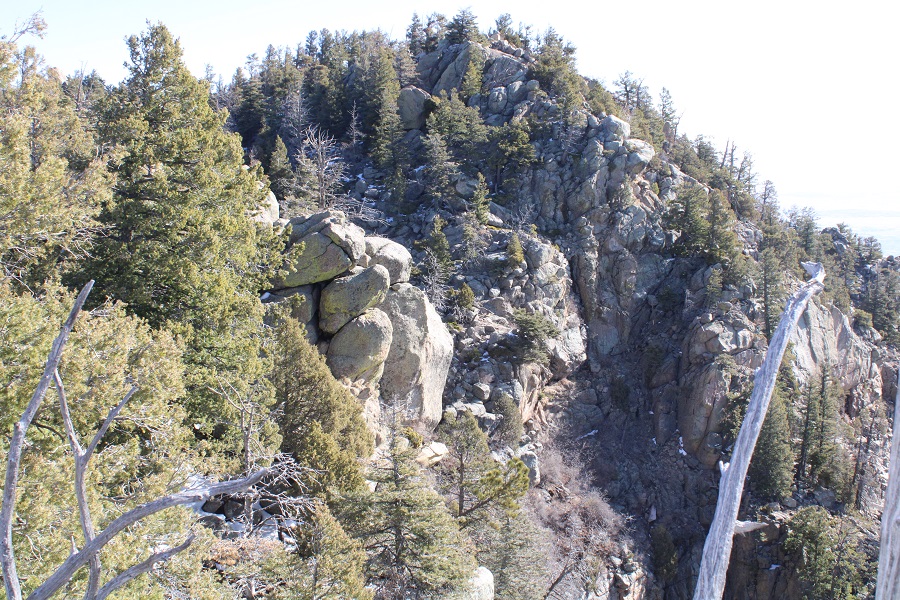
From there, I followed the ridge north, towards “Robbers Roost”, another unranked peak. There was a trail the entire way, with signs and markers indicating the route.


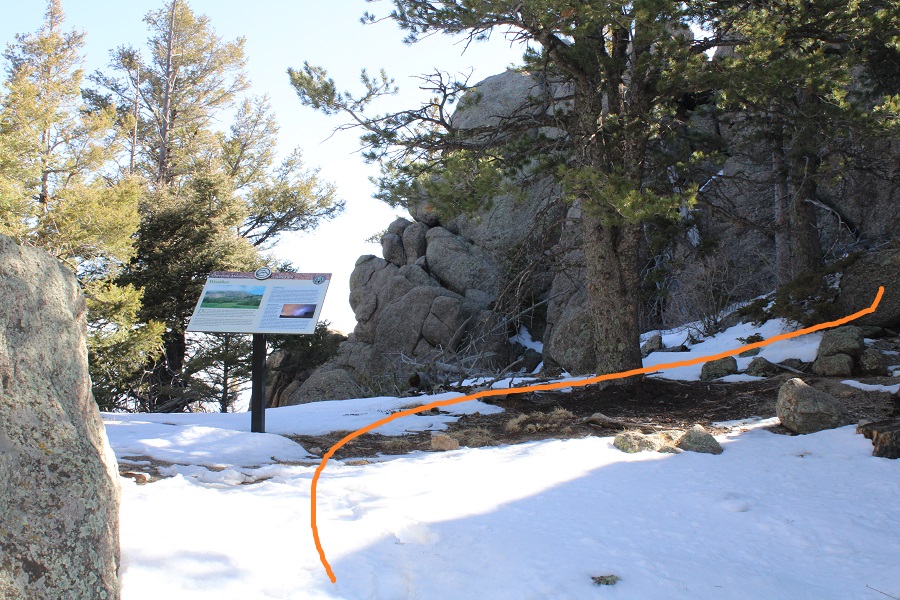
I came upon this sign (which talks about weather, lightening, etc.), turned east (right) and scrambled to the top. I’d consider this a quick but committing class 4 scramble, especially with snow.

The top is flat
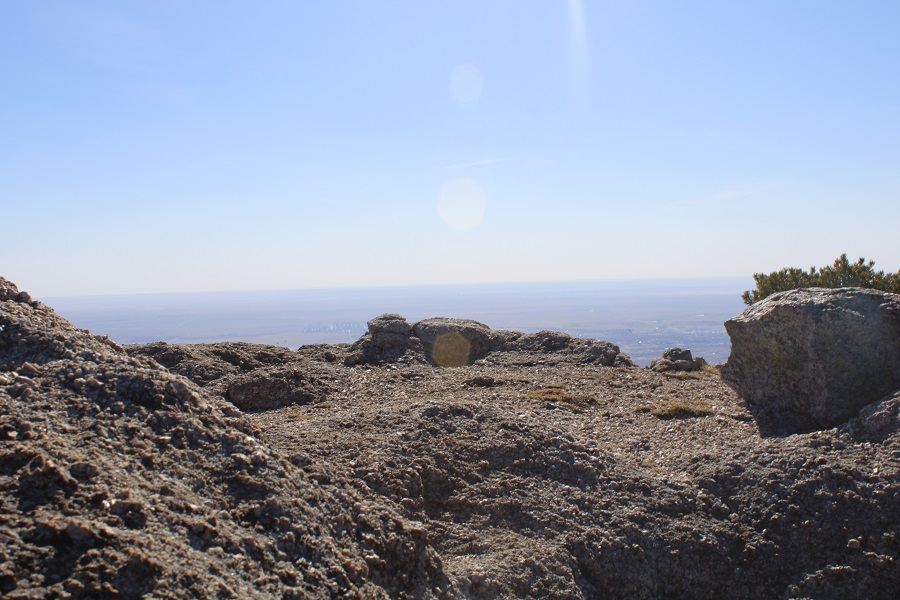
And has some great views!
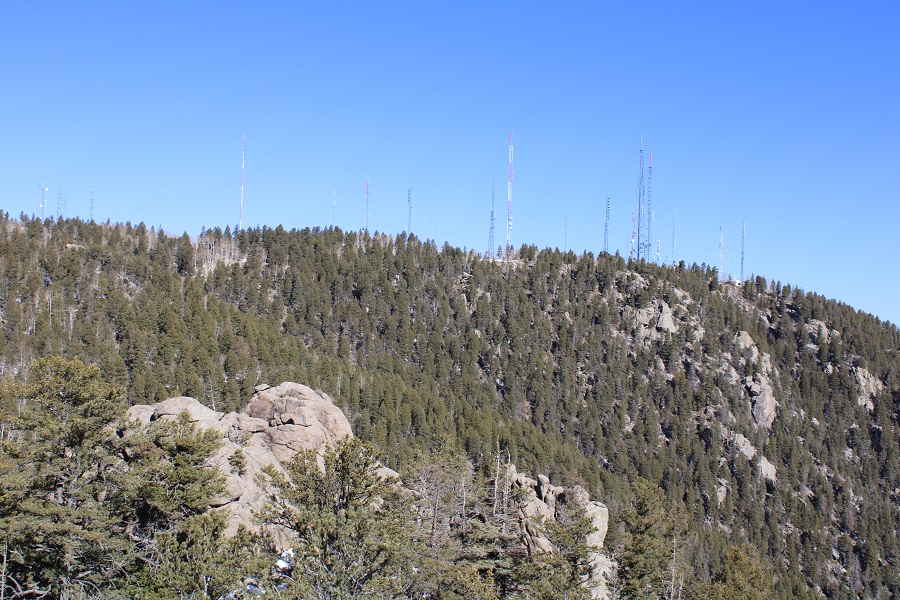

Here’s looking back on the Dragons Backbone Trail
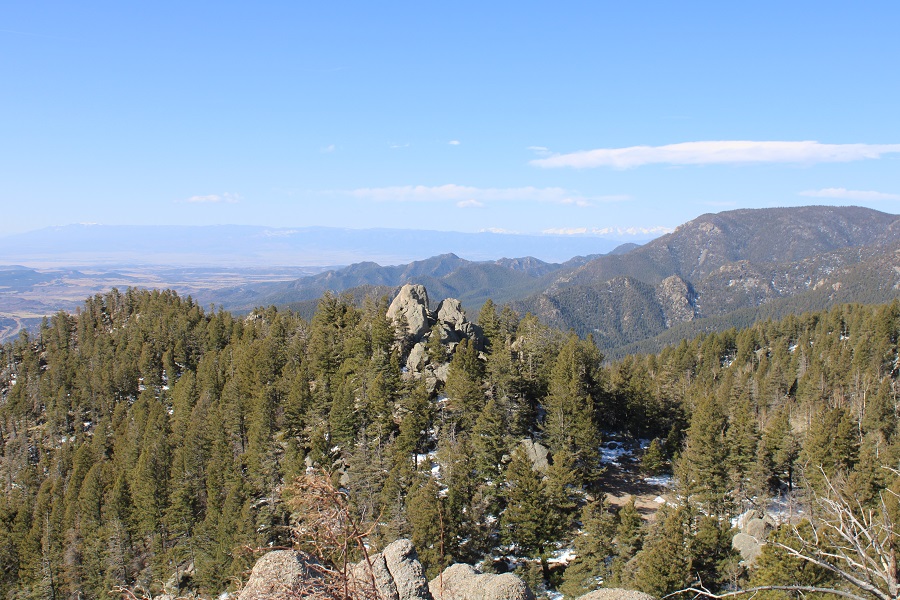
I climbed back down, grabbed my stashed gear (I hadn’t worn my pack for the short climb to the top) and decided to climb another outcropping to see if it was higher (it wasn’t).
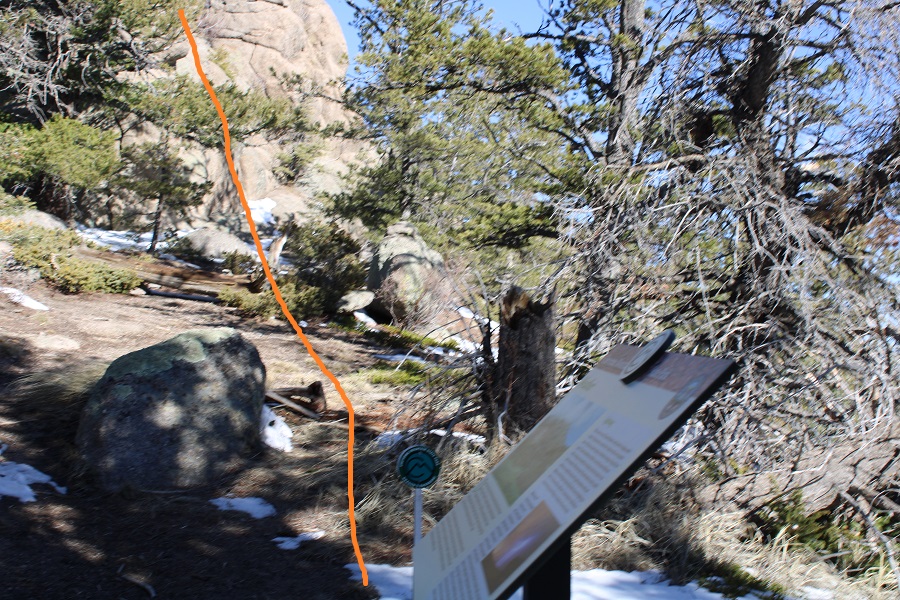
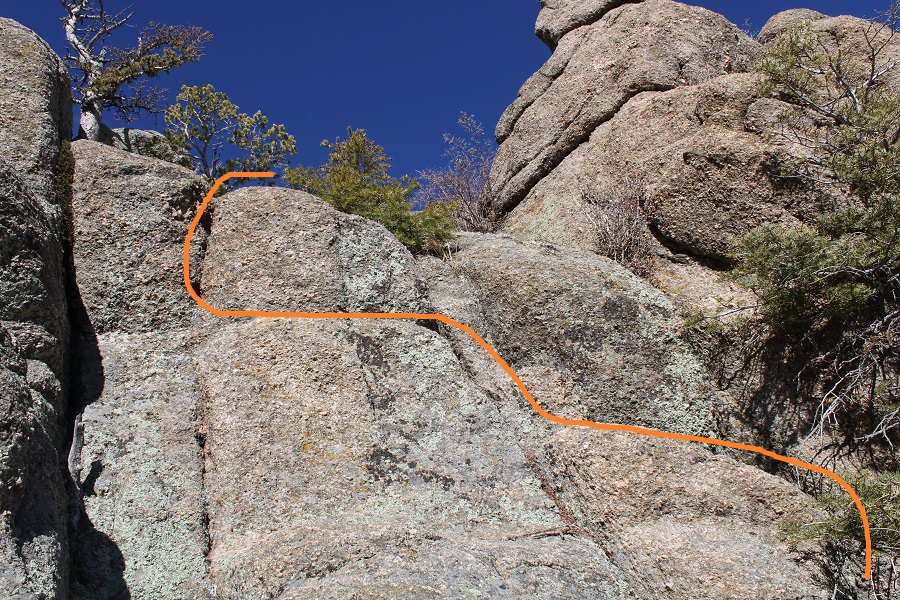
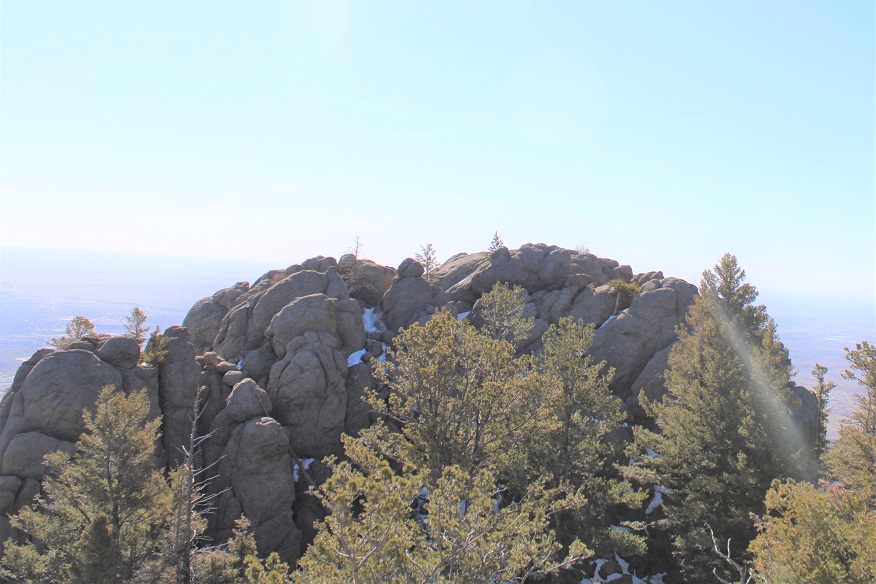
I did get a good view of “Robbers Roost” though
I climbed down and continued heading north on the trail, making this a loop.

I decided to take the Orange / Mountain Loop Trail

This gave me a little extra elevation, and mileage


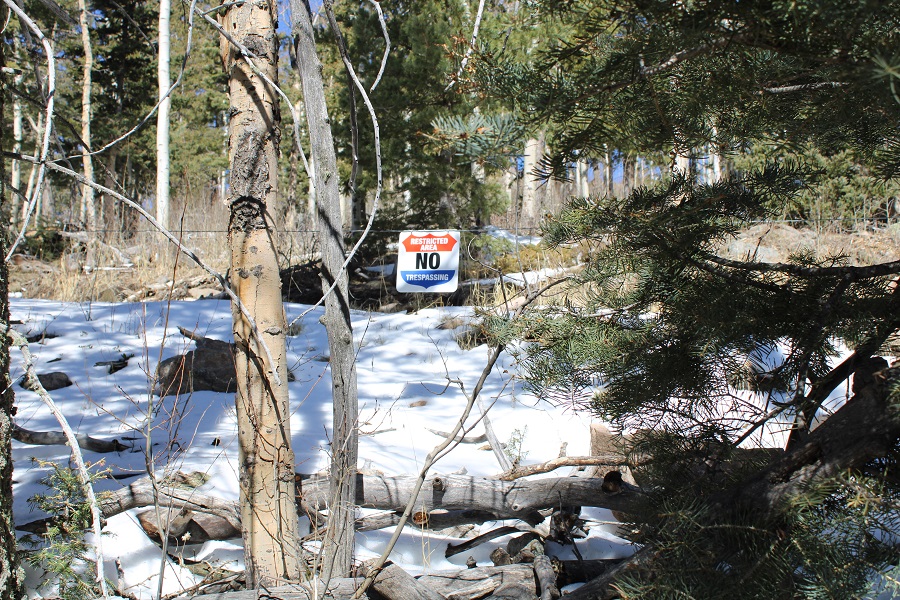
They obviously don’t want you going by any of the communications towers
I circled back around to some aspens
And the end of the Mountain Loop Trail, the beginning of the Dixon Trail (or end, depending on how you look at it) and the Dixon Homestead site.
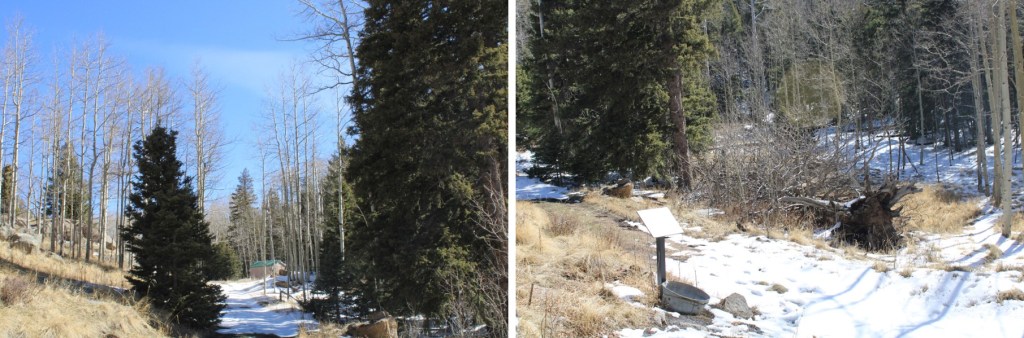
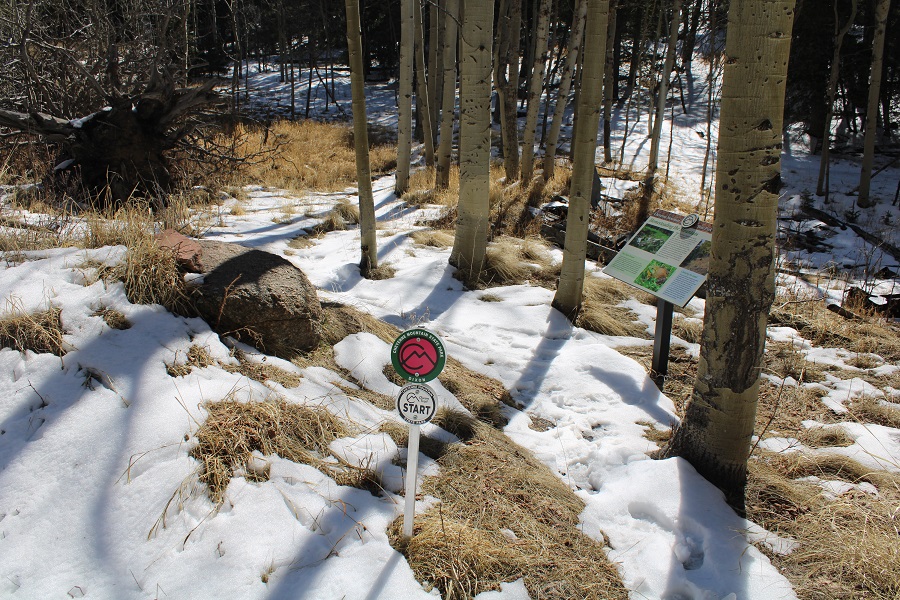

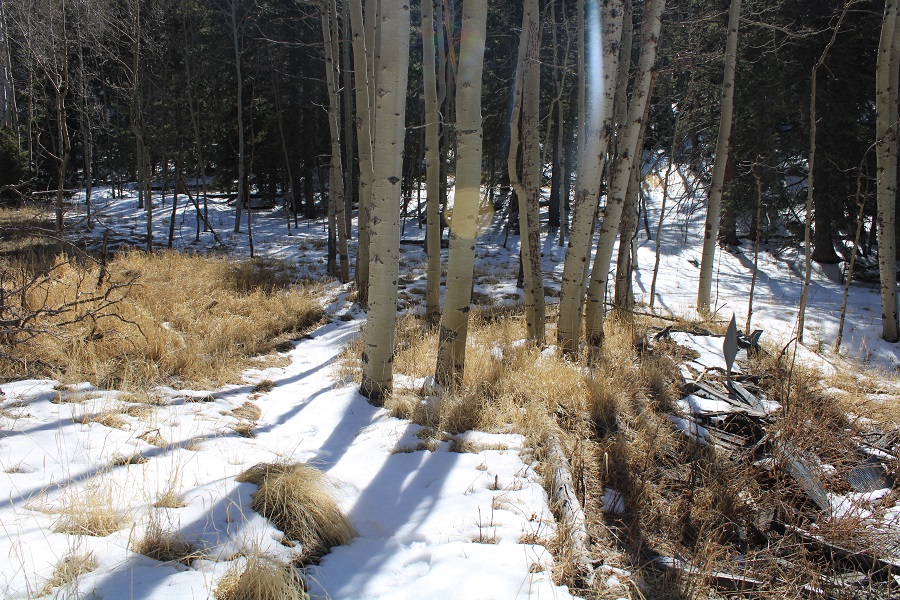
I followed the Dixon Trail back to the crash site
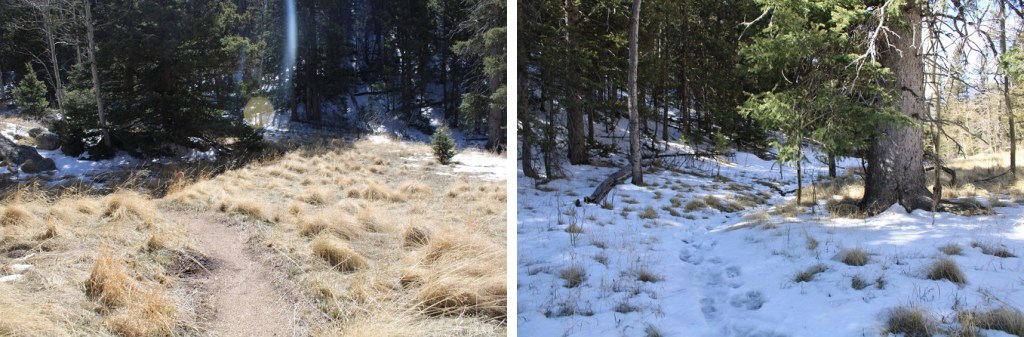


And continued following the Dixon Trail back the way I’d hiked in. Here are some pictures of the way back

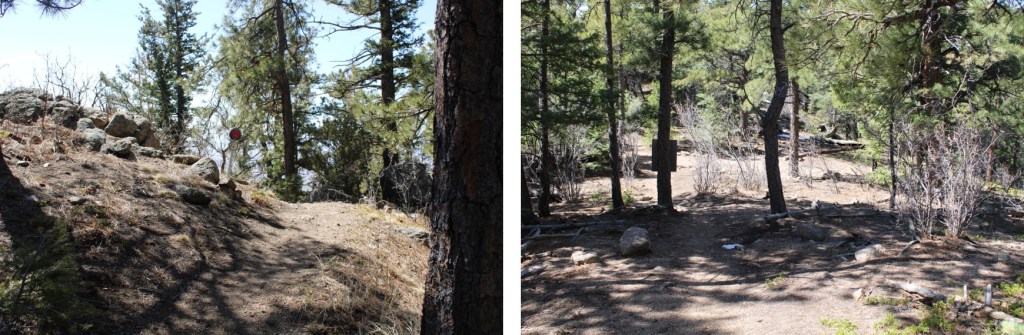
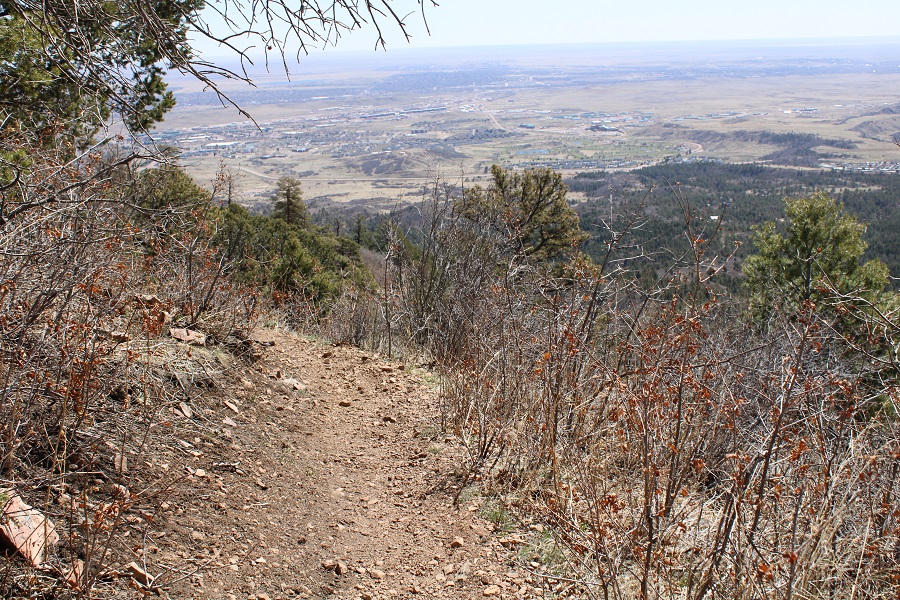
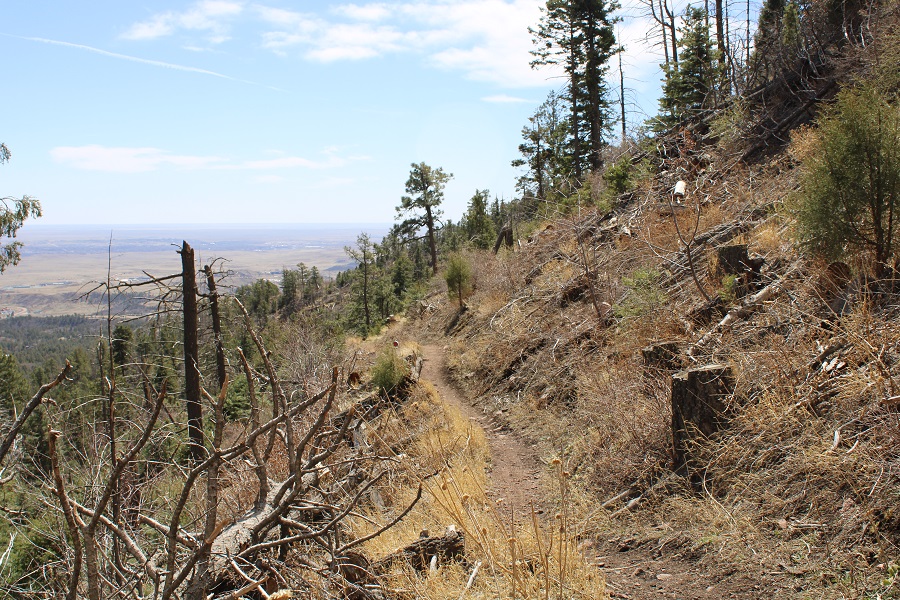
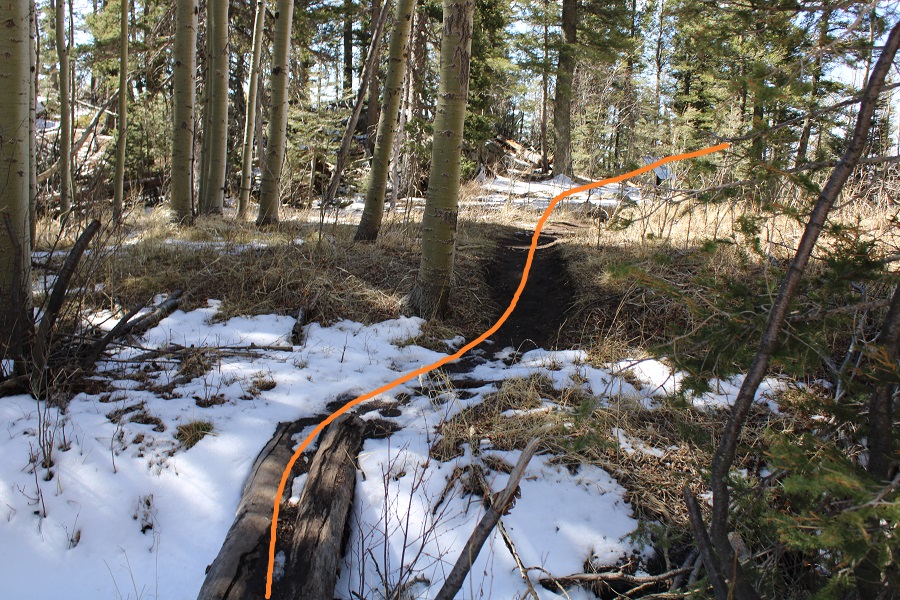
Then back to the green trail
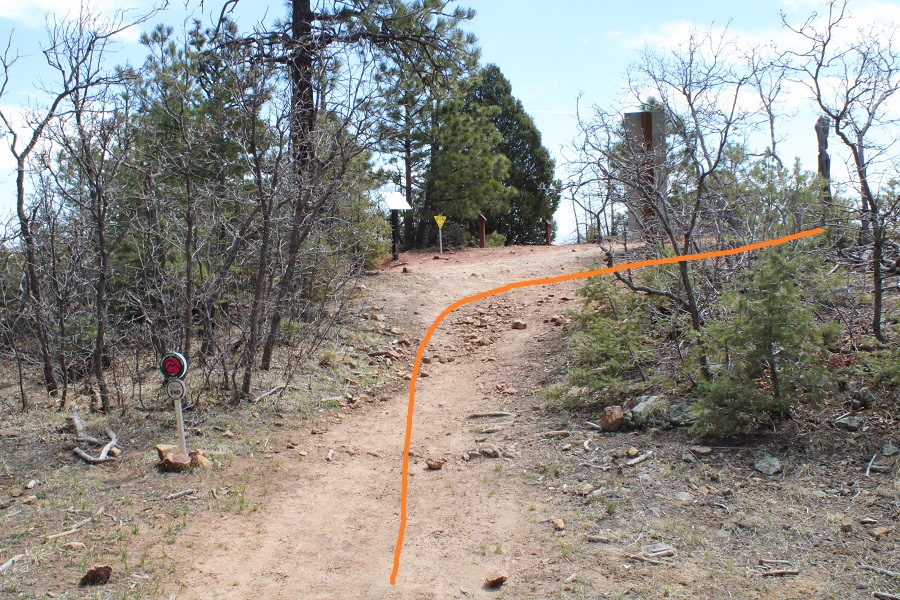
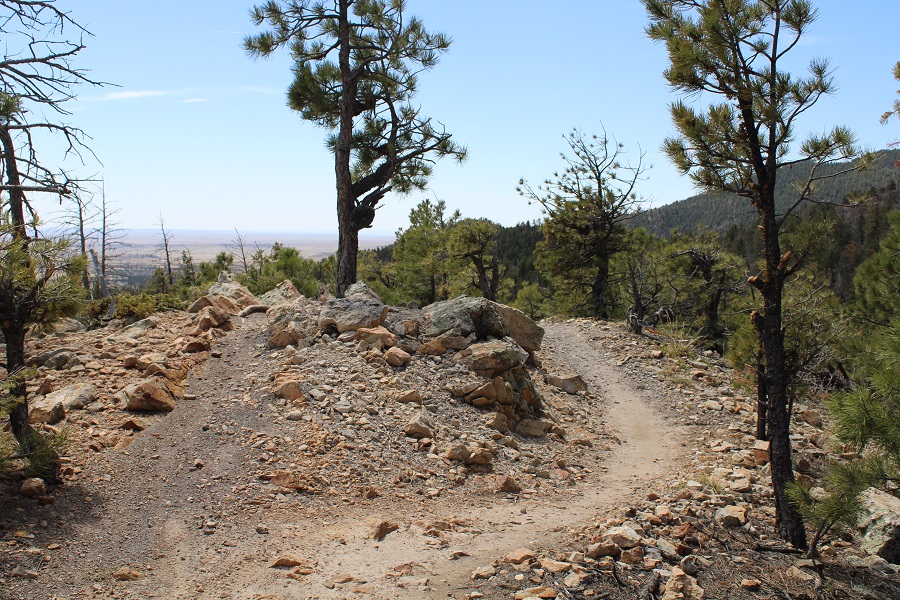
And the yellow trail
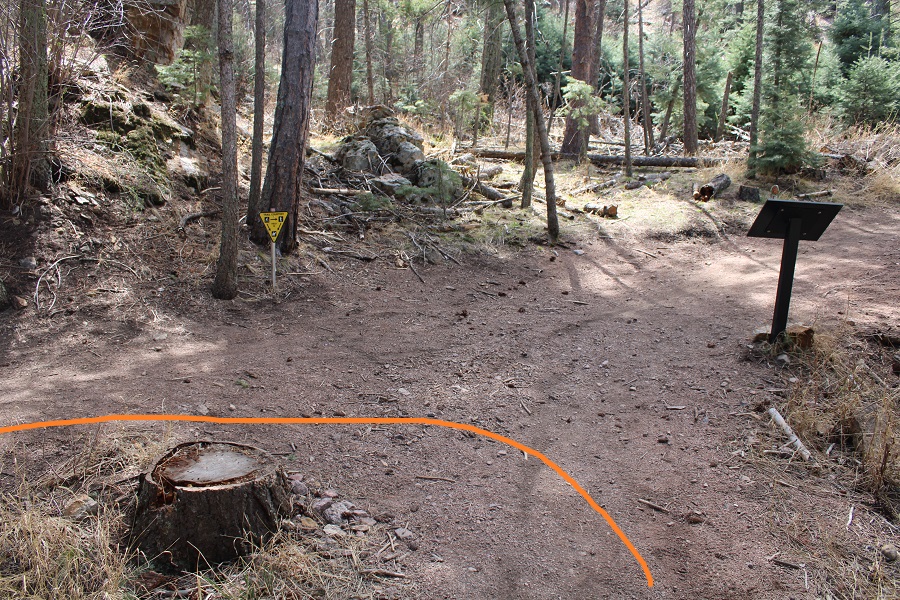
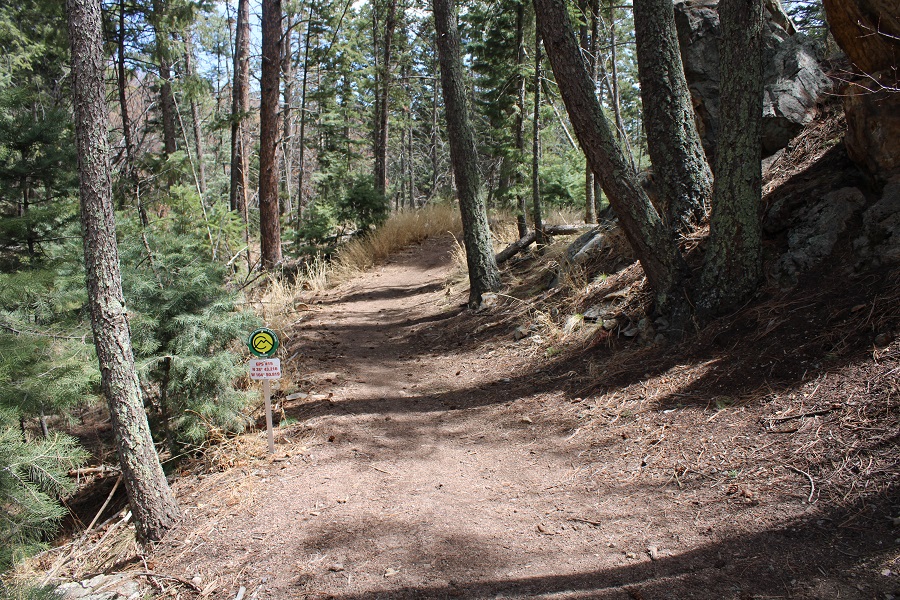
I took the Yellow / Talon Trail back to the trailhead
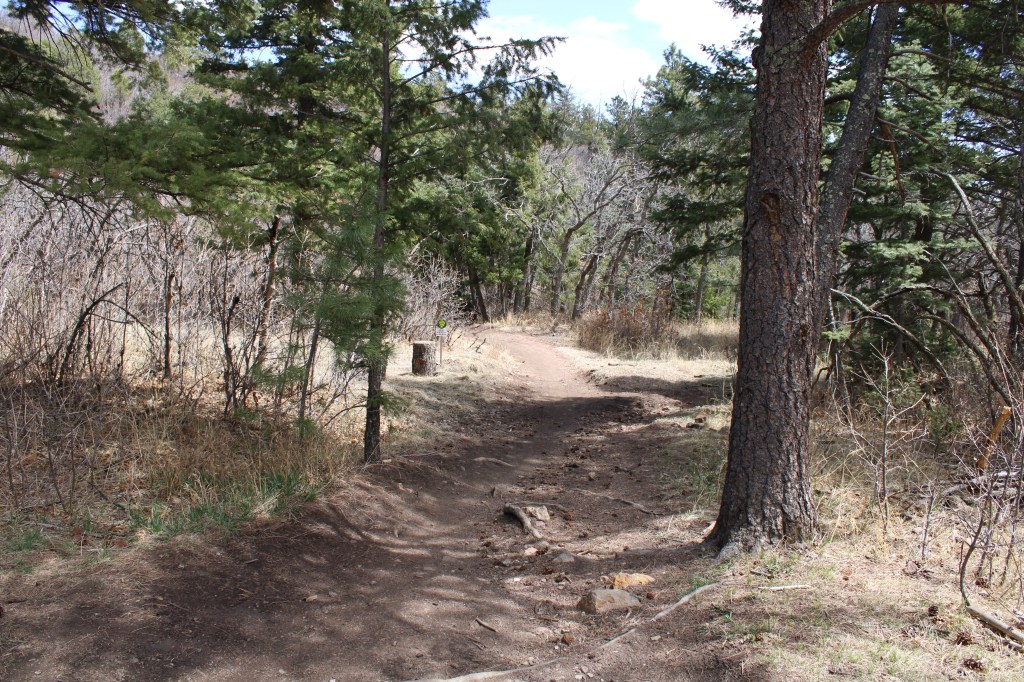
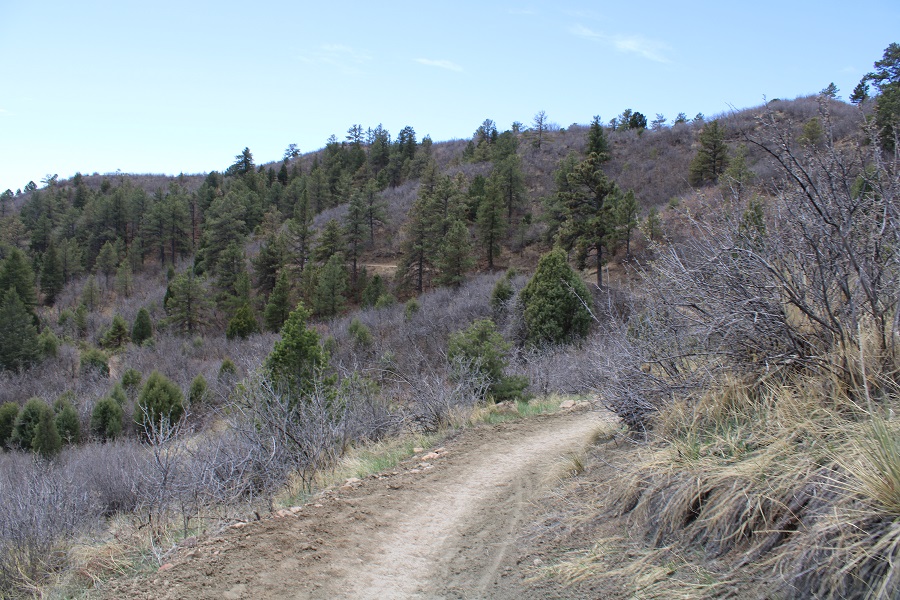

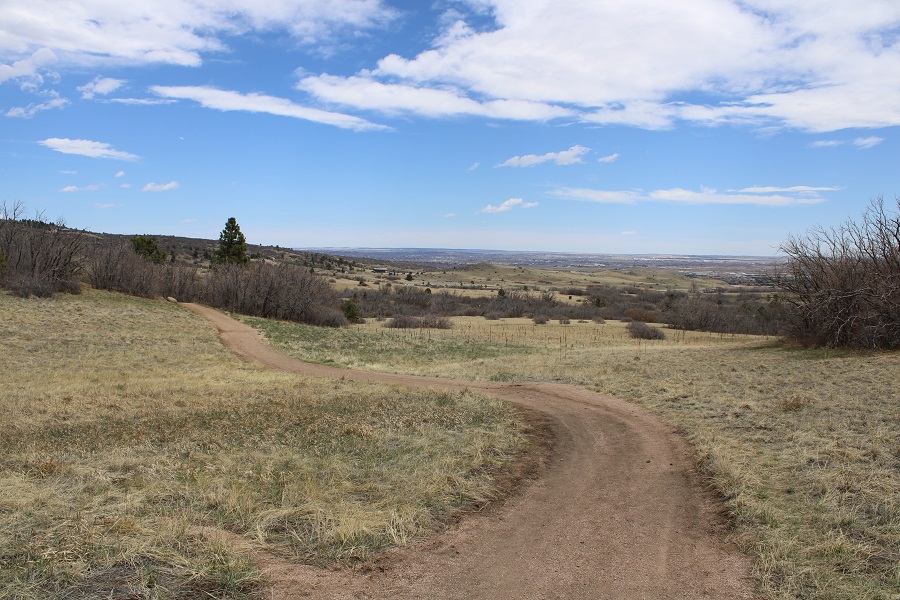
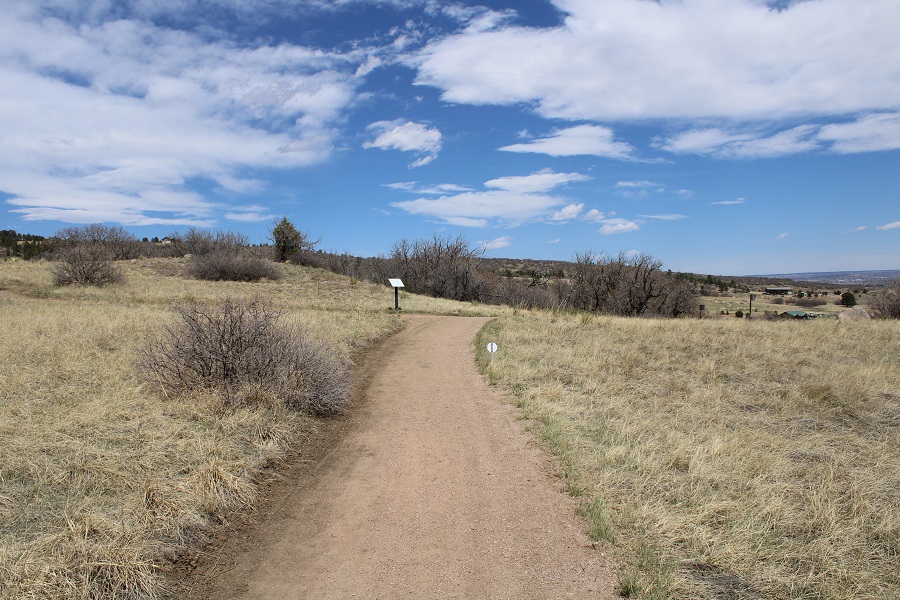
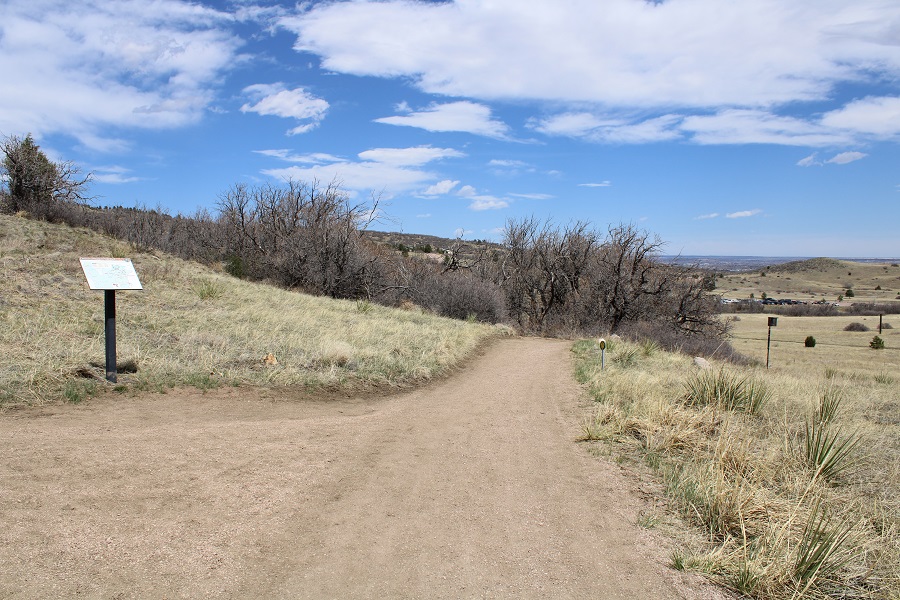
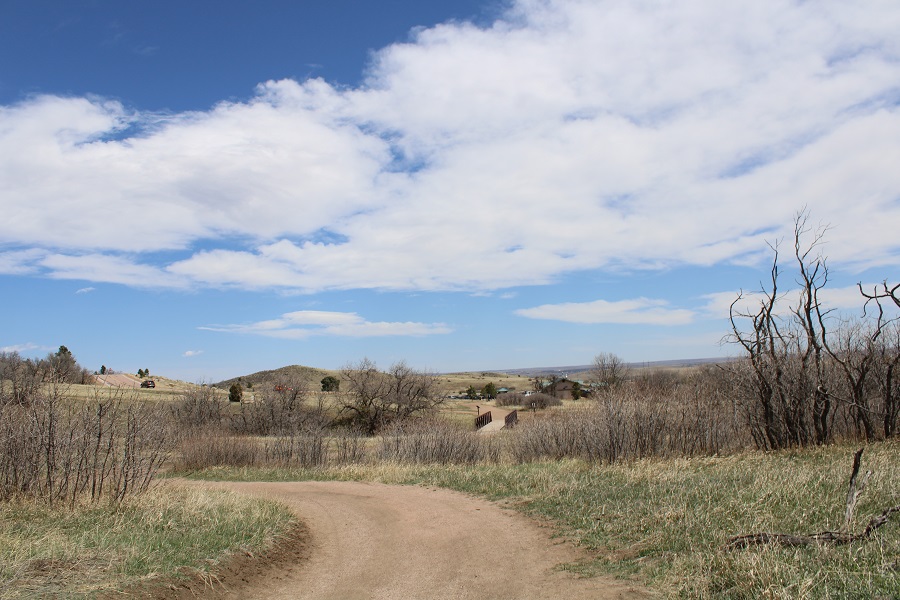
I made it back to the (now full) trailhead at 12:30pm, making this a 17.42 mile hike with 4099’ of elevation gain in 6.5 hours

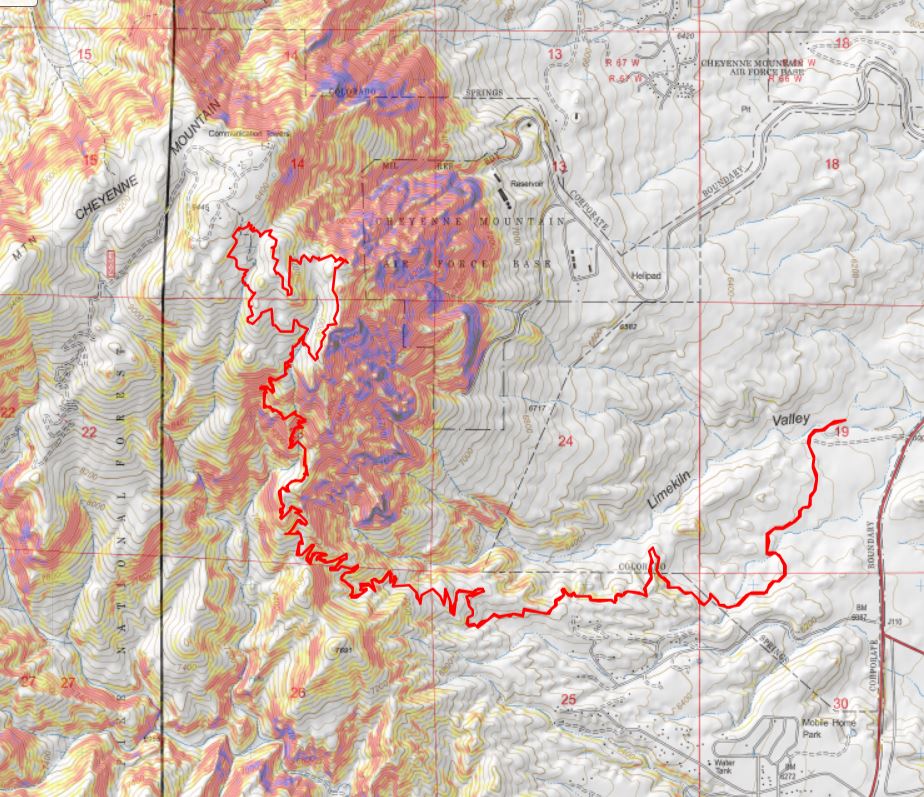
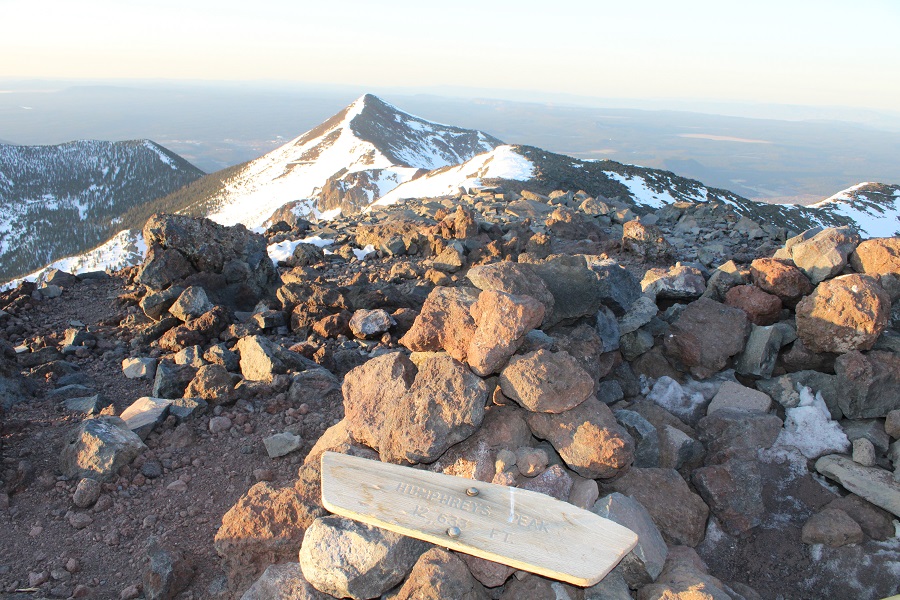
RT Length: 10.55 miles
Elevation Gain: 3649’
Last week I saw a post indicating someone had successfully summited Humphreys Peak from the summer trailhead, so I decided to give it a go. (Humphreys Peak Trailhead / Kachina Peaks Trailhead / Snow Bowl)
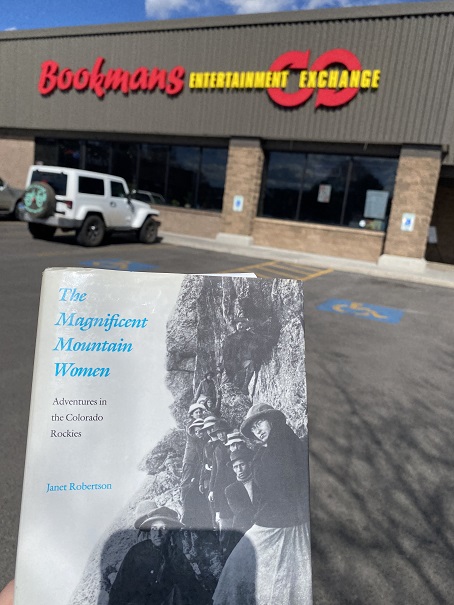
I woke up at 2am, worked out for an hour on the treadmill, and then drove to Arizona, stopping along the way for a few work calls. I’m not a big fan of the New Mexico city of Gallup: Nothing good has ever happened to me there. This time, as I was getting gas, a man was sitting in front of the gas station entrance cleaning a knife with a blade at least 8 inches long, swinging it around every few minutes like he was practicing martial arts moves. Also, all of the bathrooms in the gas stations and fast food establishments in NM and AZ are closed due to covid. So was the bathroom at the Bookman’s I stopped at in Flagstaff. I had a voucher for Bookman’s I’d received in 2016, and since I was in the area I decided to use it. I got this very appropriate book
Then I drove to the Snow Bowl, where the trailhead is for Humphrey’s Peak. There were a lot of skiers driving down the mountain, but I was the only one going up. On the drive in I saw a sign that said “Skiing Open 10am-4pm, TH-SU”.
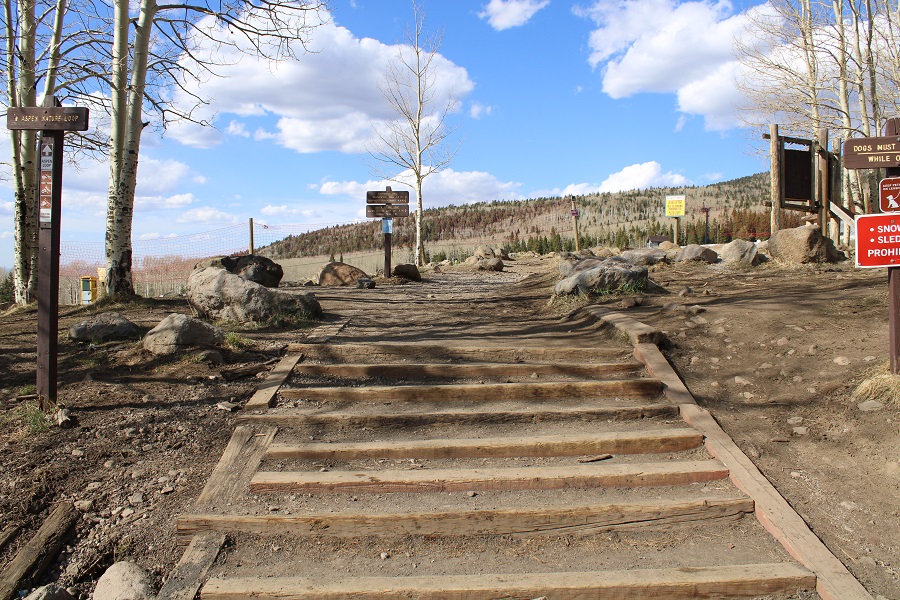
I made it to the parking area and found a place to park. This is the trailhead
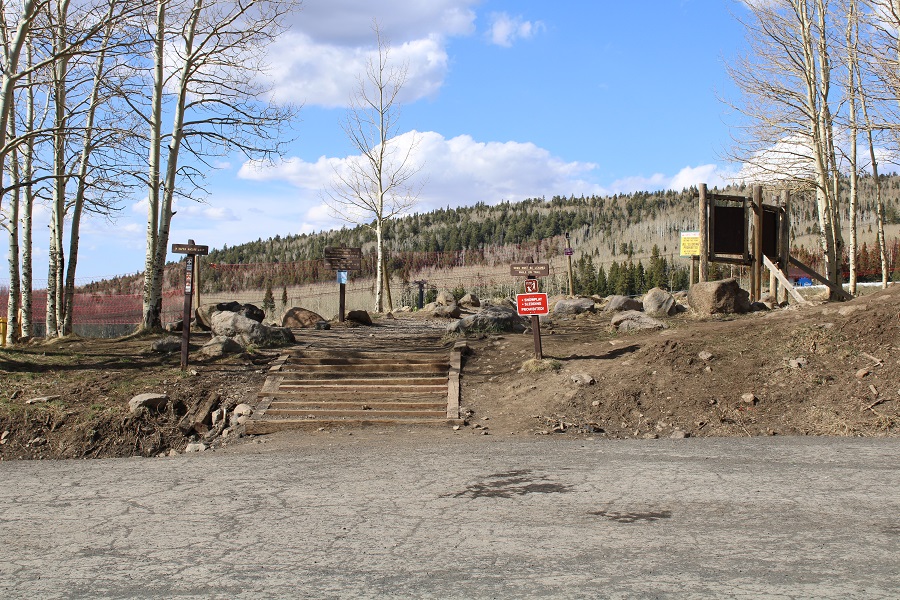
I walked around the trailhead, and noticed the beginning part of the trail goes right under a ski lift. I also saw this sign:

Ugh. That was unexpected. I’d driven all the way from Colorado only to be thwarted by a technicality. As I was standing there, I noticed two female hikers walking towards me, directly from the ski area where it said pedestrians weren’t allowed. They told me they hadn’t had any issues (indeed, at least 5 more hikers came down after them, and all said the same thing). I decided to hike the following morning, early, and try to make it down before the 10am skiing session began. Side note: these women were badass, and had a great list of mountaineering accomplishments. We talked for a bit, and I gave them some fireside stickers.
I sat in the back of my truck and started making dinner. A young man pulled up with a similar set-up and got out to enjoy the sunset. He spent his time sitting in a chair enjoying a beer, alternating drinking with doing push-ups. I went over and talked with him for a bit, and we ended up doing a few whiskey shots together (both of us had various bottles in our rigs). He was a nice young man (reminded me of my son) and this was his third time this week at the trailhead. He hoped to summit the next day as well. After the sunset I wished him good luck and told him I’d see him tomorrow on the trail (either up or down).
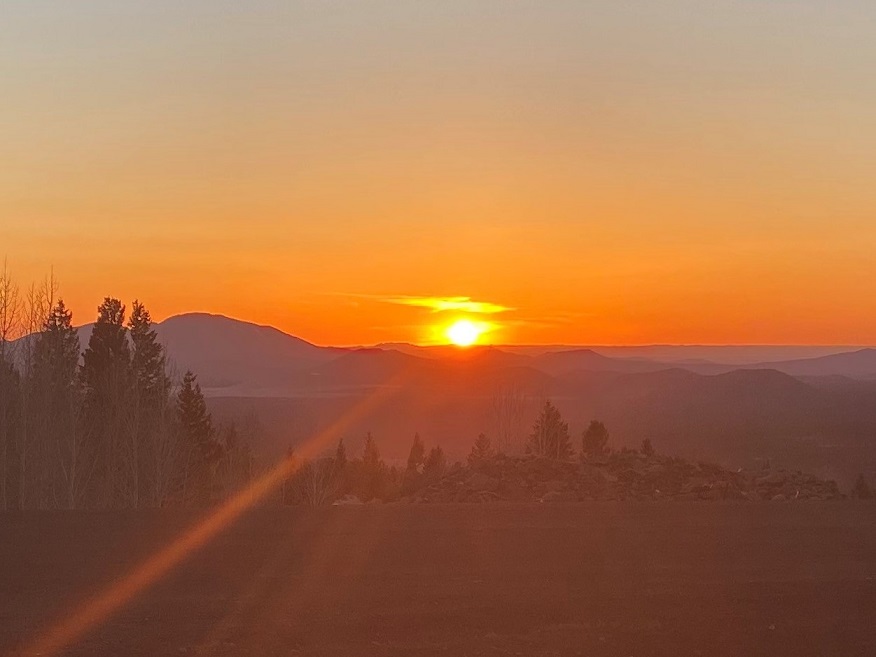
My view tonight

I went to bed and had a peaceful night’s sleep, waking up to my alarm at 2:45am, I was on the trail at 3am. Interestingly enough, as I was leaving a vehicle pulled up: it looked like there was another hiker hiking with me this morning. We ended up leap-frogging each other on the trail. The trail starts at the north end of the parking area and heads northeast, across the slop and into the trees, before zig-zagging up the west slope.
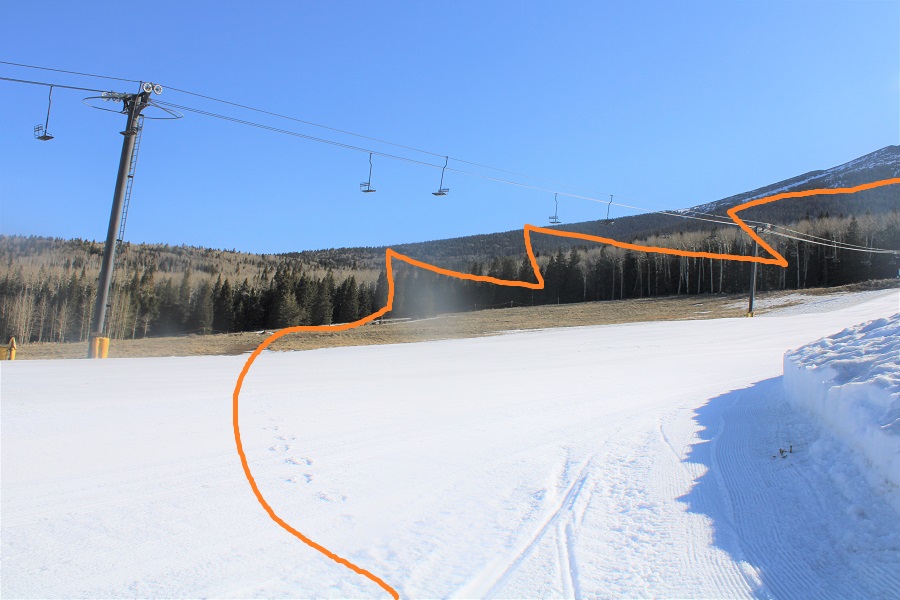
Plot twist: When I started out at the trailhead it was dark, all except for a really big light, accompanied by a loud buzzing sound. Turns out they groom the trails at 3am, and there was a snow groomer working this morning. Drat! I decided to turn off my flashlight and wait until the groomer had passed me, then darted across the field to the safety of the trail in the trees, where I turned my flashlight back on. I’m sure this would have been comical to watch.
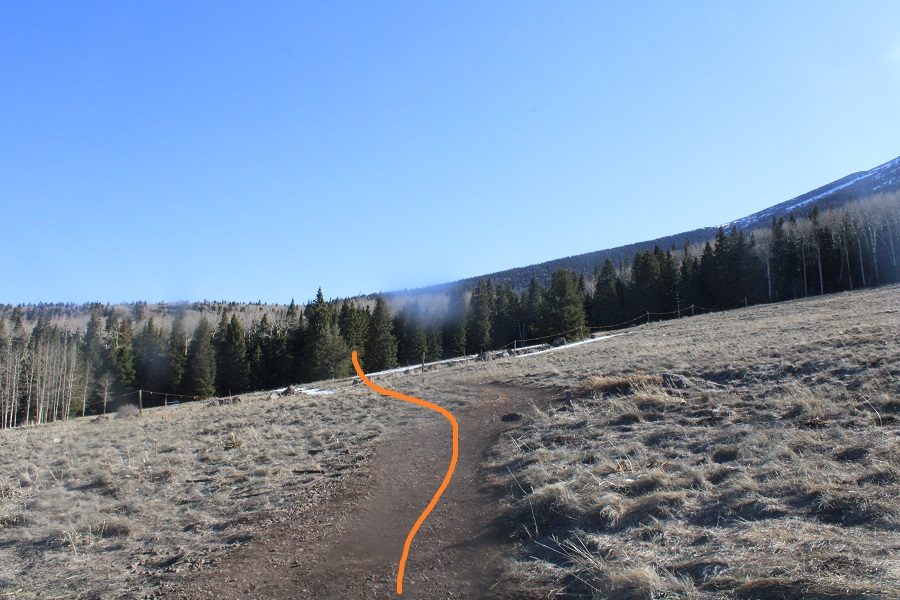
There was another trailhead once I entered the trees. Note: I wore microspikes for the entire hike, and didn’t need snowshoes. If hiking later in the day, they would have been necessary.
Once in the trees there was a lot of snow, so I had a hard time following the trail. There were several downed trees covering the trail, and a lot of social trails. If you’re doing this peak in summer it will be a straightforward, class 1 trail. If you’re doing it with snow on the ground expect some route-finding. I switchbacked northeast to the saddle. The saddle you’re aiming for is the one that’s directly east of you from the parking area (it’s a clear, skiable path).


As I neared treeline the snow declined and there was no longer a trail. I kept heading northeast to the saddle
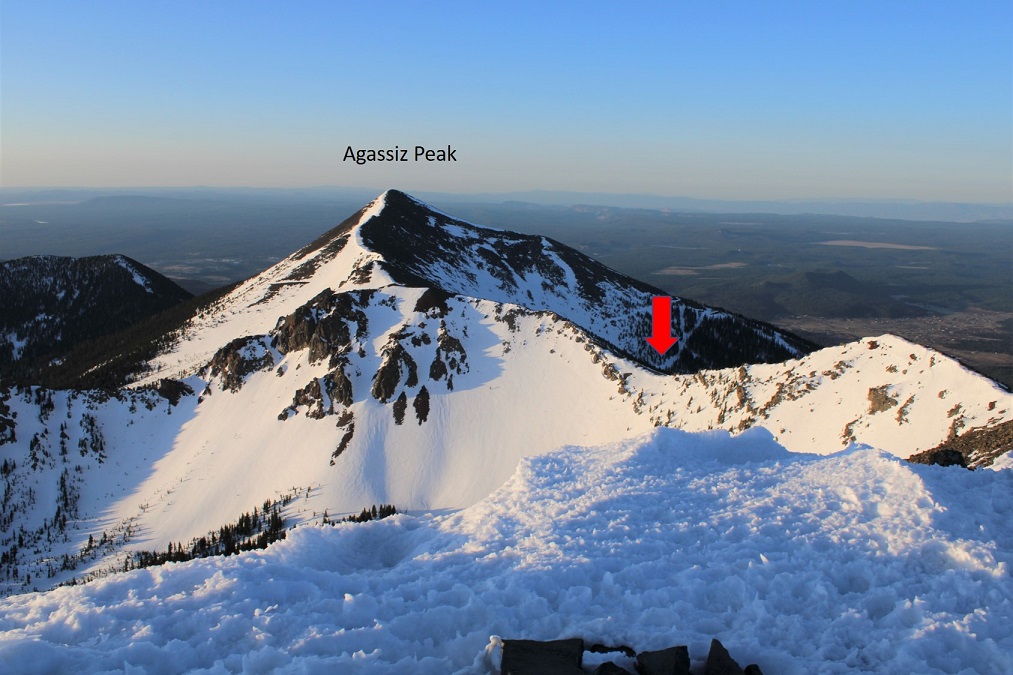
Once at the saddle I turned left, and followed the ridge north. (Going right will take you to Agassiz Peak) There’s a faint trail here that picks up as you go along, as well as wooden posts to guide the way. Stay to the left while on the ridge.
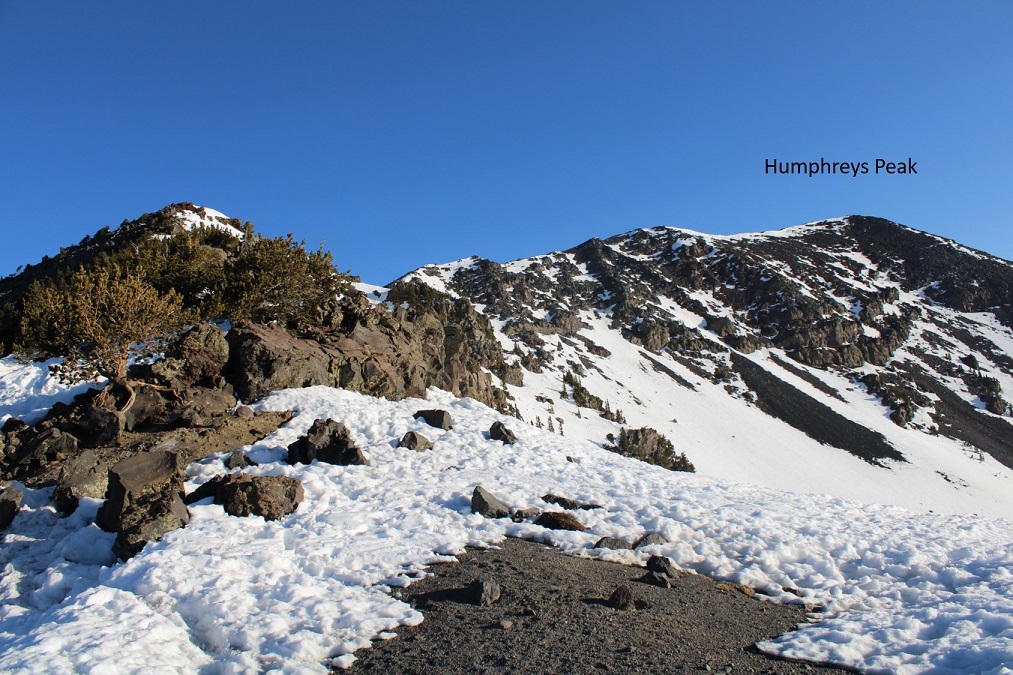
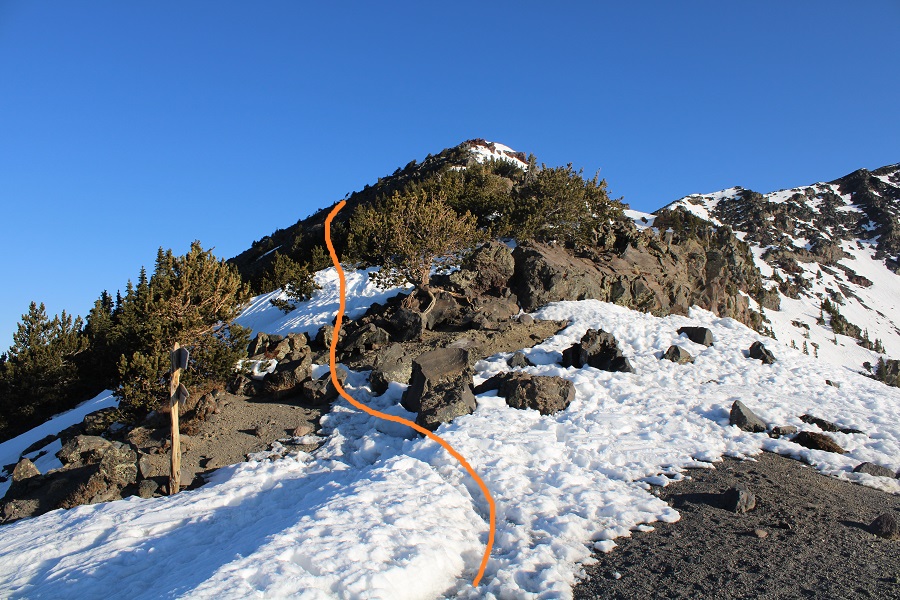
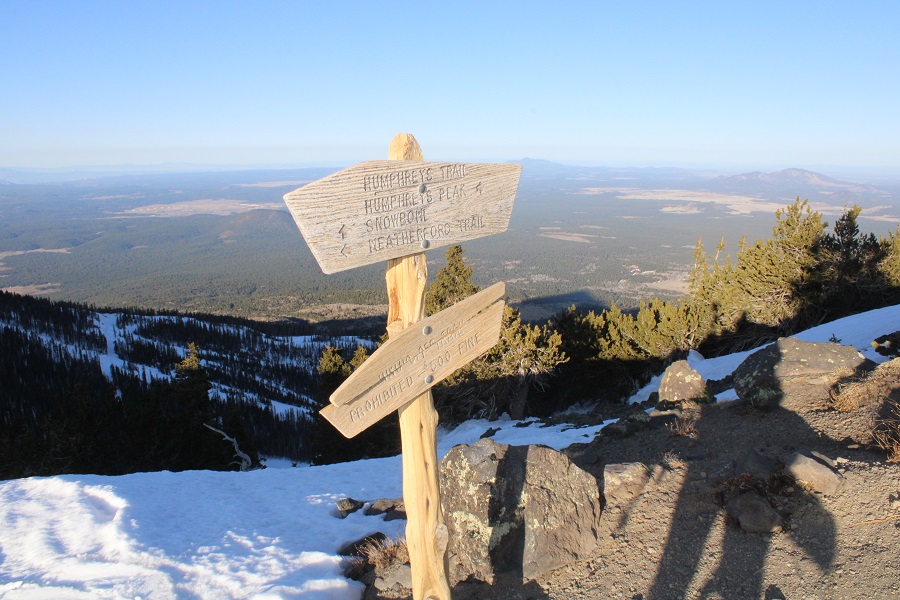
There’s also a trail sign here, indicating the way
I followed the ridge north/northeast as the sun began to rise
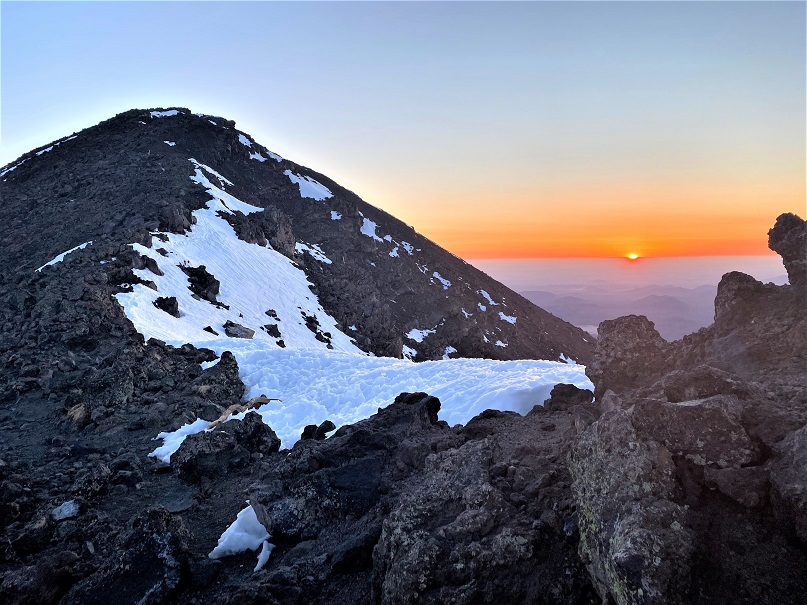
The girl I’d been leapfrogging with took a different route up (there were several snowshoe tracks to follow), and when we hit the ridge she got out a sleeping bag and decided to watch the sunrise. She never did go to the summit, and was gone when I made my way back down.
I continued on, following the ridge

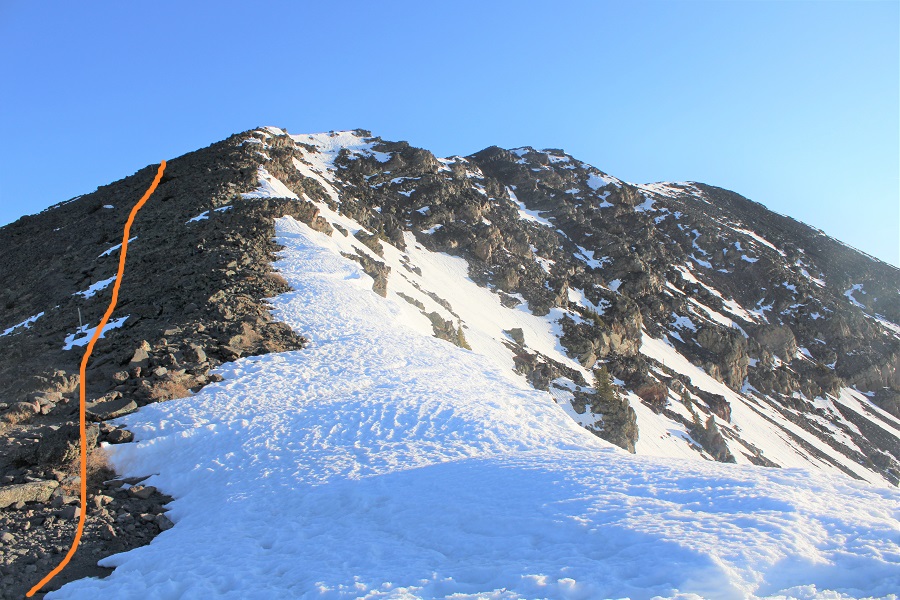

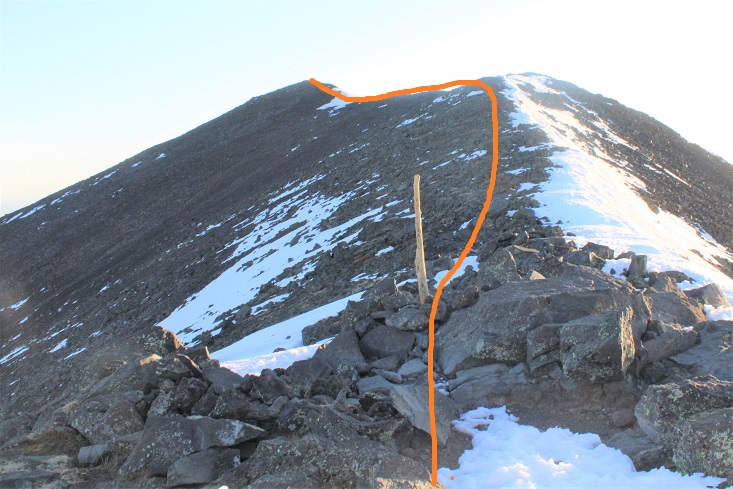
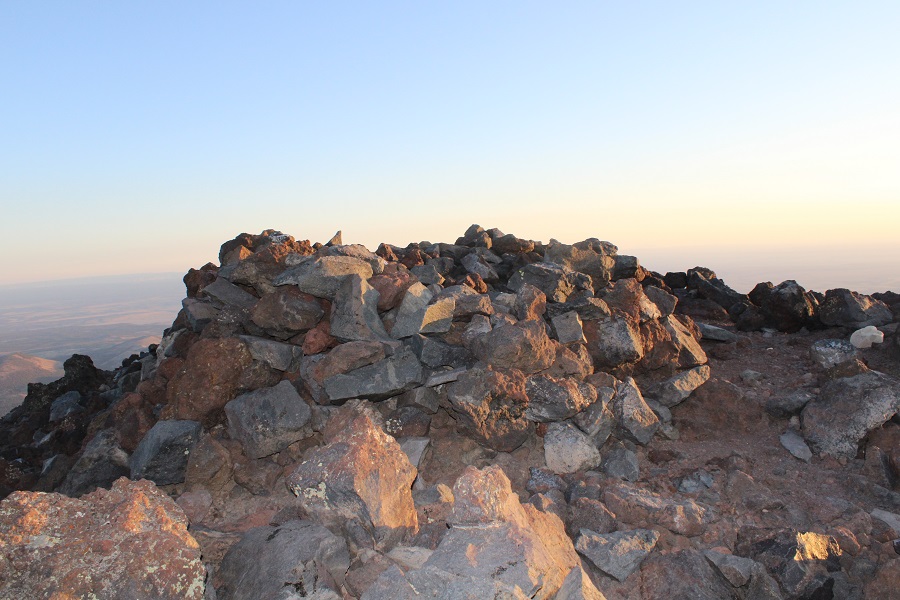
I made it to the summit at 6:20am. There were a lot of windbreaks at the summit
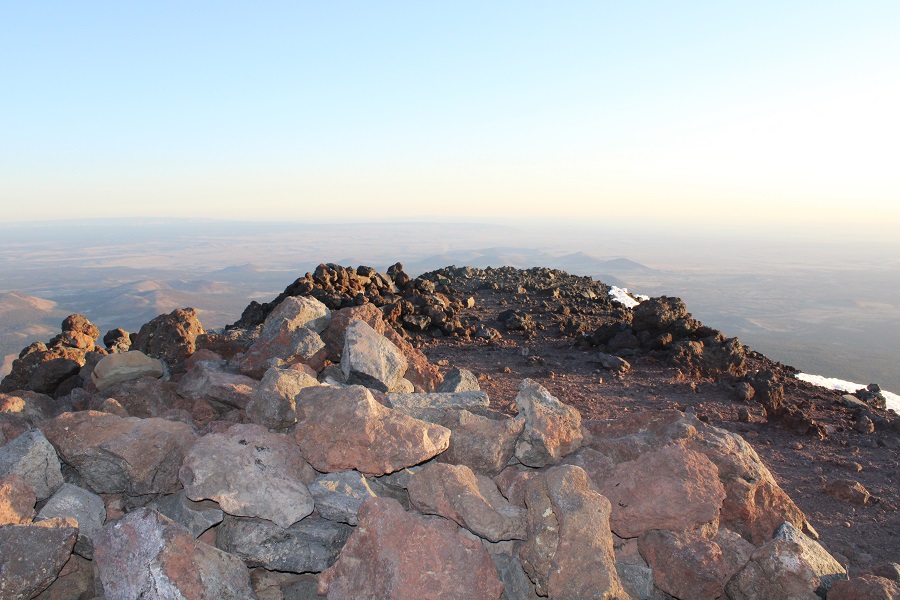
I found a buried summit register, left it there, and took a picture with the broken summit sign
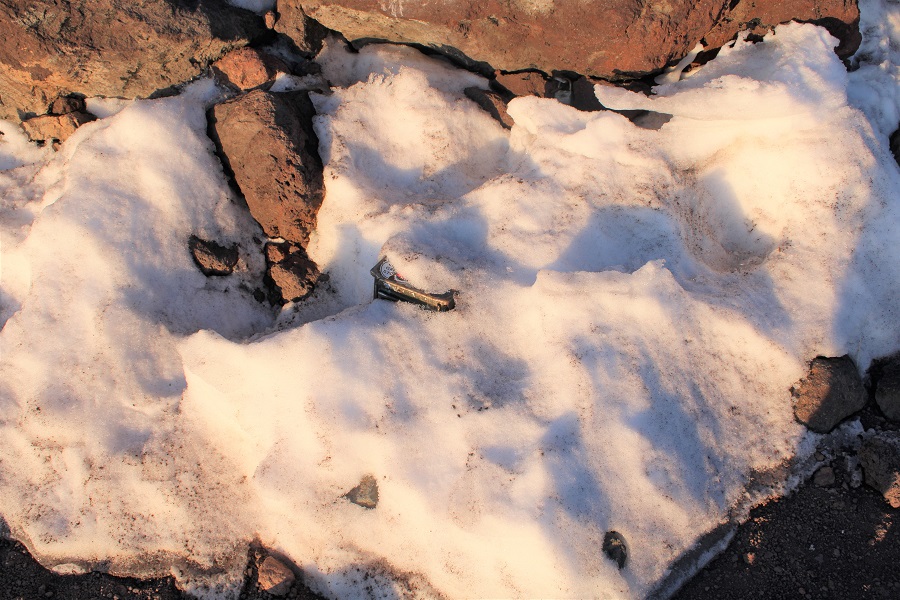

Humphrey’s Peak:
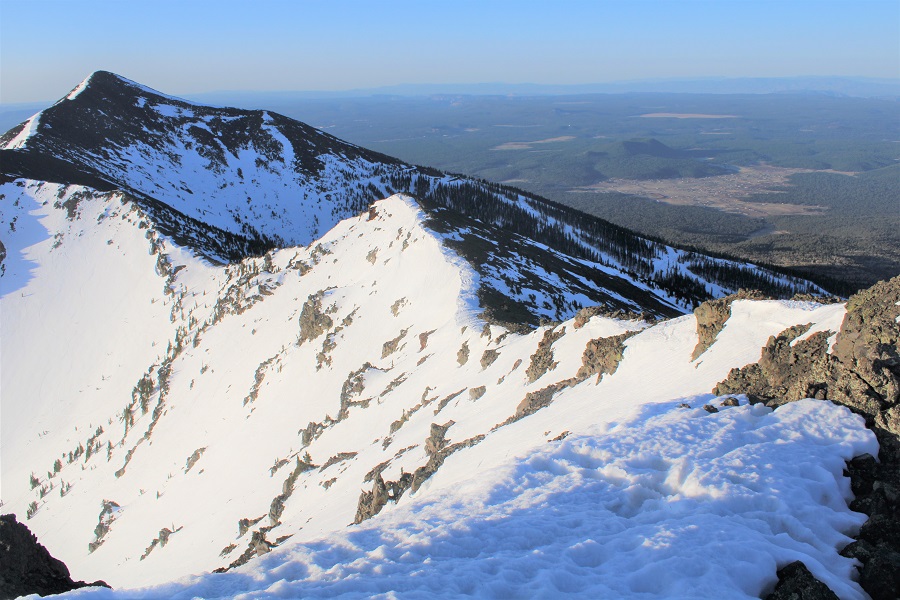
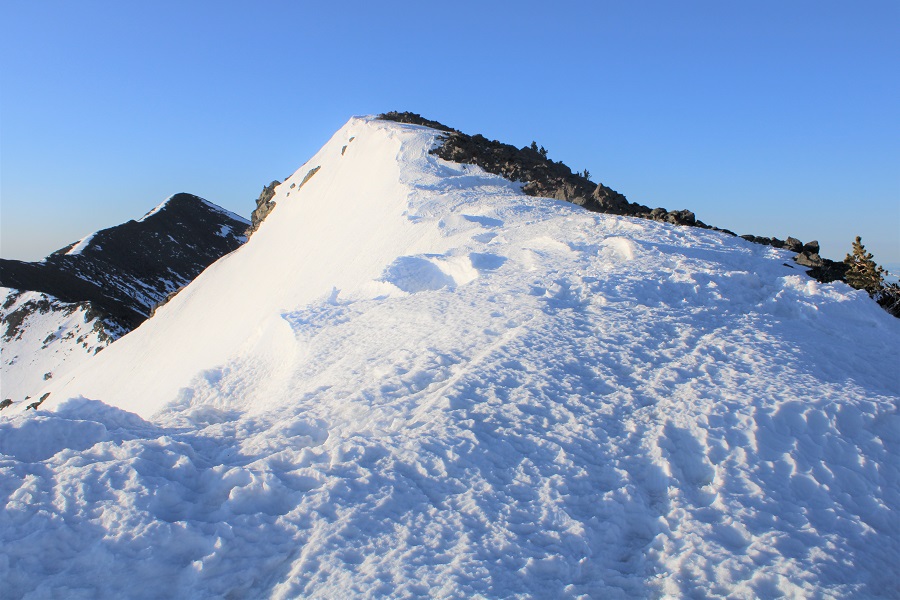
It was cold and windy, so I decided to head back. Here are a few photos of the route down. I (mostly) re-traced my steps.
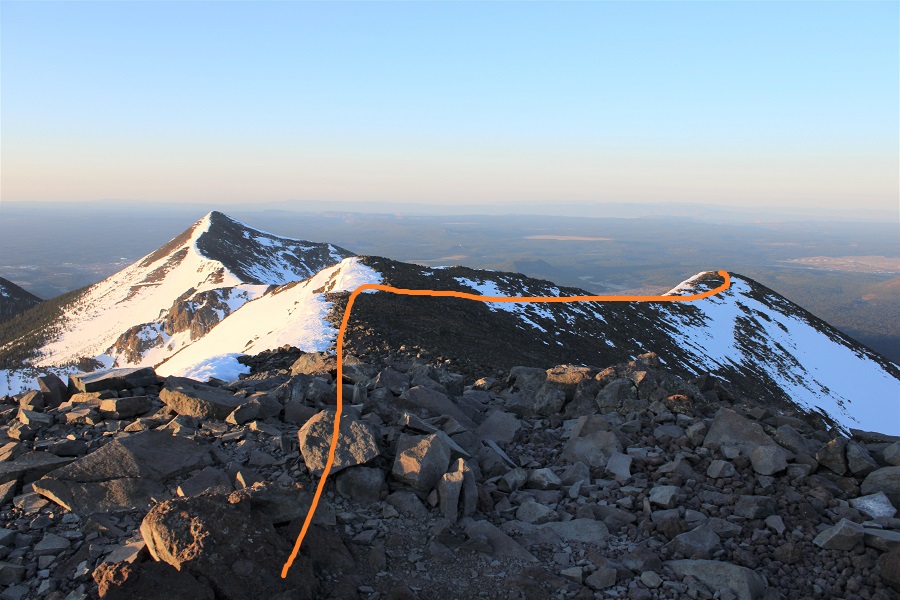
Here’s the saddle I was aiming for
And the ridge to get there
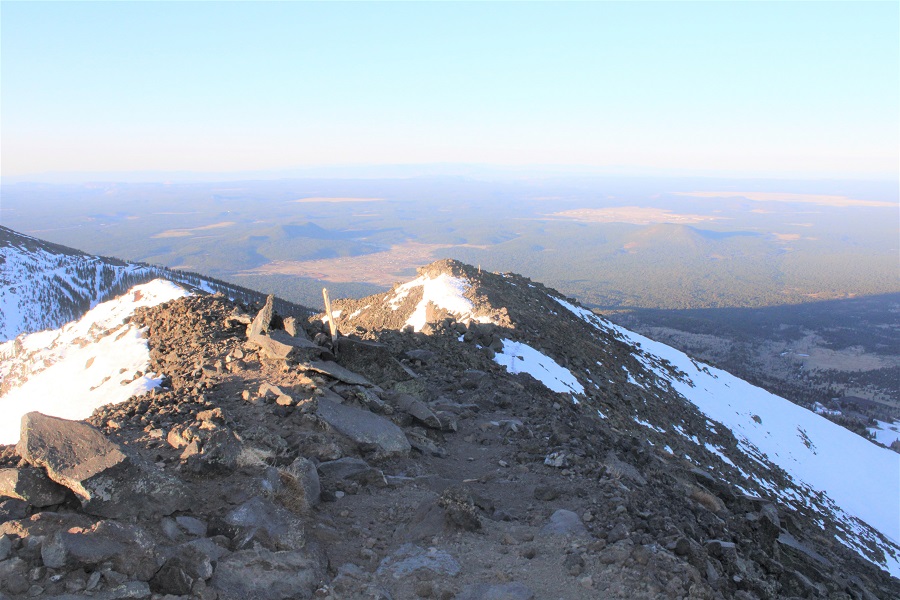
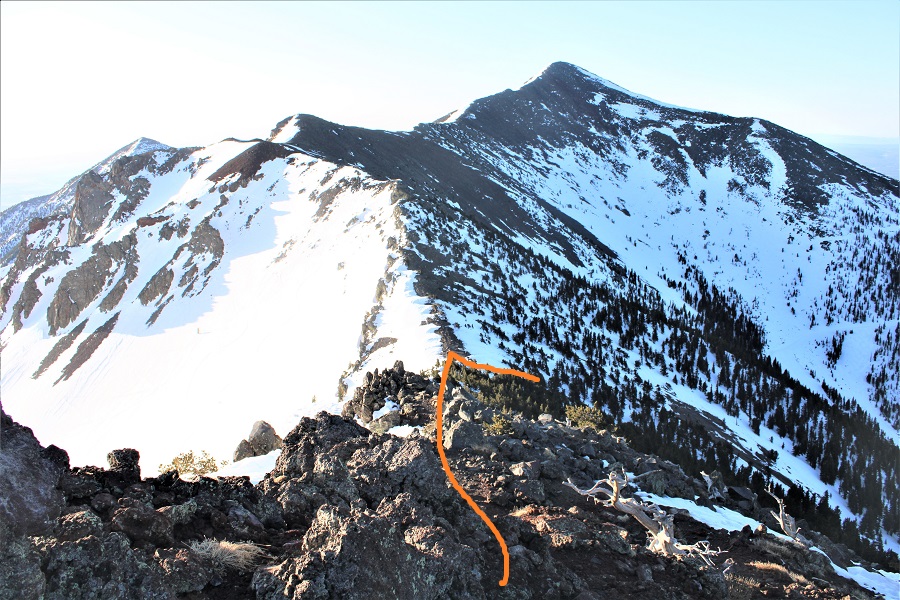
Once at the saddle I did my best to follow my tracks back down
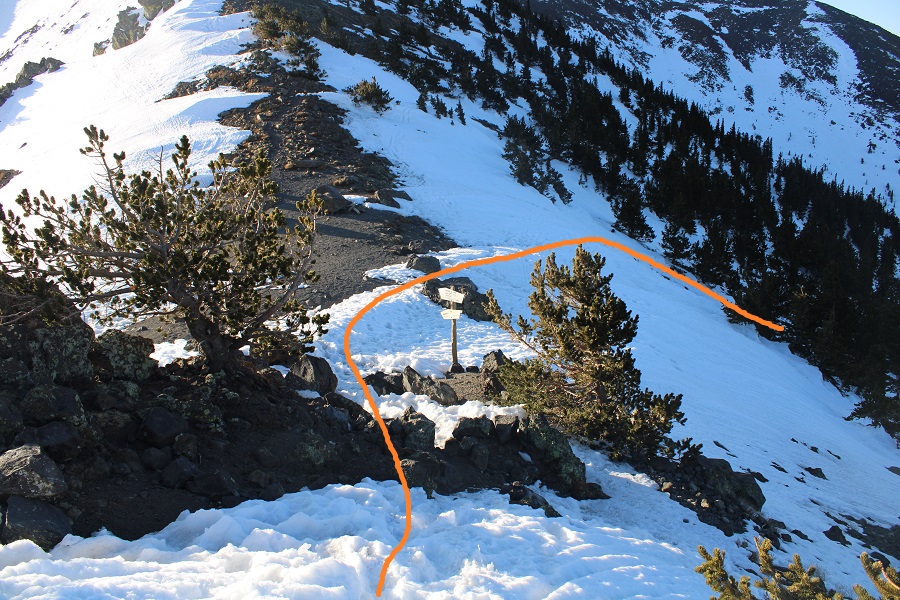

Taken from the saddle, the parking area is circled. Here you can see it’s a straight shot west from the saddle, but that area was all skiable and off limits, so I did my best to switchback down the mountainside, following the summer trail.

I lost the trail several times, but was able to follow snowshoe tracks down. If you’re blazing your own trail, you can stay in the trees and parallel the ski area by heading west, which will lead you to the parking area.
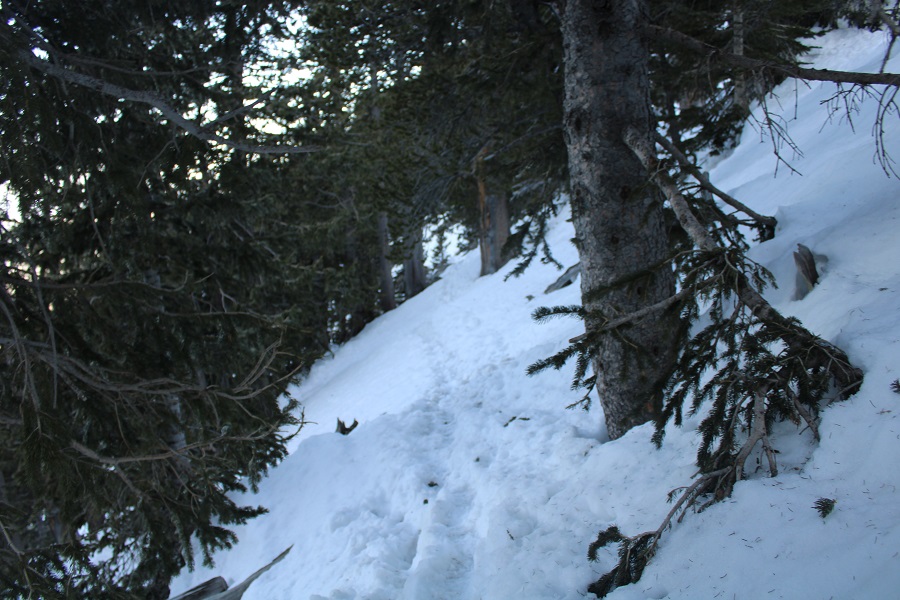
Here’s the exit route back to the parking area
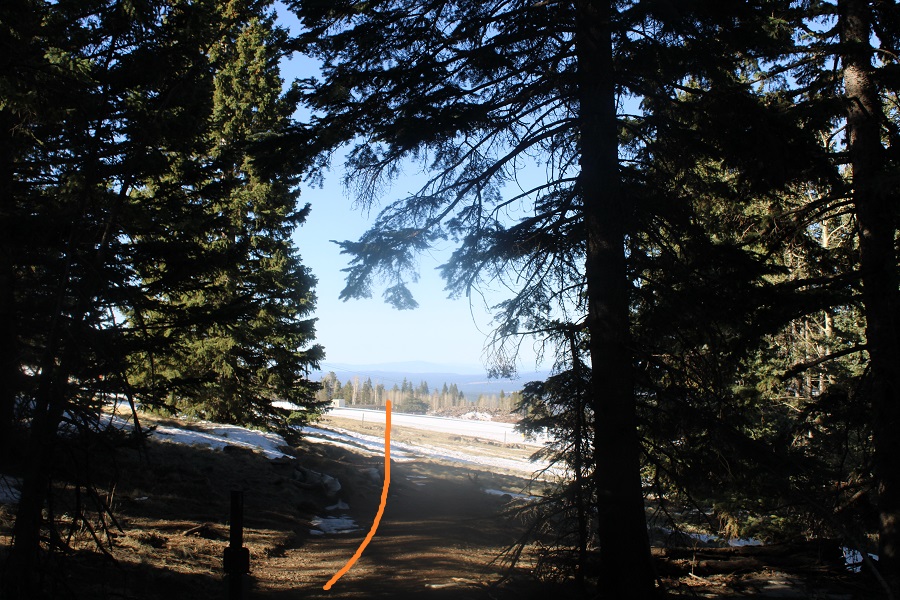
I was still really early, and there wasn’t anyone on the slopes. I was making tracks on the newly groomed snow however.

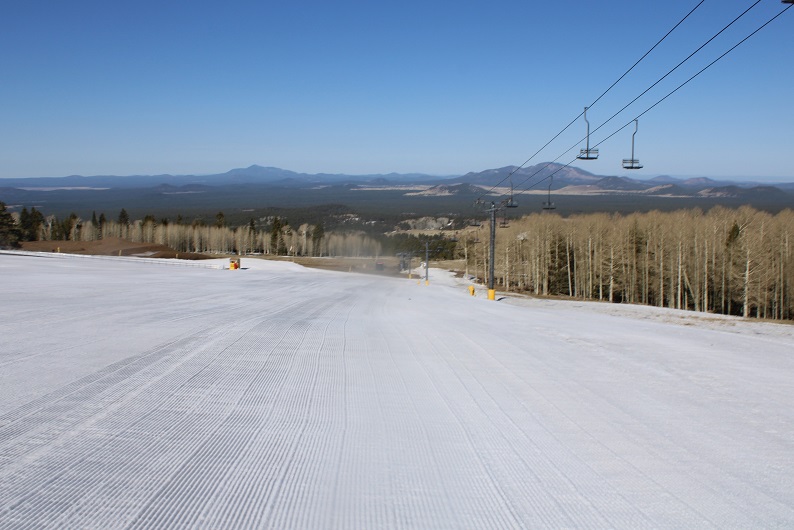
I made it back to a still empty parking lot at 9:00am, making this a 10.55 mile hike with 3649’ of elevation gain in 6 hours. I never did see that man I met in the parking lot last night. I can only think he had more whiskey than he could handle and had a hangover. That’s what he gets for drinking with a pro.

Here’s a topo map of my route


RT Length: 1.91 miles
Elevation Gain: 606’
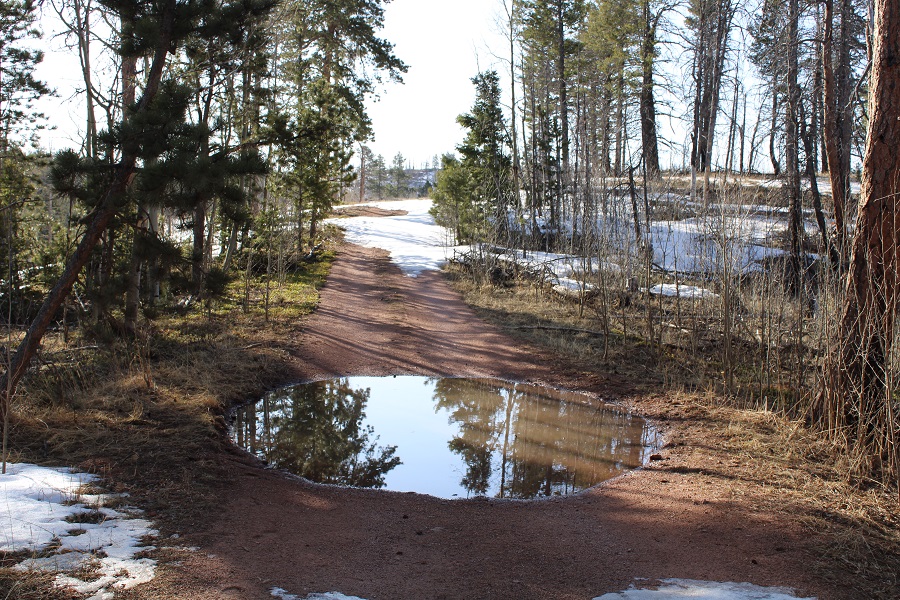
Last on my list of peaks for the day was Ormes Peak. I drove 1.7 miles further than where I parked for Notch Mountain, turned right onto 303, and continued as far as I could before the snow took over the road. There were several mud puddles here, and I had fun running my truck through them and getting mud on my tires.
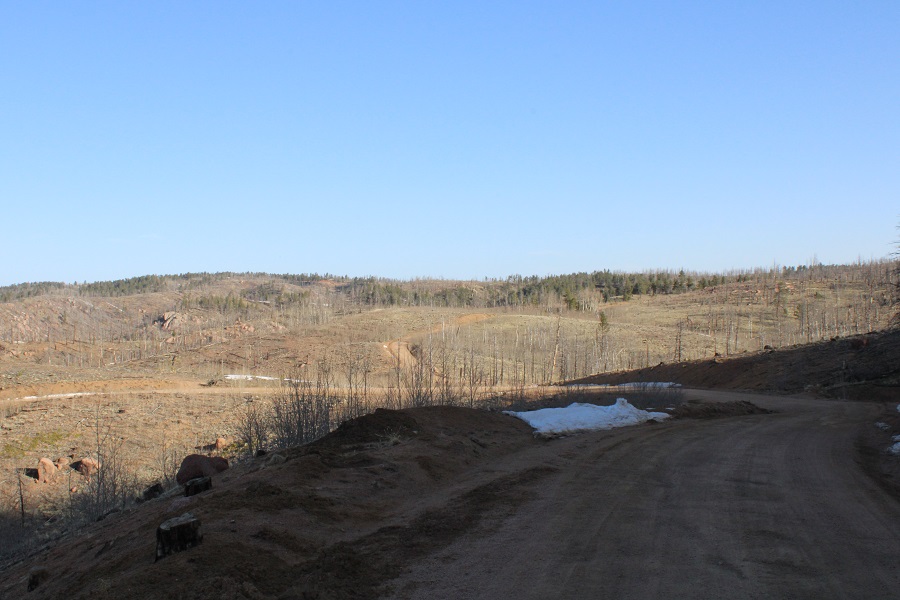
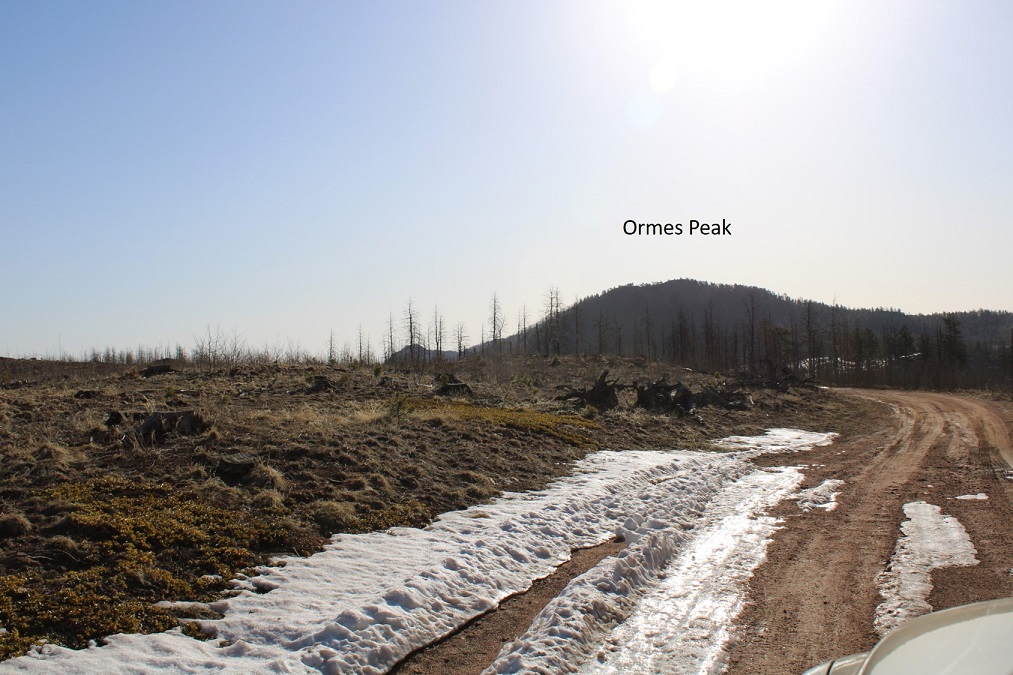
This puddle was particularly satisfying, as it was covered in ice and all of it broke when I crashed through it with my truck. Also, the windows were open and I may have accidentally got some mud inside my truck (I closed my windows on the way out)
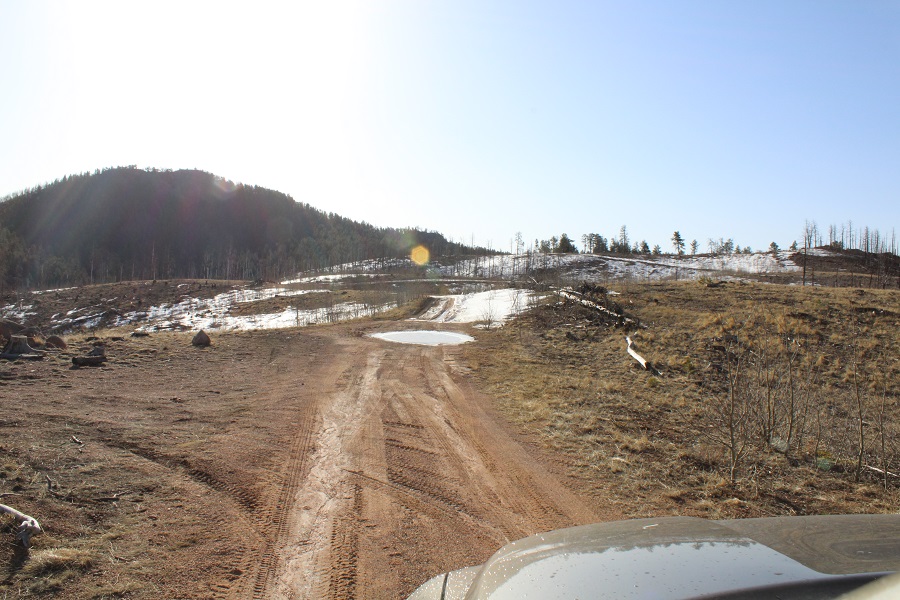
About half a mile from the trailhead the road became impassible. I parked, and was on my way.
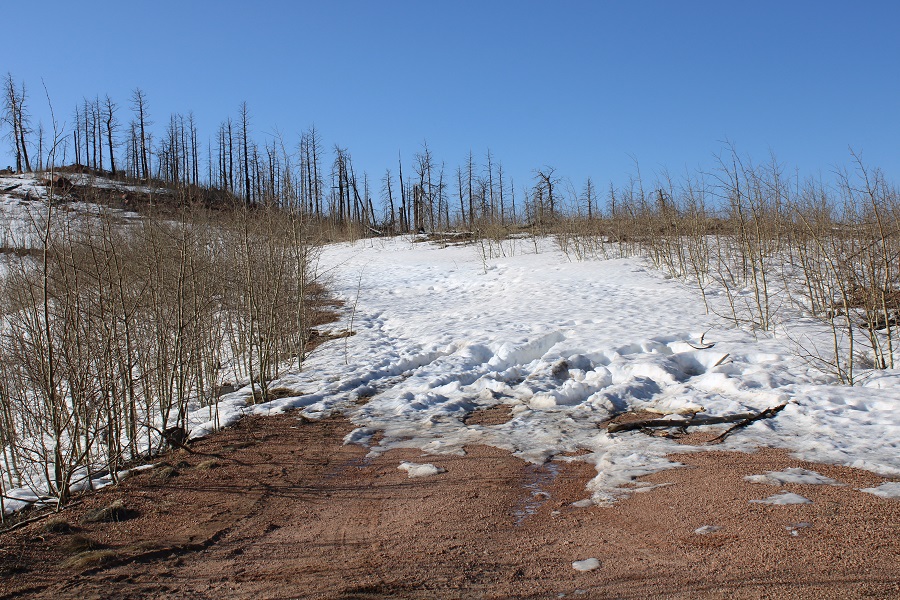
I followed the road for half a mile to an obvious turnoff, and turned left.
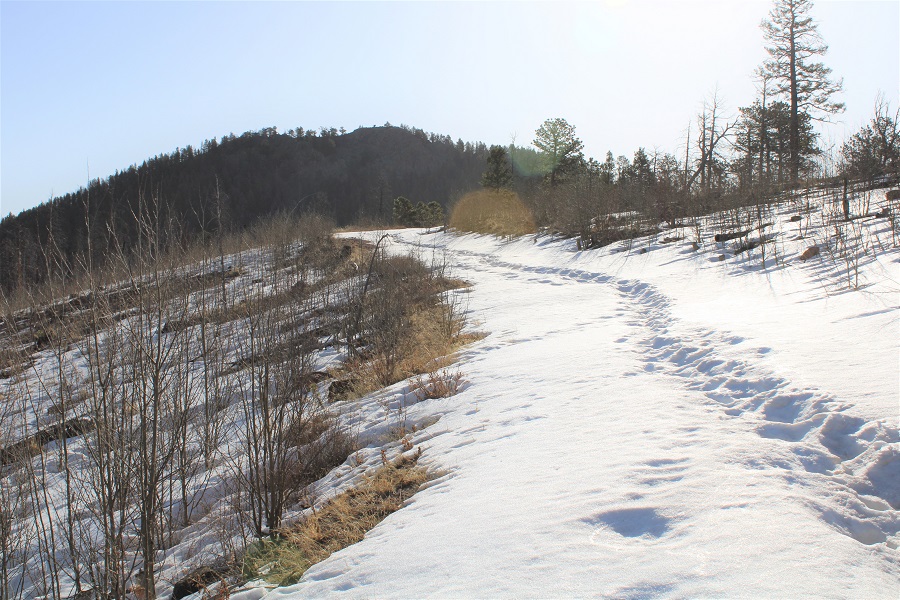
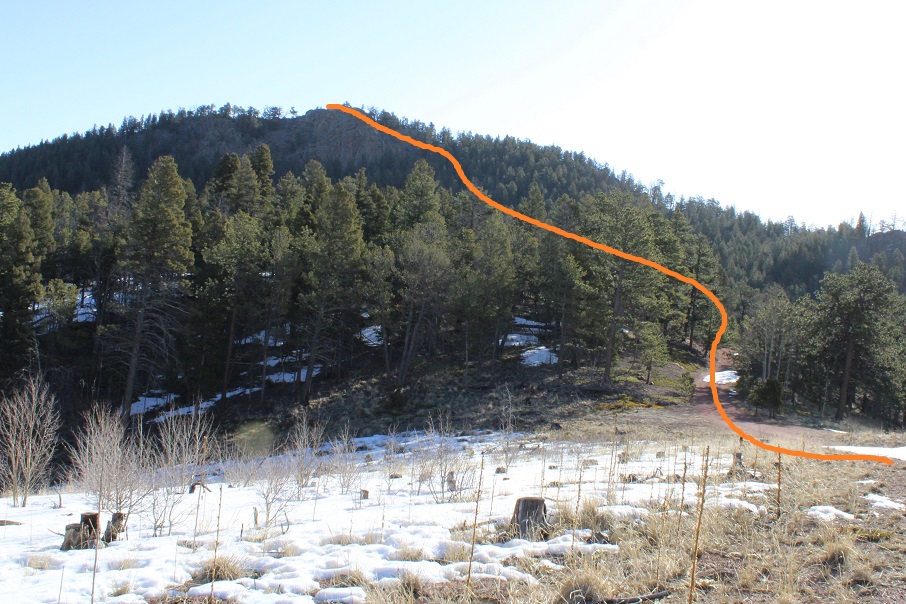
Here’s an overall view of the route:
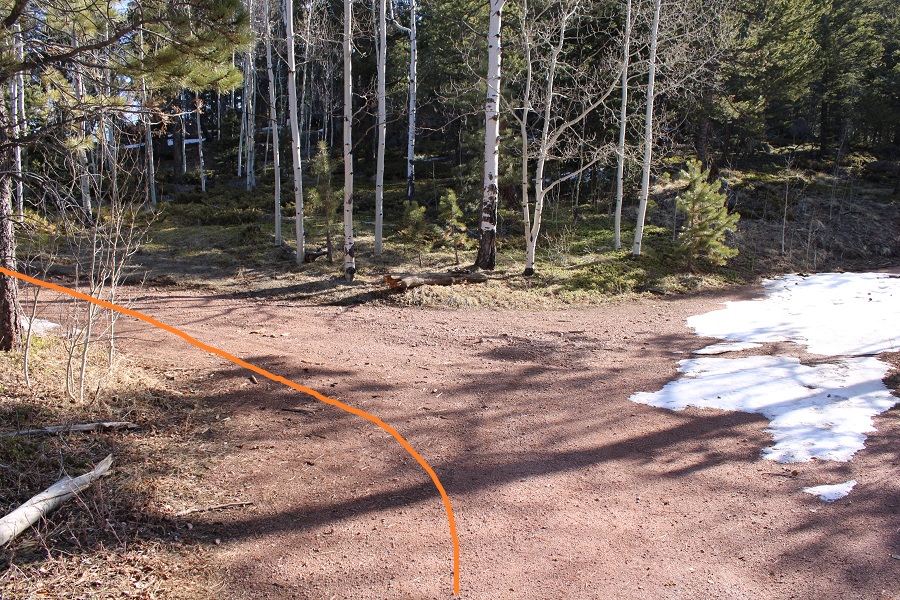
Here’s the junction where you turn left and follow a ‘trail’
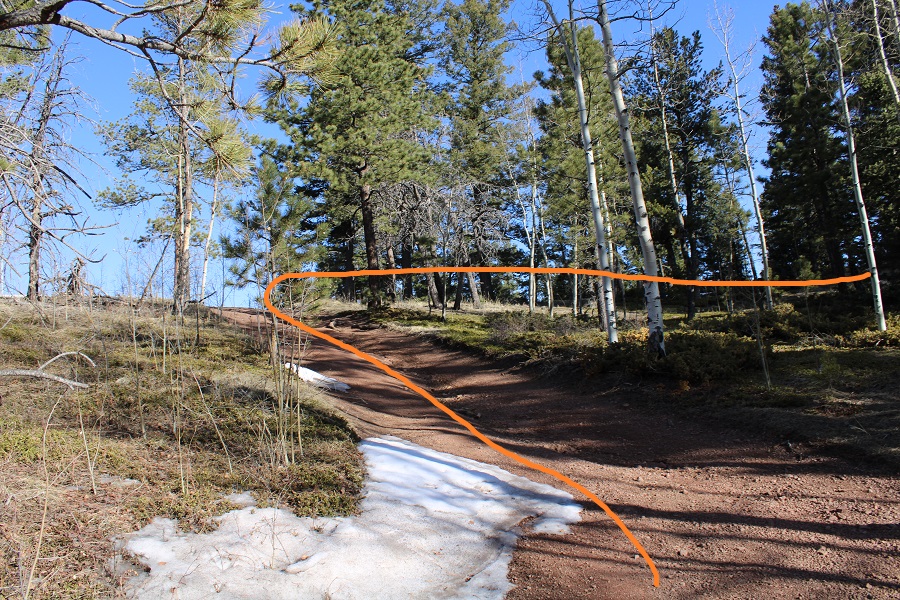
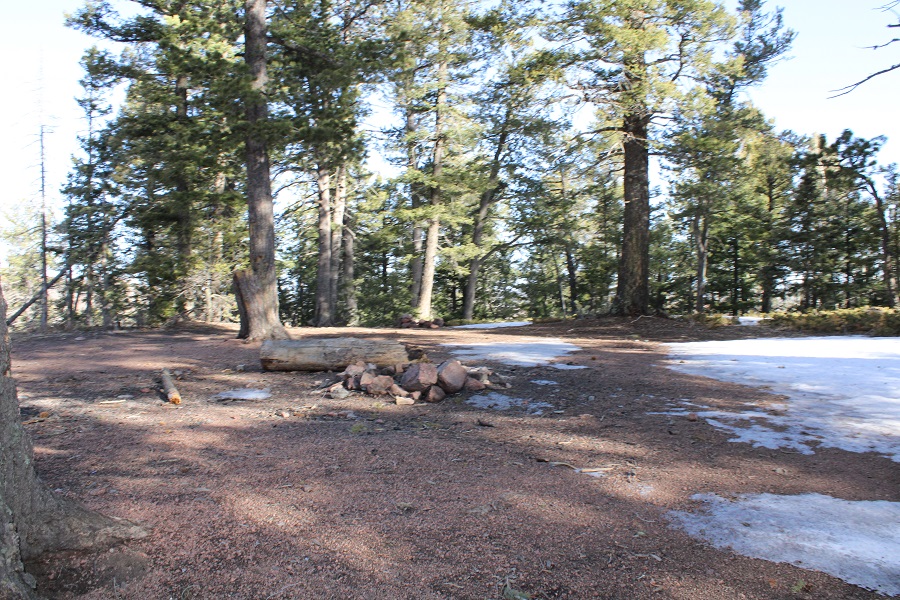
This is an area you could disperse camp for the night.
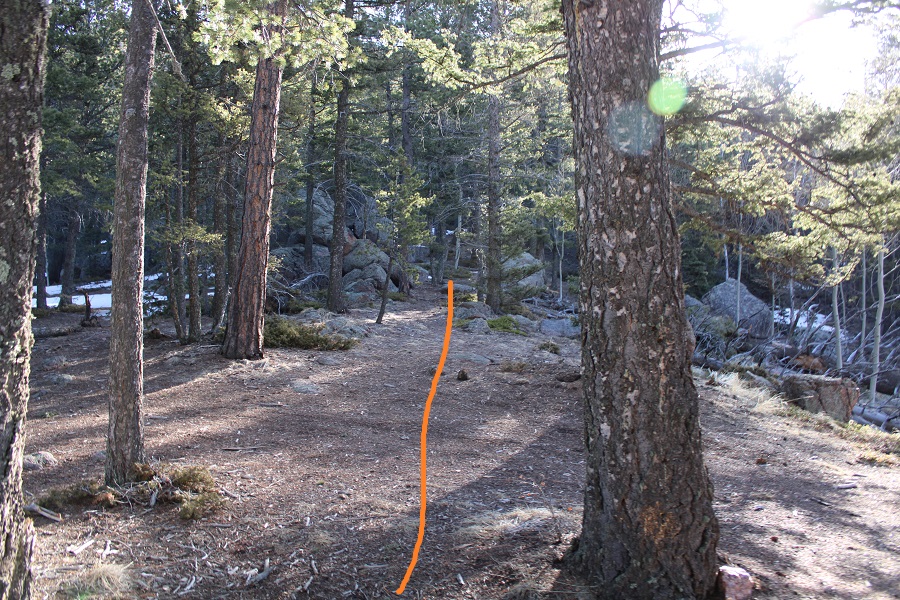
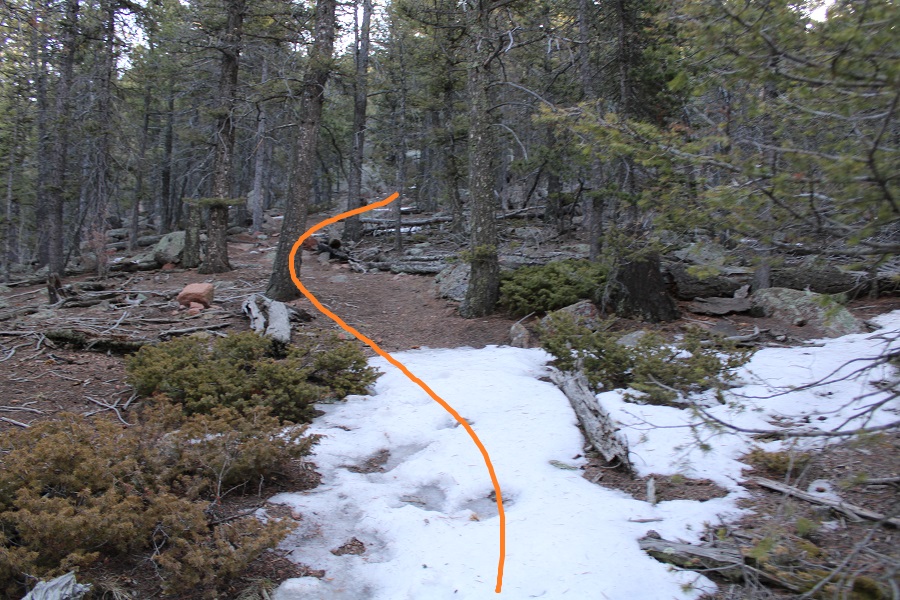
What there was of a trail was covered in snow, which made the cairns helpful. I just kept heading east

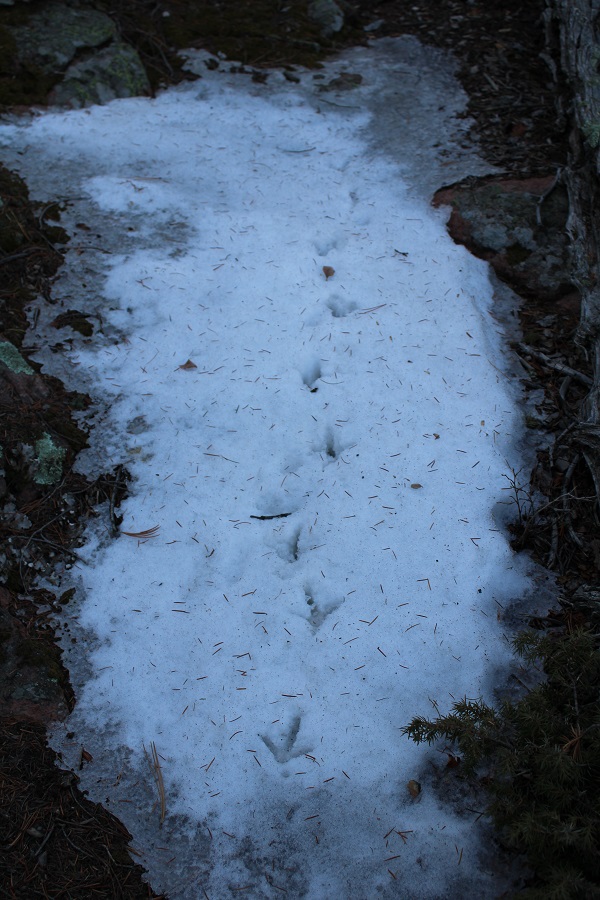
I came across some turkey tracks
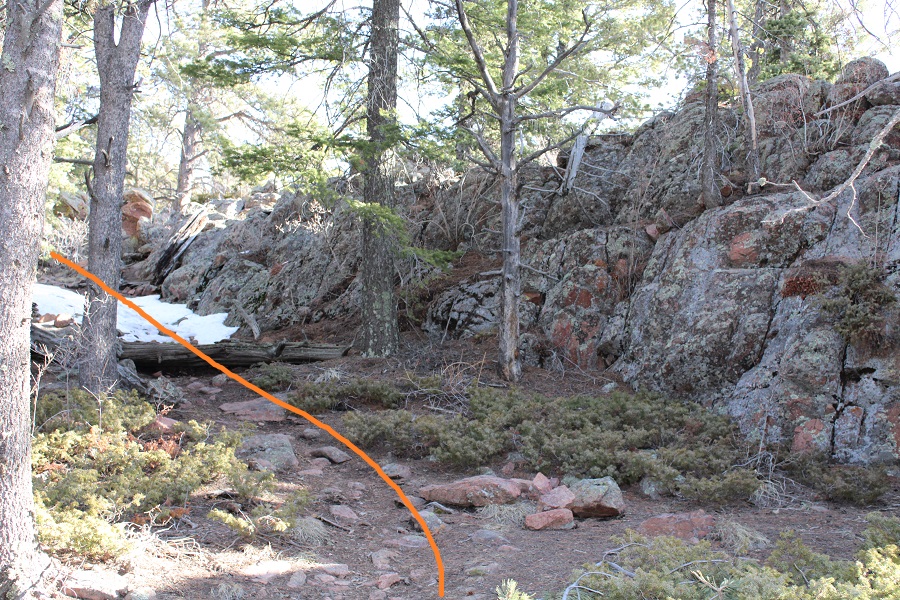
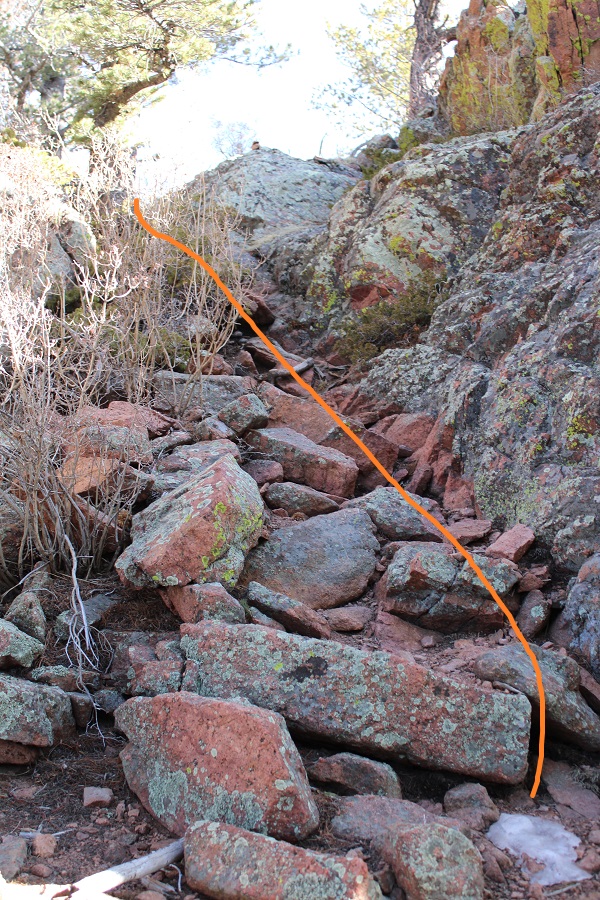
And continued heading east until I made it to the ridge. Once at the ridge I headed north, ascended a small class 2 gully, and was at the summit!
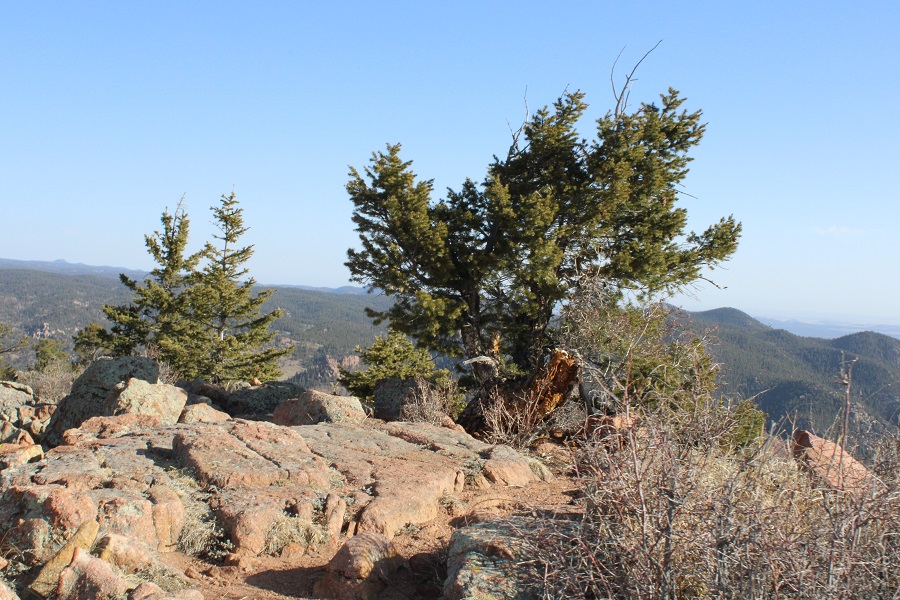
There was a summit marker here, but no register, so I left one

And took a summit photo
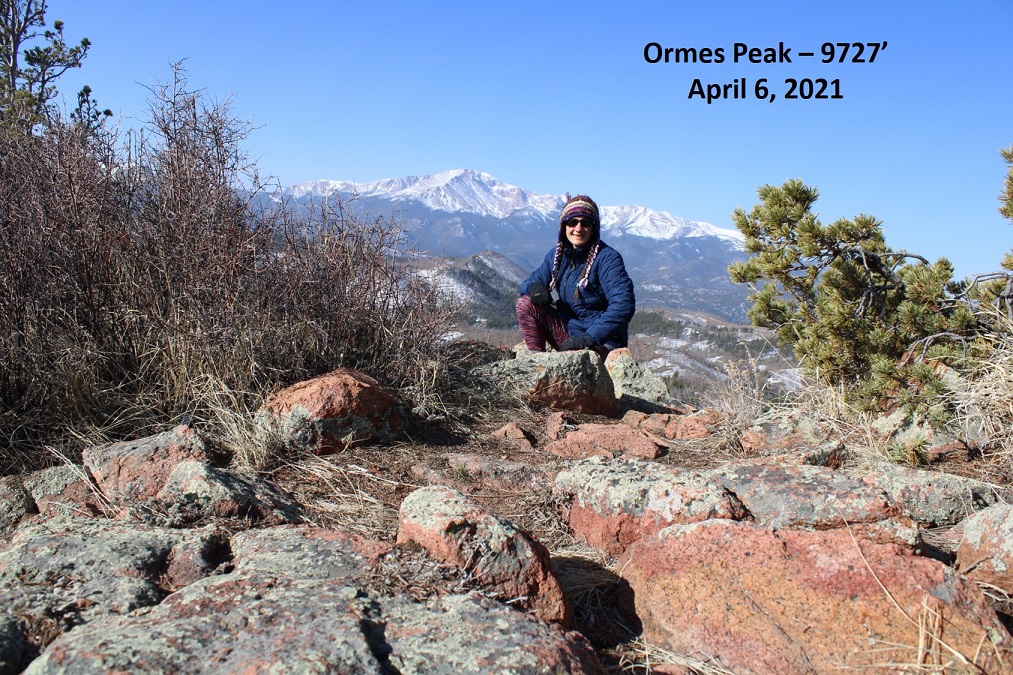
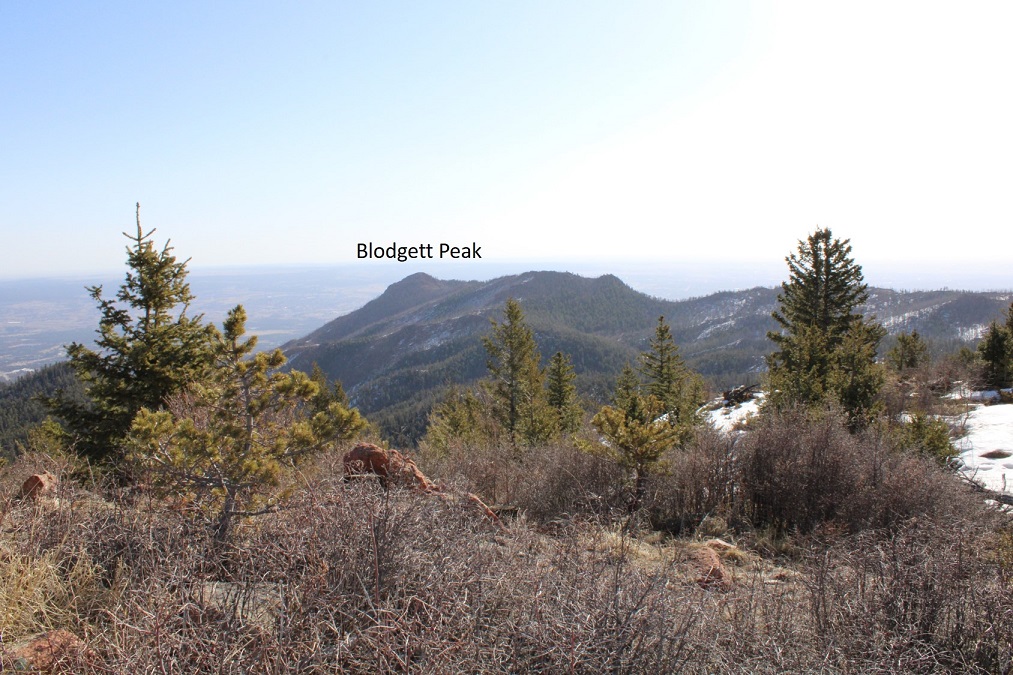
There was a great view of the back side of Blodgett Peak
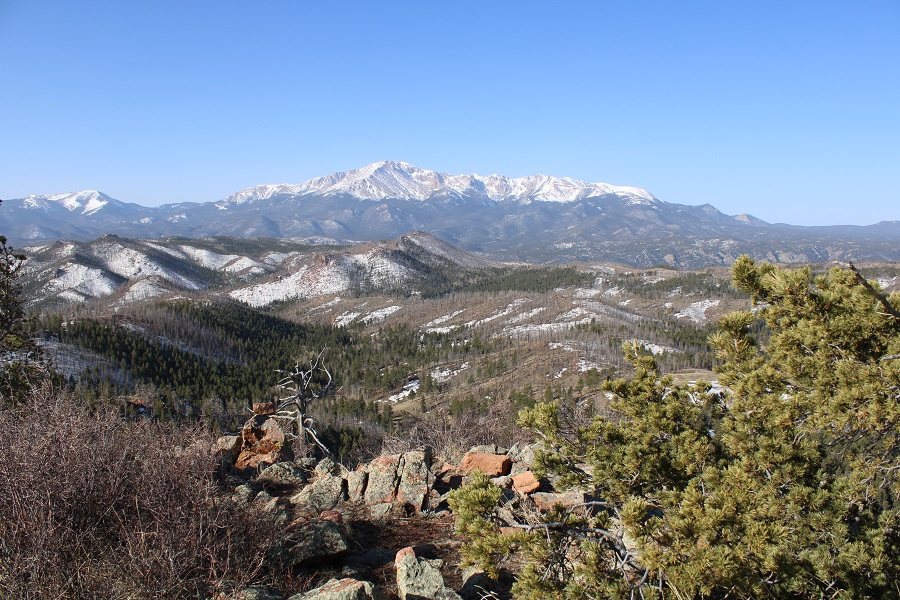
And also of Pikes Peak
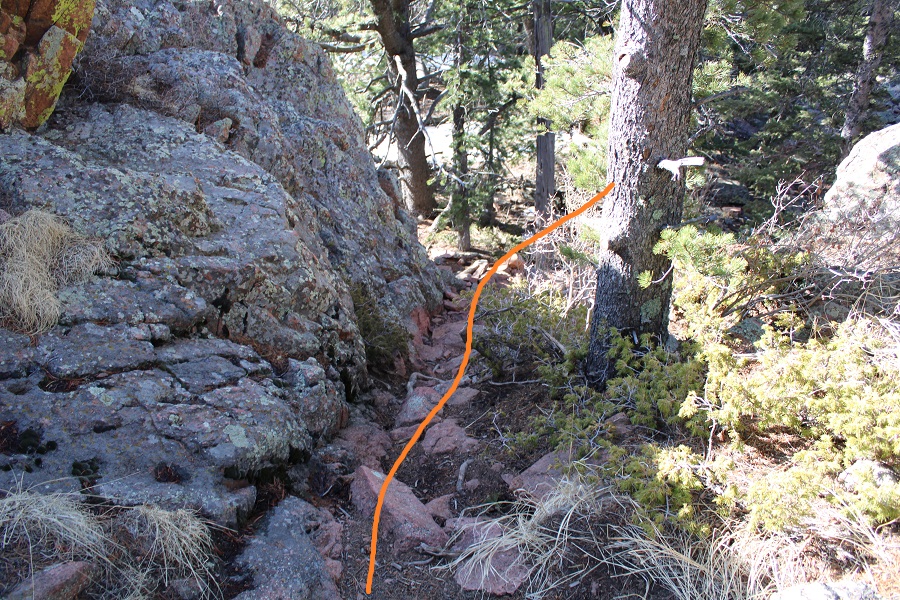
I headed back the way I’d come, but quickly became disoriented: in fact, I never saw a cairn. I went too far south, but it was easy to correct my mistake: I headed west and soon came to the dispersed camping area.
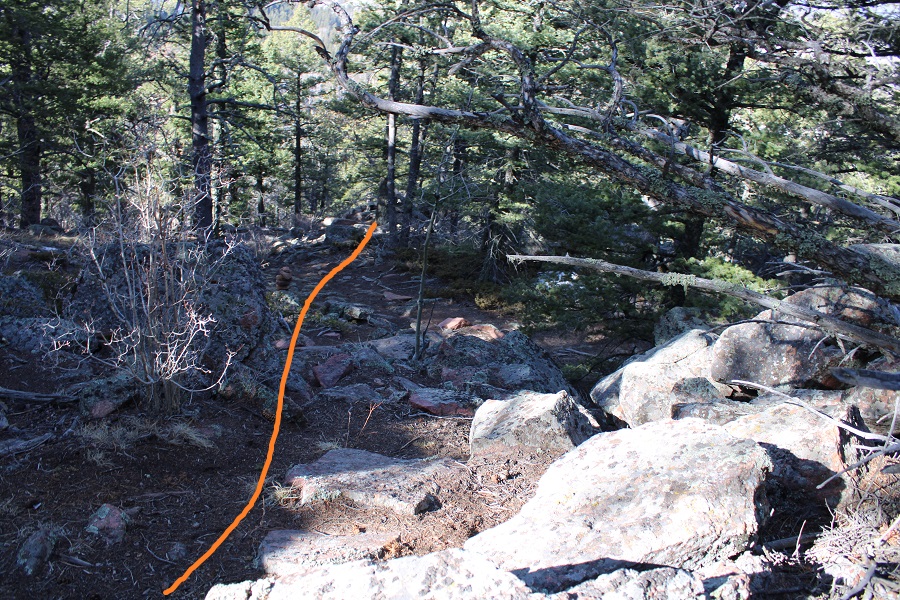

Which led me back to the road and my truck

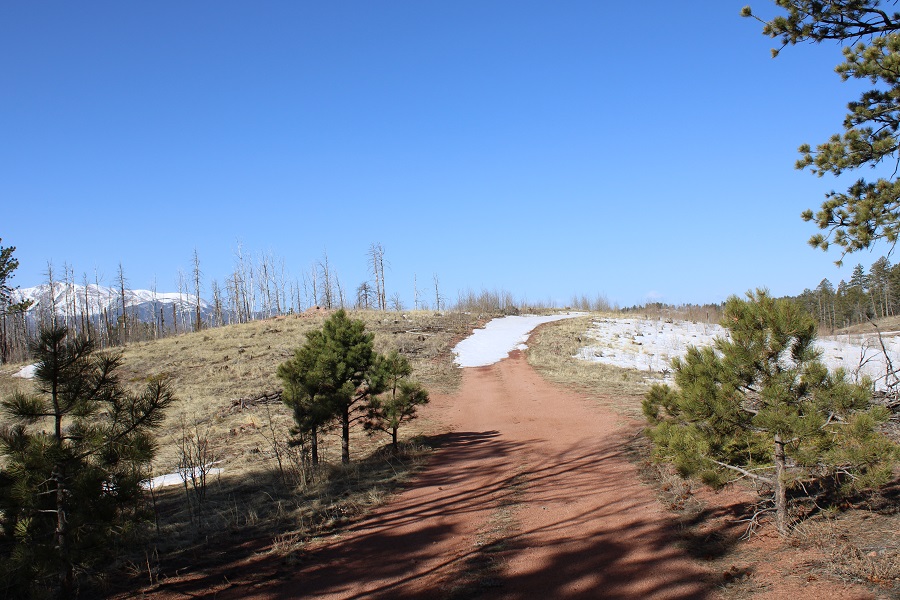
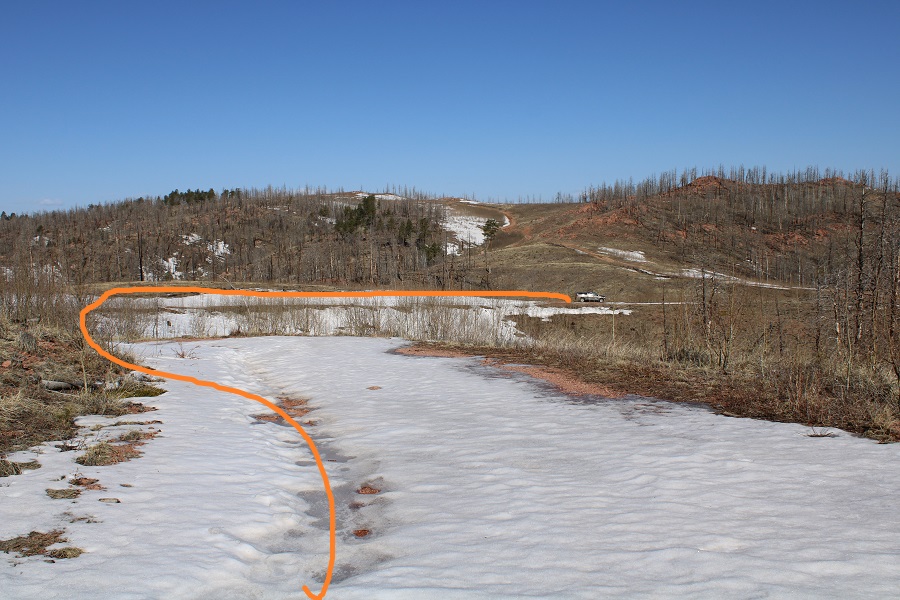
It was still early, and there were several other peaks in t he area I could have attempted, but I also had to get to work, so I stopped my tracker and was on my way

I kept driving north, towards Woodland Park to make sure the road was clear: I may just attempt a few more peaks out this way next week…
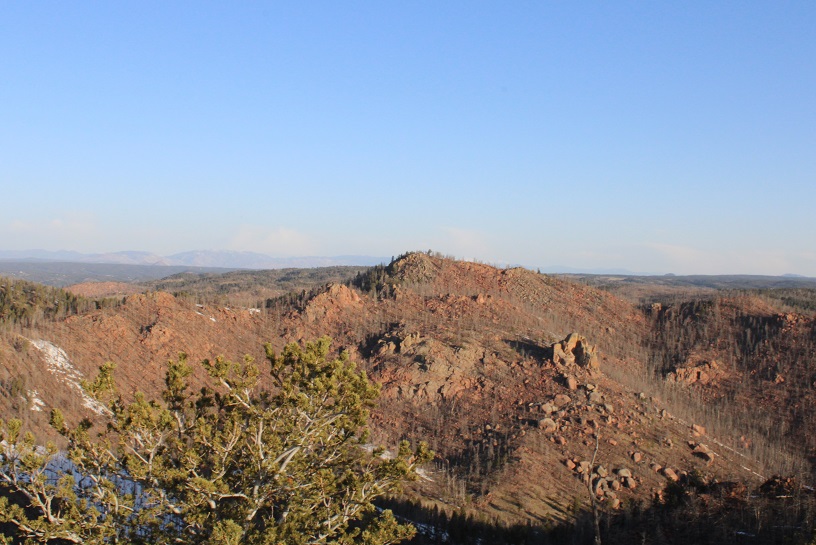
RT Length: .64 miles
Elevation Gain: 359’
Second up for the day was Notch Mountain. This was a very quick hike, and I’d recommend linking all three up together (or more). Just for reference, I hiked Tuesday Peak, Notch Mountain, and Ormes Peak today. From where I was parked for Tuesday Peak I drove 1.15 miles further north on Rampart Range Road. If you’re starting from Rampart Range Road in Garden of the Gods it will be 13.15 miles total to the parking area for Notch Mountain. As I was driving, I could see “Notch Mountain” ahead of me.

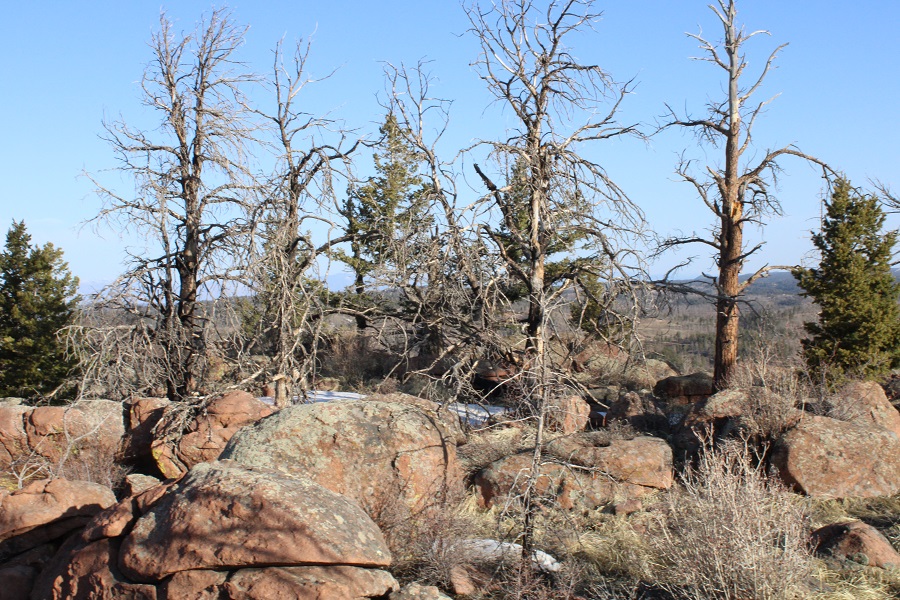
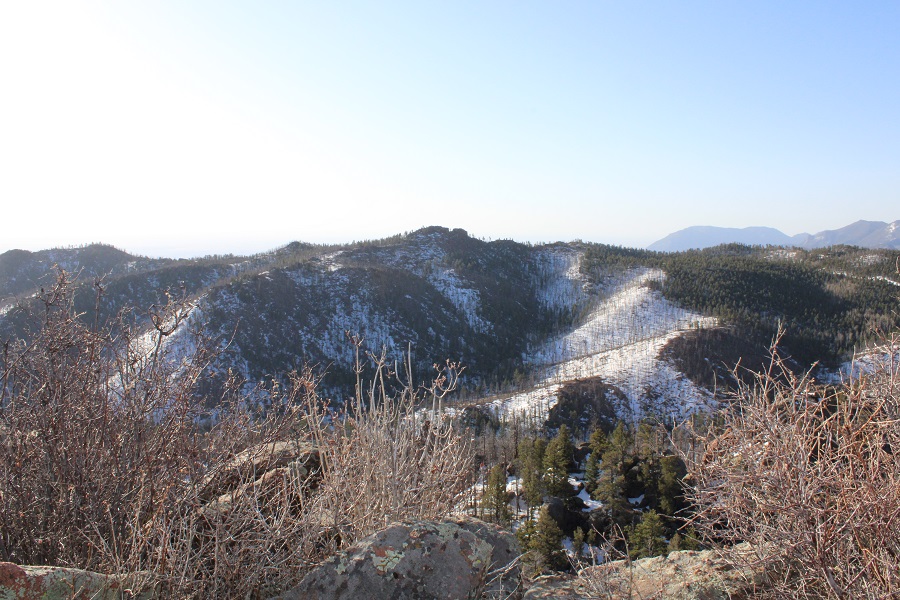
I parked at the base of the ridge and started hiking. This is a quick and easy ridge hike, starting in the burn area
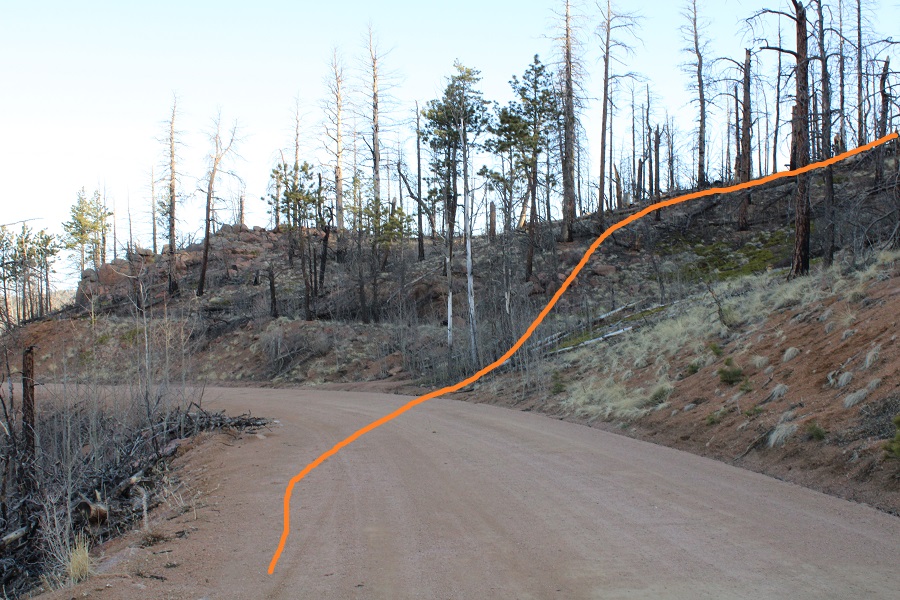
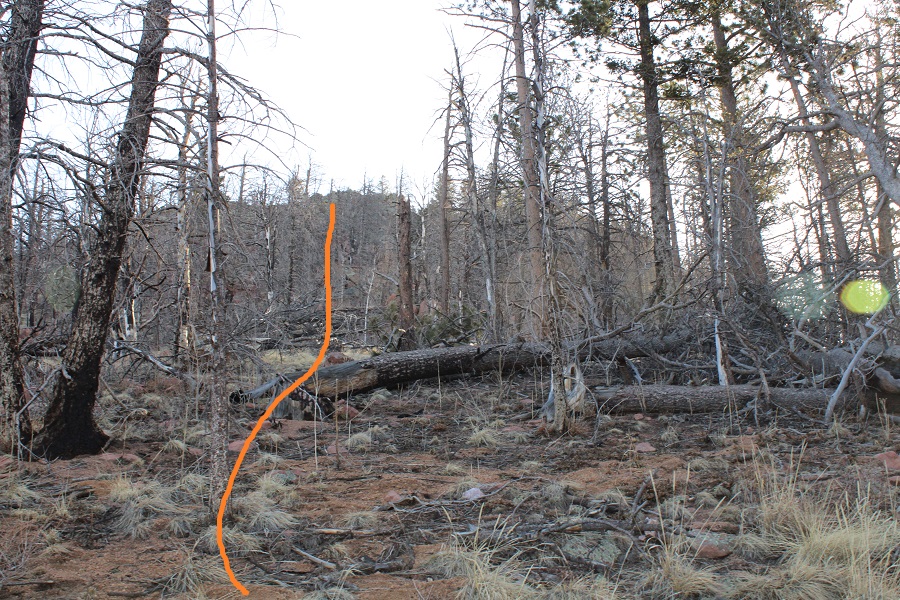
The most difficult part of this hike was navigating all of the deadfall. I just kept heading northeast along the ridge.
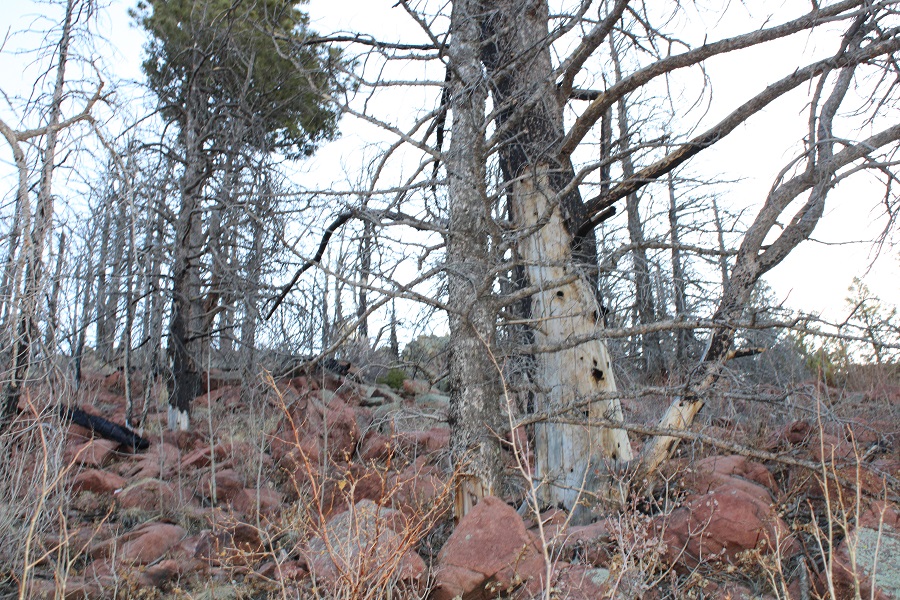
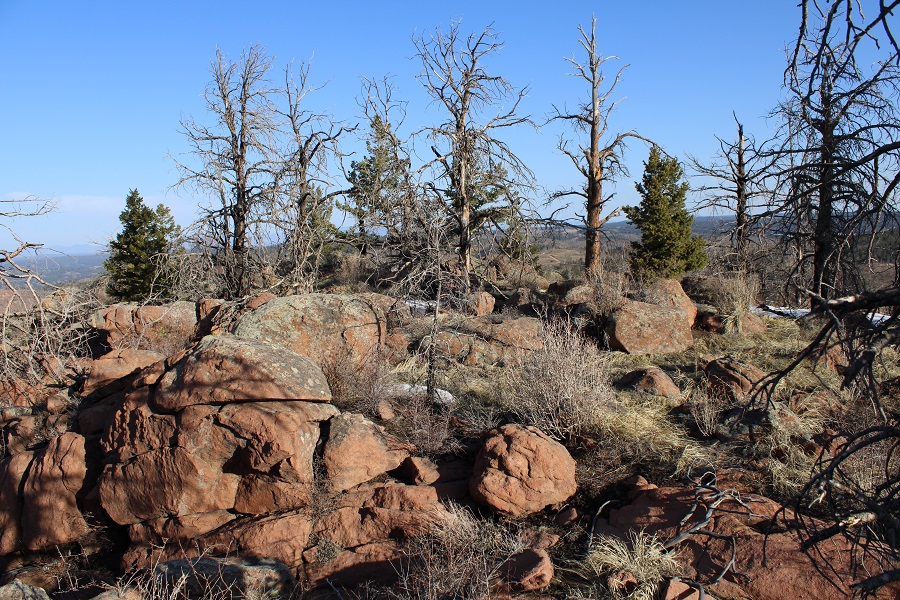
This brought me to a rocky area
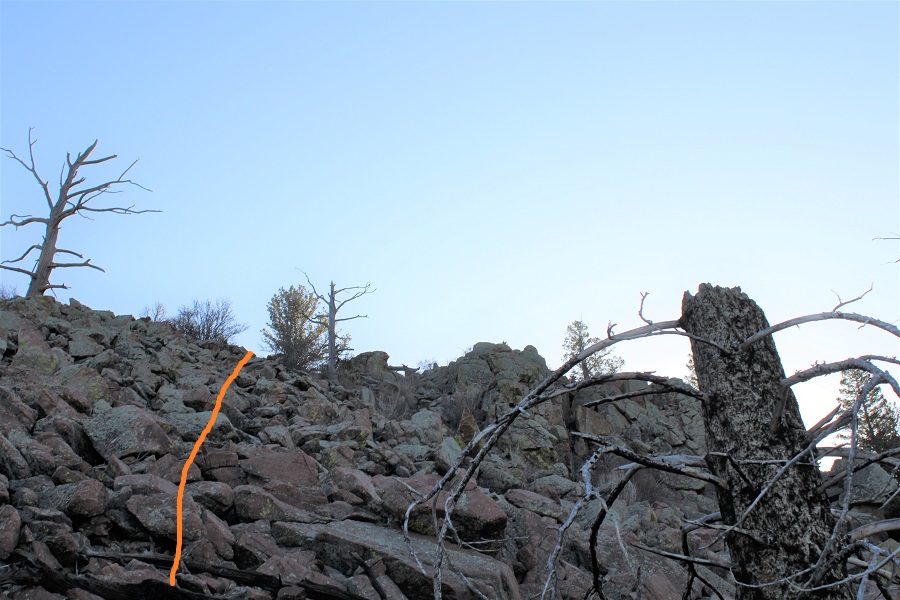
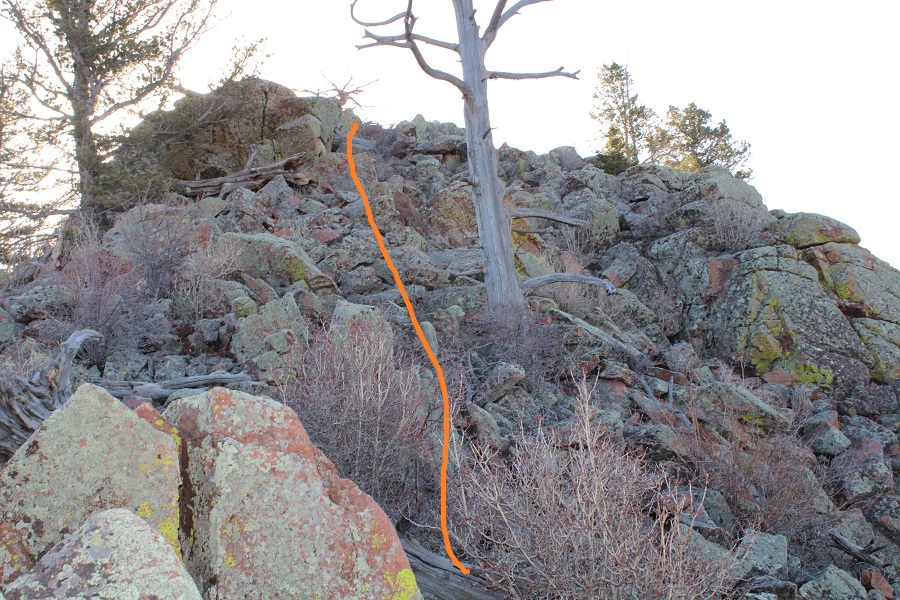
And then, I was suddenly at the summit. The summit is relatively large and flat.

I took a photo to prove I’d summited, and left a summit register (no marker on this peak)
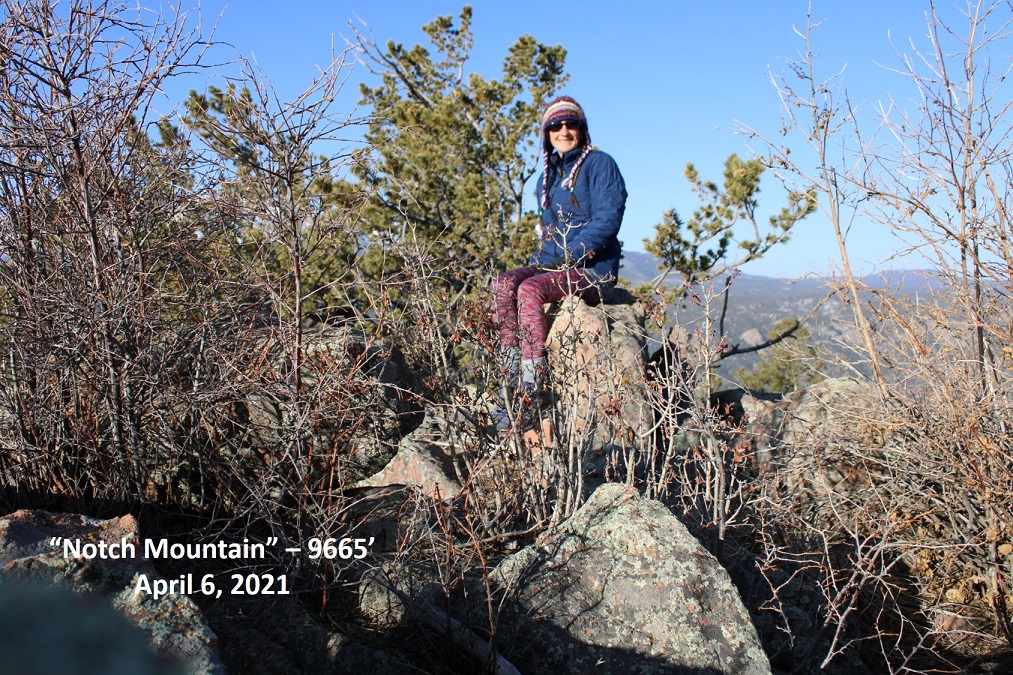
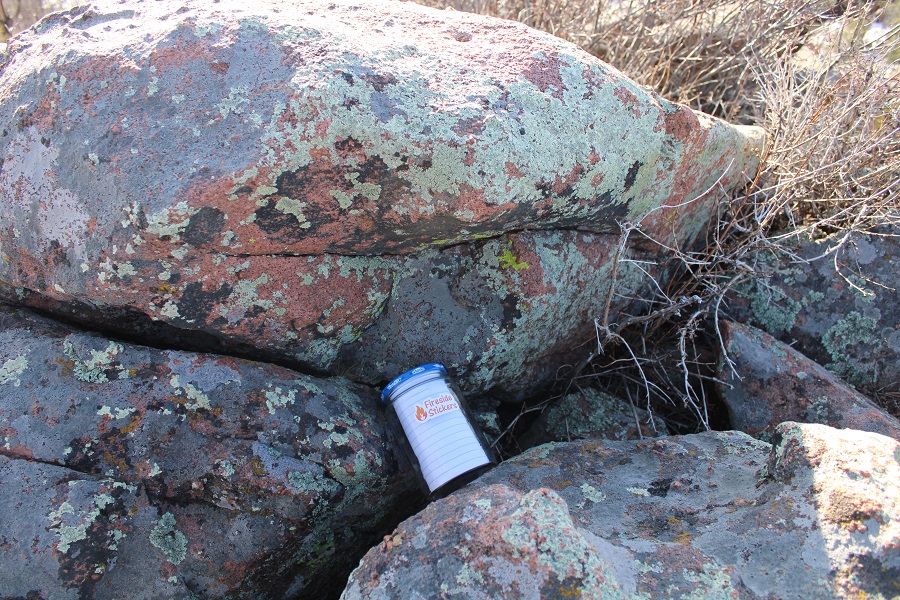
The views aren’t that good here, because the trees on the summit obscure them. The good part is there are actually trees at the summit that made it through the fires
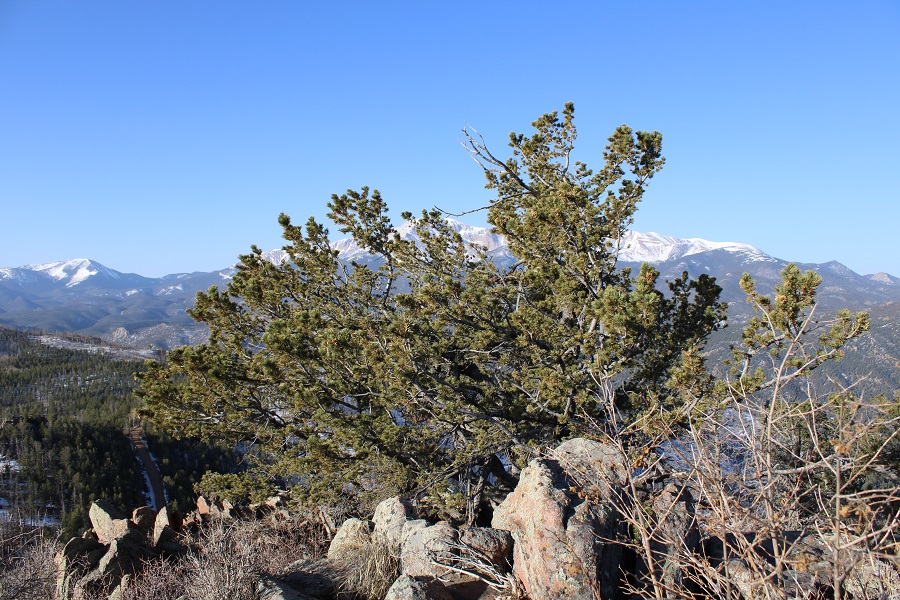
Here’s a view of Tuesday Peak from the summit of “Notch Mountain”
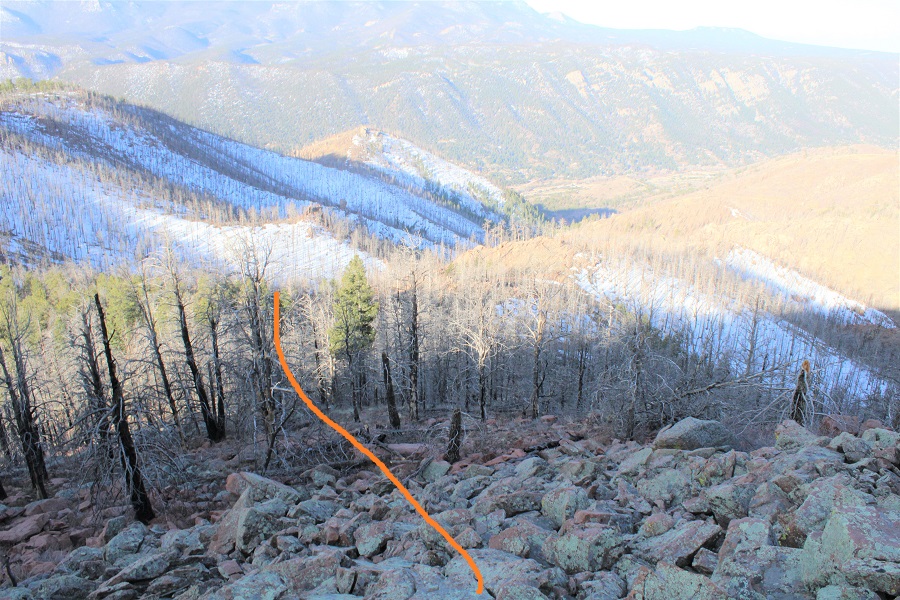
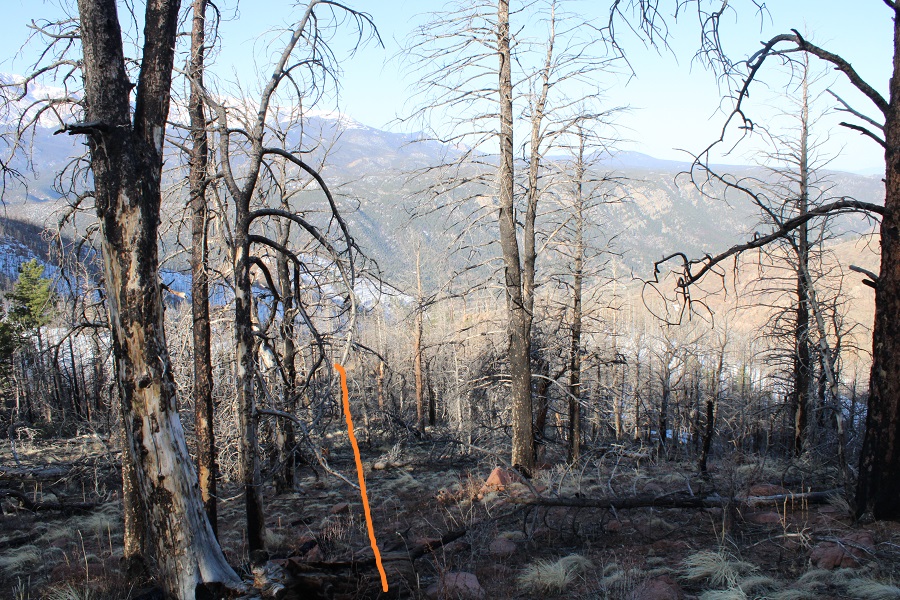
I turned and headed back down the ridge.


And my truck
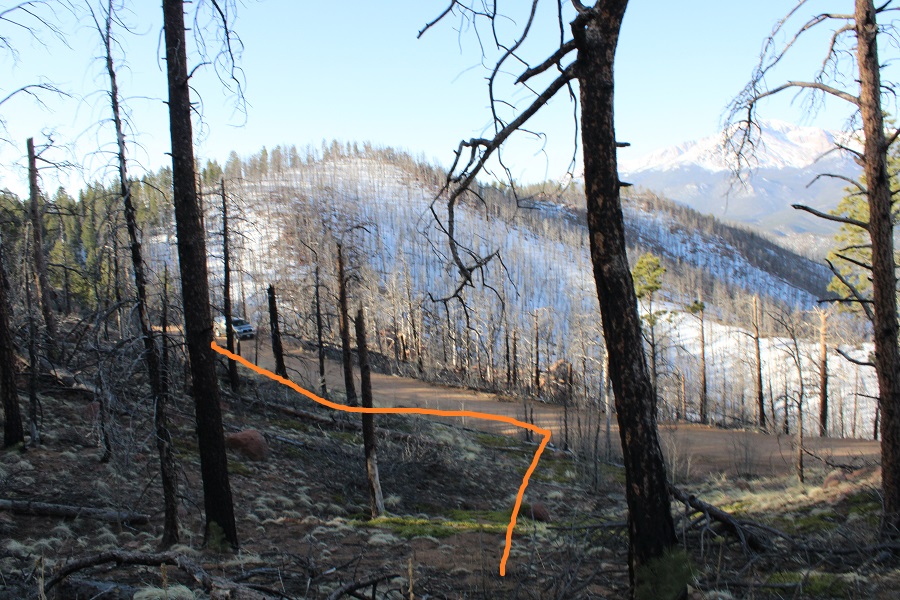
The entire hike probably took 20 minutes.
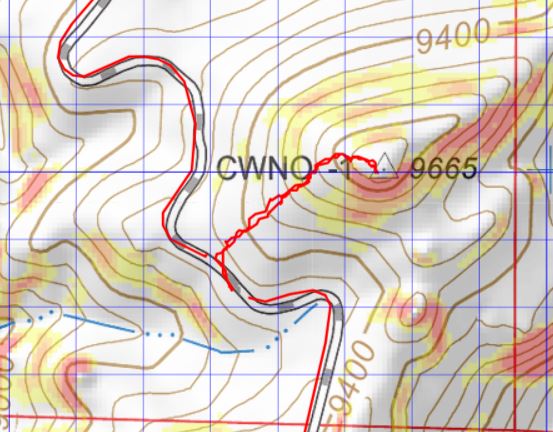
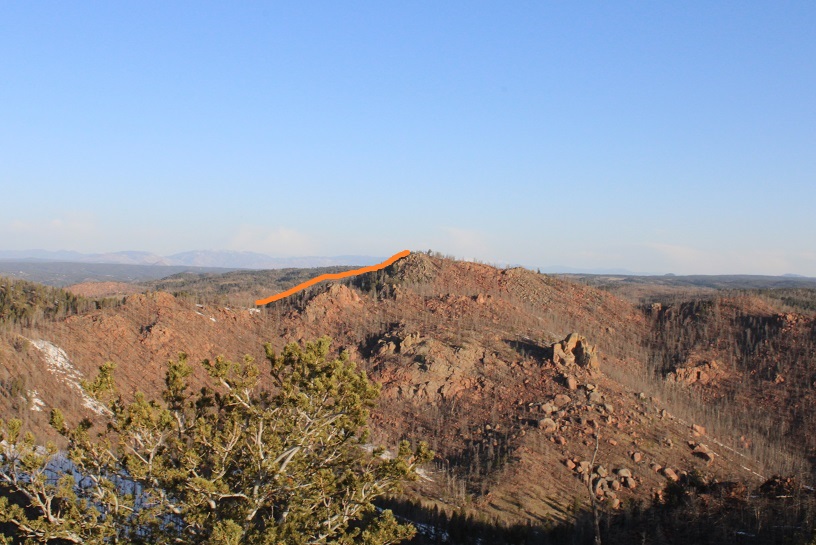
Here’s a picture of the route from Tuesday Peak
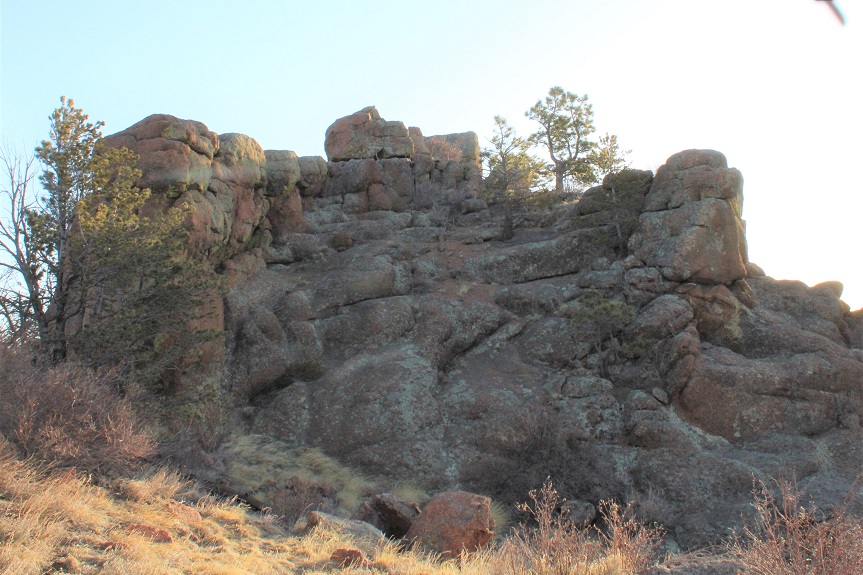
Now, on to the next trailhead!
RT Length: 1.49 miles
Elevation Gain: 323’
It’s springtime, and in the spring I either travel to state highpoints, or stay local and hit county highpoints. They traditionally open Rampart Range Road every year on April 1, and when I heard the road was open, I decided to take advantage of a beautiful (if windy) day and hit some highpoints. This is the first of 3 El Paso County highpoints I hiked this day.
I started at the southern entrance to Rampart Range Road, near balanced rock inside Garden of the Gods.

As the sun rose, I was able to see a lot of the Waldo Canyon burn scar. It doesn’t look like much has grown back in the 9 years since the fire.

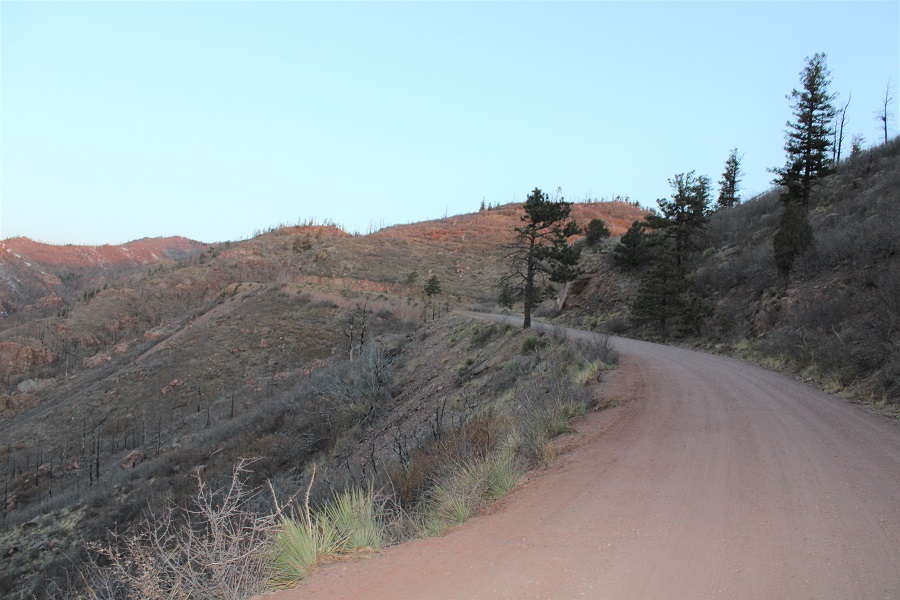
I drove along the 2WD dirt road for 12 miles, and parked at a small parking area for trail 644. There’s a plaque here commemorating the road

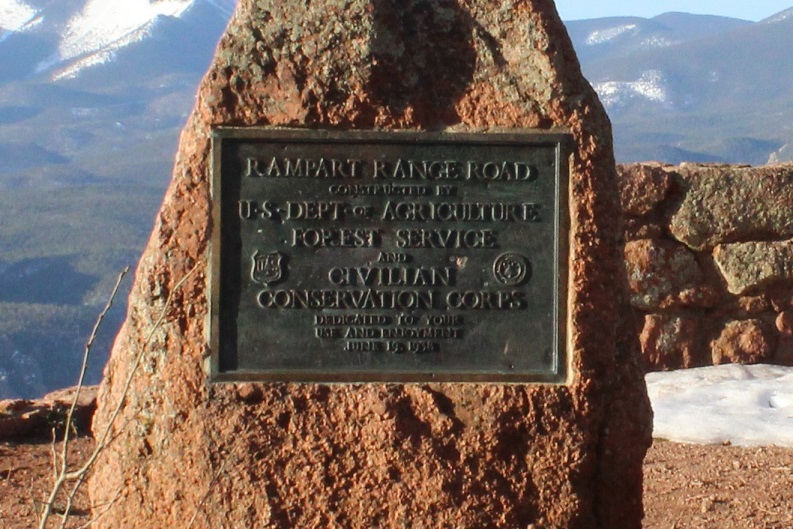
I gathered my hear and continued hiking along the road to the trailhead. It was a short distance (less than a quarter of a mile), and in the summer, you might be able to park at the actual start.

The trailhead starts at a bend in the road, marked by broken barbed wire and hot pink surveyor’s tape. On a topo map it says this is 4WD road 300Q. It’s been a very, very long time since this was ever a road. Now it looks like a teenage hangout/camping area, littered with broken glass and discarded remnants of campfire circles.
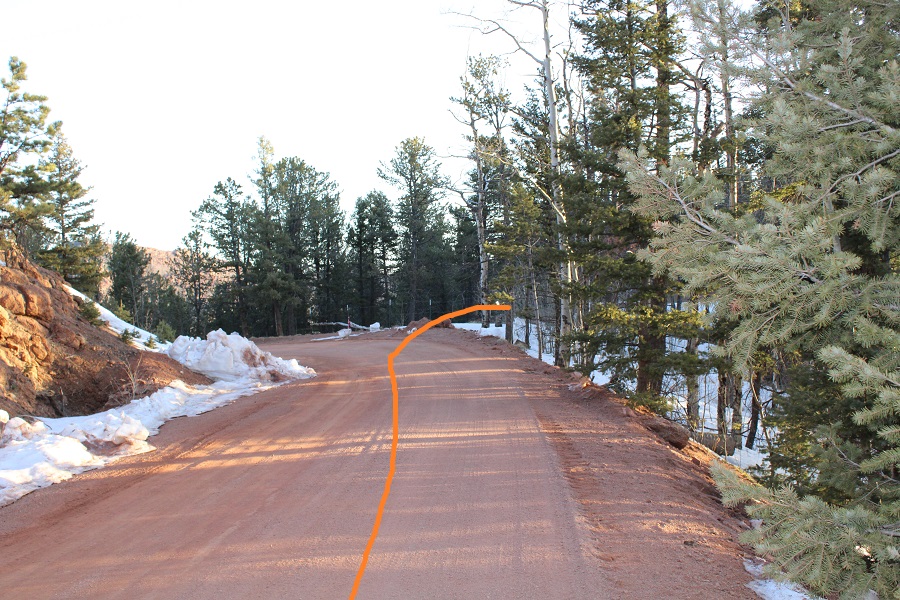
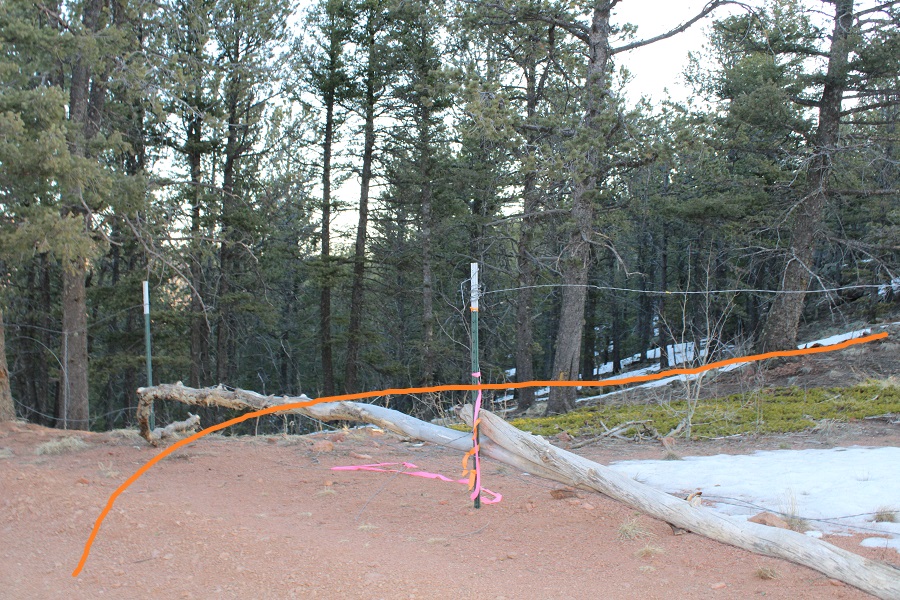
I headed northeast, following the ridge to the right

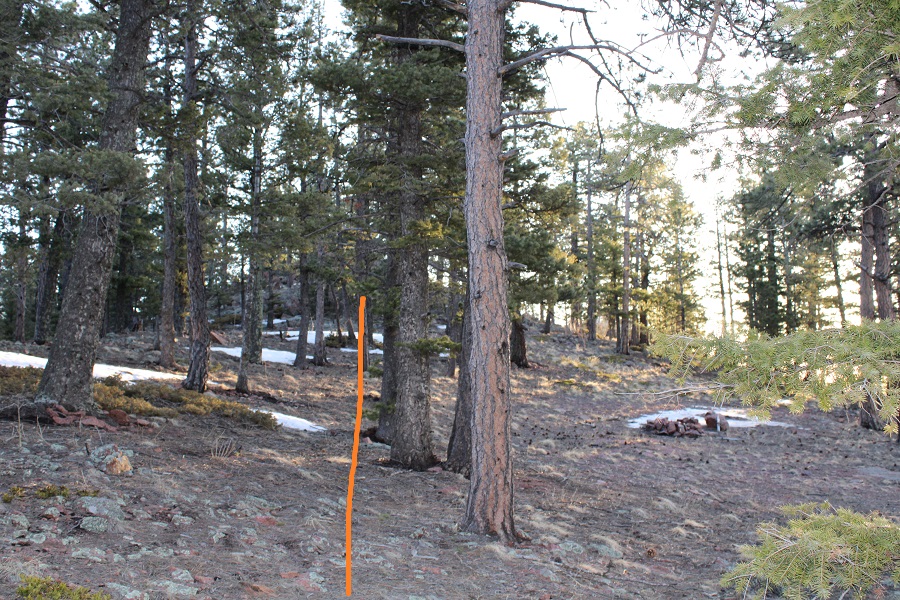
I came to a small dip, where I could clearly see the peak
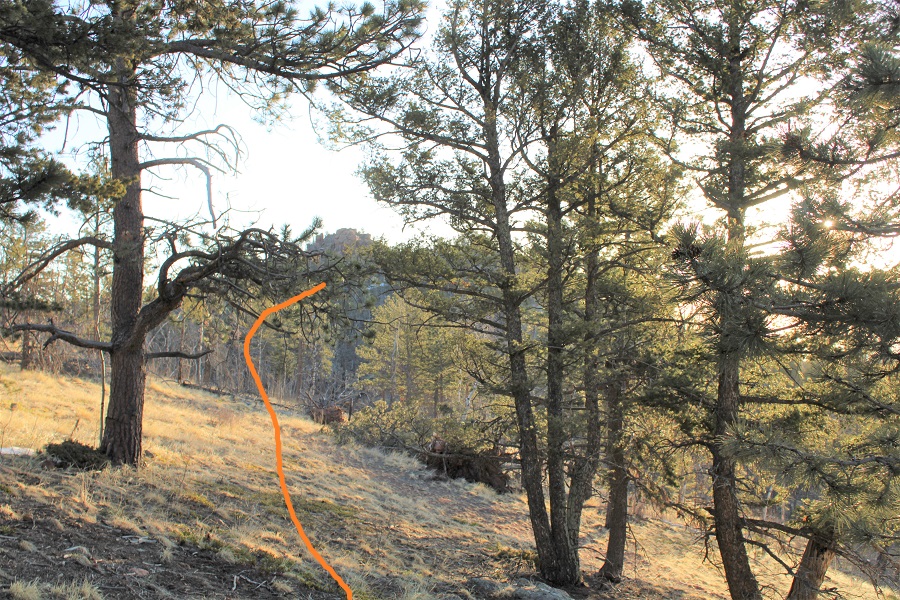
Now I stayed to the left (north) side of the ridge. There were a lot of downed trees, but nothing that kept me from making it to the peak. There was snow here, but not enough to need traction. I did posthole a bit. I aimed for the small saddle
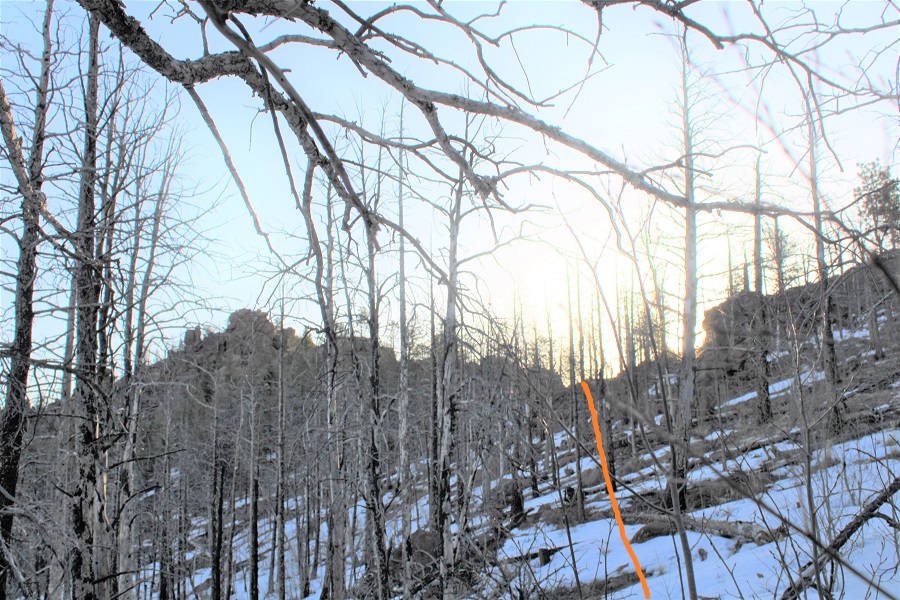
Once at the saddle there was some class 2 scrambling to do to make it to the summit. This is much easier than it looks.


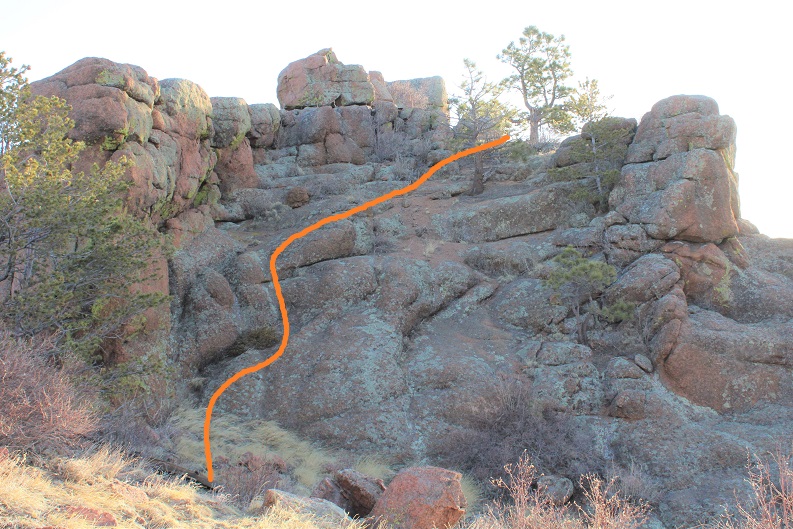
Here’s a picture of the summit
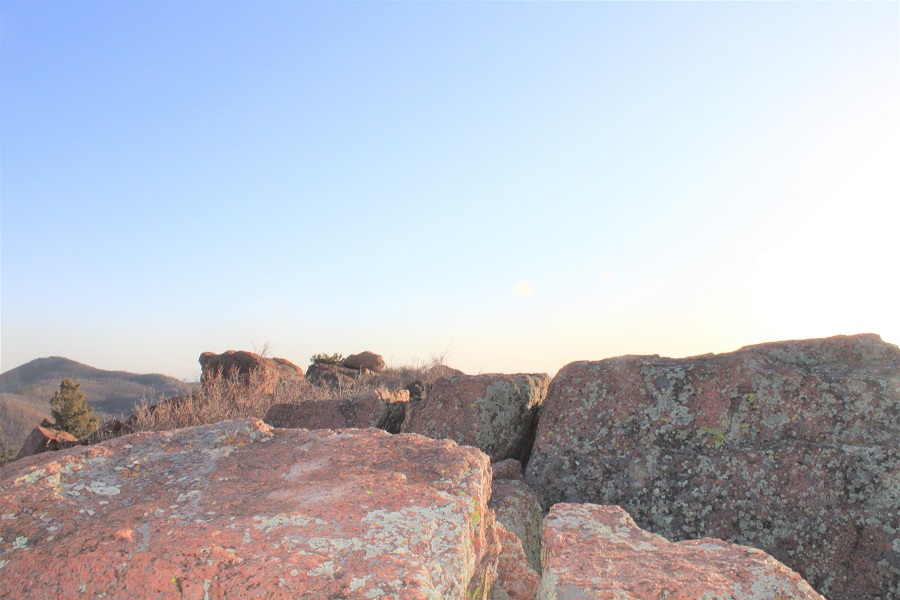
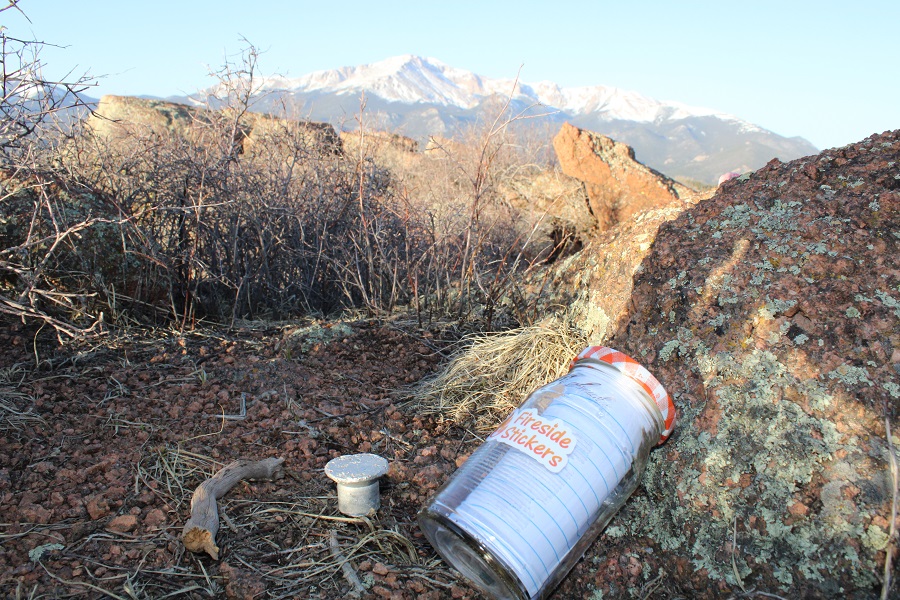
I knew I was at the summit because there was a summit marker. I left a summit register at the marker
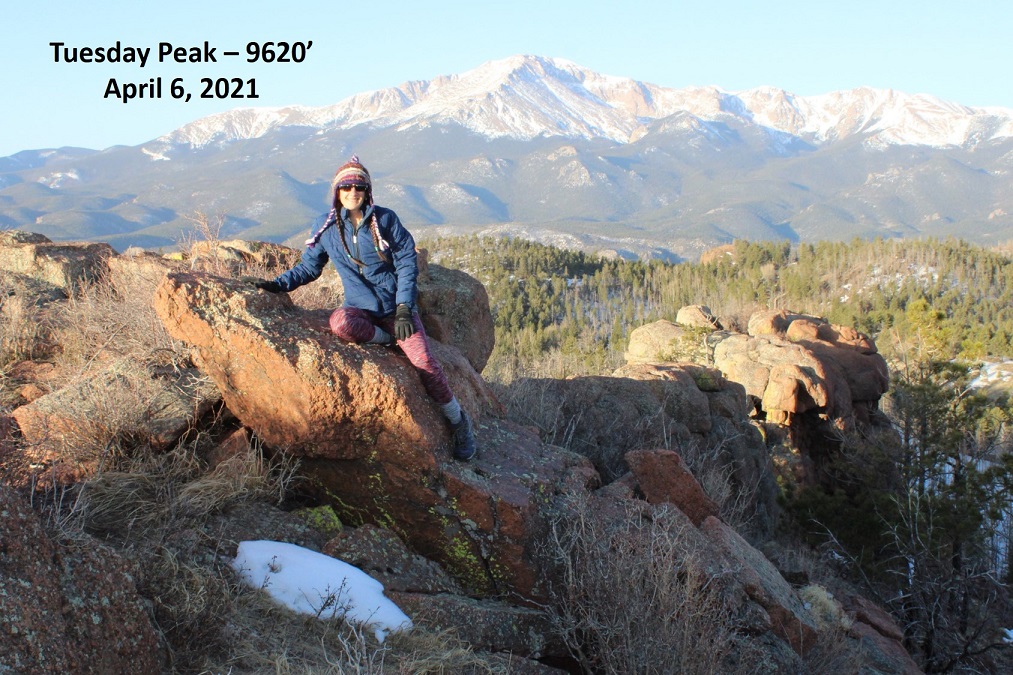
And took a picture at the summit with Pikes Peak in the background
It was very windy, so I didn’t stay long, and quickly retraced my steps back to the saddle. Here’s the overall route
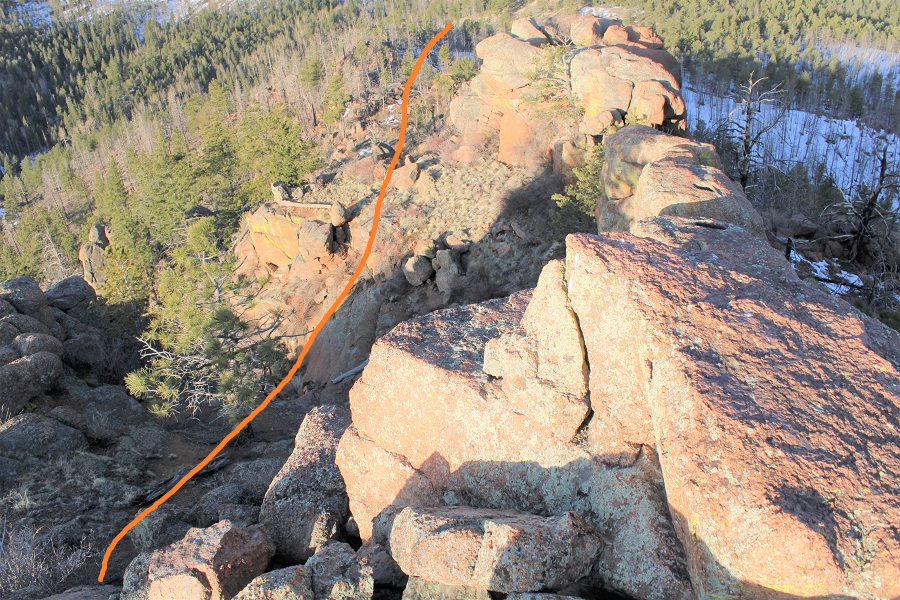

And step by step


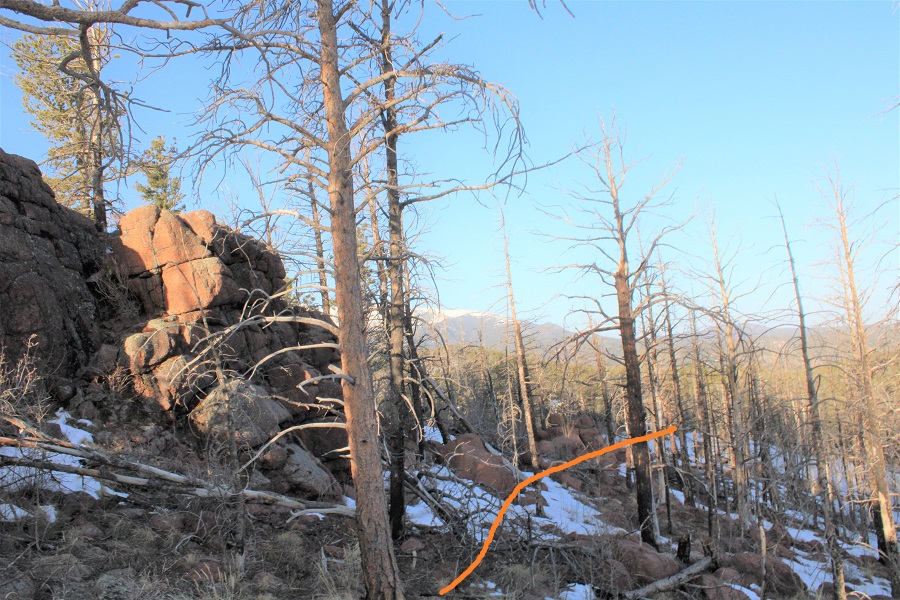
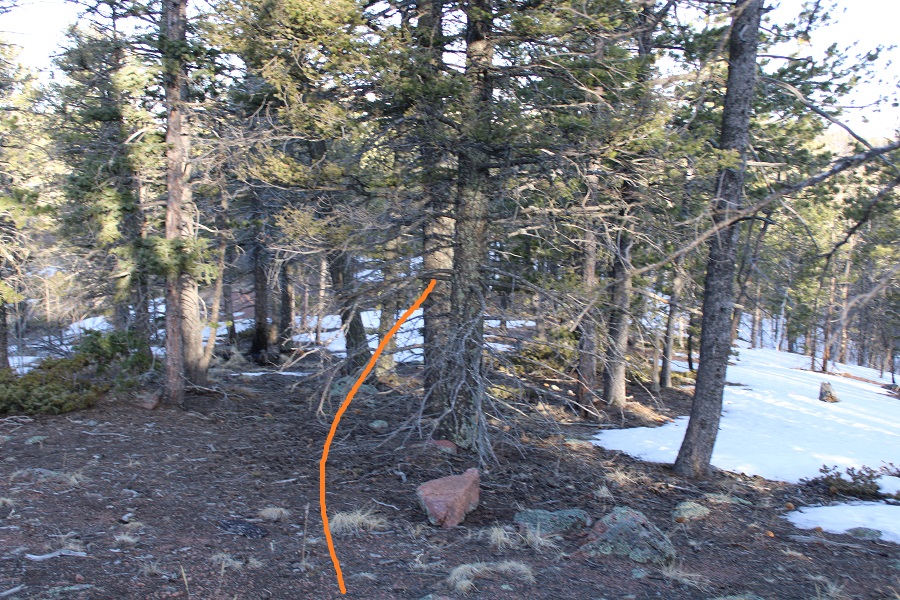
Back down the dip, where there are some very faint tire tracks that have now become social/game trails
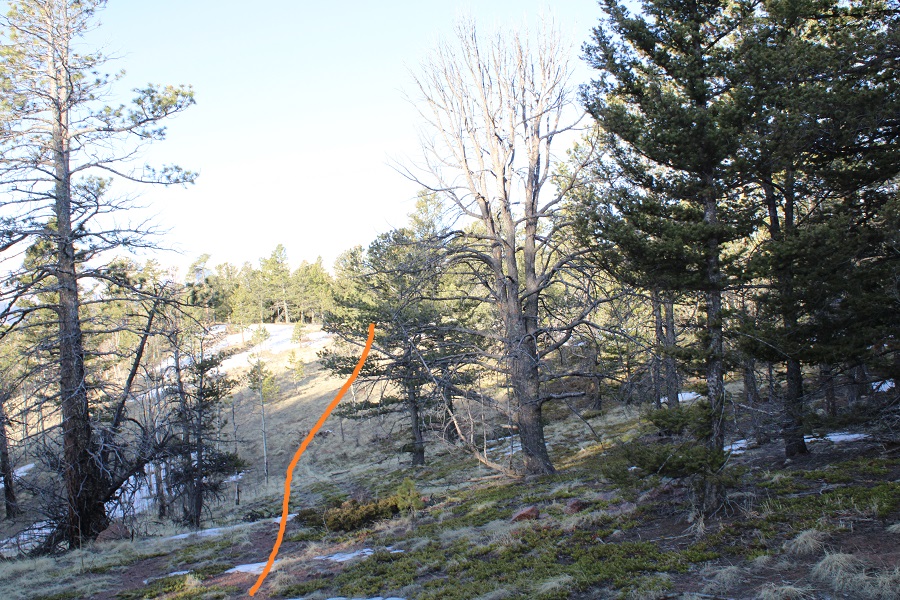
And following the ridge southwest to the road
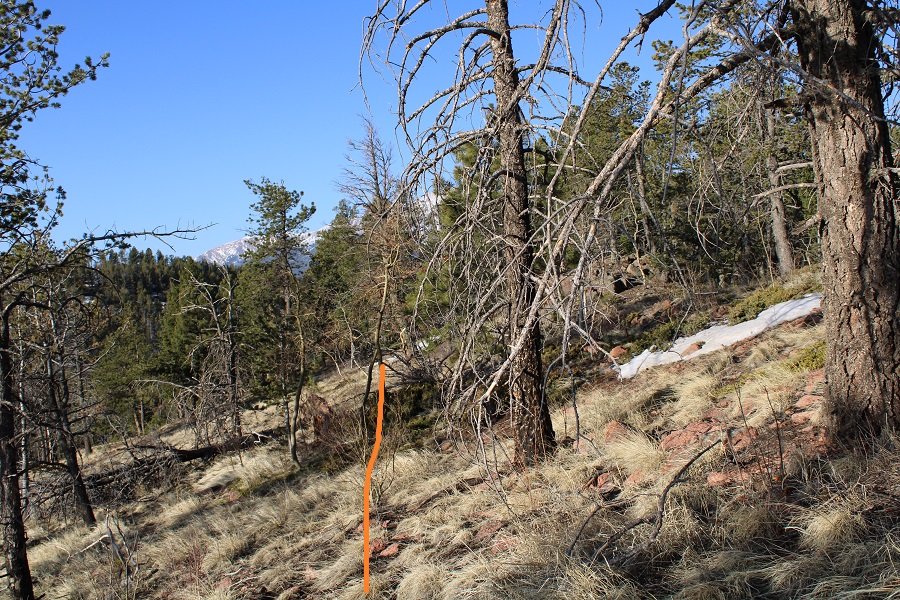
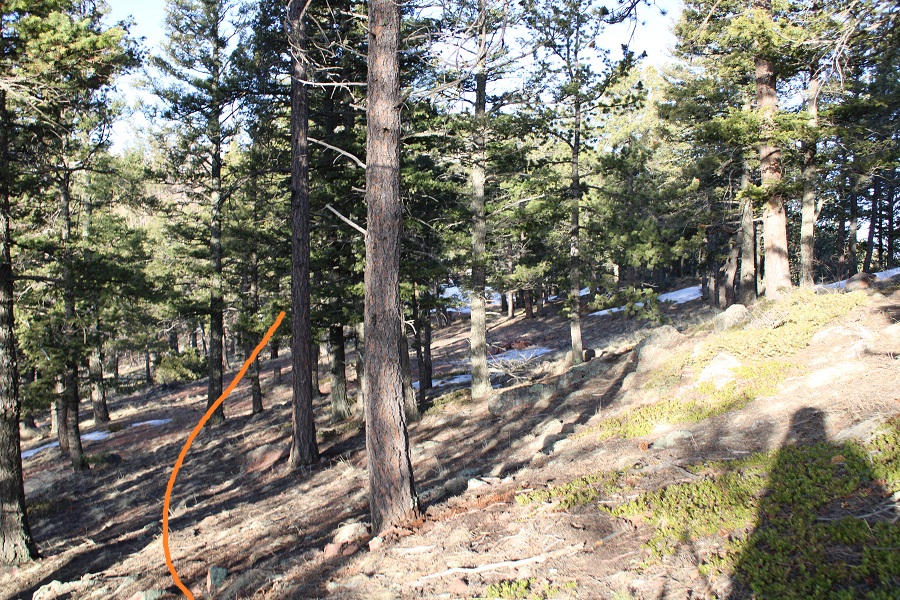
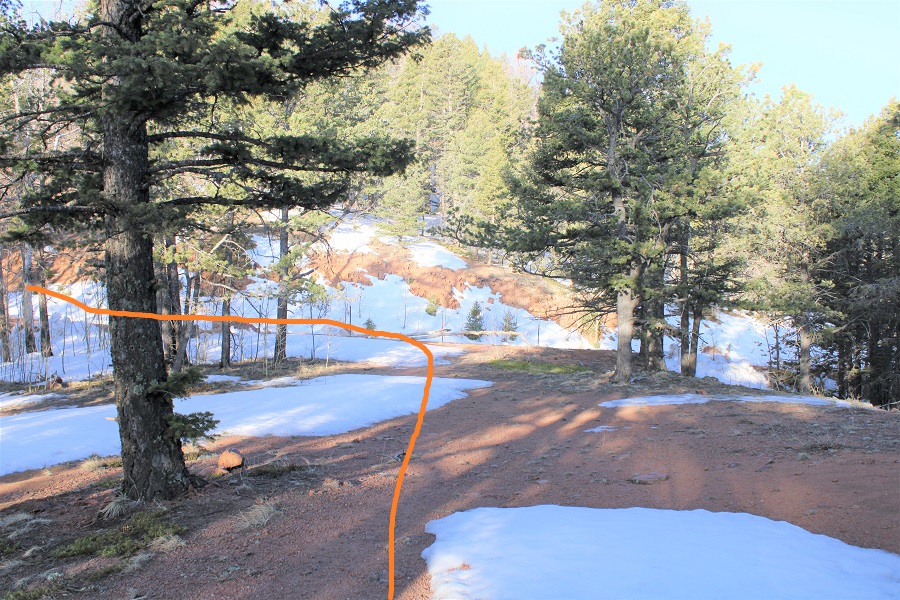
I then followed the road back to my truck.

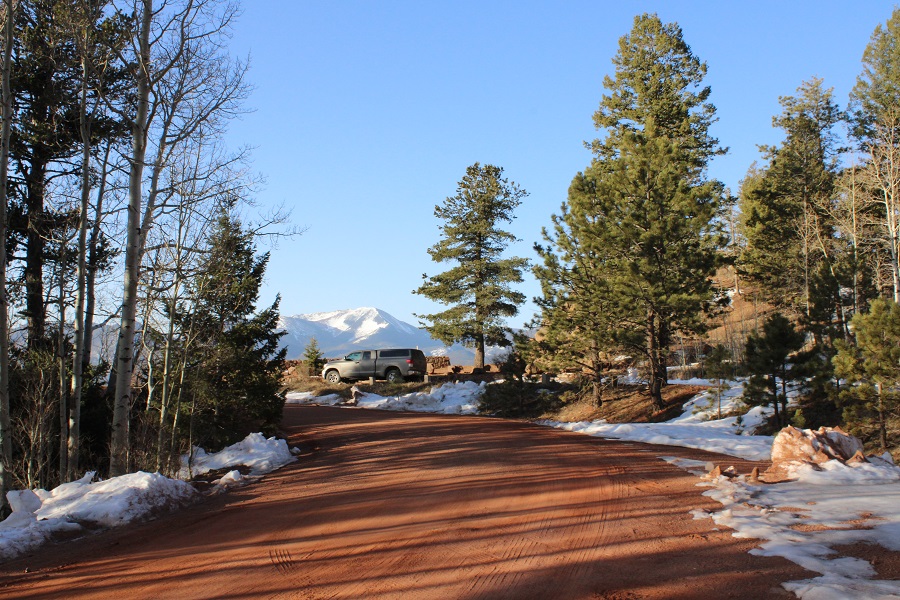
This was a quick and simple hike. Here’s a topo map of my route (I parked just before 644):

Now, on to the next trailhead!

RT Length: 13.07
Elevation Gain: 3285’
The last time I attempted this peak (earlier this winter) I arrived in the dark while it was snowing. I was unable to find the parking area (it was covered in snow) and turned around and drove home before the hike even began. This time I decided to arrive during the day, and I was a bit embarrassed I’d turned around last time: the parking area is huge and hard to miss (unless the entrance is covered in over a foot of snow). Here’s a picture of the entrance
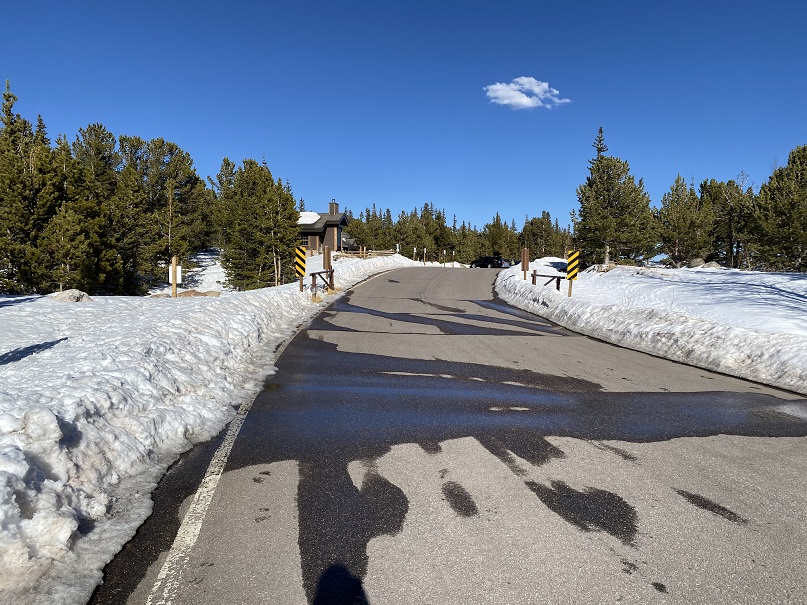
This is the parking area. There are bathrooms here and an information center. I’m guessing 75 vehicles can park here.
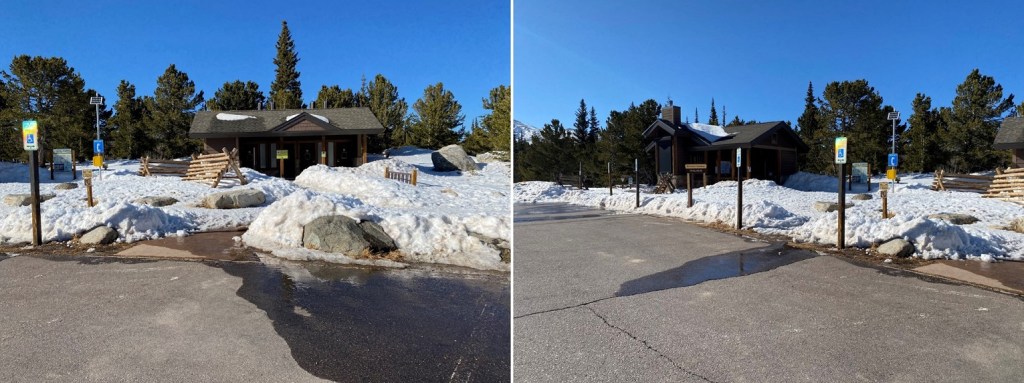
I parked at the east end of the parking lot and took a look around. Not a bad backyard view for the night.
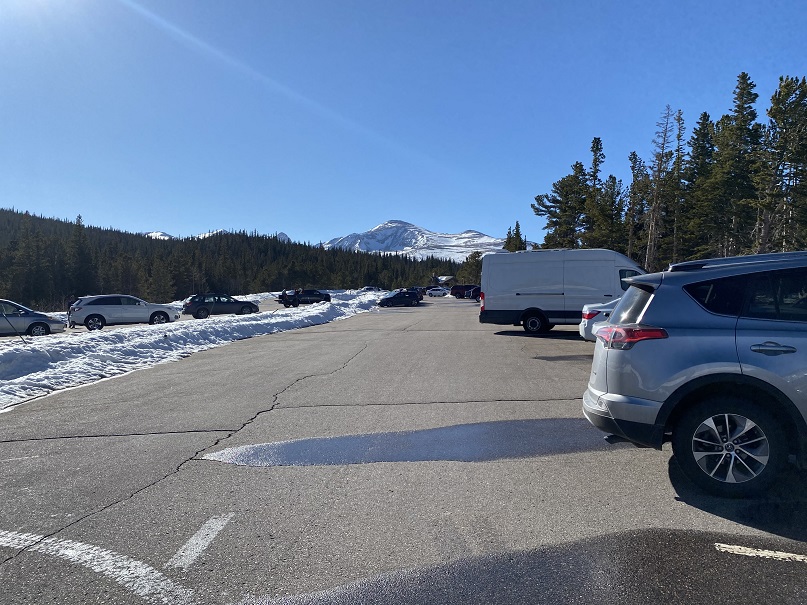
I spent the next two hours relaxing. I love making it to the trailhead the night before and just enjoying the quiet time. I watched the birds fly up and down the trees, looking for insects. I people watched, sat and watched the clouds, admired my view of Mt Audubon, and got out some whiskey and read for a bit. I also ate 3 snack sized bags of chips. I went to bed earlier than I would have if I’d been at home, but as always when I sleep in the back of my truck, I slept soundly.
Soundly that is, until 3am. That’s when I heard a couple walk back to their vehicle, which had (unfortunately) been parked right next to mine. They started the car, and chatted for a bit before taking off. I thought it was a weird time to make it back to their car, and wondered why they’d been so loud? There were obviously several people boondocking in their vehicles, trying to sleep. I lay there for the next hour, wanting to get up to pee but not wanting to leave my nice, comfy bed until it was time to do so (we’ve all been there, right?). At 4am I was up and on the trail by 4:15am.
I started at the winter closure, marked by this gate and entrance station.
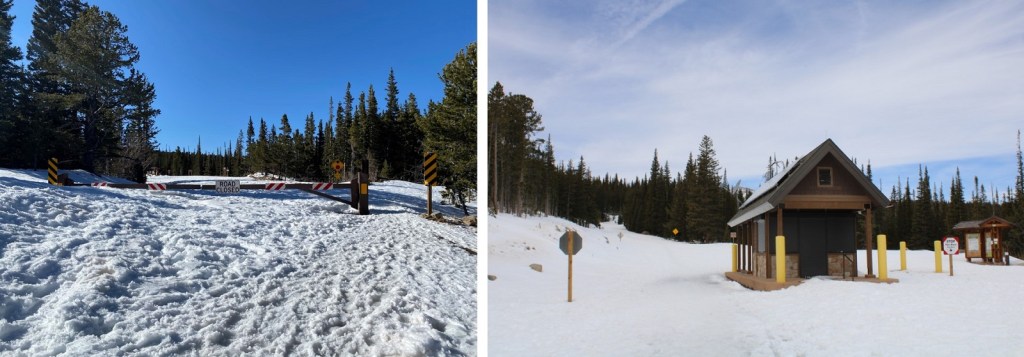
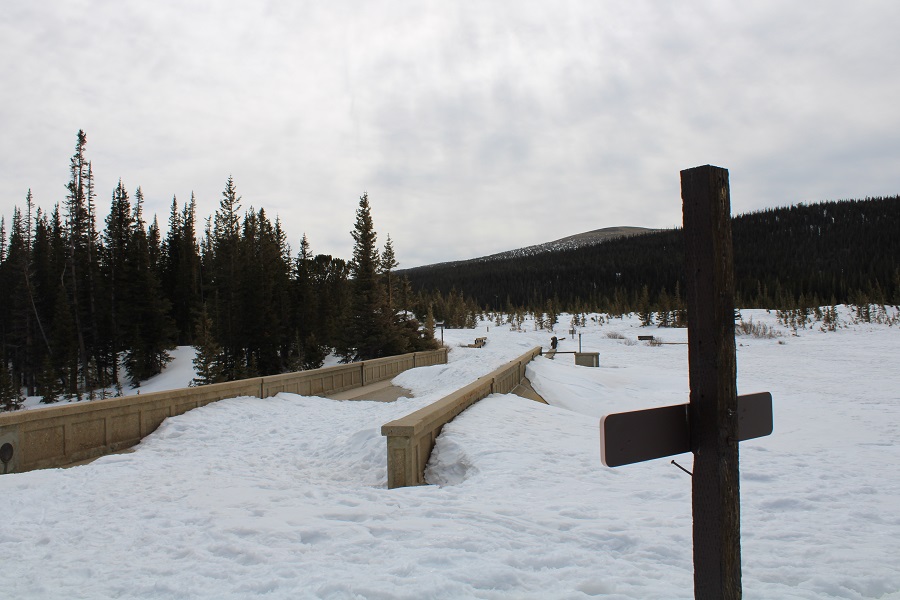
I followed the road, and a well packed trail, for 3.3 miles to the Mitchell Lake Trailhead. At times the snow on the road was well over my head, and I wondered how long it will take to melt out for summer visitors?
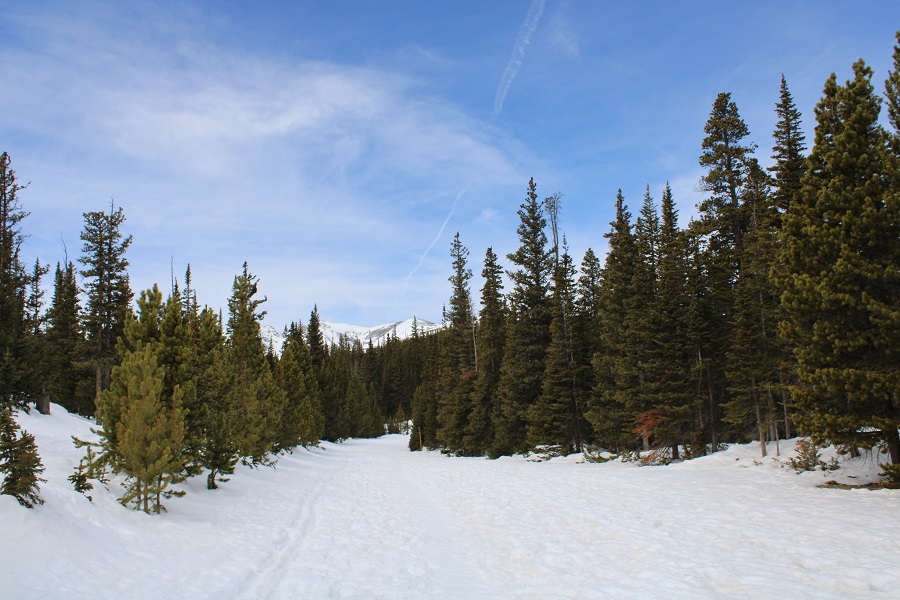

I made it to Brainard Lake and continued following the road
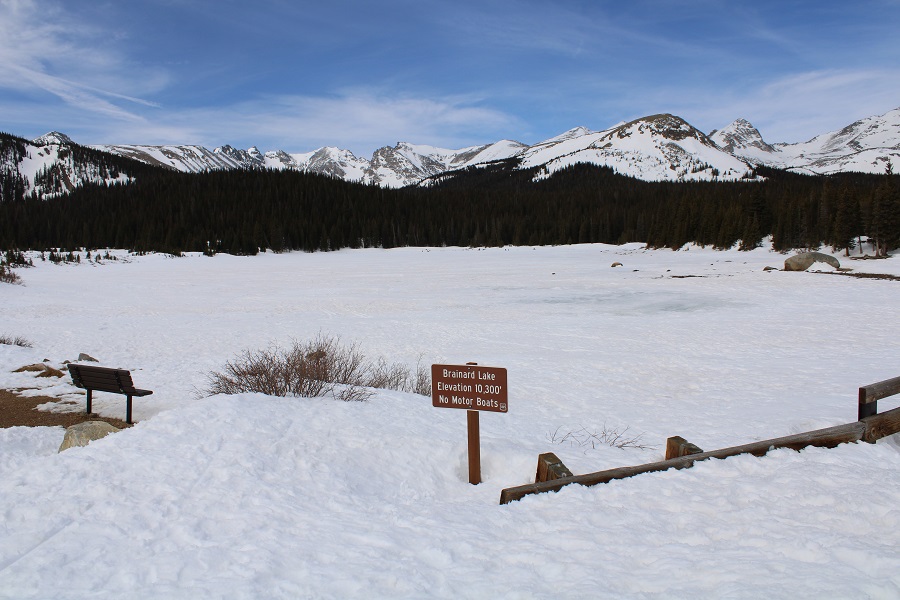
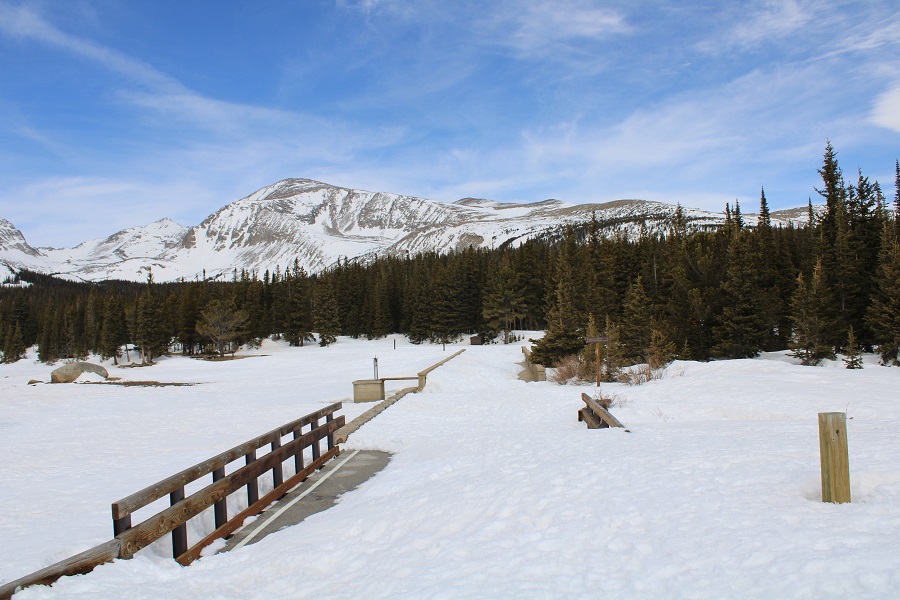
The Mitchell Lake Trailhead still had quite a bit of snow as well
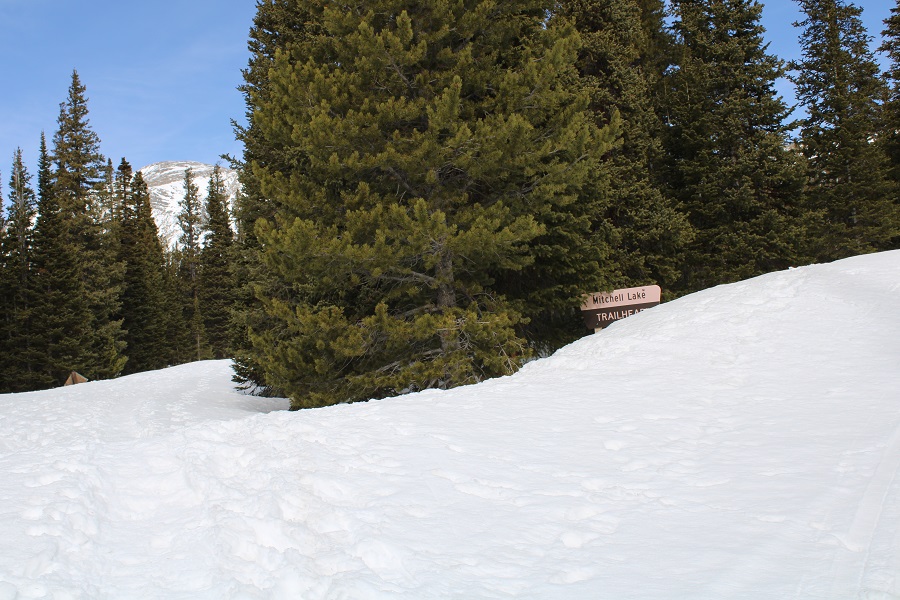
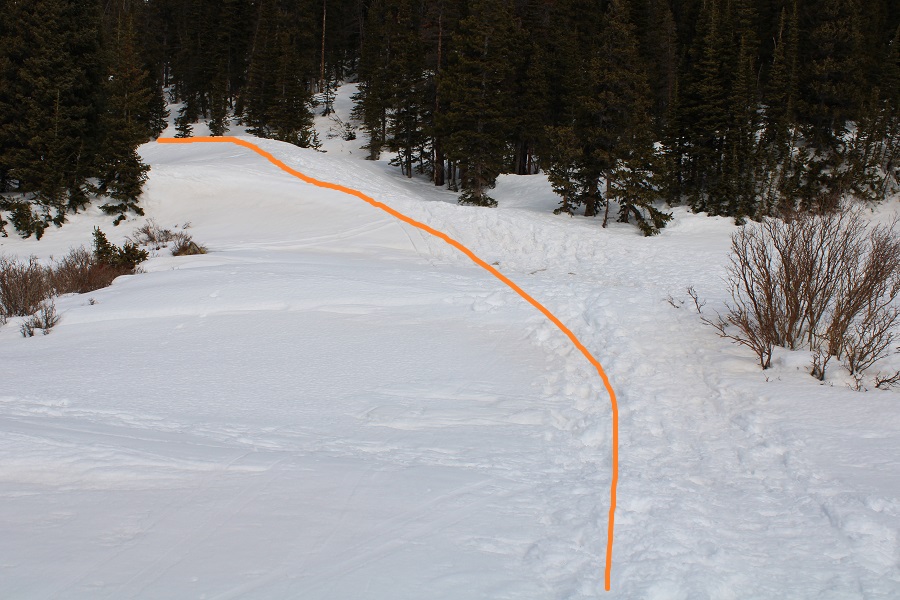
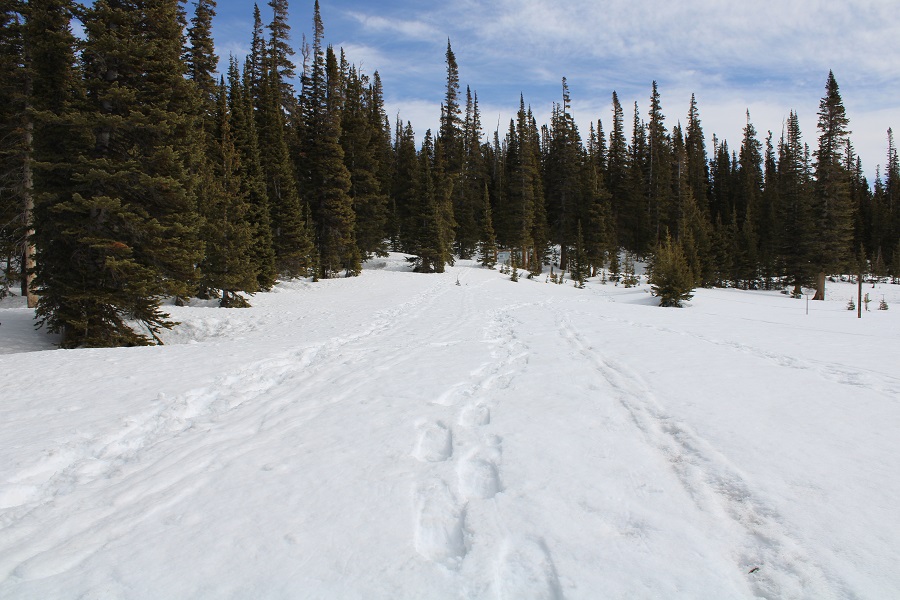
Here’s where the nicely packed down trail ended, and the post-holing began. Obviously, there’s a lot of snow here.
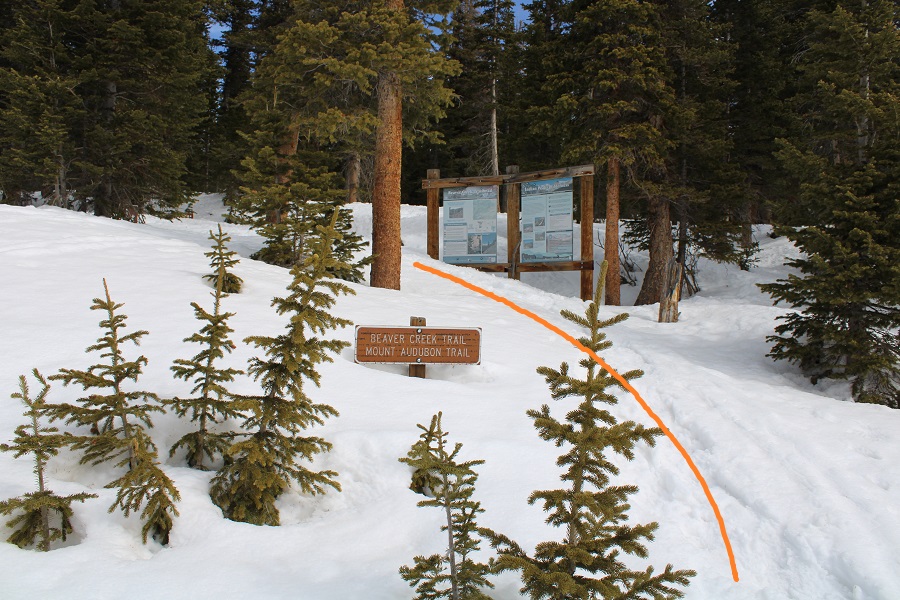

I was happy there was a semi-noticeable trail however, as I’d expected to be trenching today. I wasn’t trenching, but I was postholing quite a bit. The temperature had only reached a low of 37 degrees last night, making the snow too firm to trench with snowshoes, but easy to post hole through without. I followed the trail as it headed northeast towards the ridge.
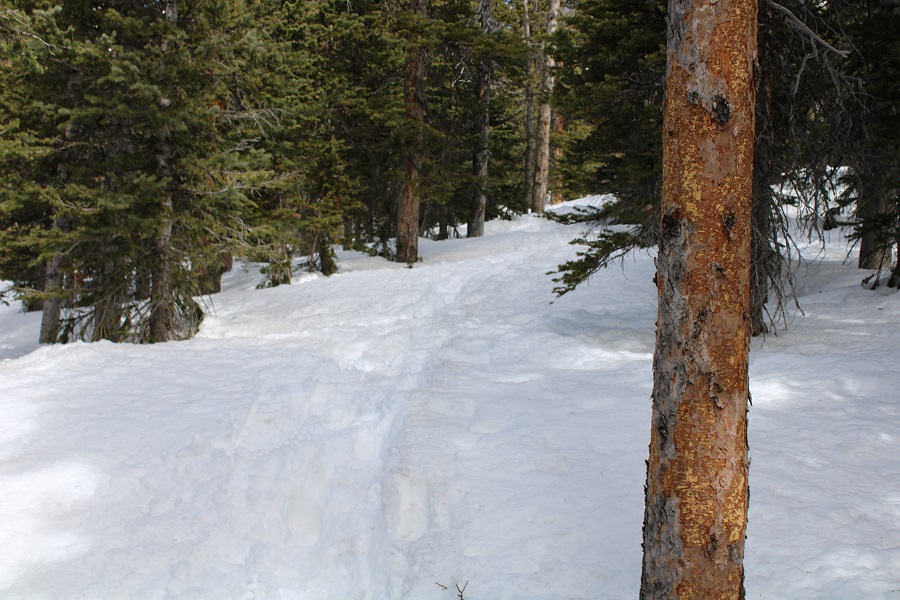
Just below the ridge the trail stopped near a rocky area and I had to rock-hop up to the ridge. It looked like whoever used this trail yesterday had purposely glissaded down in snowshoes, ruining any chance I had of using their tracks. I easily avoided their slide by going to the right, and then catching up with several other tracks that led to the upper basin/ridge.
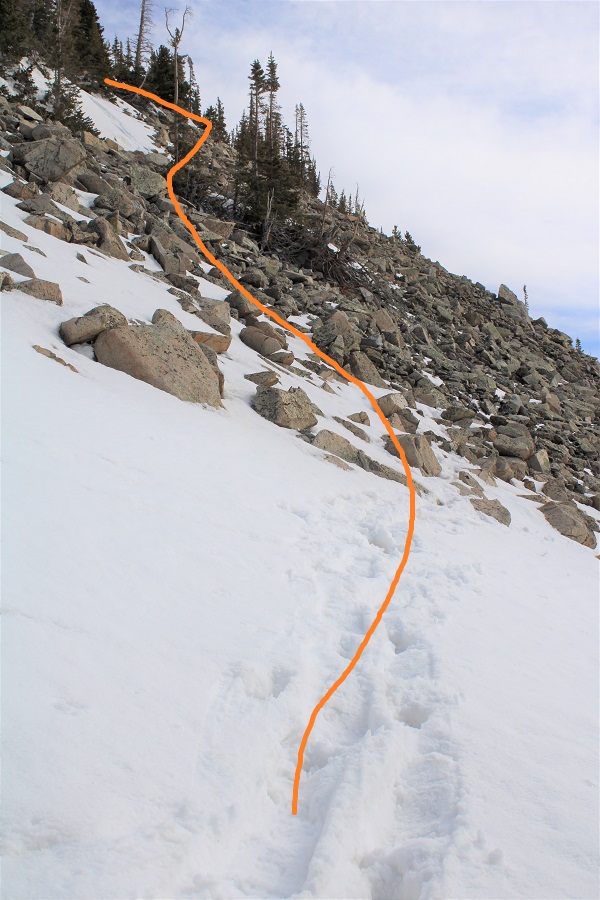
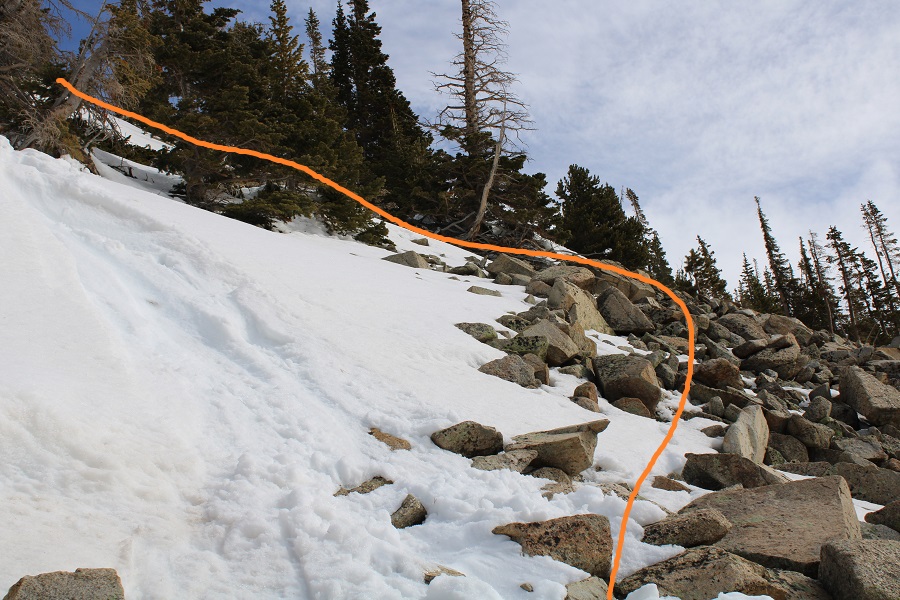
This is where I encountered the most snow of the day. I continued northwest to treeline, staying just below the ridge
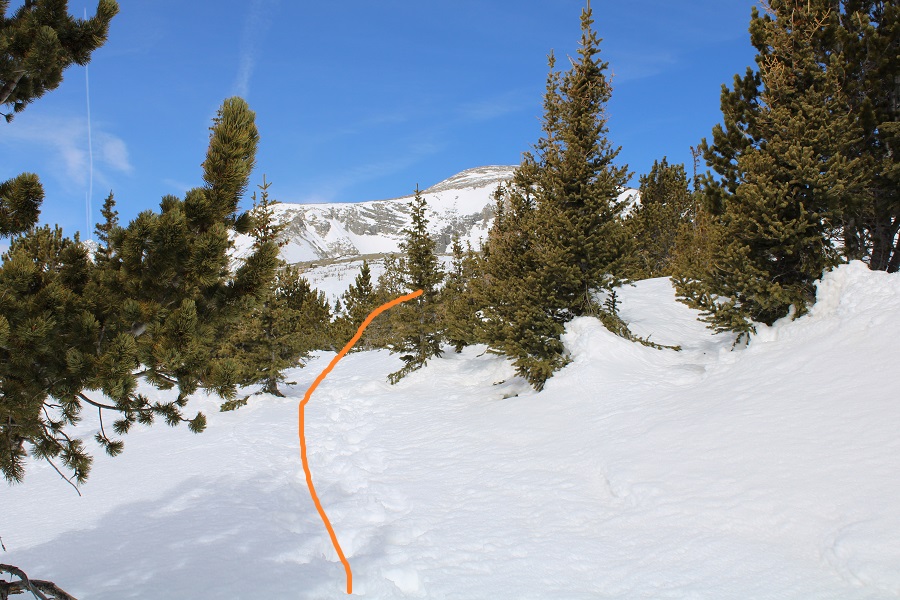
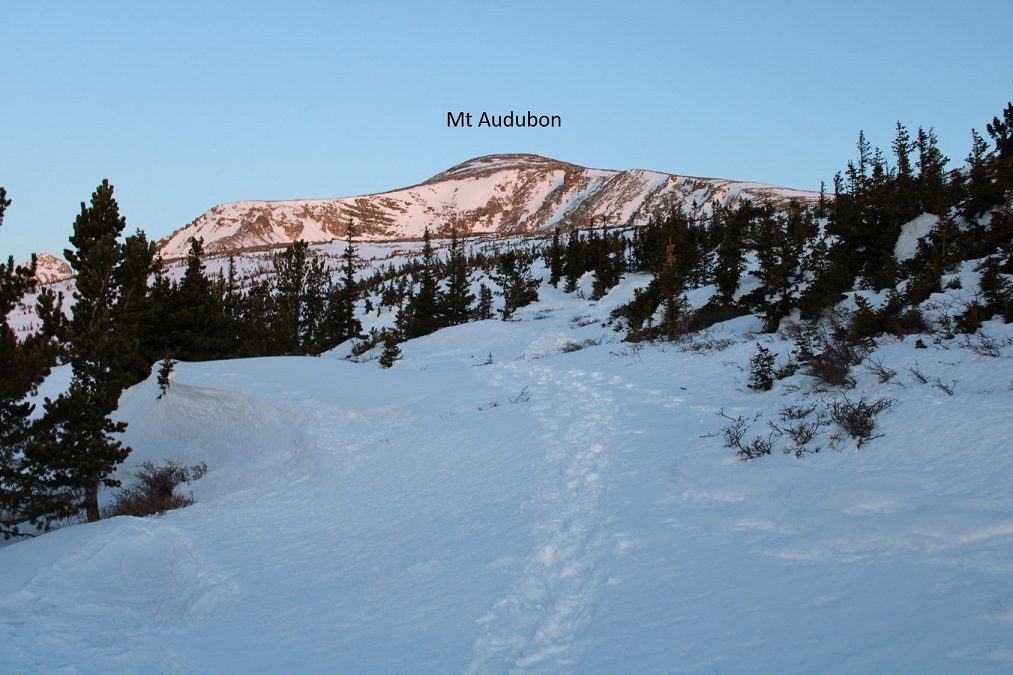

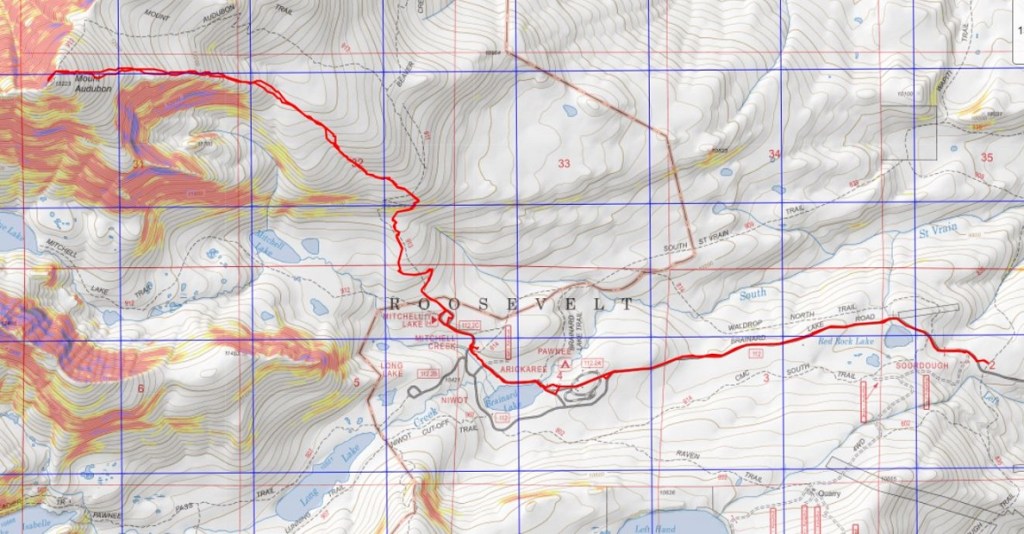
Here’s an overall view of the route I took to the summit of Audubon (note: in the summer there’s a trail that takes a different route more to the north, which was indistinguishable to me at this time of year due to the snow, so I followed the east ridge instead)
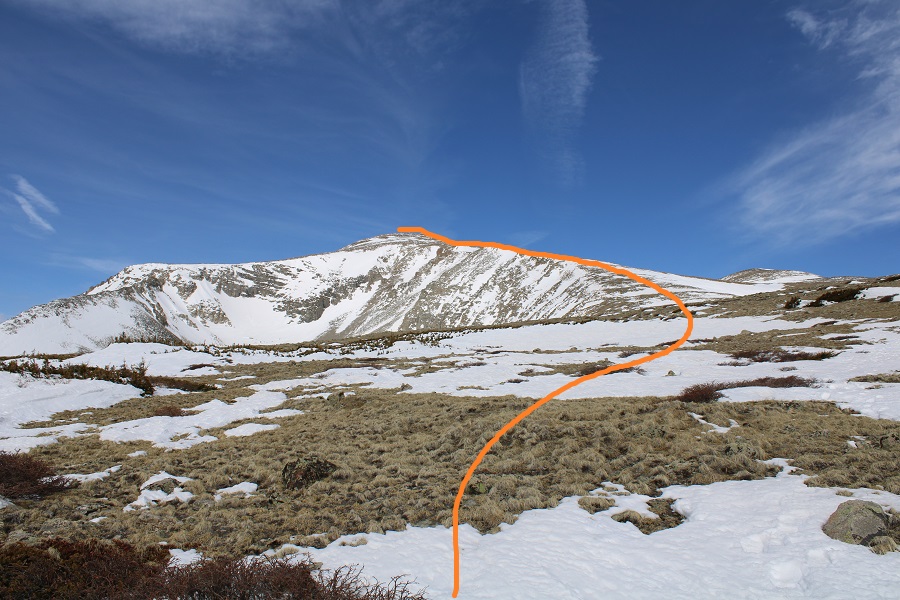
This was a simple ridge hike. It seemed like the ridge kept going on and on, but I was never tired/winded because it was a gentle slope, mixed with some unavoidable areas of snow, and a little bit of minor rock hopping.
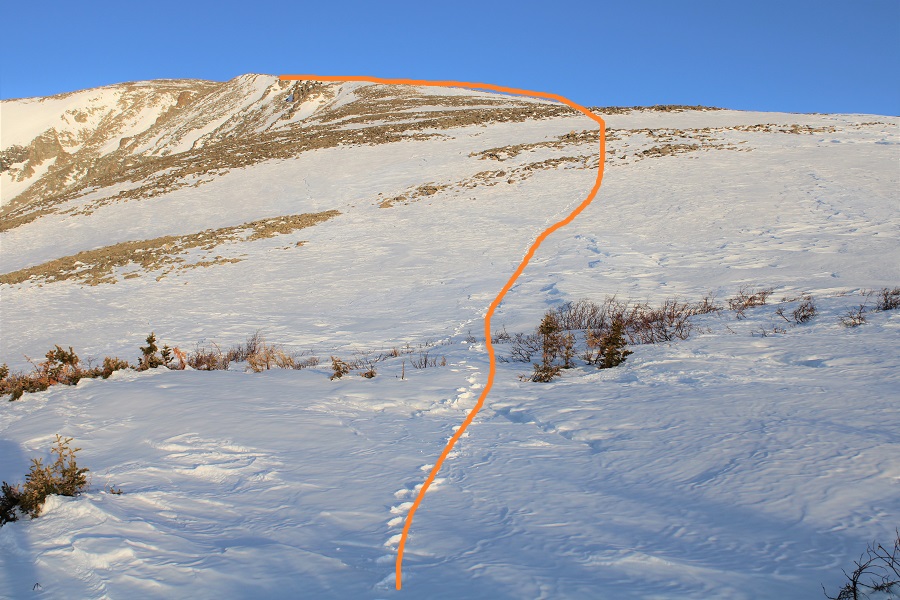
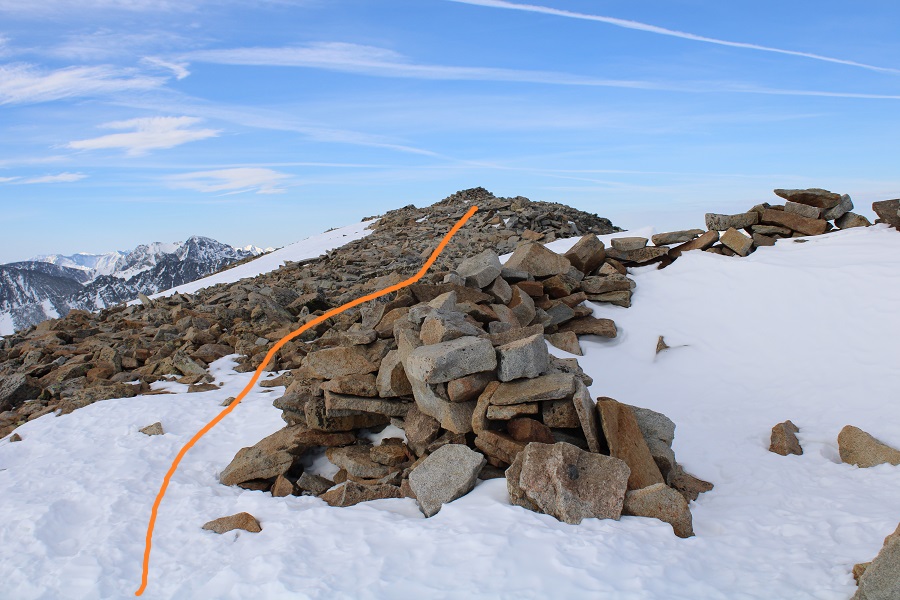
Just when I thought I’d reached the summit (there was a wind break) I noticed the true summit was about 20 yards southwest.
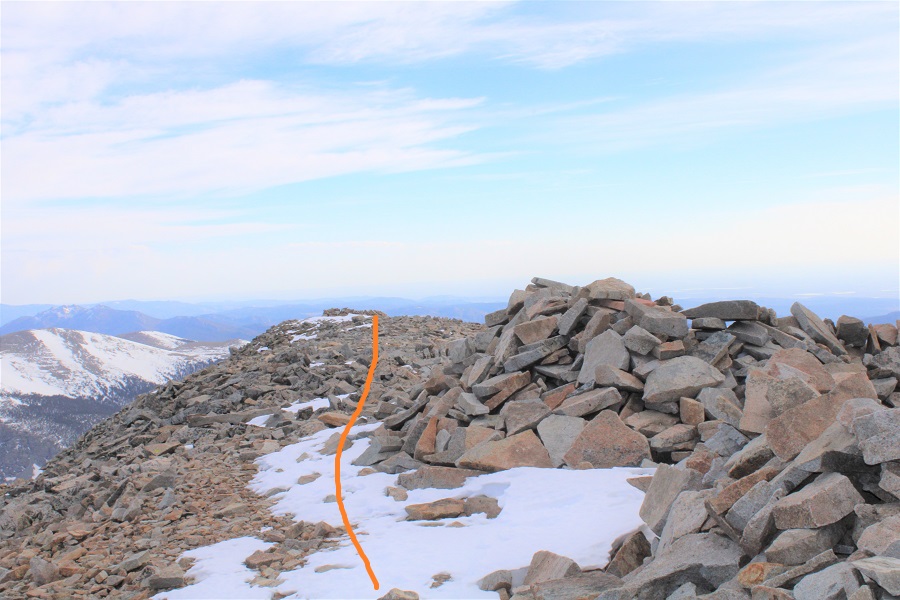
I followed this small ridge to the summit. This is when the wind that had been nonexistent but predicted for today materialized.
I summited Mt Audubon at 8:20am. It was Easter Sunday, so I’d decided to hike wearing Easter Bunny ears. The wind was so intense it blew them off my head and I put them away right after this photo (you can see them in my hands as I’m takin the video). I didn’t attempt a second shot.

Mt Audubon Summit
Surprisingly, I didn’t get any good photos while on the summit: It was windy and cold and all I could think about was getting out of this wind and back home (it was Easter, after all, and I wanted to spend it with my kids). A balaclava would have been helpful, but putting it on at this point overkill, as I just needed to get off the summit and out of the wind. I re-traced my steps back to the false summit
And back down the ridge to treeline.
While I was on the ridge I could see someone dressed in all black, meandering in the distance. This person (and it was obviously a person) was walking without a rhyme or reason, wasn‘t carrying a pack, and eventually hiked out of my sight. Though I looked, I never came across their tracks on my way down, and wondered how they got there and what was going on with them? It was obvious they hadn’t summited Mt Audubon today, so why were they out there?
You’d think it would have been easy to just follow my tracks back down, but there were such large segments without snow I often lost my tracks and hiked down without coming across them (most of the time). I just kept aiming here. Also, the willows sucked (but were avoidable if you want to go around: I went straight through them).
Then stayed right of the ridge as I made to back to treeline, finding my old tracks in the snow.
These led me back down the ridge, to the ‘trail’
I was worried the sun would have warmed up the snow, but I was still fine in microspikes. In fact, the snow was of a similar consistency as it had been in the morning, or I would have put on my snowshoes to solidify a trench. As it was, I just stepped in my morning tracks and was fine.
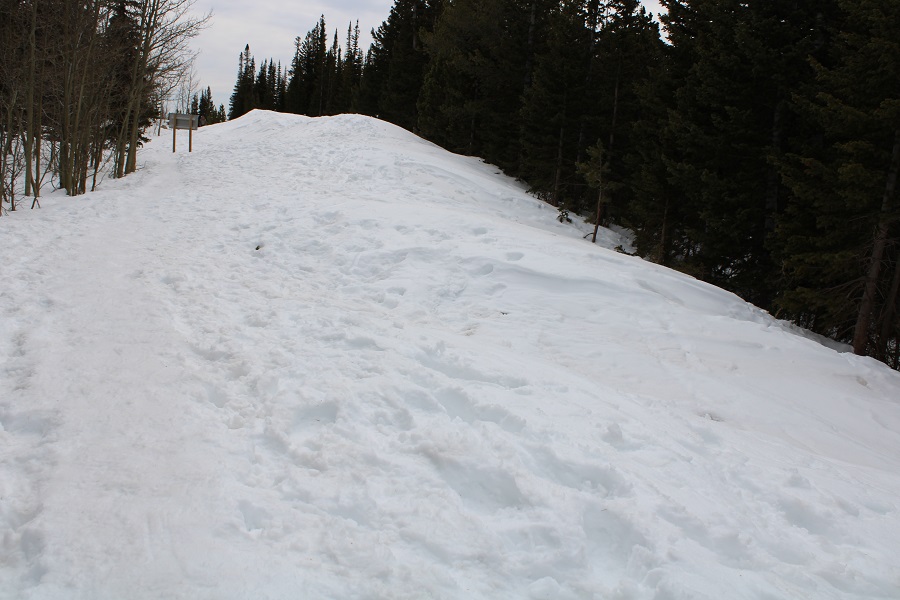
Back at the trailhead I followed the road back to the winter closure

I made it back to my truck, and a trailhead full of vehicles, at 11:15am, making this a 13.07 mile hike with 3285’ of elevation gain in 7 hours.
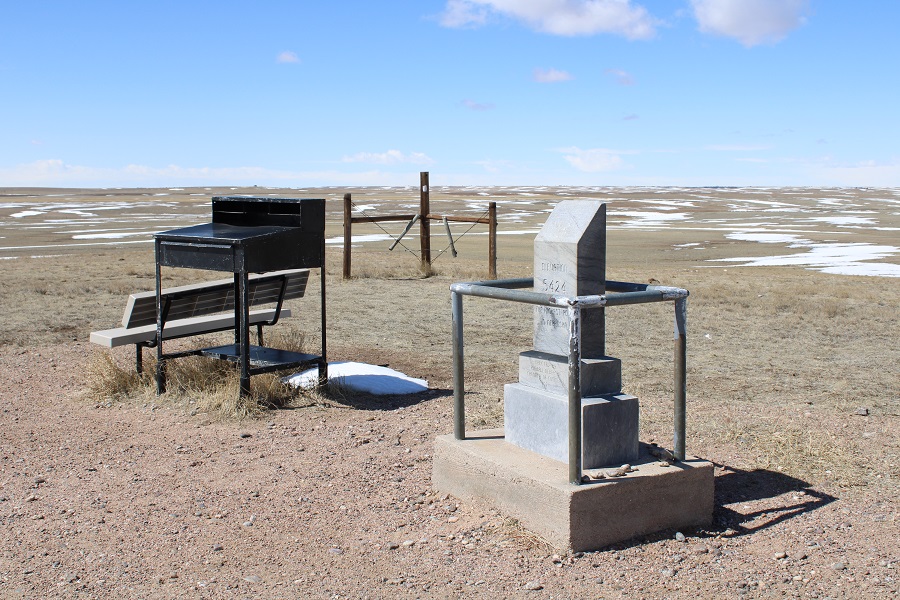
This highpoint is a drive up, and something I did on the tail end of hiking the highest points in North Dakota and South Dakota. I hiked Black Elk Peak in South Dakota that morning, then drove to Panorama Point in Nebraska.
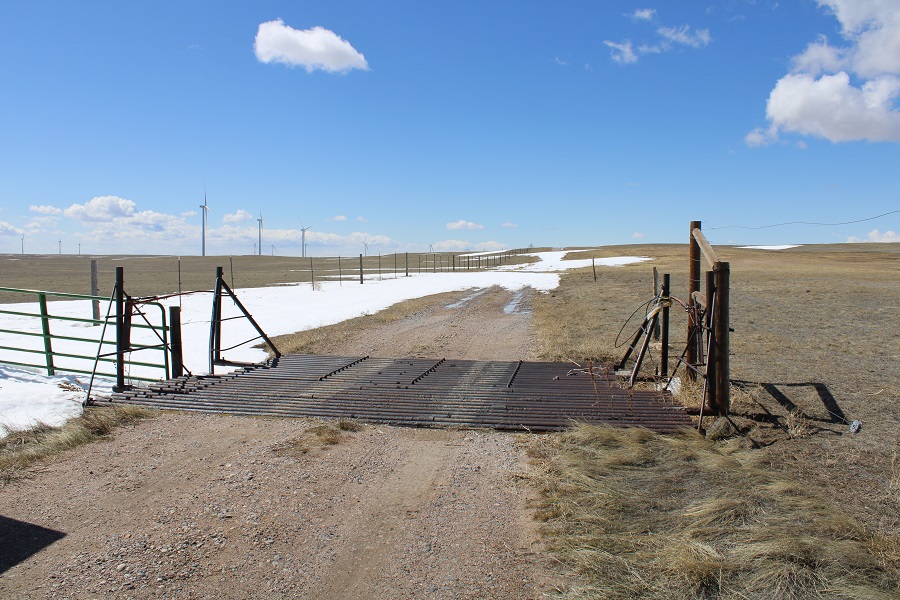
The drive was simple, until I made it to the cattle guard / gate that gains you access to the actual high point. Here’s what the gate looks like:
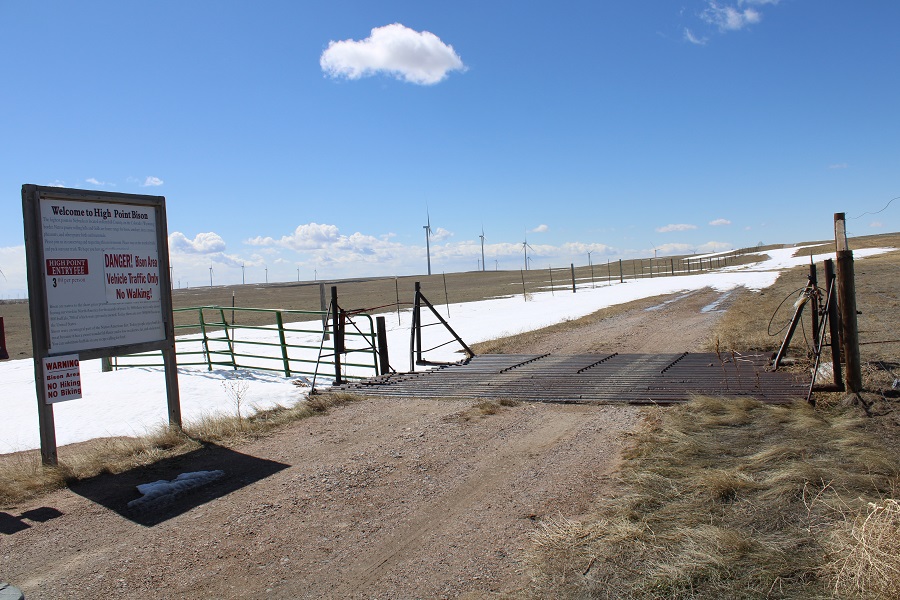
They have a very informative sign at the entrance. Read it before you go in, and pay the $3 per person fee (there were no envelopes, so I just put 3 dollars into the slot). Also, in case you missed it, NO FOOT TRAFFIC.

There were warnings of bison, but at this time of year they must have been in another area. There was a lot of evidence they’re here regularly however, in the form of established game trails and lots of bison chips.
I passed the gate and put my truck into 4WD: there wasn’t a lot of snow in the area, but all of it seemed to be drifting directly on the dirt road. At this point I wasn’t sure if there were bison present or not, and I didn’t want to get stuck with no way to get back.
I drove along the road for a mile to the highpoint (circled in red).

There isn’t much around here but open grassland and windmill farms
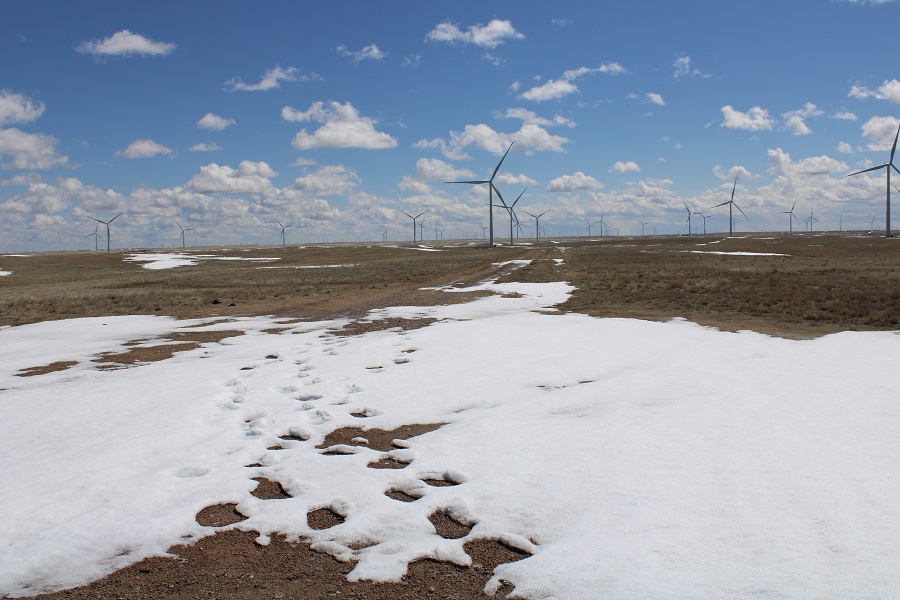
Here’s the ‘summit’

I got out of my truck, left a sticker in the register, and took a few pictures

Panorama Point:
It was windy and I really wanted to get back home after a lot of driving in the past 2 days, so I turned around and drove back to the gate.
When I got there, my GPS told me to head out a different direction than I’d driven in, which wasn’t odd because I’d driven from South Dakota and was heading back to Colorado. I was a bit nervous some of the dirt roads wouldn’t be passable, but I had plenty of gas, so I crossed my fingers and said a prayer to the GPS/cell service gods and was on my way.
As I was driving somewhere between Nebraska and Colorado, many, many miles from a paved road, I actually saw a cow give birth! I stopped my truck in the middle of the dirt road and went over to check on mama and baby. I was a little worried because the calf initially didn’t move, but mama licked him a few times and he started stirring. I congratulated mama and left them alone. So cool!!!
Mama and Calf:

What a fantastic way to end a great road trip/highpointing weekend!

RT Length: 7.65 miles
Elevation Gain: 1732’
The drive from North Dakota got easier as the miles went on. It started out with lots of snow, but by the time I made it to Custer State Park the snow had ceased. Once in the Black Hills I stopped at a Subway to get a sandwich, and a Starbucks to get my mug. I was surprised at how many establishments in South Dakota were closed. I’m hoping they were closed because it’s off season, and not due to Covid. I stopped at the Ranger Station to pay the entrance fee, and was surprised to find it was $20 (that seems kind of steep for a day visit).

I had wanted to ask if it was ok to sleep in my vehicle overnight, but there was no one at the Ranger Station. There was an information pamphlet, and I scoured it, looking for information on camping, or if I could stay overnight and boondock. It said curfew was 10pm-6am (strictly enforced) but other than that, no rules on sleeping in my truck. I paid the $20, which gave me entrance to the park for 1-7 days, and drove to the Sylvan Lake picnic area. I drove around looking for a spot, only to find the parking lot almost full. The dirt lot was inaccessible due to mud, and there seemed to be an awful lot of people walking around.
I finally found a spot I could back into, and realized why the lot was full: the local police were handing out food and supplies (laundry detergent) to local Lakota. I saw them with boxed up meals, lining up to receive them and eating them in their vehicles before driving off.
Sylvan Lake appeared frozen, and I was astonished to see a family, 2 parents with young kids, walking single-file over the ice. It’s currently spring and because it was so late in the season I was worried for their safety, but they weren’t the only ones doing this: I saw several more parties venture out onto the ice, and all left unscathed. They made me nervous.

I sat in my truck and ate my sandwich and people watched as I jotted down the day’s notes in my journal. I got out and walked around to find the start of the trailhead, and it started to snow. Here’s a look at the trailhead entrance in the daylight
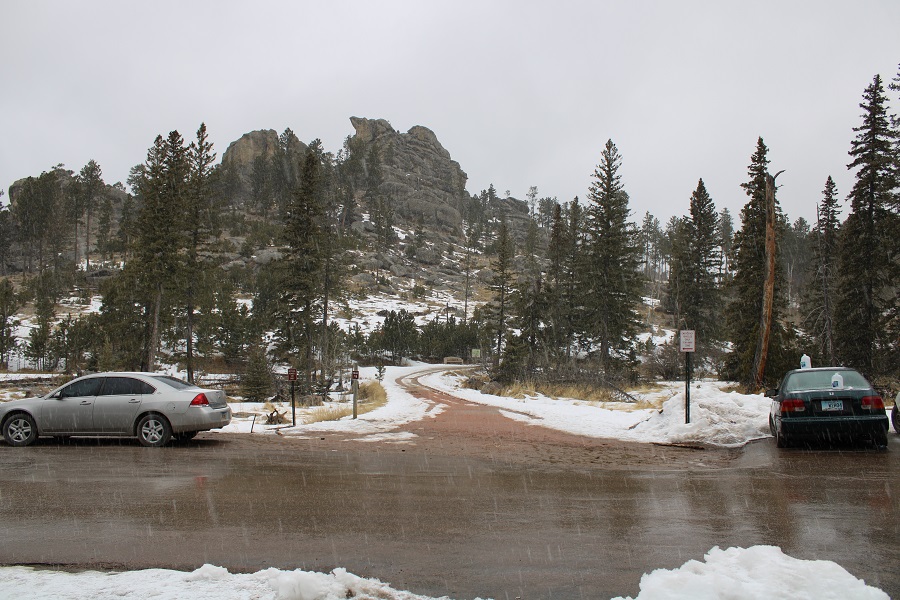
I went back to my truck and decided to read until it was time for bed.
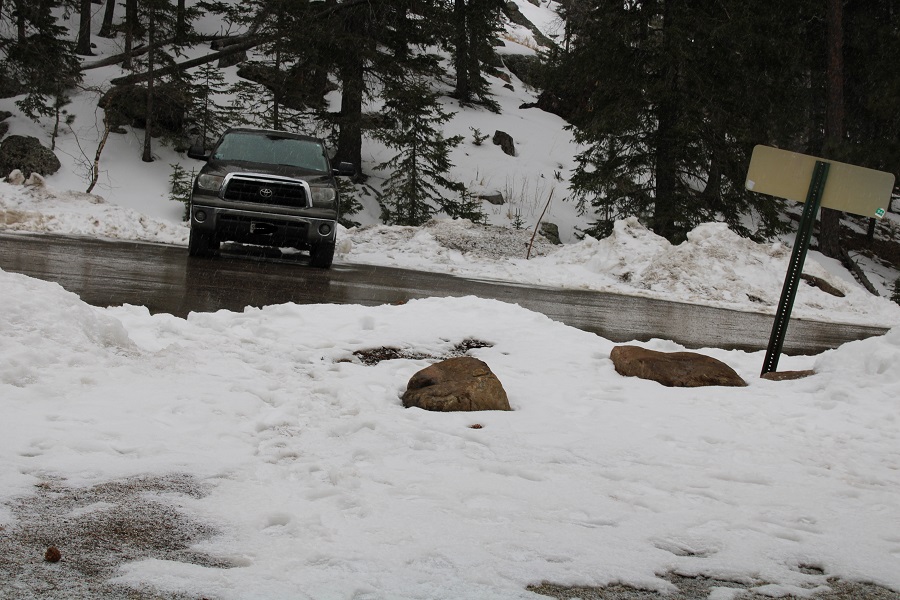
I watched the snow, and turned on my heater for a bit as I read
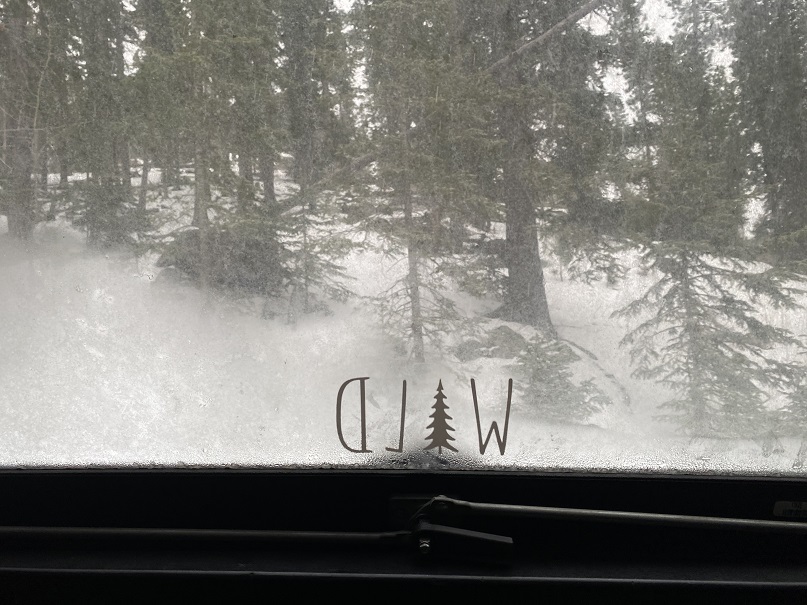
I have a heavy-duty indoor heater, and it usually works so well I only keep it on for a few minutes before turning it off. I also lit a candle because I like candles, and even learned a little something: When the heater burns up all the oxygen the candle will go out. Also, matches won’t light. This reminded me a bit of a canary in a coal mine, and I found it useful information. I turned off the heater and was able to re-light the candle about 5 minutes later, using a flashlight in the meantime. I used the turned off heater to dry my socks (I LOVE this heater!!!)
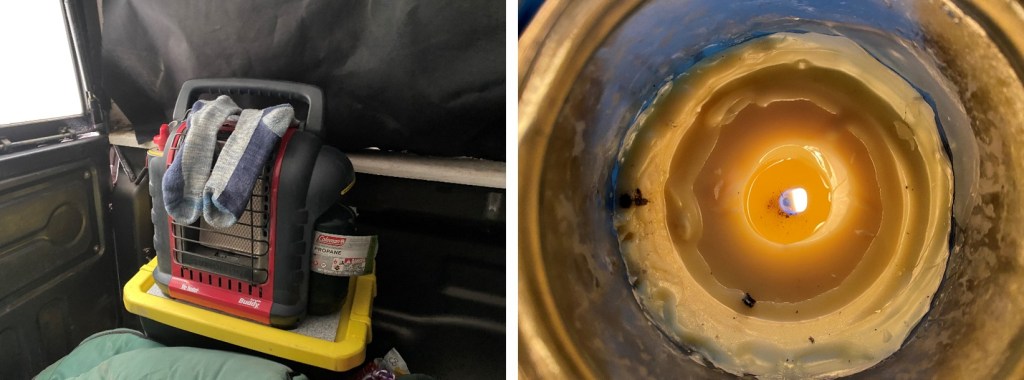
As the sun began to set the snow picked up and the parking lot emptied. I heard a couple of Canada geese fly in, and then honk to each other for a good half hour. I enjoyed some whiskey and thought to myself how cool it was to be inside of this metal box, deep in the Black Hills, as it was snowing. With the heater off I could now see my breath.
I went to bed prepared to face the frigid night, and also the hike in the morning: I was wearing my fleece lined pants, puffy and outer jacket, mountaineering gloves, balaclava, and wool hat. I snuggled under my 3 sleeping bags and crocheted blanket, and fell asleep.
I didn’t wake up until my alarm went off at 5:30am. I peeked outside, and the moon was just setting over the ridge behind Sylvan Lake. Also, there was much more snow than I’d anticipated! I was glad I’d decided to park here overnight, because I’m not sure what the drive in would have been like this morning (but I could guess: not fun). Funny how a 20% chance of snow can turn into 4-6 inches.
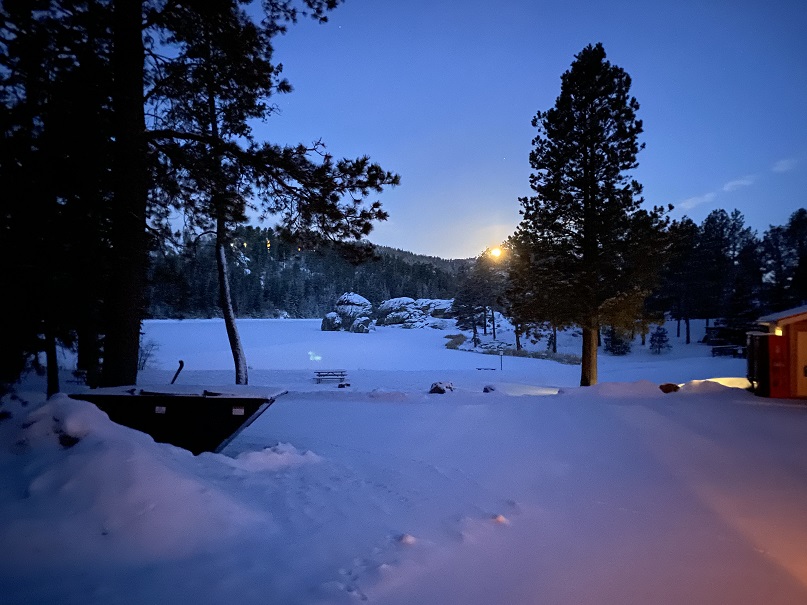
I went to open my back window, and it wouldn’t budge. Hmm. I must have locked it last night? I turned the handle to unlock the window, and it still wouldn’t move. That’s when I realized the ice and snow had frozen the window shut! Oops! I just needed to make sure it was indeed unlocked, and was then a little more forceful. I pried open the window, and stepped out into several inches of fresh snow. I actually got in from the passengers’ side door, so as not to get snow on the front seat while I got ready. I turned on the truck, blasted the heater, and had my windshield wipers clear away the snow while I put on my hiking boots and ate a few dried mangoes for breakfast. The truck’s thermometer said it was 23 degrees outside. Not bad: I’d been warm all night.
When I went to bed there were still dozens of vehicles in the lot, but now, my truck was the only one.
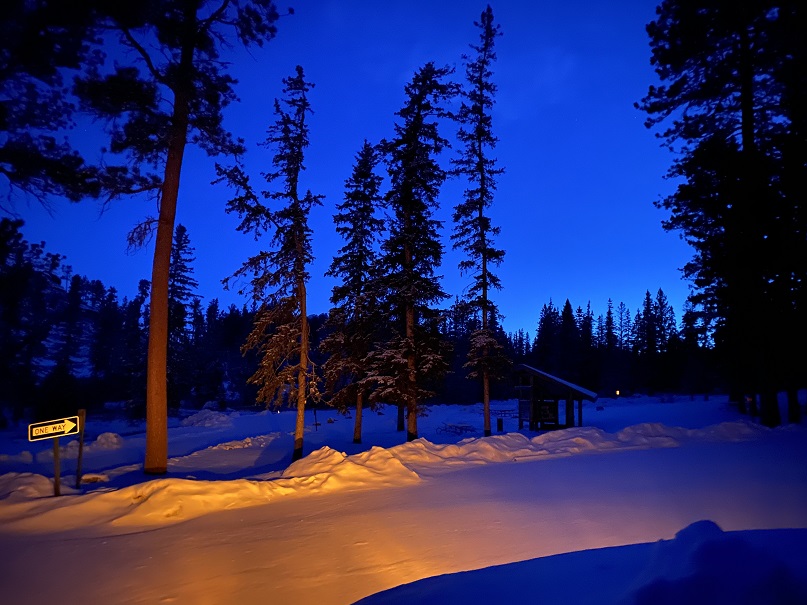
I was waiting for the sun to rise, but as soon as it was light enough for me to see without a flashlight I hit the trail, around 6am. But first, I used my scraper to clear off my truck, to make my exit easier later in the day.
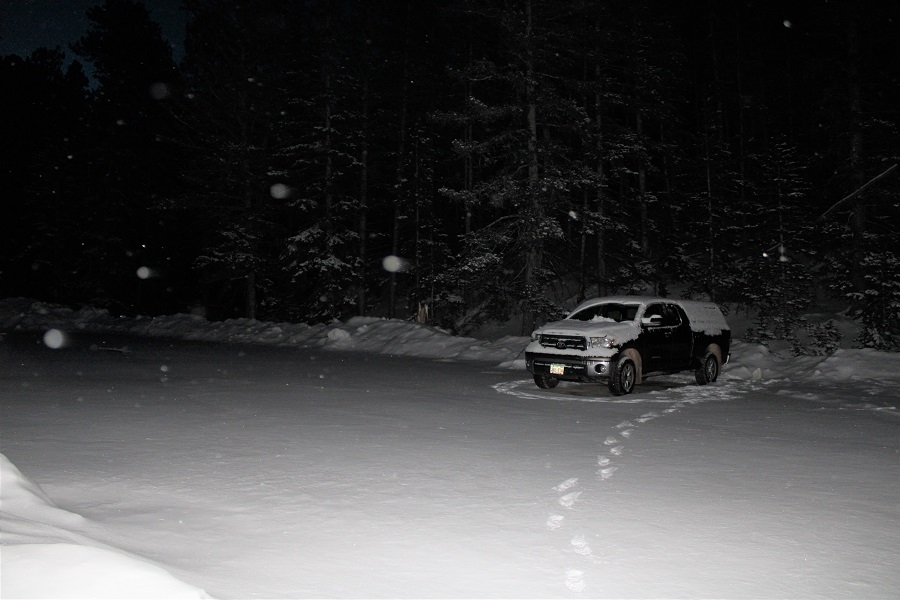
I took my snowshoes and ice axe just in case (they weren’t needed) and headed out to find the trailhead
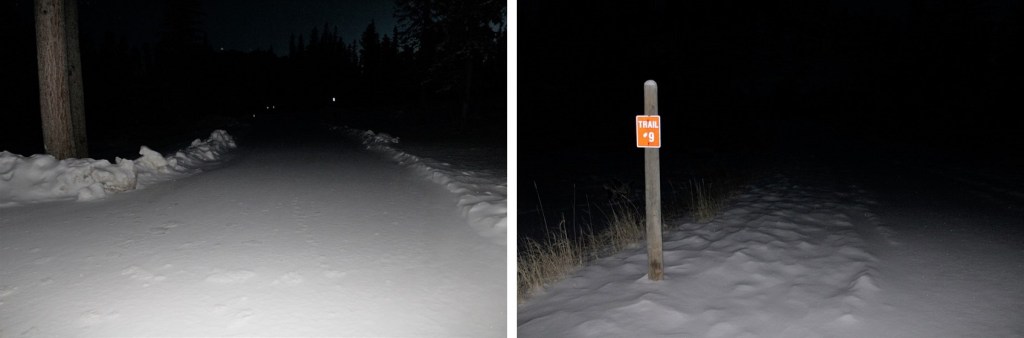
The trail to Elk Peak has several different names: Elk Peak Trail, Harney Trail, and Trail #9. They all go to the summit.

The trail was covered in snow, so I wasn’t sure if it was a trail or a 4WD road, but one thing was for sure: it was easy to follow, even with snow.
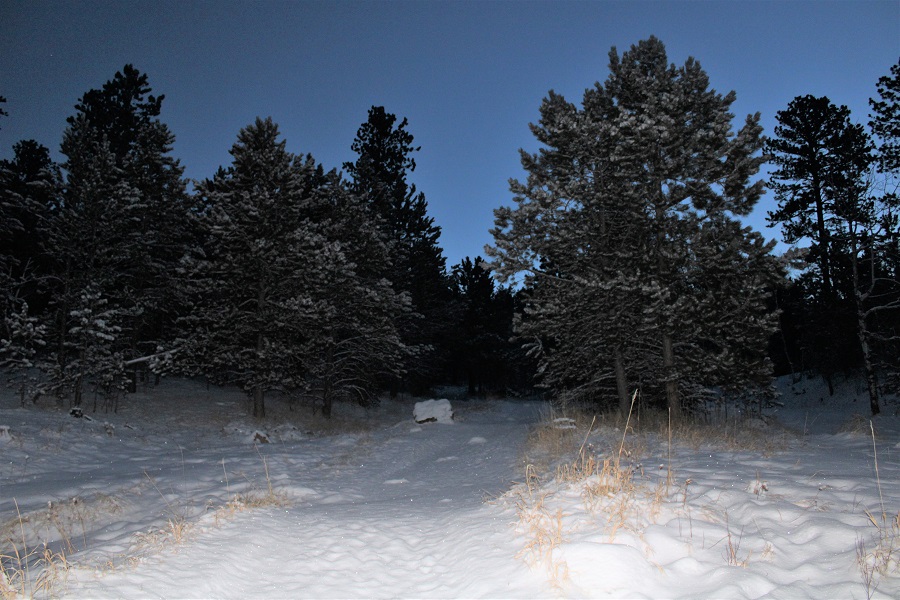
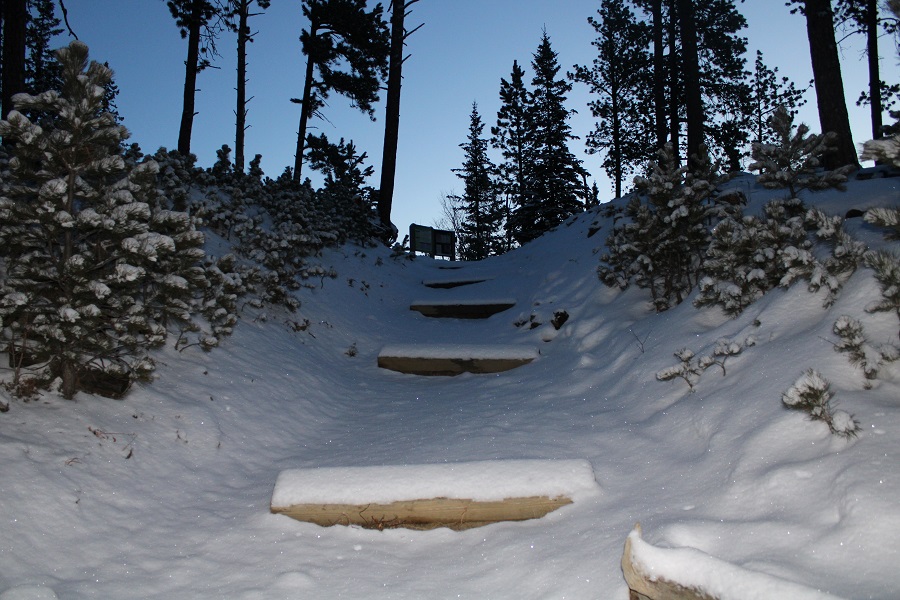

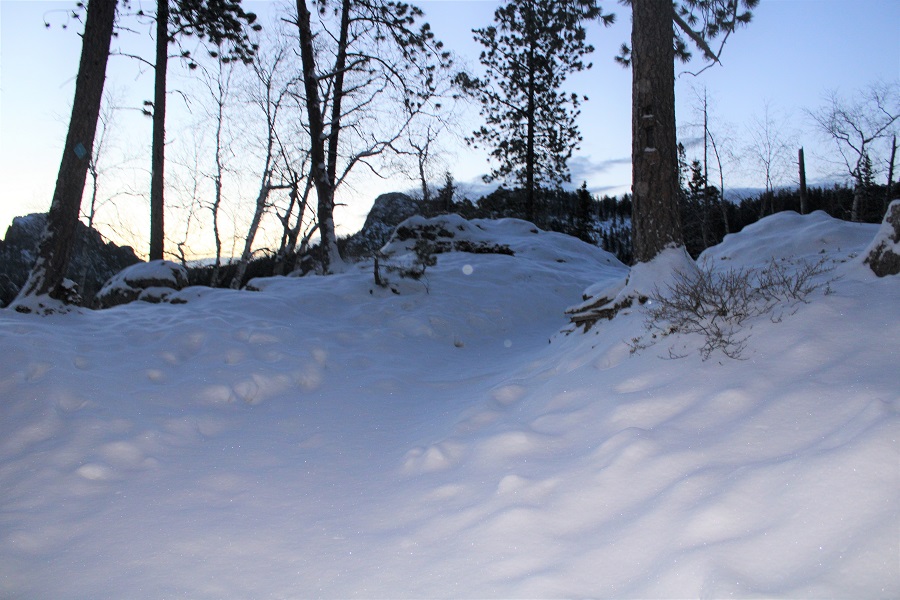
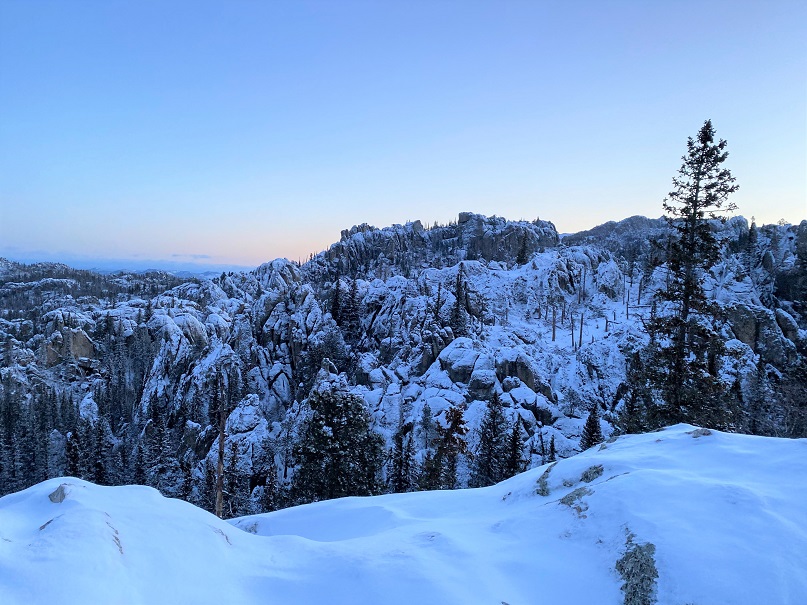
The views were beautiful as the sun began to rise
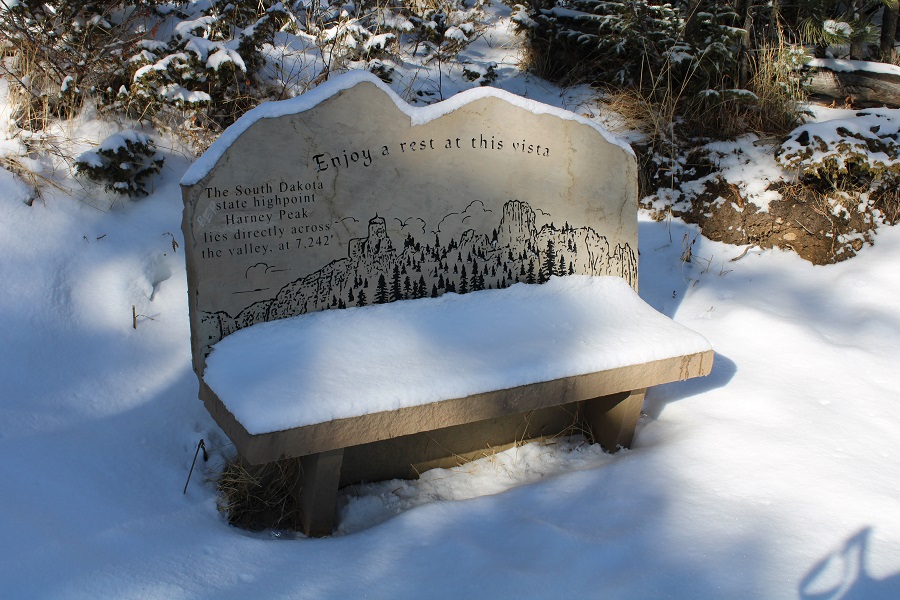
I continued following the class 1 trail, and came across a bench
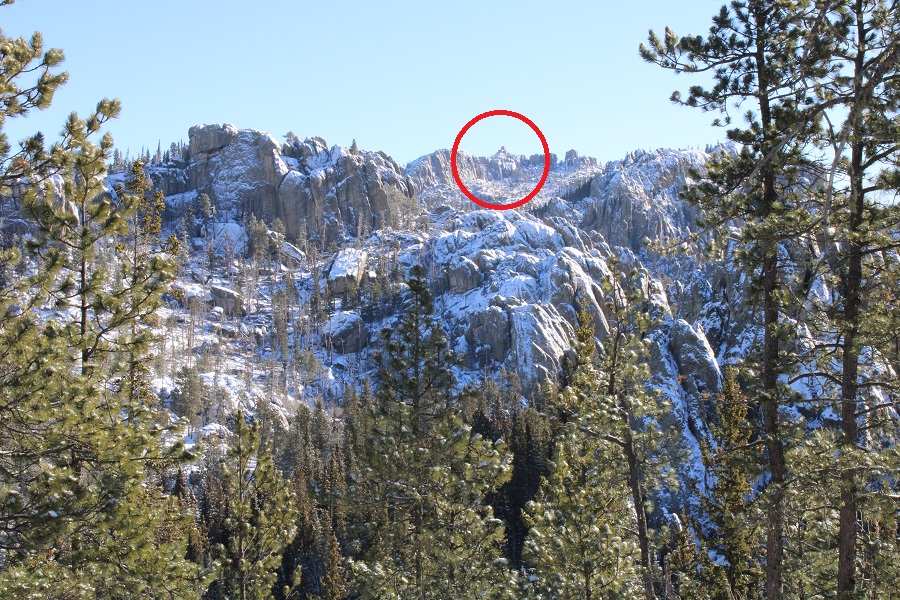
Directly across from the bench you can see the summit tower (Harney tower). This is the 1 mile mark of the hike.
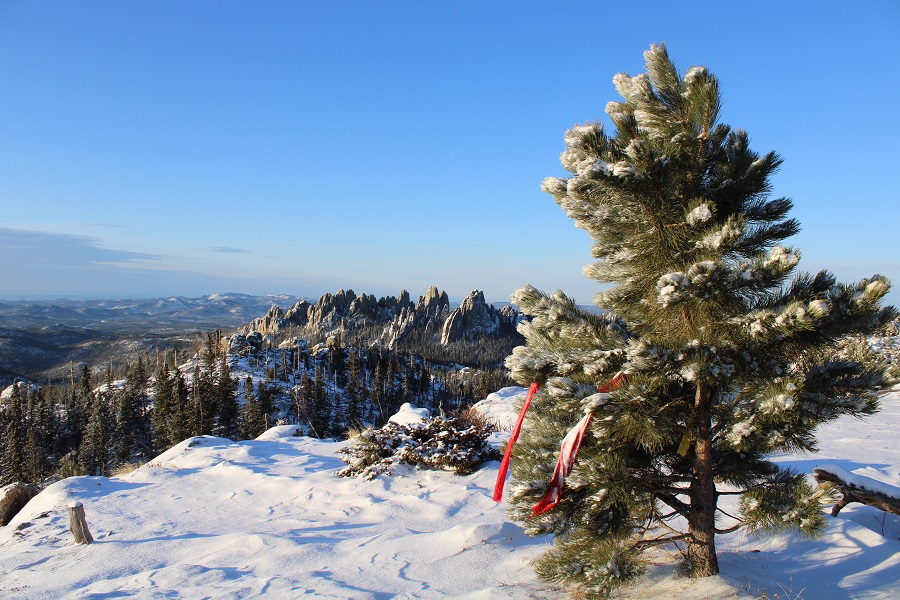
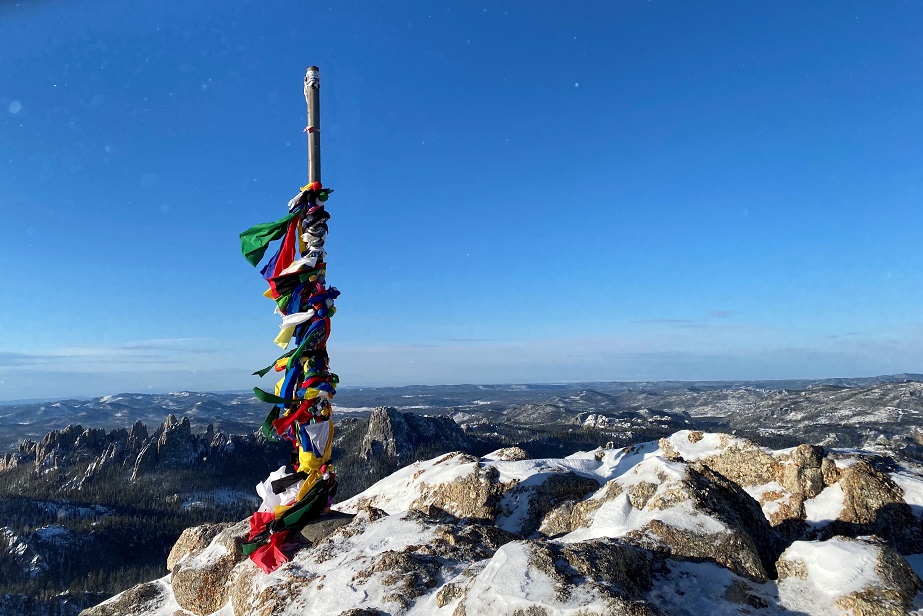
I continued on, and started seeing Lakota tobacco ties/offerings on the trees. Tobacco ties are basically prayer ties. They are to be thought of as a physical manifestation of a prayer. Each color of cloth represents something. Within the Lakota culture, a white cloth is used for a prayer for healing, a red cloth is used for our ancestors and a yellow cloth is used for giving thanks. Blue and green cloth can also be used.

I continued on, breaking trail
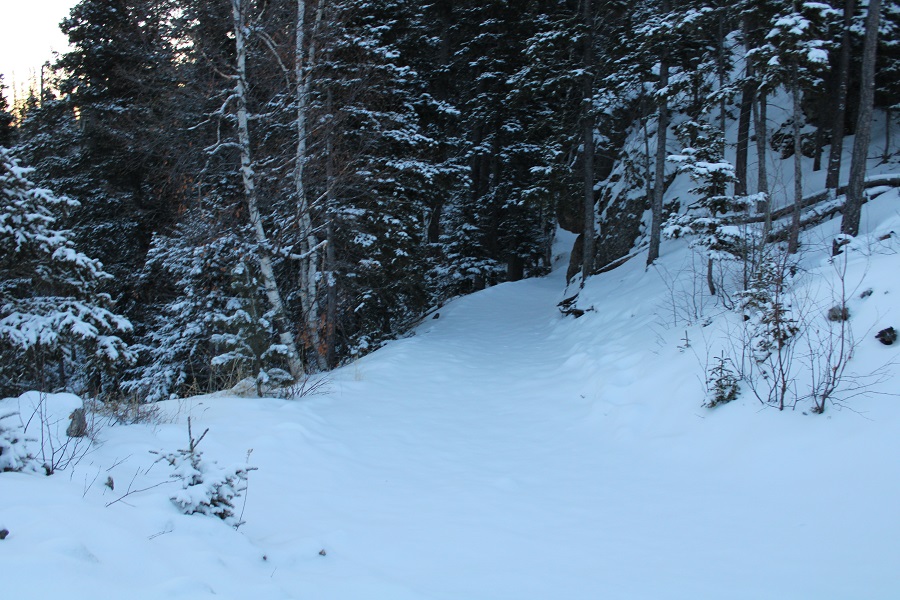
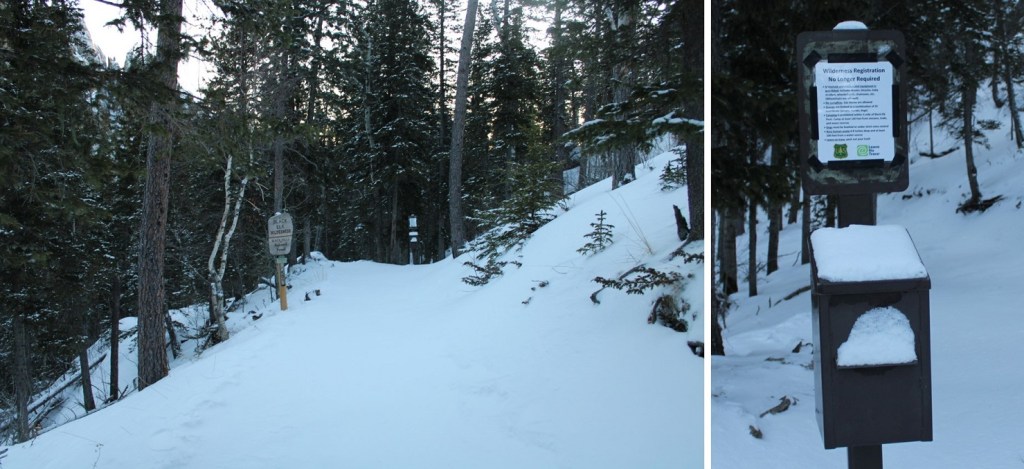
Until I came upon this sign. From here the trail lost 250 feet of elevation, before gaining elevation again
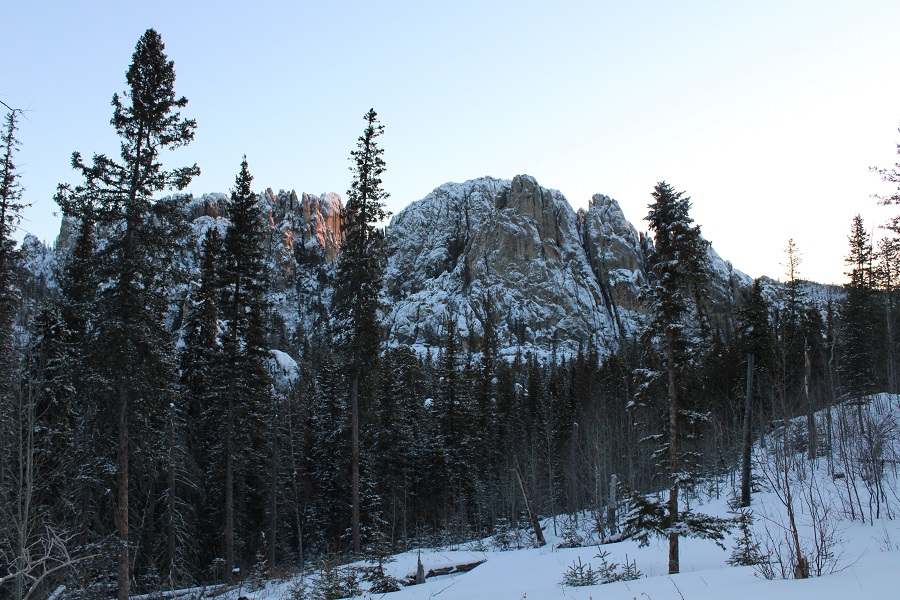
One thing about this hike: I loved being in the trees, but all the views were obscured.
The trail was very clearly marked, just be sure to stay on the Elk Peak Trail, Harney Trail, and Trail #9.
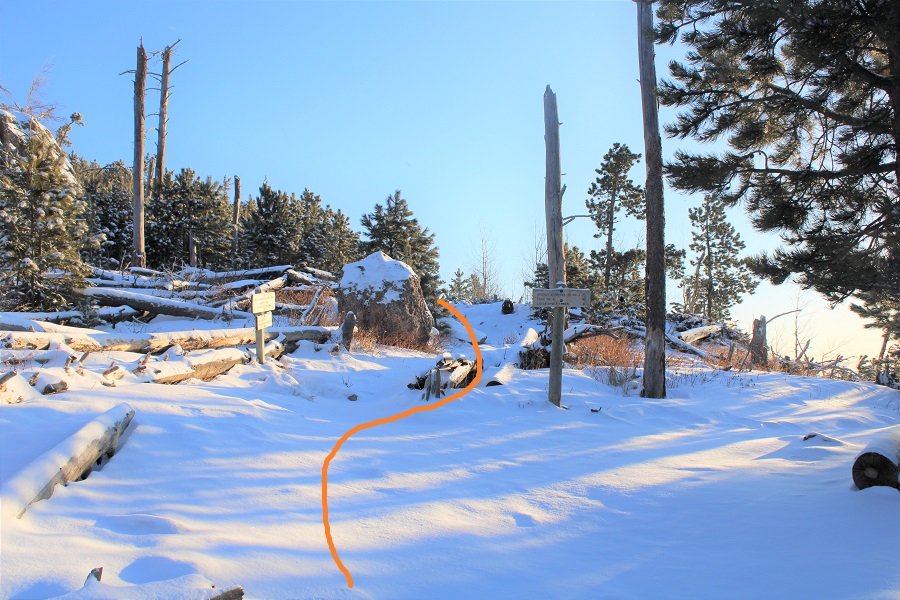
I came to a small plateau with a view and more prayer offerings. This is where the wind started picking up
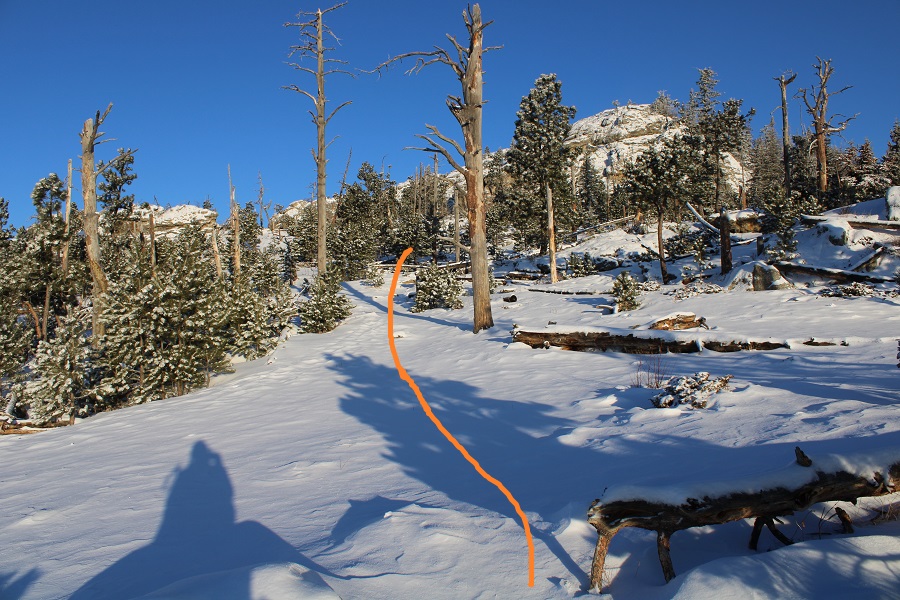
Now I was headed north
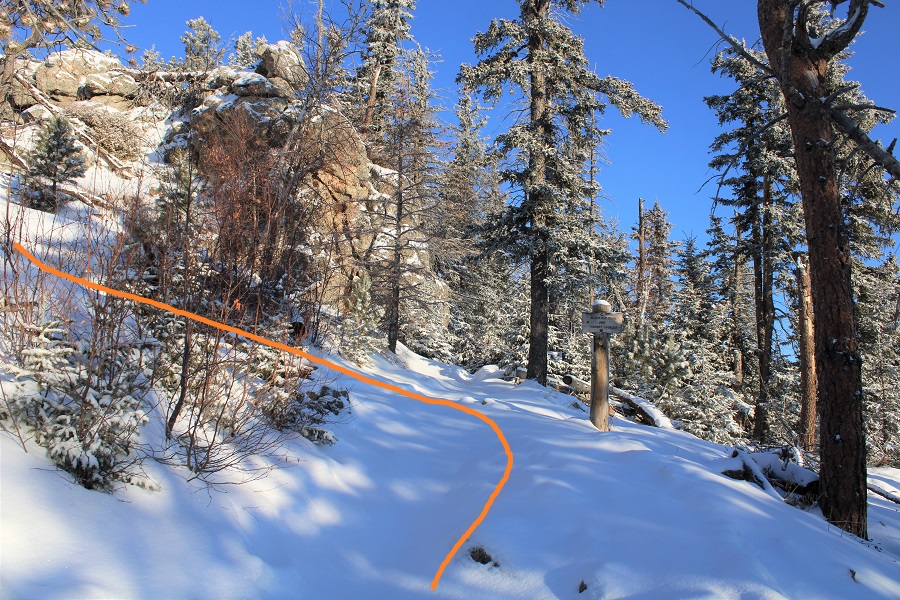
Note, go LEFT at this sign, as going straight won’t take you to the summit
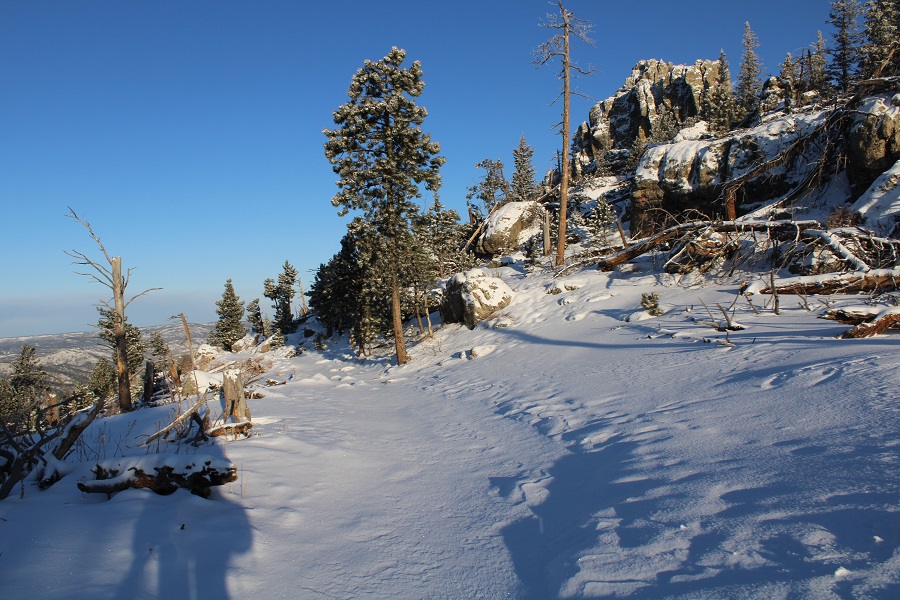
I rounded the west side of the peak
And then had a clear view of the tower
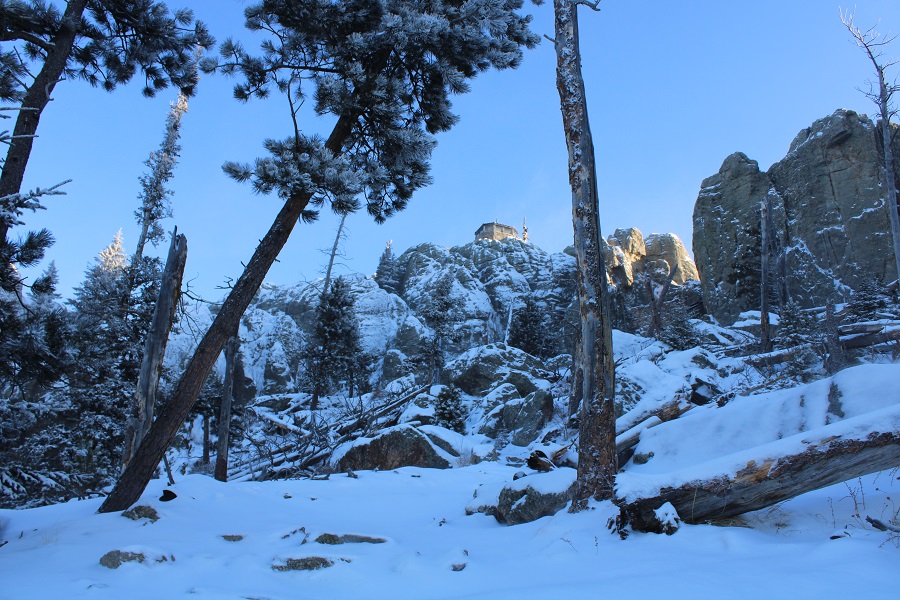
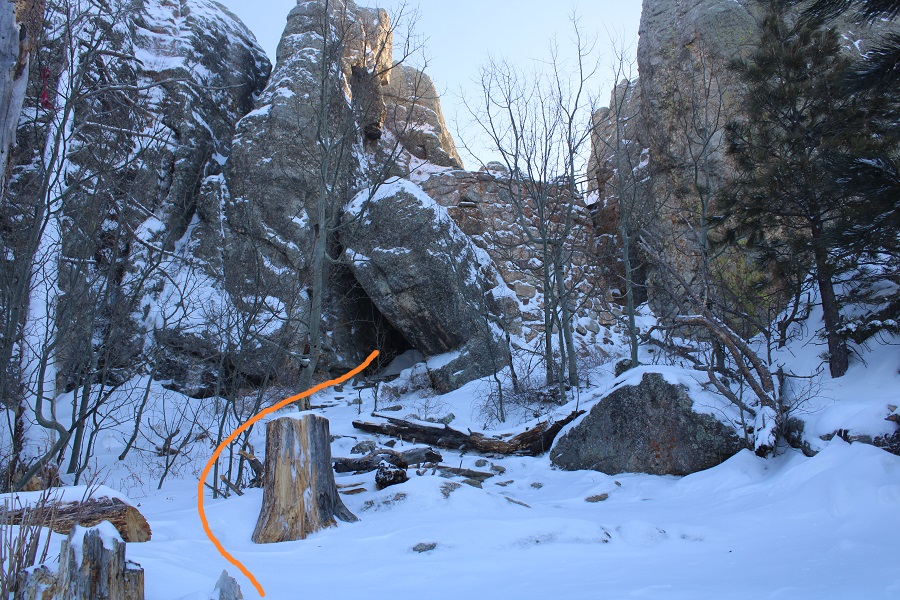
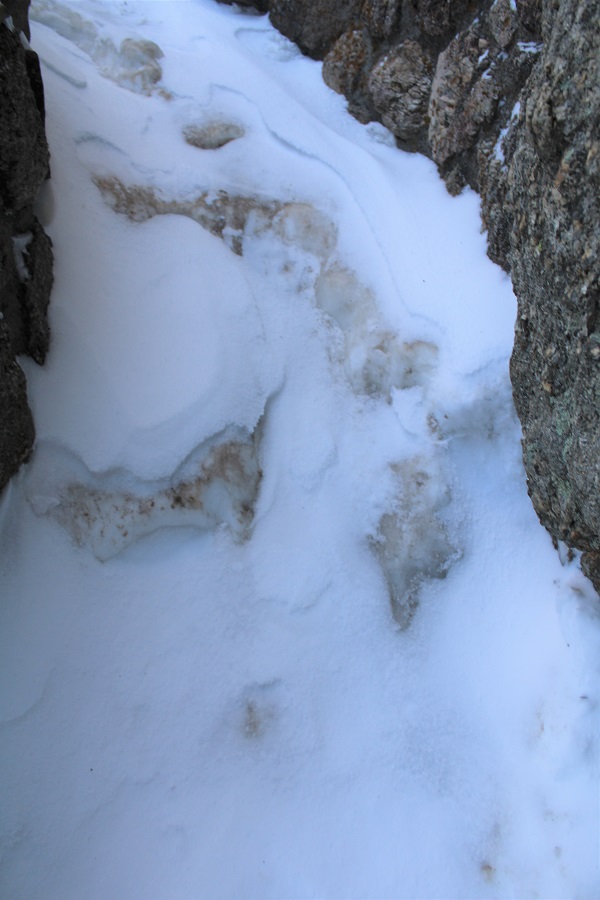
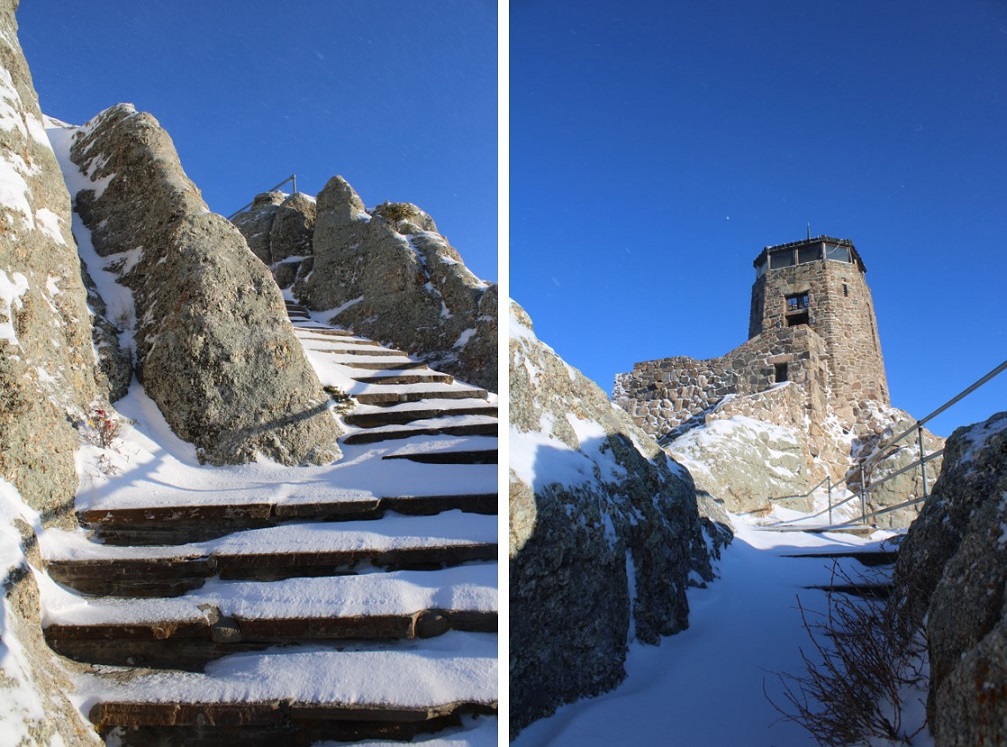
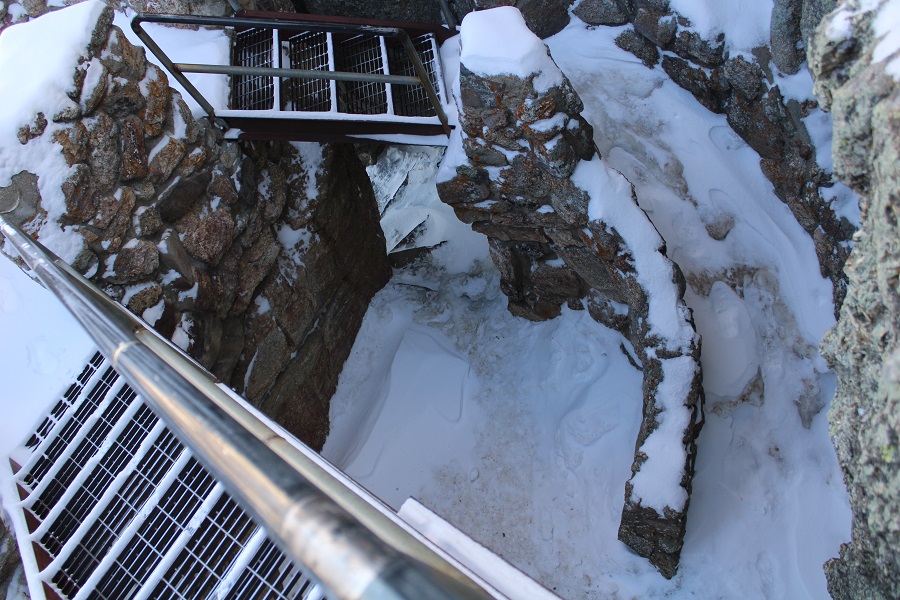
To get to the tower I headed northeast, going through this rock, and up the stairs. This is where it got really icy: the ice was over a foot thick, and slippery, similar to a metal slide covered in ice. Microspikes and good balance are required here
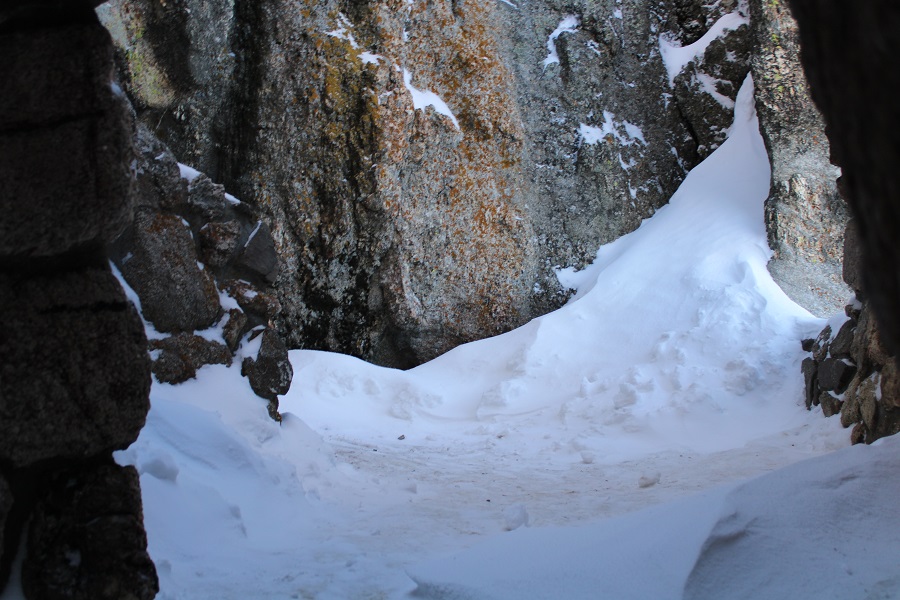
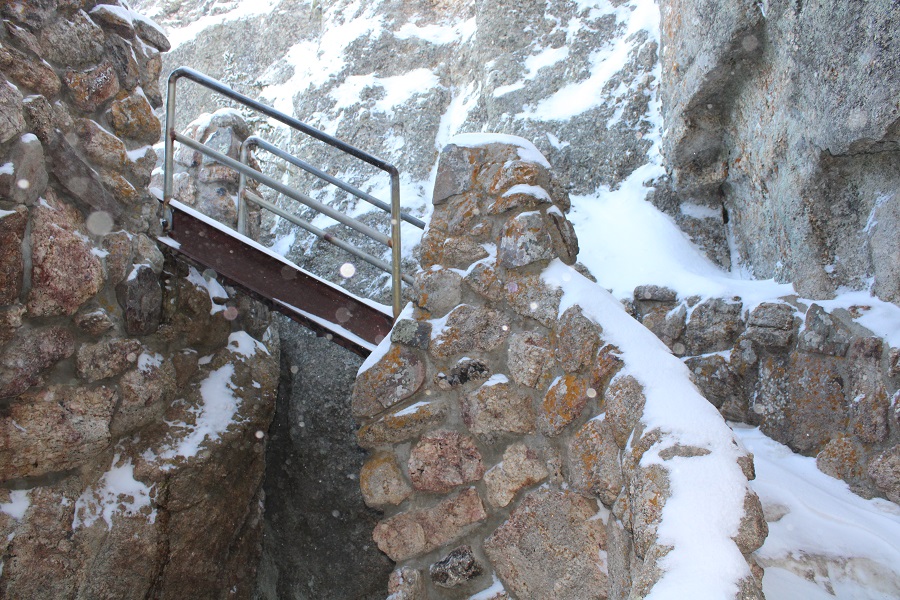
This led me to some slippery steps, and the summit tower.
Just below the summit area was a pole with a lot of offerings. It made for a great summit photo
It was really, really windy on the summit area. I’m guessing 40-50mph winds.

I continued on, climbing up the tower stairs. Just for reference, the true summit is here. I scrambled there and sat on top just to say I’d summited. (For anyone thinking the true summit is across the way, click here).

Here’s a video from the Harney Tower
More views of the summit area. I was all over that summit, and let me tell you, the wind just kept getting worse.


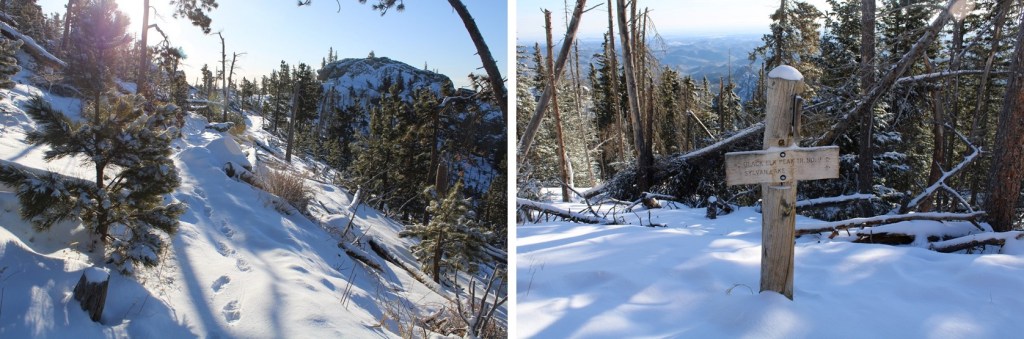
Time to head down. I was careful on the snow/ice filled steps not to slip
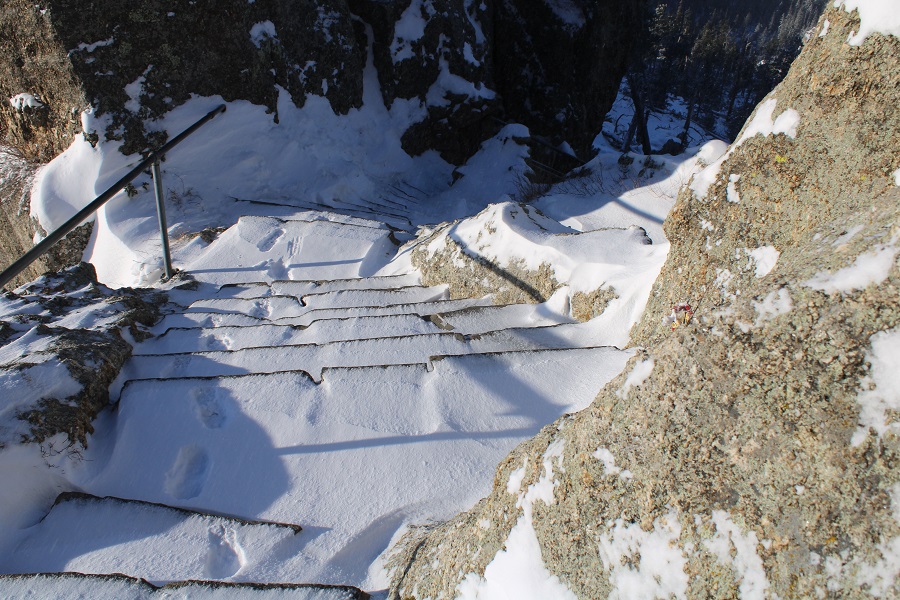
Then I followed my footsteps back down
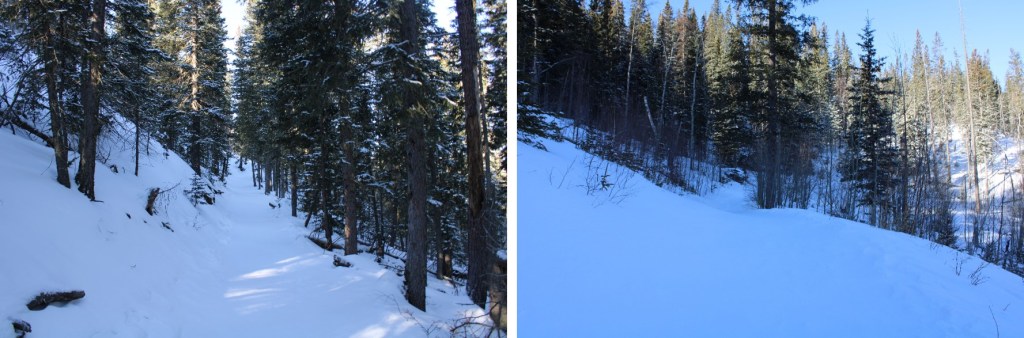
After hiking for about half a mile I was surprised to encounter another hiker! He’d started at about 6:30 this morning, and had been following my tracks the whole way. He said the roads were terrible, and I hoped they were plowed before I made it back. I wished him luck and continued on my way.
From here in areas the wind had covered both my tracks and those of the other hiker, but the trail was still easy to follow

When I made it back to the trailhead there was a snowplow there, clearing the parking area.
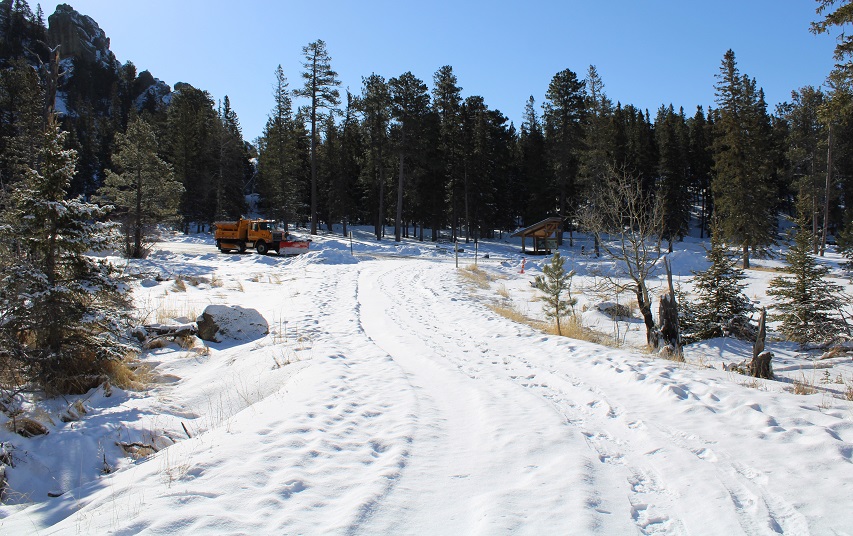
The area around my truck was nice and clean!

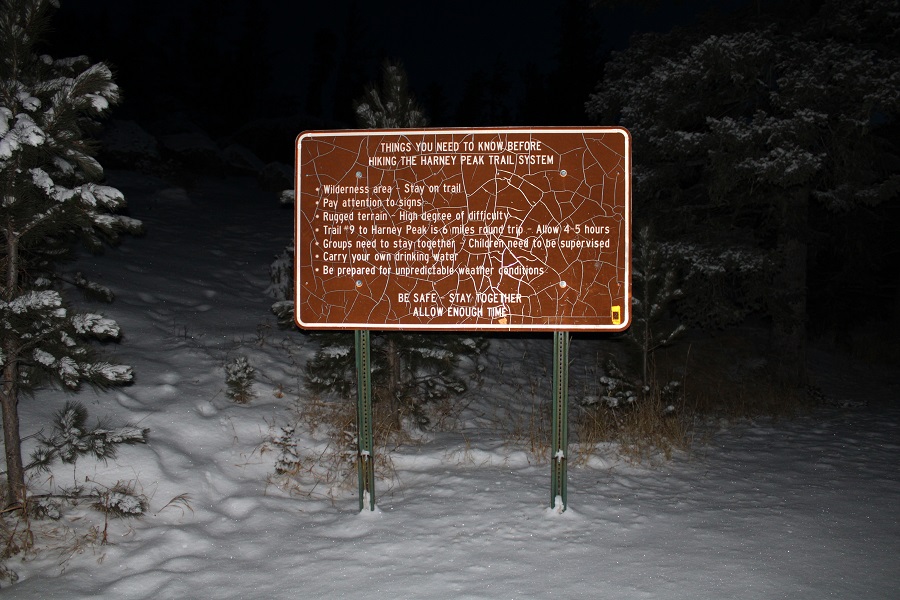
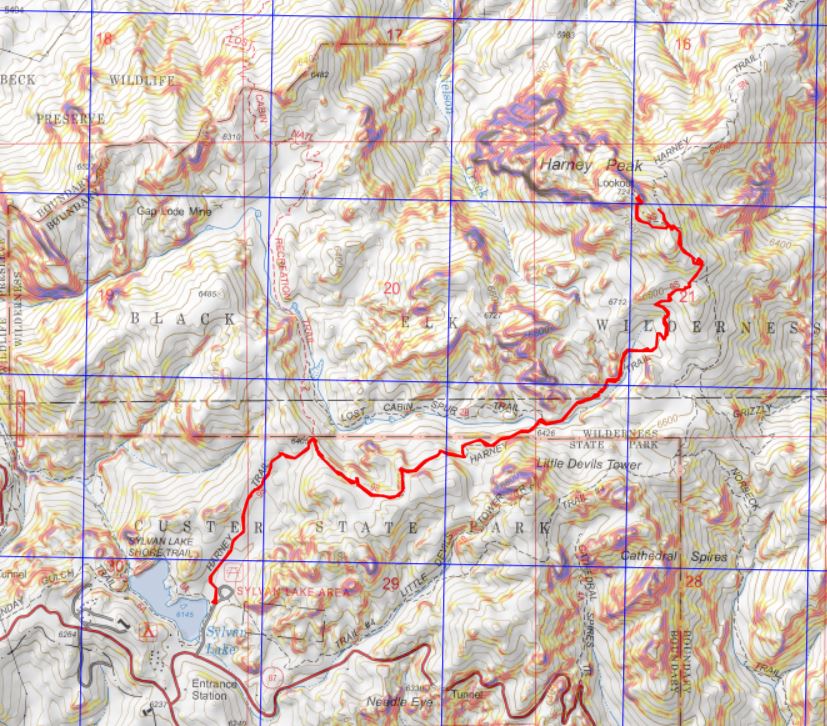
I made it to my truck at 9am, making this a 7.65 mile hike with 1732’ of elevation gain in 3 hours. Not sure why the sign says it should take 4-6 hours to complete? I did it in 3, while breaking trail through the snow, and spending quite a bit of time on the summit taking pictures. Also, it’s longer than their stated 6 miles (closer to 7.5 miles round trip). Here’s a topo map of my route
All in all, I was really pleased I’d chosen to take this road trip! It was still really early, so I started my drive south to Nebraska, for my third highpoint of this trip. I only hoped there wasn’t too much snow…

