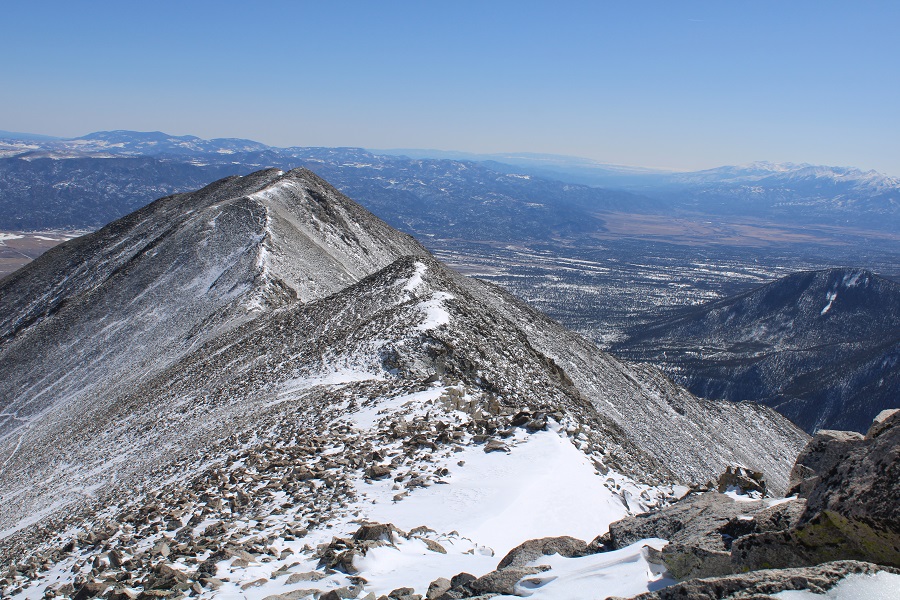
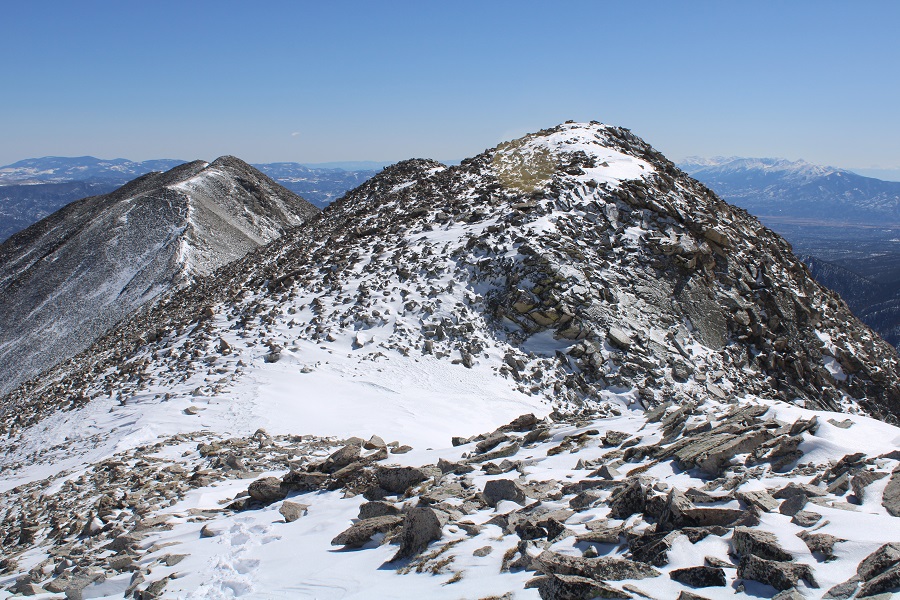
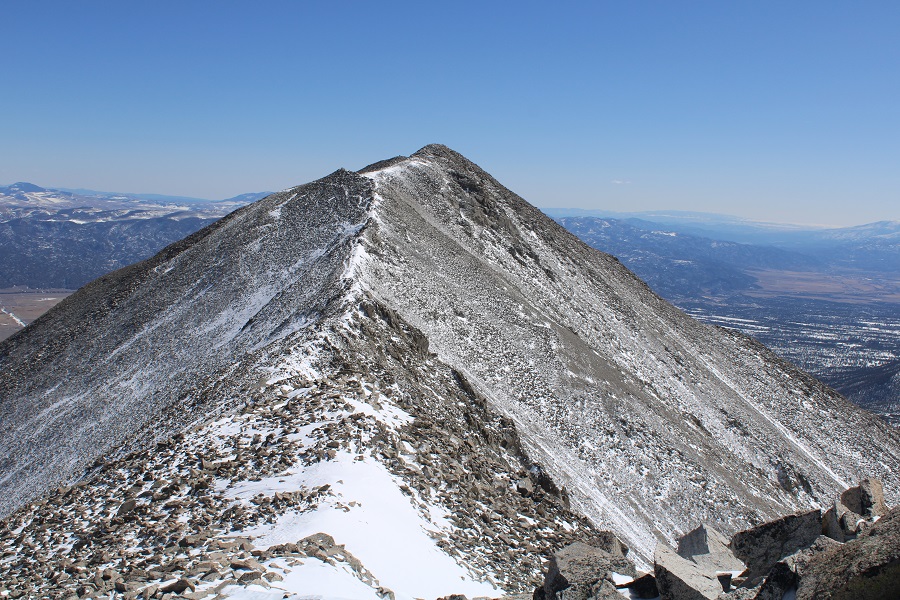
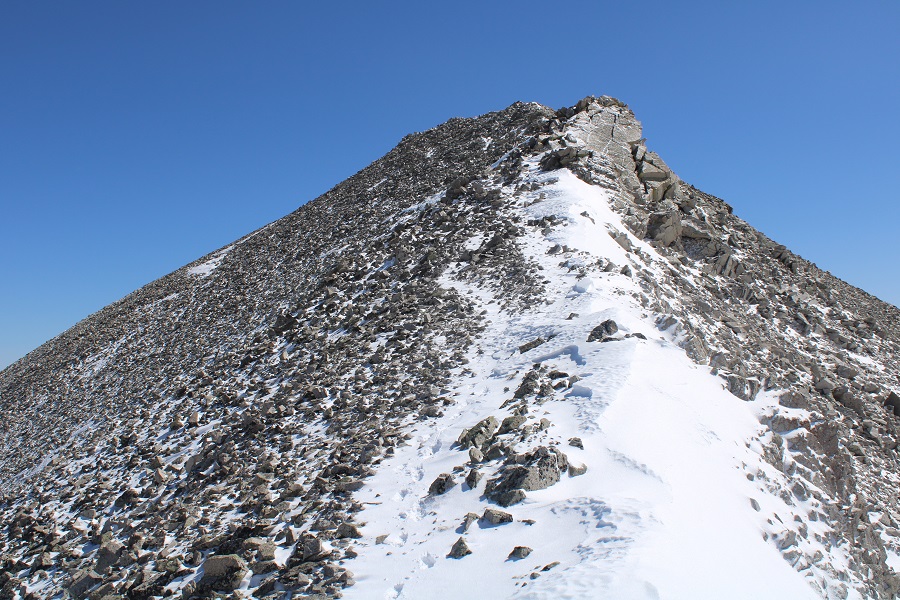
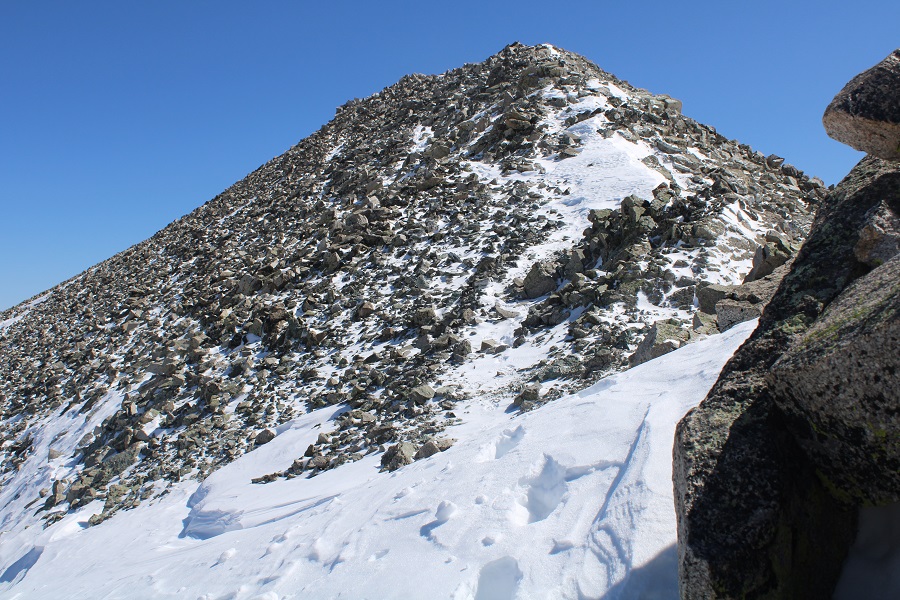
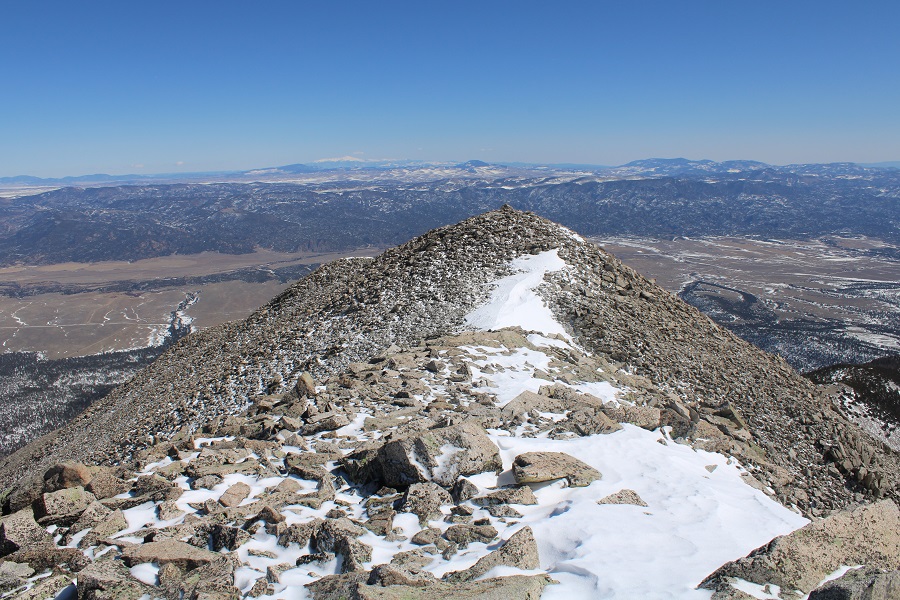
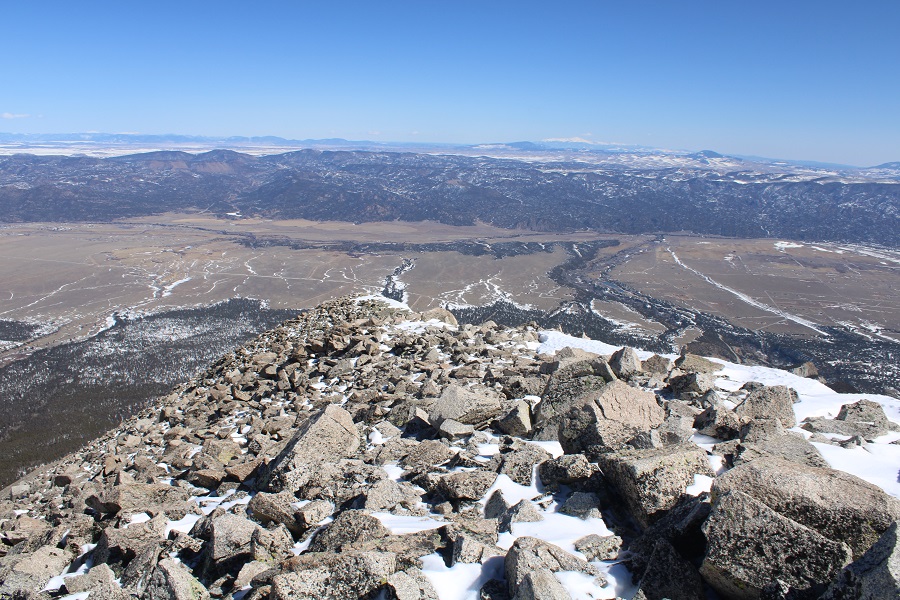
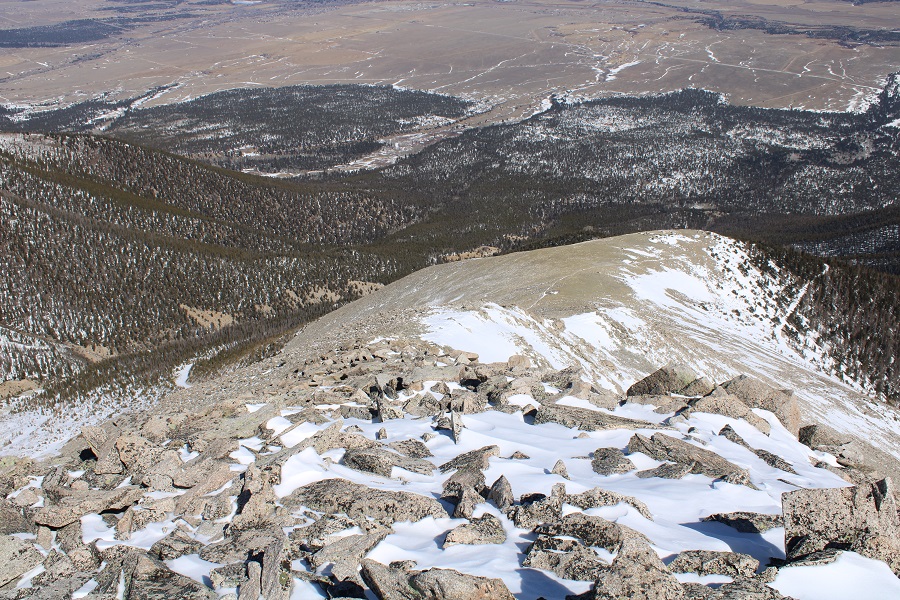
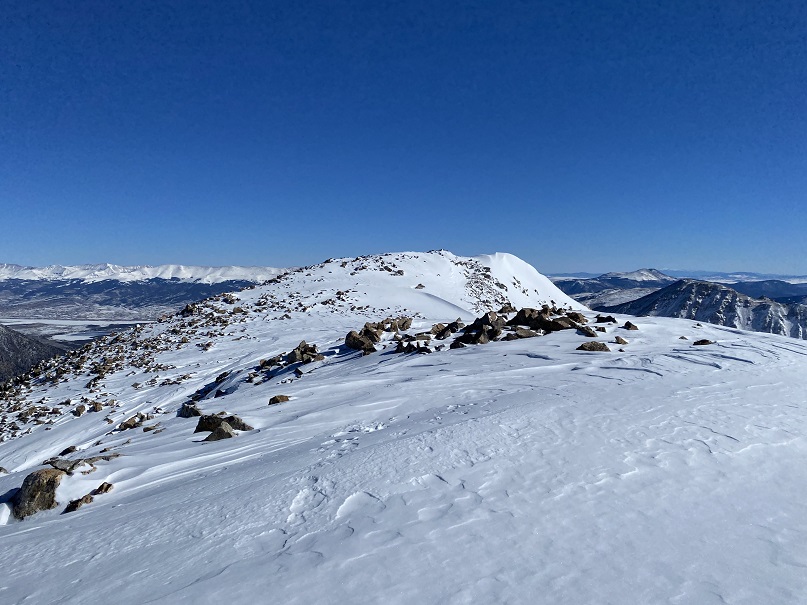
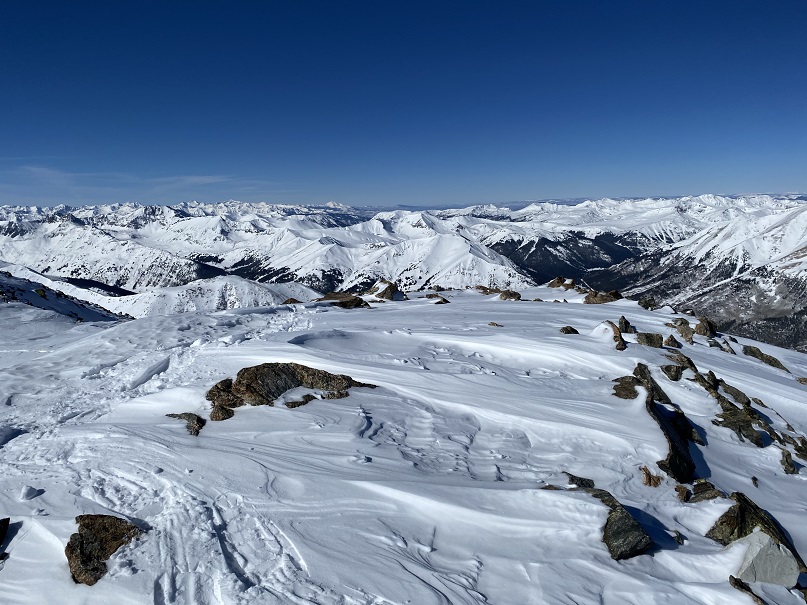
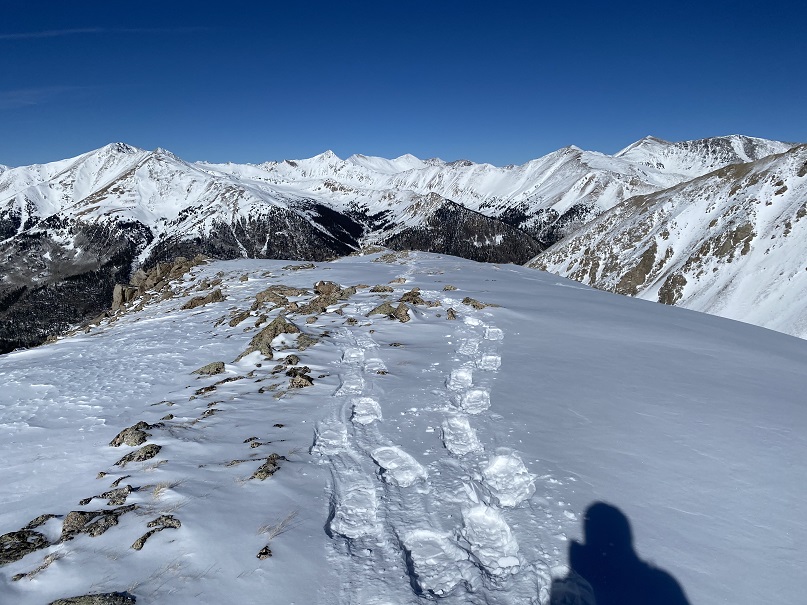
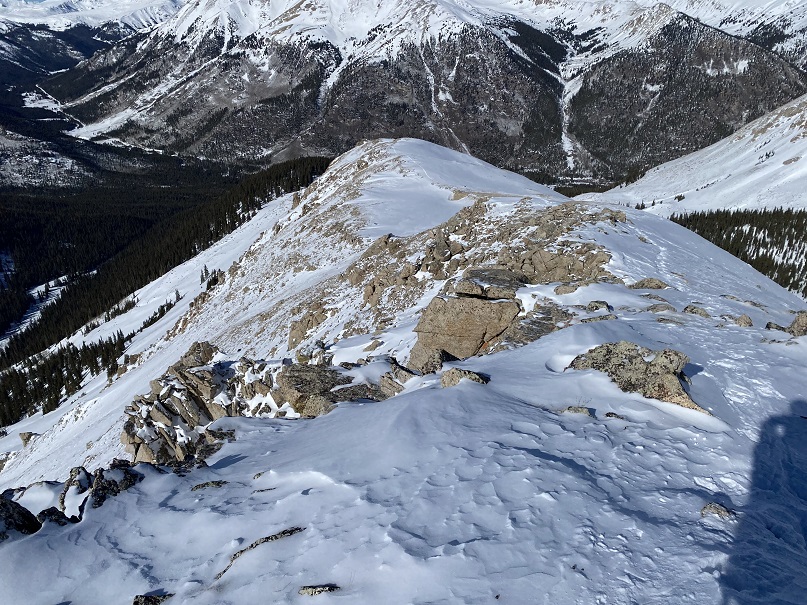
I can’t remember if I’ve ever been to North Dakota. I’m sure we went on a family road trip back when I was younger, but I don’t have any pictures or recollection of the state.
Originally, I’d planned to have a friend go with me, but at the very last minute he bailed. Or, rather, he never showed up. I said goodbye to my daughters, who were still awake, playing Minecraft with friends. They weren’t interested in going with me.
Solo now, I left the house at 1am Friday morning, and drove to North Dakota. One thing I noticed was how different each state was in dealing with masks and covid. Southern Wyoming had a mask mandate, but in northern Wyoming no one seemed to care. South Dakota had a mask mandate, but North Dakota did not. I was a little worried at the amount of snow I encountered in Wyoming, but as I headed further north the snow on the ground lessened. I passed through South Dakota, and when I made it to North Dakota I stopped at the state line and took a picture with the sign.
As I was driving through North Dakota I saw several pheasants, some dead along the side of the road, others flying across the road, and some in fields.
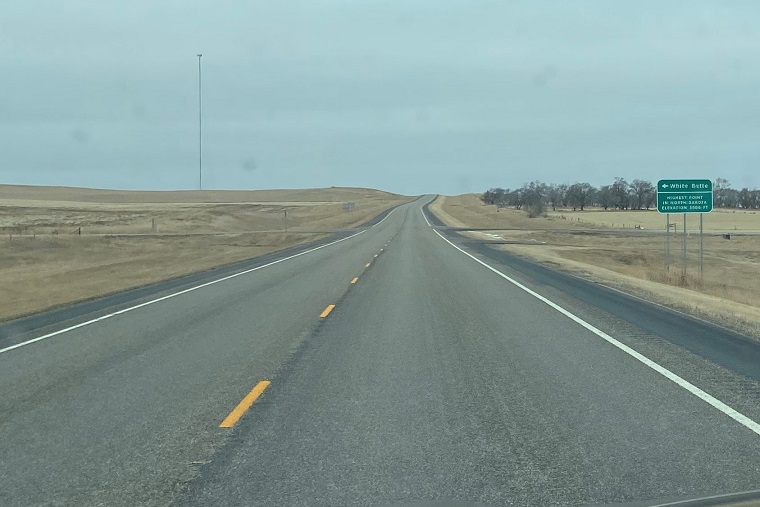
My initial plan was to head to Starbucks first for my mug (I collect them), but as I was driving I passed the turnoff for White Butte, and turned around. It looked like it was going to snow, and I felt it would be better to get the short hike in first. The Starbucks was another hour away, and I didn’t want to chance missing my hiking window.
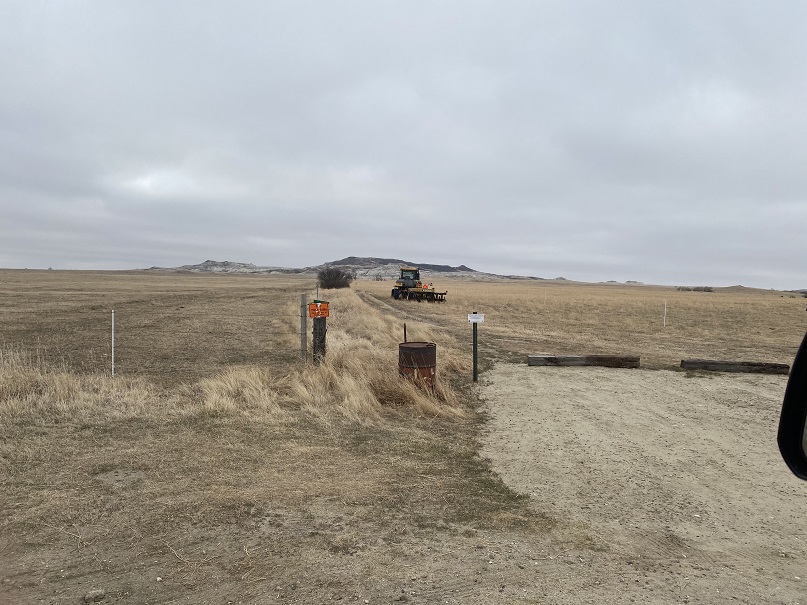
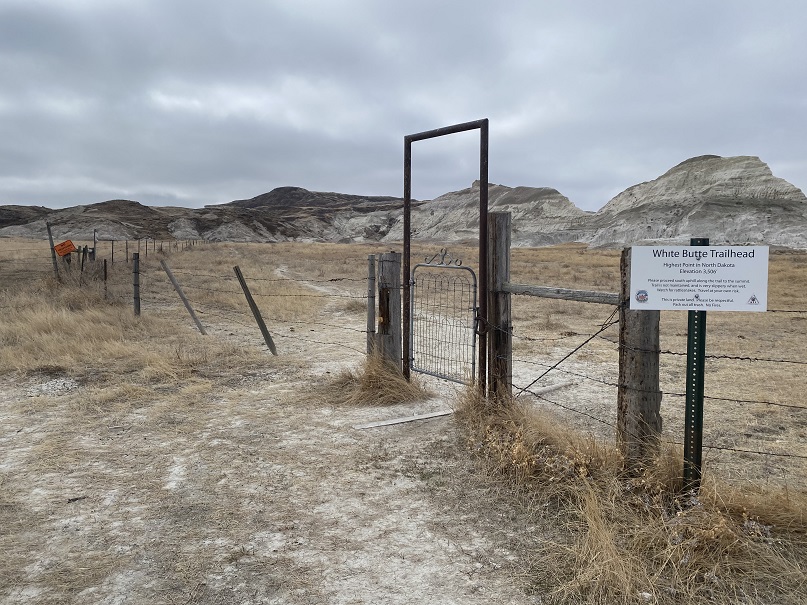
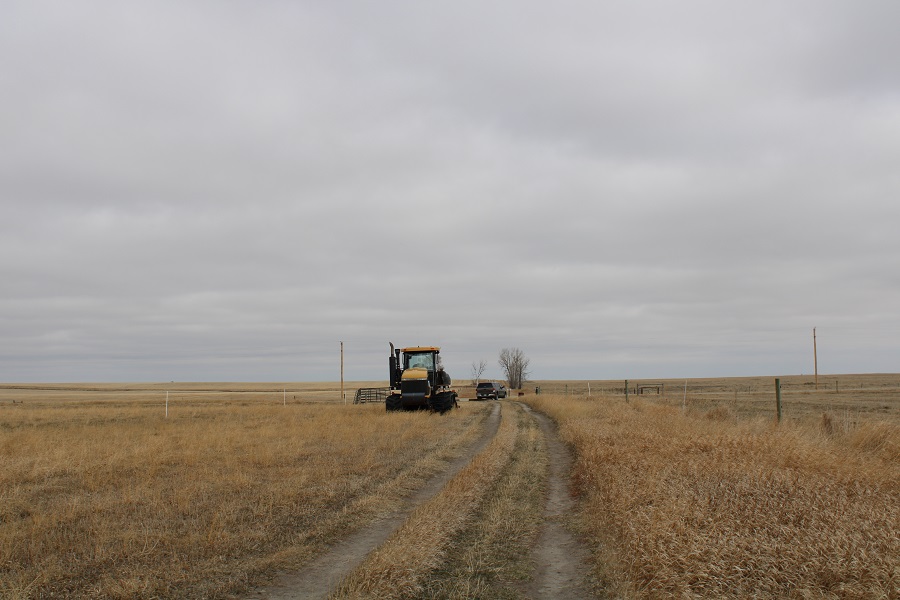
There were signs indicating where to turn to make it to the trailhead. The trailhead was about 5 miles down dirt roads that went through ranches. I saw young calves with their mothers is big herds.
The trailhead had parking for 2 vehicles. Also, the fences are electric.
I backed my truck in, parked, and got out my gear. It was colder than I’d anticipated, and there were snow clouds forming. I put on my wool hat and gloves and was on my way.
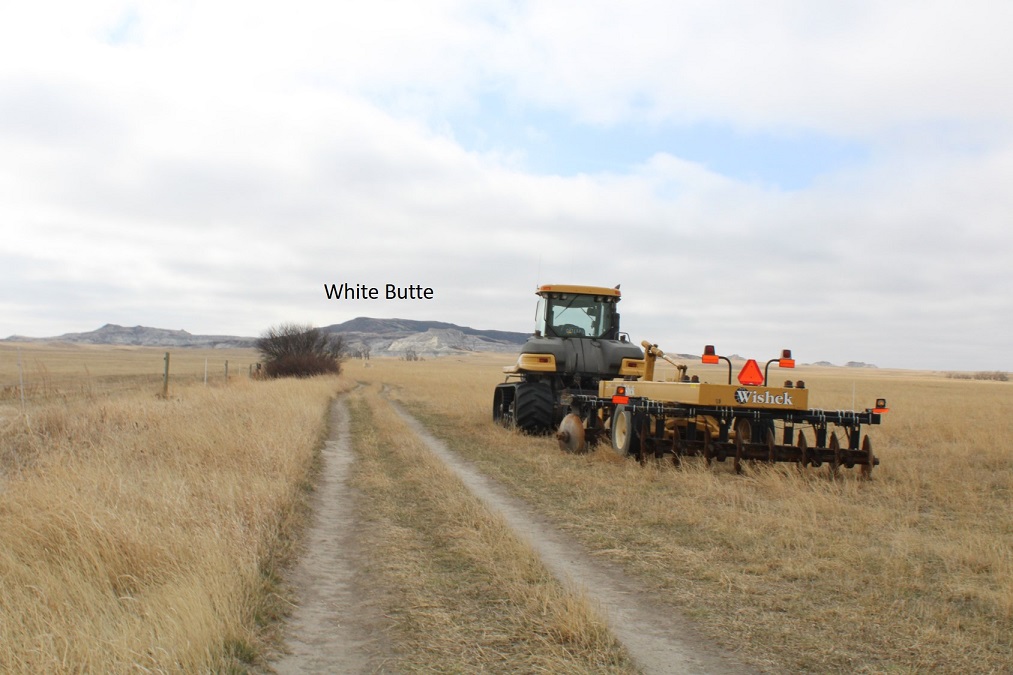
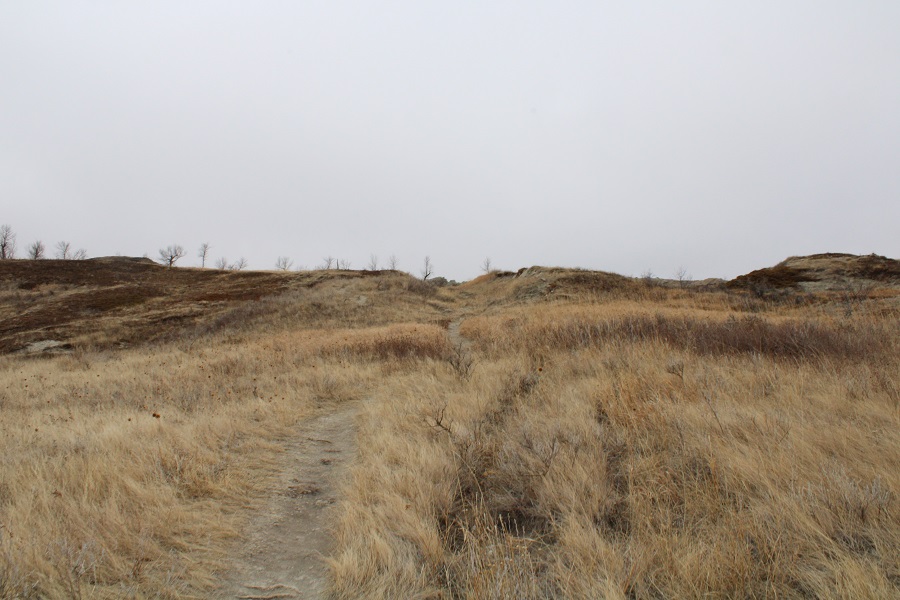
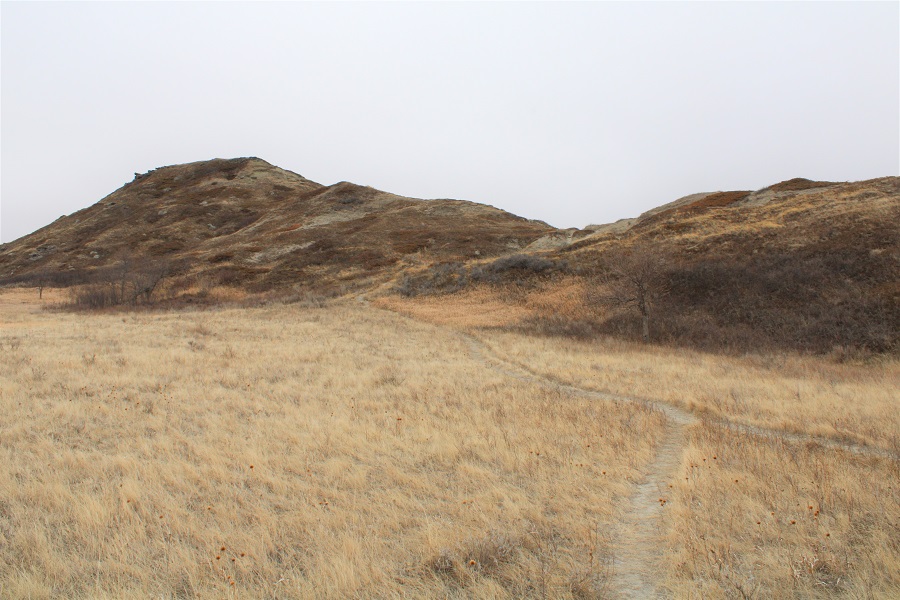
The trail follows an old dirt road for about a mile to an unlocked gate. Along the way I saw more pheasants, and a few emerging pasqueflowers.
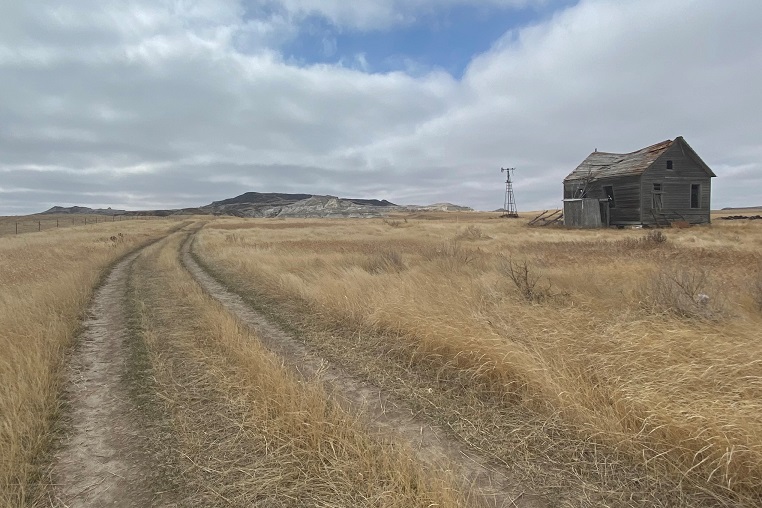
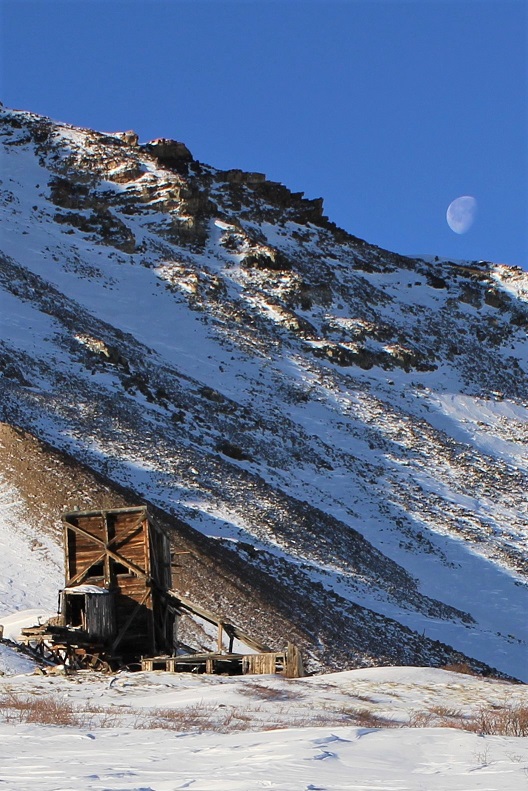
I passed an abandoned house as well
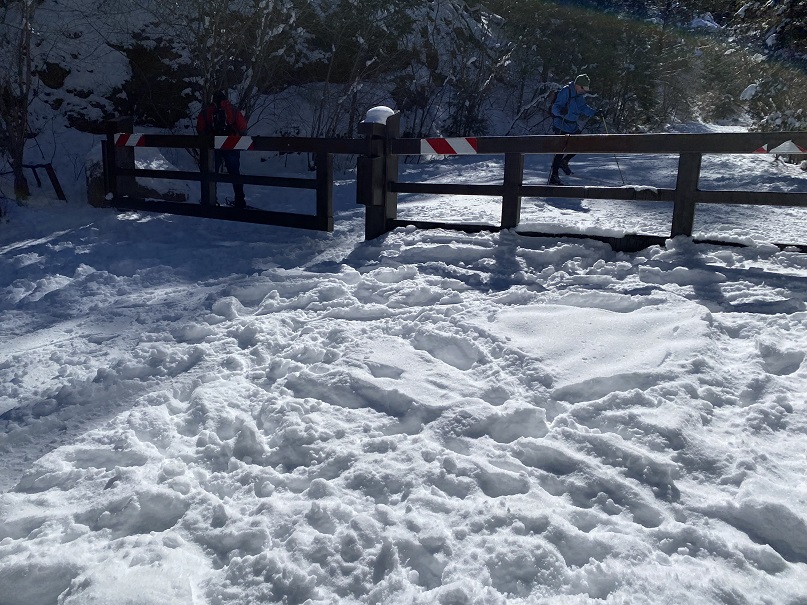
The gate was a little tricky to get open (hint, just push it hard)
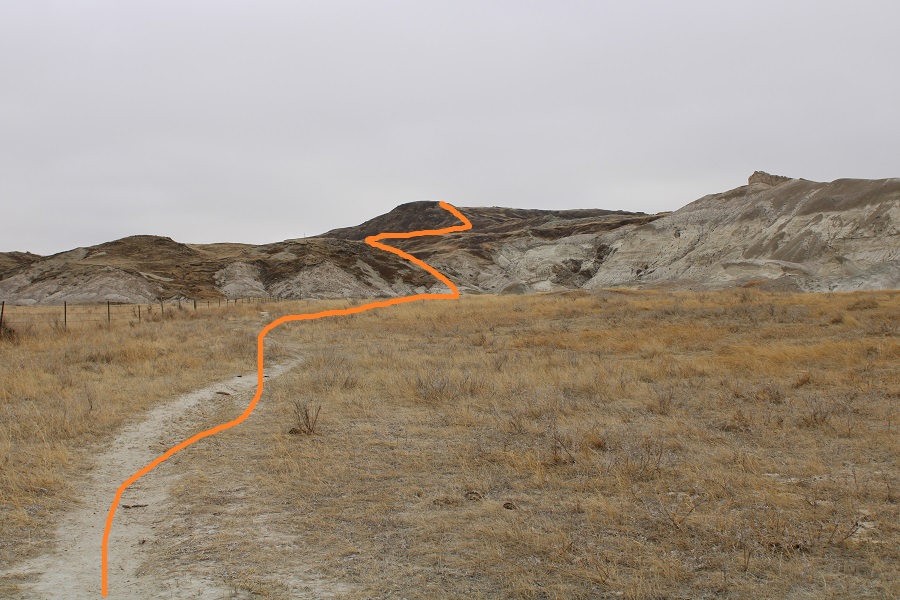
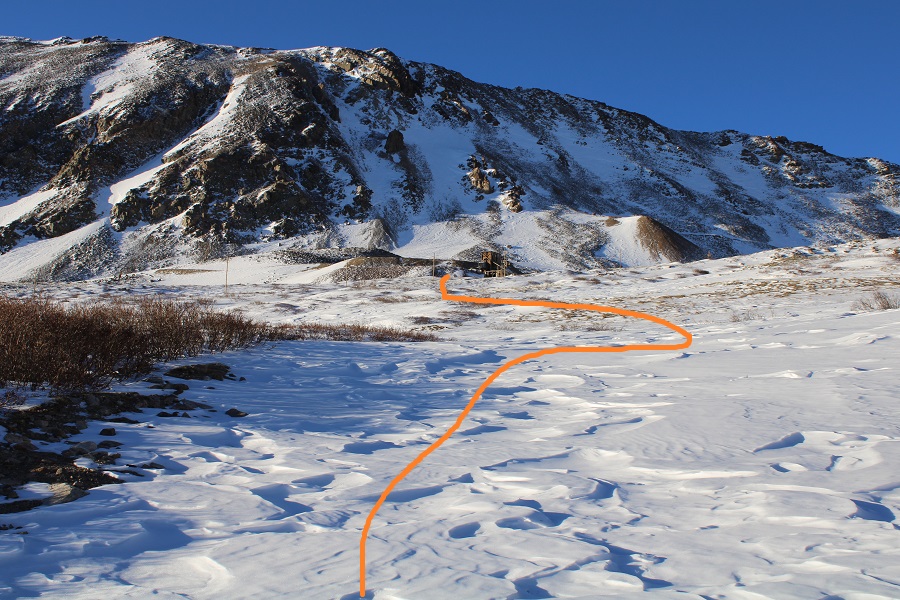
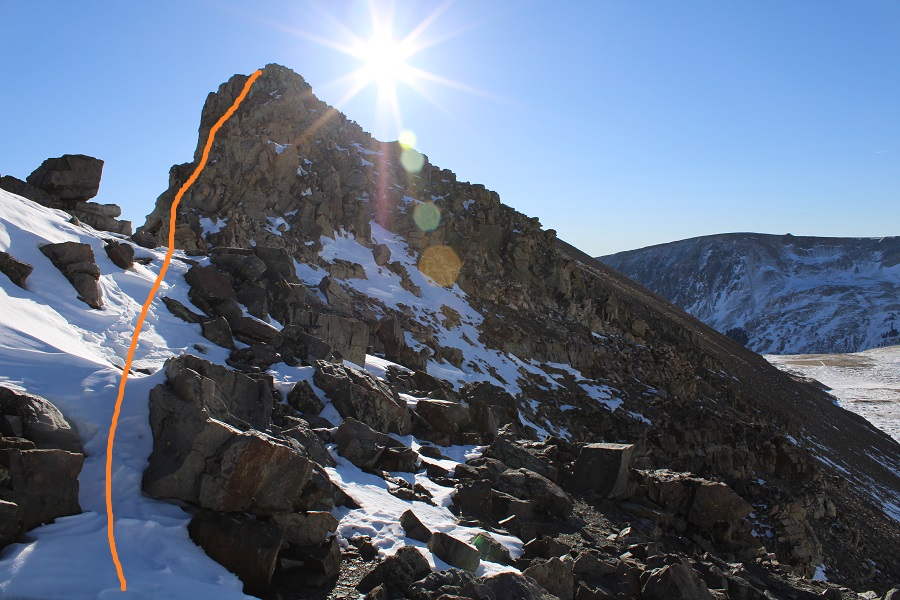
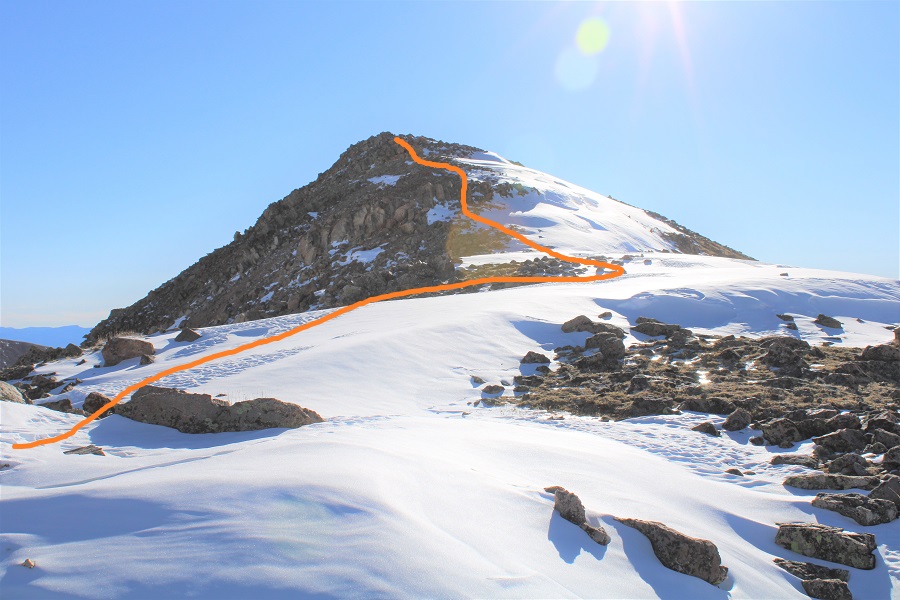
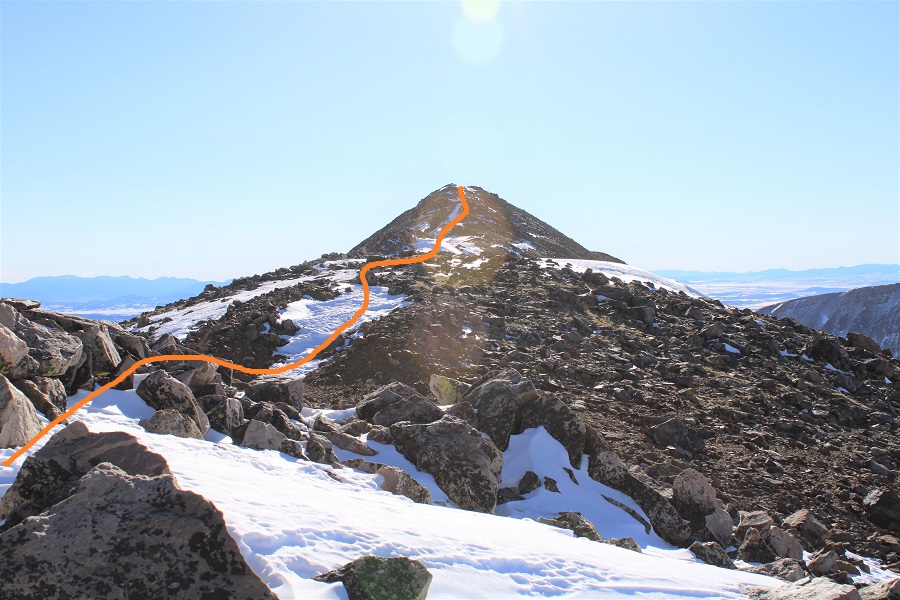
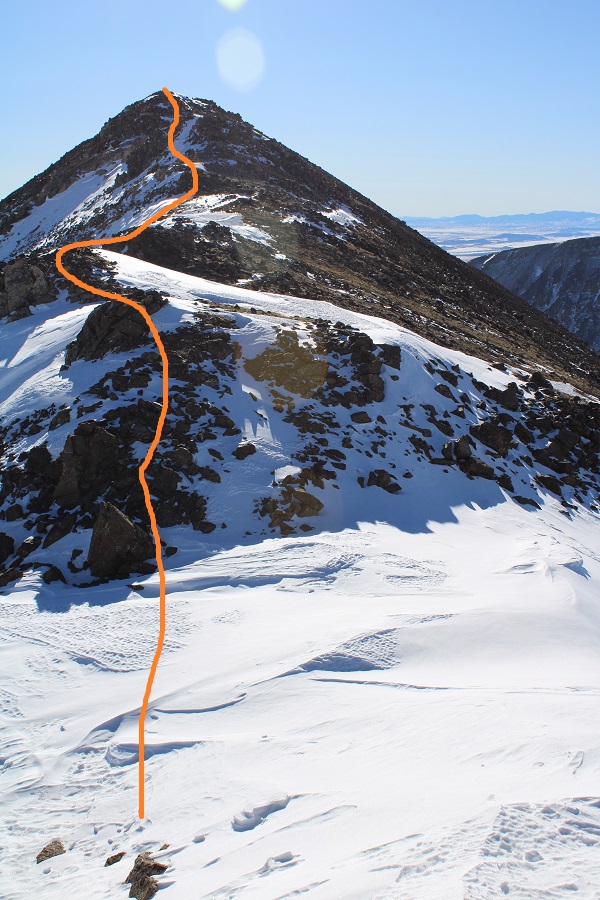
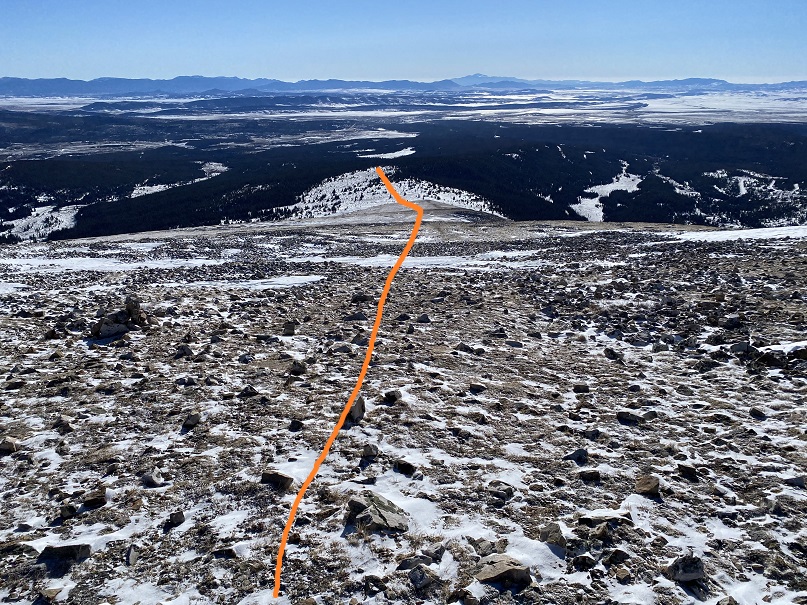
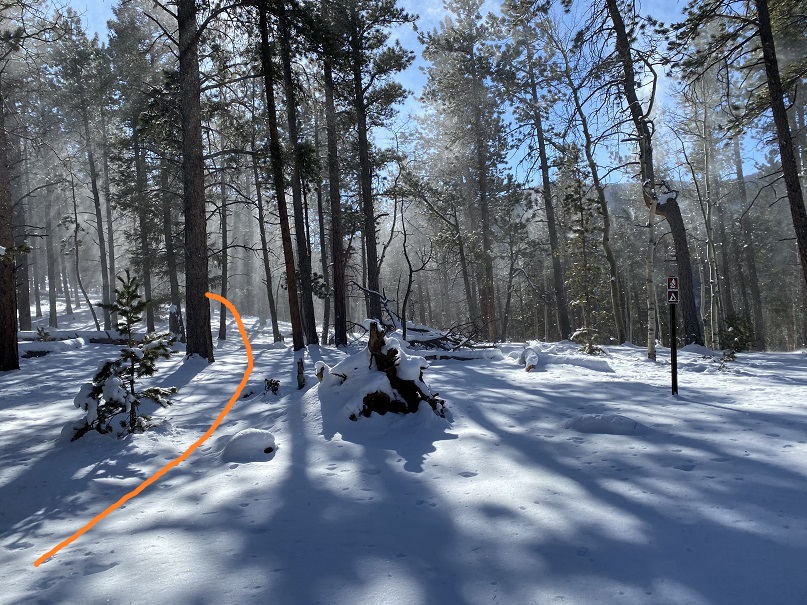
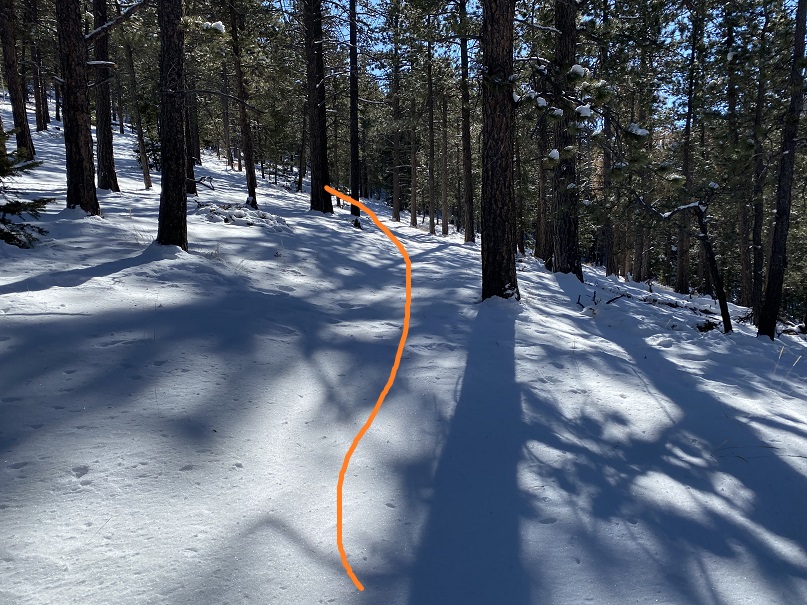
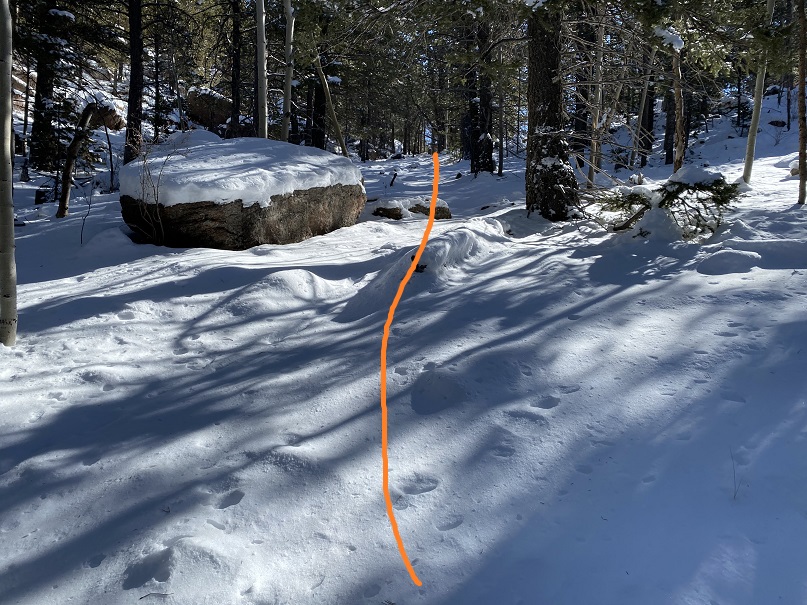
Here’s an overall view of the rest of the route
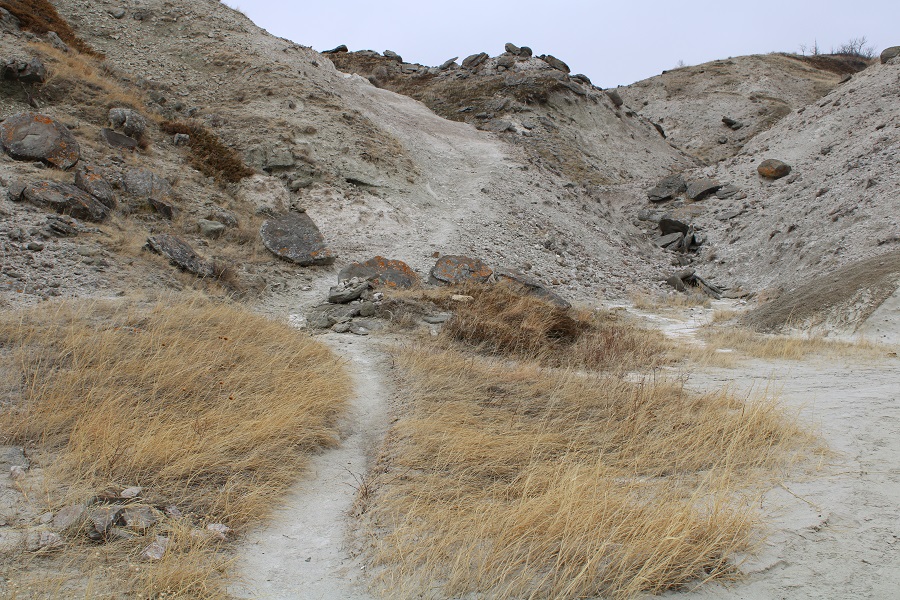
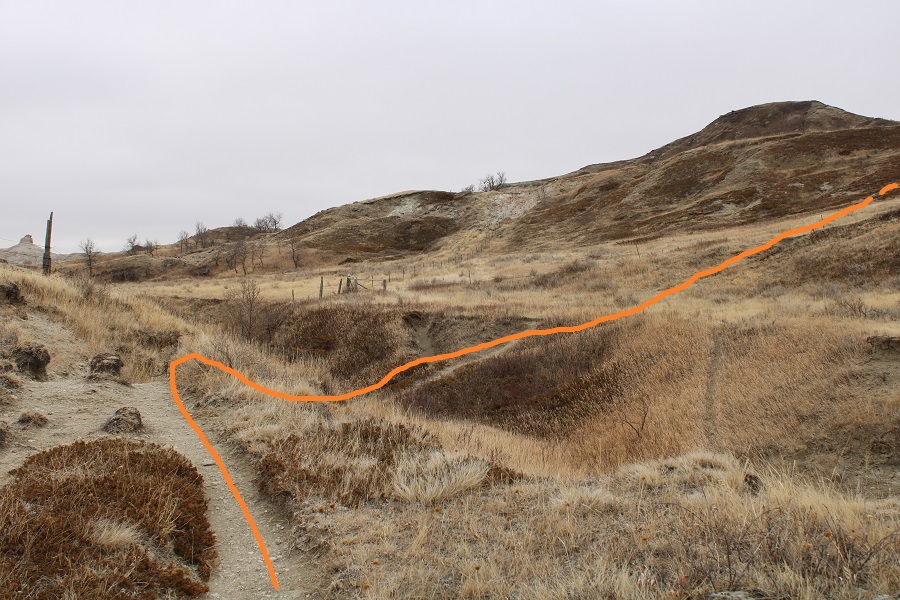
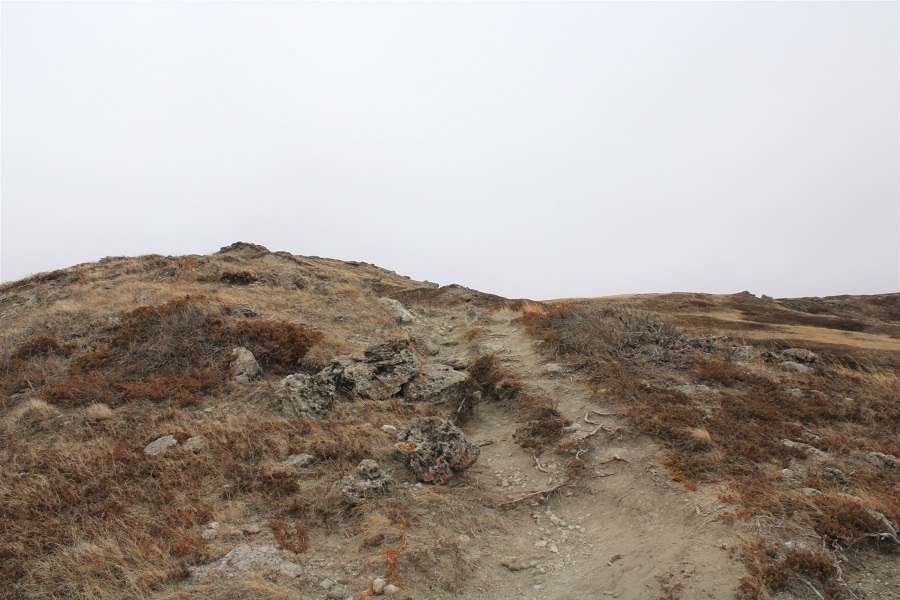
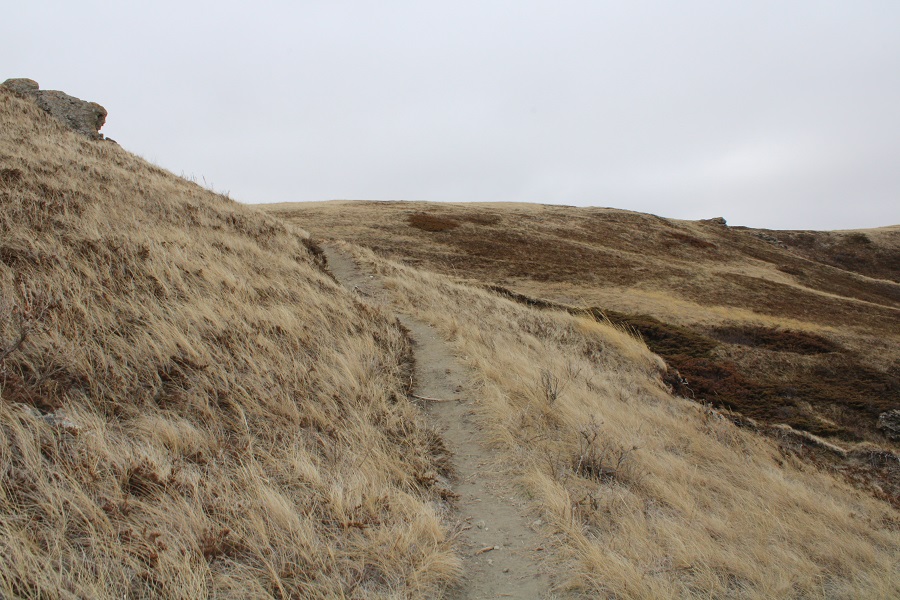
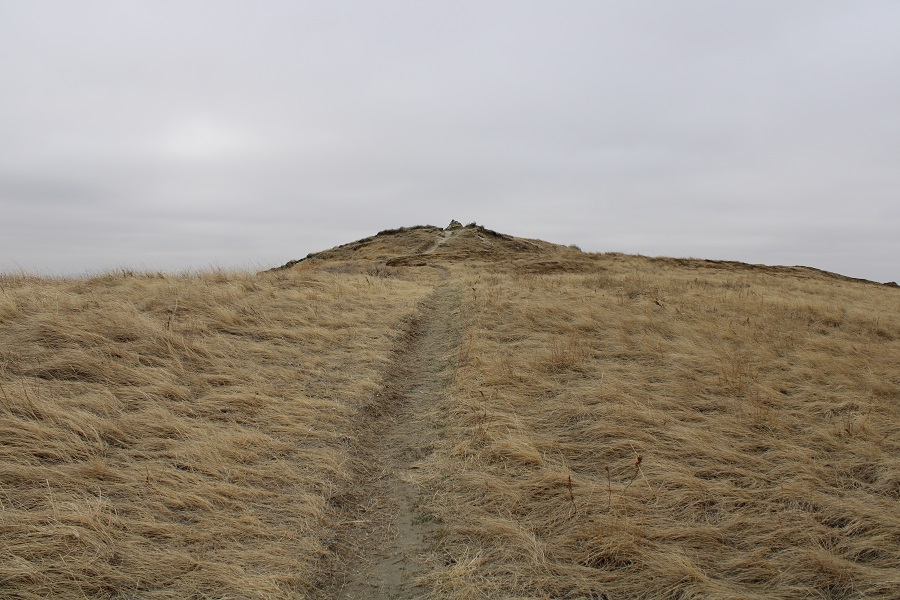
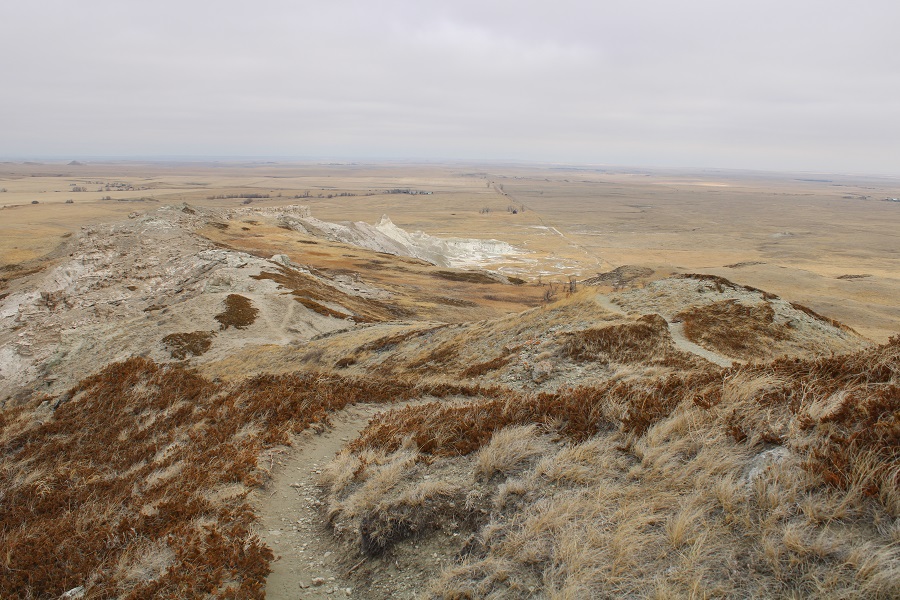
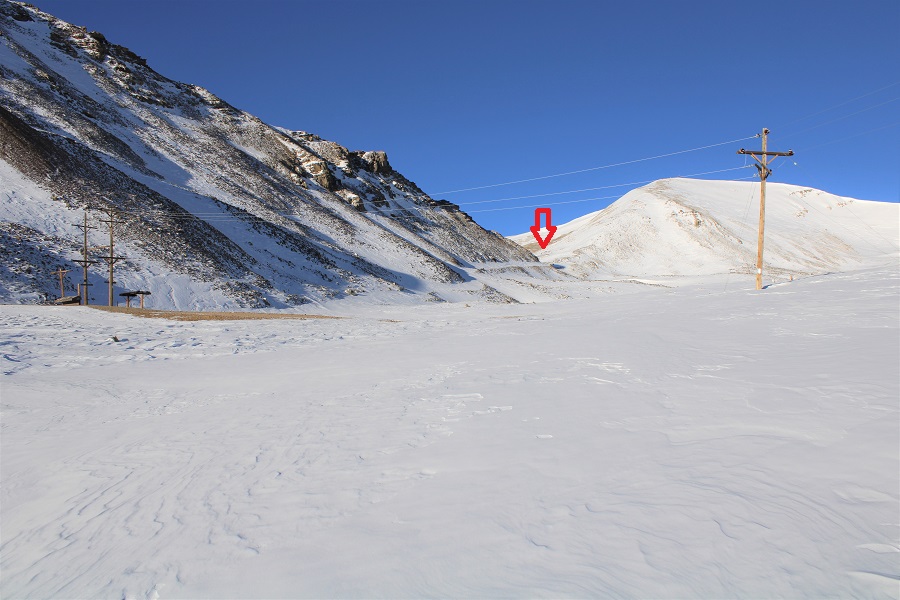
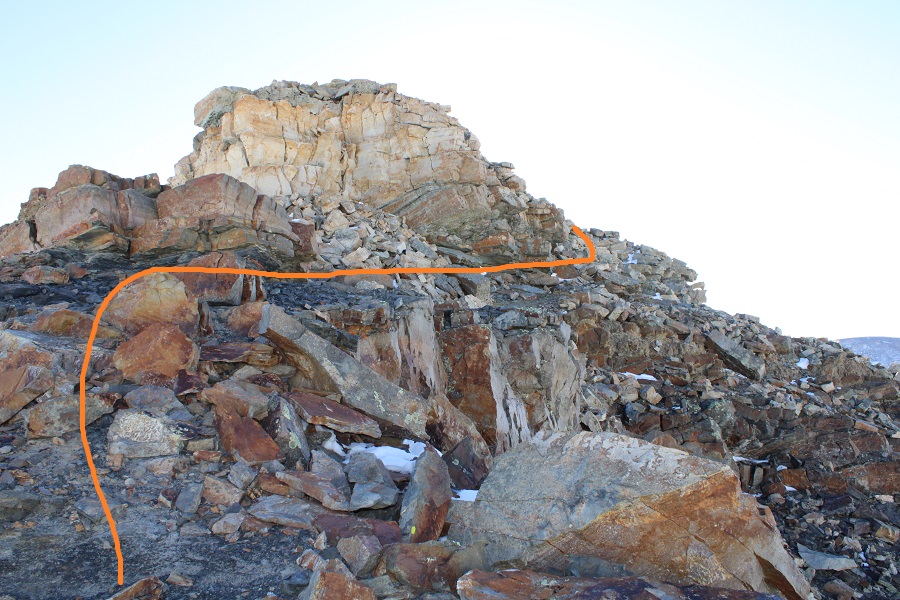
The trail is easy to follow the entire way. There wasn’t any scrambling, but I did notice how it could be slippery if wet. Luckily today the trail was dry. Here’s a play by play of the route:
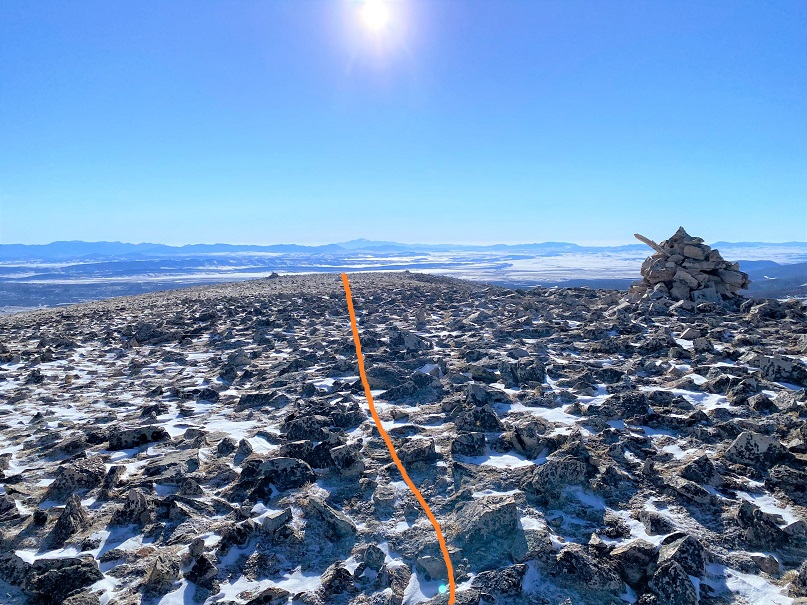
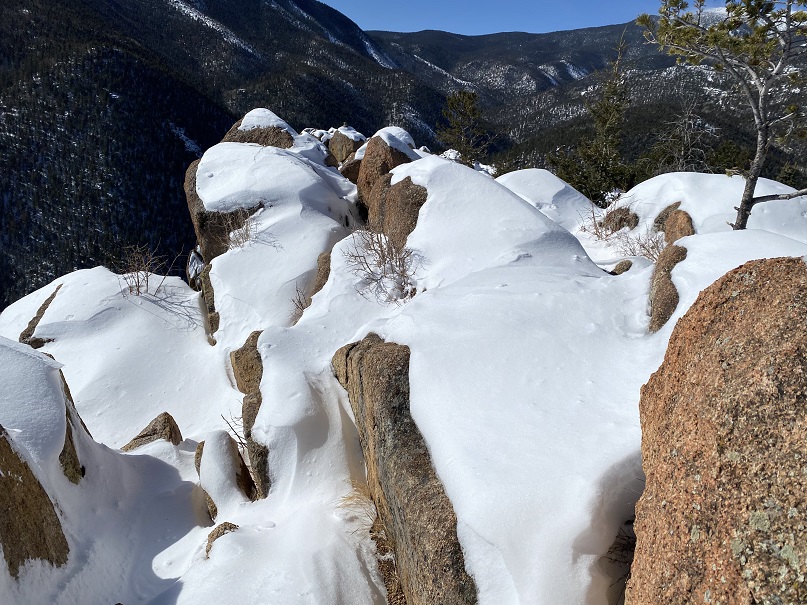
It was very windy at the summit, as a storm was blowing in.
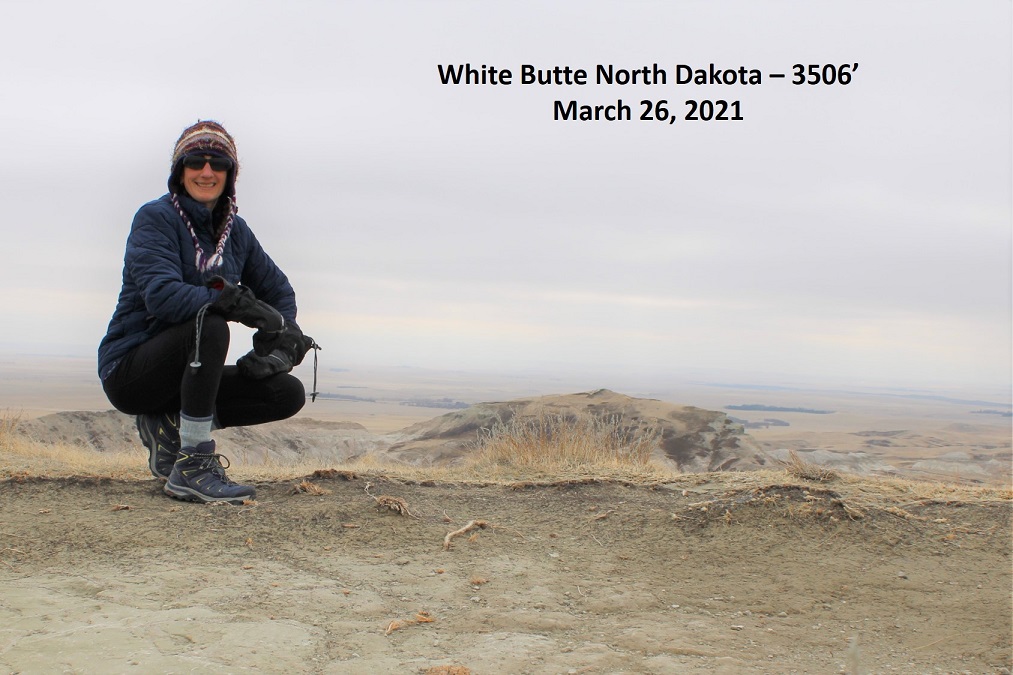
Summit of White Butte – North Dakota
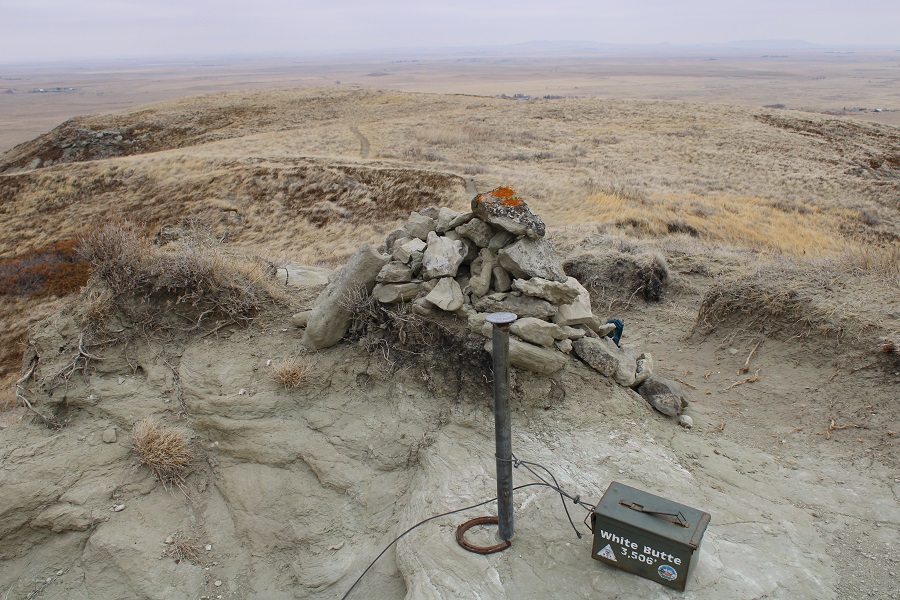
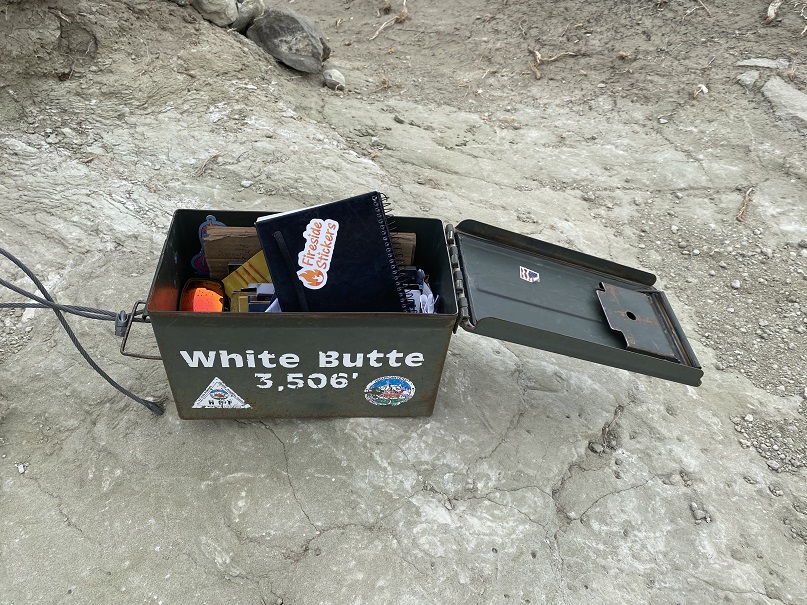
Here are some summit highlights: I don’t often sign registers. I didn’t sign this one, but I did leave a sticker.
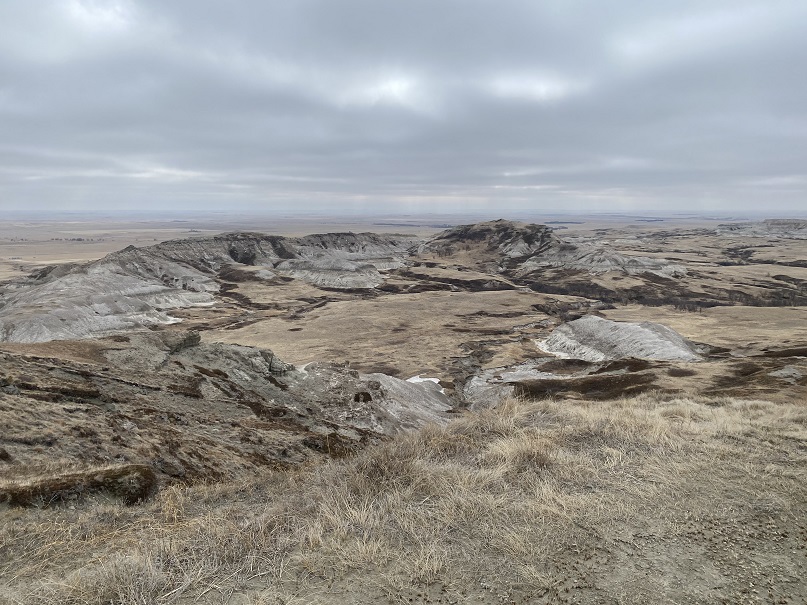
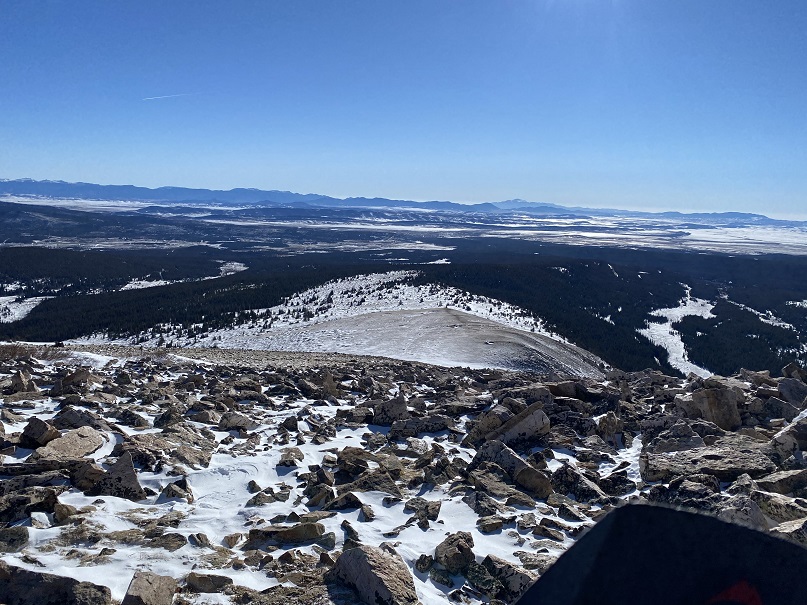
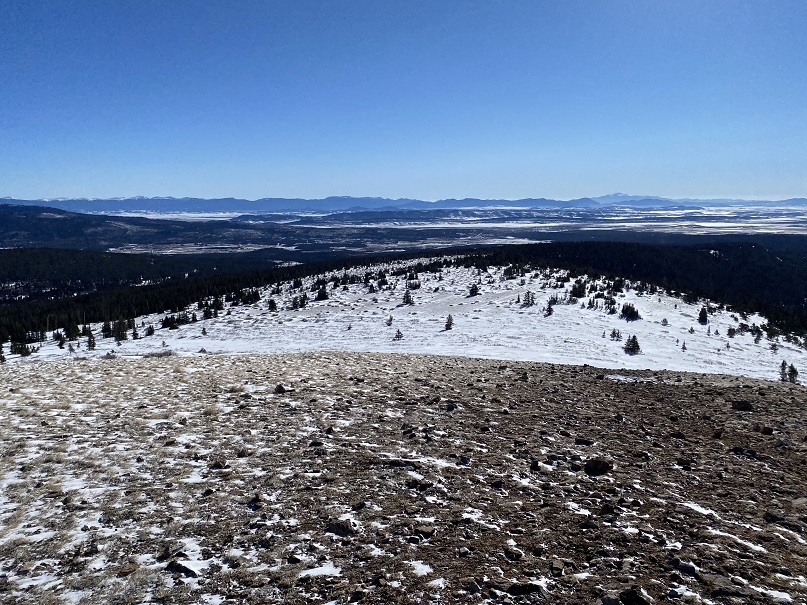
And summit views
It was windy and cold and I had more plans for today so I didn’t stay long. I turned and headed back the way I came.
Here’s the route I took back to the trailhead
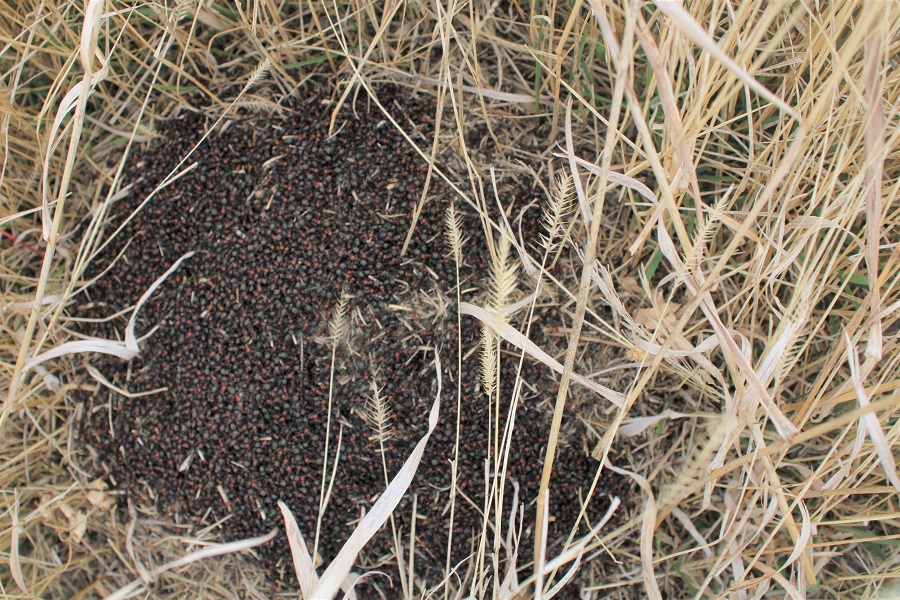
Along the dirt road I saw a HUGE pile of ants, all clustered together
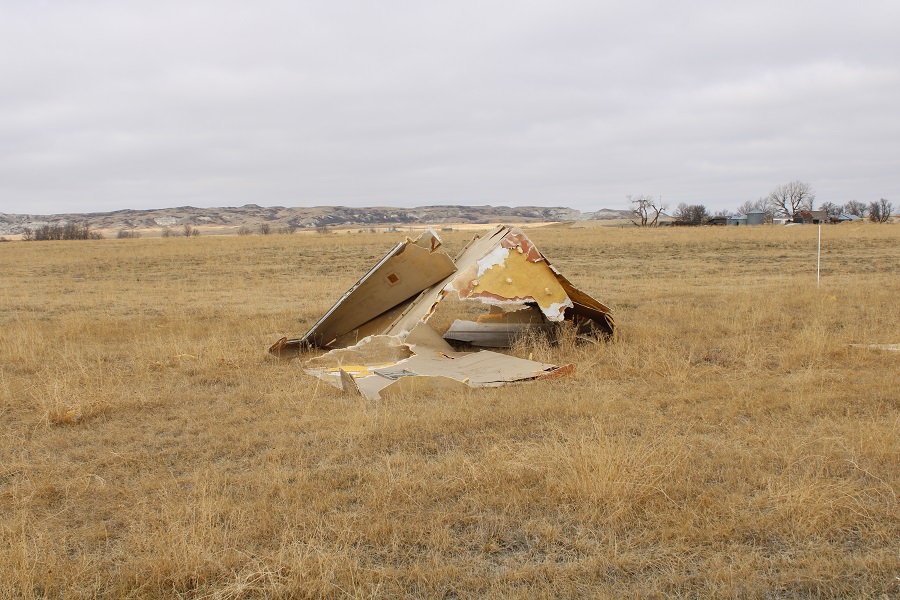
And some structure that looked like if was left there by a tornado
I made it back to my truck and headed back down the dirt road.
The entire hike took me about an hour and a half. Here’s a topo map of my route:
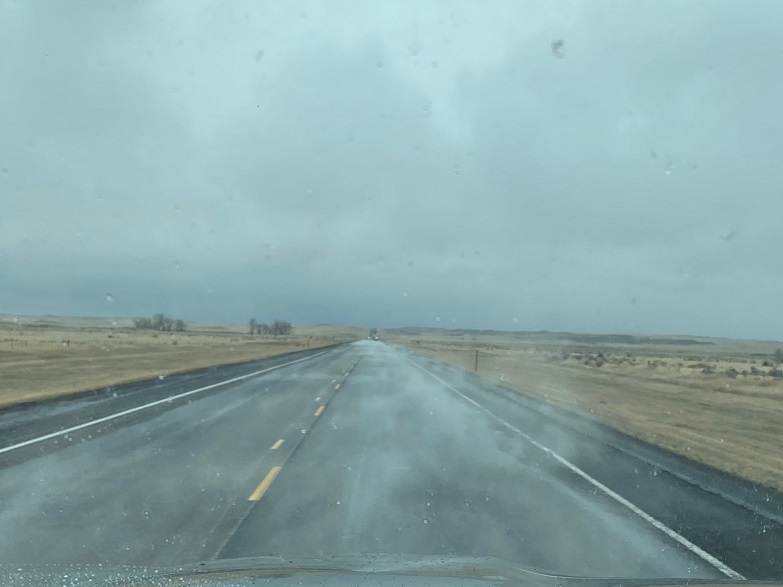
In the 5 miles it took me to get to the paved road it started snowing, and mist was circling the road.
I made the decision to just drive to the next trailhead and skip driving further north to the Starbucks for my mug, as it would add 2 hours to my trip. This ended up being a great decision, as the snow really started coming down. When I got home I could always order the mug online, which was probably cheaper than the gas it would take to get there.
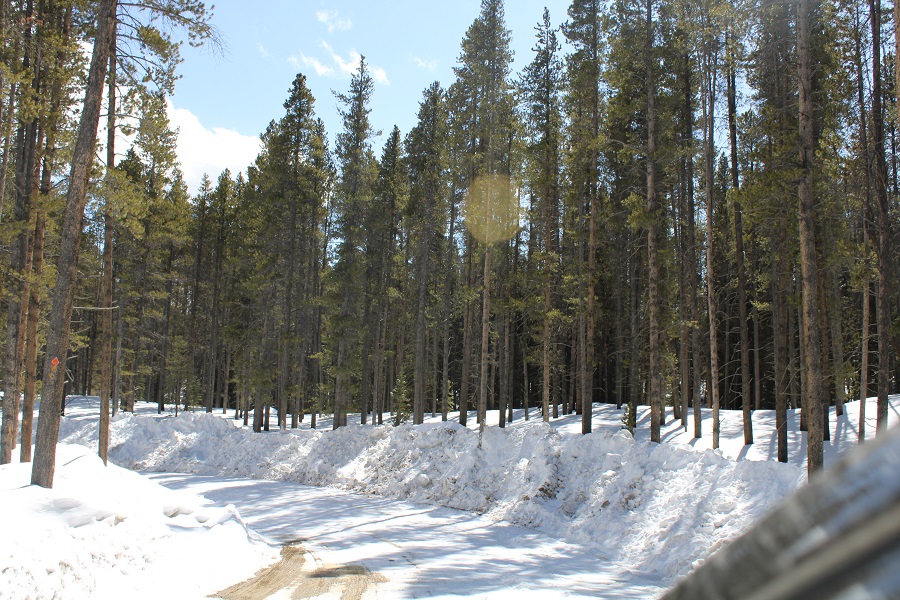
The road was nicely plowed from the Crane Park area to the trailhead, so I continued driving up the road and parked at the beginning of Trail 100.
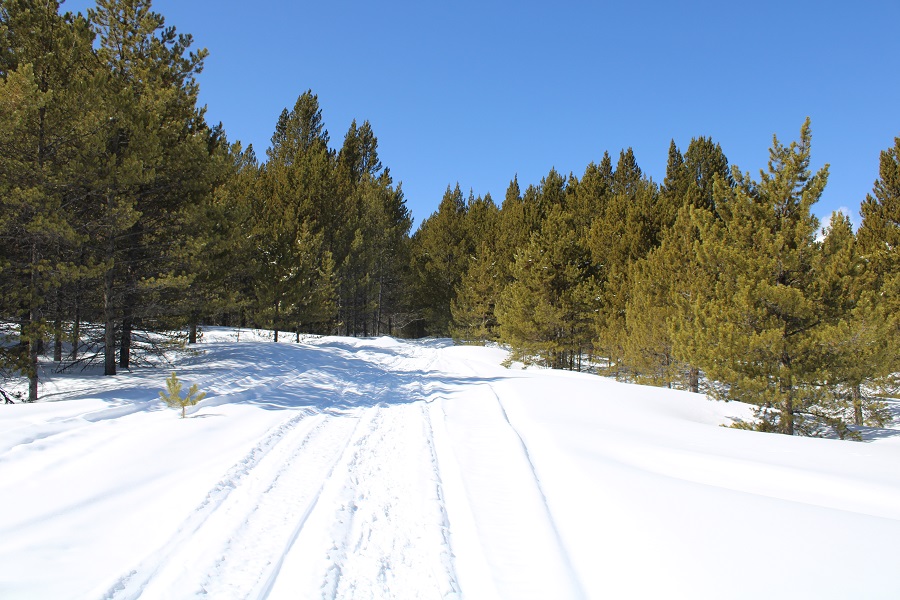
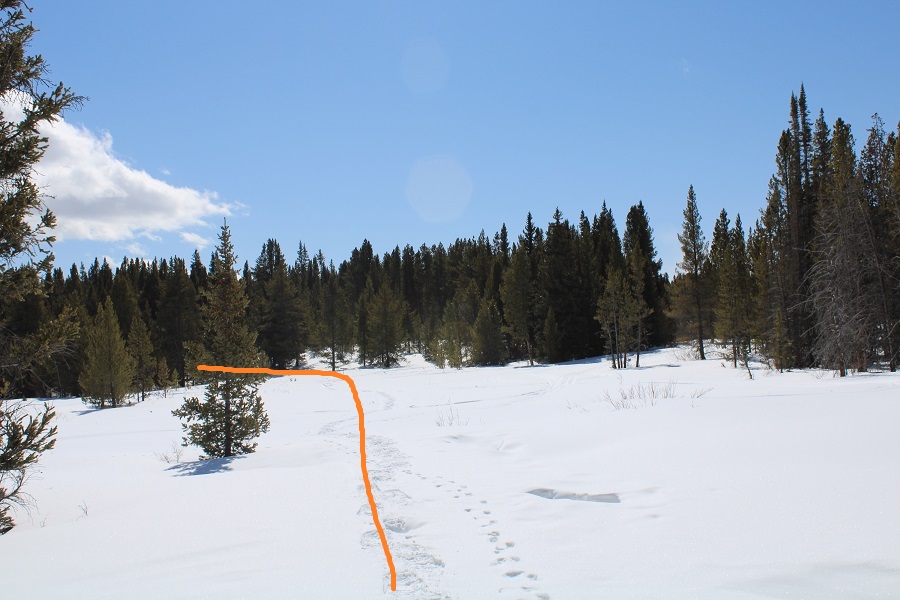
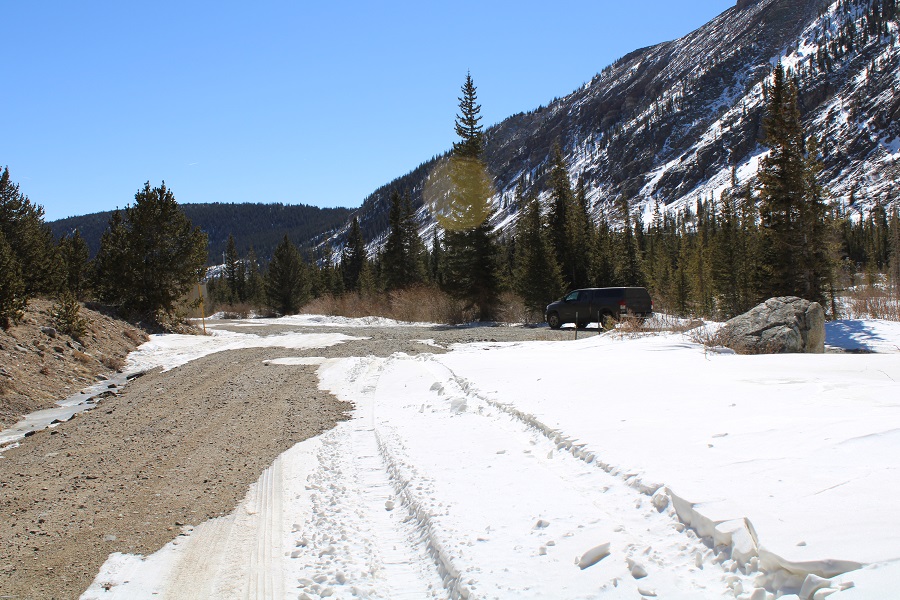
I was the only vehicle in the lot, and it was supposed to snow this afternoon, so I didn’t anticipate a lot of people on the trail today. I put on my snowshoes and started out. The trail starts by heading northeast for a third of a mile before turning onto the trail that leads you to the 10th Mountain Division Hut. I took the winter route.
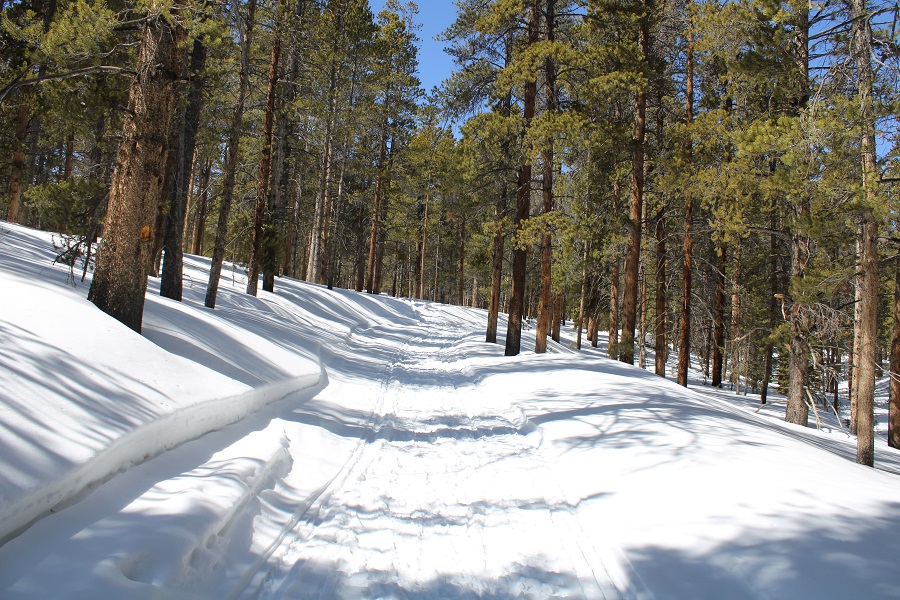
I followed the trail for about a mile to a junction, losing elevation as I went.
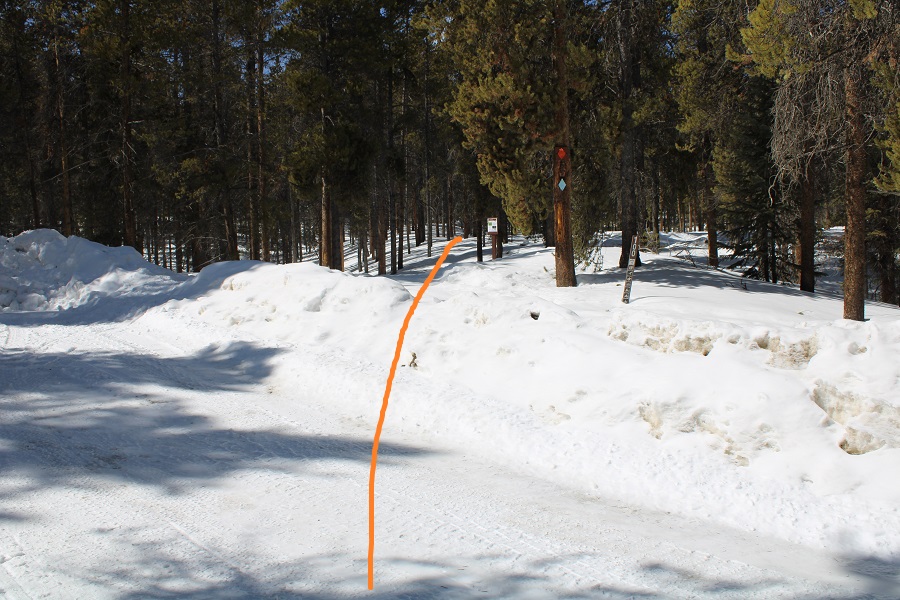
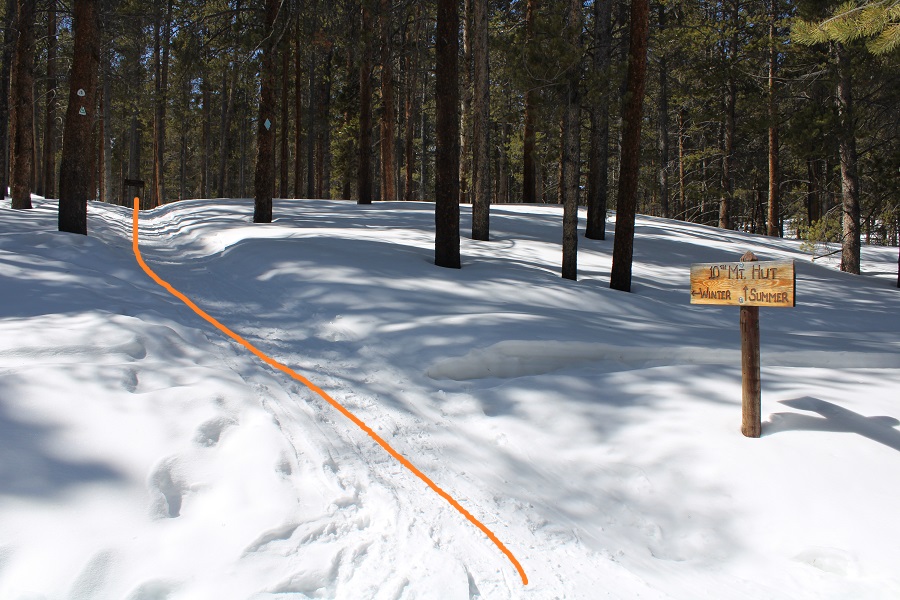
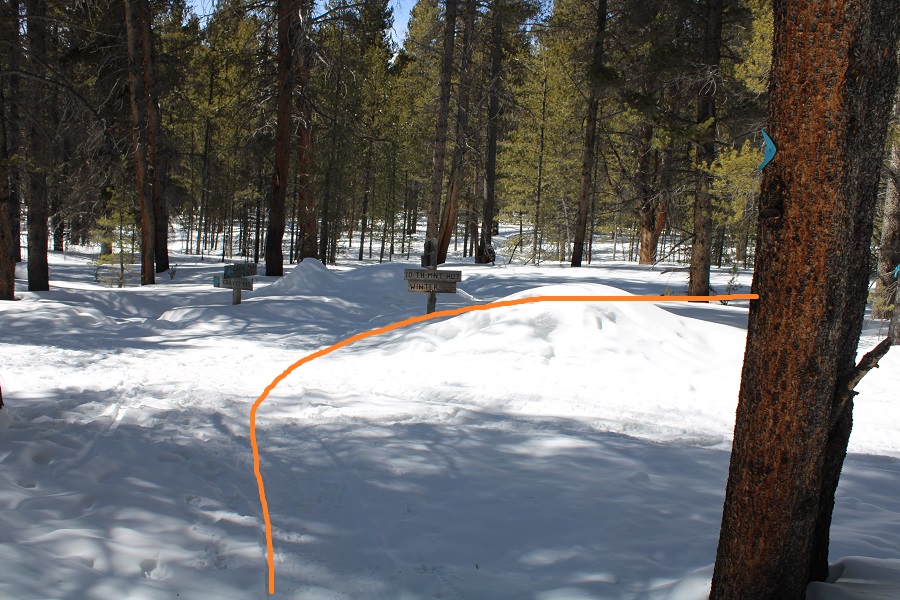
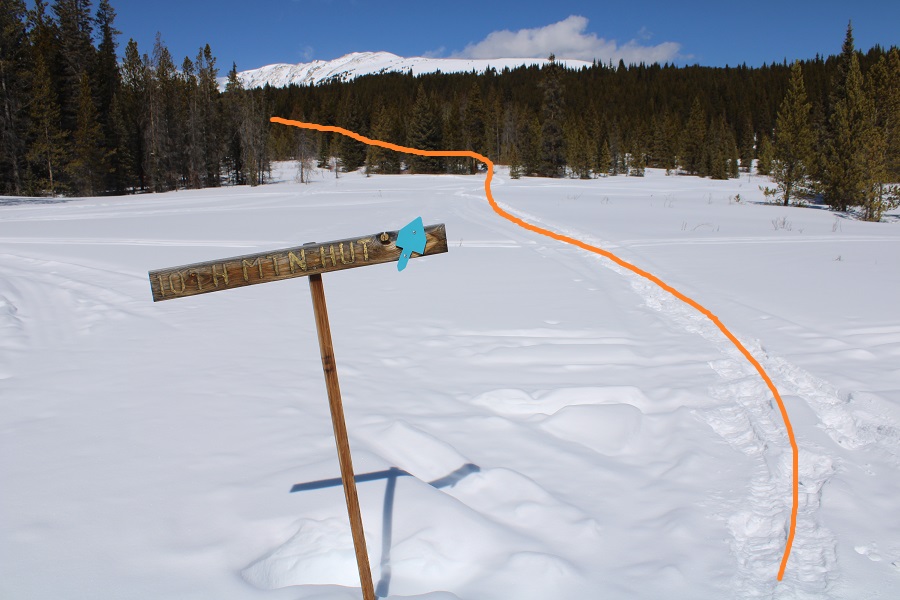
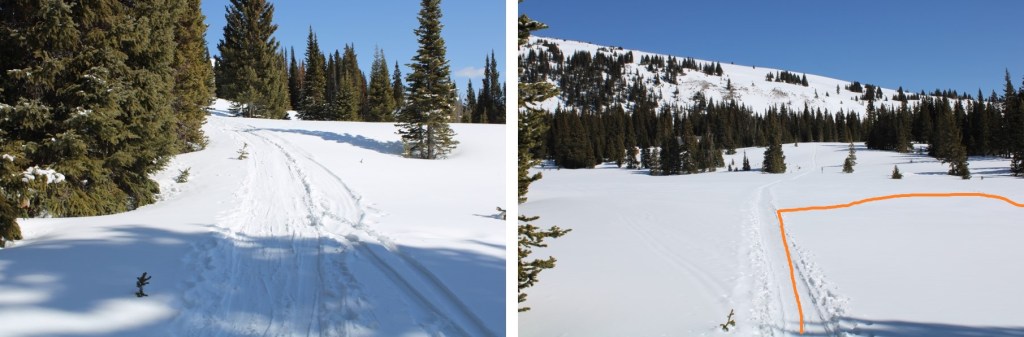
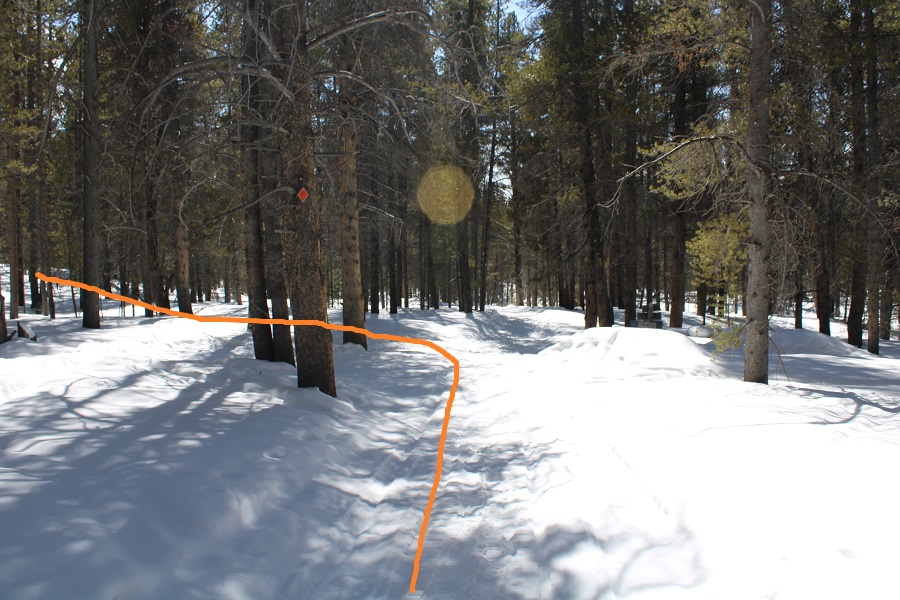
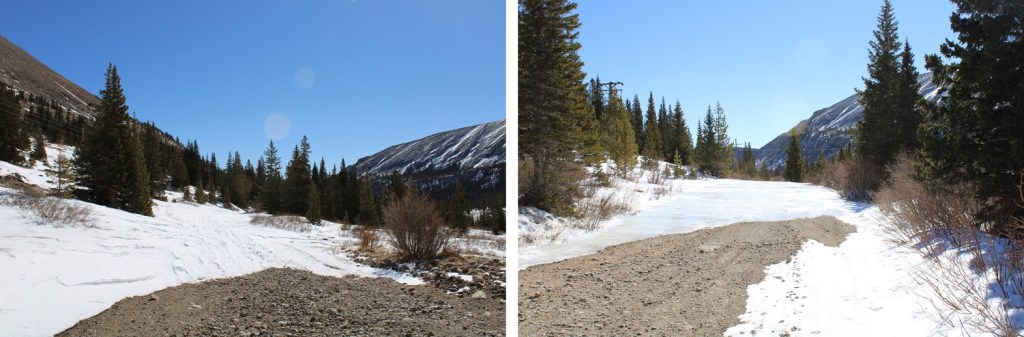
When I made it to this junction it was dark and I misread the sign. I ended up continuing straight and it wasn’t until I crossed the second bridge I thought to myself “I don’t remember crossing any bridges when I did this trail last time” and realized I should have turned right at the junction, instead of continuing to follow the Colorado Trail. This mistake cost me a mile of hiking. So, long story short, turn right here and follow the 10th Mountain Division hut signs, and if you come to any bridge, you’ve gone too far.
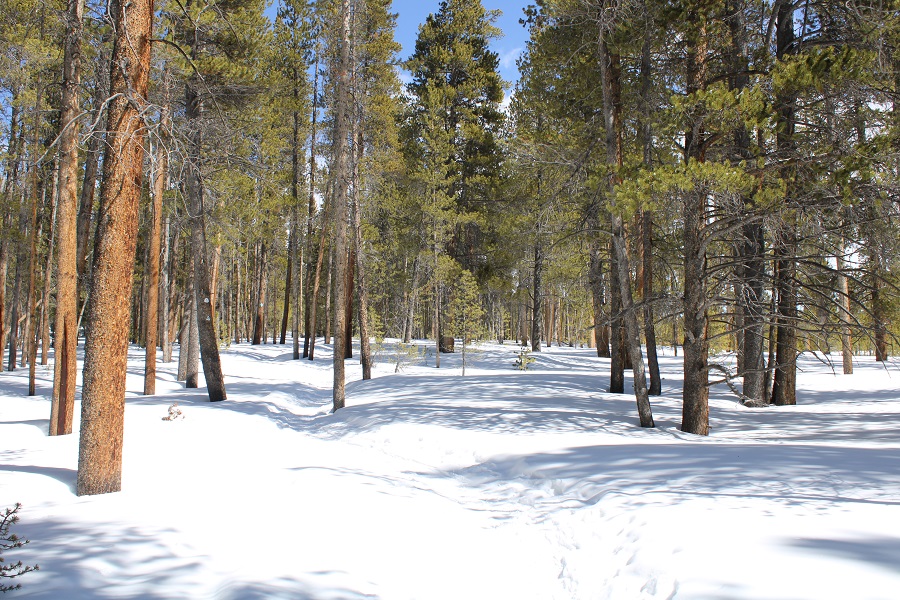
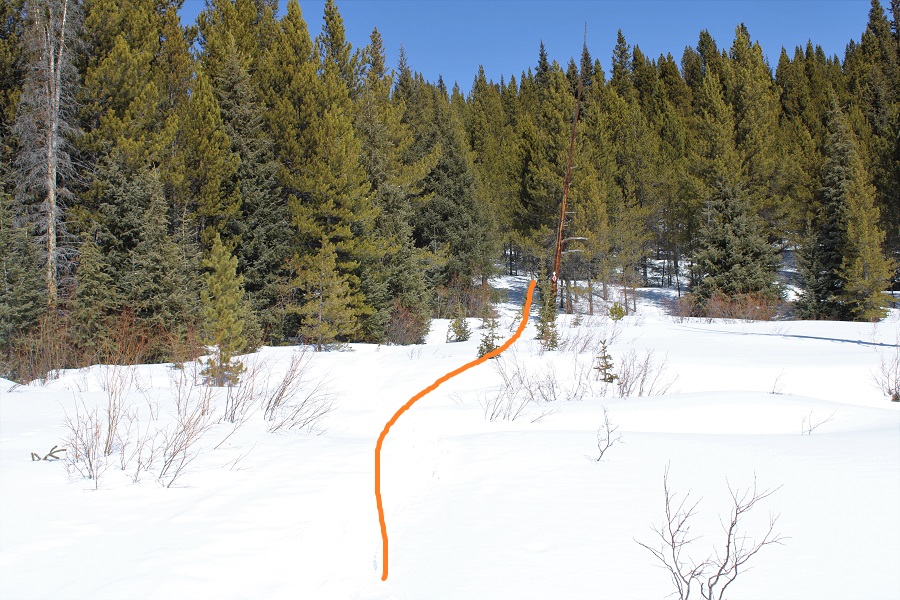
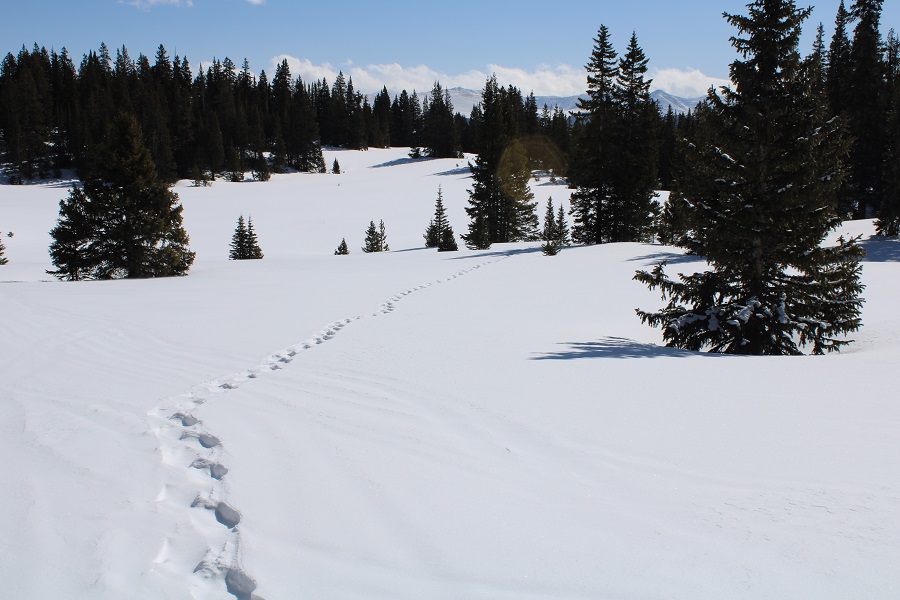
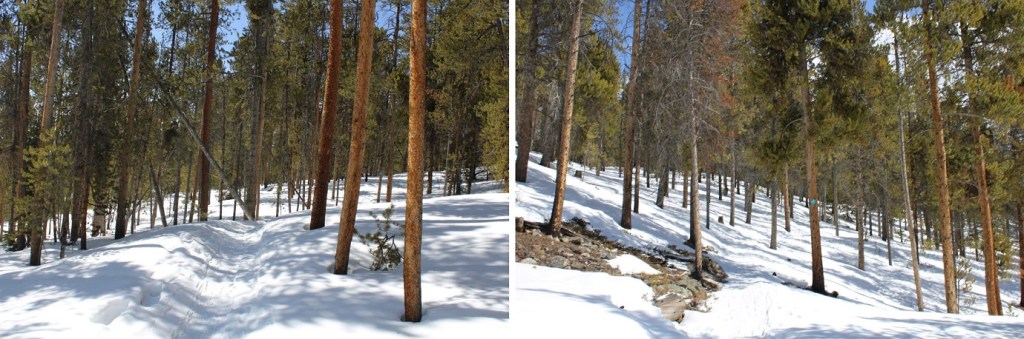
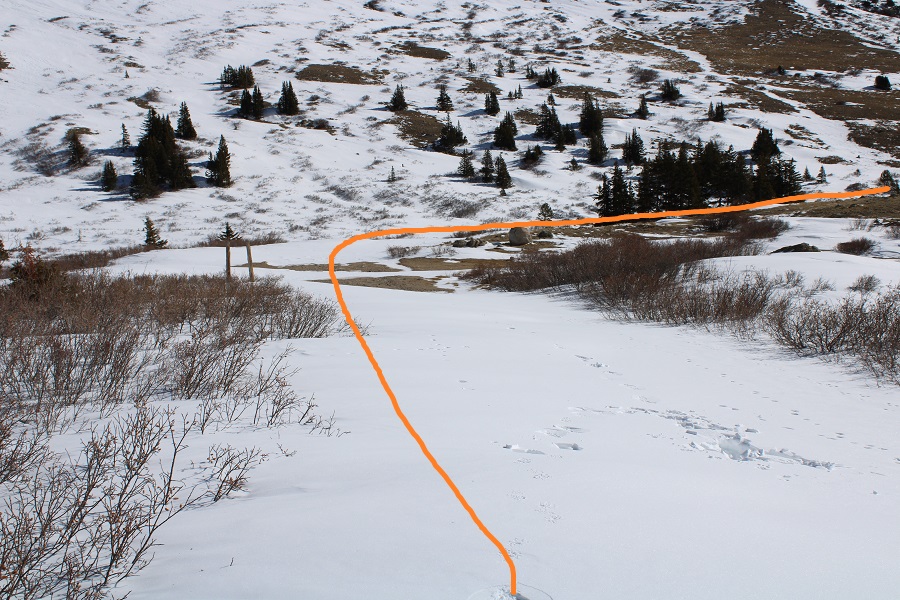
This put me on a 4WD road that took me to a marshy area, covered in fox prints. Here the snowmobile tracks ended and I’d be trenching the rest of the hike.
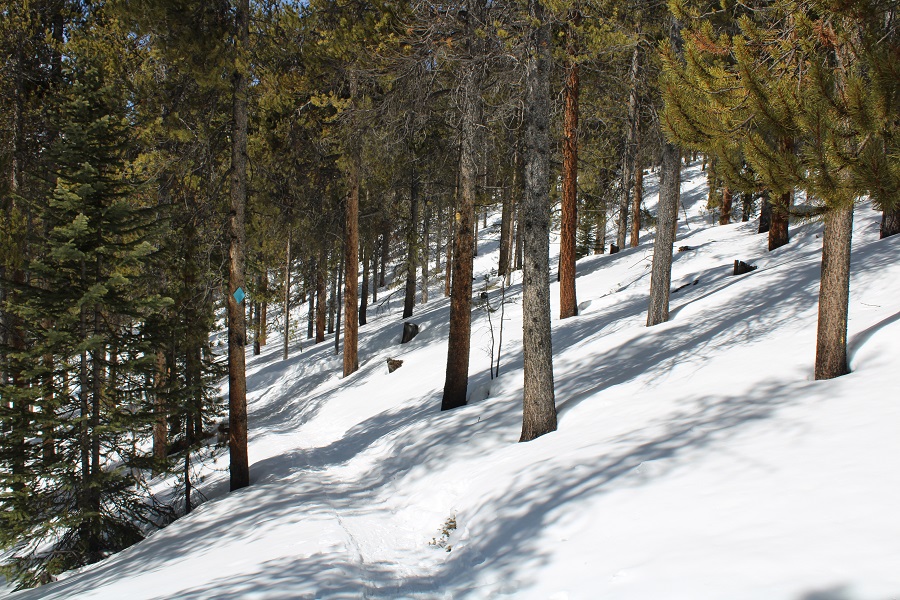
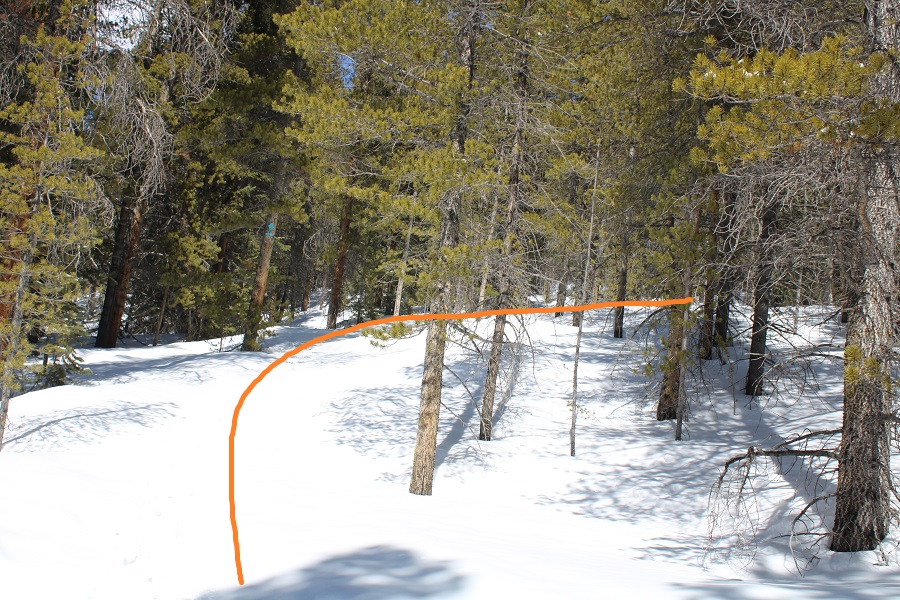
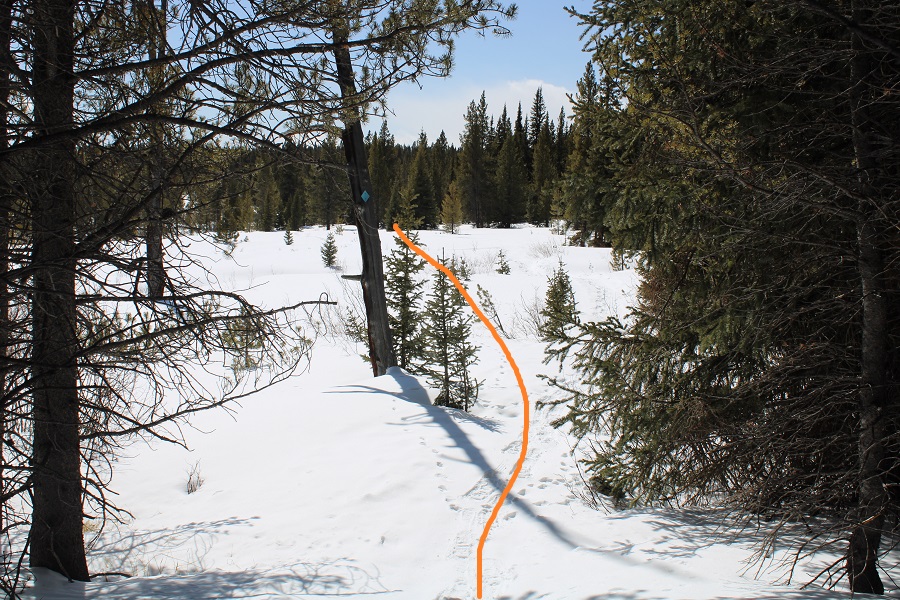
From the marshy area I followed the blue arrows to the 10th Mountain Division hut. The arrows are conveniently placed along the trail every 20 yards or so. When the trail is covered in snow and just when you aren’t sure which way to go, you find another blue marker. These were extremely helpful, as I was trenching at this point (and for the rest of the hike). There were tons of rabbit tracks in the area on the recent snow.
Just as I made it to the 10th Mountain Division Hut I came across what looked to be a recent ski trench. Even though it was earlier than I’d planned on heading west I turned left and followed the trench (I was getting tired of trenching). This trench led me to a bunch of skis standing in the snow.
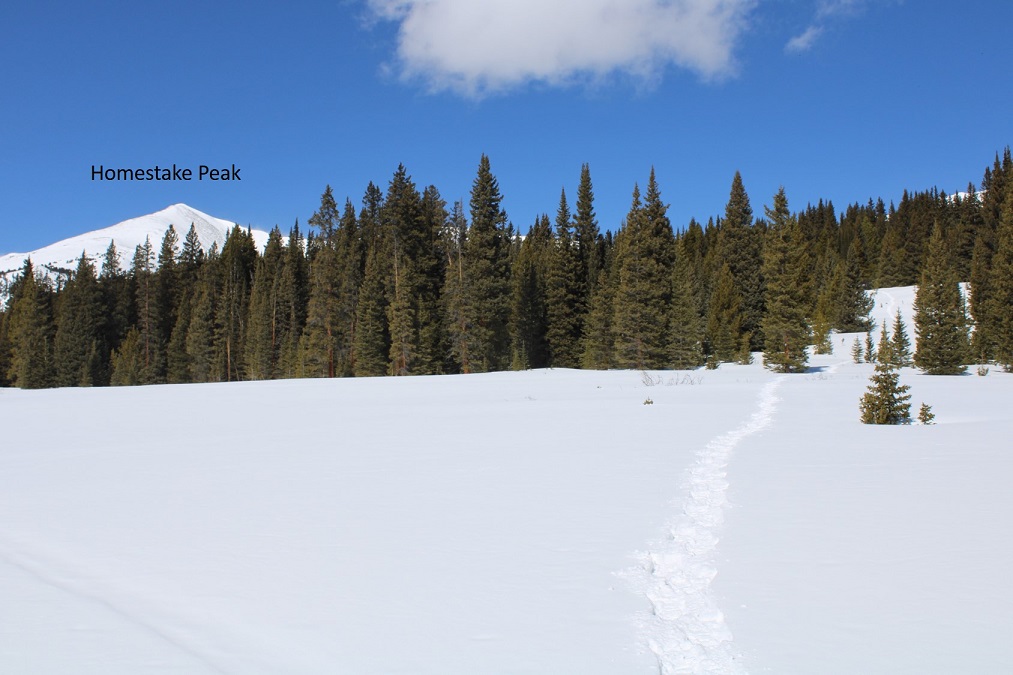
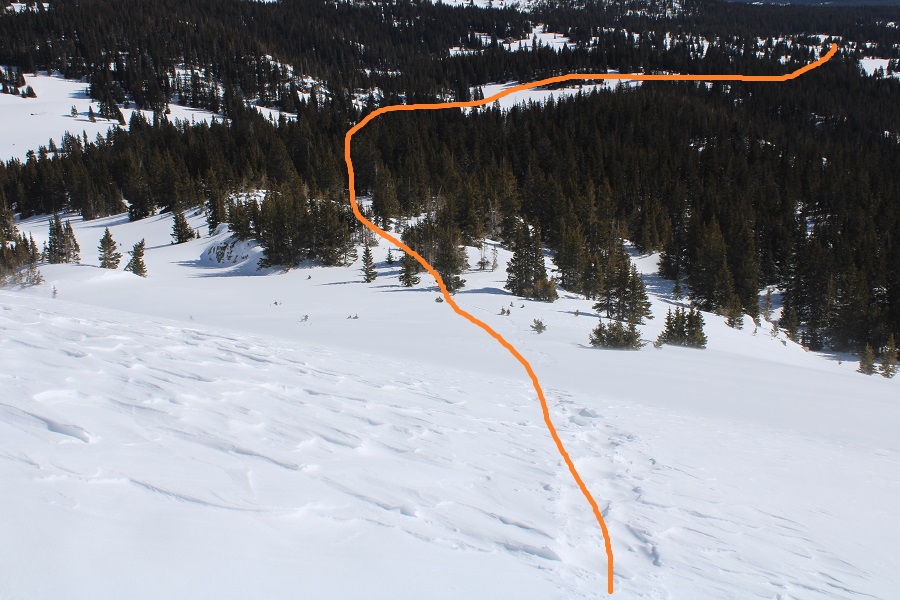
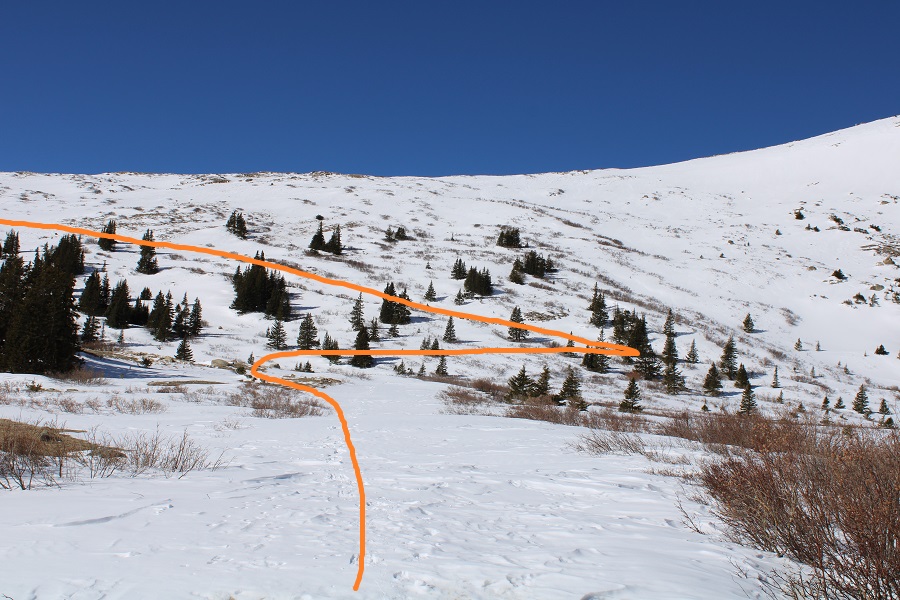
I didn’t see anyone with the skis, and I knew I’d hiked too far following the trench (hopeful it turned and headed to Homestake’s ridge, which it didn’t), so I backtracked and found a low rib to hike up and follow northwest to the upper basin.
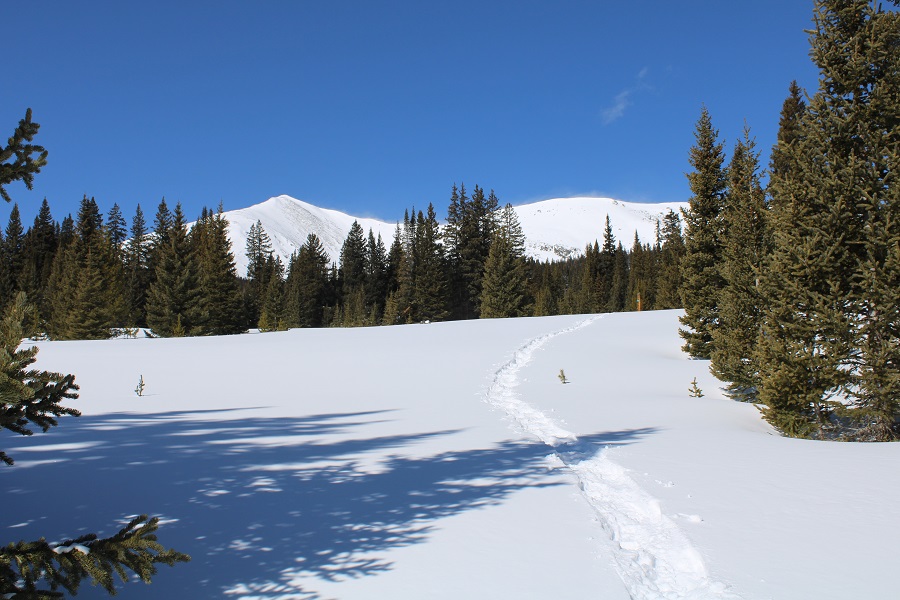
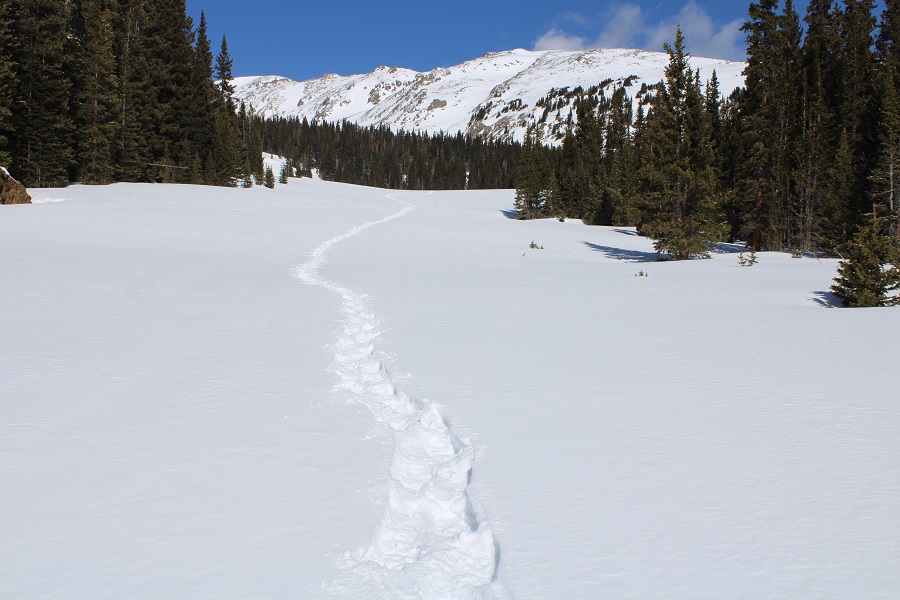
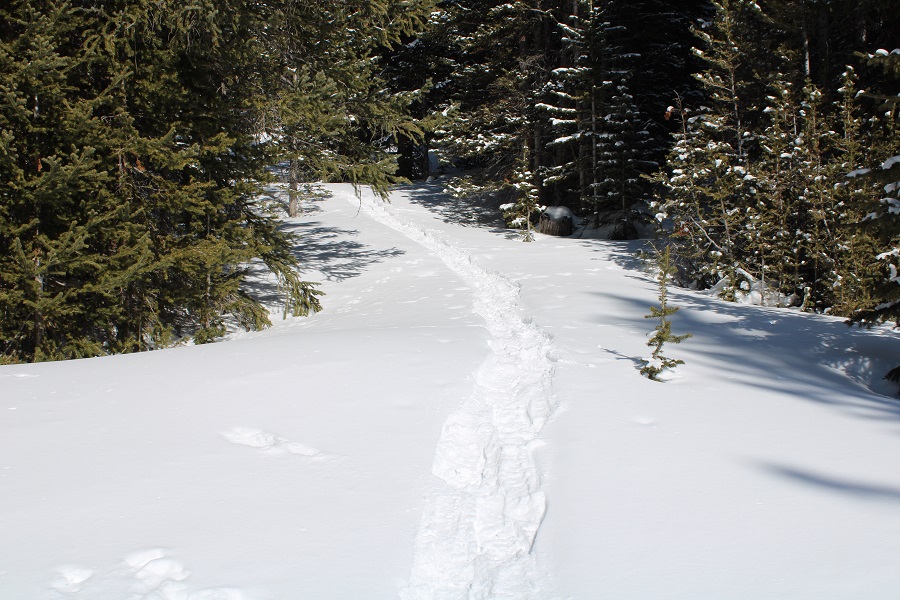
At this point I was frustrated: I was in a bad mental attitude I had to kick myself out of. Due to a recent conditions report I expected there to be a trench to treeline, and there wasn’t. I was having trouble finding any semblance of a trail, and the trenching was getting tiresome. I kept trudging along and backtracking, telling myself I’d only stop if the snow became more than I could handle (usually for me this means postholing past my waist). Also, this was my second attempt at this peak, as the last time I was here the snow was too soft to trench. I didn’t want to come back a third time if I could help it. I knew I was off the typical trail, but I also knew I was headed in the right direction, and I had the added benefit of being able to follow my tracks on my way out.
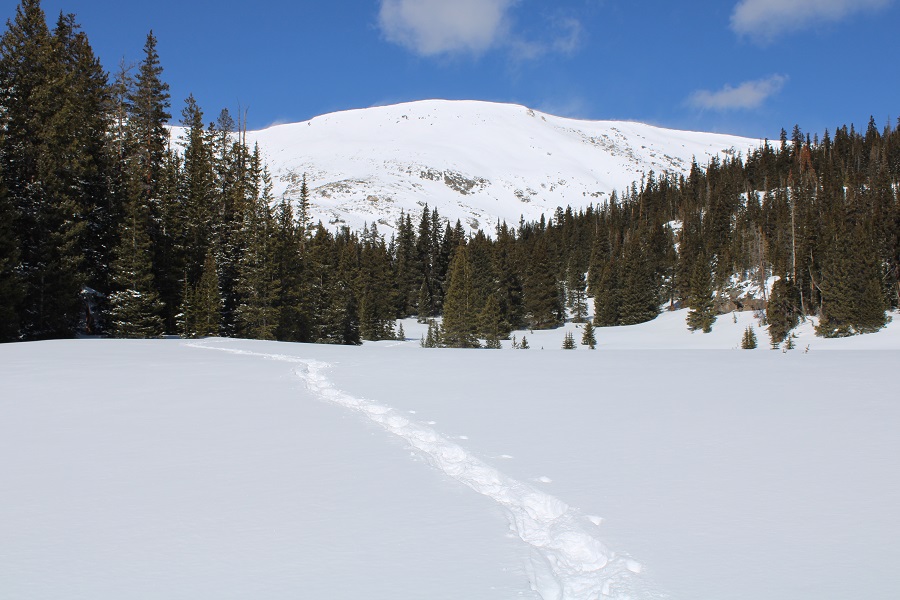
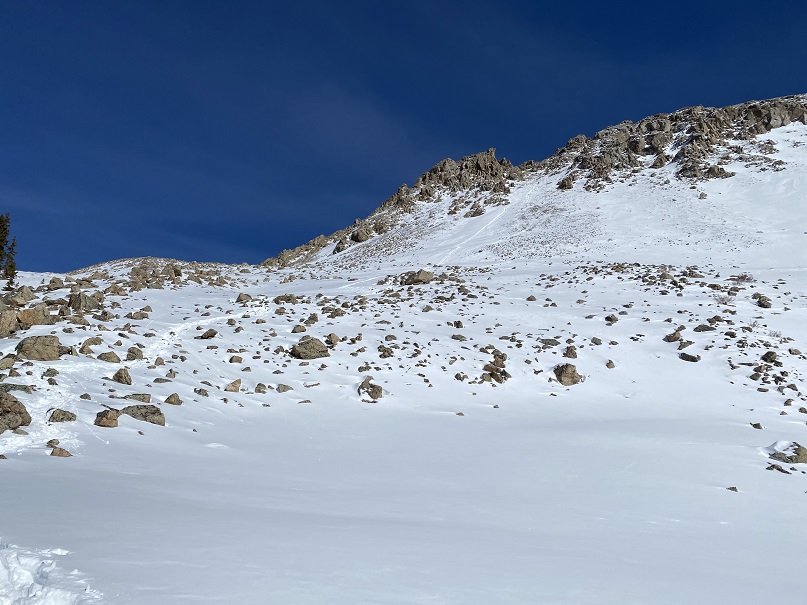
Once in the upper basin I turned left and followed a rib to the ridge.
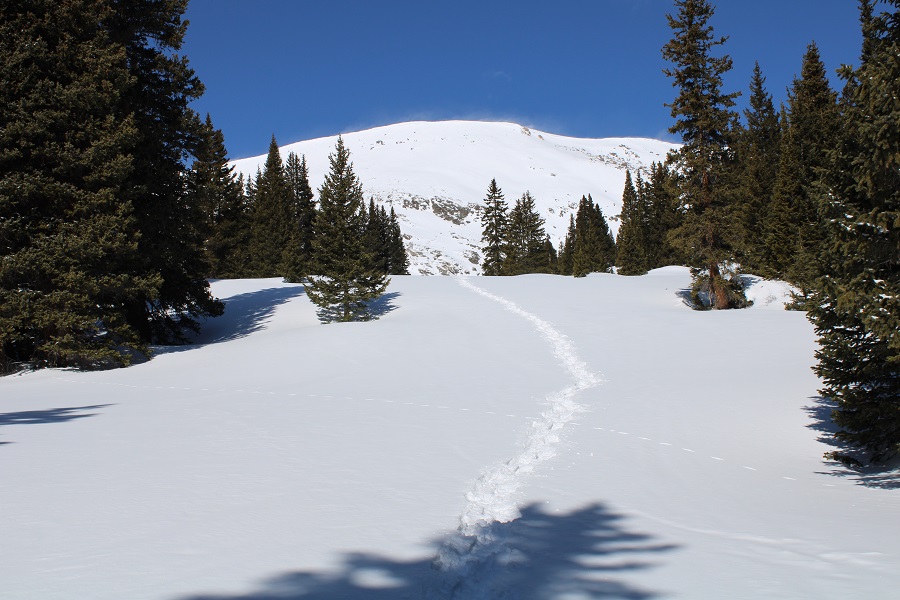
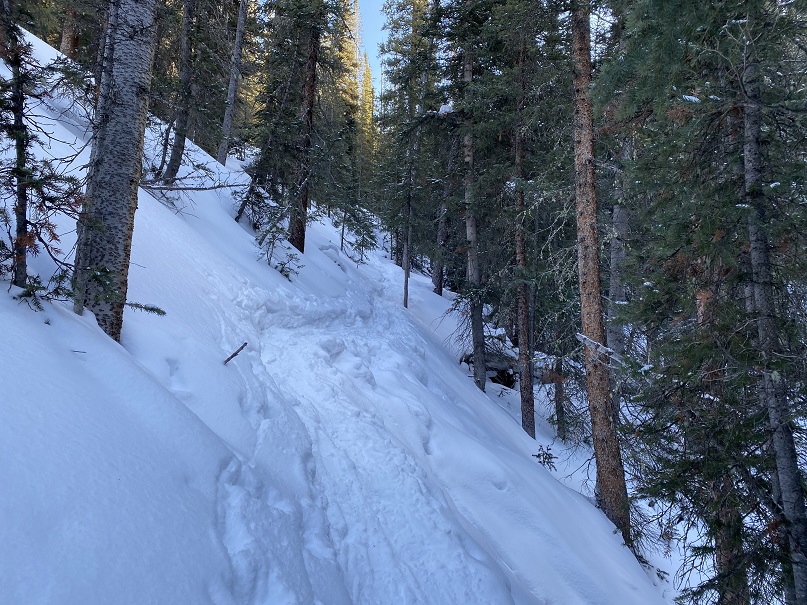
Here’s the access point to the ridge at treeline
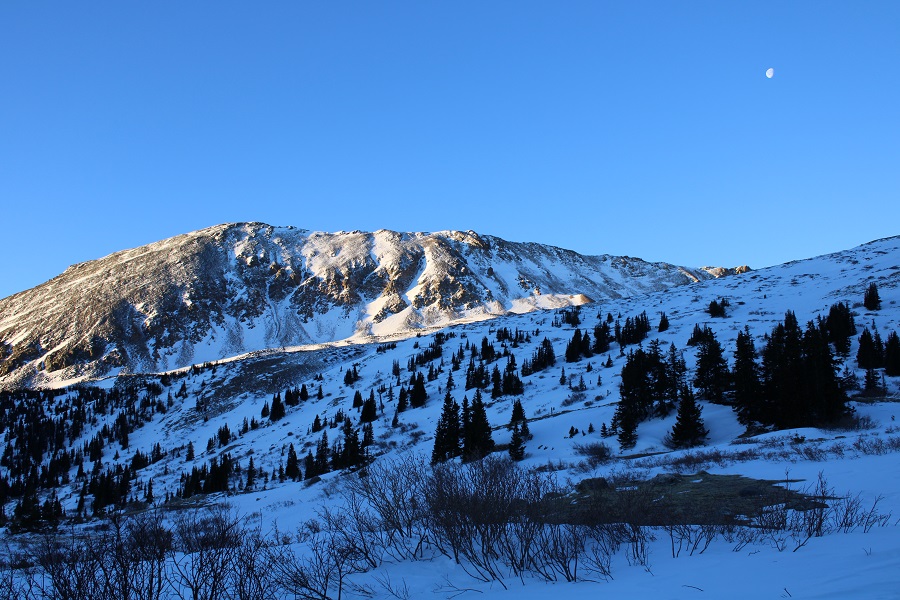
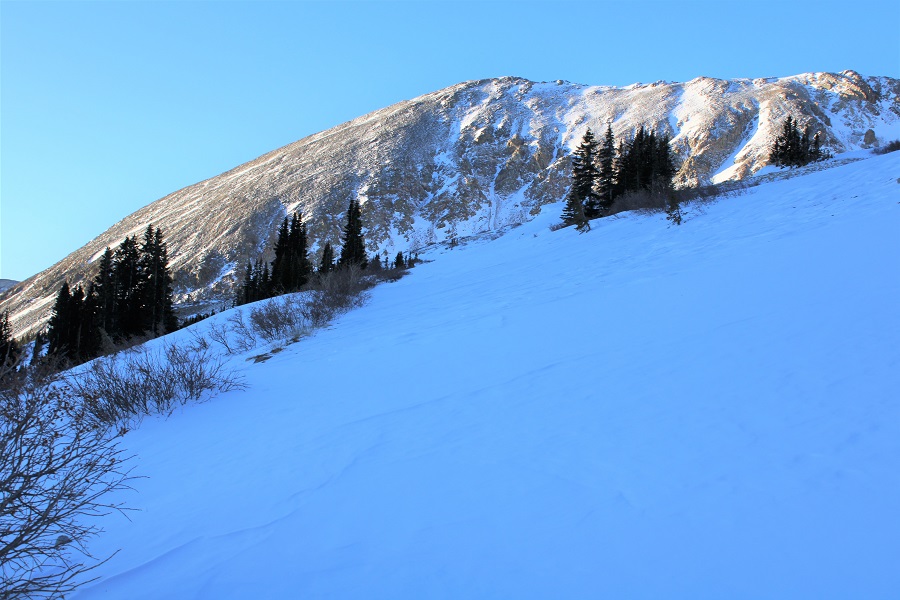
And a picture of the beginning of the ridge
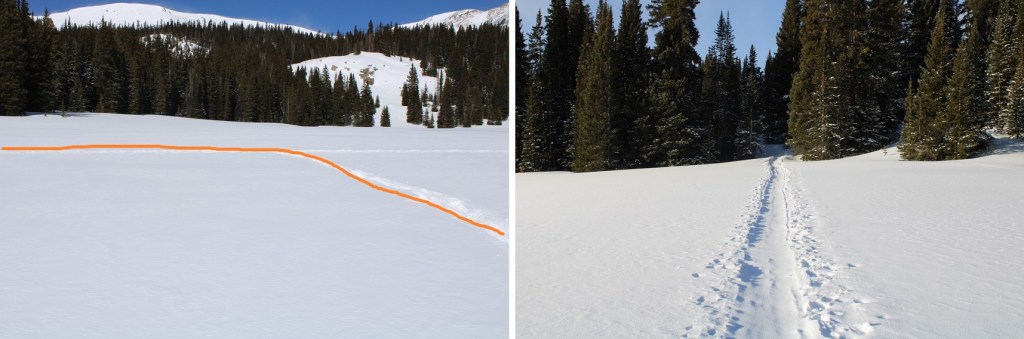
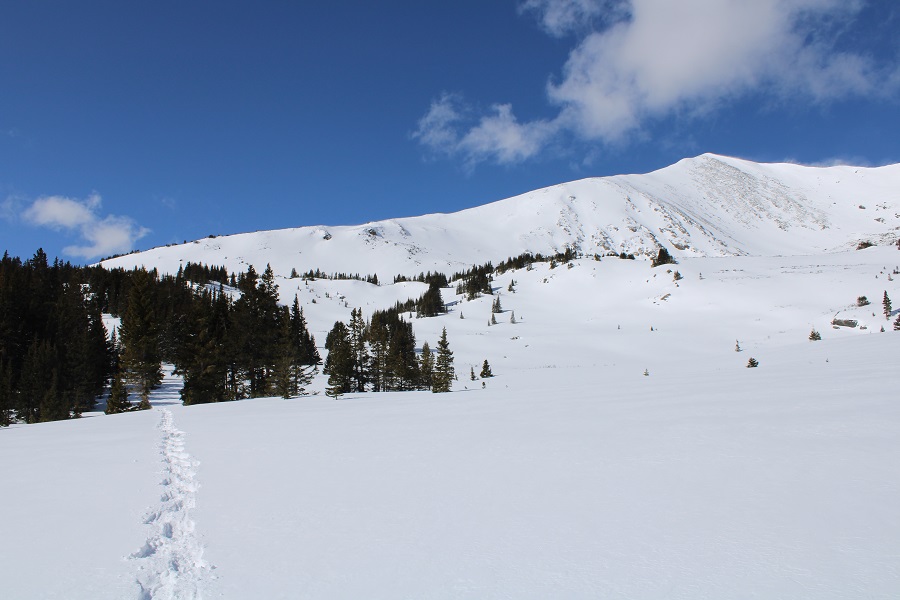
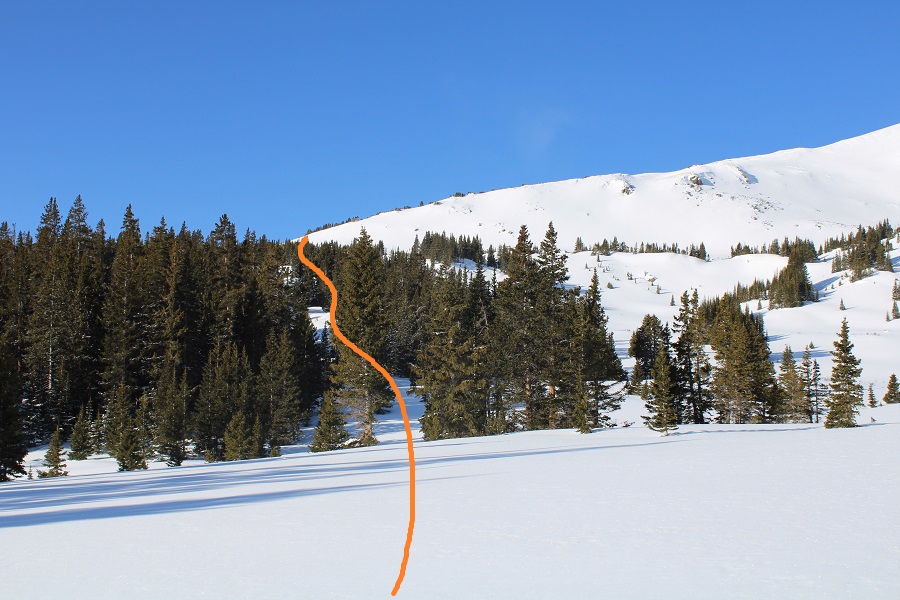
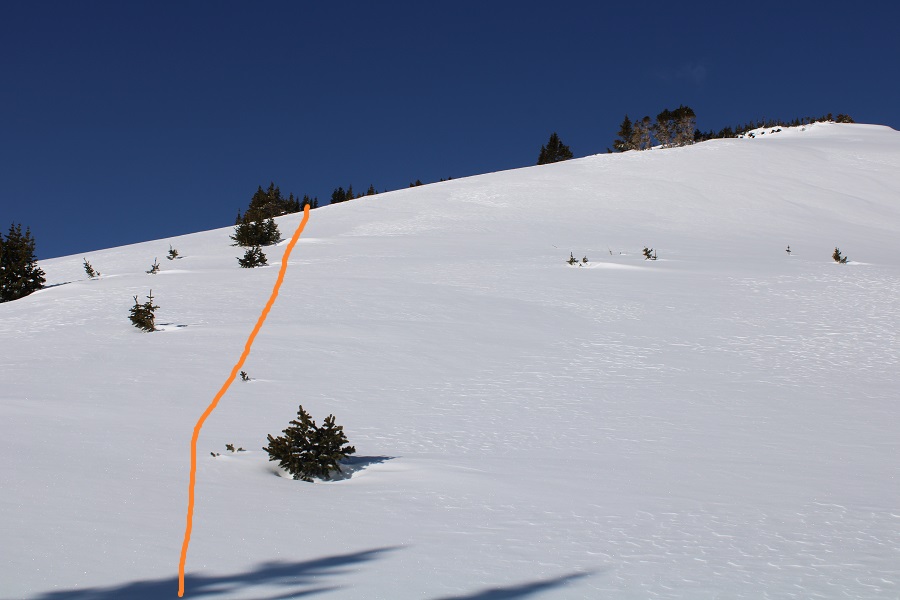
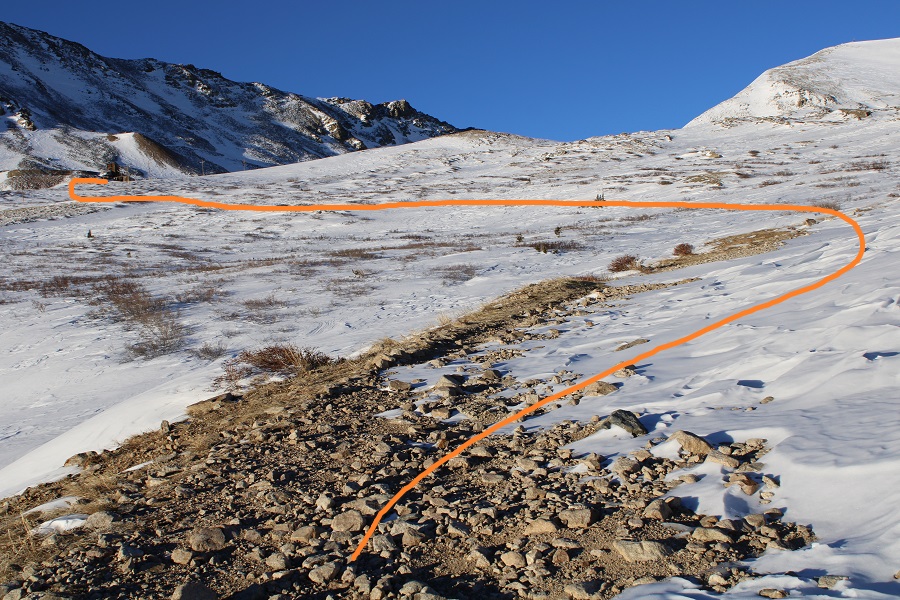
Once on the ridge I turned right and followed it northwest to the summit. This looks like a great place to do some skiing! Here’s the overall route
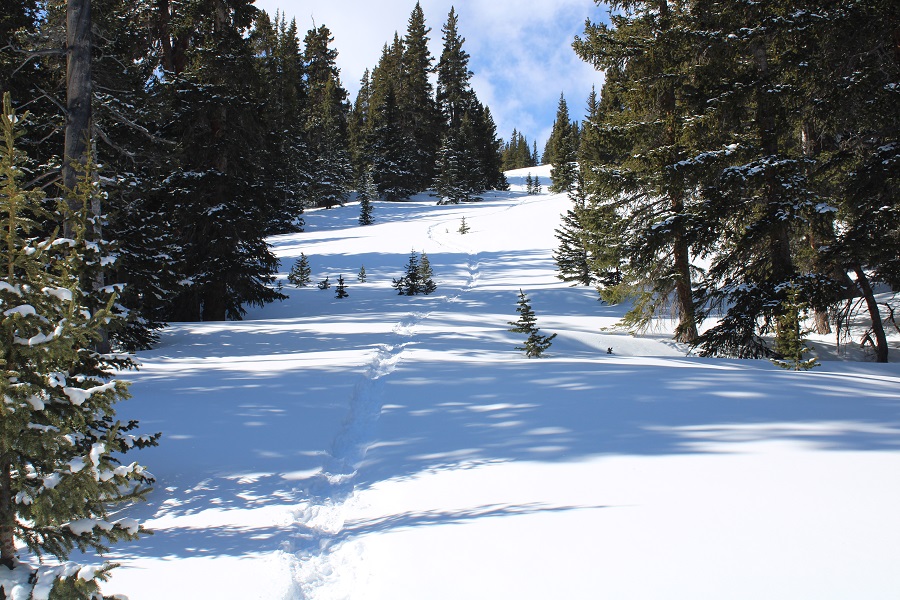
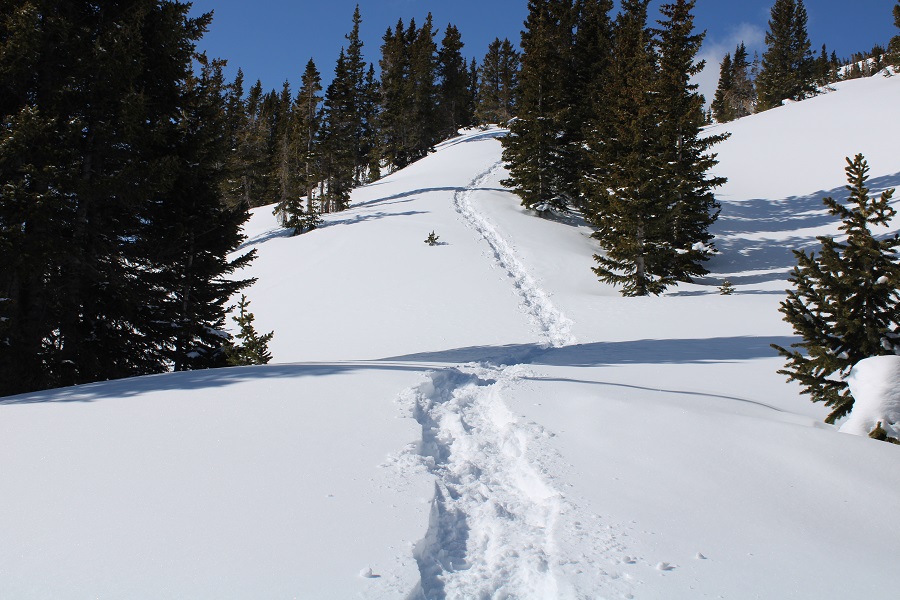
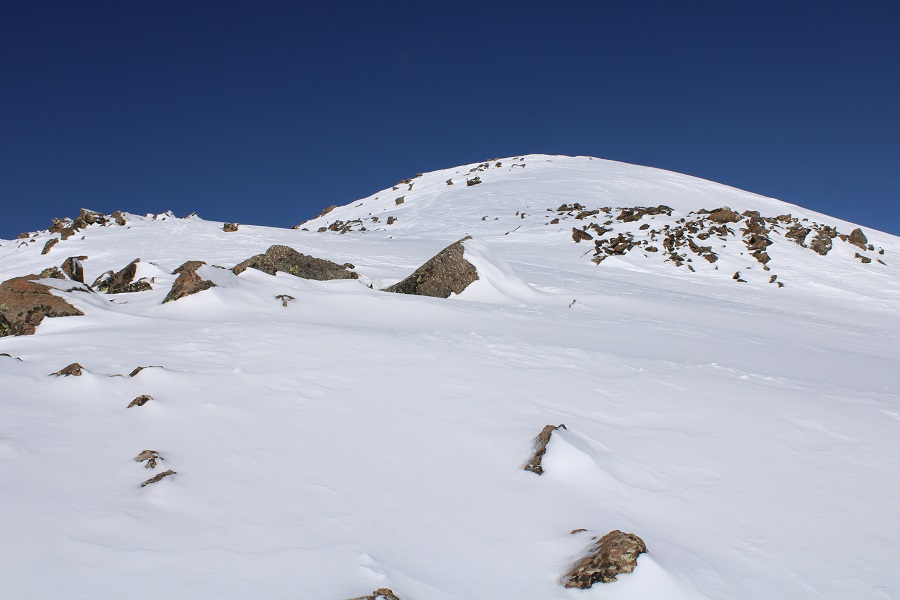
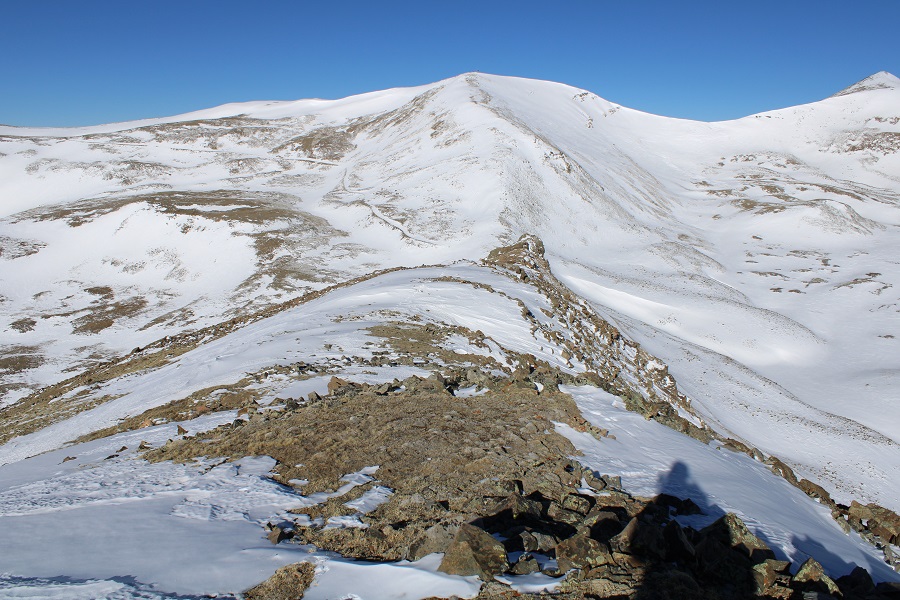
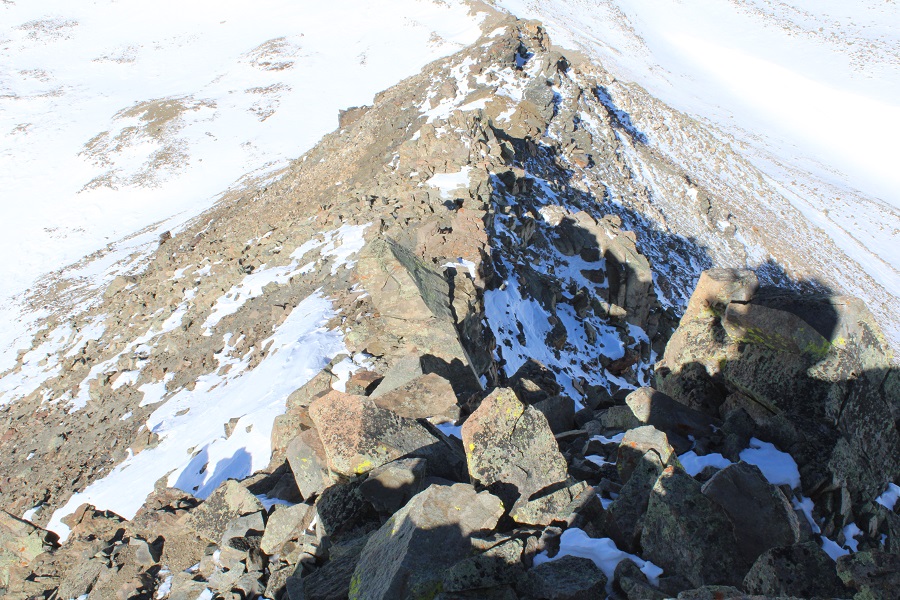
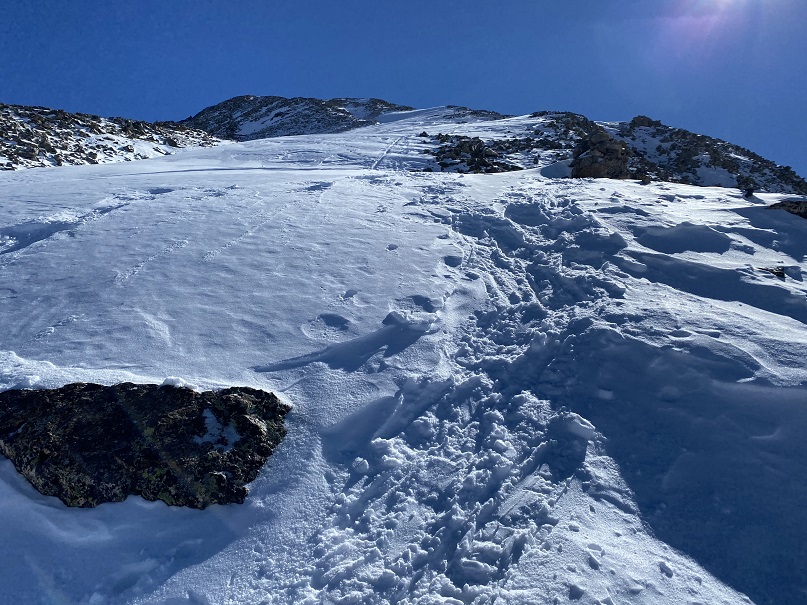
This ridge was about a mile of steady elevation gain. The snow was firm but the wind was picking up. Here are some pictures of the hike to the summit
Towards the top everything was windblown and the snow became sugary. I was slipping and sliding a bit, but other than my snowshoes, no other equipment was needed.
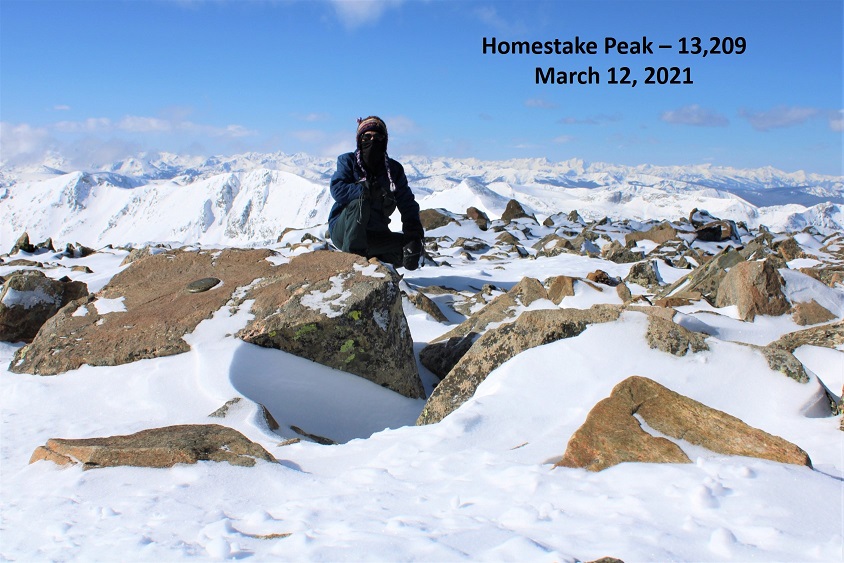
I summited Homestake Peak at 9am (there’s a benchmark at the summit)
Homestake Peak:
The wind kept picking up, bringing in the Albuquerque Low we’re expecting tonight and through the weekend. I was cold, so after leaving a summit register I hurried back down the ridge.
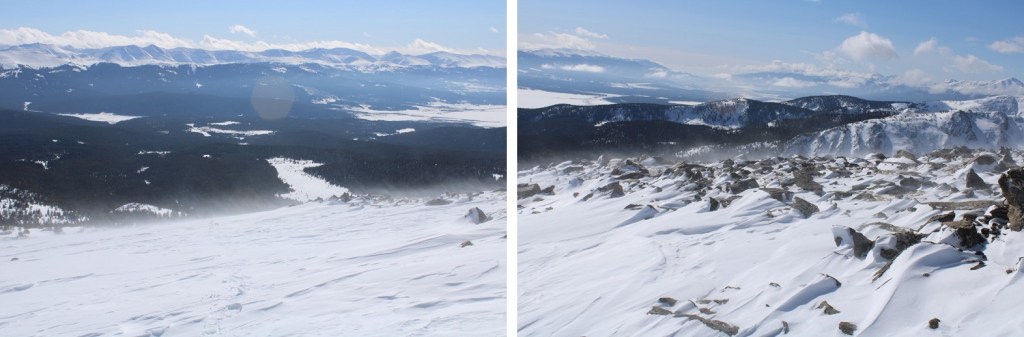
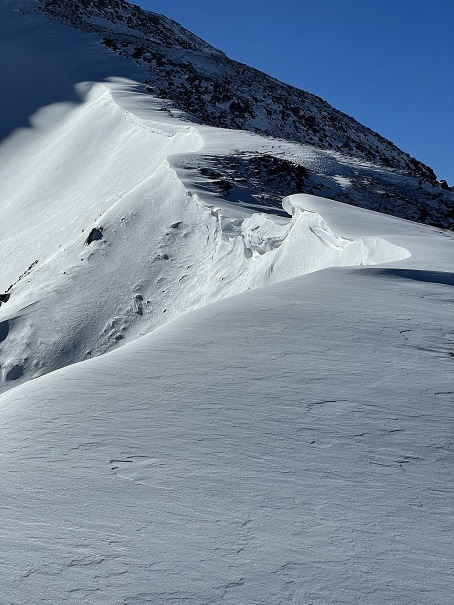
Check out the wind
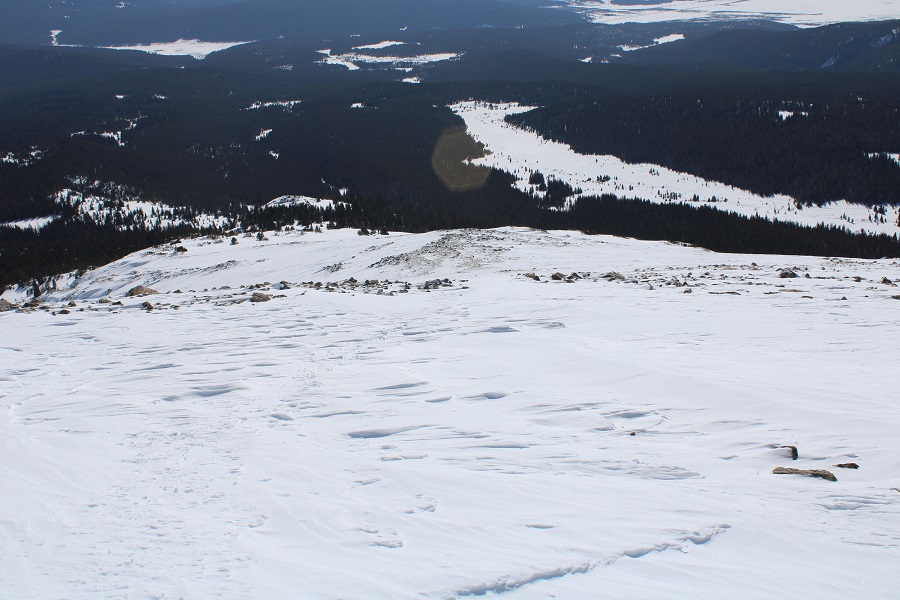
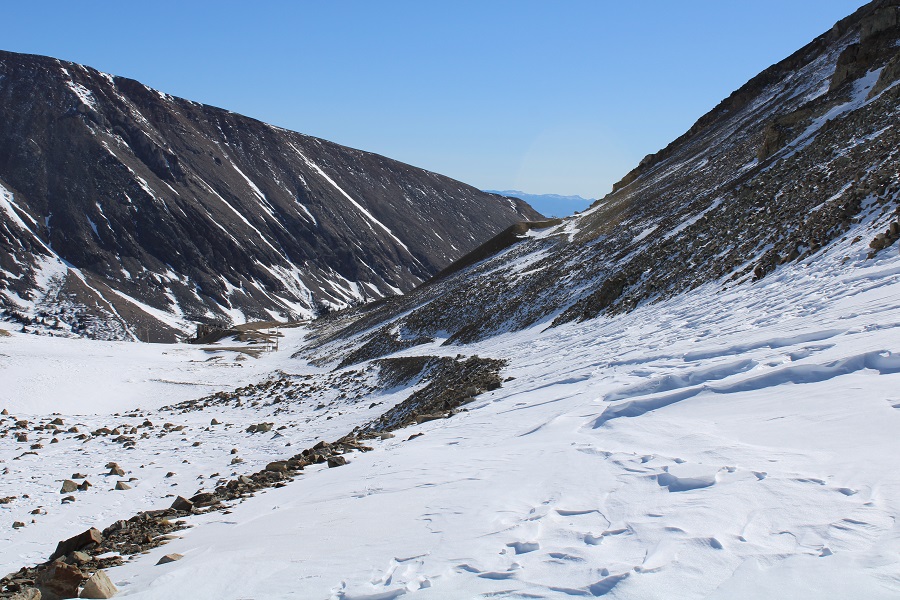
Here’s a look down the access point to the ridge and my trek down.
The wind had blown some of my tracks in, but I was able to still follow them back to the ski trench
I took the ski trench back to the hut, and then followed my tracks back to the marshy area
Once back in the marsh, just before the 4WD road I could smell a fox (they have a strong scent too, similar to a skunks, just more mild). I looked around and saw one prancing about 100 feet away. She was a magnificent red fox, quite large and all fluffed up due to the cold, making her look even bigger. She stopped only briefly to glance my way, and then carried on. I watched as she pranced through the willows and disappeared into the trees. No pictures: I just decided to enjoy the experience, as I knew pictures wouldn’t turn out anyway from this distance. All those tracks must have been hers.
At the end of the marshy area I came to the snowmobile tracks that led me back to the junction to the trailhead
I turned left at the trail indicating Crane Park and followed the trail to the trailhead. This was actually the most difficult part of the hike, as my thighs were tired from trenching earlier, and at this point every step I took included 5 pounds of snow sticking to the bottom of each snowshoe. I trudged here slowly, using my trekking pole to knock off excess ice and snow every few feet.
I could hear the wind screaming through the trees. Yep, the storm was coming in. I made it back to the road, and followed it to my truck
I made it back to my truck at 11:45am, making this a 13.33 mile hike with 3363’ of elevation gain in 6 hours, 45 minutes. Note, as you’ll see from my topo map, I made a few wrong turns and did some backtracking. I’d still recommend this overall route however (minus the wrong turns and backtracking).
There was a fairly recent conditions report on this peak, I so I chose it figuring there’s be a trench to treeline. I had some appointments I needed to be back home by 4pm for, and this seemed like a logical choice for today.
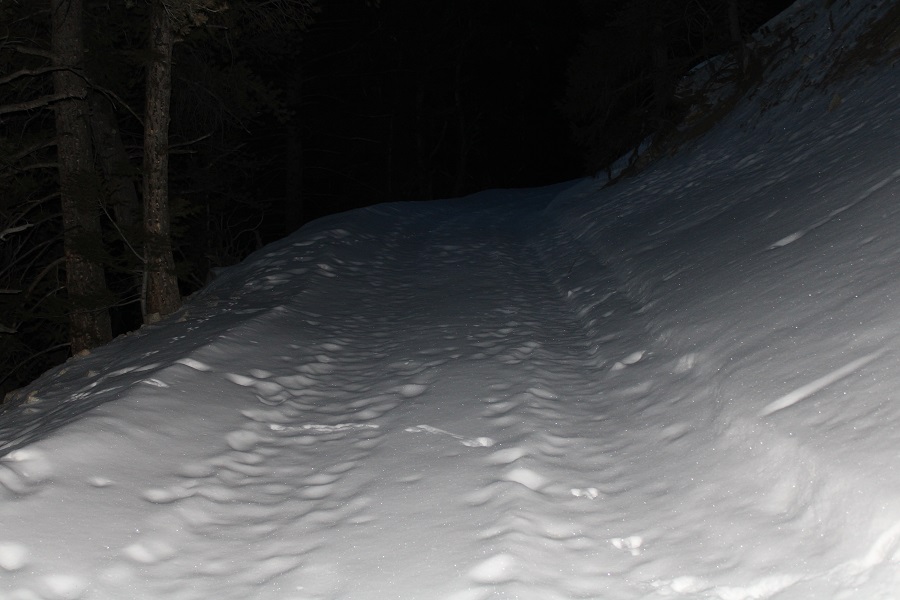
I arrived late, as I woke up to 6 inches of snow at home and had to shovel my driveway before leaving the house. The roads were icy so I took the drive slow. I pulled into the parking lot just before 5am and was surprised to find a fresh layer of snow on the ground. The entire lot was covered, and there were no tracks from any other vehicles. I parked near the entrance and put on my gear. I was on the trail by 5am.
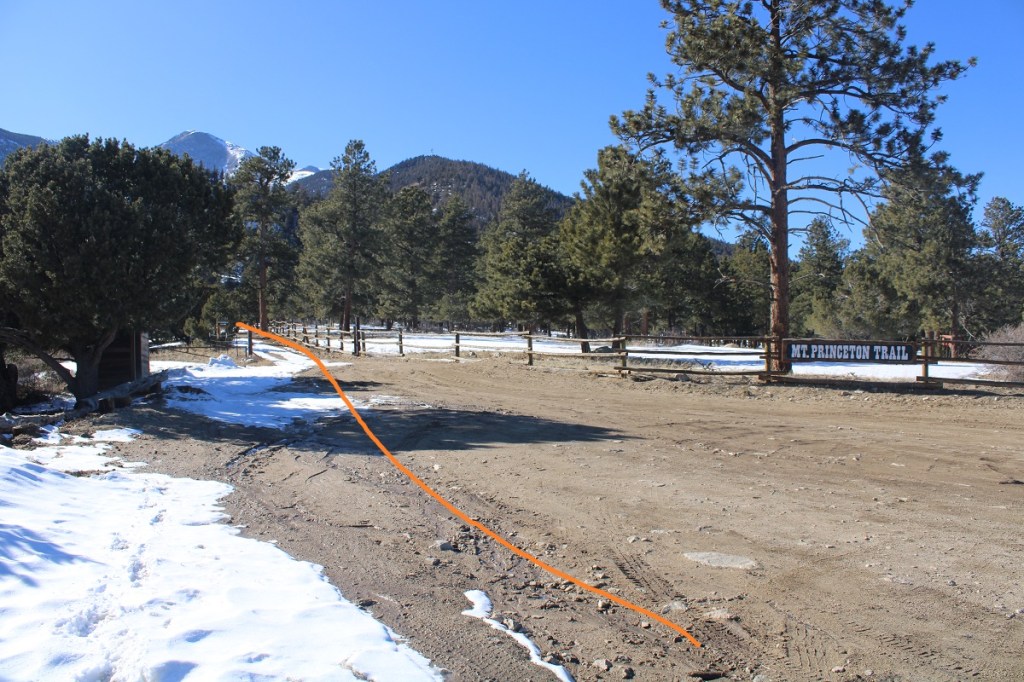
The trail starts at the west end of the parking area. There’s a bathroom and plenty of parking and excellent signage.
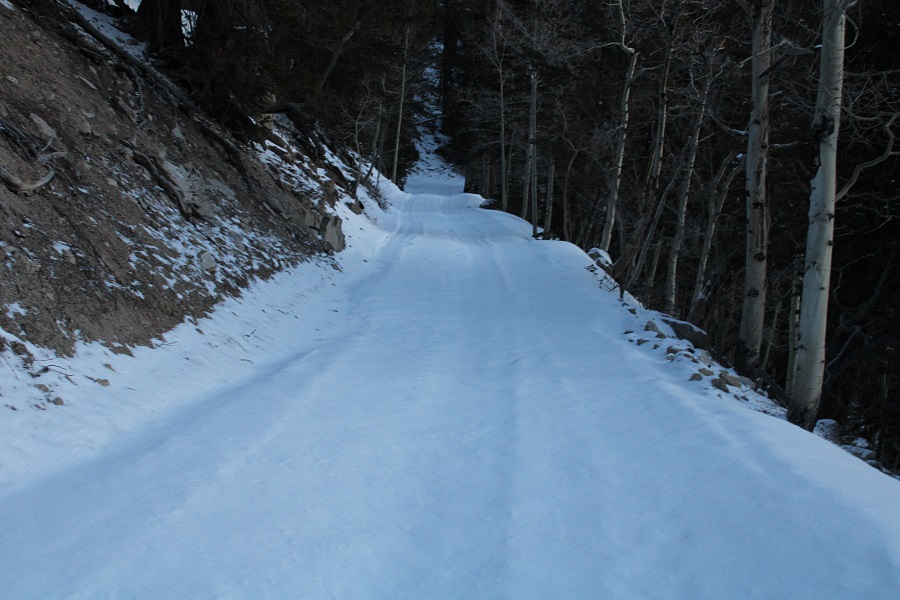
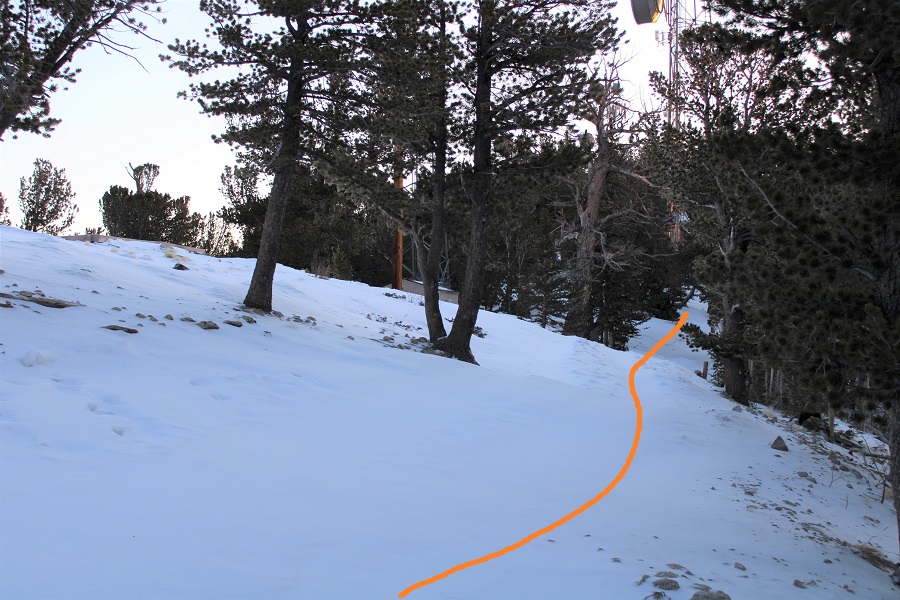
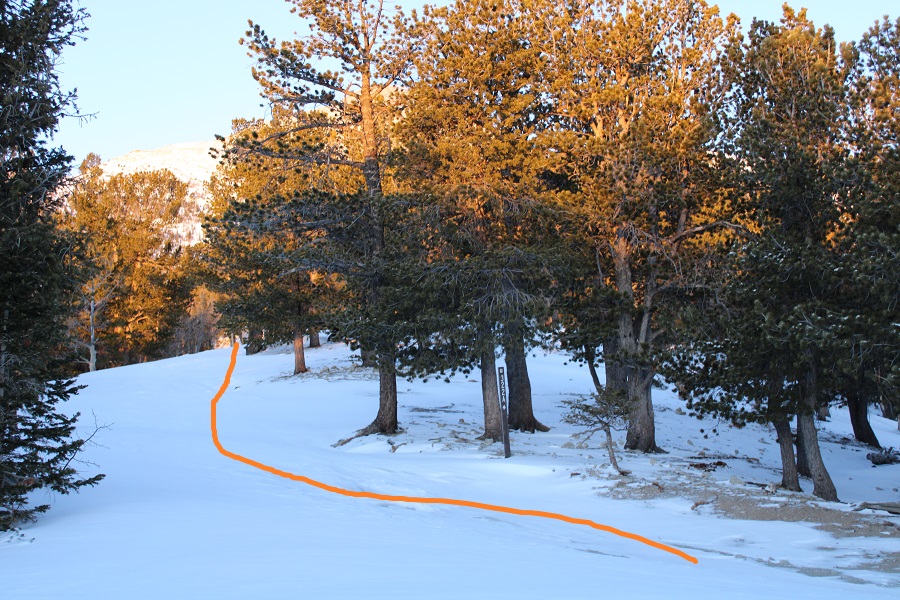
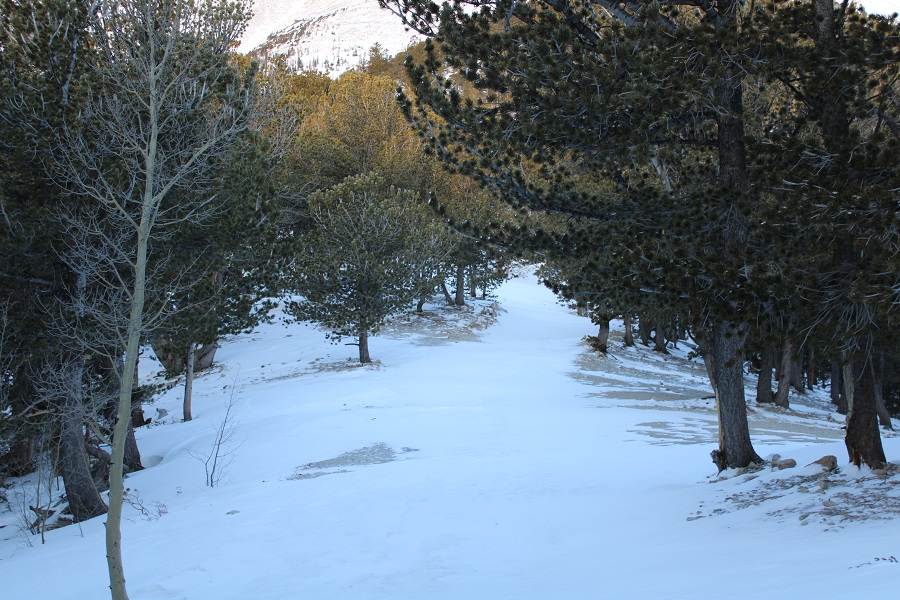
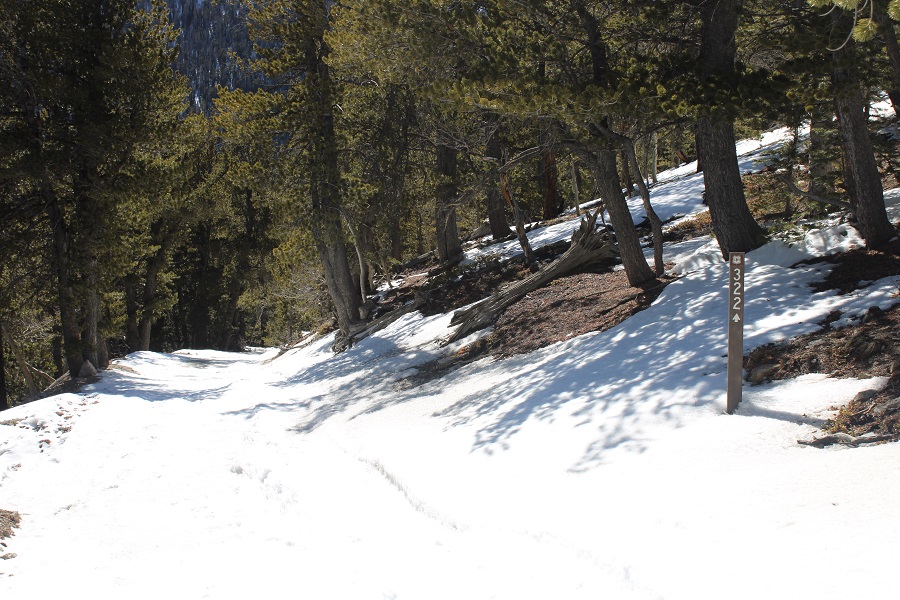
I followed this road (Mt Princeton Road/322) as it switchbacked up the east side of the mountain. I was the first one making tracks, and wore my microspikes the entire day (but lugged along snowshoes).
I continued following the road 3.3 miles to the communication towers
At the towers I turned left and followed trail/road 322A
This is where the snow started getting deep. There wasn’t a visible trench, so I postholed a bit, but was stubborn and didn’t put on my snowshoes.
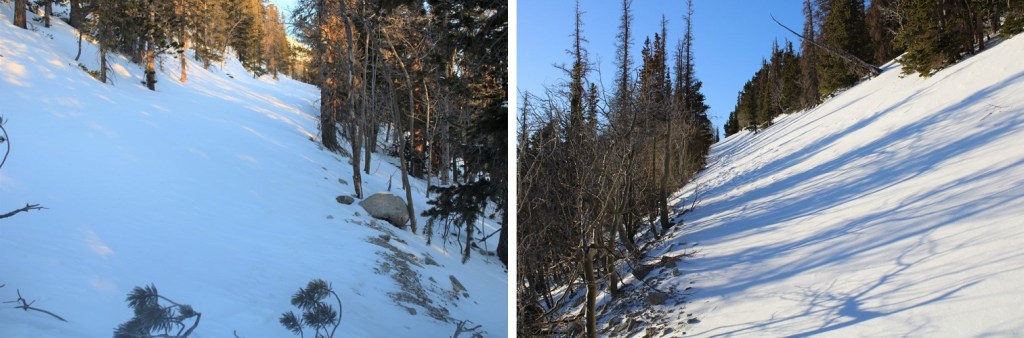
I was still following the road, but there was a lot of snow in this area. The drop-offs were steep (better pictures later, just be aware of avy danger here).
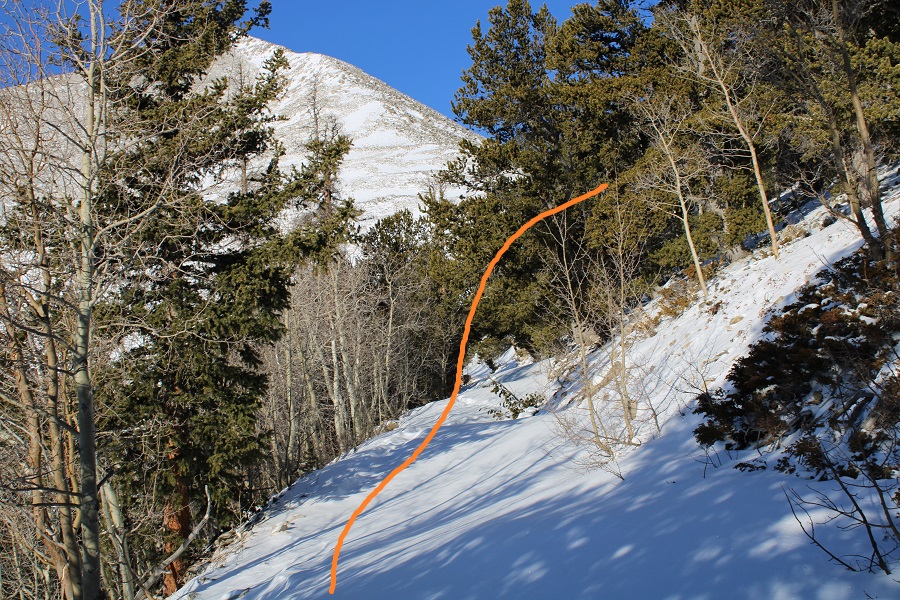
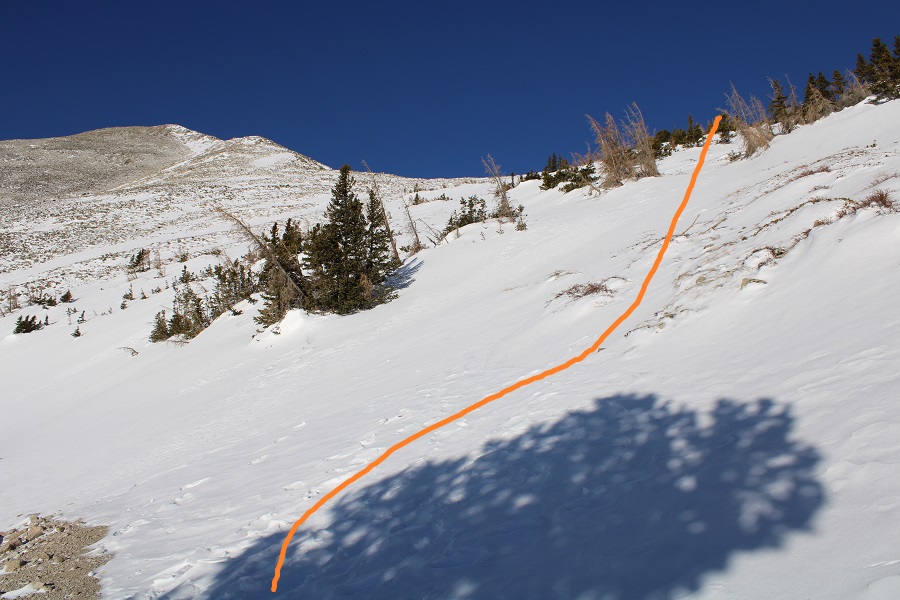
I followed the road to treeline, and then gained the ridge to the right (continuing on this road will take you to the Lucky Mine, and another access point to summit Tigger, but I found the snow was too steep covering the road and decided against that route)
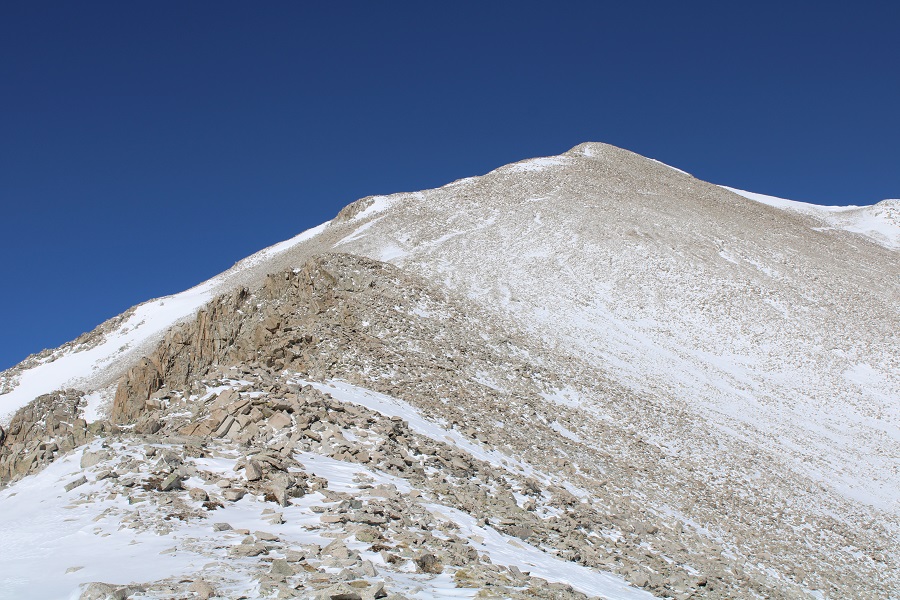
Once on the ridge it was windblown, and I could easily see the summer trail.
At this point, what I should have done was gone straight up and over Tigger Peak.
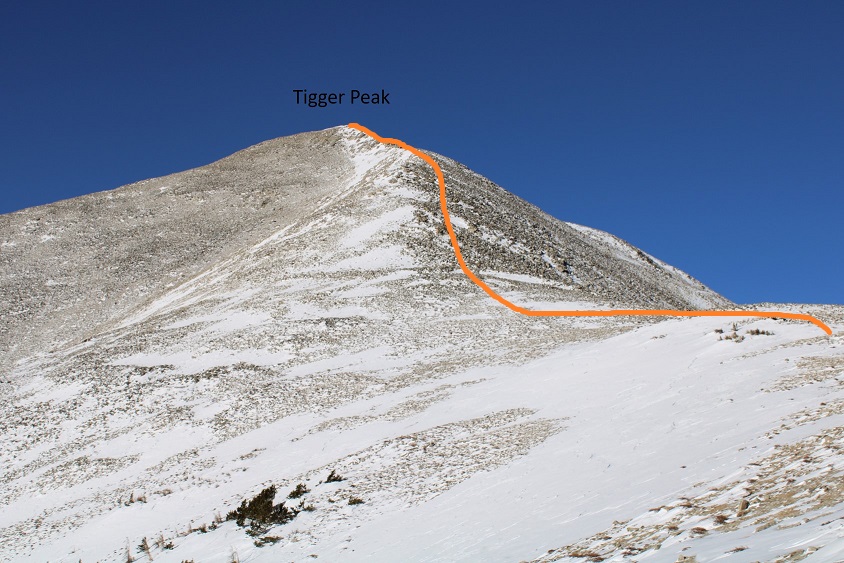
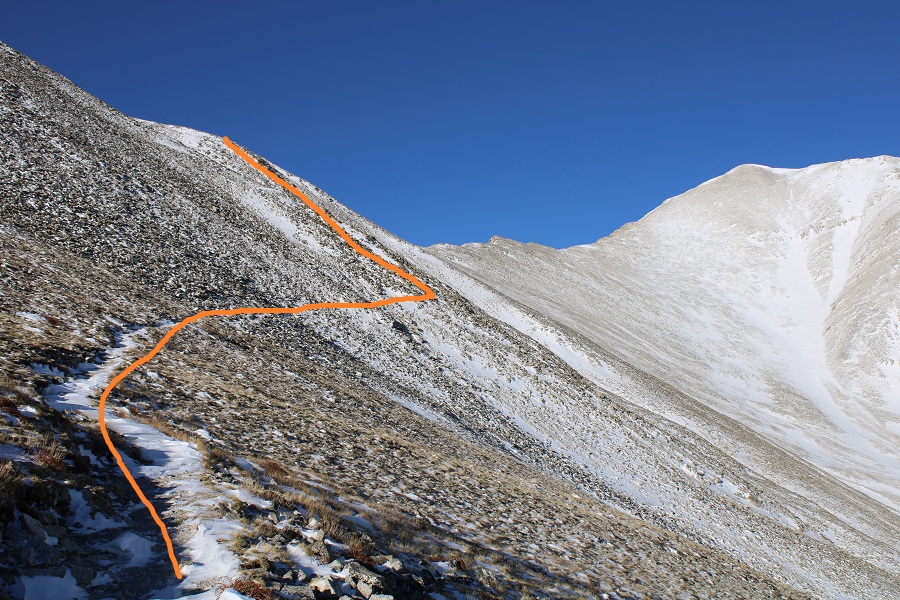
But the trail looked easily to follow, and the mountain looked windblown, so I continued to follow the summer route. Here’s the overall summer route
As I said earlier, I was following the mostly bare trail. I crossed a couple of slide areas without difficulty, and then came to one that gave me pause. I could see remnants of old footprints/tracks in the snow further ahead, but I did not feel comfortable crossing this section this morning, even though I had my ice axe and gear. A slip would have been too costly, especially since I hike solo.
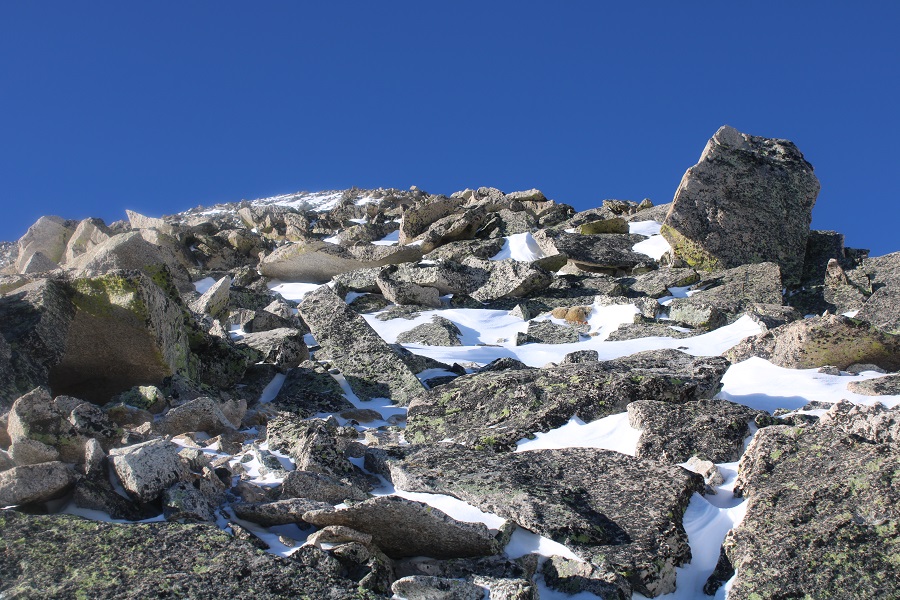
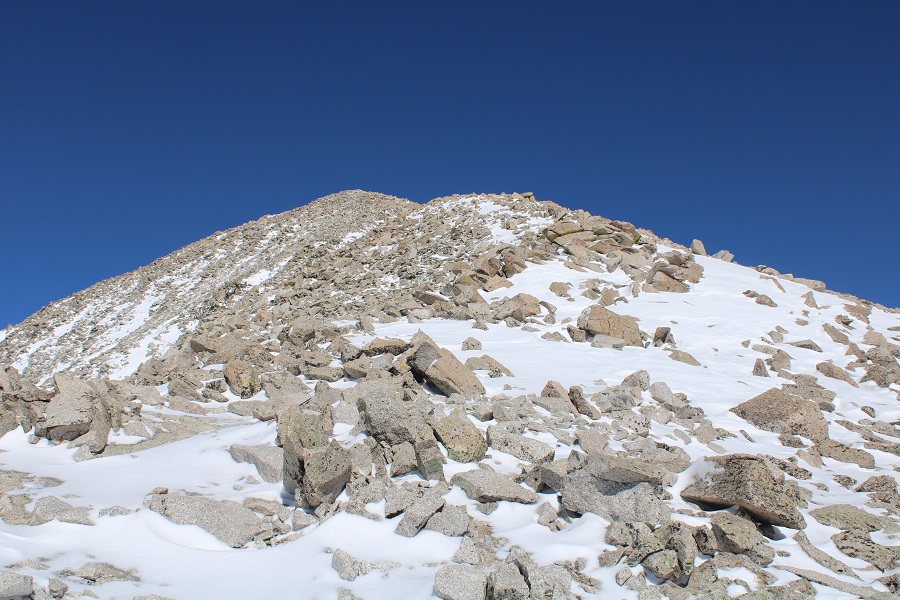
I decided instead to change direction immediately and head south to the ridge, rock hopping to the top. Most of these rocks were large, and luckily, few of them moved. The snow in-between the rocks was troublesome at times, and I postholed to my waist, but I felt more comfortable with this route.
Once on the ridge I followed it northwest to the summit. There were several social trails here, but staying on the ridge proper, or going slightly east worked well.
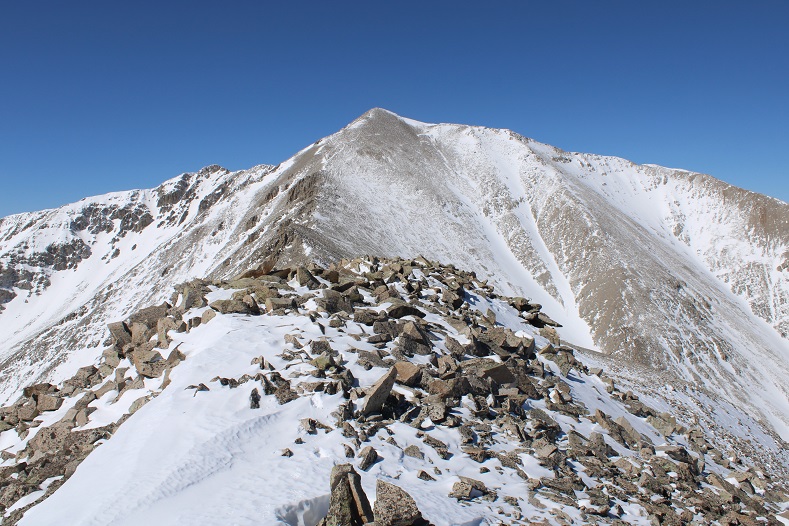
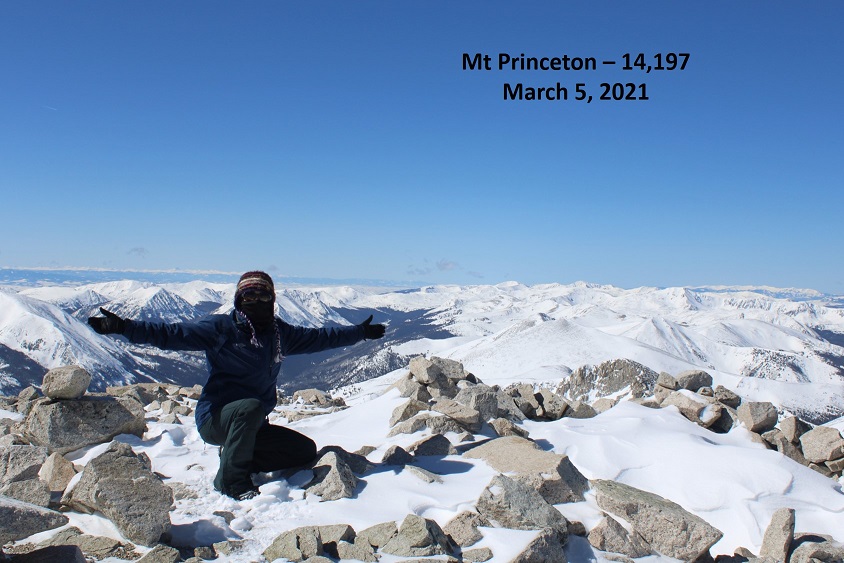
I made it to the summit at 10:45am
Mt Princeton:
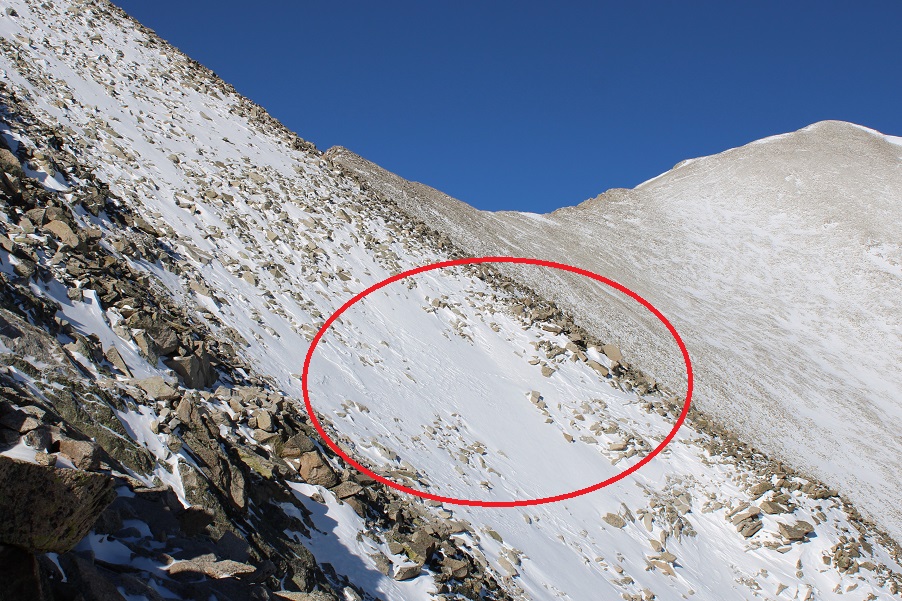
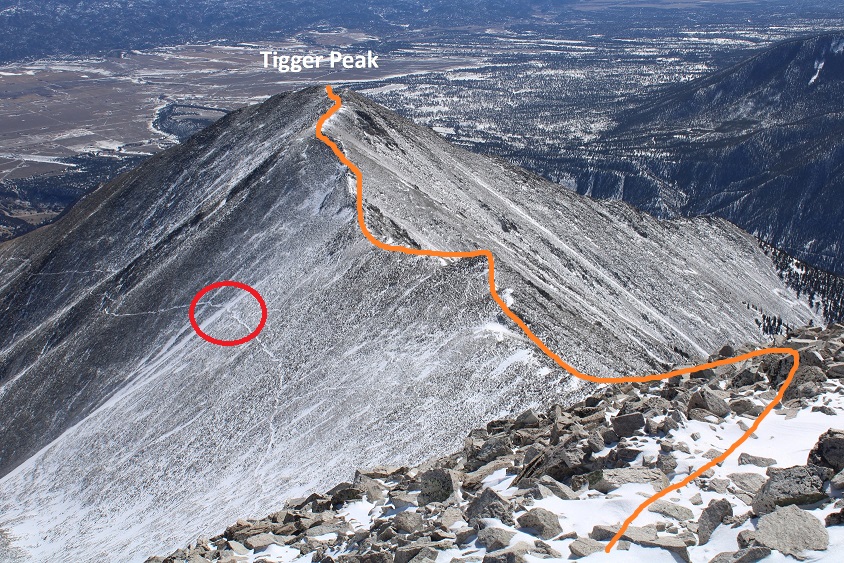
It was a gorgeous day above treeline! However, I had plans and needed to bet back down. I decided to head back over Tigger Peak. Circled is the small slide area I wished to avoid
Here are some pictures of the ridge to Tigger Peak, complete with a few small false summits
From Tigger Peak, here’s looking at the descent point
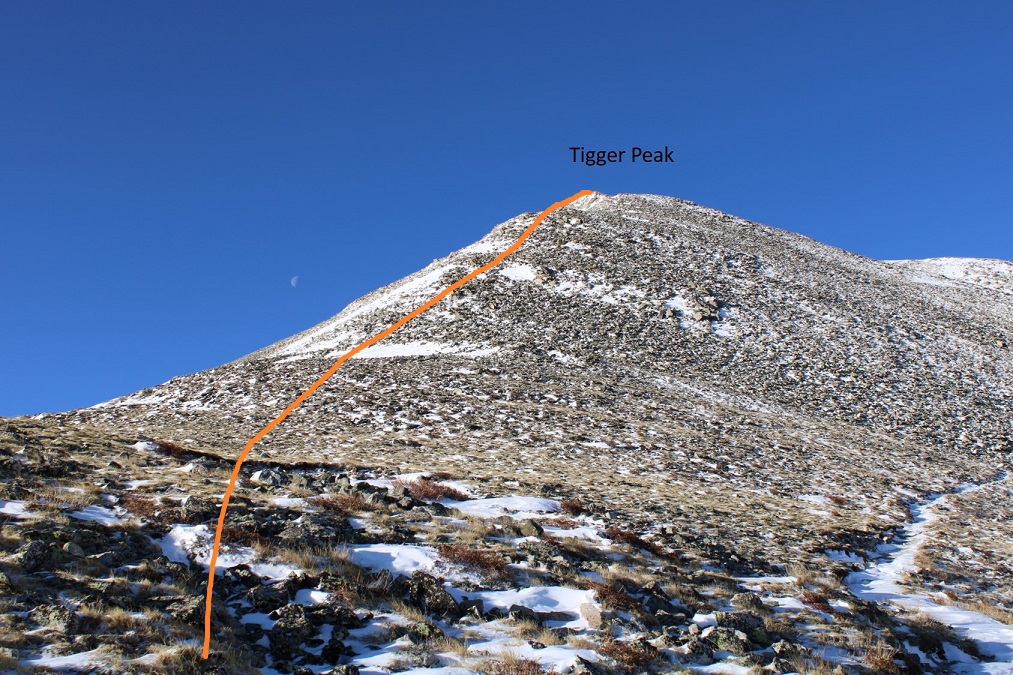
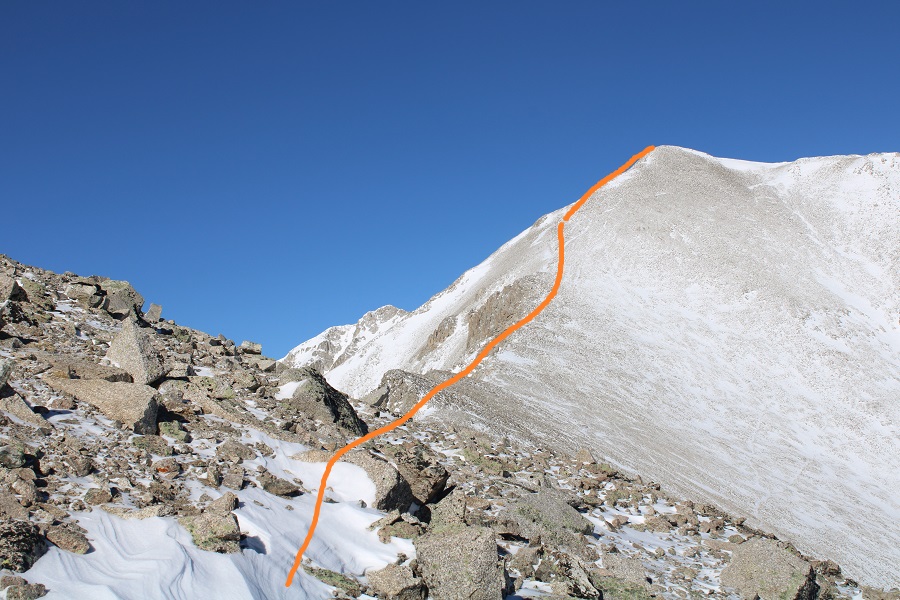
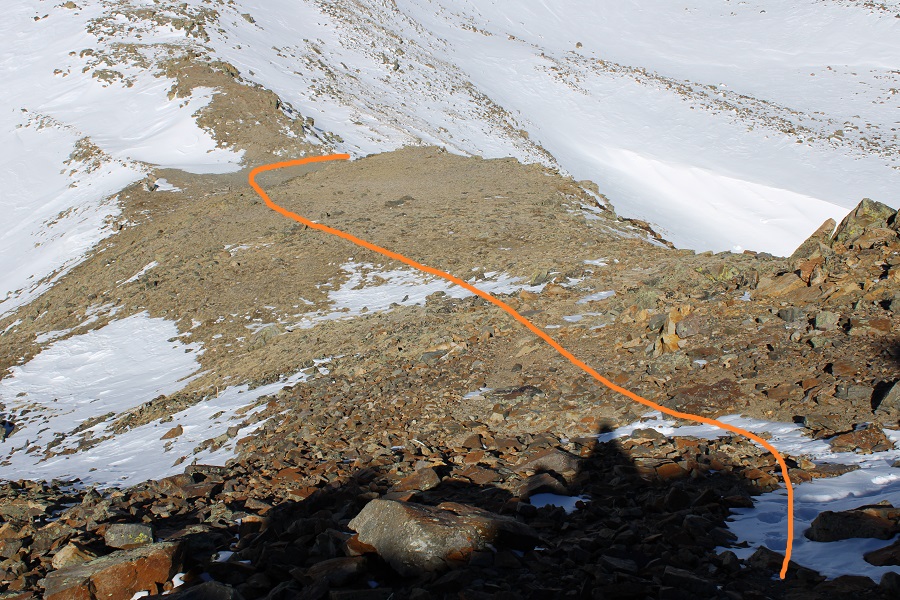
I continued hiking the ridge, and then started the longest part of my day: rock hopping back down to the trail. I just had to head northeast, and I could see the trail in front of me, but a lot of these rocks moved and progress was painstakingly slow. Here’s the route
From there I picked up the trail and followed it back to the road
And followed the road back down to the trailhead.
Here are some better pictures of how steep some sections on the road were
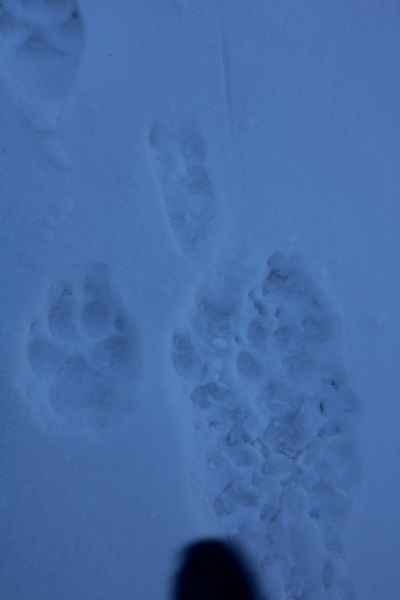
Something cool: I was the first to make prints on my way in, but on my way out I saw coyote prints following my tracks. Some of the prints were directly in my footsteps. Looks like I had a stalker.
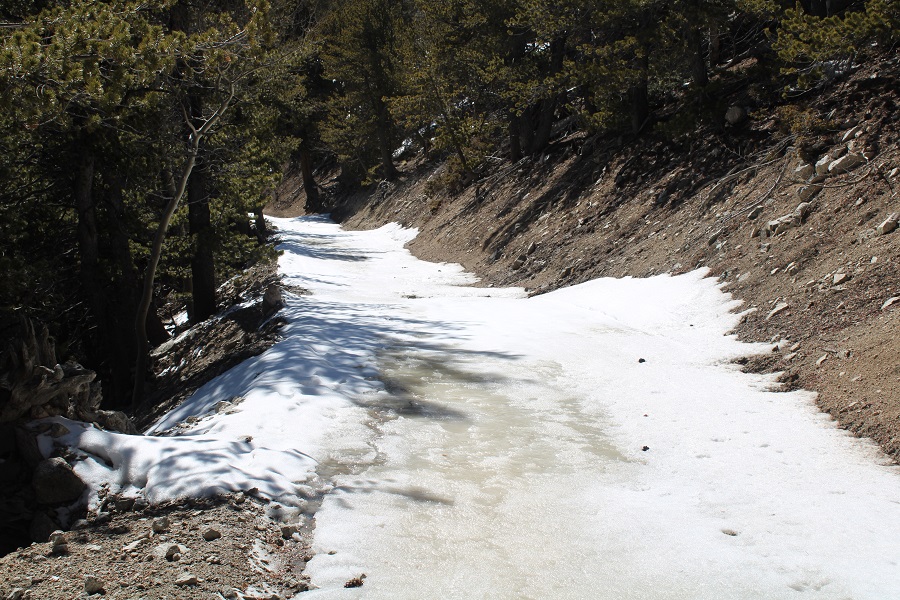
The snow on the road became slushy as I descended.
It was downright muddy by the time I made it back to my truck
I didn’t see another person the entire day, which was a shame because it was a perfect day to be above treeline!
I made it back to my truck at 2:45pm, much later than I’d originally anticipated. Luckily, I had cell reception and could call my appointments and move them to 6pm. This ended up being a 15.4 mile hike with 5615’ of elevation gain in 9 hours, 45 minutes.
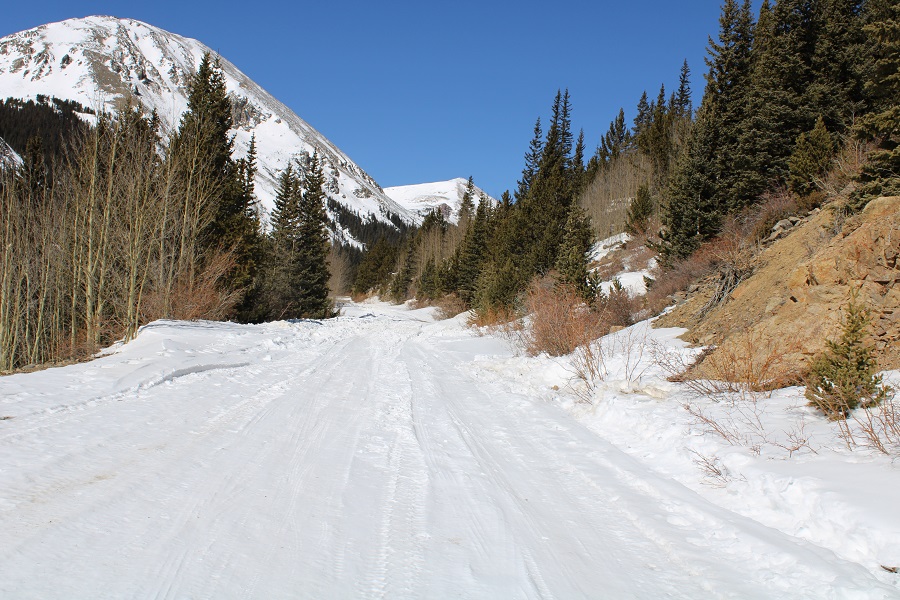
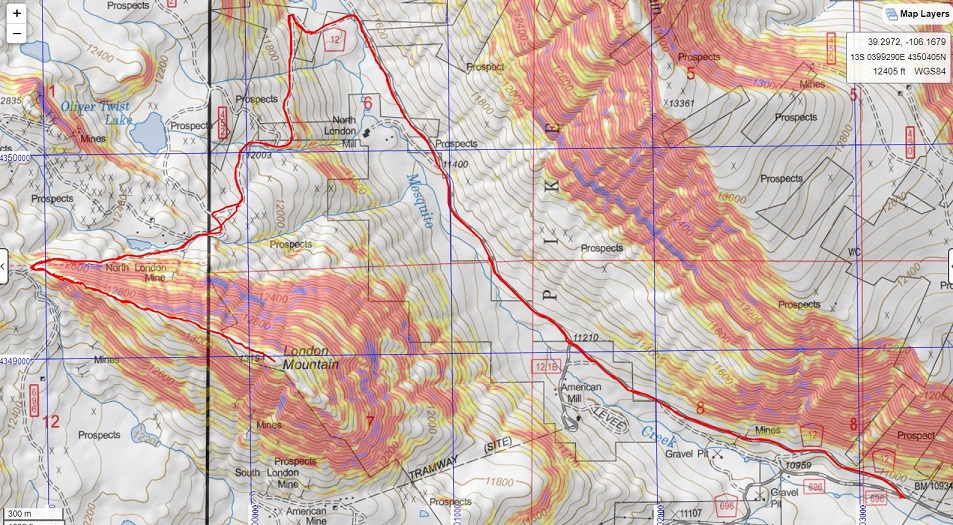
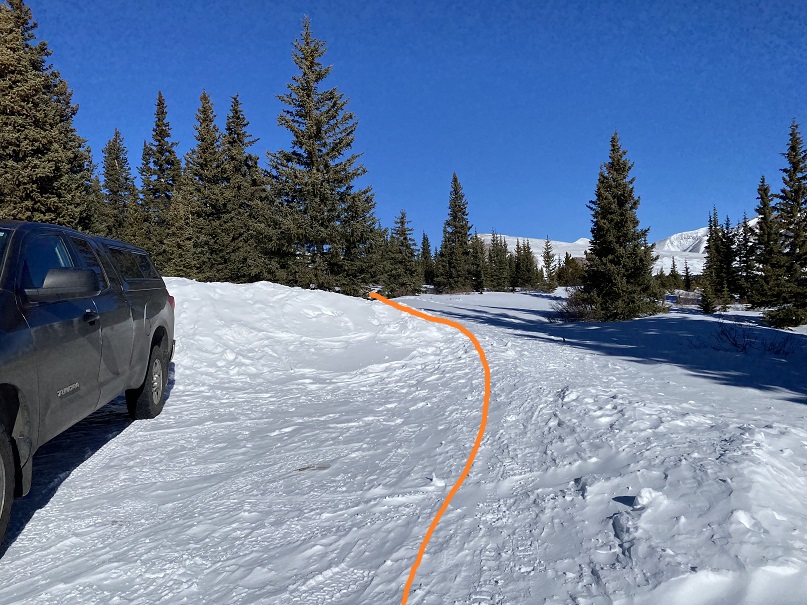
I was looking for another quick summit this week, and was halfway to the trailhead before I remembered the road to Mosquito pass would most likely be snowed in, adding about 5 miles to the hike. Oh well, I should still be able to make it an early day. I made it to where the road for Mosquito Pass and 12 meet and due to previous experience with this road in winter decided to park at this junction. I could have driven about a mile up Mosquito Pass road, but eventually the drifts would have made it necessary to find a place to park. By parking below I’d be getting in some extra mileage (if not much elevation gain).
I parked, gathered my gear, and headed up Mosquito Pass road at 6am.
I was excited to try out my new camera. I tend to go through cameras quickly, as I put them through a ton of use in extreme conditions. The last time I purchased a camera I bought one that was less expensive, reasoning since I buy them so often I’d like to spend less money. I found out the hard way cameras that are point and shoot don’t operate well when it’s less than 30 degrees outside.
The past few weeks I’ve been using a stylus with my iPhone, but I’ve found when it’s extremely cold out even the stylus doesn’t work (although warming the stylus up in my mouth sometimes helps). After my climbing accident at Garden of the Gods last week where I not only came out road-rashed and bruised but also I crushed my stylus, I decided to just purchase another DSLR. Yes, they’re heavy, but they withstand the cold.
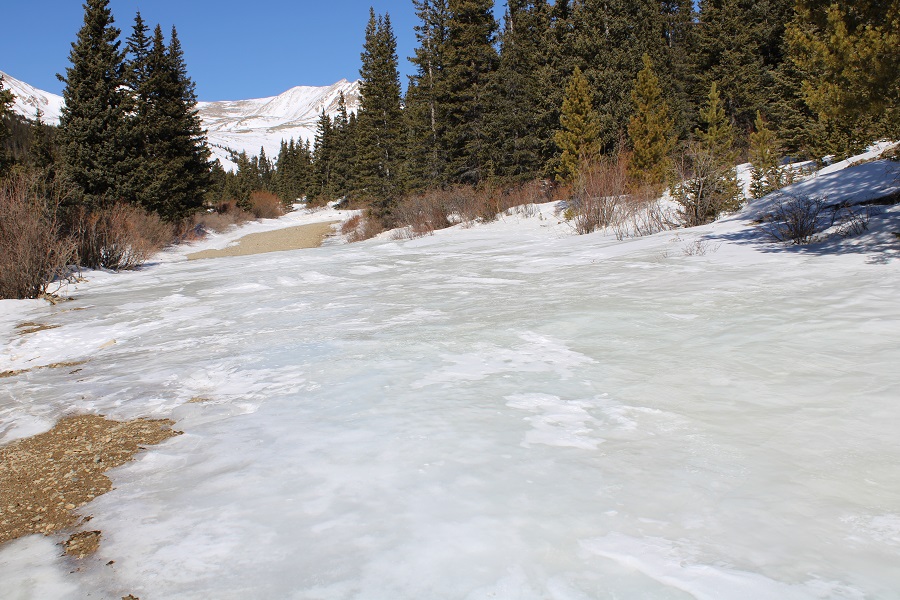
I hiked along the dirt road for 2.5 miles. The conditions were varying, and I was glad to have worn my microspikes.
About a mile in was the furthest anyone has been able to drive recently
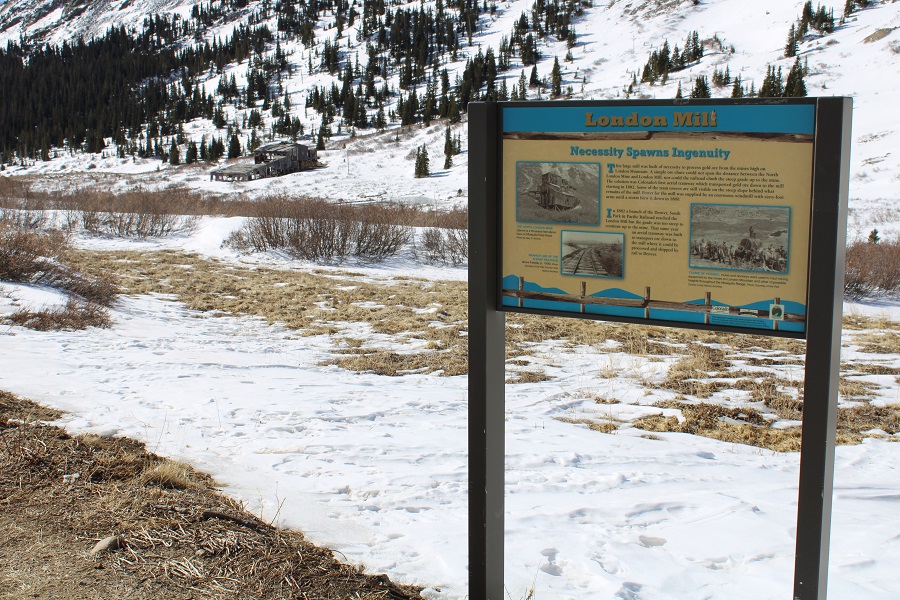
I passed North London Mill
After passing North London Mill I turned left at the junction
It was here the sun began to rise and I started trying out my new camera
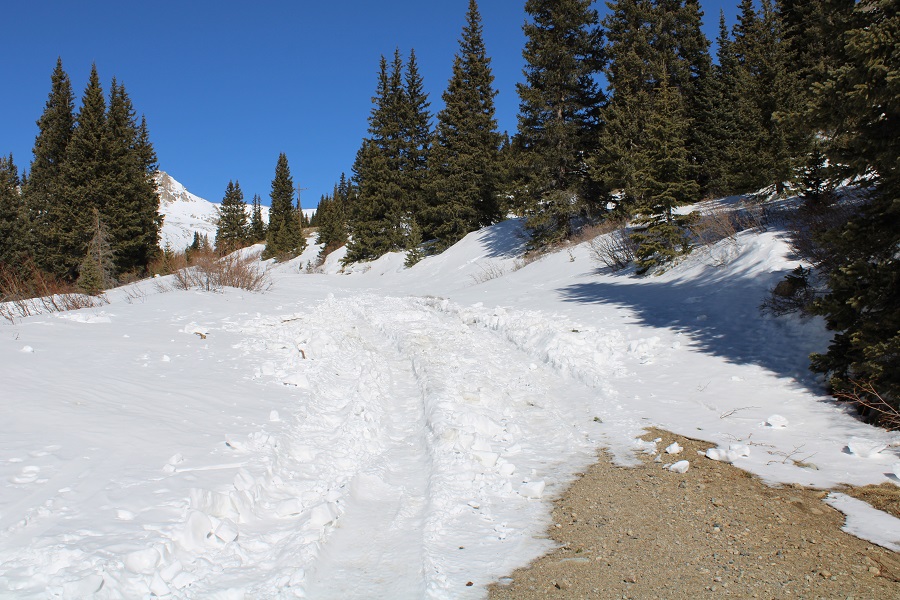
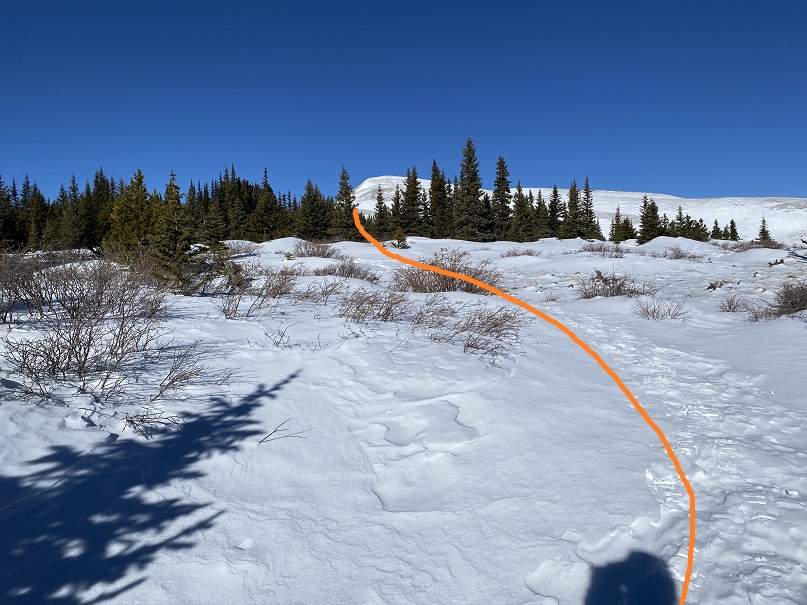
It was also here I started postholing more than I could stand. I decided to put on my snowshoes, and wore them until I made it to the Mosquito/London saddle
I followed the road up to London Mine
At times the road was completely covered in drifts
The road was covered in snow as I got closer to the mine, so I just had to kind of wing it.
The moon was just going behind the ridge as I reached the mine
I continued past the mine, heading west
And followed the road to the saddle. From a distance this road looks mild, but I’ve taken this route in winter before, and the drifts can get pretty steep and go down quite a ways into the drainage (the pictures don’t do the drop offs justice). It’s a good idea to have traction and an ice axe for this part in winter
I made it to the London/Mosquito saddle and took off my snowshoes, turned left, and followed London’s ridge southeast.
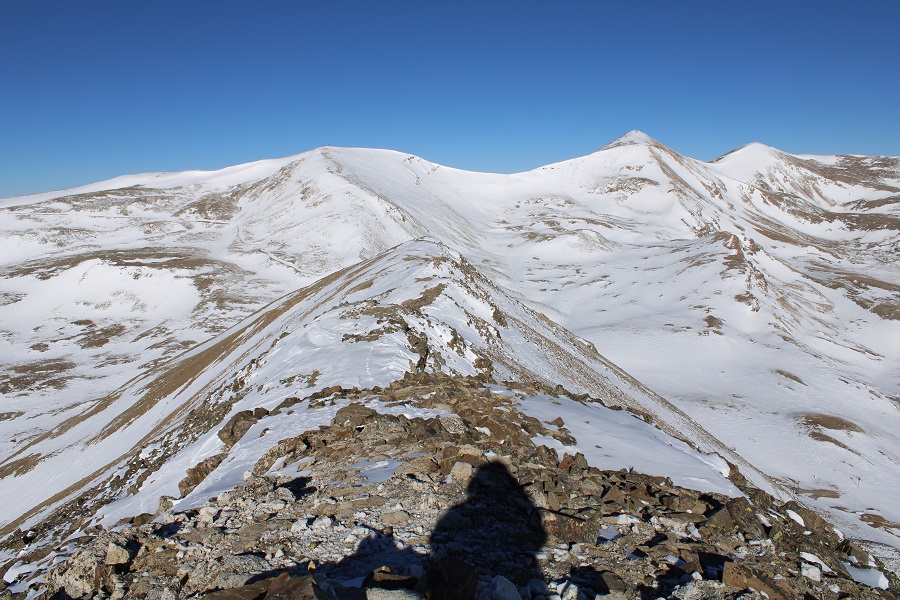
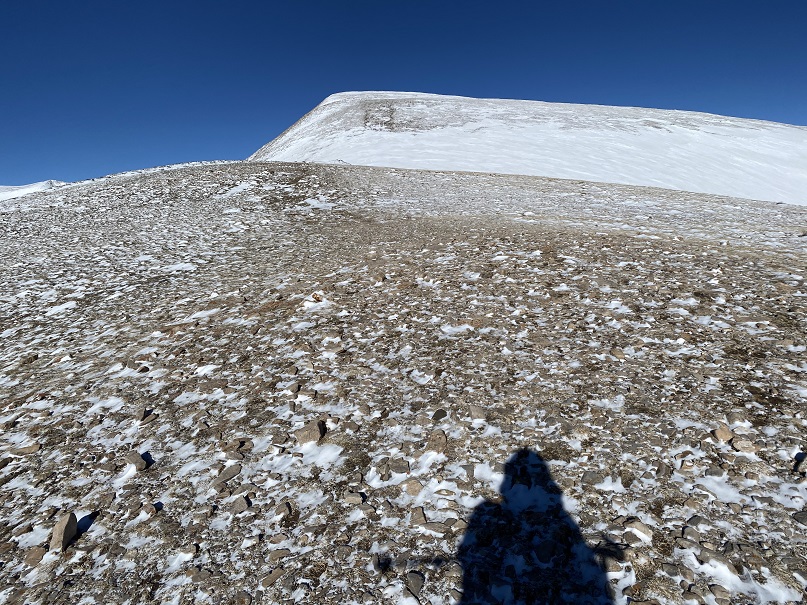
This ridge goes for almost exactly a mile. After initially skirting to the right, I was able to stick to the ridge proper the entire time, and only postholed a few times in the snow. This is all class 2, with the snow making it an easy class 3 in just a few areas. Also, I didn’t remember it until I got back home and looked at my pictures, but the one drawback of this camera are the sun spots when directly facing the sun. I know what causes them, I just need to be more diligent in the future against preventing them. Here’s the ridge route, with a bunch of false summits:
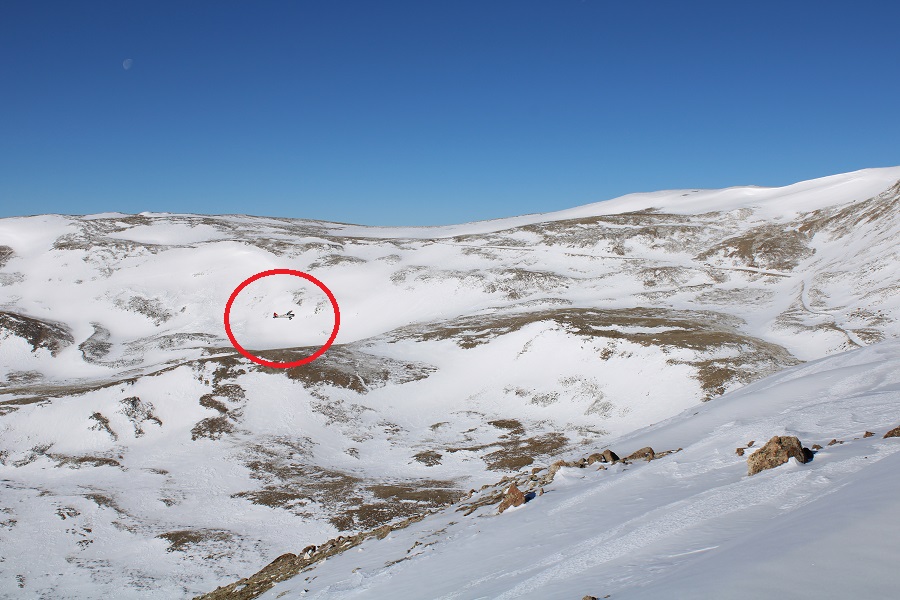
About halfway along the ridge I heard a loud buzzing, looked around, and saw a biplane flying very low. I watched it go around the mountains and through the passes. So cool! I wanted to wave, but didn’t think they could see me, and also worried they might think I needed help if I did.
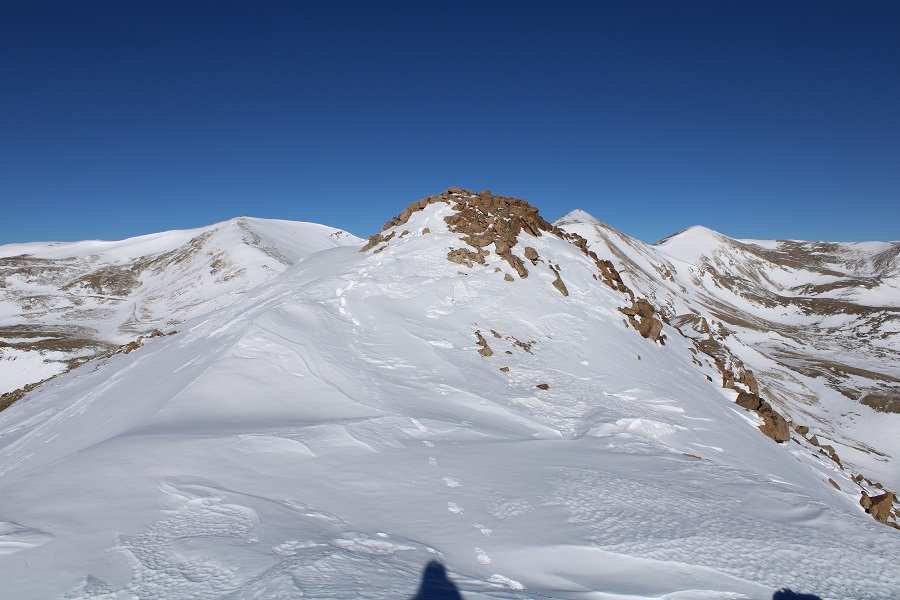
Here’s the final trek to the summit
I summited London Mountain at 8:30am
London Mountain Summit
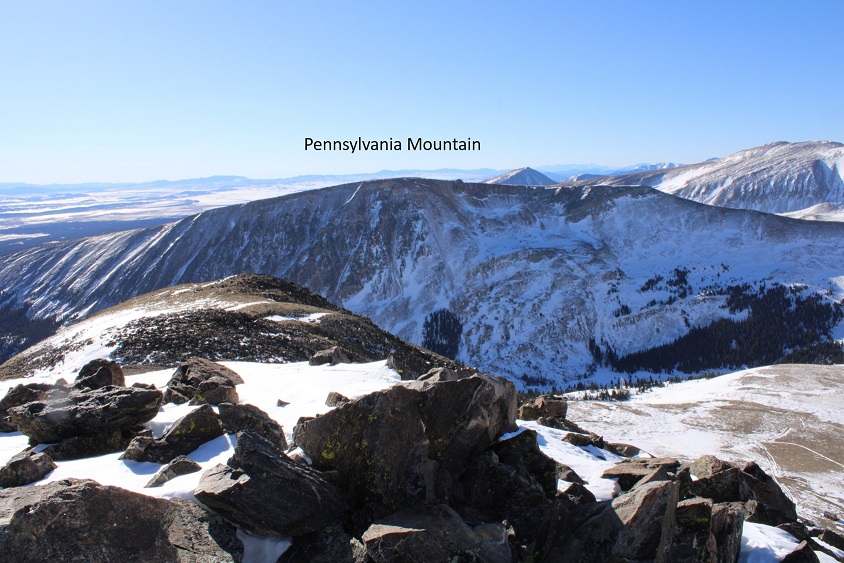
I had a good view of Monday’s summit: Pennsylvania Mountain
Here’s the trek back down the ridge
Yes, this is all class 2/easy class 3 to avoid snow
And back towards the mine
Here I heard another loud buzzing and saw a helicopter fly overhead. It didn’t look like a rescue helicopter.
Here’s the path the road takes back down
I made it back to where I’d put on my snowshoes, took them off, and turned right onto 12 and followed it back to my truck. About halfway back my microspikes broke, both of them, so I guess it’s time to get out the needle nose pliers again. I made echoing clanking sounds as the chains scraped the dirt as I walked the rest of the way back.
I made it back to my truck at 10:45am, making this a 10.63 mile hike with 2305’ of elevation gain in 4 hours, 45 minutes
I had a lot of work to get done today, but the weather was really nice and I was itching to get out and hike something above 10K, so I picked a peak I could do relatively quickly. In fact, I think the drive to the trailhead was longer than the hike. I arrived at the Pennsylvania Mountain Trailhead at 6am and got out my gear. There are a few turns to navigate to get too the trailhead. Pro tip: When I’m unsure if I’ll have cell service on my drive out (thus being able to pull up Google Maps, etc.) I create a road map using CalTopo and add it to my GPX coordinates for the day. This way I can follow a GPX track back to the main road when I’m done with my hike and don’t need to worry about memorizing or printing out directions.
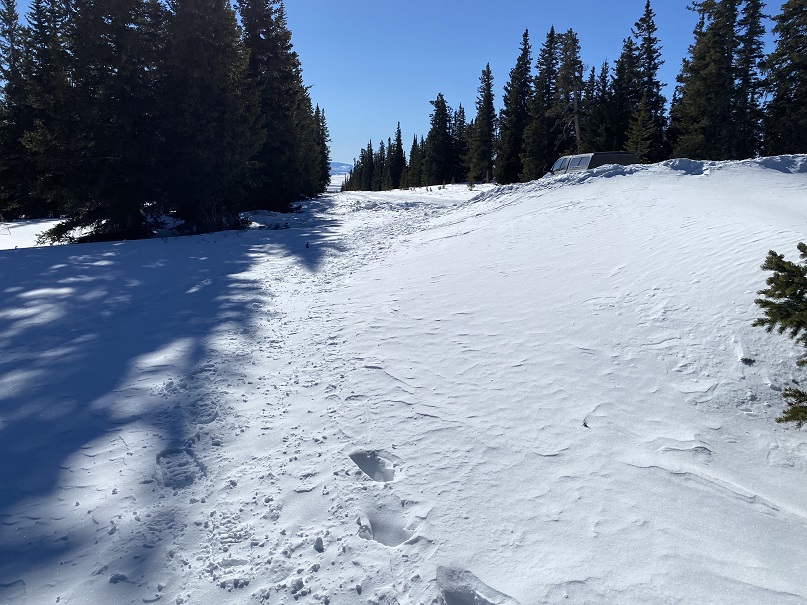
I parked at the end of a plowed dirt road in a residential area. The trail starts to the right
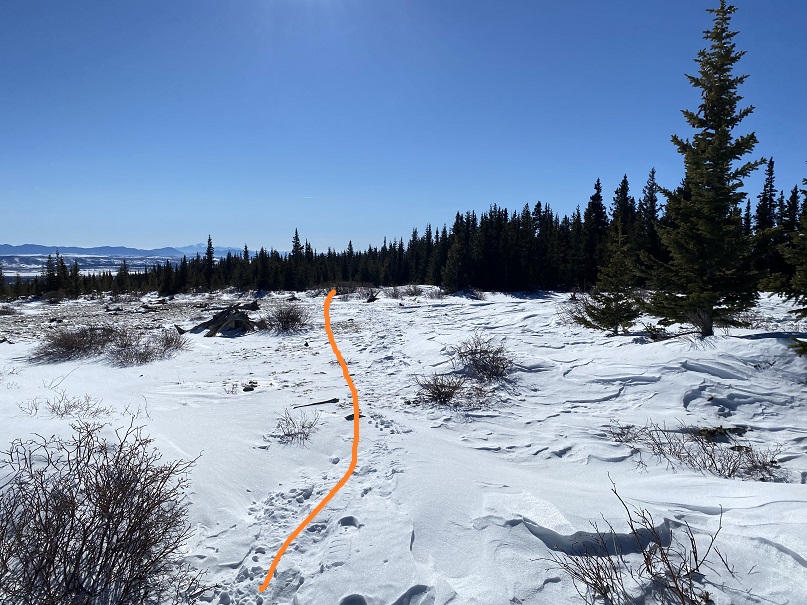
I began with my snowshoes on, and kept them on until making it out of the trees. I’m sure there’s a trail here in summer, but in winter there wasn’t a solid trail (but there were a lot of ski tracks). I headed northwest through the trees and willows to treeline.
Once at treeline the route was obvious. I started climbing the east ridge
The only downside? There were a few false summits
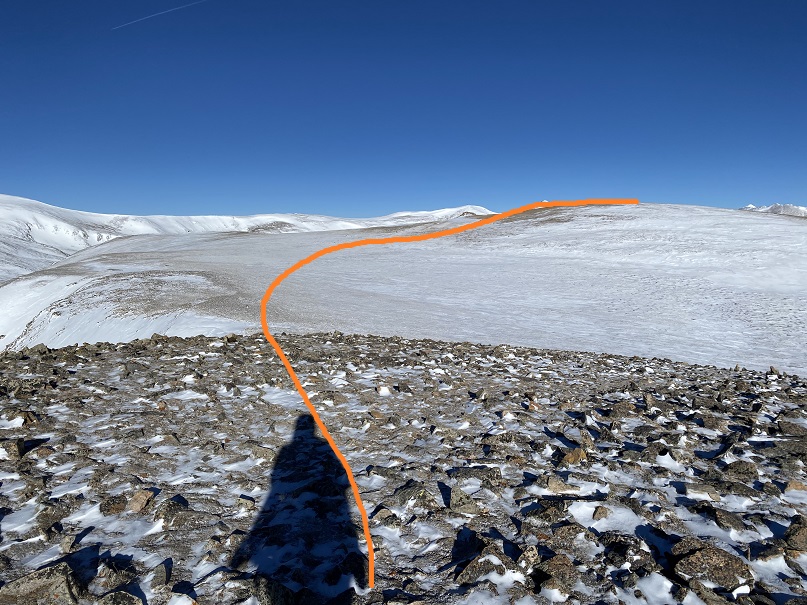
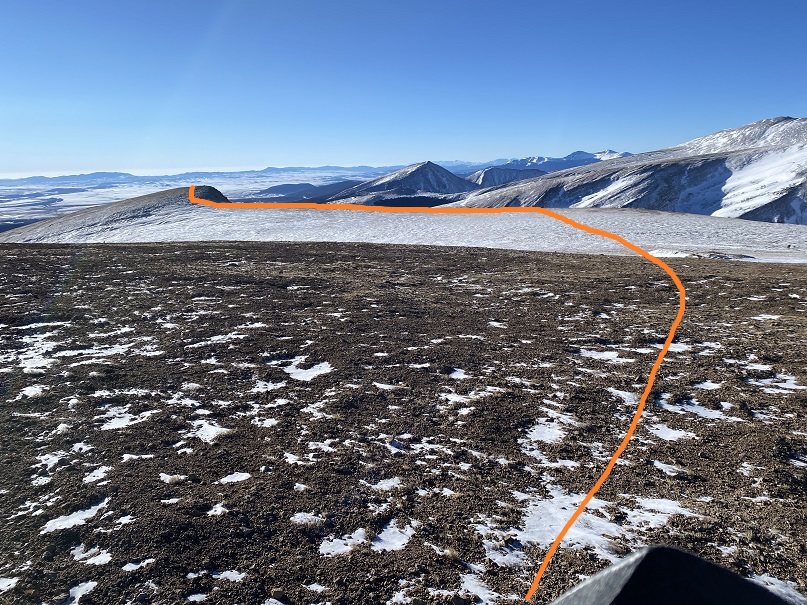
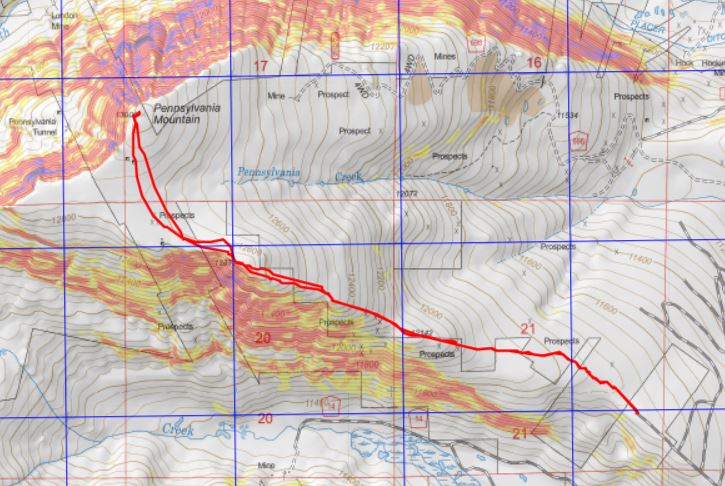
This was the last one however, and included a small decrease in elevation and a plateau before increasing in elevation again. Here’s the overall route. It’s really more of a hill at this point than a peak
It’s best to stick to the ridge so you don’t lose too much elevation. Here I saw a small herd of elk. They’re in the photos, but too far away to really make out. I headed northwest towards a mining claim and rock outcropping
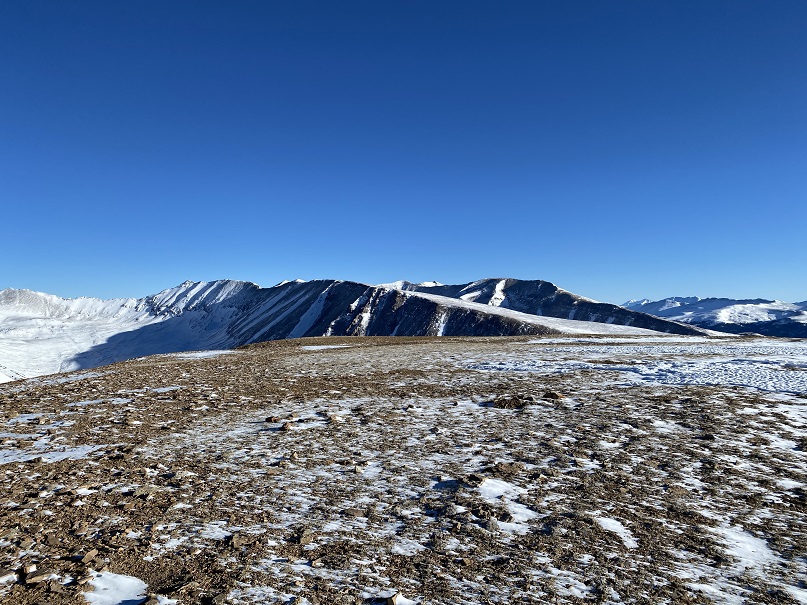
Here’s the final push to the summit
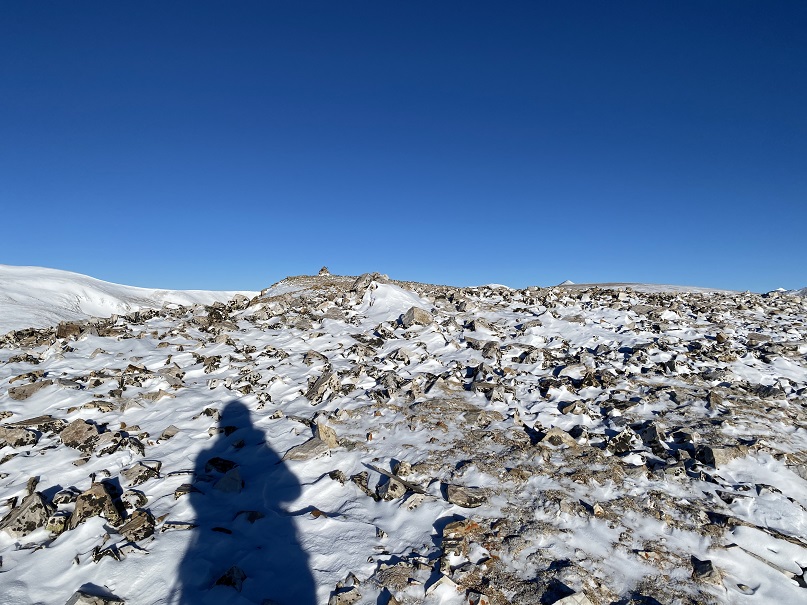
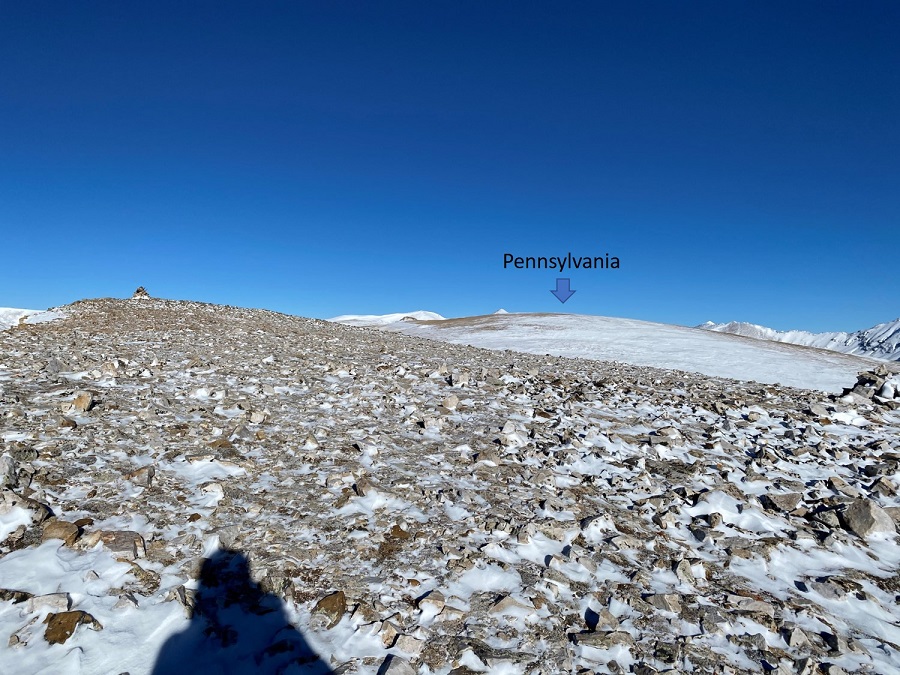
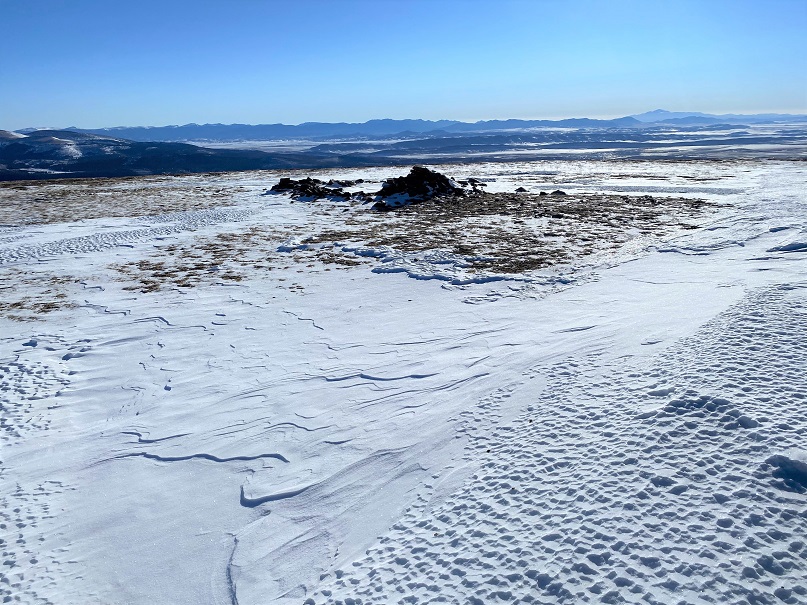
The summit was relatively flat. It was difficult to determine exactly where the true summit was. There was a wind break and a cairns, but they didn’t seem to be at the true high point. I decided to just walk around all over the summit.
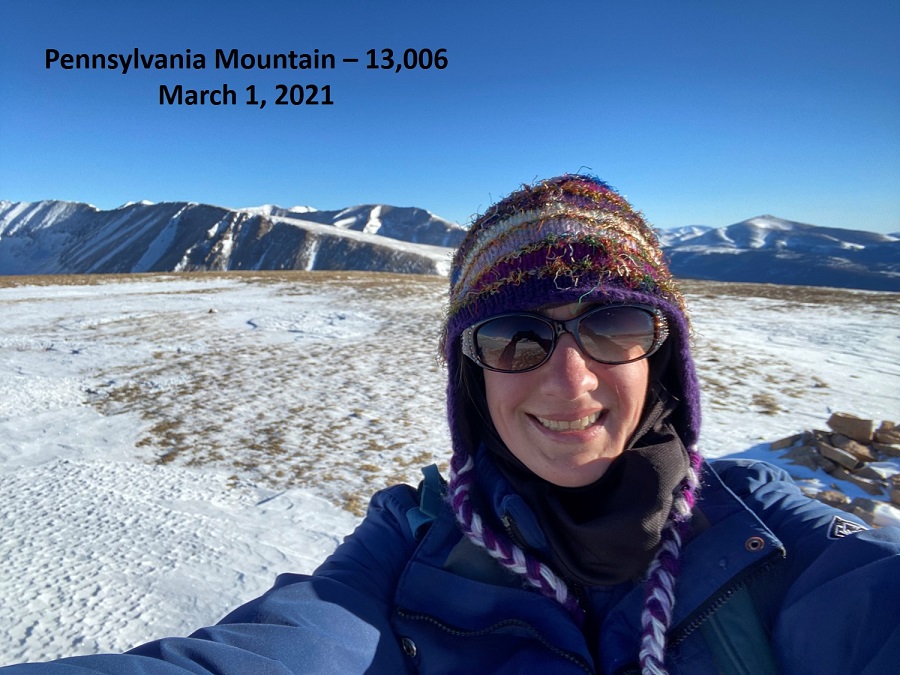
Summit Selfie
Summit of Pennsylvania Mountain
This had been a quick hike so far, and the day was beautiful. I wanted to stay longer on the summit, but I had to get to work. I turned around and headed back the way I’d hiked in
I stopped by the mine on the way back. There wasn’t much left of the structure
Then I aimed for the knob in the ridge
And then headed back down all those small, false summits
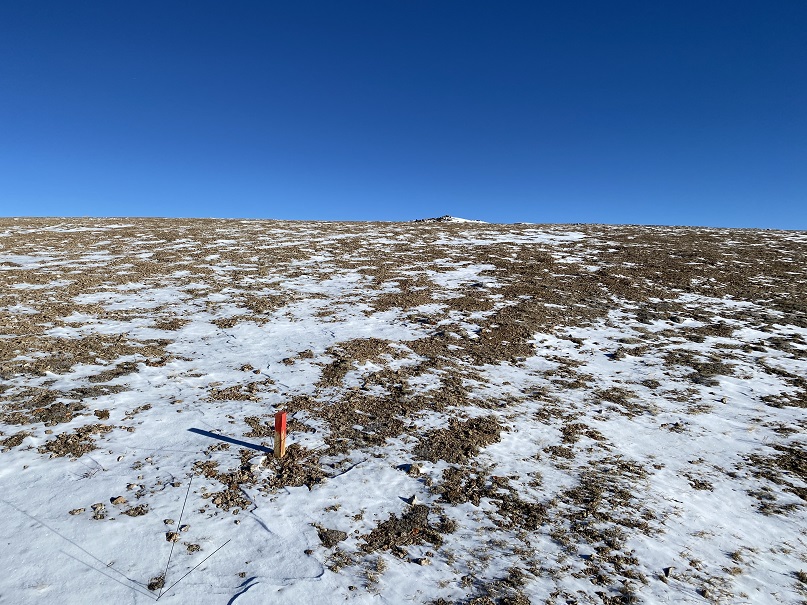
There were numbered markers scattered all over the hillside. I think they have something to do with the mining claims
Back near treeline I put my snowshoes back on and headed through the trees and willows to the parking area.
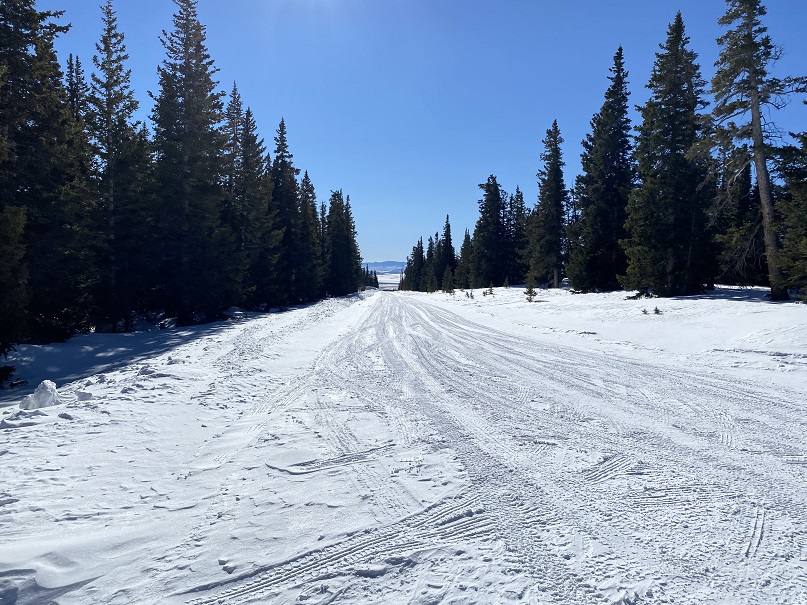
Here’s a look at the road out
I made it back to my truck at 8am, making this a 5.35 mile hike with 1509’ of elevation gain in 2 hours.
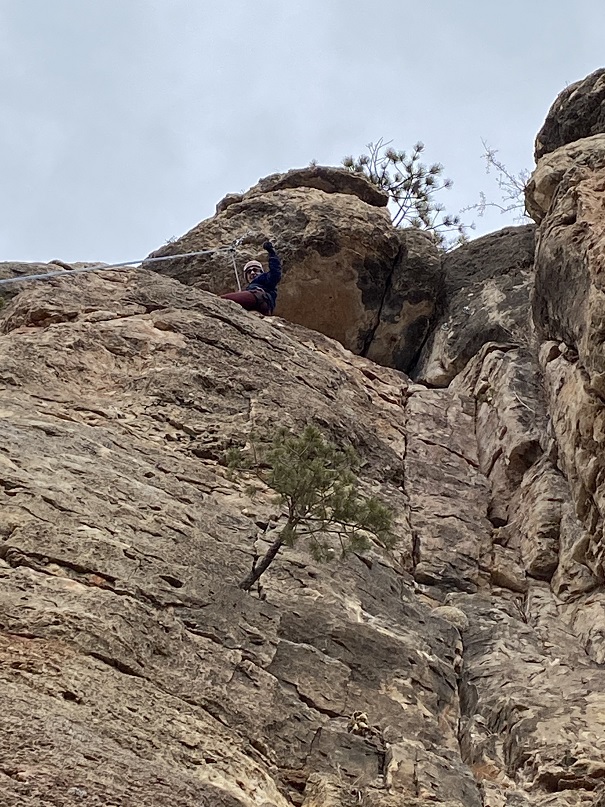
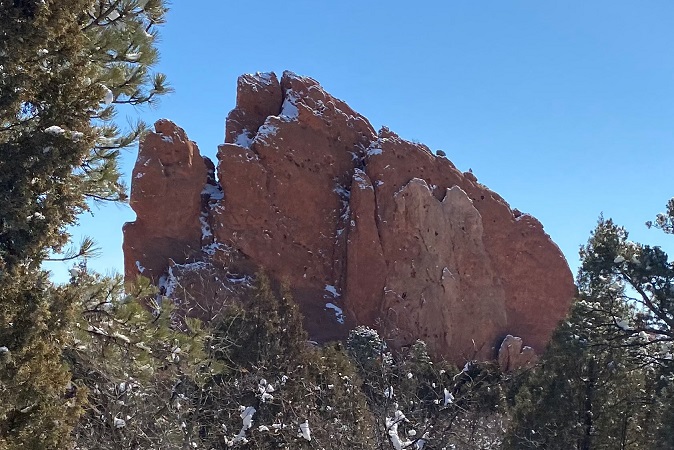
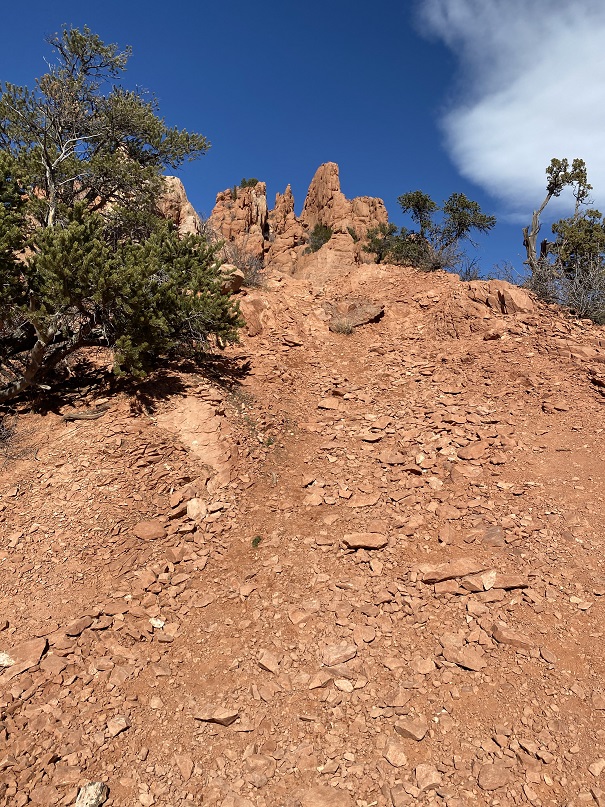
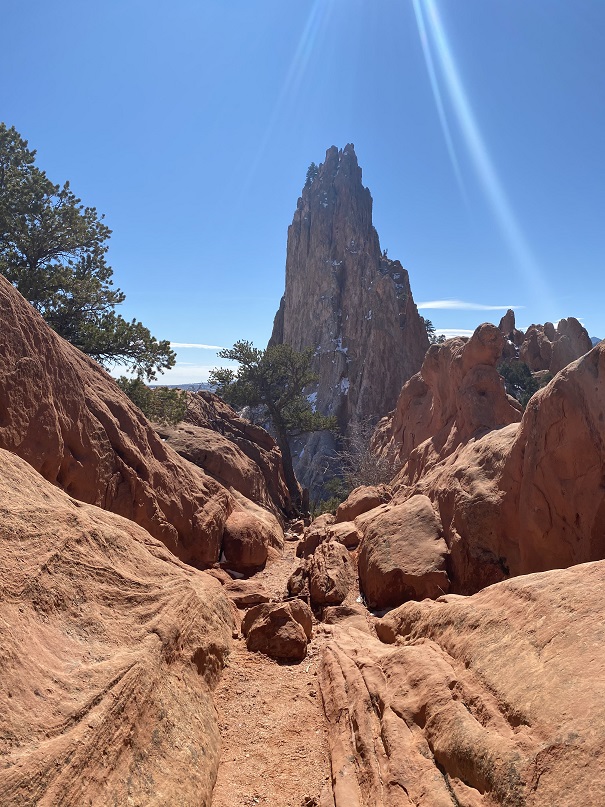
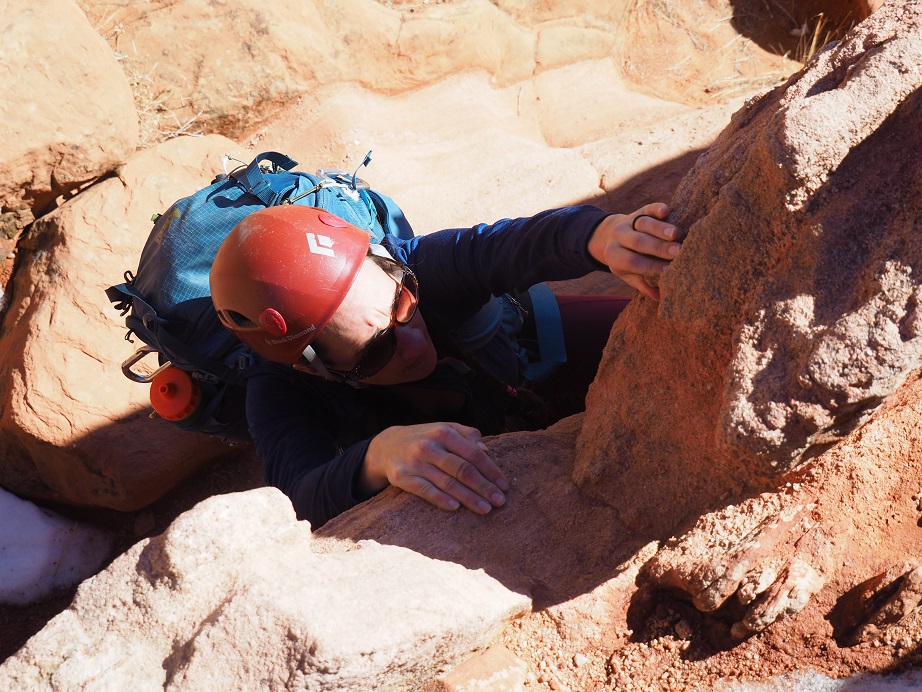
It had been less than a week since the accident at Garden of the Gods, and I was still quite sore, but when Tim asked me if I wanted to go climbing I said yes. I had bruises all over my body, my knees and elbows were scraped up, and my neck was still sore, but I needed to get back in the saddle ASAP, with someone I could trust.
We met in the morning and all drove together (Emily, Tim, and I) to shelf road. This was my first time there: shocking! I know, but I’m more of a solo climber, and if it’s a nice day I’m in the mountains.
There’s a bathroom at the trailhead and lots of loose dogs running around. This seems to be a popular place to bring your pooch. When we arrived it was cold and windy, so we brought extra gloves and jackets and hiked down the dirt road to The Piggy Bank
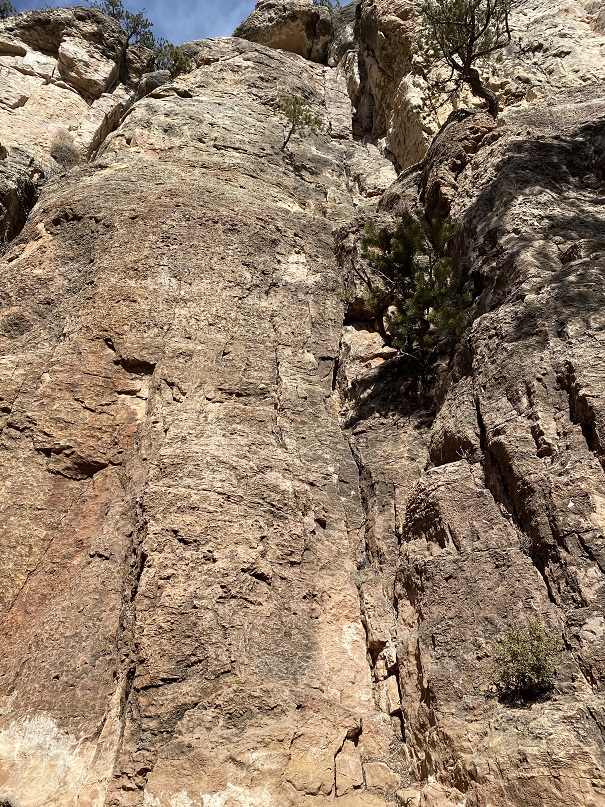
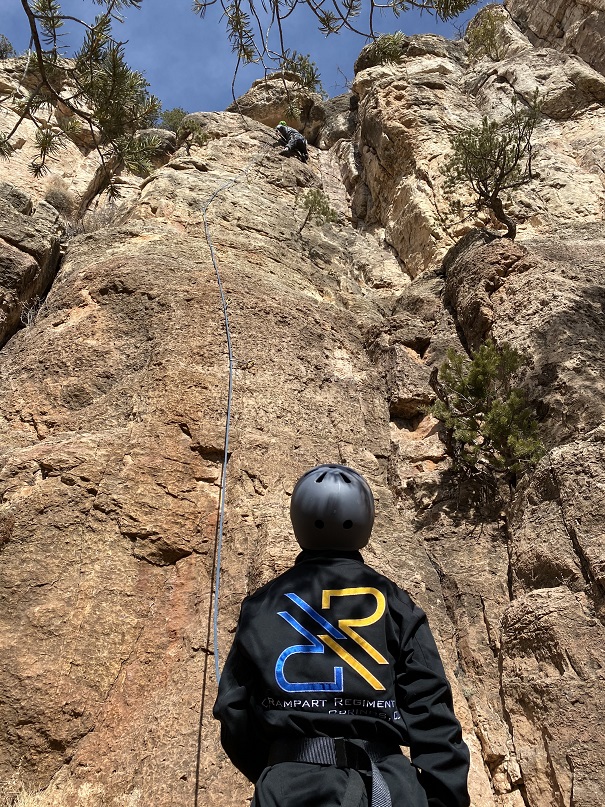
There were a lot of people climbing, but still plenty of spots. We found an empty area, set down our gear, and got ready. Tim asked me to belay him, but Emily wanted the practice, so she belayed while Tim set up the first route.
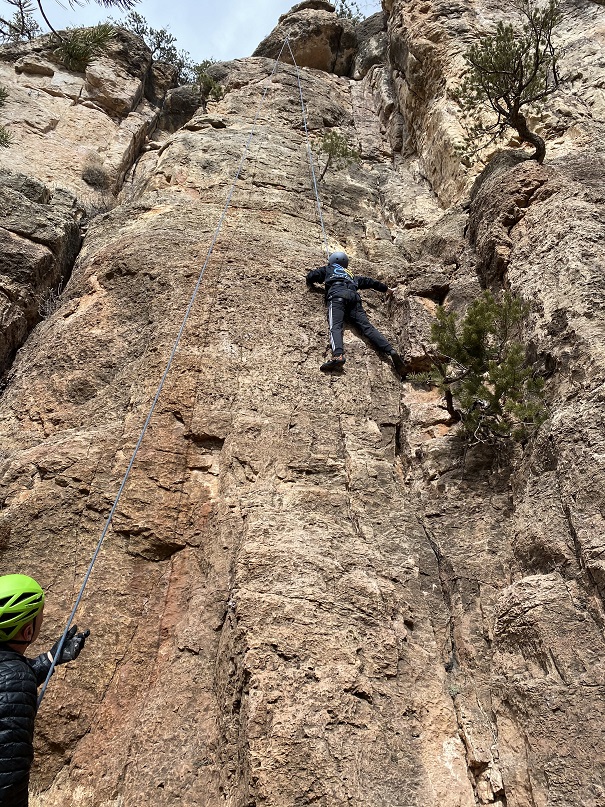
Then it was Emily’s turn to climb. I let her wear my climbing shoes.
Here’s a video of her on her way down (the people next us were noisy)
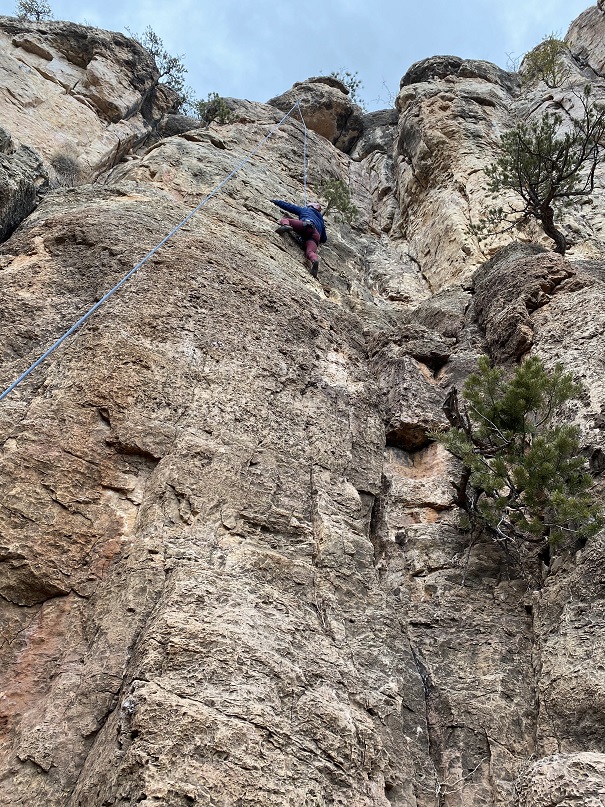
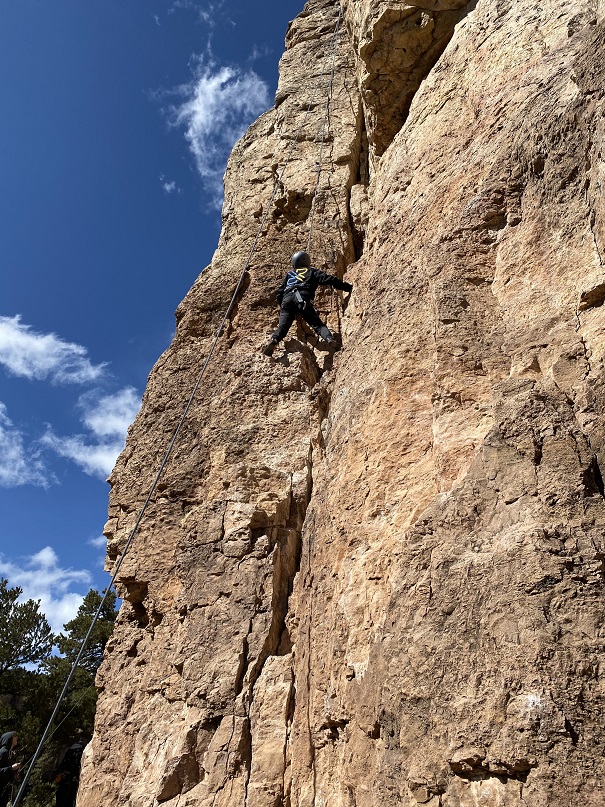
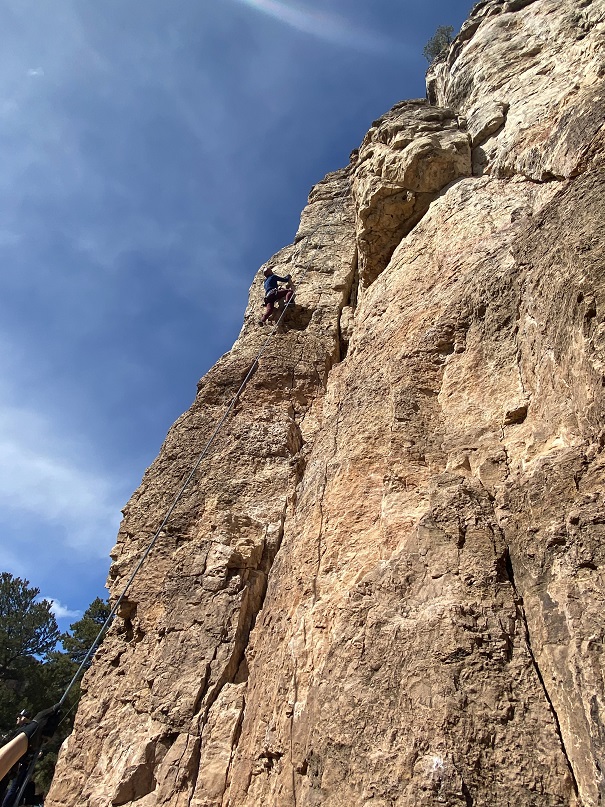
I was up next. I put on my helmet and winced: I had a bruise from wearing it when I fell and every place my helmet touched my forehead was tender. However, I’m proud to say I made it to the top, and back down, without incident!
After my fall earlier in the week I was a bit scared to do this again so soon, but also knew it was necessary. In all, we each got in 3 runs for the day. Tim belayed Emily and I, and Emily belayed Tim (and I helped anchor her while he came back down). It was a great day, warming up as the afternoon went on. I was really glad we made it out! Here are some more picture highlights (the last run was the hardest, but they were all about 5.8).
I was even able to take my jacket off for the last run, which always makes for a great day. Thanks Tim for bringing us out today!
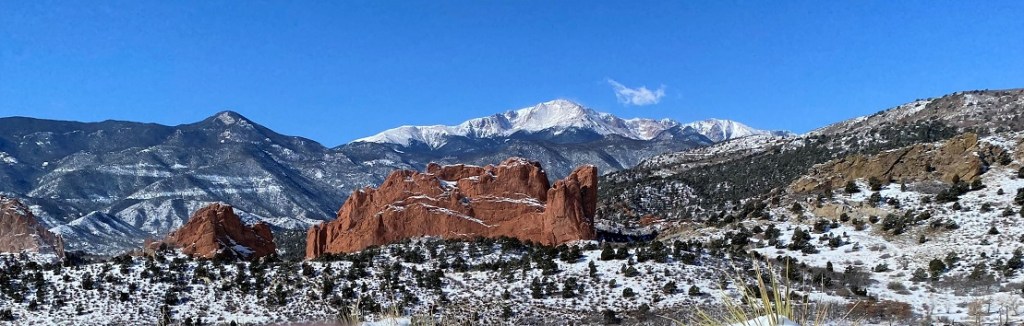
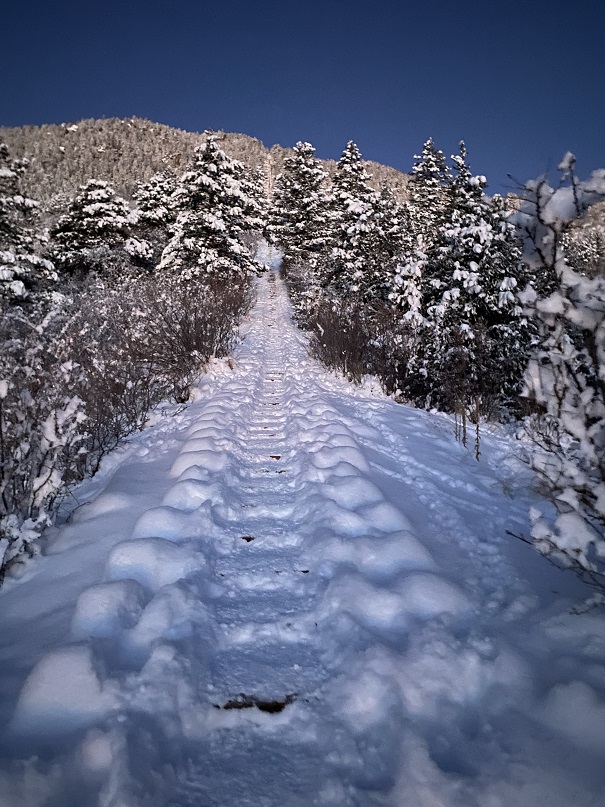
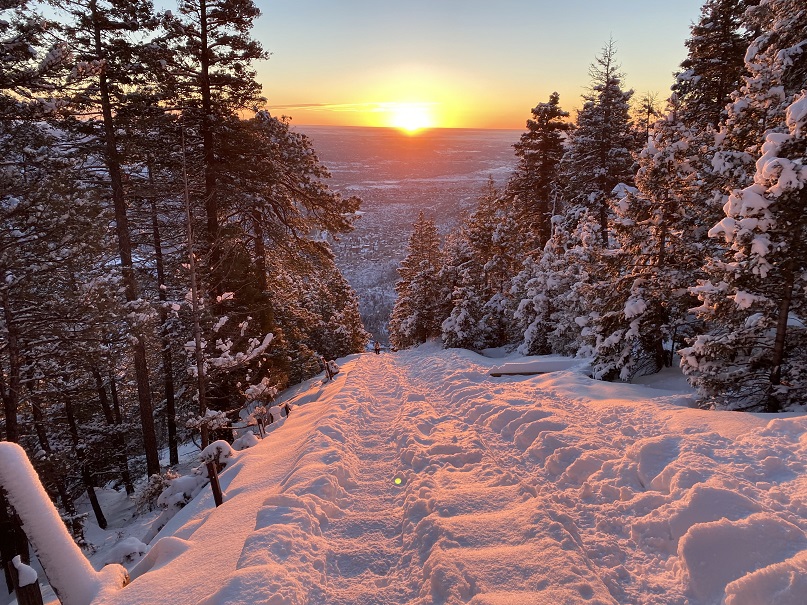
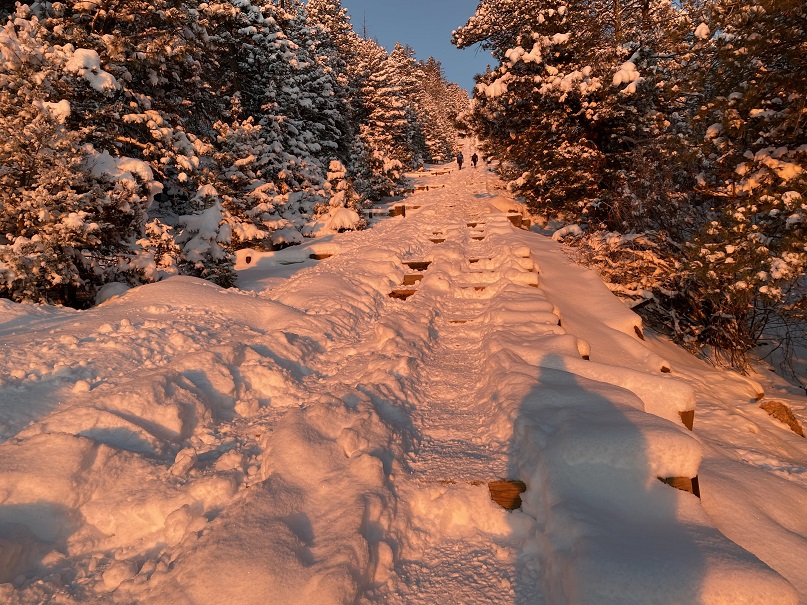
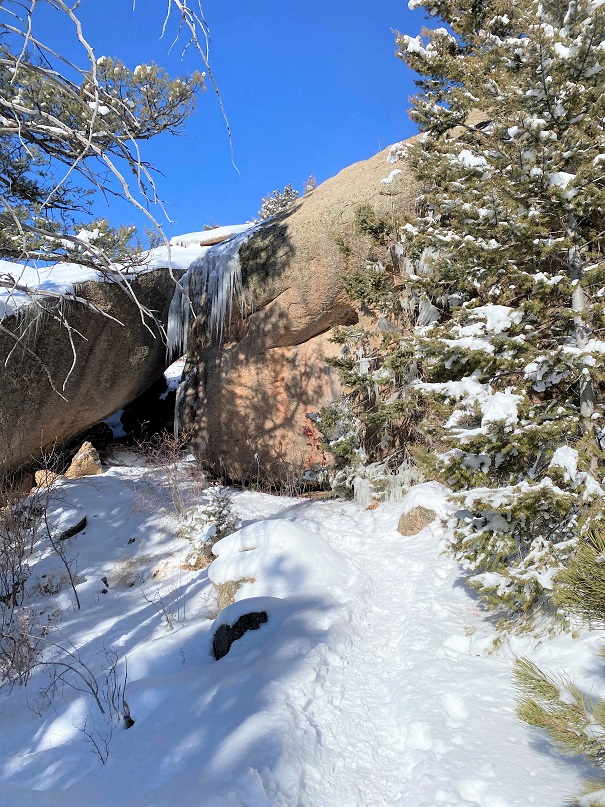
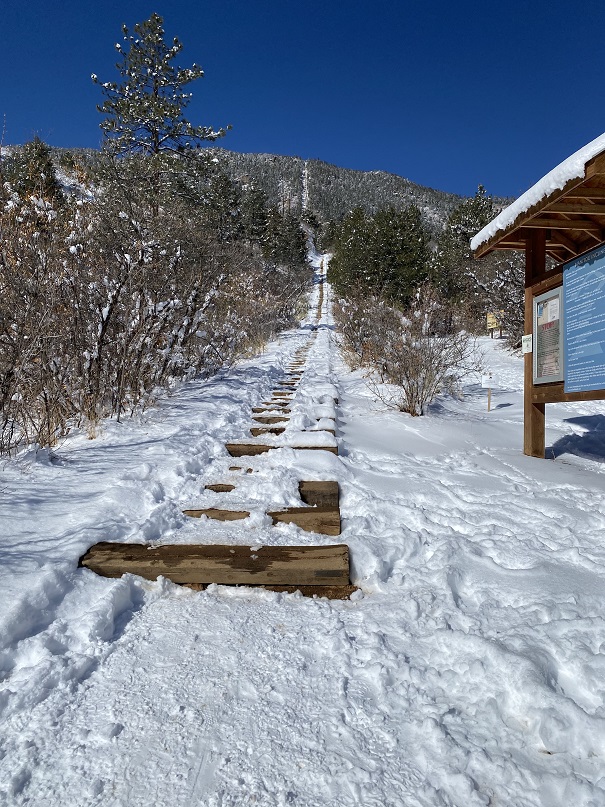
I was still sore from the fall a few days ago, but needed to get out, so I made a reservation to hike the Manitou Springs Incline first thing in the morning. I’ve done this route several times, so I’m just going to show you how beautiful it was that day.
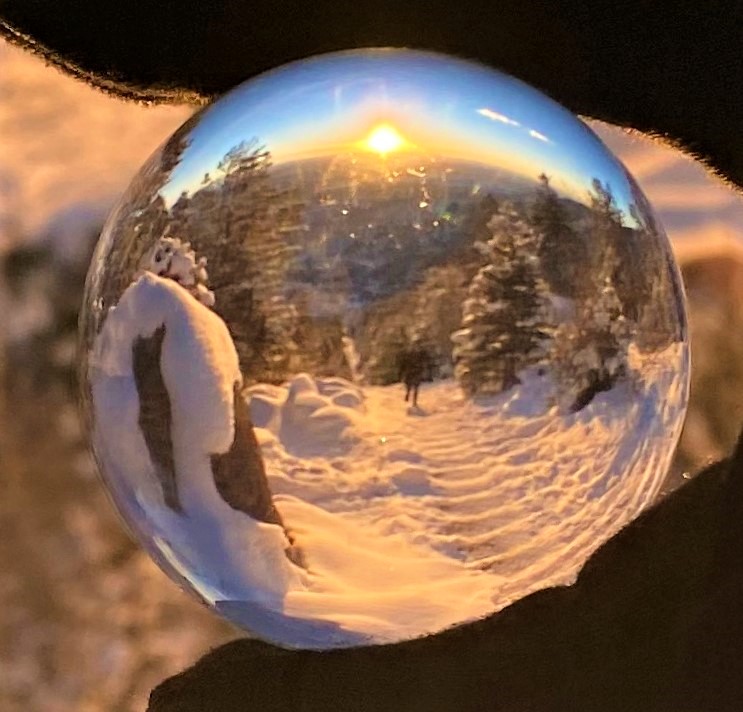
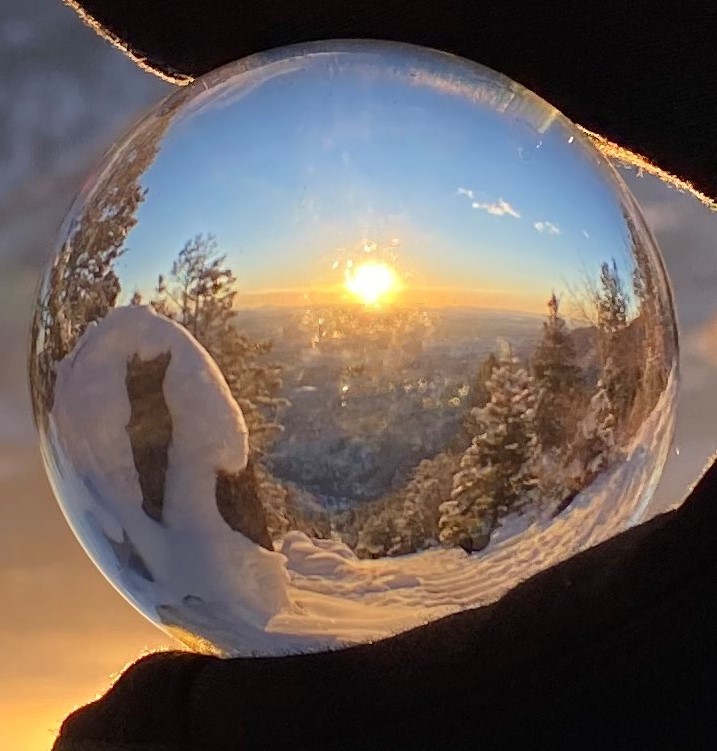
At the top I got some lensball photos of the incline and hikers. There seemed to be a lot of regulars here today.
Then I continued on to Rocky Mountain. I broke trail here, and got another lensball photo of Pikes Peak from the summit
I once again broke trail to Mt Manitou, and then took the Barr Trail down. It was icy everywhere!
Here’s a look at the Incline from later in the day
I’m writing up this accident report to analyze what went wrong and what steps I need to take in the future to make sure it doesn’t happen again.
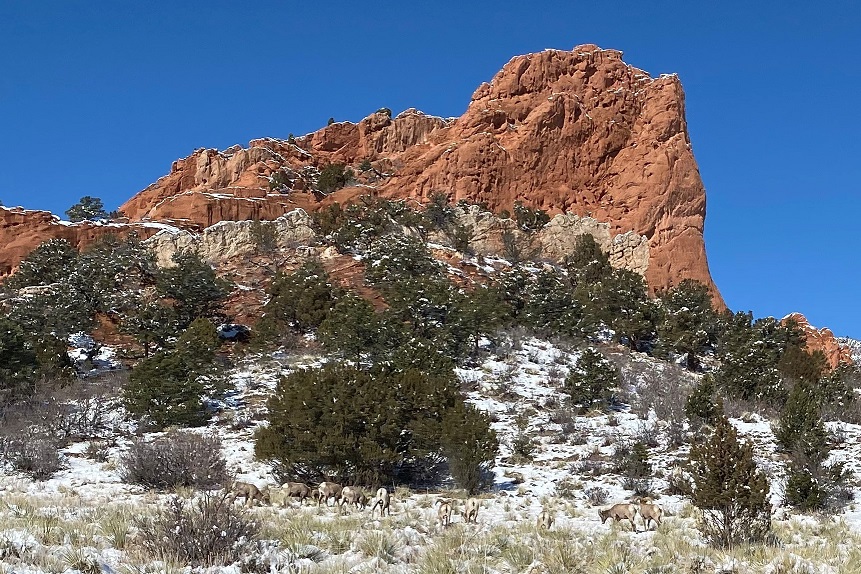
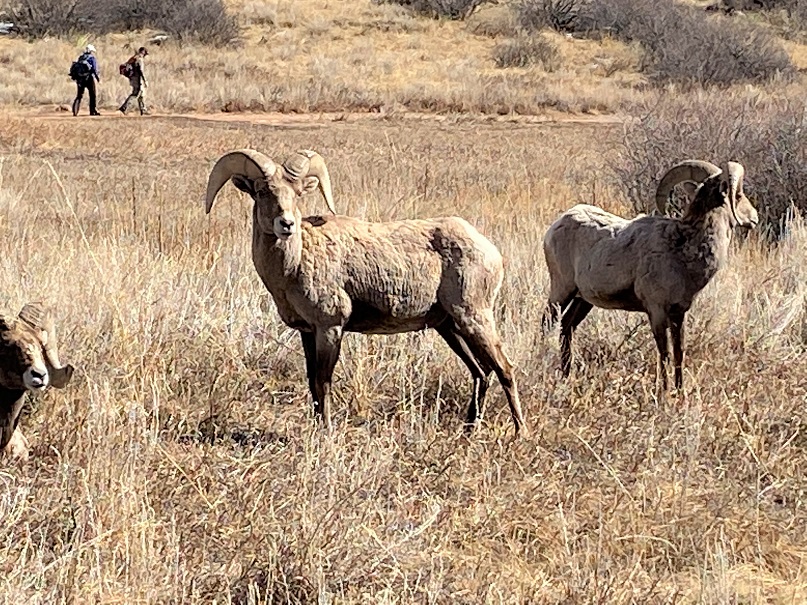
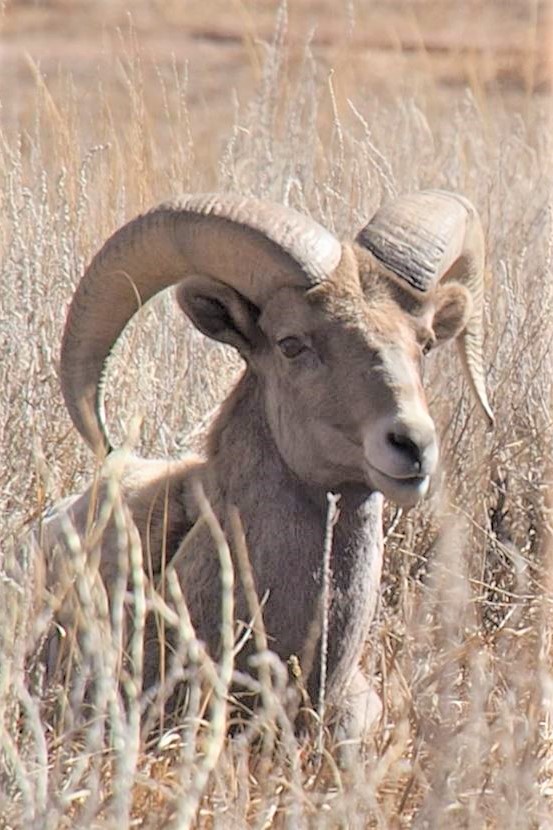
The day before Eric asked me if I’d like to go climbing so he could get some adveture photos. The weather was great, so of course I said yes. I got to the parking area about 10 minutes early so I could put on my gear, but those plans changed when I saw the bighorn sheep. They were quite sociable today, sitting/standing/grazing just off the trail. I quickly called Eric and told him to meet me at the sheep.
I noticed while the Bighorn Sheep were fine with humans, they tensed every time someone walked by with a dog. There were park rangers there to make sure no one got too close. I think it’s funny how when you’re at Waterton Canyon or Garden of the Gods the sheep will stand 10 feet away from you as if you aren’t even there, but if you see one while on a mountaintop they bound away as soon as they see you.
We didn’t stay long because we had some climbing to do. We went back to our cars (we’d unknowingly parked right next to each other) and got out our gear. Eric told me all I needed was a harness and my rope. I asked him if my 60-meter rope was enough? Oh, more than enough he assured me.
Together we walked through the pathways towards West Point Crack. Here’s the entrance
OLYMPUS DIGITAL CAMERA
On the south side there’s a gully to climb up
Here’s looking back from the top of the gully
At the top of the gully is a class 4 climb of about 8 feet
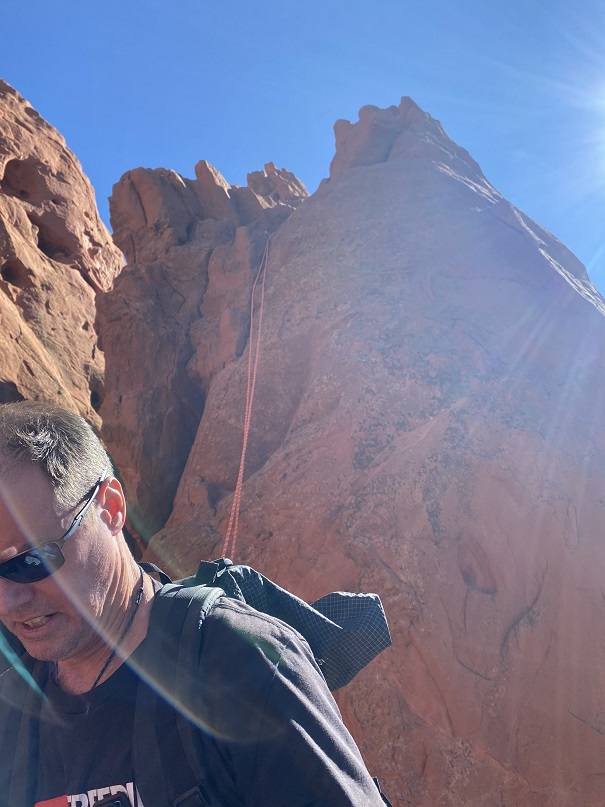
Eric went up first and took a picture of me upclimbing
OLYMPUS DIGITAL CAMERA
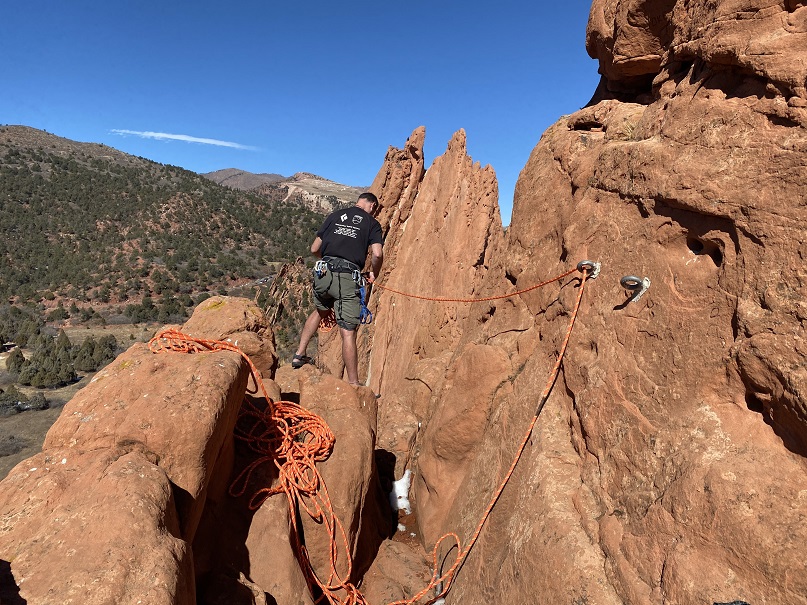
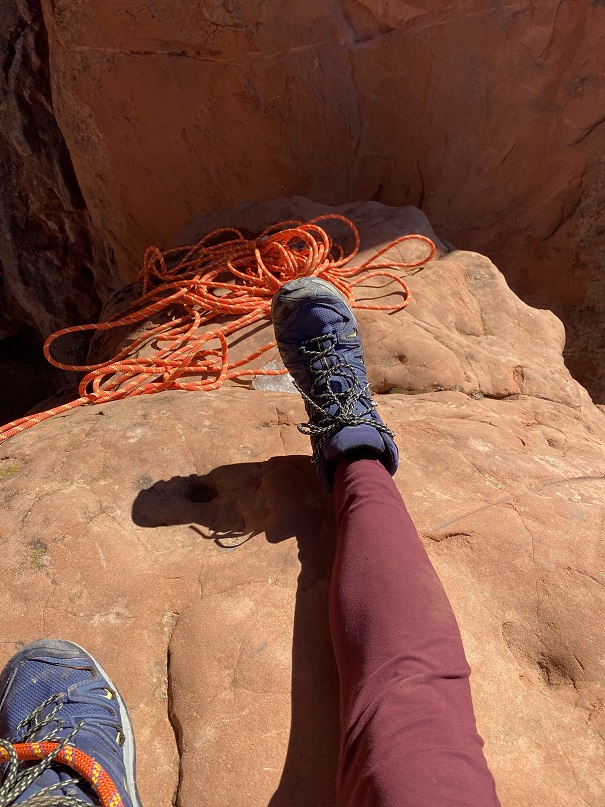
From here we staged our gear. There were two bolts in the wall we were going to use to do the first rappel. Eric told me we’d rap onto a rock, then again to the bottom. He wanted to counterbalance each others weight and have each of us go down on one side of the rope. I’d never done this before, but he assured me it was quick and easy and we were only rappelling about 10 feet or so onto a ledge the size of a kitchen table (it ended up being more like 20 feet). From there we’d clip in, retrieve the ropes, and rappel the rest of the way down.
Here’s Eric setting up the gear
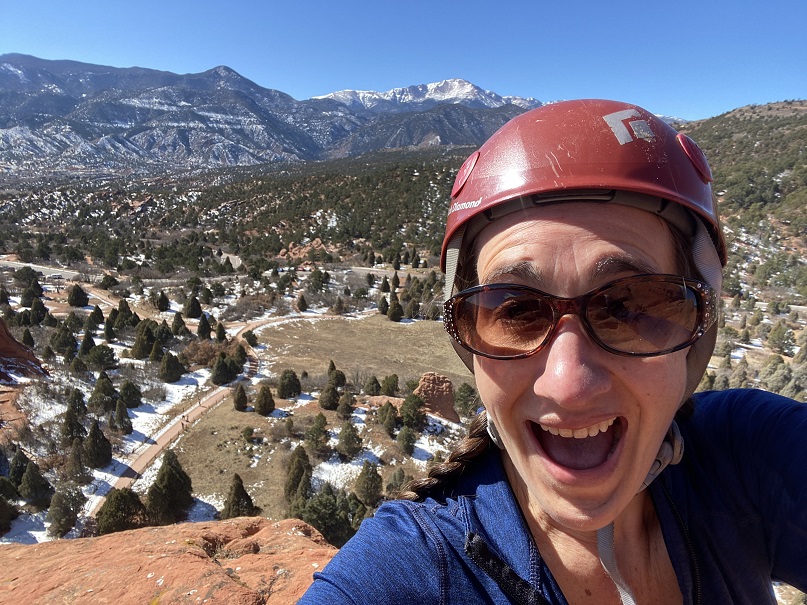
It was a beautiful day, so I took a selfie
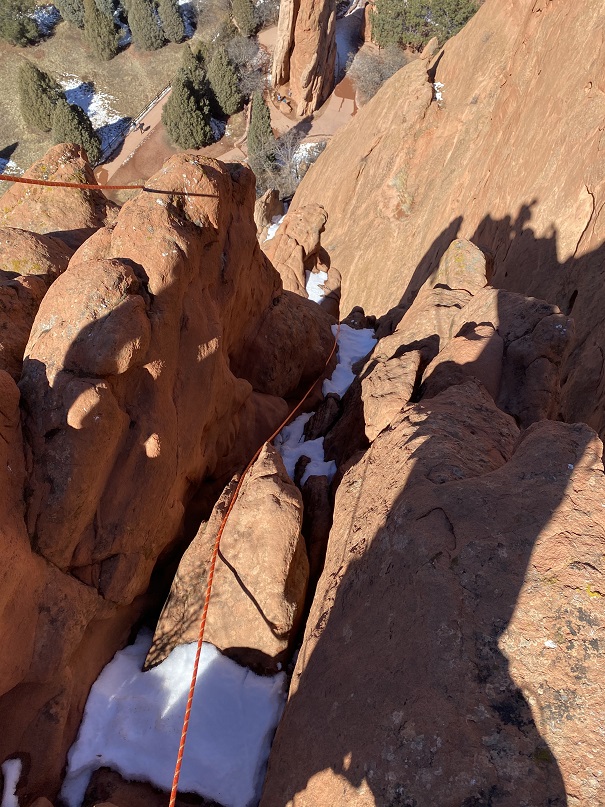
I went over first and Eric stayed at the top (even though we were going to go together?). We rapped off the back side so our ropes wouldn’t get stuck. Here’s looking down
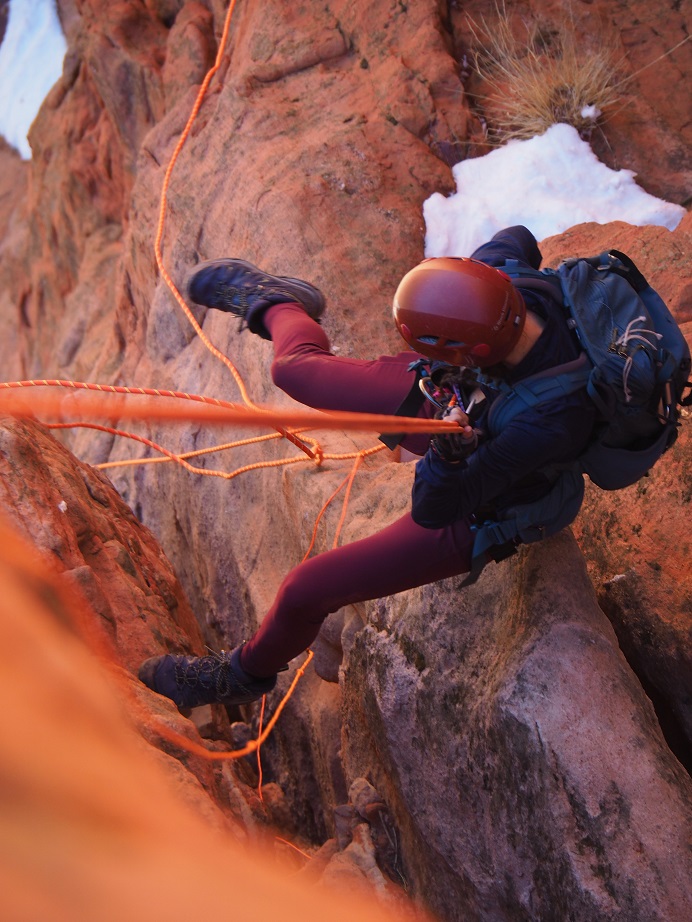
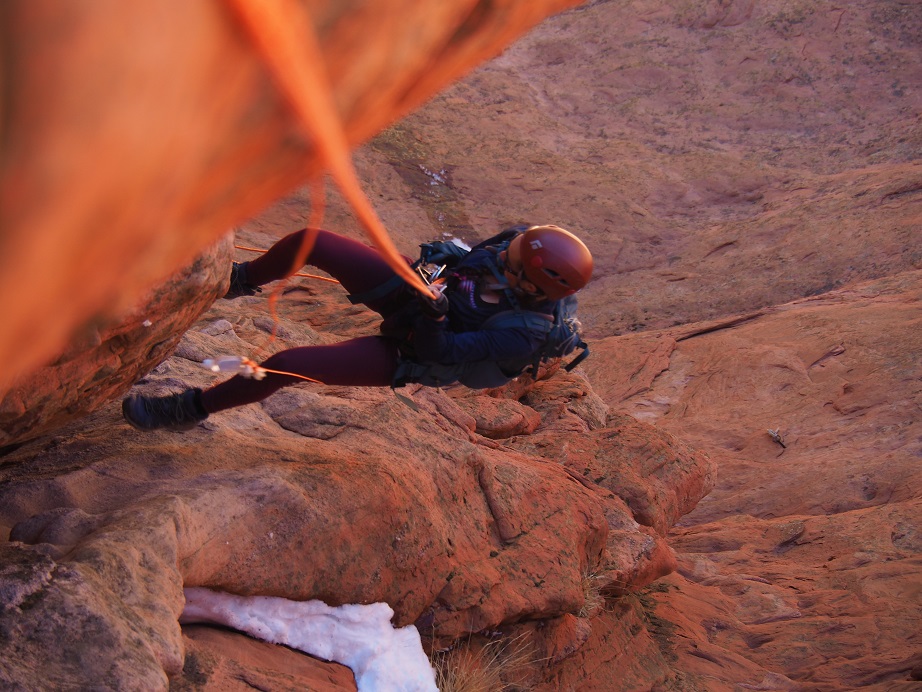
All was going well, until I realized there was a gap in between the rock I was rappelling off and the one I was supposed to land on (which was really more of a spire). Also, the wind picked up and started swinging me around. I ended up rapping further into the gap than I’d intended and more to the west, and since I was only on one side of rope I couldn’t tie off to climb back up. I needed my breaking hand to make sure I didn’t fall, yet I needed two hands to climb.
At this point I knew I had to manage my adrenaline, because if I didn’t I was going to fall and die, and I wasn’t going to allow that to be an option: The rope didn’t go all the way to the ground. It took me a solid 5 minutes (which felt like an hour), but I was able to get a slight grip on the rock (with my street shoes: my climbing shoes I’d been assured hadn’t been necessary were in my pack on my back). I managed to turn myself around and upclimb about 6 feet to the top of the rock and clip myself in. This rock was the size of a small dining room table. I’m guessing 4 feet across. There was snow where I needed to clip in.
I clipped in and calmed my nerves as Eric rapped down, easily pushing himself off the rock and landing on the spire. I was a little jealous: He had the advantage of height and he knew the route. Eric didn’t overshoot the ledge.
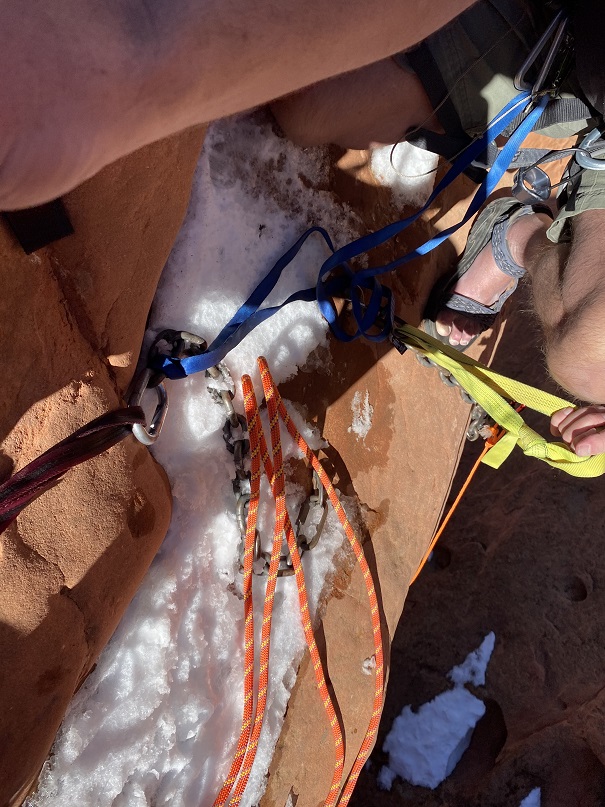
Here I am sitting on the ledge; in front of me, past the rope, is where I’d originally rapped too far and had to upclimb.
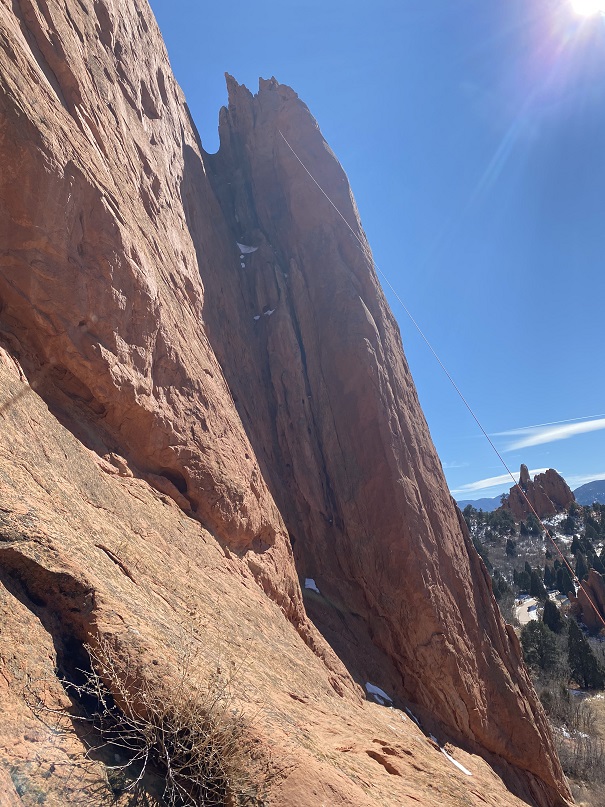
Here’s looking up from the ledge
Eric was practicing ghost anchors, and using paracord to retrieve the rope. This ended up getting messy, and I wouldn’t recommend this technique. We retrieved the rope and set it again, to rap off the back side of the rock again. Eric threw the ropes, and they looked a bit jumbled. He asked me to untie them when I got down to them and throw them down again. I couldn’t see around the spire below, so I asked if he was sure the rope was long enough? (not like there was much we could do about it now) and he assured me they were. I tied knots in the ends. Eric looked at me like I was crazy.
Once again, I went first, but this time with both strands of rope. I immediately felt safer. Eric got some pictures of me on my way down. Unfortunately, his go-pro stopped working (which was kind of the reason we were doing this in the first place) so we don’t have a lot of pictures.
OLYMPUS DIGITAL CAMERA
As I went down, I noticed the ropes were tangled more than I’d anticipated. I came to a place I could sit and untangle the ropes. I didn’t need to re-throw them, as their weight drew them downward.
OLYMPUS DIGITAL CAMERA
I continued my decent. That paracord was kind of a nuisance, but at least the ropes were straight
OLYMPUS DIGITAL CAMERA
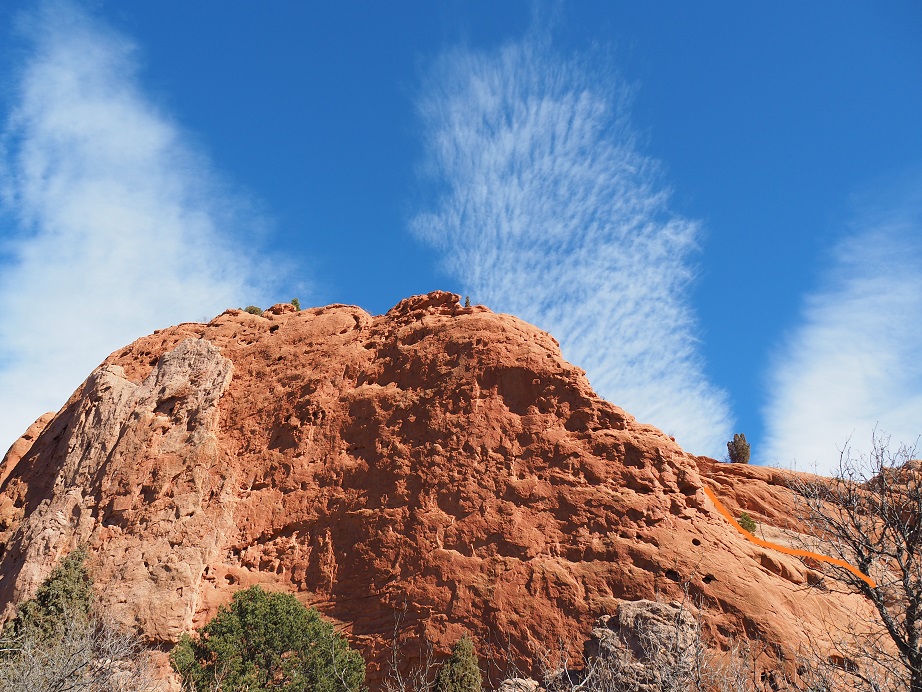
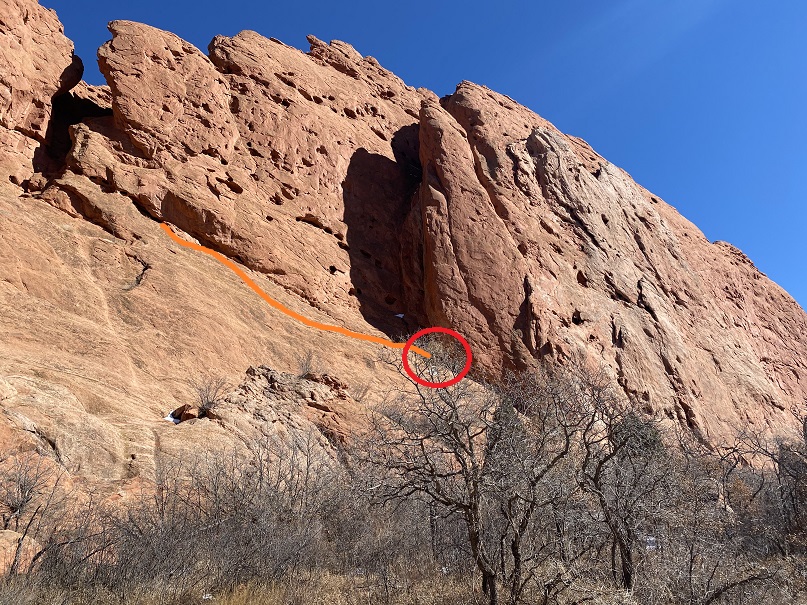
As I rounded the spire I now had a good look at the rest of the route, and to my shock, the roped did not go!!! I wanted to scream! I did notice however, that they landed just even with a very thin ledge (we’re talking maybe 6 inches wide). I was so glad I’d tied knots in the end of the rope!!! I rapped down as far as the ropes would allow, then unclipped and hugged the wall. There wasn’t room for both Eric and I on this ledge, or to be attached to the rope at the same time. I looked around and noticed a goat trail to the left that went up; That route looked a bit sketchy, but safer than where I was. I told Eric I was going to climb to the ledge while he rapped down, then we’d re-secure the ropes for a third time behind the rock I was aiming for and rap down a final time to the bottom. The circle is where the ropes ended, and the line is where I climbed for safety
Here’s looking back from my perch. I felt safe with this plan, because we’d rapped in this area before (after upclimbing to this spot).
Eric made his way down, and started to bring down the rope, but it got caught on something. He spent some time going back and forth on the ledge, trying to dislodge the rope.
It wasn’t working. The rope was stuck, but one side of the rope went all the way to the ground, so we decided to brainstorm.
In the end we decided to have me rap down first, with Eric belaying me from above on the one piece of rope we had. Then I’d fireman belay him down. We had about 25 feet or so below us to get to the ground. Afterwards we’d go back to the car, get another rope, and retrieve the one that was stuck. Eric wrapped the stuck rope around his waist and shoulder for good measure, and after saying “You’re sure you’ve got me?” and Eric replying “Yes” I went over backwards.
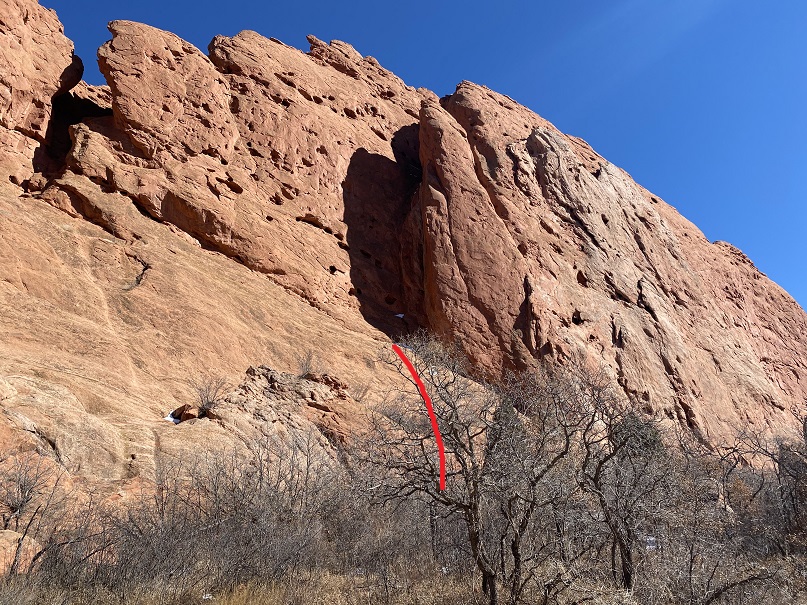
Almost immediately we started tumbling. As soon as I said “I thought you said you had me?!?!?” I noticed he was falling too. We fell together, tumbling and sliding the 25 feet to the ground. Here’s a picture of the line we fell
It all happened very quickly, and as soon as we stopped we both got up and did a head to toe check. Nothing broken, but a lot of scrapes and what were going to be bruises. I looked around, hopeful someone had seen our fall and tell us what had happened, but none of the dozens of park visitors so much as looked our way.
We both thanked God it hadn’t been worse, then talked about what had happened: the rope that Eric couldn’t get unstuck by himself had dislodged under our combined weight.
I’m writing this to process what happened, and to try to prevent it from happening again. Here are some of the things I did wrong:
I didn’t ask enough questions, instead relying on Eric’s experience. I should have asked for more clarification on what we were doing before we started. Had I done so, I would have seen the spire from below I’d be rapping onto, and noted the gap. I most likely would have worn my climbing shoes (they were in my pack, after all).
I wouldn’t have rapped on both sides of the rope for the first rappel. I still have no idea when he wanted each of us on different sides of the rope, since we never rapped together.
I should have put on my climbing shoes from the beginning, but definitely after the first rappel.
I also would have brought two 60-meter ropes and tied them together, instead of relying on one rope and rapping several times. Two ropes tied together would have made it from the top to the bottom, and we only would have needed to rappel once. We had the ropes in the car, but I had only asked if one rope was enough, not if two would have been better (you need to be specific with Eric: I didn’t realize we were rapping 3 times until we were done with the second).
When the rope had gotten stuck, I should have tried to dislodge it. Instead, I never touched the rope and relied on Eric telling me it was stuck. Maybe I could have found a different angle?
I should have insisted the ropes been thrown again, instead of untangling them myself. If I had been solo, I’d have thrown them as many times as it took to get a straight line. Also, the paracord thing stunk. It just made things tangle. Seems too risky to me.
Instead of rappelling down the last time with Eric standing I should have had him sit to belay me, or I should have put on my climbing shoes and downclimbed carefully (although, to be fair, I thought the rope was the safer option because I believed it to be stuck).
I’m sure I’ll be adding to this list.
In the end, I figure I’m better solo because I do my research and go over safety over and over again. When I go with someone, I rely too much on them being the expert, forgetting not everyone is as detail oriented as I am.
I’ve hiked Mays Peak and Kineo Mountain several times, but always through North Cheyenne Canyon. They’re currently working on the road to North Cheyenne Canyon, so I decided to hike these peaks via Bear Creek. I’ve ever been to Bear Creek before, so I thought this would be fun.
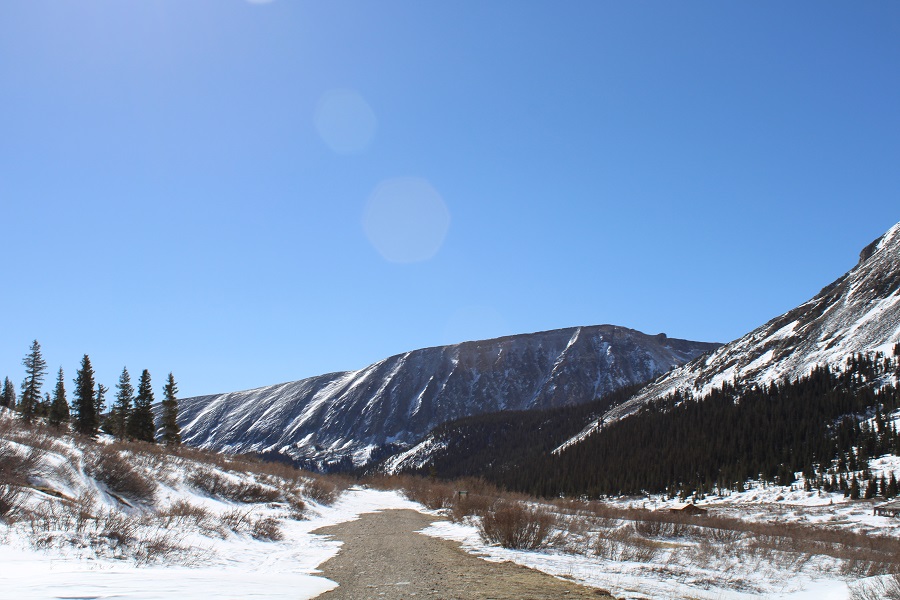
I parked at pull off 3 and was on the trail at 6:15am.
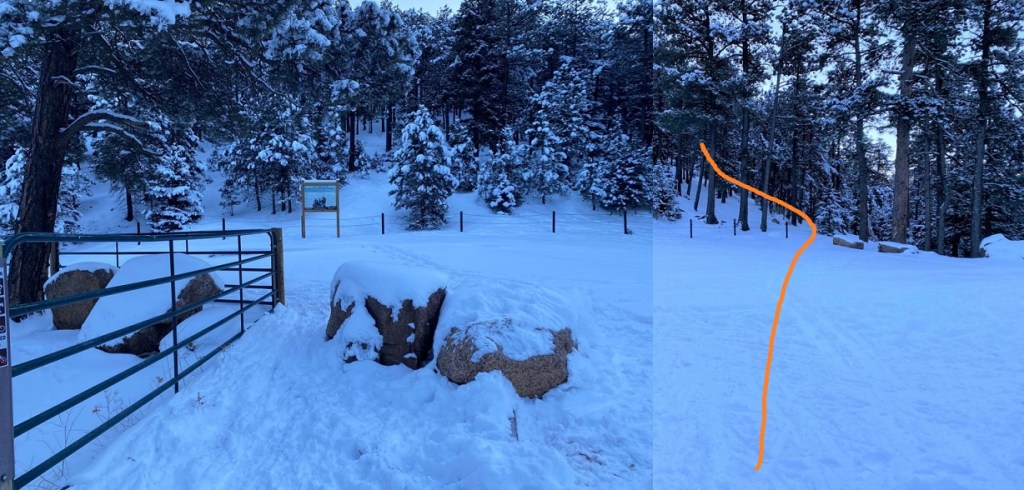
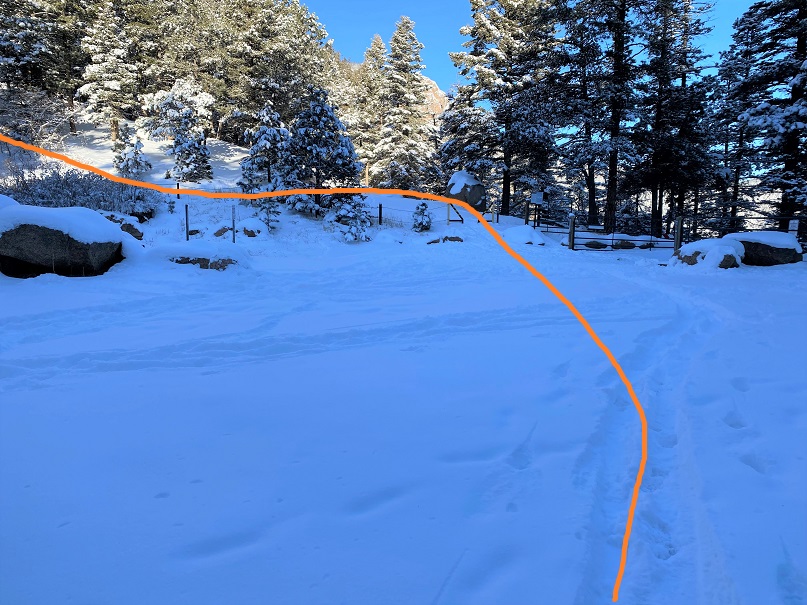
I passed through a gate and followed the road
I came to a second gate, and continued on the road
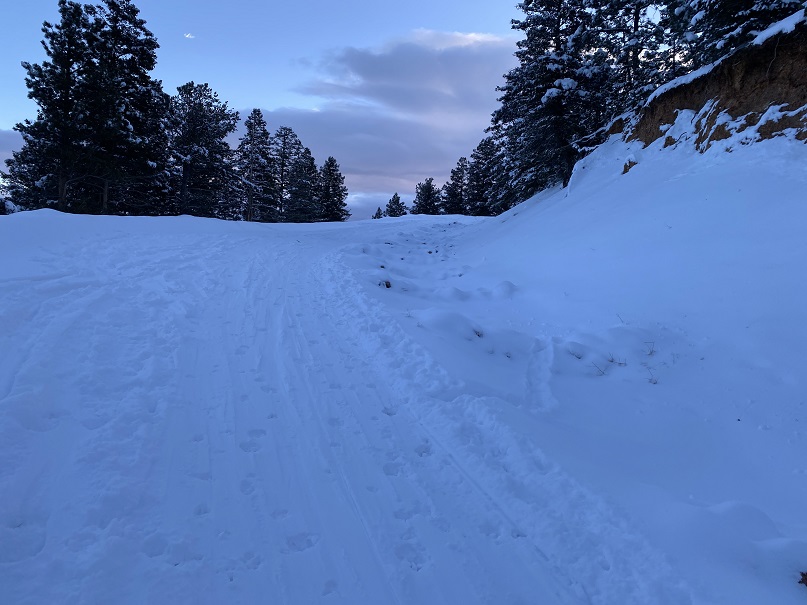
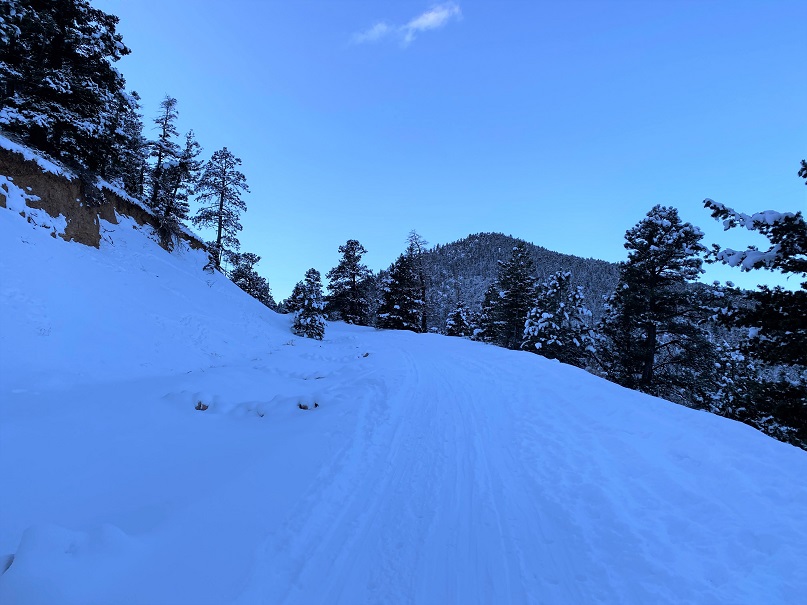
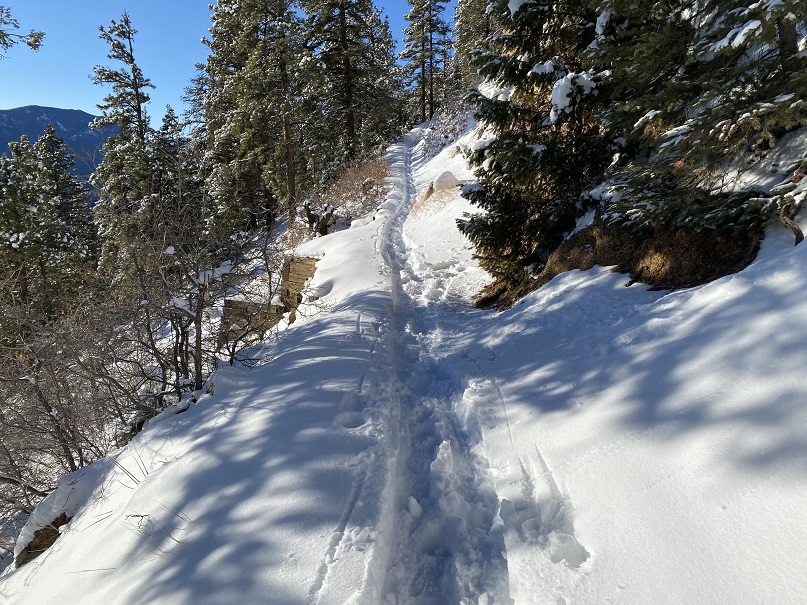
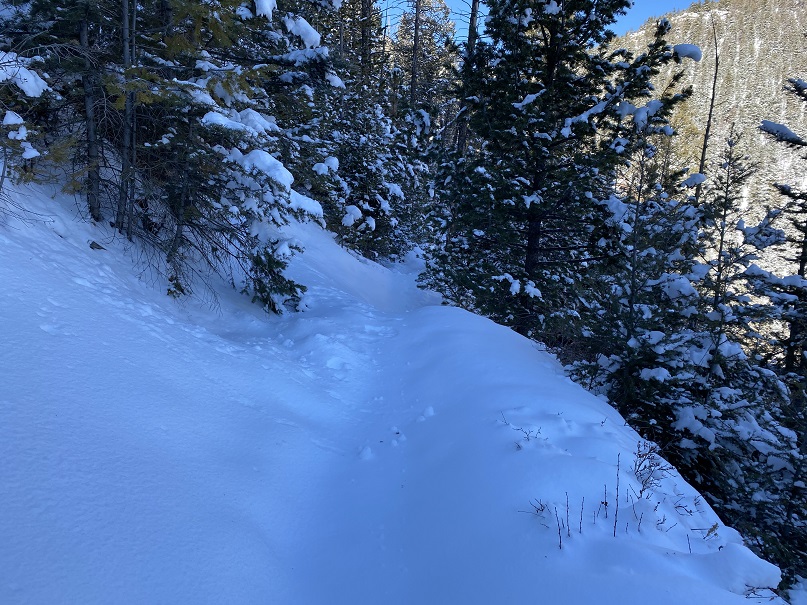
The trail follows High Drive, a dirt road, for 2.6 miles. It had recently snowed, but it seemed yesterday several skiers packed it down after the snow had subsided.
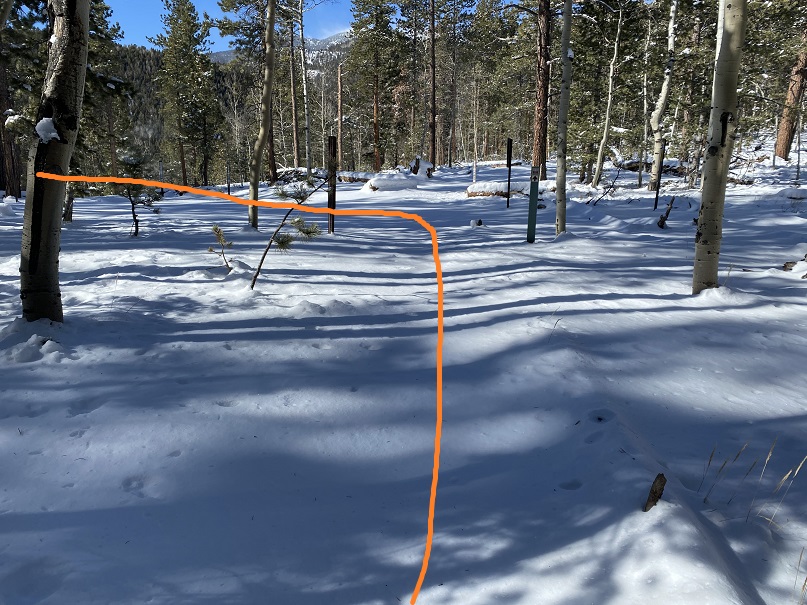
After hiking 2.6 miles I came to the saddle of Mays Peak and Mt Buckhorn (unranked). Here I turned left and was pleasantly surprised to find a boot pack on the trail to Mays Peak
This trail didn’t go all the way to the summit, but instead wound around the mountain. At the southernmost point I left the trail and made my own trail to the summit, heading north up the hillside.
This is an easy summit, especially if you’ve summited before. No one had been here since the recent snow, so there were no tracks on the summit.
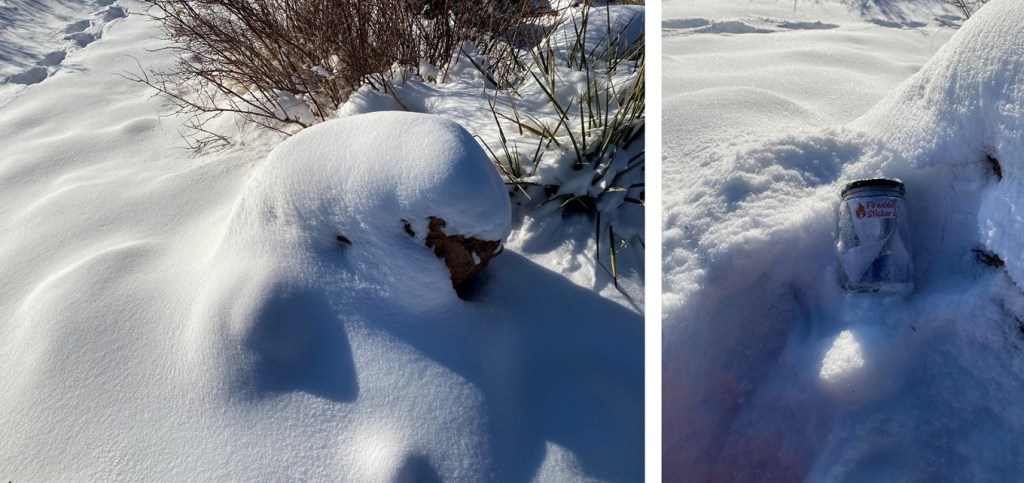
A few weeks ago I dropped a summit register off, so I went to go check on it. It was buried under some snow; I took it out and placed it on a rock. Still looking good!
The tree is still decorated for Christmas. I wonder if it’ll be decorated all year long?
I followed my tracks back down to the trail, and to the Buckskin/Mays Saddle
From the saddle I took Trail 667 southwest
I was delighted to find this trail also had a boot pack
Well, at least it had tracks for a little while. It seems the hiker ahead of me at some point got tired of trenching and turned around. So I started trenching.
I followed/trenched Trail 667 for 3 miles, until I made it to the 668/622/667 Junction. Here I turned left and headed east towards the summit of Kineo Mountain.
Did I mention the wind? It was very windy all day, even though I was below treeline. Since it had snowed recently, the wind blew all the snow off the trees. This snow kept hitting me in the face.
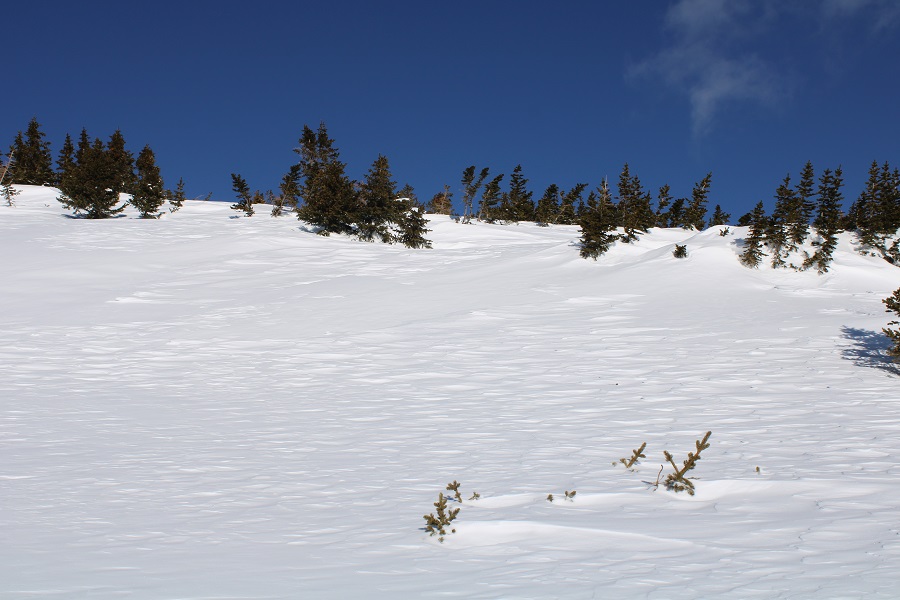
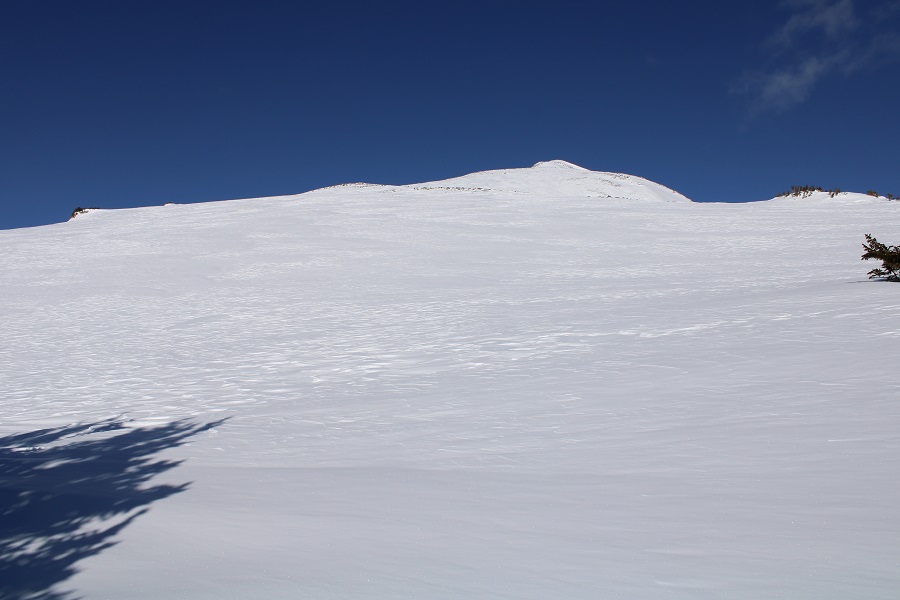
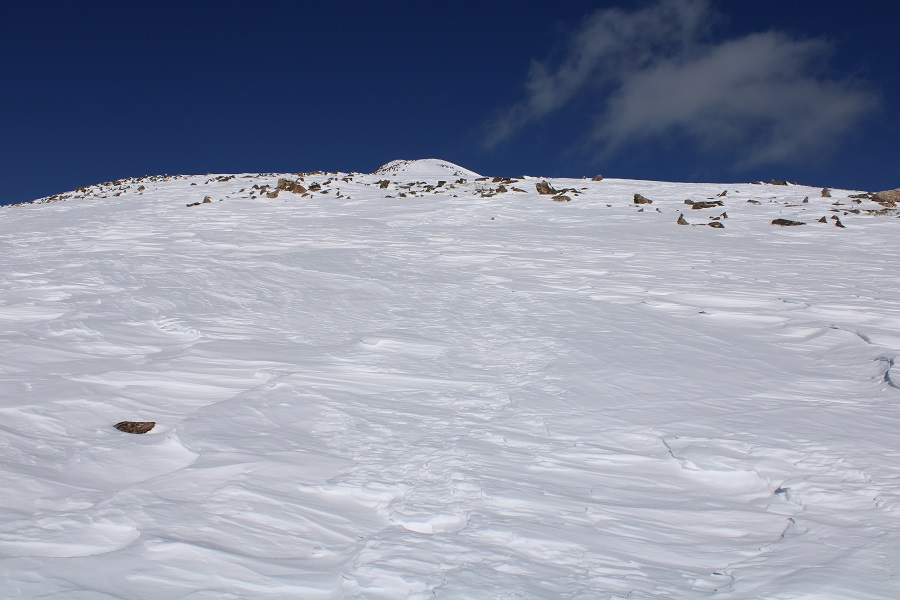
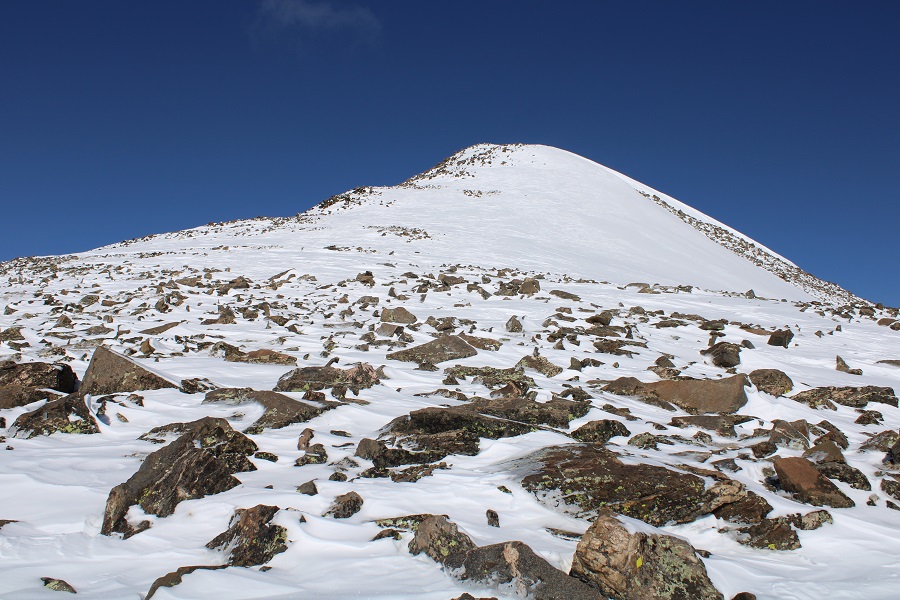
Here are some pictures of the way to the summit. I just kept trekking east
I made it to the summit and looked for the summit register, but it was buried somewhere under all that snow and I was unable to locate it.
The trek back was much easier than the trek in, as I just followed my footprints back to the Mays/Buckskin saddle
It was still windy
And it was warming up, so ice was getting stuck in my microspikes
I made it back to the saddle and took the road back to the trailhead. Here I saw more skiers hiking up the trail, a few dogs, and a man pulling a sled with a bunch of rocks in it so it would carry him down the mountain faster in his sled. I pointed out to him there were probably rocks at the top.
I made it back to the trailhead at 12:30pm, making this a 14.36 mile hike with 3659’ of elevation gain in 5 hours, 45 minutes.
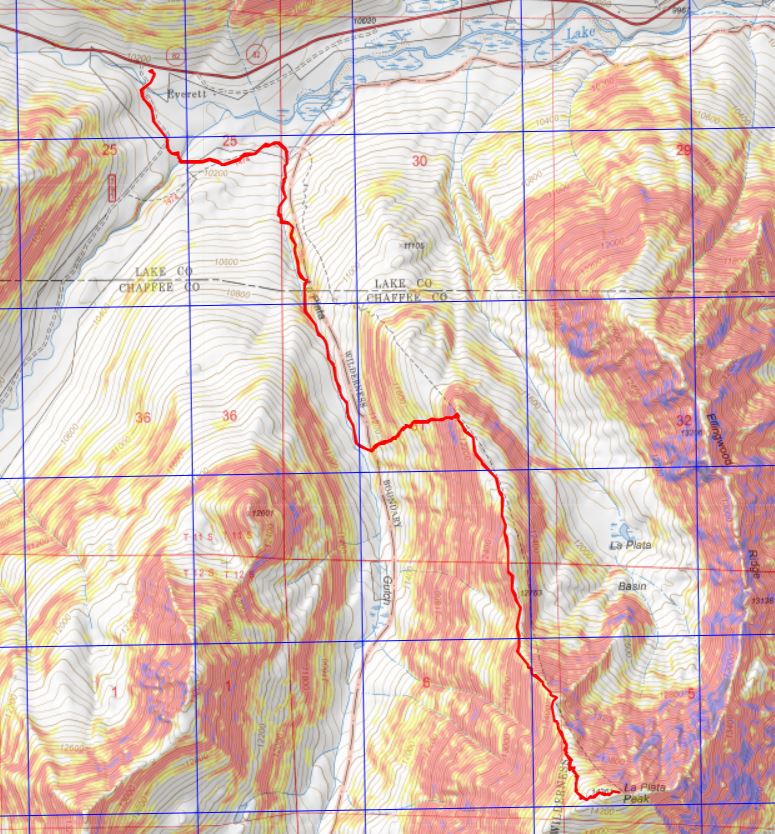
I’ve already done a detailed trip report on this route, so I’m just adding pictures and some notes/a story for today’s hike. Funny thing: It’s been almost exactly 2 years since I’ve done this hike. The end of January seems to be a good week for La Plata in winter.
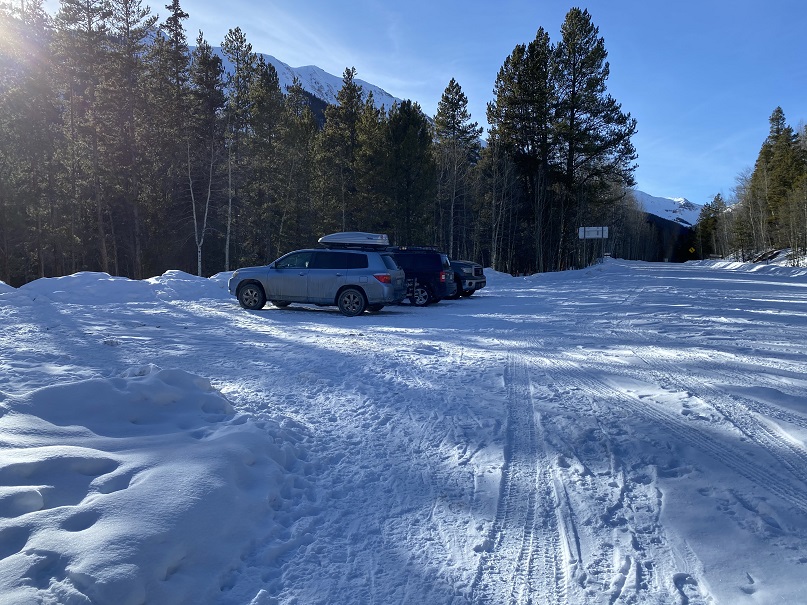
I was really, really tired on the drive in, so when I got to the trailhead I decided to take a 20 minute nap before starting. I was also hoping someone else would arrive so we wouldn’t be the ones doing all the trenching: no dice. We started out at 6:30am, and were the only ones in the parking area, so we had no hopes of anyone trenching before us.
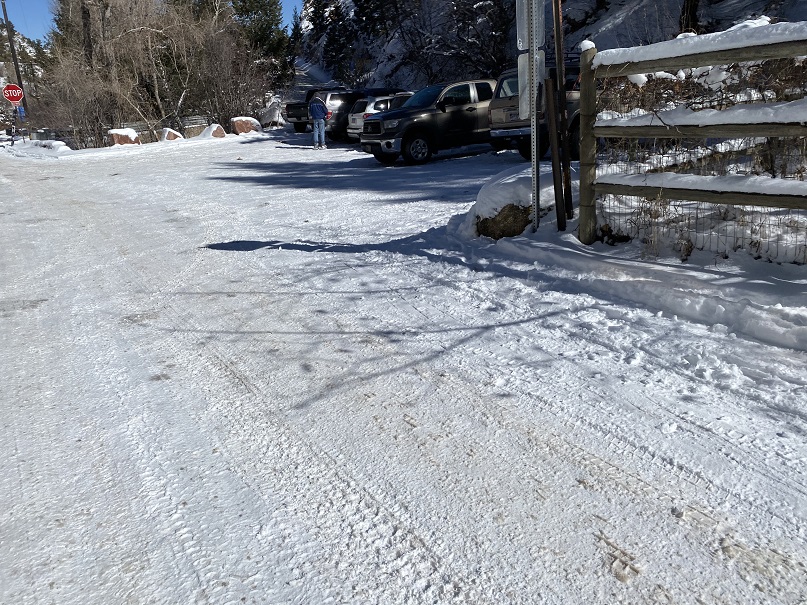
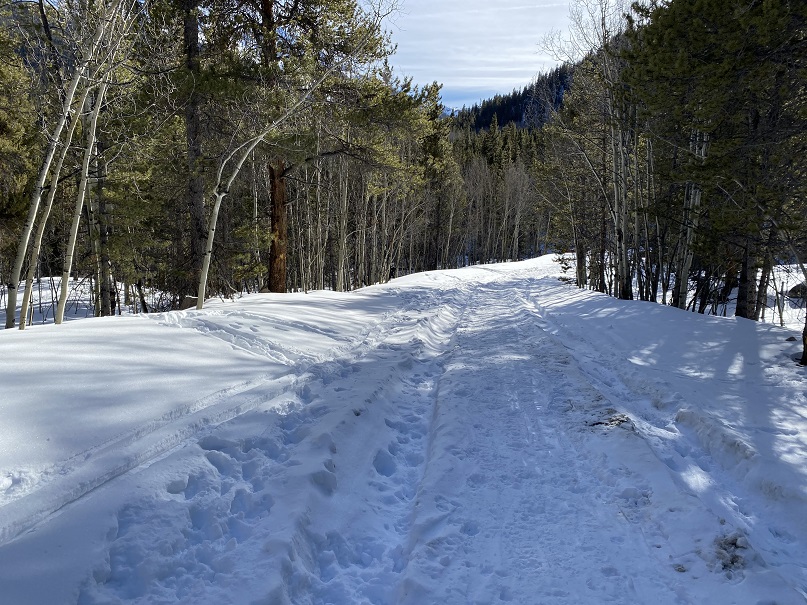
I put on my snowshoes at the truck, knowing I’d eventually need them and not wanting to take off my gloves to put them on. It was -2 degrees when we started hiking. I kept the snowshoes on for the entire hike. We started out following road 391 to the trailhead. This was a well packed down road, but not in the beginning. It looked like someone had tried to drive the snow packed road. They made it across the bridge, then obviously backed up. Funny: that was probably the hardest part of the road.
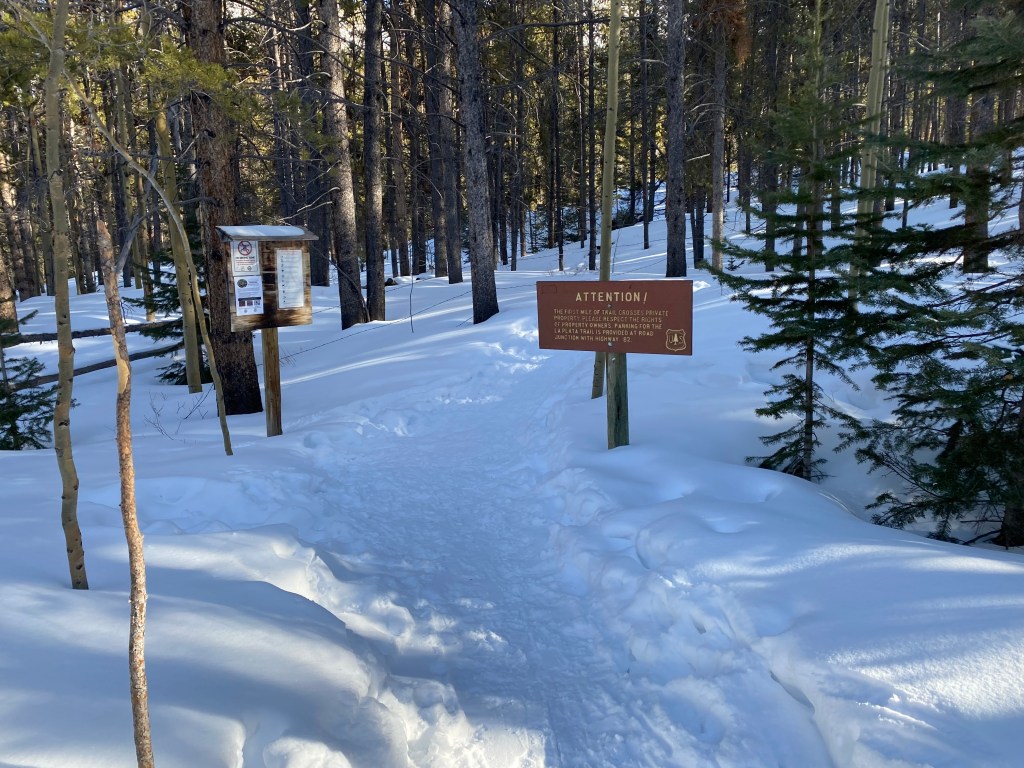
Here’s the trailhead. Note, there’s private property all around: stick to the trail
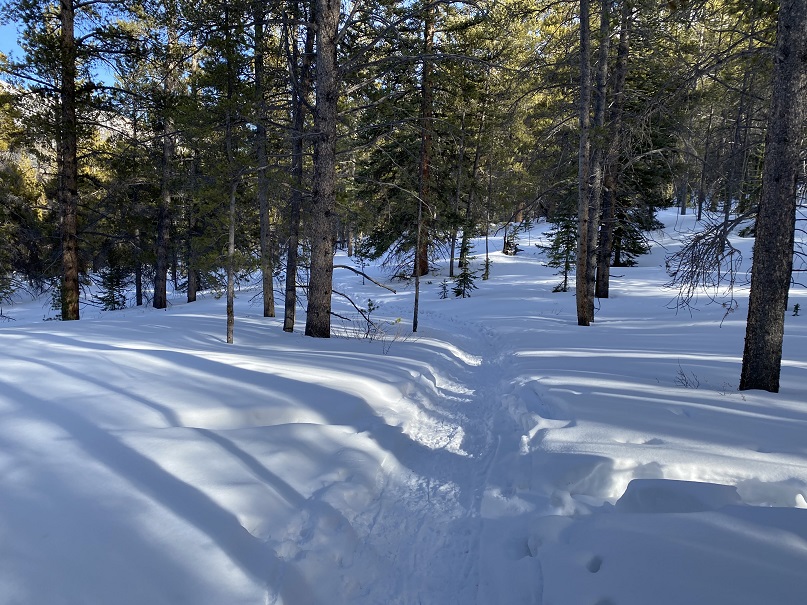
The trail was trenched! Woot! We followed the trail a short ways, and check this out: An old cabin! This is my 5th time on this trail and I’d never see the cabin before. On our way back we spent some time trying to figure out how old it was by looking at the boards, logs, chinking, etc.
On we went, following the trench as it wound through the trees and across the log bridge/through the willows. From here, it’s all uphill.
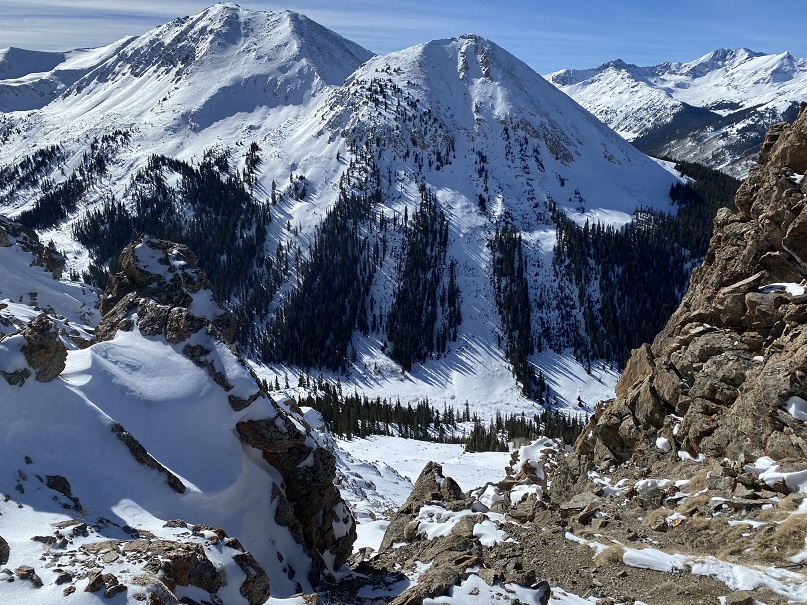
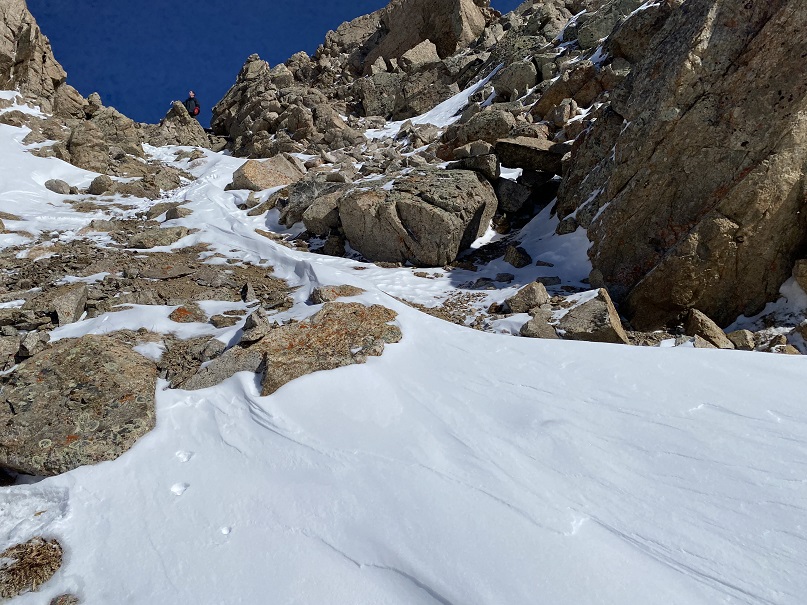
We were following the summer route, and I kept looking for a trench indicating the winter route, but we never came across one. It’s my goal this year not to let a good trench go to waste, so we decided to follow the summer route to the basin and see if we’d be able to summit this way. We hiked on some seriously steep slopes below treeline, where a slip off the trenched trail would send you sliding quite a ways into the drainage below. The trench ended as soon as we made it to the basin, so we decided to make our own trench up the ridge to the headwall. Here you can see our basic route
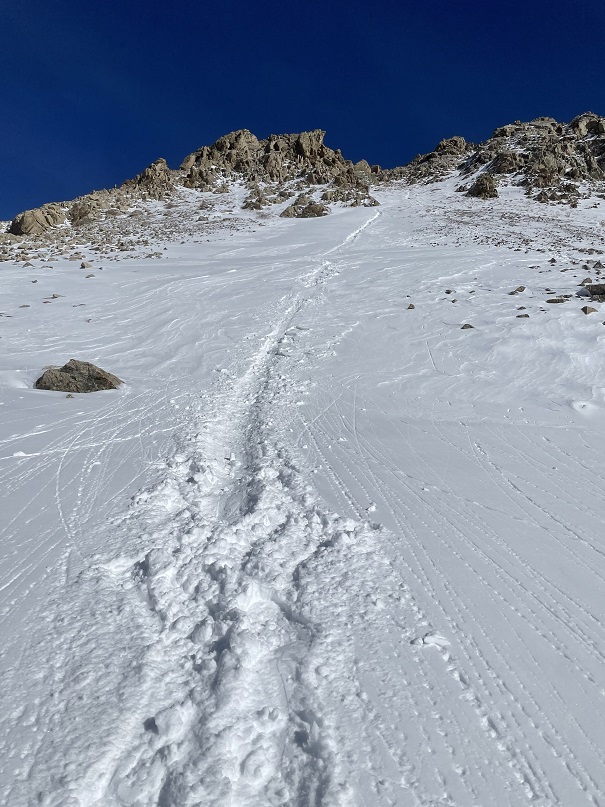
Also, I don’t recommend this route in winter: there’s avy danger. Today however we didn’t see enough snow to be worried. I’d wanted to teach SkydiverHiker how to use his ice axe, and there didn’t seem to be enough snow/ice to make it relevant on the way up. Here’s our route up the headwall.
I should also note it was really, really cold in the morning before the sun reached us. Several times we considered turning back, but in the end we knew the sun was just over the ridge: all we needed to do was make it up the headwall and we’d be fine. This part was slow going and slippery.
Once we made it to the ridge and I felt the sun warm my face I was ecstatic! Also, I screamed. Raynaud’s attacks are no fun, and now that the sun was warming my fingers and toes the blood rush felt like I was picking up a hot pan I couldn’t let go of. Not fun. Luckily SkydiverHiker is used to this and let me scream as loud as I needed without judgement.
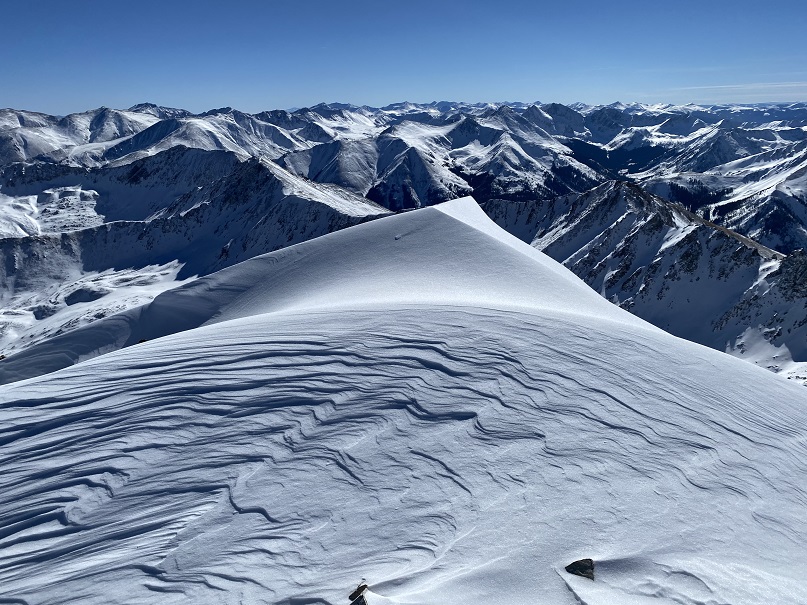
It’s a really long ridge hike to the summit of La Plata Peak. My route says about 2.3 miles of ridge work. I don’t have a lot of pictures of the hike in due to my frozen fingers, so all of these pictures are from the hike out. Here’s a look at the ridge today
We trudged up this ridge, but it was such a nice day we didn’t mind much.
I kept looking back to see if anyone was poaching our trench, but never saw anyone. Such a shame! There were some small cornices forming on the ridge. Nothing too dramatic, but we stayed away from them.
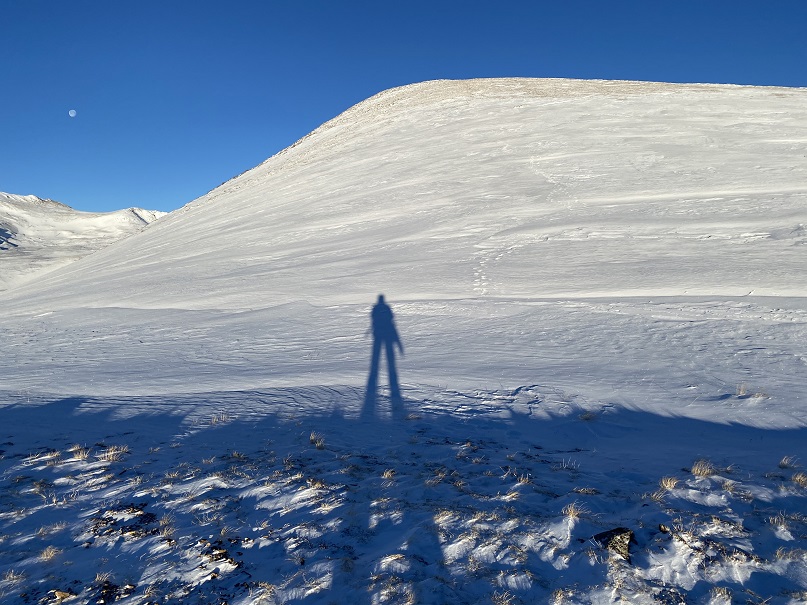
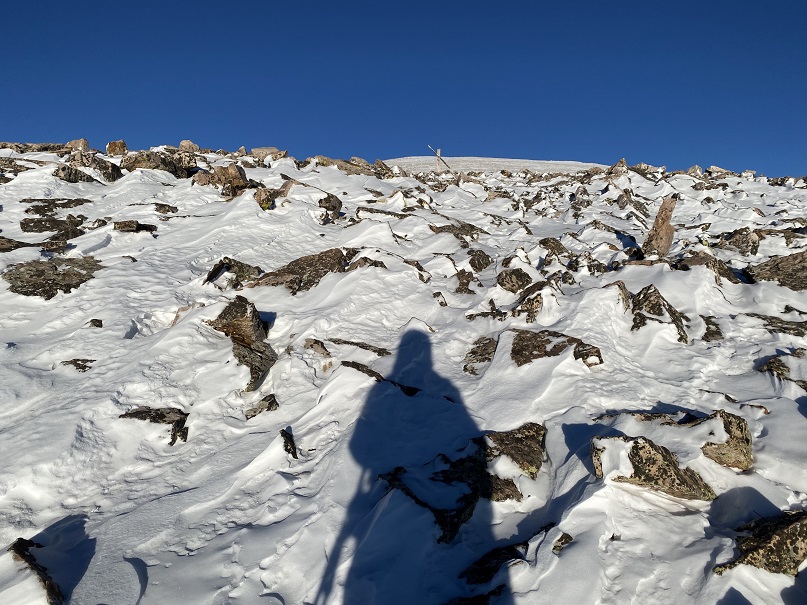
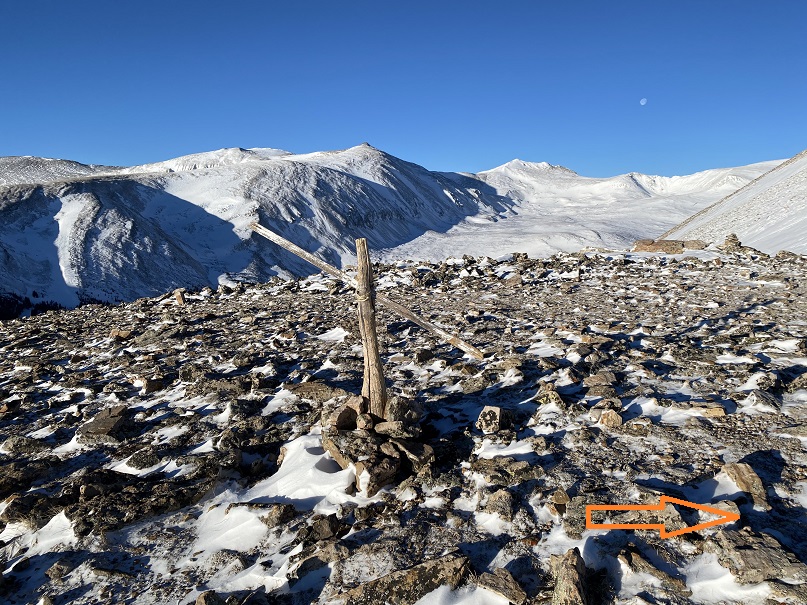
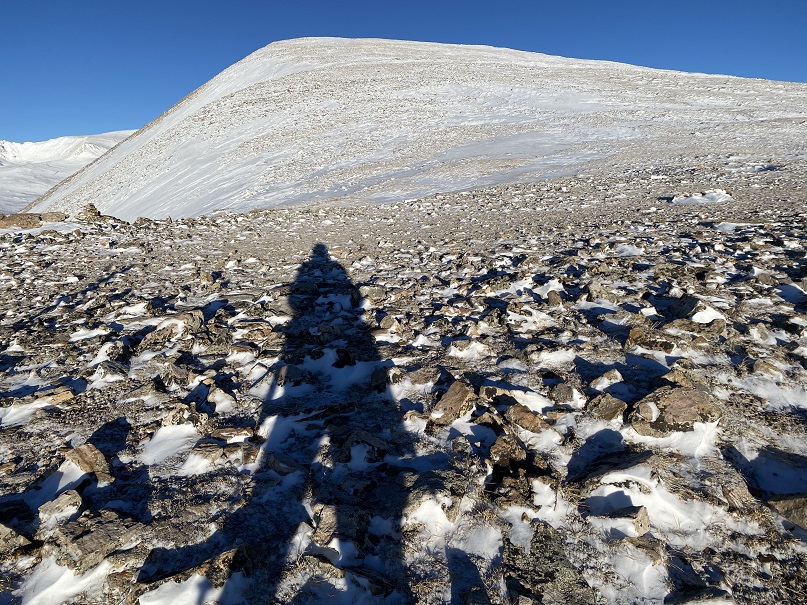
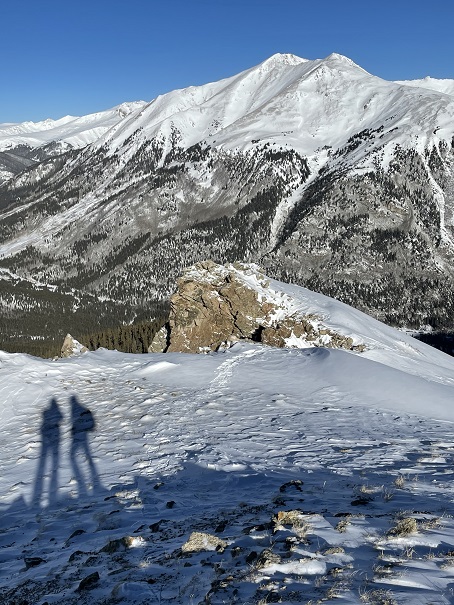
At one point we stopped to get a shadowselfie and a picture of Sayres Benchmark
We summited in bluebird conditions: no wind, no clouds, just a nice, sunny day. There were some small cornices at the top.
Here’s a summit photo and video of the summit
NE La Plata
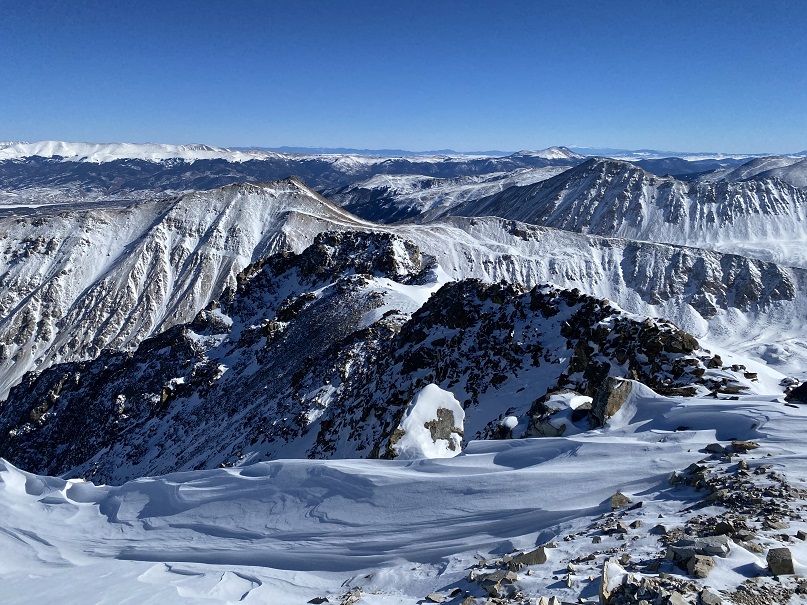
We actually stayed for a but at the summit because the weather was so nice. The views were amazing, and demanded to be appreciated. I should have put on sunscreen, but didn’t. I have much better pictures of the route down because: warmth. Check out that ridge! Here’s the overall route.
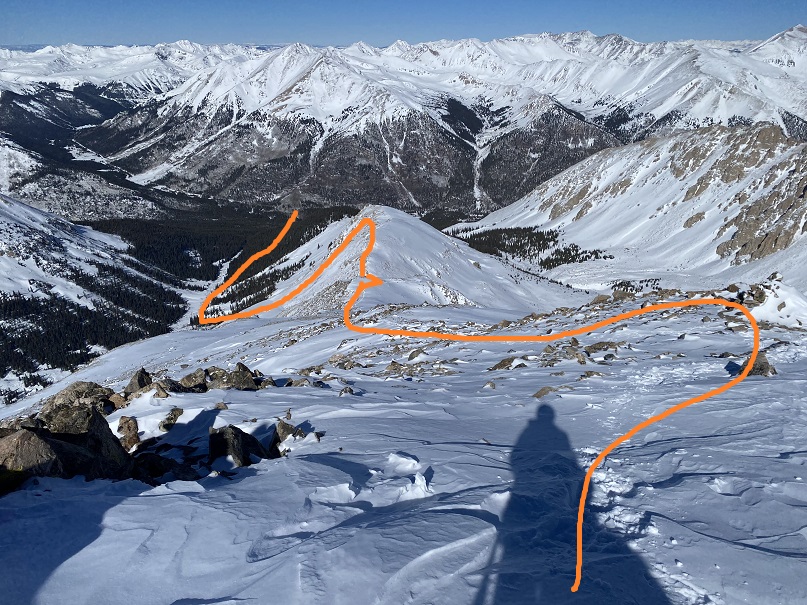
And some step by step to the headwall
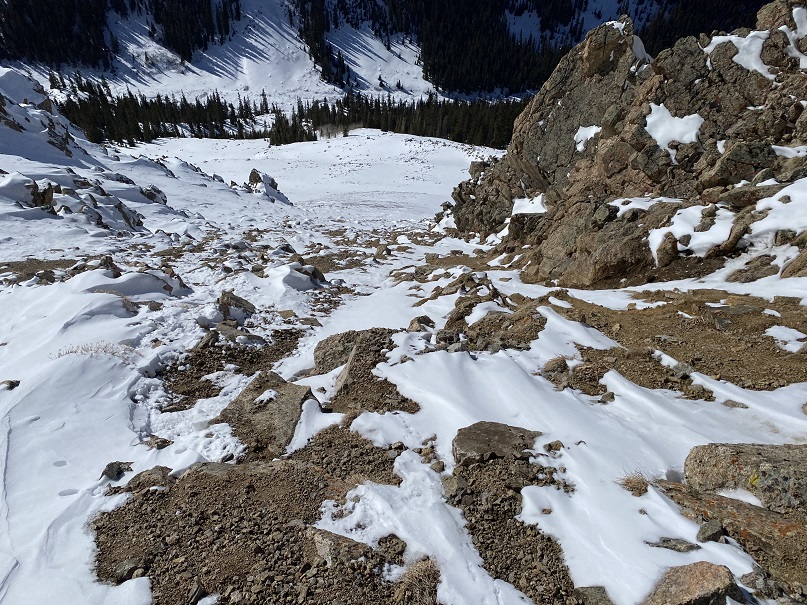
Here’s looking down the headwall
I decided to go first to blaze a trail. Here’s looking back up at SkydiverHiker, waiting patiently
I spent a long time gingerly making a nice trail for SkydiverHiker to scree surf down
SkydiverHiker decided to glissade down instead (smh). This was his first real time, as I’ve had him practice before, but never where the run out was so long. He learned first hand about hitting rocks, keeping his feet up, and how long it takes to stop once you place your ice axe. He may have rolled a few times (on purpose, of course).
The snow was getting dangerously soft: we were booking it out of there, but I got a final shot of our paths down (lots of rollerballs).
We made it back to the trench and started our hike out
This part was pleasant, but my feet were thawing out, so every once in a while I’d get a sharp pain in my toes (note: two days later, I’m still having pain. Raynaud’s sucks). We saw our first people of the day; snowshoers who were just following the trench as long as it went. We let them know they had another 20 yards or so to go, and continued on our way.
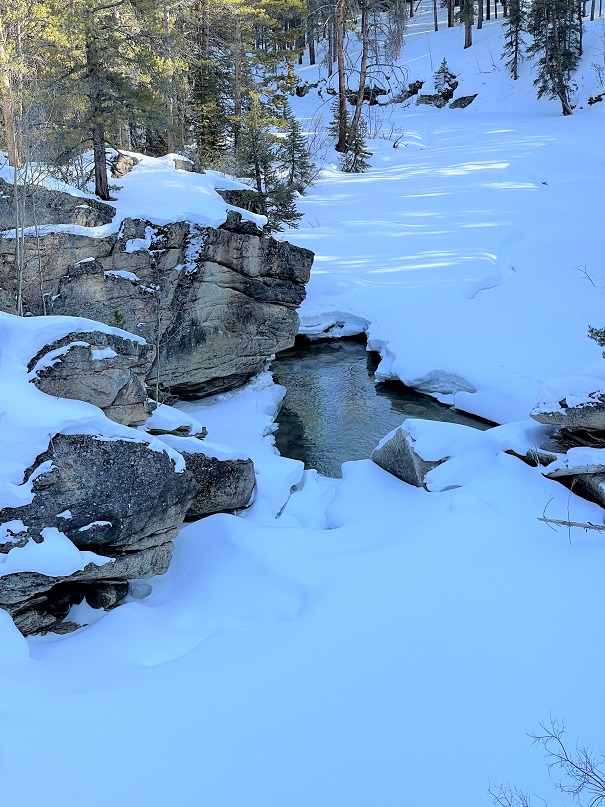
We took some pictures of Lake Creek as we crossed
And made it back to my truck at 3:15pm, making this a 10.93 mile hike with 4620’ of elevation gain in 8 hours, 45 minutes.
Some final thoughts: It was a shame we were the only ones on the summit today, as it was a beautiful day. Also, if possible, take the standard winter rout that goes up the ridge sooner: our route had more avy danger than is recommended.