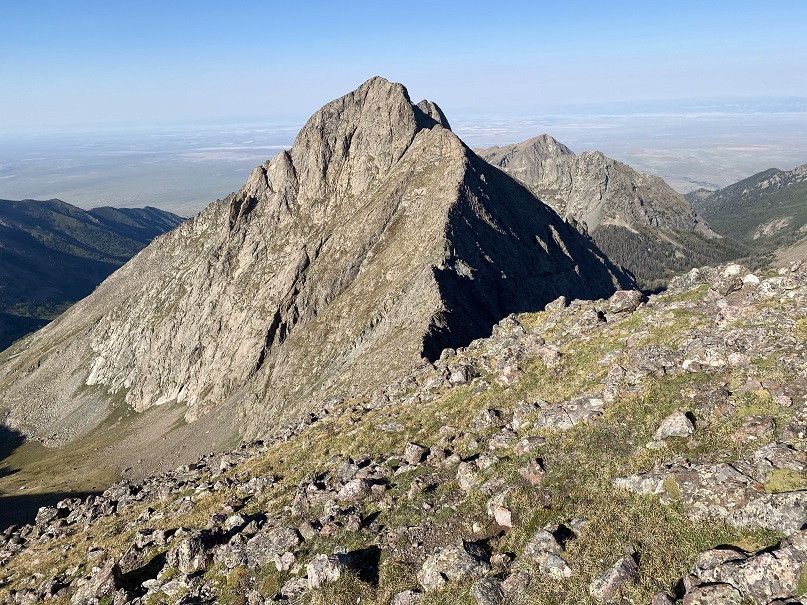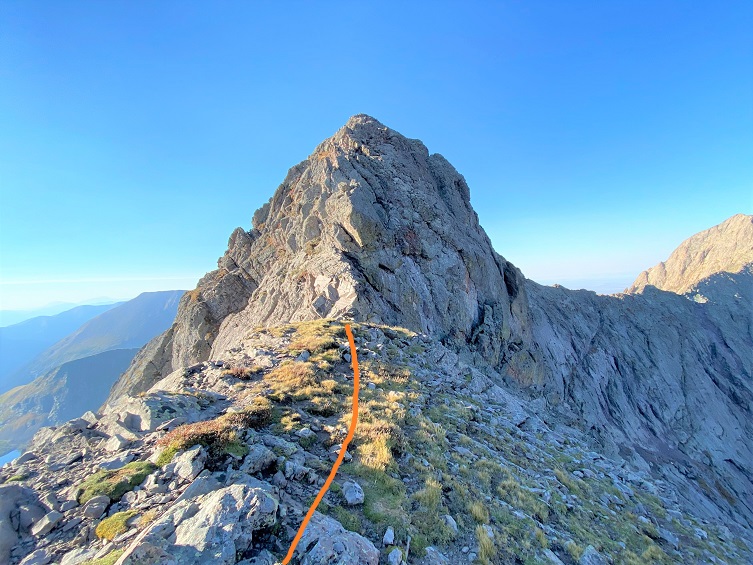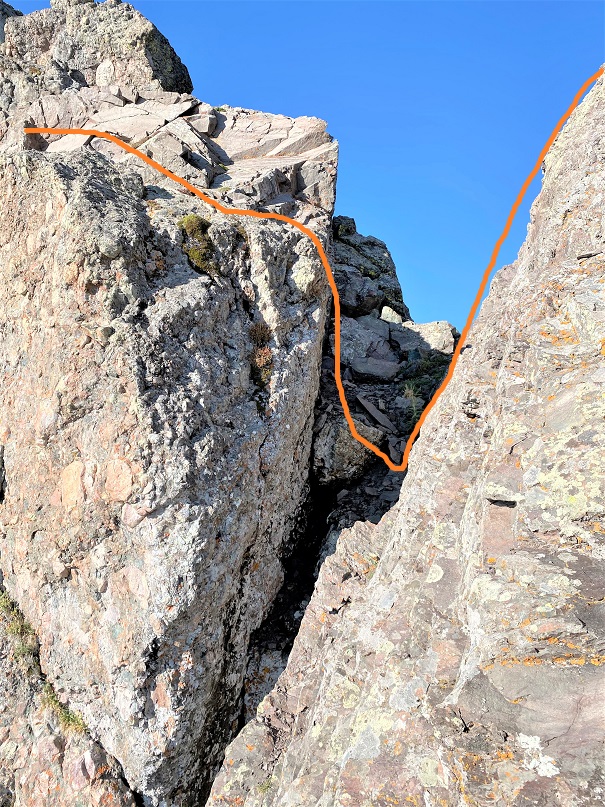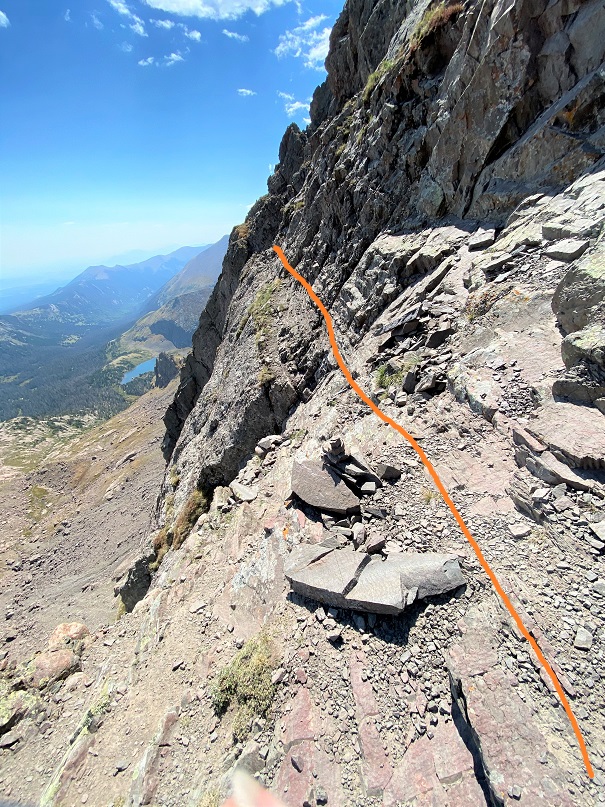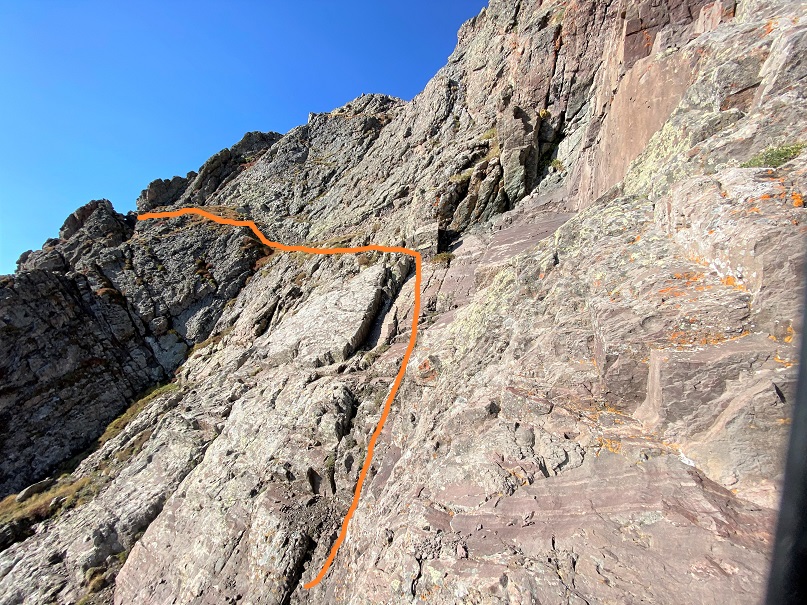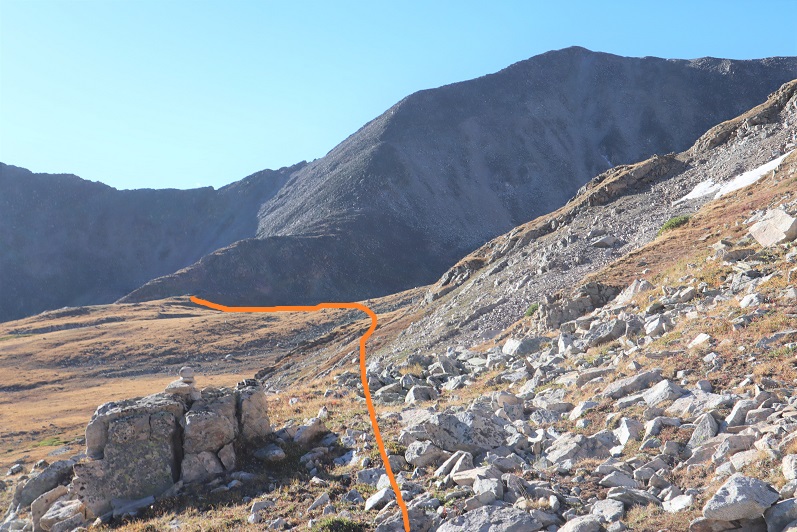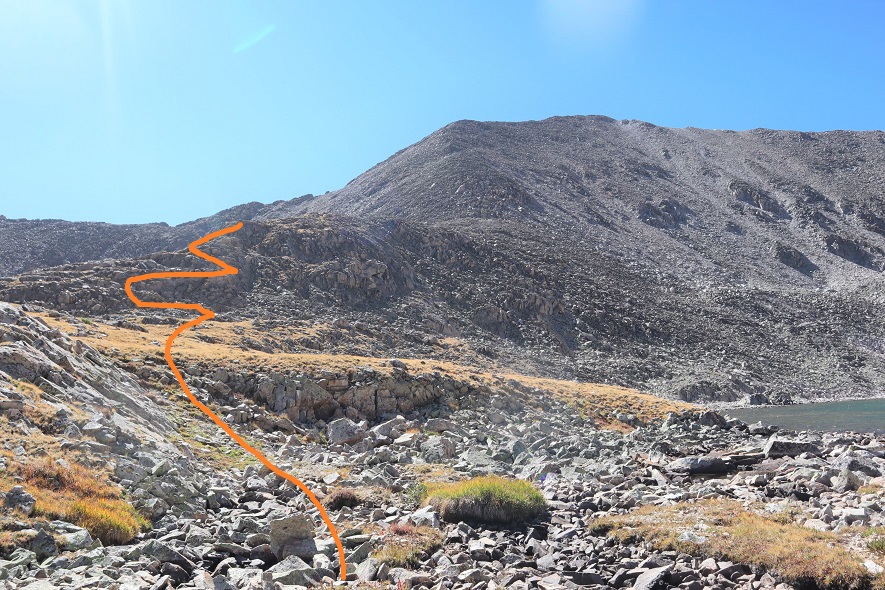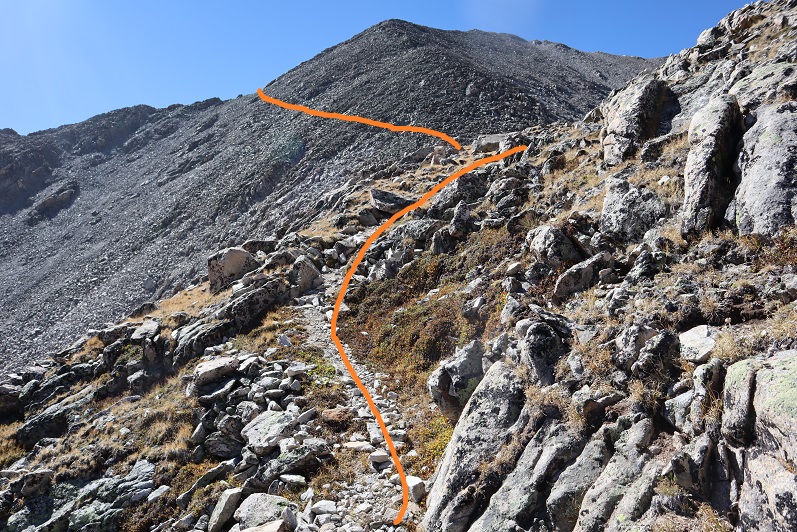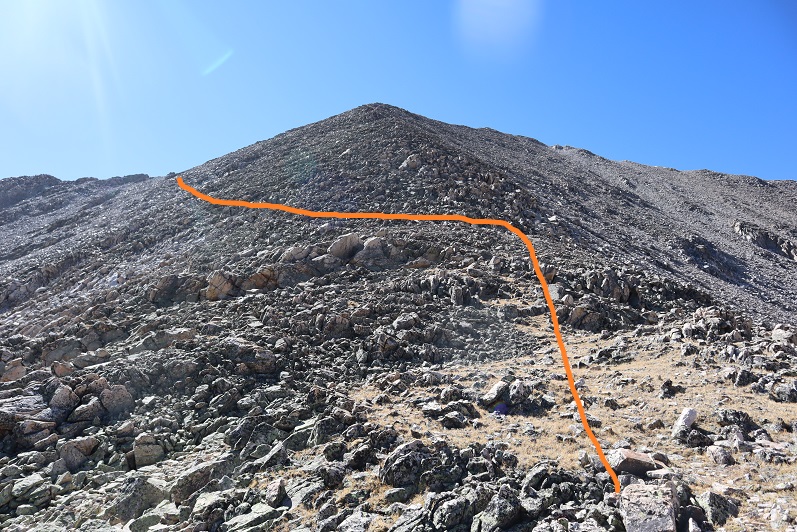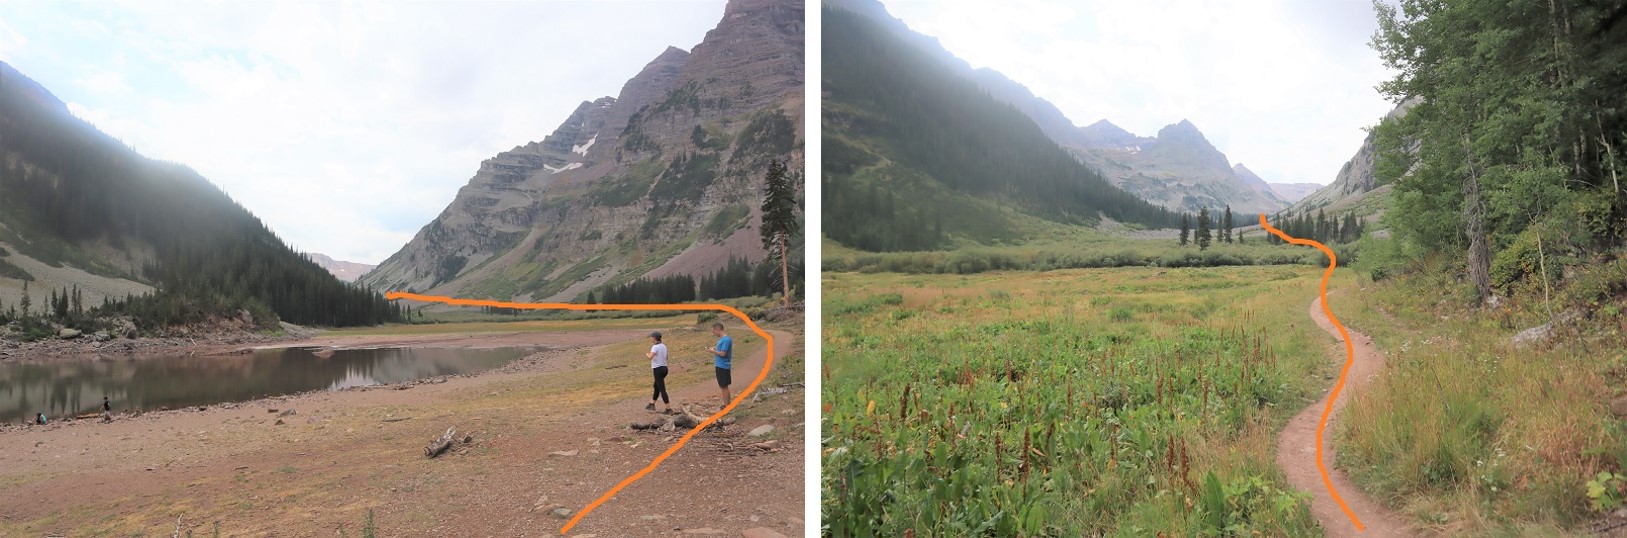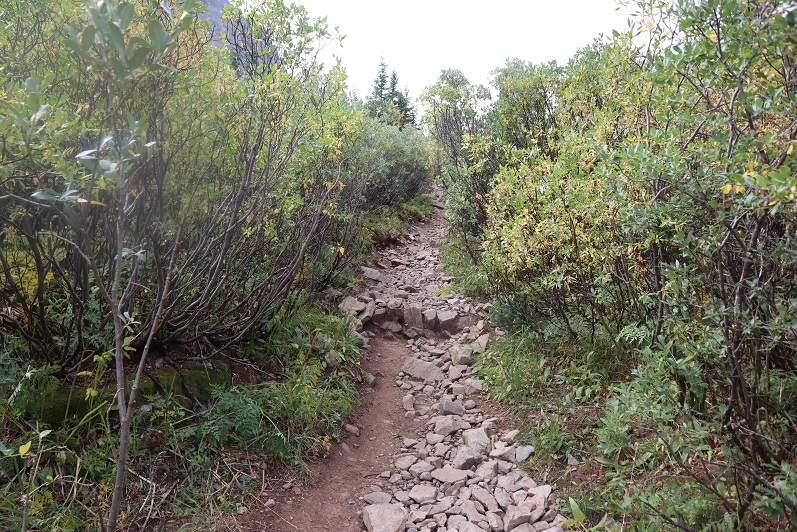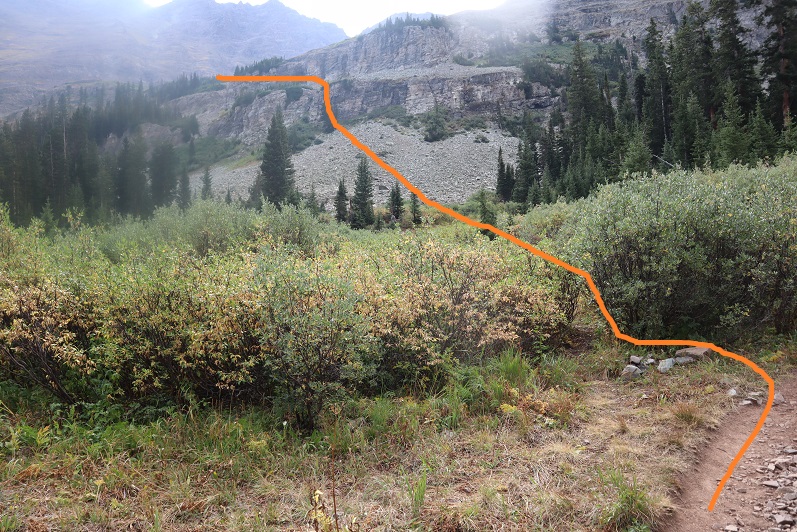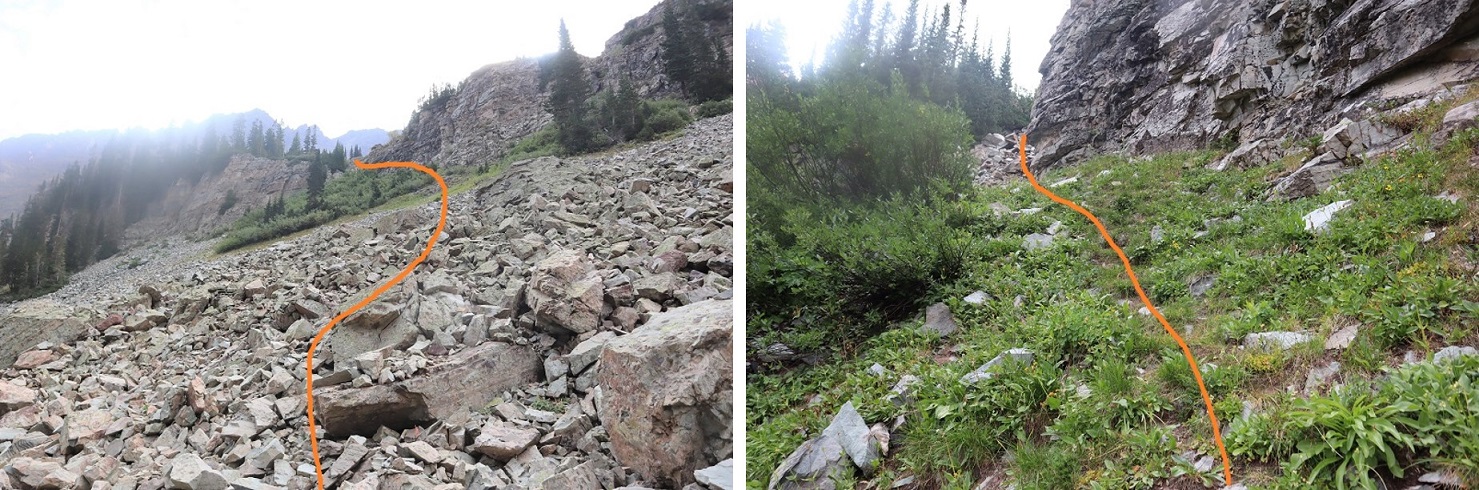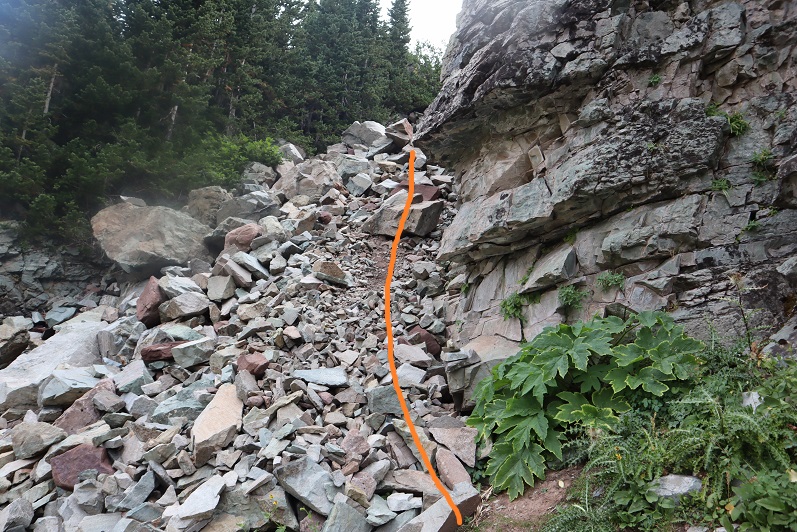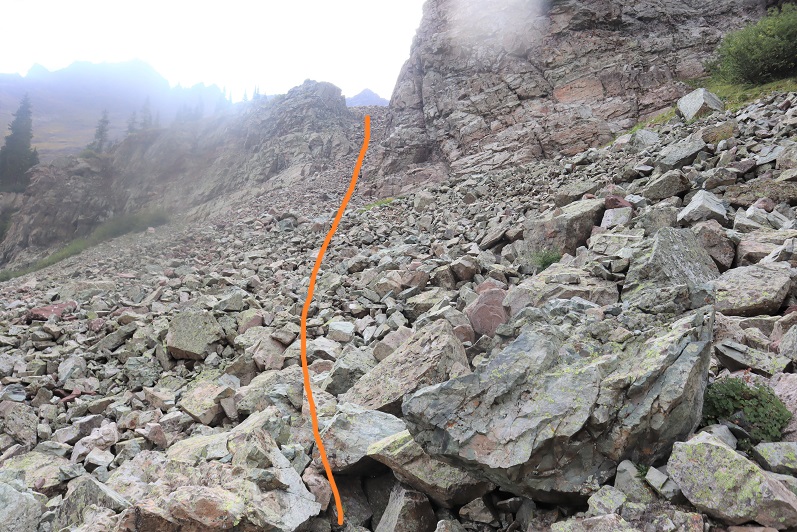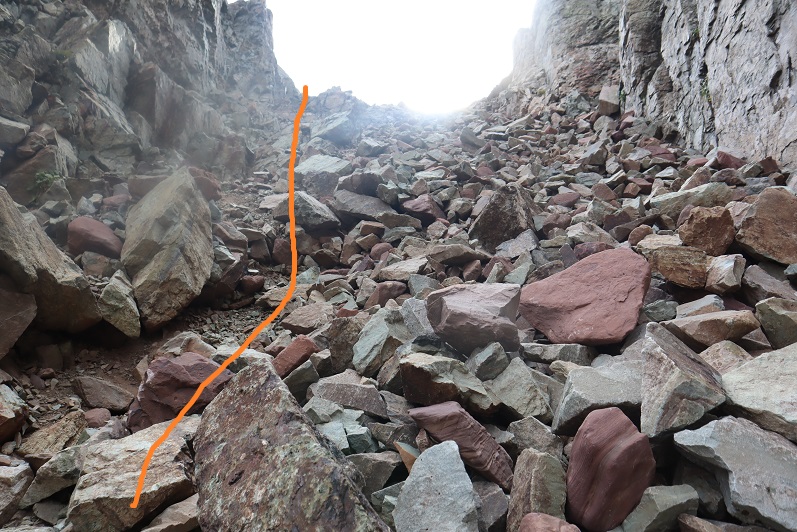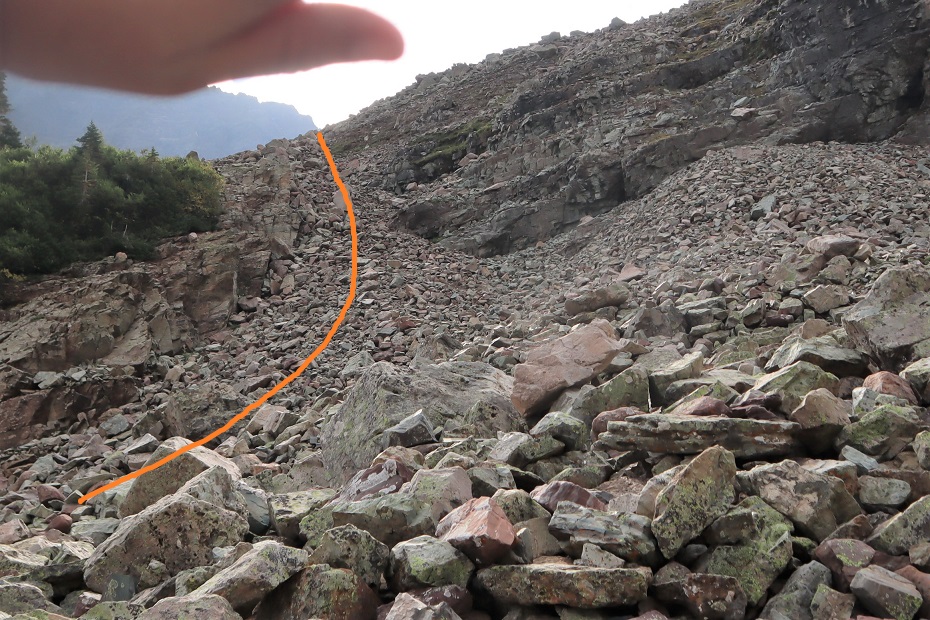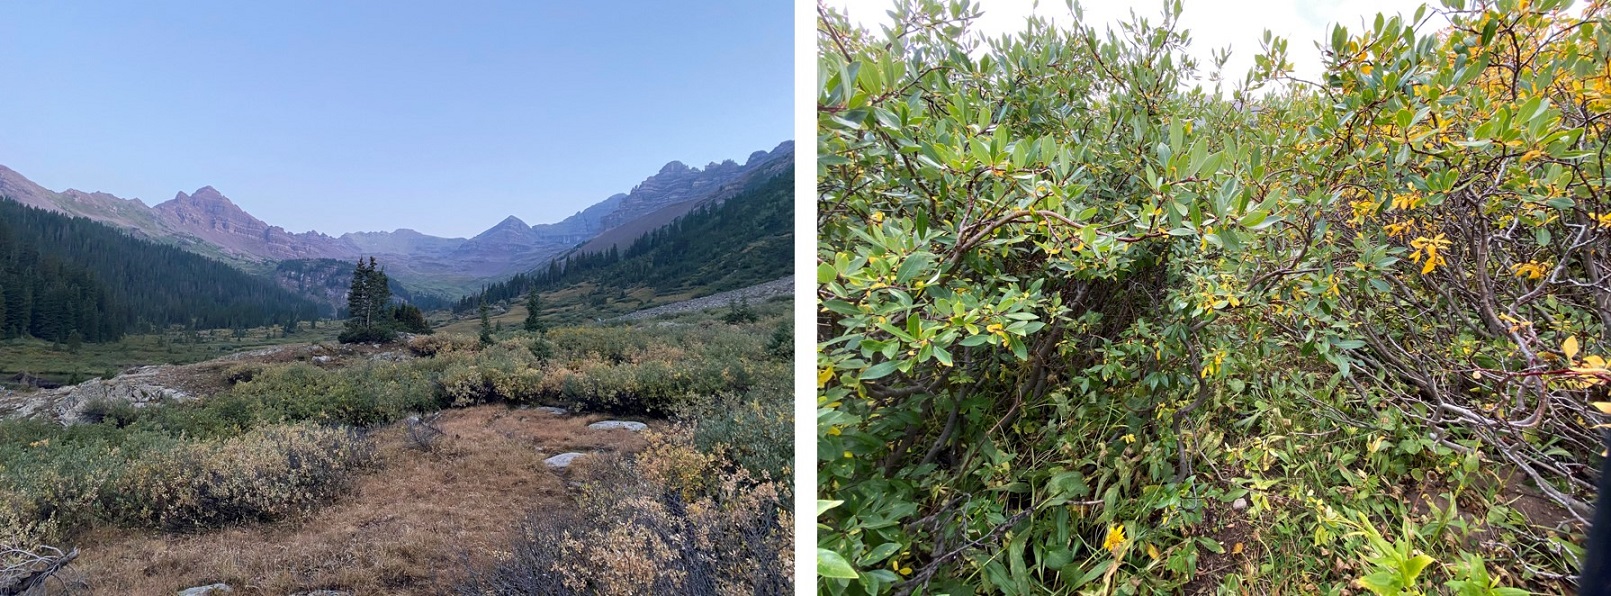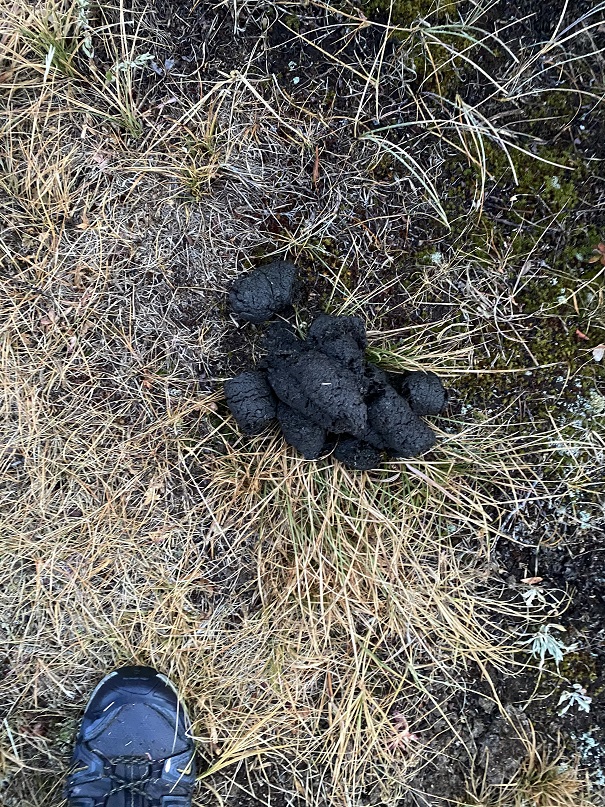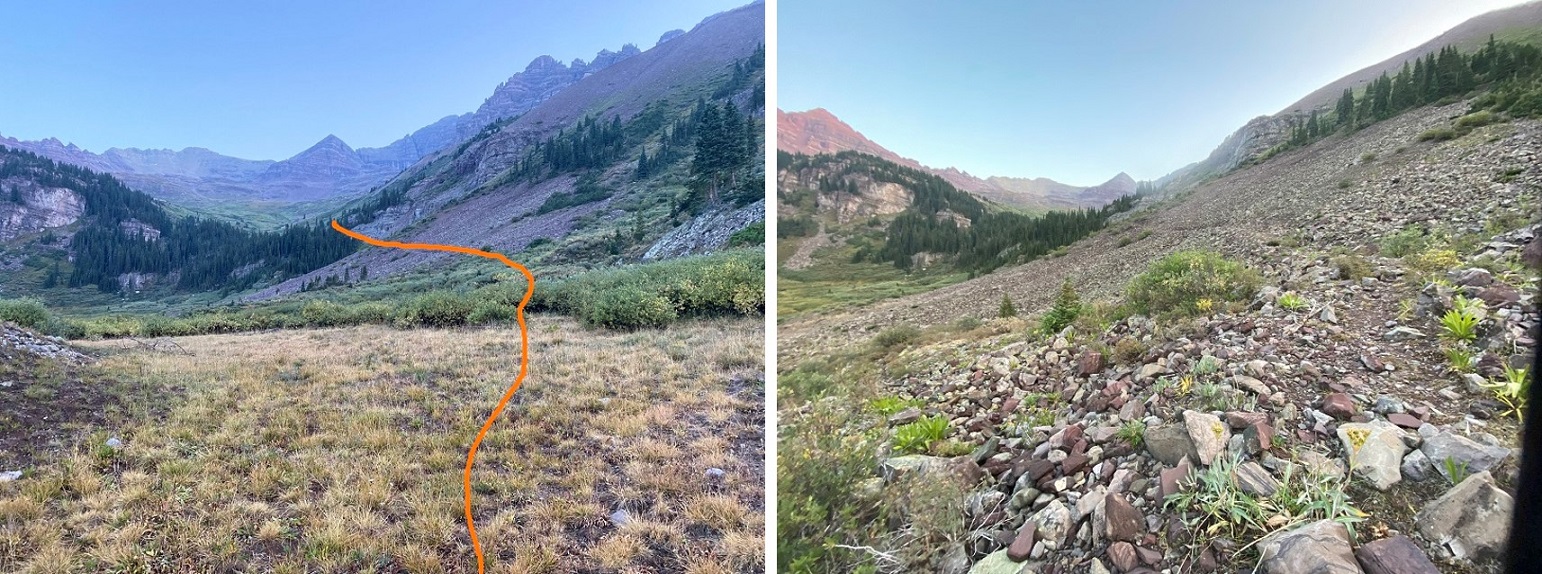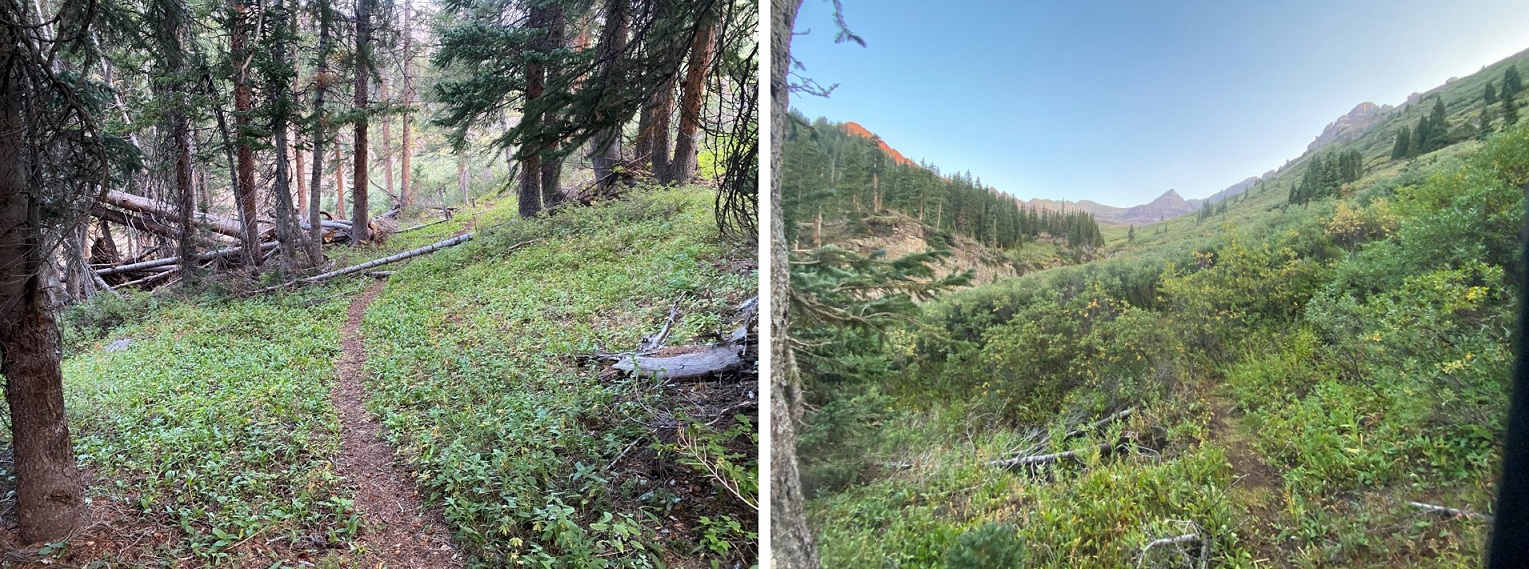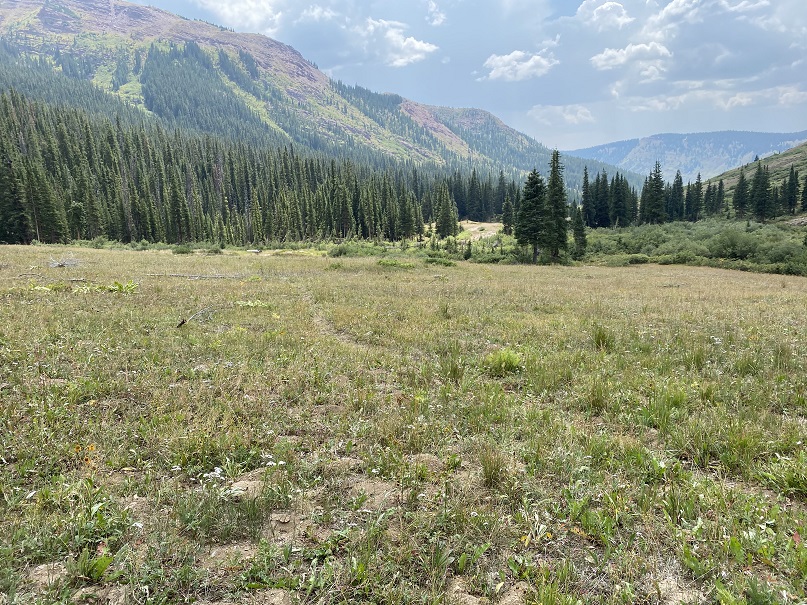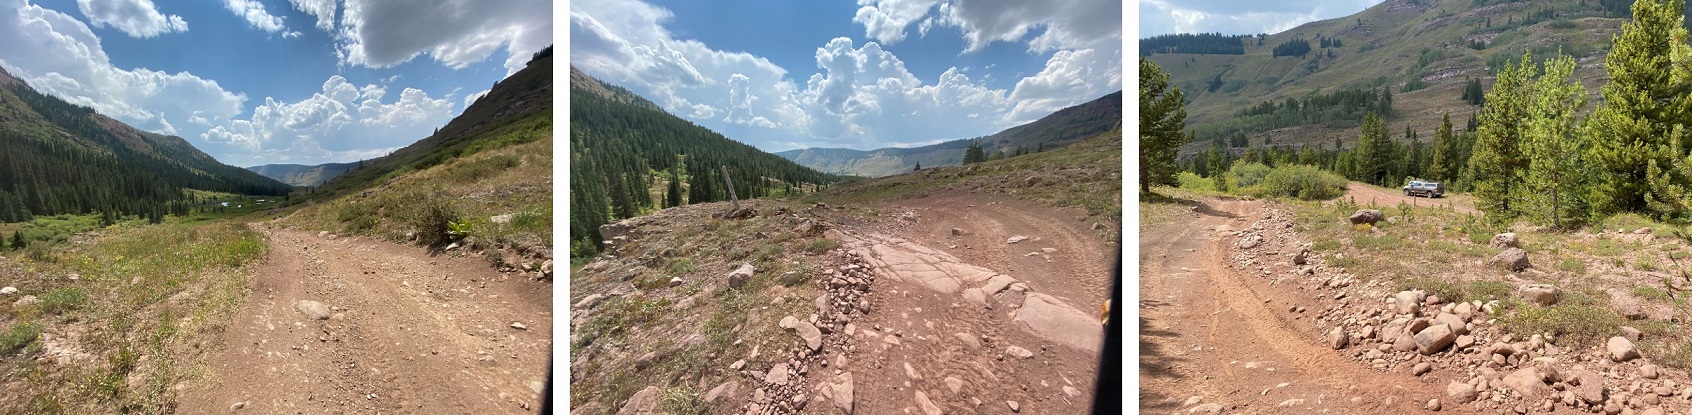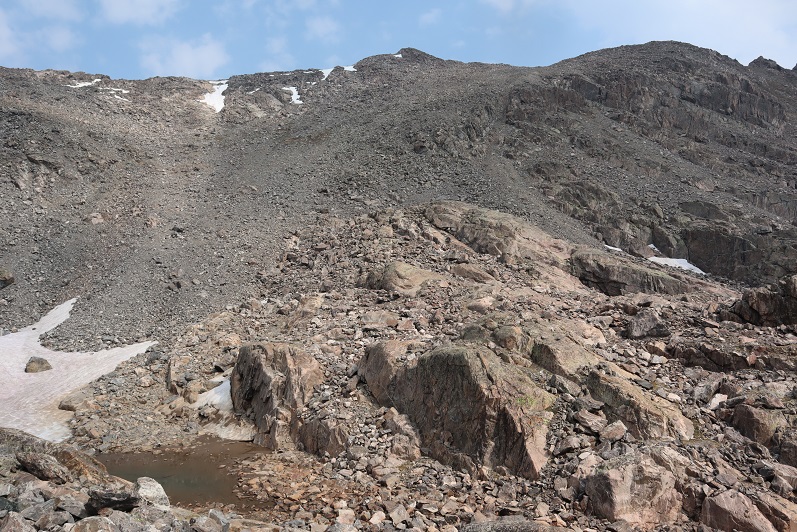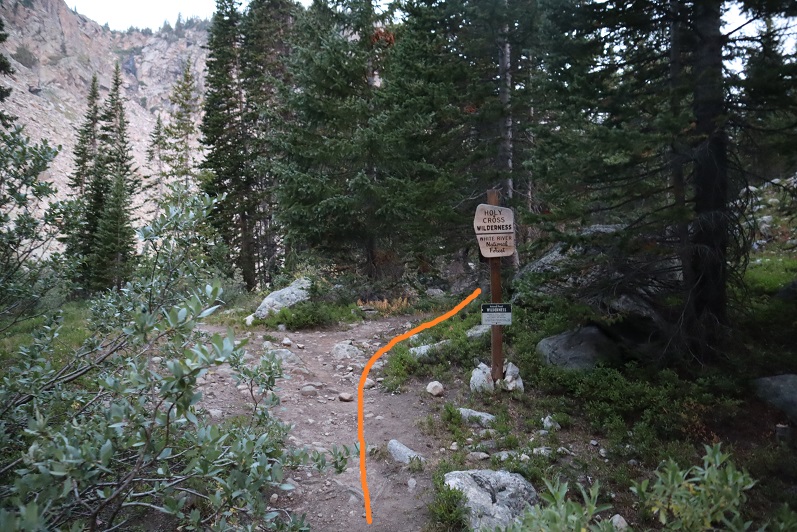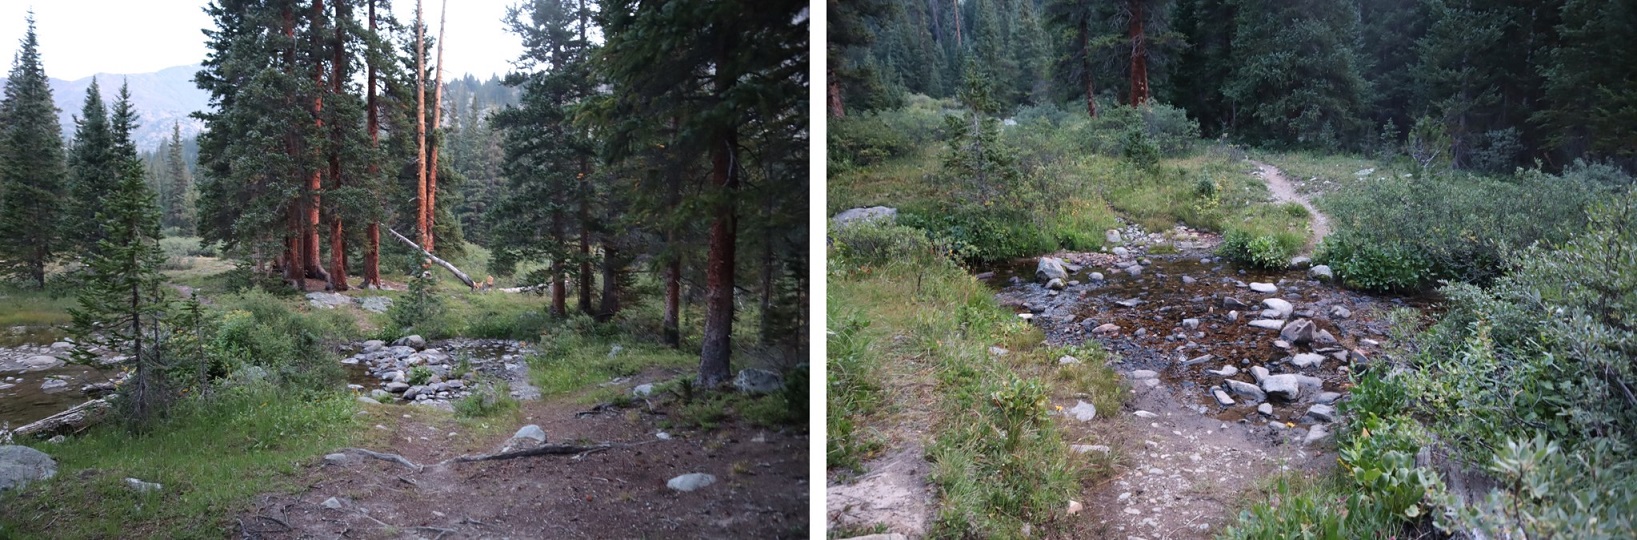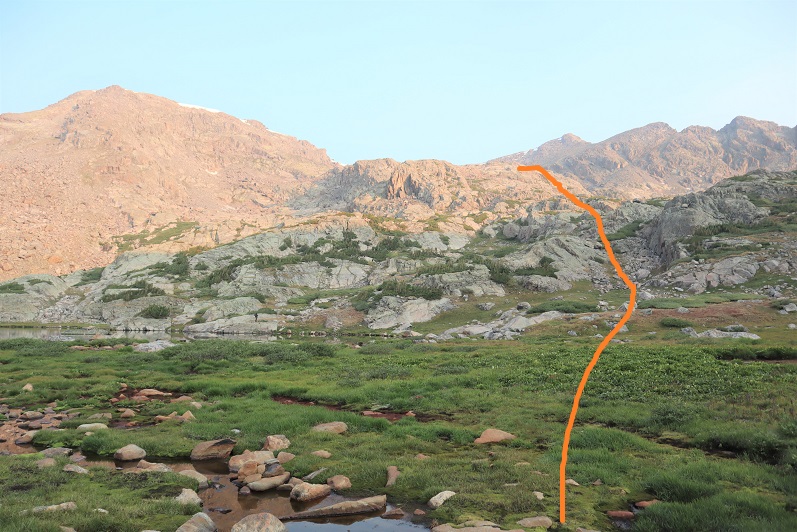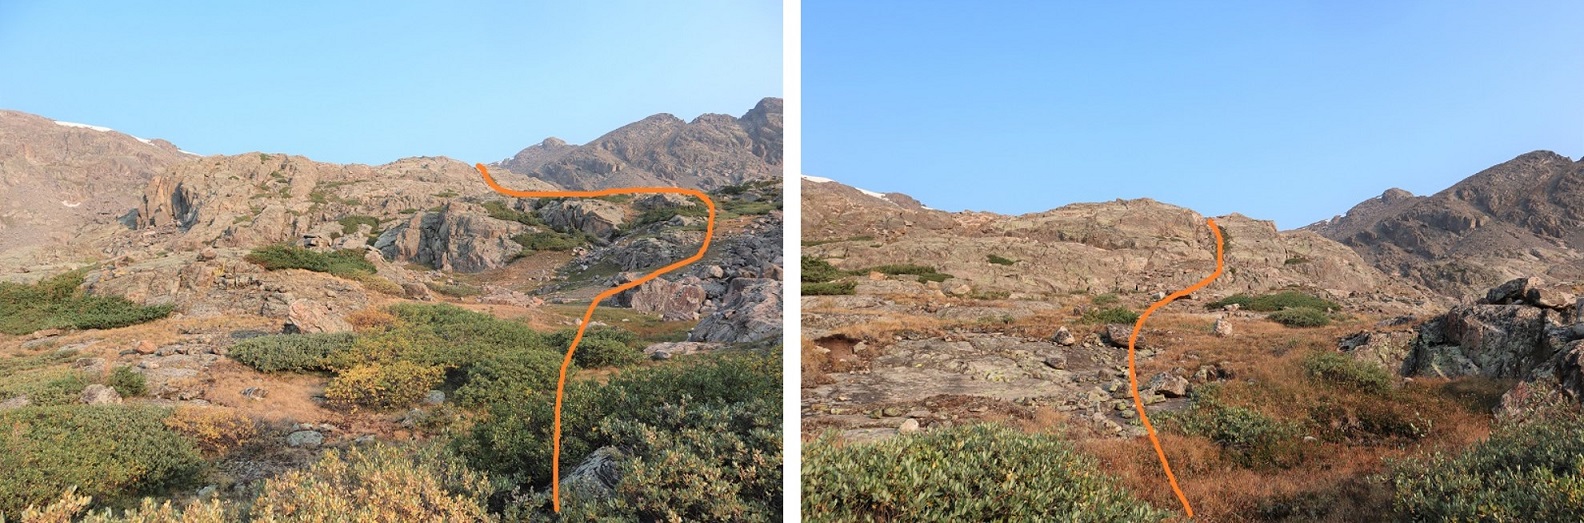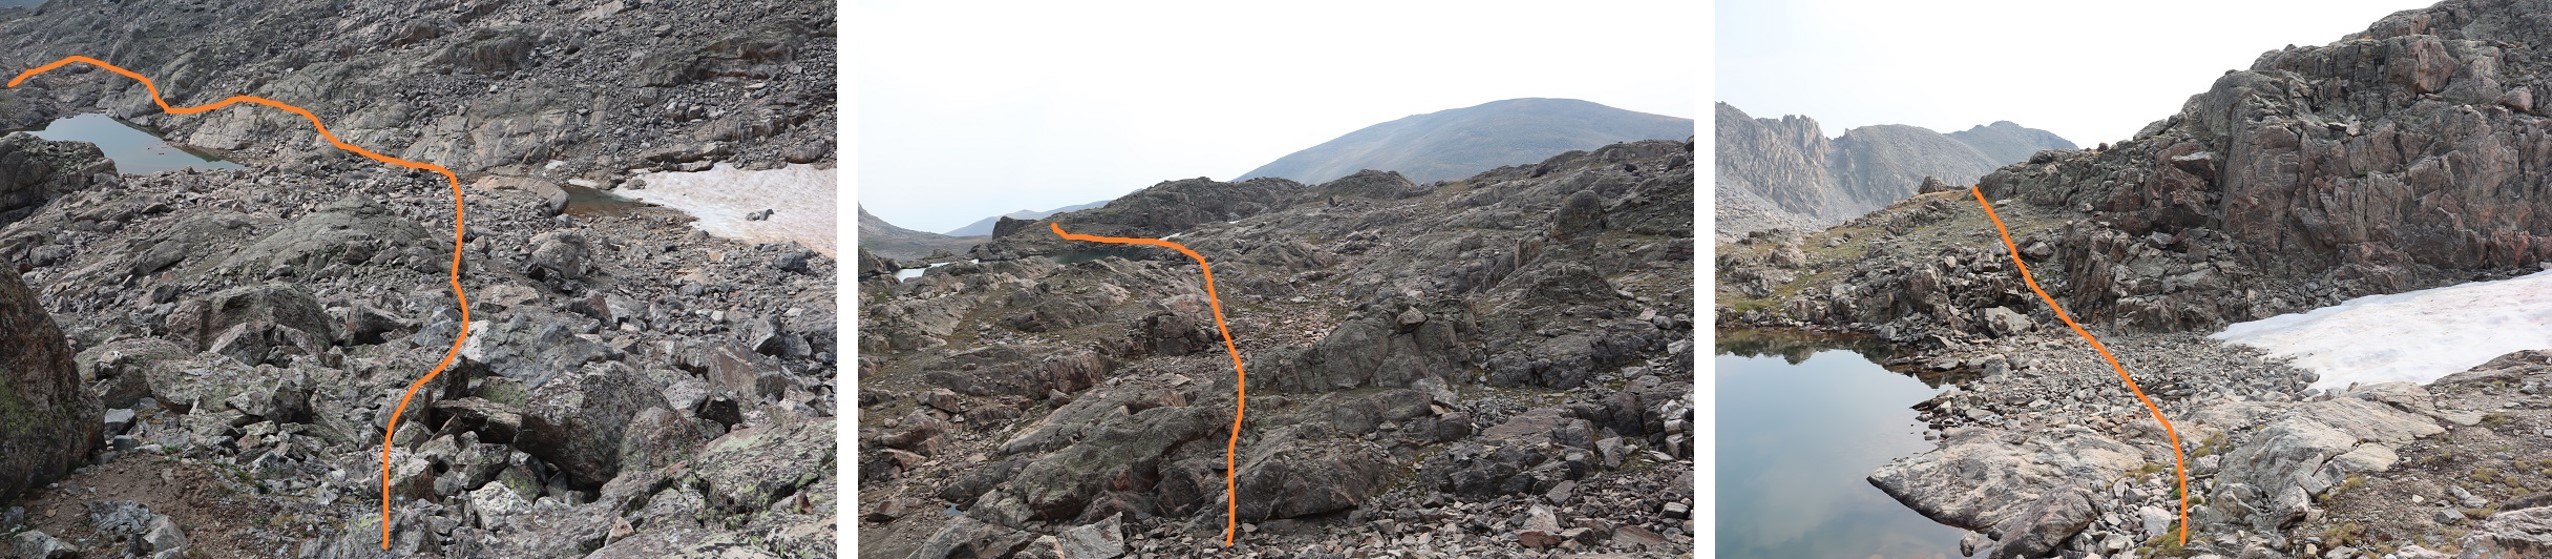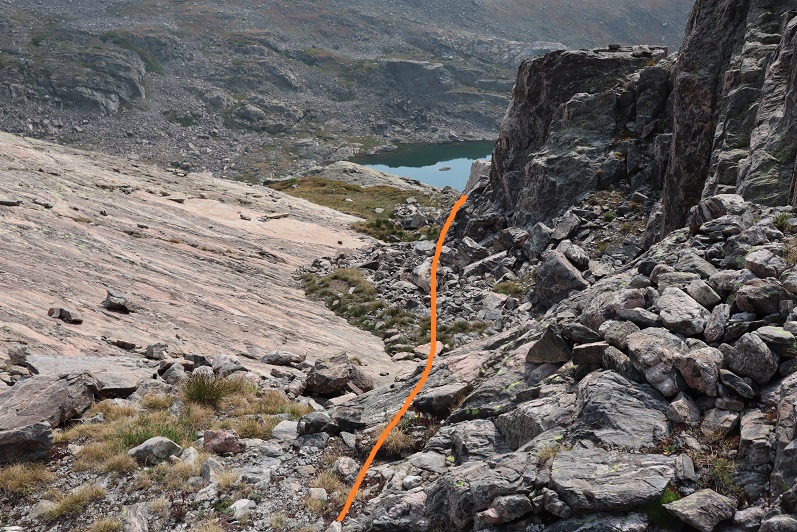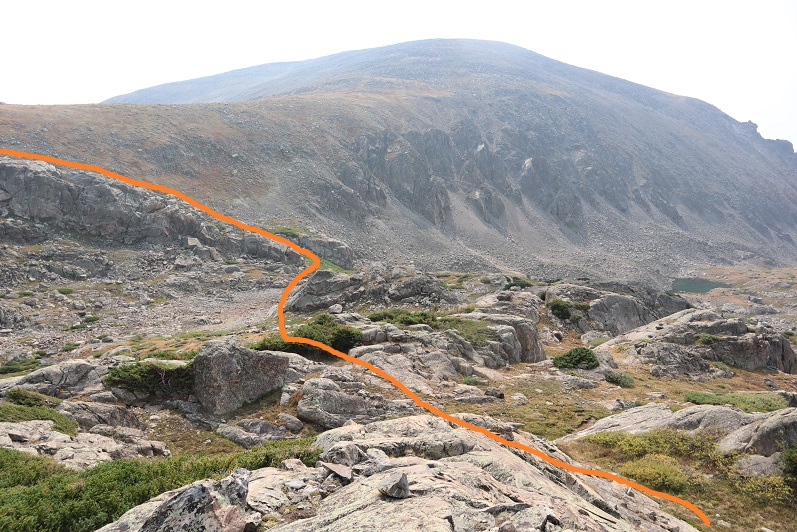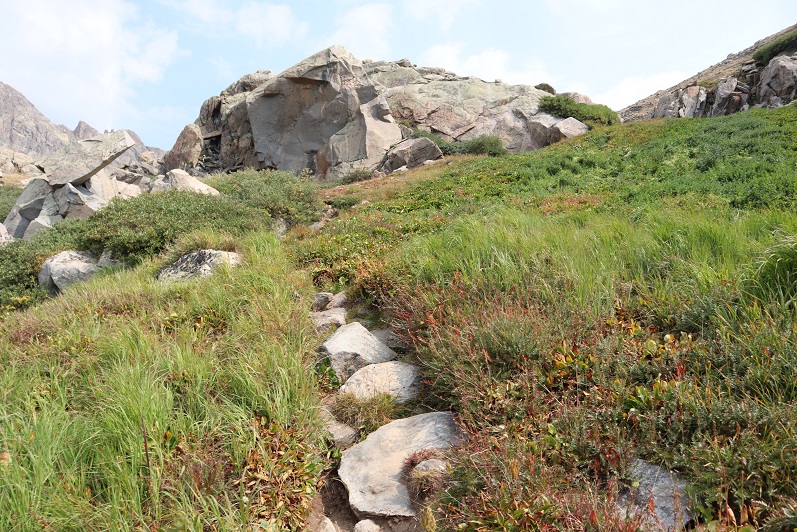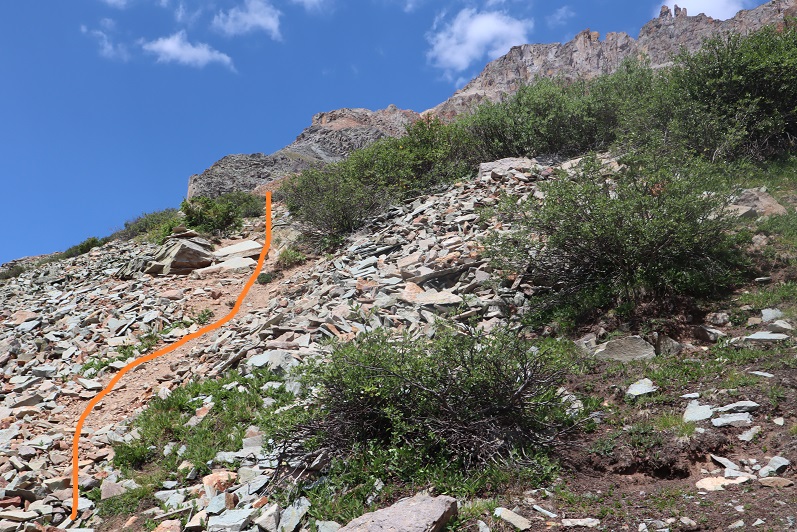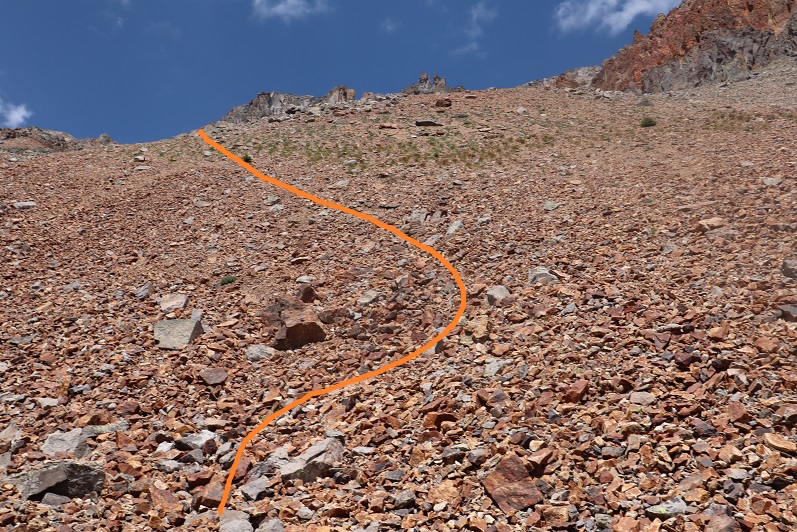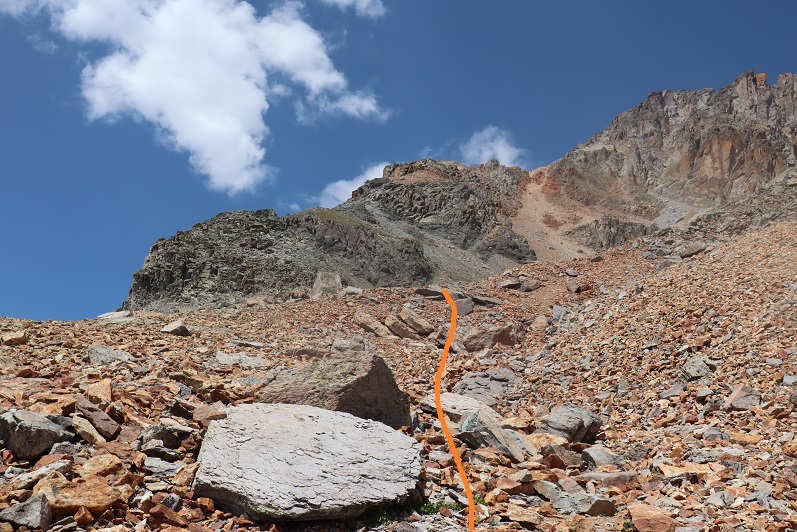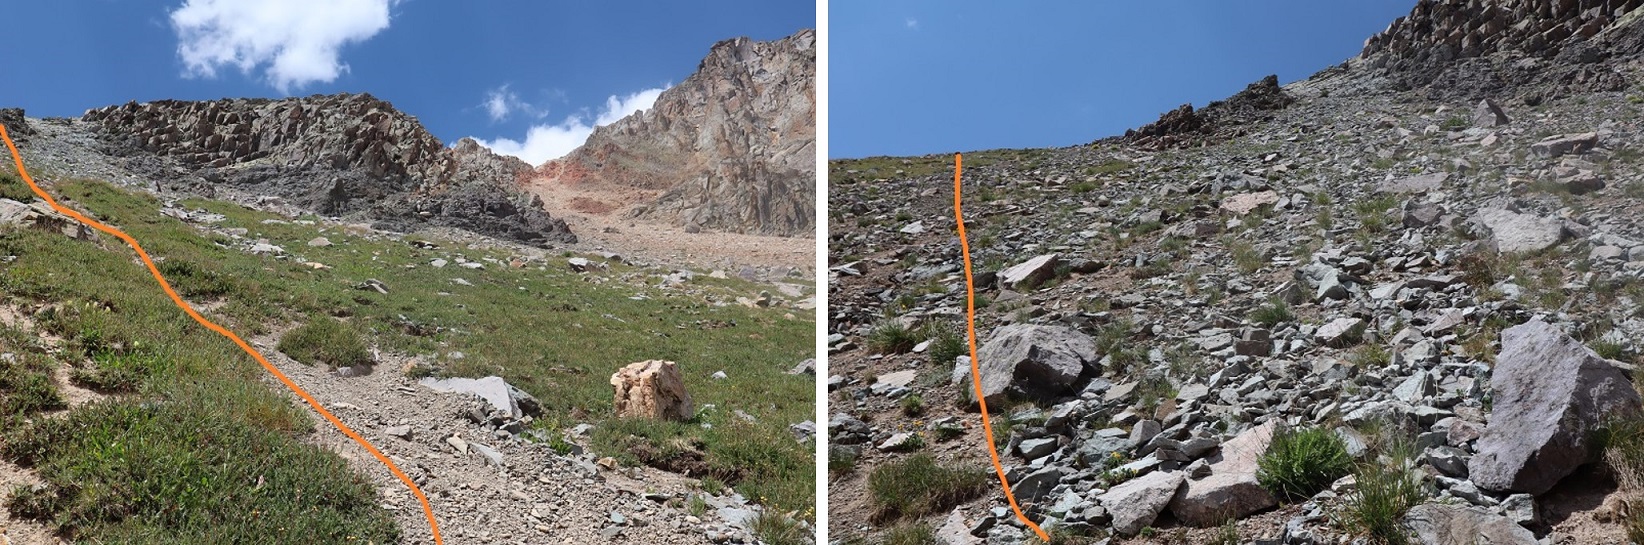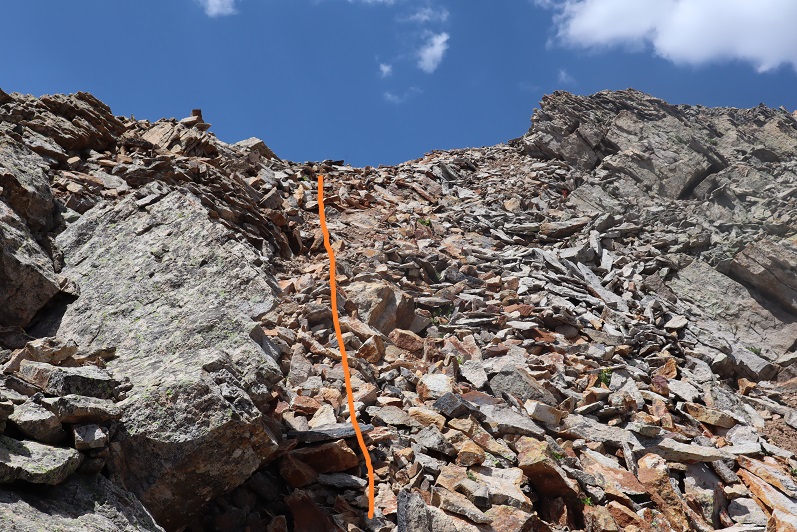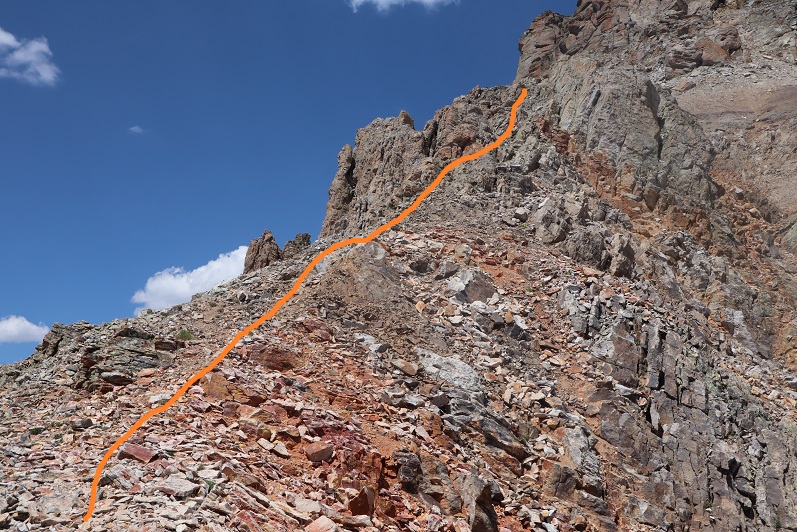
Sheep Mountain – 13,168, PT 13,100, PT 13681 & Silver Mountain – 13,714

RT Length: 25.26 miles

Elevation Gain: 6689’

Ah, the thrill of changing plans. I like to check off a bucket list item for my birthday, usually involving a lot of effort or planning and mileage.  I was supposed to do the Rim to Rim Grand Canyon hike for my birthday, and due to COVID and the shuttles not running so my boyfriend was going to be my shuttle driver (with the east gate closed it’s now a 5 hour drive from one rim to another).  However, last week I broke up with my boyfriend.  After the breakup I gave myself a day to wallow, and then came up with a plan B (Plan C was Rim to Rim to Rim).  In the end I wasn’t able to hike Rim to Rim on my birthday, but I was able to find someone to shuttle my truck a week earlier (in exchange for a photo shoot along the way at both Horseshoe Bend and Ouray Via Ferrata… to be featured in his next book).  So instead I hiked Rim to Rim on September 12, and decided for my birthday I’d try to get in a long hike somewhere in the San Juan’s.  

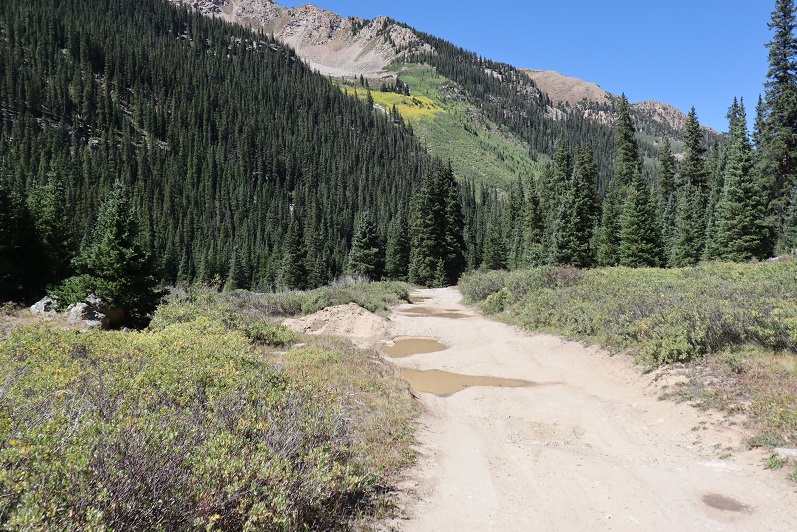
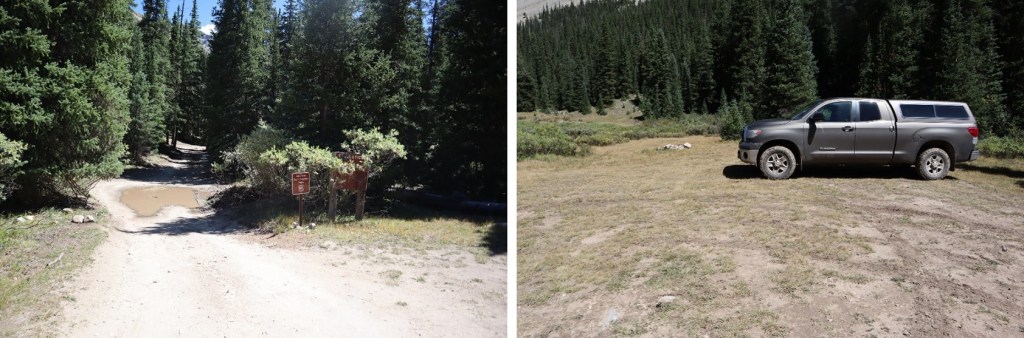
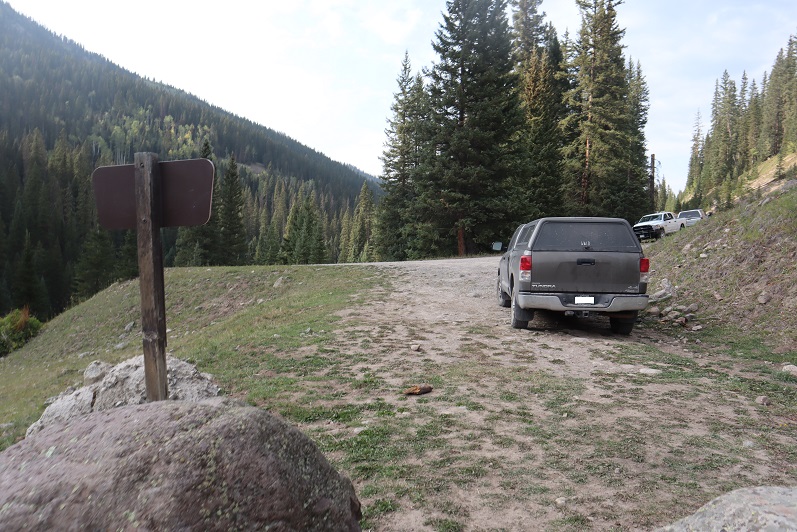
After birthday dinner with my daughters I drove to the Little Cimarron East trailhead and parked for a few hours sleep.  This is a 2WD drive on a dirt road.  There was space for 2 vehicles at the trailhead, but it looks like you can park along the road as well if needed.   Side note:  This trailhead is much preferred to the Nellie Creek Trailhead approach.  Hands down. 
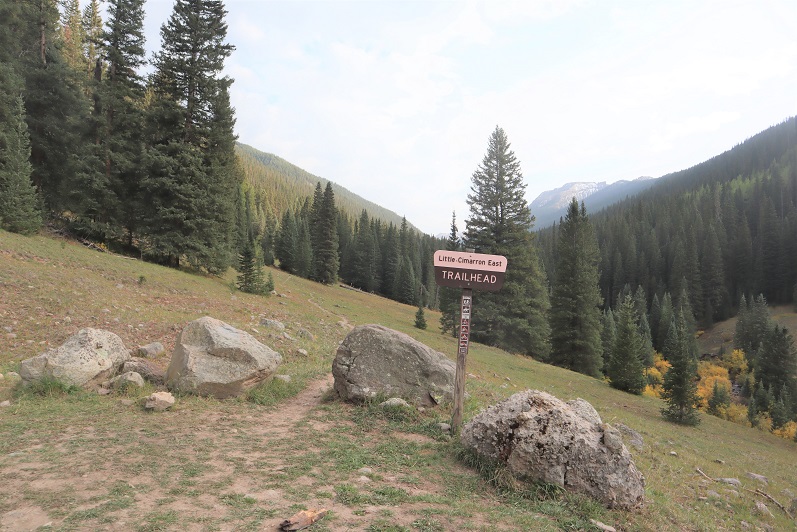
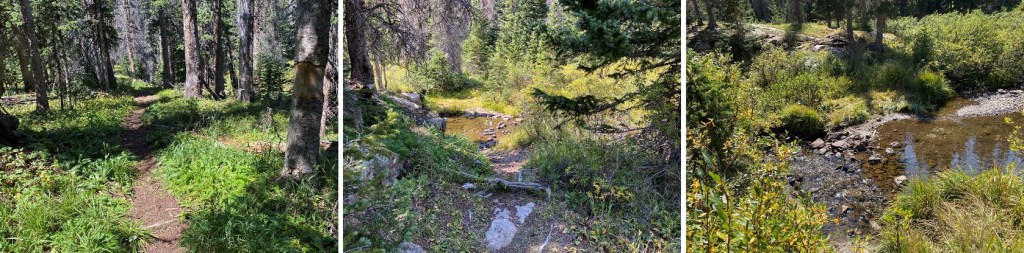
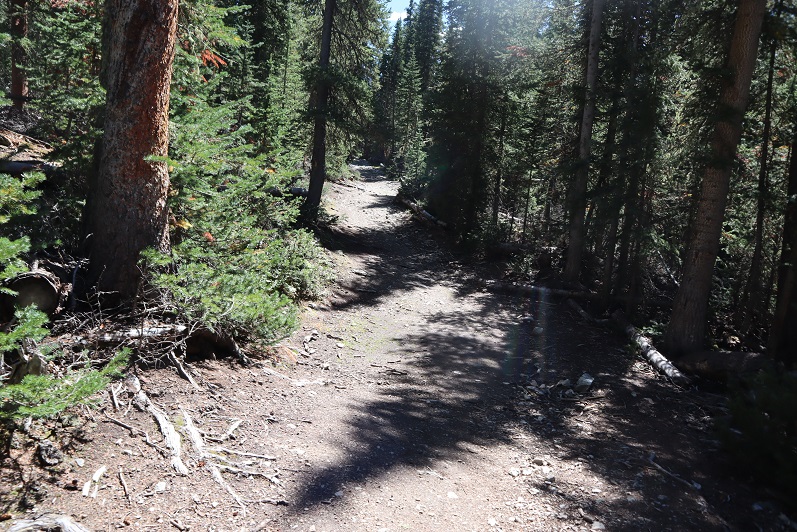
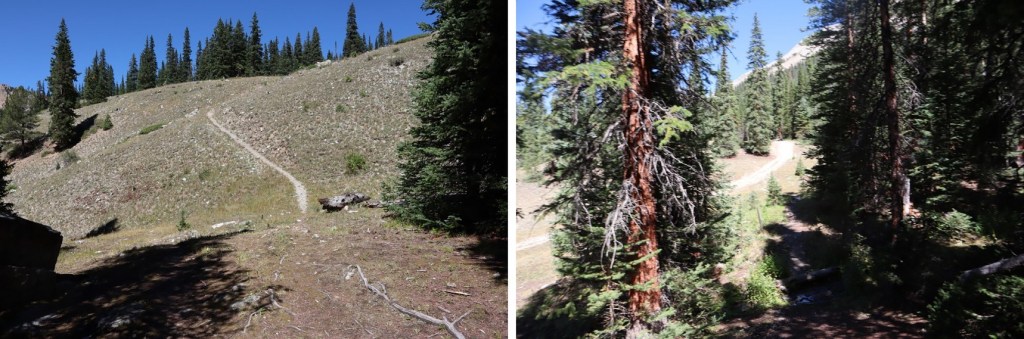
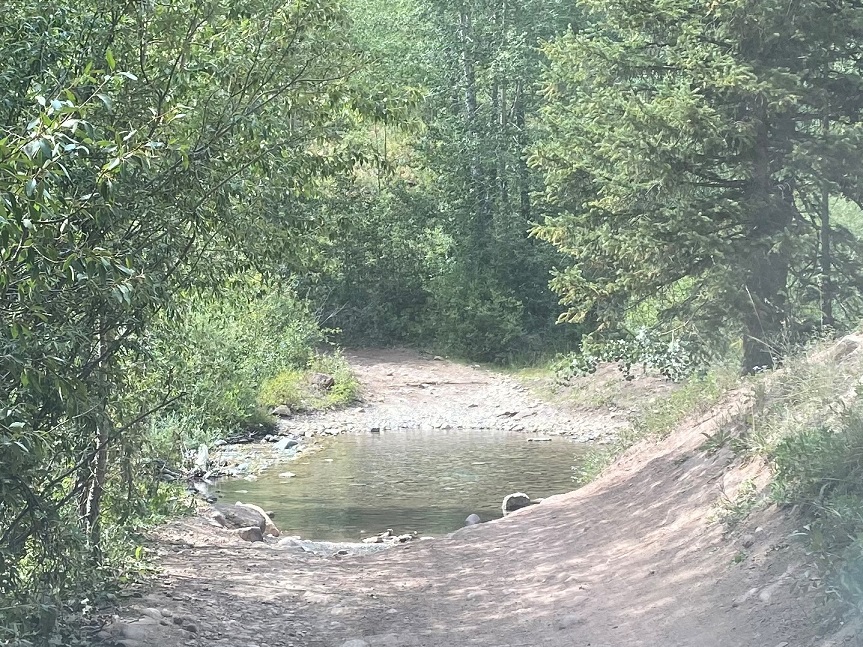
I got in a few hours sleep and was on the trail at 4:30am.  This is a class 1 trail (at least until the first stream crossing) that looks like it used to be a 4WD road. 

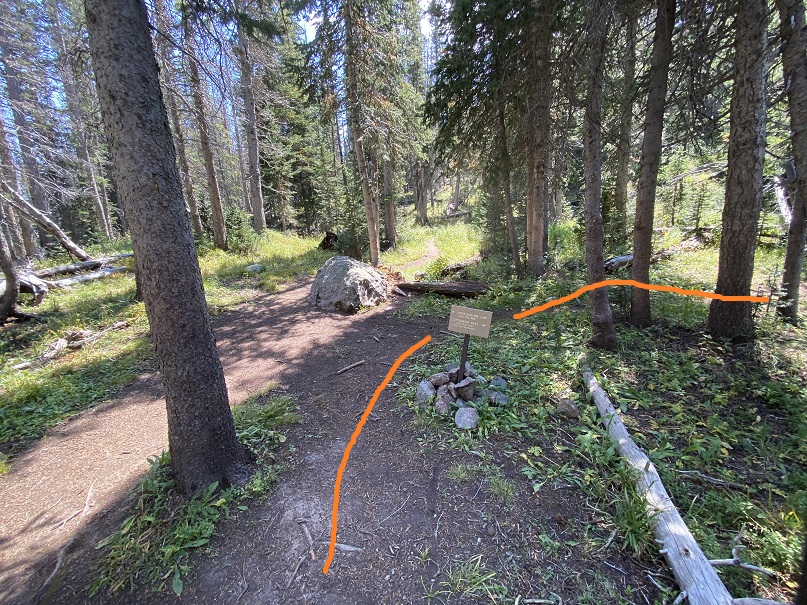
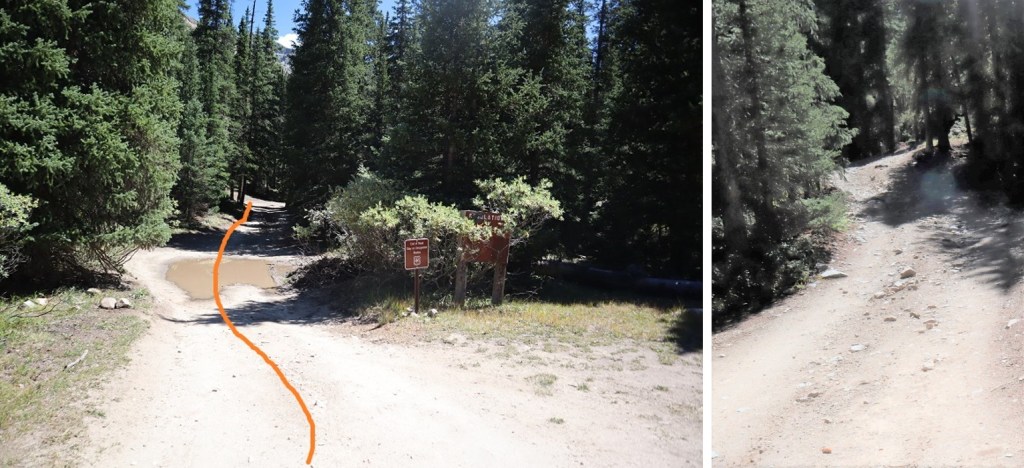
After the stream crossing there’s a junction.  Continue straight.
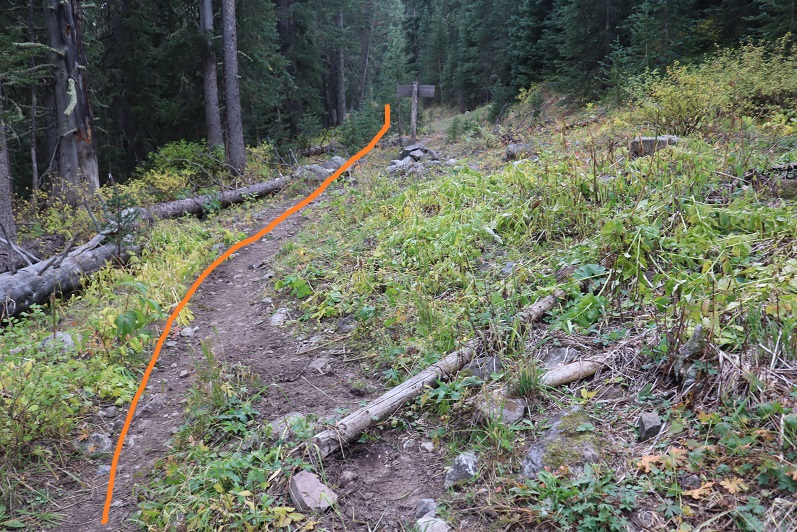
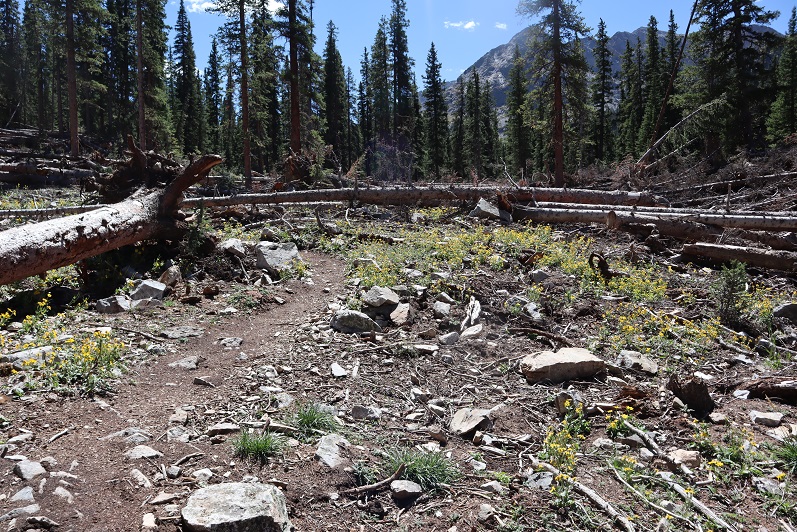
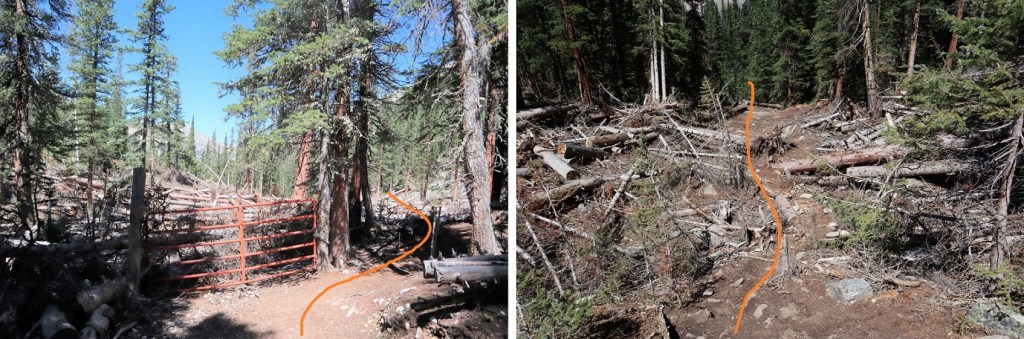
The trail goes through an avalanche area but a clear path has been established. 
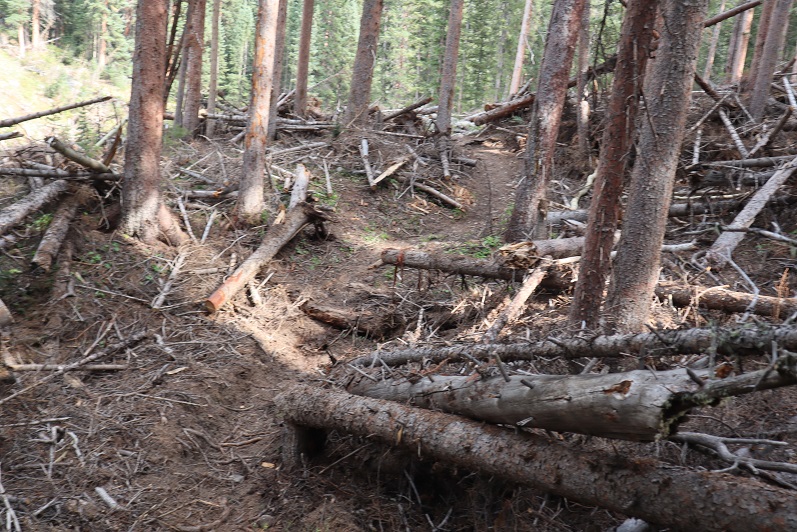
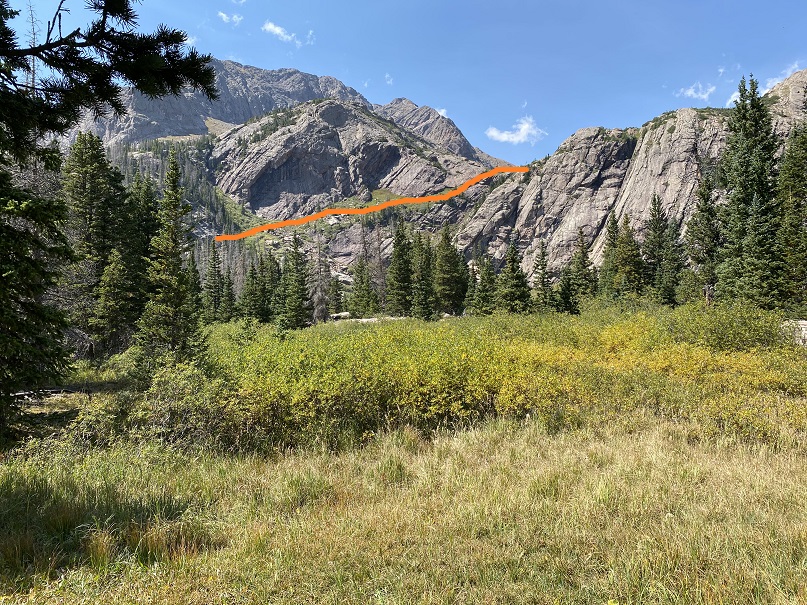
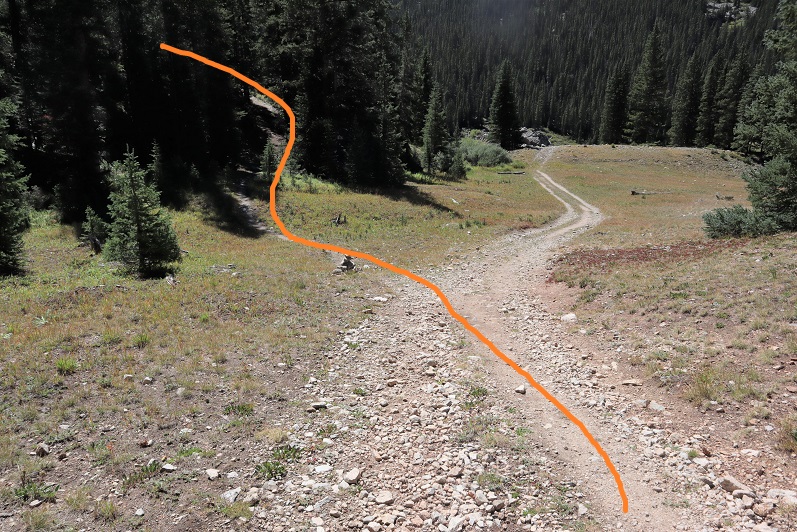
After hiking for 5 miles (exactly) I came to a small meadow.  Here I left the trail and headed west, staying to the left of the gully, but following it up.
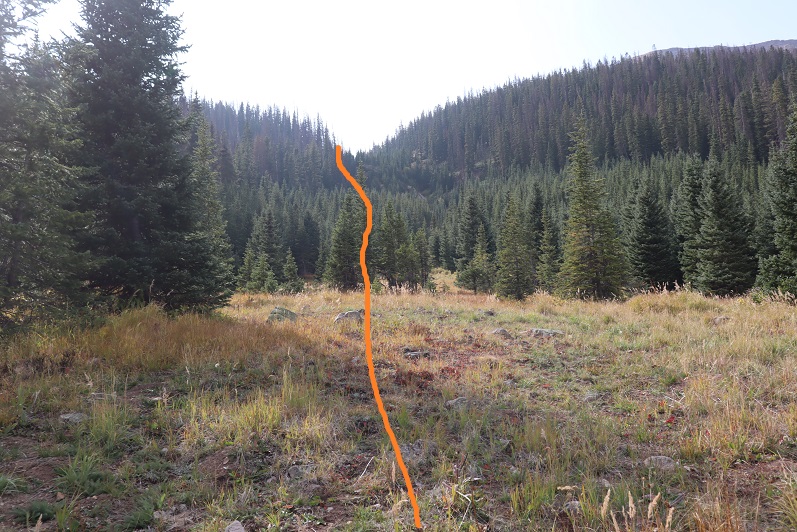
I eventually picked up a faint trail.  There were a lot of game trails in the area, so I kept losing then re-finding the trail. 

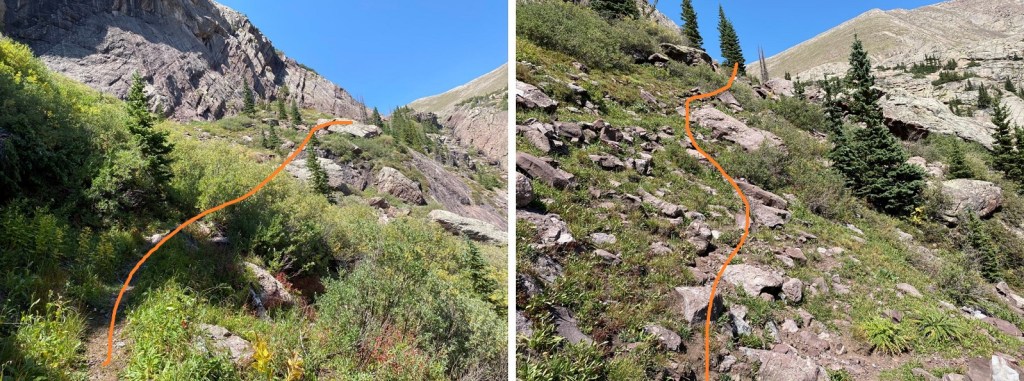
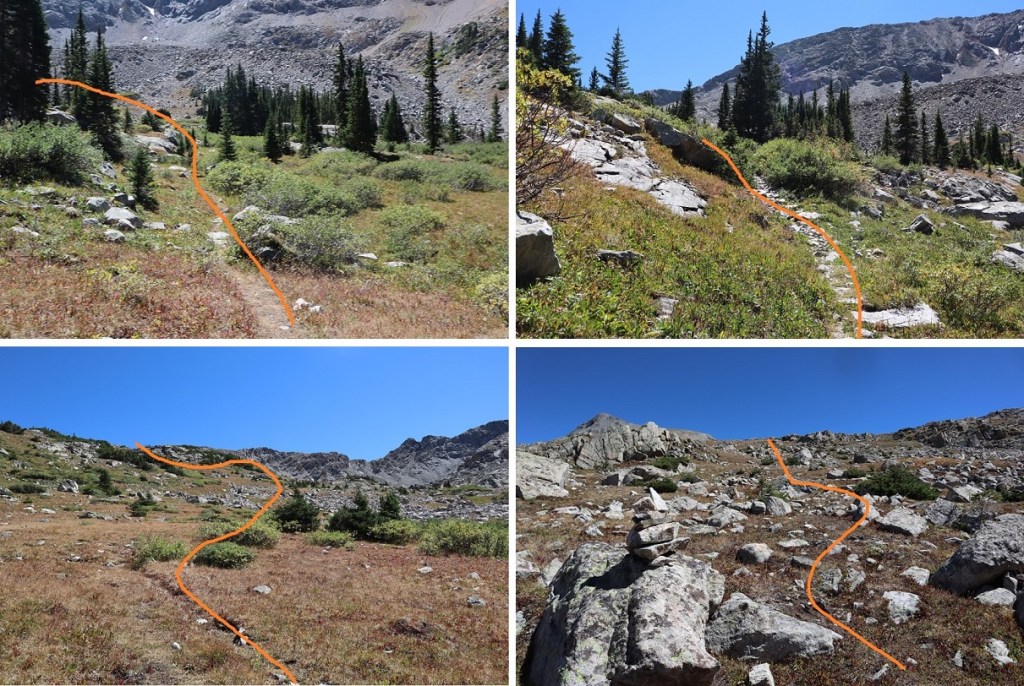
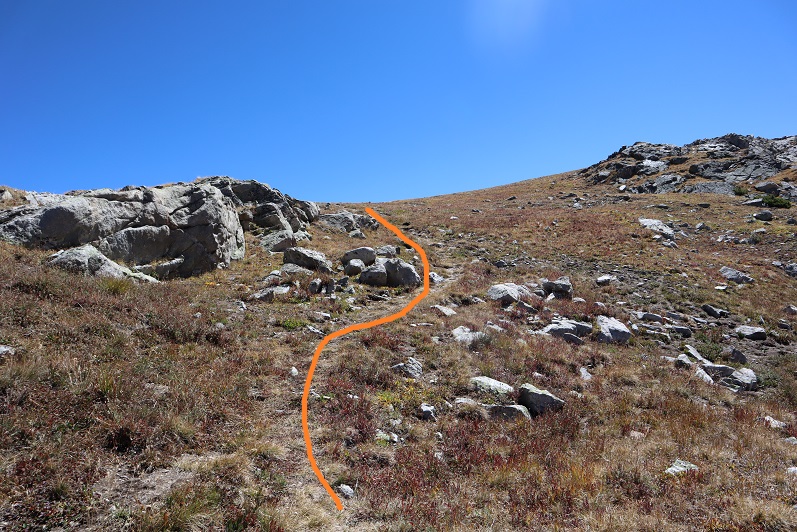
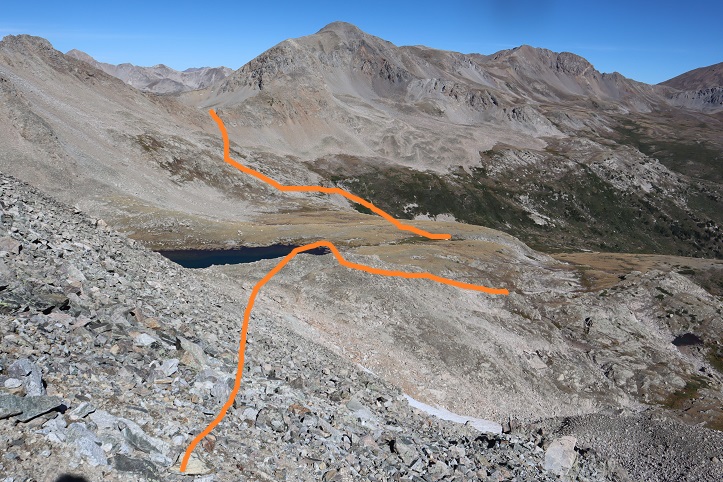
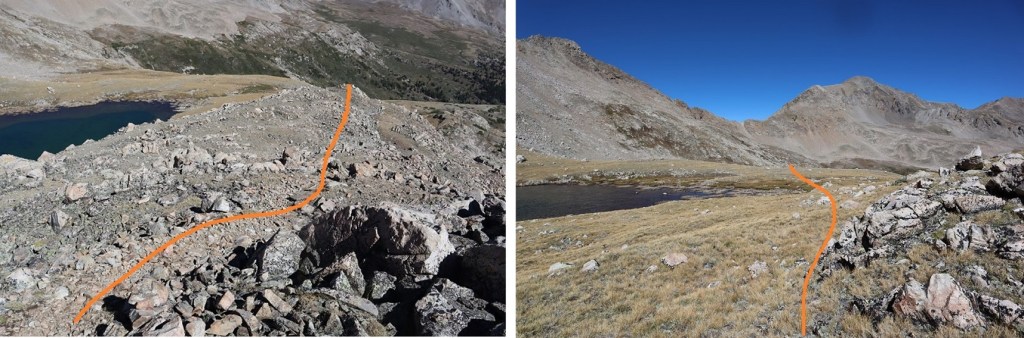
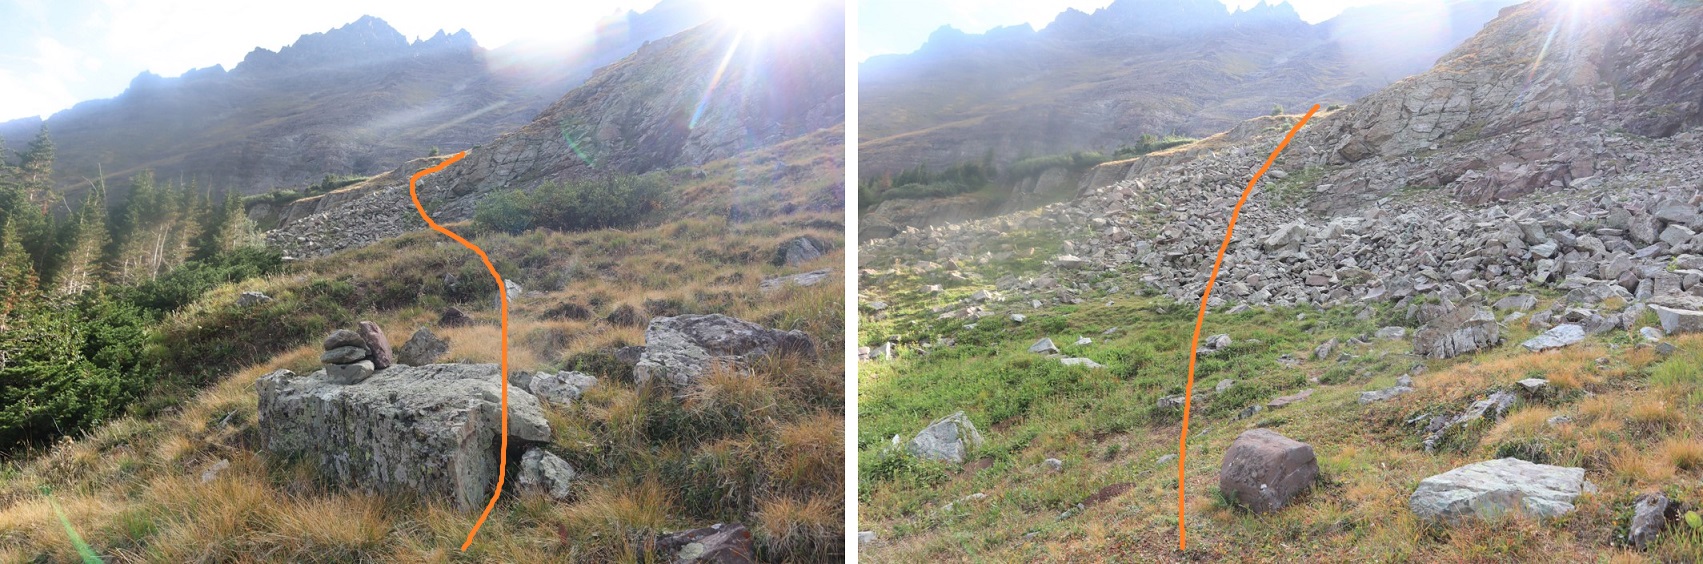
When I hit treeline I crossed the gully and headed left and northwest up the side of the mountain
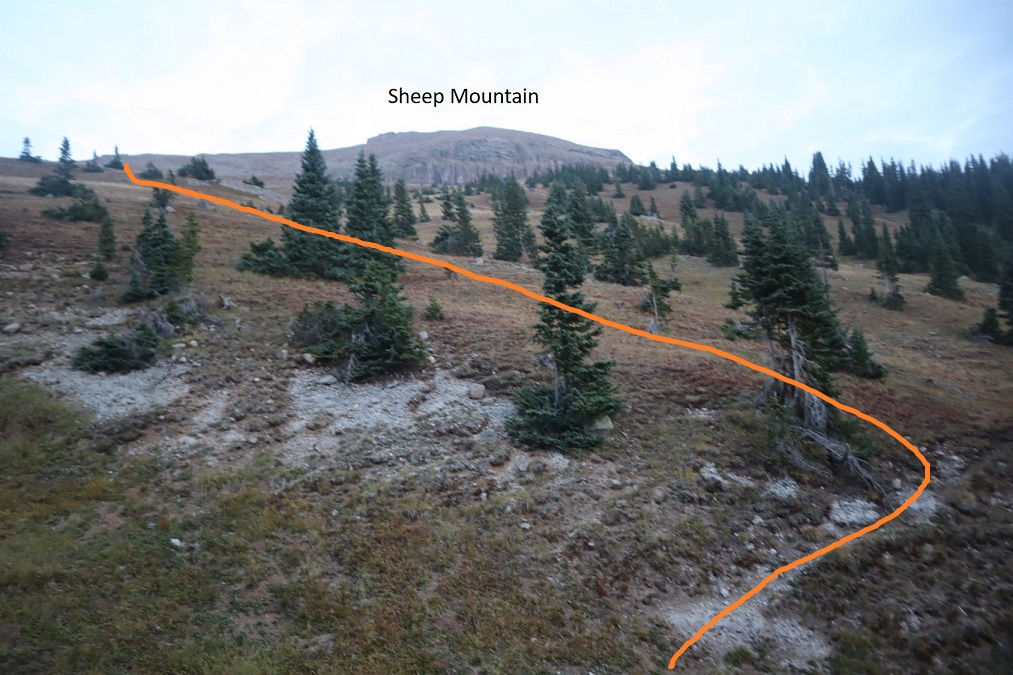
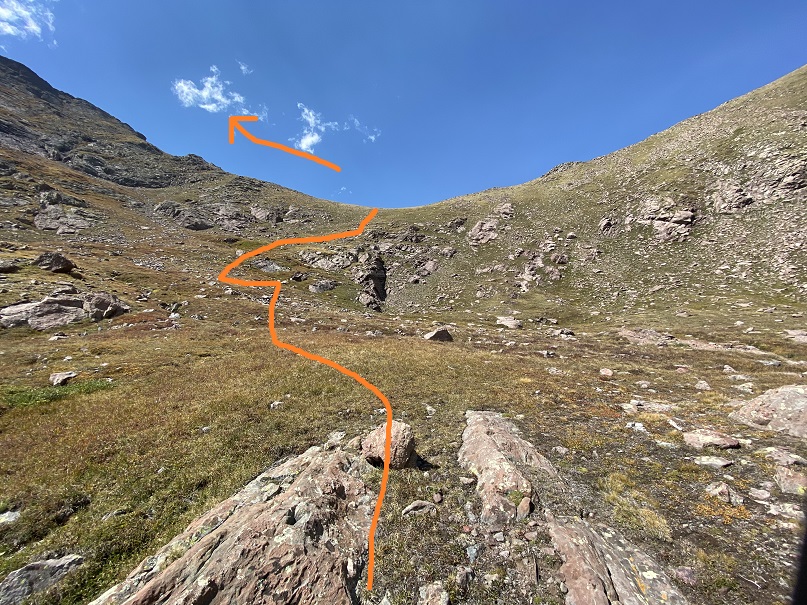
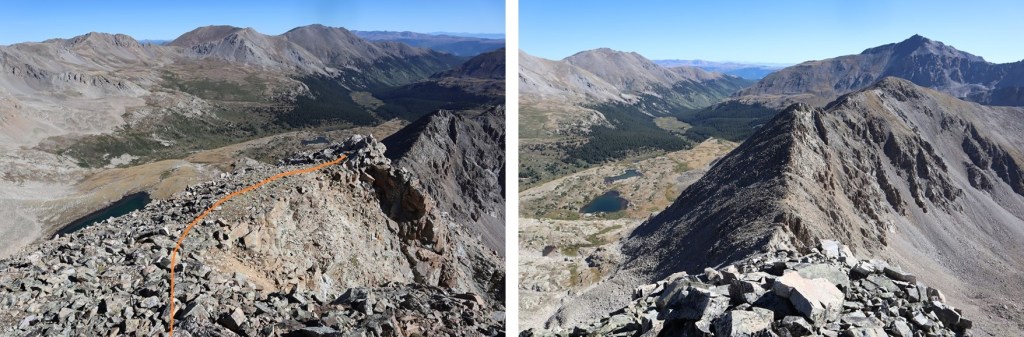
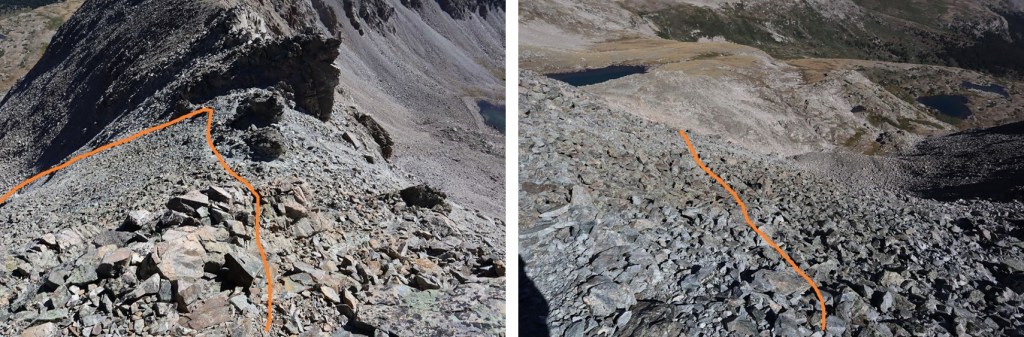
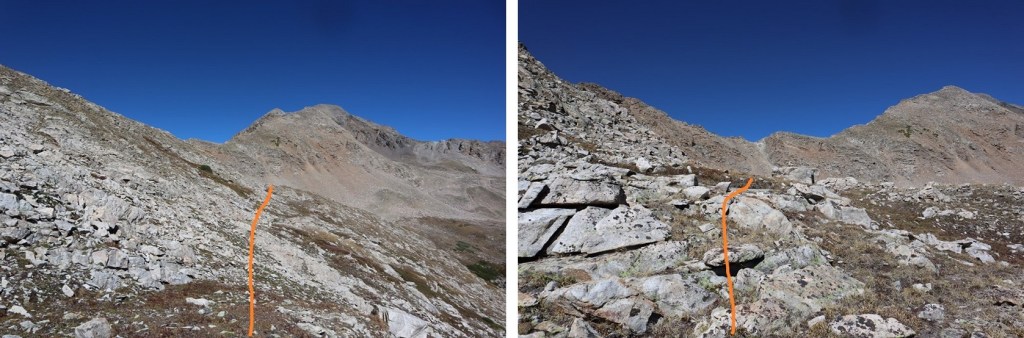
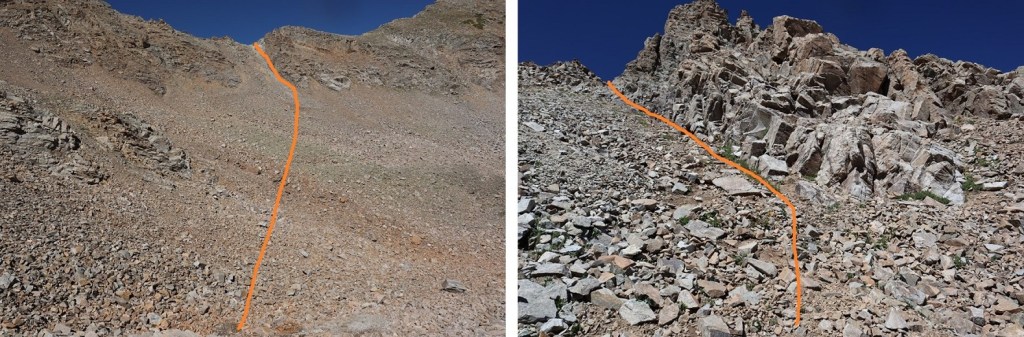
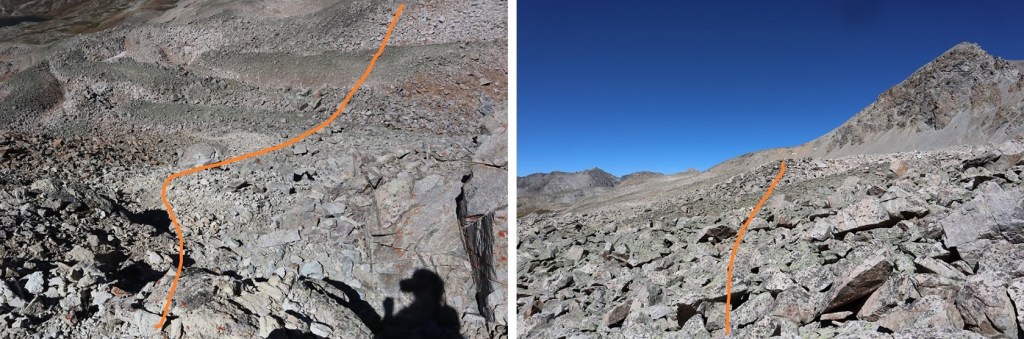
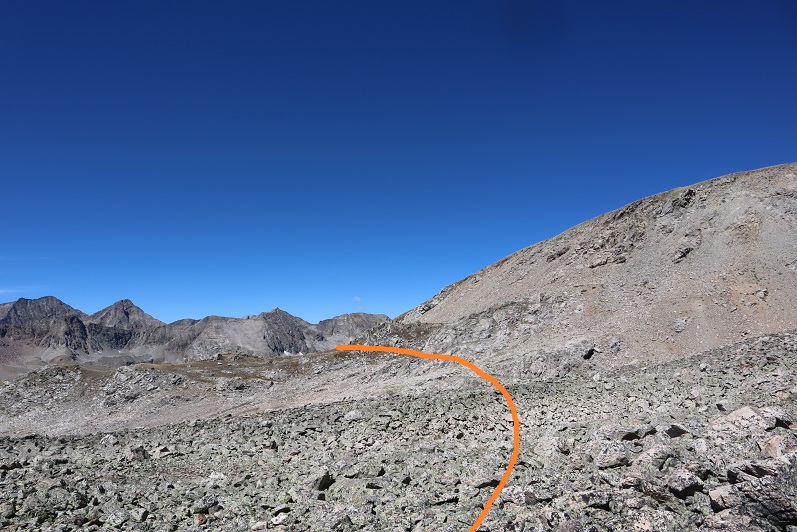
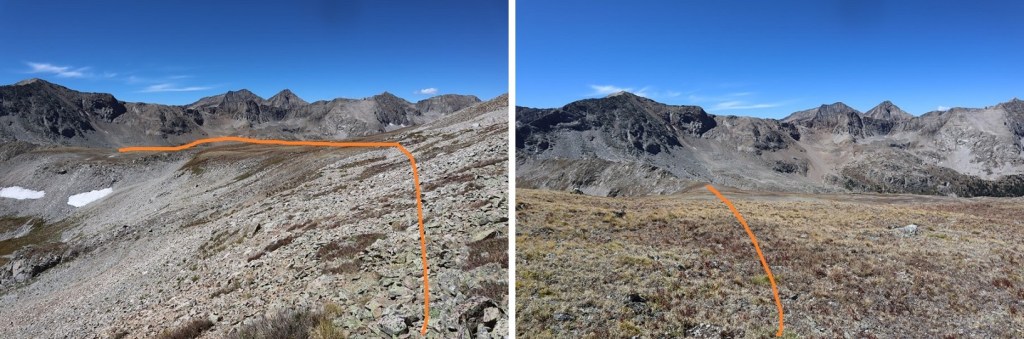
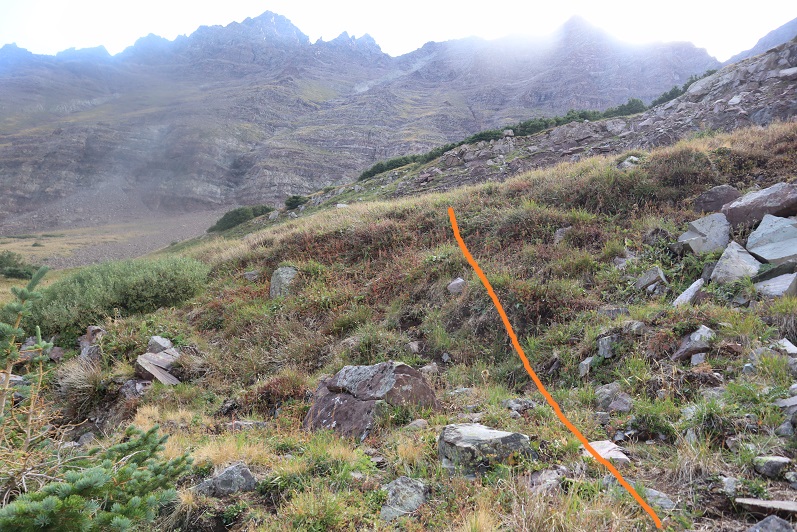
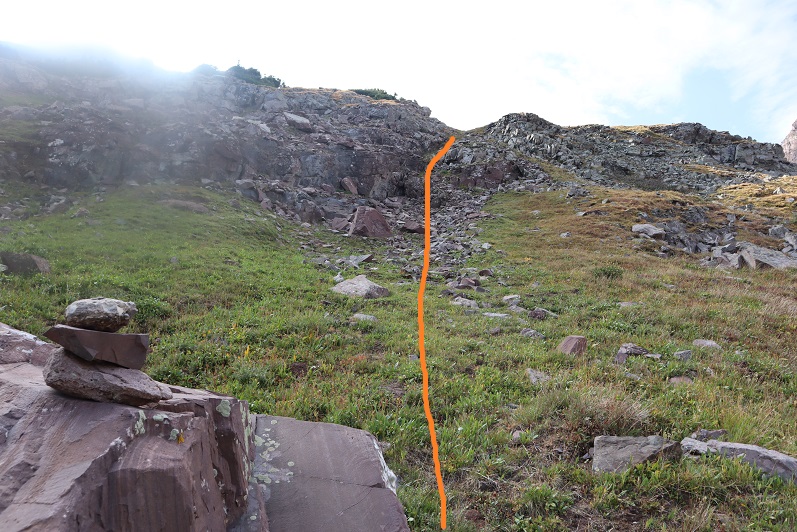
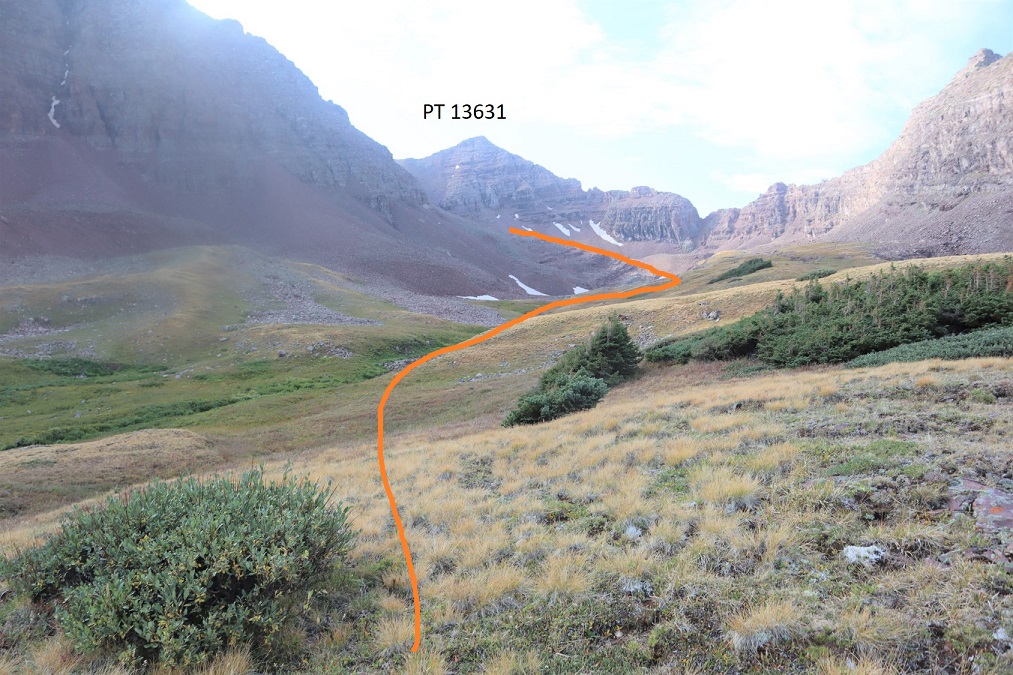
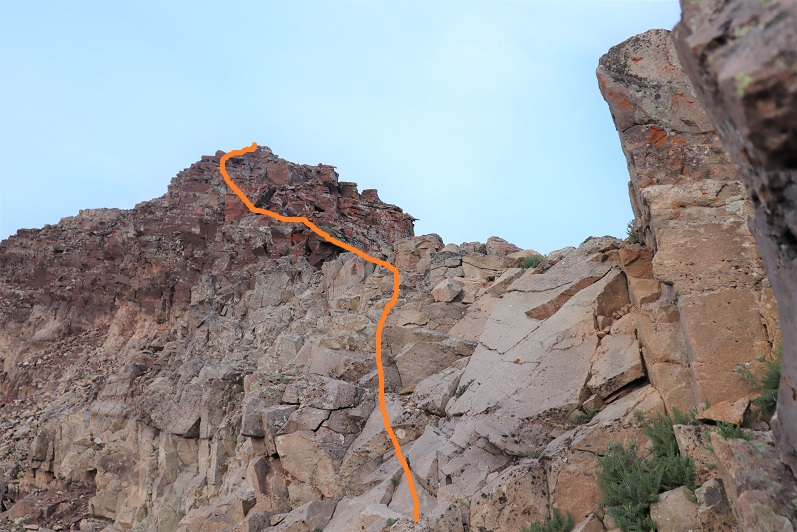
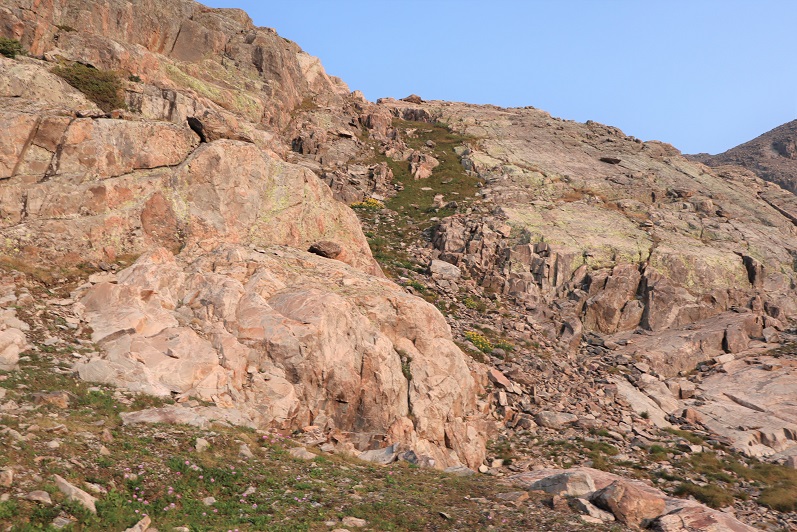
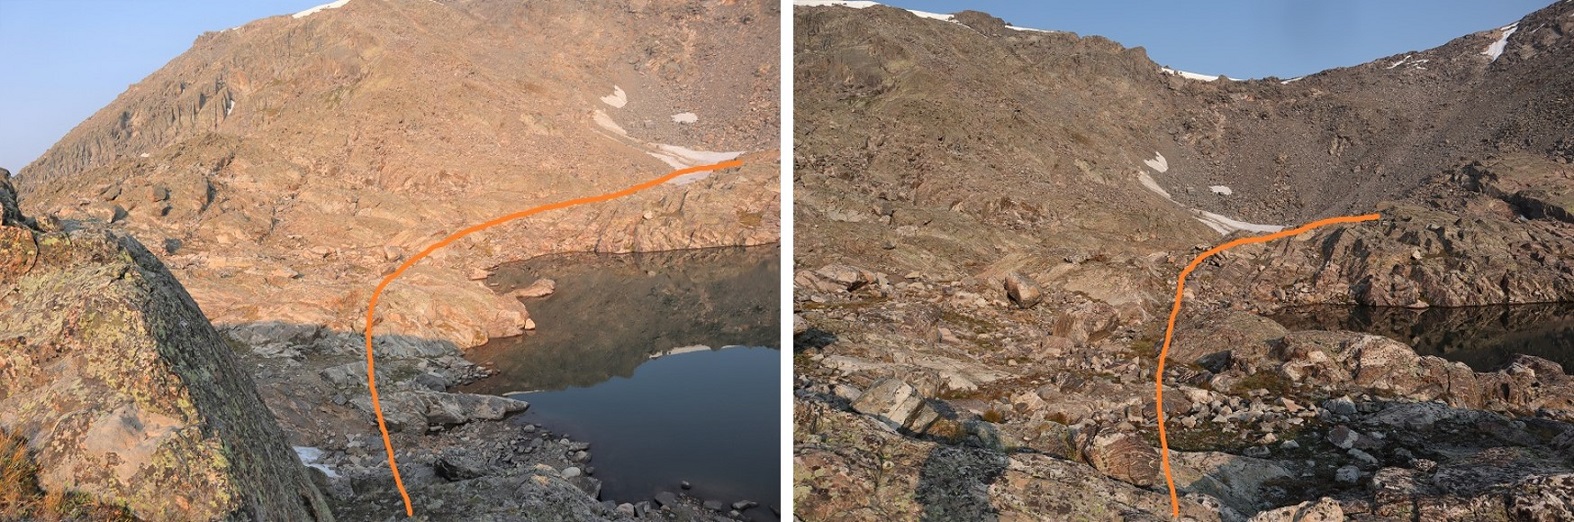
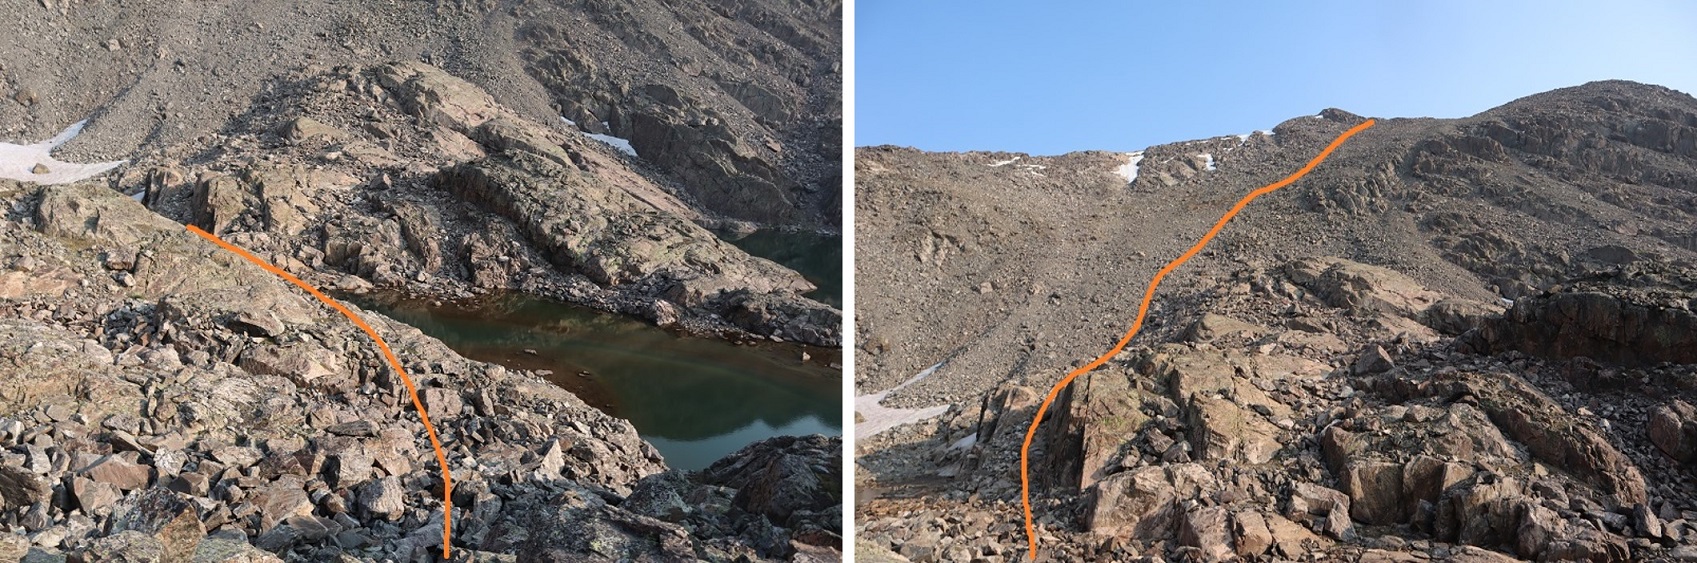
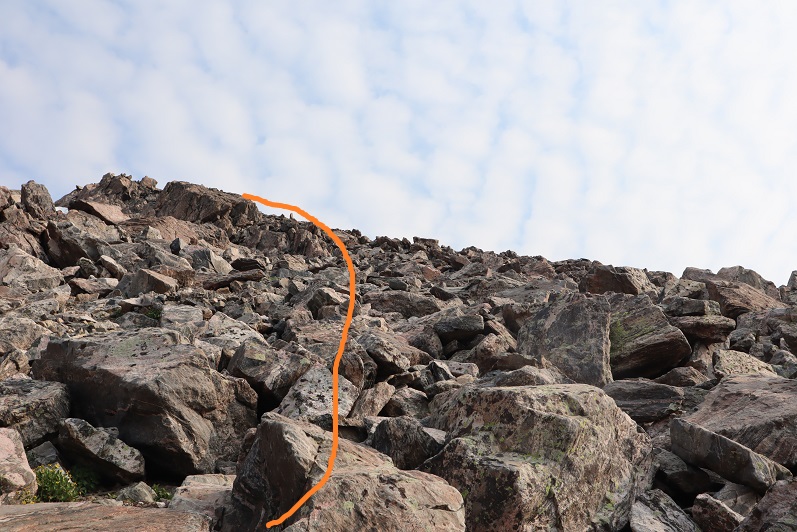
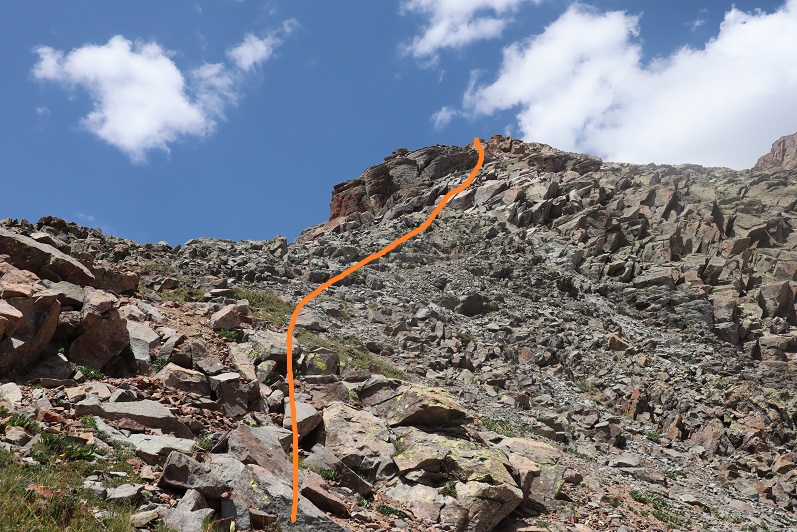
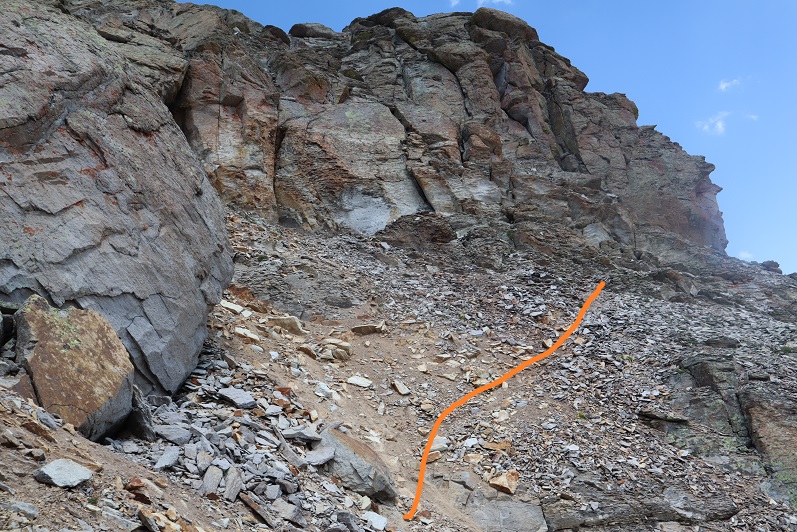
The rest of the hike to the summit of Sheep Mountain was fairly straightforward.   Here’s the route I took, staying to the left of the cliffs

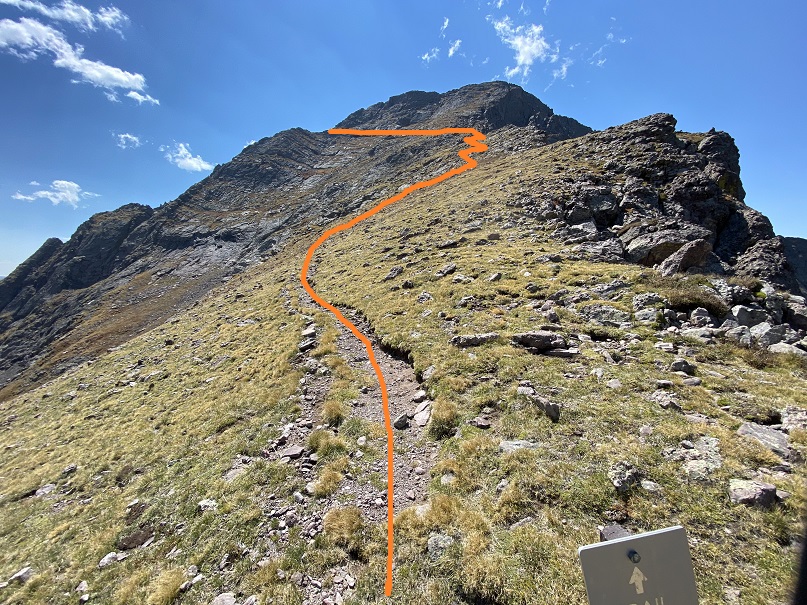
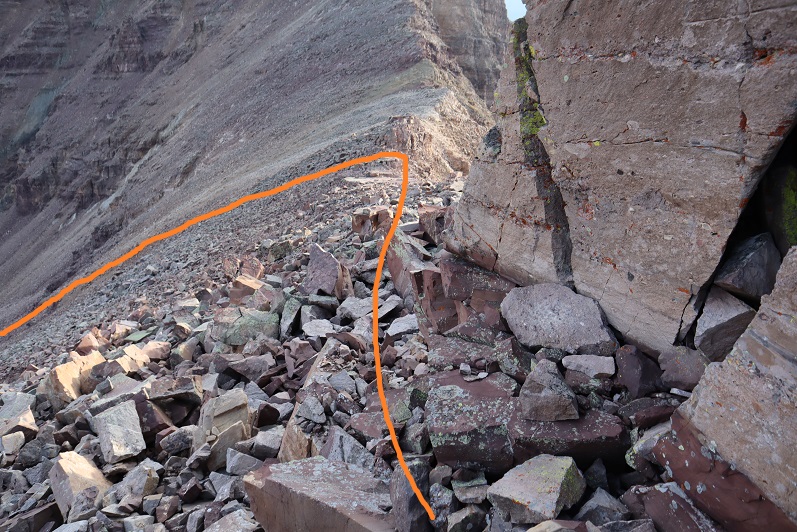
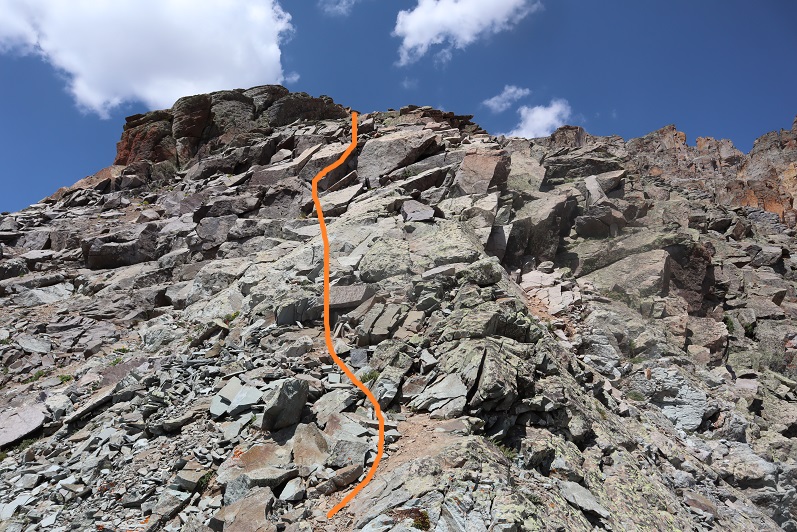
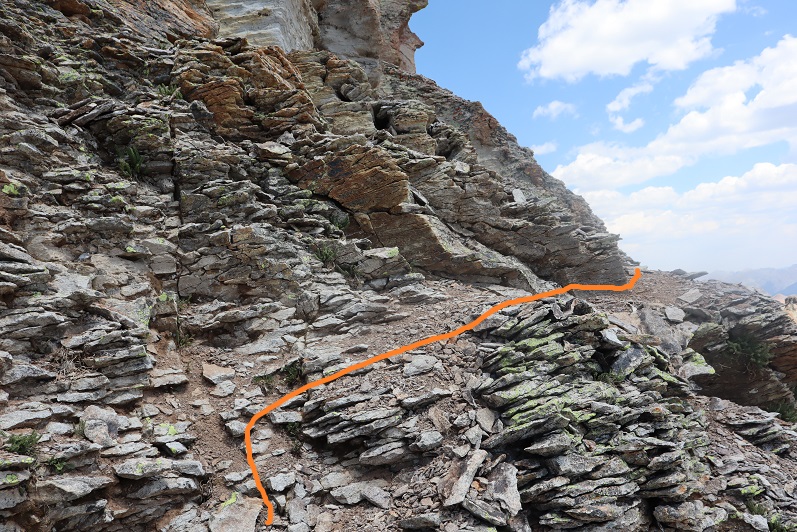
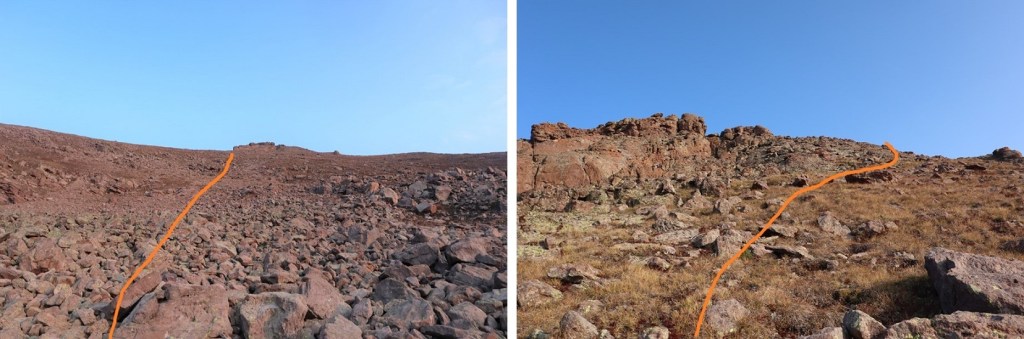
Once on the ridge I skirted the rocks to the right to keep this class 2
I summited Sheep Mountain at 7:55am.  The summit was wide and flat and it was my birthday, so I decided to jump for the photo.
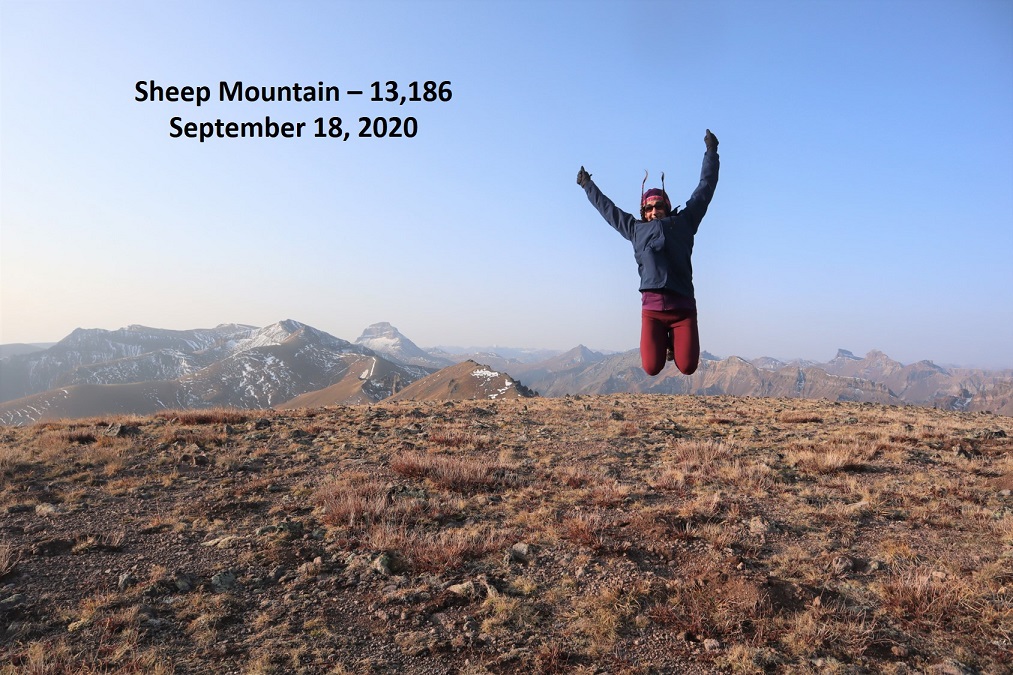
Sheep Mountain:

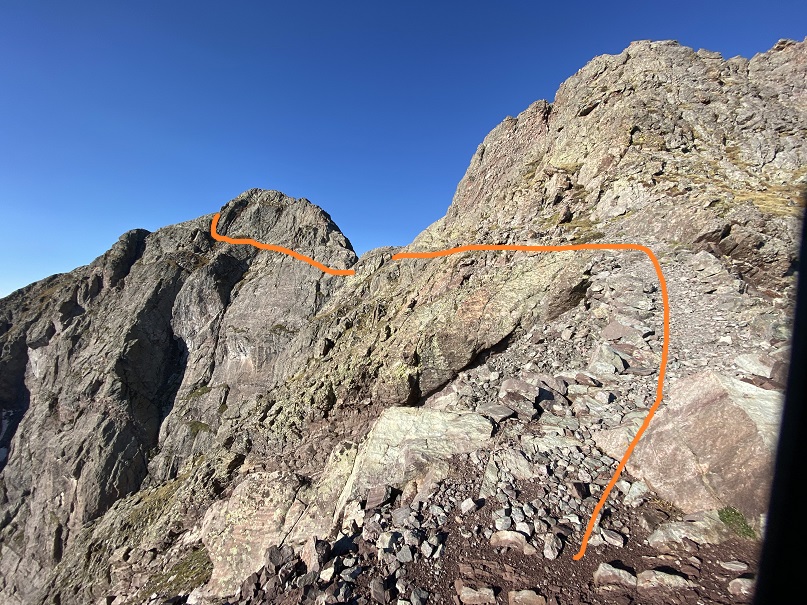
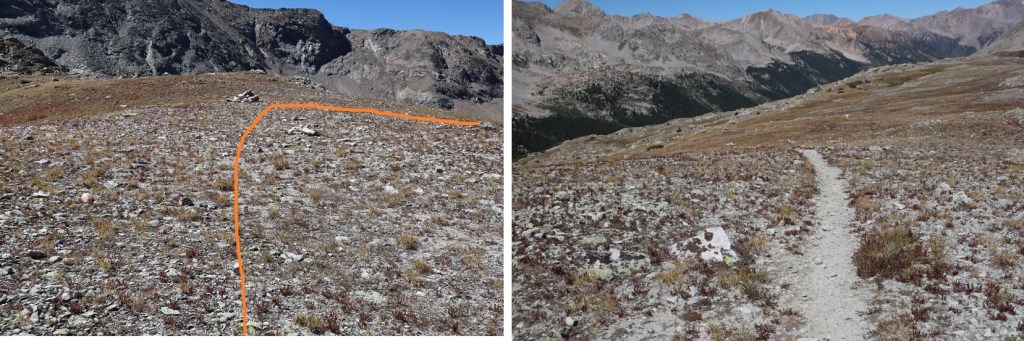
I was making this a ridge hike today.  Next on the agenda:  PT 13100.  I turned and followed the ridge south
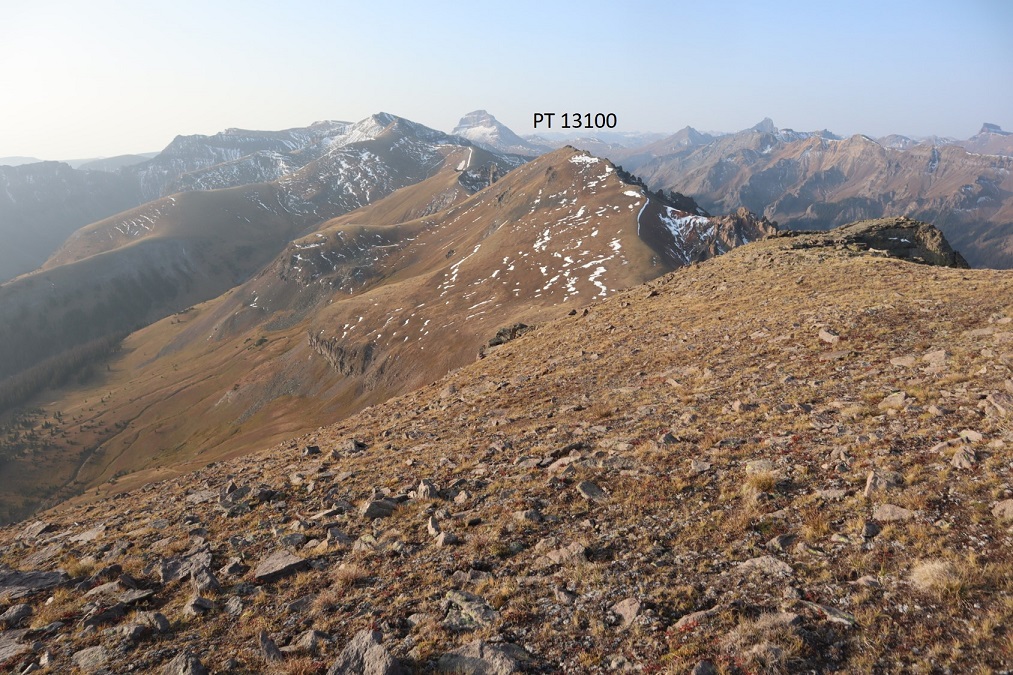
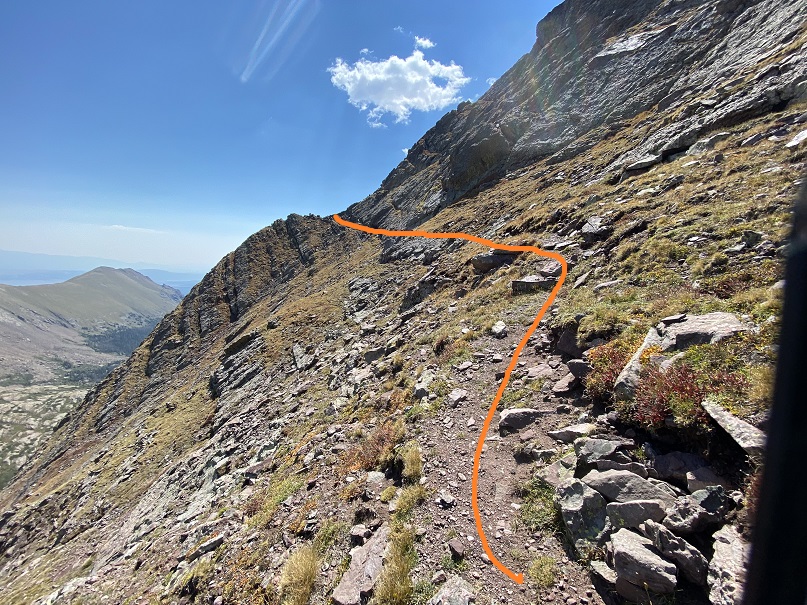
This was an easy class 2 ridge to follow.  As times I stayed left to avoid rocks. 

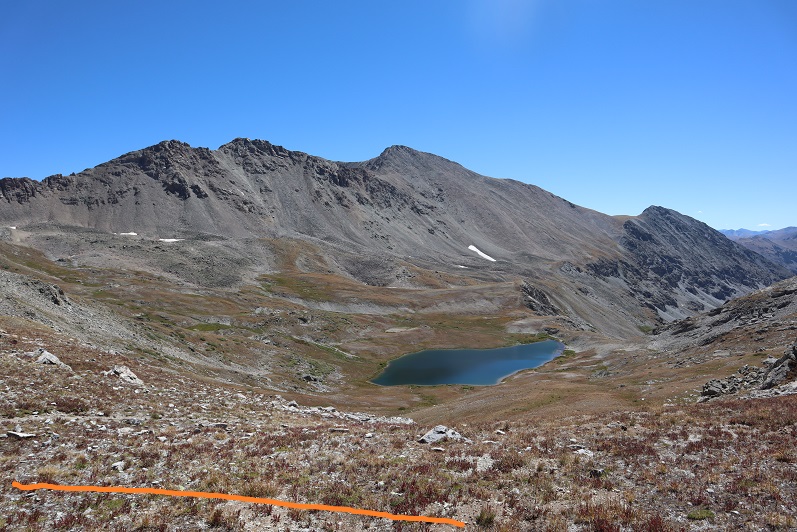
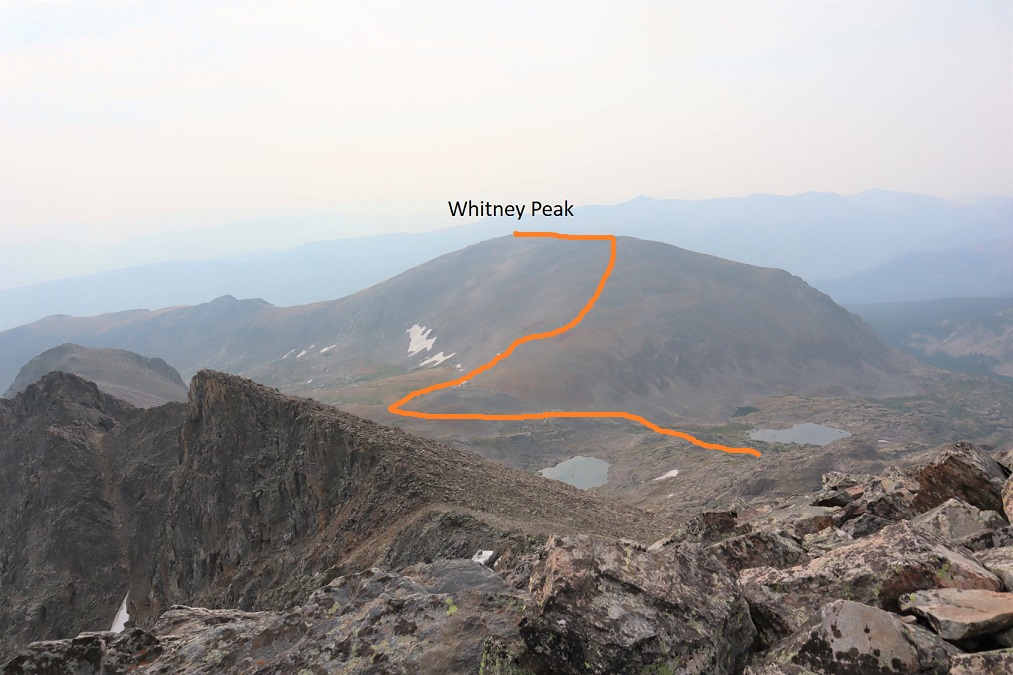
From the saddle, here’s looking up at PT 13100 and back at Sheep Mountain
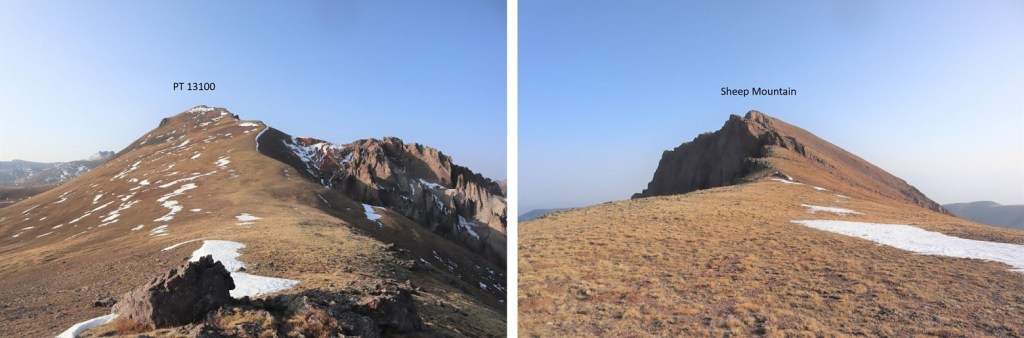
It was a simple ridge hike up tundra until the very end.  Then the terrain became rock and it was difficult to tell where the actual summit was, so I followed the entire ridge.  I spied a cairn and I considered the cairn the summit.
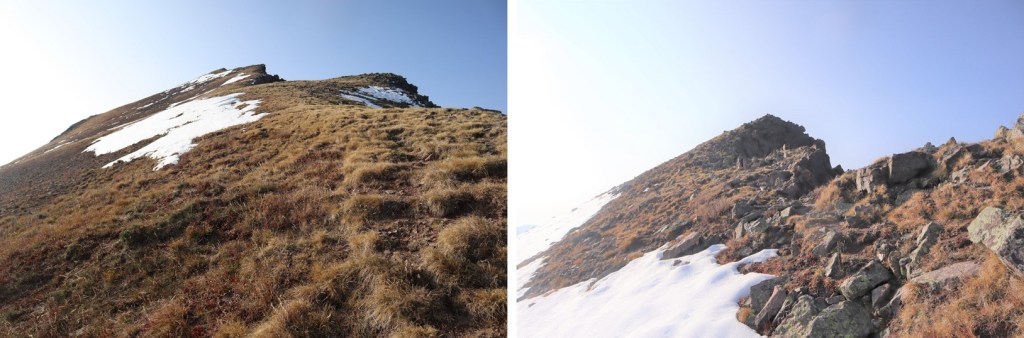
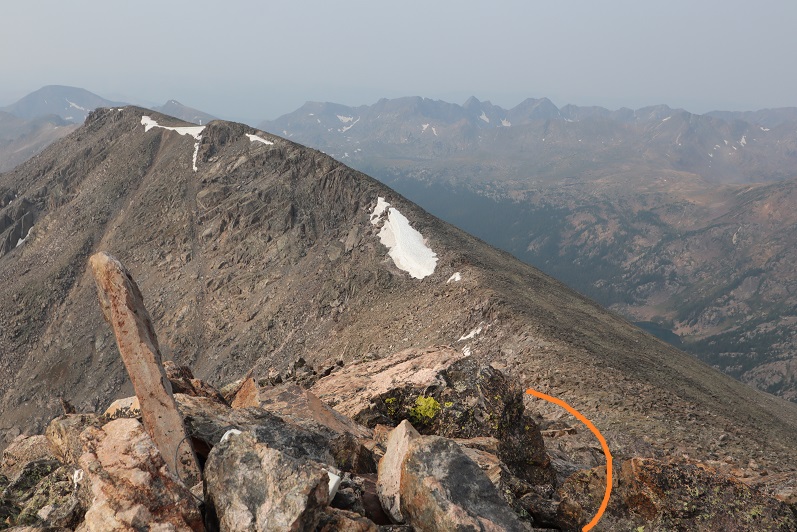
I’ve circled the summit cairn in red (although the rock outcropping certainly felt/looked the same height)

I summited PT 13100 at 8:50am
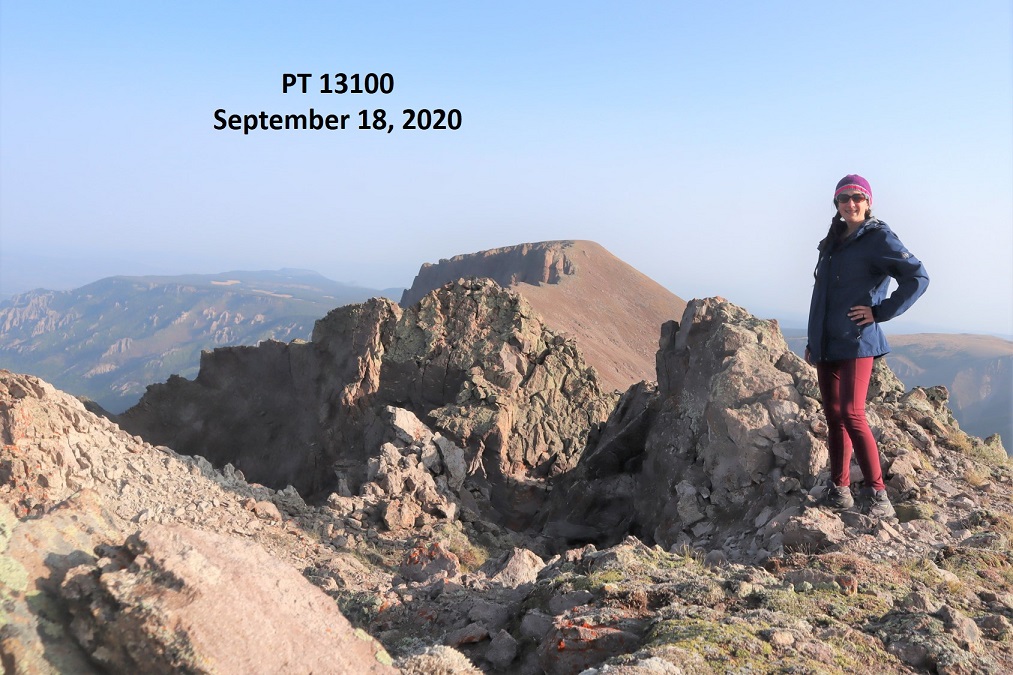
PT 13,100: 

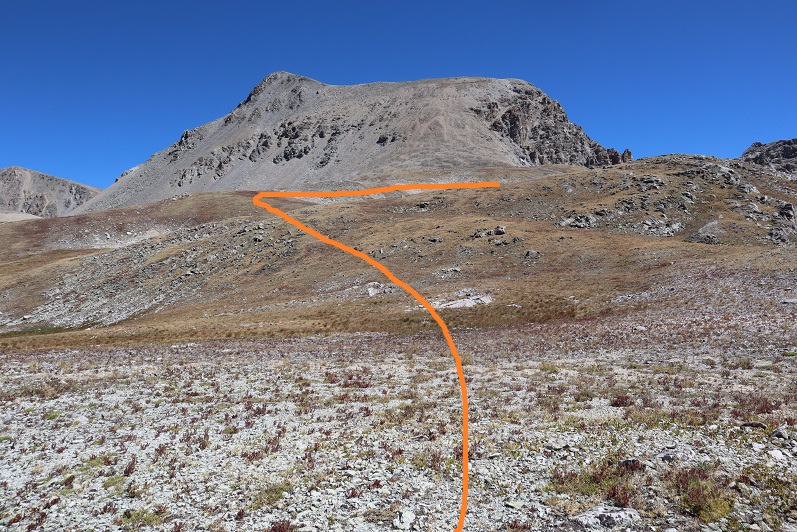
Next up was PT 13,681.  Once again, I followed the ridge south
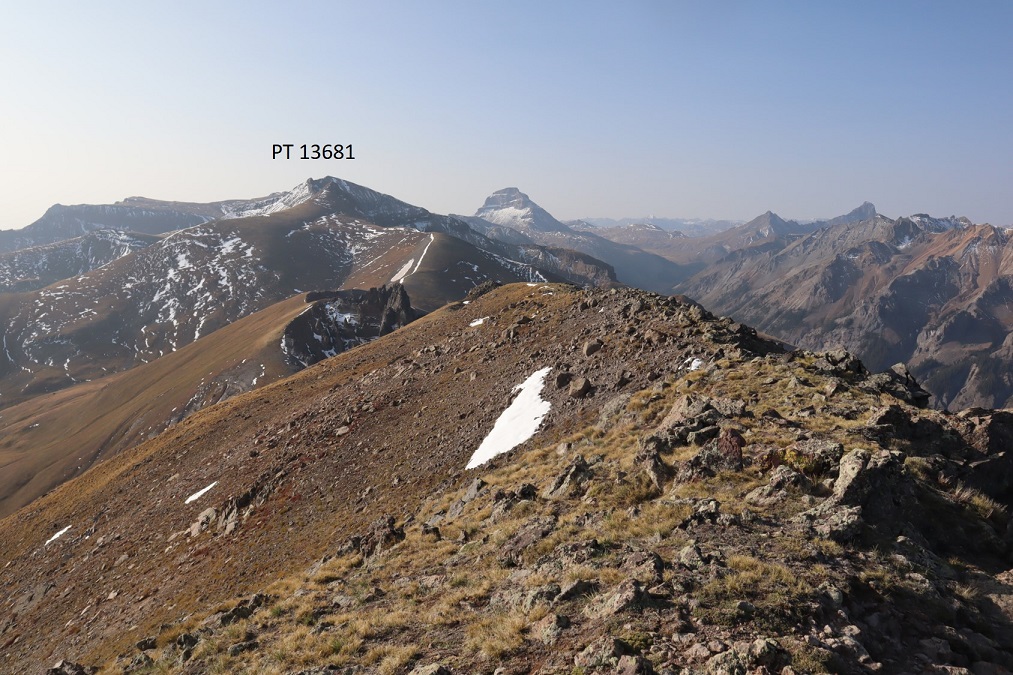
The volcanic ash towers at the saddle were pretty cool!
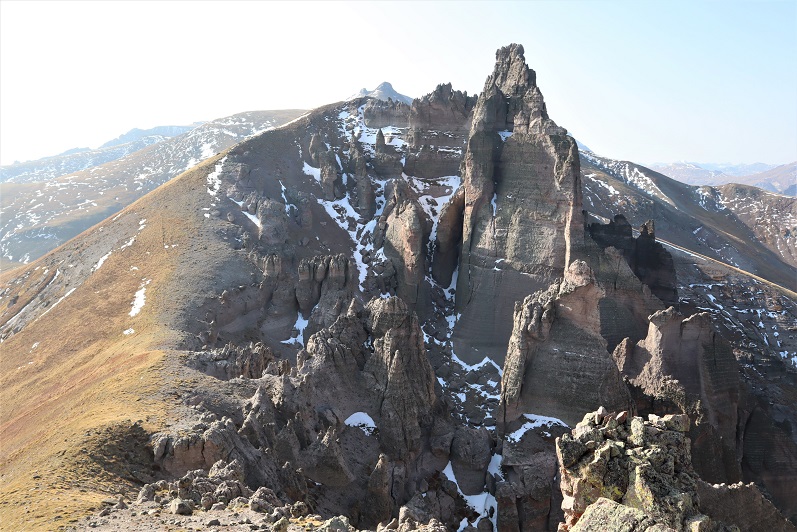
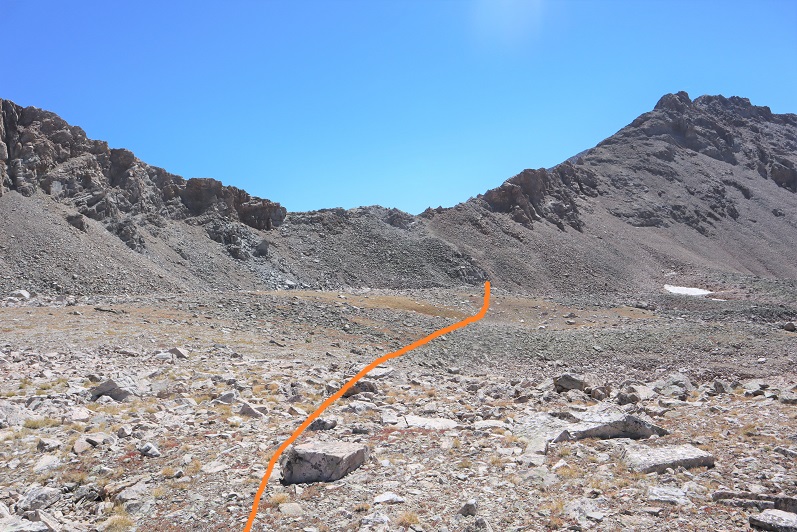
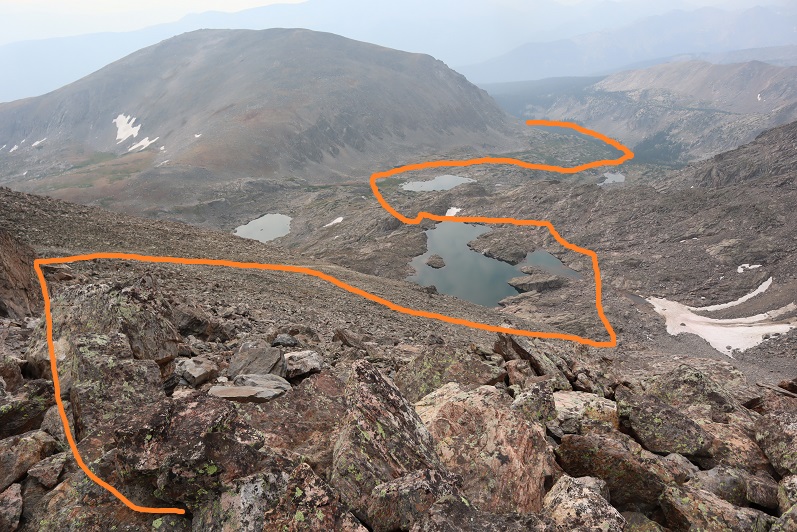
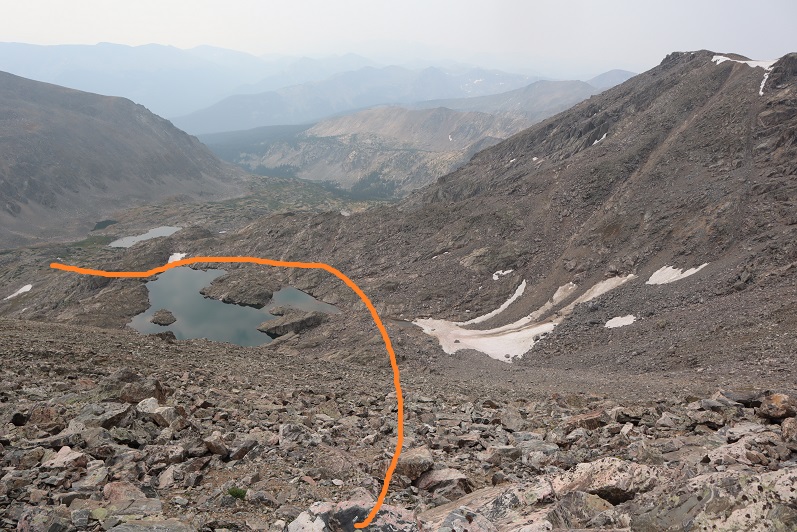
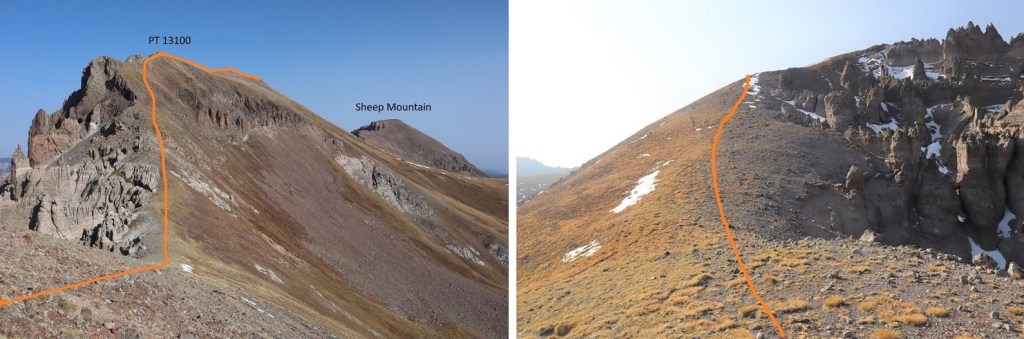
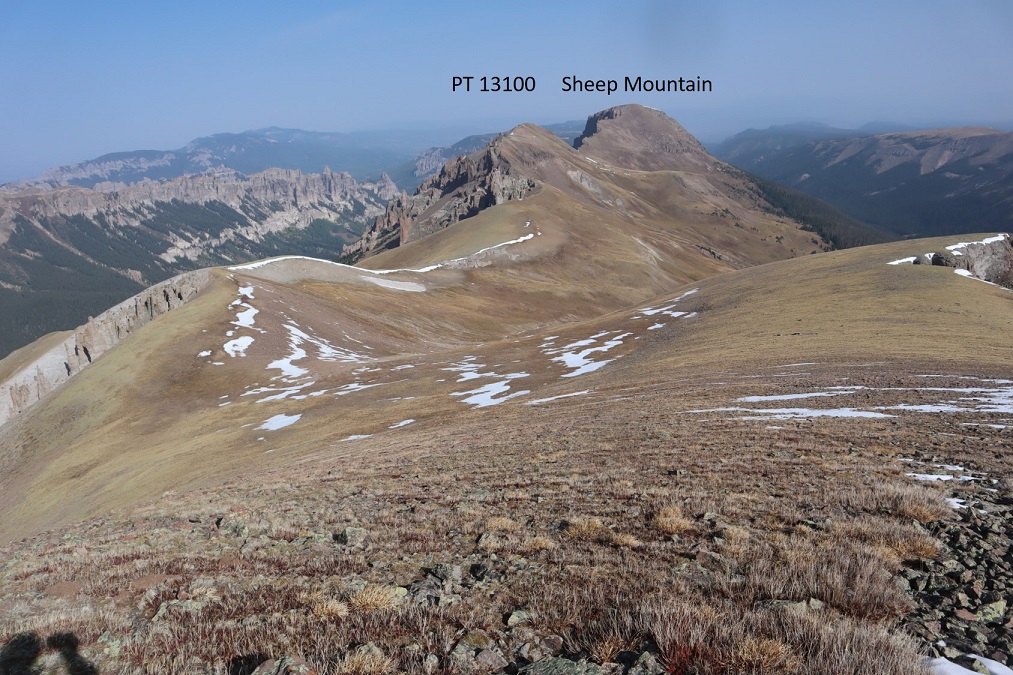
From the first saddle, here’s looking back at PT 13100 and Sheep Mountain, along with my route, and a look up the ridge
I followed the ridge to the false summit of PT 13681
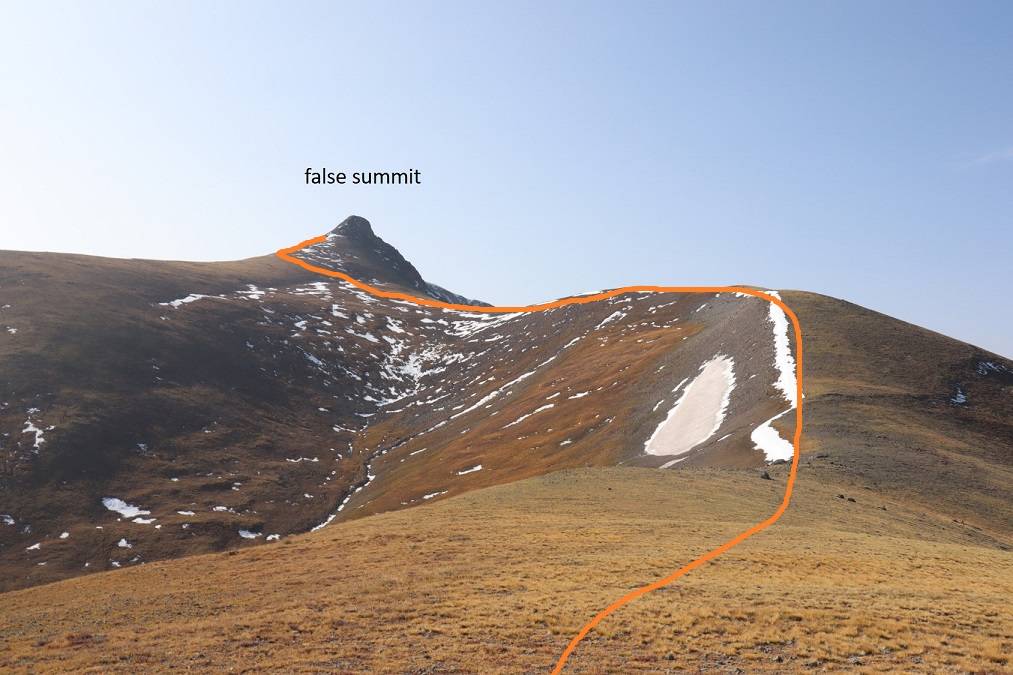
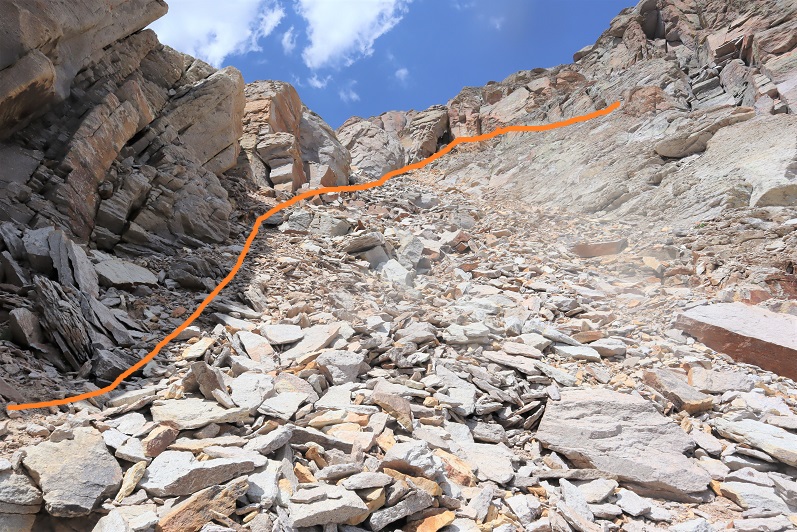
When I made it to the ridge, instead of climbing the false summit I stuck to the left, keeping this class 2
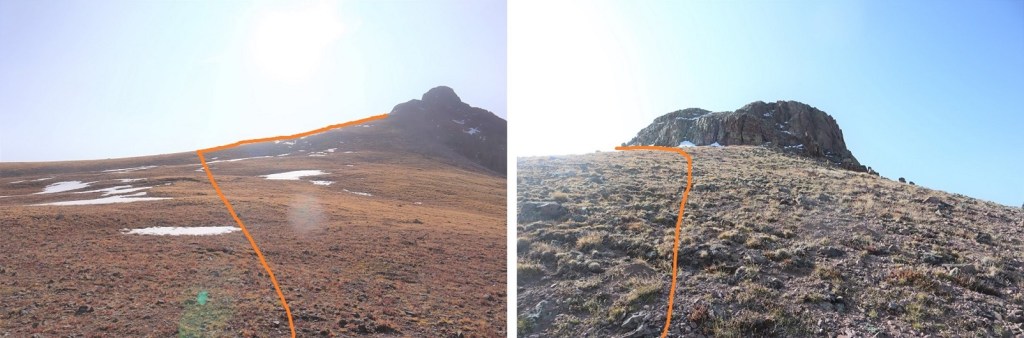
Here’s a look back from the ridge
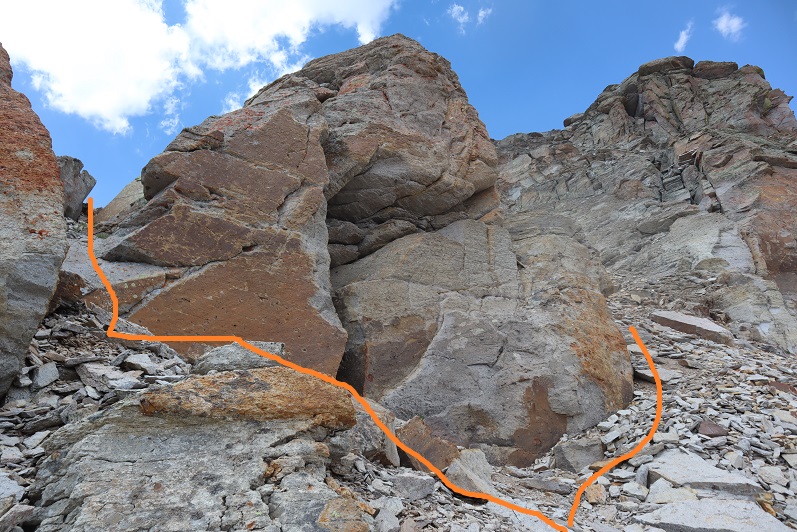
After skirting the false summit to the left I could see PT 13631.  I stayed low until I made it to the saddle, and then stuck to the ridge until I hit the second false summit
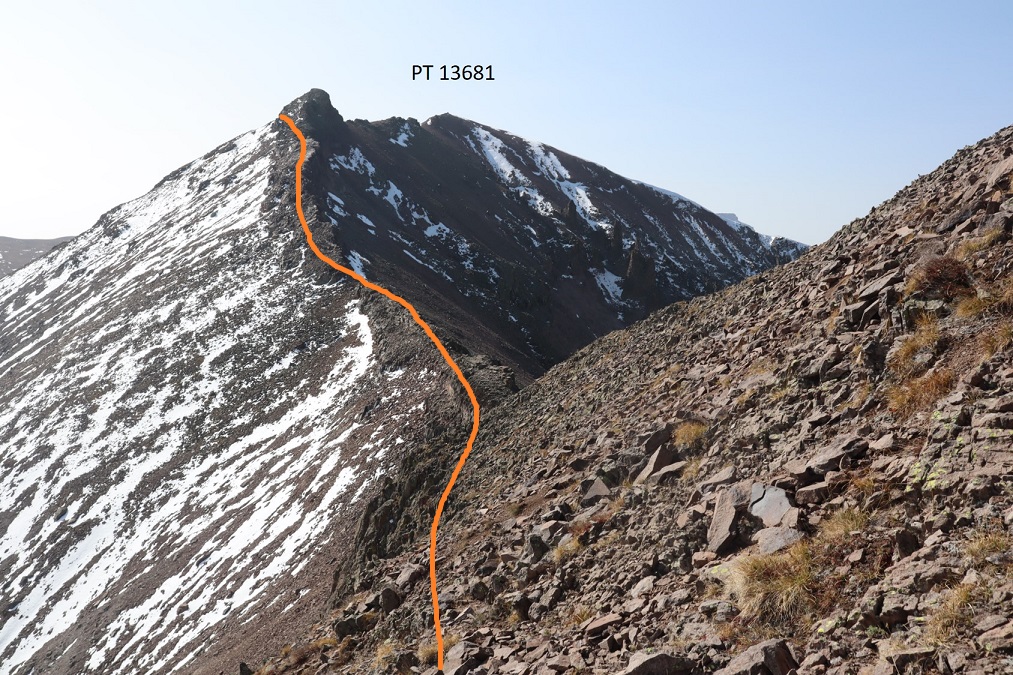
From the saddle, here’s looking back at how I skirted the bump

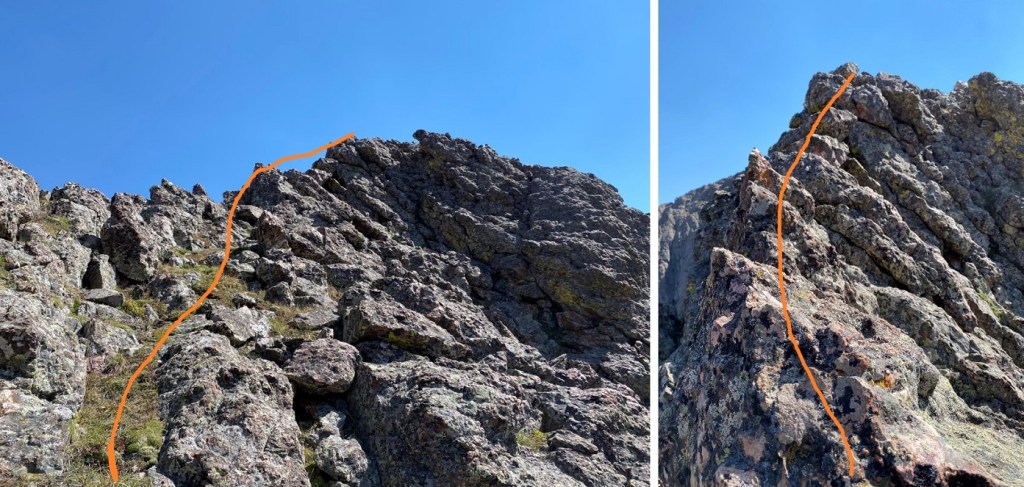
From here I took the ridge straight up and over, making this class 3.  You can keep it class 2 by going to the left and skirting the ridge.  They both end up in the same place.
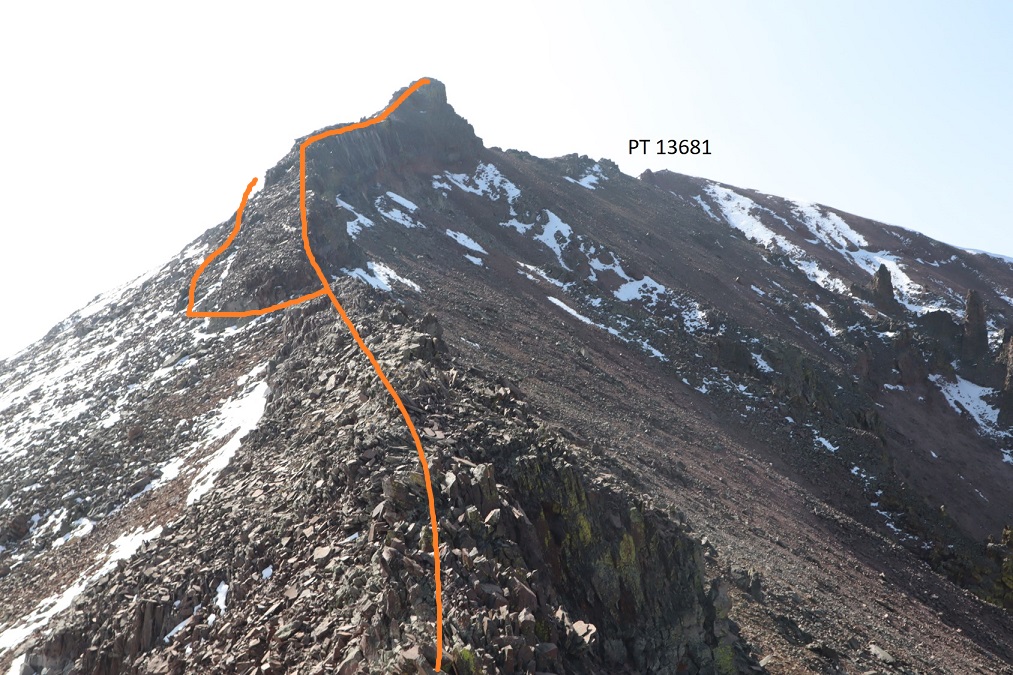
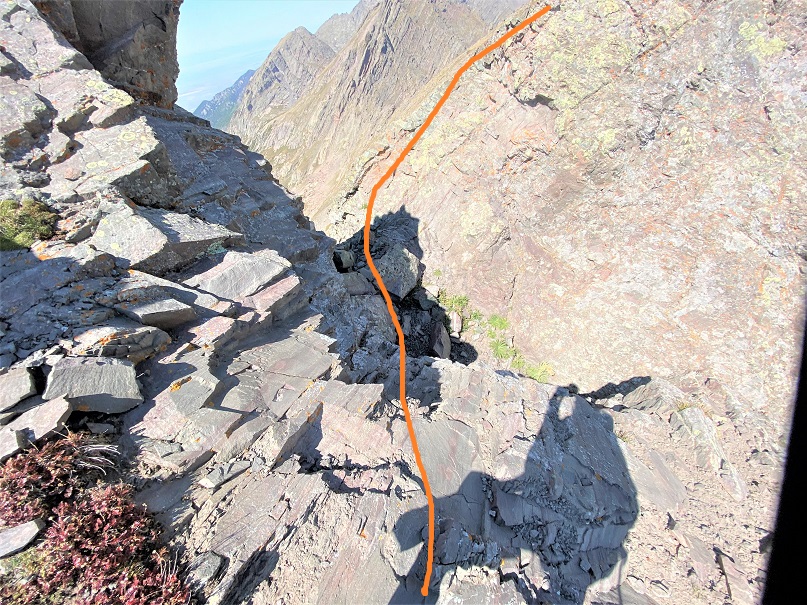
A view from halfway up the ridge

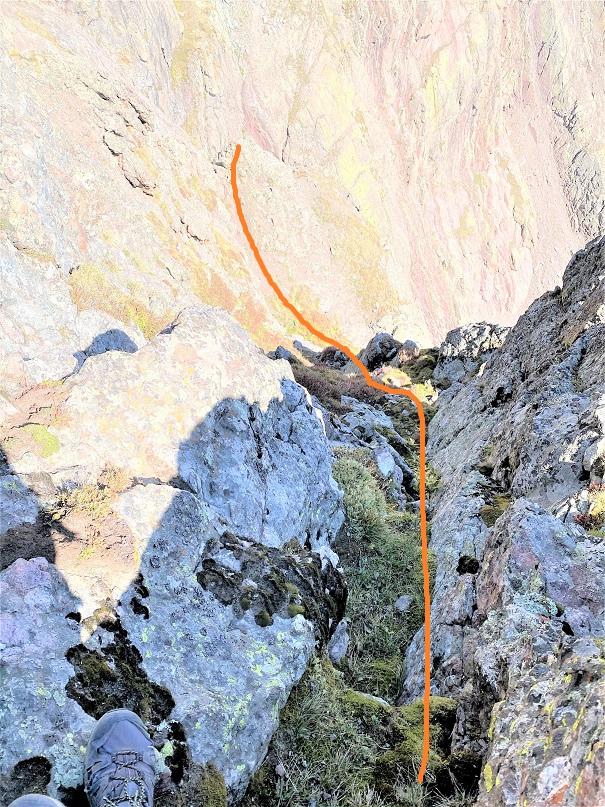
If you go over the ridge, this is the downclimb (still class 3, not as bad as it looks)
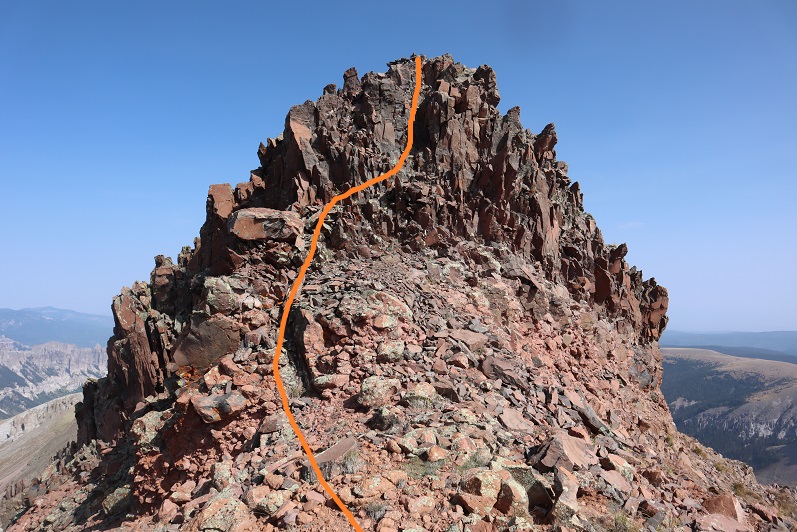
And here’s the rest of the class 2 route to PT 13681
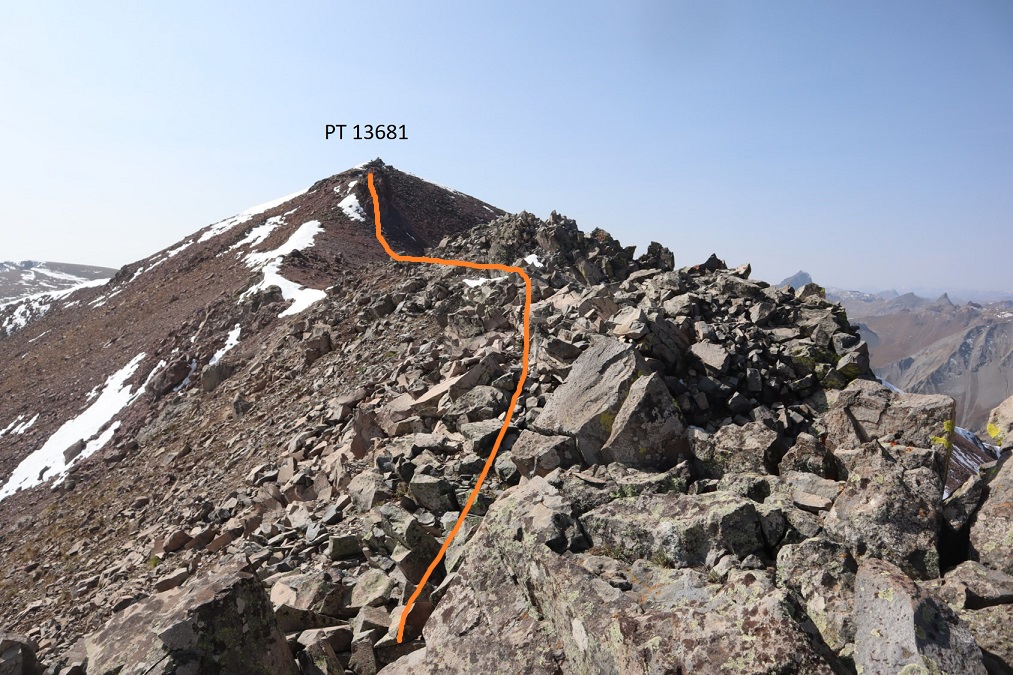
I summited PT 13681 at 10:45am

PT 13,681:

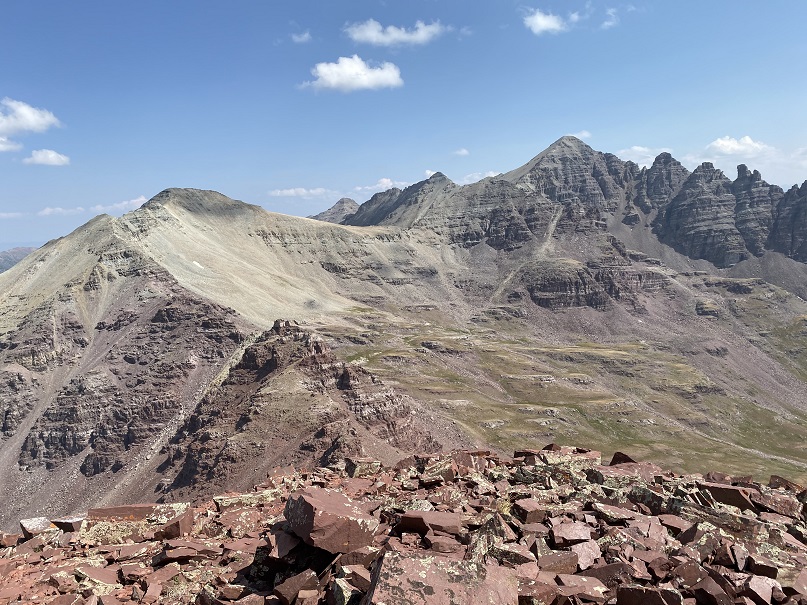
Here’s a look back on the route so far
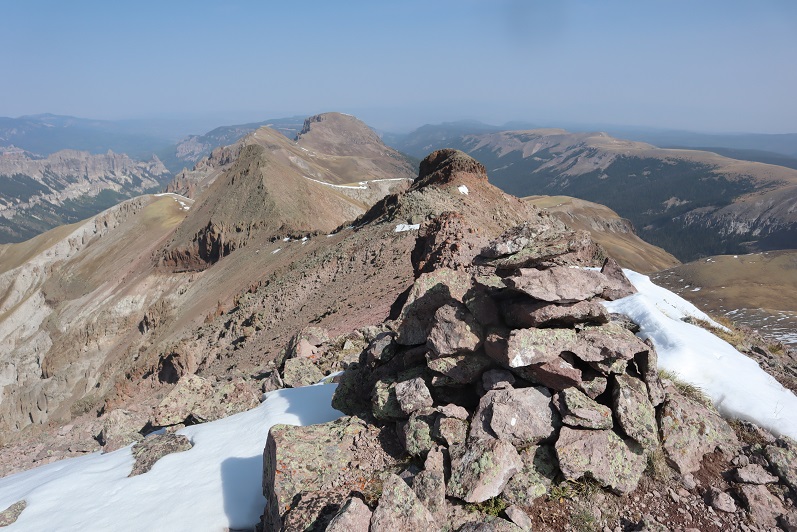
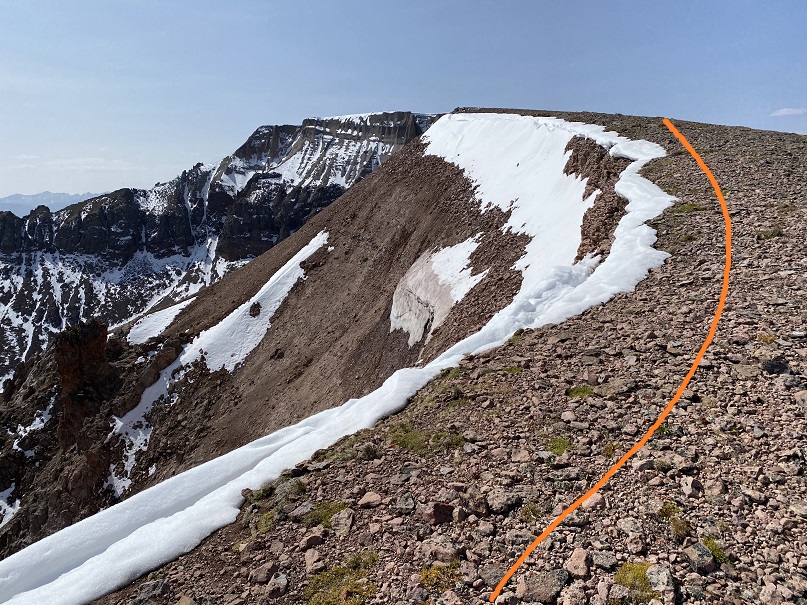
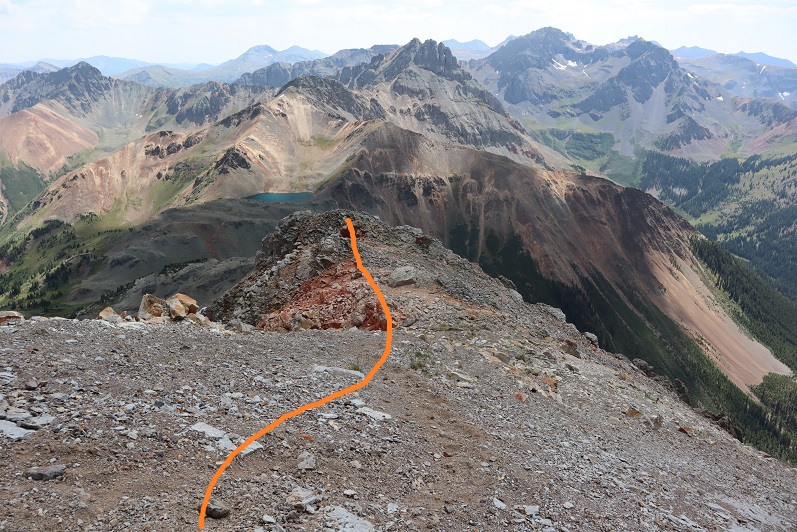
And a look at the route to Silver Mountain. The rest of the way was a simple tundra ridge walk

I summited Silver Mountain at 11:35am, and since it was my birthday (my 40th!) I kept my tradition of standing on my head because I still can.  Also, this is harder than it sounds, as I had to set up the automatic timer, get far enough away from the camera and then actually do the headstand before the camera took the picture. 
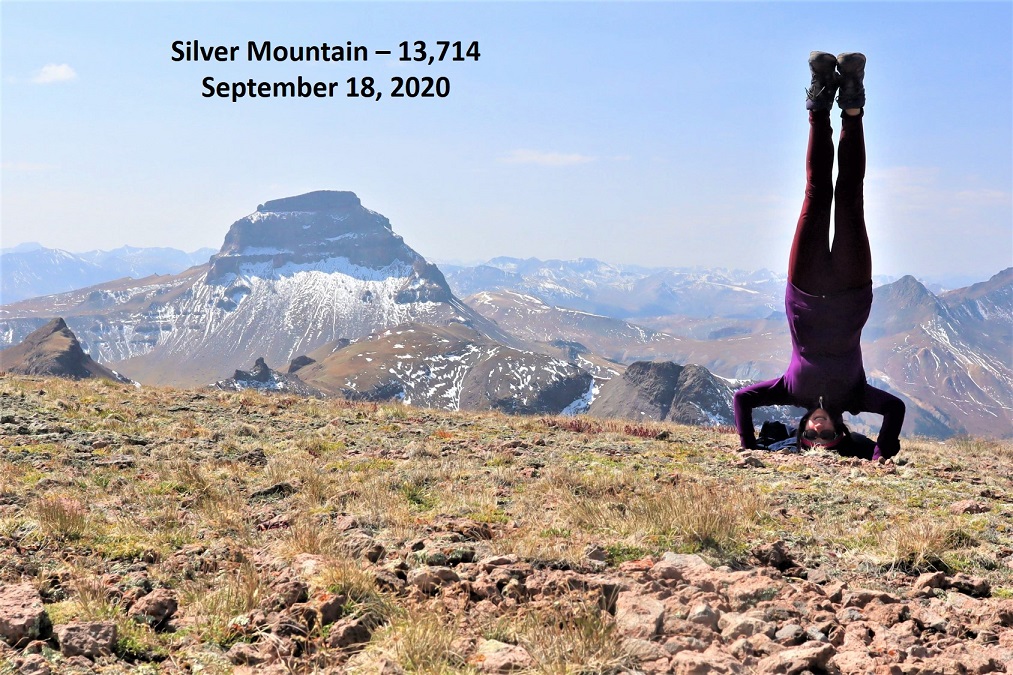
Silver Mountain:

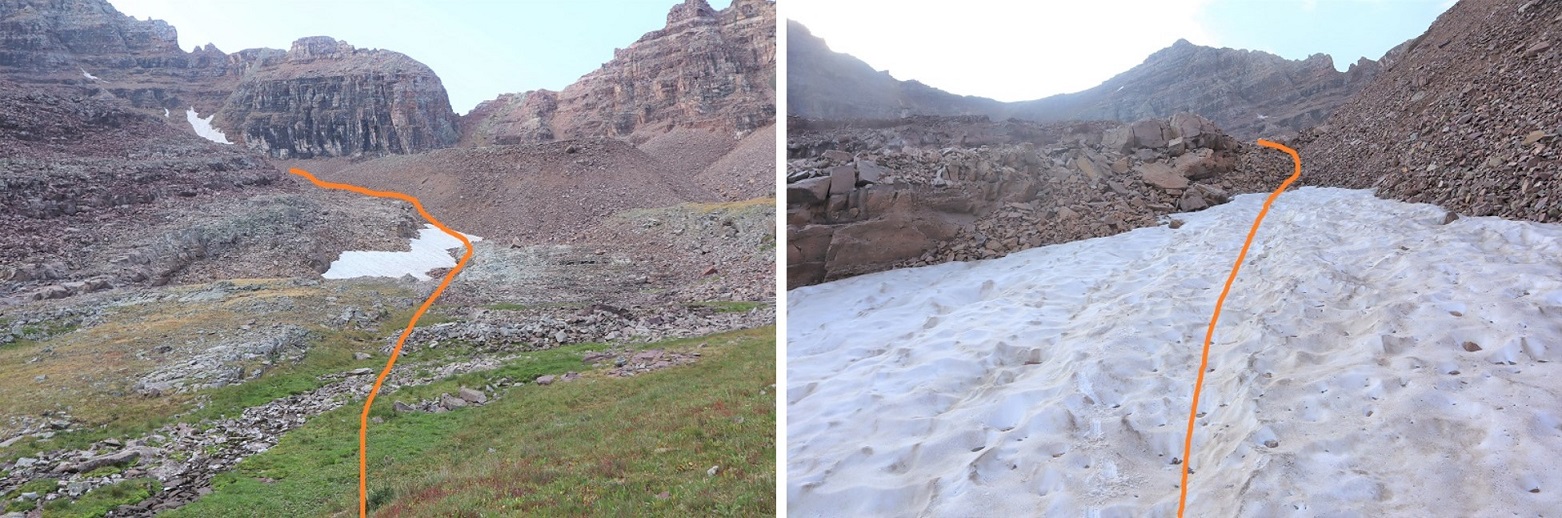
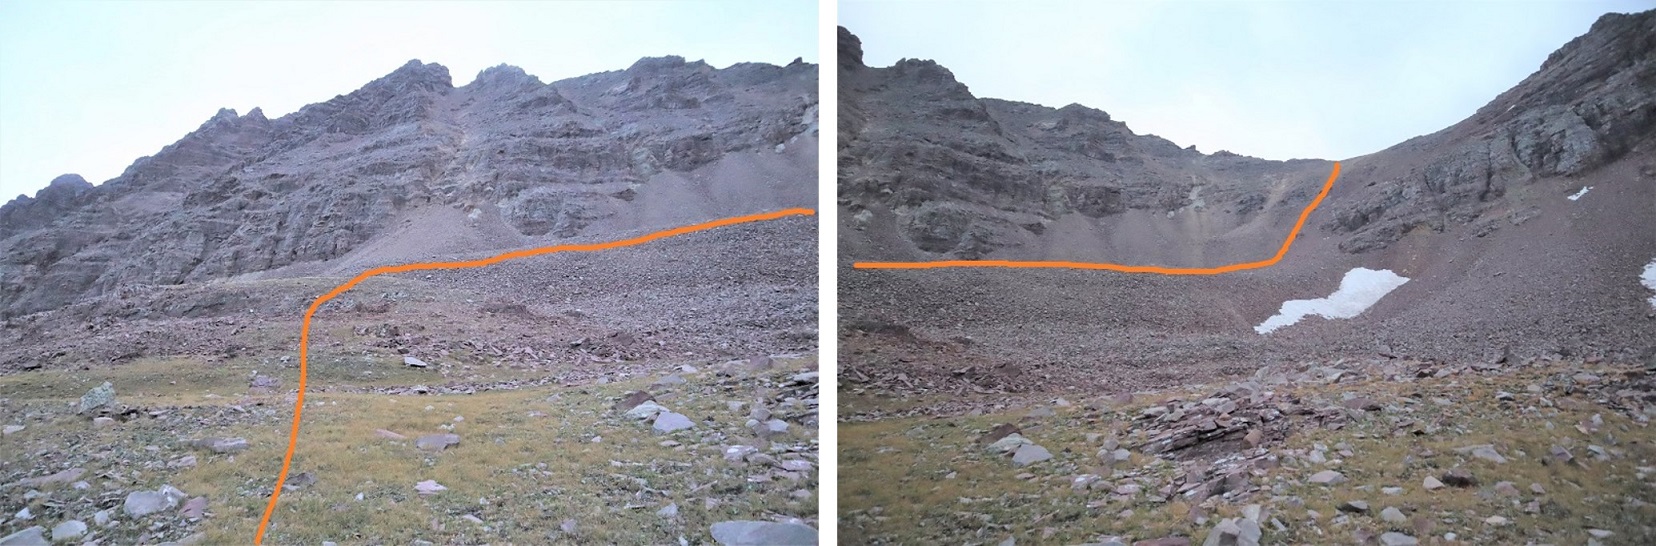
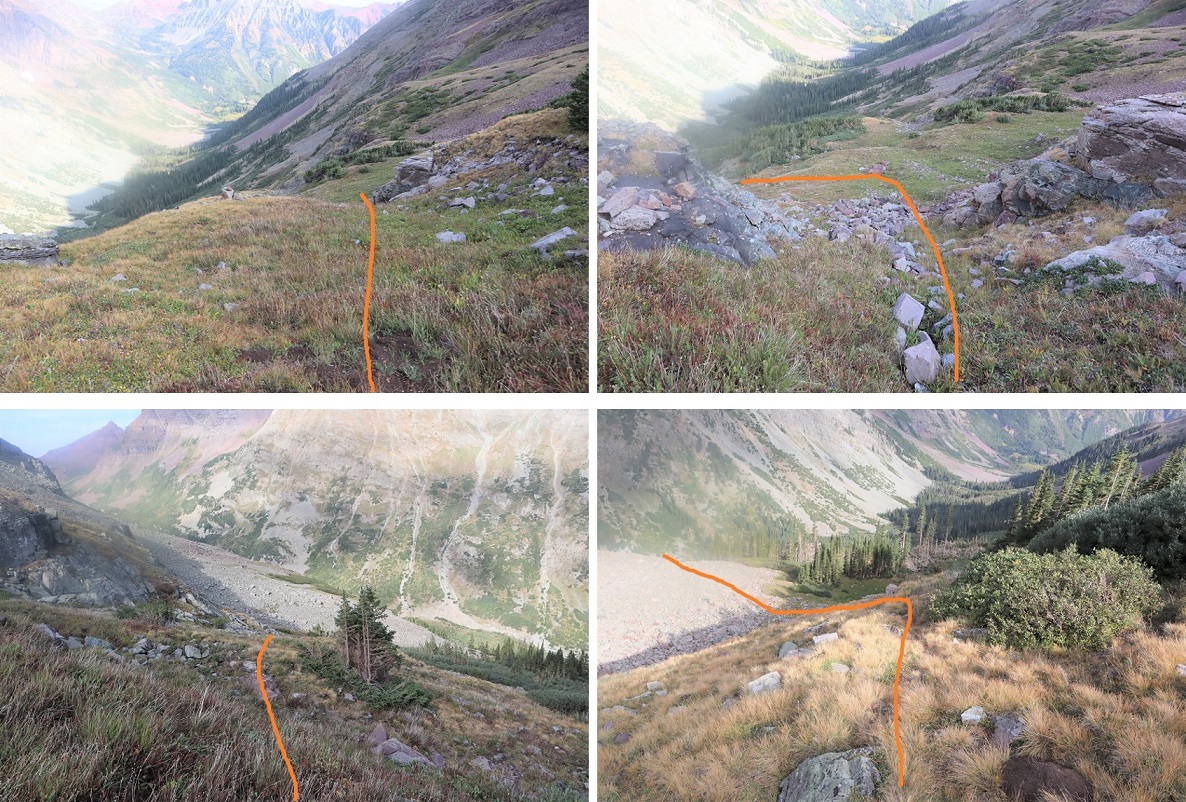
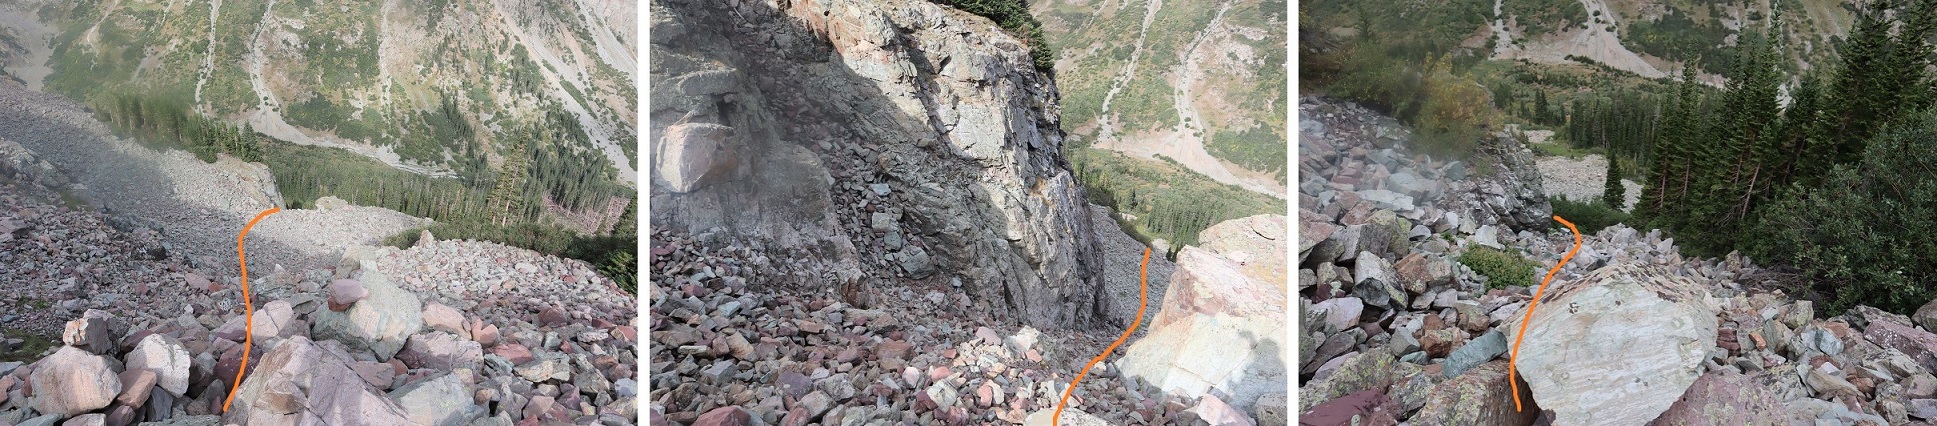
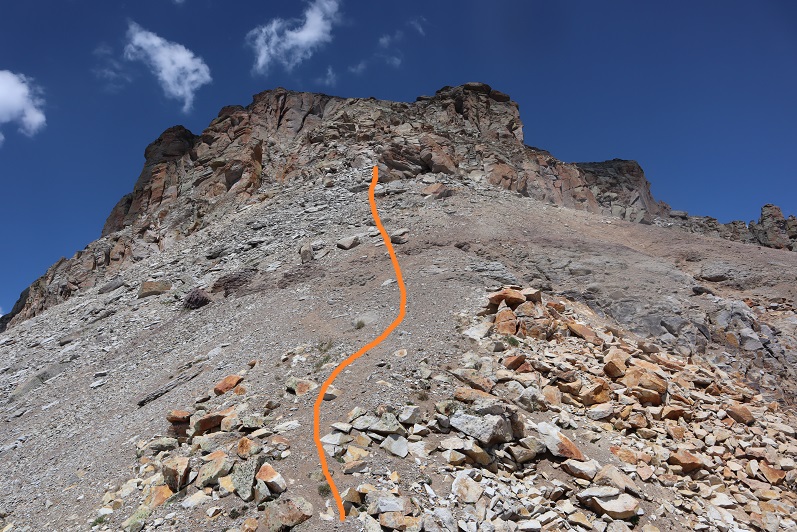
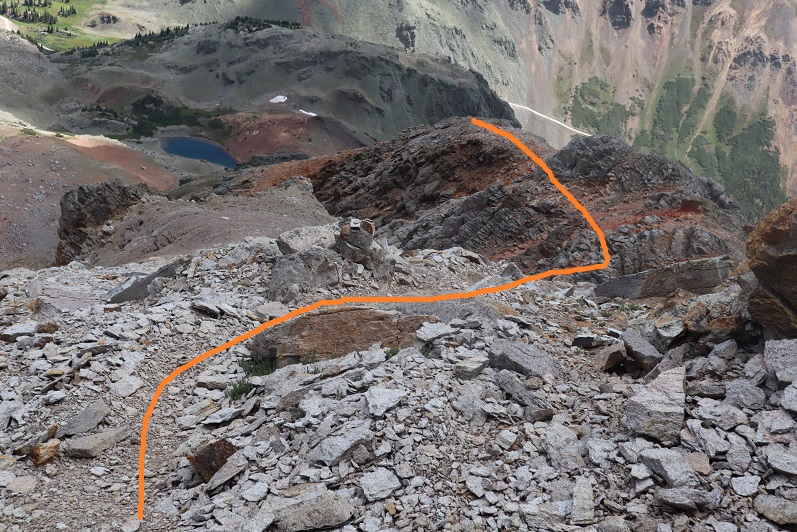
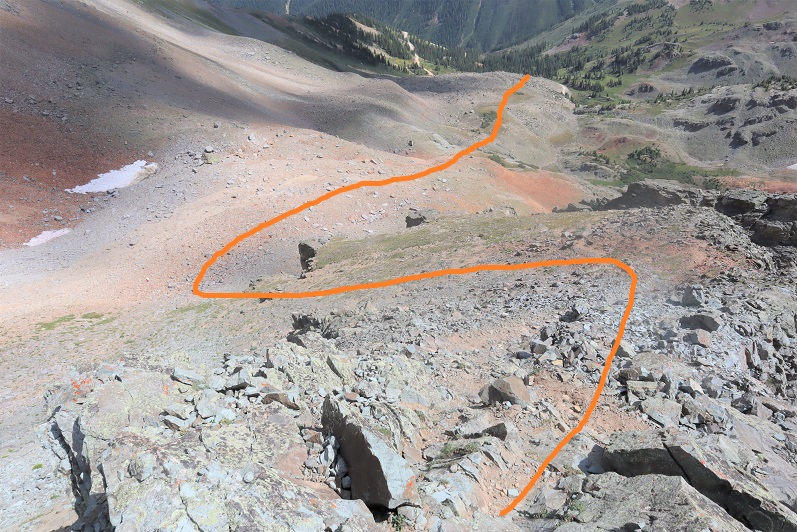
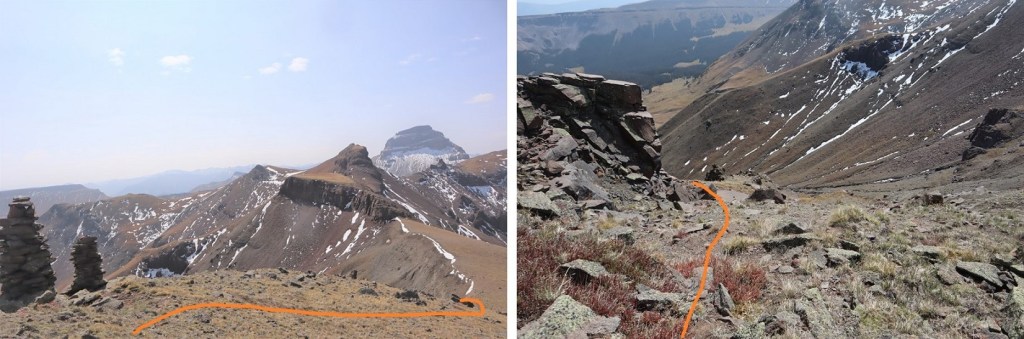
Now to head back down.  I had several options, but chose this one because it looked easier on a topo map (it most likely wasn’t).  I continued south along the ridge to the Silver Mountain/Big Blue Peak (unranked) saddle.
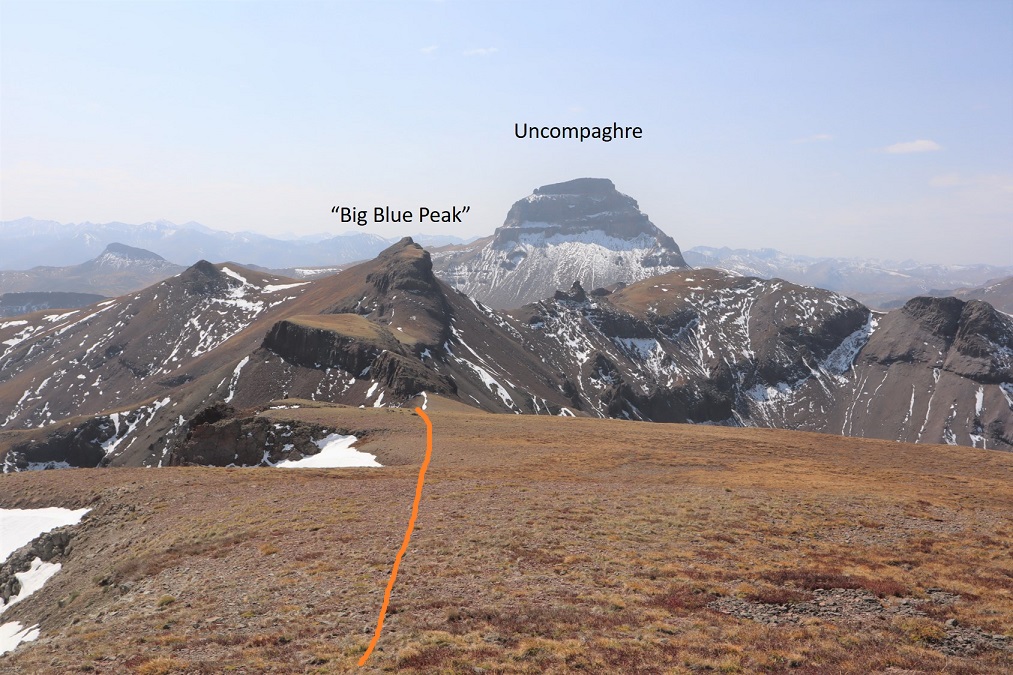
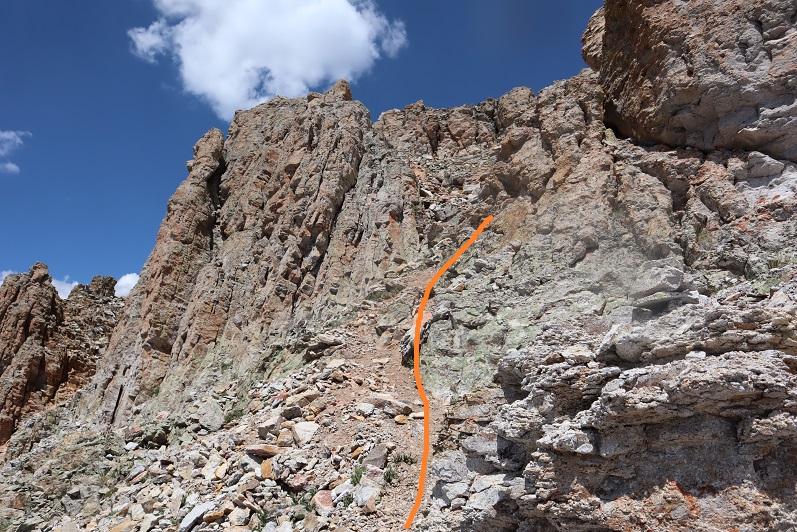
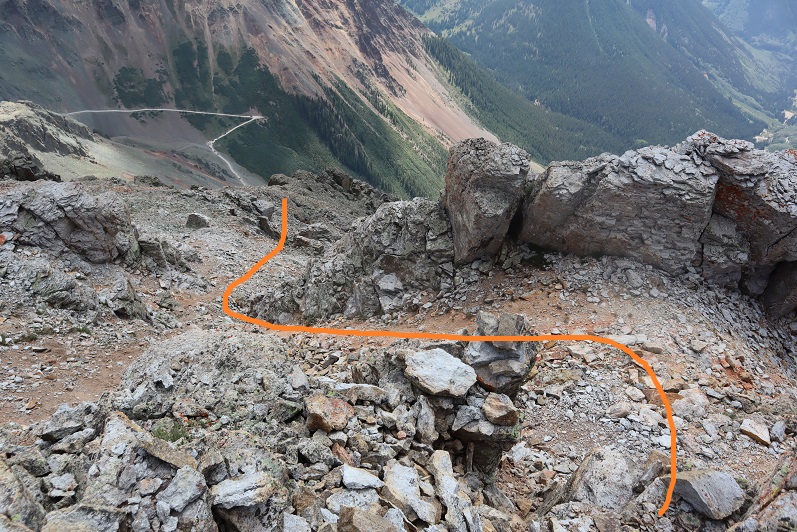
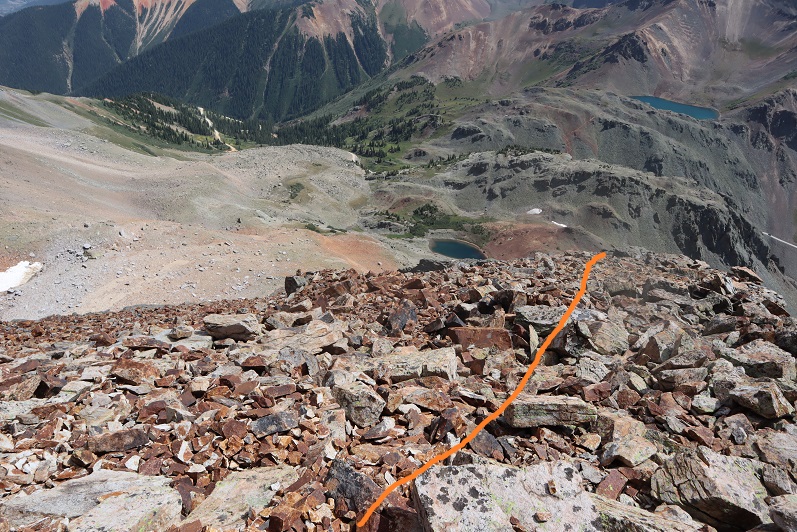
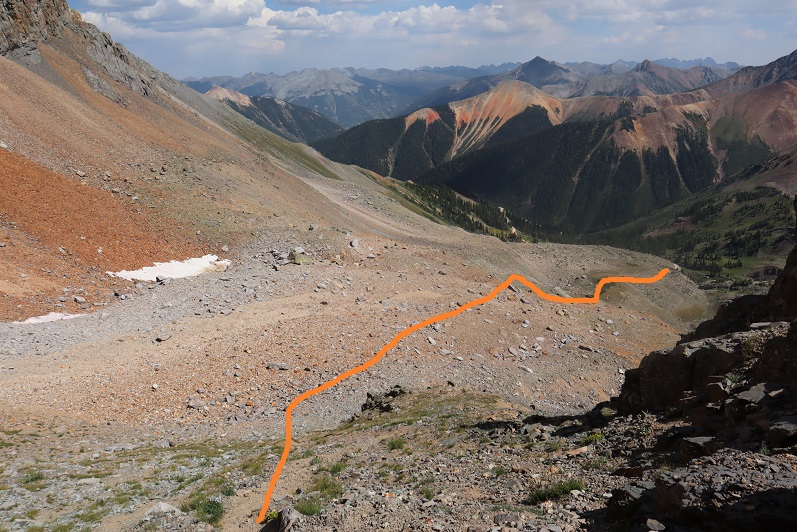
After passing the two large cairns, I continued a bit further down, turned left, and headed east down the gully
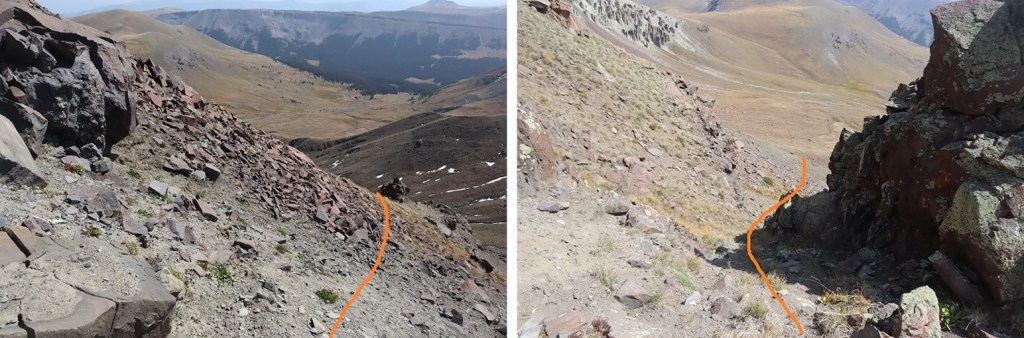
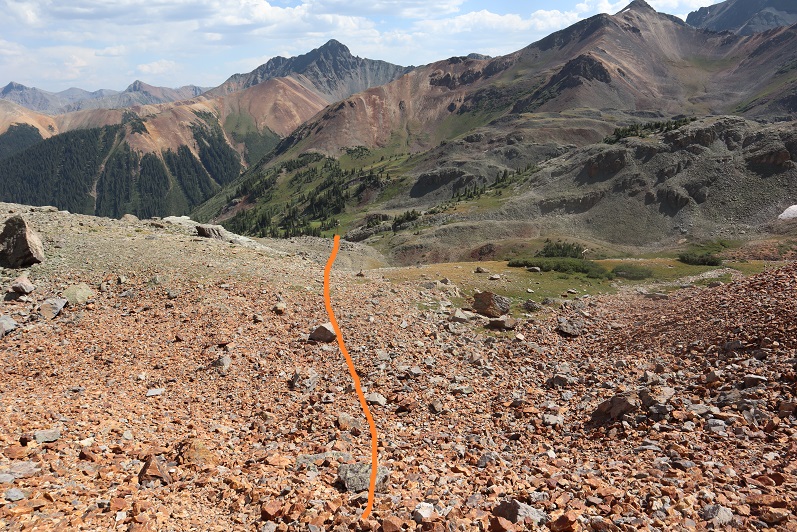
My goal was to link up with the Fall Creek Trail.  Here you can see it to the right.  However, I didn’t want to lose too much elevation, so I took a game trail up high to the left (they both link up on the other side of the hill).  I lost just over 1000’ of elevation here, and gained under 200’ by staying high to the left.
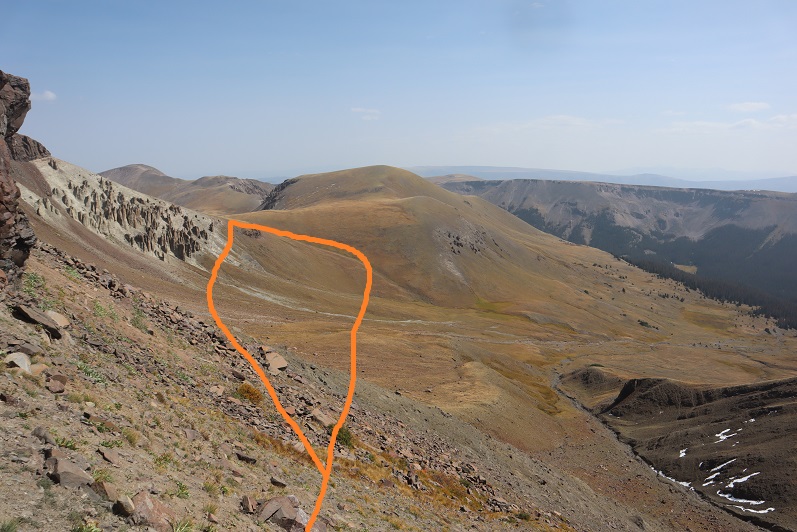
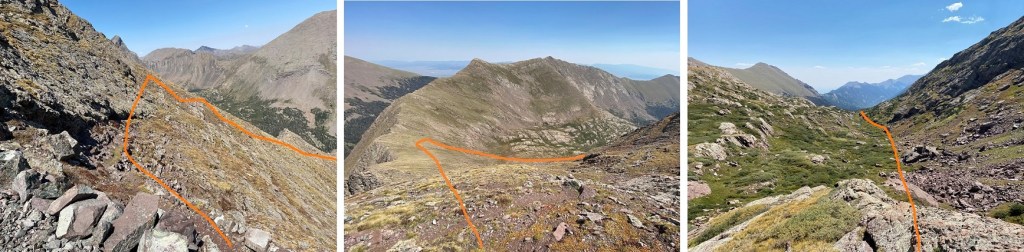
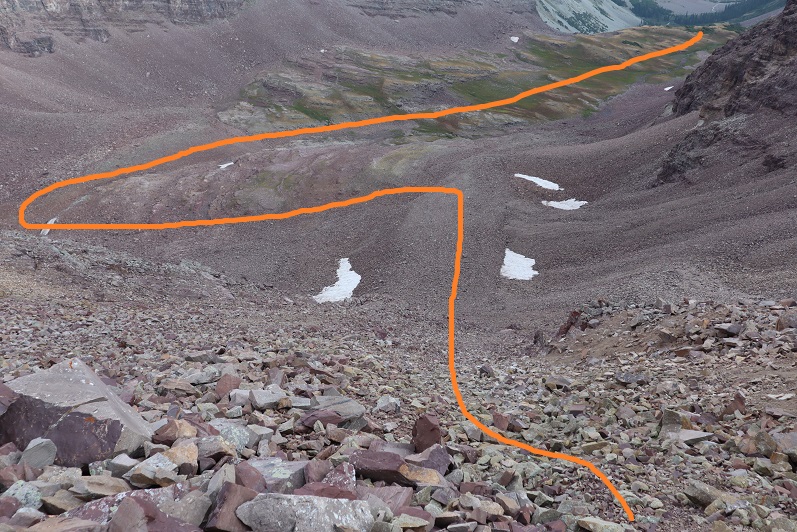
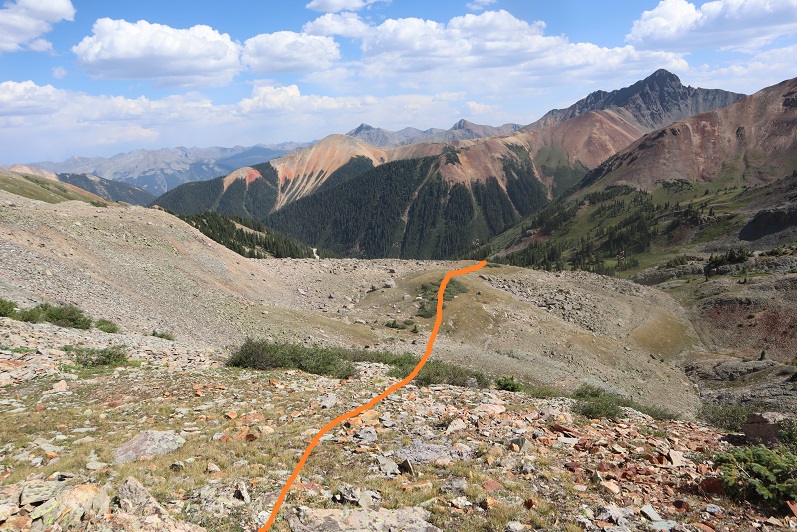
Once at the top of the hill I figured my elevation gain was over for the day.  Boy, was I wrong!  I dipped down once again, losing another 400’ of elevation, only to gain another 500’ of elevation to make it to the next ridge.  I was following the Fall Creek Trail, then switched as I stayed high on the Little Cimarron Trail, but this trail doesn’t look like it gets used much by people.  There are many game trails in the area that parallel this one, and they make route finding frustrating at times.  Here’s the overall route:
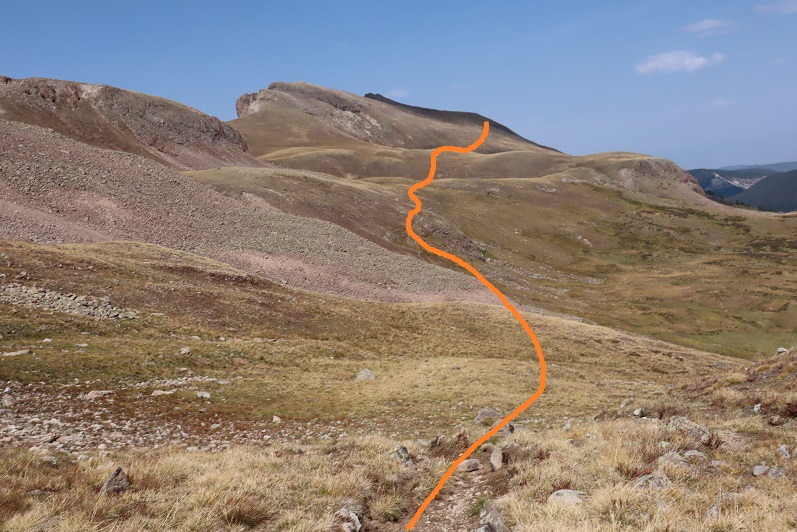
Once I’d regained the ridge it was a nice 2 mile tundra walk on a fairly visible trail.  Side note:  It’s hunting season, and the elk are bugling.  Advice to hunters:  Practice using your bugle call BEFORE trying it in the wild for the first time. I heard some pretty funny noises coming from what were obviously hunters and not elk. 
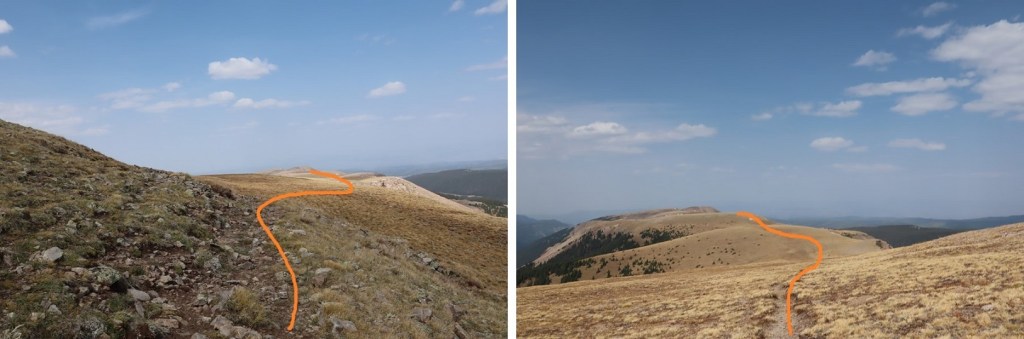
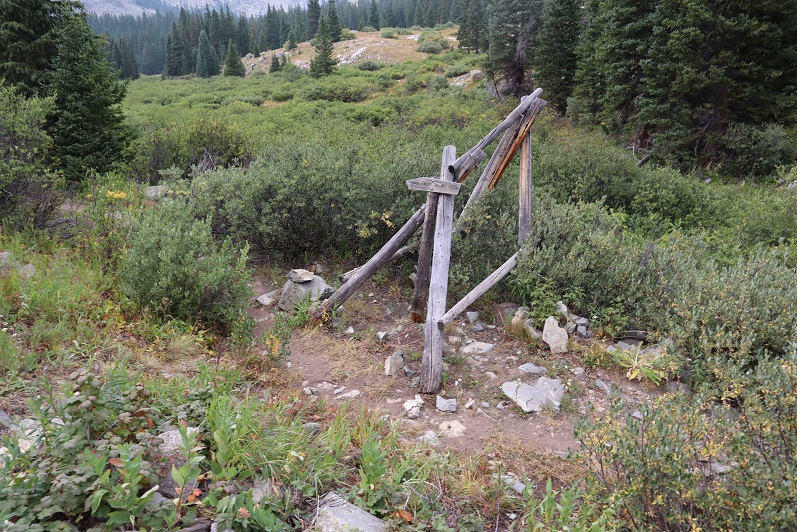
At exactly 2 miles of mesa walking, and just before reaching this old shack I turned left and headed west.  Here the trail pretty much ended.  There were 2 cairns in the area (which surprised me, the first I’d seen all day), so I just kept aiming for the valley below, where I knew I’d pick up with the trail I’d hiked in on. 
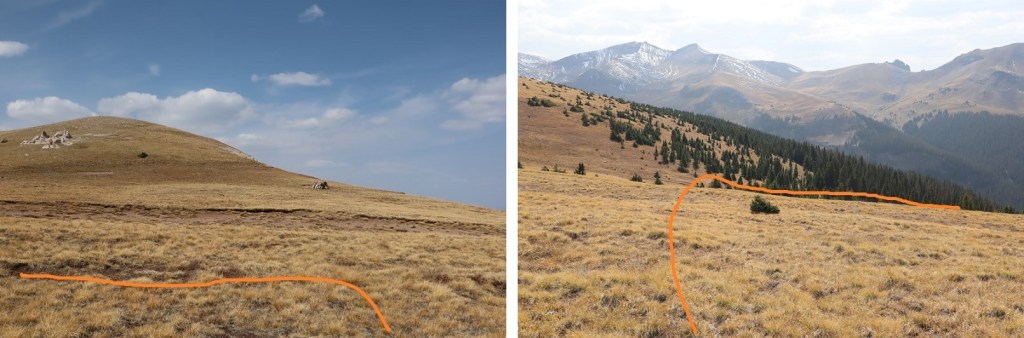
I had a good view of the path I’d taken up to Sheep Mountain that morning

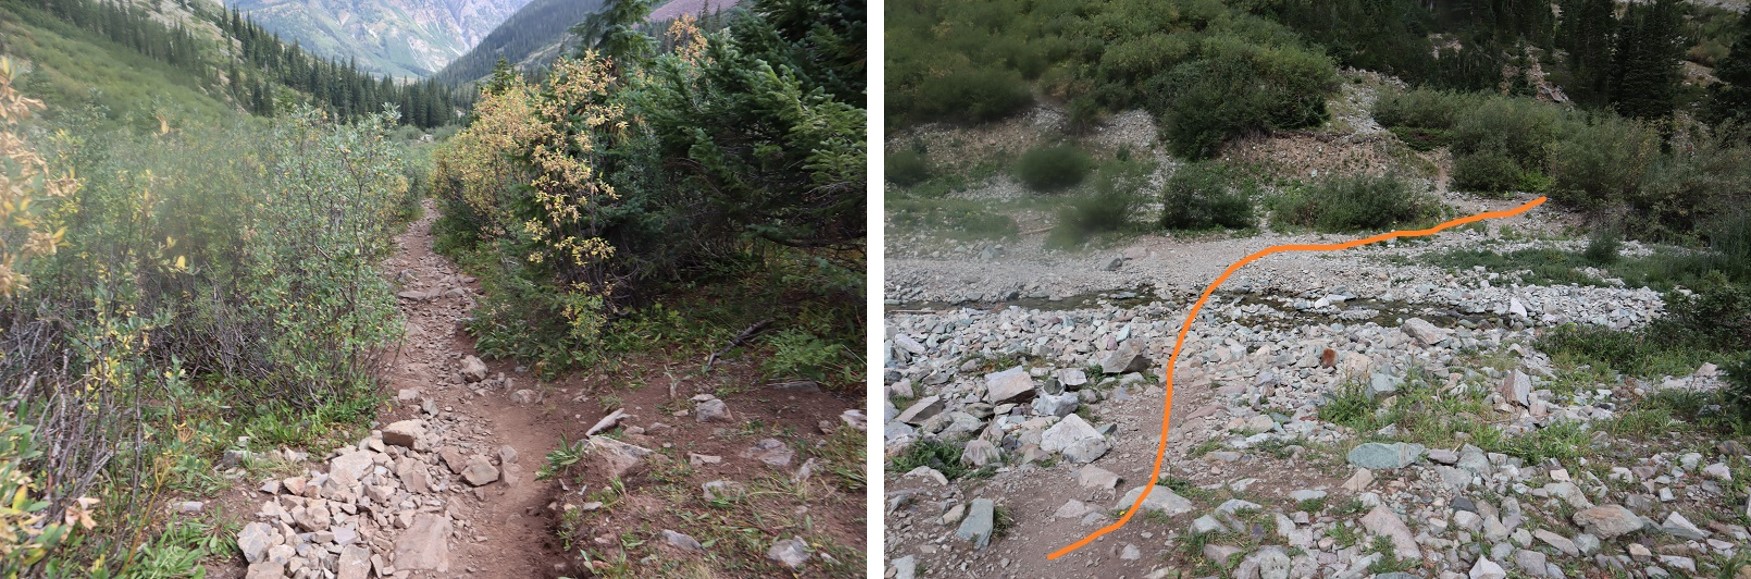
Gradually, the Little Cimarron Trail became more visible, as I followed it towards the creek below.
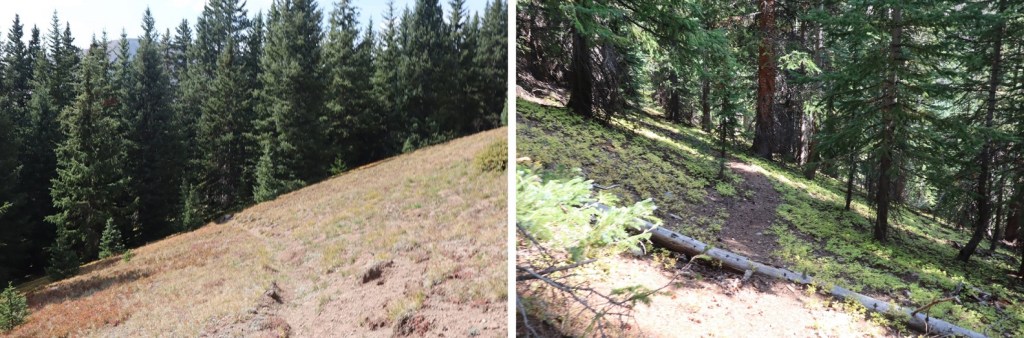
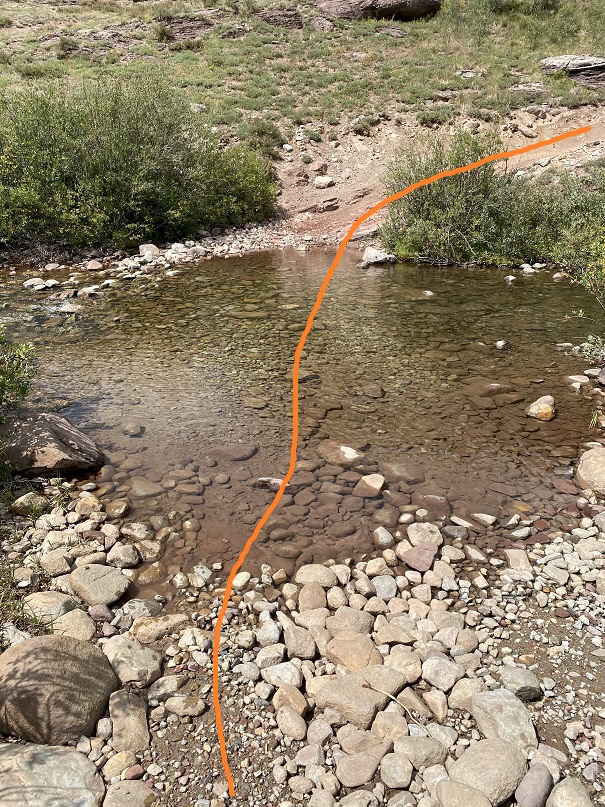
I crossed the Little Cimarron River (more of a creek now)

And headed north, easily picking back up the trail

I stayed right this time at the junction between the Little Cimarron Trail and Little Cimarron East Trail, crossed the stream again, and followed the trail back to my truck.  Along the way I saw a dad holding a rifle and two daughters, both under 10 years old, sporting camo and bright orange hunting hats.  They were the only other people I saw all day.  The girls had big smiles, and looked thrilled to be camping/hunting with their daddy. 

I made it back to my truck at 5pm.
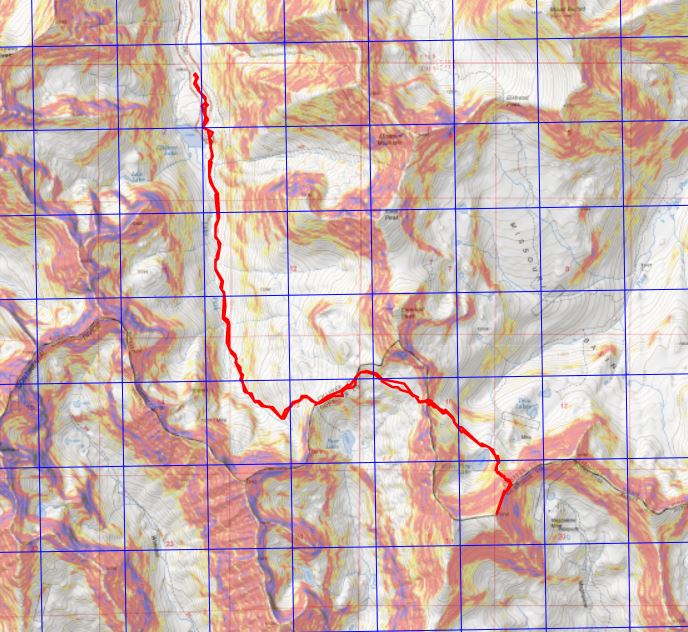
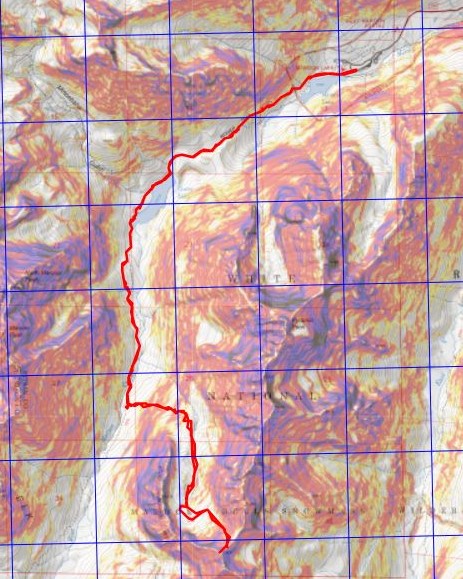
This was a 25.26 mile hike with 6689’ of elevation, completed in 12.5 hours.  Here’s a topo of my route. 
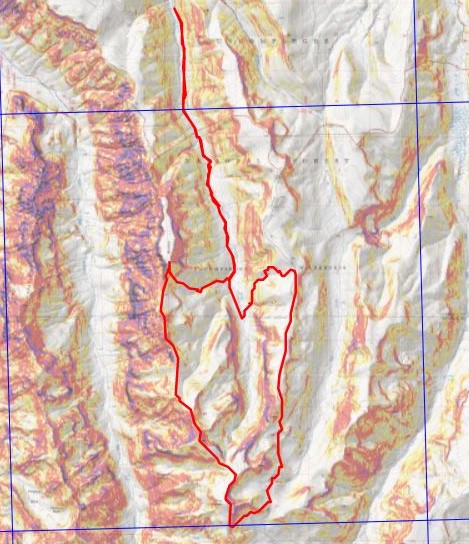
Not a bad way to celebrate my 40th birthday!  On to the next trailhead!
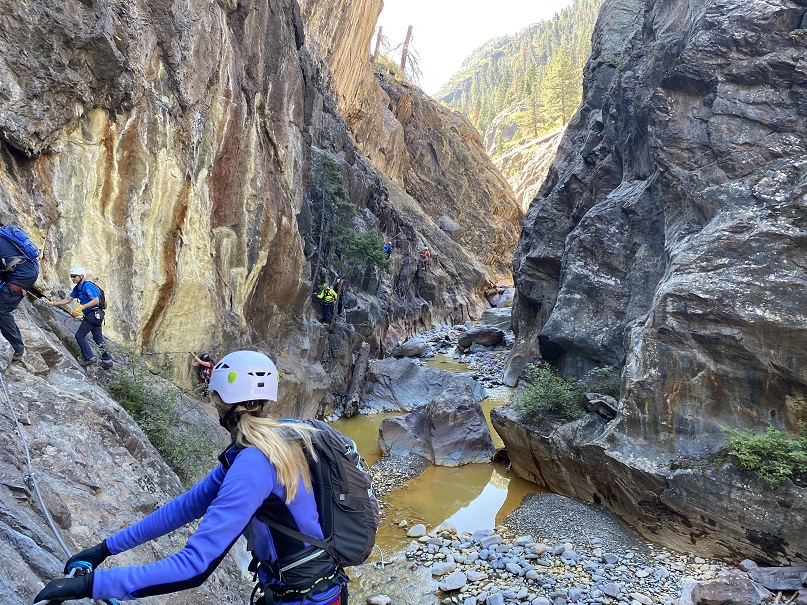
Ouray Via Ferrata

Have you ever done a Via Ferrata? If not, you totally should!  This side trip worked nicely into our weekend plans, but to be honest, I was a little worn out by this point.  Driving the entire weekend took longer than expected and due to some noisy dispersed campers I didn’t get a lot of sleep the night before.  We met the team at the Box Canyon Trailhead at 9am and hiked up to the staging area.

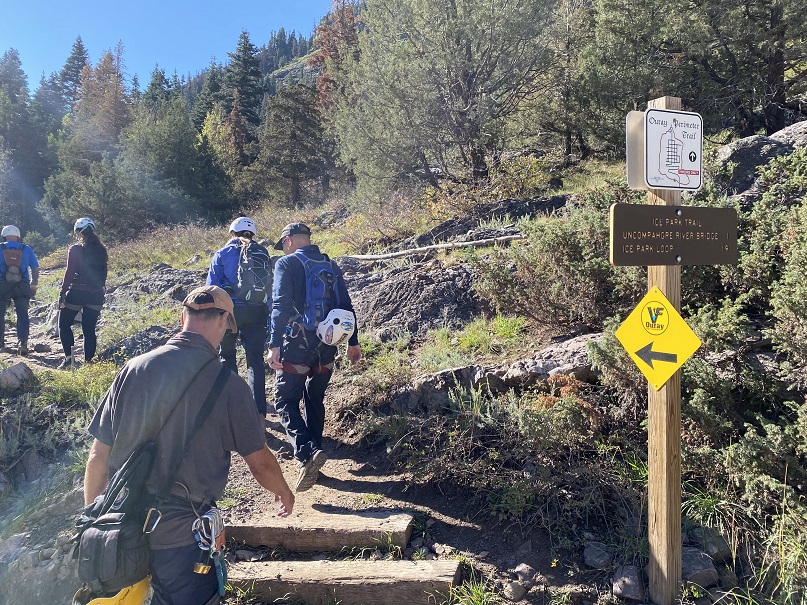
This was an unguided climb, but there was still someone at the entrance to make sure we had all the proper gear (closed toed shoes and helmet… looking at you Eric).  We’d stopped and rented lanyards but had our own harnesses and helmets. Important signage:

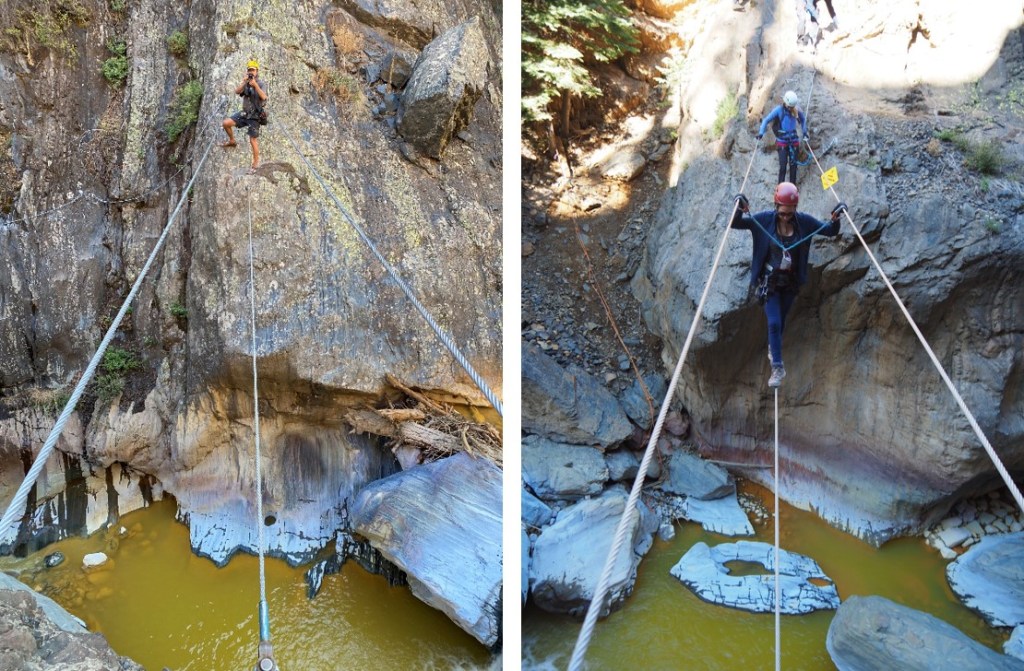
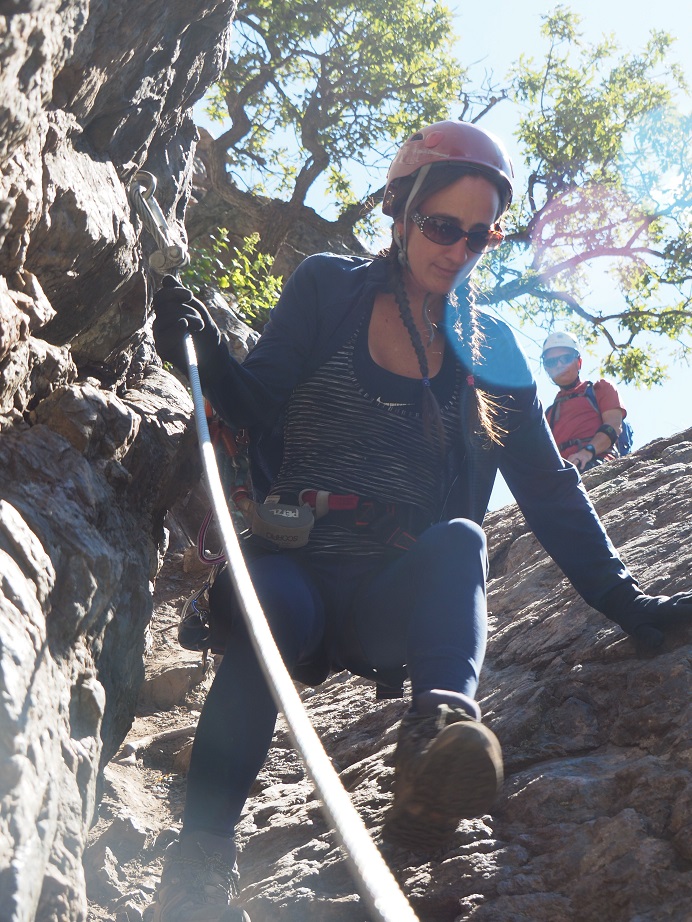
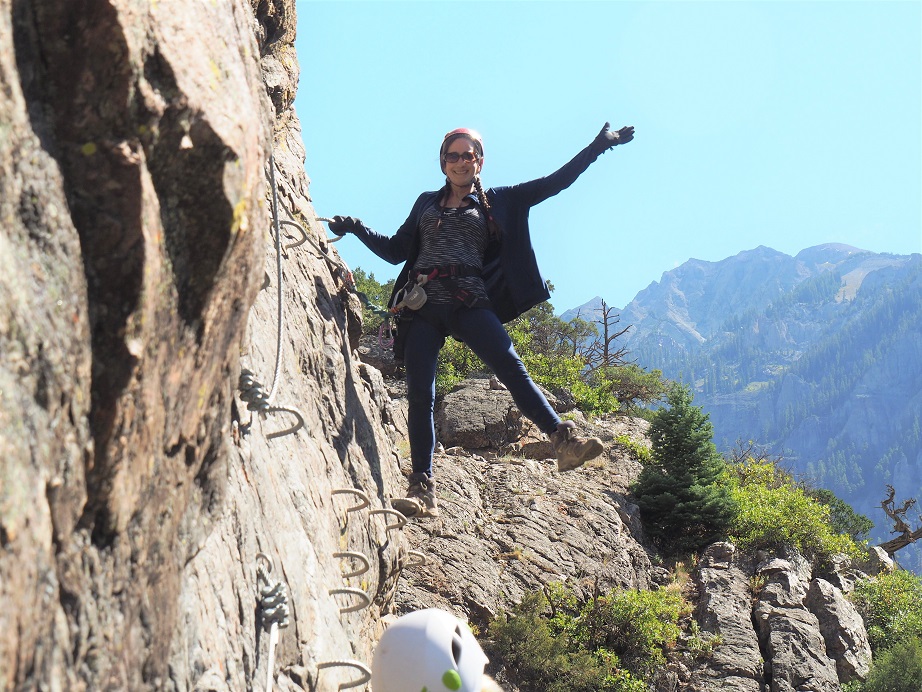
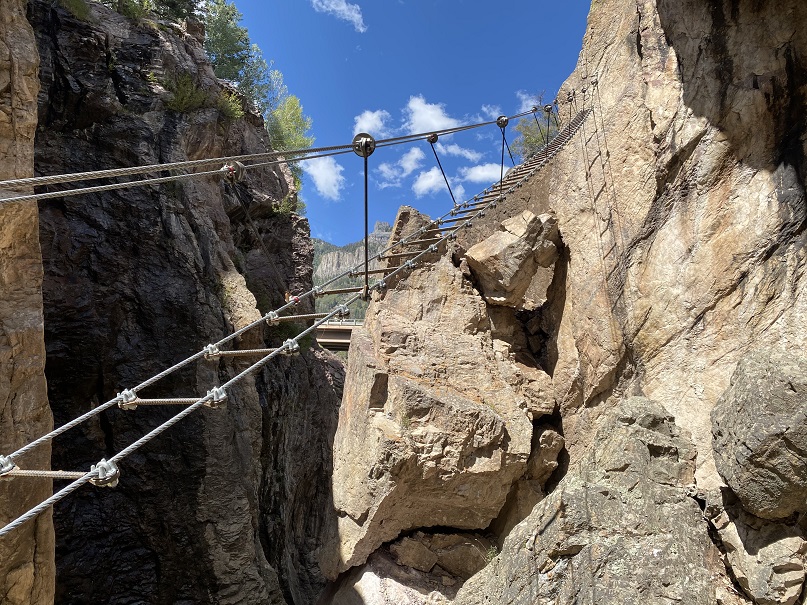
Eric went first to take pictures, and I went second.  The course started with a wire bridge (and ended with one too).

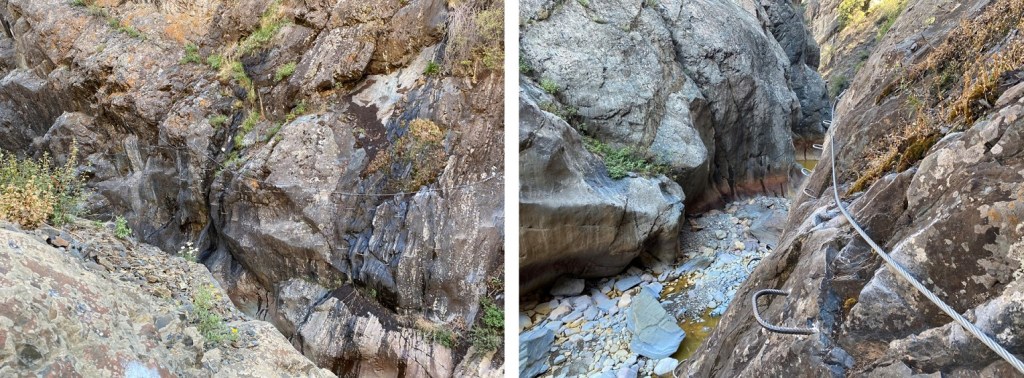
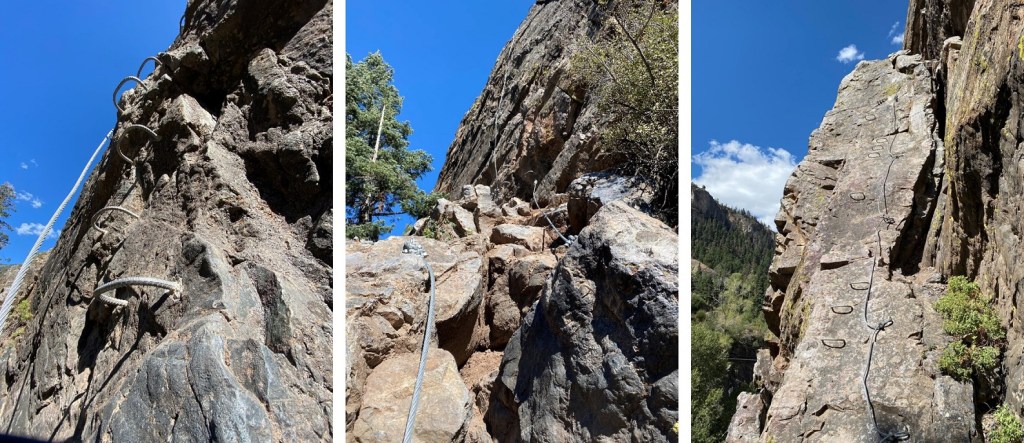
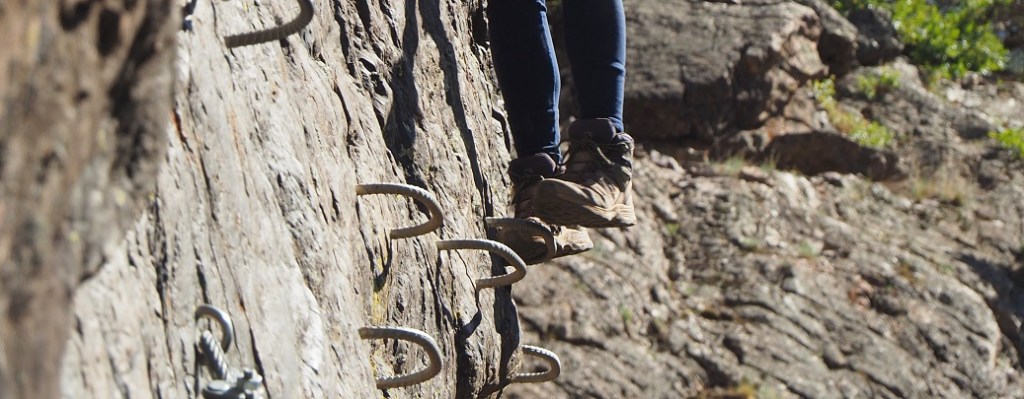
Then there was a lot of traversing, up and down and sideways.  We were clipped in the entire time, so no worries if we were to fall (we didn’t fall). Here are some pictures of the course

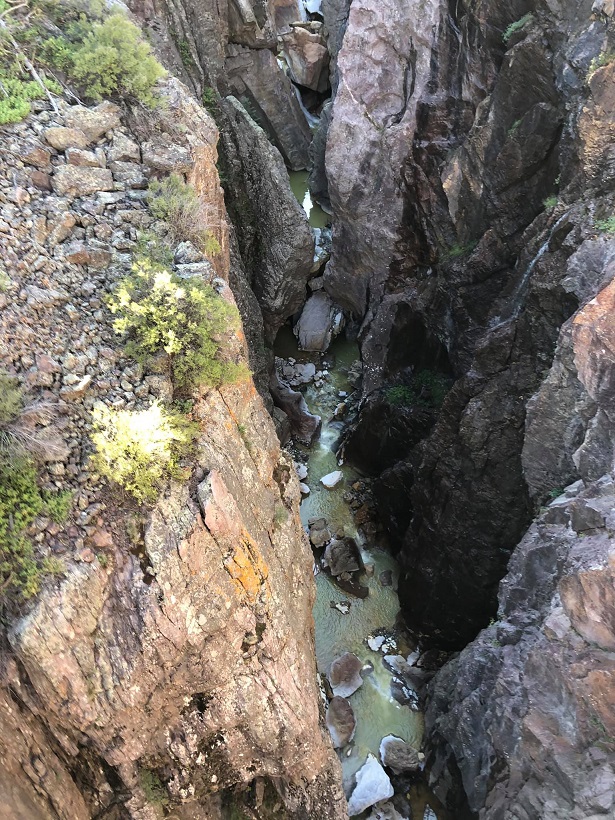
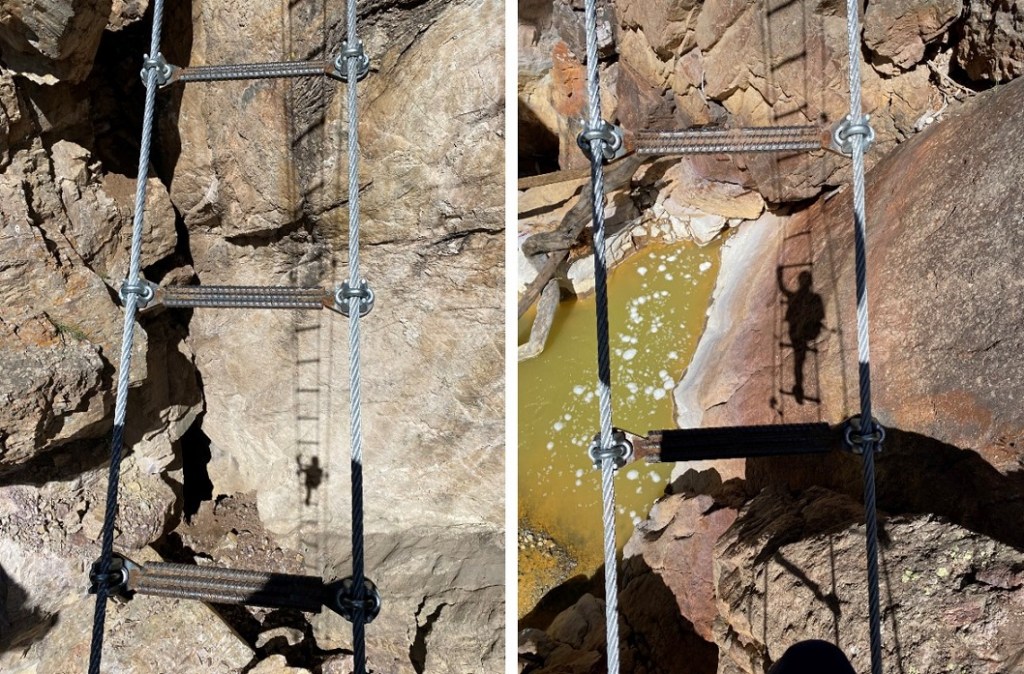
It’s a long way down

More route pictures

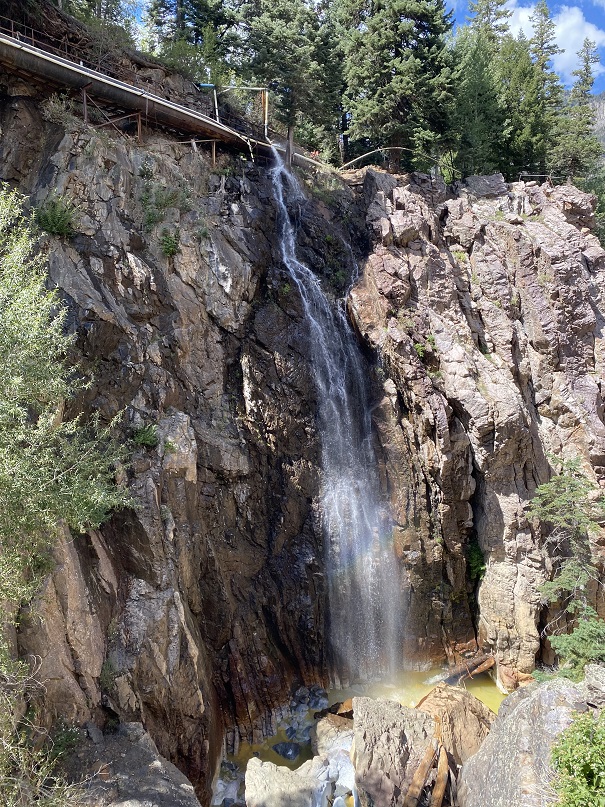
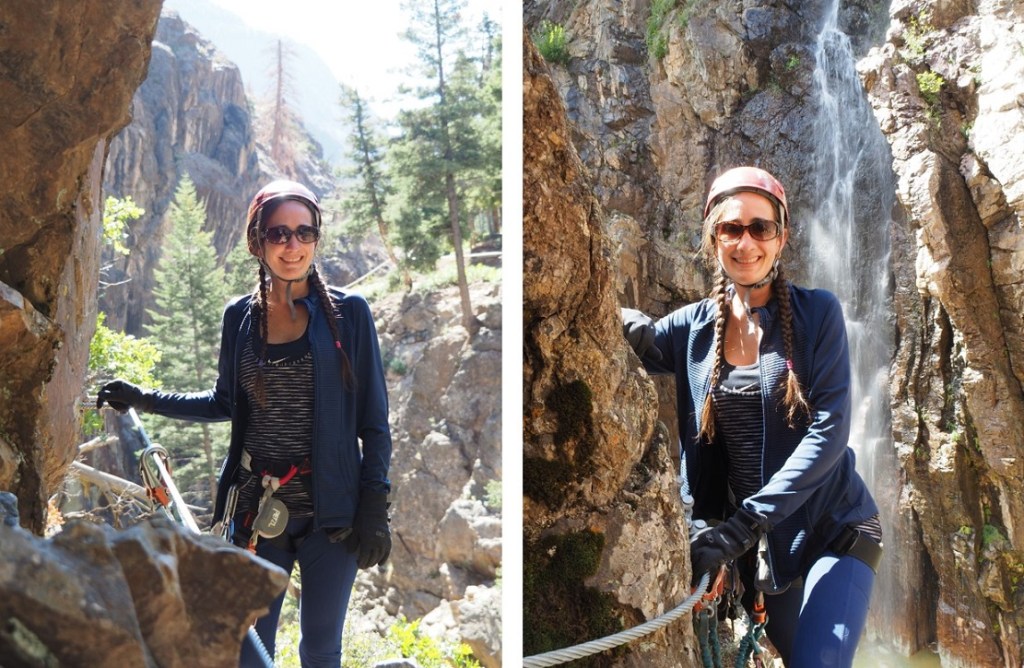
There’s a waterfall they use for ice climbing in the winter

Some fun shots…

And the rope bridge at the end

All in all it was a great day.  It ended a few hours later than it probably should have (the course took 4 hours instead of 1, due to the photo shoot) but I was still able to make it home by about 7pm.  To find out the new water heater was leaking gas.  Ha!  What a way to end the birthday celebration weekend. 

R2R2R – North Rim to South Rim – Grand Canyon

Rt Length: 29.15 miles

Elevation Gain: 7482’

Time:  10 hours

This hike has been on my bucket list since I’ve had a bucket list.  About 18 months ago I made a reservation to stay at the North Rim, and figured I’d do this hike for my 40th birthday.  Well, COVID happened and my reservations were cancelled and they stopped the shuttle service between rims.  I was bummed, and for a while wasn’t sure what I should do.  Then I got a topper on my truck and everything changed:  I can now sleep wherever I want, so I didn’t need those North Rim reservations anymore.  All I needed was a willing shuttle driver. 

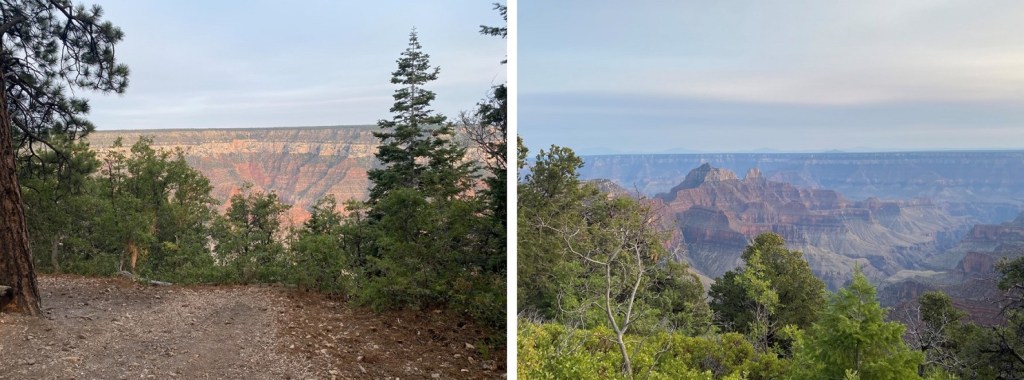
At the last minute I was able to get Eric to be my shuttle river, and we were off.  After a full day of driving and a side trip to Horseshoe Bend, we made it to the North Kaibab Trailhead.  We did a little exploring, ate dinner (Subway) and met some of the other hikers in the lot.  In my opinion, the views from the North Rim aren’t as good as the views from the South Rim. 

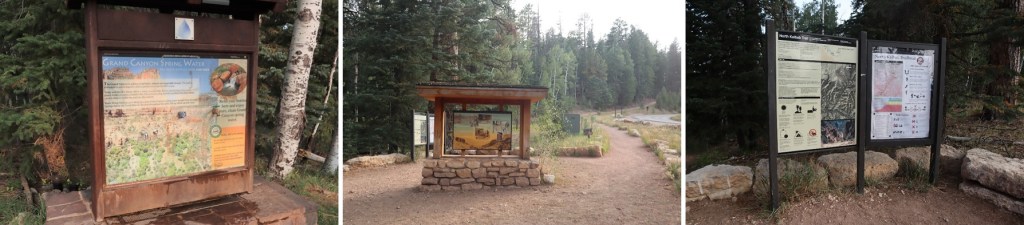
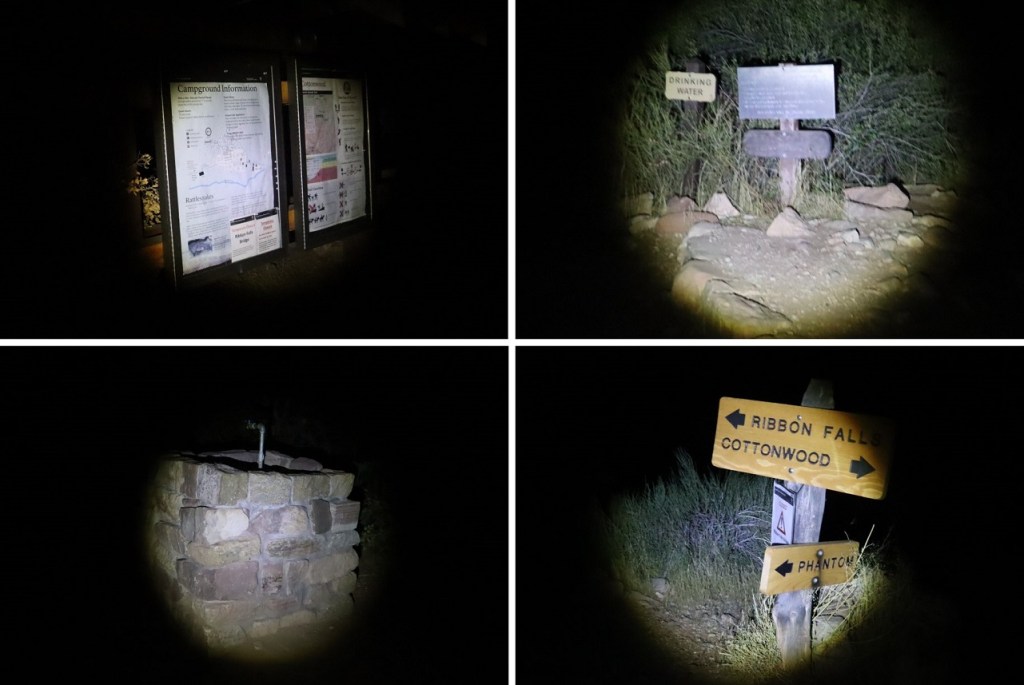
Here’s what the trailhead looks like.  There’s a lot of signage and free water. All of the water spigots were turned on, so water wasn’t a problem on this trail.  However, since this is the Grand Canyon I brought extra water anyway. 

The trail starts at the south end of the parking area.  I took a picture of it before I went to bed because I knew I’d be starting this hike in the dark

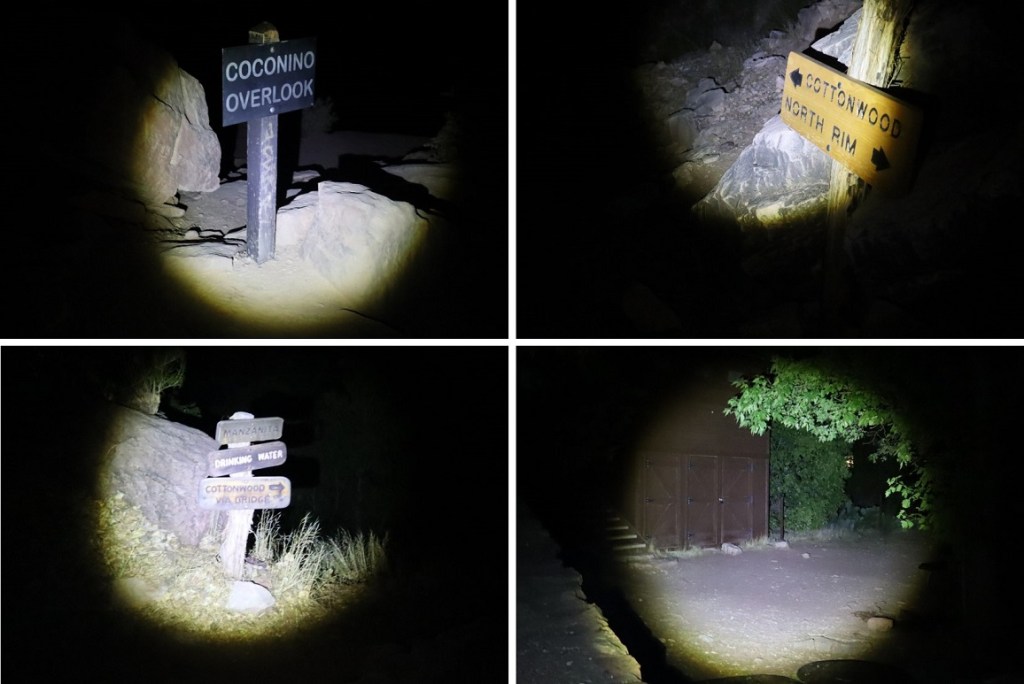
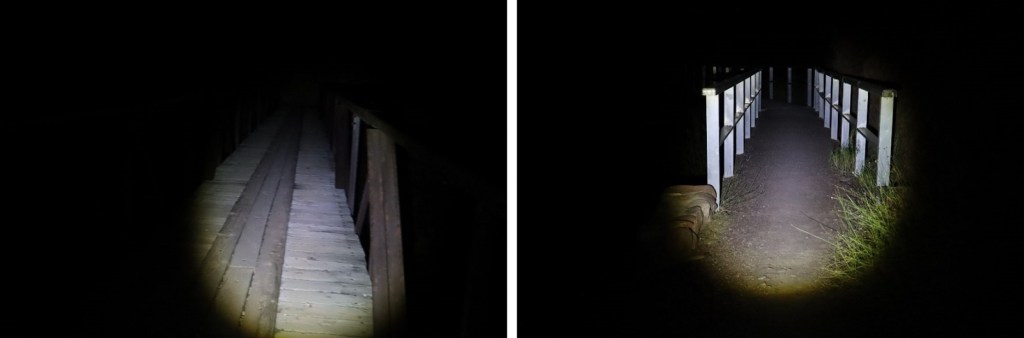
I made it an early night and was on the trail by 1am. I’d initially wanted to wear a hat that said “Happy Birthday” on it, but it was way too cold for that:  25 degrees at the North Kaibab Trailhead at 1am.  I put on my jacket and gloves and was off.  This trail is extremely easy to follow, even in the dark. Here are a few pictures from along the trail in the dark.

Initially I hiked down into the canyon, and once there crossed from side to side on several bridges.  There was water flowing under the bridges, and I saw quite a few bats.

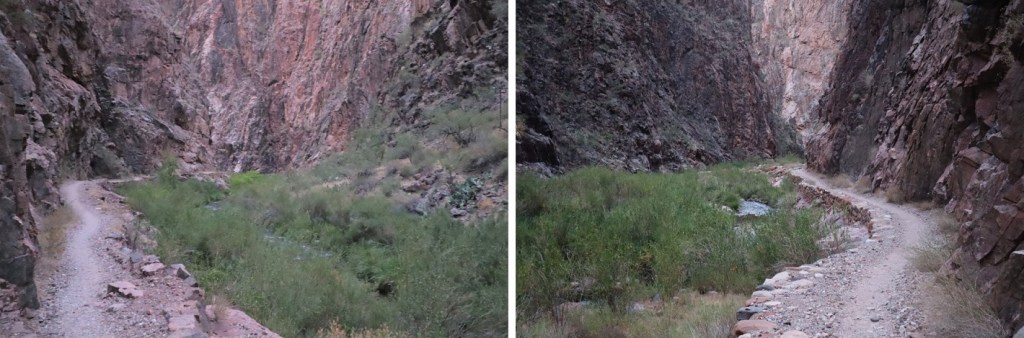
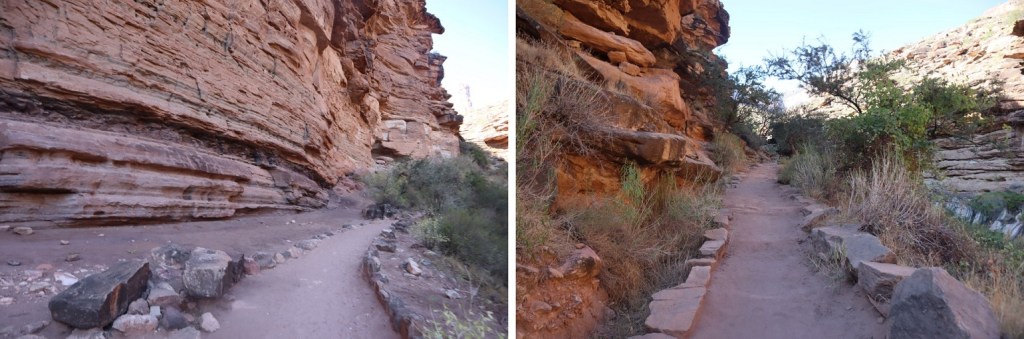
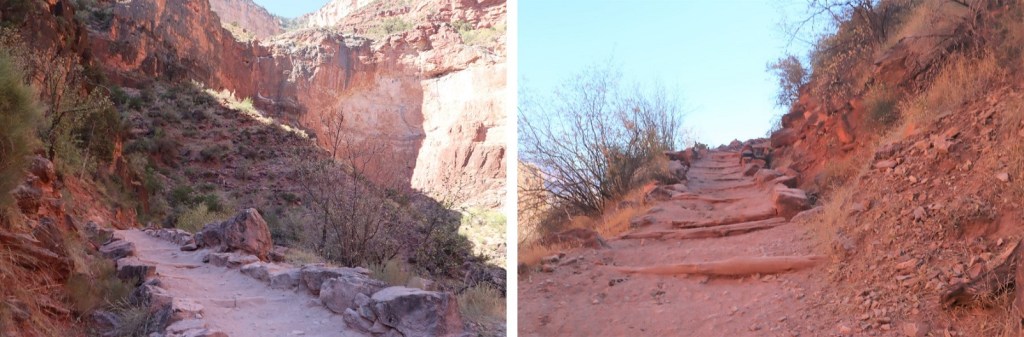
It started to get light around 6am.  Much of the trail looked like this once down in the canyon

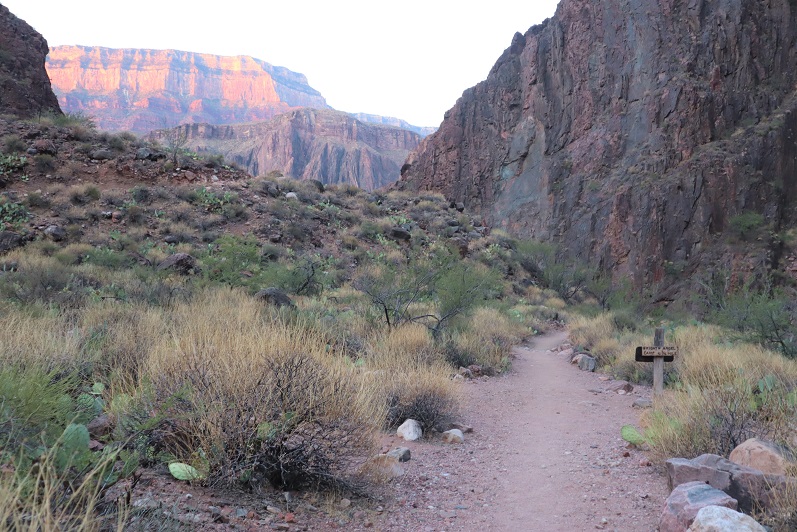
Finally, I saw a sign indicating I was close to Phantom Ranch

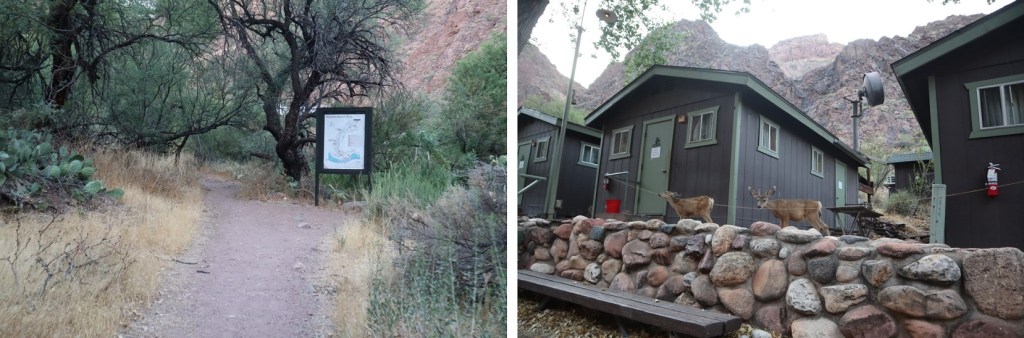
I made it to Phantom Ranch around 6:30am, after hiking for 5.5 hours and 16.5 miles.  There were dozens of neat little cabins set up, and deer in the area who couldn’t read the ‘no trespassing’ signs. 

I was a bit tired, but I didn’t want to sit down.  I hadn’t had a drink of water all day, but figured now was a good time to start.  I made my way around the cook house and found the water spigot.  I drank half my water bottle and filled it back up again.

While I was there the camp cook opened the door (wearing a mask of course) and asked if I was hiking thru.  He then offered me a small carton of orange juice, which I gulped down. He also offered me an orange, but I declined.  He was a very nice man.  I also heard someone comment on how good the breakfast had been.  I may just try to schedule a trip down here one day (maybe with a Rim to Rim to Rim?).  Here I took off my outer jacket and put on mu “Birthday Girl’ ribbon.

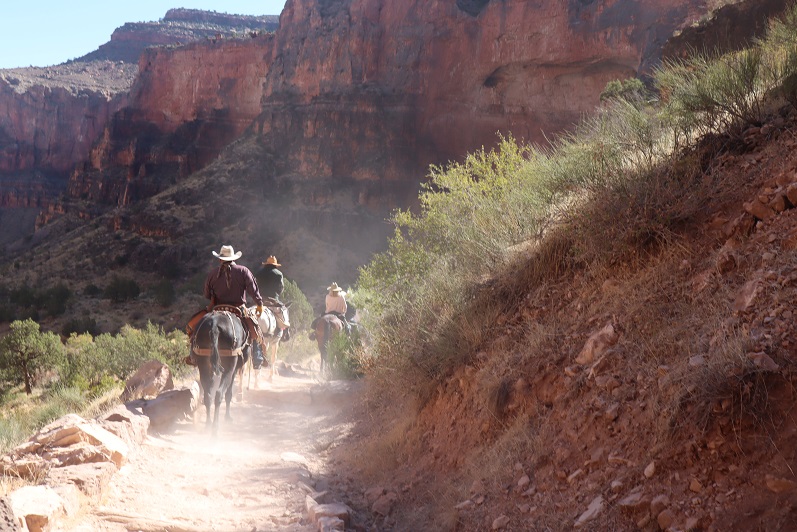
I passed through Phantom Ranch and saw the mules ready for their day.  They looked very well groomed and well fed.  There was also place to ‘vote’ on your favorite Grand Canyon experience.  I thought that was kind of cool. 

I continued hiking past the tent campsites.  Only 2 were taken, and I’m sure that was due to COVID as well. 

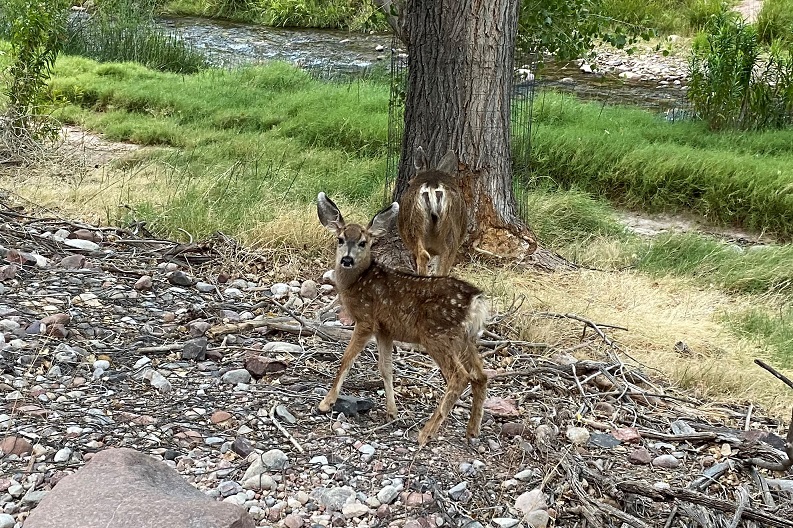
Here I saw a doe and baby deer.  They were directly on the trail and let me pass withing 2 feet of them. 

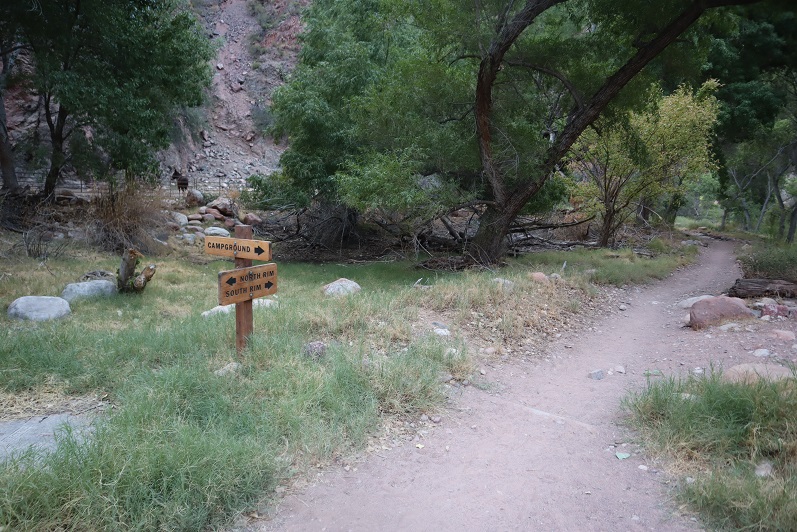
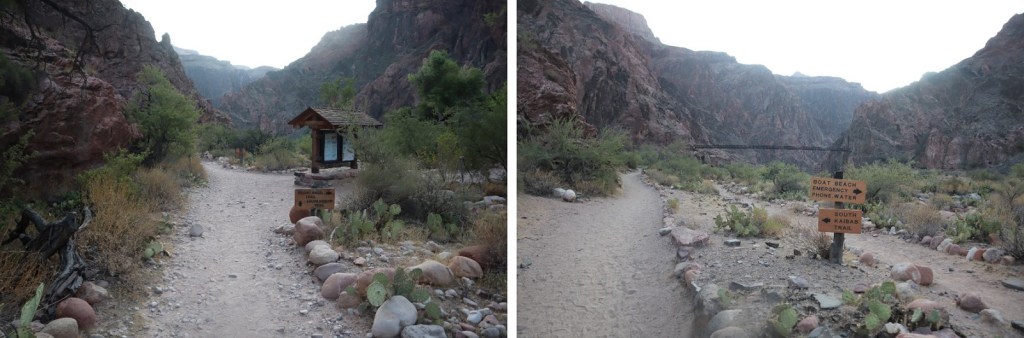
I’d been told via facebook groups the bridge to Bright Angel Trail was out, and to take the bridge to the South Kaibab Trail instead.  Indeed, signs at the trailhead corroborated this information, so I took the further bridge across the river. 

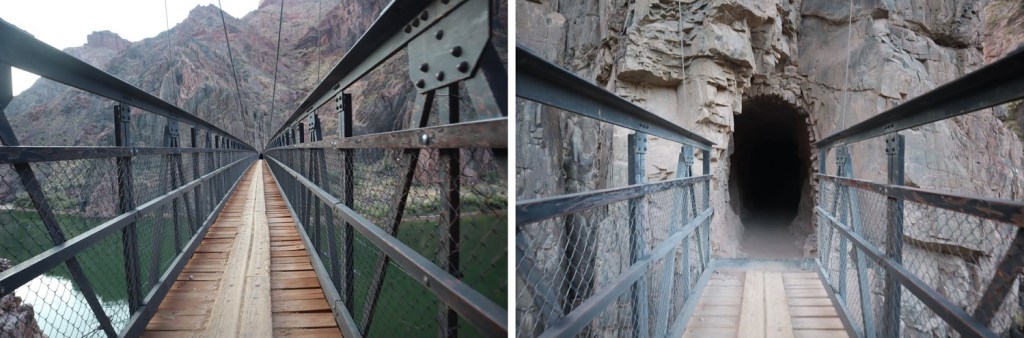
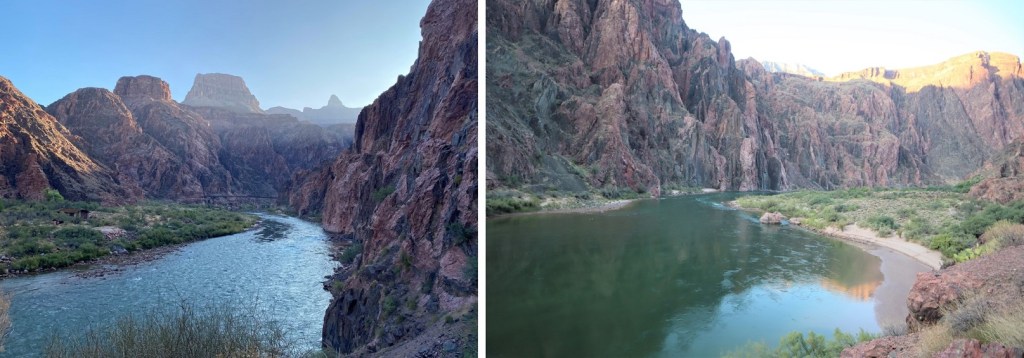
This ended up adding a few miles to my trip, but since this was a long hike in the first place I didn’t really mind.  I crossed the bridge, went through a tunnel, and then followed the River Trail to the Bright Angel Trail. I was glad I was doing this in daylight so I could enjoy the view of the river.

As I hiked, I saw the Mule Train start their day from across the river

And as I passed the Bright Angel trail, I was surprised to see the bridge was open!  I’d made that detour for nothing!  Oh well, at least I got in some extra miles.

From here it was all up, starting gradually

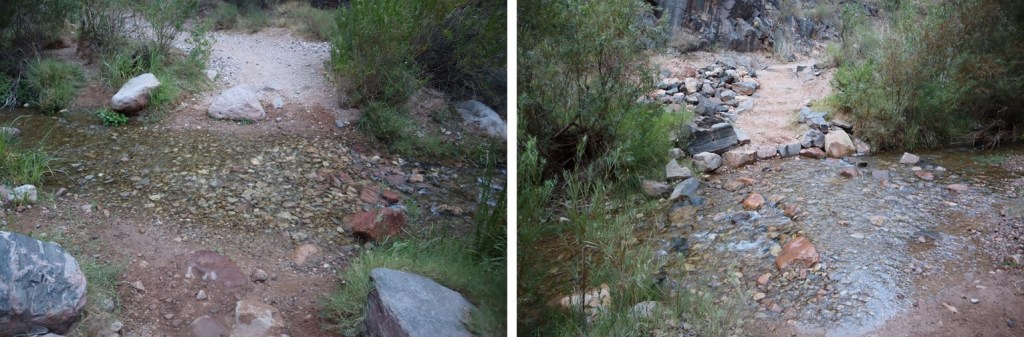
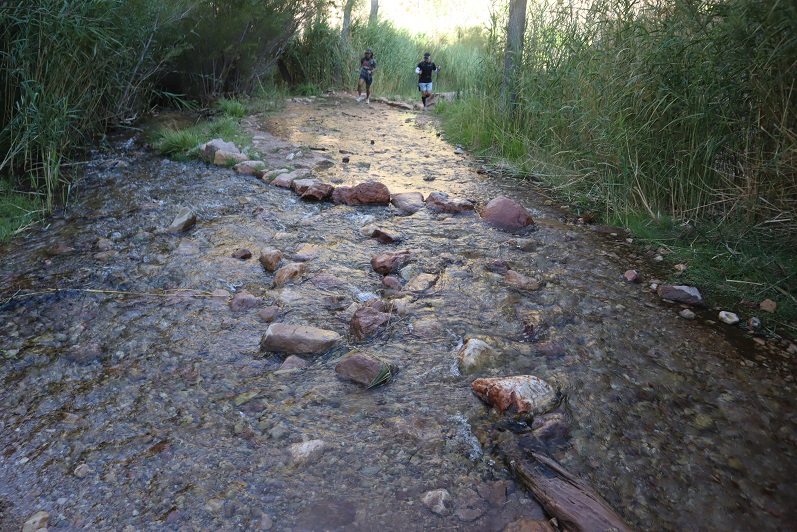
The trail had several small stream crossings

The trail was still very easy to follow.  Here’s a look back

While the trail was easy to follow, it also didn’t feel like I was gaining any elevation.  The rim always looked the same distance away

Water on the trail

One good thing about starting so early and hiking in the morning were the shadows. This kept me from getting too hot.  I’d definitely recommend starting either late at night or super early in the morning (before 2am)

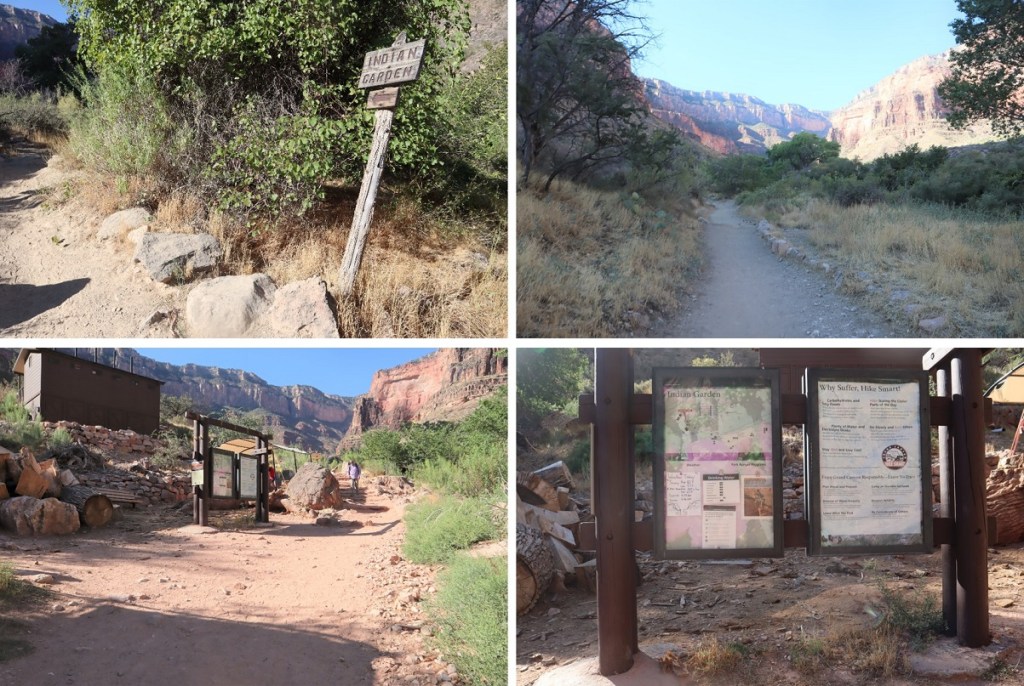
Indian Garden was kind of neat.  I filled up my water bottle here, and found someone’s cell phone (and was able to return it to them). 

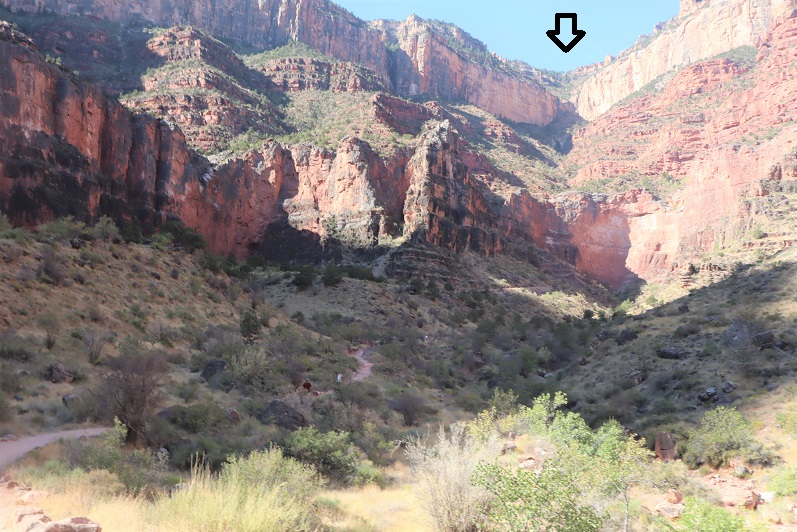
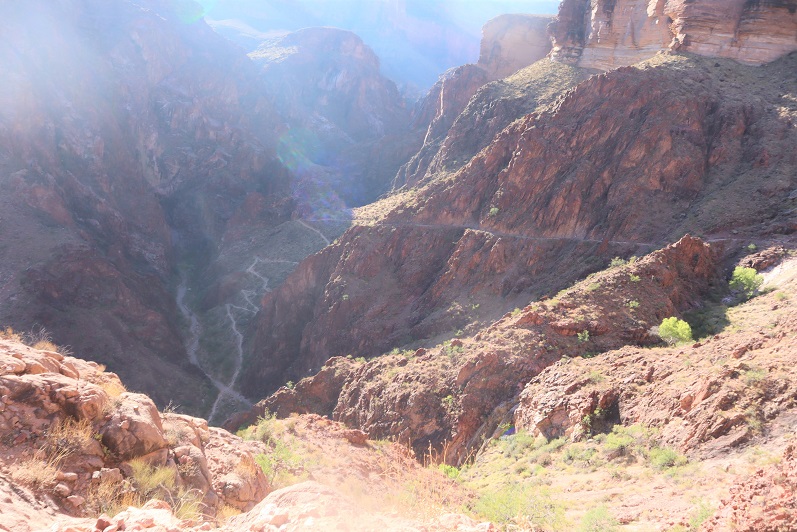
From here there was a sign stating it was 4.5 miles to the South Rim.  With this news I was ecstatic, and after filling up my water bottle I took off towards the rim. The trail is easy to follow, but difficult to see from below.  The trail actually goes to where the arrow is pointing (eventually, after many, many switchbacks).

I passed a mule train, and one of the riders asked me why I was smiling.  I told him it was because I was almost done with the hike (little did I know the rest of the hike would still take a few hours). They all wished me a Happy Birthday!

I continued along the trail for what seemed like miles

Imagine my surprise when I made it to the 3 mile rest area.  I thought for sure I’d already hiked 3 miles past Indian Garden, but apparently, I’d only hiked 1.5 miles.

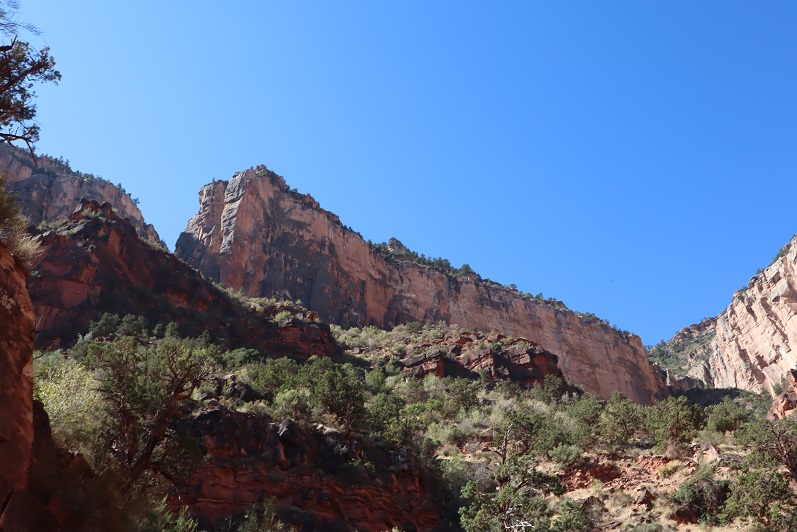
That rim just wasn’t getting any closer!  The sun was starting to heat the trail up

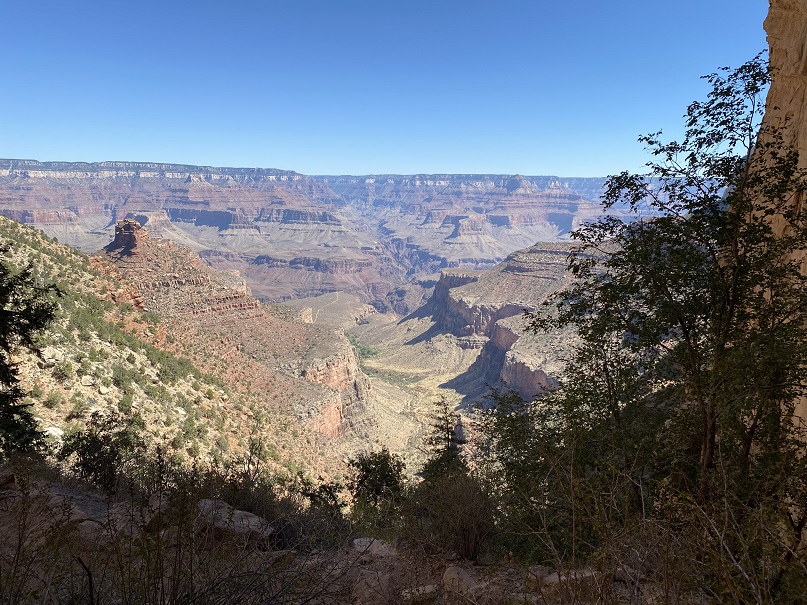
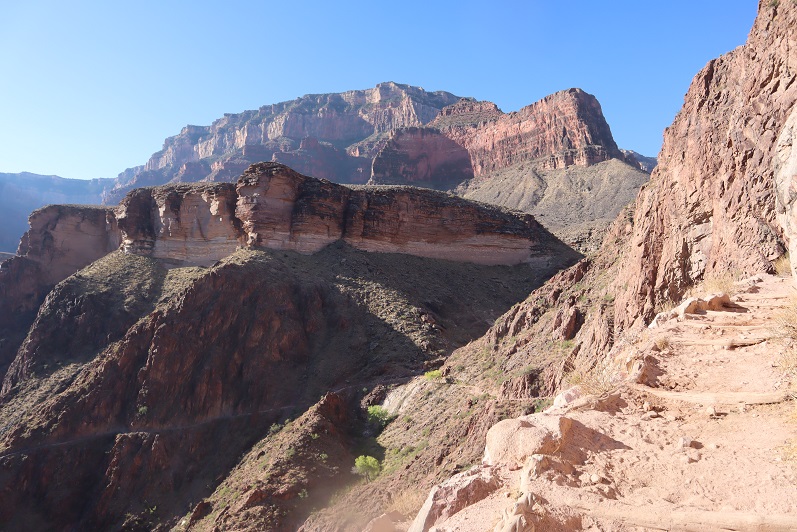
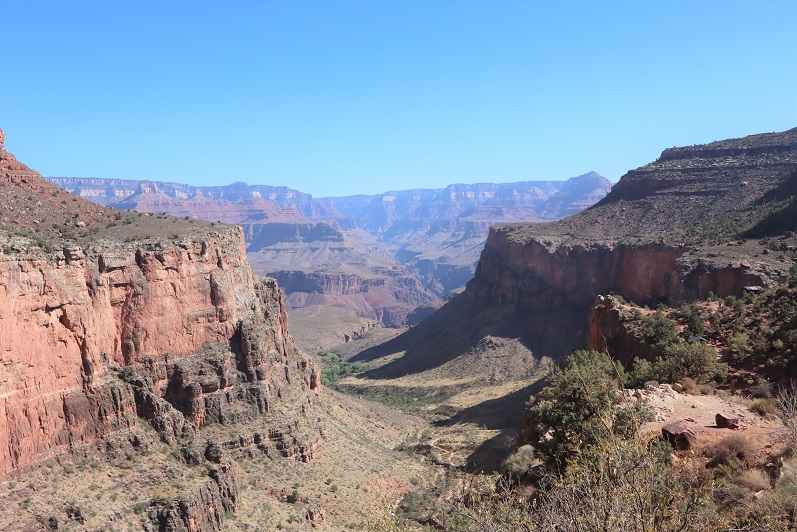
I had a beautiful view of my path to this point however

Around the 2 mile point I saw a park ranger talking to everyone on their way down.  He was trying to get them to understand hiking back up was going to be more difficult than their hike down.  The people he was talking to had a hard time believing if it took them 3 hours to get to Indian Garden it would take them 6 to get back to the South Rim.  I had no trouble believing him.  The 1.5 mile rest area seemed to take forever to reach as well.  In fact, the last 5 miles were one long trudge uphill

I started seeing more and more people, especially near the rim.  I was hot, tired, and sticky, and the people hiking down were still fresh.  I was huffing at this point.  They looked at me like I was insane, but I just kept trudging on.

I made it to this sign and saw Eric

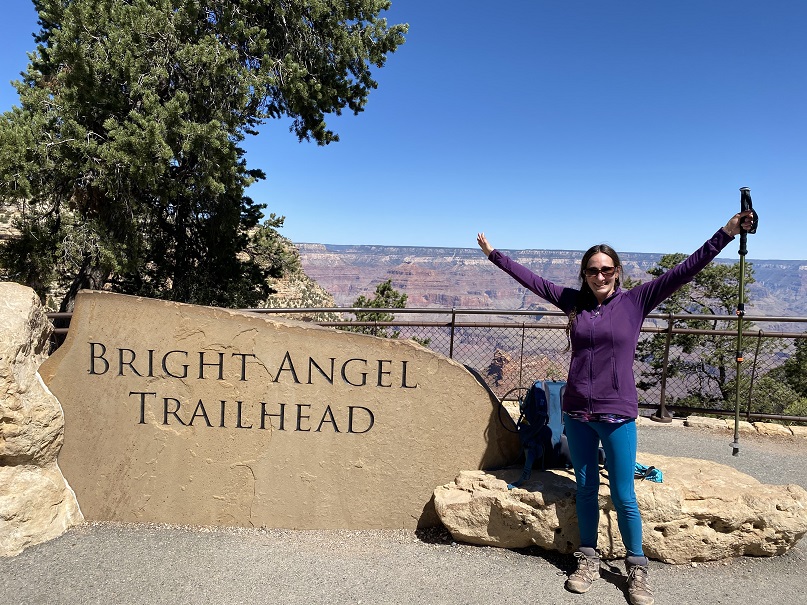
He’d seen me from above and decided to join me on the last little bit of the hike.  He was encouraging and seemed excited to see me.  I made it to the Bright Angel trailhead at 11am, took off my pack, and took some pictures.  It was close to 100 degrees (a 75 degree difference from my start at the North Rim).

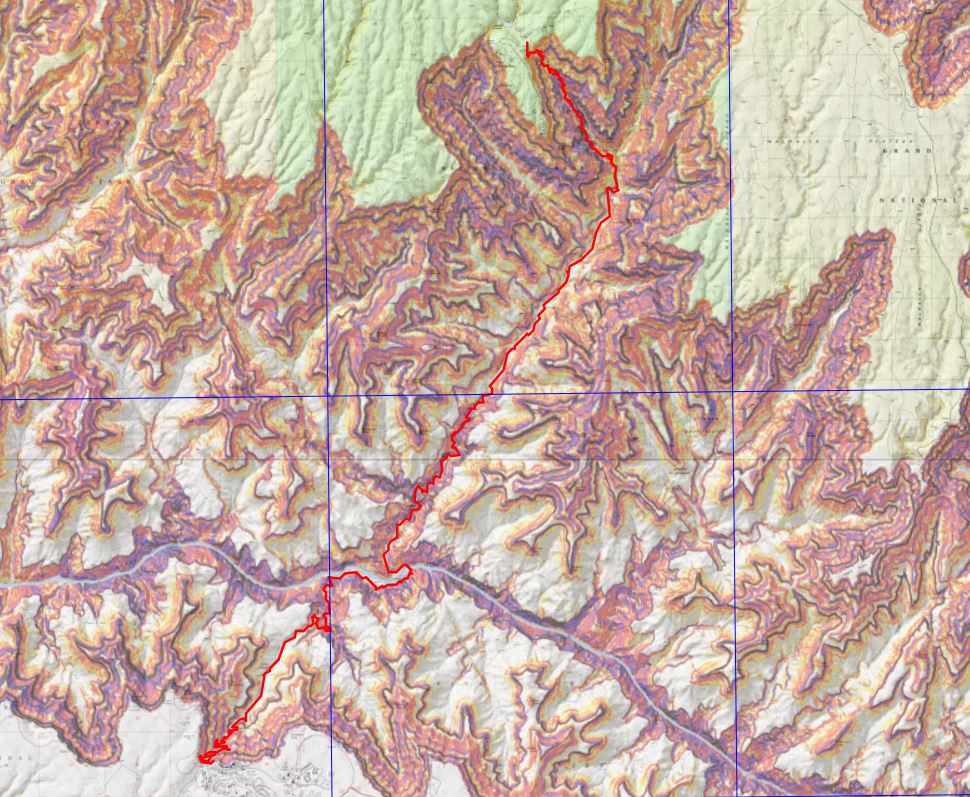
I hiked from the North Rim to the South Rim in 10 hours.  Bucket list item checked off.  Happy 40th Birthday to me!   Check out the topo!

Horseshoe Bend – Page, Arizona

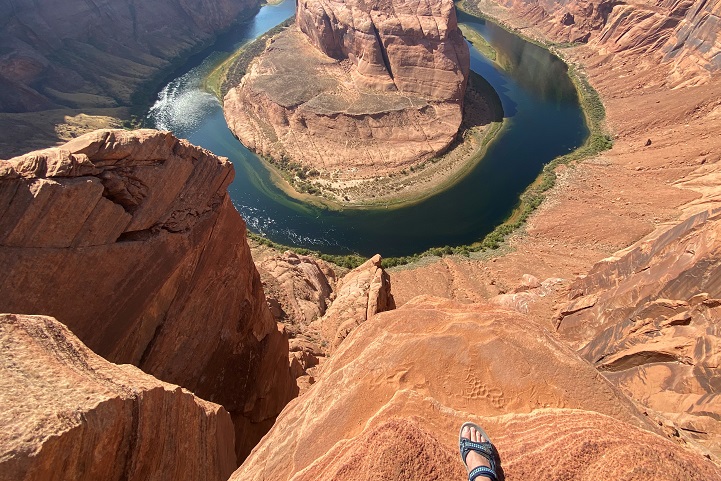
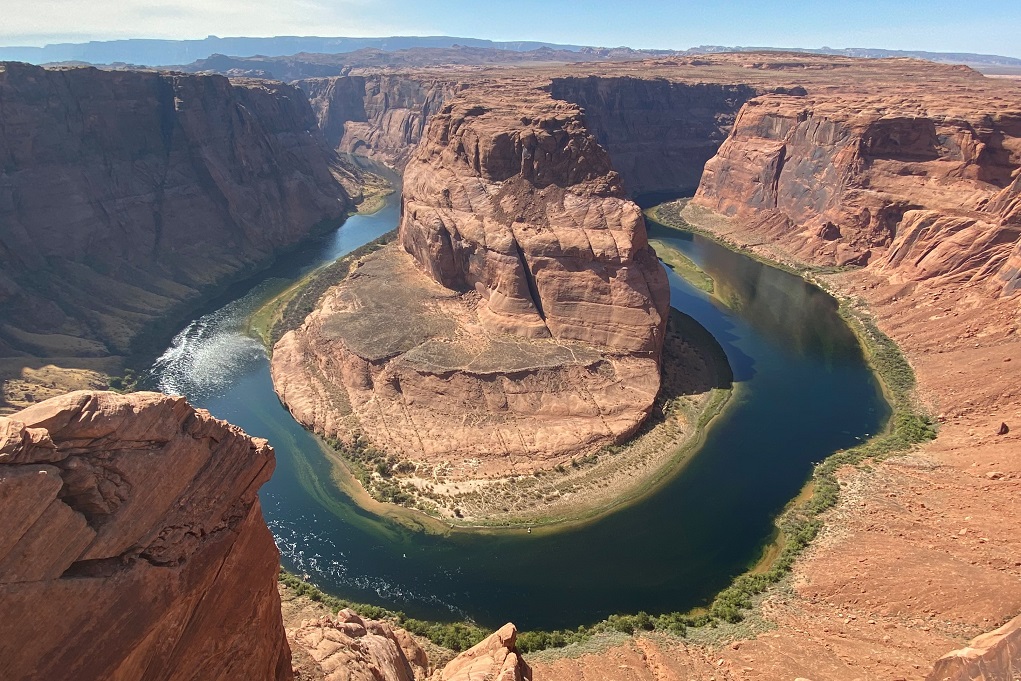
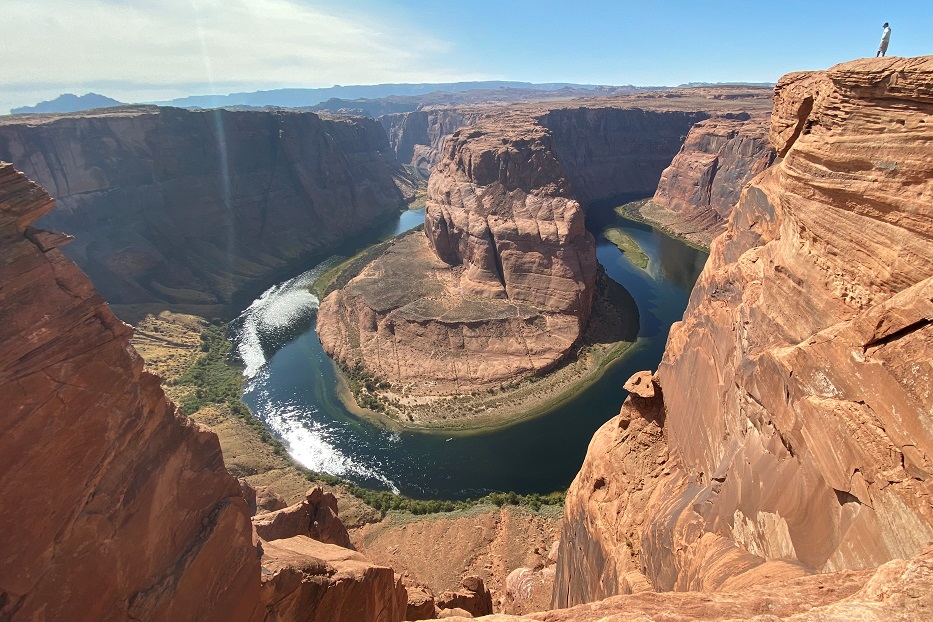
What a fun and unexpected side trip!  We were on our way to the Grand Canyon for my birthday Rim to Rim hike, when Eric mentioned we were close to Page, Arizona, and Horseshoe Bend.  To be honest, visiting Horseshoe Bend has always been on my bucket list, but I wasn’t quite sure where it was.  I had no problem taking a mini side-trip to see it. 

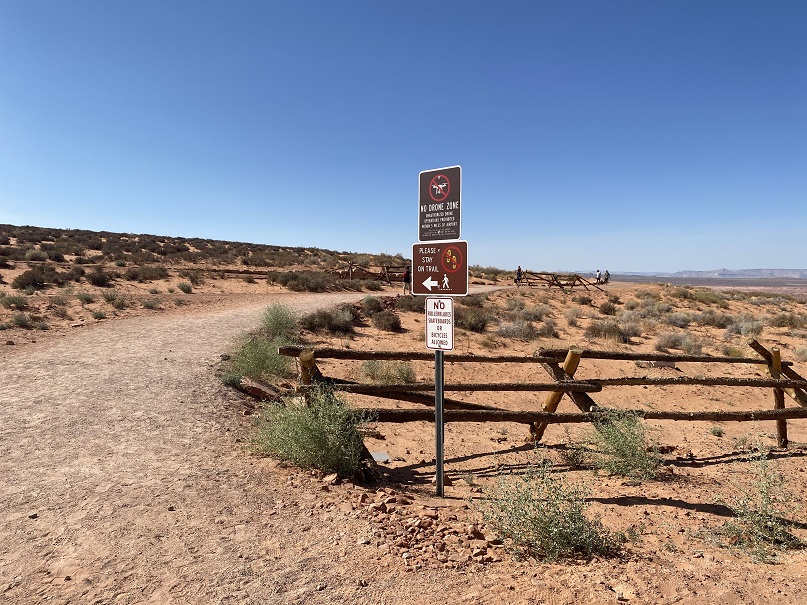
They’ve done some improvements in the past two years to the place.  Now you need to pay to get in ($10) and park in a large lot.  Then there’s a three-quarter-mile walk on a nice path to get to the overlook.

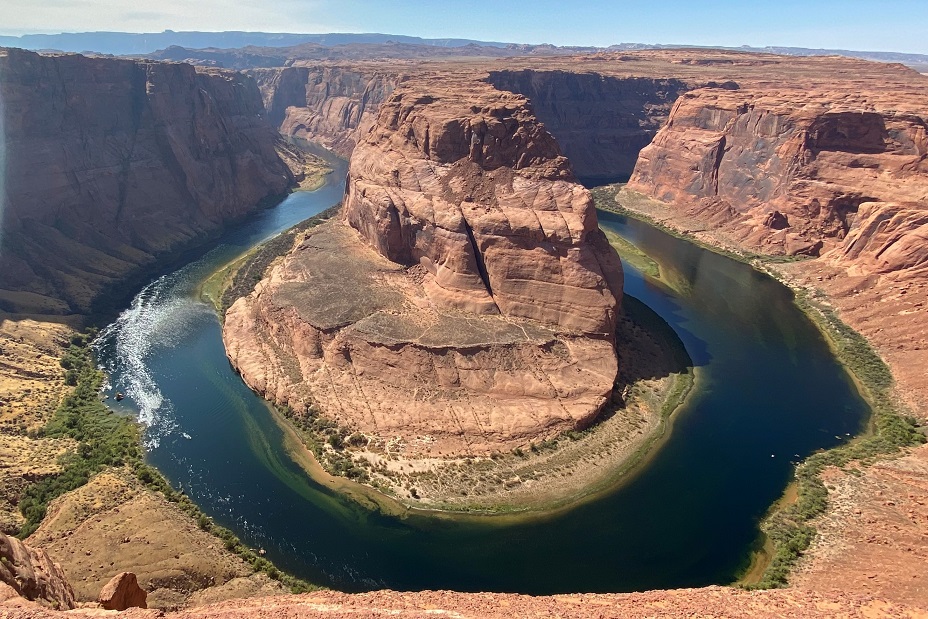
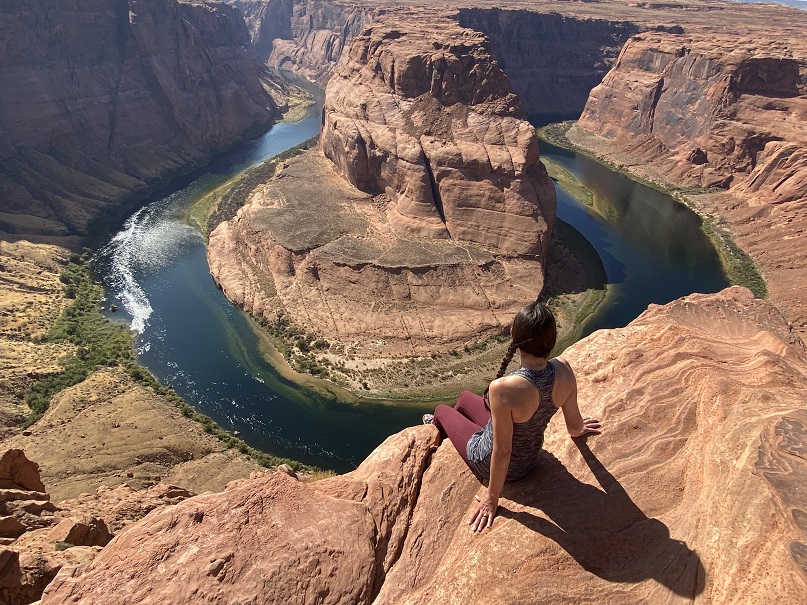
It was a nice day, no more than 80 degrees outside, so the walk was an easy one.  You kind of come right up onto the bend without noticing in, and then, wham, several hundred feet drop into the river

Wow!  This was so cool!  I took some video of Eric, he did his adventure speaker thing, and he took some pictures of me.

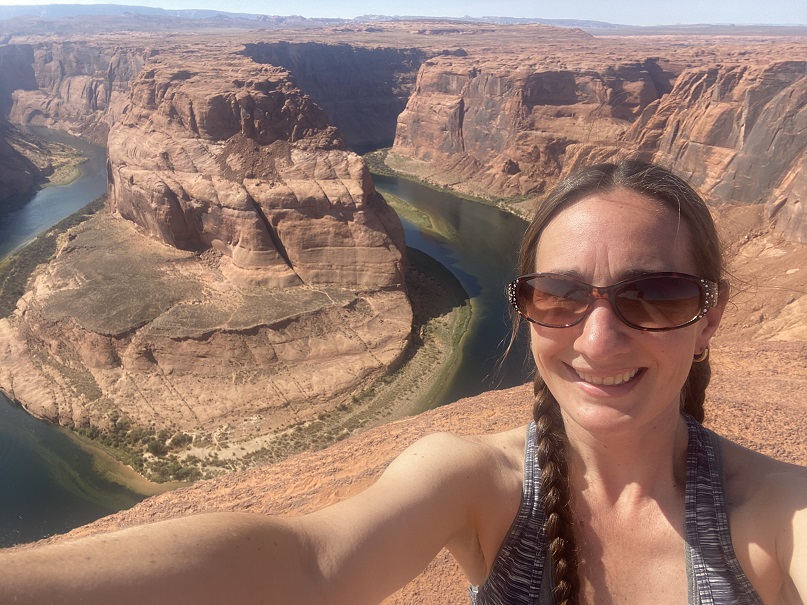
Of course I did the shadowselfie and selfie thing

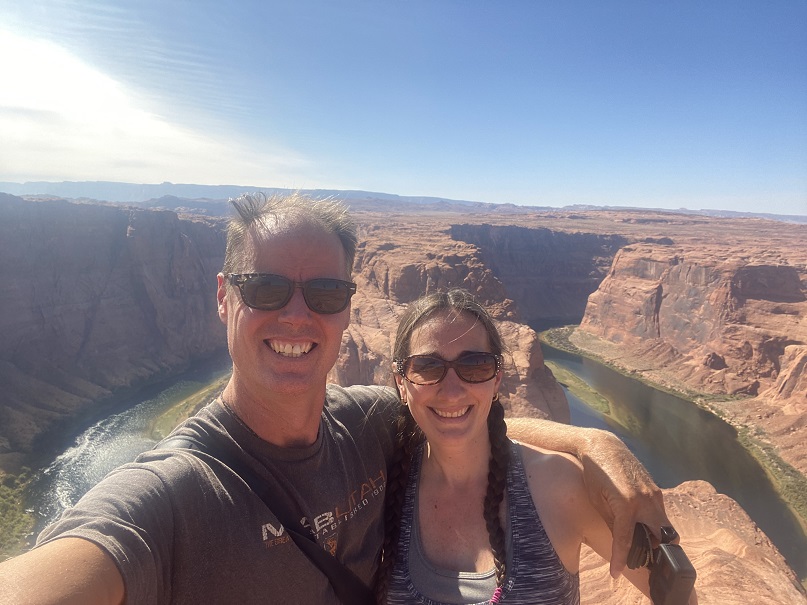
And Eric and I got a selfie together

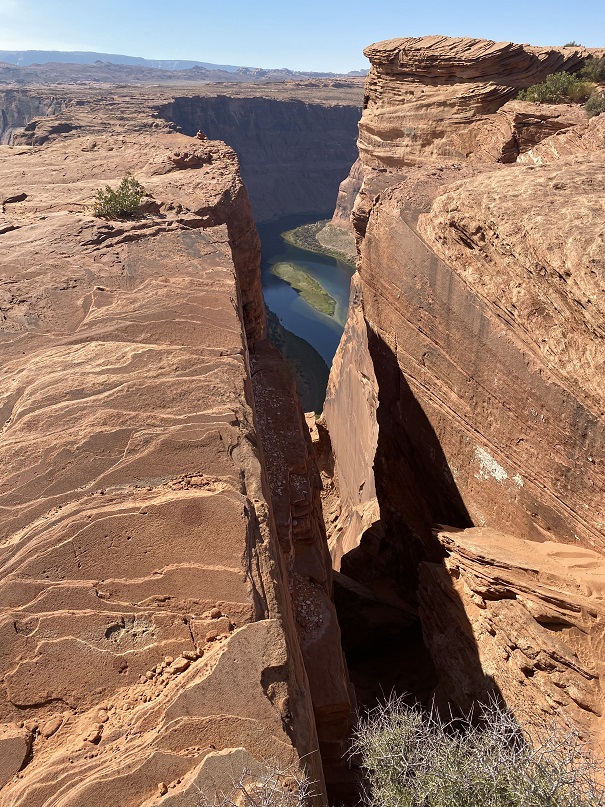
Here’s the jump I took videos/pictures of Eric jumping across. Even though the rock was grippy, I felt my legs were too short for the attempt.  Sorry, no pictures of the jumsp (they’re on his camera).

There were actually quite a few people there for a Friday September day (September 11) but it wasn’t difficult to get in a good picture, making it look like you were the only one there.

Ok, now we’re off to the North Rim to prepare for tomorrow morning’s hike!

Milwaukee Peak – 13,526 and Pico Aislado – 13,621

RT Length: 13.7 miles

Elevation Gain:  4500’

We go family camping with the Girl Scouts every Labor Day weekend, and every Labor Day weekend I spend one of the 4 days hiking.  I left the campsite at 1am, intent on driving up to Music Pass trailhead early in the morning when there weren’t any other vehicles on the narrow 4WD road.  Just my luck, around 3:30am I ran into a rather large Ram 3500 truck, carrying a trailer in the bed, coming down the road.  It took us about 20 minutes to find a way around each other.  Luckily, I only had the one truck to pass.  The trailhead was full of trucks however (lots of hunters). It was earlier than expected so I took a quick nap and was on the trail at 5am.  

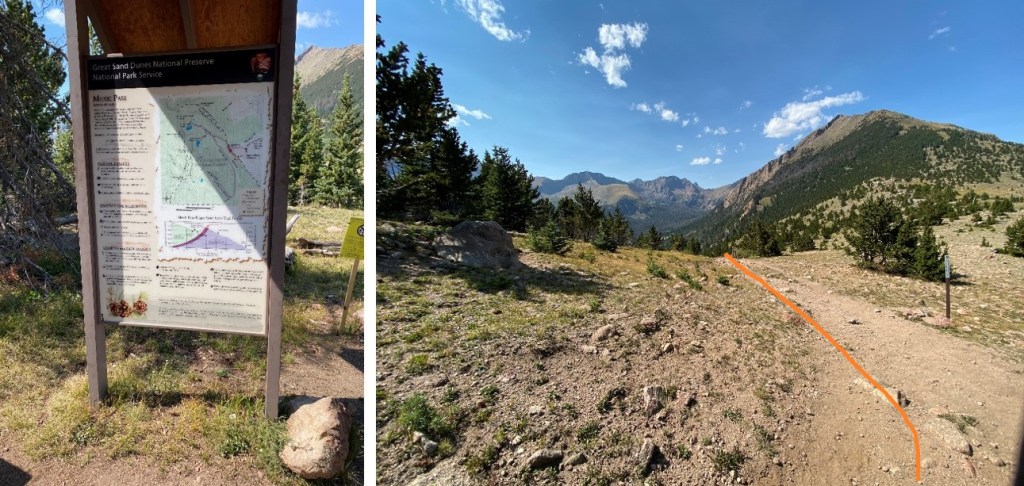
The trail starts at the west end of the parking area, and heads west.

There’s a trail register shortly after the trailhead. 

The trail here is easy to follow

I made it to Music Pass after hiking for 1.25 miles, and realized I’d forgotten my camera (so, sorry, selfies with my iPhone once again today).  There’s an information sign here, and another trail register.  Last time I opened this register 50 moths frantically flew in my face, so this time I left it closed. 

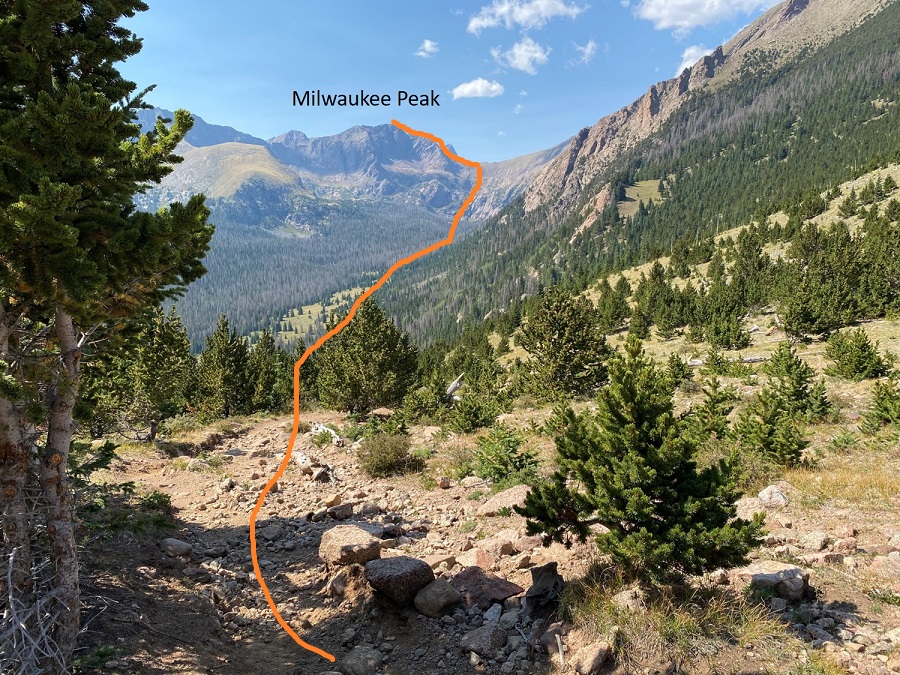
From here I followed the trail as it lost 450’ of elevation and headed northwest along Sand Creek Trail 1337.  Here’s an overview of the route towards Milwaukee Peak

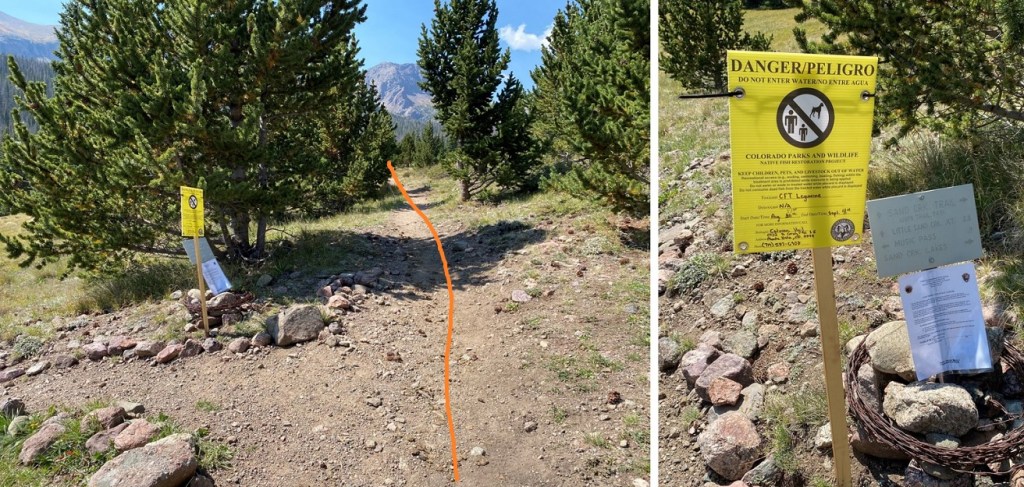
And step by step, first descending into the basin.  I continued straight at this crossing.  Note, there were signs saying not to enter the water, as they were being treated to remove all fish from the drainage.

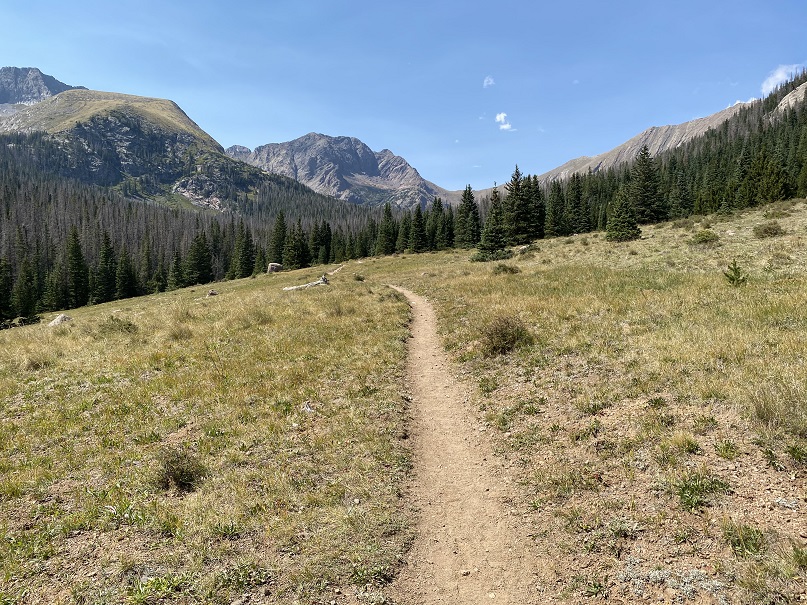
I followed Sand Creek Trail

Staying right at the second junction

Crossing a stream at 11420’

The last junction I came to was for Upper Sand Creek Lake and Cottonwood Pass.  I turned right and headed towards Cottonwood Pass

The trail continued through the basin.  Eventually I was going to have to find a grassy ledge and follow it to an upper basin. Here’s that ledge I’d be aiming for

But before that I had to make my way across several small streams

There was evidence of the fish kill in the streams, as well as tons of dead worms; and bear tracks

I came to a sign that said the trail ended, and told me to follow the cairns.  The cairns were extremely helpful, but I did get lost crossing the final stream.  I couldn’t figure out where to do it, but it was obvious on my way back.  If you (like me) aren’t able to completely follow the cairns in the dark, cross the stream and head northwest up the side of the mountain and you’ll eventually hit the trail, as it will become obvious.

The trail weaves through the forest towards a grassy ramp that leads to the upper basin

Once in the upper basin the trail ends, but there are many great cairns that will lead you to the saddle.  The ‘trail’ stays to the left.

At the end of the basin the goal is to ascend to the saddle.  There are cairns that will get you there.  This is the basic route

At the saddle the trail picks up again.  I turned left and headed southwest along the trail, rounding the north side of Milwaukee Peak.  Here’s an overview

And from the ridge, rounding the corner

Once I’d rounded the corner the real fun began.  Now’s a good time to put on your helmet if you haven’t already.

Here’s an overview of the rest of the hike

And step by step.  Here’s the first big obstacle. I went down here

And came to a notch with a class 4 rock to climb.  This isn’t more than 8-10 feet high.  There are plenty of hand and foot holds here.  Make sure to ascend to the left

Here’s another look at the notch from a different angle.  This is how you want to ascend/descend

Once past the notch there was a narrow ledge to traverse, with a large drop off.  I was toe-heeling it across this area and leaning into the mountain.  This would not be a fun place to slip.

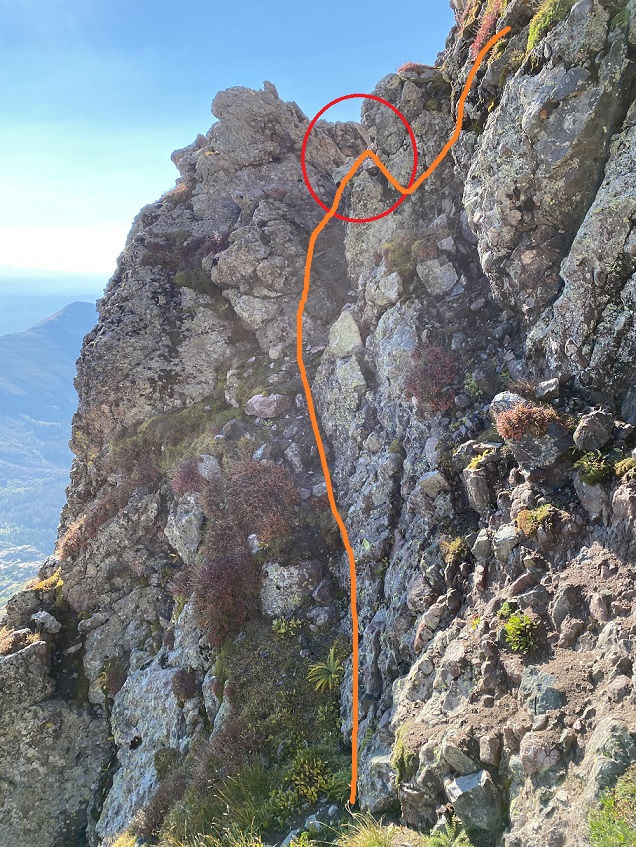
Next, I aimed for this notch (stop at the notch, don’t go past it)

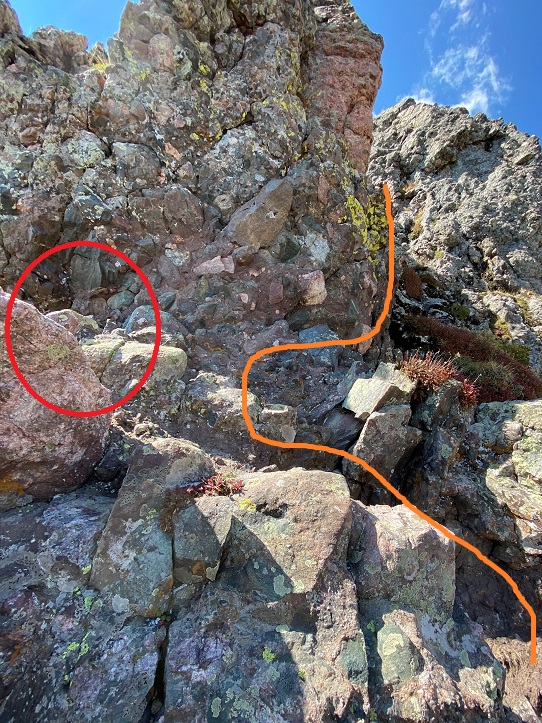
At this notch there’s a boulder a couple feet wide blocking the path.  It’s easy to hop over, but don’t.  This is your indication to ascend the gully.  I’ve circled where the is rock in red


Here’s another view. In this picture the rock is circled on the left, and this is how you enter the gully

Here’s what the gully looks like

And here’s topping out of the gully

From there it’s an easy (if airy) traverse to the summit.   I summited Milwaukee Peak at 8:55am

Milwaukee Peak: 

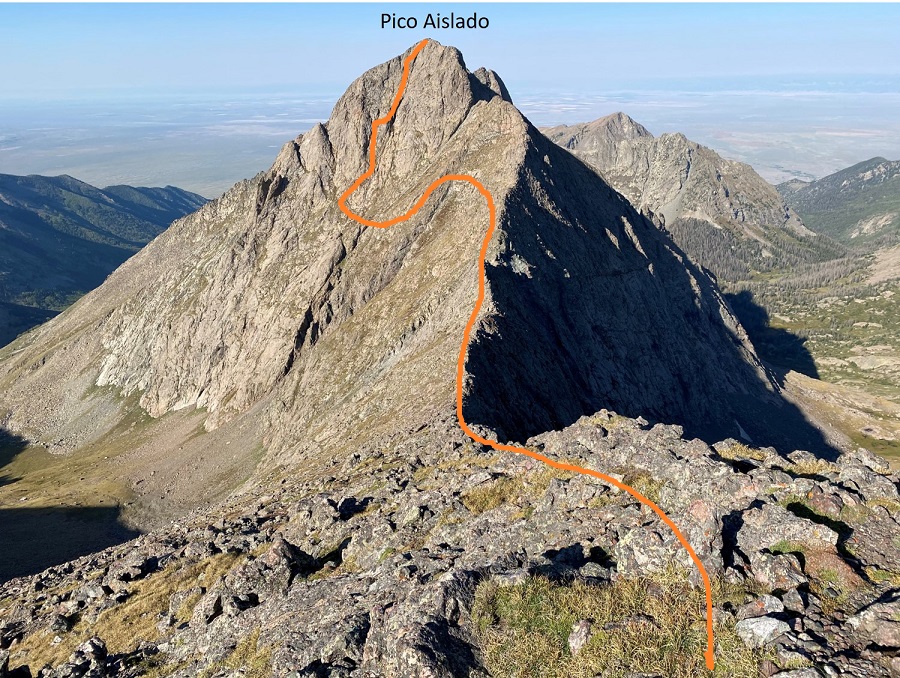
From the summit of Milwaukee here’s the route over to Pico Aislado (which means ‘Isolated Peak’ in Spanish).

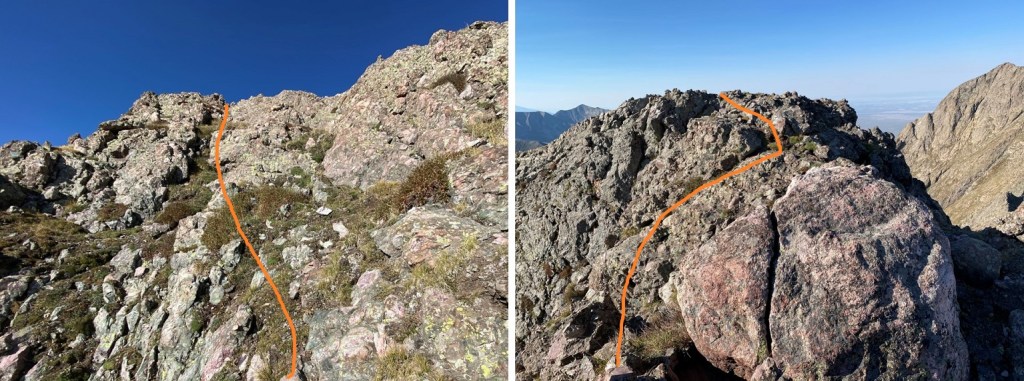
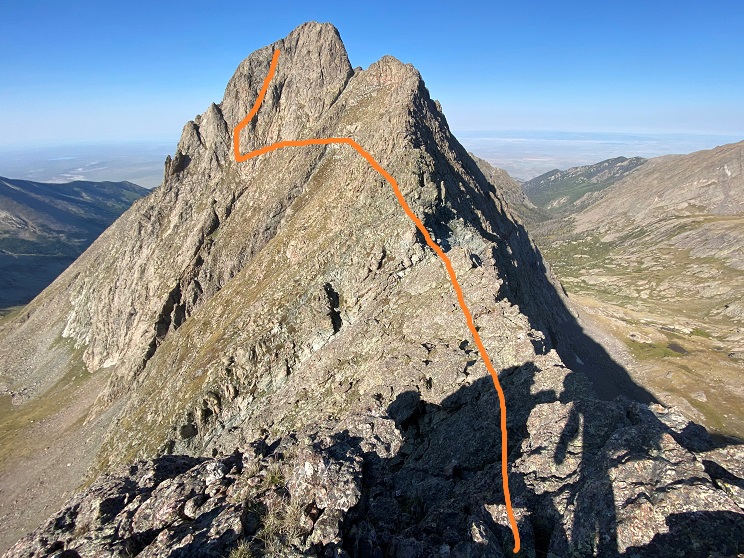
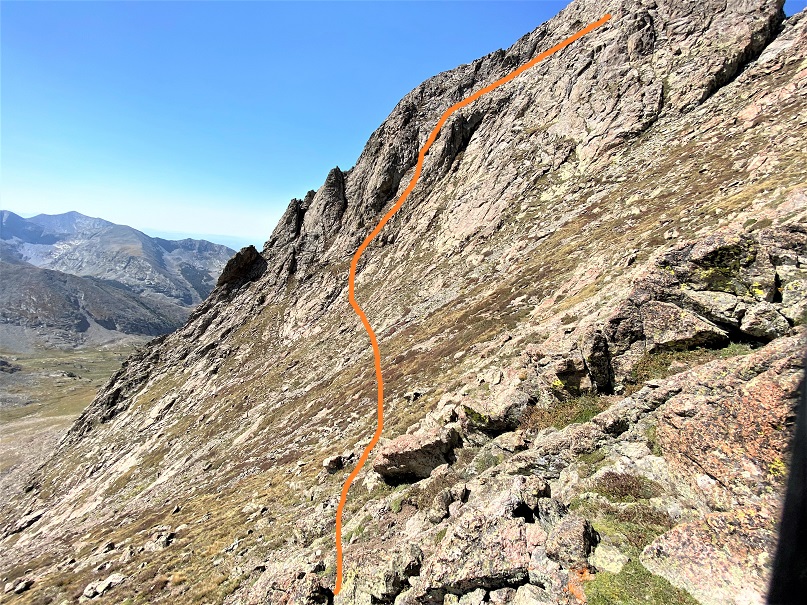
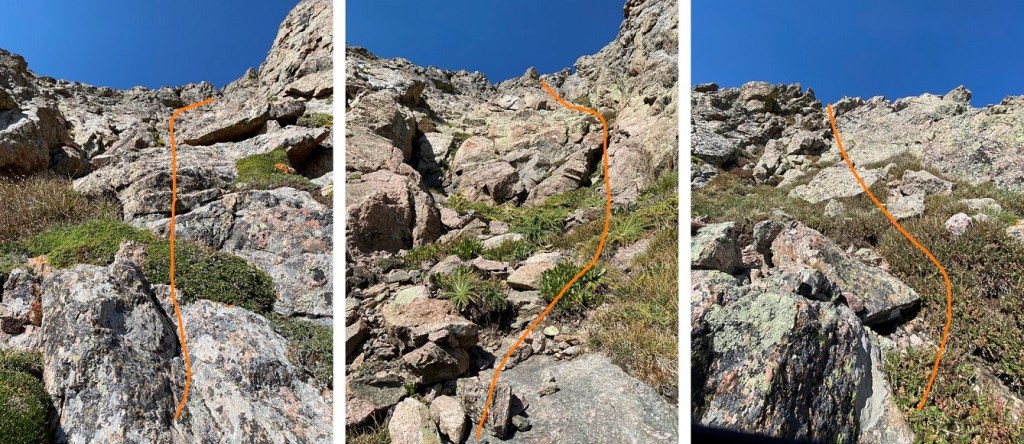
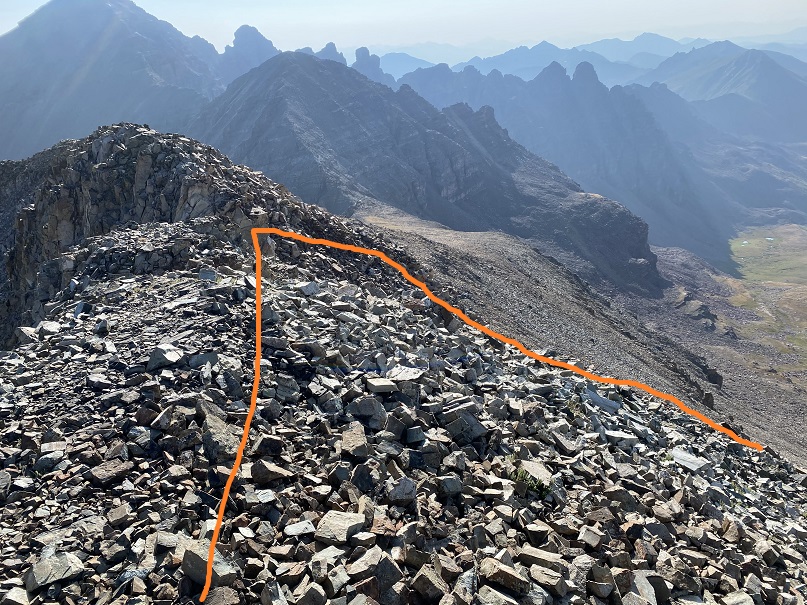
In the beginning I could just stick to the ridge (better pictures of some of the obstacles here on the description of the way back, but they all stay at class 3).  There were some ups and downs but nothing too difficult.  At the ‘saddle’ this is the path I took, staying low, keeping under the rock line.  There’s no need to stick to the ridge here, as you’ll end up losing elevation later.

Take note of the ‘cairn’ I’ve circled here.  You’ll be aiming for it later.  (It’s not actually a cairn, but it’ll look like one from below).

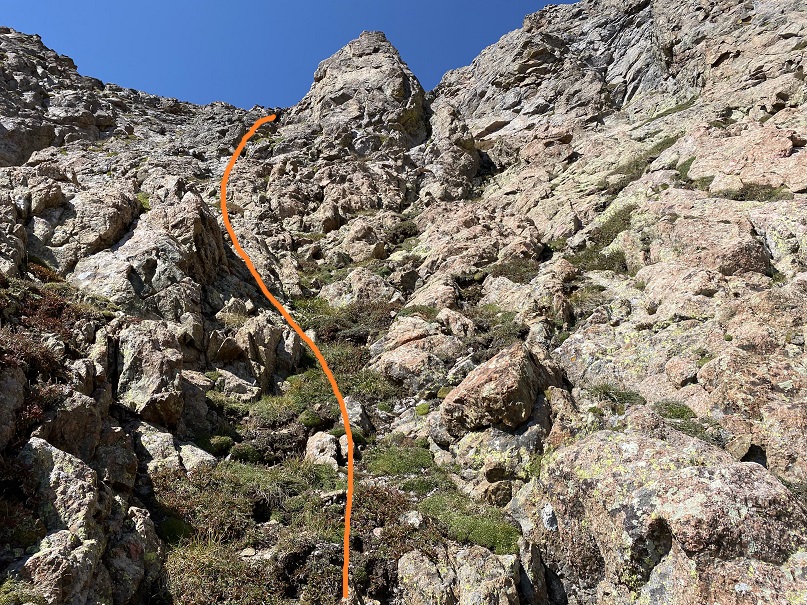
I came to the last gully on this side of the mountain, turned right, and kept to the left as I ascended. 

I kept aiming for where that circled ‘cairn’ was.  As soon as I found it, I turned right and followed the ridge to the summit

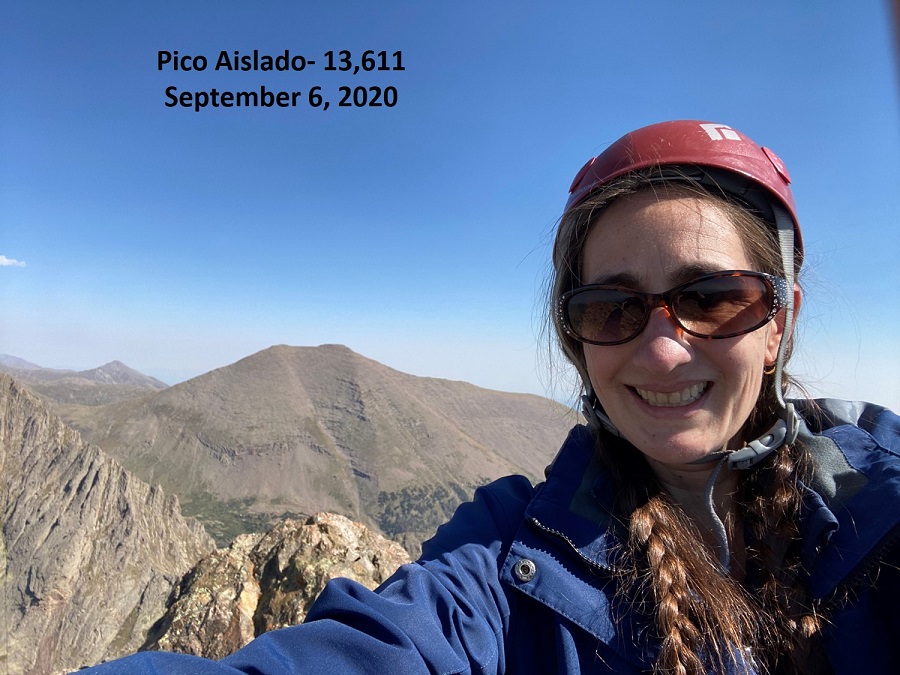
I summited Pico Aislado at 10:30am

Pico Aislado:

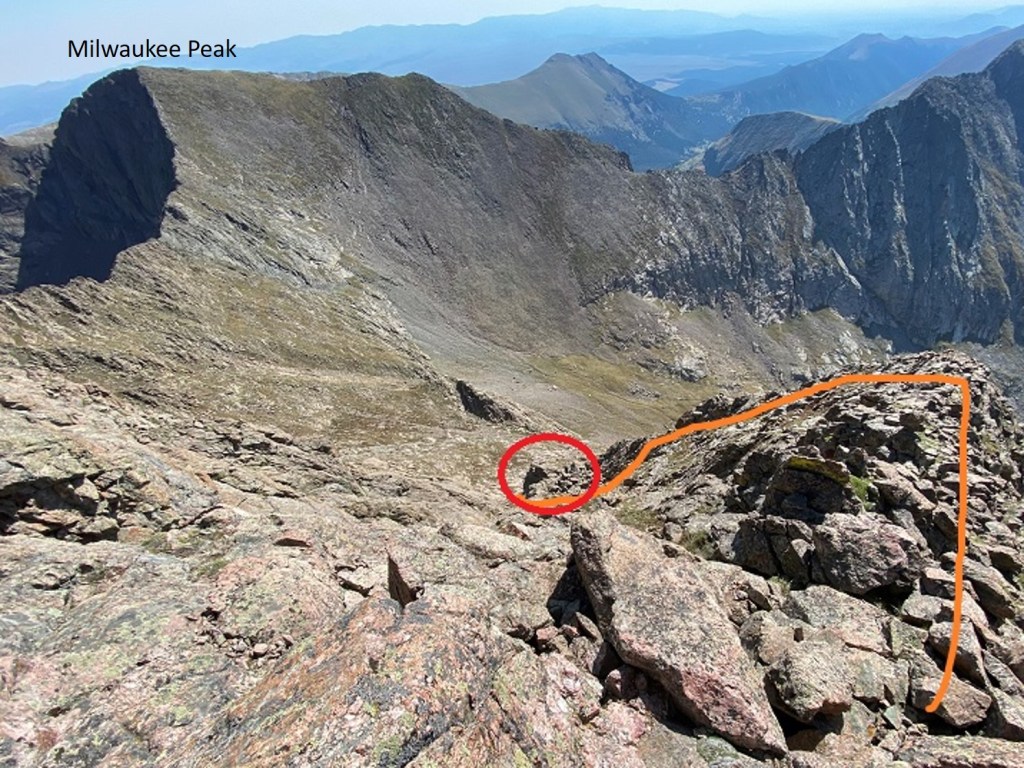
I headed back the way I’d come, following the ridge to the ‘cairn’ (circled in red) and then the gully back down

I felt the gully was easier to go down than up

Here’s the route I took back to Milwaukee Peak

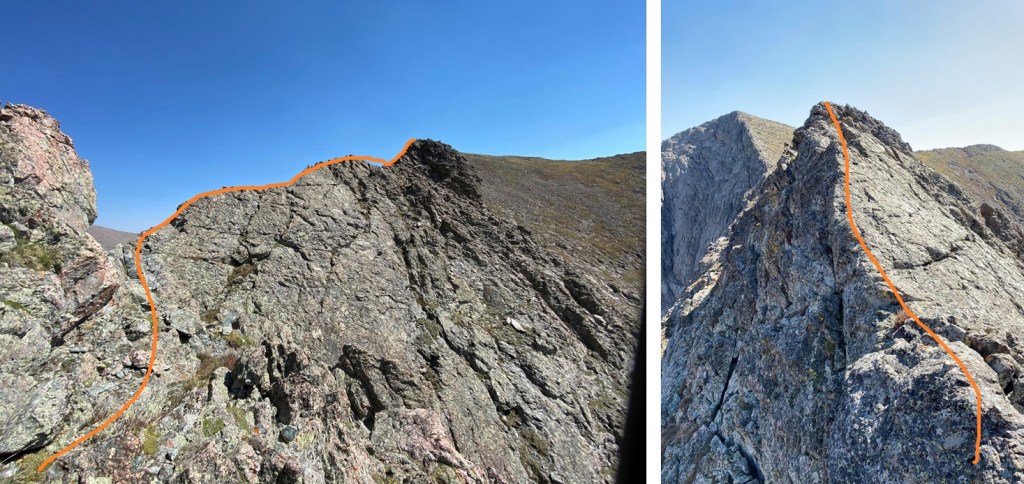
There were two difficulties on the ridge back.  The first reminded me of the knife edge on Capitol, but with less exposure.  I probably could have descended to avoid this, but what’s the fun in that?  I went straight up and over

The next obstacle was this class 3 rock formation.  Once again, straight up and over

Then it was an easy ridge hike back to Milwaukee Peak.  I summited and headed left (northeast) to descend

Back down the gully

Down the mountain to the notch, which was much easier to downclimb than upclimb

And back down the ridge to the saddle, and through the upper basin

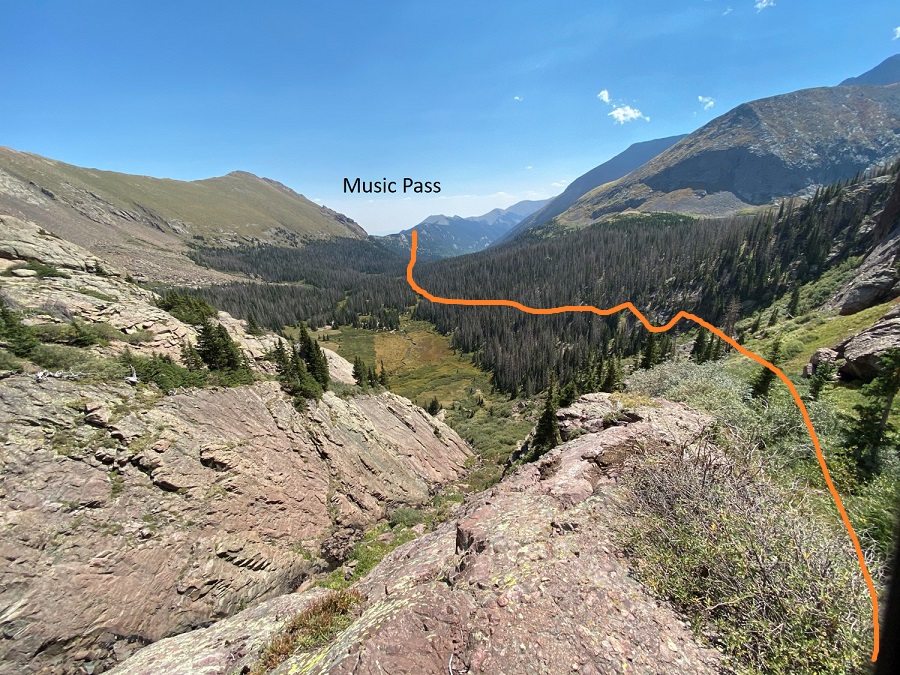
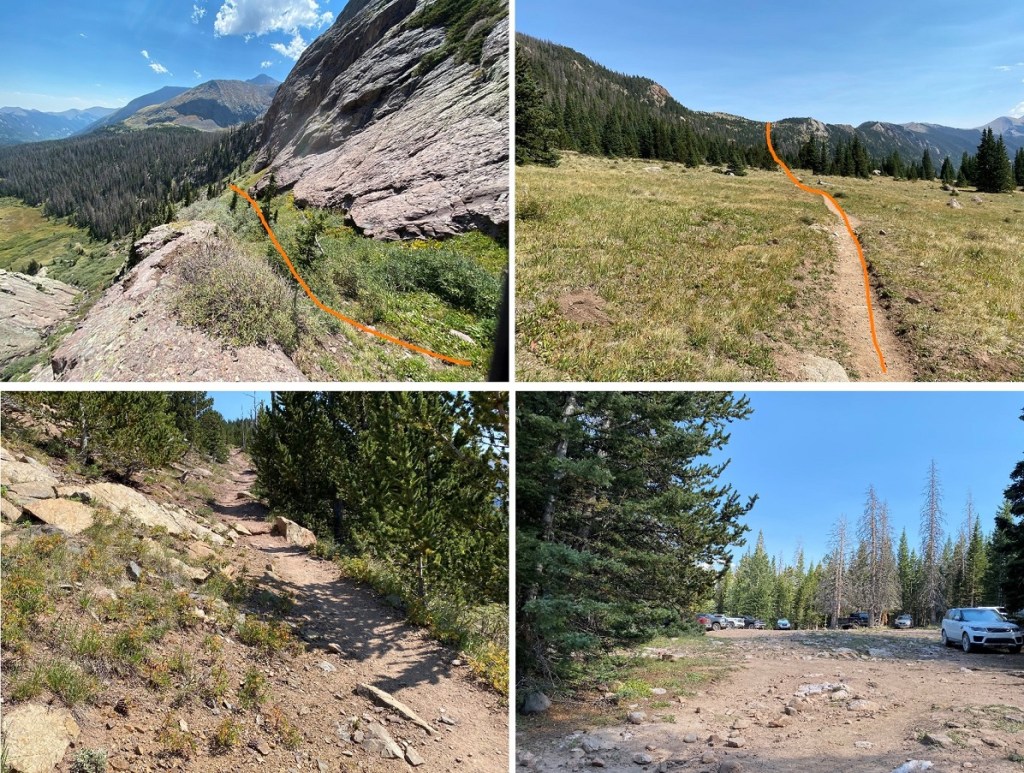
Here’s an overview of the route to Music Pass

And some pictures of the class 1 trail out.  The 450’ of gain up the pass isn’t that bad.

I saw no less than a dozen hunters in the area after gaining Music Pass, all with bows and arrows.  Some were knocking on trees, others were making calls, and some stood guard with binoculars.  I’d seen bear tracks, marmots, and pikas, but besides that not another animal all day.  I made it back to my truck at 3pm, surprised to see Strava hadn’t logged my route, so sorry, no detailed topo this time.  The hike took me 10 hours to complete.  I also guestimated on the elevation gain by looking at other reports.  I took my mileage off my iPhone (which stated 13.7 miles, 195 floors, and 36,864 steps).  Time to finish my weekend of camping!  All of my girls are seniors in High School now, so this will be our last Labor Day campout.

Here’s a hand-drawn map of my route

Magdalene Mountain – 13,780

RT Length: 15.32 miles

Elevation Gain: 4074’

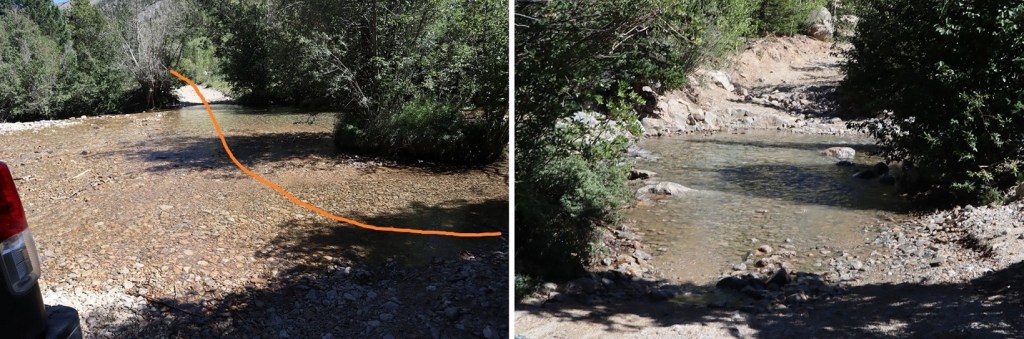
The creek crossings to get to the Rockdale Trailhead were easier than I’d anticipated.  6-8 inches of water weren’t difficult to pass (it’s now September in a lower snow year).  In the dark the willows and water made navigation fun.  Colorado pinstriping indeed. 

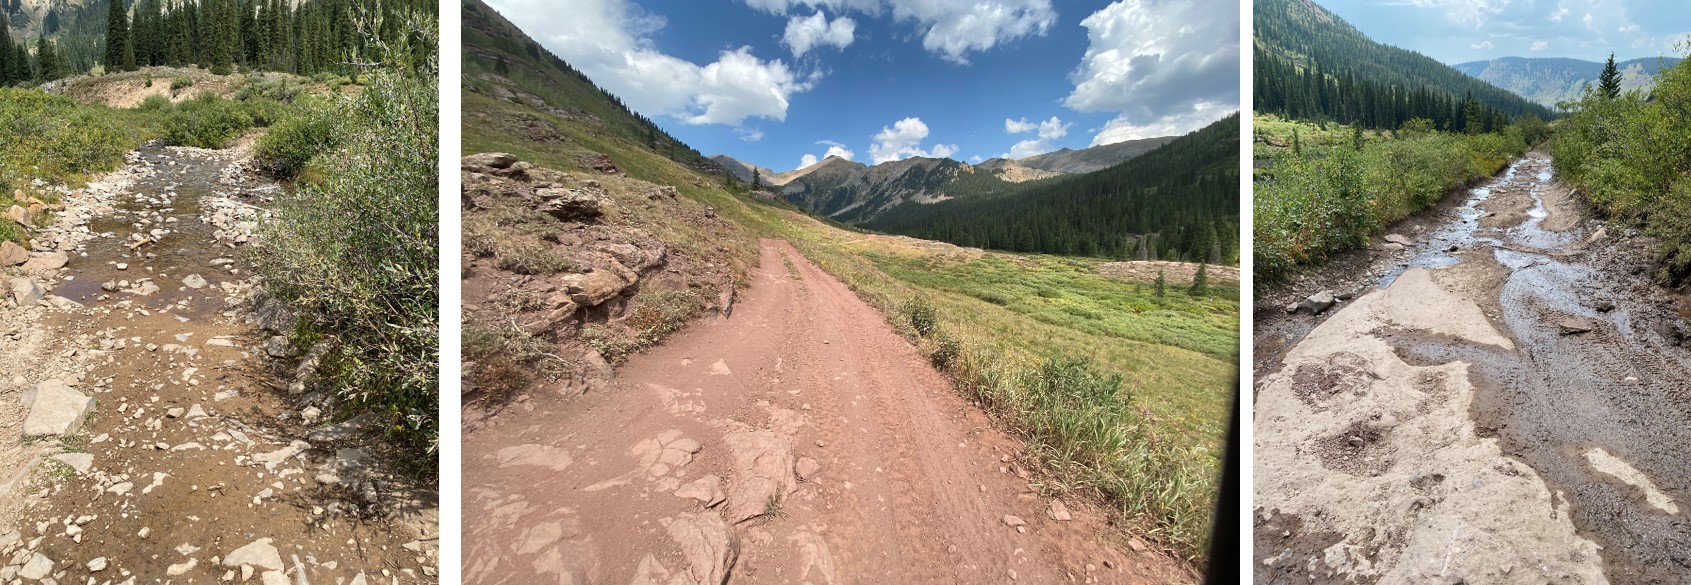
There were only two stream crossings, just at the beginning of the 4WD road, but tons of short ups and downs and puddles.  I drove slowly and I’m pretty good at navigation, but still managed to hit the underside of my truck a couple of times (I have a stock Tundra).  This picture is from one of the easier areas of the drive.  Most of the difficult areas have tree cover, making pictures difficult.

At 10880’ there’s a sign that says the road ends (even though it looks like it goes further).  There are several large camping sites here.  I parked my truck and got out my gear

I was on the trail at 5am, following the 4WD dirt road south.

After hiking for .3 of a mile I came to the ‘old’ parking area, now covered by an avalanche.  There’s a nice trail through this if you stick to the left.

After the avalanche area the 4WD road picks up again

After hiking for .75 miles total I came to the junction of the trail and the road.  Both ways go around the lake.  I chose to go up and over the hill

Giving me a good look at Cholsey Lake

And then I followed the trail back down the hill and into the basin. 

This is a class 1 trail that heads south through pine trees, willows, and some small creek crossings

At around 3 miles of hiking the trail started turning left, curving southeast.  Here the trail became faint, but there were plenty of well-constructed cairns to guide the way up to the pass at 12,500’.  Off to my left I saw a huge bull elk, bounding away.

At this point the trail was now gone, but I had a great view of Pear Lake.  Pear Lake wasn’t where I was headed however. I turned left and followed the ridge northeast, staying as high as possible.

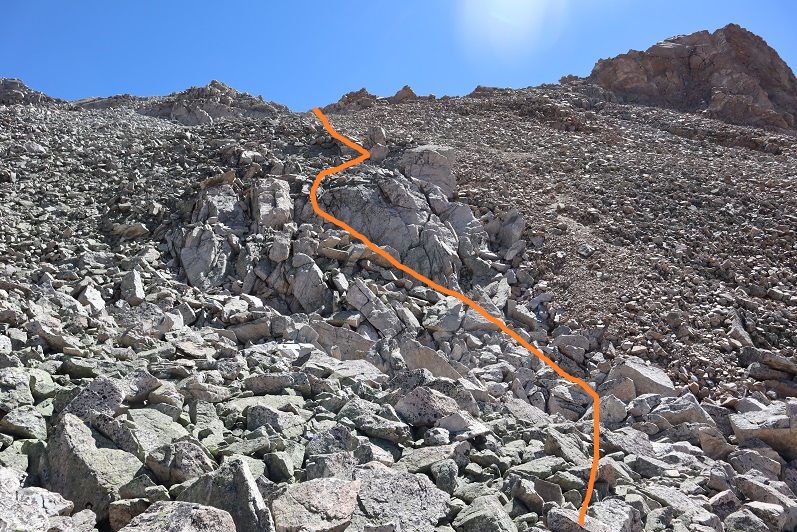
My goal was to aim for this gully.  There are a lot of ups and downs here, so I tried to stay high.

Here’s the path I took, step by step, to get to the gully

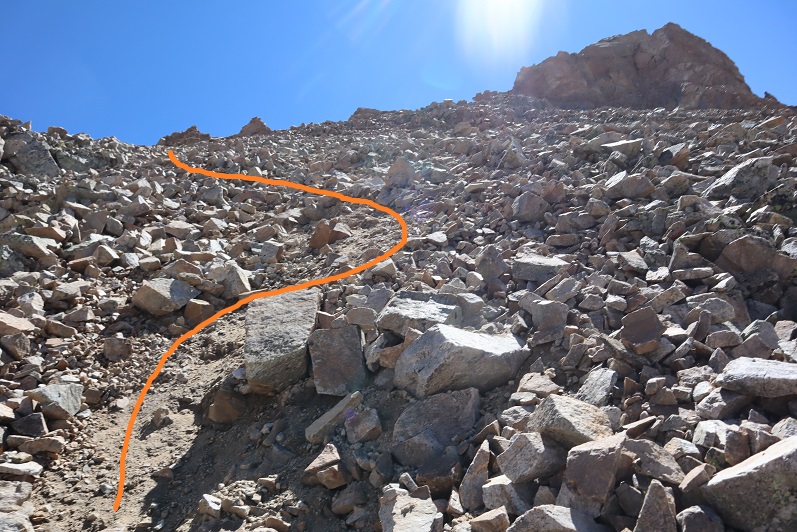
The safest way to approach this gully is to start out by going left around this boulder, and then straight up, following the scree trail

There are a lot of loose rocks here, the kind that cause rockslides, so watch your footing.

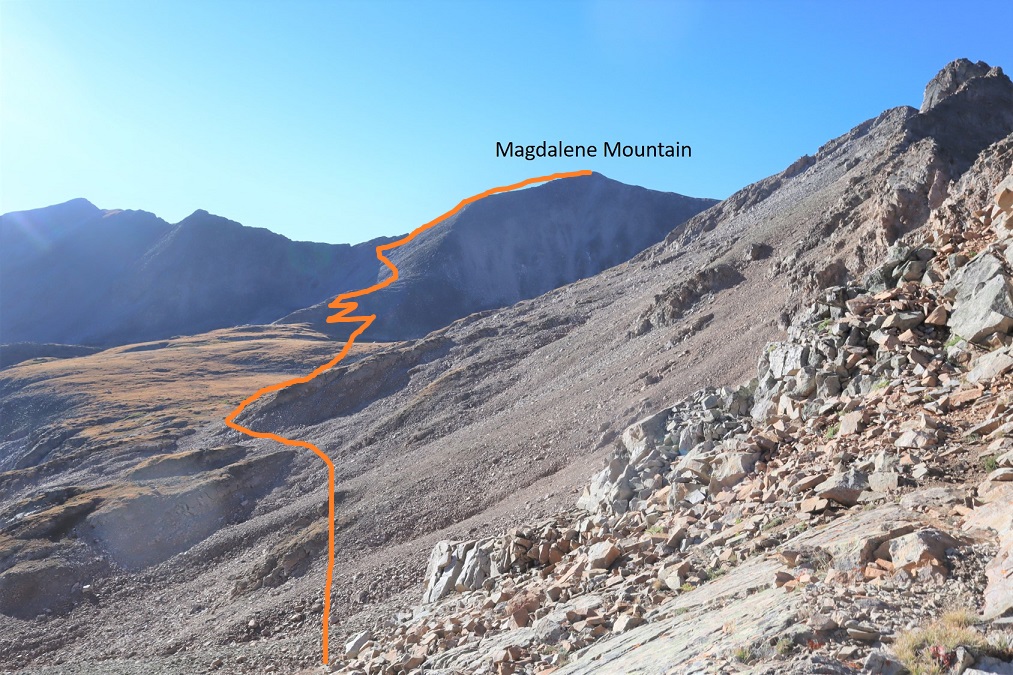
The top of the gully put me at 12,860’.  Now it was time to head back down, staying as high as possible, but still losing about 300’ of elevation as I traversed my way over to Magdalene’s ridge.  Here’s an overall of the route I took

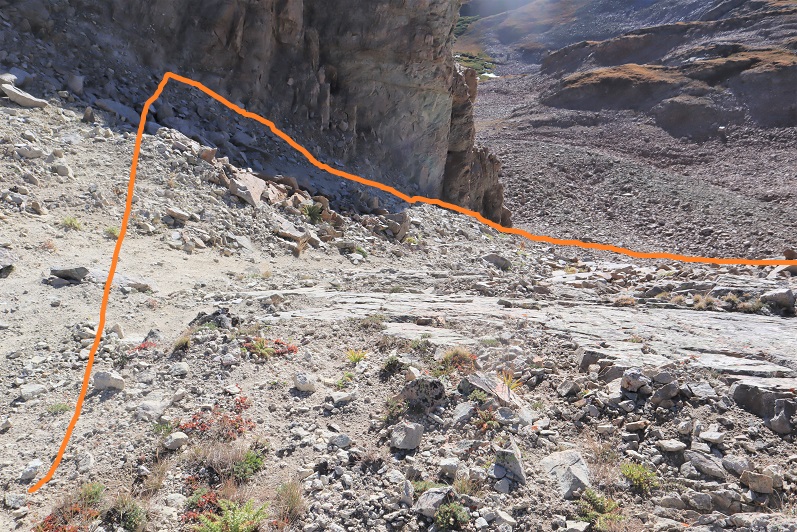
And step by step:  First, down the gully.  The most stable area is to stick to the left, near the rock

Then I headed southeast, staying high

The rocks give way to tundra.  I kept aiming for the ridge

Keeping Silver King Lake to my right, I made it to the base of the ridge.  Here there’s a cairned trail that picks up and will lead you to the summit.  It starts by zig-zagging up and around the first ledge

Then following the well cairned trail to the saddle

It looks like the trail has been covered in rockfall in areas, but the cairns help to stay on course

Once at the saddle I turned right and followed the ridge southwest

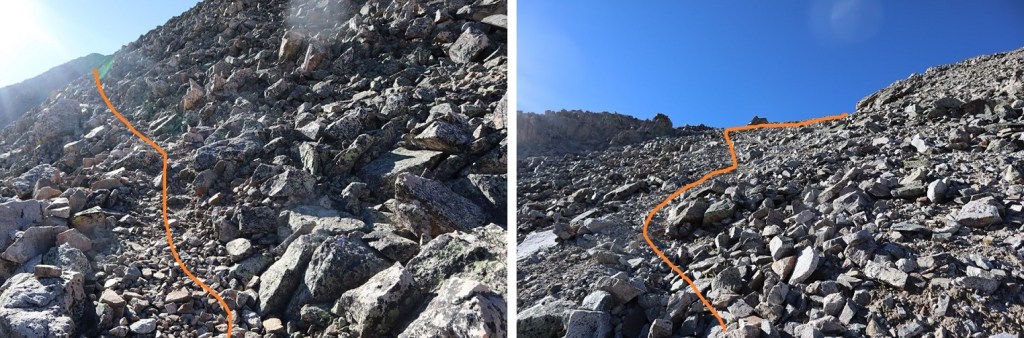
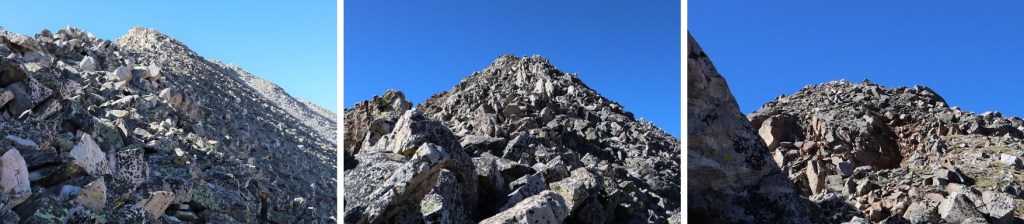
There are several social trails up this ridge, but I was able to summit by sticking to the ridge proper, keeping this class 2

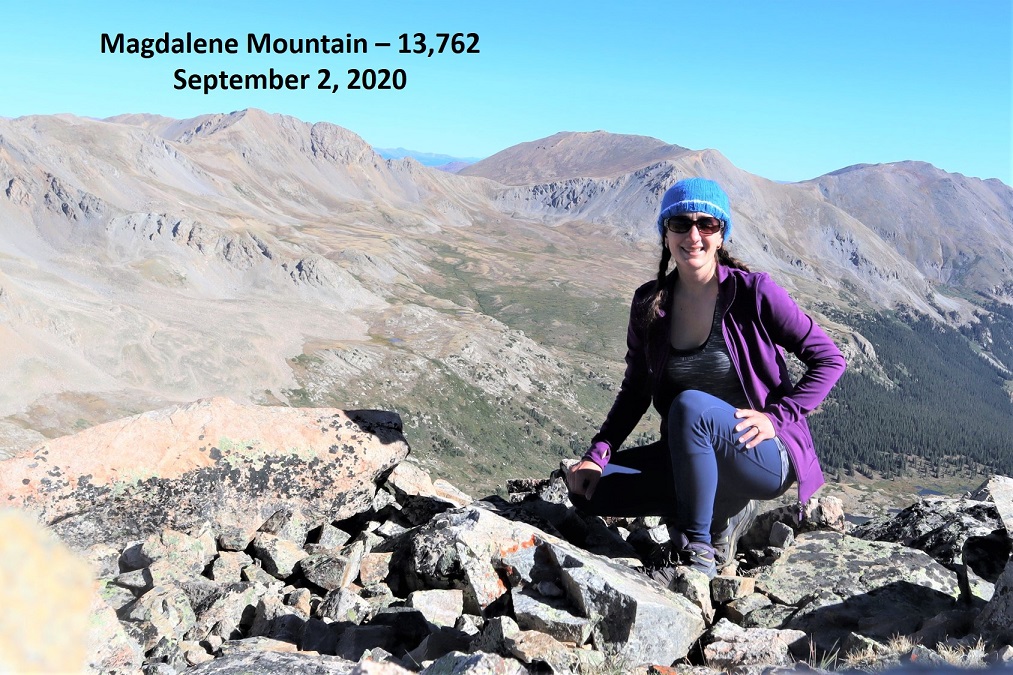
I summited Magdalene Mountain at 9:40am

Magdalene Mountain:

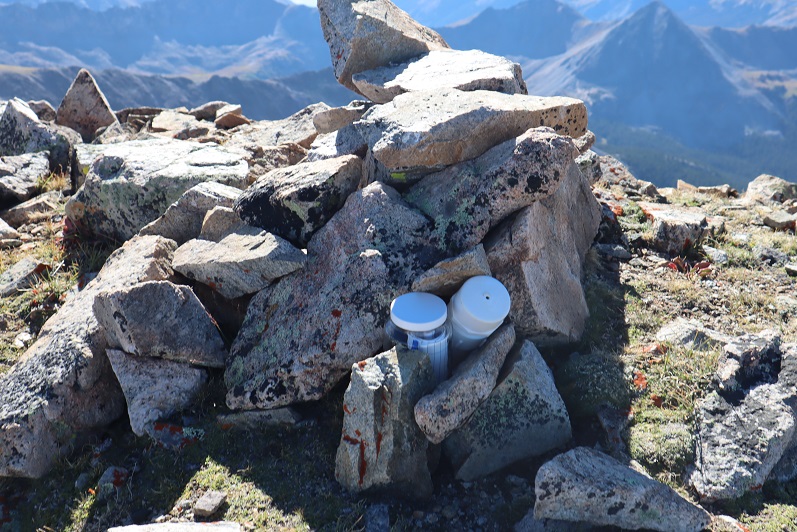
There are 2 summit registers here. 

Time to head back the way I came.  First, down the ridge

Once at the saddle I turned left and followed the trail back down the mountain

Here’s an overview of the route back to the pass

And step by step:

Here’s looking back up at the gully.  Once again, I stayed north to ascend

From the top of the gully, here’s the overall route back to the pass

And step by step.  Down the gully and across the rocks

Staying high

Then taking the plateau back to the pass, where the trail picks back up again

I turned right at the cairns and headed back down to the basin

I looked longingly at the ridge that connects Pear Peak with PT 13517.  I really wanted to do that ridge today.  It was an absolutely perfect day, but I was short on time, as the drive in had taken longer than expected.  I had to get back home and finish working for the day. Oh well, it will be a fun adventure in the future.   Here are some pictures of the route back down.  Spirits high, I rather enjoyed the hike out. 

Back to the lake and up the hill

Past the avalanche area

And back to my truck. I made it back to my truck at 2pm, making this a 15.32 mile hike with 4074’ of elevation gain in 9 hours

Len Shoemaker Peak -13,642

1

RT Length:  14.93 miles

Elevation Gain: 4584’


This is the third time I’ve been to Maroon Bells this month.  I was able to secure 3 separate permits, and the past few weeks went with friends to summit North Maroon and Pyramid.  Today I was here to tag a new 13er for myself: PT 13631.  Since I70 is now open (it was closed due to fires) I was the only one driving on HWY 82.  I didn’t pass one vehicle between Granite and Aspen.  It was awesome.  I did see 2 vehicles parked at a trailhead near Independence Pass, and two scruffy porcupines to go with them, merrily munching on the wires underneath.  The owners of those vehicles were not going to be happy when then made it back to their cars.  I’d have gotten out and shooed them, but, you know, they may be slow but they have quills.  I saw three other porcupines waddling along the highway as I drove.  HWY 82 is popular among porcupines.

As I passed the parking structure for Maroon Bells I saw a pear shaped bear butt running away from a trash can and then jump over a fence.  It was cute to see it bounding away (although I kind of wanted to get a picture so I wished it had stood still for a second).

I had a permit to park at Maroon Bells from 12am-4:30pm.  It was 1am when I arrived and I felt it was still a little too early to head out so I took a quick nap.  A large group of hikers passed by at 2:40am and woke me up, so I was on the trail by 2:45am.

The trail starts at the west end of the parking area

2

And follows a well-defined path around Maroon Lake

3

At the end of the lake I followed the trail towards crater lake.  I noted the signs:  One said “bear activity in area” as of August 23 (August 1st had been crossed out) and there was also a sign saying there was a moose in the area.  In the last few weeks I’ve seen a bear standing on the side of the road while taking the shuttle ride out and a moose standing in Maroon Lake, so I knew these signs to be true.

4

This is a class 1 trail to Crater Lake

5

I turned left at the junction for Crater Lake

6

And then followed the trail (still class 1) around the ‘lake’ and up the basin.

7

I passed a few camping areas while it was still dark.  In one a large man was standing by the trail, bald, shirtless, and in possession of a rather hairy pot belly.  He seemed to be waiting for me to pass by.  Luckily this is a well-travelled trail, especially at this time in the morning when others are looking to summit Maroon Peak (I count the flashlights so I know who’s ahead of/behind me when it’s dark out:  that large group of hikers wasn’t too far away).  I could see him because he had a headlamp shining from his forehead.  I didn’t see his dog, who started barking at me as I neared.  Of course, I jumped.  The man seemed to think it was funny.  I continued on.  Also, it wasn’t funny.  Here’s an overview of the next few steps, as I made my way up to Len Shoemaker Basin

8

After hiking for 4 miles from the trailhead, and at 10515’ I left the trail to cross Maroon Creek (which at this point of the year isn’t flowing much, but earlier in the season is several feet deep).  There are cairns in the area.  An obvious trail picks up on the other side.

9

10

I followed this trail for .25 miles, until I saw a cairn to my left and then followed a very faint trail east through and then out of the willows, and up the side of the mountain, towards the basin.

11

Making it to the basin required ascending a series of gullies.  I’ve been here several times, and the route gets easier to find each time. This time there were plenty of cairns indicating the way.  However, the route sometimes doesn’t seem like it should follow the cairns, but trust me, it does.  Here’s the route step by step into the basin.  After exiting the willows and crossing a small boulder field there is a faint trail behind the next set of bushes/willows that will lead to the first gully.  Now’s a good time to put on your helmet.

12

I ascended the loose gully, staying to the right for more traction

13

At the top of the first gully you’ll see another gully to your left.  (These are tons of fun in winter BTW, so bring your crampons and ice axe if you expect snow).  Ascend the second gully, this time sticking to the left for more stable ground

14

15

At the top of this gully is… another gully.  Sorry for the hand in this picture:  the sun was at an unfortunate place in the sky while I was trying to take pictures and this was my solution.

16

From here I aimed for the grassy slope and went behind it, angling towards the ridge

17

And could see another gully to my left.  (This entire time I was heading east)

18

Next, I aimed for the grassy slopes, and the final gully that would take me to the upper basin.

19

20

Here I got my first view of PT 13631.  I just followed the basin south towards the end

21

The end of the basin was still holding some snow. This was a light snow year, so I expect there’s snow here almost year-round.  The snow can be avoided, but I just walked over it into another basin

22

I followed the talus rib towards the base of the gully that would lead me to the saddle of Lightening Pyramid and PT 13631

23

This is the last gully of the day.  It’s class 2 but the scree is loose.  I looked for larger rocks whenever possible.  There is no direct path but there are a bunch of game trails.  No area seems to cliff out, so you can pick your line depending on conditions.

24

25

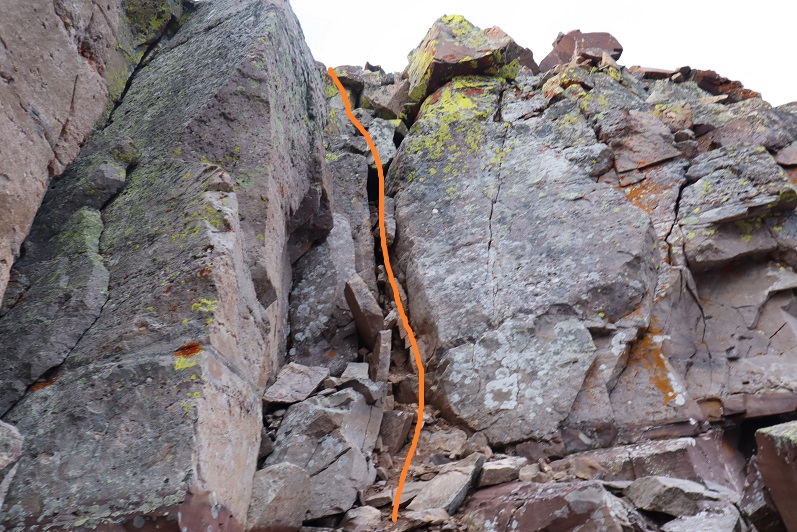
At the saddle I turned right and headed southwest up the ridge.  Most of this was easy scrambling, after first initially gaining the ridge.  To do this I went right, found a class 3 chimney and ascended it.  This was the most difficult part of the entire hike, and I probably could have found a class 2 option around this if I tried harder. I felt this chimney was pretty easy.

26

Here’s looking up at the chimney.  There are plenty of hand/foot holds.  It’s only about 8 feet high and all of the rocks are stable.

27

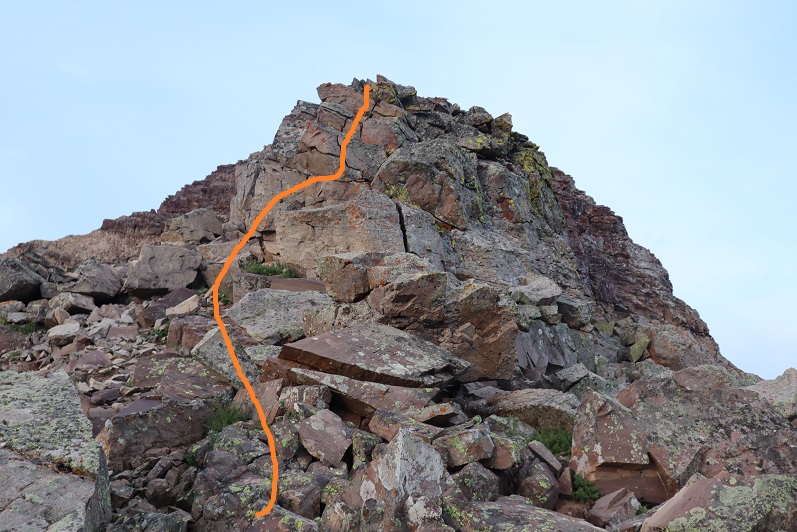
Once on the ridge I scrambled my way to the summit. This is all easy class 3, just scout around for the best route.

28

29

30

The summit is relatively flat.  There’s a summit cairn with two summit registers.  The metal one is closed and has 2 pens inside.  The white one is open (without a lid) and is empty. Bring some paper if you want to sign this register.

31

I summited PT 13631 at 7:20am

32

PT 13631:

The views were great, but the smoke from nearby fires shaded them a bit.

33

Here’s the route back down the ridge

34

Down the chimney (you can see my trekking pole below for reference)

35

And back around to the saddle.

36

Once again, great views

37

Back down the gully and through the basin

38

And back down the gullies, following the cairns west along the way.

39

40

41

Through the willows

42

Back to the trail that would lead me across the creek

43

And back to West Maroon Creek Trail 1975 and Maroon Lake

44

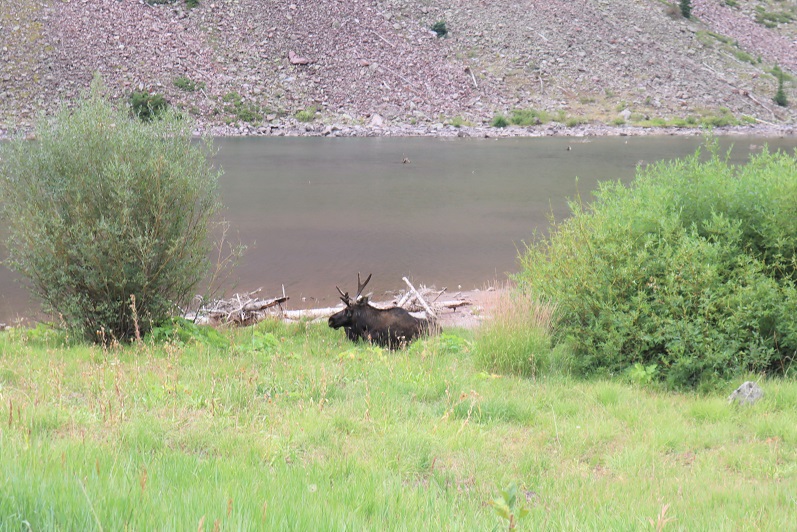
When I was here last week there’d been a moose standing in the lake.  Guess what?  He was still there (this time lounging by the lakeshore).  Pretty cool!

45

46

I made it back to my truck at 11:45am, making this a 14.93 mile hike with 4584’ of elevation gain in 9 hours (with some time spent ogling the moose).

47

Here’s a topo map of my route.  I have to say, the views were incredible but the peak itself was kind of a letdown.  It had just been too easy, when I’d been expecting the more intense scramble over crummy rock the Elks are known for.  It almost wasn’t worth bringing my helmet, but the moose was an added bonus.

48

On to the next trailhead!


“Castleabra” – 13,804 & PT 13559

1

RT Length:  15.2 miles

Elevation Gain: 4393’


Peal Pass road is no joke.  I drove up late at night (a little after midnight) because I had appointments until 7:30pm, and I was glad I’d decided to drive in so late:  there were no other vehicles to pass on this road.  Also, it was a Monday night, so I’d missed the weekend traffic.  I would have been in trouble if I’d met another vehicle on this road:  in the 10+ miles I only saw 2 or 3 possible turn out areas.  There are many areas that are shelf road with no visibility of vehicles coming from the other direction.  There were potholes several feet deep:  more than once I got out to make sure my truck could handle the terrain.  The stream crossings were only about a foot deep and easily crossable, but committing since you couldn’t see vehicles coming from the opposite direction.

2

Since it was night the shadows played tricks, but my truck was able to successfully make it to 10,420’ where I parked it for the night at the junction of 738/402.  There was a 4Runner in the 2 vehicle lot and I backed in right next to it.  My truck could have made it the last mile should I have chosen to drive further.  Knowing I was only going to get a few hours of sleep tonight (it was almost 2am) I quickly went to bed and got up at 4:45am.  I was no the trail by 5am.  The trail heads up and northeast, following the 4WD dirt road.

3

I came to another creek crossing and decided to take off my shoes to cross (I kept them on when I crossed on my way back, as I could see the rocks better)

4

Here’s the rest of the 4WD road

5

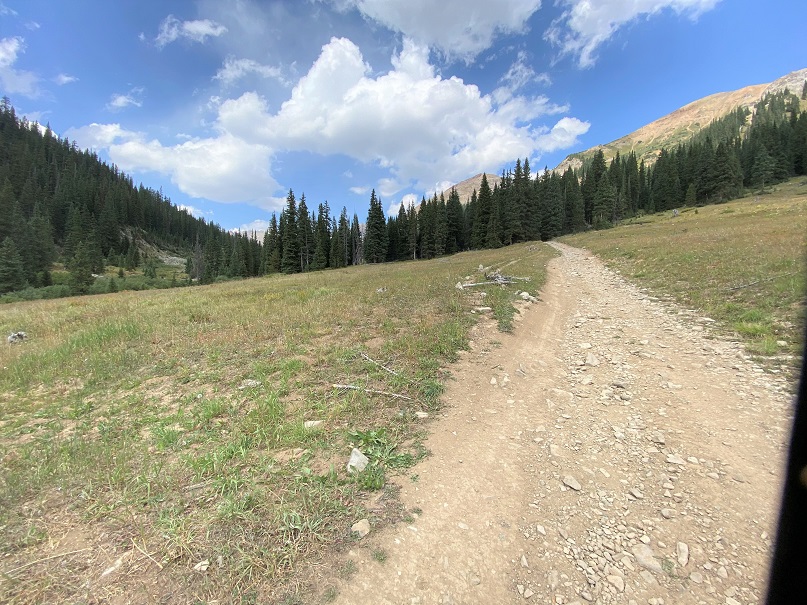
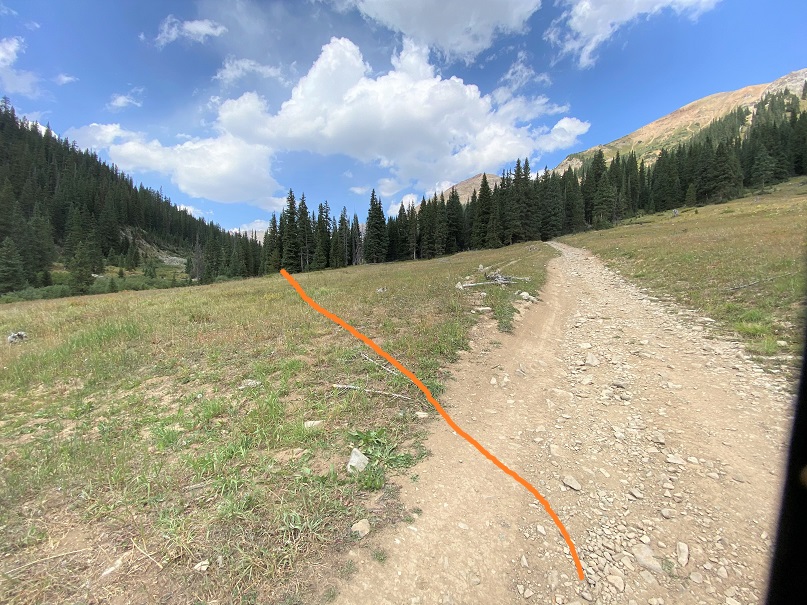
At this point I’d like to stress how much easier this hike would have been had I started in daylight:  the trail is faint and hard to find/follow.  See the trail?

6

In the dark I missed it, and continued to follow the road.  No worries though, because it was easy to take the road back to the trail when I realized my mistake.  Here’s the trail

7

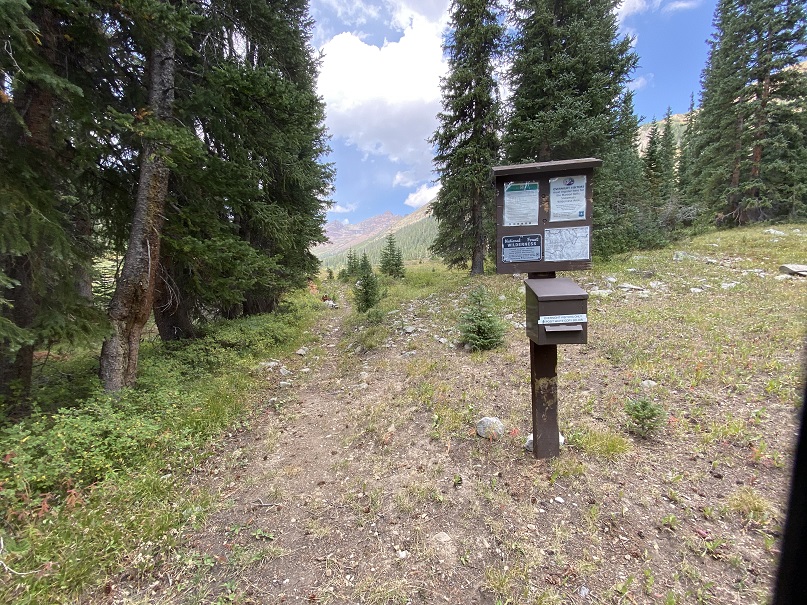
It aims towards the trees where there’s a registration box.  It doesn’t look like this area gets a lot of use.

8

And now I was ready to hit the trail, but this is what I saw

9

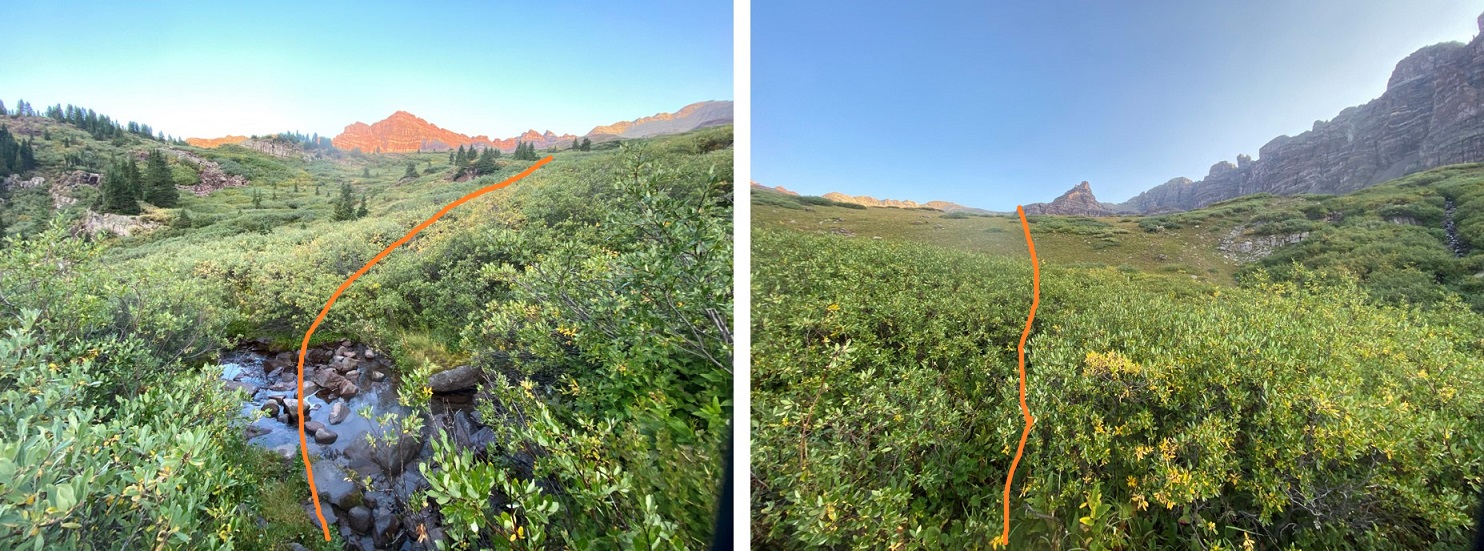
No real trail to speak of.  There are a lot of game trails in the area, which can be both helpful and confusing.  I’ll save you the misery I went through route finding in the willows/trees in the dark, and give you the description of the clearer trail I was able to follow on the way back.  Basically, avoid the temptation to go right into the trees.  Stick as close to Middle Brush Creek as you can for the first 1.3 miles after the trail register, keeping the creek and beaver ponds to your left at all times (you’ll never need to cross the creek, but you can stay close).

10

The willows become problematic around 11000’, and these willows don’t quit.  They range from 2 feet tall to about 10 feet tall, and where they’re over 4 feet tall they grow over the trail towards each other.  There is no clearly defined trail that remains constant, but a lot of game trails that weave in and out.

11

Bears don’t seem to have difficulty finding the trail however

12

As soon as I entered the willows I started getting wet, and I was confused, as it hadn’t rained last night?  Within a couple of yards I was dripping with water.  My waterproof jacket was soaked, my pants spongy and my shoes were oozing water.  I kept getting hit in the face with cold, wet branches and I had leaves covering my clothes.  When I got home I noticed I had red streaks where the branches had whipped my legs.  Have I mentioned I’m not a fan of willows?  I was getting cold, and encouraged the sun to rise.  Fast.

13

After wretchedly whomping through the willows, and after 4 miles of hiking I came upon a trail to the right (east).  I headed towards the trail in the distance and followed it

14

This was a nice trail through the trees, and then once again, willows.

15

From here the trail is very obscure until you reach the upper basin. The willows have many, many game trails that make accessing the upper basin possible, but time consuming.  I just kept aiming northwest, keeping the creek to my left and rejoicing when I found a game trail.  I still got hit in the face with willows, but could see a trail below my knees.

16

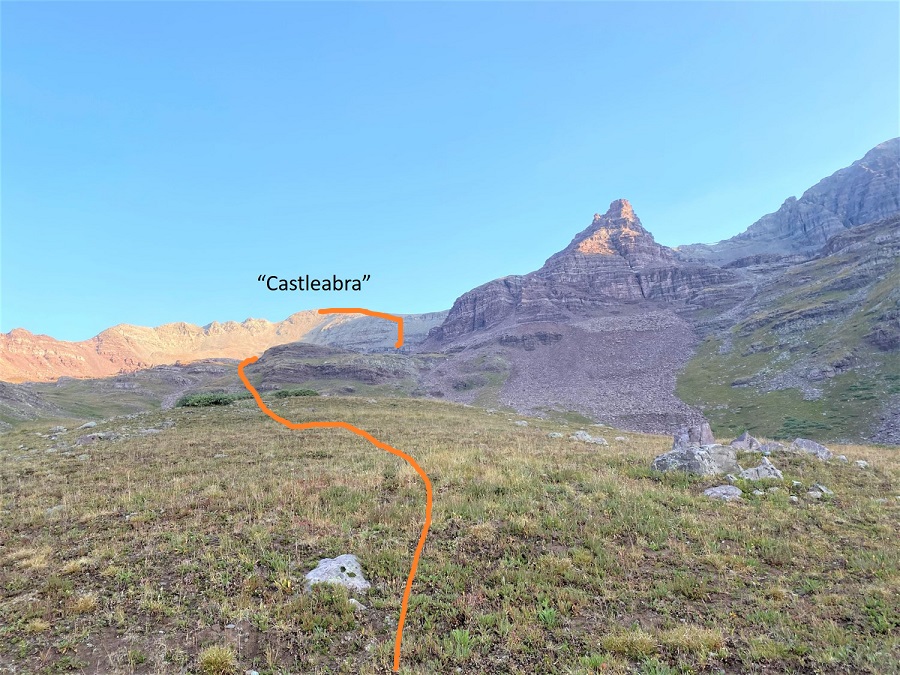
I finally made it out of the willows at 12000’.  Here’s the overall route I took to get to “Castleabra”

17

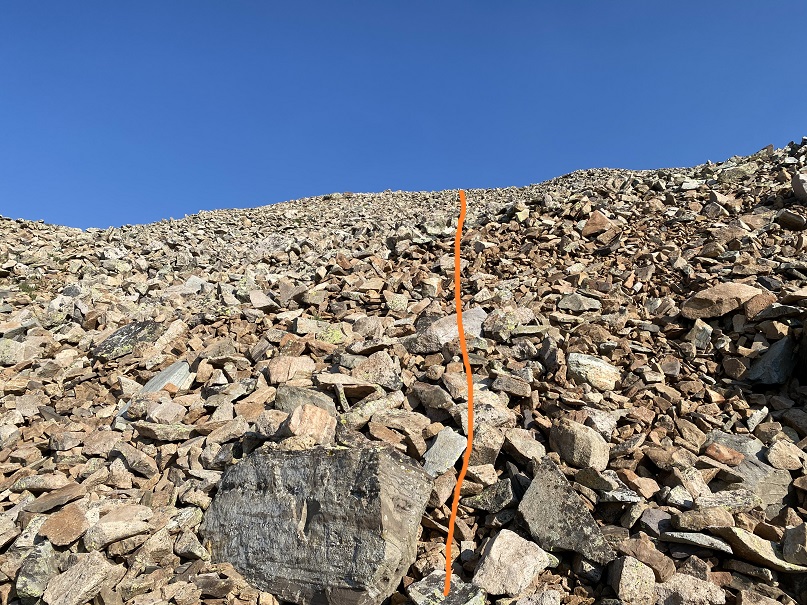
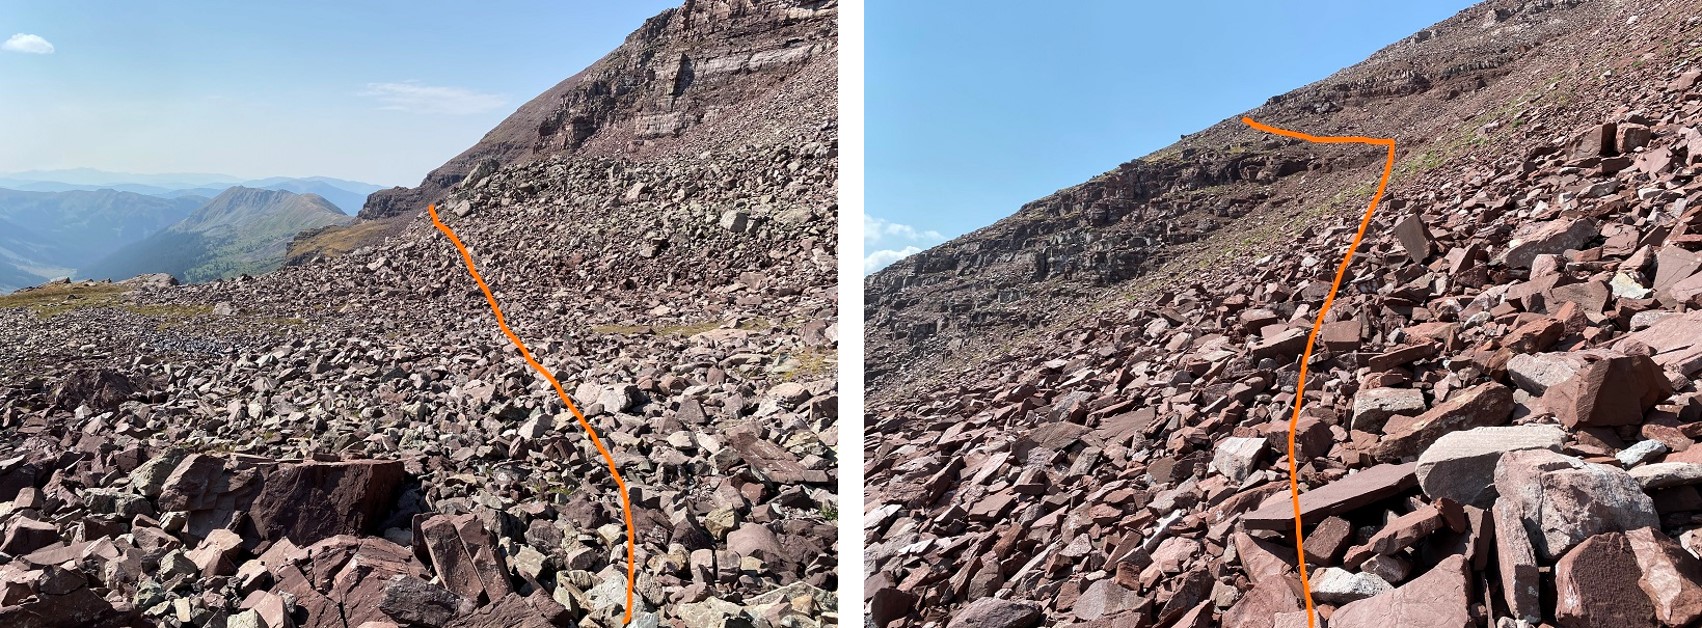
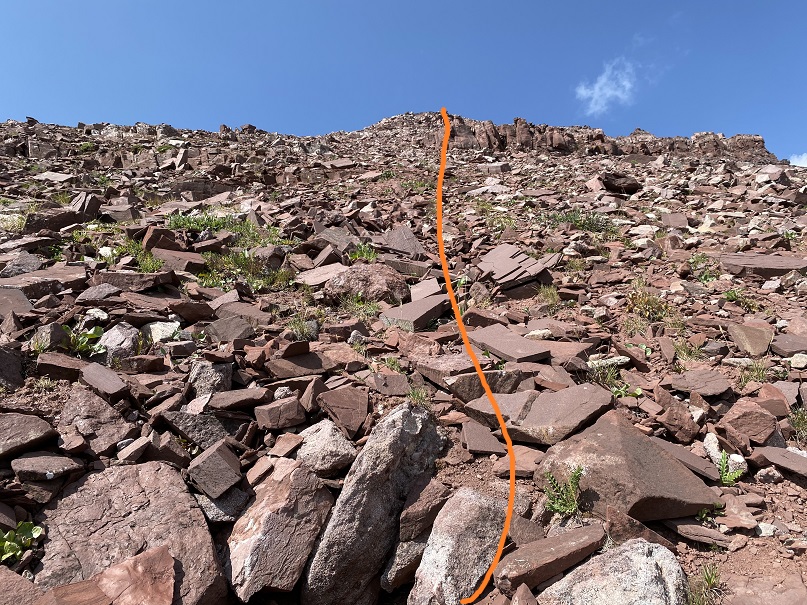
There are several ways to get to “Castleabra’s” ridge.  I went directly up the south face, but could have also taken the gully to the right or left.  I didn’t do this because there was a herd of about 30 goats having a grand old time kicking down rocks to the right and I didn’t bring my helmet.  I was worried the scree would be brutal to my left going up, so I went straight up the middle.  Here’s the route up the south face.  This is all class 2 on unstable rock, and there are several access gullies.  All go, just pick your line.

18After gullies there’s some rubble to deal with to gain the ridge

19

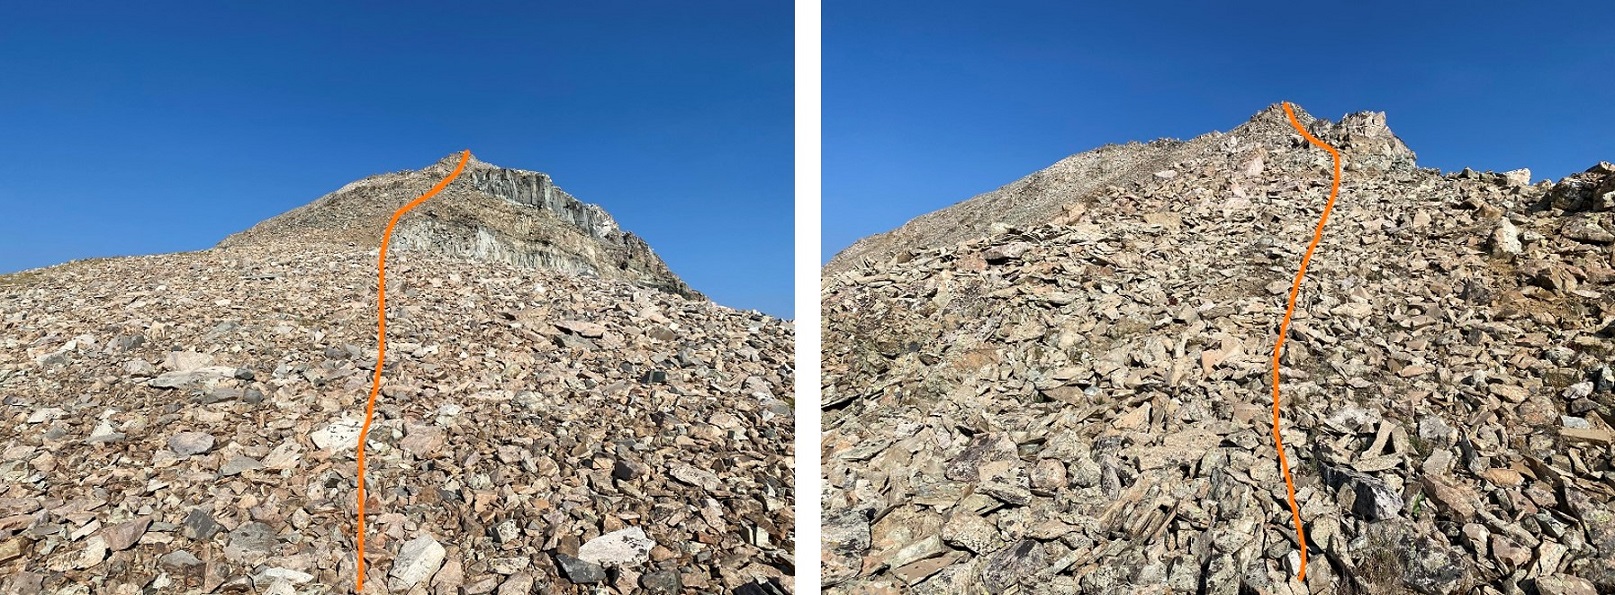
Once I’d gained the ridge I turned left and headed west

20

21

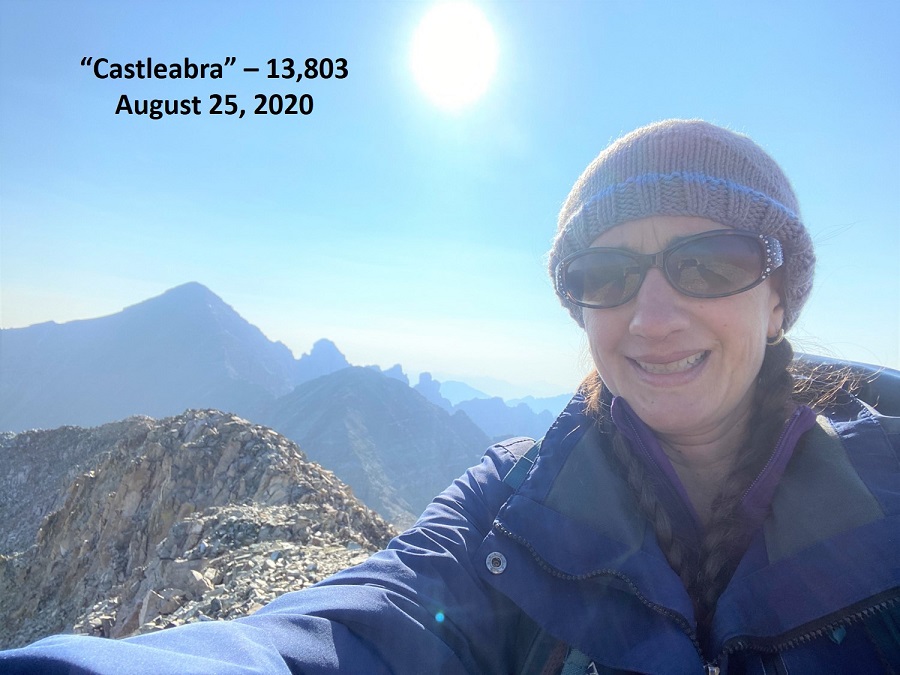
I summited “Castleabra” at 9am.  Unfortunately, I’d forgotten my camera at home, so these are all cell phone pics and due to that you get selfies (and sometimes the side of my finger in shots).

22

Castleabra:

Here’s a look at the route I took in

23

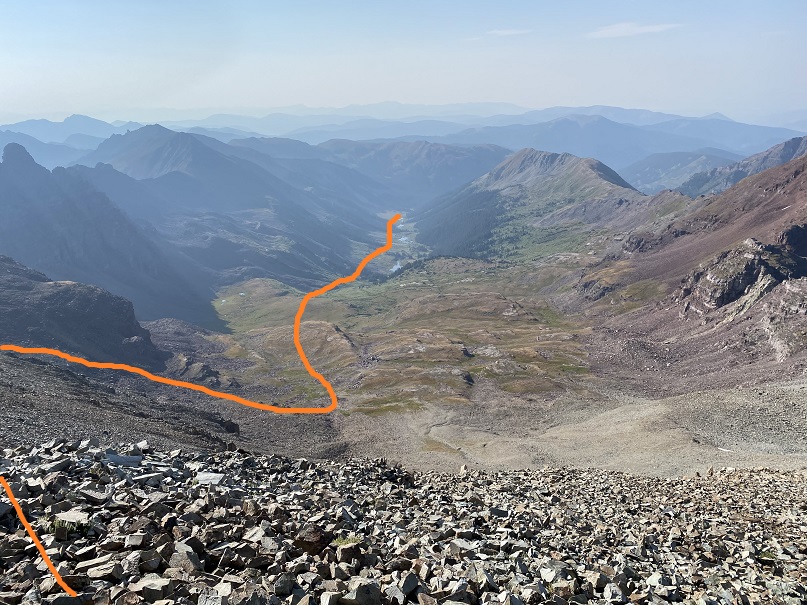
I was making this a loop, adding in PT 13550 as well.  To do that I headed back the way I’d came, then angled down the scree towards the basin.  There is no solid trail here, and none of the area cliffs out, so you can descend at any time and make your way scree-surfing towards the basin.  Here’s the overall route I took

24

And step by step, back down the ridge

25

26

Here’s looking back up at the route I took down from “Castleabra”.  As you can see from this photo, there are several options to gain the ridge for this peak, and the entire ridge is class 2.

27

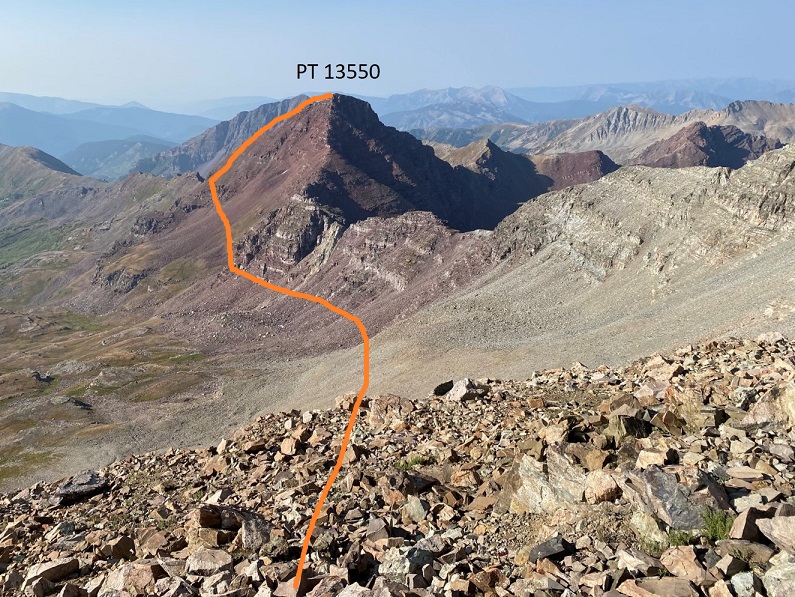
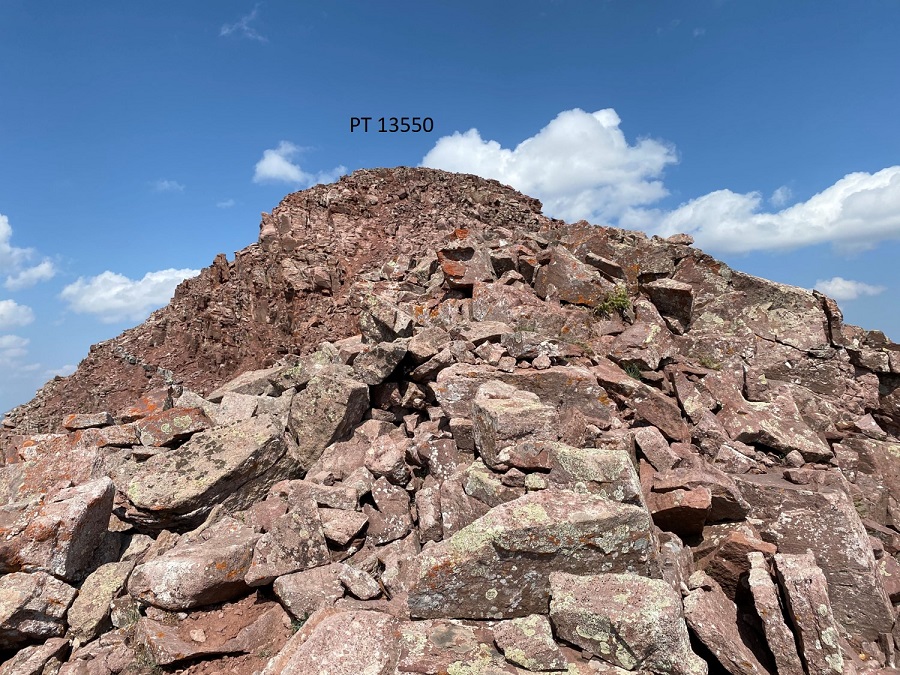
Now on to summit PT 13550.   The trick is to stay high and gain the ridge as quickly as possible.  Don’t dip down further than you have to, because you’ll just have to re-gain the elevation later.

28

29

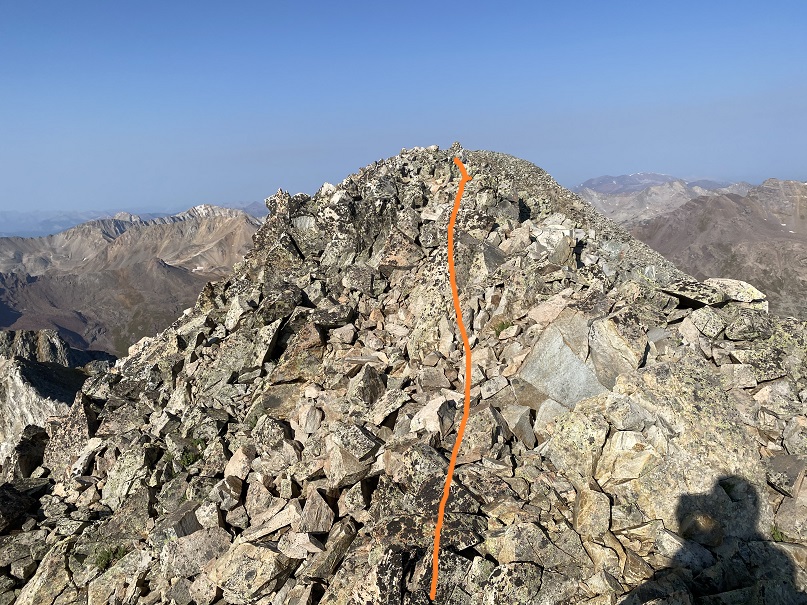
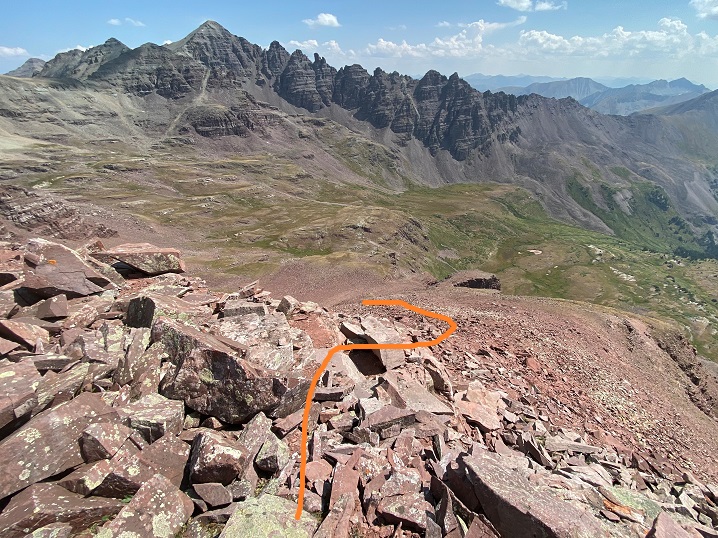
Once on the ridge it’s loose and rocky but all class 2.  I followed the ridge to a false summit

30

31

32

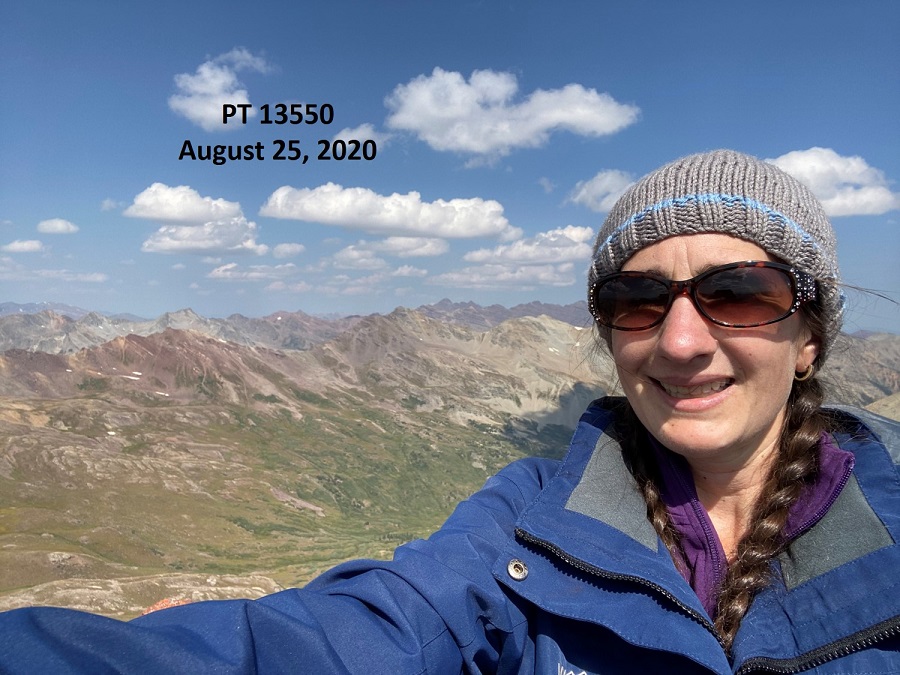
I summited PT 13550 at 11am

33

13550:

Here’s a look back over at “Castleabra” and Castle Peak

34

It had been a long day and I was tired.  I hadn’t gotten much sleep last night, and I was hiking slower than usual in the heat (but at least it’s warmed up and I’d dried out).  Time to head back down the ridge

35

Here’s the route I took down the ridge and through the upper basin

36

37

38

And back down to through the willows.  Luckily, I had a good idea of where I was going and the willows had dried out in the afternoon sun, so they weren’t as miserable as on the trek in.  Here’s the overall route through the willows

39

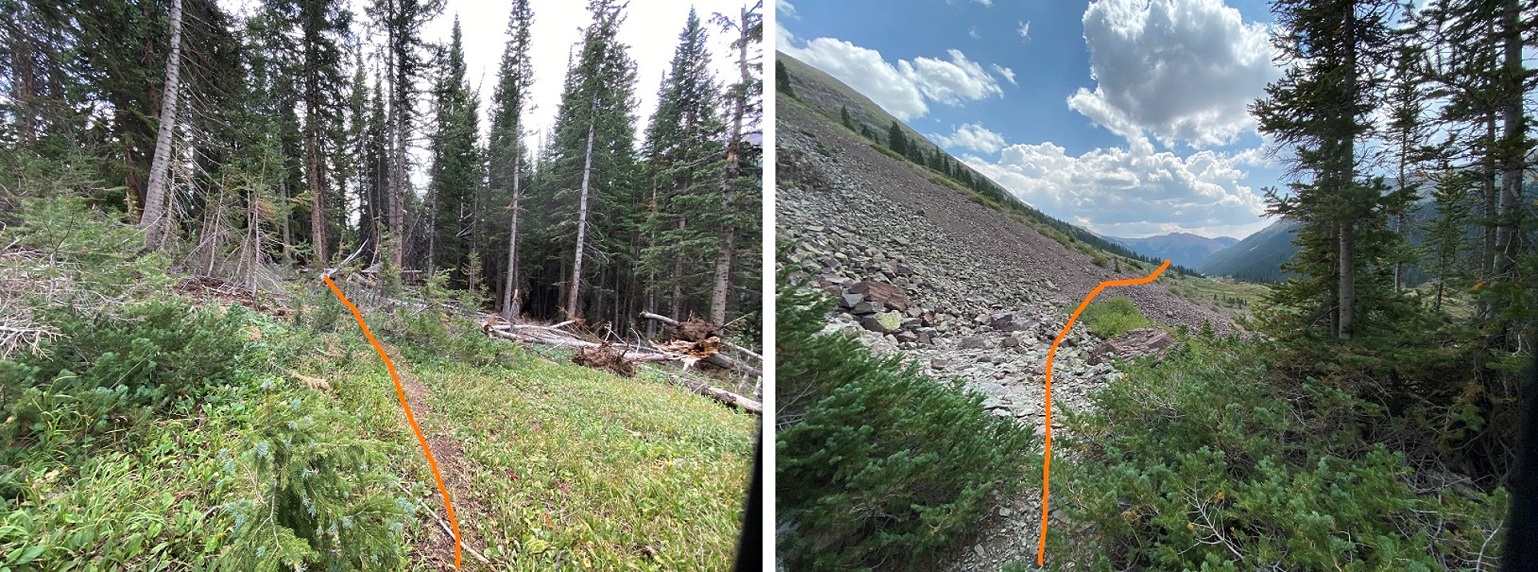
And step by step.  Yes, I was on a trail.  Anyone have a chainsaw?

40

Back through the trees and across the talus trail

41

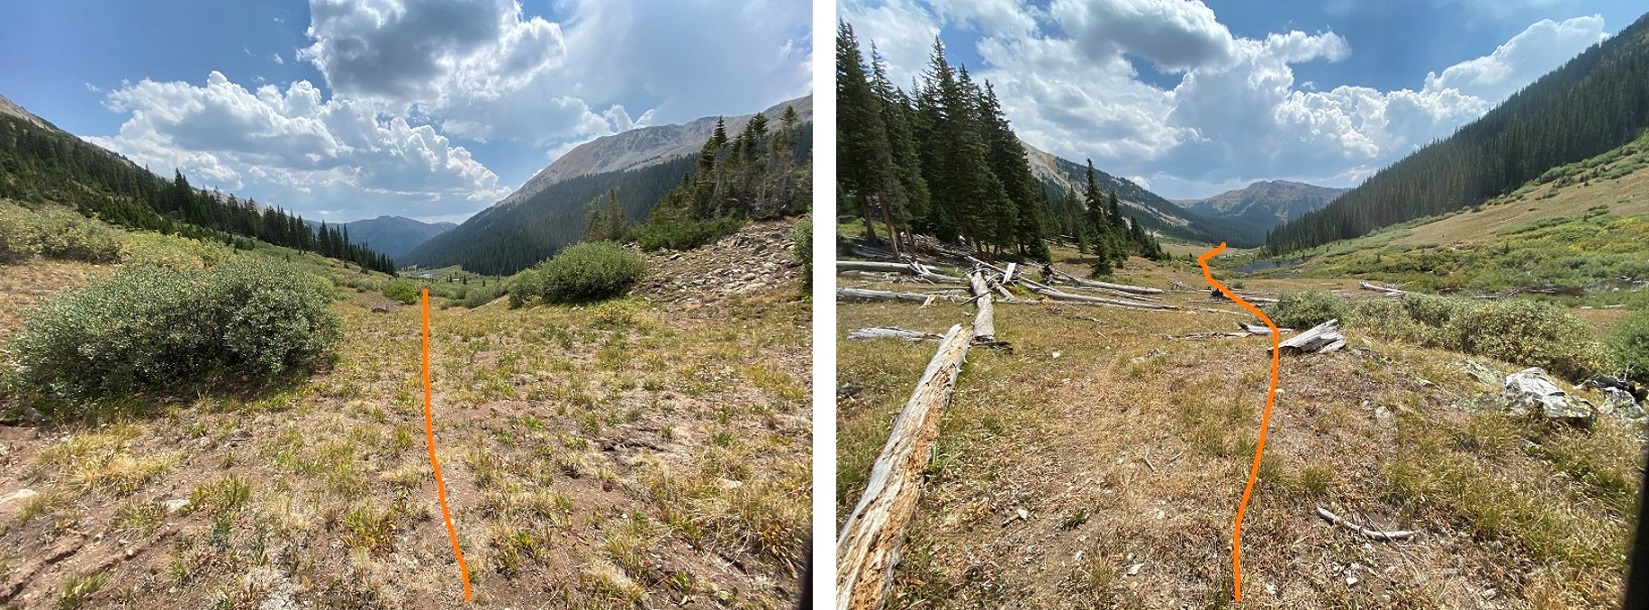
And back down to the creek/beaver ponds, following game trails where available

42

I picked up the faint trail that led back to the trailhead

43

And took the 4WD road back to my truck

44

I made it back to my truck at 2pm, making this a 15.2 mile hike with 4393’ of elevation gain in 9 hours.

45

When I got back to my truck I noticed a faint dusting of water droplets had landed on my truck last night.  Just a few here and there on the dirt that coated the vehicle from the drive in. The skies had been clear when I went to bed, and I didn’t get more than 2.5 hours of sleep, but it must have sprinkled a bit in that time.  Even a quick, light sprinkle of rain can cause the willows to turn into a nightmare.  Next time I’ll wear my waterproof pants when willows are involved, no matter the weather.

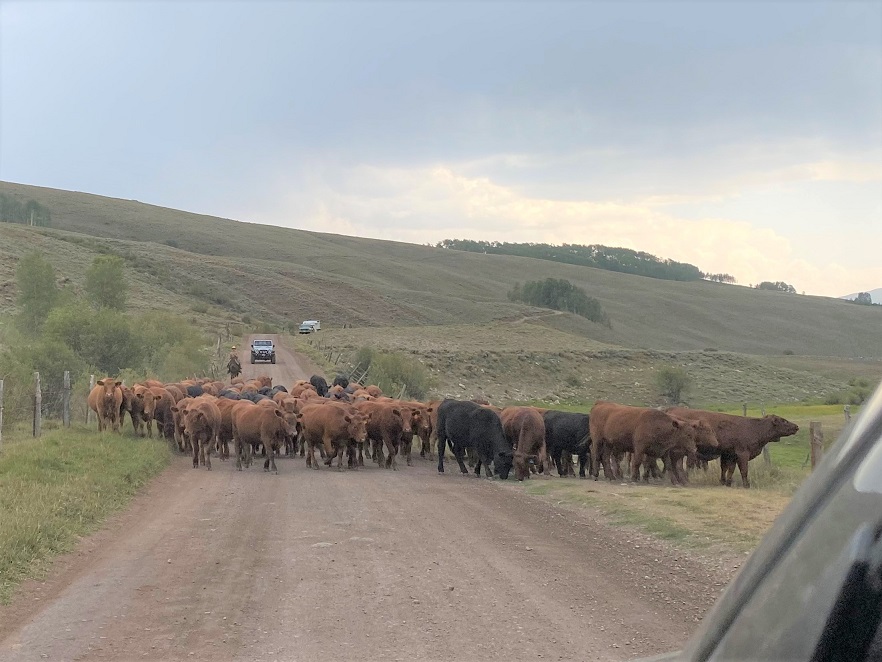
Luckily, since it was a Tuesday I didn’t pass another vehicle on my way down (I’d been worried about that).  Oh, and someone was moving cattle on my drive out.  The wrangler was clicking and clucking to the cows and making swishing noises.  She thanked me for stopping to let them by, and I thanked her for allowing me to take a photo and complemented her on her chaps (they were really cool).  I miss farm/ranch life (kind of…).  Time to head home and get more work done.

46

PT 13786 & Whitney Peak – 13,286

1

RT Length: 15.85 miles

Elevation Gain: 4866’


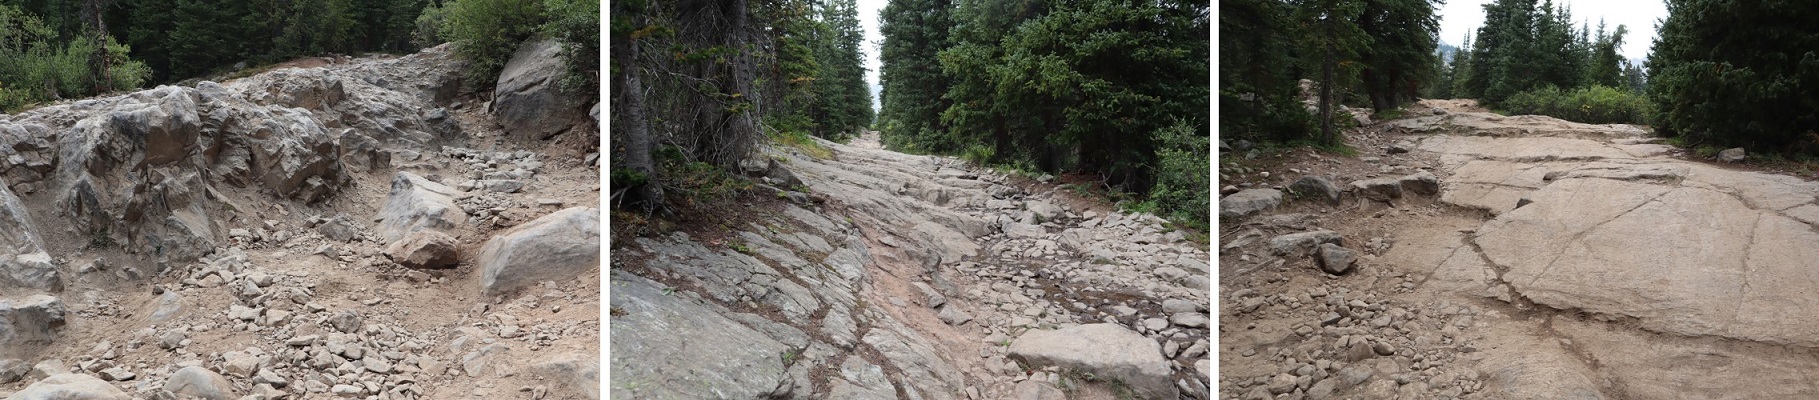
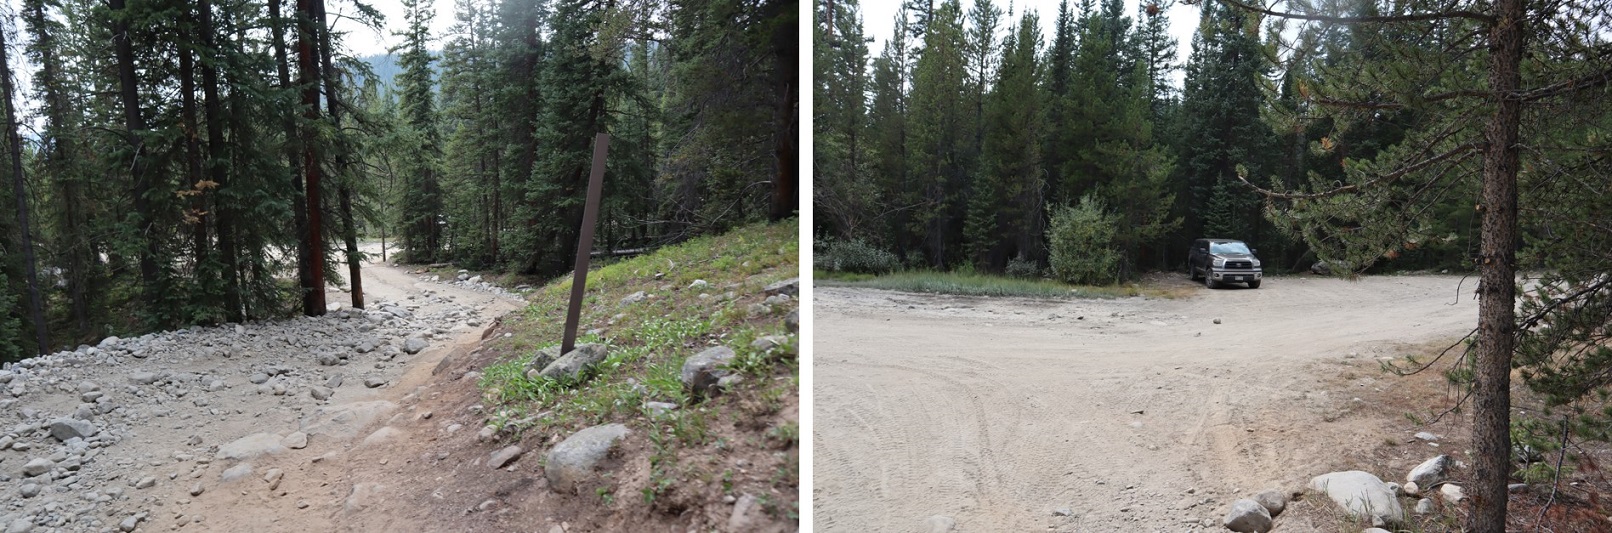
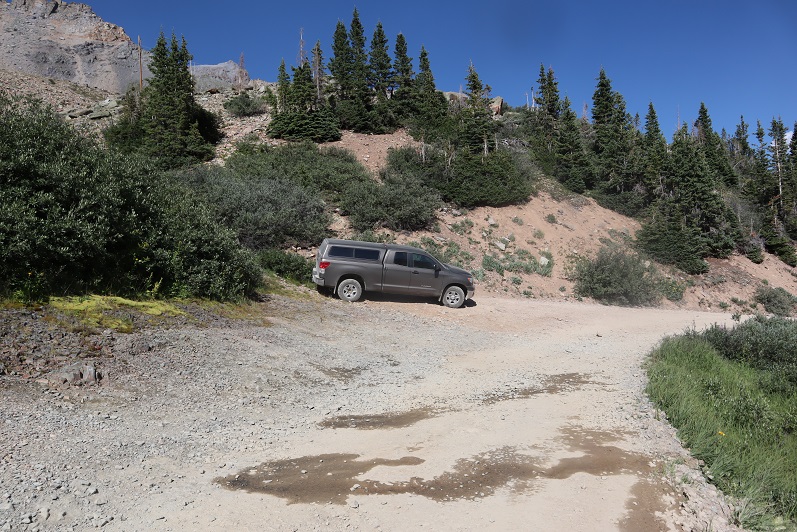
After a long day and a wedding reception I arrived at the trailhead at 10pm and quickly went to sleep.  The trailhead for this hike is located at the end of 4WD road 727.  Well, the road goes up further, but it’s excessive 4WD (pictures and description to come).  Any 4WD vehicle can make it to this point.

I woke up at 3:15am, intent on being on the trail by 3:30am.  Sleepy-eyed, I opened the back of my truck and scanned the area with my flashlight for wildlife.  Sometimes I see deer/raccoons/porcupines outside and like to shoo them along before getting outside my vehicle.  Nothing this morning.  Great.  So I hopped out to find an area to pee (I know you’re thinking “why is she telling me this?”  but it will all make sense in a minute).

As I’m looking for an appropriate area I scan around with my flashlight and just behind the reflective trailhead flag/post/marker I notice a small greenish-yellow circle reflecting in the light.  My first thought was ‘animal’ as this looked like an eye.  But it was only one eye.  So I waved my flashlight back and forth to get a better look.  I couldn’t define a body and the circle didn’t move so I assumed it wasn’t an animal and was most likely some piece of reflective trash.

I went about my business, turning my flashlight off (others were camping in the area and in the dark I didn’t want what I was doing to be the only thing they could see).  I turned my flashlight back on and the reflecting circle was gone.  And then as I waved my flashlight around all the sudden it was back again. Just one small circle, reflecting in the glow of my flashlight.

I got into my truck to put on the heat while I put on my hiking boots and turned the car on.  At that moment 3 things happened:

  • The engine turned over and made a loud, V8- – ‘VROOM’ sound
  • My trucks daytime running lights turned on and I could clearly see I’d just
  • Scared the mountain lion walking towards my truck

The frightened mountain lion crouched to the right, did a 180 degree turn, and bounded off into the trees to my left, his long tail the last thing I saw as he hurried away.  Well, that was certainly cool!  It all happened so fast I wasn’t able to see if it had 2 eyes or 1 (I’d only seen one glow), but I knicknamed him ‘One Eyed Willy’ just the same.  It wasn’t lost on my I’d just had a mountain lion ‘stalk’ / watch me while I was peeing.  I bet not many people can say that.
I sat in my truck for about 15 minutes, this time with the high-brights on, waiting to see if he came back.  After he didn’t return where I could see him I decided to give One Eyed Willy as much time as needed to get as far away from me as possible, and instead of putting on my shoes I went back to sleep and woke up at 5:15am.  I was on the trail by 5:25am.

The 727 trail starts at the east end of the parking area

2

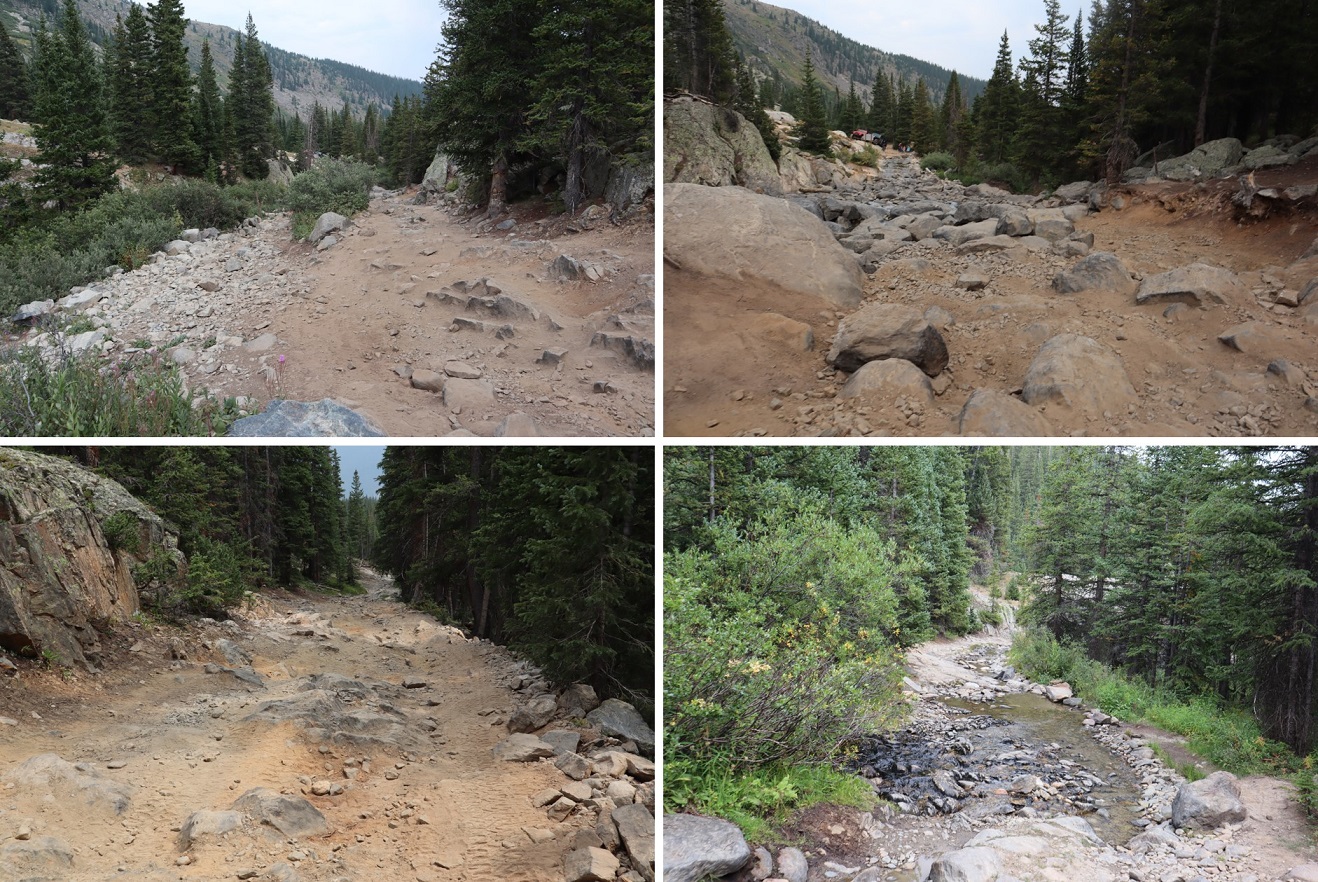
After a short distance I turned left and followed the extreme 4WD road for 1.8 miles.

3

This road should not be attempted by a stock 4×4 vehicle, and unless your vehicle thinks making it up to Lake Como is easy, don’t attempt this road.

4

5

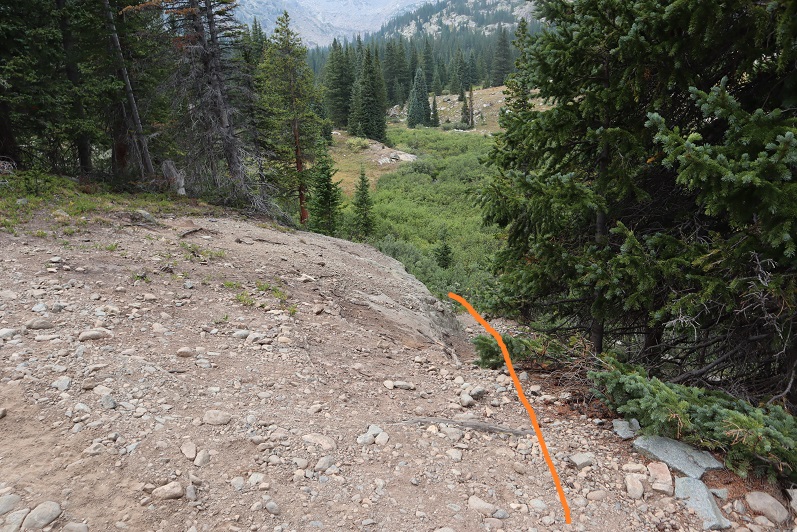
I came to an area with a creek crossing.  There’s a trail that goes to the right.  I could have followed the trail, but instead I crossed the creek and followed the road for a short bit, until the road curved.

6

In the dark I missed the sign and followed the road, but just before crossing the creek you can take this junction to the trail instead

7

If you miss this junction no worries, just as the road curves to the left there’s a great trail that will take you to Fall Creek trail 2001 (apparently a lot of people miss the ‘sign’ and take this way, like I did)

8

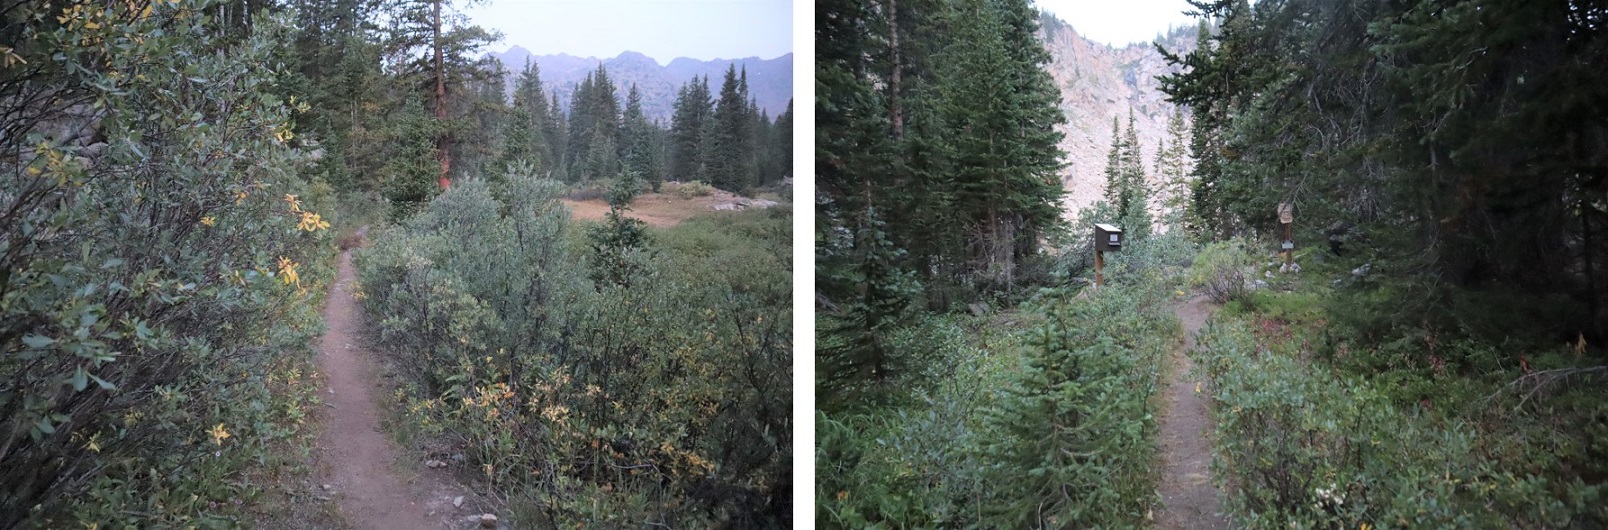
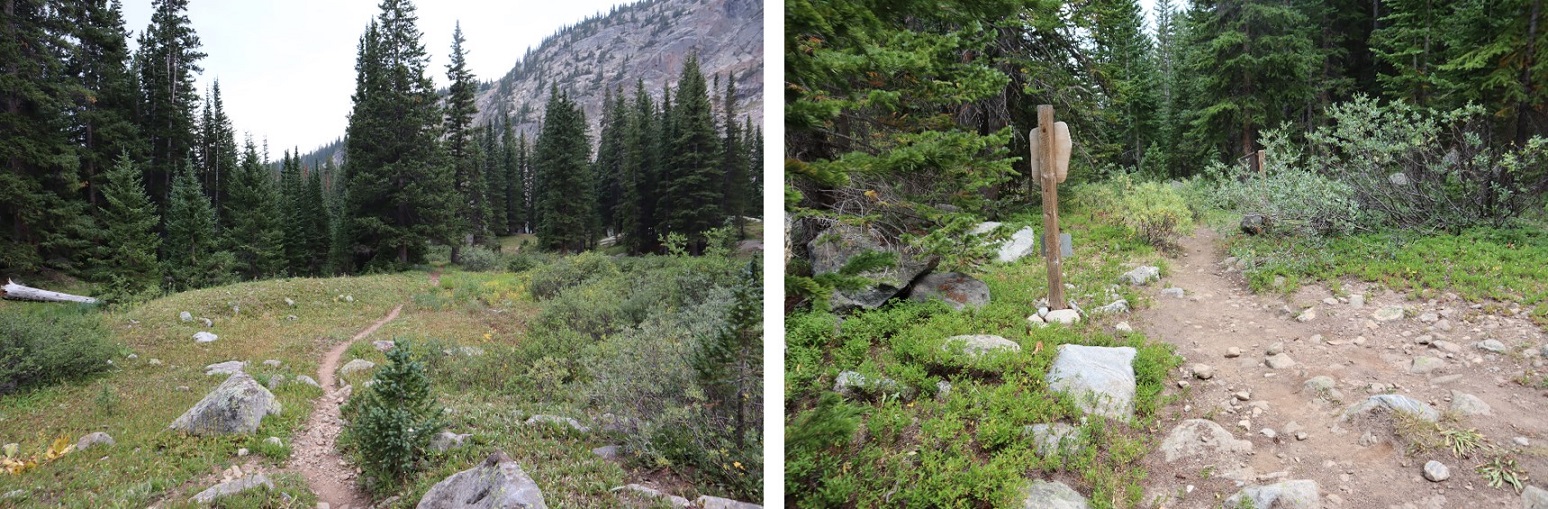
This is a class 1 trail that will take you all the way to the Seven Sisters Lakes area.

9

At this sign go right (going left will take you to a camping area, near a lake)

10

This late in the year all stream crossings were easy

11

Here are a few more pictures of the class 1 trail up to the Seven Sisters Lake area

12

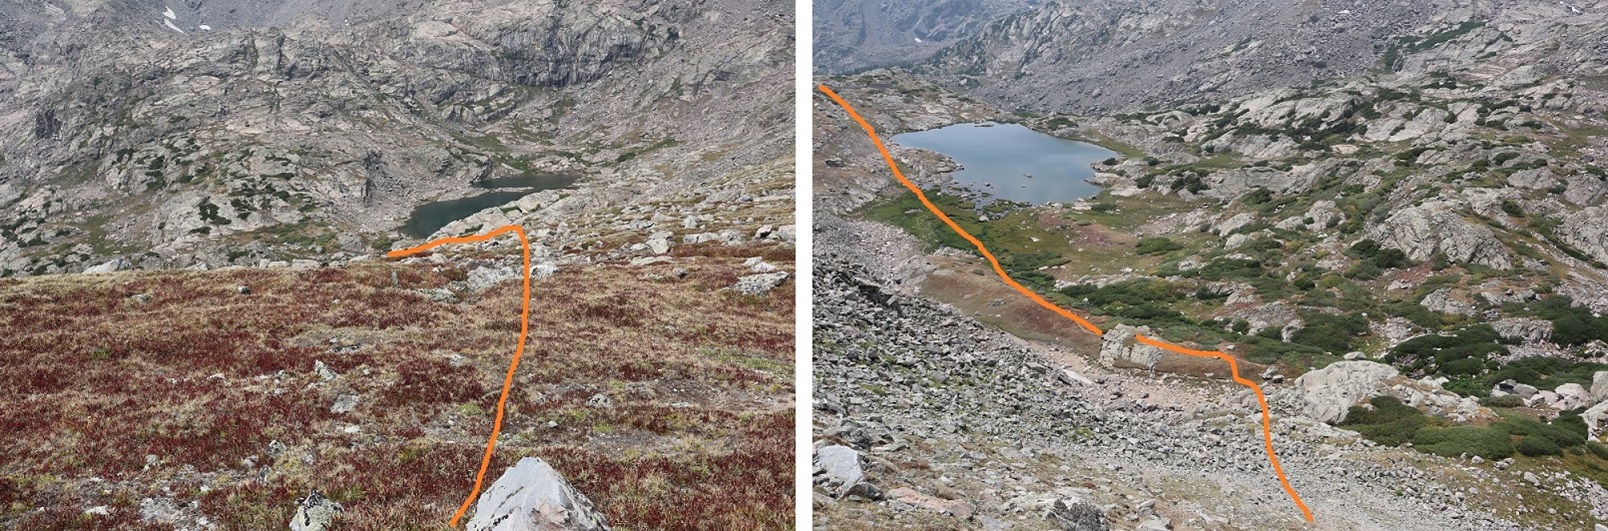
Once at the upper lake, before you reach the pass, there are several options to ascend up the slope.  In fact, I took a different route up than I did back down, and as I was coming down I saw several other viable routes, depending on conditions, snow levels, etc.  Here’s an overview of the route I took:

13

And step by step

14

15
I took the ramp to the left on the way up, to the right on the way down

16

Close up of the grassy ramp

17

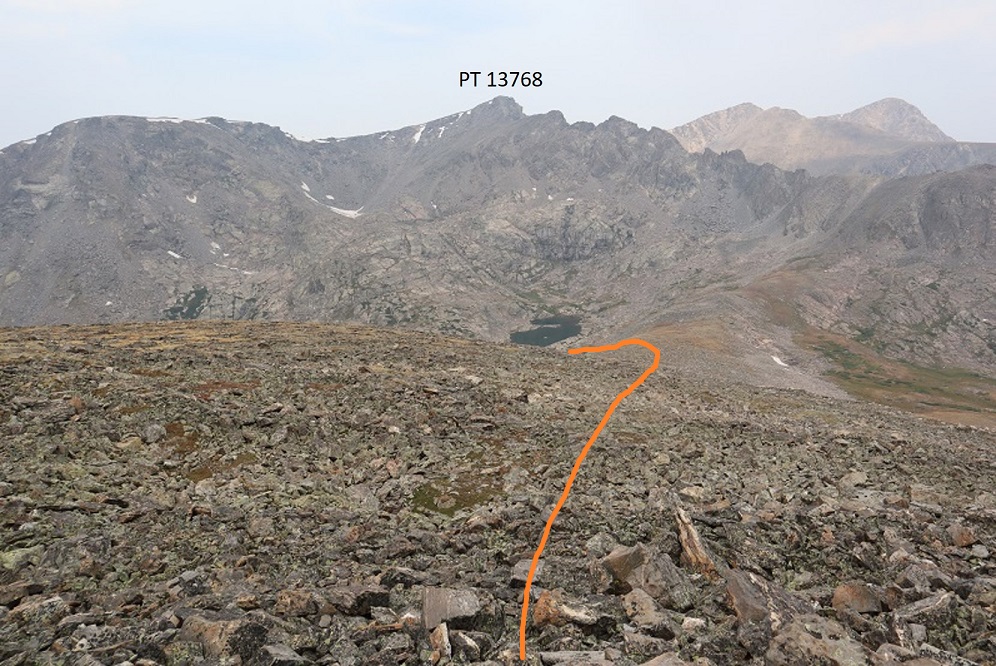
At the top of the ramp I was at a lake.  This lake looks like it shifts shoreline depending on where the waterline lies at different points in the year.  Here’s the route I took around the lake and up the side of the mountain (note:  I went right on my ascent, left on the descent, and while both were class 2, left was easier.

18

Here’s what this looked like step by step.  This is all class 2:

19

20

There are many ways to ascend to the summit.  You can take the saddle to the left as well and then follow the ridge, but I chose to go straight up the south face.  This area is more stable than it looks, with large rocks and boulders to hike up.

21

23

I summited PT 13,768 at 9:15am.  It was hazy due to the fires in the area, but I couldn’t smell any smoke

24

PT 13,768:

Here’s a look back at the route I took in

25

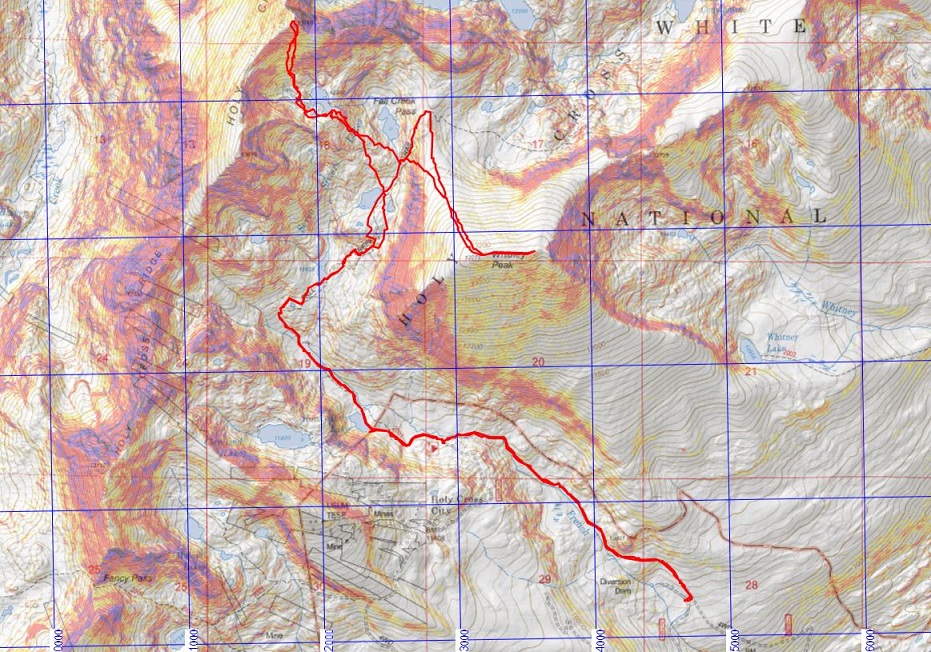
From the summit, here’s a look over at Whitney Peak and the overall route I took to get there

26

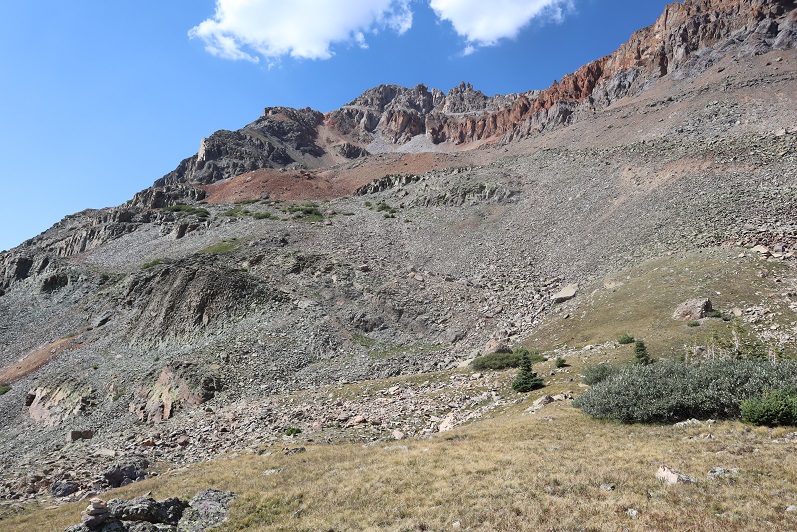
I started by heading southwest, finding a good descent point, and heading back down to the lake

27

28

29

Once around the lake I took the ramp back down and headed southeast until I connected back up with the Fall Creek Trail

31

32

I took Fall Creek Trail up to Fall Creek Pass

33

And then turned right (south) and followed the ridge.  This was an easy walk compared to the rest of the day (which had been easy as well).  If you’re in the area, hike this peak, it’s worth it!
34

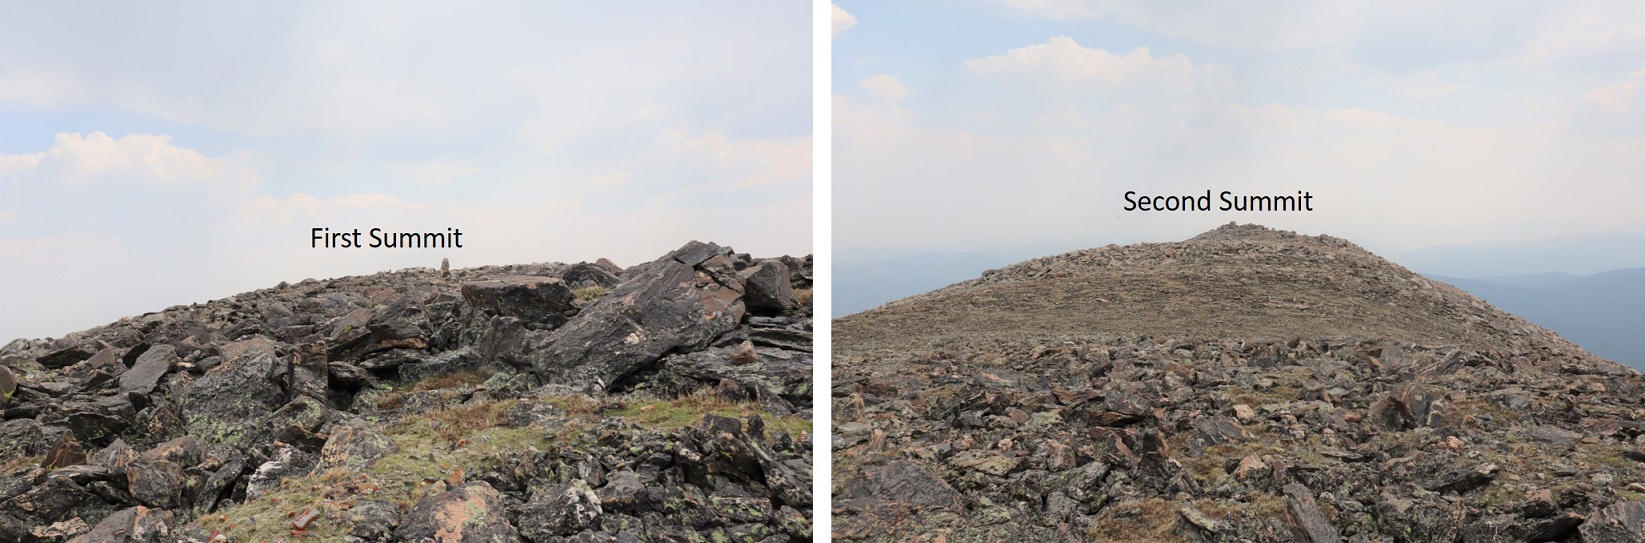
At the top of the ridge is what looks like the summit, but it also looks like the summit could be further east.  Spoiler:  I climbed to both ‘summits’ and when I got home and looked at my altimeter they had 2’ of difference in height, and the one furthest west I stood on top of, while the one more east I sat on the summit block, pretty much canceling out those 2 feet of difference.  Either way, I hit both summits, and I think both should count, especially if you don’t feel comfortable with climbing.

I crossed the first ‘summit’ and headed east towards the second ‘summit’

35

I walked over to the second summit and all around the summit block.  I’ve heard some people wondering how you can “just climb up” and let me tell you, it’s actually pretty easy and doesn’t require an explanation (but I’ll give you one).

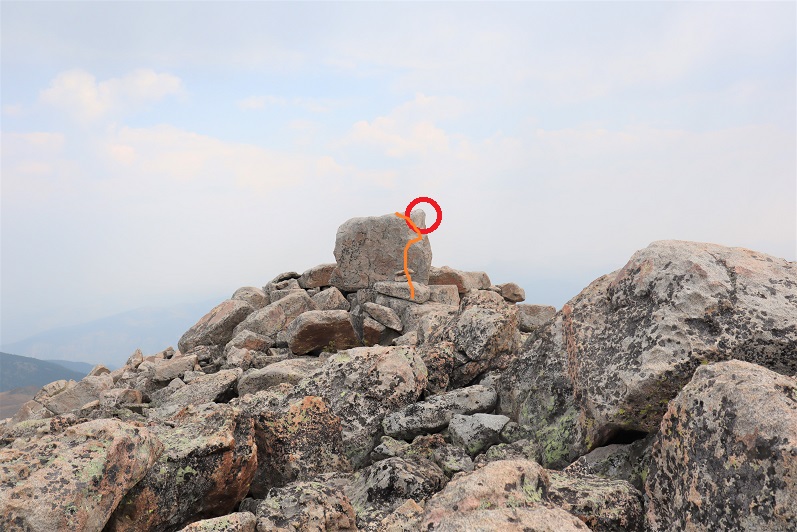
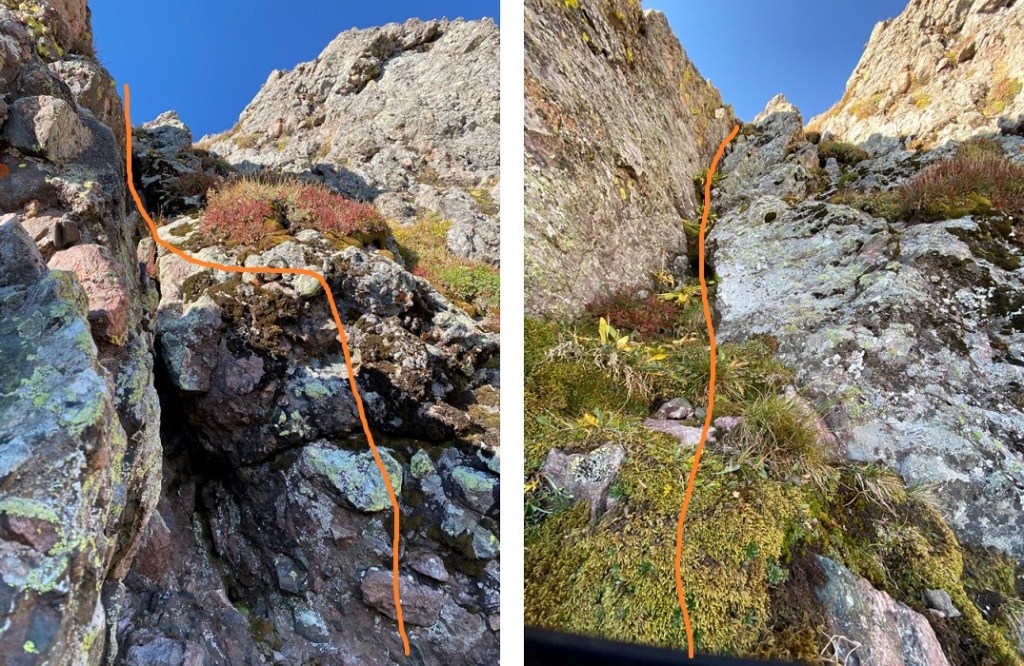
This is how you’re supposed to ascend the block:  I’ve circled where there’s a good grip to place your right hand.  Set your right knee below that as you press your knee against the rock, and then you place your left hand on the top and pull yourself up.  I’m 5’4” and this worked for me.  The two rocks at the base are very loose, so don’t trust them too much. Or, even better yet, if you’re with a friend do the ‘stand on the knee’ thing and help each other one at a time reach the summit.

36

37

I knew I could climb up this rock, but I wasn’t sure I could downclimb.  It’s rated 5.6, and since I solo I wanted to be over-prepared.  That and I’d brought my 30 meter half rope with me just in case and it seemed a shame not to use it.  So before I climbed the rock I set up an anchor and attached my rope to it, then set the rope over the rock.  Note:  ROPES ARE NOT NEEDED FOR THIS CLIMB.  They were overkill, but fun just the same, and gave me some practice and extra leverage. Here’s my (not needed) set-up:

38

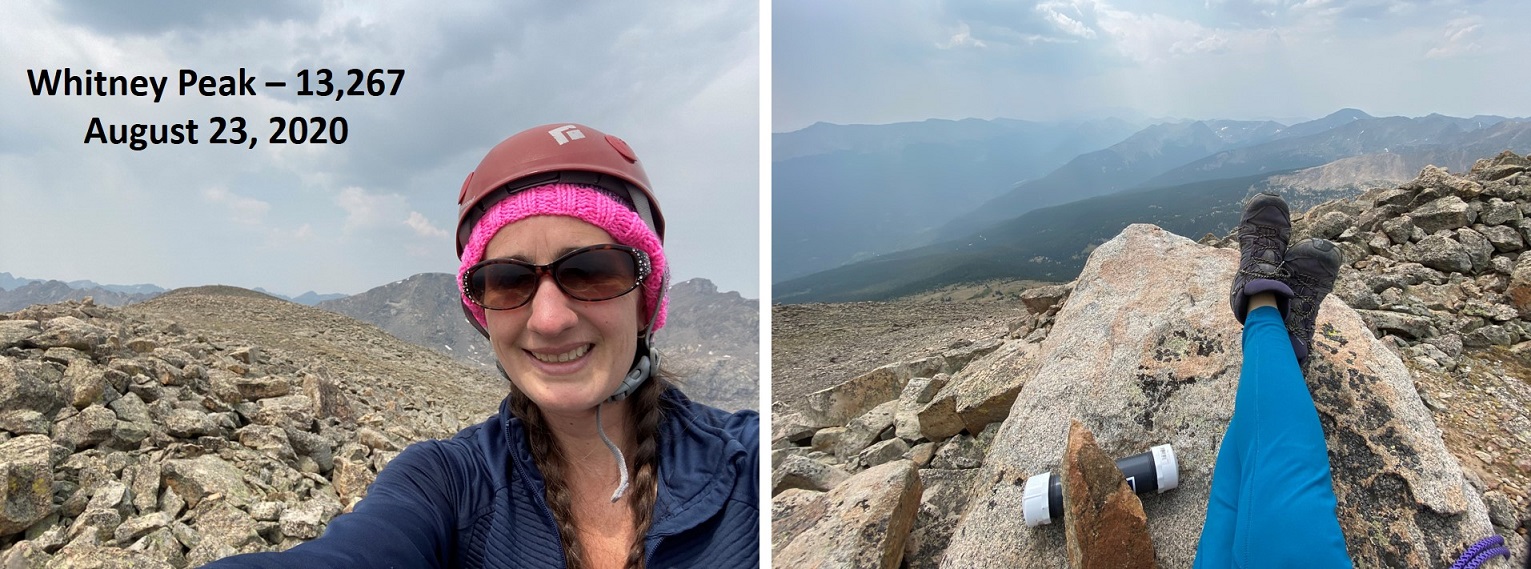
I summited Whitney Peak at 12:15pm.  The summit block is about 4 feet by 2 feet.

39

Whitney Peak:

1

I rappelled back down because I could.  Note:  you can just slide down on your belly until you reach the rock, but don’t aim for the rocks you used to get higher ground:  aim for the stable rock they’re rested on.

40

The rope allowed me to belay down past the unstable rocks and even a bit further, getting a secure footing on the ground.  I packed up my gear and headed east towards the other summit of Whitney Peak.

41

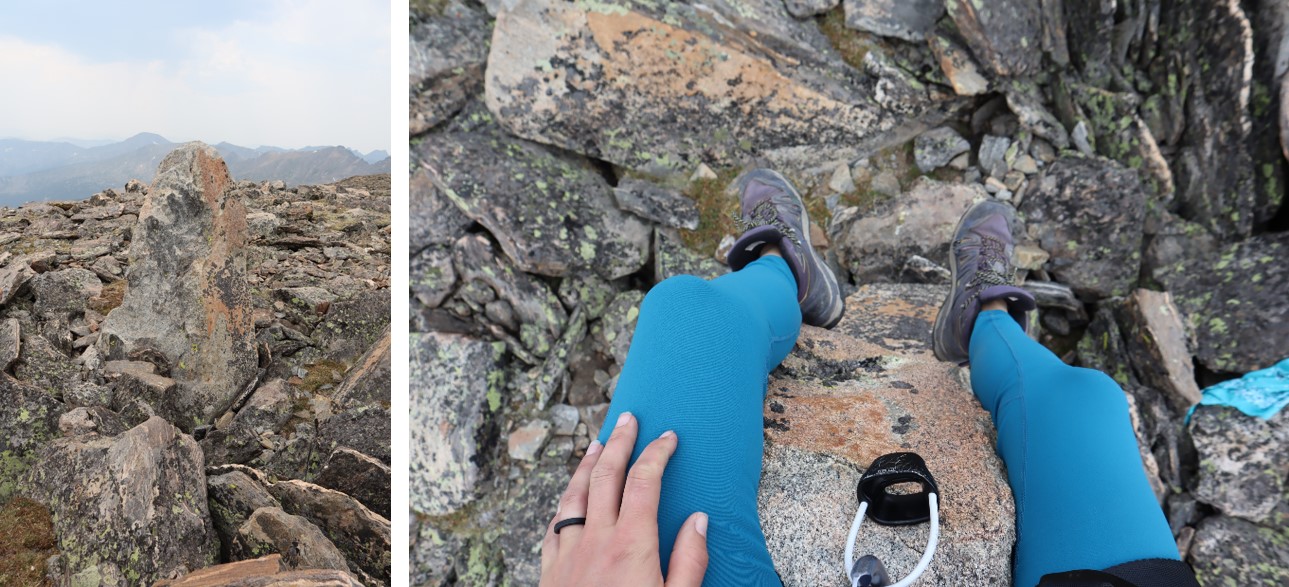
There’s a summit boulder here too, but it’s only about 4 feet high and easily climbable, so I climbed it and sat on top just in case.

42

Time to head back.  I hiked back down the slope but before making it to the pass I went left and headed down west until I reached Fall Creek Trail.  If you decide to do this there are a lot of options to make it happen, but also a few areas where you could ‘cliff out’ (you’d just have to backtrack, nothing too serious) so pick your line carefully

43

44

Once back on the Fall Creek trail I followed it out of the basin

45

And back to the 4×4 road and my truck

46

47

48

I made it back to my truck at 2:45pm, making this a 15.85 mile hike with 4866’ of elevation gain in 9 hours, 20 minutes.

49

Due to the One Eyed Willy delay I was late driving home.  Tomorrow is my daughter’s last first day of school (first day of her senior year of high school) and I wanted to make her a special dinner.  She requested my fried chicken, and I didn’t want to disappoint her.  A big thank you to the lazy construction worker who forgot to turn off the “HWY 24 is closed past Hartsel: Find an alternate route” sign, as on a Sunday night around 5pm I was the only car taking my chances and using the road.  There never was a closure, and I was able to get home in record time to make a special dinner for my baby girl.


Lookout Peak – 13,661

1

RT Length: 4.03 miles

Elevation Gain: 2060’


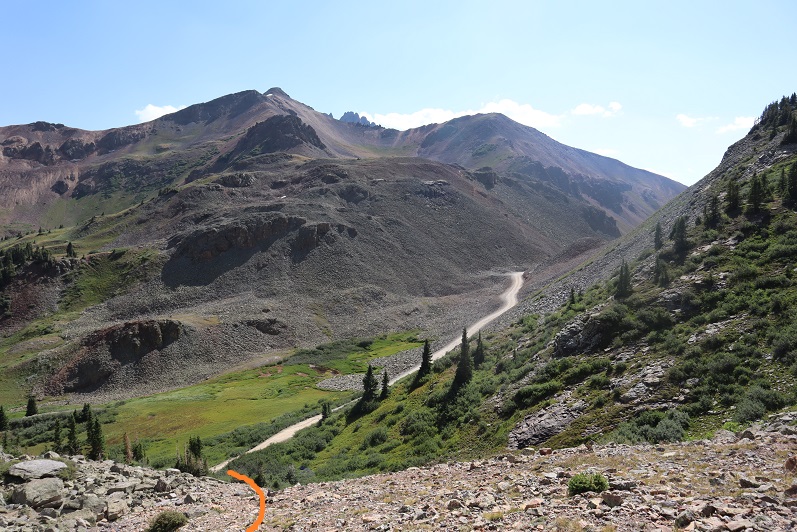
After summiting San Miguel Peak I still had some energy and I could make Ophir Pass be on the way home, so I decided to head over and hike Lookout Peak.  Word of advice: if you plan on hiking this peak drive in from the 550 side, not the Ophir City side.  You can make it to the trailhead in a 2WD from 550, but there’s some serious exposure/4WD needed on the Ophir City side.  My truck handled it, but there were times I was scared it wouldn’t.  Also, seeing a vehicle that had fallen/rolled a few hundred feet down the shelf road didn’t make me feel any better (it looked like it had been there a while).

The trailhead is located just to the east of Ophir Pass, and can fit 2 cars if you squeeze in tight.

2

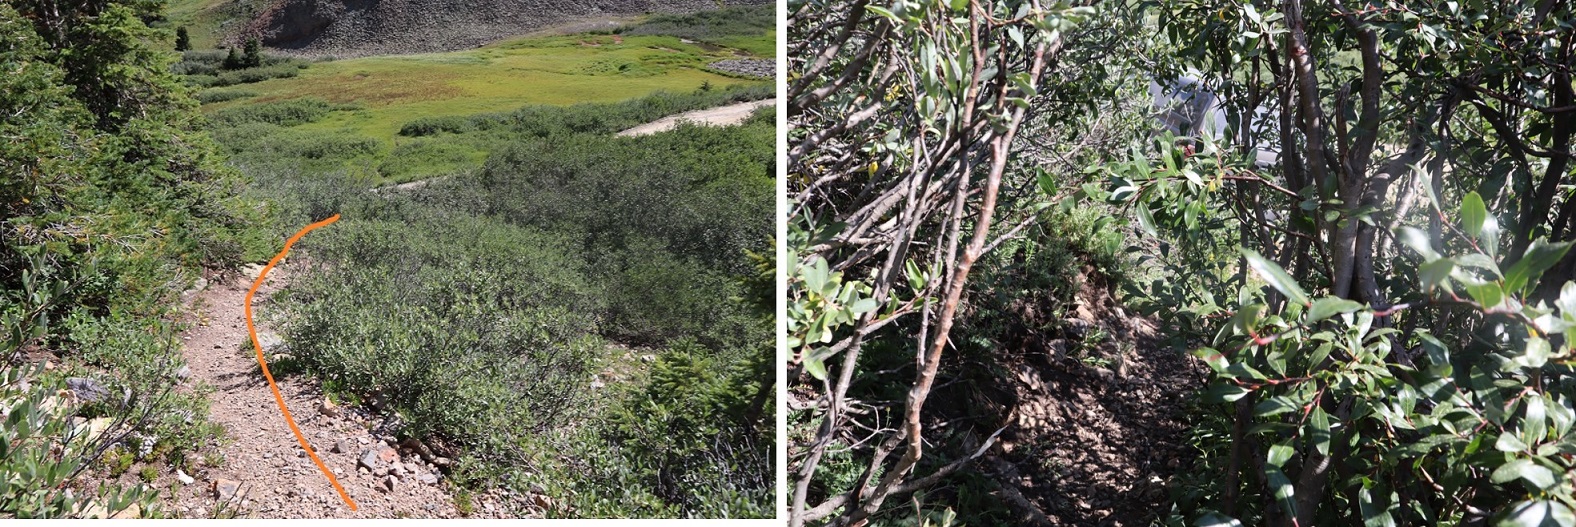
I tried to leave as much room as possible so other vehicles could pass each other at this point if needed.  The trail starts just behind where I parked my truck.  You can see a faint trail through the willows.  It also looks like people use this area to pee (there were old wipes/tp littering the area).

3

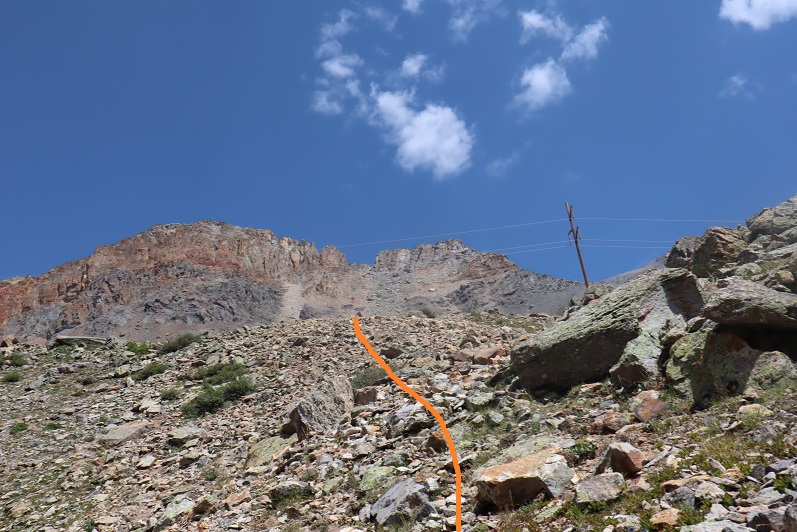
The willows don’t last long (a few yards or so) and then I aimed for the power lines, heading north.

4

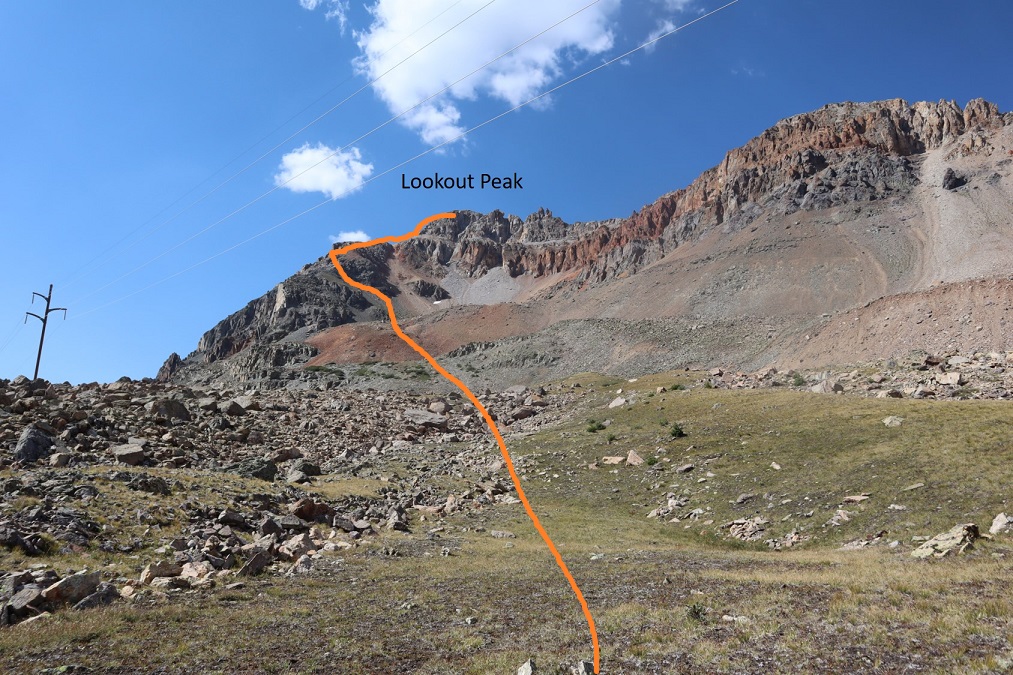
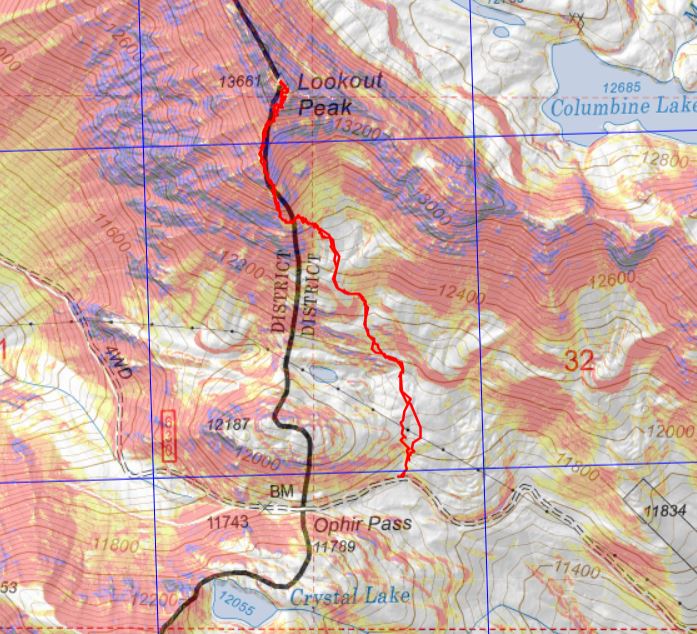
Once at the power lines I had a good view of the entire route up to Lookout Peak

5

From here the route is especially well cairned.  I’m thinking someone a) had a really slow hiking partner, b) wanted to be very helpful to future hikers, or c) has a cairn fetish, because there were cairns placed no more than 50 feet apart for the entire route.  If you don’t see a cairn on this hike, you’re off route.  I fixed a couple of downed cairns for fun, just because I felt if they were there they should be there properly.

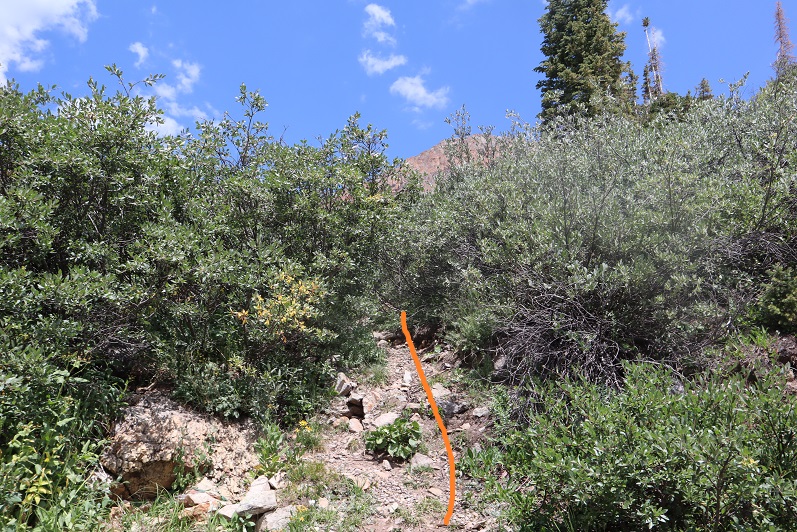
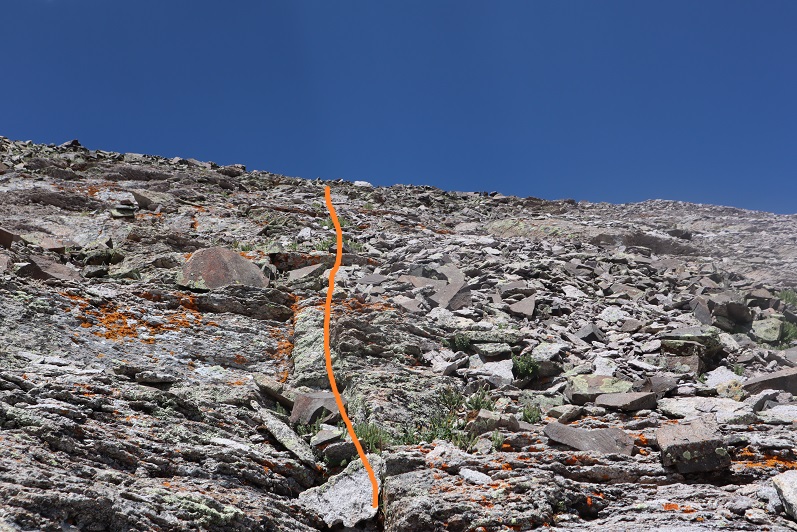
The first goal is to gain the ridge, and this is done by following the cairns northwest.  At times there is a faint trail here, but there were a lot of cairns

6

7

8

9

10

Once on the ridge I turned right and followed it north
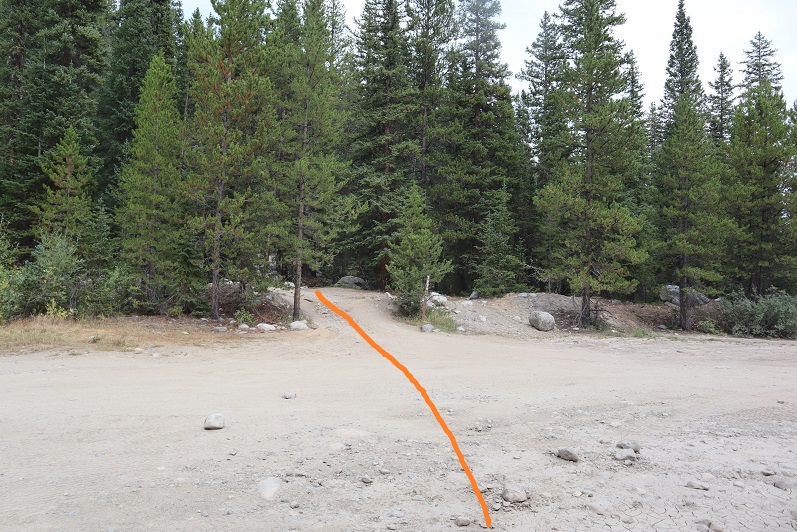
11

This boulder area looks tricky, but was all class 2

12

13

I kept following the ridge and the cairns

14

15

16

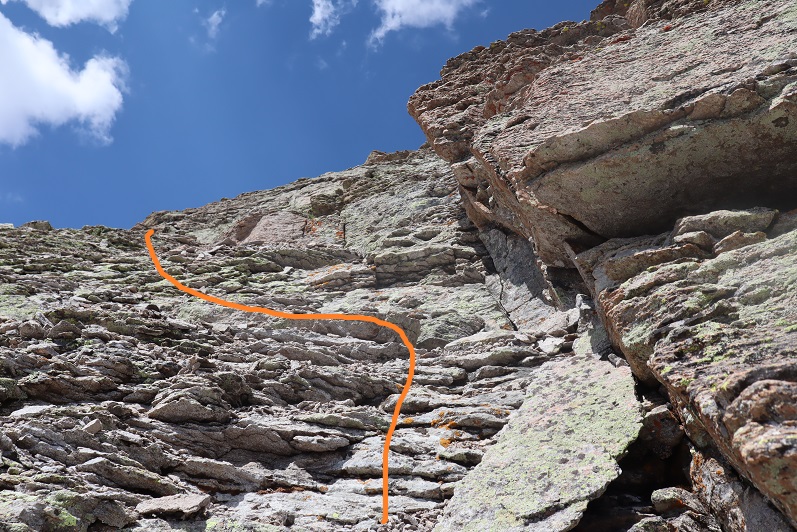
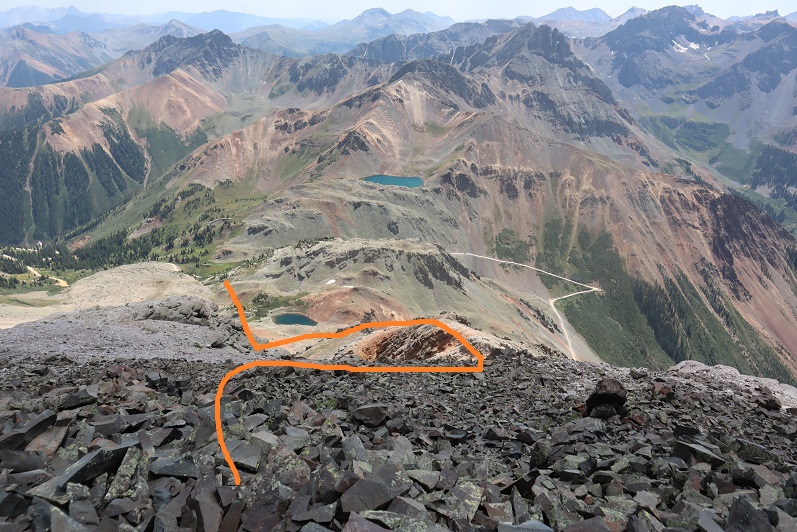
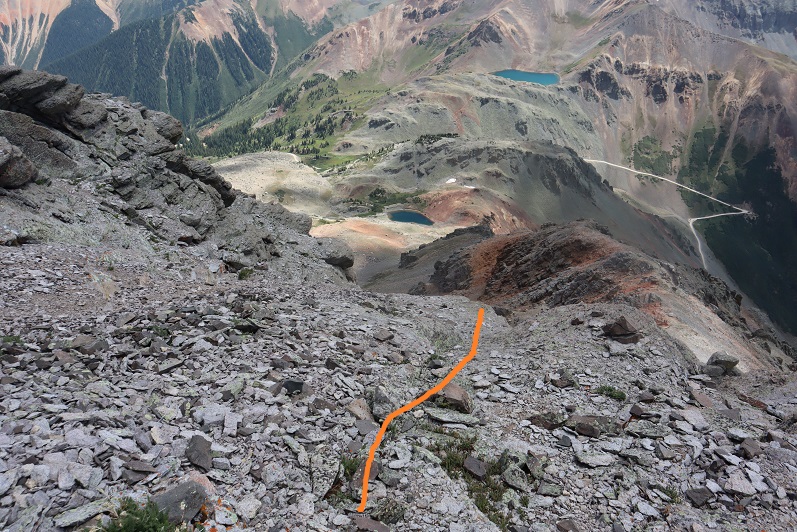
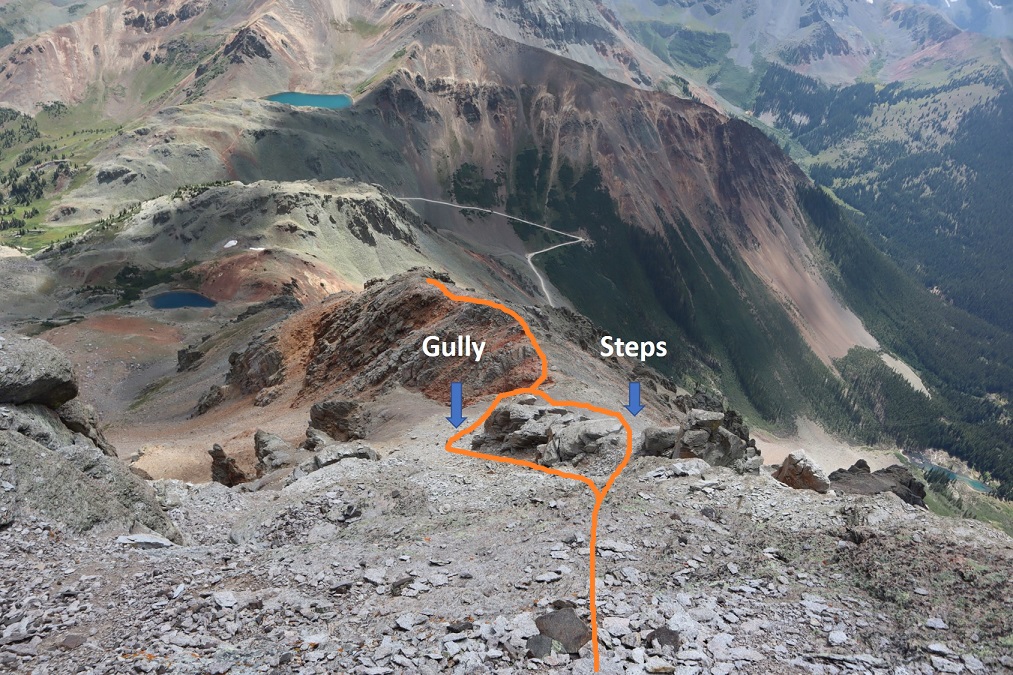
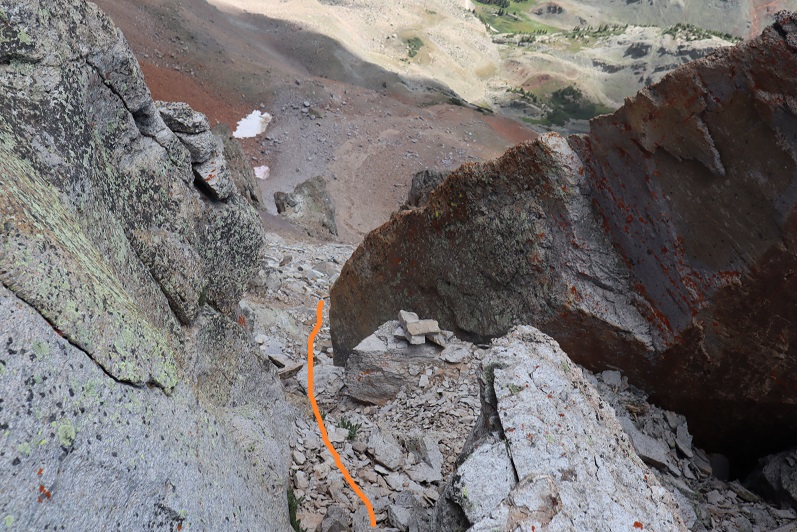
At 13380’ I came to a rock formation that looked like it went either way (it did).  I went east on the way up, west on the way down, and both went. The east side has a slippery gully though, so I’d recommend staying west and taking the steps.

17

18

At the top of the gully I turned right and followed the faint trail and cairns northeast

19

20

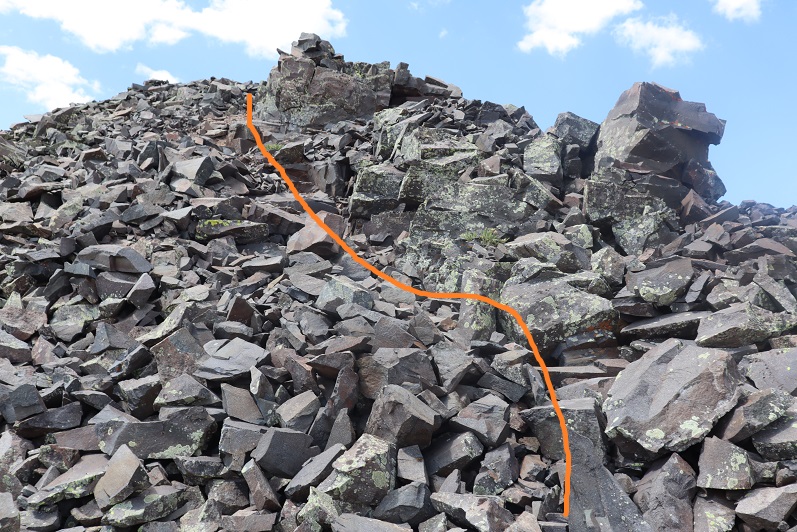
At 13475’ I put on my helmet and did some class 3 scrambling to the summit.  This looks much more difficult than it actually was.  The scrambling was easy, but the little rocks covering the boulders were a little annoying. I ditched my trekking pole and followed the cairns north.

21

22

23

24

This would be a good introduction to class 3 climbing for someone looking for a quick summit to practice on.  At the top of the short class 3 section it became class 2 to the summit

25

26

27

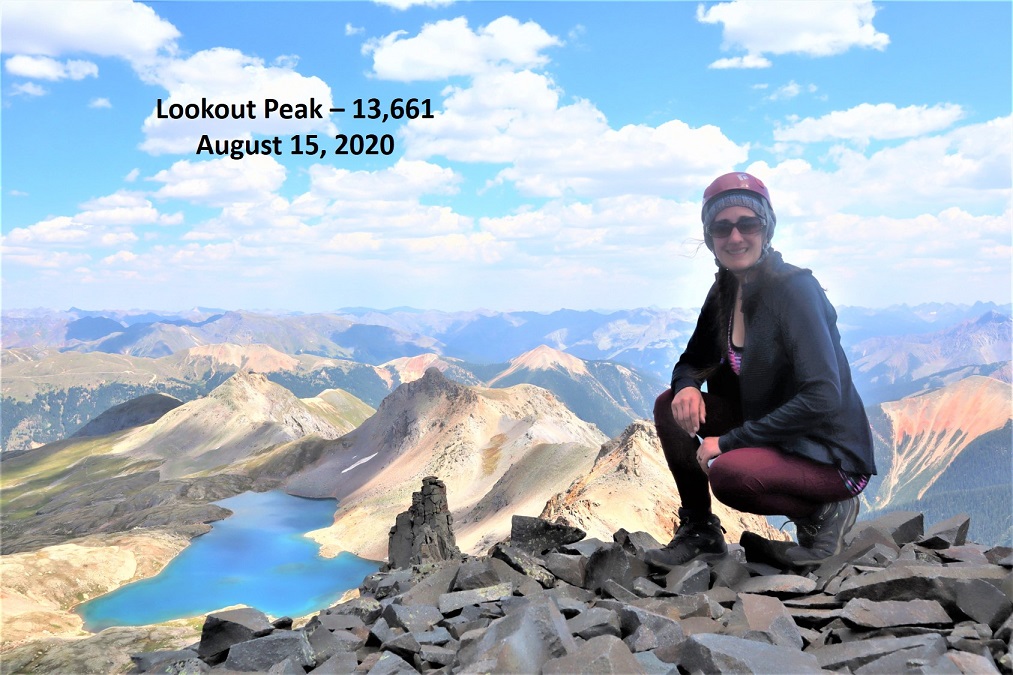
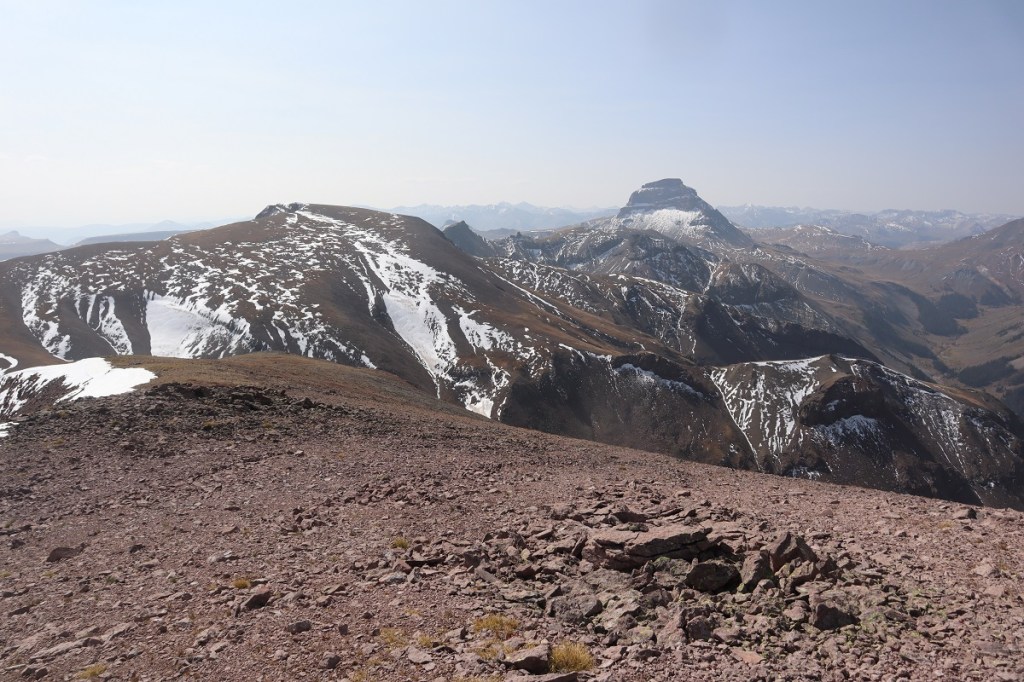
I summited Lookout Peak at 2:30pm

28

Lookout Peak:

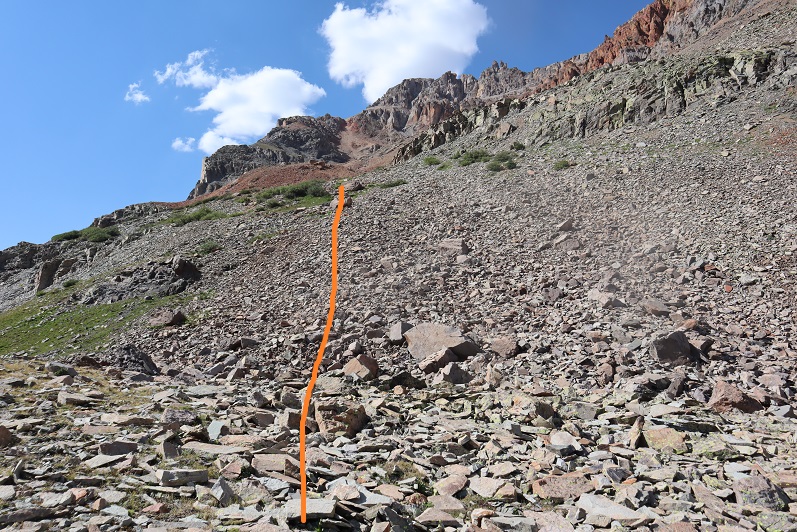
Here’s what the route looked like on the way back down:

29

30

31

I took the steps on the way back down instead of the gully

32

And then followed the ridge back to the basin
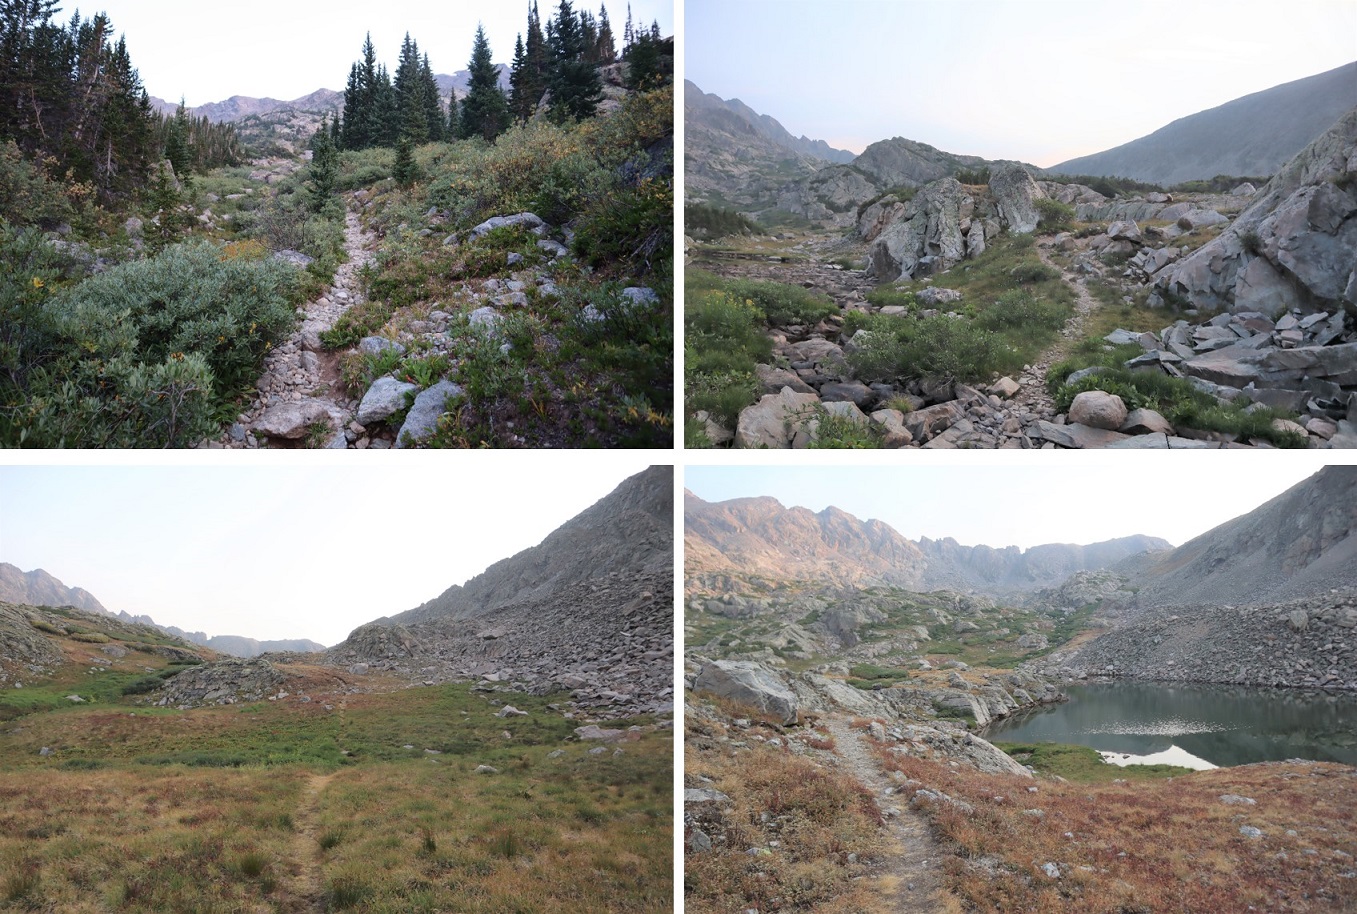
33

34

35

36

And from the basin, aimed for the power lines and Ophir Pass road and my truck
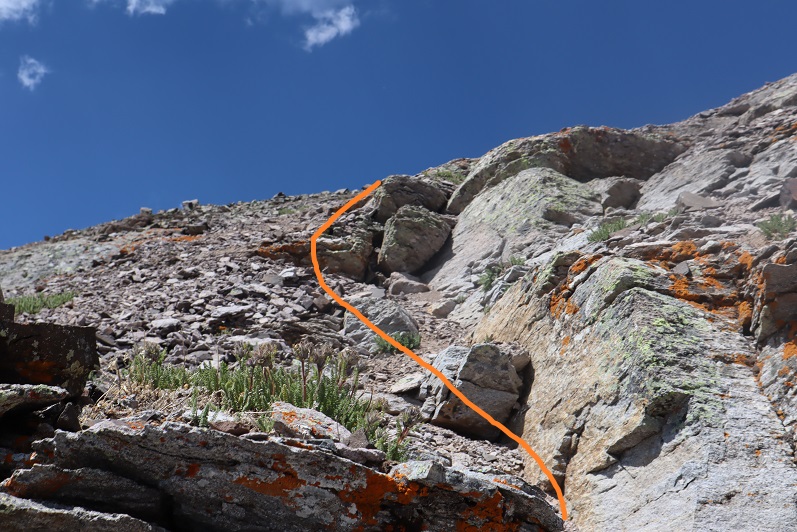
37

38

39

40

41

42

I made it back to my truck at 4pm, making this a 4 mile hike with 2060’ of elevation gain in 3 hours, 20 minutes.

43

I drove home and didn’t get to bed until past midnight.  When I woke up my first thought was “Wow!  I didn’t get woken up at all last night due to wind/wildlife!”  Then I realized I was sleeping in my own bed and not in the bed of my truck…