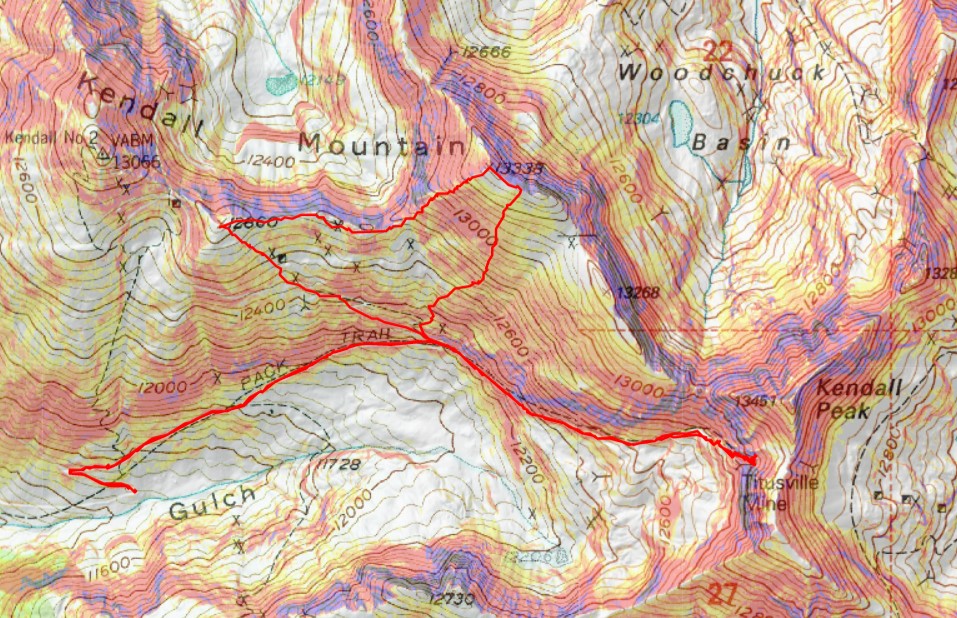
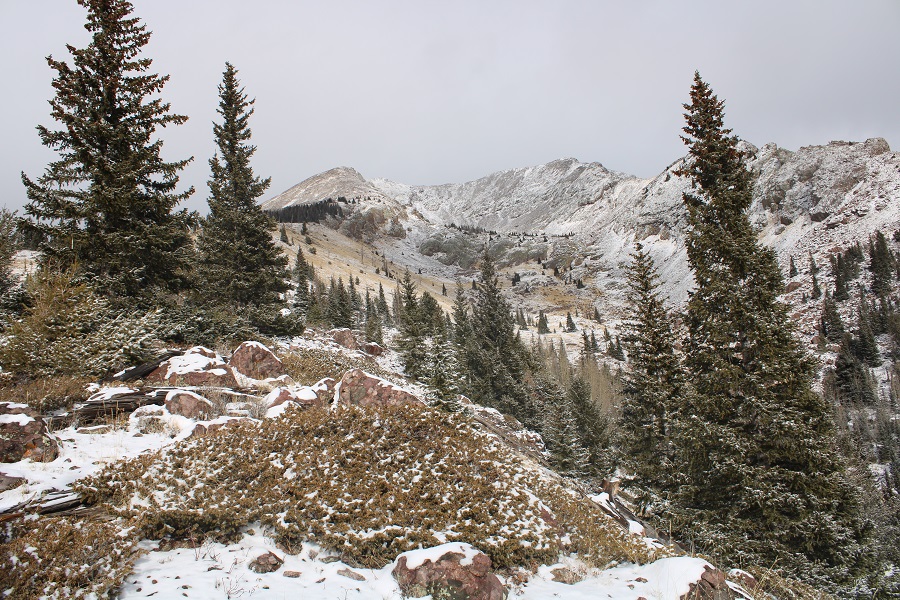
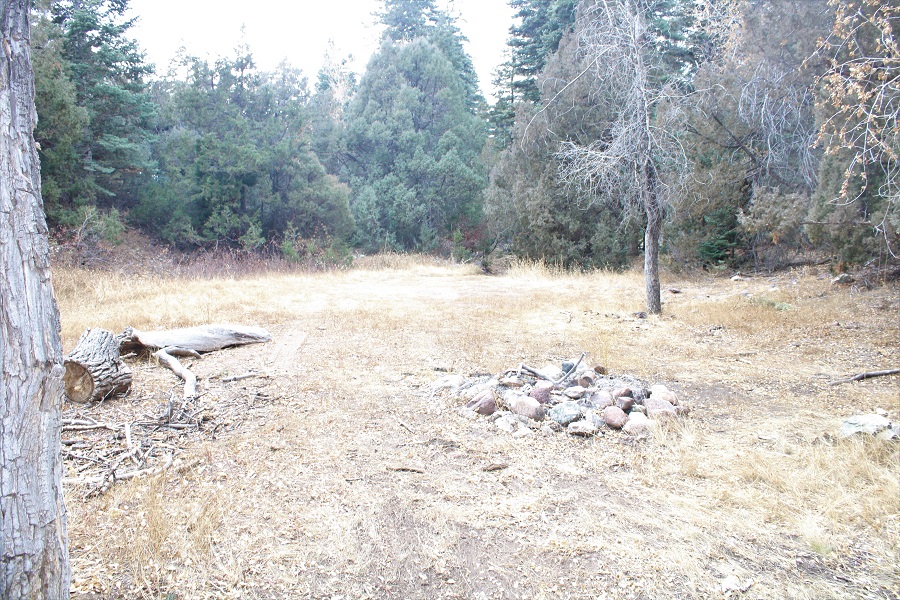
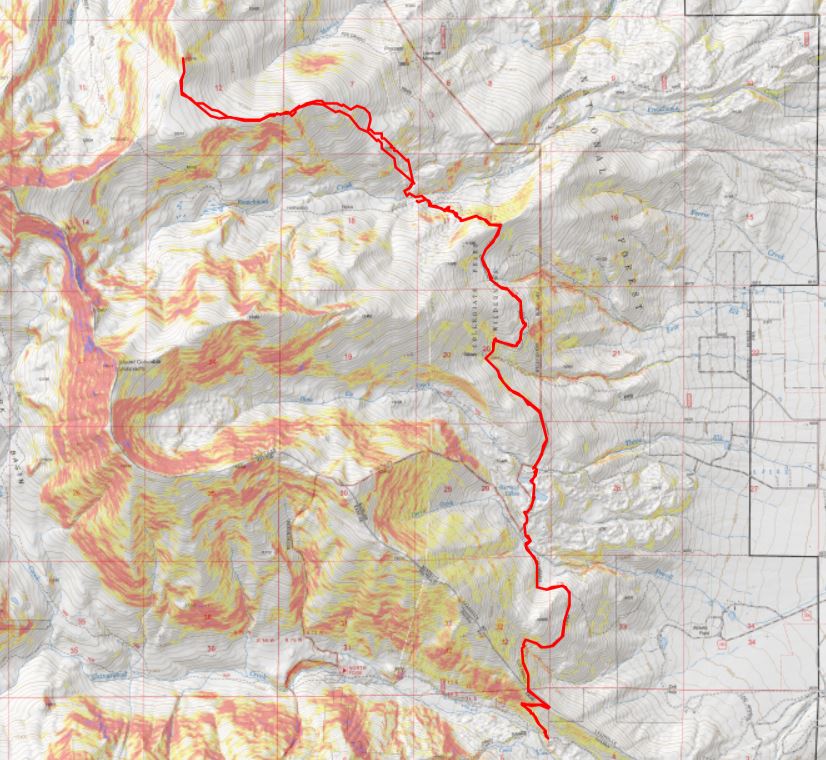
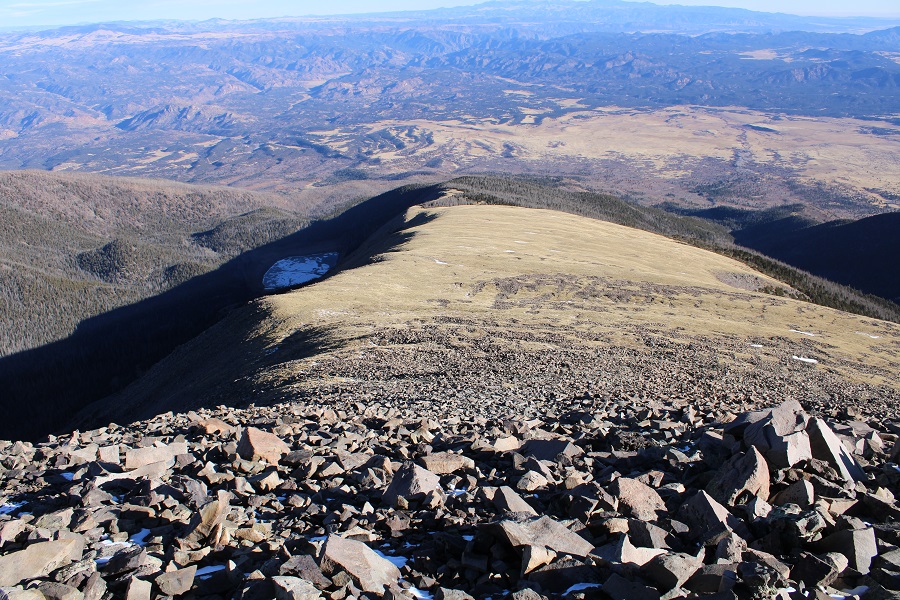
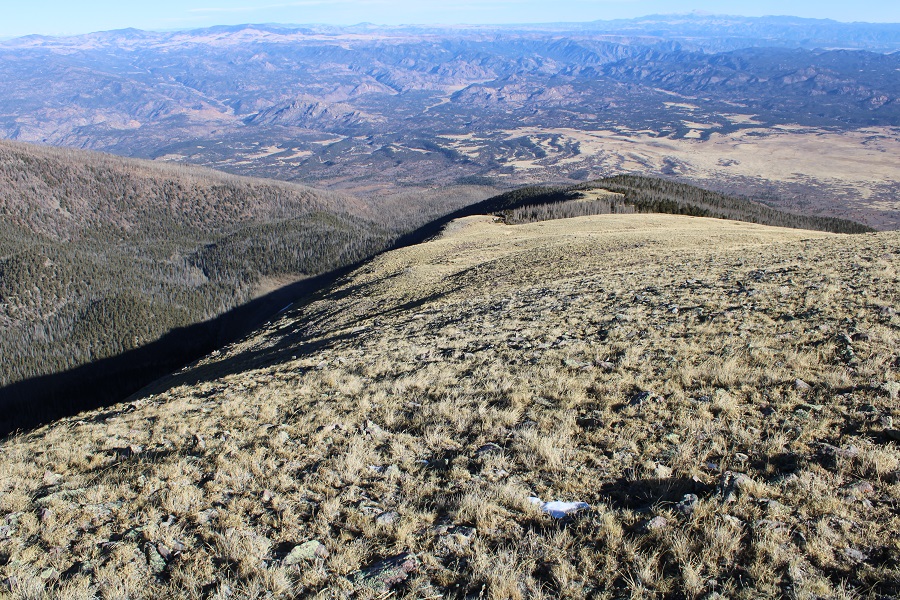
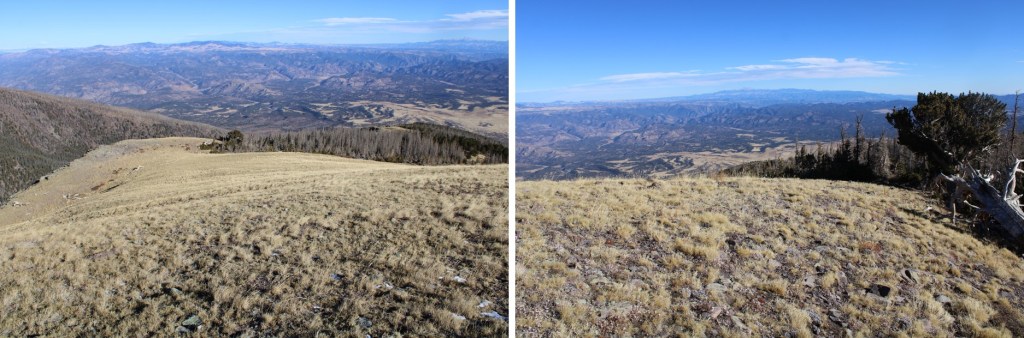
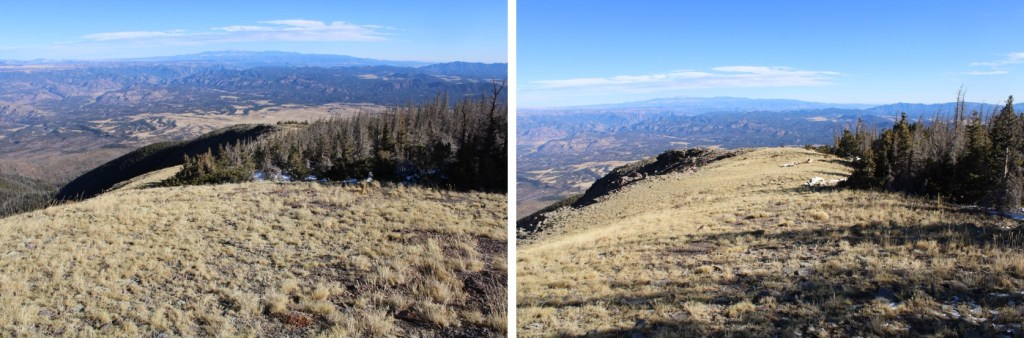
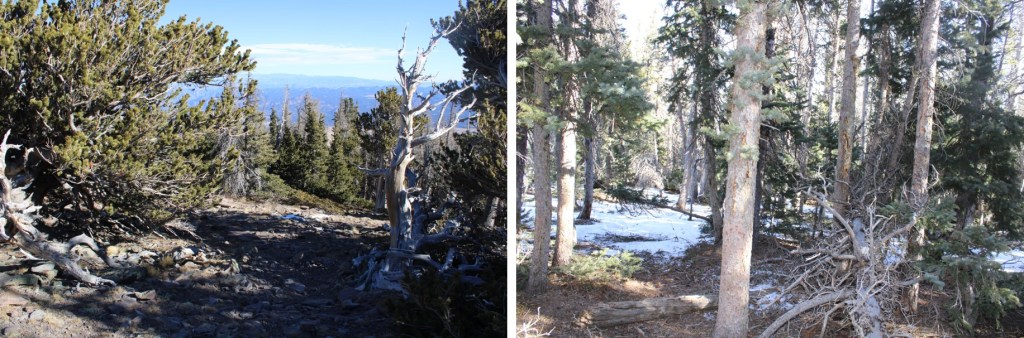
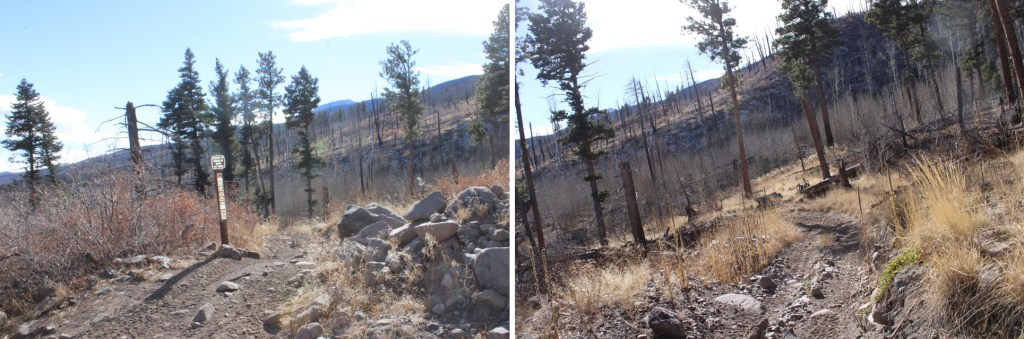
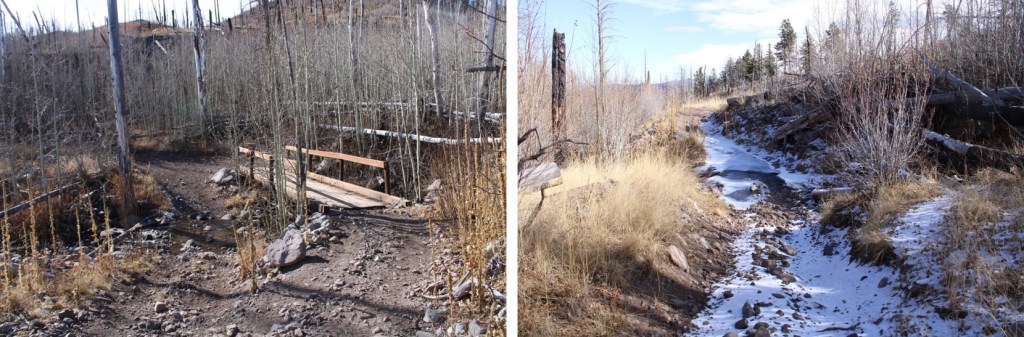
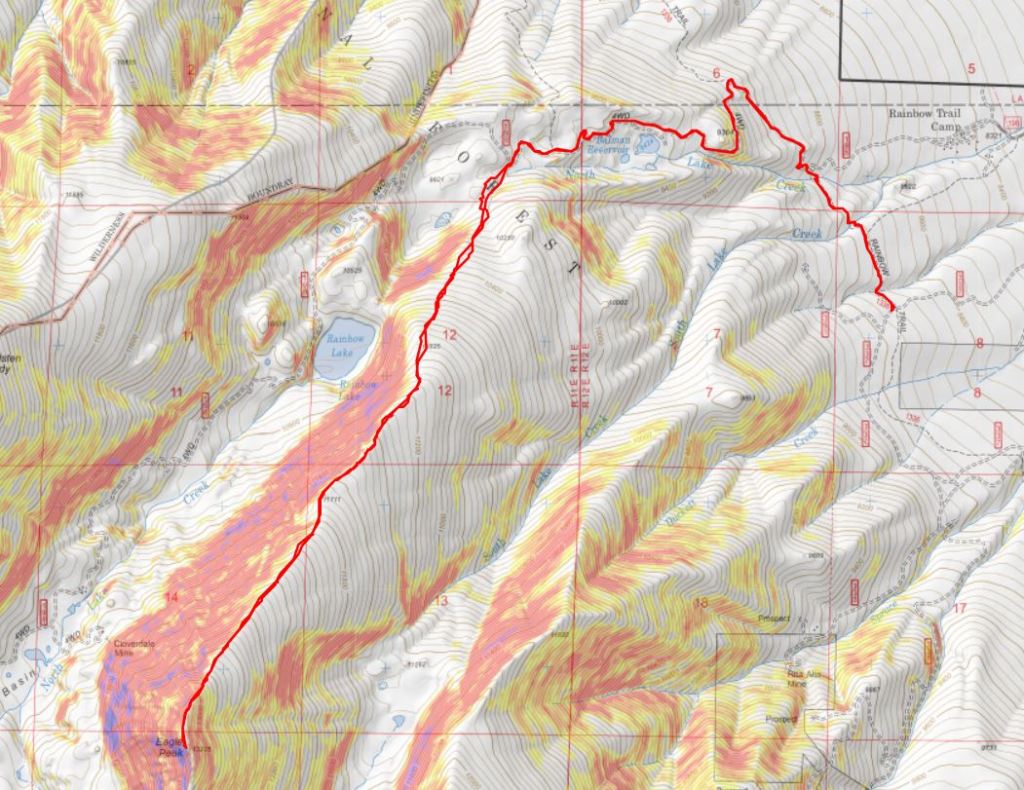
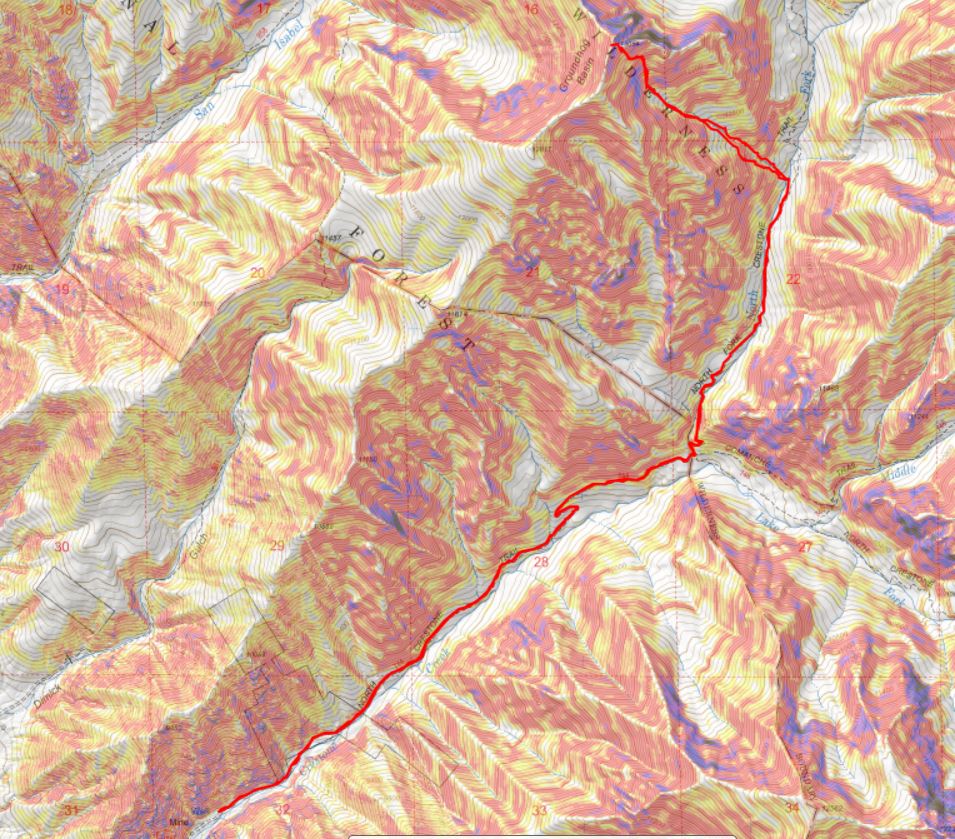
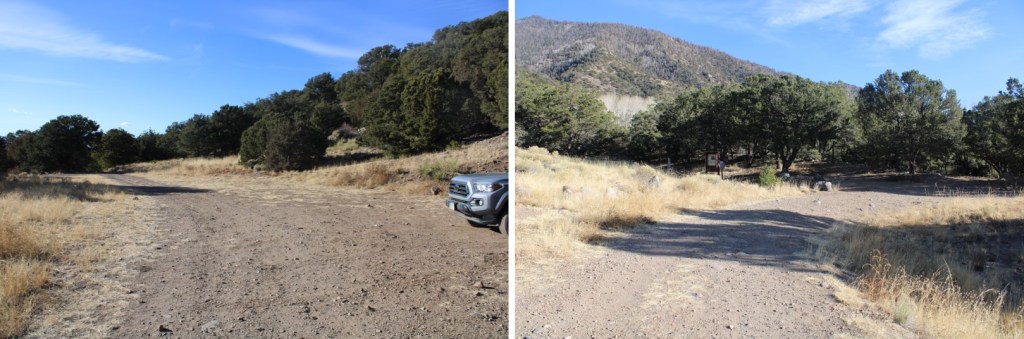
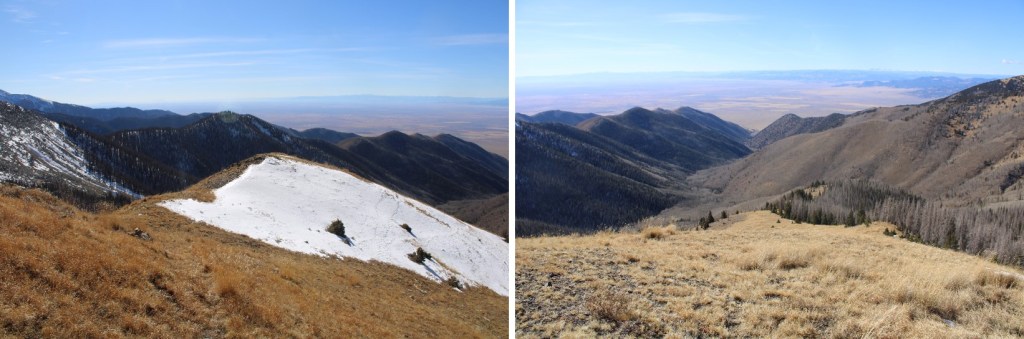
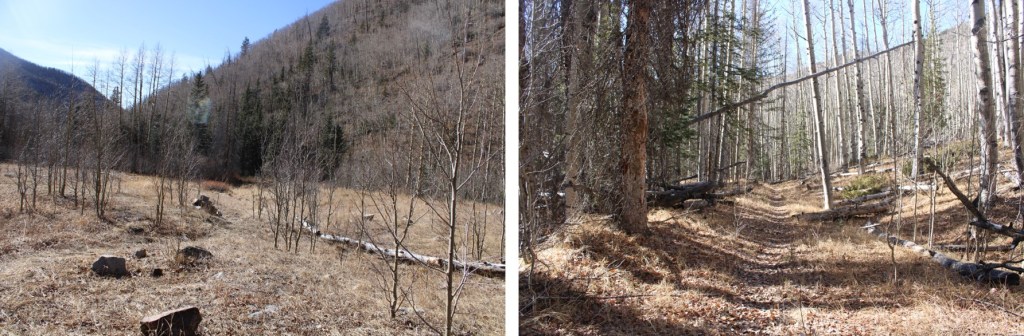
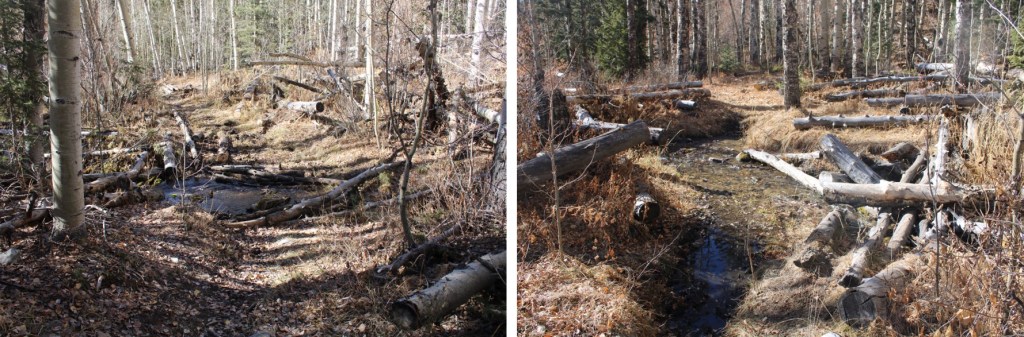
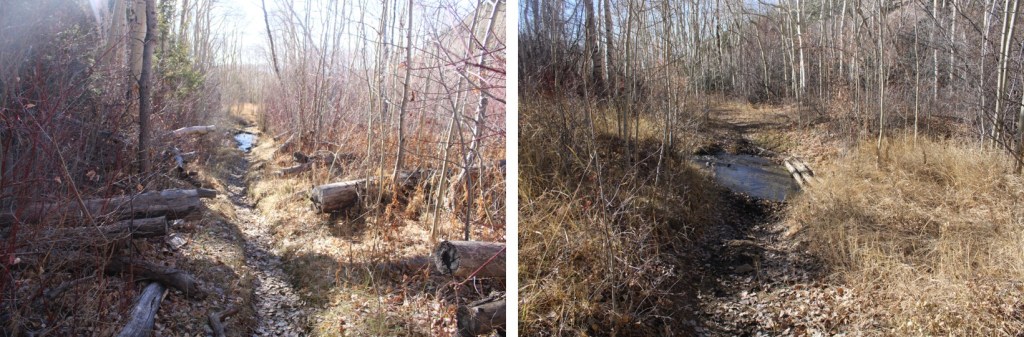
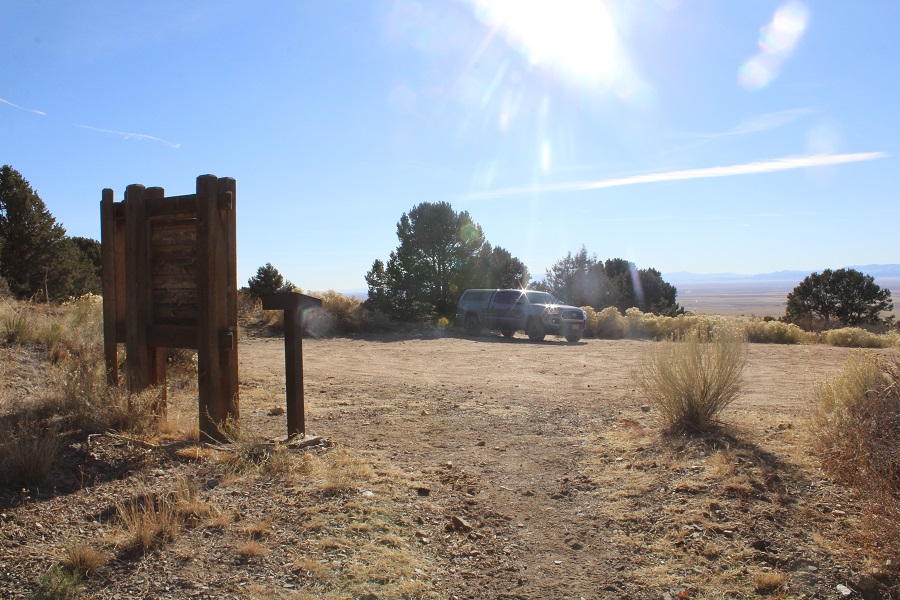
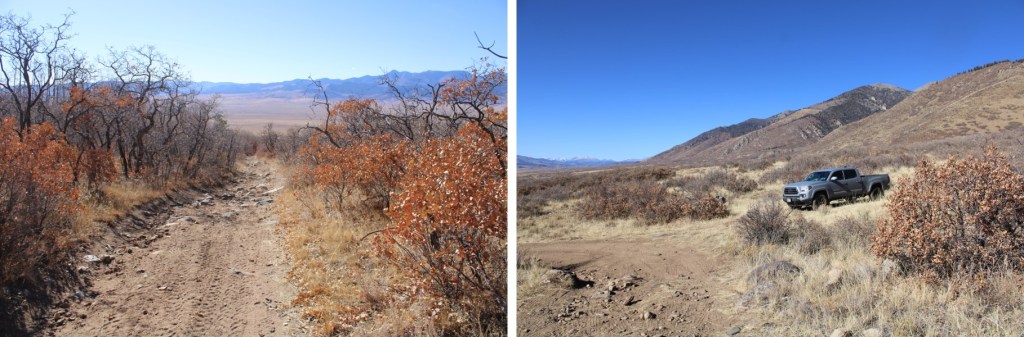
Let me begin by saying Kendall Mountain was not my first intended peak of the day, so my stats and topo map are a little off. I made it to the Kendall Gulch parking area the night before, and slept at 11460’.
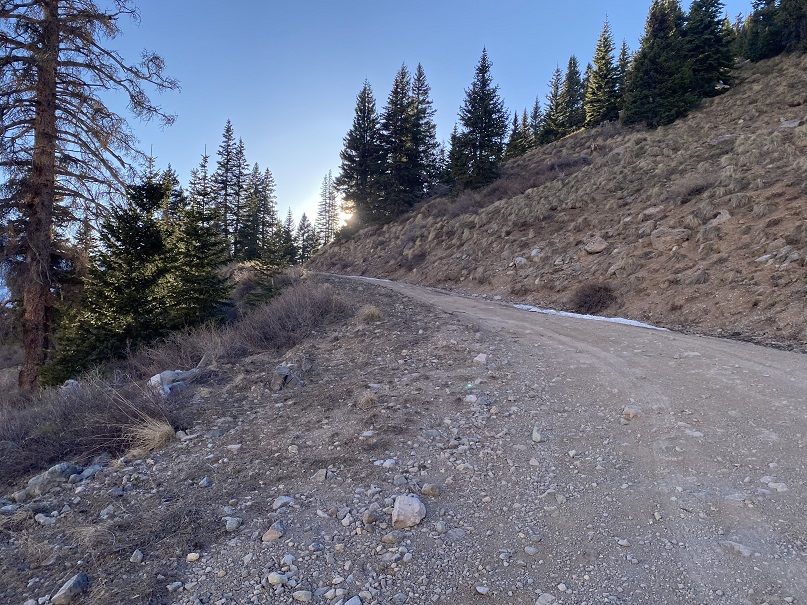
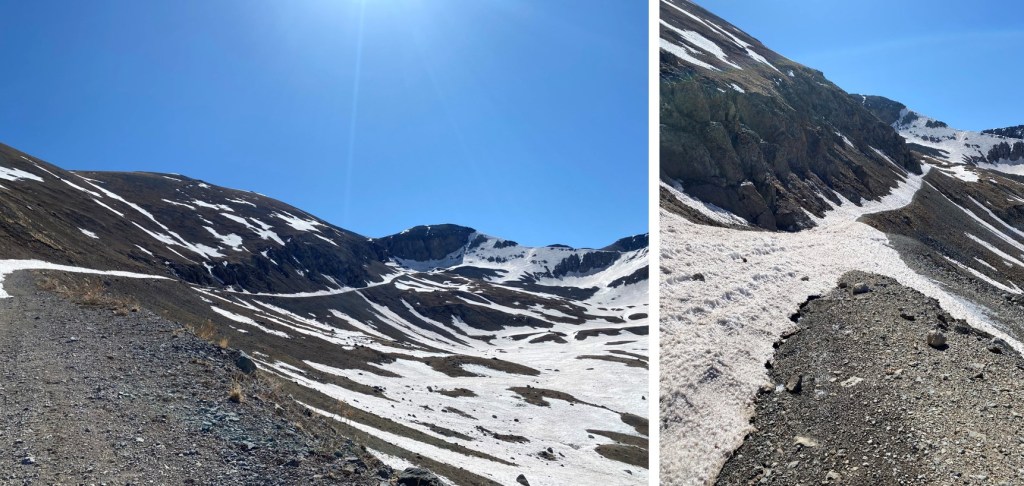
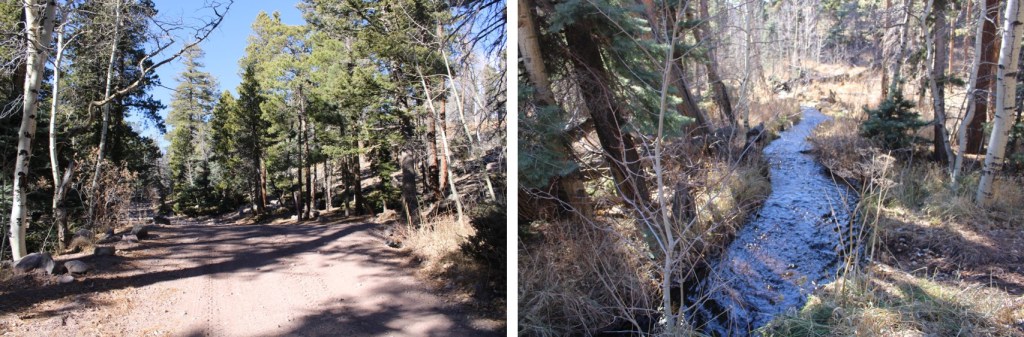
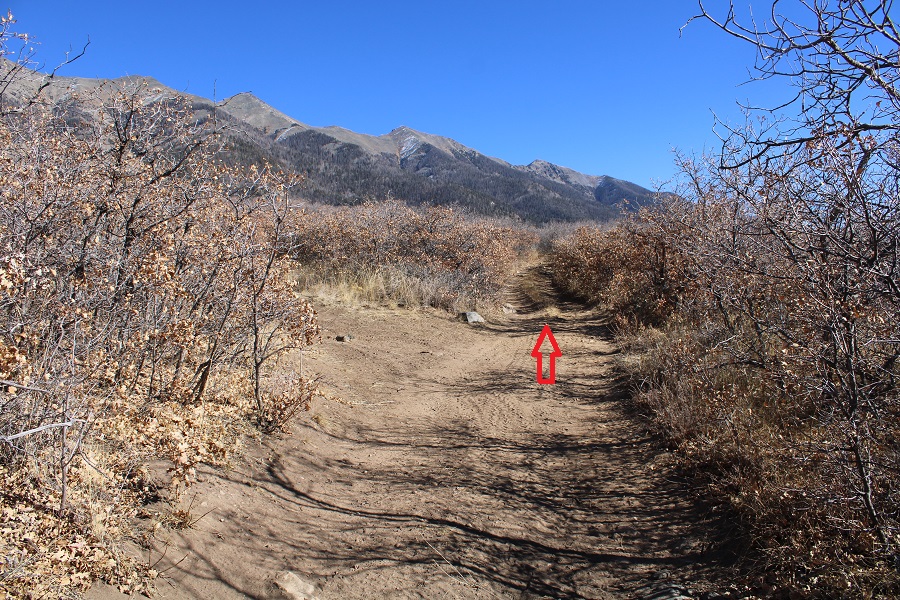
The next morning I rose late, and was on the trail after the sun had risen, at 6am. The road was easy to follow, and clear of snow the first half of the way.
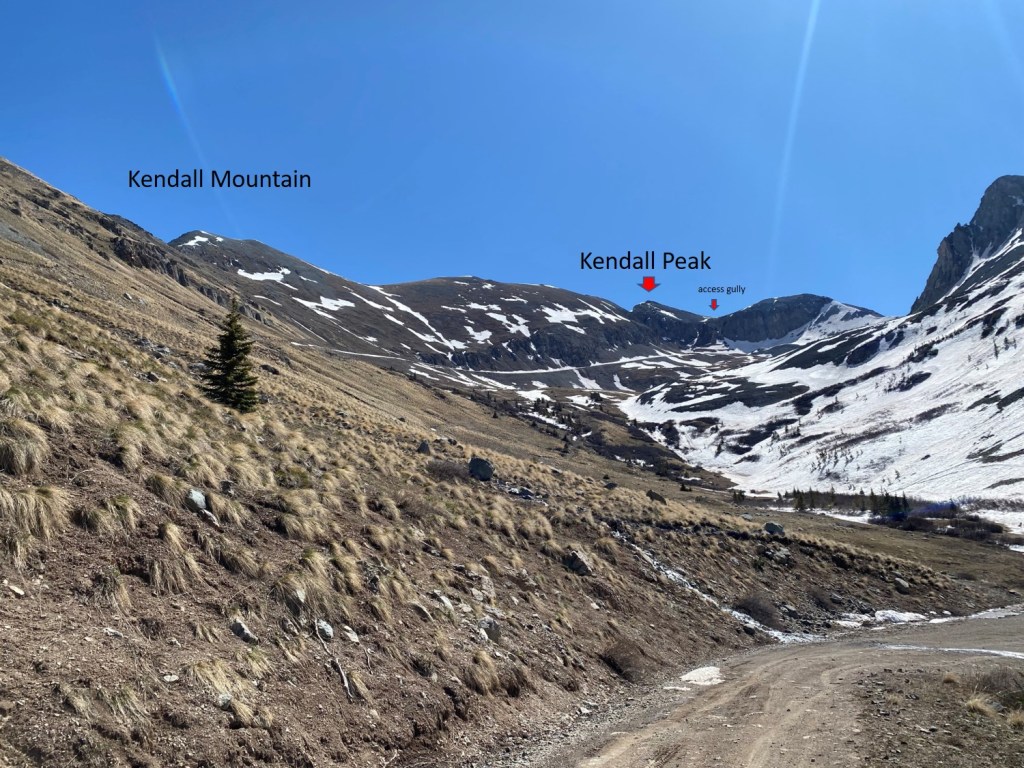
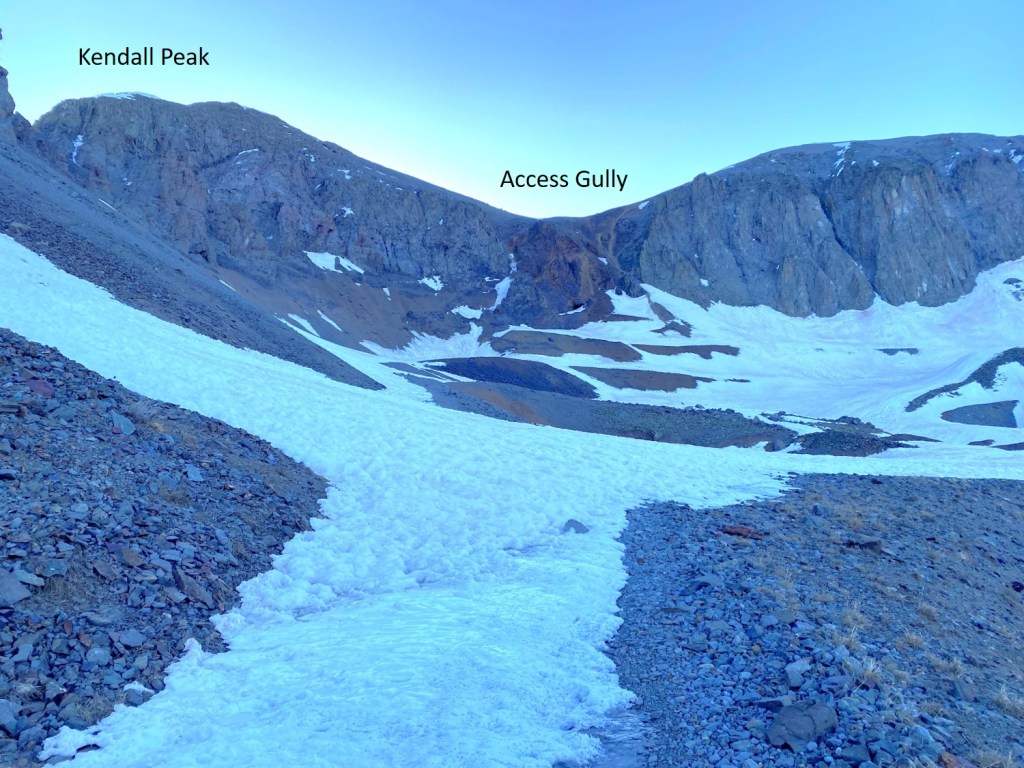
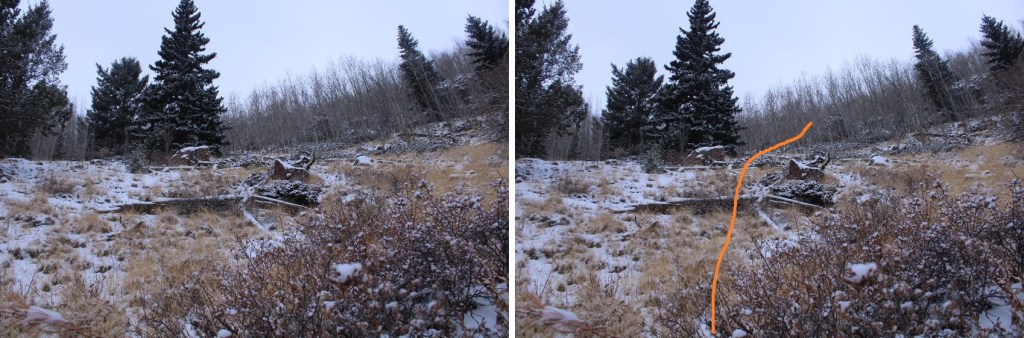
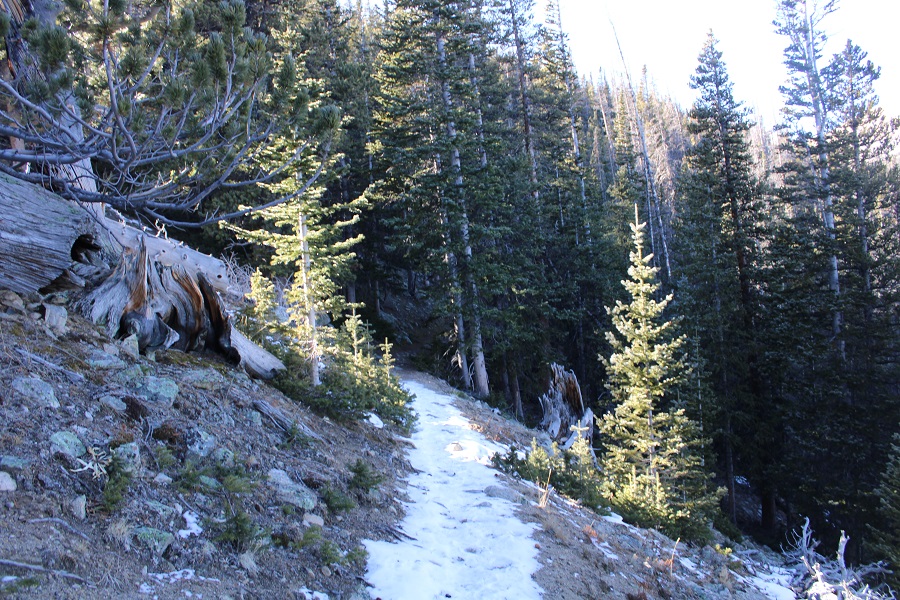
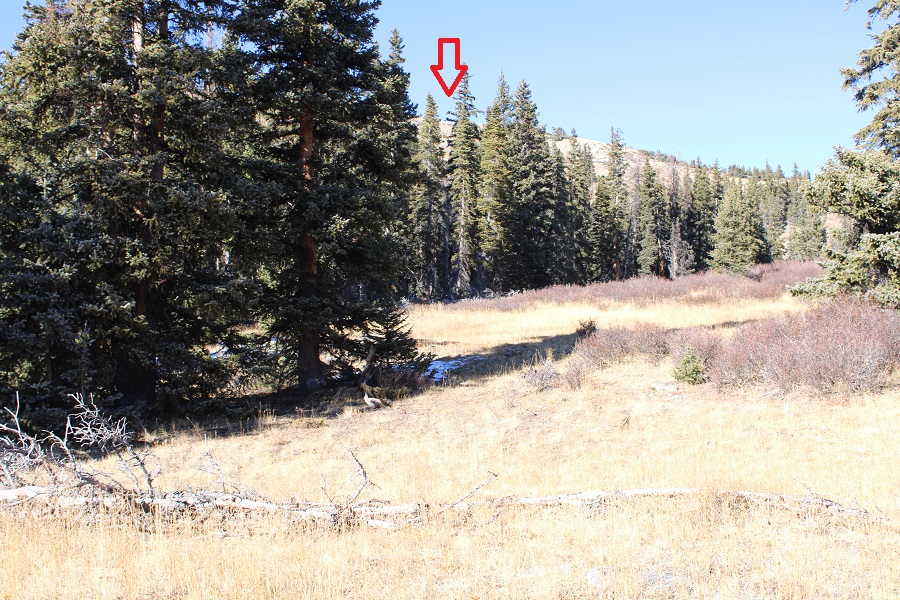
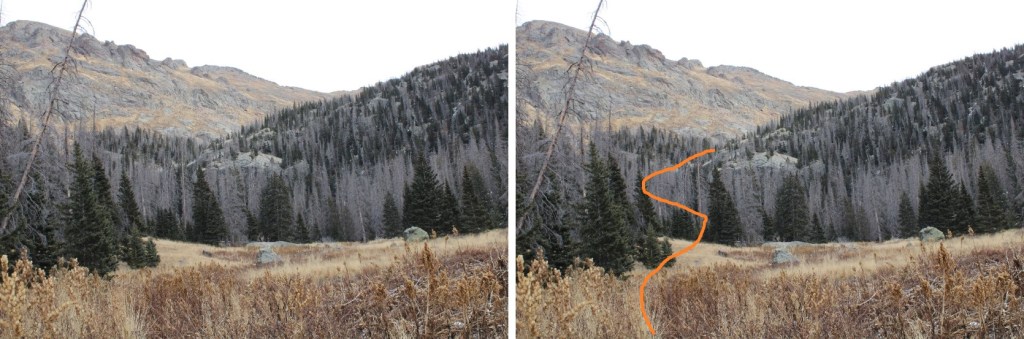
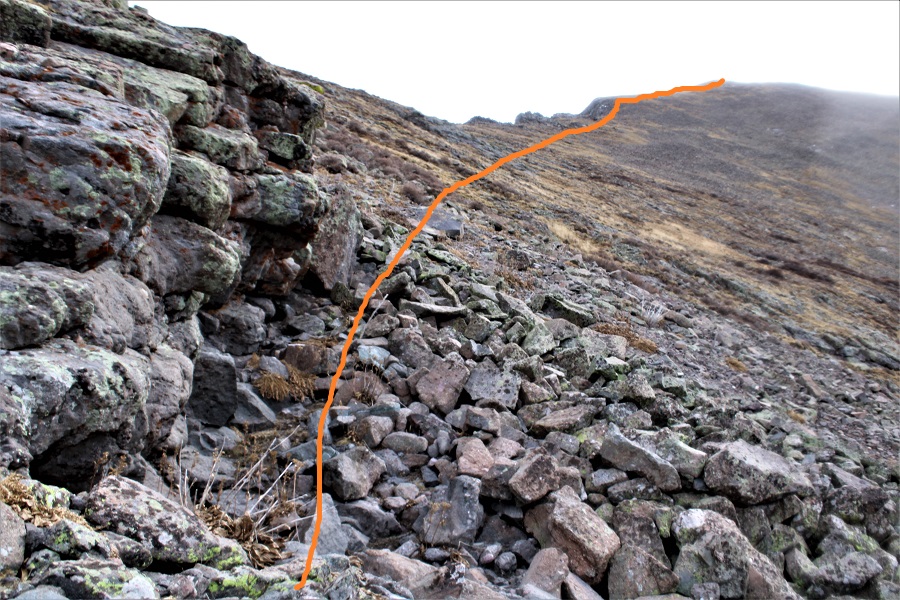
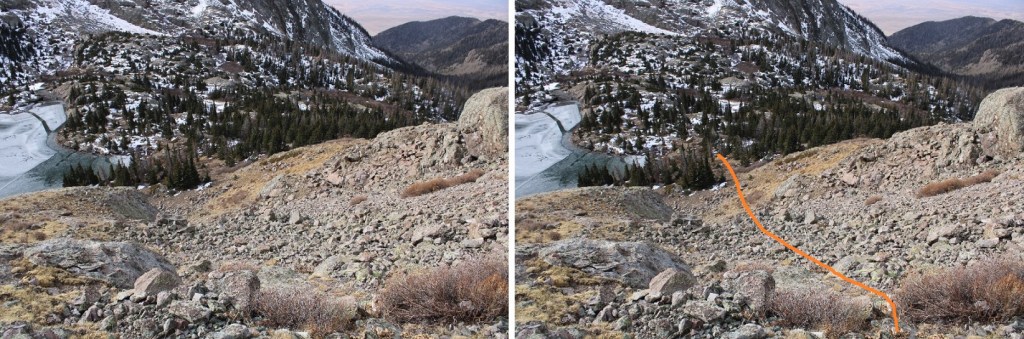
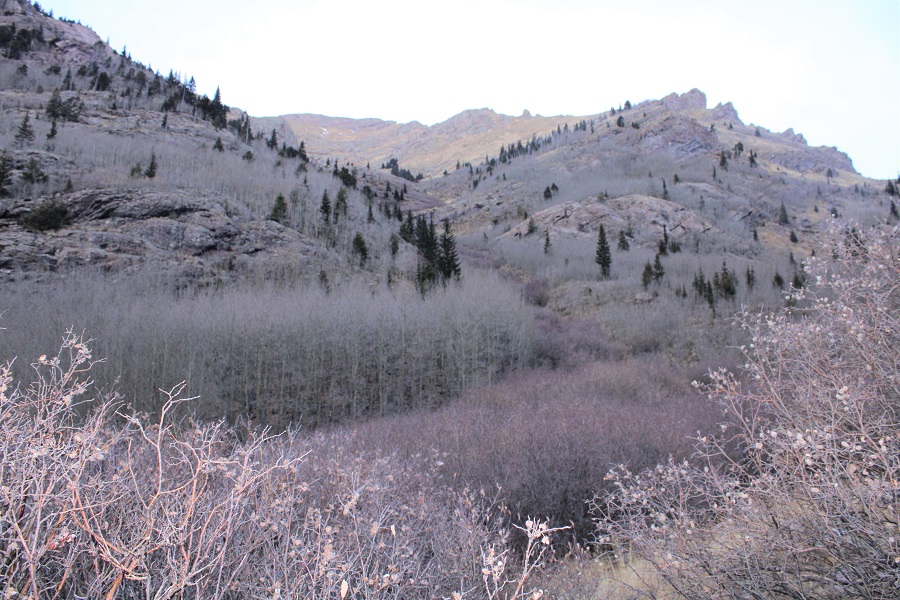
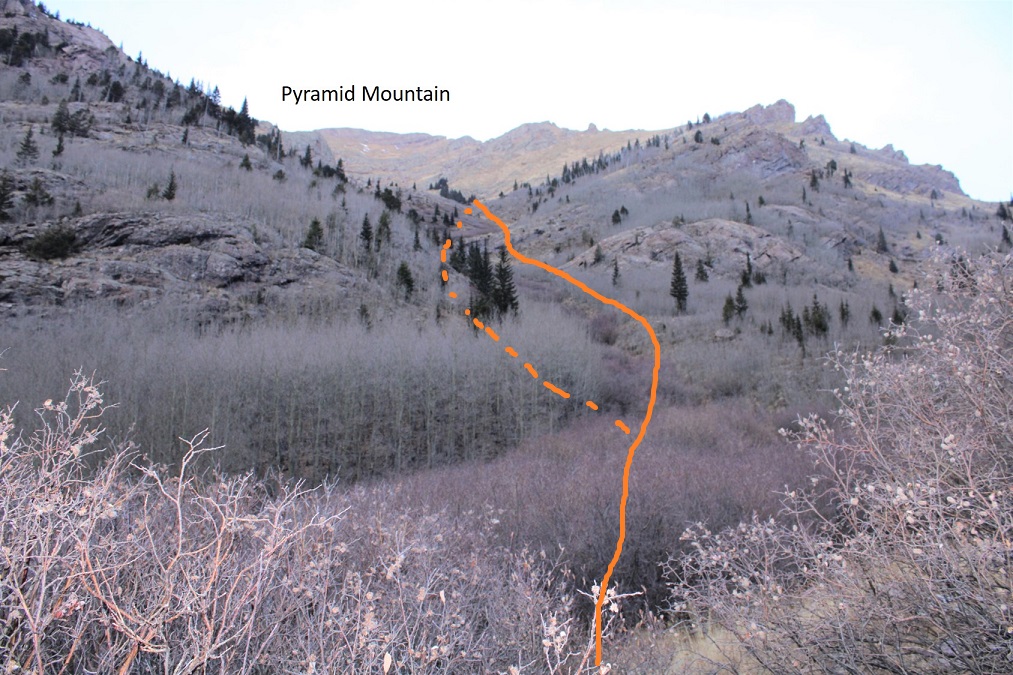
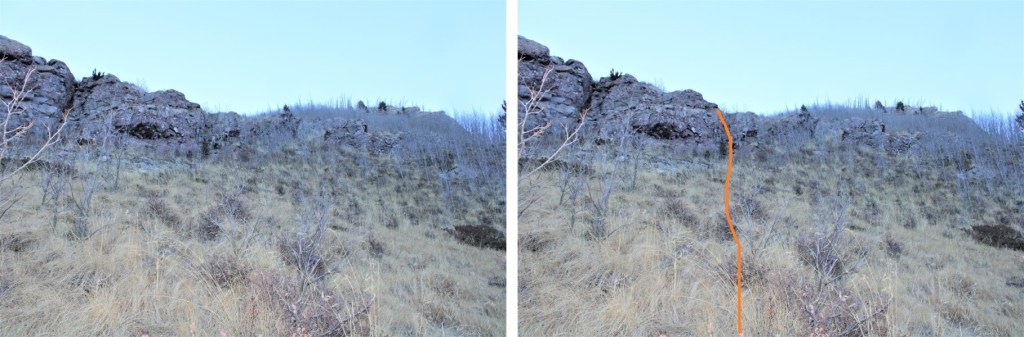
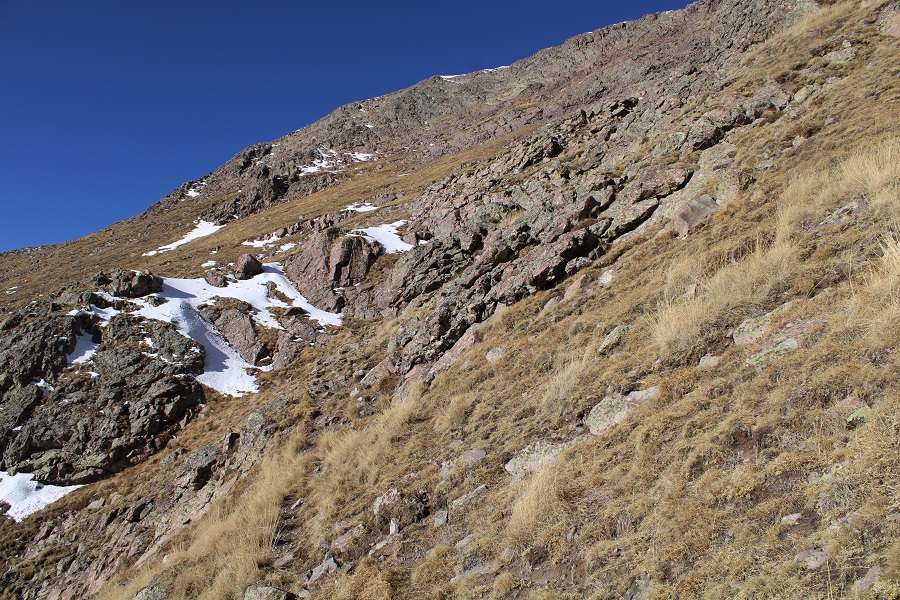
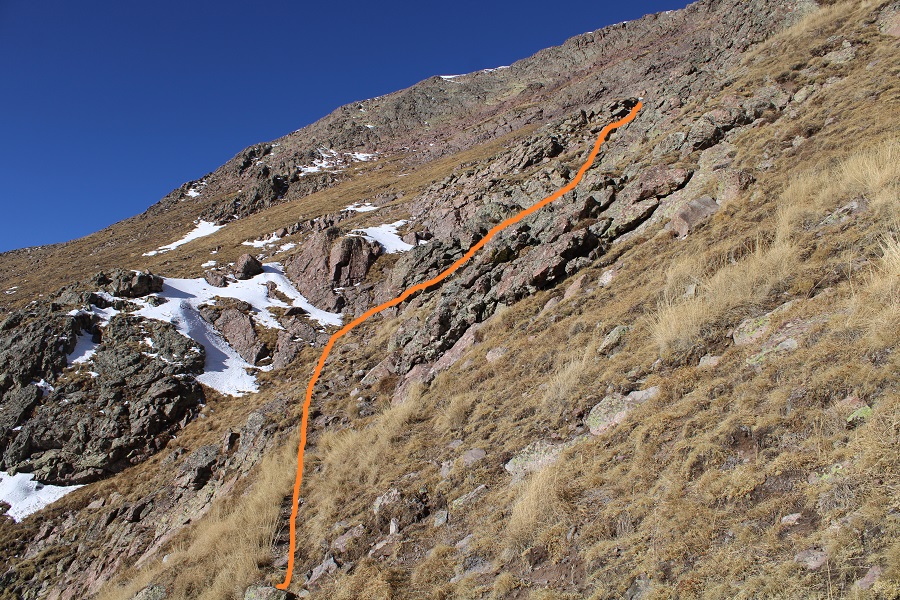
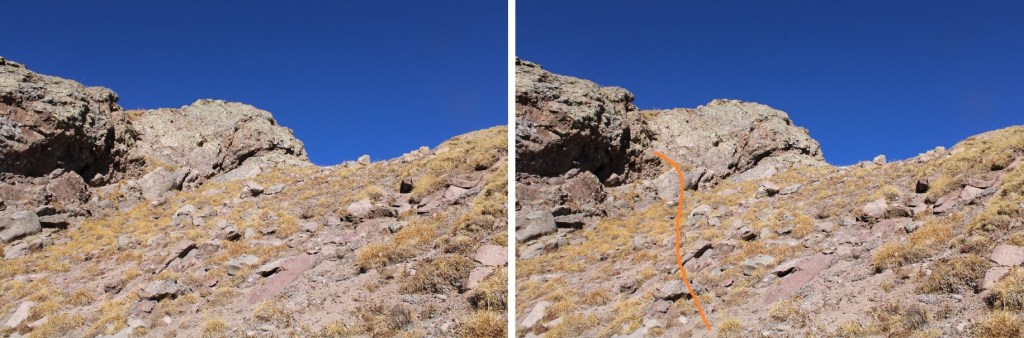
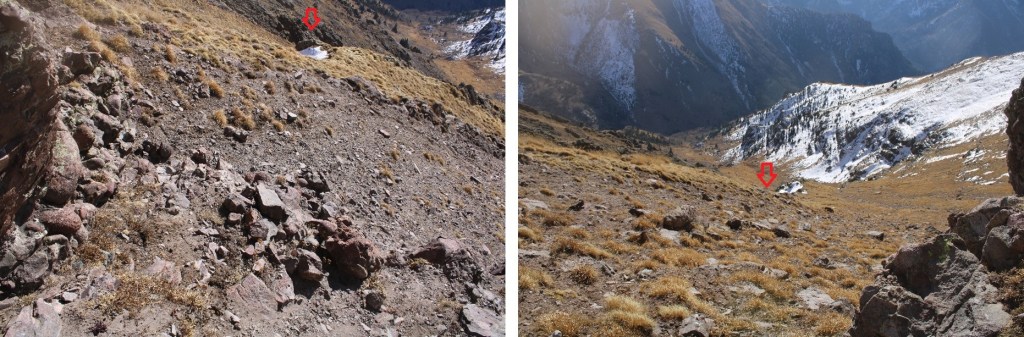
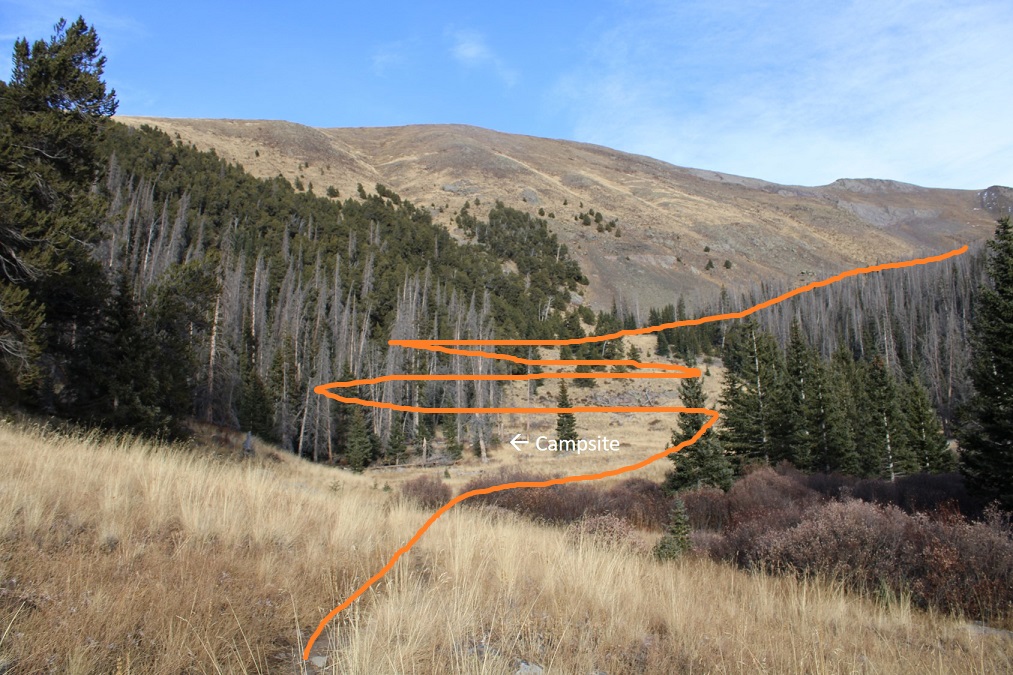
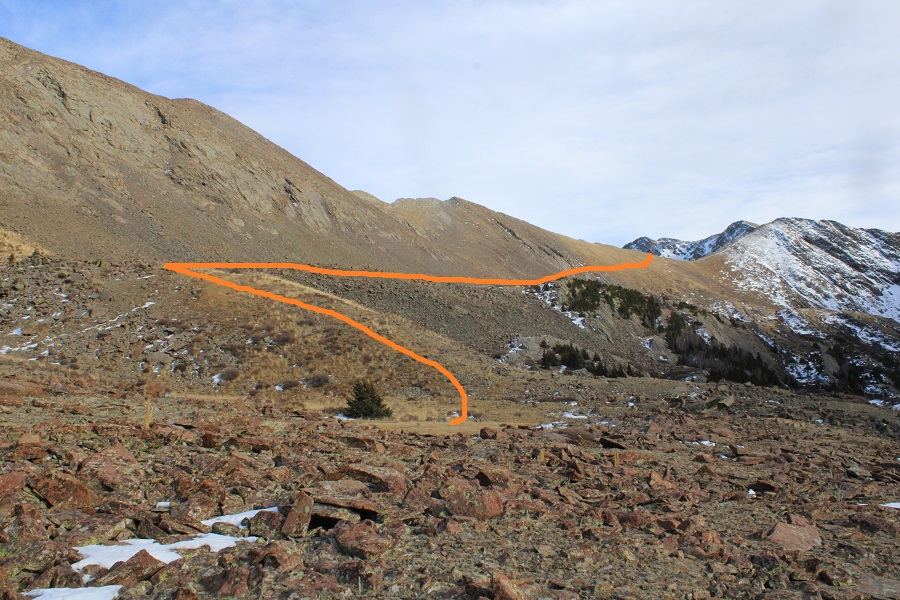
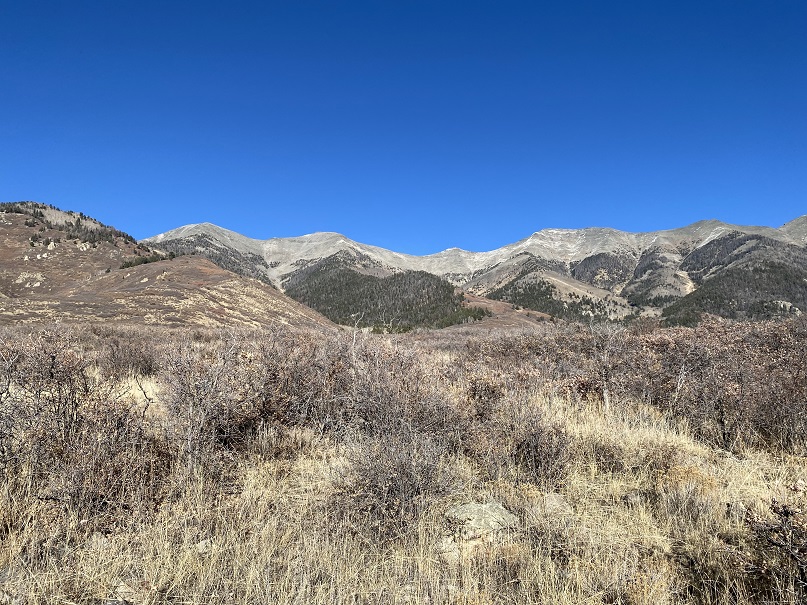
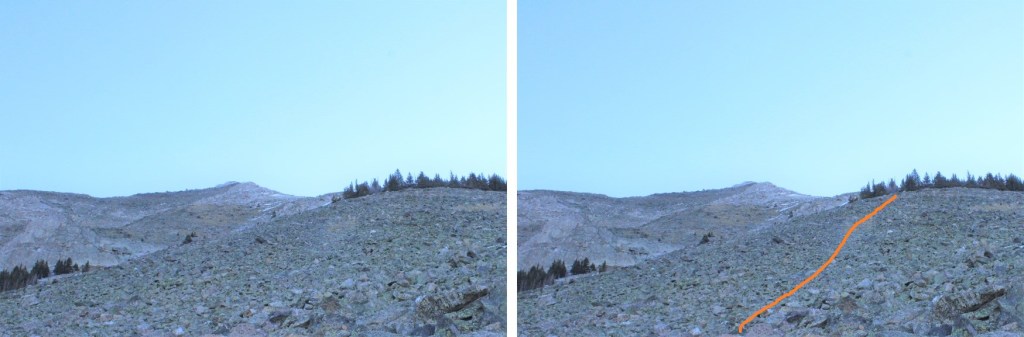
I was originally headed toward Kendall Peak; specifically, the gully
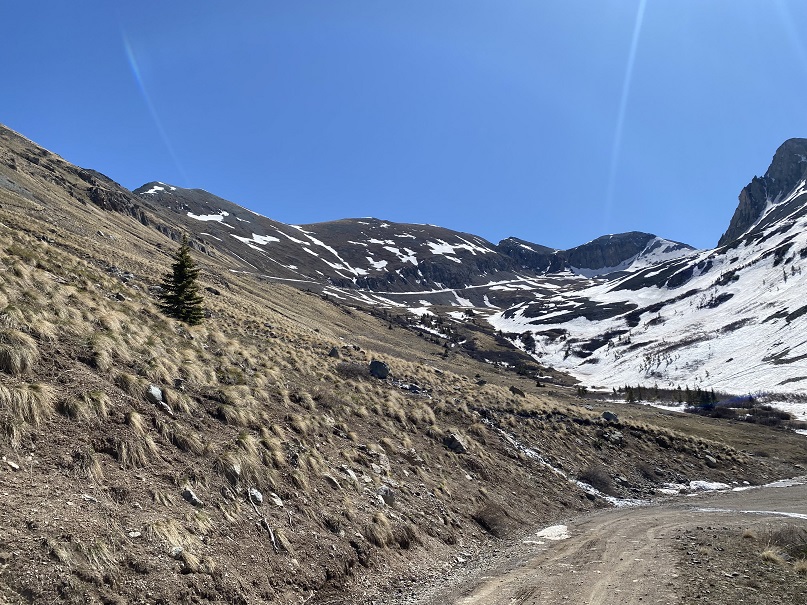
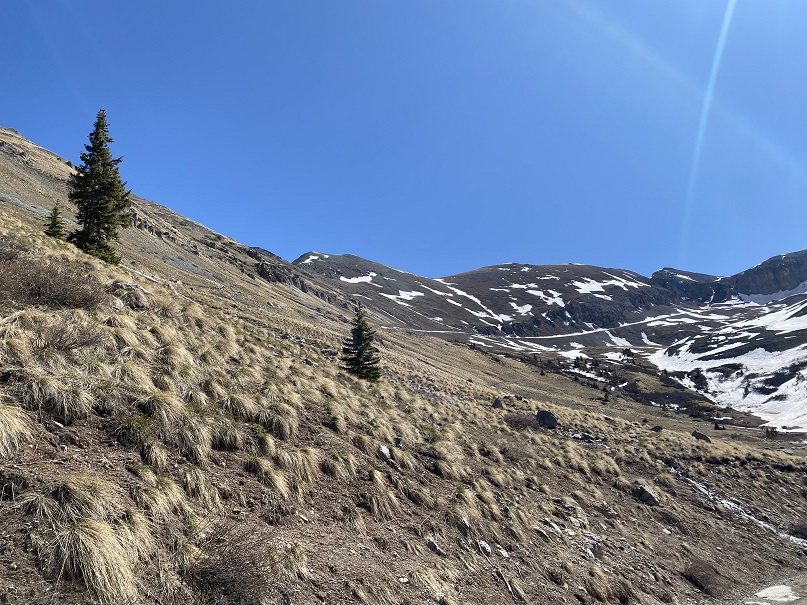
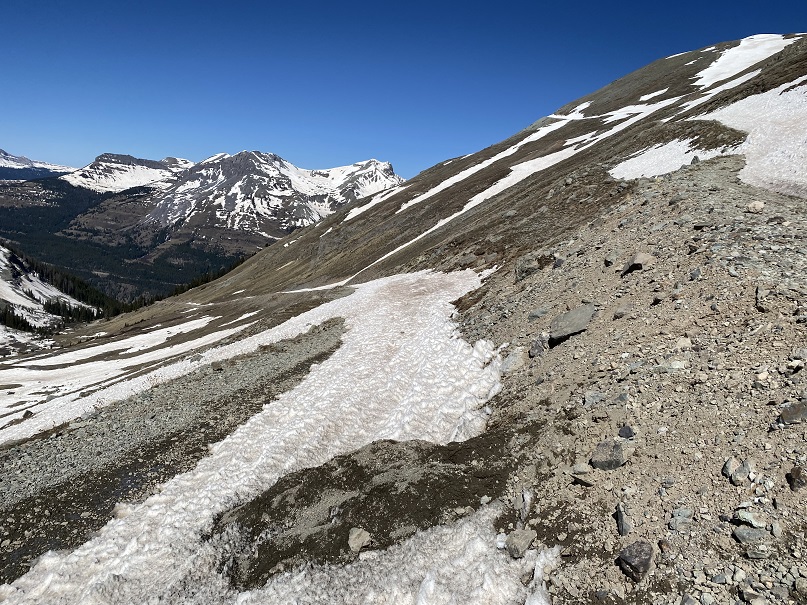
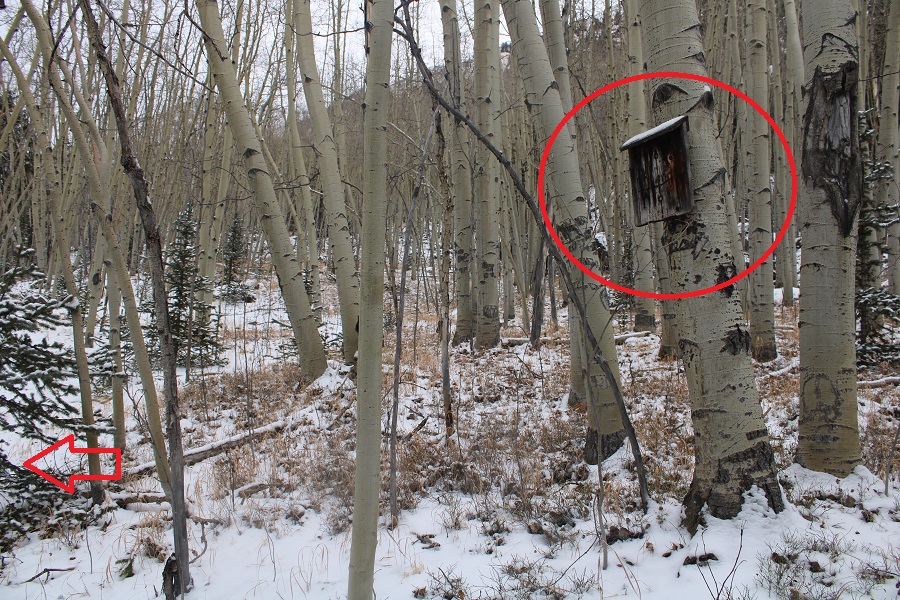
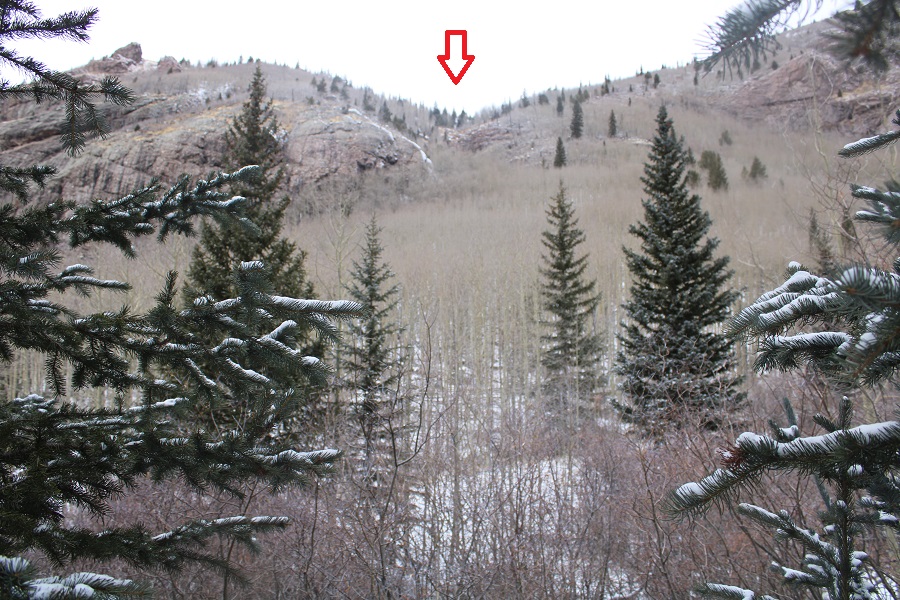
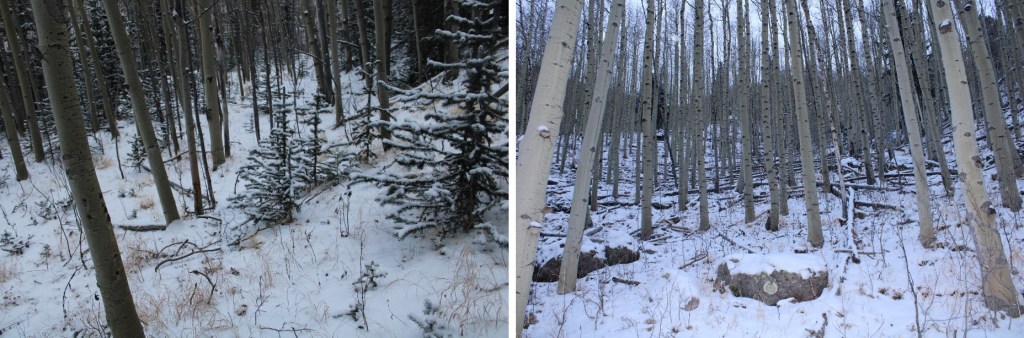
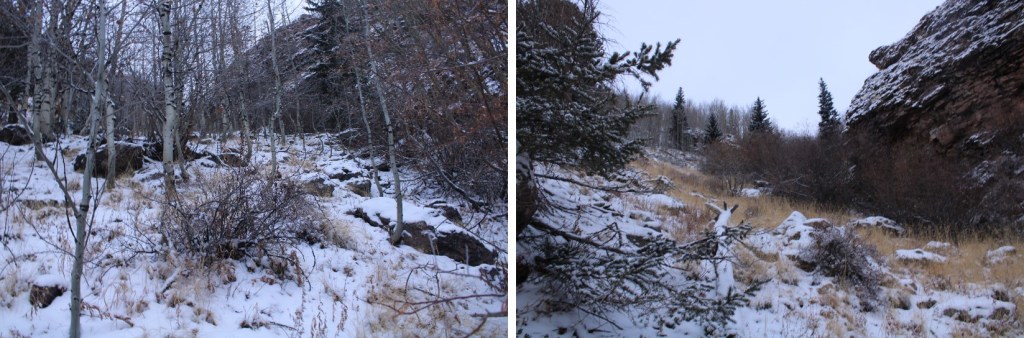
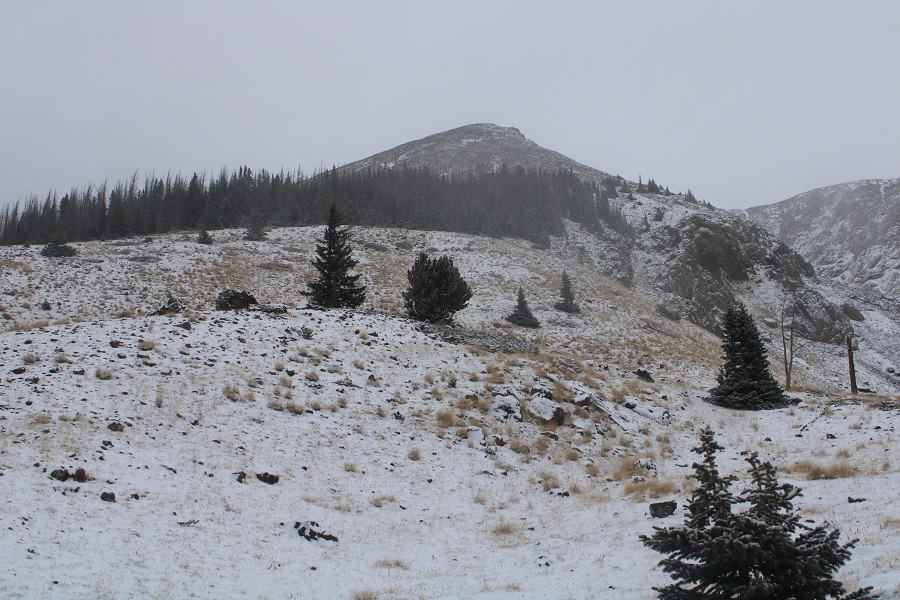
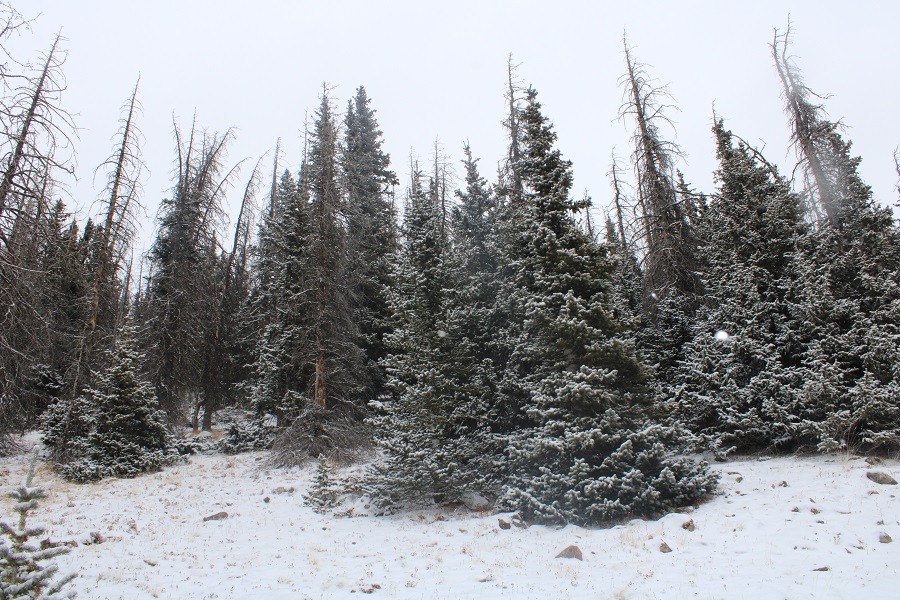
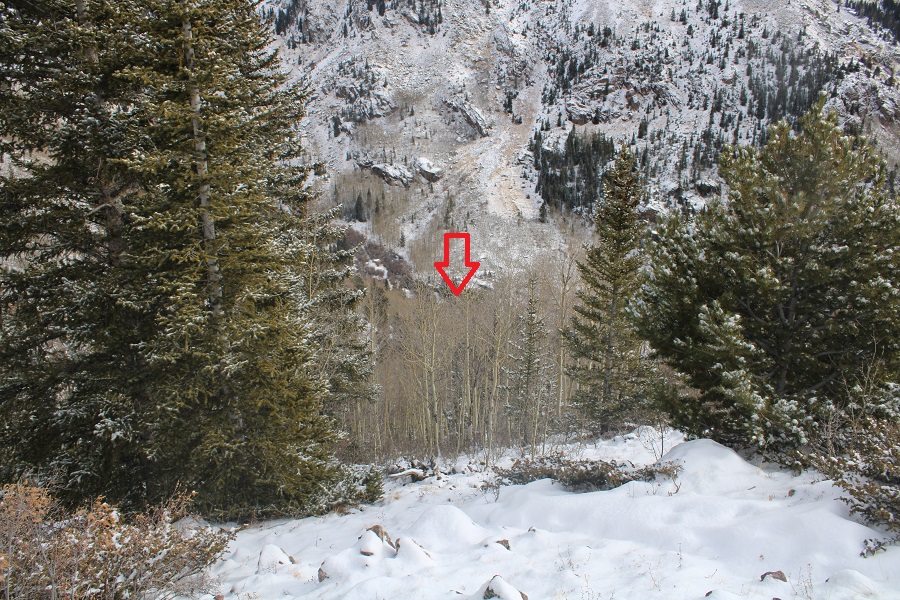
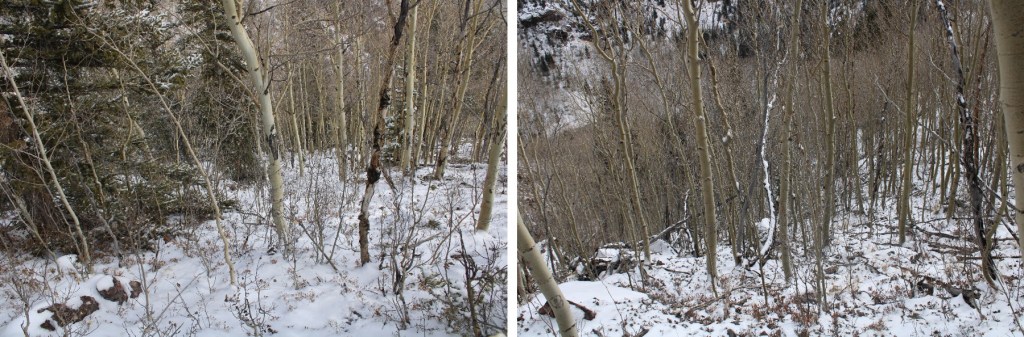
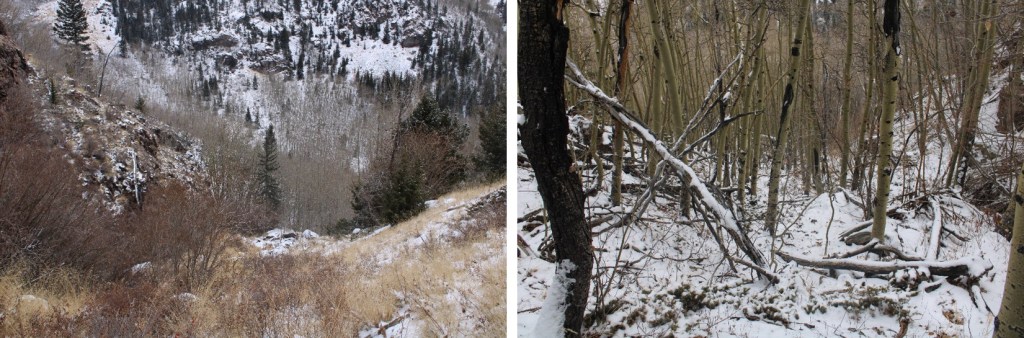
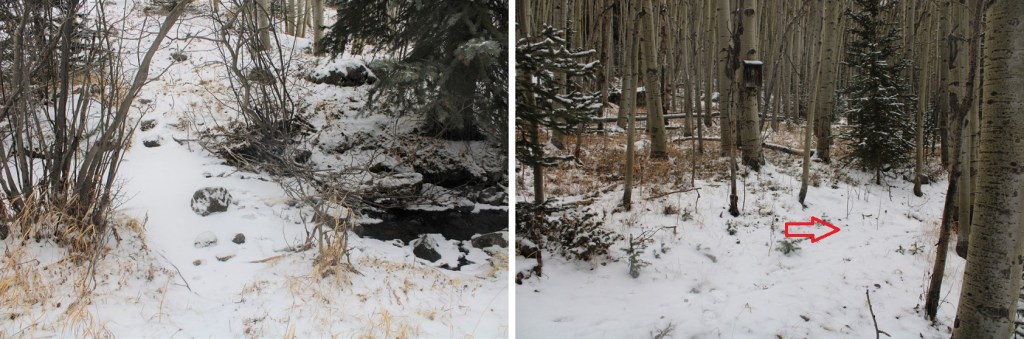
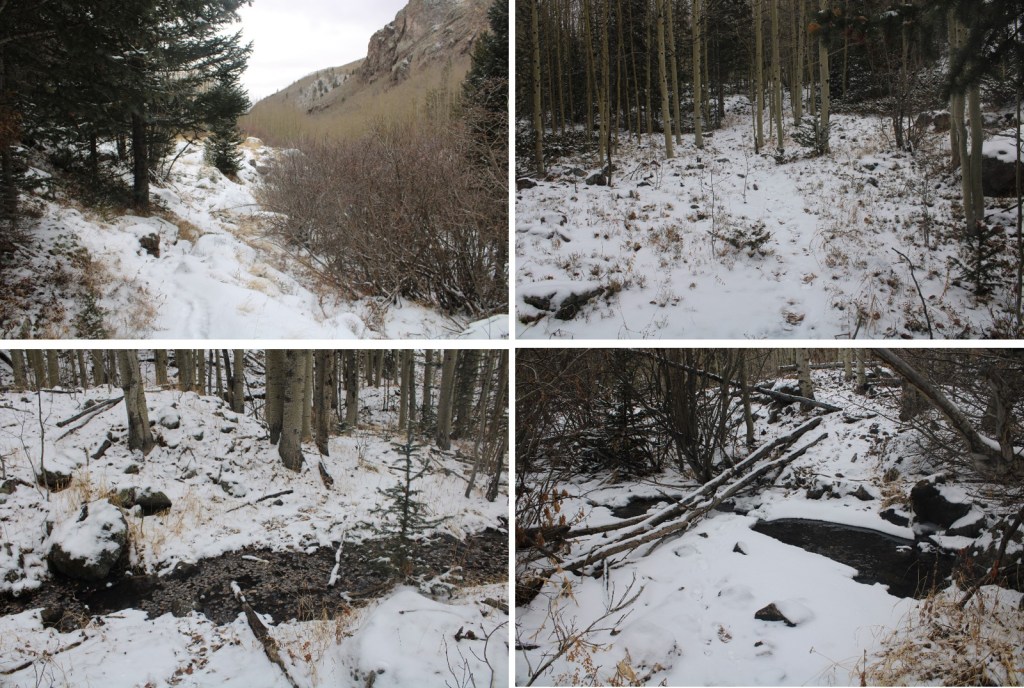
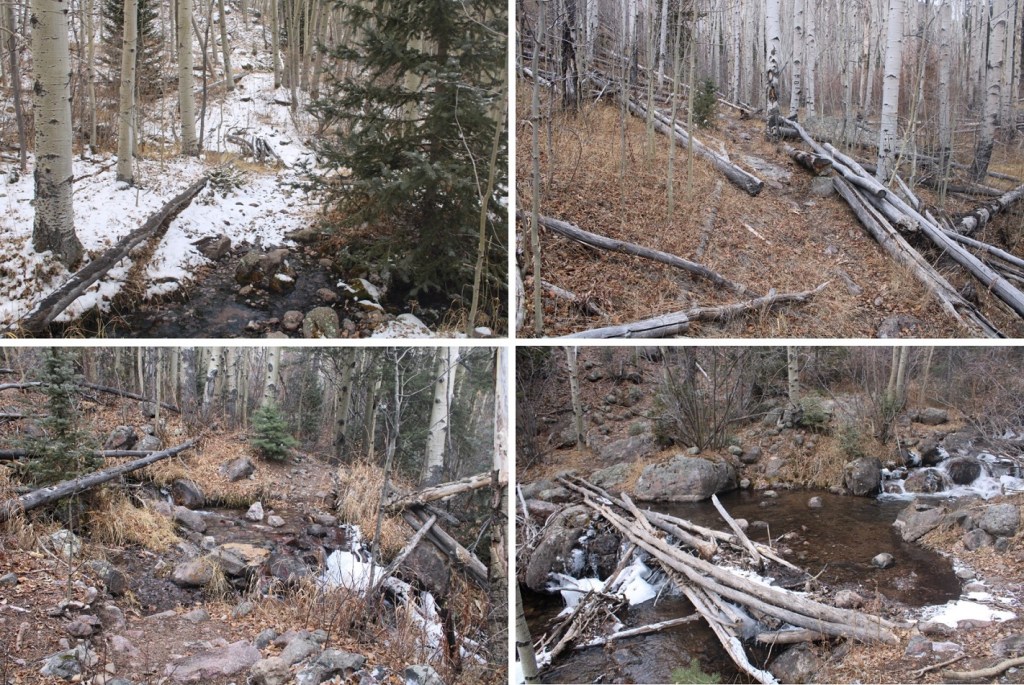
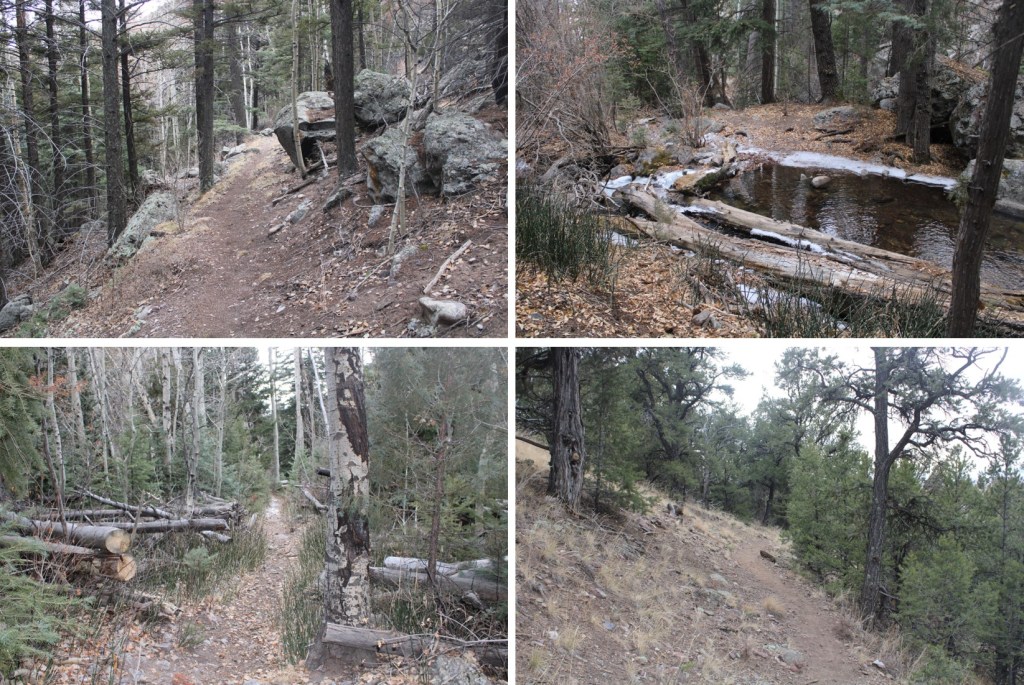
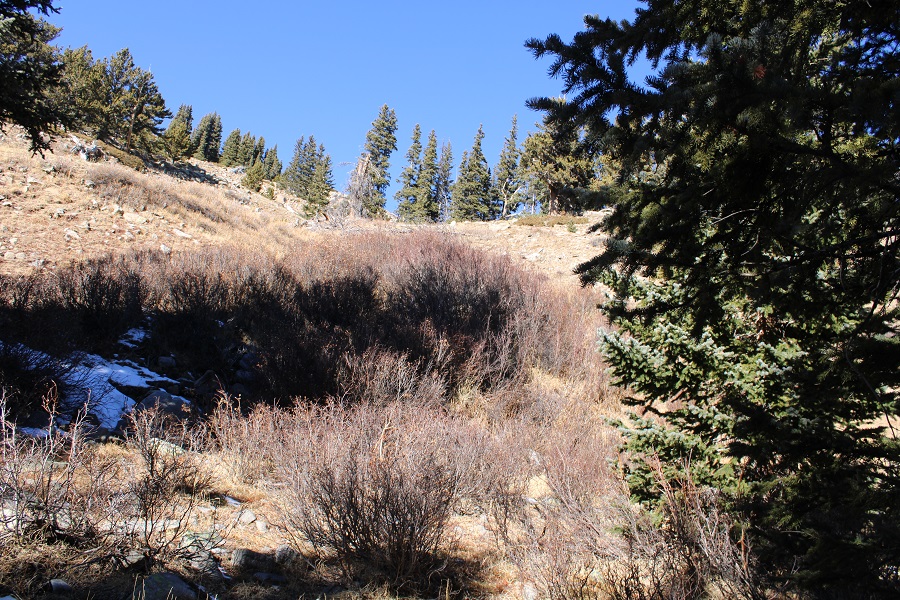
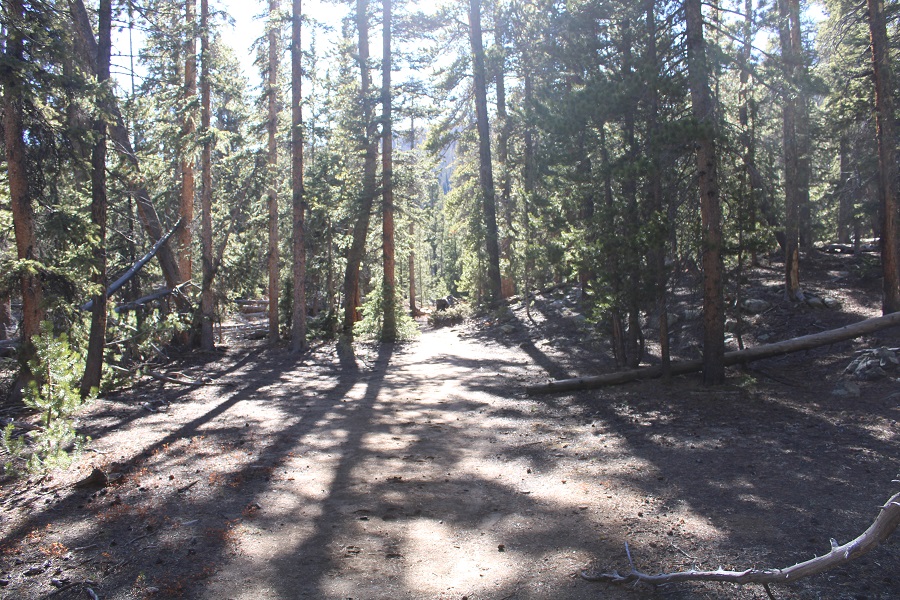
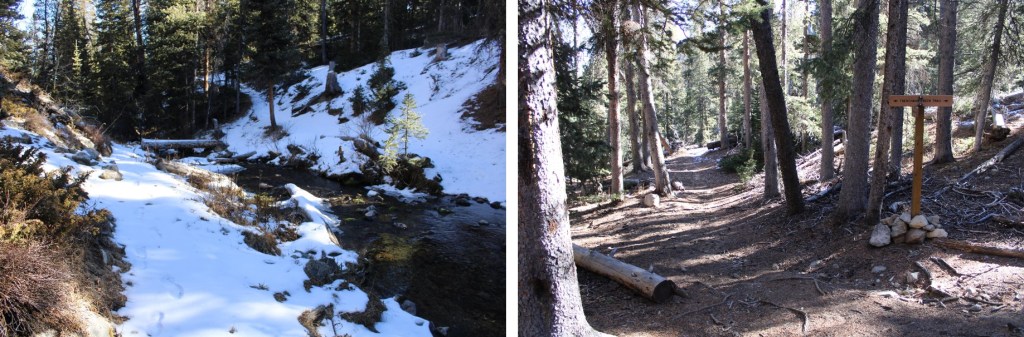
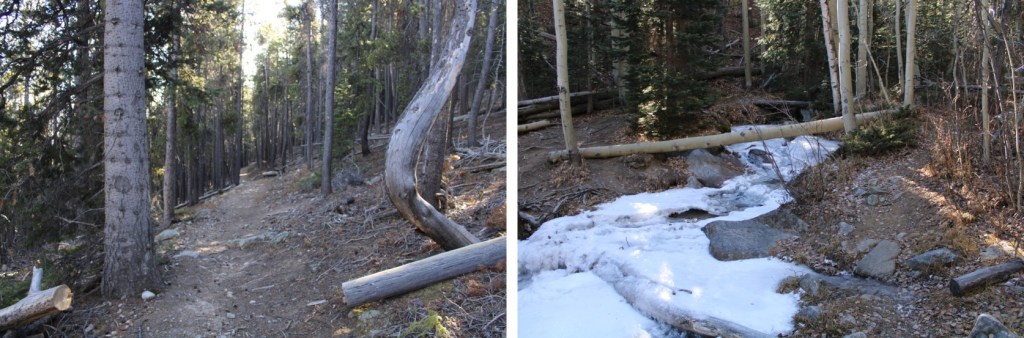
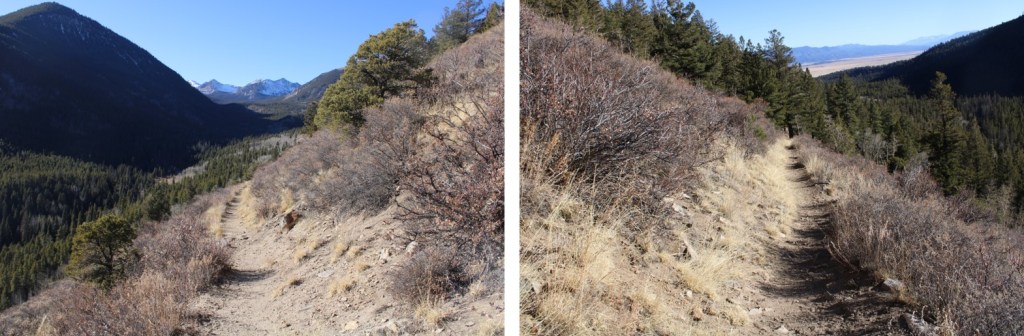
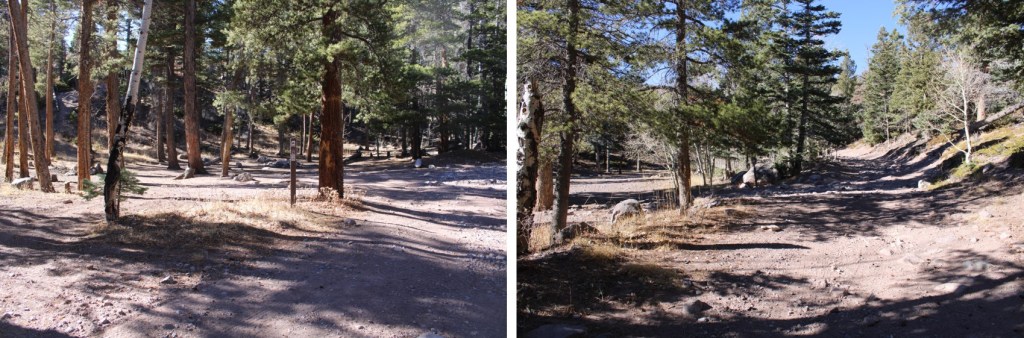
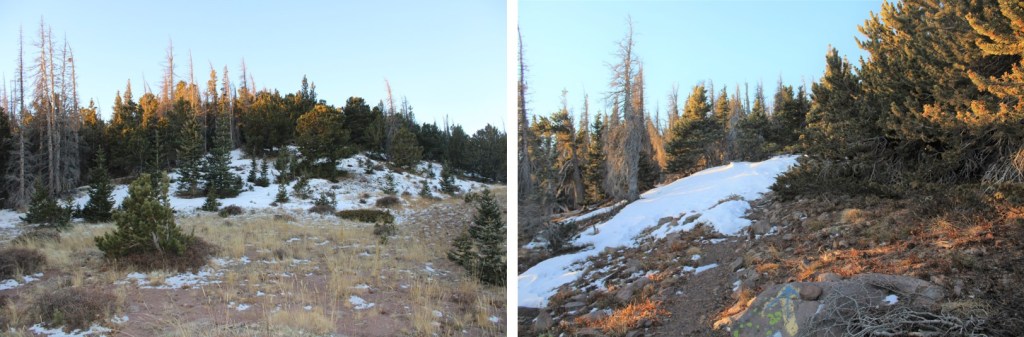
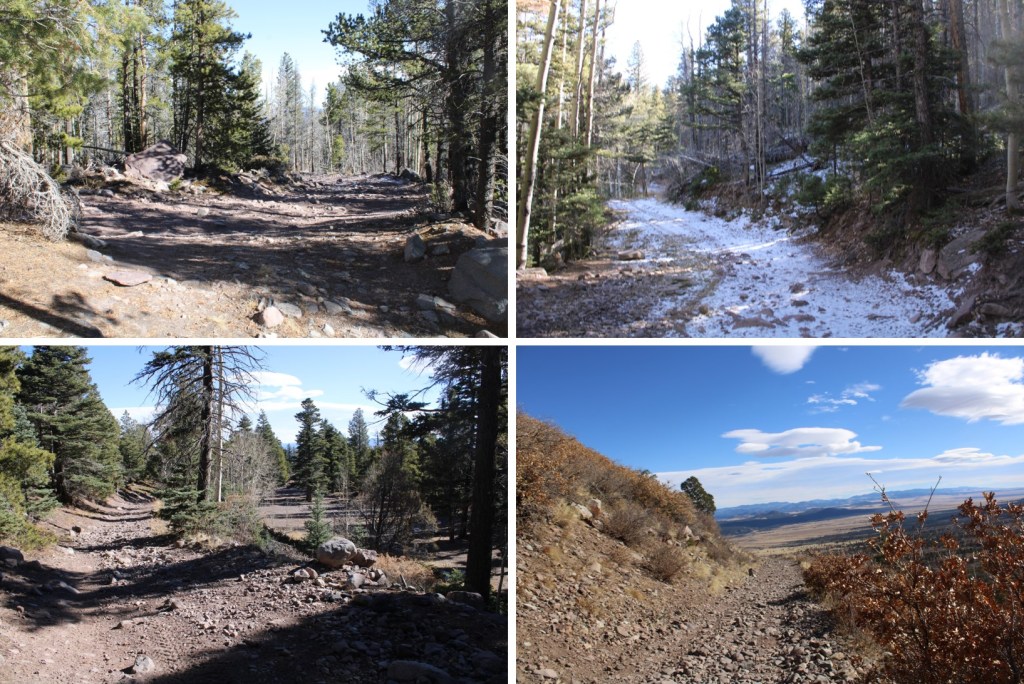
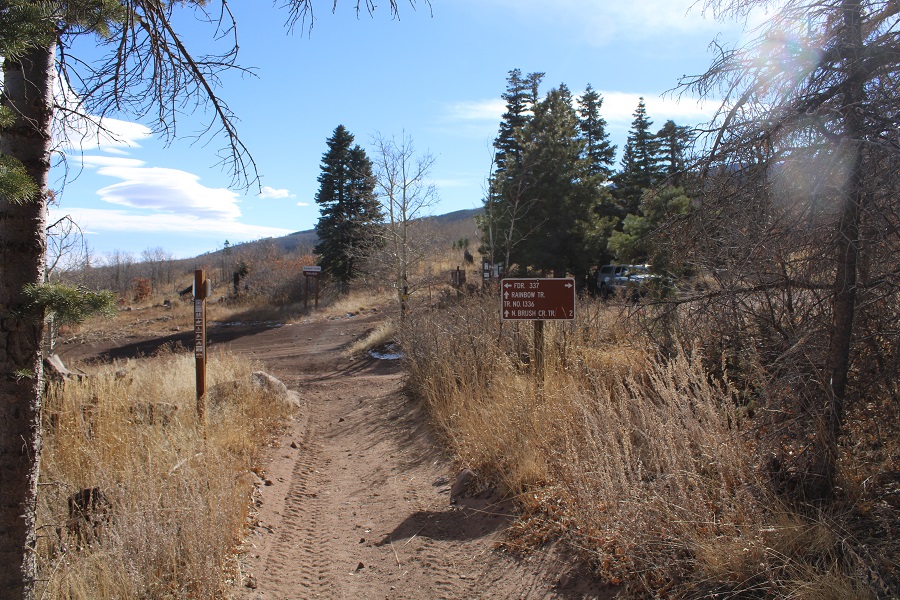
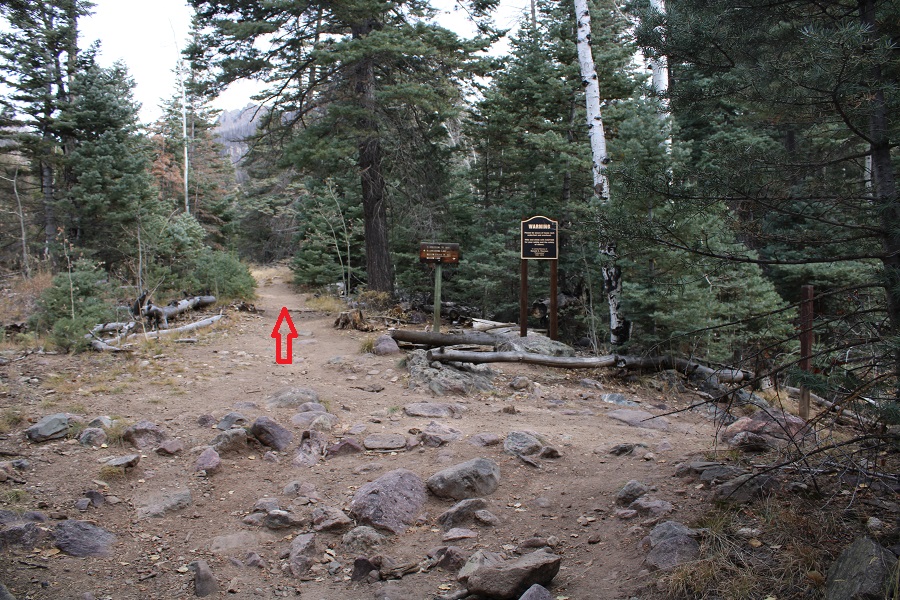
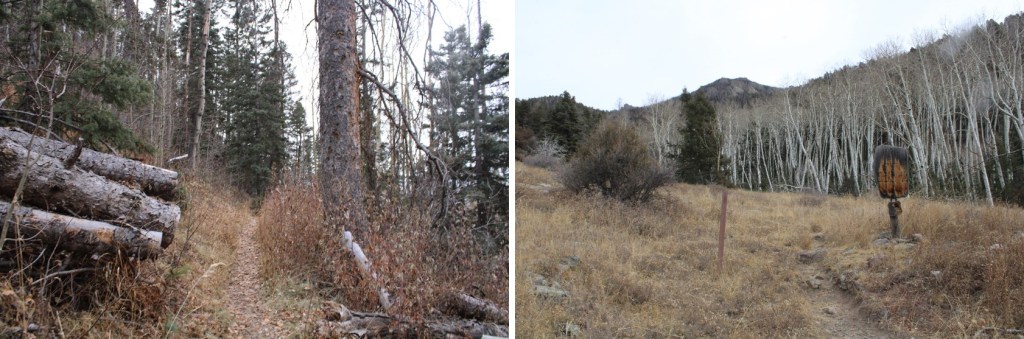
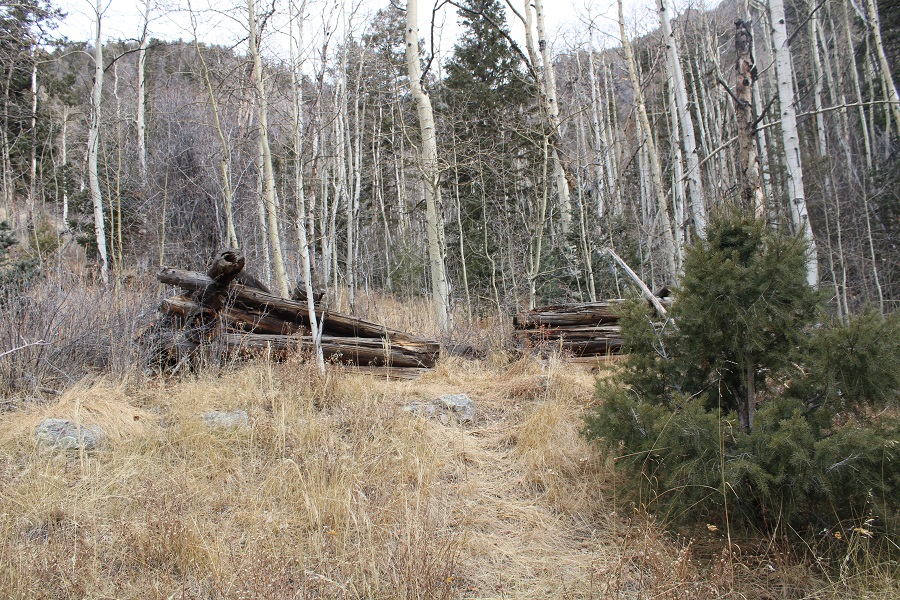
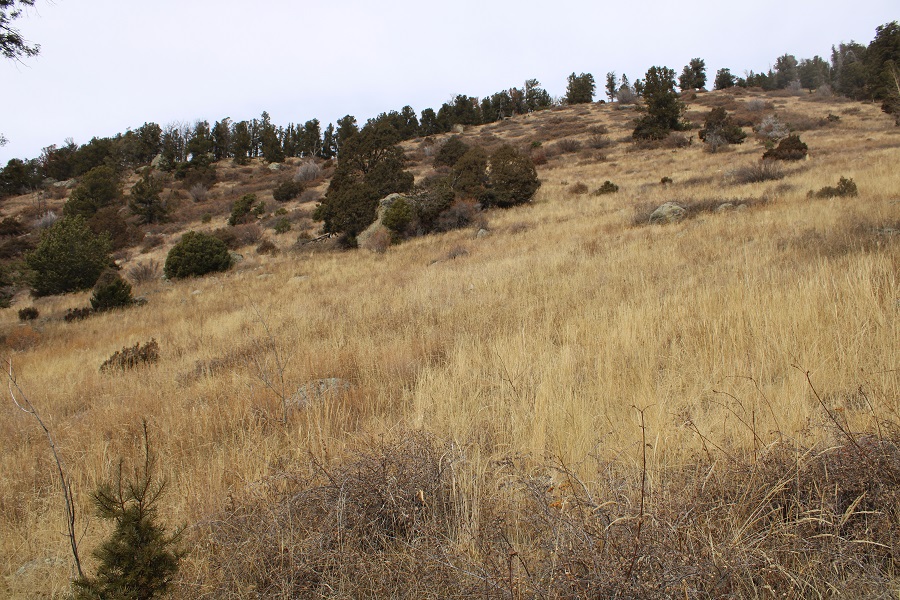
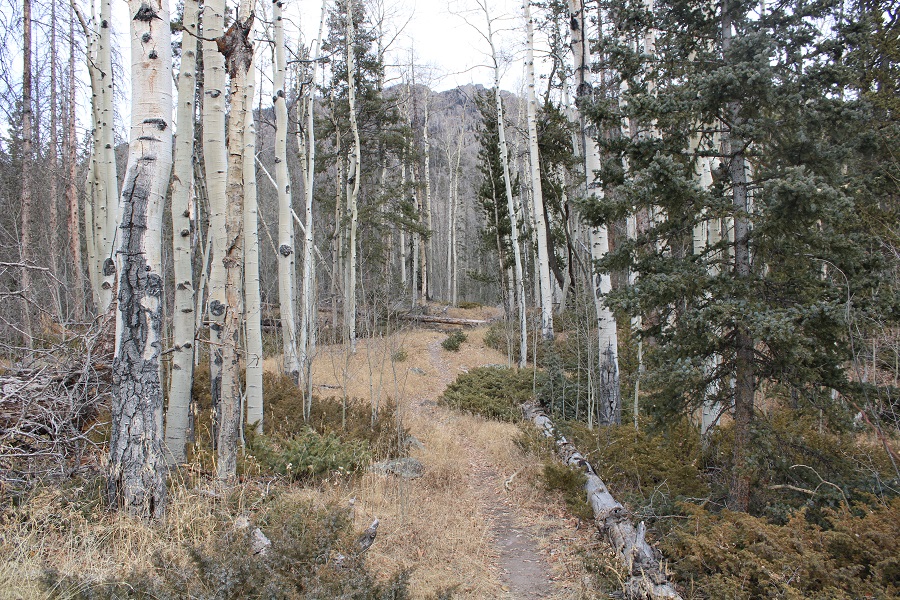
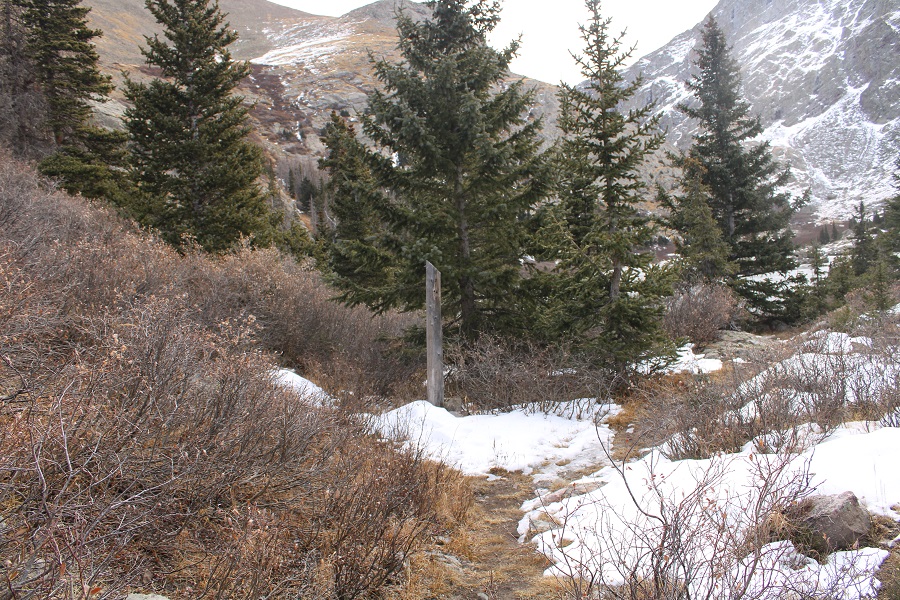
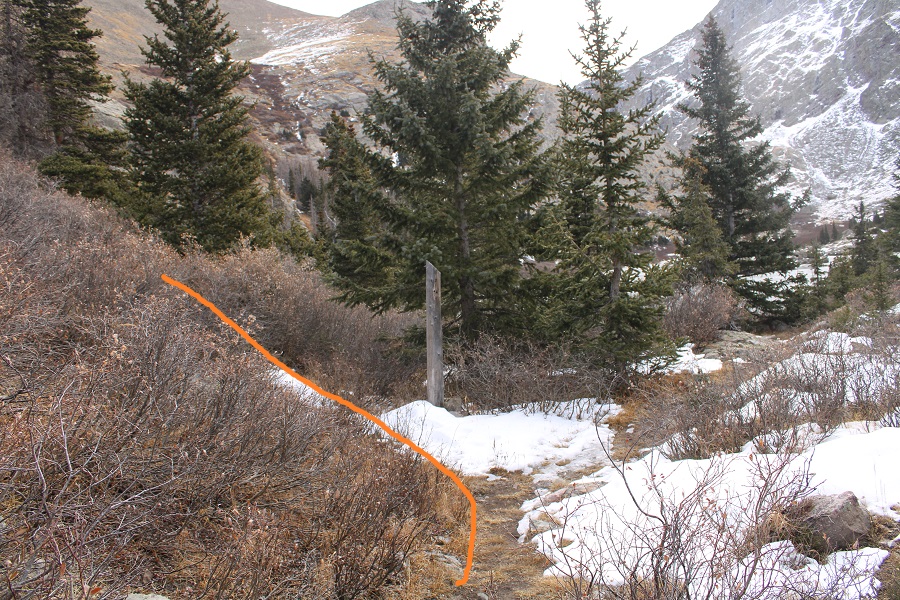
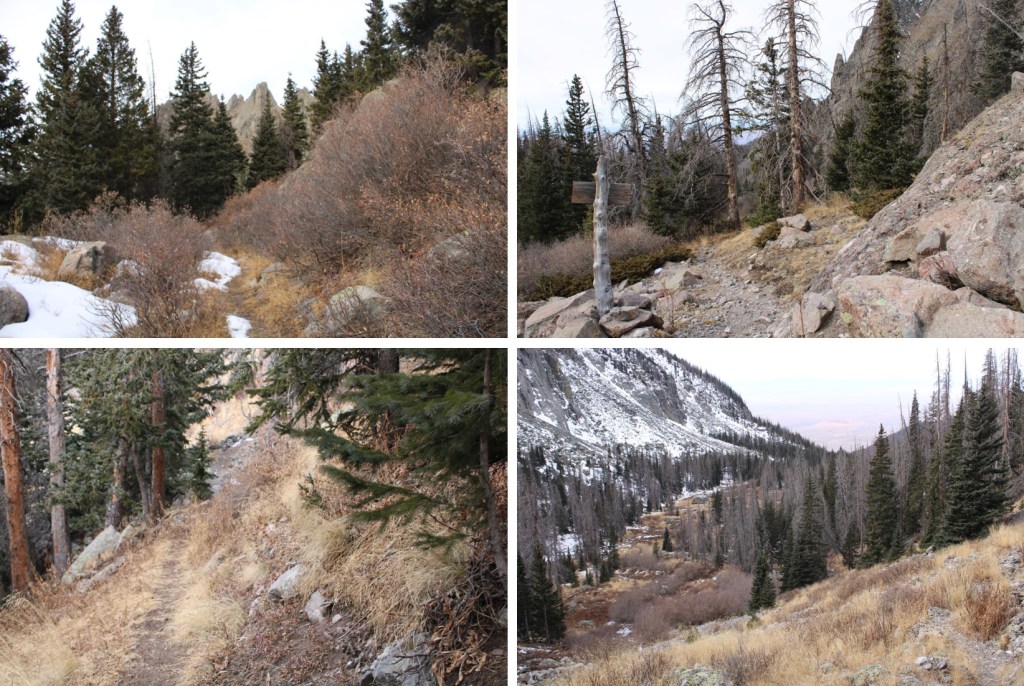
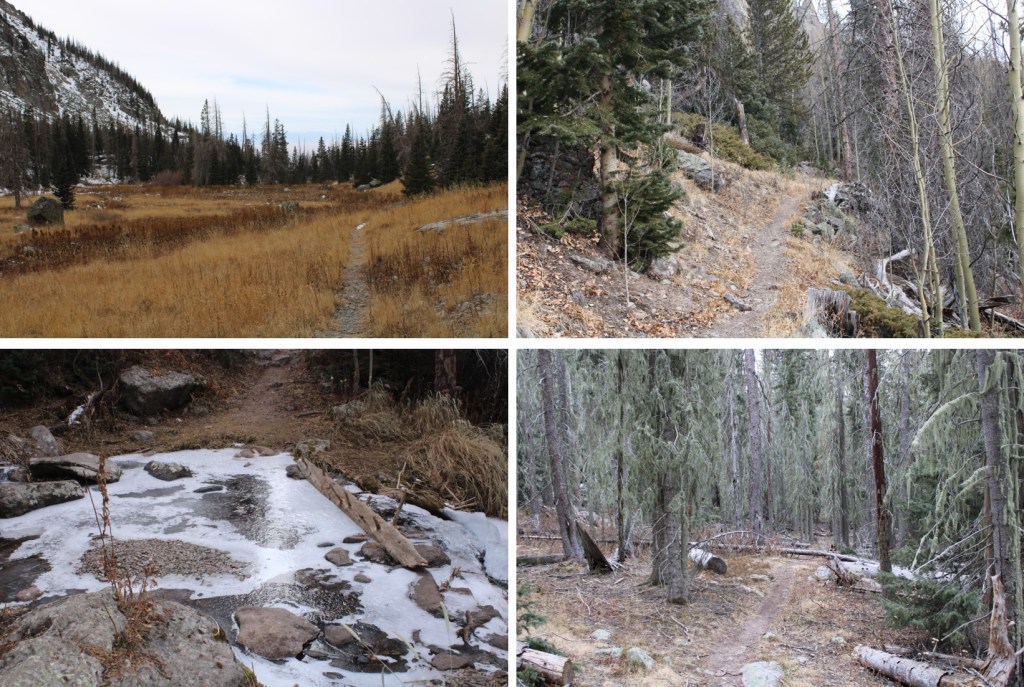
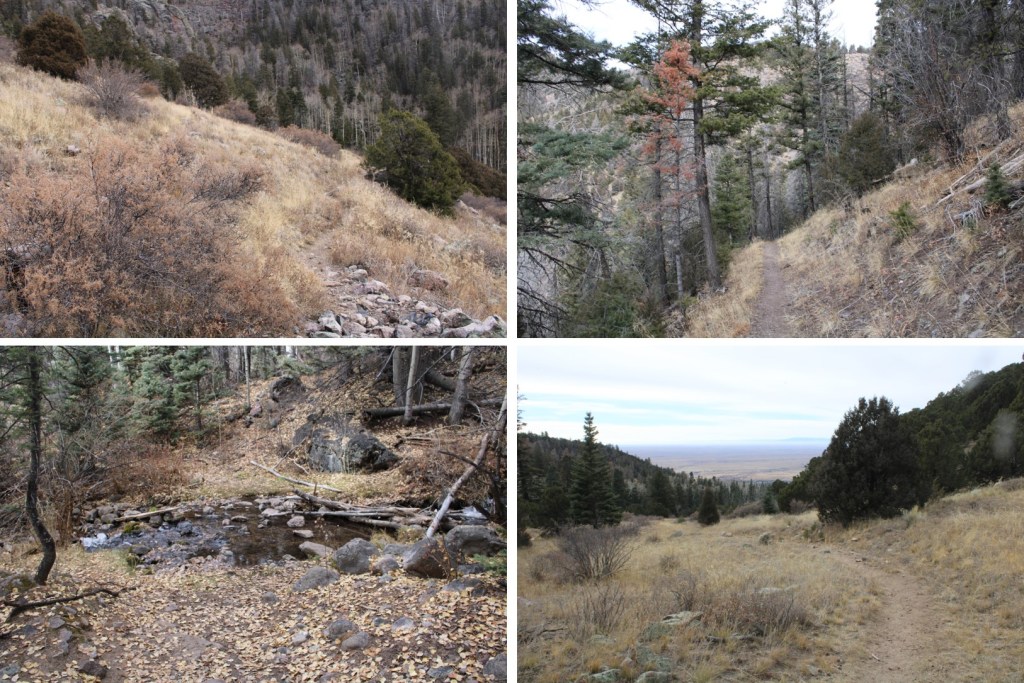
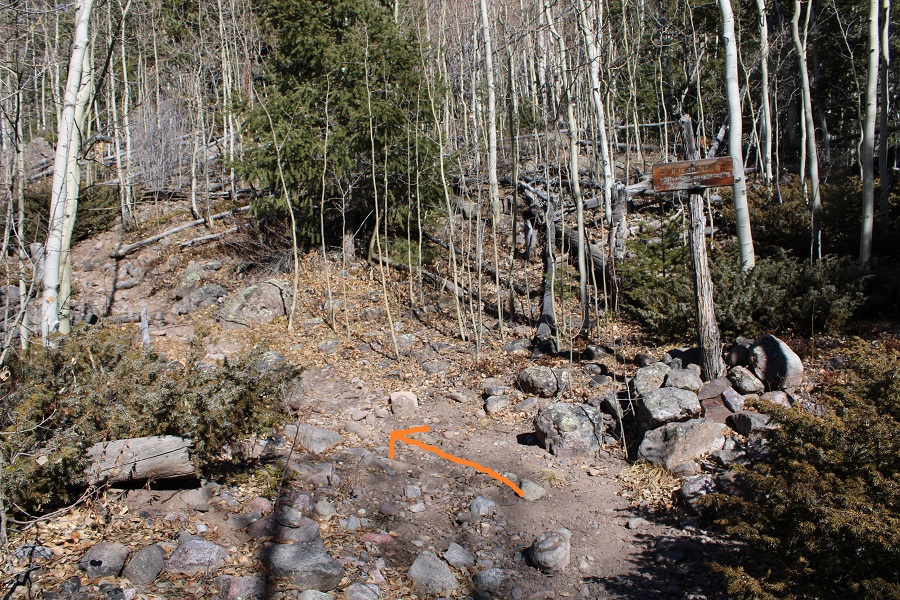
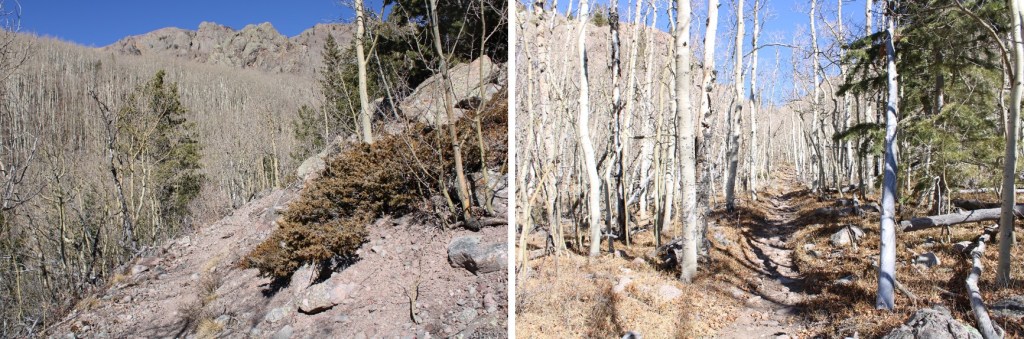
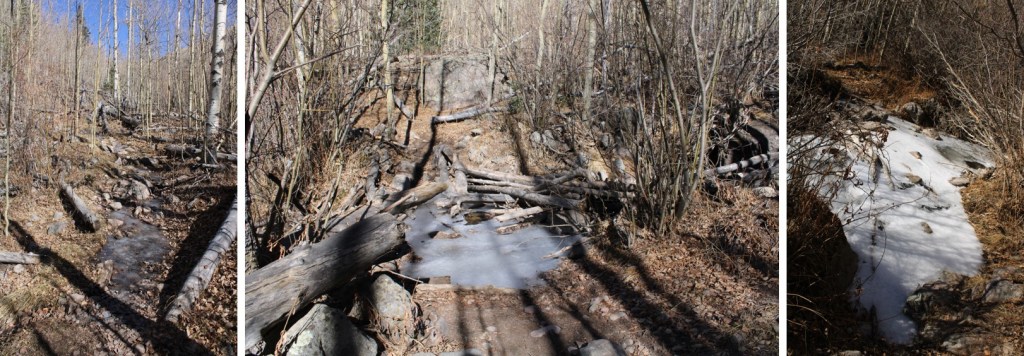
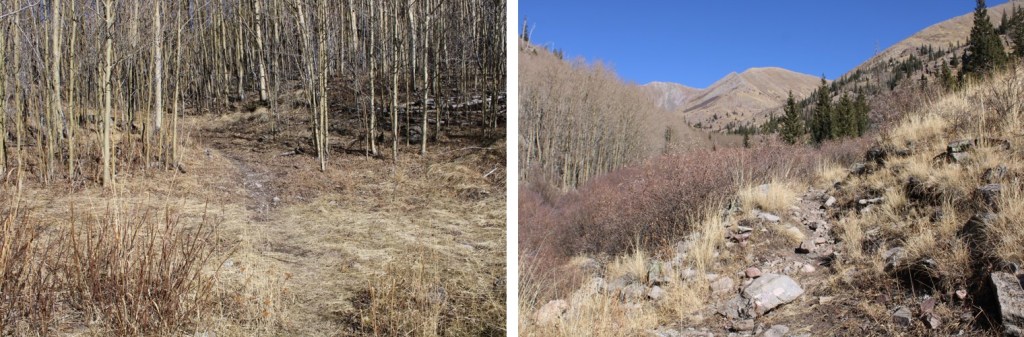
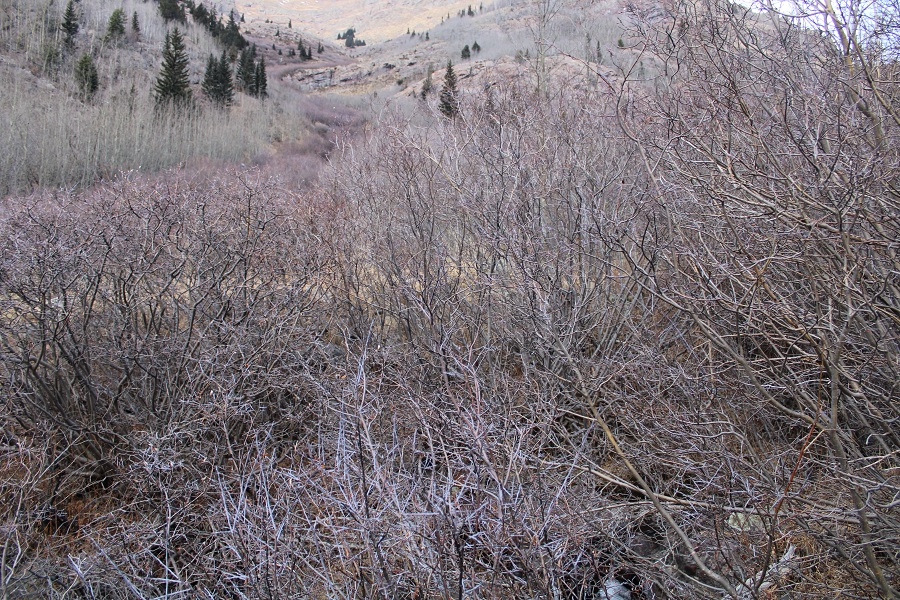
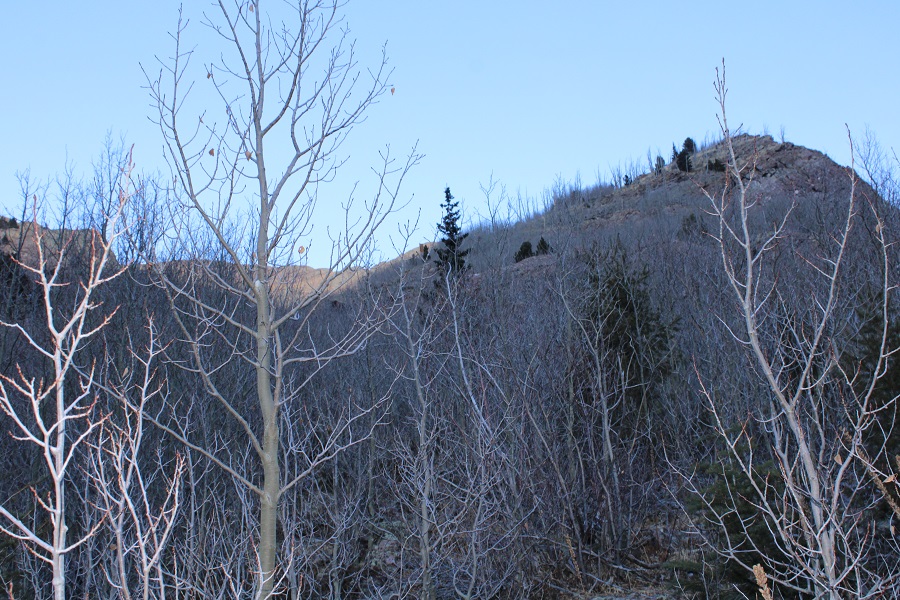
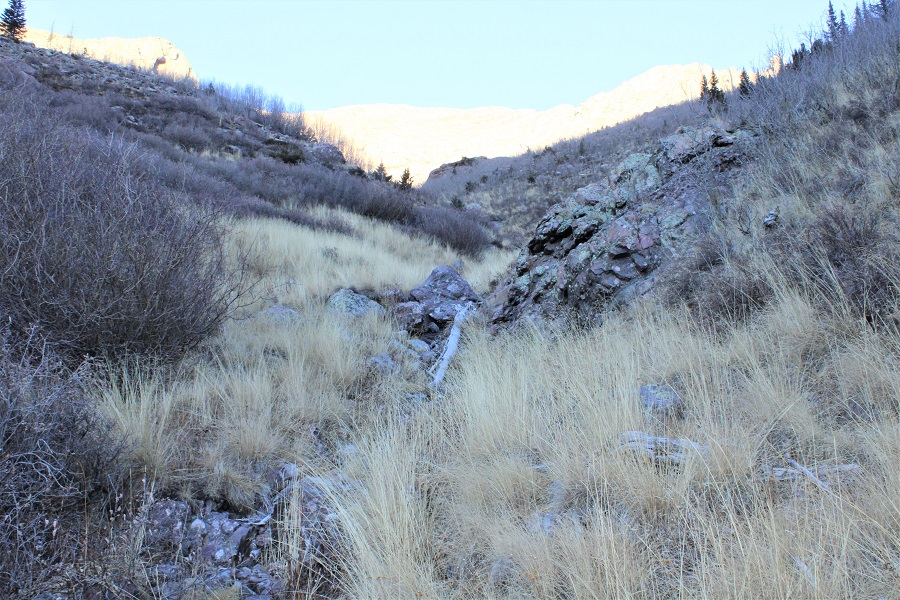
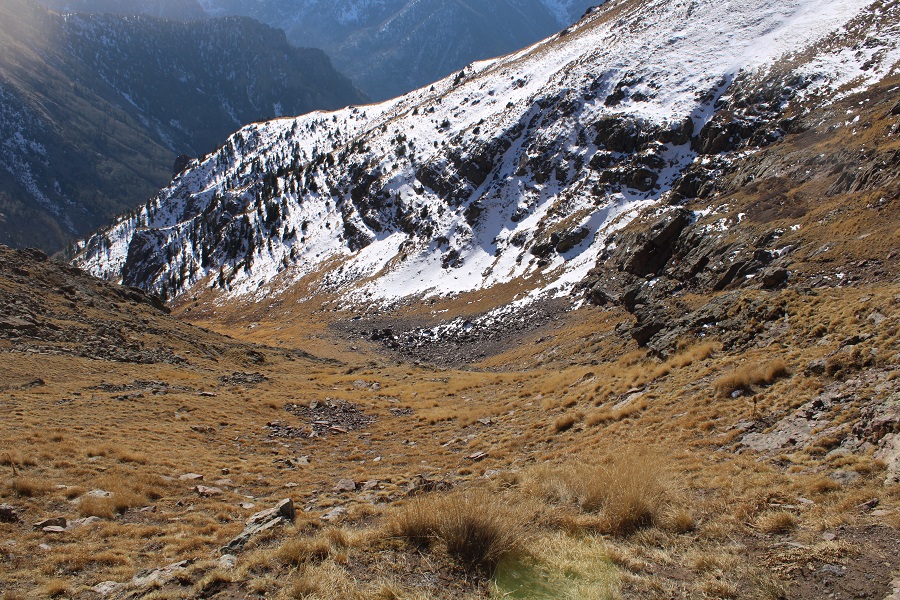
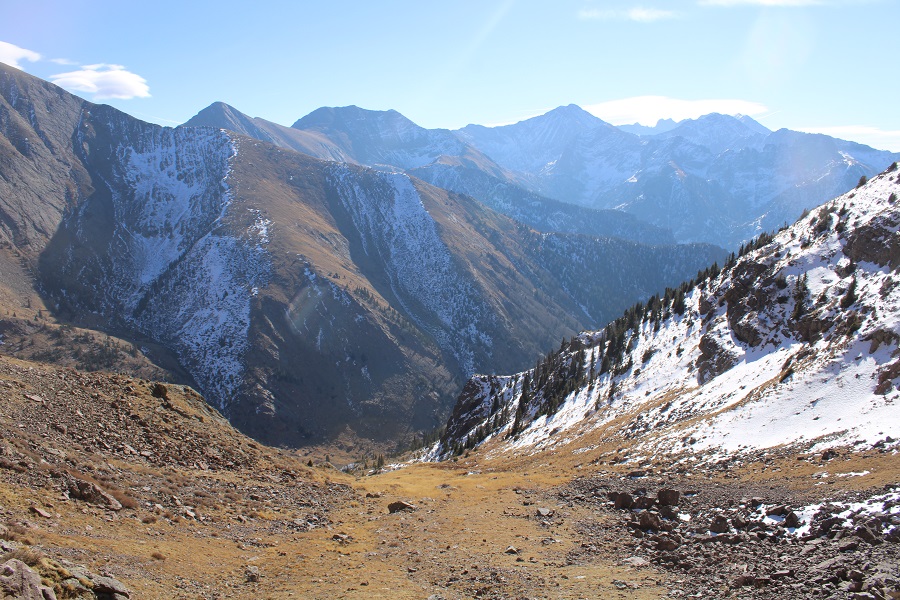
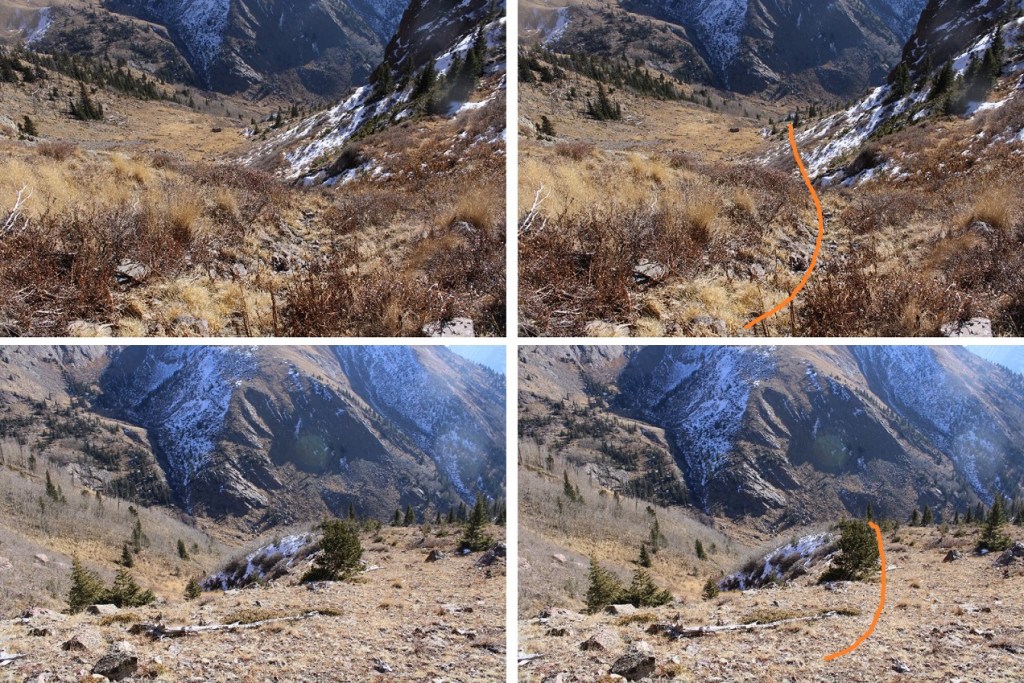
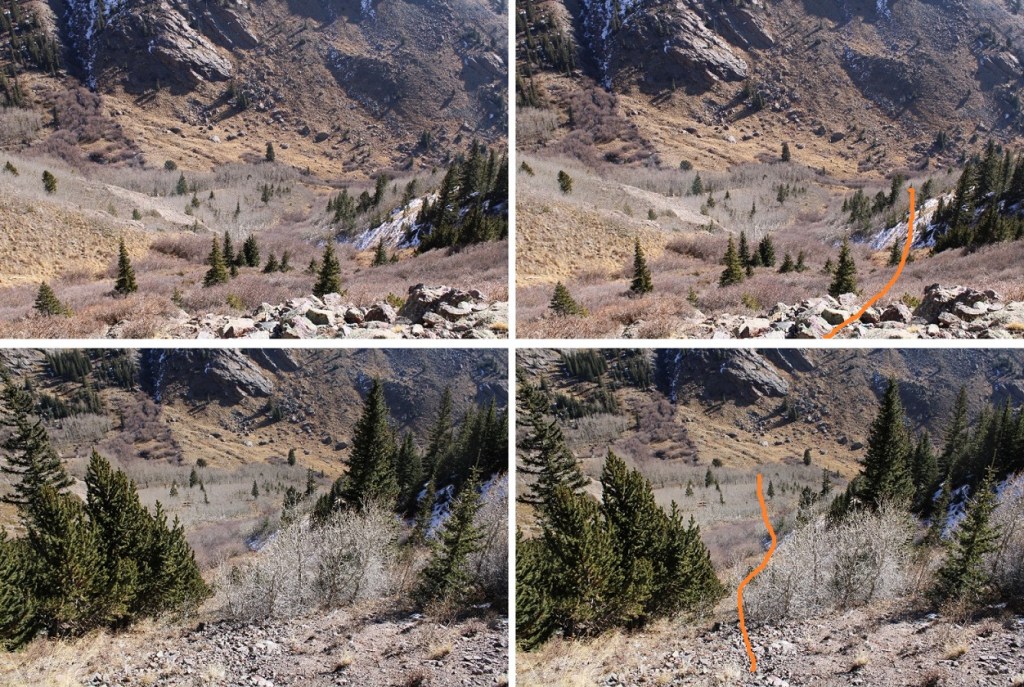
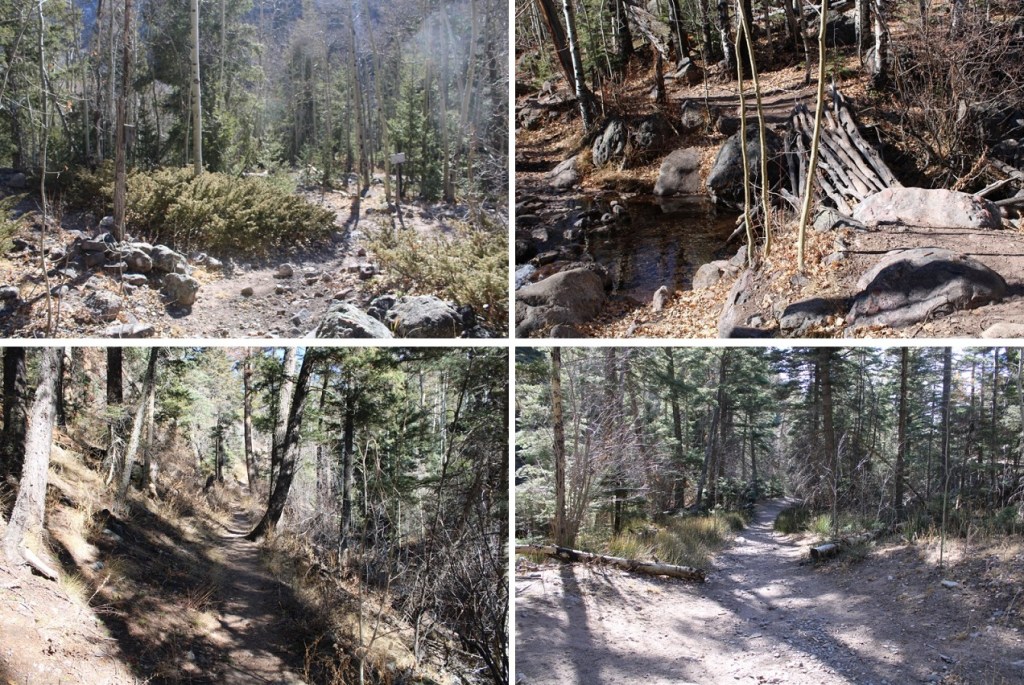
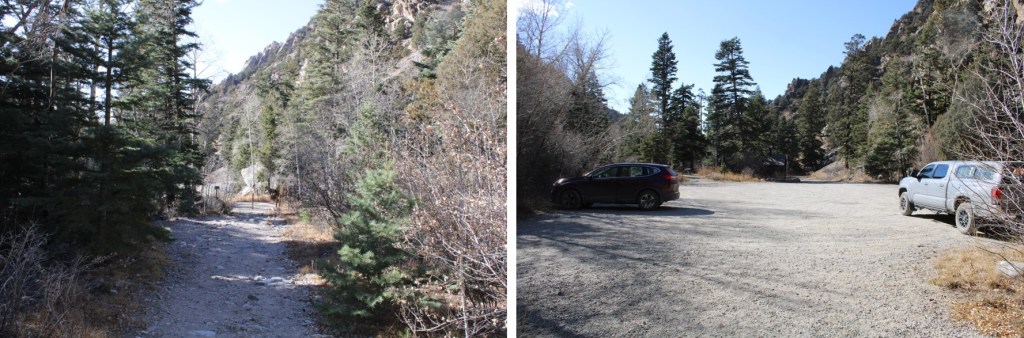
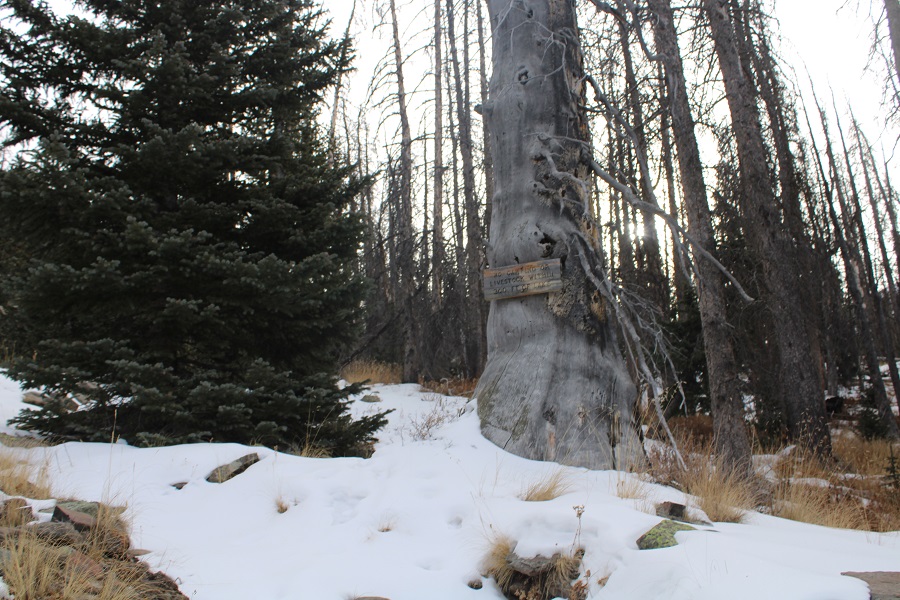
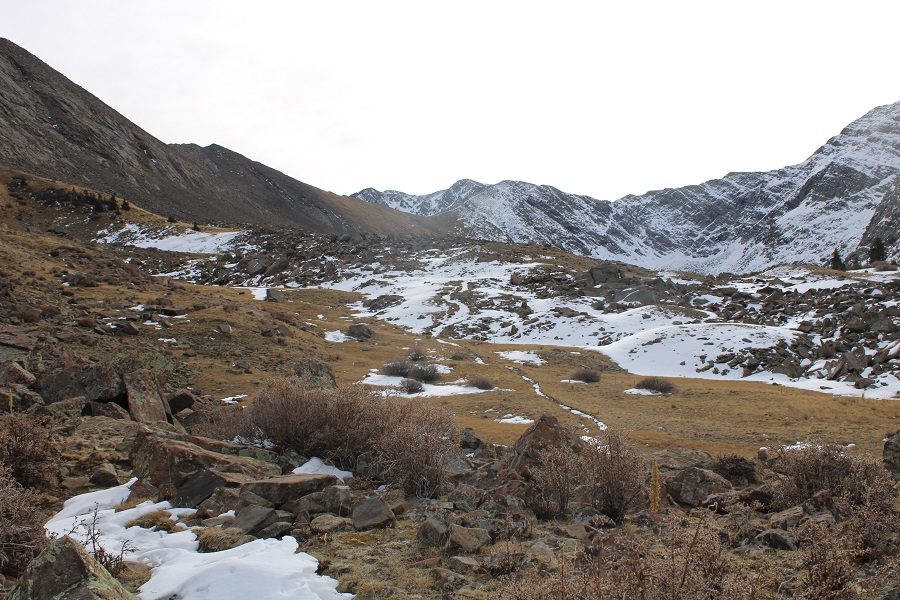
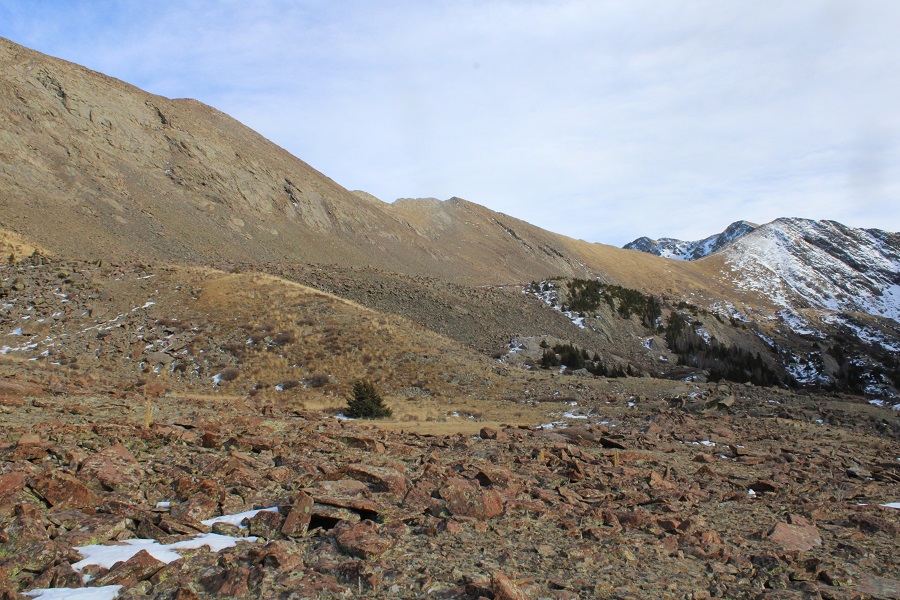
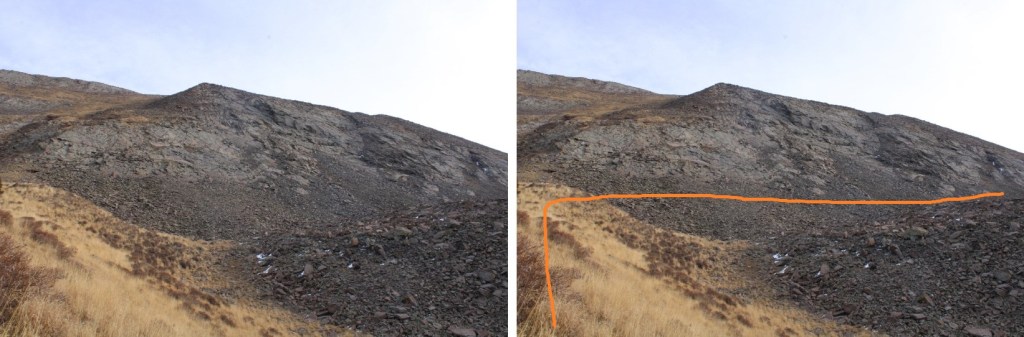
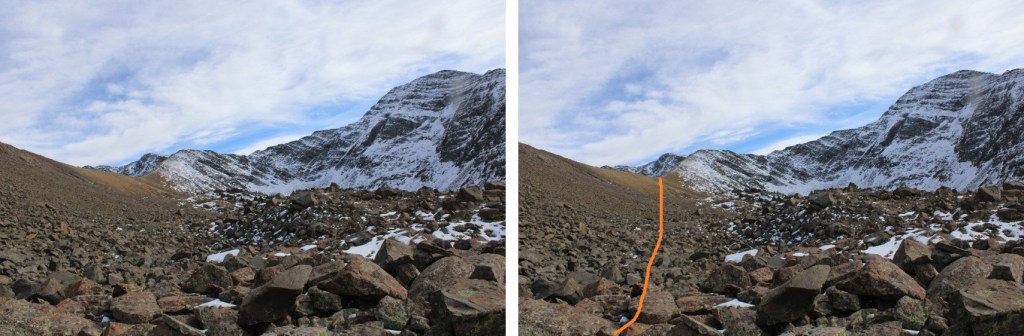
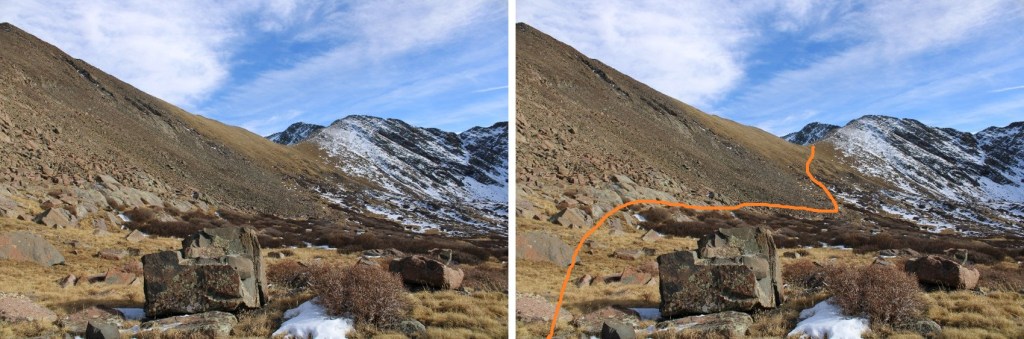
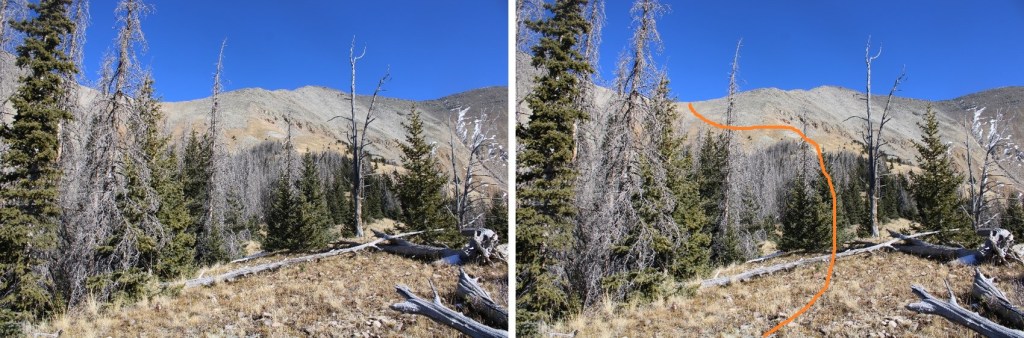
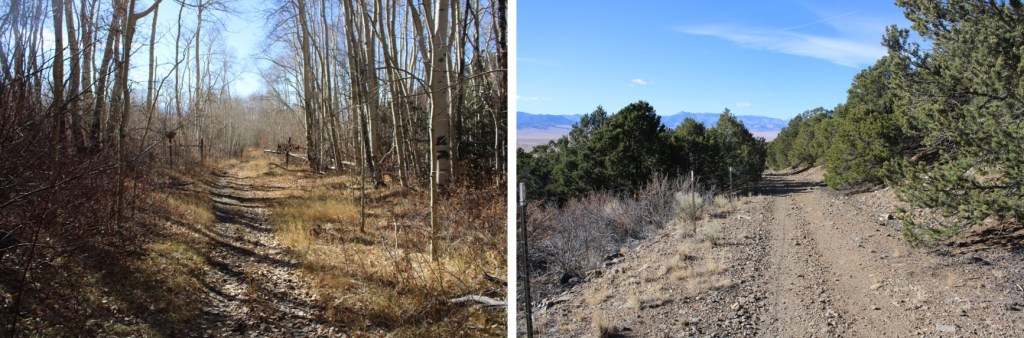
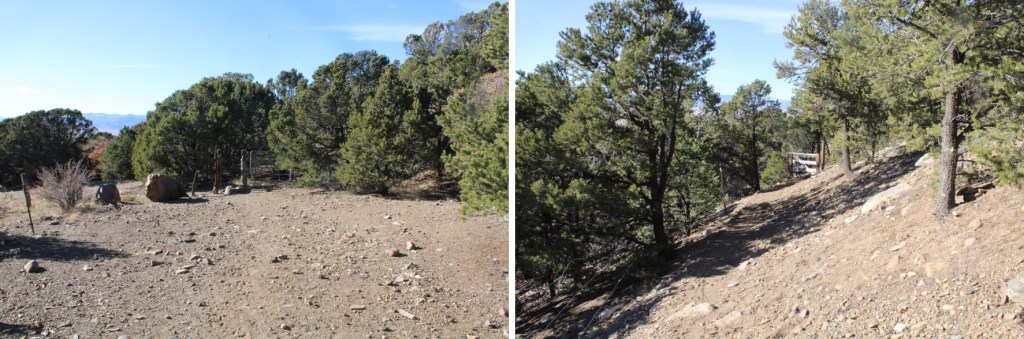
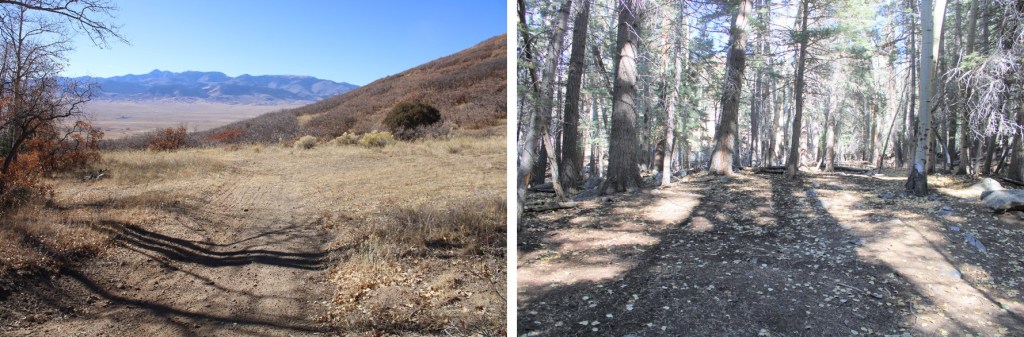
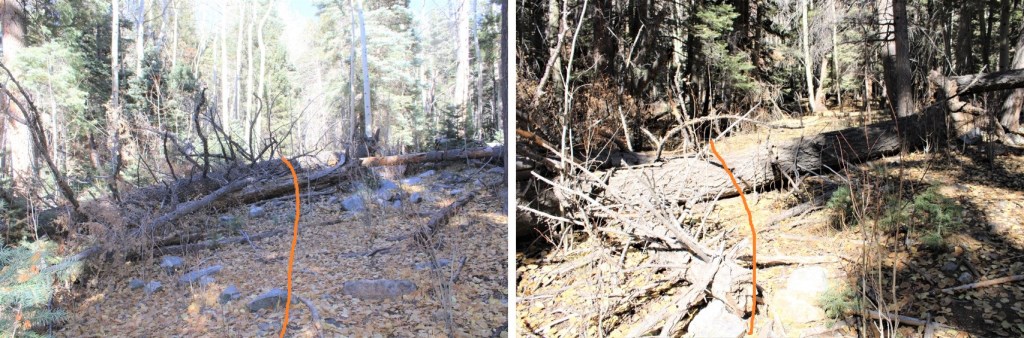
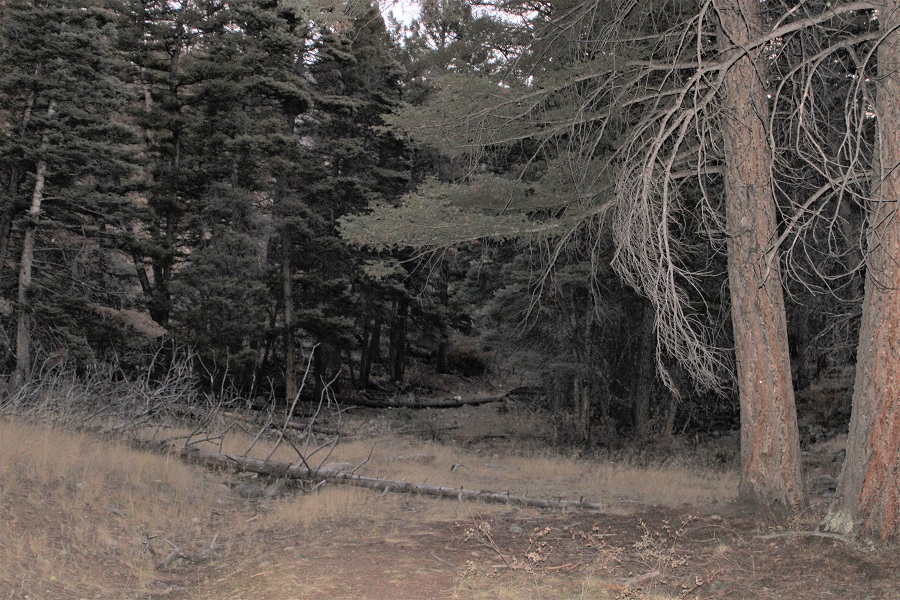
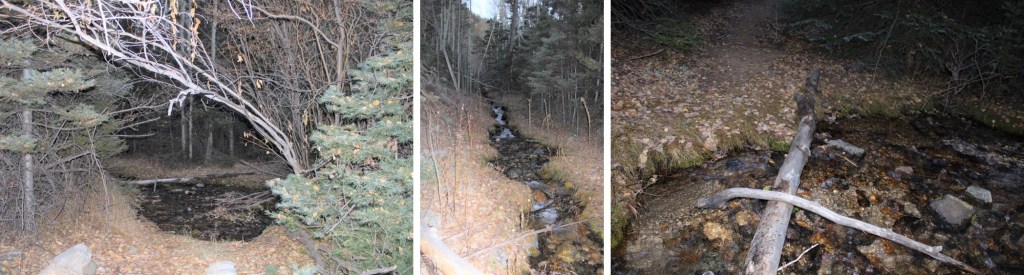
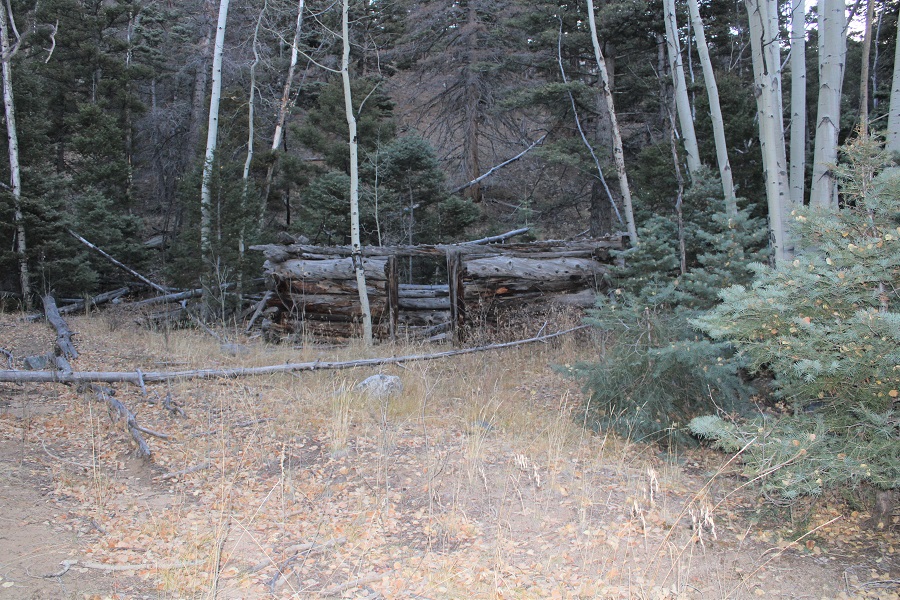
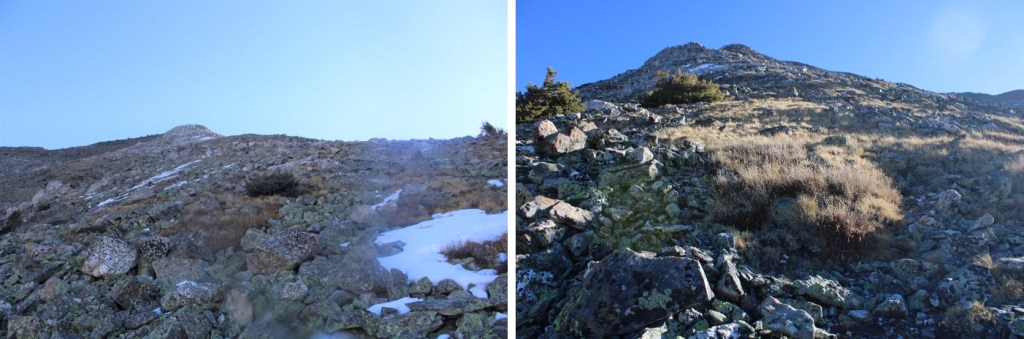
Here are some pictures of the way to the gully… I just followed the road to a mine
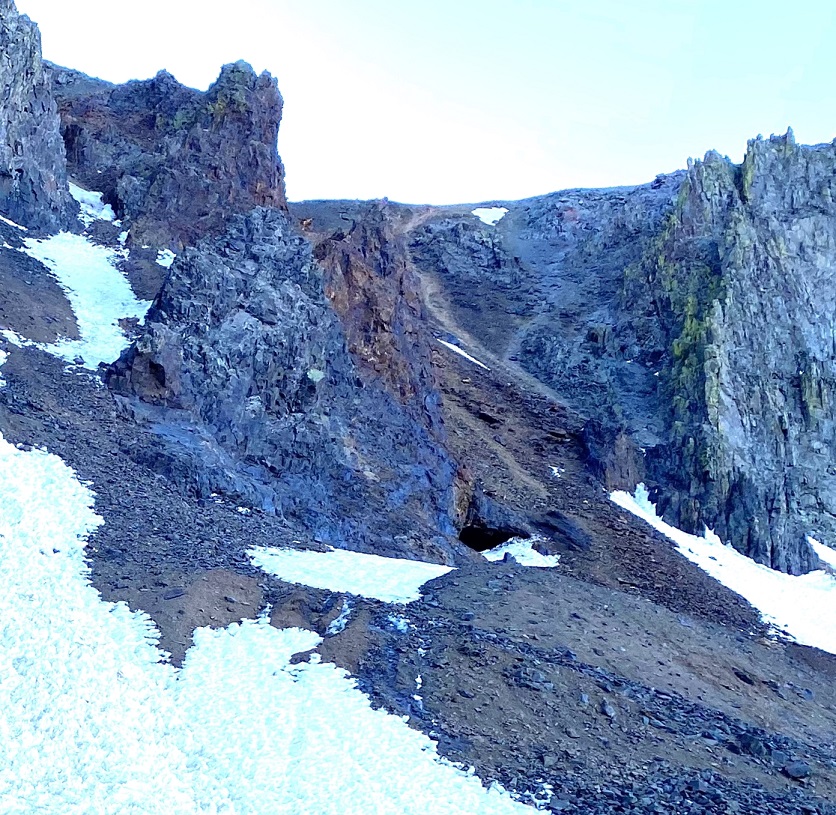
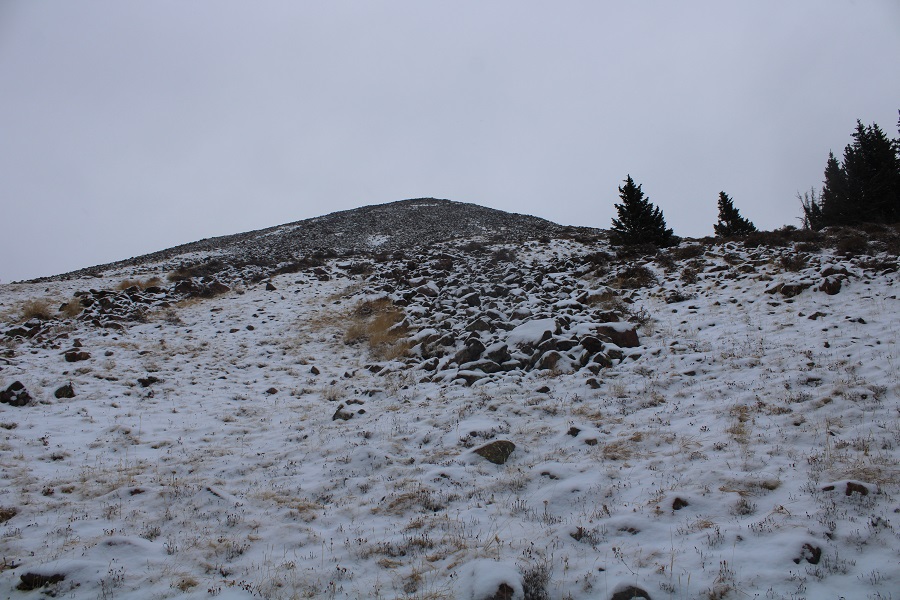
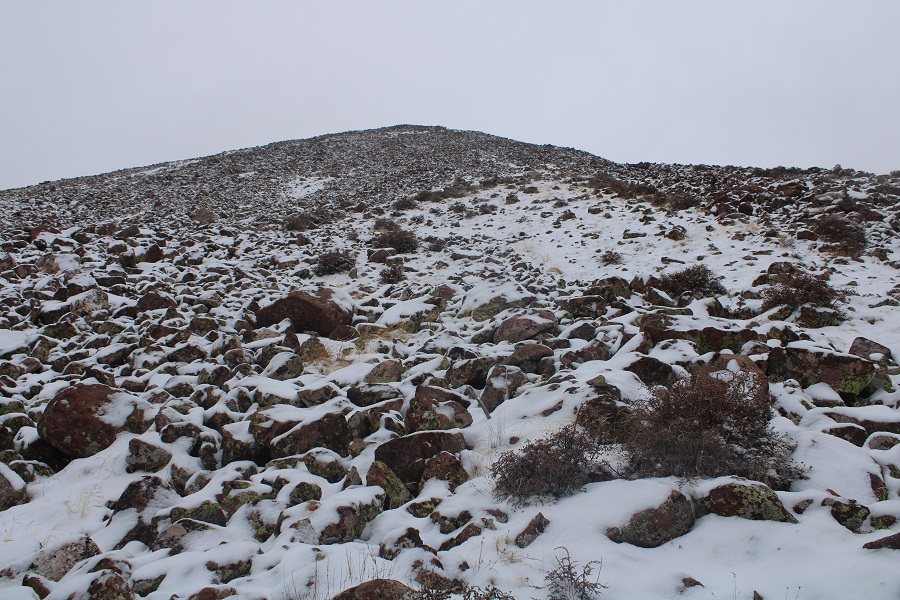
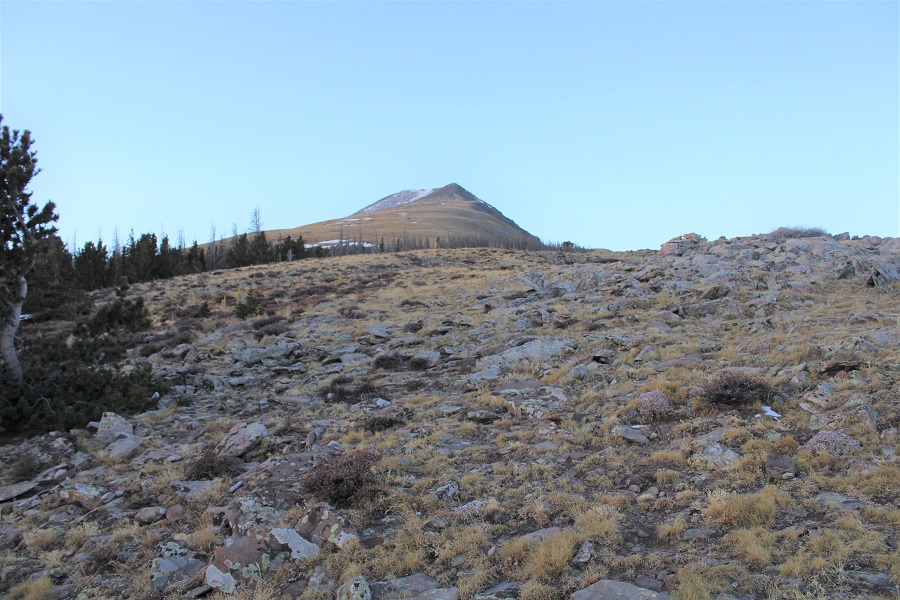
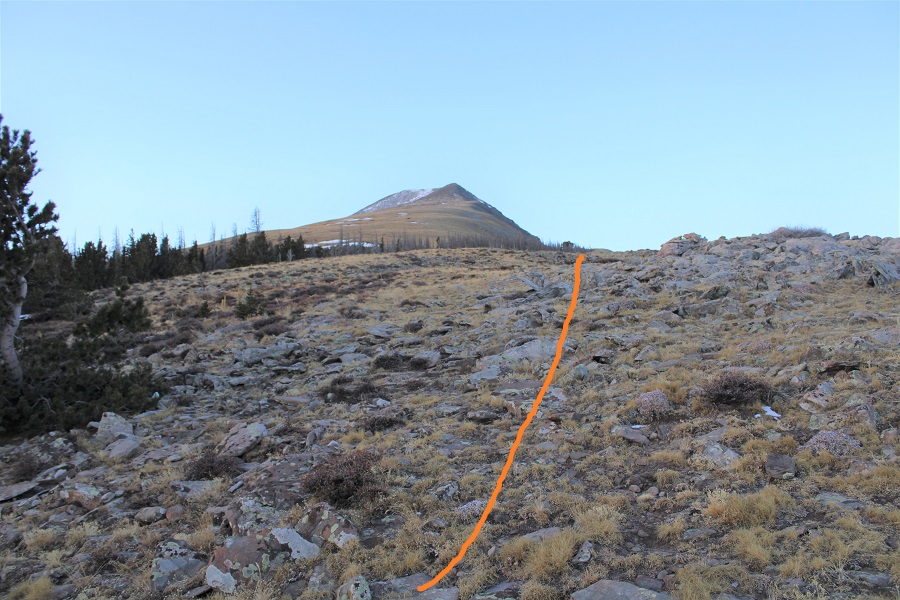
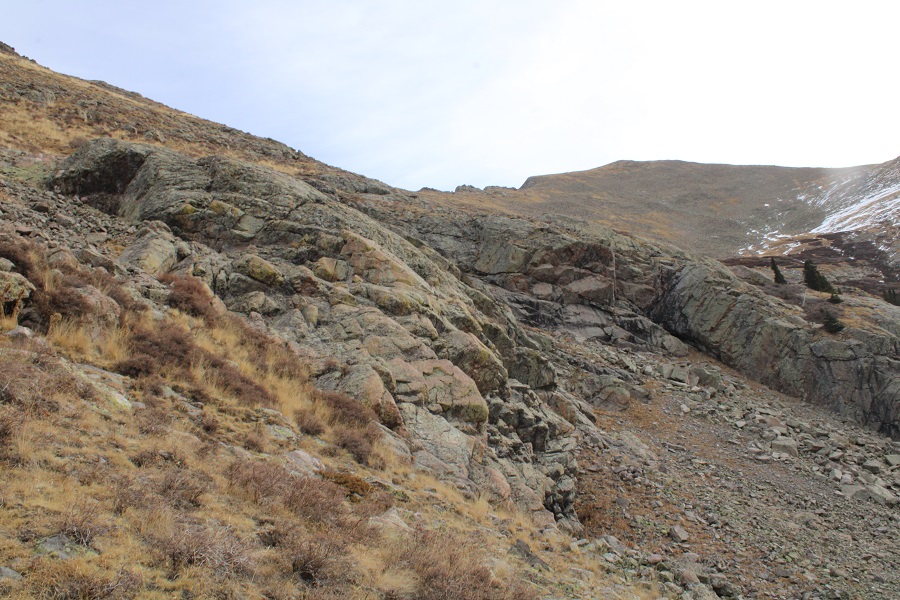
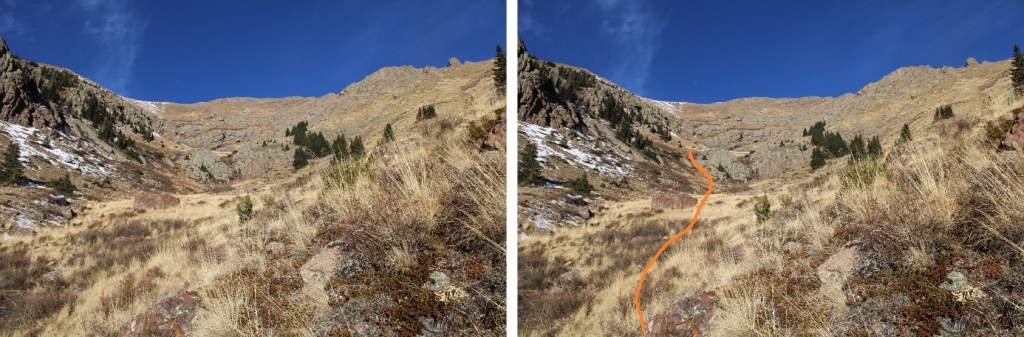
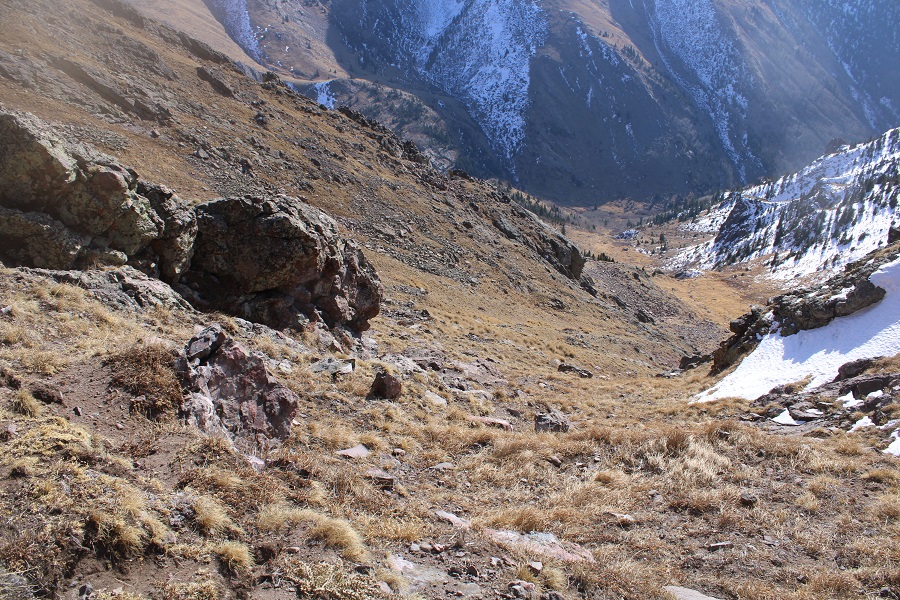
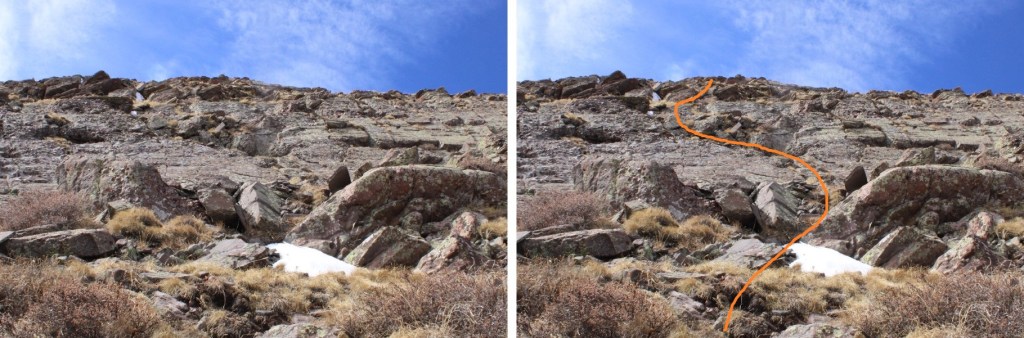
Once at the base, the route looked simple enough: I just needed to get up the gully to the ridge, and take the ridge to the summit
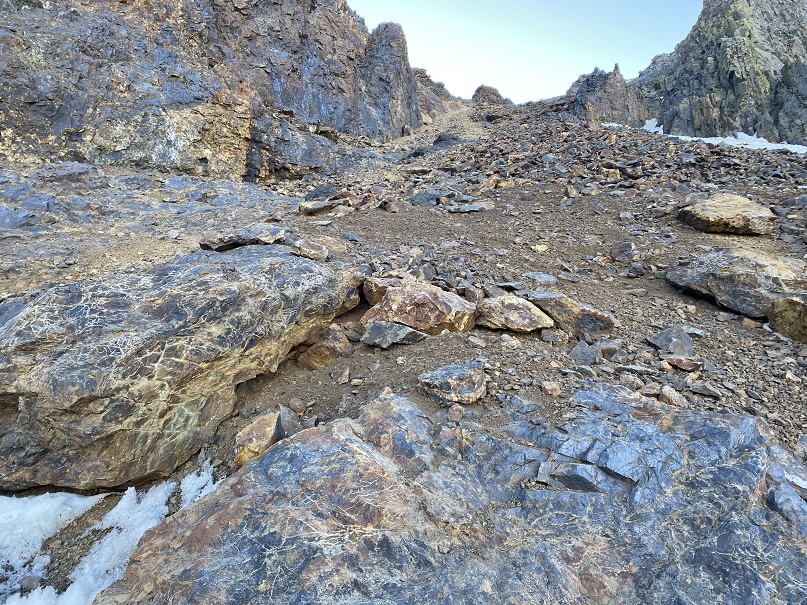
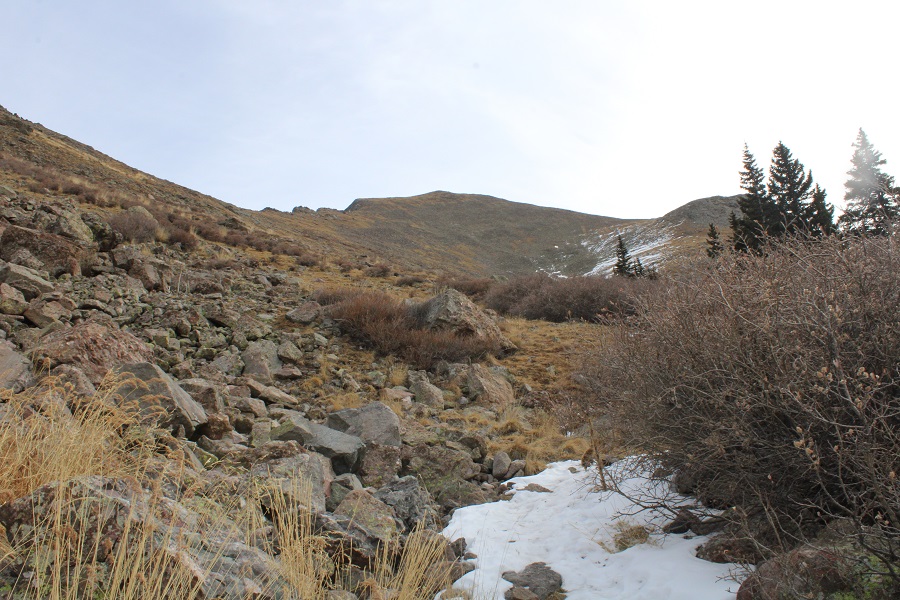
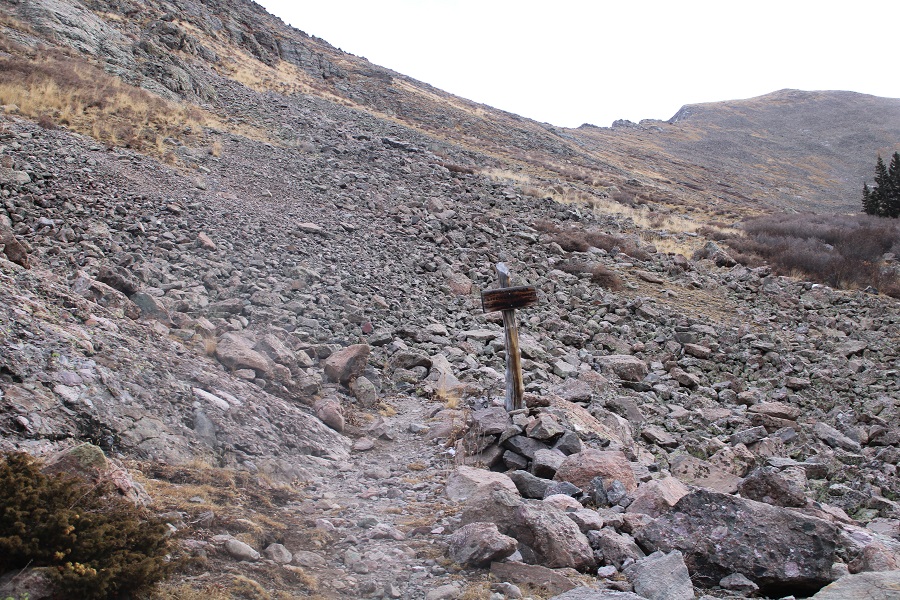
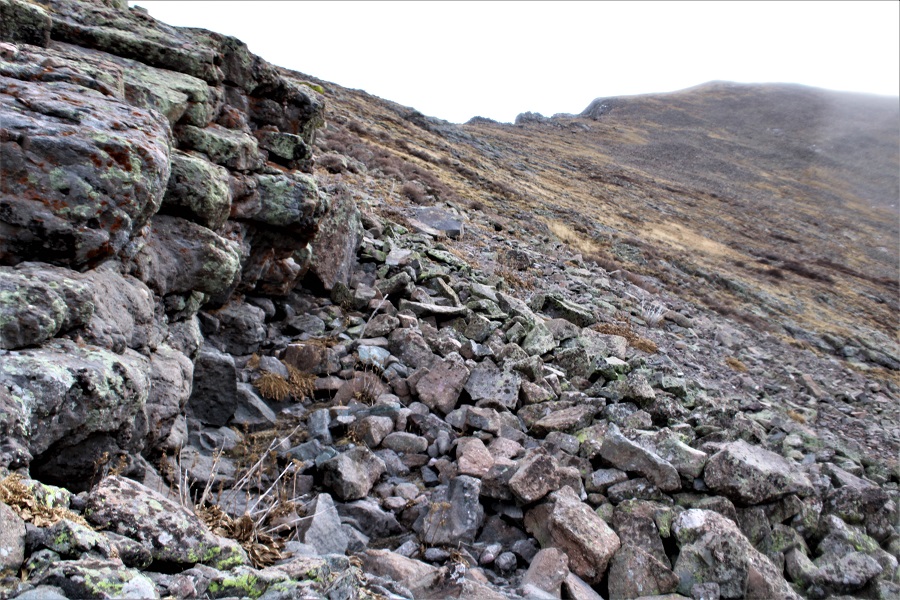
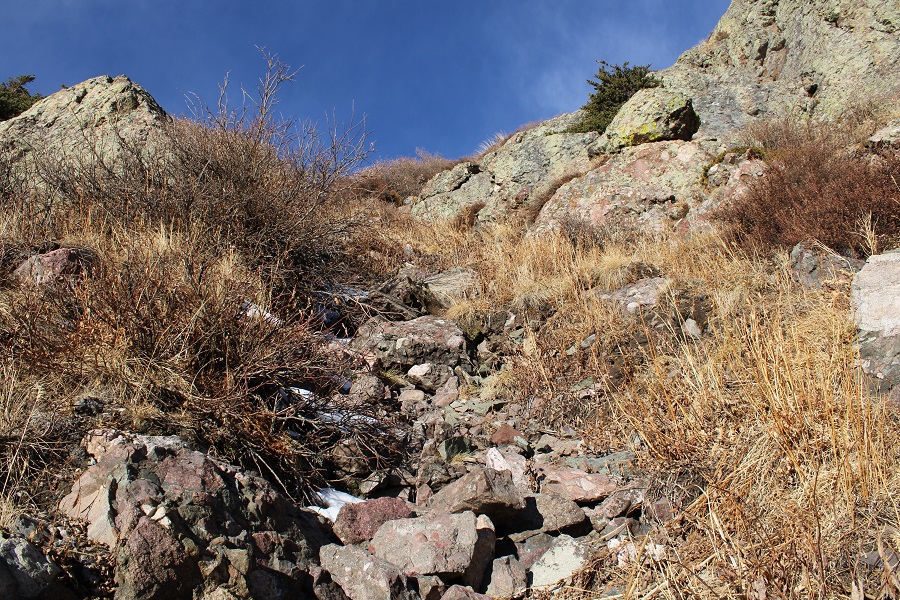
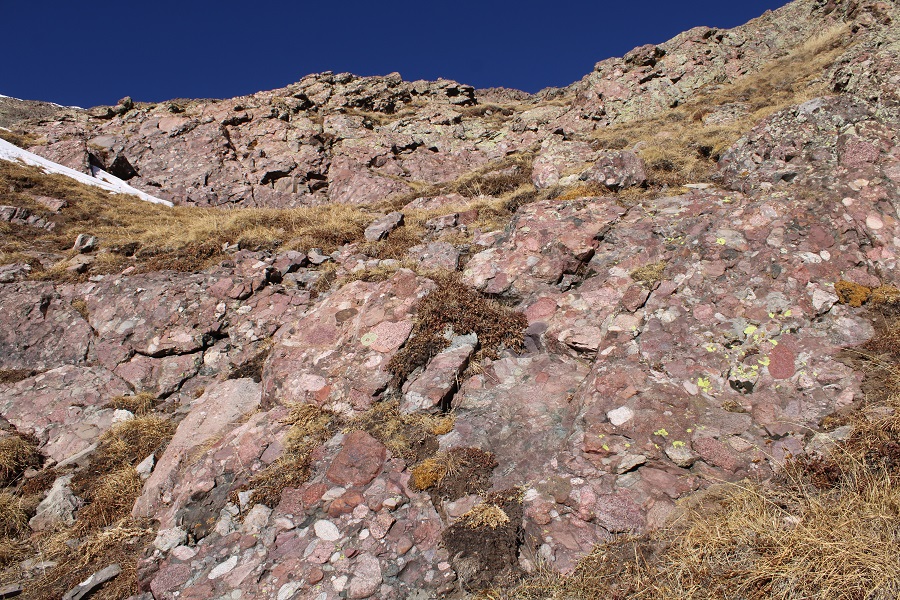
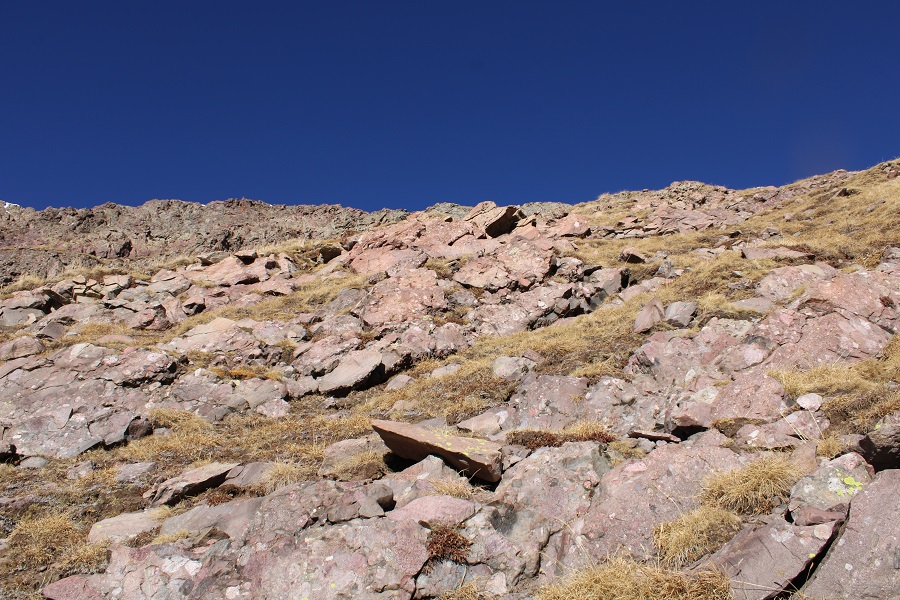
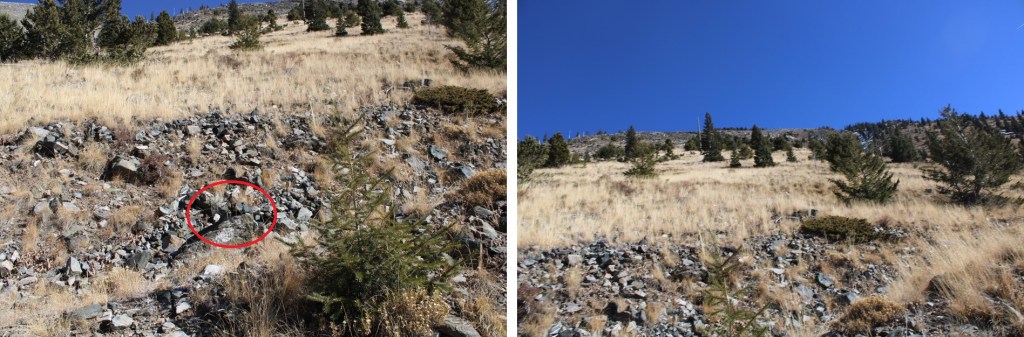
I’m really embarrassed to say this, but I wasn’t able to get up the gully. I made it about half way, and it became too steep. This was worse than kitty litter over rocks. It was talus that gave way to rockslides, and tiny pebbles over rock. Even with microspikes on, I couldn’t get traction, and kept slipping and falling down. It’s a lot steeper than it looks. I tried several different routes, but was unable to gain traction on any of them. After my fourth or fifth attempt, I started thinking to myself – who wasn’t wearing a helmet – “This isn’t the way I want to die.” While I might have been able to make it up (doubtful) going down was going to be worse. I made the decision to come back in the winter and try this as a snow climb, which should provide more traction. This was a difficult decision to make, but I knew it was the correct one.
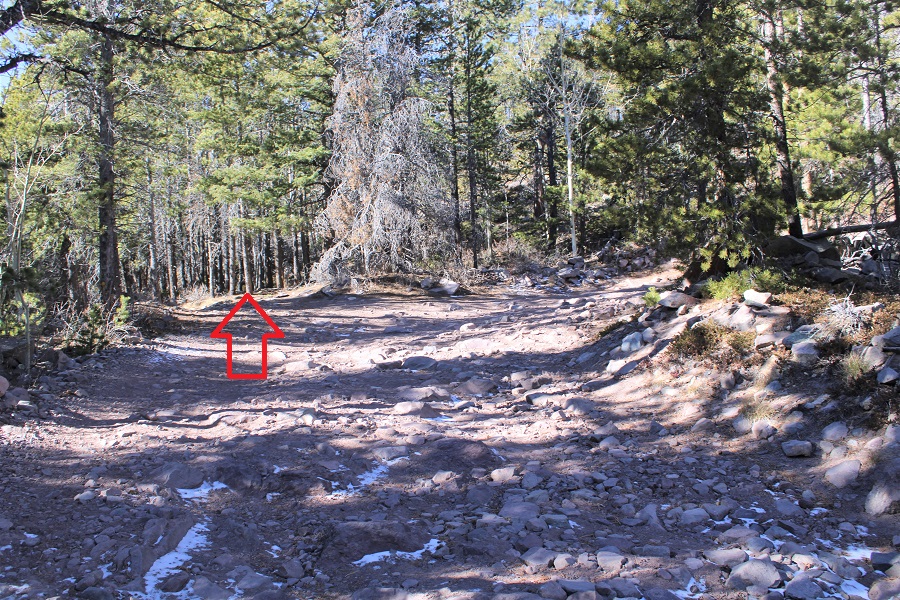
So, I backtracked, and tackled Kendall Mountain. I hiked back to a junction in the road, at 12.265’.
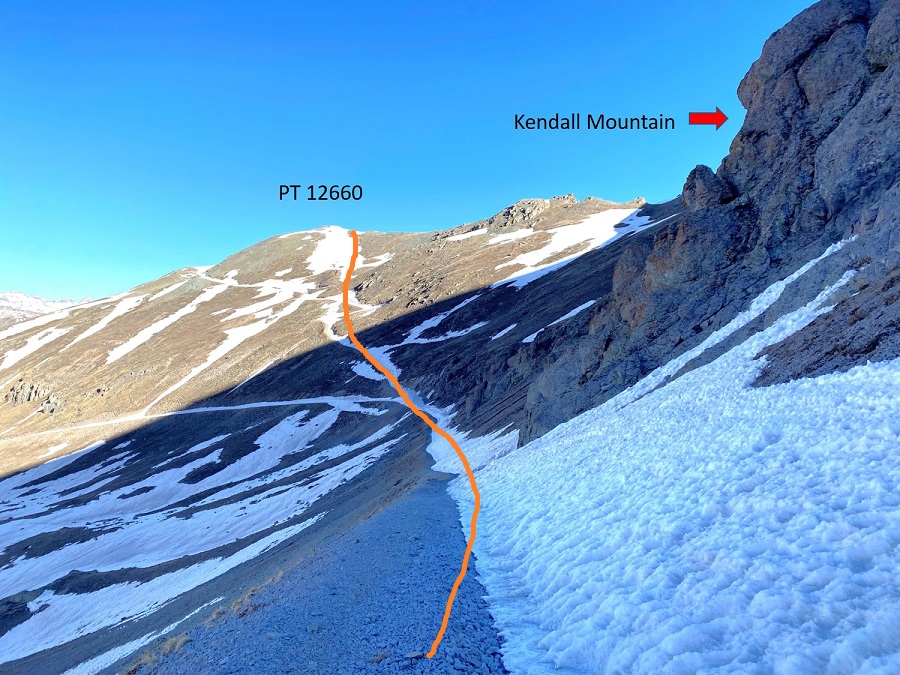
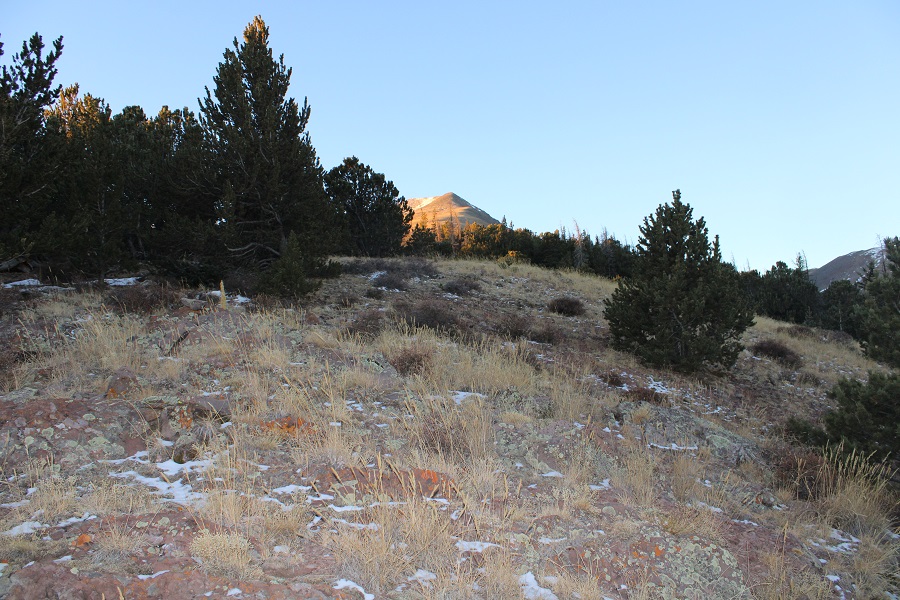
From the junction, I headed up to PT 12660
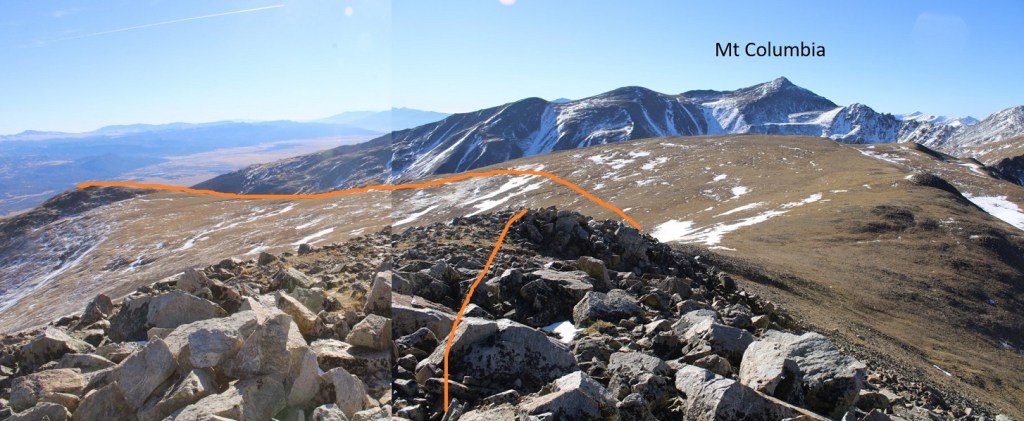
From PT 12660 I turned right and followed the ridge northeast towards Kendall Mountain.
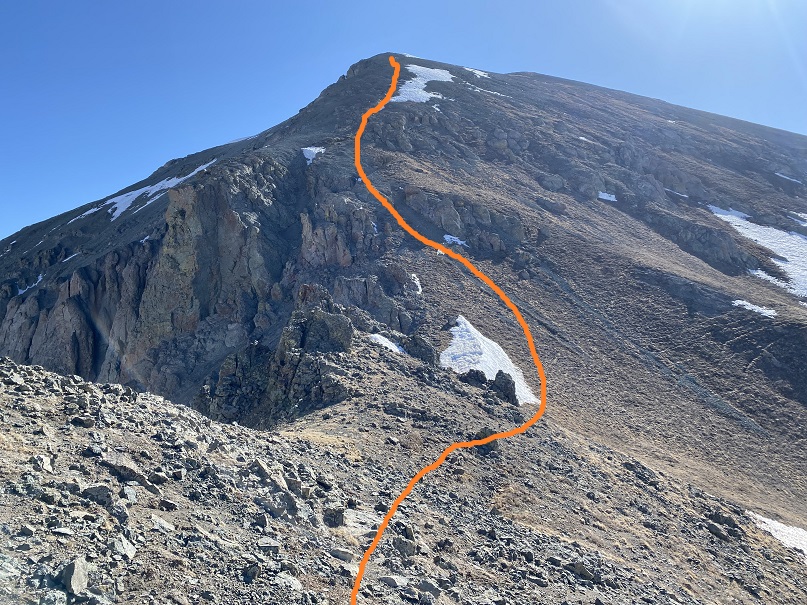
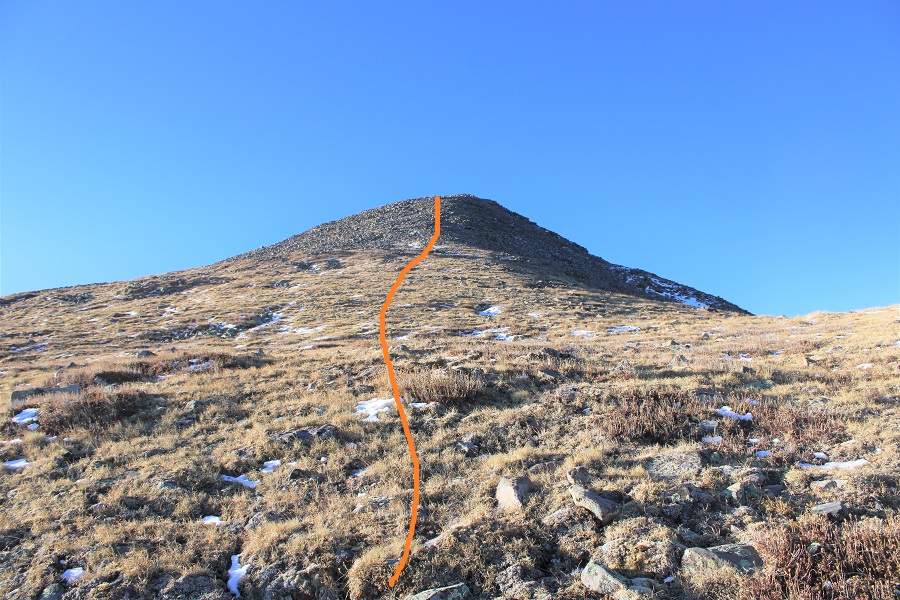
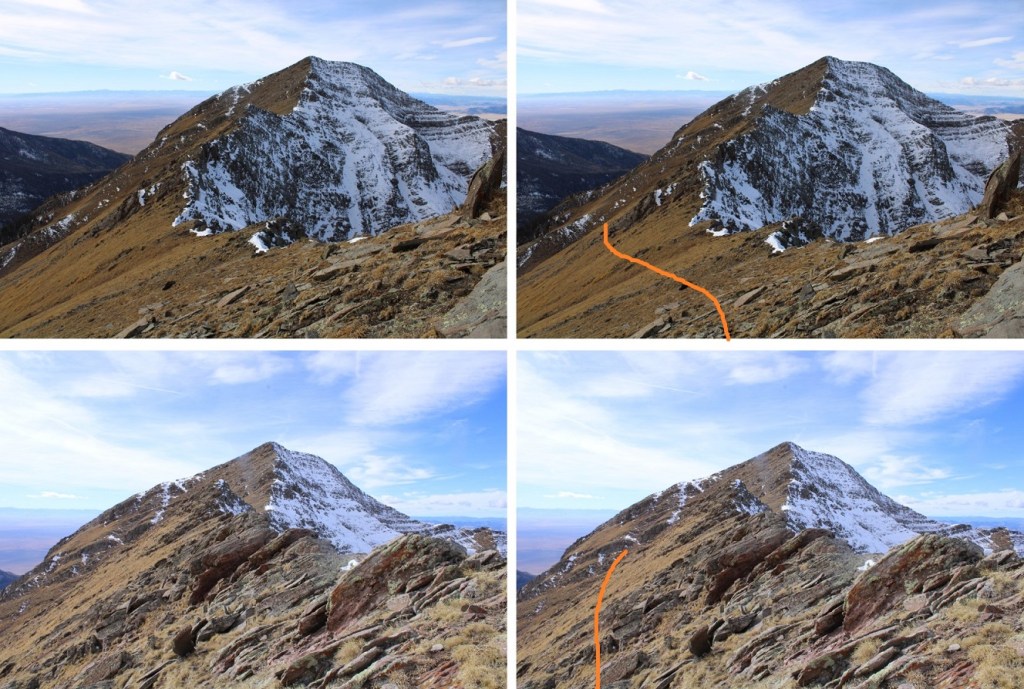
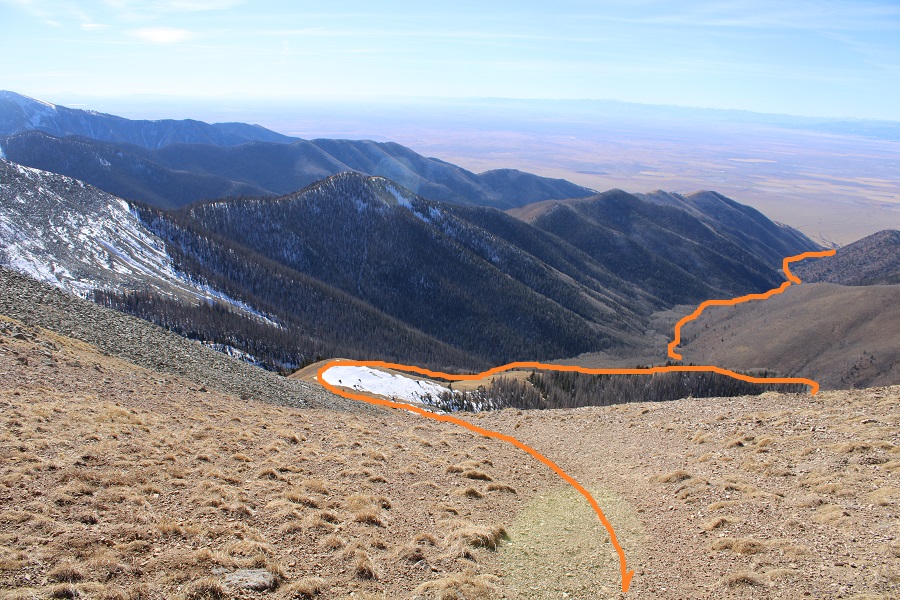
Here’s the route I took to the summit (solid line) and back down (dotted line). You could go up the way I descended, but it would be steep.
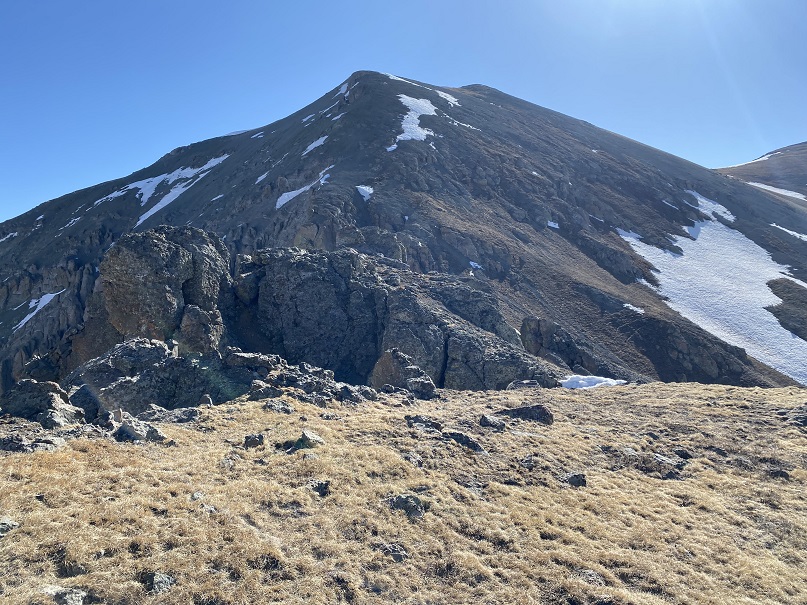
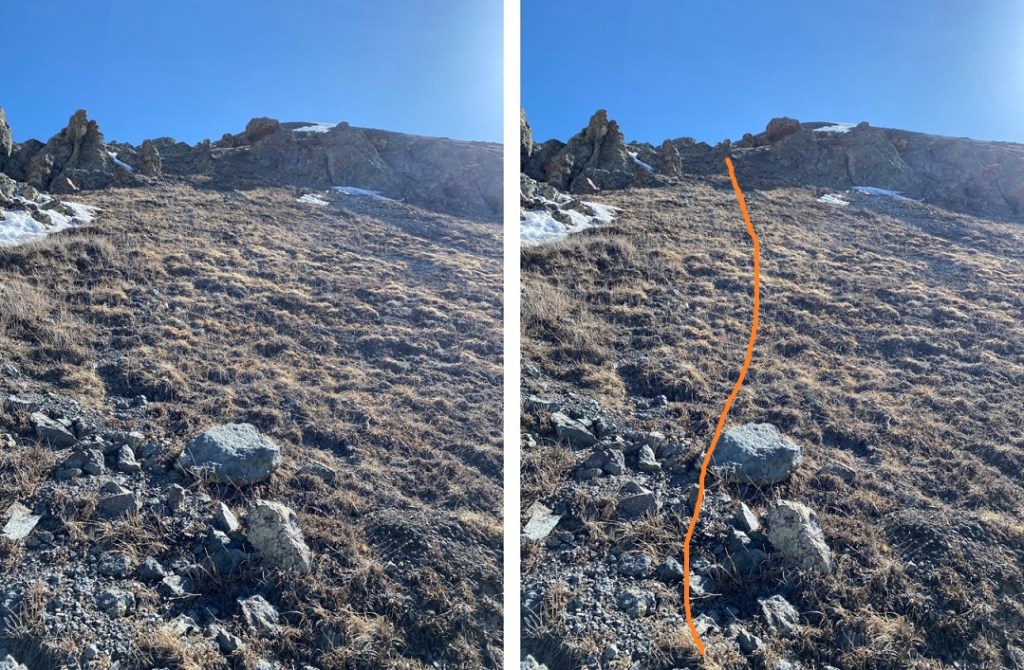
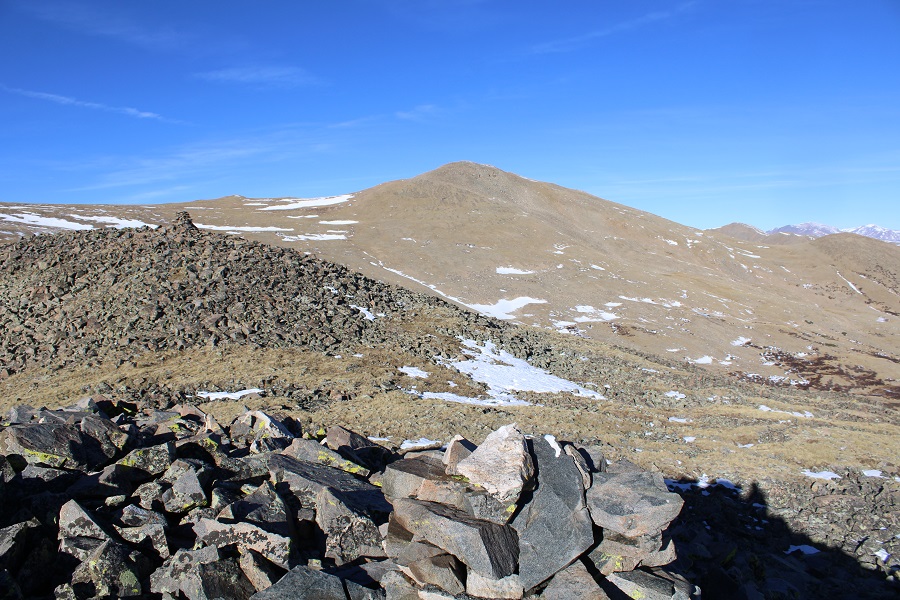
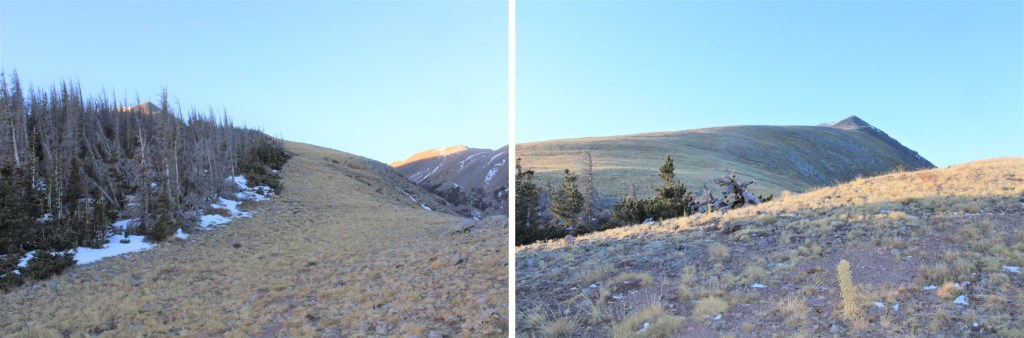
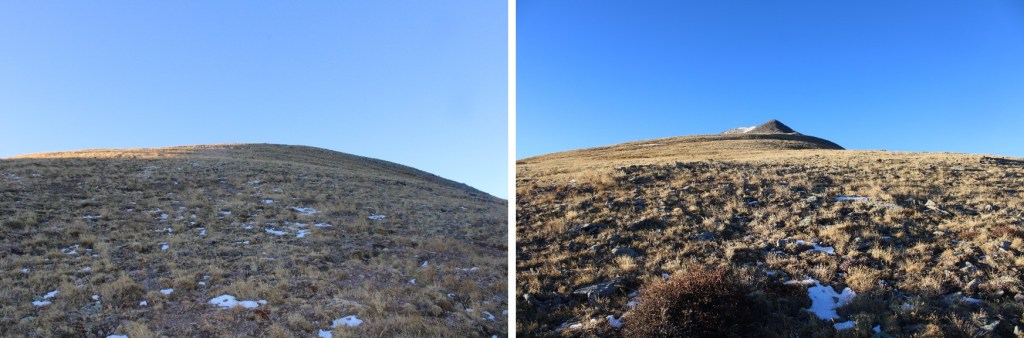
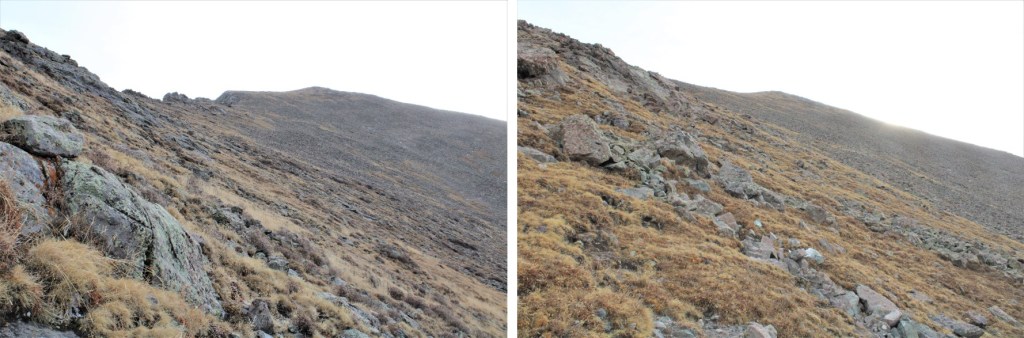
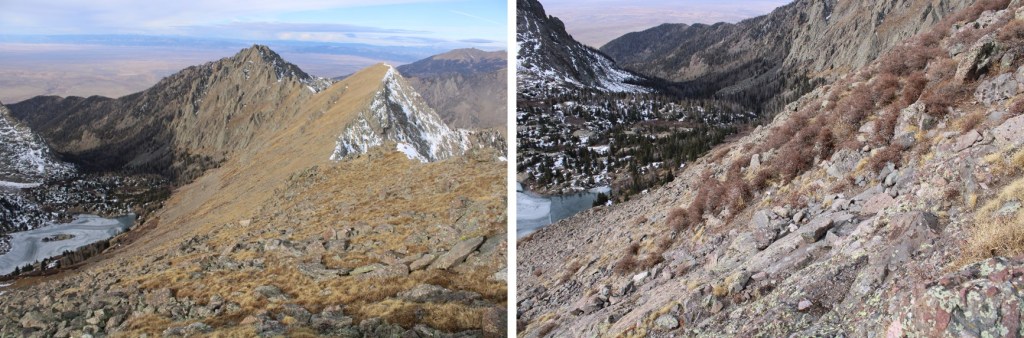
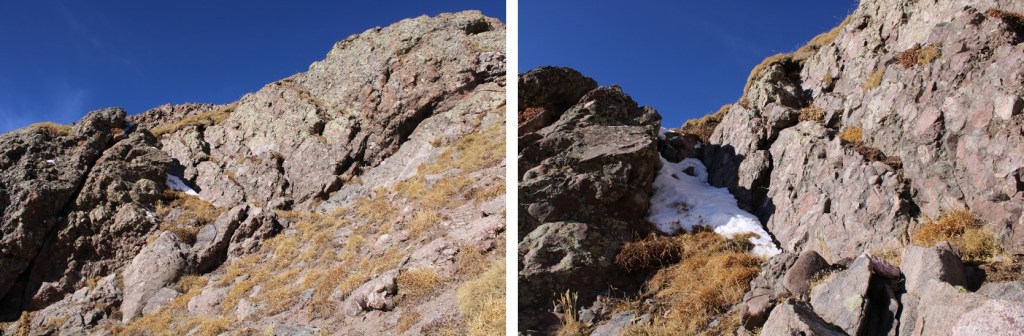
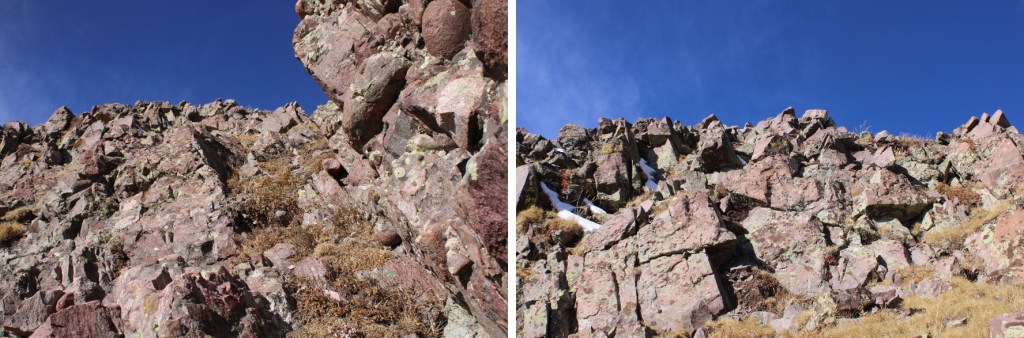
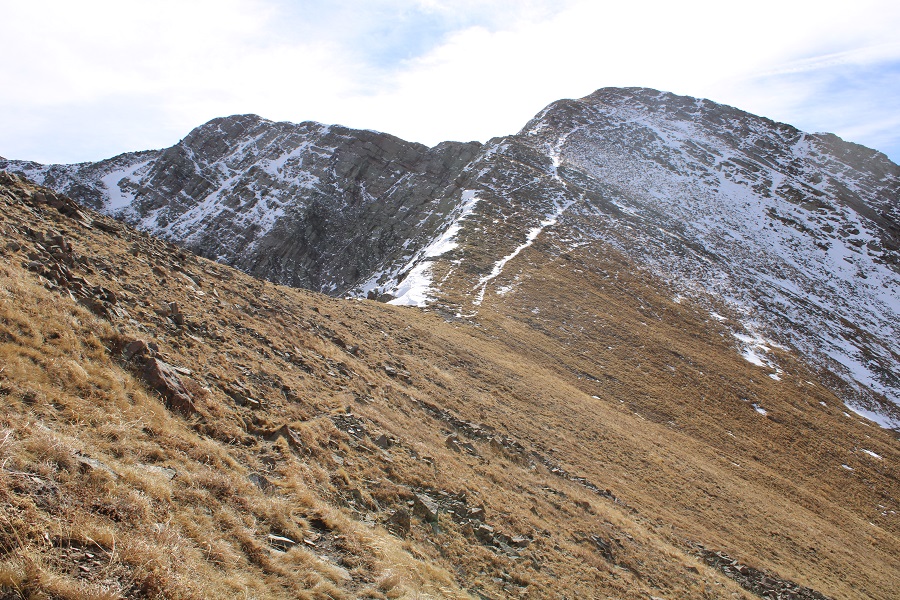
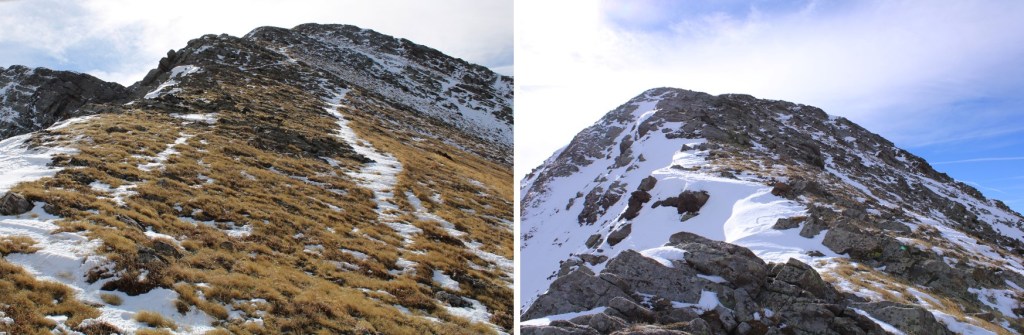
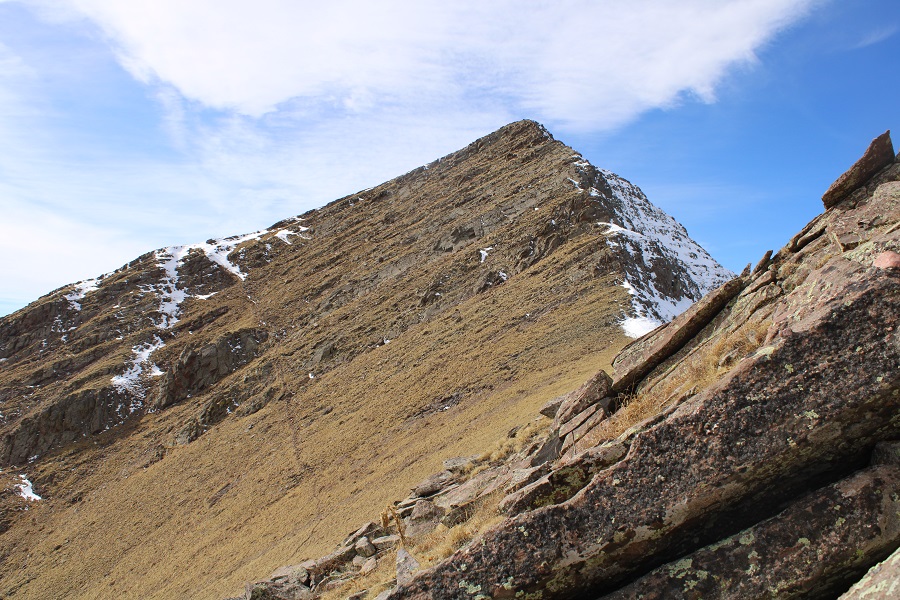
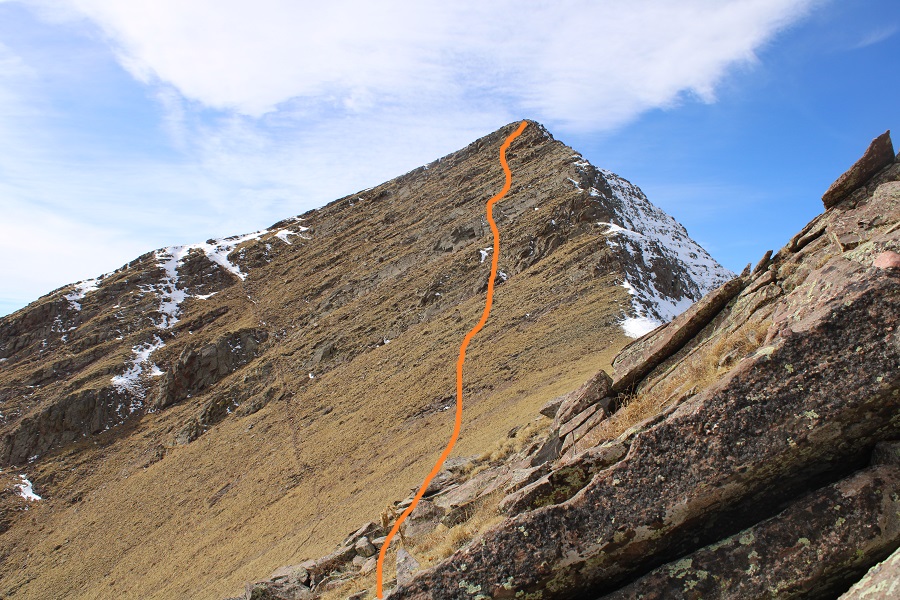
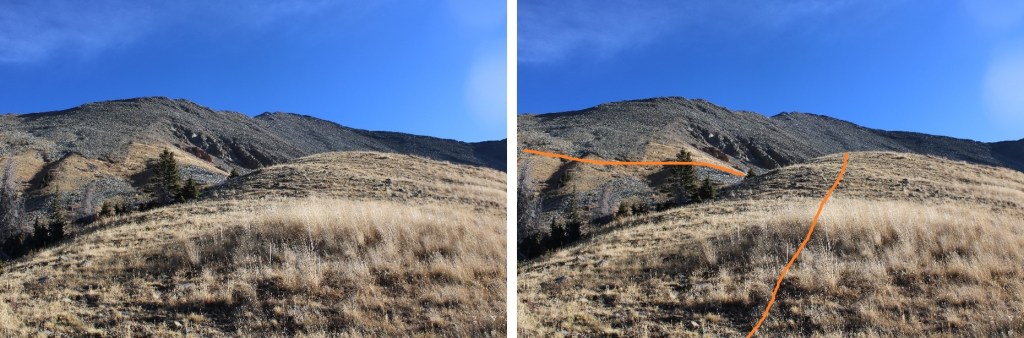
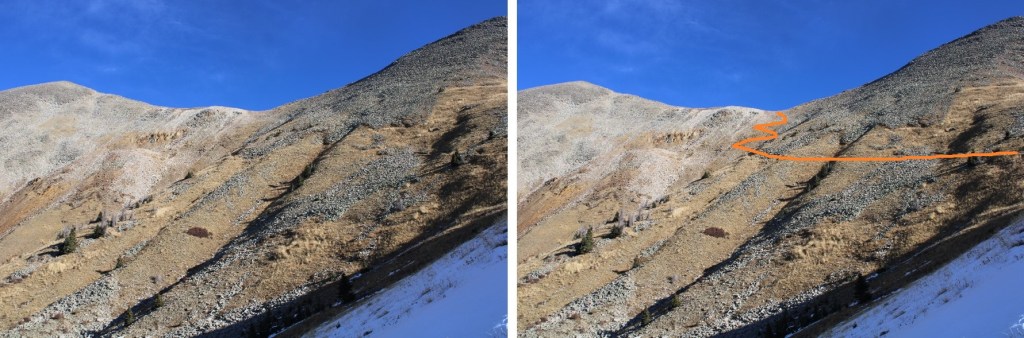
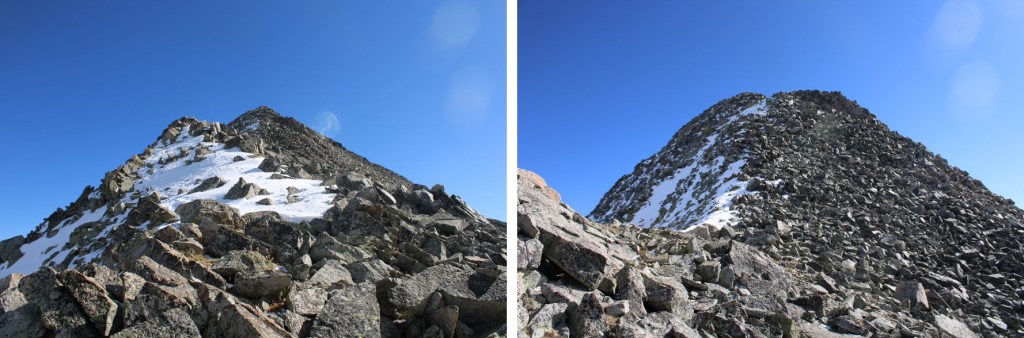
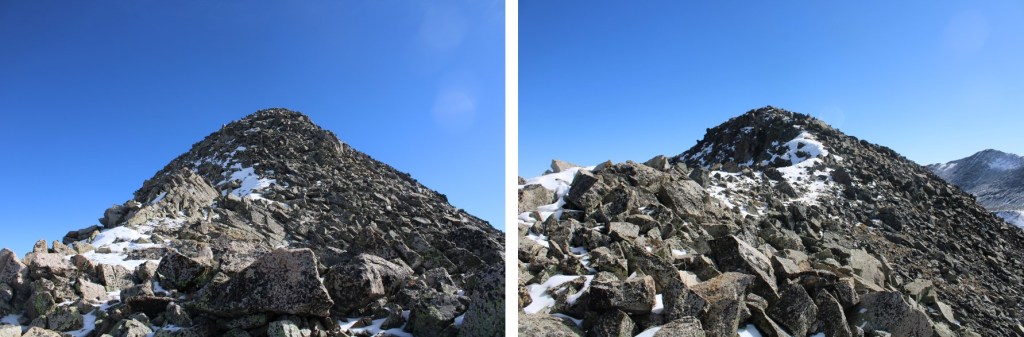
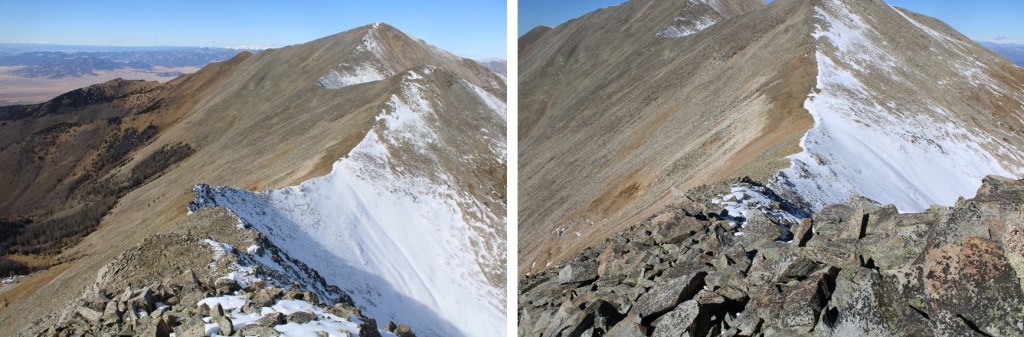
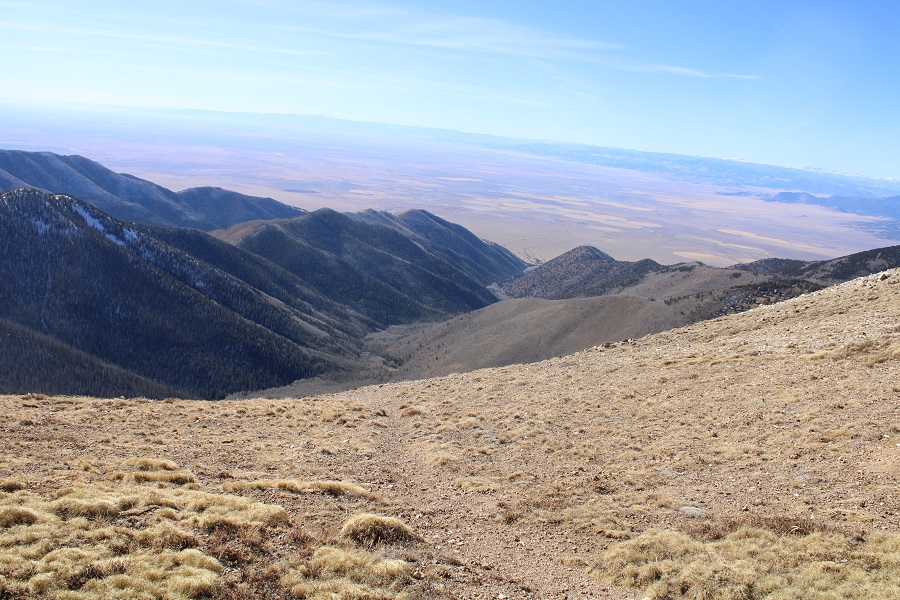
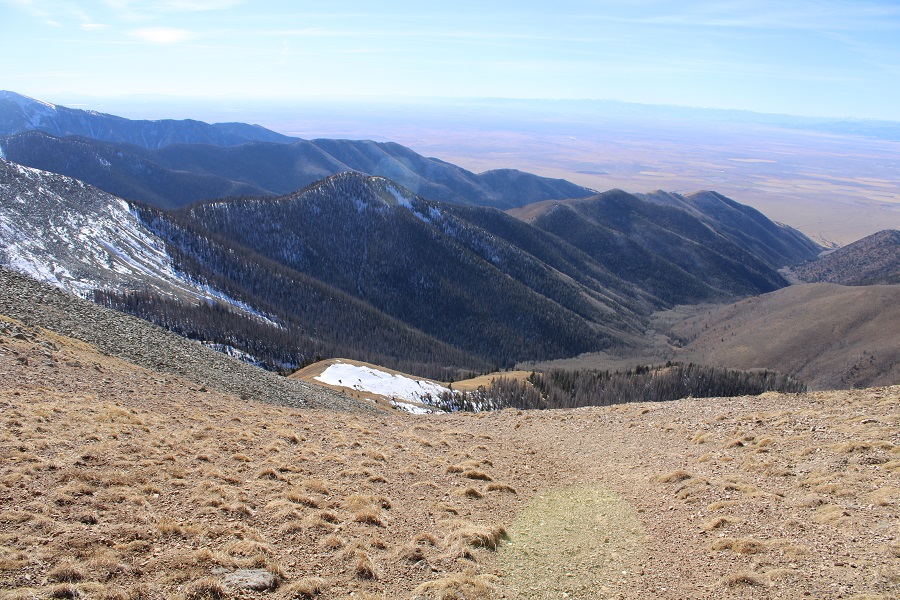
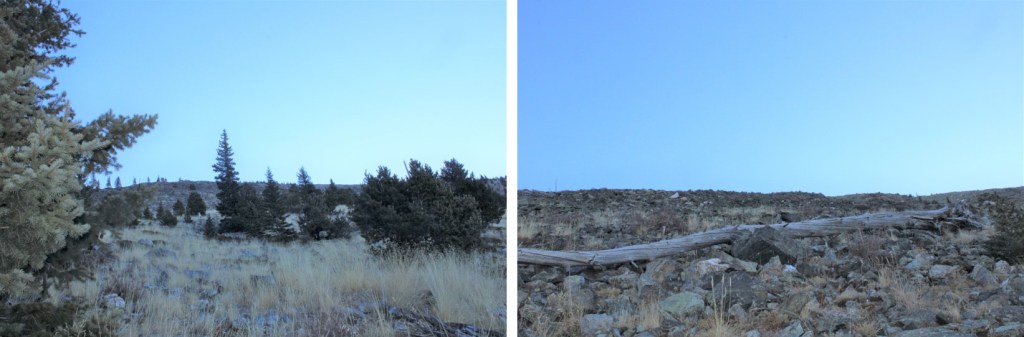
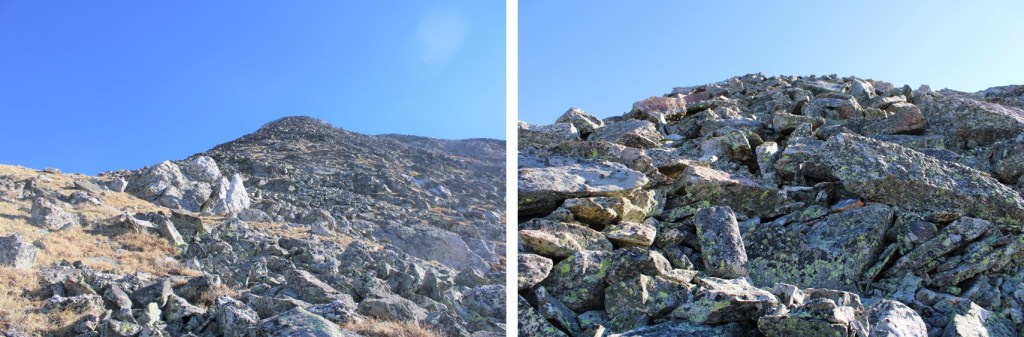
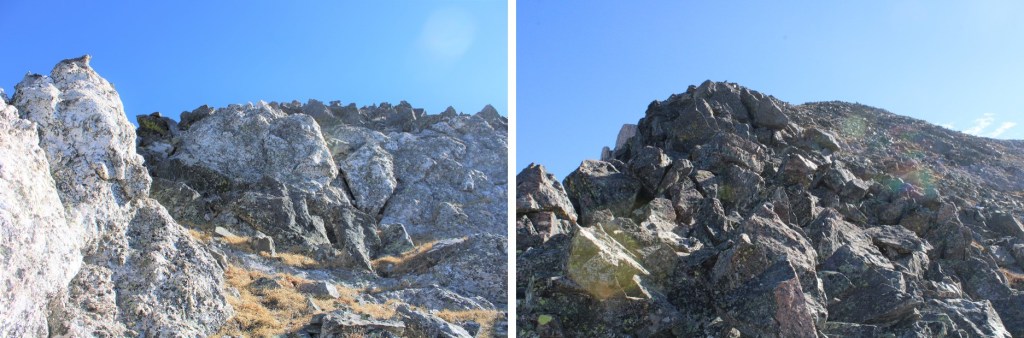
Here are some close-ups of the route to Kendall Mountain
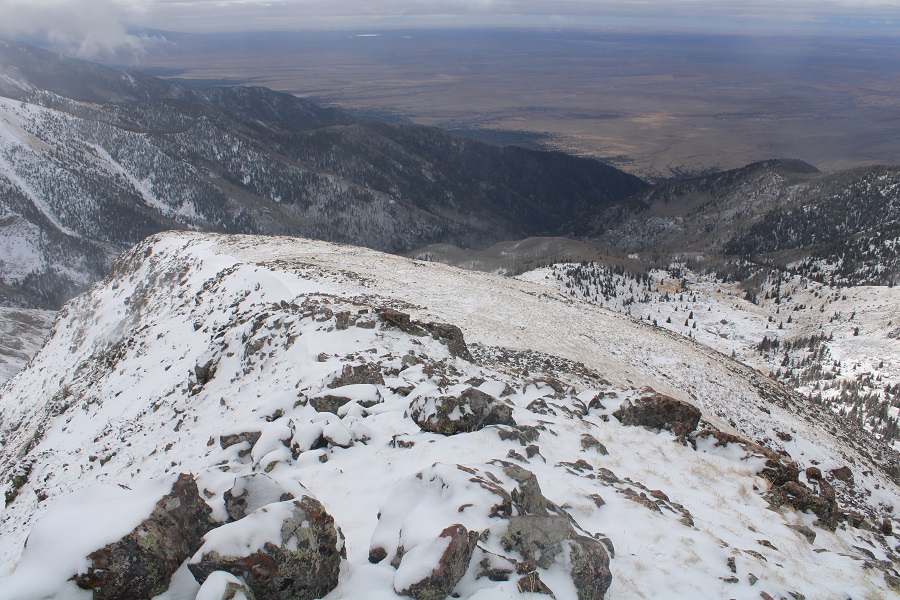
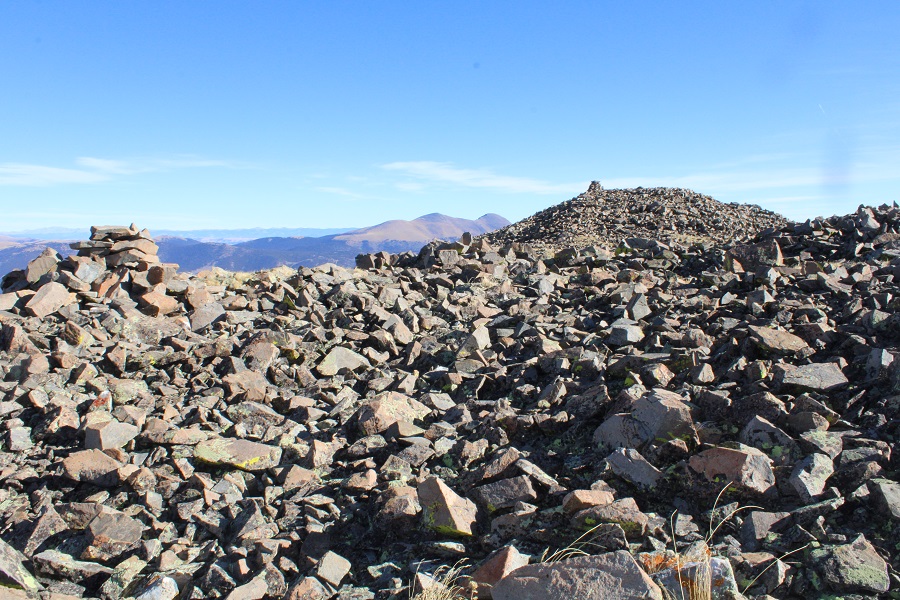
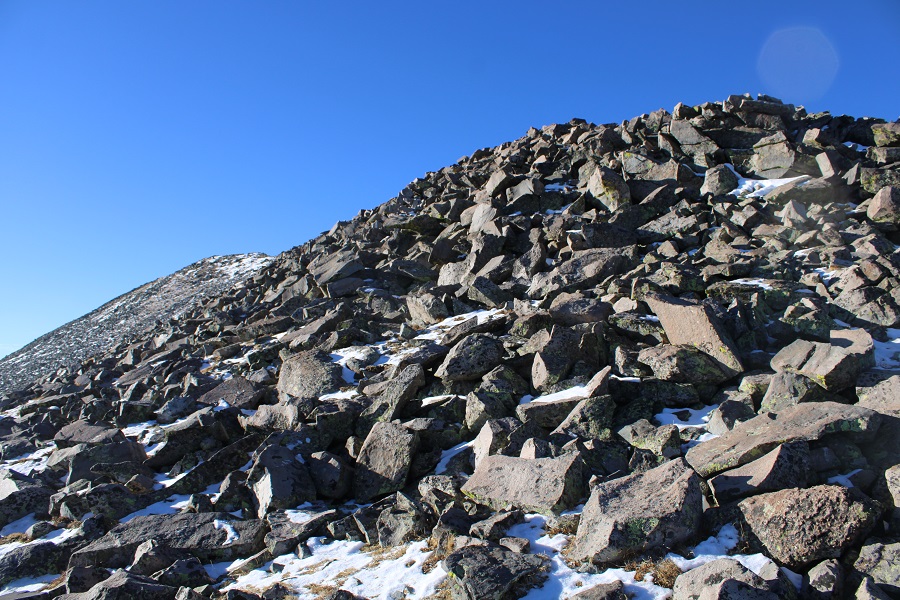
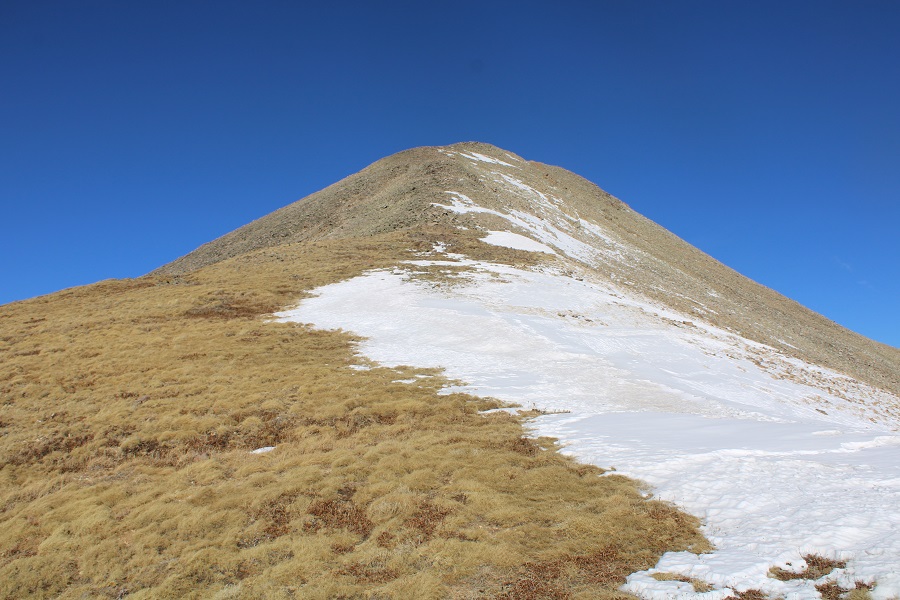
The tundra gave way to small rocks toward the top
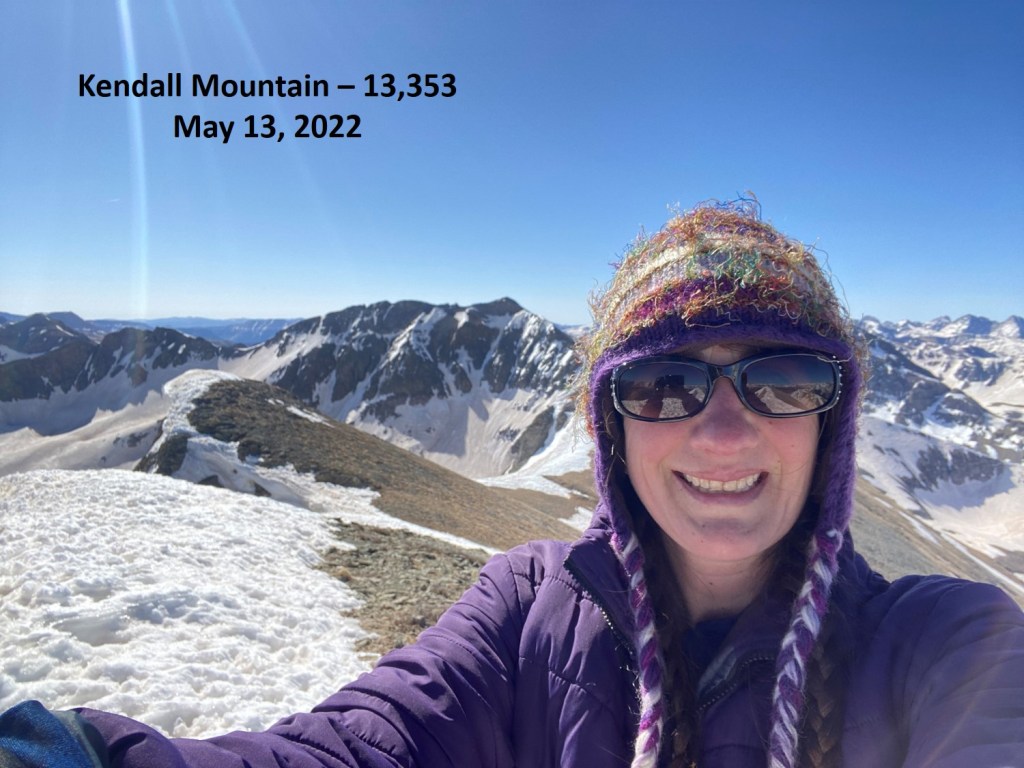
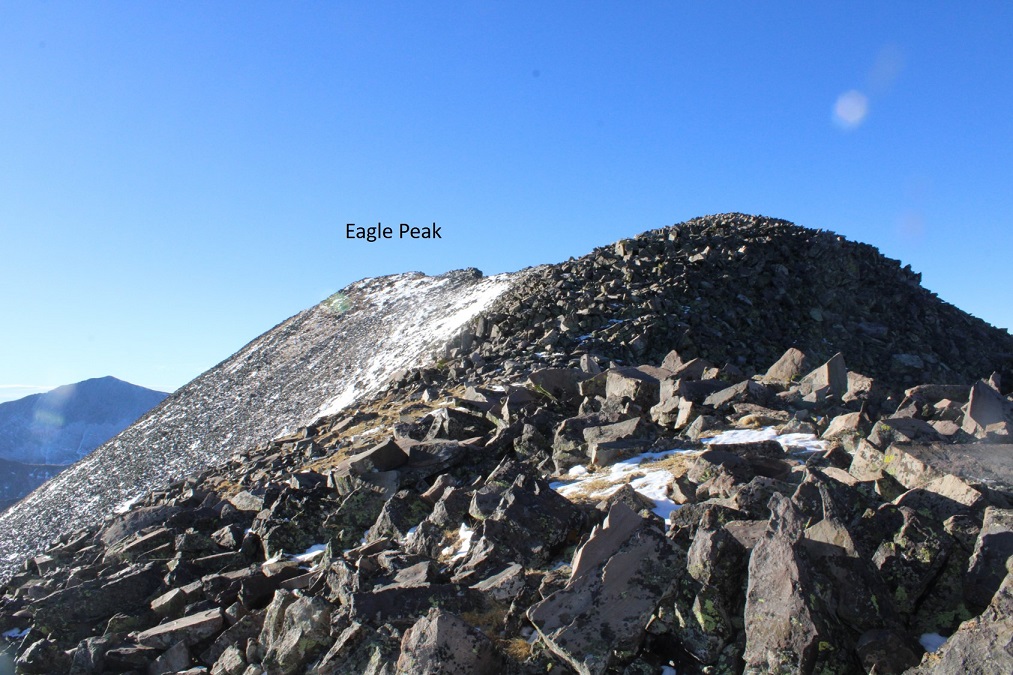
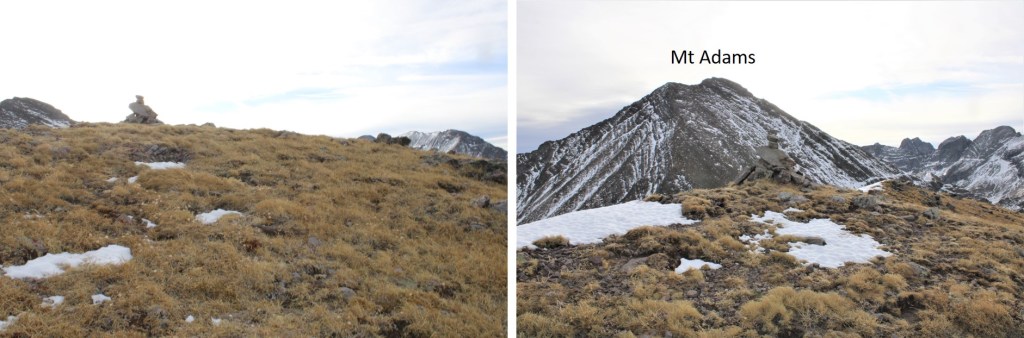
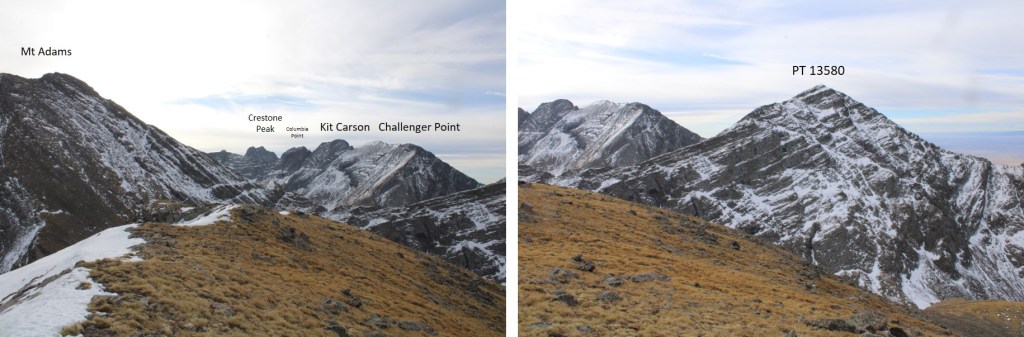
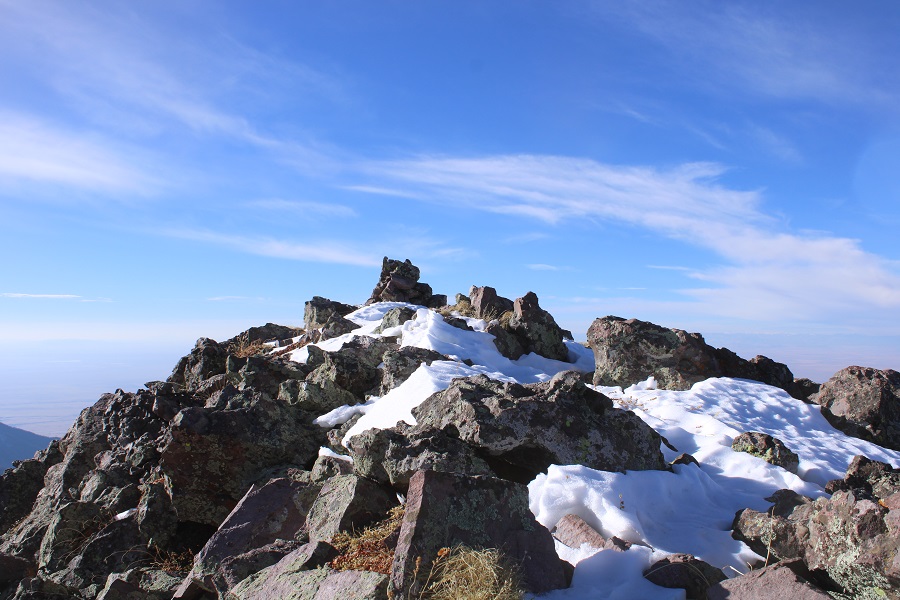
I summited Kendall Mountain at 9:20am
Kendall Mountain:
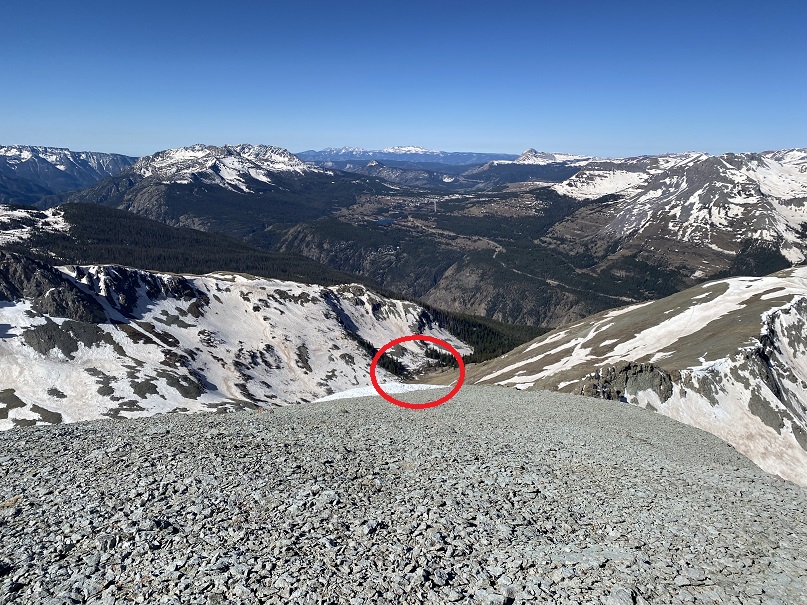
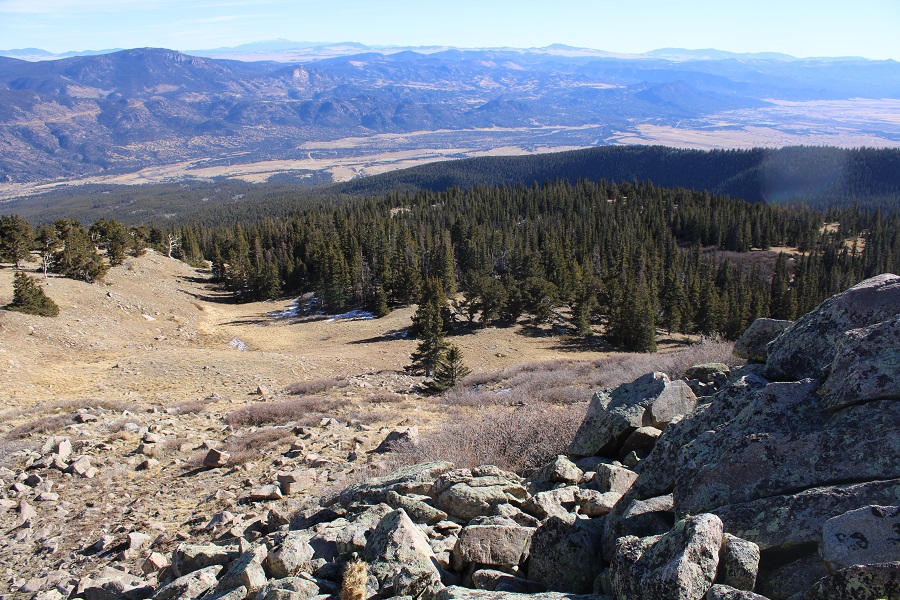
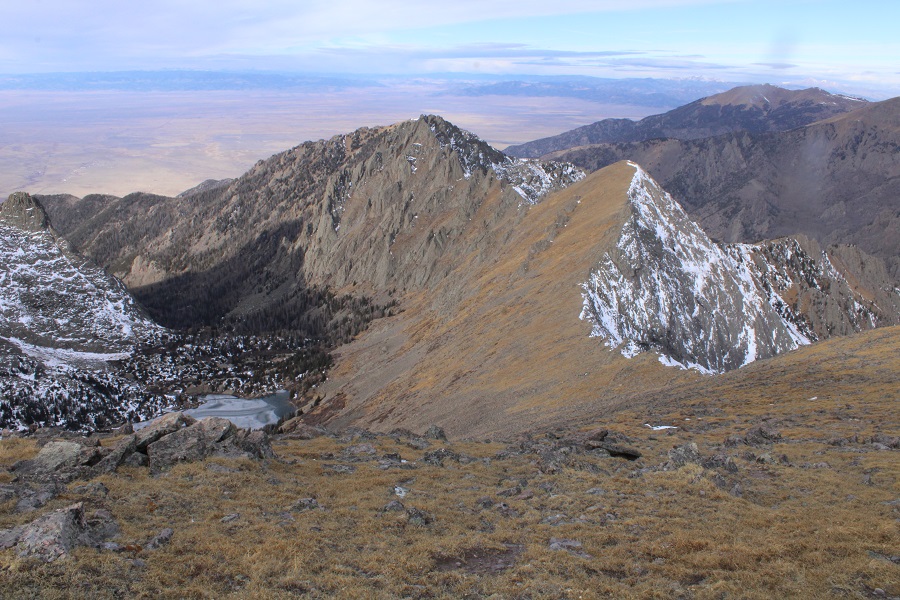
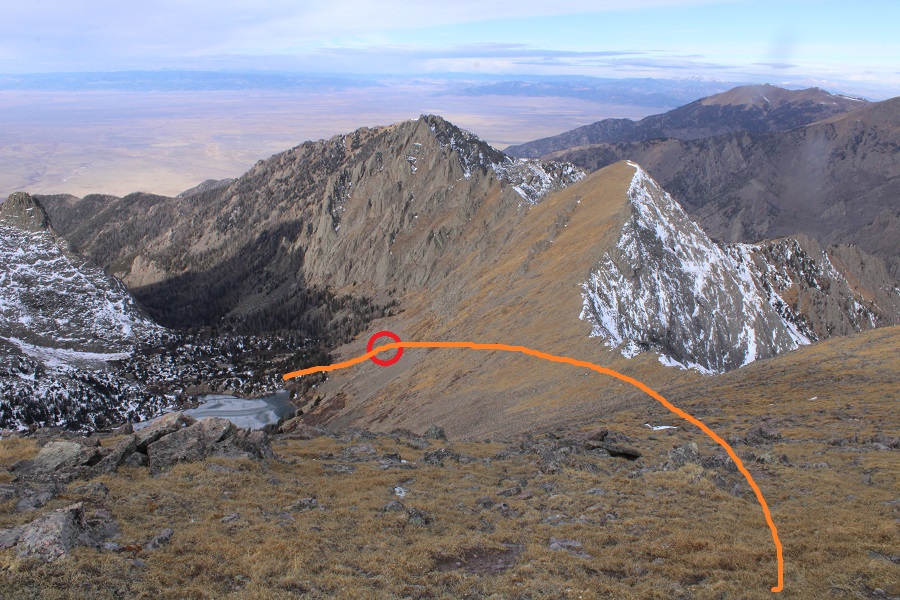
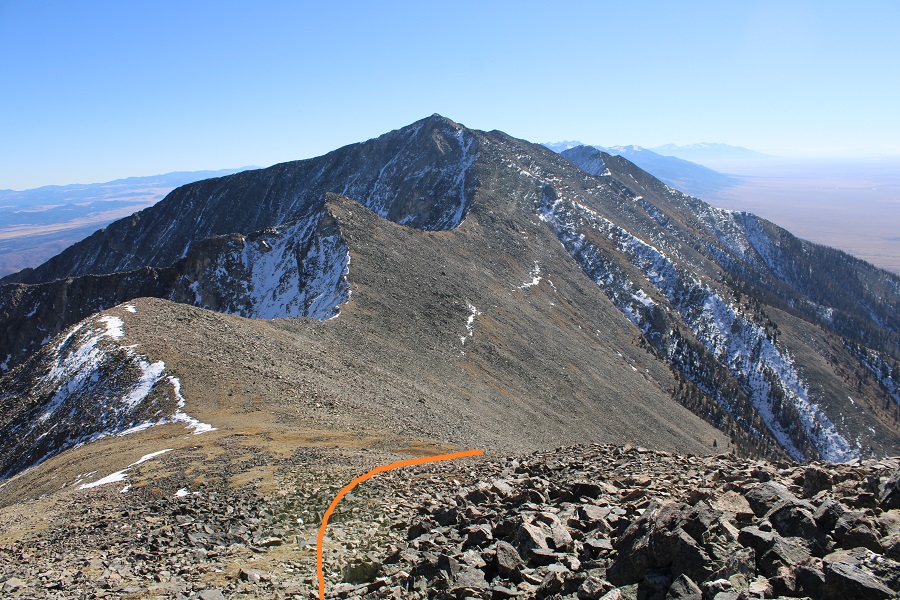
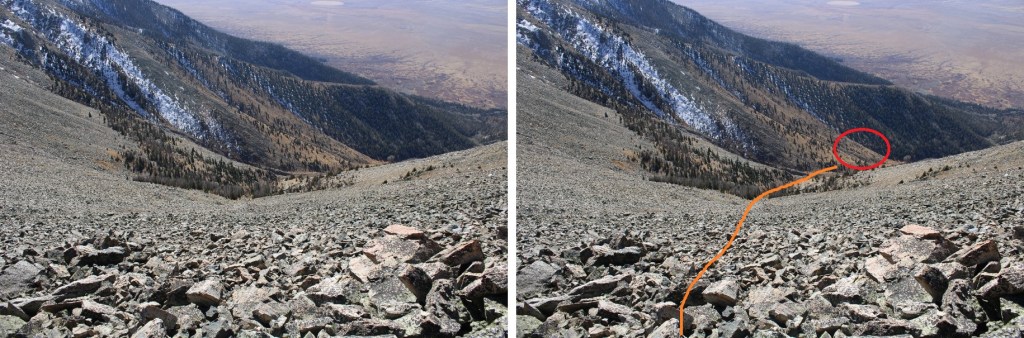
From the summit, when I looked southwest I could see my truck (circled)
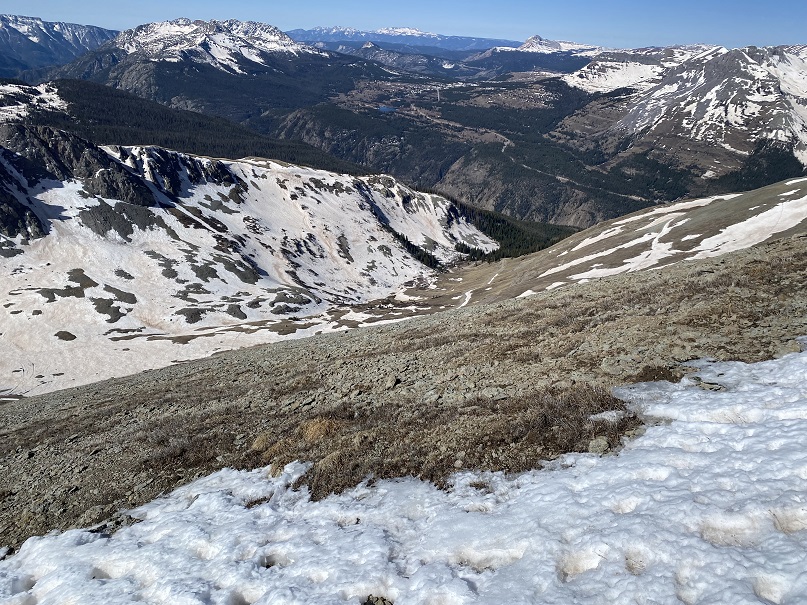
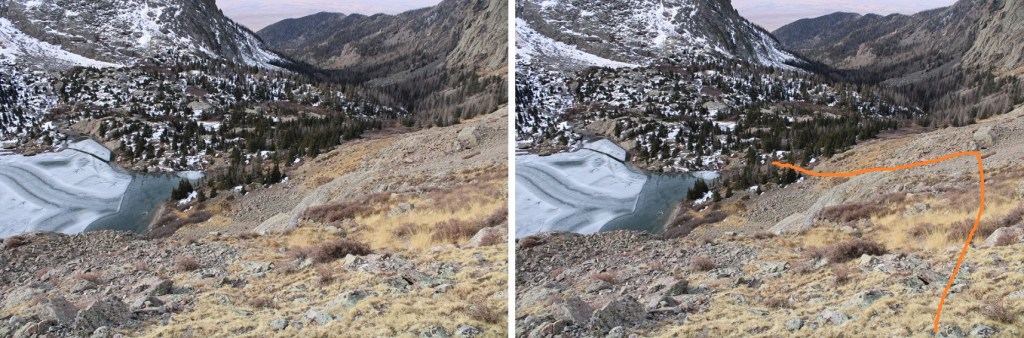
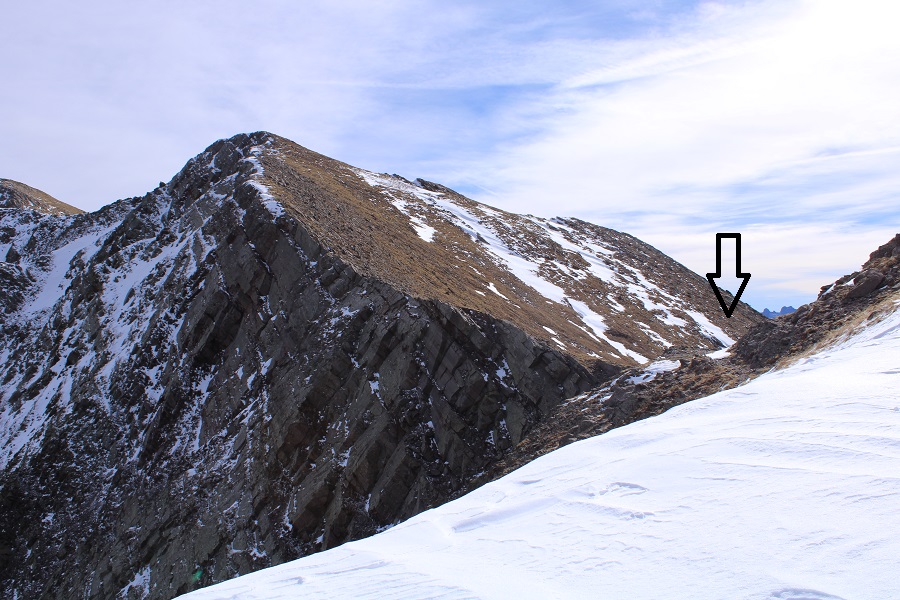
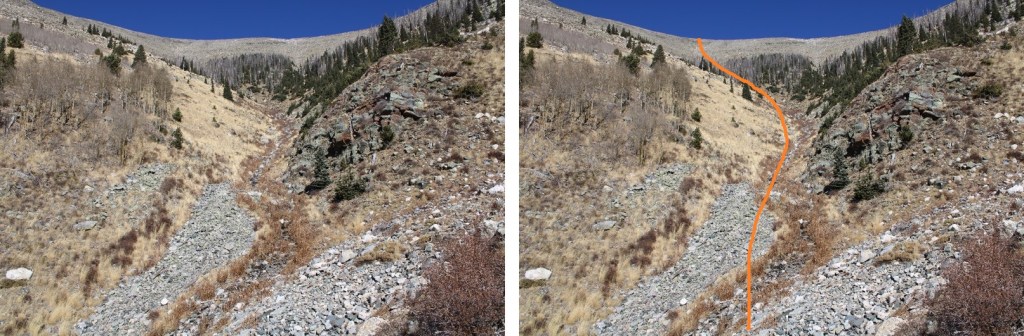
I aimed for it, and the road below. It’s important to head southwest, because the terrain cliffs out if you head directly south or southeast. This was steep, but it was easy to gain traction.
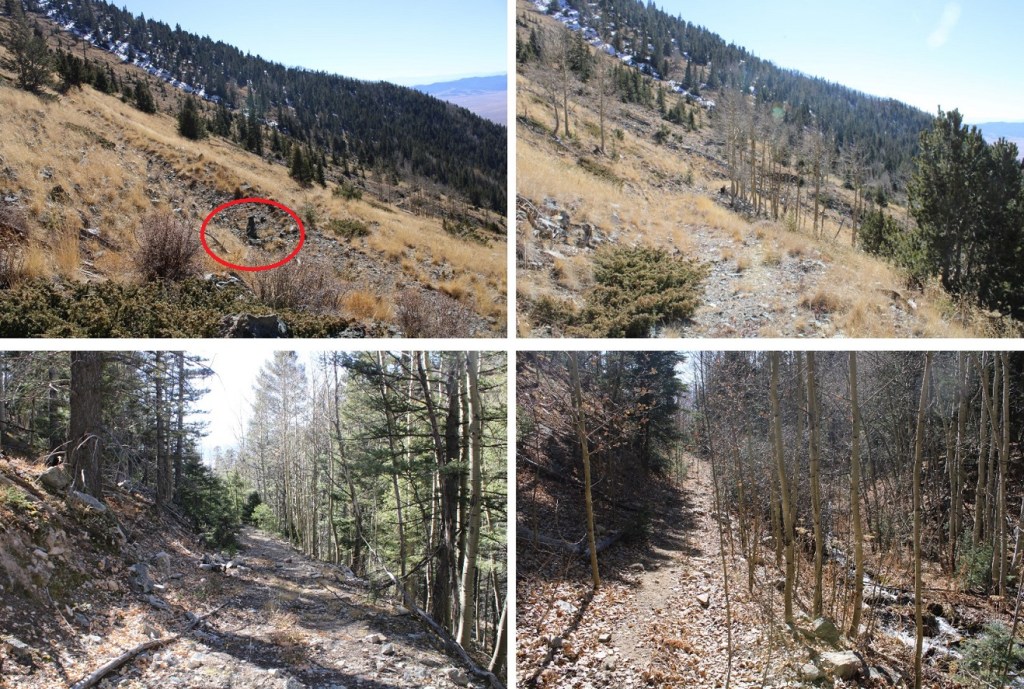
I made it back to the road, and followed it to my truck.
I know I’ve been silent for a few months, and I want to thank those of you who reached out to me asking how I was doing. Yes, I was still summiting peaks, but I was summiting repeat peaks, so I wouldn’t need to write up trip reports. Instead, I was spending my writing time… writing a book! I’m proud to say I’m officially a published author!!! I’m not going to promote the book for a couple of weeks, as I’d like some friends to read it and post reviews first. It takes 10 positive reviews to counter each negative one, so if you enjoy my book, please post a positive review on Amazon. If you notice a spelling error (etc.) please let me know: I can still fix it before the big launch. Please go easy on me: I’m more of a blogger than a writer. Thank you all for your continued support! Don’t buy the hard cover.
The San Isabel Creek Trailhead has a camping spot directly at the trailhead. I parked a few yards away I a pullout, and was on the trail by 5:15am (after taking a 20 minute nap: I was really tired this morning).
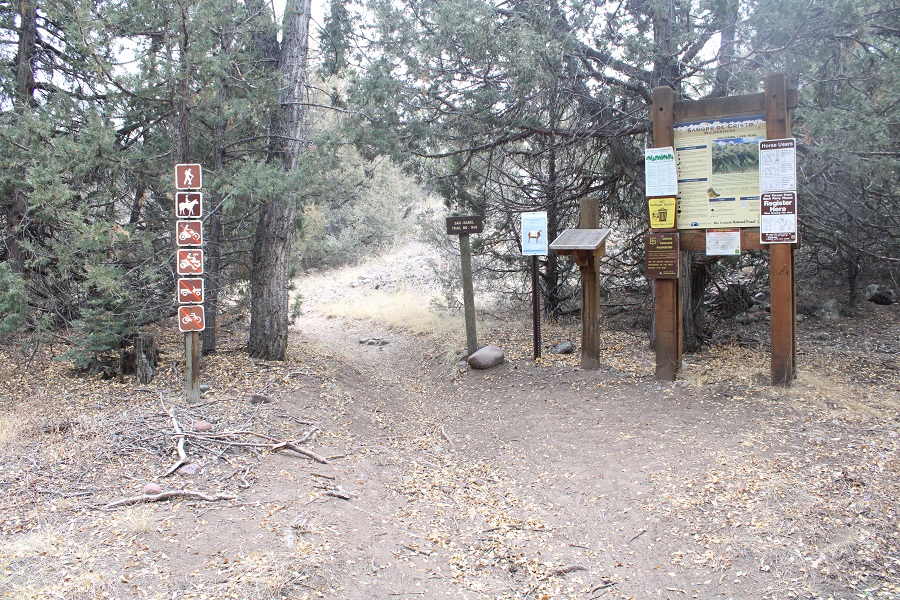
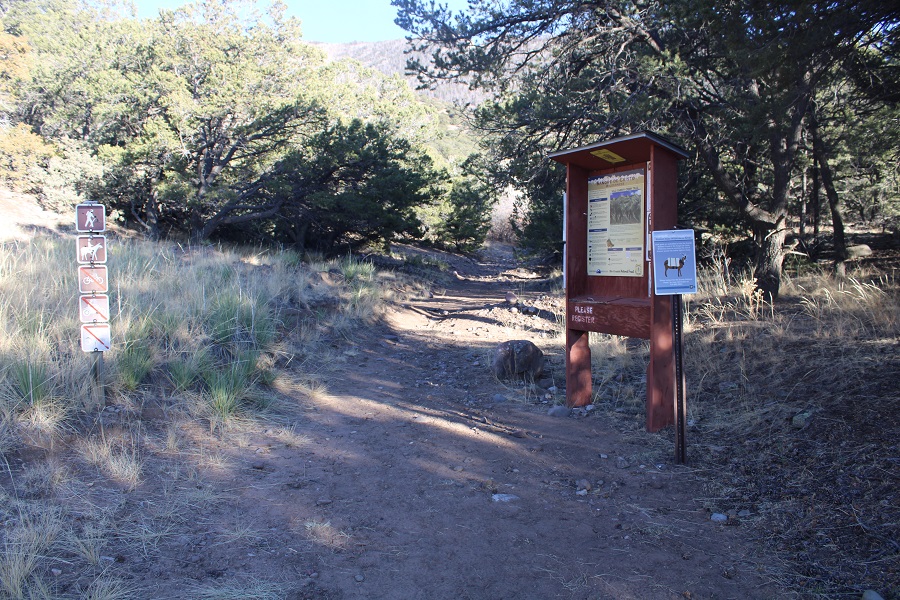
The San Isabel Trail (858) starts at the northeast side of the parking area (side note: the trail register could use a pencil)
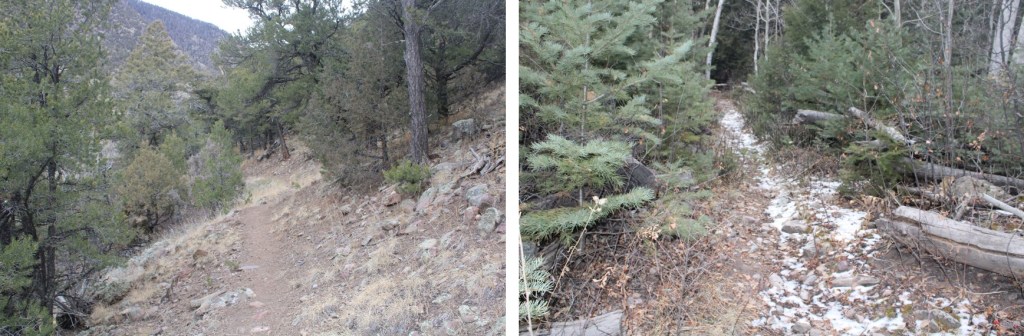
I followed the San Isabel Trail as it headed northeast.
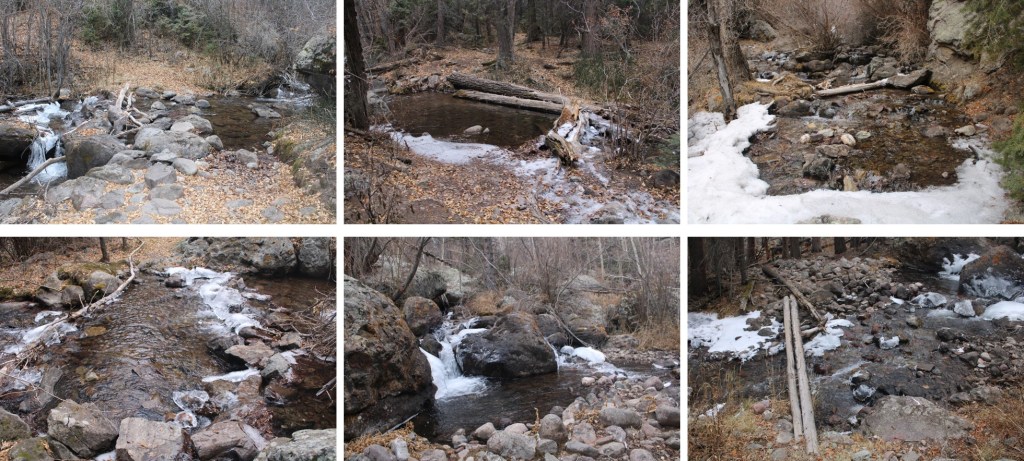
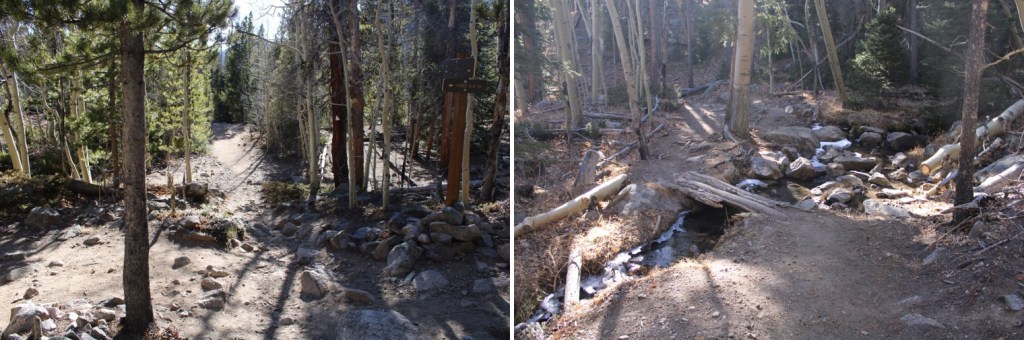
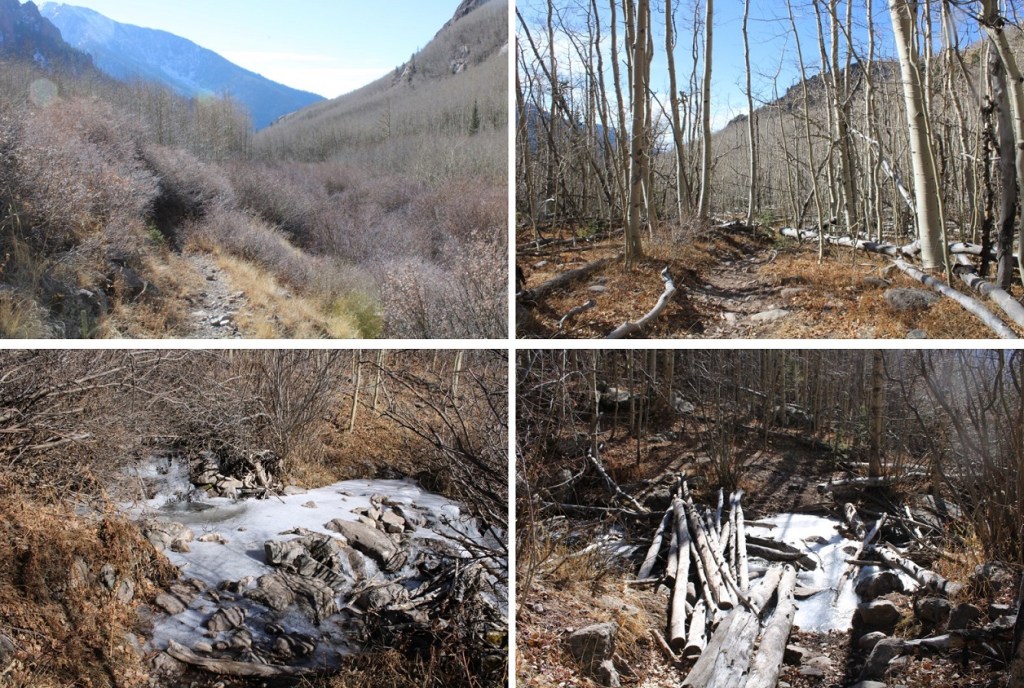
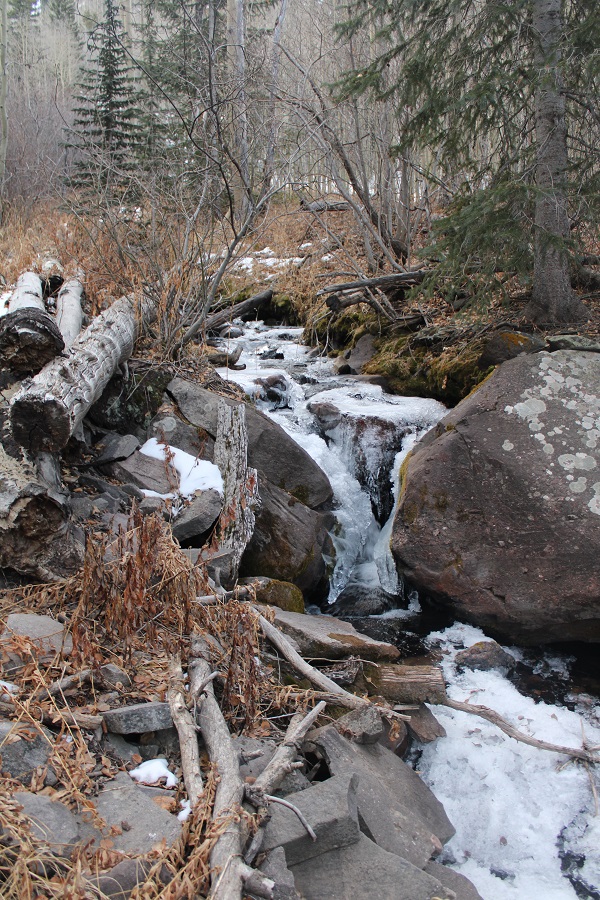
I crossed the creek quite a few times. Creek crossing shoes weren’t necessary, but in the early morning there was a layer of ice on the logs and rocks, calling for some careful footwork. In the afternoon the crossings were easy.
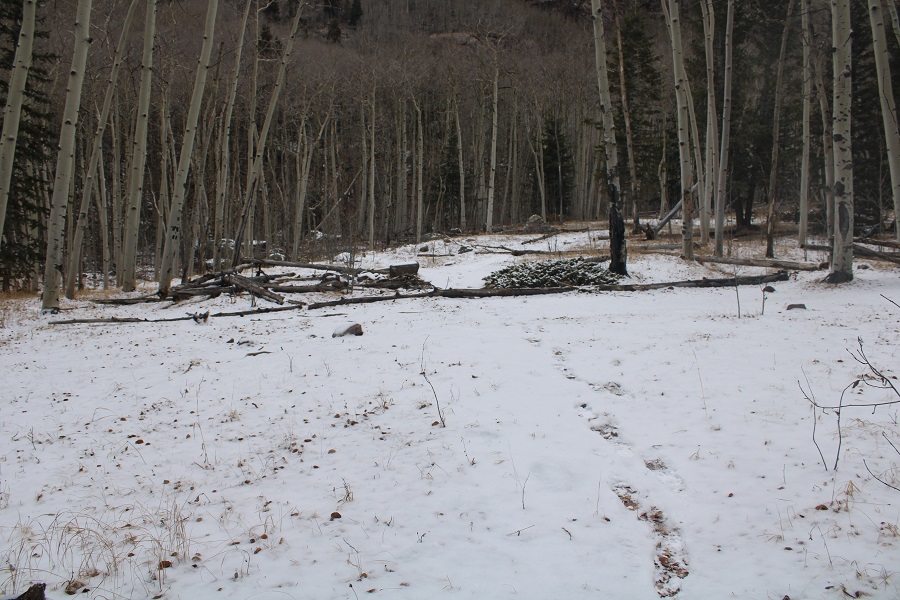
As I hiked, I came across a thin layer of snow on the ground, that eventually became a couple of inches deep. There had been a 20% chance of snow forecasted the night before, and into the afternoon today.
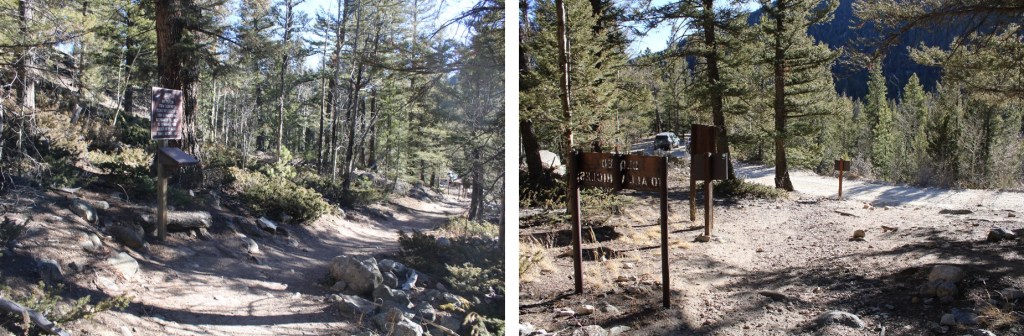
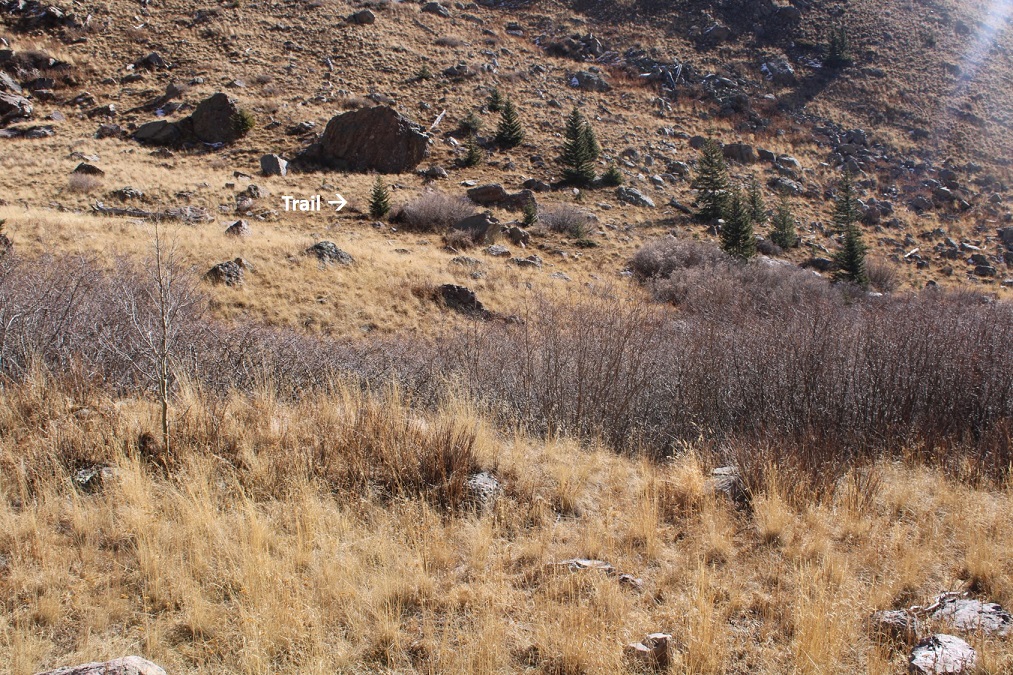
I hiked along the San Isabel Trail for just over 4 miles. At 10,440’ I left the trail when I saw this (what used to be a) sign on my right for Trail 881.
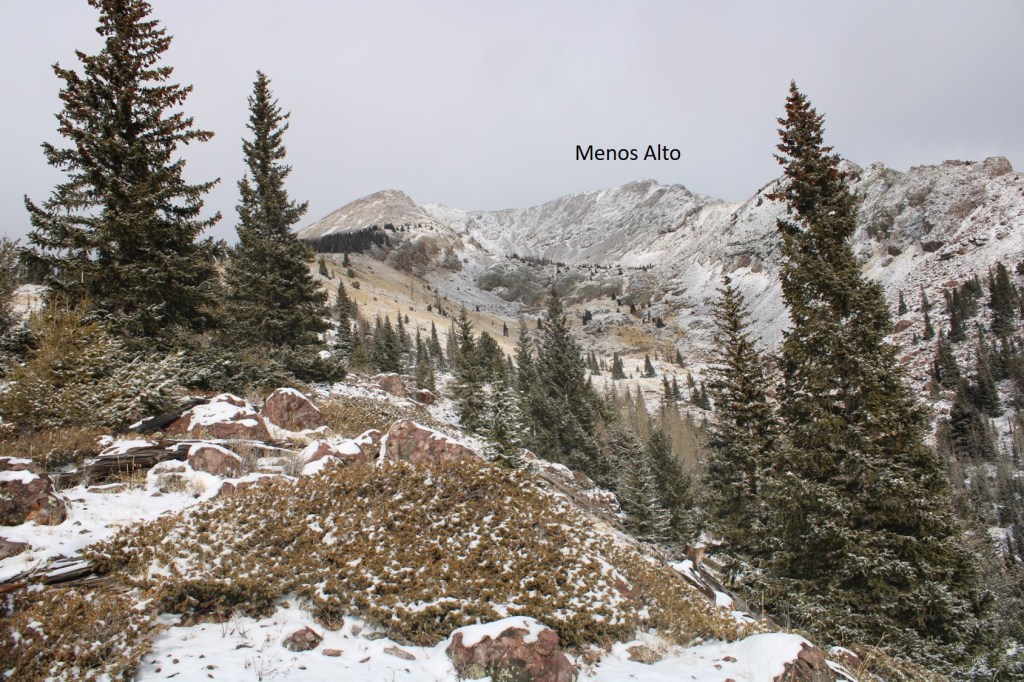
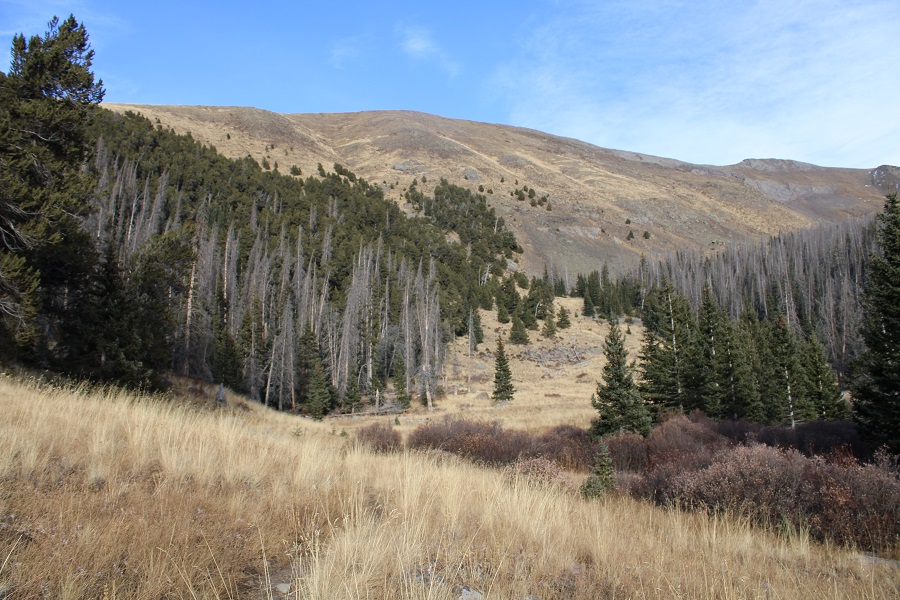
Here I turned left, crossed San Isabel Creek, and headed up the drainage. Here’s where I was headed. As you can see, the ridge cliffs out to the left and right, so it’s important to stick to the drainage.
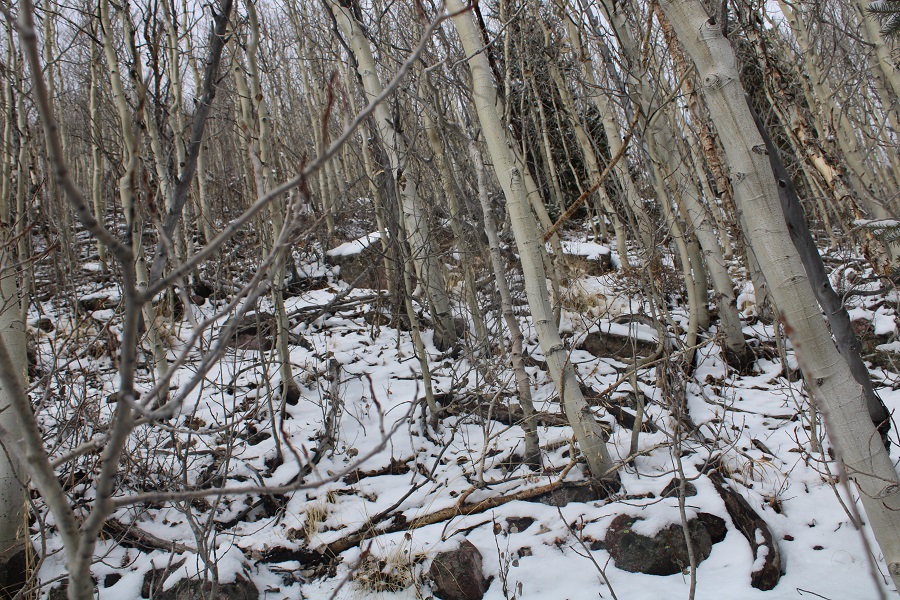
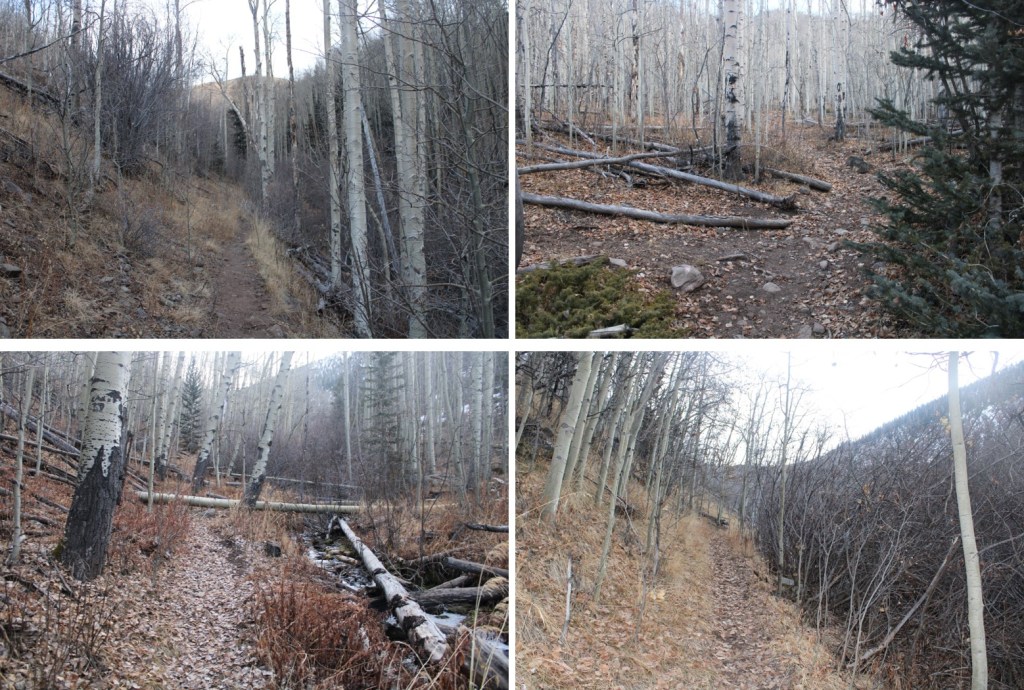
There were a lot of aspen trees here. Since it’s almost winter there weren’t any leaves on the trees. I’m guessing this is a completely different hike with leaves on the trees. Today it was easy to stay in the drainage and hike up to the ridge. I put on microspikes, as the snow wasn’t that deep and the leaf-snow combination was slippery.
I made it to the ridge and turned right, following the ridge north. The actual summit is to the right.
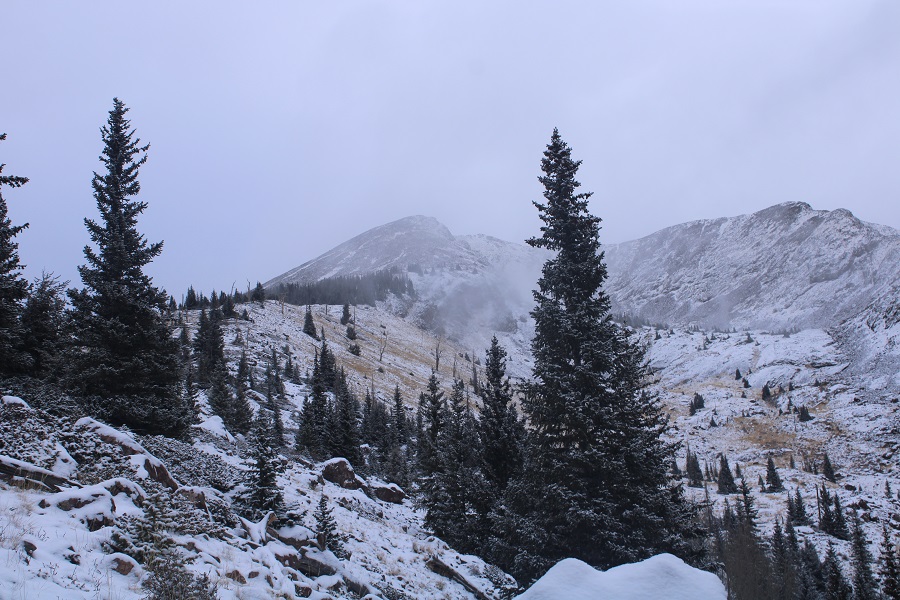
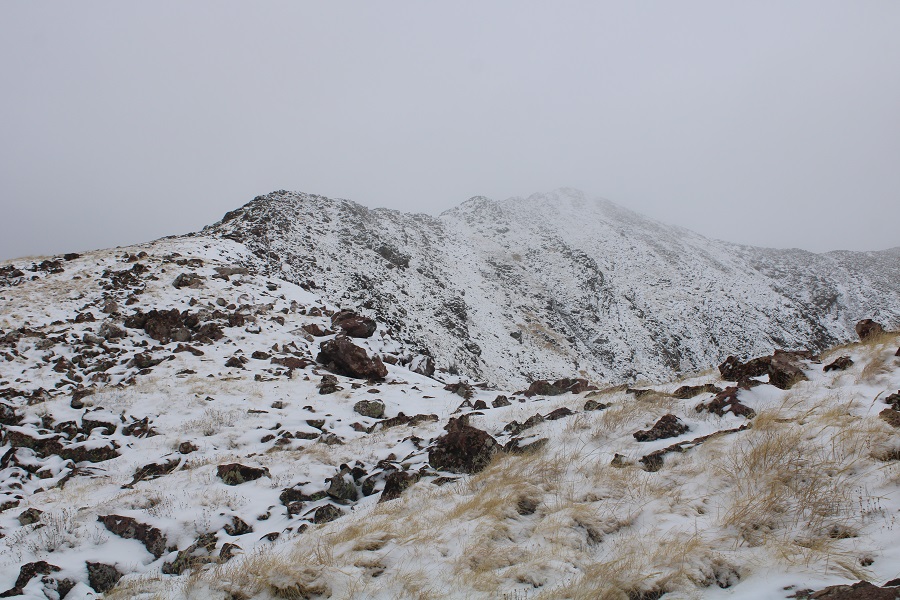
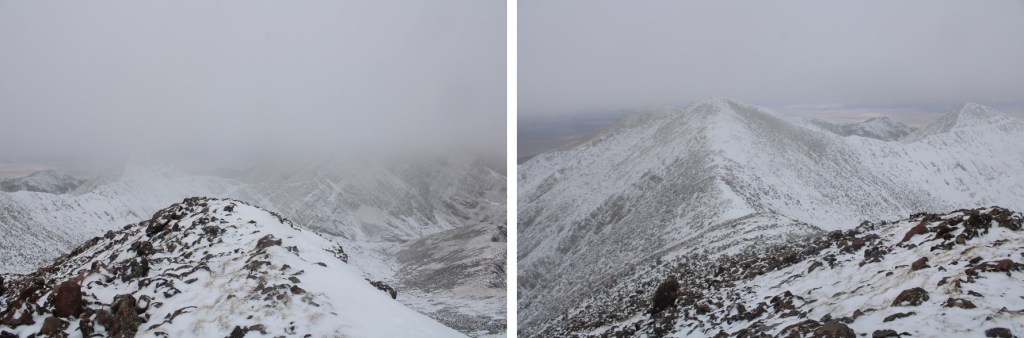
The snow was intermittent as I was hiking. The clouds would clear a bit, and then race back in, swirling the snow around and adding to it. Luckily, following the ridge was easy. I headed towards the pine trees
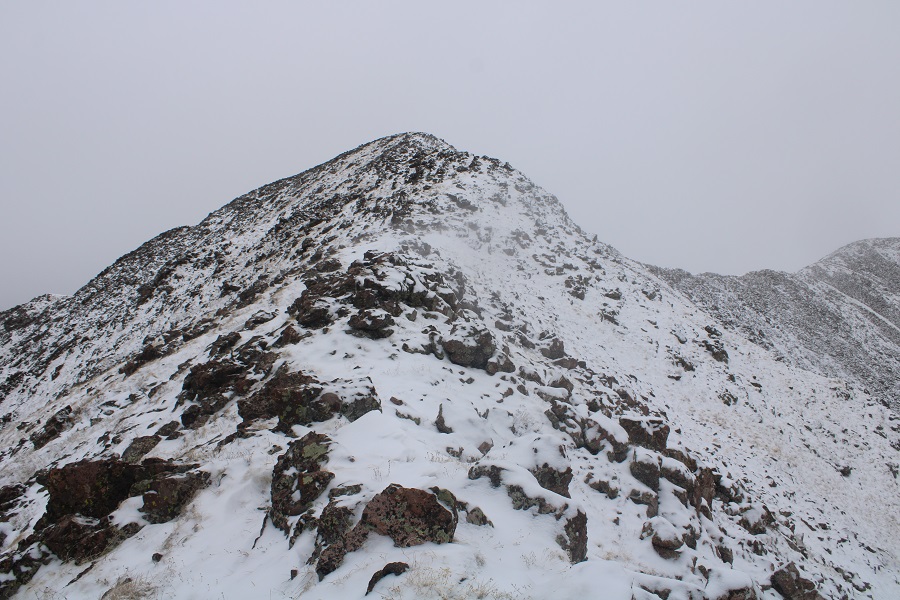
Once past the pine trees the tundra turned rocky. I took this part carefully, as the thin layer of snow made the loose rocks slippery. This is steeper than it looks, but class 2.
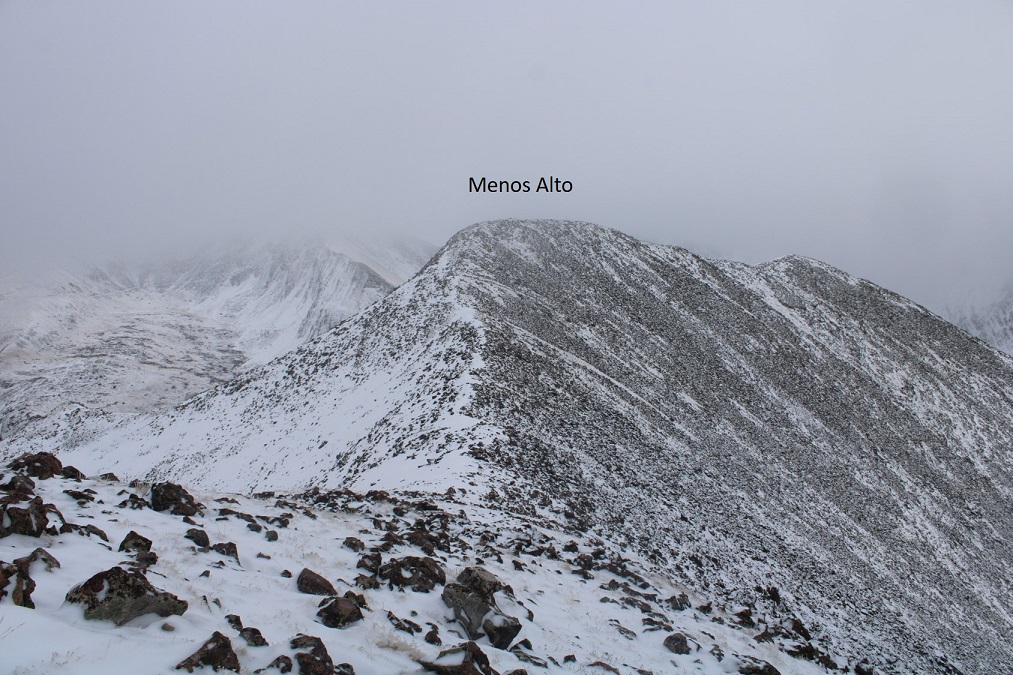
It’s also a false summit (but you already knew that: I didn’t at the time). Here’s the actual summit
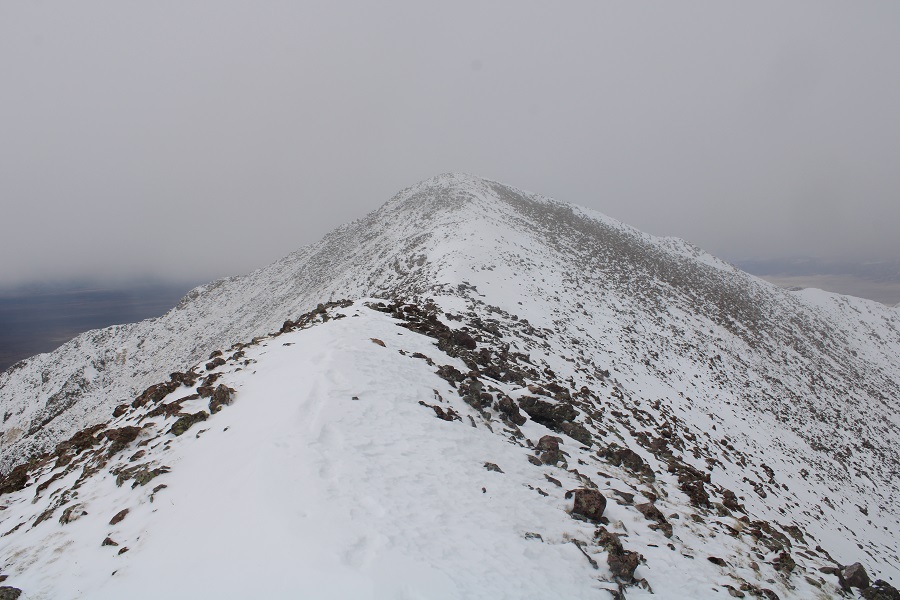
I just followed the ridge and its ups and downs. The route was simple, but the wind and snow today gave it some spice. Here are some pictures of the ridge hike
It was now time to head east and lose some elevation (not much, about 75 feet or so) and then gain the summit
The last bit to the summit was rocky. There was a large cairn at the summit with 2 summit registers. It was windy and cold, so I didn’t open them.
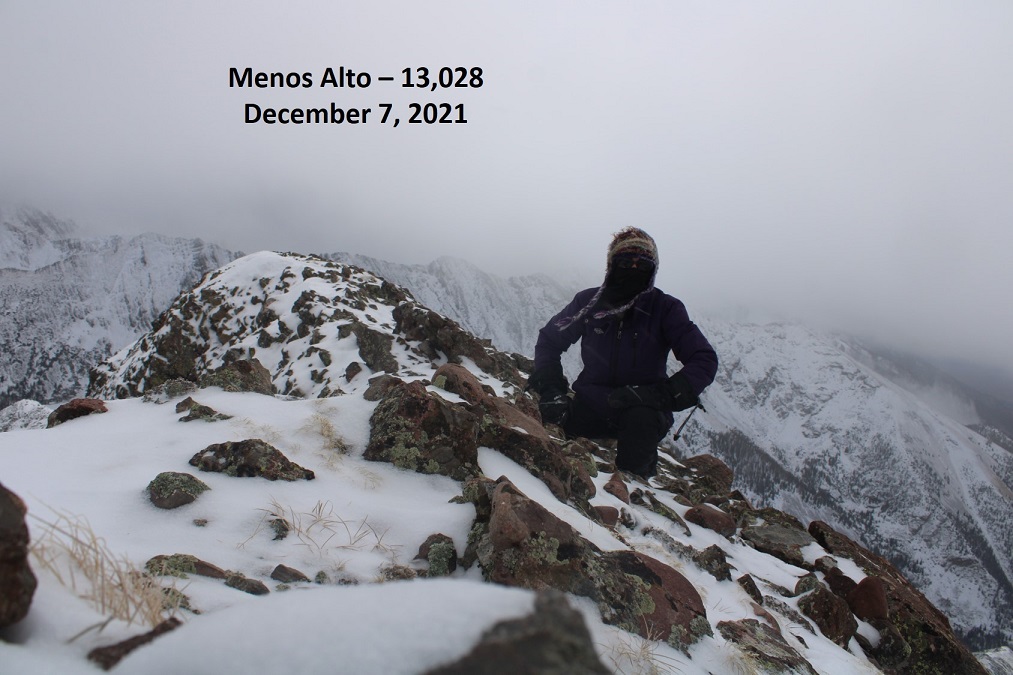
I summited Menos Alto at 10am. The clouds obstructed the views, but we need the snow!
Menos Alto:
When I started out on this hike snow hadn’t been anticipated. I’d planned on linking up a few other peaks (13060 and 13062) but it didn’t look like the weather was going to let up. I didn’t have a good visual of the conditions, and pictures wouldn’t have much context in a trip report: I’d have to come back for those peaks another day. I turned and re-traced my steps back down the ridge.
Here’s an overall view of the path I took from the ridge back to treeline. I descended exactly the way I ascended, to avoid cliffing out on the rocks. This was easy, as I just followed my tracks in the snow.
When it came time to descend, there wasn’t much of a visual. Just before entering the trees I noted where the trail was below me, and aimed southeast, following the drainage towards San Isabel Creek and the trail I knew was just beyond.
Here are some pictures of my way back down the drainage
I re-crossed San Isabel Creek, and headed towards the trail. I found the old wooden sign, turned right, and followed the trail 4 miles back to the trailhead.
There were still a ton of creek crossings.
Eventually the snow on the ground gave way to dirt, but it continued snowing until I made it back to the trailhead. Cutting this hike short had been a good idea.
I made it back to my truck at 1:15pm, making tis an 11.91 mile hike with 5143’ of elevation gain in 8 hours.
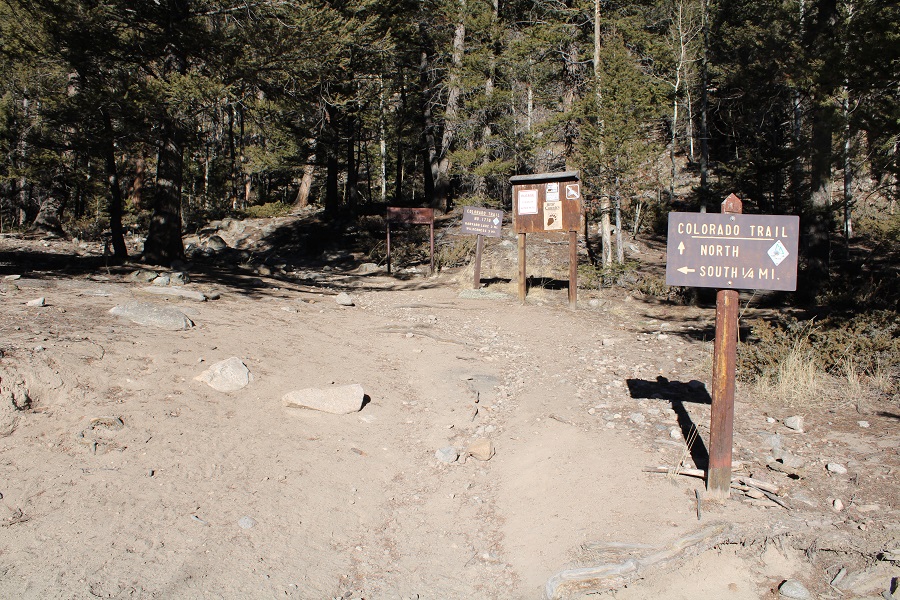
I’ve spent the past week in Florida for work, so I was a little worried about breathing above treeline today. I made it to the Harvard Lakes trailhead easily, as there wasn’t any snow on the ground (and it’s December!). I parked and was on the trail at 5am. I was following the Colorado Trail north.
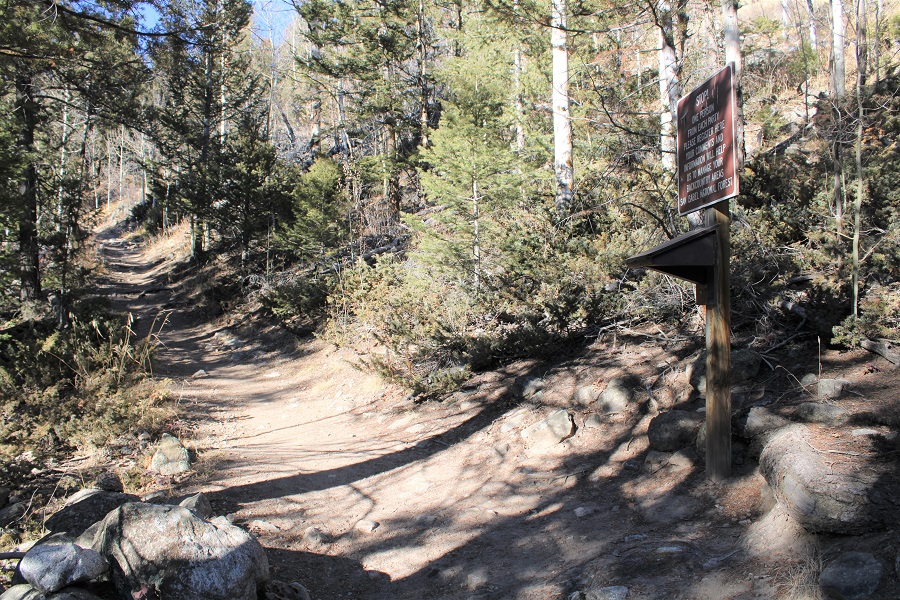
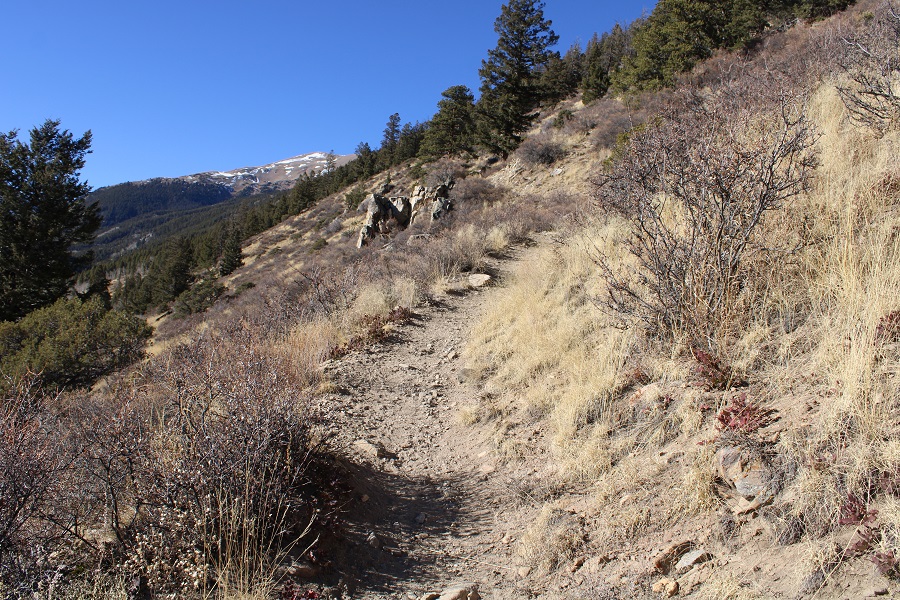
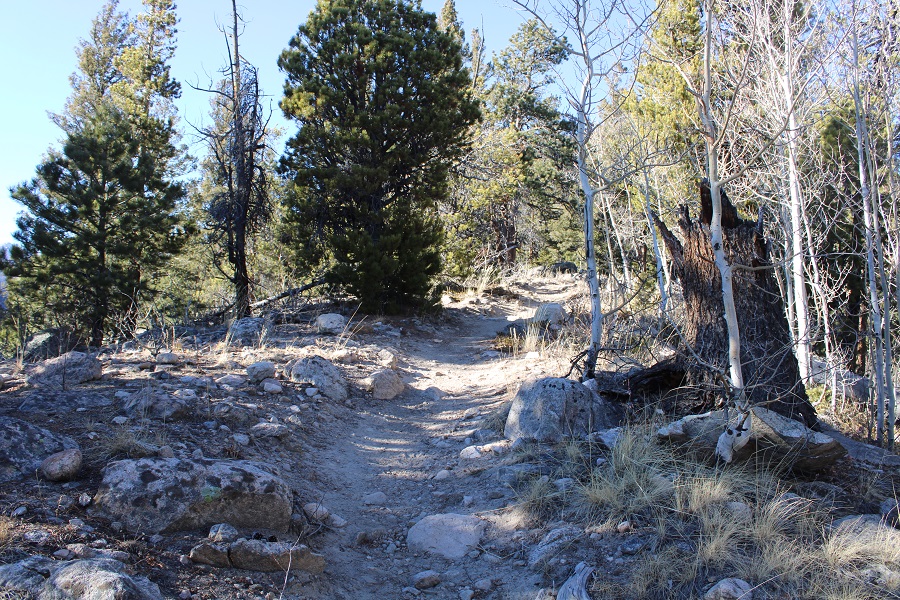
The first 7 miles of this trail follows the Colorado Trail. The Colorado Trail is an easy to follow, class 1 trail. It started with a few switchbacks, and then followed the curve of the mountainside north.
After hiking for 3 miles I came to Harvard Lakes. They were both frozen and looked neat in the dark. Later in the day I saw people walking across both lakes. They didn’t seem frozen enough for that to be safe.
There were several, easily crossable stream crossings along the trail
After hiking for 6 miles I briefly lost about 250’ of elevation, which led me to a trail junction.
The junction was between the Frenchman Creek Trail (Harvard Trail on a topo map) and the Colorado Trail. I continued along the Colorado Trail
I crossed Frenchman Creek. There were no tracks in the snow past this point, but there wasn’t much snow to begin with. It didn’t look like anyone had been on this part of the trail in a while.
I quickly came to an area with several camping spots at 11150’. I’d been hiking for a total of 7.15 miles.
Here I left the trail and headed northwest to the ridge.
I bushwhacked to treeline. This was easy as far as bushwhacking goes, as there weren’t too many downed trees and the trees weren’t jumbled close together.
At treeline I could see the ridge, and headed towards it
I skirted the ridge a little to the left
Once on the ridge I followed it west
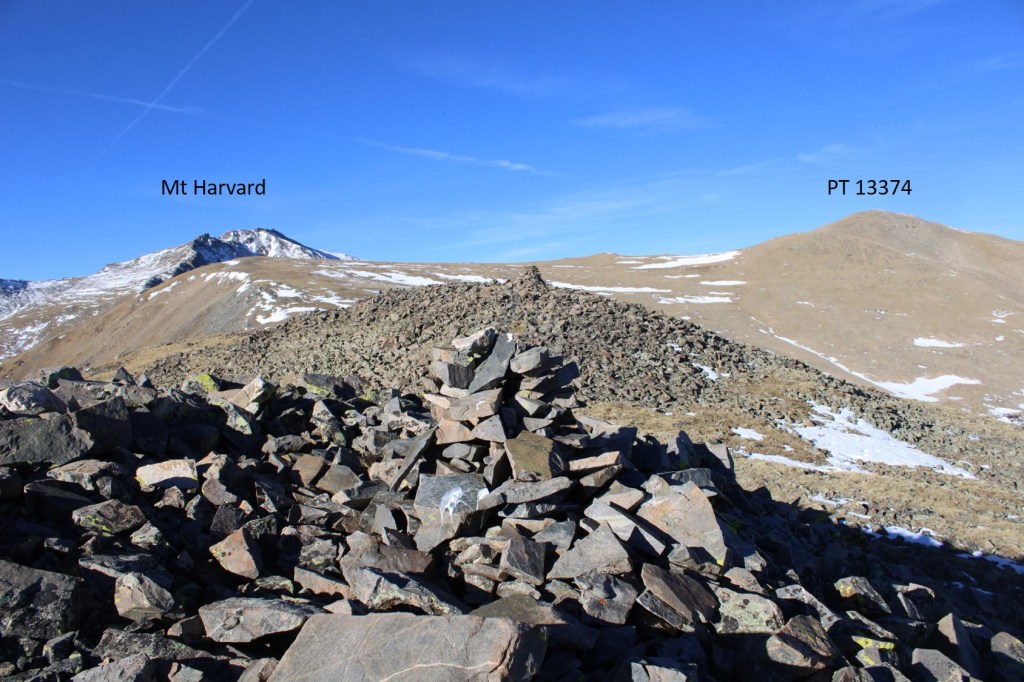
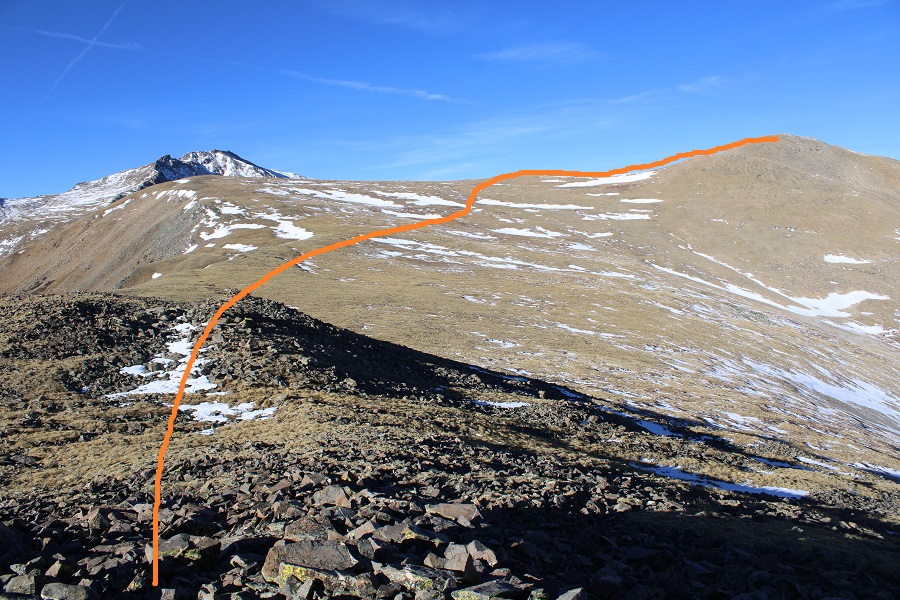
I came to a rocky, cairned area, and could see the route before me to PT 13374.
I crossed the rocky area, and followed the tundra to PT 13374, easily avoiding the snow
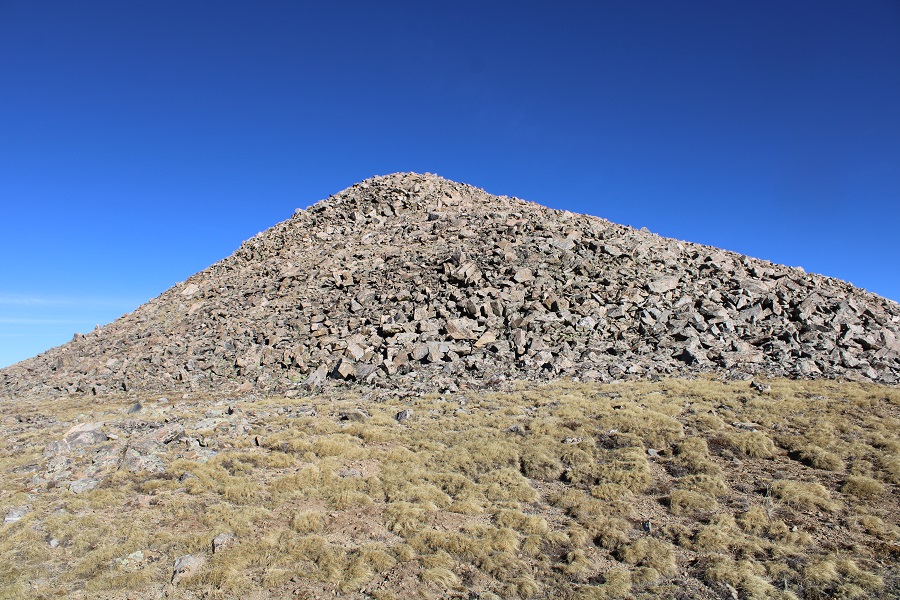
Here are some pictures of the final push to the summit
I summited PT 13374 at 8:45am
PT 13374:
There was a summit register (in a tube). It was such a nice day I opened it and signed the register. I then turned and retraced my steps back to the ridge.
I then followed the ridge back to treeline
At treeline I aimed southeast and bushwhacked it back to the Colorado Trail
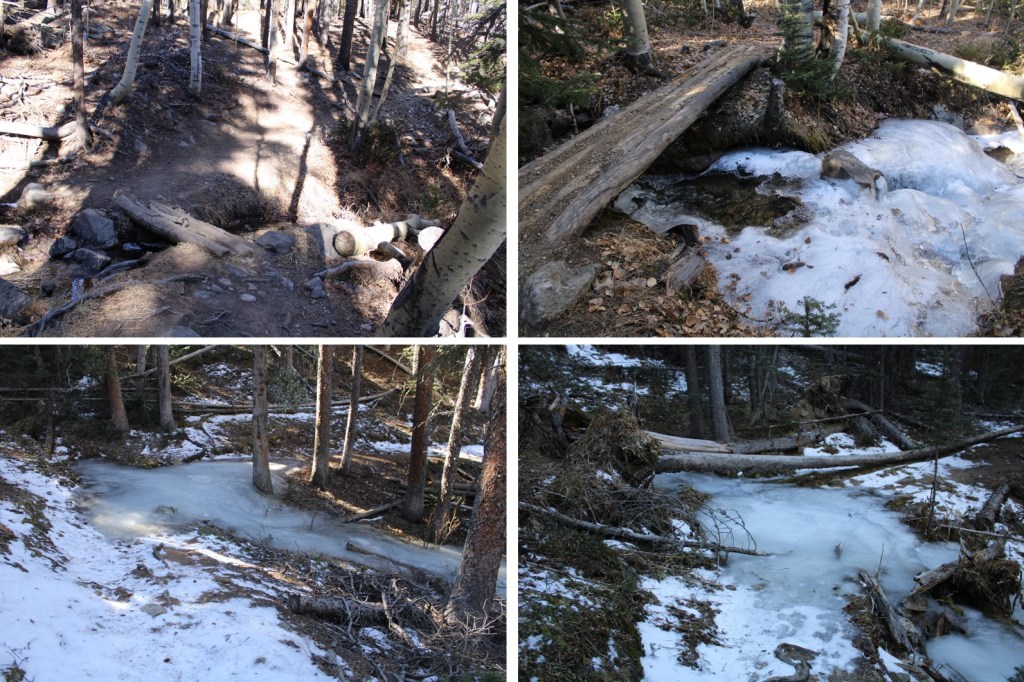
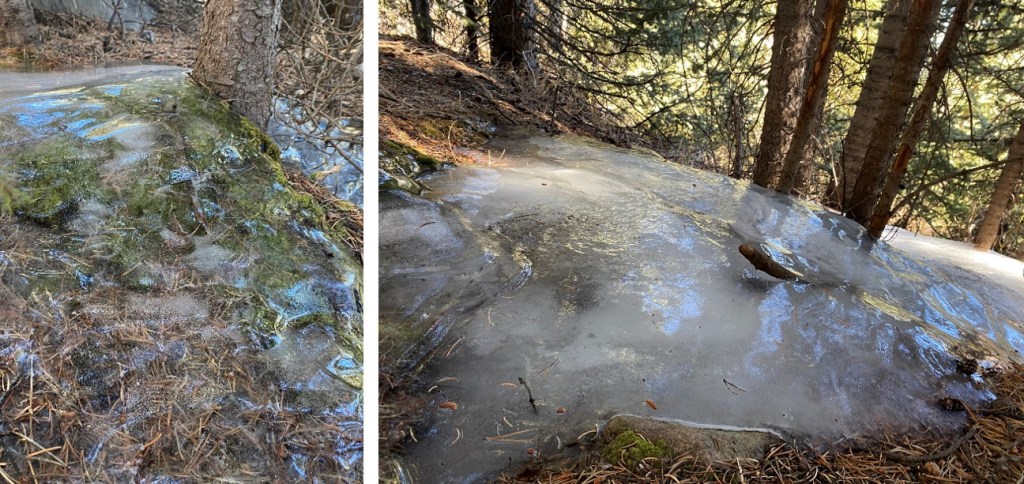
There’s surprisingly little snow for this time of year, but it’s still cold outside. There were several areas of frozen water below treeline that looked really cool.
I made it back to the Colorado Trail, and followed it for 7 miles south, back to the trailhead
I made it back to my truck at 2pm, making this a 19.77 mile hike with 5178’ of elevation gain in 9 hours. Today seemed almost too easy: the gradual elevation gain made the miles fly by.
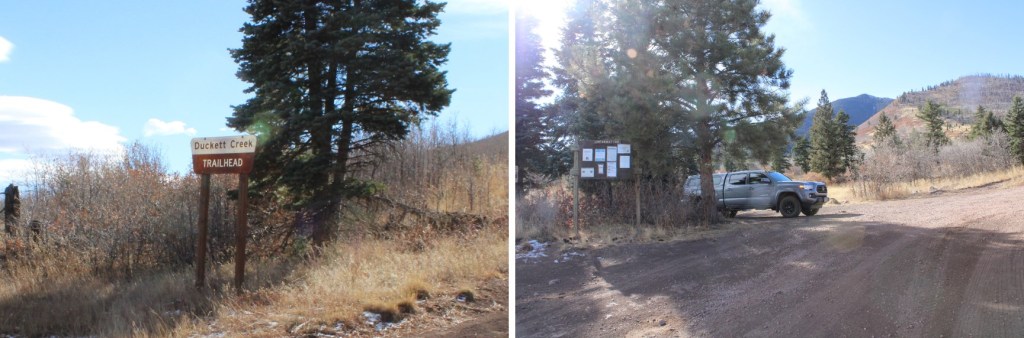
I knew it was supposed to be windy today, but the past few weeks the wind hasn’t materialized in the Sangres as predicted, so I decided to take a chance. I arrived at the Duckett Creek Trailhead, the only vehicle there.
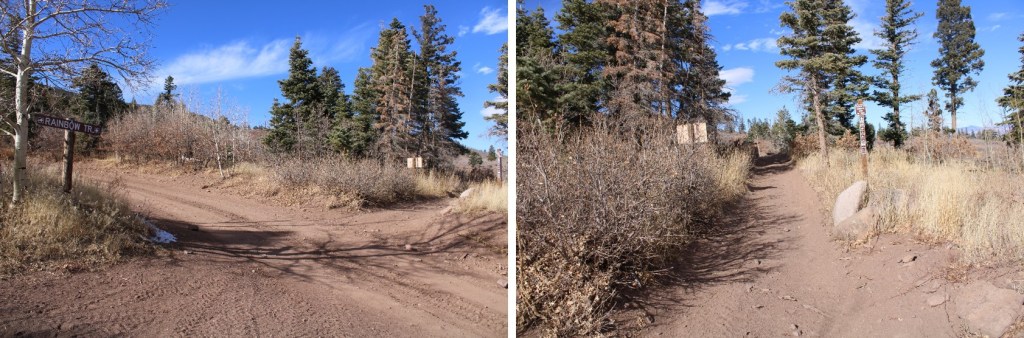
I actually started out taking the Rainbow Trail, which is located at the north end of the parking area.
The Rainbow Trail is wide enough to fit an ATV, and it looks like a lot of people take advantage of this. There weren’t any footprints on this part of the trail, but there were a lot of tire tracks. I lost a little elevation here, but nothing too dramatic. I followed the Rainbow Trail northeast, as it passed through a burn area and crossed South Lake Creek Drainage (which was half frozen).
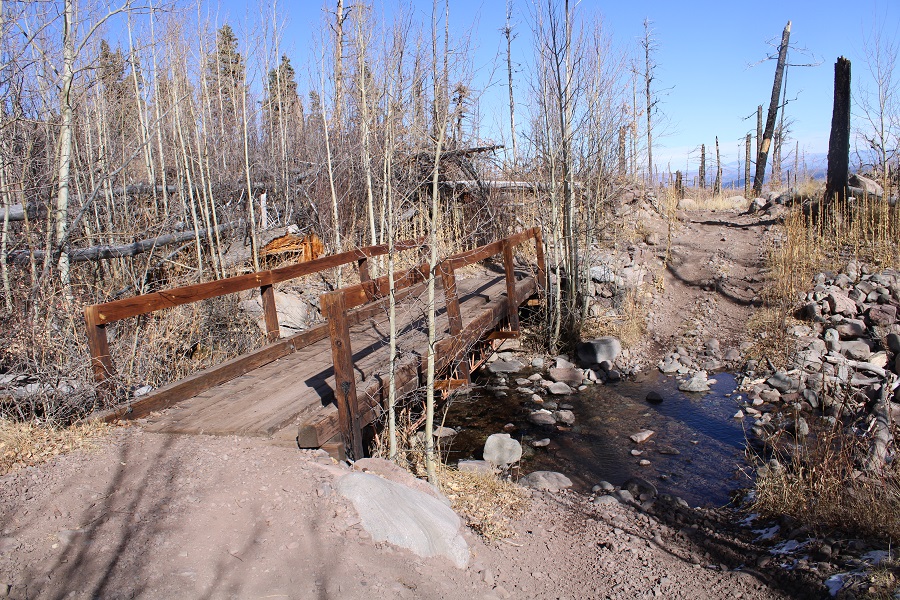
There was a nice bridge over North Lake Creek
After hiking for 1.35 miles, I came to a junction with 4WD road 198. I turned left, and started following FDR 198.
I followed this road as it crossed a section of North Lake Creek, skirted the Balman Reservoir, and passed several nice dispersed camping sites.
I hiked 2.9 miles from the trailhead to 9800’ of elevation, and a curve in the road. This is where I left 198 and bushwhacked to treeline.
It was just under 2 miles and 2000’ of elevation gain to treeline from where I left the road. The trek was interesting without any visuals: the pine trees obstructed any view. I was however, able to hear the wind. I followed the ridge proper southwest
Just before treeline I got a glimpse of Eagle Peak, before heading into the trees again
At this point, I came across what kind of looked like a trail, but it fizzled out
Once at treeline, you’ll be tempted to cut through the trees and head straight for the ridge.
Today, the area with trees had snow, so I skirted the trees to the right on tundra. I’d recommend this, as there weren’t any obstacles.
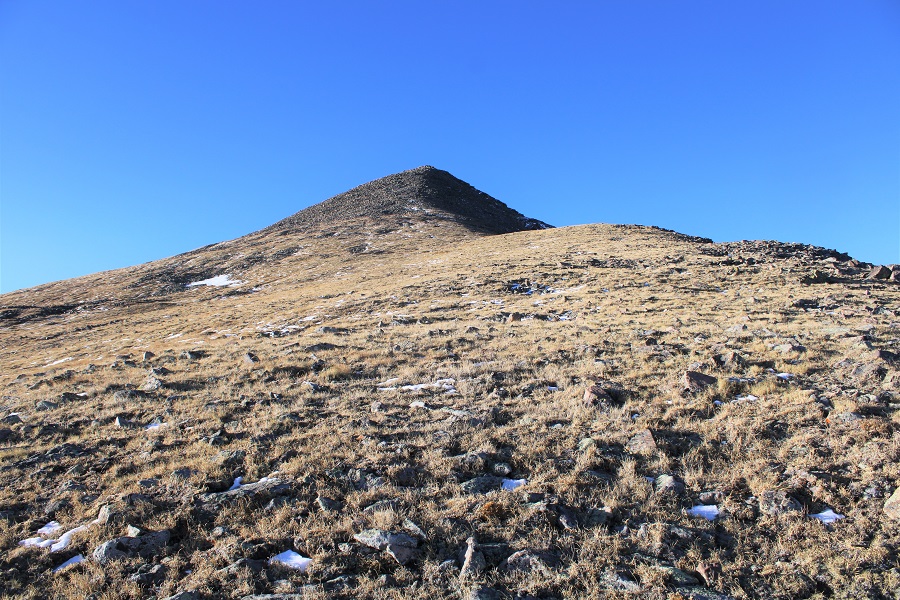
The hike towards the peak is obvious, and completed on 90% tundra. The slope angle is low: This would have been an easy summit, if it weren’t for today’s wind.
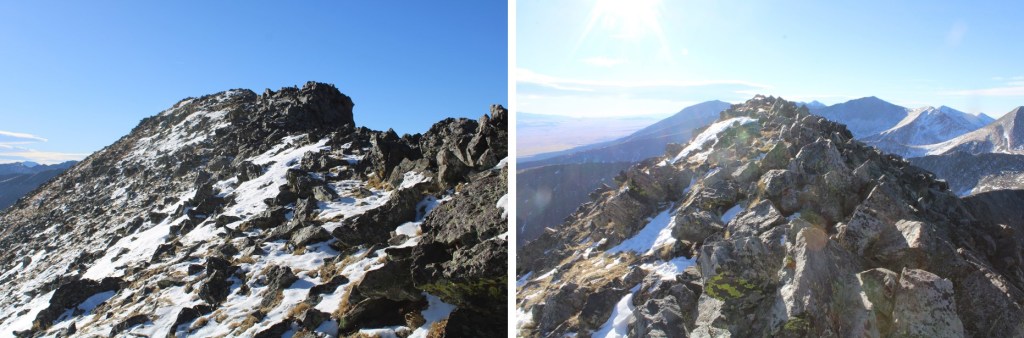
Tundra stopped at rocks. I just went directly up the face. This is a false summit.
Today this was tricky to navigate, as the wind was intense: it never stopped. I’m guessing there were sustained winds of 35mph, which are tolerable, but the unexpected gusts of 50+mph made things tricky. I’d have to lean into the wind to remain upright as the winds were a constant 35mph, but every once in a while a gust came from the opposite direction and knocked me back (or pushed me forward). It was added fun when this happened on the rocks that rolled and I skipped a few steps with my feet and flailed my arms in the air to regain balance, hoping not to fall. I sat and laughed more than once as I waited for a gust to pass after falling down. Also, during one of the cross-directional gusts I hit my knee (again) on a rock in the same place for the third time this week. I jumped up and down to relieve the pain and made up a few words in the process.
Back to the rocks. These are microwave size, and some roll, especially the smaller ones. Choose your own adventure.
At the top of the rock pile you can see the rest of the route to the summit
I just followed the ridge to the summit, hunkering down when the gusts of wind came. This ridge is class 2
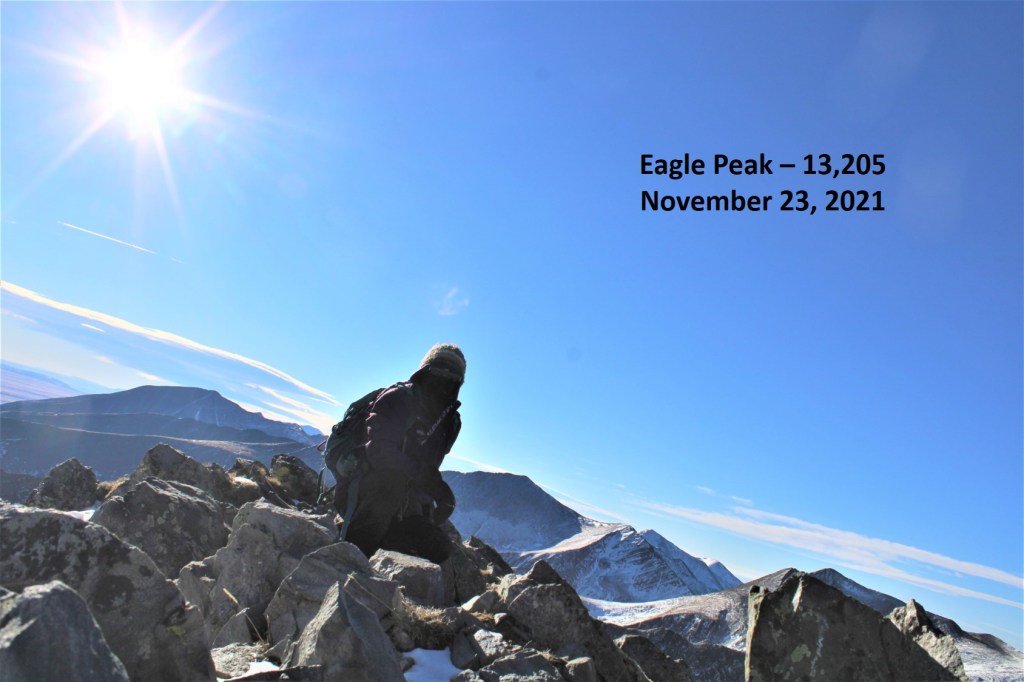
I summited Eagle Peak at 8:45am. Yes, this is the best picture I got: the wind kept knocking over my DSLR camera, and it was cold, so I didn’t make many attempts. I didn’t even attempt to take off my backpack for the photo: I figured if the wind could knock me down while wearing my pack, I’d most likely lose my pack if I took it off. I could picture it tumbling in the wind down the side of the mountain. I probably wouldn’t stay standing long without my pack either.
Eagle Peak:
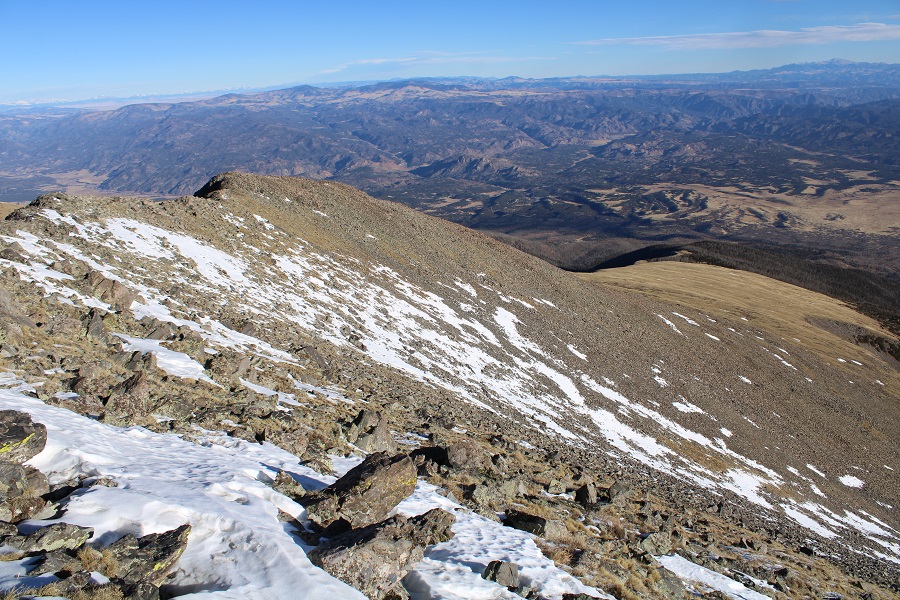
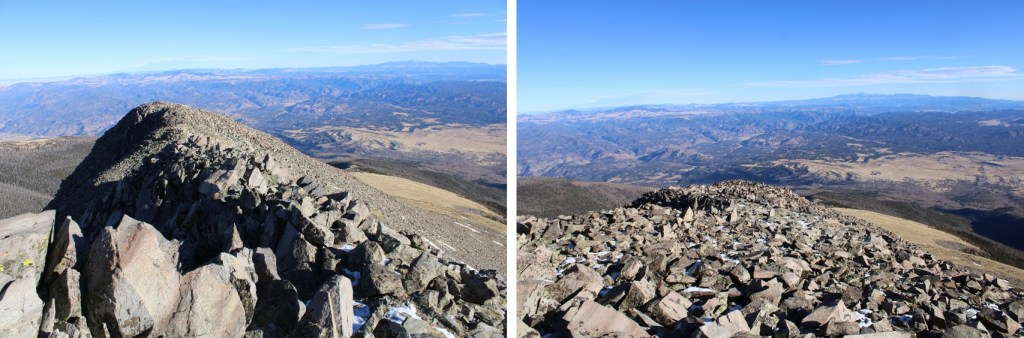
I didn’t stay long at the summit, as I wanted to get out of that wind asap. This was an out and back hike, so I re-traced my steps back over the ridge
More ridge pictures:
Following the ridge back to treeline was easy. I aimed for the tundra to the left of the bristlecone pine trees.
Here’s a quick video of the wind near treeline, once it started to die down. I wish I’d captured a video of the wind gusts, but they weren’t predictable.
Wind:
The hardest part of this hike was navigating back down the ridge, because I didn’t have any visuals. I relied heavily on my compass, heading northeast back towards the road
I made it back to the 4WD road, and took it back to the Rainbow Trail
I then took the Rainbow Trail back to the Duckett Creek Trailhead
I made it back to my truck at 12pm, making this a 12.14 mile hike with 4691’ of elevation gain in 7.5 hours.
And now, to drive home and wake up my daughter. She’s home on college break, and will most likely still be sleeping at 2pm when I get home. Since it’s just the two of us this year, we decided to have an early Thanksgiving dinner so we can have all week to eat the leftovers before we leave.
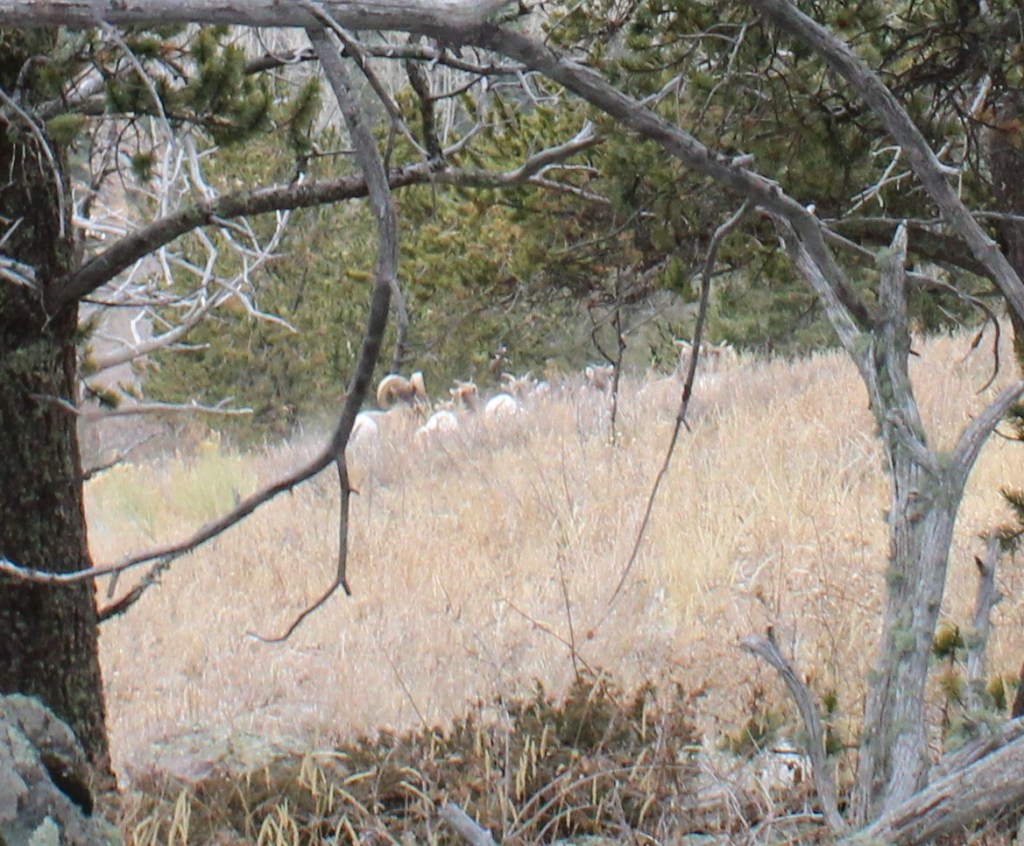
I just love the local herd of bighorn sheep in this area! I’ve seen them a few times, usually up at Willow Lake. It’s neat watching the babies get bigger. They greeted me this time on my way to the Willow Lake trailhead.
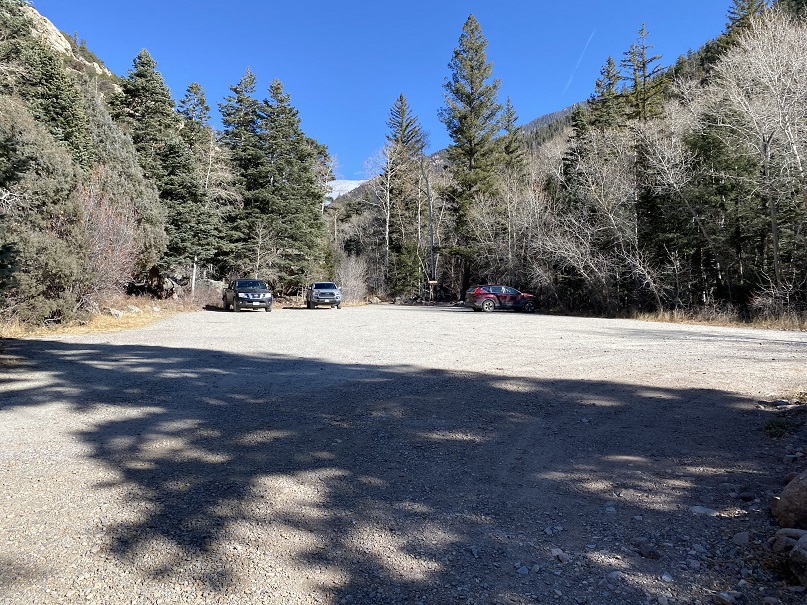
The trailhead was deserted for a Friday afternoon. I sat back, ate some peanut butter off a spoon, sipped some whiskey, and jotted down notes from the day. The bathrooms were still open, clean, and stocked.
Before making it an early night I pre-signed the trail register, red a bit, and headed to bed. I’m so darn comfortable sleeping in the bed of my truck, it’s difficult to get up and out in the morning. Oh, and I ‘installed’ new lights, if anyone’s interested:
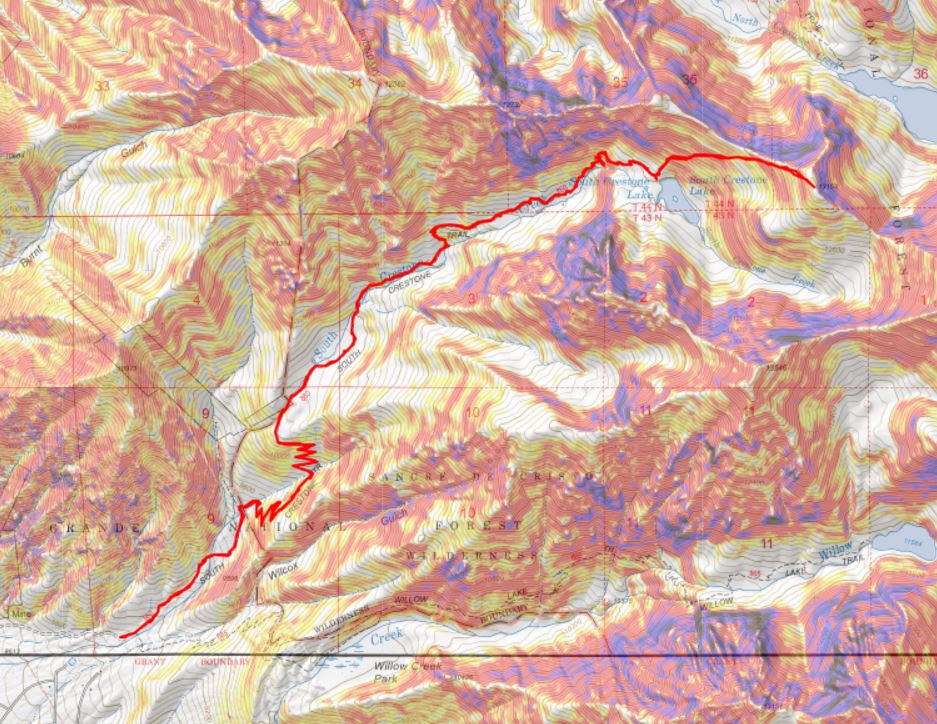
The South Crestone trail starts from the same area as the Willow Lake trail.
The trails quickly diverge, and I followed the South Crestone trail, heading northeast.
The South Crestone trail (860) is a class 1 trail that will lead you all the way to South Crestone Lake, without any junctions.
After hiking for 1.6 miles I passed an old log cabin, and started switchbacking up the hillside.
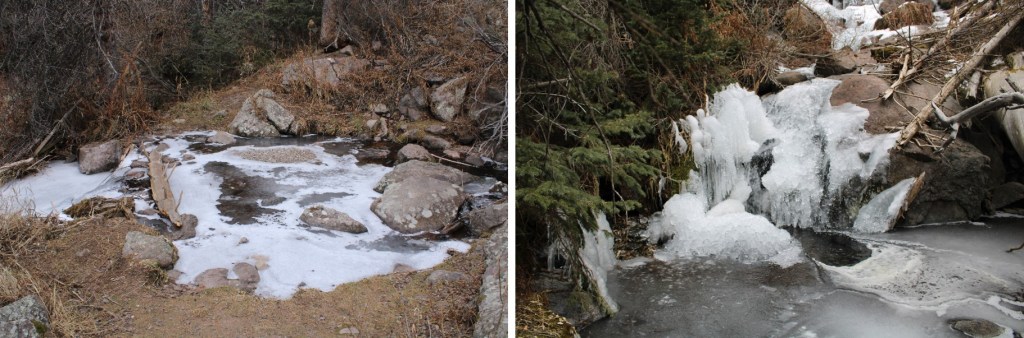
At the top of the swithcbacks the waterfalls started. They were located alongside the trail, but didn’t impede the actual trail. Since it was cold this morning, the ice never got a chance to melt (these pictures were taken on my return).
I came to a meadow, and then switchbacked up to the lake
I always know I’m close to the lake when I see the “no camping or livestock within 300 feet of lake” sign.
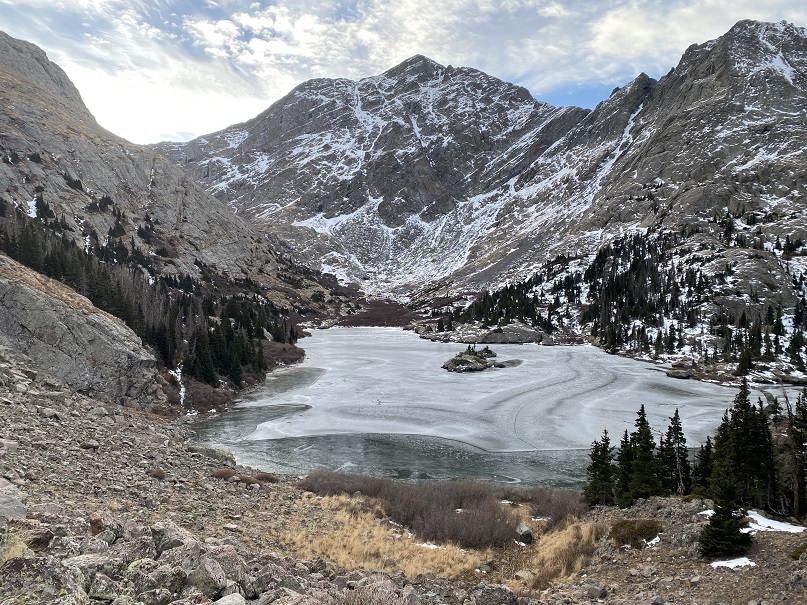
After hiking for just over 5 miles, I made it to South Crestone Lake
I’d gone too far, but on purpose: I’d wanted to see the lake. About 5 yards before the lake, there’s a post near the trail. I’m sure it was informational at some point, but now it’s just a post (and difficult to miss).
At this post I turned left, leaving the trail. From here on out, it was a class 2 hike.
As soon as you leave the trees, you have a great visual of the rest of the hike
Here’s the route I took to the summit of PT 13153
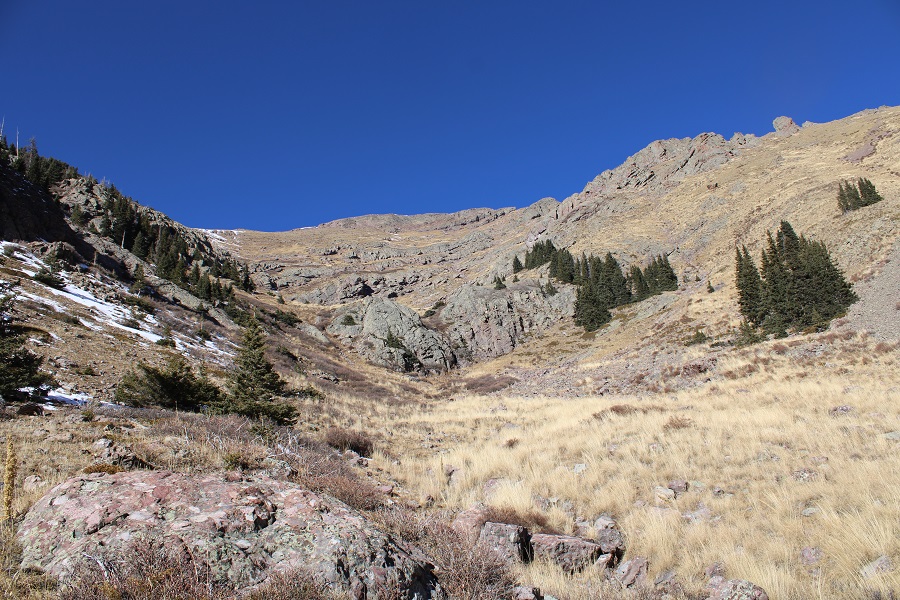
First, I ascended this rocky/willowy/tundra filled gully. Note the rock circled, as it will be your visual cue when you exit.
At the top of the gully, I stayed on the tundra, avoiding the rock outcroppings both above and below. But was unable to avoid the willows. I just aimed diagonally for the first pile of rocks on the ridge I could see. There’s no reason to try to ascend directly to the ridge; just keep aiming northeast.
Staying on the tundra will help to avoid rock-hopping
Once on the ridge, it was a simple hike to the summit
I summited PT 13153 at 8:45am. It was cold.
PT 13153:
There were some great views of the Crestones
There was a summit register, but it was too cold for me to attempt to open it. Have I mentioned it was cold and windy? I wanted to get down off the ridge asap.
Here’s an overview of the route back to the lake. Remember, just aim for that big rock that signals your decent down the gully
Here are some pictures of the way back to that large rock
Once at the large rock, I descended back down to the lake
This brought me to the class 1, South Crestone Trail, which I followed back to the trailhead
I was really surprised at all the witch’s hair I saw on the trees. It’s completely taken over in some parts. In the dark I’d thought the green were pine needles: Not so.
As I rounded the corner, just before descending down the switchbacks to the cabin, a herd of bighorn sheep darted across my path, kicking up dust and thundering down the hillside. They were too quick for a good picture, but I was 100% sure it was the same herd I’d seen yesterday, and last time I was at Willow Lake (we’ve bonded). I’ll add this to my growing list of wildlife ‘butt’ shots.
Here are some more pictures of the trail back to the trailhead
I made it back to my truck at 11:30am, making this a 12.1 mile hike with 4530’ of elevation gain in 6 hours, 30 minutes.
Today had been much easier than anticipated. I was done earlier than expected, which was great! Now to head home; my daughter comes back from college for Thanksgiving break tonight, and I want to have her favorite dinner ready for her when she arrives!
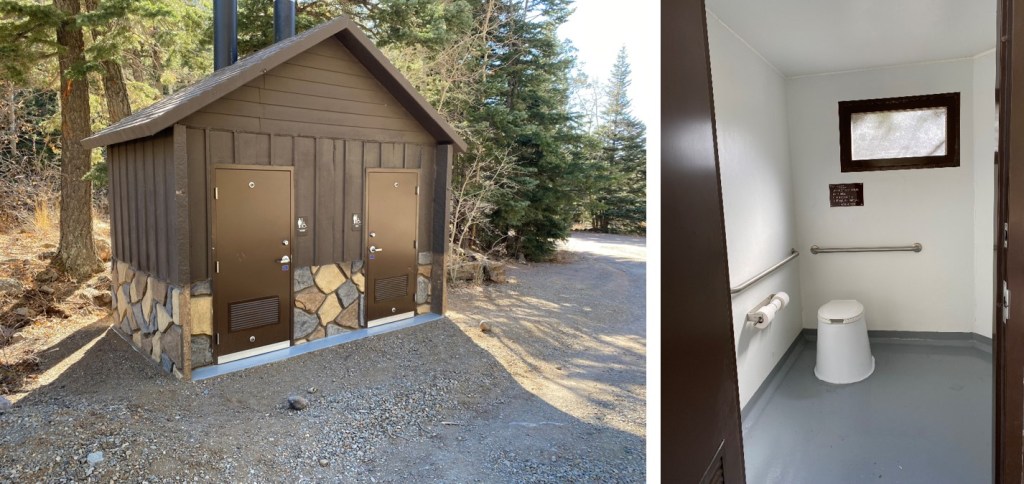
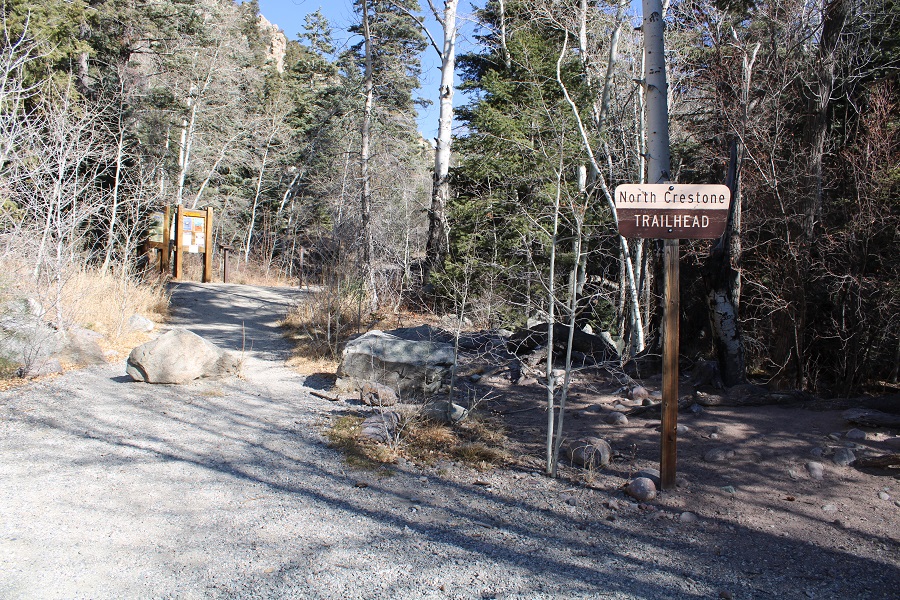
The moon was full, which makes hiking in the dark so much more enjoyable. The trailhead is located at the northeast end of the North Crestone Campground. I was surprised to find tent campers in some of the spots on this 20-degree morning. There were no other vehicles I the lot when I arrived. I was surprised to find the bathroom still open, and well stocked.
I was on the trail at 5am. The trail is obvious.
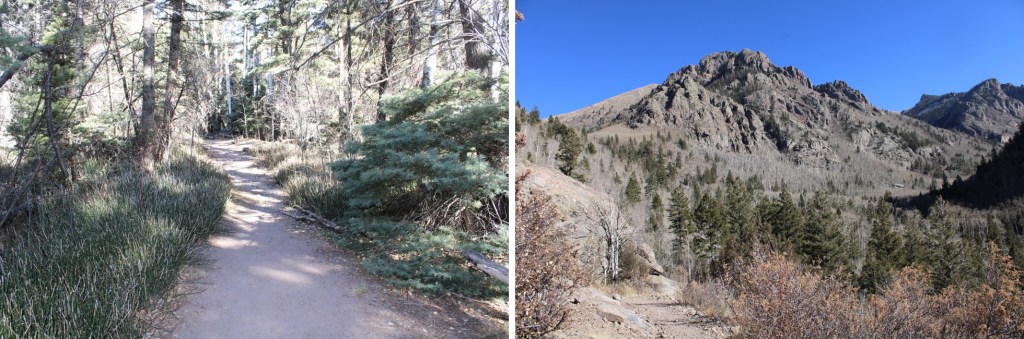
I signed the register (the first person to do so in about a week) and followed the North Crestone Trail northeast. This is a class 1, easy to follow trail
After hiking for 2.8 miles, I came to the junction for the North Crestone Trail, Comanche Trail, and North Fork Crestone Trail. I basically made 2 left turns, and began following the North Fork Crestone Trail
This trail was also easy to follow, as it switchbacked and headed north
There were some frozen stream crossings
There were also a lot of downed aspens from previous avalanches (but a clear trail) and willows
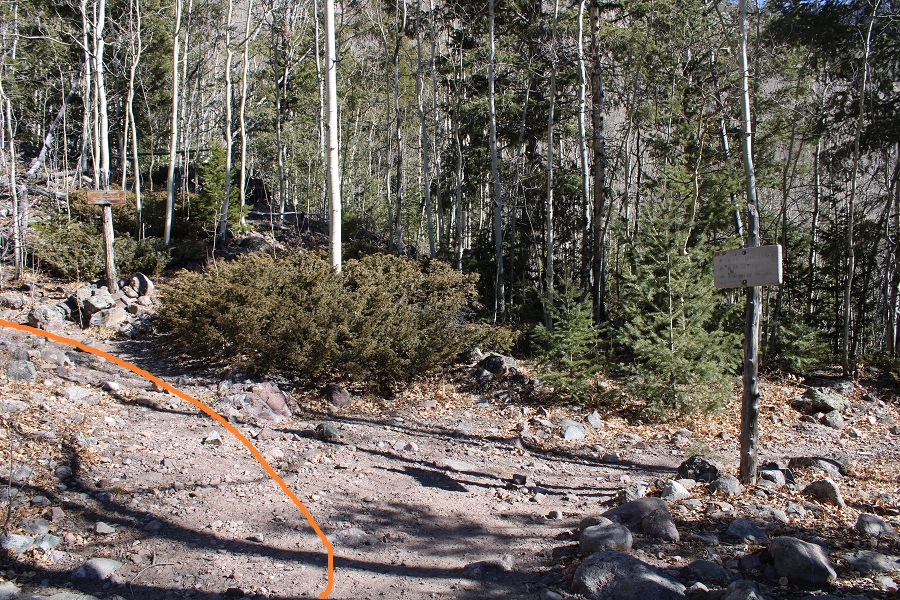
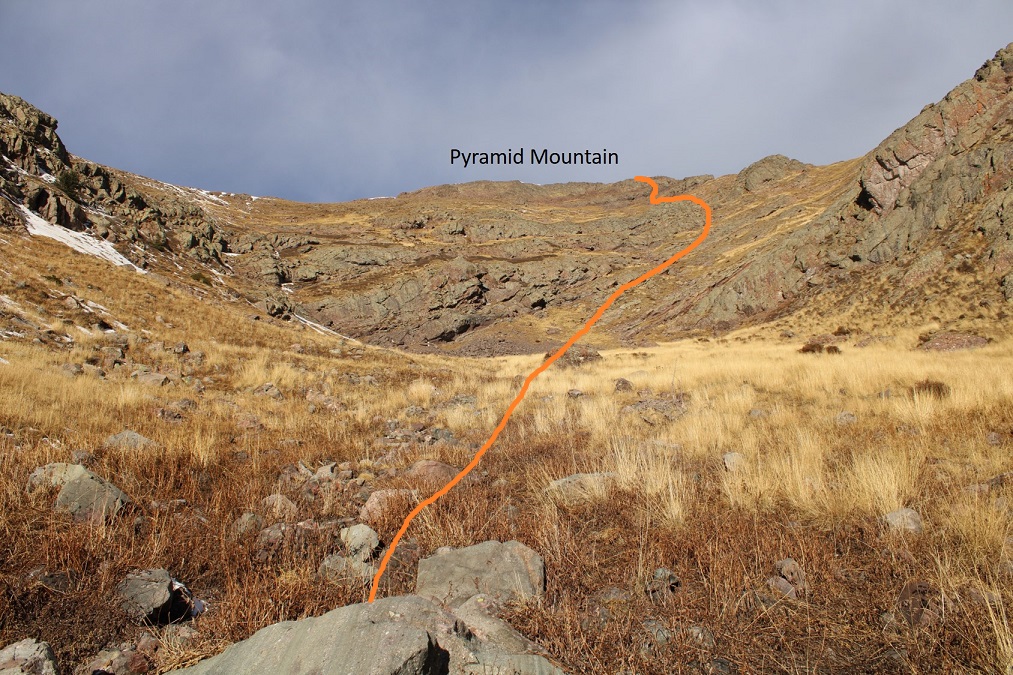
After hiking for a total of 4.25 miles and at 10750’ I looked left and saw a drainage. This is the east side of Pyramid Mountain.
The idea here is to follow the drainage northwest. This is harder than it sounds. I ascended via the right, only to encounter some class 3 climbing and avalanche debris from aspens. I descended via the left, in the snow with even denser aspens. If I had to do this again, I’d probably stick to the route on the left, because, while there were more aspens, they were easier to navigate and much shorter than the ones on the right. In any event, it’s choose-your-own adventure. Following the drainage directly isn’t an option for the first 100 yards or so, due to the dense willows (but after that I’d recommend following the drainage proper, rock hopping). Either way, you will come out of this part of the trek covered in aspen dust. I can’t imagine attempting this when the trees and willows have leaves.
Here are some closer pictures of my ascent route. First, I crossed the stream. It was covered in willows, so pictures don’t do much, but trust me, there is a stream here. Just float over it on the willow branches…
Next, I found an obvious game trail through the next set of willows
Directly after this game trail is another game trail to the left that crosses the drainage/a small stream (picture of this to come later). This is how I came down. But for now, I stayed to the right of the willows, trying to straddle the willows and the aspens (it didn’t work).
Staying to the right of the drainage brought me to a rocky area I needed to ascend. This could be considered easy class 3
Once over this rock outcropping, I was easily able to follow the drainage northwest, as I was now above treeline
I took the ramp to the left, which is steeper than it looks. Here I encountered a few stubborn willows, but was able to keep this class 2
Now I could see the rest of the route. There are a few ways to ascend to the summit. Once again, this is choose your own adventure. It looks more intimidating than it is. I was able to keep this all class 2, with one easy class 3 move (which would have been class 2 without snow).
Here’s my overall route to the summit
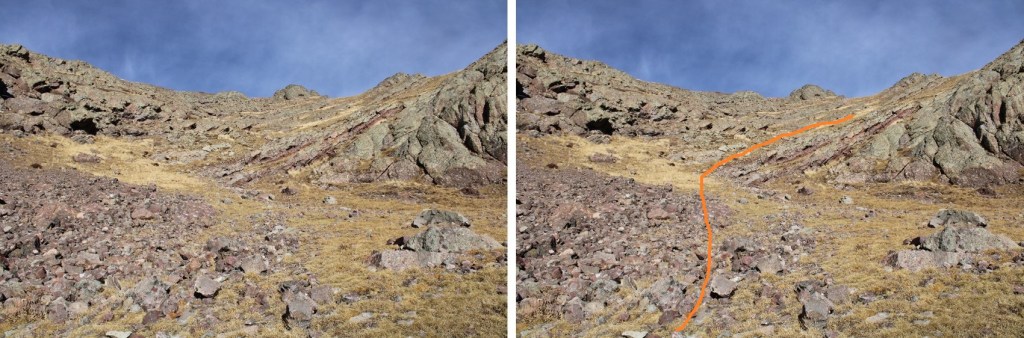
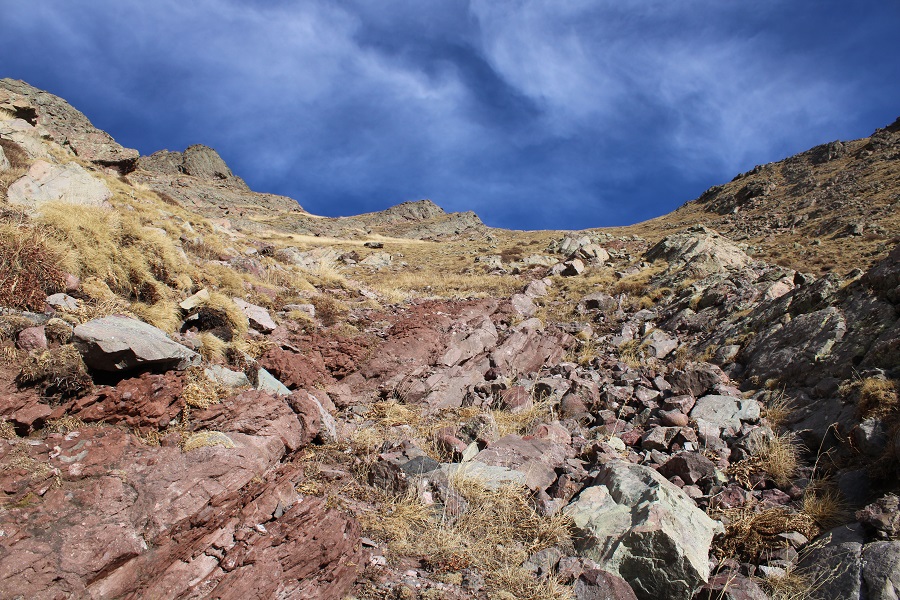
Let’s go step by step. I made my way towards the rock outcropping. Here there are two prominent, red ribs of rock. Both go. I chose a different one on the way up than I did on the way down. Follow them north and they will quickly lead to tundra
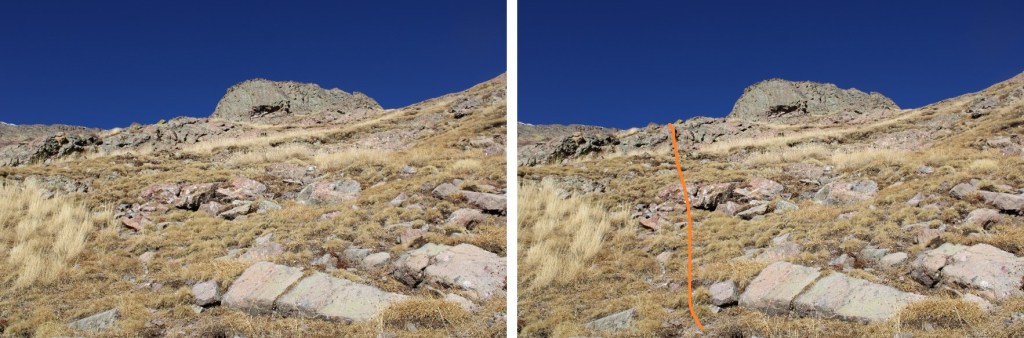
At the top of these ribs, resist the urge to head to the ridge (it doesn’t go, yet). Instead, aim for just below this prominent rock
Heading this way will take you to a game trail. I followed it west a few yards, and then took a gully towards the ridge, avoiding the large rock.
When I did this there was snow. Snow helps to make for a nice visual. Just before making it to the snow, I turned right. There was a faint trail here, heading northwest.
I was making my way northwest, towards the ridge, on tundra and Crestone conglomerate rock (side note, had I gone to the next gully further, this would all have been tundra).
I hit another large rock just before the ridge. There’s an access gully here that’s most likely class 2 in summer, but with snow felt easy class 3. I climbed this gully
From here, it was an easy scramble up the ridge to the summit. The pictures make this look tougher than it was.
I summited Pyramid Mountain at 9:15am
Pyramid Mountain:
There was a summit register, which I actually signed because it was warm outside. Then I was on my way back down.
Here’s an overview of the exit, back to the drainage
I made it back to the game trail, followed it for a few yards, and then descended south
This time I took the opposite side of the drainage down. I’d recommend taking this route up (it won’t be ‘fun’, but it will be slightly better than the other side)
Yes, there are a lot of aspens, but they’re small-er than those on the other side. I made it to the willows and crossed the creek at what felt like a game trail, but had an access log across it, so maybe it’s intentional?
Now for the final creek crossing, willow wrestling, and back to the trail
I hiked over several (frozen) creek crossings, back to the junction with the North Crestone Trail, Comanche Trail, and North Fork Crestone Trail
I turned right twice this time, and hiked back to the trailhead, following North Crestone Trail
I made it back to my truck at 12:15pm, making this a 11.27 mile hike with 4639’ of elevation gain in 7 hours, 15 minutes.
It’s that wonderful time of year when I start and end hikes in the dark. I’d slept at this trailhead, quite comfortable, and didn’t want to get up. That’s the only downside to loving your sleep set-up: you don’t want to get out from under the covers. Eventually I got up, and was on the trail at 5:30am.
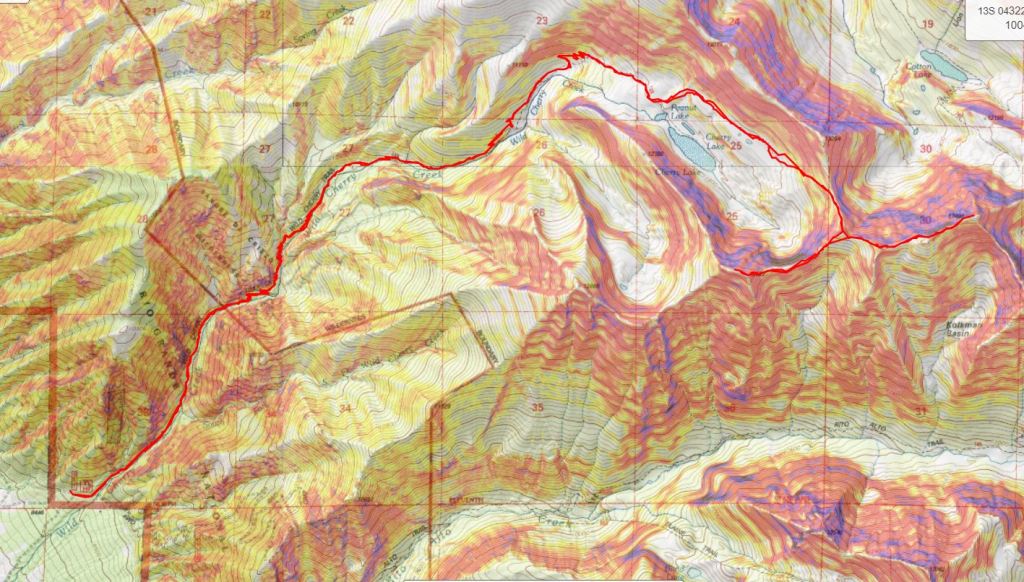
The Wild Cherry Trail is at the end of a fun 4WD road. There’s plenty of parking, and I had the whole place to myself the entire night (and the next day/night as well, odd since it was a Friday/Saturday/Sunday).
I followed this class 1 trail as it meandered and switchbacked alongside Wild Cherry Creek (no creek crossings this time)
The creek was running, but still kind of frozen
I was slowing down as I made it to a meadow with some nice camping spots at 11000’
So. Many. Switchbacks. I was not feeling it. I was hiking slow, my knee still hurt from yesterday, and for some reason, I felt unmotivated. I looked at my tracker: I’d gone (almost) 5 miles. I’m good at playing mental games to keep myself motivated. I decided to hike to 5 miles, then turn back. A 10 mile day is pretty good, right? When I hit 5 miles, I told myself I’d just go to the lake, and kept hiking.
Just after the meadow with the camping area I switchbacked a few times, then entered a rocky area. There was still a trail here (there’s as trail all the way to Peanut and Cherry Lakes). It was here I encountered snow. Mine were the first tracks since it snowed last (a few weeks ago?)
I knew I was getting close to the lake when I saw the sign warning me not to camp or bring livestock within 300 feet of the lakes
I continued following the trail, just wanting to see the lakes before turning back…
Once I made it to the lakes I had a visual of the rest of the route, and there was no stopping me now (visuals help my mood tremendously). Also, the sun had come up, which made everything better: I’m not a fan of gloomy days (which this one started out to be).
With my newfound energy, I was now aiming for this saddle
I could see a sort of plateau hugging the south side of Mt Owen, and that’s where I wanted to be
Here’s an overall look at my path to the Mt Owen/Cotton King saddle
First, at around 11830, before making it to Peanut Lake, I found a grassy hillside and ascended it north
This brought me to 12000’, and a boulder field. I stayed high (left), and followed the boulder field southeast towards the Mt Owen/Cotton King saddle
There are some willows to navigate, but if you stay high, you can avoid them. There’s also a game trail that picks up in the tundra. It goes as a trail about 75 percent of the time, and is easily seen from below
Once on the saddle, I didn’t follow the obvious, snow-covered trail (for obvious reasons), but instead took the class 2 ridge south.
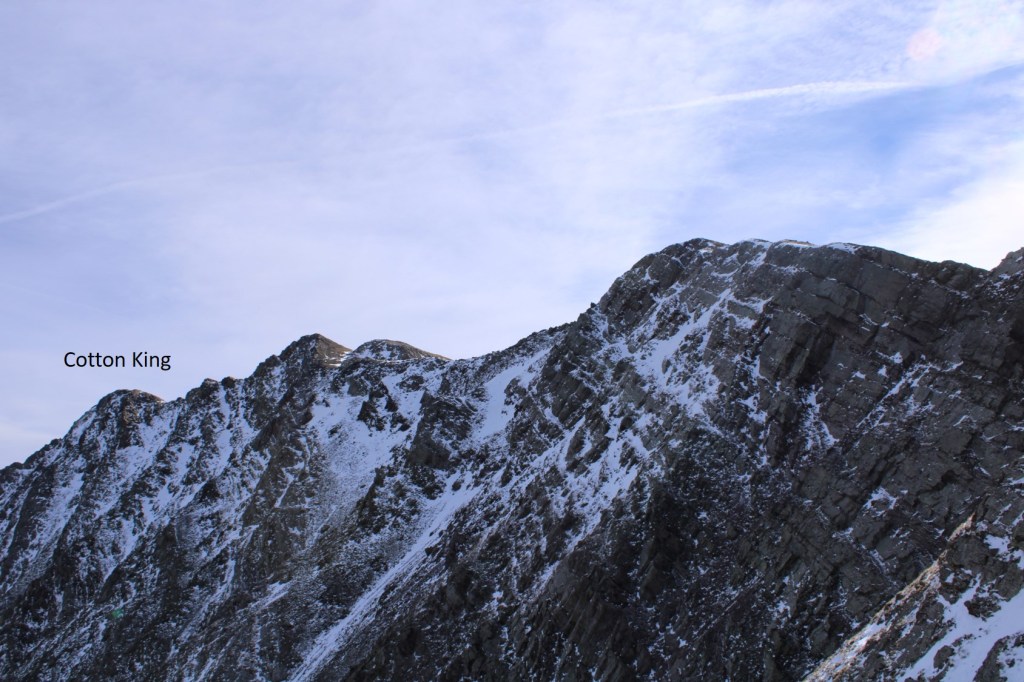
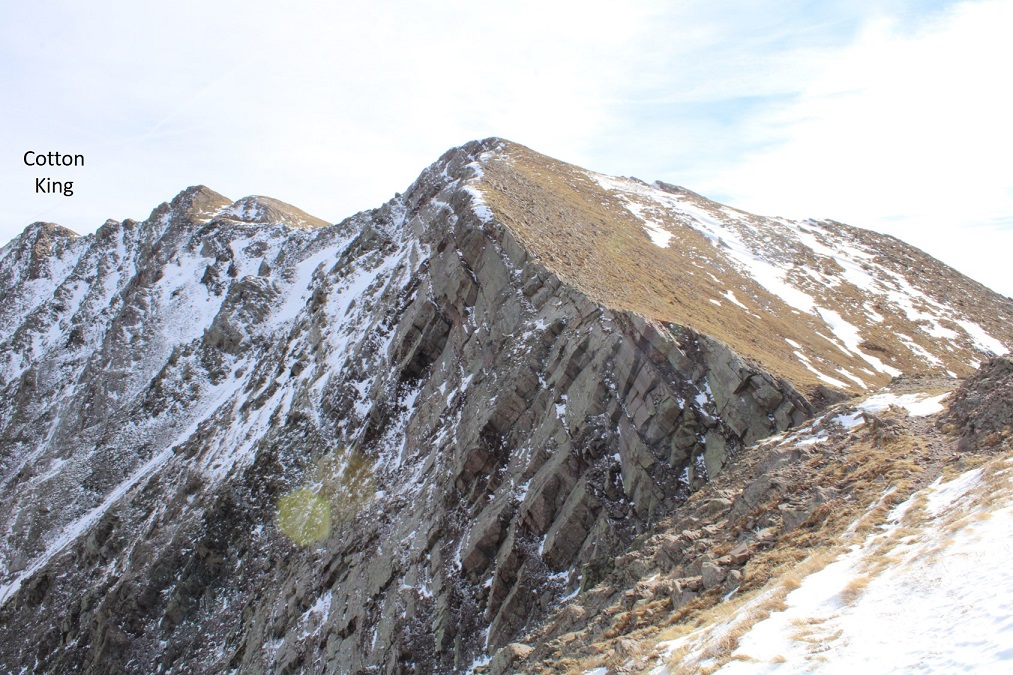
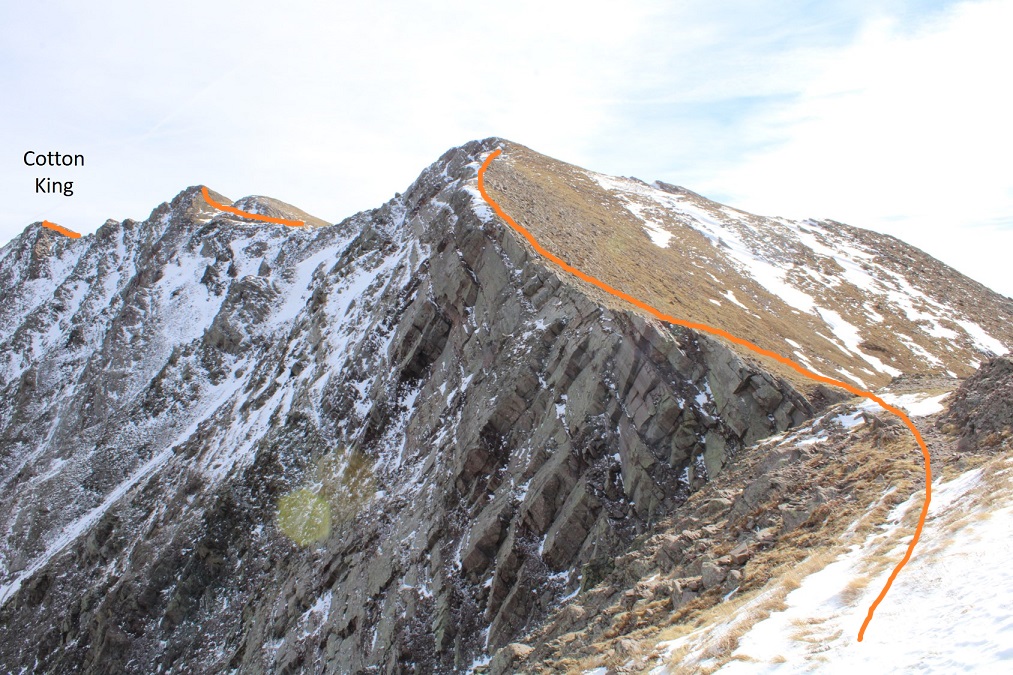
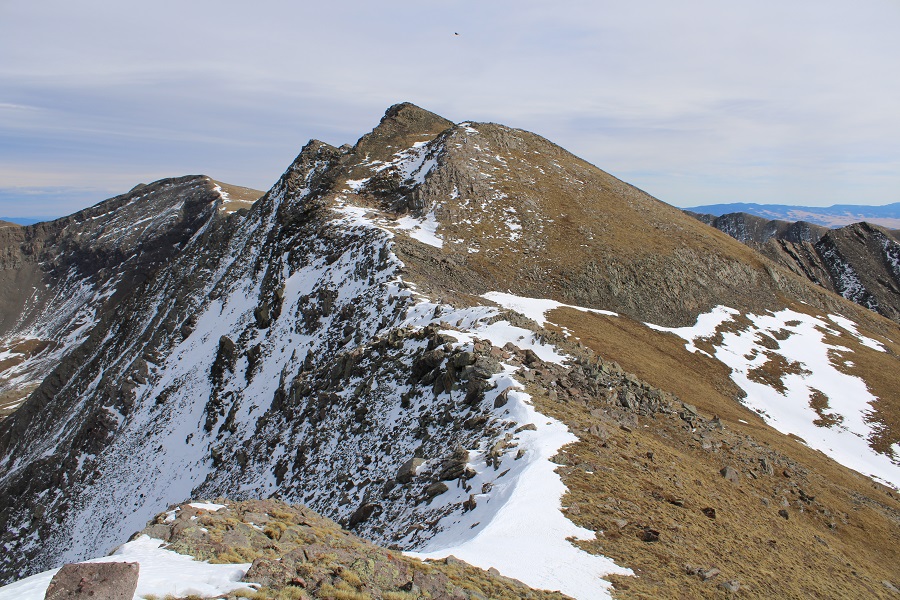
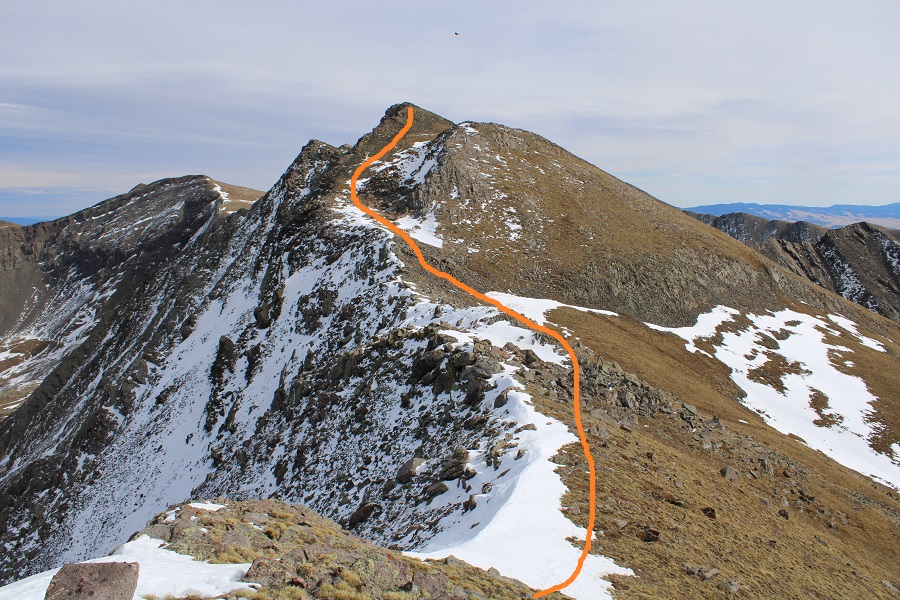
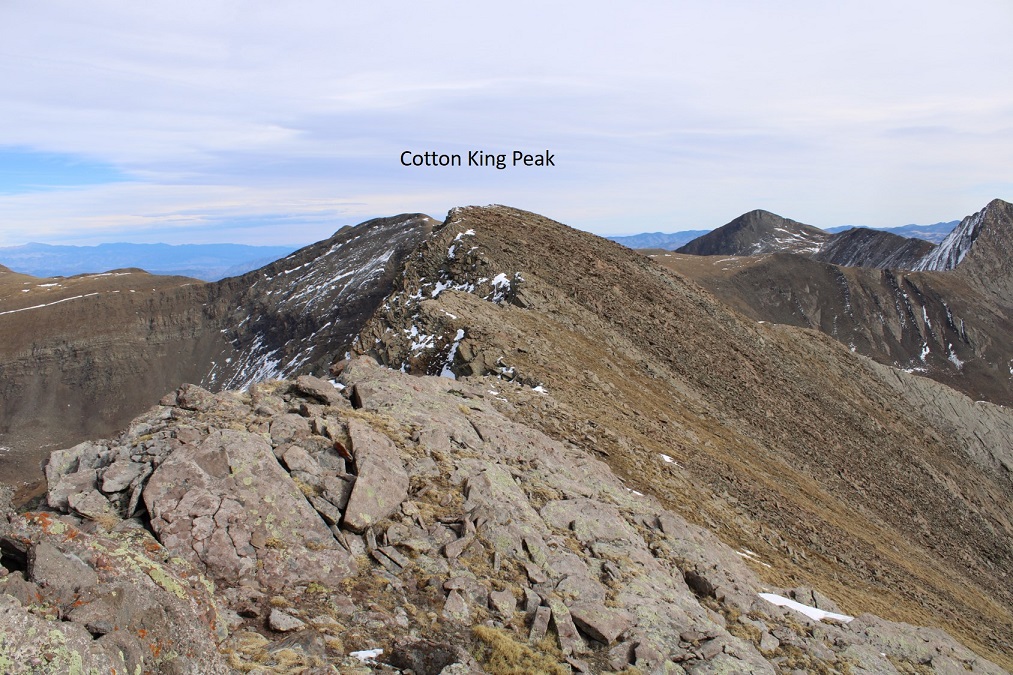
This is a good time to get a visual of where the summit of Cotton King Peak actually lies: It’s at the end of the ridge to your left. Looks can be deceiving: There will be false summits.
Ok, so I continued up the class 2 ridge
Just before topping out there was a trail that went left. There is currently a small cornice forming, but I was able to navigate the terrain with just my trekking pole (I had microspikes and didn’t feel the need to put them on)
Now I just needed to follow the ridge. This is all class 2. Here’s an overview:
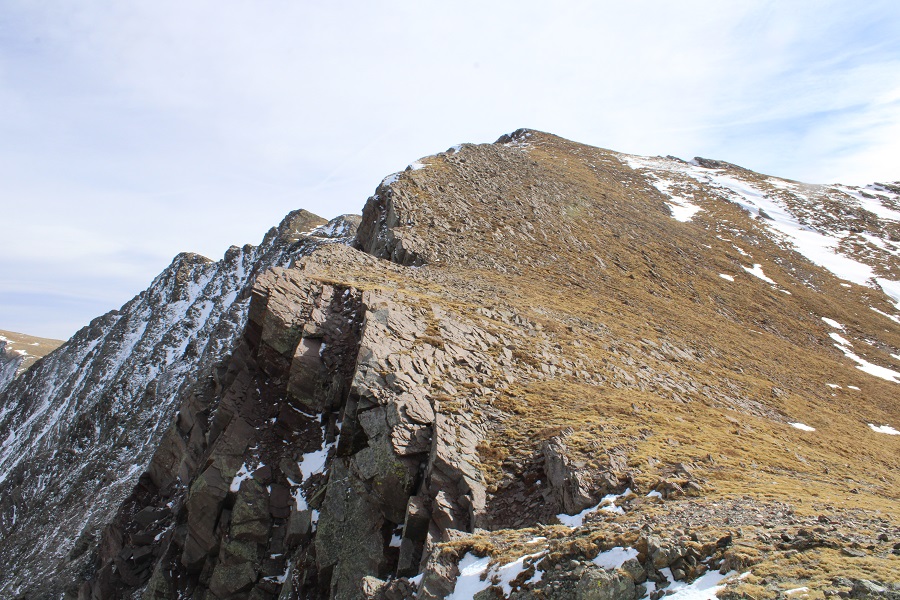
And some step-by-step photos. Up the first ridge
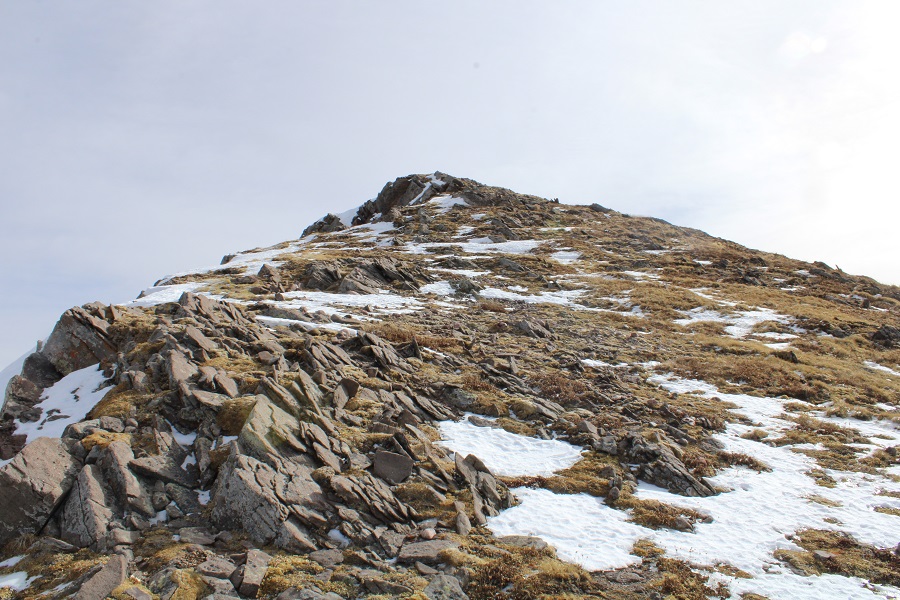
Then I skirted the next false summit to the left, through a gully
I was convinced this was the summit, but alas, no.
I followed the talus and rocky ridge east to the summit of Cotton King
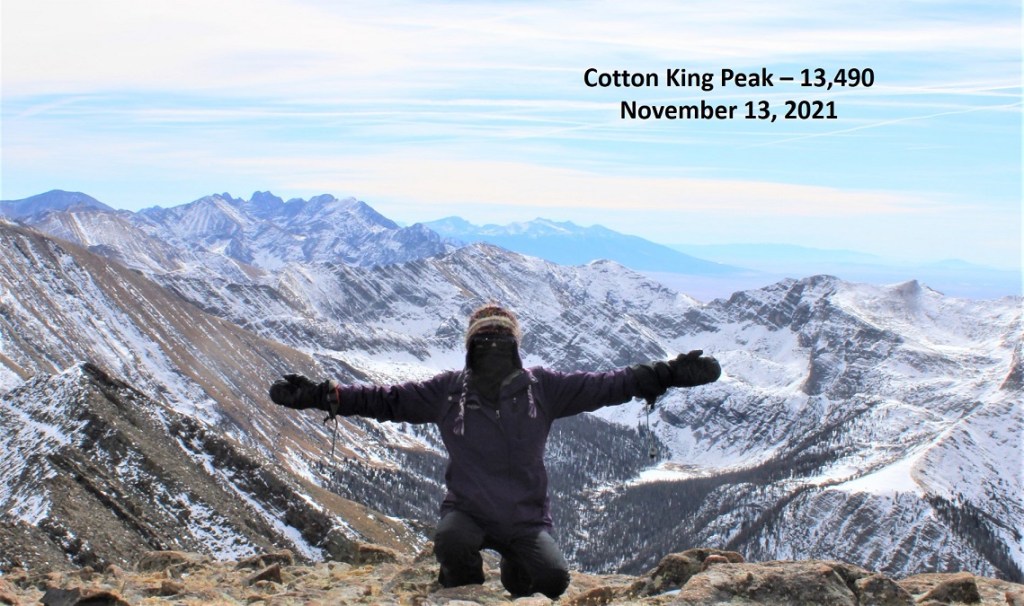
I summited Cotton King Peak at 11:30am
Cotton King Peak:
Earlier this morning I’d made a mental deal with myself that if I summited Cotton King, I’d come back for PT 13122 another day. Well, I’d changed my mind: I was getting both in today. I turned and re-traced my steps back down the ridge.
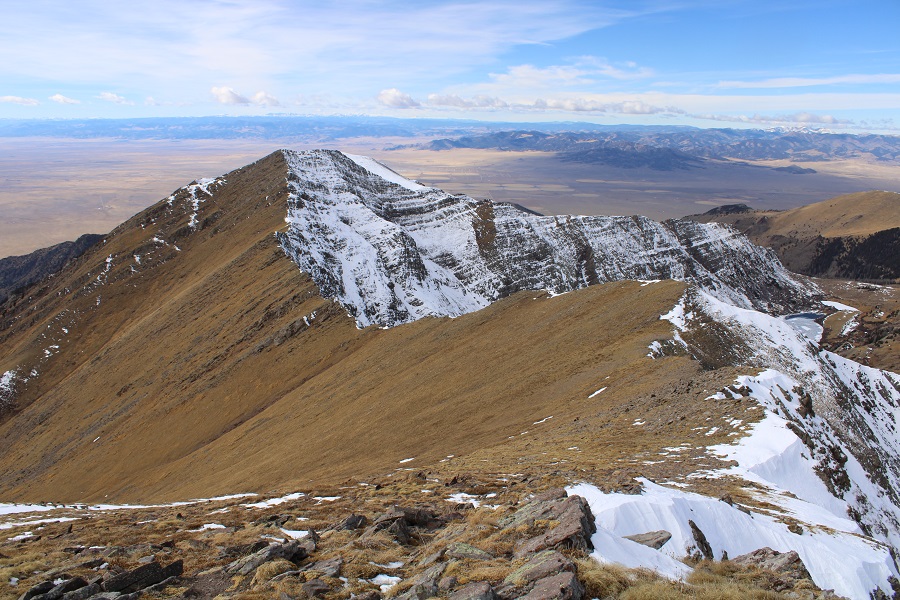
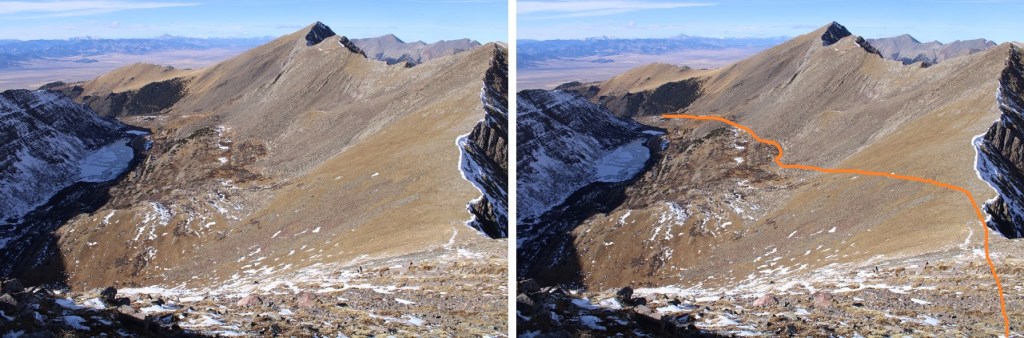
The route up 13122 looked easy enough
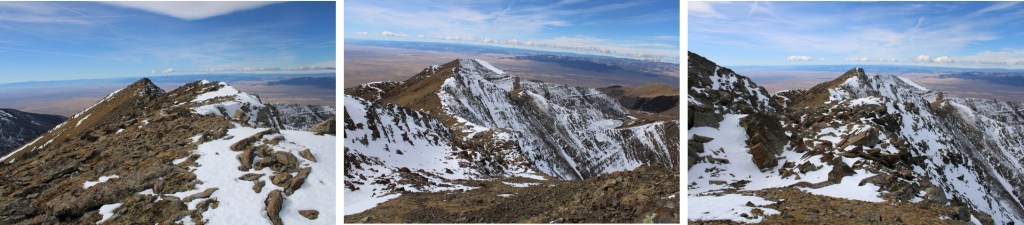
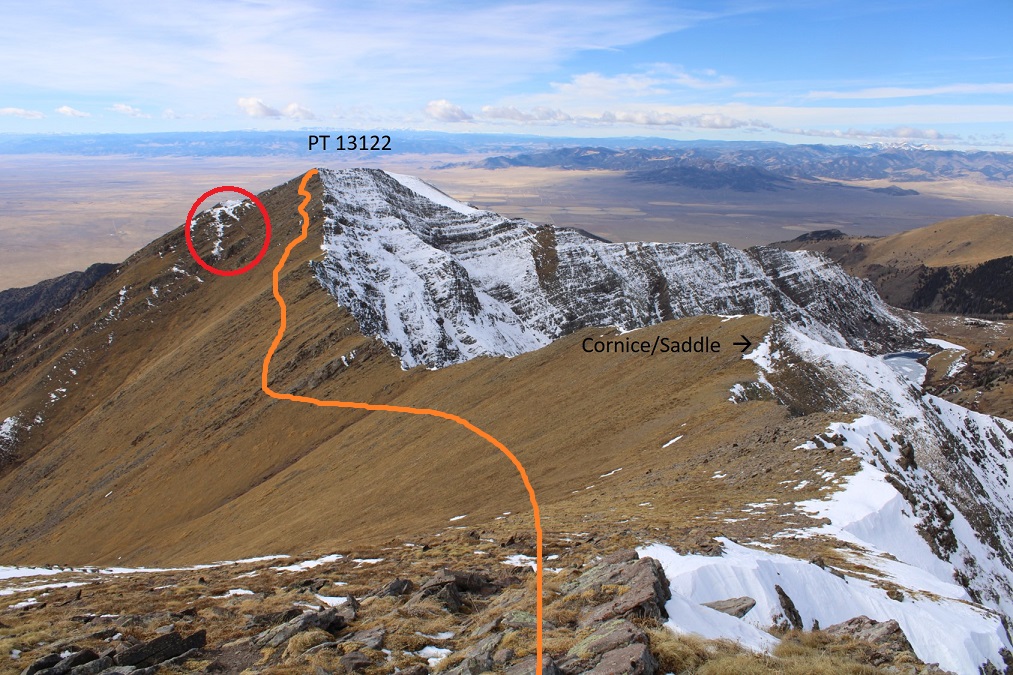
But as I got closer, I realized the normal, class 2 route up to the summit was full of snow (circled in red). I wouldn’t be able to summit that way. Instead, I kept mostly to the ridge, on class 2 terrain, until my final move was difficult class 3 up a chimney to the summit. Here’s the overall route.
And some step-by-step pictures
I kept this part class 2 by staying lower than I’d wanted to where the rock outcroppings were
For the final push to the summit, I aimed for the snow areas, just for a good visual, and then followed the tundra/rock gullies to the summit. This kind of reminded me of the gullies on the Maroon Peaks.
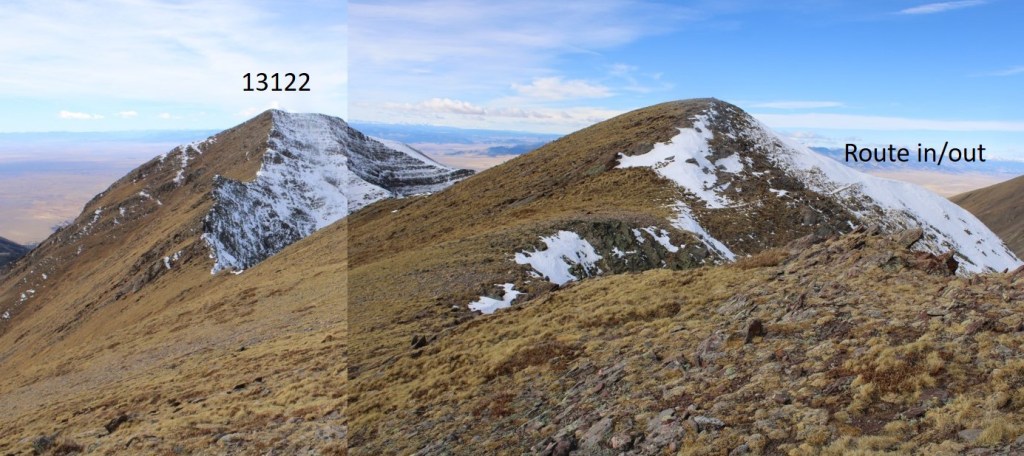
Here’s the route I took. You can clearly see the ‘summer’ route to the left, covered in snow just before the ledge.
I just looked for a break in the rocks, and followed those towards the ridge
Here’s the class 3+ chimney I used to ascend the ridge
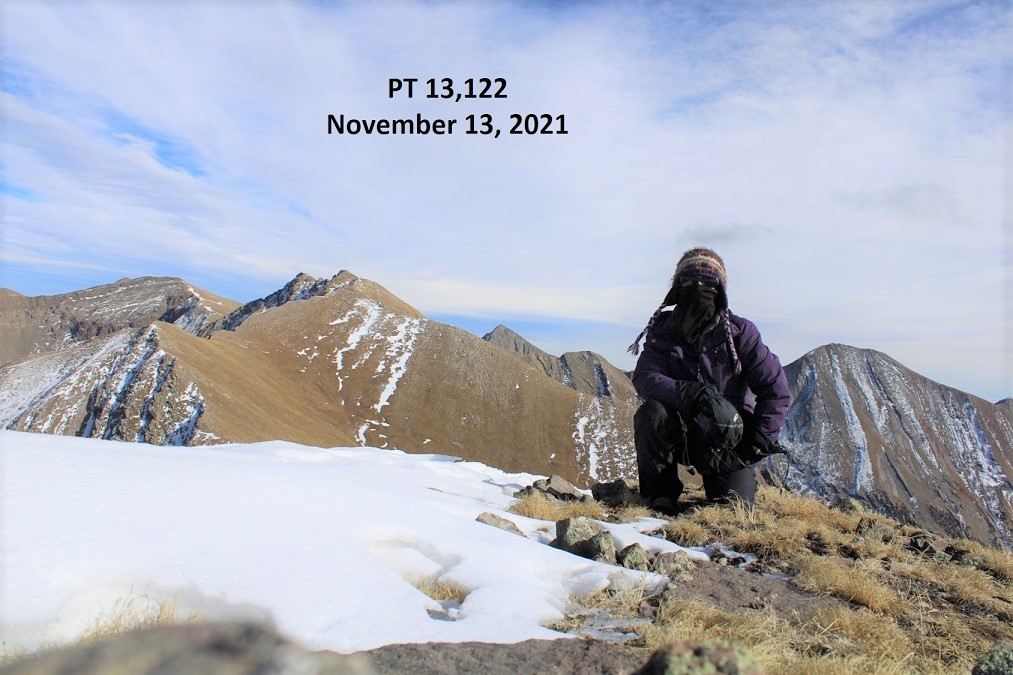
I summited PT 13122 at 1:10pm
PT 13122:
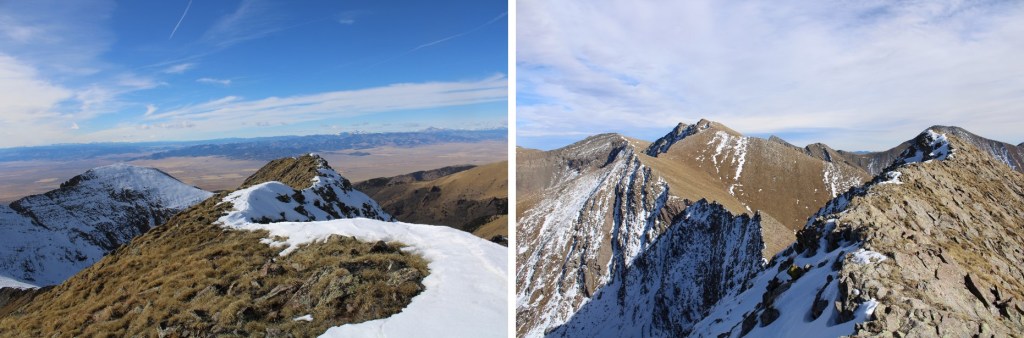
It looked like the true summit was further west, but I can assure you, the true summit is just as you gain the ridge. I walked over to the other side to check it out.
I know some people make this a loop, and continue heading northwest down the ridge, but I’d taken a look at the ridge down earlier in the day, and with the current snow, it didn’t look fun: either snow or cliffs to navigate at the moment. It would have been faster, in better conditions.
From the summit I made my way back to the Cotton King/PT 13122 saddle.
Then I followed my tracks back to the trail staying high in the boulder field
And once on the trail I followed it back to the trailhead
I made it back to my truck at 5pm, making this a 18.96 mile hike with 6296’ of elevation gain in 11.5 hours.
I decided I’m giving myself a down day tomorrow, and I’m just going to stay tonight at this trailhead, then drive home and hit the treadmill tomorrow. I had some spaghetti for dinner, read a bit, and enjoyed having cell service.
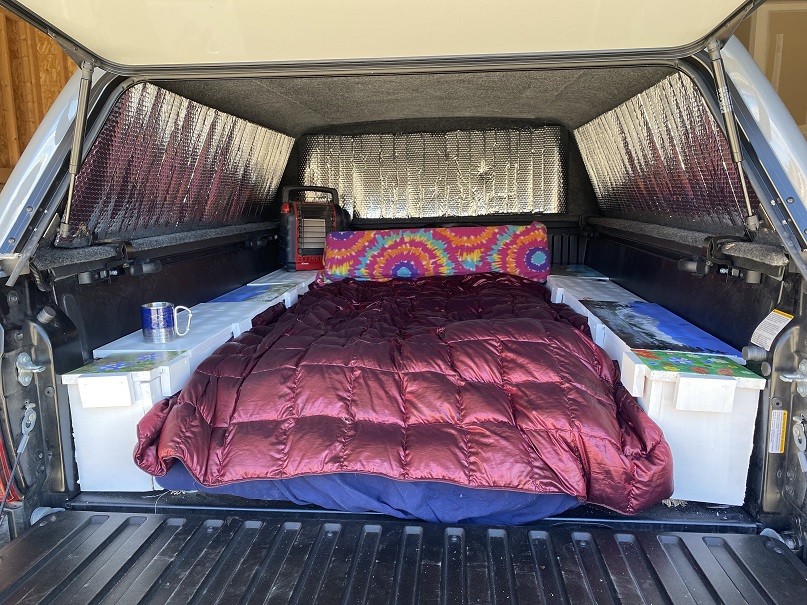
For those of you who’ve been following my truck situation, the topper for Miles finally arrived!!! More than 4 months later, but let me tell you, it was worth it! I’m so glad I did a trial run with my last truck (‘Truck Kirk’… if you get it, you’re awesome, and we should be friends), and got everything I wanted this time around. This weekend was my first time trying out the new set-up, and I’m thrilled. Plexiglass instead of glass gives me blackout windows, which are great for irregular sleep patterns that are sometimes necessary to wake up at 2am and hike. Added bonus: plexiglass doesn’t shatter! I put up Reflextrix around the windows to keep in the heat, and set up my Buddy heater in the corner. I re-used the foam bedding from the Tundra (after cutting it a little to fit), built the cabinets myself (not bad considering the only ‘shop’ experience I have was in a 7th grade Industrial Arts class), and commissioned my daughter to paint them. She used pictures I’d taken while hiking, and all I have to say is I love them!!! We left a few of the lids to the cabinets blank, so if we meet at a trailhead, I expect you to add your signature to one of them so I can remember you.
Ok, moving on to the trip report.
I arrived at the trailhead the night before to get plenty of rest before the hike. I talked with some local hunters, pre-signed the register because I’ve learned pens don’t work in the early morning when they’re cold, and got to bed just as the sun went down. At 5am I was up and on the trail, heading south through the scrub oak.
I was at the wrong trailhead. After .25 miles of hiking, I knew I was on the wrong trail. I pulled out my cell phone and started the compass app (which works moderately well): I didn’t want to deal with a flashlight and a ‘real’ compass in the dark. While I was following the cell phone compass-directions, I tripped. No worries though, because my cellphone broke my fall. All I can say is: good thing I had a screen protector on my phone. Also, my knee still hurts.
To save time I brought up a gpx file (which I only use when absolutely necessary) and realized it looked like I was going in the right direction, but about half a mile too far south. Ugh. I hoofed it back to the trailhead, signed out of the register by scratching on the paper with a pen, got in my truck, and drove to the Hot Springs Trailhead, about half a mile north. I got there, jumped out of my truck, ready to go, signed the register, and was off. It was now 6am.
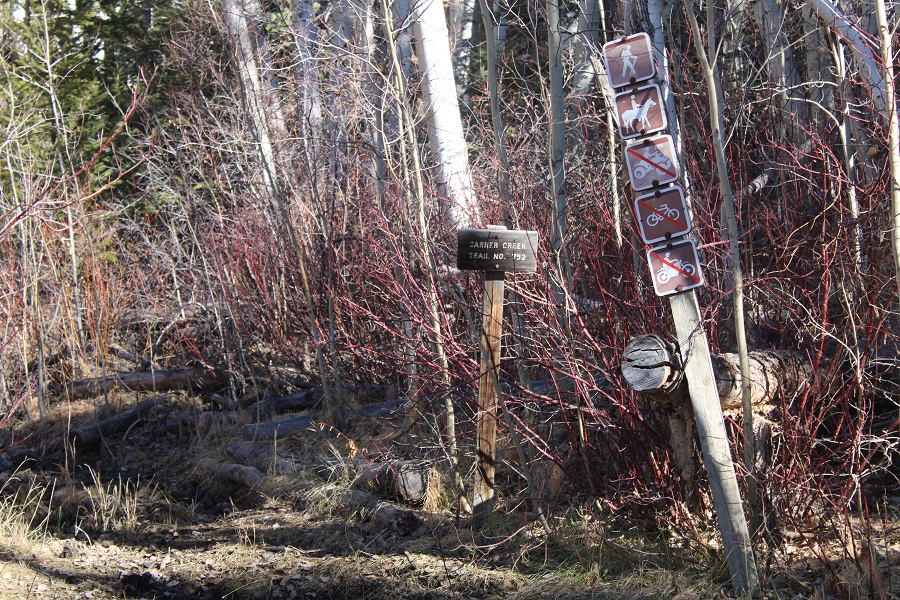
The correct trail starts at the Hot Springs Trailhead. There are two different trails that originate from this trailhead. I went right, following Garner Creek Trail 752.
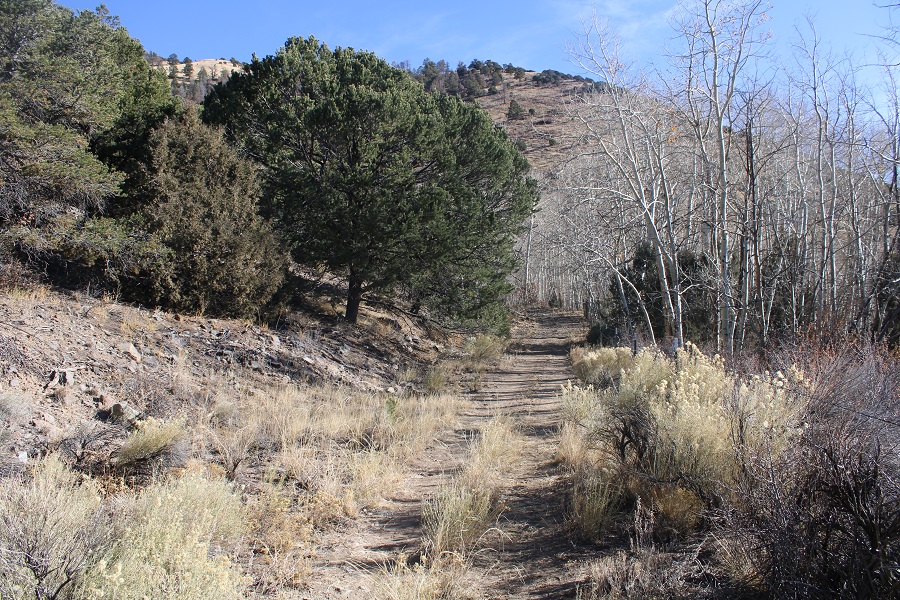
This is a wide, class 1 trail
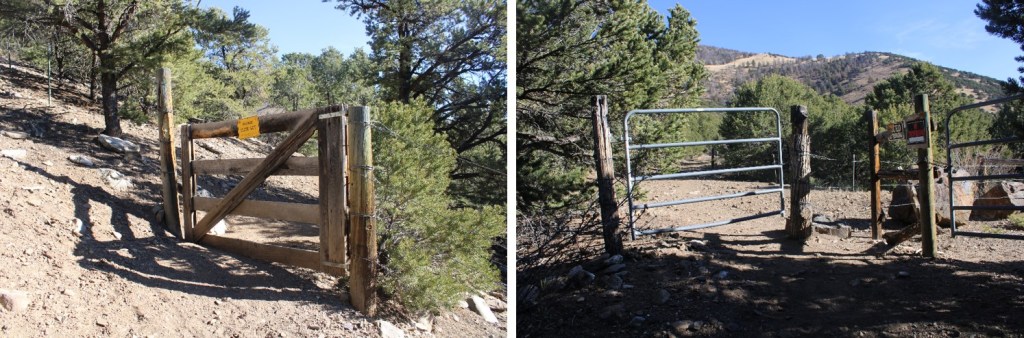
I quickly came to a gate, and then another gate. I passed through both, closed them as instructed, and continued on my way.
I followed this (mostly) class 1 trail for 6.3 miles to the 13123/Thirsty Peak saddle.
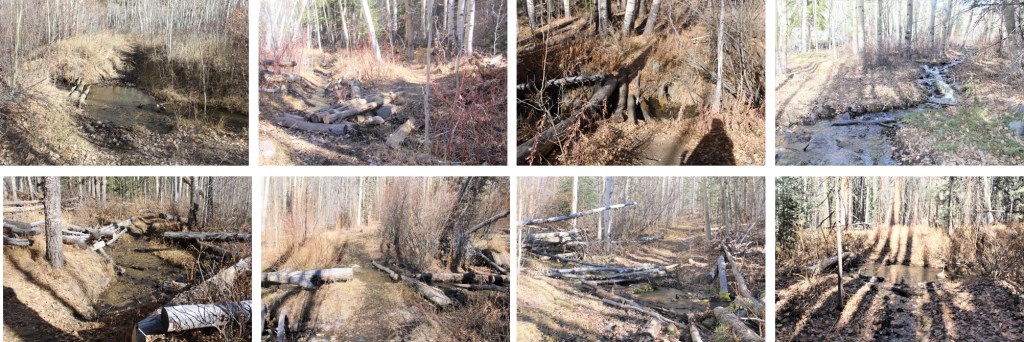
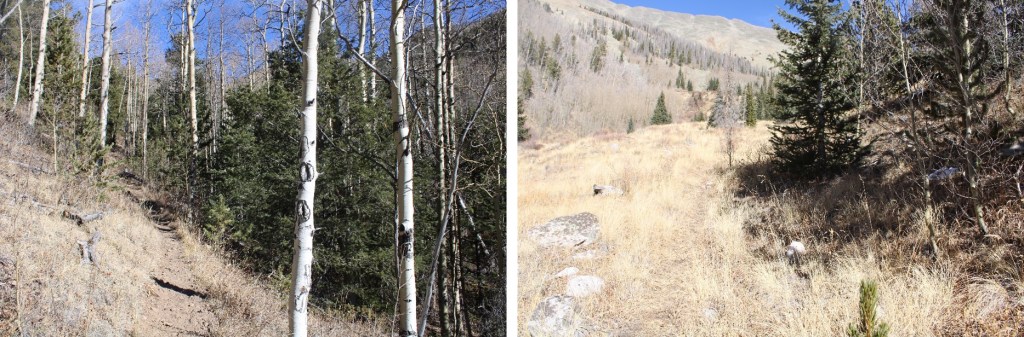
Even though I wrote it on the topo map, I forgot them: My stream crossing shoes. Creek crossings. Have I mentioned them? I stopped counting at 10 on this trail. Good news; they’re all easily crossed. Here’s a visual…
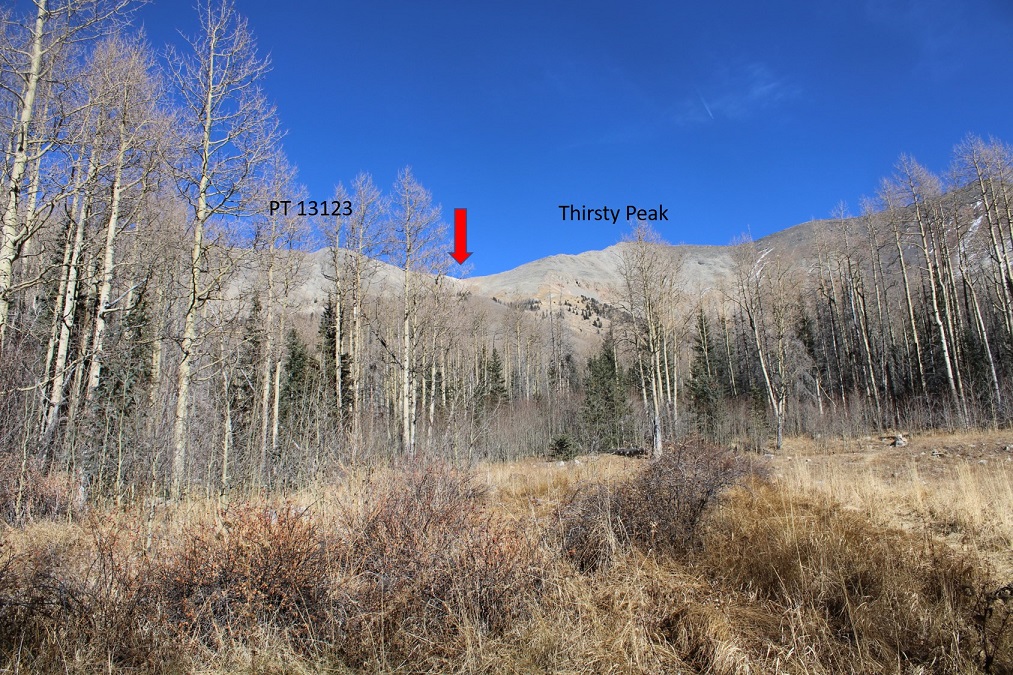
I passed some camping spots with hunters still sleeping in their tents, came to a bit of a clearing, and had a visual of where I was aiming; the saddle between PT 13123 and Thirsty Peak.
I continued following the trail as it headed northeast, crossing several more streams.
After hiking for about 5 miles, I was just below treeline. Here the trail stopped, but the cairns picked up.
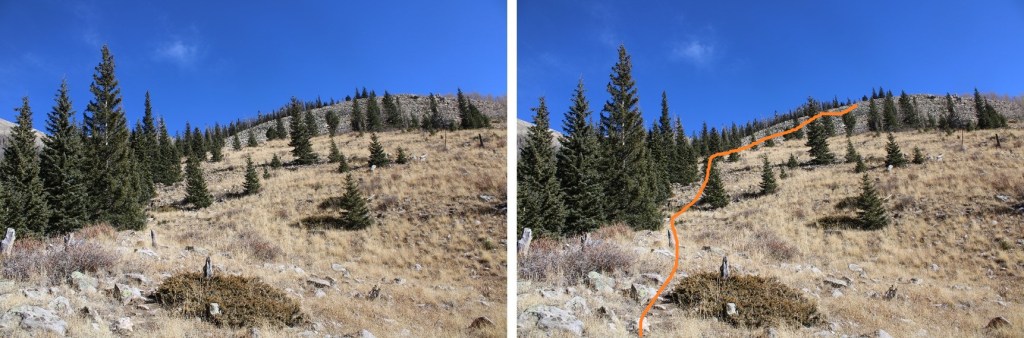
At the top of pile of rocks I was now just at treeline, and on a ridge. I followed the ridge east, and then north, staying directly on the ridge. Here’s an overall view of the route. There were cairns here.
Here are some more pictures of the ridge. The cairns are circled. Most of the cairns were shorter than the grass, but they were accompanied by large branches sticking up from their centers, so they were easy to make out.
Once above treeline the trail faintly resumed. I headed north to the 13123/Thirsty Peak saddle
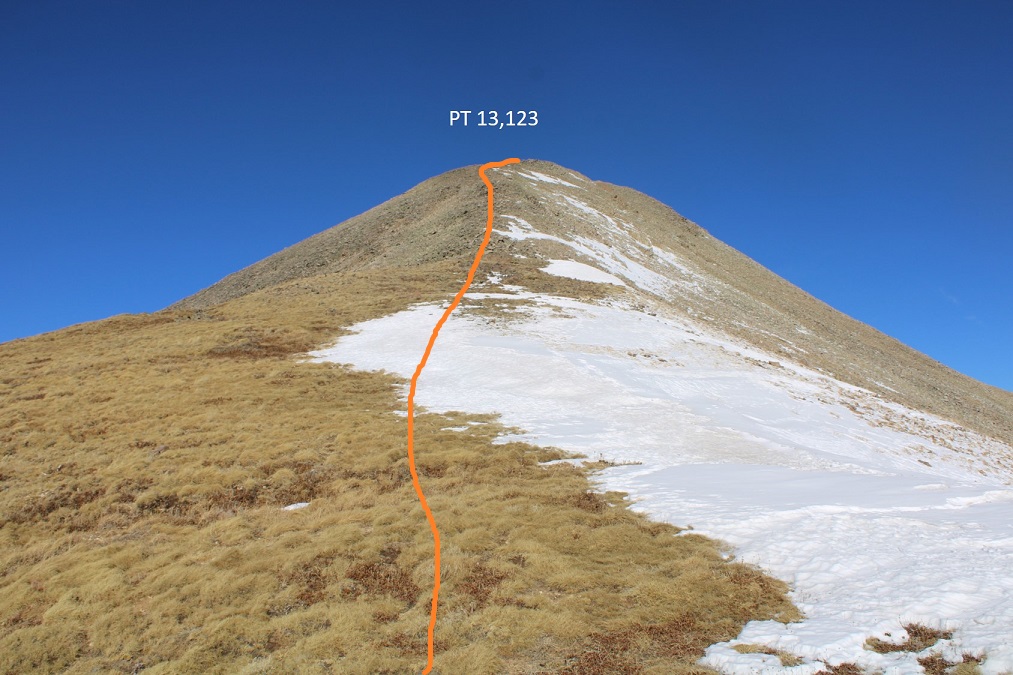
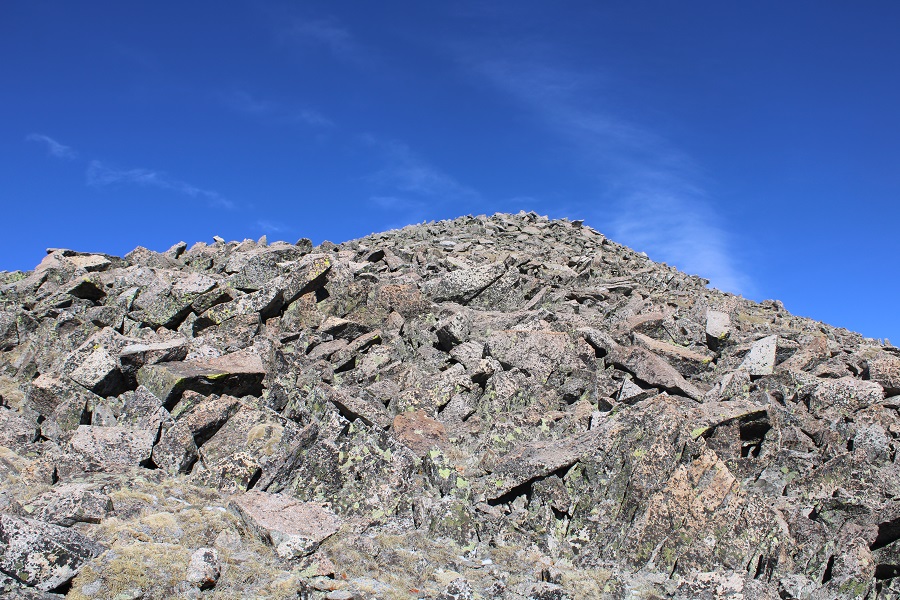
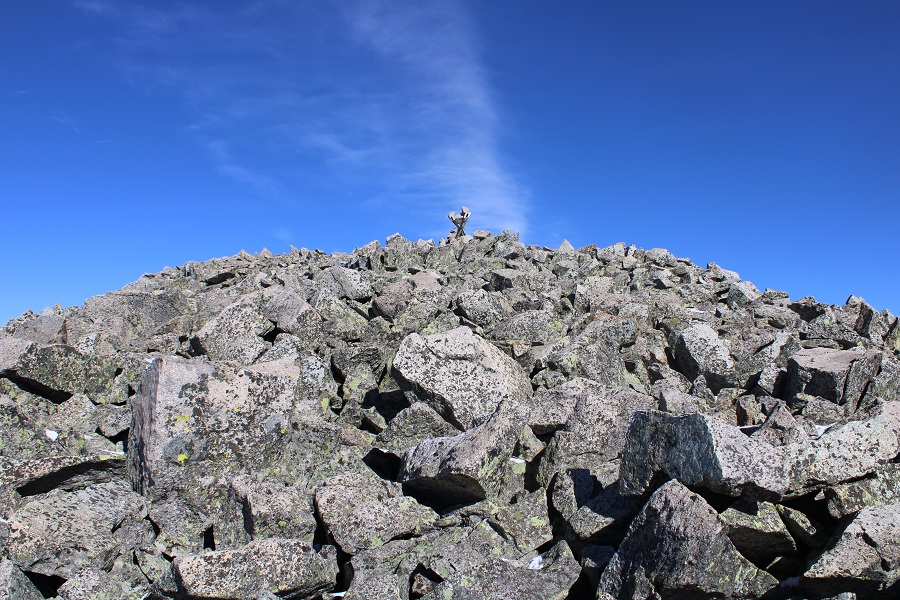
Once at the saddle I turned left and followed the ridge northwest to the summit of PT 13123, gaining 425’ in elevation. This started out as tundra, but quickly became rocky.
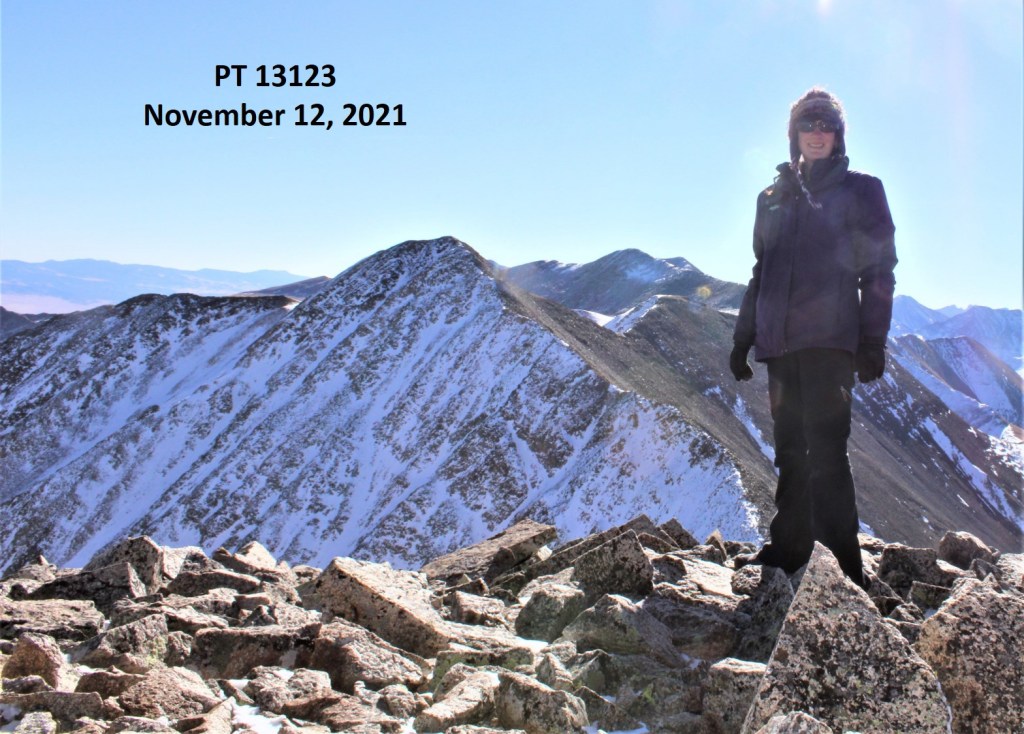
I summited PT 13123 at 9:55am
13123:
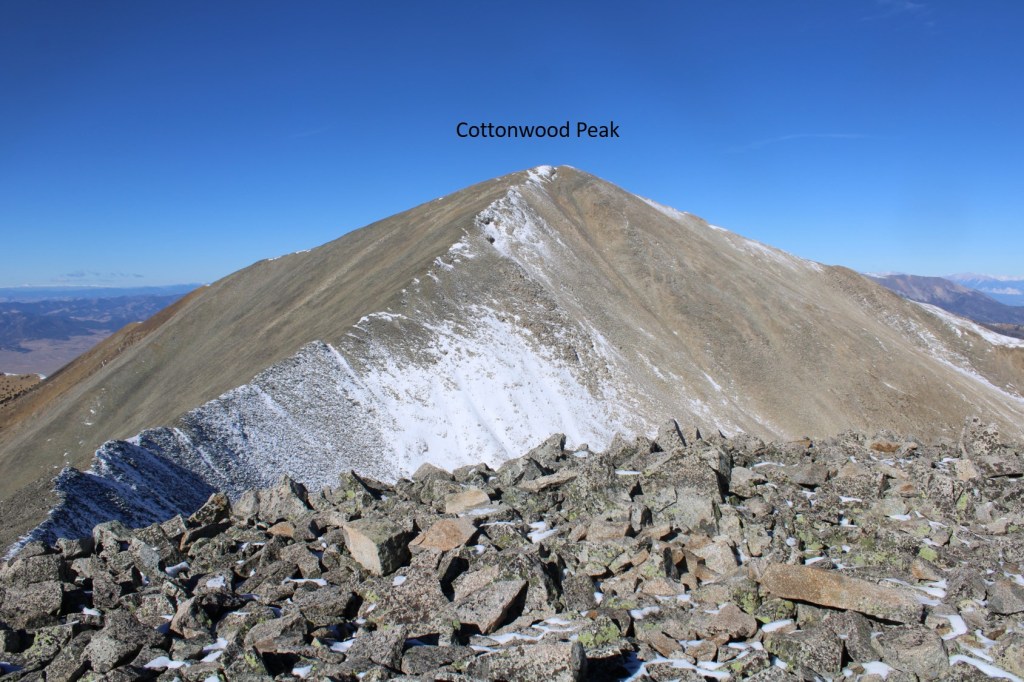
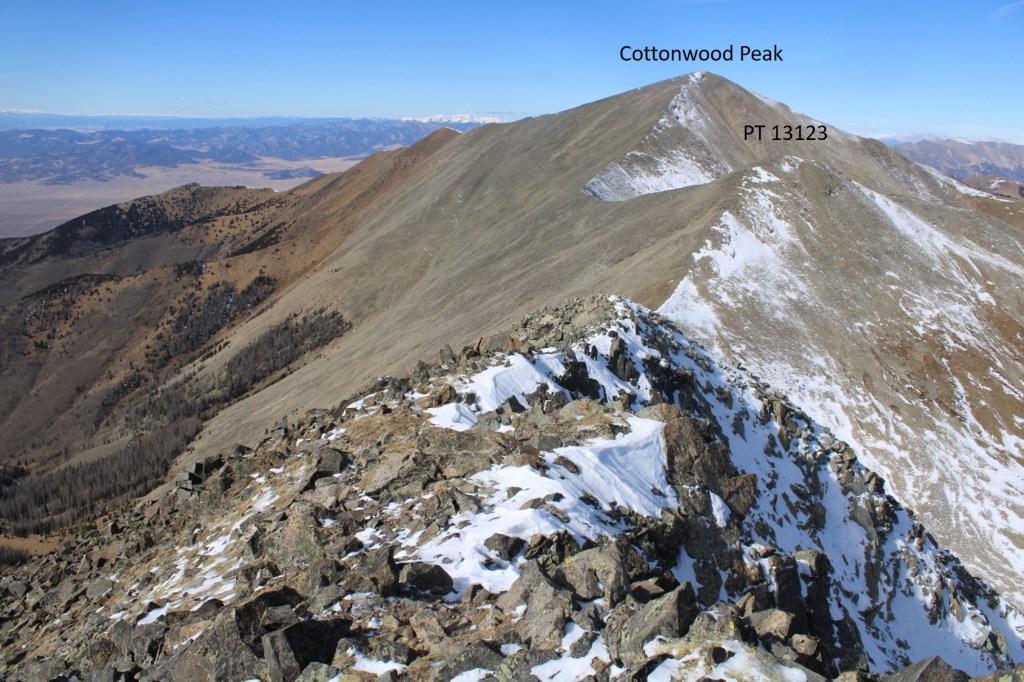
I could see Cottonwood Peak to the northeast (not on my agenda for today)
I turned and headed back to the PT 13123/Thirsty Peak saddle.
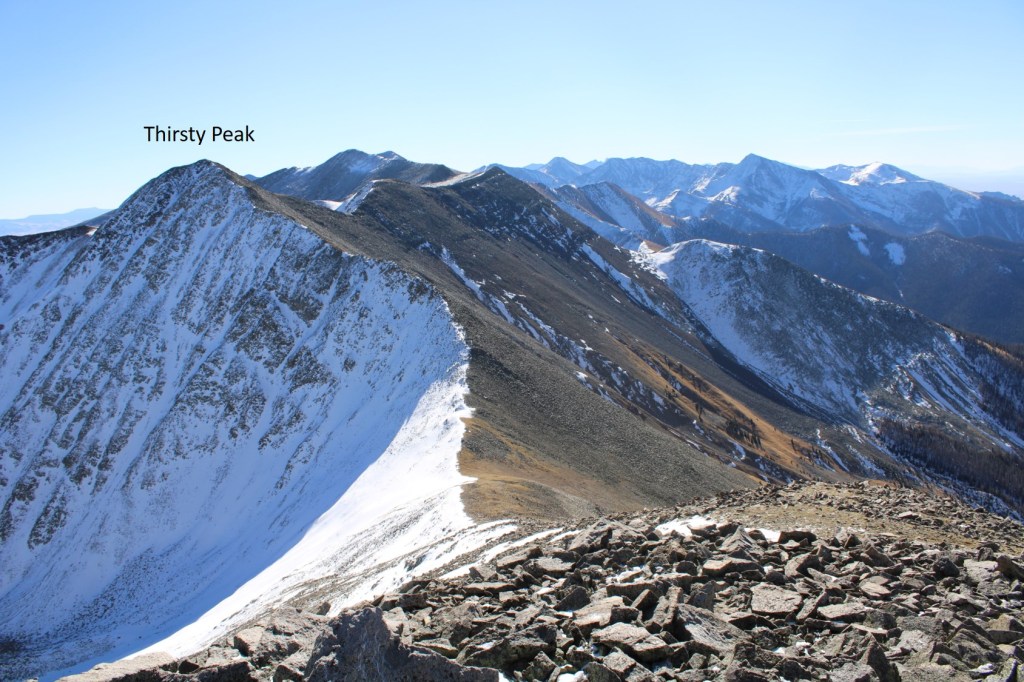
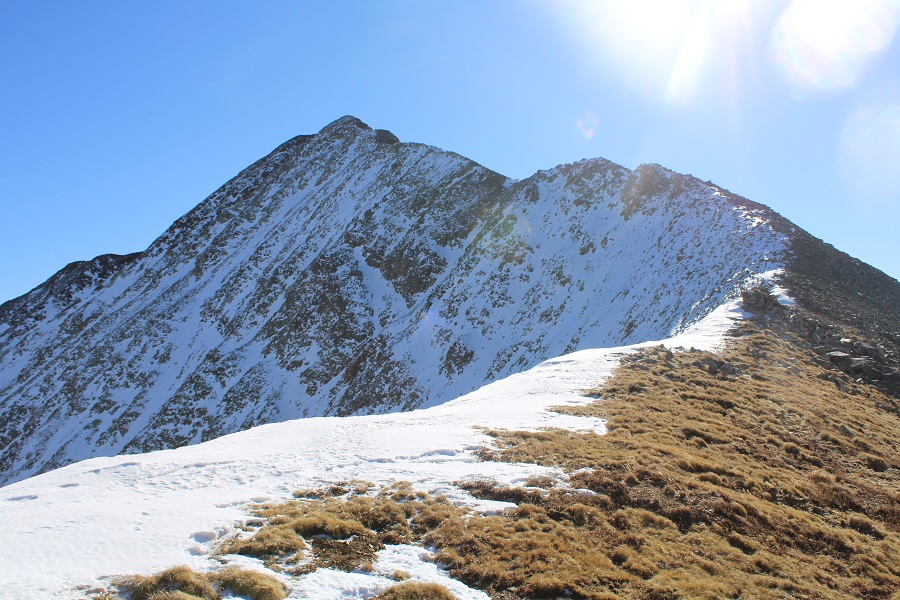
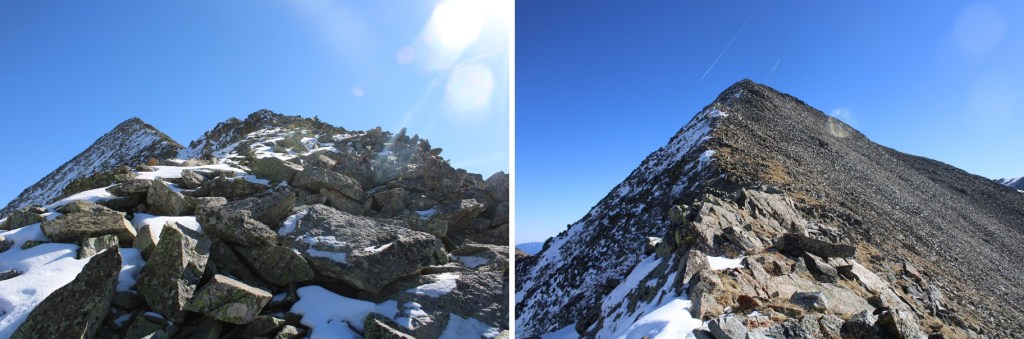
From the saddle, it was a class 2, rocky ridge hike to the summit of Thirsty Peak. I gained just over 500’ from the saddle to reach Thirsty Peak (unranked).
I summited Thirsty Peak at 11am. At the summit I heard a coyote yipping. I got it briefly in the video, but just at the very beginning.
Thirsty Peak:
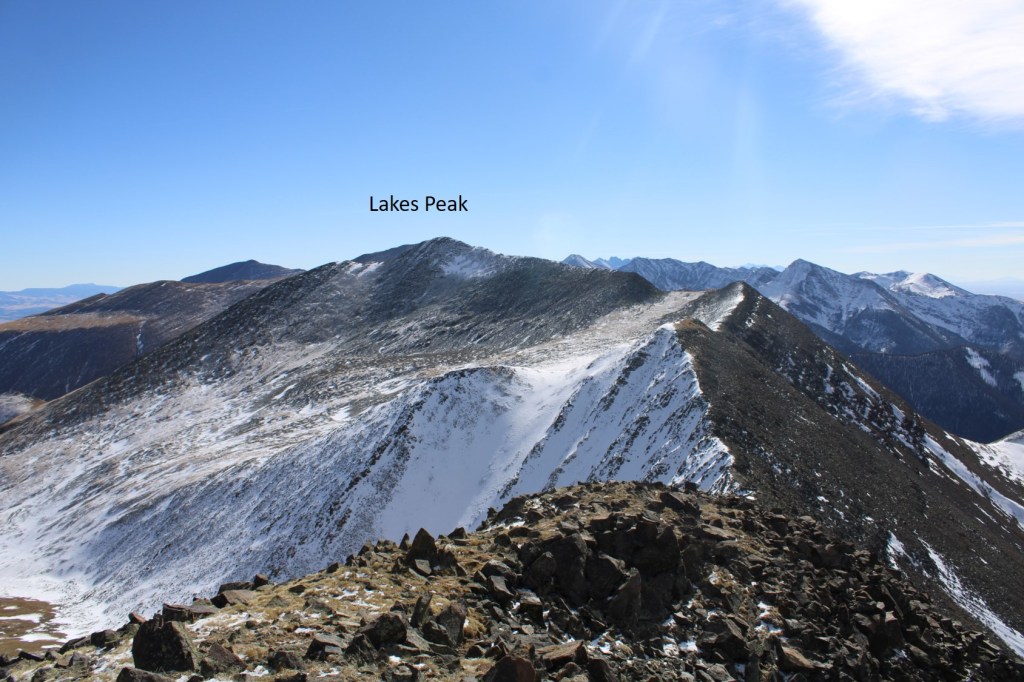
Here you can see the reason Thirsty Peak is unranked: Lakes Peak
I turned and headed back to the 13123/Thirsty Peak saddle
And then re-traced my steps back down to the ridge
Here’s an overview of the route out
Here are some pictures of the way back to the trailhead
I made it back to the trailhead at 2pm, making this a 14.15 mile hike with 5370’ of elevation gain in 8 hours.
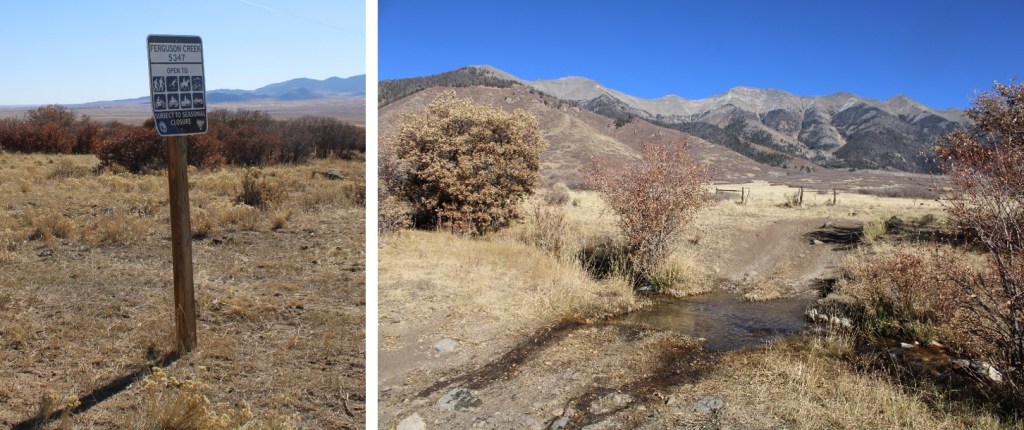
It should be noted the Ferguson Creek trailhead is closed from March 15 – May 15 every year for Sage Grouse mating season.
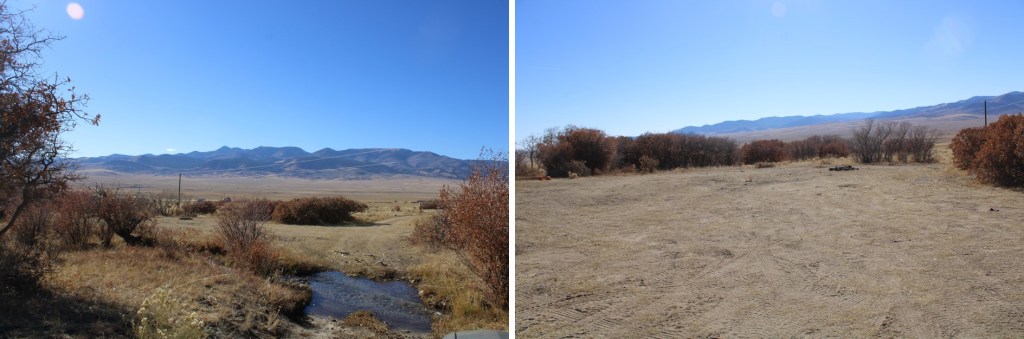
The weather forecast changed overnight. Yesterday it predicted 10-15mph winds. Today, 35-40mph. Hmmmm…. Well, it was supposed to be warm, and I was already at the trailhead, so I decided to give it a go. I actually drove past the creek, turned left at the junction after the creek, and then drove for about a mile on the 4WD road before finding a spot to park for the night.
If you don’t have a 4WD vehicle, there’s plenty of parking/camping at Ferguson Creek.
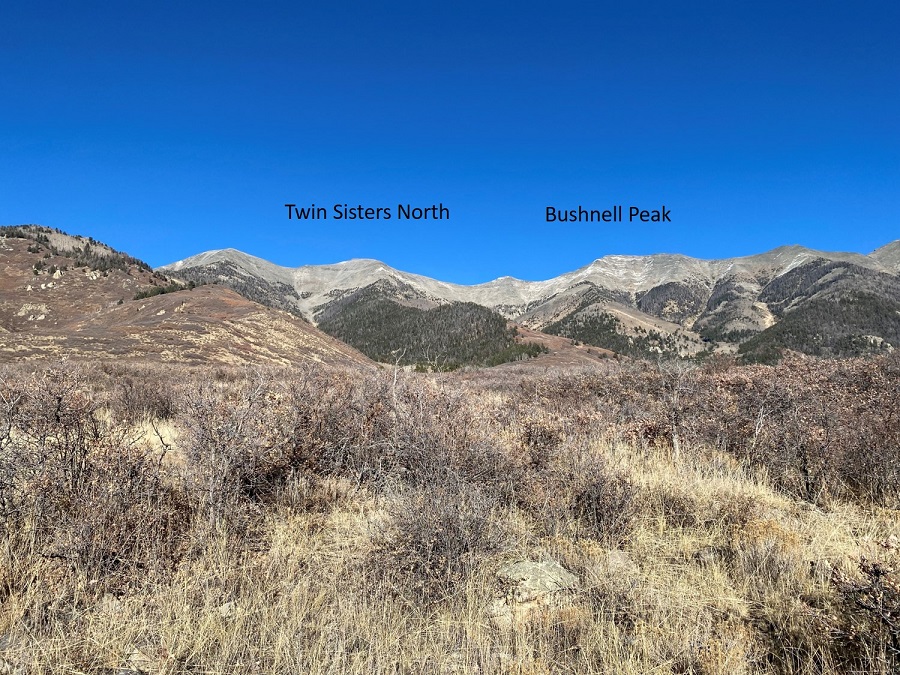
I could have driven all the way to where the scrub oak ended and the trees began, but that would have meant getting Colorado pinstripes on my ‘new’ truck. Instead, I parked in an open area and took in a view of the peaks I’d be attempting tomorrow. They looked straightforward enough. My campsite was at 8500’, and from this angle, I couldn’t imagine there was enough elevation difference to make Bushnell and Twin Sisters both ranked peaks. Boy, was I wrong!
I was also surprised: it was a Saturday, the weather was great, it was hunting season, and no one passed me on this road the entire time I was here. I made it an early night, and once again, pressed snooze on my alarm several times before hitting the trail the next morning: I’ve gotten too comfortable sleeping in the cab of my truck. I was on the trail at 6am.
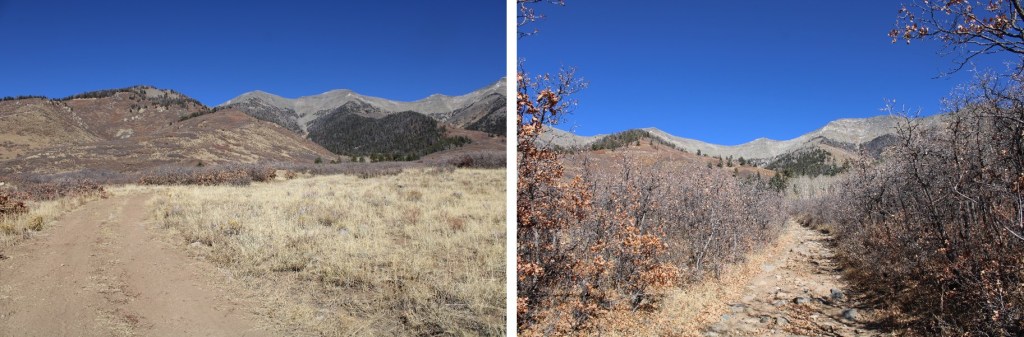
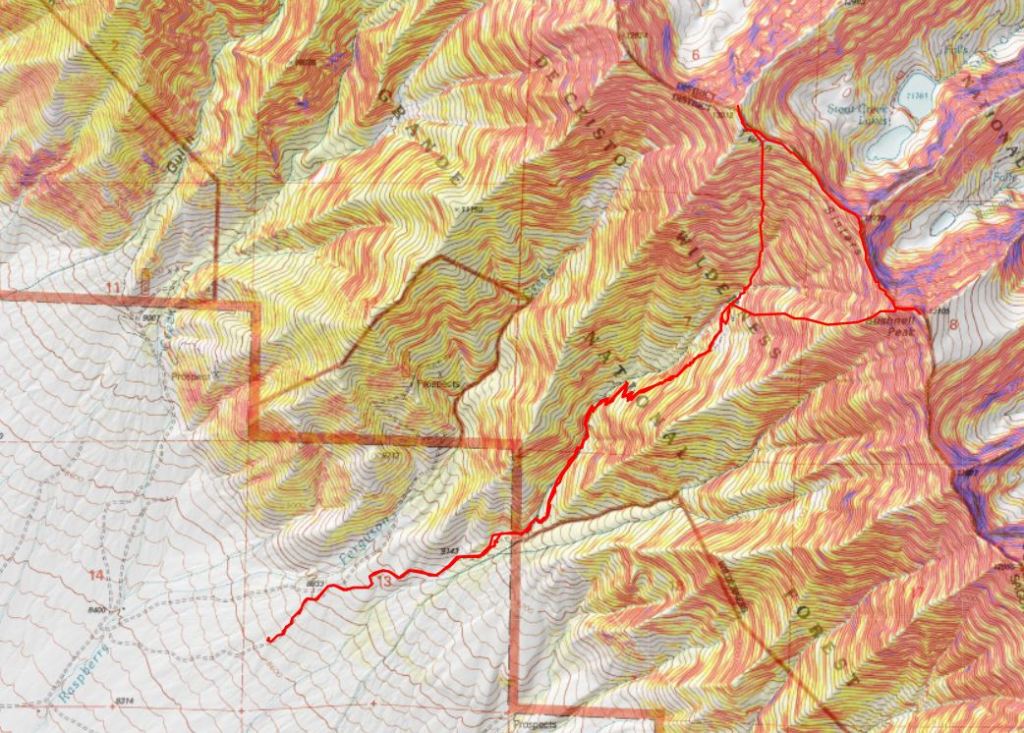
I followed the 4WD road east for about a mile and a half through scrub oak to the trees. CalTopo says this is road 985, but it isn’t marked anywhere.
The roads here aren’t named. The only junction I came to I kept hiking straight.
If you plan on driving your vehicle all the way to the trees, there are several campsites just before and after entering the trees.
The road doesn’t end at the trees, but there are some very large pine trees that have toppled and block the road from sight. They make it look like the road ends, but if you scramble over the trees and aim north, you’ll run into the road again.
I followed the road northeast
I crossed the stream 3 times
Passed the remnants of a cabin
And started switchbacking up the hillside, following the old road the entire time.
The road took me to treeline, where it ended. From where I parked my truck, it was 3.3 miles to the end of the road. If you hiked from Ferguson Creek, it would be about 4.5 miles to treeline.
When the road ends at 10855’, there’s a cairn on a rock in the middle of the trail. This is where I turned right, and headed east towards Bushnell Peak.
This is where the intense elevation gain began. From treeline, I gained 2250’ of elevation in 1.25 miles to the summit of Bushnell Peak. I just kept heading east
Once on the ridge the wind picked up. I put on my balaclava and heavy mitts and kept hiking east, staying on the center of the ridge.
The terrain became rocky. These rocks weren’t too large, but they weren’t stable either.
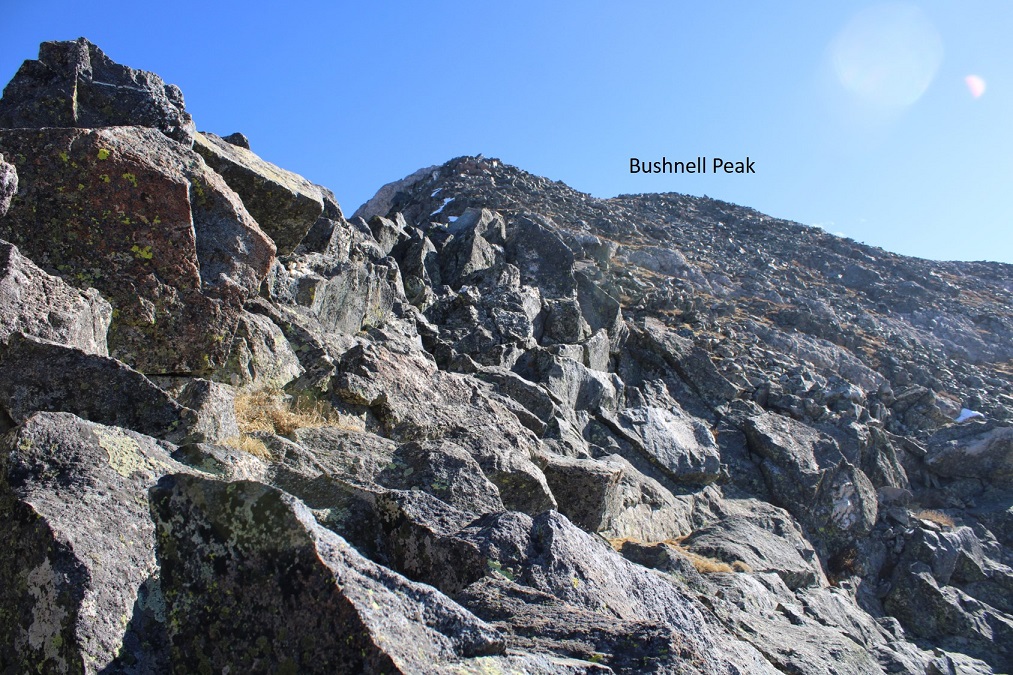
I came to some interesting rock formations, which I passed and continued up the ridge. This was class 2.
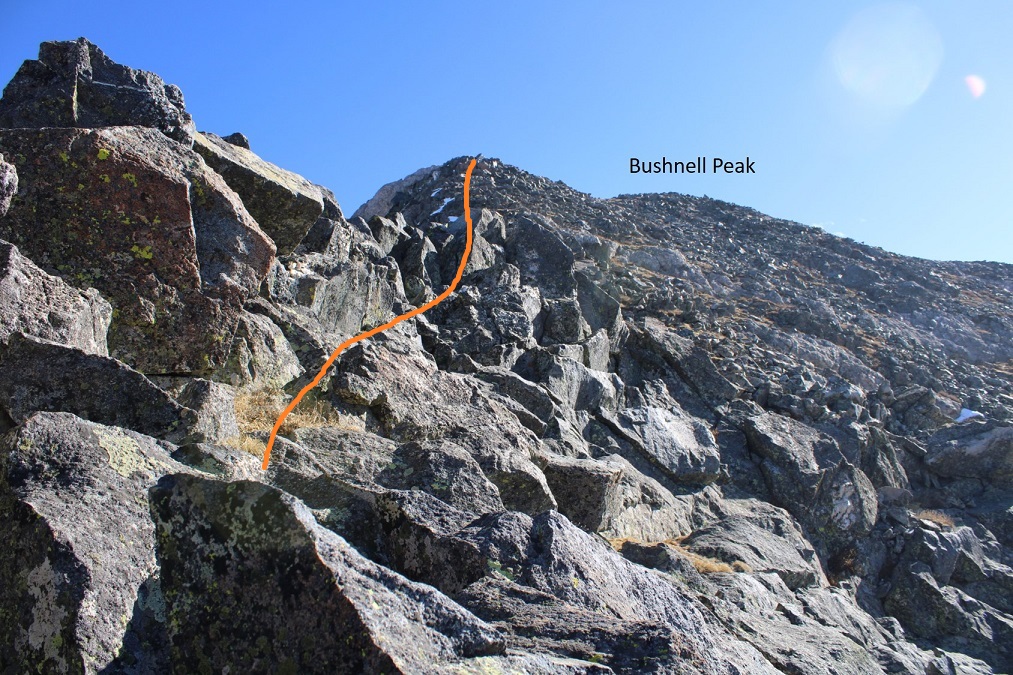
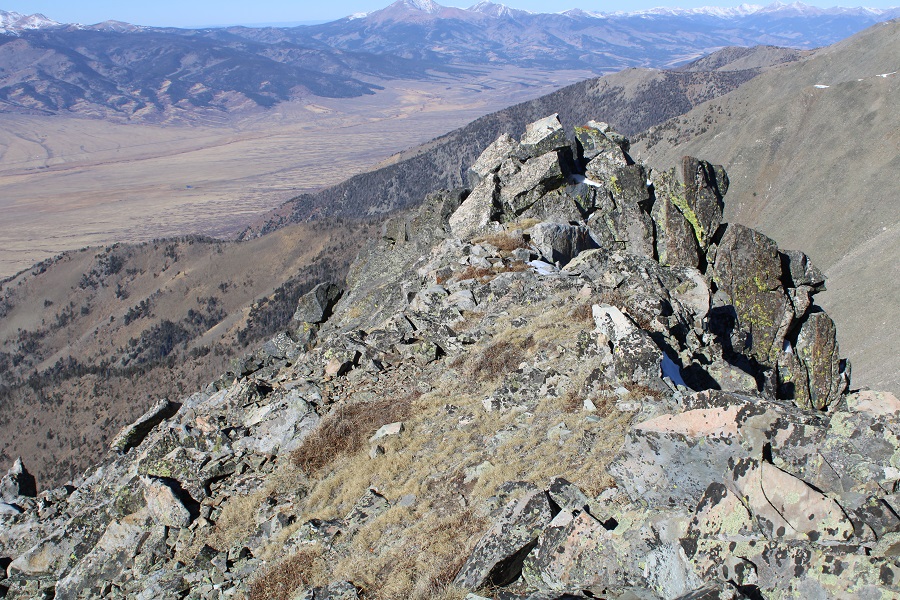
I stayed directly on the ridge all the way to the summit of Bushnell. It was class 3 at times, but only for short sections. I’m sure the summit could have been kept class 2 if I’d dipped to the right, but I was fine with a little class 3 scrambling (there are cliffs to the left).
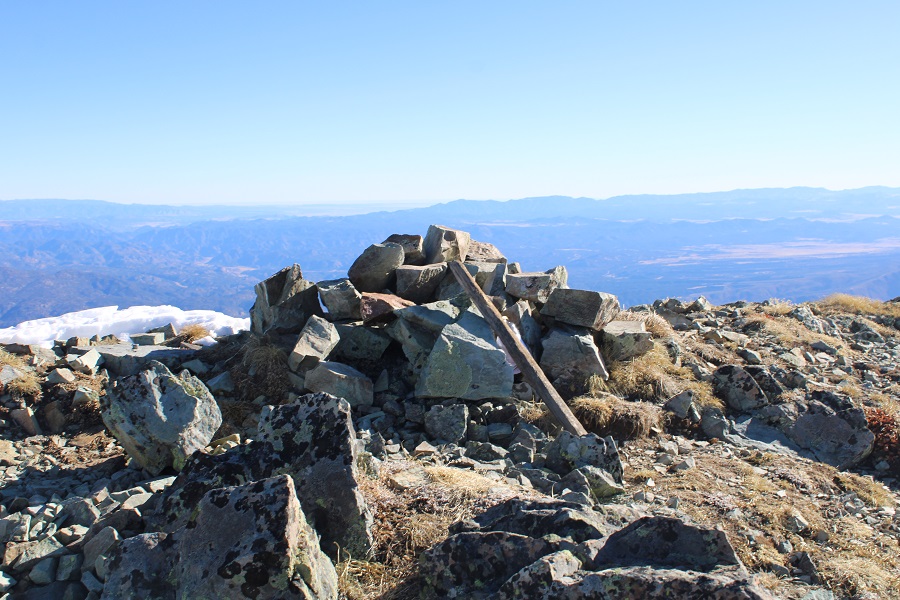
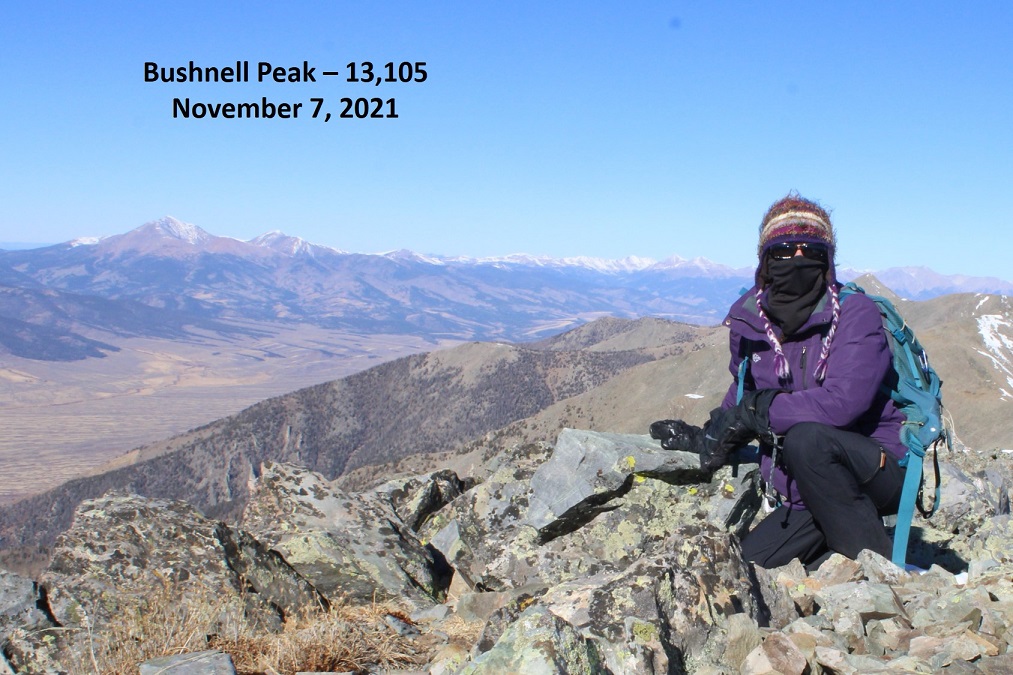
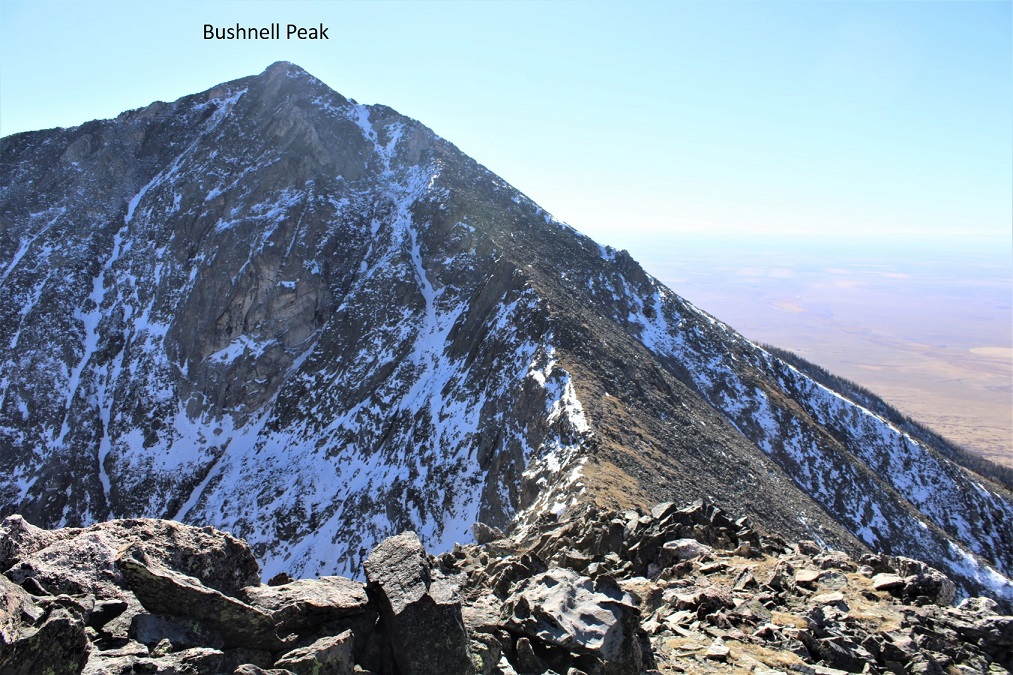
I summited Bushnell Peak at 9:30am
Bushnell Peak:
Now, on to Twin Sisters South (unranked) and Twin Sisters North. I could see them to the northwest. I retraced my steps down the ridge for about .2 miles, and then followed the ridge northeast to the Bushnell/Twin Sisters South saddle.
Here’s that class 3 section on the way down. I went straight up and over the top, but could have dipped to the left to keep it class 2.
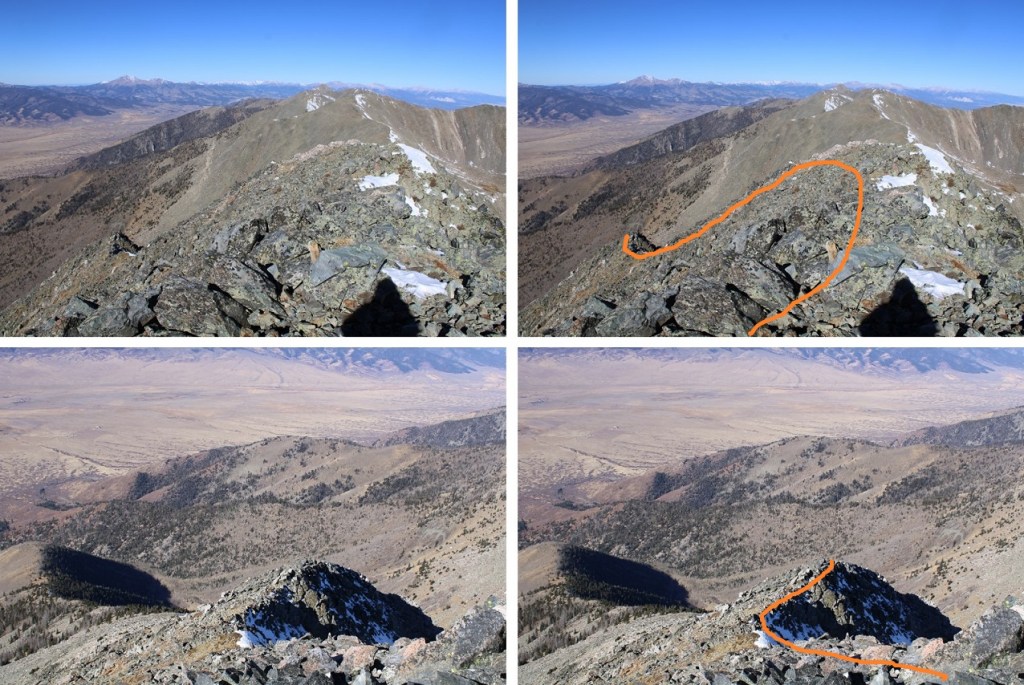
Then I turned right and could see the Bushnell/Twin Sisters South saddle. This was all class 2, but with large rocks that were unstable, so I had to watch my footing. Here I lost 592’ of elevation to the saddle.
From the saddle I gained 213 feet to the summit of Twin Sisters South
The ridge to Twin Sisters South was easy to navigate.
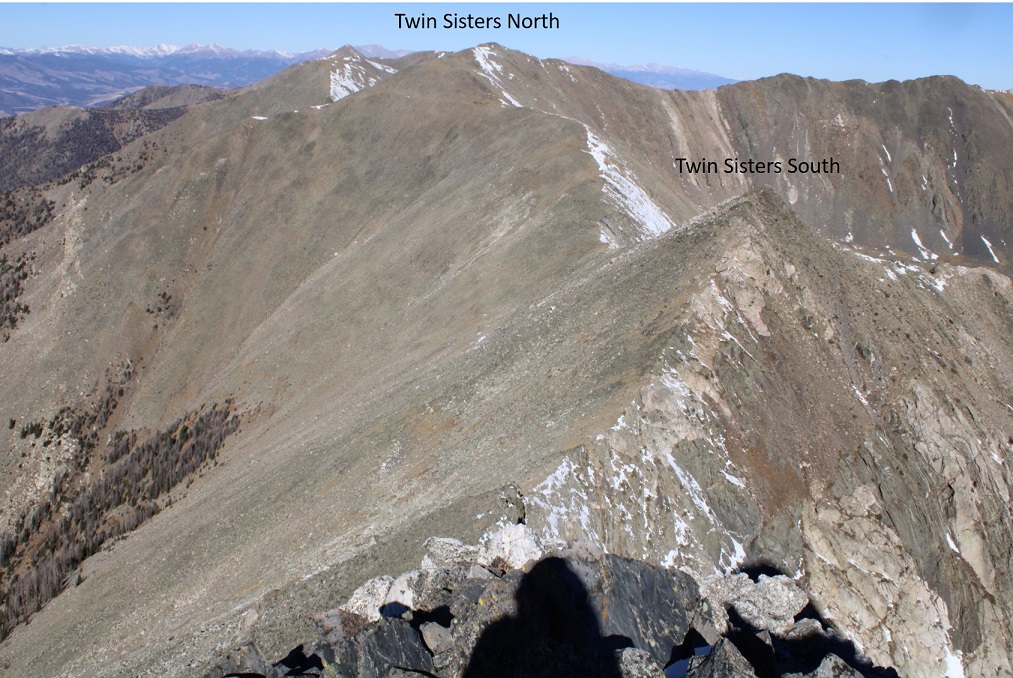
I summited Twin Sisters South, and turned around to look back at Bushnell Peak
Then I continued following the ridge northwest towards Twin Sisters North, first losing 250’ of elevation to the Twin Sisters North/Twin Sisters South saddle. This was all class 2
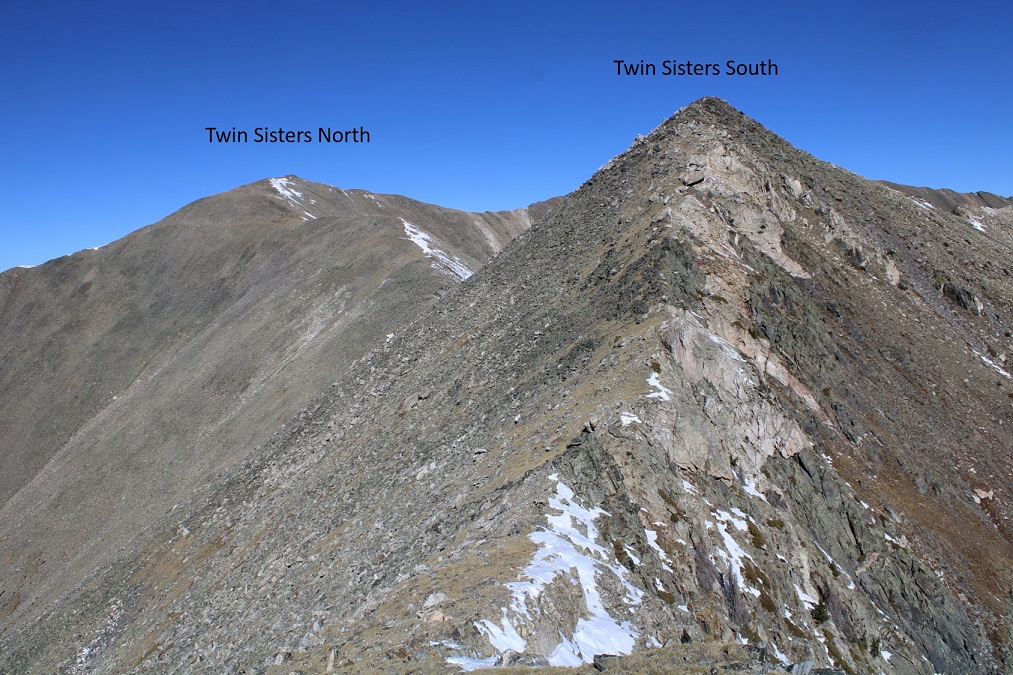
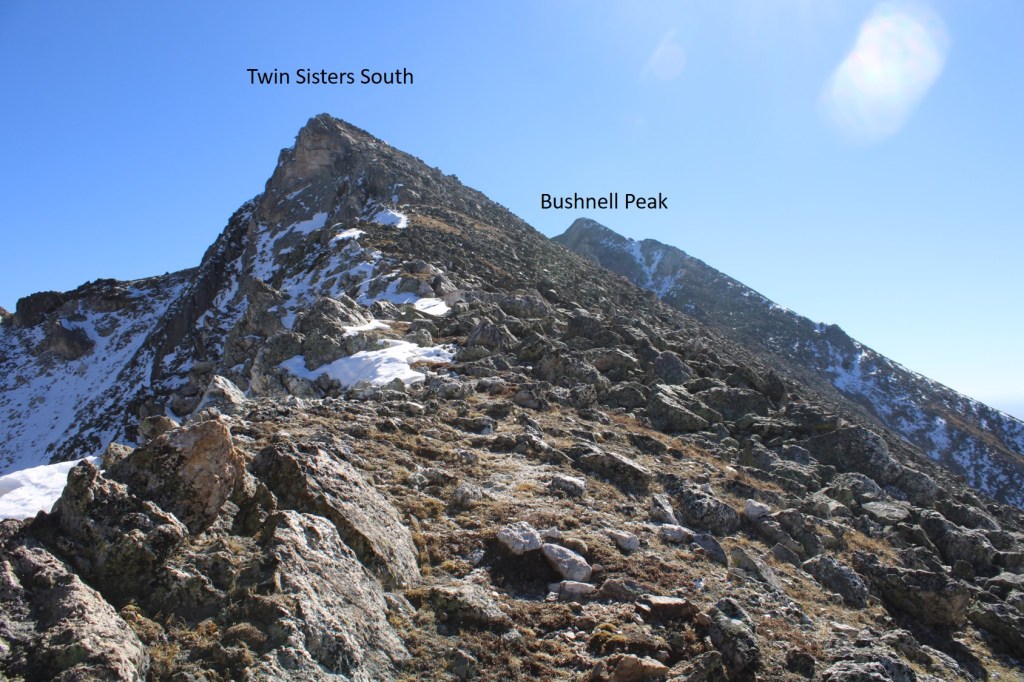
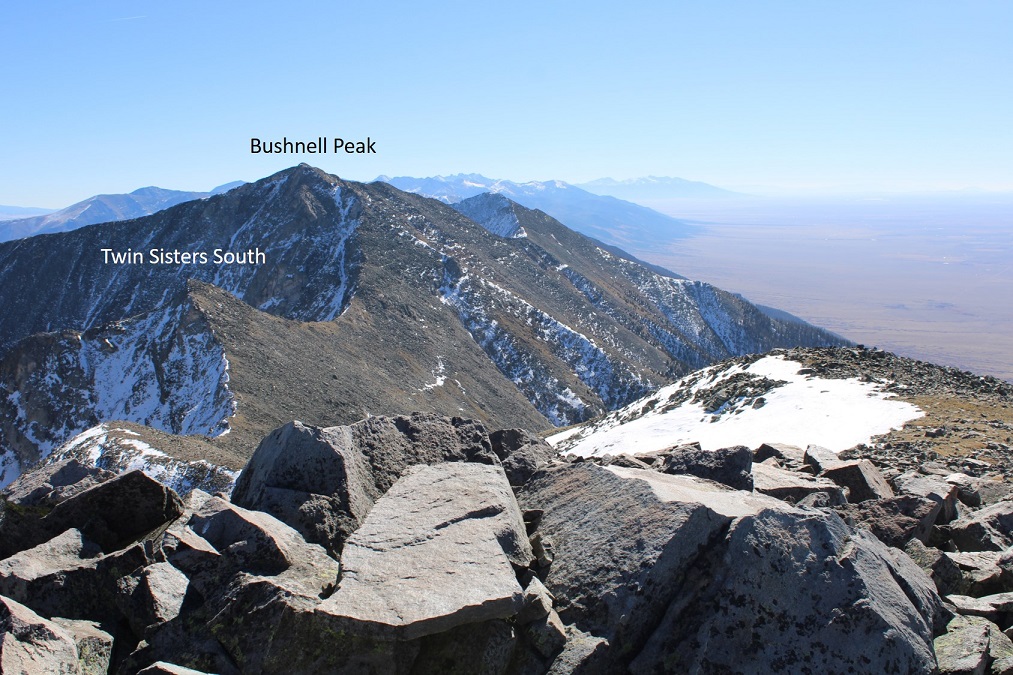
Here’s looking back at Twin Sisters South and Bushnell Peak from the Twin Sisters North/South saddle.
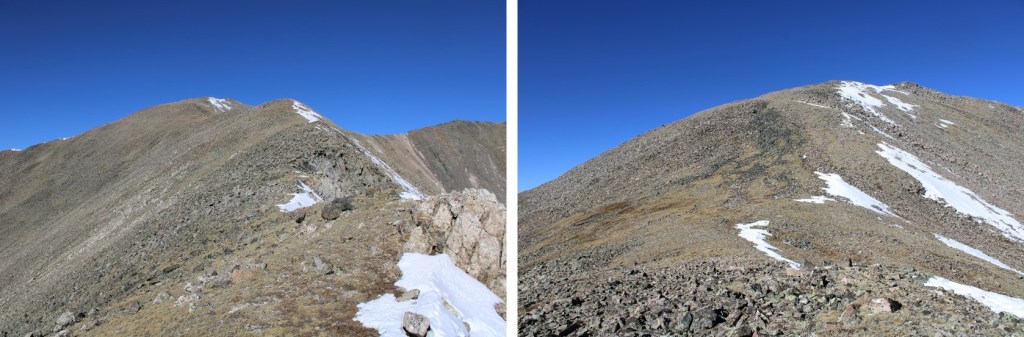
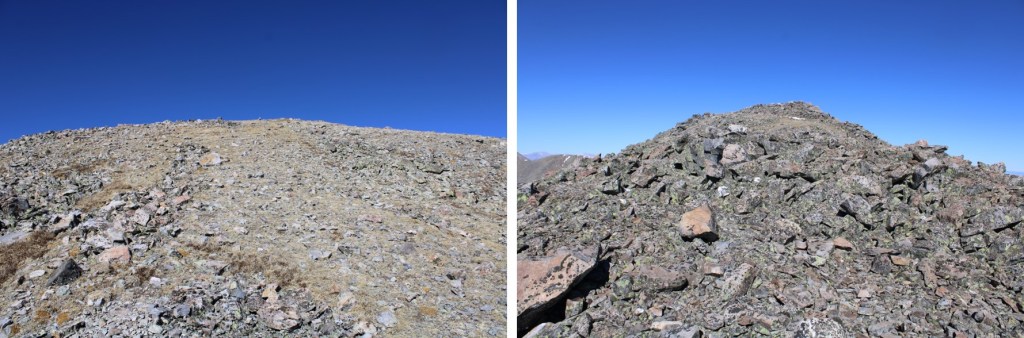
From the Twin Sisters North/Twin Sisters South saddle I gained 530’ to the summit of Twin Sisters North, mostly on tundra and small rocks. Here’s the overall route I took, still class 2.
Here are some closer pictures of the ridge
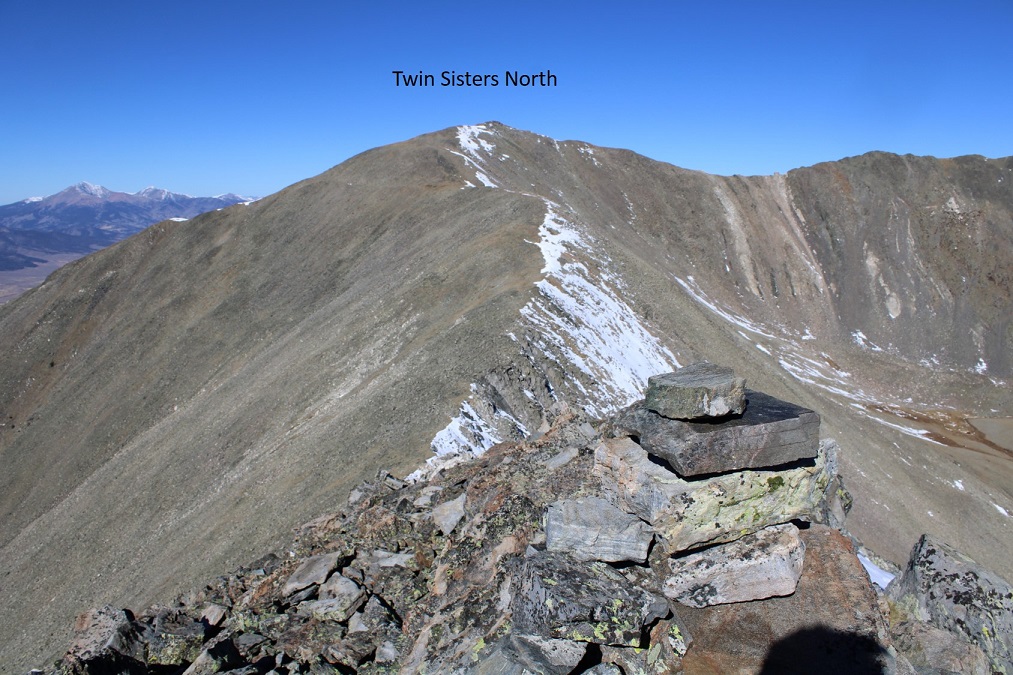
The summit was at the north end of the ridge
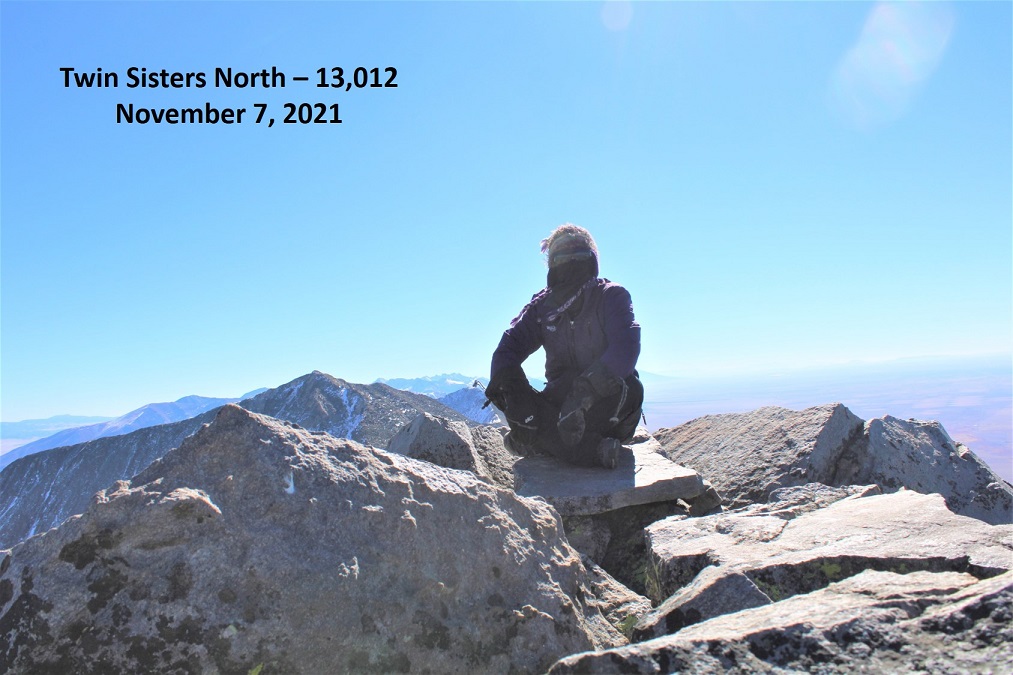
I summited Twin Sisters North at 11am
Twin Sisters North:
There was no summit register, so I left one, and headed back towards the Twin Sisters North/Twin Sisters South saddle. The wind still hadn’t let up, and I was anxious to get to a place without wind.
I didn’t go all the way to the saddle. Instead, at 12900’ I started descending south.
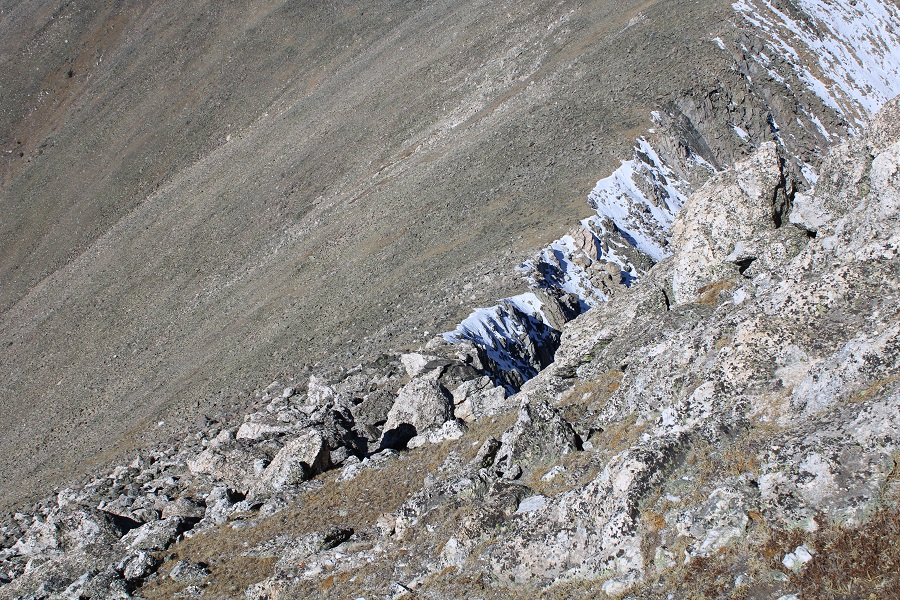
This area was steep, and filled with rolling talus. I aimed for the drainage, heading directly south. I could clearly see the road, and aimed for it as I descended (circled in red)
Once in the drainage, I followed it to where it joined with another drainage, crossed it, and aimed for the road, heading southwest
Here’s looking back up the gully I used as my decent route
Once back on the road (cairn circled in red) I was finally able to take off my cold weather gear as I was now out of the wind. I followed the road southwest, back to my truck
I made it back to my truck at 1:30pm, making this a 10.07 mile hike with 5296’ of elevation gain in 7.5 hours