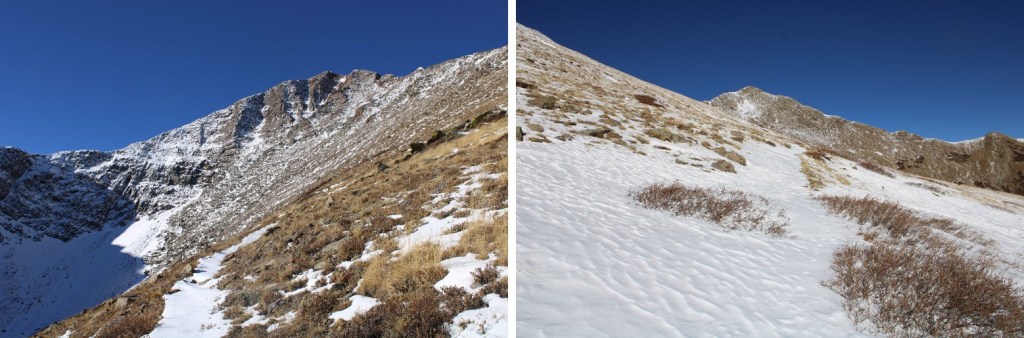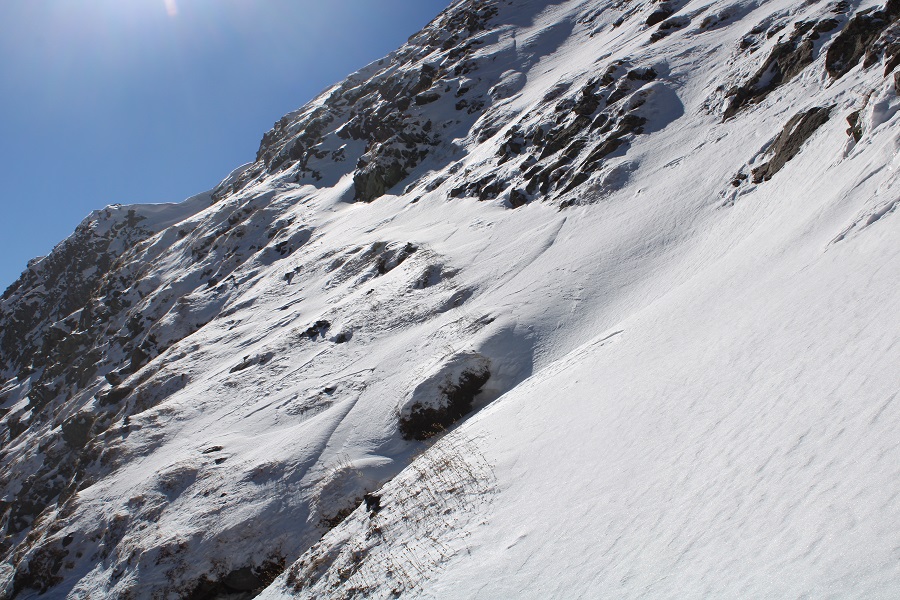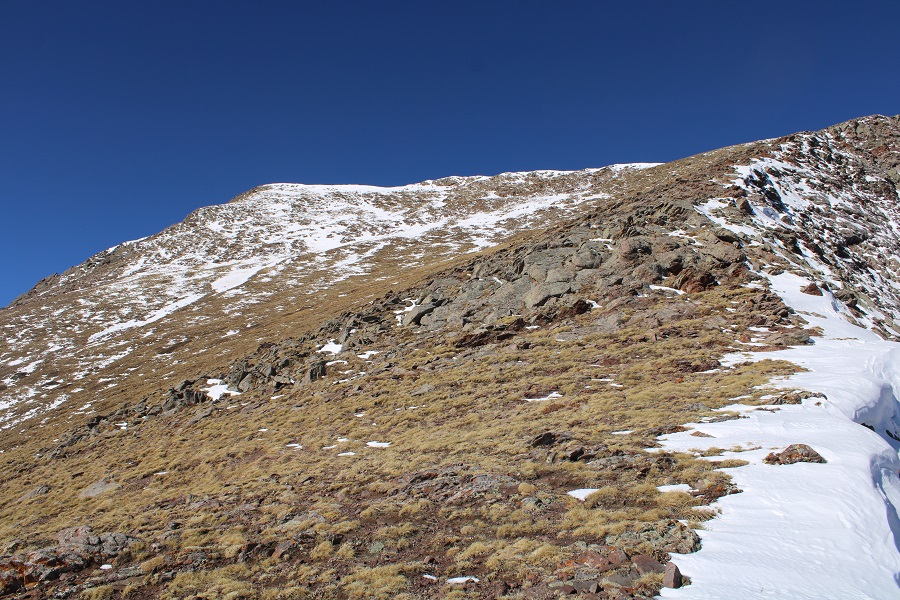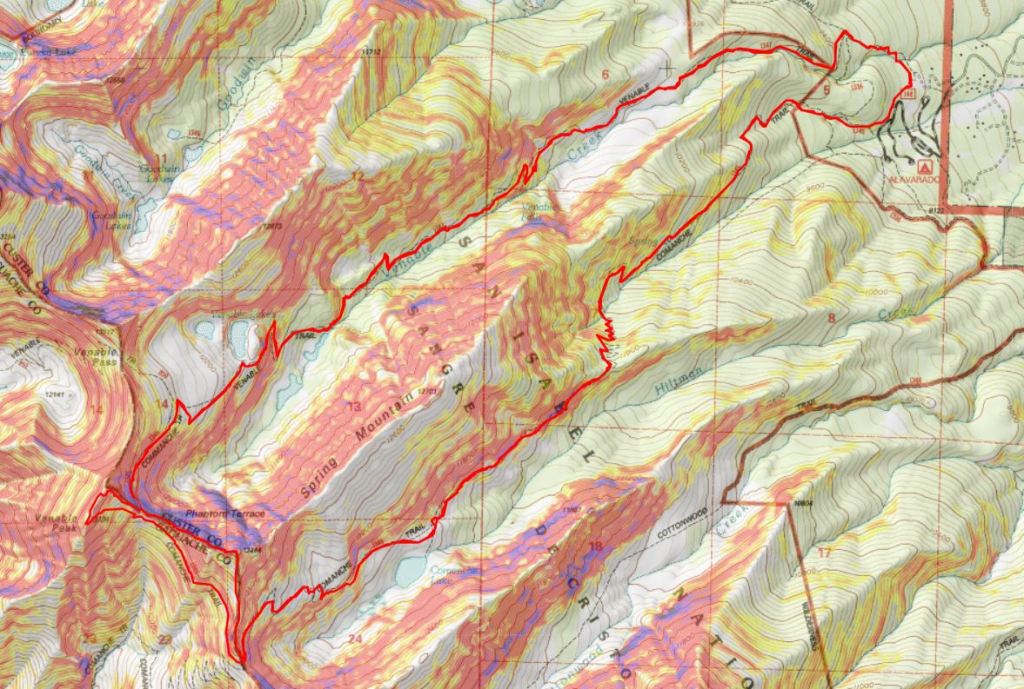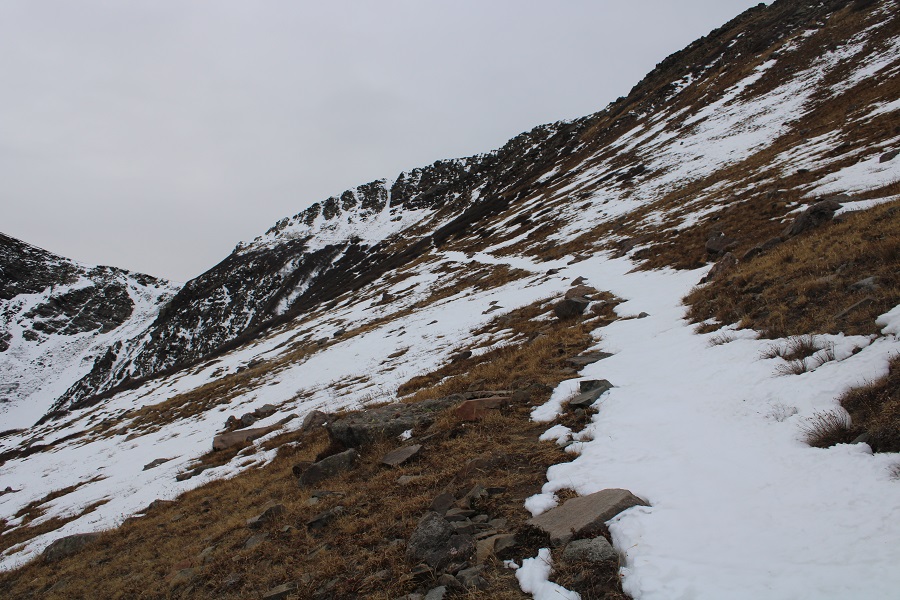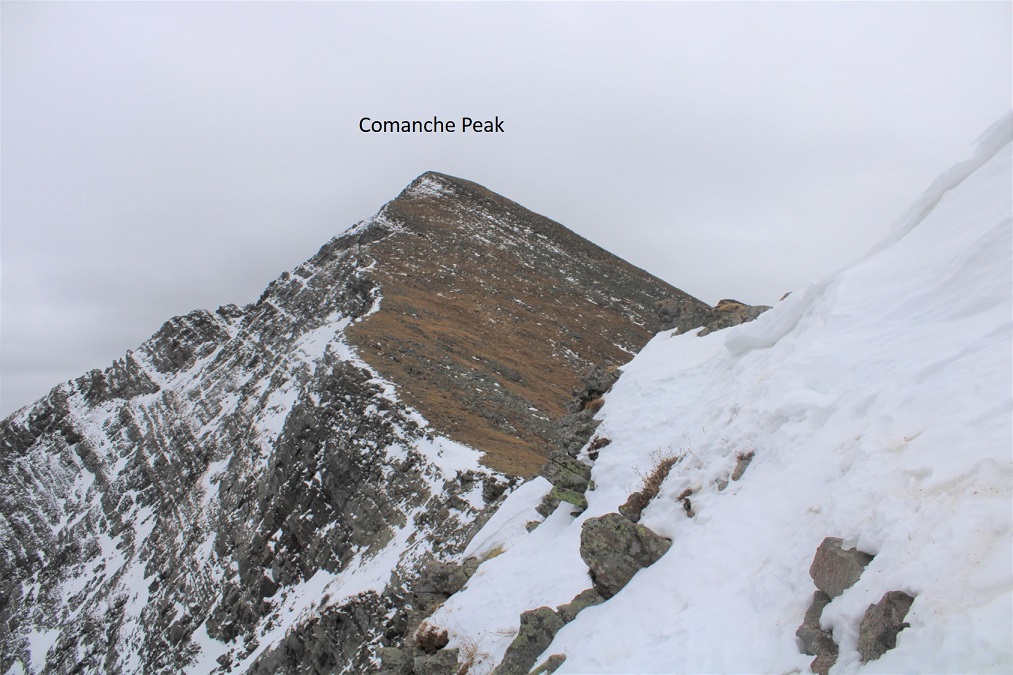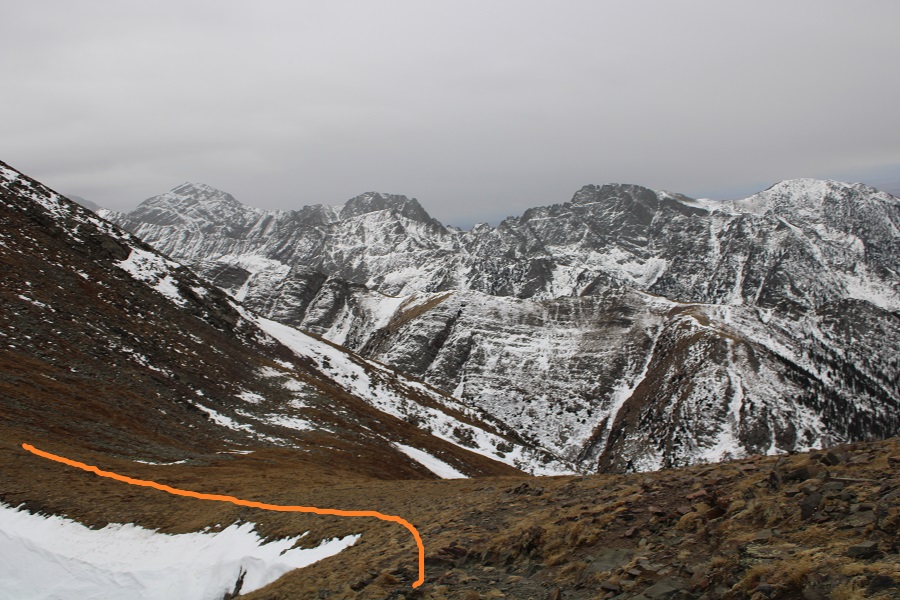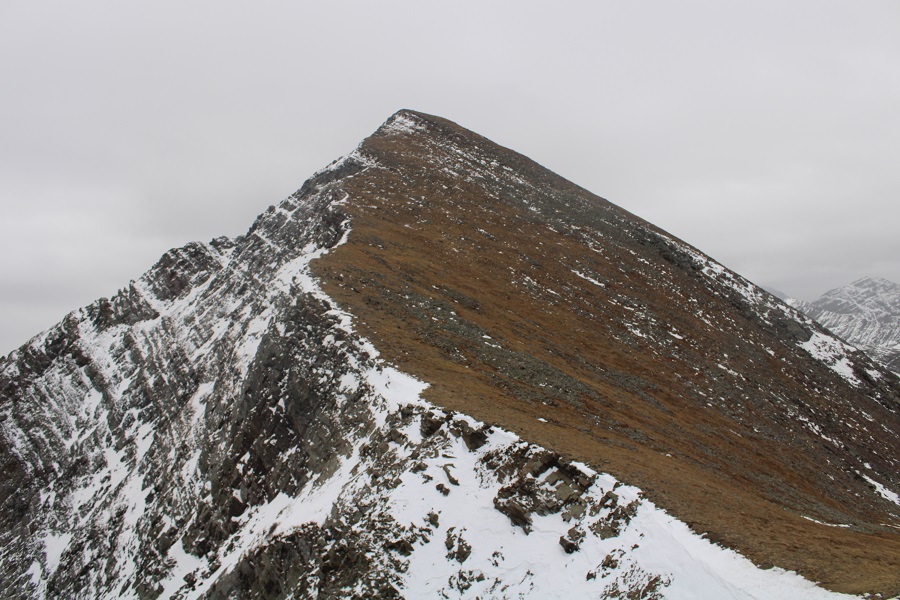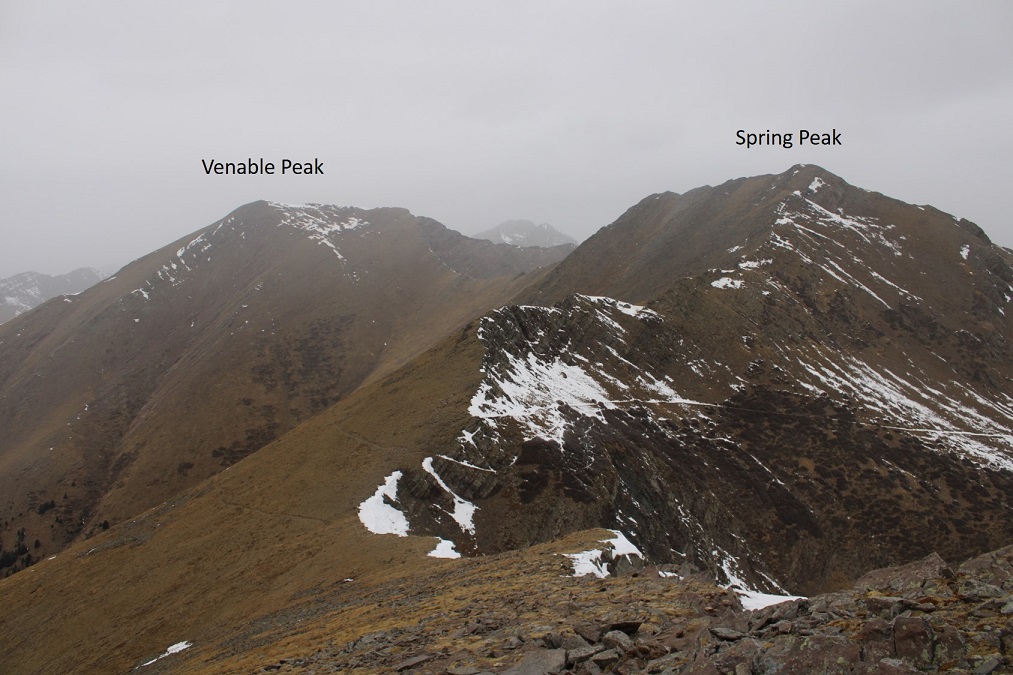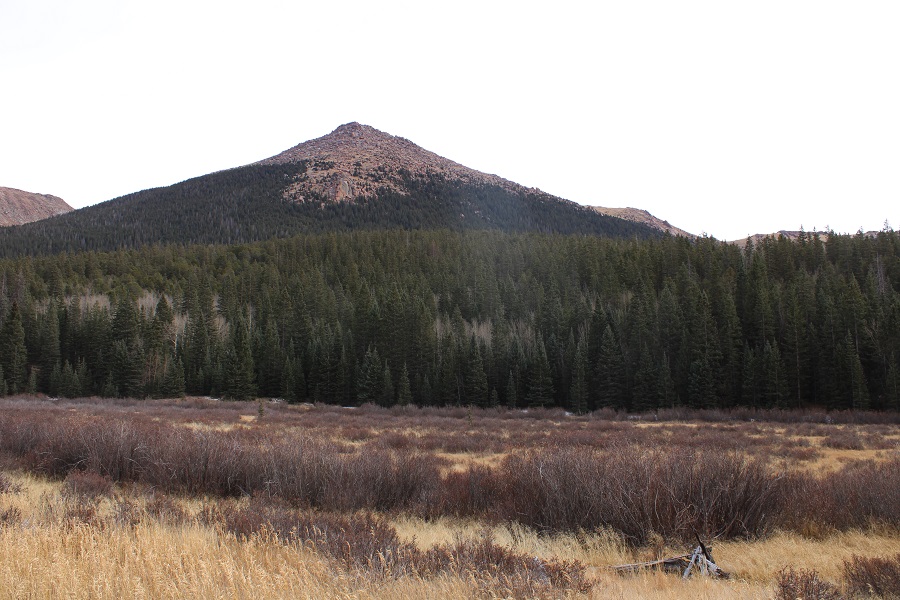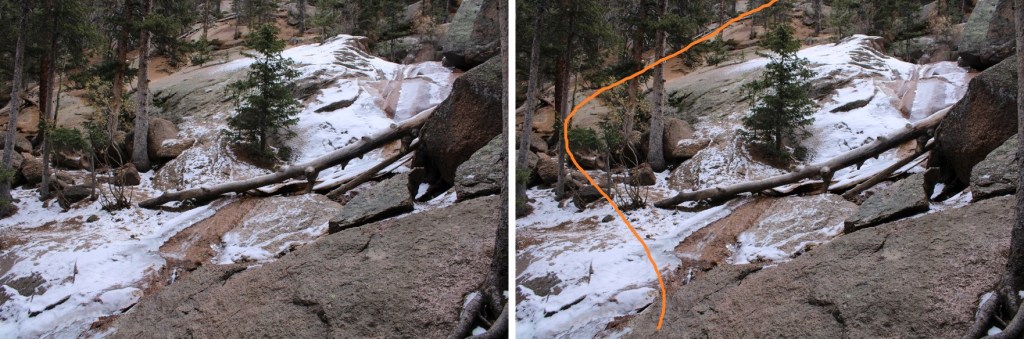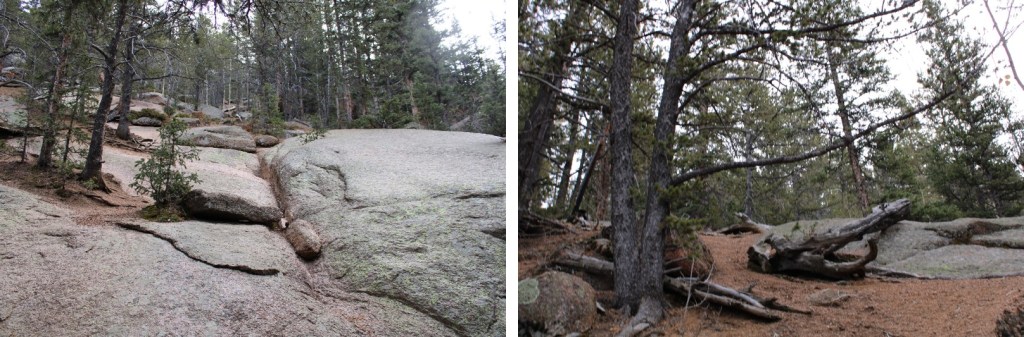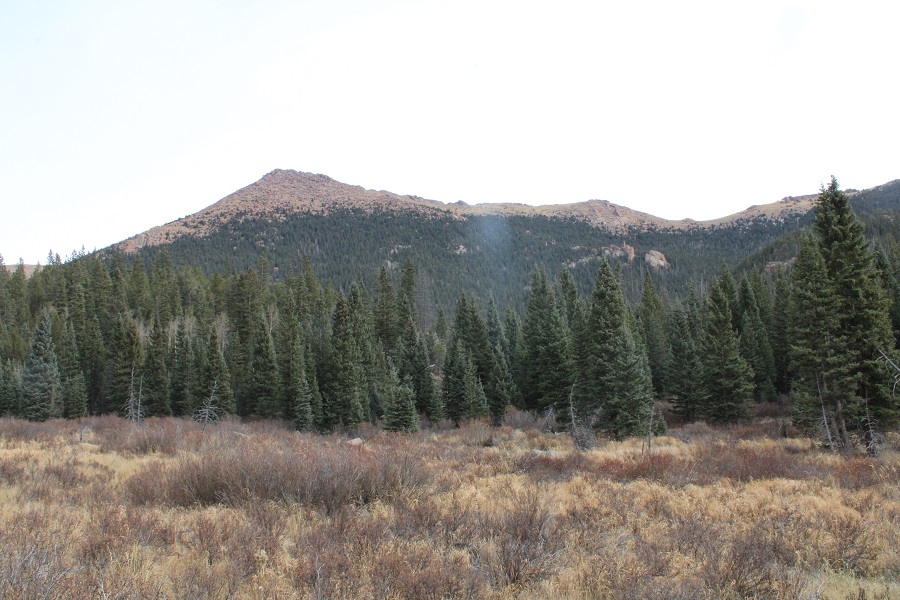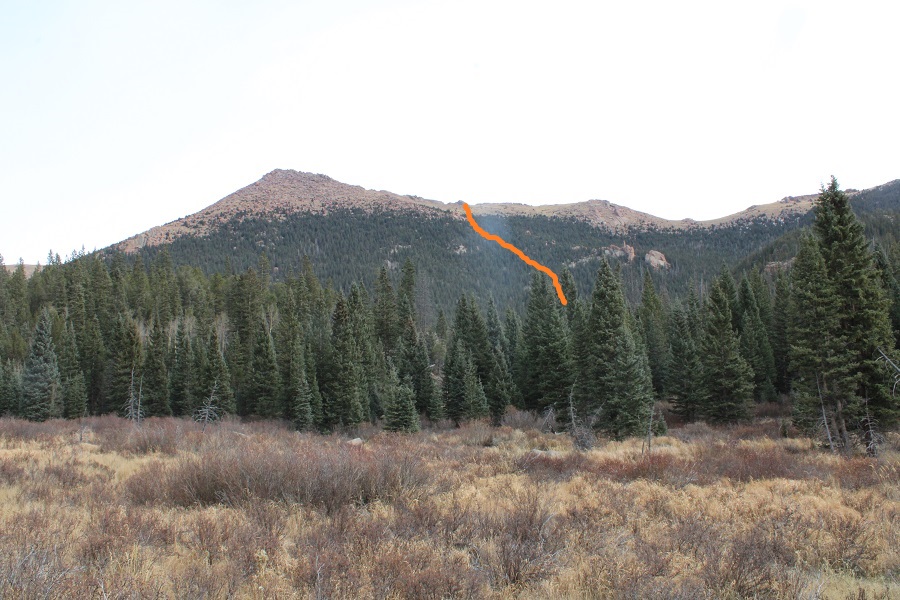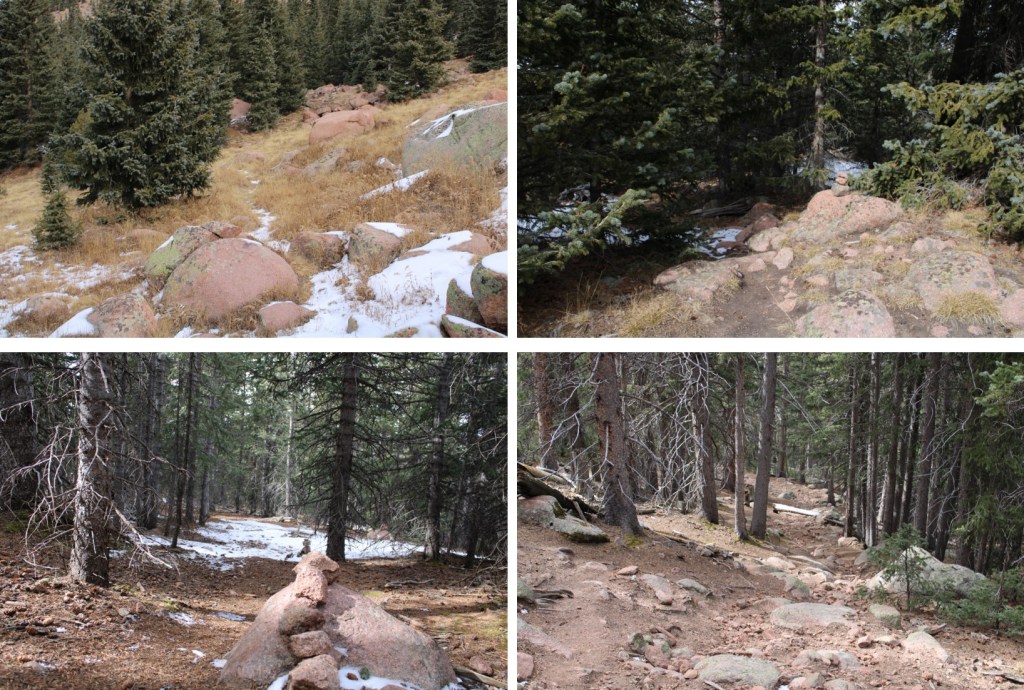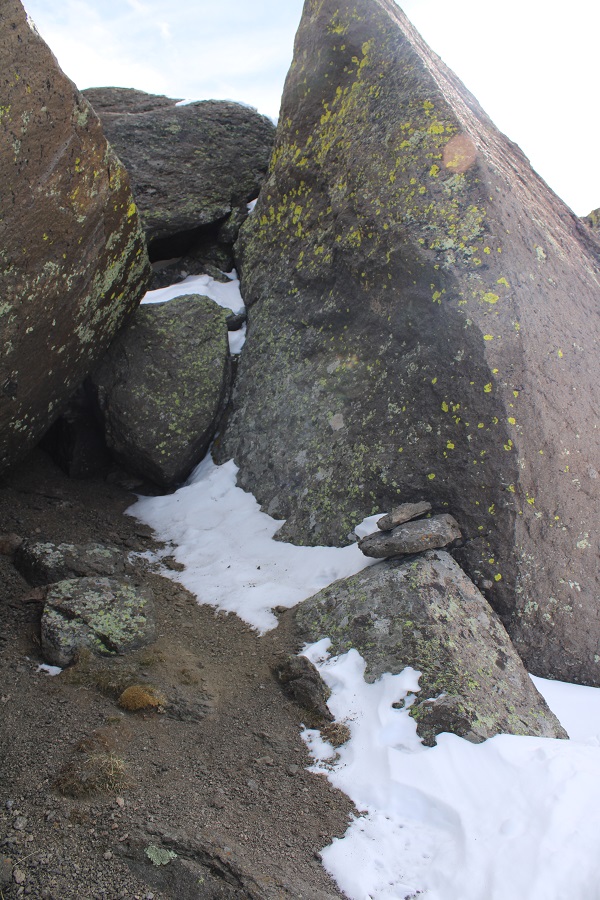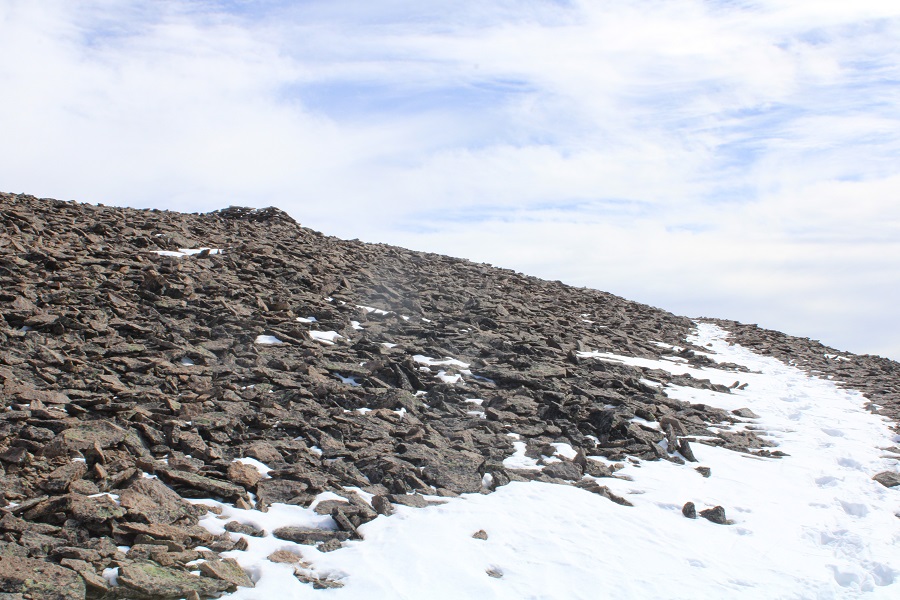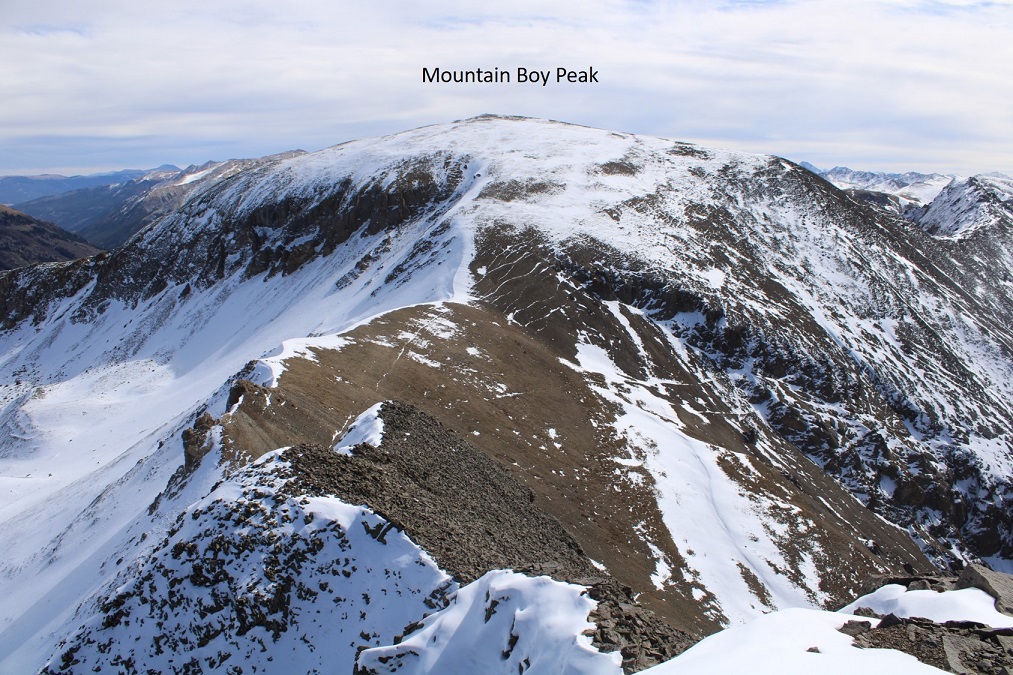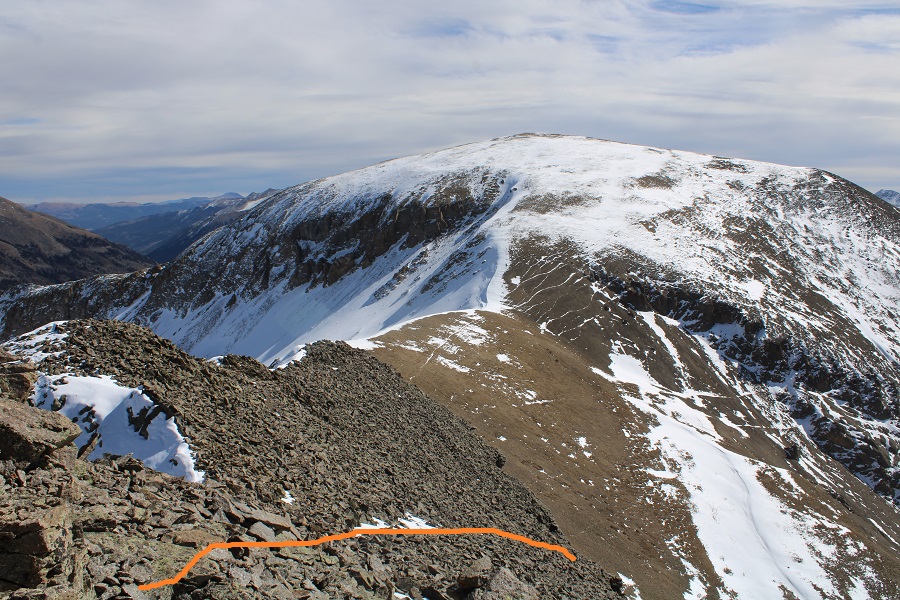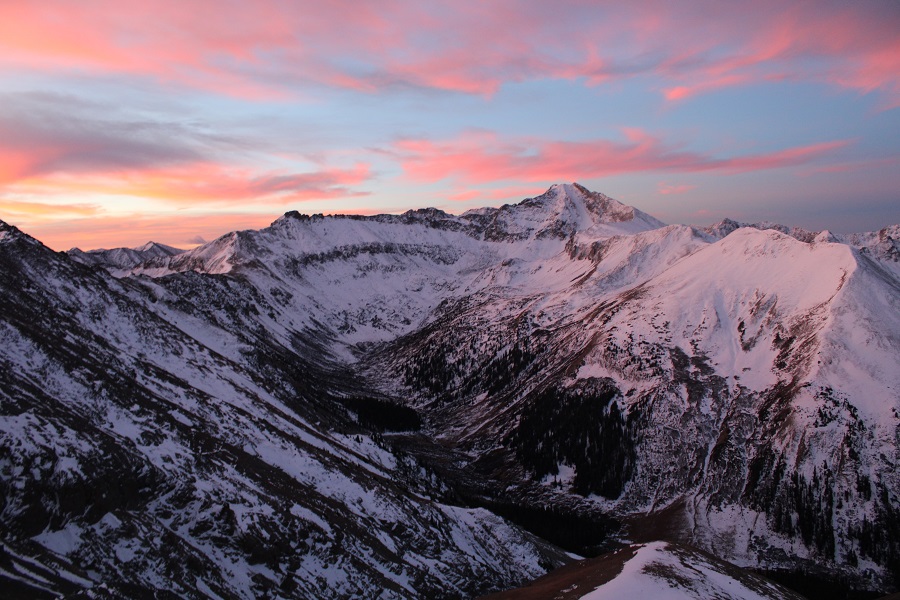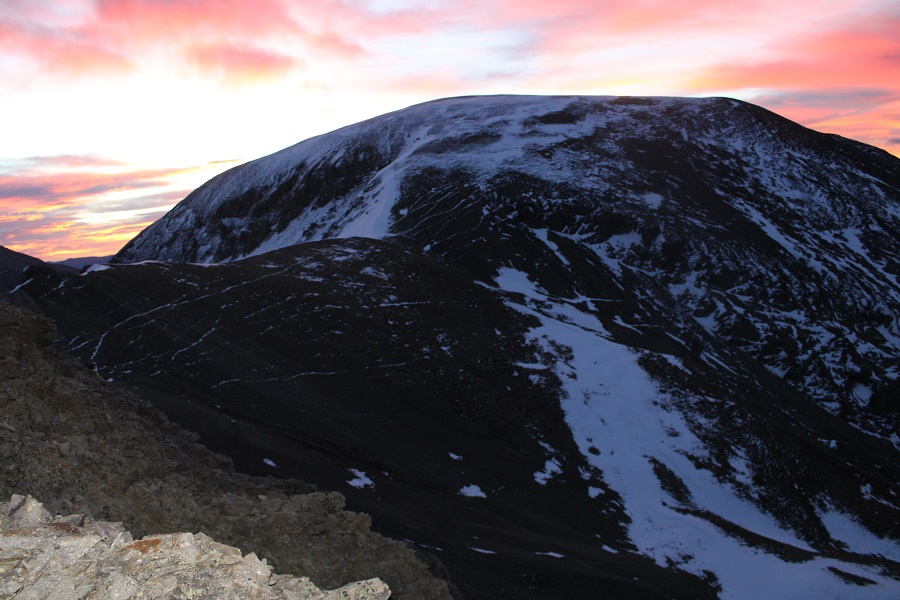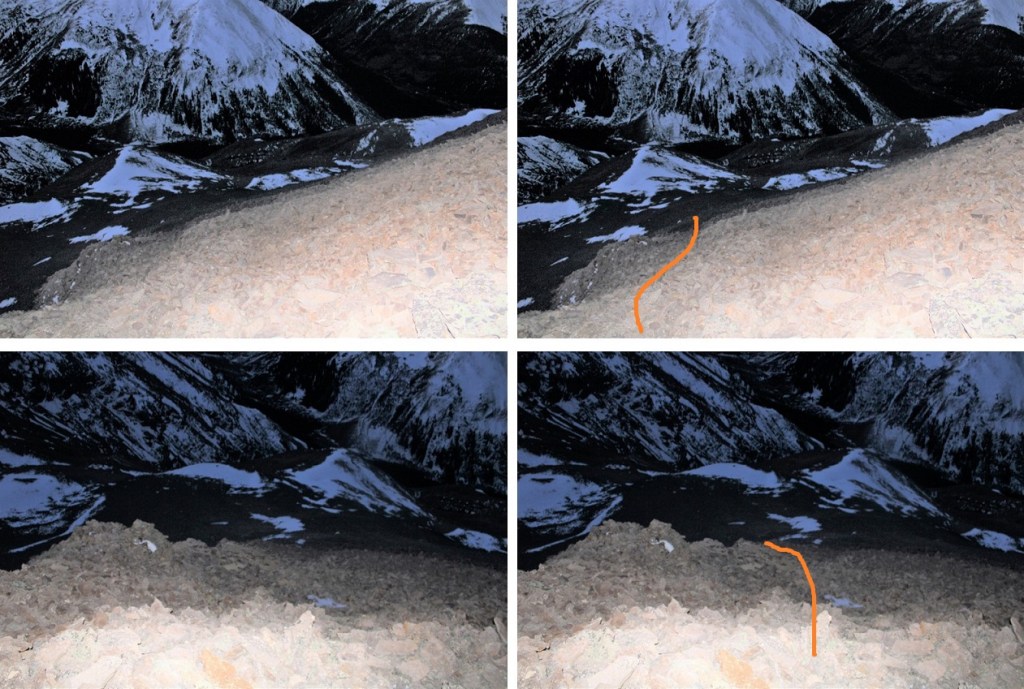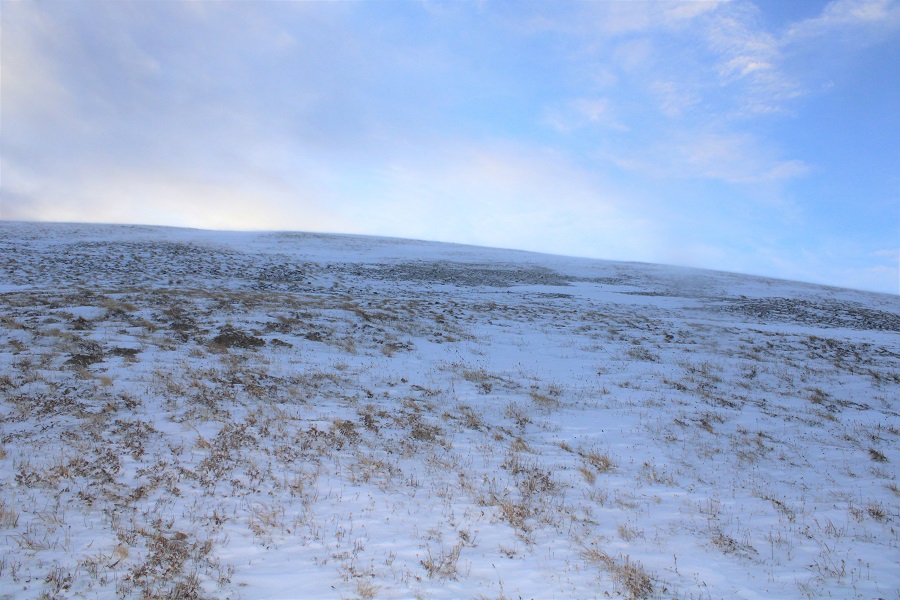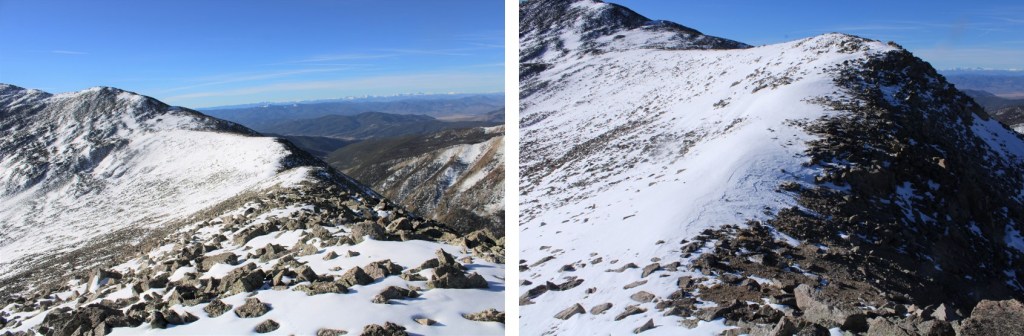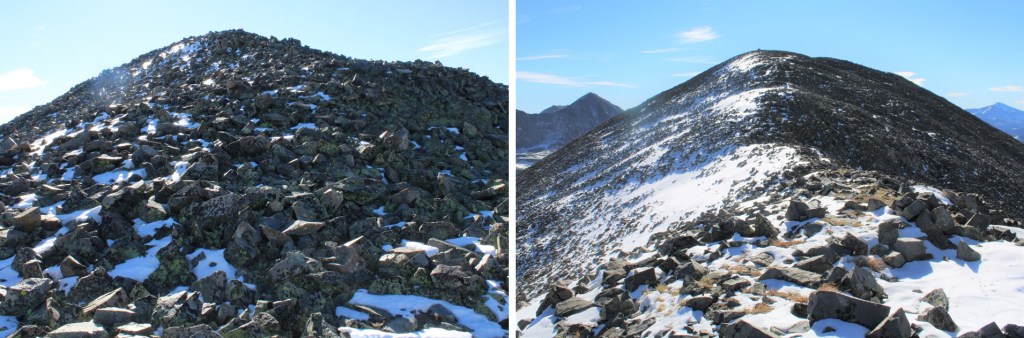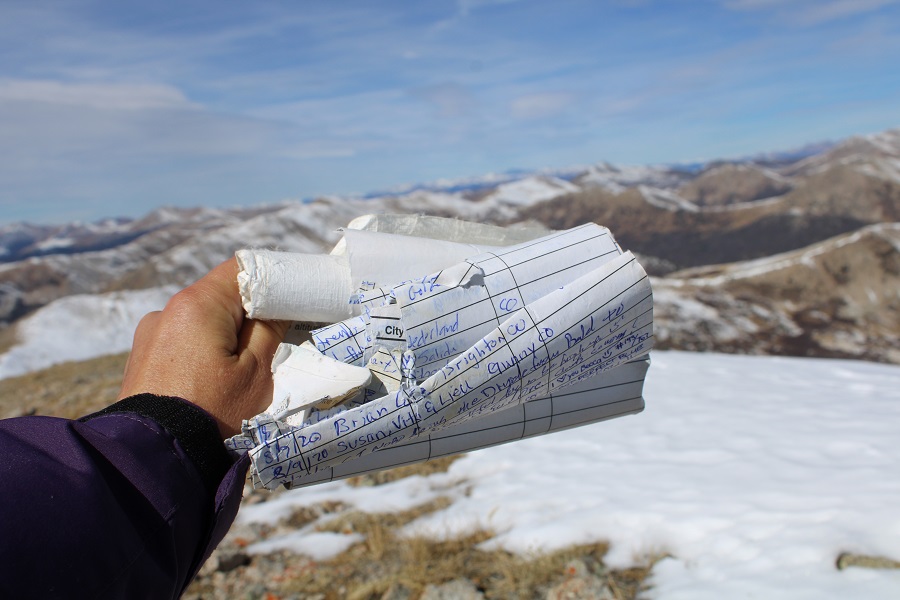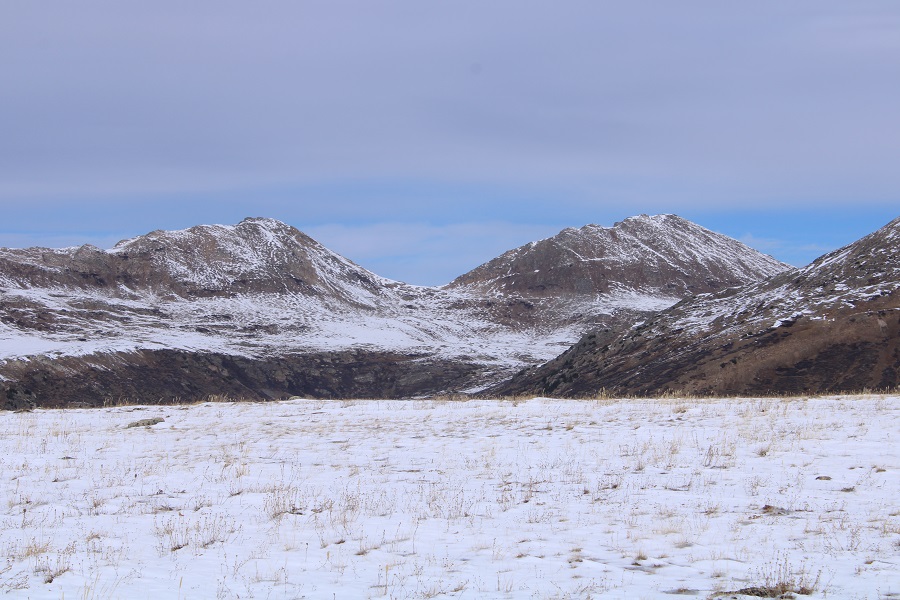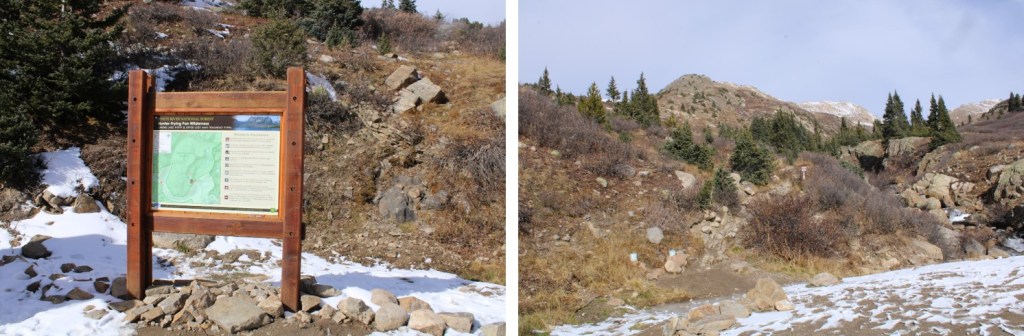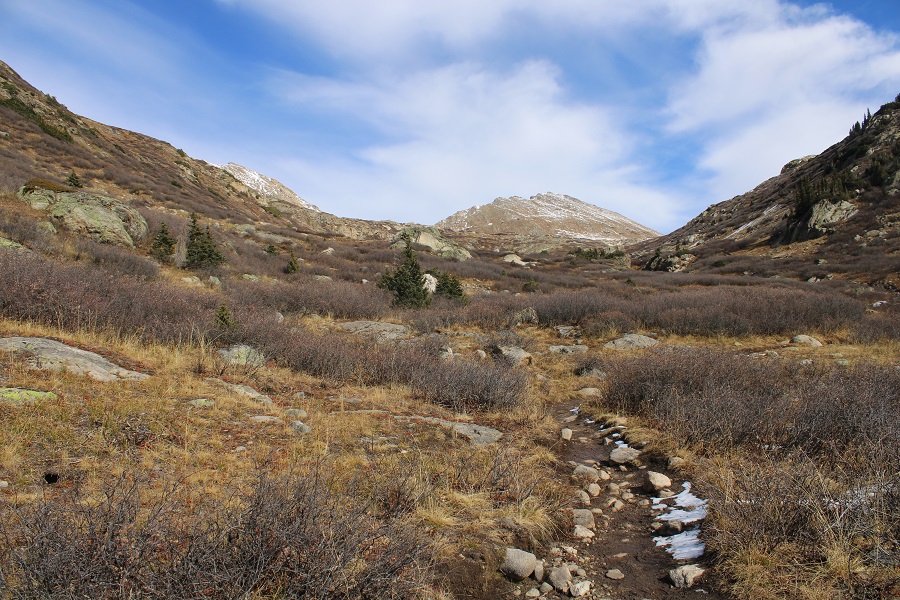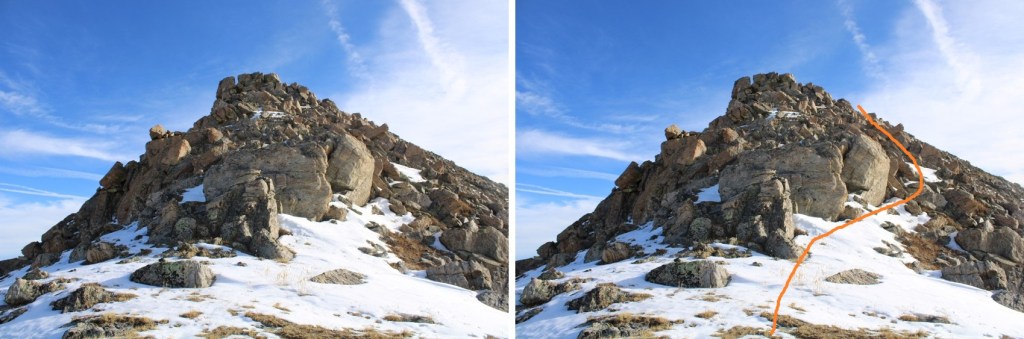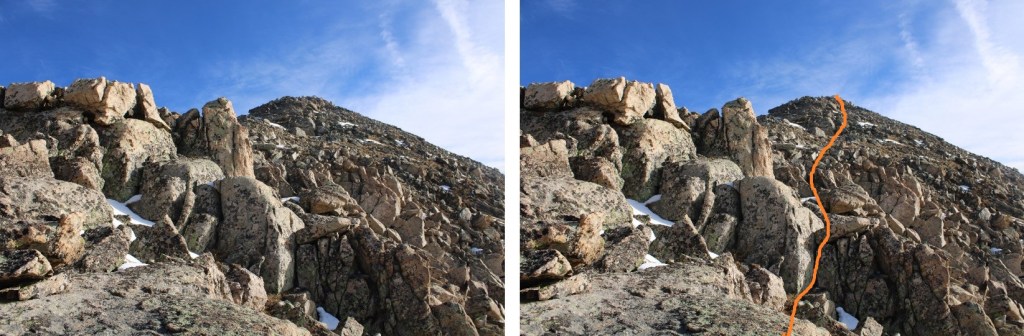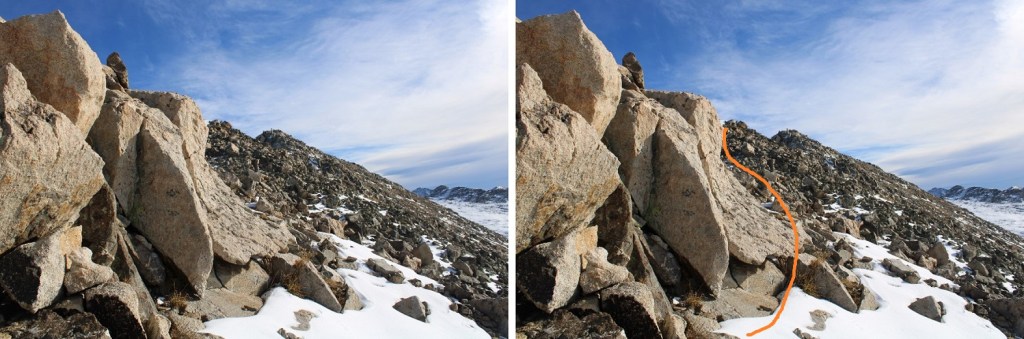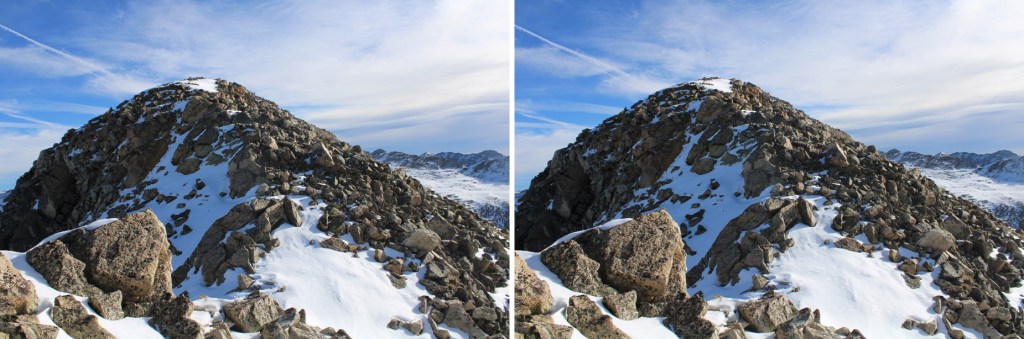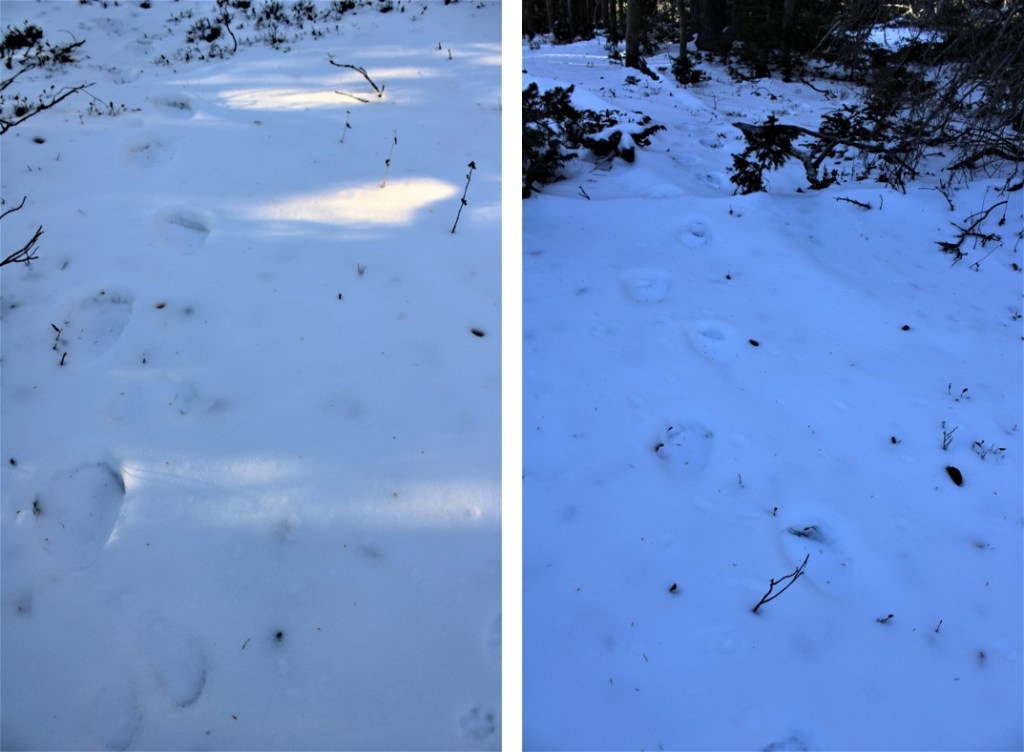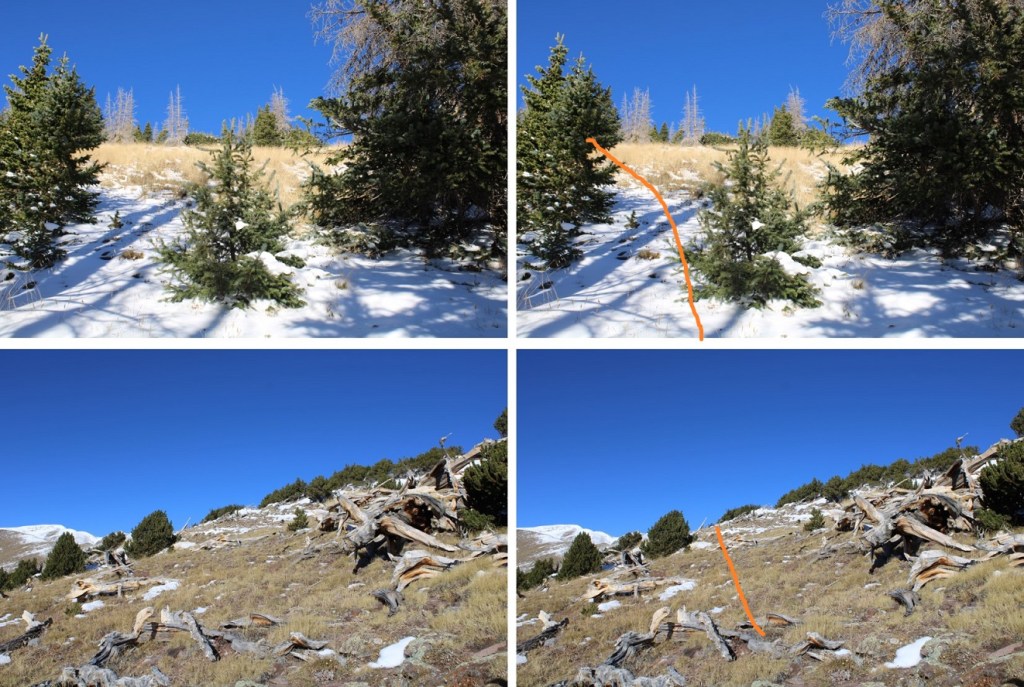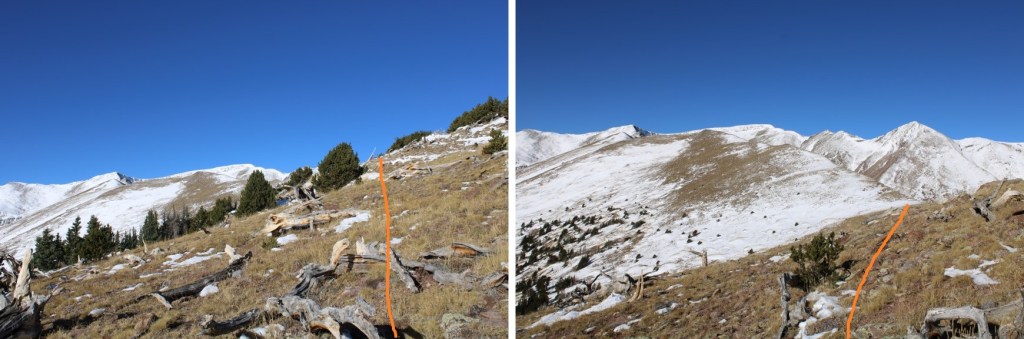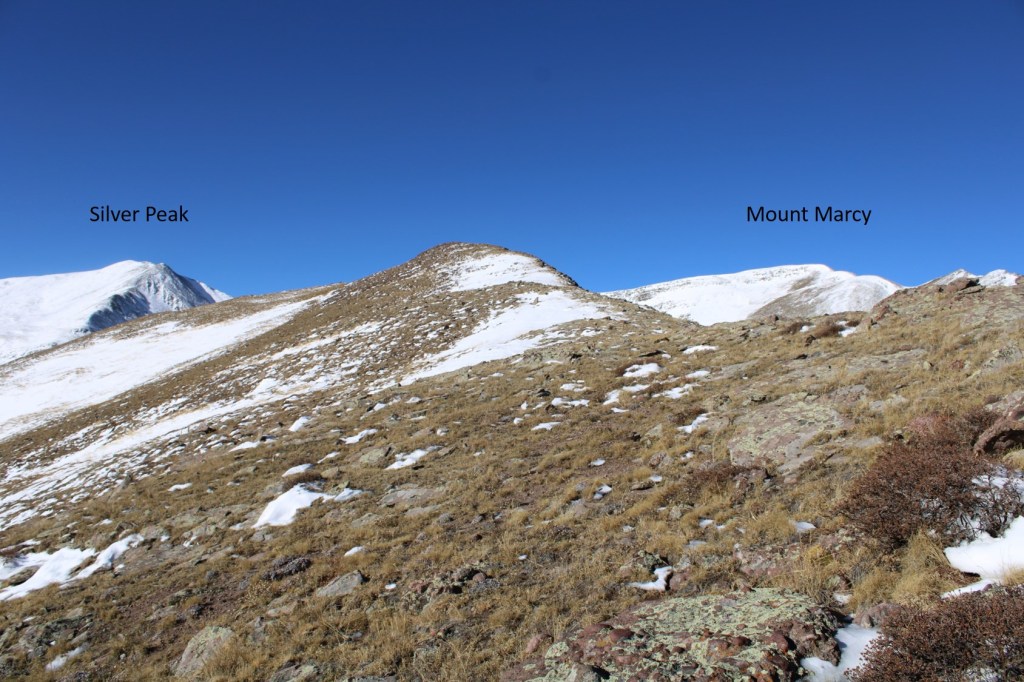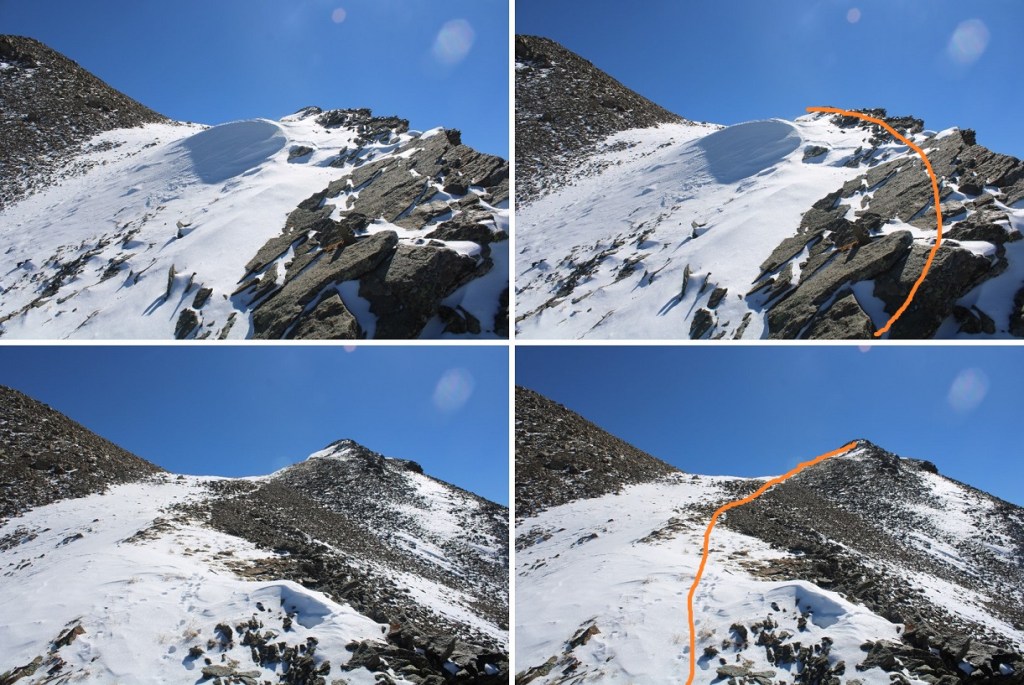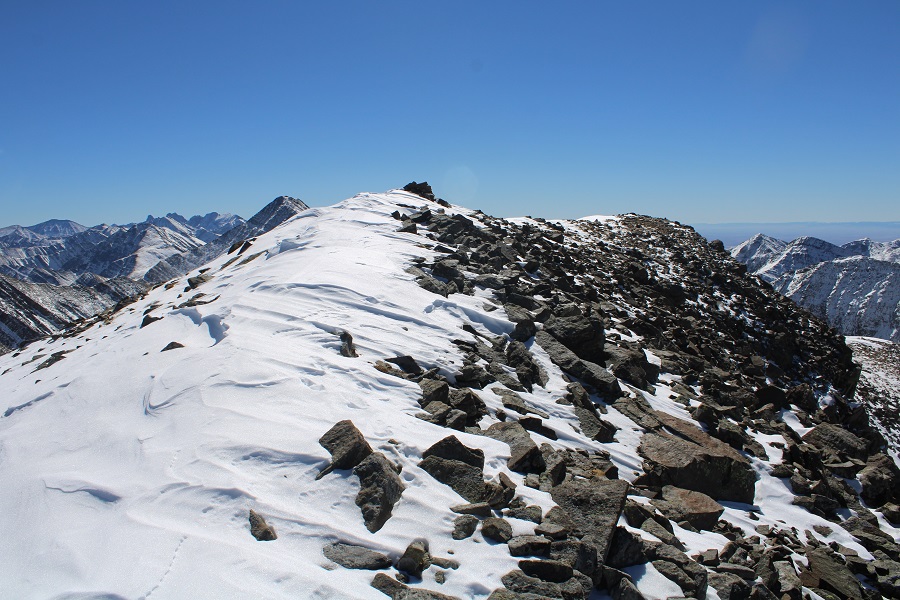
Spring Mountain – 13,244 and Venable Peak – 13,334

RT Length: 14.24 miles

Elevation Gain: 5572’

This was my third attempt at Spring Mountain and Venable Peak. My second attempt was just yesterday, when I turned around about 200 feet from the saddle, coming from Venable Trail (trip report can be found here).  This morning I was attempting to summit via the Comanche Trail, which I had used successfully earlier in the week to summit Comanche Peak (trip report can be found here). Of course, it had been snowing on my way out, but it hadn’t snowed since then.  I was crossing my fingers for fair conditions on the trail since the last storm.

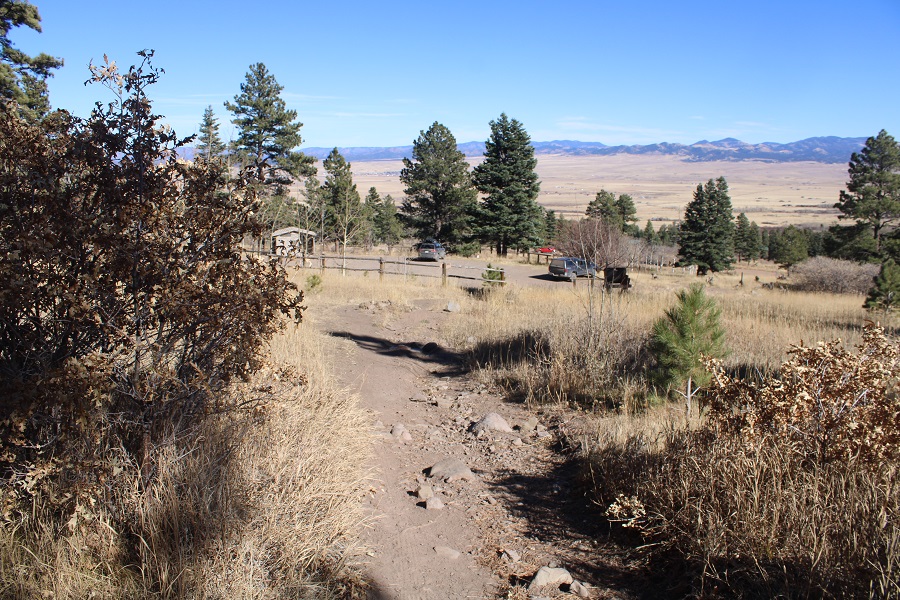
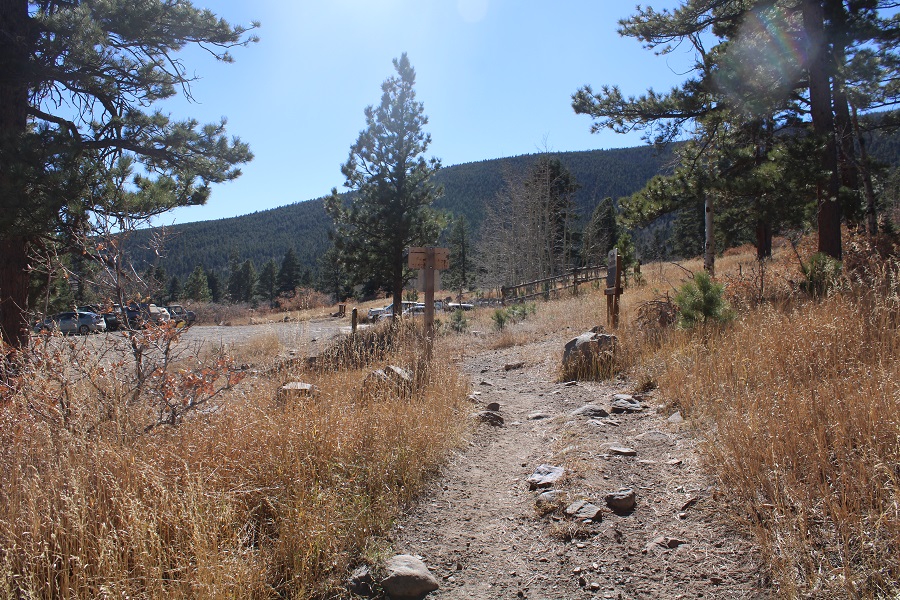
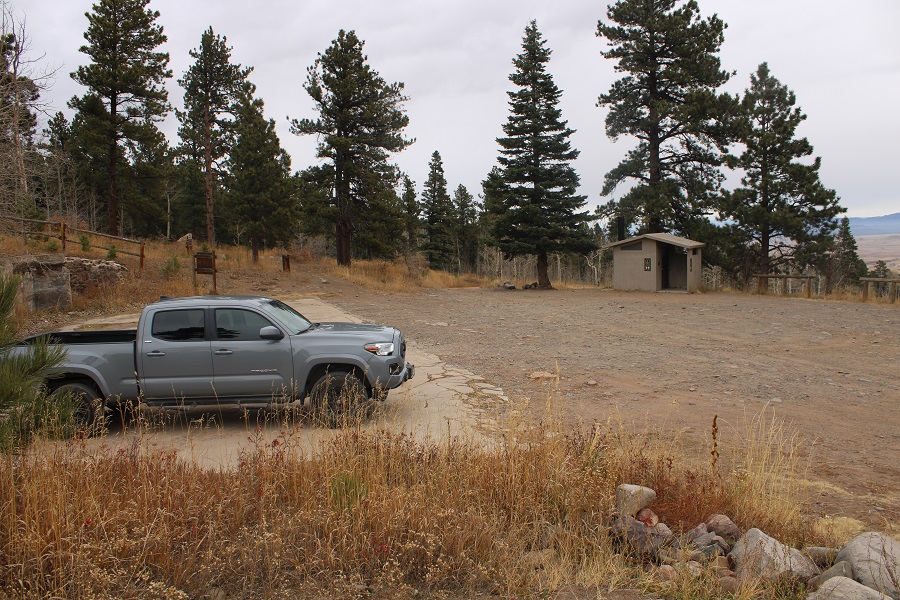
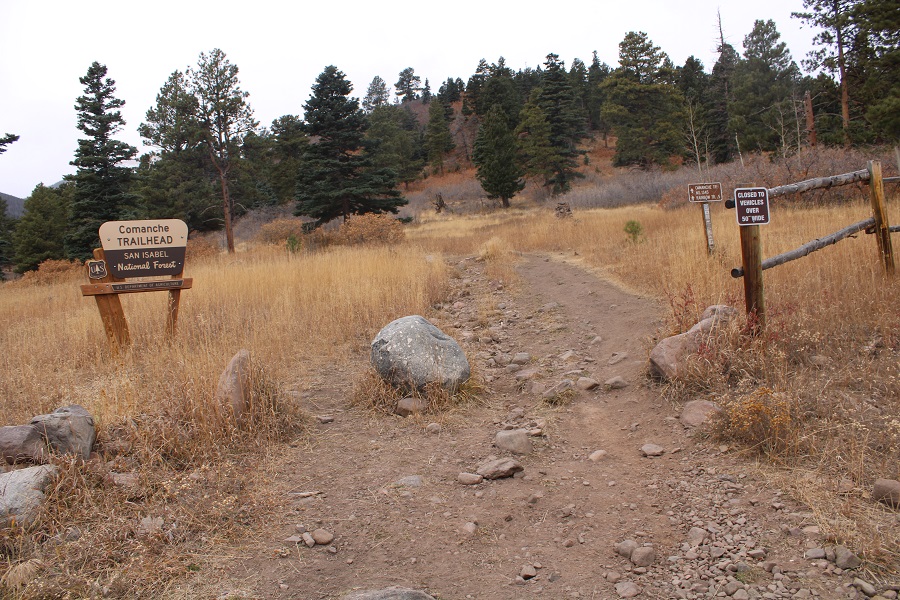
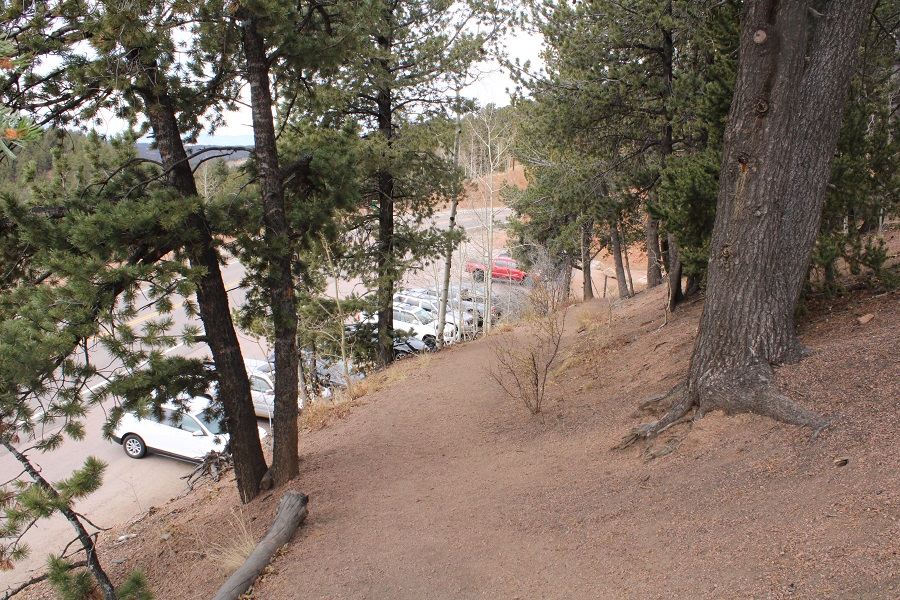
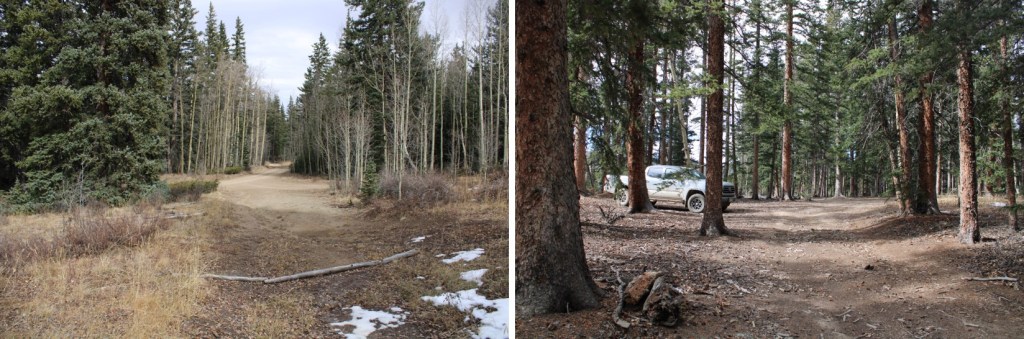
There was one other vehicle in the lot when I woke up.  I took my time getting ready, and was on the trail at 6am.  The trail is obvious from the parking area.

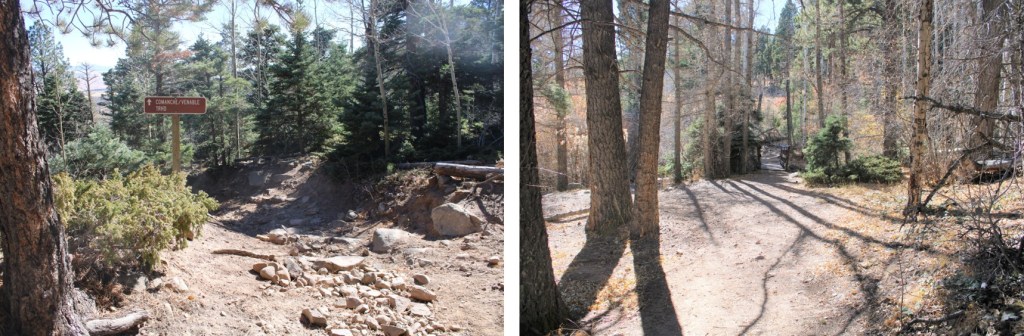
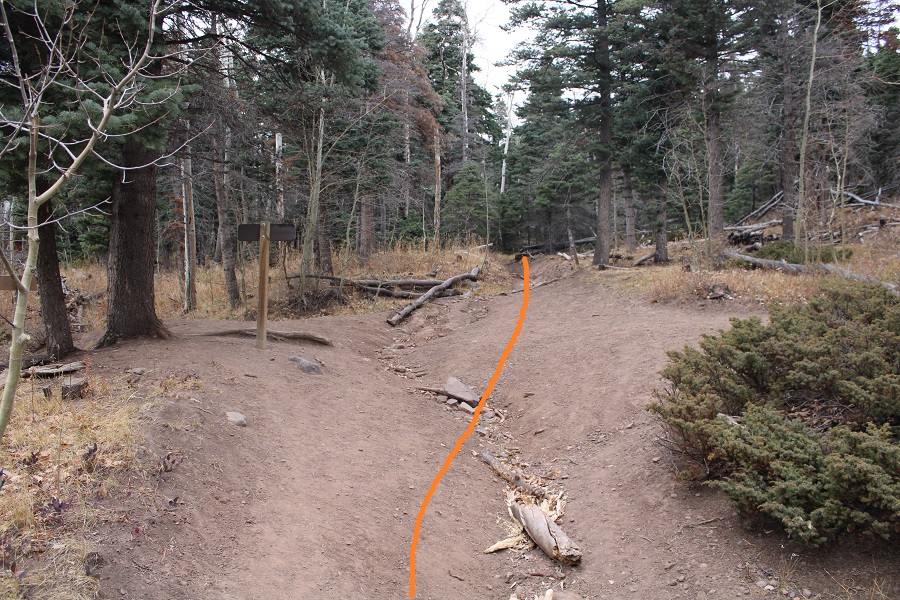
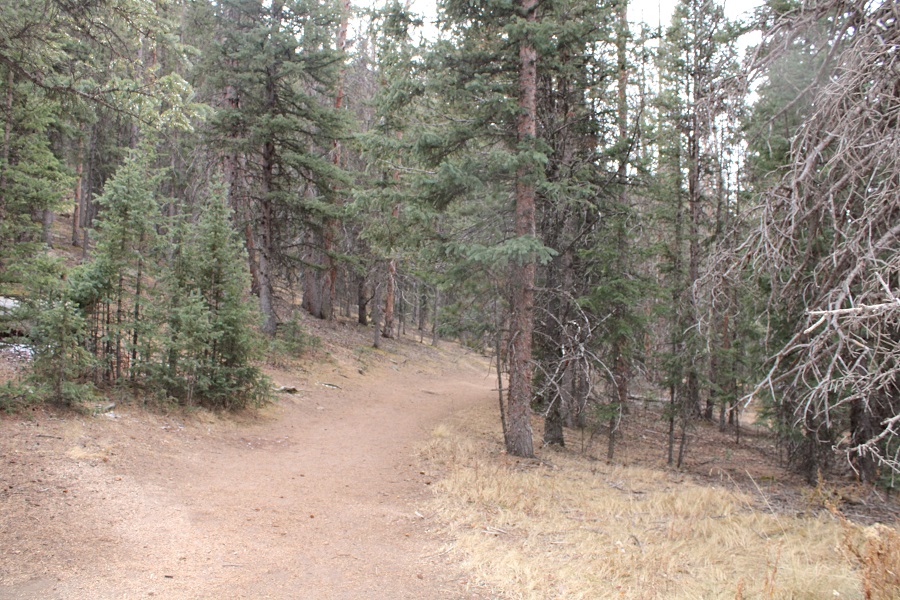
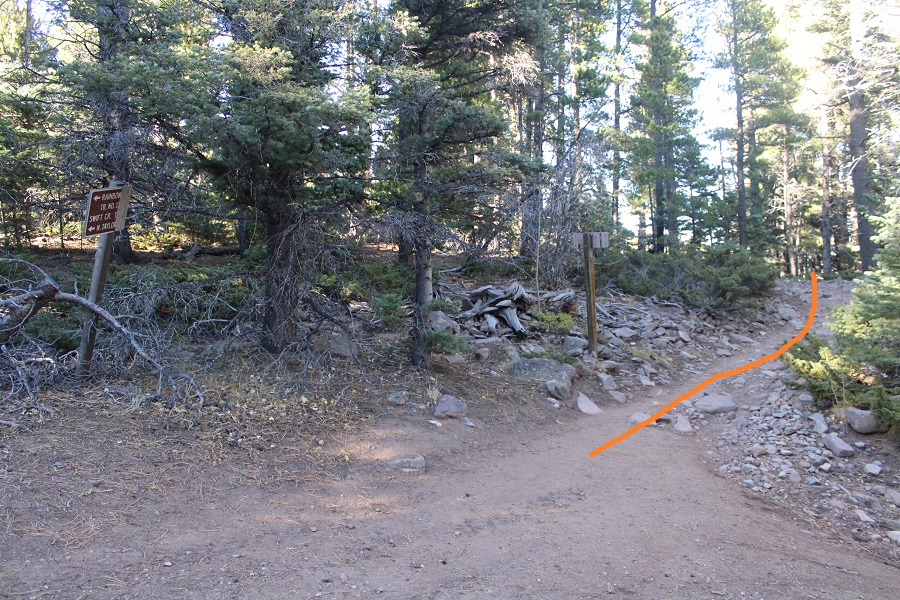
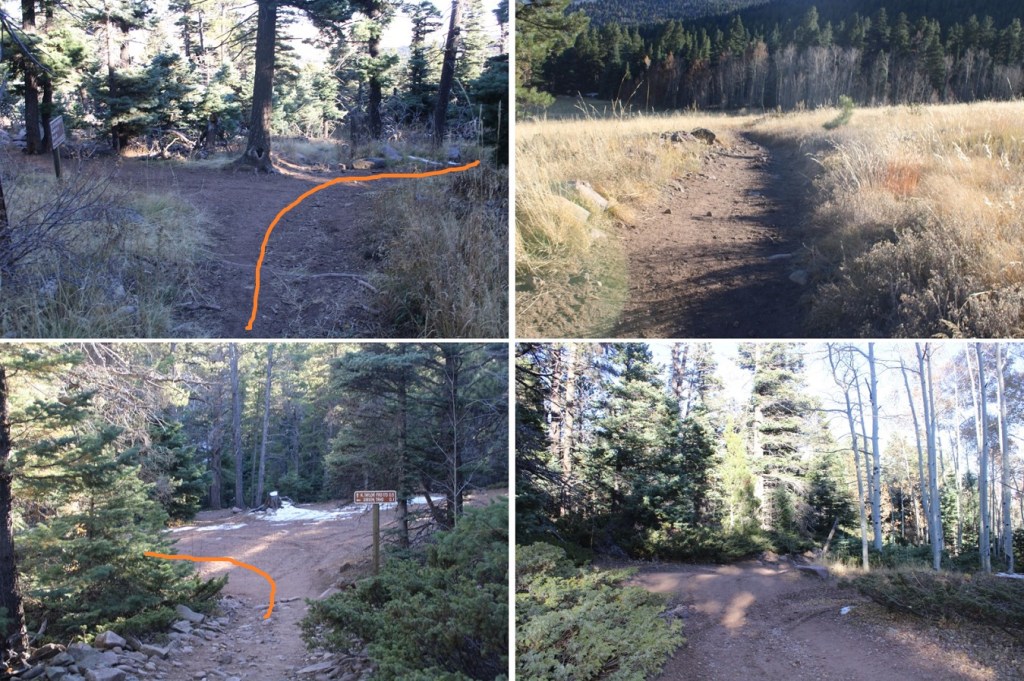
I followed this wide, class 1 trail for half a mile to the Rainbow Trail/Comanche Trail junction

At the Rainbow Trail/Comanche Trail junction I continued straight on the Comanche Trail (1345)

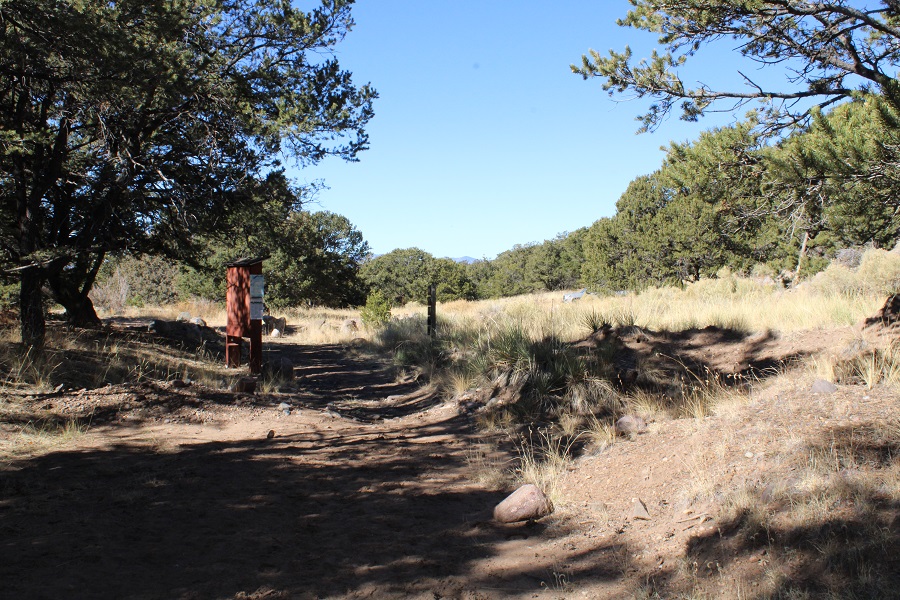
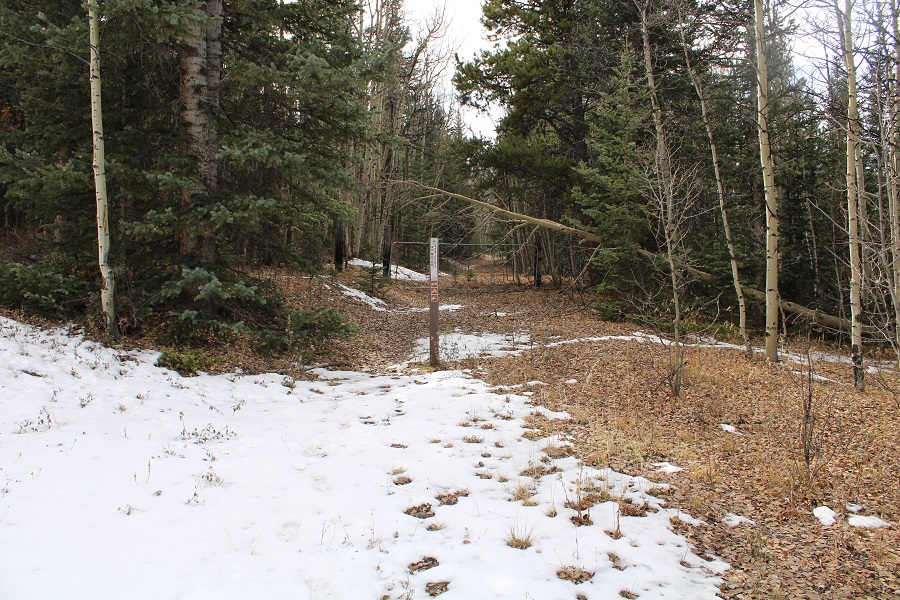
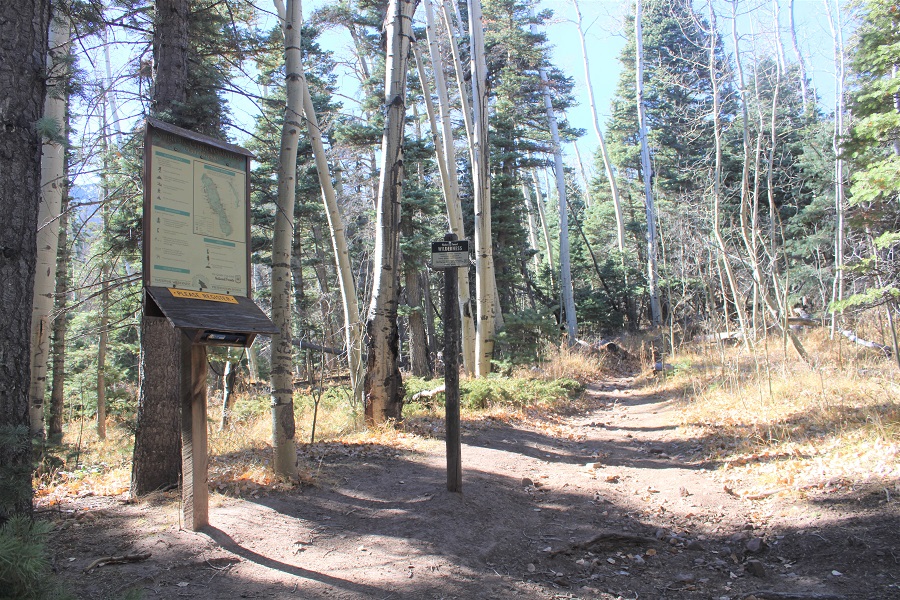
Just after the junction there was a trail register.  I registered and was on my way
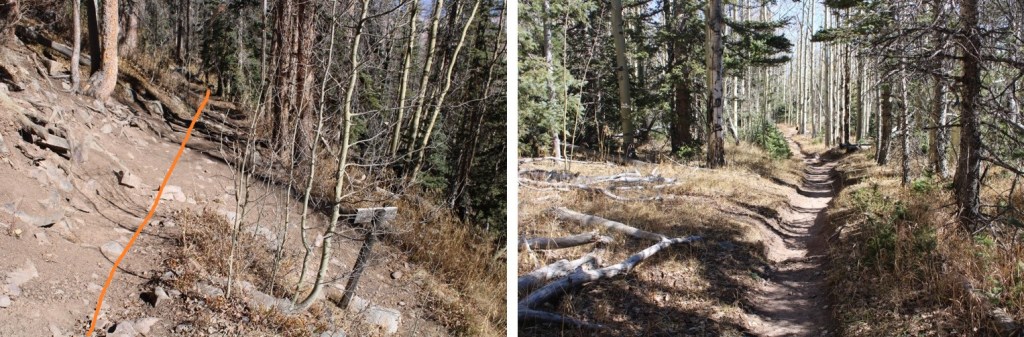
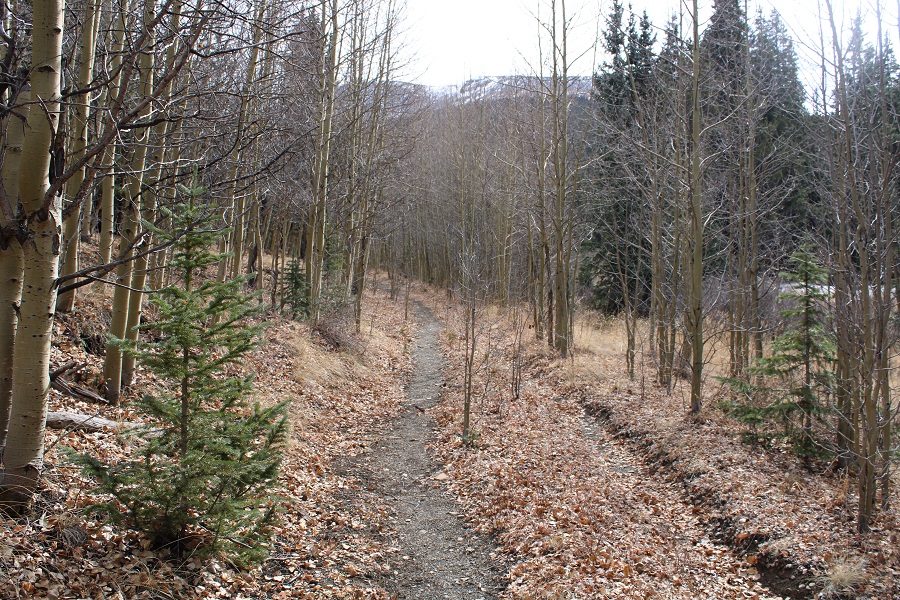
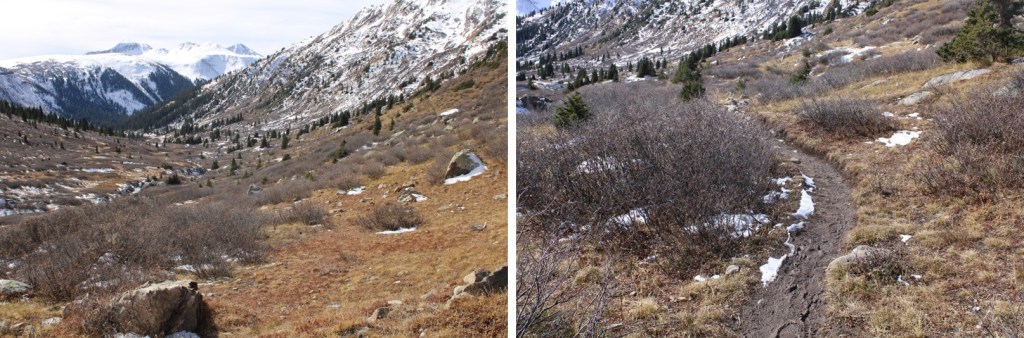
From here on out the trail was narrower, but it was still class 1.  I followed the trail southwest as it headed toward Comanche Lake
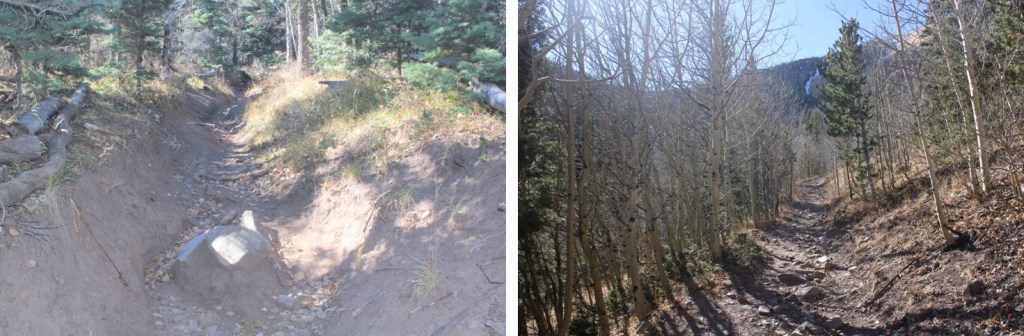
I saw snow on the trail around 10600’ and noticed a set of tracks.  It looked like someone was ahead of me on the trail.  I wondered how long it would be until I ran into them?
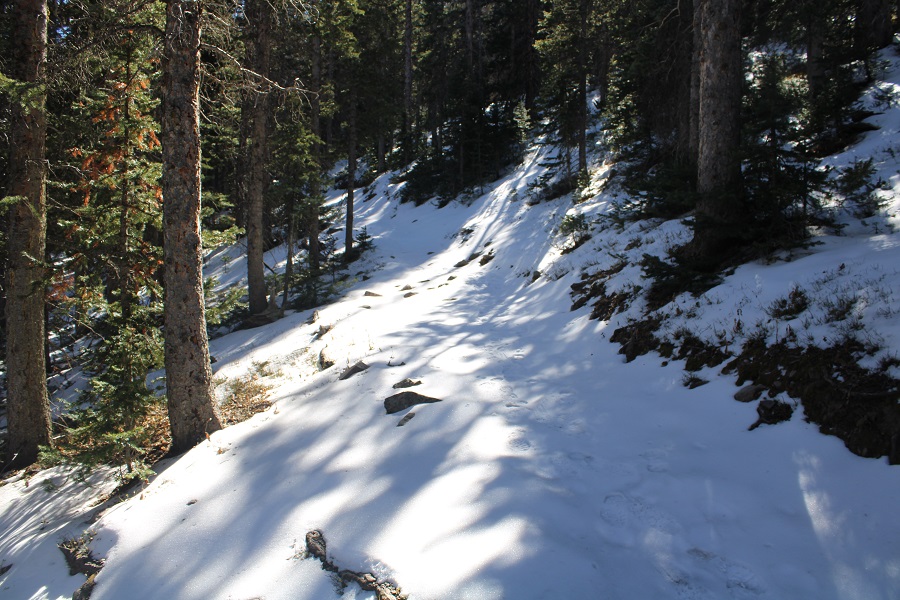
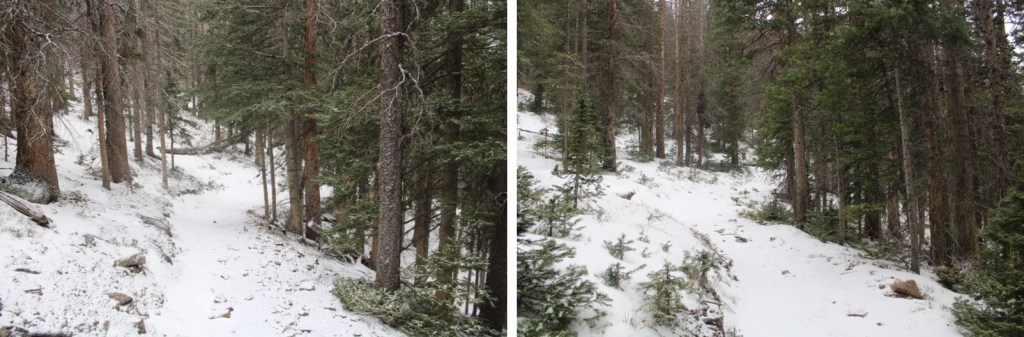
The snow continued off and on until I made it to the upper basin, where it was on the trail for good.

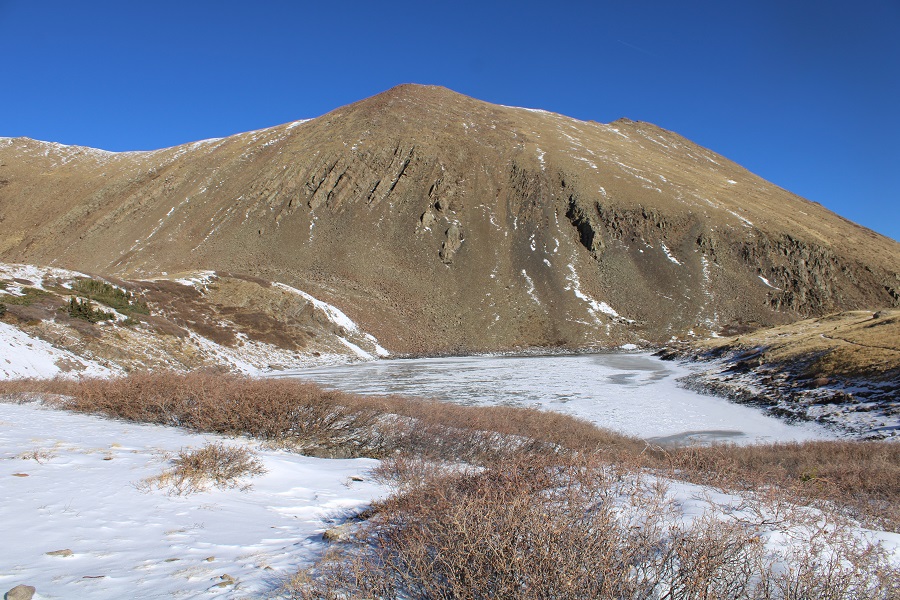
After 4.3 miles of hiking, I made it to Comanche Lake
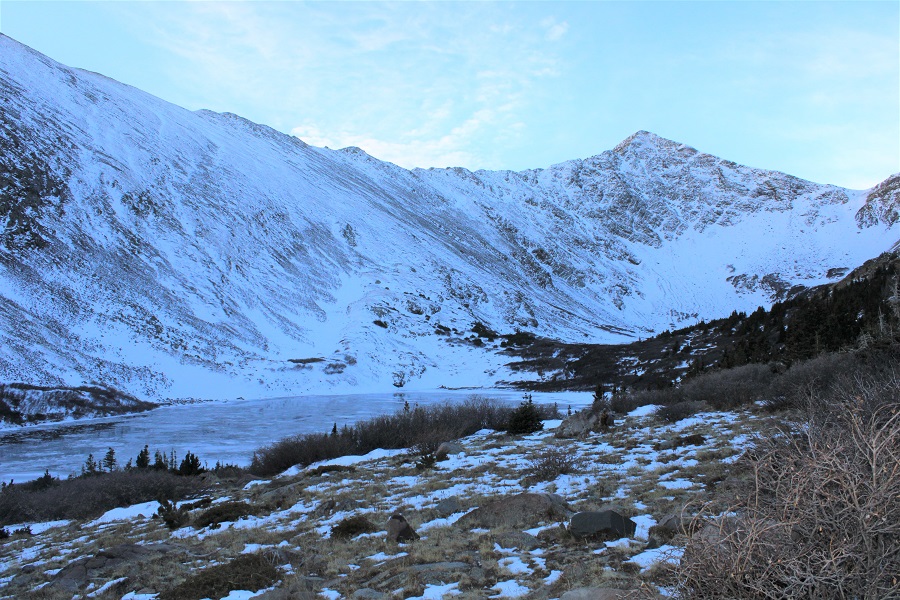
I continued on the trail.  I was headed for Comanche Pass
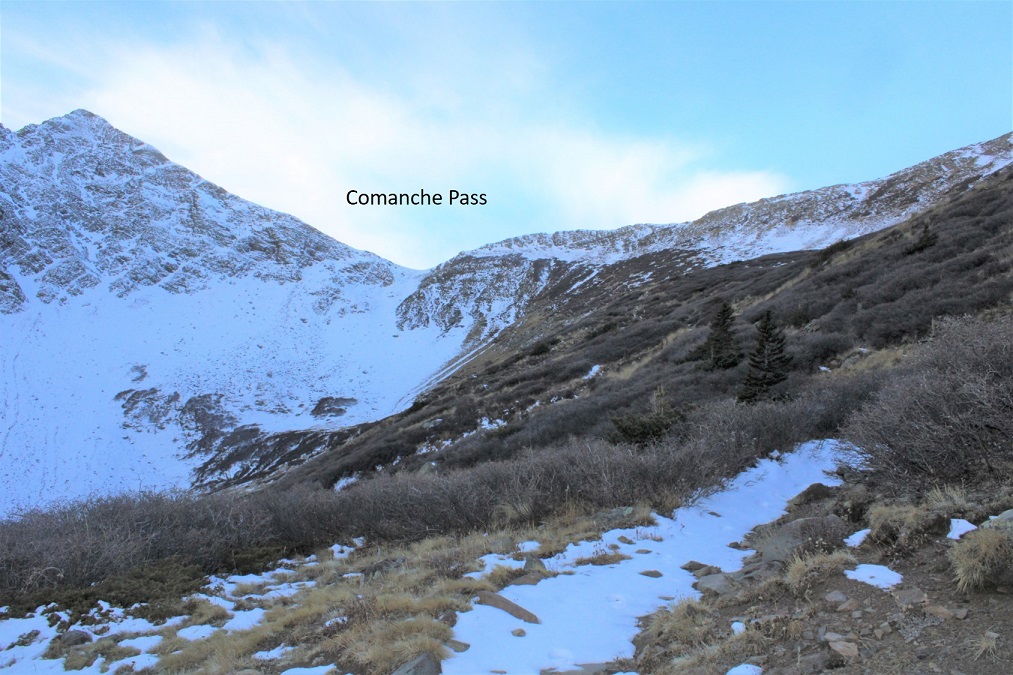
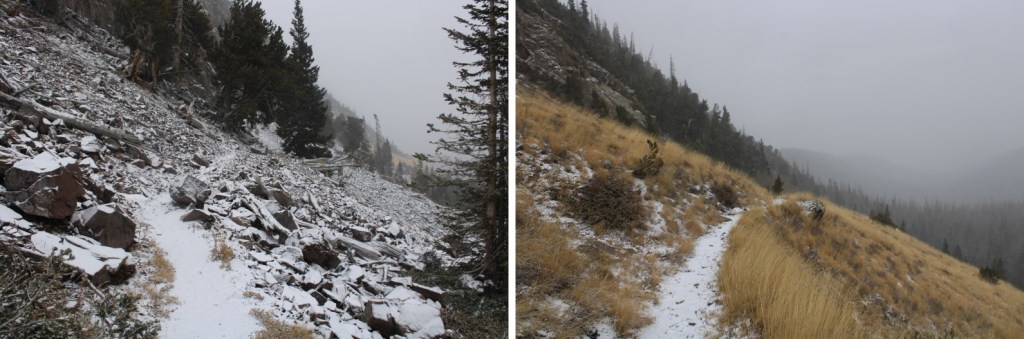
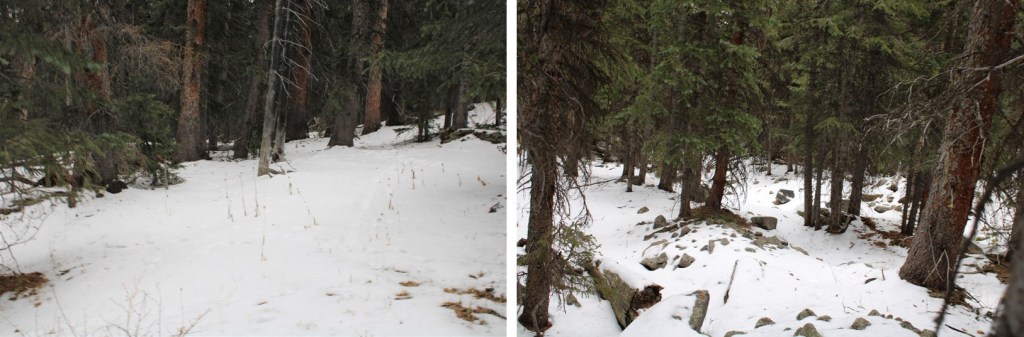
The trail, while under several inches of snow, was easy to follow. 
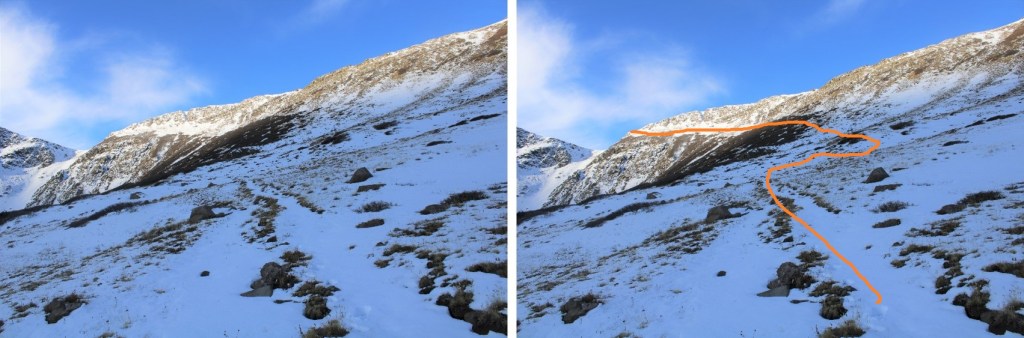
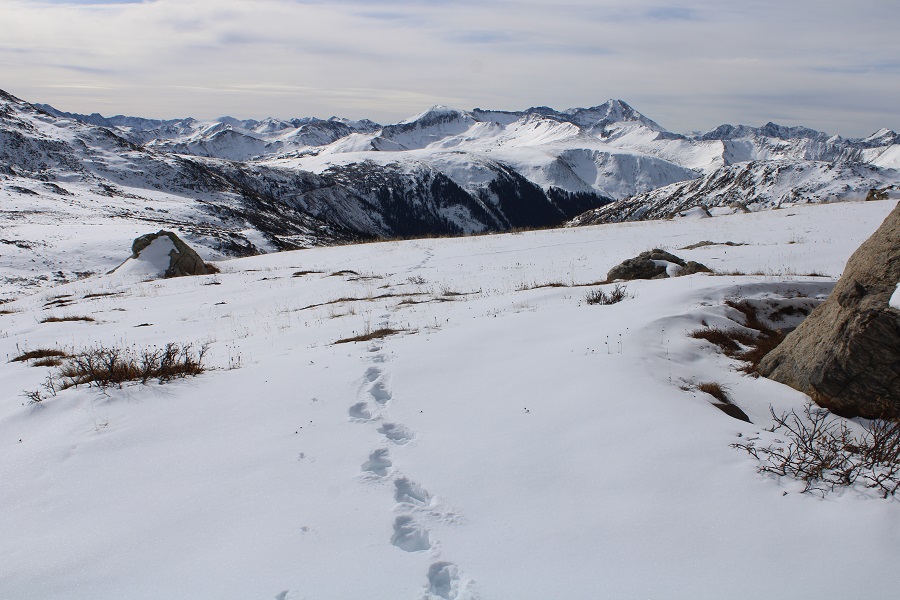
Just before making it to the pass I overtook the hiker ahead of me.  It was my turn to do the trenching!  I followed some coyote tracks to the pass.  The snow here was never more than knee deep, so I didn’t bother with snowshoes/traction.
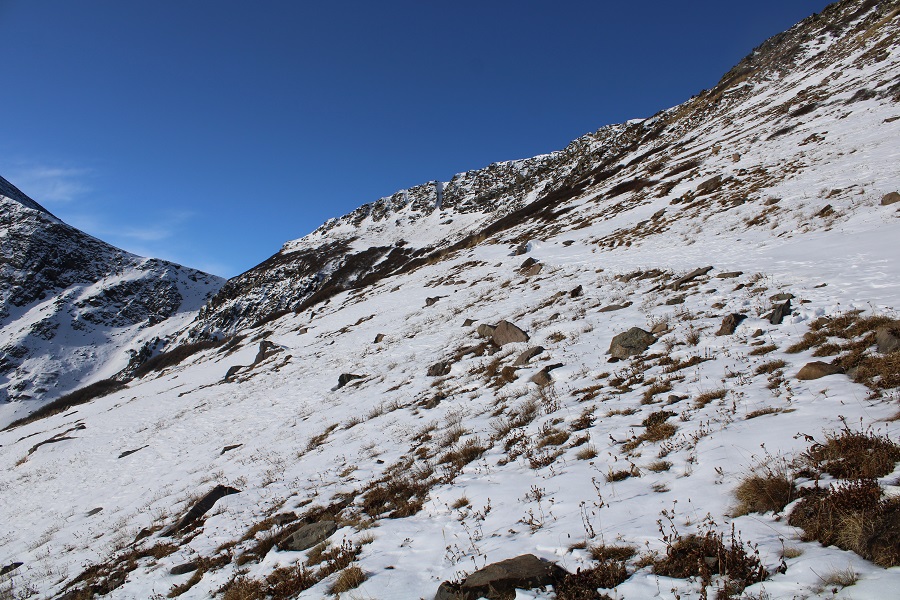
I’d done this peak a few days ago, and knew I wanted microspikes and an ice axe to get over the cornice.  I sat down to put them on, and my new hiking buddy continued on the lower trail to the Comanche/Spring saddle (he was summiting Comanche today).  The cornice was just as sugary as it had been on Tuesday, which made for a fun time.

It was 5.8 miles of hiking to the pass.  Once over the cornice I turned right and headed north along the ridge.  This is where the wind picked up, and didn’t stop until I made it back down the pass on my way out. 
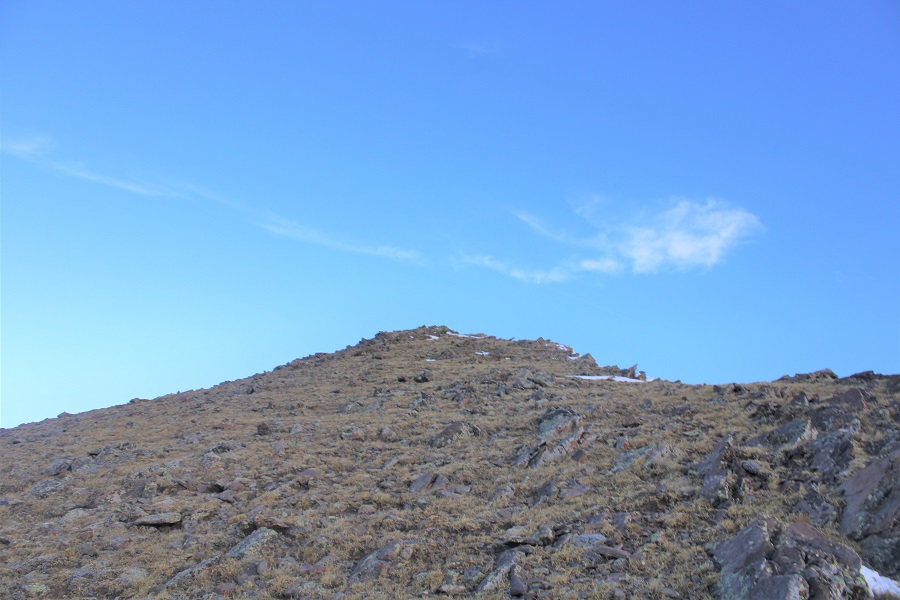
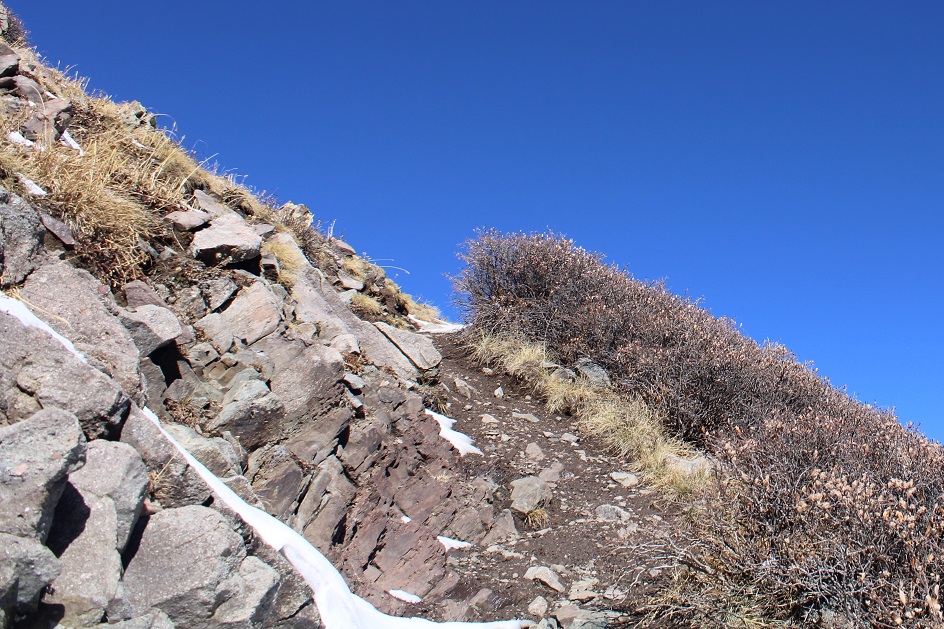
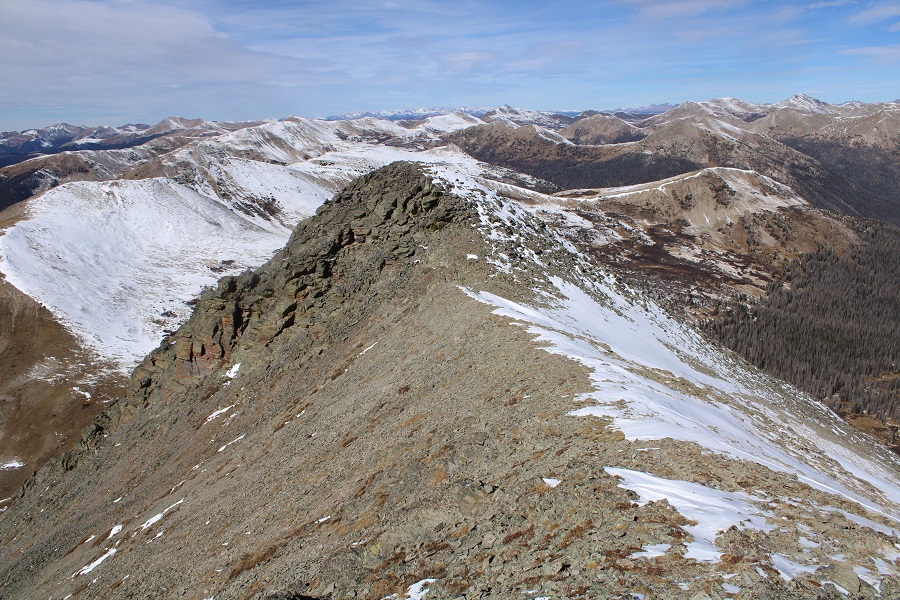
The terrain here started as tundra, but quickly turned rocky.  It stayed class 2.
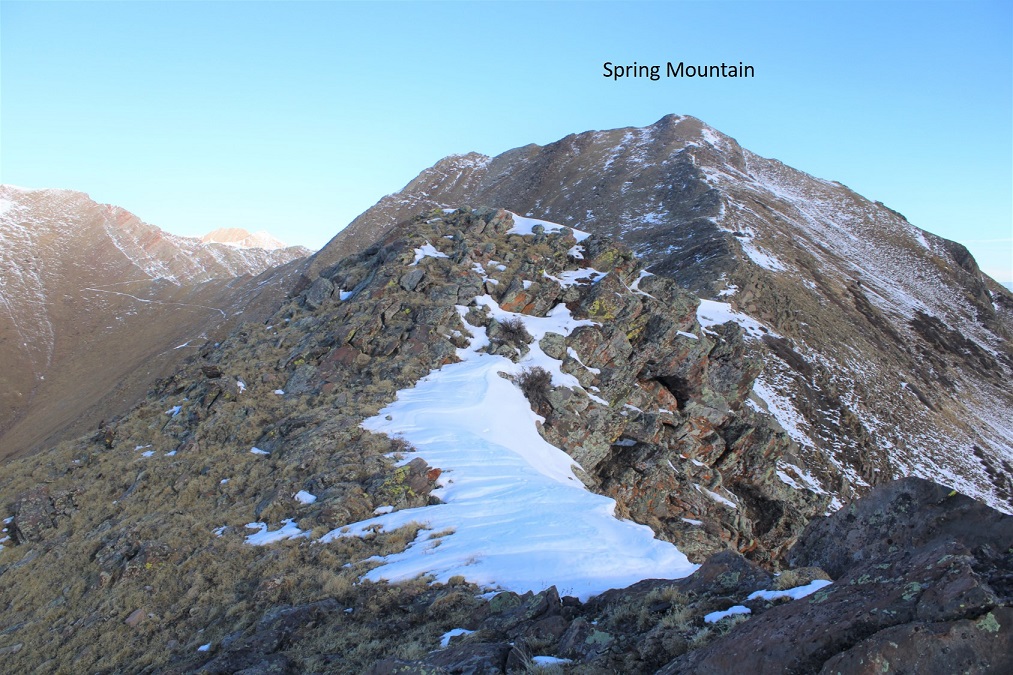
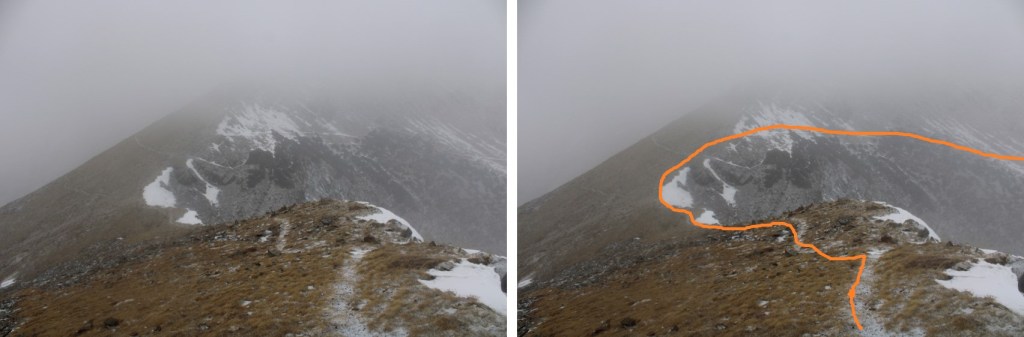
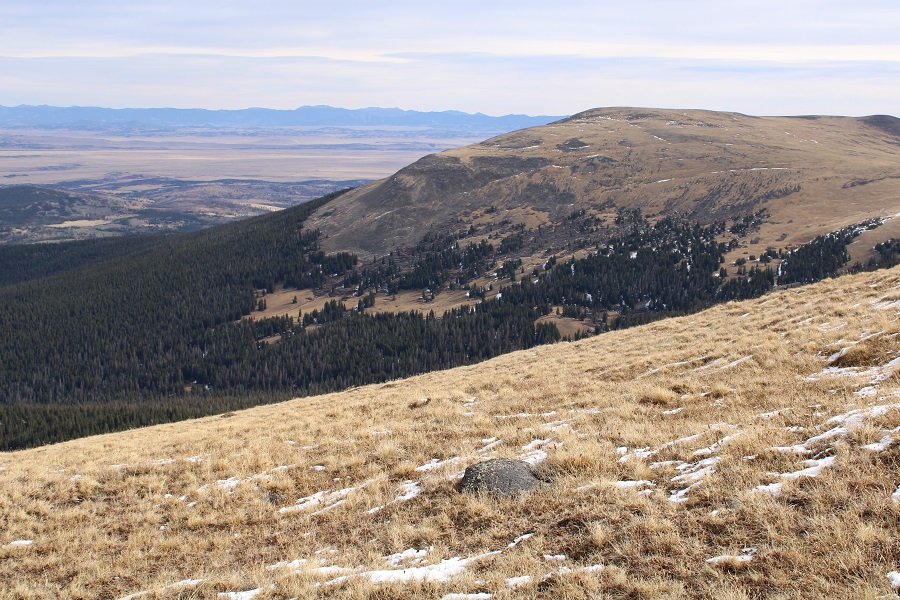
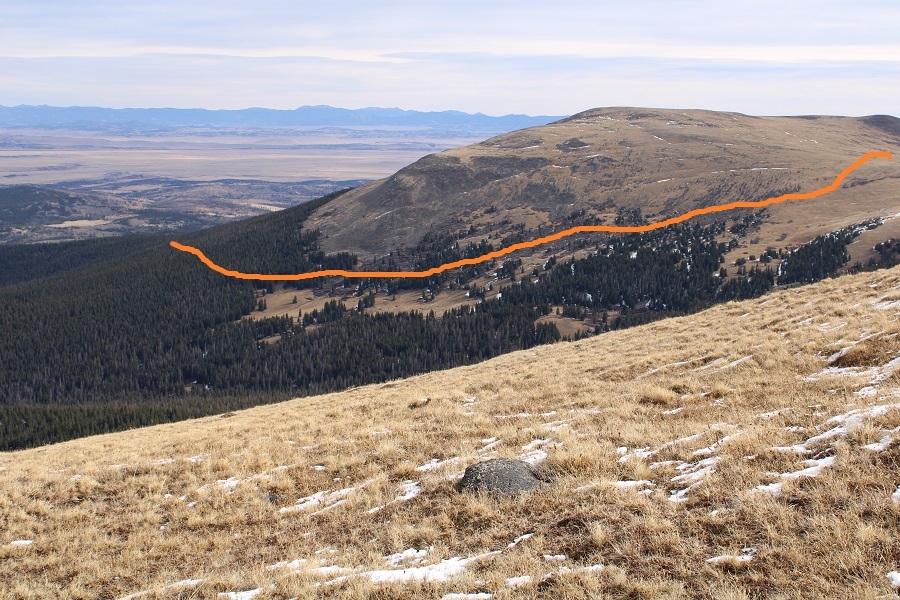
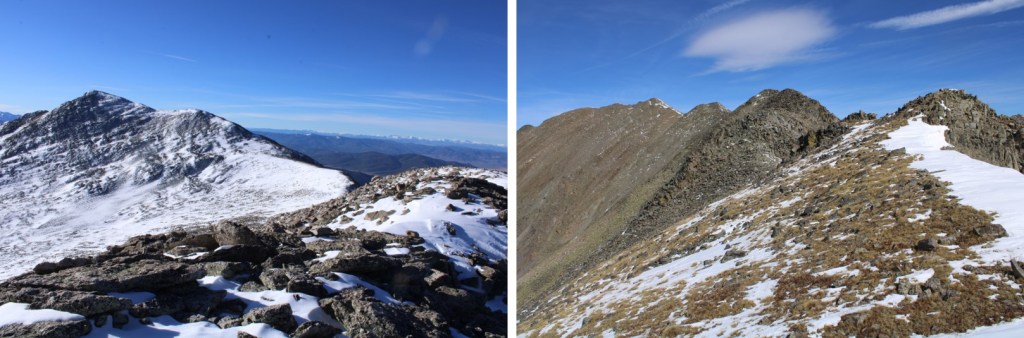
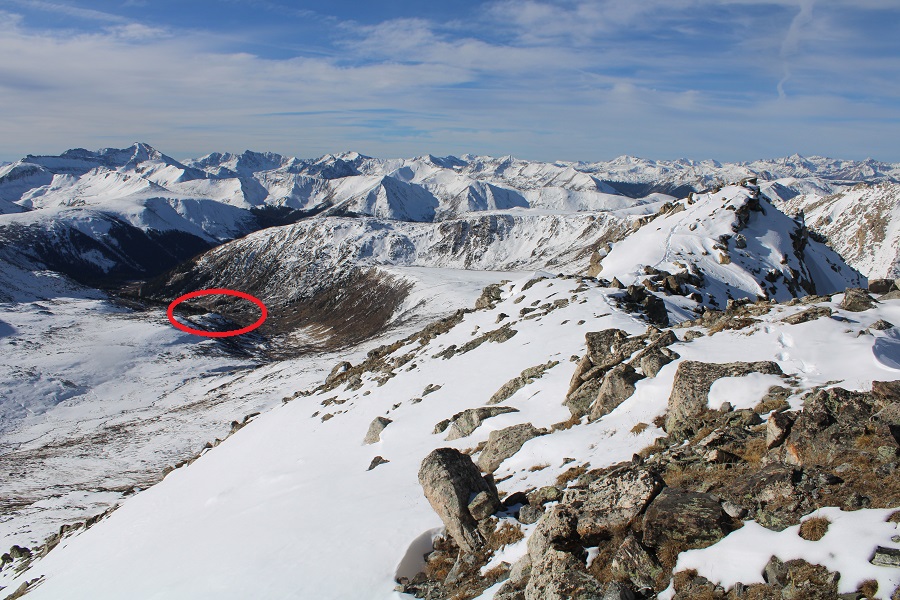
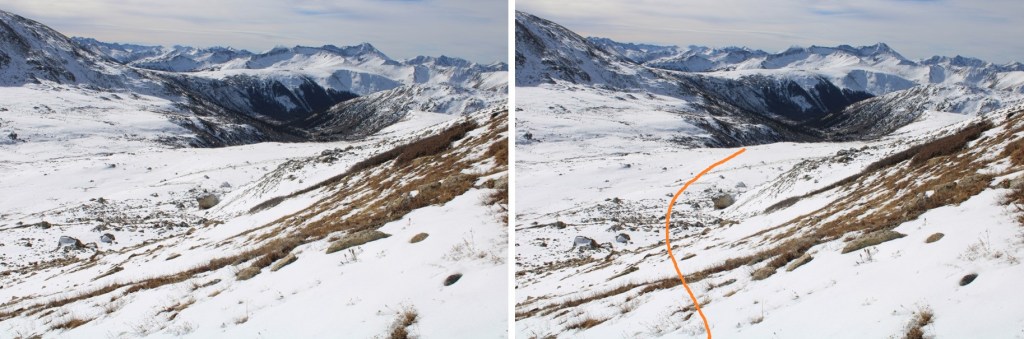
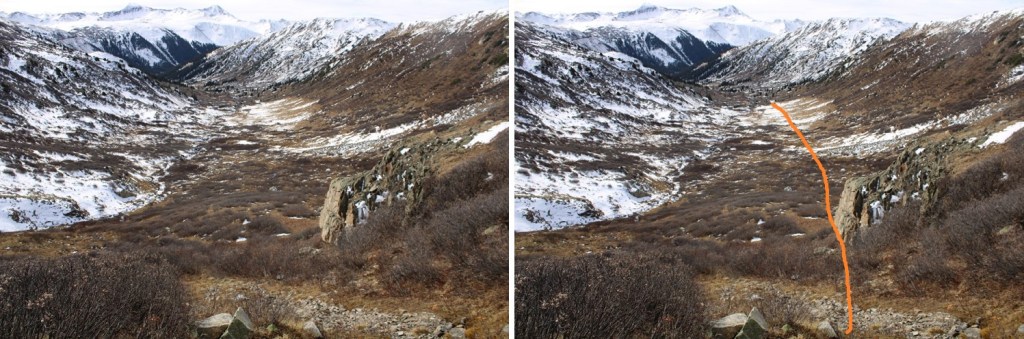
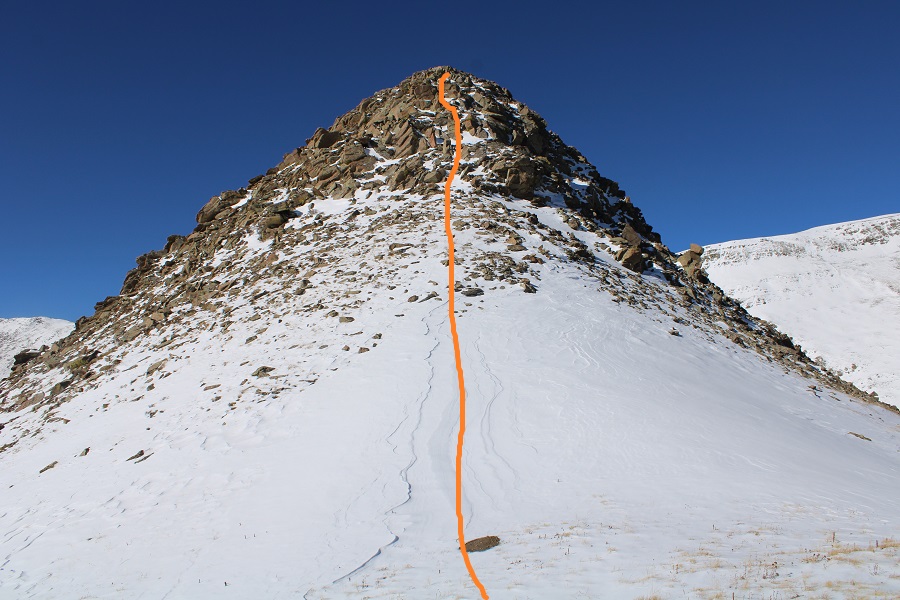
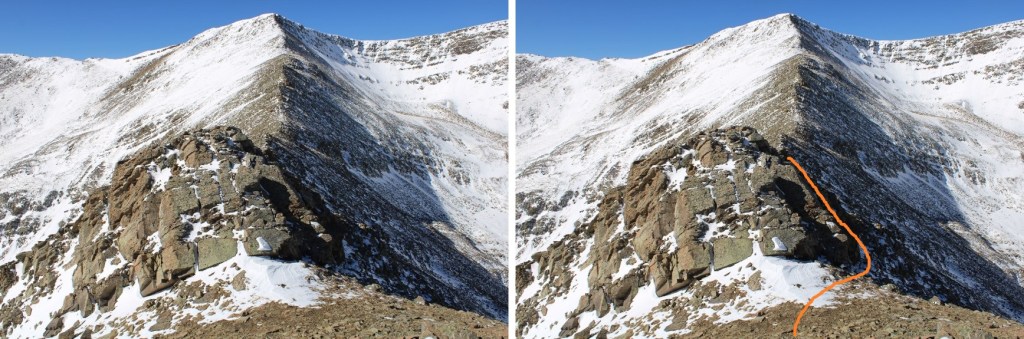
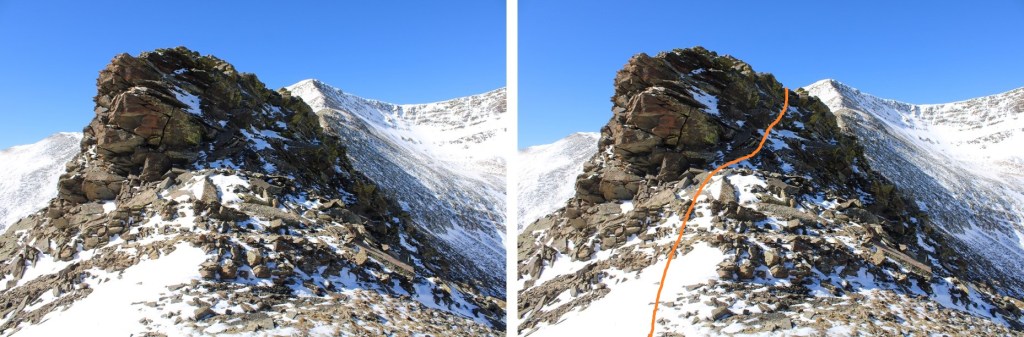
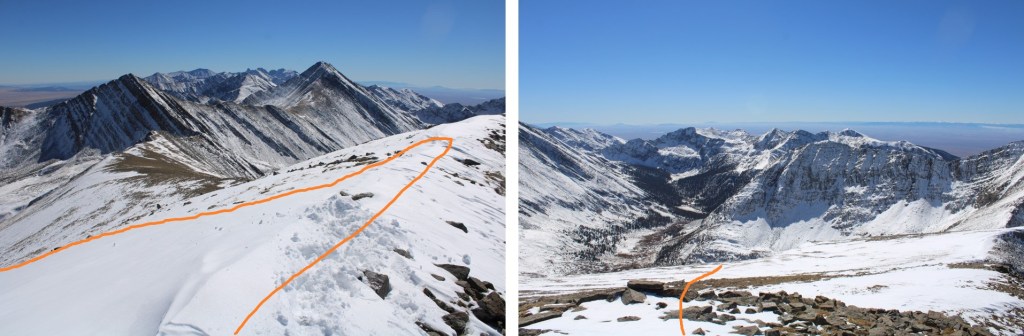
I mainly stuck to the ridge, dipping down left in the rocky areas, and to the right just before the summit.  If I looked left, I could see the trail I’d be taking on my way out (the only place the snow was sticking on this side of the mountain)
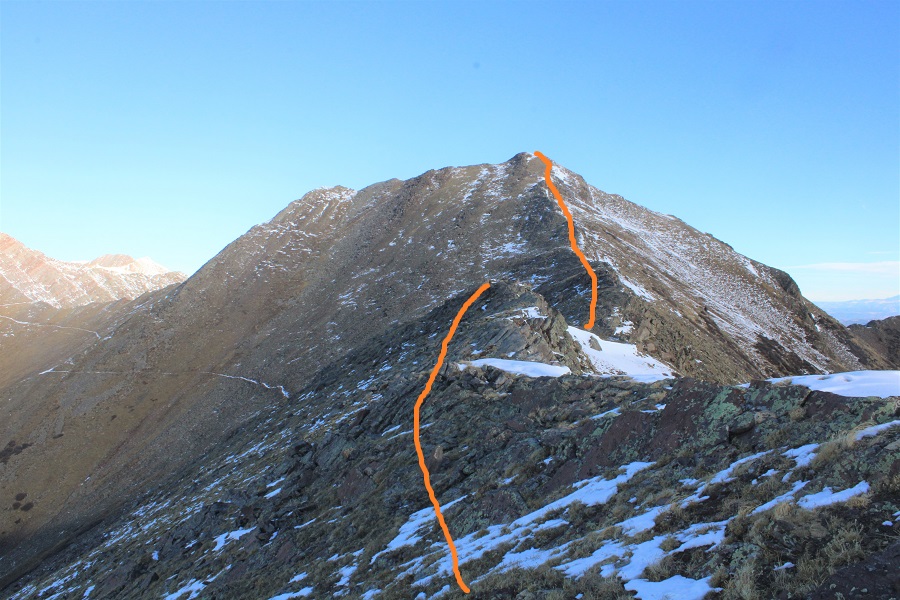
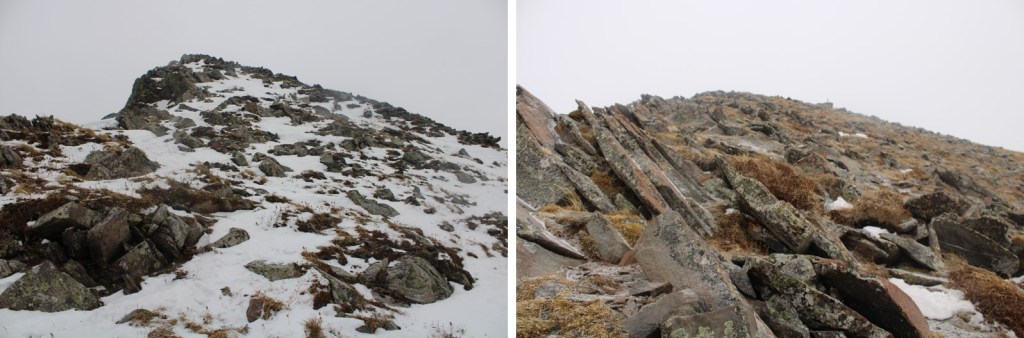
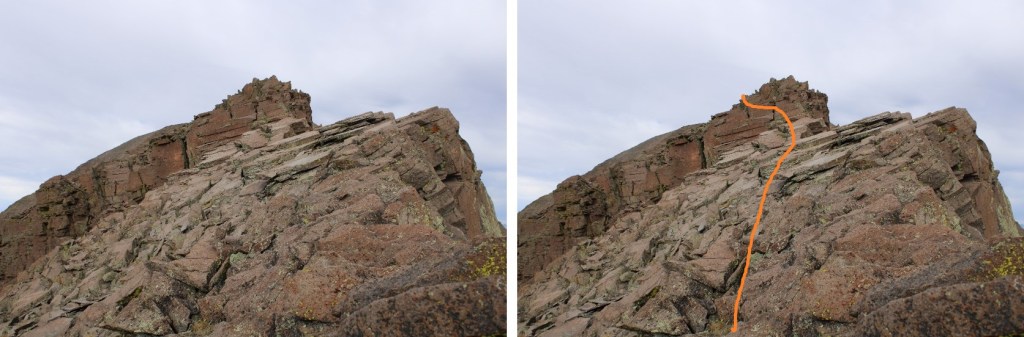
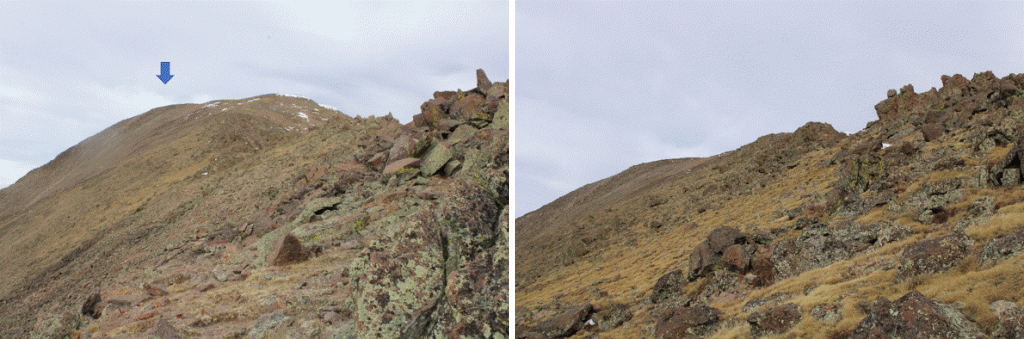
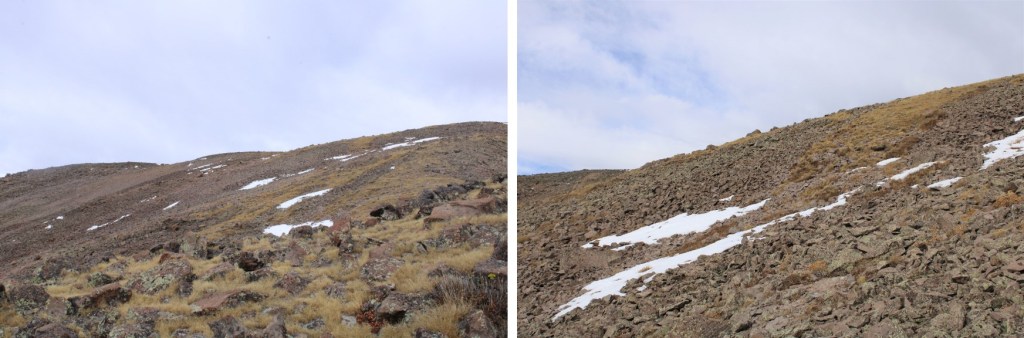
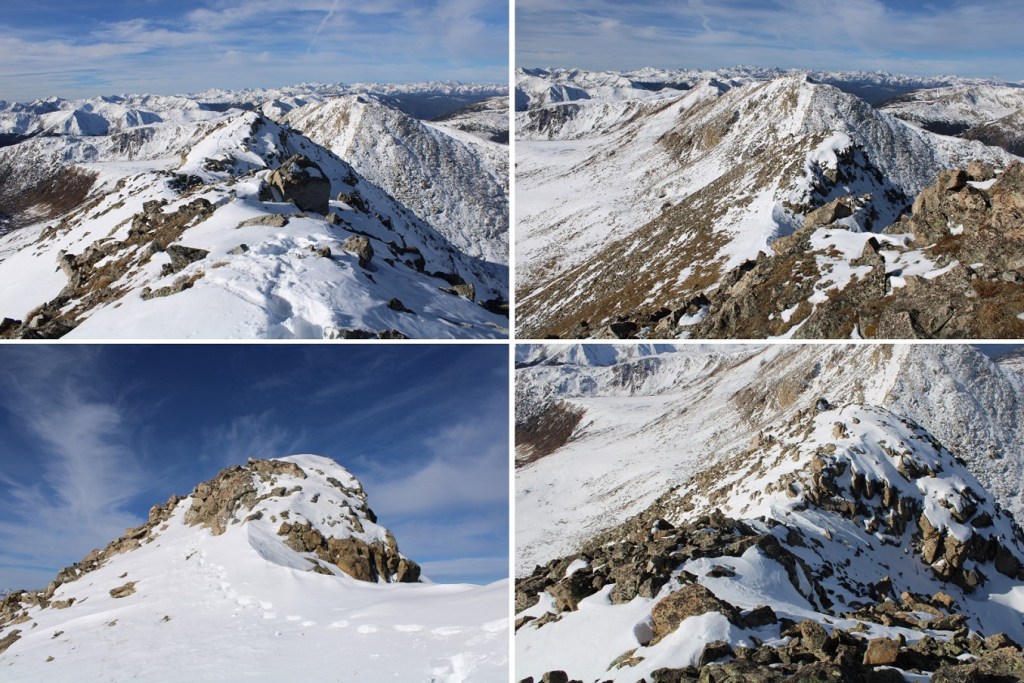
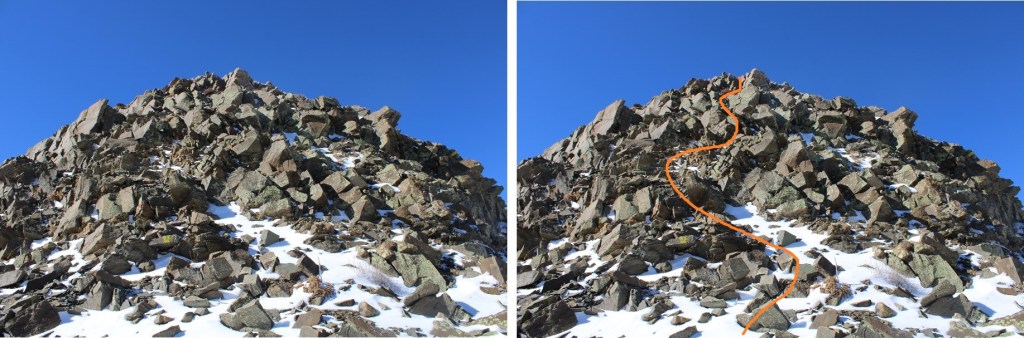
Here are some more pictures of the route up the ridge
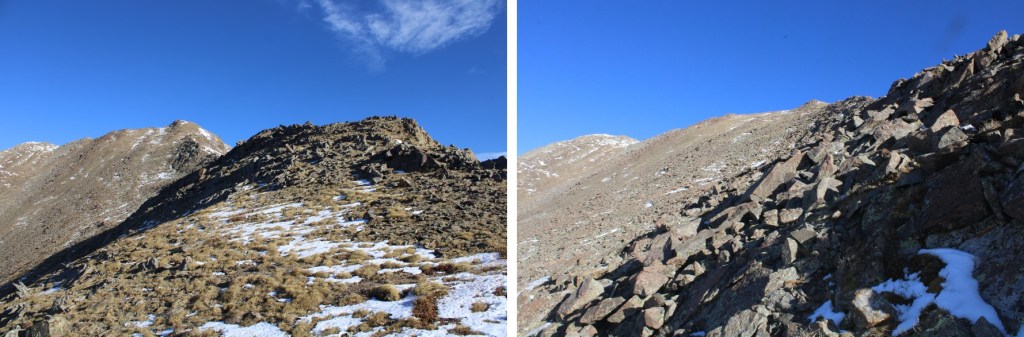
The rocks here were unstable, so I had to be careful with every step
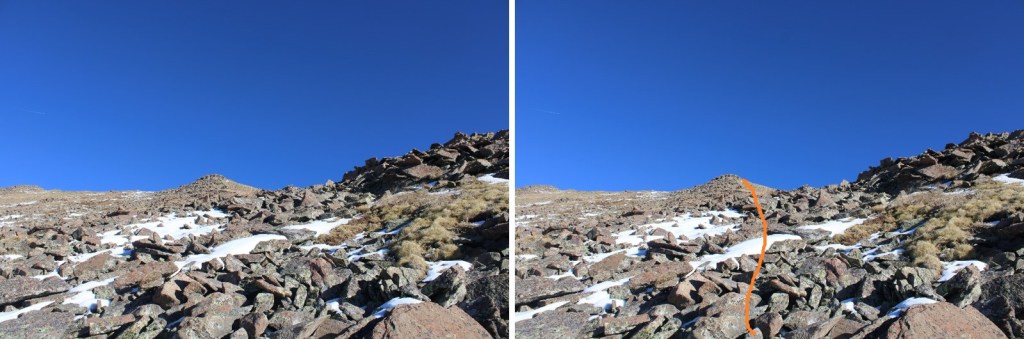
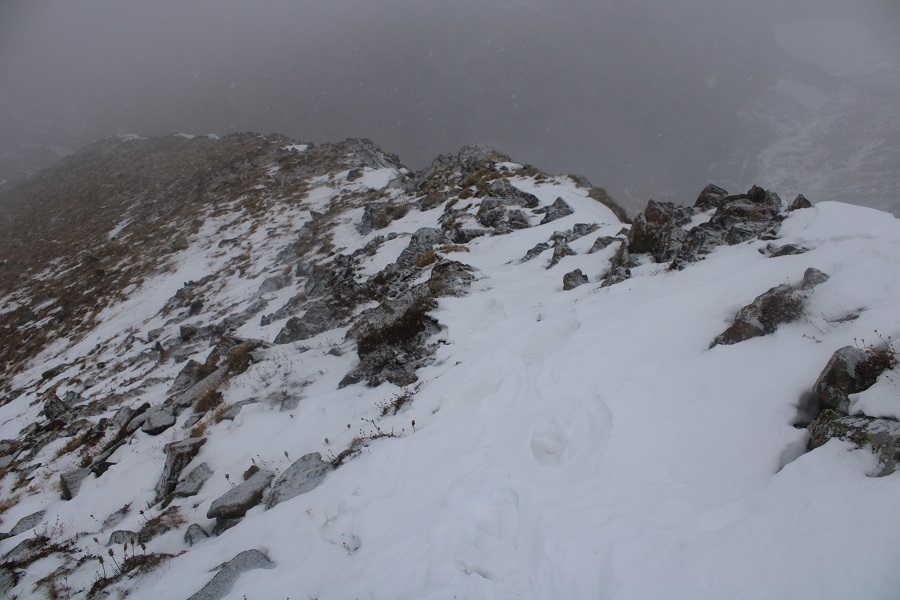
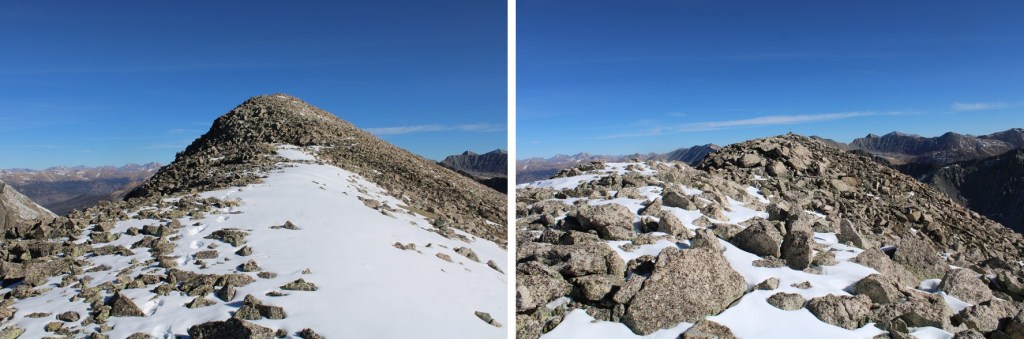
There was a little bit of snow the final push to the summit

I summited Spring Mountain at 10am
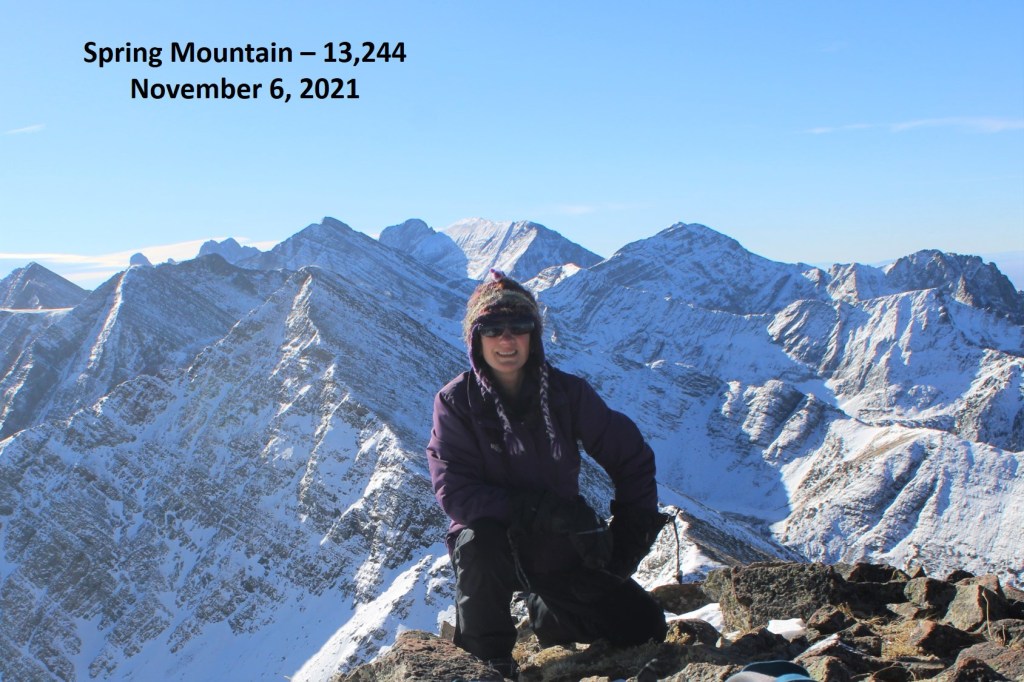
Spring Mountain:

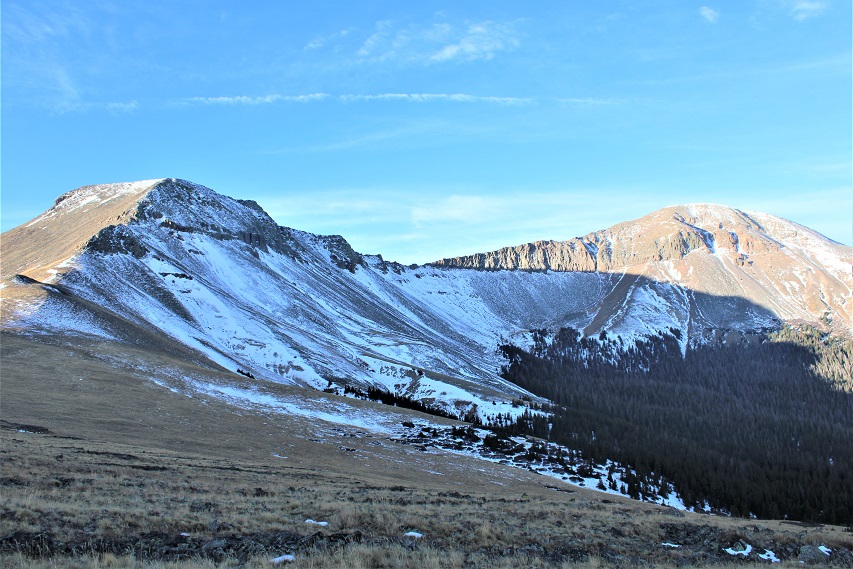
Here’s looking back at the ridge, Comanche Pass, and Comanche Peak
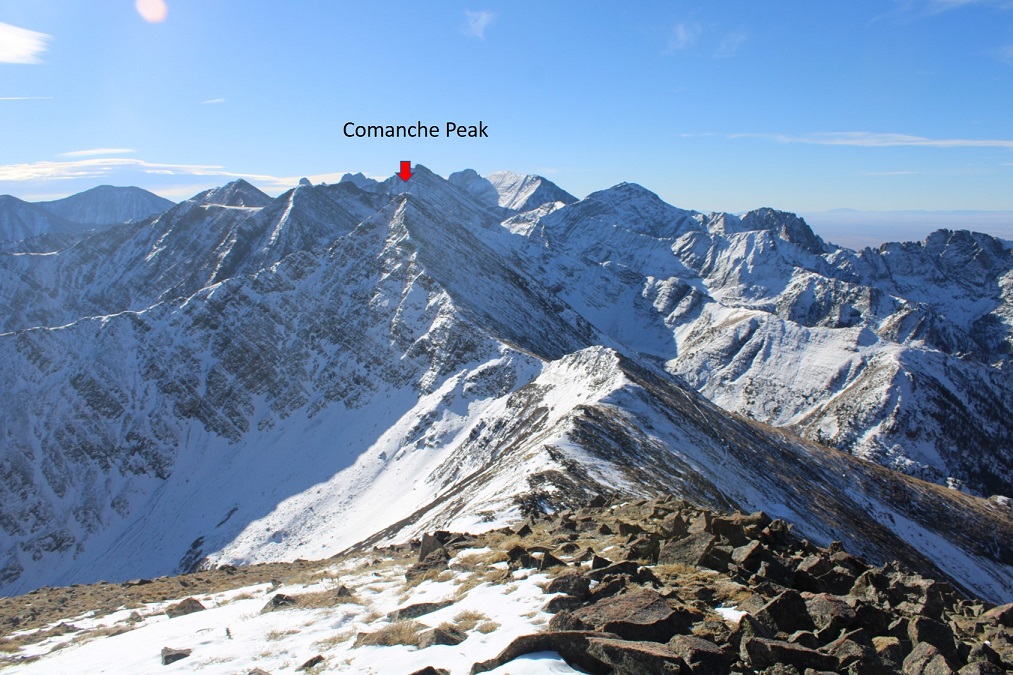
Next, I was headed to Venable Peak, directly to the west.
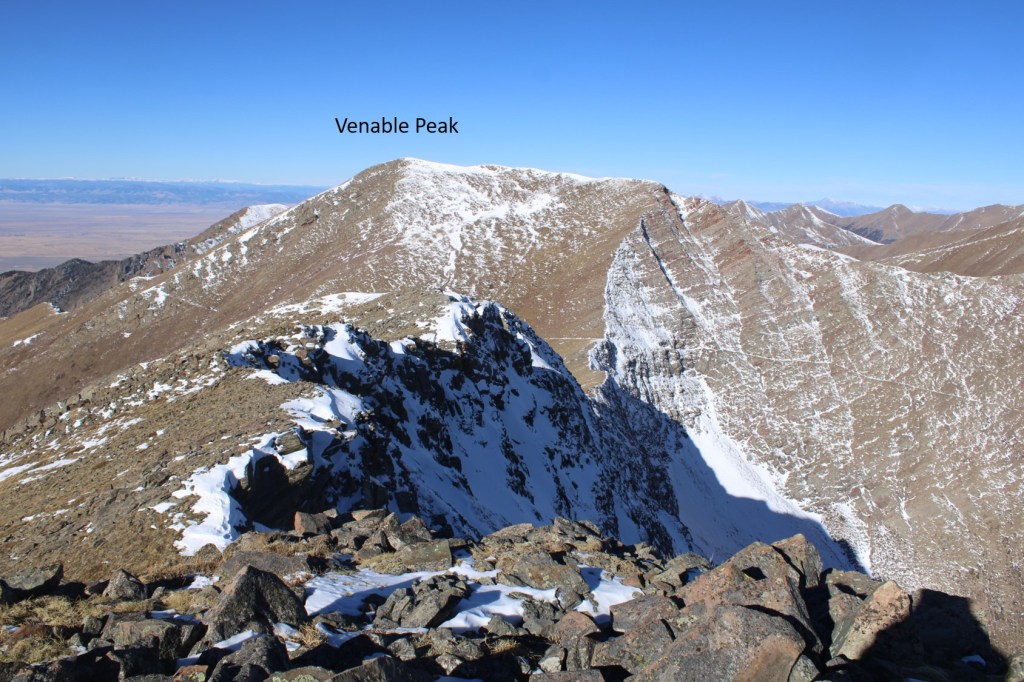
I made my way down to the Spring/Venable saddle, losing about 500’ in elevation over rocky terrain, all class 2

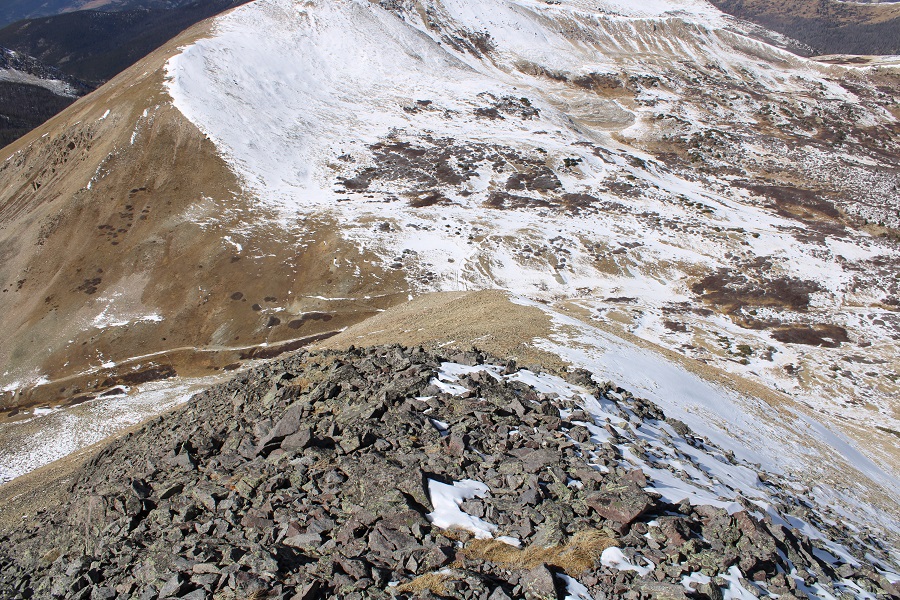
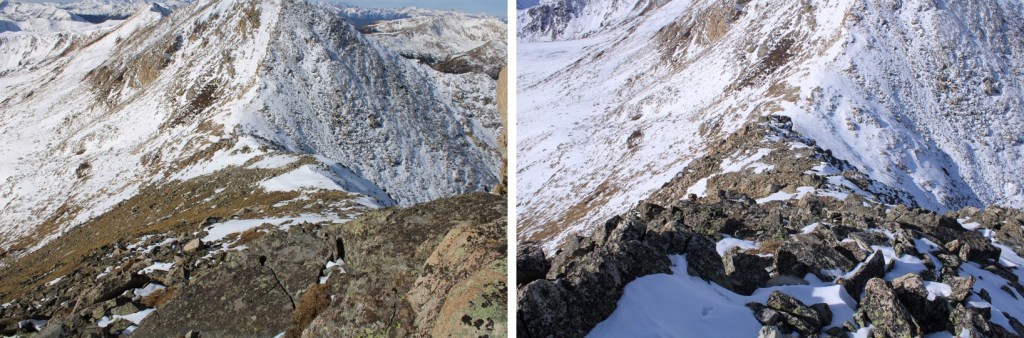
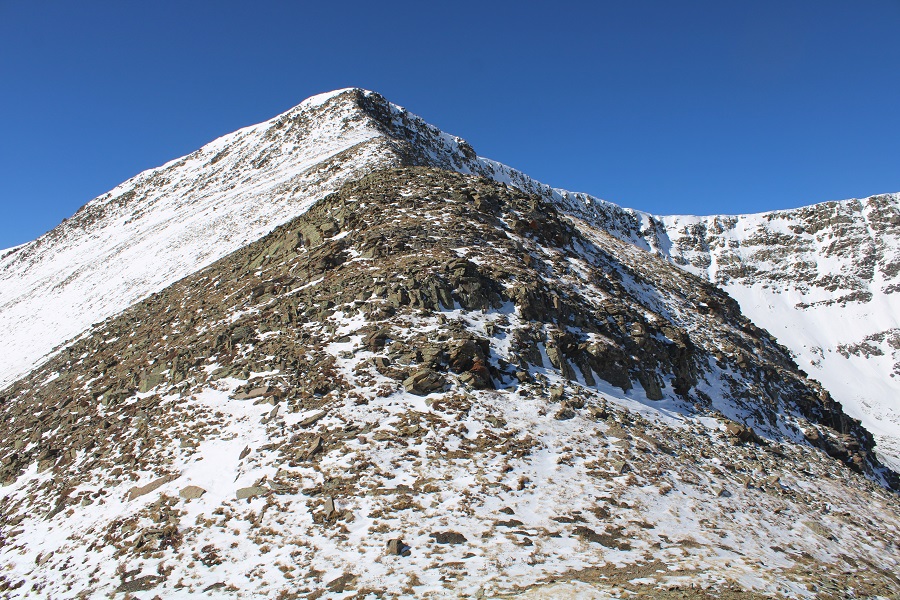
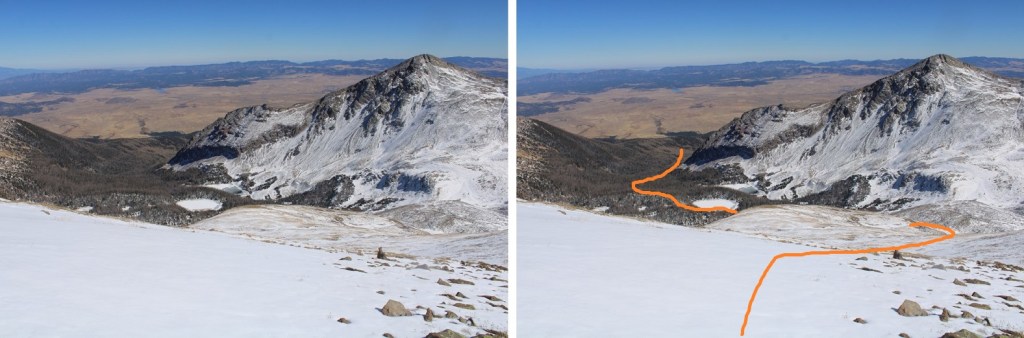
Here’s looking back at that rocky terrain coming down from Spring Mountain
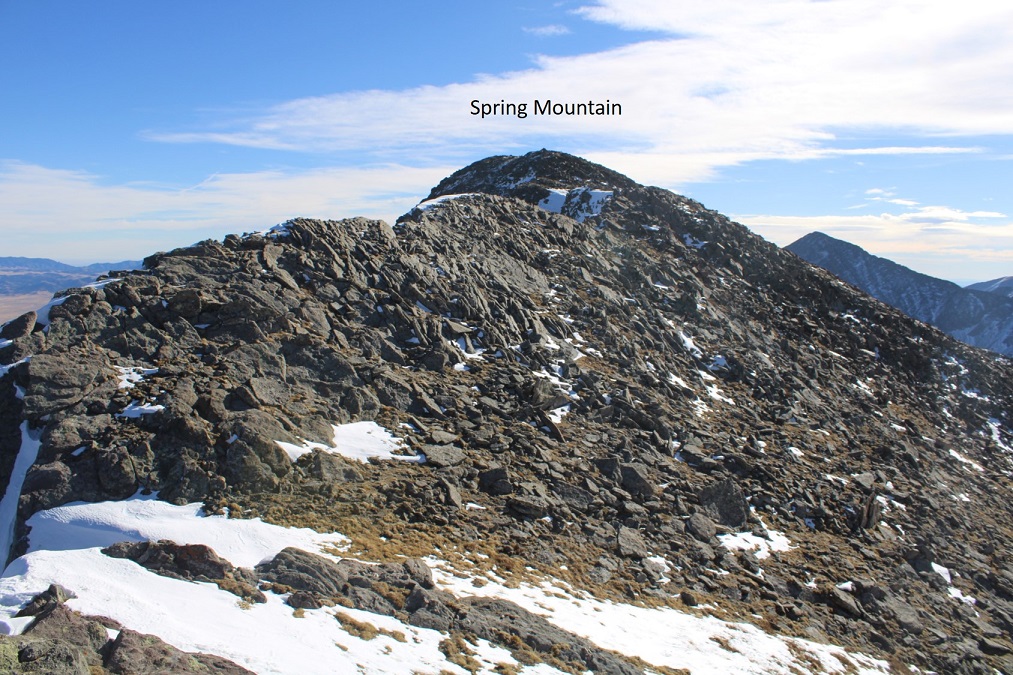
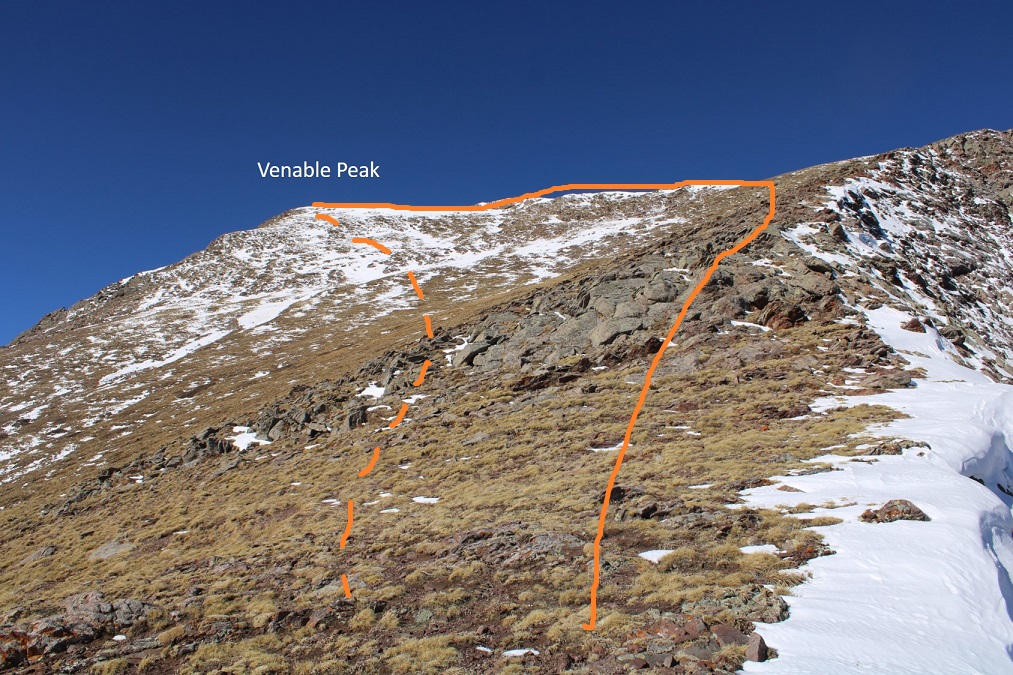
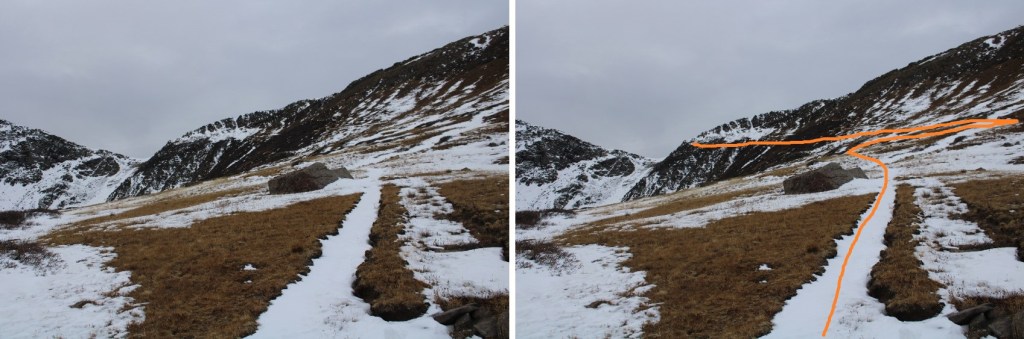
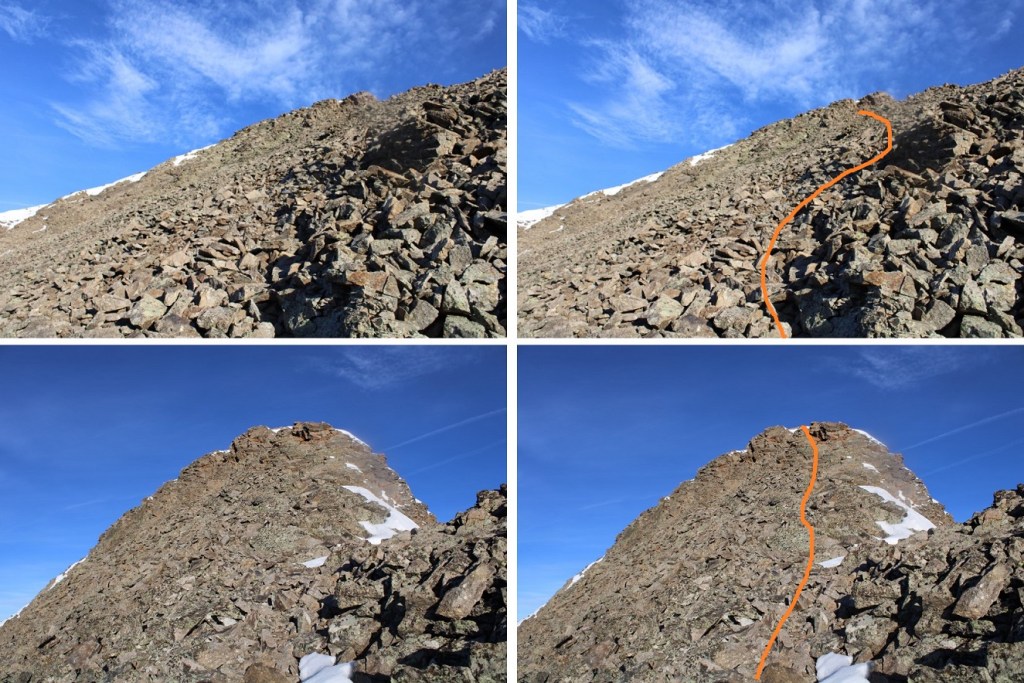
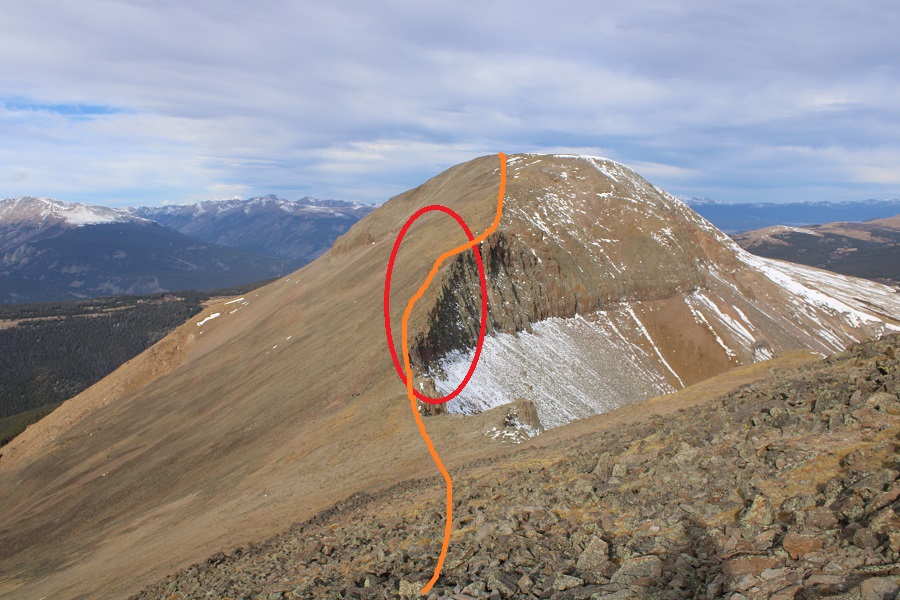
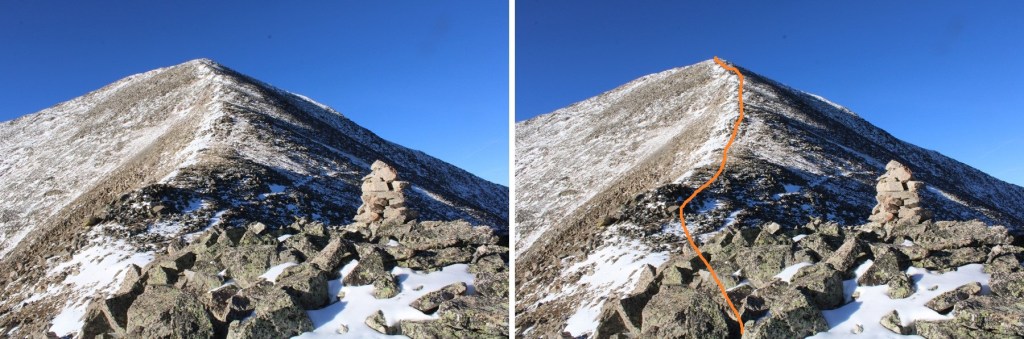
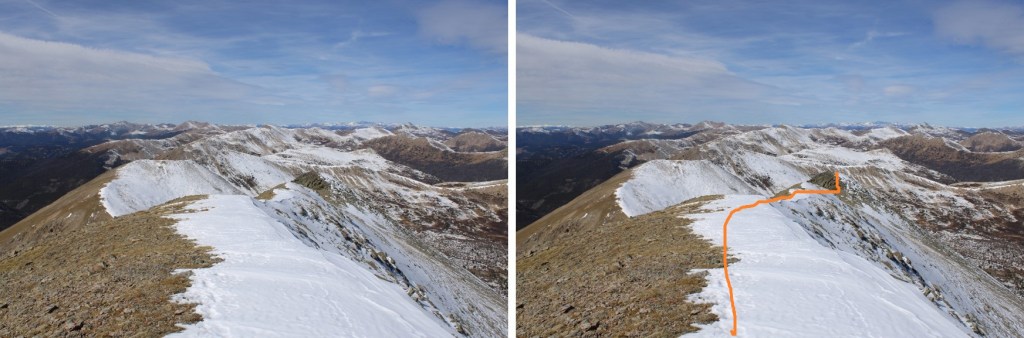
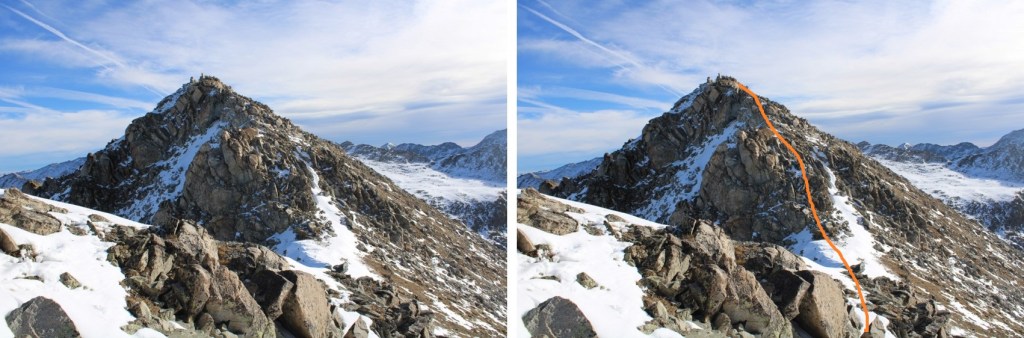
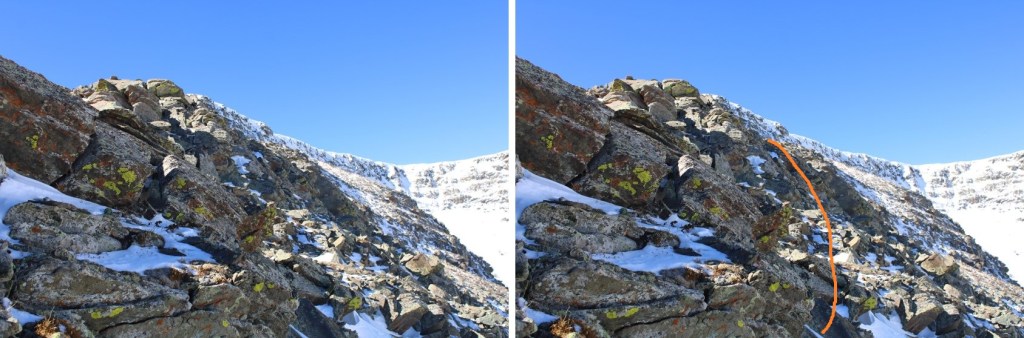
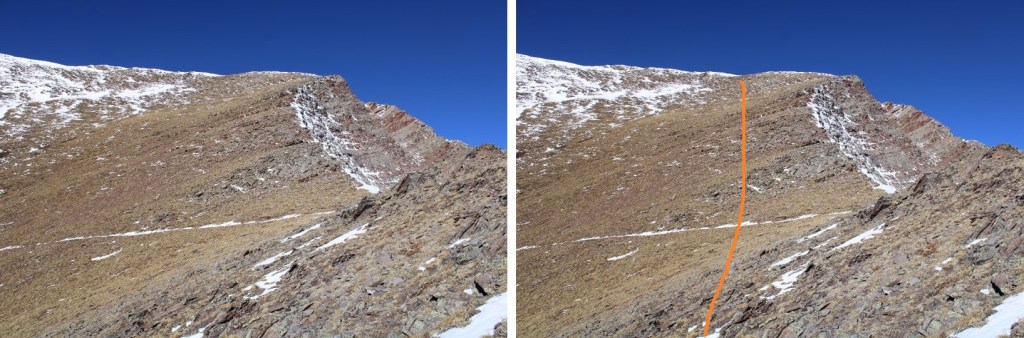
This is the path I took to summit Venable Peak.  I took the solid line up, the dotted line down.  The entire area is class 2, so choose your own adventure
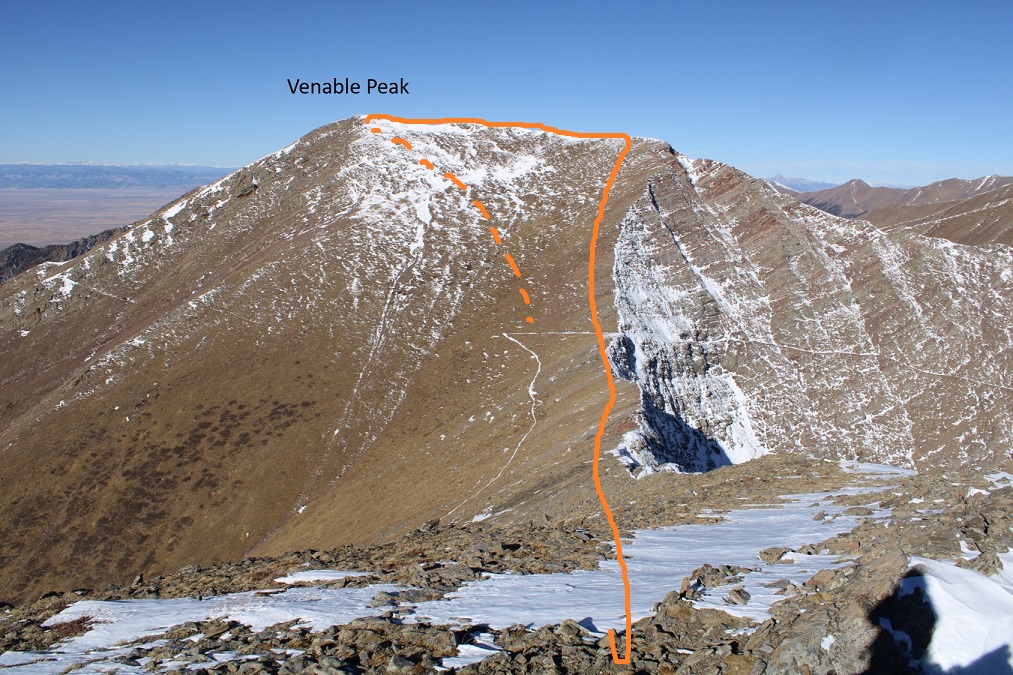
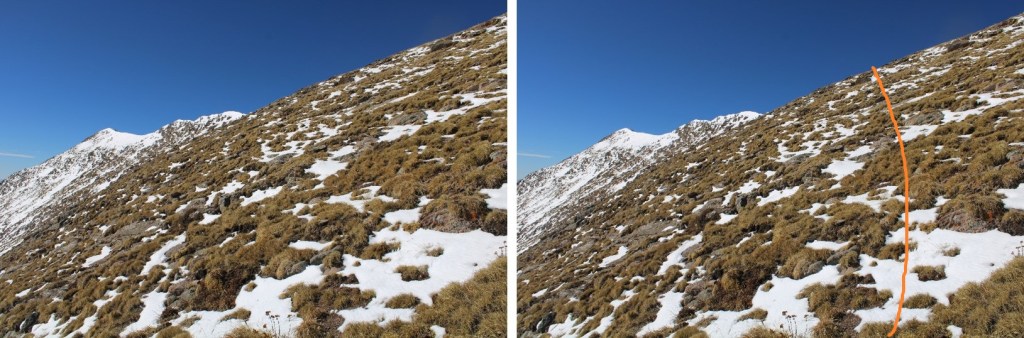
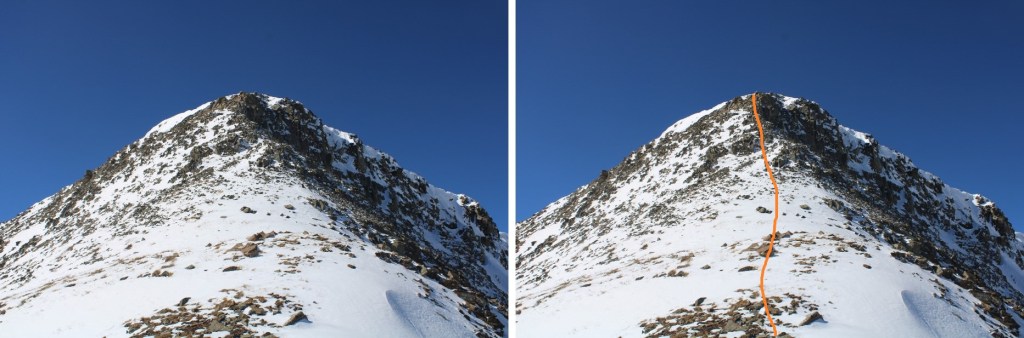
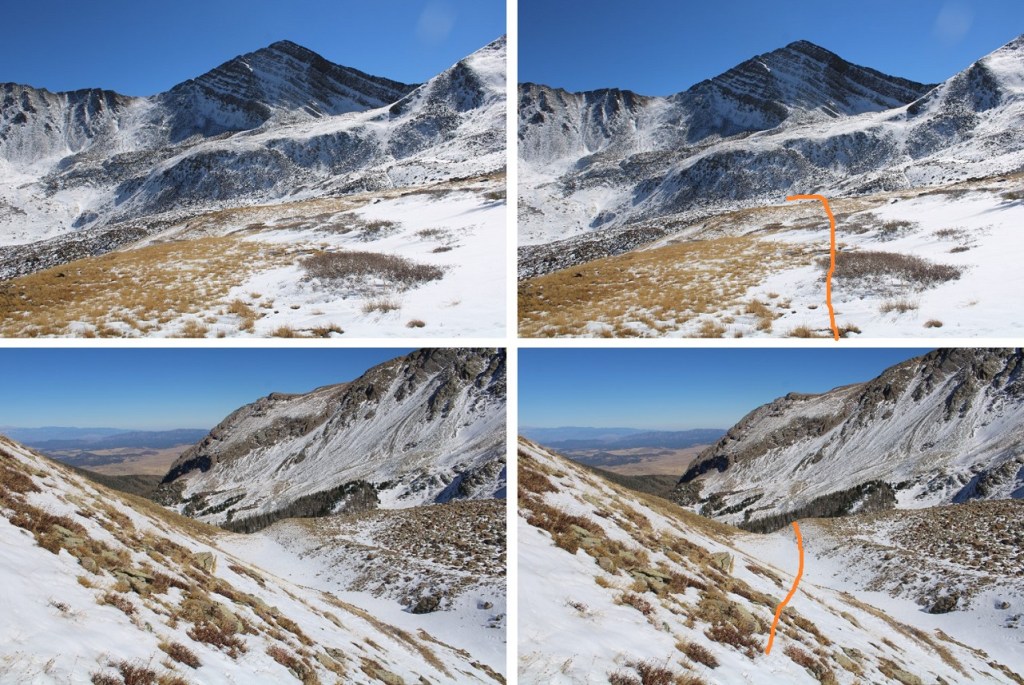
Step by step to the ridge, gaining about 580’.  The terrain started out rocky, and then turned to tundra
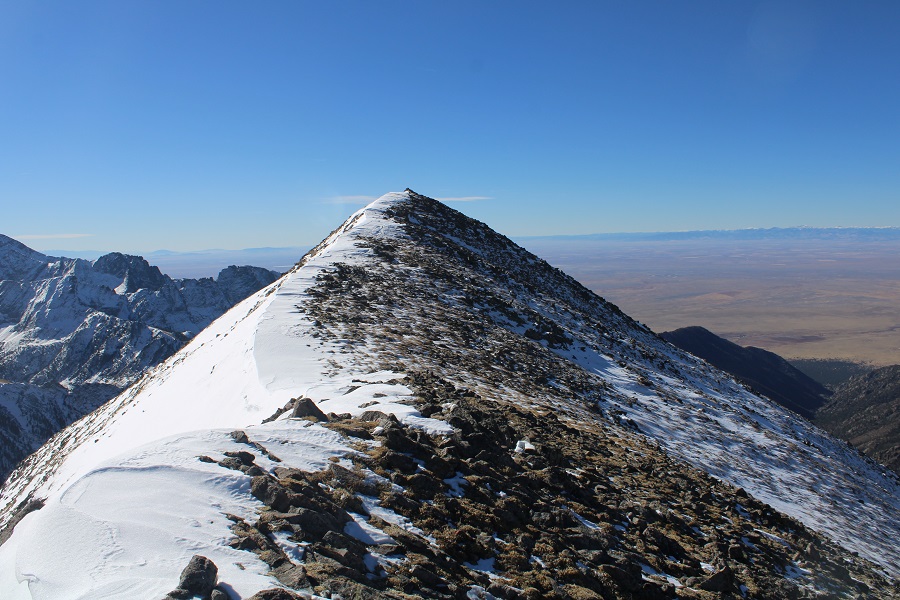
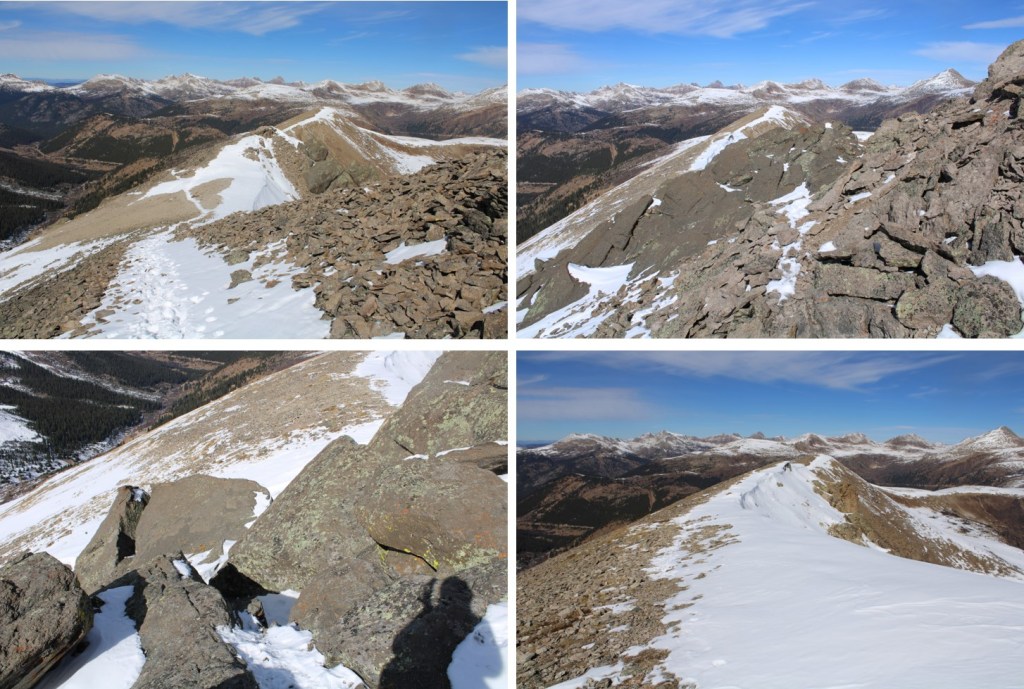
Once on the ridge, I followed it southwest to the summit.  The snow was sugary, so I stayed a bit to the right, near the rocks
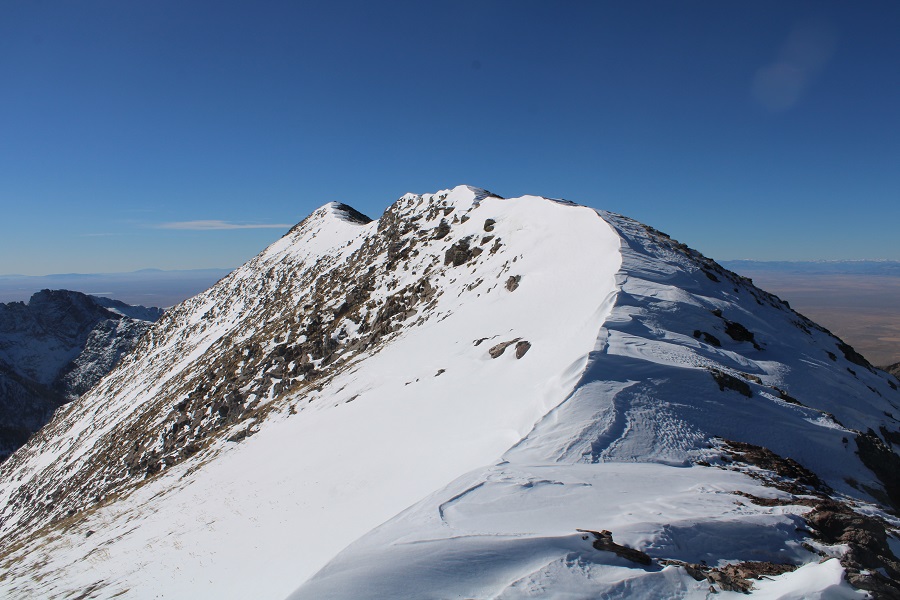
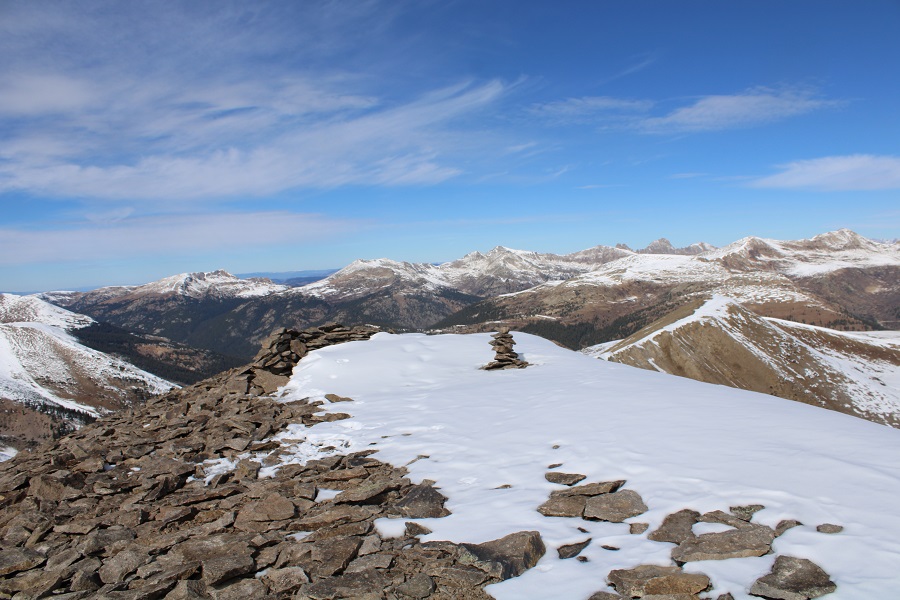
I summited Venable Peak at 11am

Venable Peak:

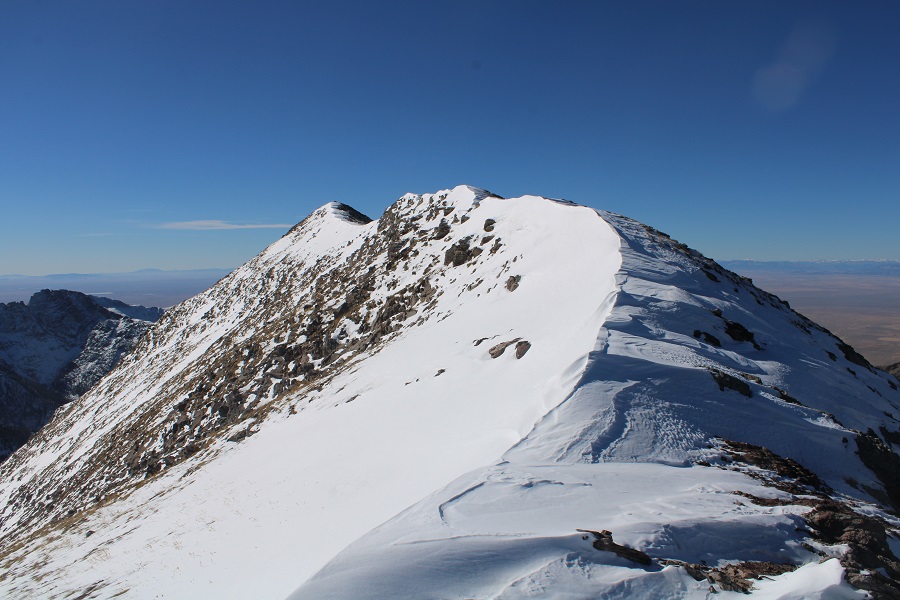
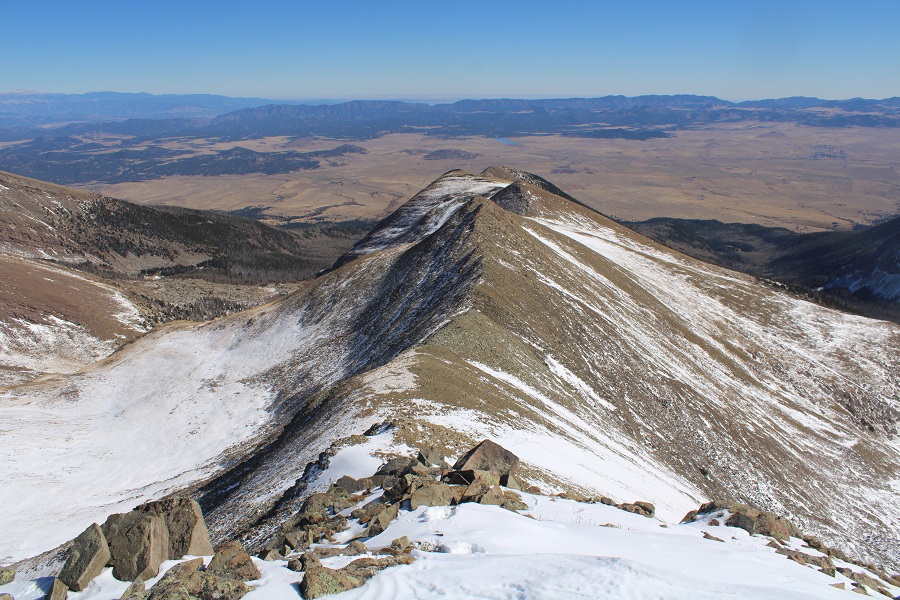
Here’s looking back at Venables ridge
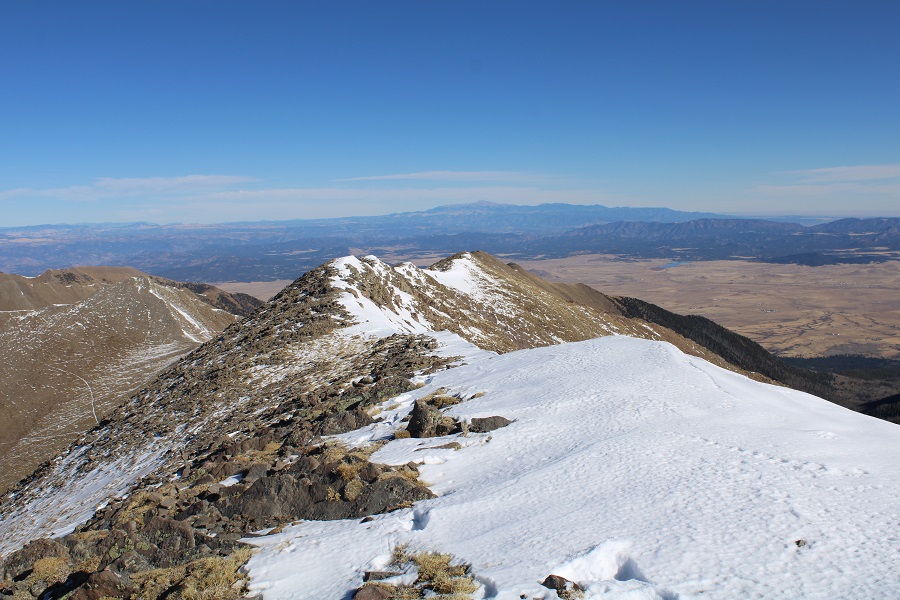
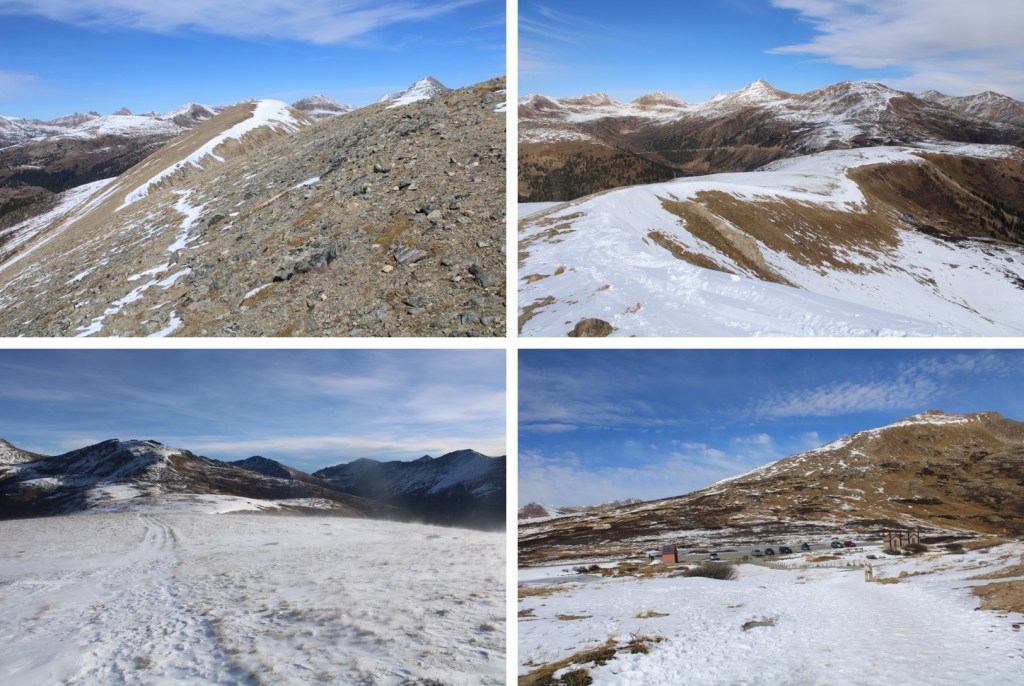
From the summit, I headed east, towards the highly visible Comanche Trail.  I was aiming for Comanche Pass
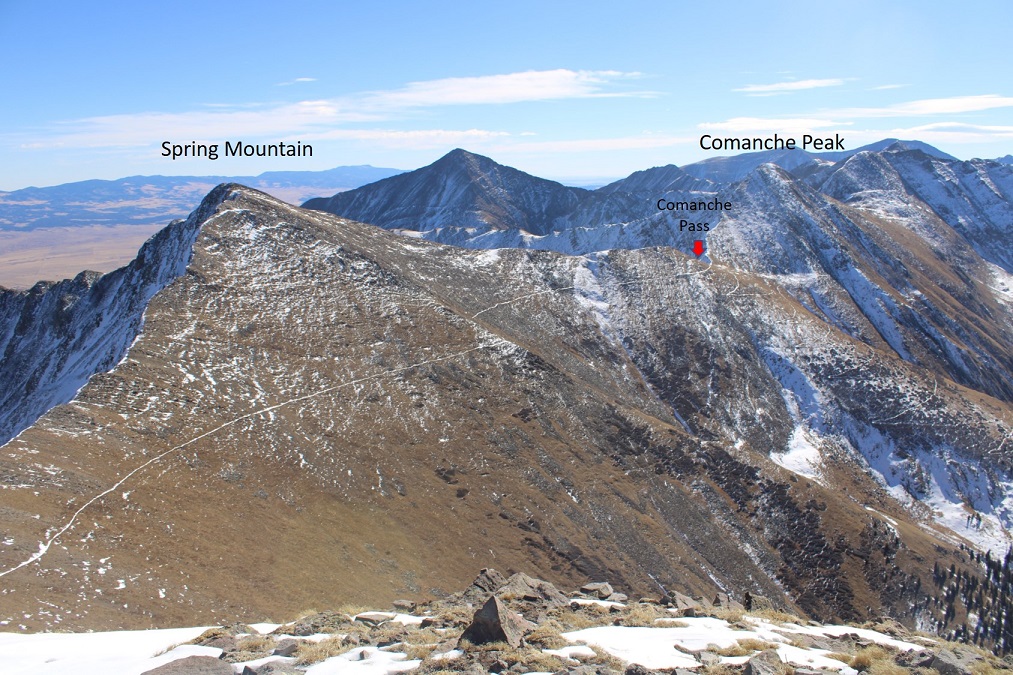
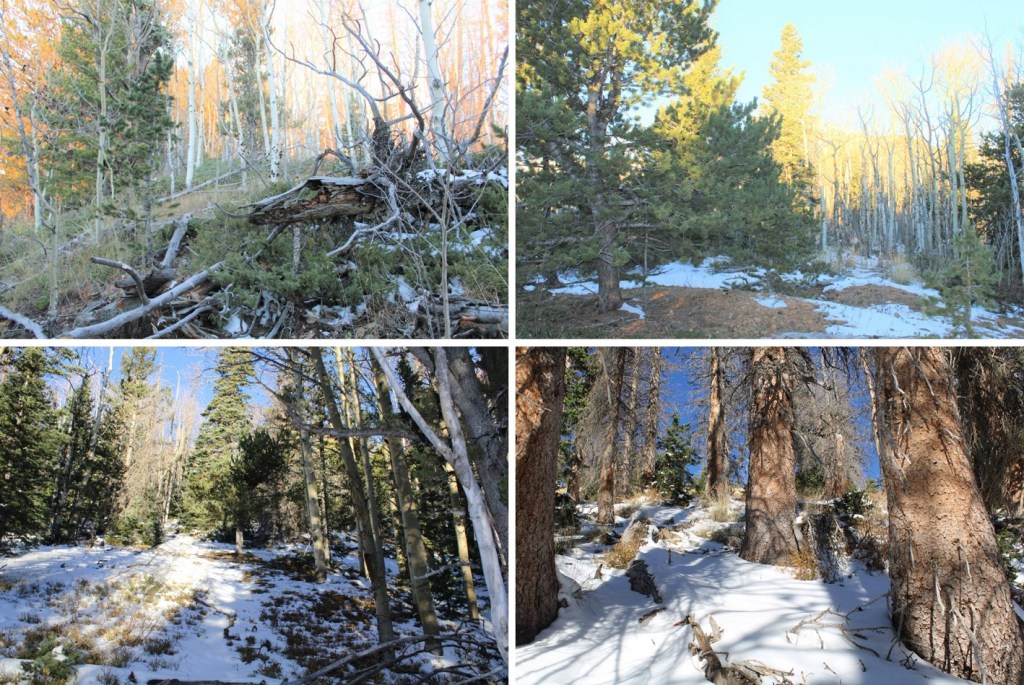
I made my way towards Comanche Trail on class 2 tundra sprinkled with patches of snow
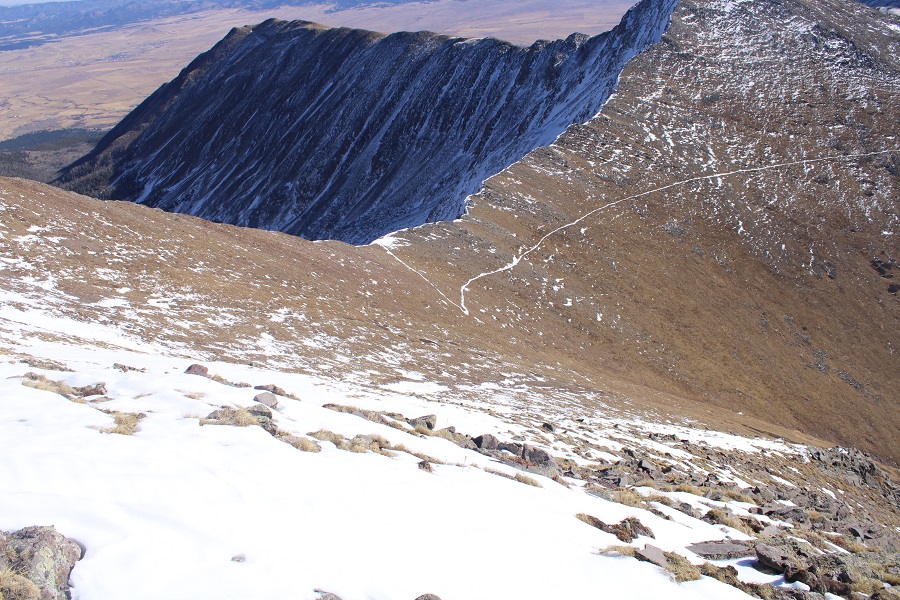
And then followed the trail south to Comanche Pass

Once at the Comanche/Spring saddle I turned left, and took the trail that goes below the cornice (it’s located near the willows).  I didn’t want to take the cornice back down, as it had been unconsolidated on my way up; I felt later in the afternoon it would be even more difficult to downclimb.

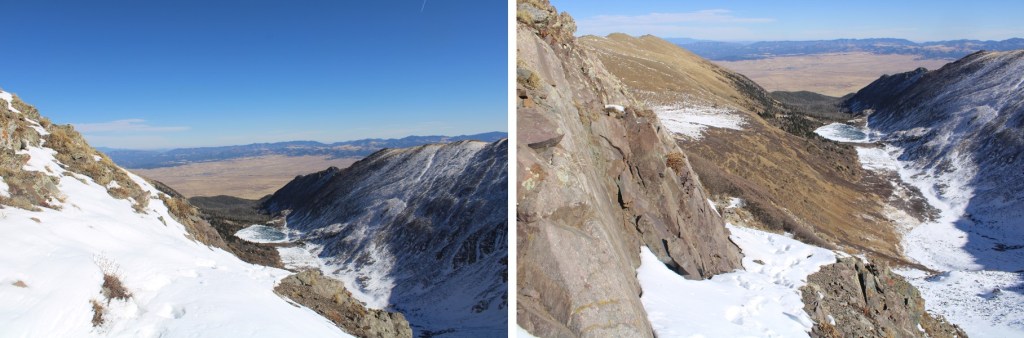
Here’s looking back up at that cornice (the trail is directly below the cornice)
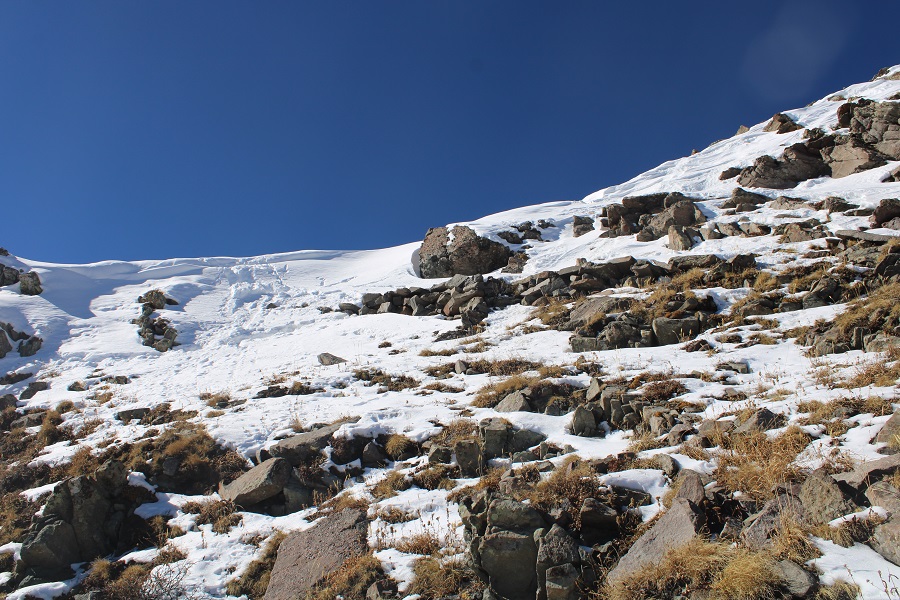
From the pass I followed the class 1 trail 5.8 miles back to the trailhead.
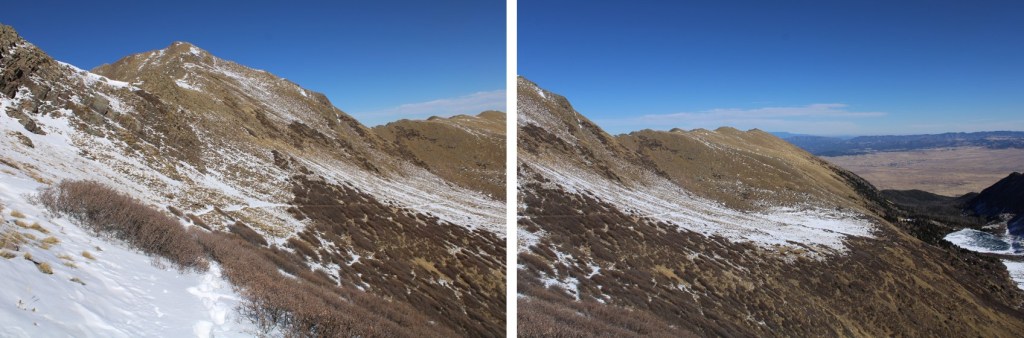
I made it back to my truck at 1:30pm, making this a 14.24 mile hike with 5572’ of elevation gain in 7.5 hours.  

On to the next trailhead!
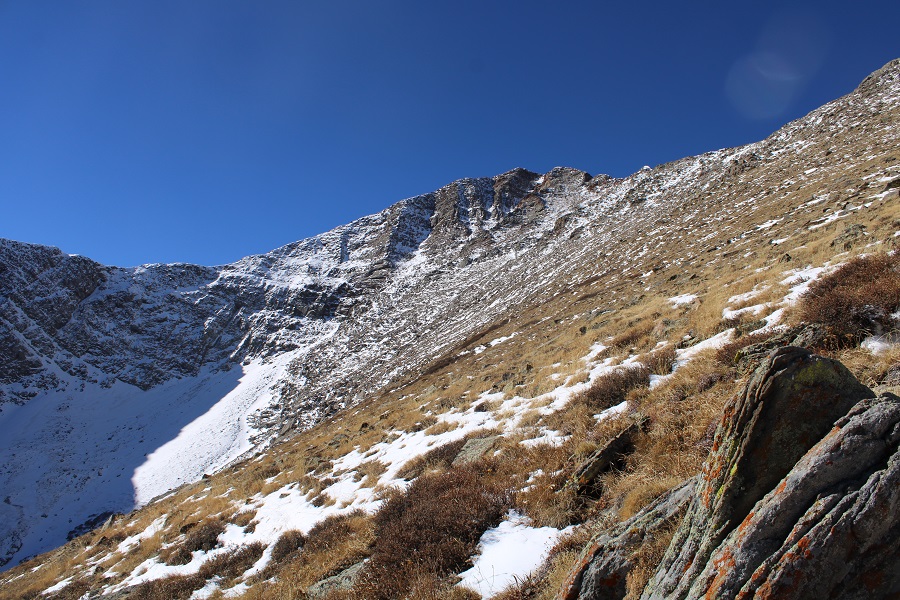
Venable Peak – 13,334- Attempt

RT Length:  11.9 miles

Elevation Gain: 3921’

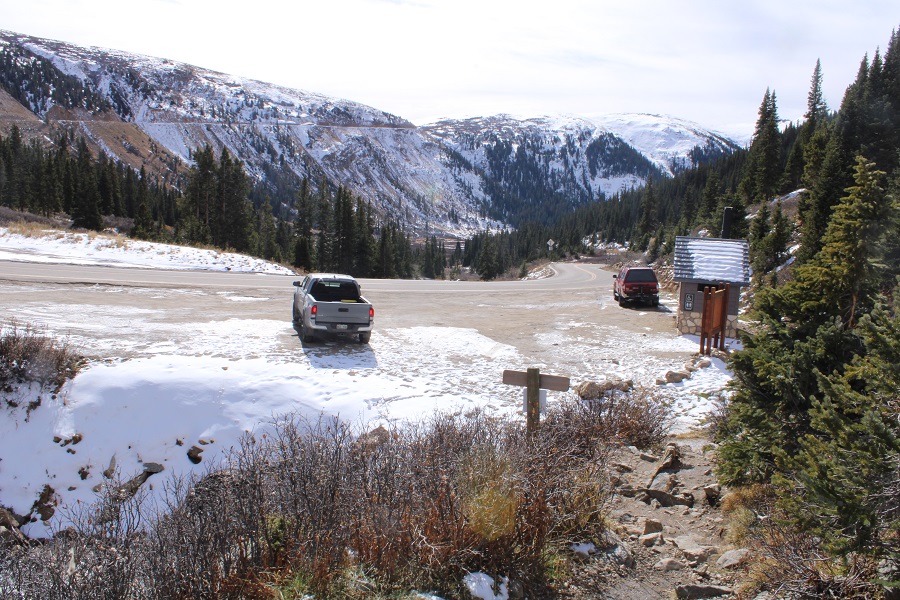
I made it to the trailhead late the night before, and slept in the cab of my truck.  Well, I tried to sleep. Unfortunately, there was internet access at this trailhead.  This meant I was scrolling through my phone until 1 in the morning.  I hit the snooze button three times before waking up to dawn approaching.  I threw on my gear, waved at the hunter who just pulled up in the parking area, and was on the trail at 7am.  This morning I was taking the Venable Trail, which is clearly marked from the parking area.

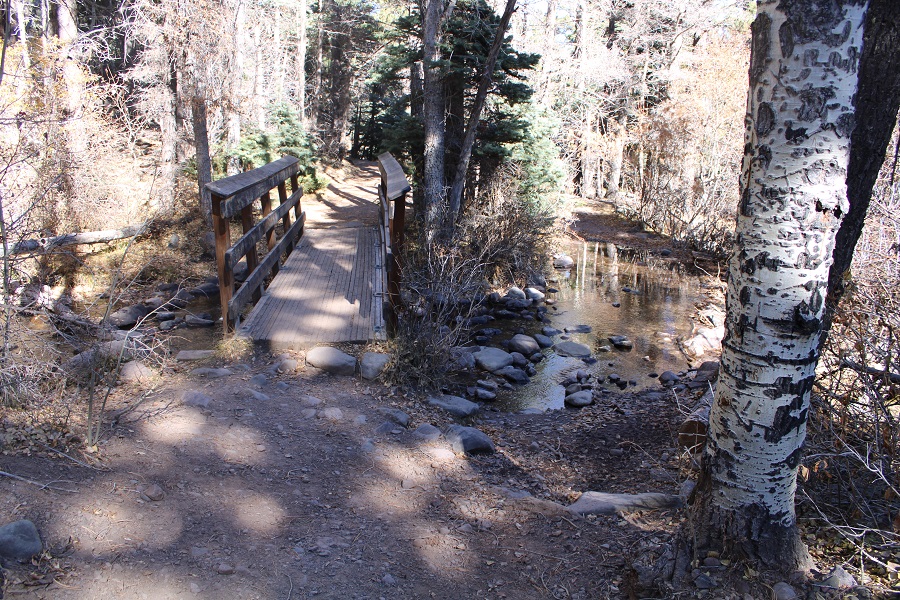
I followed the trail as it crossed over a bridge

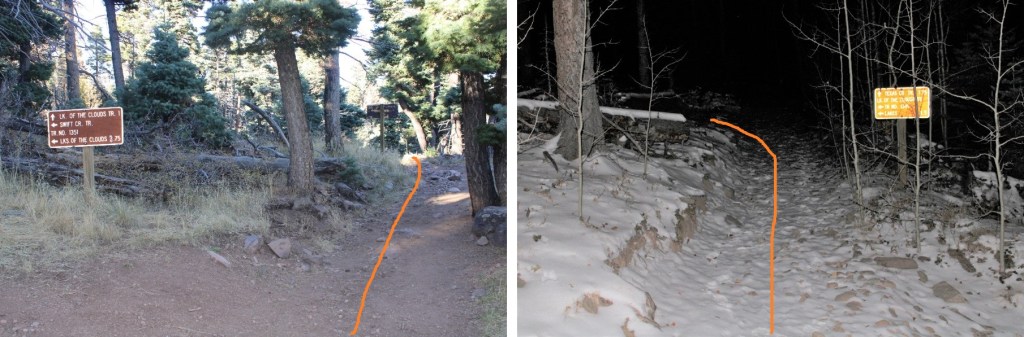
After hiking for half a mile, I came to a junction with the Rainbow Trail, and continued straight, following the Venable Trail (1347). 

Just after this junction there was a trail register.  I signed it, and continued following the Venable Trail southwest

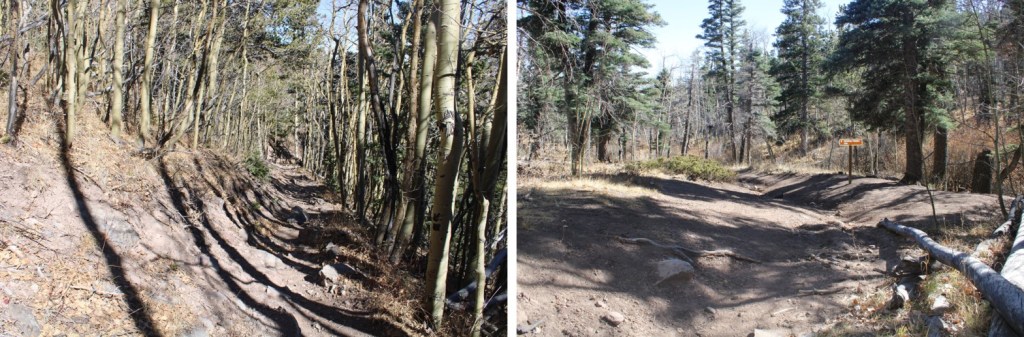
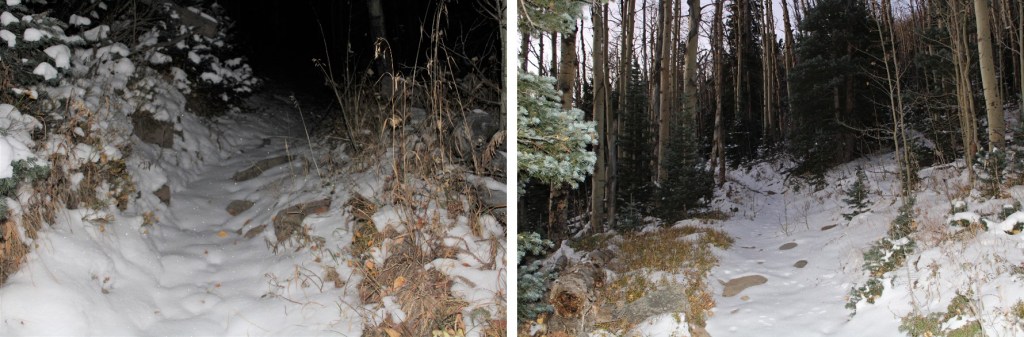
This is a class 1 trail.  Today’s conditions varied, from being covered with ice, to being bare dirt, to several inches of snow. 

After hiking for 2.5 miles, I came to the junction for Venable Falls.  Here I continued straight on the trail, towards Venable Lakes

The trail increasingly became more snow covered, but no traction was necessary.  Of course, most of the snow present was directly on the trail.  This is where I was headed

I rounded this hill (lower Venable Lake is to the right)

And after 5 miles of hiking, I made it to the lower Venable Lake

I kept following the trail

After hiking a total of 5.5 miles I came to what I assumed was a junction (it was covered in snow and the sign was missing:  only a post remained). I turned left and took Comanche Trail (1345) towards the pass.

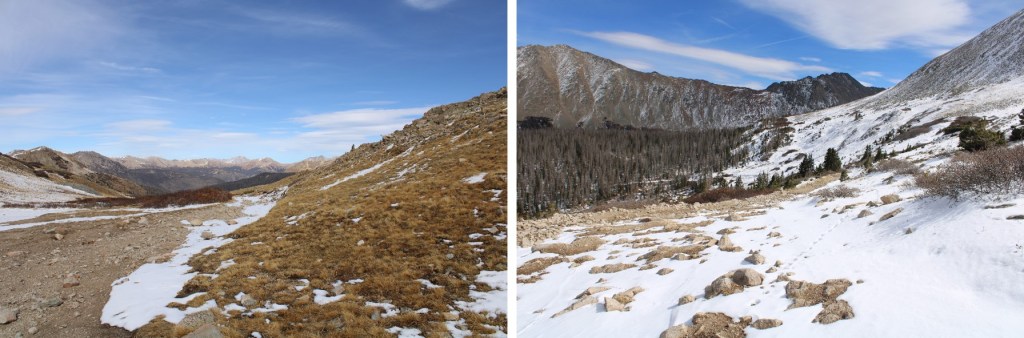
I now had a good view of the rest of my route to the pass

More and more snow started accumulating on the trail.  It was sugary, so I put on my microspikes.  I had snowshoes, but the snow was so sugary they wouldn’t have made much of a difference.

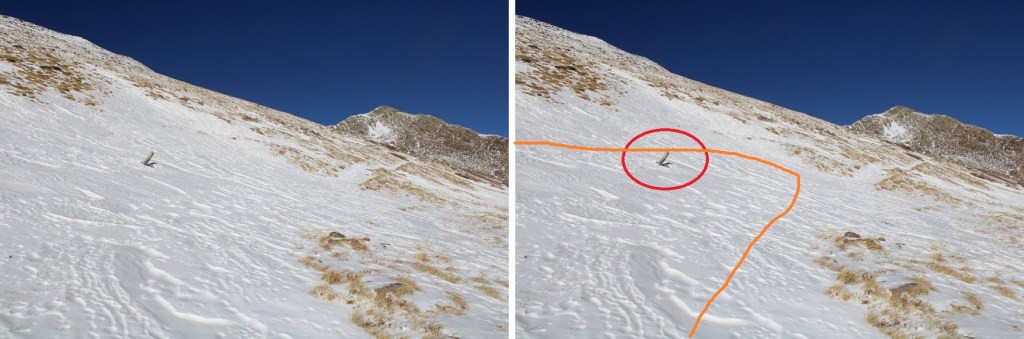
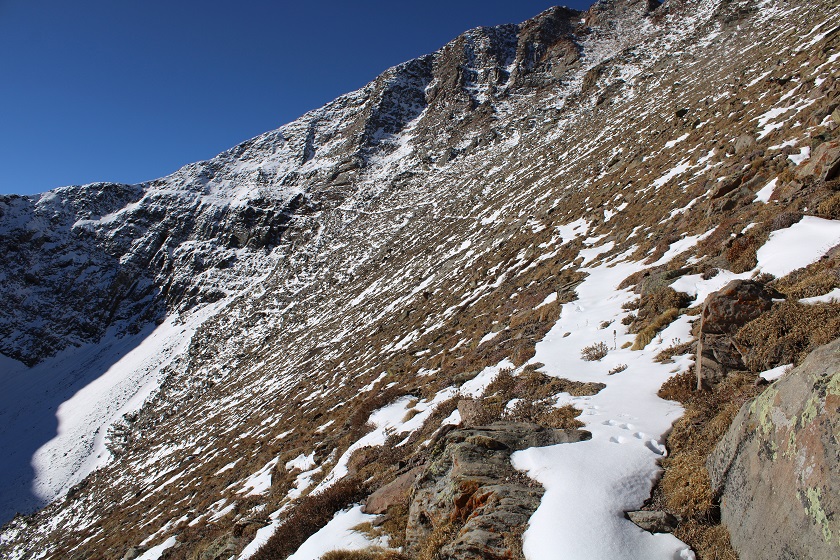
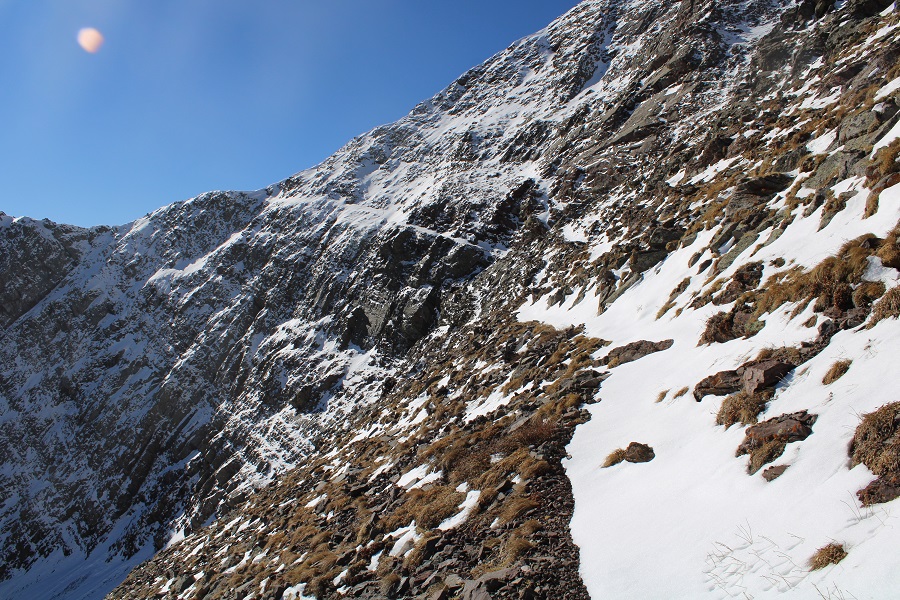
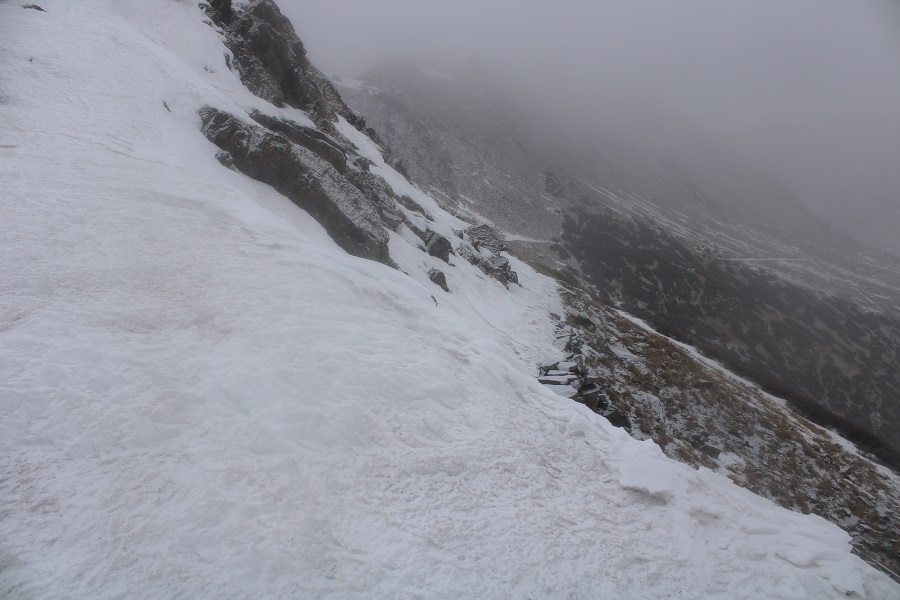
It was slow going, and I had to spend a lot of time making a solid path in some areas through the snow, doing my best to hug the cliff, not entirely sure how wide the trail was.  I was doing find until I got to this area:

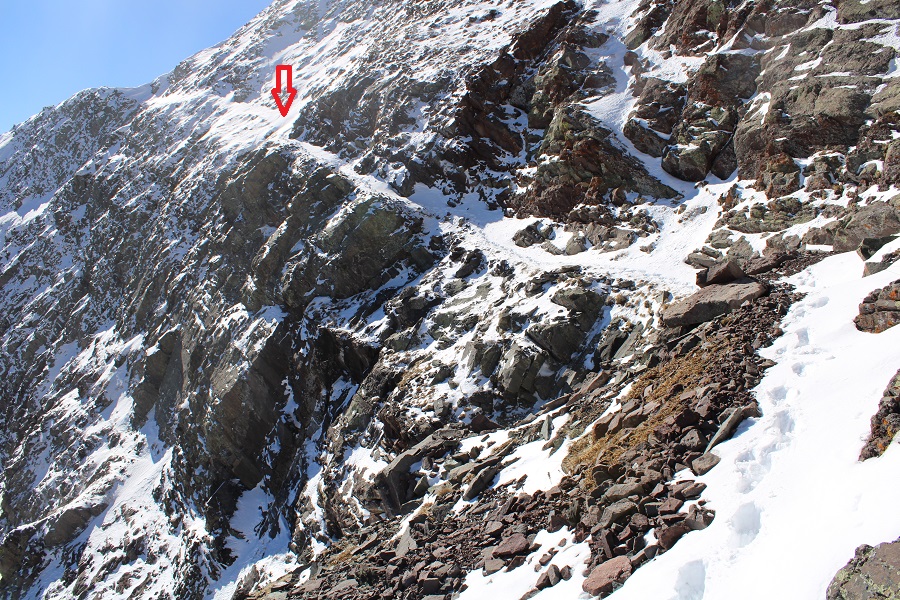
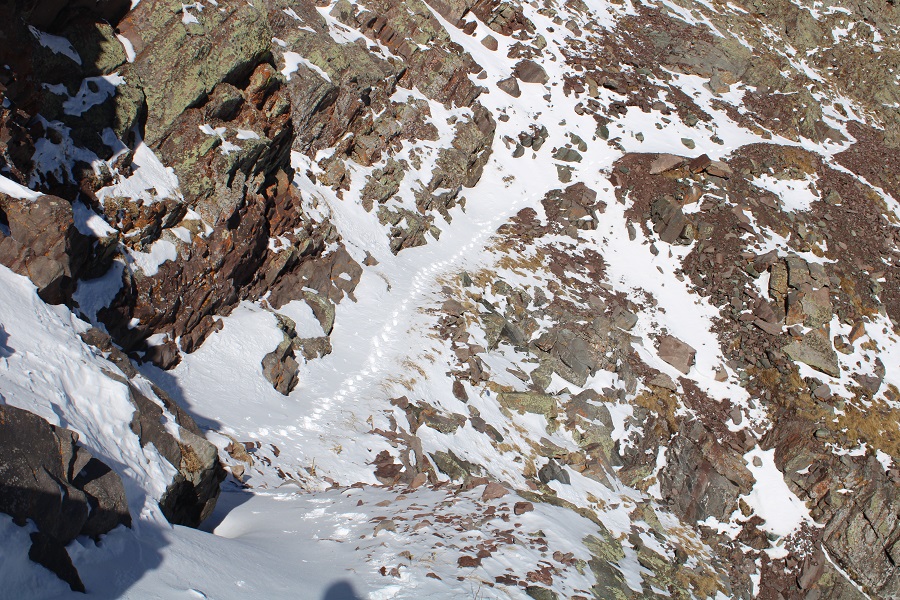
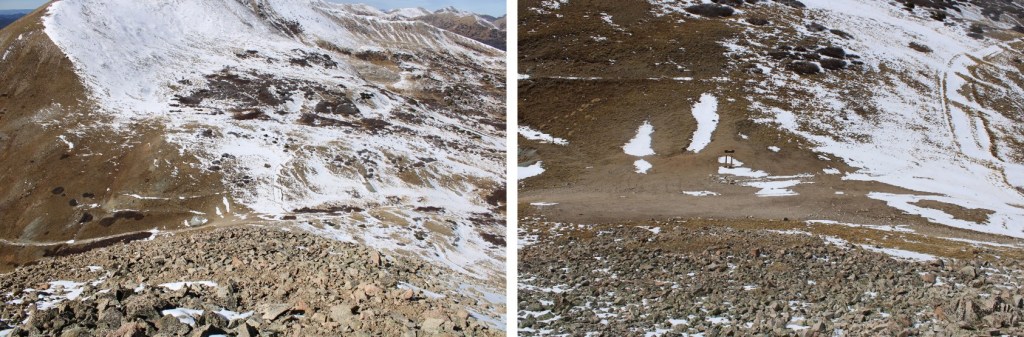
I was about 200 feet from the pass, and the snow drifts were now taller than I was.  I kept seeing snow slide down below my feet, over the cliffs, and made the decision to turn back. It hurt to turn back, but I knew it was for a good reason: I’m out here solo, and while I might have made it past the snow/cornice to the pass, I couldn’t have done so safely, and a fall would have been fatal.  The red arrow is where I turned around. You can see the tracks where I stopped

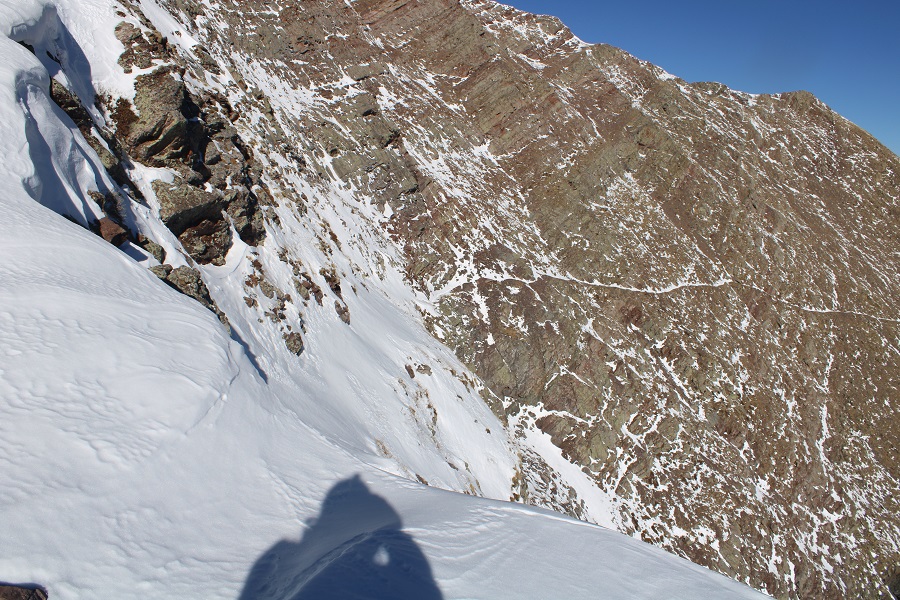
Just for reference, I was able to summit this peak via the Comanche trail the next day.  Here’s what the pass looked like from above

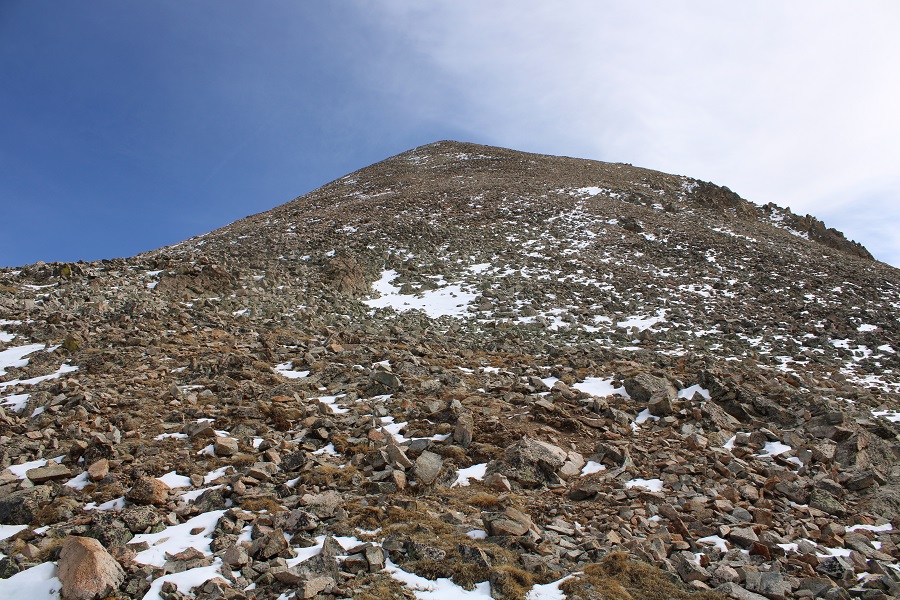
And look at how close I’d been to the summit of Venable! 

For those of you interested in taking this route, this is how I summited Venable the next day.  I took the solid line up, the dotted line down.  Both were class 2 (although the ridge had quite a bit of snow)

However, I wasn’t summiting today. Instead, I turned around and hiked the 6 miles back to the trailhead. 

On my way out I made plans to hike Venable and Spring from the Comanche Trail the next morning.  Added bonus: I didn’t have to drive to another trailhead, since the Venable and Comanche Trailheads share a parking lot.  I made it back to my truck at 12:30pm, which gave me plenty of time to read, drink whiskey, talk to hunters, and get some rest before tomorrow’s attempt.

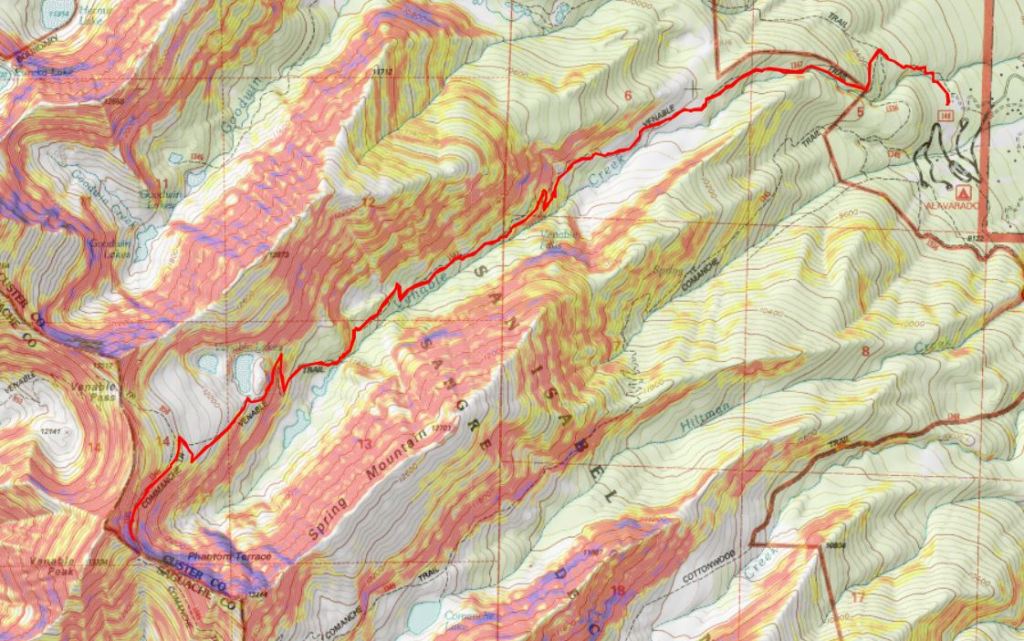
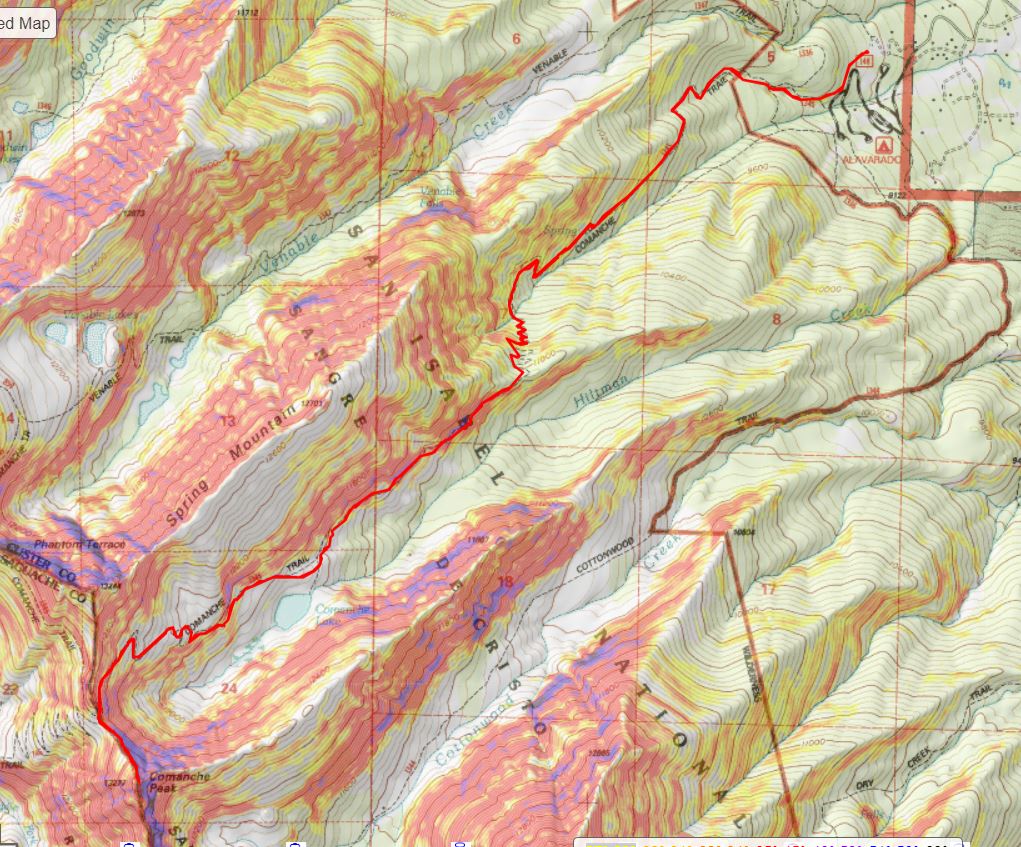
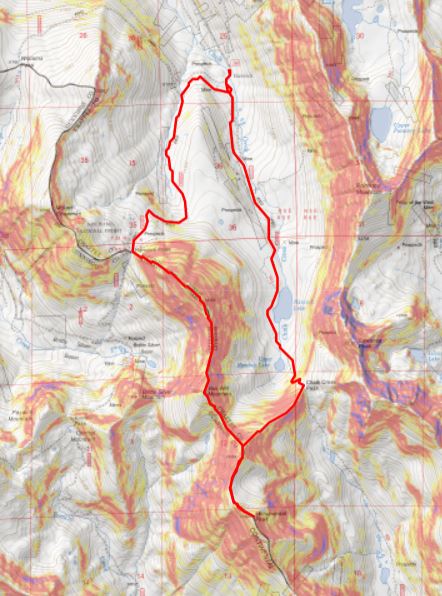
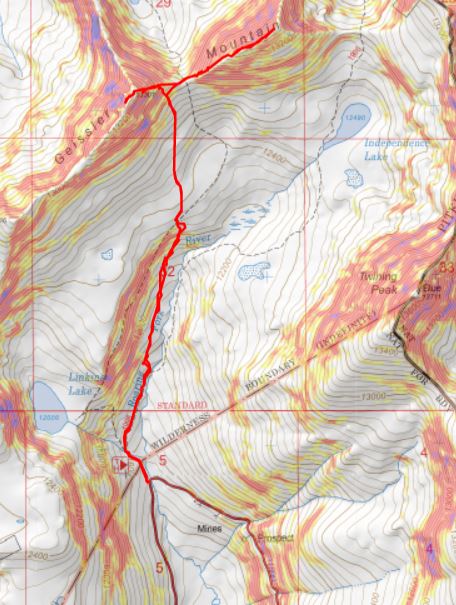
Here’s a topo map from today’s attempt, and another along with the route I took the next day

You can find my successful Venable trip report here.

Comanche Peak – 13,277

RT Length:  12 miles

Elevation Gain:  4837’

The weather forecast for today predicted a 40% chance of snow after noon, and the snow would be minimal, so I decided to head to the Sangres to do the Comanche/Venable loop.  Spoiler alert: I only got Comanche Peak.  My vehicle was the only one in the lot when I arrived.  I was on the trail at 5am.

I decided to do the loop clockwise, starting with Comanche Peak.  The Comanche Peak trail was clearly visible from the parking area.

I followed the Comanche Trail for about half a mile, and crossed the Rainbow Trail.  I stayed straight on the Comanche Trail.

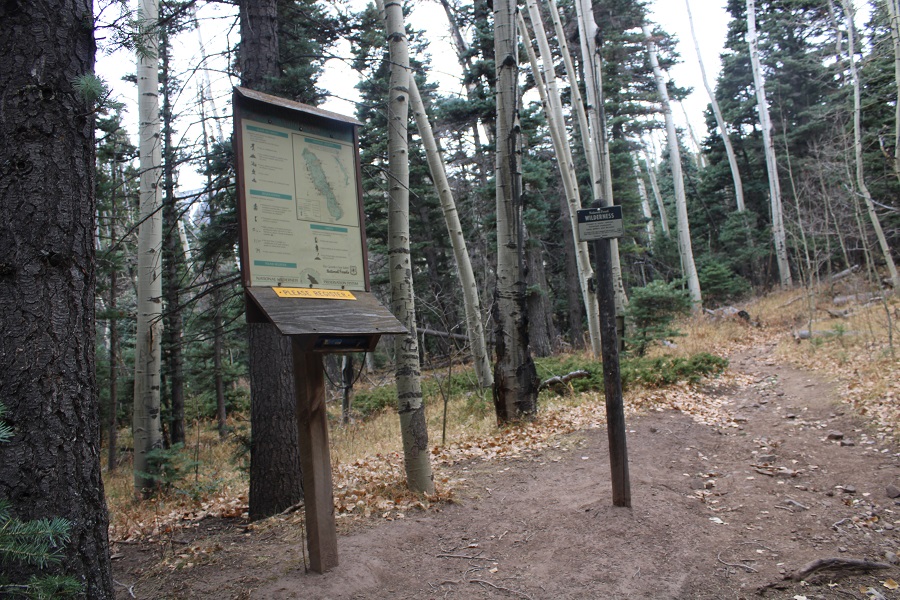
There was a register and information area

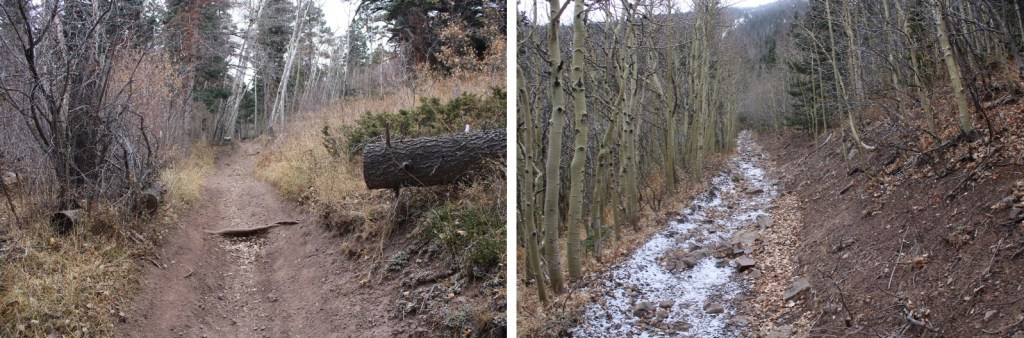
This trail is well groomed and wide.  I followed the trail all the way to Comanche Lake, switchbacking up the mountainside.   

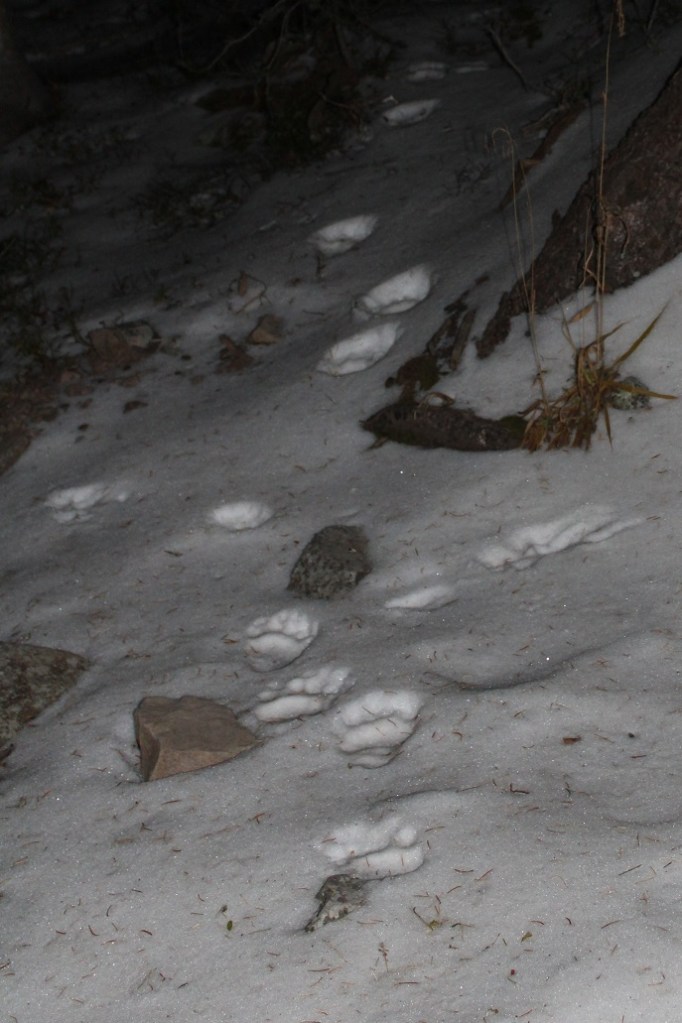
Also, the bears are still awake…

After hiking for 4.25 miles, just before making it to Comanche Lake, there’s a junction.  I continued straight, instead of heading down to the lake

I was headed to the Comanche/Spring saddle

The hike to the saddle continued to be class 1, but what little snow there was had accumulated directly on the trail. On the positive side, the trail was easy to locate!

Just before making it to the Comanche/Spring saddle there was a cornice to navigate.  I got out my microspikes and ice axe, and kicked in steps. 

As I was doing so, I looked to my left and could see Comanche Peak

I could also see weather coming in from the west.  It wasn’t supposed to snow until later in the day, but I could feel the wind picking up, and see the snow coming in.  I’d have to re-assess my hiking plans as I went. 

It was 5.8 miles from the trailhead to the saddle.

After putting away my microspikes and ice axe, I followed the saddle south

It was an easy, class 2 hike to the summit, mostly on tundra or stable rocks. In some areas there were bits of a game/social trail

As I was hiking up the ridge towards Comanche Peak the wind picked up, and it started snowing.  I figured I’d get a picture of Spring and Venable before the snow moved in.  In less than 10 minutes, I could no longer see these peaks.

Here’s a look at the last push to the summit of Comanche Peak

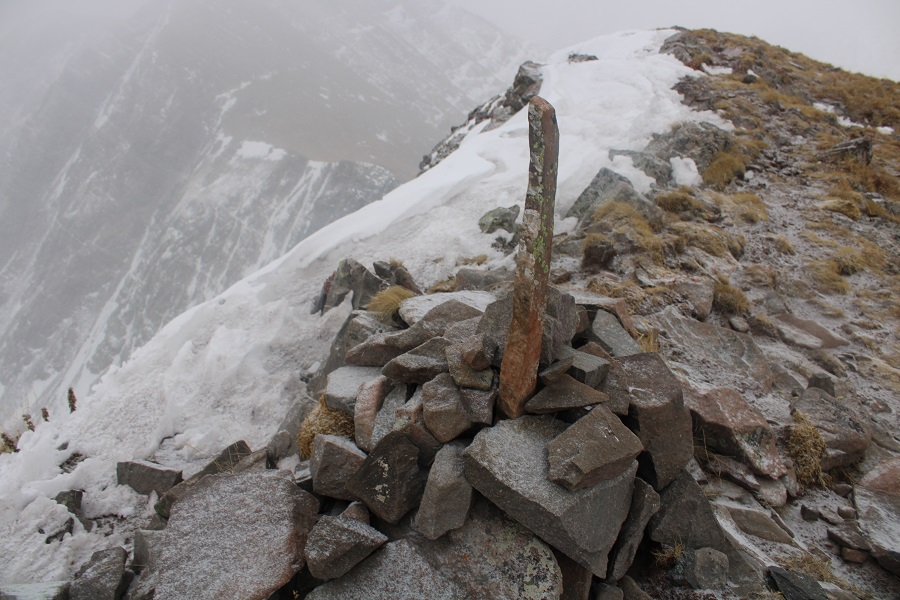
There was a cairn at the summit

I summited Comanche Peak at 8:50am. 

Comanche Peak:

I turned around to head back to the Spring/Comanche saddle, and noted the lack of visibility.

I descended to the saddle, and realized the snow wasn’t going to let up any time soon.  I could have made this a loop, but the pictures would have been useless in a trip report, and navigating a fresh layer of sugary snow on the rocks didn’t sound like a fun time, so I decided to just head back the way I came, making this an out and back hike.  I’d come back later for the other two peaks.

Here’s looking back at the trail from the saddle

And back over the cornice

It continued to snow the entire trek out, but the trail was easy to follow.  A nice layer of snow started to build up on my camera, gloves, eyelashes, backpack, etc. as I hiked out.

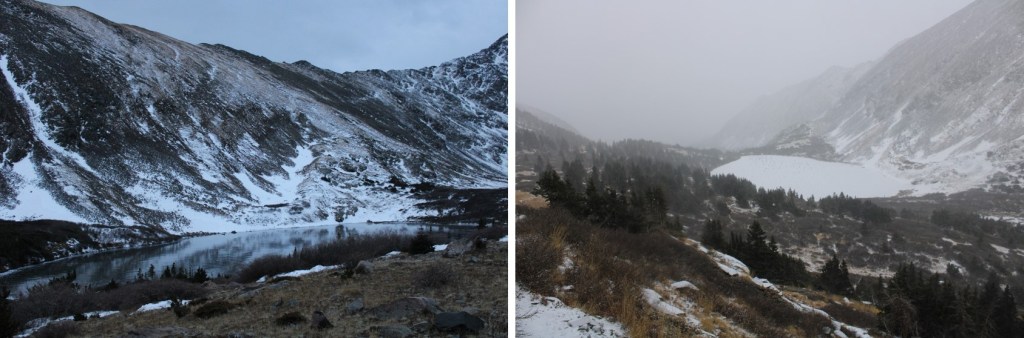
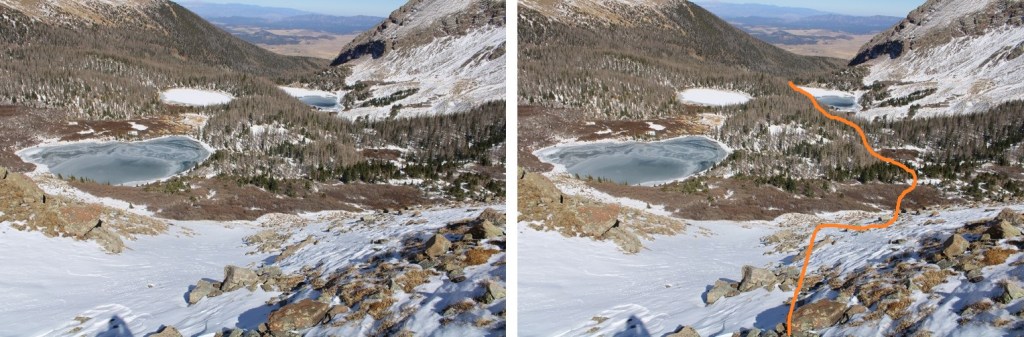
Check out the difference in Comanche Lake from earlier this morning

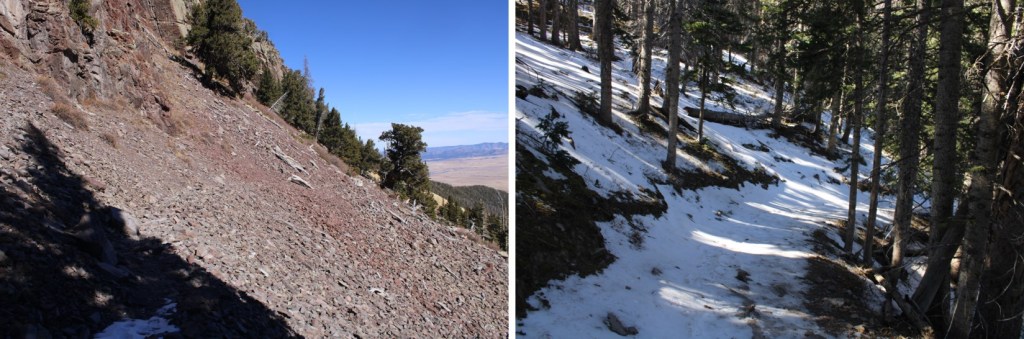
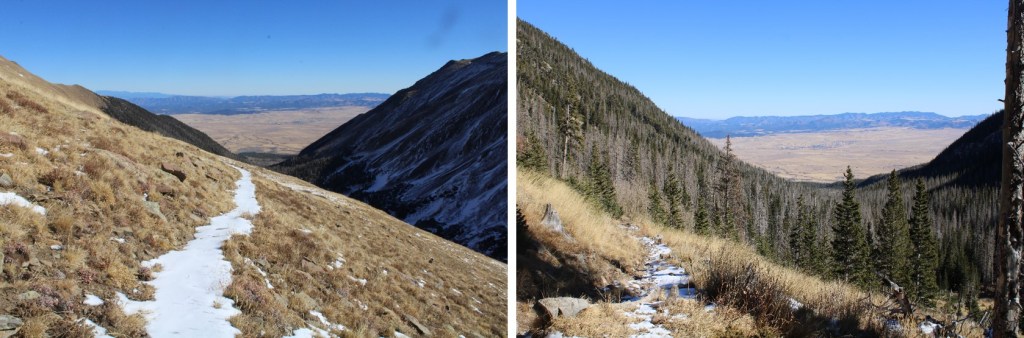
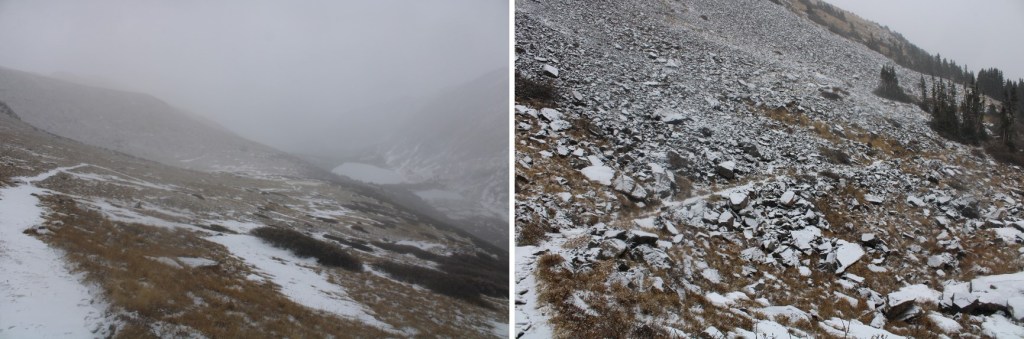
Here are some pictures from the hike out.  It was neat having more snow on the trail on the way out than I’d had on the way in.  The only downside: There had been ice on the trail this morning I could avoid because I could see it.  Now it was covered in a layer of snow and not quite as visible.  I did some slipping and sliding, but managed to remain upright.

It finally stopped snowing just as I made it back to the trailhead, but a look up at the peaks let me know it was definitely still snowing above treeline.

I made it back to my truck at 11:15am, making this a 12 mile hike with 4837’ of elevation gain in 6 hours, 15 minutes.

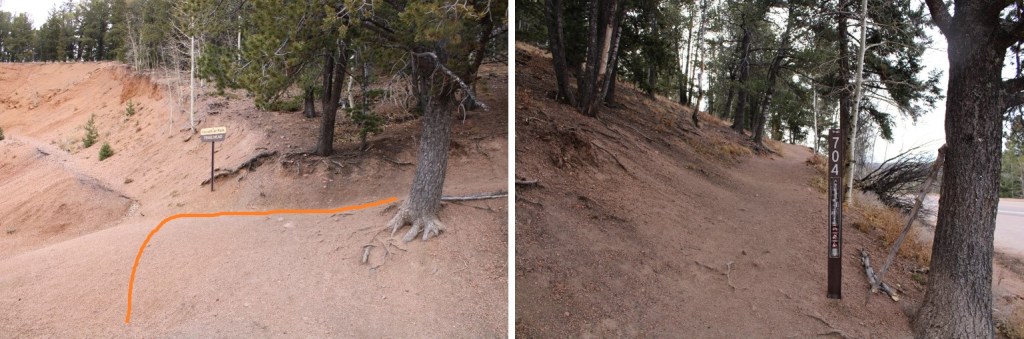
Sentinel Point- 12,527

RT Length: 8.1 miles

Elevation Gain: 2963’

I’ve wanted to hike Sentinel Point for a while now, but haven’t because it isn’t ranked.  I’ve been kind of waiting for a good excuse to hike it, and today was the day; My oldest daughter flew out from Georgia for the weekend, and this morning I took her to the airport to fly back home, so I needed a hike I could start later in the day.

Oh, and today’s Halloween, so of course I wore a pumpkin dress.  It was also quite cold, so there weren’t a lot of people parked at the Horsethief Falls trailhead.  I gathered my gear, and was on the trail at 9:30am.  The trail is clearly visible from the parking area.

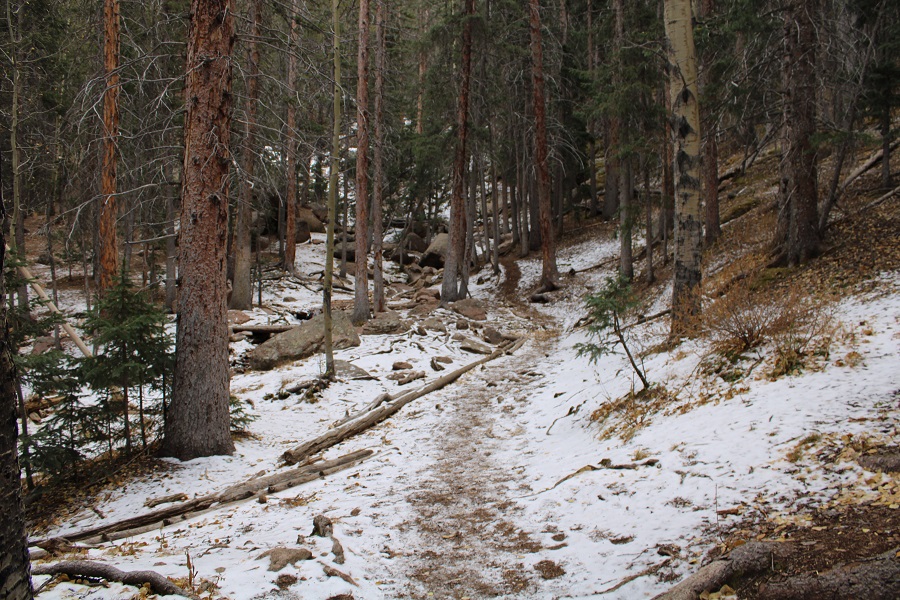
I’d heard it was harder to do this hike counter-clockwise, so of course, that’s the way I chose to do it.  (Spoiler alert:  it is harder this way).  I followed the wide, class 1 trail for 1.4 miles, to the end of Horsethief Park, where the trail abruptly ended at a small waterfall.

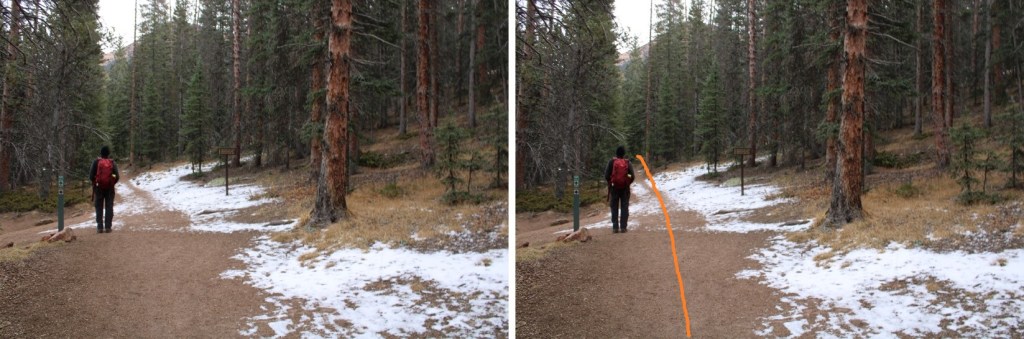
At the first junction, I continued straight, heading east

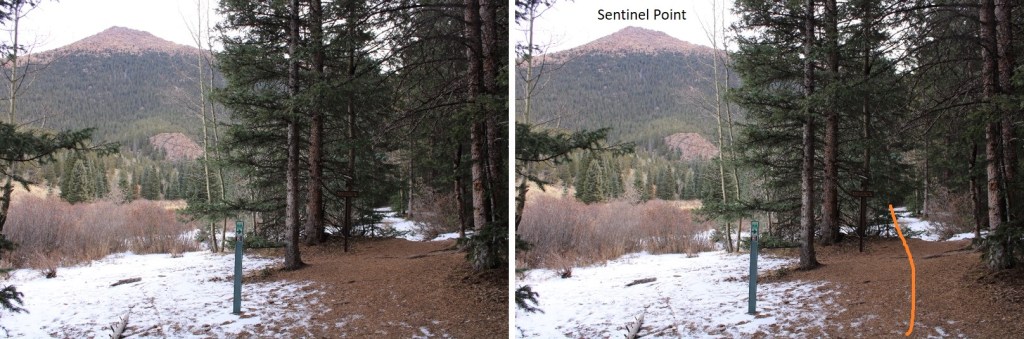
At the second junction, I again continued straight, heading east.   I was also able to see Sentinel Point from here

I was following Horsethief Falls trail

The trail was class 1, until it abruptly ended at what I’m assuming is Horsethief Falls

It was flowing at a trickle.  I crossed the falls, then immediately started ascending the hillside, heading directly east.

From the falls area, I hiked east 1.5 miles to treeline, bushwhacking the entire way, doing my best to avoid the boulders. 

Here’s a picture of the route from later in the day.  You can see the obstacles to be avoided are mainly large boulders/rock outcroppings. 

This is the route I took, gaining about 2000’ of elevation in 1.5 miles

Once at treeline, I followed the ridge north

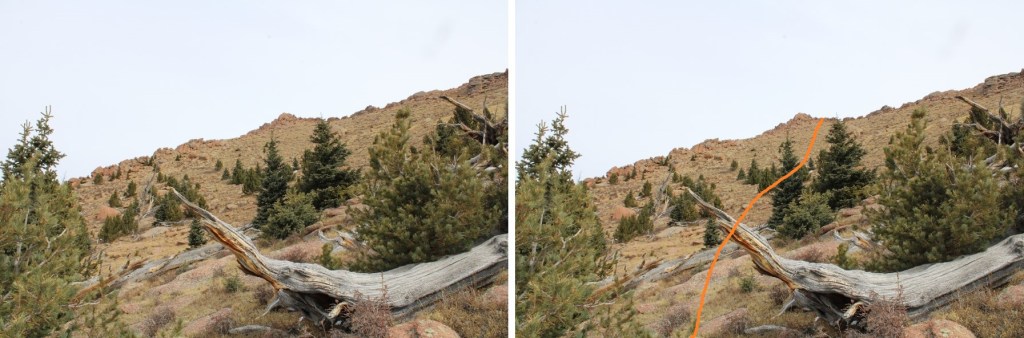
I was trying to get onto the other side of this rock formation

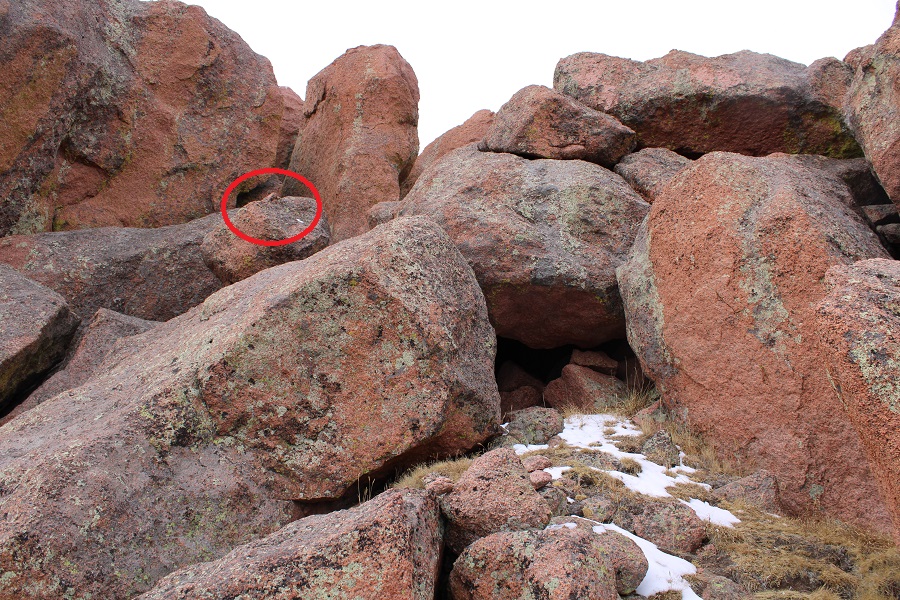
Once I did, finding the route to the summit proved difficult.  I kept trying to climb the rocks to find a summit, but they kept topping out.  My advice:  stay low and go further north than you think you should before trying to ascend to the summit.  Also, if you do this, you’ll find cairns.  Here are some photos…

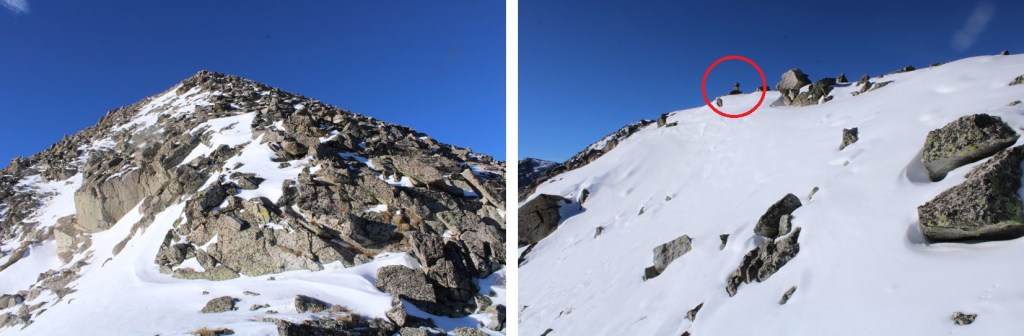
This is the entrance area to the summit.  The cairn is circled in red

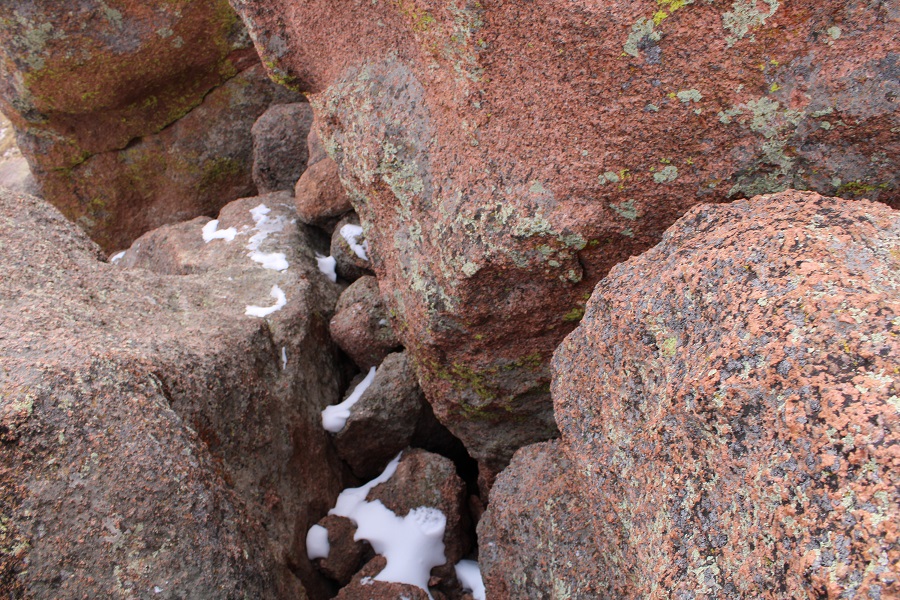
This was difficult class 3 climbing, but sketchy due to the little bit of unavoidable snow/ice. 

I summited Sentinel Point at 11:30am.  Well, I wasn’t sure if I’d actually summited, because I couldn’t find a cairn/summit register, but I did rock-hop all over those rocks to make sure I hit the summit at some point.  The rocks were stable, but didn’t have a large surface area, so I wasn’t able to get good pictures.  I got a video at one of the most stable areas (and it’s a terrible video, but you get the point)

I was making this a loop, and continued heading north towards the tundra

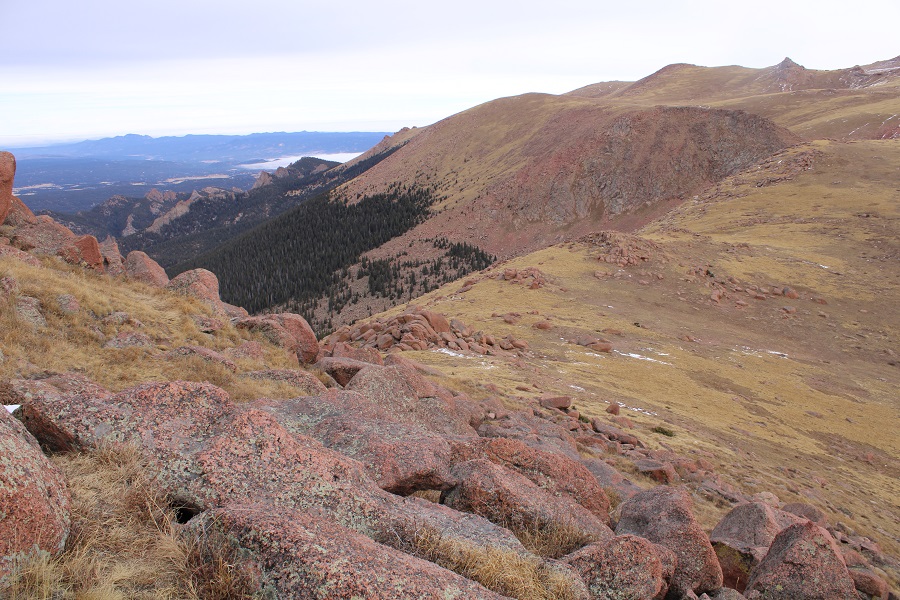
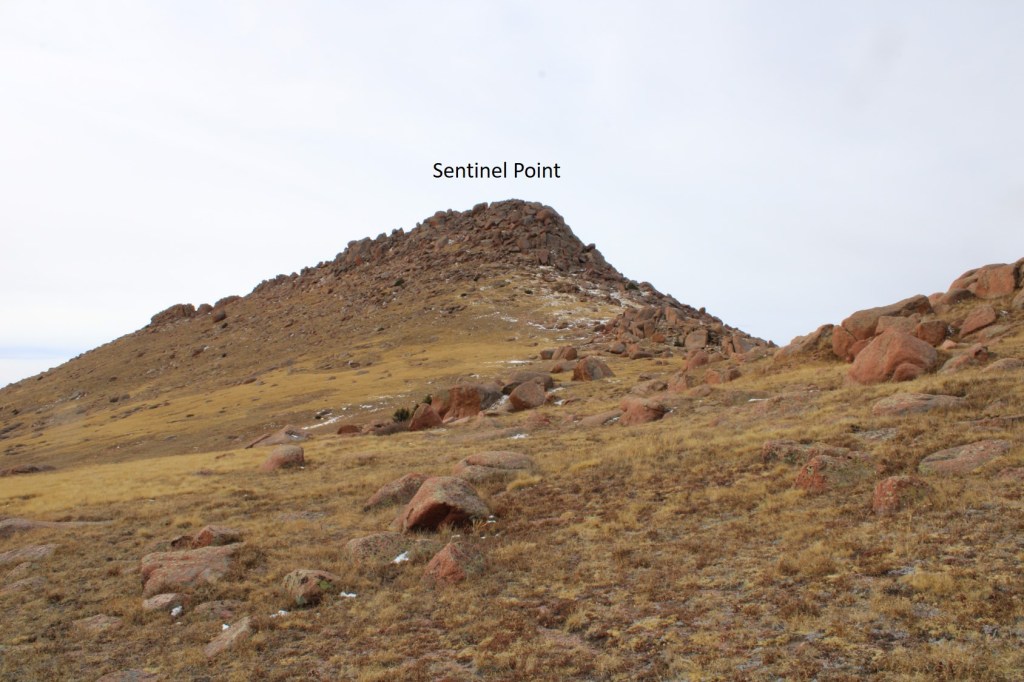
Here’s looking back at Sentinel Point

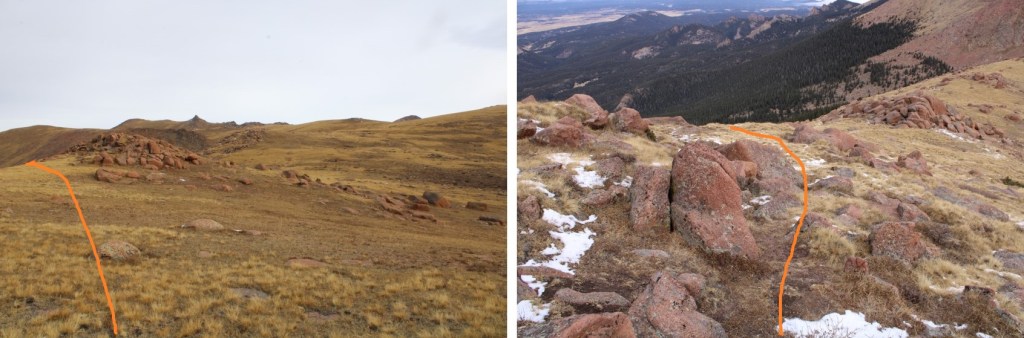
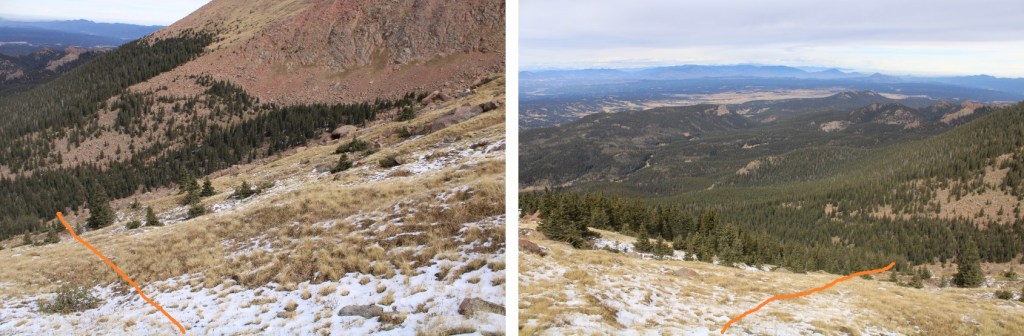
From here I actually found a bit of a trail, and followed it north, down to treeline.  Here are some pictures of the route

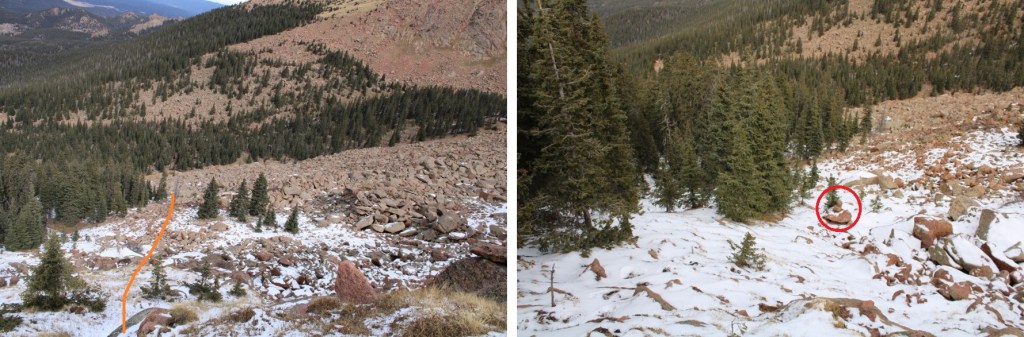
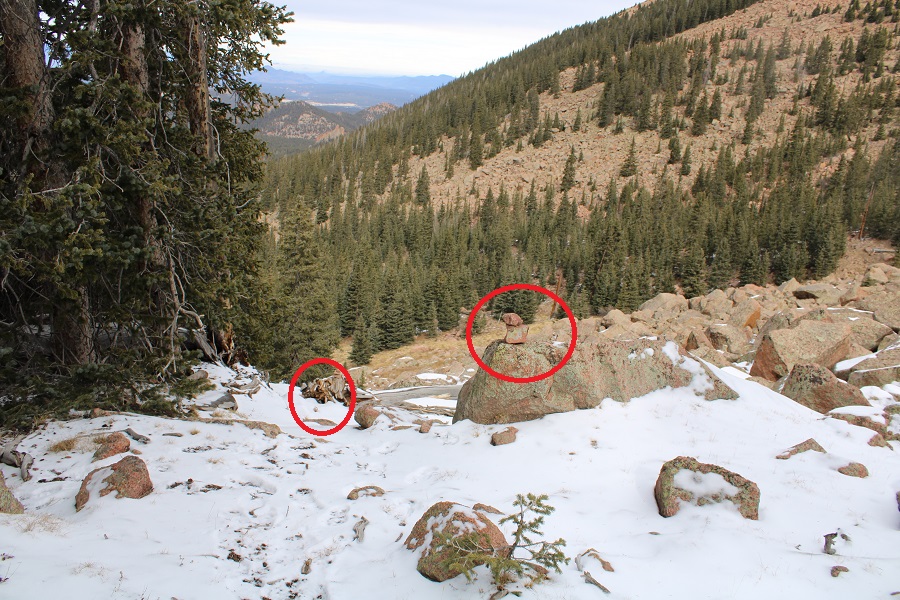
When I made it past the boulders to treeline, cairns started dotting the route.  Tons of cairns.  While the trail wasn’t well established, there were countless cairns to guide the way back to an actual trail.  Yes, this would have been the easier way to summit.  Cairns are circled in red

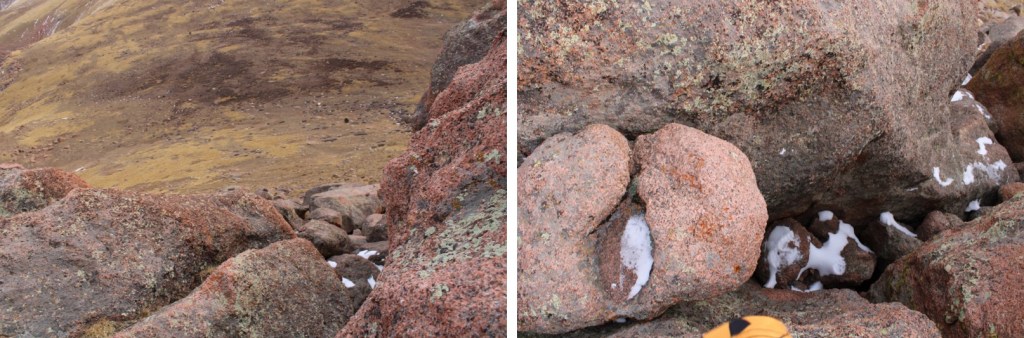
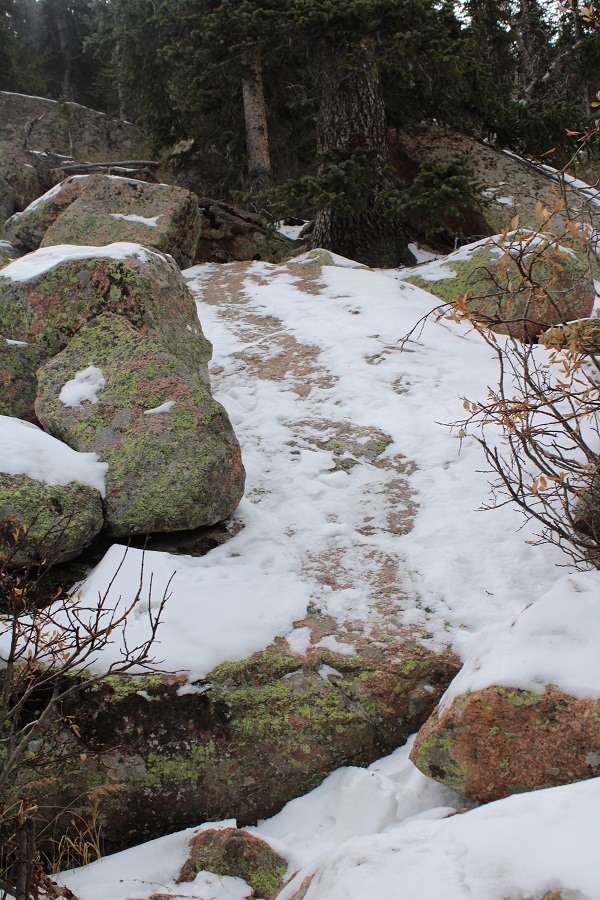
I slid down this on my butt, as walking down it seemed sketchy

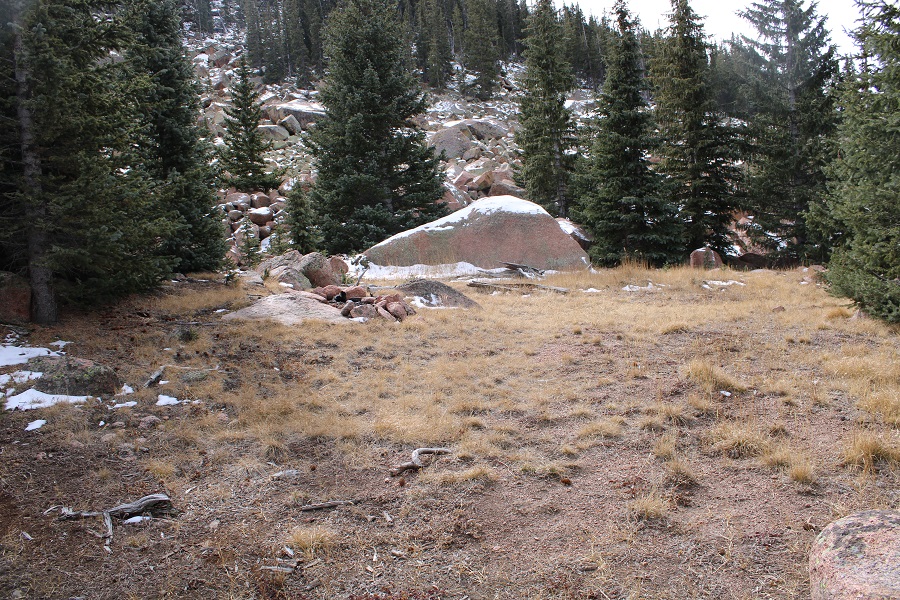
It should be noted, there were several campsites below treeline along the trail, in case you’re interested in making this an overnight adventure

Once below treeline, I followed the trail northwest.  As I said before, there were tons of cairns to guide the way

Following the cairns eventually brought me to trail 704C, the Ring the Peak trail.  I followed this trail south back to make this a loop.

I made it back to the trail I hiked in on (704A), turned right, and followed it back to the trailhead

I made it back to my truck at 1:30pm, making this an 8.1 mile hike with 2963’ of elevation gain in 4 hours.

Mt Owen – 13,340

RT Length: 12.21 miles

Elevation Gain:  5049’

I was in a hurry today: I offered to help a Girl Scout Brownie troop (7–9-year-old girls) earn their hiking badge, and I needed to be home in time to meet them at the trailhead for their hike this evening.  So, while I’d initially wanted to make this a loop with some other peaks, I settled for just doing Mt Owen today.

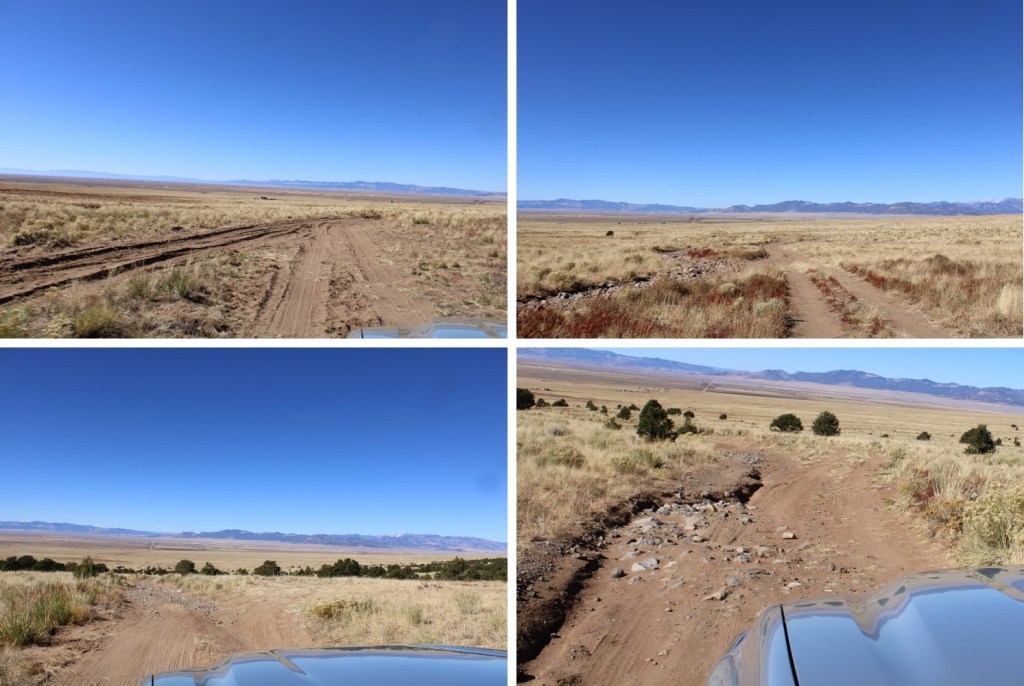
I drove to the Cherry Creek Trailhead, and was surprised at the condition of the road.  The last 2 miles is certainly 4WD.  I drove to the trailhead in the dark, and the first area of sand caught me by surprise. It had my tires spinning until I put my truck into 4WD. I backed up and took the side road.  There are at least 3 different side roads off the main road that look relatively new.  If you have the option, take the newer road, as the older road has been washed out and this is the workaround.  They always re-connect.

I gathered my gear, set my ‘halfway point’ alarm so I wouldn’t be late to my event tonight, and I was on my way.  There was a Subaru parked skewed in the parking area with a couple of boondockers, so I was doing my best to be quite as I made my way towards the trailhead.

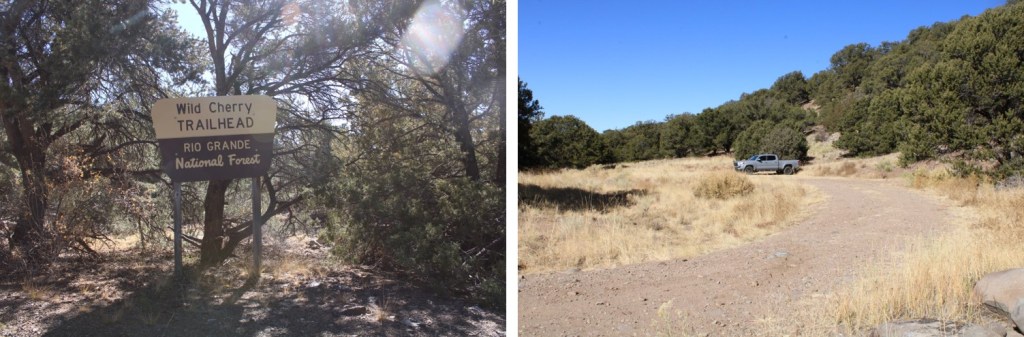
The trail begins at the east end of the parking area, and is very well marked.  There’s a place to register, so I tried, but the pen was frozen and there wasn’t a pencil, so what I wrote only showed up as indentations on the paper.  If you do this hike soon, it’d be nice if you dropped off a pencil…

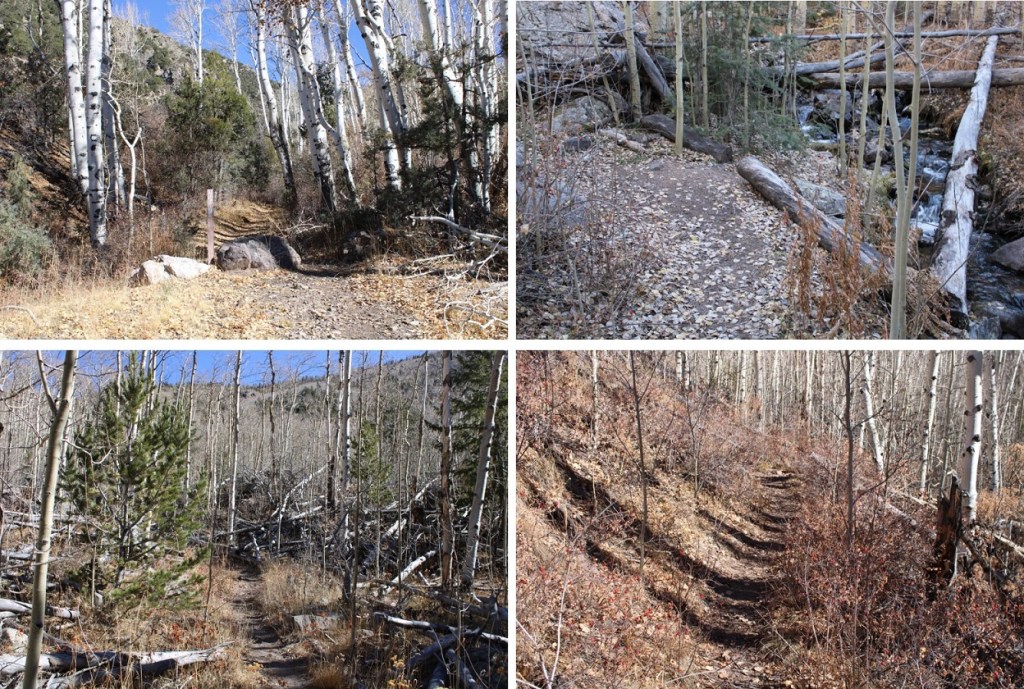
I followed the class 1, Wild Cherry Trail for 2.5 miles as it paralleled Wild Cherry Creek and the started to switchback northeast, skirting the mountainside.

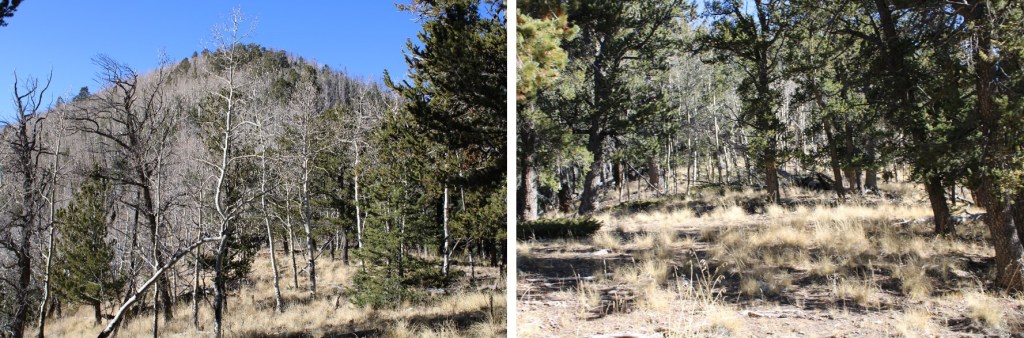
After 2.5 miles, at the middle of the last switchback, I left the trail and followed the drainage north to the ridge.  I stayed to the left of the drainage, but in the daylight, on the way back down, I realized it would have been much easier to stay to the right, on the tundra and grass instead of in the trees.  The bushwhacking wasn’t too difficult here, but there were a ton of downed trees, especially directly in the drainage.

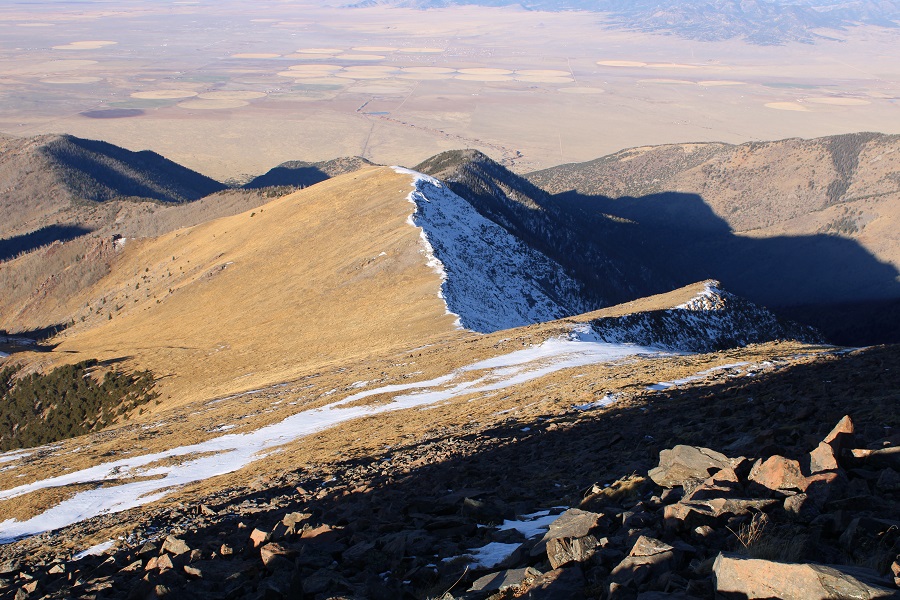
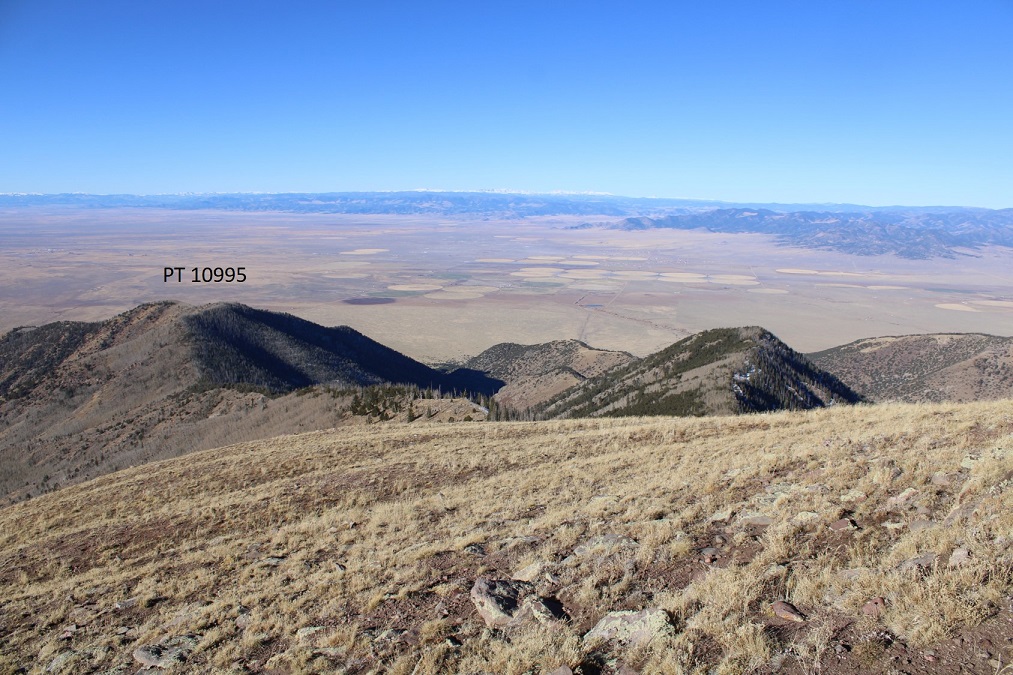
It was obvious when I made it to the ridge.  I could see PT 10995 to the left, and followed the ridge towards Mt Owen to the right

The ridge was easy to follow.  There were even game trails that were clearly evident.  I followed the ridge northeast.

Through a break in the trees I could see the rest of the route to Mt Owen

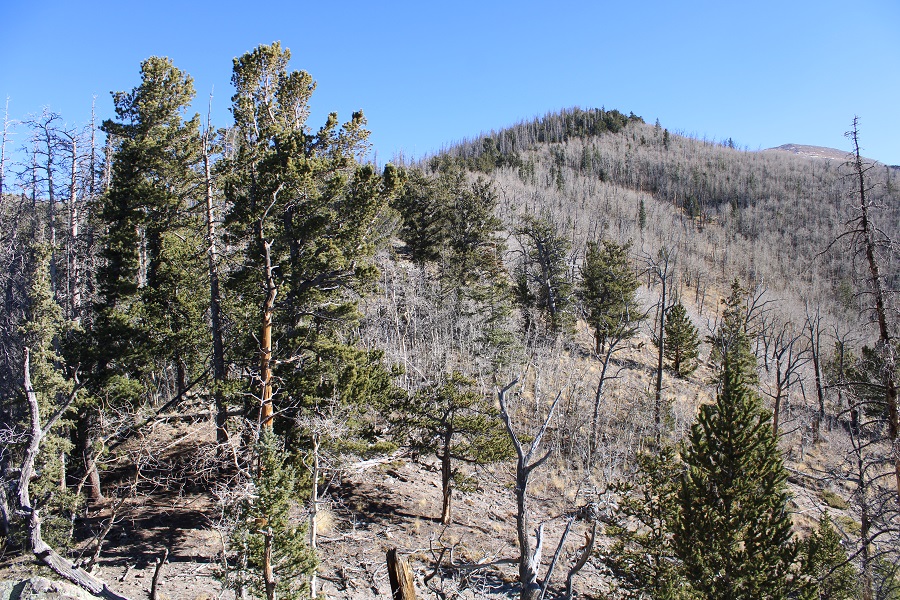
I continued to follow the ridge

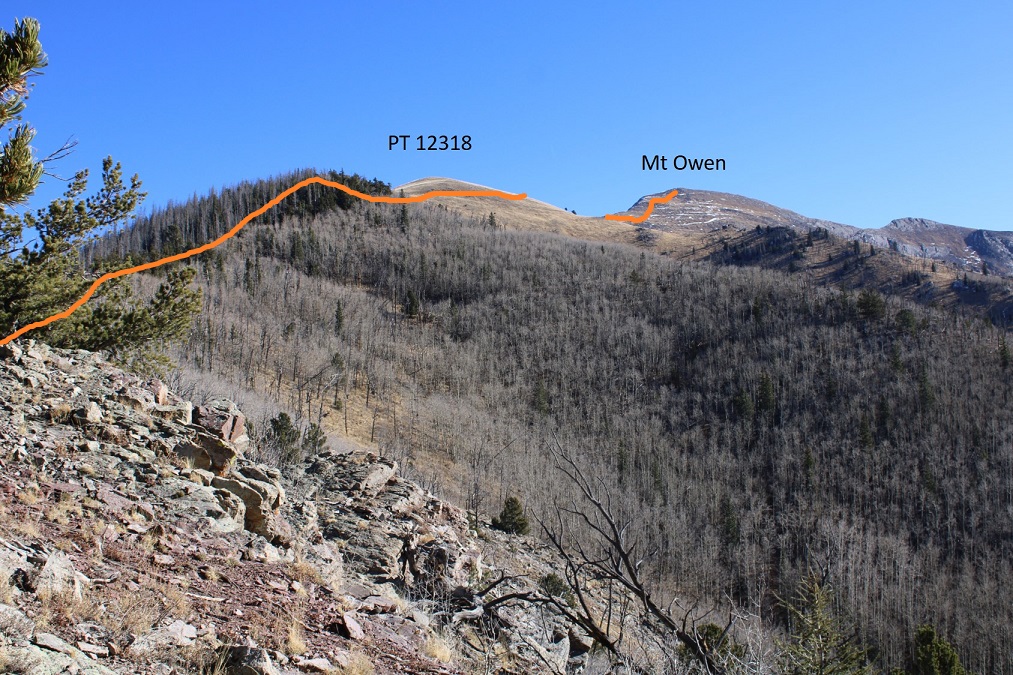
I made it to treeline, and instead of summiting unranked PT 12318, I skirted the mountain to the south, staying at about 12250’ (time was of the essence today….)

This was grassy tundra, and easy to navigate

If you stay around 12250’, you won’t have to lose much elevation as you make your way to the 12318/Mt Owen saddle

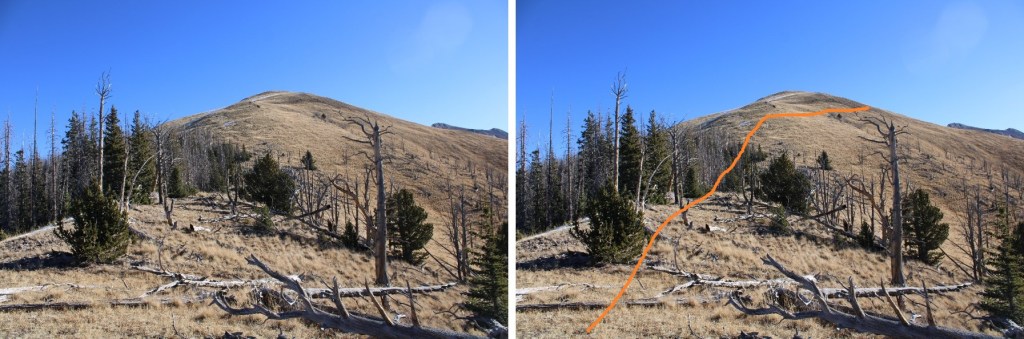
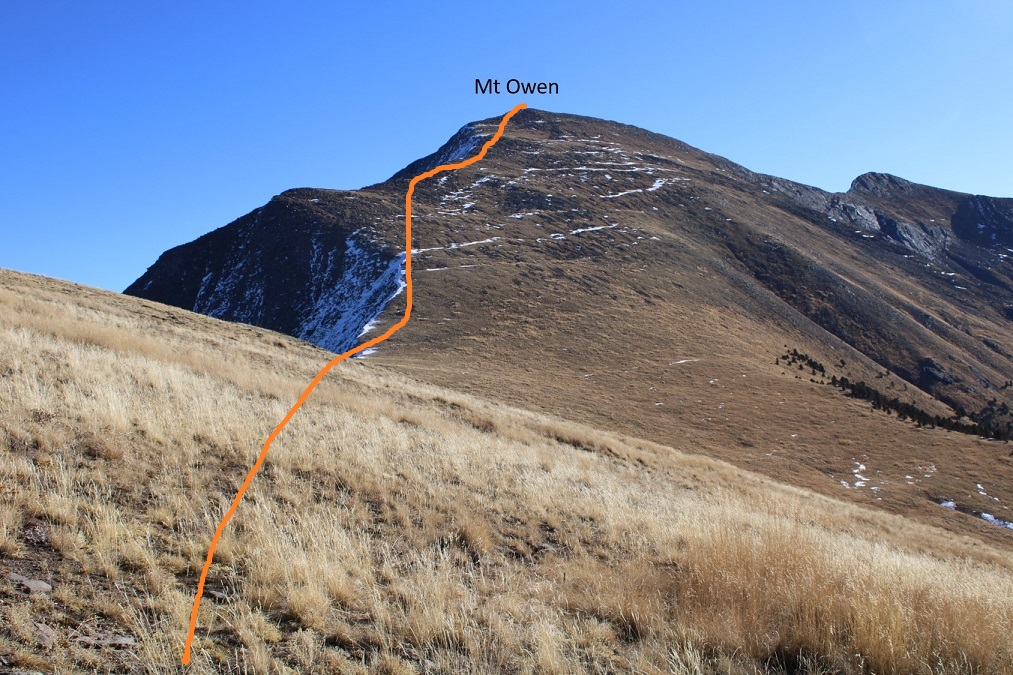
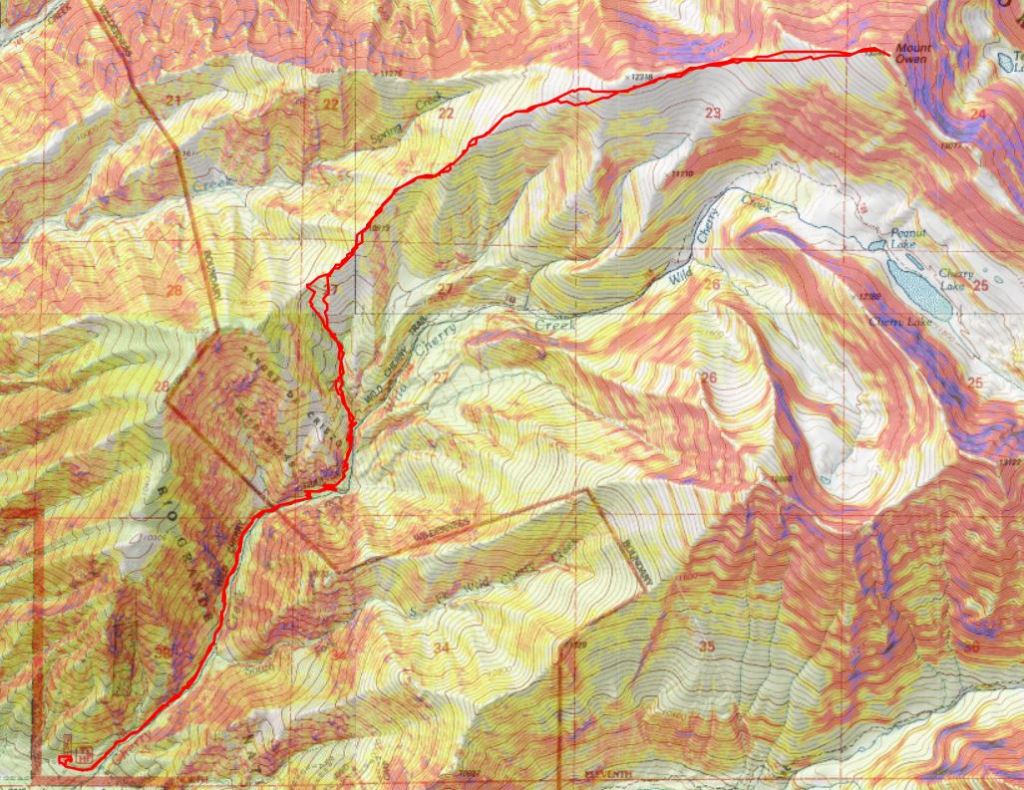
From the saddle, I gained 1100’ in .8 miles to the summit.  Here’s the route I took

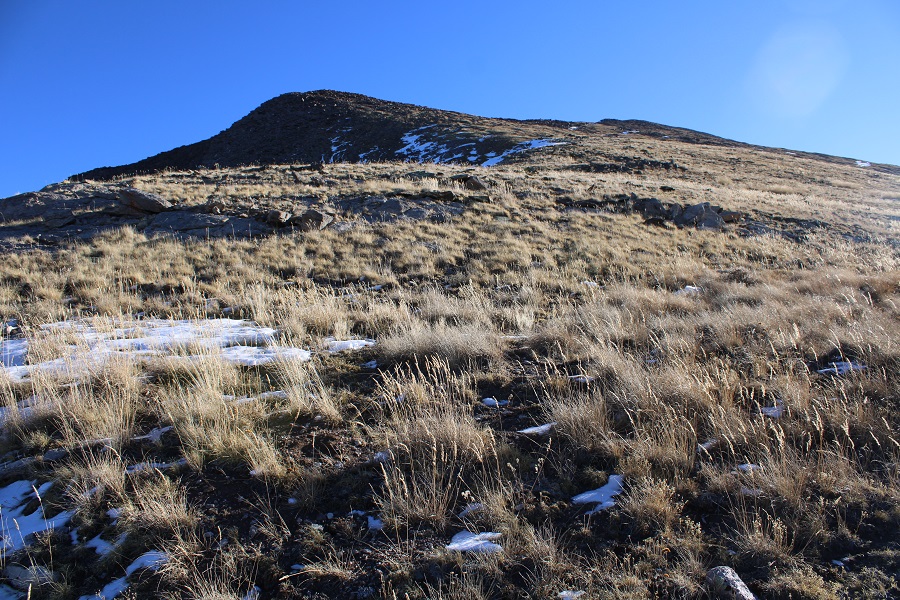
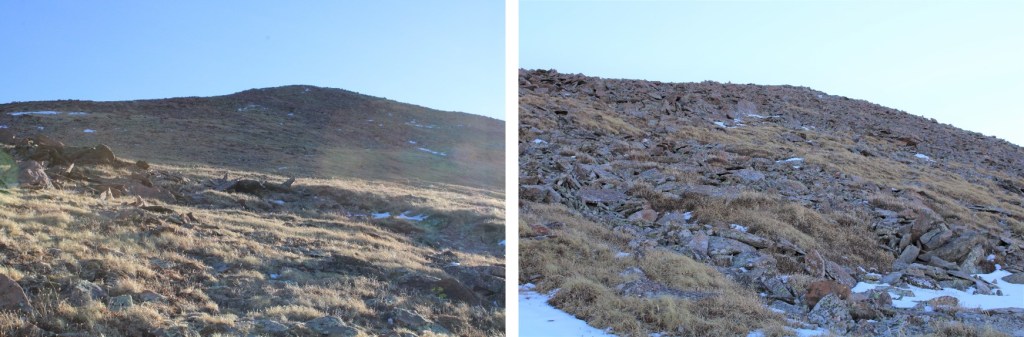
And some step-by-step pictures.  It started out as tundra, and then became a bit rocky, but all class 2

I summited Mt Owen at 8:40am

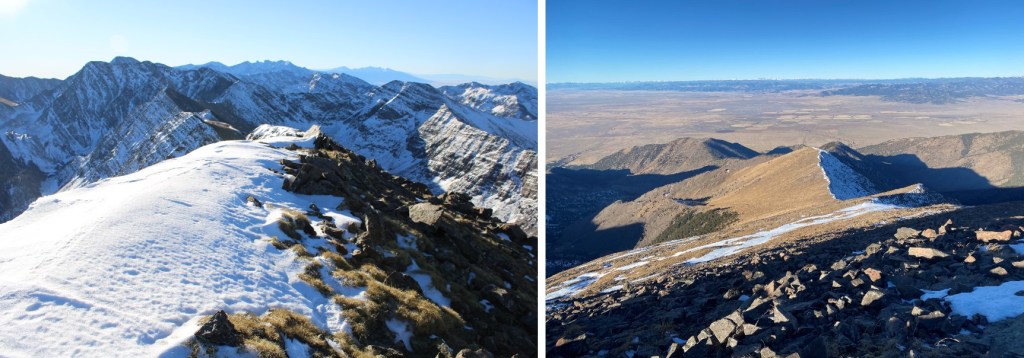
Mt Owen:  

We’ve had some snow recently, but it hasn’t been sticking much in the Sangres. It’s always interesting to see the difference between the snow on the north versus south sides of the peaks in early season.

I was 20 minutes ahead of schedule, but that wasn’t enough time to make this a loop, so I turned and re-traced my steps back to treeline.

This small rock outcropping is a great visual.  Stay just above the rock and you’re at the perfect elevation go skirt the mountainside and head towards the ridge down.

Make sure you choose the correct ridge to hike down. It’s the one nearest PT 10995, which is the largest point you can see, making it easy to notice, but also easy to miss if you haven’t been paying attention.

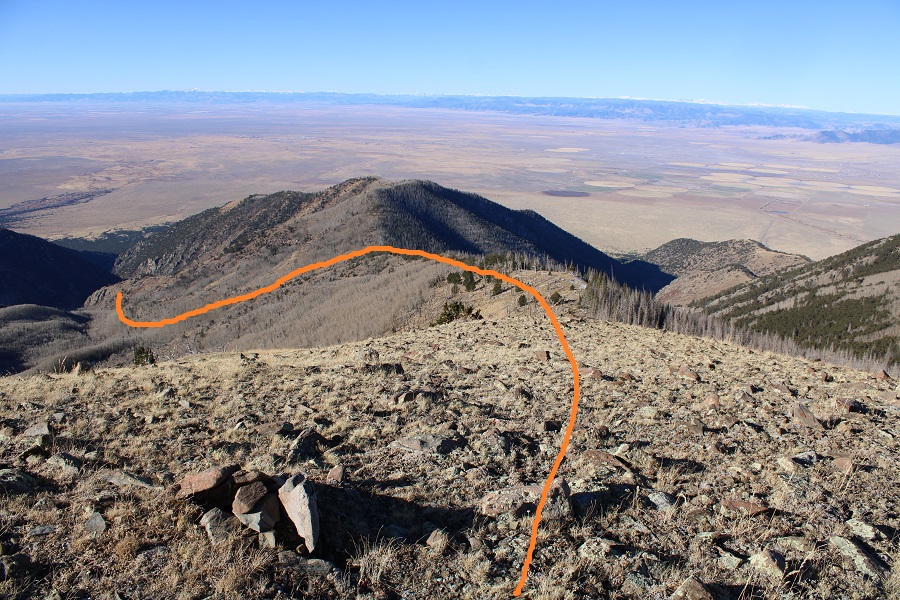
Here’s the route from the ridge back down to the trail

And some pictures of the ridge

Once at the lowest point on the ridge, I turned left, and headed south, following the drainage back towards the trail.  Once again, if you’re doing this, stay in the grassy area.  I… stayed in the trees.  I didn’t have a great visual, but I could hear the creek ahead of me, so I just aimed south, towards the creek

There was a little bushwhacking involved, but I easily found the trail, and followed it back to the trailhead.

I made it back to my truck at 11:30am, making this a 12.21 mile hike with 5049’ of elevation gai in 6 hours, 50 minutes. 

And now, back home to hike with some enthusiastic young adventurers!

Mountain Boy Peak – 13,198 & Igloo Peak – 13060

RT Length: 6.78 miles

Elevation Gain: 2151’

I wanted to get in one last peak before Interdependence Pass closes for the year.  I was supposed to hike this peak o Tuesday, but weather was coming in, so I changed my plans and hiked it Monday morning instead. 

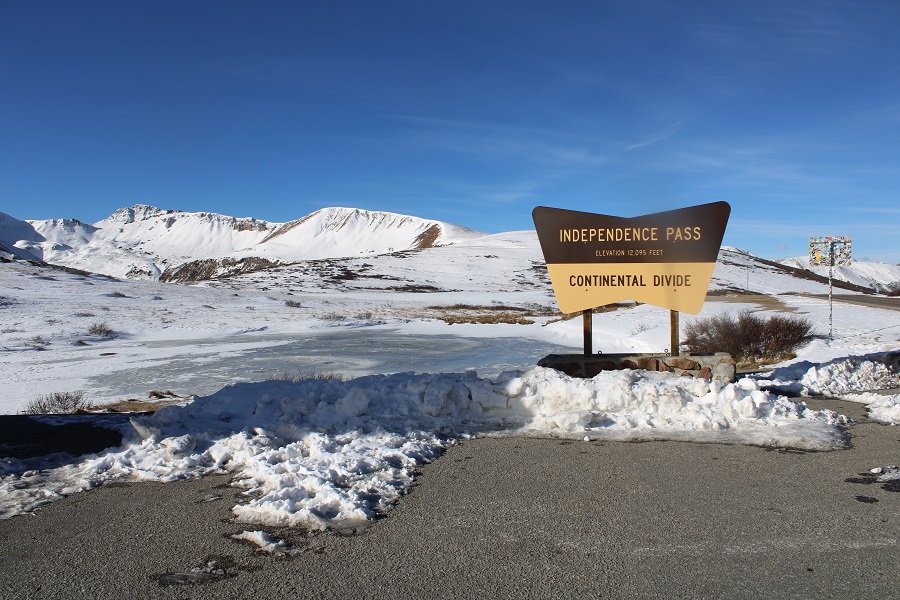
I made it to Independence Pass and was on the trail by 5:30am.  Side note:  I was here October 25th, and the bathrooms were closed for the winter.

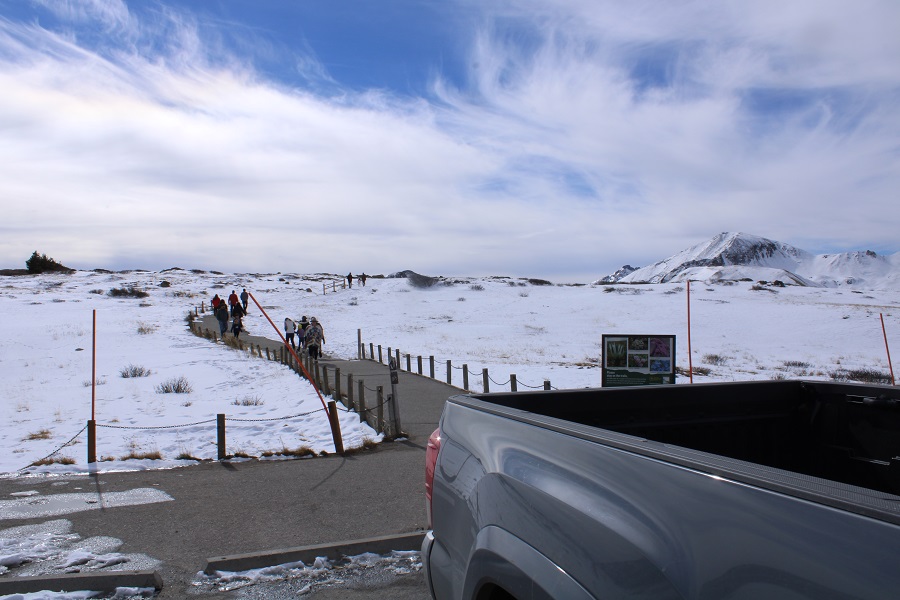
Obviously, mine was the only vehicle in the parking lot that early in the morning. The trail is obvious, and starts by heading south on a paved trail.

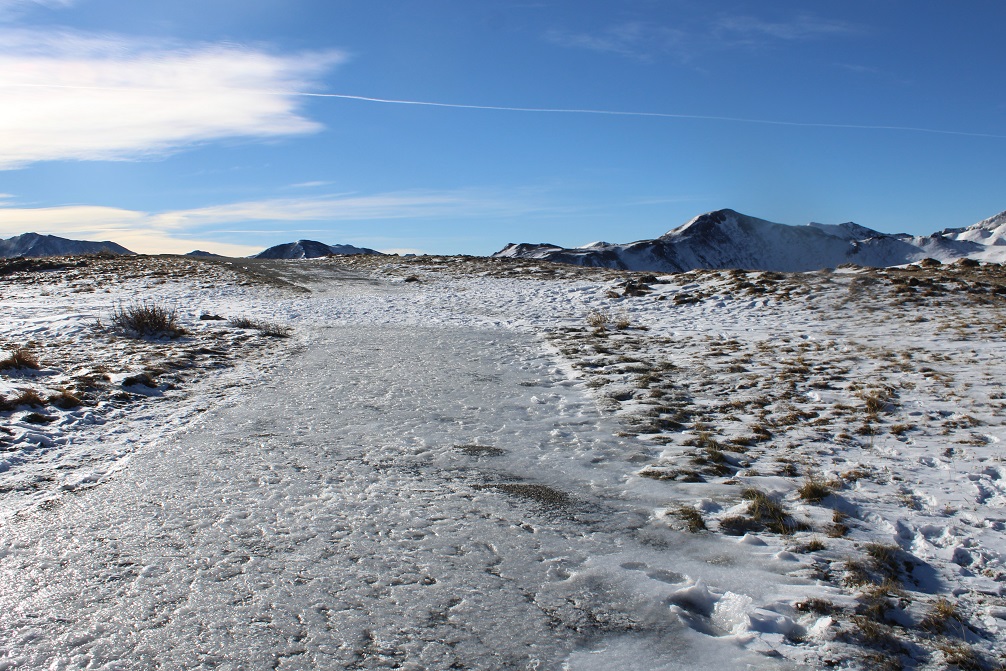
I’ve never been in this area in summer conditions, so I’m not really sure when the trail becomes a trail and no longer paved, but I know I was off pavement pretty quickly, heading west.  This morning, before making it to Igloo Peak, snowshoes were needed some of the time, overkill most of the time.

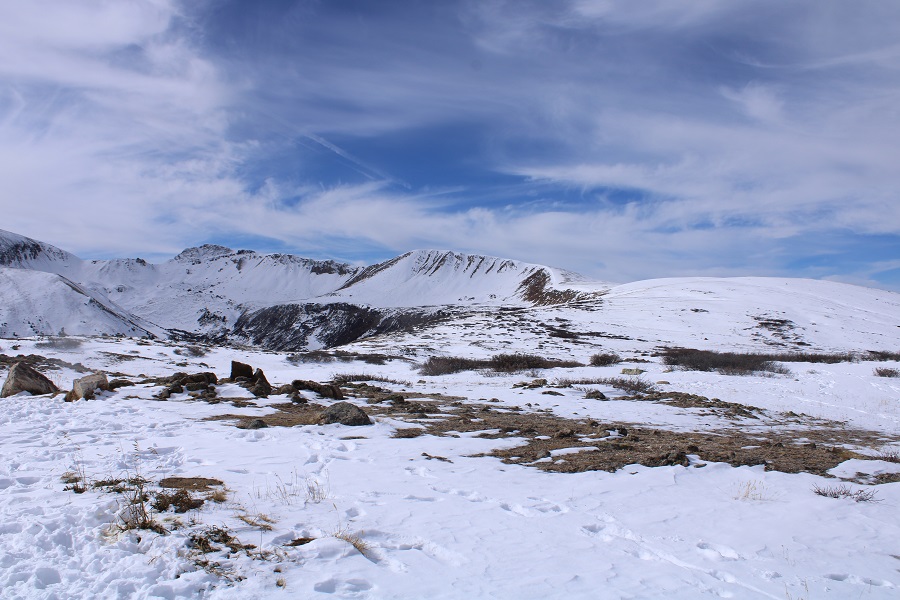
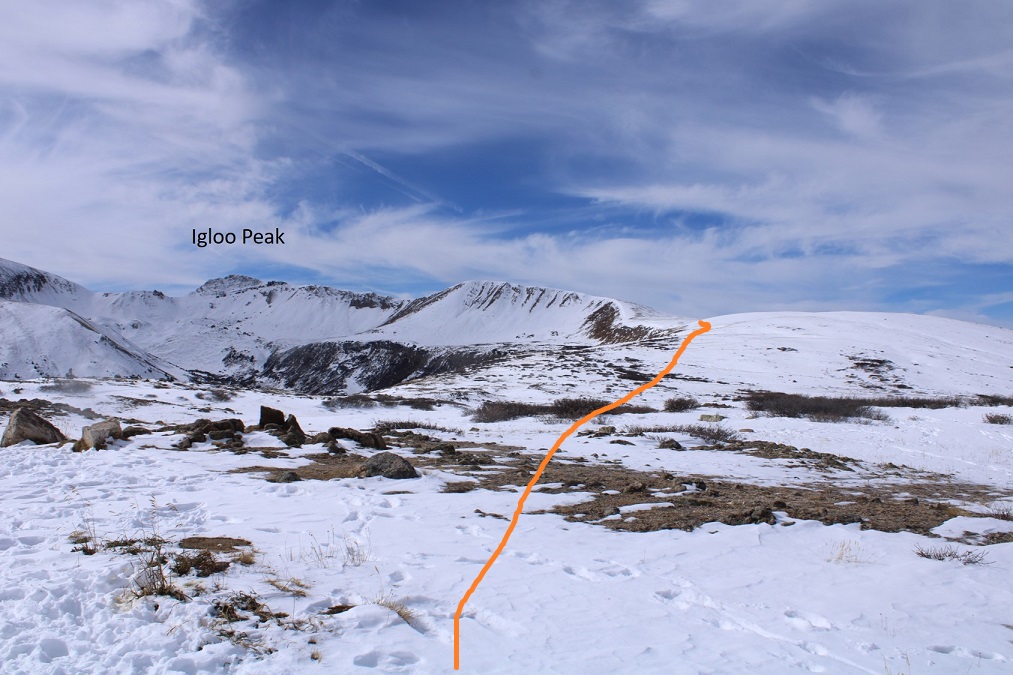
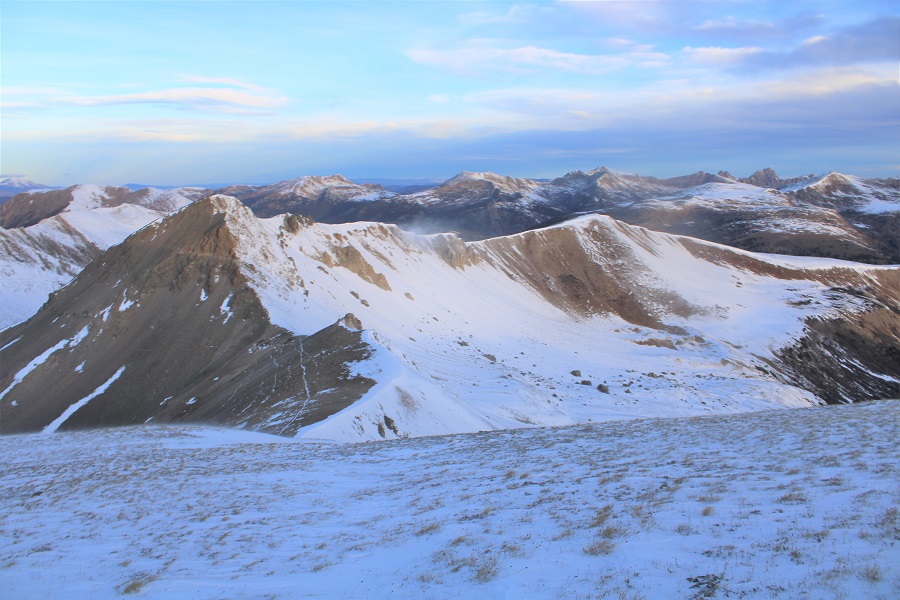
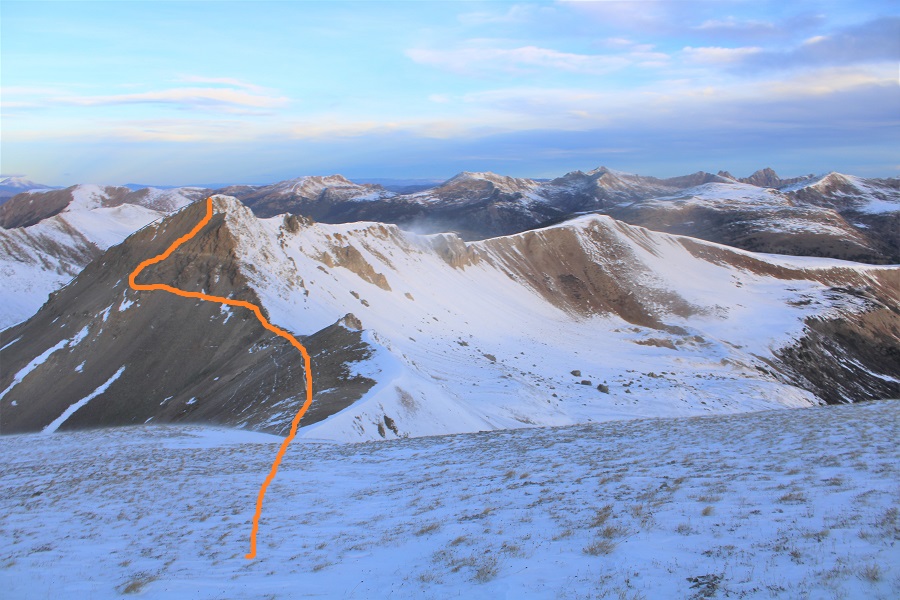
Here’s an overall view of the route to the ridge

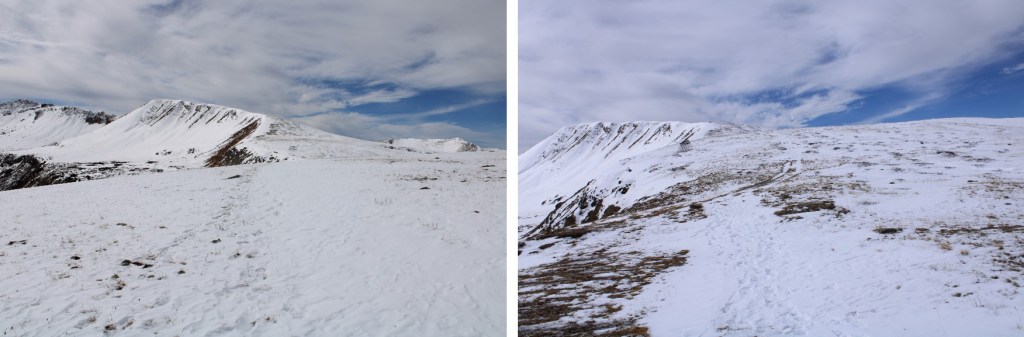
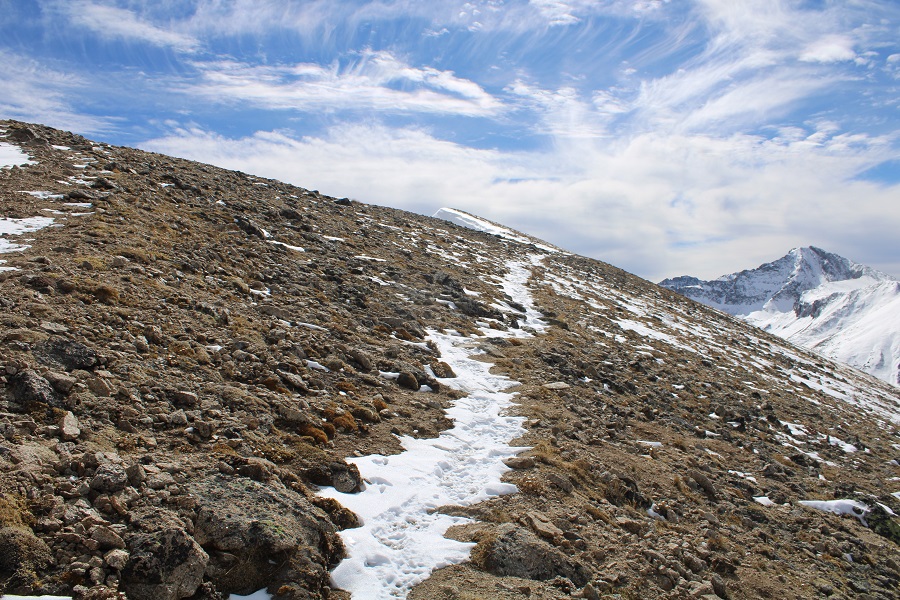
I headed towards the ridge, following an obvious route, which I am sure is class 1 in the summer.

As you can see from the pictures… obvious route.  If it’s not obvious when you’re here, follow the contour of the ridge.  It’s all tundra.

The route becomes briefly class 2 here

This is very easy to navigate

And then it’s back on a class 1 trail again

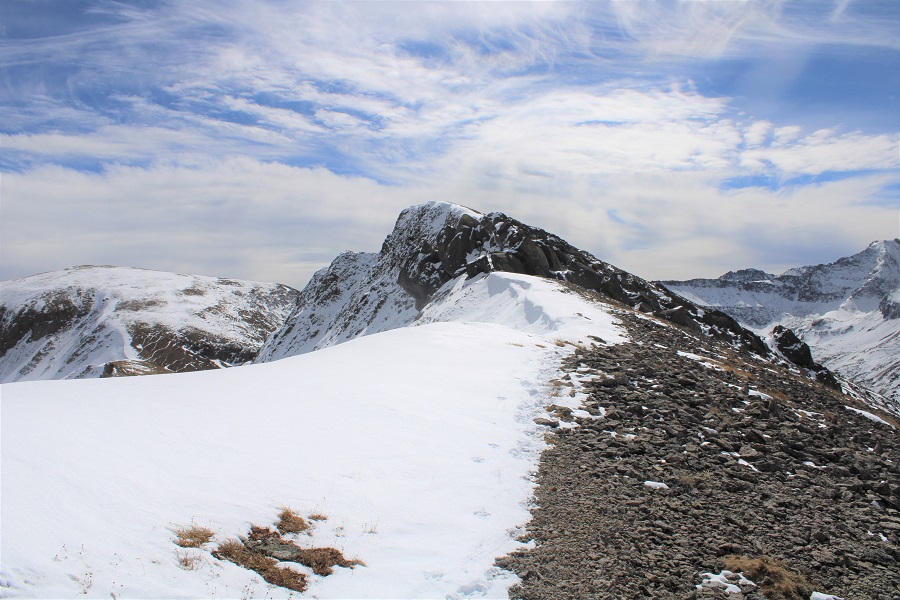
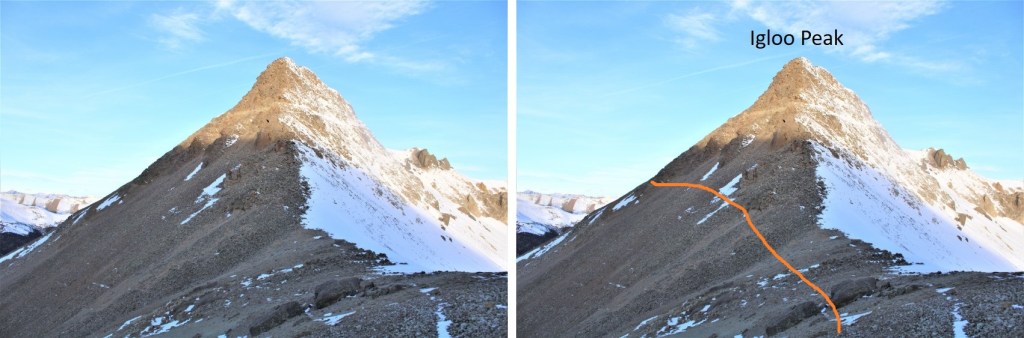
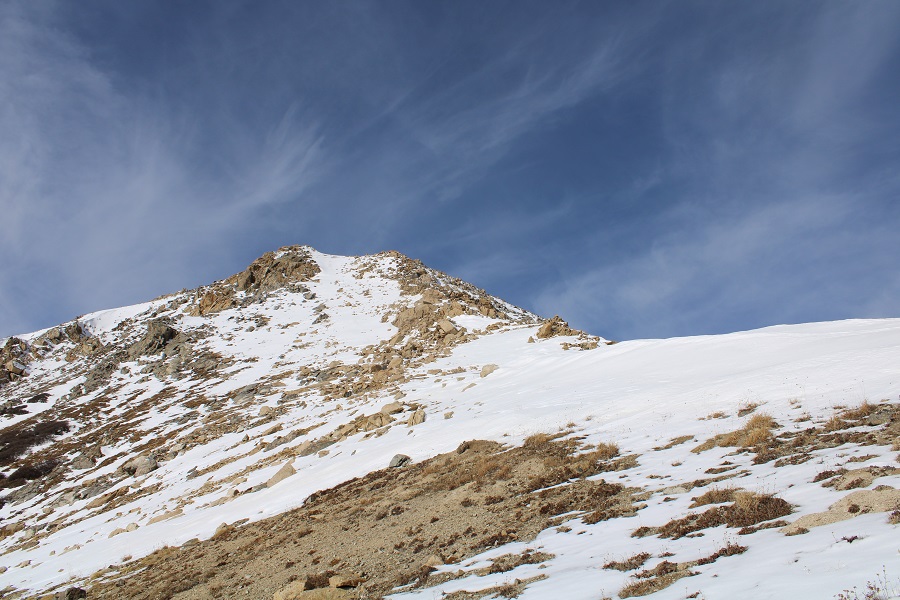
If you stay on the trail, the summit will be obvious

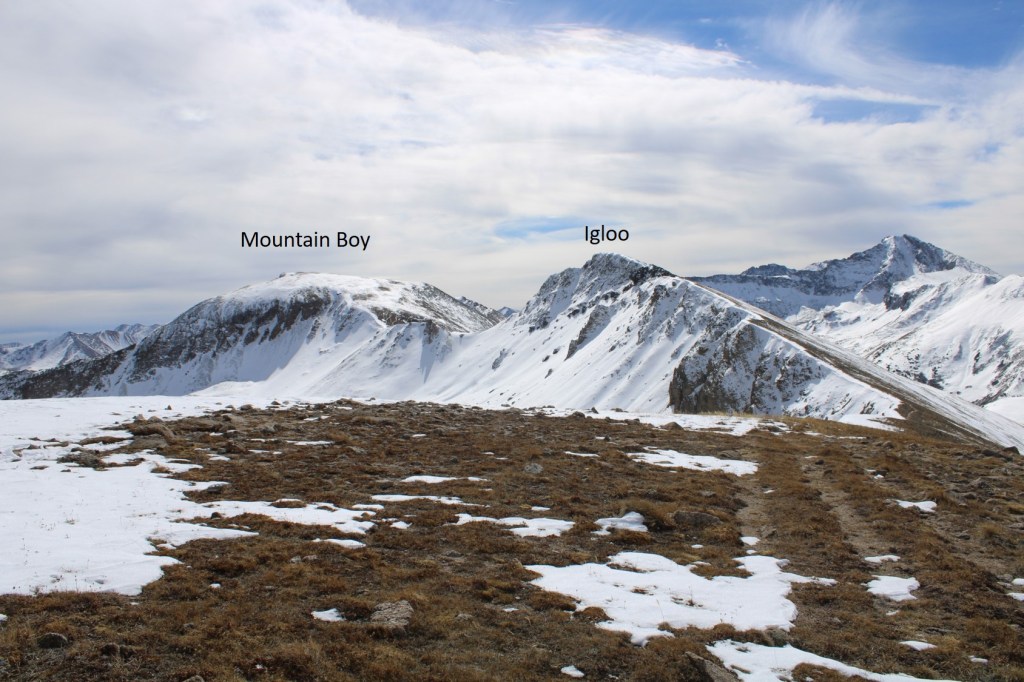
Here’s Mountain Boy from Igloo

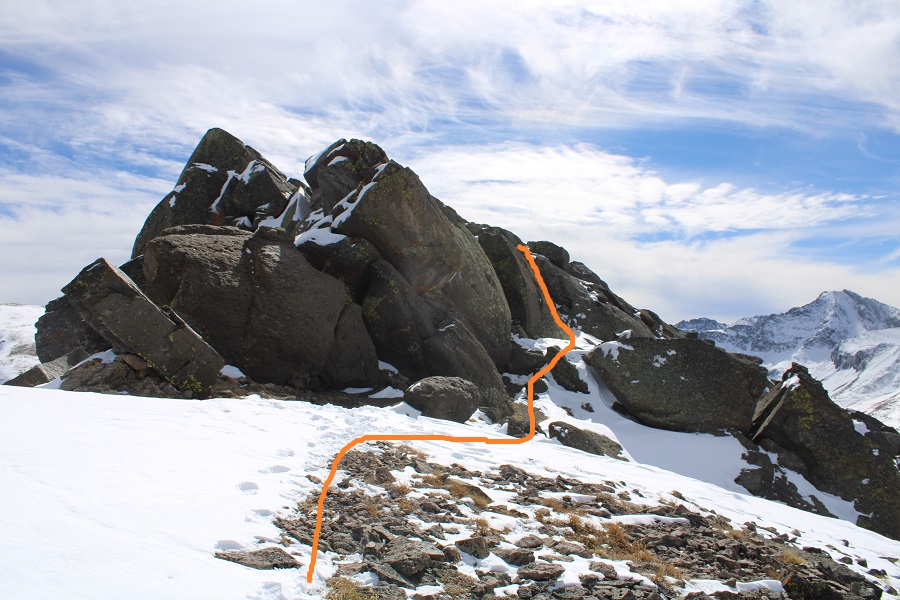
From the summit of Igloo Peak, the trail towards Mountain Boy immediately gets fun.  It’s class 2 from here on out, with one brief class 3 move (or two… it’s a chimney).  Now is a good time to put on your microspikes.  I continued southeast, heading down this briefly class 3 chimney

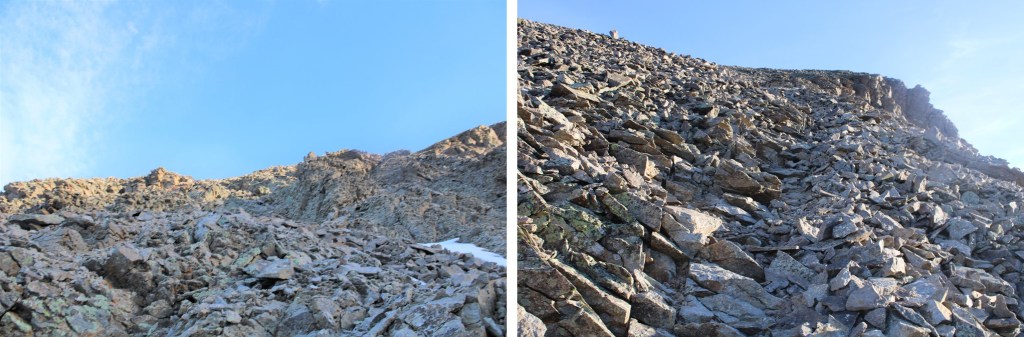
The rock will be loose until you make it to the saddle. 

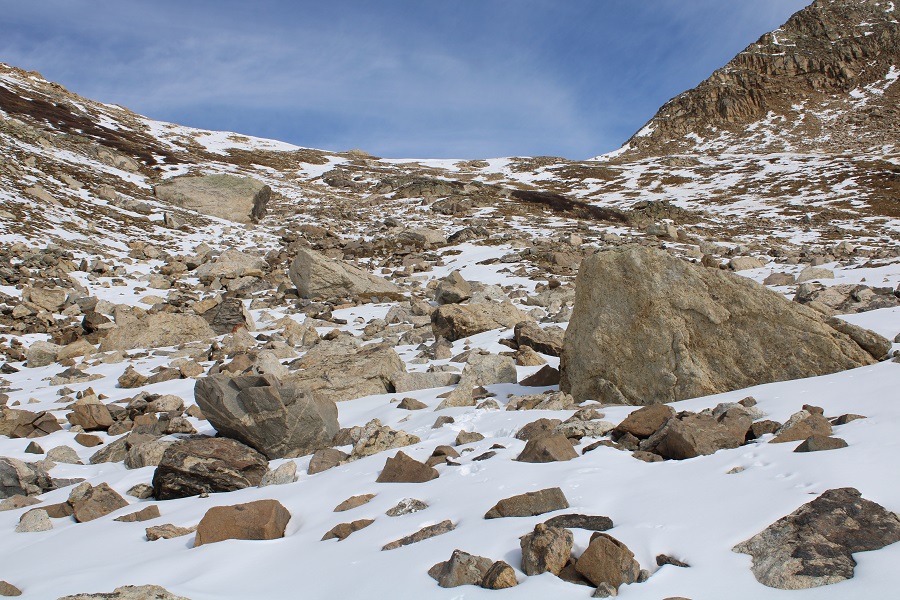
In order to get to the saddle, I headed straight south, down these scree/loose-rock filled gullies

The sun was just starting to rise at this point.  Alpine sunrises are the best!

Since the sun was still rising, my view wasn’t that great.  Here’s what I saw as I was descending, following the contour of the drainages.  This is choose your own adventure, but it’ll be obvious when the drainages end.  Don’t descend too early.

It’ll also be obvious when it’s time to head towards the saddle.  There seem to be several social/game trails here.  I chose to stay high, about level with the saddle, and didn’t regret it.

Once at the saddle, there were still a ton of social/game trails.  I chose the one closest to the ridge.  From the saddle, it was an easy hike to the summit of Mountain Boy Peak on scree/tundra

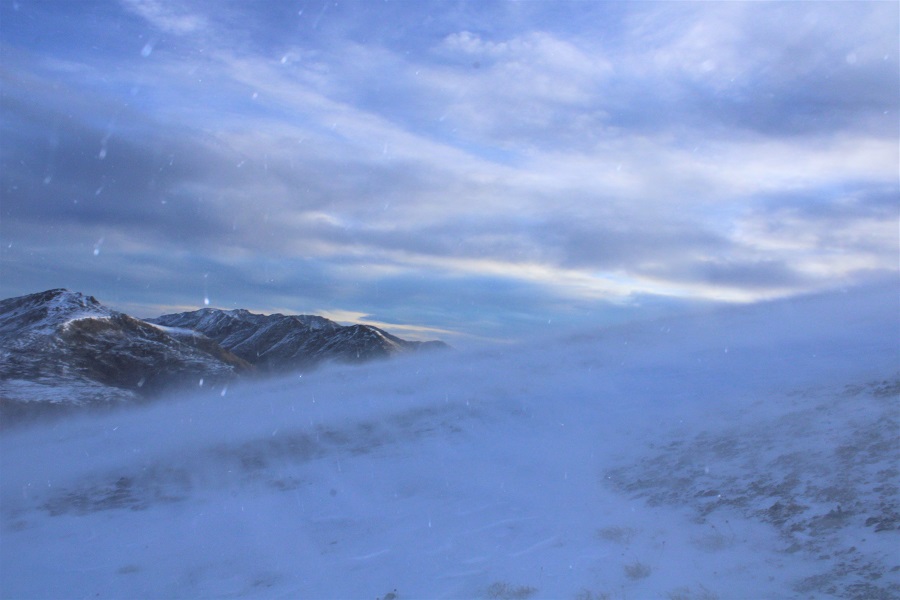
Easy, except for today’s wind!!!  It was relentless, and difficult to catch I pictures/on video at its worst.  This doesn’t begin to describe the gusts

Wind on Mountain Boy: 

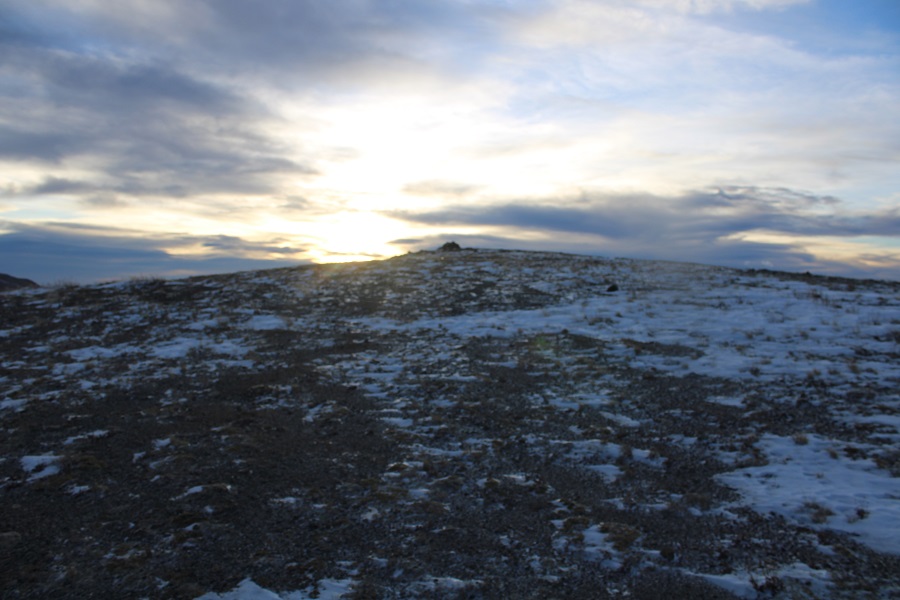
The summit is obvious, marked by a cairn

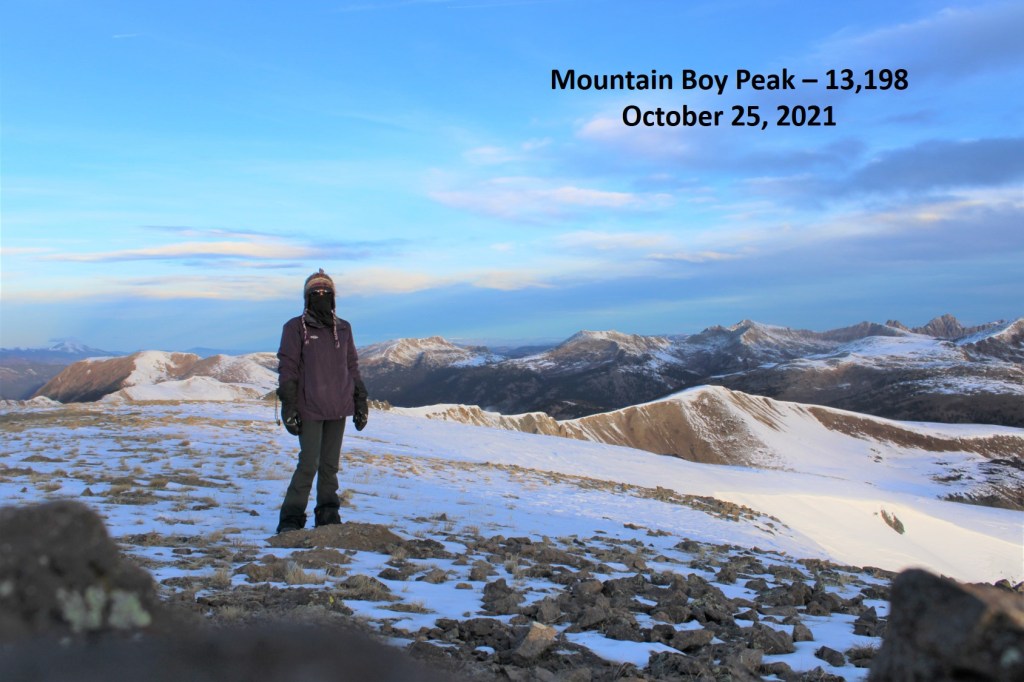
I summited Mountain Boy Peak at 7:45am.

Mountain Boy Peak:

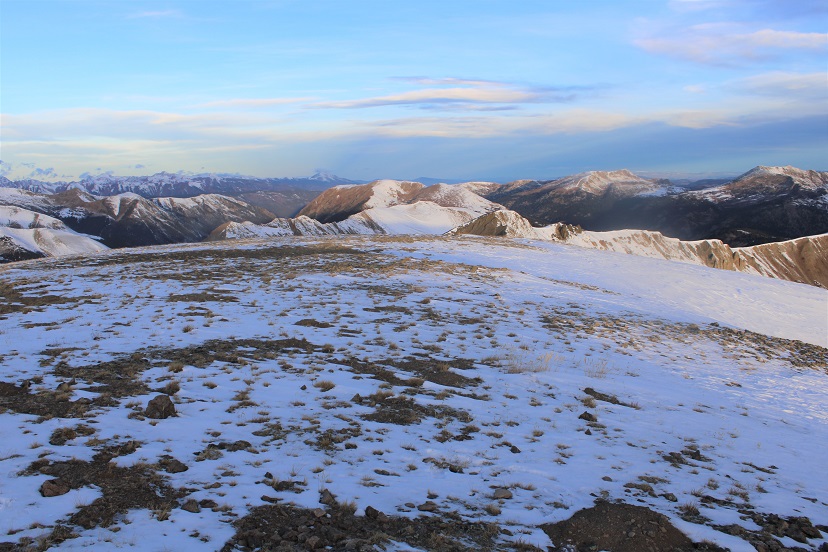
The views of Grizzly Peak were stunning!

I turned and retraced my steps back to the Mountain Boy/Igloo saddle

Here’s the route I took back to Igloo, which is the same route I took down.  Microspikes are helpful here, as it’s kitty litter in some areas.

Here are some close-up pictures of the route back up to Igloo

And back up those scree/rock gullies

And up that quick chimney to the peak

I re-summited Igloo Peak at 8:25am

Igloo Peak:

The trek was easy back to the trailhead in the daylight

I made it back to my truck at 9:15am, making this a 6.78 mile hike with 2151’ in elevation gain in 3 hours, 45 minutes

Side note:  I didn’t have my microspikes.  Well, I did, but they fell out of my pack when I took off my snowshoes, and I didn’t realize this until they were needed.  So, when I went to find my microspikes, just before the kitty litter area on the south side of Igloo Peak, they weren’t in my pack.  But I really could have used them!  Especially on the snowy ascent/decent of Mountain Boy Peak. The kitty litter areas were so much more difficult than they needed to be without spikes as well.  I cursed myself the entire time, thinking I’d lost them for good and vowing to buy new ones on my way home as soon as I got cell service.  The reason my track shows movement near Igloo Peak is because, on my way back I realized when I must have lost them and went looking for them.  I found my microspikes, along with a whiskey flask I hadn’t realized I’d lost, just before the summit of Igloo Peak.  From now on, they’re going INSIDE my pack, not in the cup holder of my backpack (I know, I know, not the best decision).

East Buffalo Peak – 13,300 & West Buffalo Peak – 13,326

RT Length:  11.95 miles

Elevation Gain: 3489’

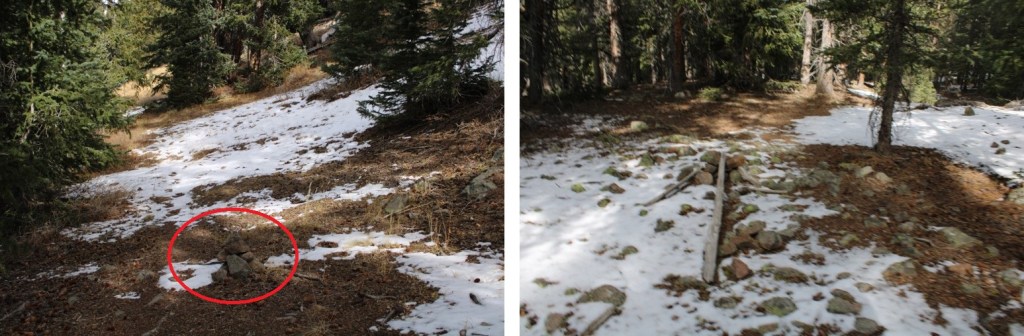
It was an easy 4WD road to the trailhead.  I was surprised I hadn’t seen a single vehicle on the long drive in.  There weren’t any cars parked at the trailhead, but the dispersed campsite was free, so I parked there, being sure to leave room in case anyone else wanted to camp. I read a bit, tried to eat (and failed), sipped whiskey, watched a curious camp robber, and once again, got to bed early.  The trailhead was just to the west of where I parked (trailhead circled in red)

I woke up hungover.  Or, at least, I felt hungover.  I hadn’t had enough to drink last night to give me a hangover, but here I was, with a pounding headache.  Probably has something to do with the fact I have a difficult time eating while I’m hiking, and I’d already hiked 7 peaks above 13K in the past 2 days.  On the positive side, I wasn’t cold this morning: that’s two mornings in a row!  It was 38 degrees.  I slowly gathered my gear, forced down a breakfast bar, and was on the trail at 6:30am, trudging slowly.  It was going to be a long day.

I made my way towards the trailhead (now with a vehicle parked there I hadn’t heard drive in), and followed the trail southwest to a closed 4WD trail.

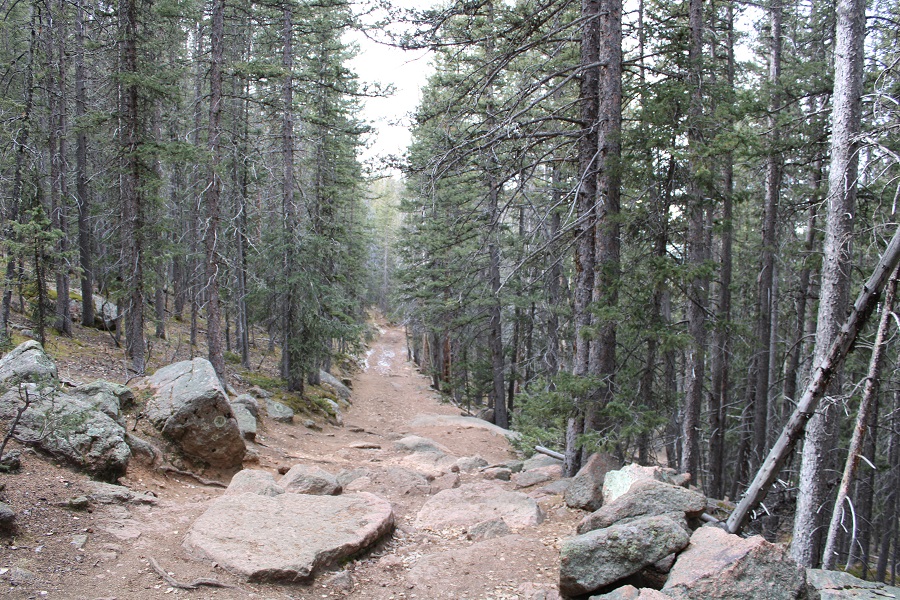
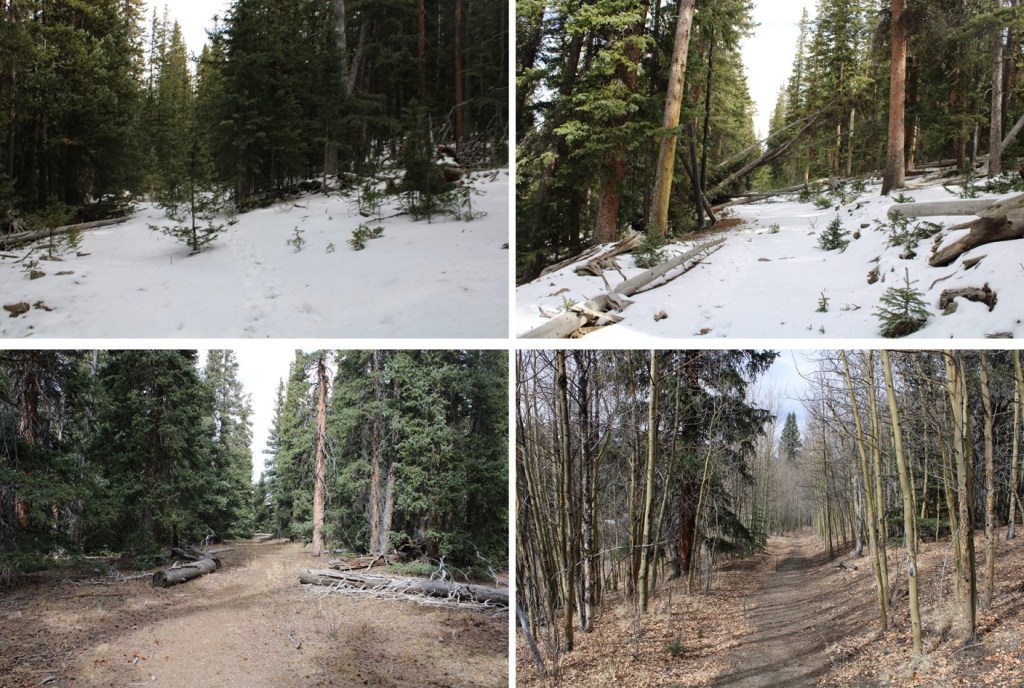
This road obviously hadn’t been in use in quite a while, as there were trees growing directly in the middle of the road, and large trees that had fallen across it years ago

I followed this 4WD road for 3 miles, almost to treeline.  As the sun came up, crows started cawing.  They must have known about my headache. Also, this is when I realized I’d forgotten my sunglasses.

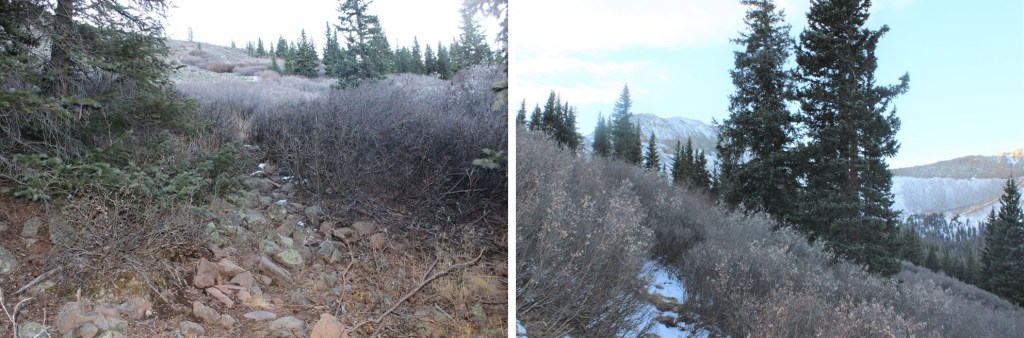
There was one set of tracks on the trail, which ended when the road ended.  When the 4WD road ended, the cairns picked up.  Initially, I’d wanted to hike West Buffalo Peak first, but I wasn’t able to find a marked route.  So, instead I took a visual of how I wanted to head back, in case there wasn’t a route, and followed the cairns south that would lead me towards East Buffalo Peak instead.  The cairns initially brought me to willows.  These willows were easy to navigate.

Once out of the willows, I was on tundra.  There were still cairns to guide the way.  I was heading south to the ridge. 

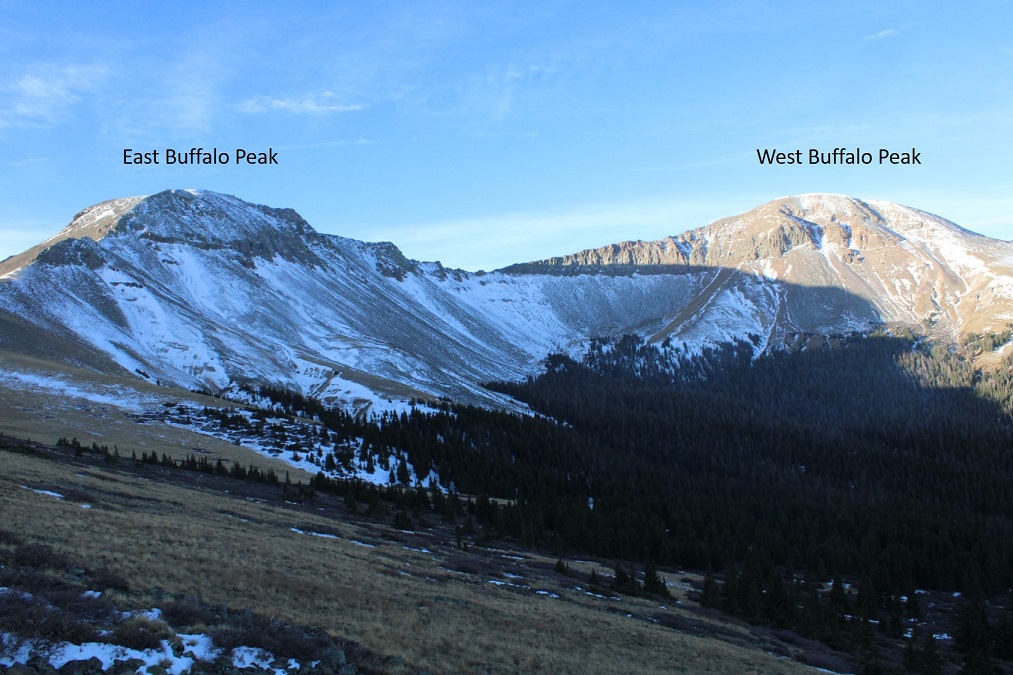
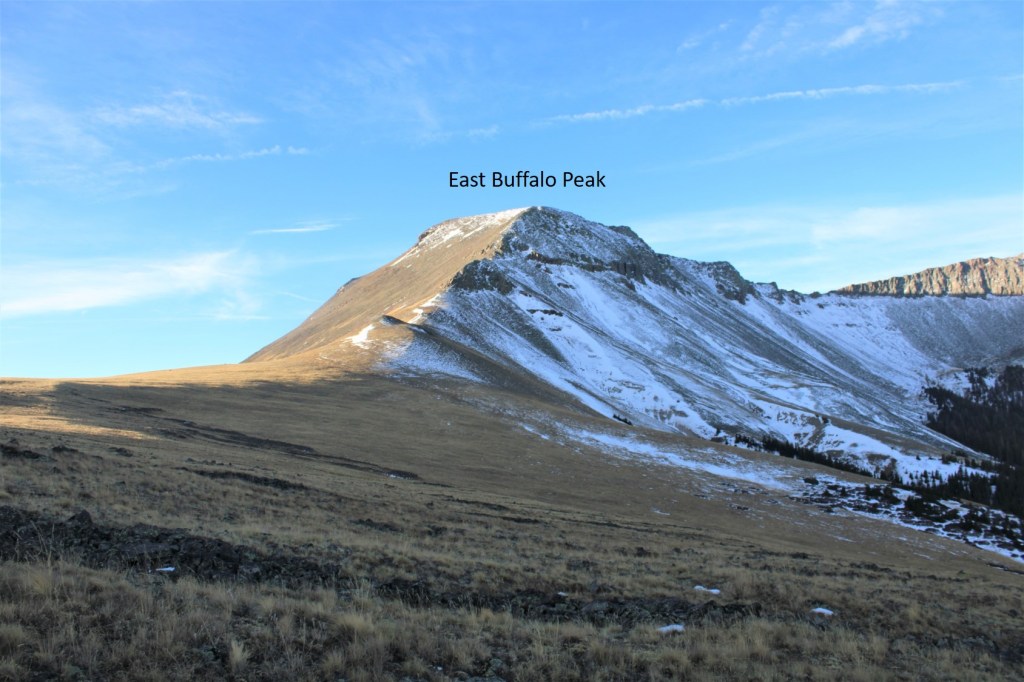
As I was ascending the ridge, I could see East and West Buffalo Peaks

Ok, back to that tundra ridge

Once near the top of the ridge I turned right and headed southwest towards East Buffalo Peak

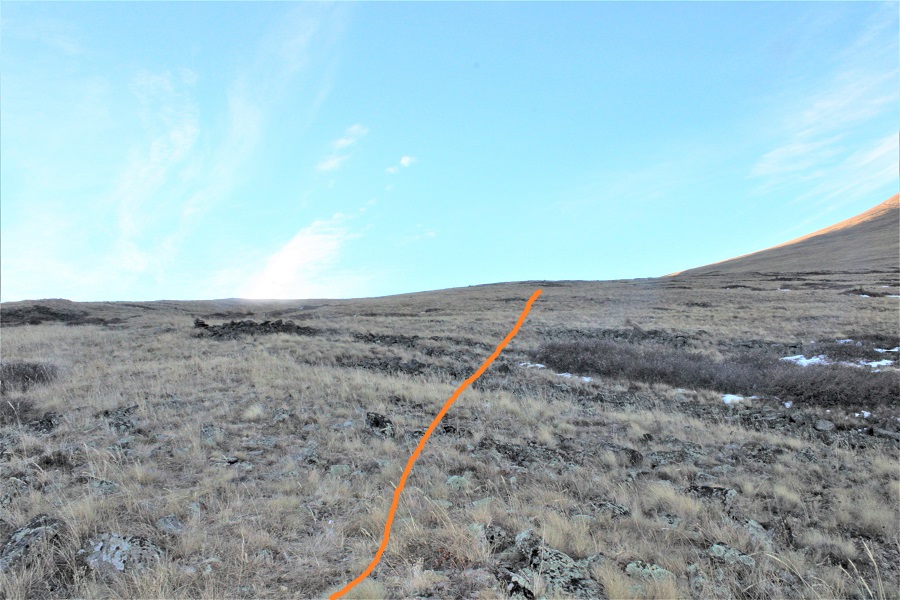
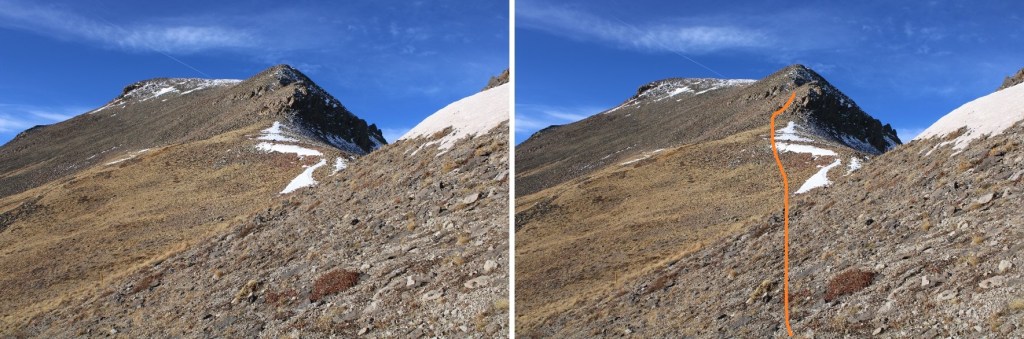
Here’s the overall route I took up the ridge

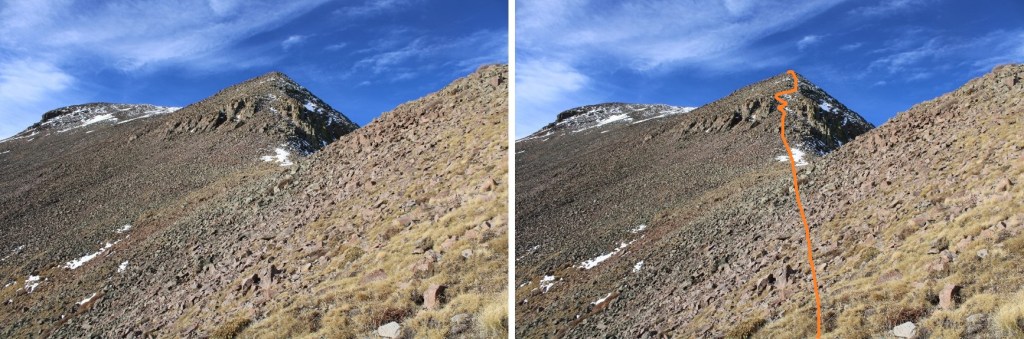
And some step-by-step pictures.  First, I skirted the initial hump to the left

Next, I continued to stay just a bit left, rounding the south side of the ridge

From here on out, I stayed right in the middle of the ridge.  It looked like there were game trails here, but they were half-covered in snow.  The rocks were a bit loose, but this was no more challenging than difficult class 2.  I still had a headache, so I decided to drink water, something I rarely do while hiking.  Where there was snow, I re-filled my water bottle.

I topped out and it was an easy walk on tundra and rocks to the summit, heading southwest.

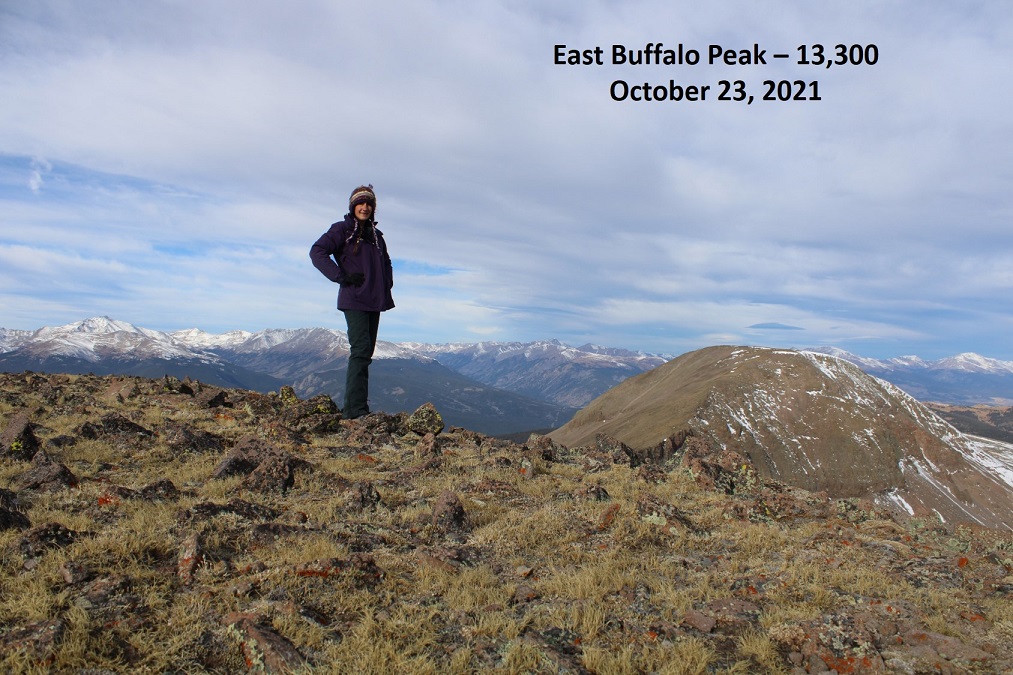
The summit was large and flat and the summit was at the far west end of the summit area, marked by a large cairn.

I summited East Buffalo Peak at 9:30am.

East Buffalo Peak:

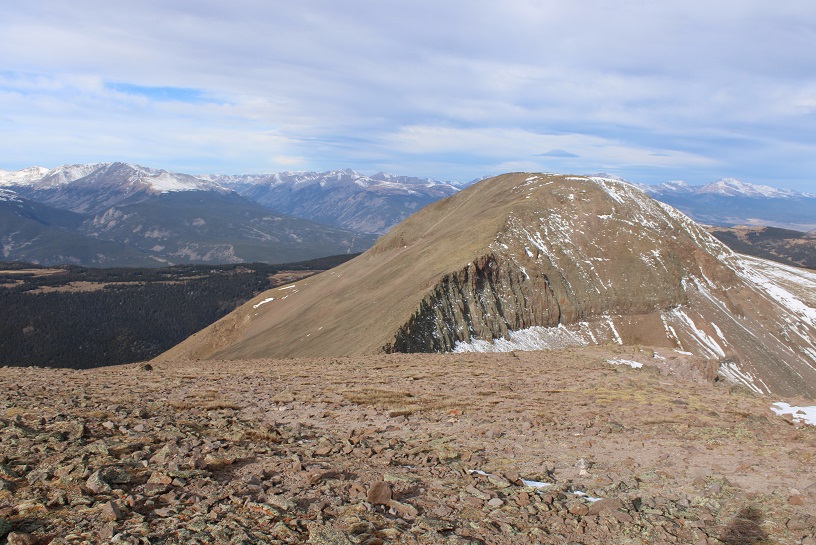
From East Buffalo Peak, West Buffalo Peak looks like a straightforward ridge hike.  To be honest, it wasn’t any more difficult than class 2, but it was a little harder than it looked.

I started out by following the ridge west, and came upon some drop-offs. These were easy to navigate

I made my way to the saddle on tundra.  What had initially looked like a rocky ridge was in fact, a very rocky ridge.  I stayed a few yards from the ridge proper to the left.

Here are some step-by-step pictures of the ridge up to West Buffalo Peak

I was initially worried about this area circled in red

However, while it was loose shale, I was able to go straight up and over the top without any difficulty.

From there, it was an easy stroll to the summit of West Buffalo Peak. 

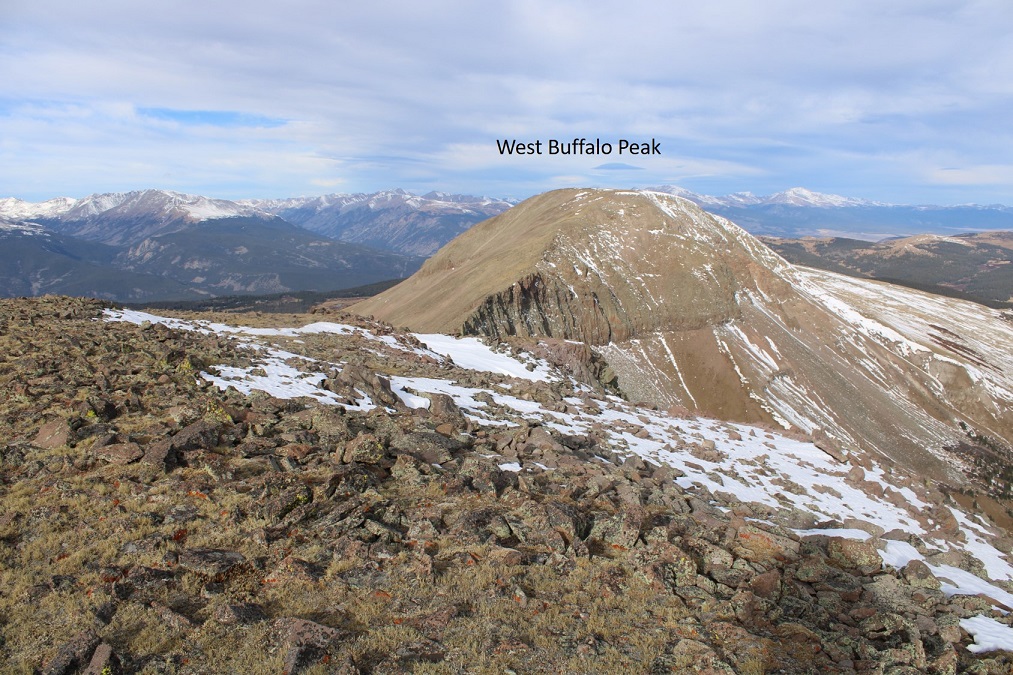
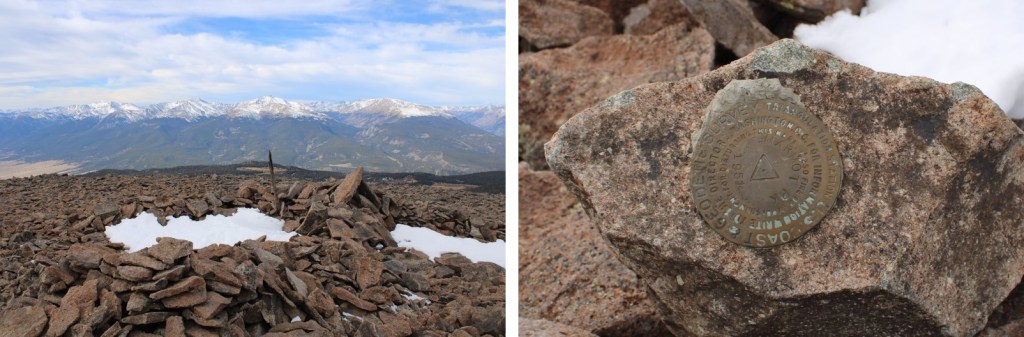
The summit is at the very west end of the peak.  There’s a wind break here, and a summit marker (which says “Marmot Peak”)

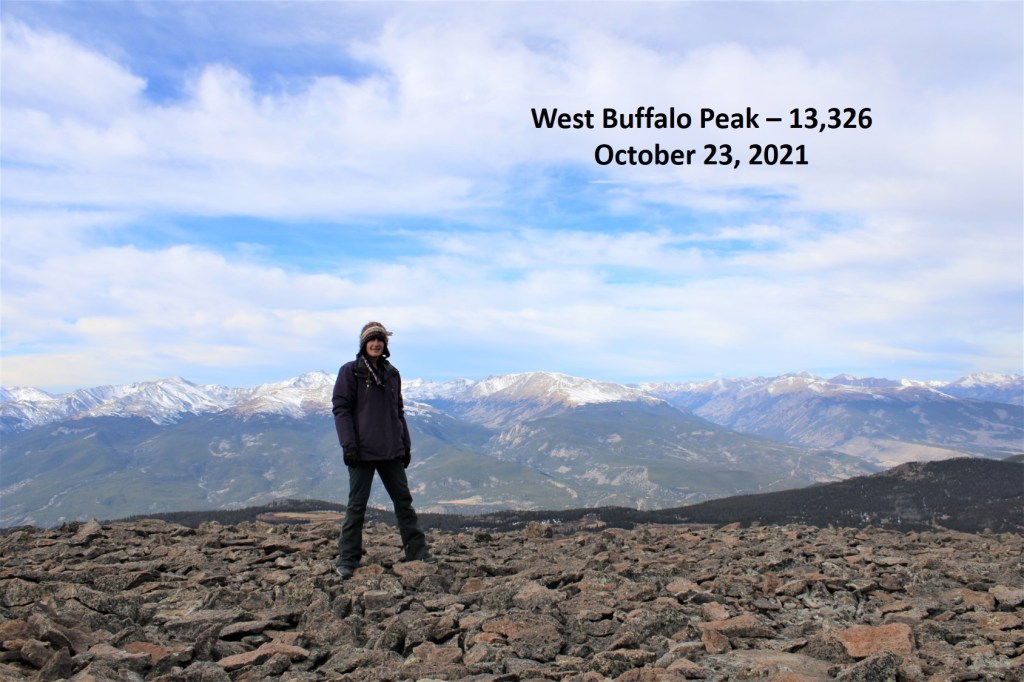
I summited West Buffalo Peak at 10:30am

West Buffalo Peak:  

(Sorry about the orientation:  I didn’t realize it when I took the video, and now it’s a pain to fix it…)

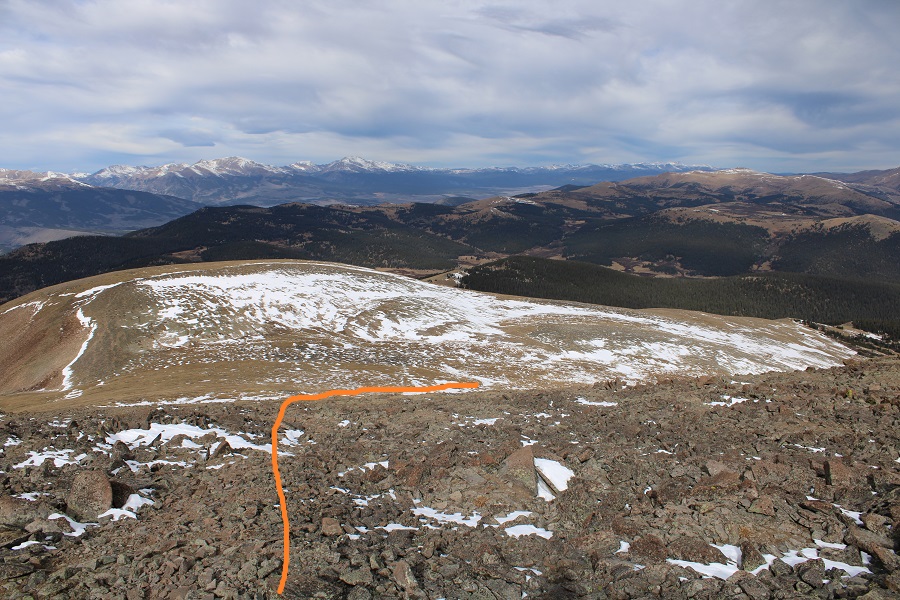
I was making this a loop, so I turned and headed northeast, just for about .13 miles. 

Then I descended the ridge, heading northeast towards the 12917/West Buffalo Peak saddle, and then turned right and headed east.

I was hoping to pick up cairns here, similar to the ones I found hiking up East Buffalo Peak, but wasn’t able to locate any.  I wanted to hook back up with the 4WD road.  Much of the route would be below treeline, and in current conditions lined with snow, so as I hiked east, I visualized where I wanted to end up and got out my compass.

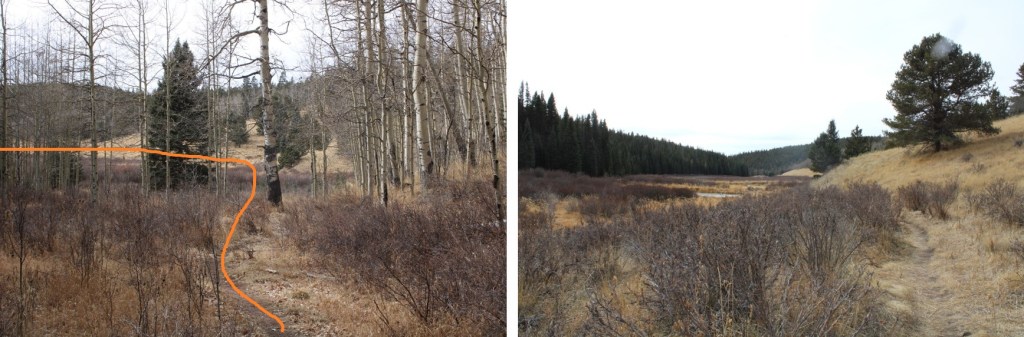
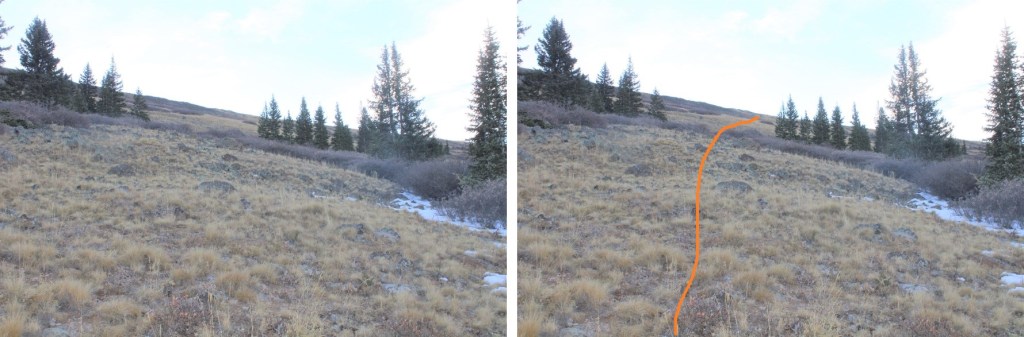
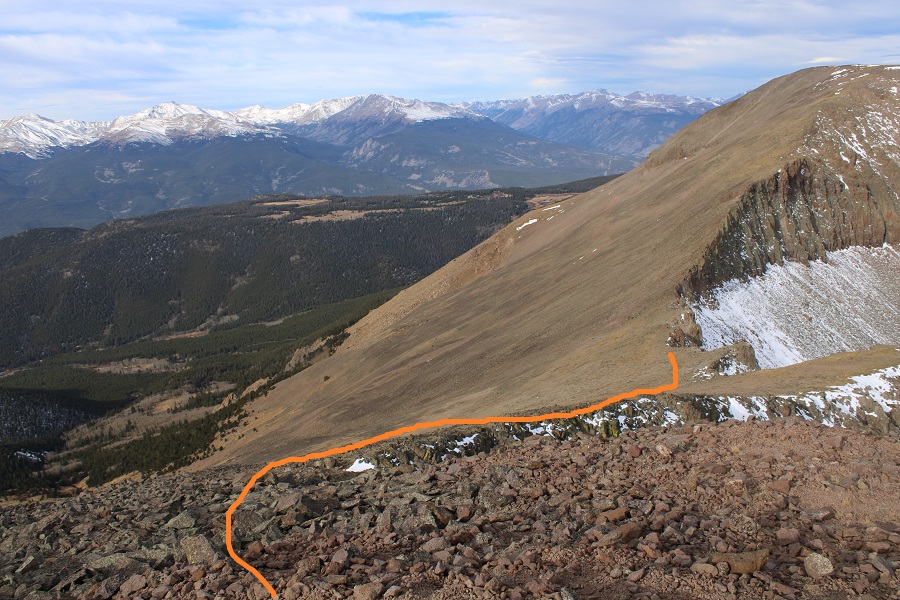
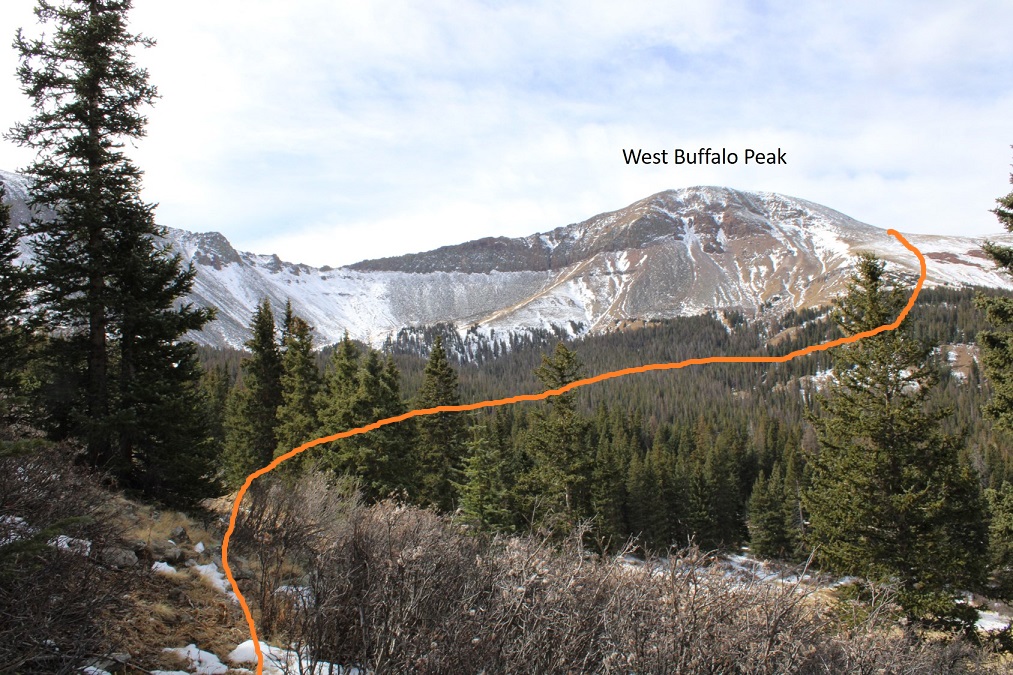
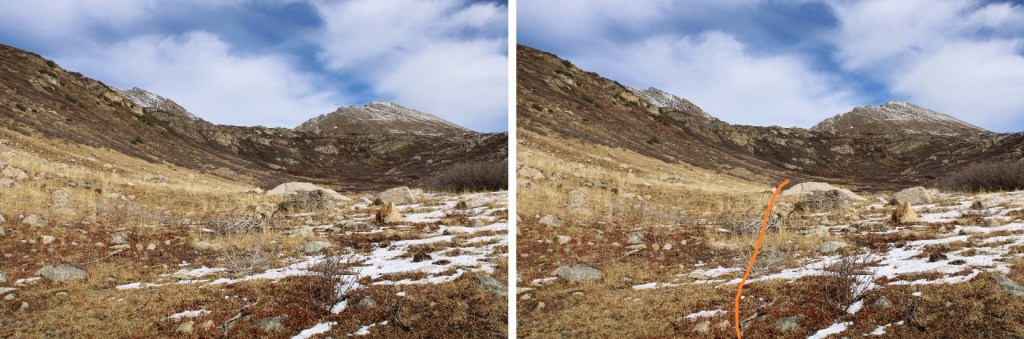
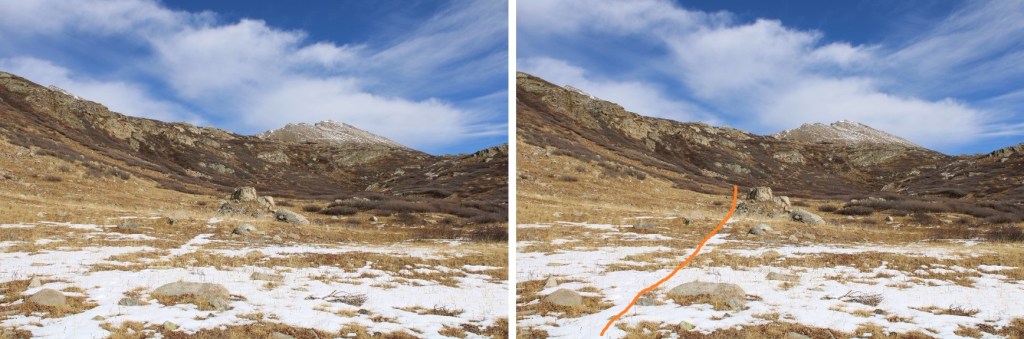
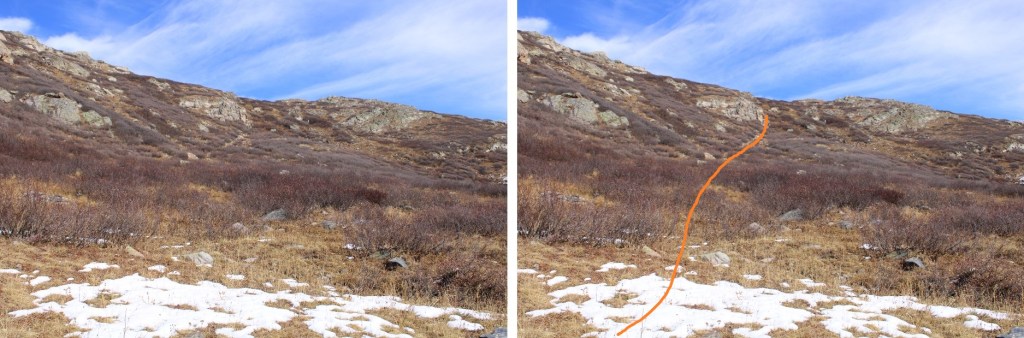
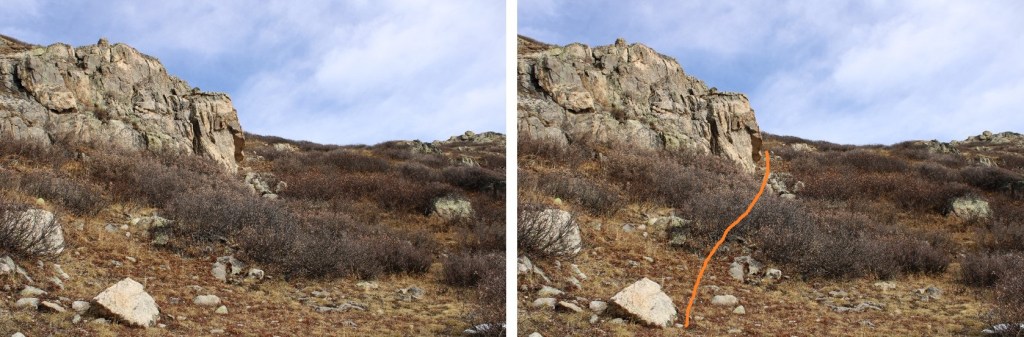
The orange line is how I ascended the ridge to East Buffalo Peak this morning.  So, from where I was at, I needed to aim towards the meadows.

Much of this route is below treeline, so pictures won’t be that helpful.  Here’s an overview of the route I took to get to the meadows.  Once at 11650’, (and crossing a drainage) I did my best to stay at around that same elevation, skirting the mountainside, heading towards the meadows. There were some ups and downs along the way, but nothing major.

Here are some pictures of the route

Once in the trees, there were tons of elk tracks.  These were helpful in figuring out snow depth, and I frequently followed them when pertinent.  At one point, I could smell elk near, looked up, and saw a buck with rather large antlers startle about 15 feet from me and bound away.

I made it to the meadows, and followed them back to the 4WD road by trying to stay above them, in the trees

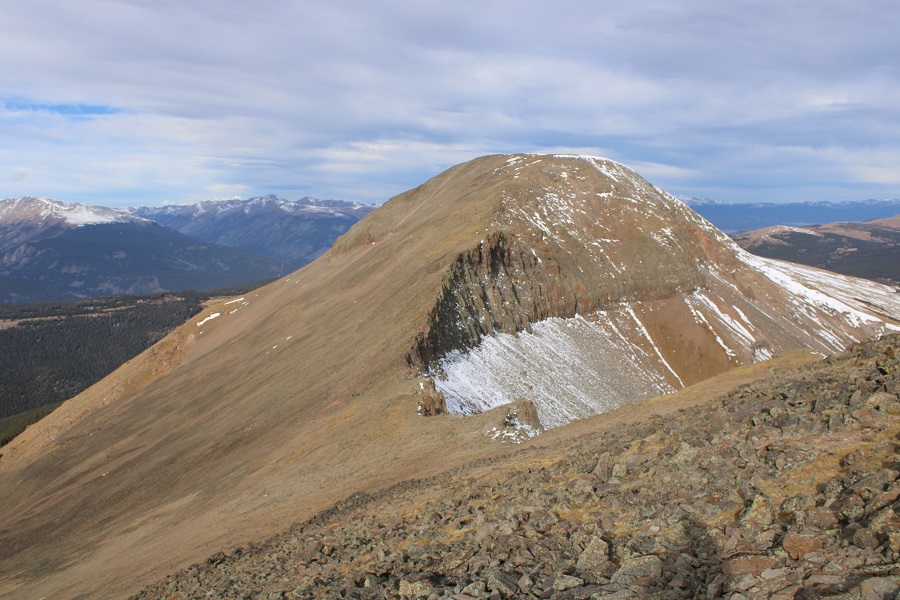
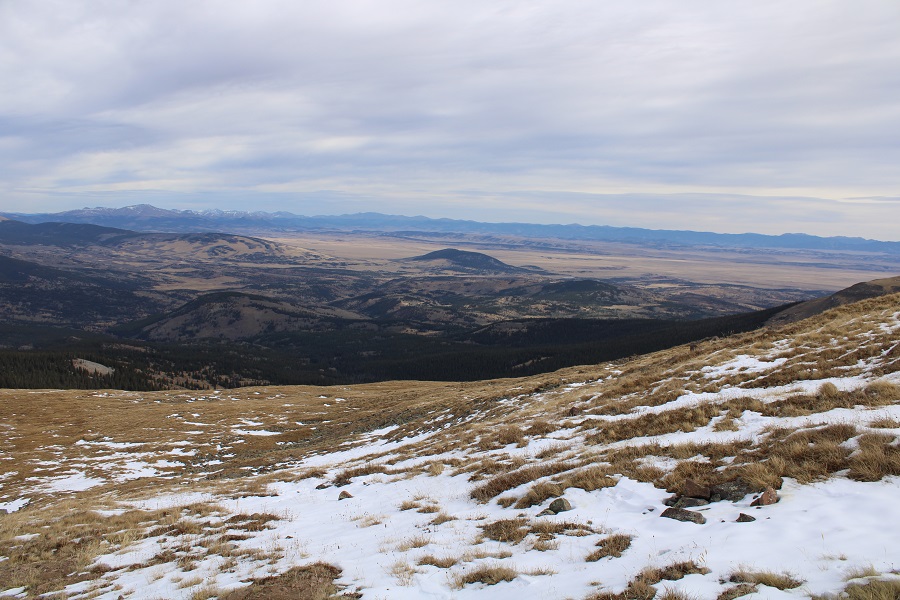
Here’s looking back at West Buffalo and my route back to the 4WD road.  If you’re planning on doing this as a loop and doing East Buffalo first, it’s a good idea to get this visual on your way in.

I was now back at the cairns that would lead me to the road (the same ones that led me to the willows earlier this morning)

I followed the 4WD road back to the trailhead (the crows were still there along the way)

I made it back to my truck at 1pm, making this an 11.95 mile hike with 3489’ of elevation gain in 6.5 hours.

On to the next trailhead!

Van Wit – 13,254, Monumental Peak – 13,369, Van Wirt – 13,024, and Hancock Peak – 13,111

RT Length:  10.27 miles

Elevation Gain: 3629’

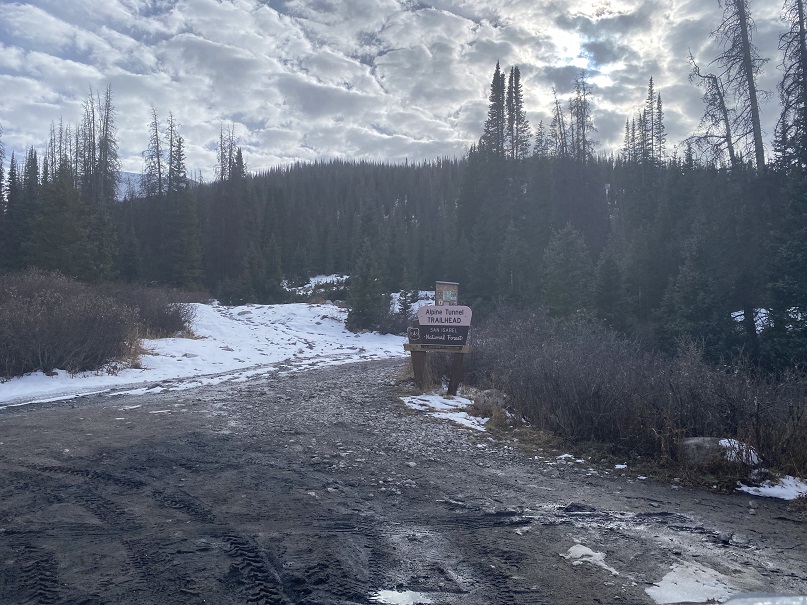
This was my first time at Hancock Ghost Town.  There wasn’t much to it… but there was good parking and the 4WD road looked doable in a 2WD, even in snow.  There was a lot of ice/snow on the road, but that was to be expected for this time of year.  There was an abandoned RV parked with “No Trespassing” signs just before the parking area.  I’m sure the signs were more to protect the mining claim behind the RV than the RV itself, which was missing several windows and looked occupied by wildlife.  Due to the ice and snow, it was also muddy, so I decided not to park at the Alpine Tunnel Trailhead, but at the parking area just before the bridge, where there was less mud.

I got to bed quite early, and woke up to my alarm at 6am.  I was surprised I hadn’t been cold, considering it was 22 degrees outside when I woke up and there was a layer of frost on my windows.  I ate breakfast, gathered my gear, and was on the trail at 6:30am. 

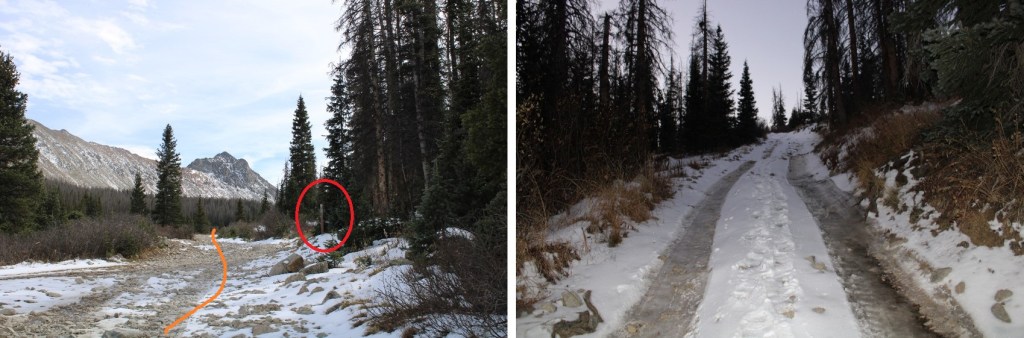
I was following Road 295 south, towards Hancock Lake.  It was dark out, but there was a full moon and the road was easy to follow. I just had to watch out for ice.

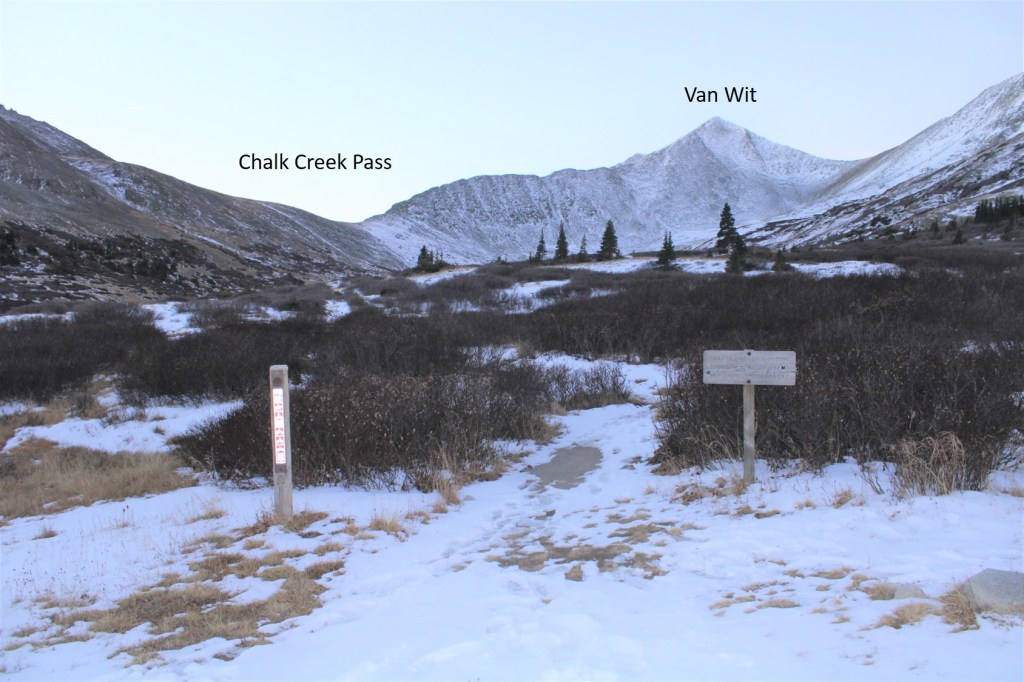
After hiking for 1.6 miles, I made it to Hancock Lake, where the road ended and I picked up trail 1422, skirting the lake to the west, before following the trail east up Chalk Creek Pass.  Here the footprints and tire tracks ended, and I was now making my own tracks in the snow. I kept thinking what a wonderful basin this would be for a moose, when I came across some moose tracks.  The tracks were facing the opposite direction, so I knew running into a moose was unlikely. I followed them all the way over Chalk Creek Pass.  This is a good view of the hike to the pass, and the ridge to Van Wit.

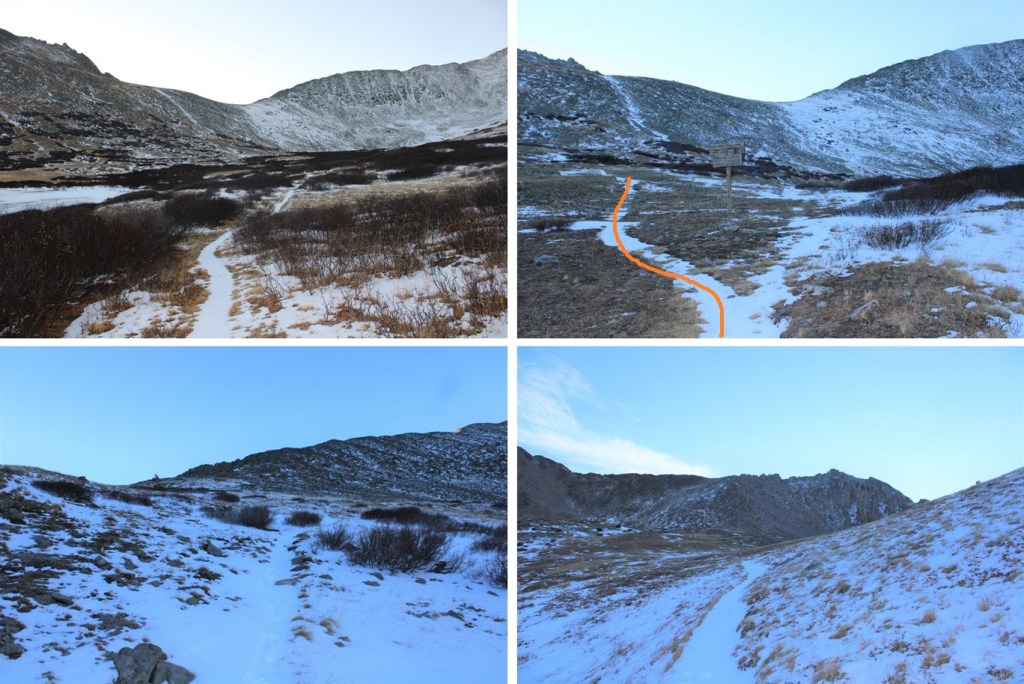
Here’s the route up to the pass, all class 1, sprinkled with snow.  At the junction, take the trail that goes left, towards Chalk Creek Pass.

At the pass I turned right, and headed southwest along the ridge. 

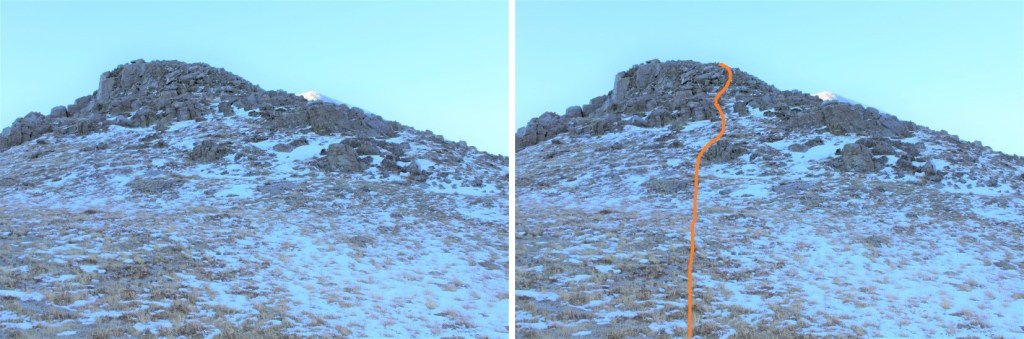
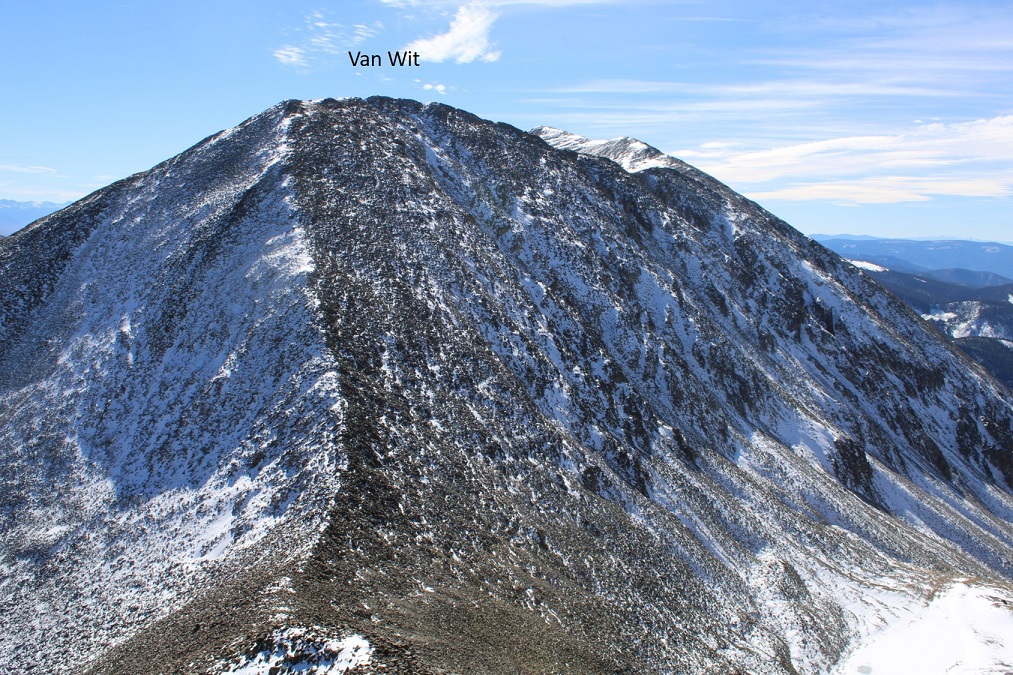
This is normally a class 2 ridge, but today, due to the snow, there were class 3 areas (on all the ridges with snow today). I continued following the ridge, being mindful of loose rocks and voids beneath the snow. From the ridge I had great views of all 4 peaks I’d be climbing today

I stuck to the ridge proper, dipping to the right only when necessary

Topping out of the ridge there was some snow to deal with, but a cairn leading the way

I turned left and followed the ridge south, towards an obvious cairn indicating the summit of Van Wit

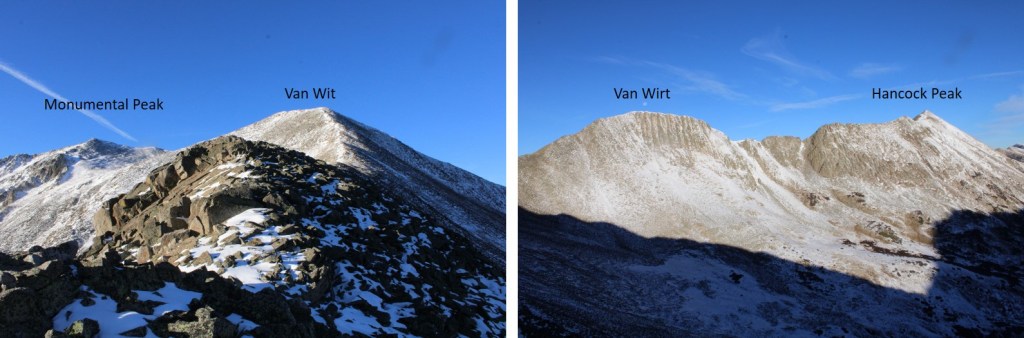
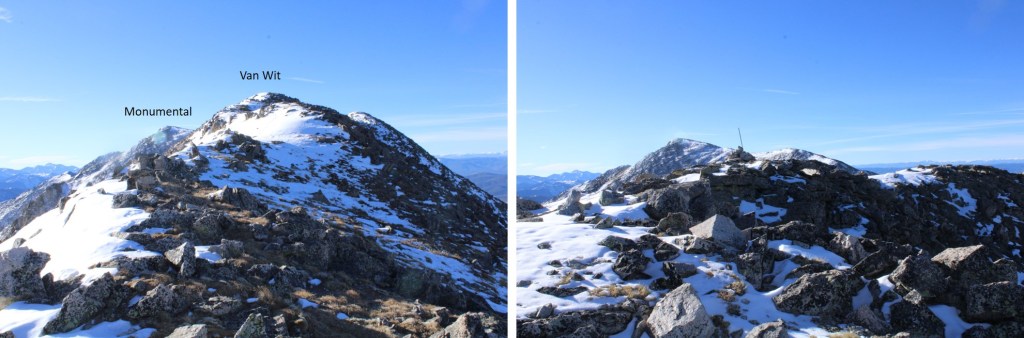
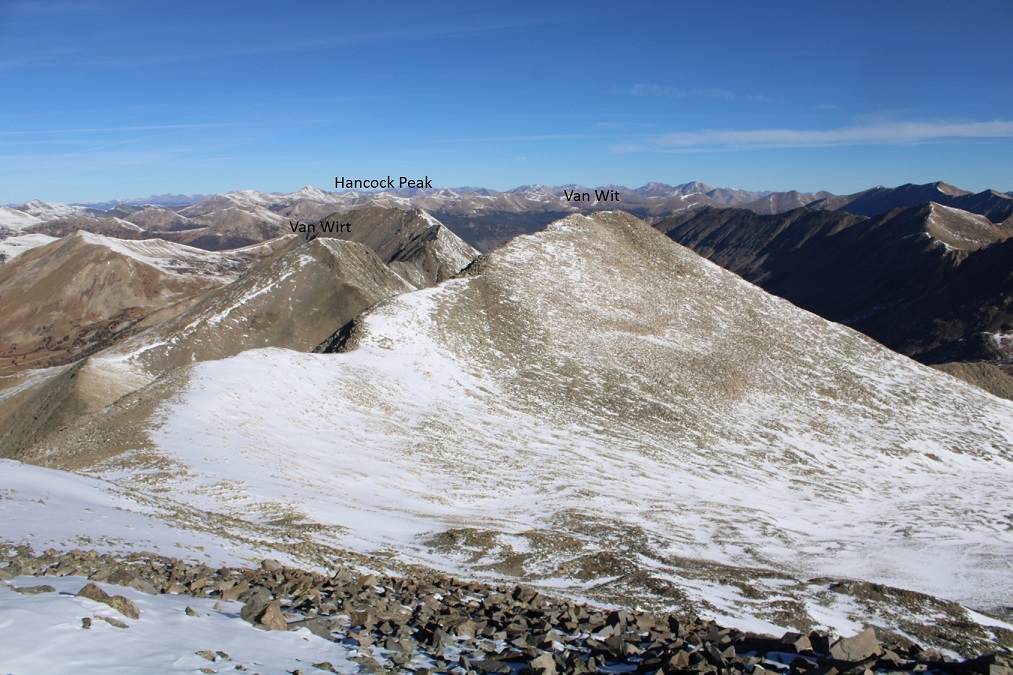
I passed the cairn indicating I was at the unranked summit of Van Wit, and continued following the class 2 ridge towards Monumental Peak

Here are some pictures of the rocky ridge

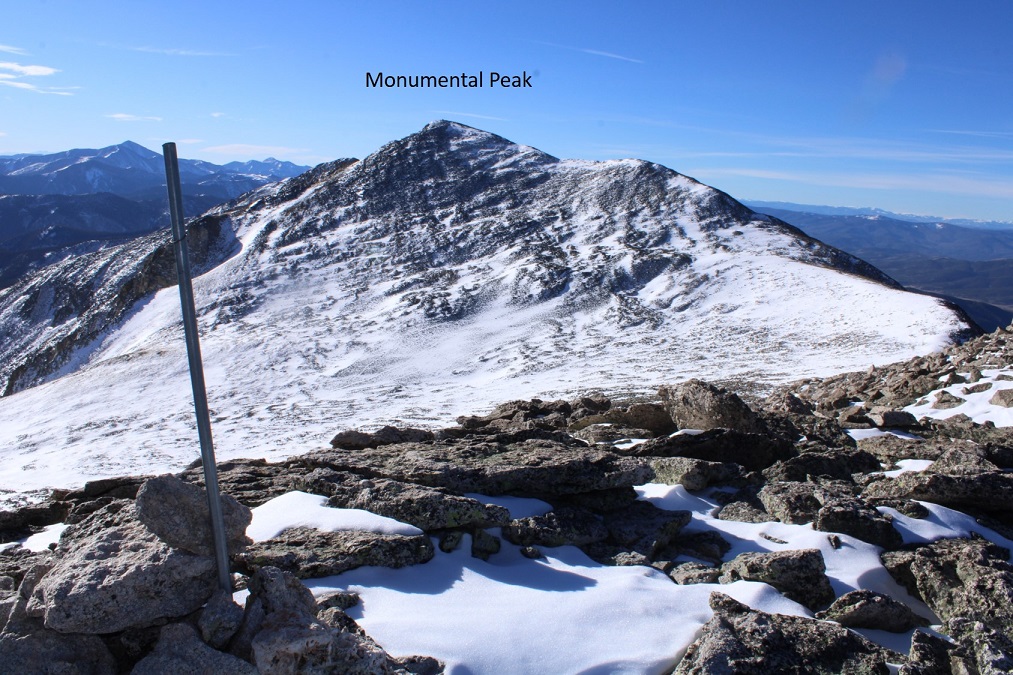
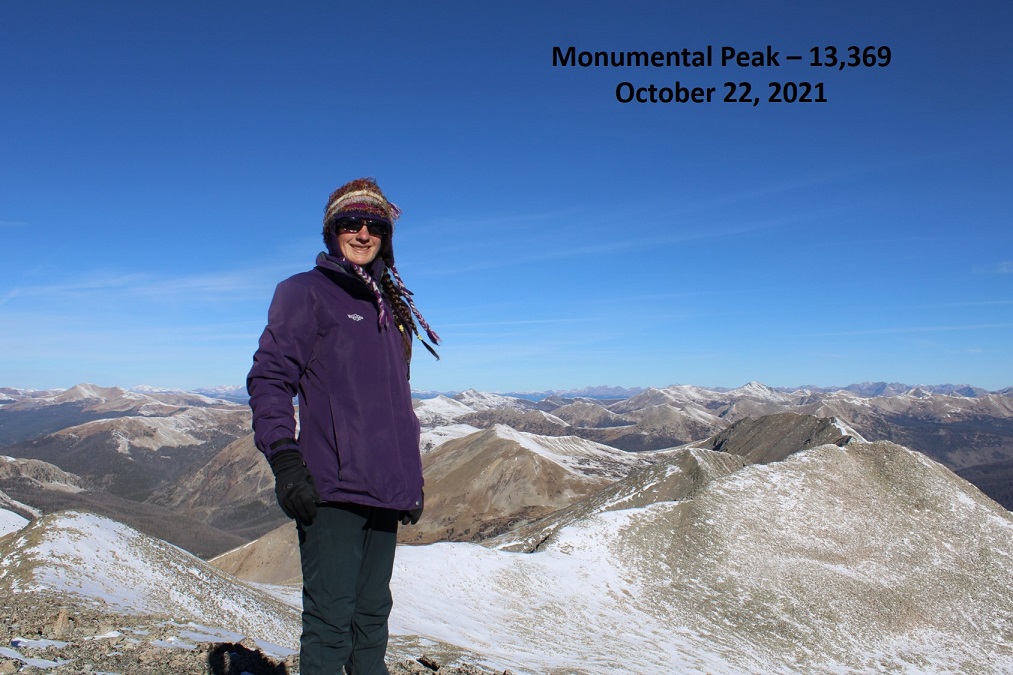
I summited Monumental Peak at 9:30am

Monumental Peak:

I re-traced my steps back to Van Wit, following the ridge and my tracks in the snow.

Back at the summit of Van Wit, I now followed the ridge northwest, towards Van Wirt.  Due to the snow, this was class 3.  I took a lot of time carefully navigating the rocks and snow on the way down, losing about 620’ of elevation.

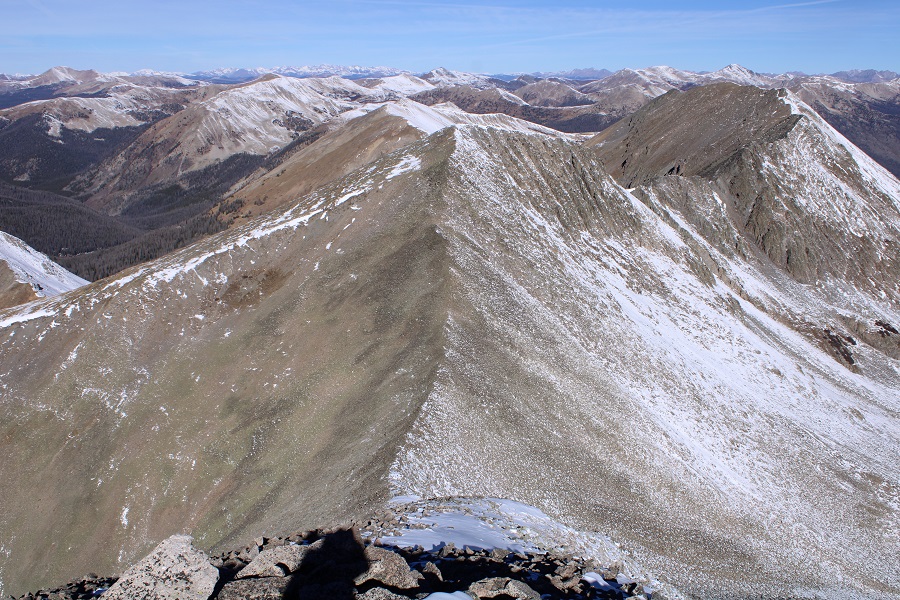
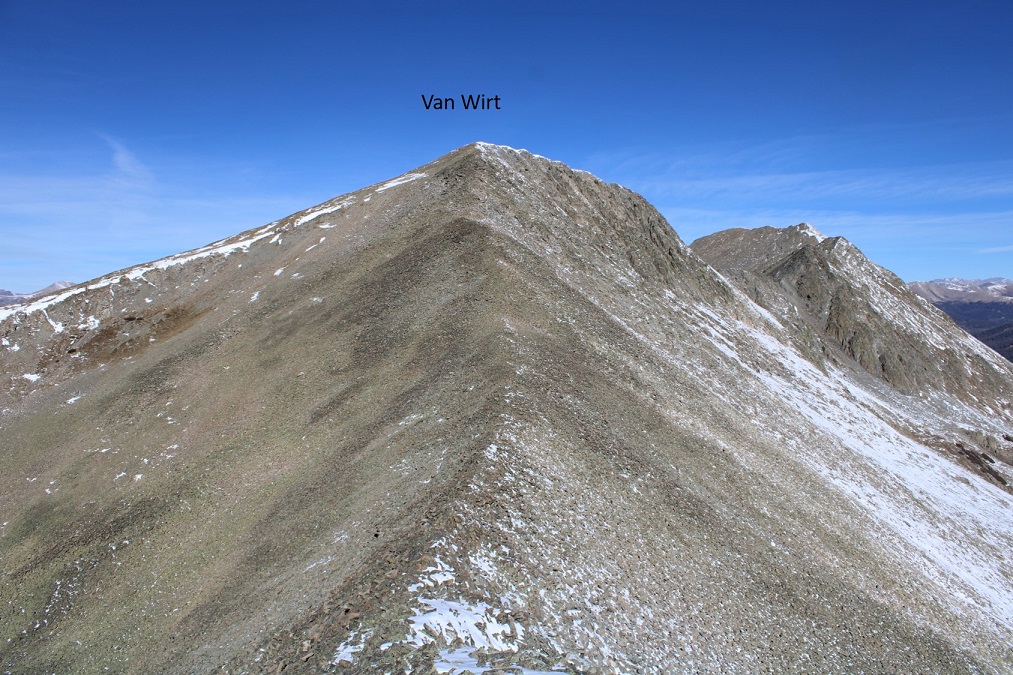
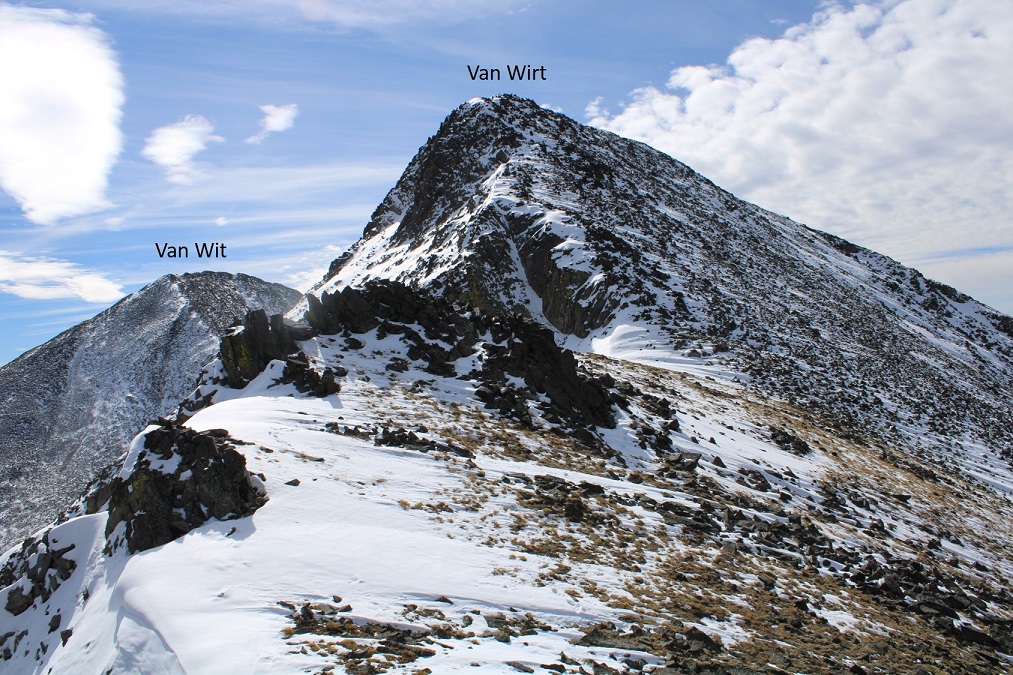
From the Van Wit/Van Wirt Saddle, here’s looking up at Van Wirt

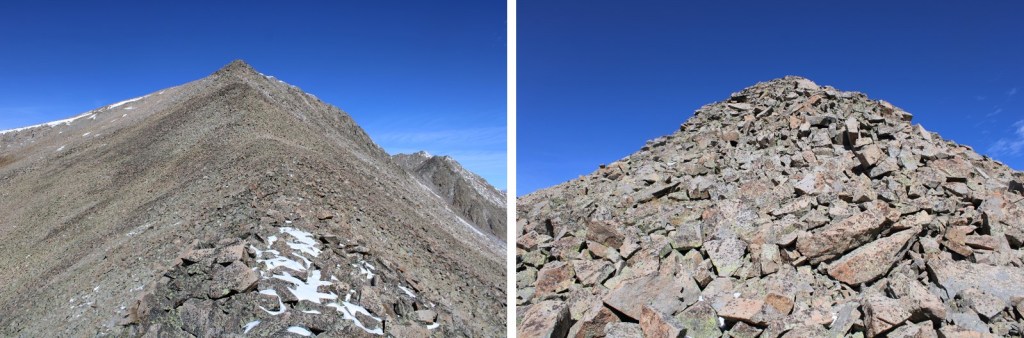
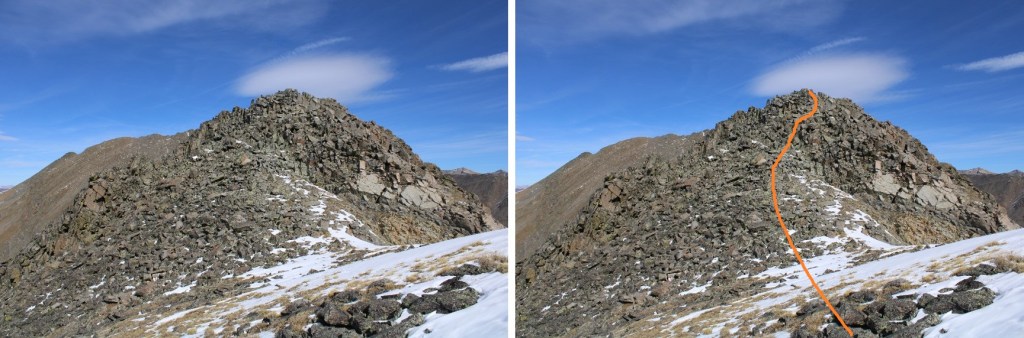
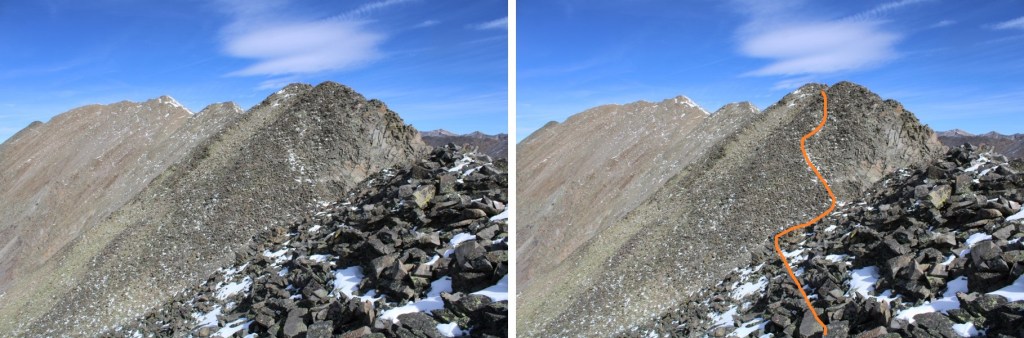
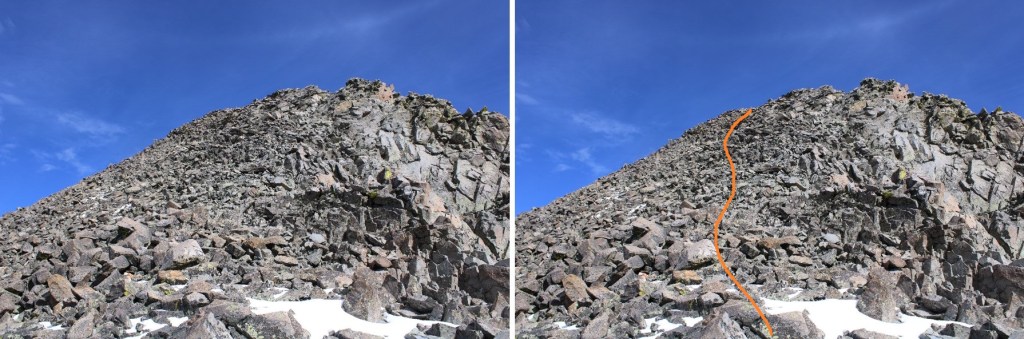
The ridge up to Van Wirt was rocky, but easy to navigate, especially without snow.  I just followed the ridge, gaining about 375’ in elevation

From the summit of Van Wirt, here’s looking back at Van Wit

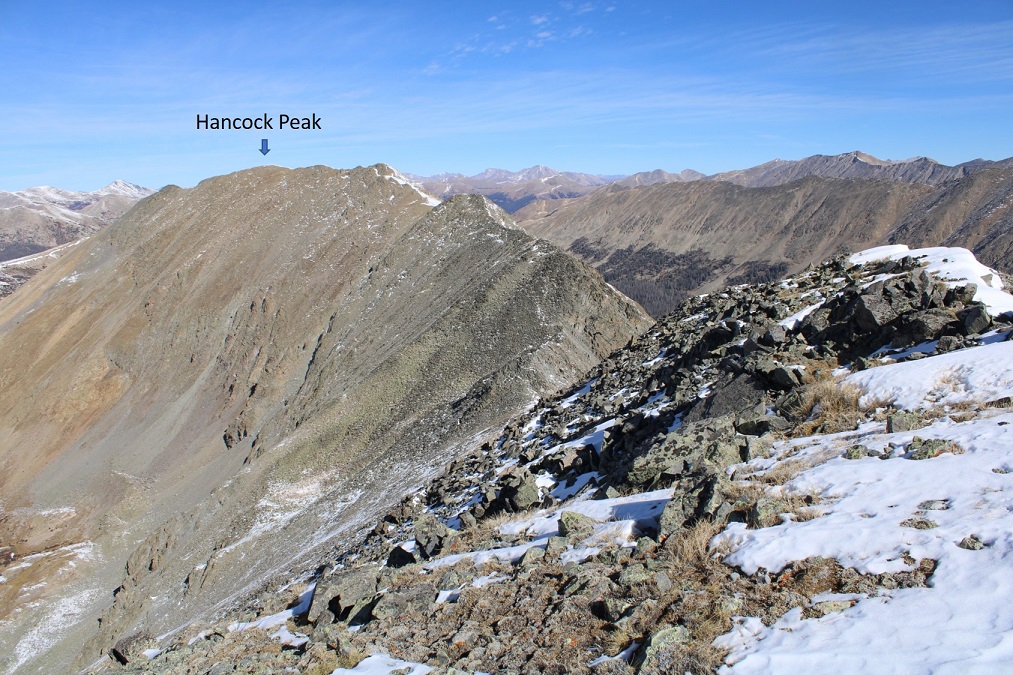
And now, to head over to Hancock Peak.  Here’s the actual summit (you’ll know it because it has a cairn, and it’s in the middle of the upper, long ridge)

I followed the ridge north, losing about 275’ in elevation towards the Van Wirt/Hancock Peak saddle, once again, being careful where I placed my feet with the rolling rocks and snow (all still class 2).

At the saddle I saw recent tracks from an adventurous fox, who decided to go down the gully this morning towards Hancock Lakes

Here’s looking back at Van Wirt

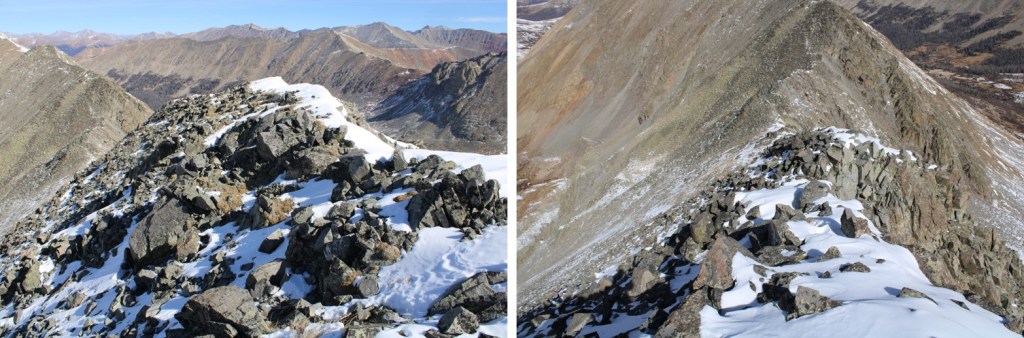
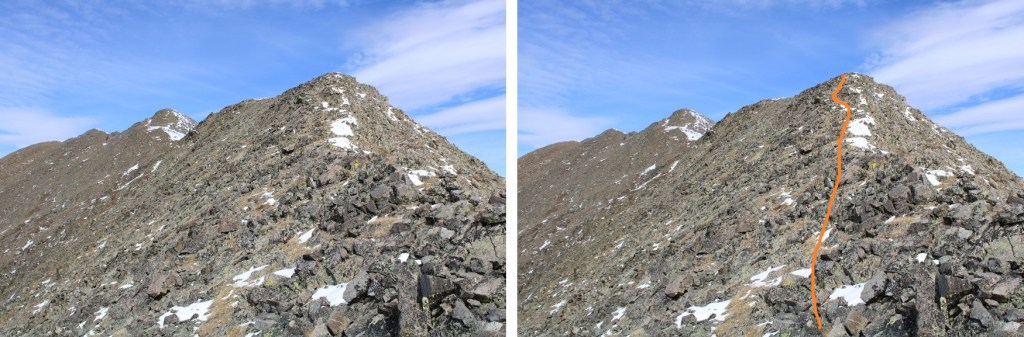
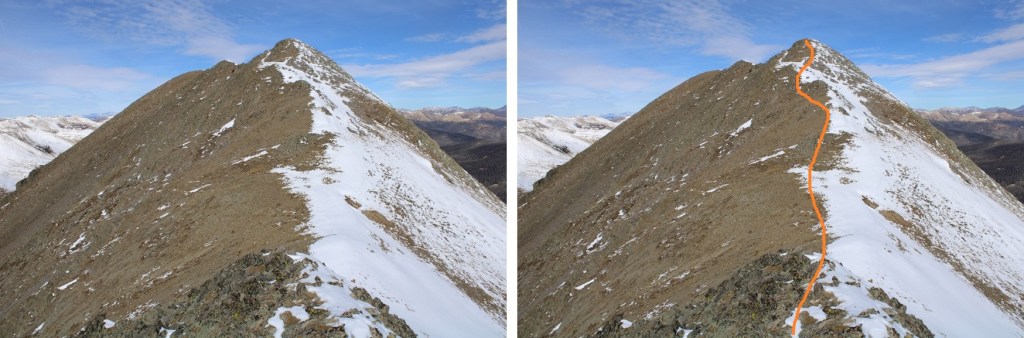
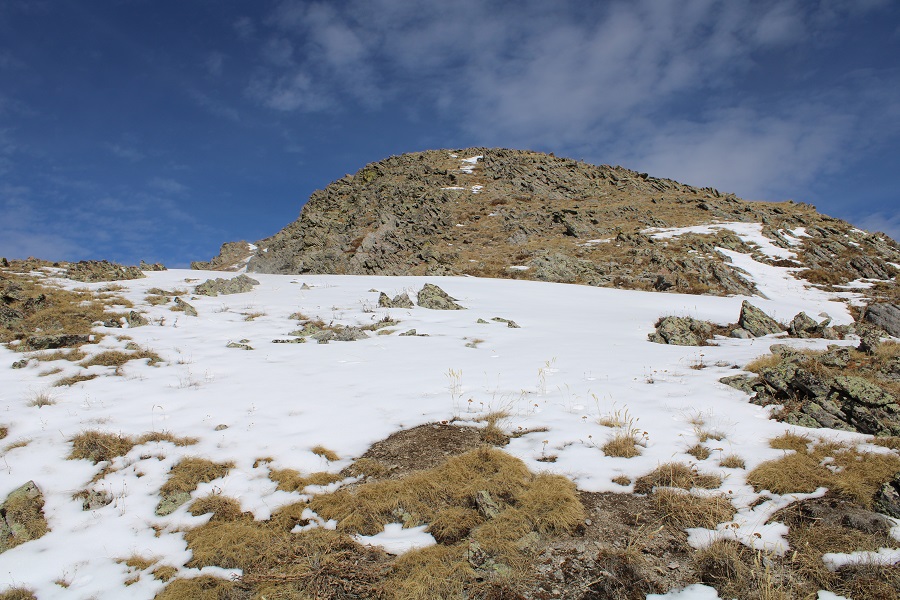
And now, to regain 375’ to the summit of Hancock Peak.  This was rocky, but I was able to follow the ridge directly, keeping it difficult class 2

Here I went a little left, but could have gone straight over the top. 

More ridge photos…

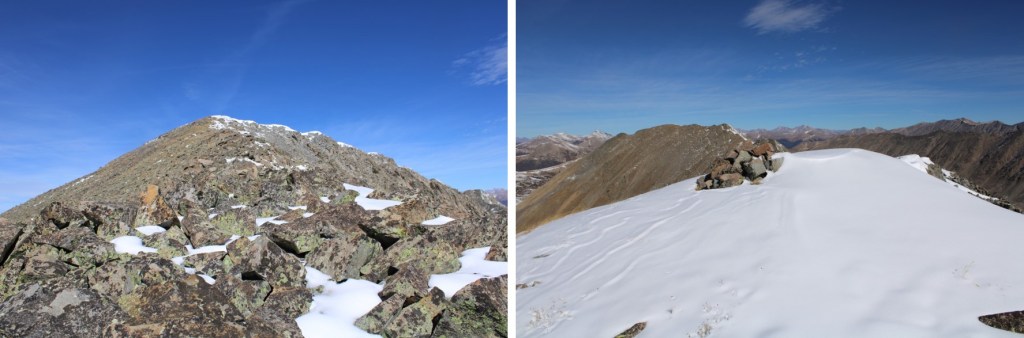
I crossed directly through the snow, which wasn’t as bad as it looked (note, this is a false summit)

Once at the top of this point, I could see the true summit to the northwest.  You guessed it:  I followed the ridge

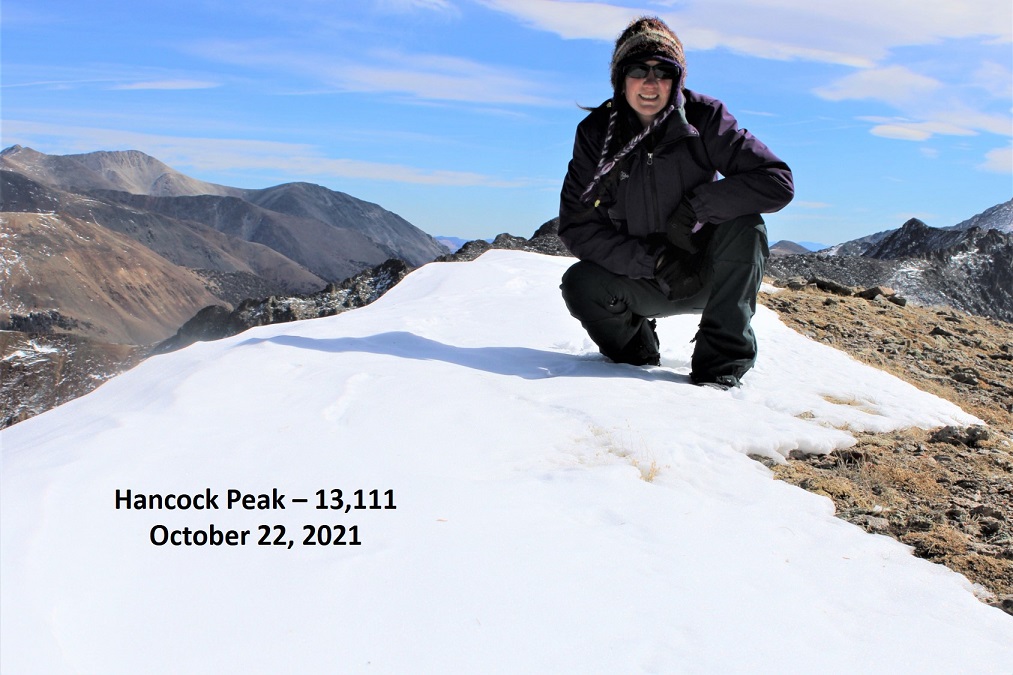
I summited Hancock Peak at 12:30pm

Hancock Peak:

There was a torn-up summit register hidden in the cairn.  The last person to sign was here over a month ago.

I was making this a loop, so I continued following the ridge northwest

I was headed towards Hancock Pass.  At the end of the ridge, just before losing elevation, you can see the pass

I descended towards Hancock Pass, losing 850’ of elevation on rocky and scree filled terrain

From the pass, here’s looking back up the ridge

I turned right, and followed Road 299 for 2.5 miles back to the trailhead.

About halfway back I came across moose tracks again, headed up the pass.  That moose was moving!  It looked like he was just passing through after the storm, and did so quickly.

I made it back to my truck at 2pm, making this a 10.27 mile hike with 3629’ of elevation gain in 7.5 hours.

On to the next trailhead!
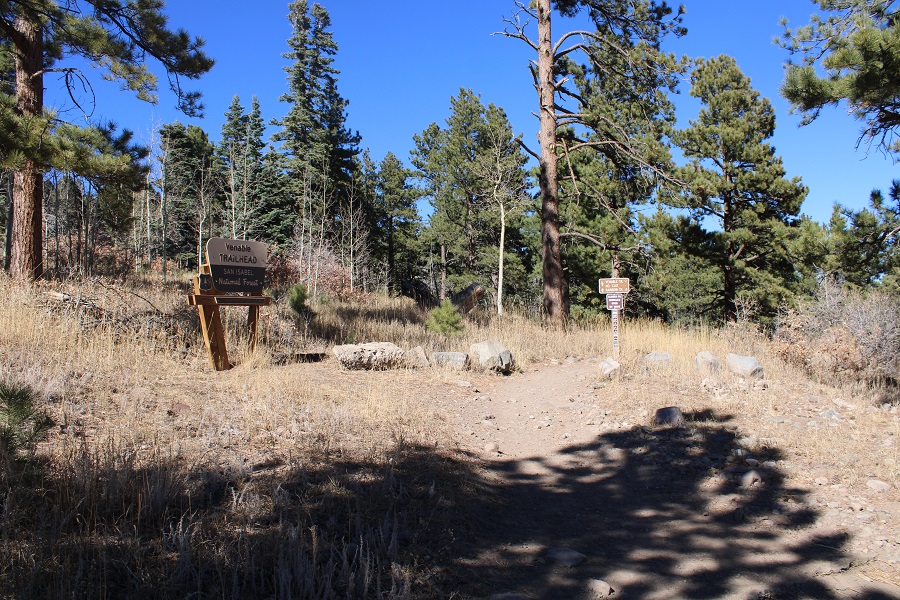
Geissler Mountain West – 13301 & Geissler Mountain East – 13380

RT Length:  5.97 miles

EG:  2381’

Independence Pass is still open, so I decided to try and get in a few peaks before it closes.  I drove to the Independence Lake Trailhead the morning of the hike, instead of the night before: every time I drive by this trailhead at night I see porcupines (plural) underneath vehicles parked there. I wonder how many times hikers have returned to their vehicles to find chewed wires at this trailhead?  This morning I was hoping it was cold enough, and late enough where they wouldn’t be out.  There weren’t any other vehicles in the parking area, and no porcupines in sight. 

I gathered my gear and was on the trail at 6am, headed north, following trail 1996.  The moon was full, so it was easy to navigate without a flashlight.

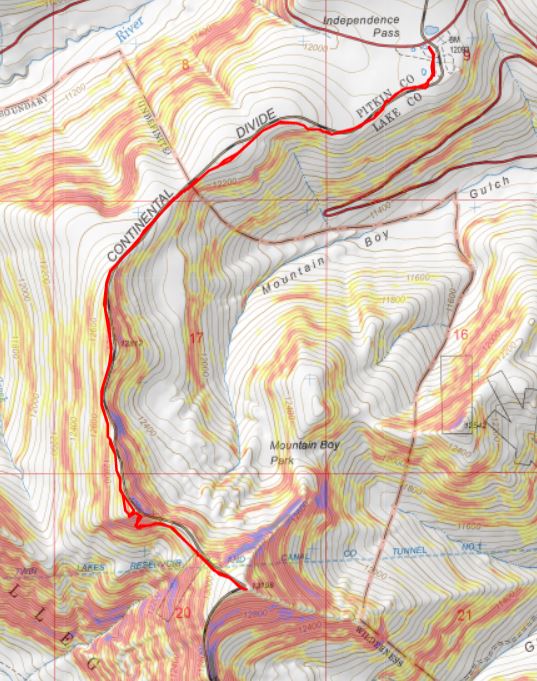
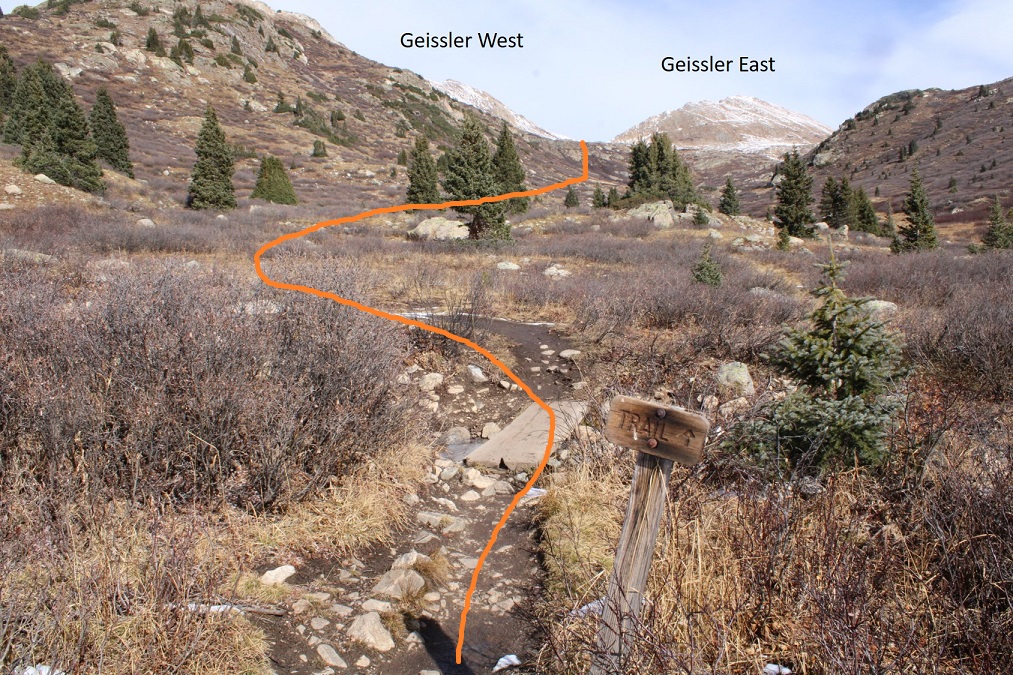
I followed this class 1 trail for just over half a mile before leaving the trail to head north. Here’s an overview of my route.

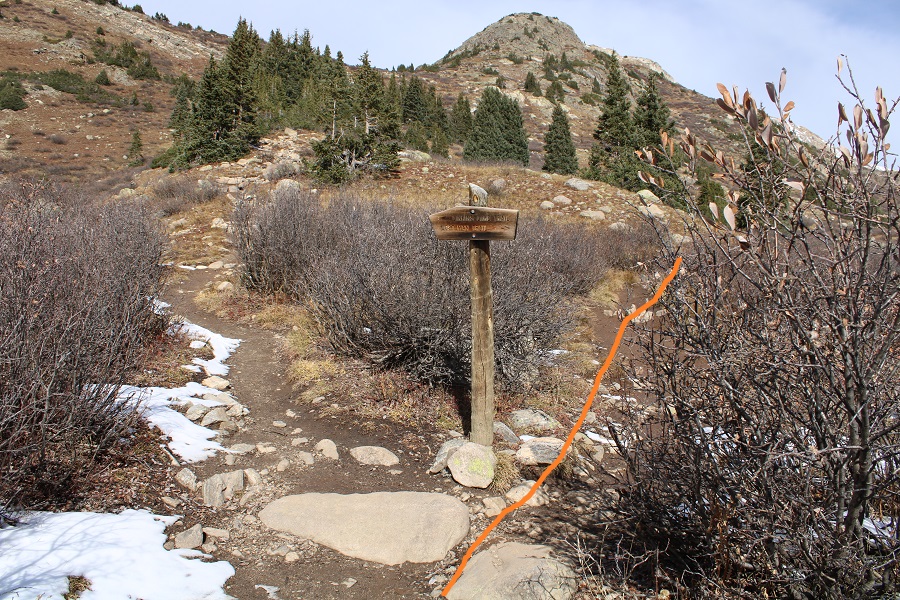
Here are some closer pictures of the route up to the Geissler West/East saddle.  I went right at the only junction

After half a mile of hiking I left the trail and continued heading north, easily avoiding the willows by staying to the west

As I neared the back of the basin, I ascended by hugging a rock outcropping and drainage

And then made my way towards the Geissler West/East saddle.  I actually stayed a little to the left to avoid snow, and because I was hiking Geissler West first

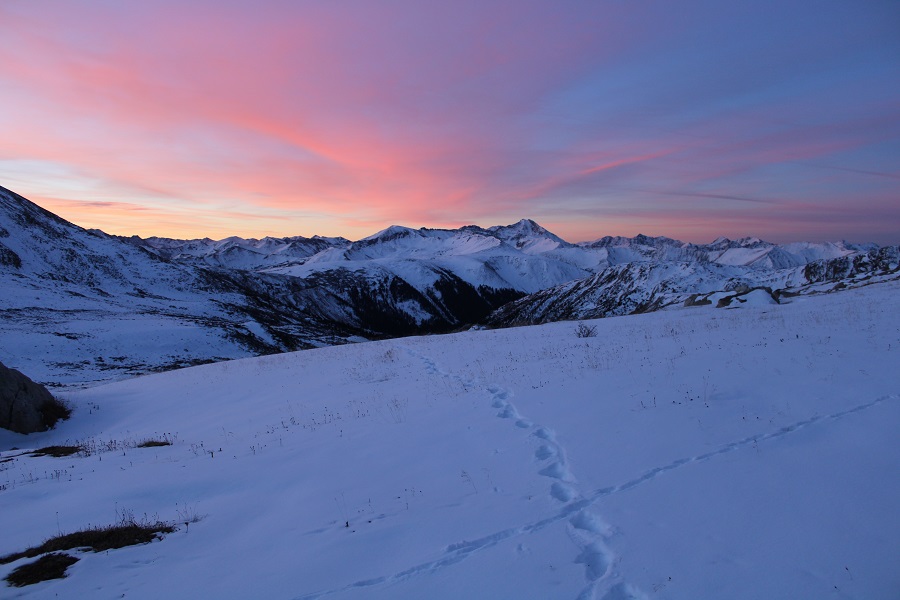
Right about now the sun was beginning to rise from behind me. I love alpine sunrises!

I continued heading towards the saddle

Once at the saddle, I then turned left, and was surprised at how much snow there was on the ridge to Geissler Mountain West.

I would have liked to have taken the gully to the summit, but the snow as sugary and unconsolidated, and above my waist in places, making my ice axe and spikes useless, so I took the ridge.  This posed its own set of challenges, as the snow on the ridge was either covering the rocks, or covering the voids.  It was “choose your own adventure” to find out which.  There was some class 3 scrambling here, but I was able to take the ridge proper.

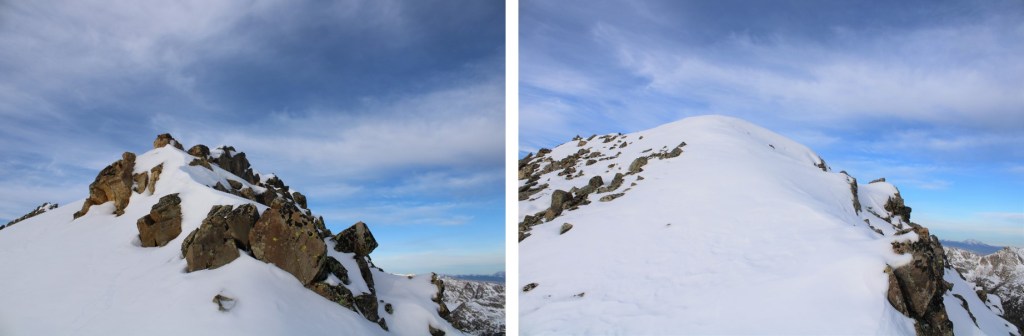
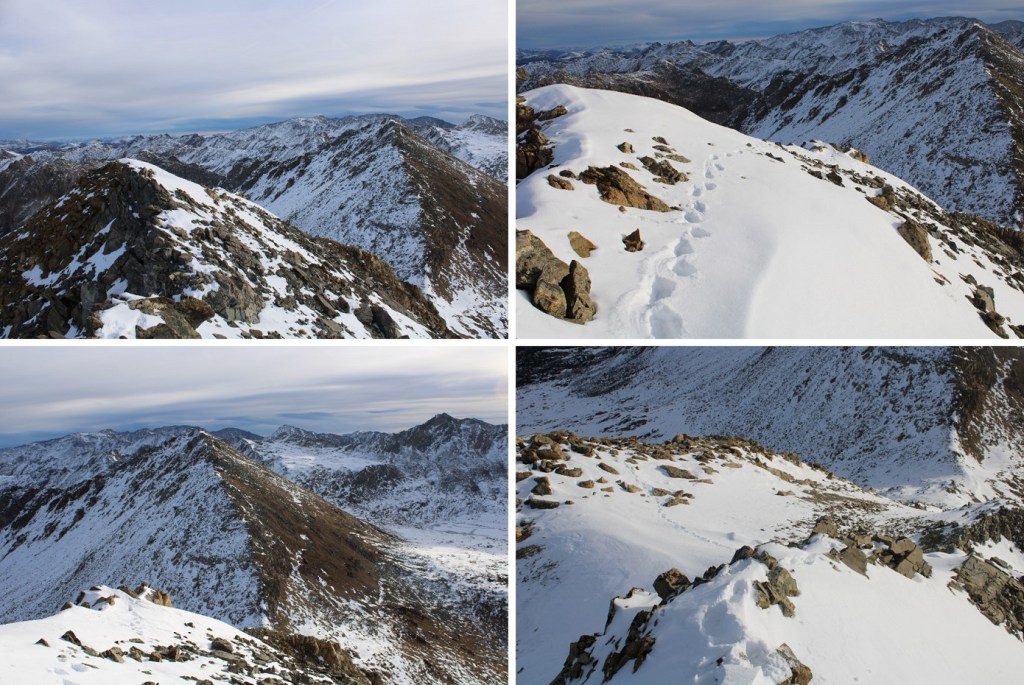
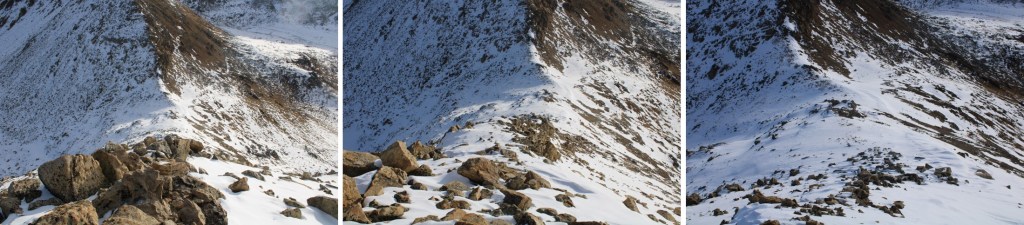
Here are some pictures of the ridge

Once at the top of the ridge I needed to head west towards the summit.  The snow here was up to my waist.  I headed towards the next ridge

I gingerly climbed up this ridge, once again, staying directly on top of the ridge.  This was class 3 as well.

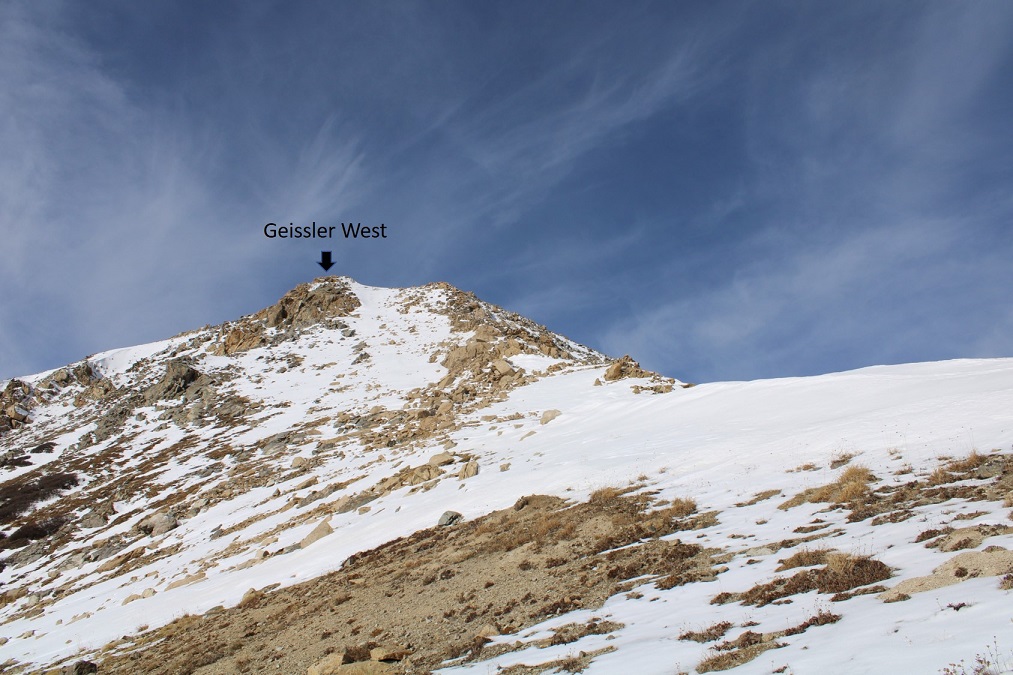
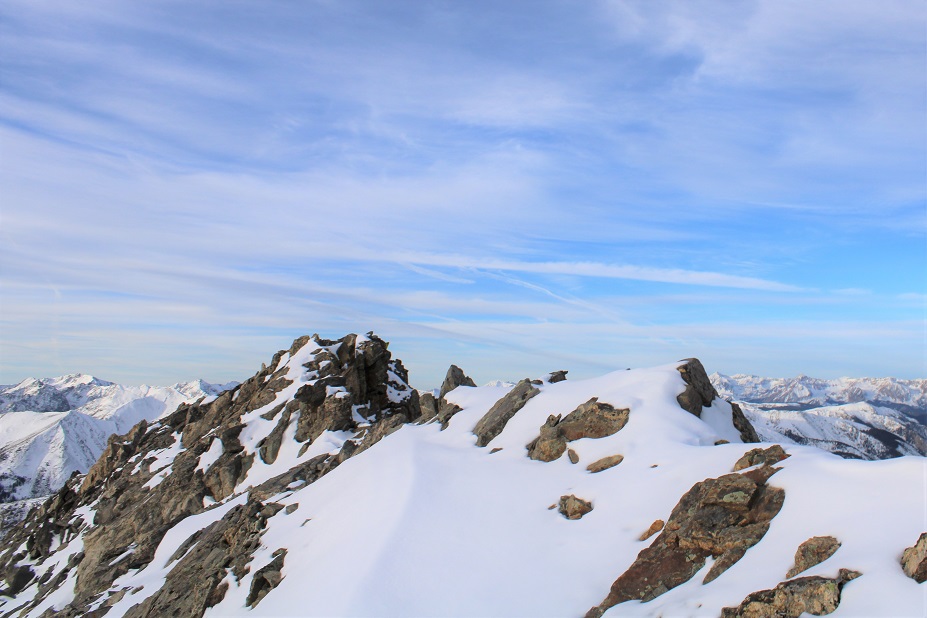
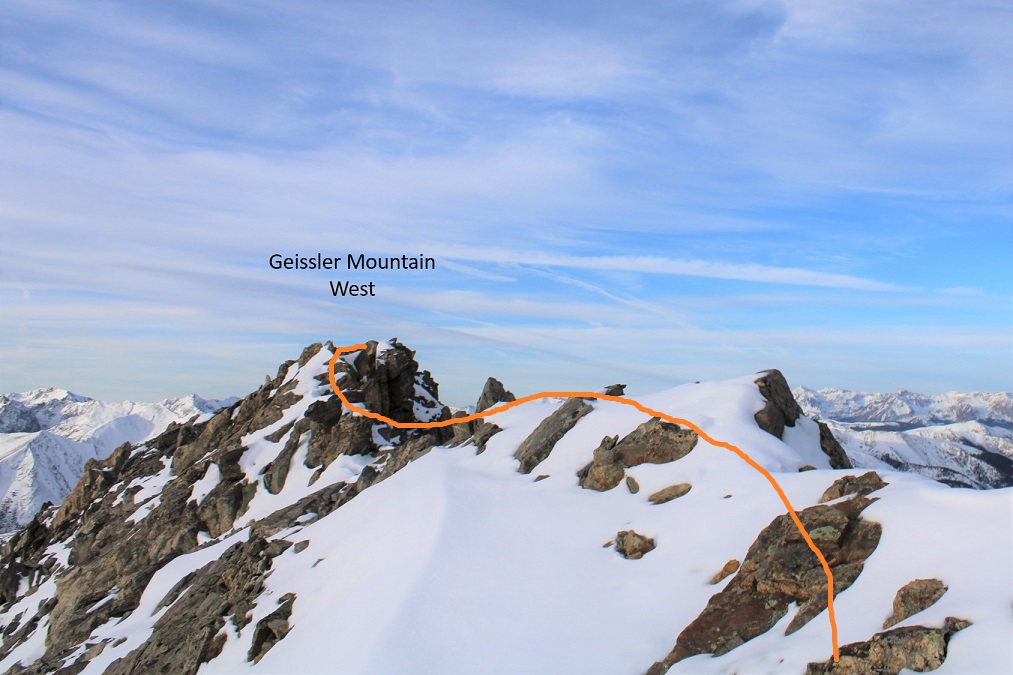
Only to find it was a false summit!  Here’s the true summit of Geissler Mountain West

I dropped my gear and just brought my camera with me, climbing over the snow and then hand-over-fisting it on the rocks to the actual summit. This was class 3 with some exposure. I didn’t take the snow because it was an unconsolidated drift, with a lot of voids to twist an ankle, sink up to my chest, or worse

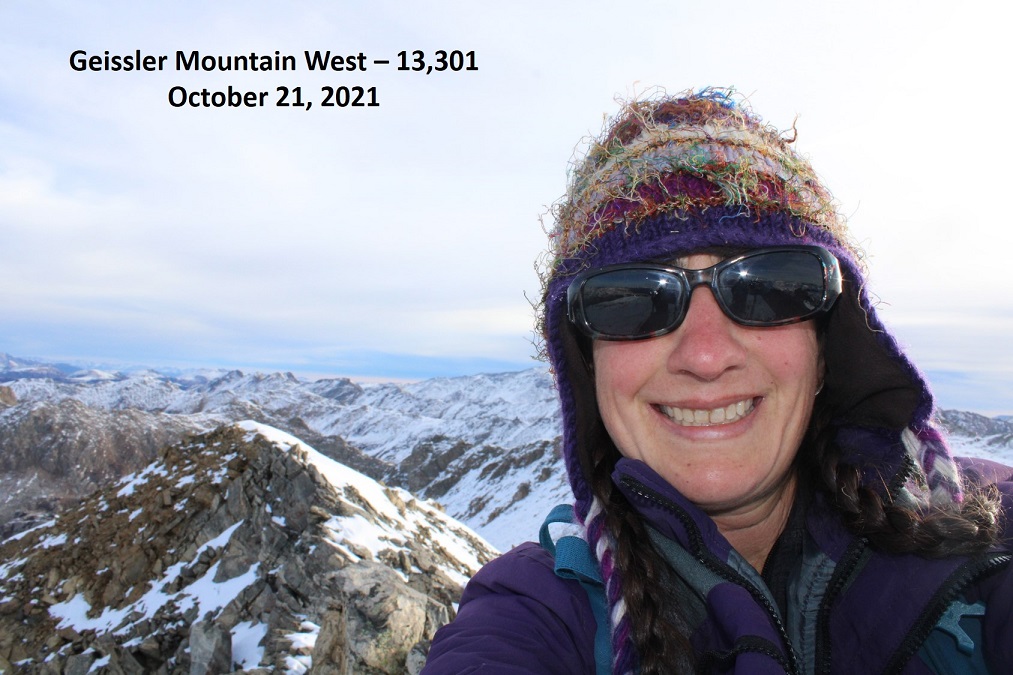
I summited Geissler Mountain West at 8:25am

Geissler Mountain West:

I followed my tracks back to the Geissler West/East saddle

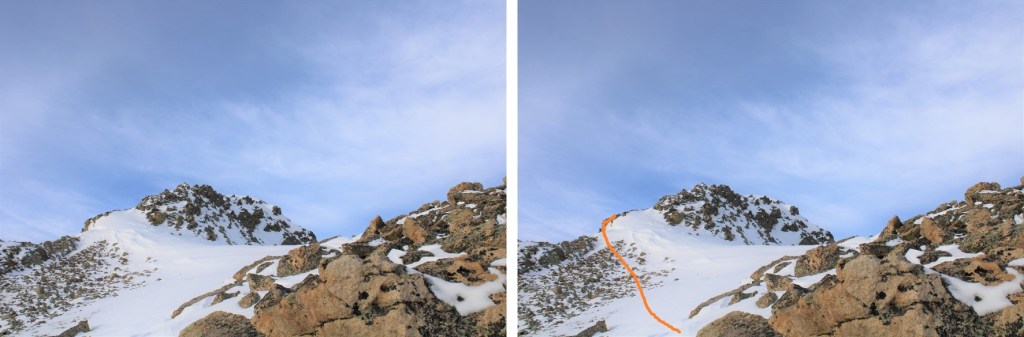
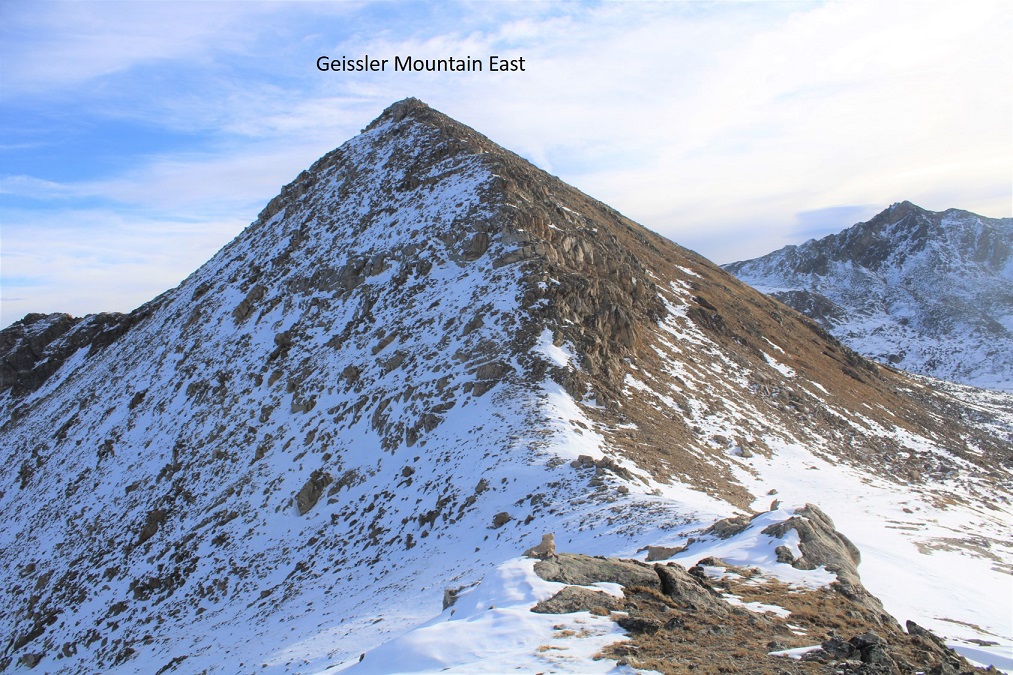
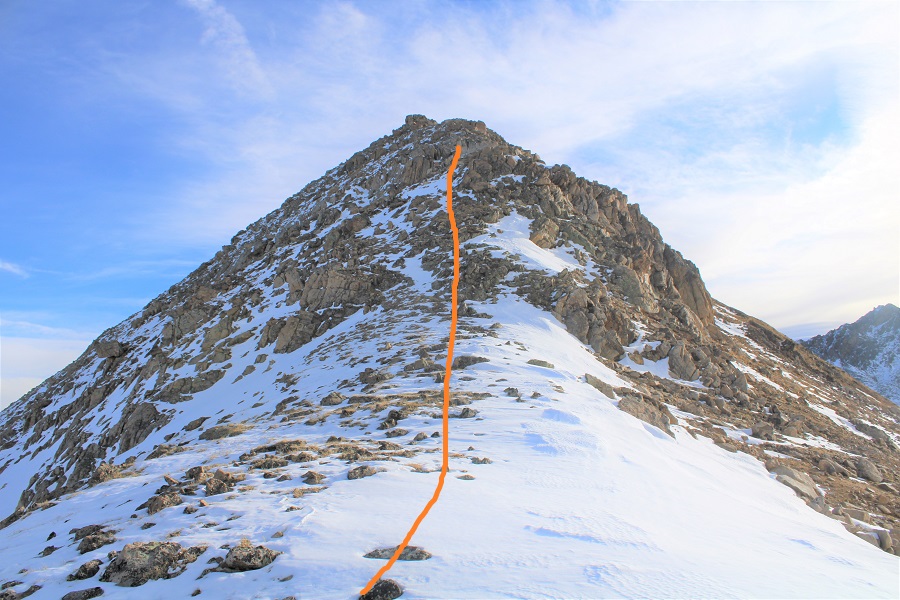
Now to head up towards Geissler East.  Spoiler alert: there are several false summits.  Also, once I could no longer stick to the ridge, I went right, and kept going right, hugging the south side of the mountain

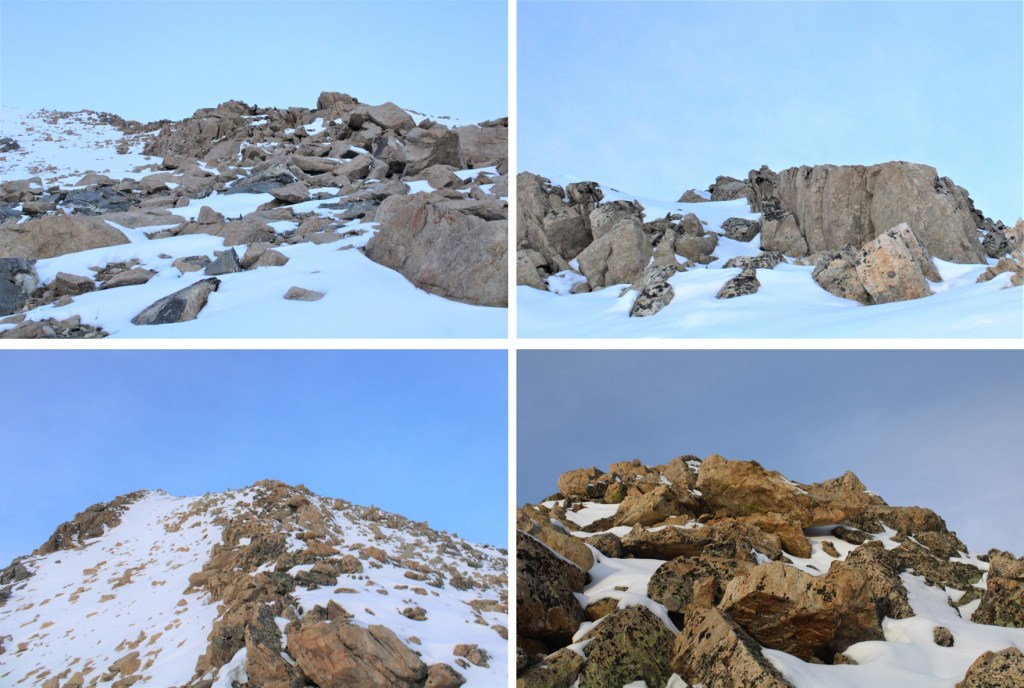
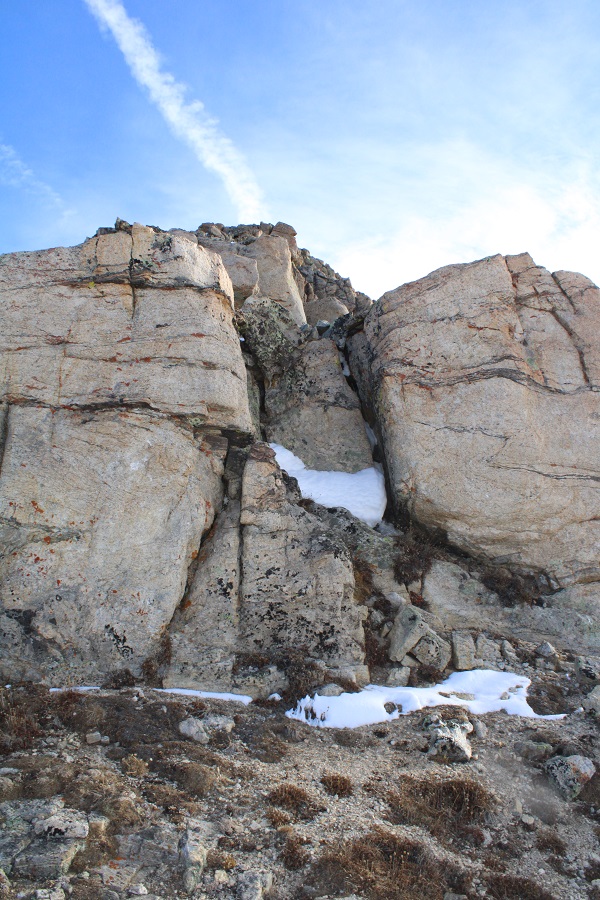
This ridge is mainly class 2, with a few class 3 moves sprinkled in. The class 3 moves probably could have been avoided, if there hadn’t been snow. Here are some pictures of the route

Remember, there are a lot of false summits… and keep heading right

And finally!  The true summit!

I summited Geissler Mountain East at 9:30am

Geissler Mountain East: 

From the summit I could see the trailhead

I decided to re-trace my steps back to the saddle.  This was easy, as I just followed my footprints.

And from the saddle I made my way back down into the basin, once again, following my tracks (I love that snow allows the re-tracing of steps to be so easy!)

Back down to the willows, and eventually the trail

I made it back to my truck at 11am, making this a 5.97 mile hike with 2381’ of elevation gain in 5 hours.

On to the next trailhead!
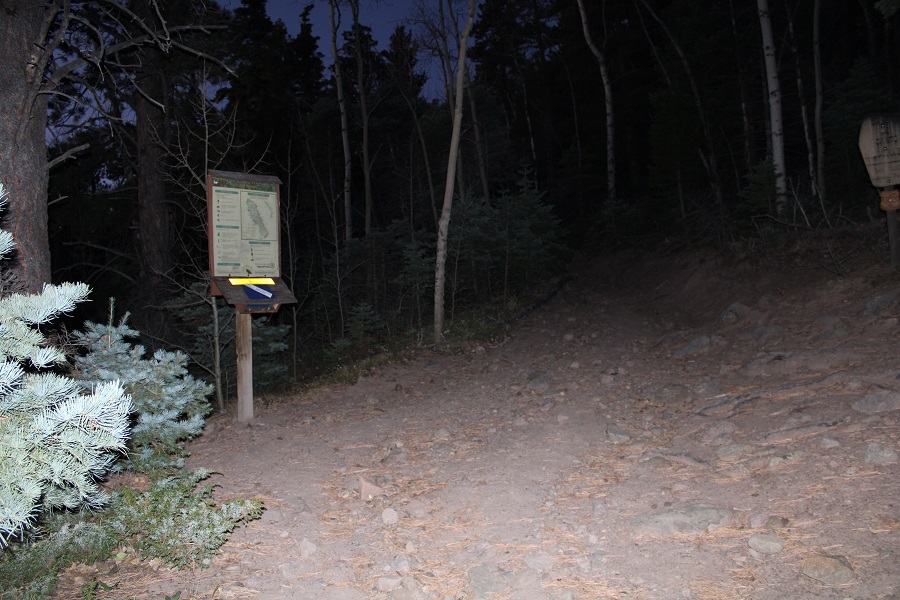
Mount Marcy – 13,490 and Silver Peak – 13,513

RT Length:  16.6 miles

Elevation Gain: 5573’

I wanted an early start for this peak, but not too early.  I knew it had snowed the past couple of days, but only a few inches:  I had no idea what to expect when it came to conditions, above or below treeline.  I got a later start than usual because I was making this a loop and wanted to get pictures on the way in of the route.  I gathered my gear and was on the trail at 5:30am.

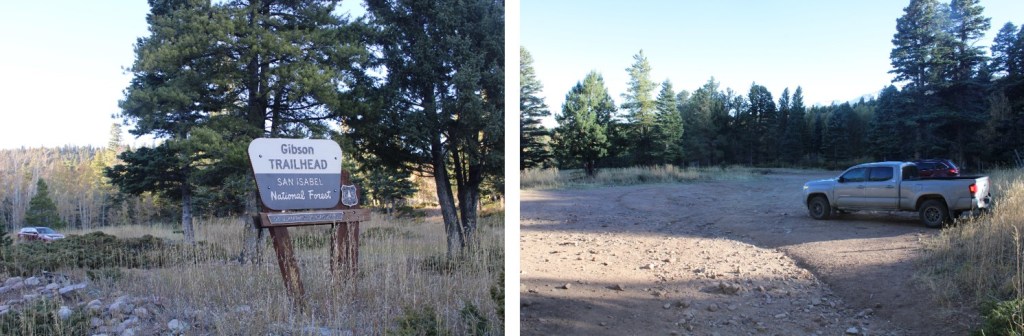
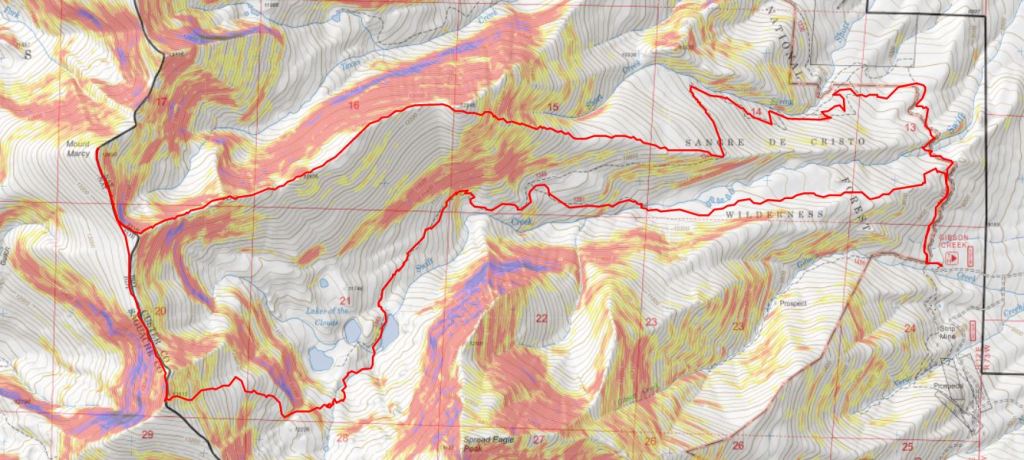
I started following the Gibson Creek trail west, and after about .1 of a mile, turned right onto 1336 (the sign is still damaged) and followed 1336 past the first junction (this is where the loop connects) and turned left onto 1349.  I had hiked for a total of 1.3 miles at this point.

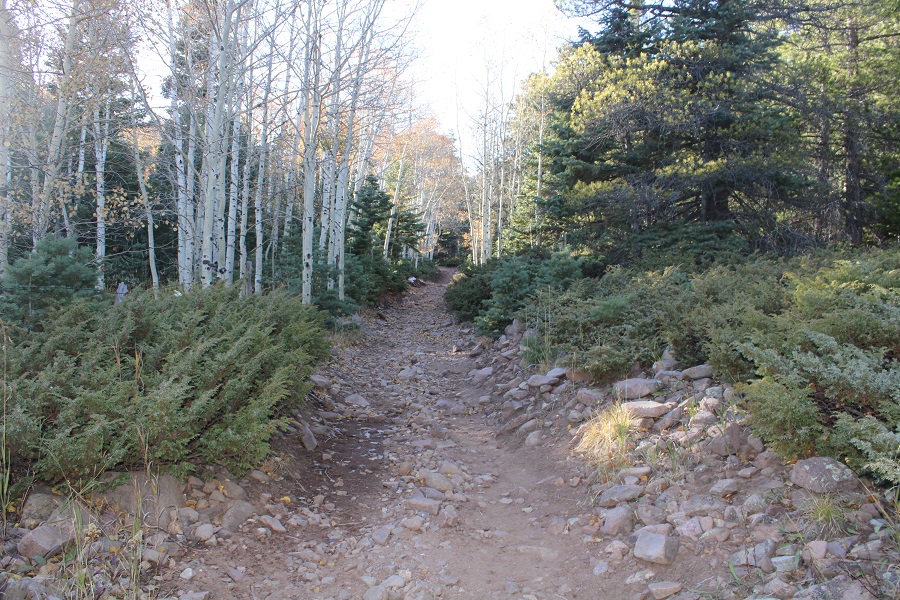
There was now snow on the trail.  It was still dark, and I could hear an owl hooting in the trees. I saw lots of rabbit tracks, and some elk tracks as well.  Mine were the first footprints. I continued following trail 1349 as it switchbacked up the mountainside.

At 10350’, and after a total of 3.4 miles of hiking, the trail will stop increasing in elevation and start heading towards trail 1351.  It was here I left the trail and headed west up the ridge.  I was worried there would be a lot of downfall here, like there is when heading up towards Gibbs Peak, but the ridgeline was surprisingly manageable below treeline.

Along the ridge I came across two separate sets of bear tracks, both heading south

I kept heading west, following the ridge.  Just at treeline, and before topping out, I skirted the ridge to the left. 

There is no need to ascend to PT 12245.  Instead, I stayed just a bit south of the point, then gained the ridge by losing elevation.

Once on the ridge the conditions varied.  They started out with easy, lightly covered-in-snow tundra.  I followed the ridge southwest.

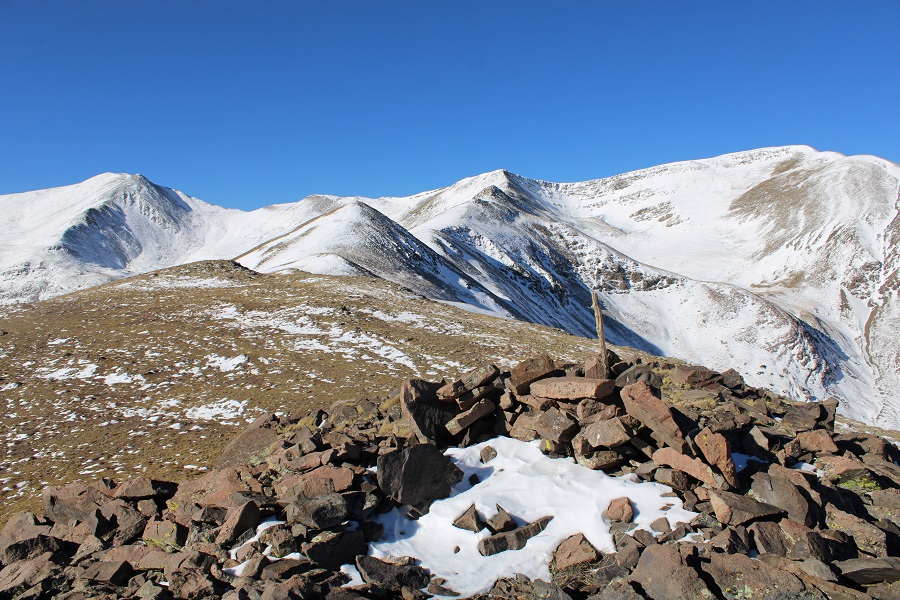
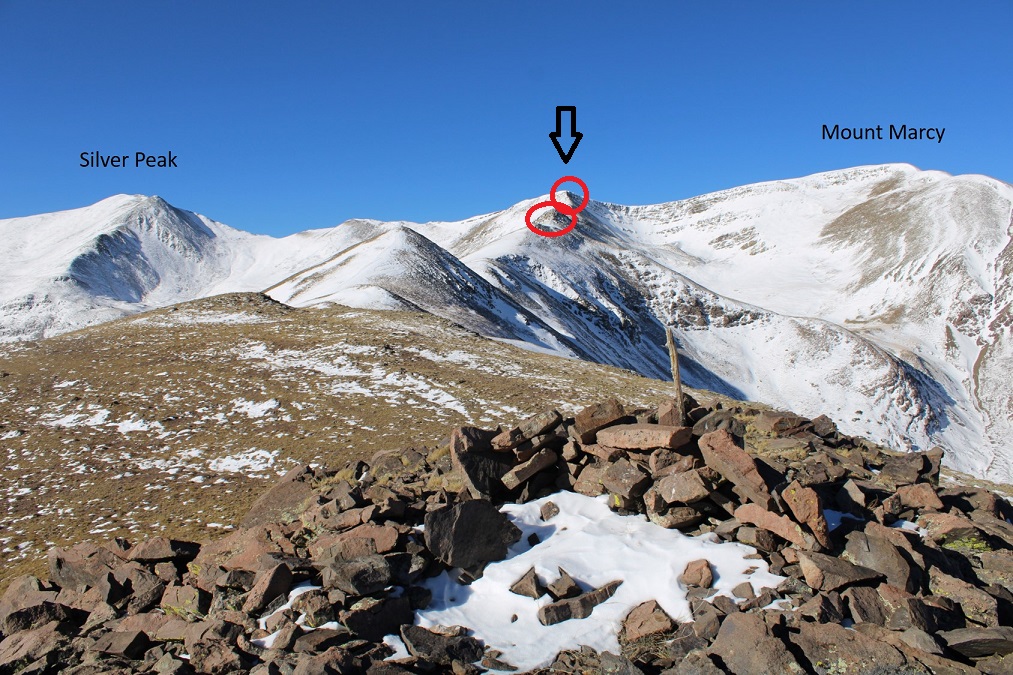
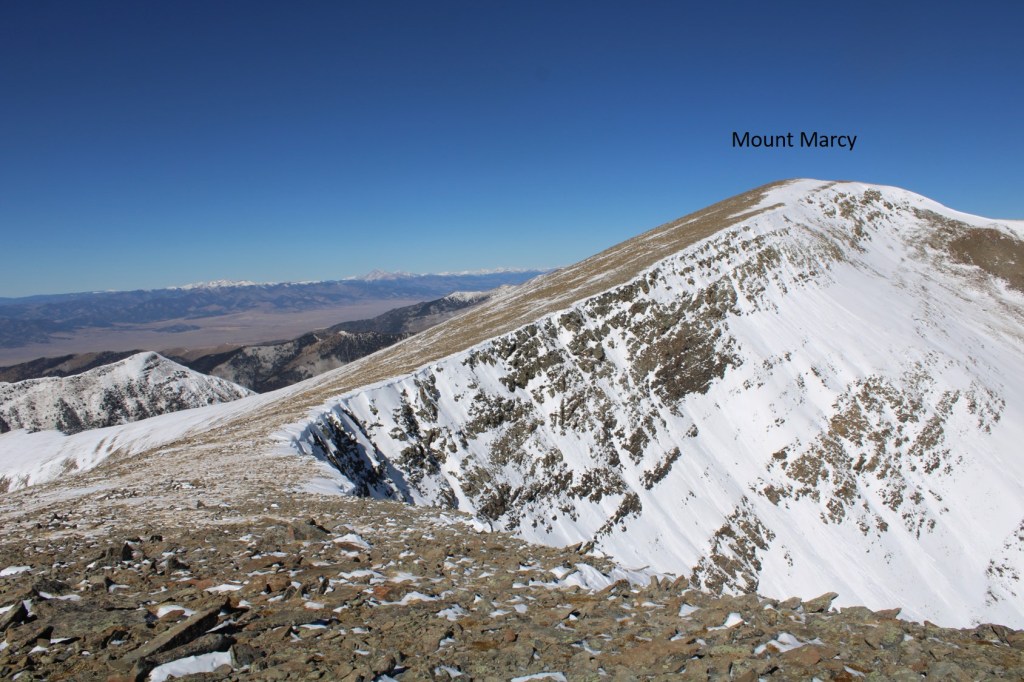
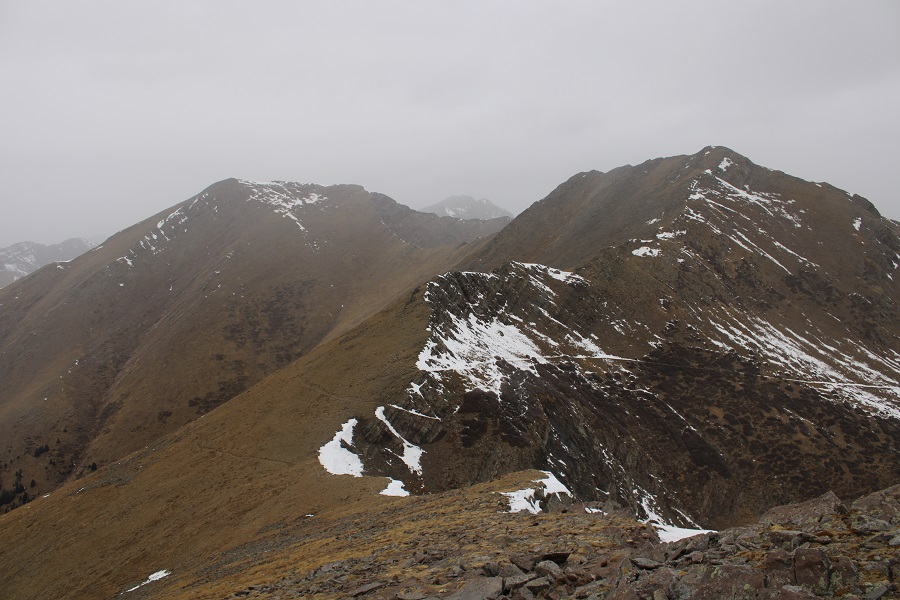
I was able to see Mount Marcy and Silver Peak clearly at this point. 

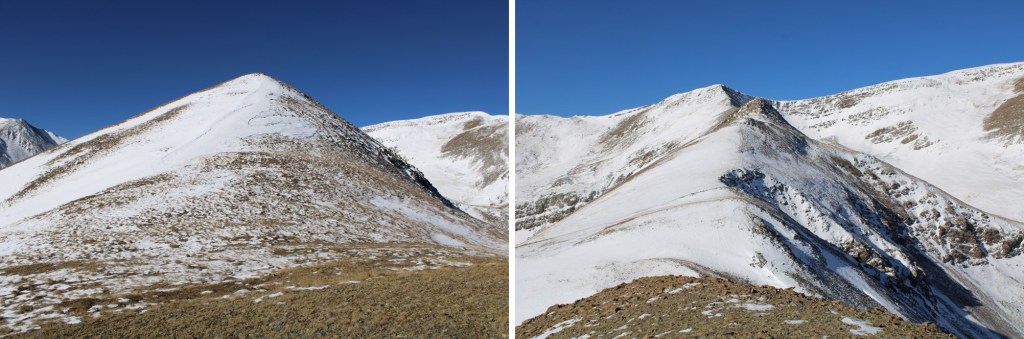
I continued following the ridge southwest, through varying conditions.  There were a lot of elevation gains and losses. I was aiming for the point in the middle. The difficult areas are circled in red (only difficult because of today’s current snow conditions). The rest of the ridge was a class 2 ridge walk. 

The snow had drifted in some areas, and snowshoes were helpful.

I went straight up and over this, using snowshoes in the beginning, and then taking them off to scramble up the rock.

Here I dipped down to the right to navigate the rocks, and then quickly re-gained the ridge

Here are the next few obstacles, and the path I took.  If I didn’t stay directly on the ridge, I dipped to the right.

I kept aiming for the highest point on the ridge

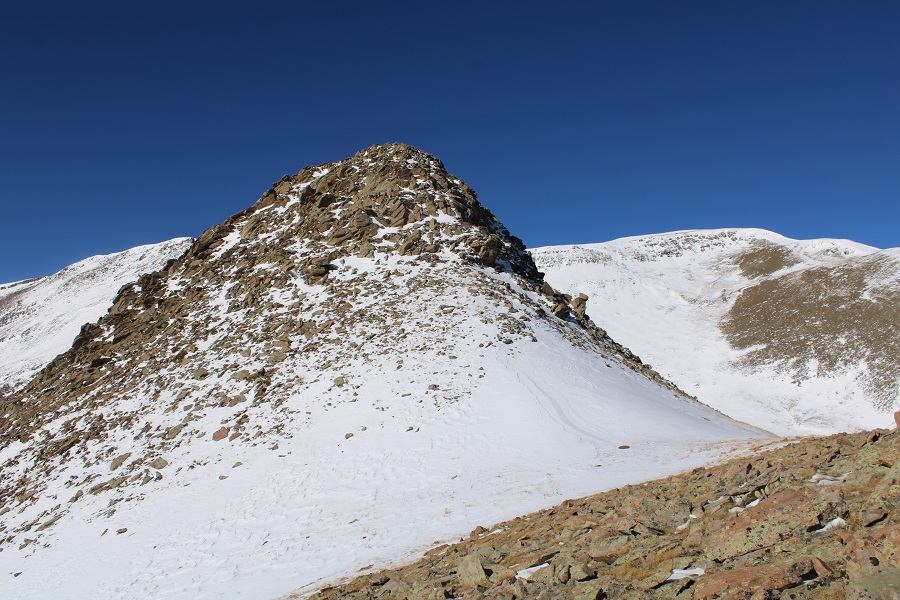
The last push was the hardest.  This was difficult class 3 climbing on the snow.  I stayed mostly in the center of the ridge

Here are some closer pictures of the class 3 scrambling to the top

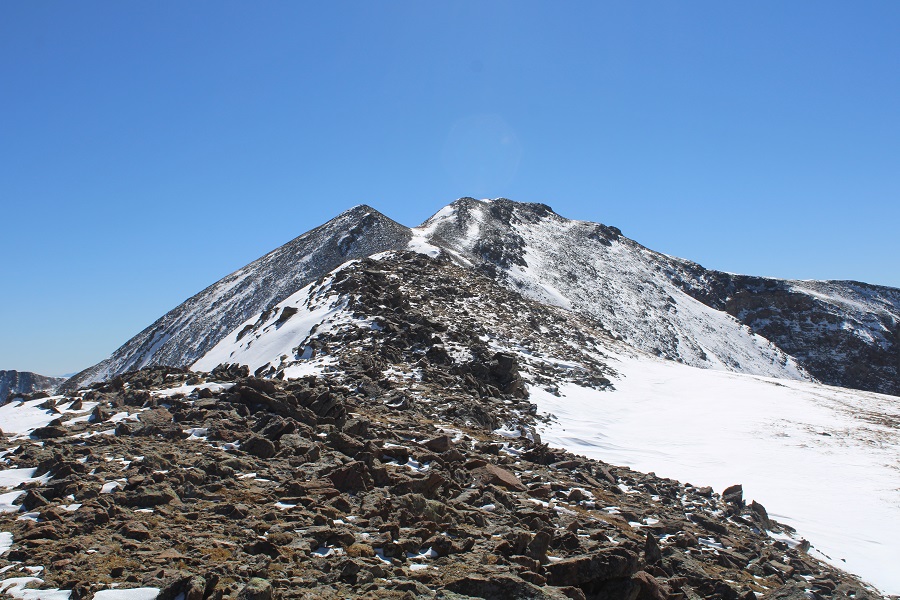
From the top, here’s looking back at the ridge

I now turned right and followed the easy ridge towards Mount Marcy

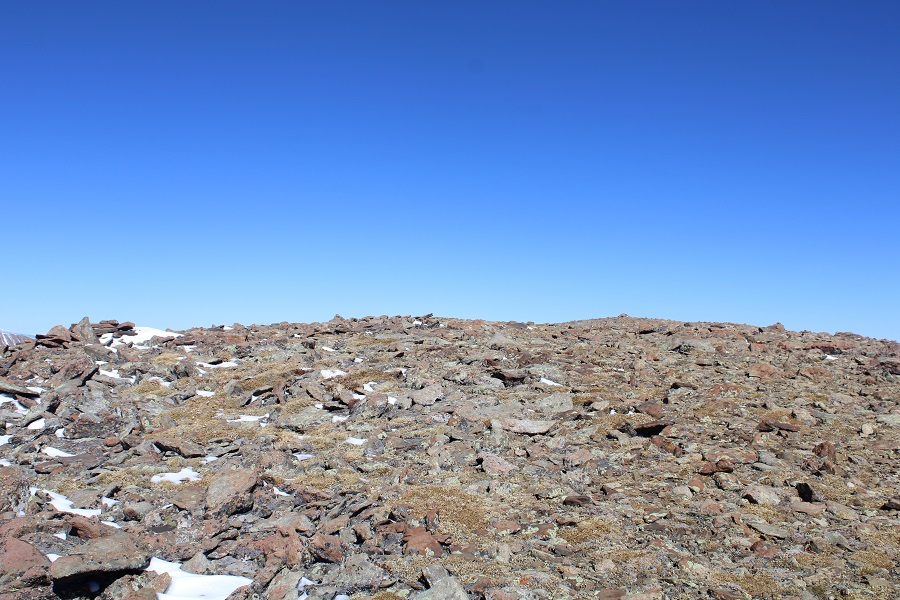
It was difficult to tell where the true summit was, and there were two cairns at the top.  I went with the one furthest north, as it had a summit register and required me to pass the first cairn, thus ensuring I’d hit the summit at some point. 

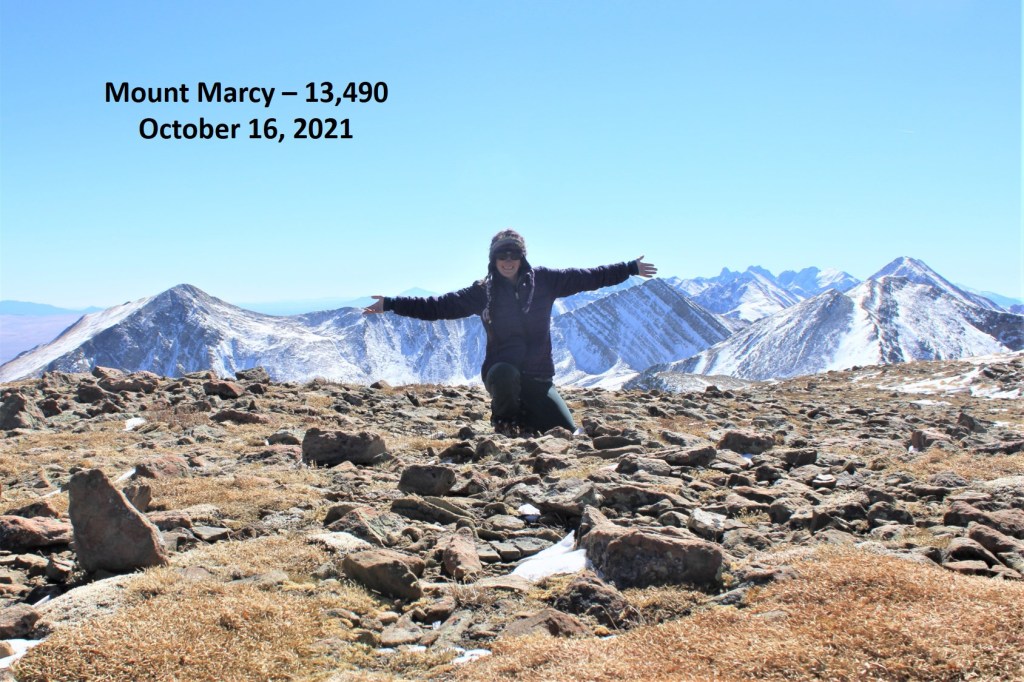
I summited Mount Marcy at 11:40am

Mount Marcy:

I headed back the way I’d come, and headed towards Silver Peak.  I didn’t re-summit the high point, but skirted it to the right on easy terrain

And then followed the ridge to the saddle

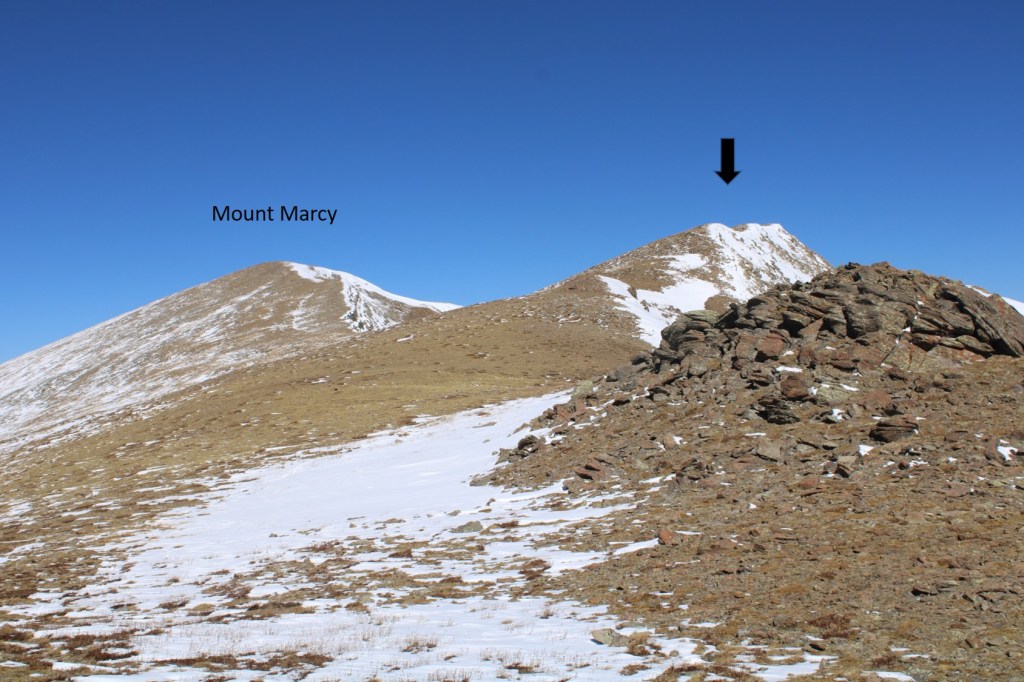
Here’s looking back at Mount Marcy.  The black arrow is how I accessed the ridge

But now, to continue towards Silver Peak

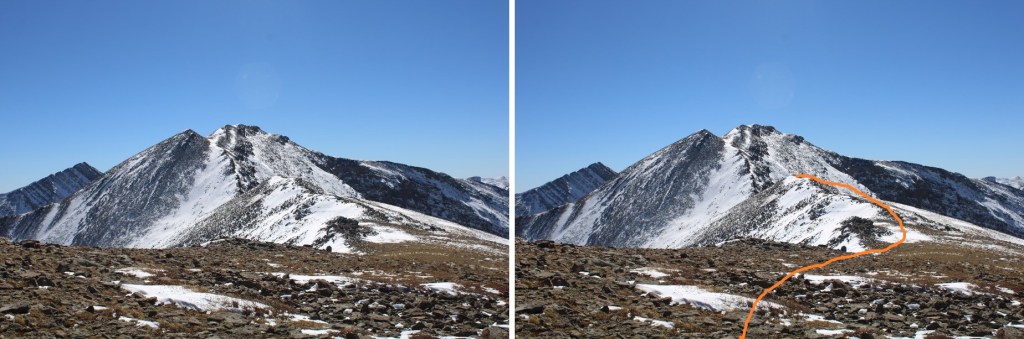
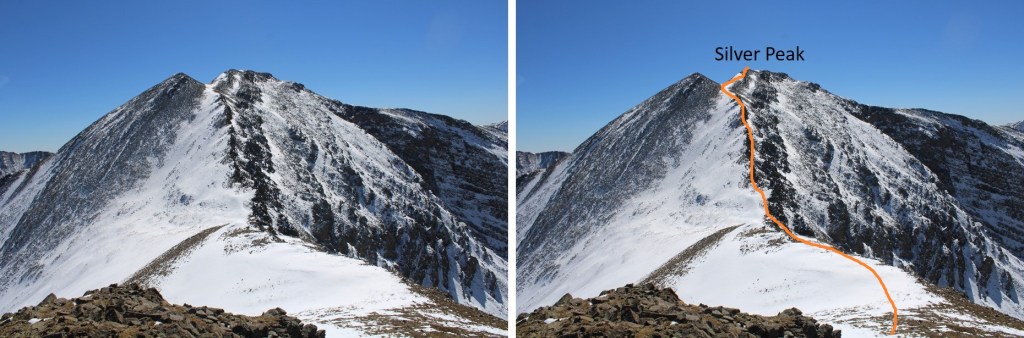
I made it to the saddle, and picked my route. By sticking to the very top of the ridge I was able to keep this class 3, although there were some tricky moves with the snow. Here’s the route I took

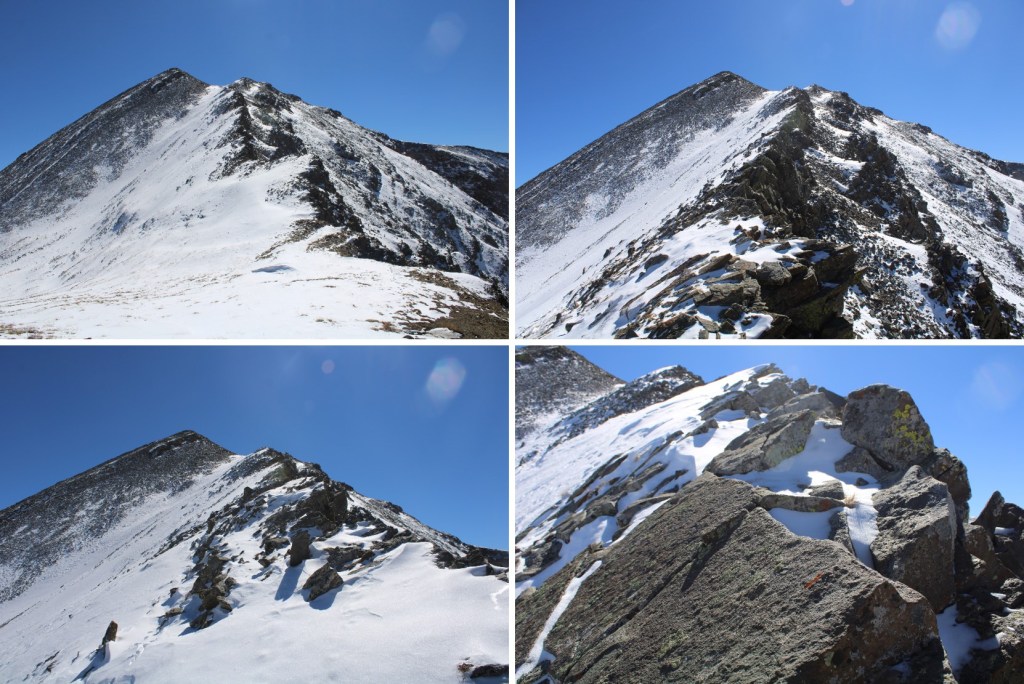
And some closer pictures of the ridge

Topping out of the ridge was class 2

I then headed south towards the summit

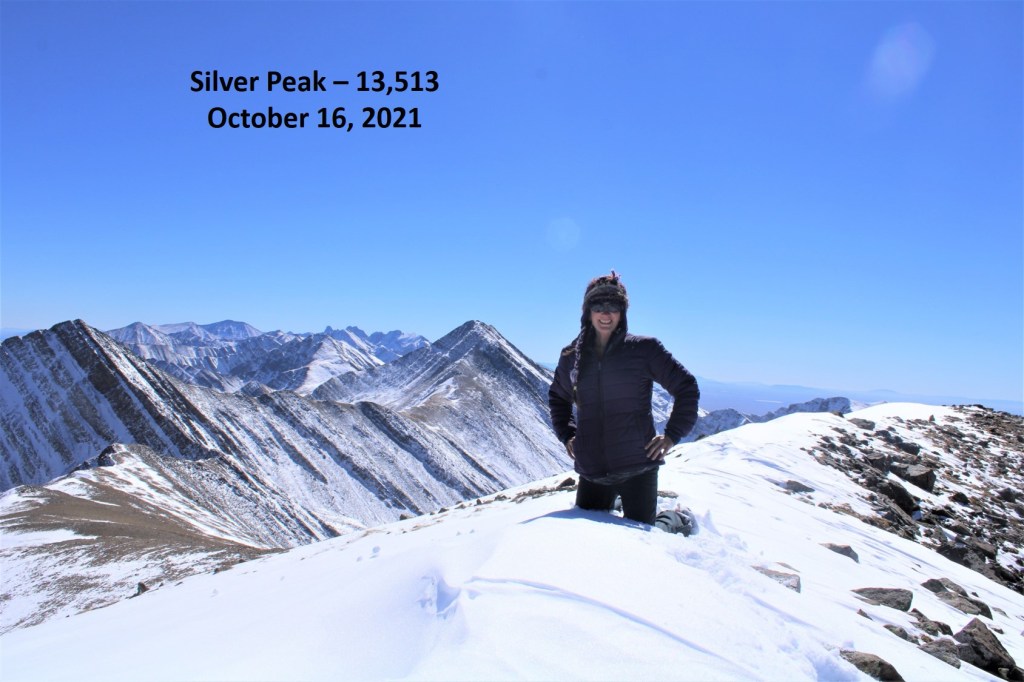
I summited Silver Peak at 1pm

Silver Peak:  

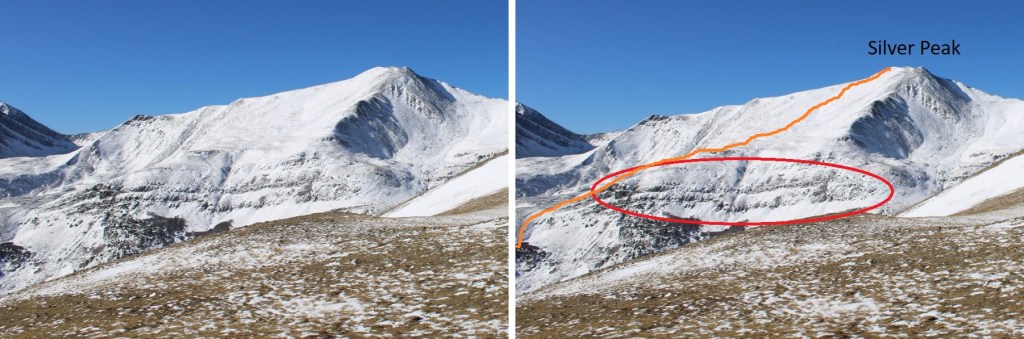
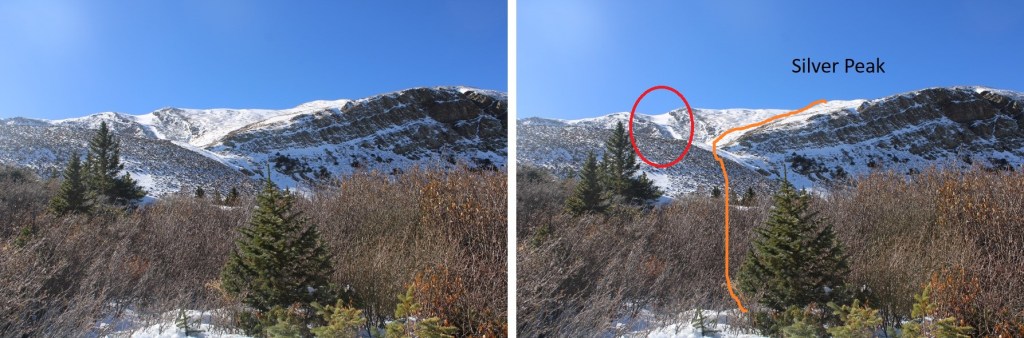
I was making this a loop, so from here I wanted to descend into the Lakes of the Clouds basin.  To do this I followed the ridge about 50 feet south, then turned left and headed east.  It’s important to follow the contour of the ridge, as it cliffs out if you go too far north.  Here’s a visual from earlier in the day.  You’re trying to avoid the cliffs I the circled area

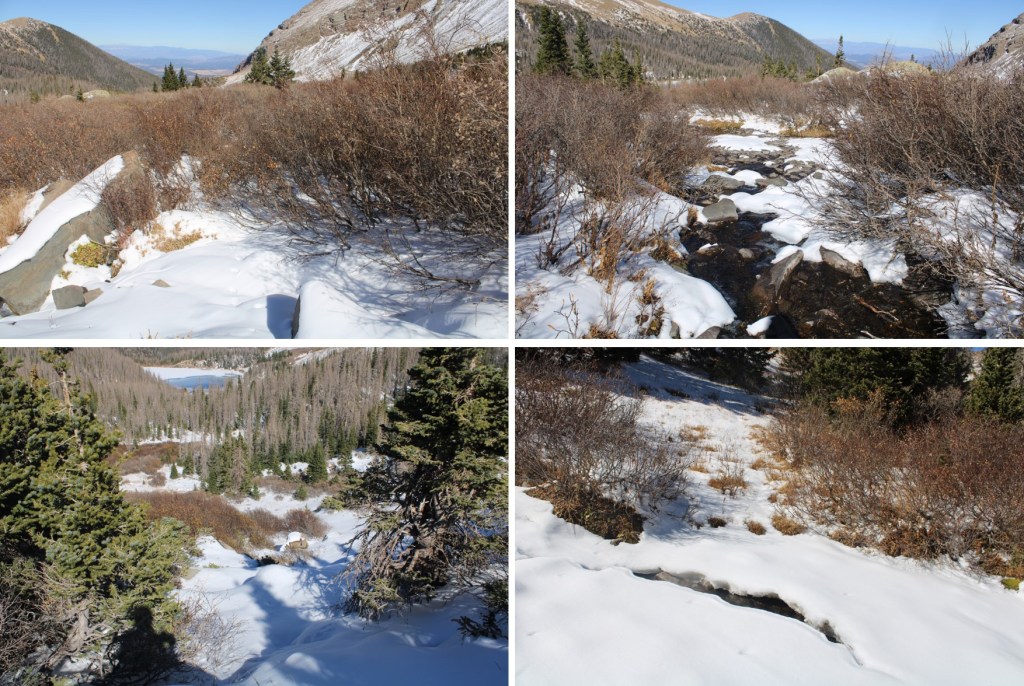
Please note:  I’ll show you how I made it down to the Lakes of the Clouds, but I do NOT recommend this as a winter/winter conditions route, and it’s probably not ideal in summer either.  There was snow in the top of the avalanche chute, and it was mid-October.  The gullies were unstable and difficult to navigate while covered in snow, and it was hard to find a direct route down.  The only positive was the creeks were low, so I was able to walk directly in them to avoid the willows.  (Willows:  another reason to avoid this route, just go back and take the ridge down). 

I made my way into the basin, first heading south, and then east

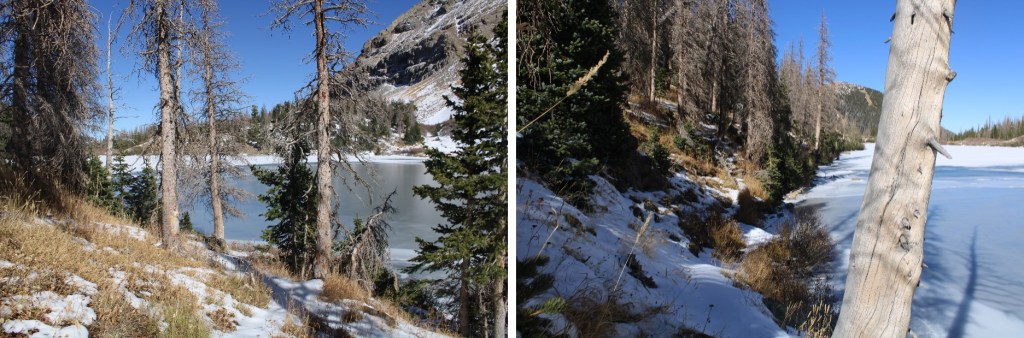
Once I could see them, I was aiming for this lake, where a trail would pick up

The route required me to cross/use an avalanche route/drainage area.  To navigate this, I stayed as high as possible, once crossing the drainage

I stuck to the stream whenever possible, which would ultimately lead to the lake

I have to say, this part of the hike was miserable.  I had to watch every step, and took considerable time dusting snow off rocks to make sure I had secure hand/foot placement.  It was getting later in the day, so snow stuck to my microspikes.  I lost a spike somewhere along the way… probably in a stream crossing, as the snow that had built up on my foot became engorged with water, much as a snow cone would when adding syrup, became heavy, and slushed into the muck.  Long story short:  my feet were wet the entire hike back to my truck.

Here’s looking back at how I came down from Silver Peak.  The top of the avalanche area is circled in red, and flows all the way to the lakes

I skirted the lake to the left and at the north end of the lake came upon trail 1349, which was packed down this morning by fishermen heading to the lakes

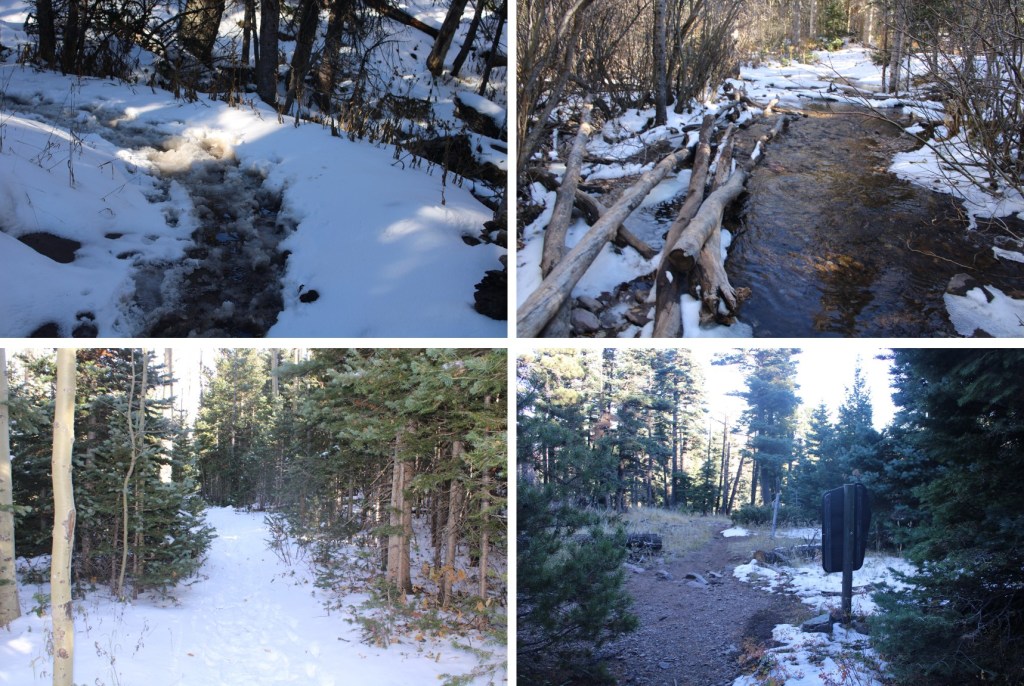
I took Trail 1349 for 3.75 miles, back to Trail 1336, and the to the Gibson Trailhead.  This is a great, class 1 trail.  The only downside are all the softball-volleyball sized rocks littering the path

I made it back to my truck at 4:30pm, making this a 16.6 mile hike with 5573’ of elevation gain in 11 hours.