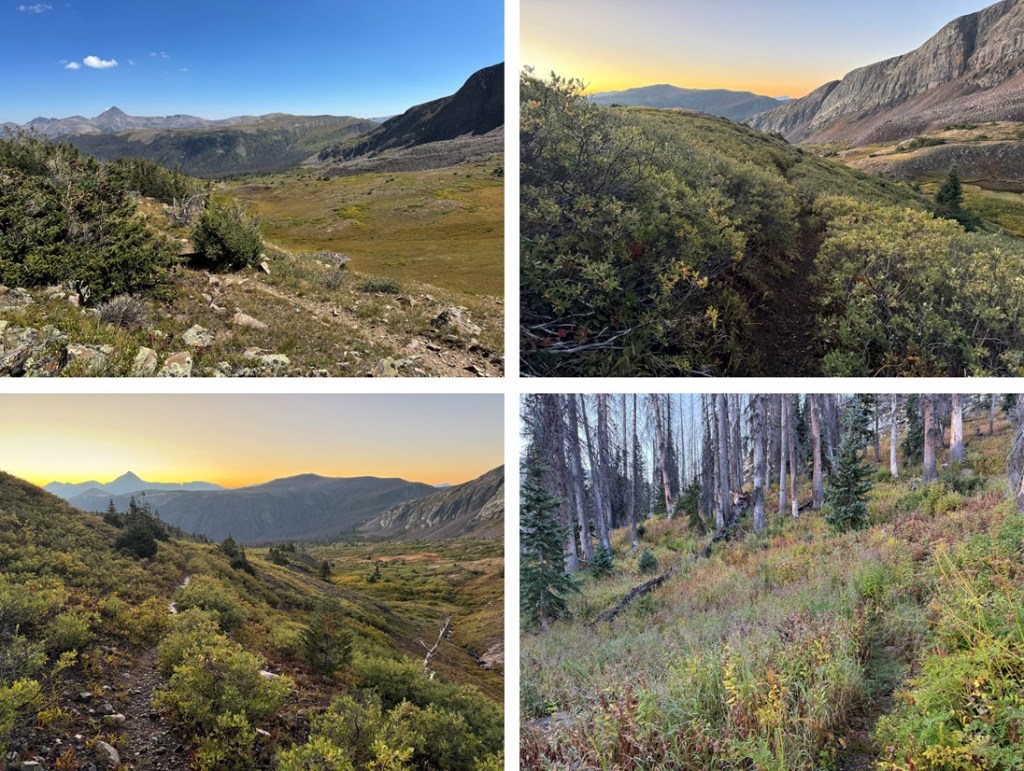
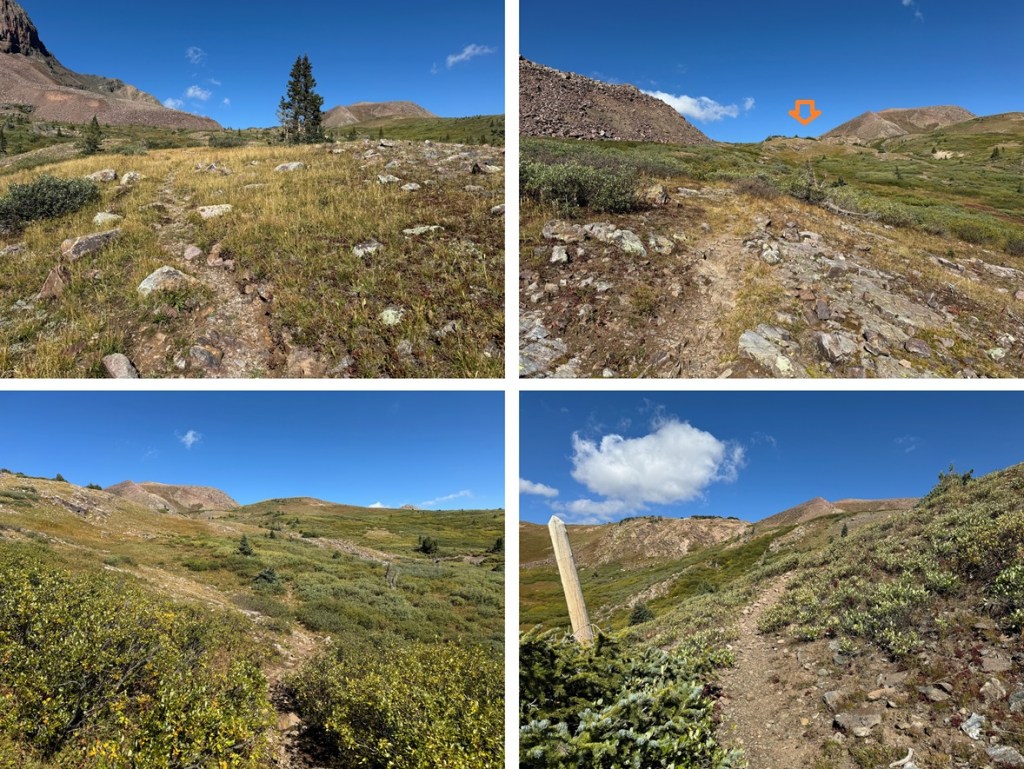
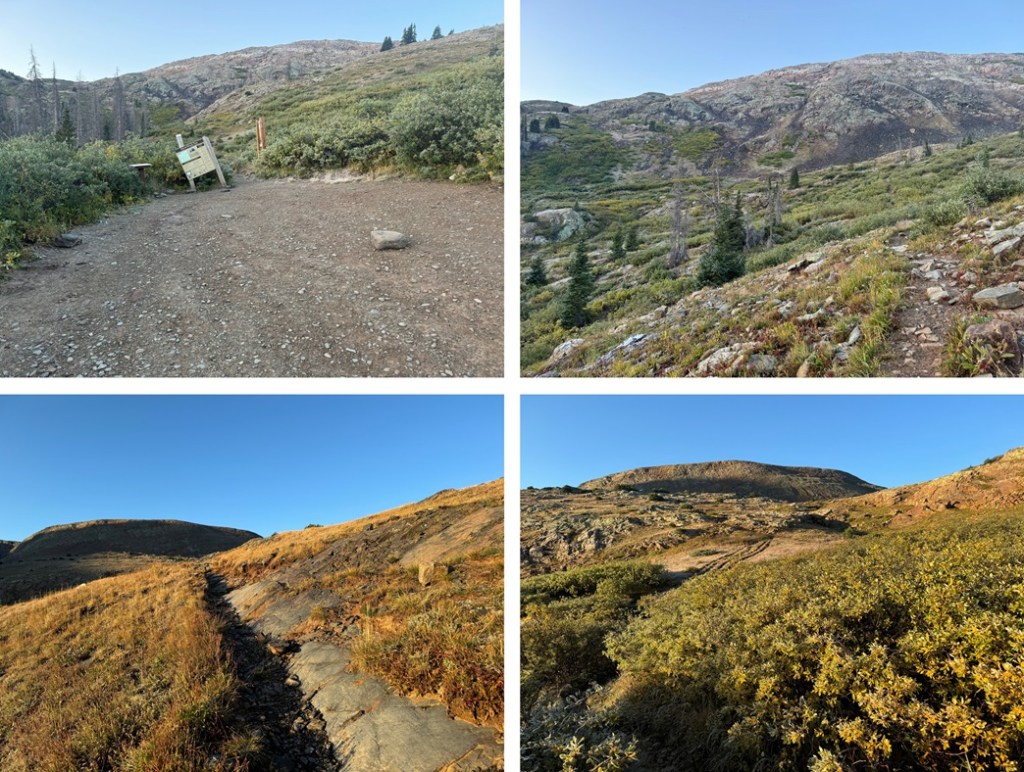
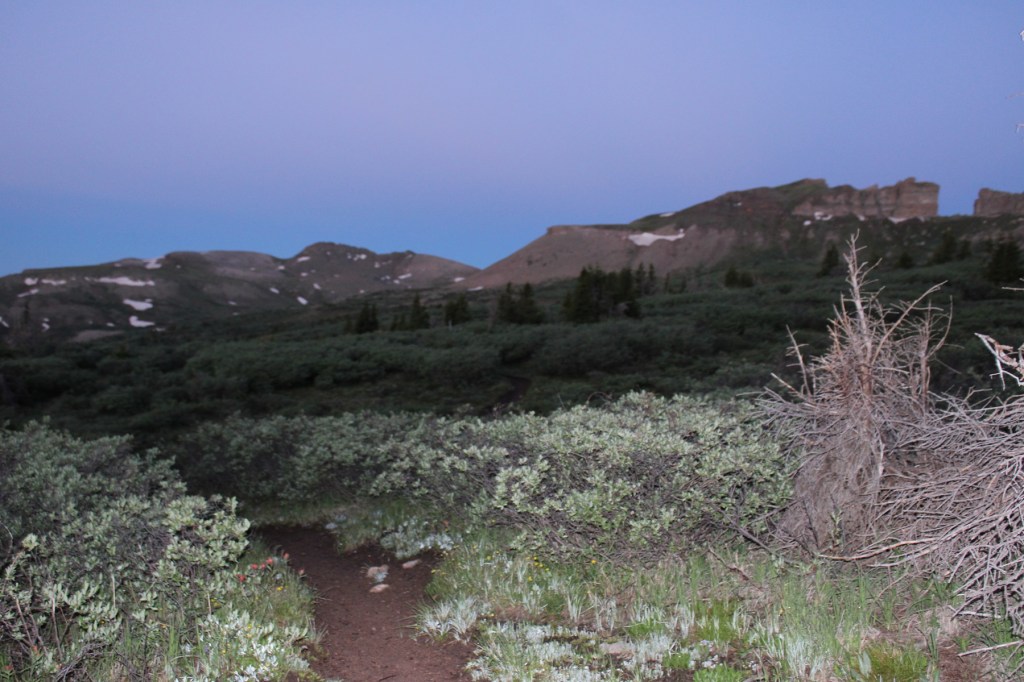
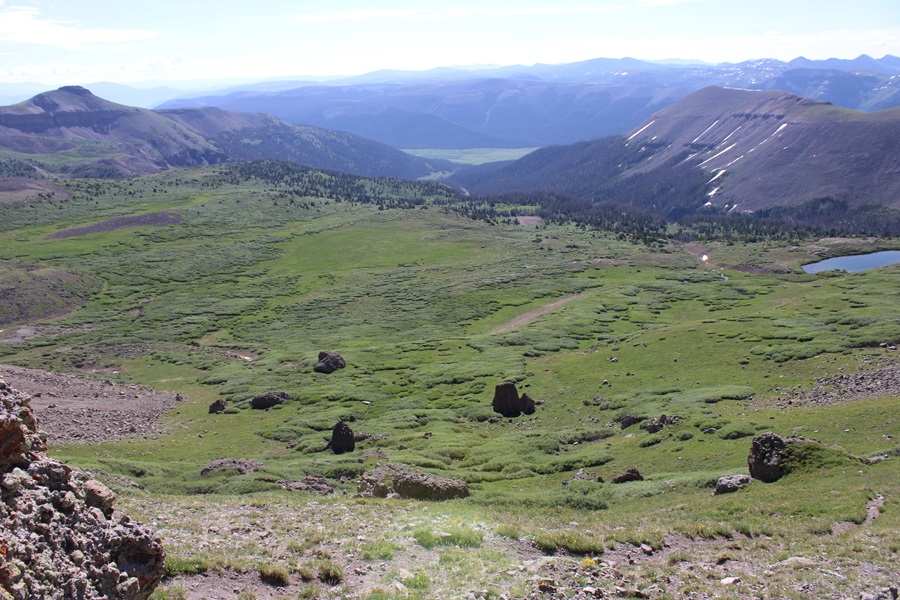
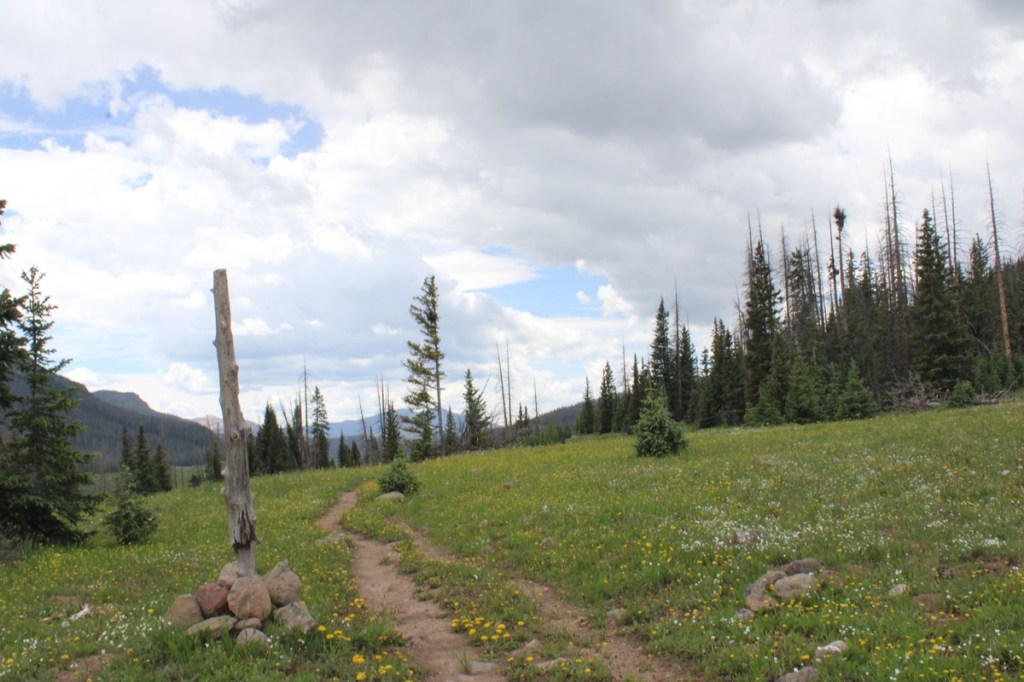
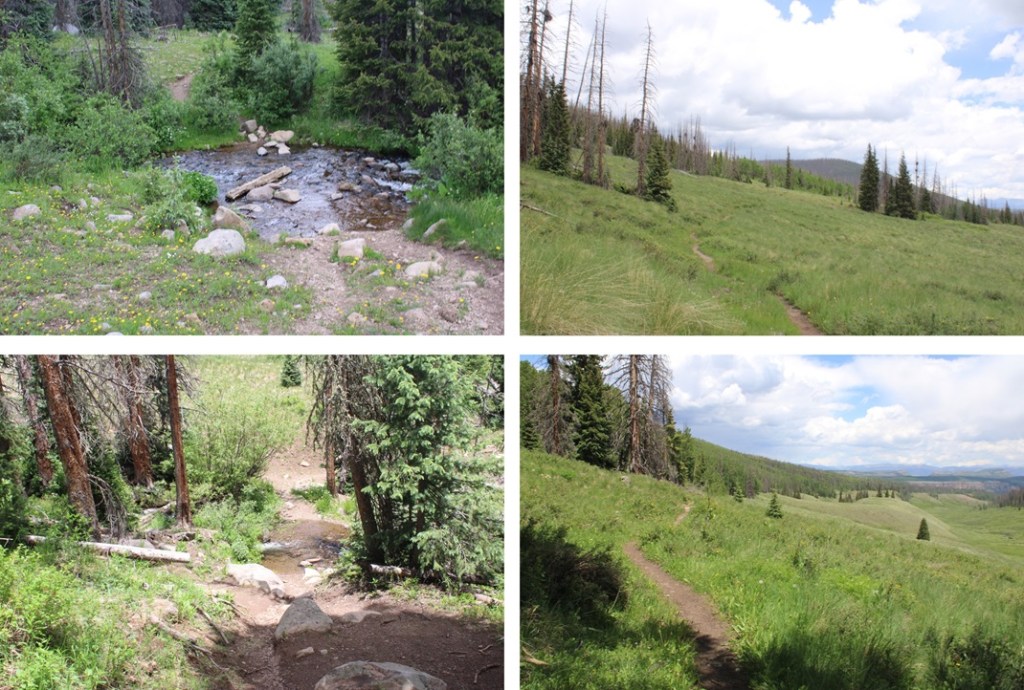
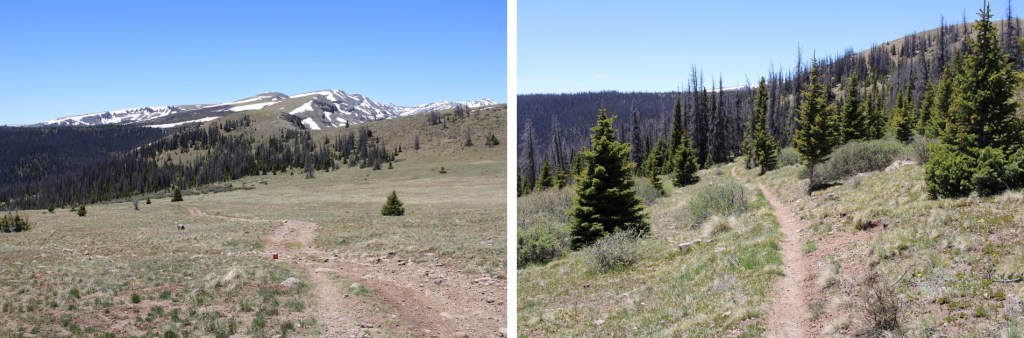
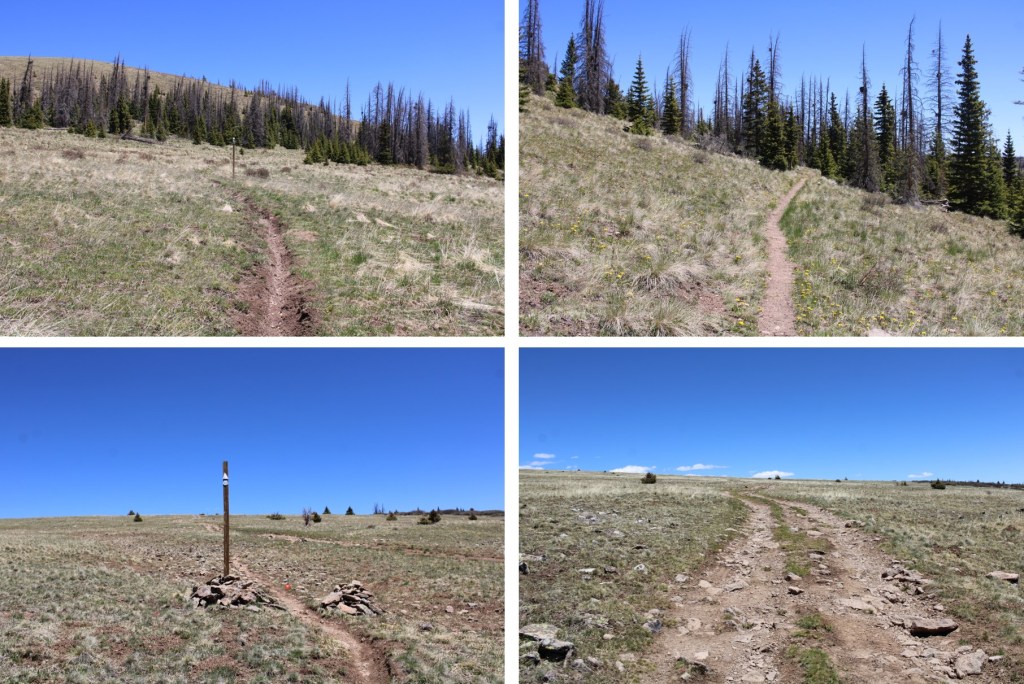
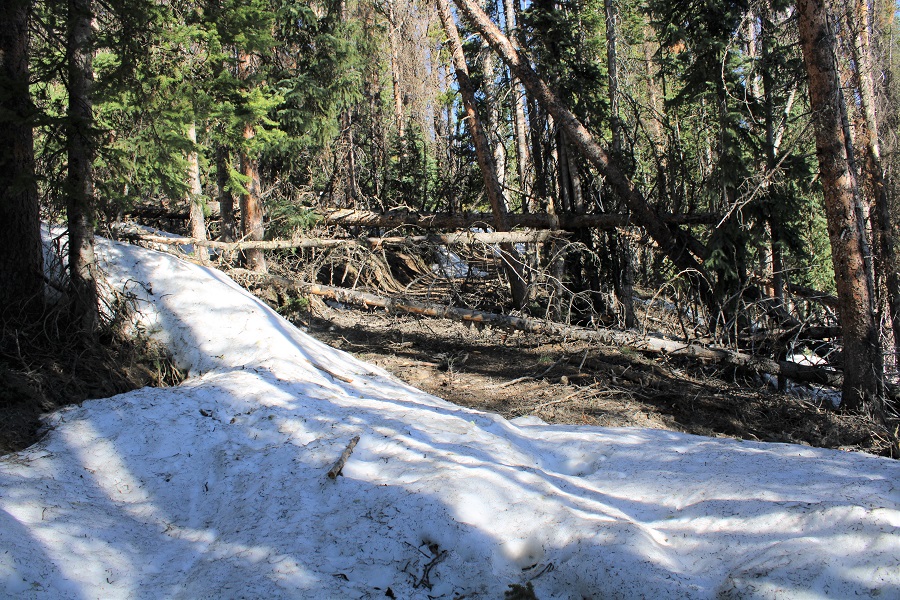
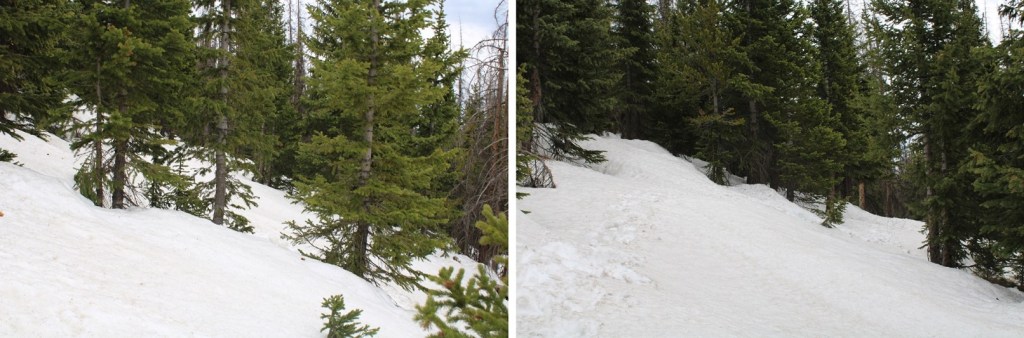
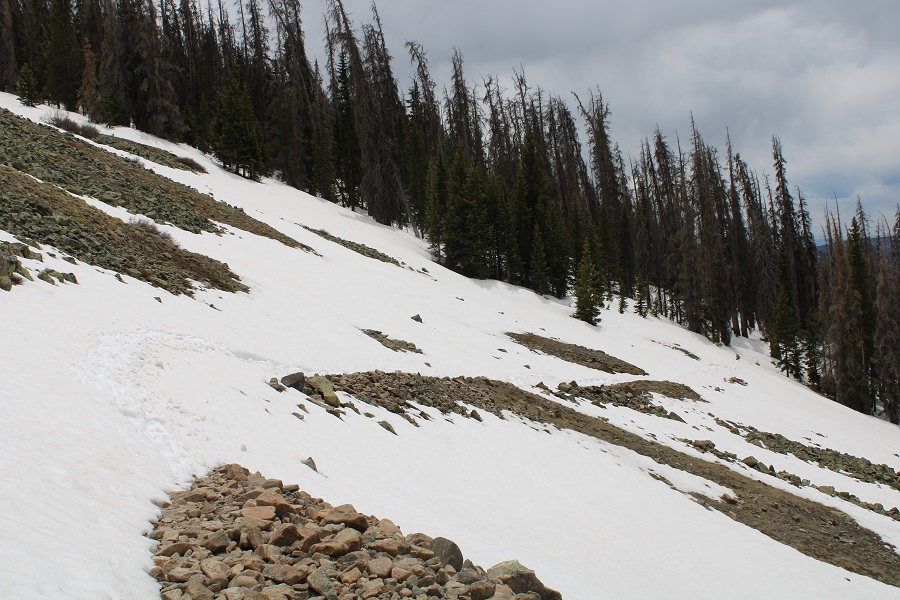
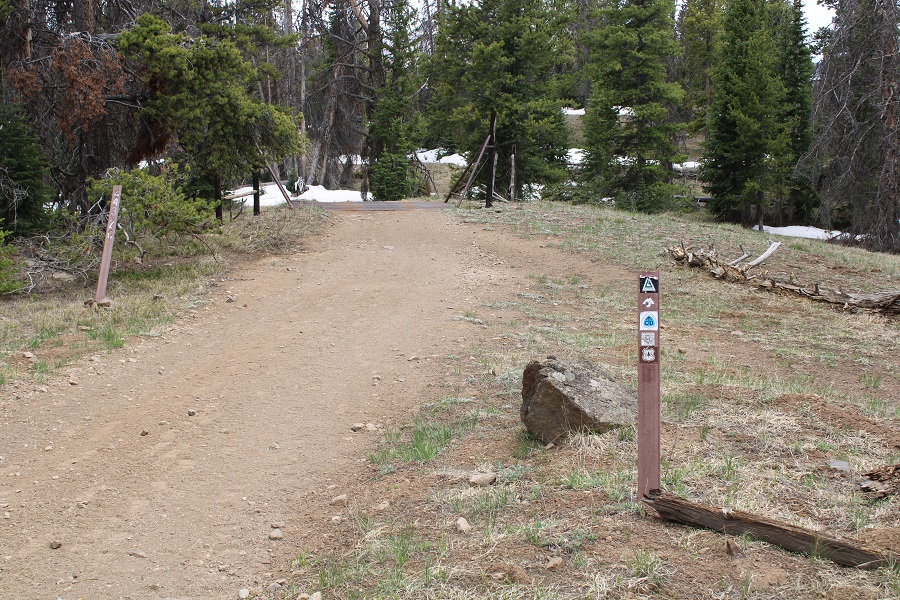
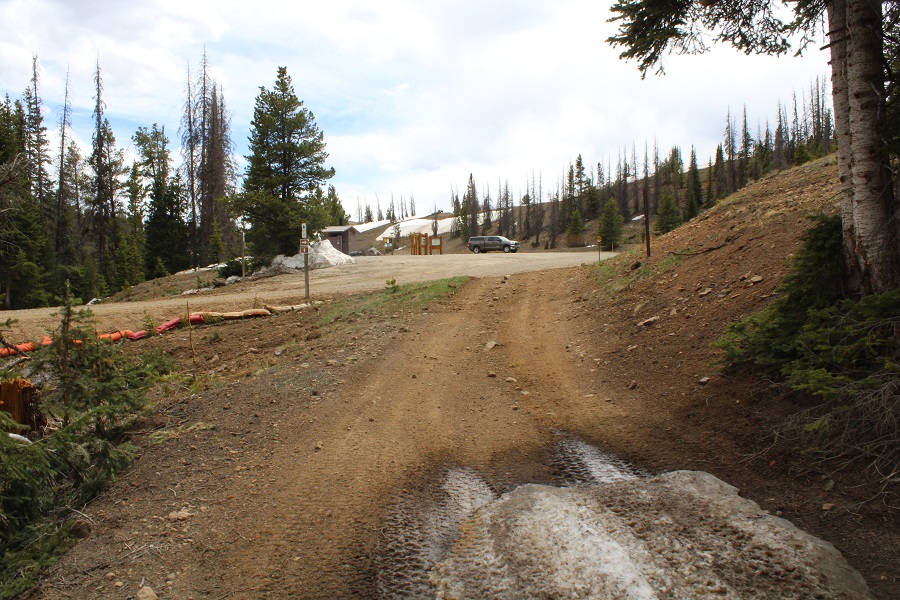
I woke up nice and cozy in the bed of my truck and sat there in the dark waiting for my alarm to go off. After waiting quite a while, I looked at my phone and noticed it was 8:15am! My alarm hadn’t gone off, and I was late getting on the trail. I was ready 15 minutes later, following the 4WD southeast towards the CDT trailhead. Doing this meant I lost 160’ of elevation in .3 miles, which I would need to regain at the end of my hike. There is one parking space near this trailhead, but when I got there the day before there was an ATV parked there, taking up the entire spot.
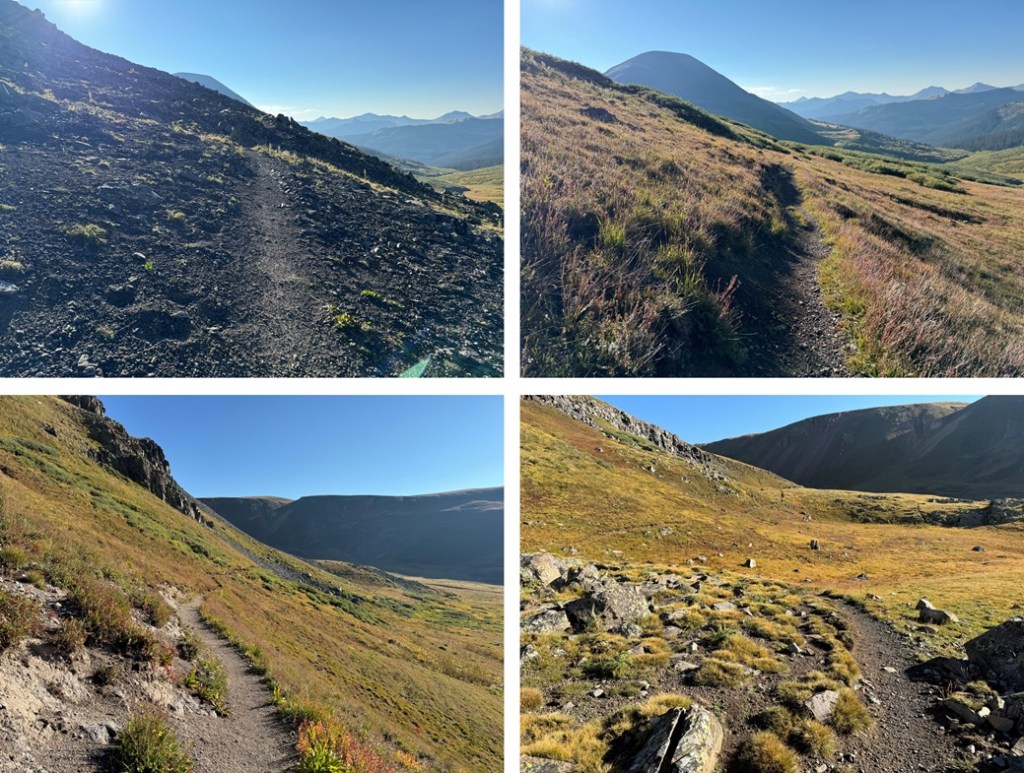
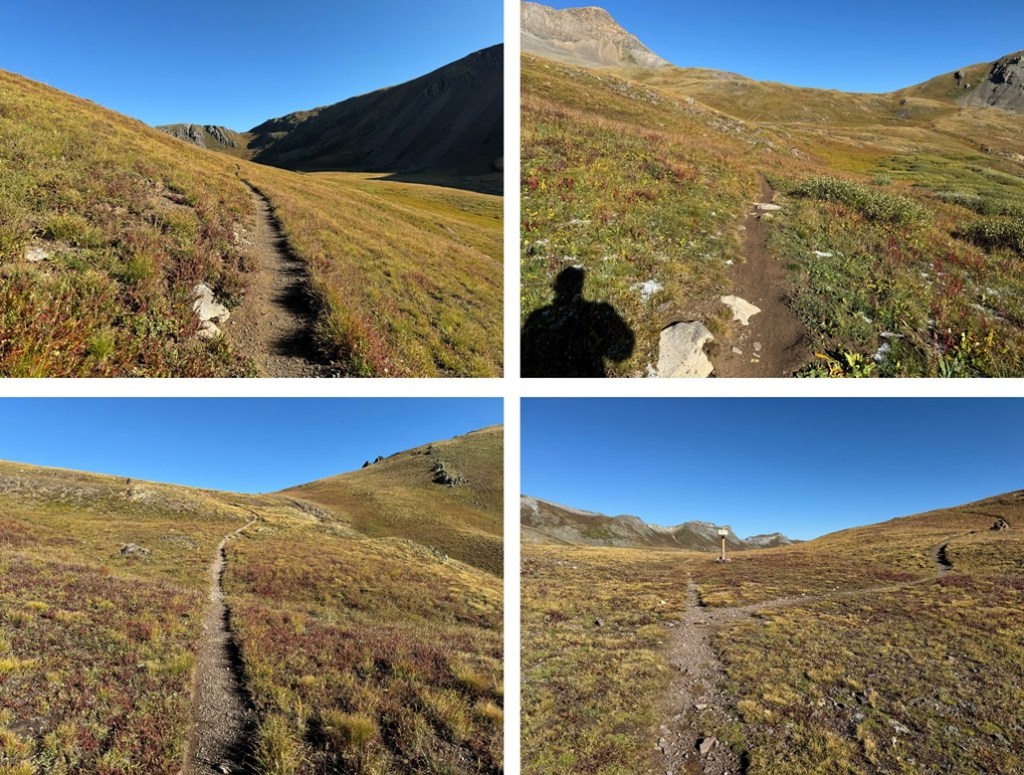
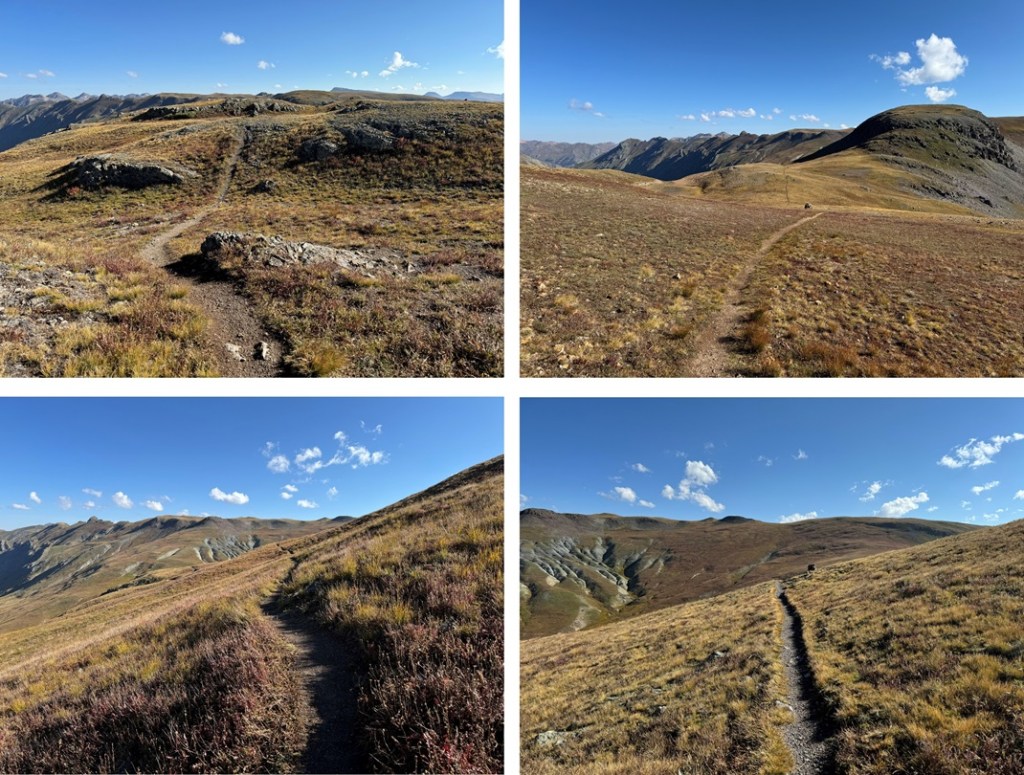
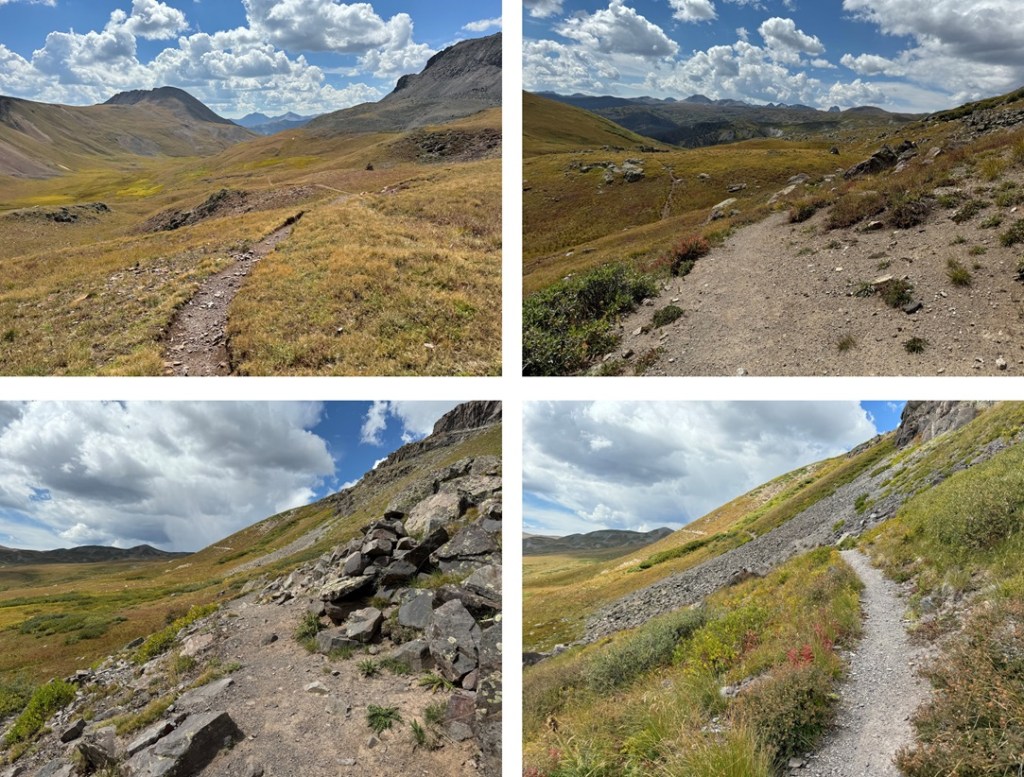
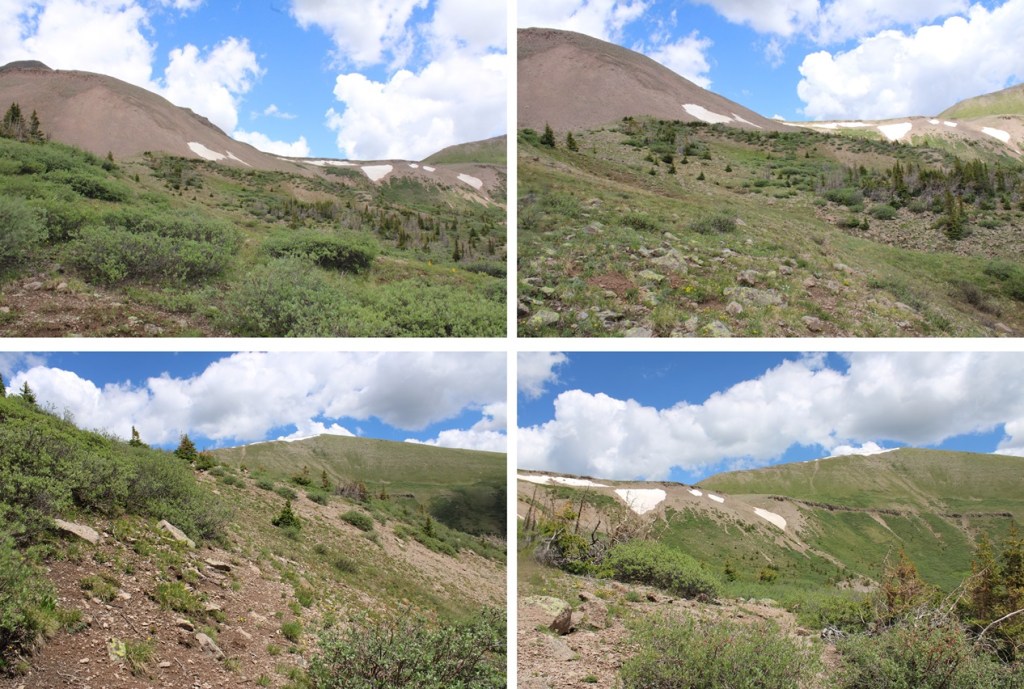
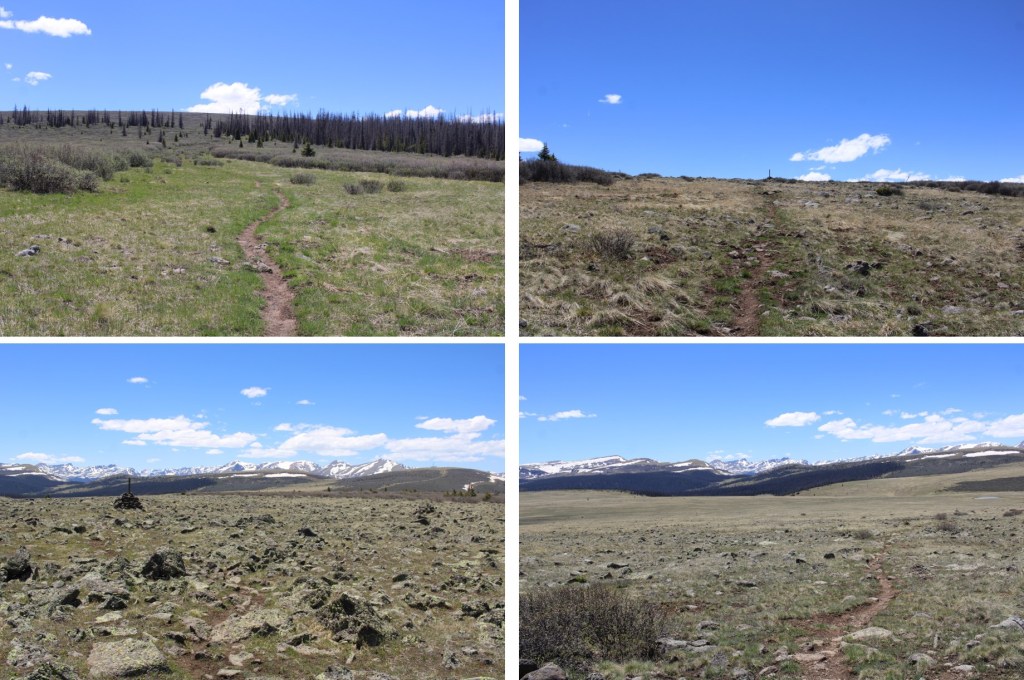
Once at the CDT trailhead, I followed the CDT north for a total of about 3.5 miles, gaining and losing elevation as I went.
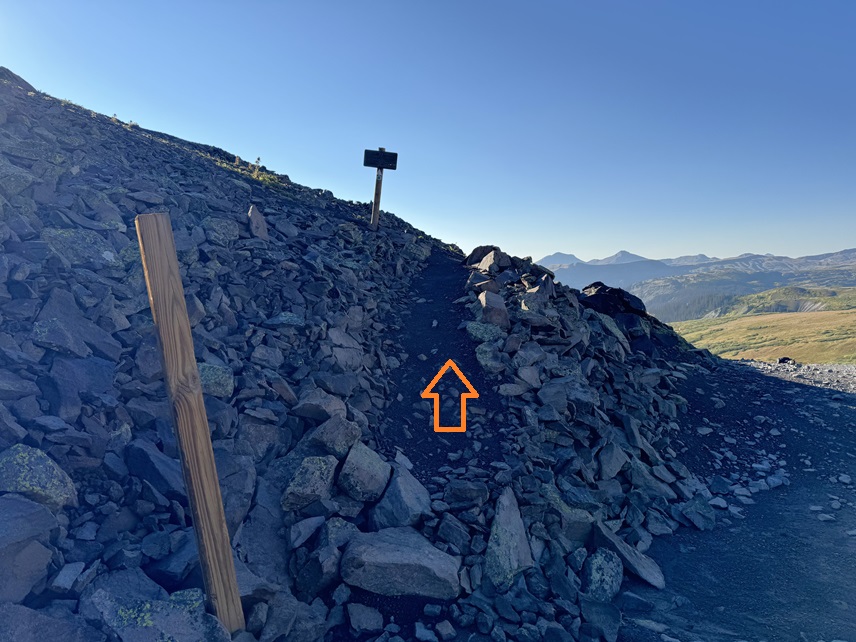
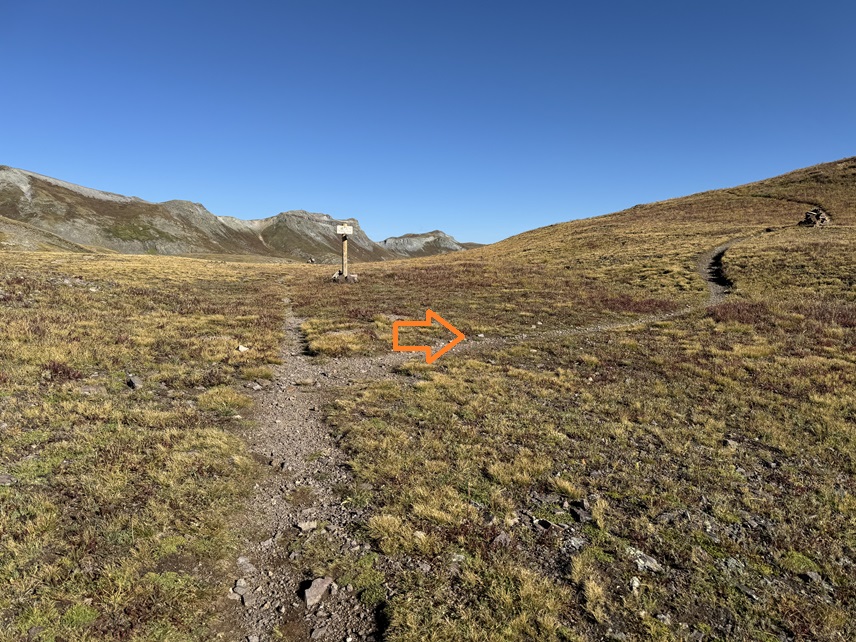
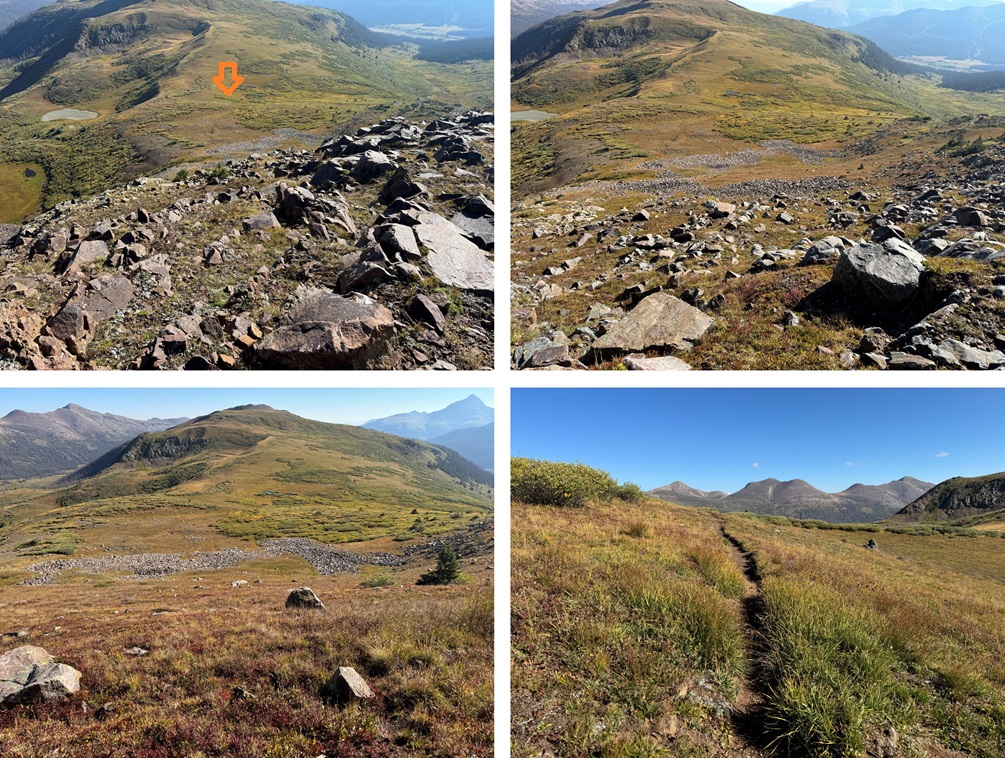
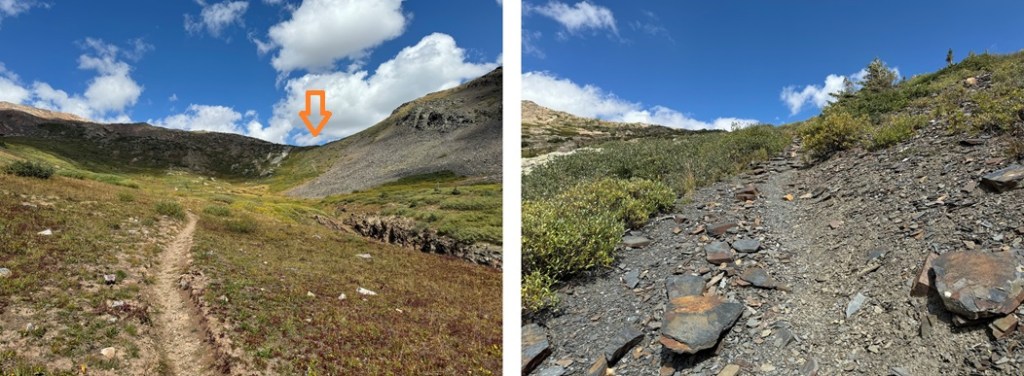
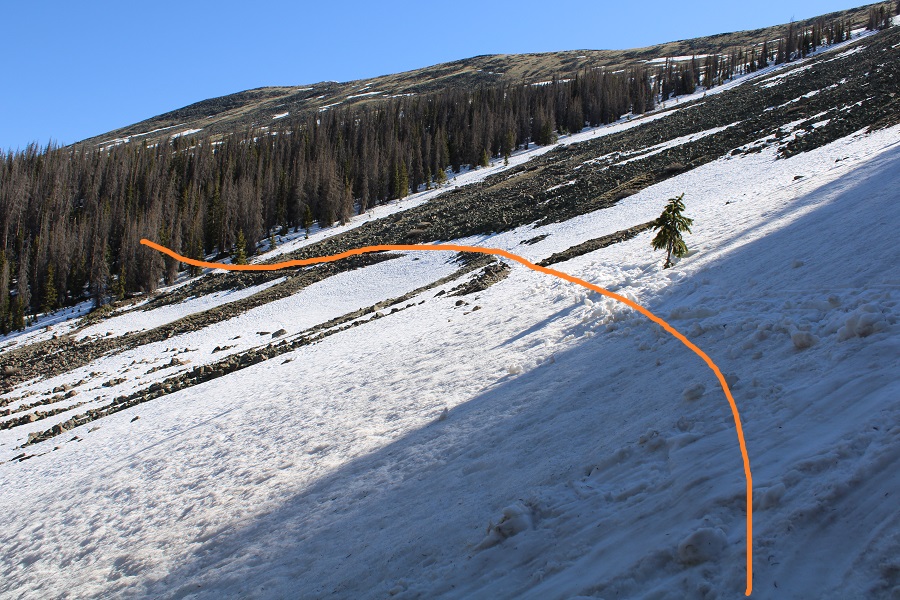
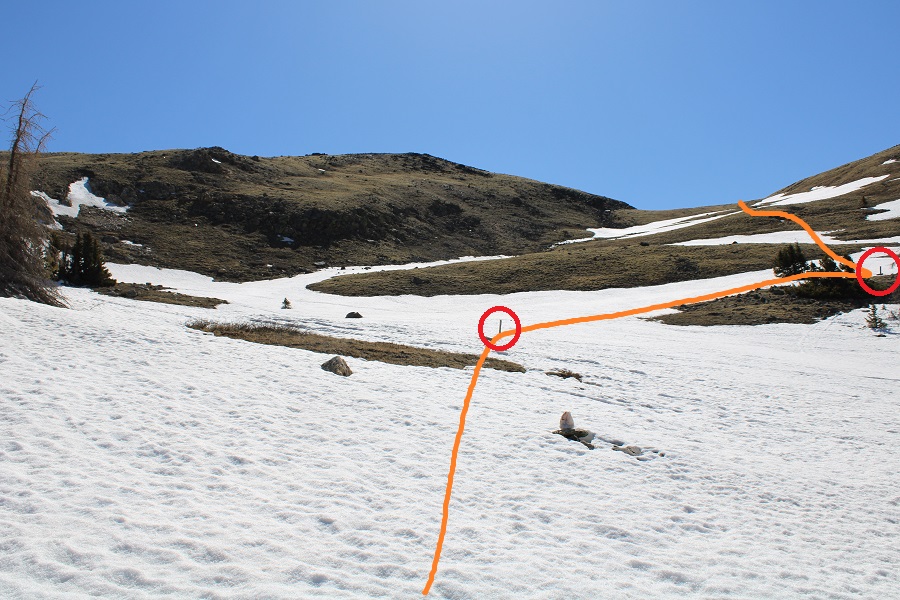
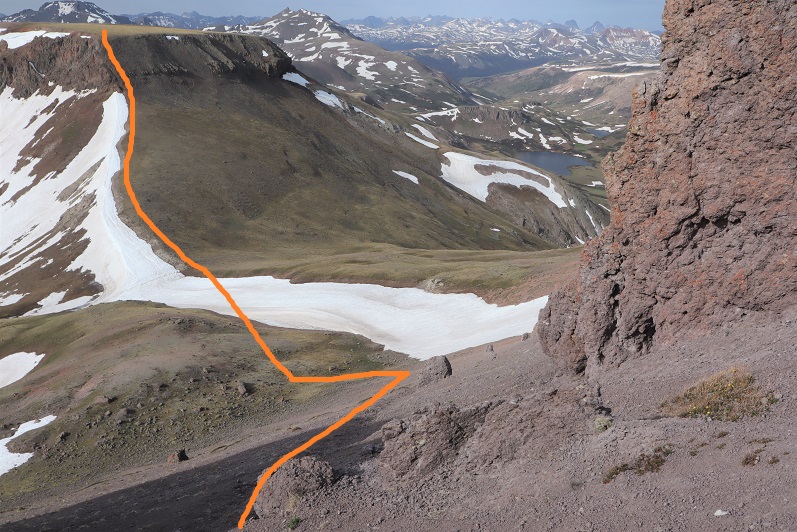
At the top of a small pass I came to a junction for the CDT and Moose Gulch, and turned right, continuing on the CDT.
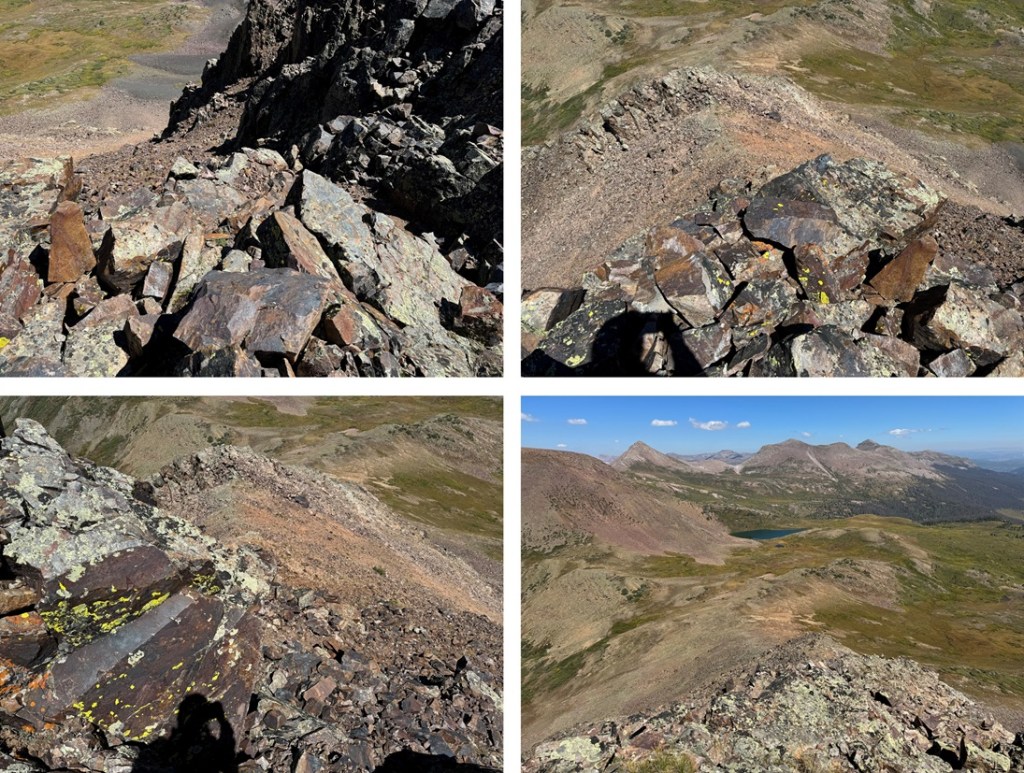
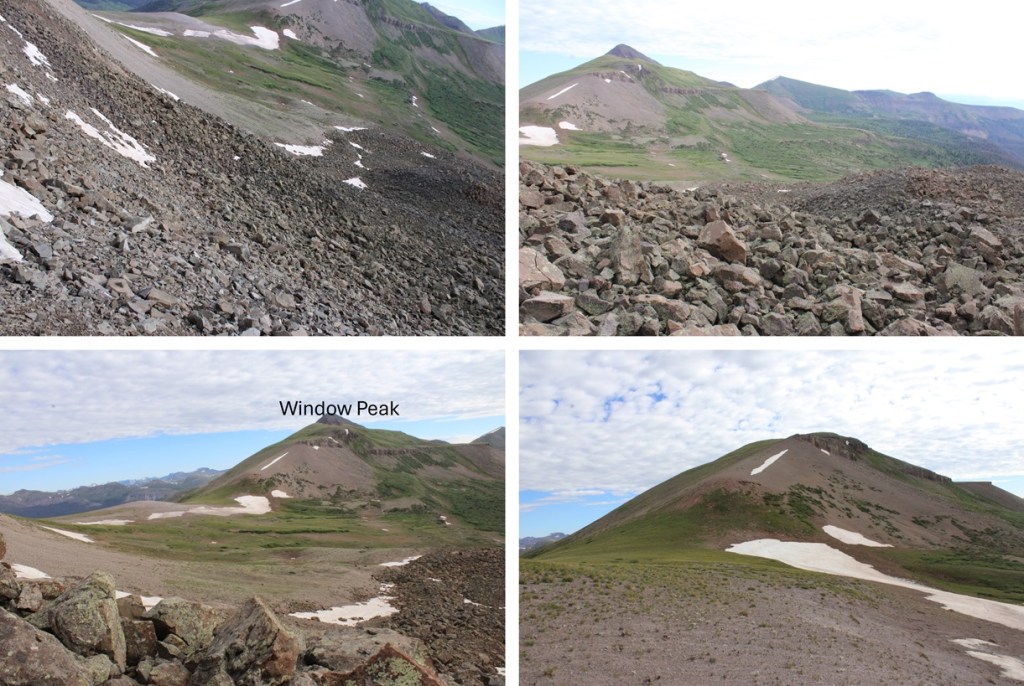
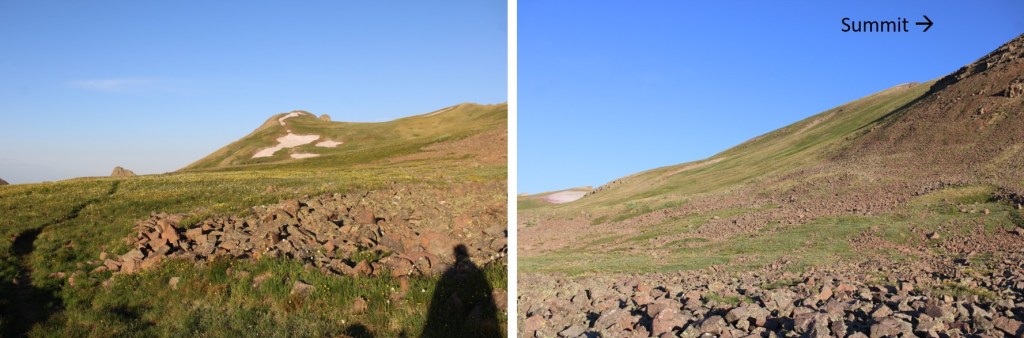
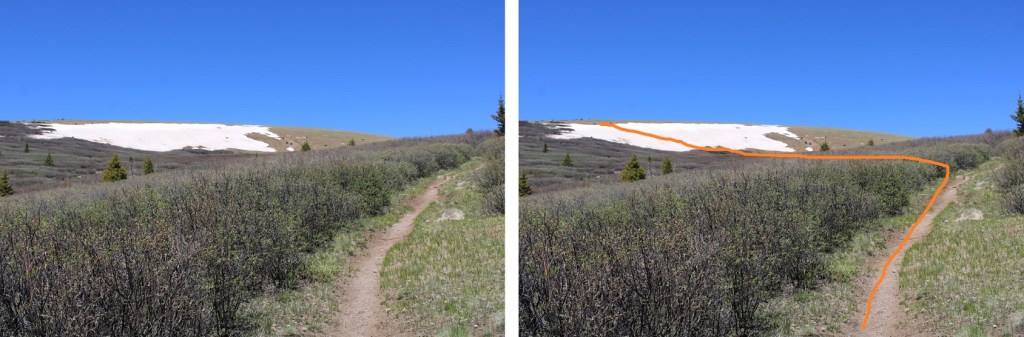
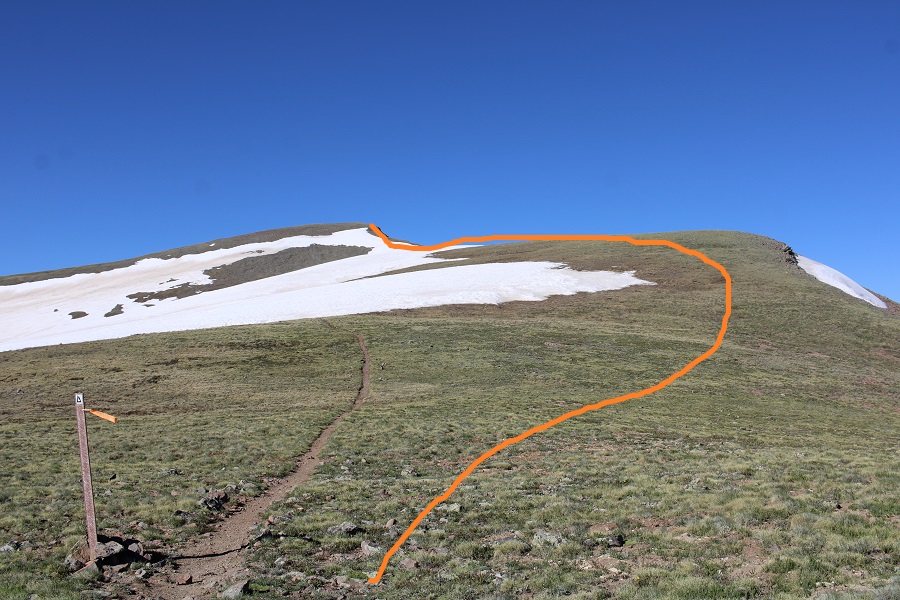
I continued on the CDT until I made it to 13000’
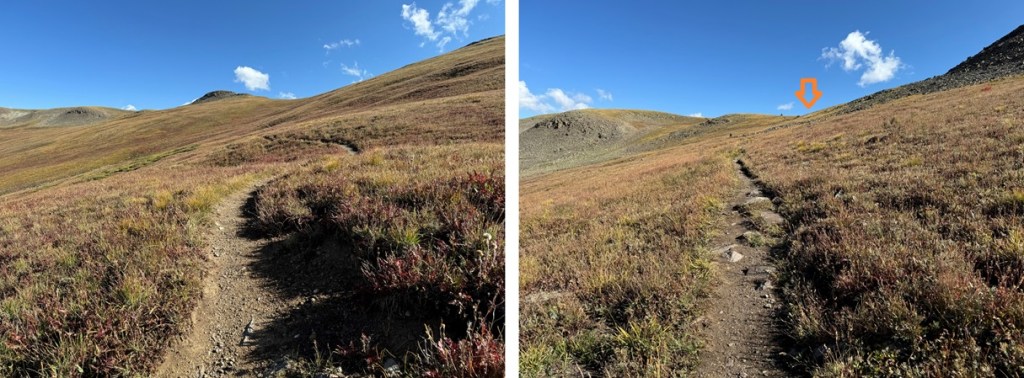
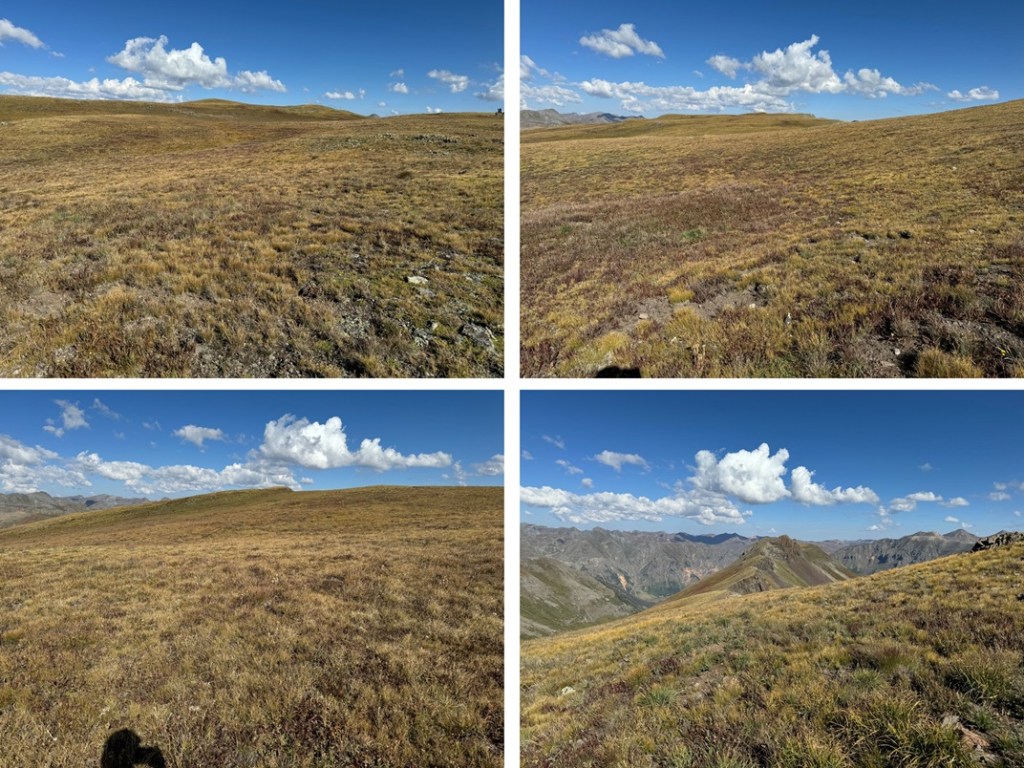
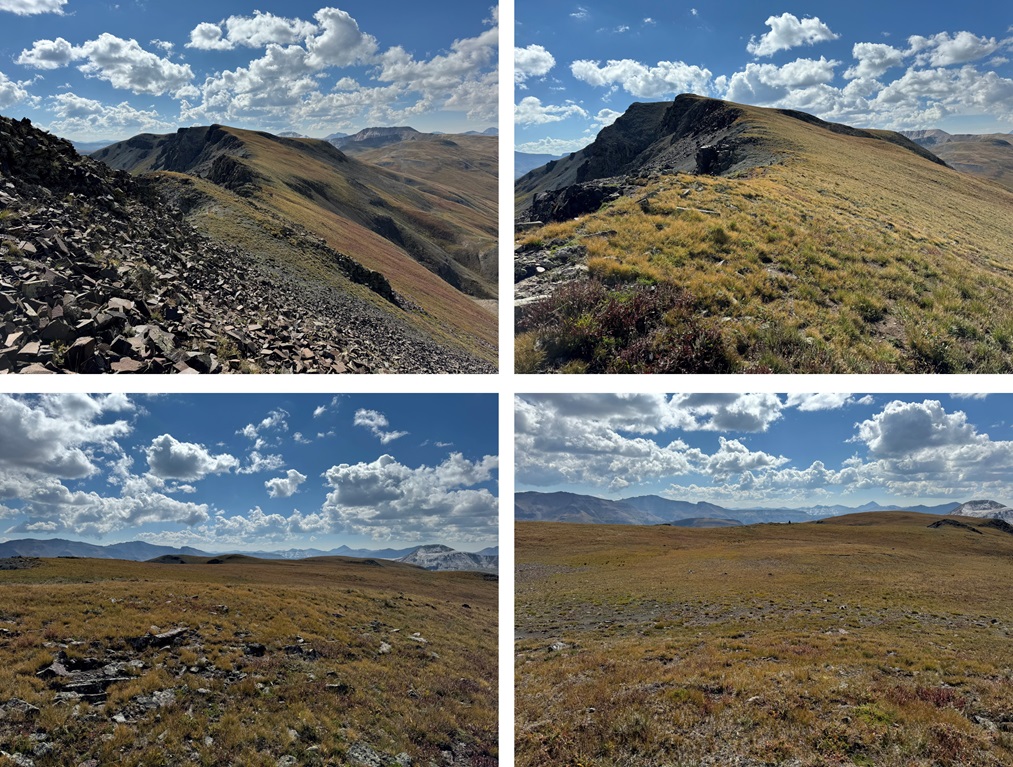
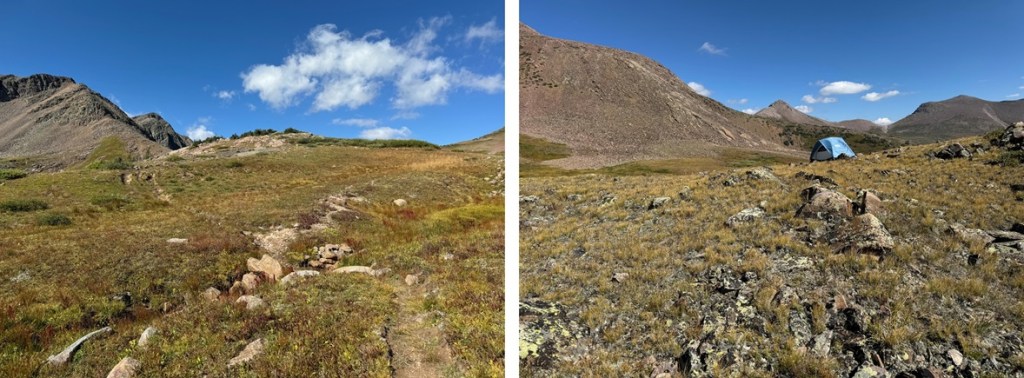
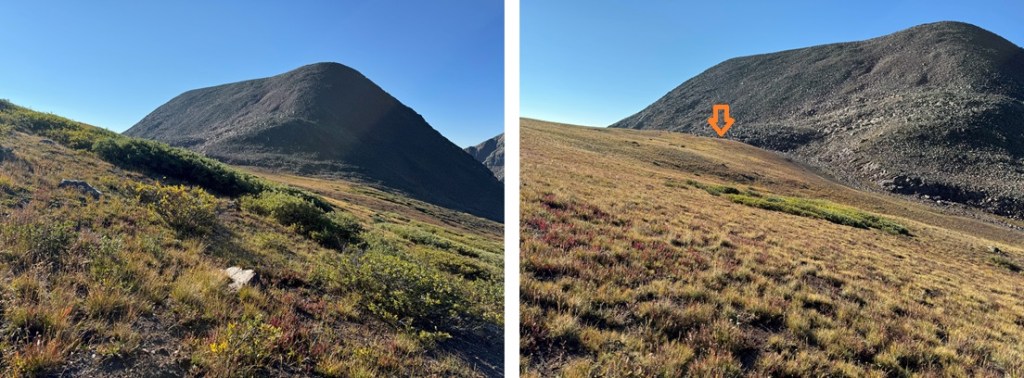
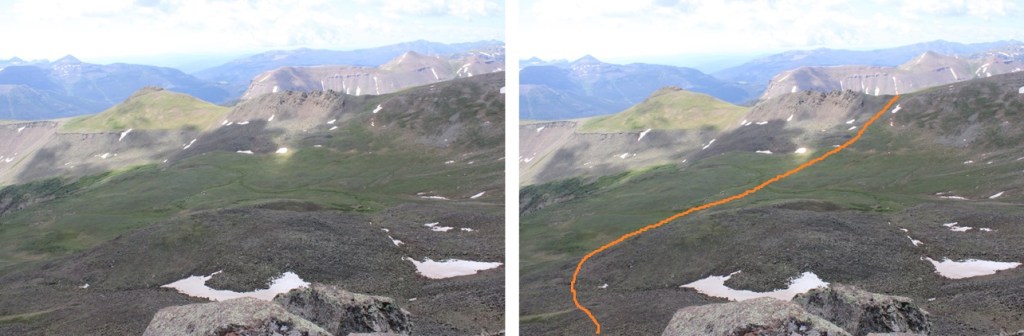
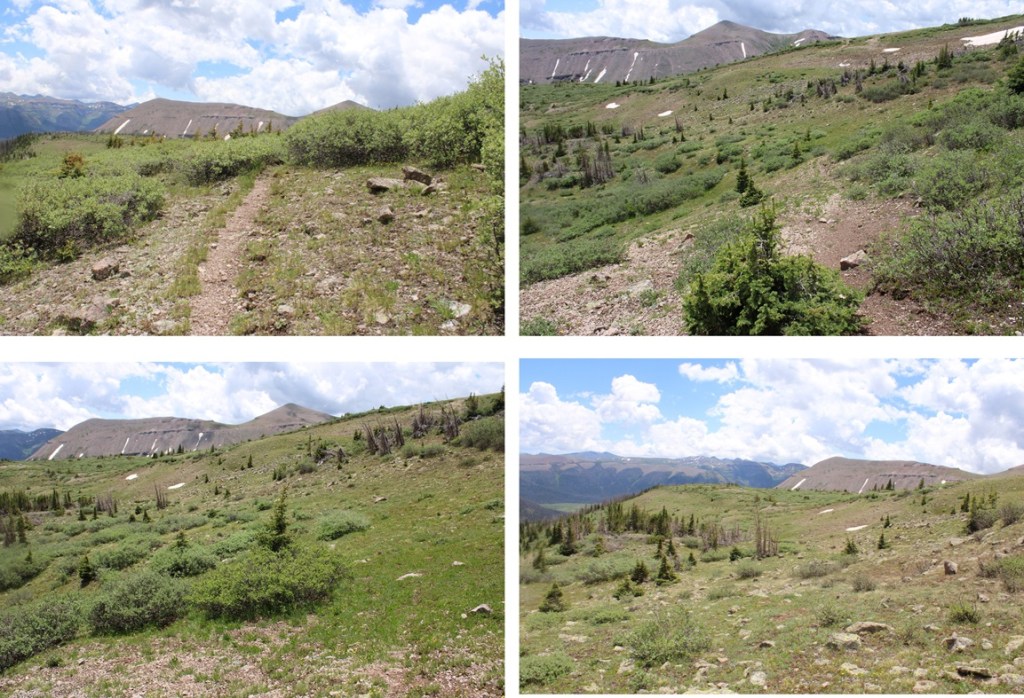
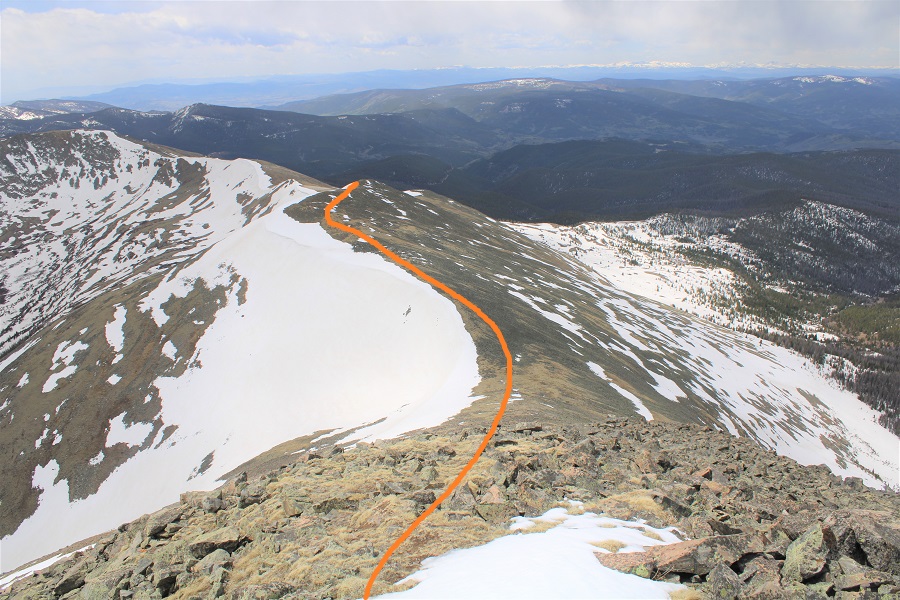
I then turned left, and walked across the tundra northwest, following the gently sloping tundra on the ridge.
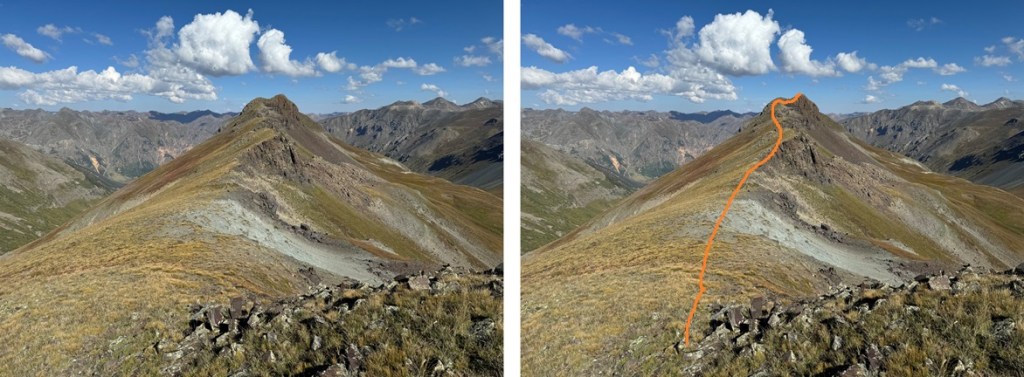
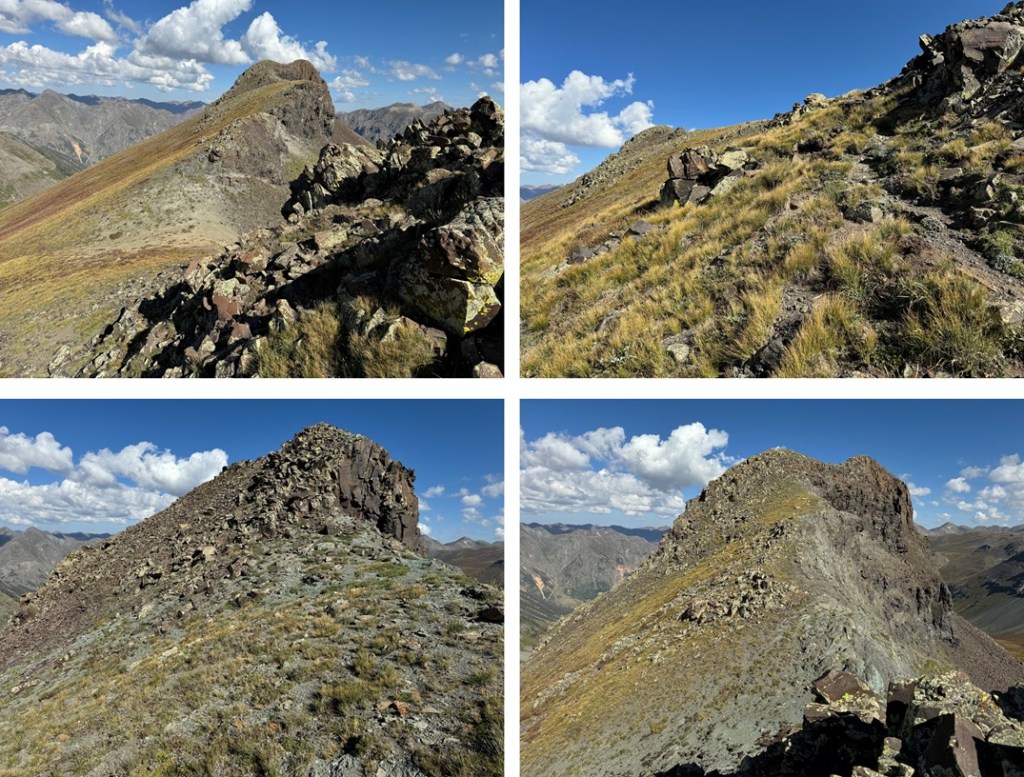
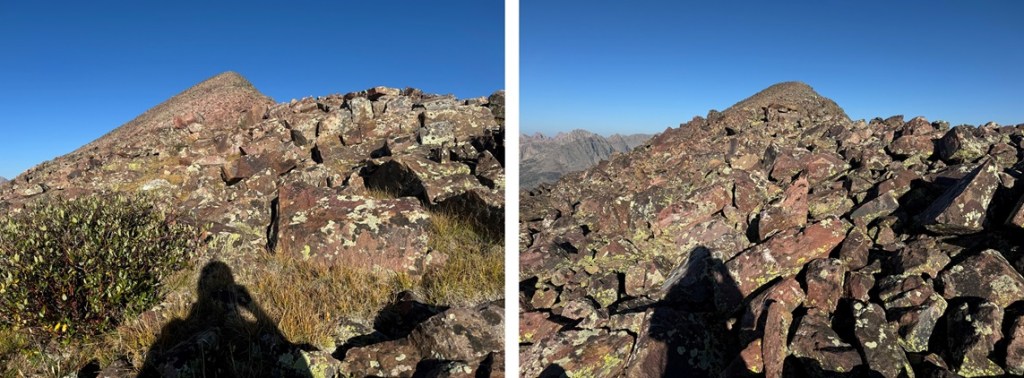
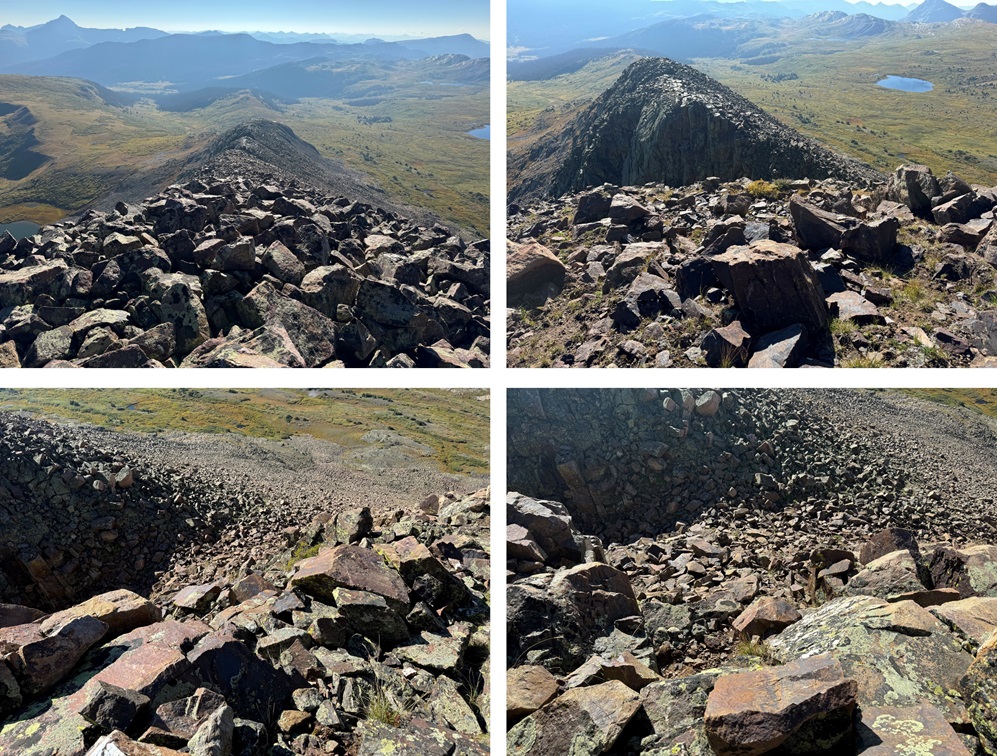
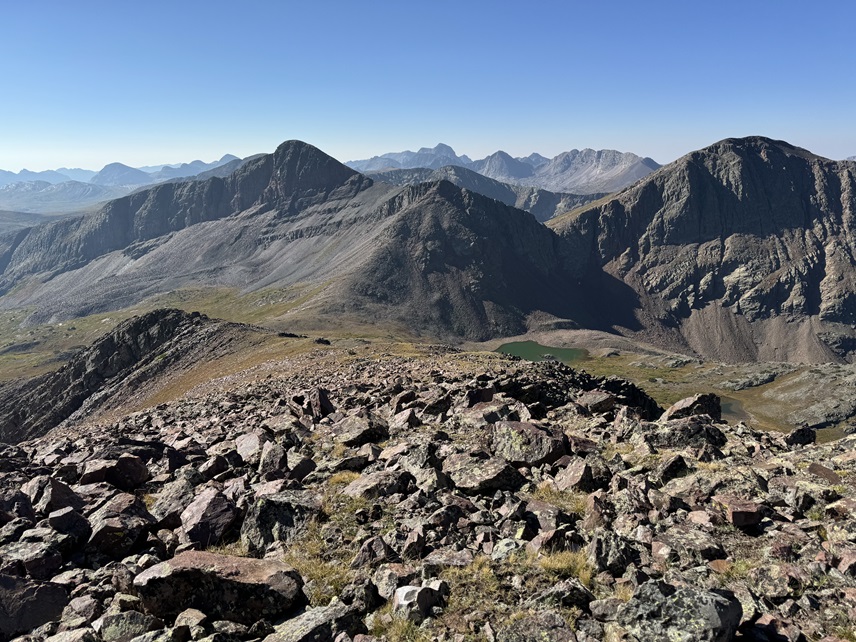
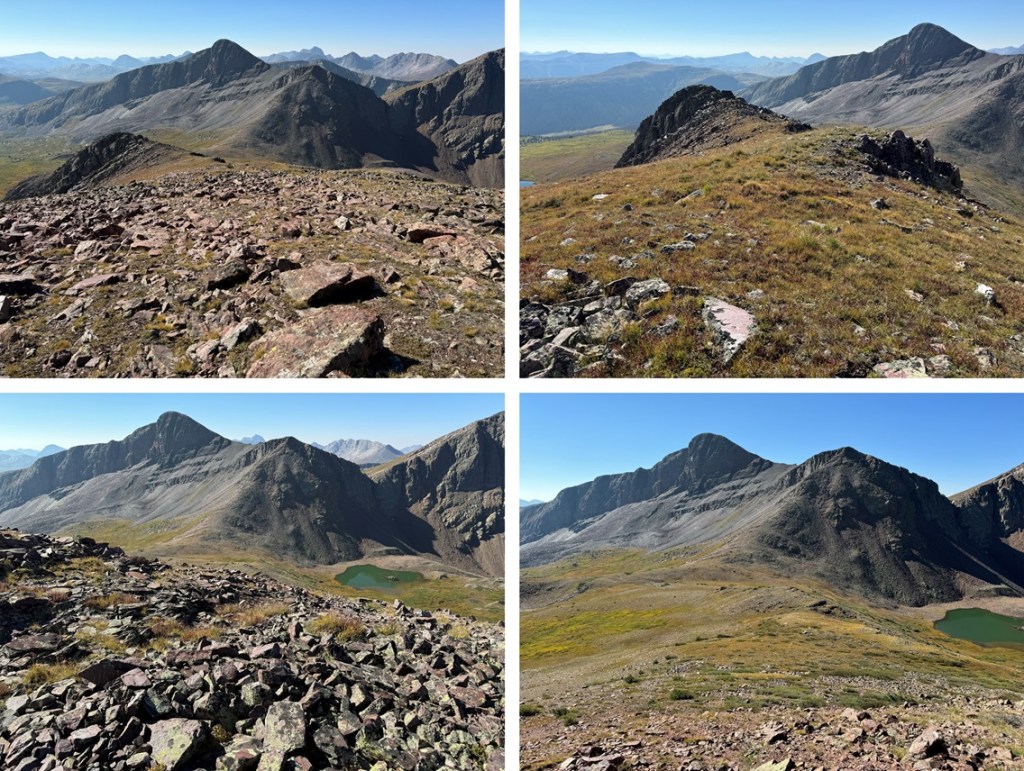
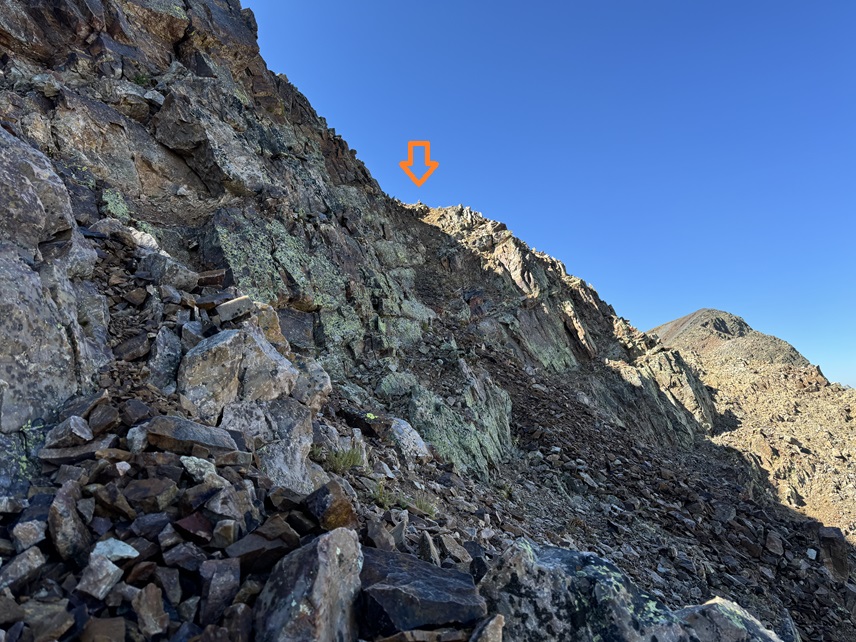
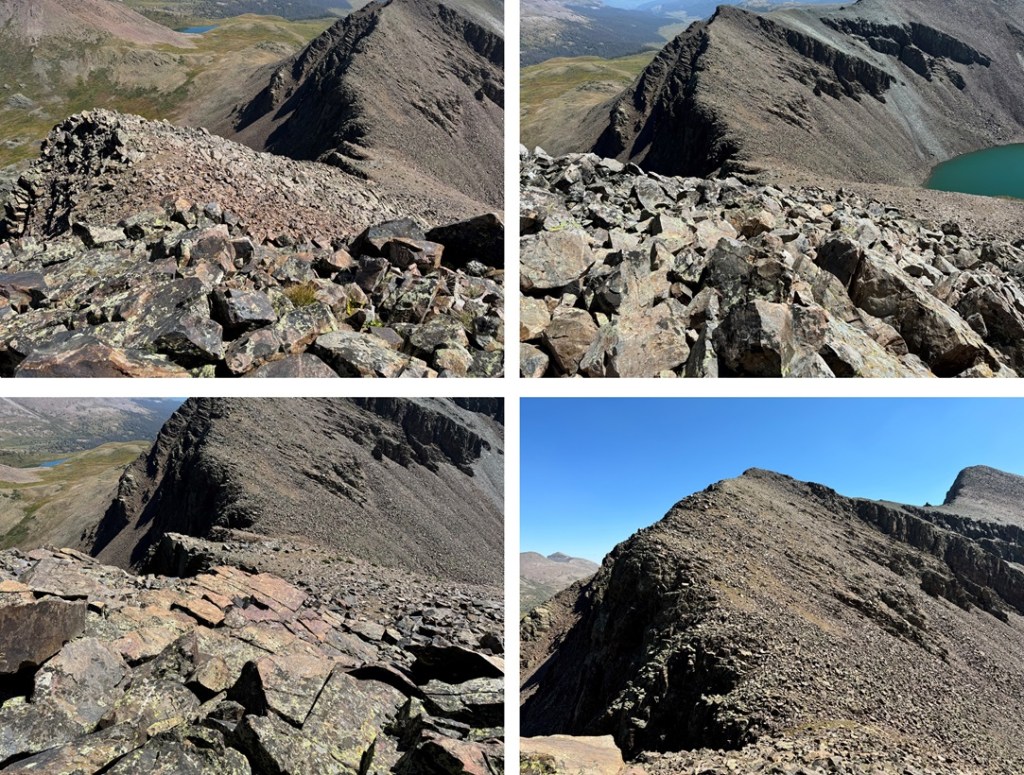
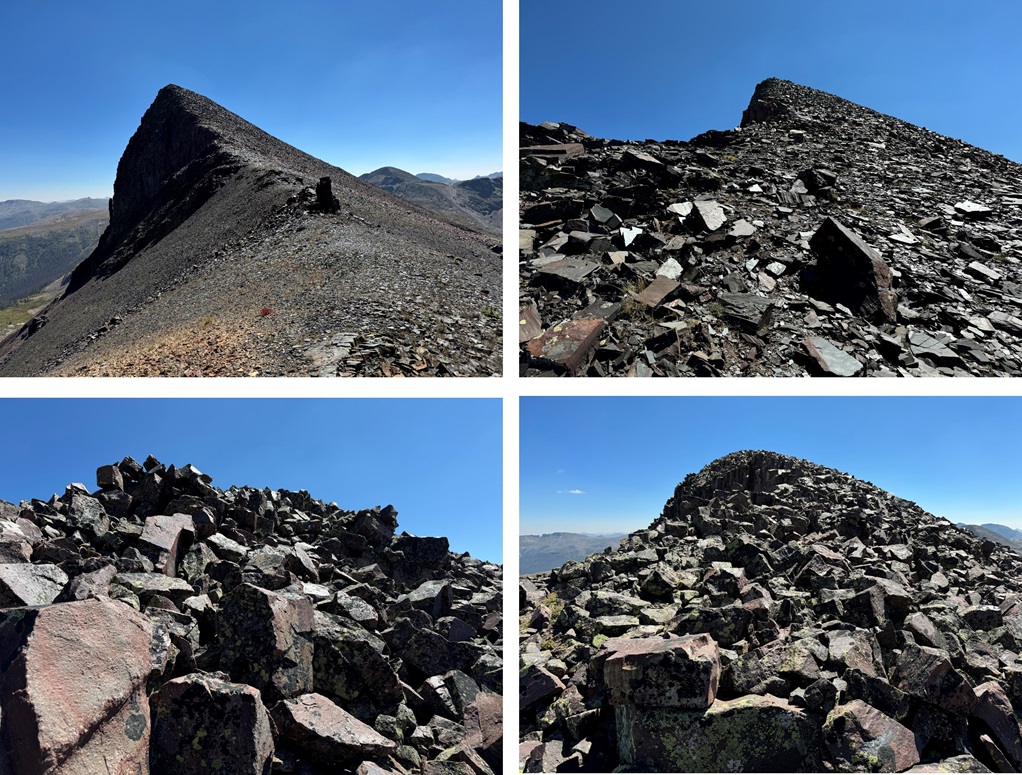
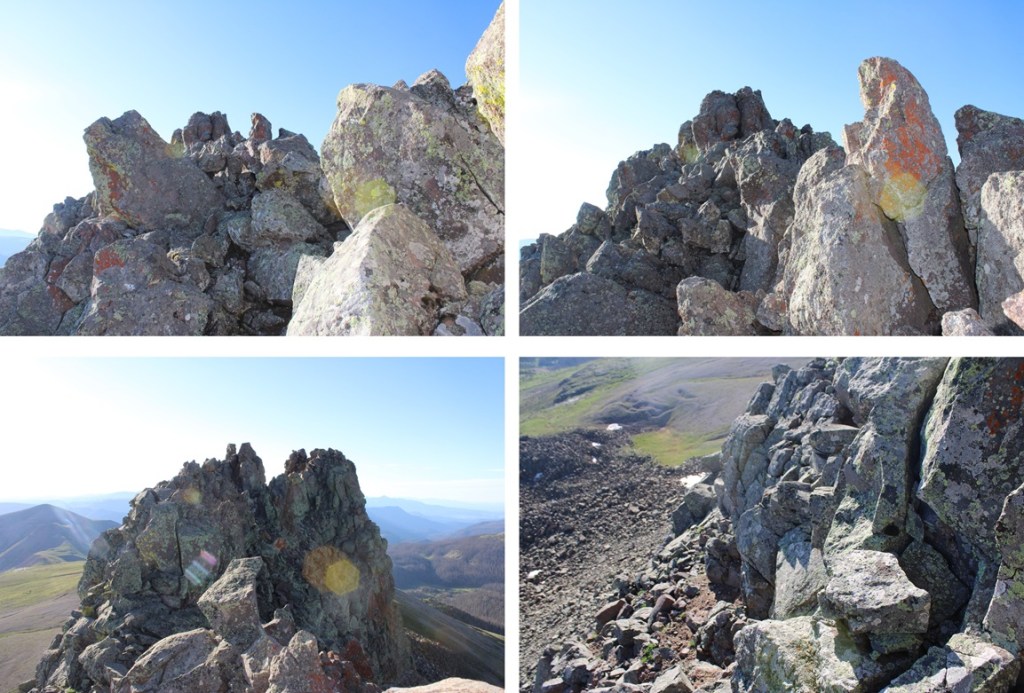
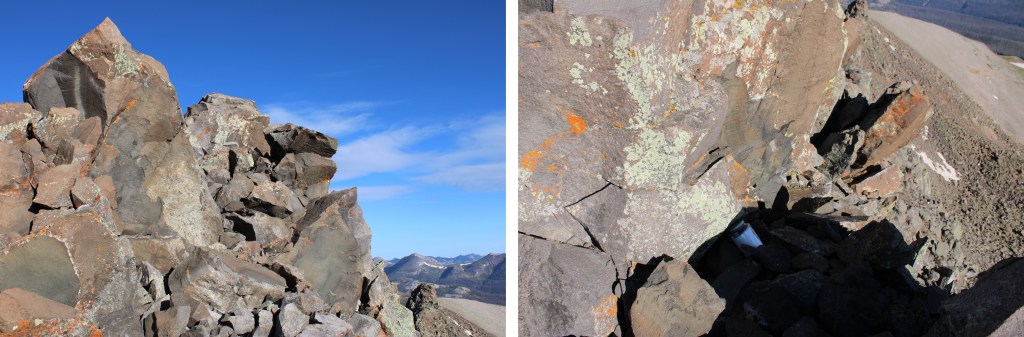
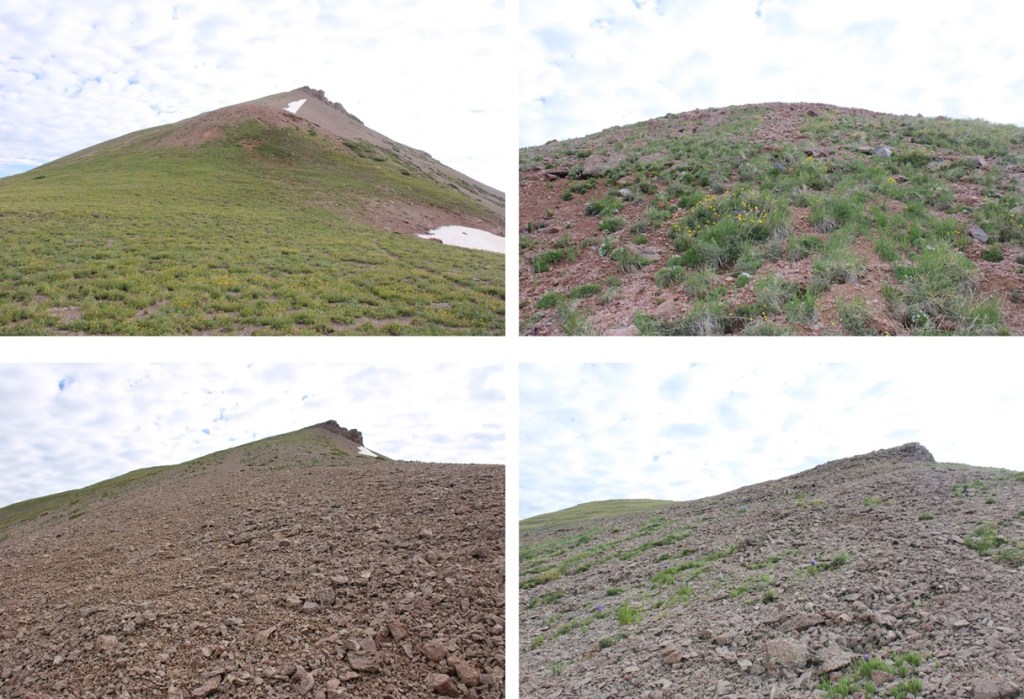
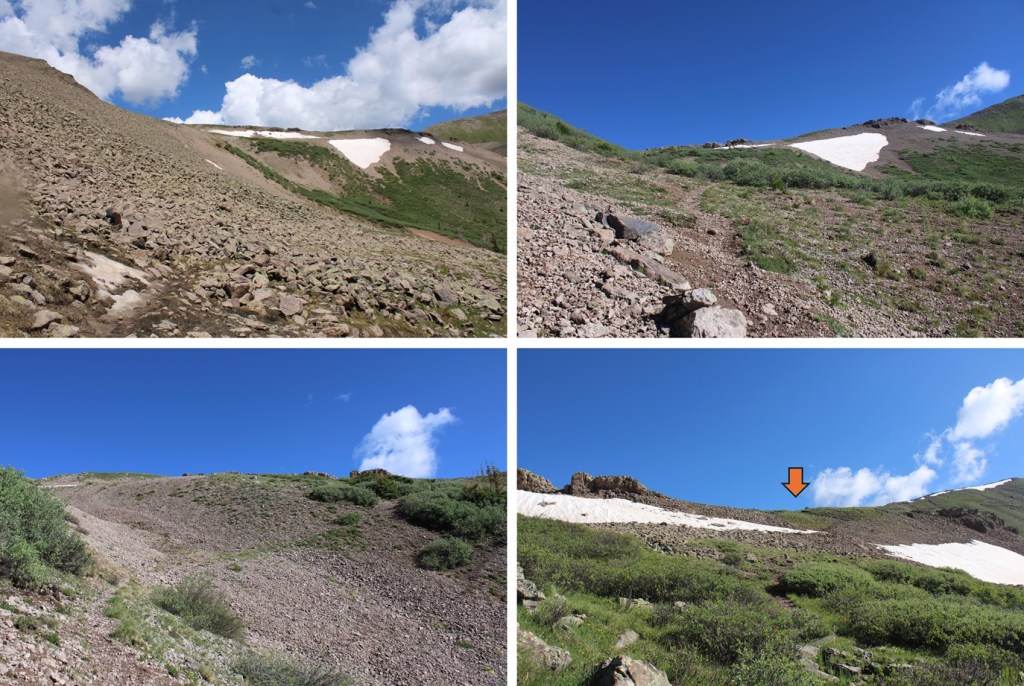
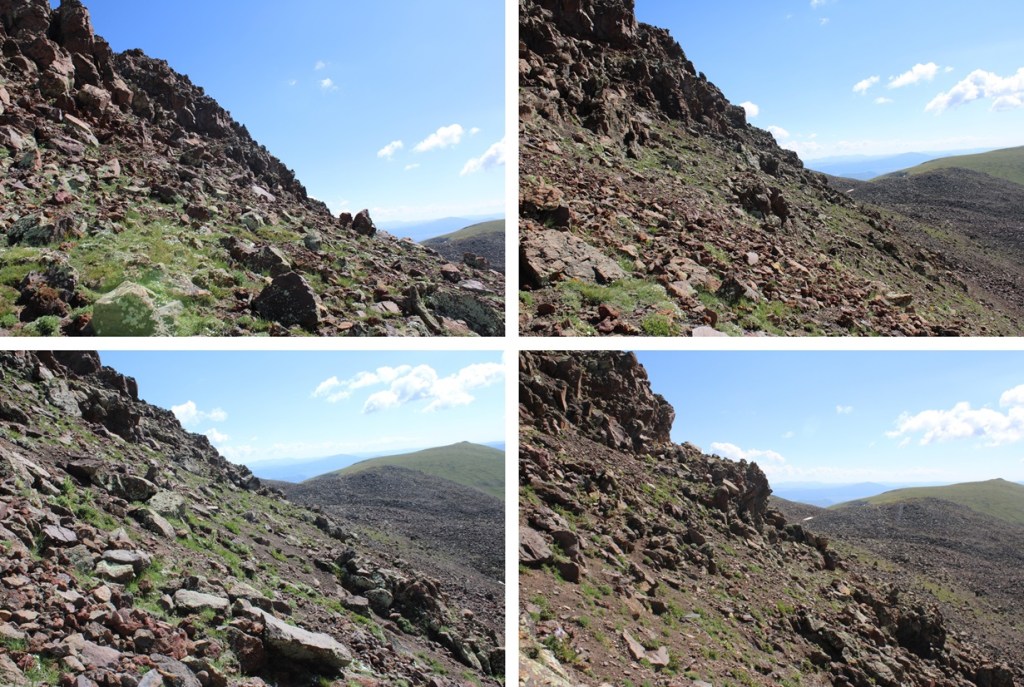
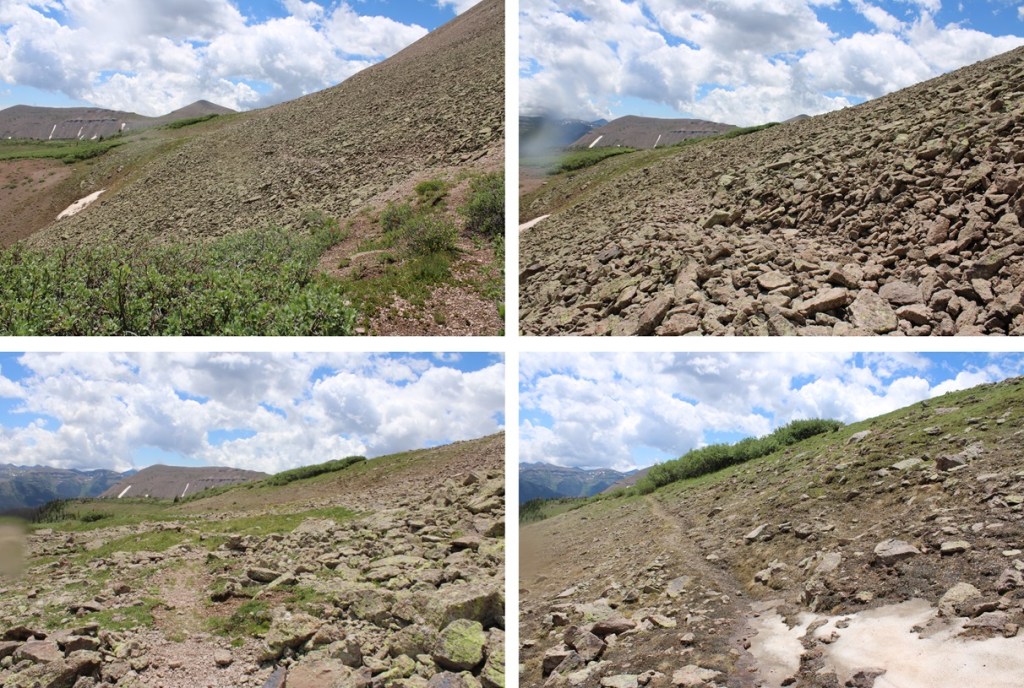
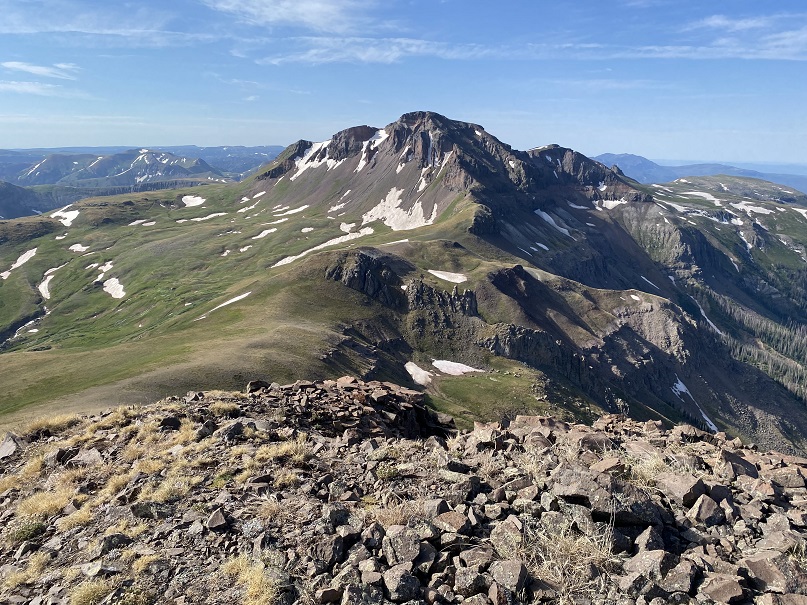
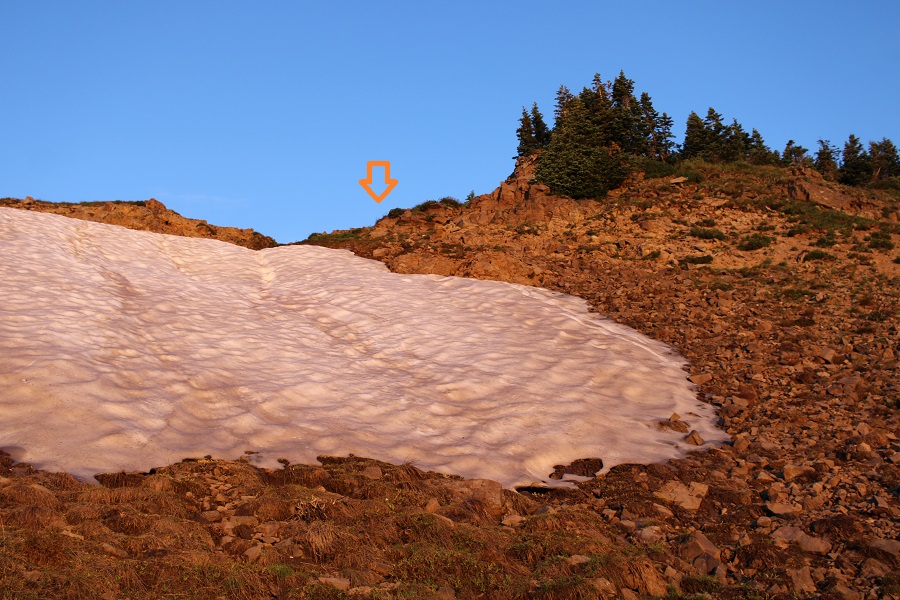
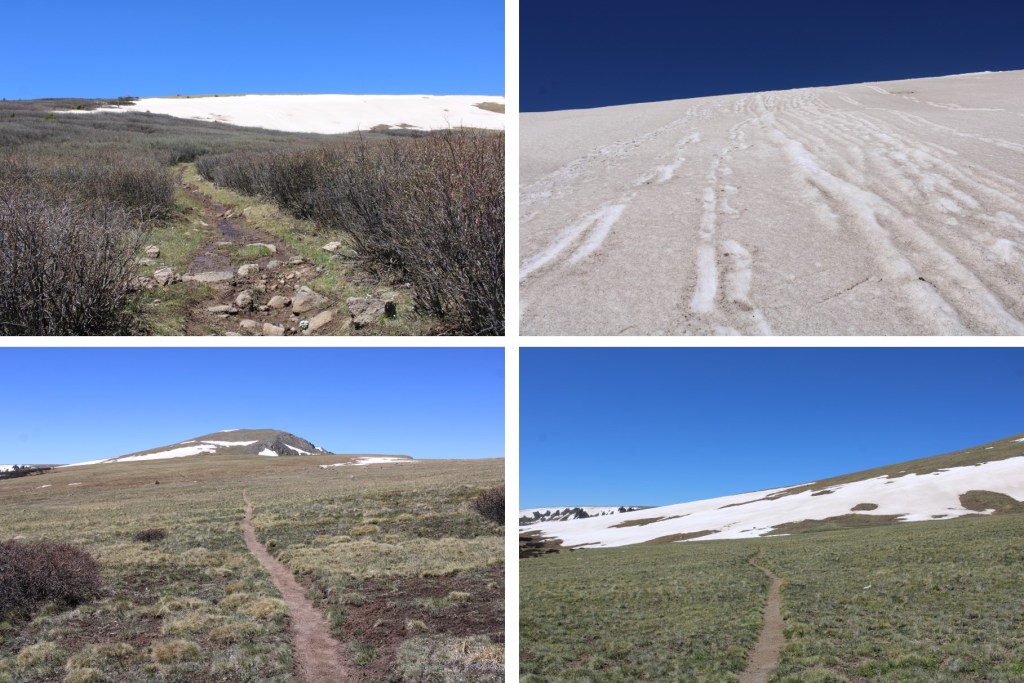
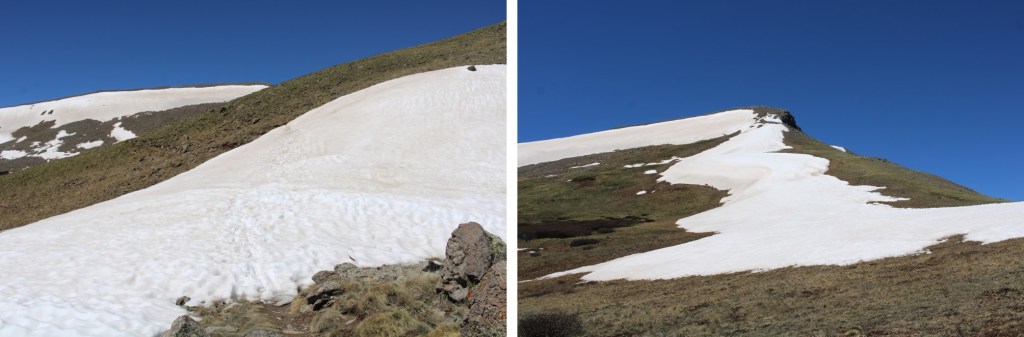
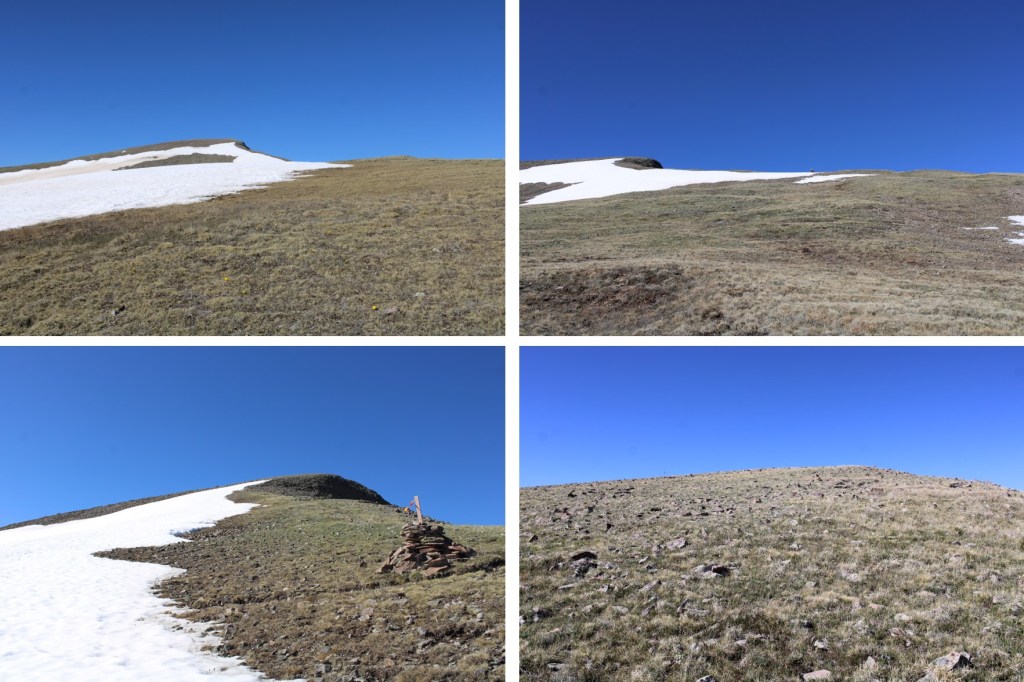
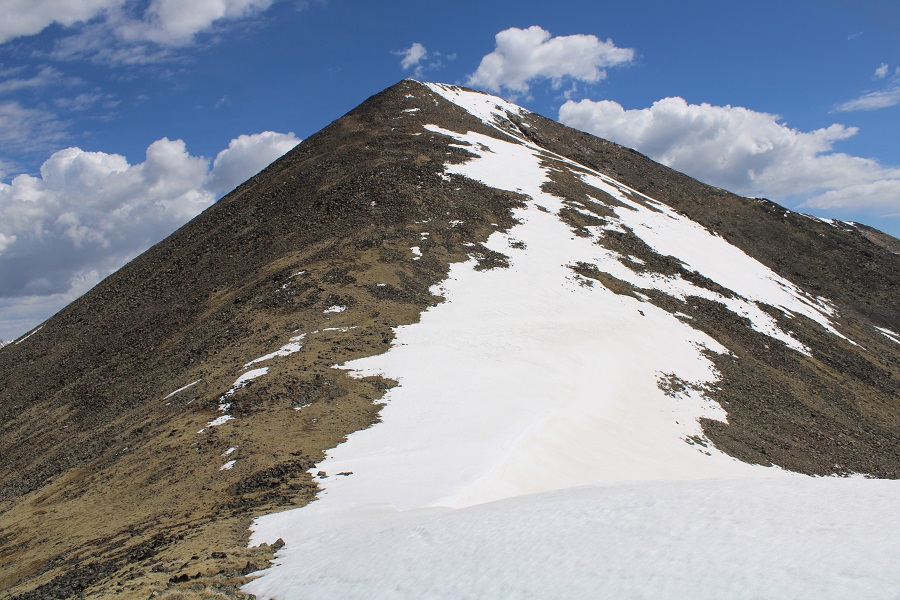
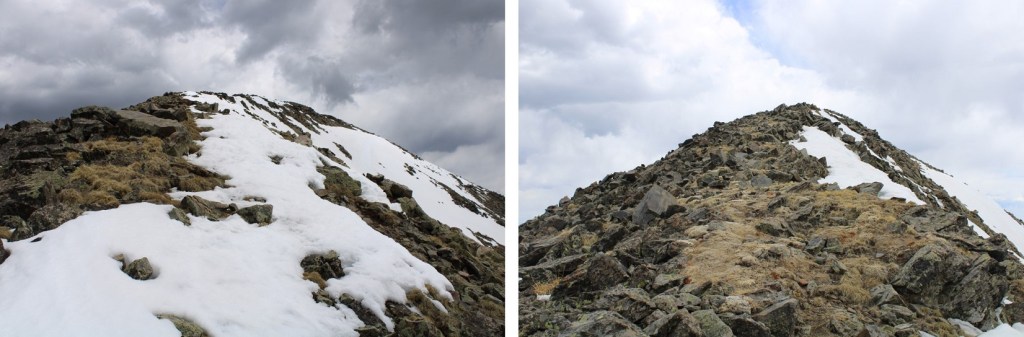
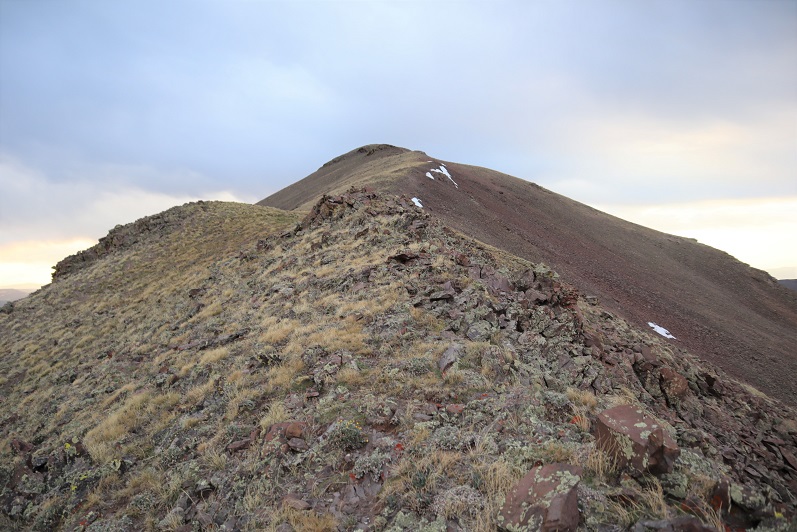
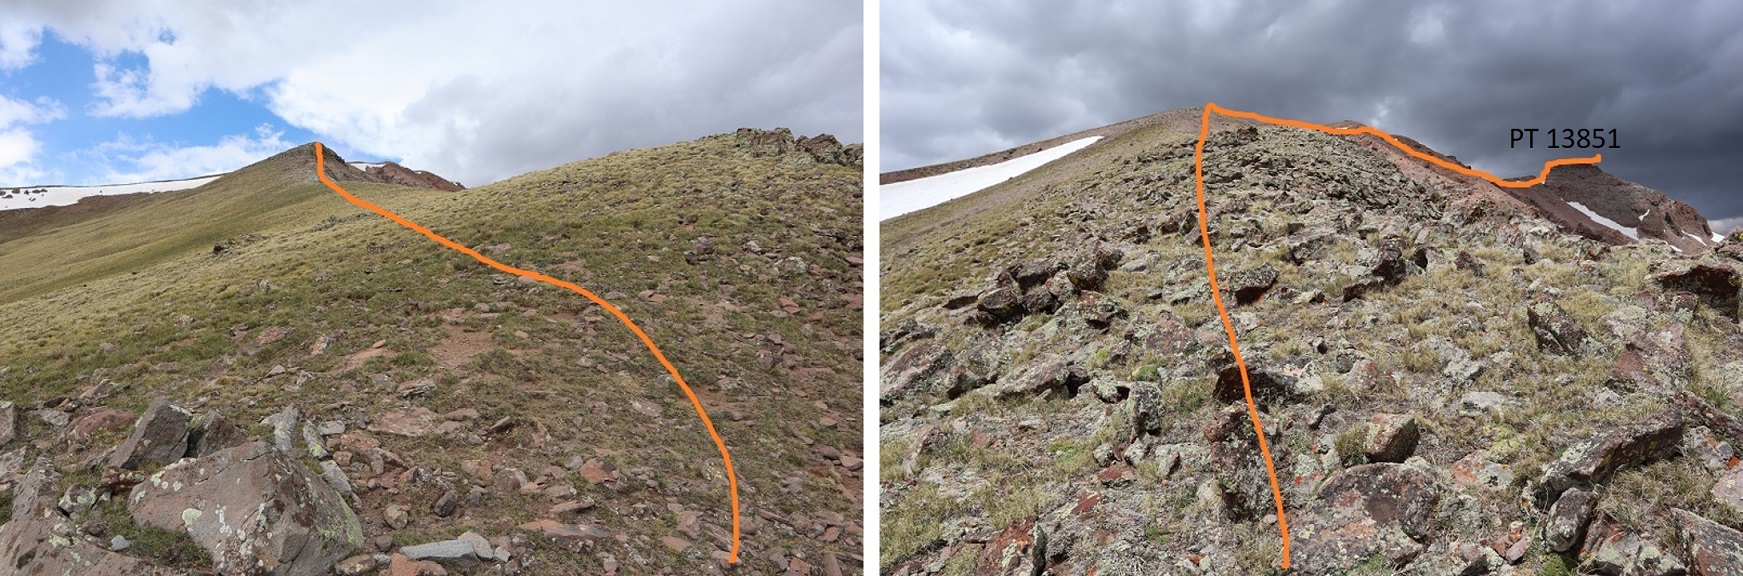
Eventually, the peak came into view. This looks harder than it is. By sticking to the ridge, this is all class 2.
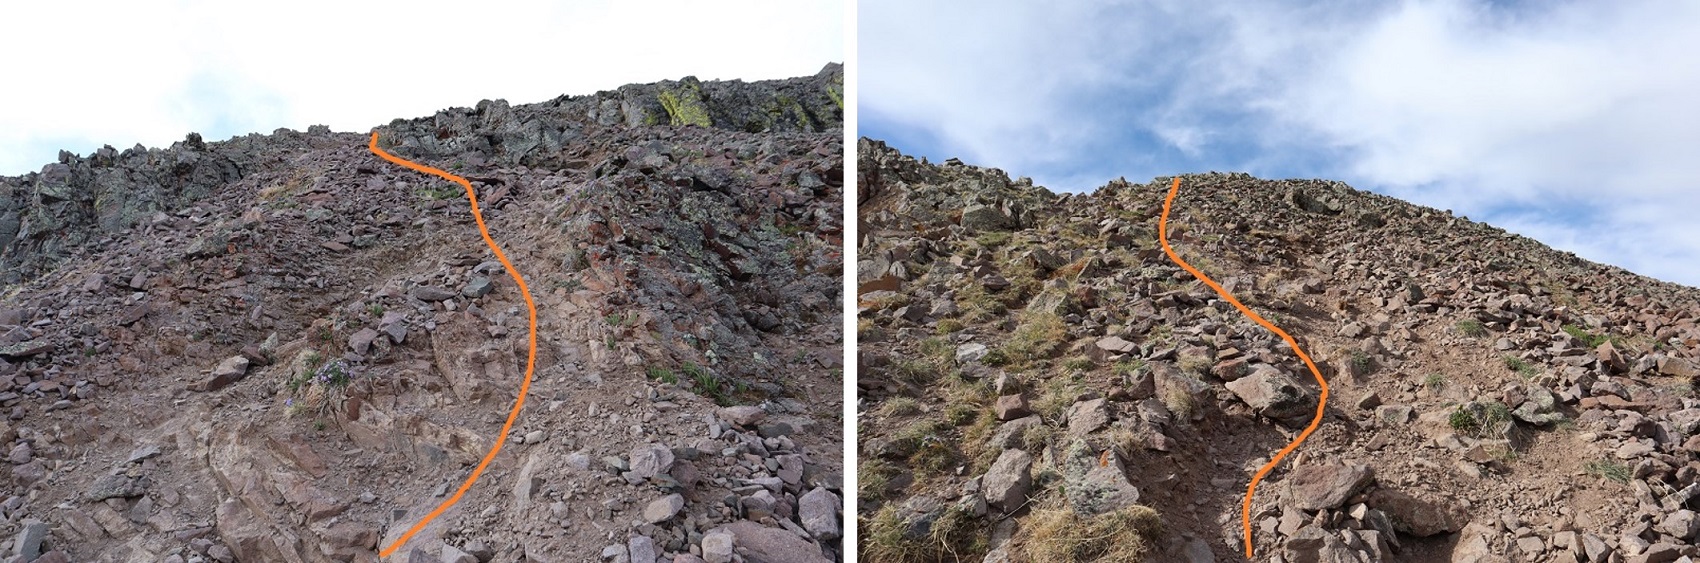
Here are some pictures of the class 2 ridge to the summit.
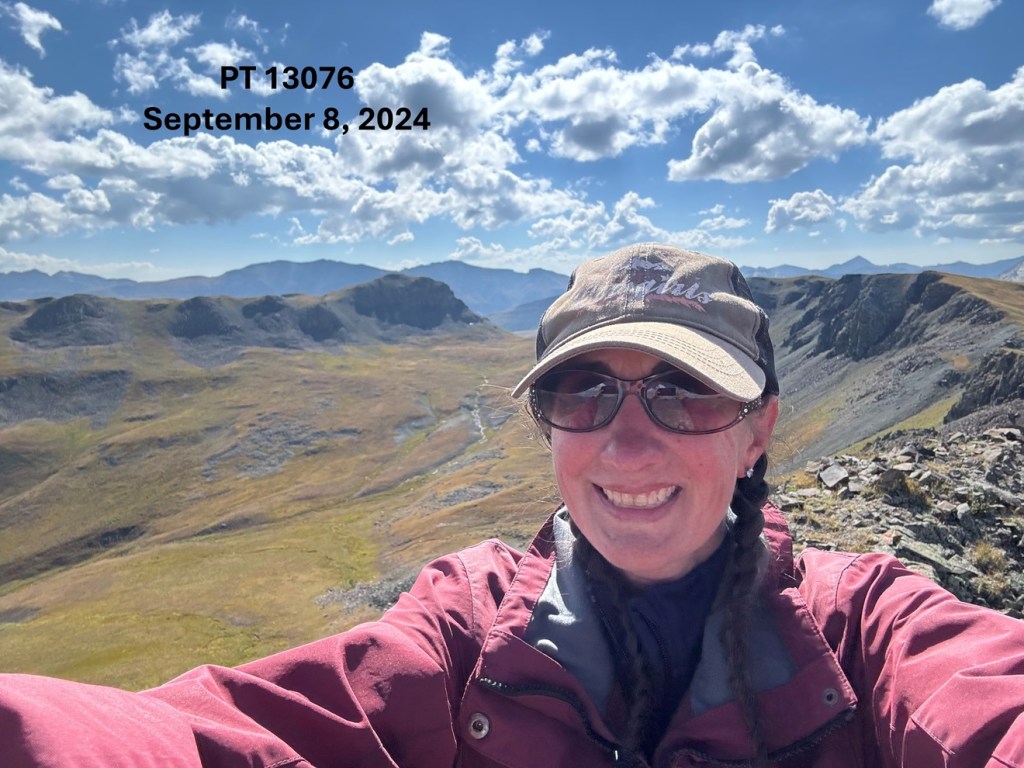
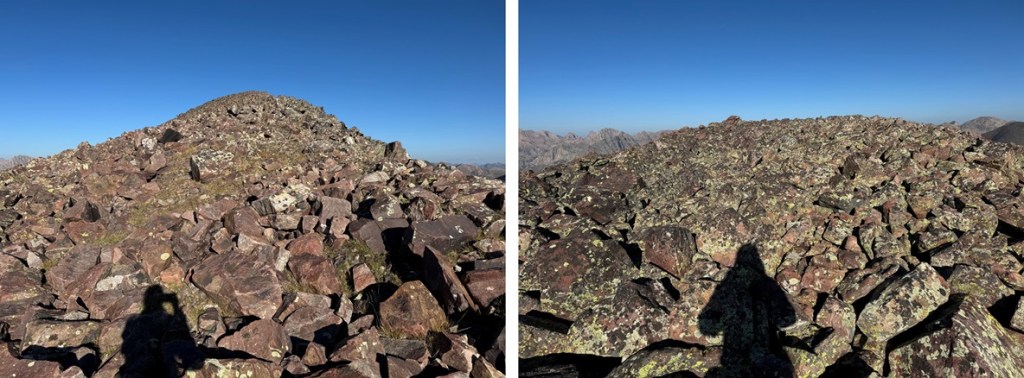
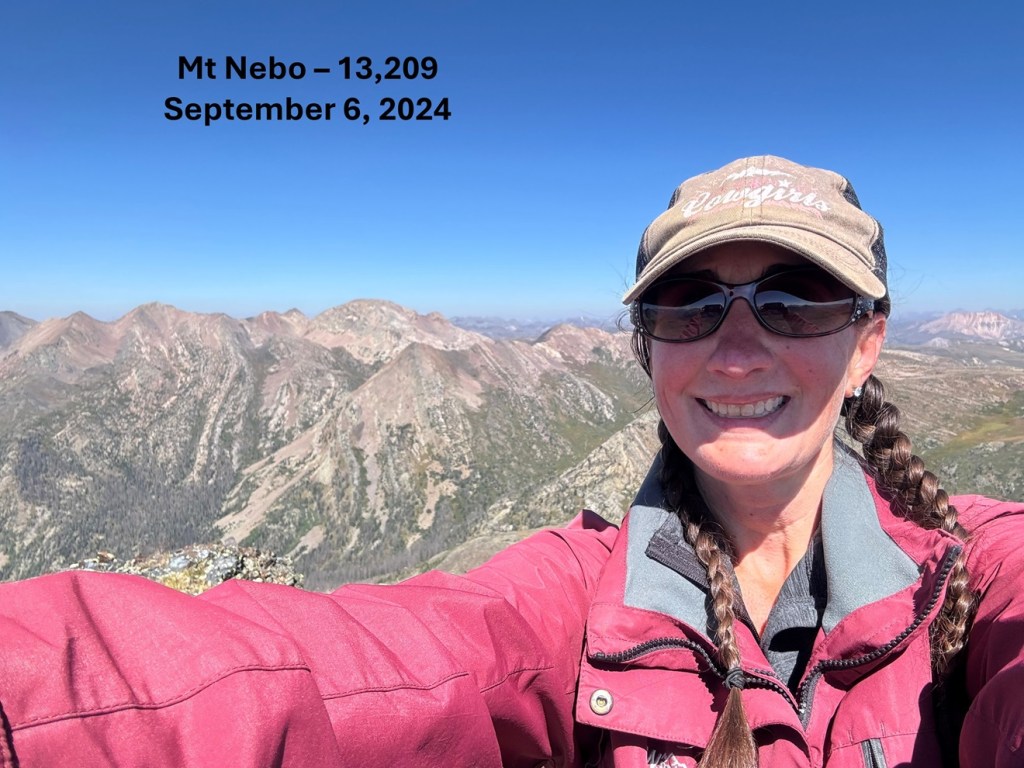
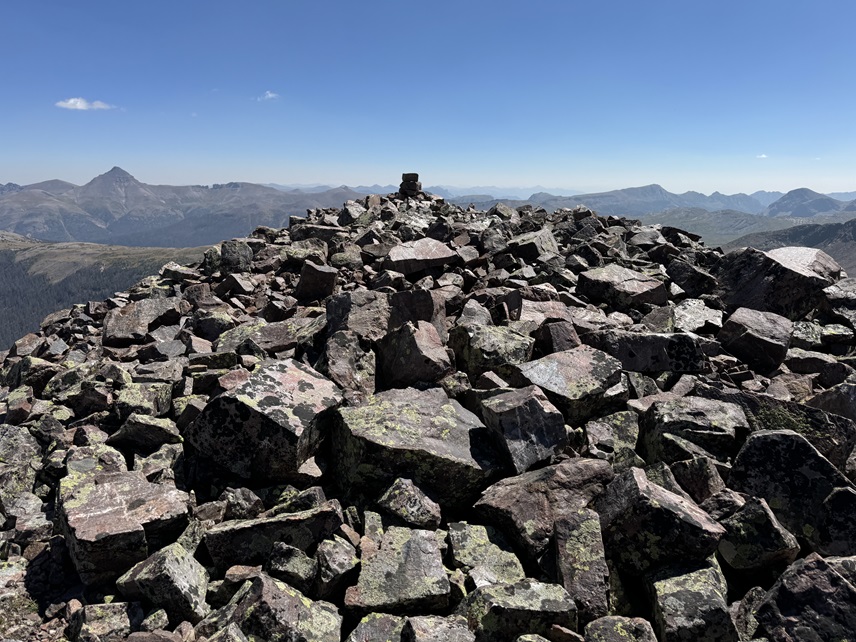
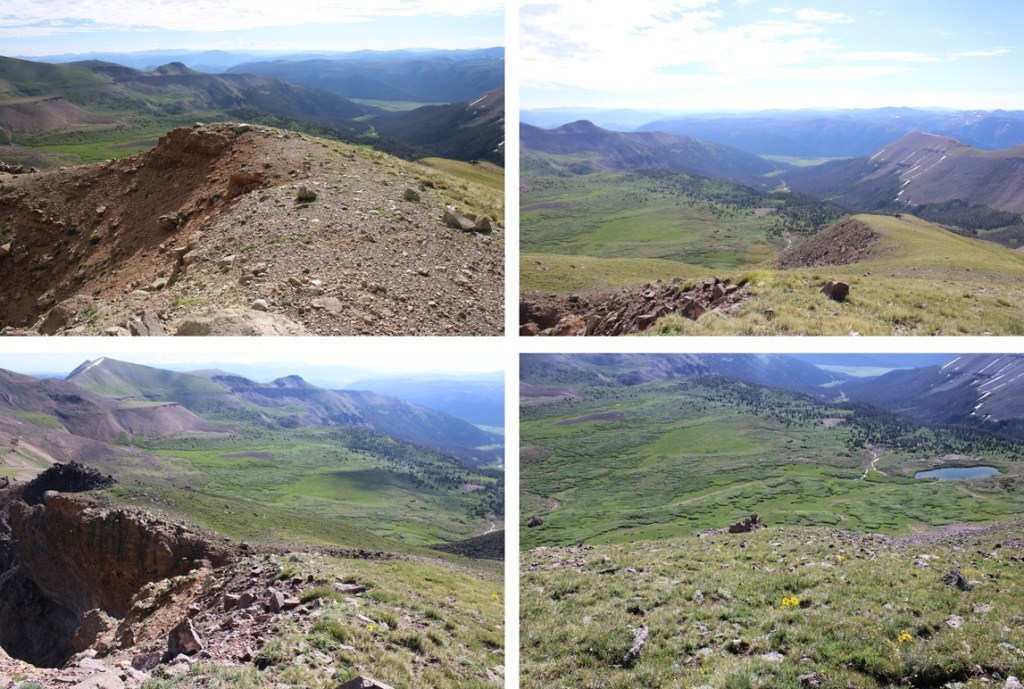
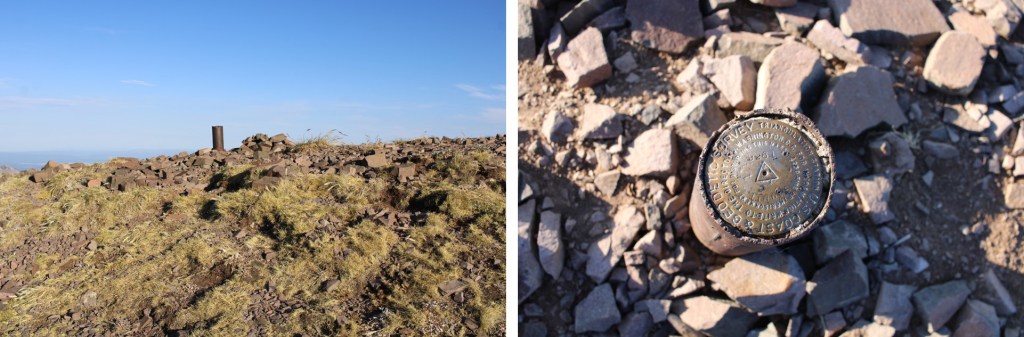
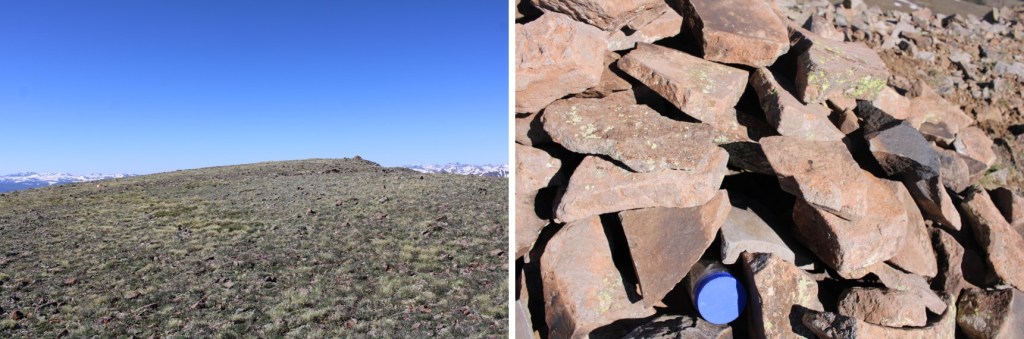
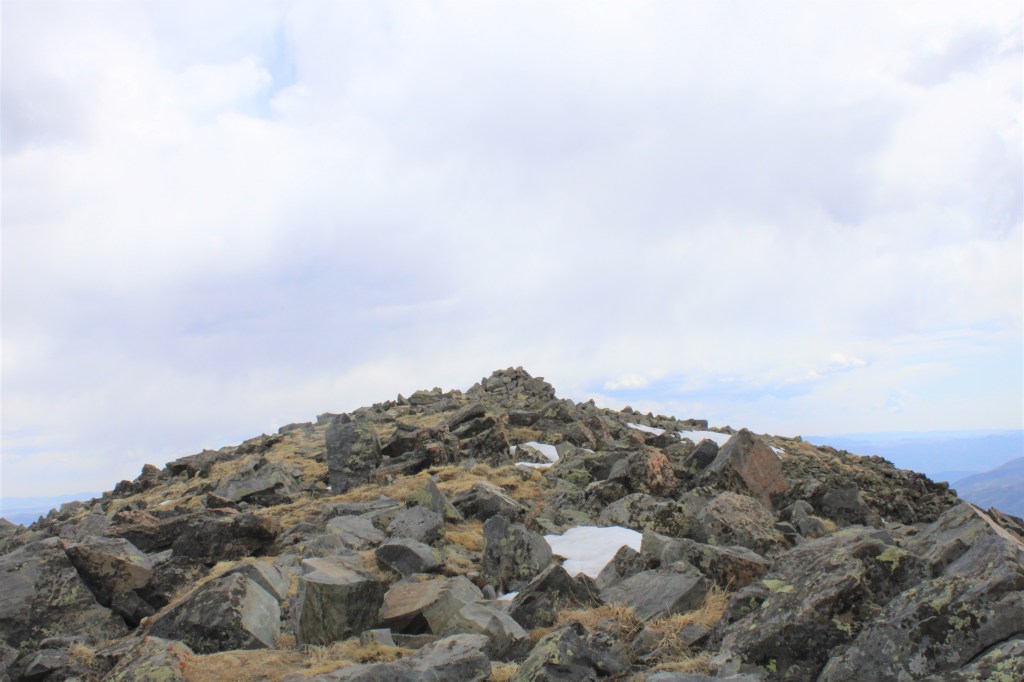
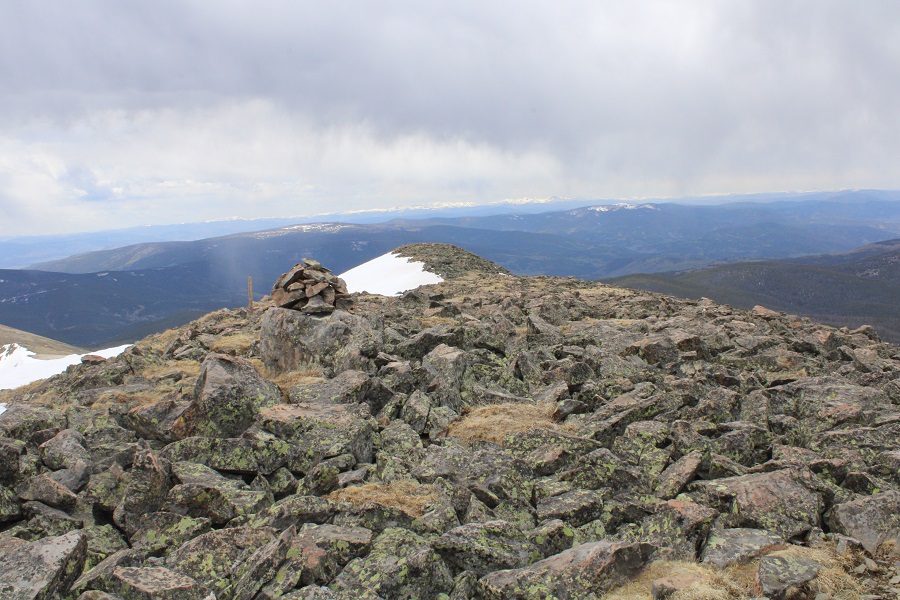
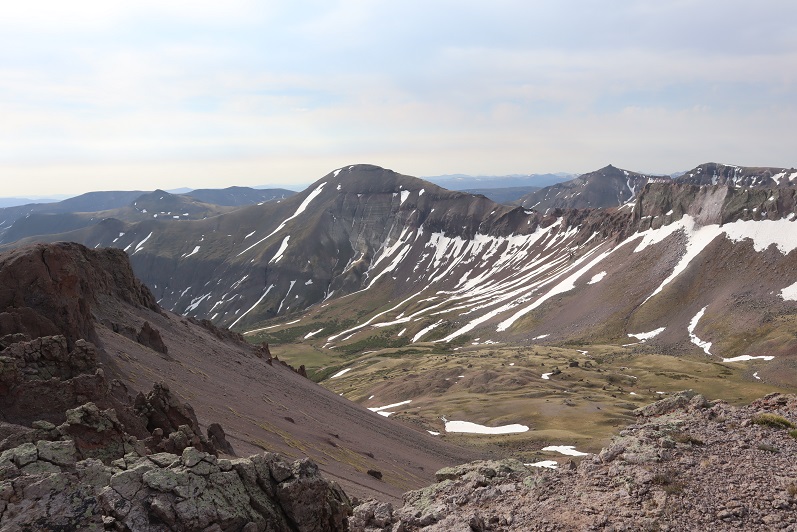
I summited PT 13076 at 10:15am
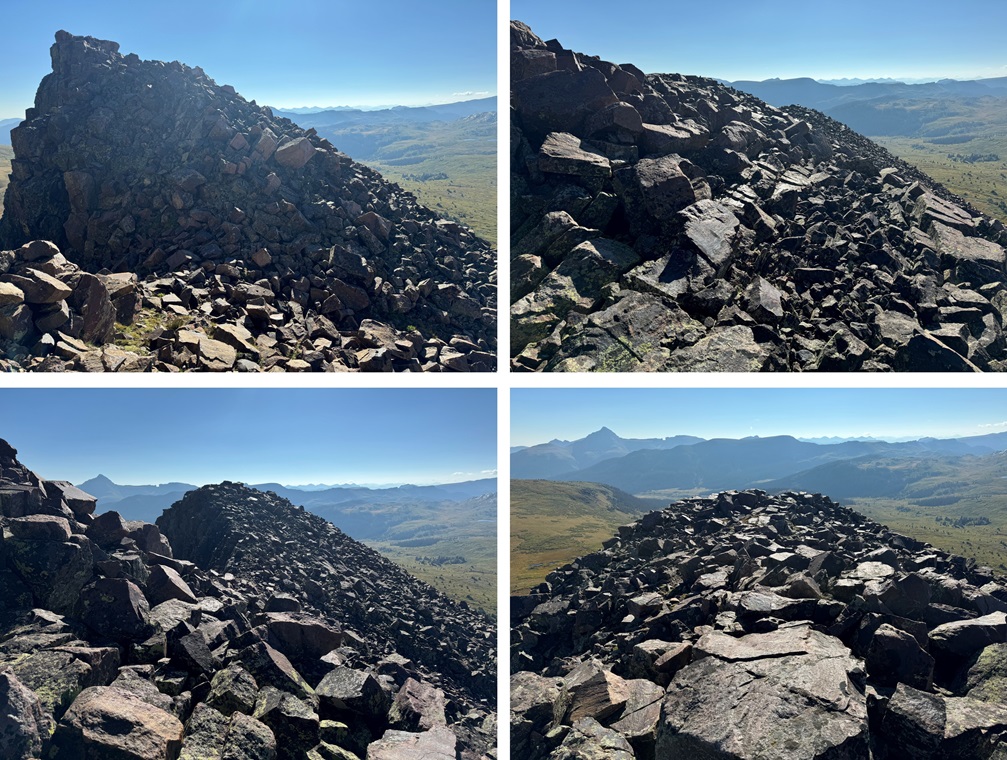
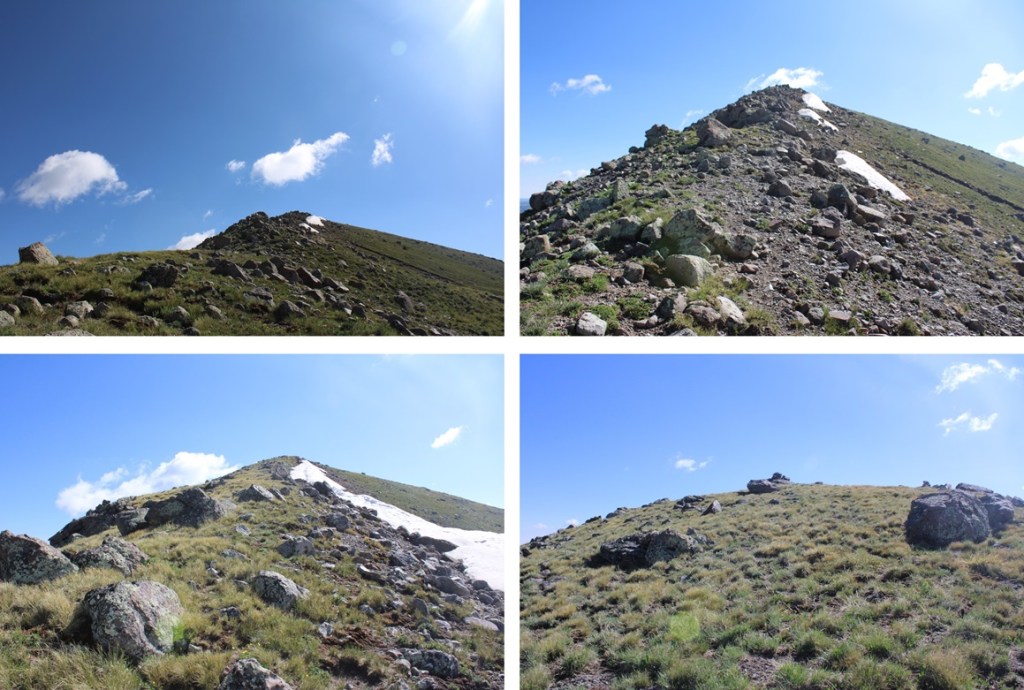
PT 13076:
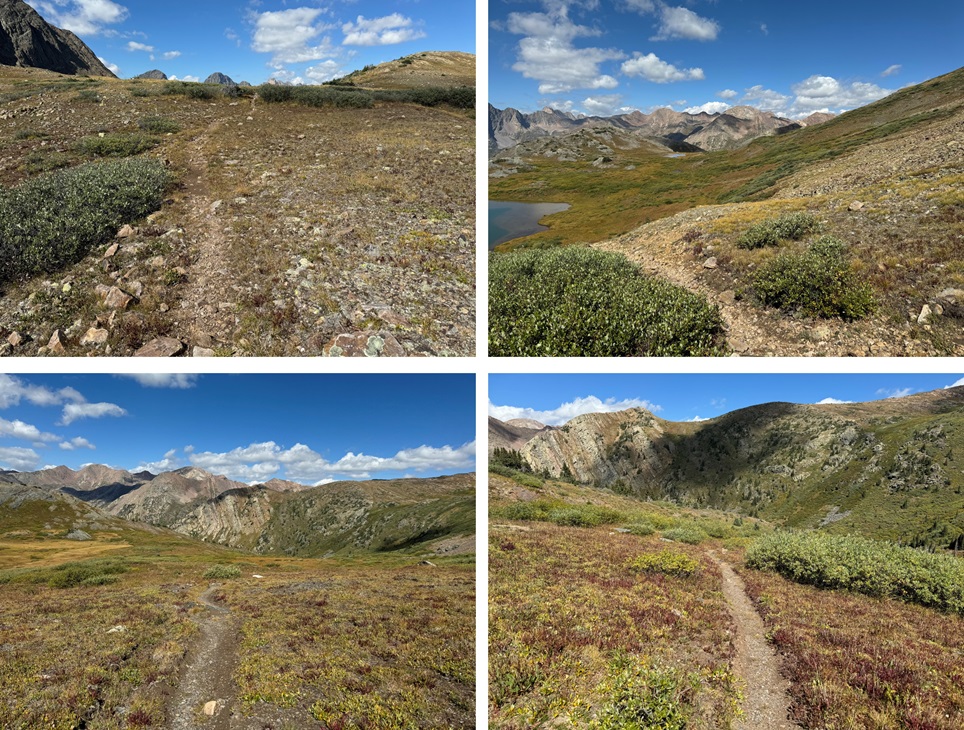
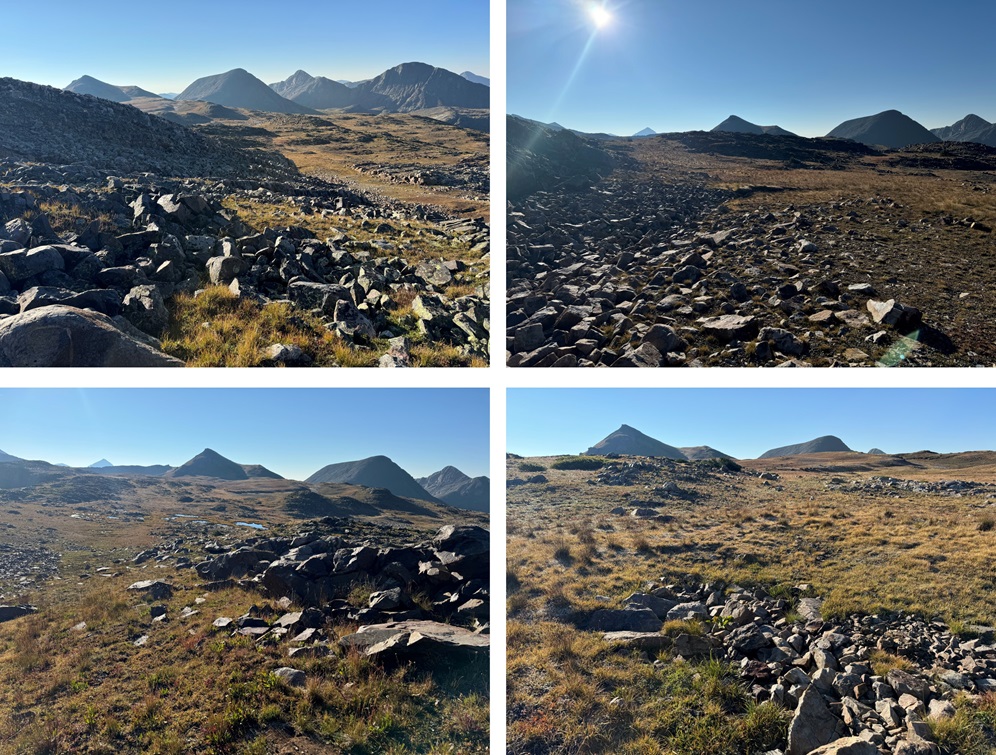
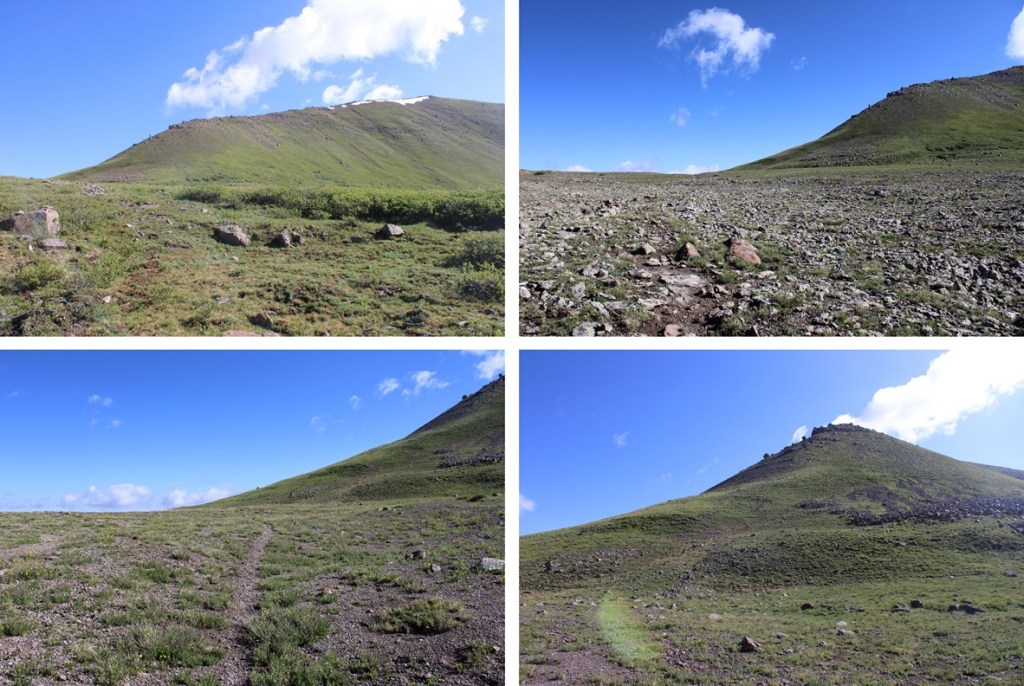
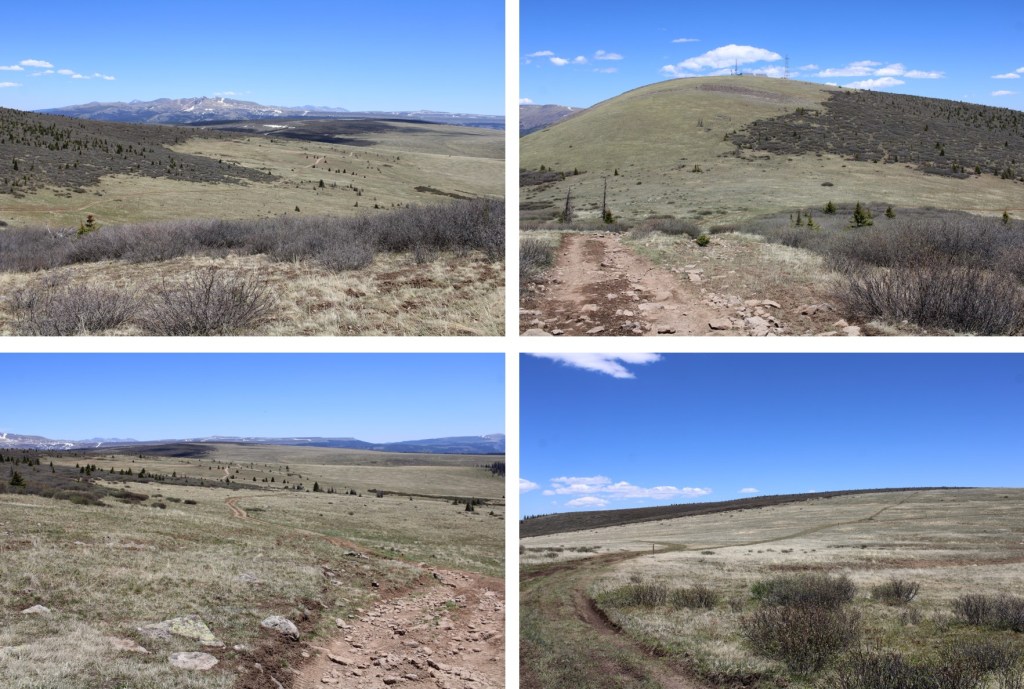
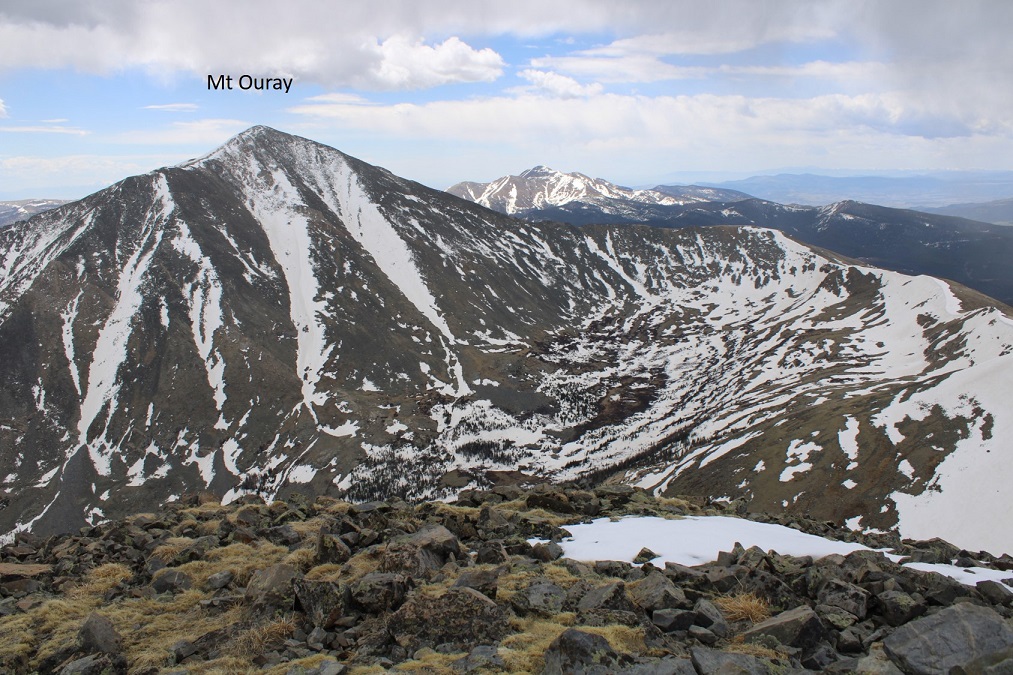
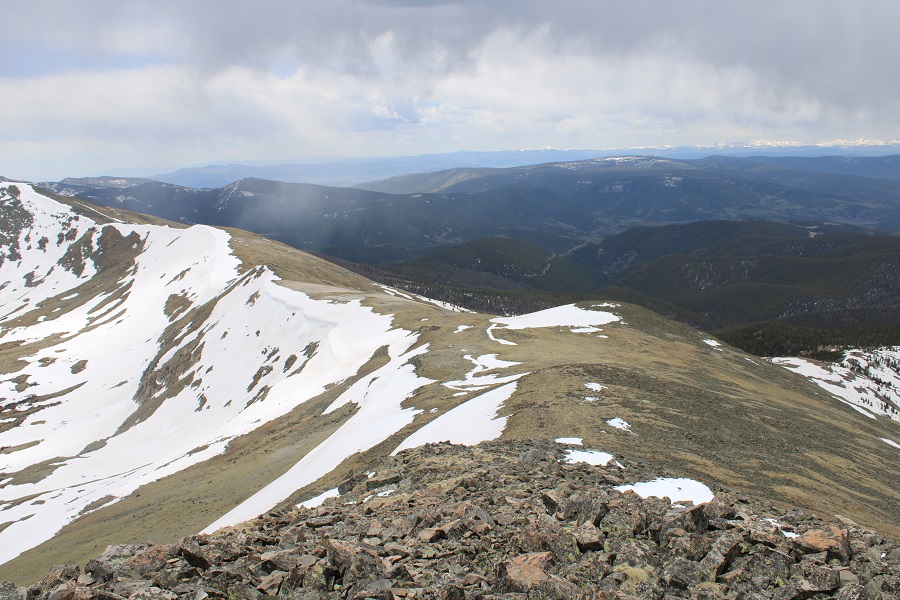
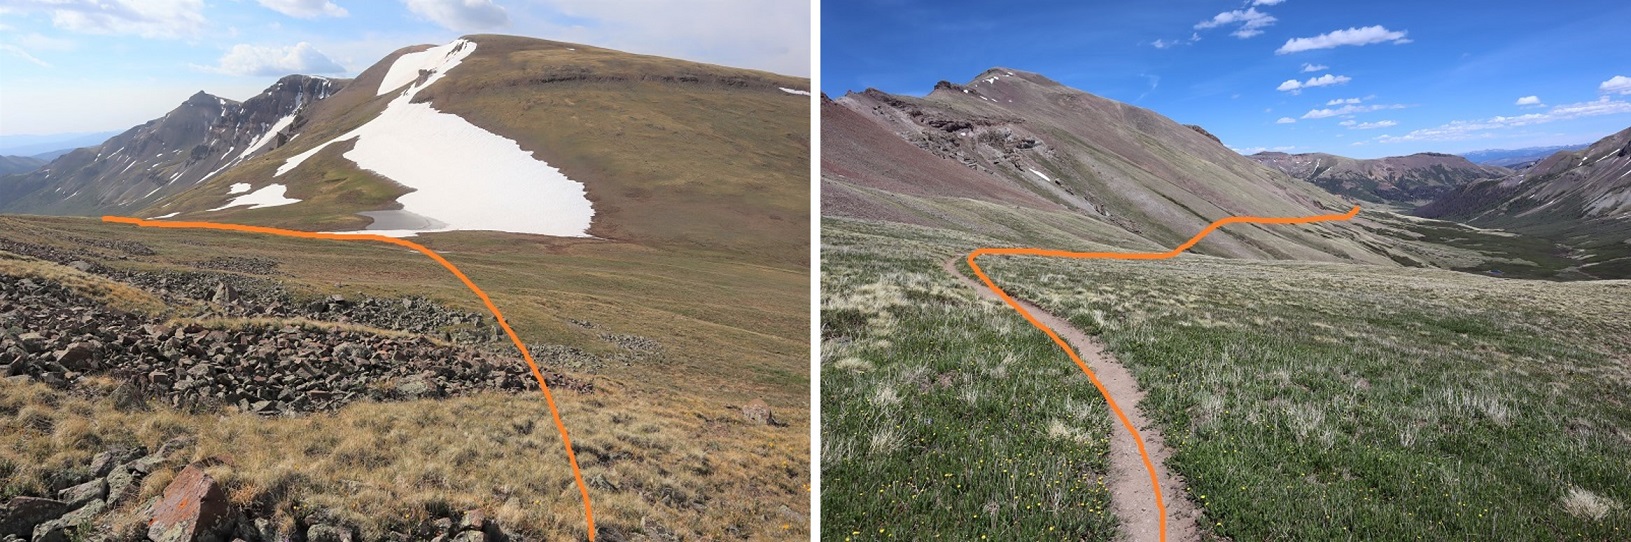
This was an out and back hike for me, so I turned around and followed the ridge southeast back to the CDT.
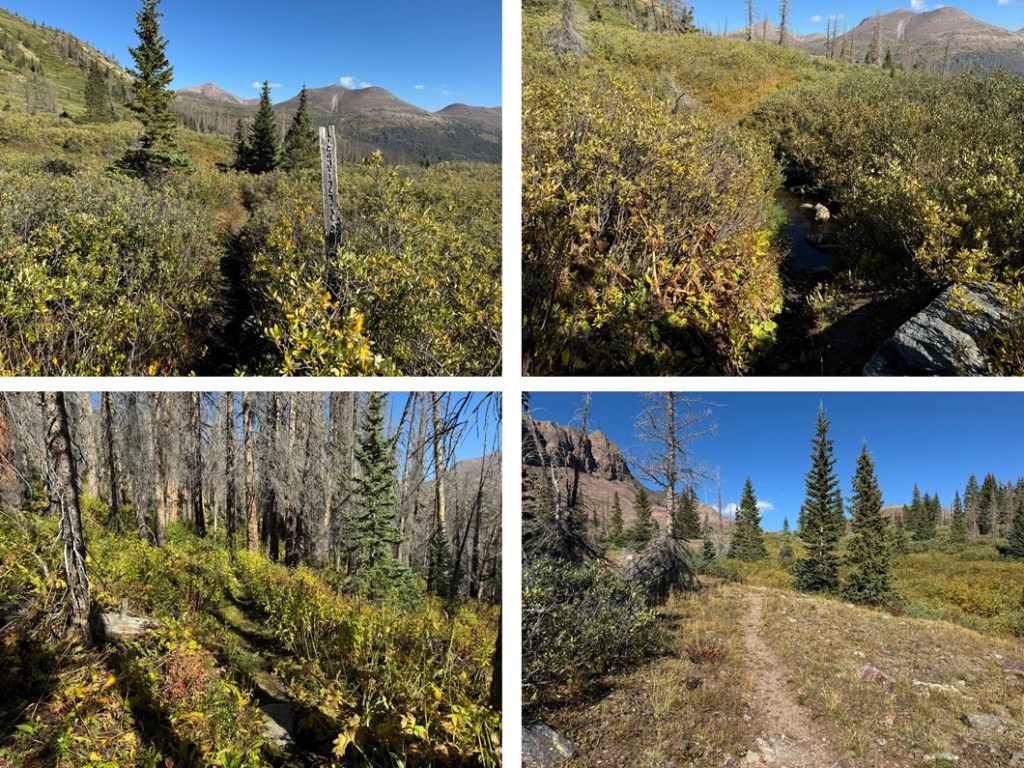
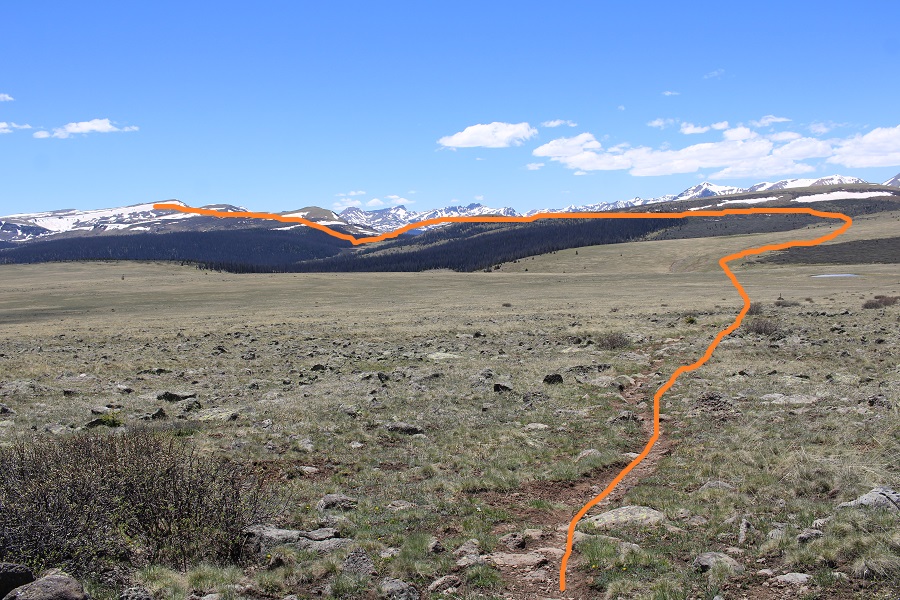
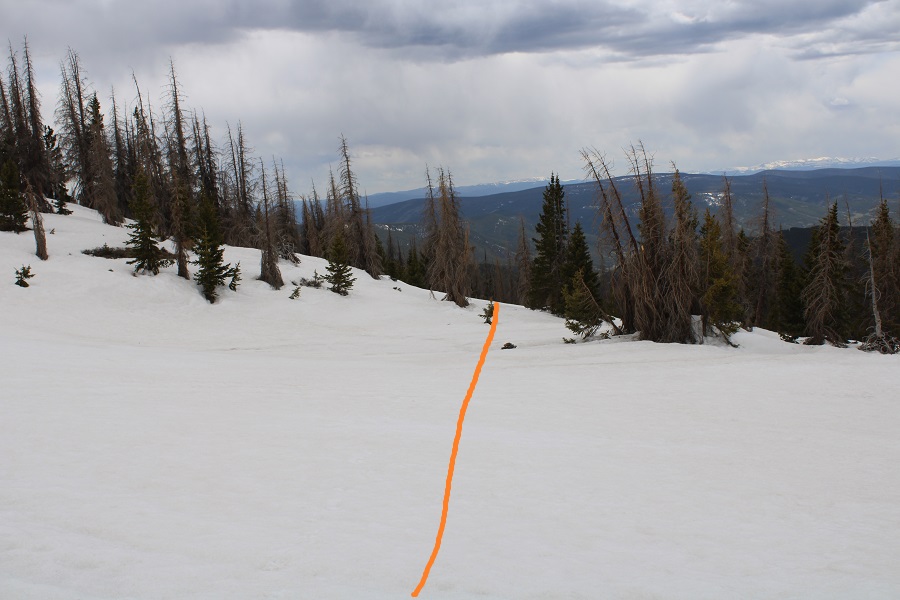
Once back to the CDT I turned right, and followed it south as it wound back to the 4WD dirt road.
I then followed the dirt road back to my truck, parked at Stony Pass.
I made it back to Stony Pass at 12:30pm, making this a 9.64 mile hike with 2129’ of elevation gain in 4 hours.
I was exhausted, and decided to take a lunch break at my truck.
To see the approach, view my previous post of Mt Nebo from Beartown, as this was the second day of my trip. Or, if you’re only doing this peak, the hike in from Beartown to the Nebo Creek Trail is easy to follow, and described on my descent.
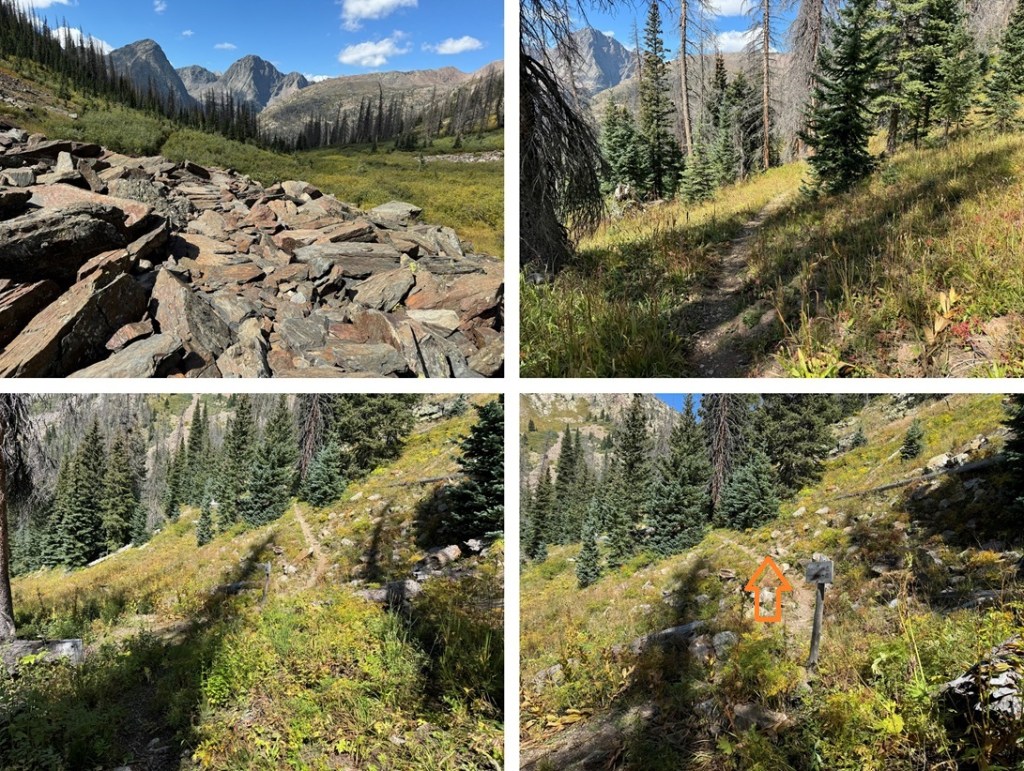
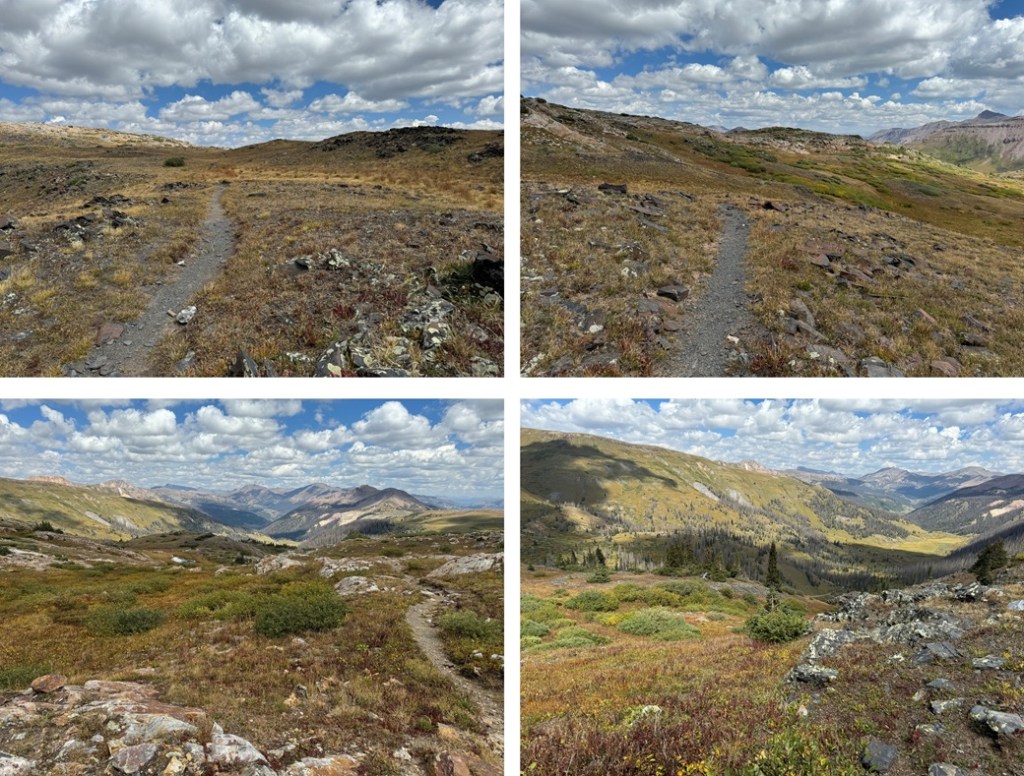
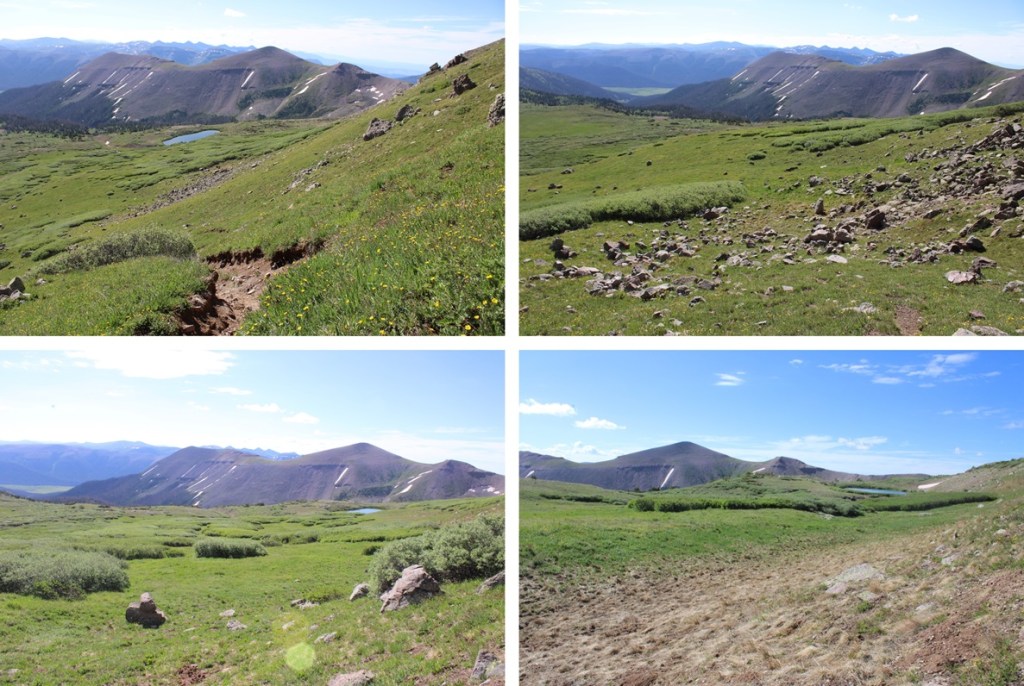
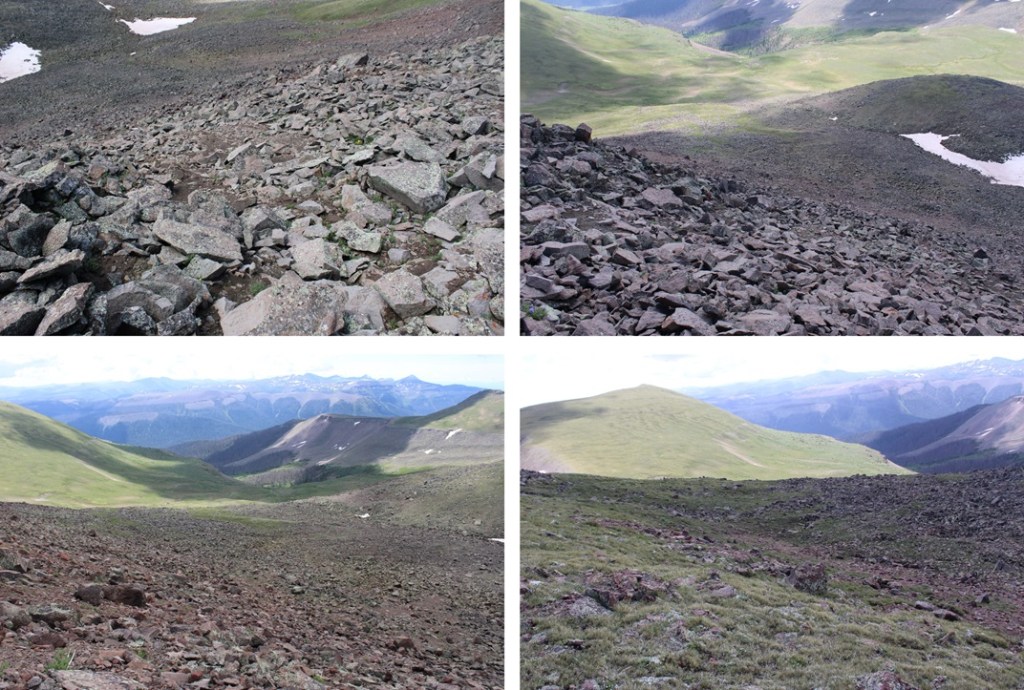
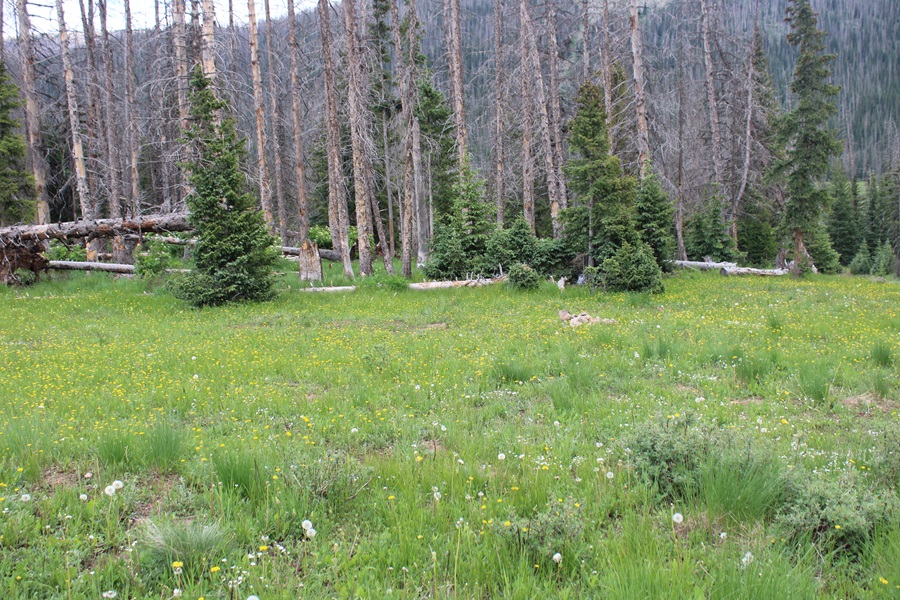
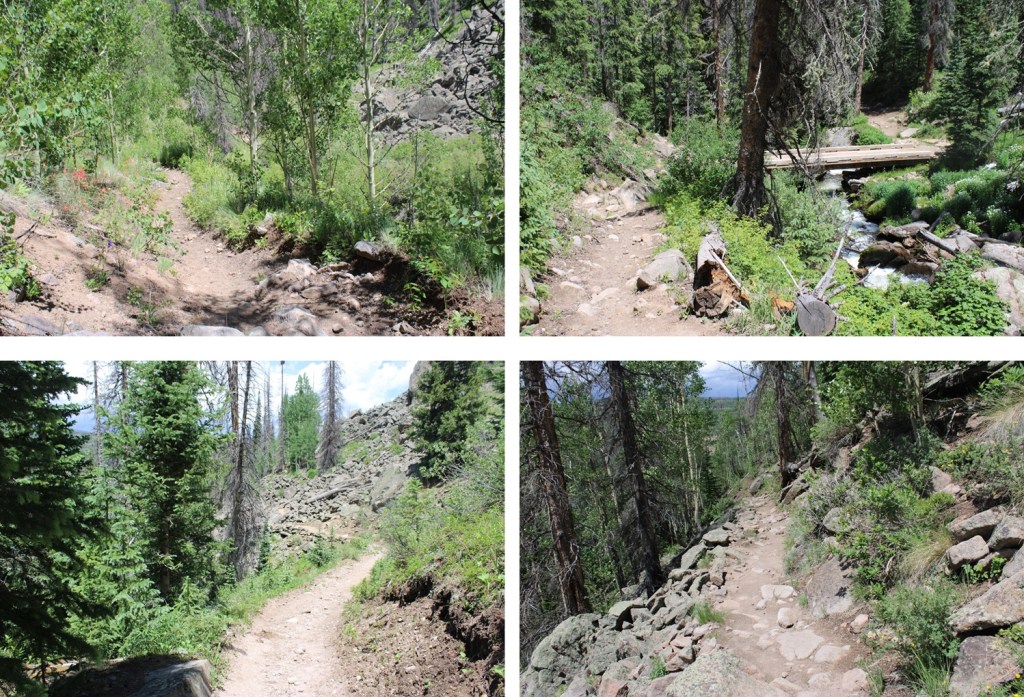
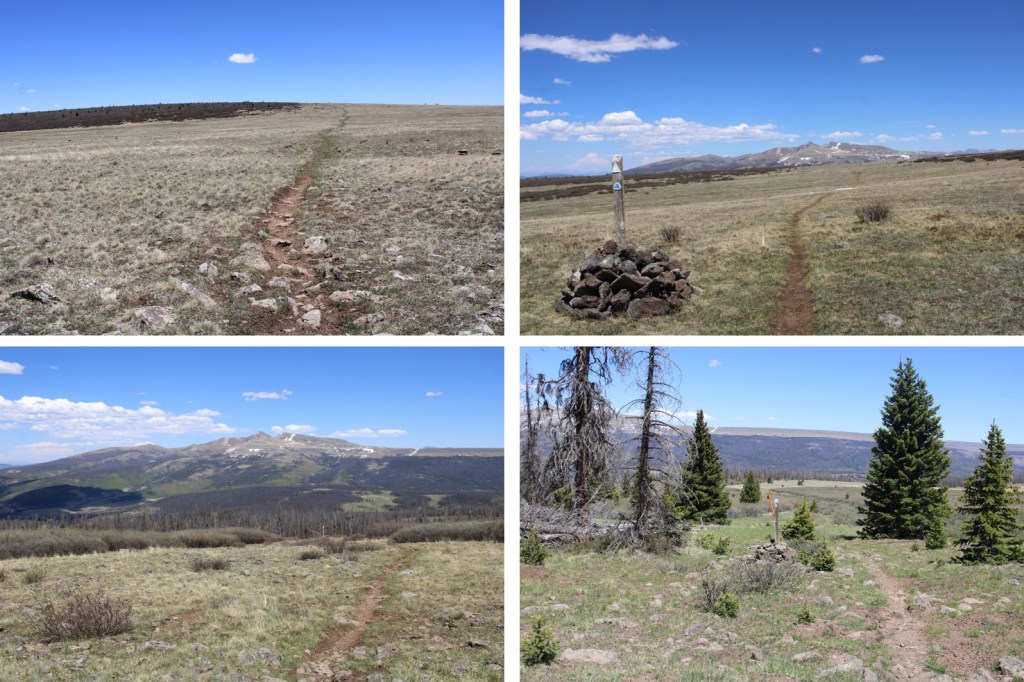
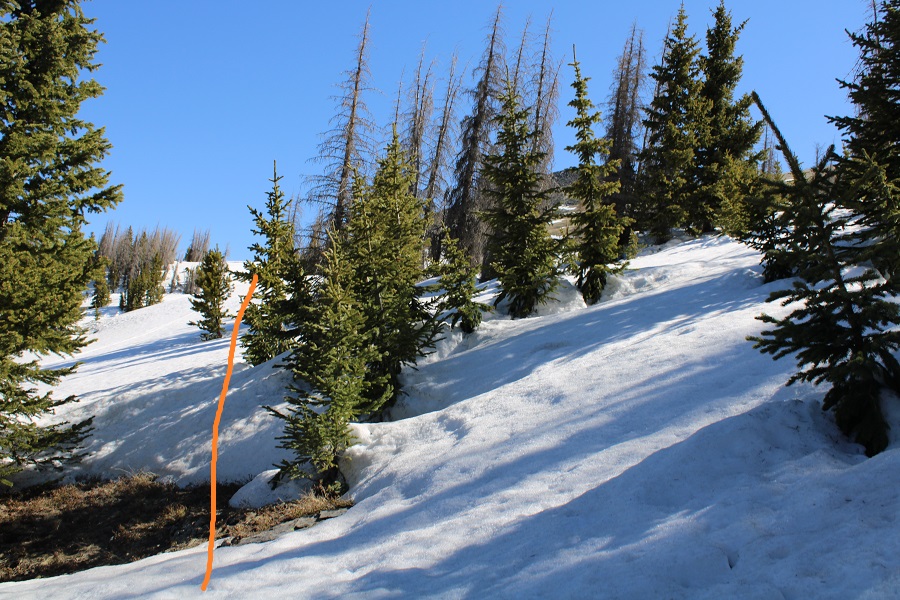
I was up and on the trail at 6:30am, startling a small herd of elk as I opened up my tent. I continued following the CDT east, down towards West Ute Lake. I lost about 700’ of elevation as I headed back down to treeline. This is an easy to follow, class 1 trail.
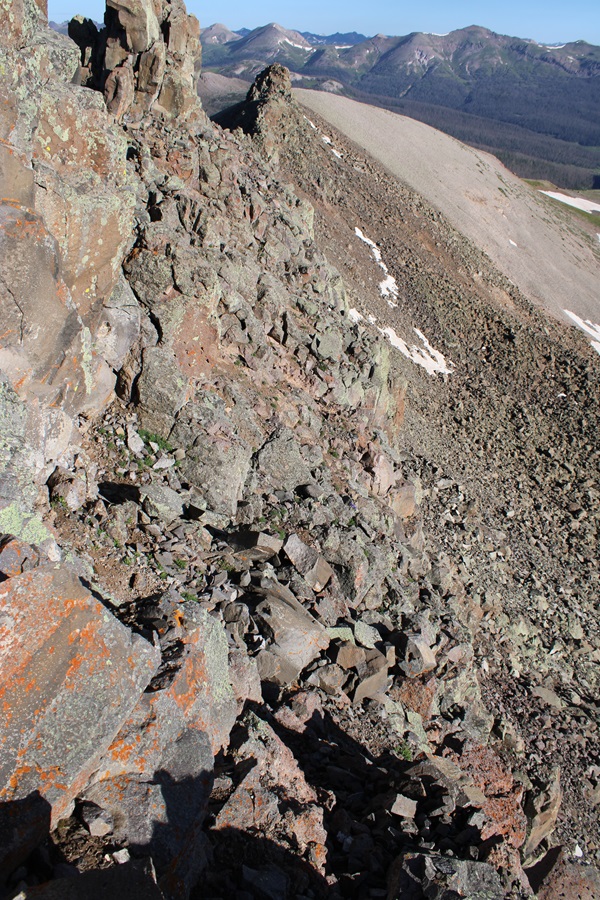
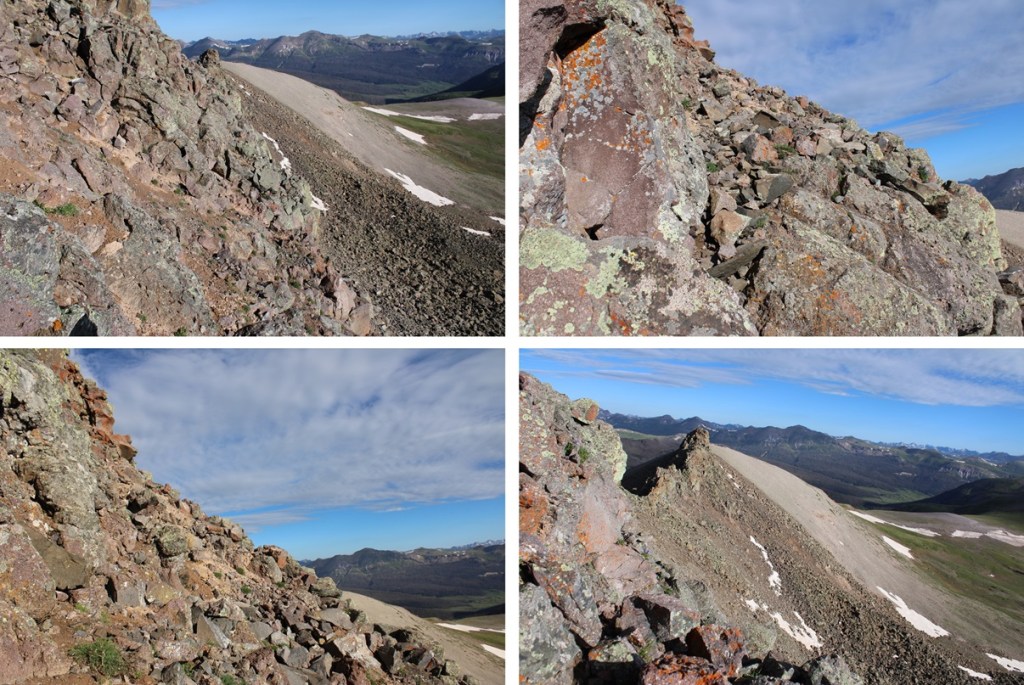
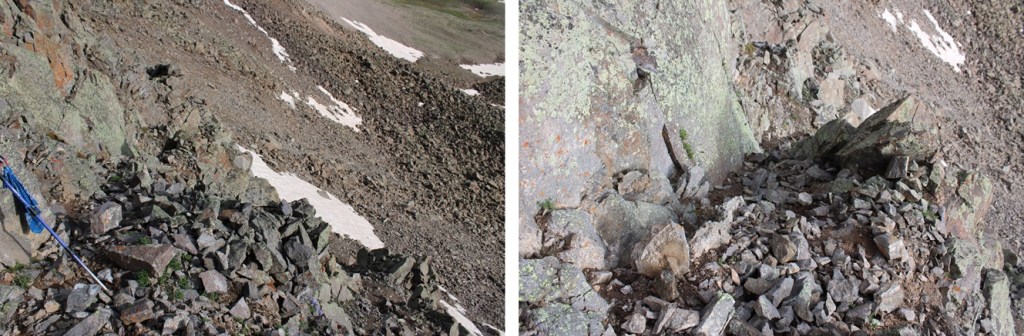
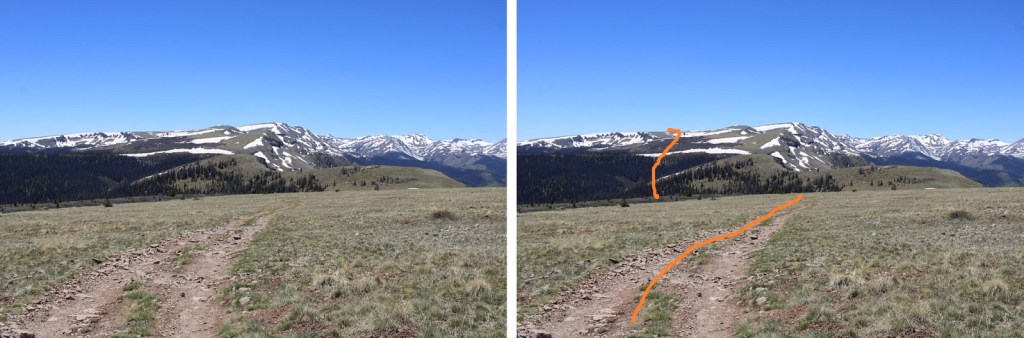
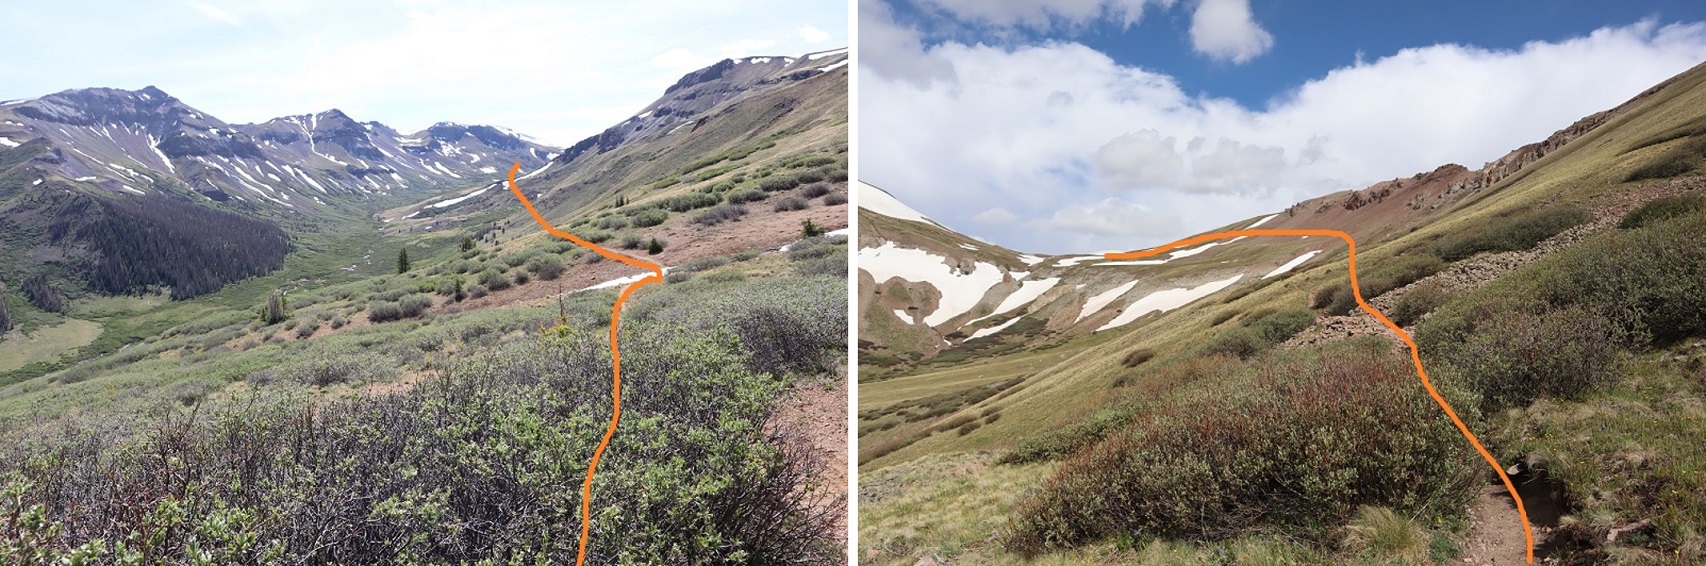
From West Ute Lake, I could see PT 13171, and I followed the trail up to the saddle. From this vantage point, you can see 3 notches in the ridge to the peak. The first notch is class 2, the second is class 3 or 4 (depending on the route you choose), and the third is class 2.
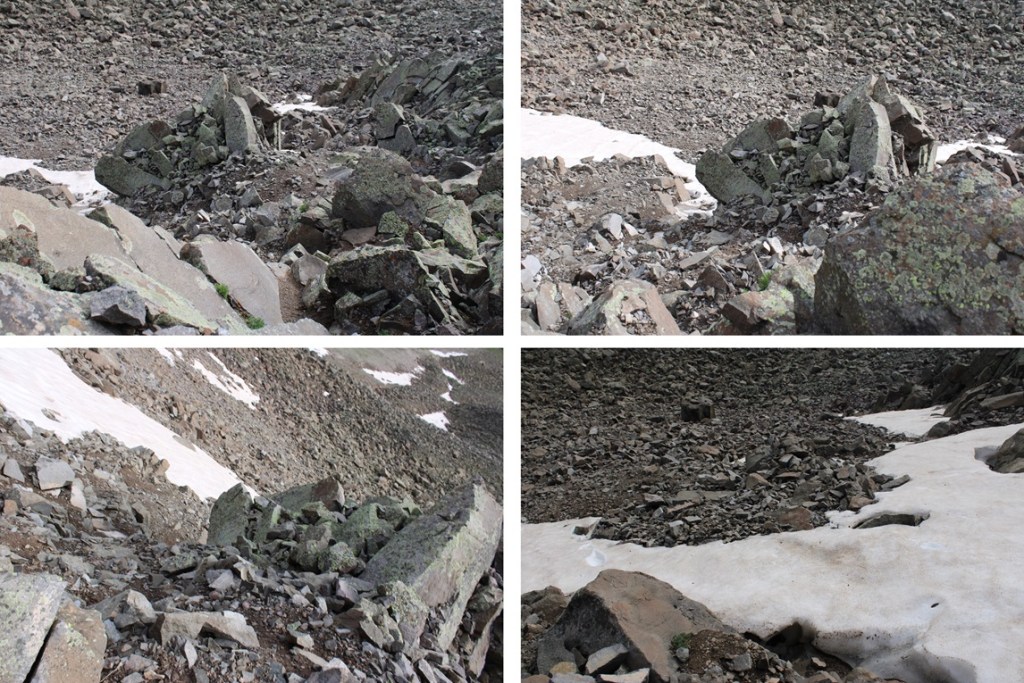
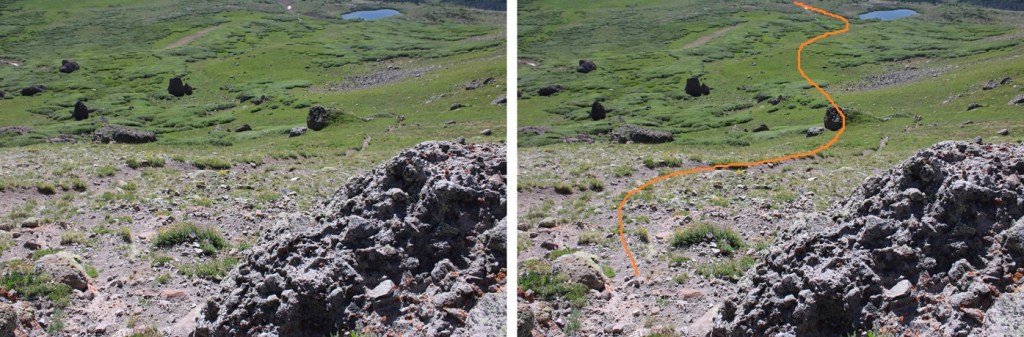
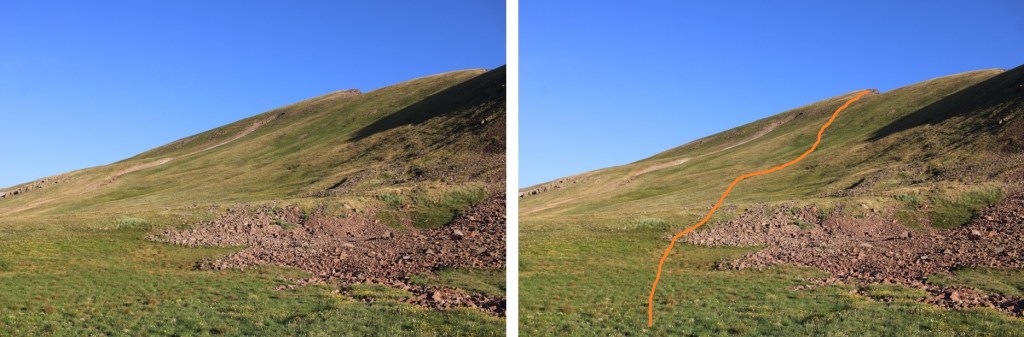
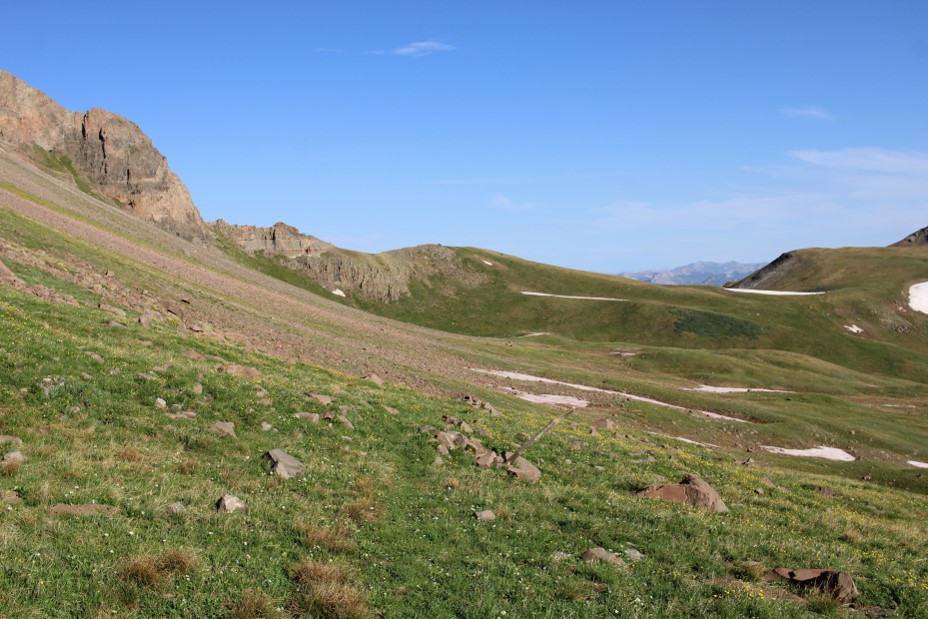
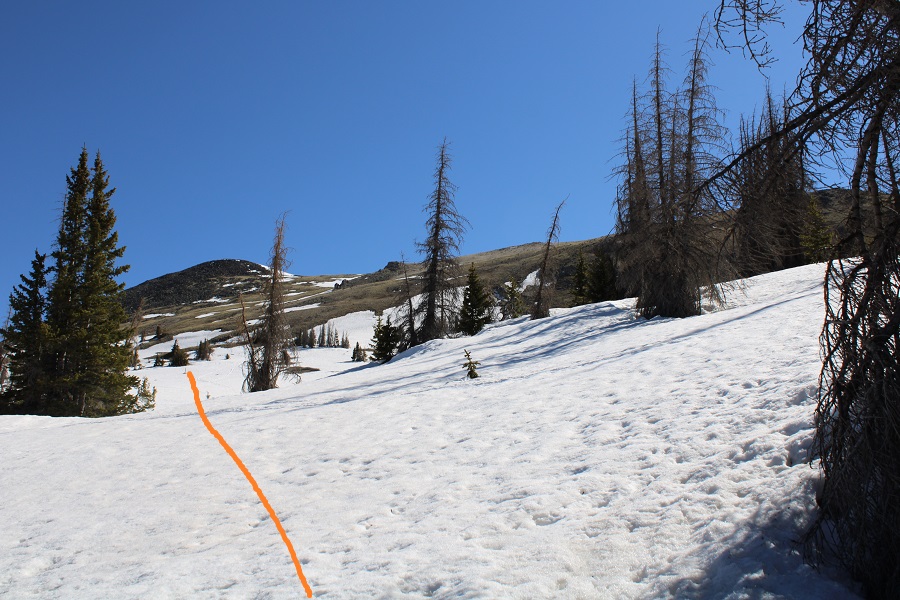
At around 12250’ of elevation I left the trail, and headed for the ridge, doing my best to avoid the willows. The route here is all class 2, and you can pretty much pick any line of tundra and it will get you to the ridge. This is the route I took:
Once on the ridge, I turned right and followed it west. The ridge was rocky, but went at class 2 (except for the second notch). The first notch was an easy class 2 walkaround.
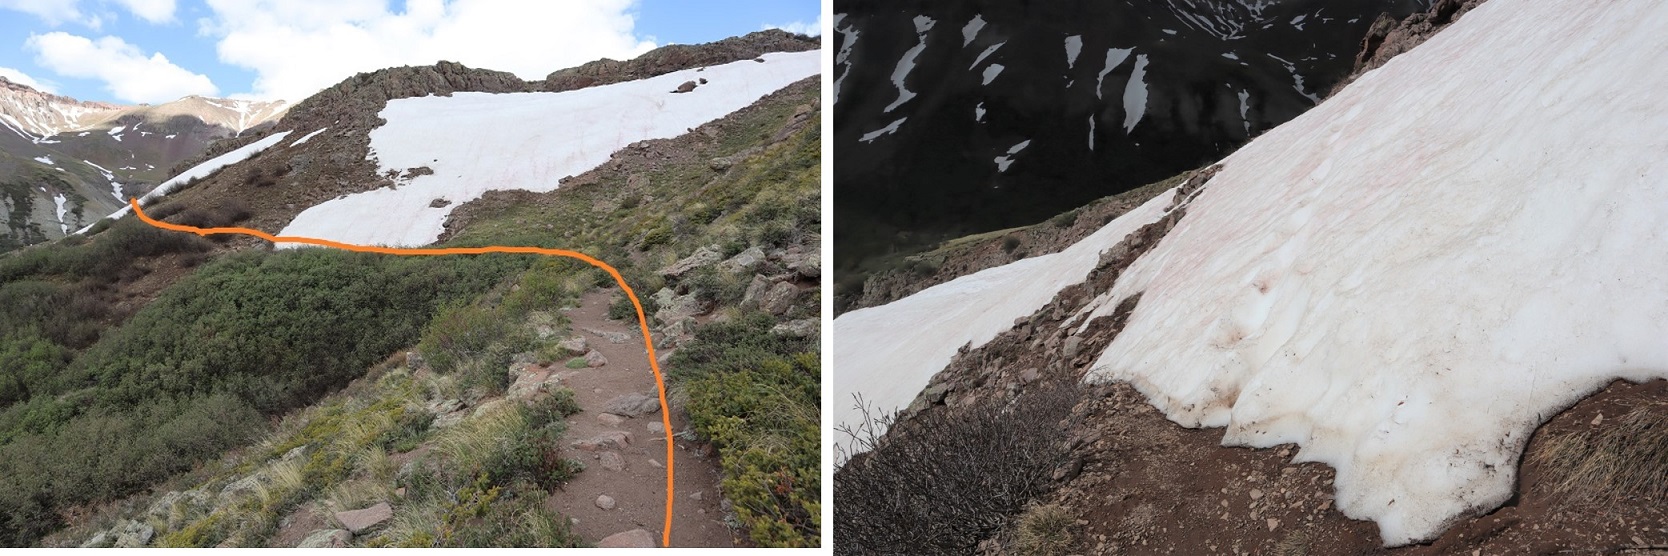
The second notch was an easy downclimb, then a choose your own adventure upclimb. I kept it class 3 by staying to the right of the white rock. The rock was solid, but there was also a lot of talus littering the solid rock. This is the route I took:
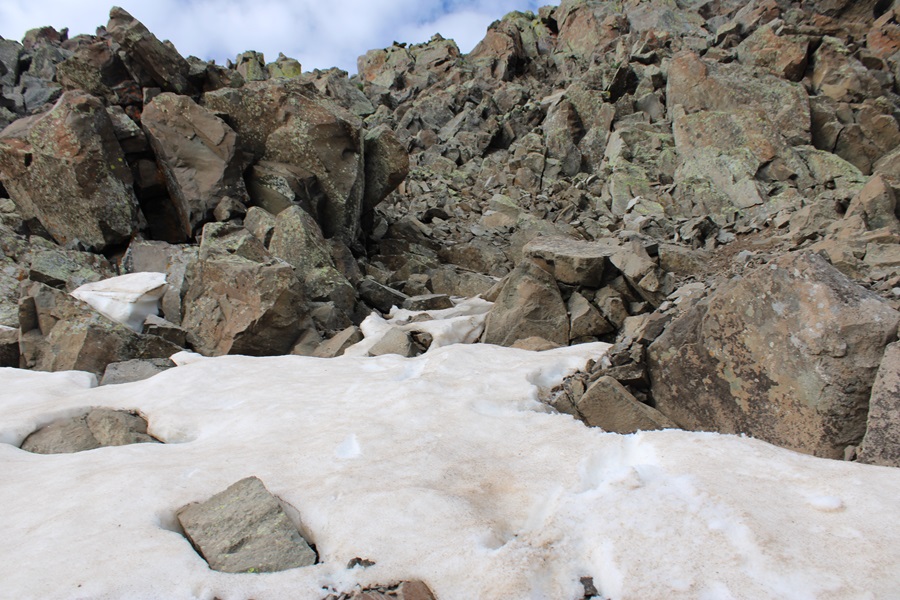
I made my way back to the ridge
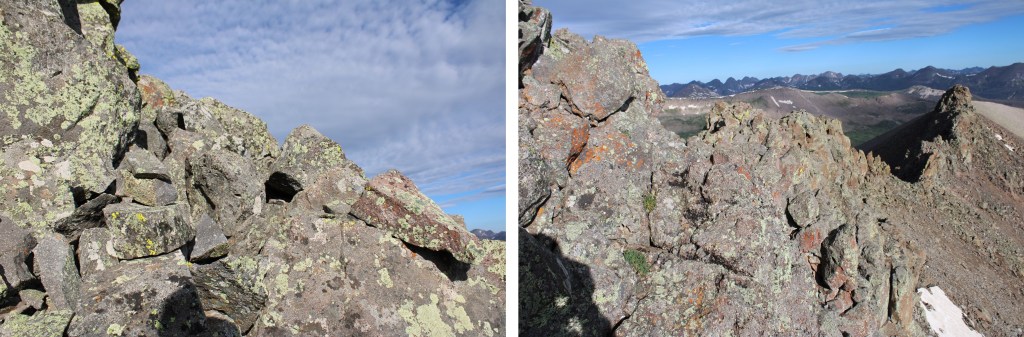
Here’s a look at that third notch, another easy class 2 workaround by going left
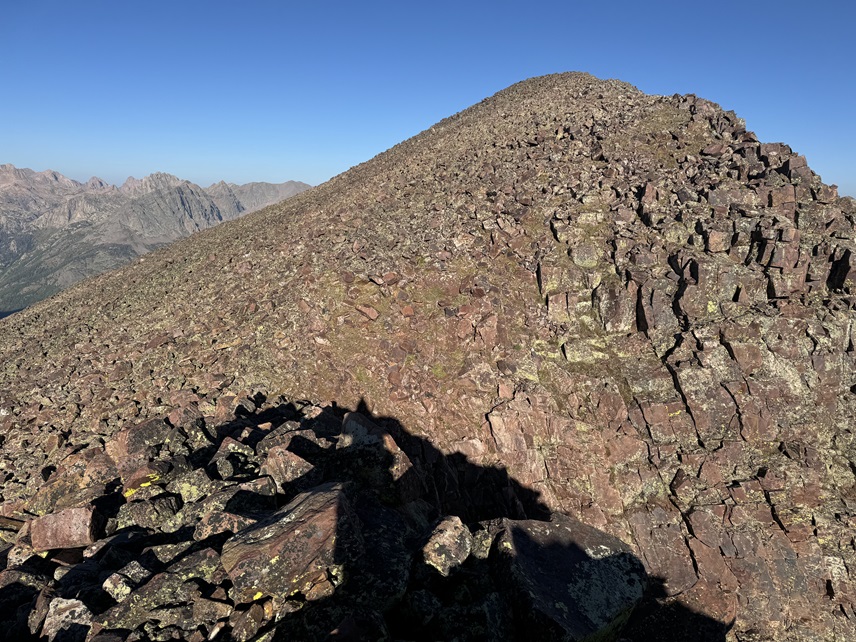
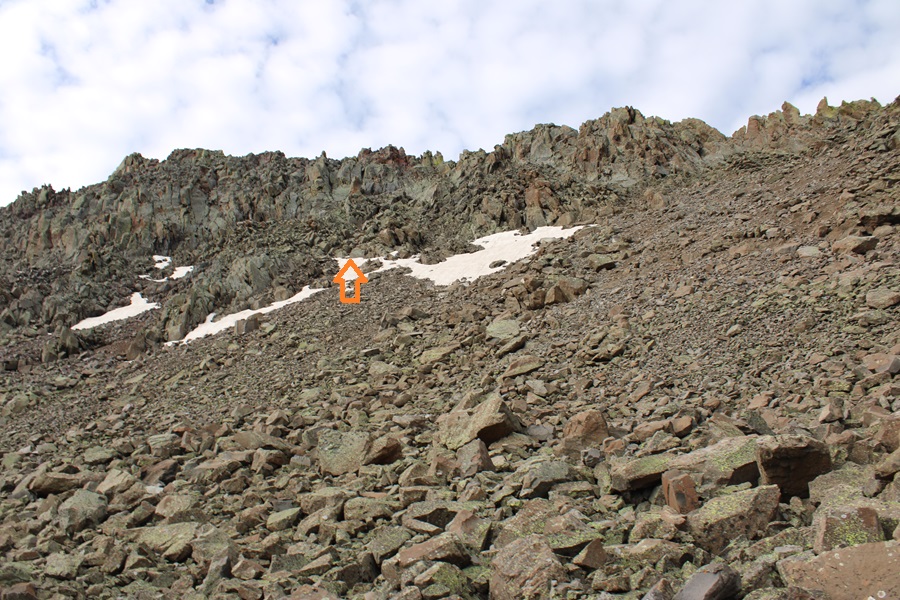
Then it was a rocky, class 2 hike to the summit
I summited PT 13171 at 8:30am
PT 13171:
This was my only peak for the day, so I re-traced my steps back down the rocky ridge
Then I navigated my way down off the ridge, back to the CDT
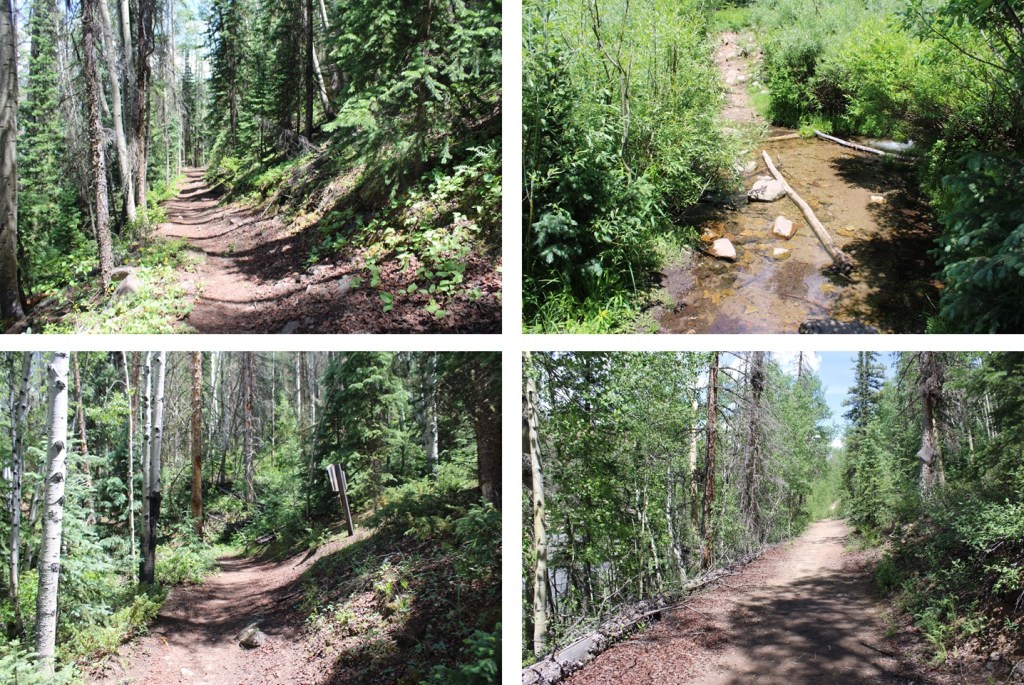
Back on the trail, I followed it forth (then northwest as it curved)
There was one point where the trail intersected with the West Ute Trail, just after West Ute Lake. I didn’t notice it on my way in, but if you notice it here, go left.
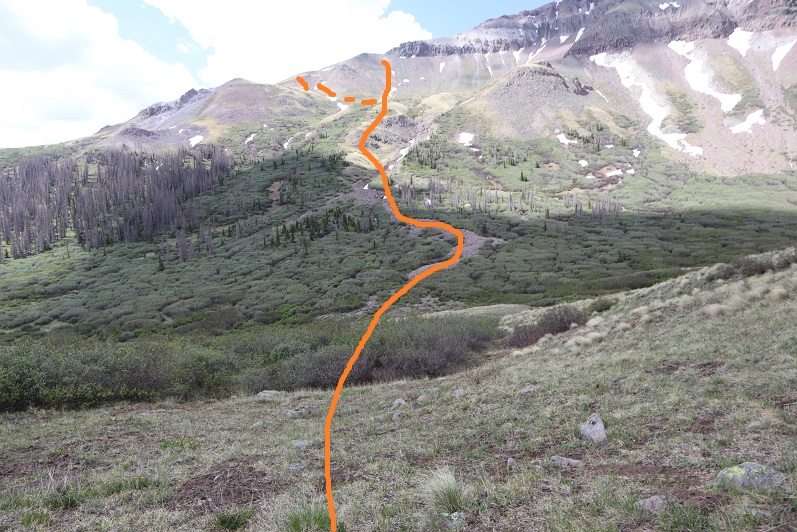
I made it back to treeline, then gained 725’ of elevation back to my campsite at 12500’
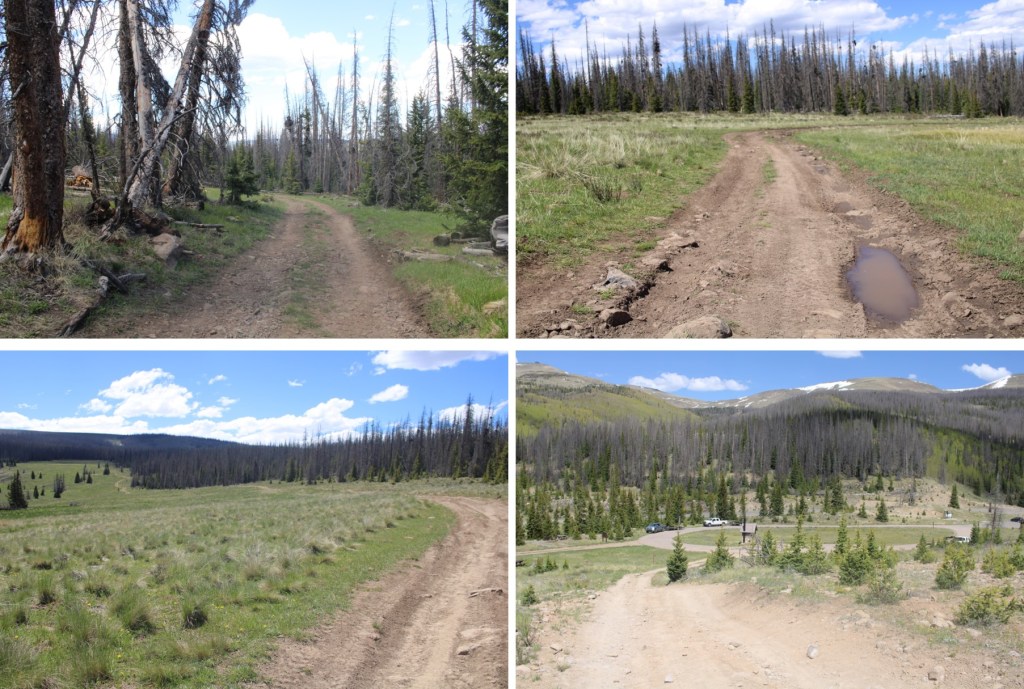
I took down my tent, and continued hiking west on the CDT, towards Vallecito Trail.
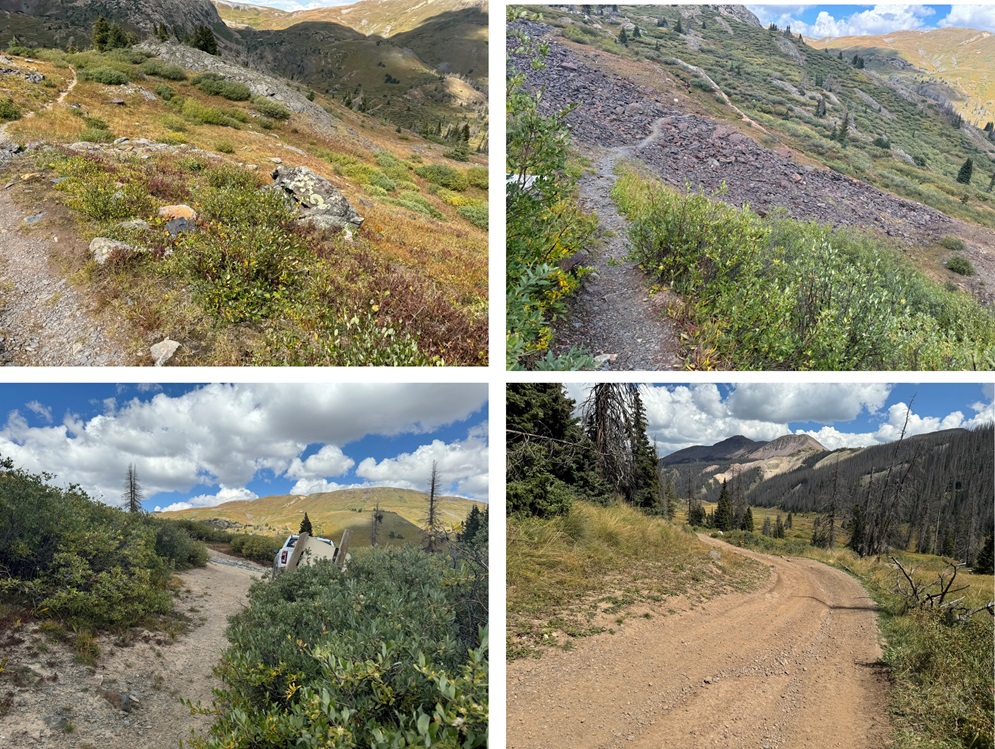
Once I made it to the Vallecito Trail, I turned right, and followed it north to Hunchback Pass, gaining 955’ of elevation up to the pass
Then I continued following the trail back down to Beartown, and my truck.
I made it back to Beartown at 1:30pm, making this a 13.85 mile hike with 3207’ of elevation gain, including campsite tear down, in 7 hours.
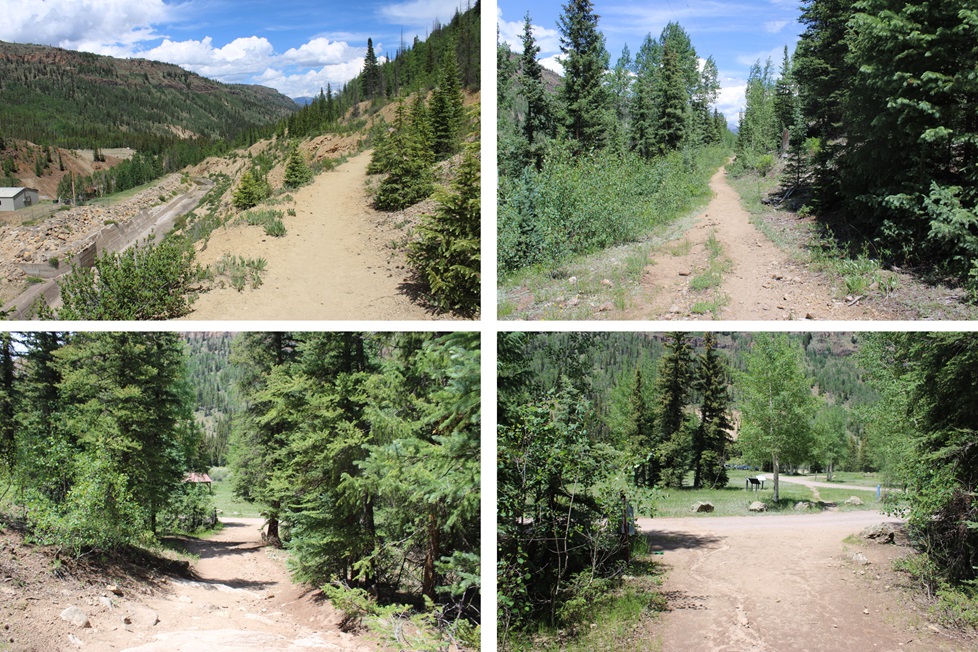
I was up and following the 4WD road towards the Hunchback Trailhead at 6:30am. It was cold because it had rained the night before, and everything was covered in a film of ice. I followed the road for 1.5 miles to Hunchback Pass Trailhead.
I then followed the trail another 1.5 miles to Hunchback Pass
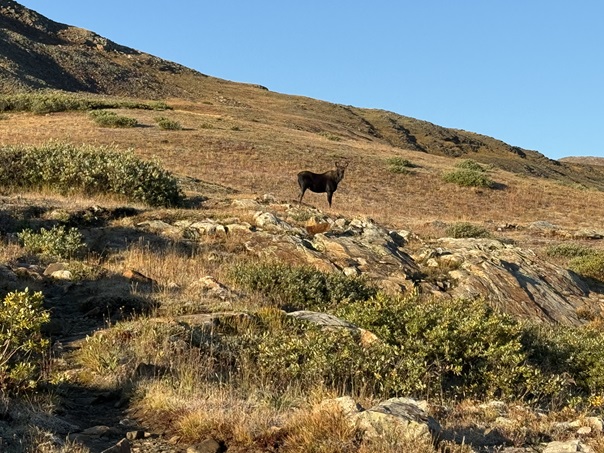
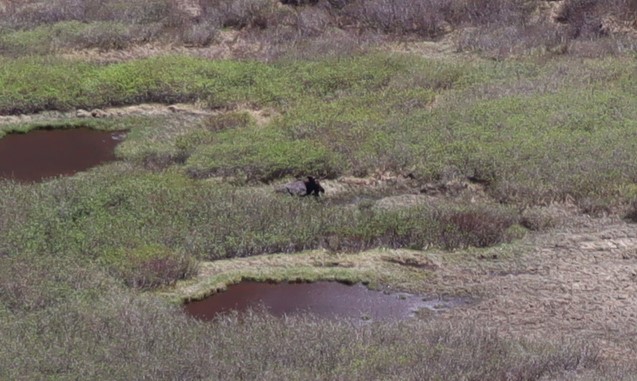
Oh, and I saw a moose along the way. Well, actually two moose, but the male got scared and ran away before I could get a picture. The female wasn’t too bothered.
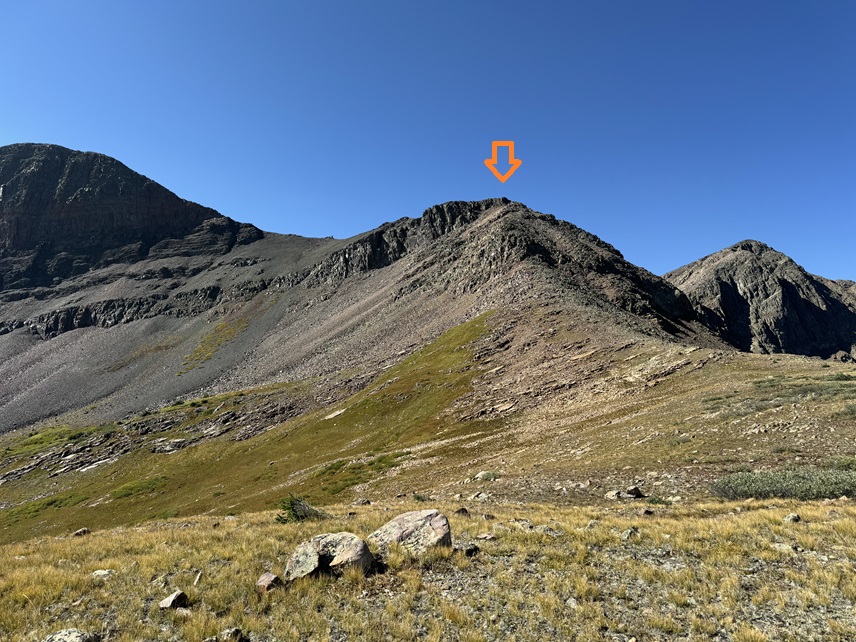
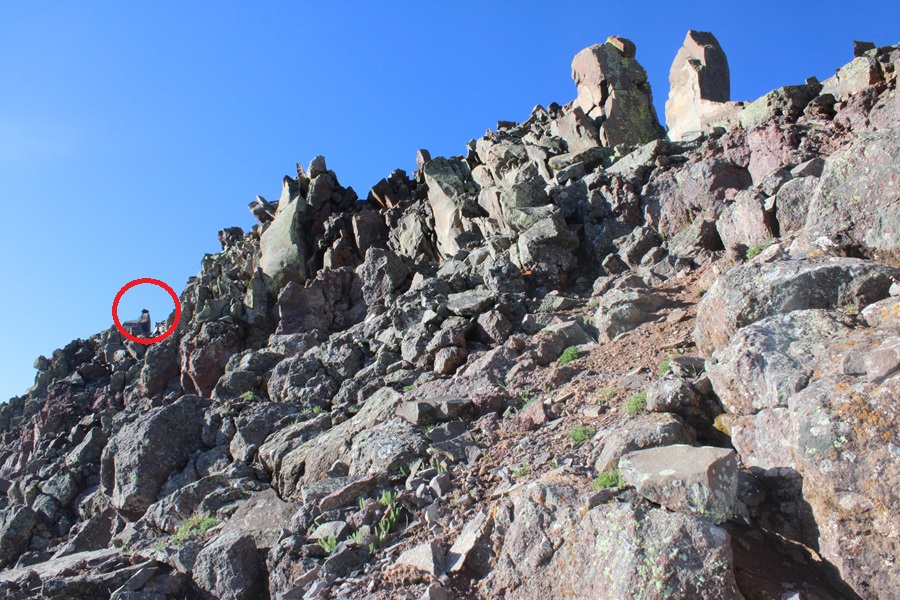
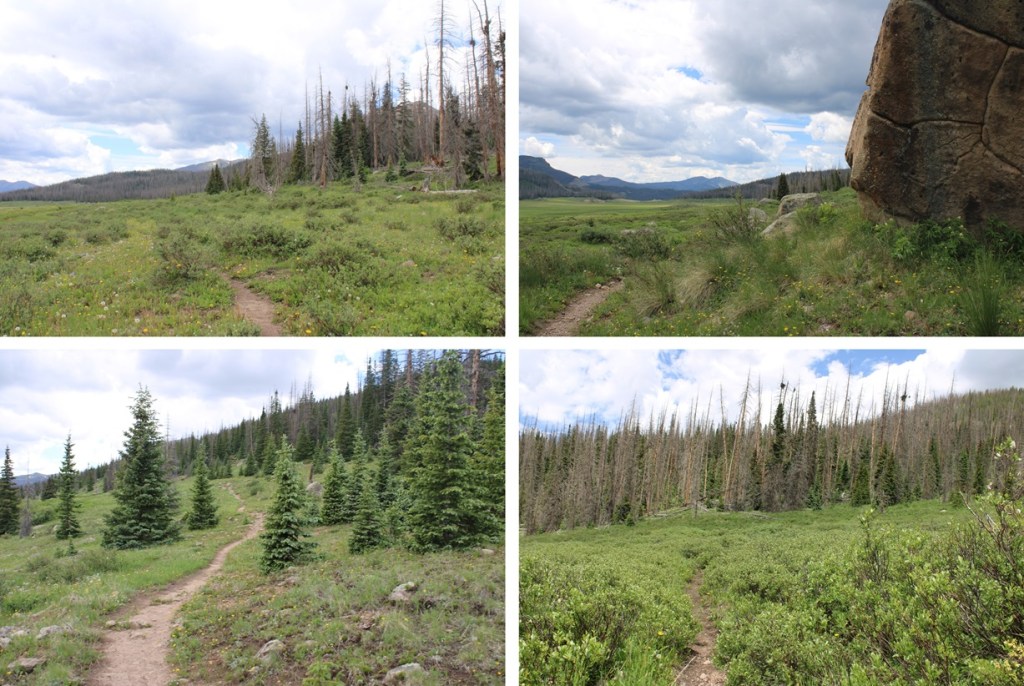
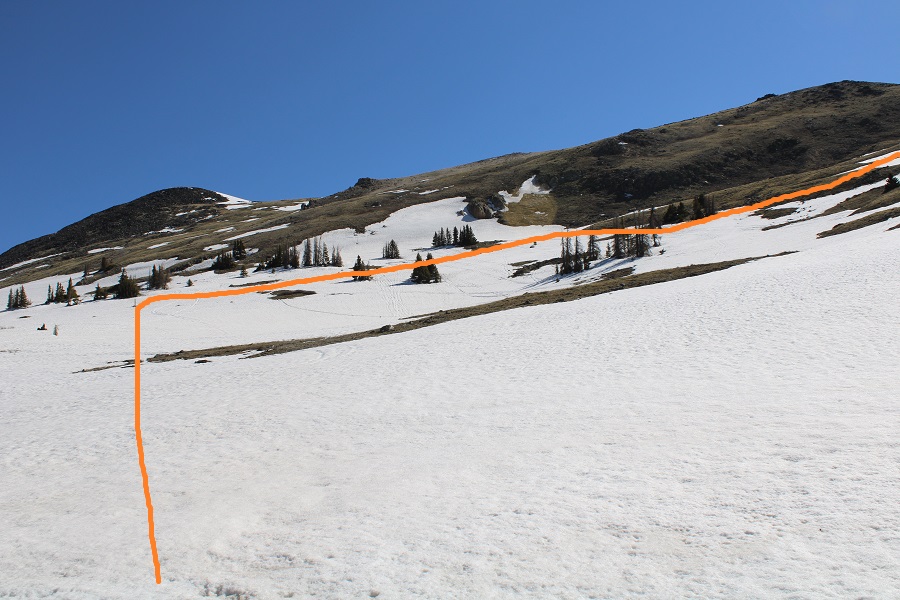
Once at Hunchback Pass, I turned left, and followed the ridge south, then southeast. Here’s the general route I took. This is choose your own adventure, and this morning I went slow because the rocks were icy.
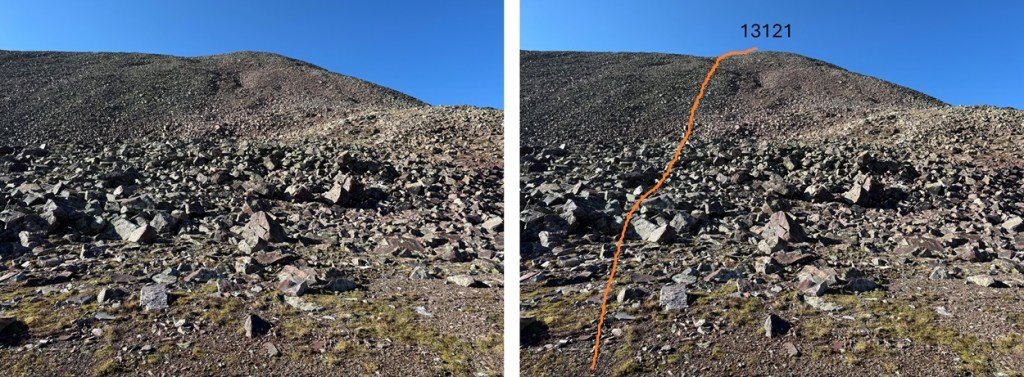
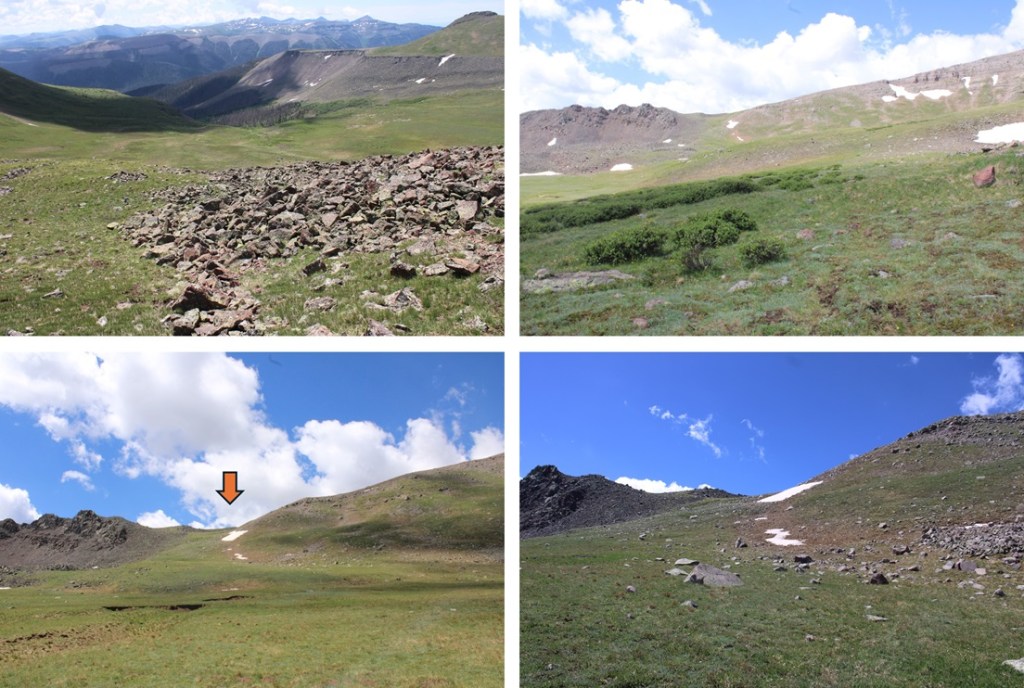
At the top of the ridge I could see PT 13121, Mt Nebo, and PT 13232 in the distance. I followed the tundra towards PT 13121. If you are following my GPX file, you’ll notice it’s a little erratic here. That’s because my compass kept doing crazy things. Just keep heading towards the base of 13121.
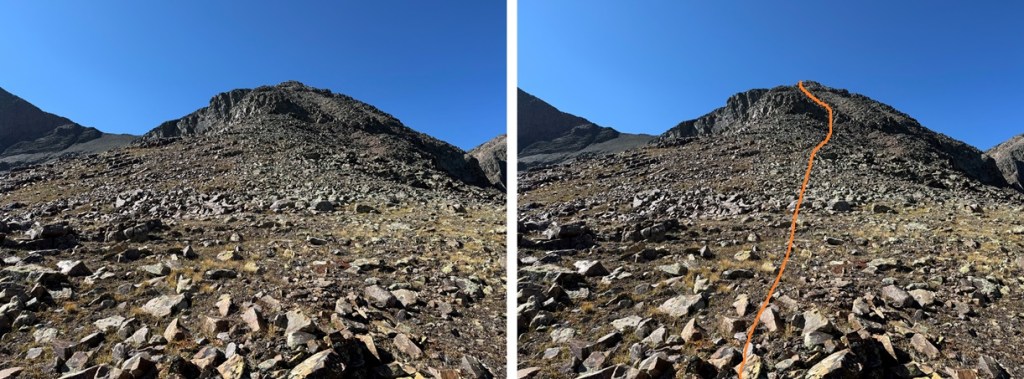
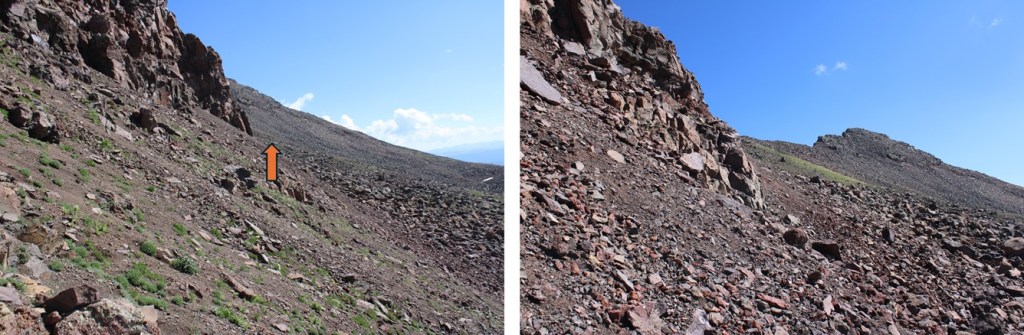
From the base of PT 13121, I headed south on the rocks towards the summit. I would gain 400’ in .2 miles to get to the ridge. The rock here was loose and steep and not fun to climb at all. If you have the option, I’d summit this peak from the way I descended. However, I did not do that, so here is my route, and a few pictures of the rock mess towards the ridge.
When I made it to the ridge I turned right, and walked the short distance to the summit
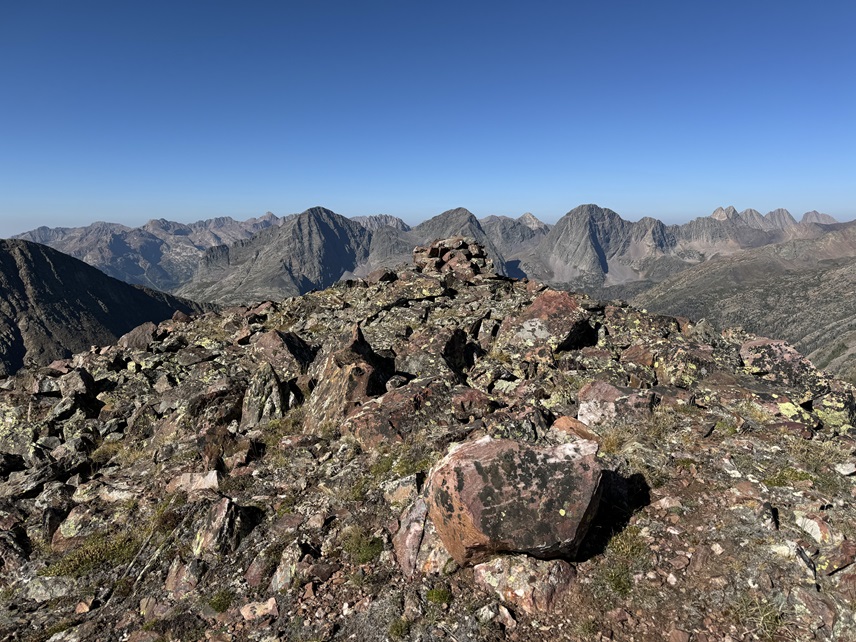
I summited PT 13121 at 9:40am
PT 13121:
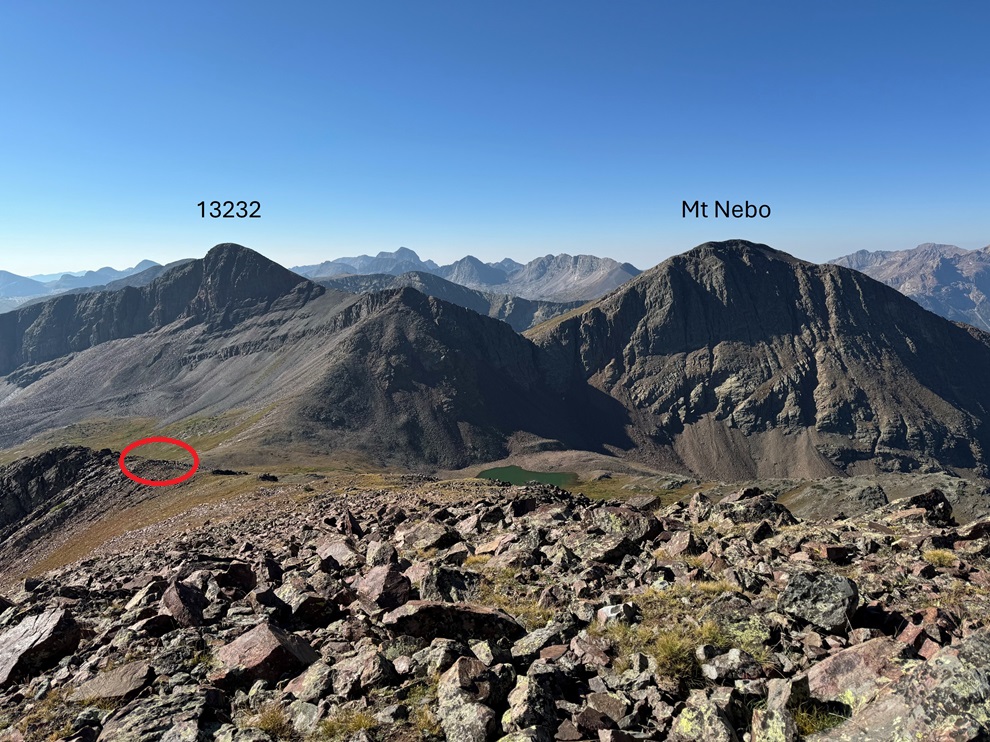
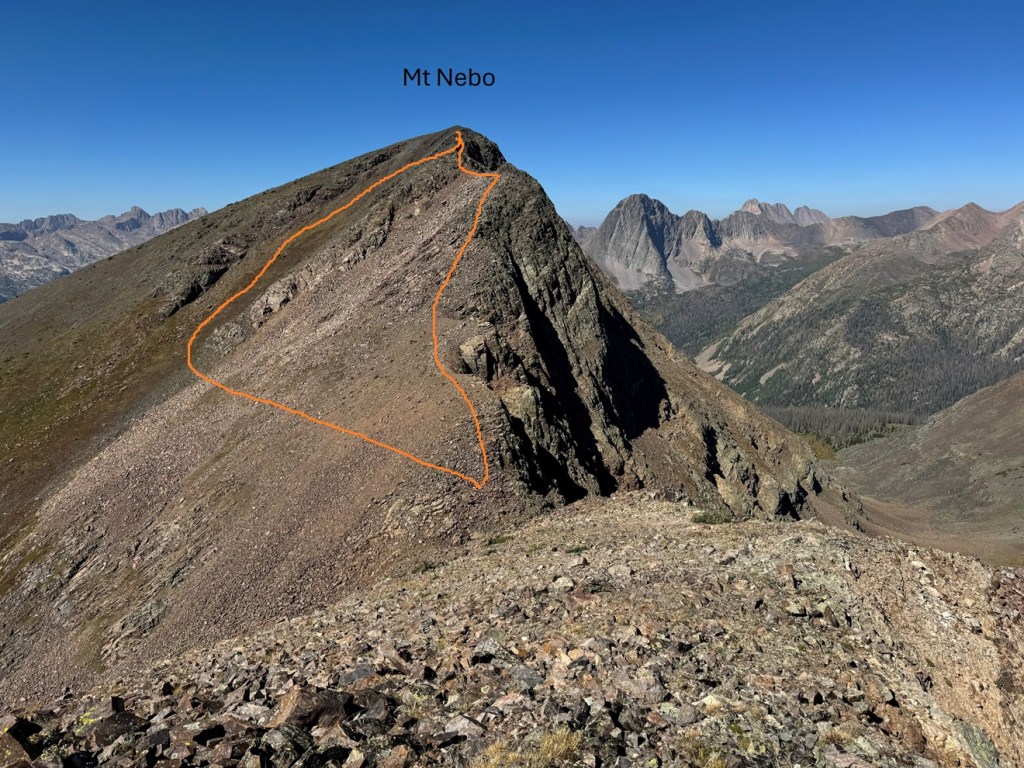
I could see PT 13232 and Mt Nebo to the south. I descended the rocky and tundra ledge towards the PT 13121/Mt Nebo saddle. Circled is where I set up camp for the night. That’s where I was headed. It’s adjacent to the CDT.
I took some time to set up my tent, then I was on my way again, headed up this ridge
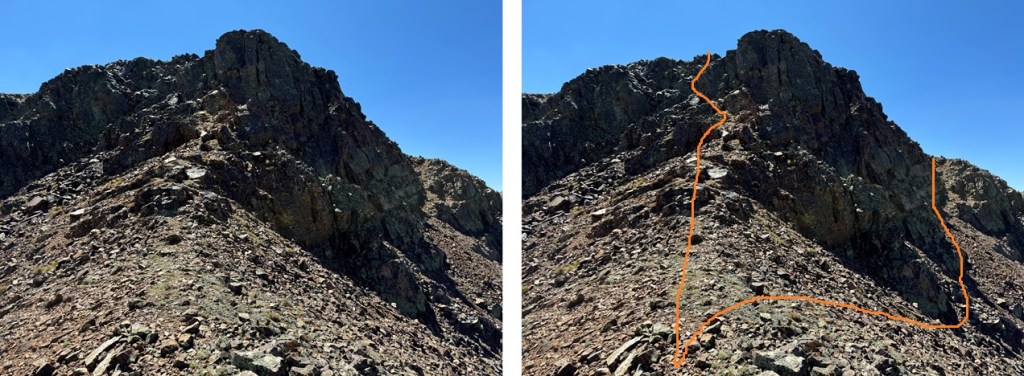
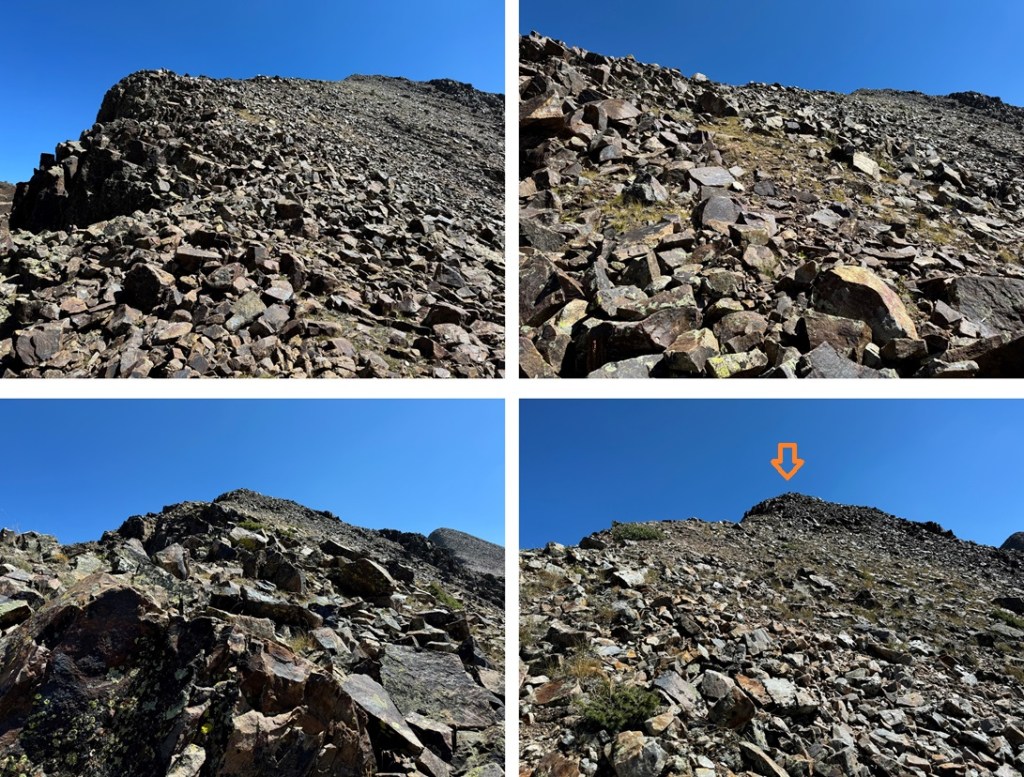
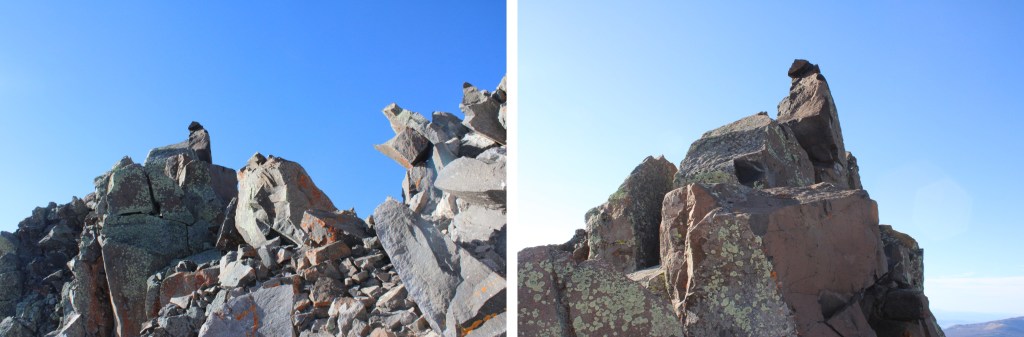
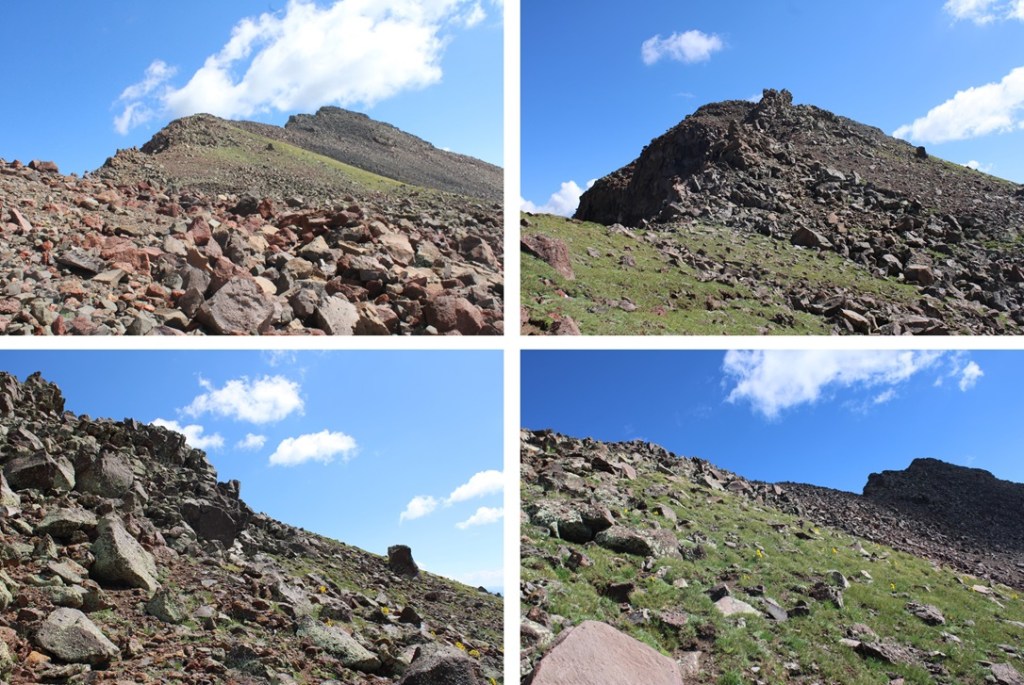
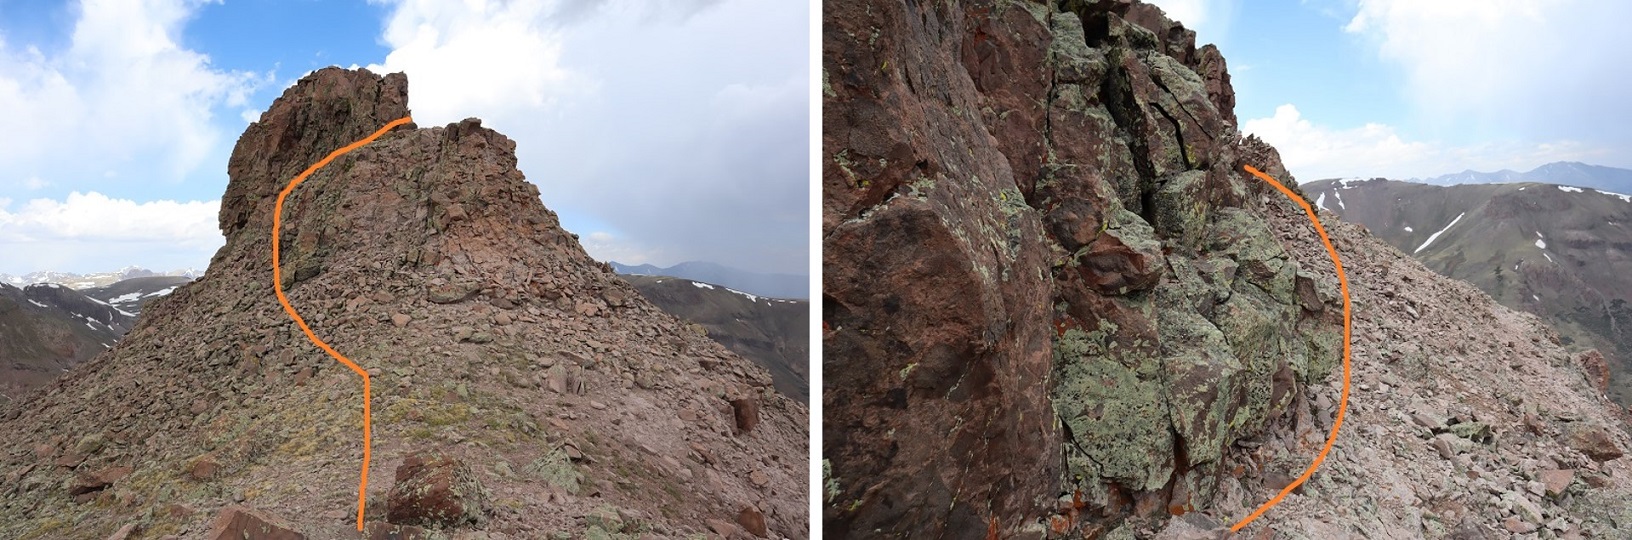
There was a lot of scree and talus here, but it’s all class 2+. There’s a bulge in the middle I skirted to the right, then headed back to the ridge proper, and towards the top you can go either to the left or the right, and I chose right for the way up (towards Nebo), and left on the way down.
Here’s the option to go either right or left. Both class 2, but the left is on more solid rock.
I chose to go right (there’s a cairn where the arrow is)
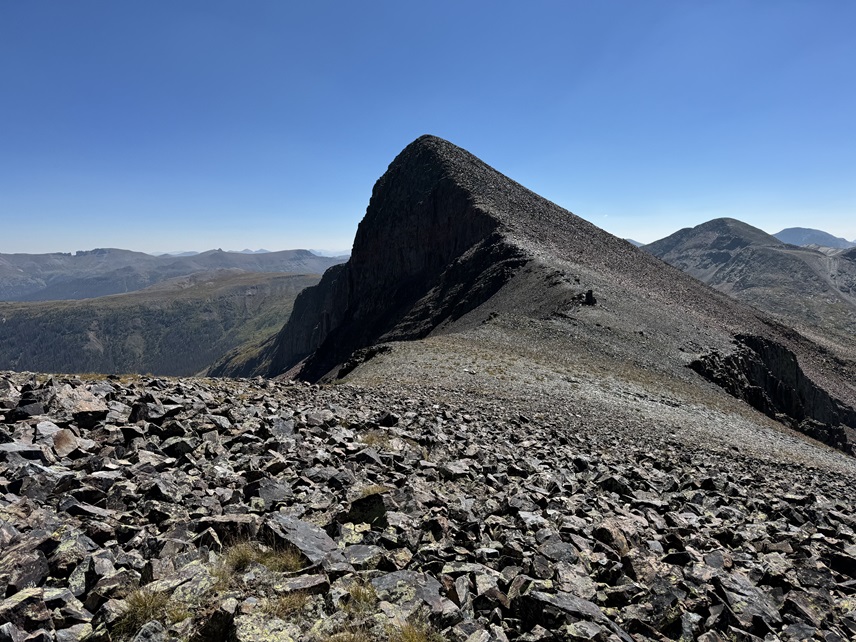
From here I could see Mt Nebo to the west
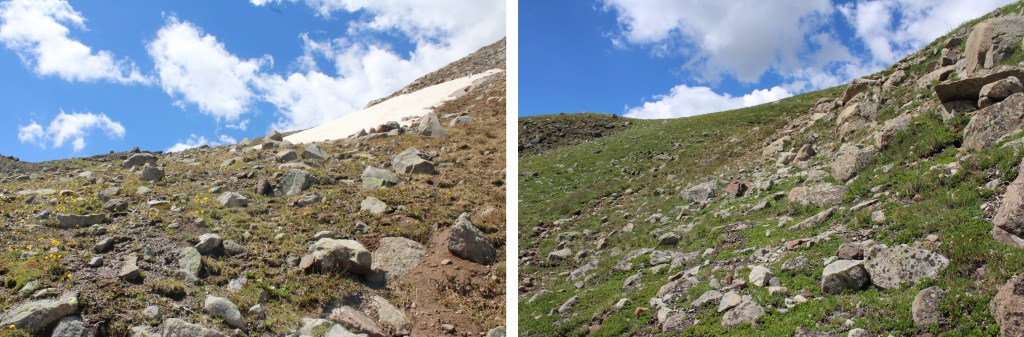
I needed to make my way towards the saddle, but now is a good time to choose your route, You can go up the tundra that turns to talus on the left, and keep this route 2+, or you can take the ridge to the right, which goes at difficult class 2, maybe some easy class 3, and includes a lot of rock/boulder hopping. I chose to stick to the ridge.
But first, descending down to the saddle. This was rocky, but class 2. From the saddle, here are some pictures of the route up the ridge towards the summit
There was one ledge section that went at class 2 but had some exposure. I crossed the ledge, and it was an easy hike up talus to the summit.
I summited Mt Nebo at 11:30am
Mt Nebo:
To the east was PT 13232. I descended back to the saddle.
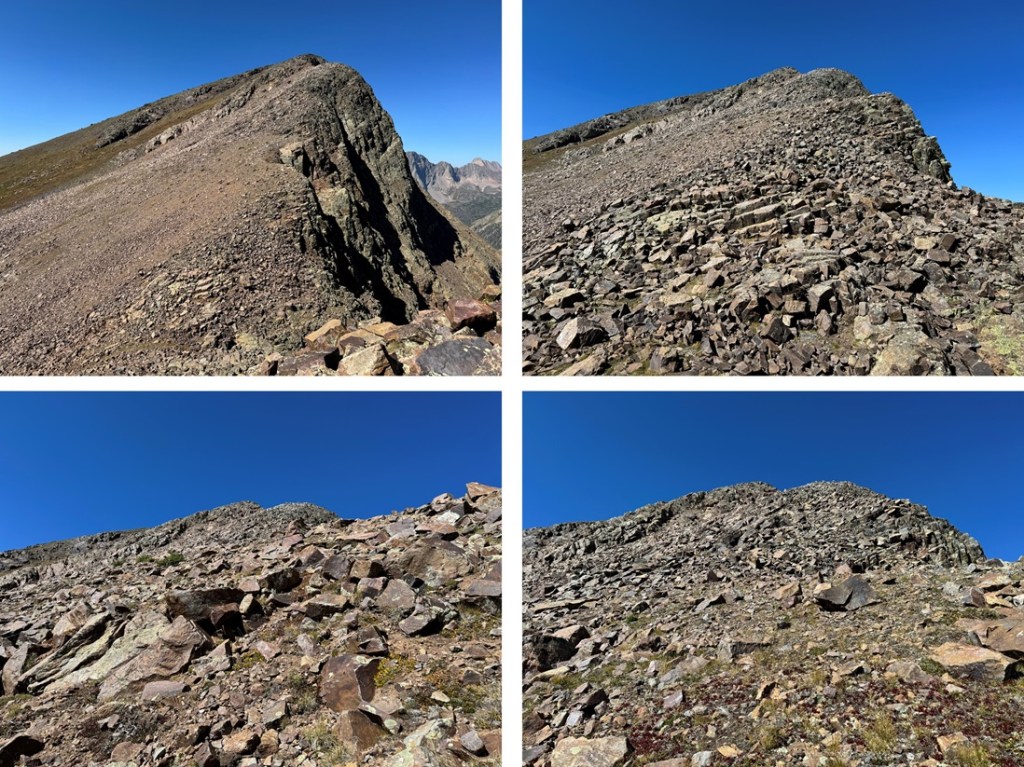
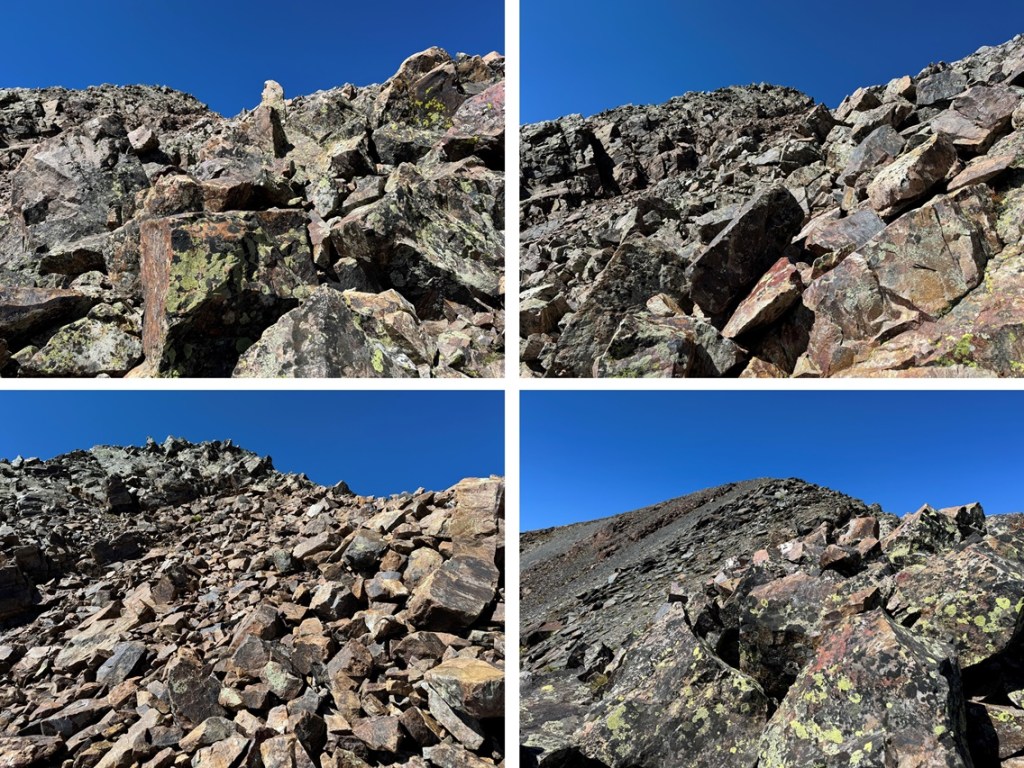
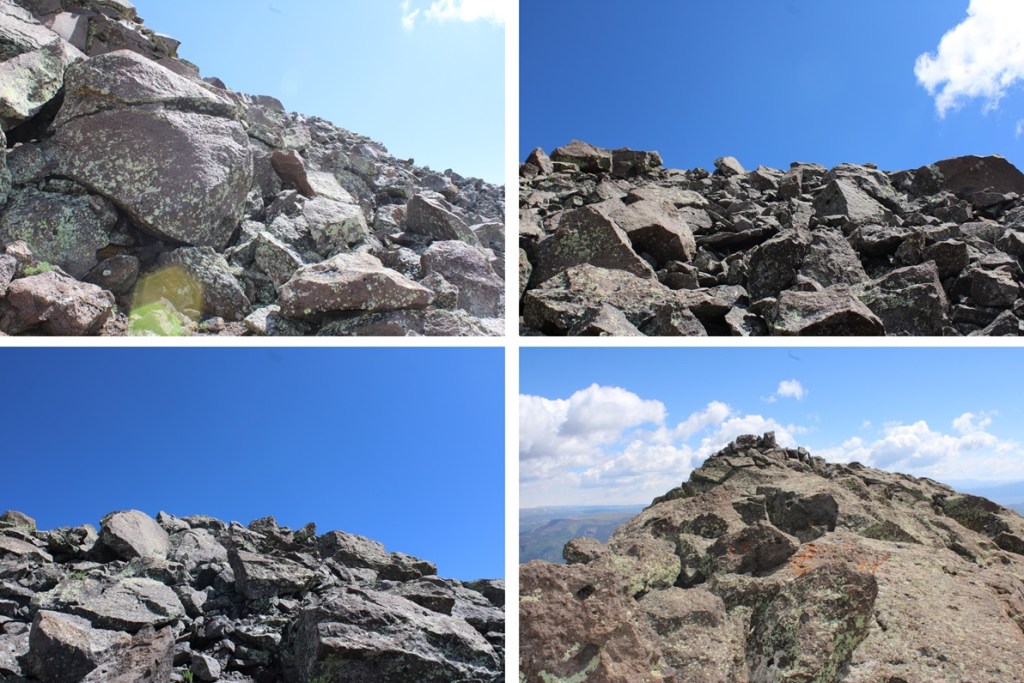
Then it was back up the rocks, following the ridge. The rest of the hike was all class 2 to the summit, mostly boulder/rock hopping.
Once back on the rocky point that splits the two peaks, it was now easy to hike southeast to the summit. I followed the talus to the rocks, and kept ascending. The ridge proper goes at class 2. Here are some pictures of the route.
I summited PT 13232 at 12:30pm
PT 13232:
Now I was headed back to my campsite. I turned around, and followed the ridge as it descended northwest.
I then went right when I made it to the bump in the ridge, descending on talus and rocks before making my way back to the ridge.
I then followed the ridge back to my campsite and the CDT, being careful to go left to avoid the steep sections.
I made it back to my campsite at 1:15pm, making this a 8.55 mile hike with 3732’ of elevation gain in 6 hours, 45 minutes, including time to set up my camp and eat lunch. This report continues with PT 13171 the next day, along with a hike out back to Beartown.
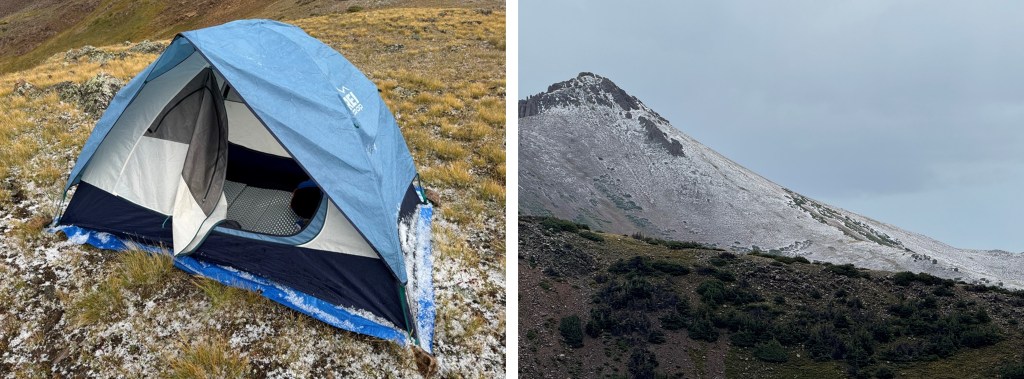
Oh, and it rained and hailed and graupled that night. For hours. I kept punching the top of my tent to get the slush off so it wouldn’t freeze overnight. Here’s a picture from about half an hour into the 4 hour storm, when I got a little break. Gotta love late summer storms above treeline! Good times!
Note: there’s a long approach for these peaks, so I decided to make this a backpacking trip. I found a great basecamp for the Rio Grande Pyramid 13ers (and others). The approach is about 10 miles and 3100’ of elevation gain, coming from Thirtymile Campground. The approach can be found here.
I’d hiked up to 12210’ the day before, summited some peaks, and spent the night at my camping spot, so I was able to get up early and refreshed the next morning to hit the trail at 5:30am.
This time, I was heading southwest on the Continental Divide Trail.
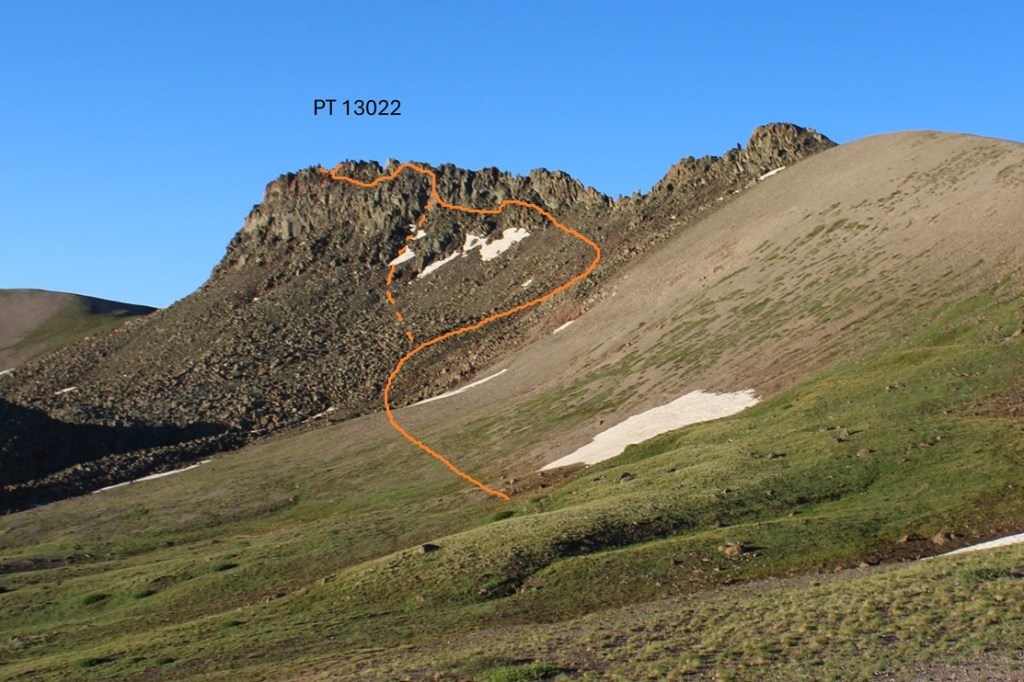
This trail was easy to follow, and well established. I followed it for just under 2.5 miles to the saddle of 13022 and Window Peak.
From the saddle I turned left and headed towards PT 13022. I did not follow the saddle, but instead cut across to the rocky basin.
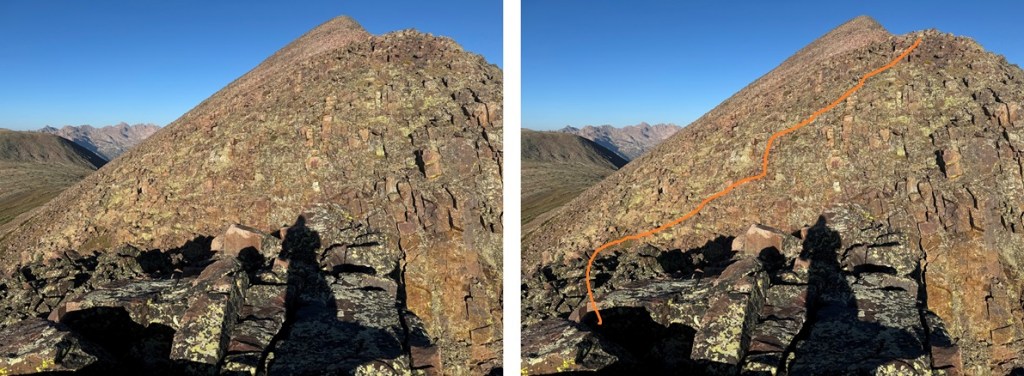
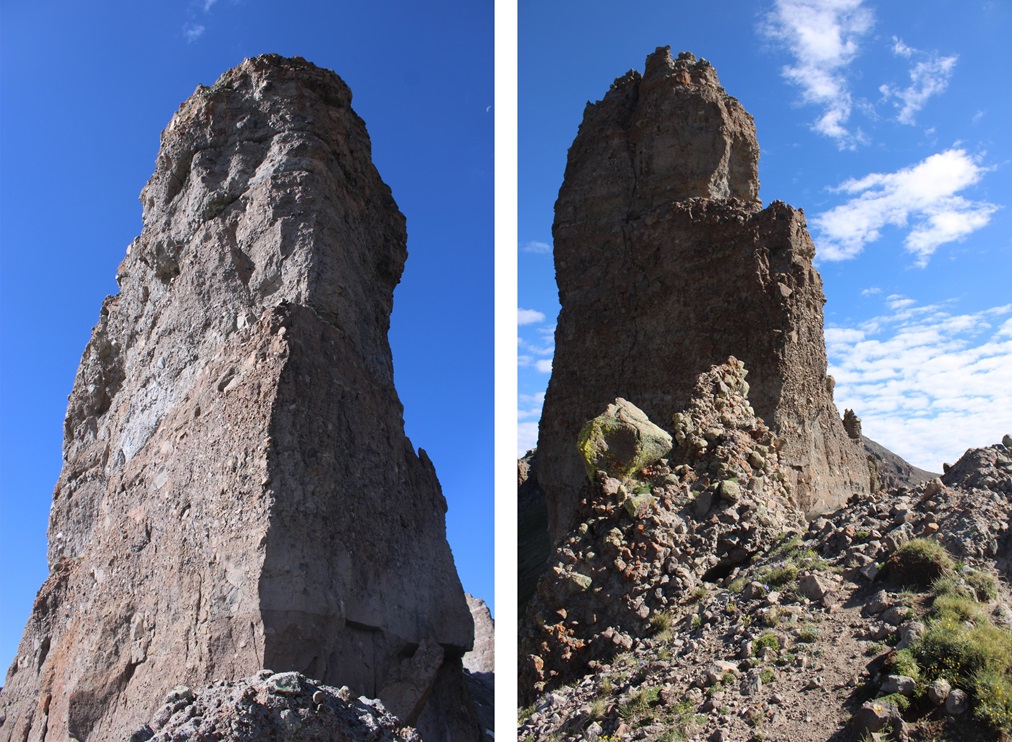
There wasn’t a trail here to the summit, and it looks like a viable route changes from season to season due to rockslides, etc. This is the basic route I took to the summit, and back down. The solid line is the route I took up, the dotted line is the route I took down. I’d recommend taking the route I took down both ways. The climbing here was class 4. In fact, I saw a (very old) anchor set up along my route, so people at one point at least used ropes to descend.
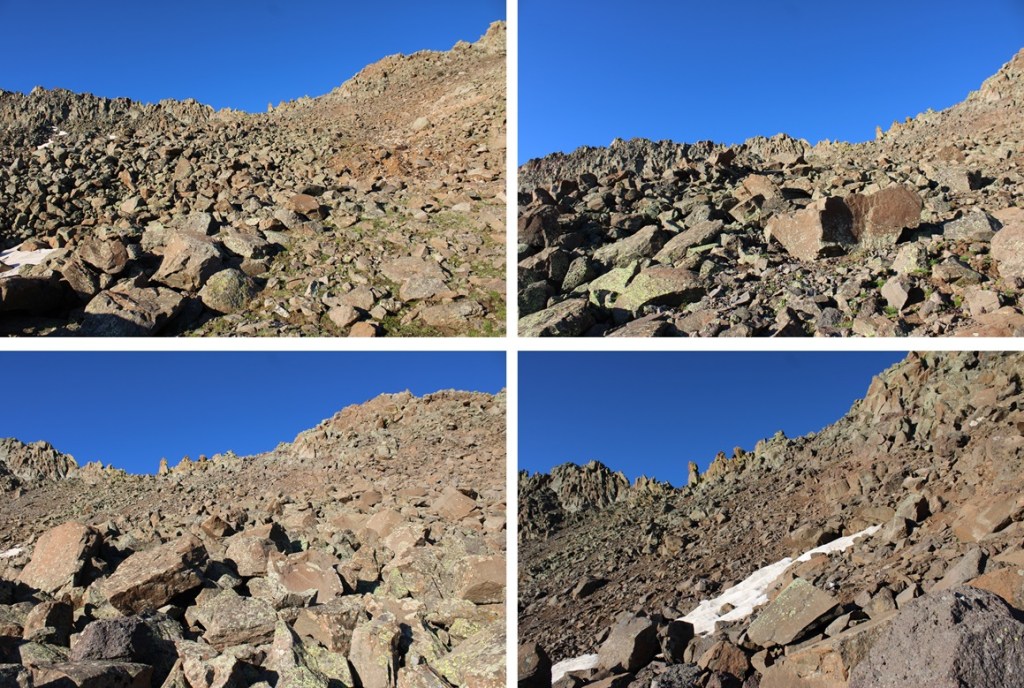
First, I made my way up the rocky basin.
Then I headed towards and up this rocky ramp
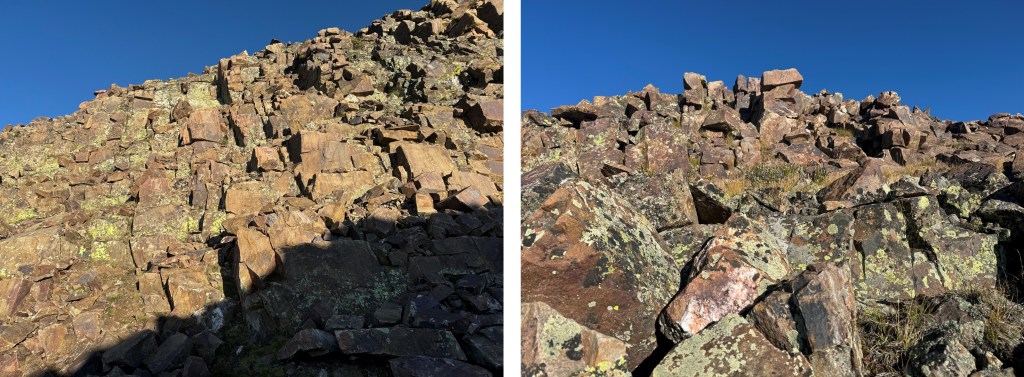
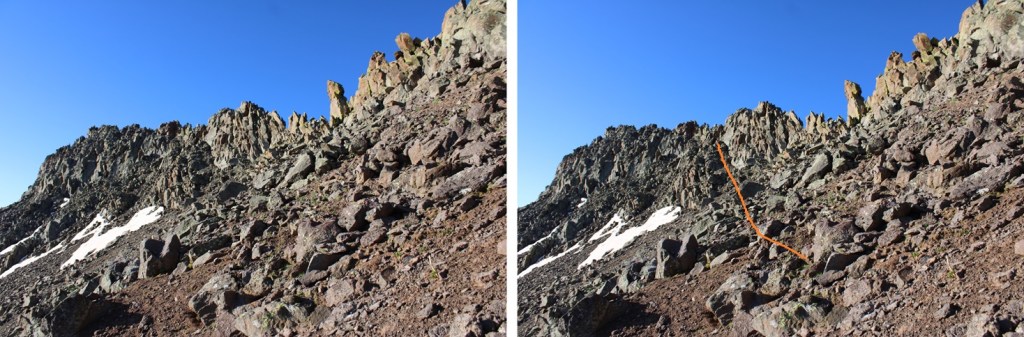
At the top of the ramp is where it really got interesting. There were a few cairns here, but as I said earlier, it looks as if the route changes. I scrambled my way up to the ridge, had about 20 feet of ridge climbing, then had to descend to find a viable route east.
Ahead of me there was a rock perched atop a spire that looked like a cairn, and I assumed this was the summit. Here is where I was aiming.
I did my best to follow game trails and cairns where I could find them, staying below the ridge, doing my best not to fall down the loose gullies, making my way east. Yes, there were times I had to crawl around rocks with serious exposure to avoid climbing the ridge. I did not feel the ridge ‘went’.
Here’s that anchor I was talking about
I kept aiming for the cairn
I made it to the cairn, scrambling up some class 4 rock to get there, sat and took a video.
I turned and looked to the west, and it seemed as if the point just a few yards away was higher, so I scrambled my way over there as well.
When I got there, I found a summit register (which I couldn’t open) so I’m guessing it’s the true summit, although both points looked to be of equal height.
I summited PT 13022 at 7:30am
PT 13022:
Now to make my way down. On my climb up I had a better view of the mountain, and found a gully I thought looked safer to descend. I downclimbed from my perch and started out by heading back the same way I’d summited, west.
Hey look! A cairn!
Just for perspective, here’s a photo of where I left my trekking pole. I scrambled around this rock to get back there. If you look closely, you can see a cairn on the rock to the left of the trekking pole. This was the crux of the route for me, both in and out.
I continued west, found a gully that looked stable-adjacent, and headed down.
Here’s looking back up at the gully I descended
And now to head back down the rocky basin and make my way back to the saddle with Window Peak.
Window Peak isn’t ranked, but I needed an easy win, so I headed north, and followed the grassy slopes, which changed to rocky slopes, to the summit of Window Peak
There was a bit of a false summit here, so I just kept following the ridge
There were also some pretty cool rock formations along the way
I summited Window Peak at 8:50am
Window Peak:
I wanted to hike to the actual window, so I continued north along the ridge, descended a grassy gully until I was at 12900’, and then traversed north to The Window.
Now to head back to my campsite. This was actually fairly easy. There was a solid trail that descended from The Window, which eventually went away. I followed the trail as far as I could, then just aimed east for the Continental Divide Trail, which I could see located by the pond in the distance.
Here’s a view of Window Peak
And my route back to the trail
Back on the Continental Divide Trail, I followed it northeast back to my campsite.
I made it back to my campsite at 9:45am. This was a 6.88 mile hike with 1471’ of elevation gain from my campsite at 12210’.
Note: there’s a long approach for these peaks, so I decided to make this a backpacking trip. I found a great basecamp for the Rio Grande Pyramid 13ers (and others). The approach is about 10 miles and 3100’ of elevation gain, coming from Thirtymile Campground. The approach can be found here. I started from Thirtymile campground at 2:30am and made it to 12210’ at 7:30am.
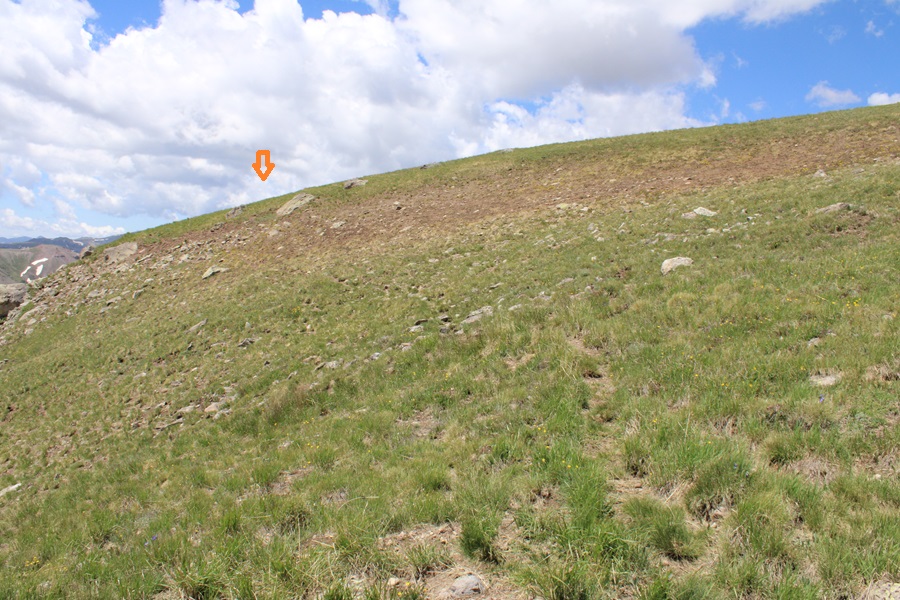
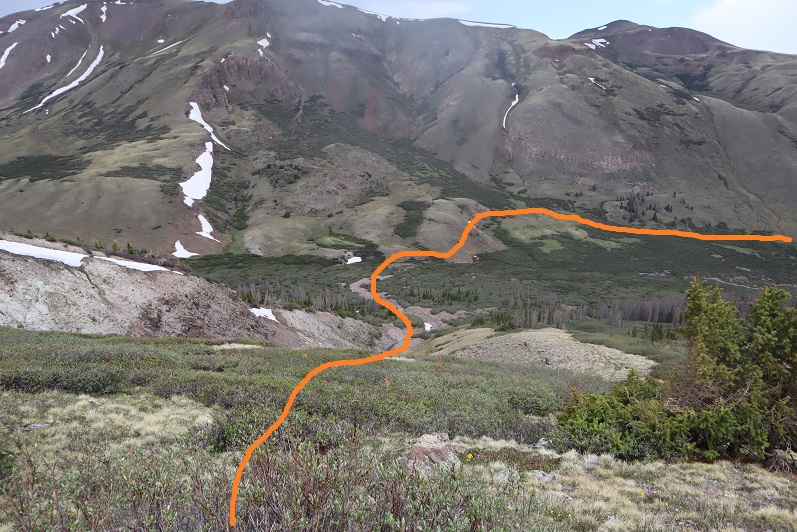
I took some time to set up my campsite, and was on the trail again at 8:30am. From my campsite near the Continental Divide Trail I headed northwest. Maps show a trail here (Skyline Opal Lake Trail), but it was difficult to find. Much of the trail was overgrown with willows and grass, so when I couldn’t find a trail, I kept heading northwest, and eventually found it again.
This is the overall route I took to gain the saddle between Rio Grande Pyramid and Fools Pyramid:
There is a point where you have the option to go east through the willows, or north on the gravel. It’s a difficult junction to see, but if you see it, go north (it’s the way you’ll want to go anyways, because it’s a more defined trail. Here are some pictures of the route to the saddle
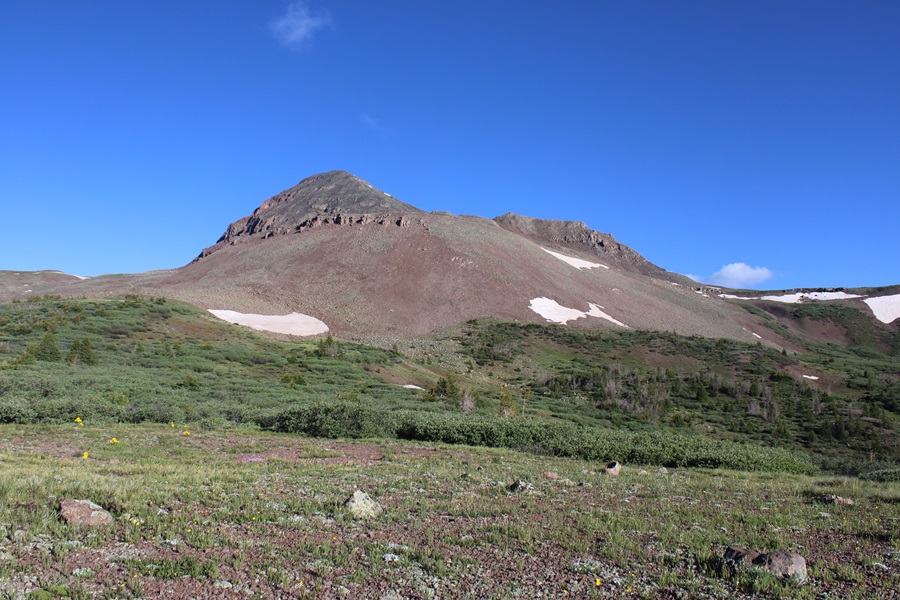
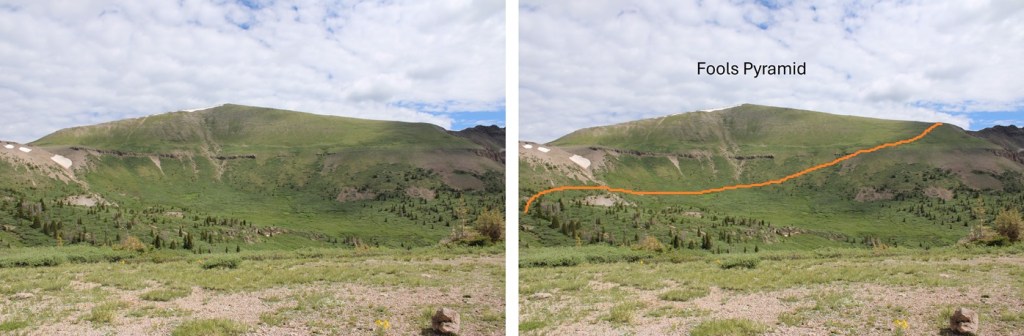
Once at the saddle, I had a clear view of Fools Pyramid
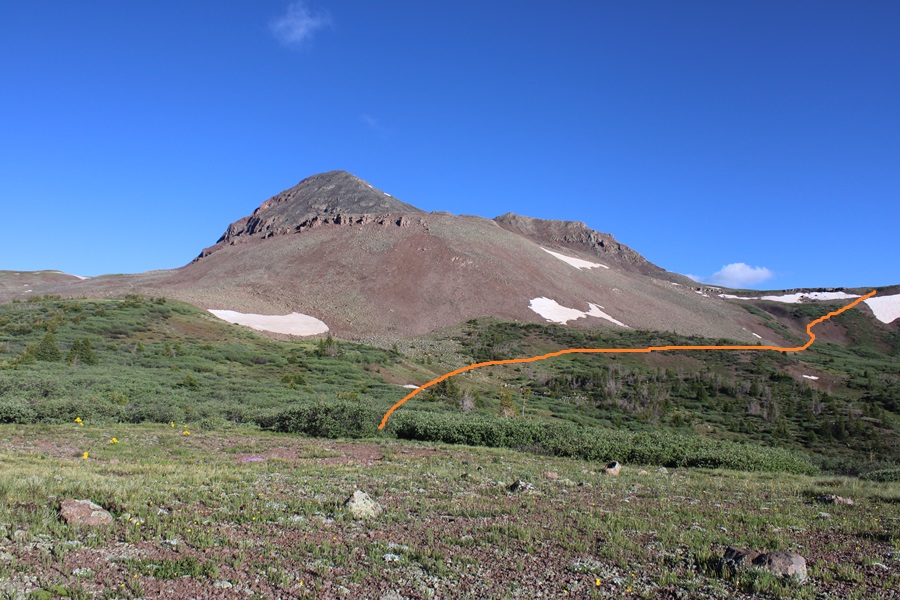
As you can imagine, it was an easy class 2 tundra walk to the top, with some rocks thrown in. Here’s the overall route I took, heading straight for the ridge and then climbing the ridge to the summit:
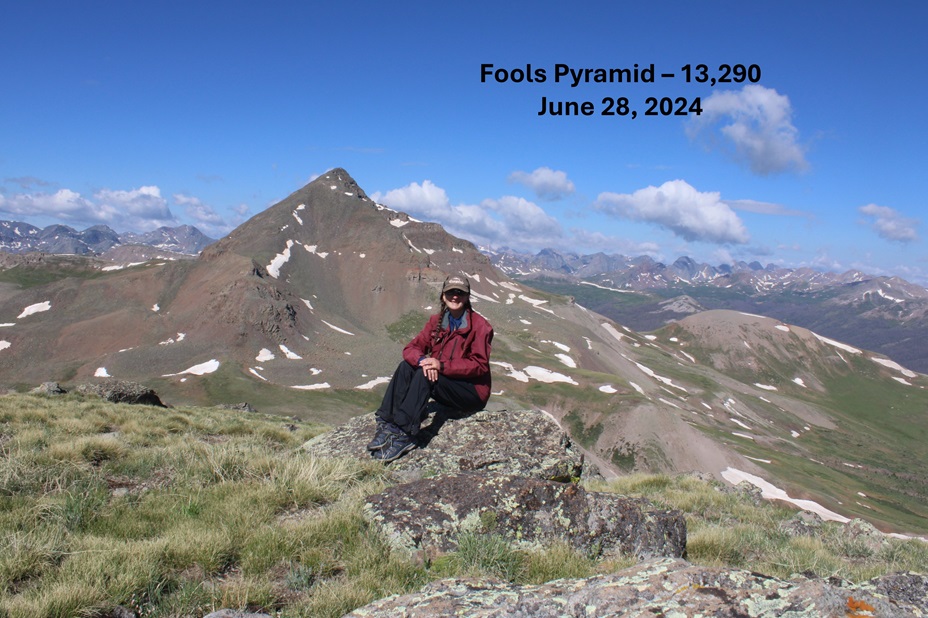
I summited Fools Pyramid at 9:30am
Fools Pyramid:
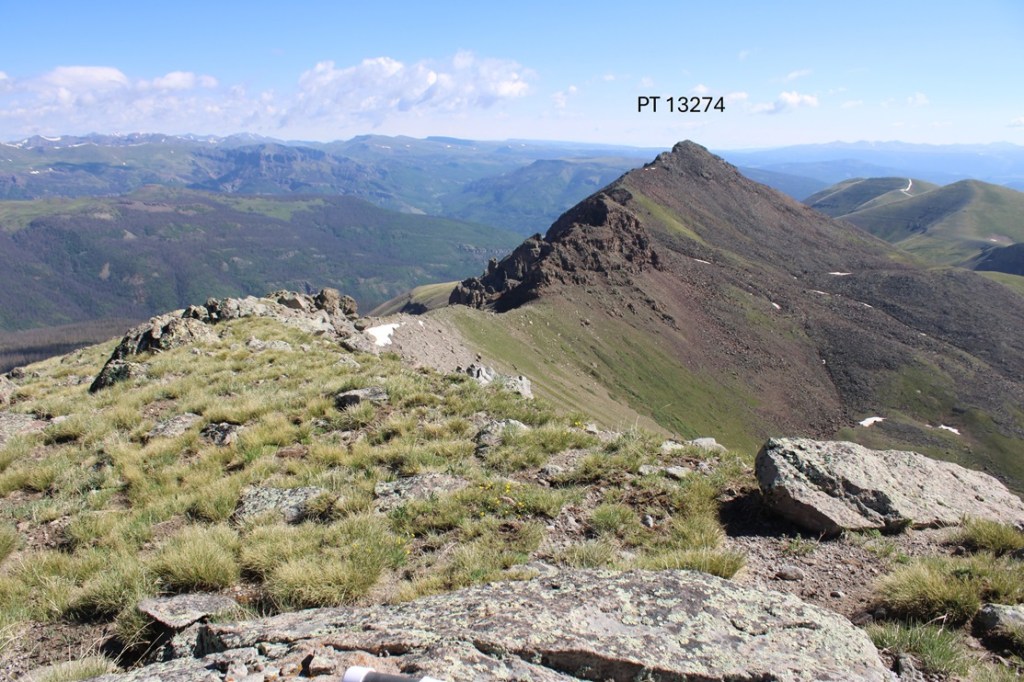
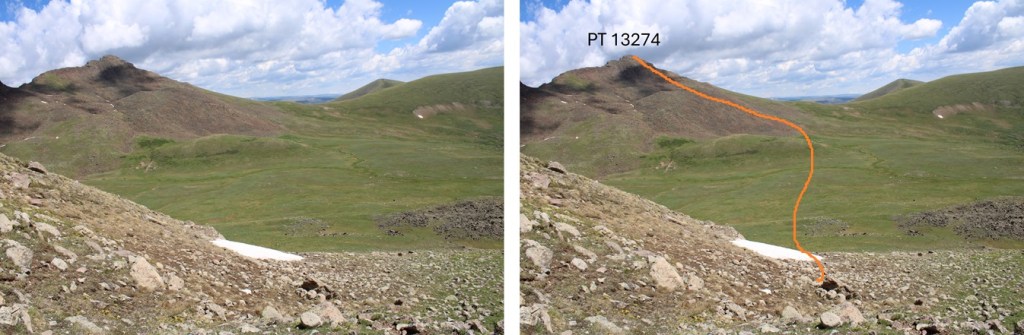
To the northeast I could see PT 13274
This looks daunting, but the route can be kept class 2 if you skirt the ridge. Here’s the overall route I took:
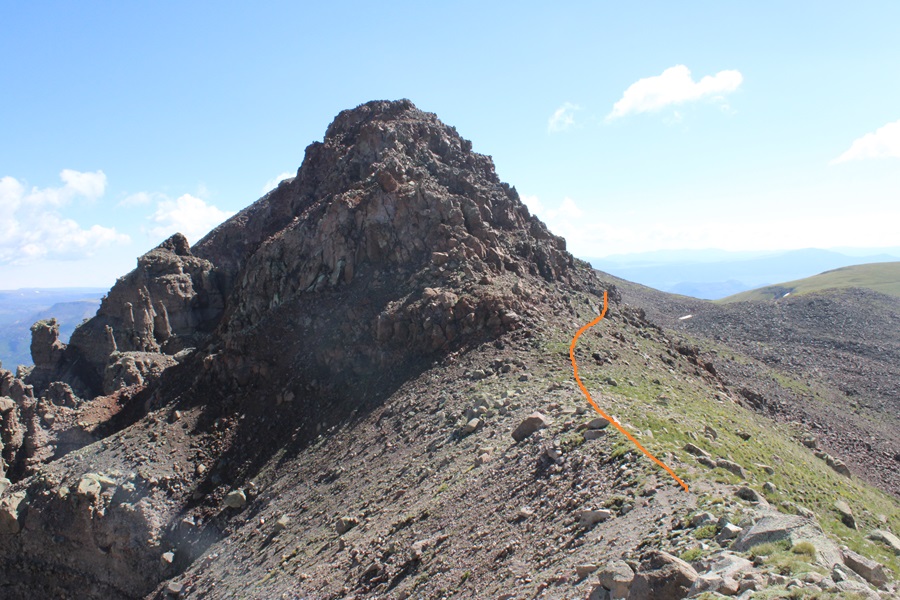
First, I headed north towards the Fools Pyramid/PT 13274 saddle
At the saddle I skirted the crumbly rock formations to the right, dropping down to about 12990’
Then I found a gully and re-gained the ridge.
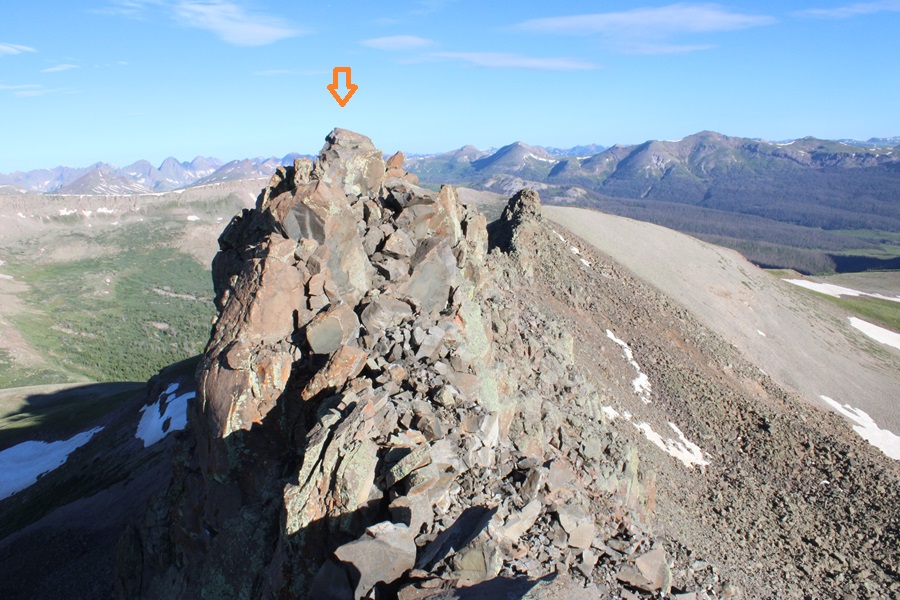
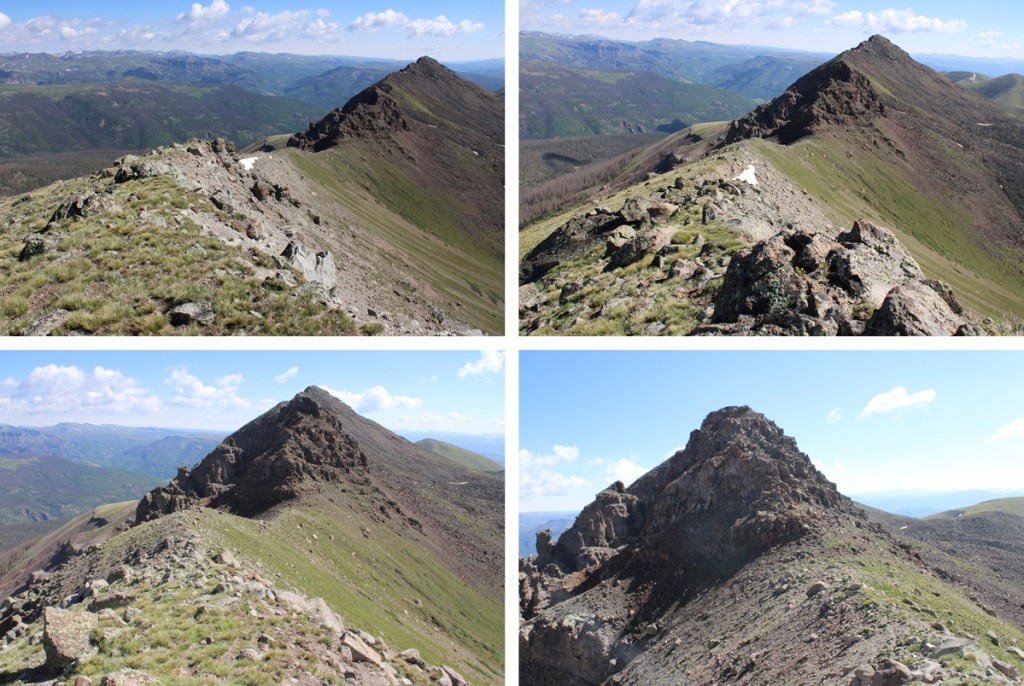
I then followed the ridge to the summit. Even though it’s rocky, this can be kept class 2. If you’re in class 3 territory, you’re trying too hard. Here are some pictures of my route to the summit. I stayed to the right of the ridge the entire time.
I summited PT 13274 at 10:30am. Funny story, I didn’t realize I’d lost one of my lenses until about 20 minutes after taking this picture. I later found and replaced the lens (which had popped out in my pocket).
PT 13274:
From the summit, here’s looking back on Fools Pyramid and Rio Grande Pyramid
I was making this a bit of a loop. From the summit of 13274, this was my overall route to the saddle to the south. This was choose your own adventure, but the route was obvious.
I found a lot of game trails here to get me down into the basin. I lost 770’ of elevation heading down into the basin, then re-gained 340’ of elevation up the saddle.
From the saddle, here’s a look back at my route down from PT 13274
The saddle was wide, so I headed a bit to the right, staying on the tundra.
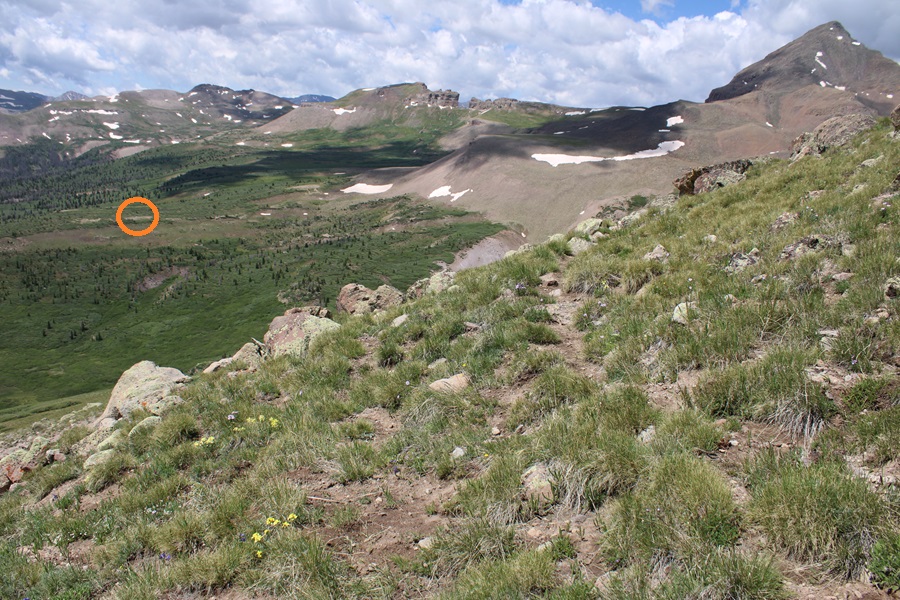
From the here, I could see my campsite to the southwest.
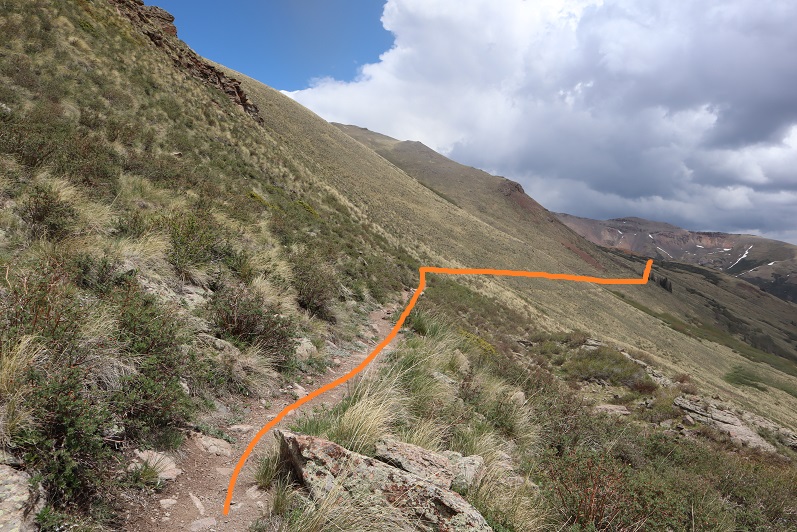
There are several ways to make it back down into the basin. I considered just staying parallel with the ridge at about 12600’ and picking back up the trail I came in on at the saddle of Rio Grande Pyramid and Fools Pyramid. There are no established trails here, but I knew the Skyline Opal Lake Trail was directly below me, so I decided to do my best to make it back down to the trail. If you look closely, you’ll see the trail below you.
I headed east and south down the slope to find the Skyline Opal Lake Trail
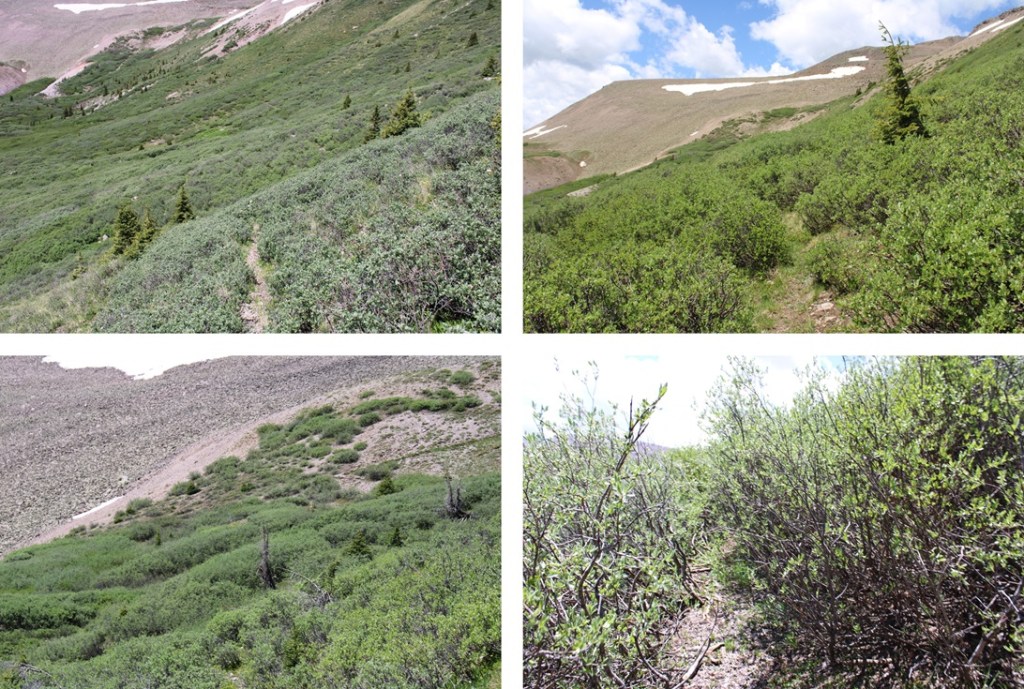
Now on an established trail, I followed it as it hugged the side of the basin, losing it every once in a while and finding it again through the willows.
This brought me back to the trail I came in on, near the rocky area
I followed the trail south as best I could back to my campsite at 12210’
From my campsite, here’s a view of my descent from the saddle back to the Skyline Opal Lake Trail.
I made it back to basecamp at 12pm, making this a 5.12 mile hike with 1858’ of elevation gain from 12210’
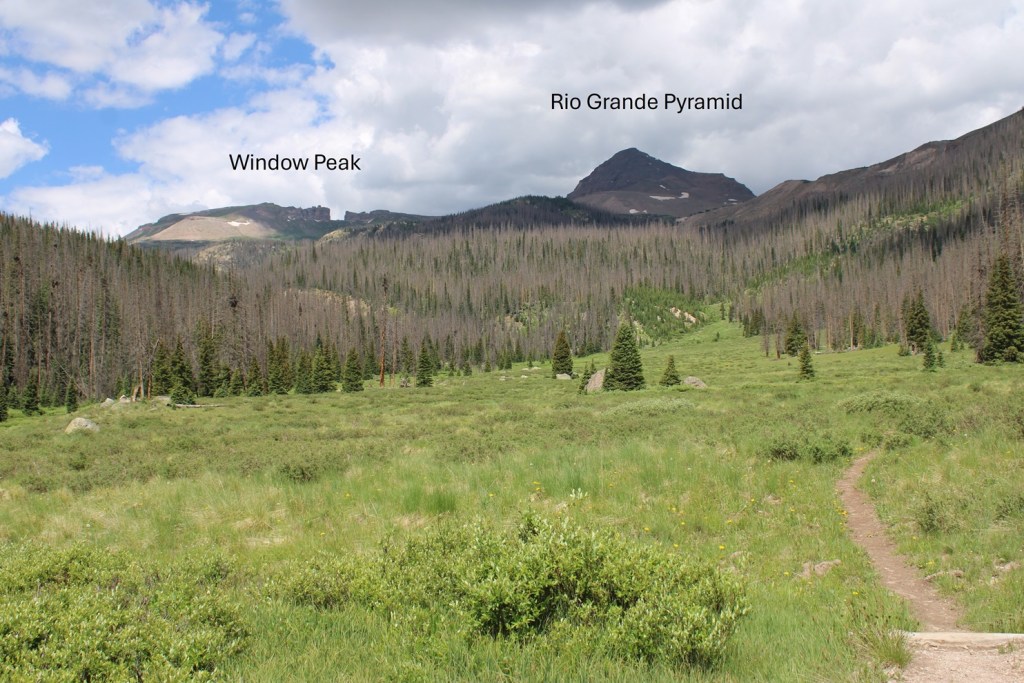
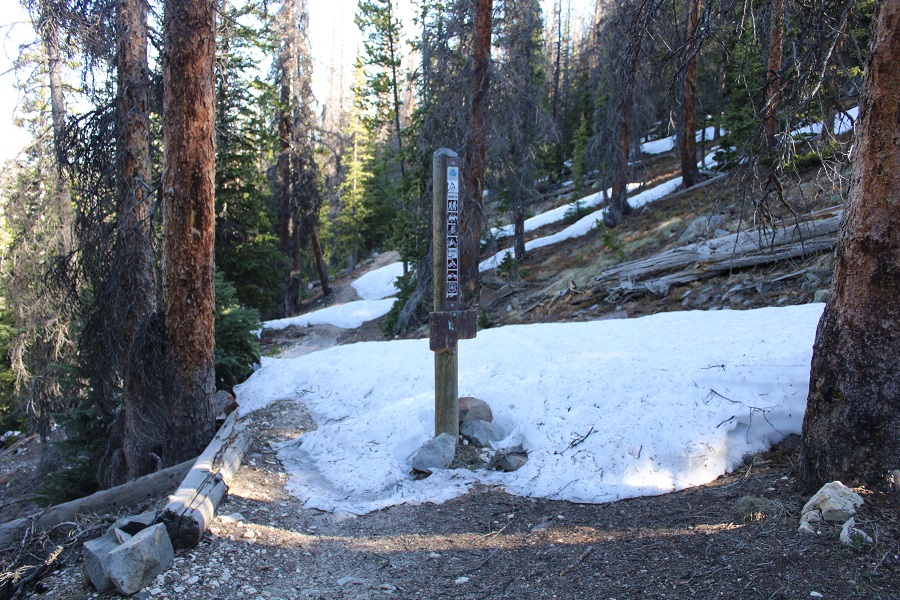
This report will get you to many of the 13ers and 12ers in the Rio Grande Pyramid Group, starting from the trailhead in Thirtymile Campground. It’s a 10 mile trek with 3150’ of elevation gain just to this basecamp, not including adding on mileage and elevation gain for the peaks, so while these peaks are certainly doable in a day if you’re fit and experienced, I decided the last time I was here to take my time and make it a several day trip on my next adventure. As an added bonus of spending the night at this basecamp, the views of Rio Grande Pyramid, Fools Pyramid, PT 13022, and Window Peak/Window Rock are breathtaking.
There are several ways to get to this basecamp at 12210’, and I’ve taken many of them, but the one I’m detailing here is by far the most direct and easiest to follow. The other trails require good route finding and navigating through endless willows, making the trail more difficult to find/follow, especially in the dark.
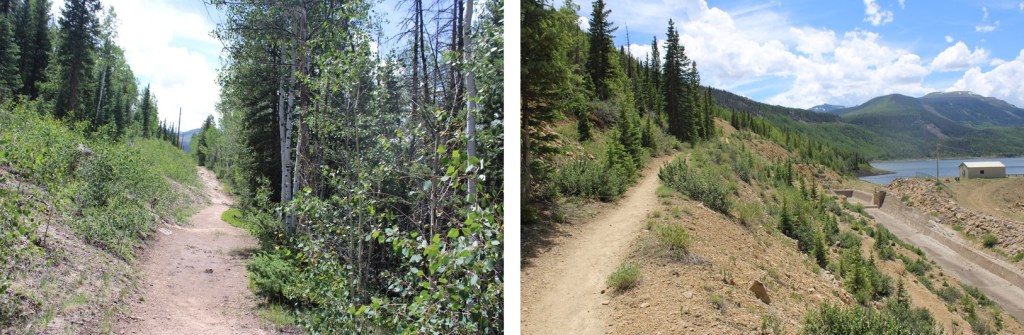
I started by parking at the hikers parking lot at Thirtymile Campground. There are plenty of spaces here, and bathrooms nearby.
The trail starts to the south of the parking area, and is clearly marked
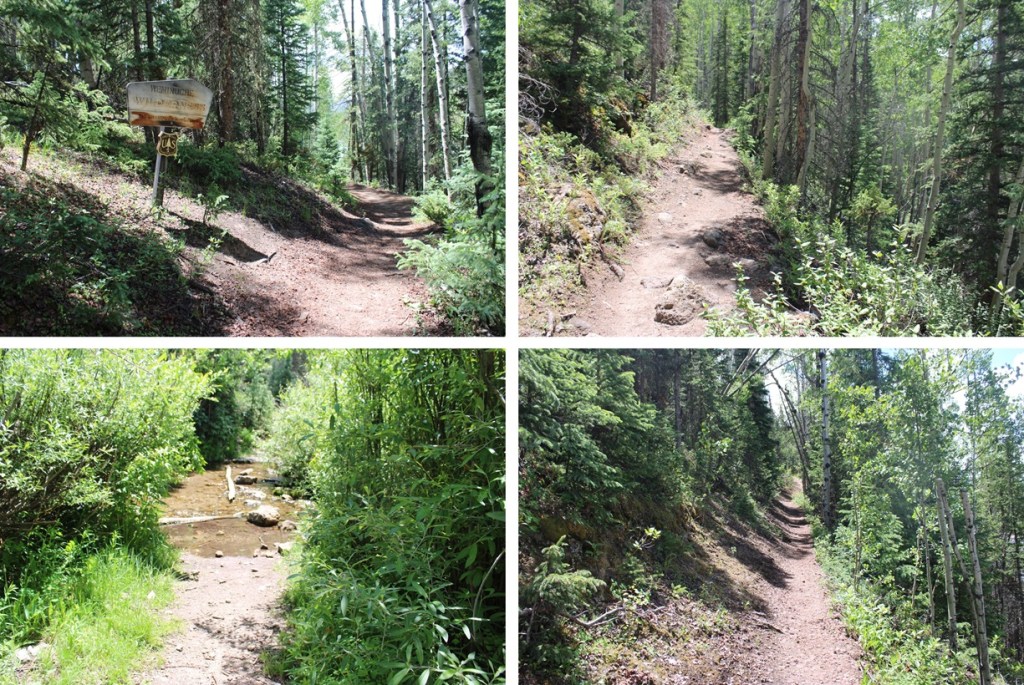
After hiking for a short distance you’ll come to a trail register. Here you have two options: Squaw Creek Trail to the left, or Weminuche Creek Trail to the right. Take the trail to the right.
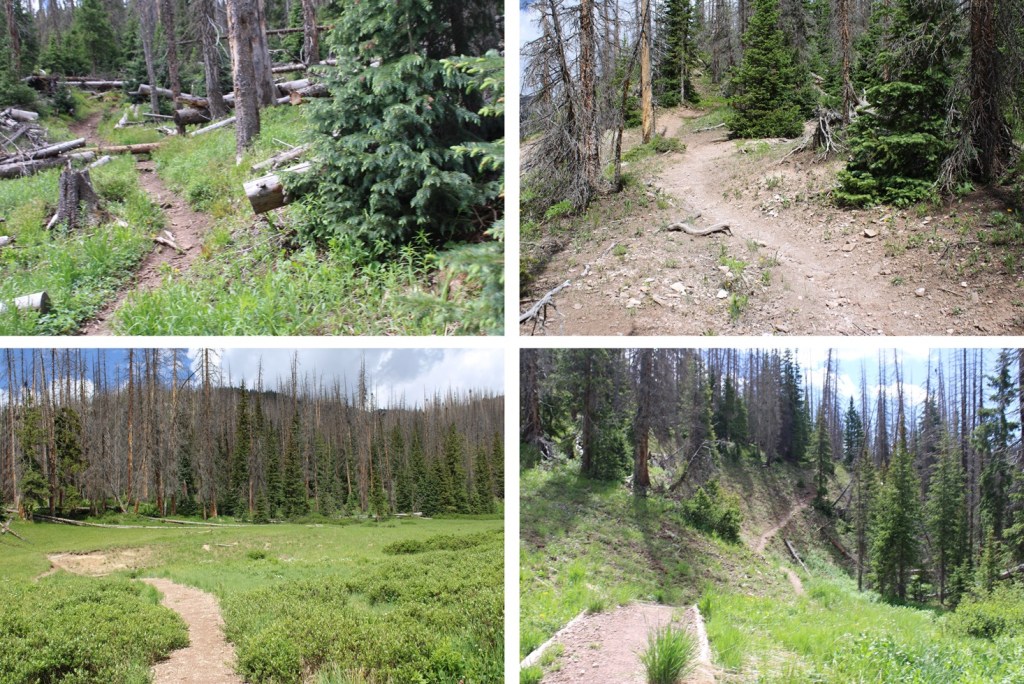
I followed Weminuche Creek Trail (818) for a total of 7.25 miles. This trail starts off by skirting the south side of Rio Grande Reservoir
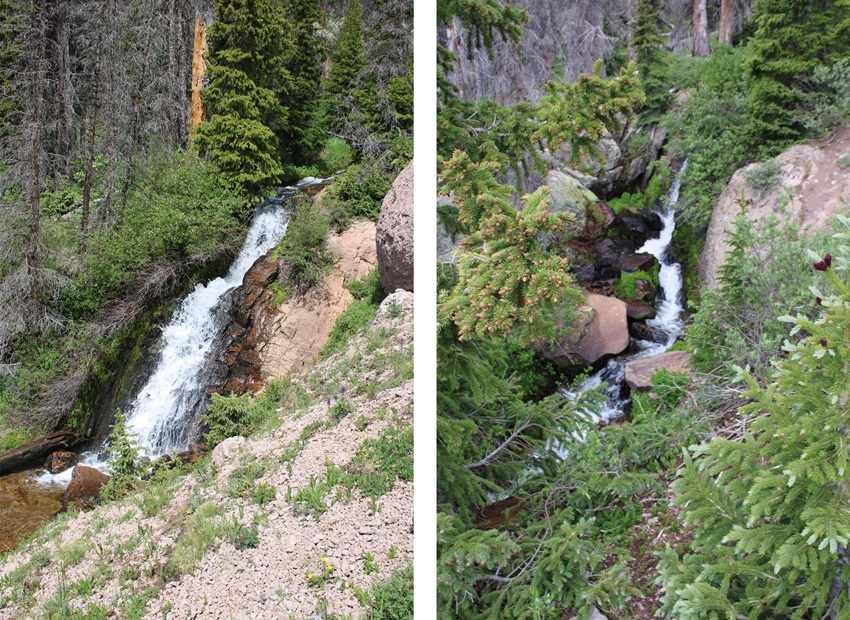
Then the trail goes through a rocky section before crossing a waterfall. The waterfall is about 2 miles into the trek.
After the waterfall, there was a quick uphill section that would bring me to a large gulch, sprinkled with sections of hiking in the trees and small creek crossings. I followed the trail southwest for another 5 miles.
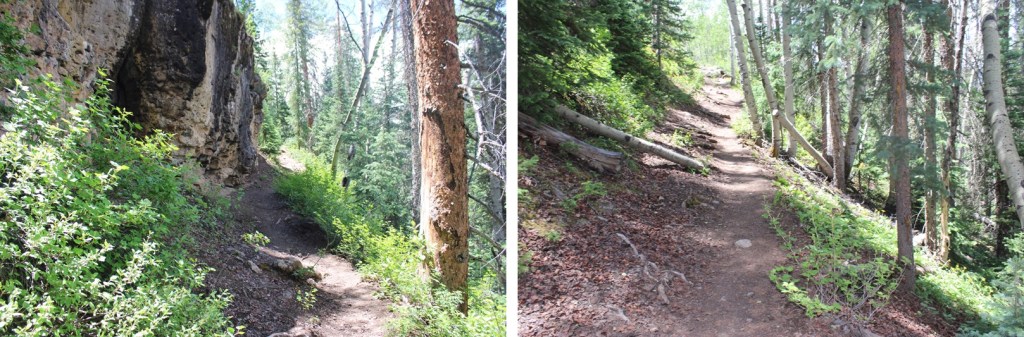
Just after this post (which indicates the cutoff for the Opal Lake Trail, which I wouldn’t recommend taking, as it will lead you through bushwhacking adventures to the murderous willow section), there are some nice camping spots to the left, should you want to camp here. There’s a fire ring, and the ability to filter water.
I continued on the Weminuche Trail, always staying to the right of Weminuche Creek.
After hiking for a total of around 7 miles, I came to the cutoff for the Continental Divide Trail. Here I went right, onto the Continental Divide Trail.
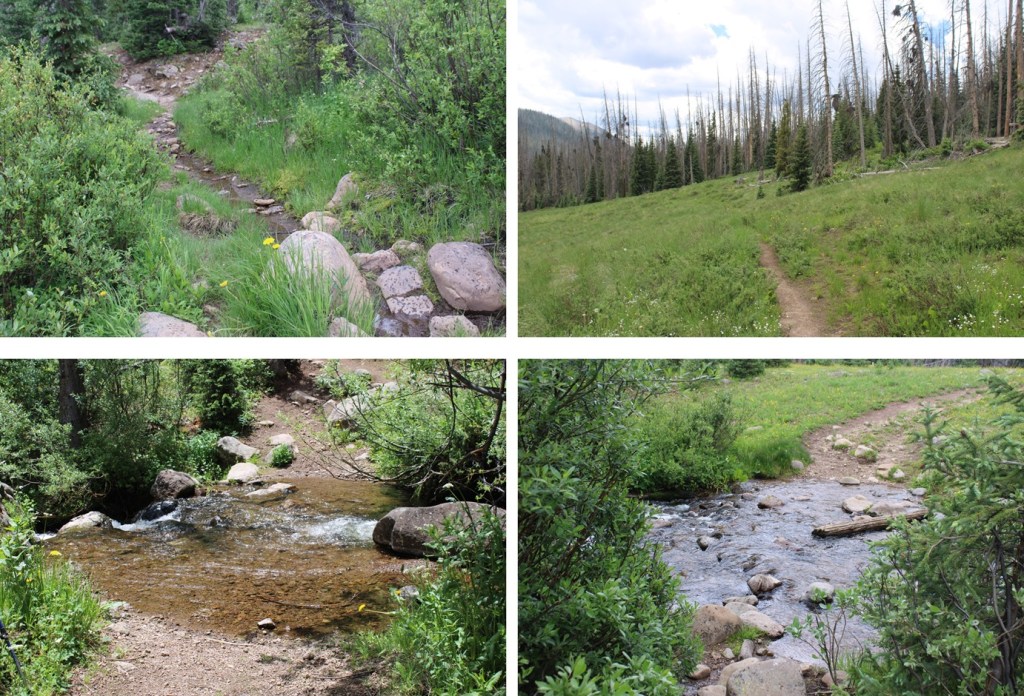
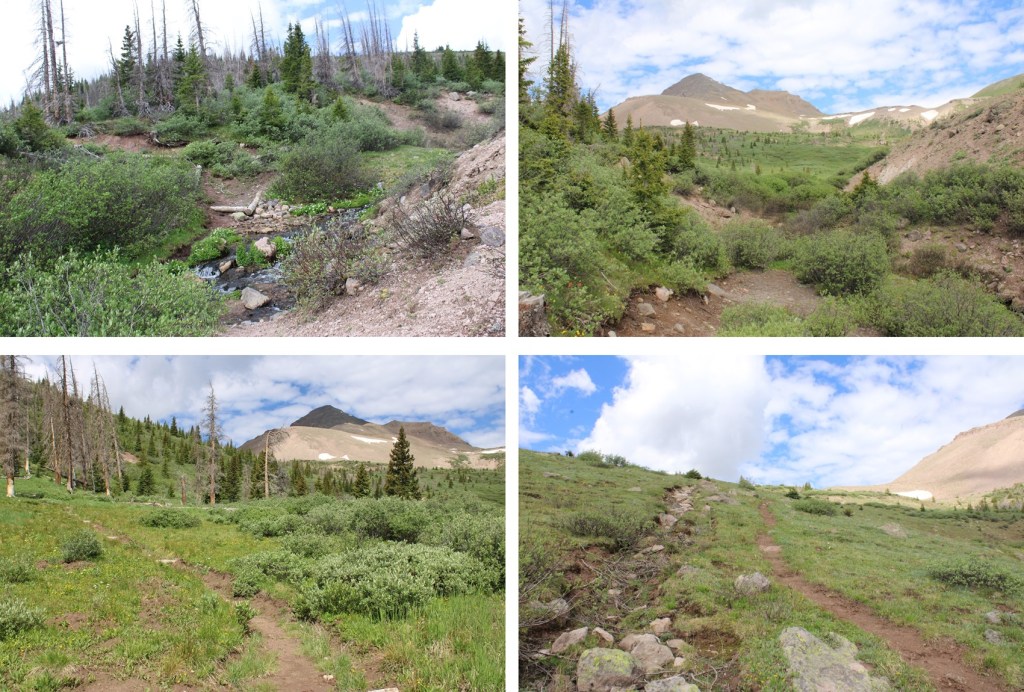
This is where the fun (elevation) begins. For the next 3 or so miles it was uphill all the way, across meadows, around ponds, through trees, beside waterfalls, and through rocky areas. From the very beginning you can see Rio Grande Pyramid to the northwest. Just keep heading that way.
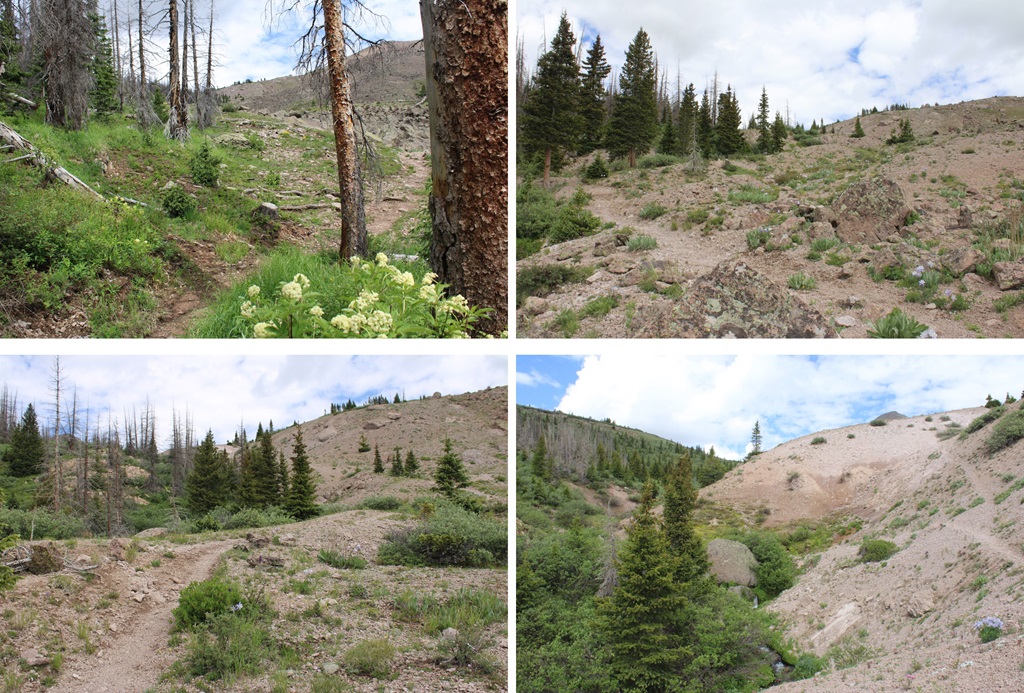
Here are some pictures of my way towards treeline
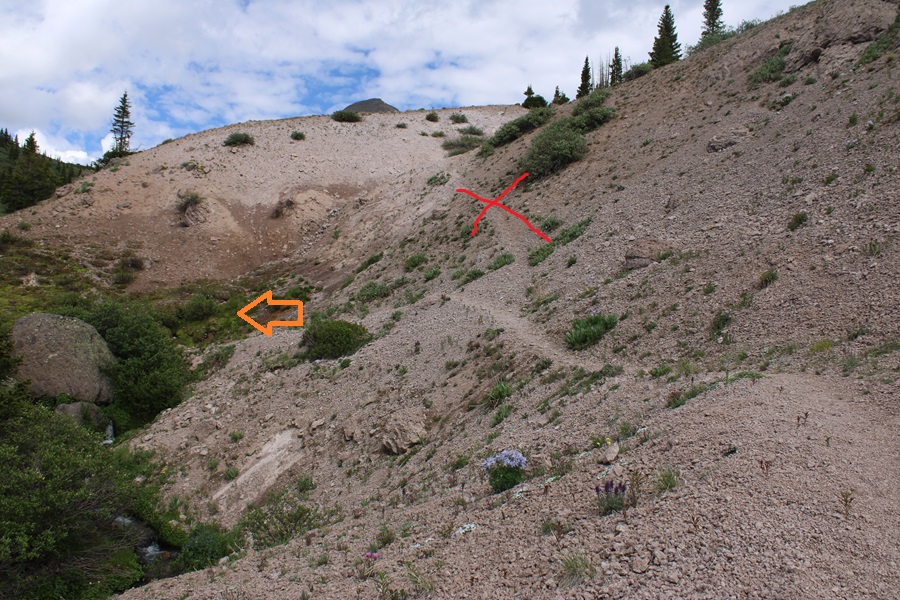
Just before treeline I came to a sandy area. I’d been here before. Make sure you take the trail to the left, across a small creek, and DO NOT take the sandy trail that goes straight. This will lead you into the willows.
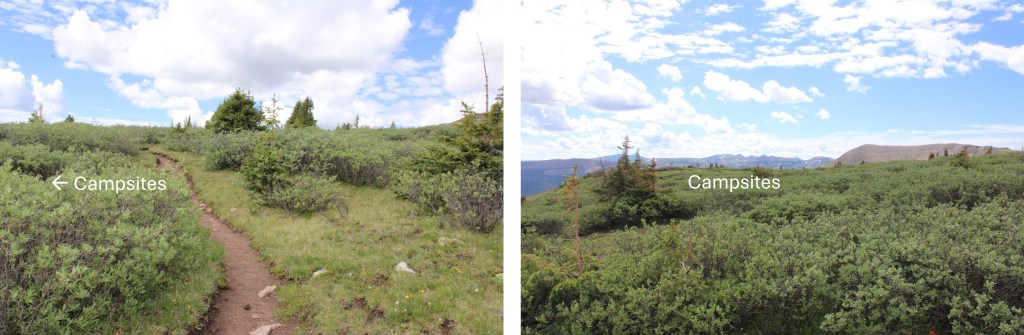
I crossed the small creek, and followed the trail for about another half mile, to about 12210’ of elevation.
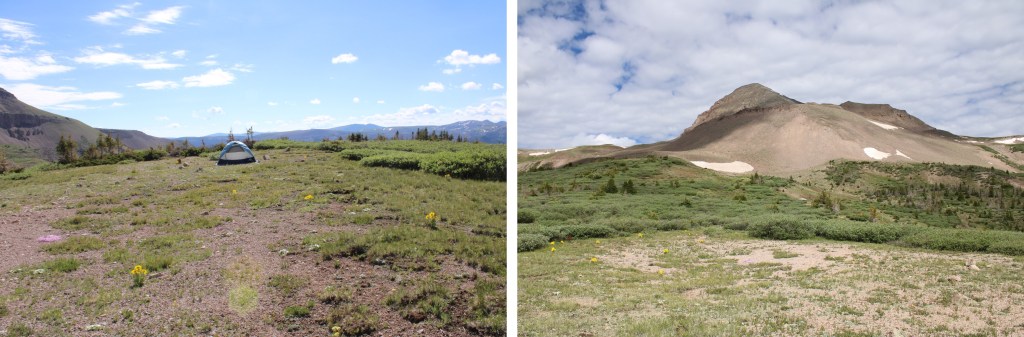
Here there was a willowy area to the left, and a few yards away, plenty of camping space. The camping area are hard to see from all those willows, but trust me, they’re there.
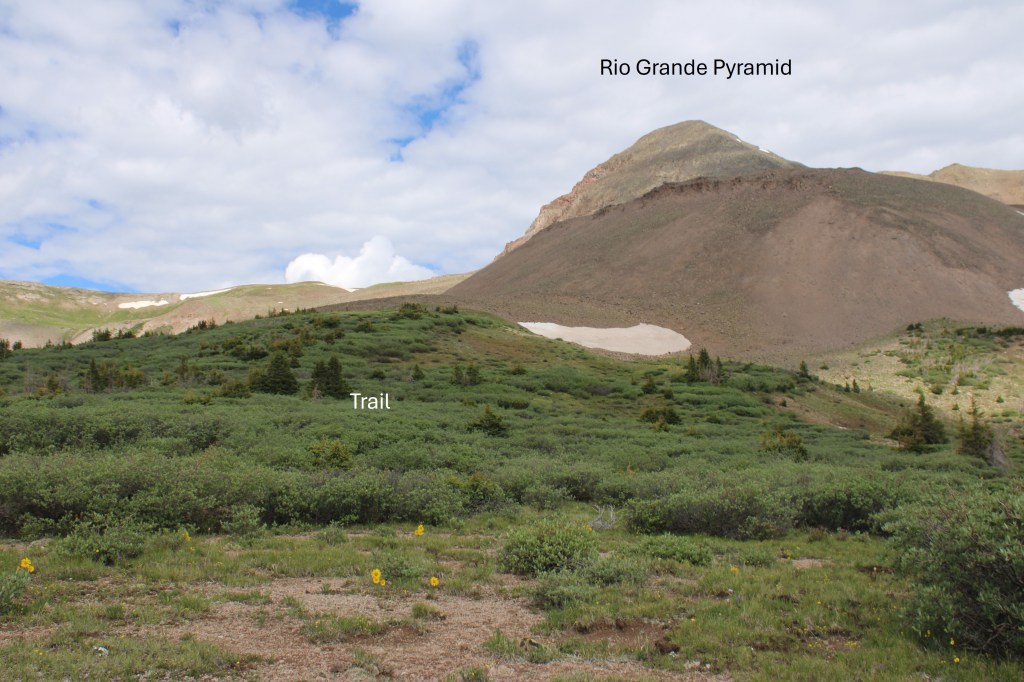
From my campsite, here’s my view of Rio Grande Pyramid. The trail is in those willows.
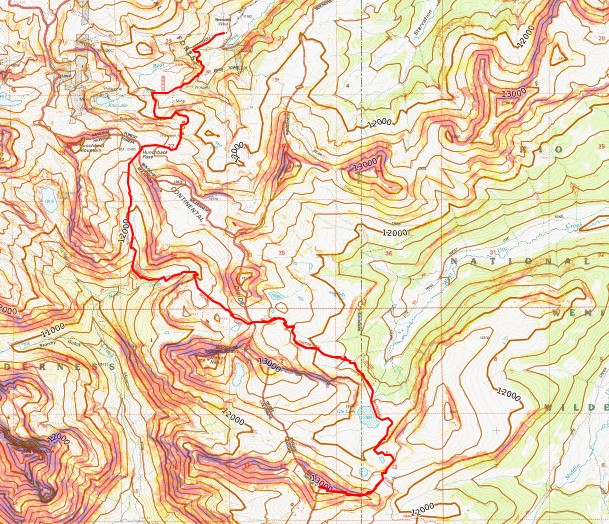
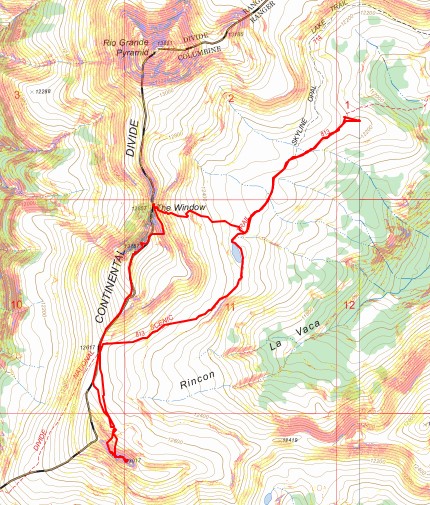
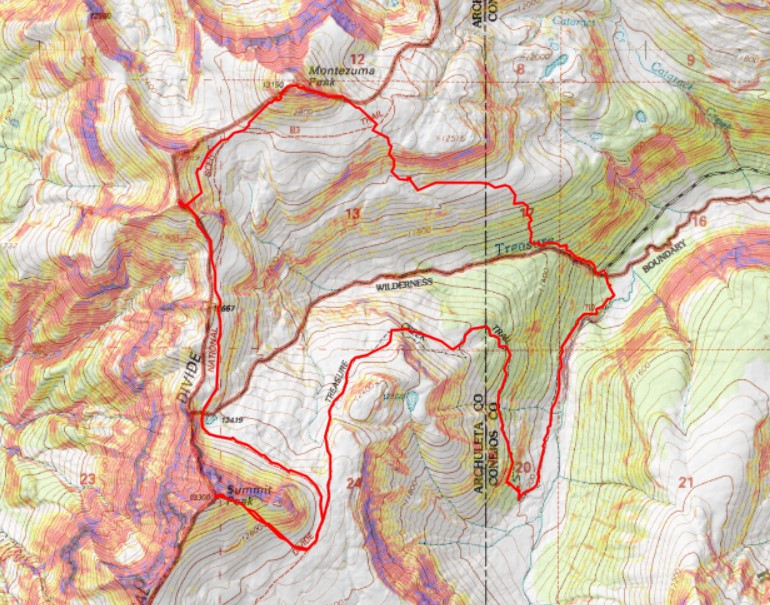
From here you’re at a great base area to climb 13022, Window Peak, Rio Grande Pyramid, Fools Pyramid, 13274, and various other peaks in the area. Here’s a topo map of the route thus far:
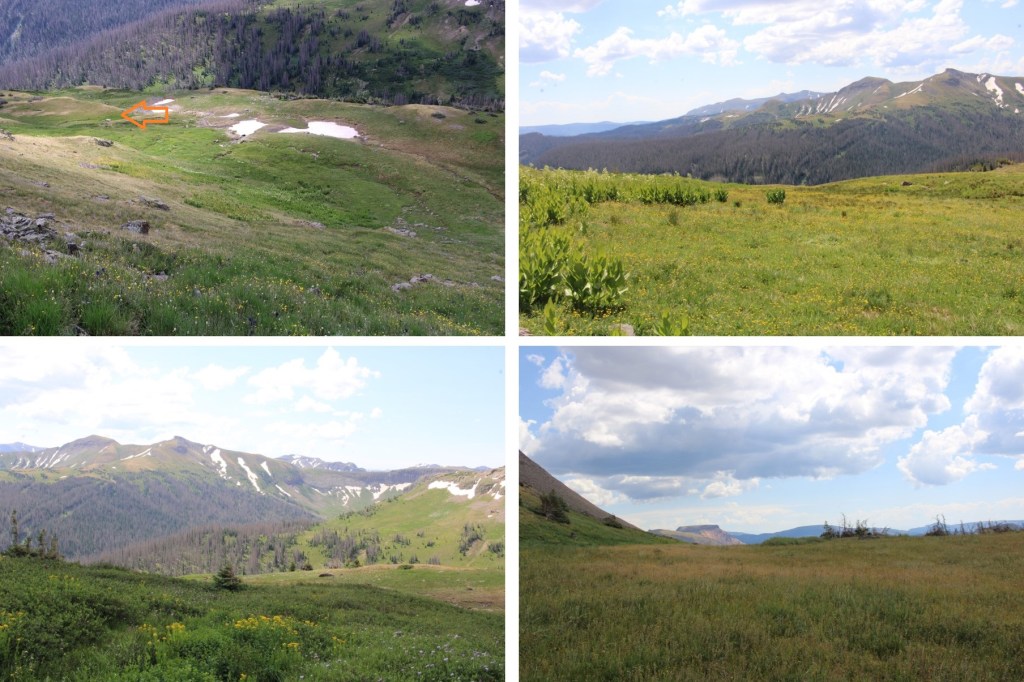
I parked the night before at the Summit Peak Trailhead and had the whole place to myself until I left the next day.
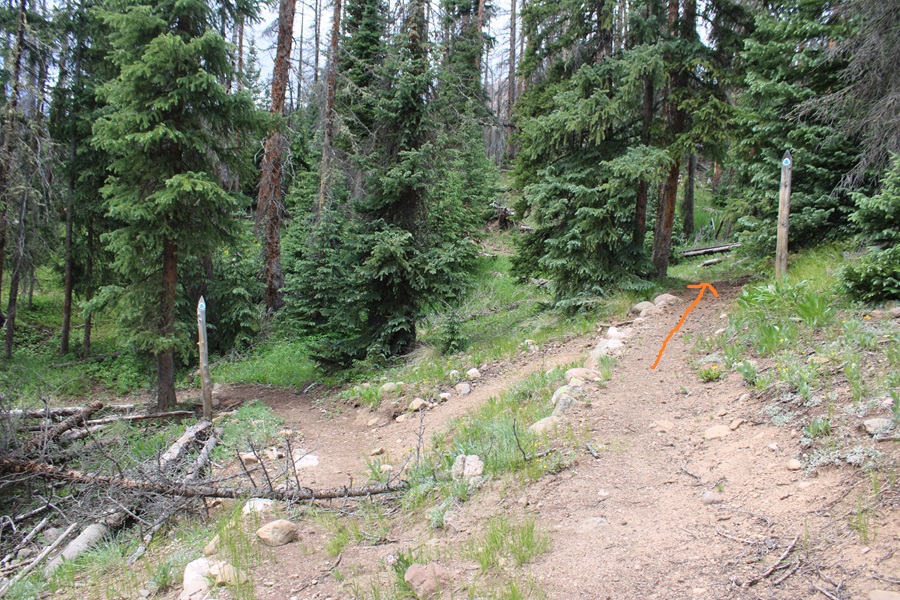
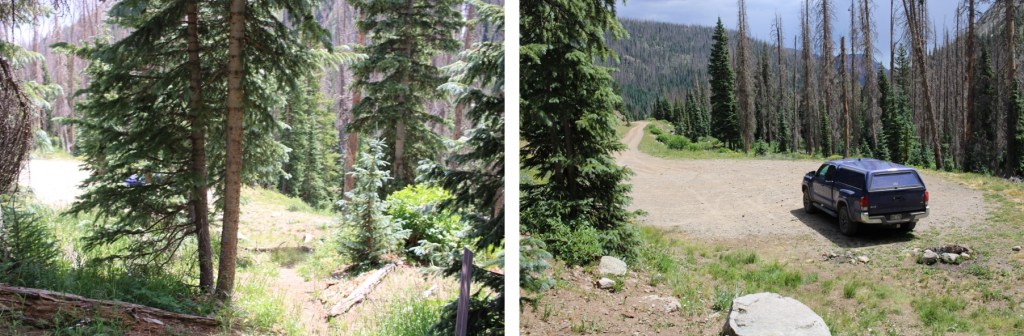
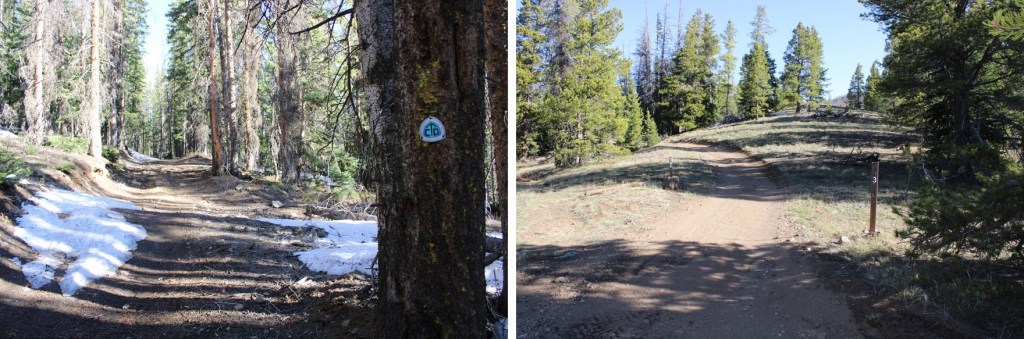
The 2WD dirt road in is in good condition, with plenty of areas to pass other vehicles. I got plenty of sleep, and was on the trail at 5am the next morning. I figured this trail would be easier to take clockwise, as in the dark it would start on an actual trail. This was good thinking, but the ‘trail’ was more of a game trail that I lost and found repeatedly. After the hike was over, I concluded this would still be the better way to go, and you’ll see why later. The trail starts at the south end of the parking area, immediately crossing a bridge over Treasure Creek and following Treasure Creek Trail 710.
The trail quickly went through a flower filled meadow, and then headed south, through an open gate and open meadow. Here the trail was easy to follow, even in the dark.
After hiking for 1.3 miles, I came to a cairn, turned right, and headed north up what was supposed to be Treasure Creek Trail. It was a faint trail for a bit, but it was easy to lose.
As I was hiking on this trail, I came across a rather fluffy ptarmigan. In fact, I almost stepped on her, and would have if I’d already put my flashlight away. I stopped for a second, and told her she could stay put and cover her babies if I could go around her. As soon as I said this she exploded. She jumped up into the air, and no less than 12 ptarmigan chicks cascaded out in all directions. A feather bomb had gone off, and I felt bad for her. A few seconds later I could hear her calling to the chicks, and watched them all make their way back to her. Sorry mama, but nesting in the middle of a trail, even a small trail, is a bad idea.
I continued through a faint trail that at times was a great trail, littered with flowers and pine trees
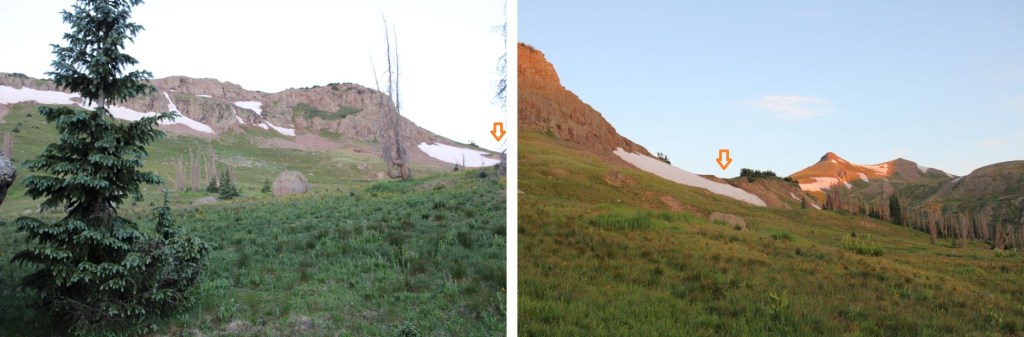
At 11600’ I turned left again, and headed west to treeline, still following a ‘trail’. I was headed to the right. (Both arrows point to the same place)
This was easy to ascend, and the snow avoidable
After ascending, a fairly decent trail led me south, towards the Continental Divide Trail, which skirted the south side of Summit Peak
From here it was a steep tundra hike to the summit. This is choose your own adventure, without many obstacles. This is the route I took.
There was as summit marker at the top
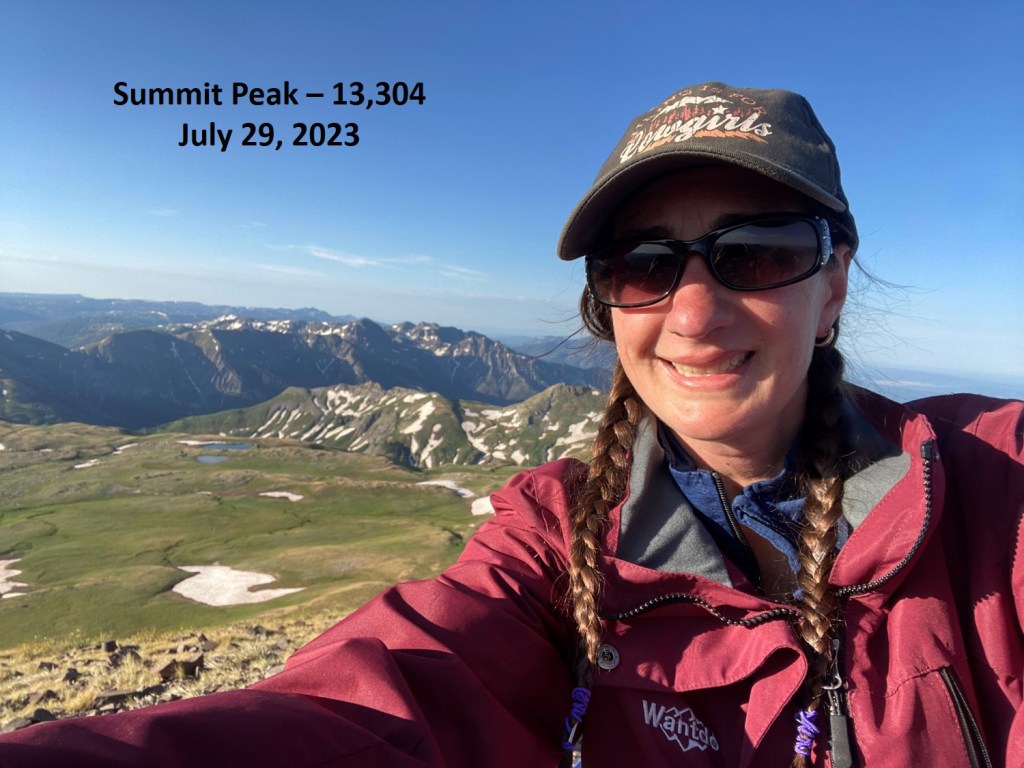
I summited Summit Peak at 7:30am
Summit Peak:
From the Summit I could see The Unicorn and Montezuma to the north
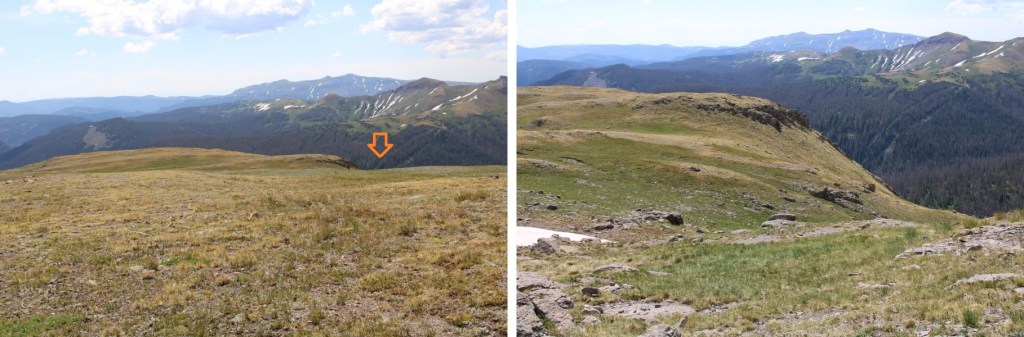
It was a beautiful day on the summit, and there was cell reception, so I spent some time there before turning around and heading back to the Continental Divide Trail. The route back down was straightforward
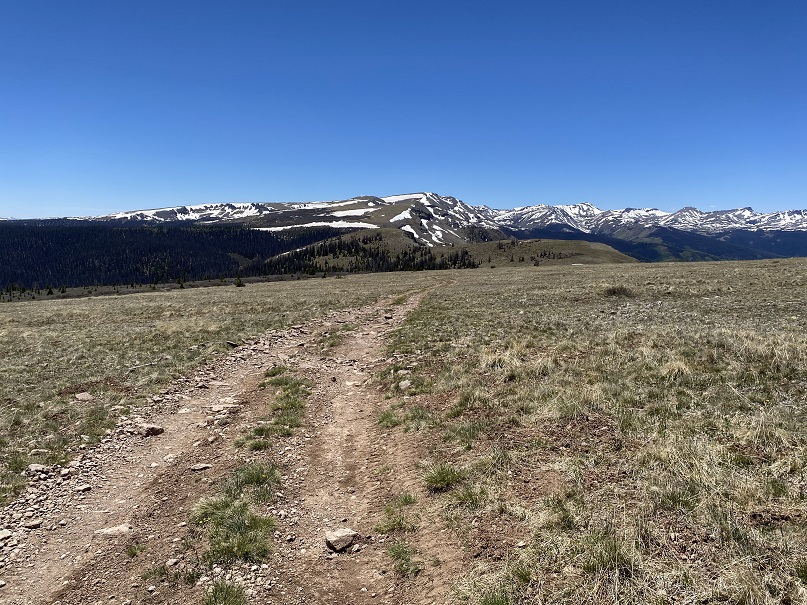
Back on the Continental Divide Trail, I followed it around the north side of Summit Peak. There were trail markers to show the way, which was a good thing because the trail was faint
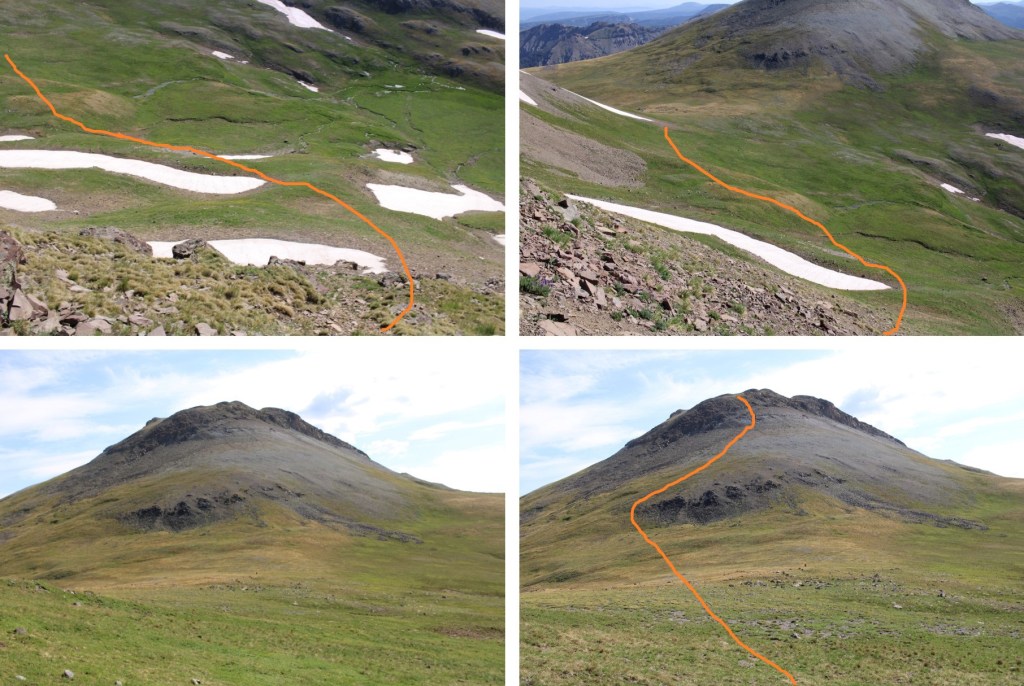
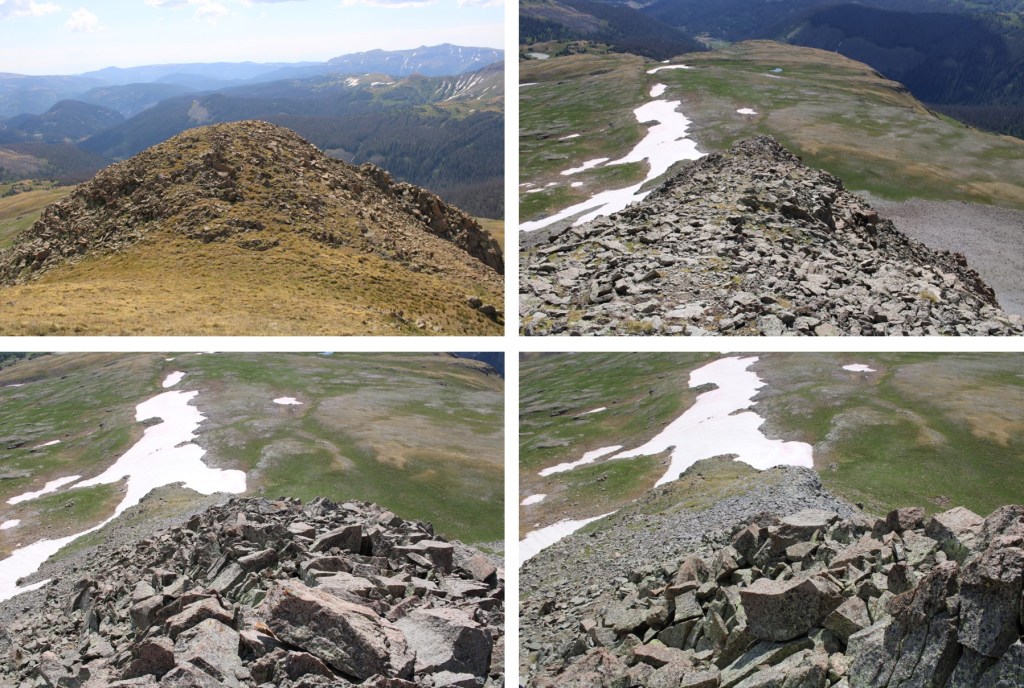
Here’s an overall look at the route to The Unicorn. There was snow on the trail in places, and it was curious there wasn’t a trenched trail over the snow, considering this is the Continental Divide Trail, and I’m sure tons of others must have been through this area already this year.
And some step-by-step pictures.
As I was doing this traverse, I could hear, but not see a herd of elk. I wasn’t sure where they were in the basin, but they sure were being loud, so I figured there were a couple dozen of them. Here I left the trail, and it became a class 2 hike, with just a short section (no more than 10 feet) of easy class 3 climbing up a sort of chimney.
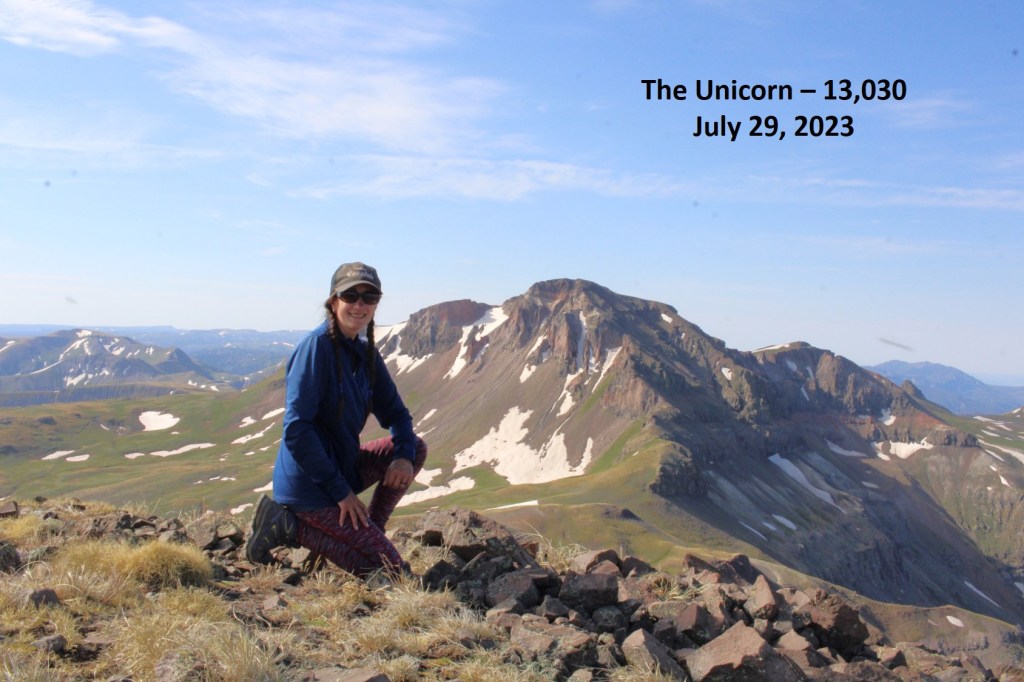
I summited The Unicorn at 9am
The Unicorn:
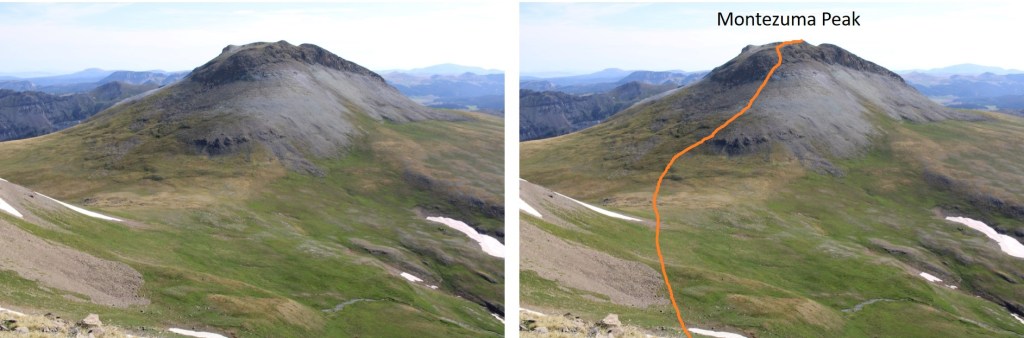
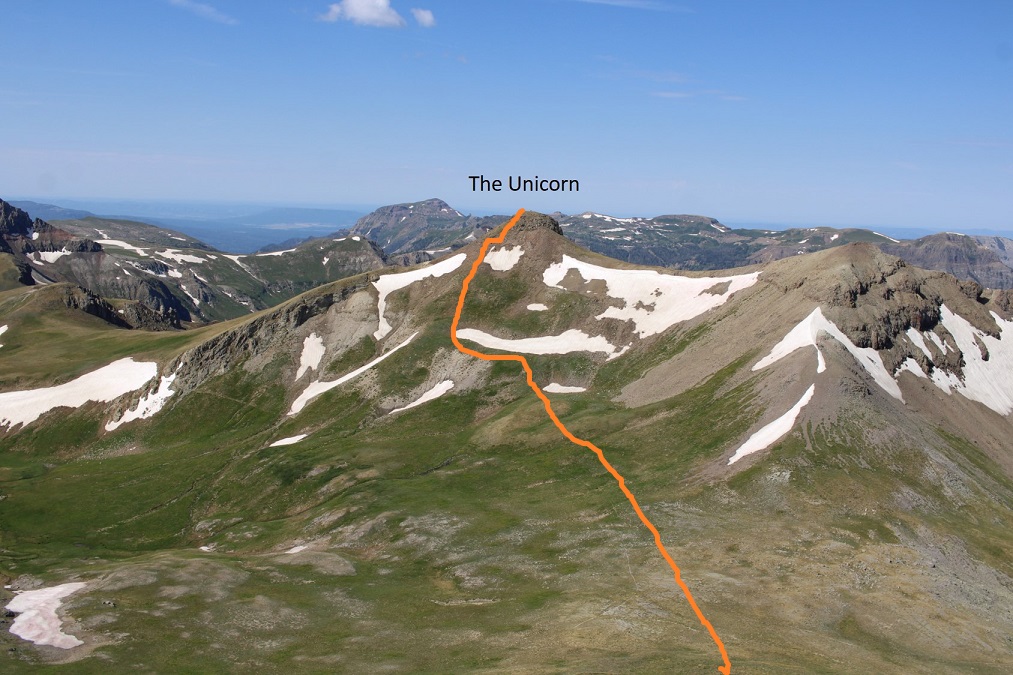
To the northeast I could see Montezuma Peak. This was my overall route to get there. It was all class 2, except for a brief period of class 2+ scree as I ascended the ridge.
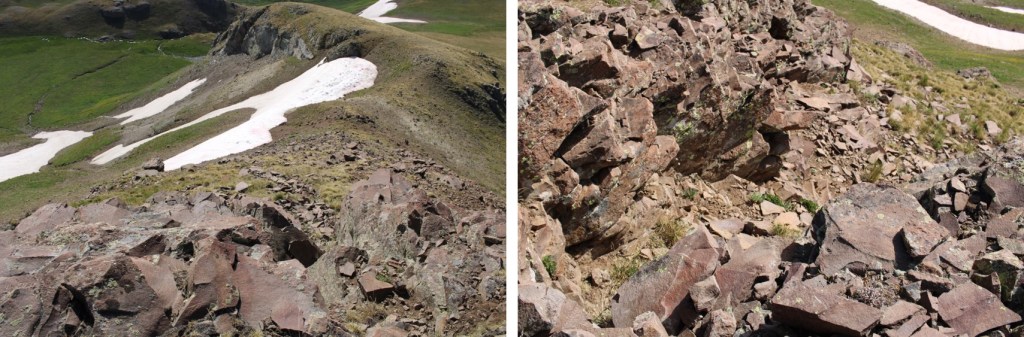
This is also a good view of how I descended from Montezuma and made it back to the trailhead
I descended the short chimney
And then I headed northeast, towards Montezuma, being careful to avoid the snow fields in the way
And now to climb the west face of Montezuma. It was steep, but mostly class 2 until just before gaining the ridge, where it was 2+, and choose your own adventure on the scree/talus.
After gaining the ridge I turned right, and headed east towards the summit of Montezuma
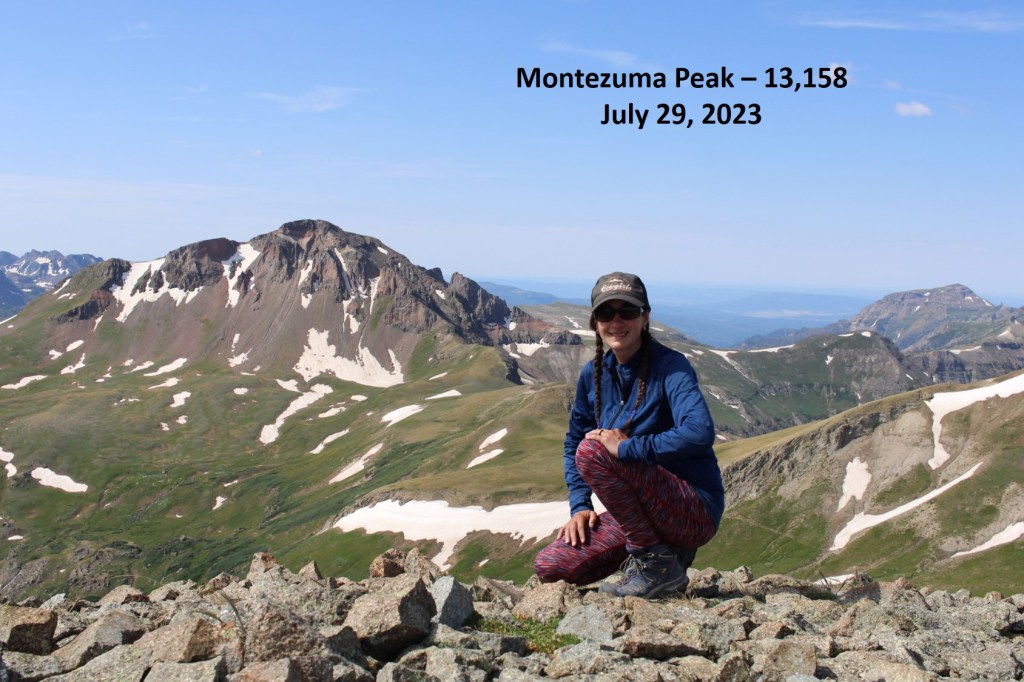
I summited Montezuma Peak at 10am
Montezuma Peak:
Here’s looking back at the route from The Unicorn to Montezuma
There were a ton of bees at the summit, so I didn’t stay long. I turned and headed east, down the ridge. This is a class 2 ridge (seriously). I just stuck to the ridge proper and had no trouble descending. Here’s my overall route down the ridge
Then I headed southeast
I planned on descending this grassy gully
As I was descending, I finally saw the herd of elk I’d heard earlier in the day. I sat on a rock for 10 minutes, just enjoying watching them. Some were resting in a circle, others were grazing, and two mamas were watching their babies enjoying a patch of snow. I hated to disturb them, but I had to get going. As soon as the wind shifted, they could smell me, and they were off. There were tons of signs they’d bedded down for at least a few nights there in the past few days.
Elk:
Once they were off I continued descending. When I made it to the bottom of the gully I turned left, and headed east along the plateau
At the end of the plateau, when I came to the trees, I turned right and descended south towards the creek. This was a lot of bushwhacking through downed trees and flowers and grasses that were as tall as I am, but I just aimed for the creek.
When I reached the creek, I stayed about 30 feet from it’s banks, and followed it (and game trails) southeast back to the trailhead. It’s important to stay above the creek because there are waterfalls to avoid.
I made it back to my truck at 11:30am, making this a 10.18 mile hike with 3534’ of elevation gain in 6.5 hours.
I know the traditional way to do this peak is from Carson Pass, but the last time I drove that road I told myself it would be the last time. I had marmot issues parking at the pass, and lost my 4WD on the way down. It wasn’t ideal. Earlier this summer I had attempted to make it to Carson Pass from the bottom of the trail, near where CR 30 and 36 meet. I was greeted with hoards of mosquitoes, and decided to hike another peak instead.
This time, I parked at Spring Creek Pass, knowing it was going to be a long day. What I hadn’t anticipated were all the elevation gains and losses along the way. The parking lot holds about 20 vehicles if everyone parks nicely. Another bonus: It’s a paved 2WD road to get there, and the bathroom was stocked and clean.
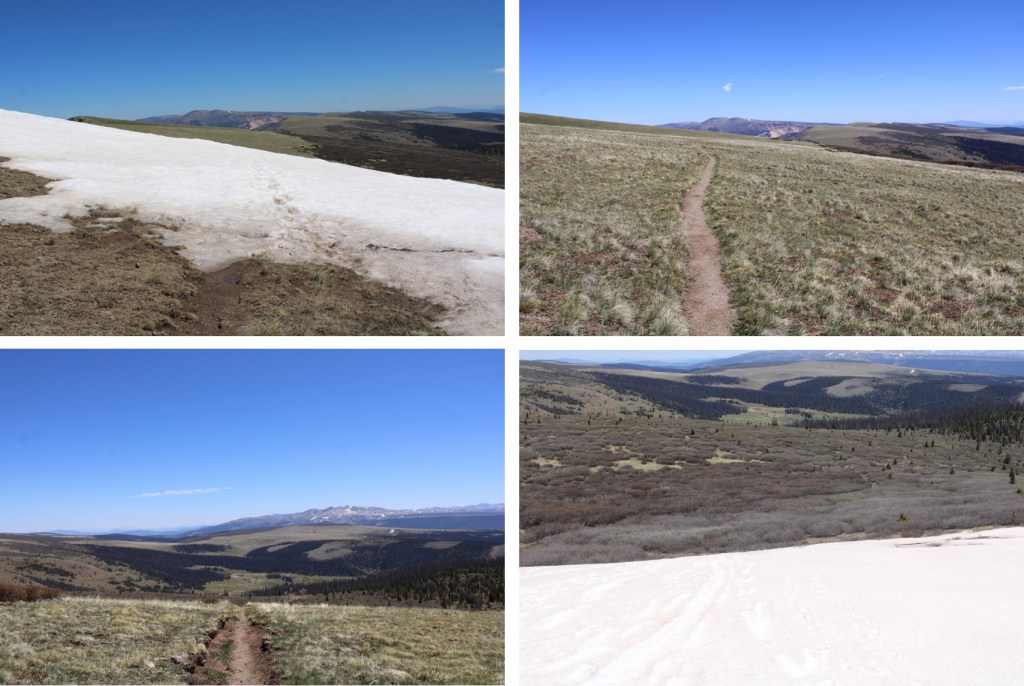
I parked and was on my way at 1:45am. I followed Trail 813/Colorado Trail/Continental Divide Trail for most of this hike. On the way in, in the dark, I took the 4WD road 547.1, which eventually connected back up with the Colorado Trail, but added about an extra mile. I followed the very well-marked trail west for 8.25 miles. Here are some pictures of that well marked trail, as it went in and out of the trees (which it seemed to do the entire hike).
Here’s an overview of the route you can see at this point
After hiking about 8.25 miles, the road curved to the left, and I was now heading southwest. Here the trail loses about 500’ of elevation as it brings you back into the trees.
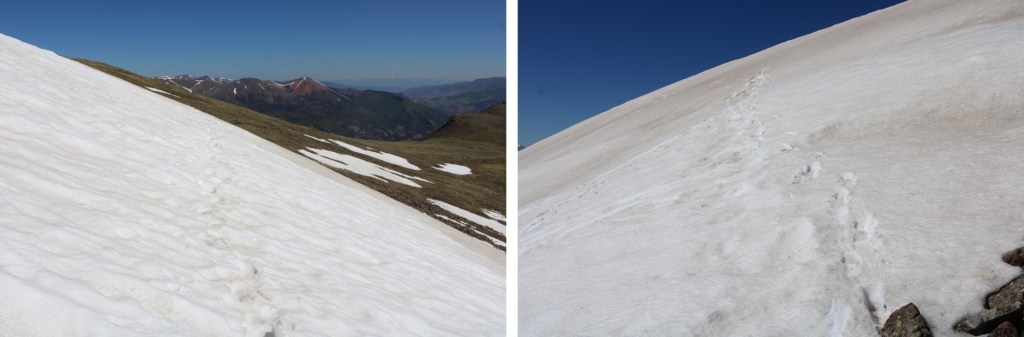
I passed through some willows, and continued following the trail to gain the ridge. This is where the snow began and the trail was no longer obvious. I was able to do all of this with just microspikes, but on the way back, I really, really wished I had an ice axe.
Here the trail was again obscured by snow, so this is the route I took to gain this ridge, keeping it mostly snow free
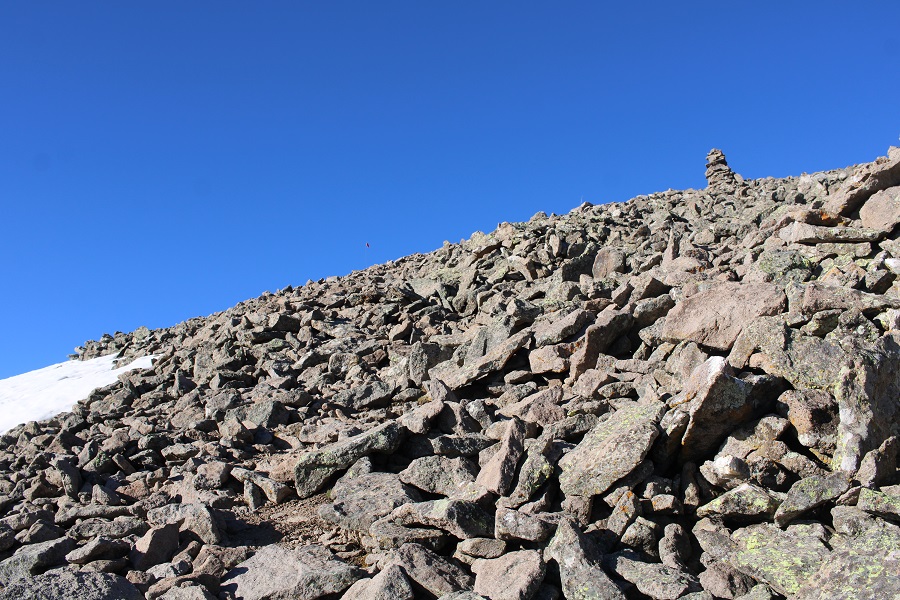
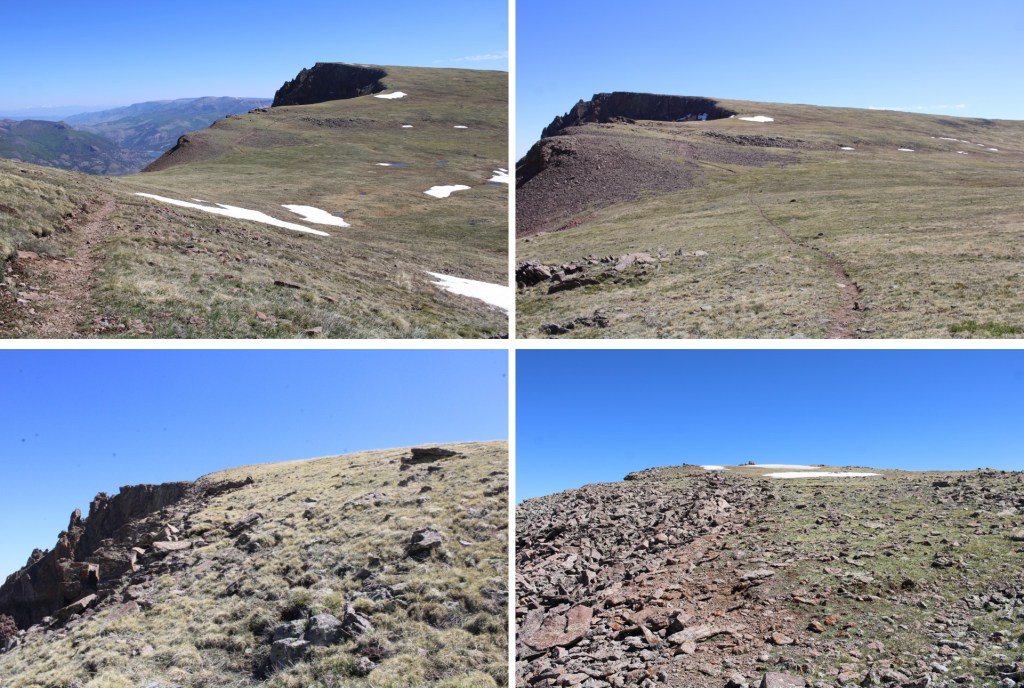
It was rocky near the top, but still class 2, and there was a large cairn to guide me.
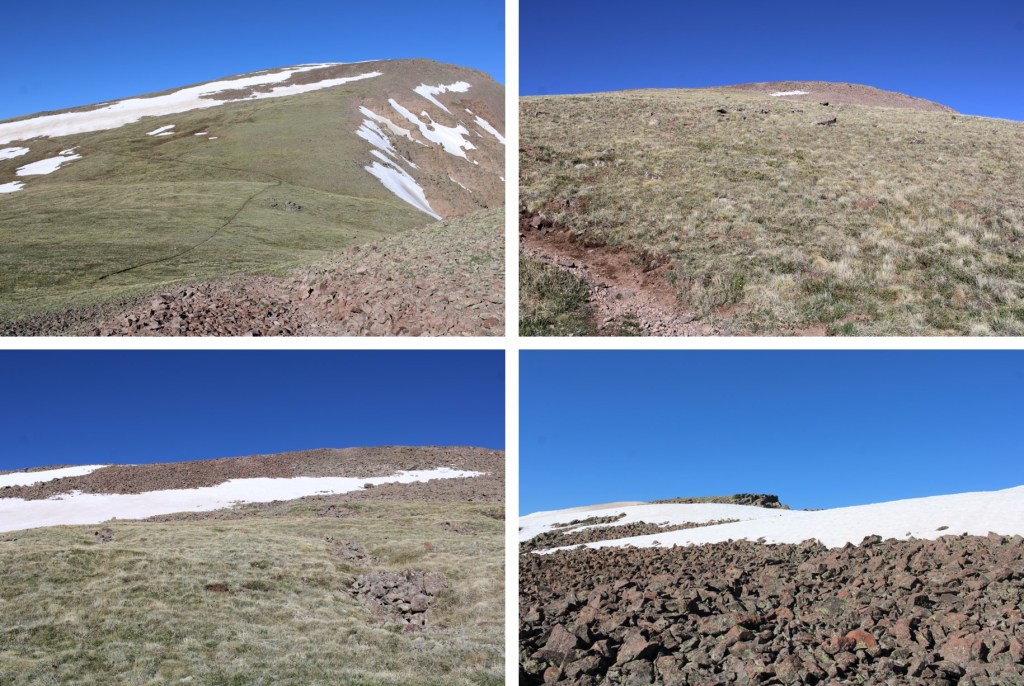
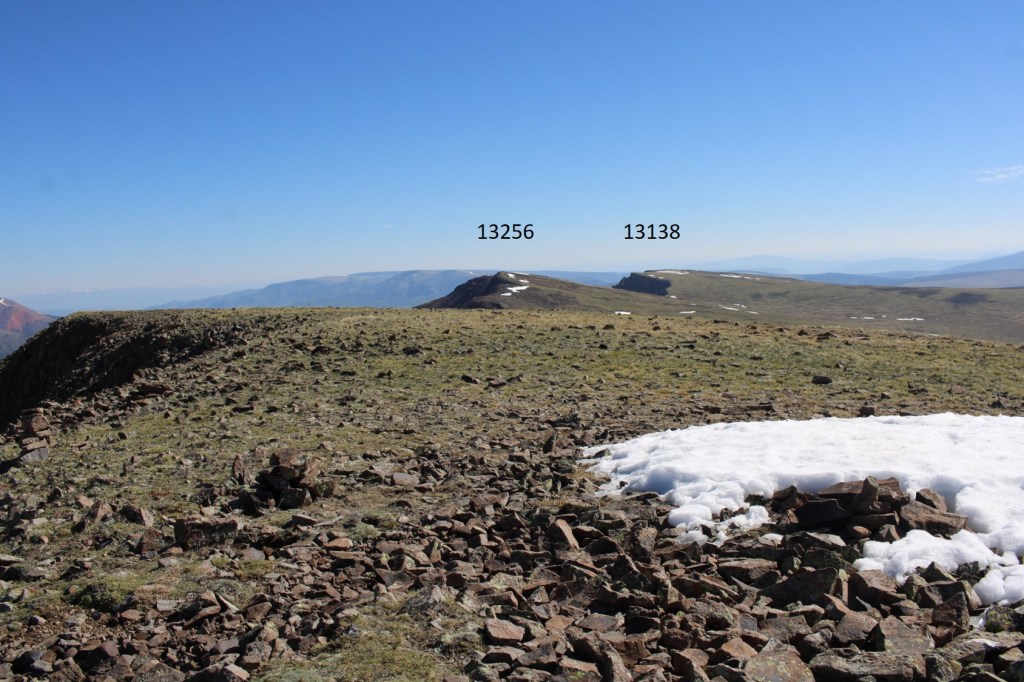
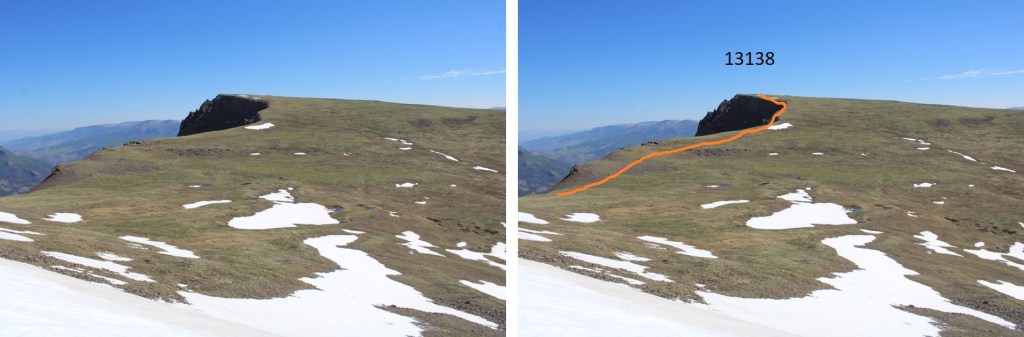
The trail picked back up again, and I followed it southwest, skirting below UN 13138
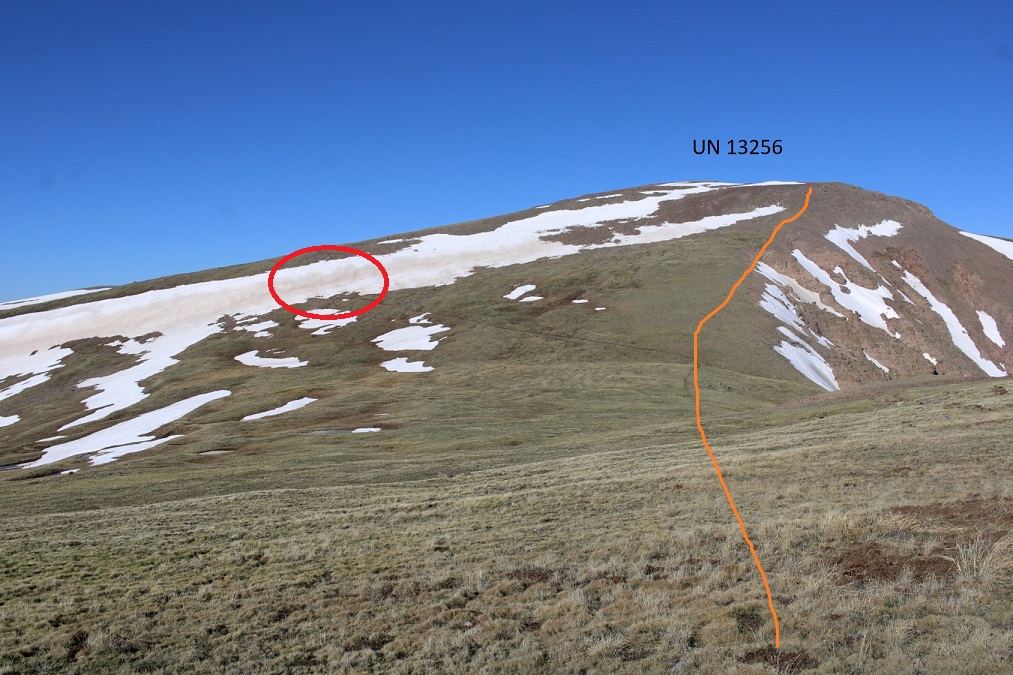
After hiking for 14.5 miles, I could finally see the two ranked peaks I was aiming for today
To avoid the snow on the way up (circled in red) I decided to just ascend straight up the slope. (I crossed the snow on the way back down, and this is mainly where I wished I’d had an ice axe).
The terrain quickly turned from tundra to rocks (still class 2)
After gaining the ridge, the summit was to the southwest.
I summited UN 13256 at 8:15am.
UN 13256:
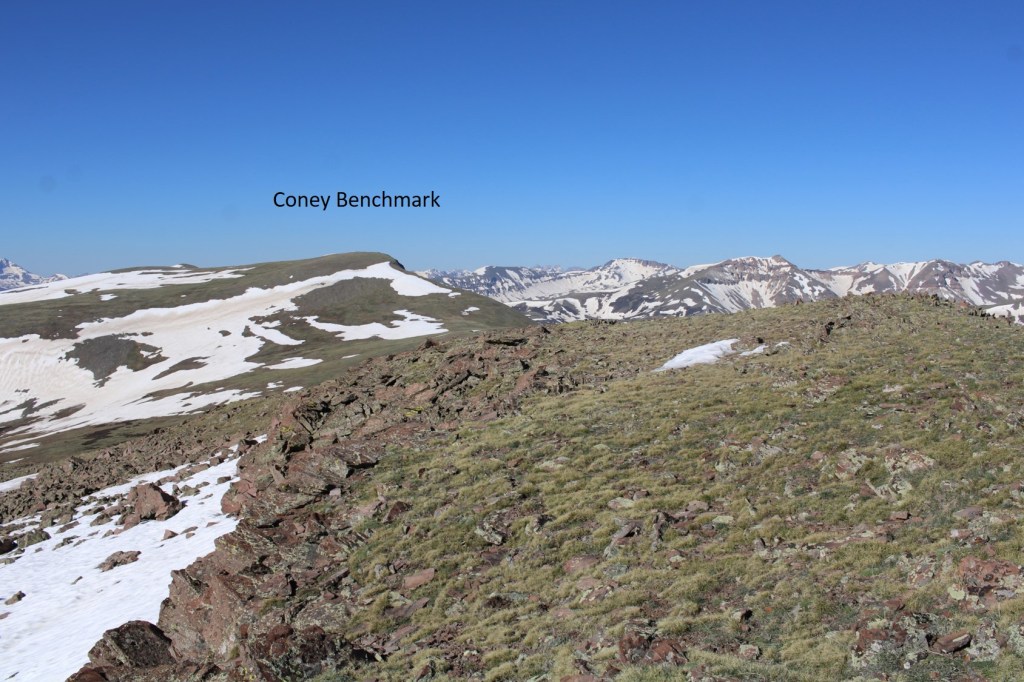
To the southwest, I could see Coney Benchmark. I would lose almost 400’ of elevation to get there.
Knowing the Colorado Trail was down there somewhere, I headed south until I found it.
I then gained 475 feet to the summit of Coney Benchmark. Here’s the route I took.
This was all class 2 to the summit.
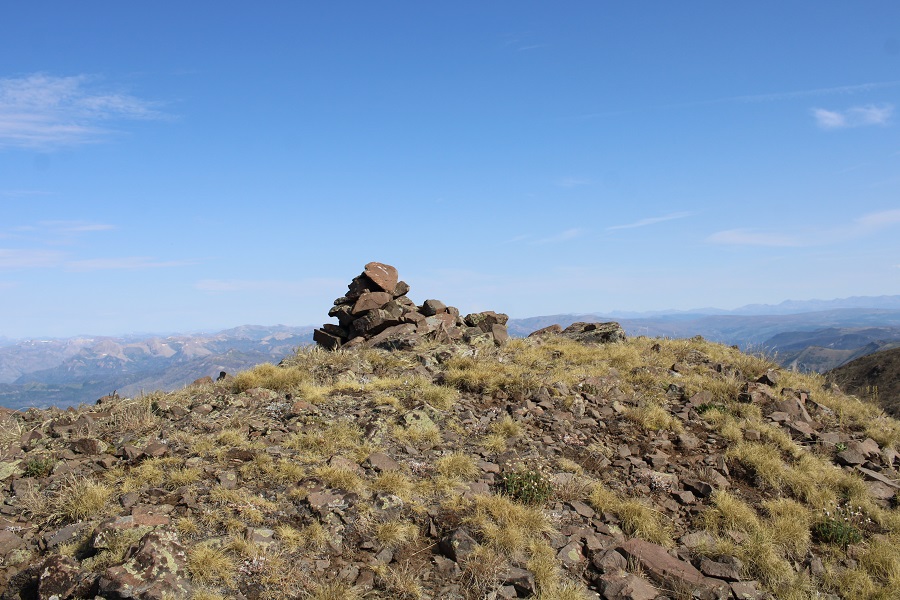
The summit was easy to find, but someone put a plastic summit register at the top, so of course the paper inside was wet.
I summited Coney Benchmark at 9:15am
Coney Benchmark:
Looking northeast, back the way I came, I could see UN 13256 and UR 13138
I retraced my steps back to the Coney Benchmark/13256 saddle
This time I skirted around 13256 and followed the Colorado Trail
This was the sketchy part, where I wished I’d had my ice axe. It’s steeper than it looks.
To summit 13138, I made my way to the 13256/13138 saddle, and just followed the ridge. All class 2.
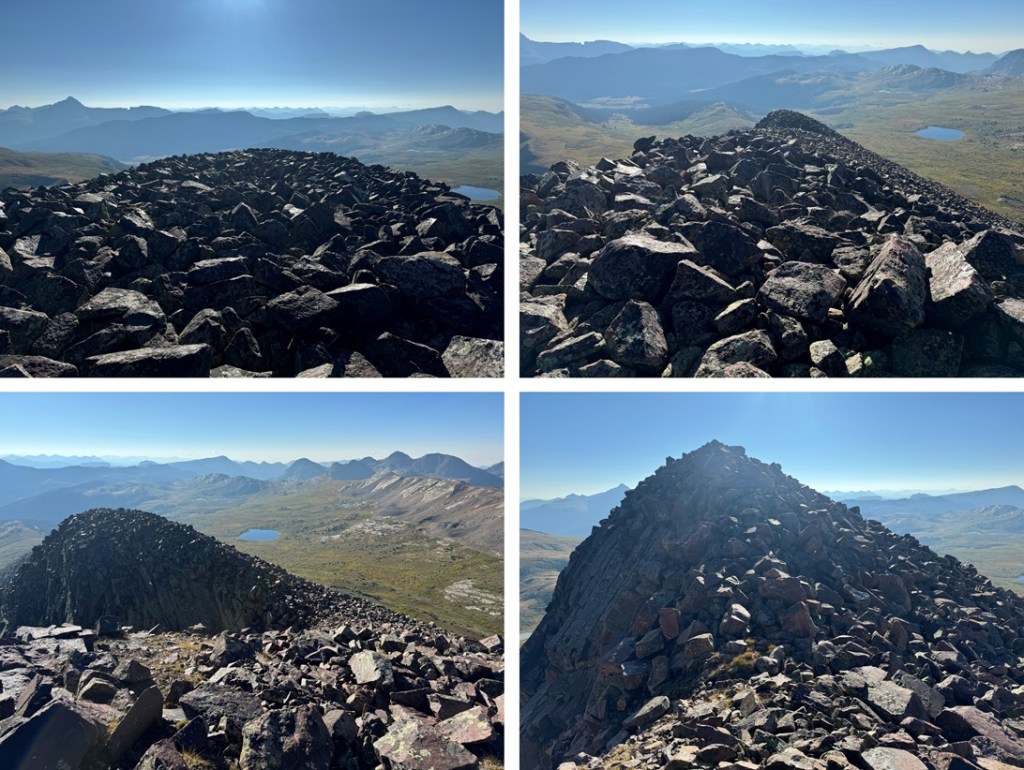
I summited UR 13,138 at 10:35am
UR 13,138:
Knowing if I continued to follow the ridge northeast I’d come back to the Colorado Trail, that’s what I did.
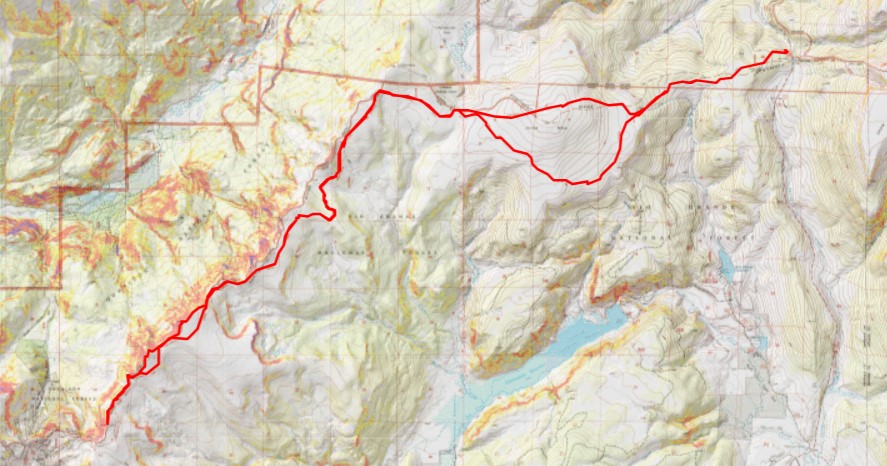
I picked up the Colorado Trail, and followed it 13 miles back to the trailhead, losing and gaining elevation the entire way back.
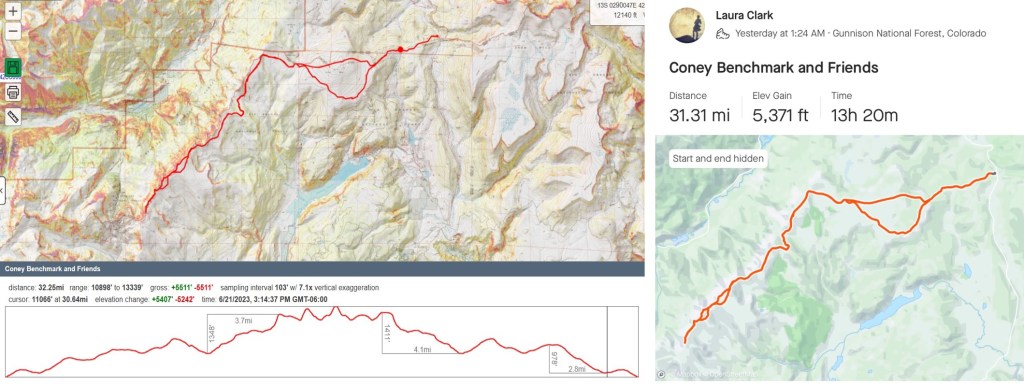
I made it back to my truck at 3:45pm, making this a 32.25 mile hike with 5511’ of elevation gain in 14 hours.
This was my third attempt at Chipeta Mountain this year. The first time I drove out the road was open but impassible due to snow. The second time the road was clear, but the gate was closed. I saw several videos/pictures of people on the pass this year, but later found out they were part of a mining operation and the only ones allowed to access the road. The road formally opened on May 28. Today was May 29. It had already been a long morning: I’d woken up at the Gibson Creek trailhead, intent on hiking a few 13ers in the area (also not my first attempt these peaks this year), but after about 1000’ of elevation and deteriorating snow conditions I decided to make today a ‘me day’. I hiked back to my truck, chugged a beer, and came up with a new plan: I was going to drive to Marshall Pass, see if it was open, spend a day relaxing, and then tackle Chipeta Mountain tomorrow.
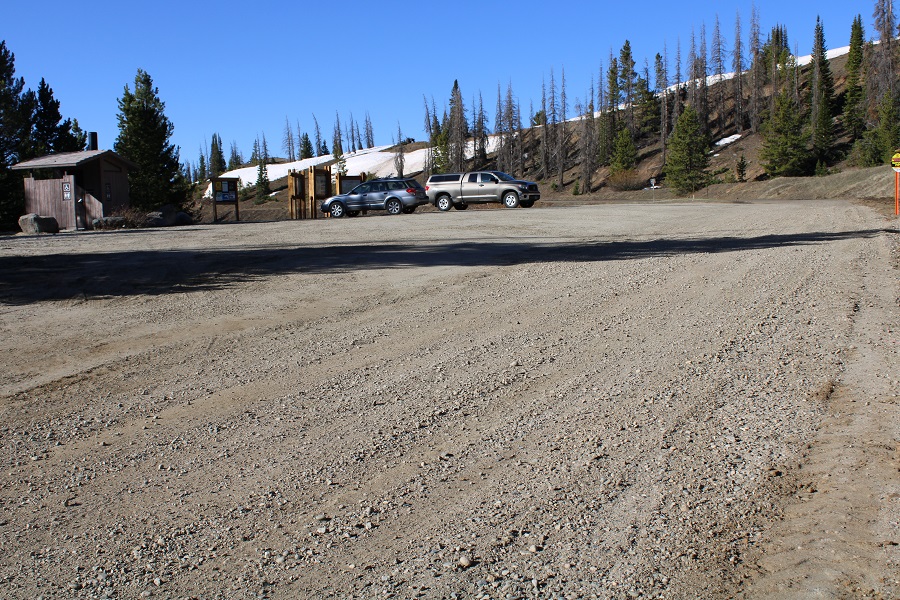
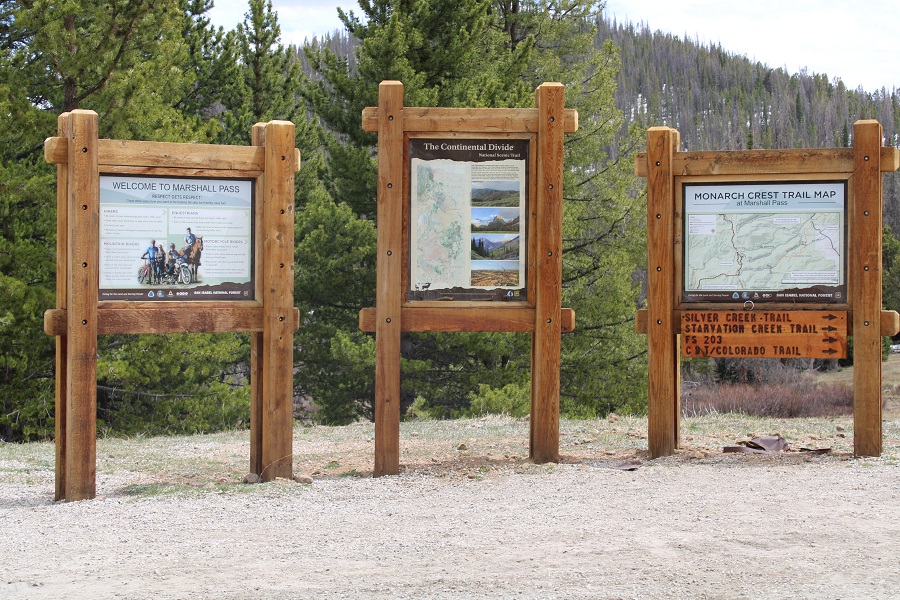
Marshall Pass was open and snow/mud free to the pass. I was surprised at how few people were dispersed camping this Memorial Day weekend. I parked near the bathrooms and information signs.
I checked the weather, and it wasn’t supposed to rain until 5pm tonight. I did the math, figured I had plenty of time to get in a hike before weather set in, gathered my gear, and was on my way. I was on the trail at 8am. The usual trail from the trailhead has a sign saying it’s no longer in use, so I took the very short bypass and started along the road instead. This is road 243G, located at the north end of the parking area. If was a bit muddy to begin with.
It was obvious from the start motorized vehicles hadn’t been on the trail yet this year, as there were numerous downed trees at the beginning (not much after a mile in, however).
I was following the Continental Divide and Colorado Trails north, along the west side of the mountains.
After hiking for 1.7 miles snow started covering the trail. Luckily, this snow wasn’t quite mashed potato snow, and I could get by hiking over it with just microspikes (on the way in),
After hiking for a total of just over 3 miles I turned right and headed east up the slope. A map will tell you this is trail 484.1, but since it was covered in snow I headed east, and once I saw them, I followed the posts to the saddle.
Once at the saddle I had a great view of Mt Ouray. I turned left and headed north along the ridge.
Here an obvious trail picked up (the trail only lasted to the top of this hill).
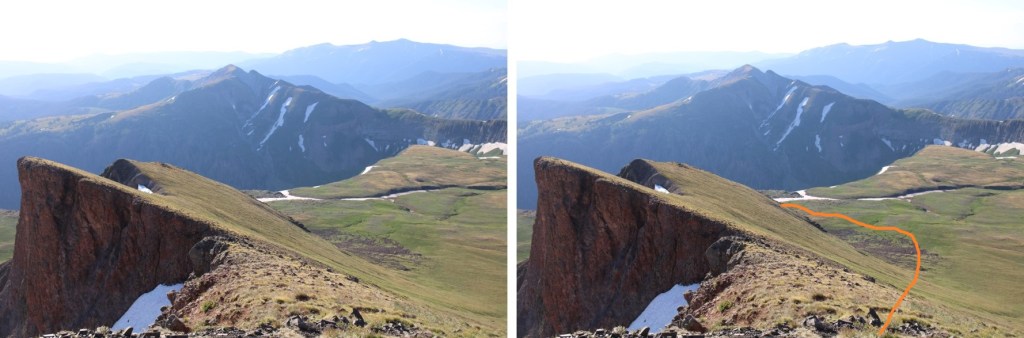
From here you can see the rest of the hike: it’s a straightforward ridge hike that starts out with tundra, and ends with a lot of loose rocks the size of tires. Note: The drop from South Chipeta Mountain to Chipeta Mountain is more drastic than this image would indicate.
Here are some step by step pictures of the ridge.
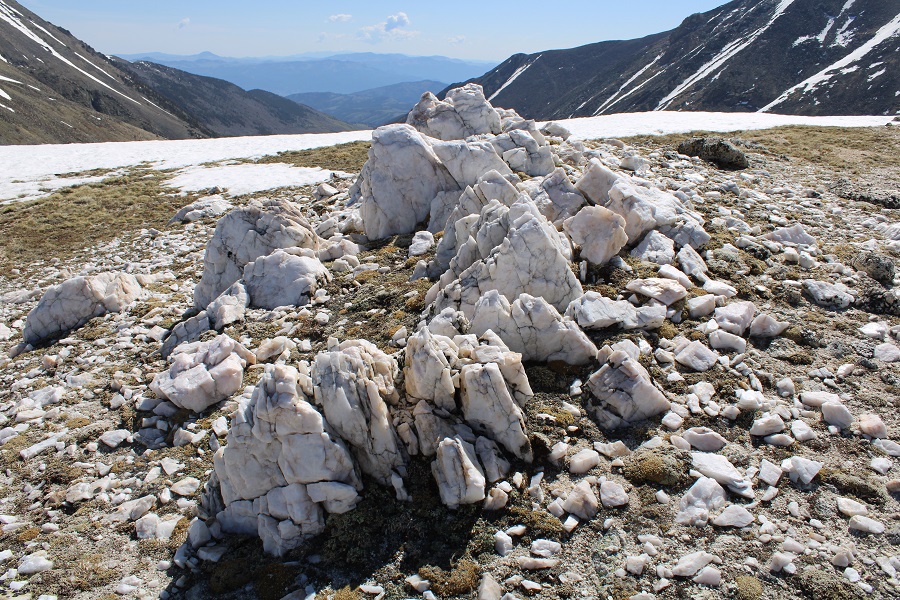
There’s a cool Quartz formation, with a lot of interesting rocks lying around
Then it’s on to South Chipeta Mountain
It’s rockier than it looks towards the top
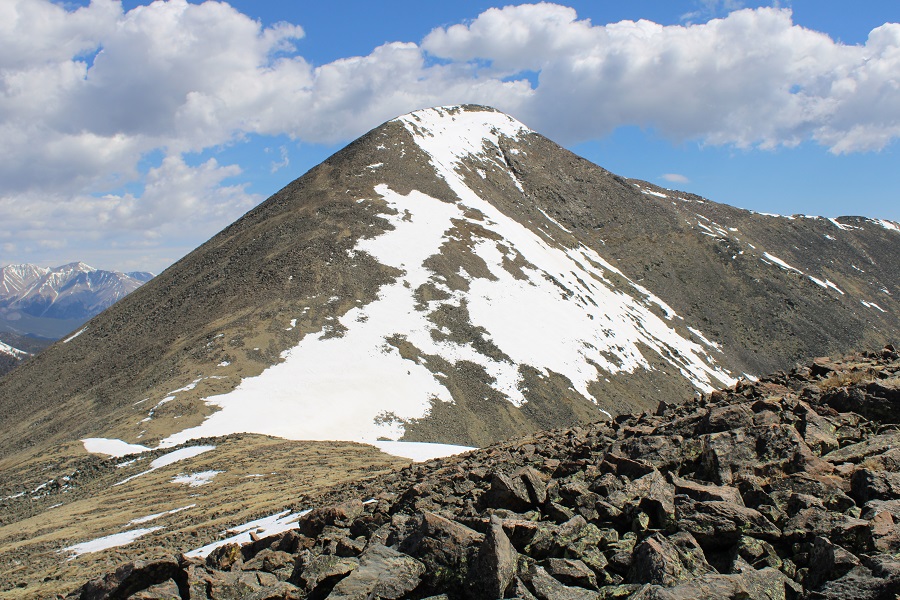
From the top of South Chipeta Mountain (12850) you can clearly see the route to Chipeta Mountain (13472). From South Chipeta you will lose 200’ of elevation, and then gain 825’ of elevation to the summit of Chipeta Mountain.
This is also a simple ridge hike, but it takes time and careful foot placement because the rocks aren’t stable and tend to roll. Nothing above class 2 however.
Weather unexpectedly started coming in early as I neared the summit of Chipeta
I summited Chipeta Mountain at 11:15am, after just over 3 hours of hiking
Chipeta Mountain:
Here’s the view of Mt Ouray from the summit of Chipeta
I didn’t like the look of the clouds, and there was virga in the direction I was headed, so I didn’t stay on the summit long. I retraced my steps back over South Chipeta Mountain to the saddle.
At the saddle I turned right and headed back down to the Continental Divide / Colorado Trail
At this point I needed snowshoes. Strapped them on and followed my tracks from this morning south
I made it back to the trailhead at 2pm, making this a 10.58 mile hike with 3281’ of elevation gain in 6 hours.
I was still intent on taking a ‘me day’, so I decided to sleep in my vehicle here overnight. Around 5pm a couple drove in, saying they were planning on backpacking part of the CDT/Colorado Trail. The had along their dog, and a ferret on a leash (the woman had a ferret fanny pack as well, for when needed). I asked them if they had snowshoes? The woman slapped the man across the chest and said “See? I told you so!” They didn’t have snowshoes but headed out anyway. When I woke up at 5am their vehicle was gone, so I’m guessing they didn’t end up staying the night, which was a good idea, considering there was a storm coming in. I’m not sure what a wet ferret smells like, but it’s probably not ideal.
I drove up to Carson Pass the night before and slept in my truck. For details on the drive in, please see this post: Carson Pass.
That night was a rough night, not only because my mind wouldn’t turn off, but because the winds were constant and curiously loud. I woke up before my alarm and decided to sit in the cab of my truck with the heat on to warm up a bit before starting out. I turned the ignition, heard a “thunk” and noticed my ABS and traction control lights were on. Oh, and my 4WD light was blinking. That seemed strange, and a little troublesome. I tried turning the truck off and on again and taking it in/out of 4WD but I couldn’t get it to engage. I didn’t like this turn of events but figured I might just need to get the truck moving to get it to work. Hopefully it was just an actuator problem. I was on the trail at 4am.
The forecast called for rain today, which most likely would transfer to snow at this altitude. I usually like to do the longer hike first, but today I was afraid I’d get caught too far when weather hit and since these entire hikes are above treeline that just didn’t sound safe. I grabbed my helmet and figured I’d play it by ear.
From my parking spot I traveled south for half a mile along trail 821 before turning right onto the Continental Divide Trail/The Colorado Trail/Trail 831. I didn’t know it at the time, but just past this junction there is actually a parking area, so if you wanted to cut off a mile from this hike (and extra elevation gain) you could just park there.
I followed the class 1 Trail 813 as it lost a total of 400’ as it wound down the canyon, and then gained almost 1000’ to the top of the pass.
There was one small section of snow to cross, but luckily for me the elk had already done a great job blazing the trail.
I saw quite a few elk this weekend. They are definitely all over this basin. The first ones I encountered at about 5:30am. Of course they trotted away from me, but I was able to get a photo of one up on the ridge (I’d be on that ridge in about half an hour)
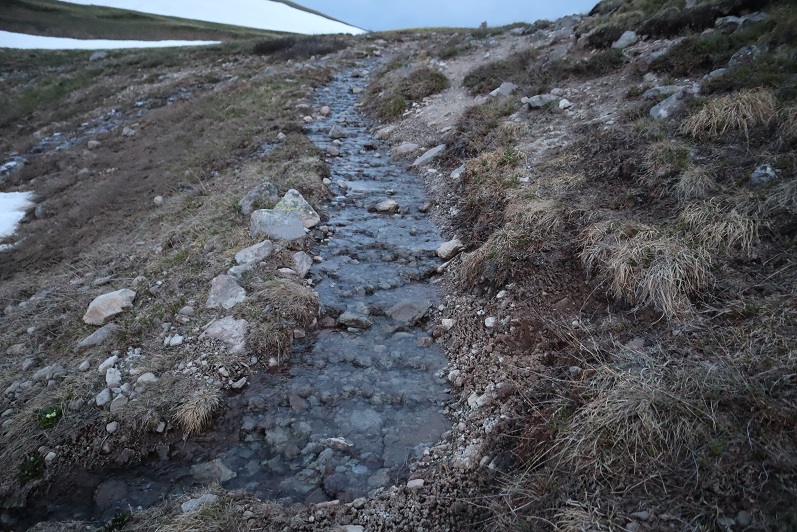
Up towards the top of the pass the trail got a little wet, but it was still easy to follow.
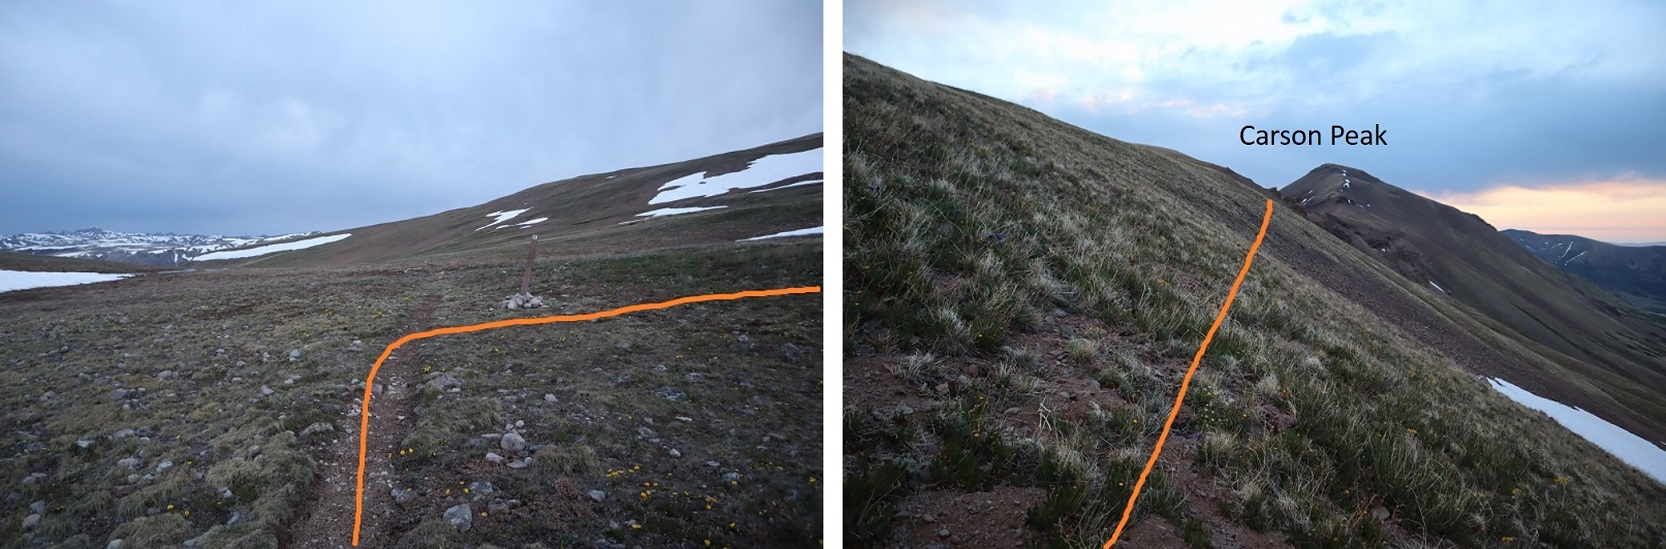
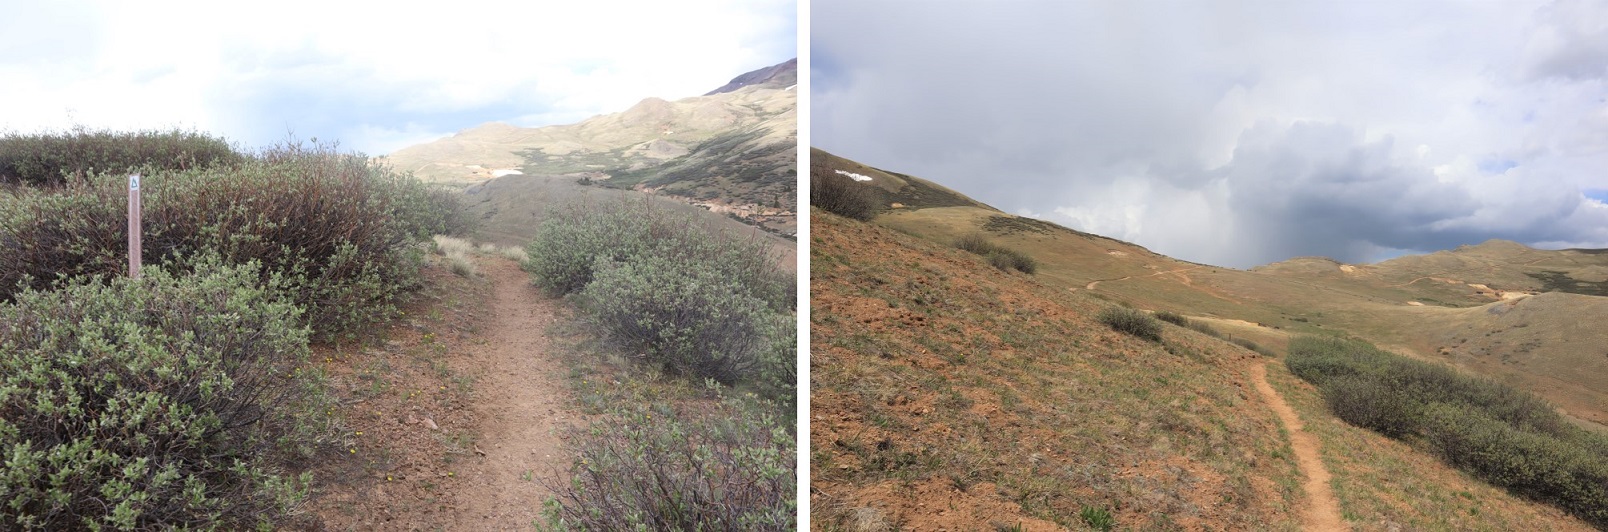
From the top of the pass I left the trail, turned right and headed northeast to the ridge.
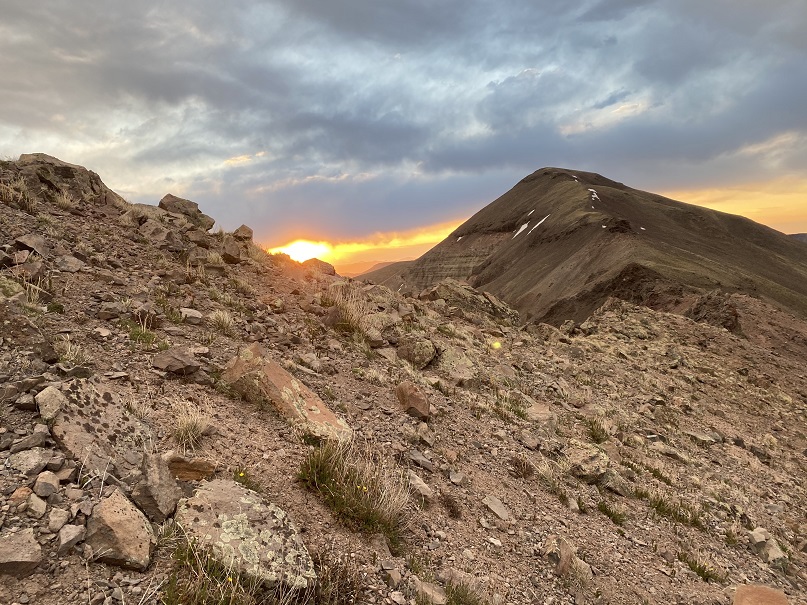
I aimed for the saddle and got a great view of the sunrise.
From here it was a class 2 ridge hike. I stayed on the ridge when possible, and when not I dipped to the right. Here’s the route I took:
In the beginning there were some steep sections to navigate. Nothing too difficult, but it’s all choss and there’s some decent exposure, so choose your footing carefully. This area was about a foot and a half wide in places.
This section is easier than it looks: Just dip down to the right
From there it’s an easy walk up tundra to the summit
I summited at 6:40am
Carson Peak:
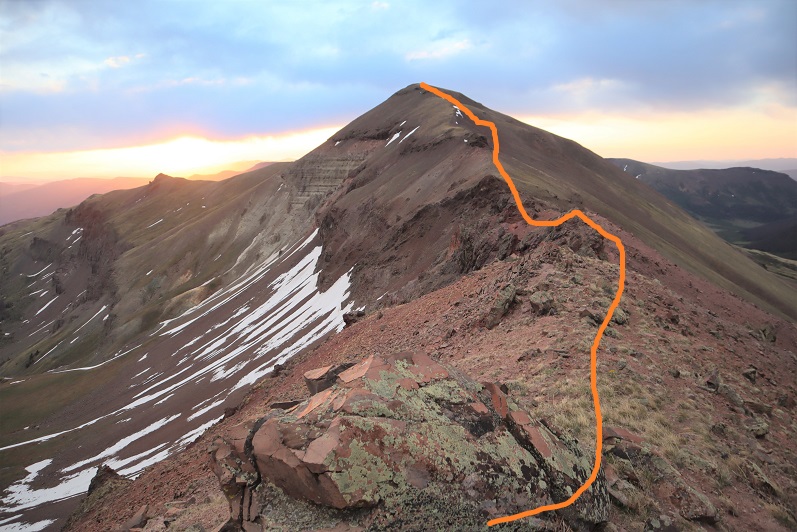
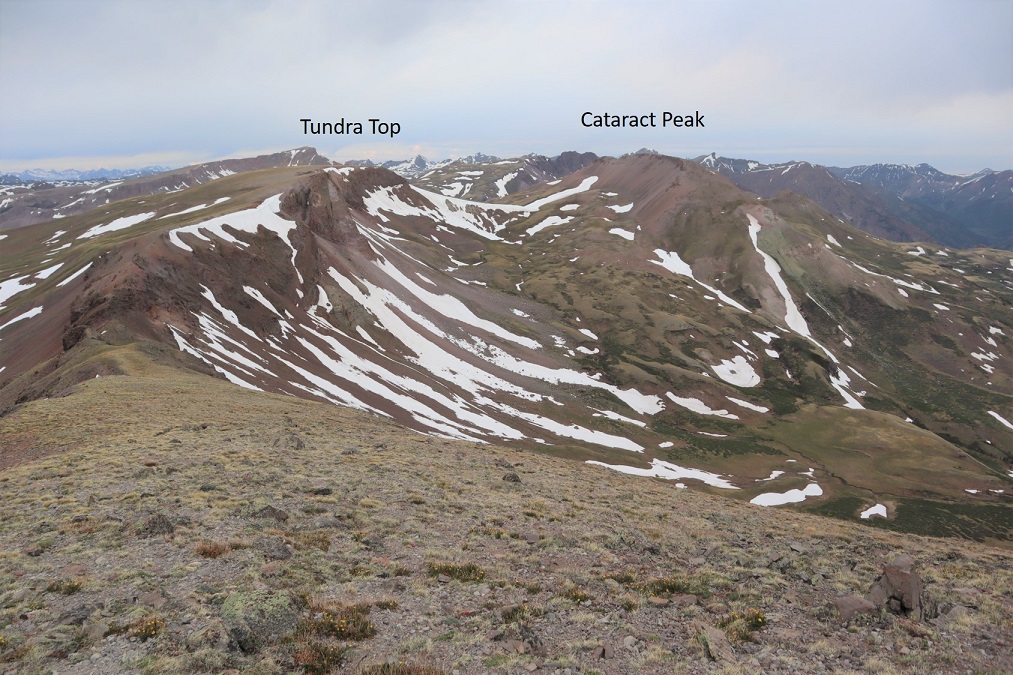
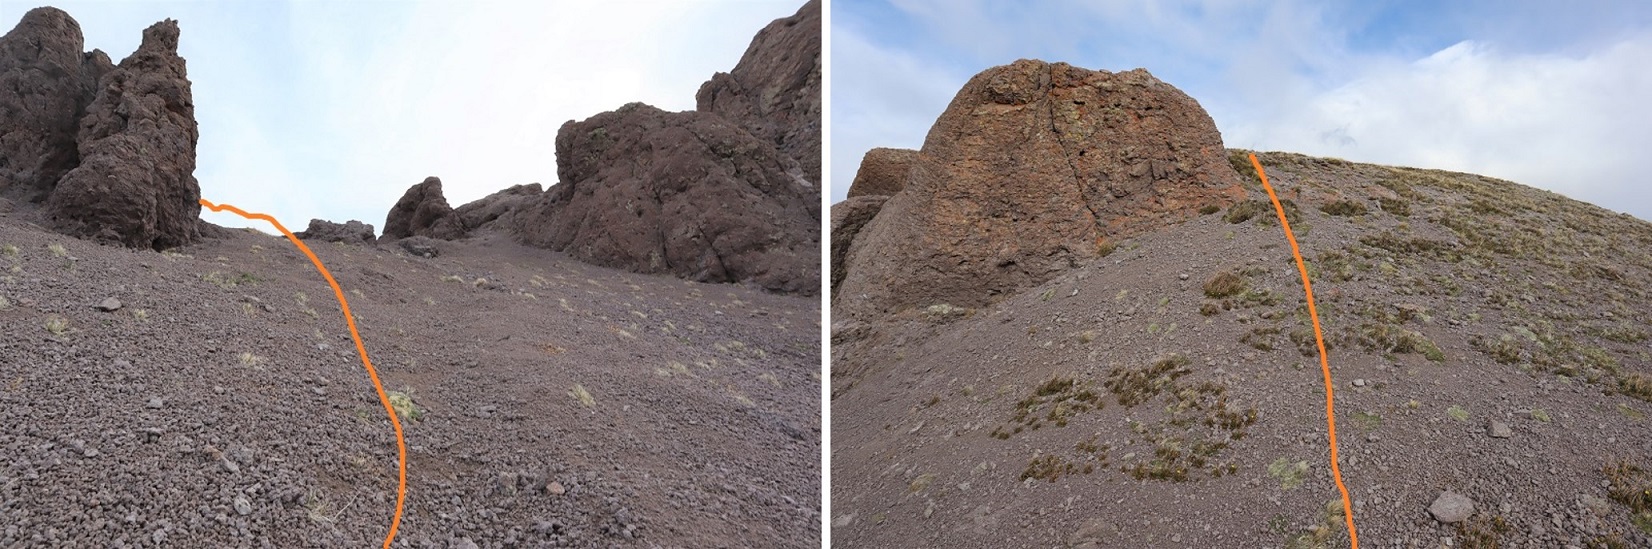
I turned around and headed back over the ridge. From here I had a good view of my next 2 objectives: Tundra Top and Cataract Peak
The route looks a little different on the way back.
Go straight over this part. Once again, there is some exposure here, along with loose rocks. Be sure of your footing.
And straight up this. Once again: loose, but straight up is the way to go
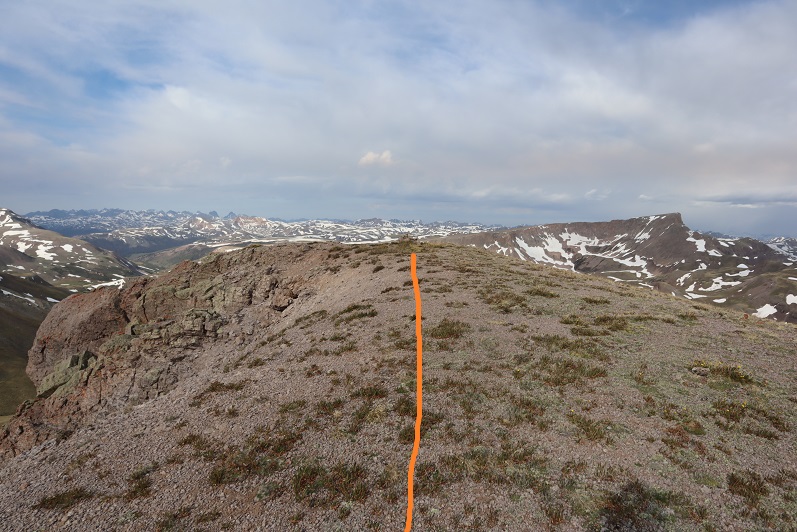
Once the ridge section is done it’s an easy walk up tundra
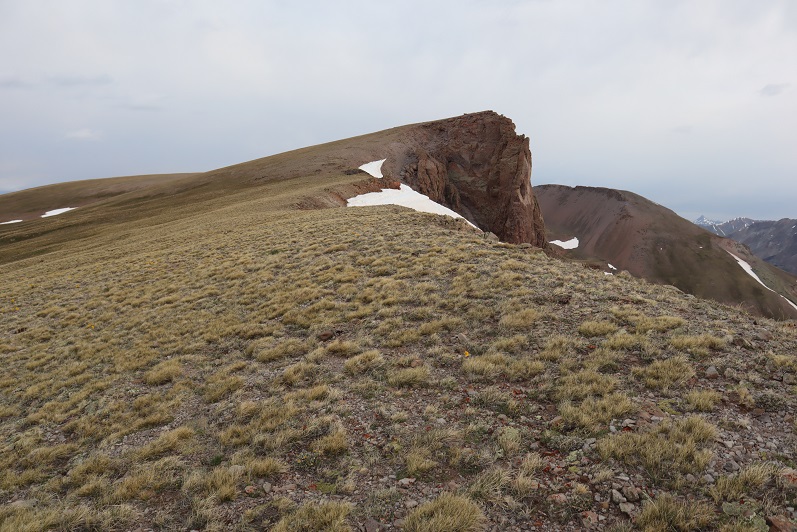
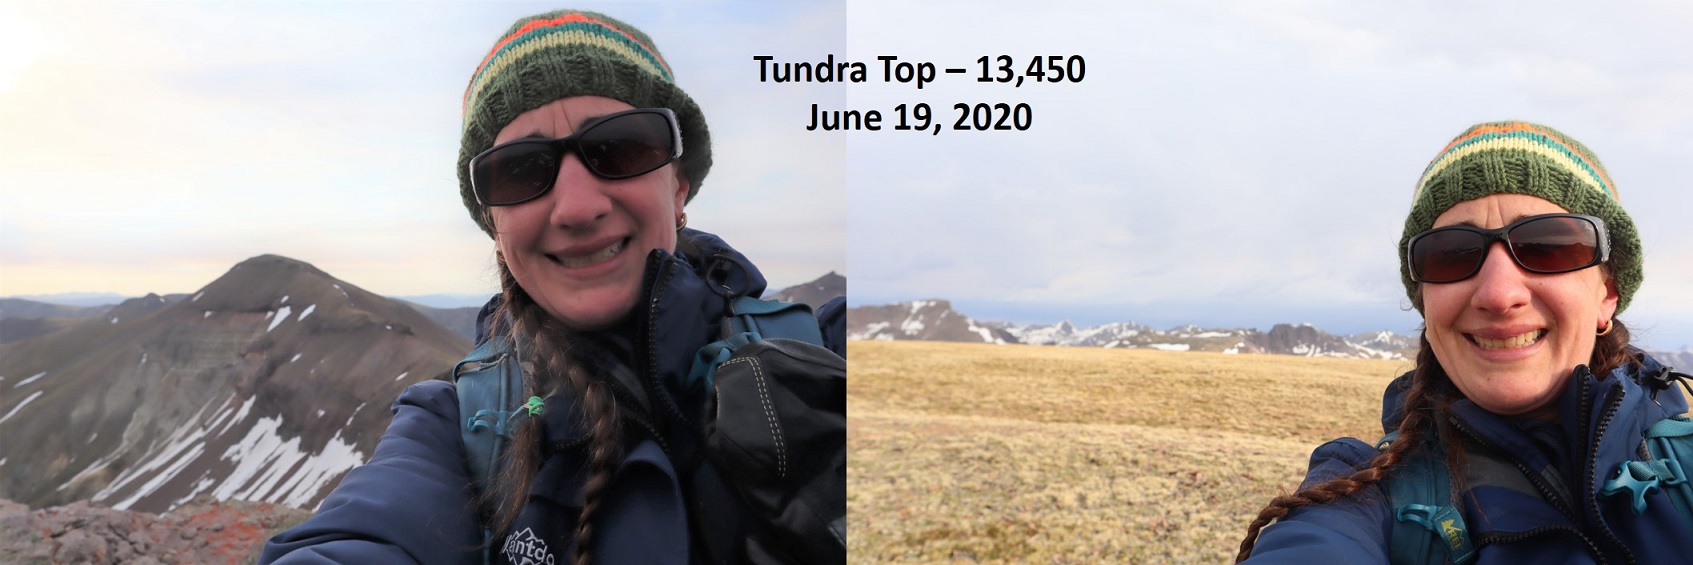
The only problem? I’m not sure exactly where the summit is to Tundra Top. It looks like it’s at the jagged point you can see from Carson Peak, and indeed that feels like the summit and also has a large cairn, but when I used my altimeter I measured the middle of the flat, open space further to the west as being 30 feet higher. Also, there are cairns all over the summit, as well as at the high point after the ridge. So I basically walked all over the mountain (between summiting the first time and when I came back over from Cataract) and I’m considering it a summit.
In any event, here’s a couple of summit photos from somewhere on the top of Tundra Top, and a video (not sure if the video is from the actual summit though)
Tundra Top:
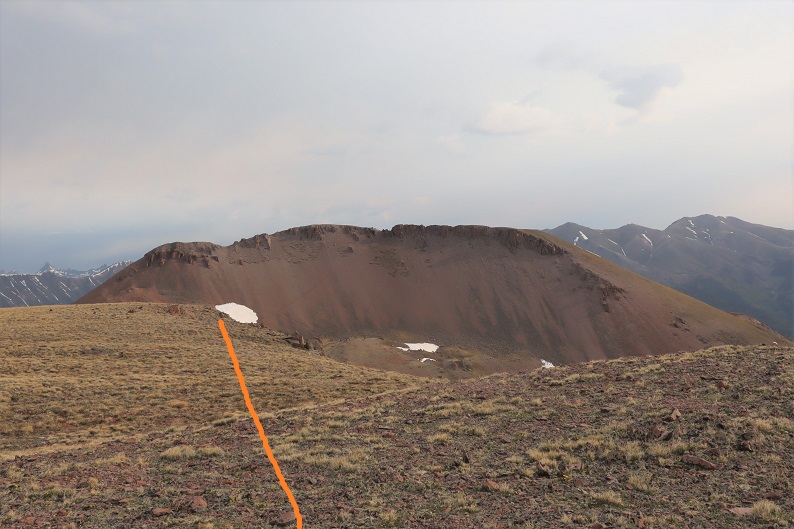
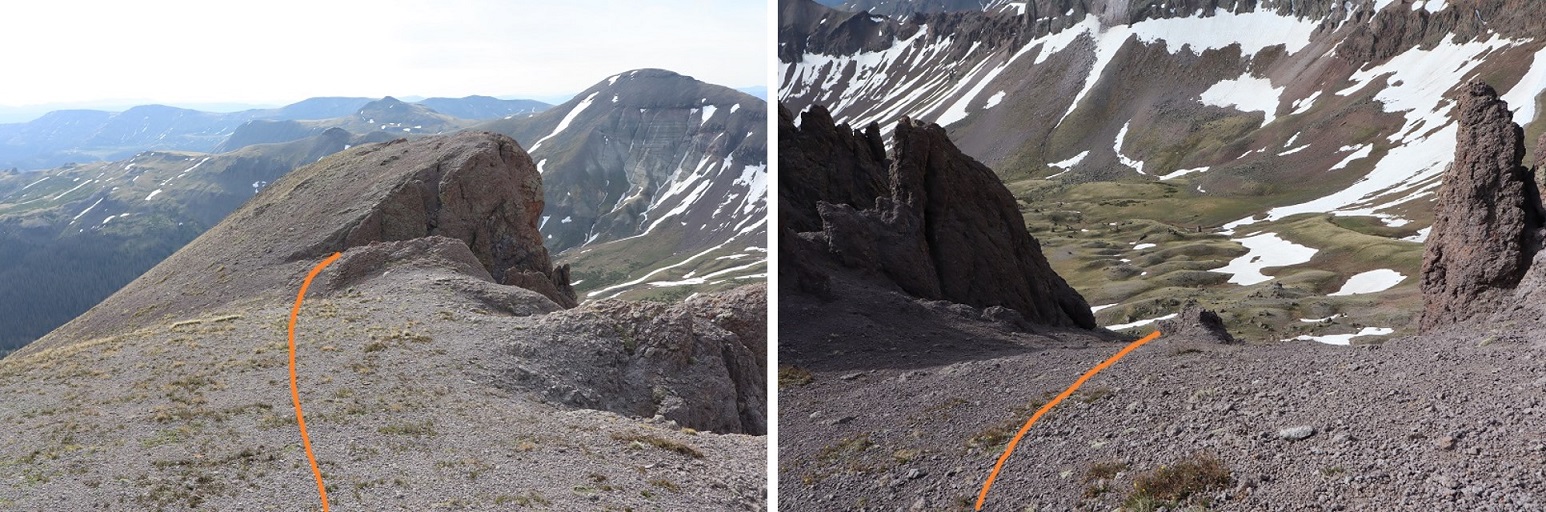
I turned north and headed over towards Cataract Peak
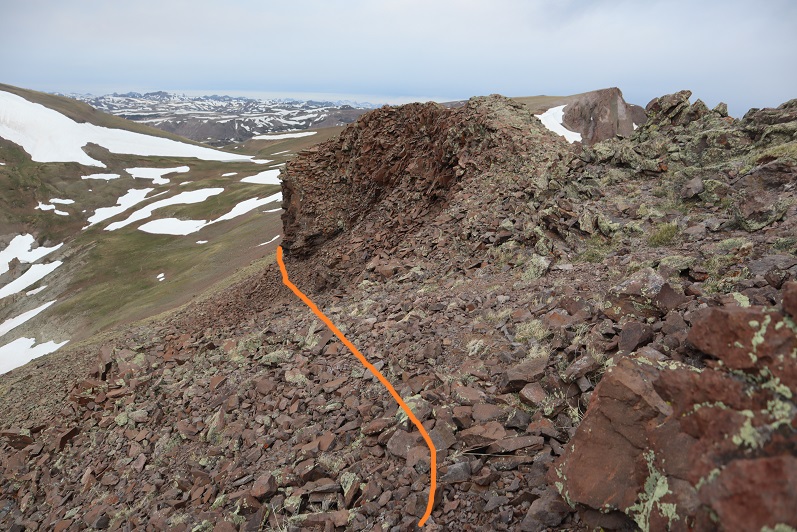
The hike down started with unstable rocks and then switched to scree. This was class 2, and I’m pretty sure I was using game trails, making my way towards the saddle.
There are two ways to summit Cataract Peak: you can go to the left (west), gain the ridge, and then summit, or go straight up the south face. Not knowing ridge conditions, I decided to go straight up the south face, even though that meant crossing some snow. (After summiting Cataract I realized the ridge is easy class 2 and a viable option).
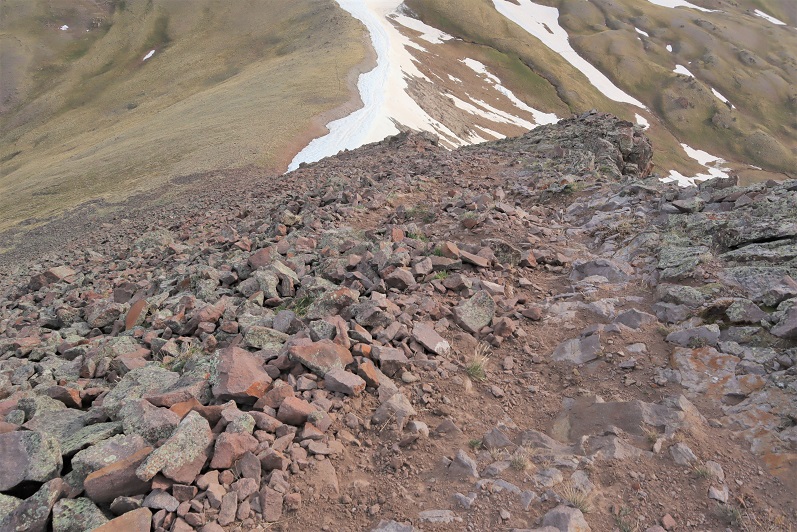
After crossing the snow I made my way up the mountainside on loose scree, which was steep at times. I followed an obvious game trail with one switchback.
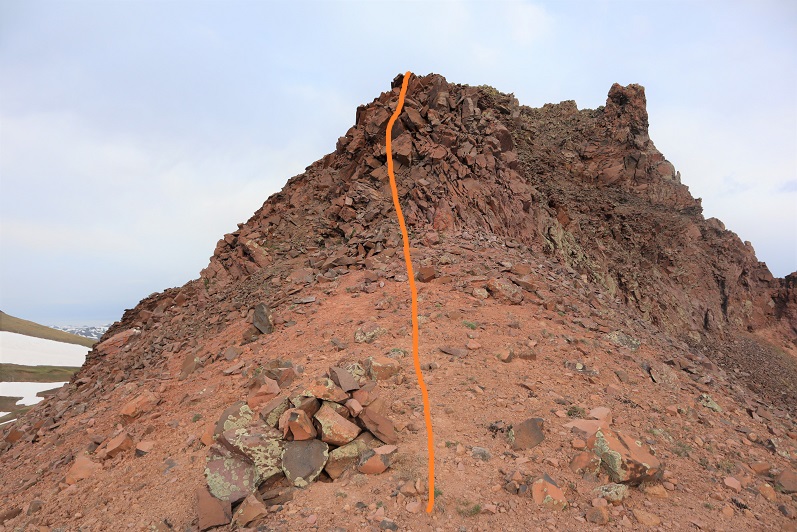
At the top of the ridge I turned left, went around this boulder, and hiked the short distance to the summit (which had a cairn)
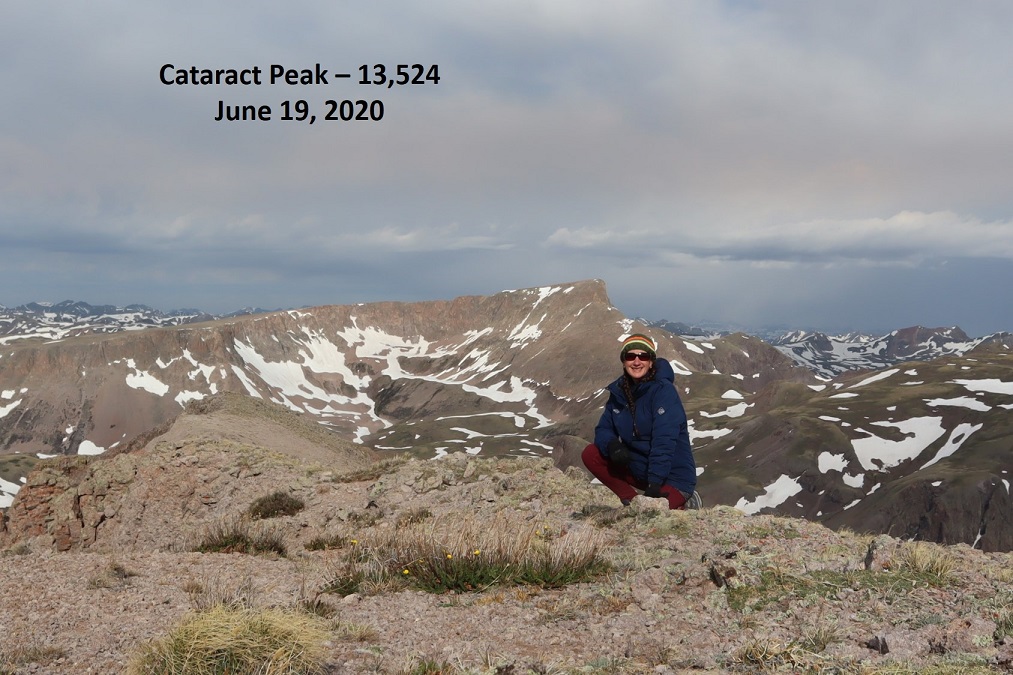
I summited Cataract Peak at 8:25am
Cataract Peak:
I re-traced my steps back to Tundra Top
Encountering an elk on the ice flow before the easy hike up to Tundra Top
From Tundra Top you could see a bunch of the peaks I was hiking this weekend. I spent a lot of time here, checking out the weather and looking at routes for tomorrow to see if they were clear or not. Unfortunately, these peaks require a lot of ups and downs through basins, and while I could see ridges were clear, I had no idea what the basins looked like.
I headed back to the pass, picked up the trail, and headed back down into the basin.
When I got to the lowest point in the basin I decided to attempt PT 13581 today as well. The weather looked like it would hold, and I was so close (and not yet tired) that I figured I should at least give it a try. I eyeballed this one, looking for the best route up. I decided to leave the trail, cross Lost Trail Creek, and follow the drainage until I hit the tundra that paralleled willows. Then I would stay on the tundra, using the willows as guidance before taking a gully up. To gain the ridge I took the solid line up, the dotted line down.
This proved to be a fabulous plan. The only downside was the gully: it had recently melted out and was still soft. I almost lost a hiking boot in the mud, and it was very steep. It almost felt like it should have been a winter route with snow, an ice axe and crampons.
Here it is in a little more detail:
At the top of the ridge I turned right and followed the ridge to the summit block
I was keeping a close eye on the weather. The clouds were building, and fast. Luckily, they looked like snow clouds and not thunderclouds. I had a feeling that 40% chance of rain was going to happen.
When I made it to the summit block I was surprised to find it wasn’t a class 2 hike as my (quick) research had told me. Nope, this was definitely class 3. I was glad I’d brought my helmet. I strapped it on and left my pack and trekking pole and headed in to figure out how to summit. This is the route I took: I circled around to the left, found a bunch of easy class 3 access gullies, took one up, followed the ridge around to another access gully and climbed to the top. There was exposure in the second gully.
I summited at 12pm
PT 13581:
The weather was turning so I quickly retraced my steps back down the gullies to my gear, then followed the ridge
On the way out I took the second gully down, which wasn’t as steep, and then followed the same path I’d used as on my way in back to the trail.
The wind picked up as I hit the gully and it started snowing. Not big fluffy flakes, but more like slush being carried by the wind that splattered when it hit me. I put on better gloves and kept hiking.
The hike out was uneventful, as it was on a well maintained class 1 trail. The extra 600’ of elevation gain on the way out was kind of a bummer, so I just took it slow. The trail actually inclines gradually, so it wasn’t too bad.
Oh, and I saw a moose in the basin, so that was kind of cool. It was a little far to get a good picture of, but it’s a male.
I made it back to my truck at 2pm, making this a 15.41 mile hike with 5543’ of elevation gain in 10 hours.
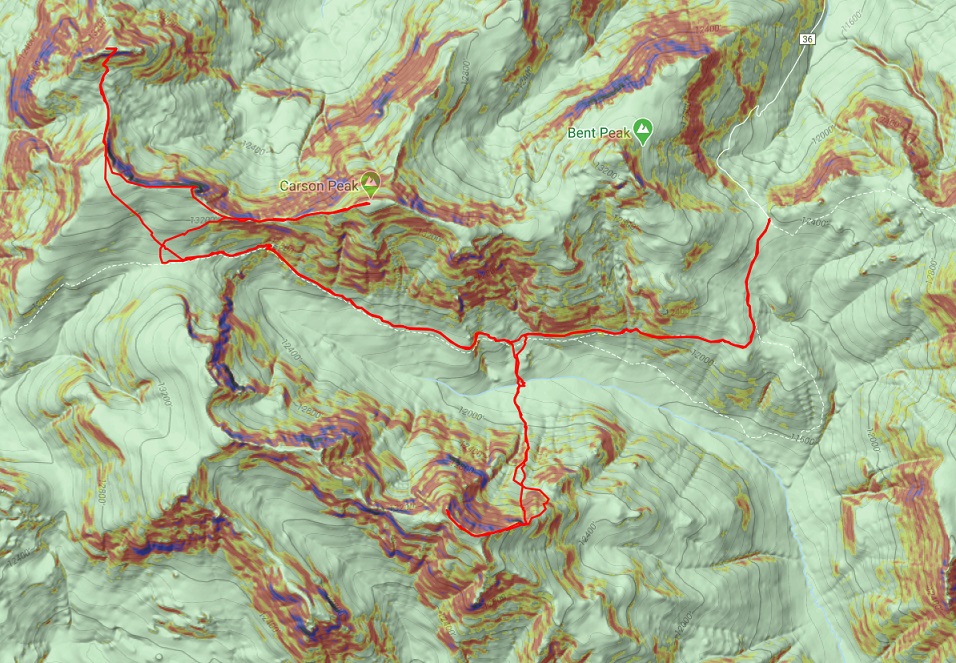
Here’s a topo map of my route:
It was still early so I decided to clean up, get something to eat, and try to start my computer. It lit up but quickly turned off. Maybe it will dry out overnight and work tomorrow? OK, with my computer out I decided to do some reading. My favorite book for a long time has been “Death in the Grand Canyon”, so I picked up it’s sequel, “Death in Yosemite” and have been reading it the past few weeks. Lovely how the book reiterates, several times, how it’s important to always make good choices, retrace your steps before committing when you’re unsure if you can continue, and not to go solo. Also, don’t be a male between 20-30 years of age. I like to remind myself of these things often and use these stories to try to learn from others’ mistakes.
Idea: Devotionals for hikers (not necessarily religious) that are quick, a page or two, and detail real accidents and how they occurred. Then discussion questions to see what steps could have been employed to prevent the accident. In other words, more books like “Death in the Grand Canyon”, just in a different format.
From inside my truck I watched the marmots and pikas and chipmunks go about their business. They couldn’t see me in the topper, and it was fun to watch them skitter around. One marmot chirped incessantly for over an hour, and I as I sat there my thoughts drifted to how everyone should get to experience climbing in the mountains at least once in their life.
After reading I got out my topo map and looked at routes for the next day, prepped my gear, and got to bed early. I wanted to get a lot of rest before an early start tomorrow, and I was still a little worried about my 4WD and computer problems…