Click on a menu, or use the search feature to access hundreds of trip reports. Contact me if you'd like more information about a hike, or a GPX file
Author: Laura M Clark
Laura has summited over 500 peaks above 13,000' solo, including being the first woman to solo summit all of the Colorado 14ers, as well as the centennials. After each hike, she writes trip reports for each one and publishes them on her blog, which is read by fans all over the world. Author of Wild Wanderer: Summiting Colorado’s 200 Highest Peaks, which is available to purchase on Amazon.
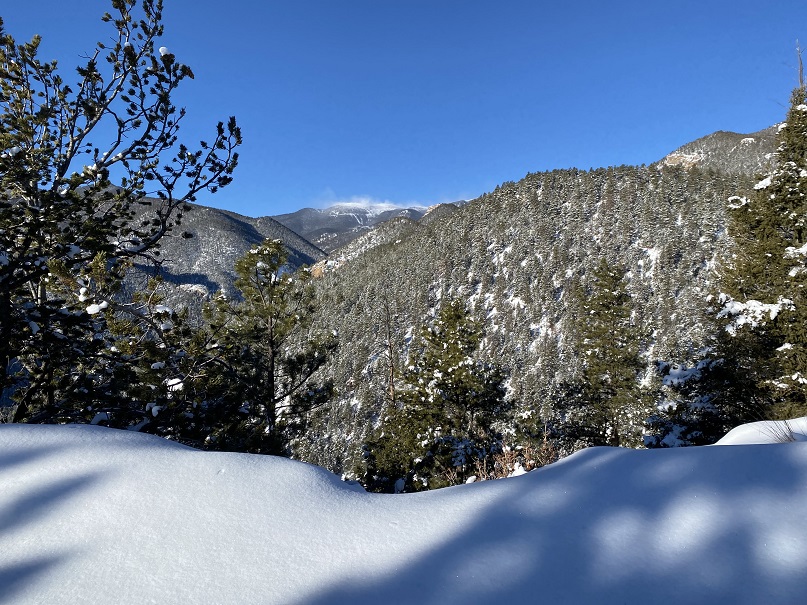
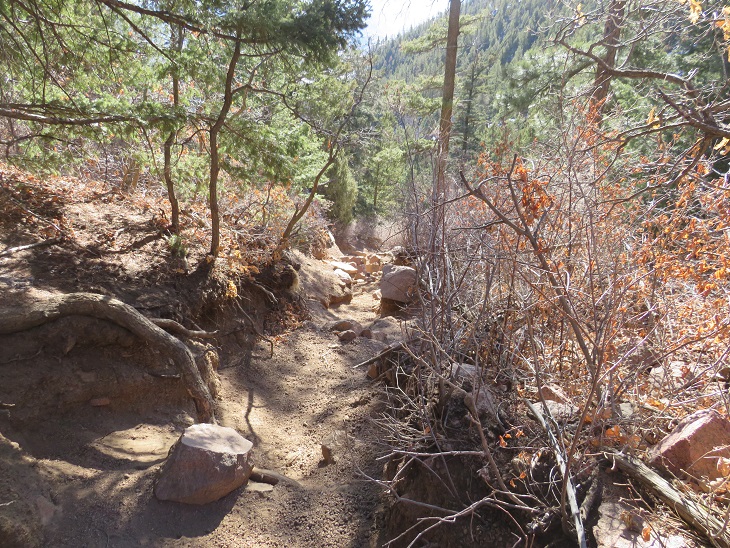
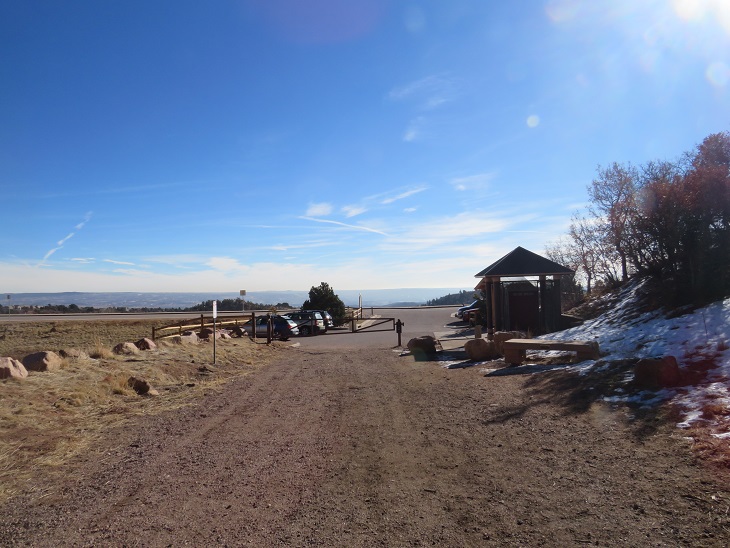
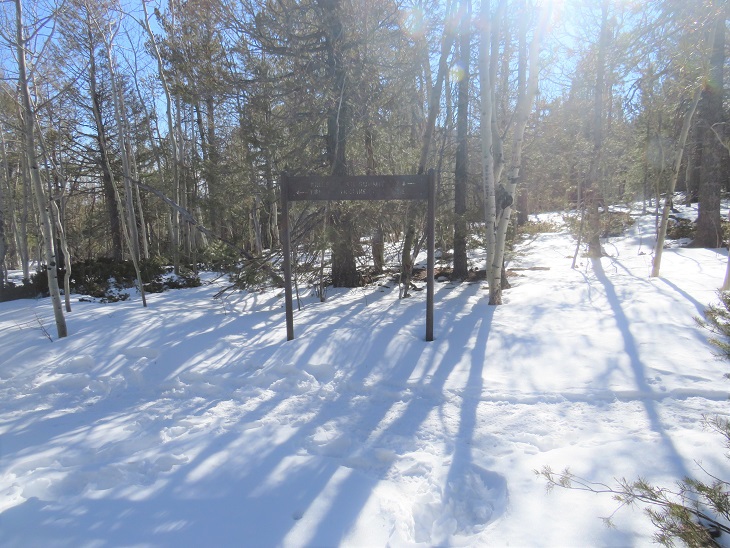
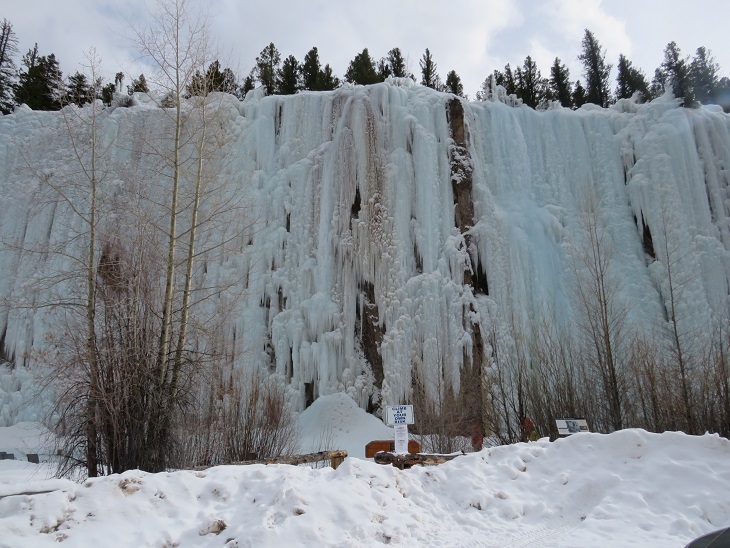
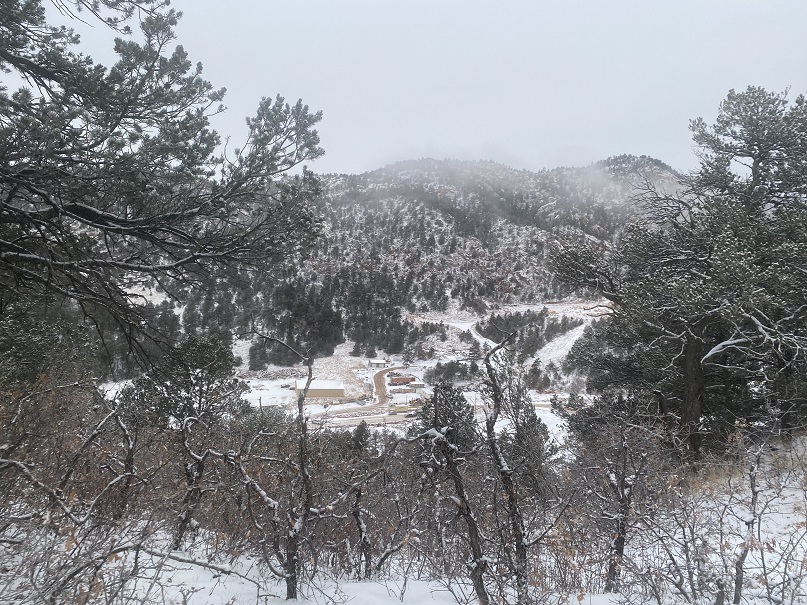
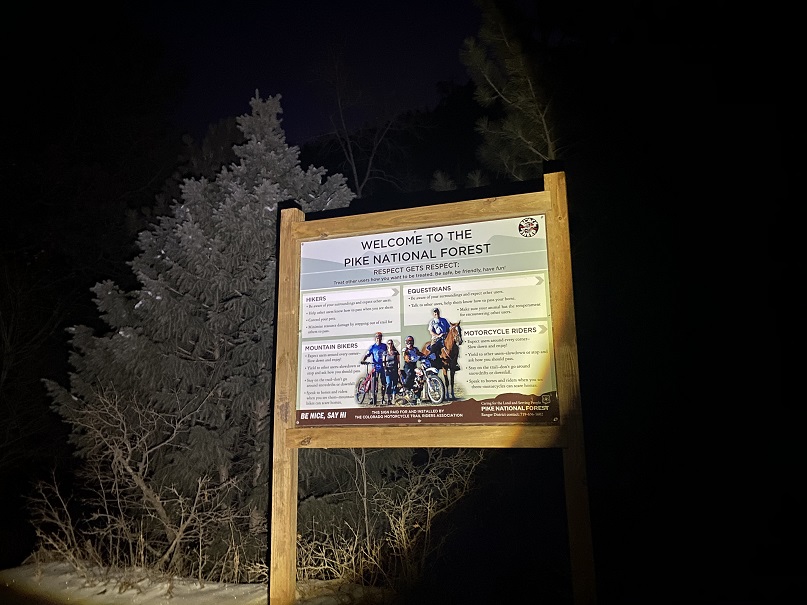
I’ve hiked Mays Peak and Kineo Mountain several times, but always through North Cheyenne Canyon. They’re currently working on the road to North Cheyenne Canyon, so I decided to hike these peaks via Bear Creek. I’ve ever been to Bear Creek before, so I thought this would be fun.
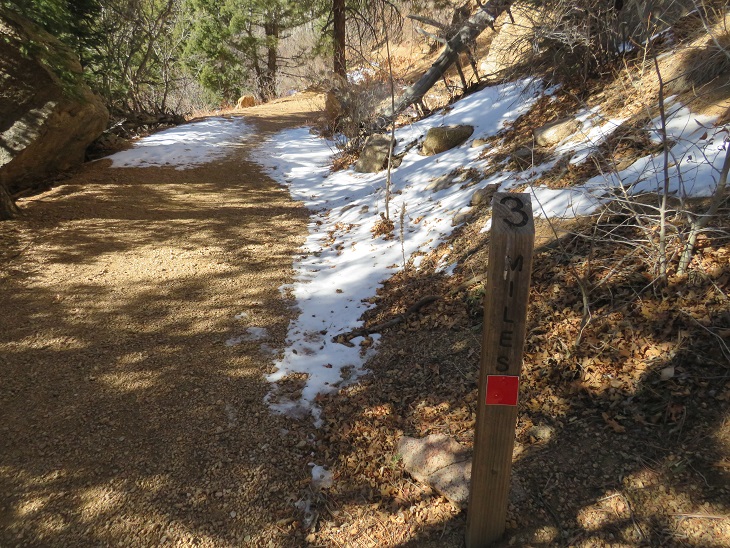
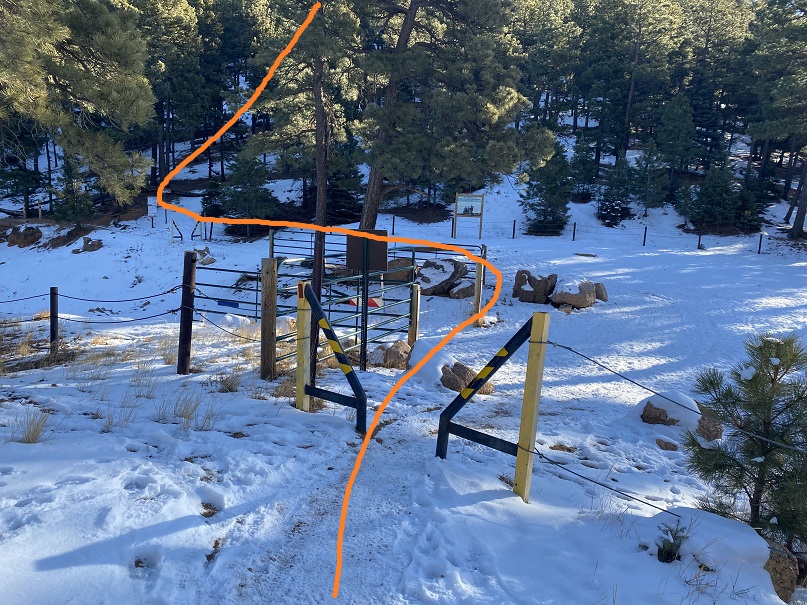
I parked at pull off 3 and was on the trail at 6:15am.
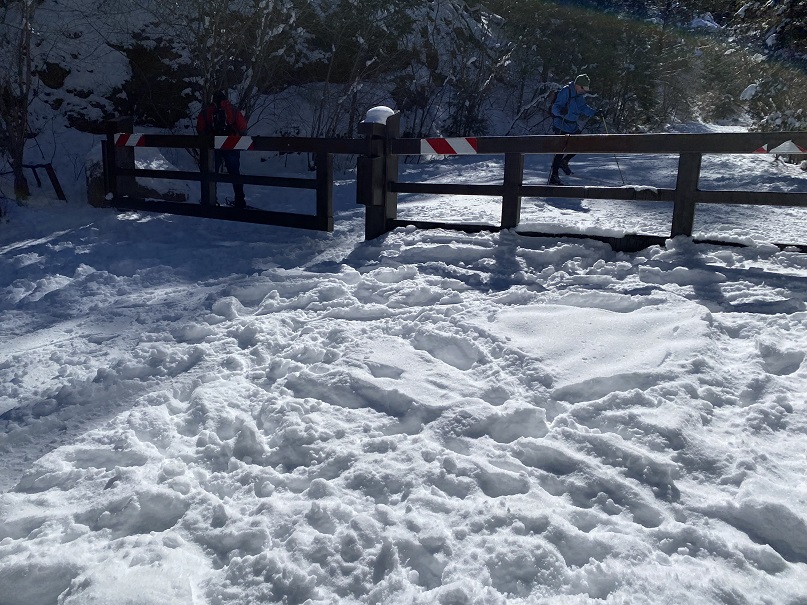
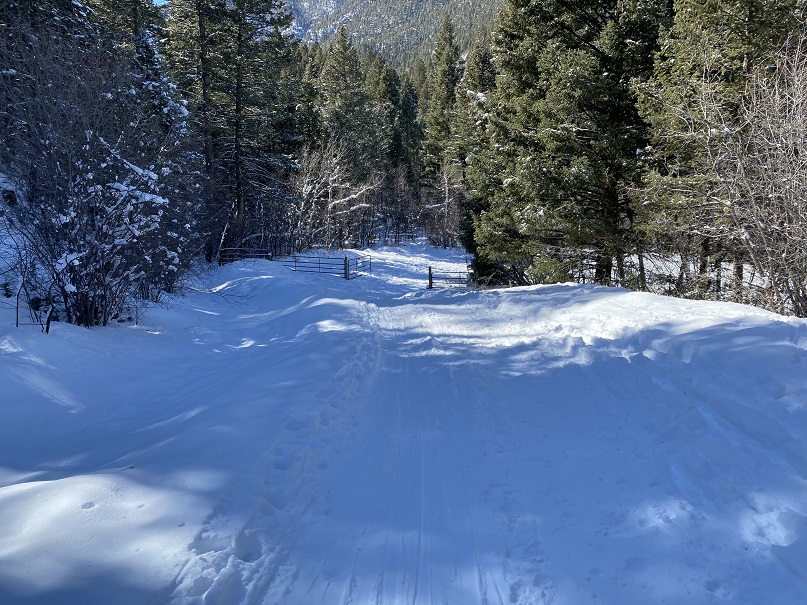
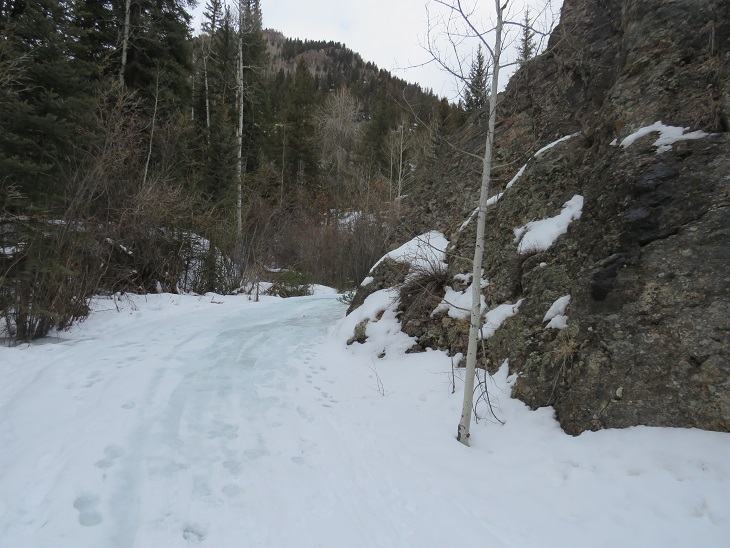
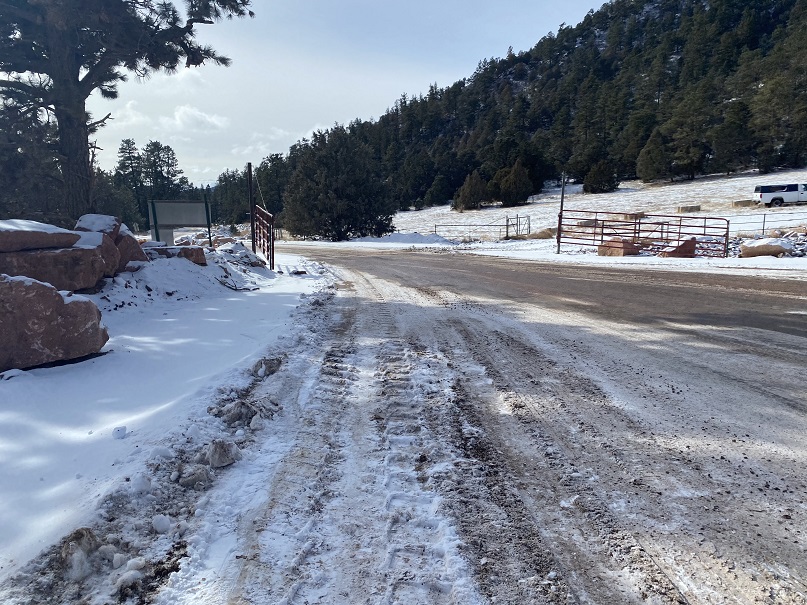
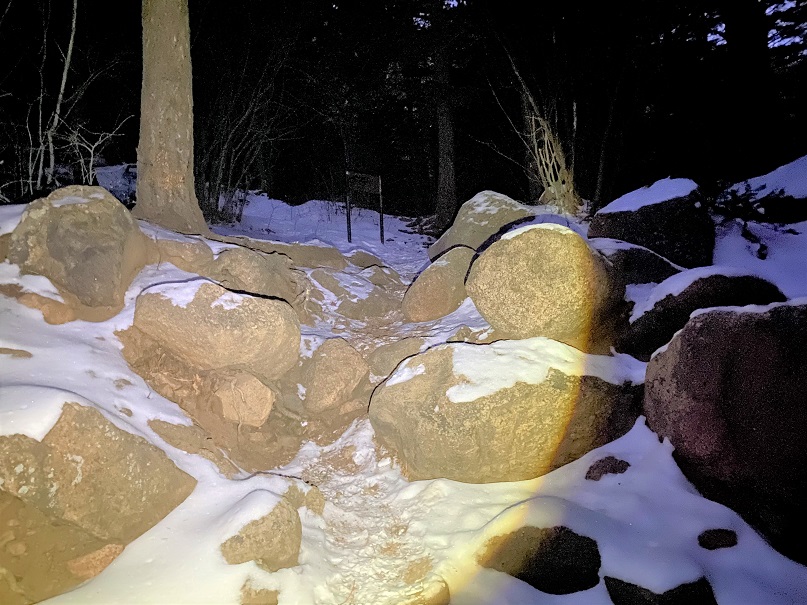
I passed through a gate and followed the road
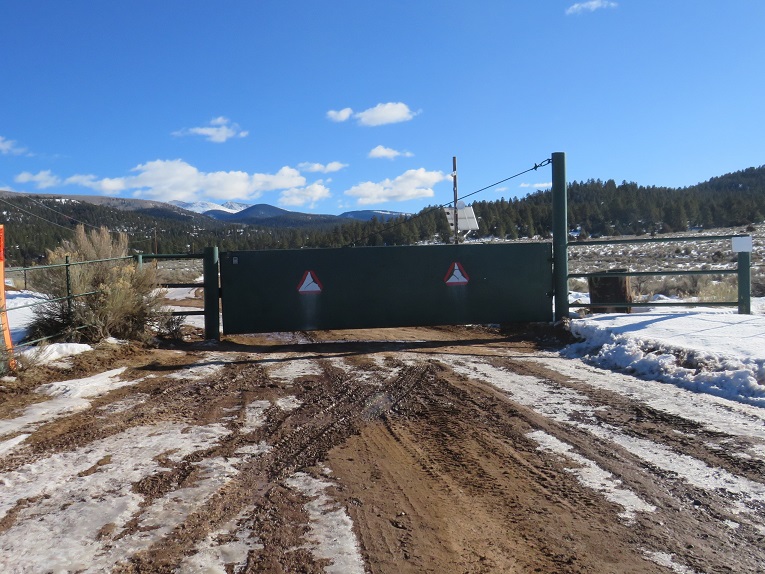
I came to a second gate, and continued on the road
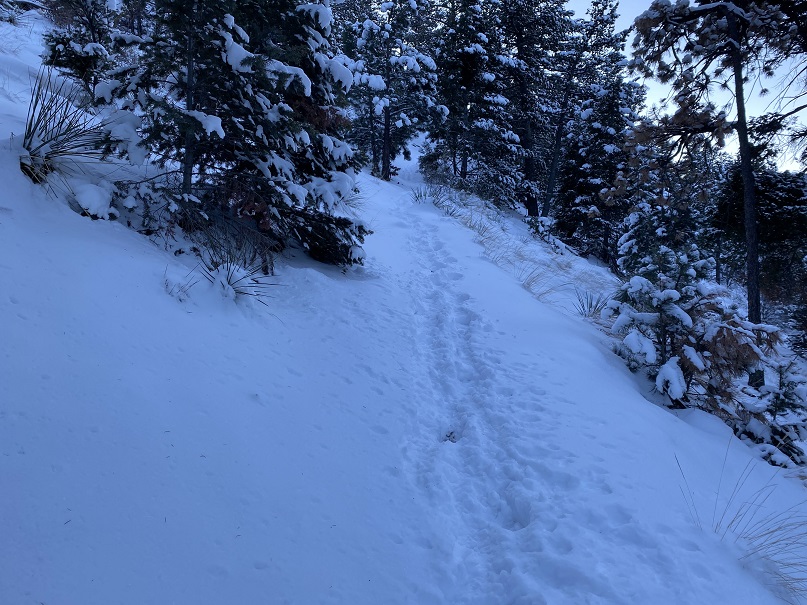
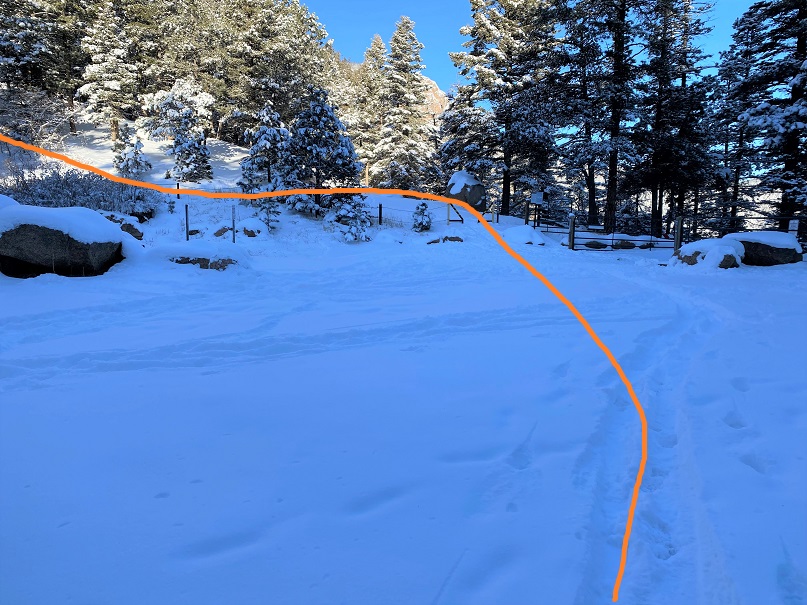
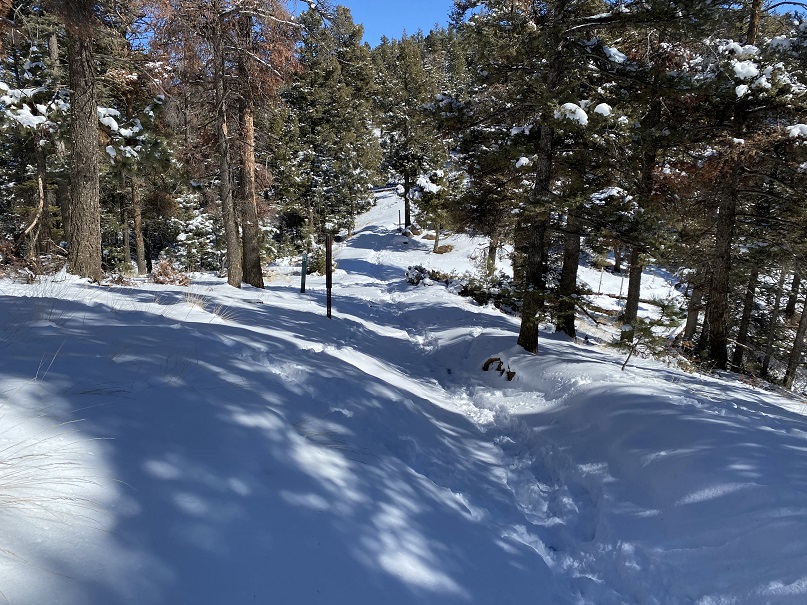
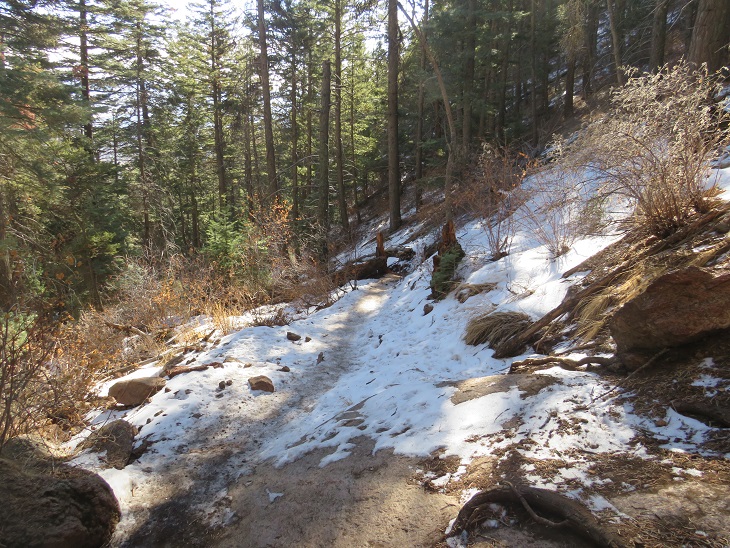
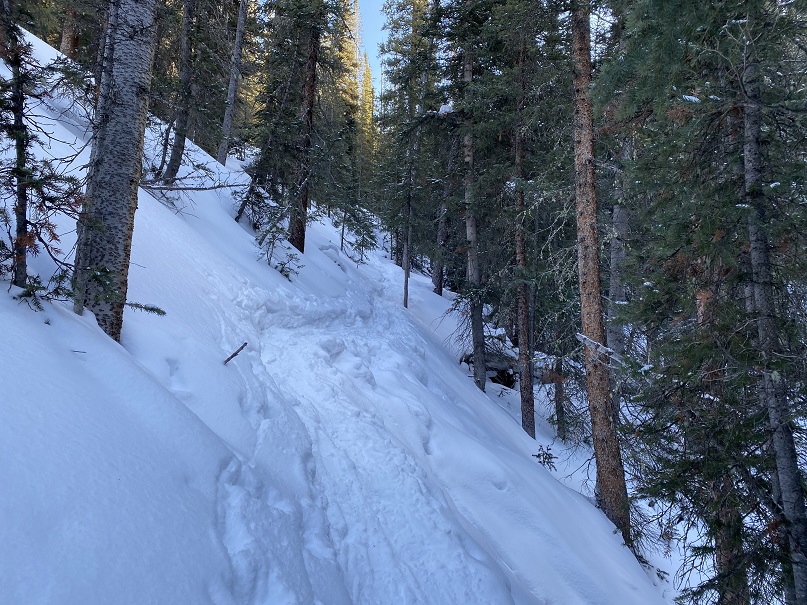
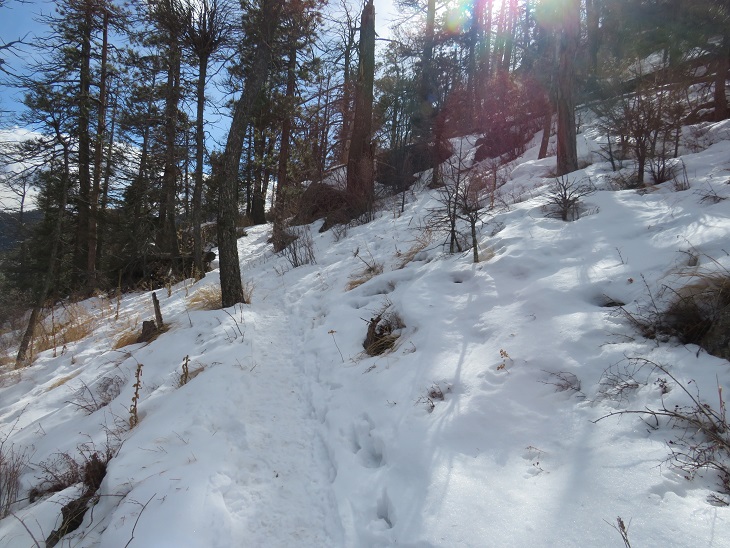
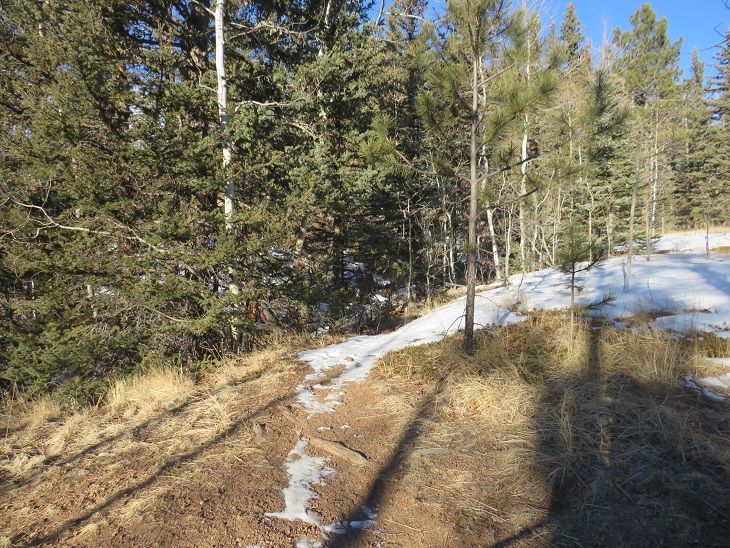
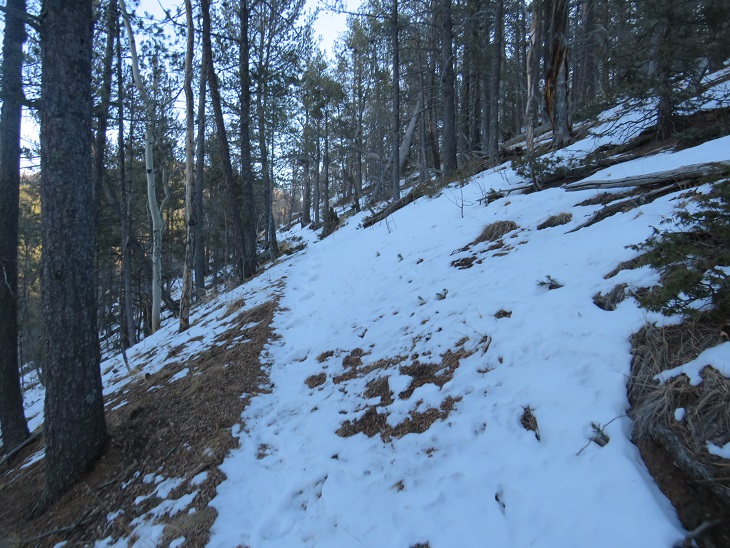
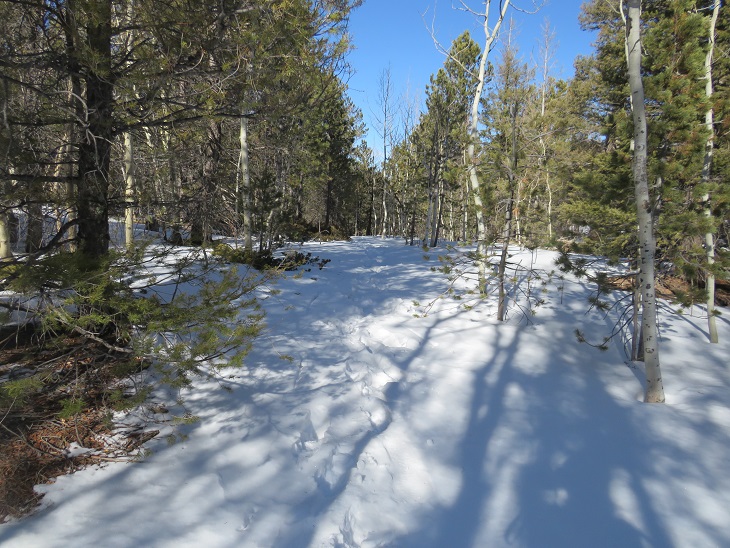
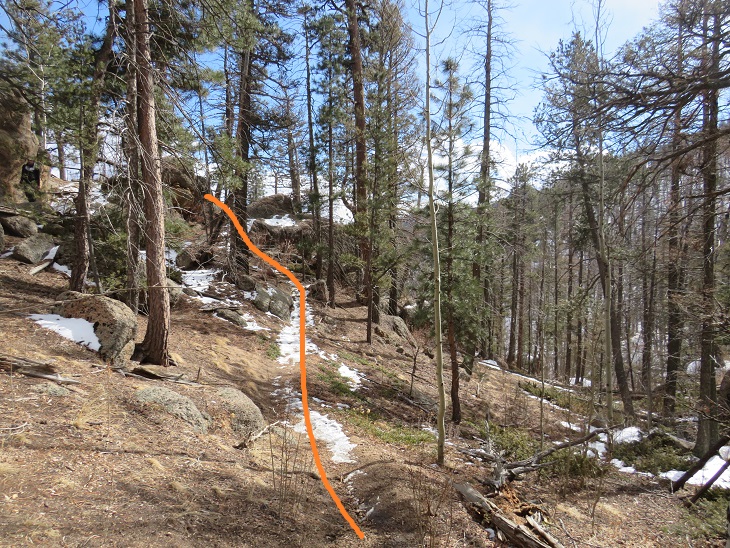
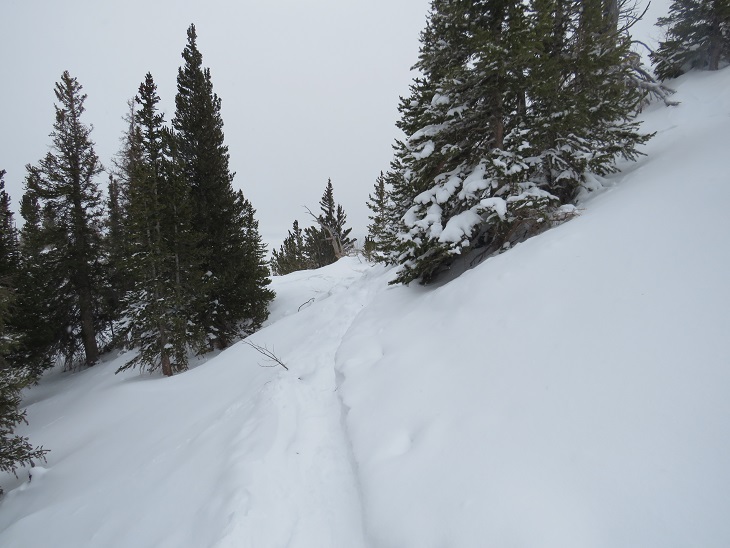
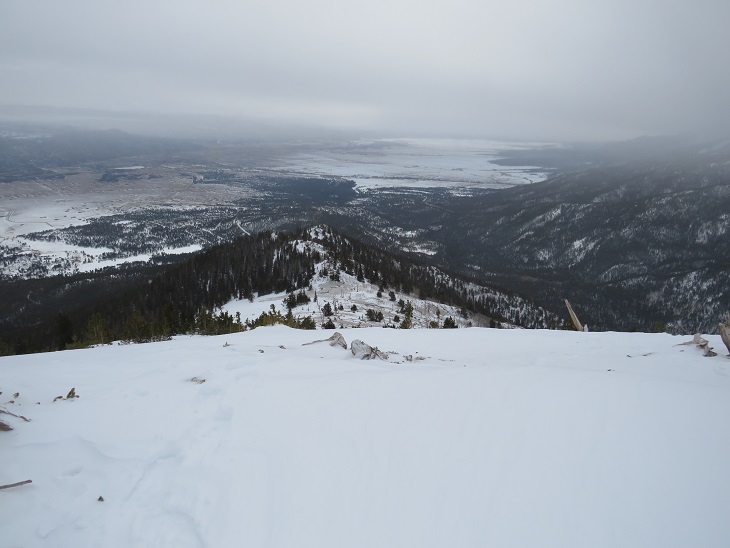
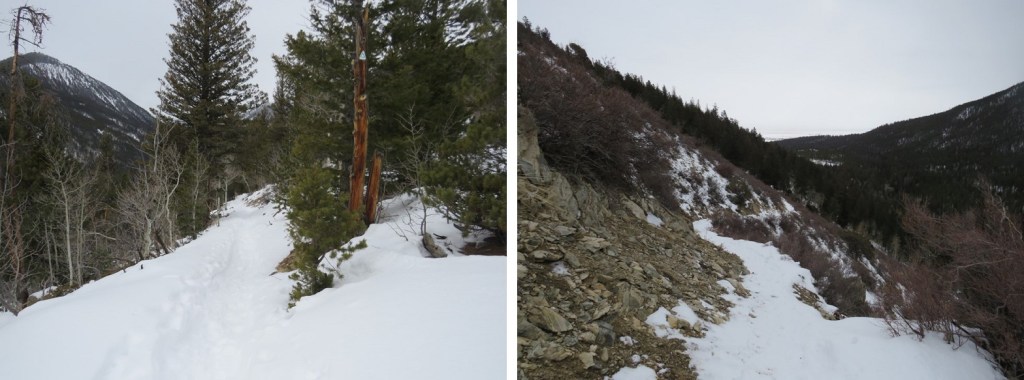
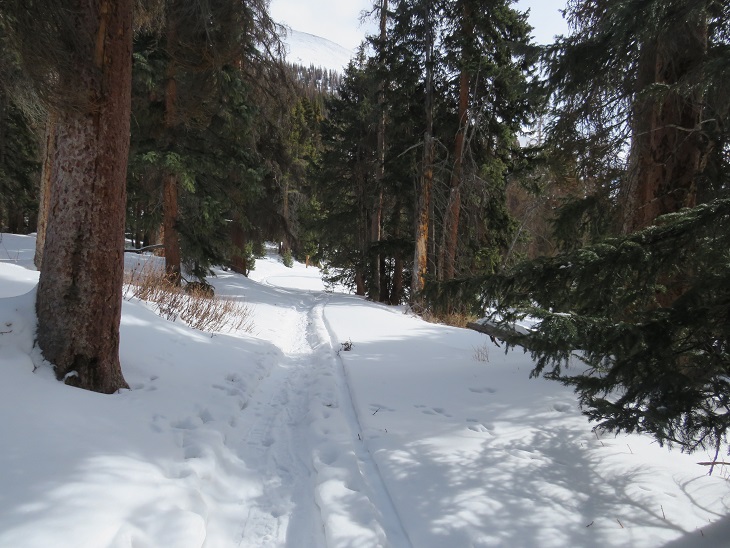
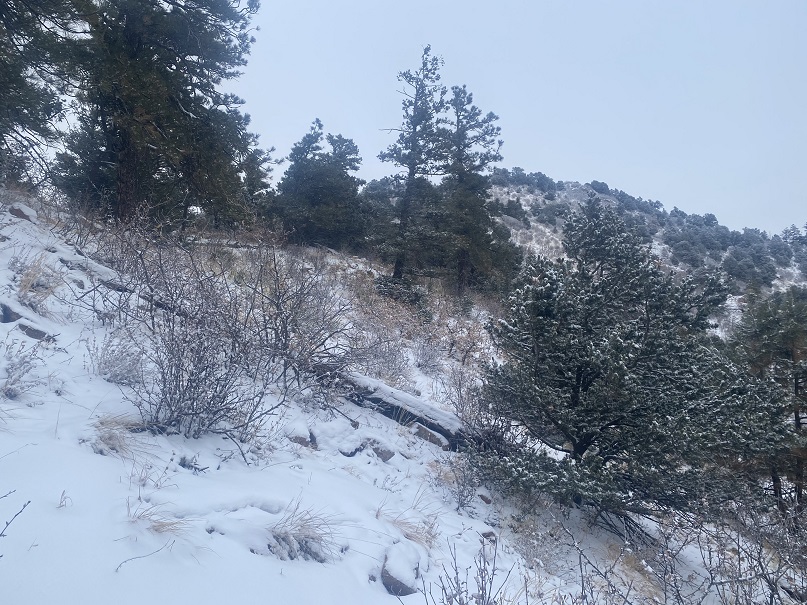
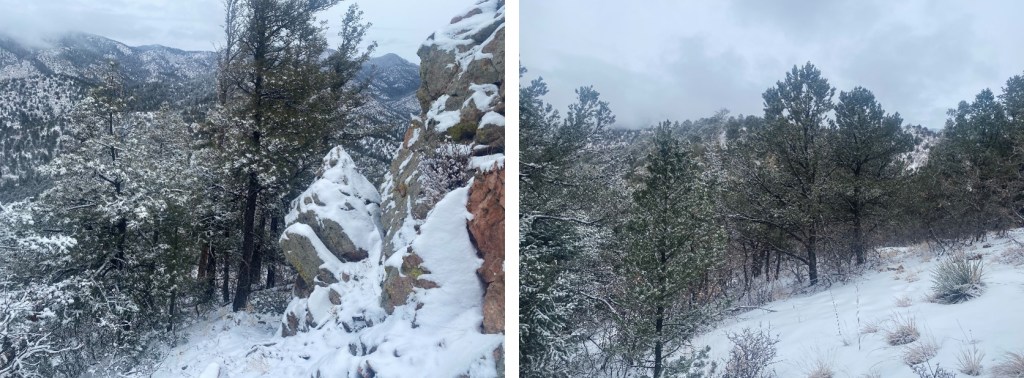
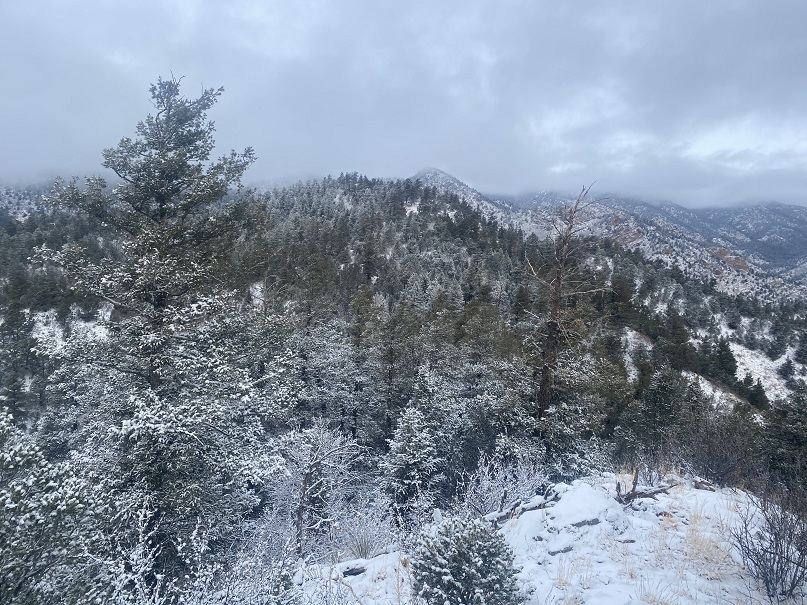
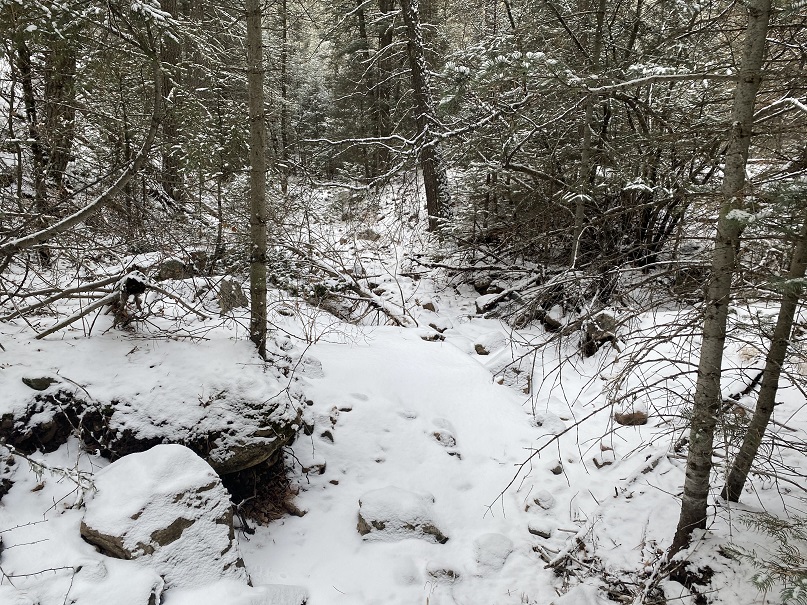
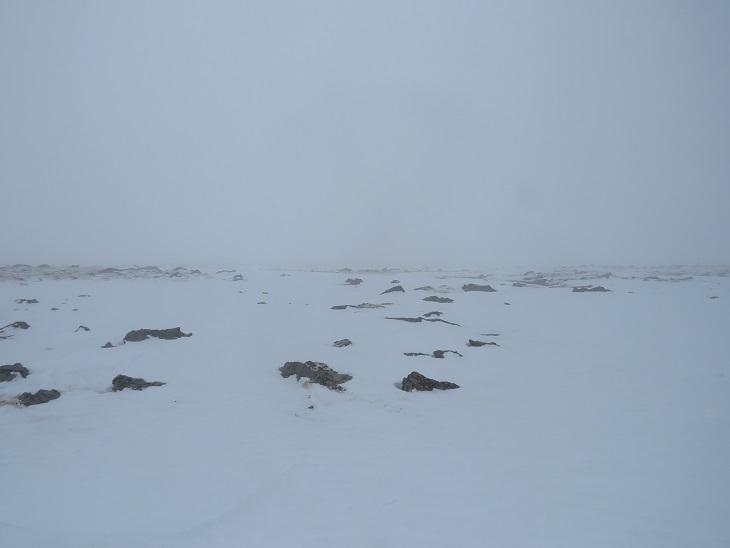
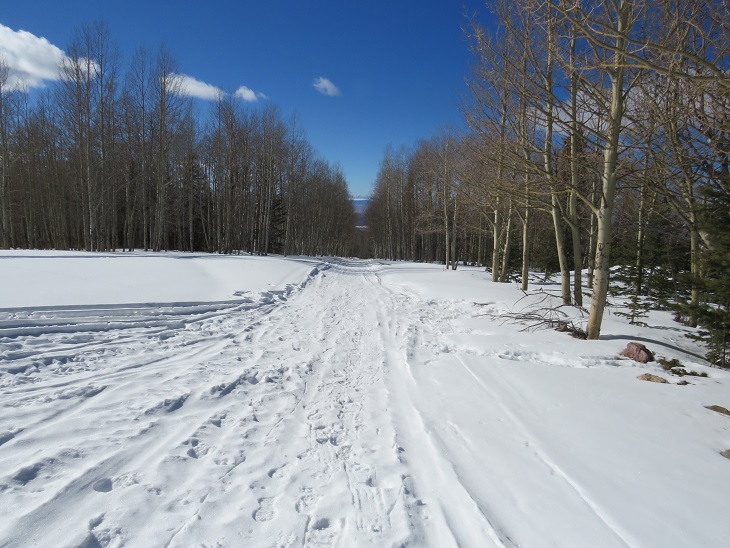
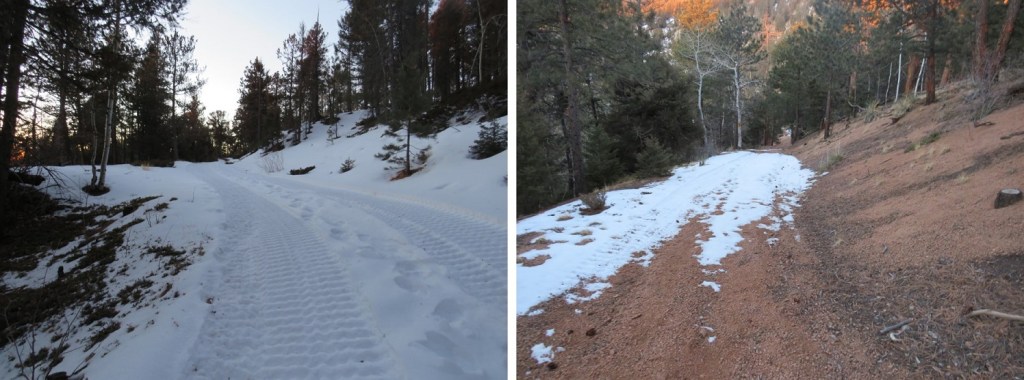
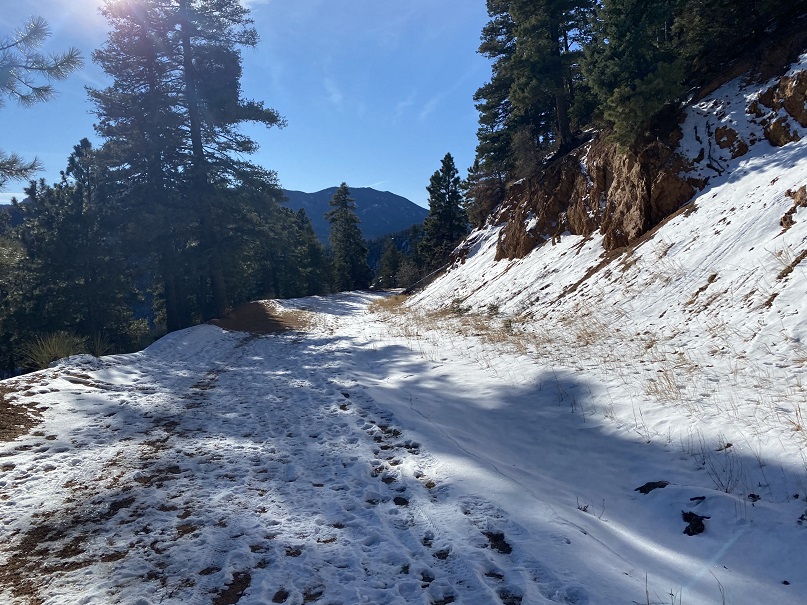
The trail follows High Drive, a dirt road, for 2.6 miles. It had recently snowed, but it seemed yesterday several skiers packed it down after the snow had subsided.
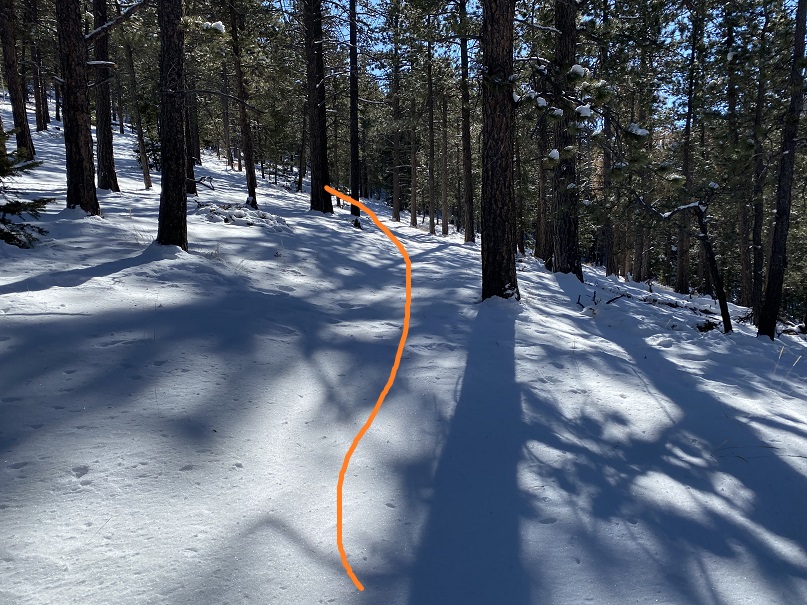
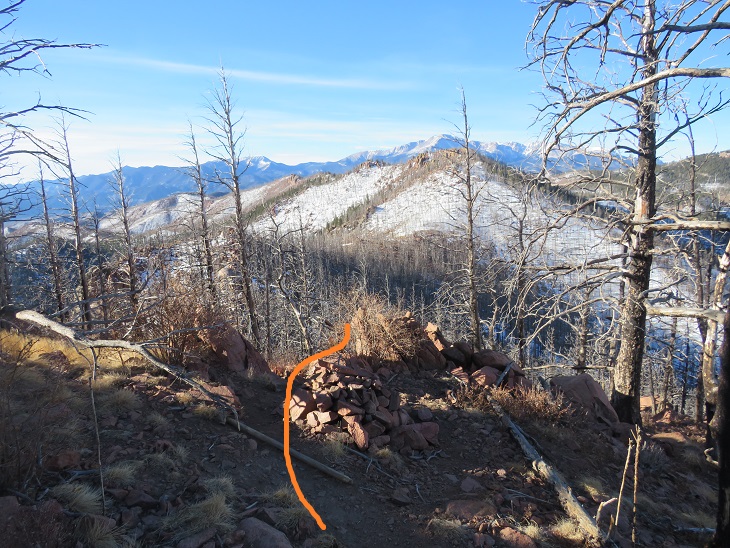
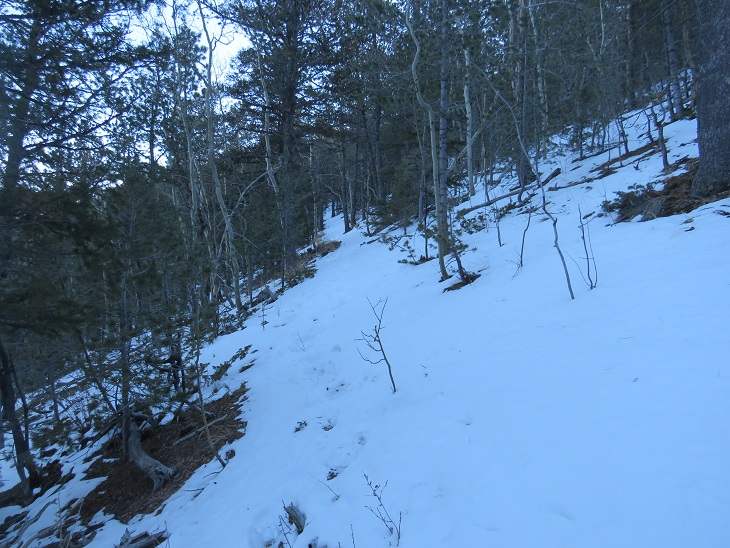
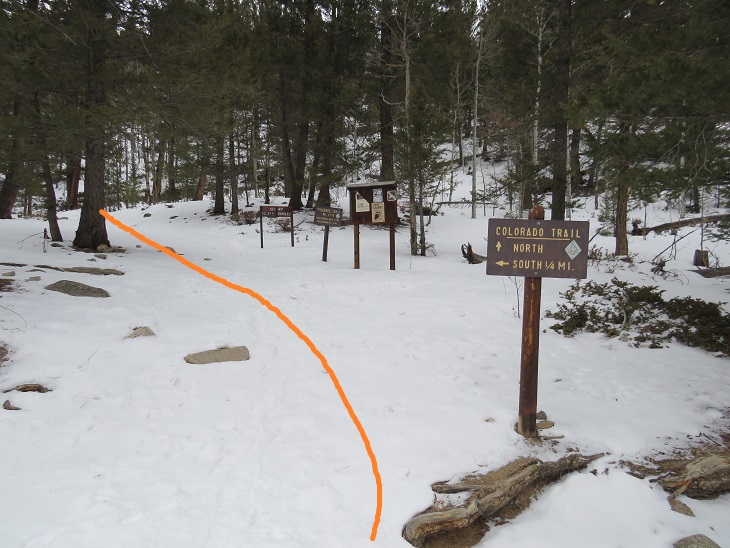
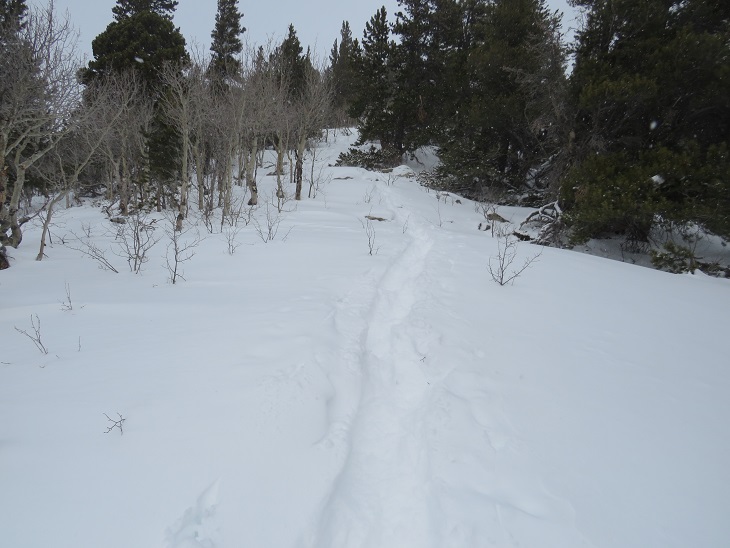
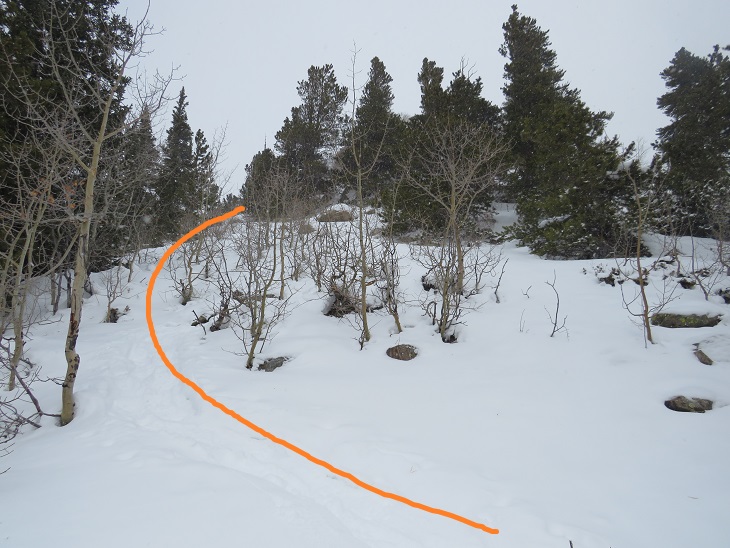
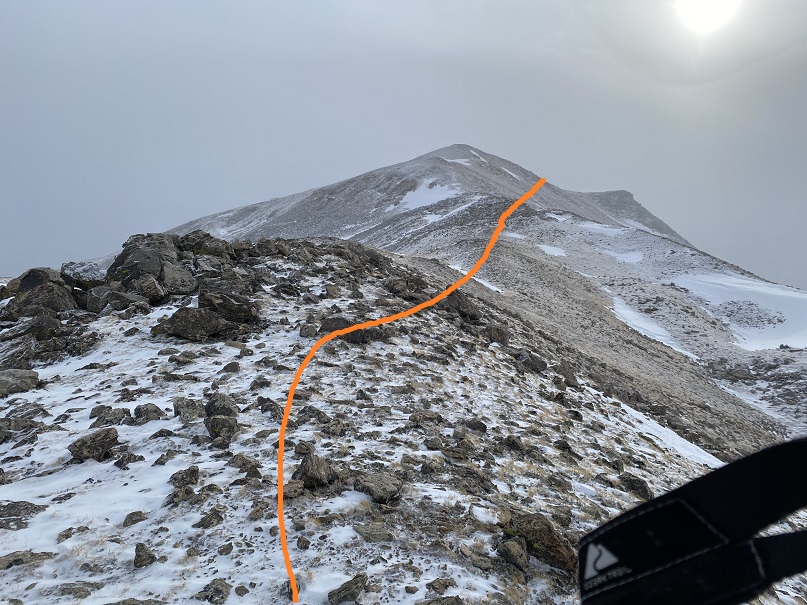
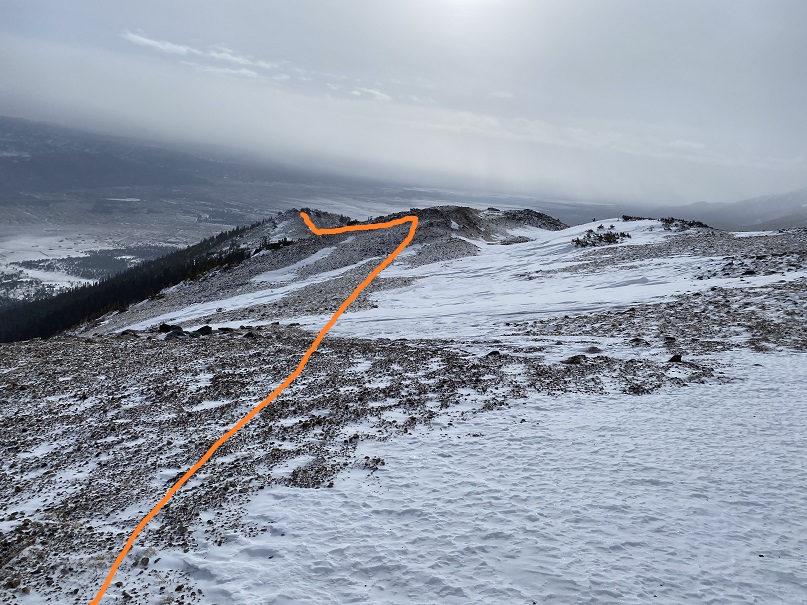
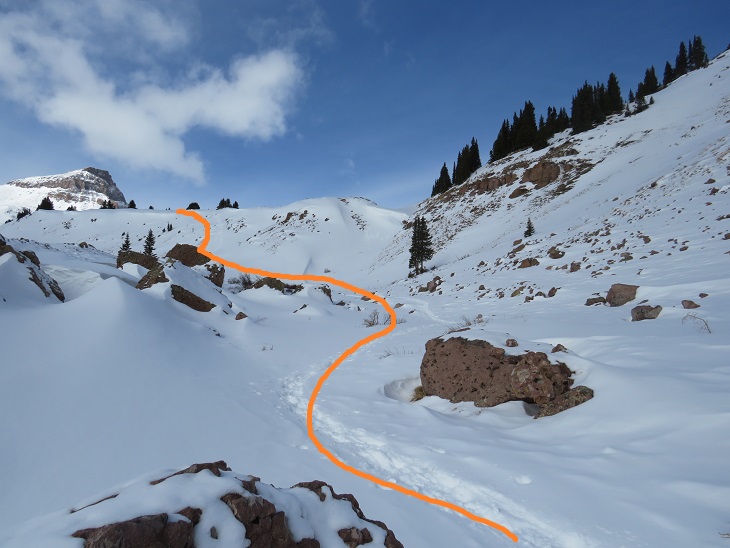
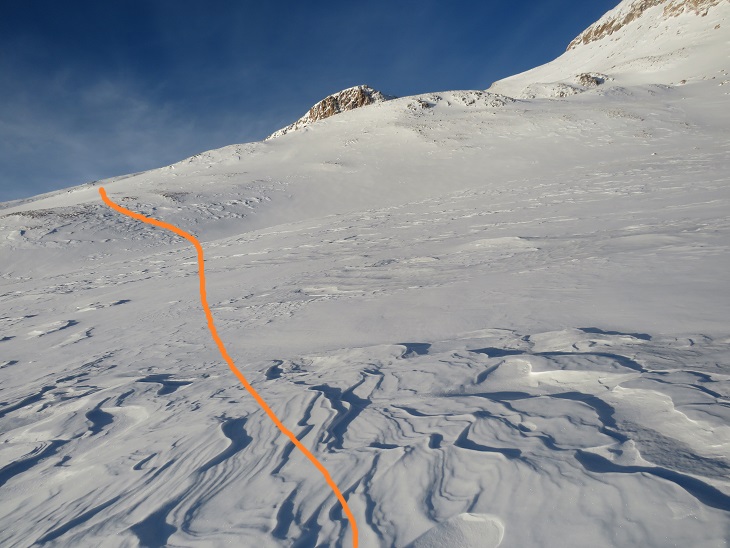
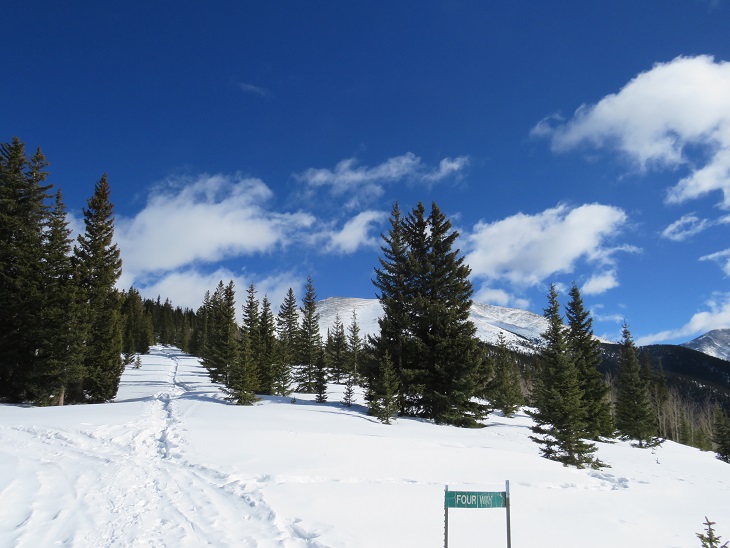
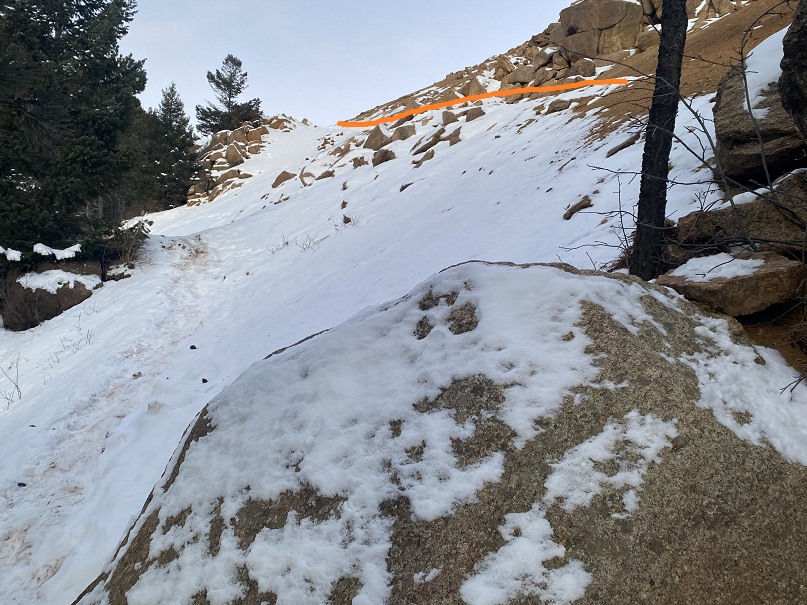
After hiking 2.6 miles I came to the saddle of Mays Peak and Mt Buckhorn (unranked). Here I turned left and was pleasantly surprised to find a boot pack on the trail to Mays Peak
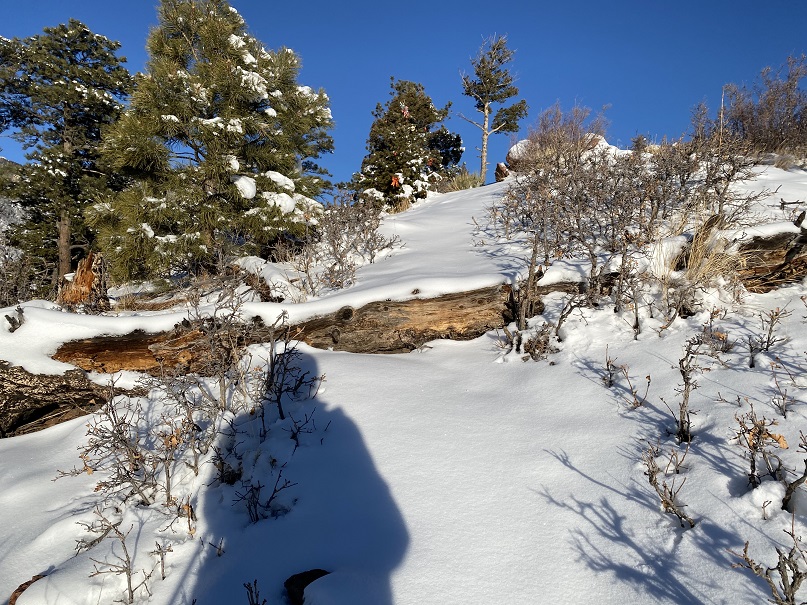
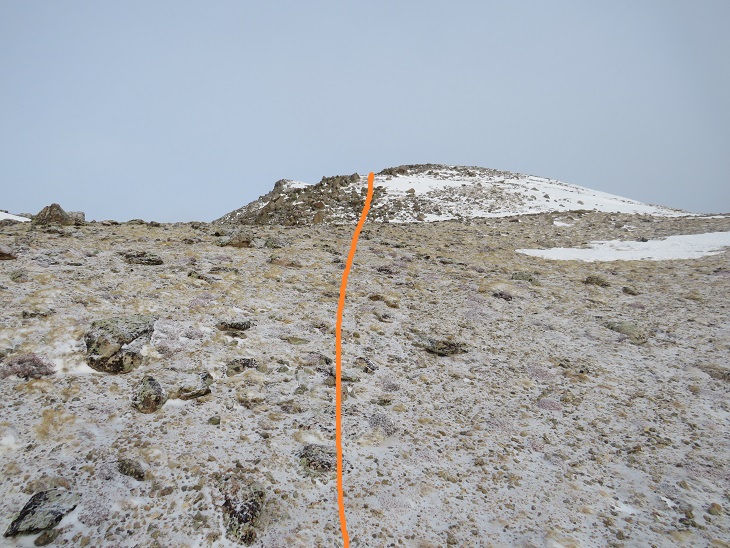
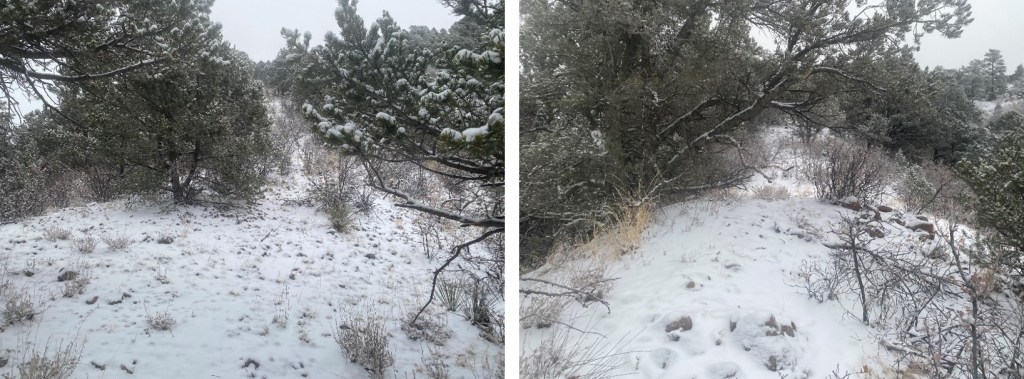
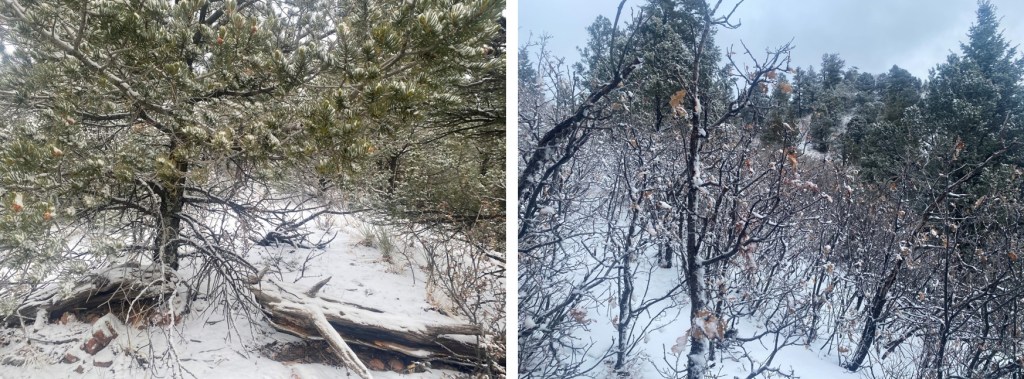
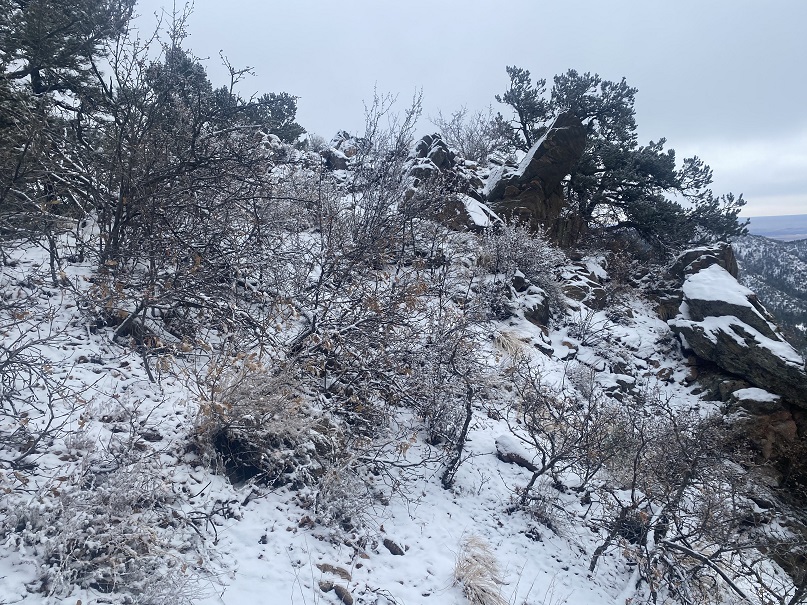
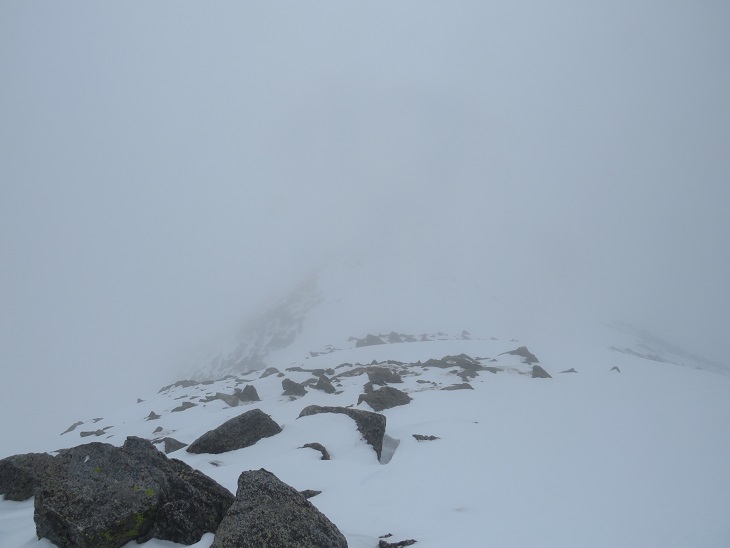
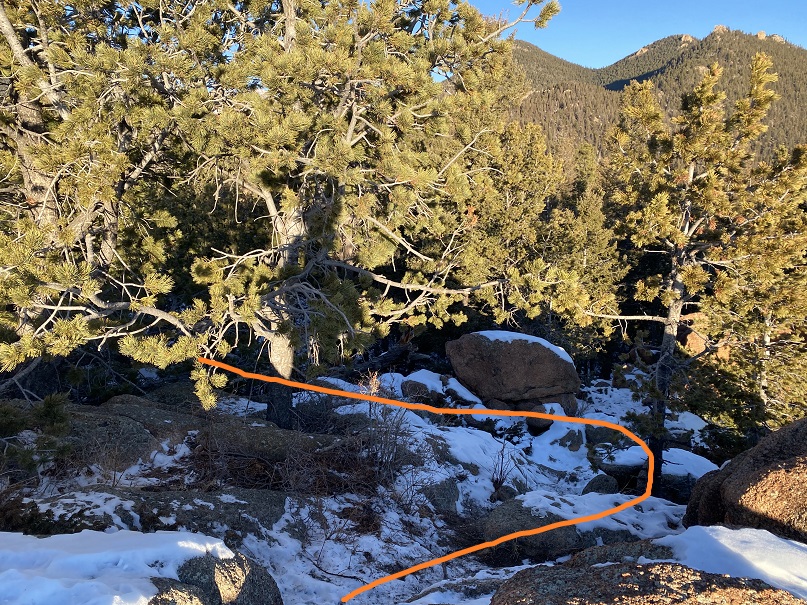
This trail didn’t go all the way to the summit, but instead wound around the mountain. At the southernmost point I left the trail and made my own trail to the summit, heading north up the hillside.
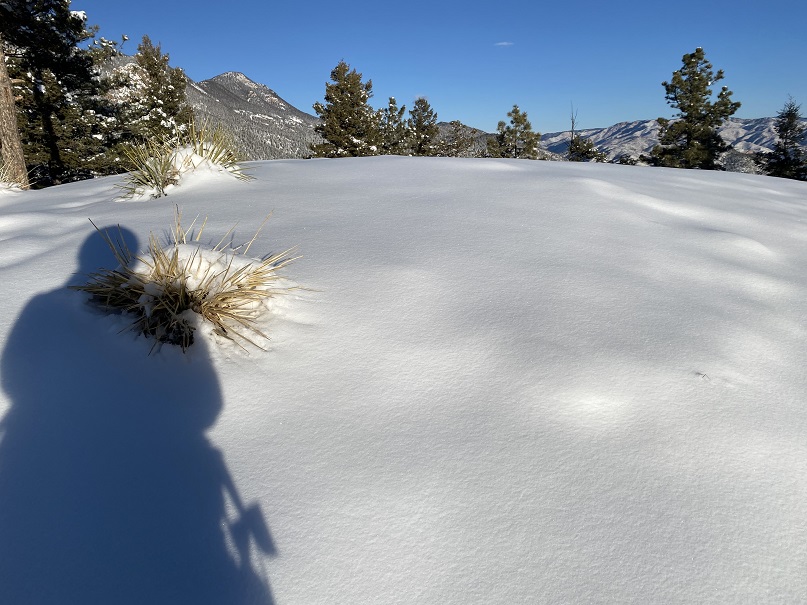
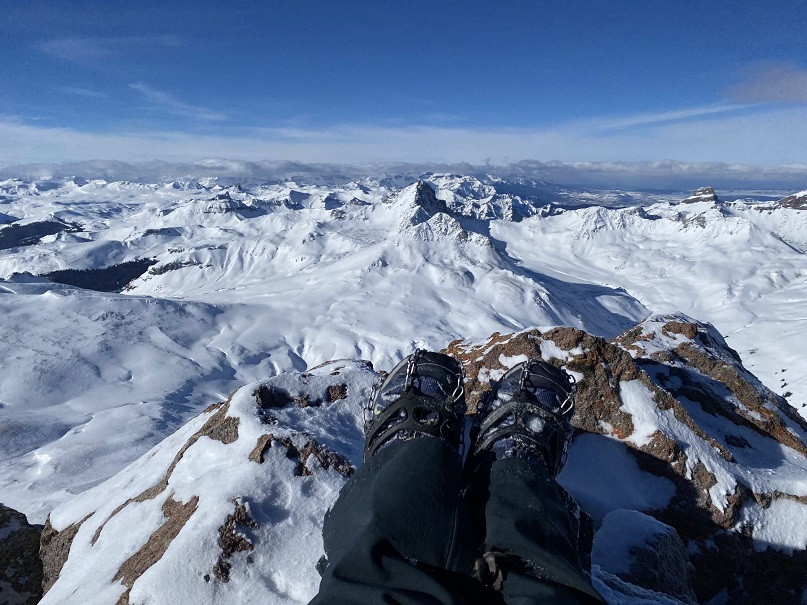
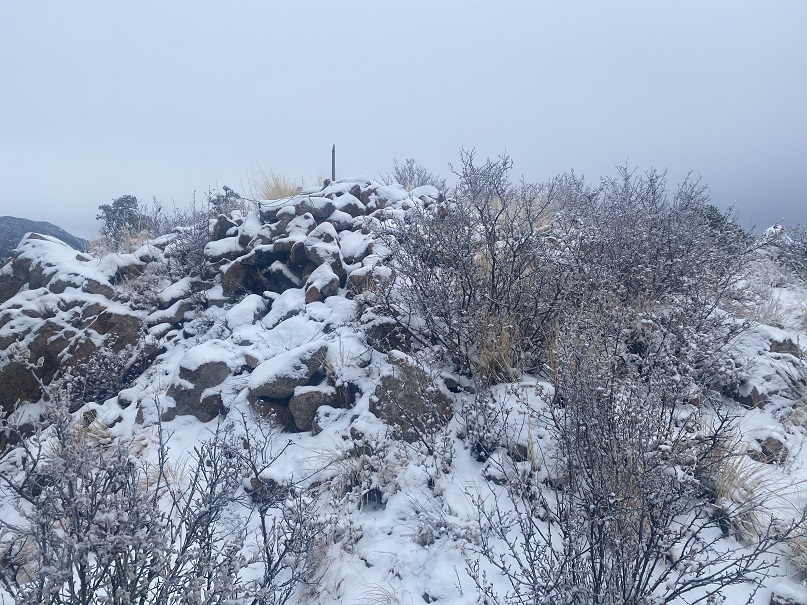
This is an easy summit, especially if you’ve summited before. No one had been here since the recent snow, so there were no tracks on the summit.
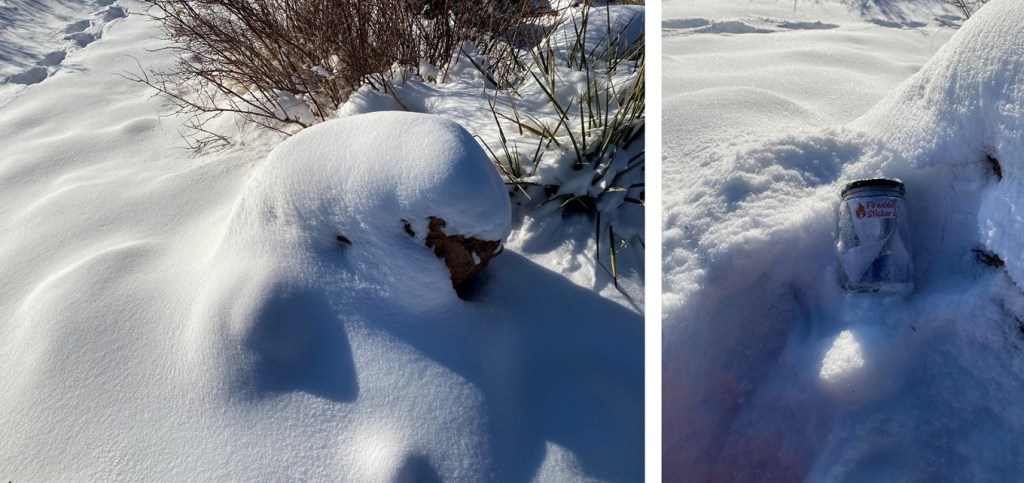
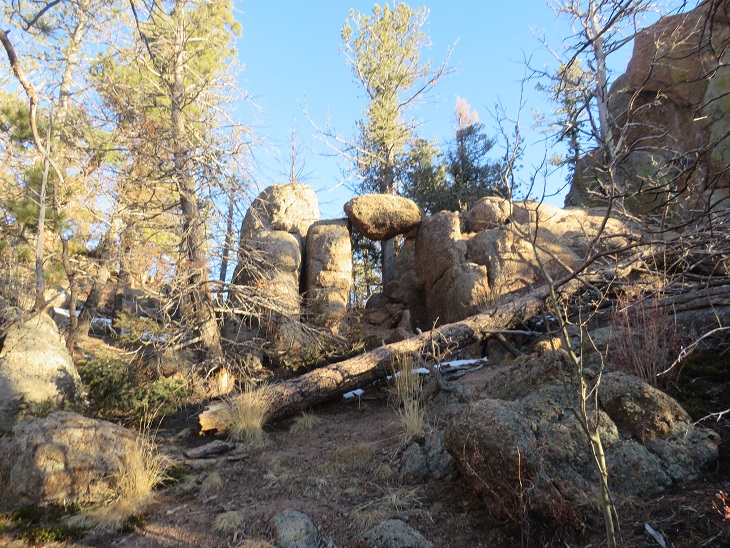
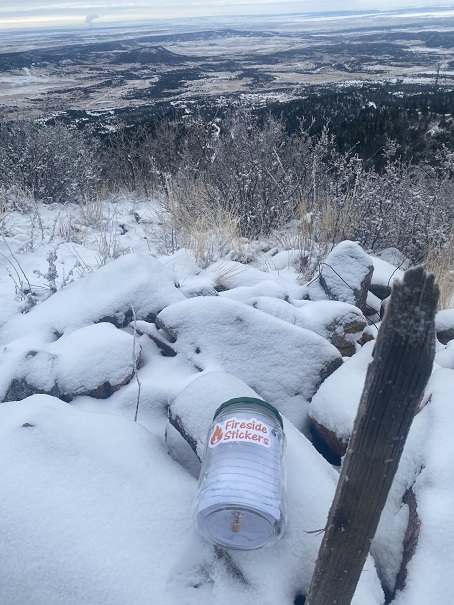
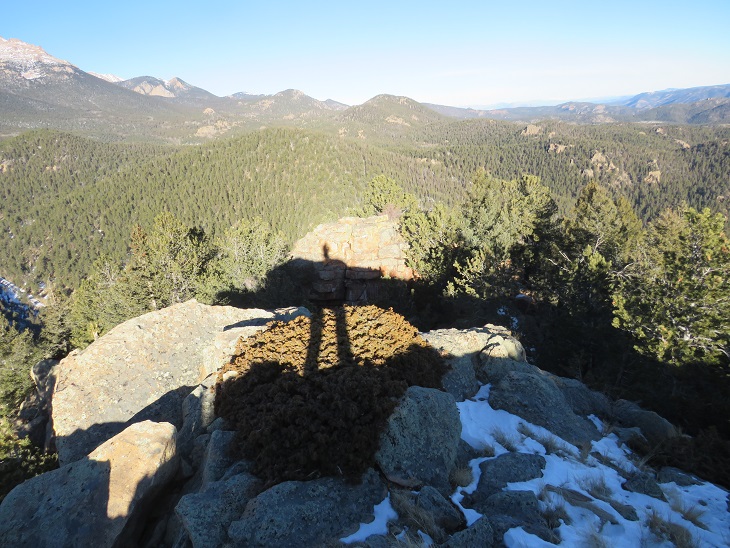
A few weeks ago I dropped a summit register off, so I went to go check on it. It was buried under some snow; I took it out and placed it on a rock. Still looking good!
The tree is still decorated for Christmas. I wonder if it’ll be decorated all year long?
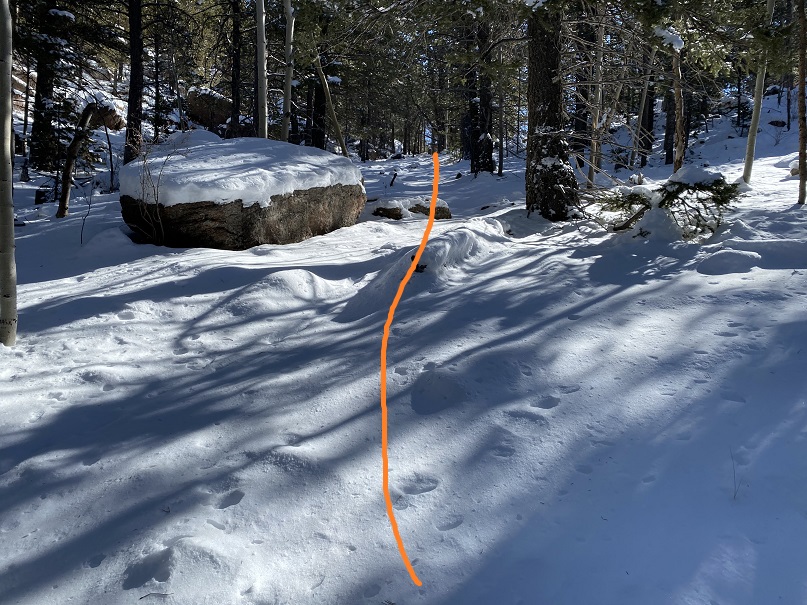
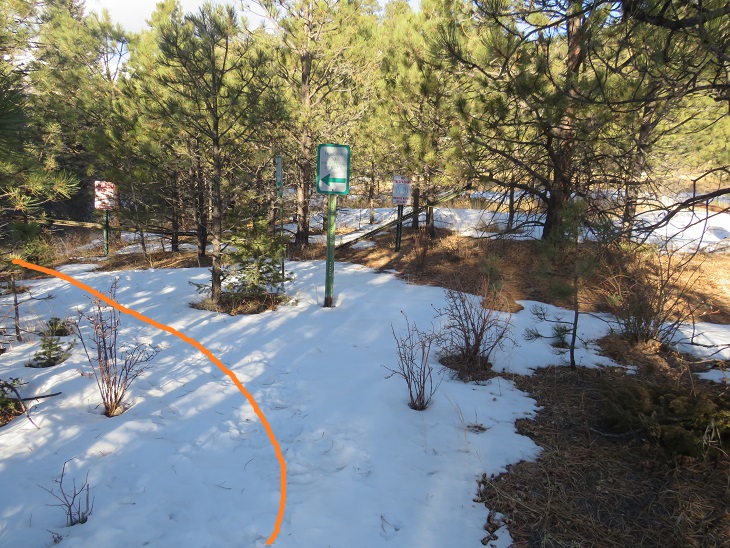
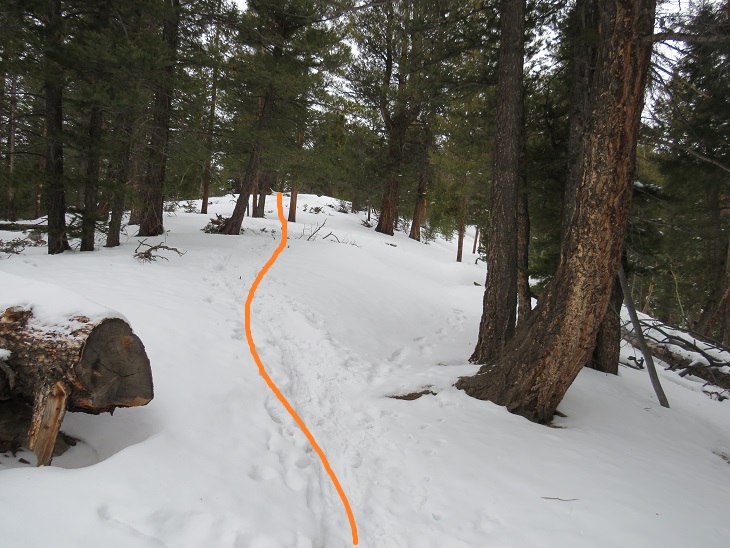
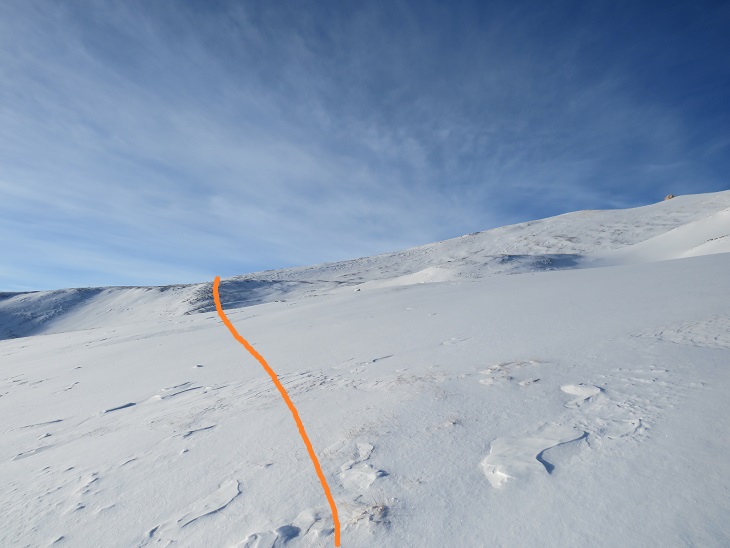
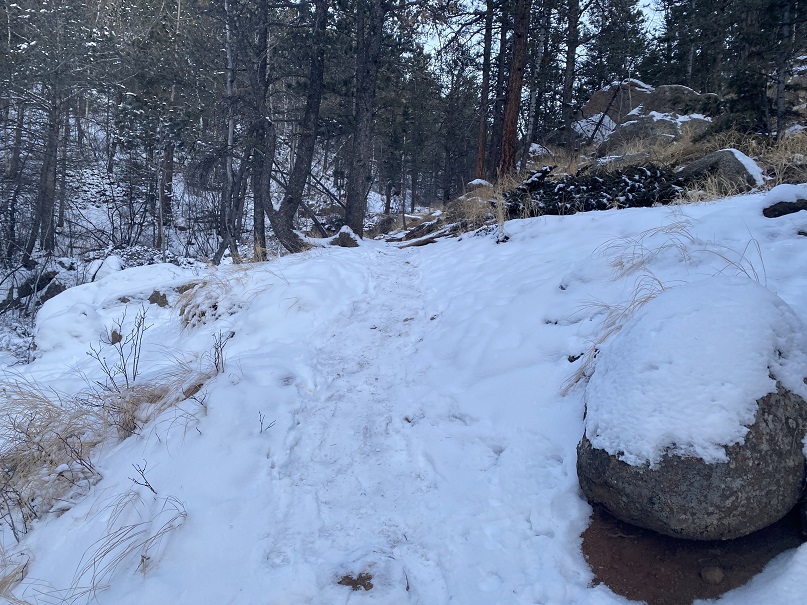
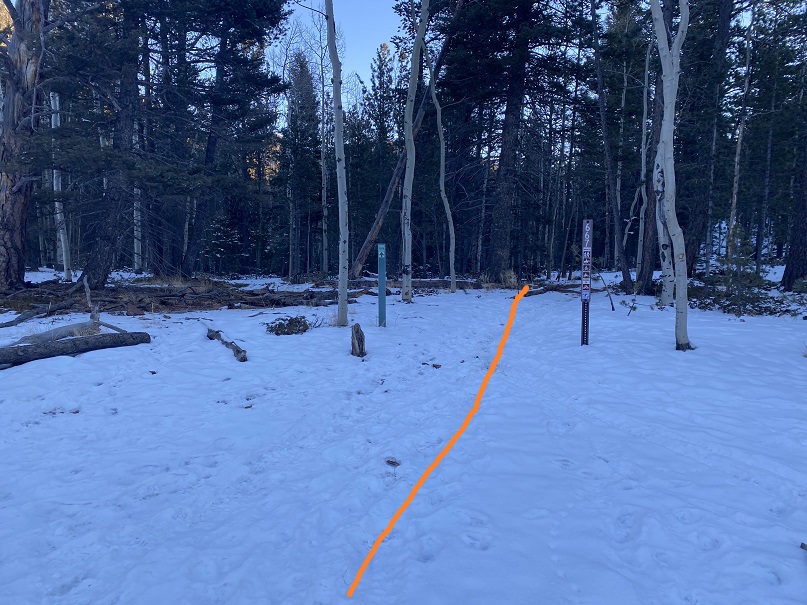
I followed my tracks back down to the trail, and to the Buckskin/Mays Saddle
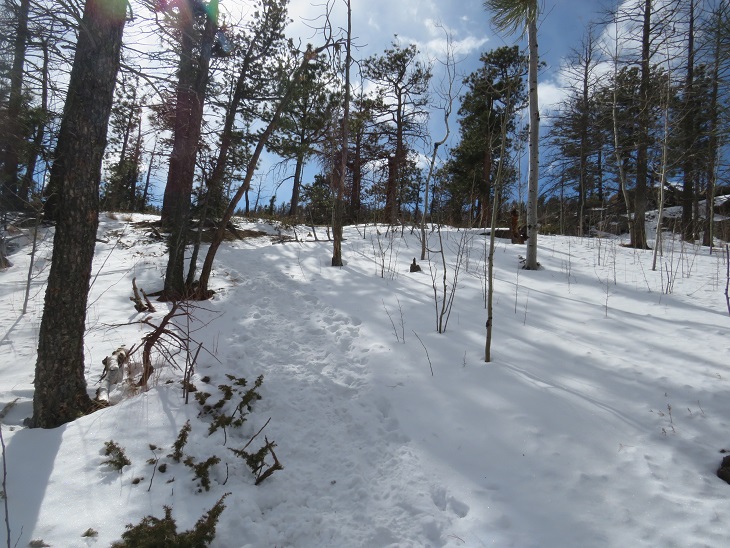
From the saddle I took Trail 667 southwest
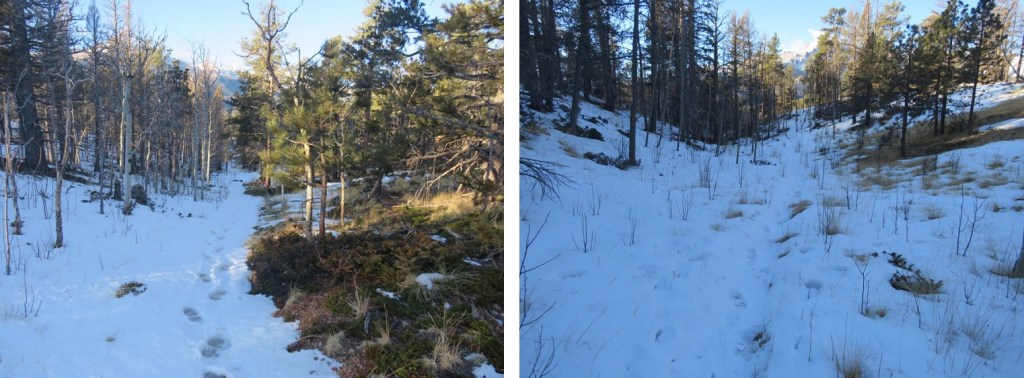
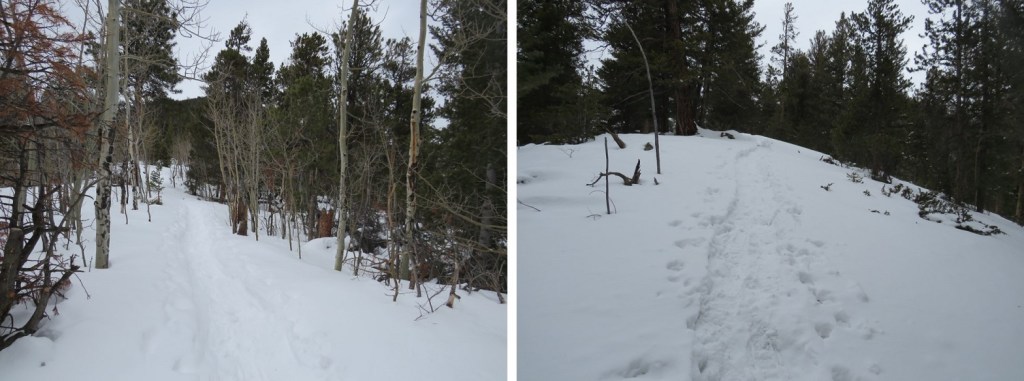
I was delighted to find this trail also had a boot pack
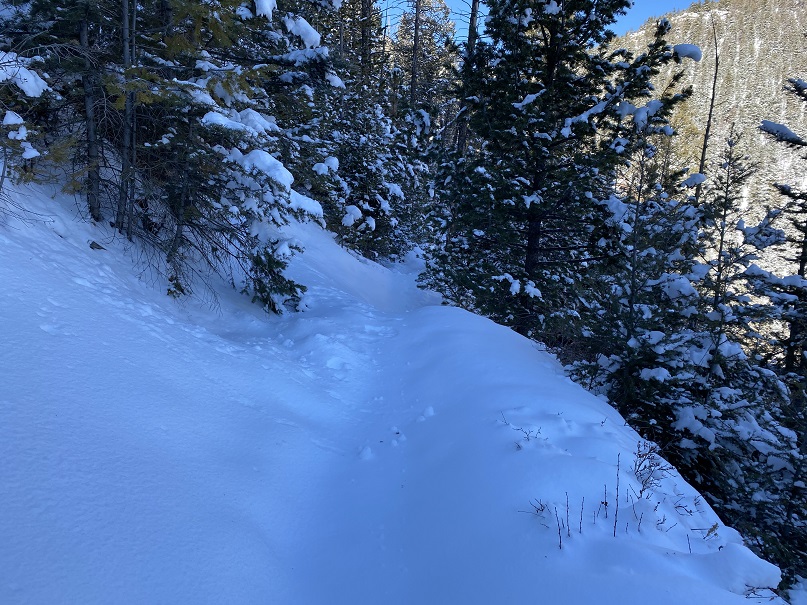
Well, at least it had tracks for a little while. It seems the hiker ahead of me at some point got tired of trenching and turned around. So I started trenching.
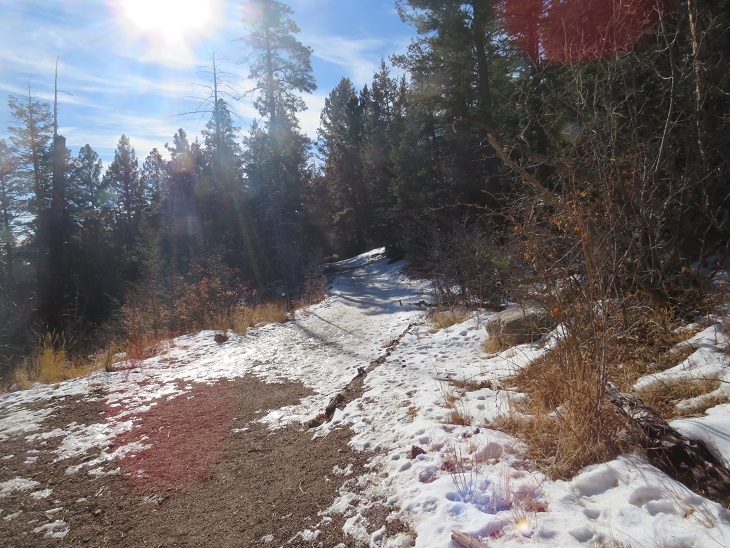
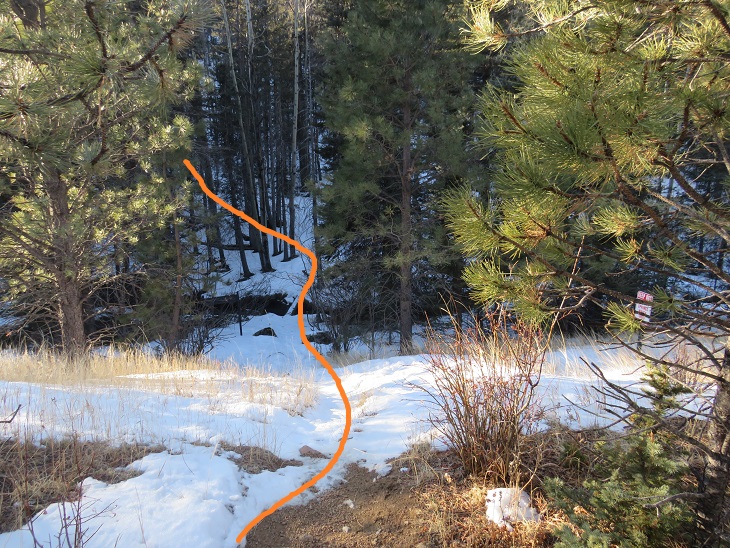
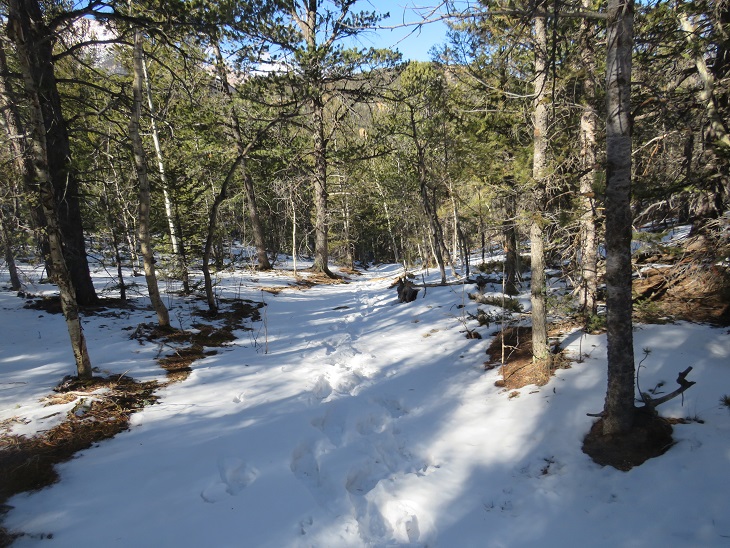
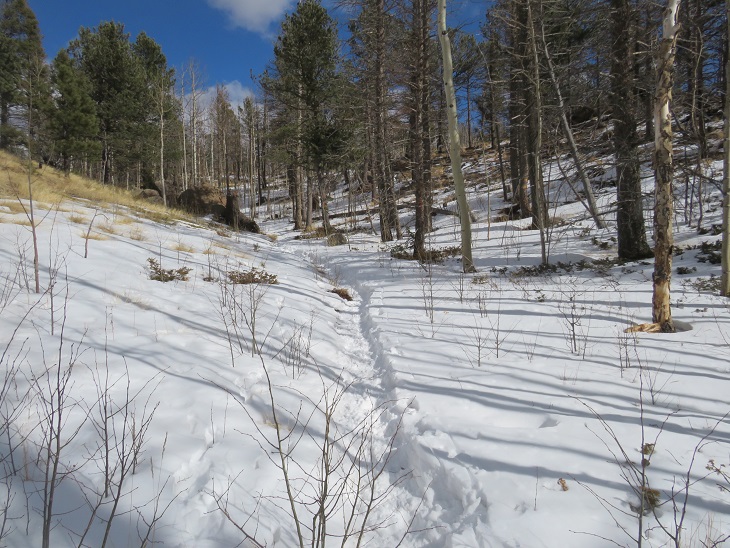
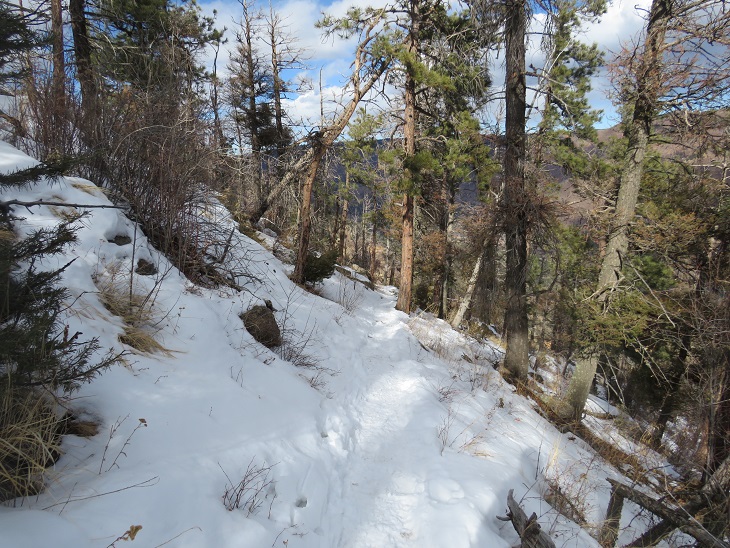
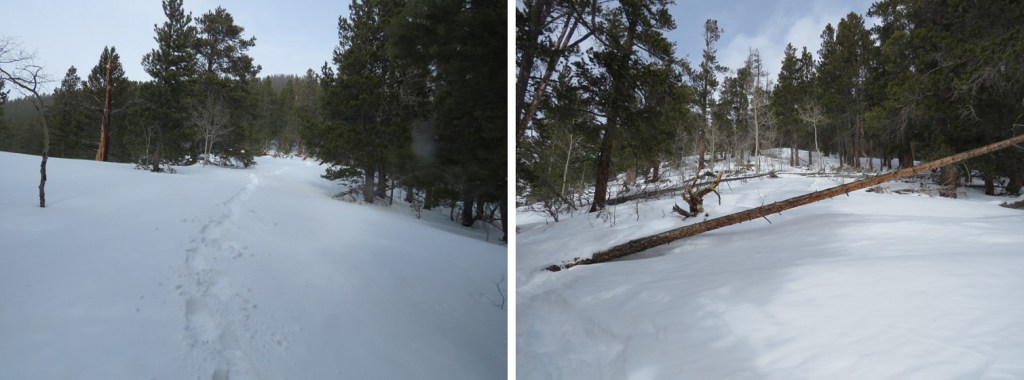
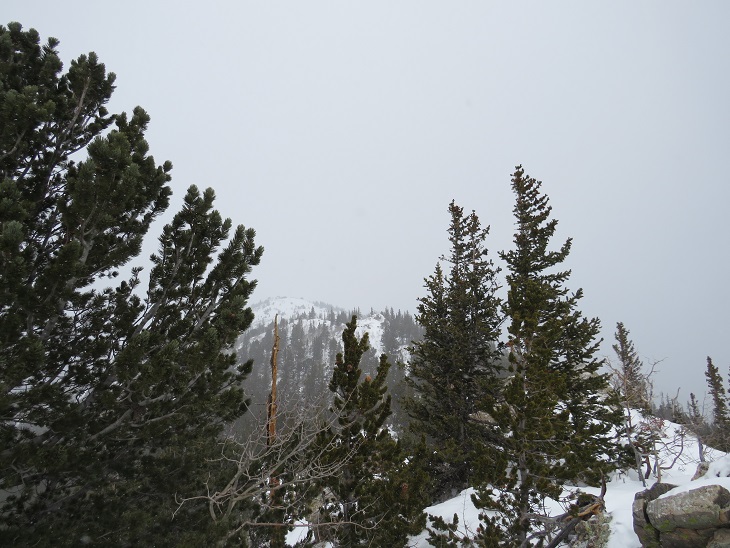
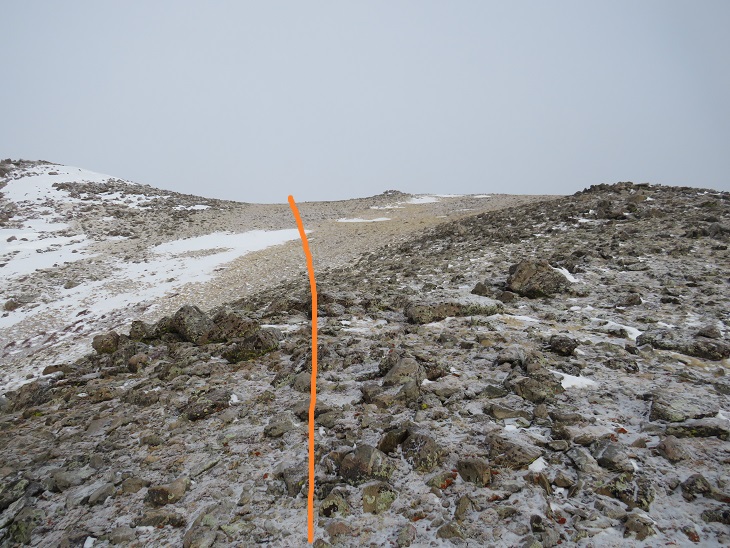
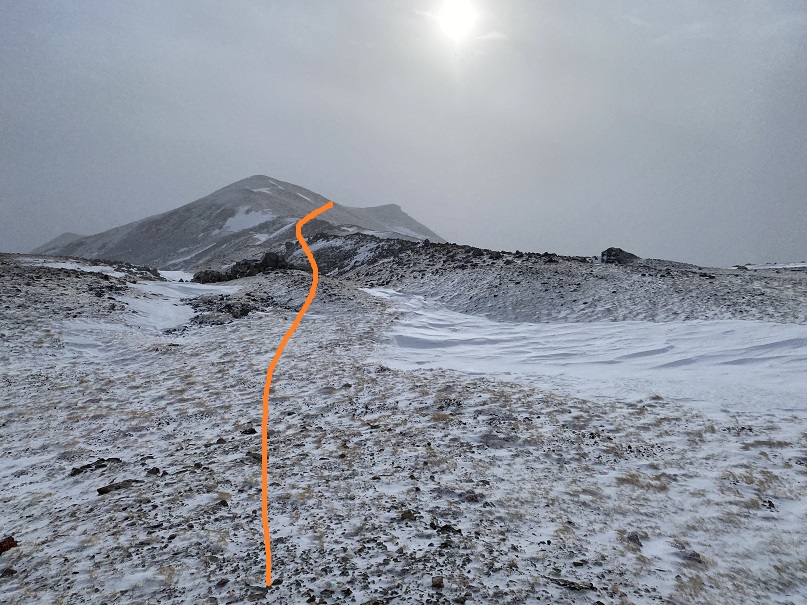
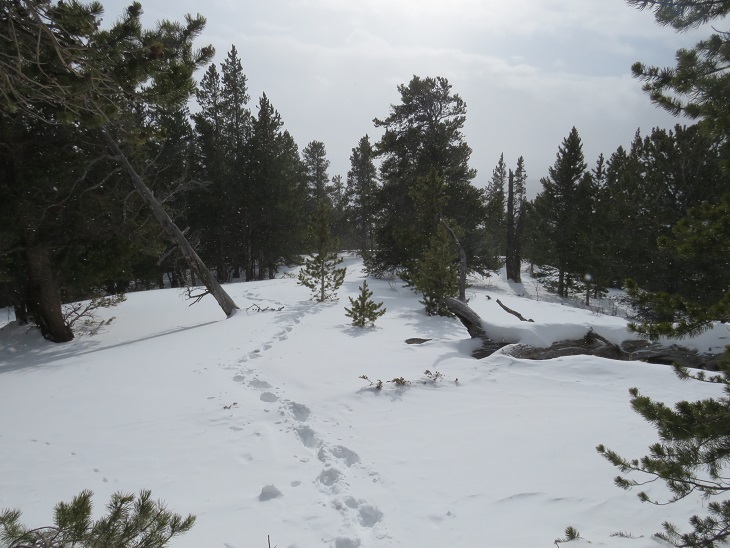
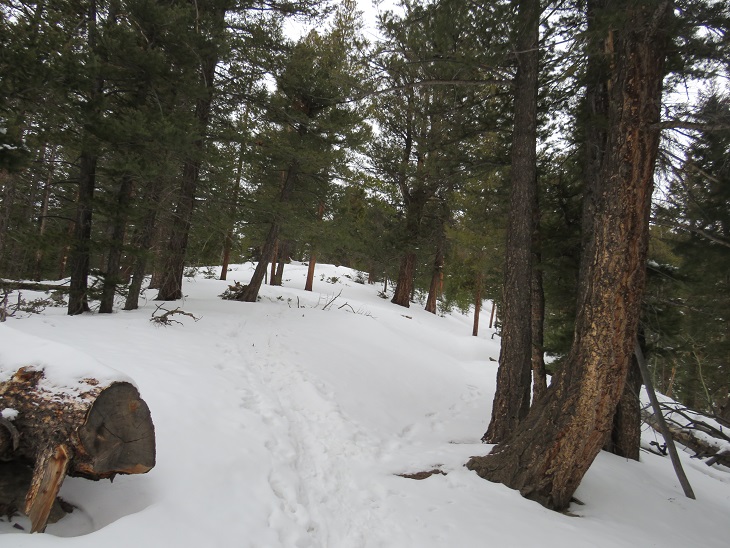
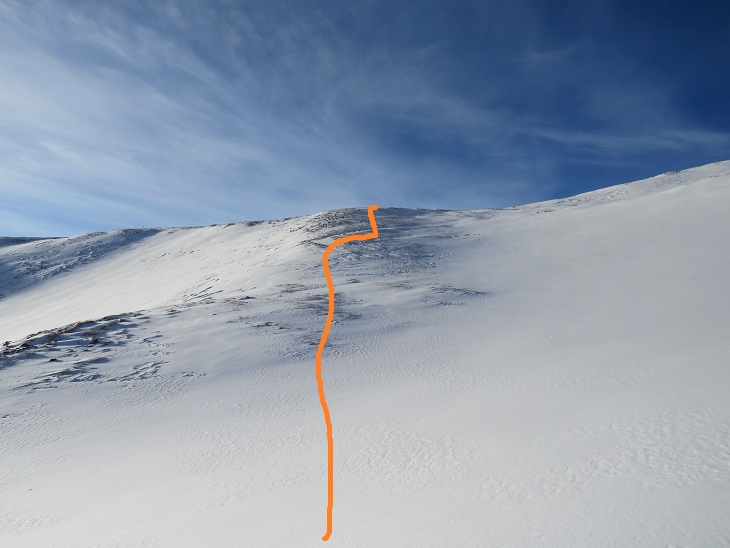
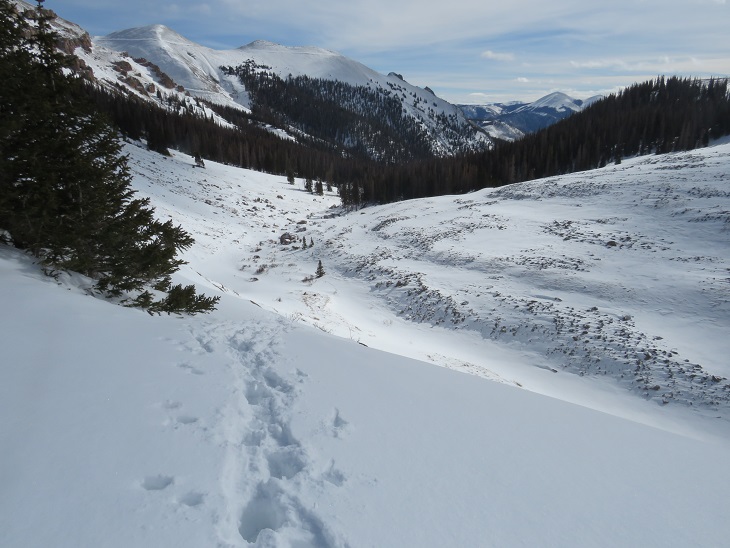
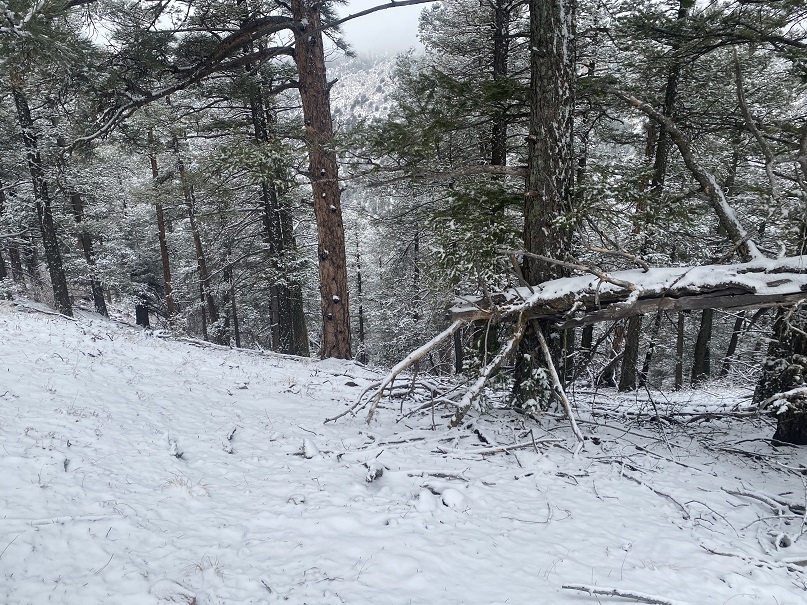
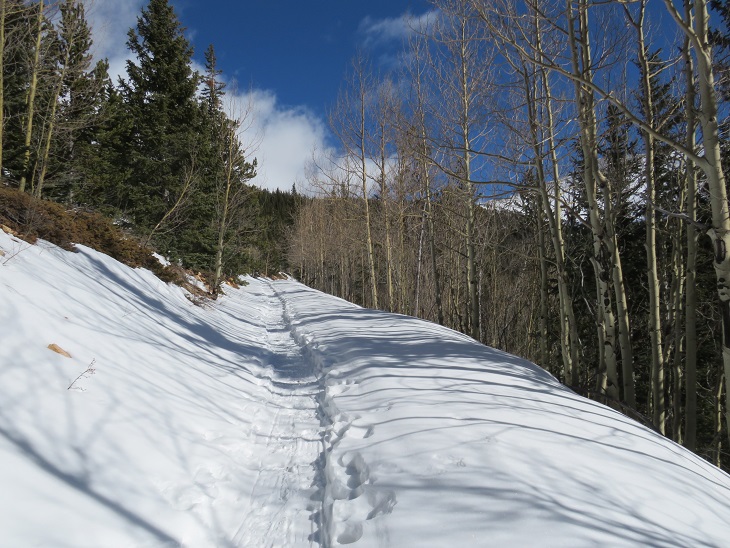
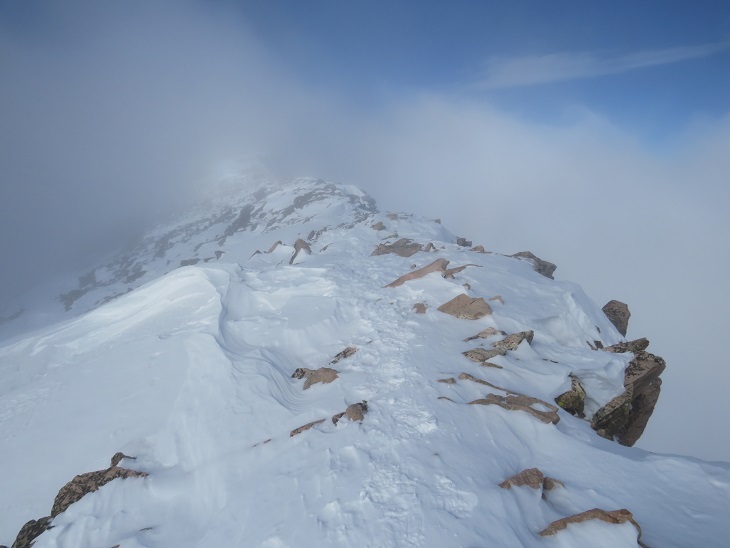
I followed/trenched Trail 667 for 3 miles, until I made it to the 668/622/667 Junction. Here I turned left and headed east towards the summit of Kineo Mountain.
Did I mention the wind? It was very windy all day, even though I was below treeline. Since it had snowed recently, the wind blew all the snow off the trees. This snow kept hitting me in the face.
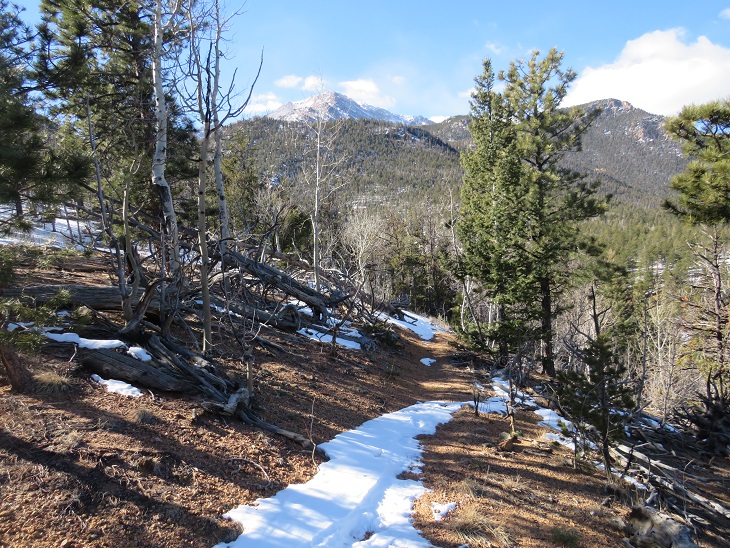
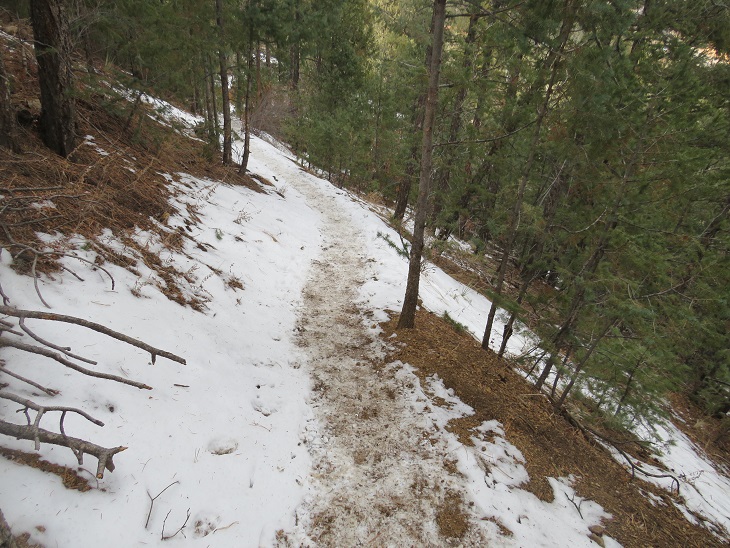
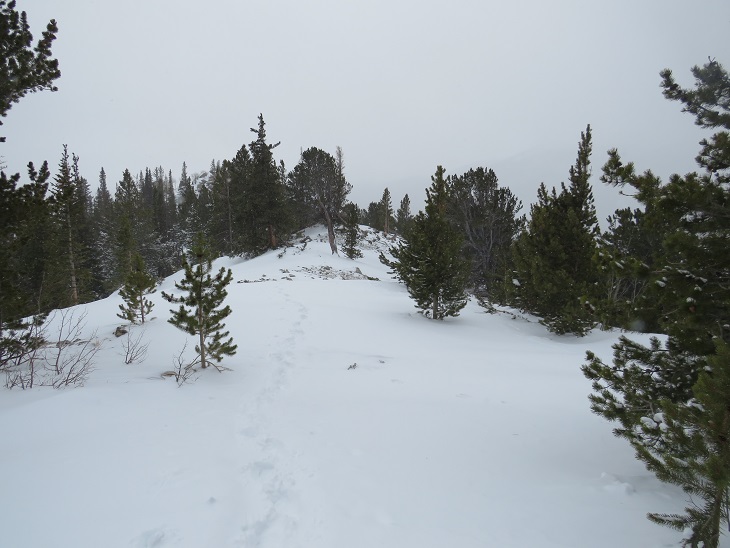
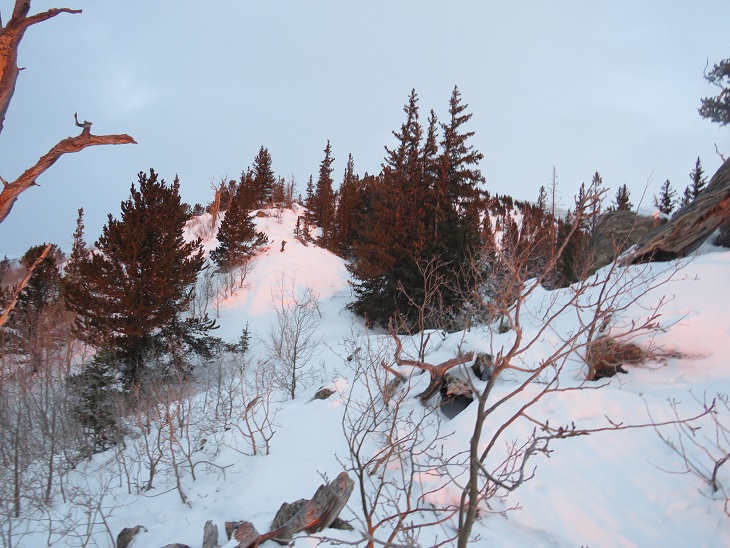
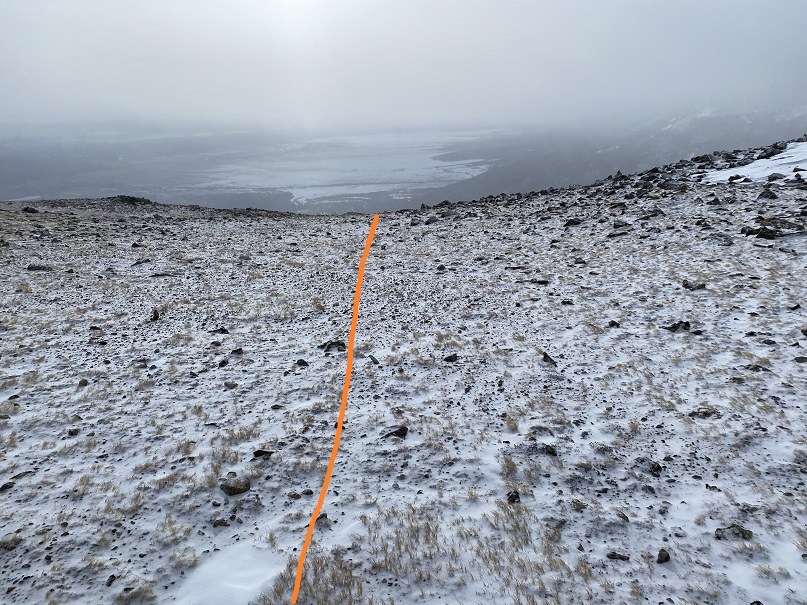
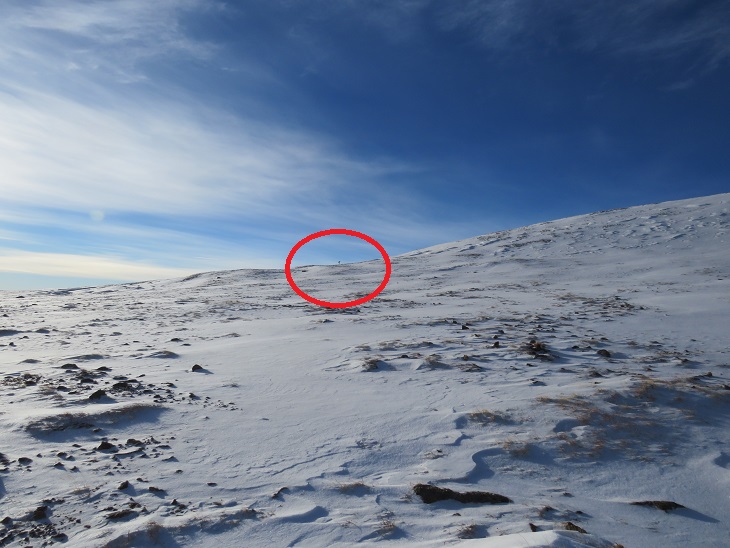
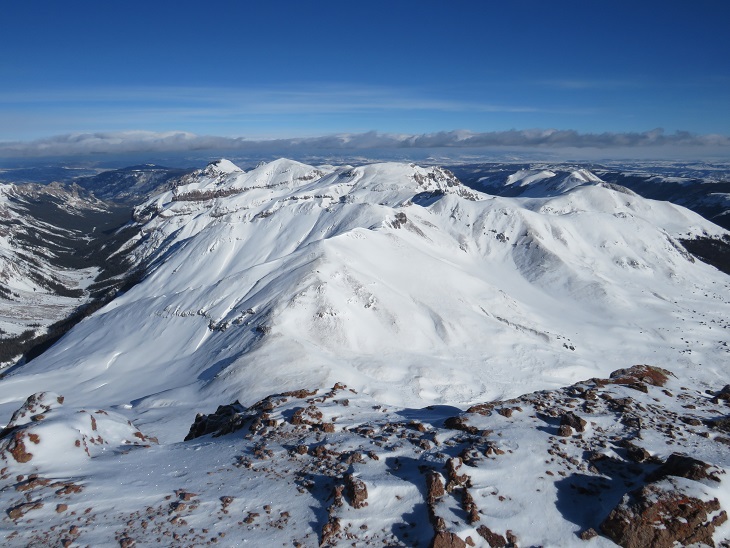
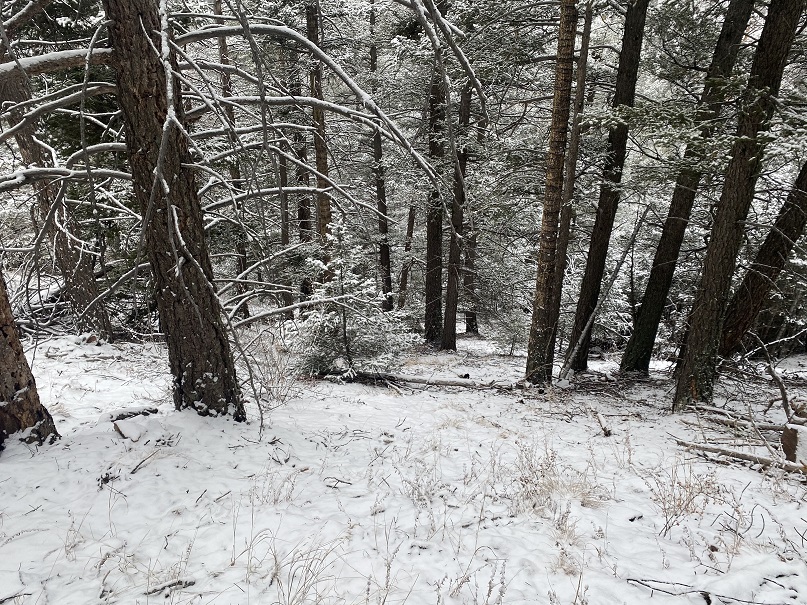
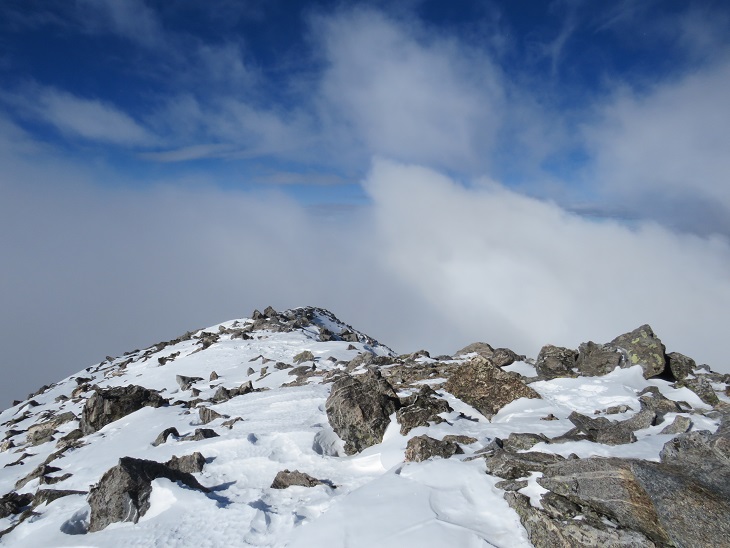
Here are some pictures of the way to the summit. I just kept trekking east
I made it to the summit and looked for the summit register, but it was buried somewhere under all that snow and I was unable to locate it.
The trek back was much easier than the trek in, as I just followed my footprints back to the Mays/Buckskin saddle
It was still windy
And it was warming up, so ice was getting stuck in my microspikes
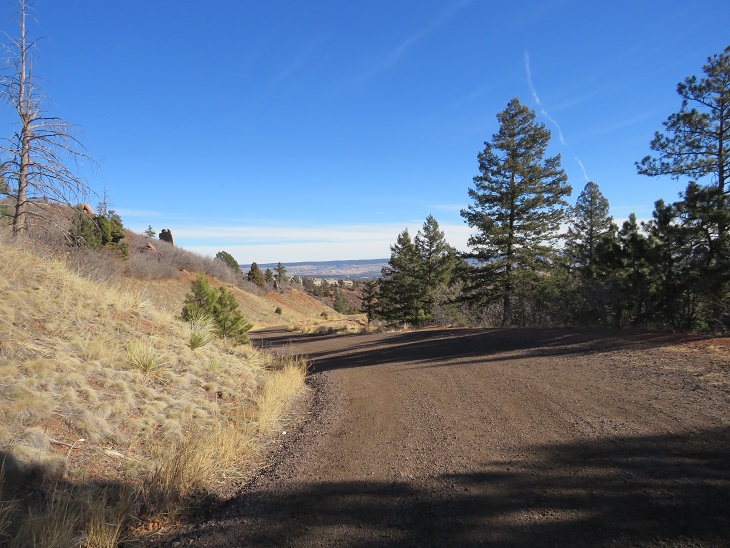
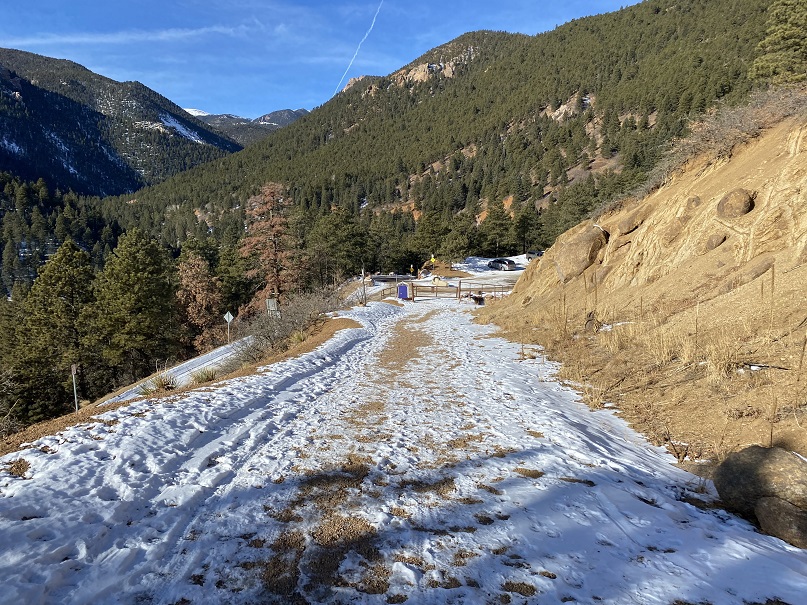
I made it back to the saddle and took the road back to the trailhead. Here I saw more skiers hiking up the trail, a few dogs, and a man pulling a sled with a bunch of rocks in it so it would carry him down the mountain faster in his sled. I pointed out to him there were probably rocks at the top.
I made it back to the trailhead at 12:30pm, making this a 14.36 mile hike with 3659’ of elevation gain in 5 hours, 45 minutes.
Today I just needed a quick hike to clear my head.
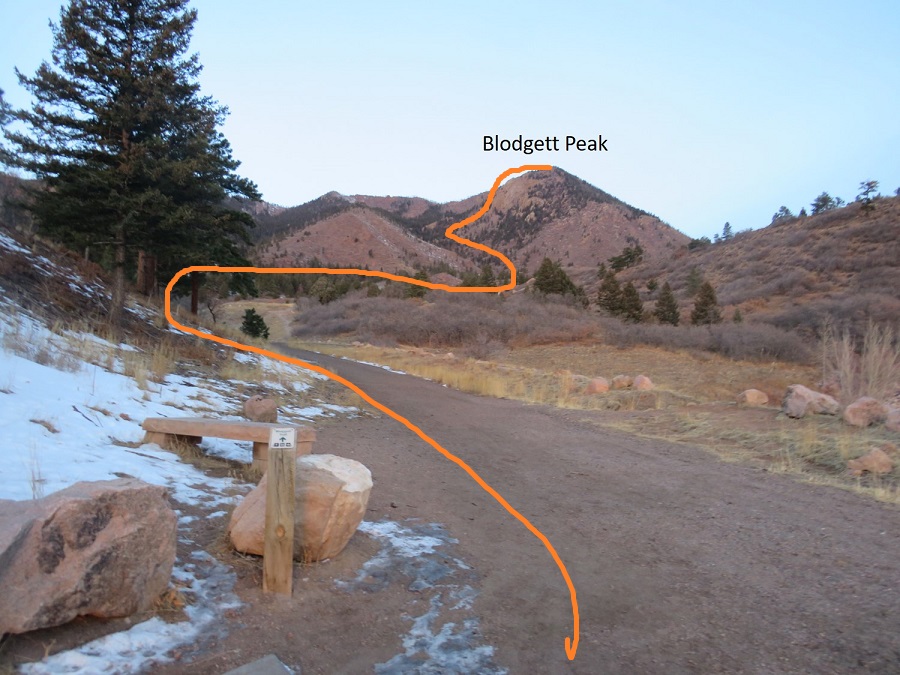
I’ve hiked Blodgett Peak before from the Air Force Academy, but since I no longer have a base pass, I thought it would be fun to hike Blodgett Peak from the Woodmen Side.
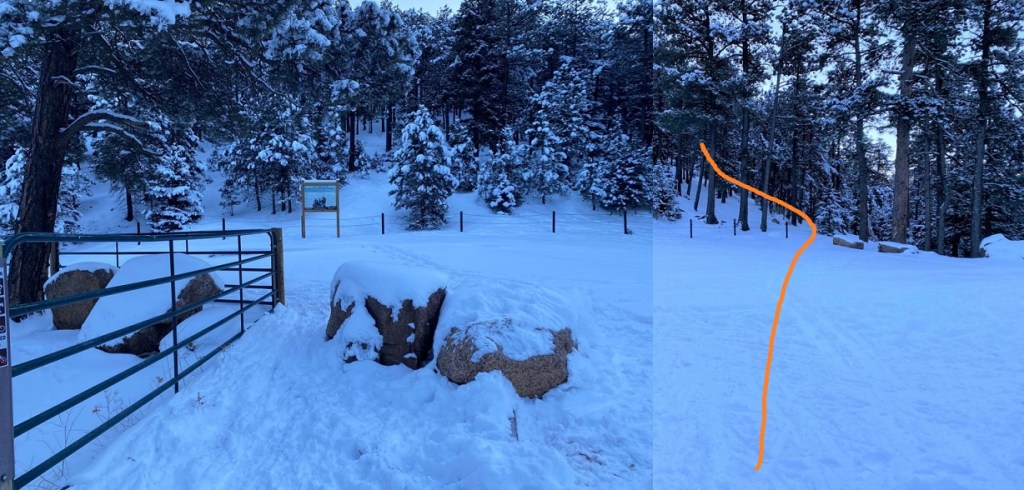
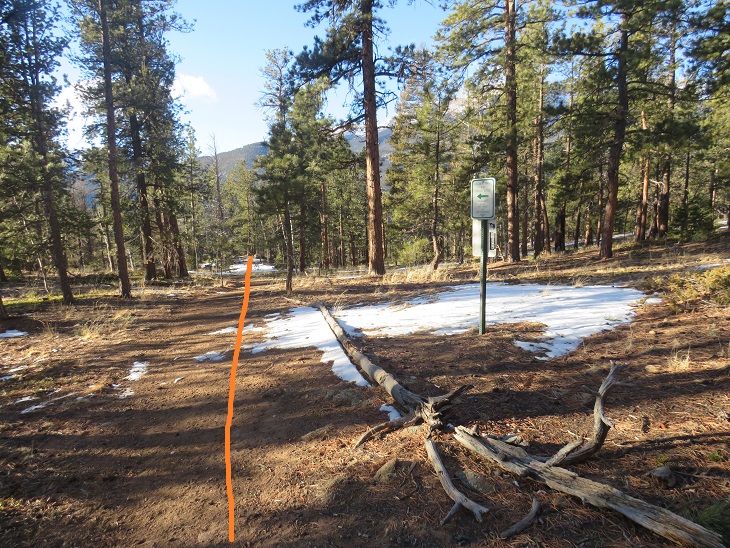
I made it to the small trailhead at 6:45am. There’s enough room for about 10 vehicles, and there’s a porta potty in the lot. I gathered my gear and was on the trail at 7am.
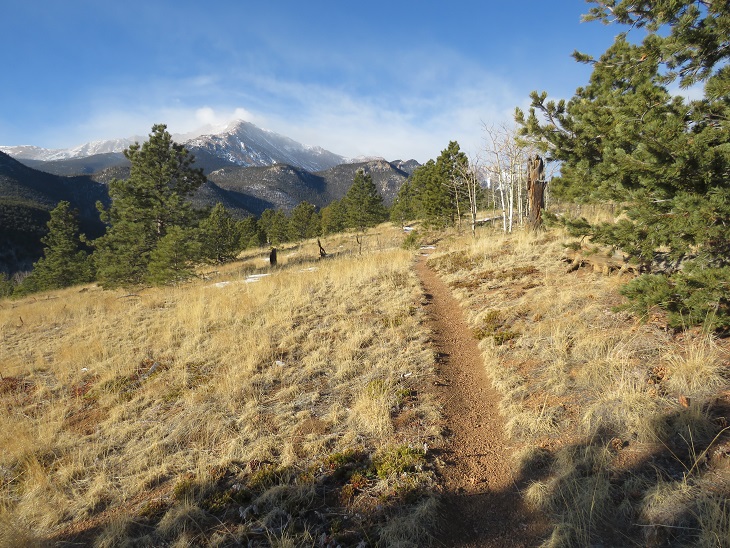
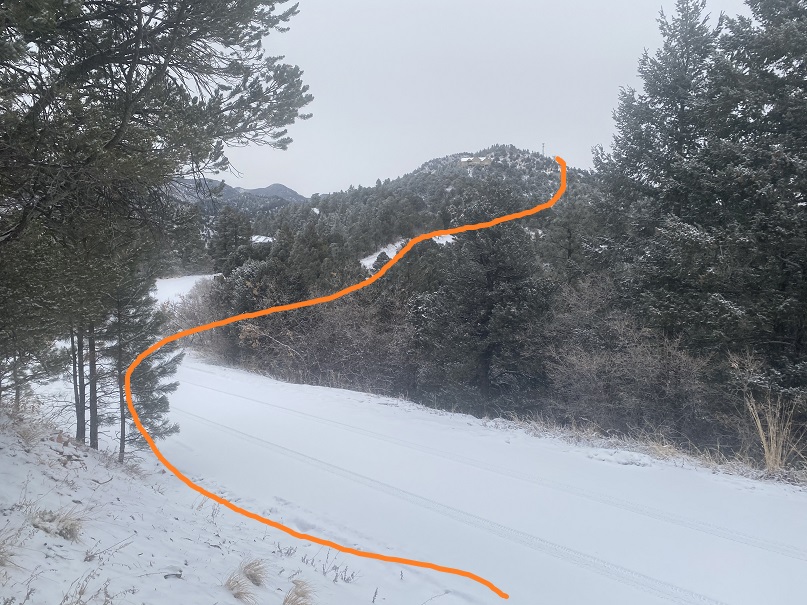
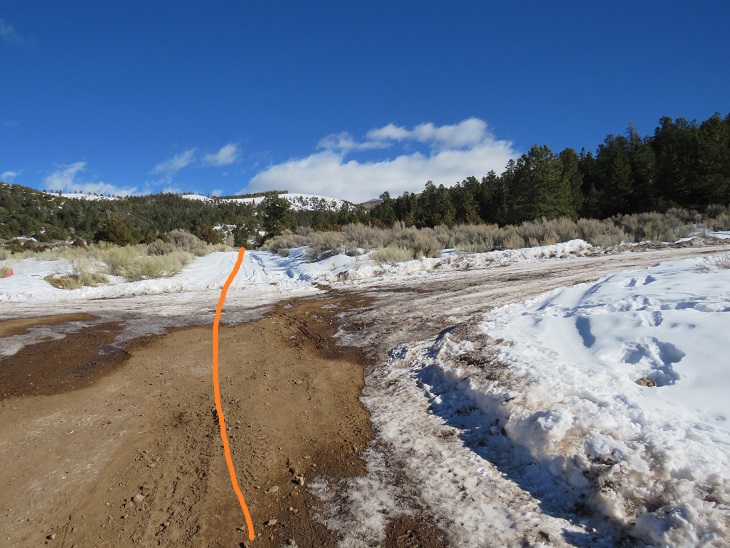
The trail is easy to follow, as it starts out as a 2WD dirt road. Here’s an overall view of the route to the summit from the parking lot.
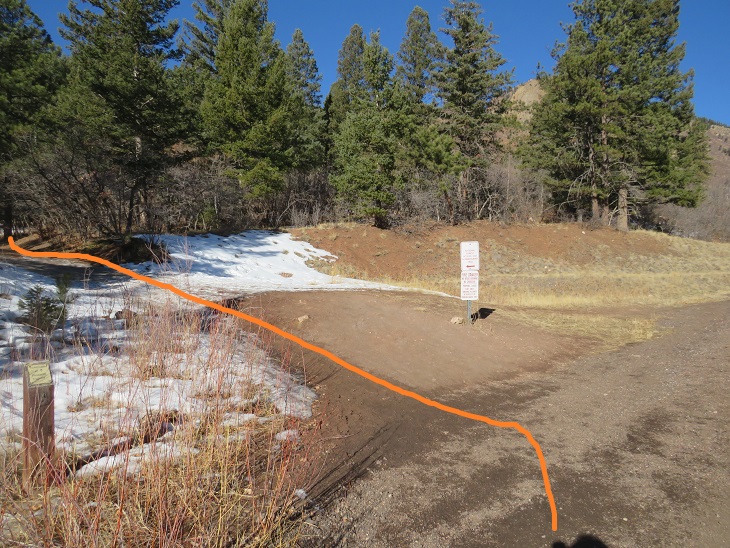
The road serpentines, and there are a lot of side paths. I took the road too far, and ended up at the water plant. From here there are a lot of ‘closed trail’ and ‘no trespassing’ signs, so I turned around. If you make it here, you’ve gone too far.
Instead, measure from the parking lot. When you’ve hiked .7 miles you’ll see the entrance for the Hummingbird Trail to your left. Take that trail.
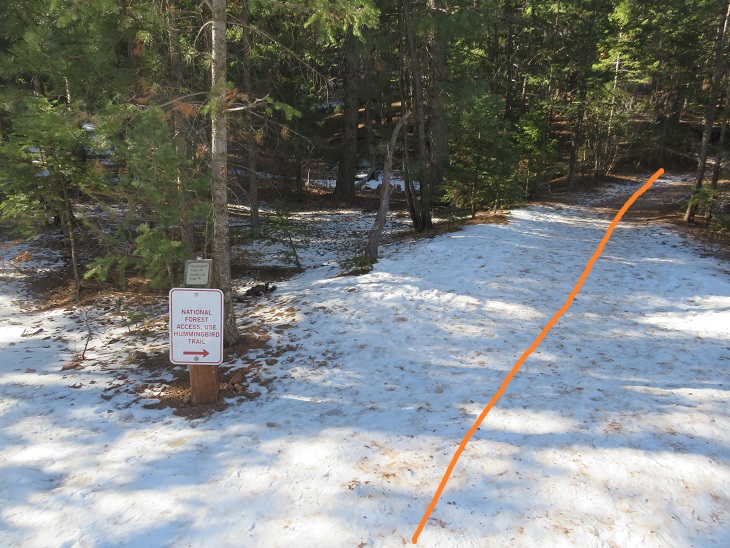
I stayed on this trail for another .7 miles, until it came to a dead end and the trail stopped.
When the trail stopped it forked into 3 faint trails. The one to the far right goes to the Air Force Academy. I took the trail in the middle.
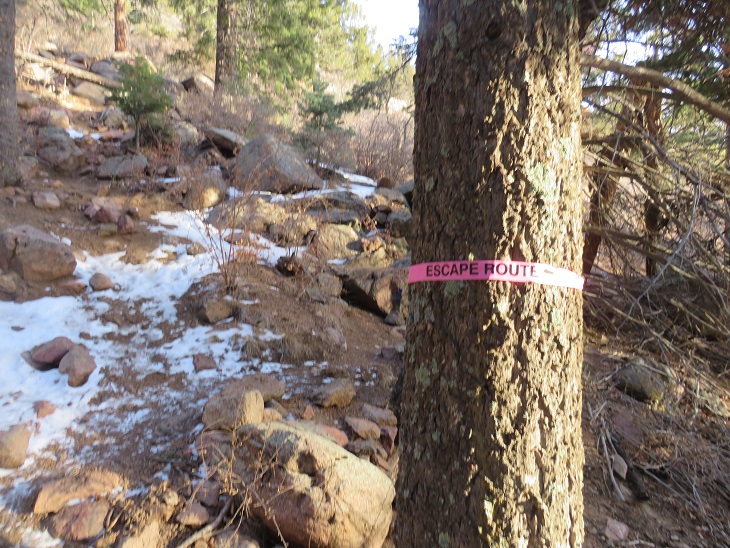
Funny thing: on my way up I saw a pink flag around a tree saying “Escape Route”. These flags were not there on my way back down, and I didn’t see anyone out there all day. I can only assume they were there for Air Force Academy purposes
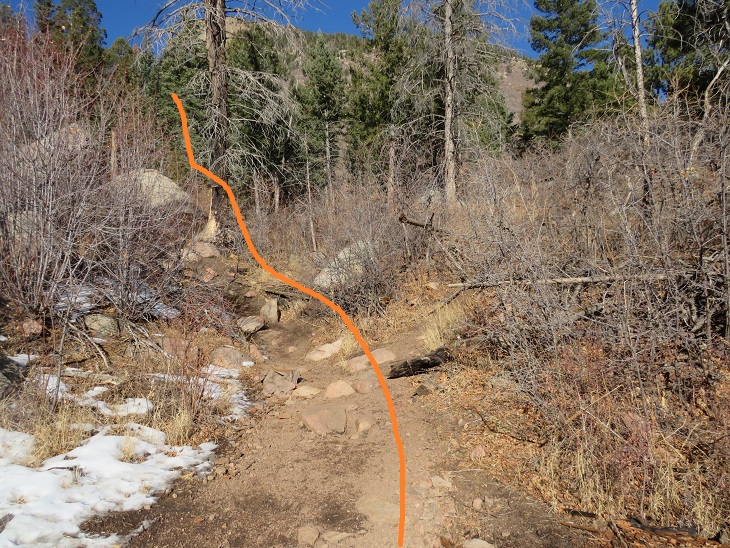
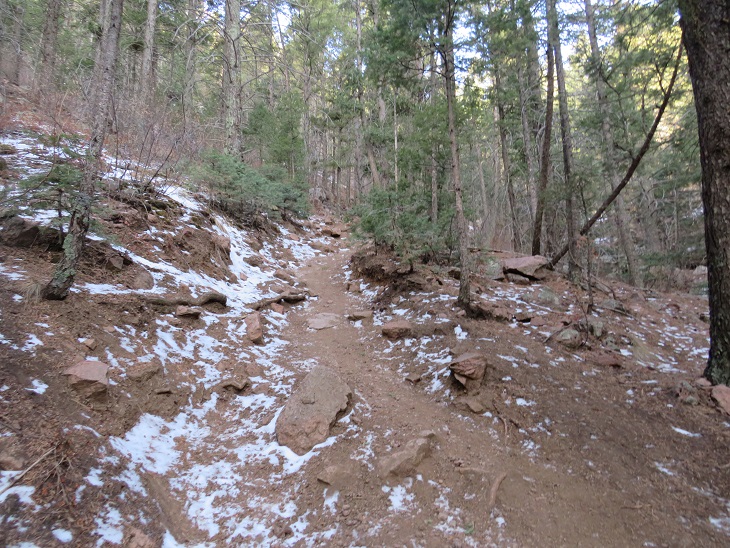
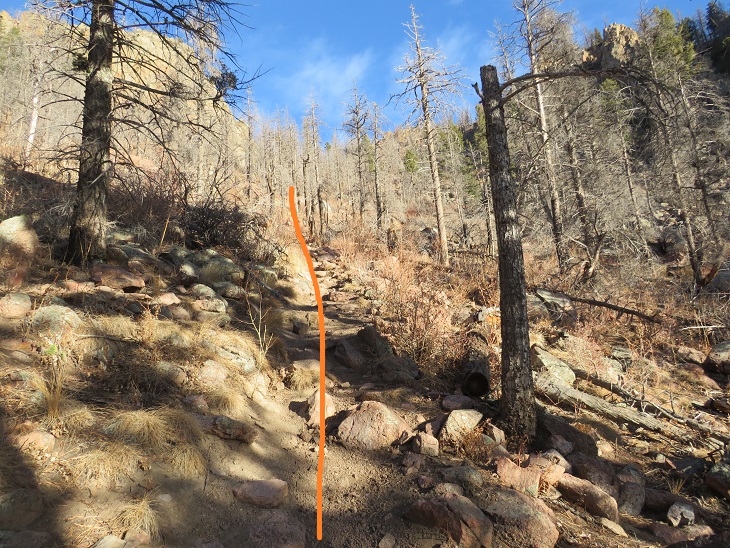
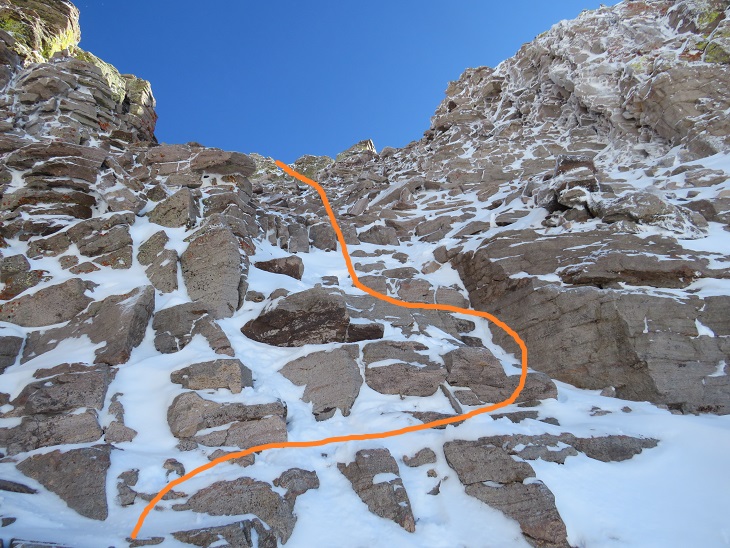
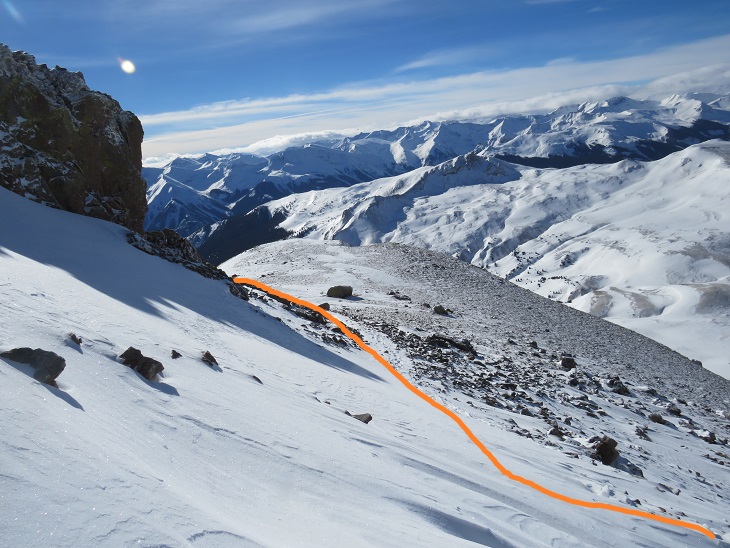
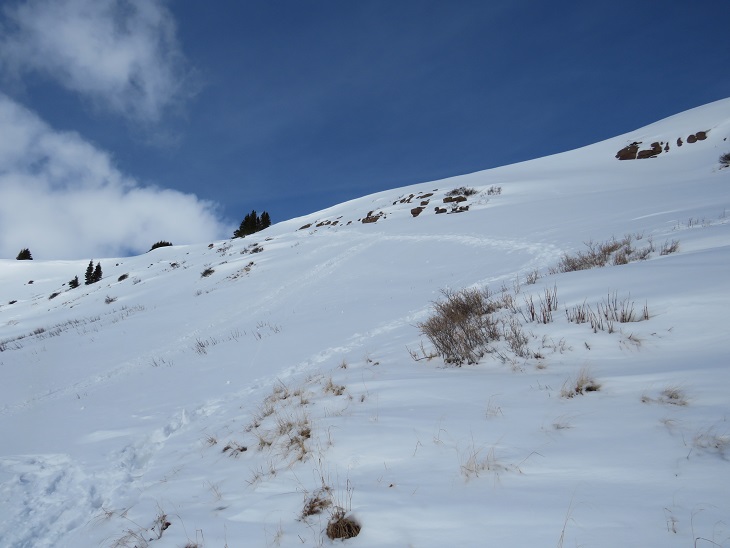
From this point on there are many trails to the saddle. They all go, but they’re all a bit sketchy too (scree). I’d advise wearing microspikes for traction, even in summer. Here are some pictures as I made my way up the ravine.
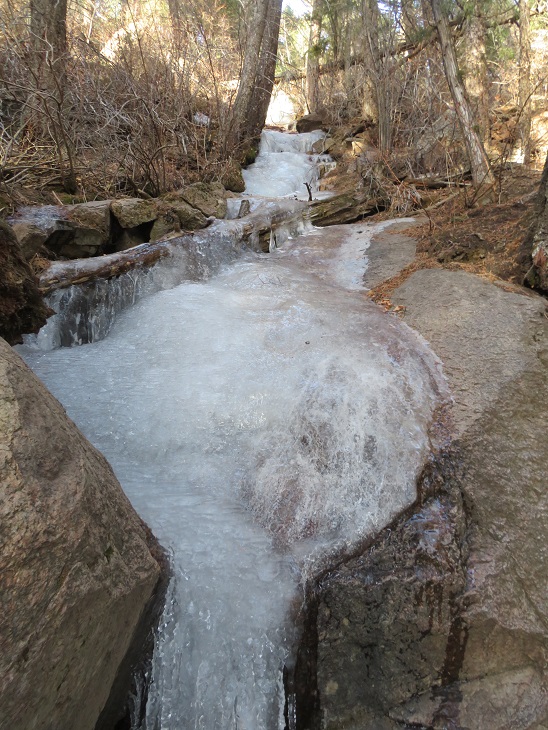
There was some ice on the trail (another reason to wear microspikes)
Then more up. This part was slippery
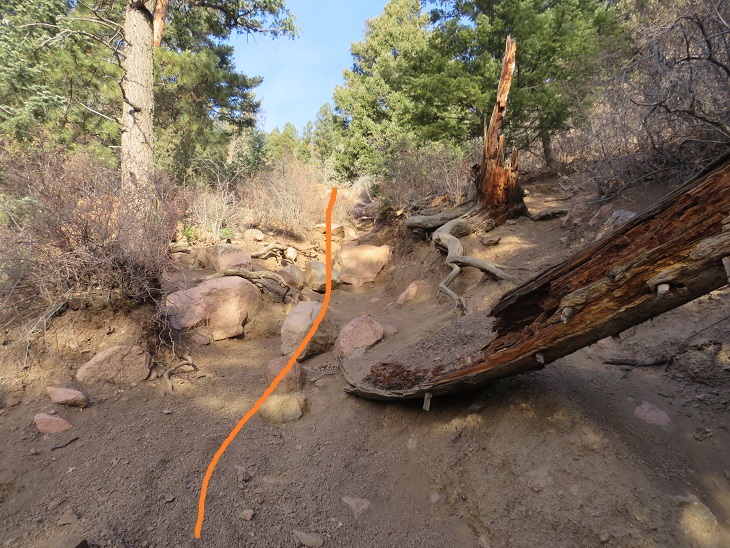
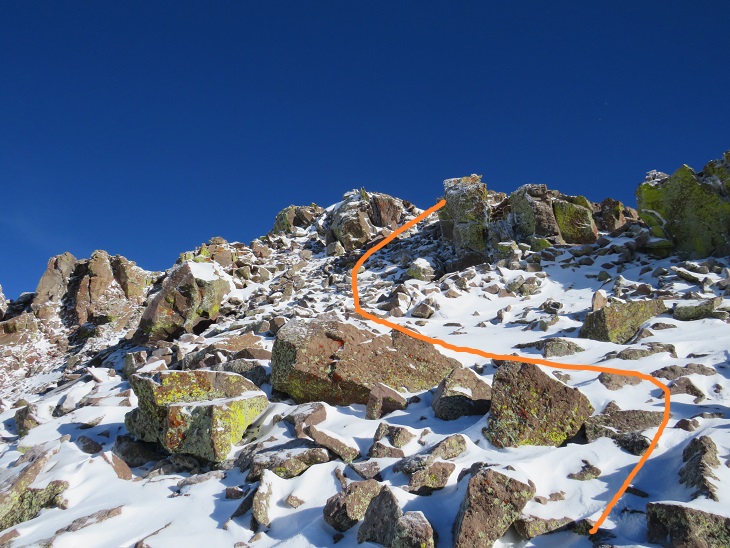
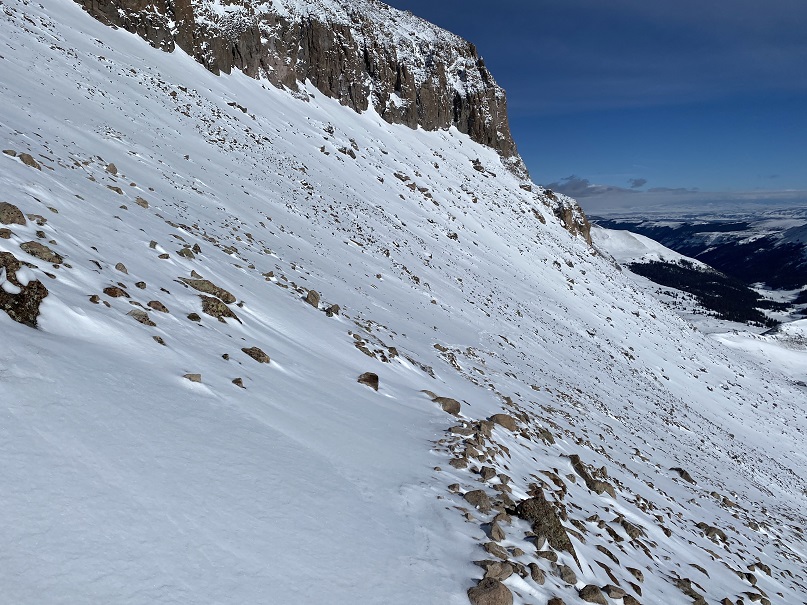
At the top of the slippery scree turn left. If you see this sign, you’ve gone to far. The sign doesn’t have anything written on it.
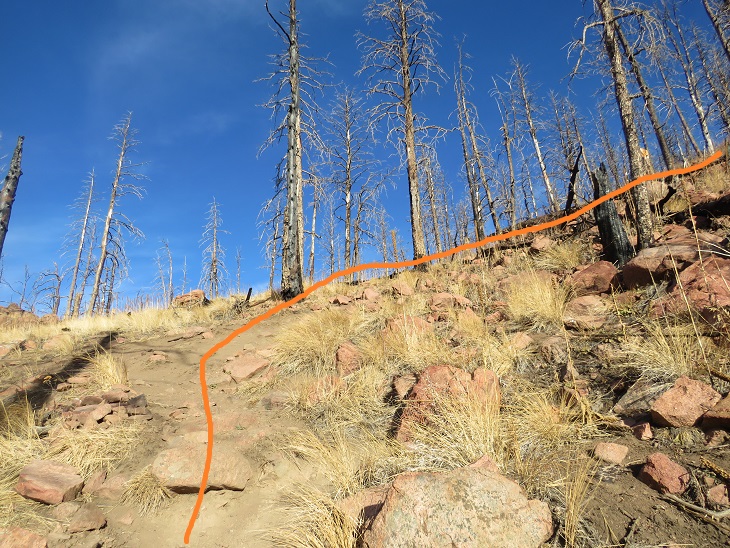
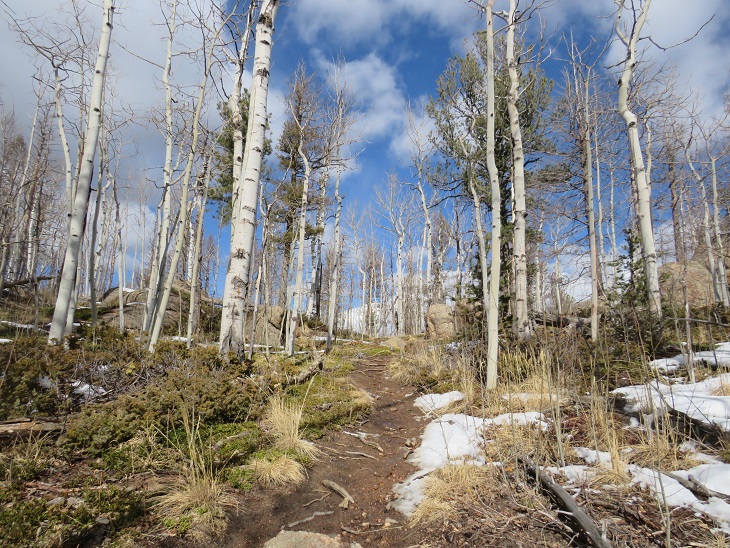
From here on out the trail is much easier to follow
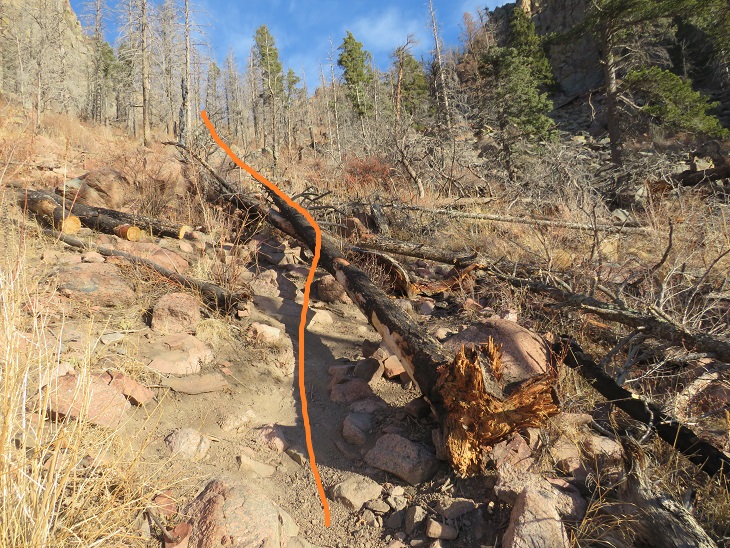
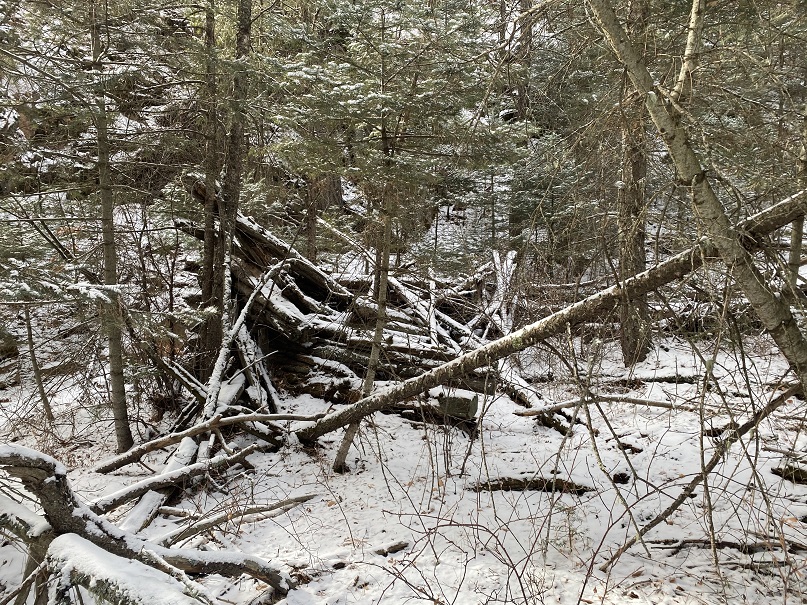
It passes through some of the Waldo Canyon Fire burn scar, and there are downed trees littering the trail here.
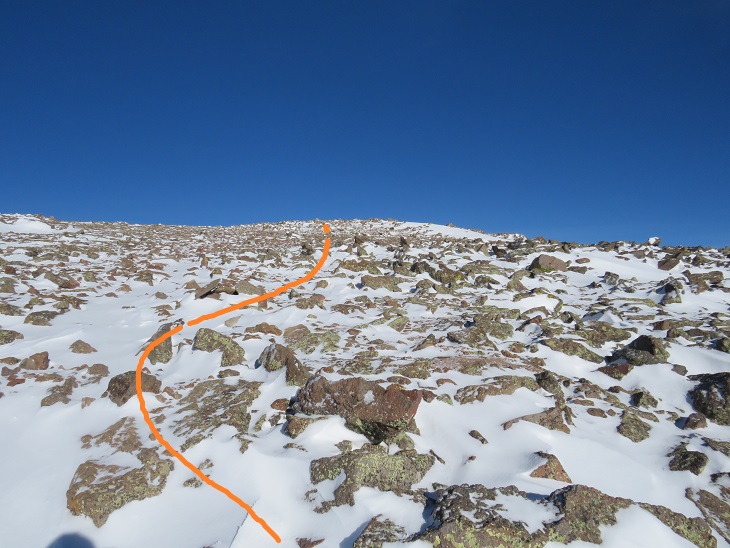
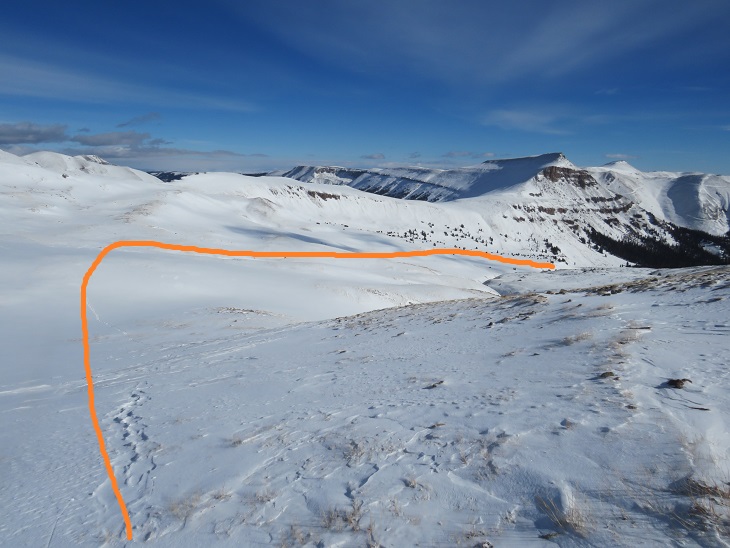
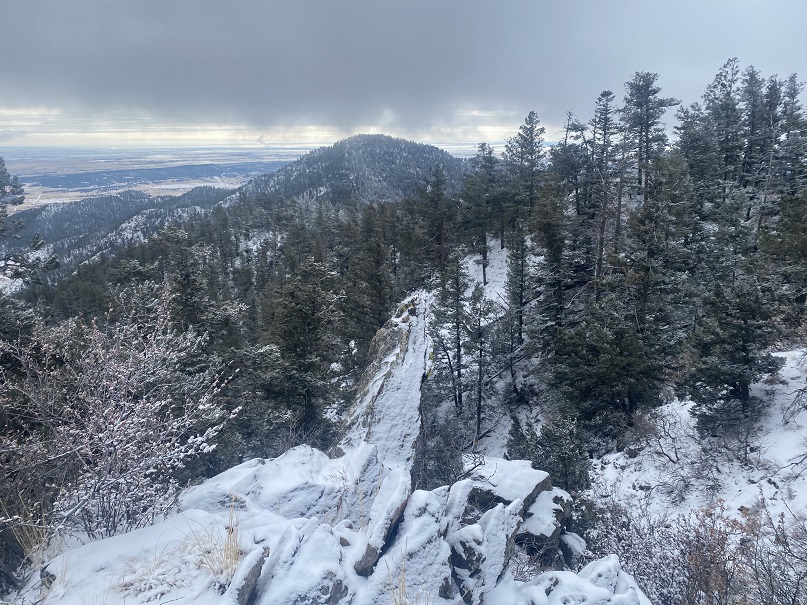
When you come to an obvious saddle turn right and follow the trail northeast to the rocky summit.
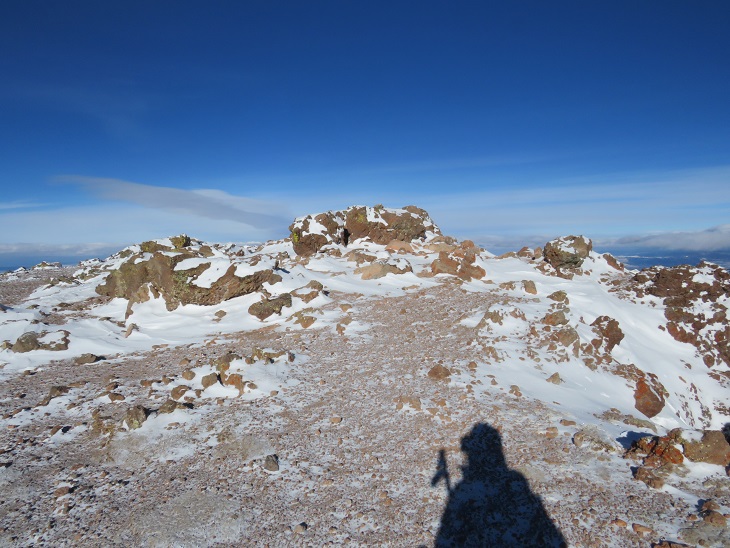
I summited at 8:30am. It only took me an hour and a half to get there.
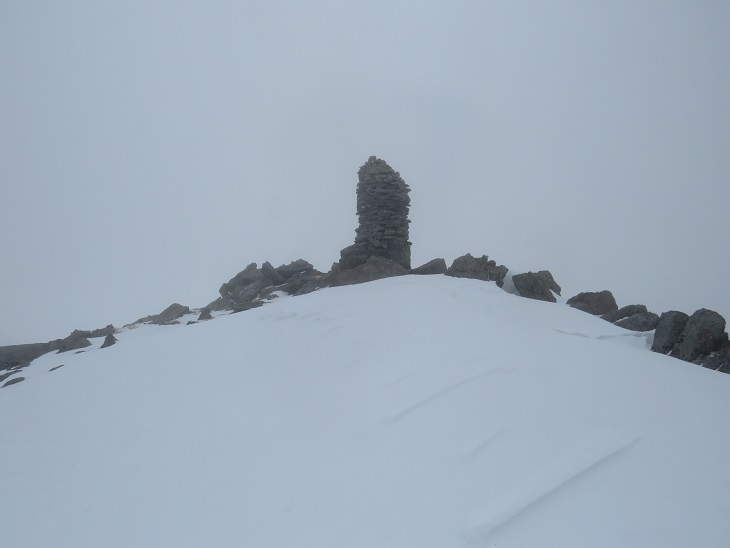
There was a rather robust summit register at the top. It was windy and cold, so I didn’t open it.
I turned and headed back down to the saddle
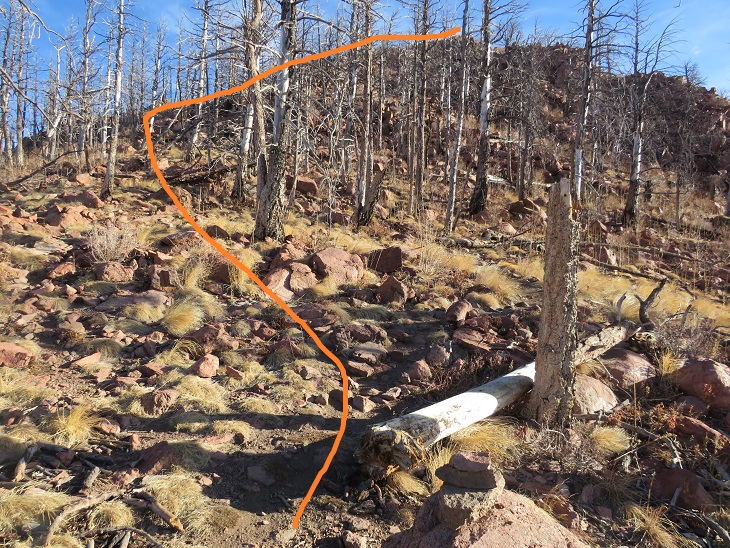
And picked up the trail back down the gully. Here are some photos of my way back down.
One back on the dirt road I followed it back to the trailhead.
I made it back to the trailhead at 9:45am, making this a 5.67 mile hike with 2565’ of elevation gain in 2 hours, 45 minutes
I’ve already done a detailed trip report on this route, so I’m just adding pictures and some notes/a story for today’s hike. Funny thing: It’s been almost exactly 2 years since I’ve done this hike. The end of January seems to be a good week for La Plata in winter.
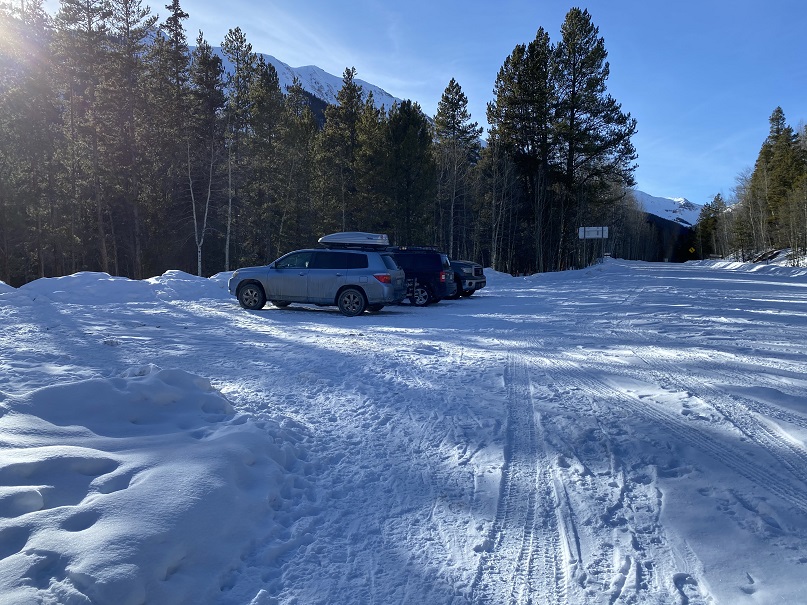
I was really, really tired on the drive in, so when I got to the trailhead I decided to take a 20 minute nap before starting. I was also hoping someone else would arrive so we wouldn’t be the ones doing all the trenching: no dice. We started out at 6:30am, and were the only ones in the parking area, so we had no hopes of anyone trenching before us.
I put on my snowshoes at the truck, knowing I’d eventually need them and not wanting to take off my gloves to put them on. It was -2 degrees when we started hiking. I kept the snowshoes on for the entire hike. We started out following road 391 to the trailhead. This was a well packed down road, but not in the beginning. It looked like someone had tried to drive the snow packed road. They made it across the bridge, then obviously backed up. Funny: that was probably the hardest part of the road.
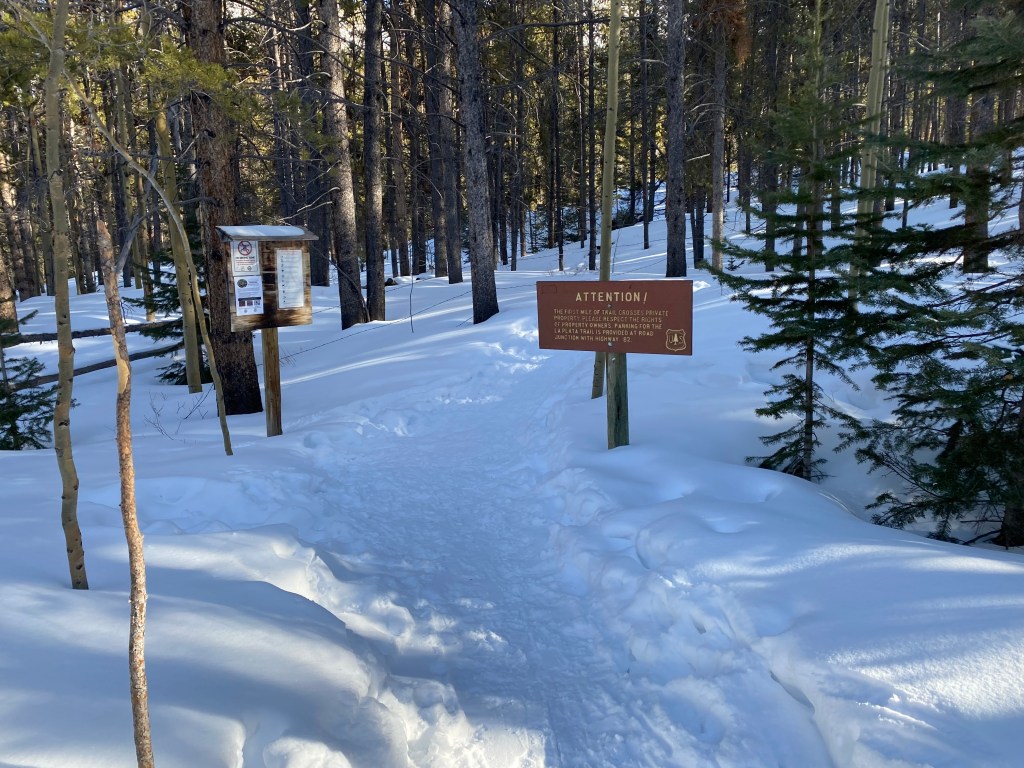
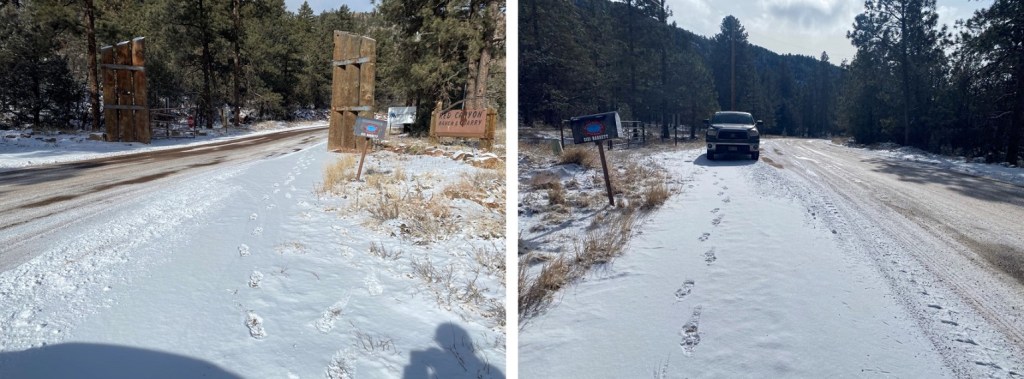
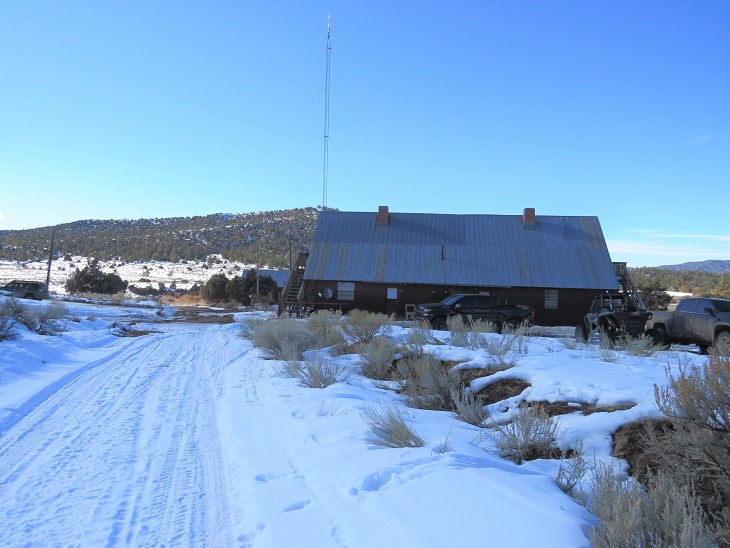
Here’s the trailhead. Note, there’s private property all around: stick to the trail
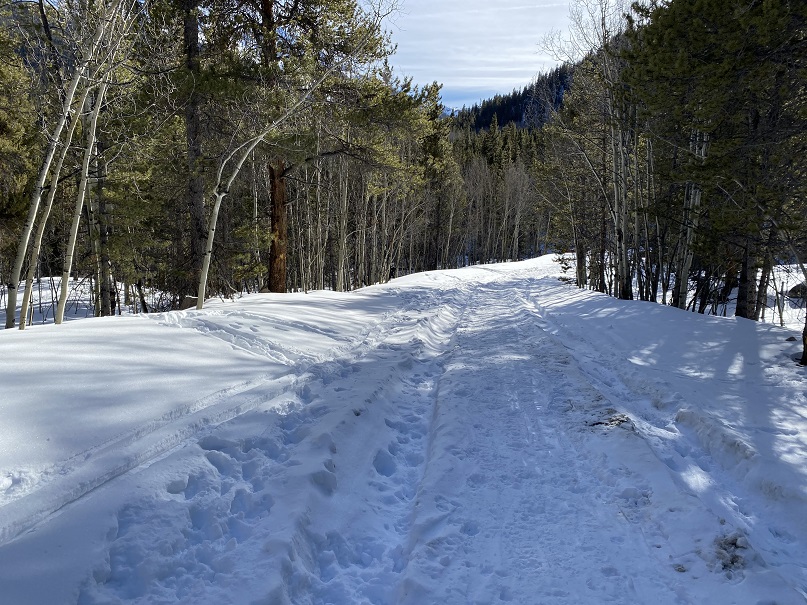
The trail was trenched! Woot! We followed the trail a short ways, and check this out: An old cabin! This is my 5th time on this trail and I’d never see the cabin before. On our way back we spent some time trying to figure out how old it was by looking at the boards, logs, chinking, etc.
On we went, following the trench as it wound through the trees and across the log bridge/through the willows. From here, it’s all uphill.
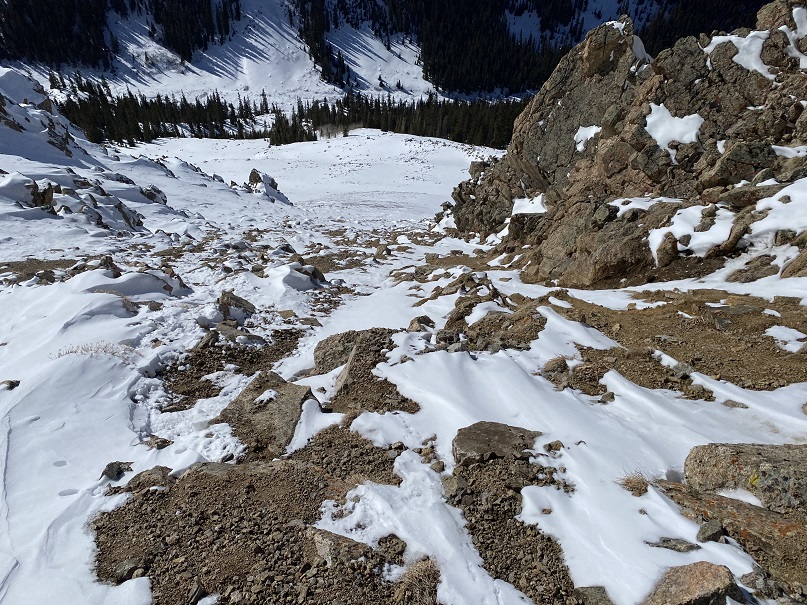
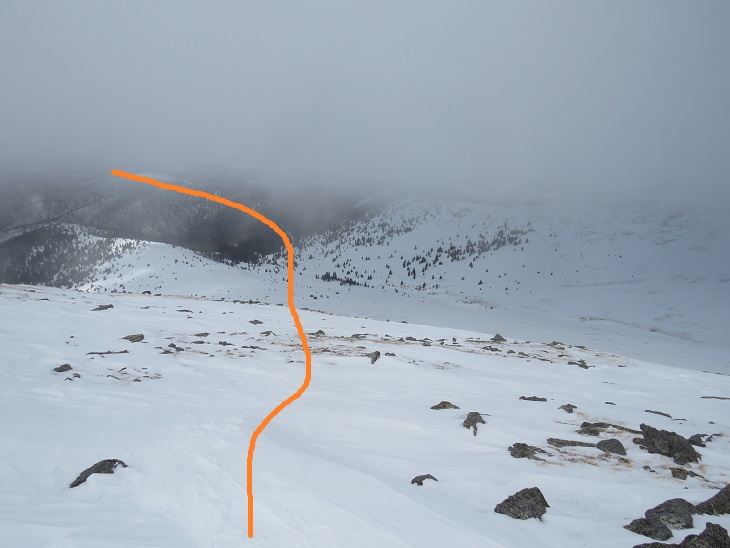
We were following the summer route, and I kept looking for a trench indicating the winter route, but we never came across one. It’s my goal this year not to let a good trench go to waste, so we decided to follow the summer route to the basin and see if we’d be able to summit this way. We hiked on some seriously steep slopes below treeline, where a slip off the trenched trail would send you sliding quite a ways into the drainage below. The trench ended as soon as we made it to the basin, so we decided to make our own trench up the ridge to the headwall. Here you can see our basic route
Also, I don’t recommend this route in winter: there’s avy danger. Today however we didn’t see enough snow to be worried. I’d wanted to teach SkydiverHiker how to use his ice axe, and there didn’t seem to be enough snow/ice to make it relevant on the way up. Here’s our route up the headwall.
I should also note it was really, really cold in the morning before the sun reached us. Several times we considered turning back, but in the end we knew the sun was just over the ridge: all we needed to do was make it up the headwall and we’d be fine. This part was slow going and slippery.
Once we made it to the ridge and I felt the sun warm my face I was ecstatic! Also, I screamed. Raynaud’s attacks are no fun, and now that the sun was warming my fingers and toes the blood rush felt like I was picking up a hot pan I couldn’t let go of. Not fun. Luckily SkydiverHiker is used to this and let me scream as loud as I needed without judgement.
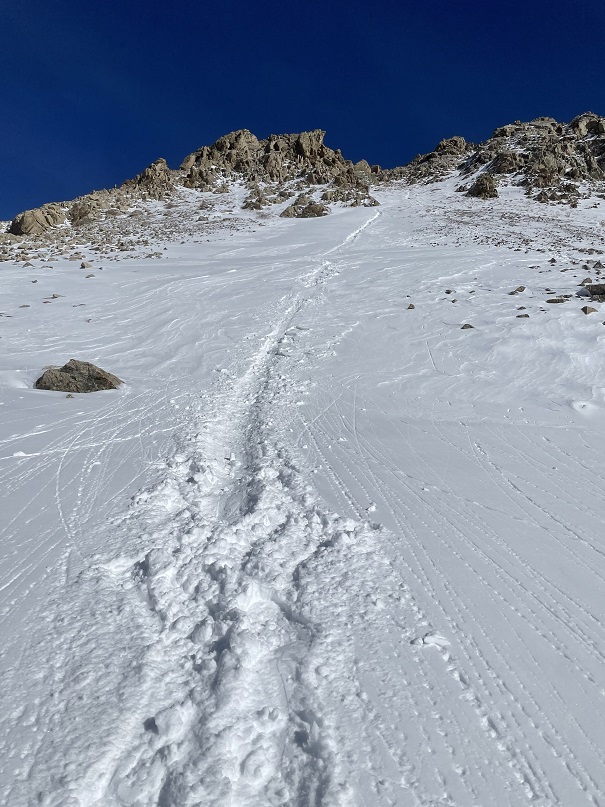
It’s a really long ridge hike to the summit of La Plata Peak. My route says about 2.3 miles of ridge work. I don’t have a lot of pictures of the hike in due to my frozen fingers, so all of these pictures are from the hike out. Here’s a look at the ridge today
We trudged up this ridge, but it was such a nice day we didn’t mind much.
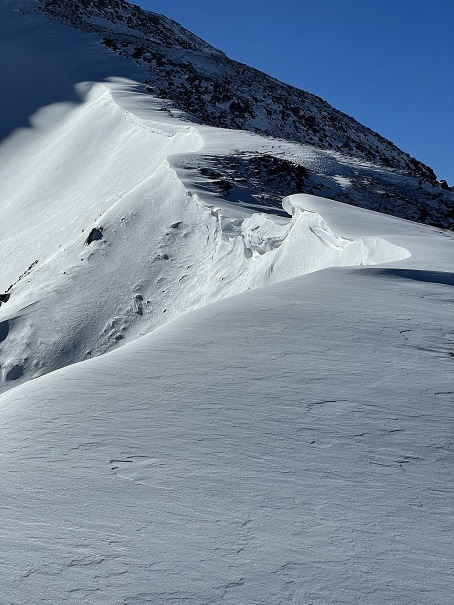
I kept looking back to see if anyone was poaching our trench, but never saw anyone. Such a shame! There were some small cornices forming on the ridge. Nothing too dramatic, but we stayed away from them.
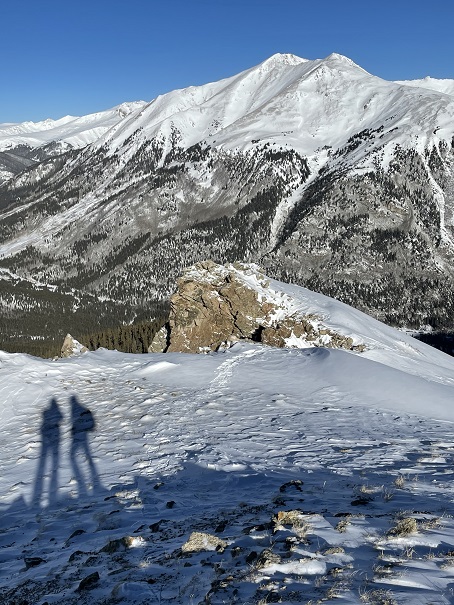
At one point we stopped to get a shadowselfie and a picture of Sayres Benchmark
We summited in bluebird conditions: no wind, no clouds, just a nice, sunny day. There were some small cornices at the top.
Here’s a summit photo and video of the summit
NE La Plata
We actually stayed for a but at the summit because the weather was so nice. The views were amazing, and demanded to be appreciated. I should have put on sunscreen, but didn’t. I have much better pictures of the route down because: warmth. Check out that ridge! Here’s the overall route.
And some step by step to the headwall
Here’s looking down the headwall
I decided to go first to blaze a trail. Here’s looking back up at SkydiverHiker, waiting patiently
I spent a long time gingerly making a nice trail for SkydiverHiker to scree surf down
SkydiverHiker decided to glissade down instead (smh). This was his first real time, as I’ve had him practice before, but never where the run out was so long. He learned first hand about hitting rocks, keeping his feet up, and how long it takes to stop once you place your ice axe. He may have rolled a few times (on purpose, of course).
The snow was getting dangerously soft: we were booking it out of there, but I got a final shot of our paths down (lots of rollerballs).
We made it back to the trench and started our hike out
This part was pleasant, but my feet were thawing out, so every once in a while I’d get a sharp pain in my toes (note: two days later, I’m still having pain. Raynaud’s sucks). We saw our first people of the day; snowshoers who were just following the trench as long as it went. We let them know they had another 20 yards or so to go, and continued on our way.
We took some pictures of Lake Creek as we crossed
And made it back to my truck at 3:15pm, making this a 10.93 mile hike with 4620’ of elevation gain in 8 hours, 45 minutes.
Some final thoughts: It was a shame we were the only ones on the summit today, as it was a beautiful day. Also, if possible, take the standard winter rout that goes up the ridge sooner: our route had more avy danger than is recommended.
I get requests for this route quite a bit, and unfortunately, since I did it so early in my hiking days, I didn’t have a GPX file for the route. So this week, when the weather was extra windy above treeline, I decided to do the route again to get a good GPX file. Contact me if you’d like a copy.
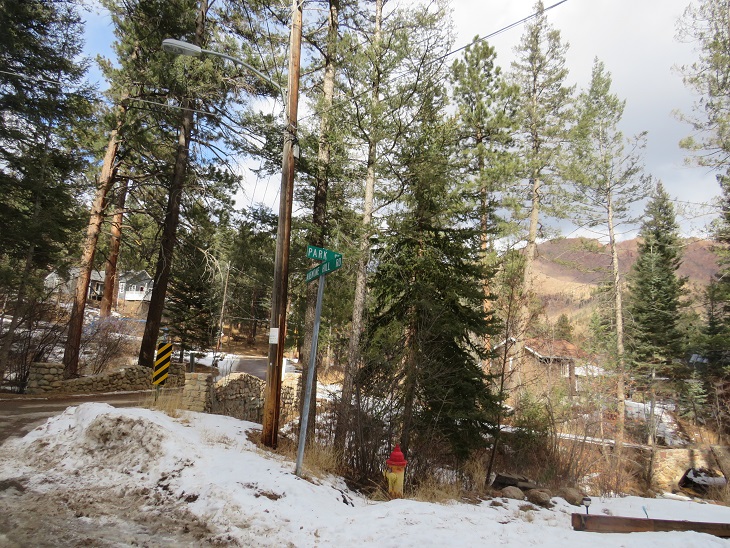
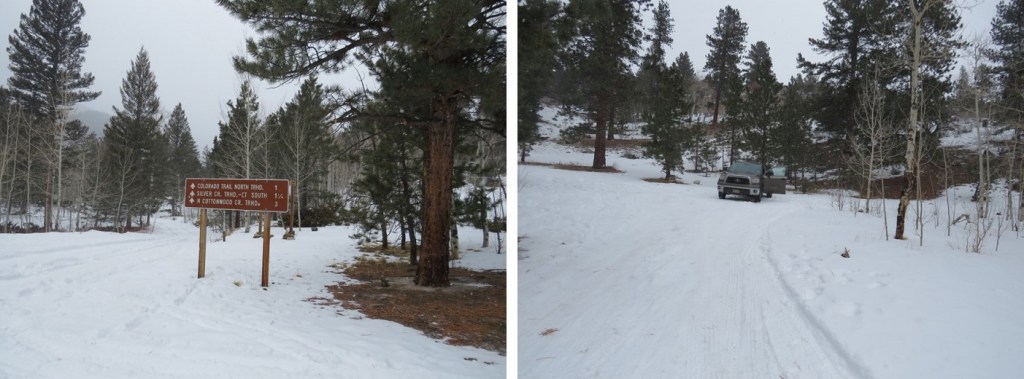
I arrived at the Heizer Trailhead at 6am. It’s important to note you cannot park at the trailhead itself, but instead at the southwest corner of Cascade Park, at the corner of Park Street and Anemone Hill Road.
It was dark and icy and I had to put my truck into 4WD to back into a spot. There’s room for 5 vehicles if everyone parks nicely, and if not, 2 or 3.
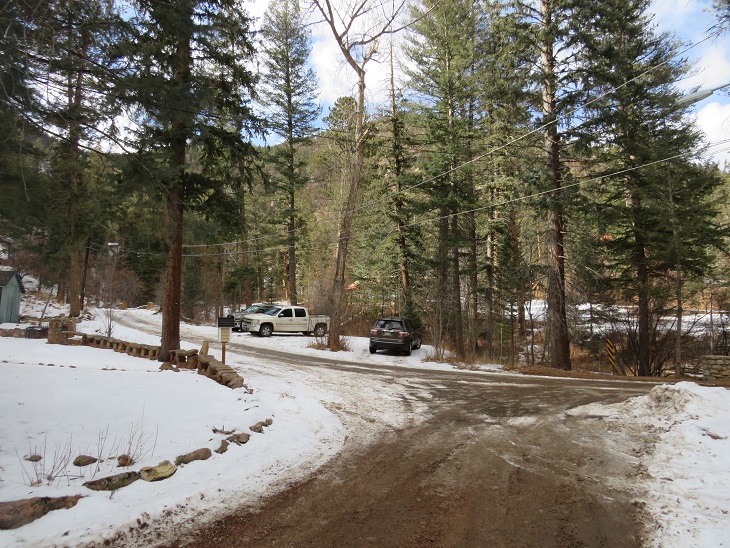
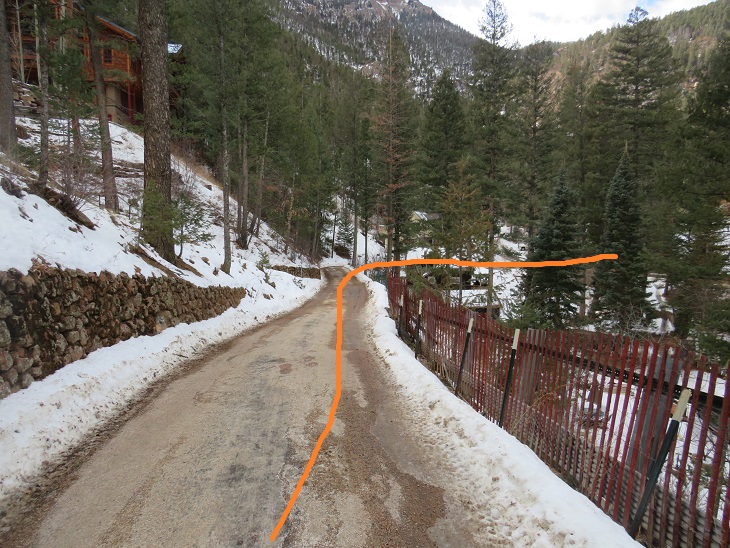
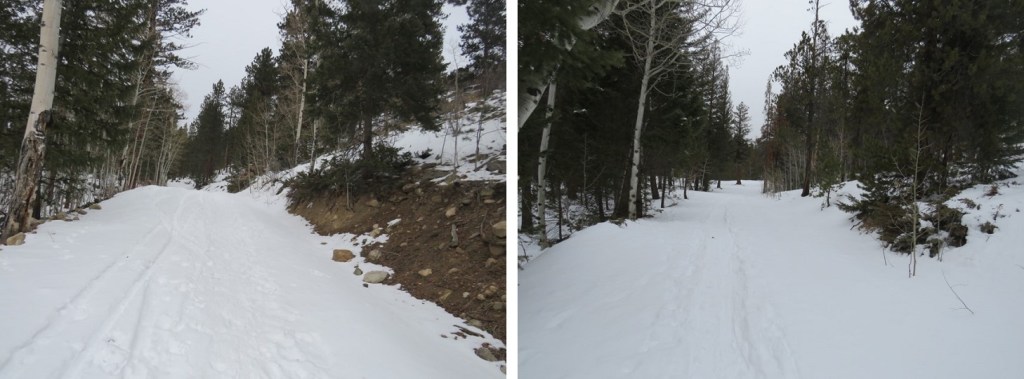
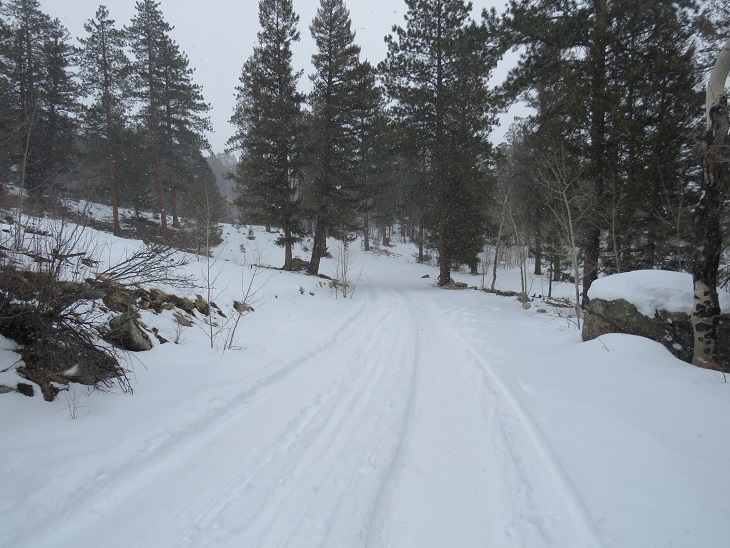
I gathered my gear and was on the road at 6:20am. This is a class 1 trail from the beginning to the end. To begin, I followed the road a short distance as it curved east and then south to the trailhead.
Here’s a picture of the trailhead
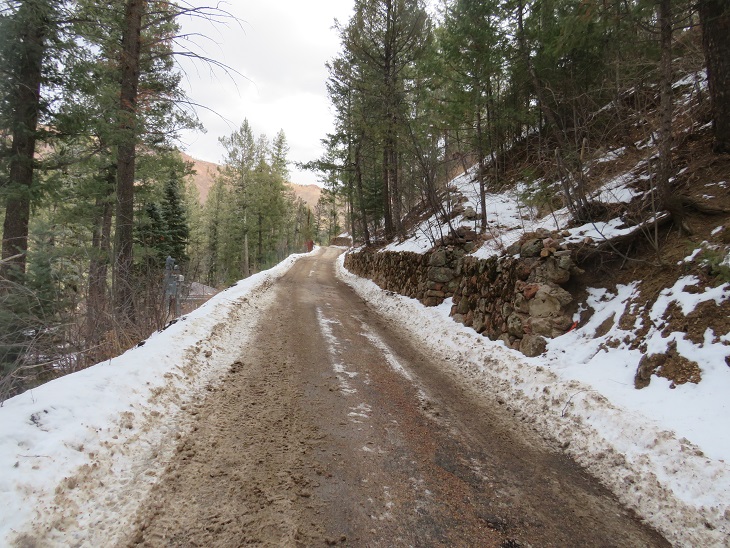
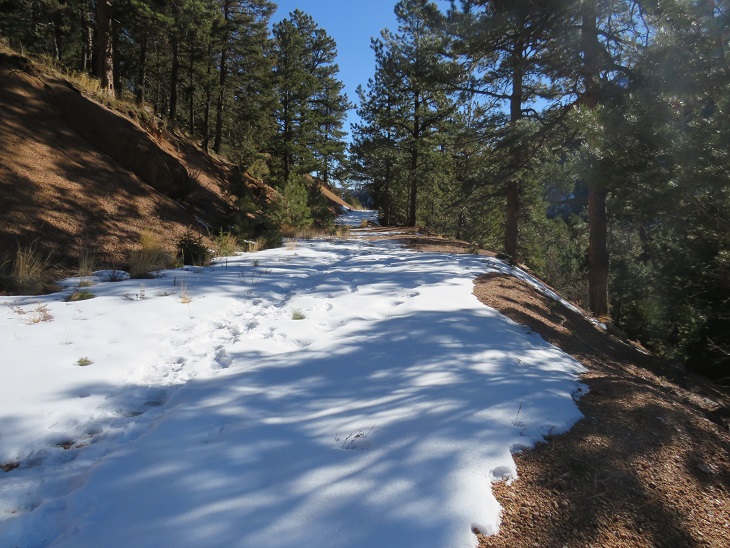
The first mile of this hike is strictly elevation gain. I gained 1925’ in the first 2.4 miles of this hike, switchbacking up the side of the mountain.
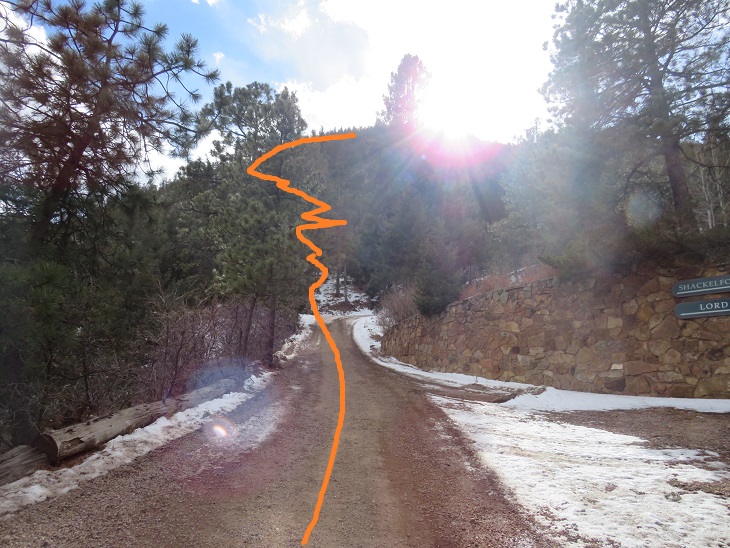
Just before the elevation gain stops for good it dips down a bit
And then climbs to the highpoint
This is an obvious highpoint. “Cascade Mountain” is to the west, but you’ll need ropes to climb it (no worries, it’s unranked anyway). I continued on the trail as it now curved southwest, losing 575’ of elevation in just over a mile as it wound down to the creek.
There’s a cool rock formation as you take your first switchback down (it’s on the left)
And then it’s down, down, down, following the drainage
There’s an obvious junction, where you turn left to go to Mt Manitou (I’ll be doing this sometime soon, just because) and right to go to Barr Trail. I turned right, following trail 703.
I quickly came to another sign. Here you have to go left to avoid the Manitou Springs Water Shed and reservoir. They’re very serious about their signage of no trespassing here (something I appreciate). The sign said it was 2.5 miles from here to Barr Trail. Someone had scribbled in “4 miles” underneath. My CalTopo GPX shows it’s 4.4 miles (so obviously, the 2.5 miles is wrong; don’t get your hopes up).
I turned left at the sign, and crossed North Fork French Creek and the trail became Trail 638.
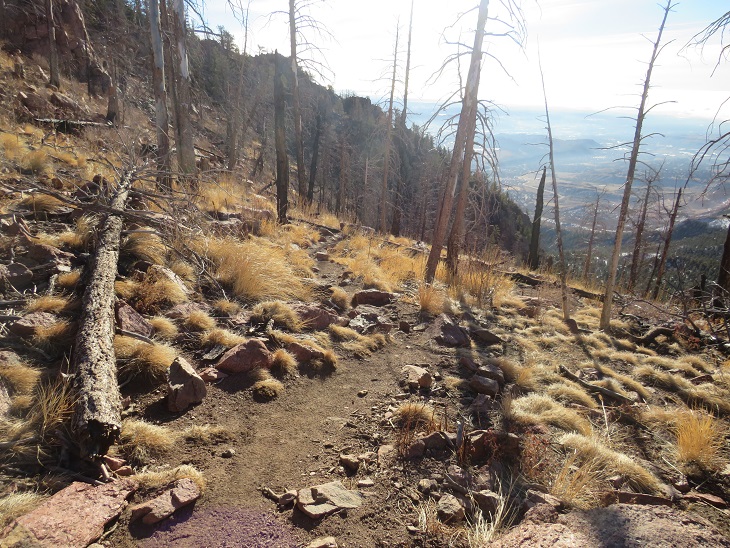
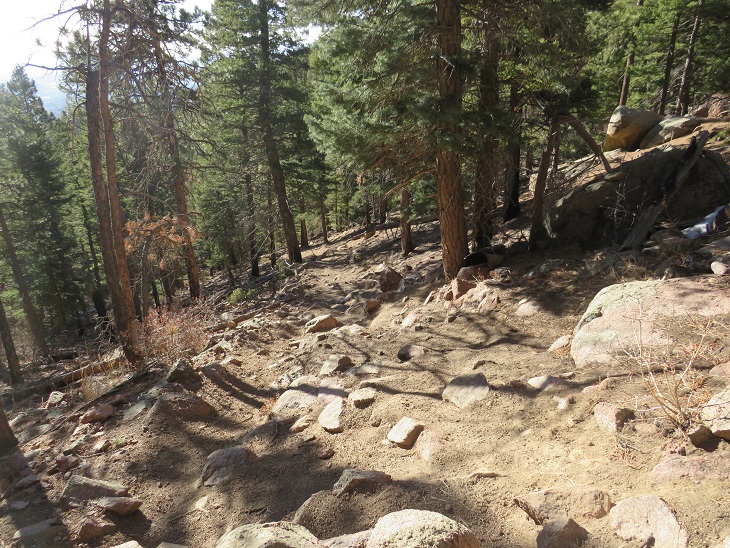
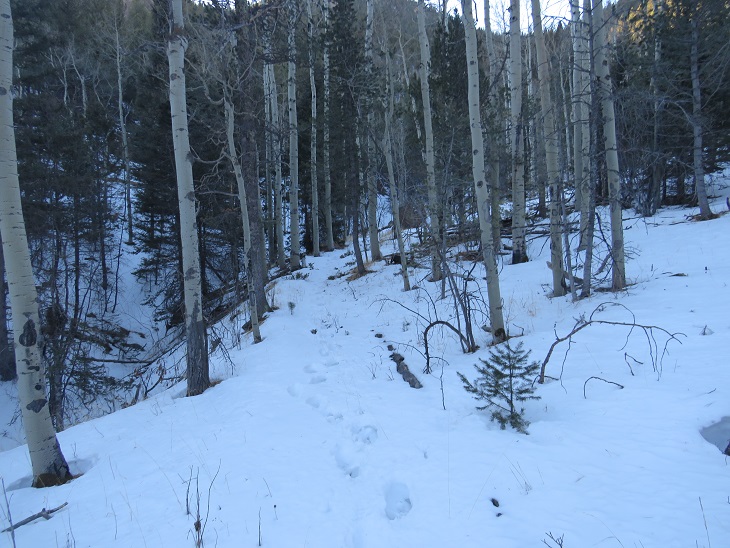
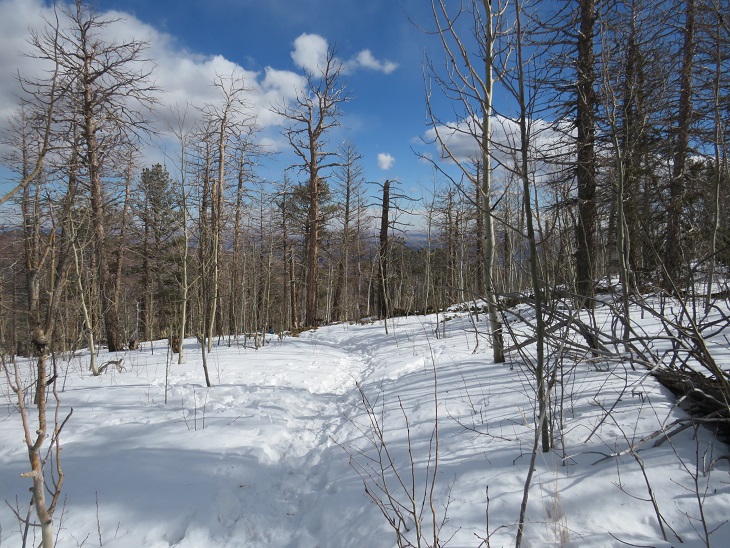
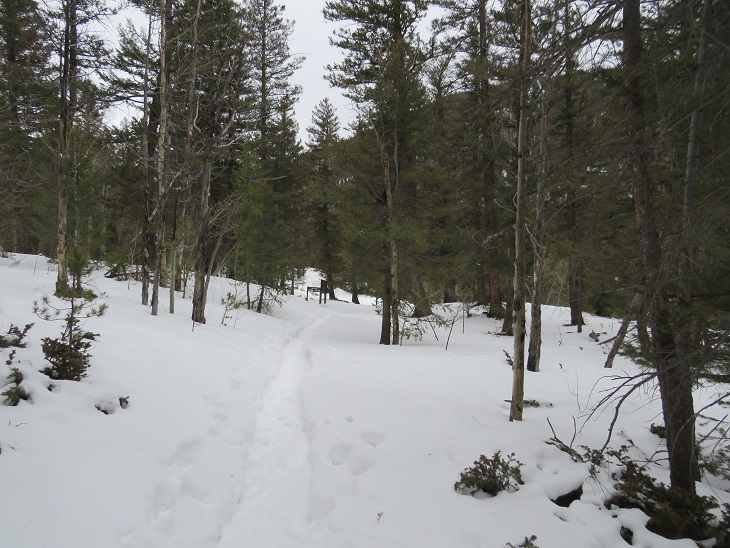
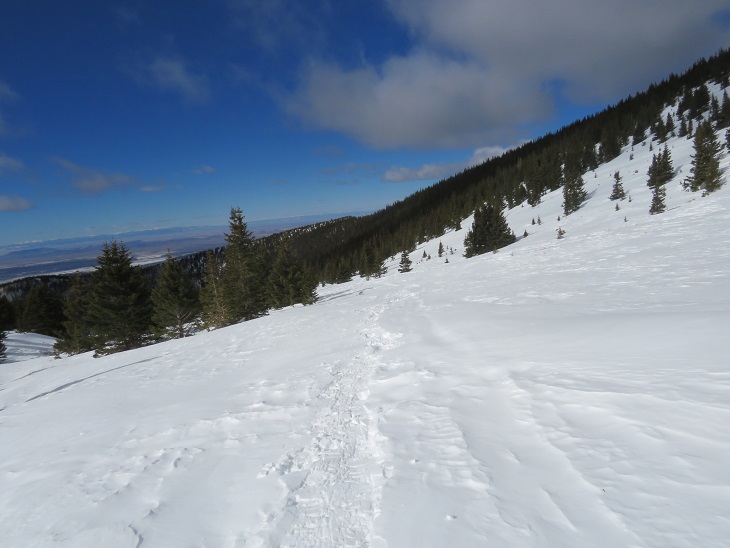
From here the well-traveled trail I’d been hiking on was now snow covered, with only one set of footprints. These footprints lasted the entire way to Barr Trail, and made it so I didn’t need to put on snowshoes. Yes, I still postholed at times, and I thought it interesting there were no footprints going in the opposite direction. It hasn’t snowed in a week, so this is proof this trail doesn’t get much use (especially in winter). Here are some pictures from along the trail, as it wound south towards Barr Trail. Notice how frequently the terrain changes? The snow levels changed too, depending on how much sun that side of the mountain received.
I crossed South Fork French Creek on a log bridge and followed the trail another 1/3 of a mile to Barr Trail. This part had some uphill to it, but was still on a class 1 trail, and bonus: it looked like some snowshoers had been I the area.
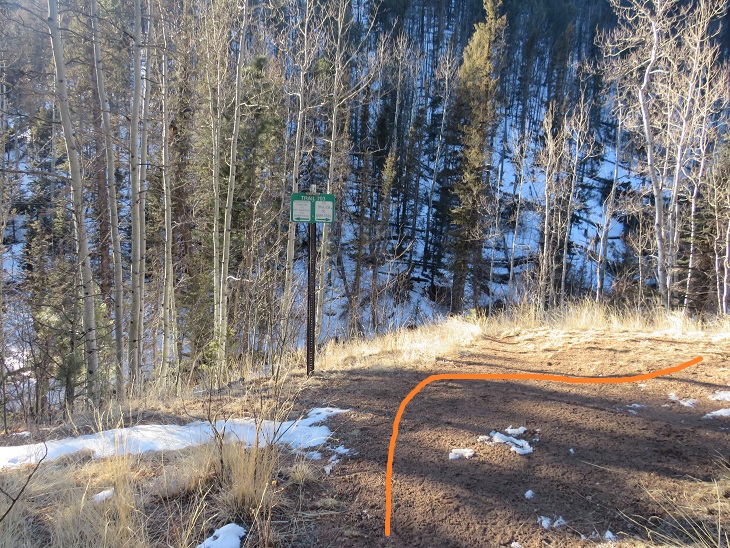
I made it to Barr Trail at 10:20am. It had taken me 4 hours to get from Heizer Trail to Barr Trail in less than ideal conditions (January). CalTopo says it was 7.75 miles of hiking. It’s obvious when you get to Barr Trail, as you come to a ‘T’ in the trail, and see this metal sign. Going right will take you to Barr Camp / Pikes Peak, going left will take you to the Manitou Incline and Barr Trail Parking Lot.
I turned around and headed back the way I’d come, following my tracks. Here are pictures of the trail in reverse. Next time I do this hike I think I want to do PT 10245 with it (I’ve already summited this point, but from the other side. It looks easily doable from this trail as well).
Back over North Fork French Creek
And following the creek to the junction, where I turned left and followed Heizer Trail
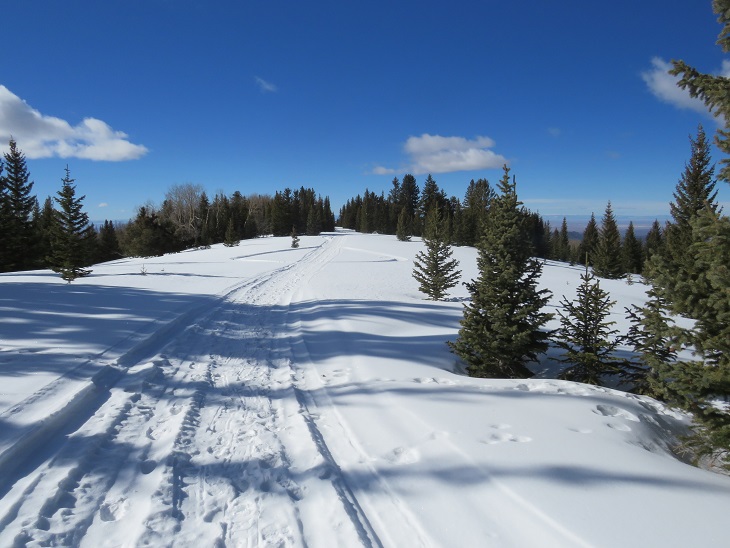
Here I gained 575’ of elevation as I hiked to the highest point (once again, cool rock formations at the highest point here). This is also where I started seeing other hikers on the trail. It looks like most people just hike to Cascade Mountain, but some make it all the way to the junction.
And then I followed the trail back down to the trailhead, losing 1925’ of elevation as I did so.
Then I followed the road back to my truck.
I made it back to my truck at 1:20pm, making this a 15.2 mile hike with 4323’ of elevation gain in 7 hours.
I’d already summited 3 peaks this week, but with my being so close to 100 14ers and winter weather moving in I really wanted to try to get in one more summit. I did a lot of weather watching: the storm kept changing areas, times, wind speeds, etc. I finally settled on Mt Columbia because I haven’t done it yet in winter and someone said they’d trenched it earlier in the week (remember, my motto this year is not to let a trench go to waste).
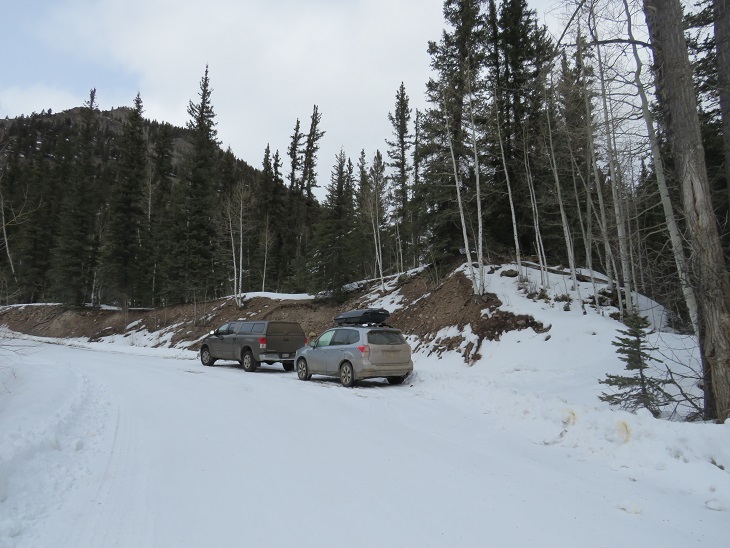
I didn’t make it all the way to the Harvard Lakes Trailhead on the drive in. There was too much snow and I ended up backing my truck up for about half a mile to find a good parking space. I parked here. There’s room for 2-3 vehicles if everyone parks nicely.
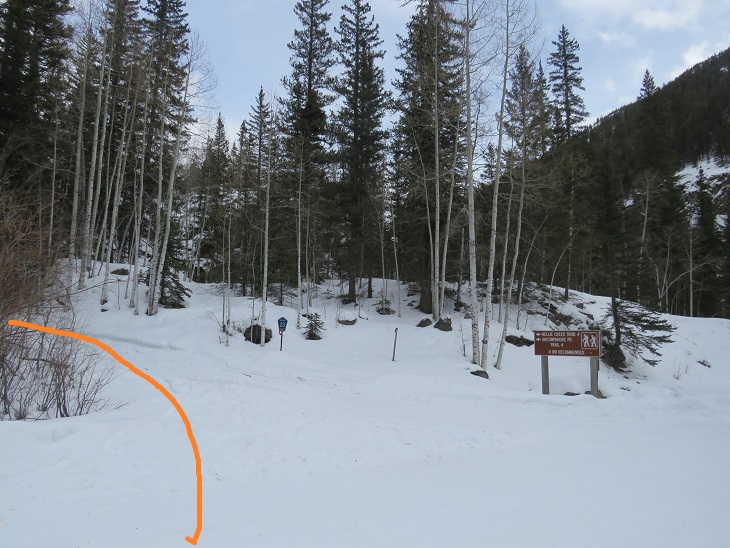
I gathered my gear and started hiking along the road. It’s about a mile from where I parked to the Harvard Lakes Trailhead along this road. Alost as soon as I started hiking my flashlight stopped working, so I had to get out another. When that one stopped working as well I walked for a bit in the dark, then sighed and got out my emergency charger/flashlight. It was then I realized I’d missed the trailhead, so I had to backtrack a ways. I was also very glad I’d decided to turn around/head back when I did on my drive in: the road isn’t driveable to the trailhead.
I made it to the proper trailhead, and followed the Colorado Trail as it switchbacked up the side of the mountain.
After hiking on the Colorado Trail for .8 miles I left the trail and followed the ridge. Luckily, this part was (mostly) already trenched.
From here on out it was a ridge hike. I followed the ridge to treeline (about 1.25 miles). Some of the area below treeline was trenched, but there were many areas under several feet of snow. I was stubborn and reused to put on snowshoes, postholing up to my waist several times.
Also, it takes forever to get to treeline!
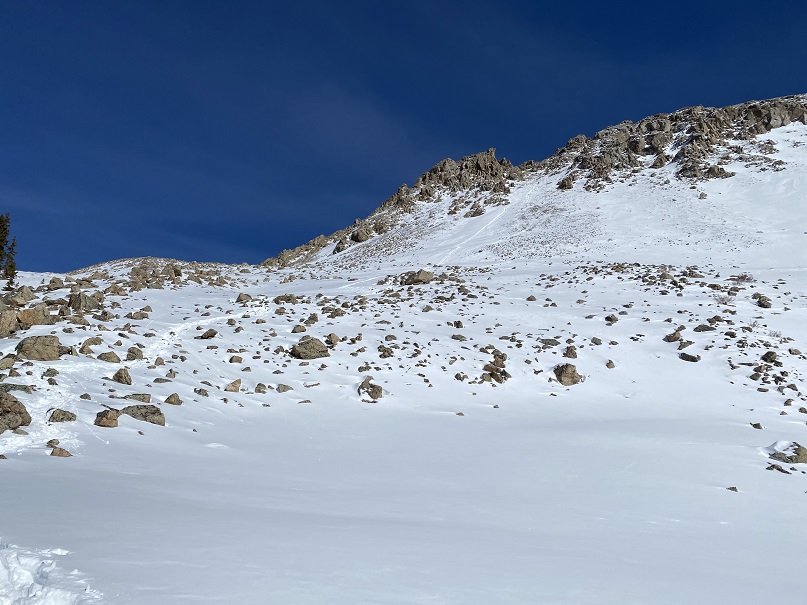
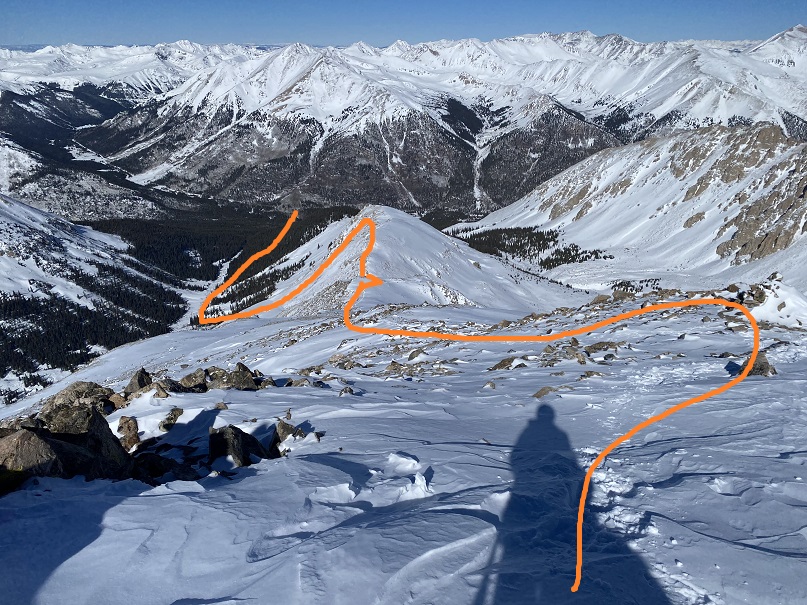
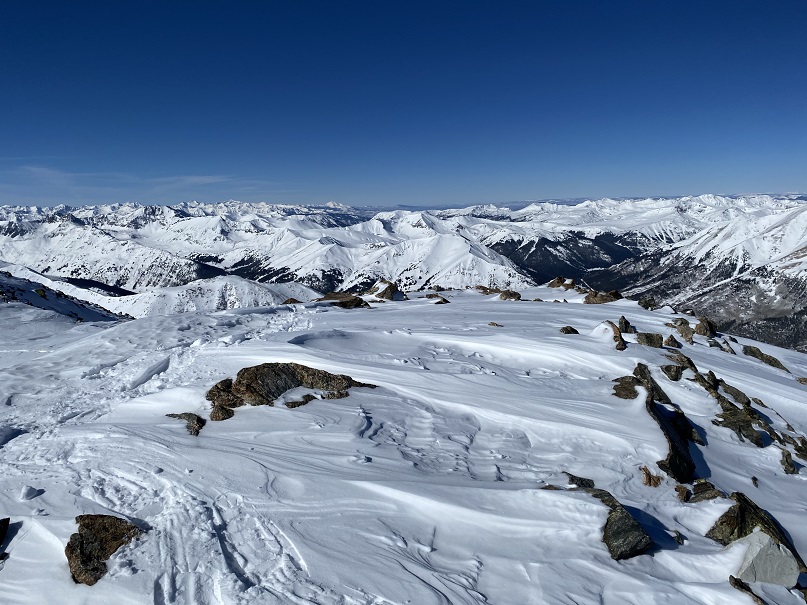
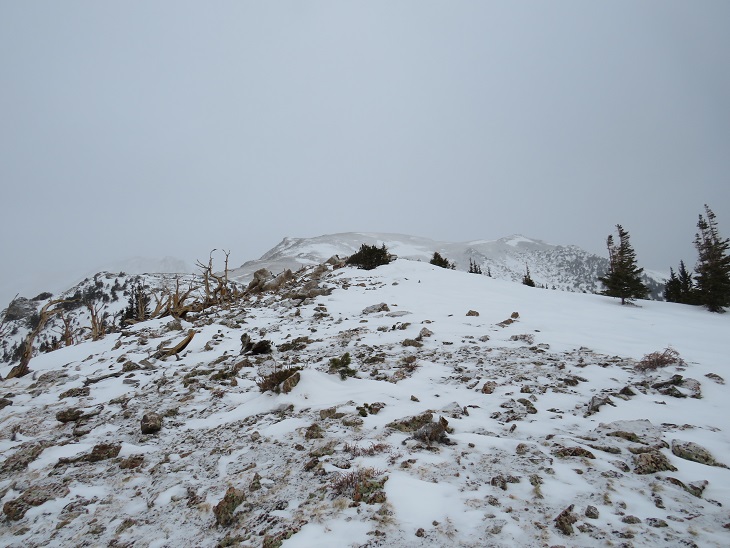
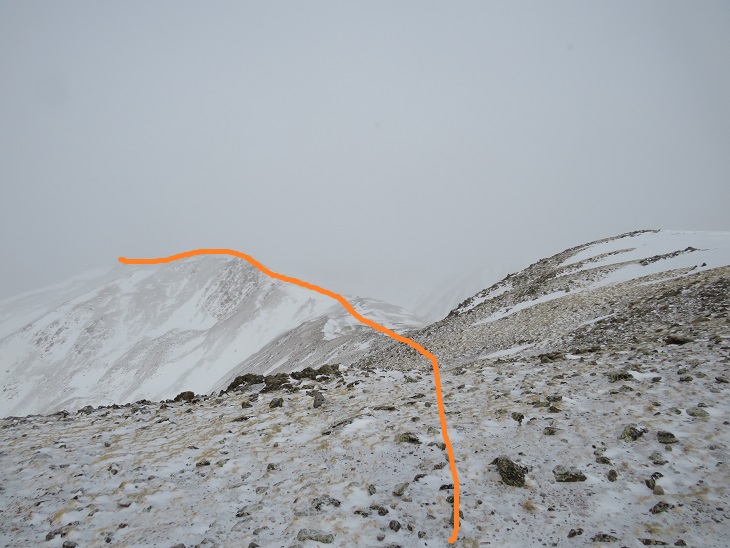
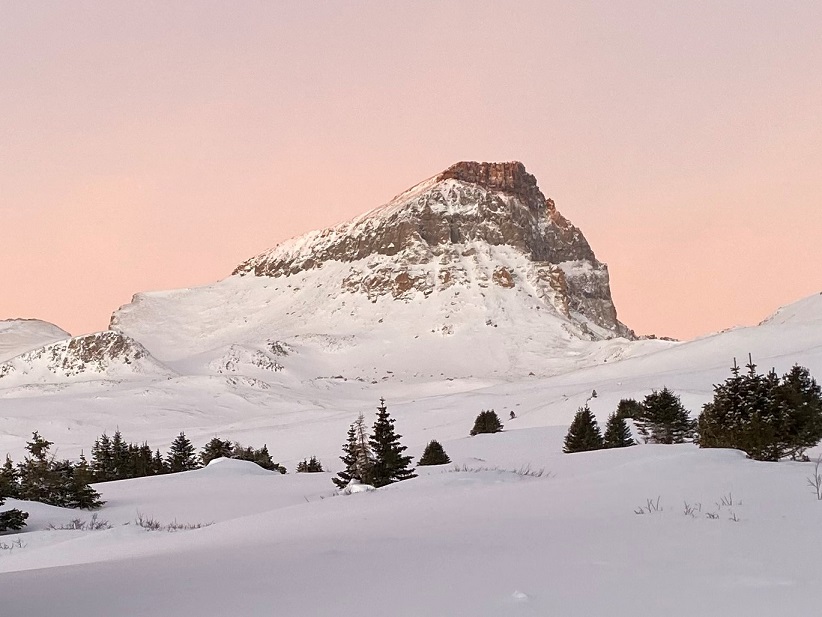
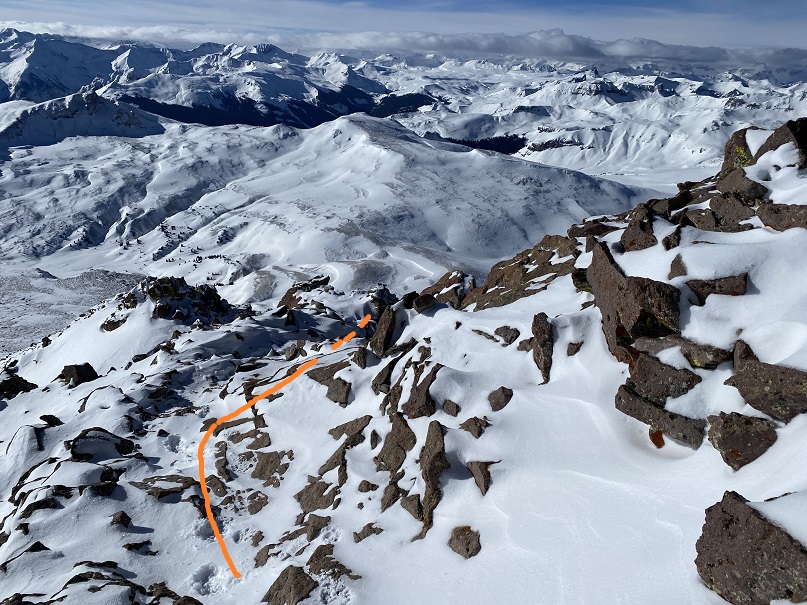
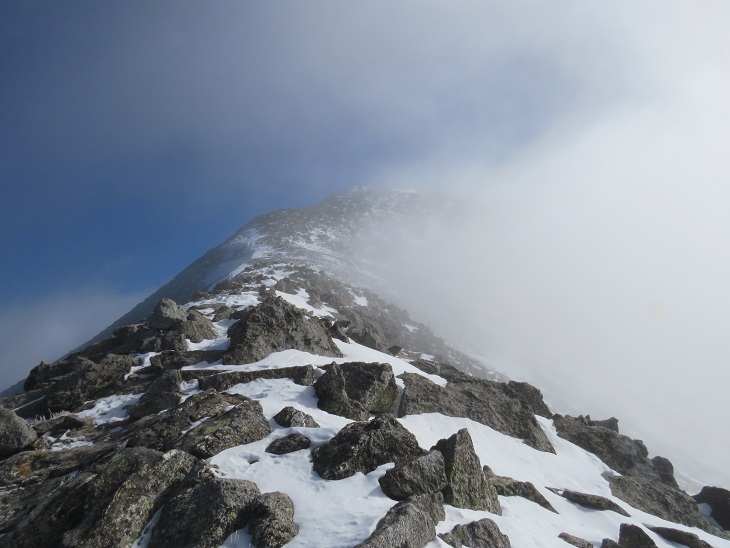
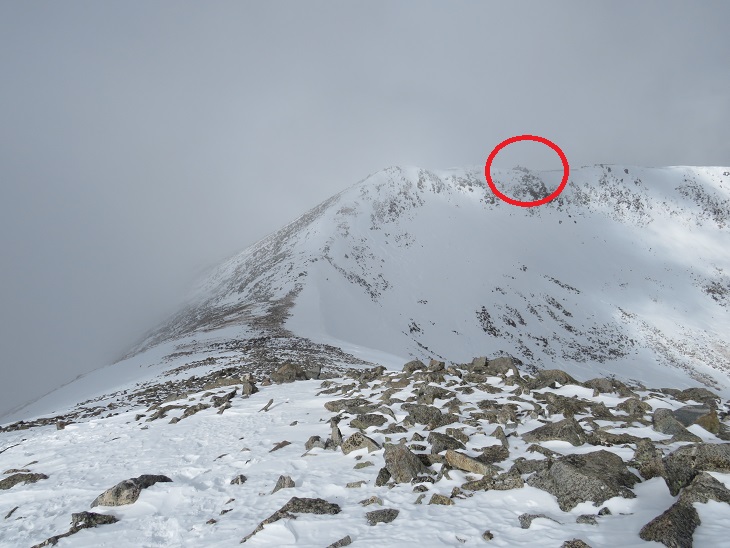
Finally, it became impossible to go any further without snowshoes, so I put them on, just before making it out of treeline. Here’s a good overall view of the route above treeline. It’s important to note the true summit is still not visible (it’s behind that ridge, to the north).
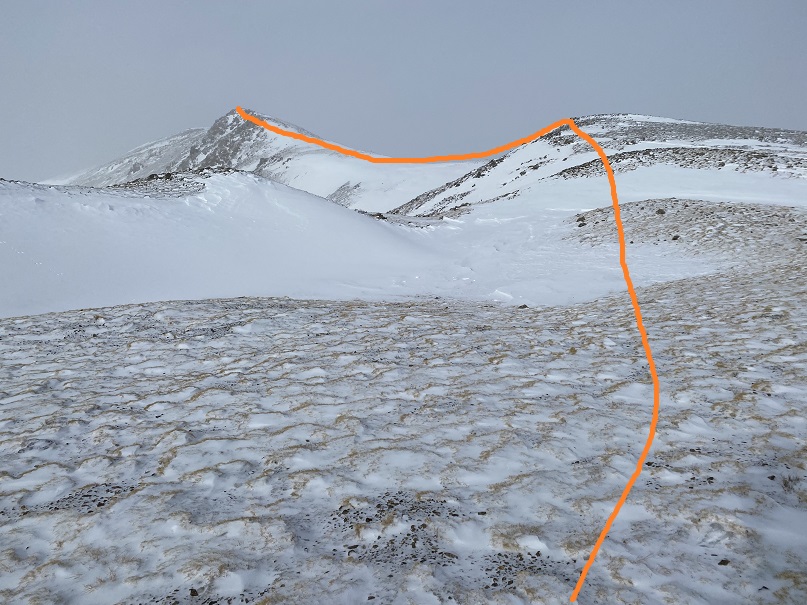
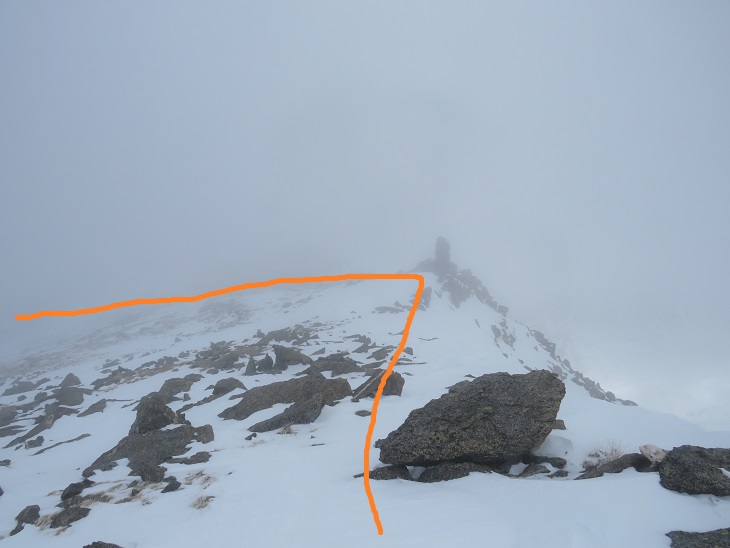
Now this became a ridge hike, above treeline. I could see the clouds moving in, and indeed, it was snowing off and on. The wind was also picking up. Taking off my snowshoes, I followed the ridge as it wound northeast. First heading towards point 12042
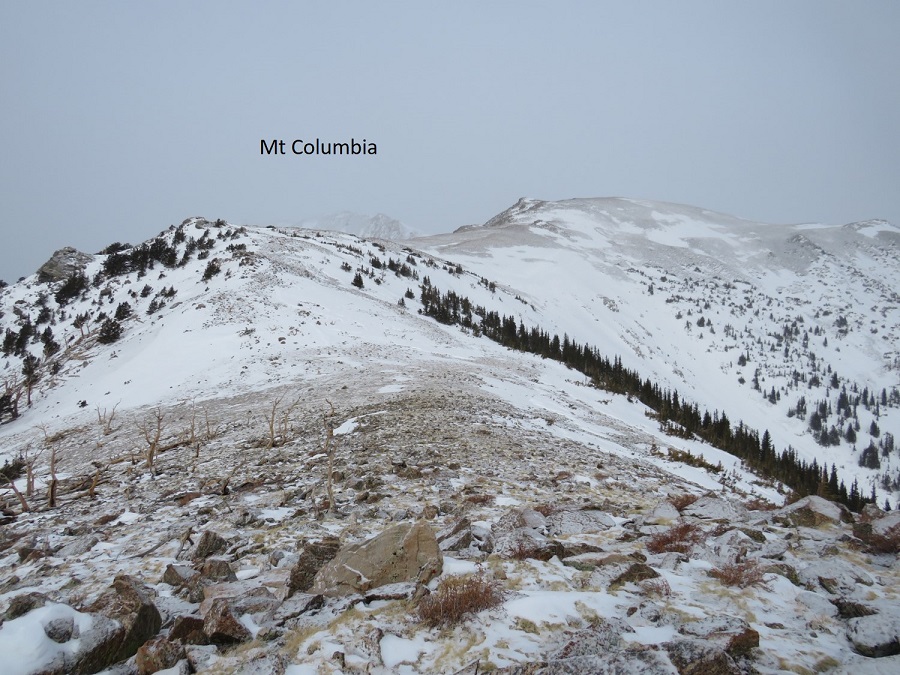
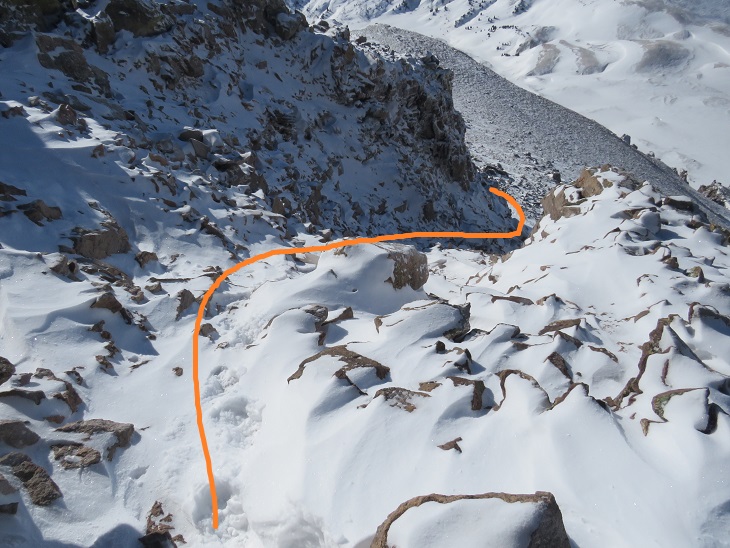
Once there, I lost some elevation, and the ridge split. I don’t think it matters which side of the ridge you take. I went right, since there was less snow there. Here’s an overview of the route
My camera died here (due to the cold), so I started using my phone. Here are some more close-up pictures
Around this point the wind became unbearable, and I could no longer take off my gloves to take pictures with my phone, so I don’t’ have any from this point on. Also, as you can tell, the weather moved in and you wouldn’t have been able to tell much from the photos anyway. What you need to know about the rest of this hike is it’s further than it looks, it’s all class 2, the ridge goes on forever, and what you think is the summit… isn’t. The summit is actually the northernmost point, not what looks like the summit from below (that’s PT 13544). It’s a rocky summit, and I couldn’t find a summit marker (but I also didn’t look for one).
The wind didn’t let up, and I summited in whiteout conditions. It seems the 50% chance of snow after 11am was happing at 9am. I tagged the summit, turned around, and retraced my steps down that long ridge. My fingers and toes were burning inside my socks and glvoes. I had on ski goggles that kept fogging up, and I had to be careful of my footing since I couldn’t see much in front of me. As I got further down the ridge the weather let up a bit, and I could see my way back (these pictures were actually taken from my way in).
I put my snowshoes back on and kept them on for the rest of the hike. The snow started picking up again, especially as I made it back to treeline.
I made it back to the Colorado Trail, and followed it back to the road
And now to follow the road back to my truck
Along the way I was passed by a cross country skier. He seemed impressed I’d just hiked Mt Columbia, especially since it was now snowing quite a bit. I’m not gonna lie, I was a little worried about my drive out. I wished him well as I took off my snowshoes and kept trudging along the road.
Just as I made it back to the trailhead I turned and saw a white dog running towards me, no owner in sight, clenching a deer leg in its mouth.
The skier said it was his dog, assembling a deer one piece at a time. His wife soon followed after the dog, they packed up and were on their way. I made it back to my truck at 12pm, making this a 14.28 mile hike with 5498’ of elevation gain in 9 hours.
The snow was really falling, so I got out of there quickly. The roads weren’t as bad as I’d thought, and completely clear by the time I made it to town.
In the end, I was glad I’d hiked today, but will most likely do this one again to get better ridge pictures. I should have picked a better weather day.
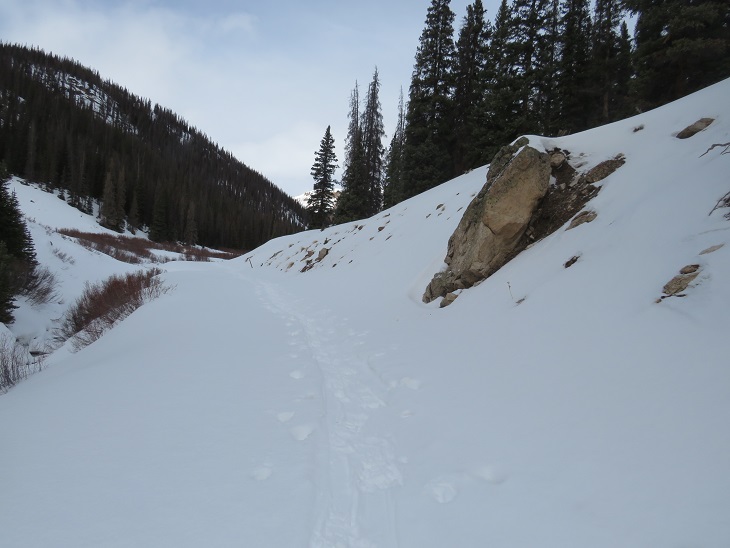
This was a last-minute decision. I left the house at 10:30pm and made it to the trailhead by 4am, after a rather tricky/slick/whiteout conditions drive over Monarch Pass (note to self: check the weather along the route, not just for the peak you’re climbing). I also had a gas station mishap in Gunnison (long story) so my truck smelled like gasoline when I parked. I was pleasantly surprised to find CR 20 nicely plowed from Lake City. There was 1 other vehicle at the trailhead, and only room for 2.
The other vehicle looked outfitted for sleeping, and there were window coverings on the windows, so I wasn’t sure if there was someone sleeping inside. I tried to be quiet as I hit the trail at 4:30am. This is the lower trailhead, so I followed the 4WD dirt road (now packed with snow) for 4 miles to the upper trailhead.
There was some ice on the trail, but it was mostly an easy road to follow
And here’s a look at the stream crossings. There were snow bridges over the water, and you could hear water flowing under the snow.
I was still hiking in the dark when I saw a flashlight behaving erratically up ahead. As I got closer, I realized it was a skier. My flashlight was acting funky, so I couldn’t see him clearly, which was good, because he told me he was changing his pants (putting on warmer ones). His name was Paul and he sounded like he was in his 20s. He said he’d “see me up there” and I continued on.
From this point it was clear he’d been trenching with his skis, but even so, I didn’t need to put on snowshoes until I made it to treeline. I continued hiking along the road
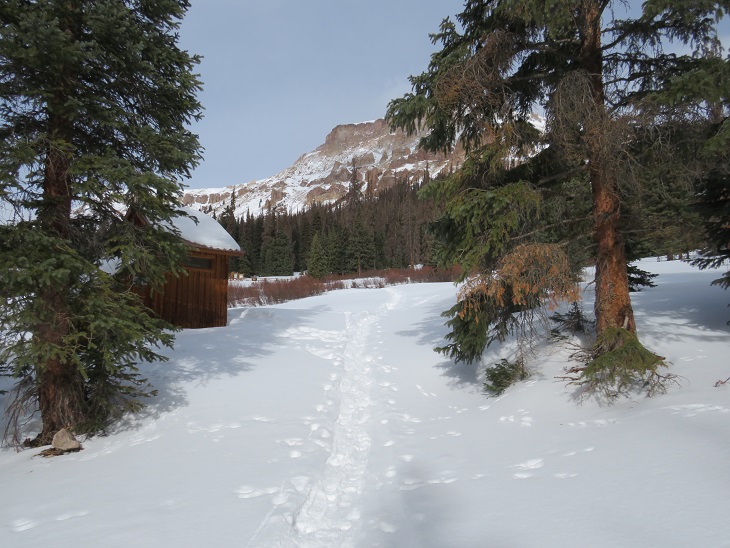
I made it to the upper trailhead and the bathroom (I didn’t check to see if it was open, but it looked like there were game trails leading up to the door)
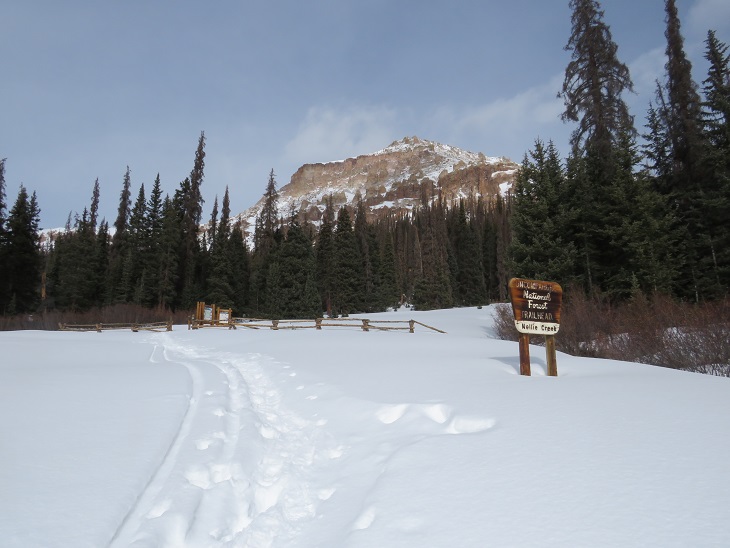
This is where the trail got ‘iffy’. There was no longer a trench, but if I strayed from the old trench I’d sink up to my waist in snow. I put on my snowshoes and only postholed every 30 steps or so. Here’s the upper trailhead
From the upper trailhead the trail heads northwest to treeline and then through willows.
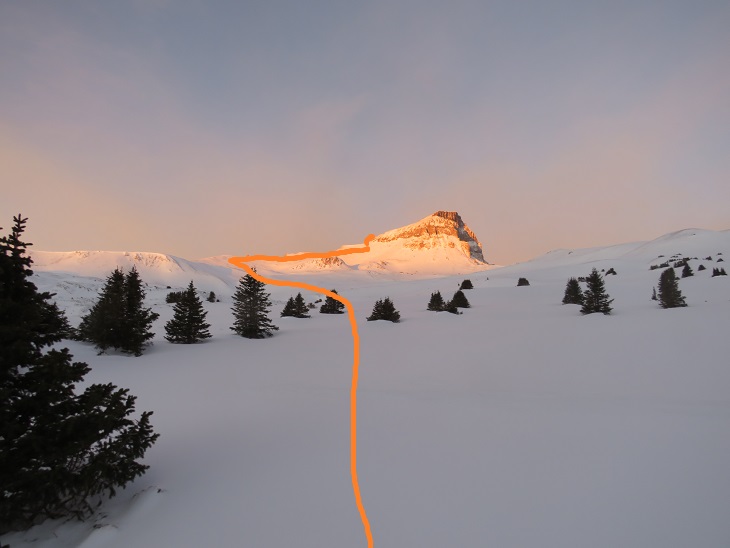
Once at the willows I had to gain this small ridge. This was easier to do in the morning than in the afternoon (pics of my glissade route later). Here’s my path
Just as I made it up this ridge the sun began to rise. I had a great view of the sunrise over Uncompahgre
And looking back
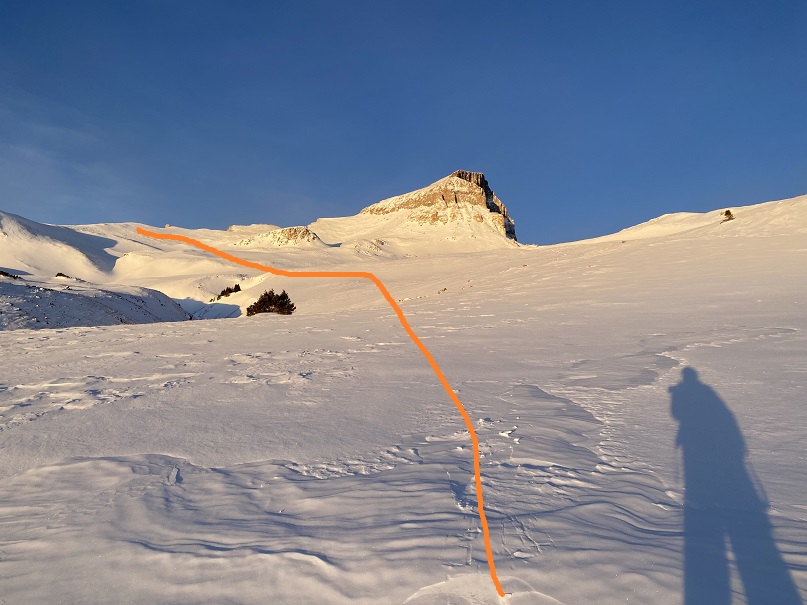
There was no trench here, nor any sign of a previous one, so I got to make my own. Here’s my basic path
And step by step. Lots of trenching, but pretty straightforward. Your goal is to gain the ridge.
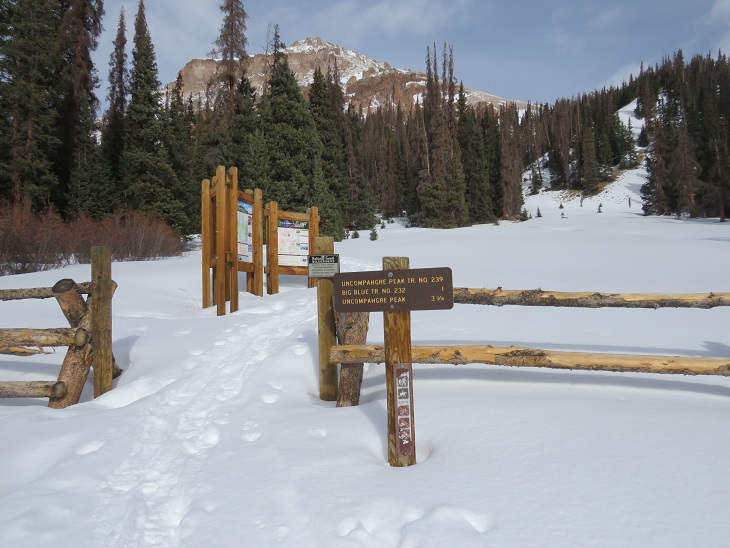
You’re aiming for this sign on the ridge. There are a lot of these signs in the area, all saying to be careful of vegetation, so make sure you aim for the one obviously on the ridge.
Once on the ridge, I turned right and followed a faint trail northwest. The snow on the switchbacks was a bit sketchy.
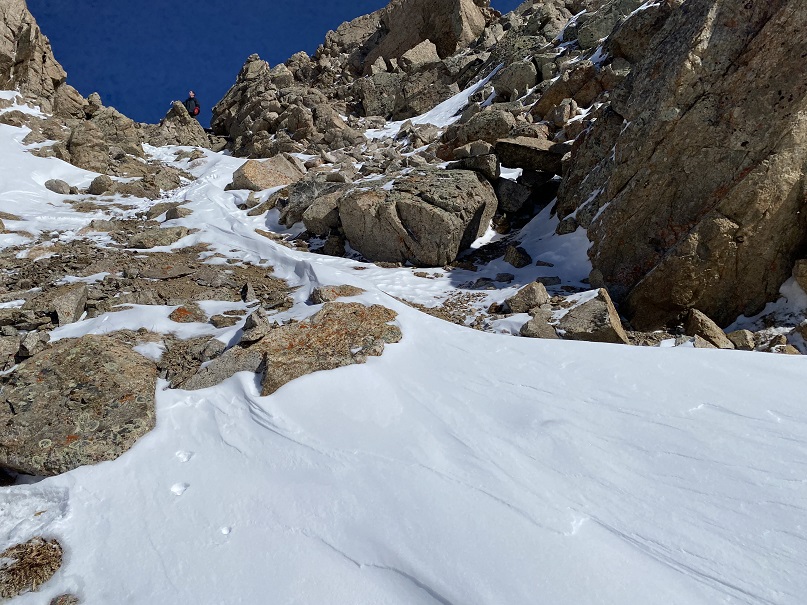
I gained the ridge again and traversed a short distance along the backside, looking for a short gully to climb
I took off my snowshoes at the gully and climbed up, carrying them (bad idea)
At the top of the gully I found cairns and a trail that wound back to the east side of the mountain to the summit, so I stashed my snowshoes and kept going.
I walked back and forth all along the summit to make sure I hit the actual summit. The summit is towards the middle… the pictures were better towards the west though. Also, usually when there’s a lot of snow I can see herds of animals, or at least their tracks in the basins below or on the ridges. No tracks today, so they’re all probably below treeline now.
It was a long drive back home, so I turned and retraced my steps
I made my way back to the gully and found my stashed snowshoes. I seriously wished I’d stashed them below the gully, but because I wasn’t sure of the conditions above I’d brought them with me. I carried them gingerly in my left hand as I headed down
At the bottom of the gully I put my snowshoes back on and kept them on for the remainder of the hike. I turned left and followed my tracks back to the ridge.
Once in the ridge I had some switchbacks to go down before following the ridge proper. It had only been about an hour or so, but the tracks I’d made on my way in were already gone, so I got to make new ones.
Once down the switchbacks most of my tracks were still there, so I followed them back down the basin. Side note: From here I could see the skiers tracks, and the skier still in the basin below. He’d chosen a different route to gain the ridge, and seemed to be stopping for lunch. Since he was on skis I expected him to pass me on the way down.
This is where I ran into a little bit of trouble… The skier had gone over my tracks on his way in, and in doing so made them slippery as the sun warmed. They’d turned into ice, and my snowshoes couldn’t grab onto my tracks. The snow was too soft to make new tracks. I tried to retrace my steps down, lost footing on the ice, and glissaded into the willows. The slipping wasn’t calculated, but the glissading was: Once I’d started I quickly assessed the risks and just decided to keep going.
Here’s a look back on that short glissade
And now, to hike out. The trench was still in place, so it was relatively easy. Here are some pics.
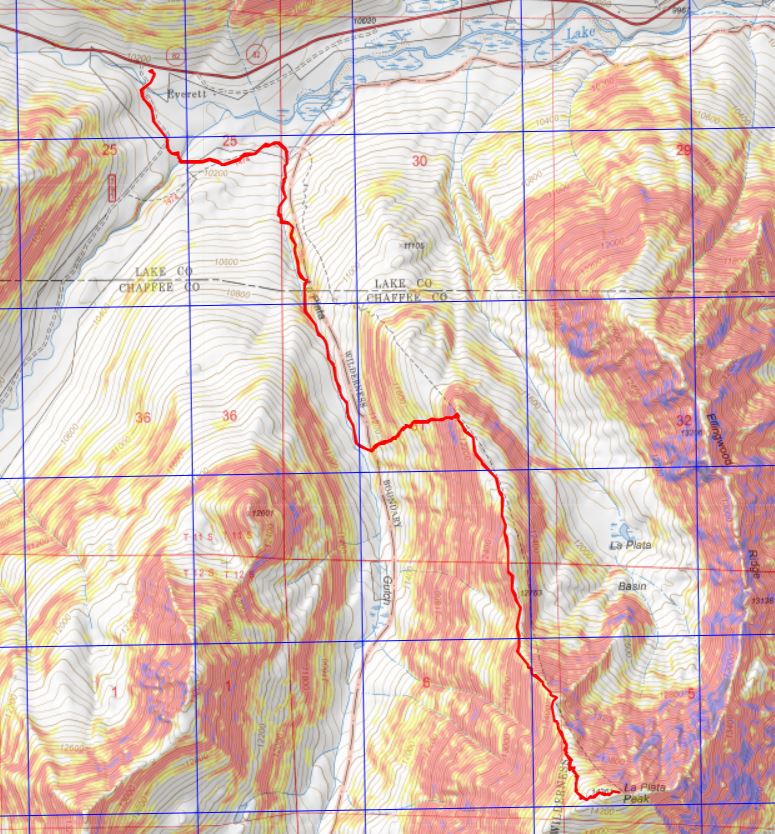
I made it back to my truck at 1:30pm, making this a 16.42 mile hike with 5069’ of elevation gain in 9 hours. I never did see the skier. Here’s a topo map of my route
I went back and forth on whether or not to post this, but I pride myself on posting honestly and openly, and I think this information can help others. I believe in respecting private property, and am always on the lookout for signage. I’ve turned back on several hikes when I’ve seen a sign indicating I shouldn’t be there. Also know I took direction from others who’ve already done this route, albeit it quite a few years ago. It is no longer a good idea to summit these peaks this way. It seems a lot has changed in this area in the past few years: I encountered roads not on topo maps, so there is most likely an easier way to summit.
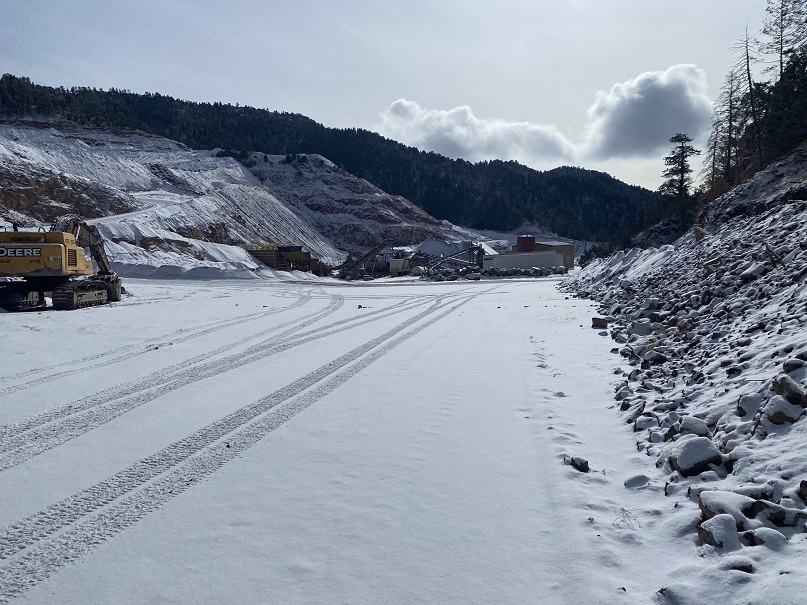
I drove slowly the last 2 miles to where I parked, following a large, industrial truck. The roads were icy from the overnight storm, so I didn’t mind going slow. I kept looking for a good place to park, and maybe it was the recent snow, but there just wasn’t one along the entire drive in. Finally, just before reaching the quarry, I saw a place I could park. I pulled over, backing up a few times to make a nice parking space in the snow, and looked around. I didn’t see any ‘no parking’ or ‘no trespassing’ signs, so I sat there for 15 minutes, putting on my gear. Here’s where I parked, just in front of an open gate, near a mailbox
As I did so, several large trucks passed me. I assumed they were workers going to work for the day. I waved. I got out of my truck and proceeded up the road a few yards, then turned right and headed east up the ridge. The entire time I was in sight of the quarry office. I never crossed a fence or a ‘no trespassing’ or a ‘private property’ sign.
This hike was full of bushwhacking. There were no established trails, so I took game trails where available. The game here didn’t seem to get taller than my waist.
From the ridge, here’s looking at the quarry office. I would like to note I had a red bandana and was quite visible due to the fresh snow. No one tried to tell me I wasn’t supposed to be there or follow my obvious tracks in the snow to talk with me about my intentions. I’m sure they have bullhorns at facilities like this, right? Surely I was within range of bullhorn communication if I was doing something wrong. But no, I was simply enjoying my hike, and at this time thought nothing amiss.
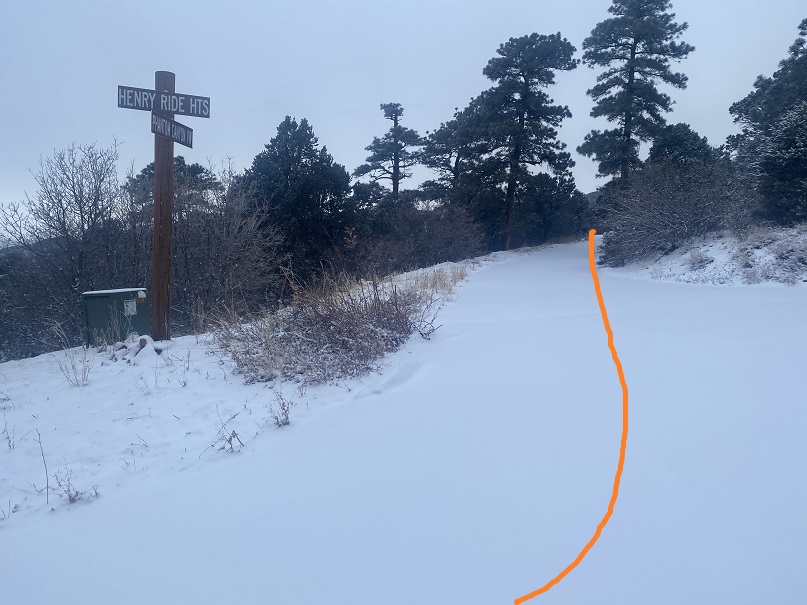
Once on the ridge I followed it north, until I came to a…. road?!?!?!?
I followed this road, which I eventually found was called Henry Ride Heights. When it crossed with Phantom Canyon View I turned left and continued following the road to the towers. There were loud, barking dogs here.
Once at the towers the road ended, so I followed the ridge as it wound north
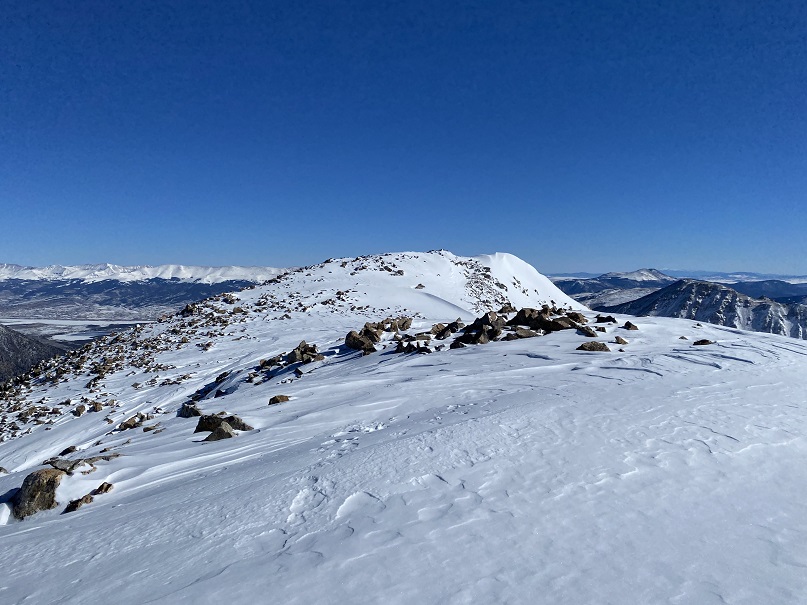
This ridge goes up and down and up and down. The scrub oak is particularly unsettling, but on a positive note it was mostly dead and broke away when I hiked past. Here’s the summit of Mt Pittsburg
Here’s looking back at the route in
It doesn’t look like this summit gets a lot of hikers. I placed a summit register and was on my way
My next goal was PT 8220. I wasn’t sure where it was exactly from Mt Pittsburg, as the weather wasn’t cooperating. For reference, this is the peak and my overall route
I started out by heading northeast down to the saddle.
It should be noted the bushwhacking never got better for this entire hike. In fact, it kept getting worse, so I’ll stop mentioning it. I’d just like to point out if I were doing this any other time of the year I most likely would have come out with dozens of ticks. Once at the saddle I then climbed the rib/ridge to PT 8220, making several ups and downs along the way
Here’s looking back on Mt Pittsburg
And some more pictures of the ridge hike to PT 8220
Here’s a look at the summit of PT 8220
I wasn’t sure where the exact summit was, so I walked all over, and yes, even sat on that ‘point’
I left a summit register, and turned to head west down the mountainside
I headed down, following a sort of steep gully, until it hit a ravine, and then I followed the ravine down to a road. It took me 2.75 miles of hiking down this ravine from the summit of 8220 to make it to the road. Here are some highlights:
I found an old structure along the way. This truly was in the middle of nowhere: very overgrown and not even game trails here.
I was so excited when I finally made it to the road! I followed it south
I passed a generator and a fire extinguisherand thought that was odd?
Then I came upon tire tracks. I was now elated, because I knew I’d soon be back to my truck
Well, elated, until I saw this:
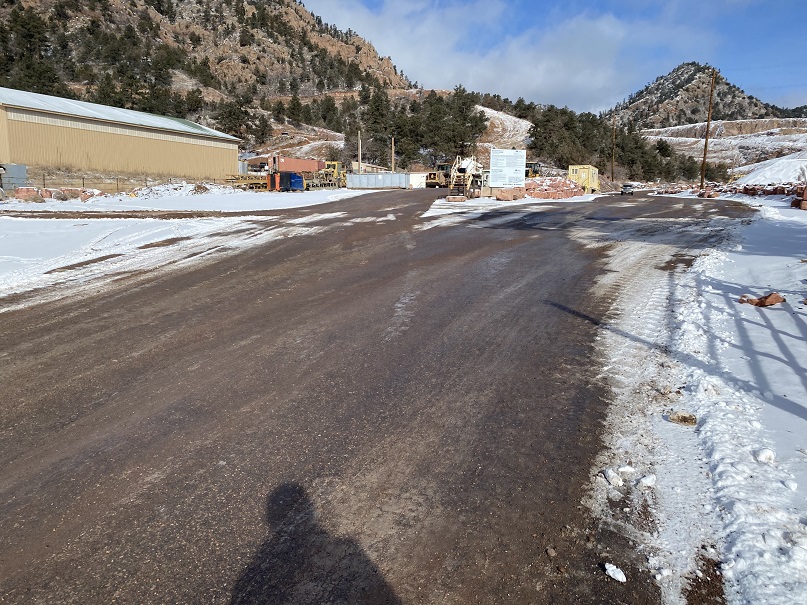
Ugh!!! My map told me I was to walk a road next to the Quarry, not THROUGH it! I was probably 200 yards from my truck at this point, and by looking at my map I knew the only option I had was to continue walking along the road. I briskly followed the side of the road, keeping my head pointed straight ahead. There weren’t any ‘no trespassing’ signs, but I did not feel comfortable. I wanted out of here right away, but I also knew my only option was to continue forward. I felt a sigh of relief when I passed workers and they didn’t seem to care I was there. Here’s a picture of the office (after I’d passed it).
My relief was short lived though: About 20 yards away from my truck a man drove up from behind me and rolled down his window:
“We were looking for you earlier. You’re not supposed to be out here without a hard hat”.
I thought that was a curious thing to say, but apologized just the same and he drove away. Immediately afterwards another man pulled up behind me. He was a little more upset, and told me he’d called the cops on my vehicle because he hadn’t known who it belonged to. I was nice to him, and let him know I hadn’t intended on ending up in the middle of their operations and I just wanted out of there as fast as possible: I’d looked for ‘private property’ and ‘no trespassing’ signs and hadn’t seen any this entire hike, including where I parked (OUTSIDE of the open gate, I might add). It wasn’t until I made it back to the road near the quarry I began to think anything was amiss. He said there was a sign located somewhere behind a sign (I never saw it).
I apologized, and got a lecture on hiking alone and mountain lions (“You shouldn’t be out here alone, little lady”). I refrained from saying anything, but I did grit my teeth on how he was lecturing me. I got the feeling he was only doing it because I’m a woman. After all, I know of two other men who’ve taken this route, and when they passed the Quarry (described to me differently before this attempt: I’d been under the impression the public road went NEXT to the Quarry, not through it) the men said the workers just waved them on as they hiked by. I wanted to give him a lecture on proper signage and procedures that should have been taken BEFORE calling police, but I held my tongue. Once again, I apologized and he let me be on my way.
So, now I’m expecting the cops to show up at my house at any moment to talk to me about trespassing charges.
Oh, and here’s a topo map of my route. Also, I don’t’ recommend taking it.
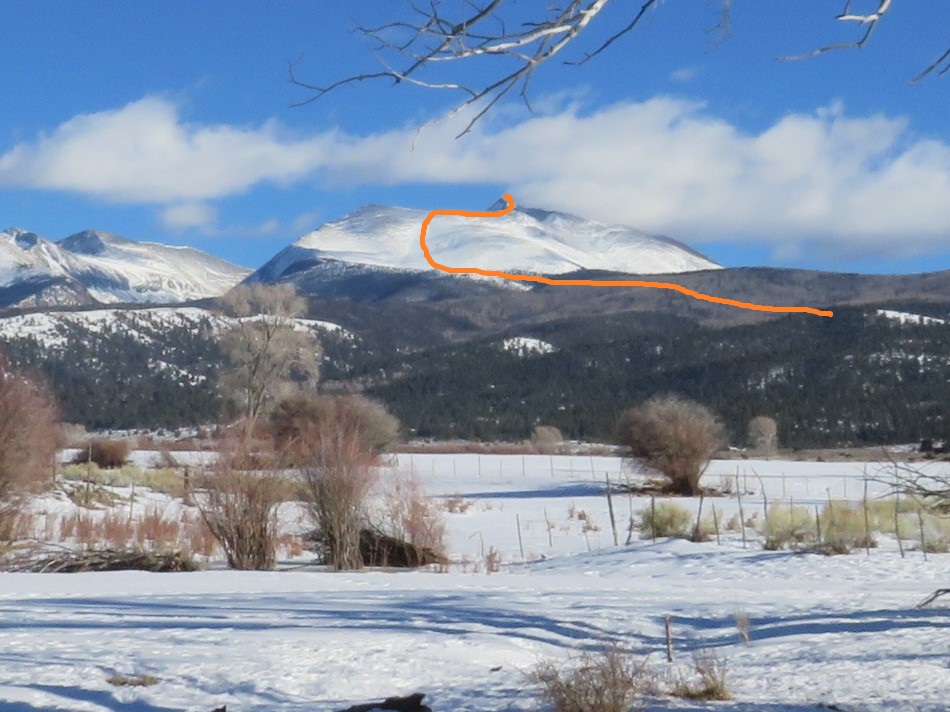
When someone asks you to climb Culebra Peak with them in winter, you say yes! I really needed to get out hiking with friends, and when Bill asked me to hike Mt Princeton with him, of course I said yes! But then, plans changed and he decided to hike Culebra instead. The weather didn’t look too bad (only 20% chance of snow), so when he asked if I wanted to go along I said yes: I mean, securing reservations is difficult in winter as you need a group, and he was putting together a group.
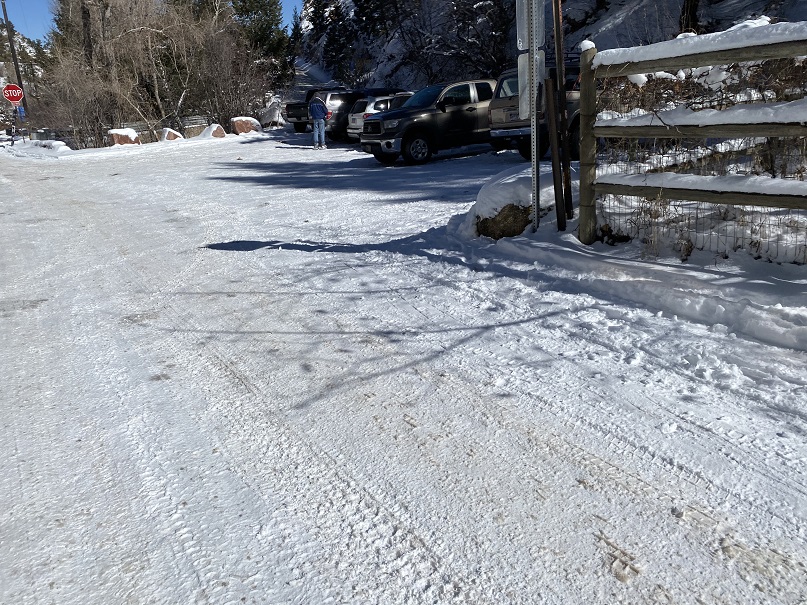
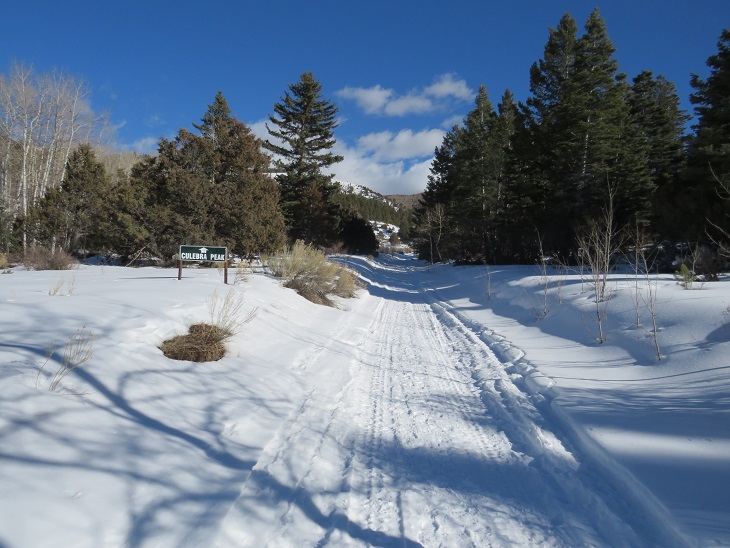
In any event, I made it to the trailhead an hour early. They open the gates at 6, and close them at 6:15am, and I didn’t want to miss that window. Everyone else got there early as well. There were 5 of us hiking today (3 girls, 2 guys), and 4 vehicles: 3 4Runners, and my Tundra. Toyotas seem to be popular among self-professed mountaineers.
Here’s a picture of the gate:
Promptly at 6am the gates opened, we were checked in, and we drove to the Ranch office. There was space for about 5 vehicles to park. We all got out of our vehicles, were given instructions on how to let ourselves out of the gate, and shown where the trail started. I was glad we all had 4WD vehicles, because while the dirt road in was clear of ice, the parking area wasn’t plowed.
We gathered our gear and were off around 6:15am. The trail starts to the east of the parking area. In fact, most of this hike heads east.
Here’s an overview of the entire hike, from the road in
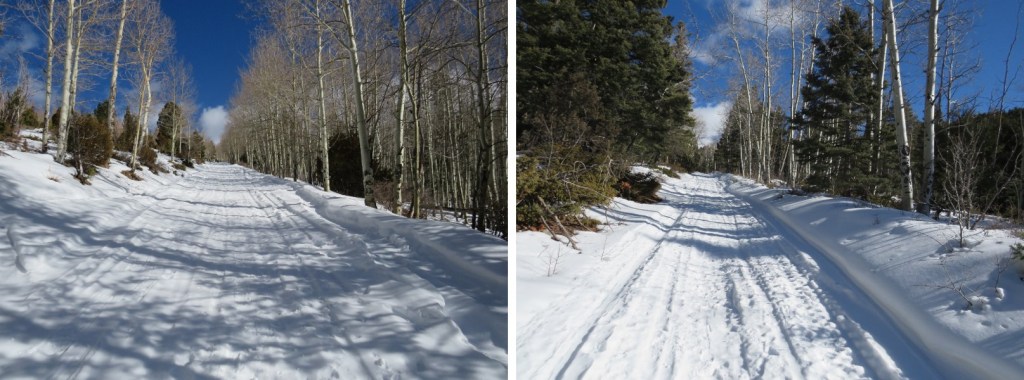
We followed the 4WD jeep road for 5 miles, gaining 2600’ of elevation. What was nice was they’d groomed the road until 4 way with snowmobiles, and after that there was a solid trench to treeline.
This part of the hike was very pleasant, as I talked with the guys (the girls weren’t as fast as we were at this point). We had a great pace, and I learned about other hikes they’d done and some of their goals. At one point I gave everyone a sticker, which got rave reviews. They understood the color schemes and even gave me ideas for other stickers in the future. I asked them to let me know how they hold up.
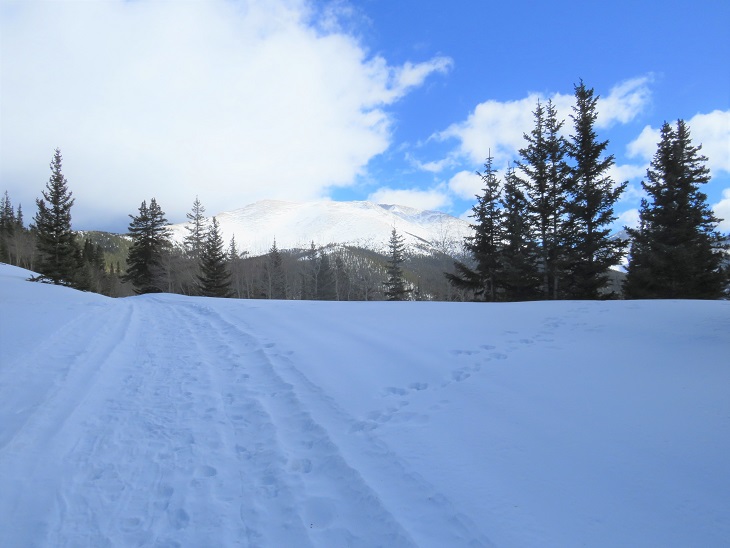
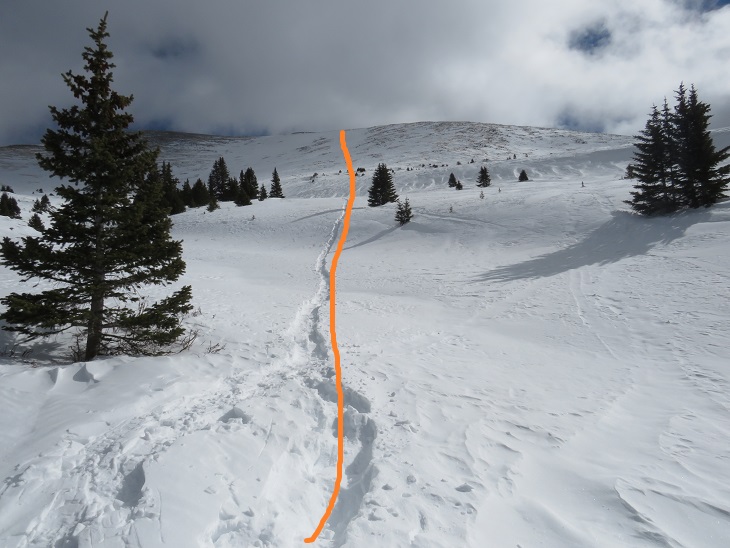
Once at treeline we were a group again. We donned our snowshoes and headed southeast up the side of the mountain. We had to trench here, but a lot of the area had solid snow. Here’s the path we took to the ridge
Once on the ridge everyone else took off their snowshoes, but I decided to keep mine on (mainly because I knew I wouldn’t be able to get them on again once I took them off). The weather started coming in, and it looked like that 20% chance of snow was going to materialize.
I was on my own from this point on, or, at least I thought I was, as I could no longer see anyone else and I was now in the lead. I made it to the ridge, as evidenced by this large cairn.
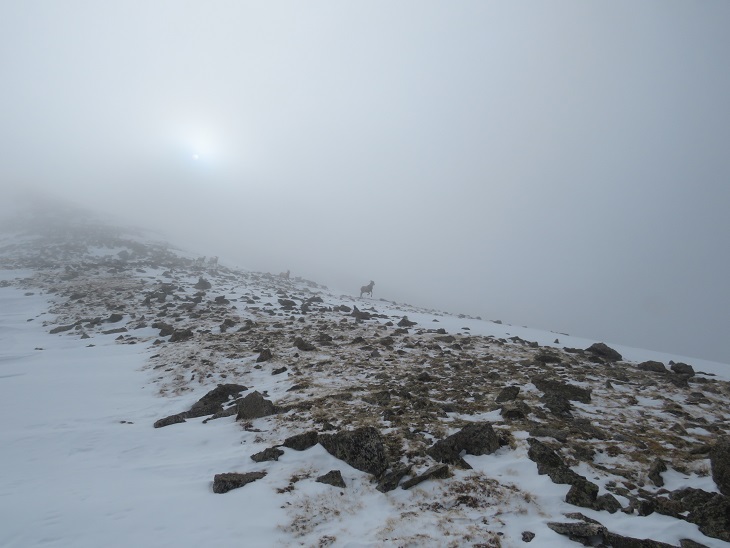
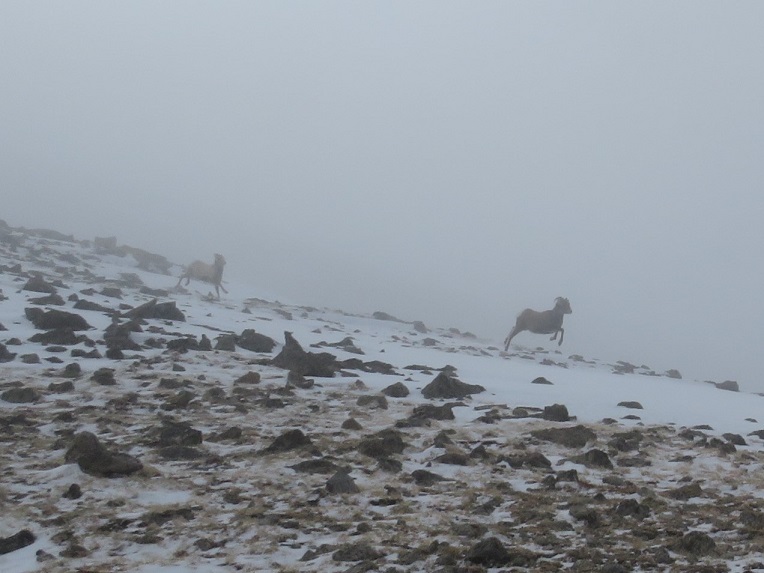
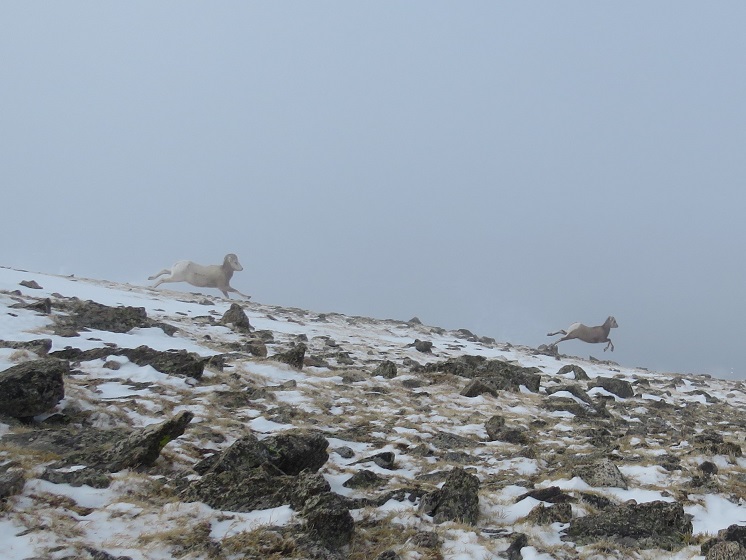
At the cairn I turned right and followed the ridge until it ended, which felt like forever! It’s a totally different hike when you have no visibility. But there was a bonus to the lack of visibility: it took a while for the bighorn sheep to notice me. When they did, they were off, running down the mountainside
I continued to follow the ridge as it lost some elevation (a hundred feet or so) and then started climbing again.
There were several small ‘false summits’ on this hike, but they were probably mostly due to the lack of visibility.
As I neared the summit I looked back and noticed three of the other hikers closely behind me. They’d taken off their snowshoes back on the ridge, and my snowshoes were slowing me down. Let me tell you, snowshoes on rock is not a good combination. We all ended up summiting around the same time, and took a group selfie. I couldn’t help but be jealous of everyone else: They didn’t need balaclavas and they were all taking off their gloves. I on the other hand, was trying to keep from crying because my fingers were hurting so bad. Also: we were all wearing the same gear/gloves so I blame my Raynaud’s (funny how mountaineers tend to find out what works and everyone uses the same stuff).
It was here I learned we’d lost one of our members on the ridge (he turned back early), and that everyone else was heading towards Red Mountain. I wished them good luck, as I’ve already summited Red Mountain and wanted to get down to where the sun was shining. We all had a group hug/high-five session, I turned and headed back the way I’d come, with little bits of sunlight peeking through the clouds when the wind made an opening.
Here’s that dip I was talking about earlier. The cairn is circled in red
Once at the cairn I turned left and headed back down the ridge, which was tons of fun with little visibility!
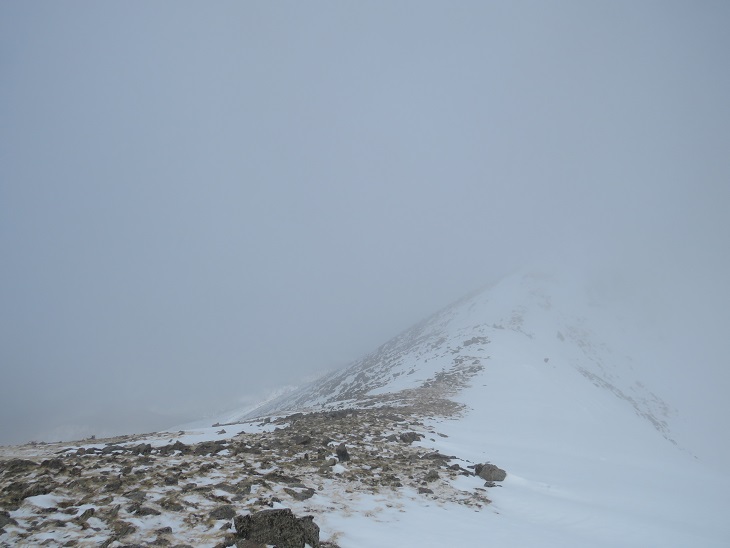
I was glad when I made it down to around 12K and was now below the clouds. Here’s a view of the hike out
This was great because I could just follow our tracks back. Once below the clouds the weather was actually quite nice. I could see Little Bear, Blanca, and Lindsey on the hike out. Also, the hike out seemed to take forever! It was only 5 miles, but it kept going, and going, and going. Wow! Had I really hiked in all this way this morning?
I made it back to the Ranch Office, signed out, and drove to the gate. It was super muddy at the gate, and since I now have a topper on my truck, I couldn’t just toss my gear in the back. Oh well! I put my boots on top of my snowshoes and was on my way.
I made it back to my truck at 2pm, making this a 14.87 mile hike with 5337’ of elevation gain in under 8 hours.
The Culebra Peak summit sticker can be bought here
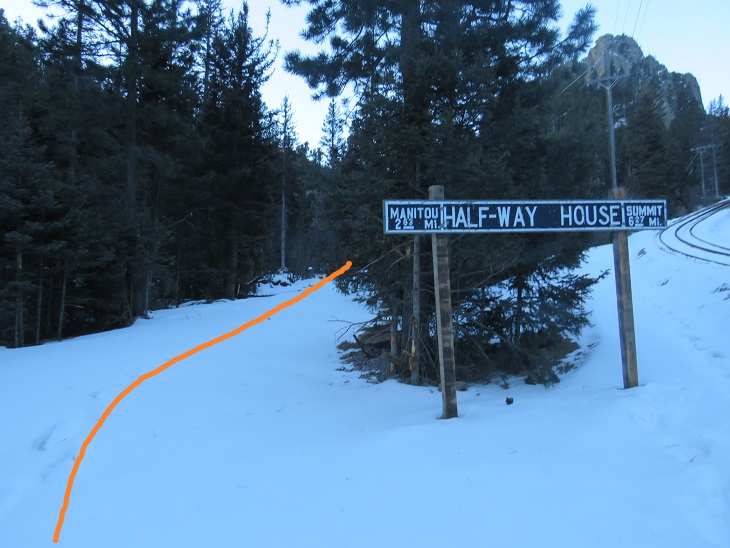
These peaks have been on my short list since last year, when I attempted to hike them in winter by following the cog railway (which was under construction and not running). I learned two things: There was too much snow to summit this time of year from the cog, and the route is seriously steep! My legs were burning after just 2 miles.
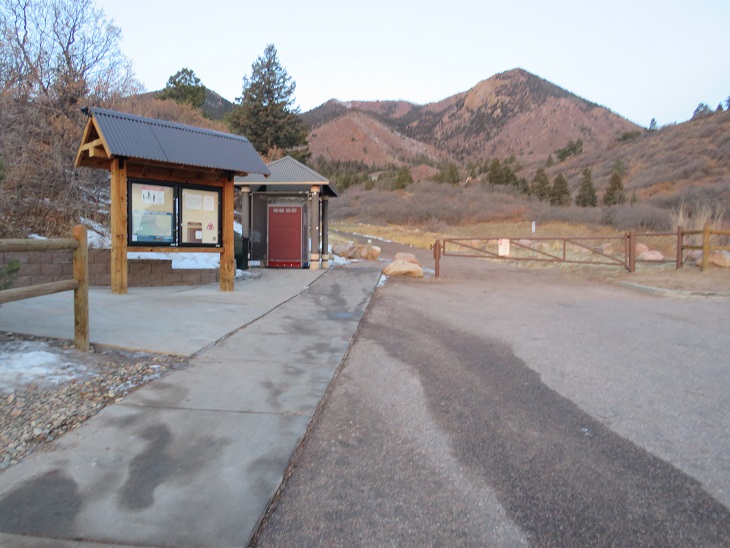
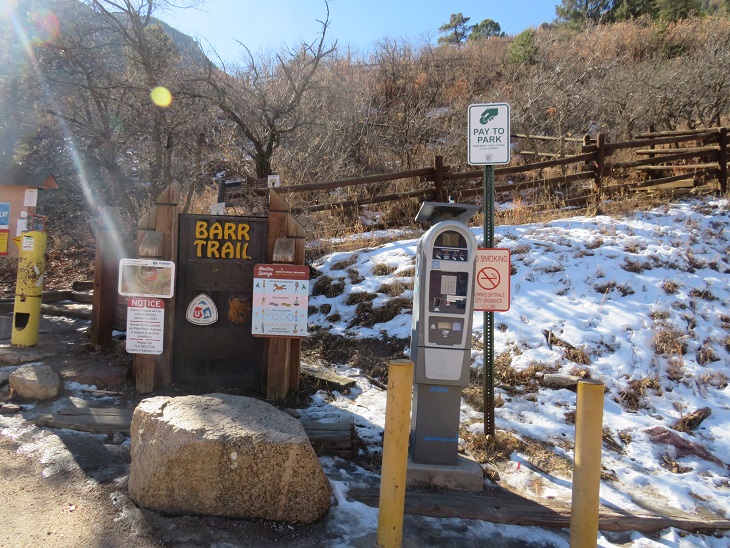
I’ve been hiking in this area the past few weeks and was surprised at how little snow there was, so I figured now was a great time to attempt this hike. I parked at the Barr Trail lot, paid the $10 fee at the machine, and was on my way at 6am.
This time, instead of following the cog railway, I followed Barr Trail for just over 3 miles. This is a class 1 trail that is well maintained. Spikes are recommended in winter.
After hiking for 3 miles I came to a junction for the experimental forest and Barr Camp. Here I stayed on Barr trail, turning left. The trail became an ice skating rink here, but not for long.
I only stayed on this trail for a few yards, turning left onto unmarked trail 706. This trail can be difficult to notice if you aren’t looking for it, and this is the first time I’ve seen tire tracks on this road. It looks to be an old 4WD road that leads to a functional pipeline, and these tracks looked to be the first made here in quite a while.
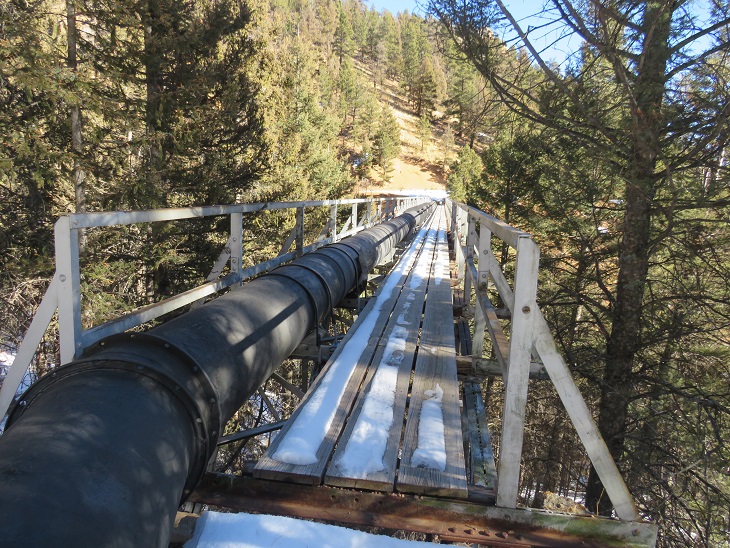
I followed Trail 706 for about a mile and a half as it wound around the south side of the mountain.
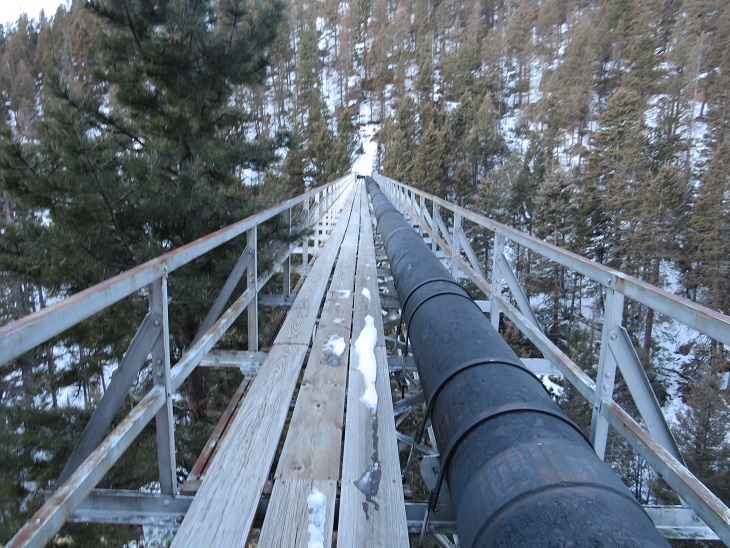
The road ended and I crossed this pipeline bridge. Gingerly. I don’t think this bridge has many seasons left.
After crossing the bridge I picked up the trail again and followed it a short distance to the cog railway.
Once making it to the Cog Railway there’s a sign saying from here on out it’s private property
No matter though, because I wasn’t heading up the Cog. Instead, I crossed the tracks, passing this sign
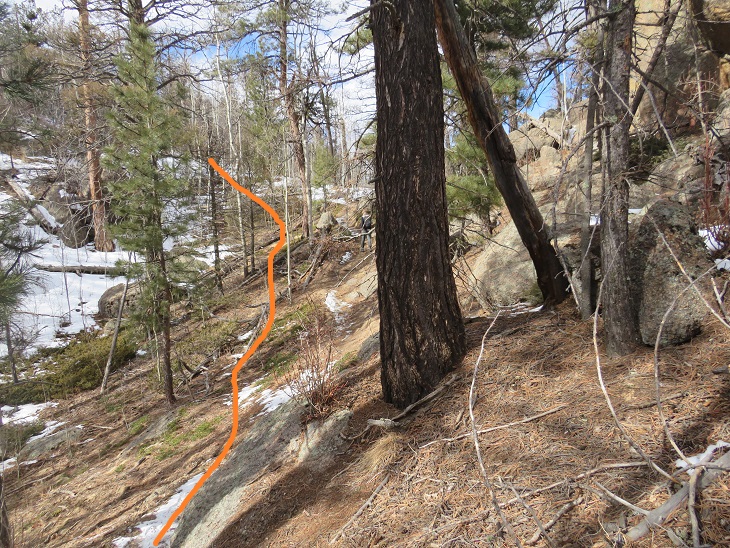
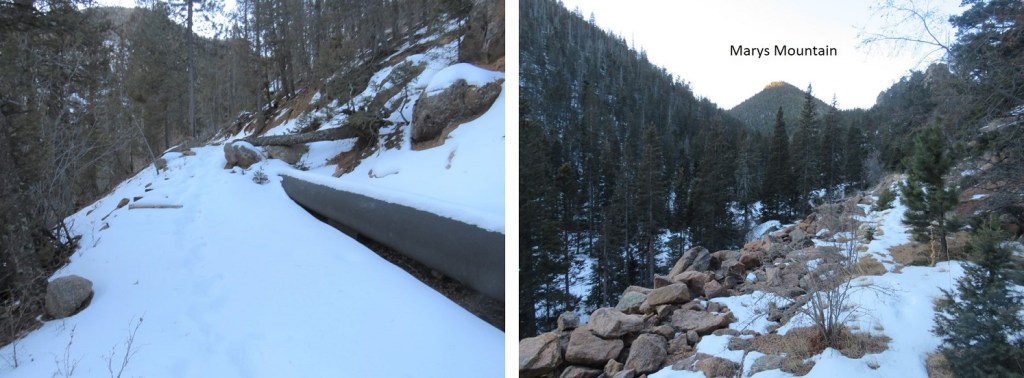
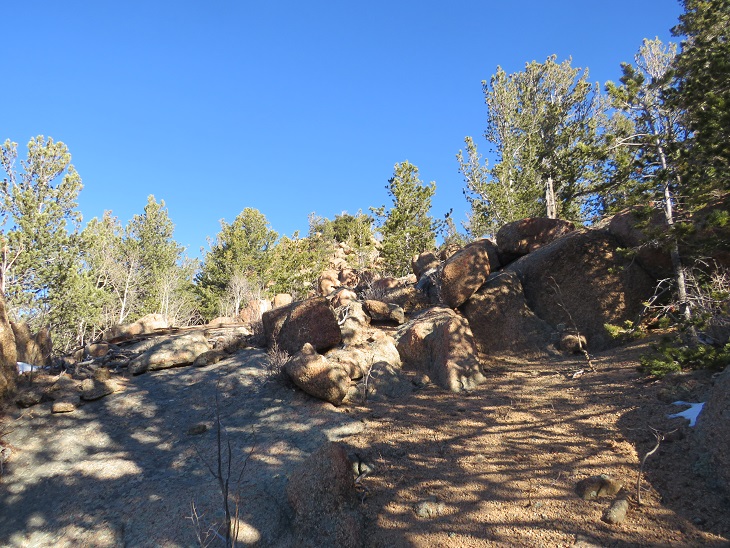
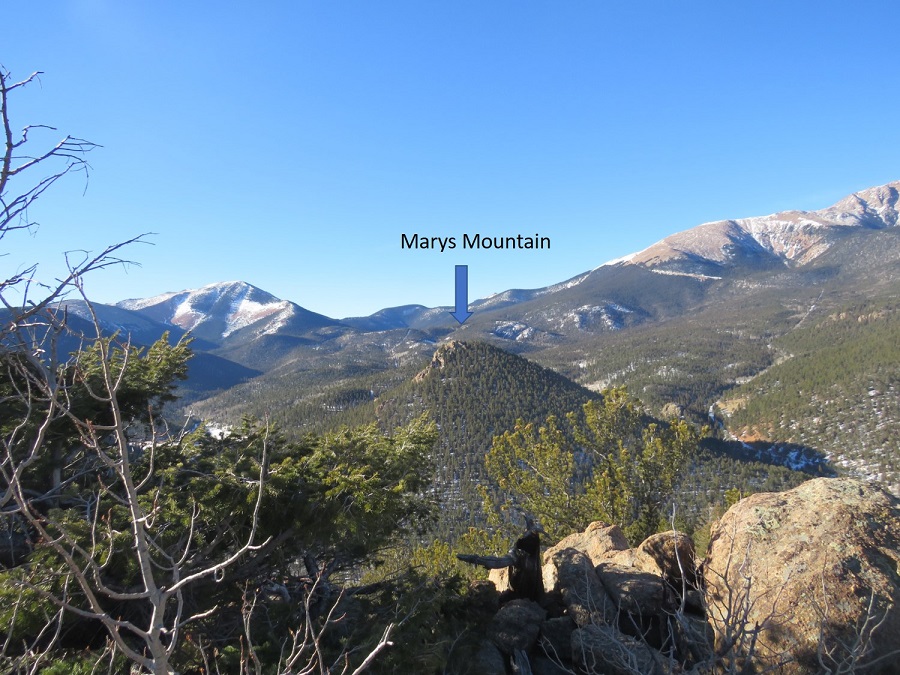
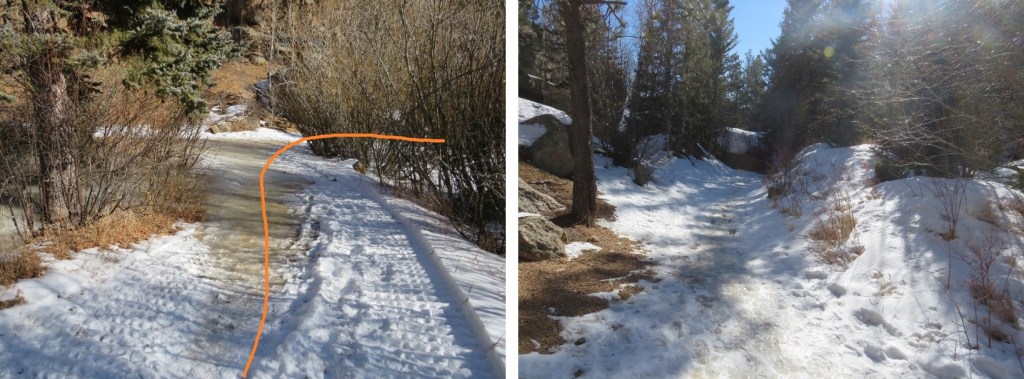
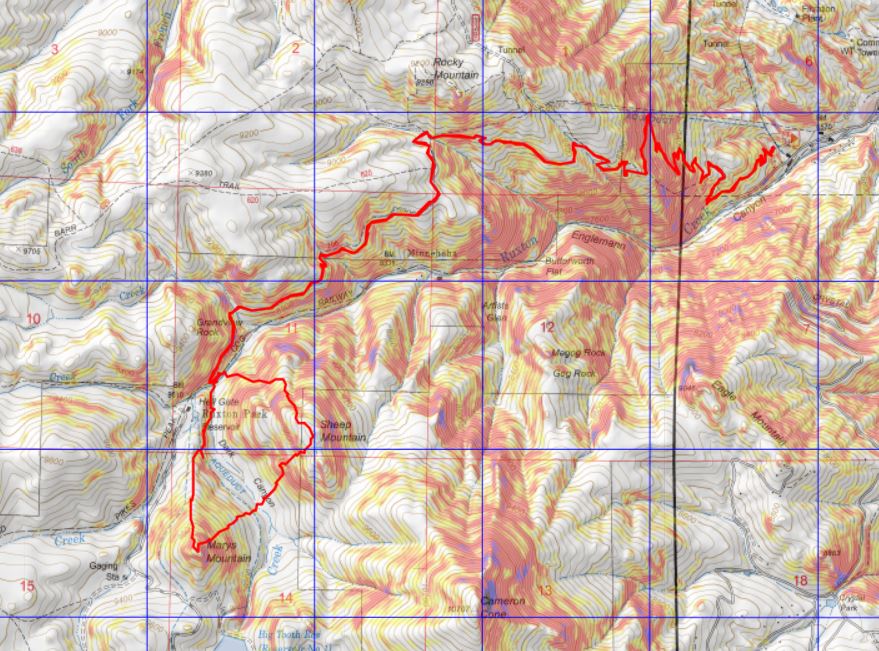
I then headed south, aiming for the ridge and continuing south until I reached Marys Mountain
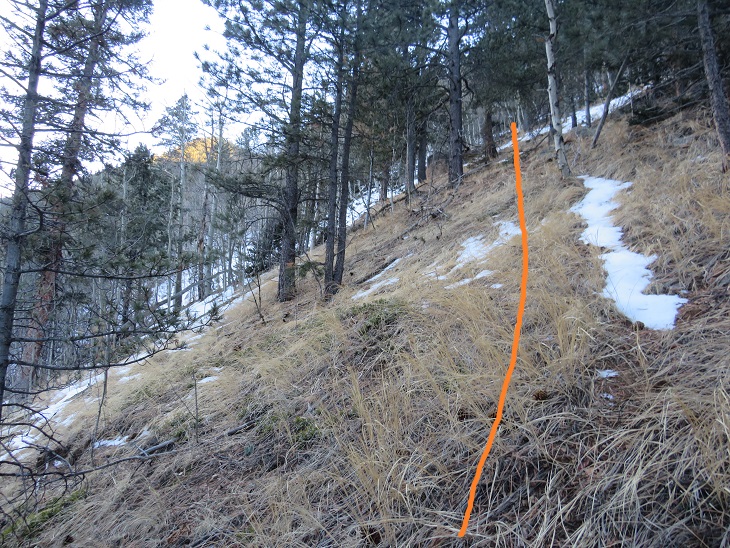
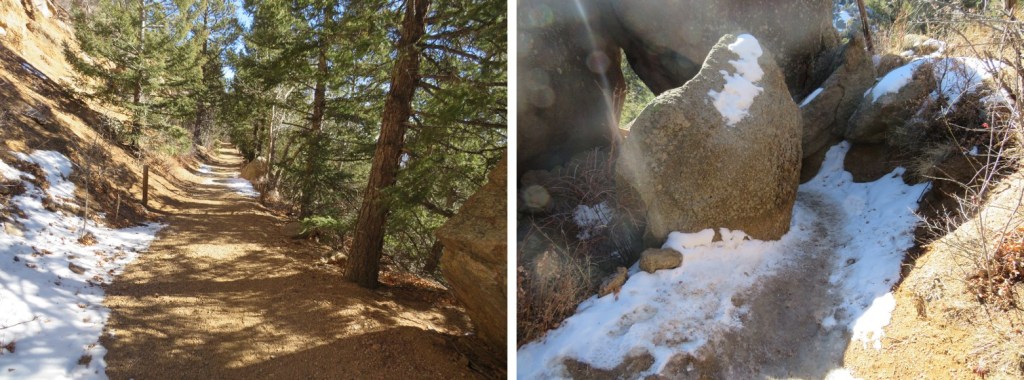
This required a lot of bushwhacking, and the brush was thick in areas
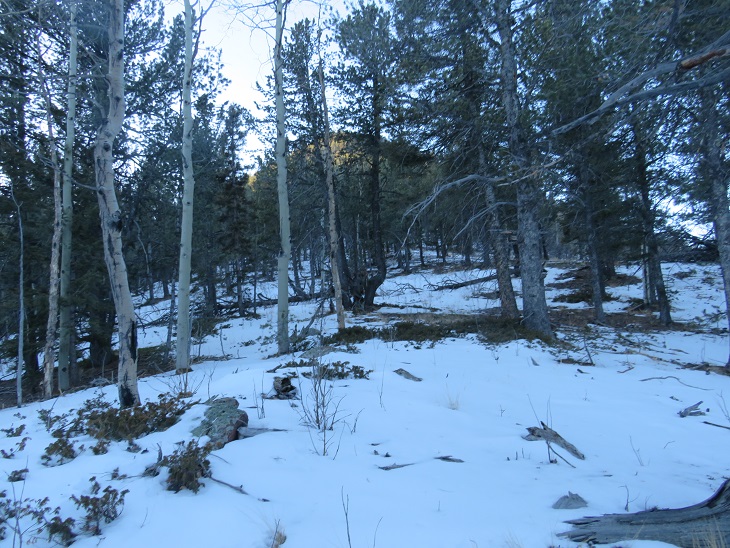
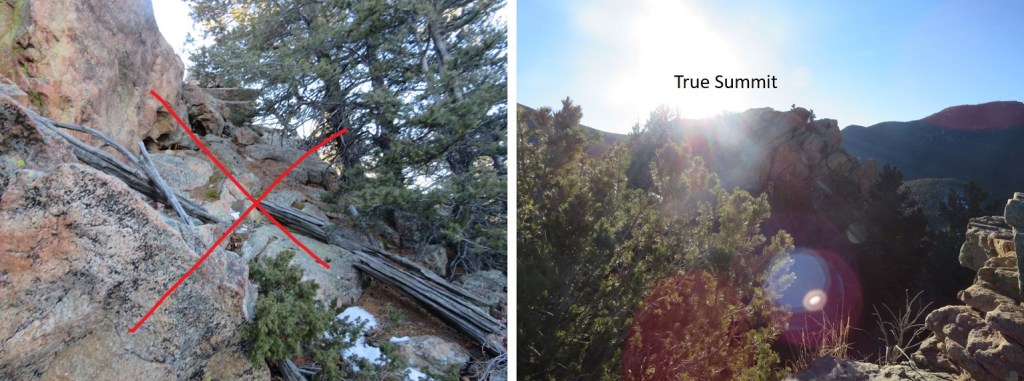
When I came to the top of the ridge there was a rock outcropping. I climbed to the top, only to realize the summit was on the outcropping further south. So, basically, don’t climb the first outcropping you see.
Instead, skirt it to the left and climb to the proper summit. Here I am, on the correct summit, looking back
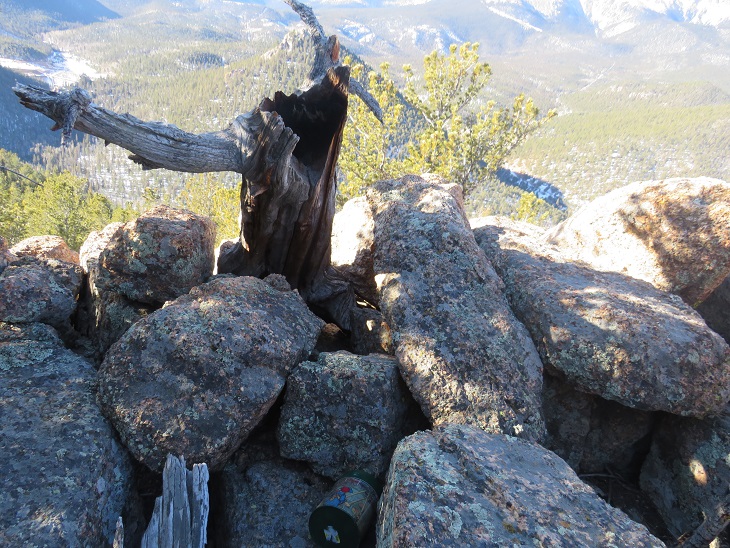
It was cold and windy on the summit, so I placed a summit register at the highest point, and turned and headed towards Sheep Mountain.
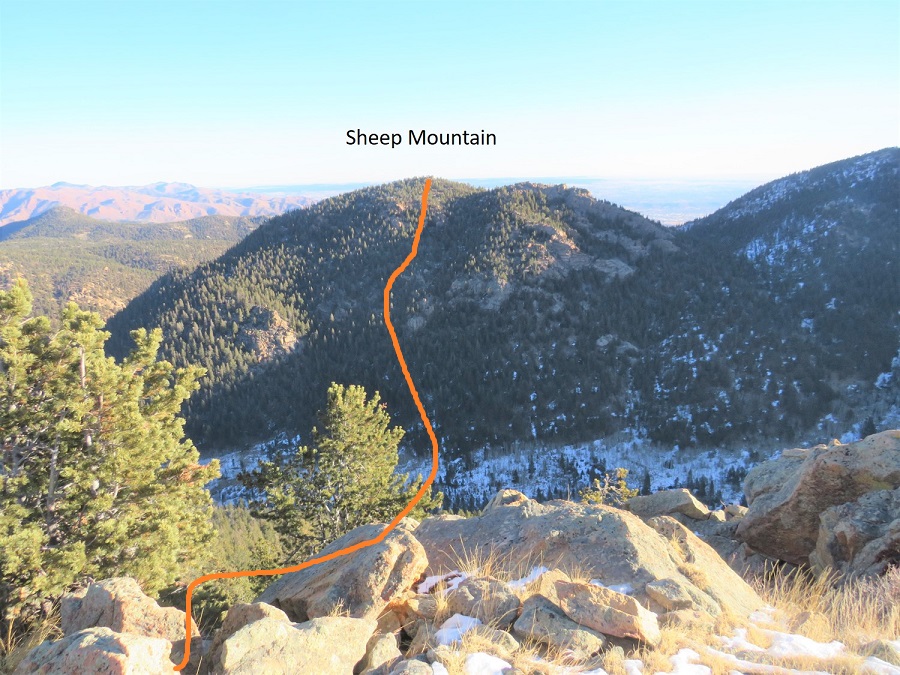
Here’s an overall view of the route to Sheep Mountain from Marys Mountain. Take a good look from here because there are a lot of rock formations to navigate
To do this I had to lose 820’ of elevation as I descended northeast towards the creek and Dark Canyon
Once at the low point I crossed the creek and continued heading northeast towards the summit of Sheep Mountain.
There was a lot of bushwhacking and rocks to contend with here as well
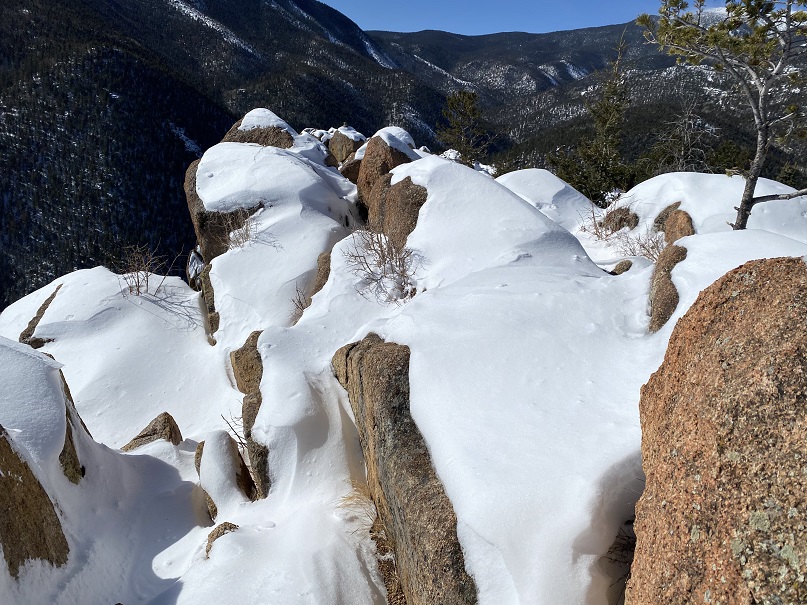
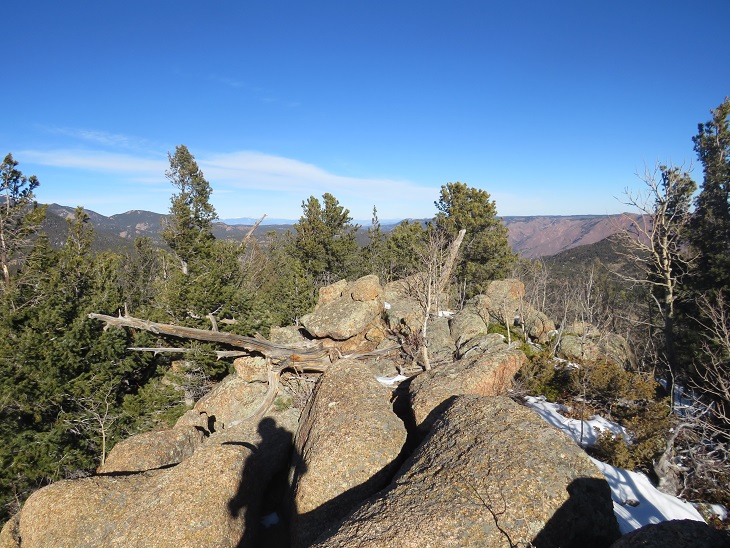
The summit was rocky as well. I walked all over the summit just to make sure I truly summited.
Here’s looking back at Marys from Sheep Mountain. Statistics say Marys Mountain is taller than Sheep Mountain, but to me, Sheep felt taller.
Once again, I left a summit register and was on my way
This time I headed northwest down the slope, aiming for the cog railway below.
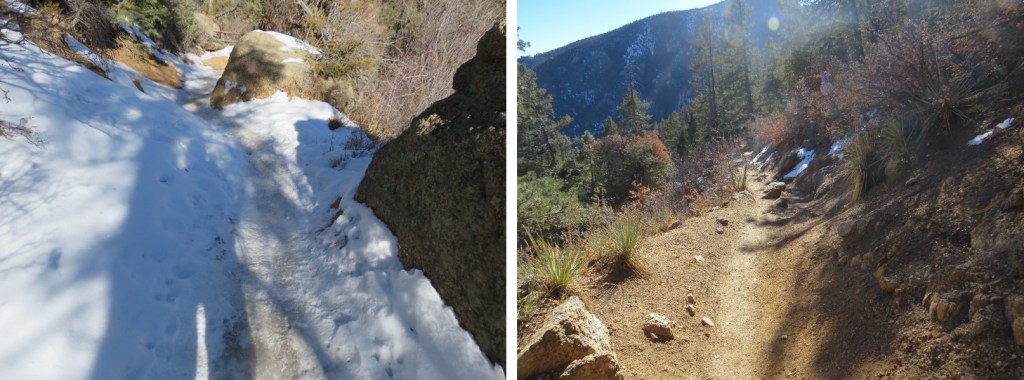
Sections here were steep, and I was glad I’d hiked Marys first.
Once back near the cog I once again crossed the creek on a log near a picnic table, and picked up Trail 706
I followed Trail 706, crossed the sketchy pipeline bridge again, and continued on to Barr Trail.
Once on Barr Trail I followed it east for 3 miles, back to the Barr Trail parking lot.
I made it back to the parking area at noon, making this a 12.77 mile hike with 4823’ of elevation gain in 6 hours. I really liked this route, and recommend it instead of hiking the cog.
Initially, I’d planned on hiking Mt Massive this morning, but after seeing the predicted wind speeds I turned around and slept another 3 hours before heading out to North Cheyenne Canyon. I was the only one in the parking lot when I arrived, so I got to choose my space. I parked right in the middle, since I’d be making this hike a loop.
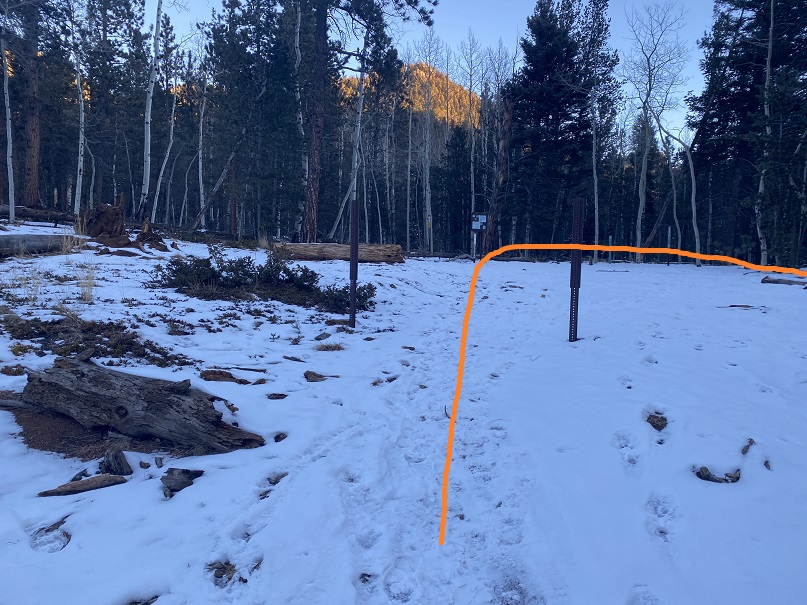
I put on my microspikes and wore them the entire way. I was on the trail at 6am, happy not to be lugging along my snowshoes for the first time this winter. The trail starts at the west end of the parking area.
I passed through the locked gate and noticed a sign that wasn’t here the last time I hiked here. I was surprised the area was open to horses: I’ve hiked here dozens of times and never encountered a horse.
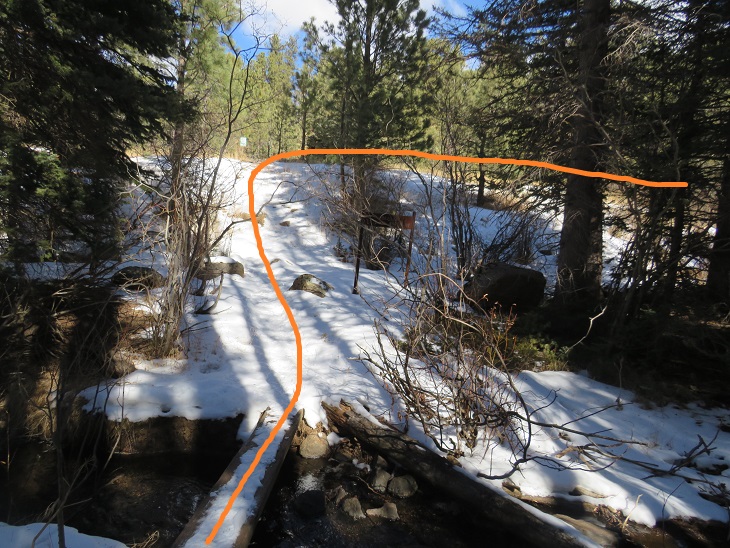
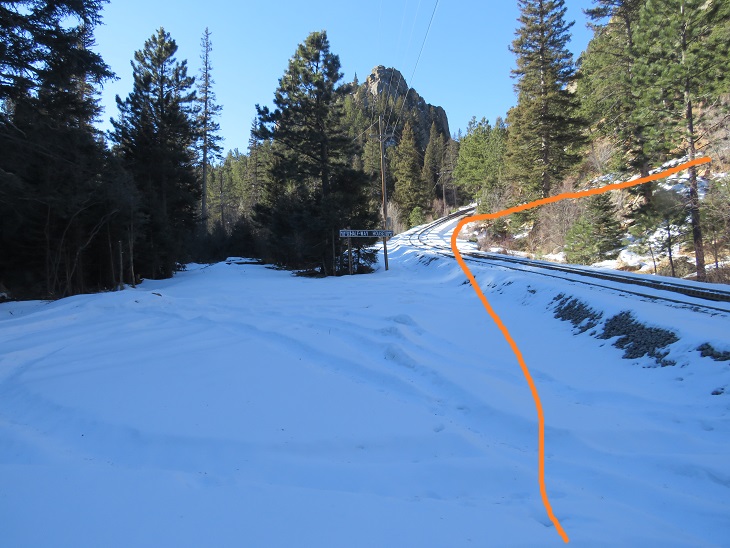
I continued hiking along this road (370) for .8 miles, until I came to a bend in the road. From here I took trail 622 west.
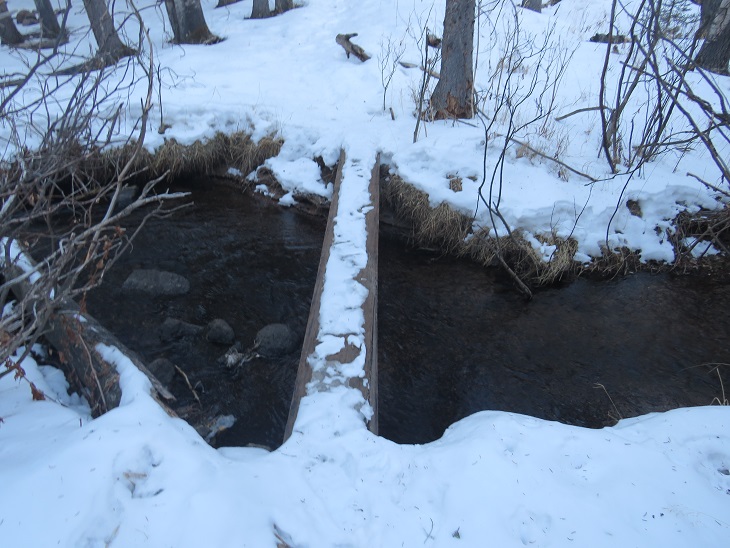
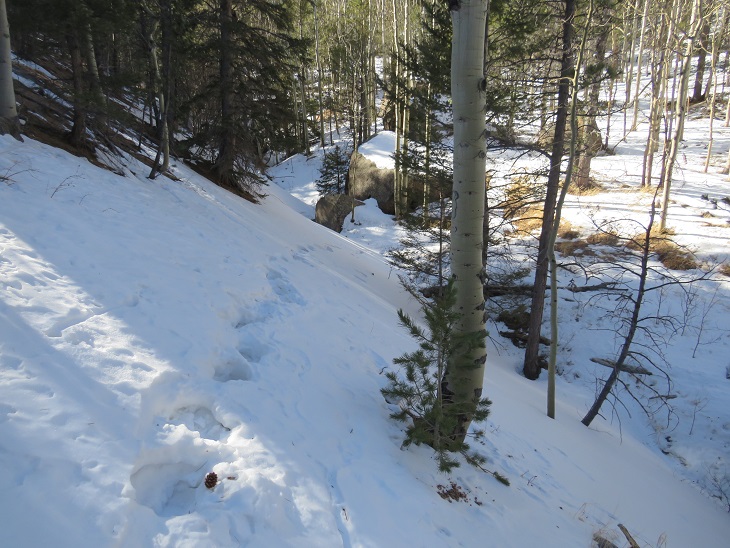
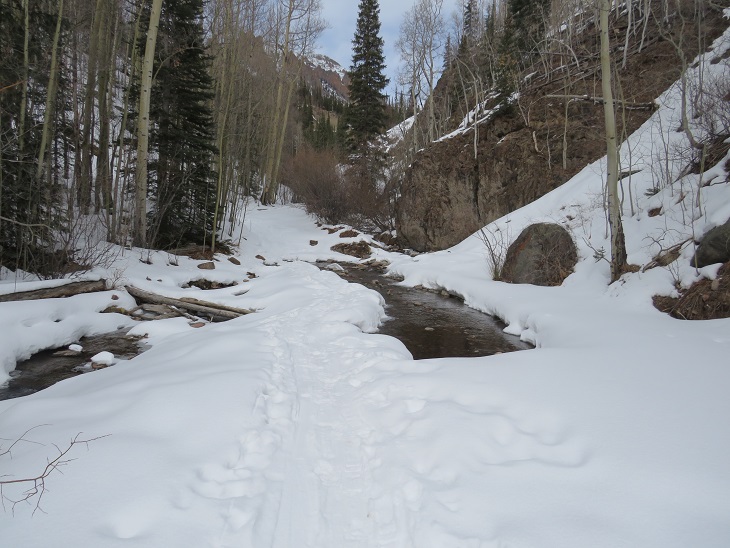
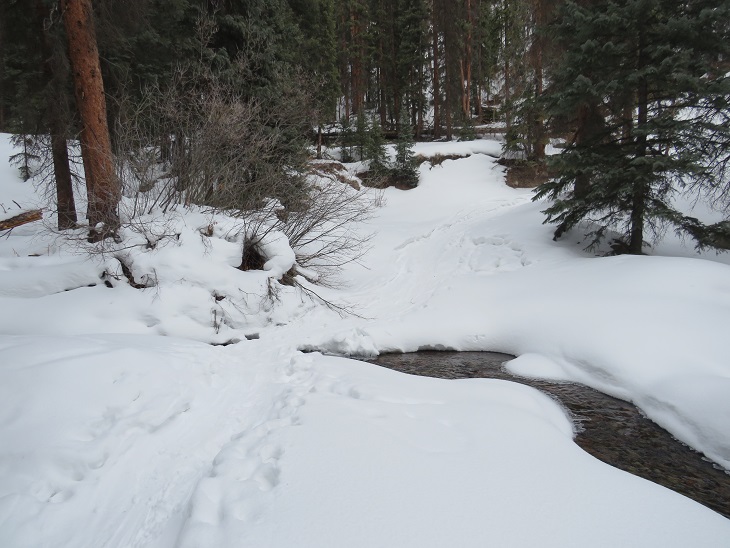
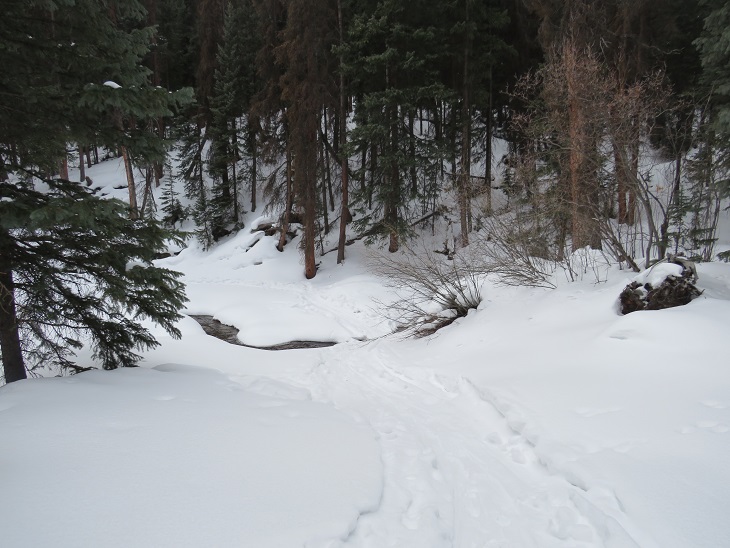
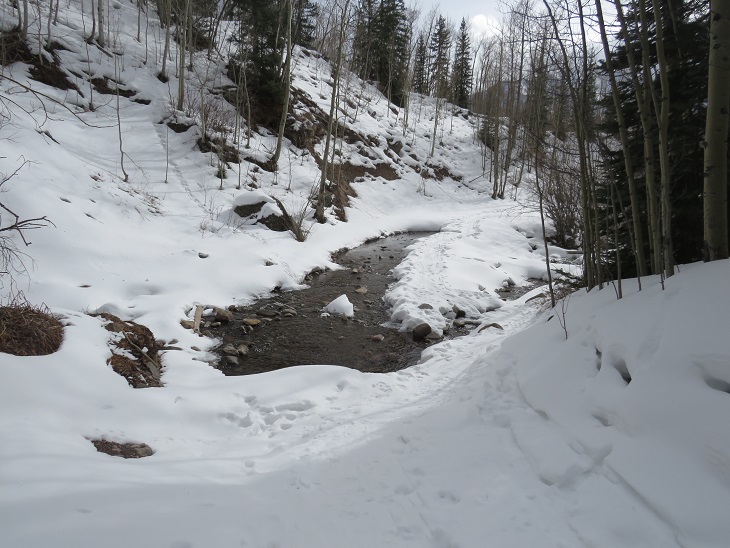
This is Seven Bridges Trail, and, you guessed it, it crosses 7 bridges. The sun started to rise as I hiked, easily crossing each bridge. The bridges are numbered.
After crossing the 7th bridge, I continued following 622
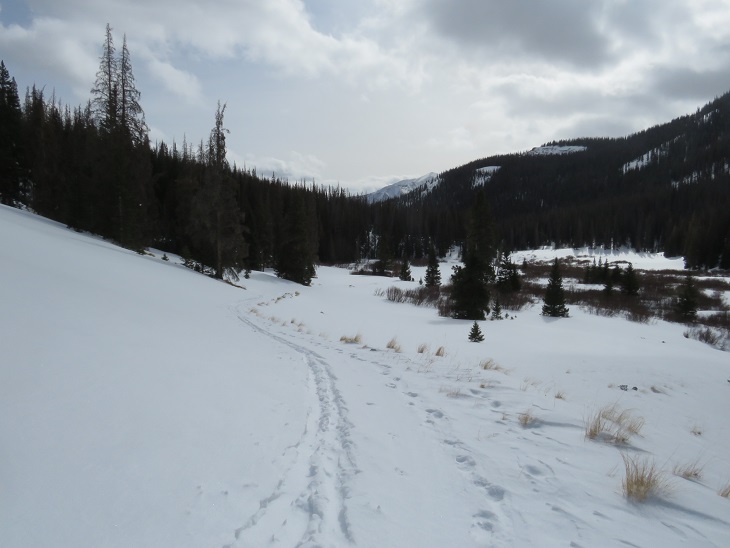
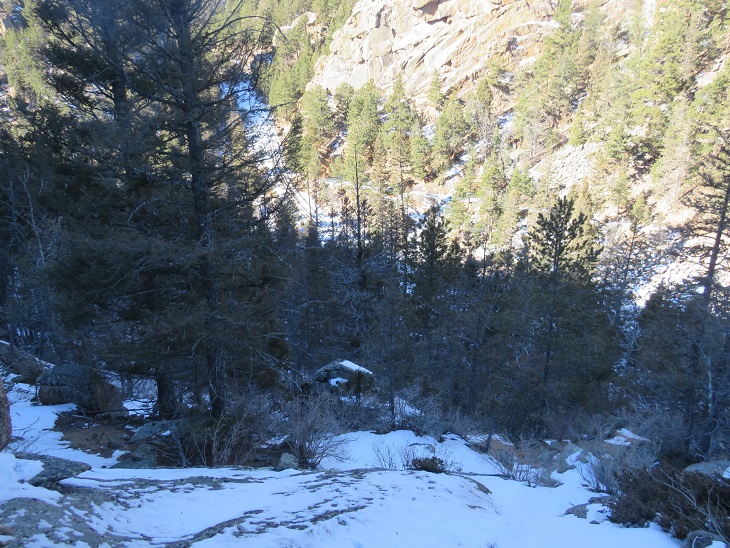
The trail follows the canyon west
When you come to the option of sticking high or low, stay high, even if footprints tell you otherwise.
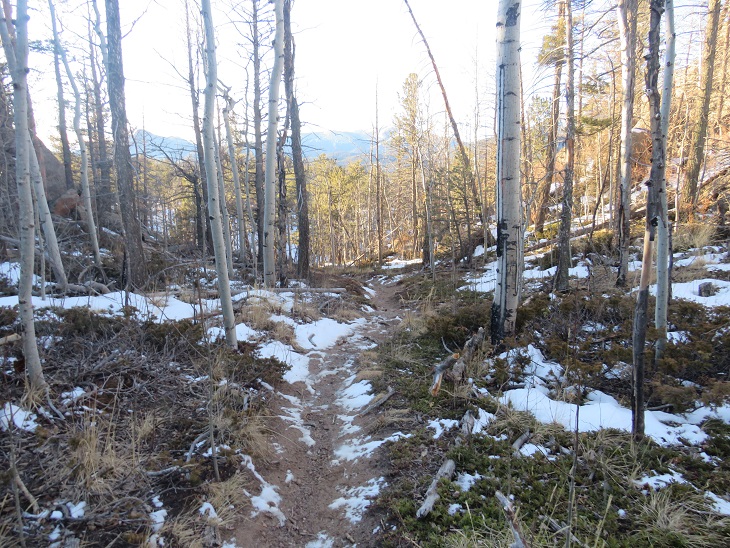
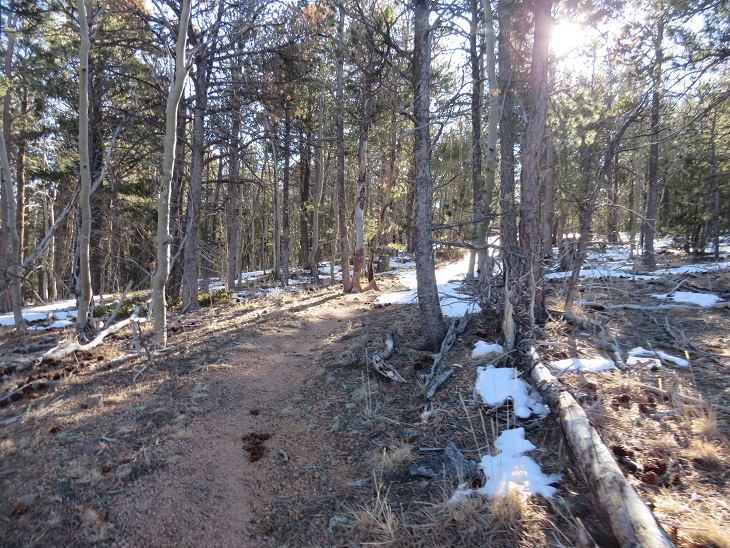
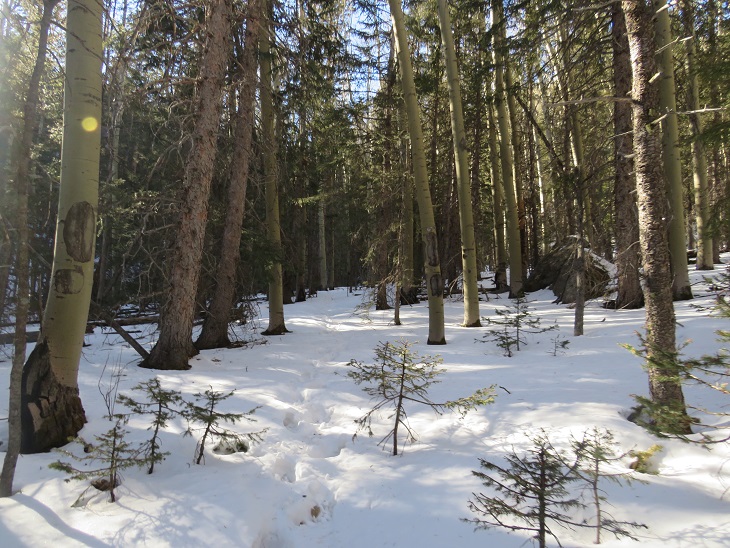
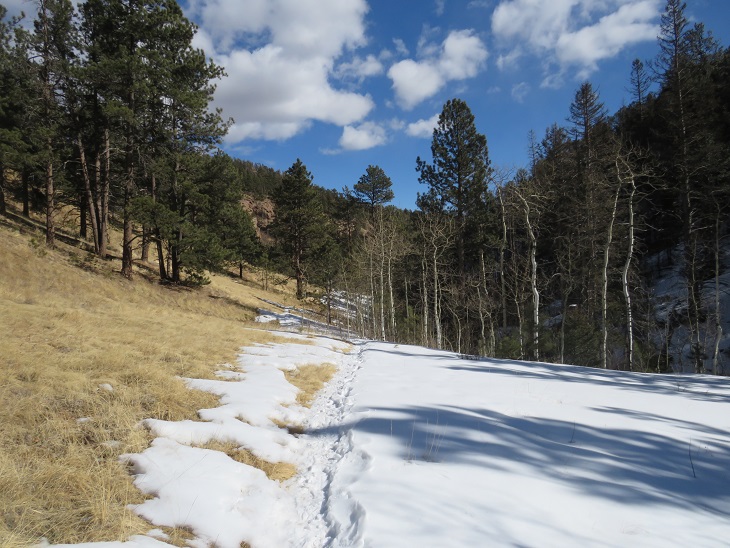
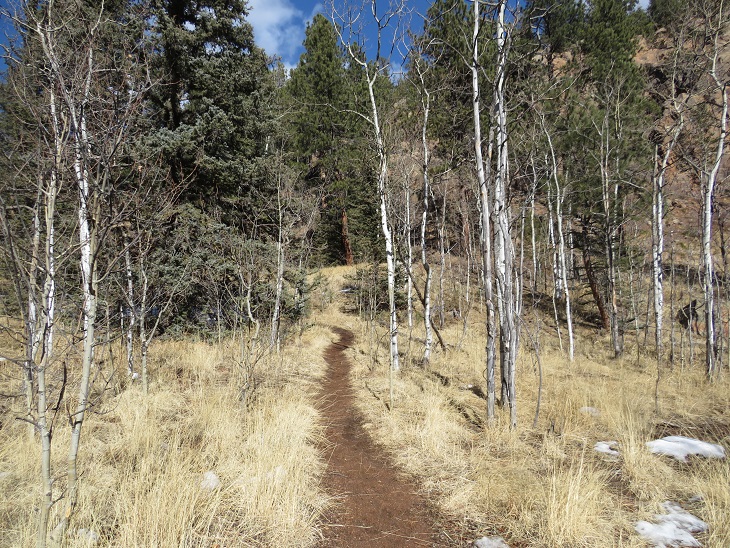
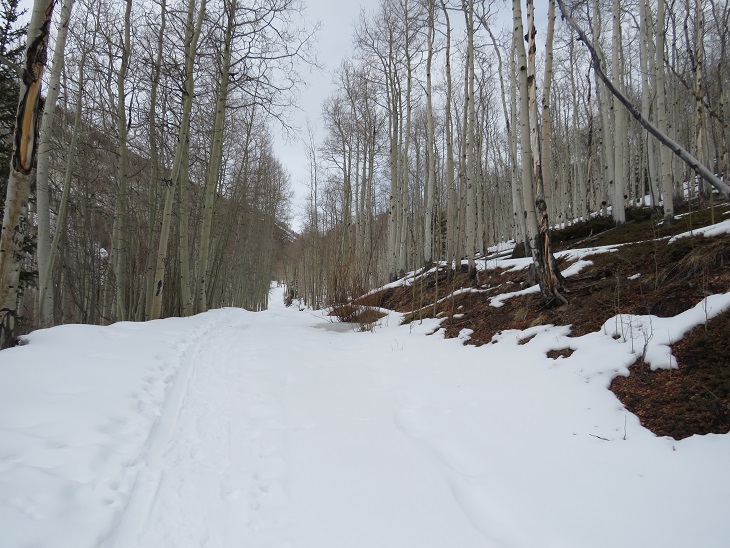
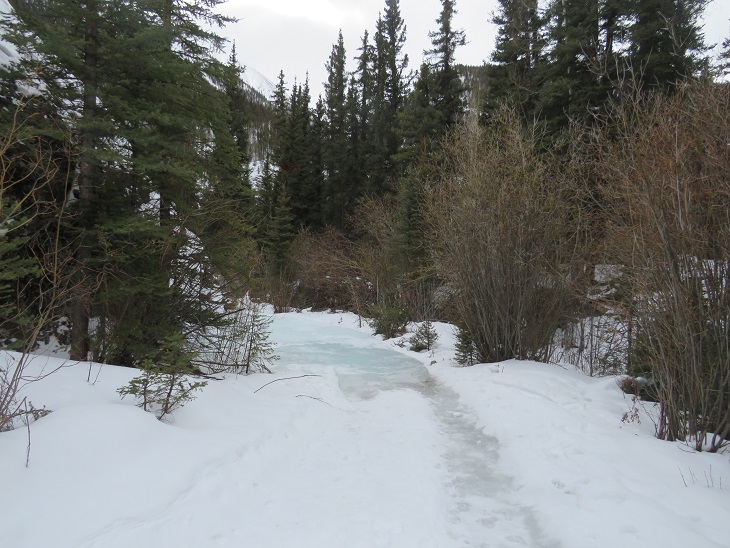
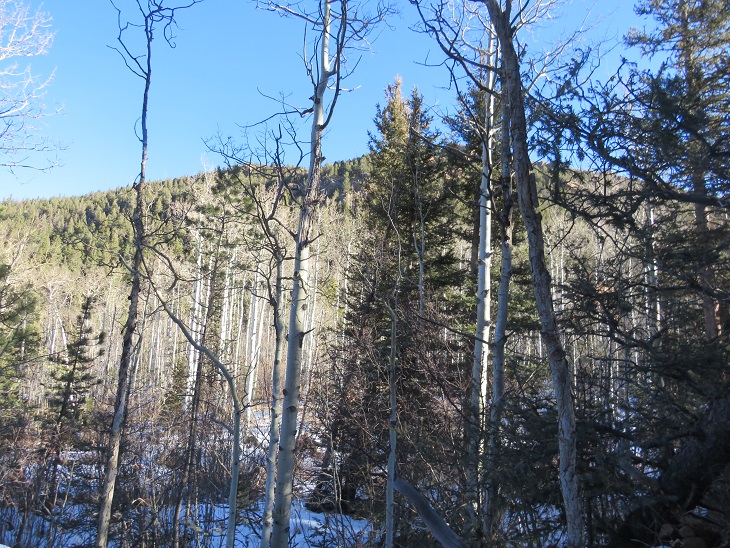
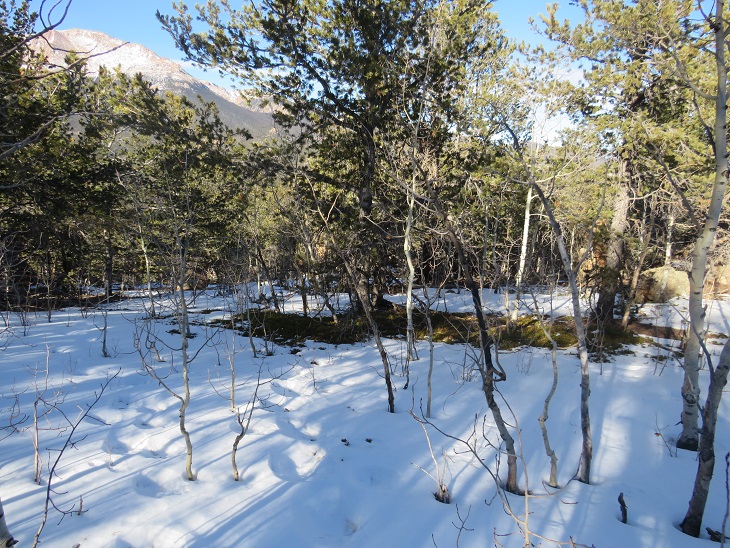
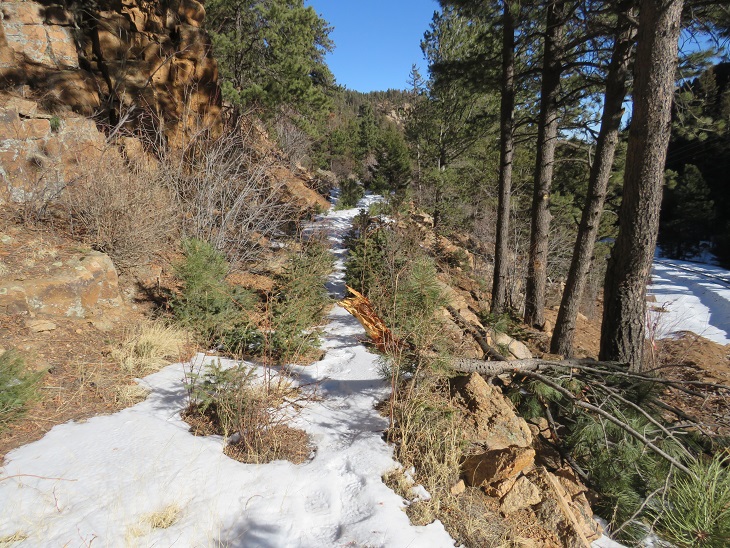
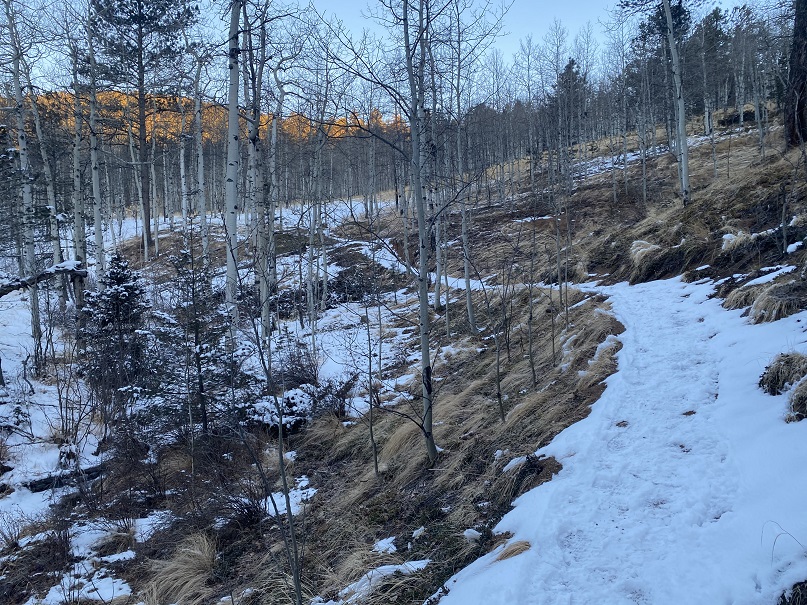
After hiking for 2.5 miles the trail starts to head north. This is one of my favorite parts of the hike, as it goes through an aspen grove
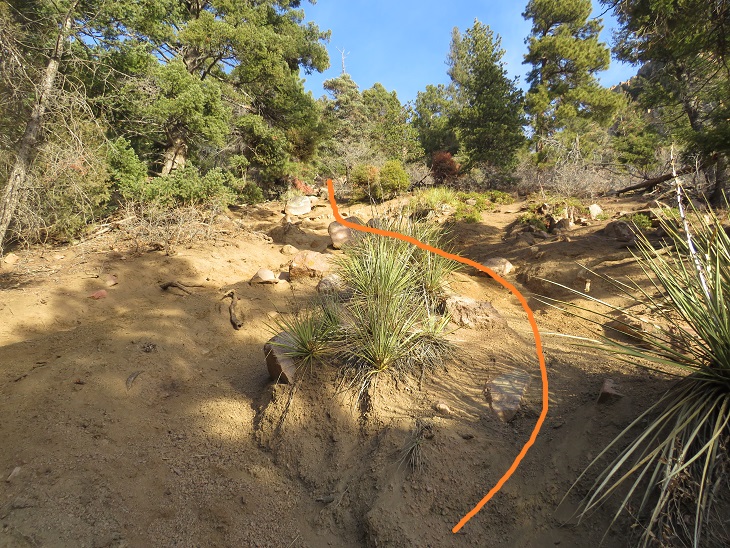
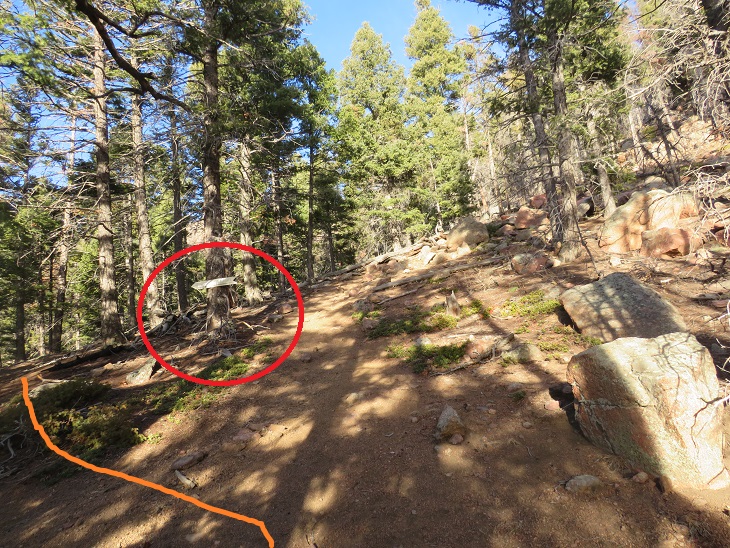
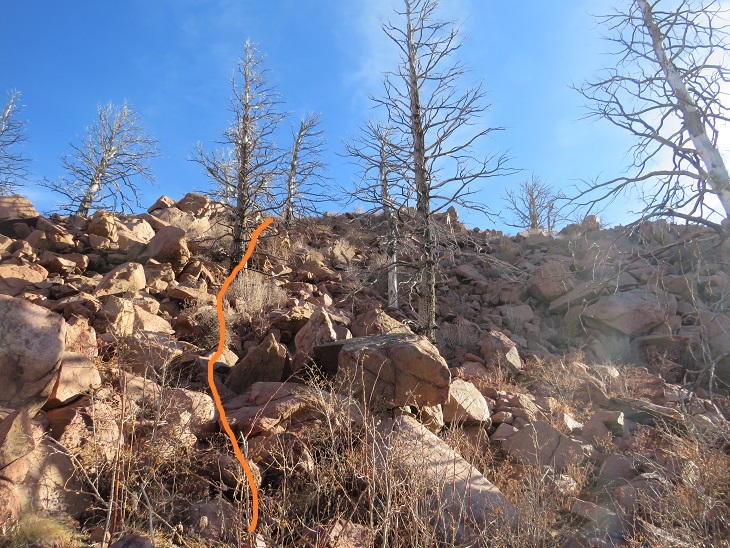
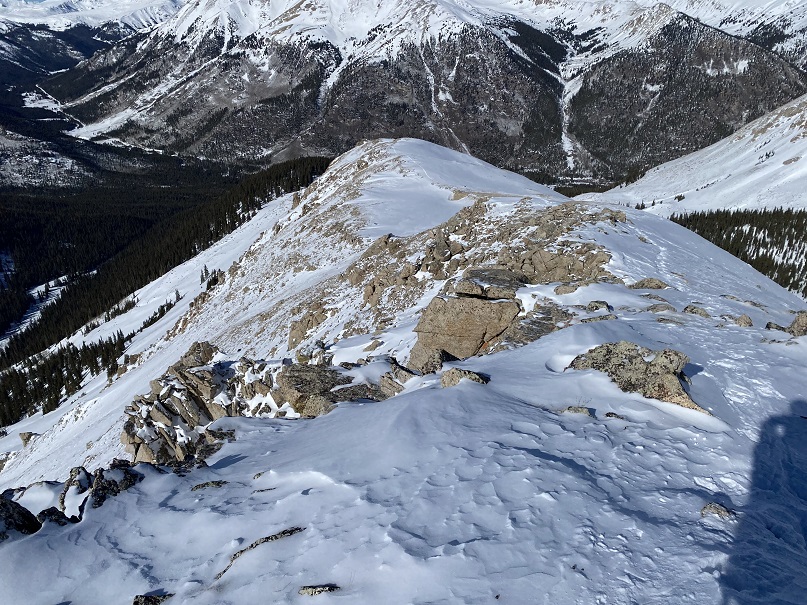
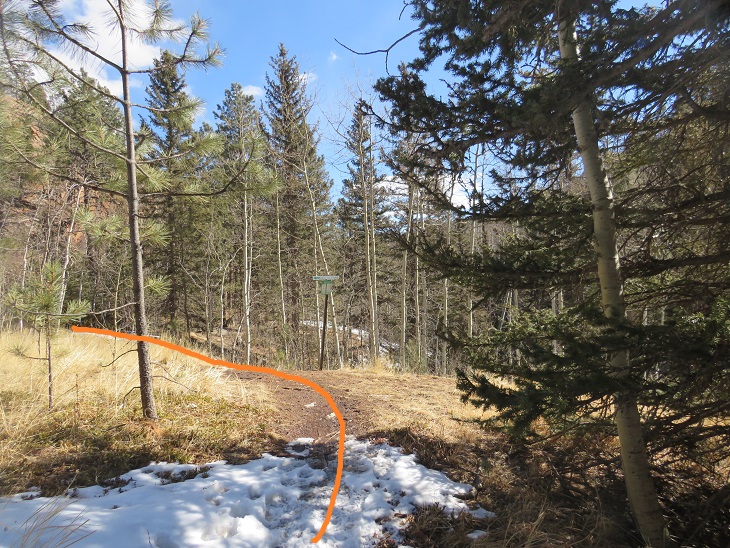
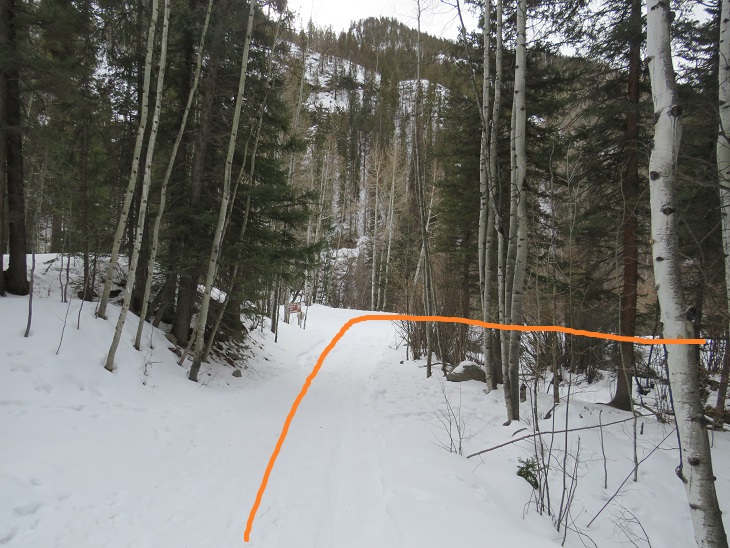
At the top of the aspen grove there’s a junction. Here I left the trail and headed east to the summit of Kineo Mountain.
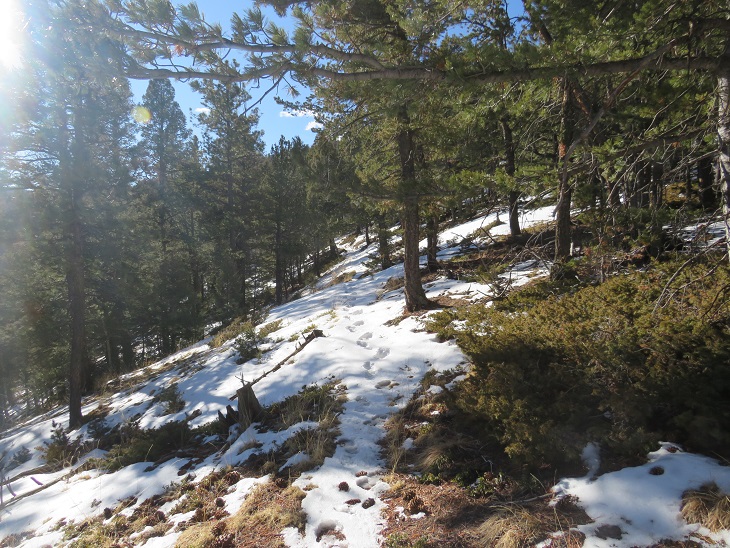
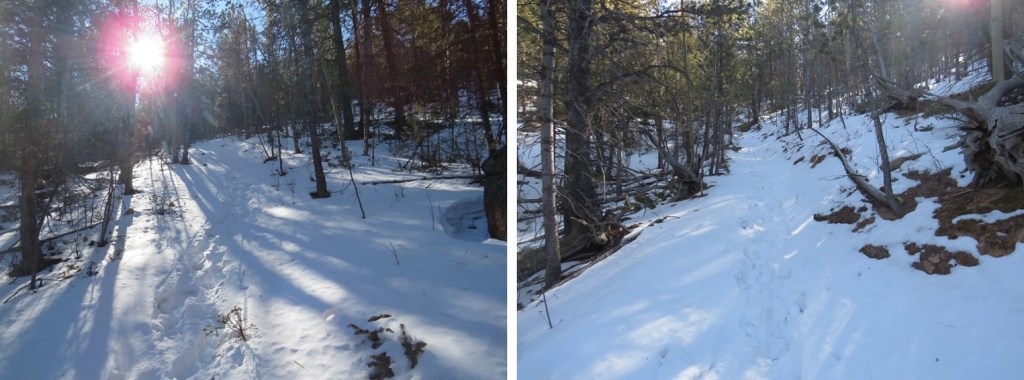
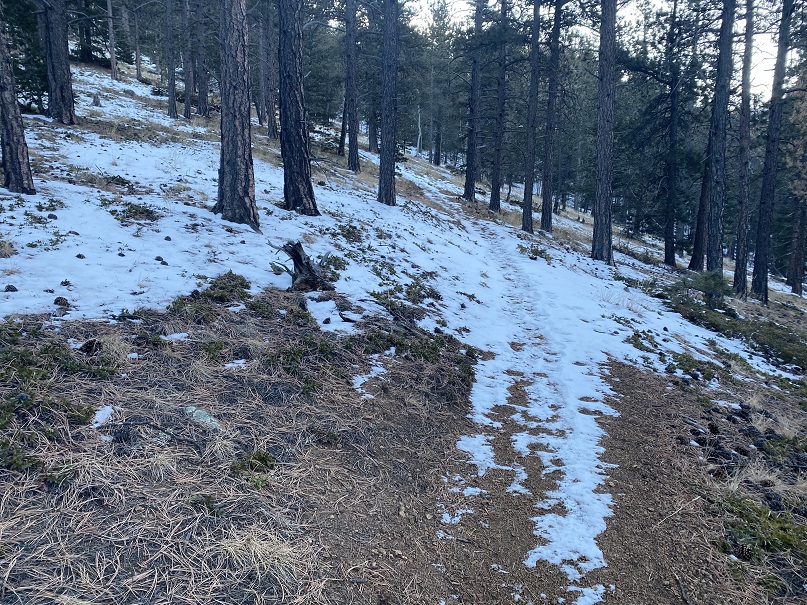
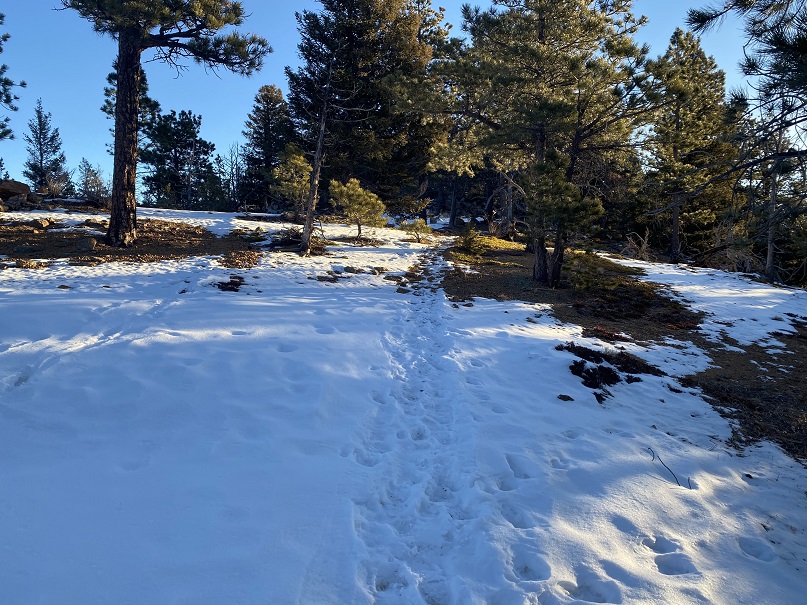
The first time I did this hike there was no trail, but as the years have gone on it seems others have discovered this hidden gem and created a trail of sorts, so it’s easy to follow. Here are some photos. Just follow the ridge and keep heading east
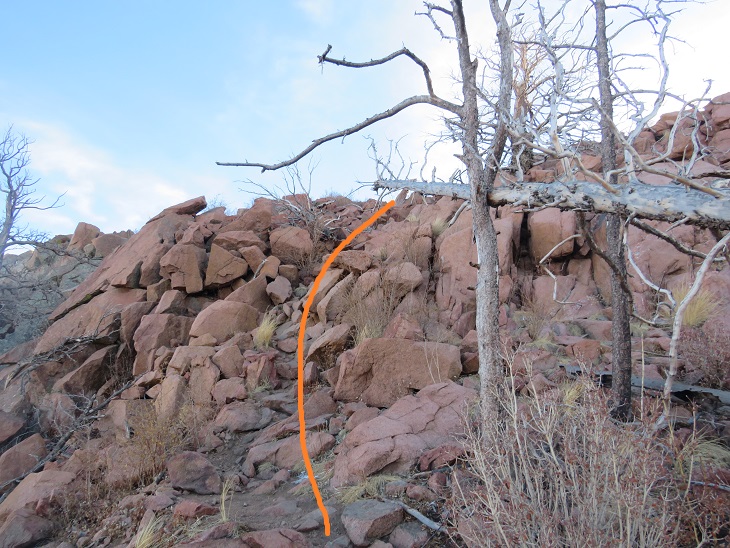
The summit is at the top of an obvious, rocky area. This is an easy scramble to the top
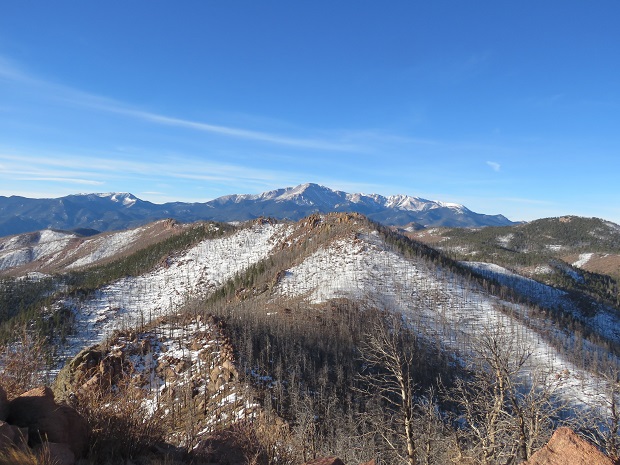
Here are some summit views
There wasn’t a summit register, so I left one and headed back the way I came, towards the junction
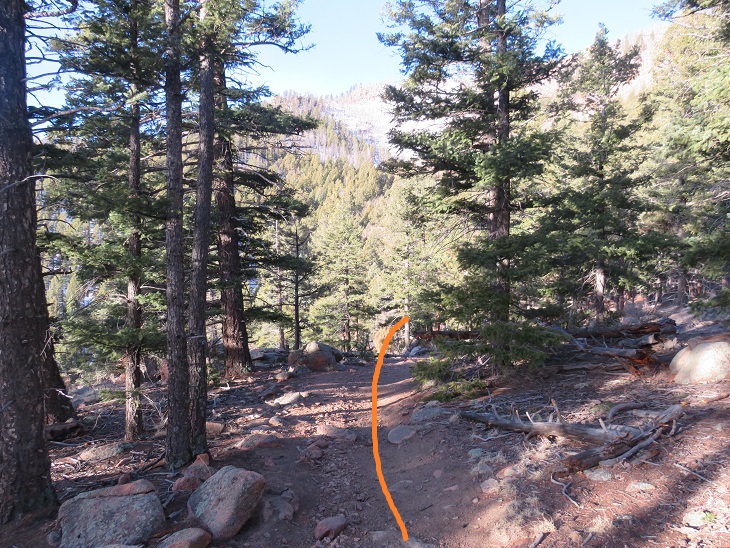
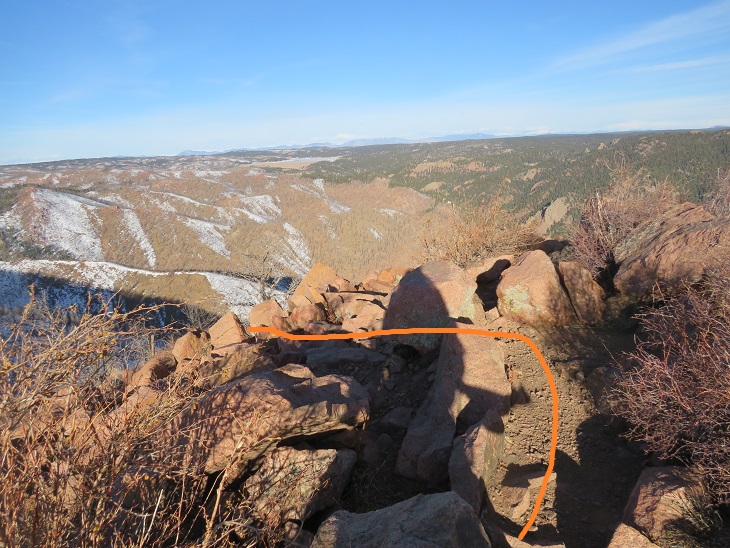
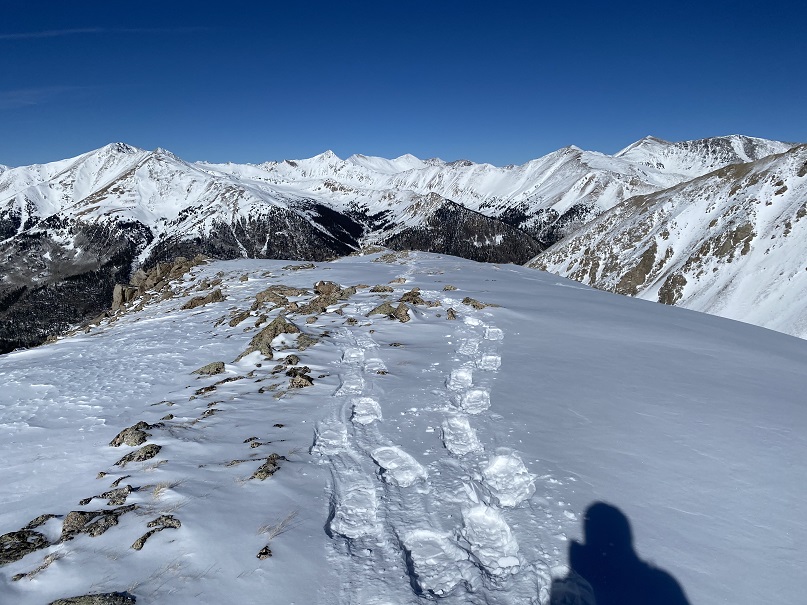
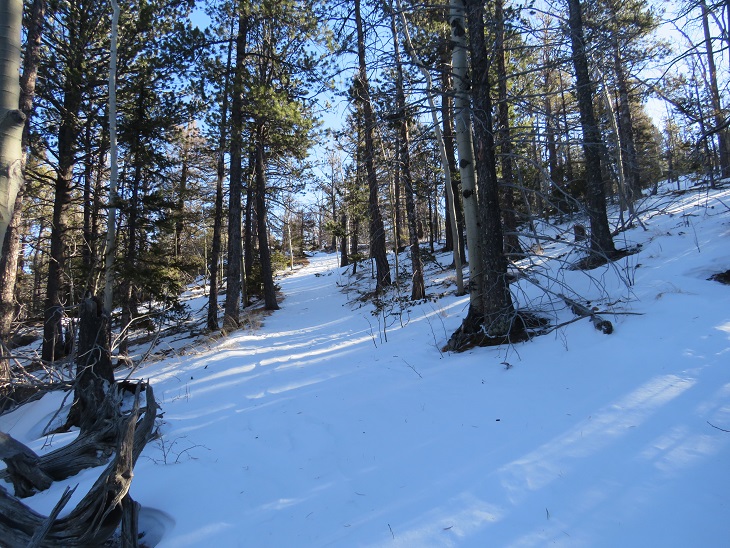
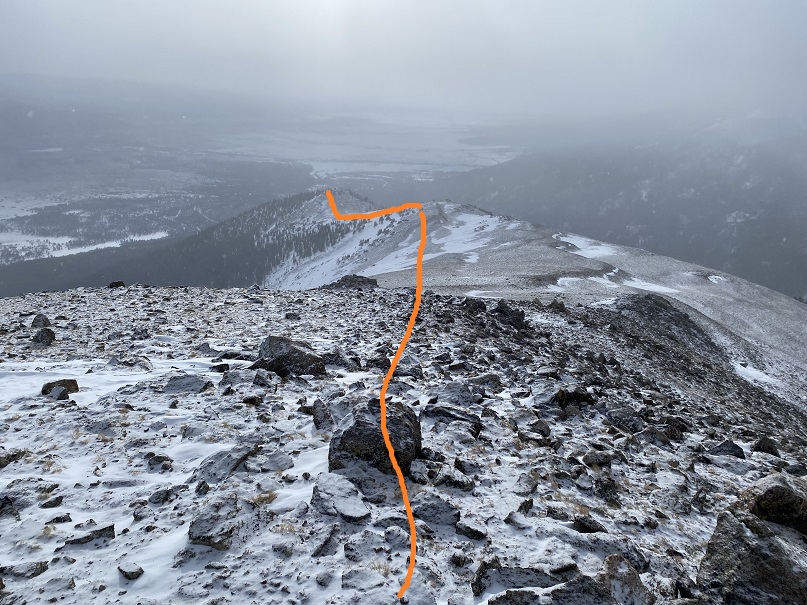
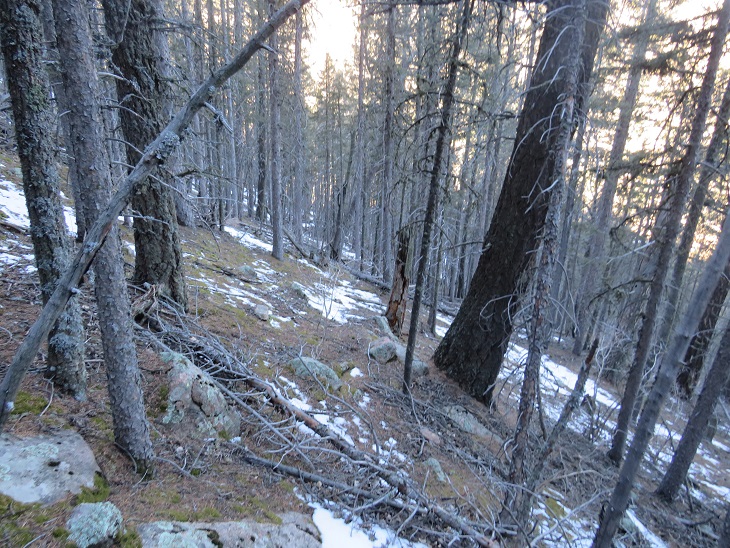
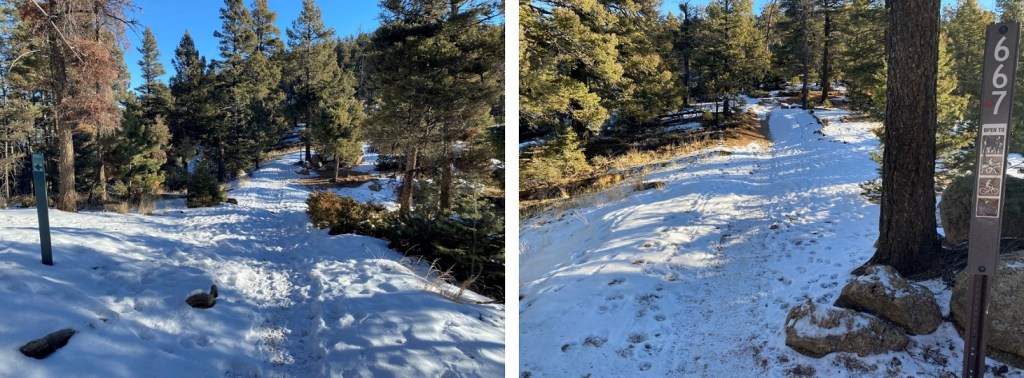
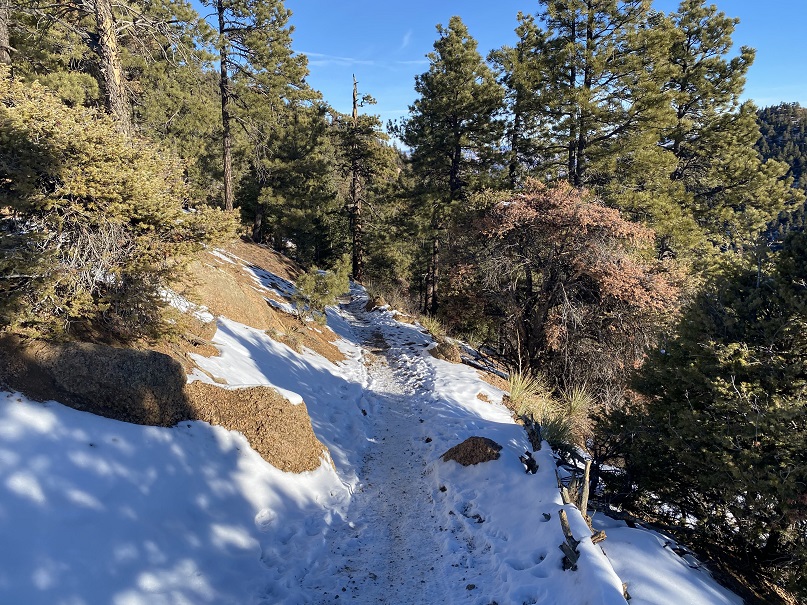
At the junction I turned right and followed Trail 667 east as it skirted the north side of Kineo Mountain
I followed 667 for 3.3 miles past the junction, staying on 667
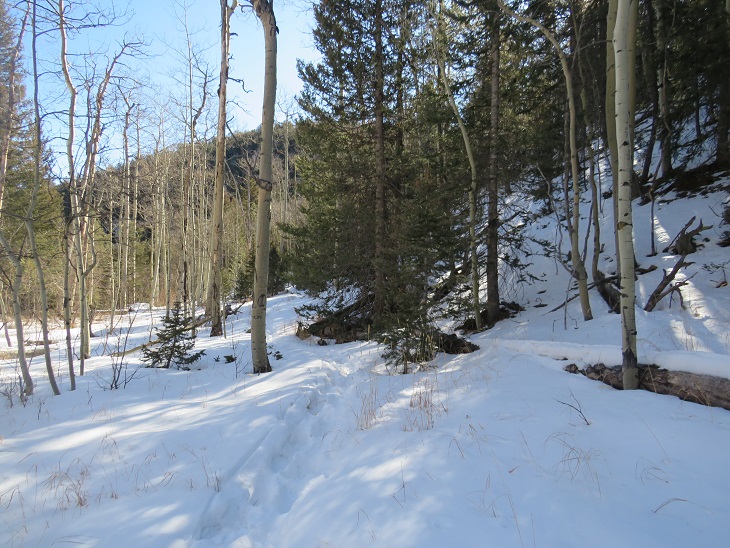
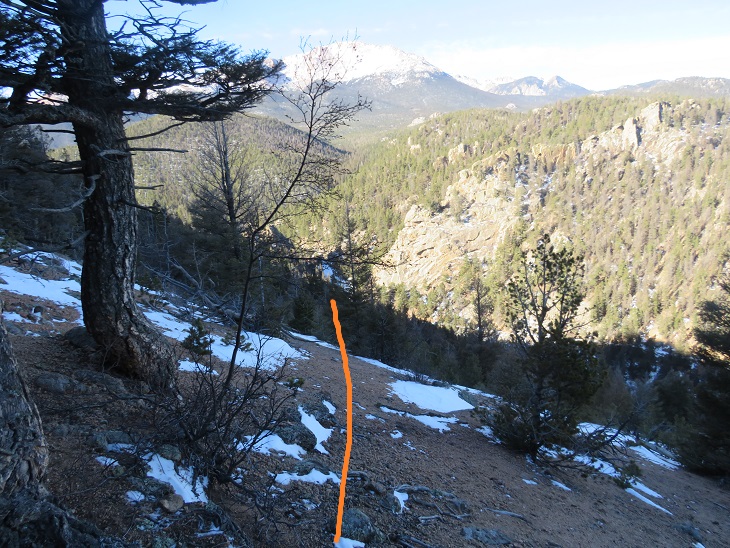
Here I came to another junction with High Drive. I crossed high drive and headed east up the west side of Mays Peak
There were a few game trails in the area, but by just heading east I was able to make the summit. From the junction with High Drive it was bushwhacking of less than half a mile and 400’ of elevation gain.
Interestingly enough, I found a summit register under a tree, well before the summit. I’m sure this register is missed by most people.
Here’s the final bit to the summit
I placed a new, more obvious summit register before leaving the summit and heading back to High Drive.
Back on High Drive, I followed it south for about a mile back to the trailhead, making this a neat loop.
I made it back to the trailhead at 10am, making this a 9.15 mile hike with 2838’ elevation gain in 4 hours