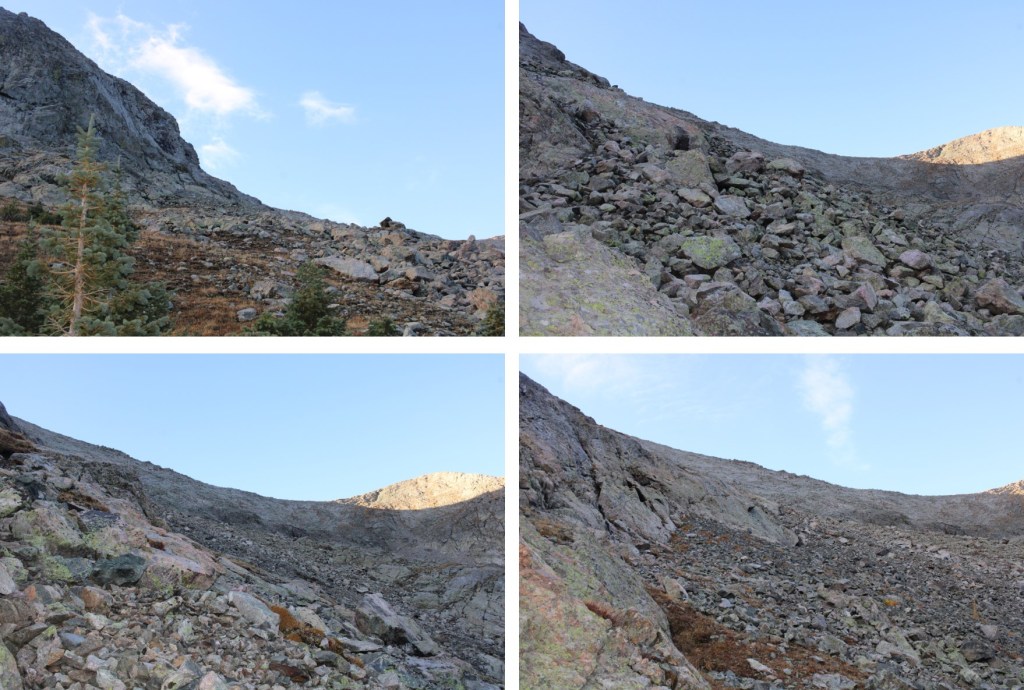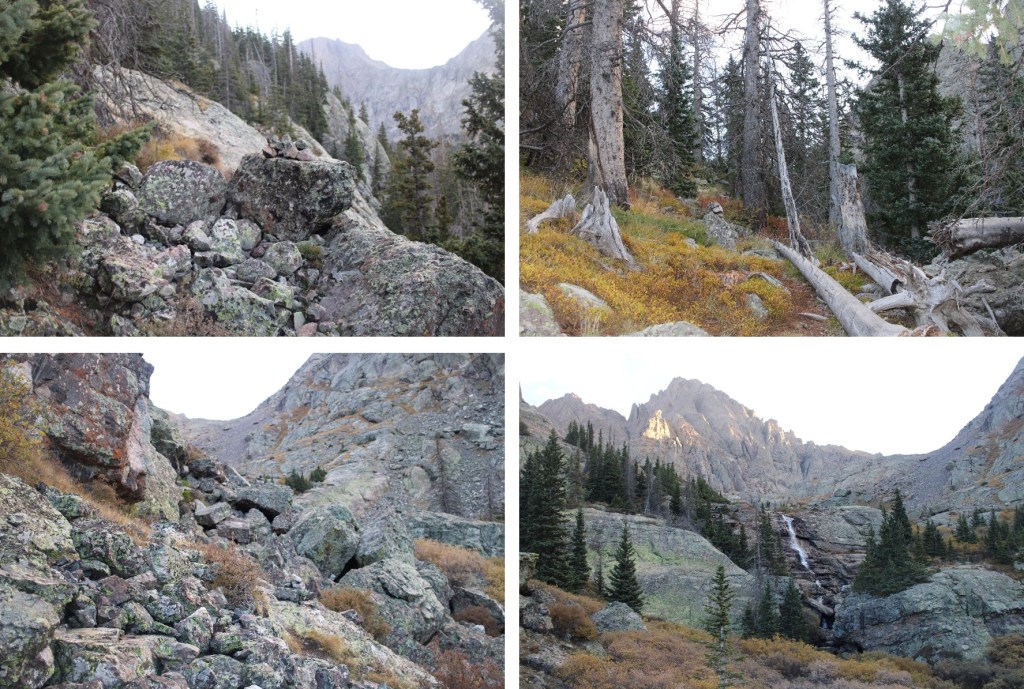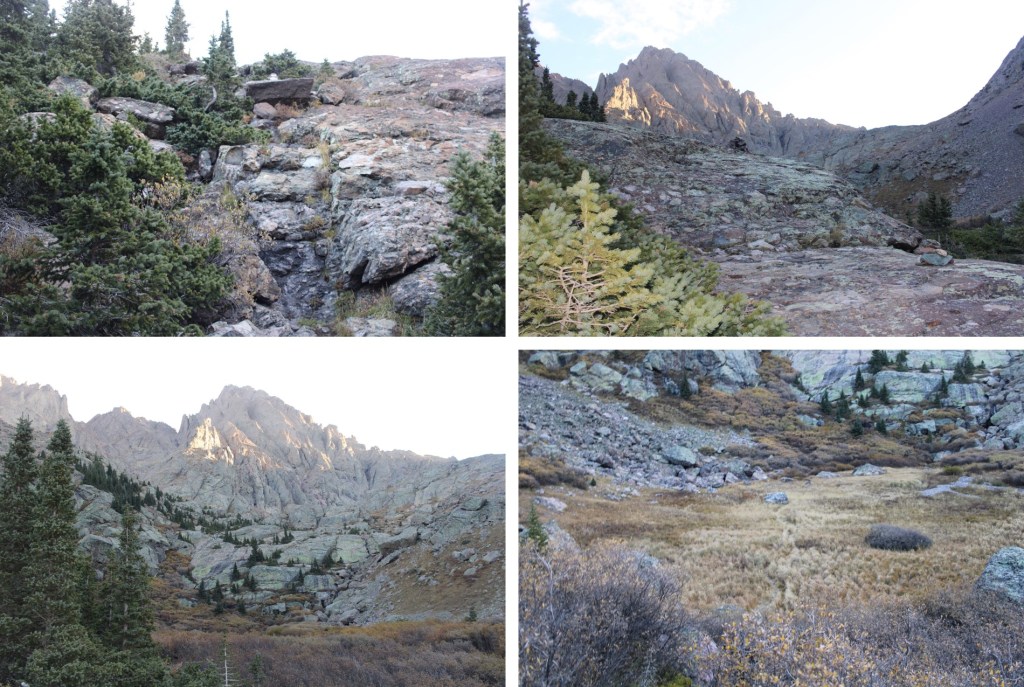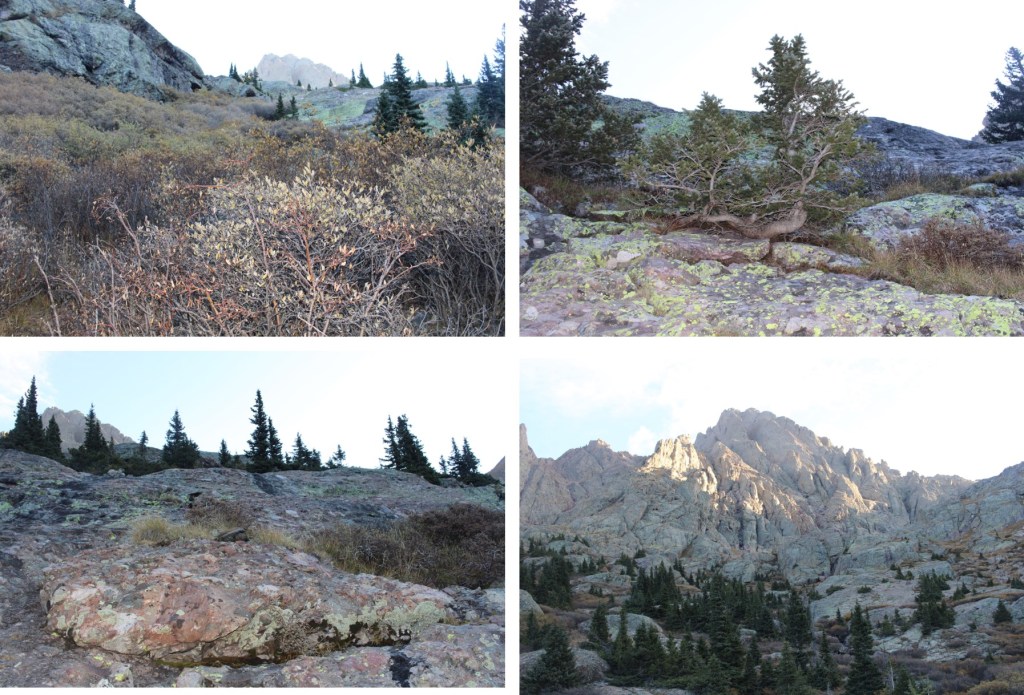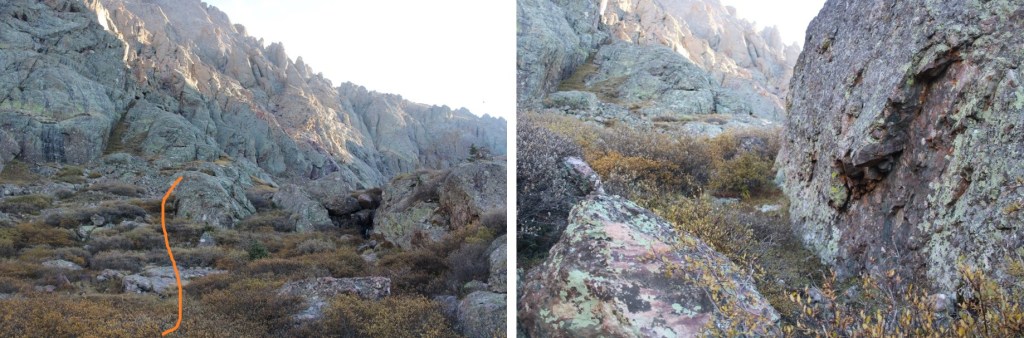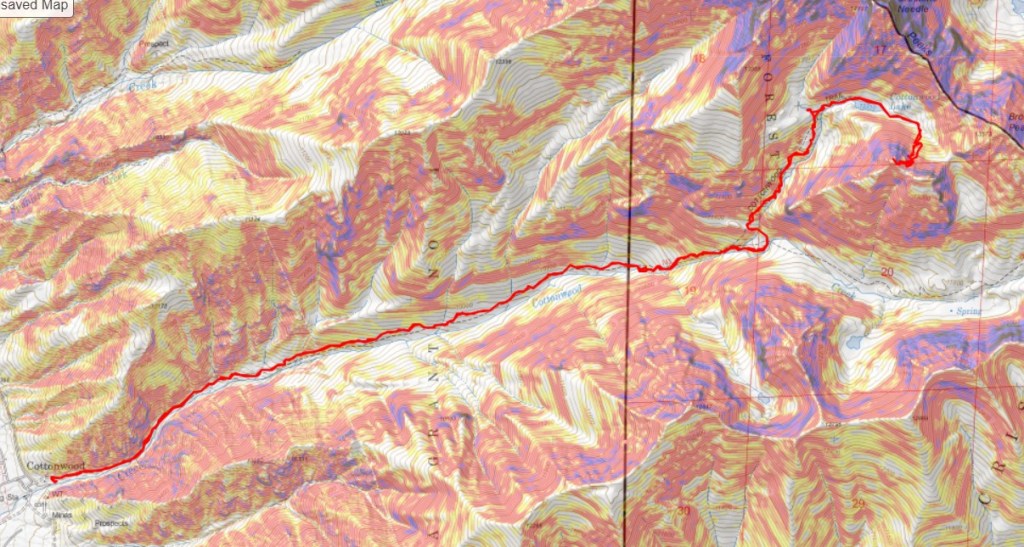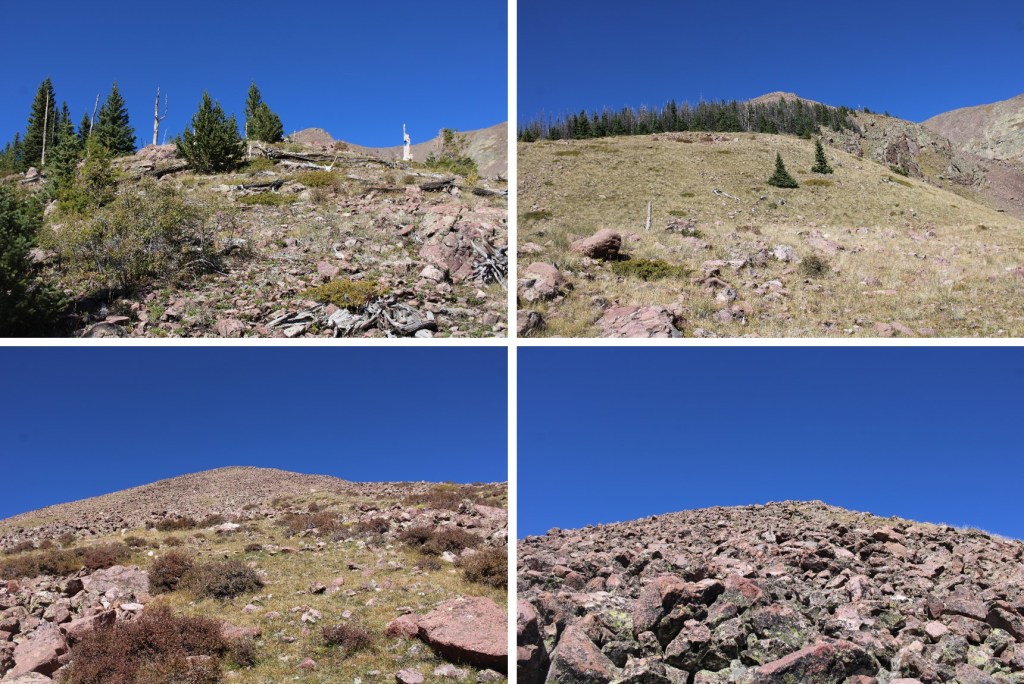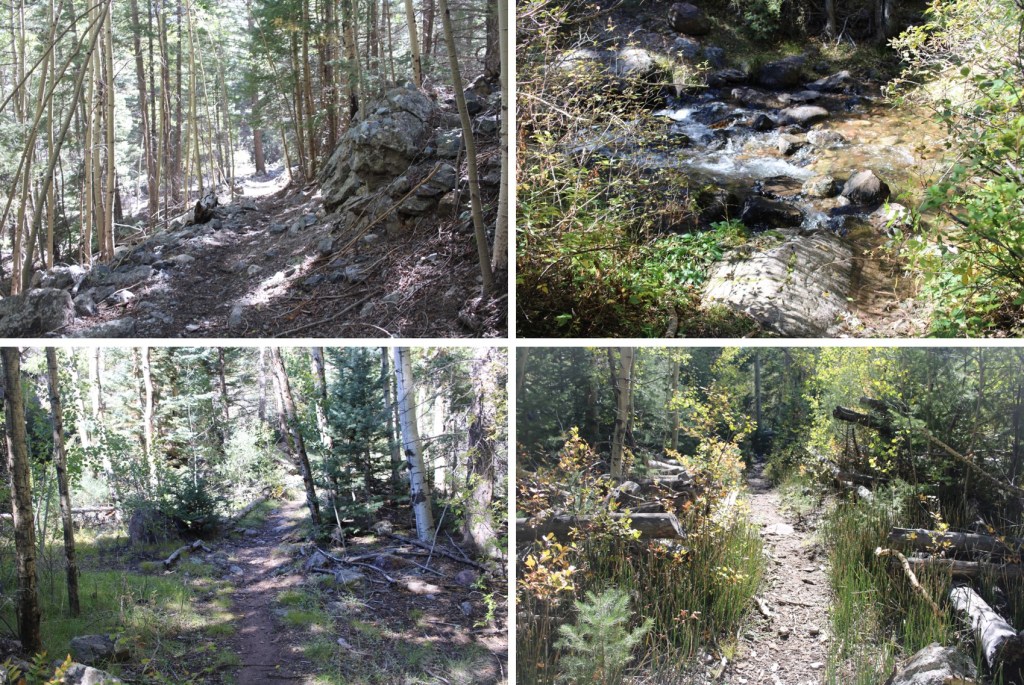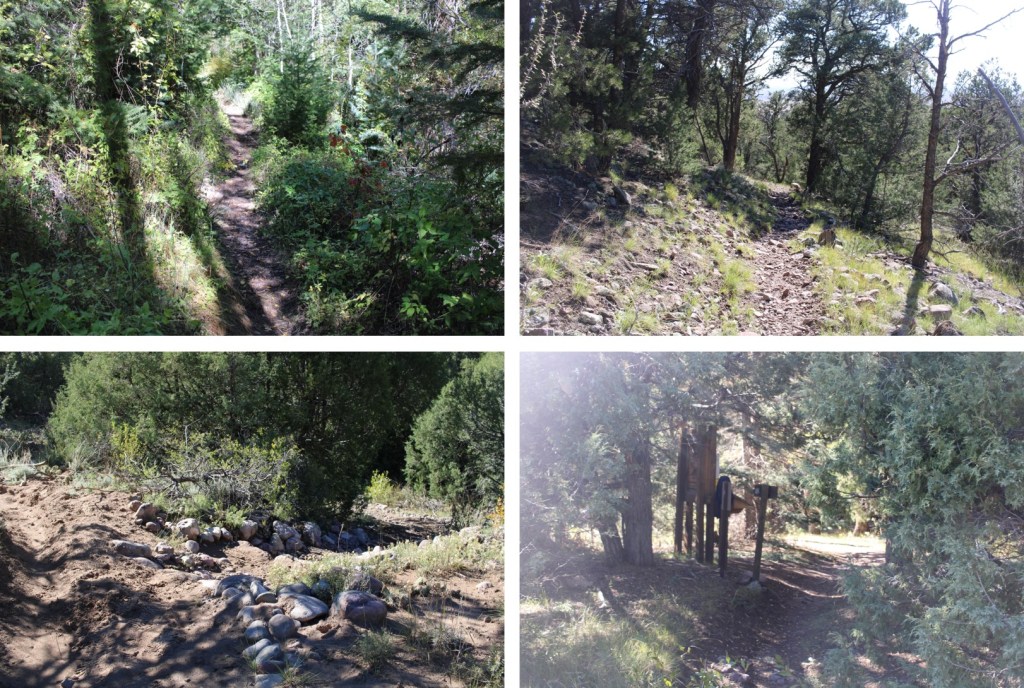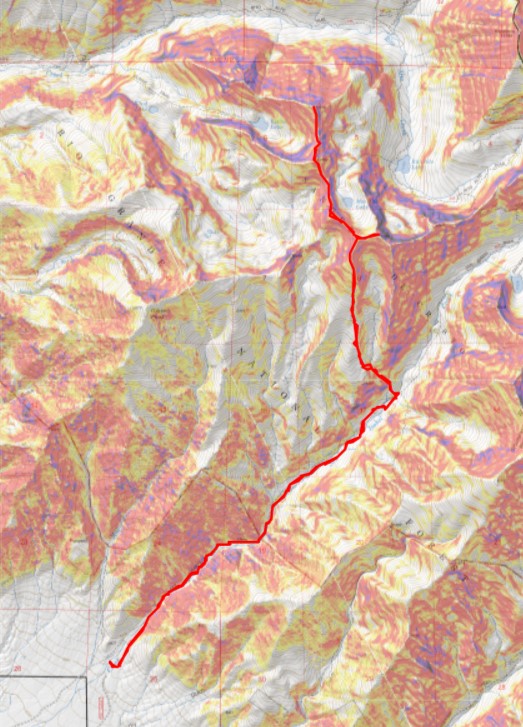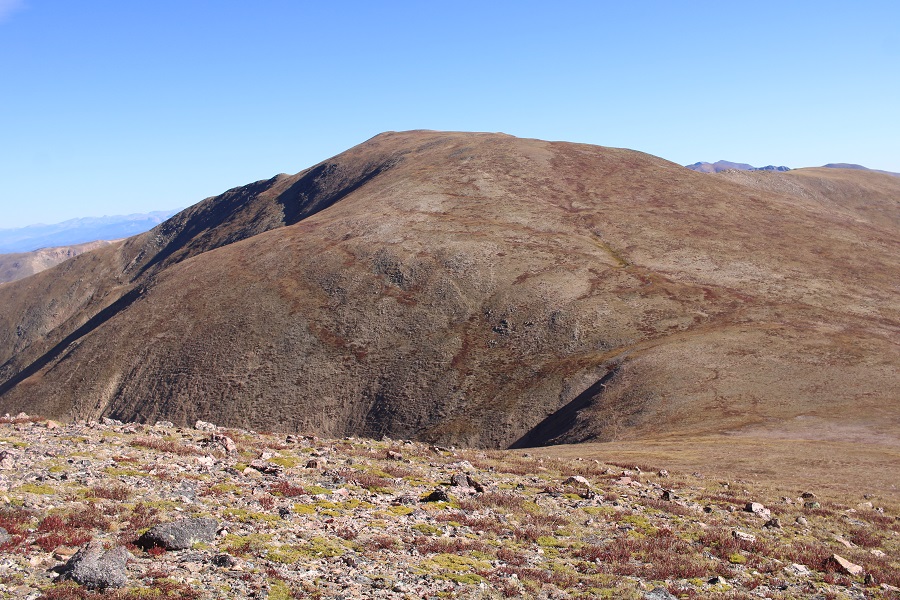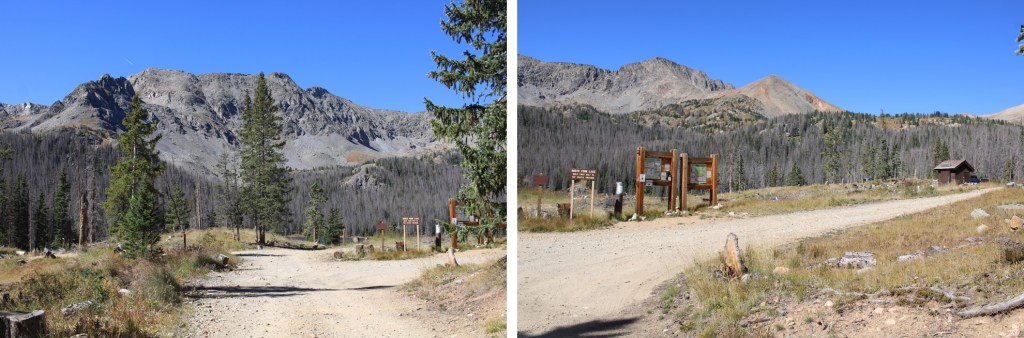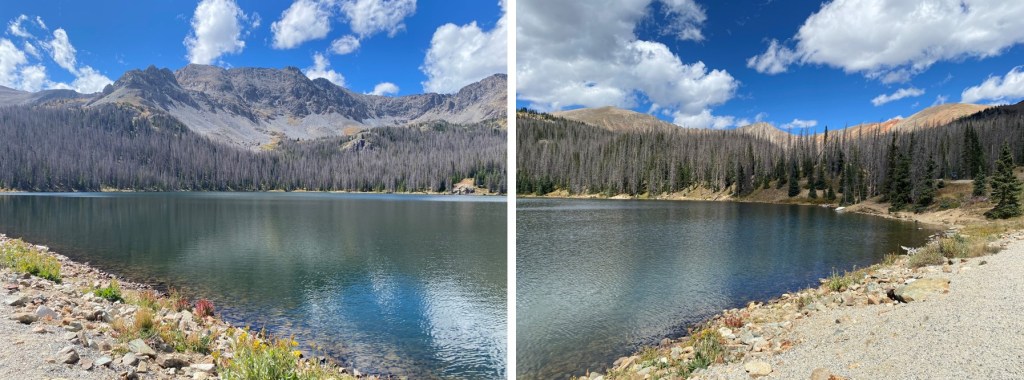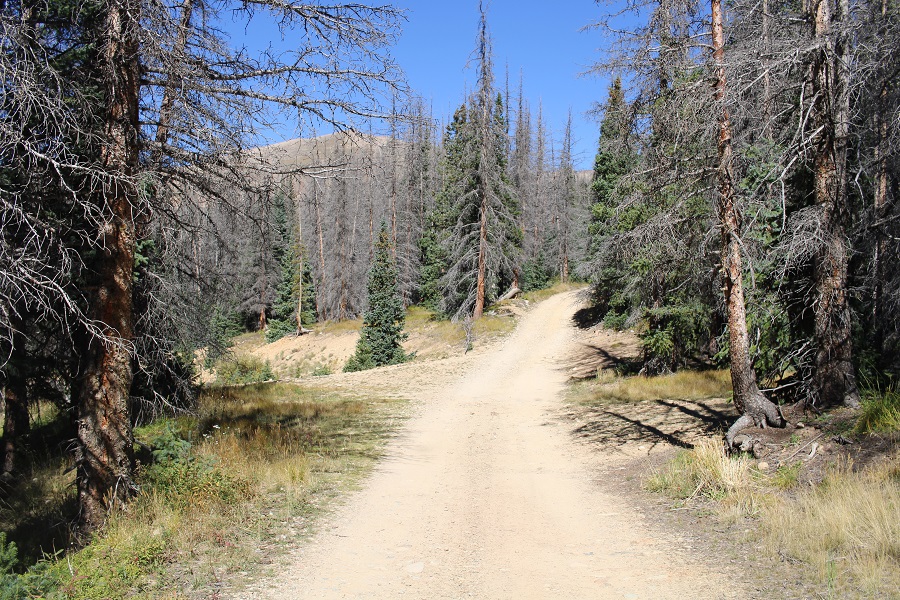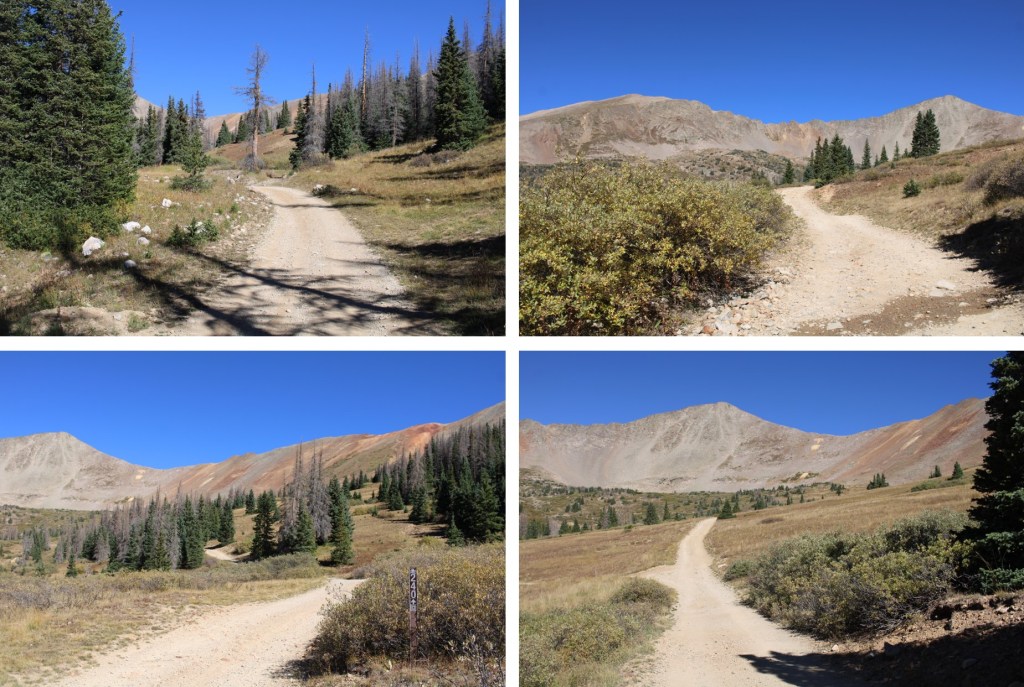
PT 13549 and Cinnamon Mountain – 13,336

RT Length: 4.06 miles

Elevation Gain: 1419’

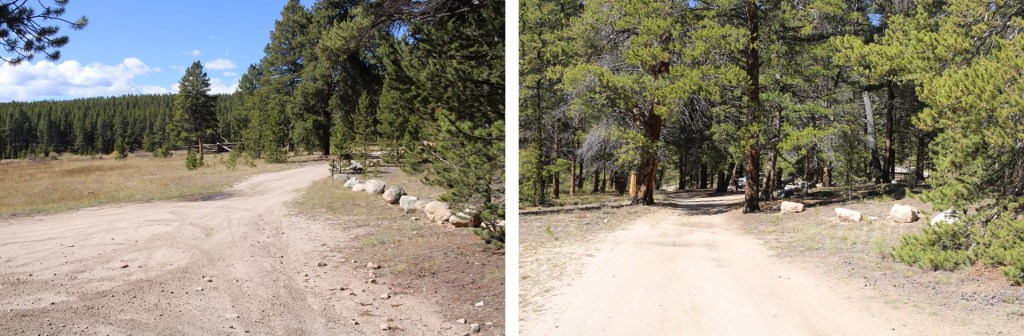
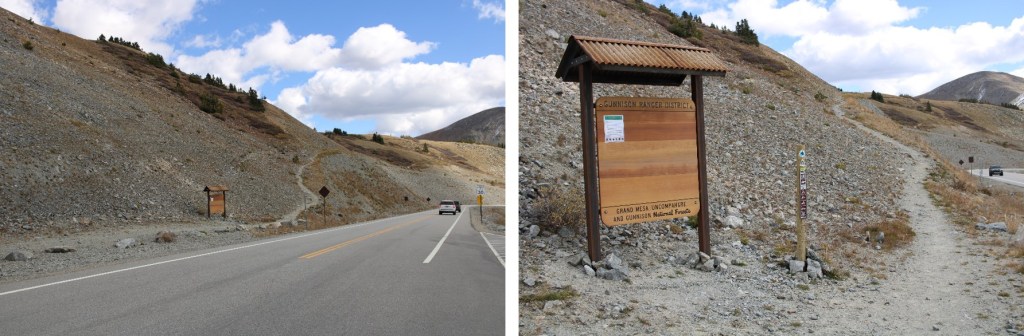
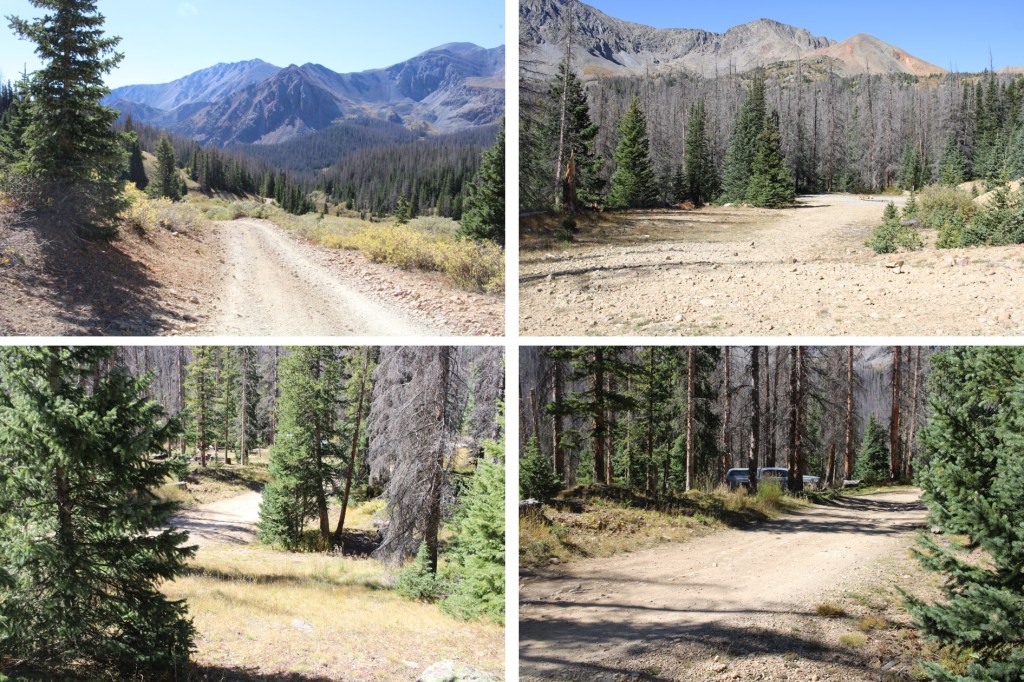
I’d forgotten what an intense drive Cinnamon Pass was… or at least, I didn’t remember it being this bad.  I drove a stock Tacoma to the pass, and while it handled famously, I probably asked it to do more than it wanted to do.  Luckily, at this time of the year, I was the only one there, and I didn’t see anyone else on the road the entire day. I parked at the pass and was on my way.

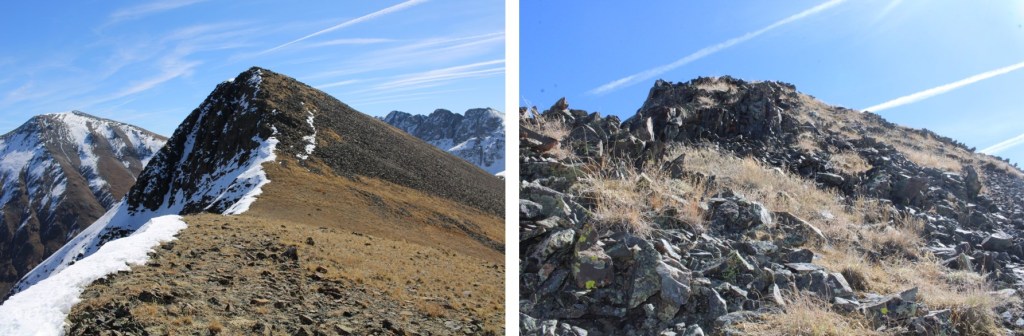
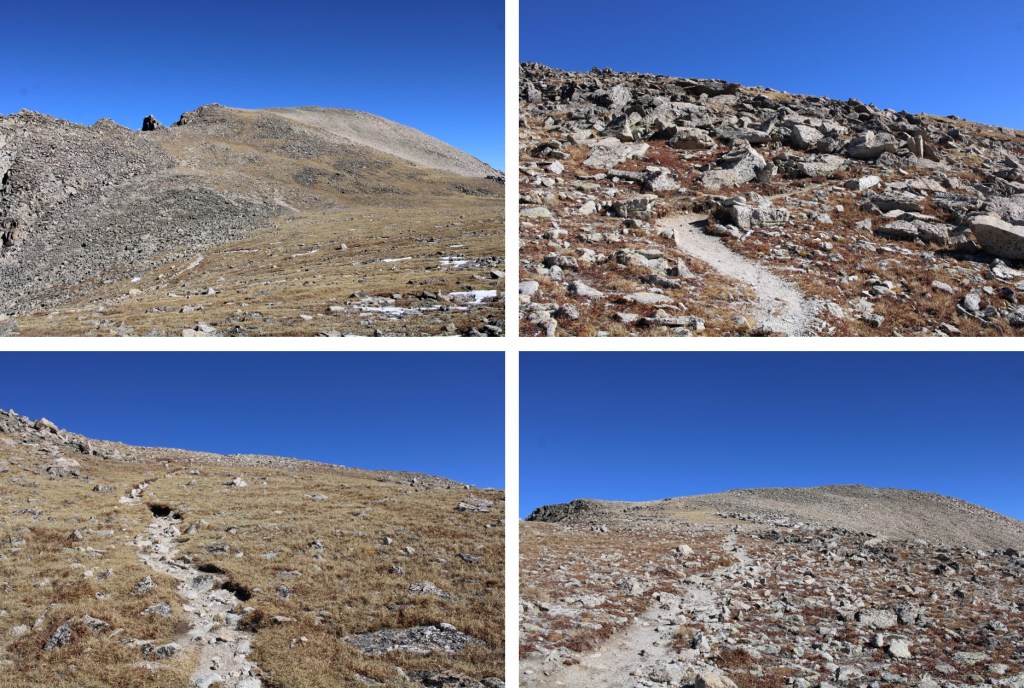
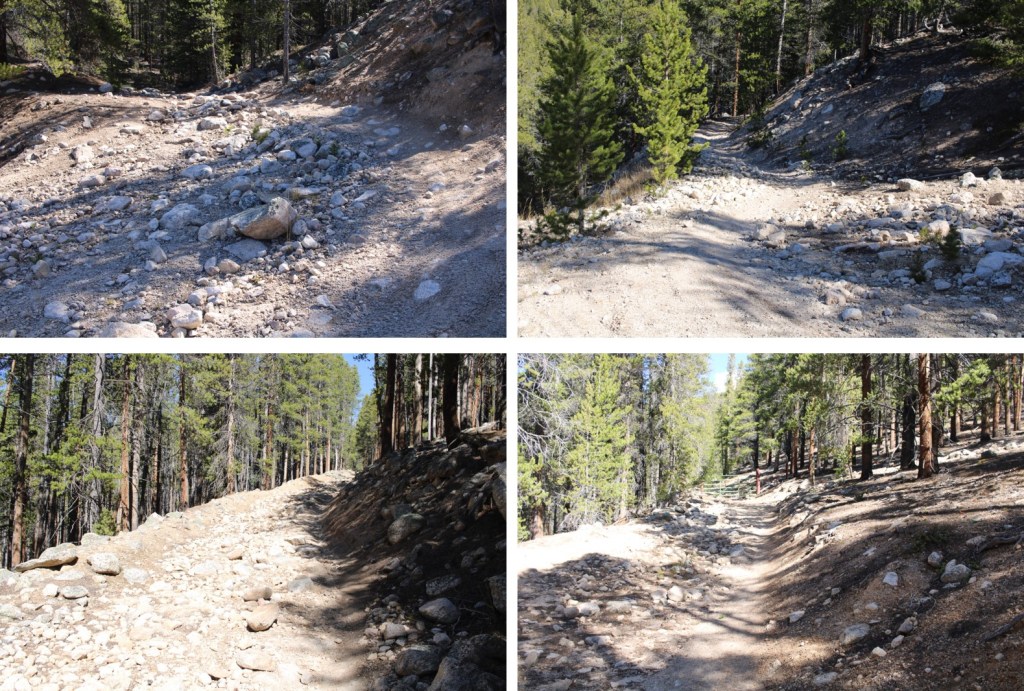
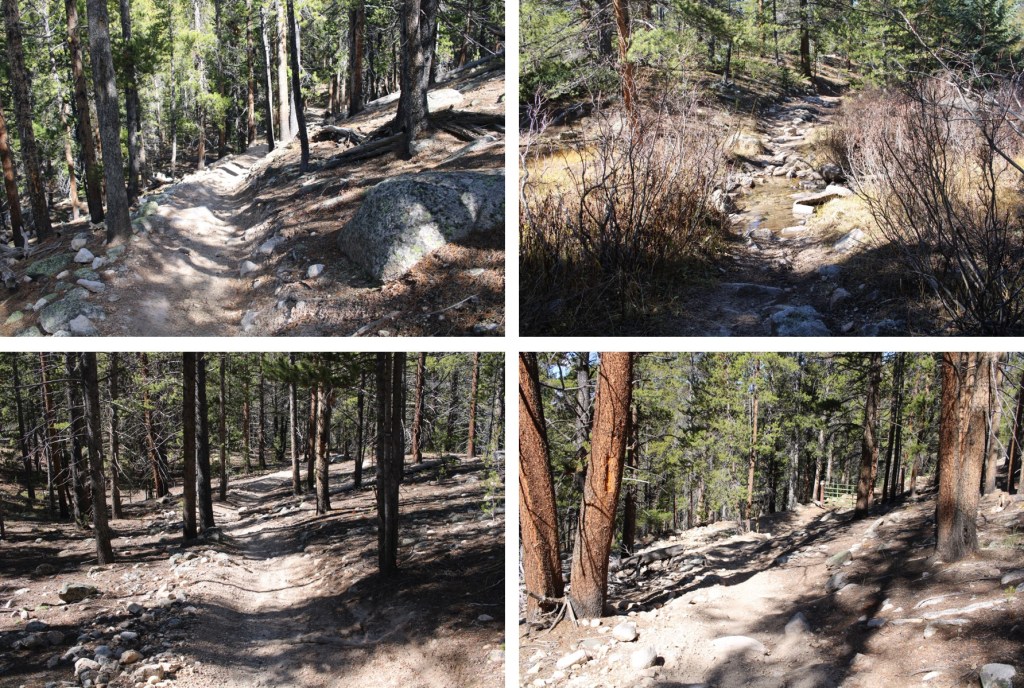
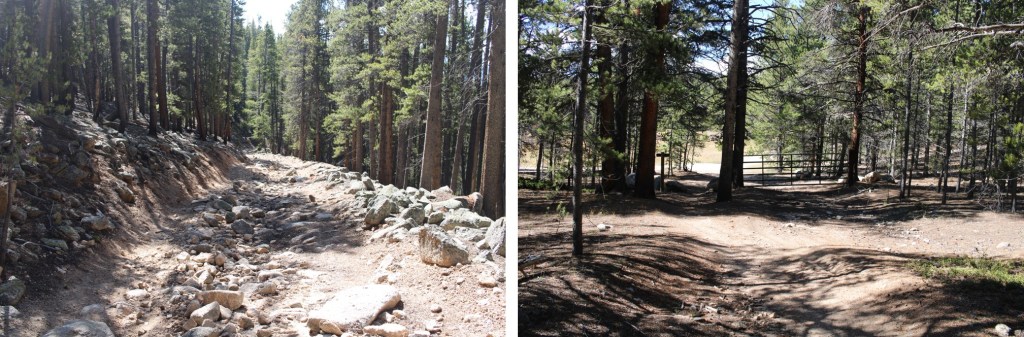
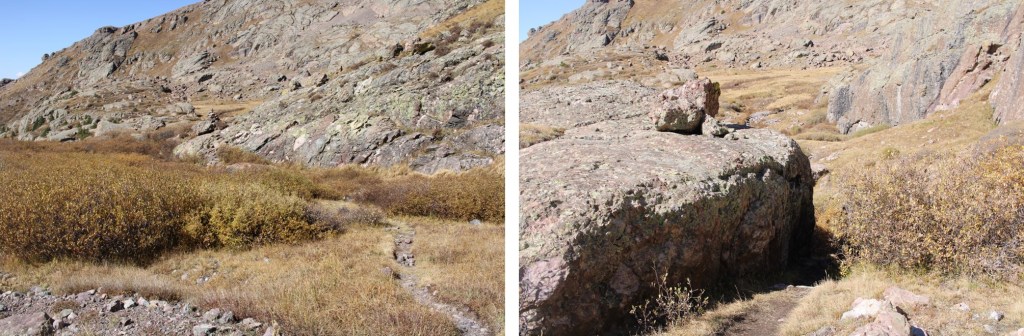
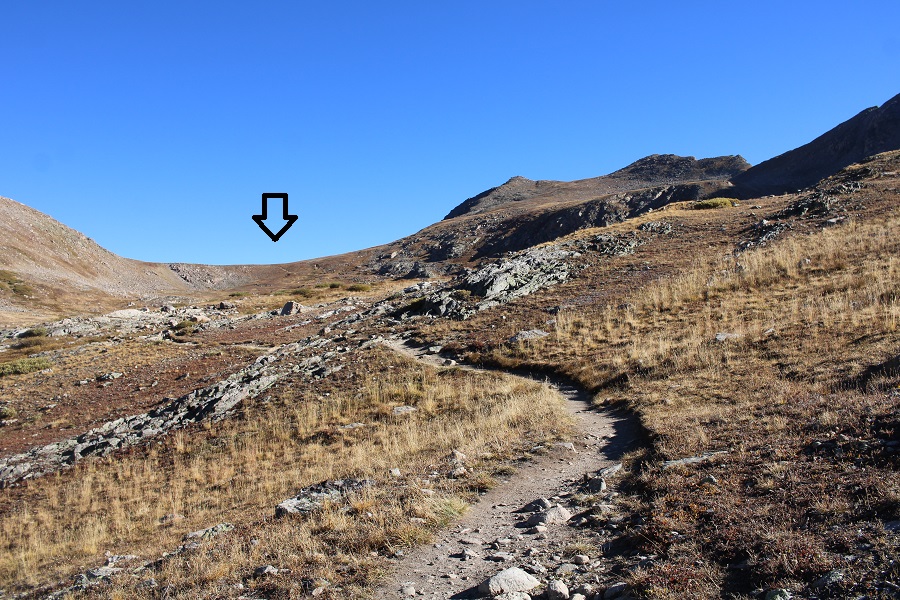
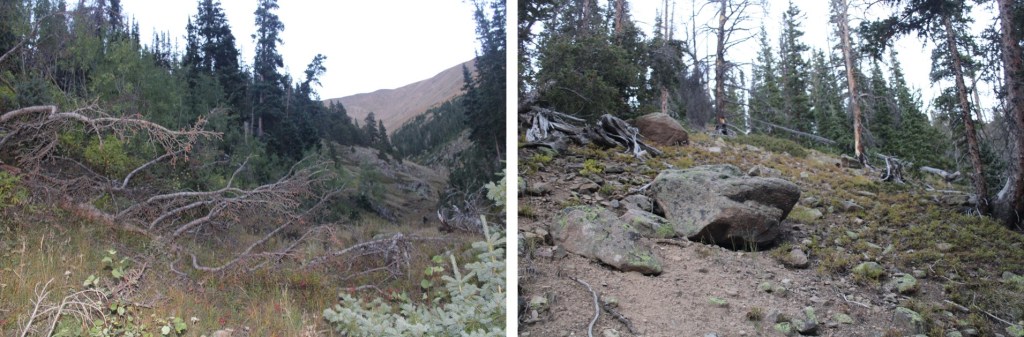
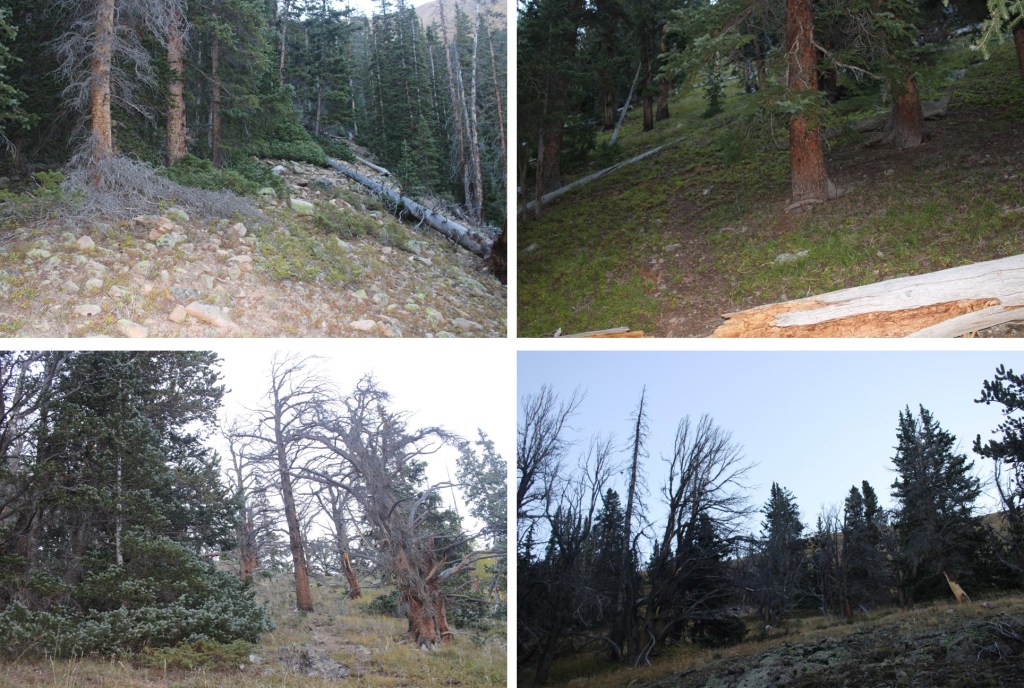
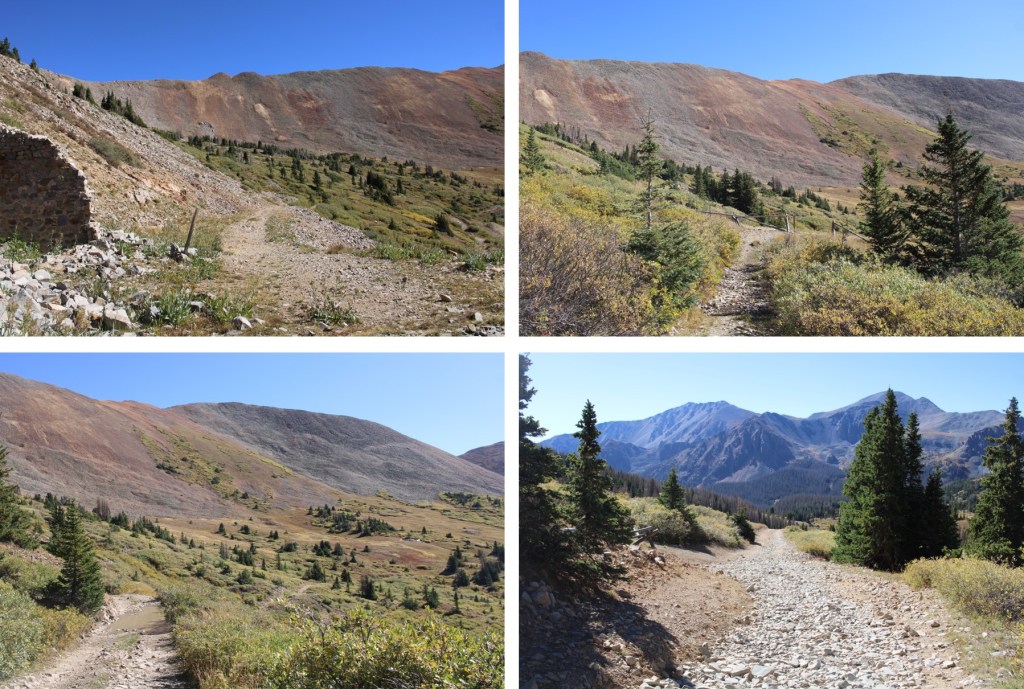
There is a trail here that goes all the way up to the saddle.  I started by following it south
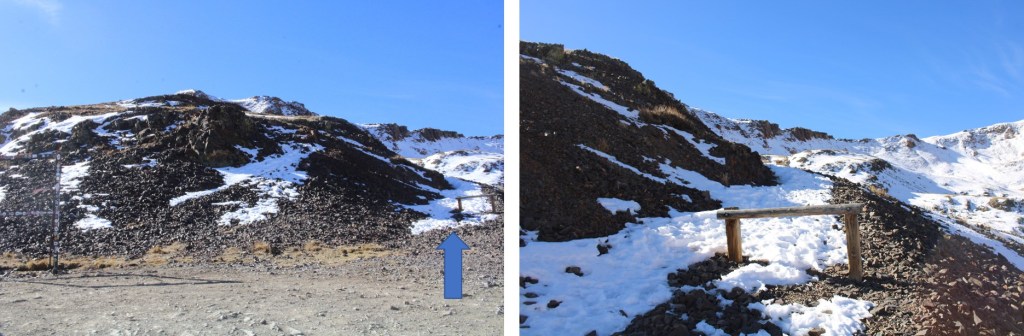
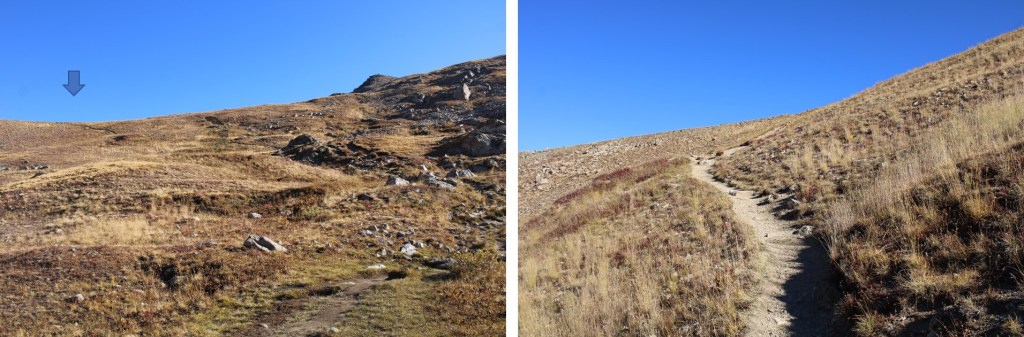
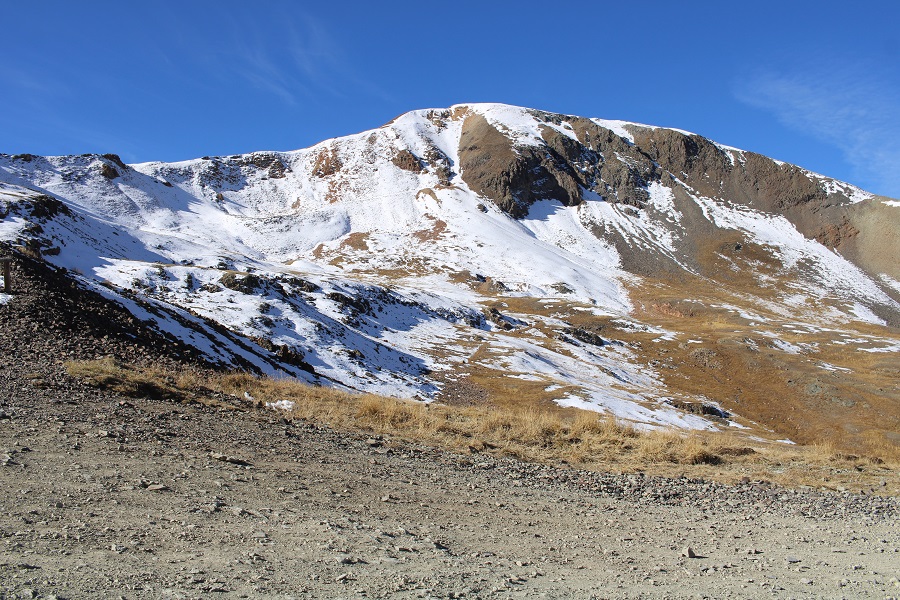
It had snowed in the last week or so, and even though there weren’t any footprints on the trail besides a few game tracks here and there, the path was obvious to the ridge
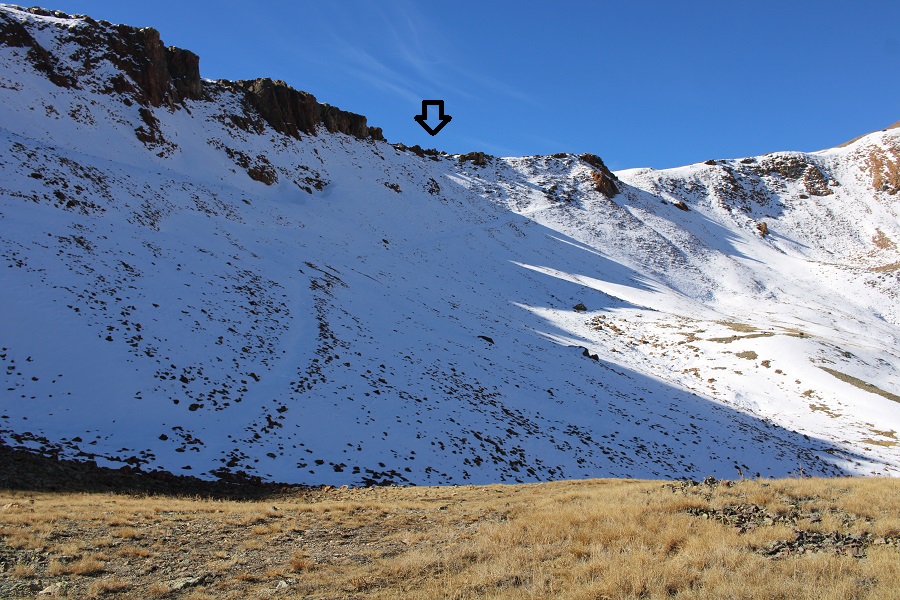
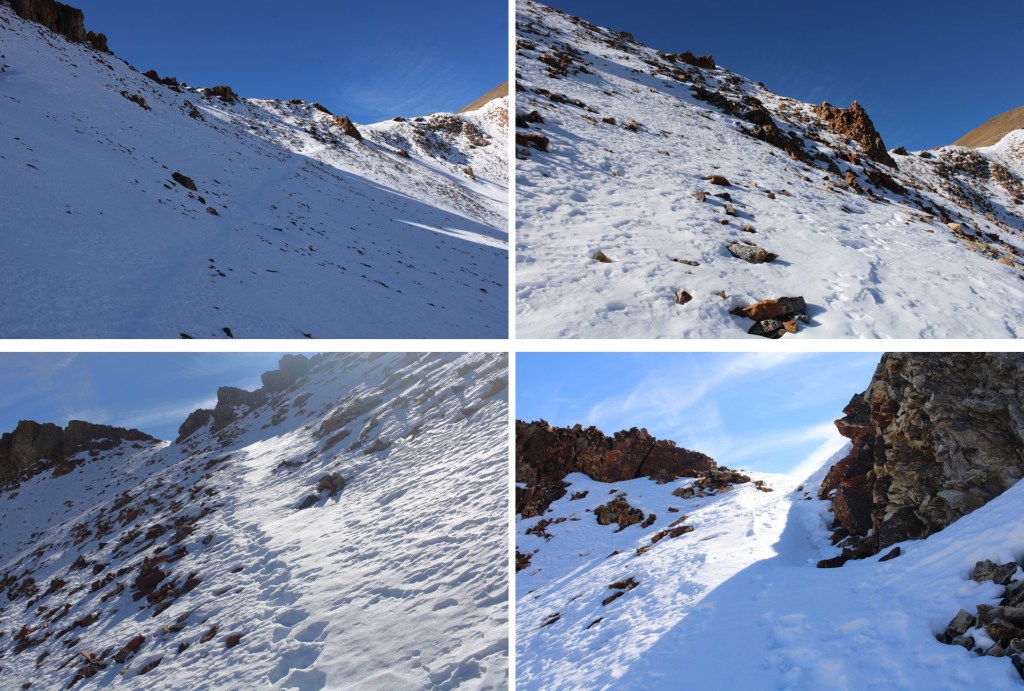
Also, all the little snow there was, was on the trail.  I sunk up to my thighs post-holing.
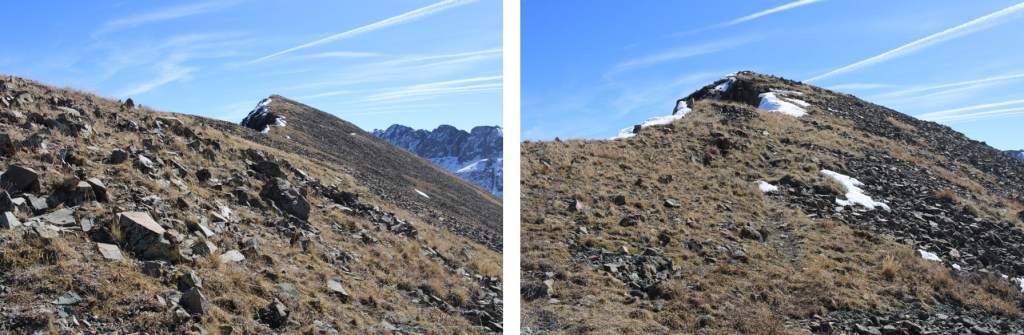
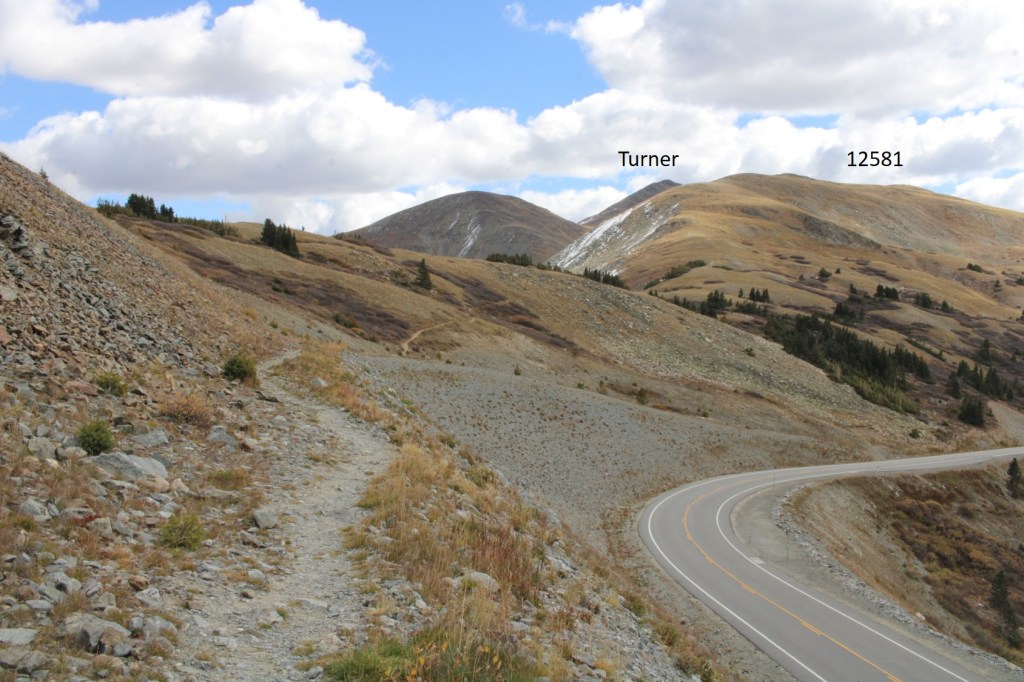
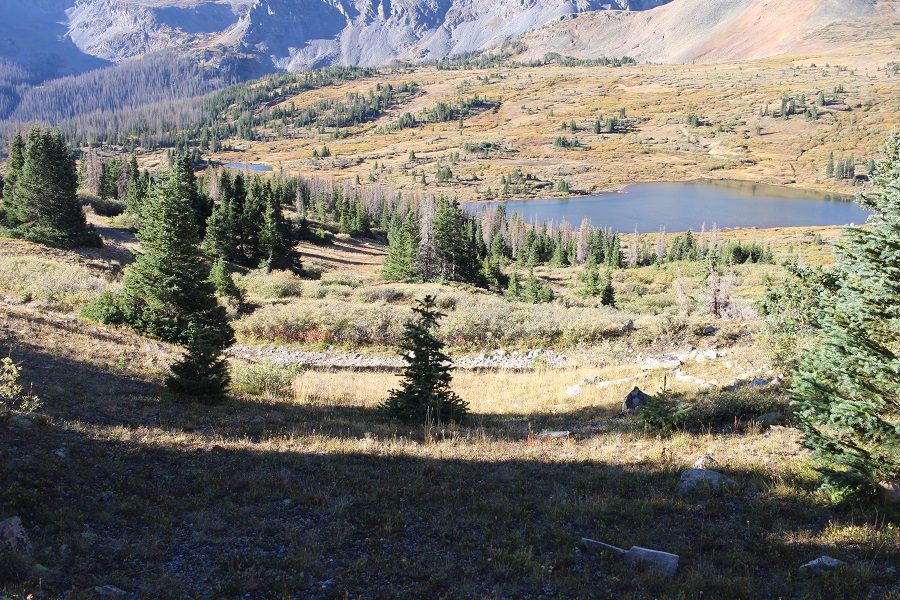
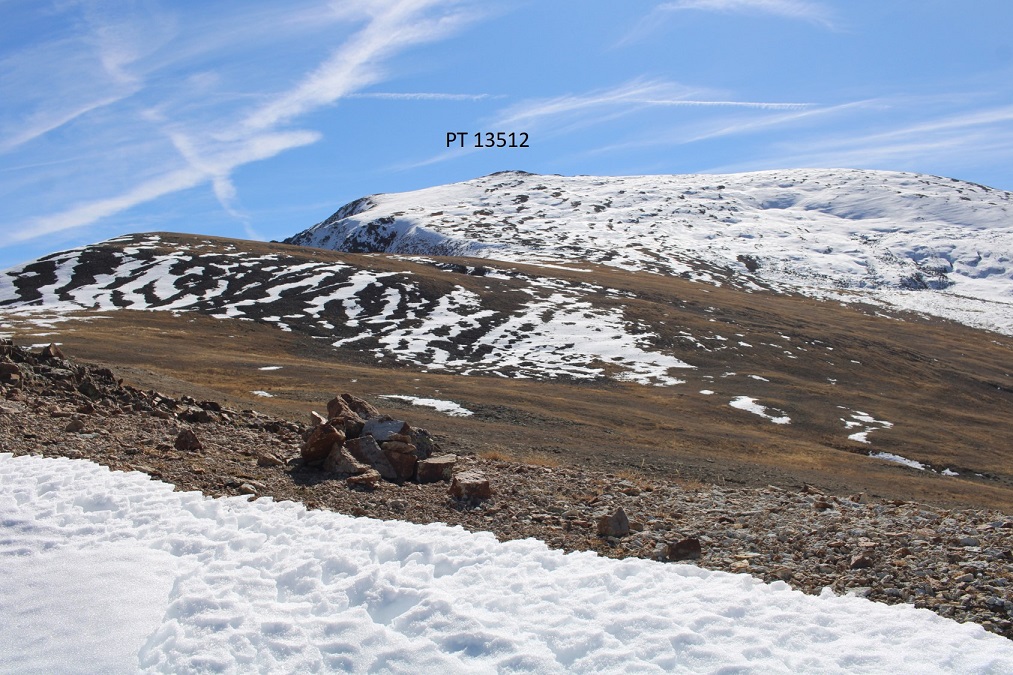
Once on the ridge, I could clearly see PT 13512, my first objective
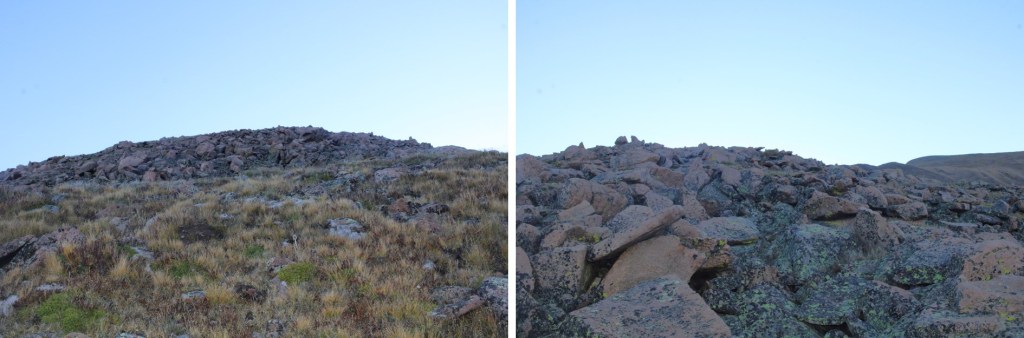
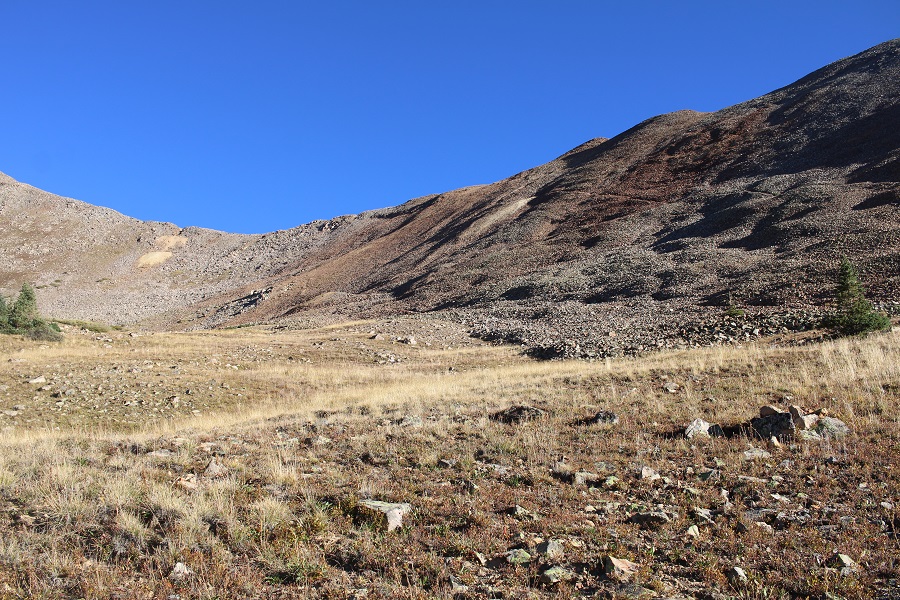
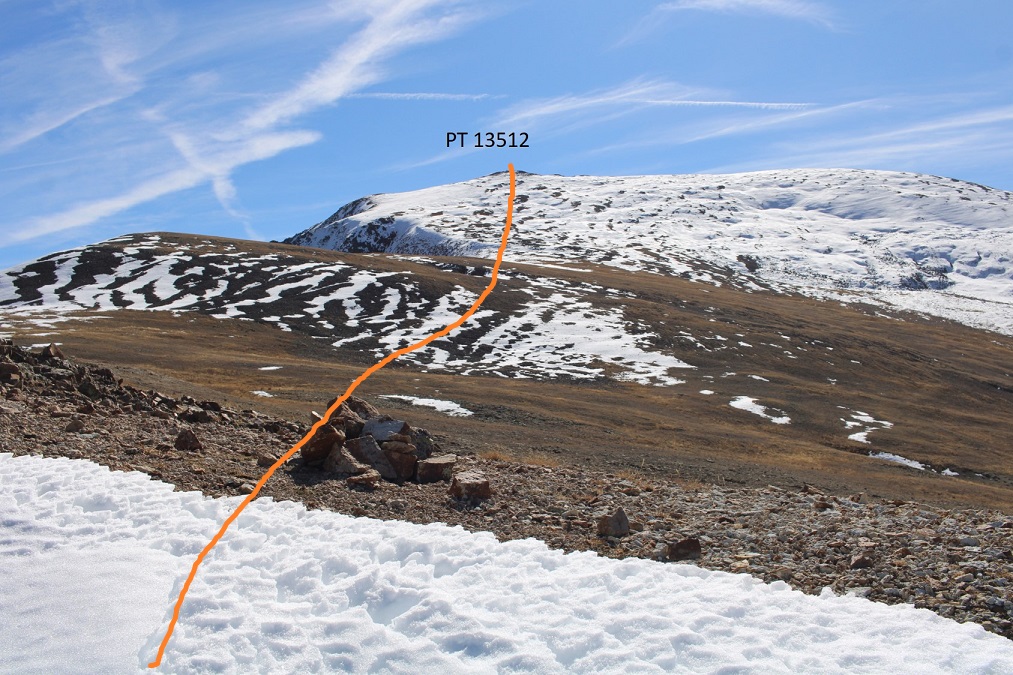
This was very straightforward.  I just headed southeast.  Side note:  If you’re a rock hound, there are a ton of really cool rocks on this hike, complete with white, black, yellow, and orange crystals that shine in the sun.
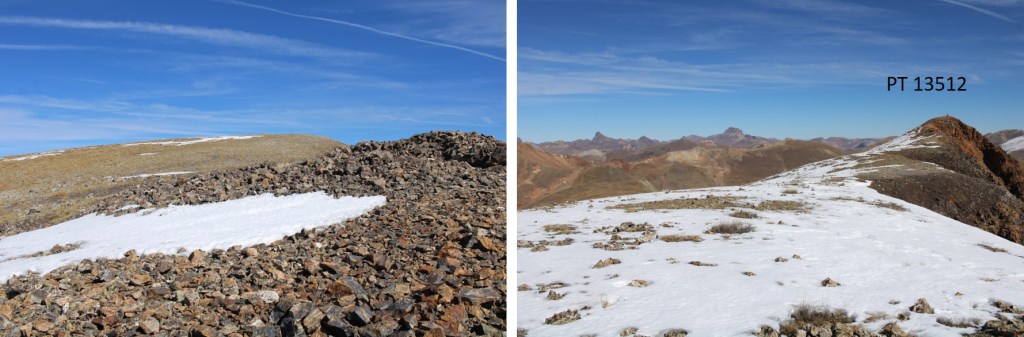
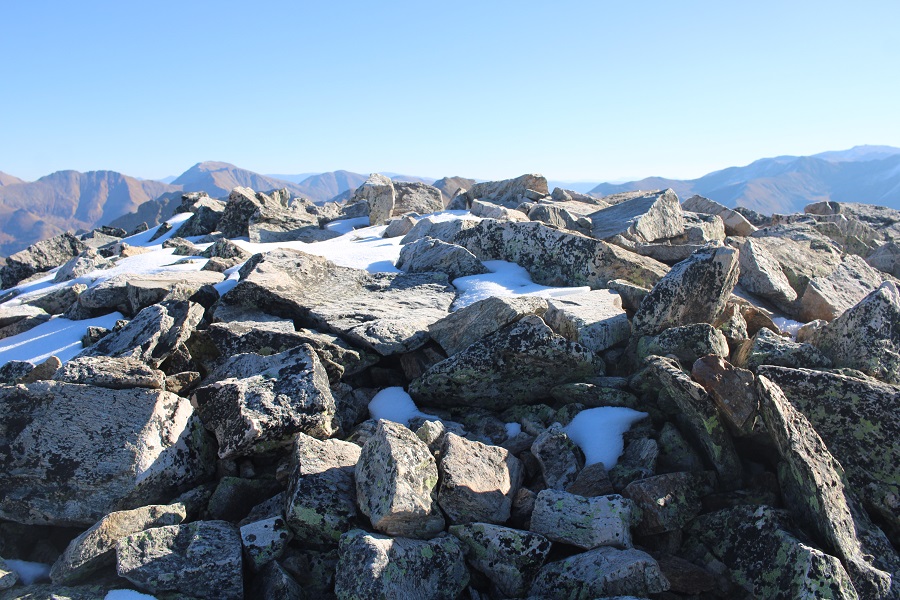
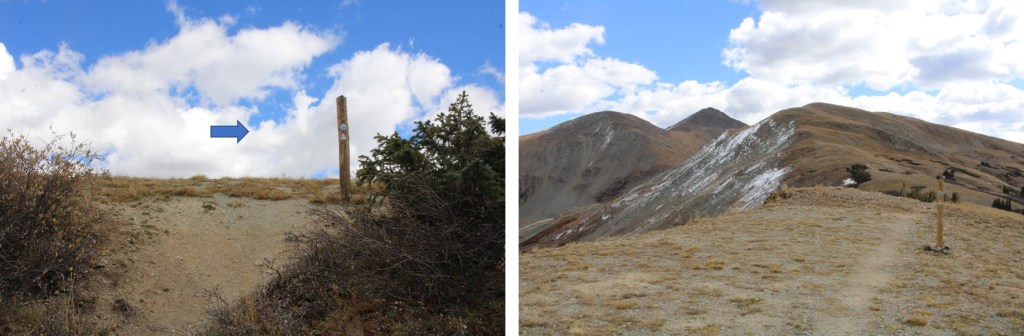
The ‘summit’ was obvious
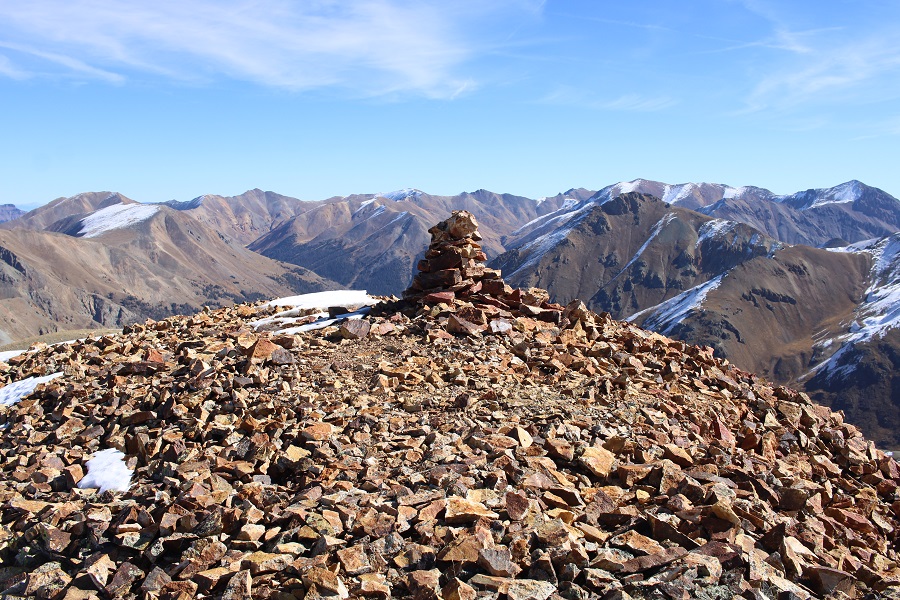
However, this wasn’t an actual ranked summit.  I was headed towards PT 13549, to the south
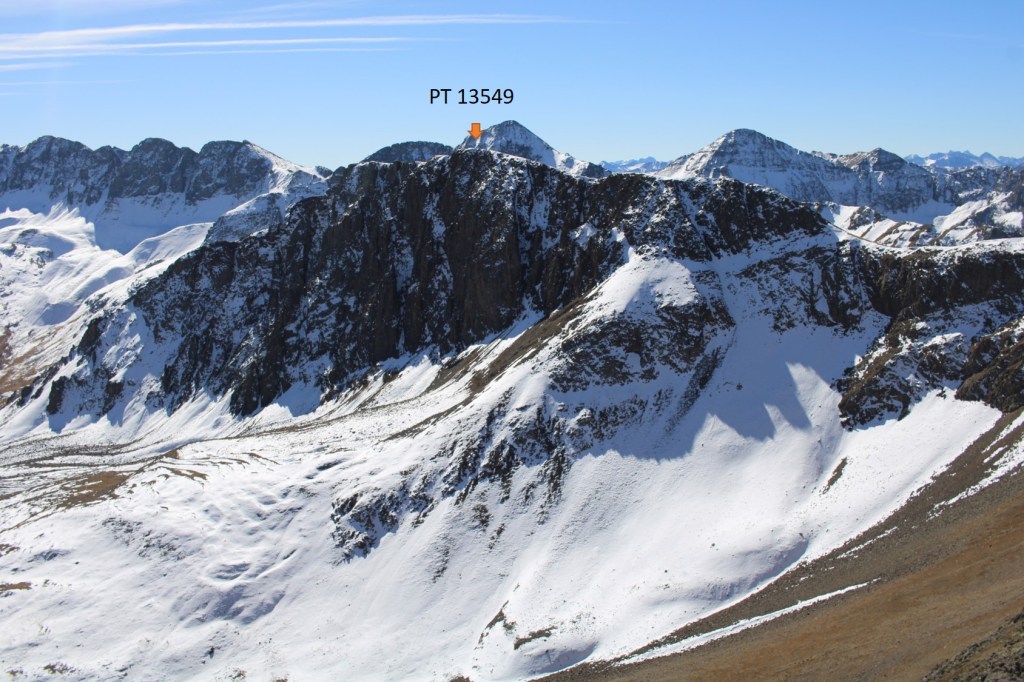
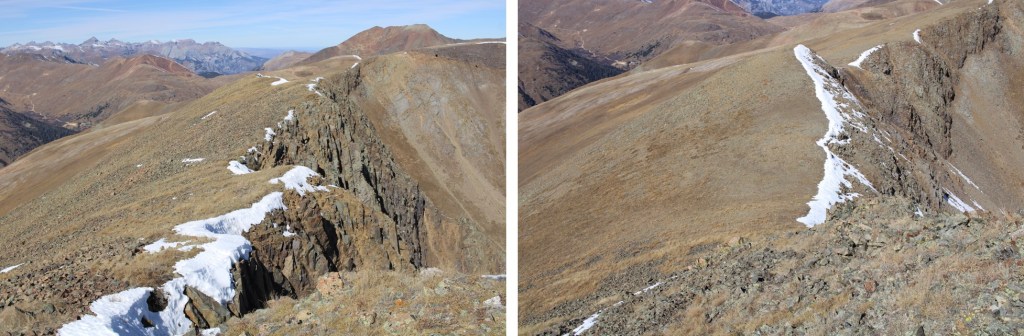
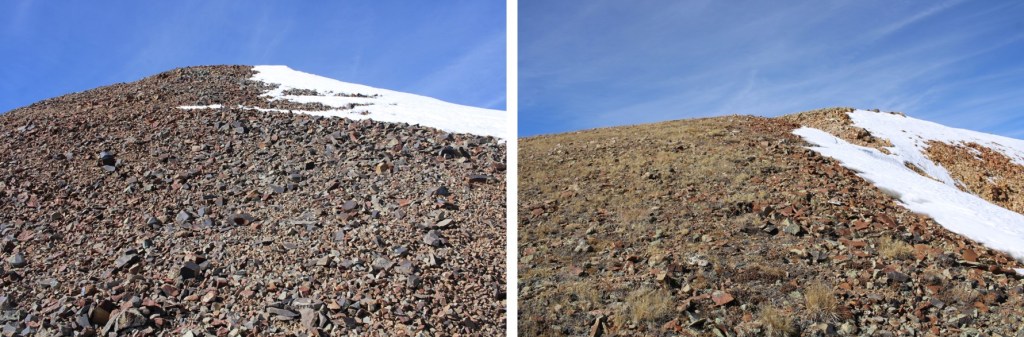
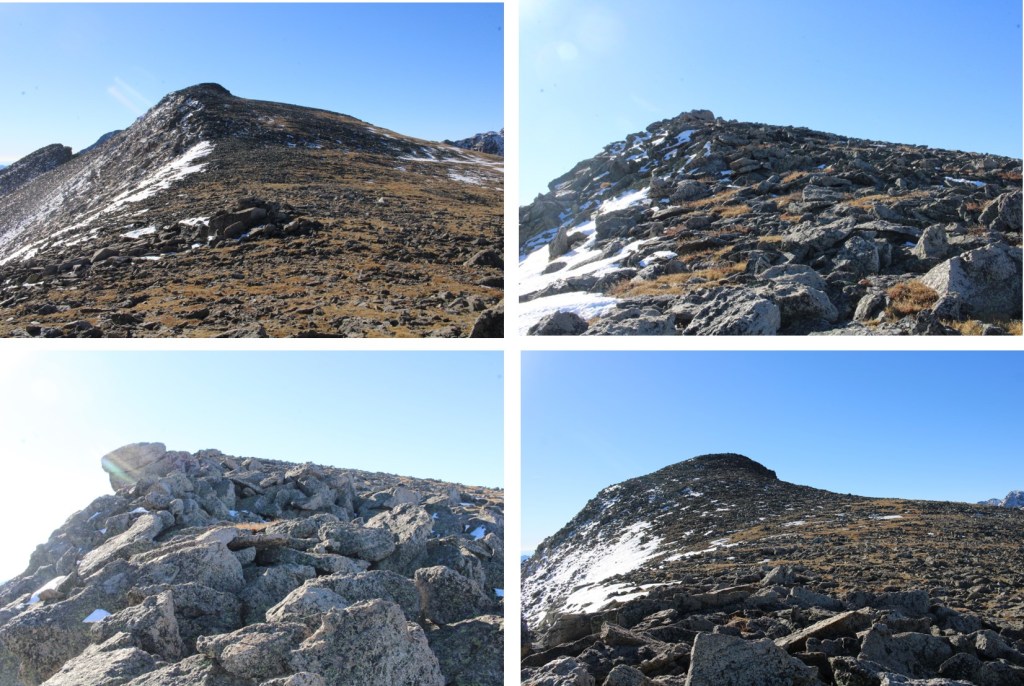
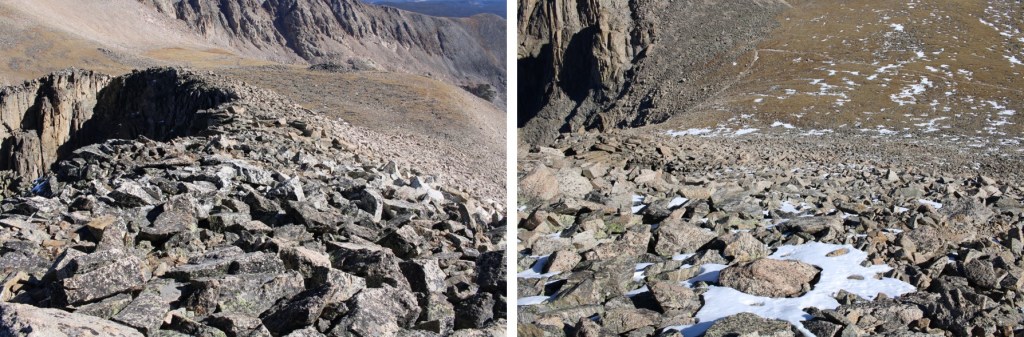
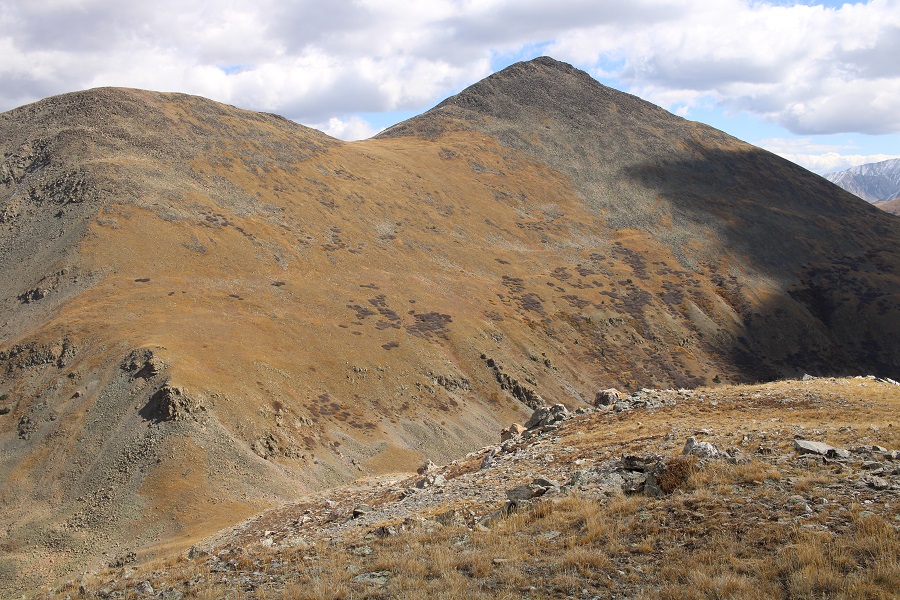
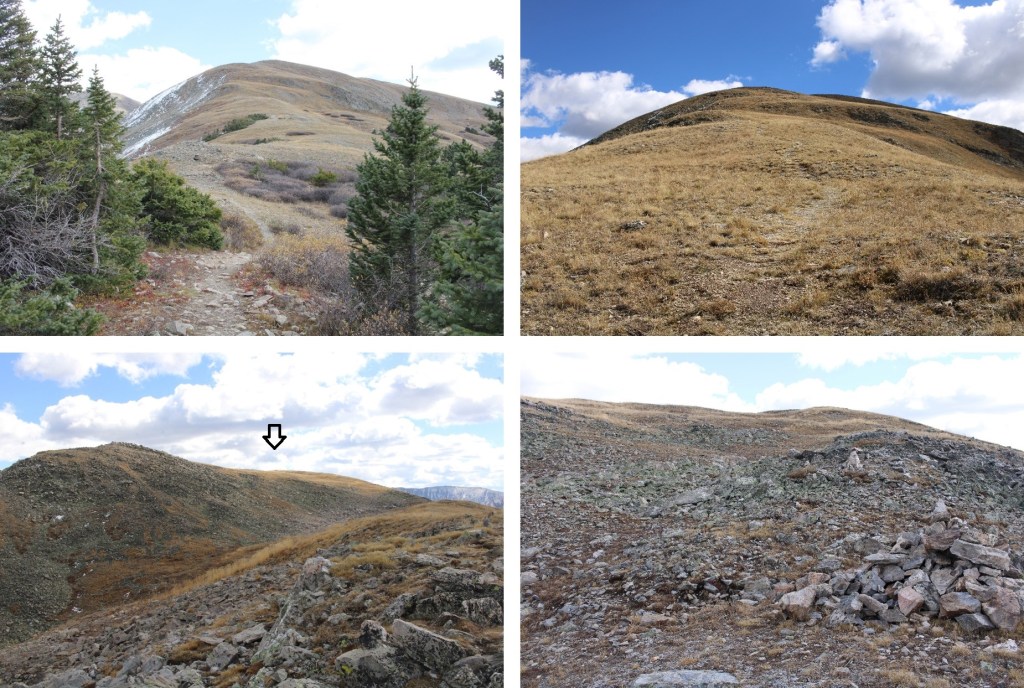
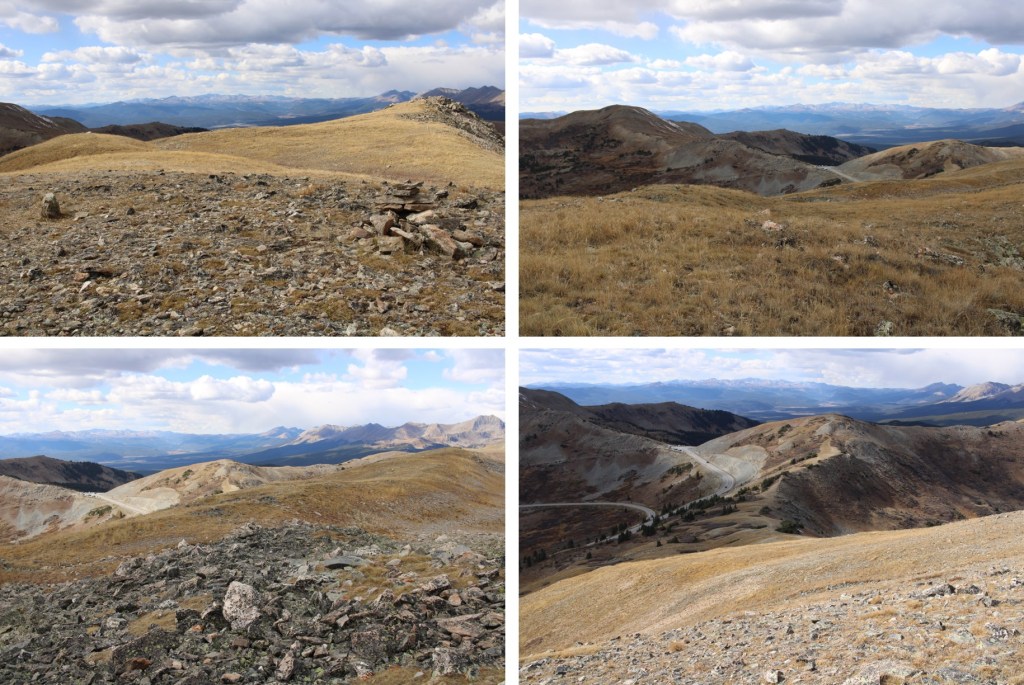
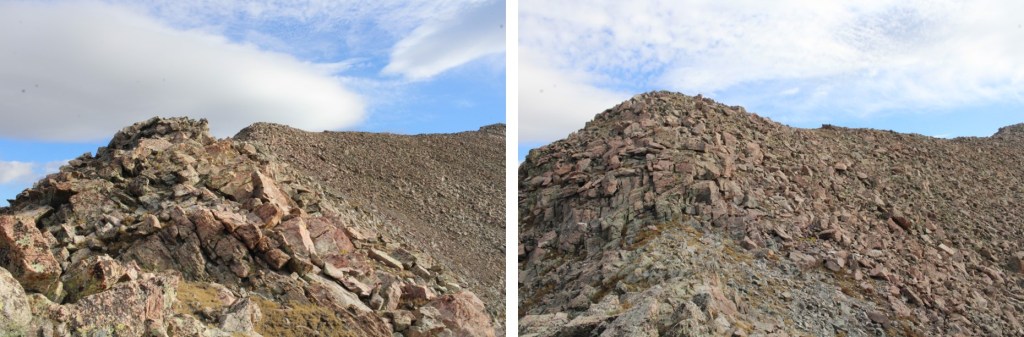
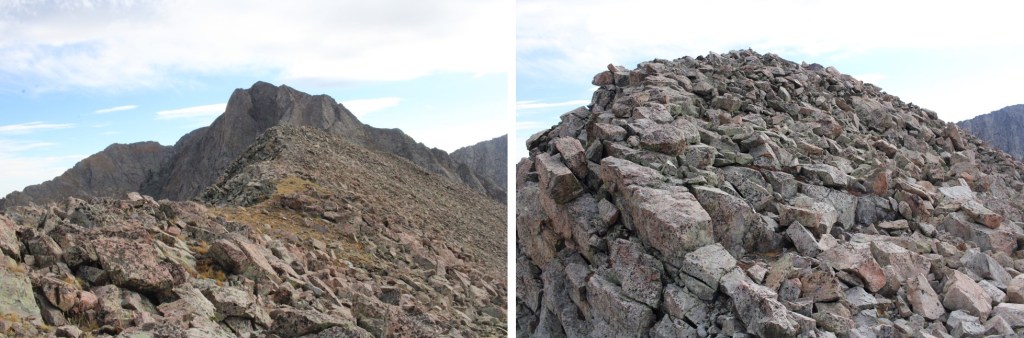
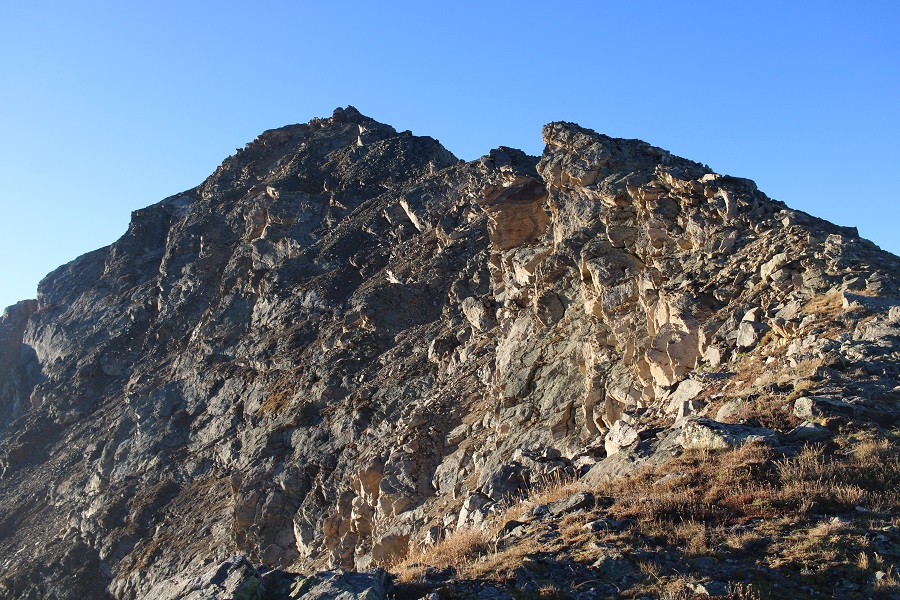
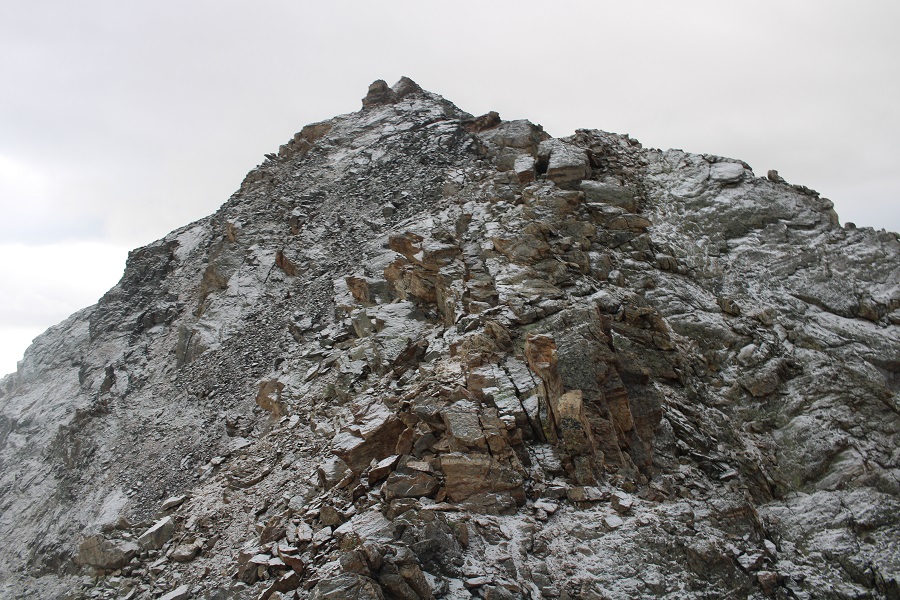
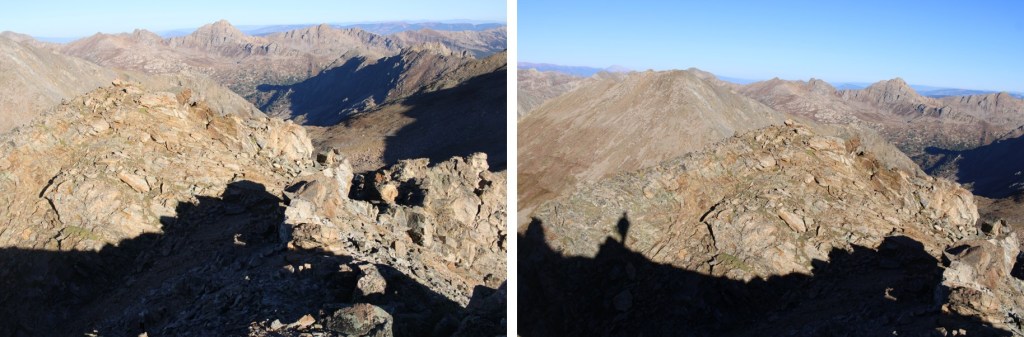
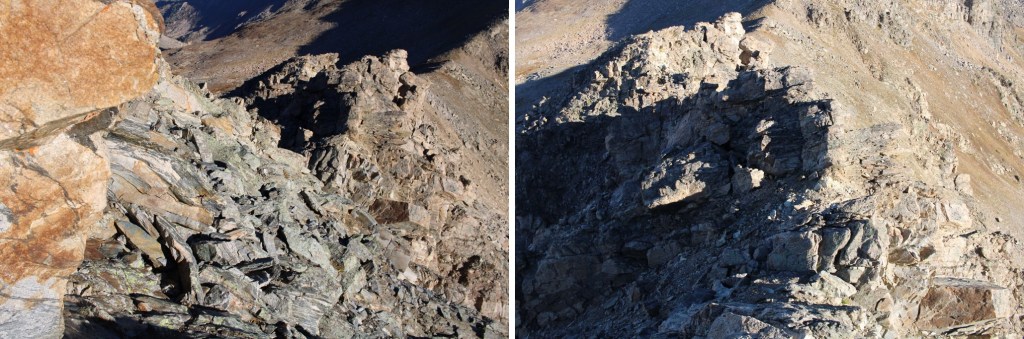
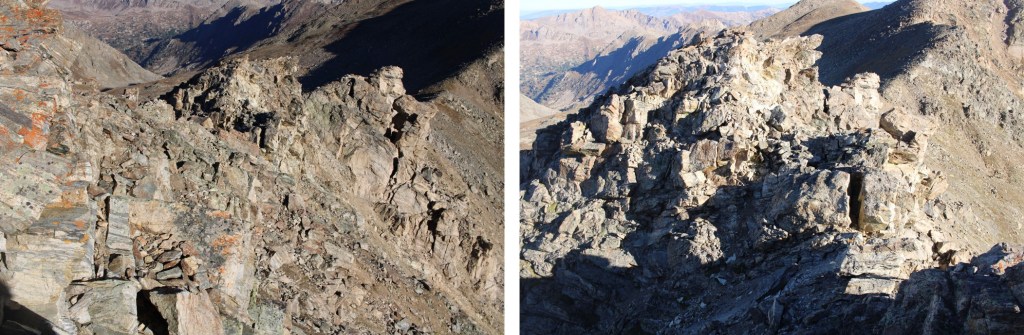
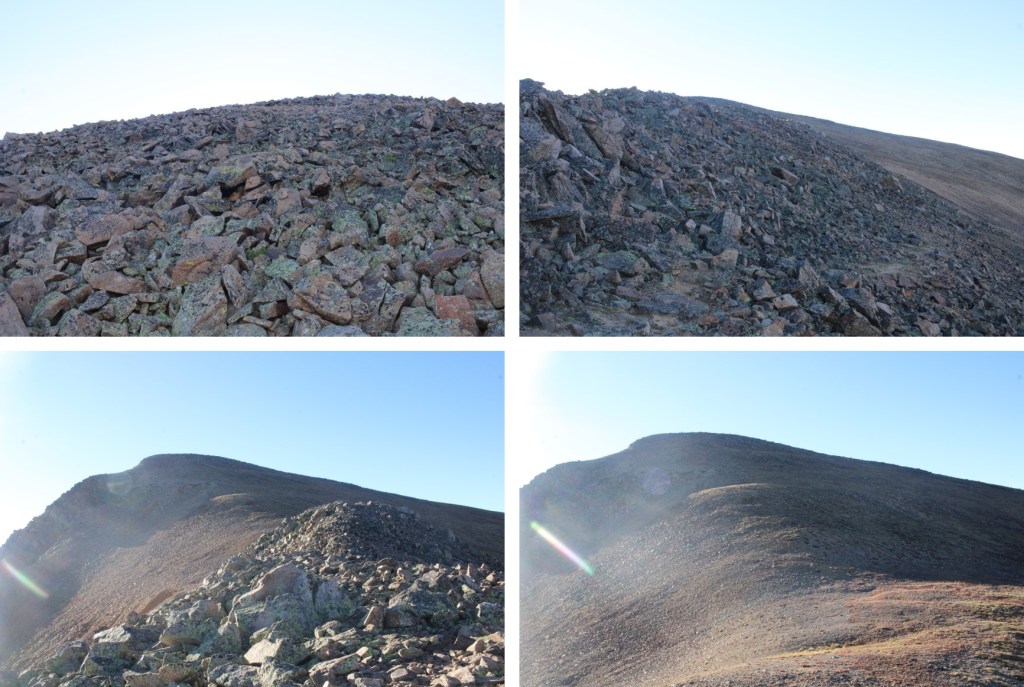
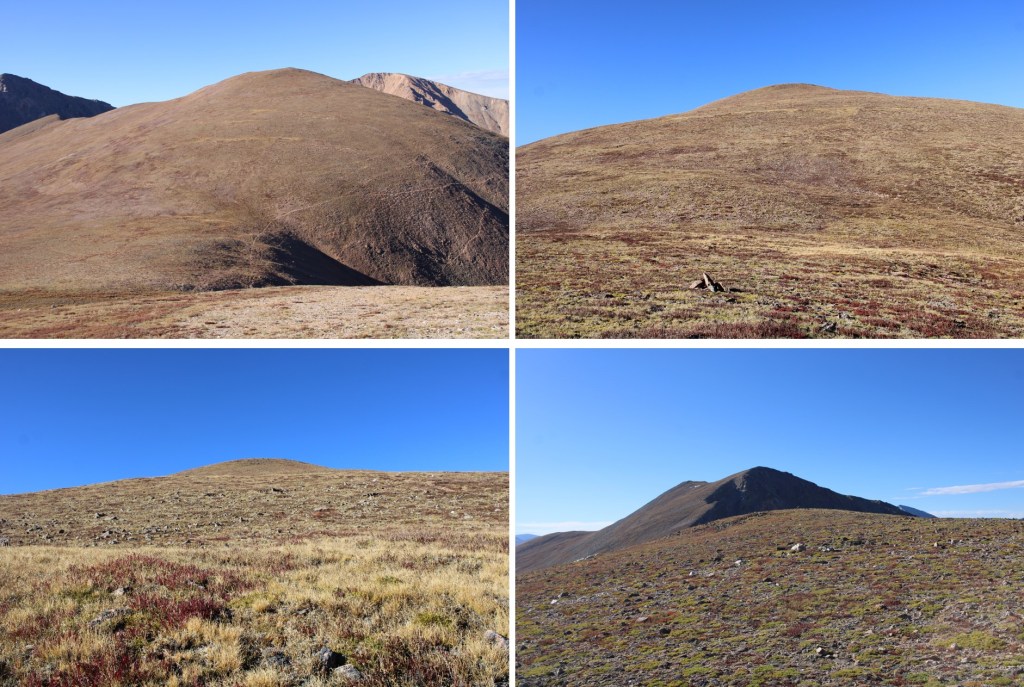
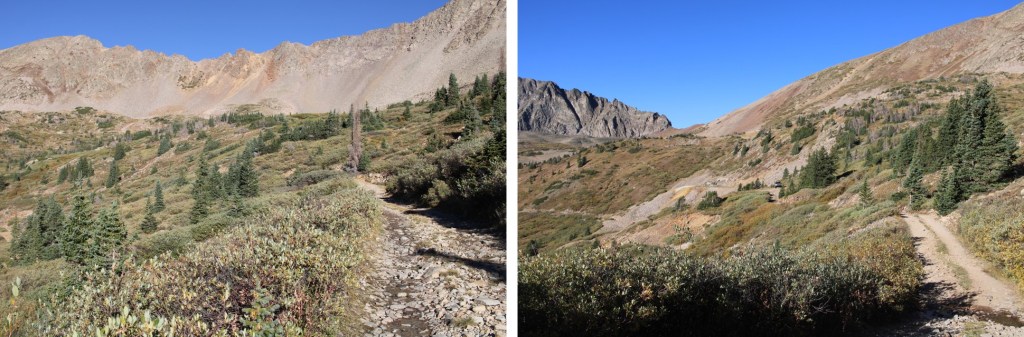
To get there, I followed the class 2 ridge as it curved southwest, and then southeast towards the summit.  Here are some pictures of the ridge.

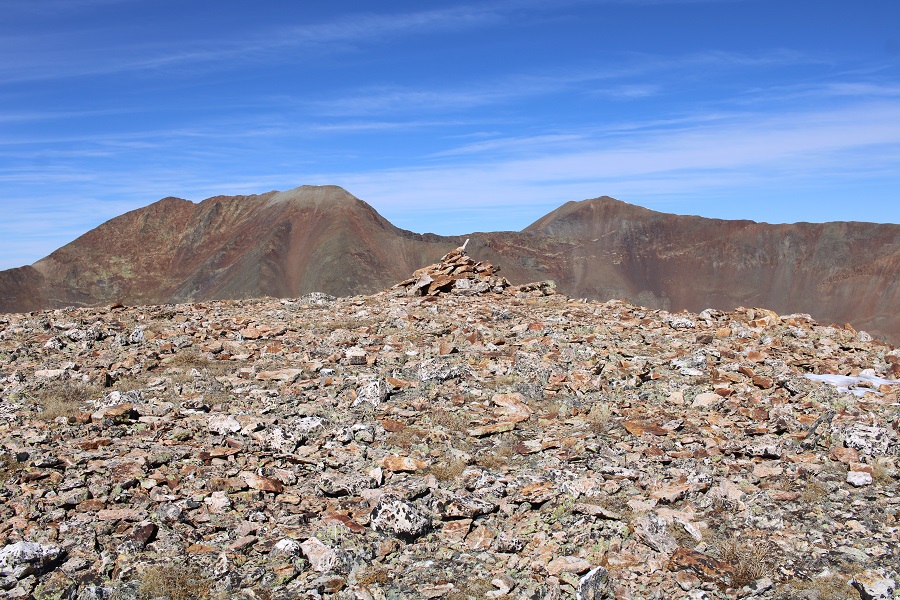
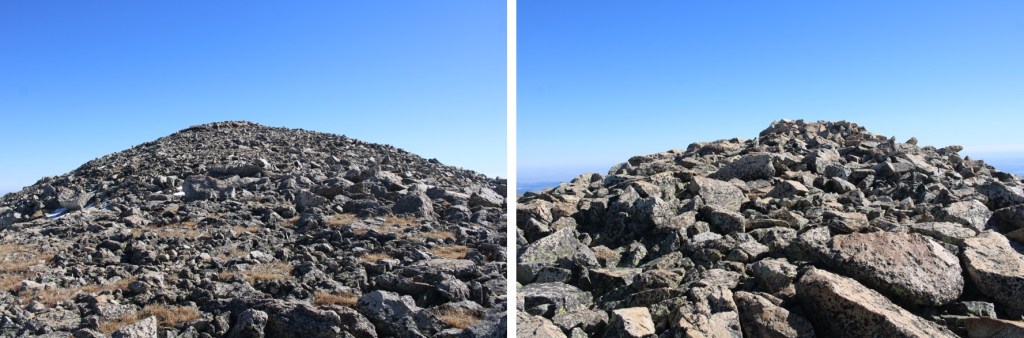
I summited PT 13549 at 11:30am
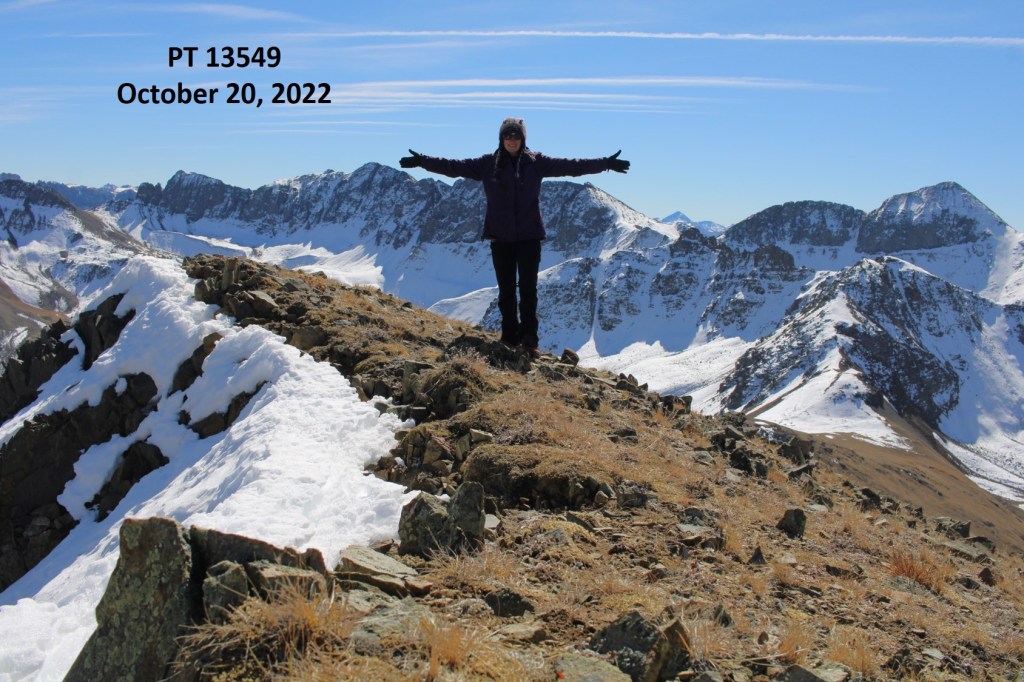
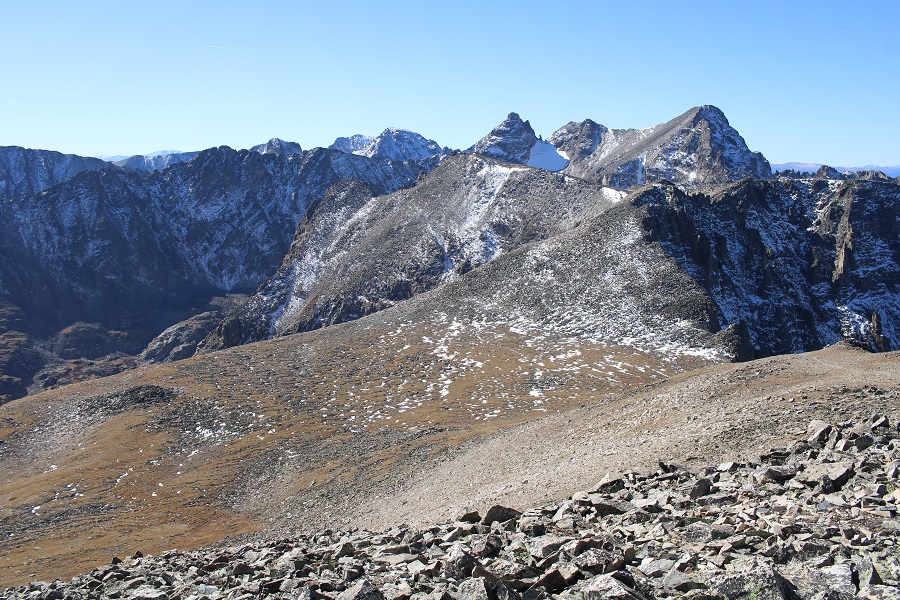
PT 13549:

After taking in the views, I followed the ridge back to PT 13512

Once back at 13512, I turned left, and headed northeast over to Cinnamon Mountain.  This was once again a class 2 hike
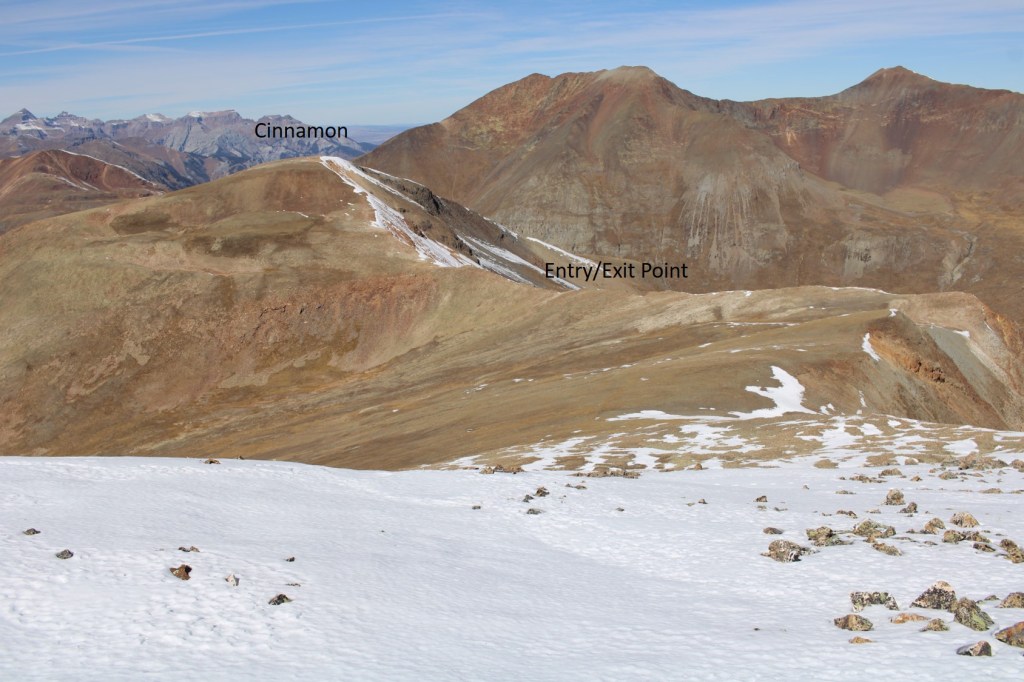
I summited Cinnamon Mountain at 12:30pm

Cinnamon Mountain:

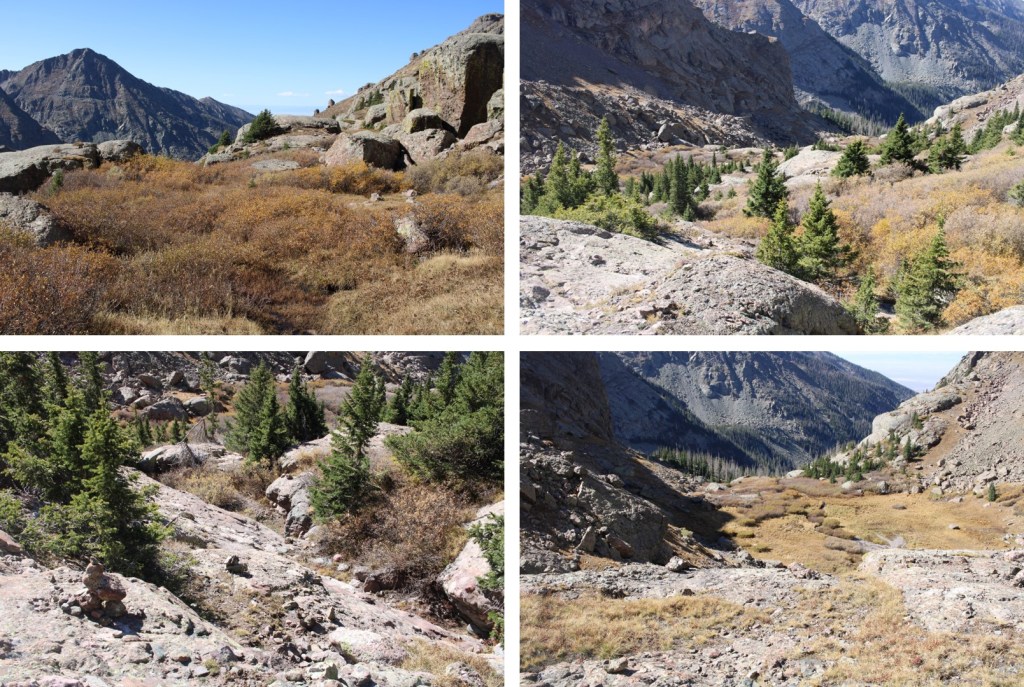
When I looked east, the route back to Cinnamon Pass was obvious
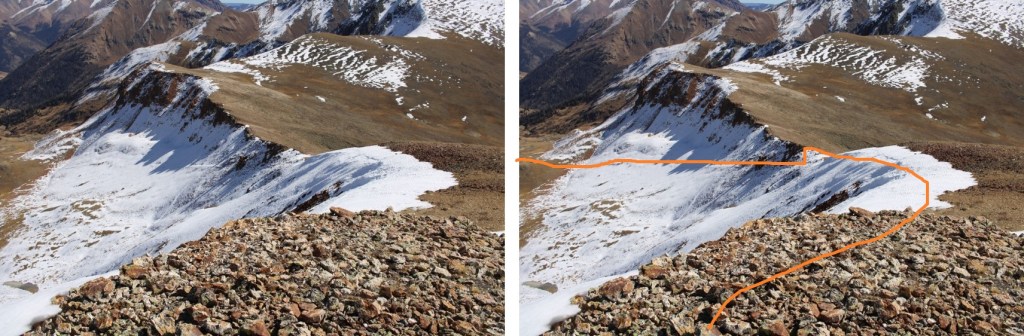
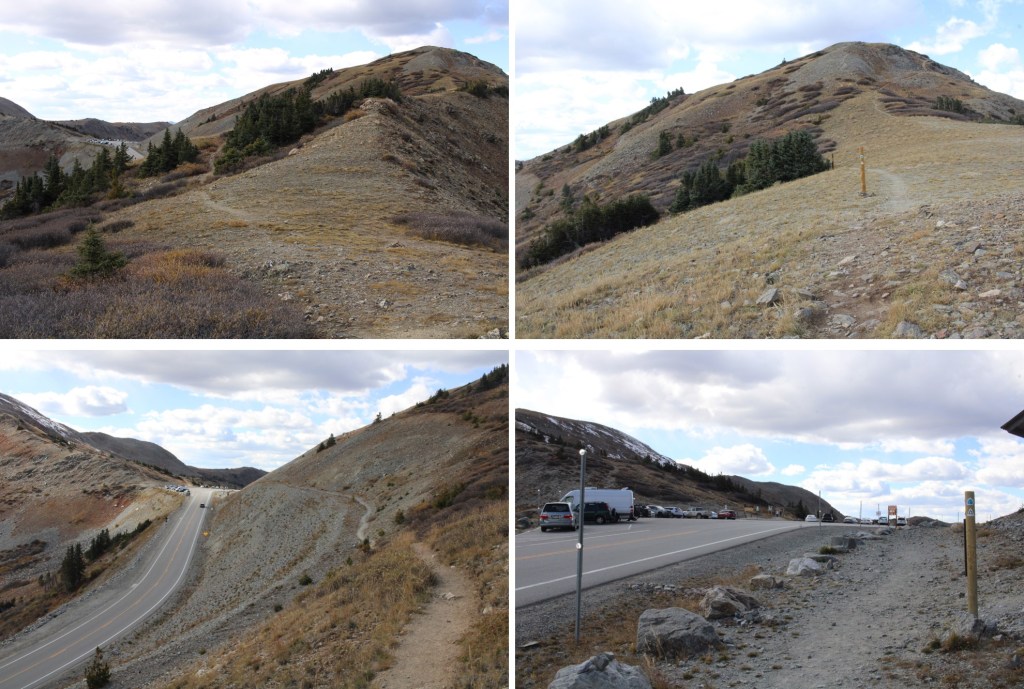
Here are some pictures down the ridge

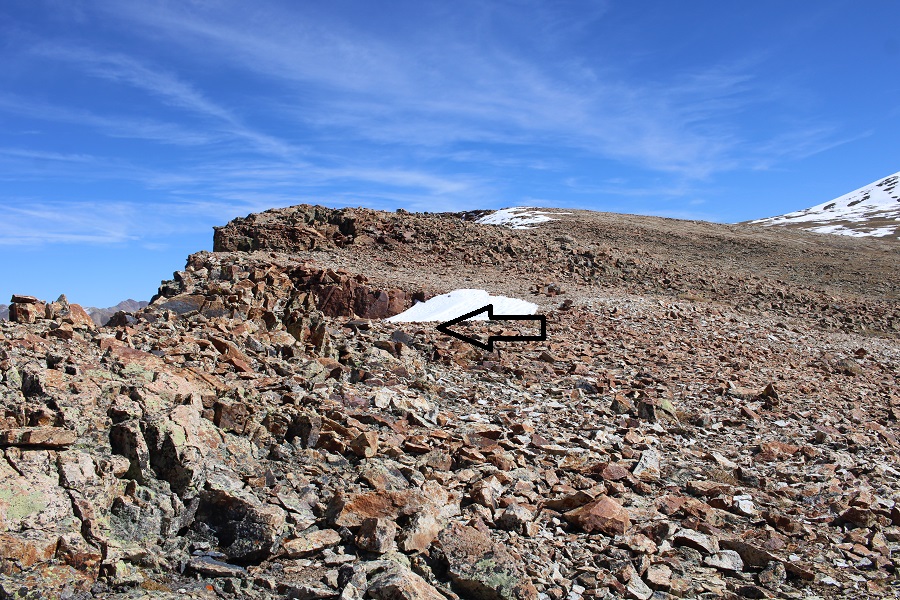
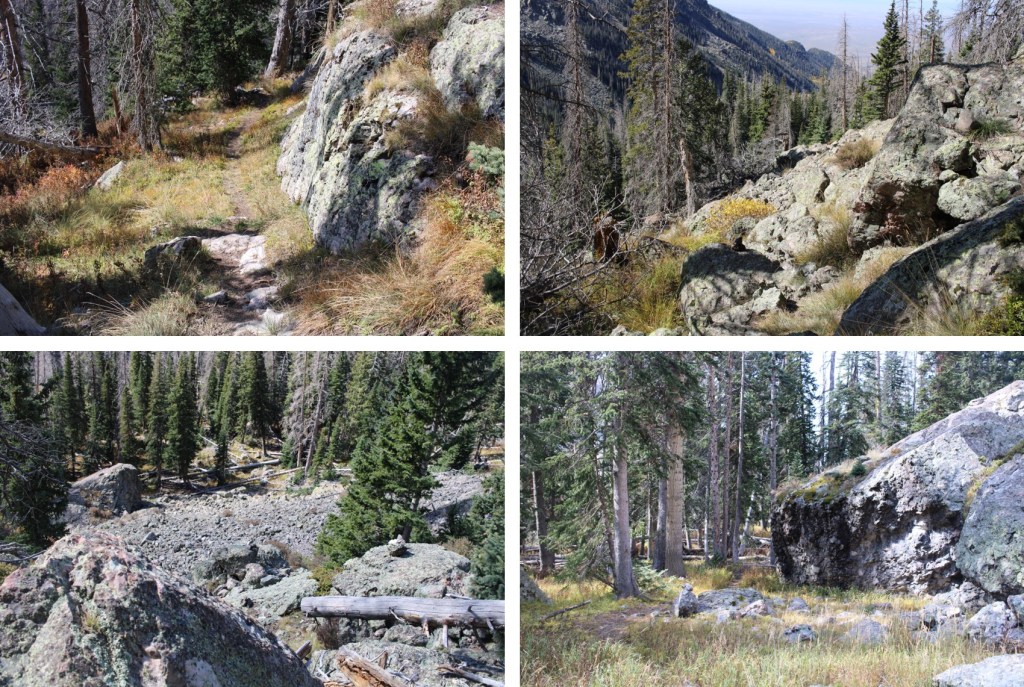
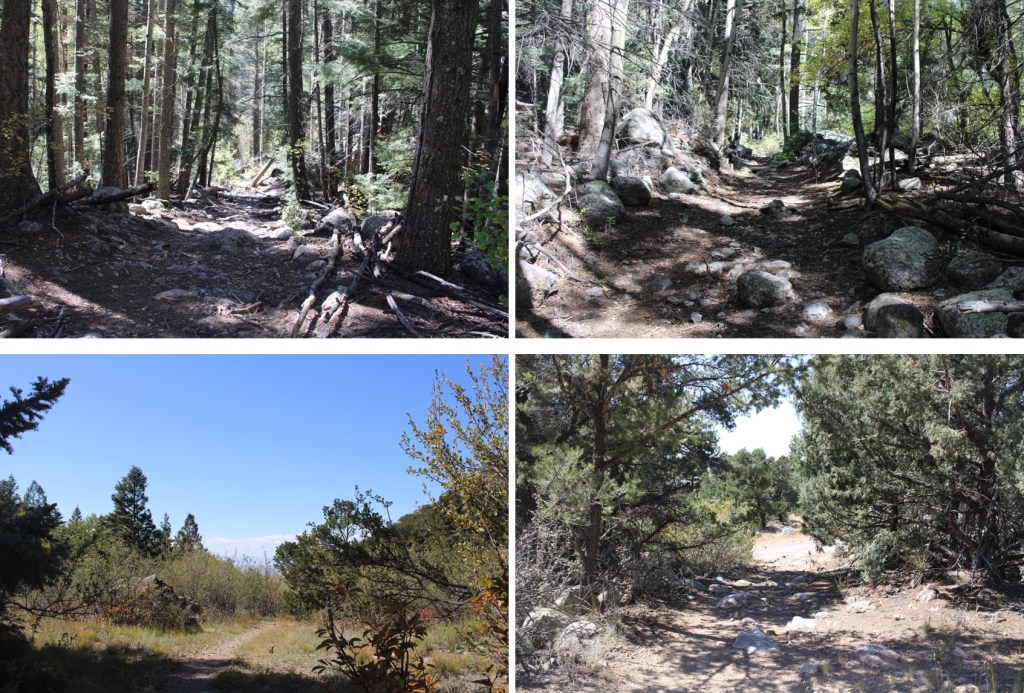
And then from the ridge back to the trailhead
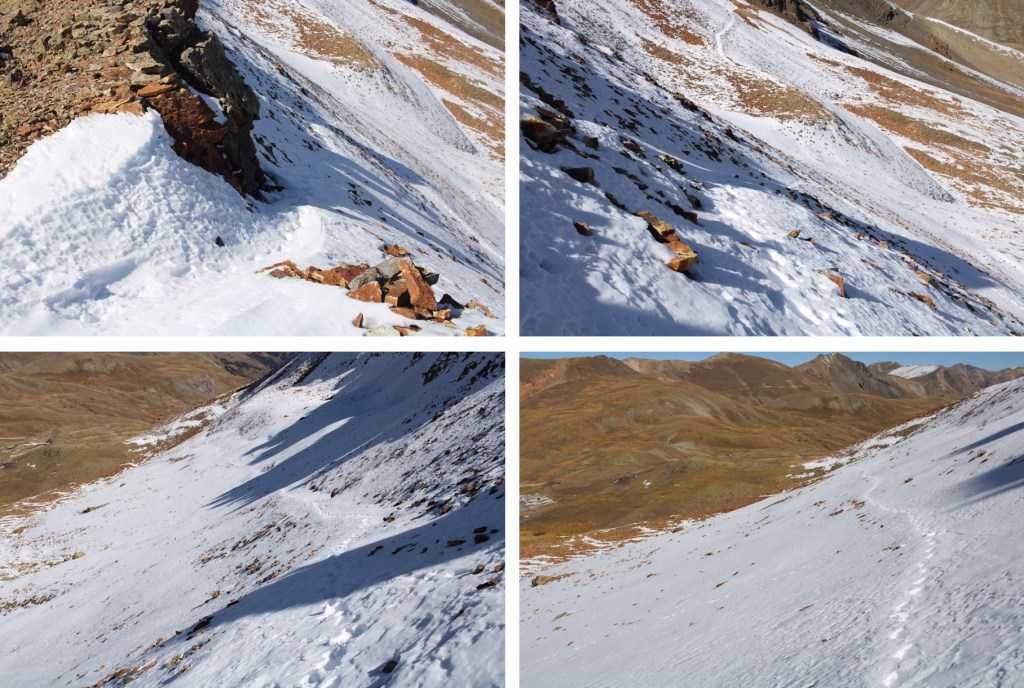
I made it back to my truck at 1pm, making this a 4.06 mile hike with of 1419’ of elevation gain in 2.5 hours.  And now, to drive back down from Cinnamon Pass. 

On to the next trailhead!
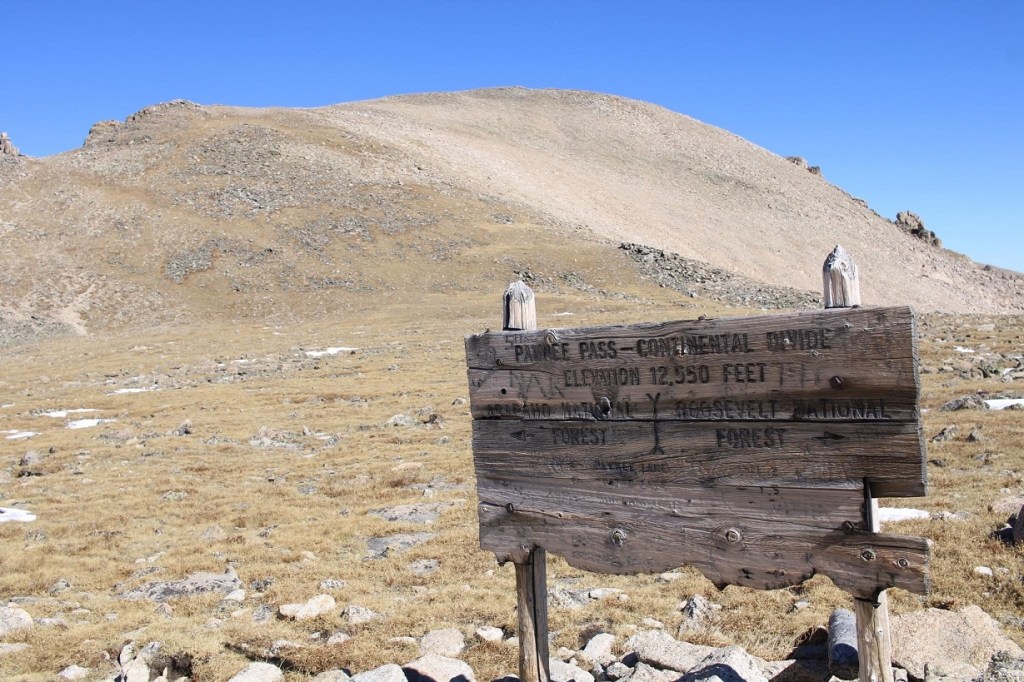
Shoshoni Peak – 12,979, Pawshoni – 12,888 and Pawnee Peak – 12,943

RT Length: 19.63 miles

Elevation Gain: 3728’

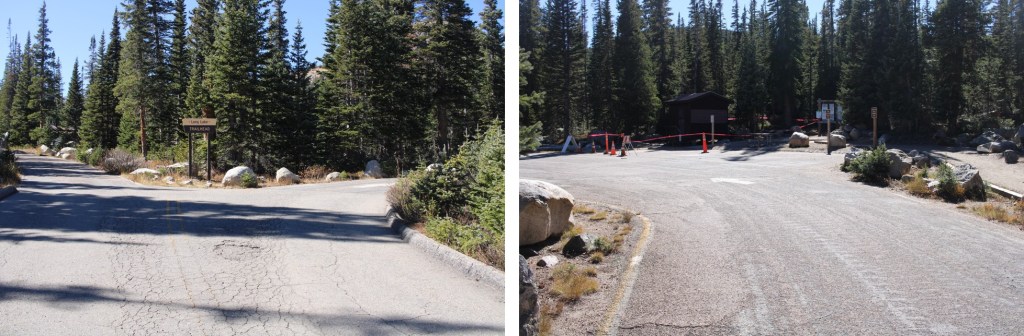
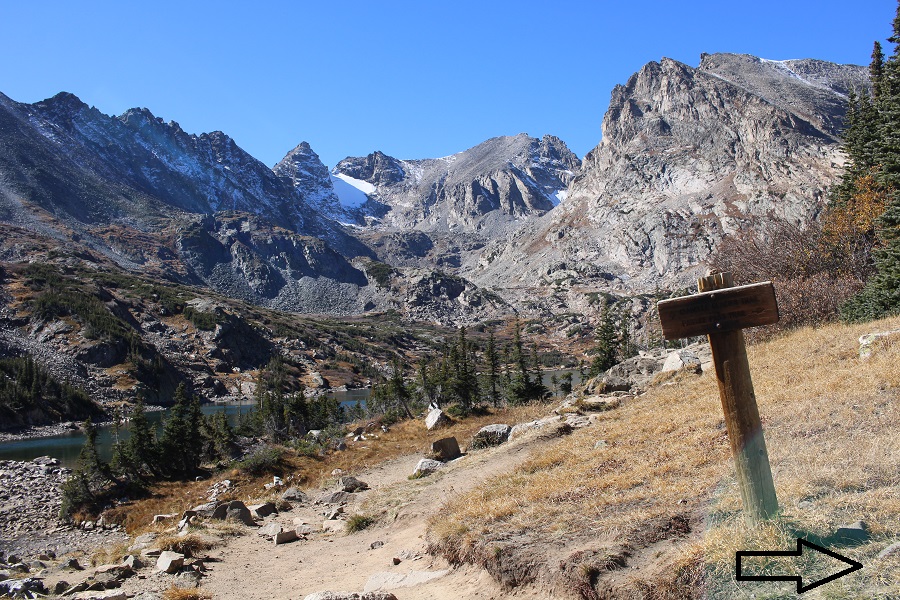
Imagine my surprise when I was heading towards the Long Lake trailhead, only to find the entire area was closed a the Brainard Lake entrance station.  While I’d known the permit system ended October 15 (yay!!!) I’d not heard they planned to lock the gate as well.  Have I mentioned I’m not a fan of the permit system?  In any event, I parked in the winter lot, and was on my way at 5:15am.

I walked for 3.1 miles west, on a snow-free, dry, and clear paved road, to the Long Lake trailhead.

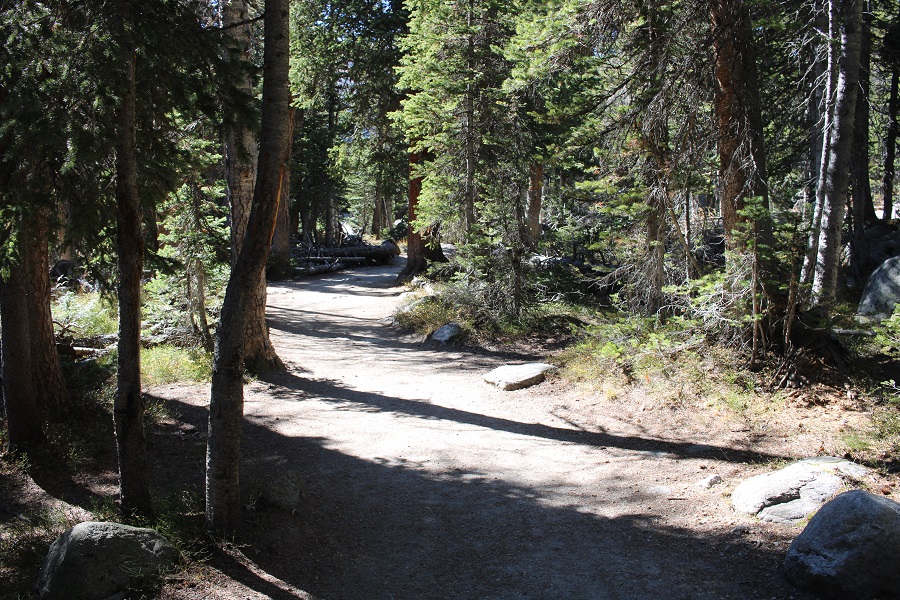
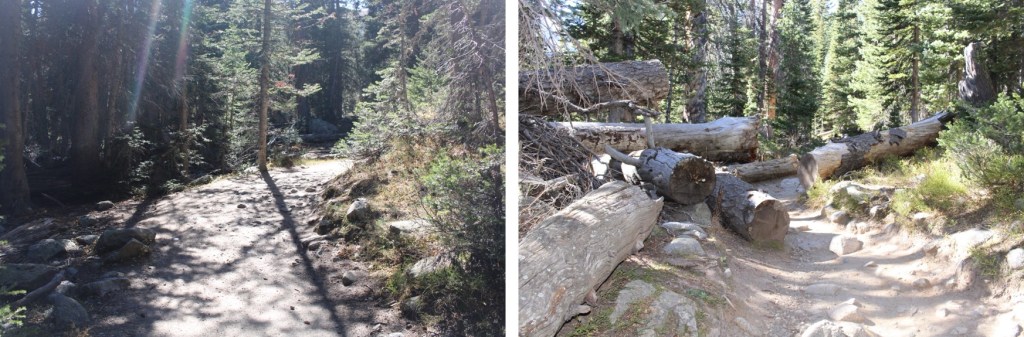
Now on the trail, I followed it west.  This is a very well-marked, class 1 trail, all the way to Pawnee Pass.

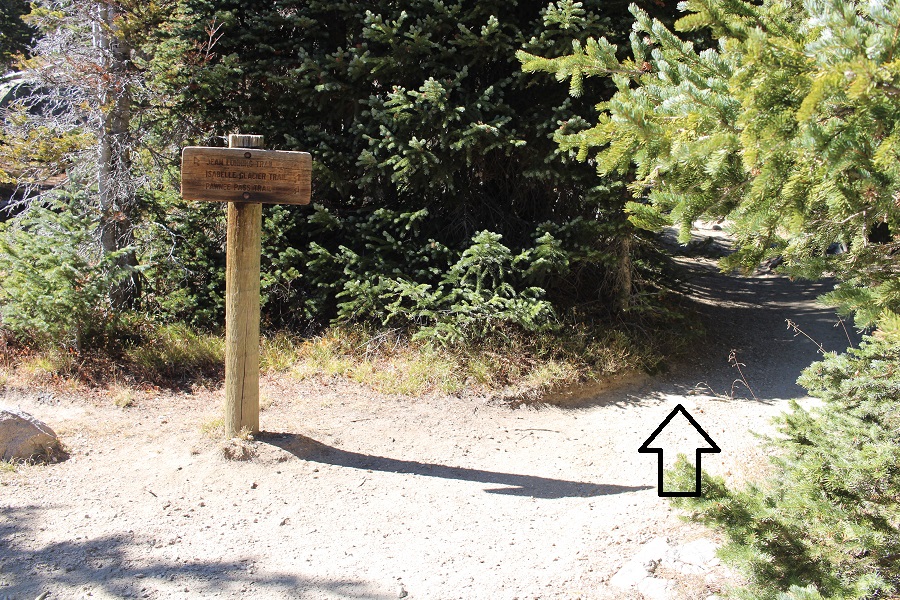
There are several junctions.  I went right at each one. First to follow the Pawnee Pass trail.

The second to also keep following the Pawnee Pass Trail

And the third time, just before making it to Lake Isabelle, to also keep following the Pawnee Pass Trail. 

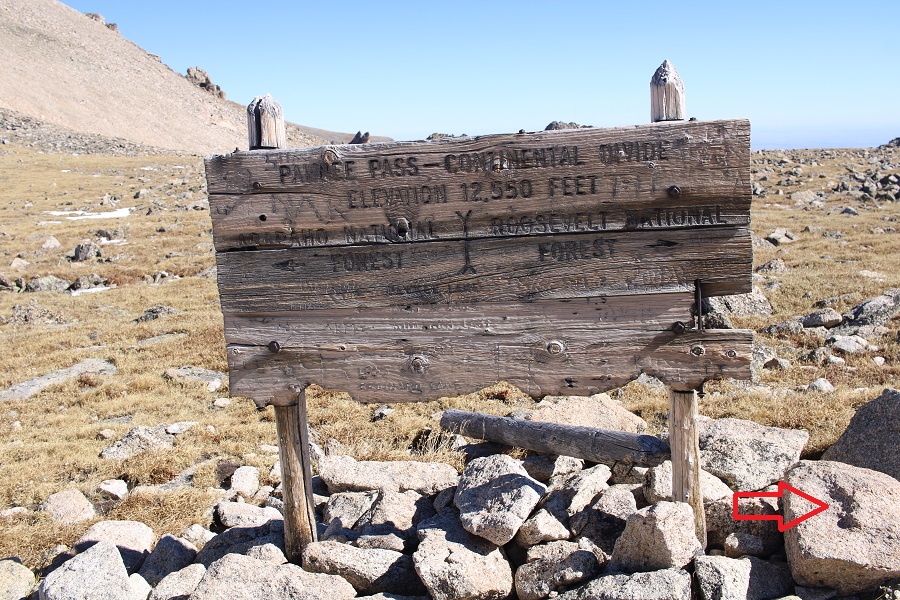
I followed the Pawnee Pass Trail almost all the way to Pawnee Pass

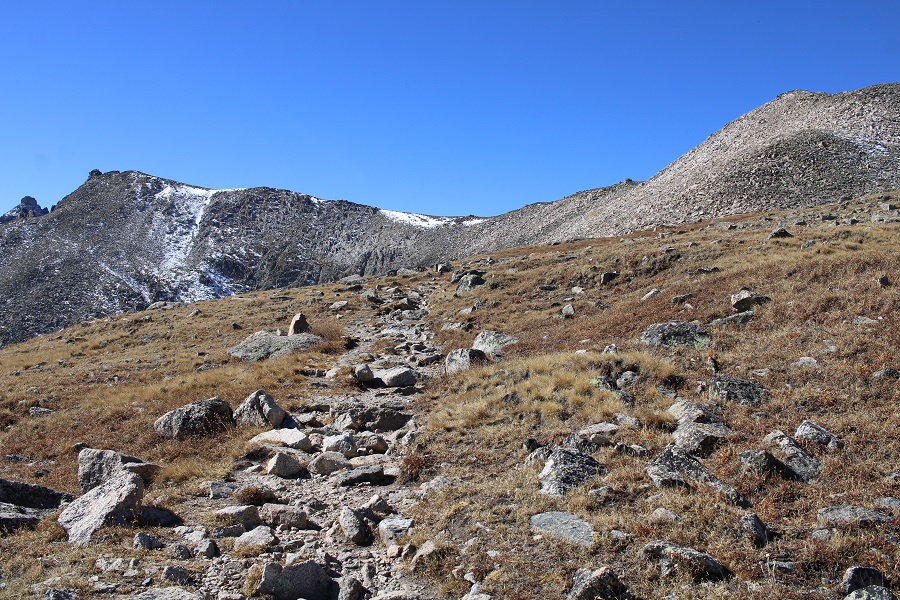
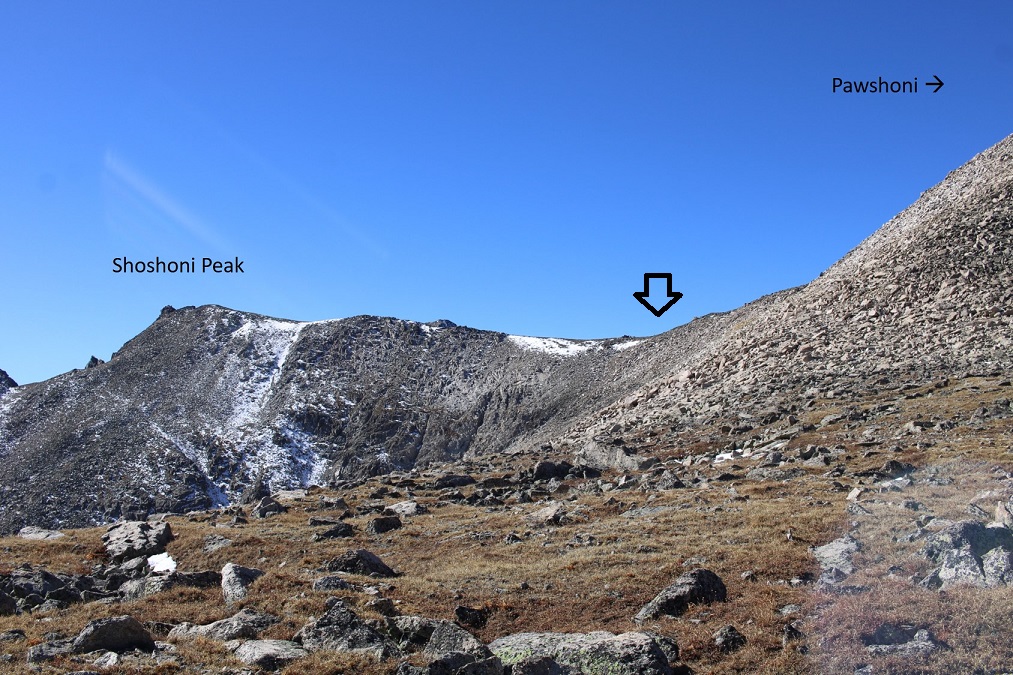
At 12530’ I left the Pawnee Pass trail, and headed southwest towards the saddle of Shoshoni and Paswhoni

This was straightforward, class 2 rock hopping.

When I made it to the saddle I turned left, and followed the ridge south towards Shoshoni Peak

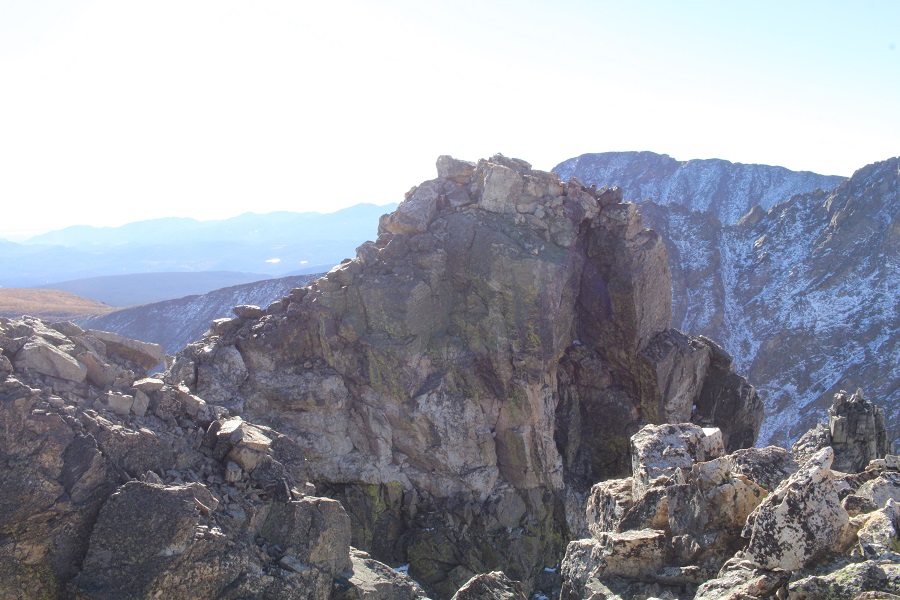
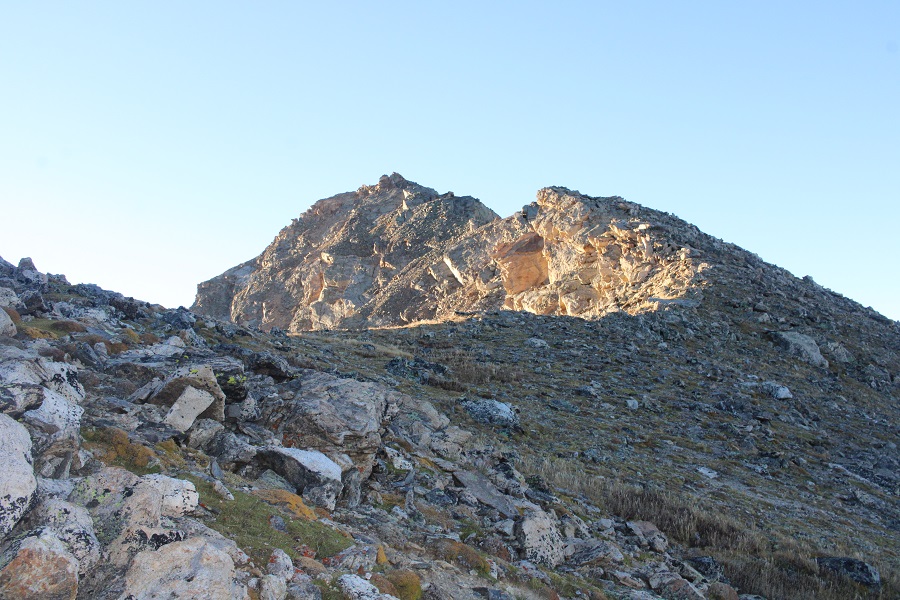
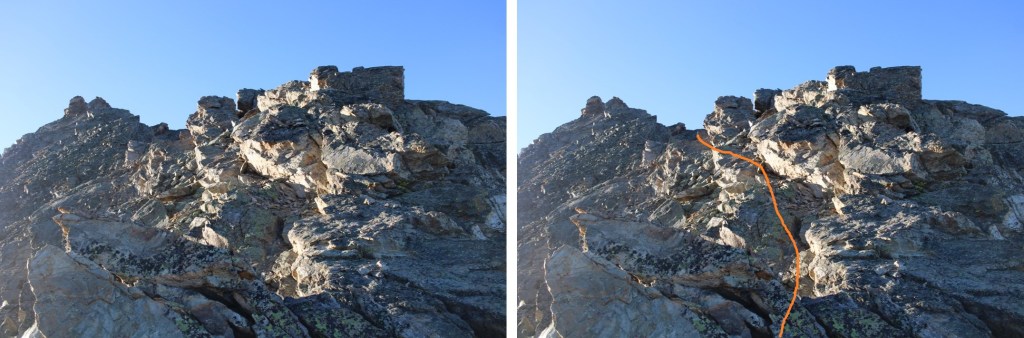
When I got to what I thought was the peak, I saw this

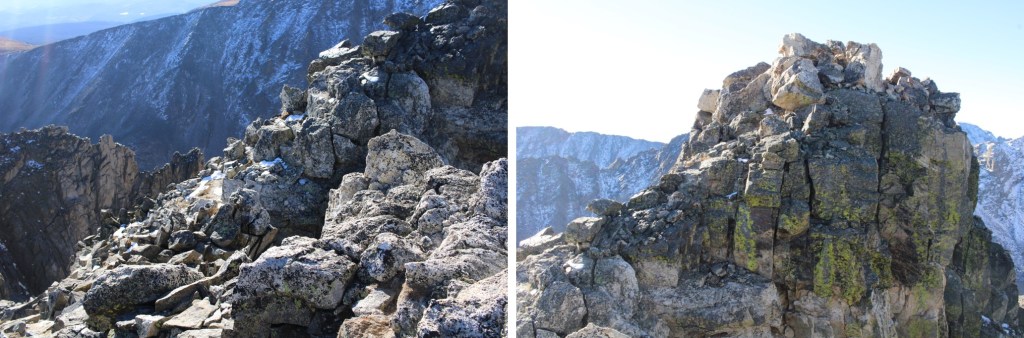
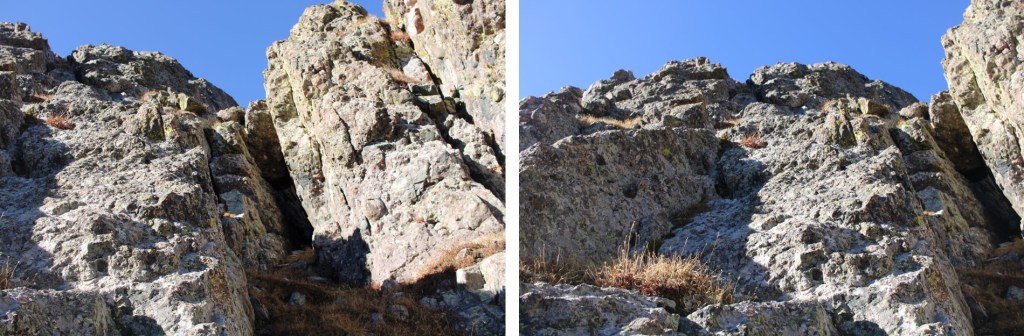
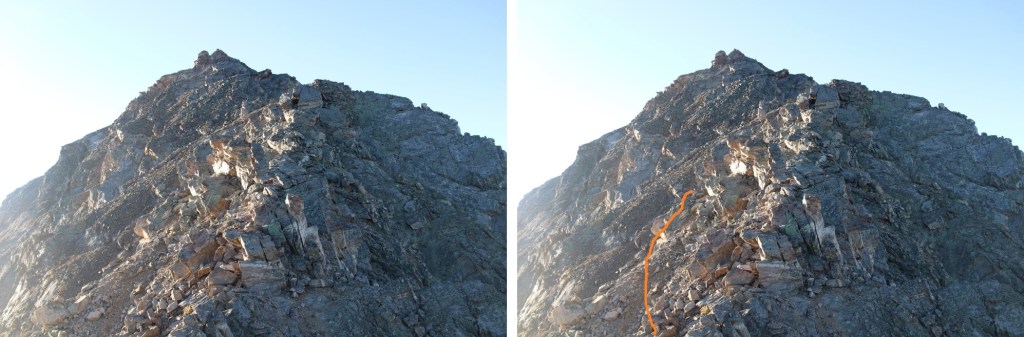
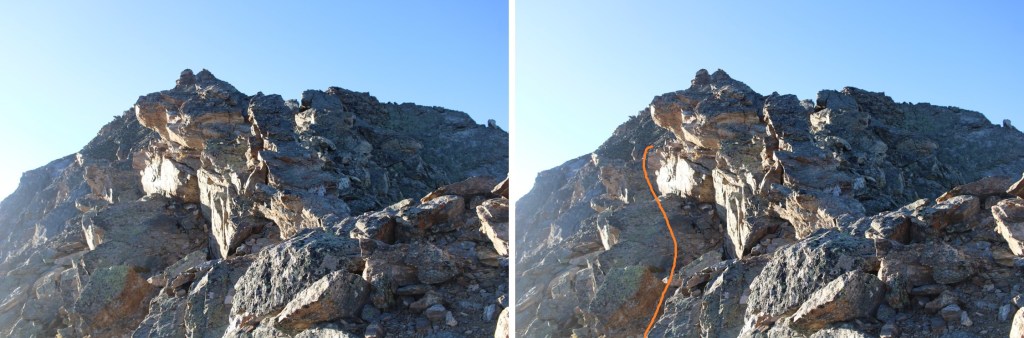
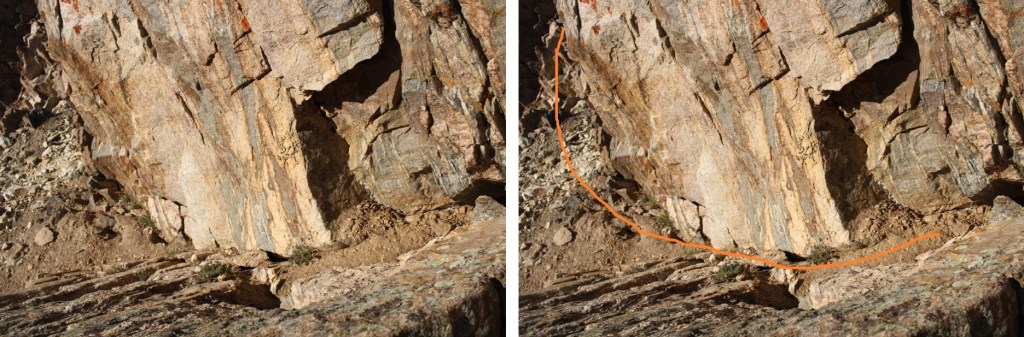
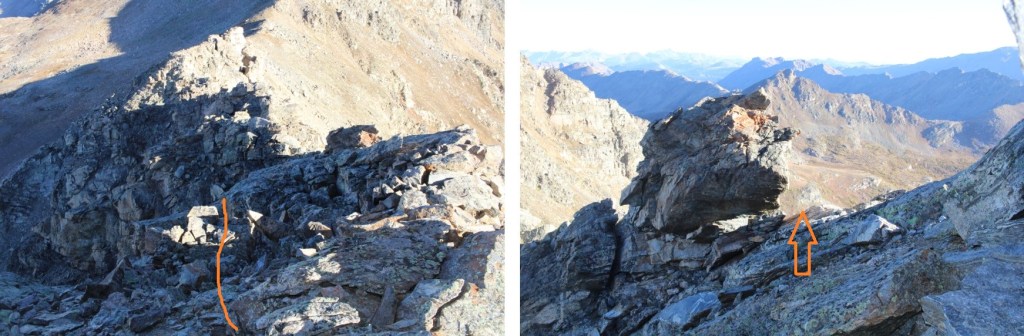
Not sure which was the actual peak, where I was standing or the outcropping in front of me, I decided to climb up the rocks, just to be sure.  This was class 3 climbing.  I ascended on the left

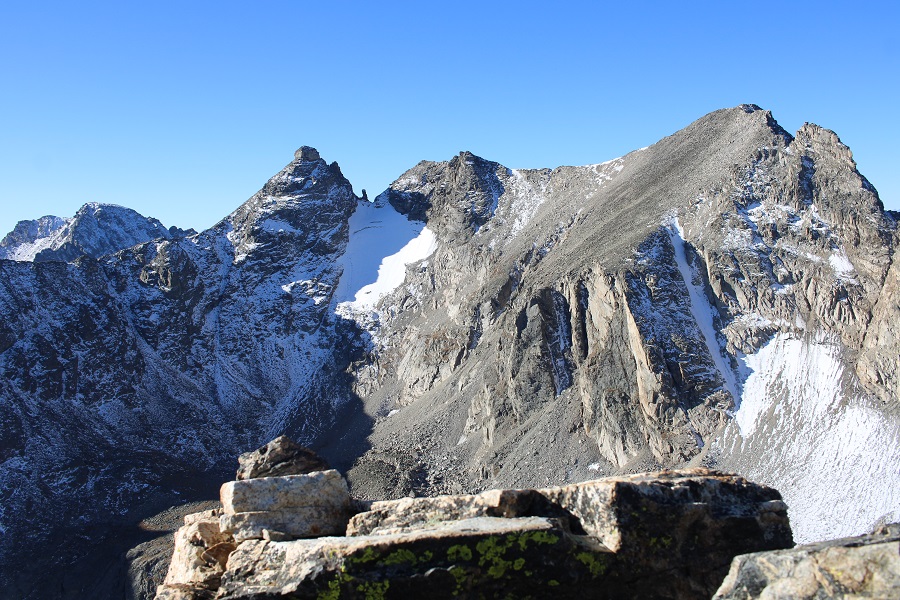
At the summit, the views of Navajo and Apache were amazing

I summited Shoshoni Peak at 9:45am

Shoshoni Peak:

I climbed back down, and retraced my steps to the Shoshoni/Pawshoni saddle on class 2 terrain

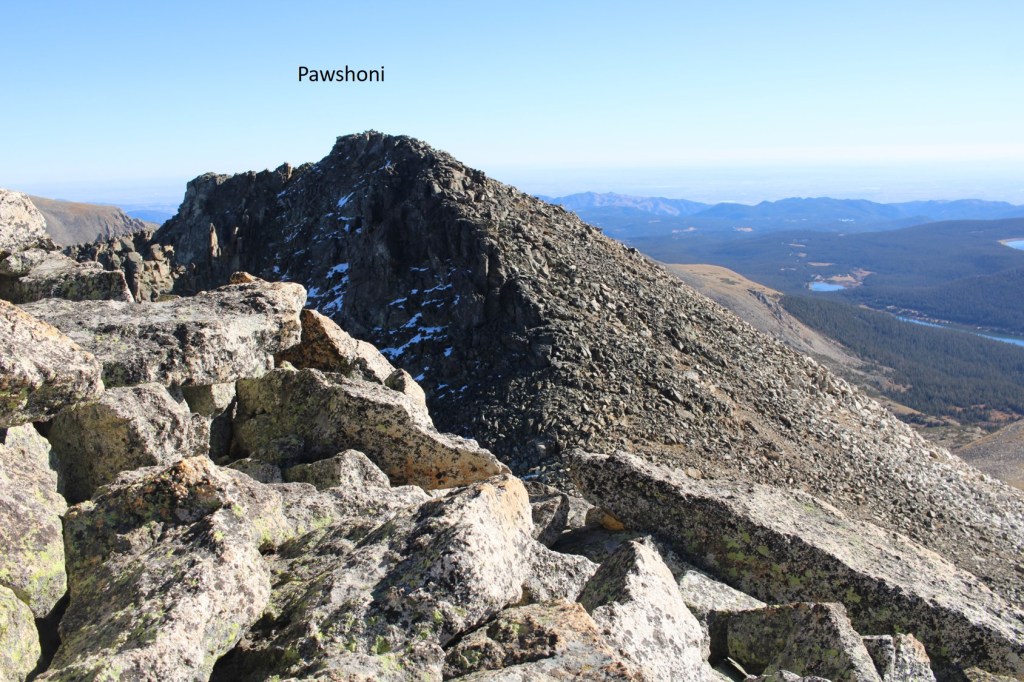
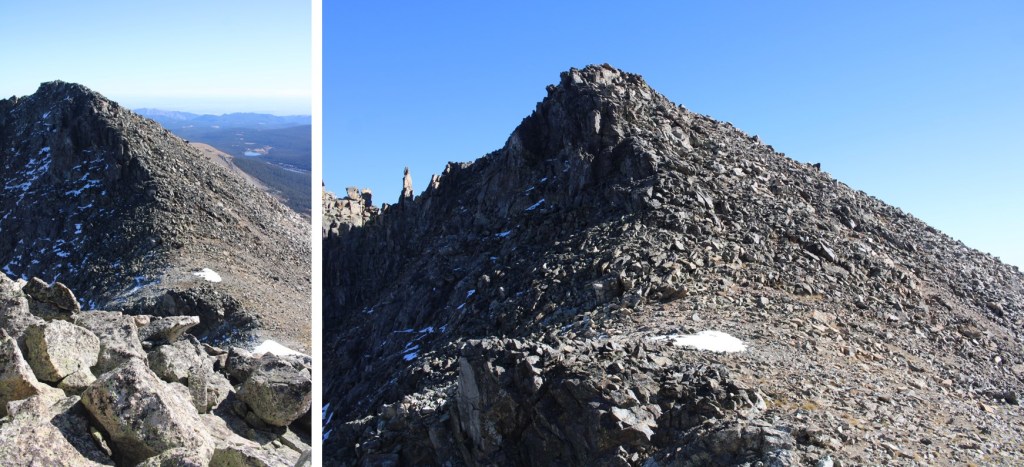
I followed the class 2 ridge northwest and then northeast all the way to Pawshoni

I summited Pawshoni at 10:30am

Pawshoni:

Next up was Pawnee Peak, to the northeast

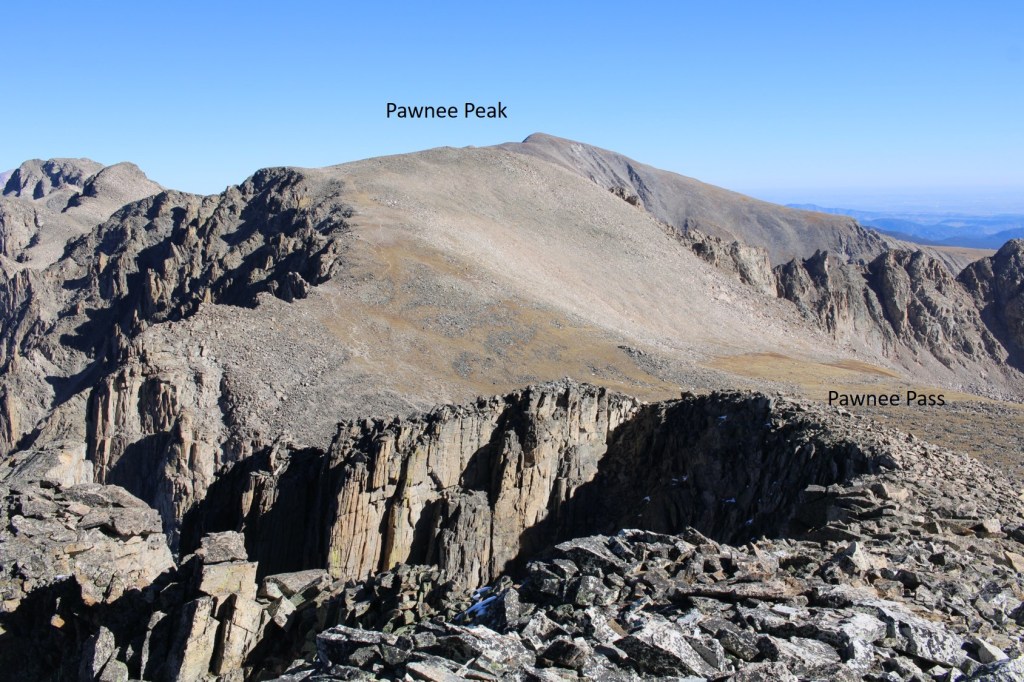
I continued to follow the ridge down to Pawnee Pass, and the up to Pawnee Peak.  Once at the pass, there was a game trail I could follow to the summit.

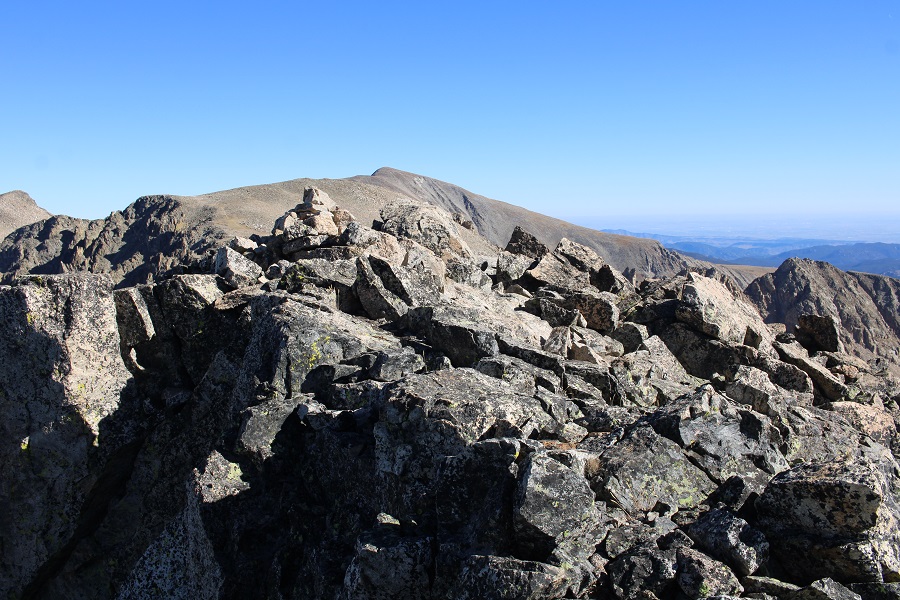
I summited Pawnee Peak at 11am

Pawnee Peak:

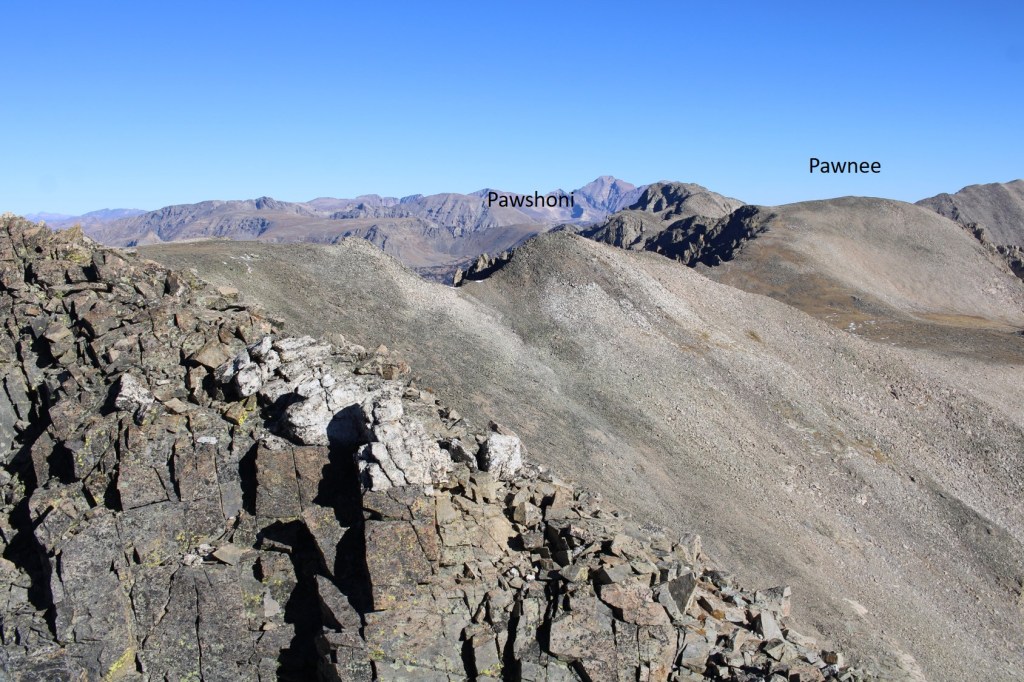
There were some amazing views of the peaks I’d just summited, as well as other 13ers

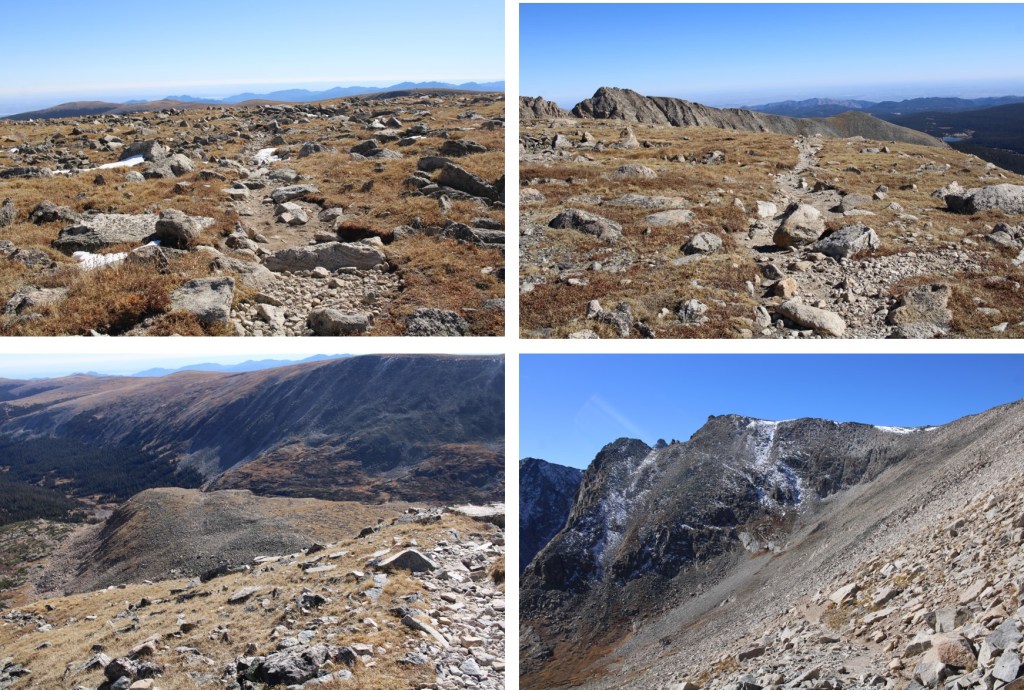
I turned and headed back towards Pawnee Pass, following faint trails along the way

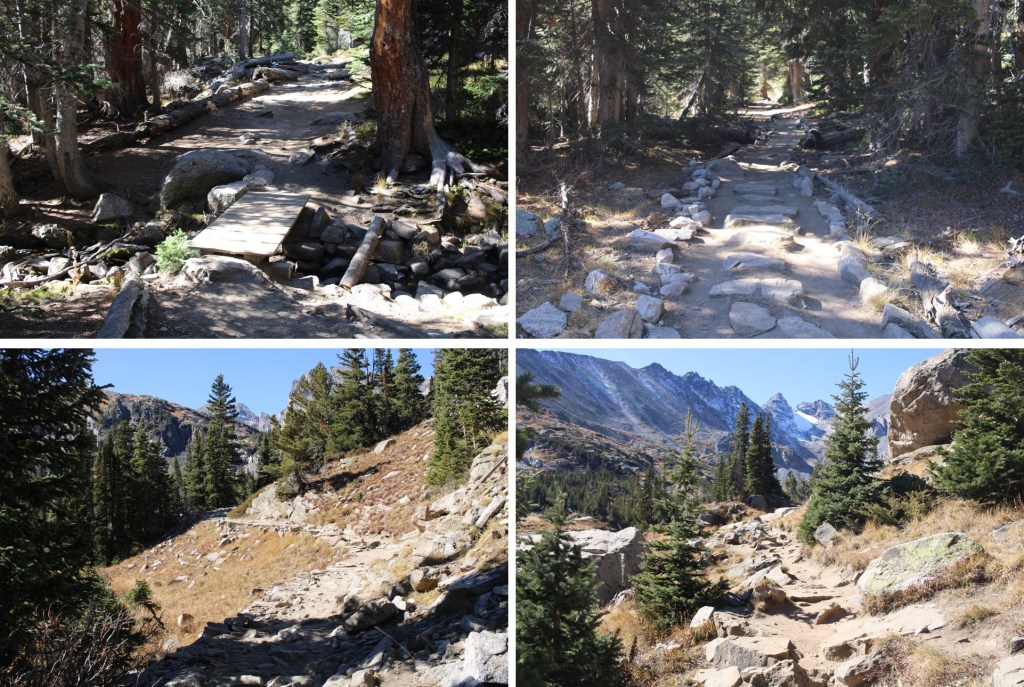
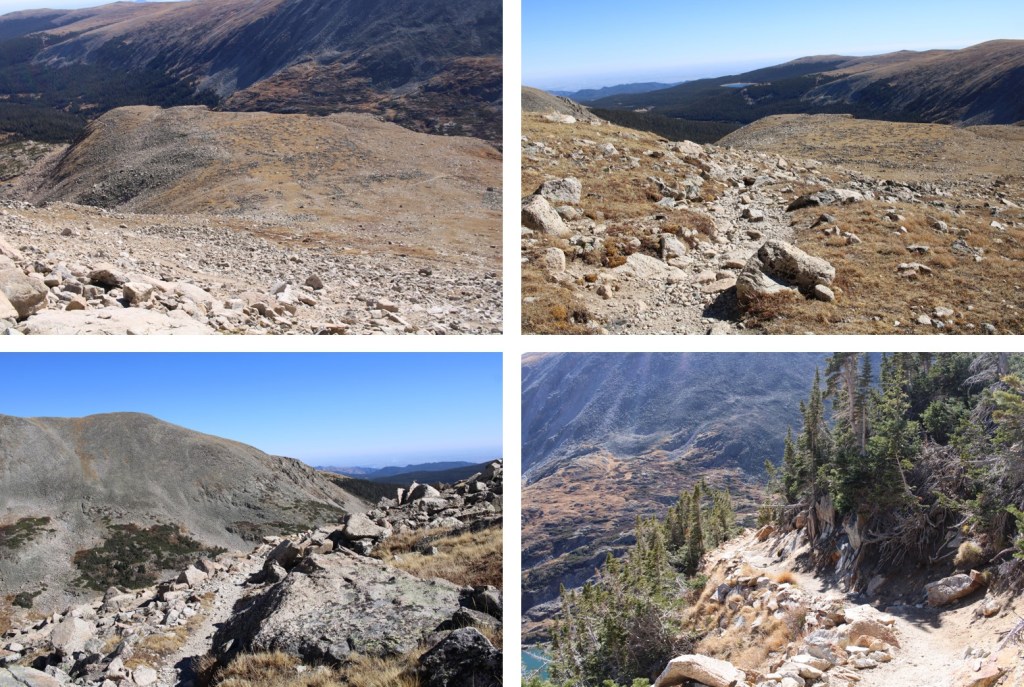
Back on the trail, I followed it as it wound its way and switchbacked east towards Lake Isabelle

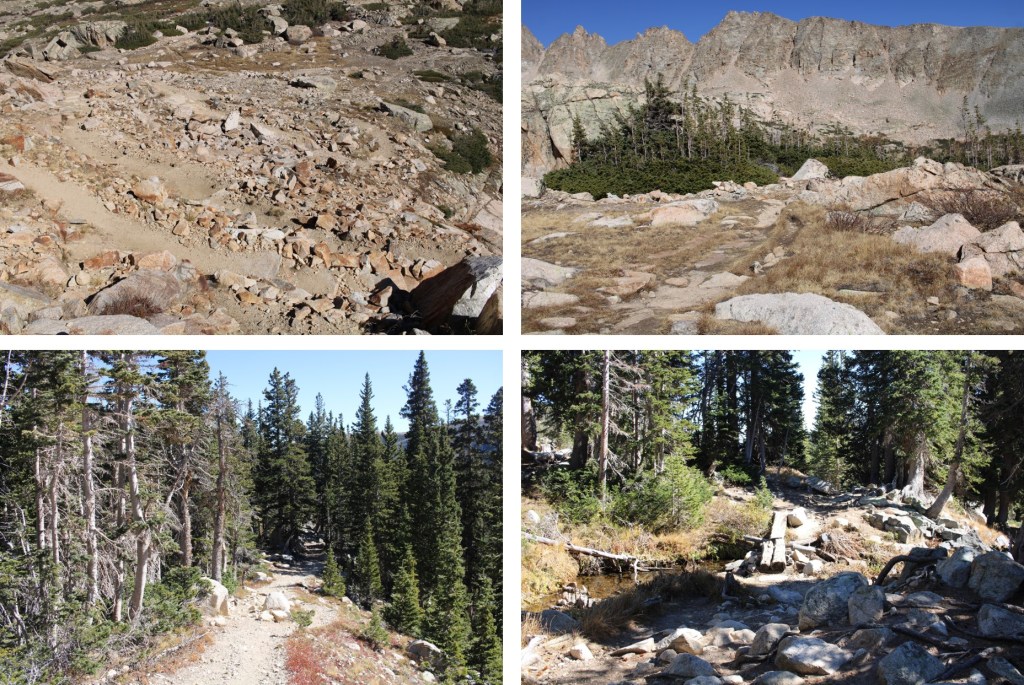
Then I followed the trail east back to the trailhead

From the trailhead it was a 3.1 mile walk along the paved road back to my truck

I made it back to my truck at 2:15pm, making this a 19.63 mile hike with 3728’ of elevation gain in 9 hours.

On to the next trailhead!
Grizzly Peak – 13,309

RT Length:  7.78 miles

Elevation Gain:  3312’

I slept the night before at Pieplant Mill so I could get an early start the next morning. The last half mile drive to the site was definitely 4WD. There were plenty of campsites along the way.  The Pieplant Mill site has several historical structures to explore… all of them are empty.

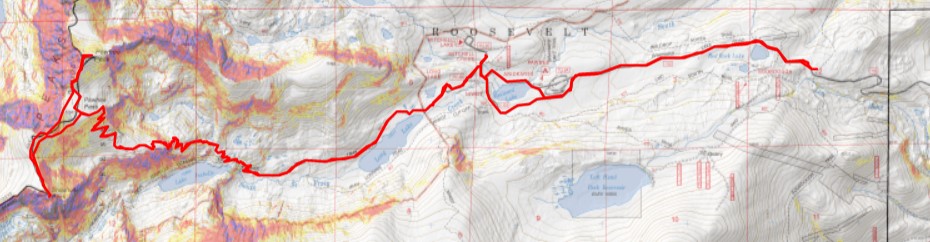
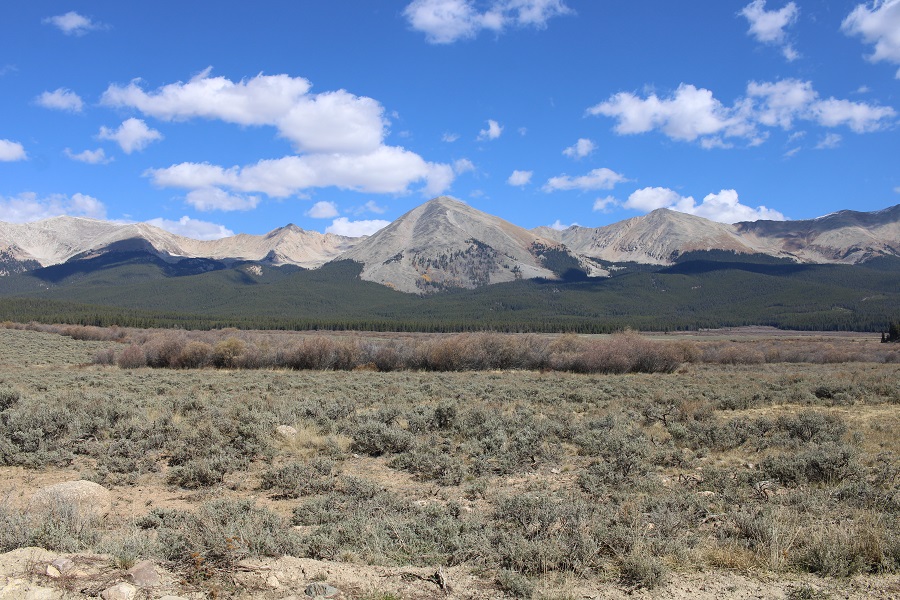
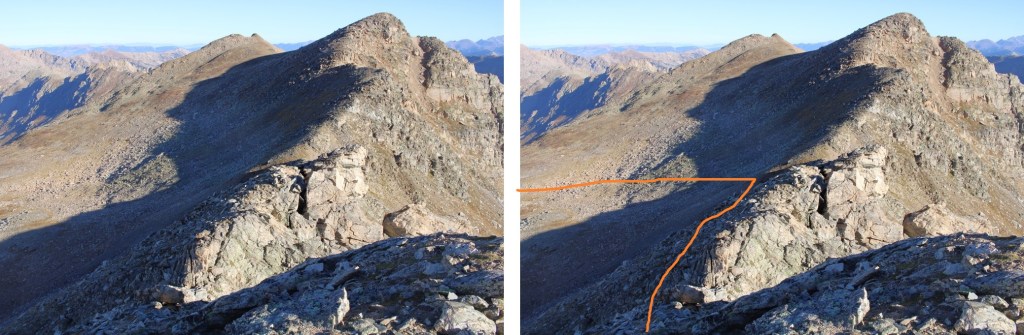
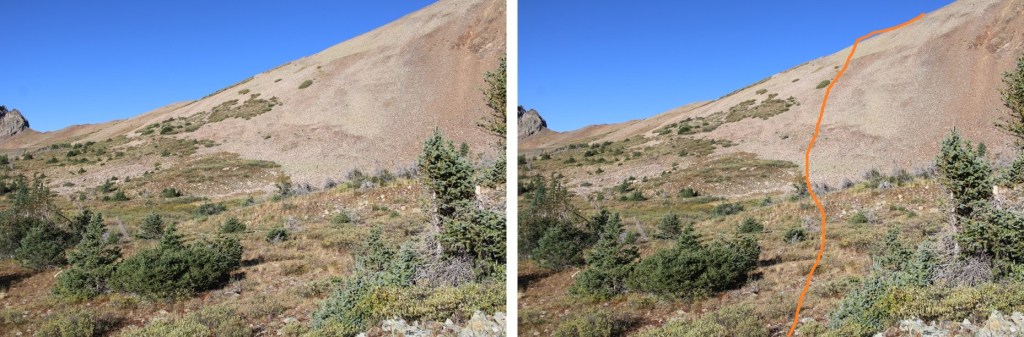
For reference, this is Grizzly Peak.  I took the solid line up, the dotted line down, and they both went at 2+.  The ridge on the left looked like it went at 2+ as well, so this is really choose your own adventure once you hit treeline to the summit.

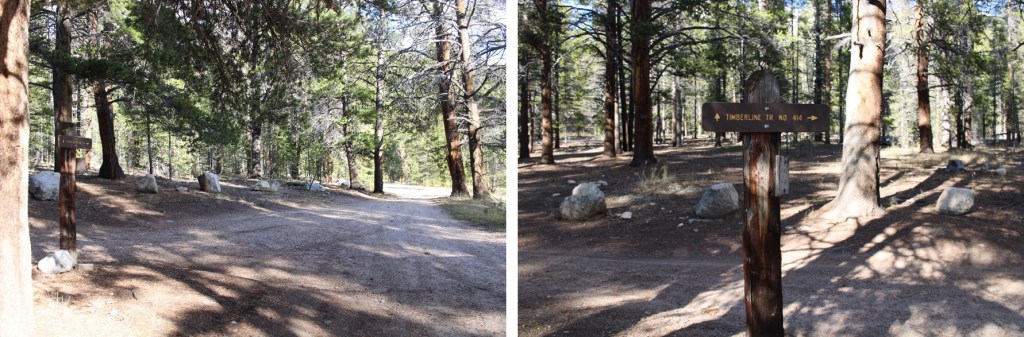
I woke up the next morning to a brisk 25 degrees outside, put on my winter gear, and was on my way.  I started by following the Timberline Trail 414 east.

I continued through a locked gate

Followed the road

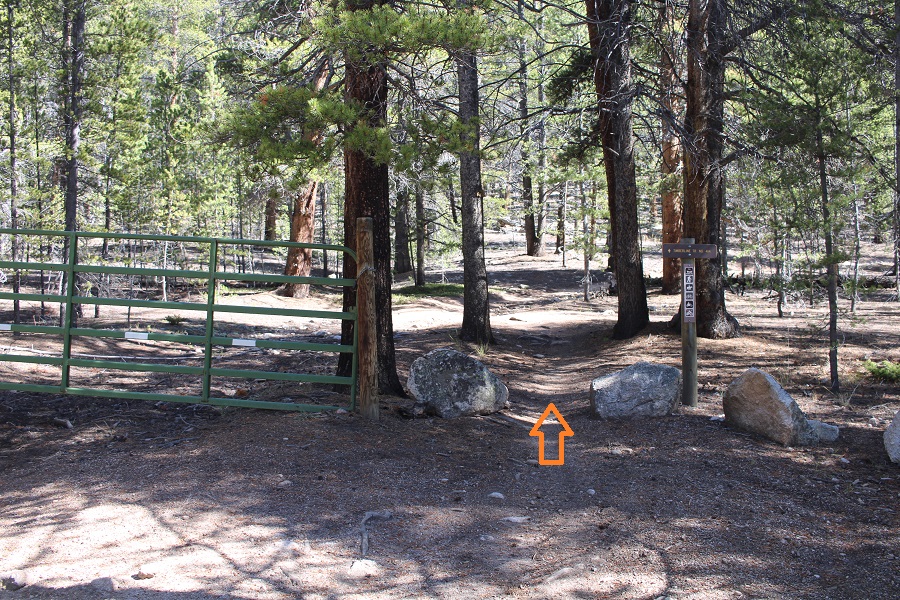
And eventually came to a second locked gate, with the trail continuing to the right.

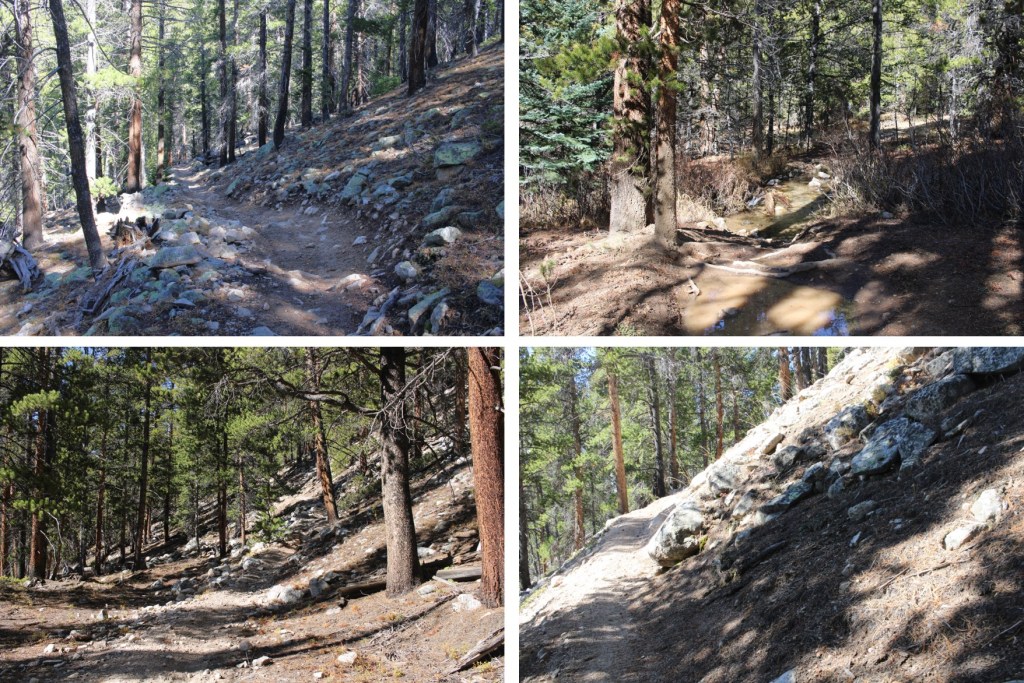
This trail was more of a bike trail, with tons of motorized bike tracks.  I followed this class 1 trail as it wove around the mountains

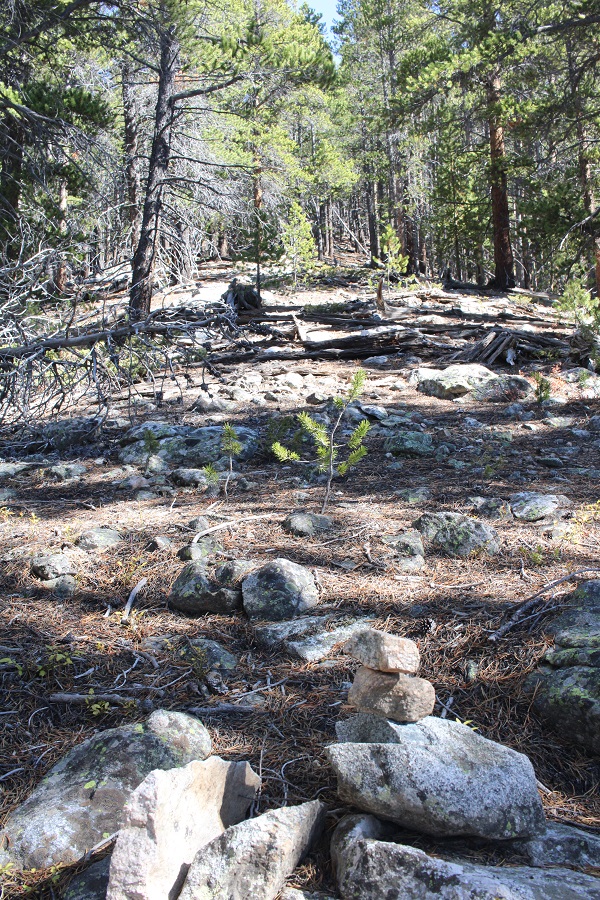
I’d been hiking for about 2.25 miles total at this point, and was at 10950 when I left the trail and headed northeast to treeline.  I placed a small cairn where I left the trail.

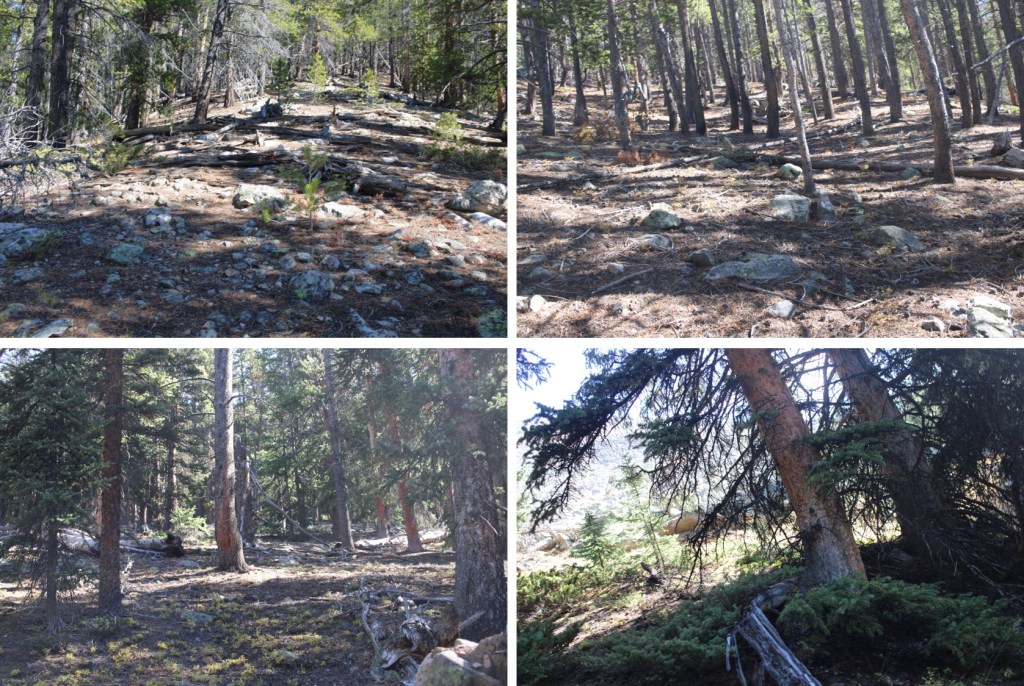
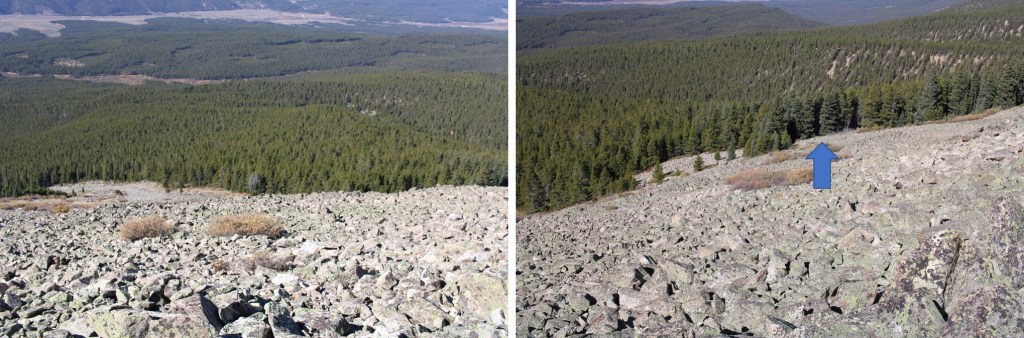
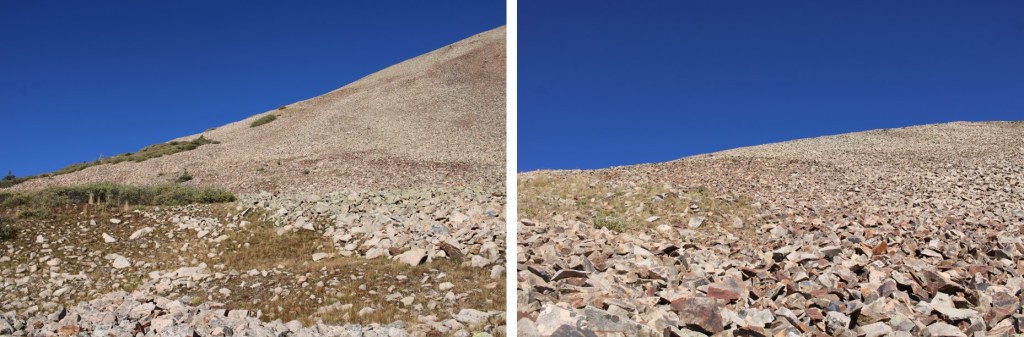
Once at treeline, I followed the rocks east.  The rocks never let up

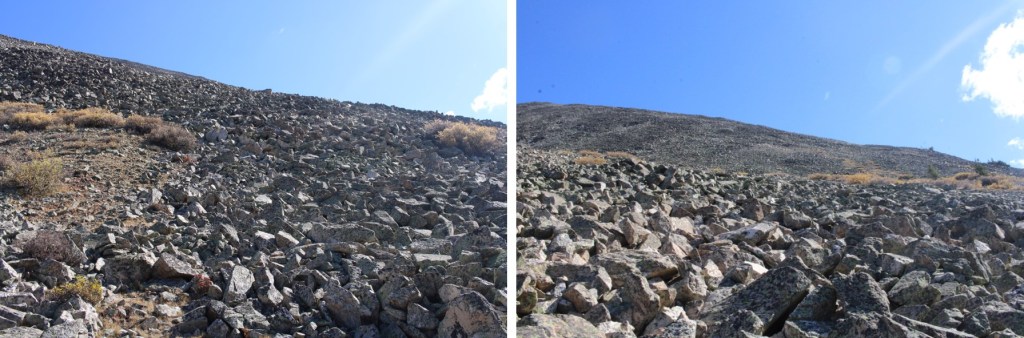
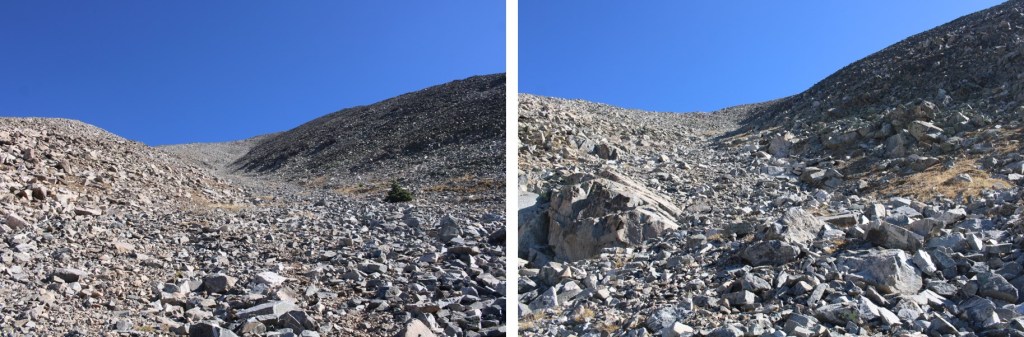
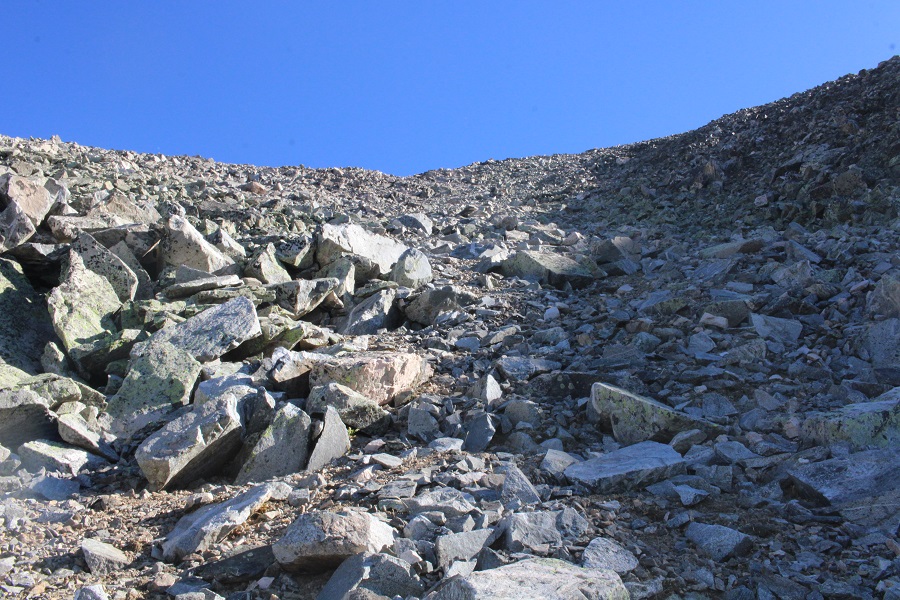
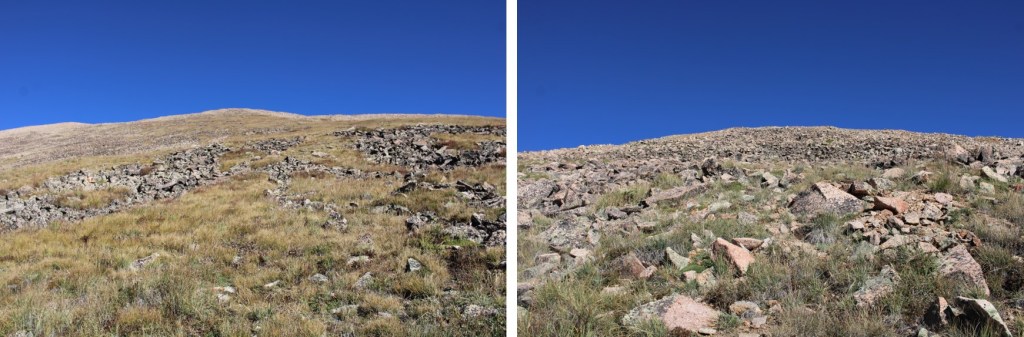
I was aiming for the ridge.  You can take either the ridge or the gully.  Both are class 2+.  I found the ridge full of large, loose rocks, and the gully full of scree.  Both seemed to go on forever.

Here are some pictures of the gully going up

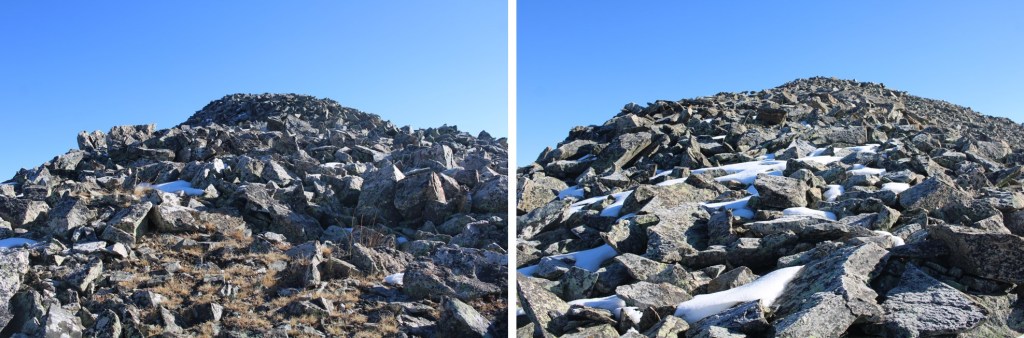
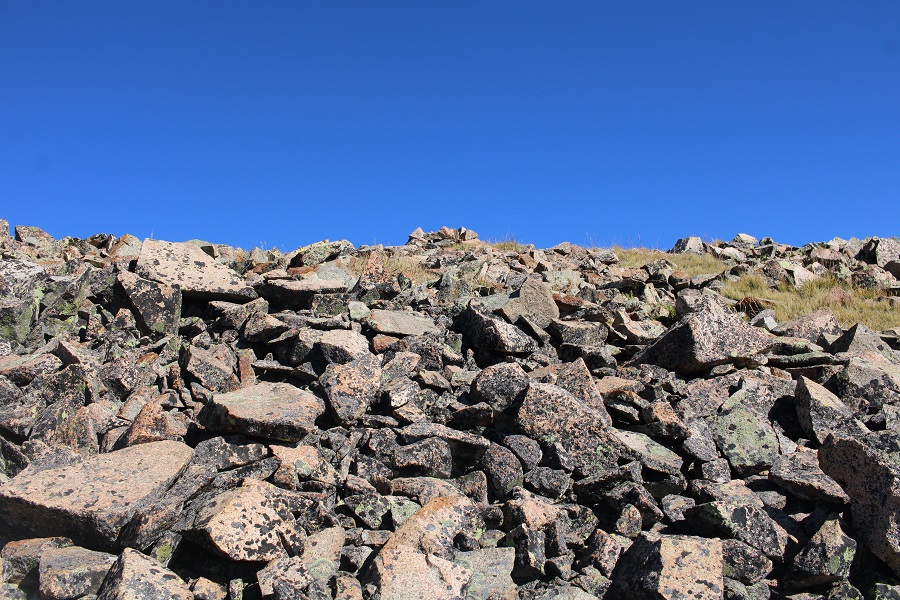
And the way I took up: the rocky ridge

Here’s the last bit to the summit (both the ridge and gully obviously end at the same spot)

I summited Grizzly Peak at 9:15am

Grizzly Peak:

Now to head back down the gully.  I followed it southwest.  The route was obvious.

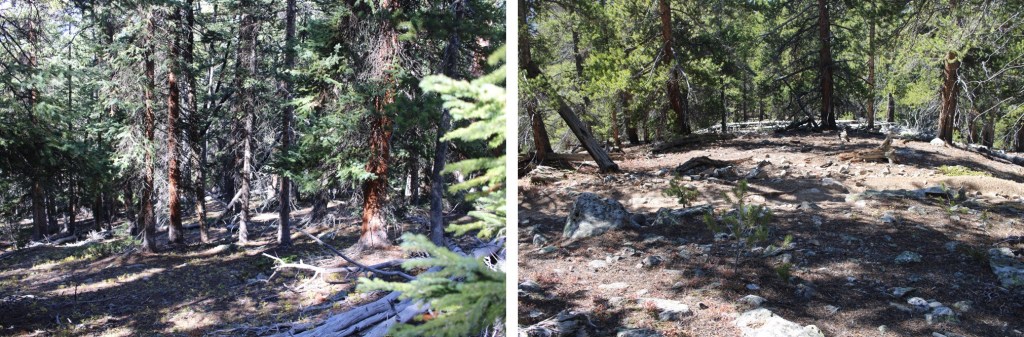
At the base of the gully I aimed for treeline

Once at treeline, I headed southwest back to Timberline Trail 414.  As long as you keep heading southwest, you’ll come across this trail.

Now back on the class 1 trail, I followed it as it curved northwest, back to the road

Once at the road I turned left, and followed it back to Pieplant Mill

One of the best parts about the hike was I didn’t see another person the entire time I was there, and the weather was absolutely beautiful (if cold).   I made it back to my truck at noon, making this a 7.78 mile hike with 3312’ of elevation gain in 6 hours.  The ridge really took quite a bit of time to navigate.

On to the next trailhead!
PT 12581 and Turner Peak – 13,233

RT Length:  4.72 miles

Elevation Gain: 2178’

Not gonna lie… I woke up late and wasn’t able to do the peak I’d planned, so I switched gears and headed to Cottonwood Pass instead. I was on the trail at noon, starting out by crossing the road and heading east along the obvious trail.

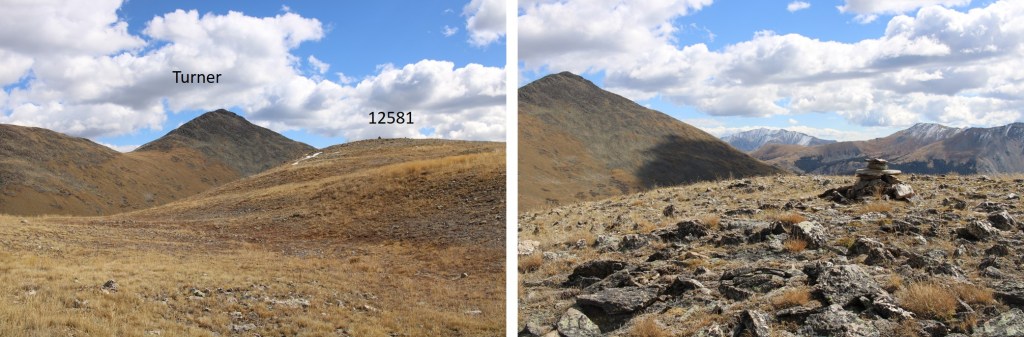
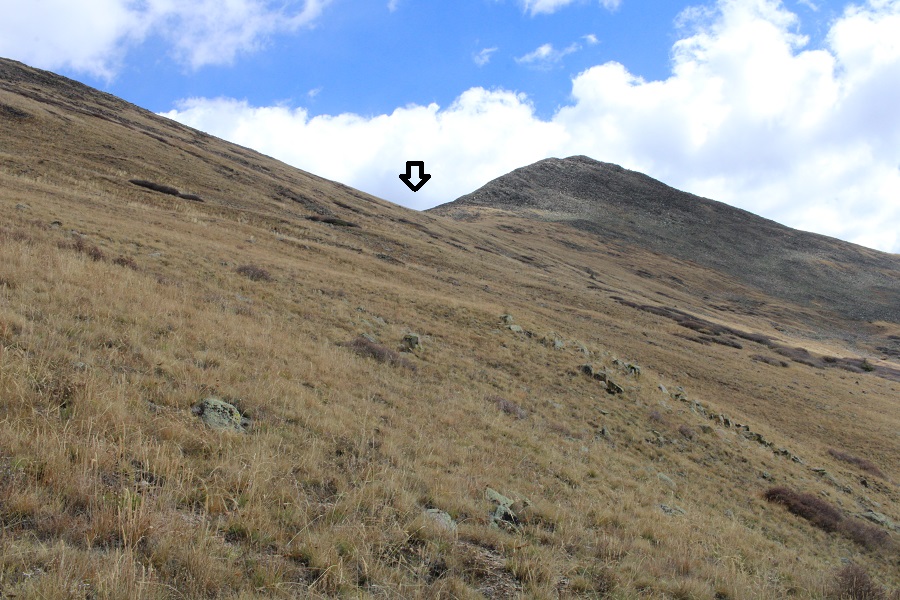
You can see both PT 12581 and Turner from the beginning

At the saddle, I turned right and continued following the ridge

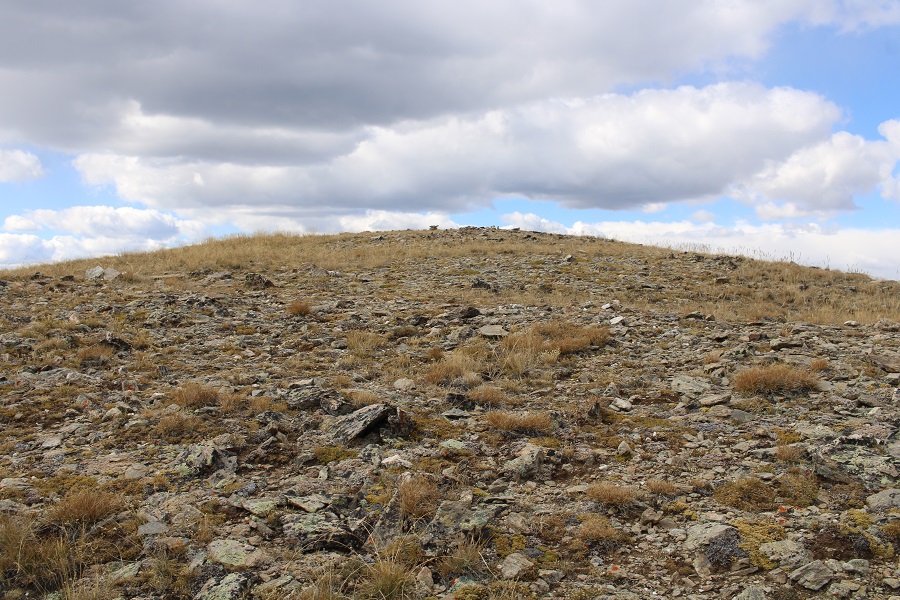
This was an easy tundra walk, all the way to the summit of 12581

I summited PT 12581 at 12:35pm

PT 12581:

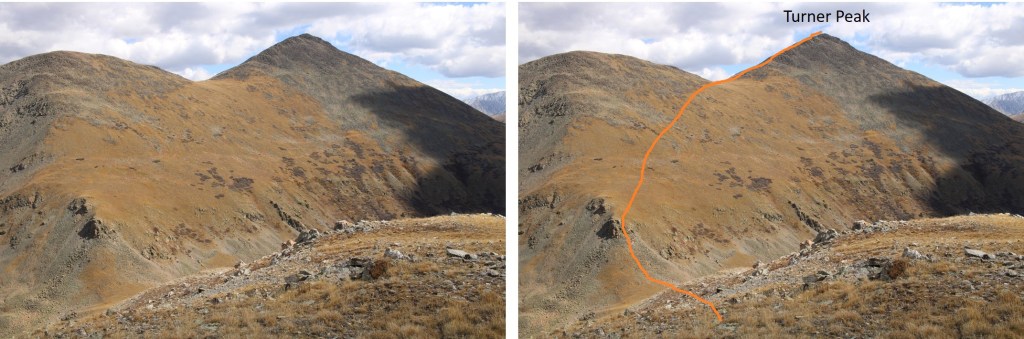
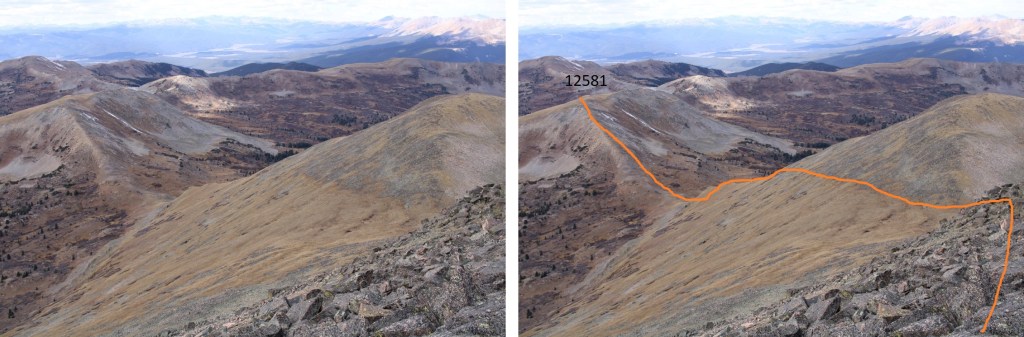
From there the route to Turner was obvious.  Here’s my route:

I continued following the ridge east, losing 490’ of elevation

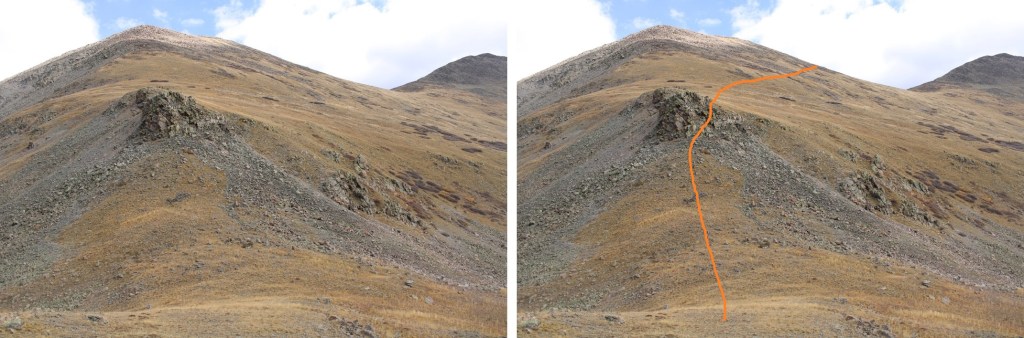
Once at the Turner/12581 saddle, I started ascending.  At first, the rocky outcropping looked interesting, but it was class 2 all the way.  It was 1130’ to the summit of Turner Peak.

Once past the rocky area, it was tundra all the way to the saddle

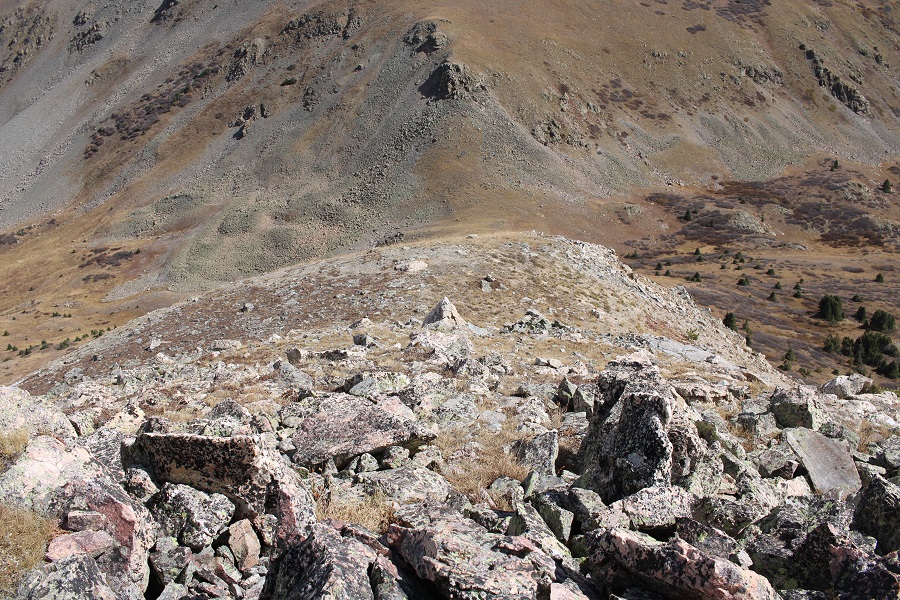
The route obvious to the summit, the rocks here were solid and easy to navigate.  I simply followed the ridge southeast

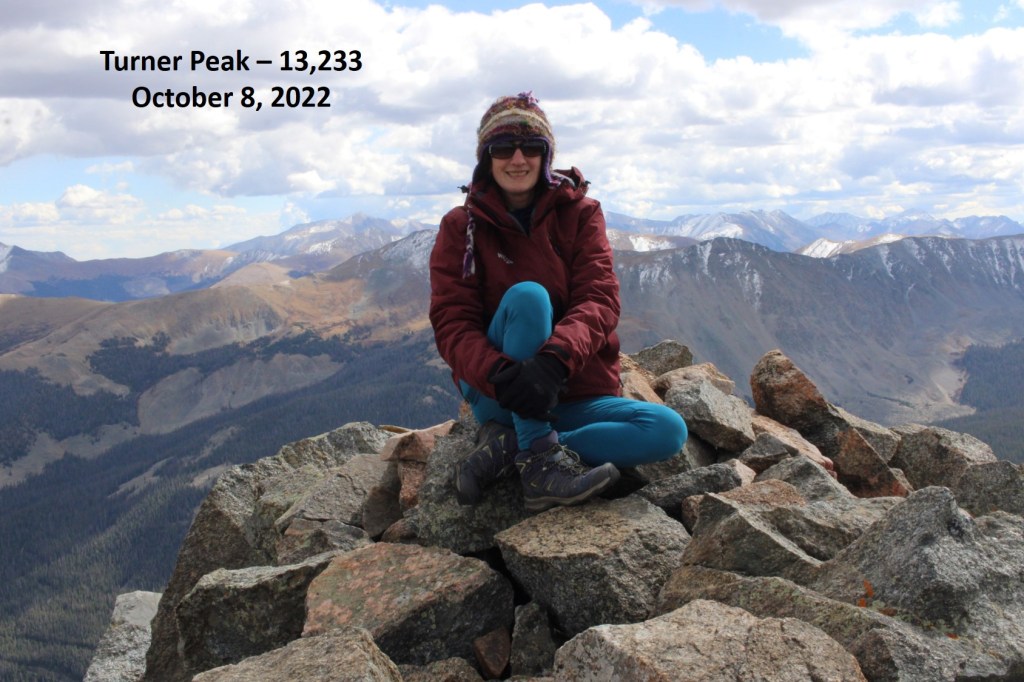
I summited Turner Peak at 1:40pm

Turner Peak:

This was all I had on my agenda for the day, so I turned around and retraced my steps back to PT 12581

Then followed the ridge west towards the trailhead

I made it back to the trailhead at 3pm, making this a 4.72 mile hike with 2178’ of elevation gain in 3 hours. All in all, quite a pleasant afternoon.

On to the next trailhead!

PT 13028

RT Length:  13.3 miles

Elevation Gain: 4605’

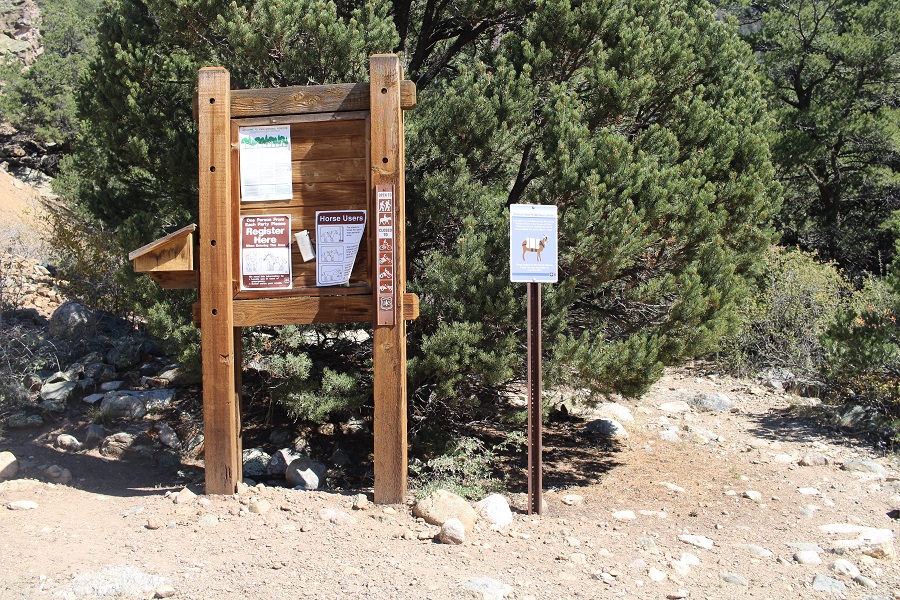
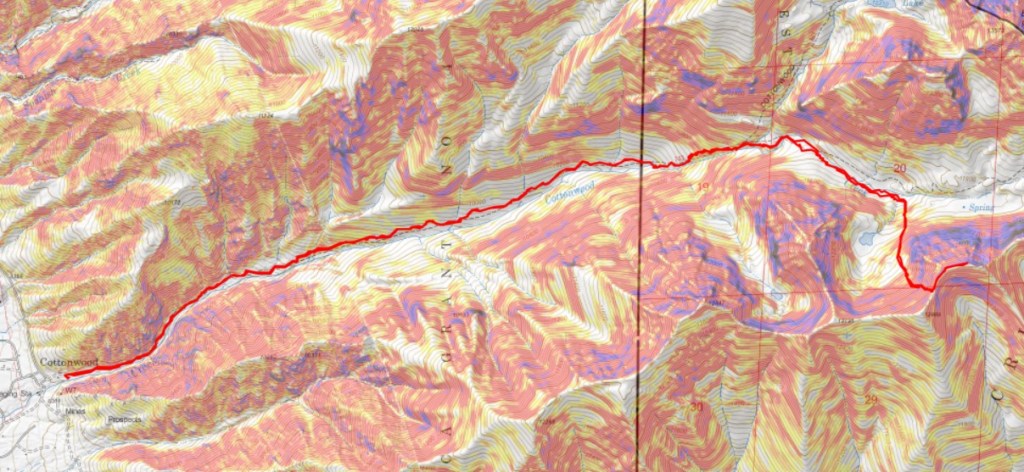
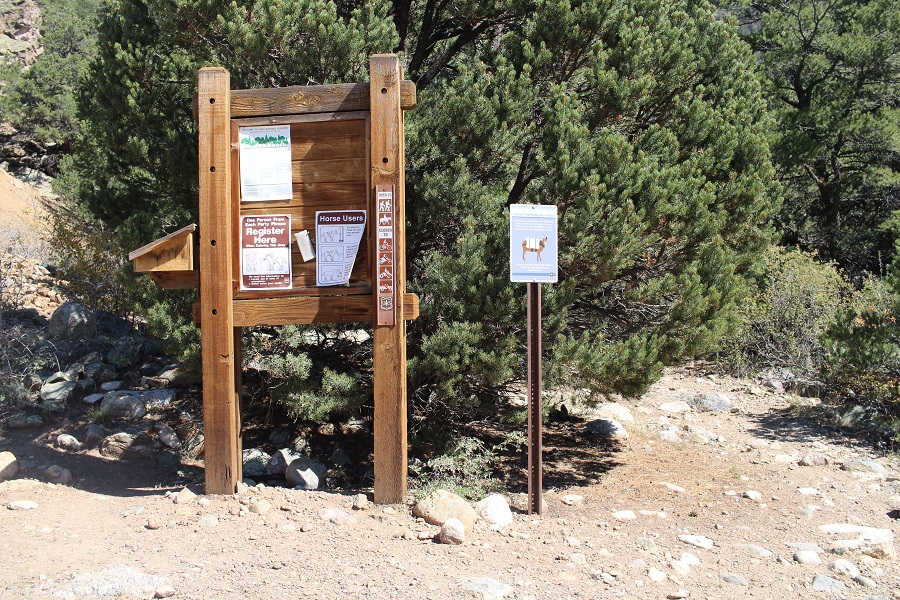
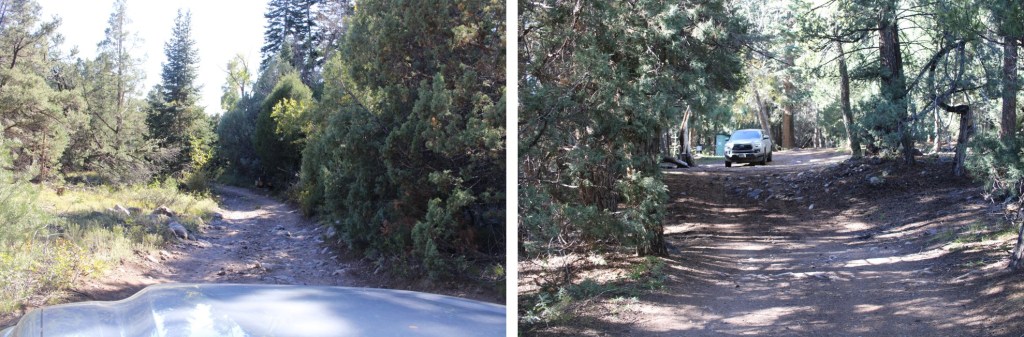
I started from the Cottonwood Creek Trailhead at 4:30am.  This trailhead tends to fill up in the summer, but on this fall day my truck was the only one there.  It was the only one there the night before as well.

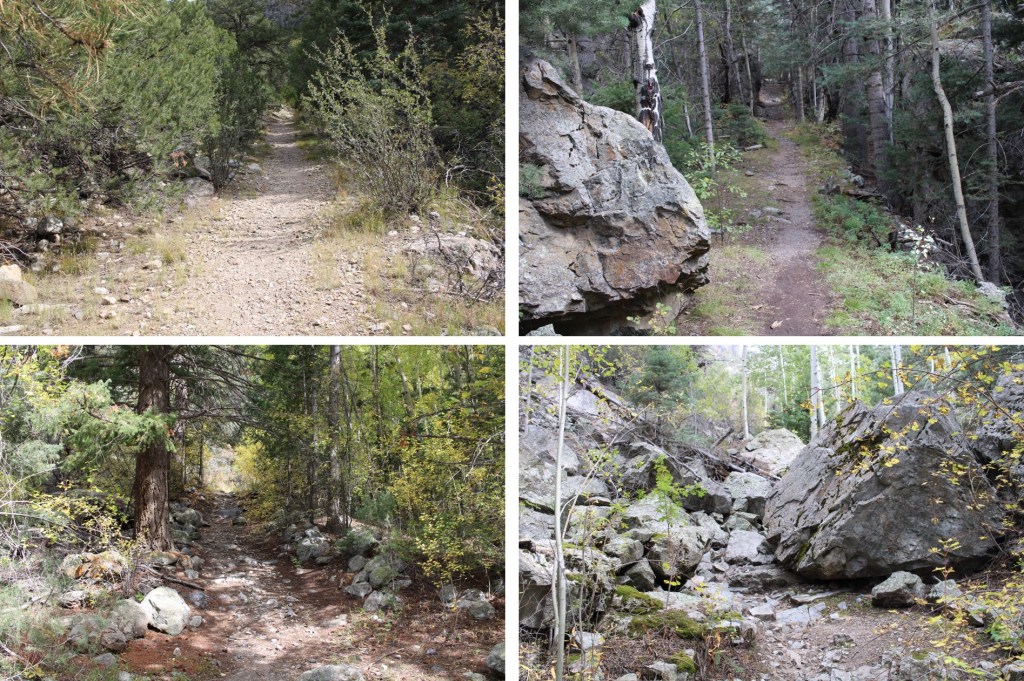
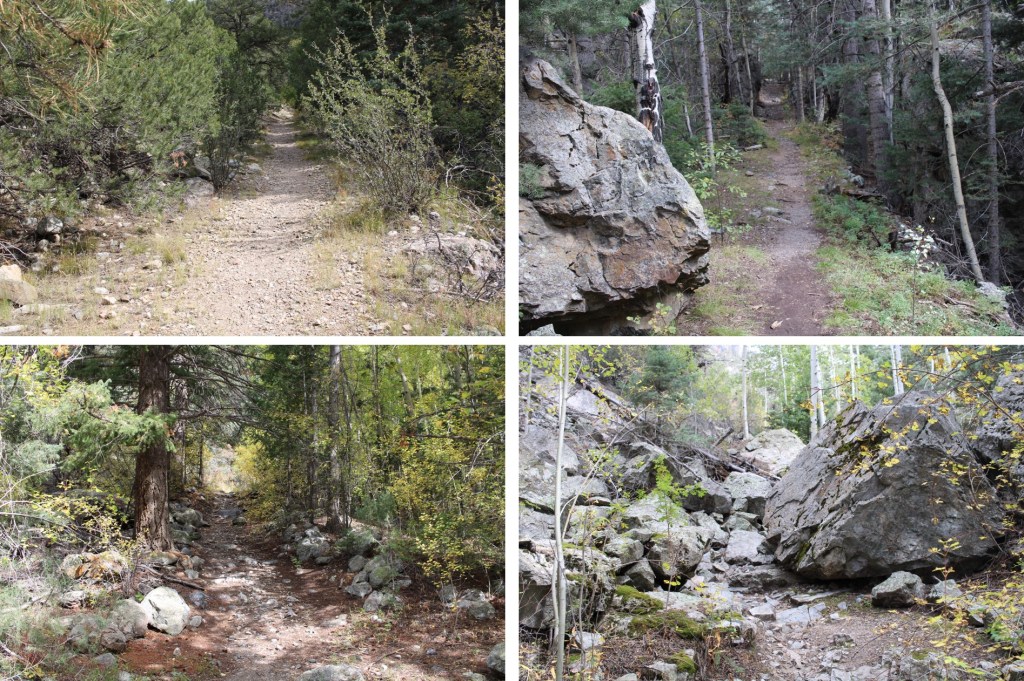
I started out following the class 1 trail east

The trail is easy to follow for the first 4 miles

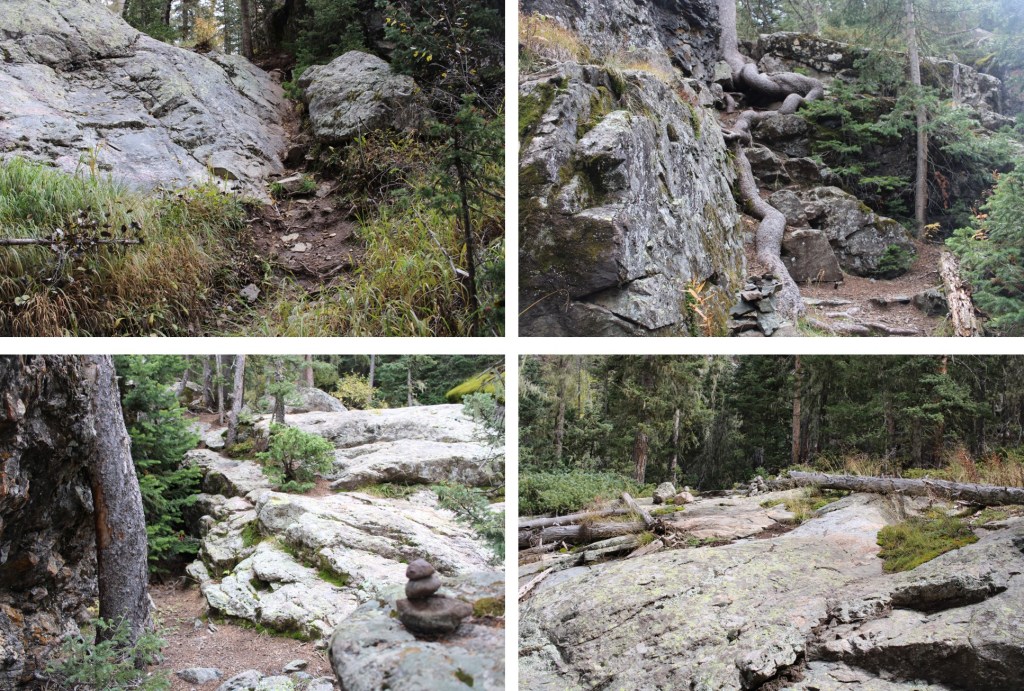
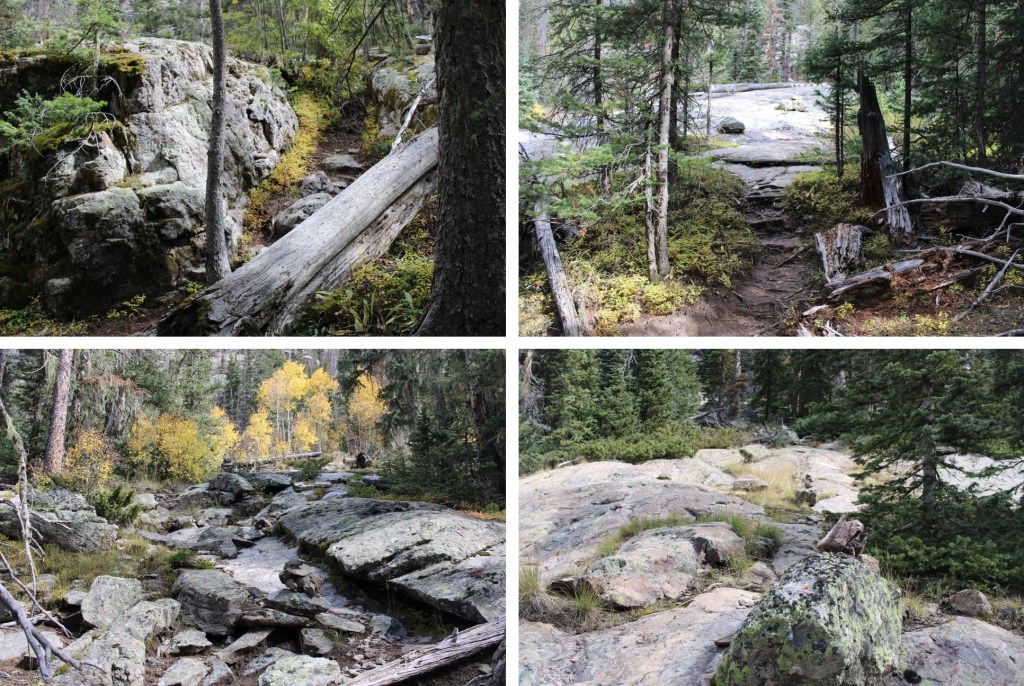
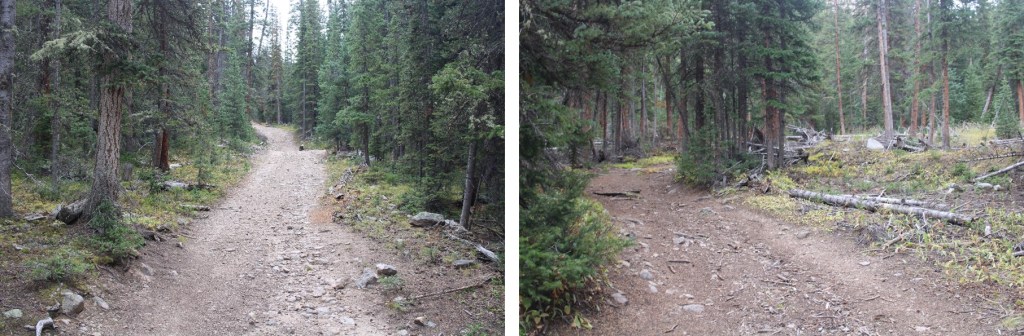
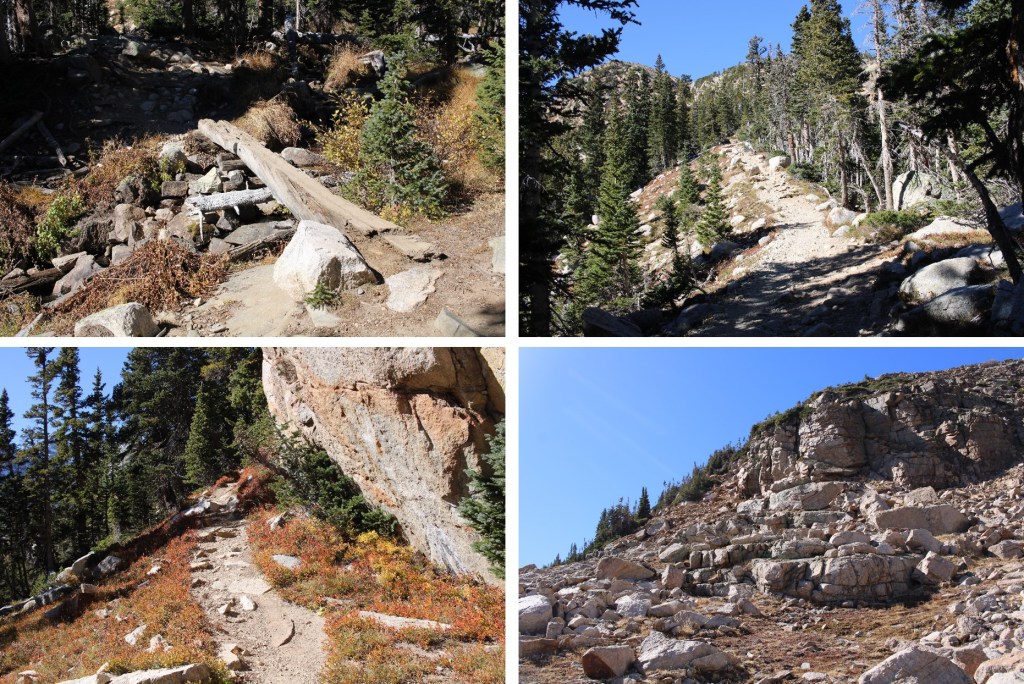
Then I came to what looked like a wall of rock.  This wall goes for about three quarters of a mile, and should not be attempted in wet conditions. There are plenty of cairns here to mark the way.  If you don’t see a cairn, you’re off route.  You head straight up.

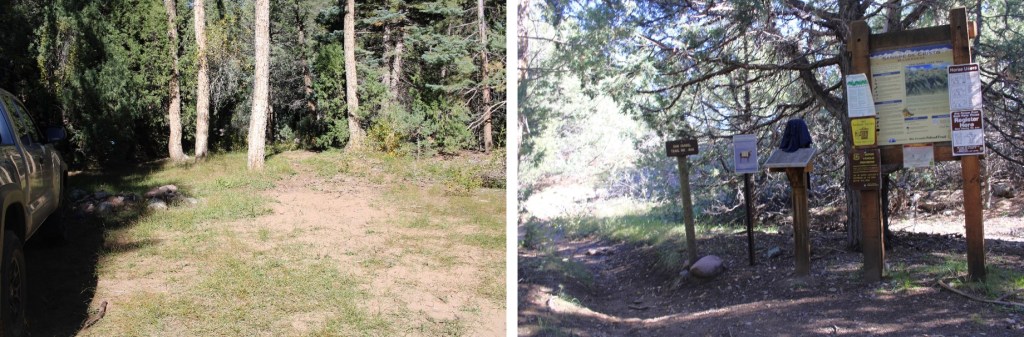
After 4.6 miles I came to a junction between Trail 743 and Trail 861.  It’s not obvious, and there are no signs, so you need to be looking for it.  I was at 11255’.  One trail goes left, the other right, and crosses the creek.  Don’t go left, go right and continue following the trail.

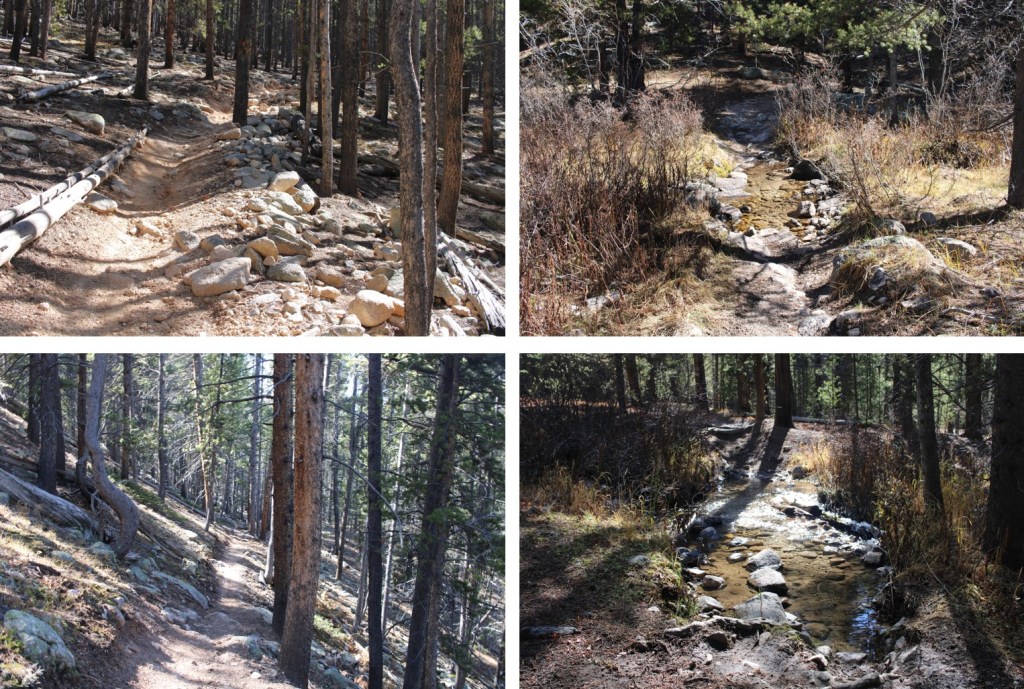
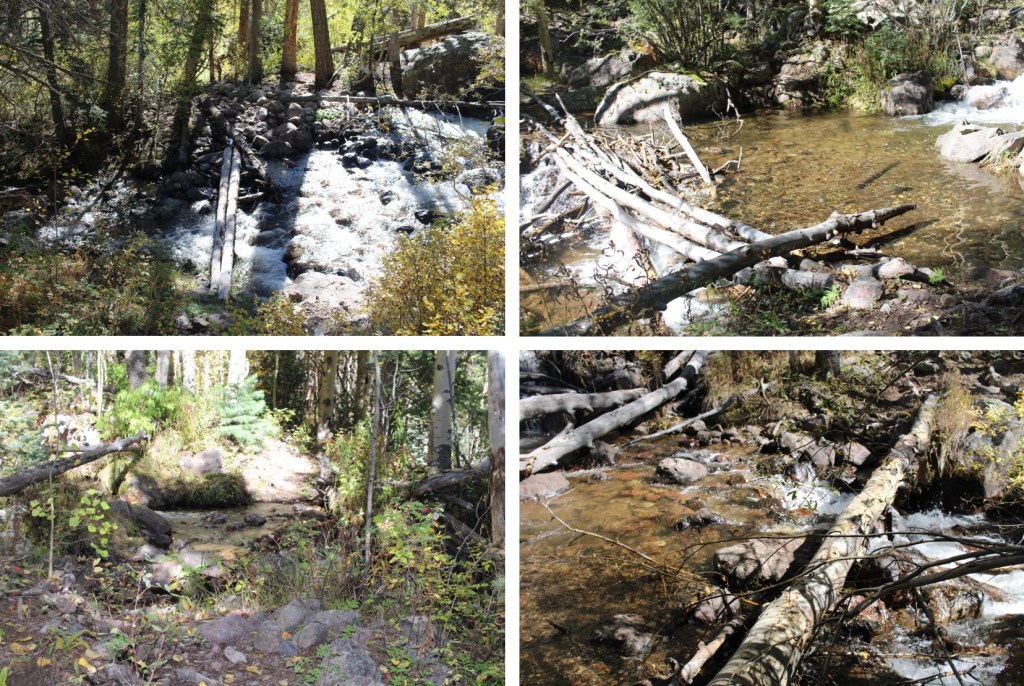
I crossed the creek twice.

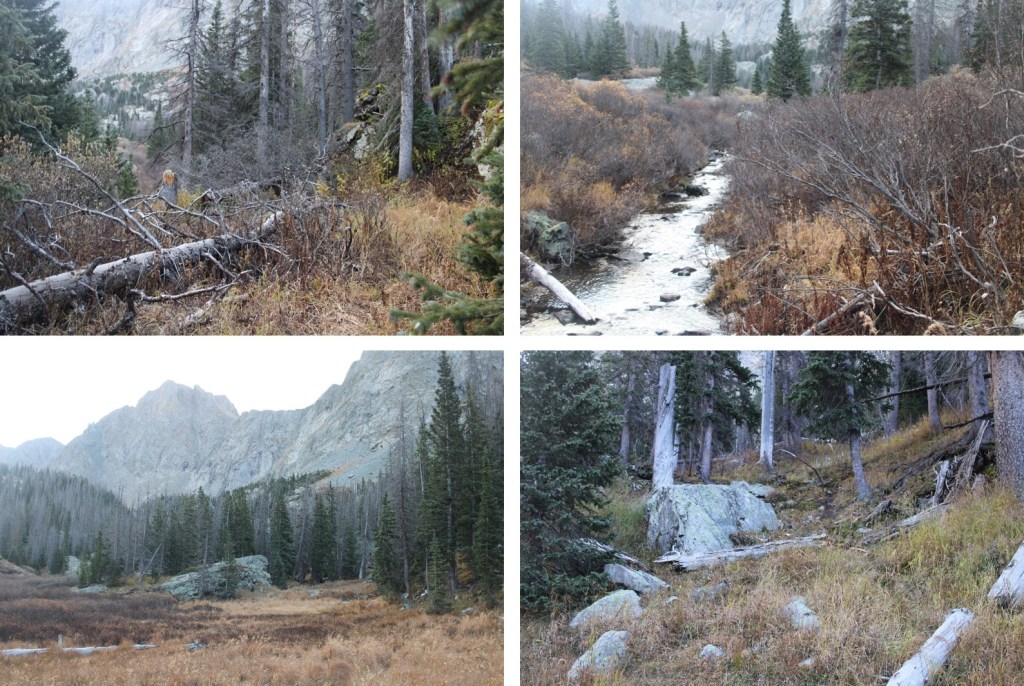
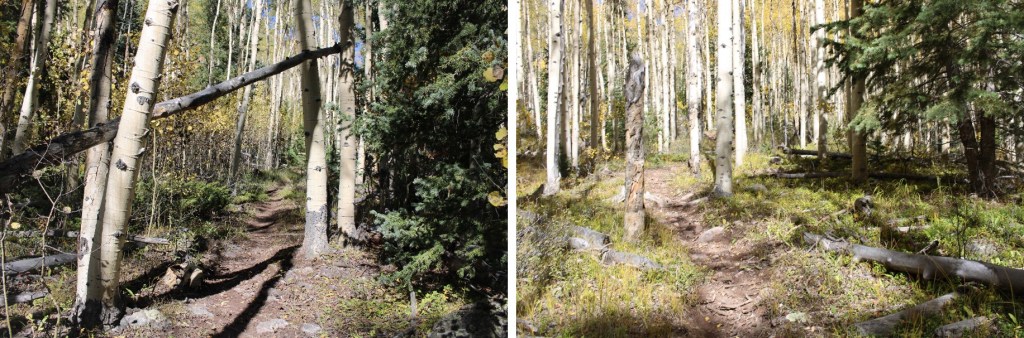
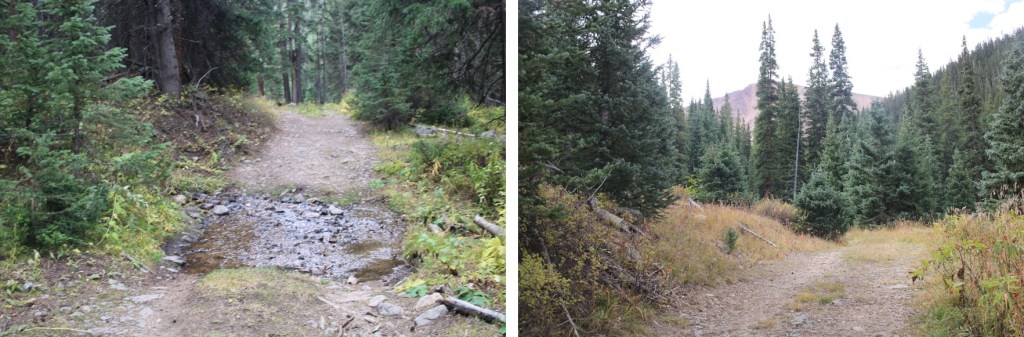
Then continued east along a trail that kept fading.  It’s more of a game trail really, and easy to lose.  Just remember you now stay on the right side of the creek the entire time.

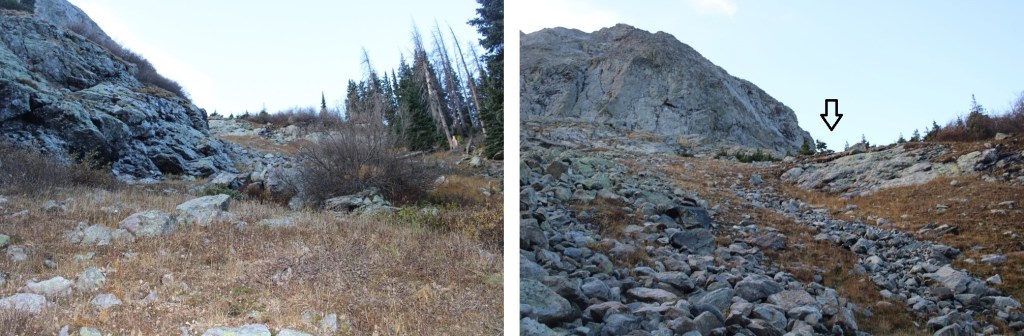
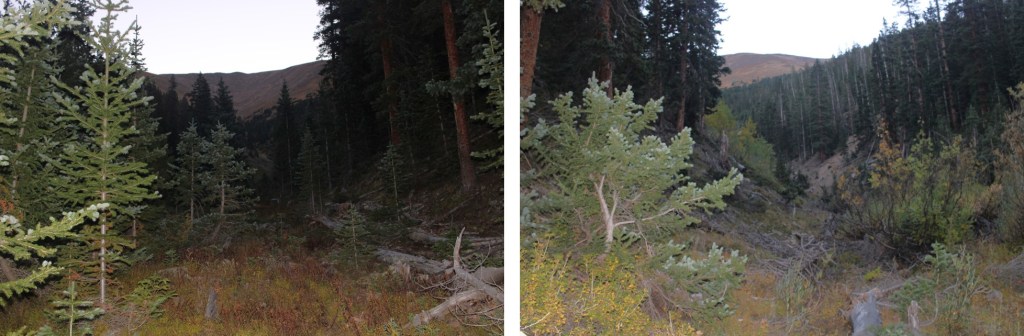
At 11500’, I came to an obvious gully, and took it south

At the top of the gully, I continued hugging the mountainside as I made my way southeast

In the middle of the rocky basin, I turned left, and headed east up another gully

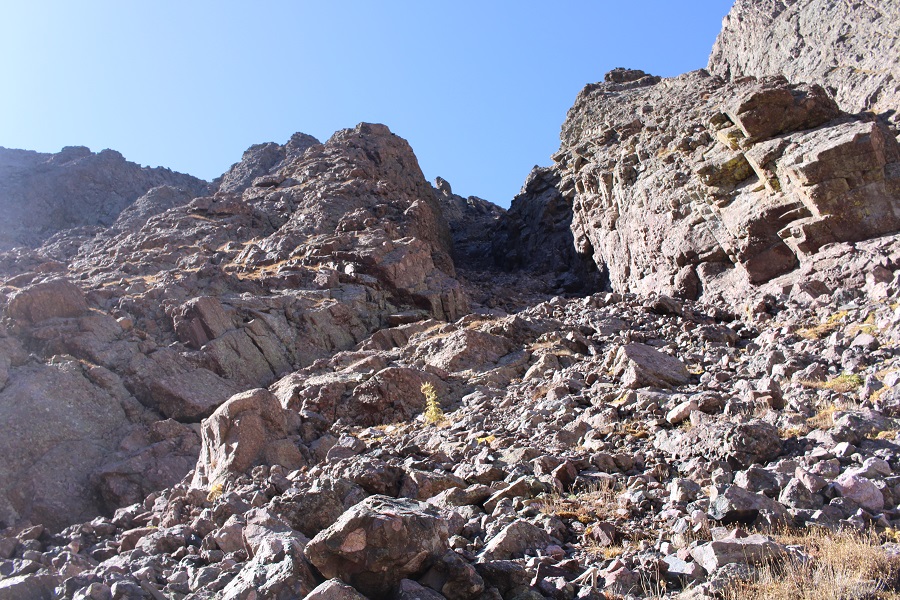
This gully was not friendly, even while wearing microspikes.  The large rocks tumbled, and the scree was solid, which meant it was very difficult to get any traction. I made my way 700’ up the gully to the saddle.

Once at the saddle I turned left, and followed the ridge northeast toward the summit. 

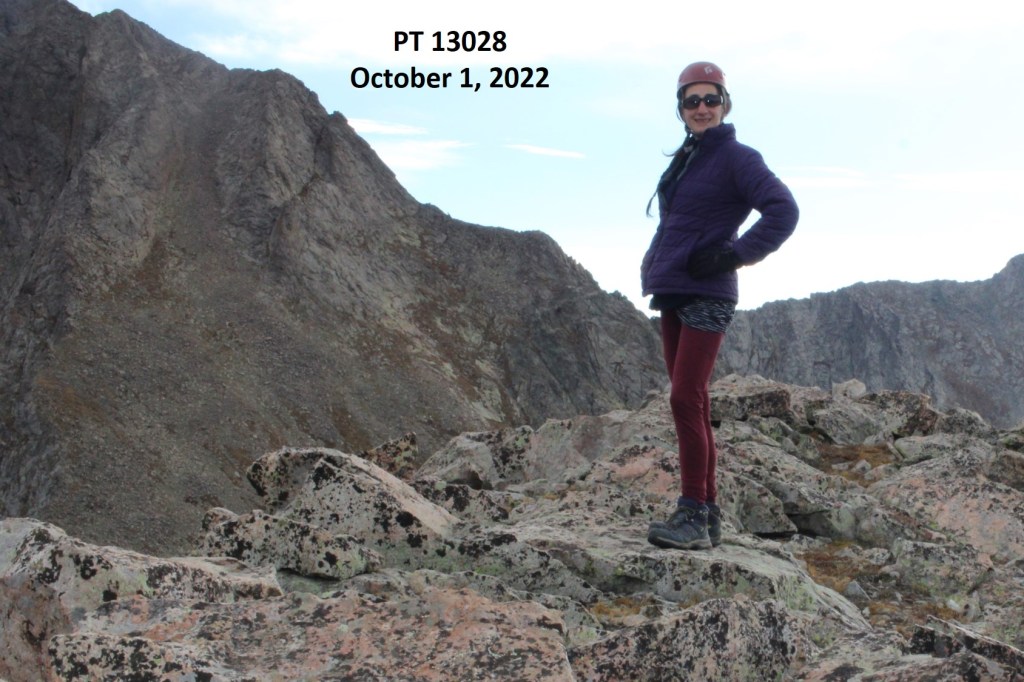
I summited PT 13028 at 9:10am.  The first snow of the season was expected that afternoon.  It was very windy, and cold.

PT 13028:

I didn’t stay long, and instead made my way back to the saddle

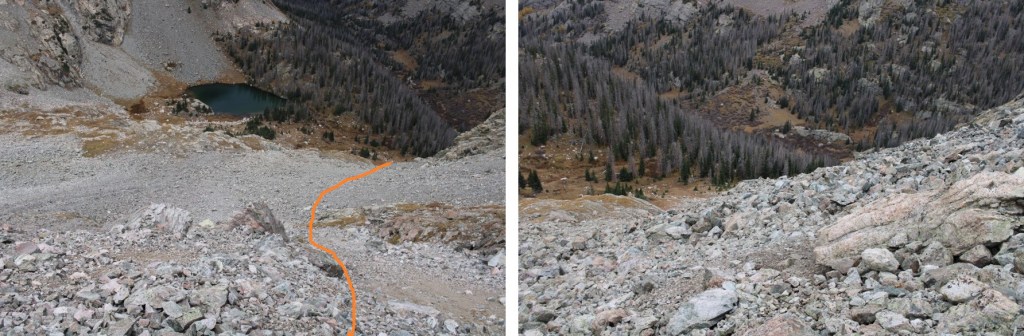
Back at the saddle, I braced myself to head back down the gully

Then I made my way back to the first access gully

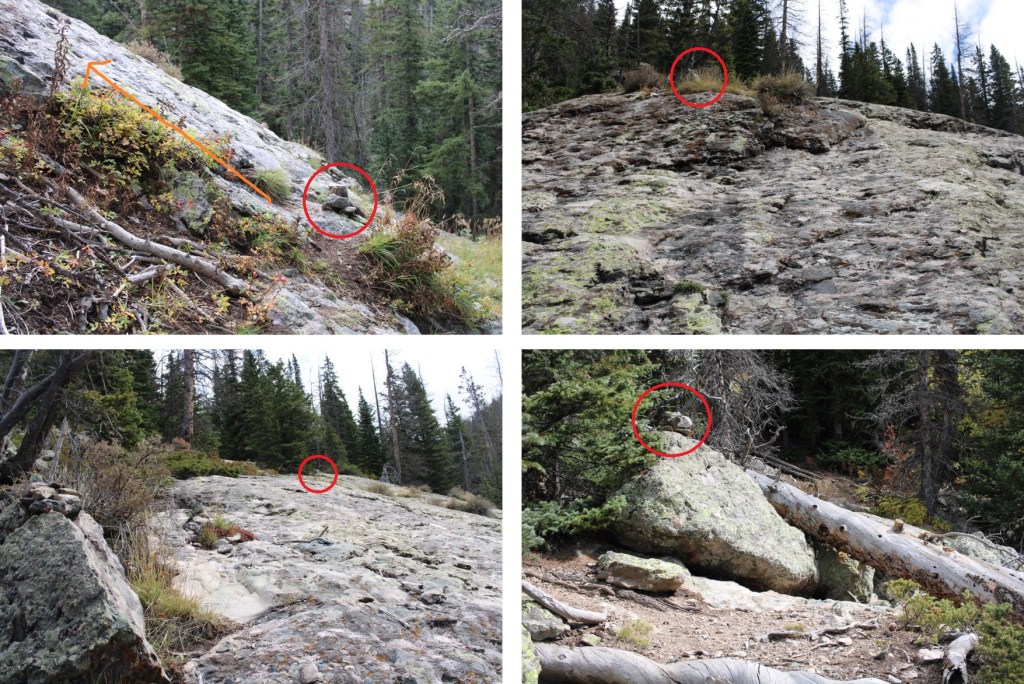
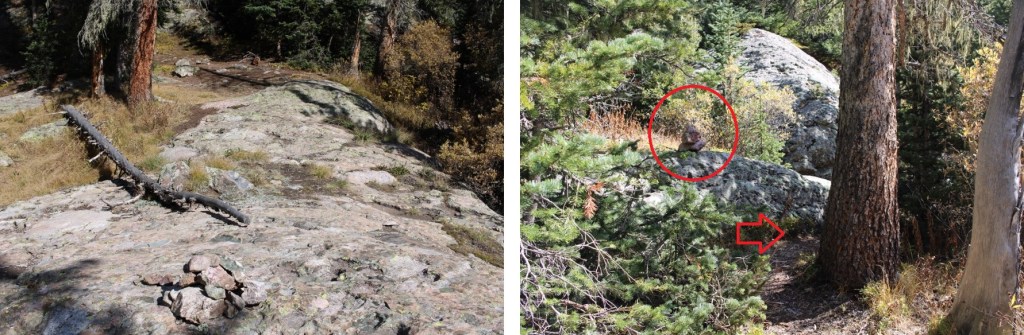
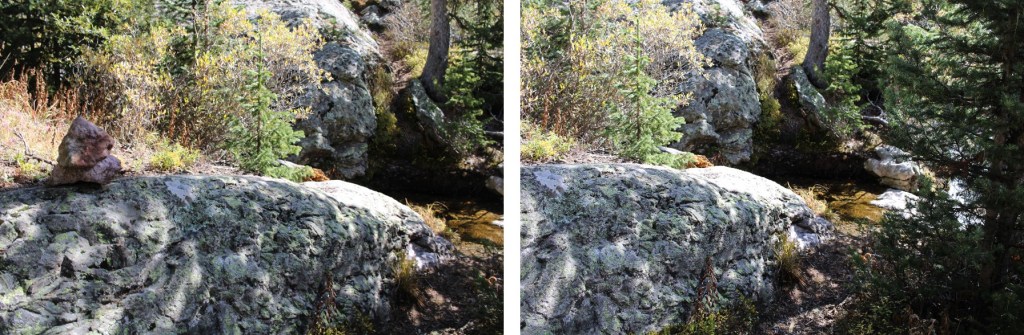
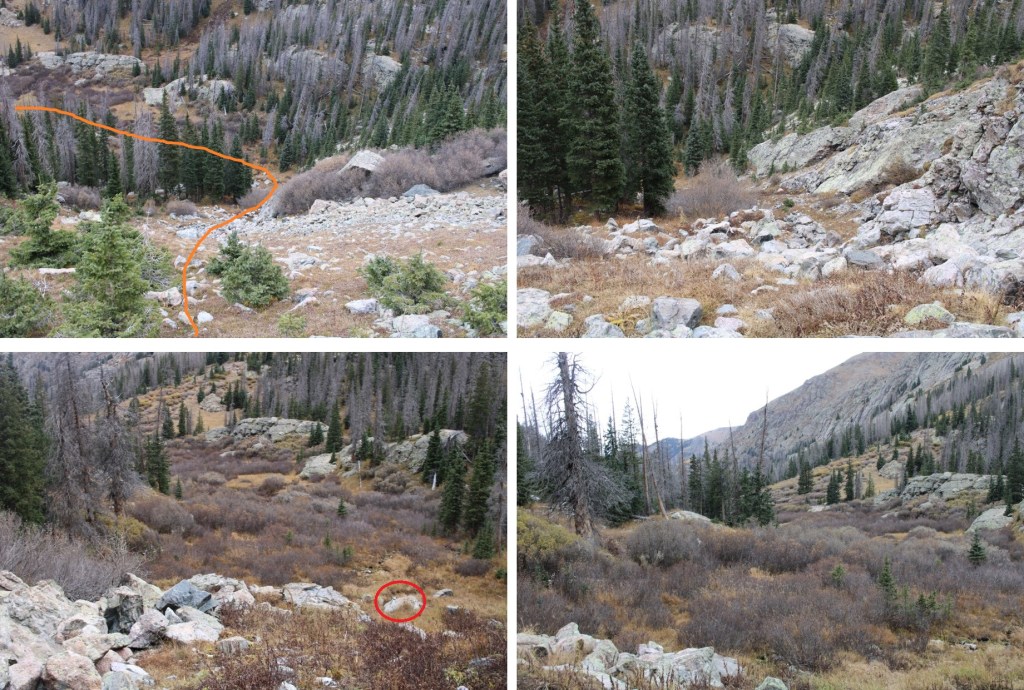
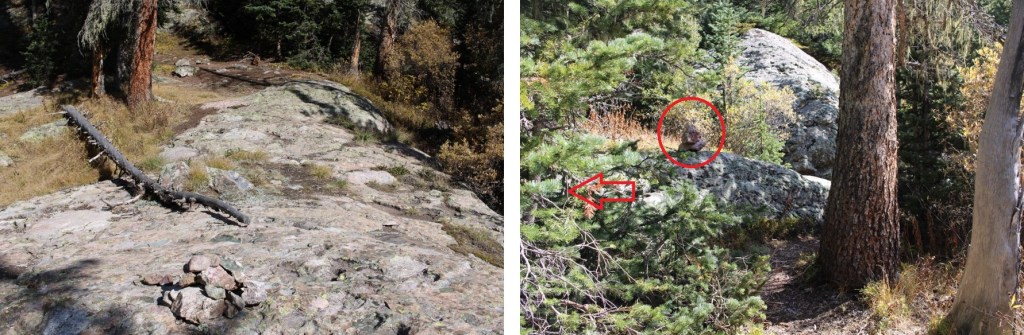
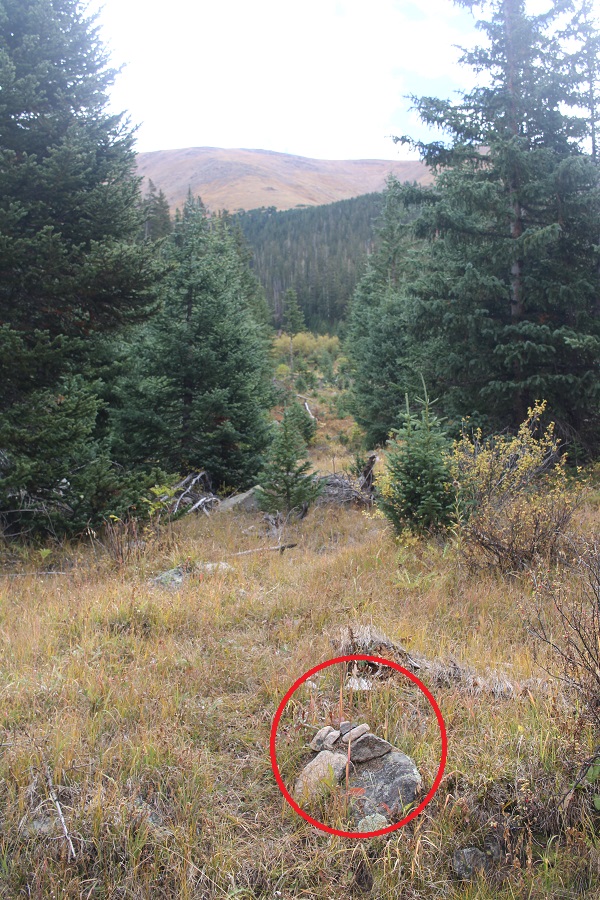
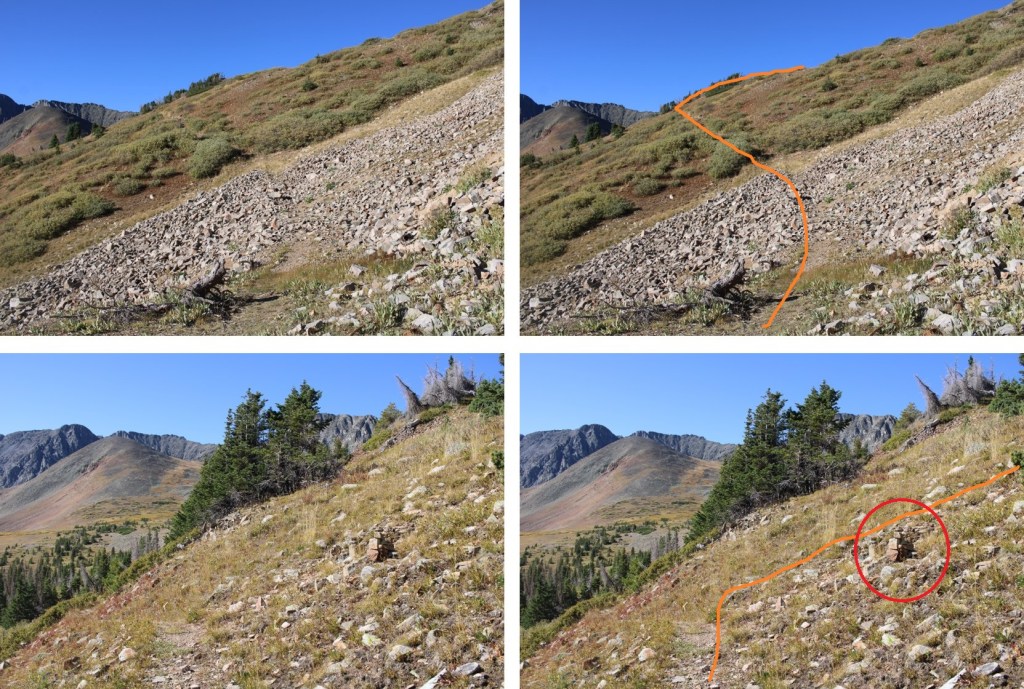
Then down the gully, and back to the ‘trail’.  There was a single rock on a boulder, circled in red, to indicate where to turn left and head back to the trail

This trail was much easier to follow on the way out than it had been going in.  This time I stayed to the left of the creek

I crossed the creek again twice

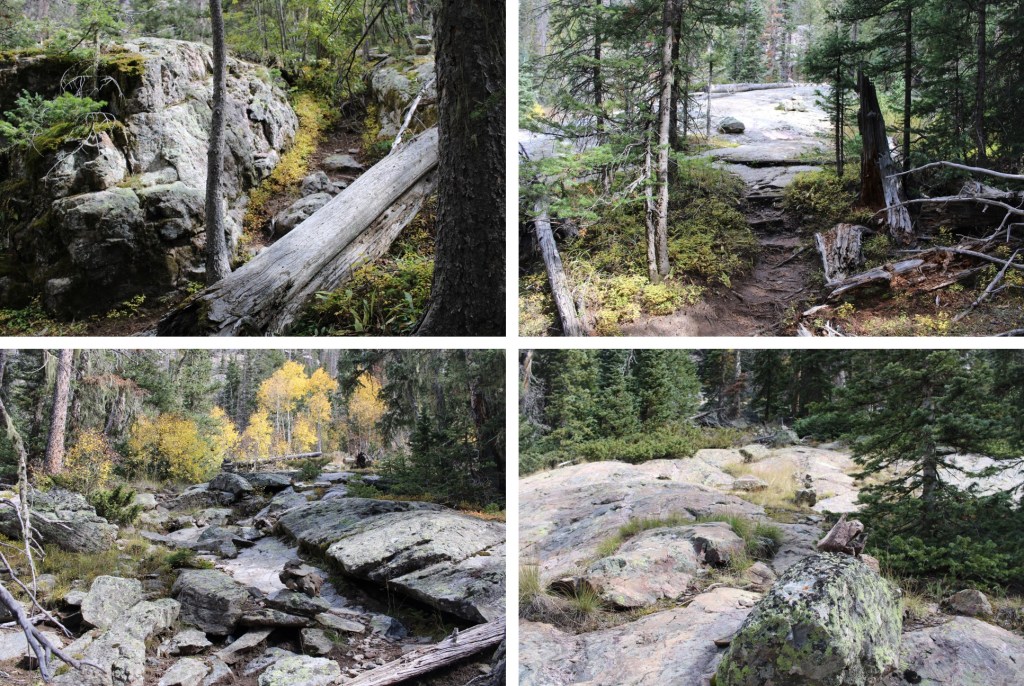
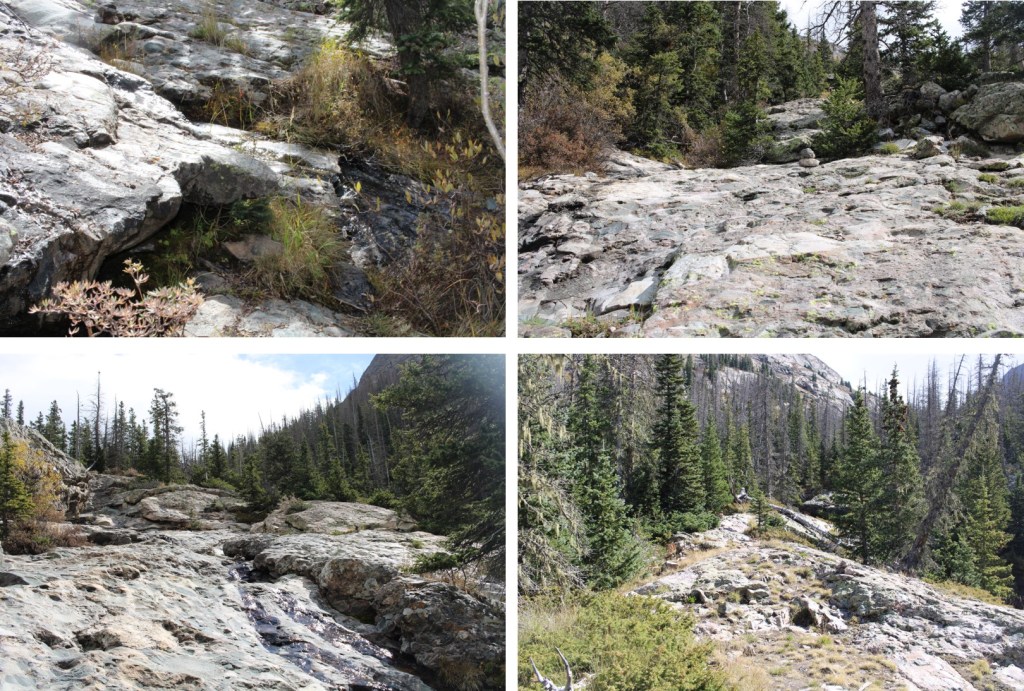
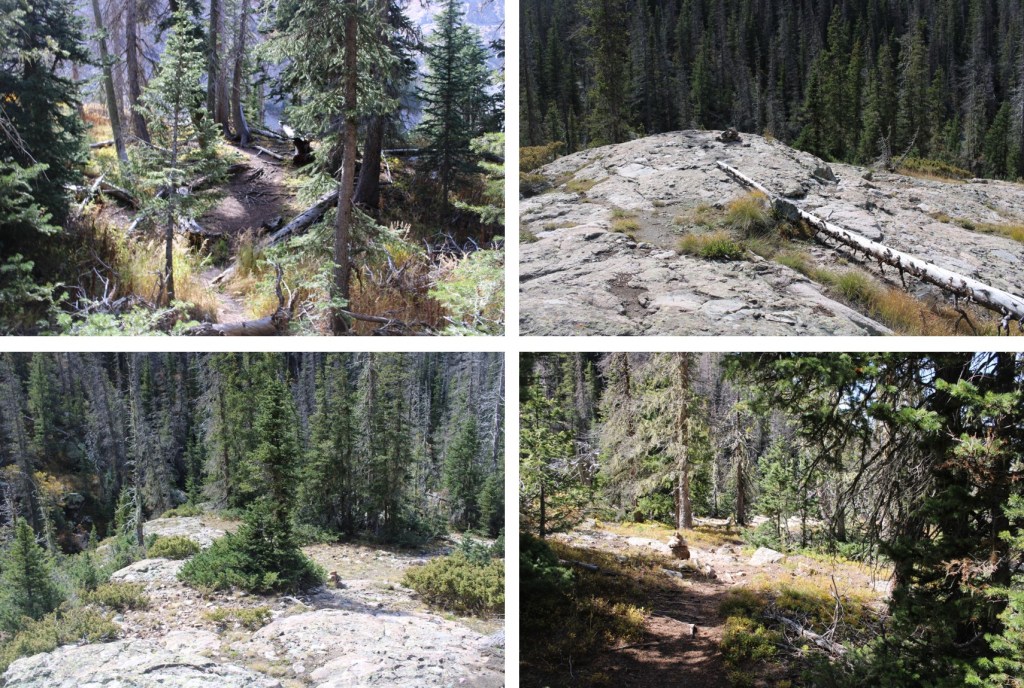
And then caught back up with the trail that would leave me back to the trailhead. Back at the 861/743 ‘junction’, I followed the trail back down the granite slabs, and through several transition zones back to the trailhead.

I made it back to my truck at 12:30pm, making this a 13.3 mile hike with 4605’ of elevation gain in 8 hours. And with this summit, I’ve now finished all the Sangre de Cristo ranked 13ers and 14ers.

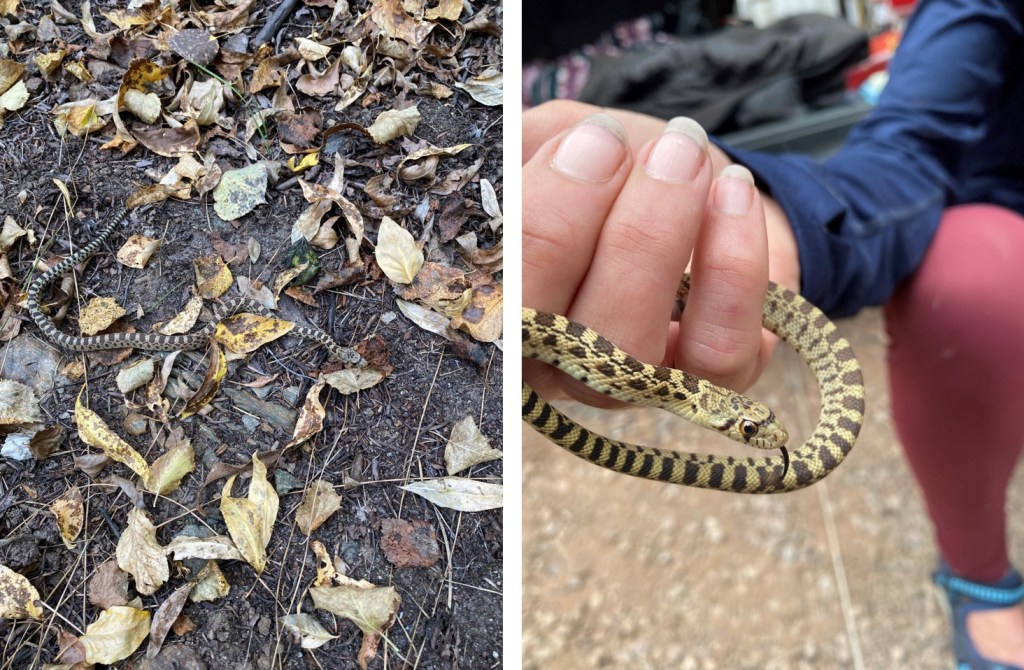
I was staying the night again, and this time, found a small campsite visitor!

On to the next trailhead!
Crestolita – 13,270

RT Length:  14.33 miles

Elevation Gain:  4842’

I started from the Cottonwood Creek Trailhead at 4:30am.  This trailhead tends to fill up in the summer, but on this fall day my truck was the only one there. 

I started out following the class 1 trail east

The trail is easy to follow for the first 4 miles

Then I came to what looked like a wall of rock.  This wall goes for about three quarters of a mile, and should not be attempted in wet conditions. There are plenty of cairns here to mark the way.  If you don’t see a cairn, you’re off route.  You head straight up.

After 4.6 miles I came to a junction between Trail 743 and Trail 861.  It’s not obvious, and there are no signs, so you need to be looking for it.  I was at 11255’.  One trail goes left, the other right, and crosses the creek.  Don’t go right, go left and continue following the trail.

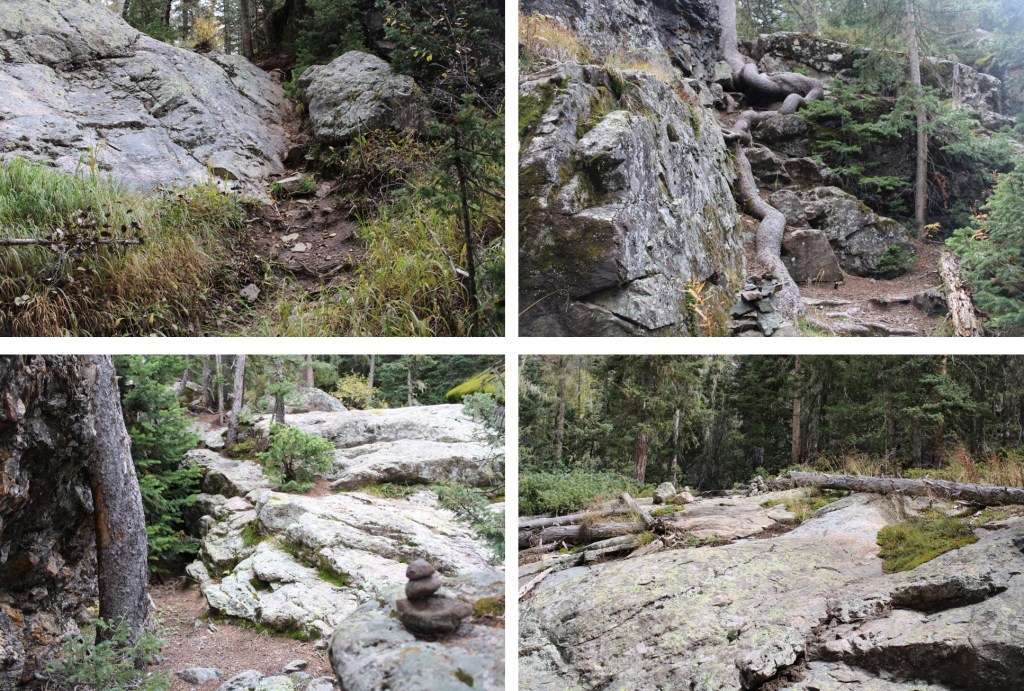
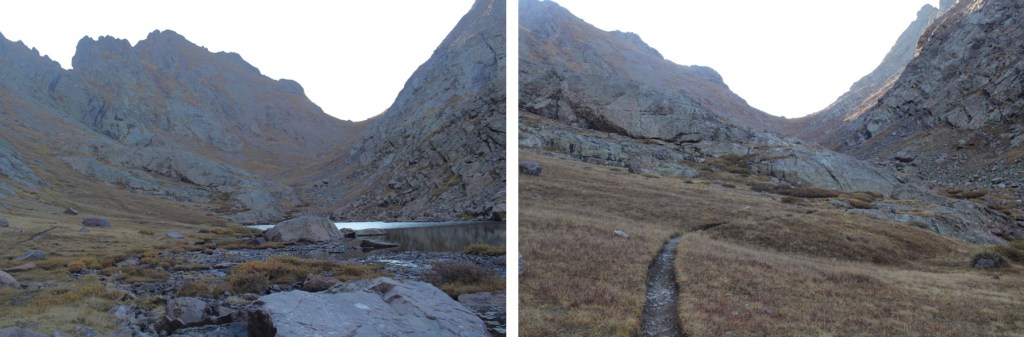
This trail led me to a camping area, with a boulder the size of a house.  The goal is to make it to the upper basin.  There are trails that go on each side of the boulder that will get you there.  There are a lot of cairns in this area. 

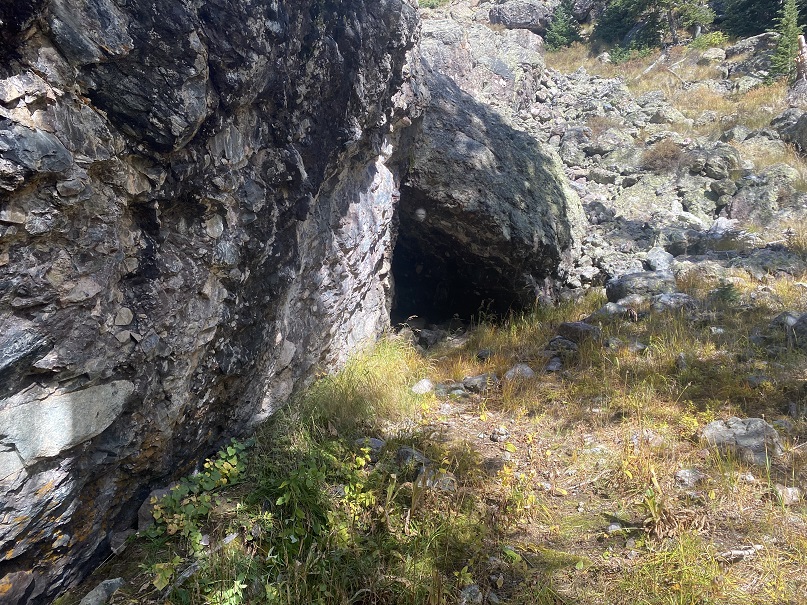
If you take the trail to the right, there’s a pretty cool cave to check out, but be careful:  there was a rather large hornets nest at the entrance this time.

I followed the cairns northeast, through rock fields and willows.

There were a few class 3 moves to do to make it to the upper basin, but plenty of cairns to guide the way

I went behind this rock, and caught up with the trail to Cottonwood Lake, now heading east.

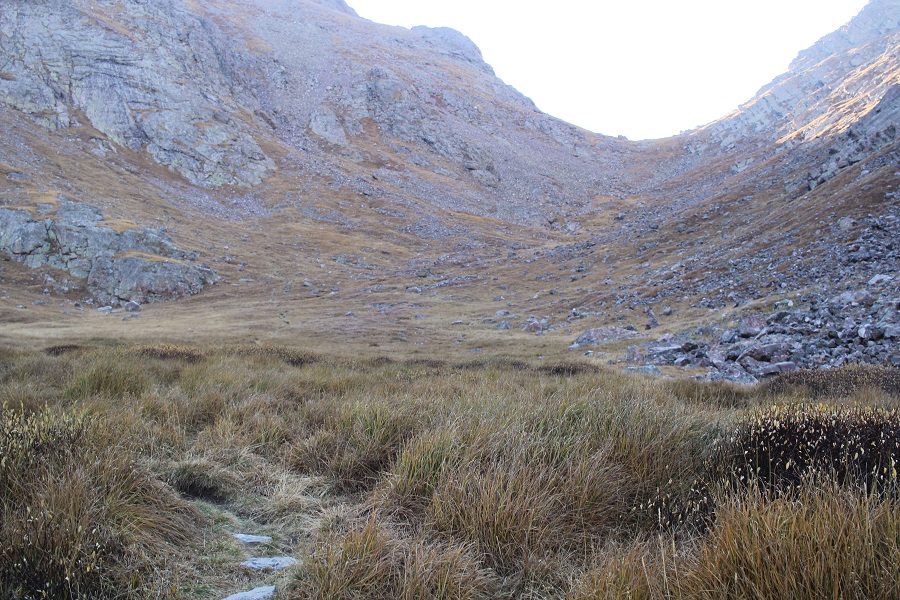
I followed the trail until I was at 12430’, and then turned right, starting up tundra

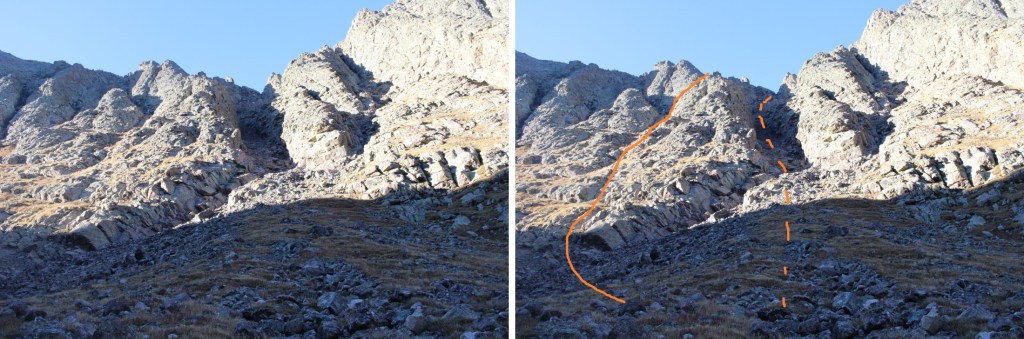
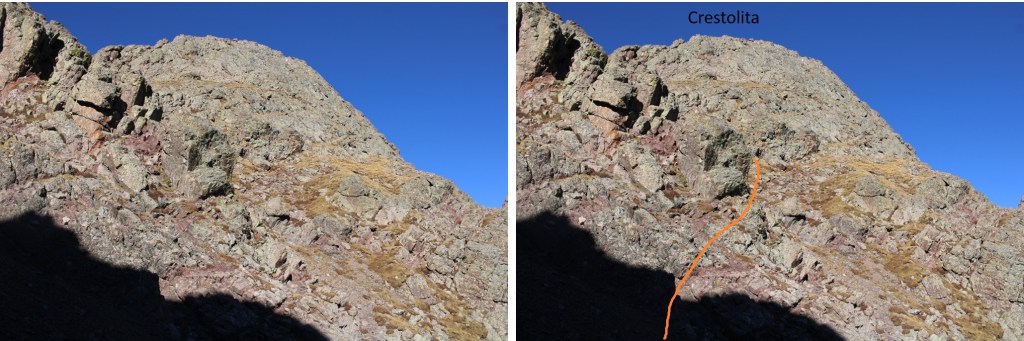
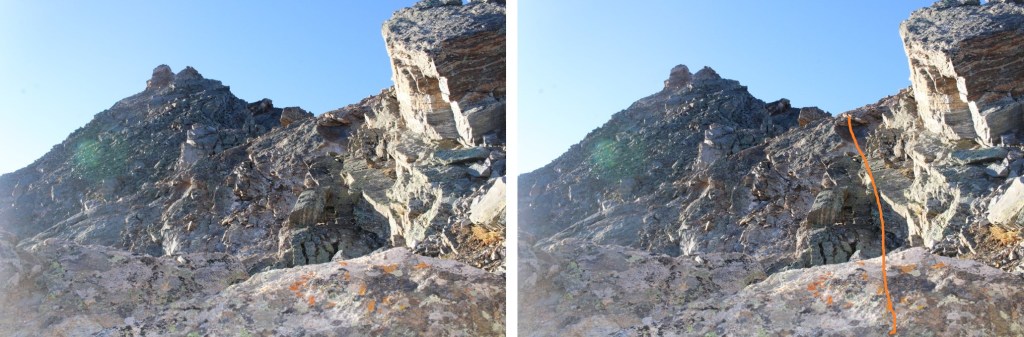
My advice to you is to go straight up the gully, as it stays at class 2+.  I however, did not do this.  I went up the right side.  This goes at class 4, and was unnecessary.  In addition, it included a drop of about 40 feet on class 4 terrain.  I’ll show pictures of the route I took, but I really recommend taking the easier gully.

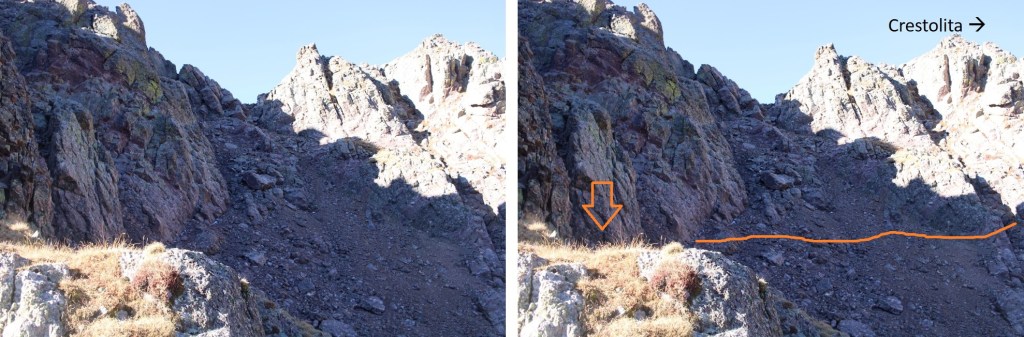
My route:  Solid line up, dotted line down

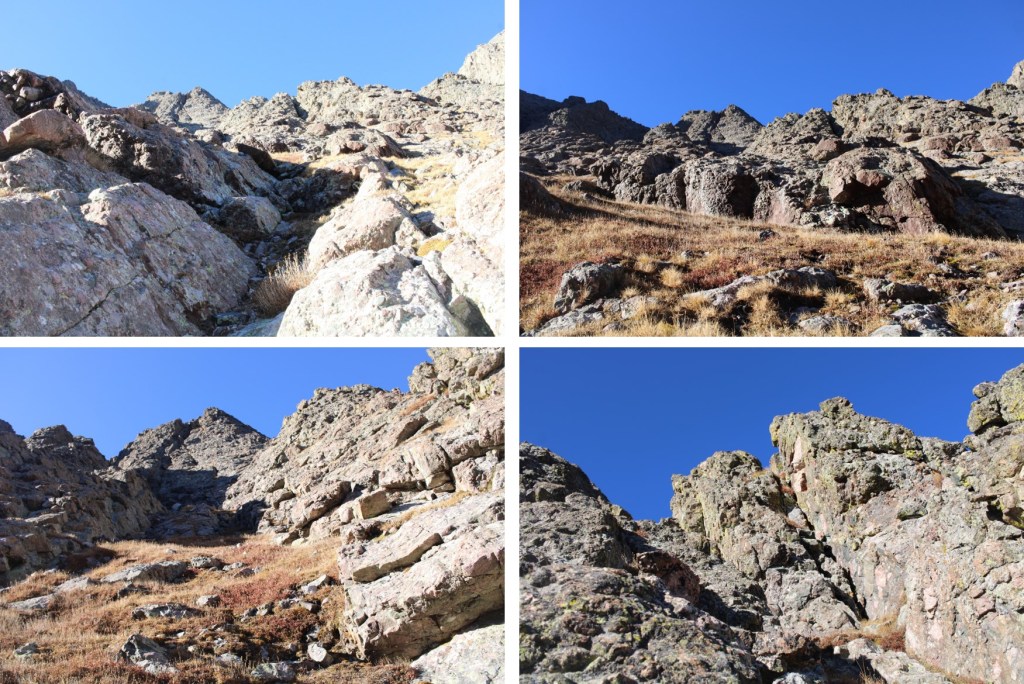
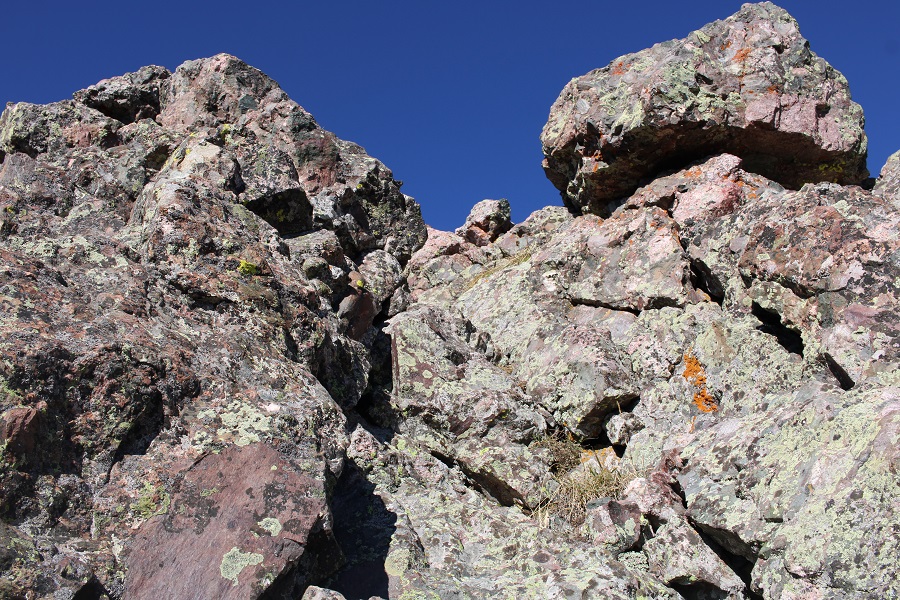
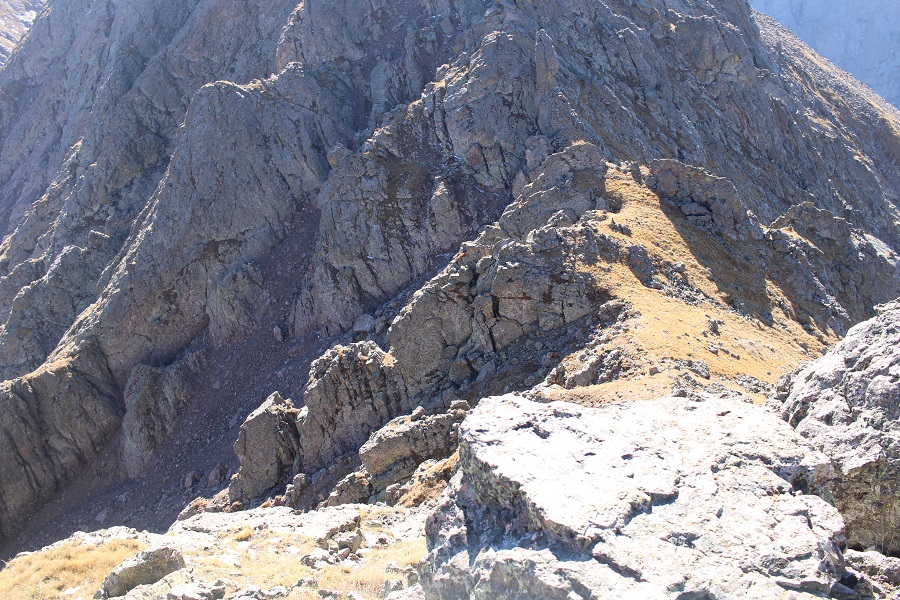
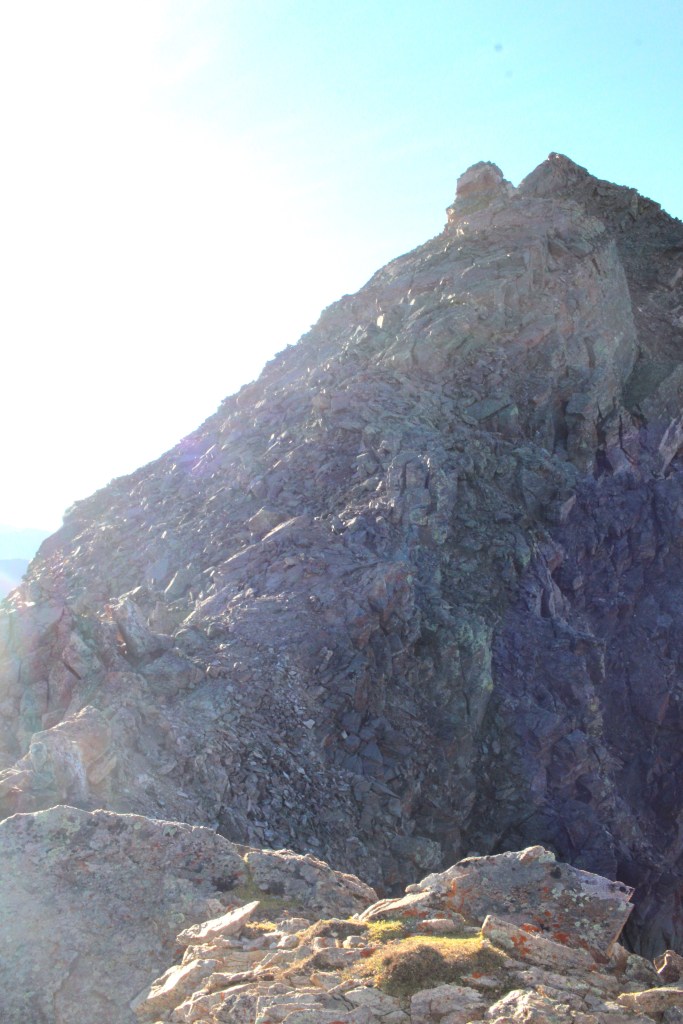
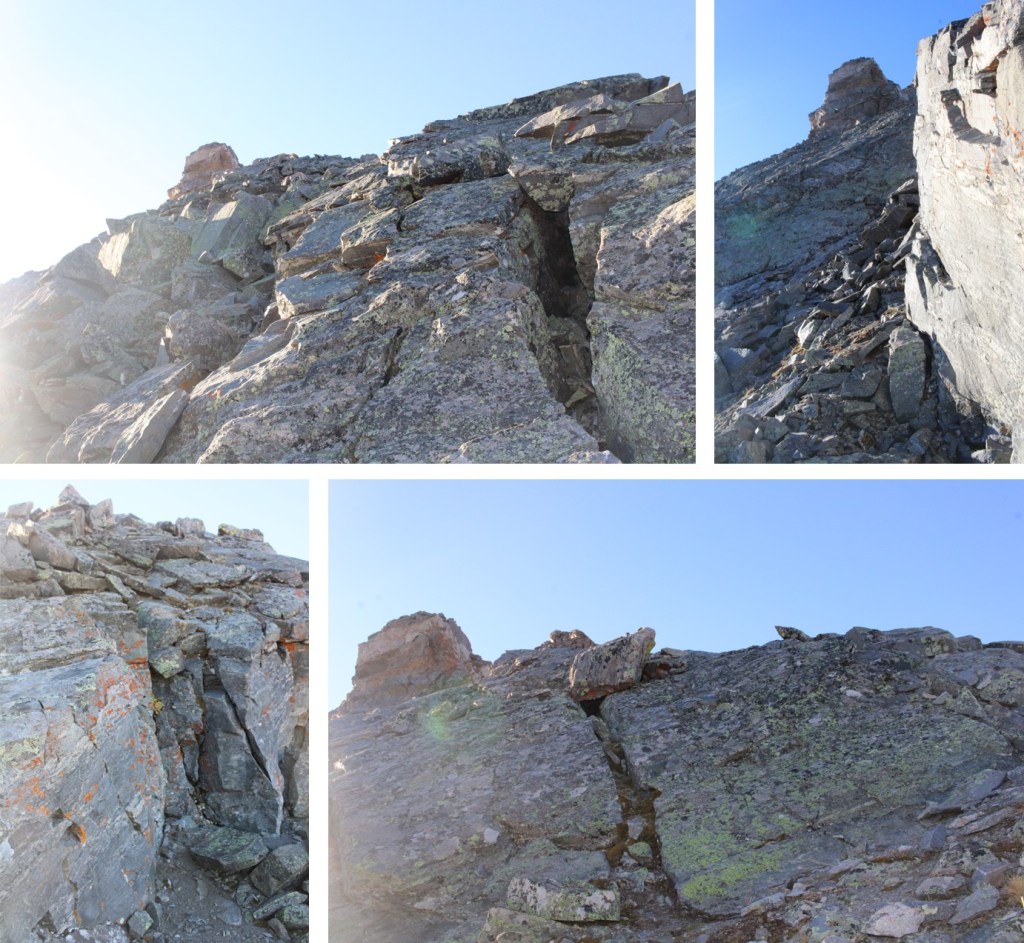
Here are some pictures of the route I took up.  Once again, I do not recommend this

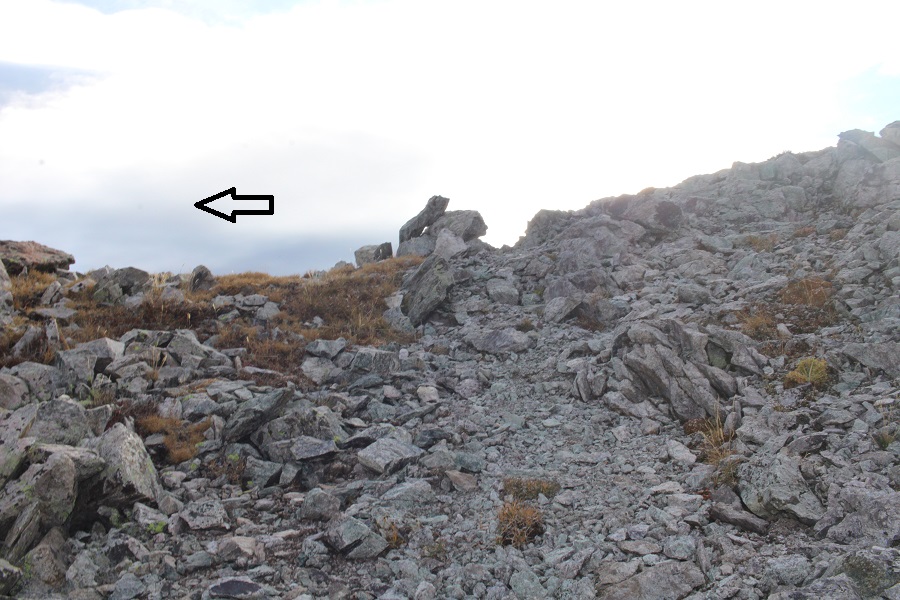
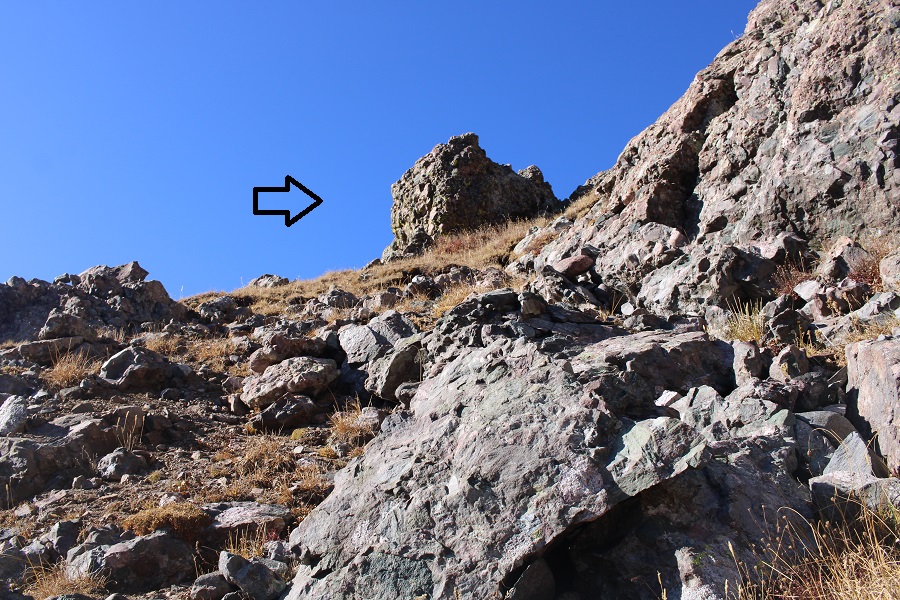
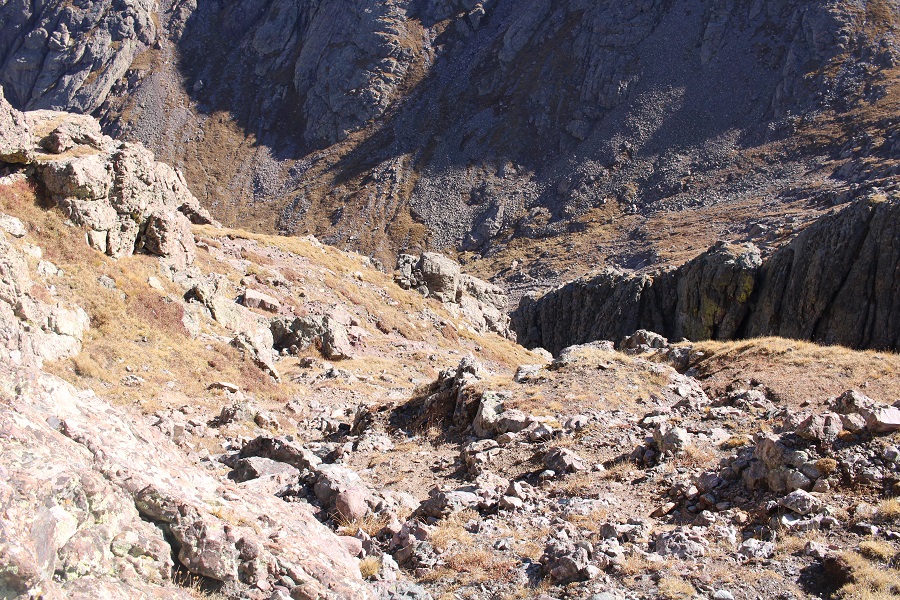
I don’t recommend this route, because this is where it led me:  That arrow points to a 40-foot class 4 chimney I’d have to descend.

I seriously considered turning back at this point, and trying again with the gully.  After some careful consideration, I realized I could navigate the current terrain. I gingerly climbed down 40 feet, then up another 40 feet

Here’s looking back at that chimney, and the route I took both down and then back up.  Both sides were steep, and I was glad to be wearing my microspikes.

From here, I could now see the route to Crestolita to my right

This took some navigating, but the terrain remained at 2+, with some added exposure.  First, I headed to the saddle

At the top of the saddle I turned right

Then it was a fun scramble to the summit of Crestolita

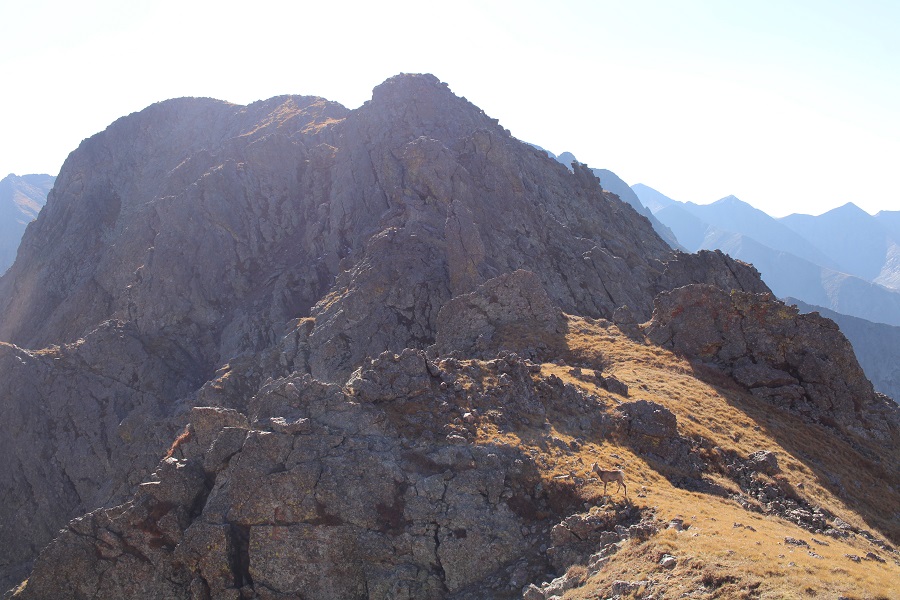
I turned back and saw a bighorn sheep watching me.  She watched me for so long I eventually left her there and kept going.

Here’s the last bit before the summit

I summited Crestolita at 9:25am

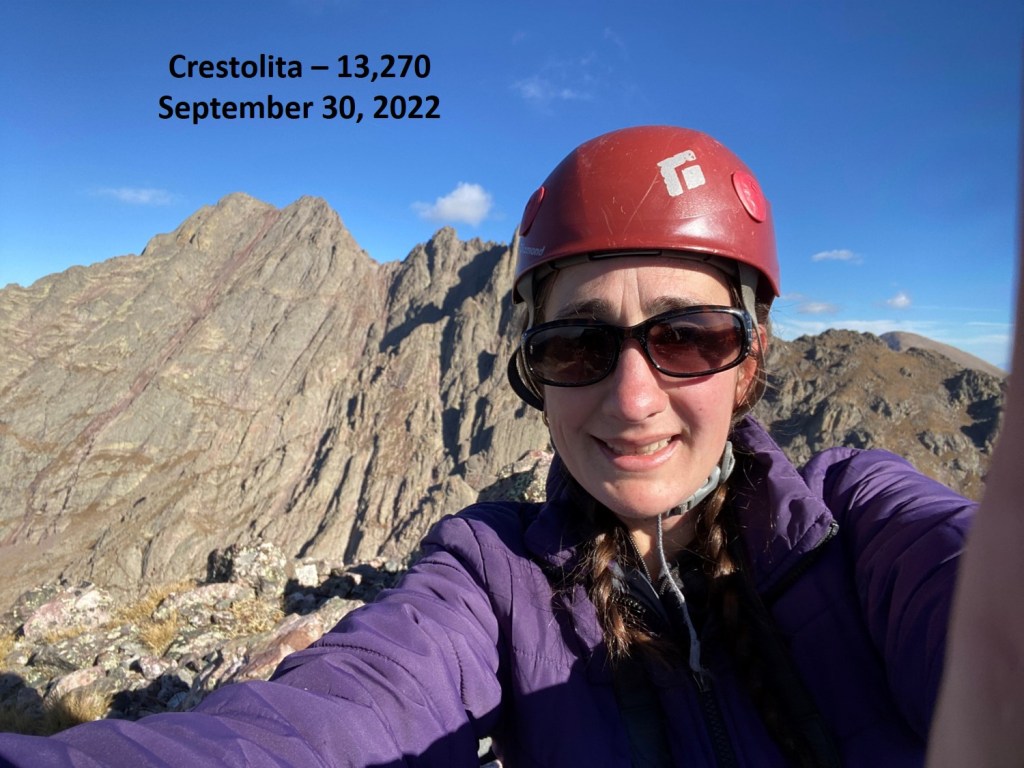
Crestolita:

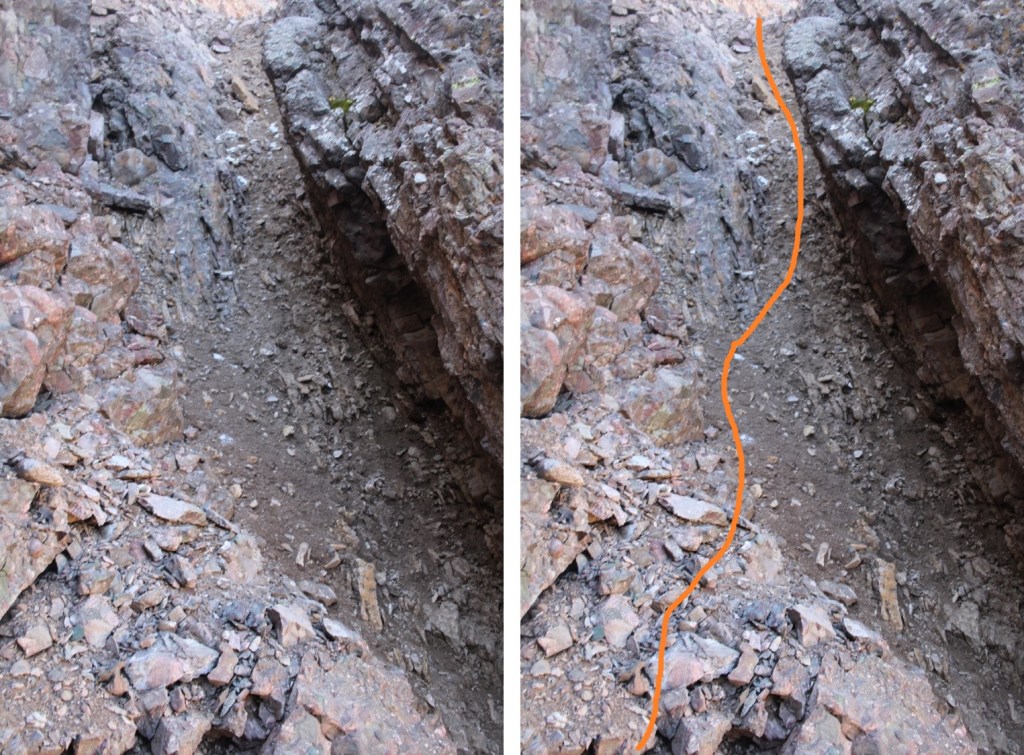
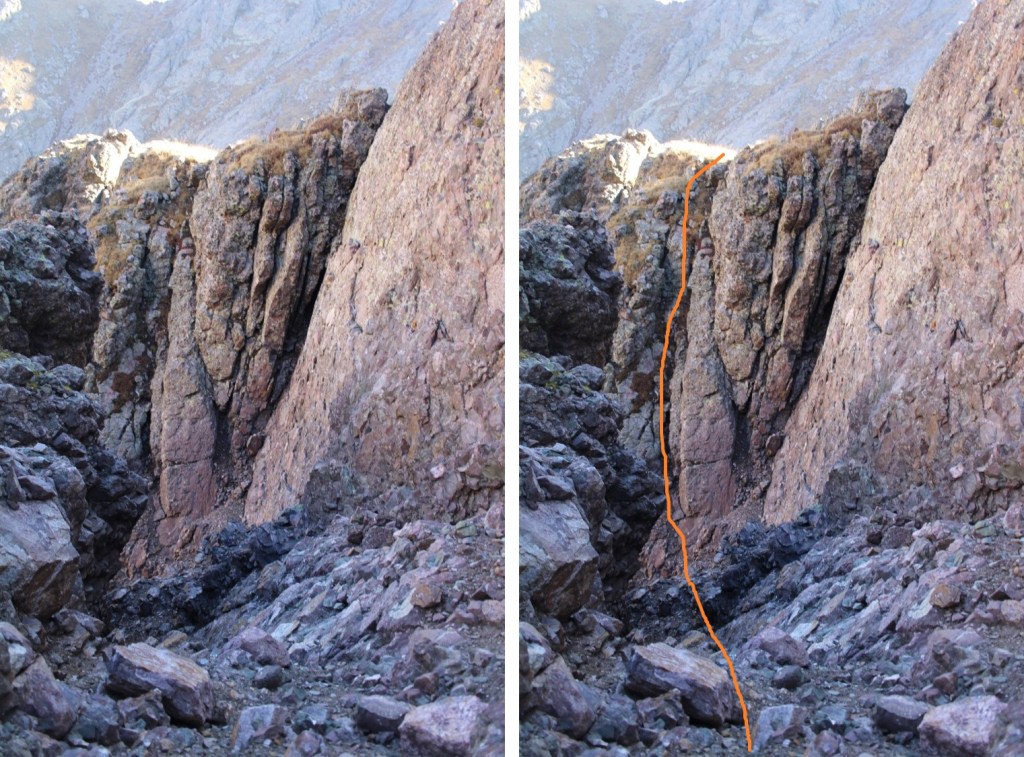
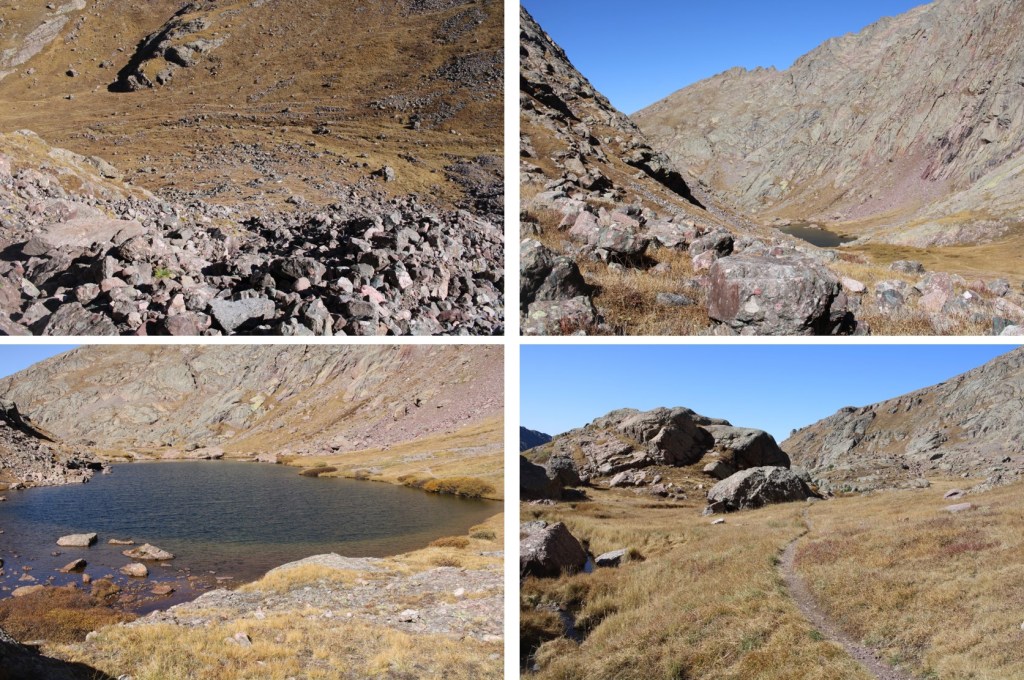
I took the gully down.  There were several options to make this happen.  When I had options, I went right, and wasn’t disappointed.  Here are some pictures of the way I took down. 

First, I made my way back to the saddle

Then turned left, and followed the tundra until it turned into scree

At the base of the gully, I picked up the trail again and took it towards Cottonwood Lake

I once again rounded the large boulder, then followed the cairns back to the trail

Back at the 861/743 ‘junction’, I followed the trail back down the granite slabs, and through several transition zones back to the trailhead.

I made it back to the trailhead at 1:30pm, making this a 14.33 mile hike with 4842’ of elevation gain in 8 hours. 

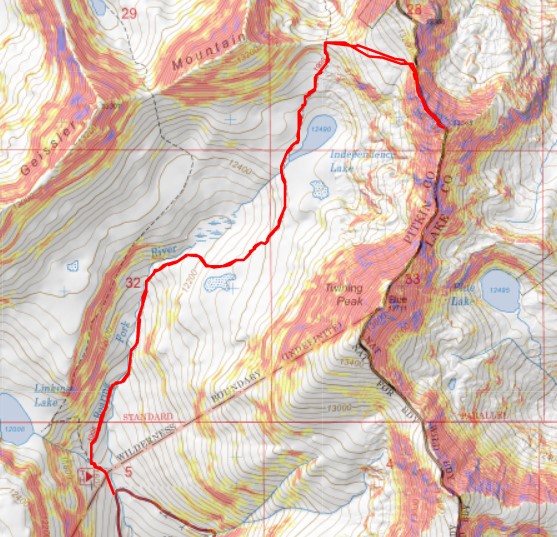
PT 13556

RT Length:  6.51 miles

Elevation Gain:  2015’

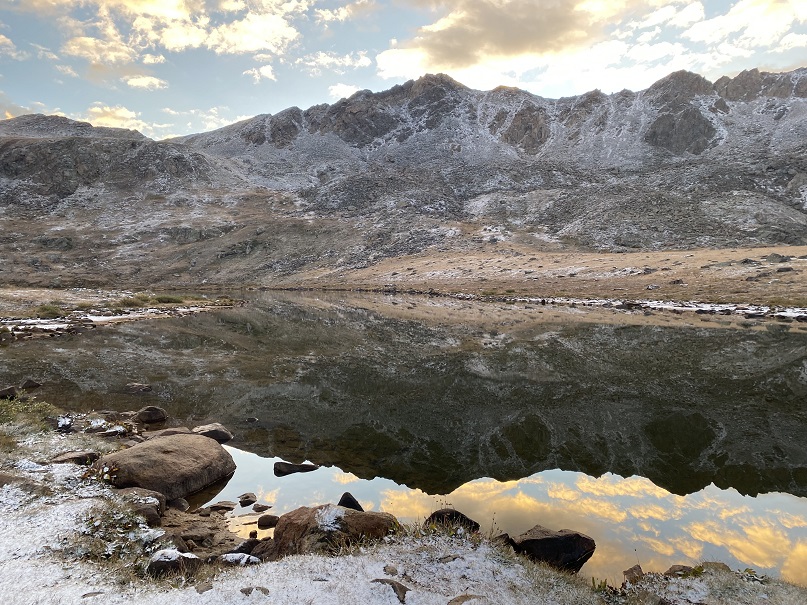
This was my second attempt at this peak.  On the first attempt, there was unexpected snow the night before, and I deemed the class 3 section too difficult with a dusting of snow and rocks covered in a thin layer of ice. 

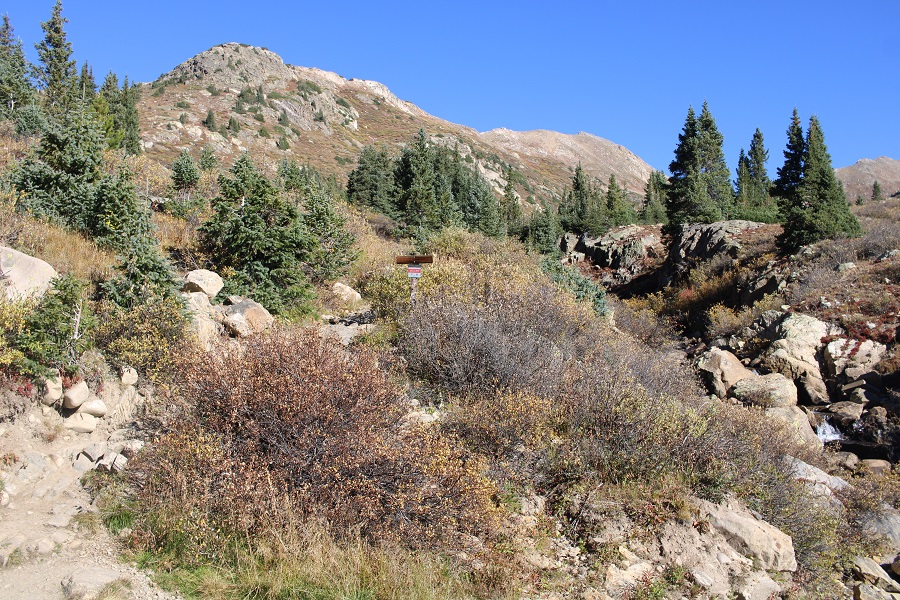
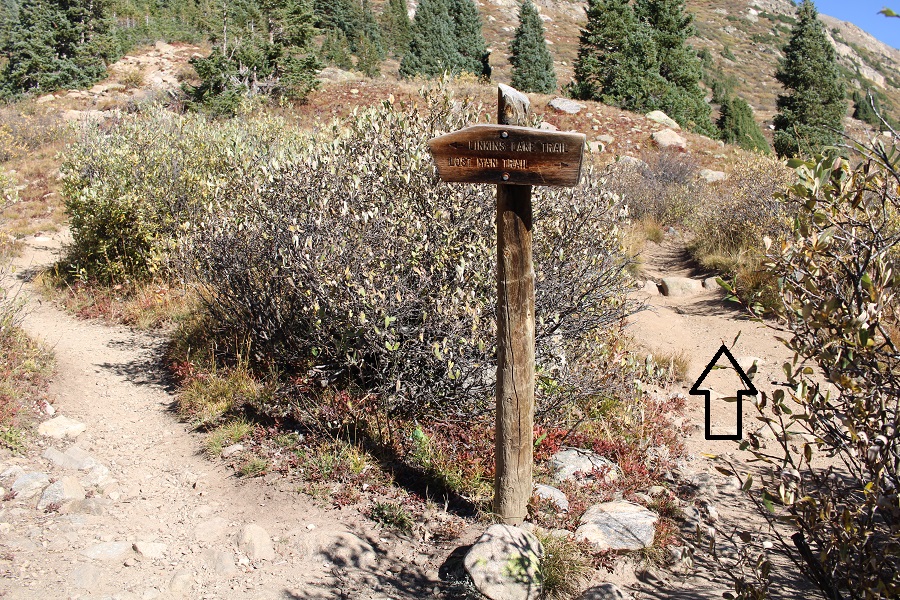
So, I came back a week later, after the snow had melted out, and tried again.  I started at 6am from the Linkins Lake and Upper Lost Man Trailhead.

I followed the class 1 trail north, following Trail #1996, Lost Man Trail

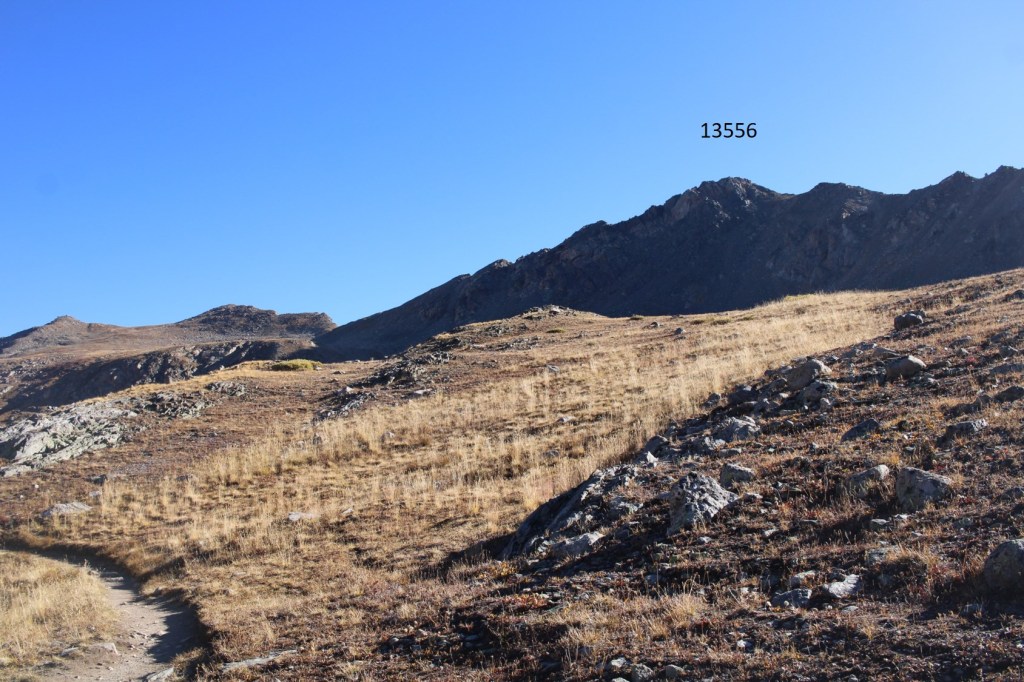
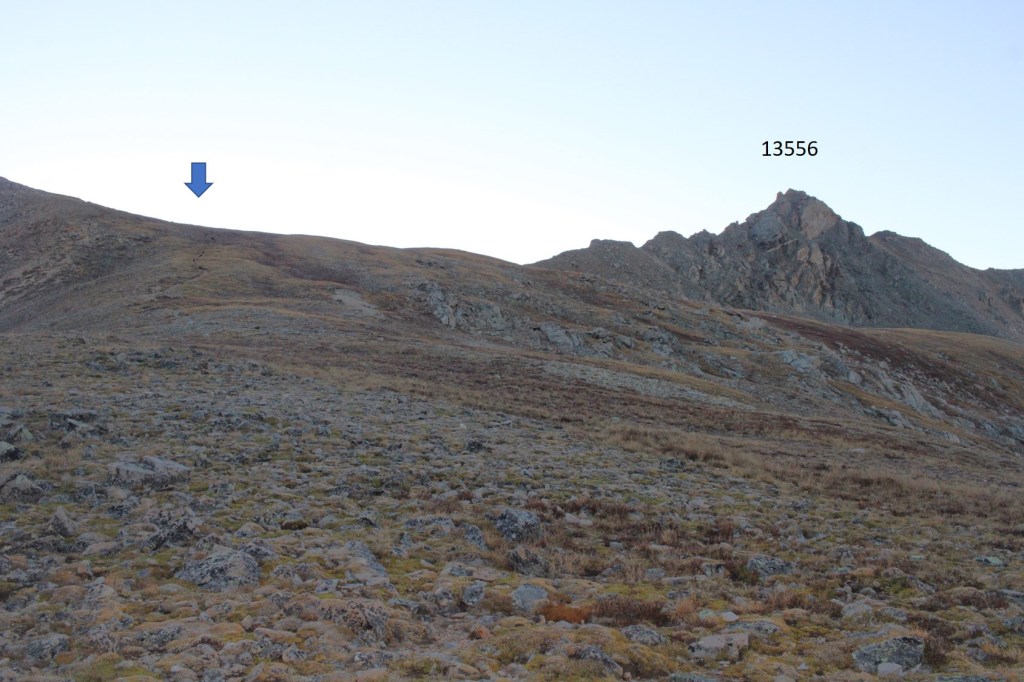
Here’s a glimpse of PT 13556

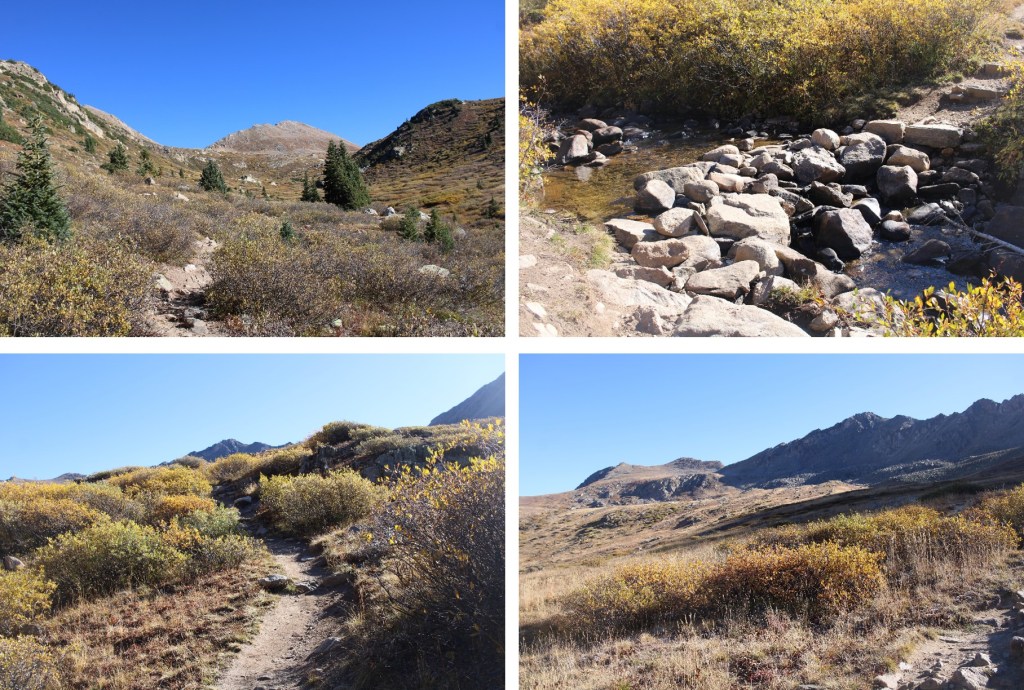
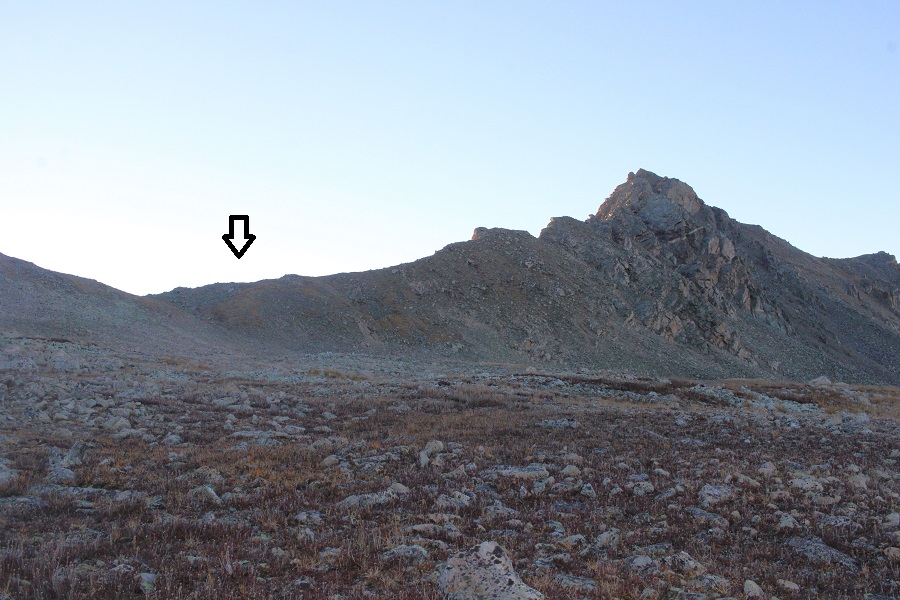
To get there, I’d first have to pass Independence Lake, and make it to the pass, which was about 2.5 miles from the trailhead

Once at the pass, I turned right and followed a faint trail east that eventually petered out.  I was headed for the ridge.

I ascended the ridge, then turned right and followed it southeast towards the summit. Initially, the terrain started out as class 2 and I just followed the ridge

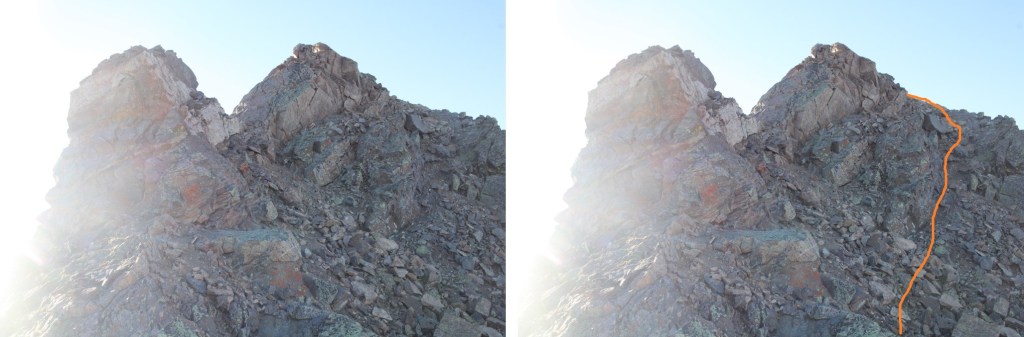
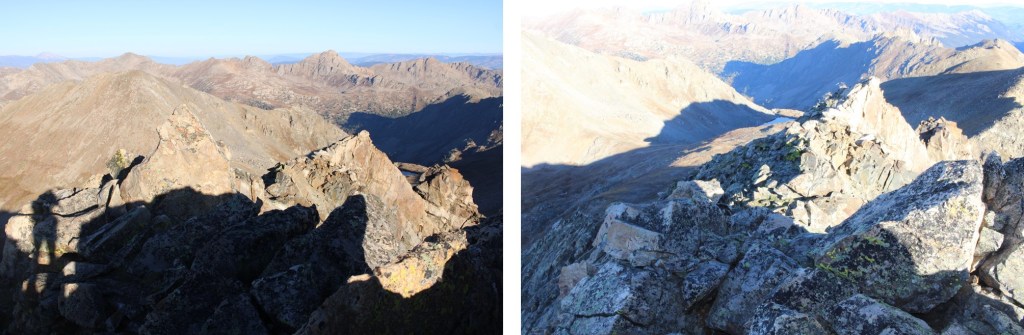
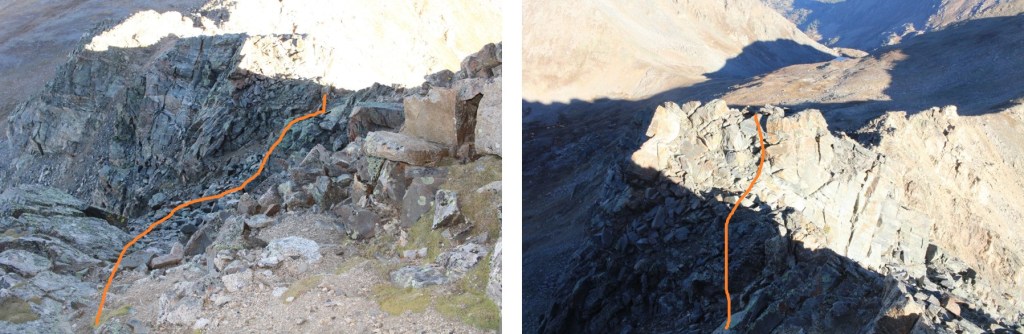
But pretty quickly I was in class 3 territory.  Most of the ridge goes at sustained class 3, with a lot of fun scrambling.  Here’s the route I took.  I initially dipped down a bit, finding a navigable hole in the ridge to pass

Next, I dropped down a few feet, and continued following the ridge

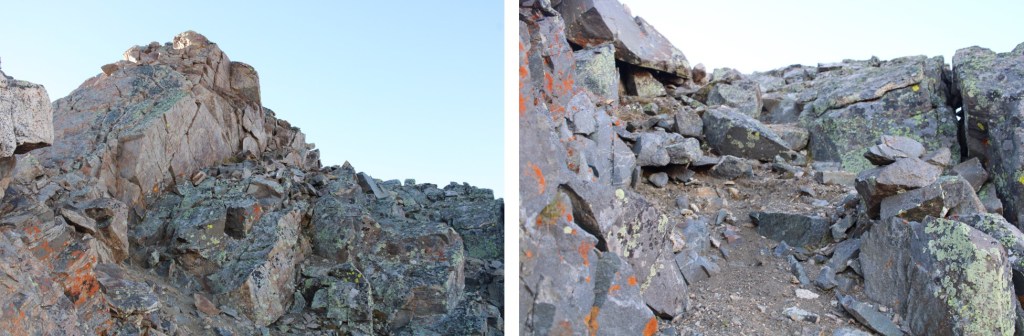
Now for the fun scrambling.  This is choose your own adventure, but this is the route I took

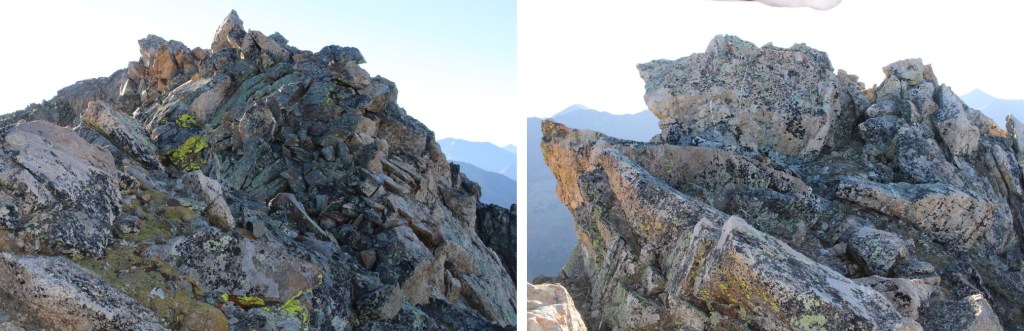
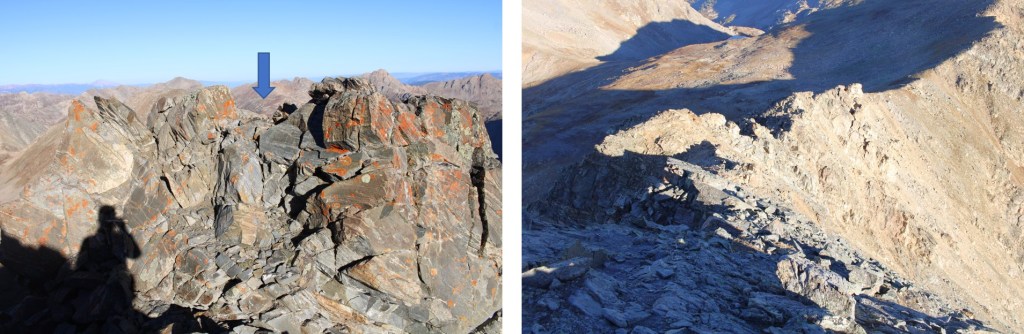
Eventually the ridge ran out, and I had to go to the right

Then it was an easy scramble to the summit

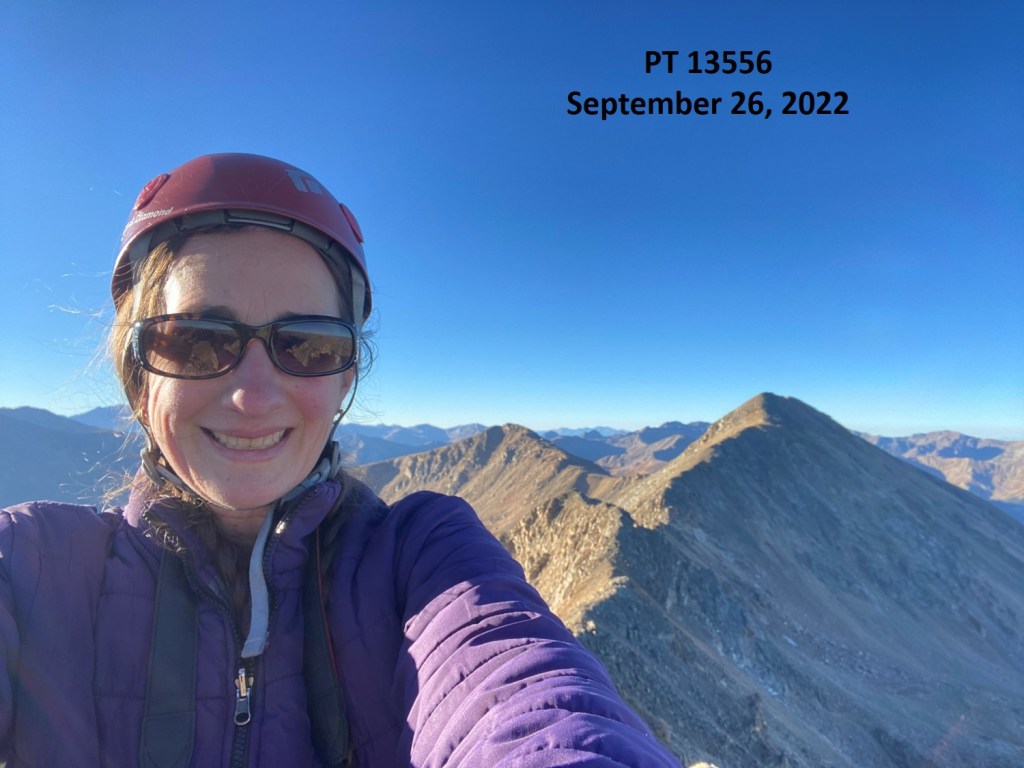
PT 13556:

PT 13556:

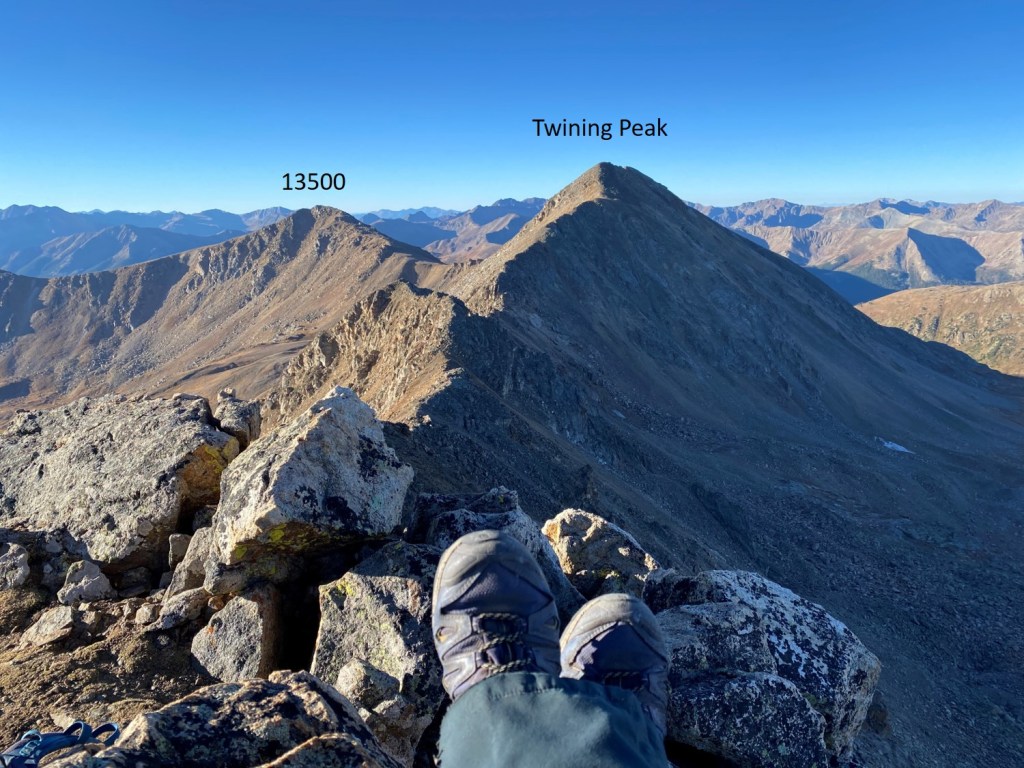
From the summit, I had great views of Twining Peak and 13500 to the south

Now for the route back down.  I just retraced my steps, but it looks a lot different heading back than it did going in.

Now back on the class 2 section of the ridge, I took it back to the saddle

Then I turned left onto trail 1996, and followed it south back to the trailhead

I made it back to my truck at 8:45am, making this a 6.51 mile hike with 2015’ of elevation gain in 3 hours, 45 minutes. 

While it had been beautiful being there with a dusting of snow last time, I was glad I’d turned around, as I now realized the scrambling on ice would have been dangerous:  There just hadn’t been enough snow to provide traction, and the ice had been slippery.

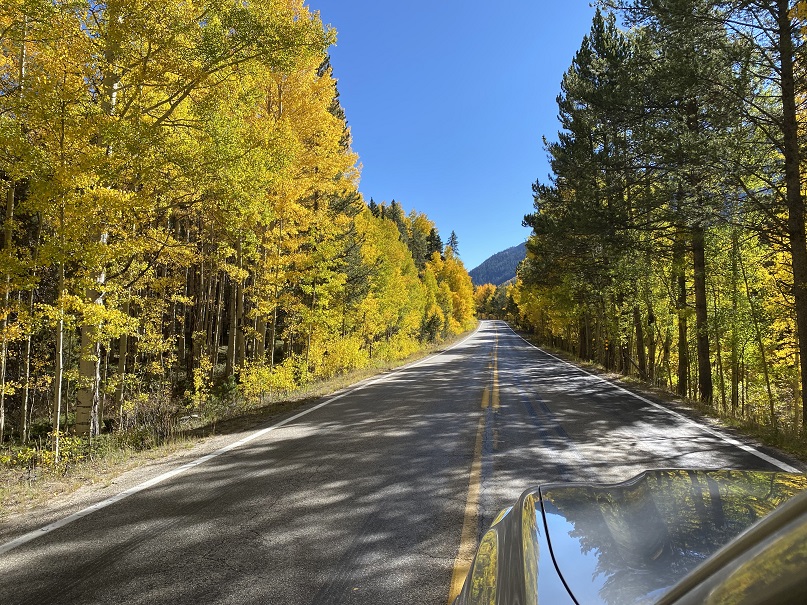
As an added bonus, this time I got to drive home while enjoying the fall colors

On to the next trailhead!
Alto Peak – 13060, Mas Alto Peak – 13062, and Menos Alto – 13,031

RT Length:  15.63 miles

Elevation Gain:  6250’

The last mile to the San Isabel Creek Trailhead was 4WD, but there were tons of campsites along the way.  Since it’s hunting season, a few of them were taken and I parked at the end of the road.

There was a faint trail at the end of the campsite that led me to the trailhead

I followed the San Isabel Trail No. 858 East, on a well-defined, class 1 trail.  

There were several creek crossings.  Since it was late September, they were all easily manageable, without creek crossing shoes.  The last time I was in the area I think I counted a minimum of 9 crossings.

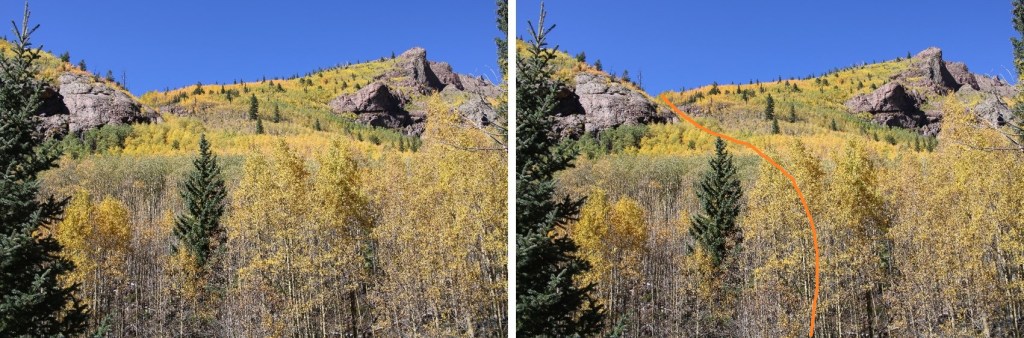
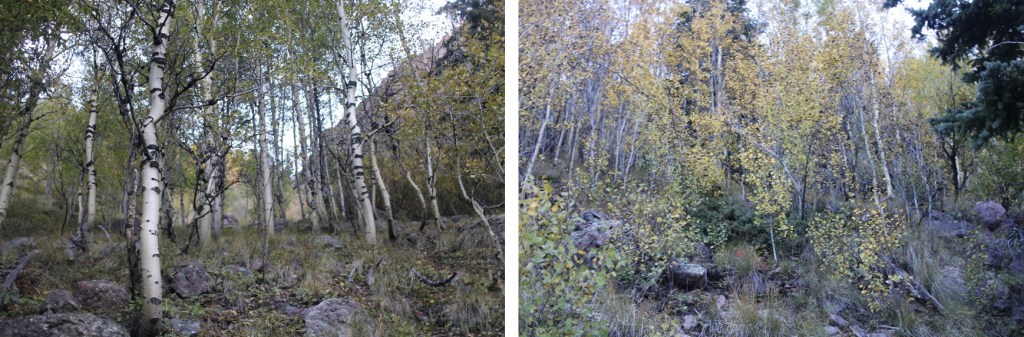
After hiking for about 4.4 miles, and at 10450’ of elevation, I left the trail and headed northwest up this drainage.  There was some bushwhacking, as the trees in the slide area seem to be growing back

I crossed San Isabel Creek, and made my way up the drainage

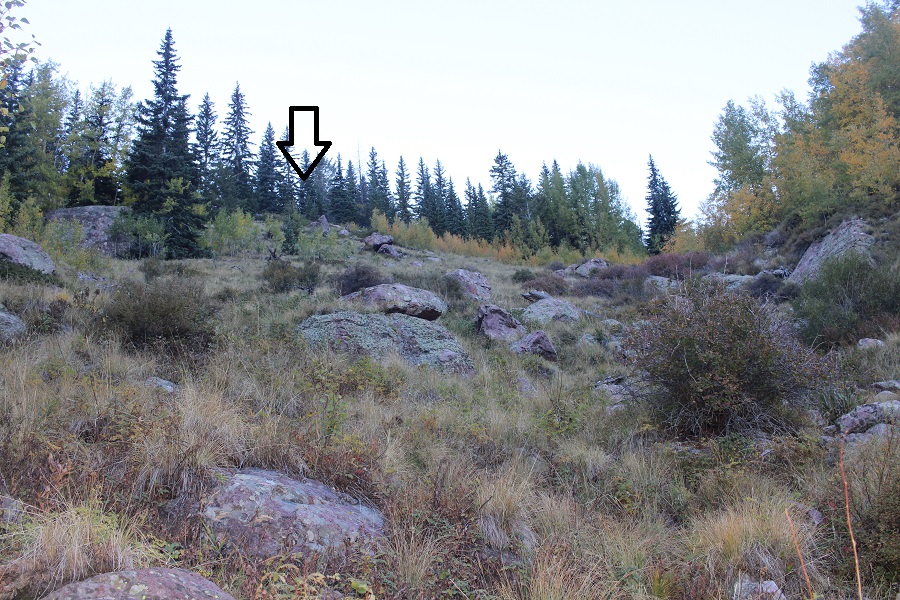
I ended up going back and forth on either side of the drainage, looking for the best route.  There are some minor game trails in the area, but once you make it to the clearing you want to ascend the ridge to your left. 

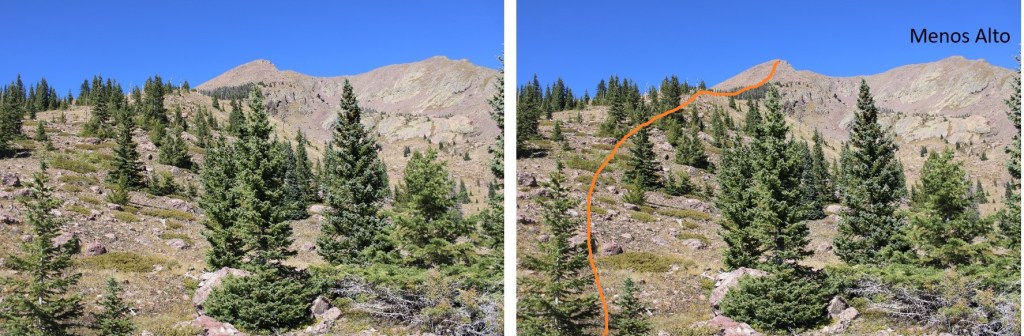
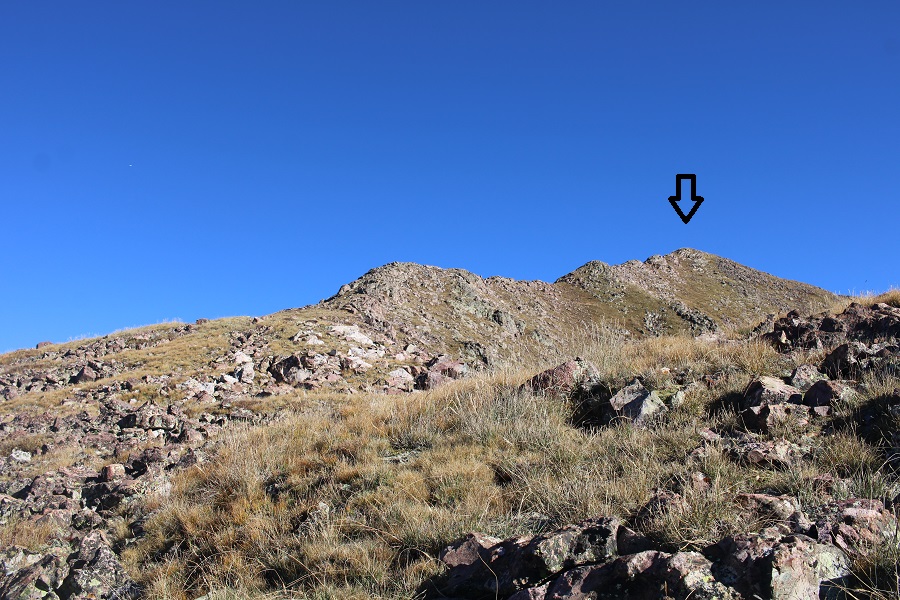
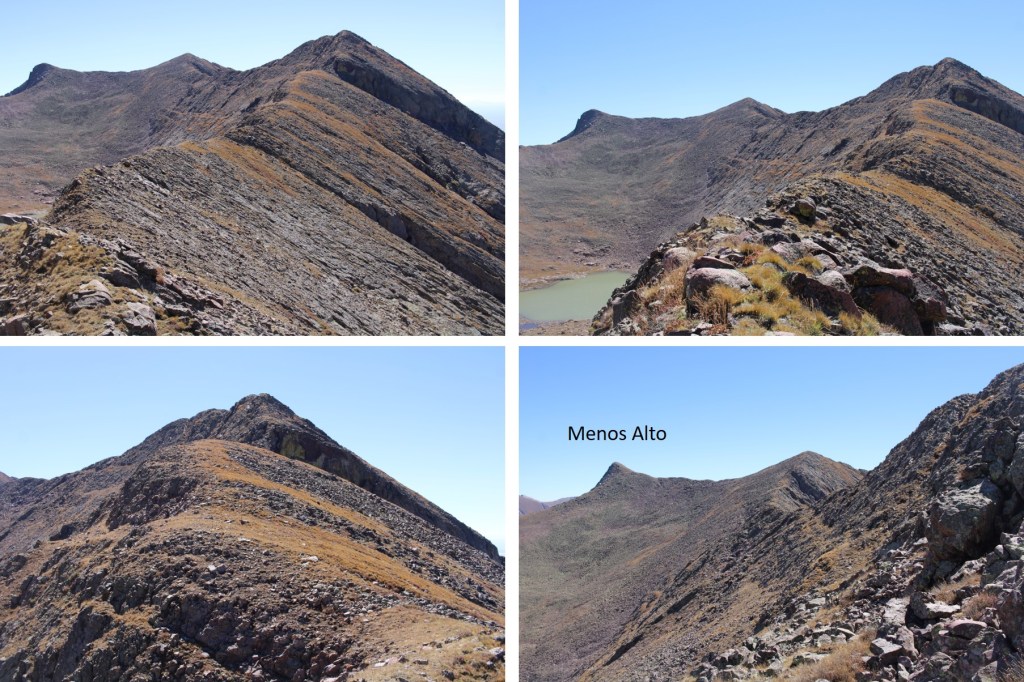
Once on the ridge, I followed it north. As you can see, Menos Alto is to the right.  However, I’d already summited that peek, so I left it today for last. 

Here are some pictures of the route up the ridge.  It started out as tundra, then I entered the trees for a short bit, and exited to class 2 rock hopping.

I continued following the rocky ridge (class 2) northeast to this point, which is not a summit.

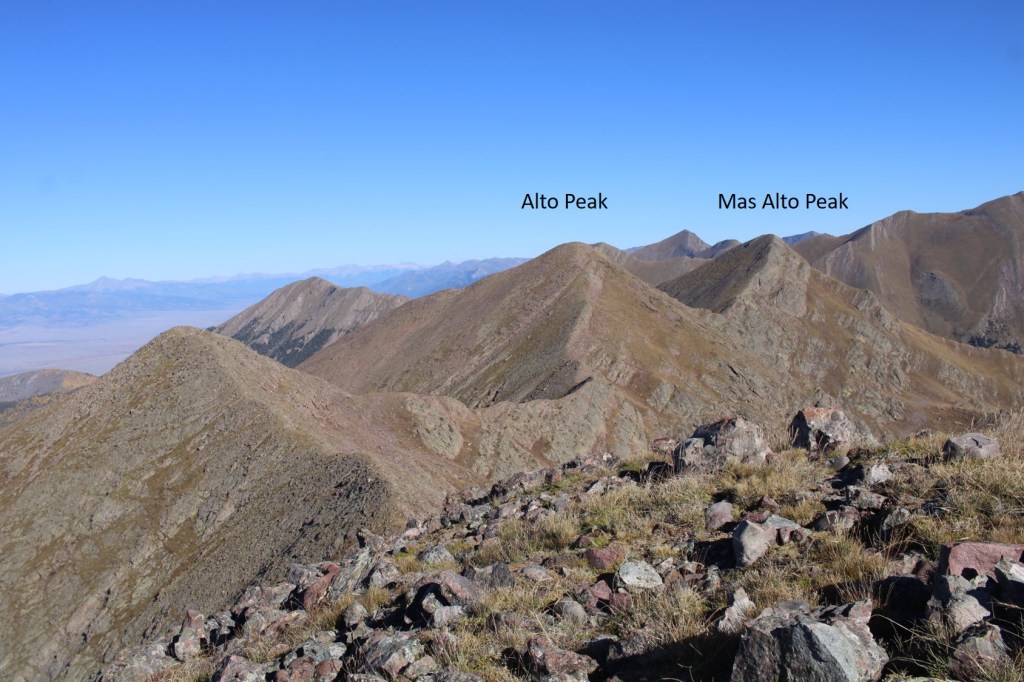
From there, I could see my next two objectives to the northwest, Alto Peak and Mas Alto Peak

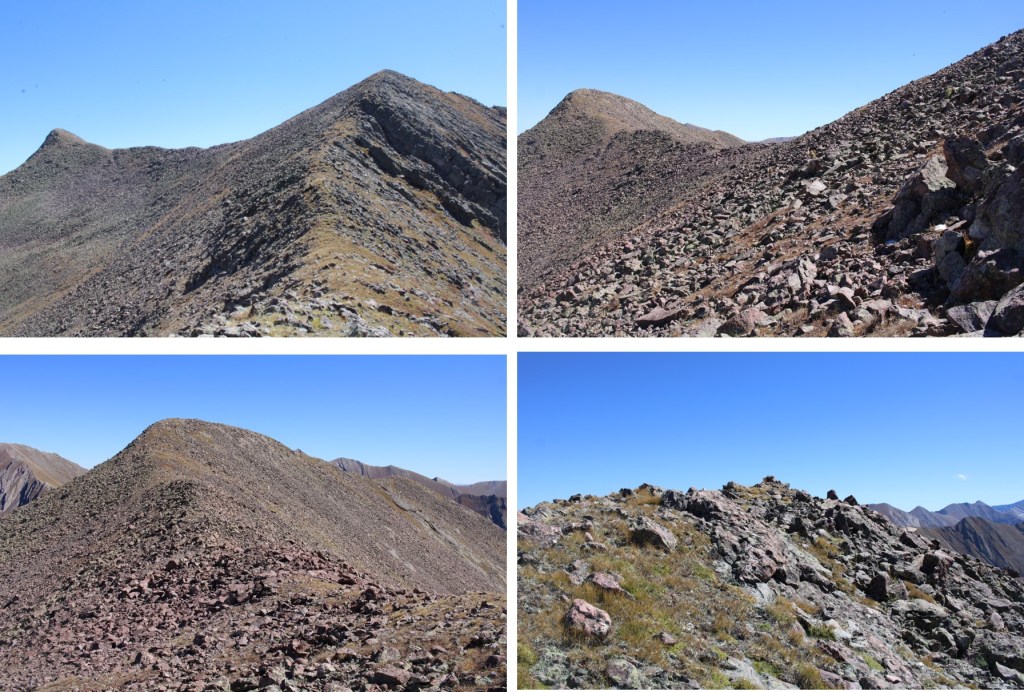
I followed the class 2 ridge northwest to the first point, which was unranked

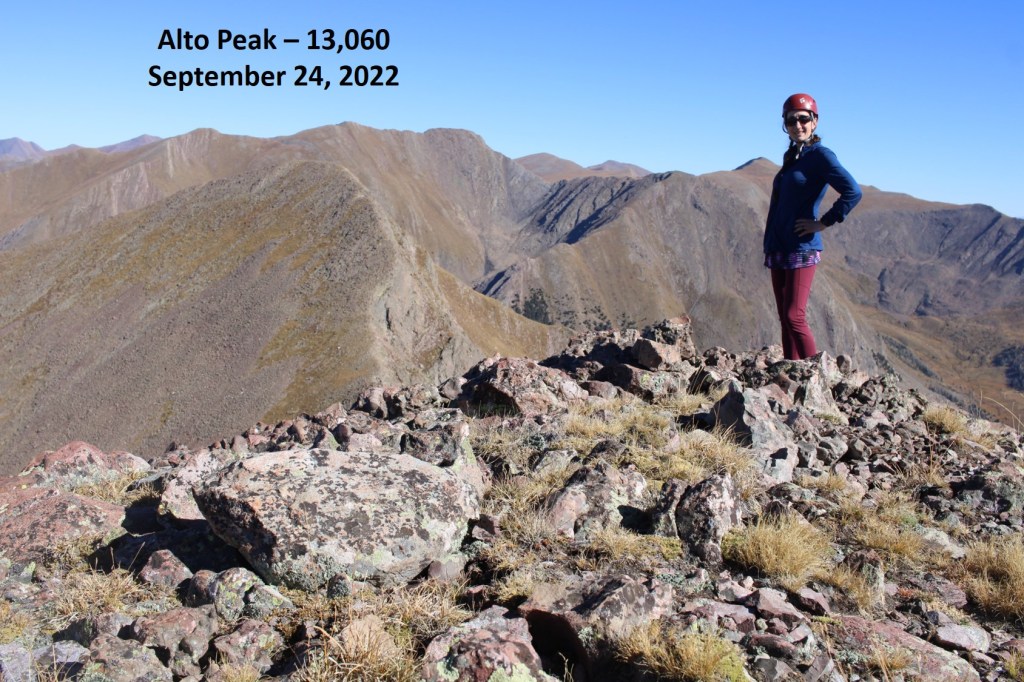
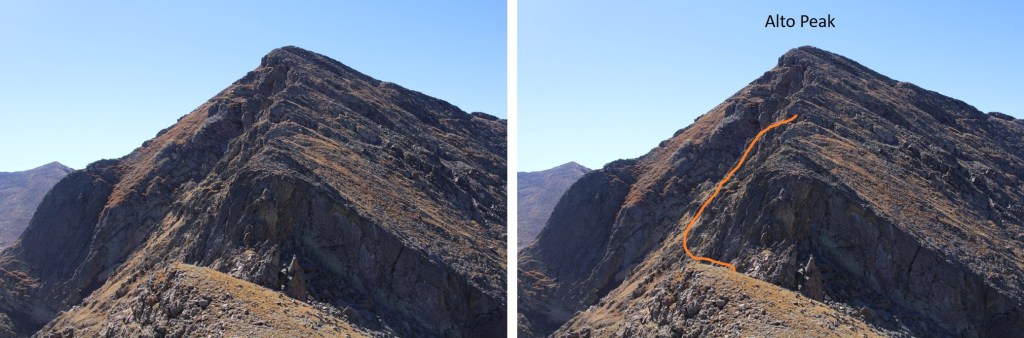
It was then a class 2 hike to the summit of Alto Peak

Alto Peak – PT 13060:

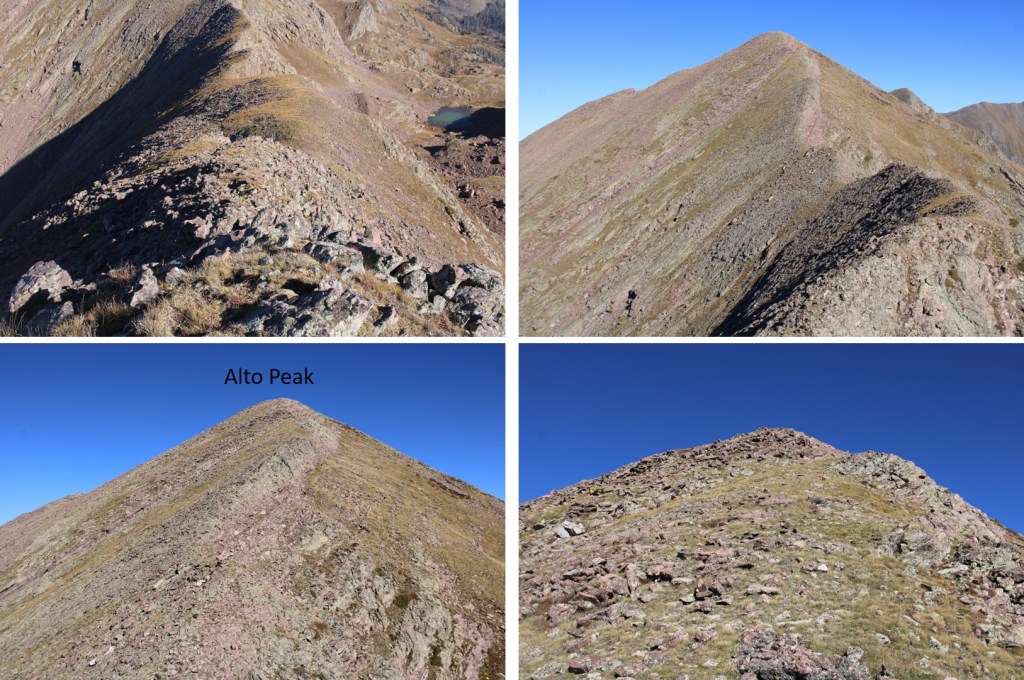
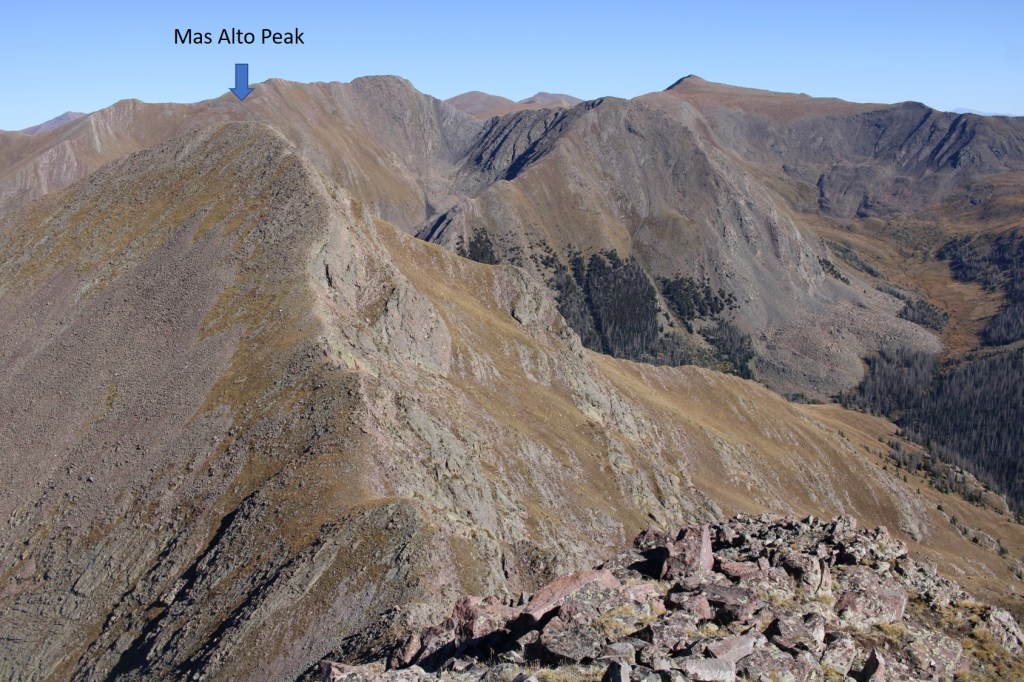
From Alto Peak I was headed north, towards Mas Alto Peak. The route looked straightforward, but I soon found the ridge cliffed out.

The ridge started out as class 2

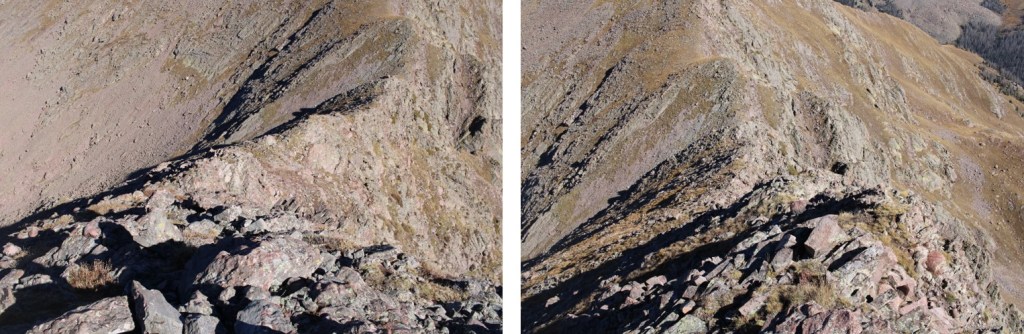
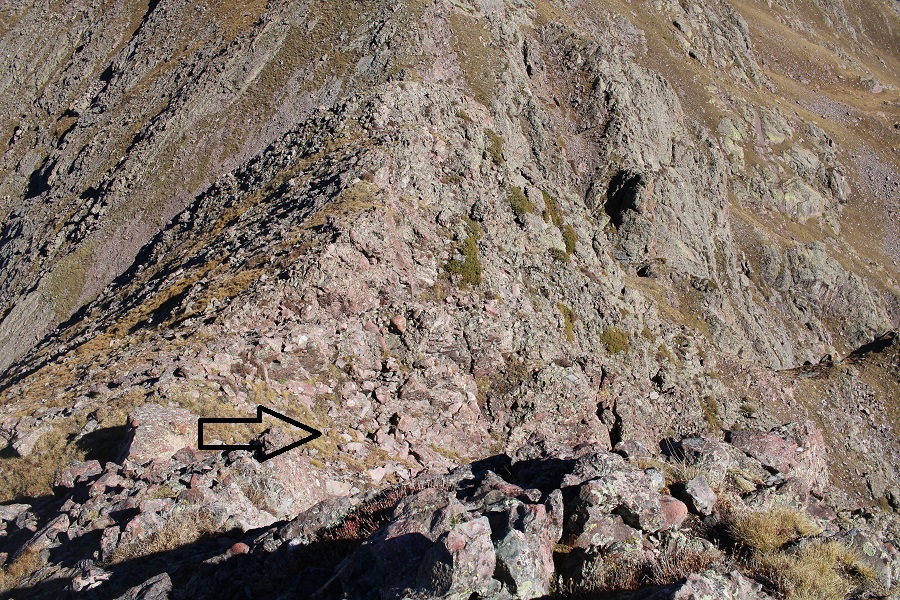
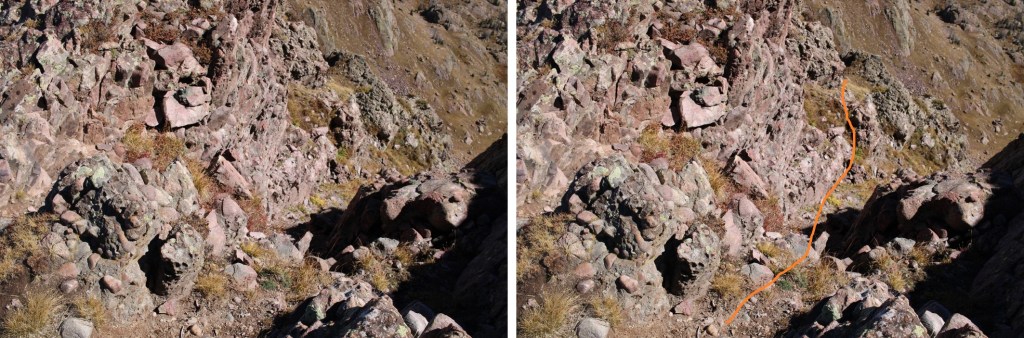
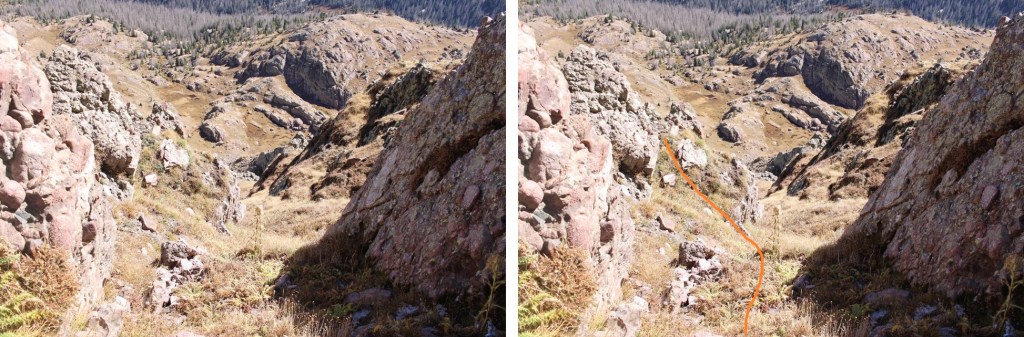
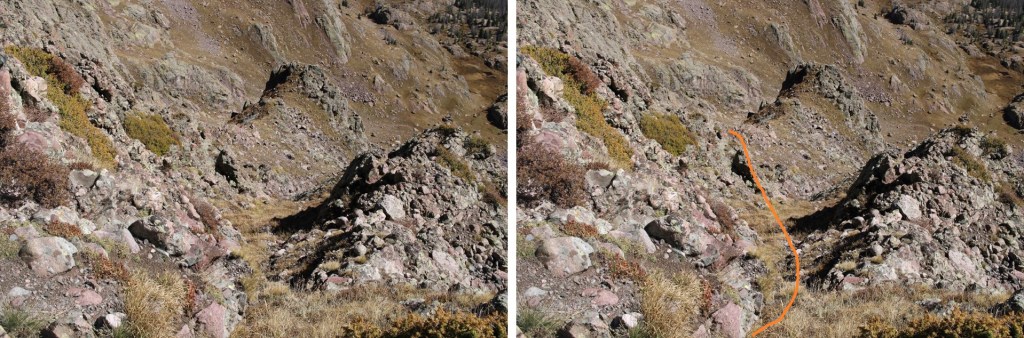
But when I got to around 12830’ I had to get creative, as the ridge ran out.  I found a gully that looked like it ‘went’, which it did.  I descended northeast down the gully, and set up about several cairns indicating my route.  I was able to keep it all class 2+

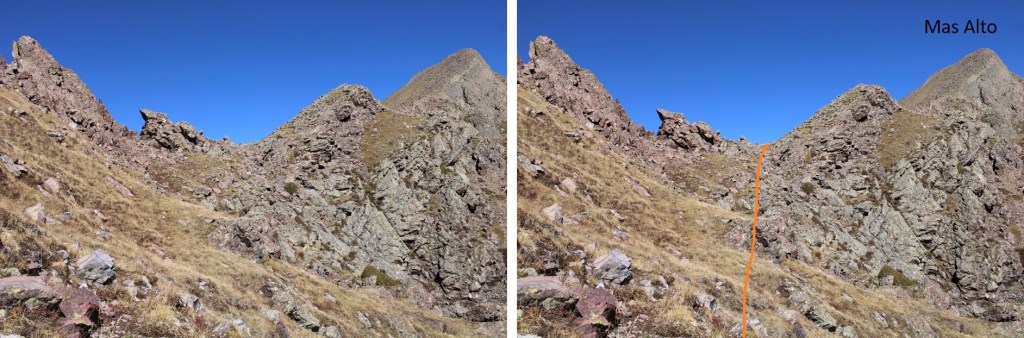
Here are some pictures

I descended to 12700’, and then followed the contour of the mountain back up to the ridge

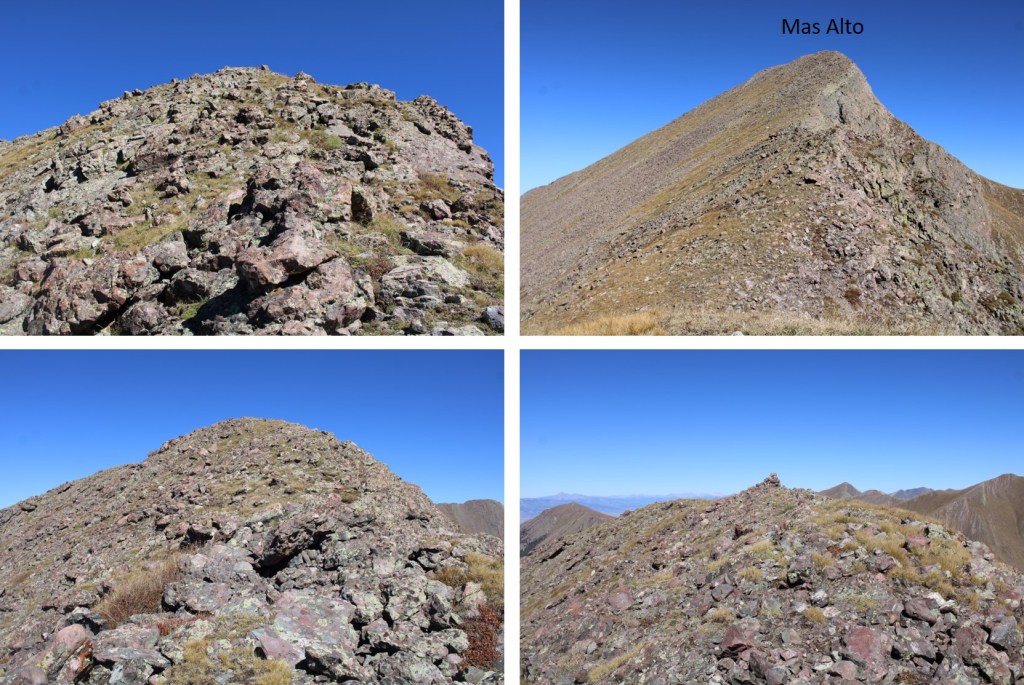
Now back on the ridge, I followed the class 2 terrain north to the summit of Mas Alto

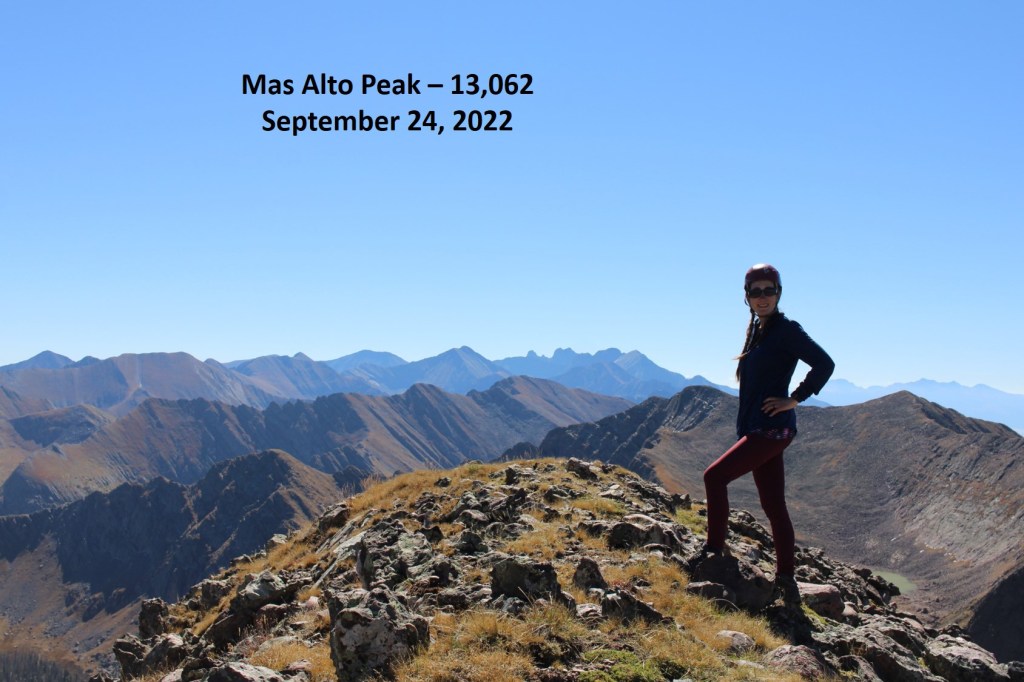
Mas Alto Peak

PT 13062:

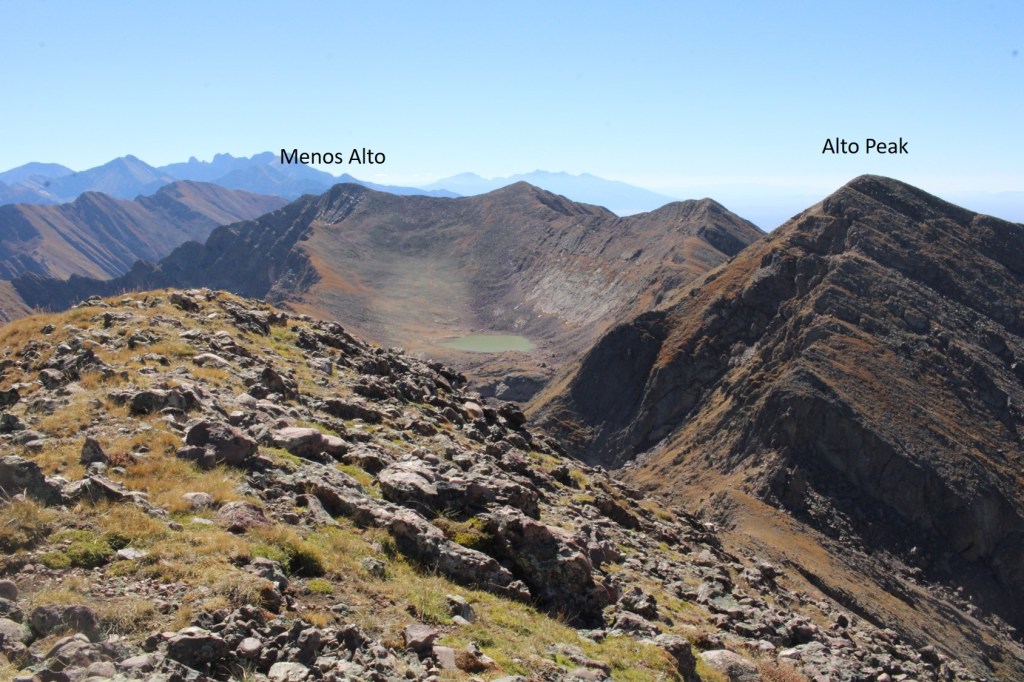
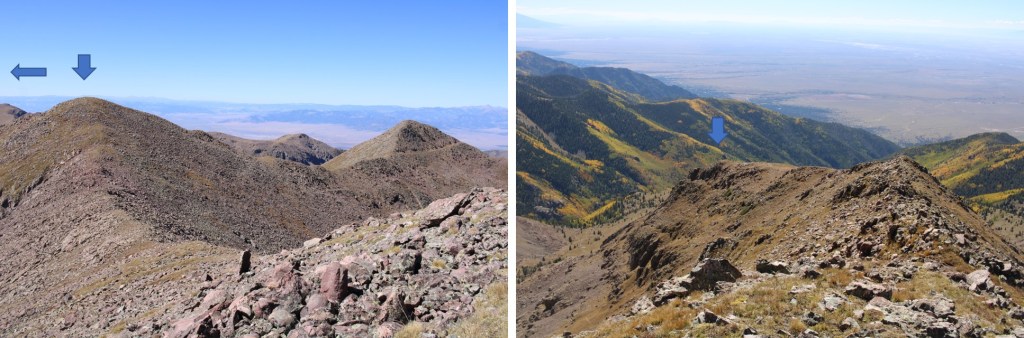
Now to retrace my steps back towards Alto Peak, and eventually Menos Alto Peak, by following the ridge south.

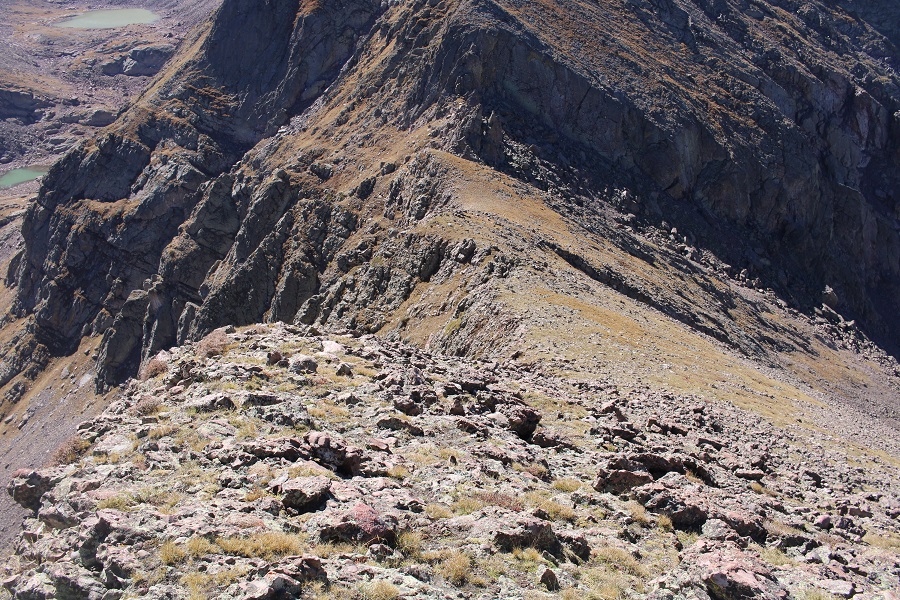
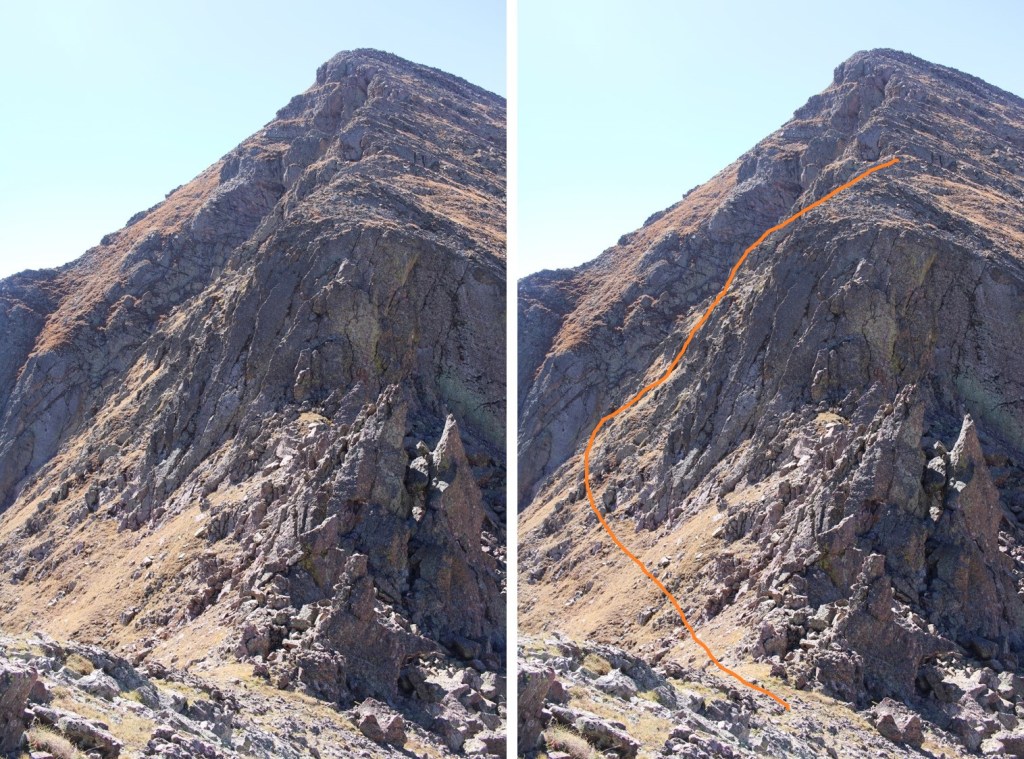
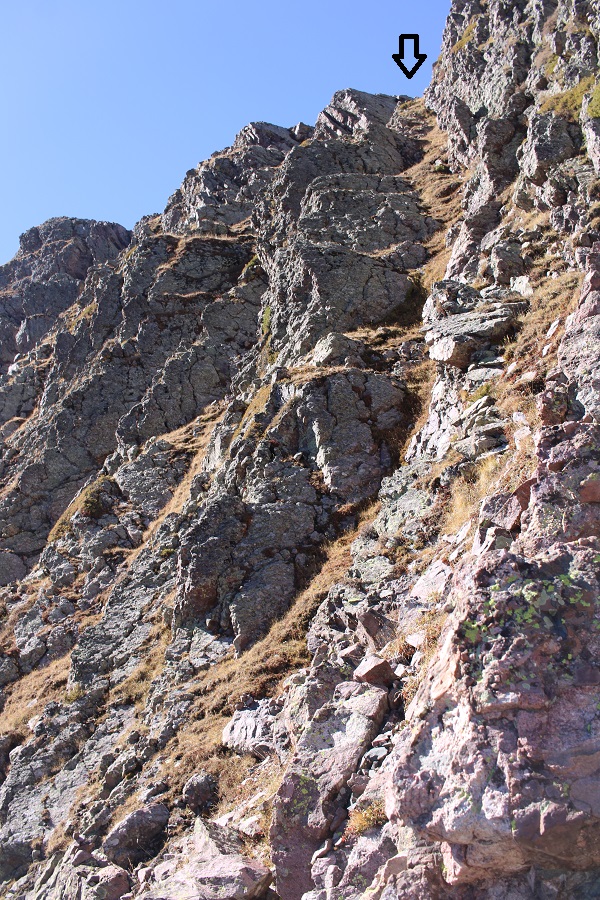
Here’s that section I avoided by going down the grassy gully, and the route I took to reascend.

Here are some step-by-step pictures of the route, now well cairned

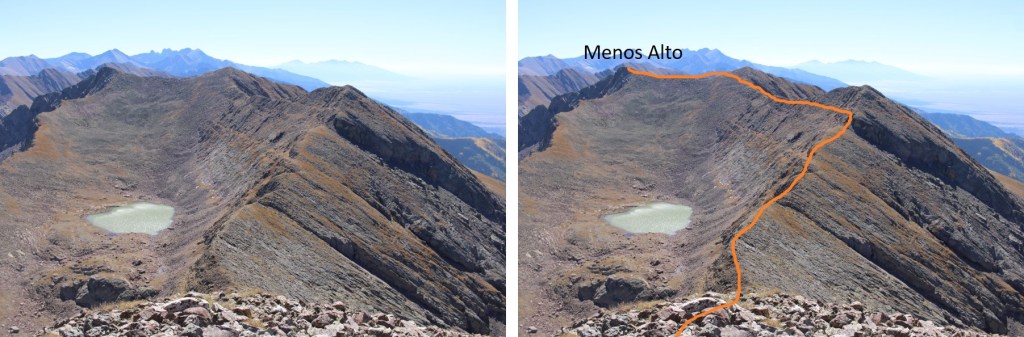
I re-summited Alto Peak, and then this is the route I took over to Menos Alto… choosing not to re-summit the unranked points and instead taking grassy ledges.

The entire route was class 2.  Here are some closer pictures

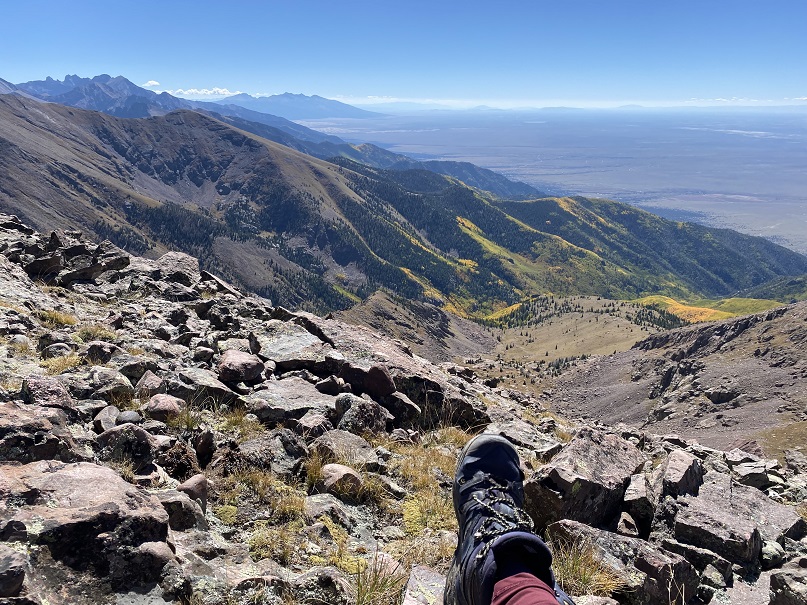
The view from the summit wasn’t all that bad

Menos Alto – PT 13031:

And now to make my way back down the ridge

Then back down the ridge to the gully

And bushwhacking back to the trail

Once I made it to the trail, I turned right, and followed it back to the trailhead, still loving those stream crossings

I made it back to my truck at 4pm, making this a 15.63 mile hike with 6250’ of elevation gain in 11 hours.

On to the next trailhead!
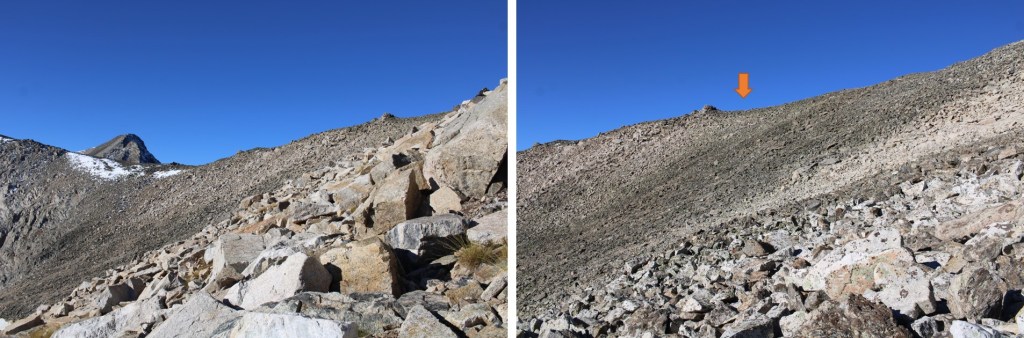
Engelmann Peak – 13,362 and Robeson Peak – 13,140

RT Length:  6.65 miles

Elevation Gain:  3448’

I started from the Ruby Gulch Trailhead at 6am. 

I headed south along the road, and turned left at the danger sign (visible from the parking area)

I followed this closed 4WD road for just under a mile.

At 10835’ I left the trail, to follow this drainage east. There was a small cairn on the left, indicating the entry point from the road

You could probably follow the drainage all the way to treeline, but I only followed it for a quarter mile or so, and then I gained the ridge to the left.

Once on the ridge, I followed it northeast to treeline

Once at treeline, the route was obvious.  I just followed the tundra towards the summit.

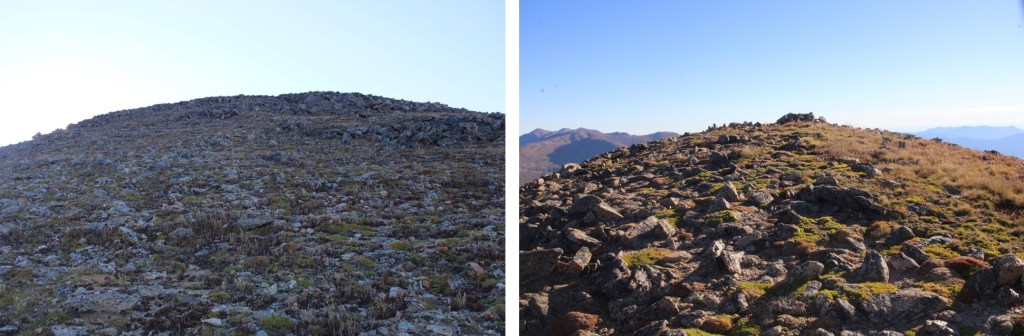
The tundra eventually gave way to rocks.  I hiked up and over them (class 2)

And could then see the summit.  There was even a trail for some of this part of the hike.  This was all very straightforward, class 2, and easy to navigate.

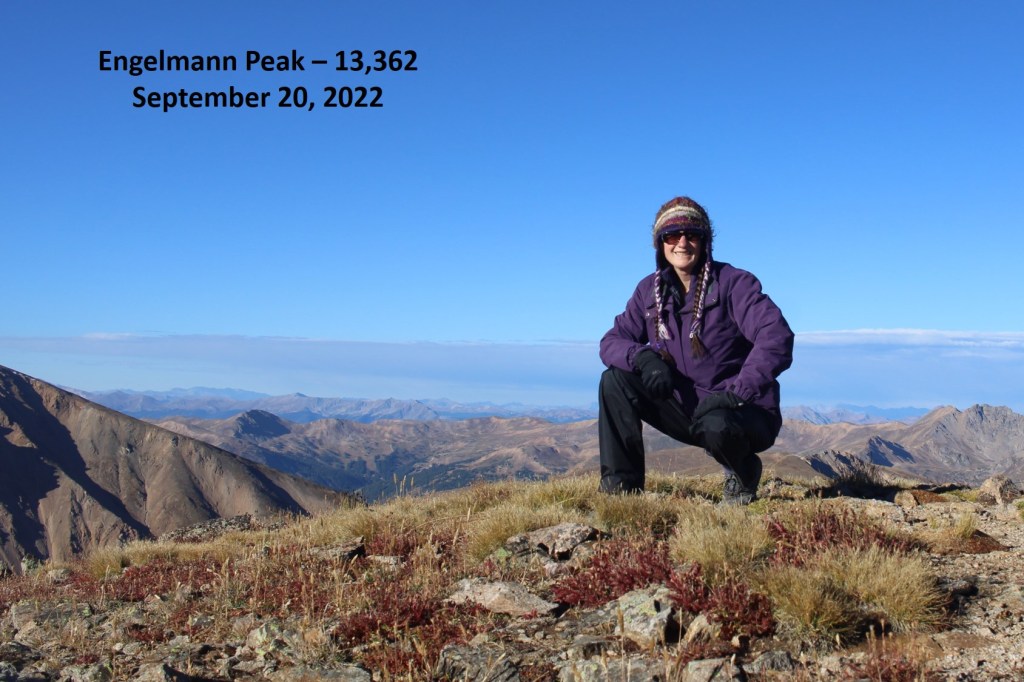
I summited Engelmann Peak at 8:20am

Engelmann Peak:

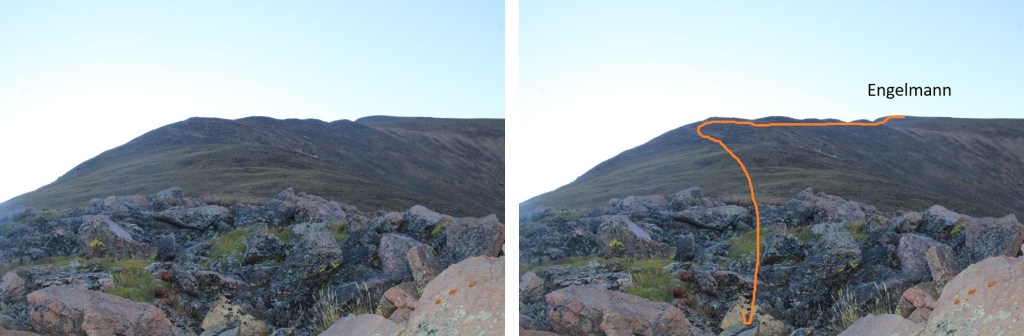
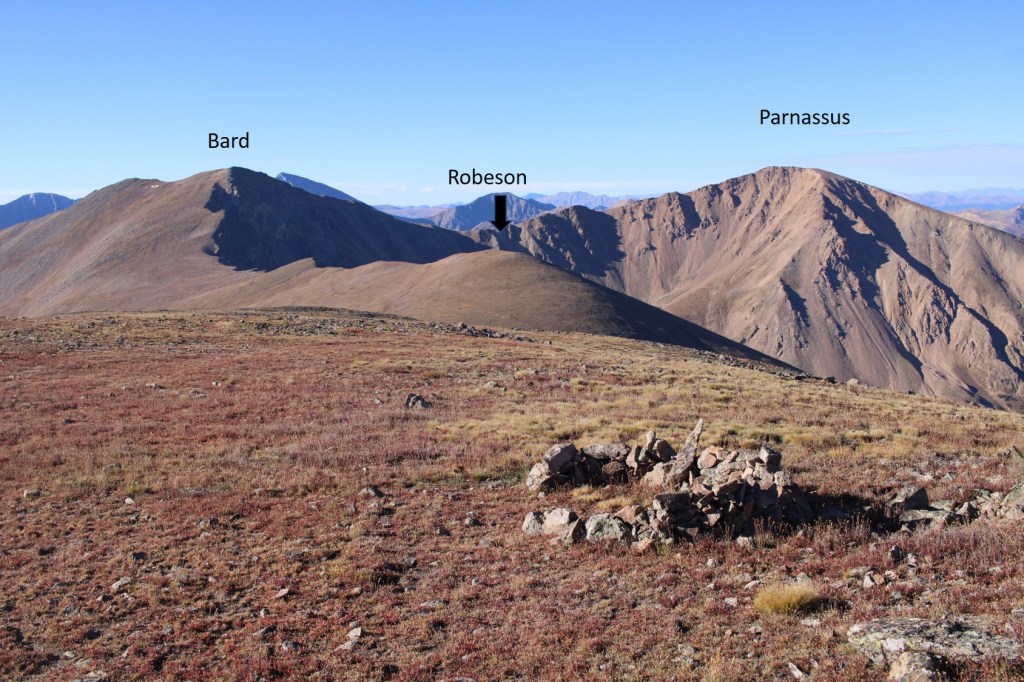
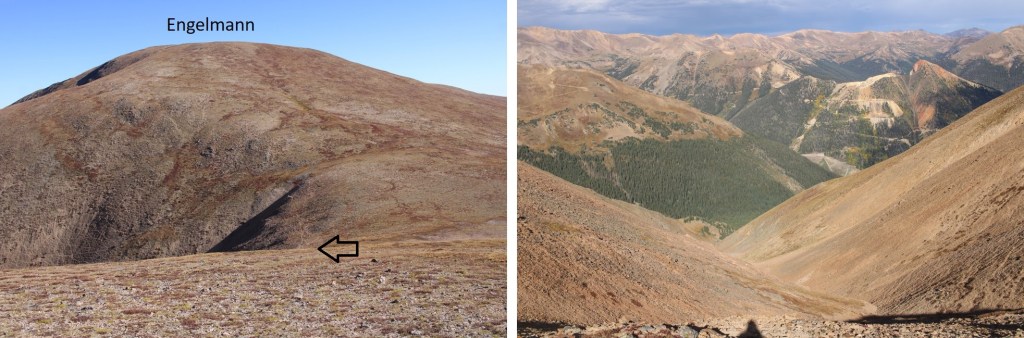
From Engelmann I could see Robeson, Bard, and Parnassus to the south

I’d already summited Bard and Parnassus, but wanted to get in unranked Robeson just to finish out the group, so I headed south. 

The entire route to Robeson was on tundra.  I lost 560’ of elevation, then gained 345’ to the summit.

There was nothing remarkable about the summit. I summited Robeson Peak at 11am

Robeson Peak:

Now to head back.  I retraced my steps northeast to the Engelmann/Robeson saddle

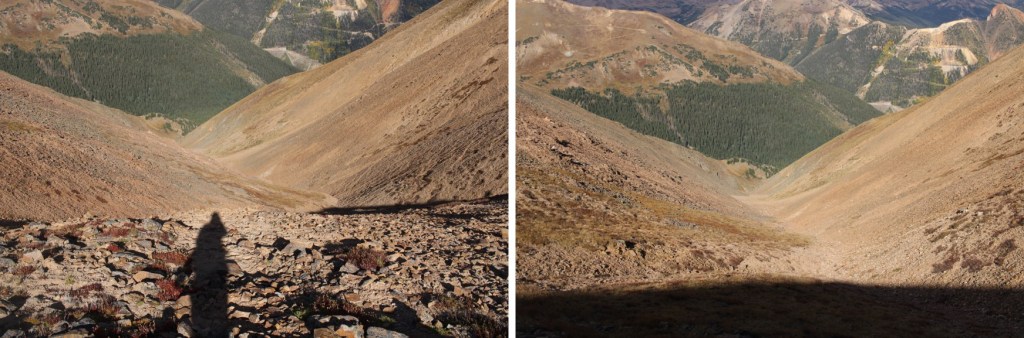
When I got to the saddle I turned left, put on my microspikes, and headed west down the drainage. The drainage goes class 2 all the way down, but I’m sure during a lot of the year there’s snow to contend with. 

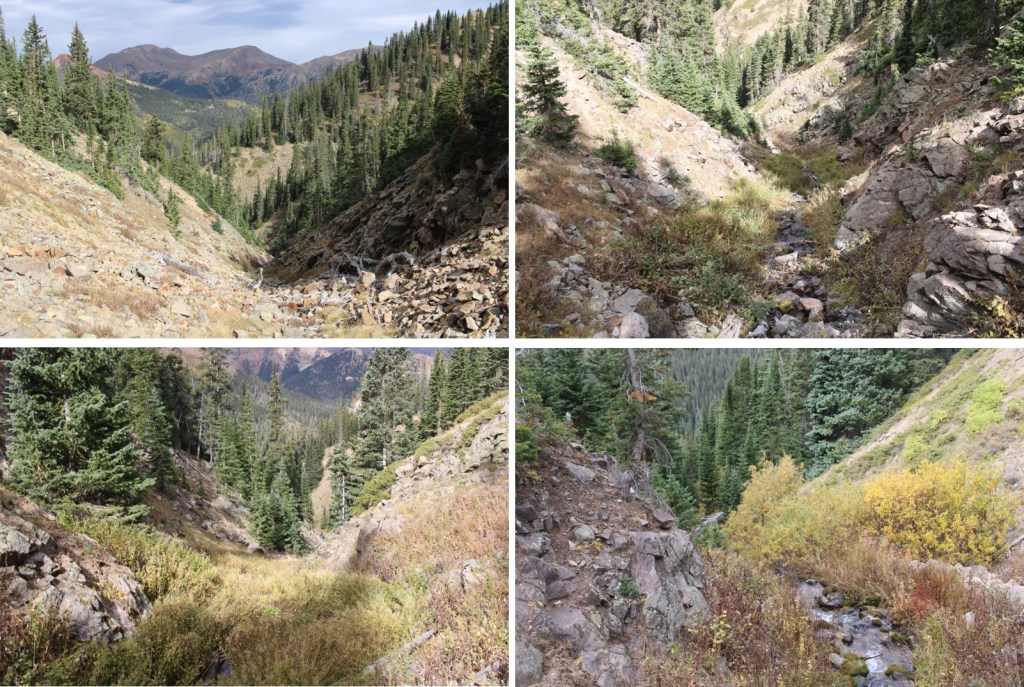
At treeline the gully became narrow, and a small stream formed, but it was still easy to follow the drainage

Eventually I came to a dirt road, and took that road west towards the road I took in

I took that road north back to my truck

I made it back to my truck at 11am, making this a 6.65 mile hike with 3448’ of elevation gain in 5 hours.

On to the next trailhead!

PT 13070 and Pomeroy Mountain – 13,151

RT Length:  6.6 miles

Elevation Gain:  3008’

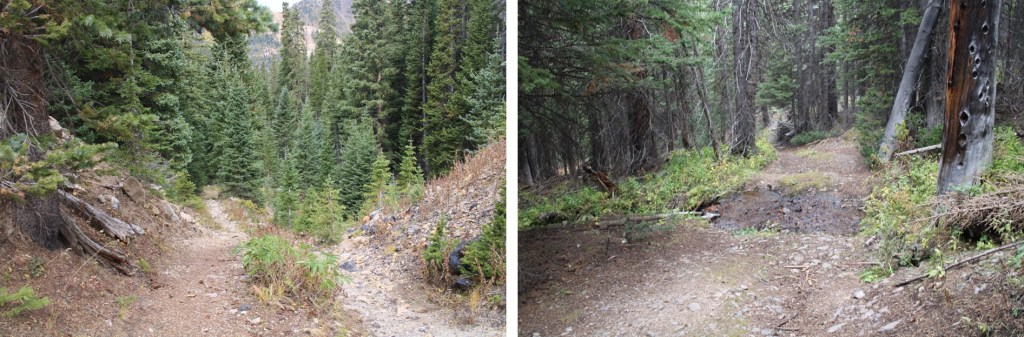
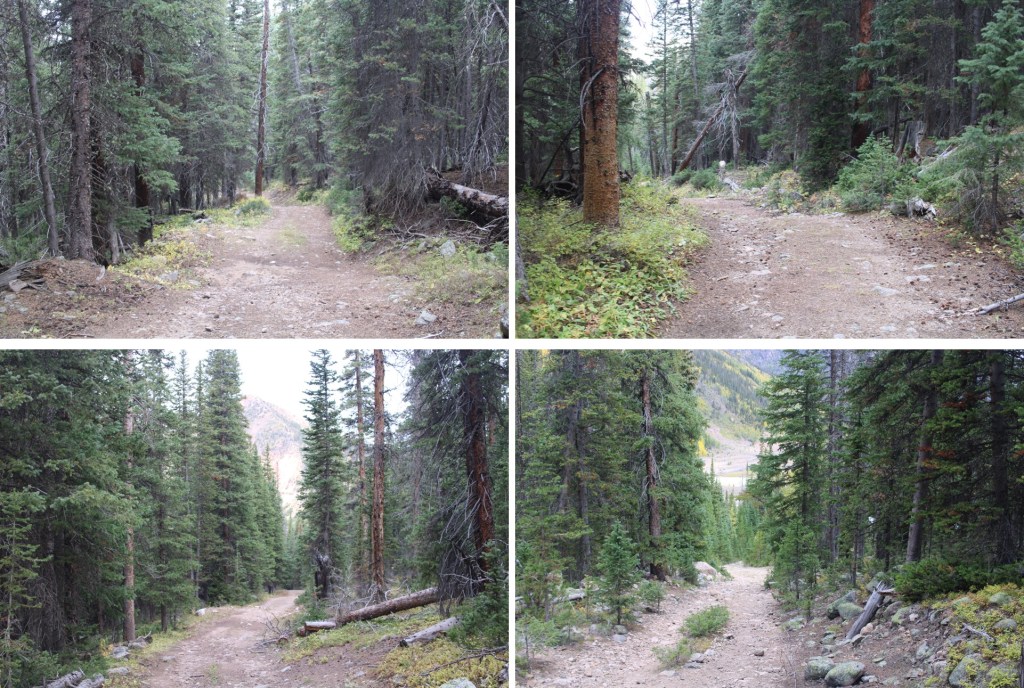
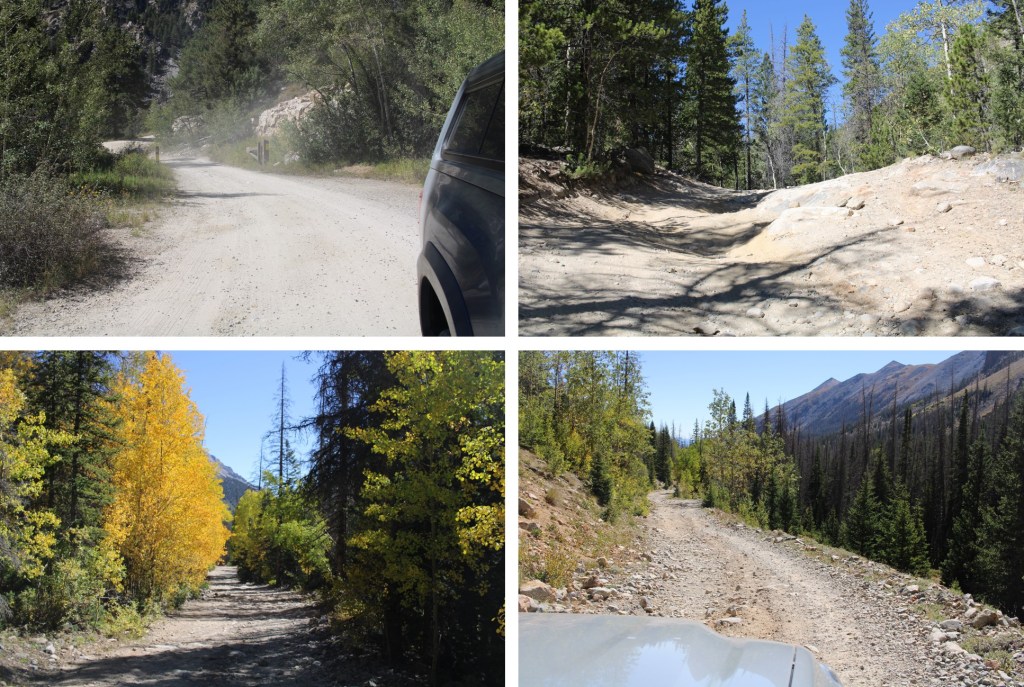
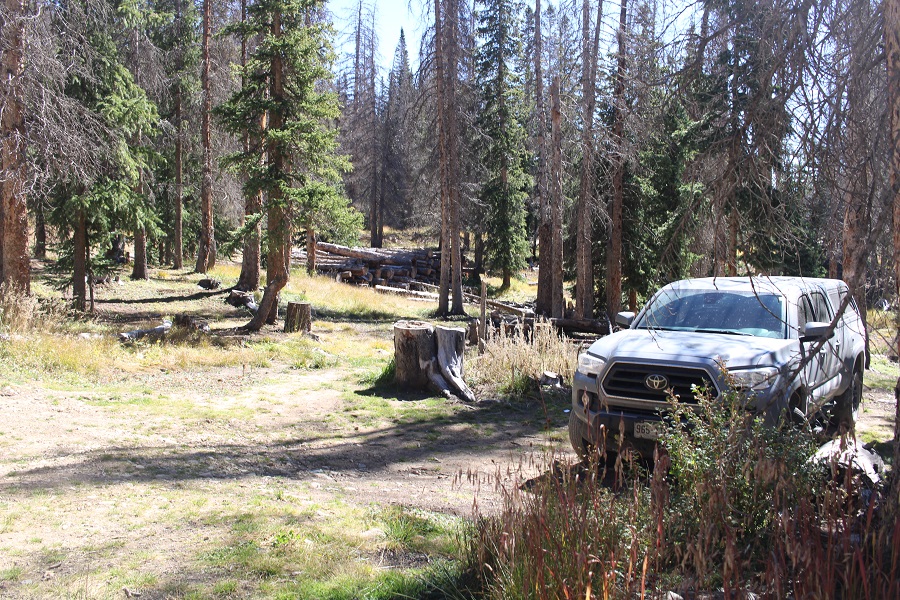
I started at the North Fork Reservoir because I wanted to fish and spend the night camping before heading out.  That 4WD road in though!  It was intense! 
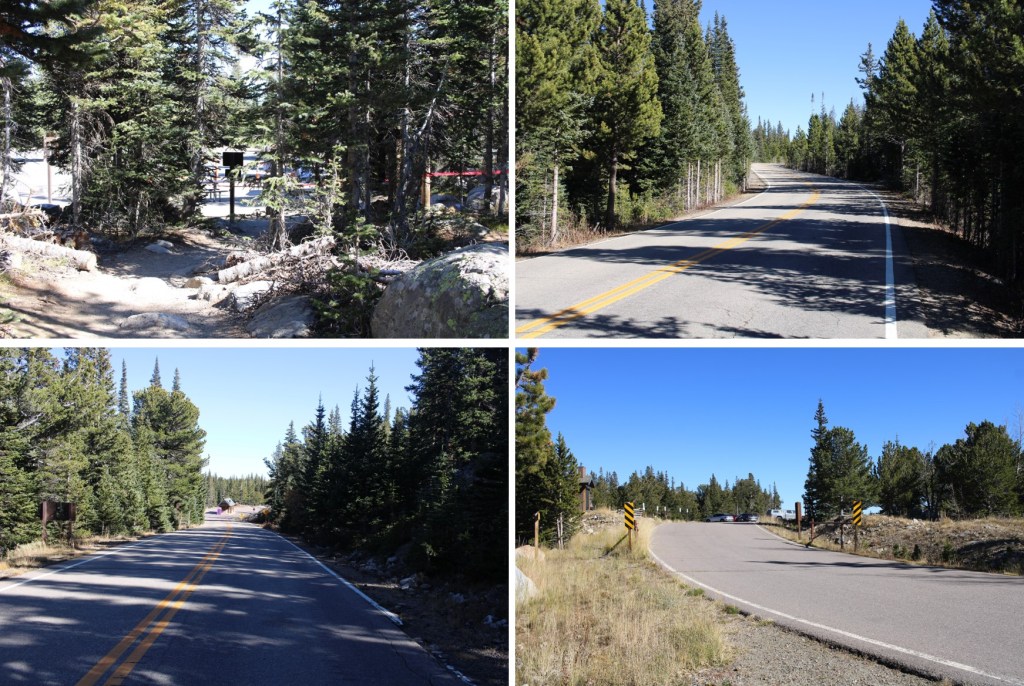
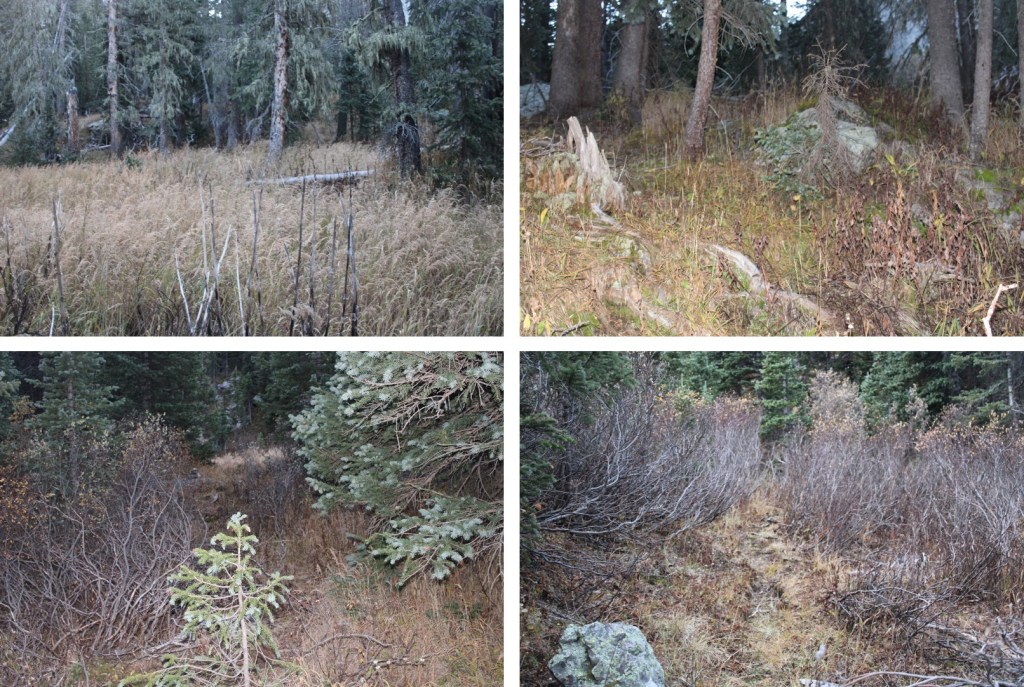
If you’re not spending the night, and your vehicle made it this far, take the right road to Billings Lake and you can cut off some hiking and park in the basin

If not, you can pay for a site at the reservoir, or do what I did, which was park just outside of the entrance in a dispersed site. 

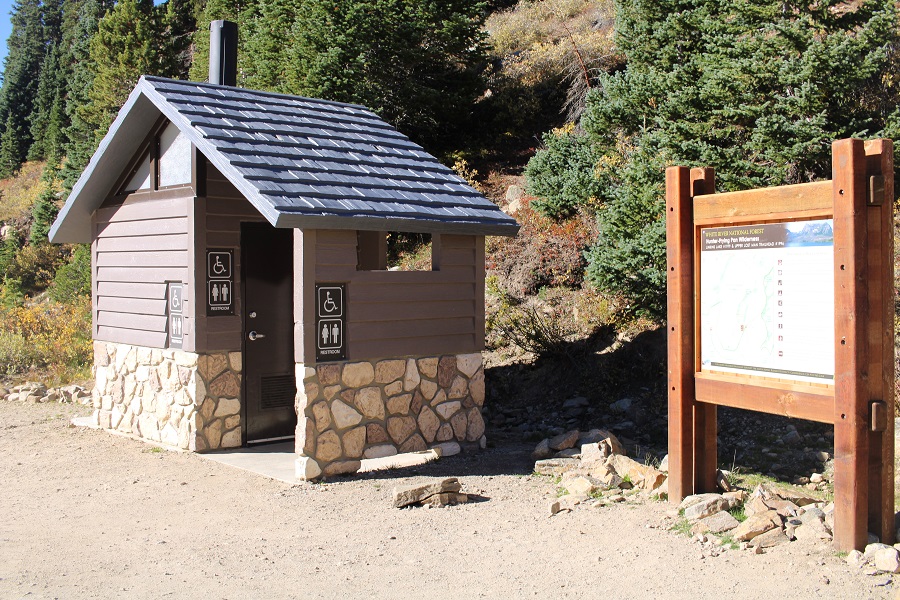
Here are some pictures of the North Fork Reservoir and the campsites there.  Note:  The bathrooms were disgusting and the doors didn’t close.  The fishing was good however, and the reservoir beautiful.

If you’re starting from the dispersed campsite, just walk north through the trees and you’ll hit the 4WD road.

I was on the trail at 6am, following the dirt road.  I hiked it for just over a mile before turning off and leaving the road.  Side note: I counted no less than 3, and up to 5 moose in the upper basin that morning. 

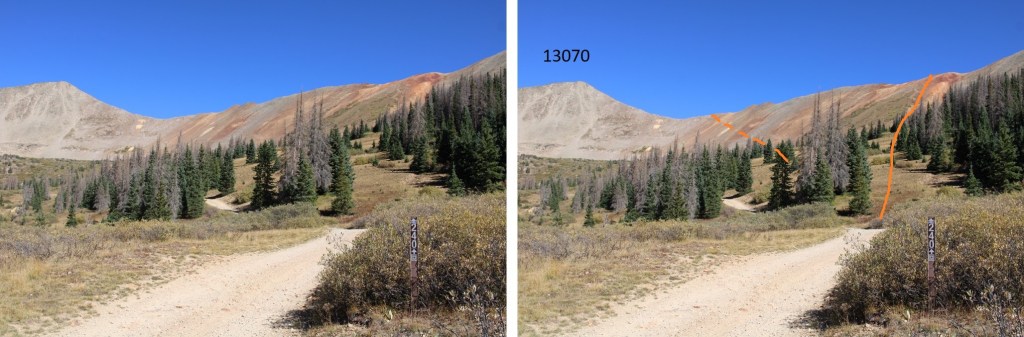
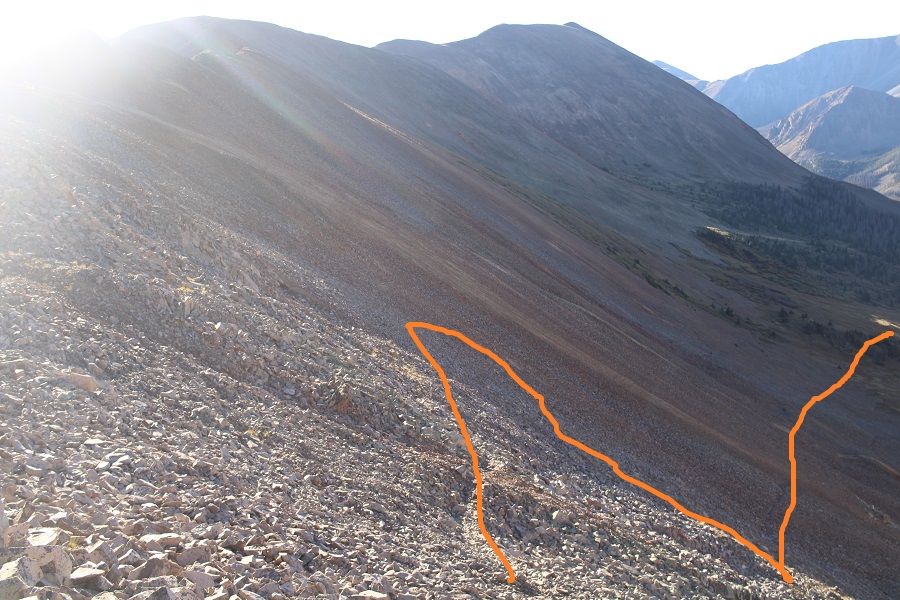
I took the solid route up, the dotted route down.  I’d recommend taking the dotted route both up and down, as there are several old miners trails there that go all the way to the ridge.

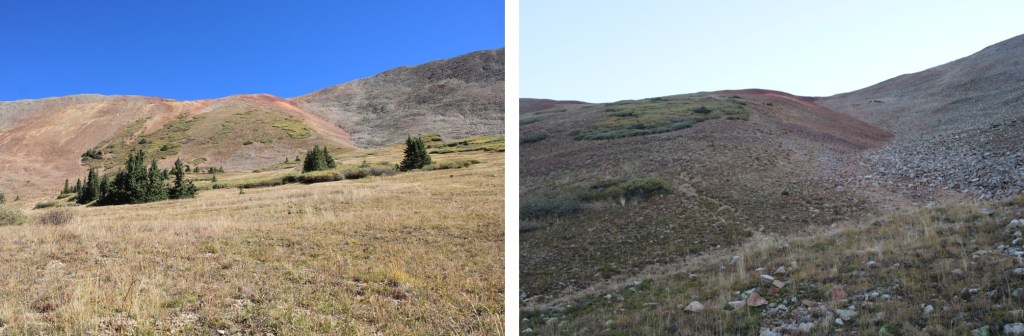
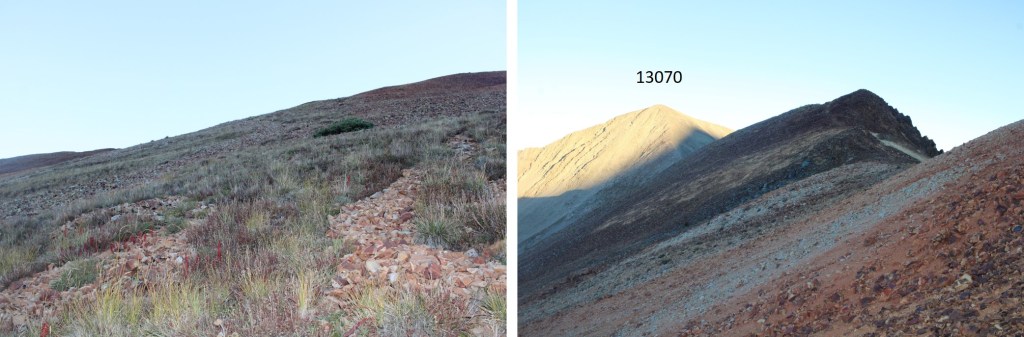
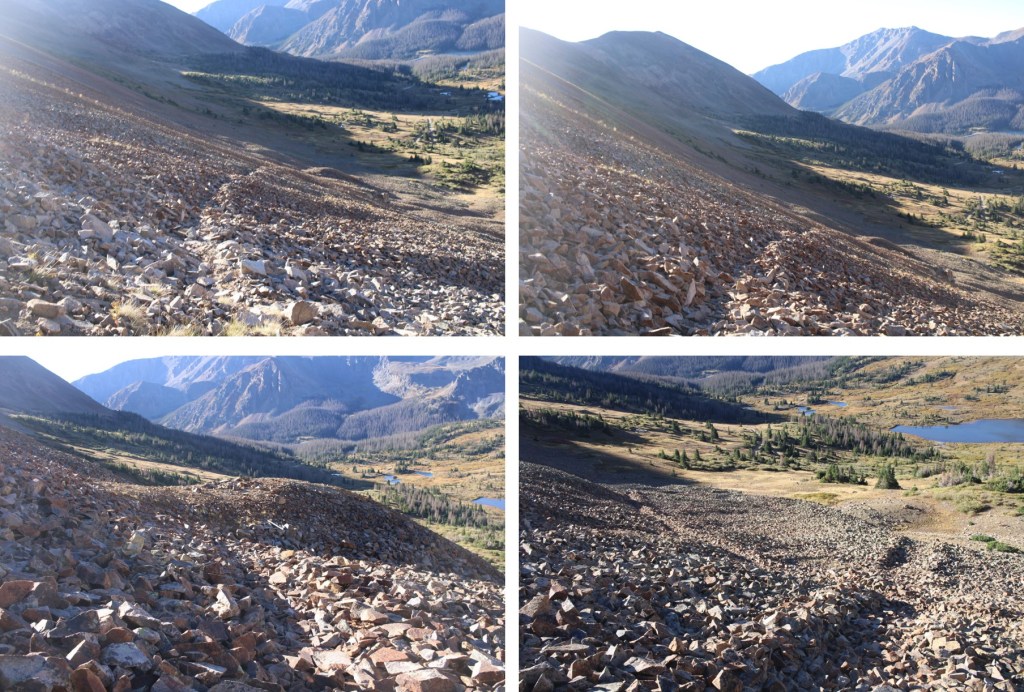
Here are pictures of my route up to the ridge.  This entire hike after leaving the road was class 2.

It was then a simple class 2 ridge walk over to PT 13070

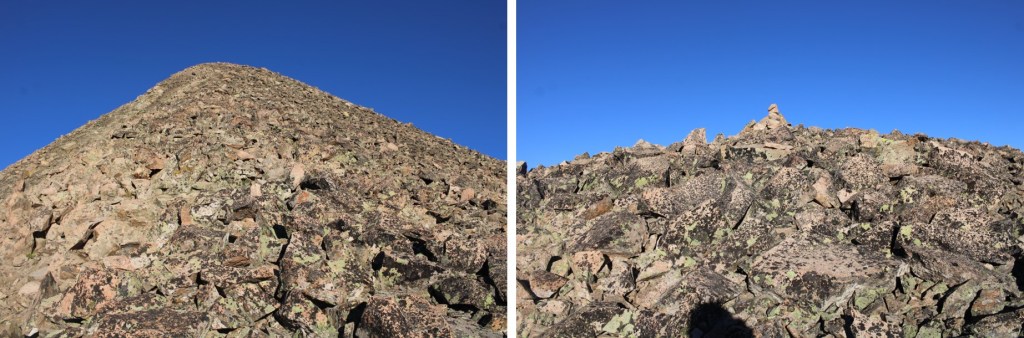
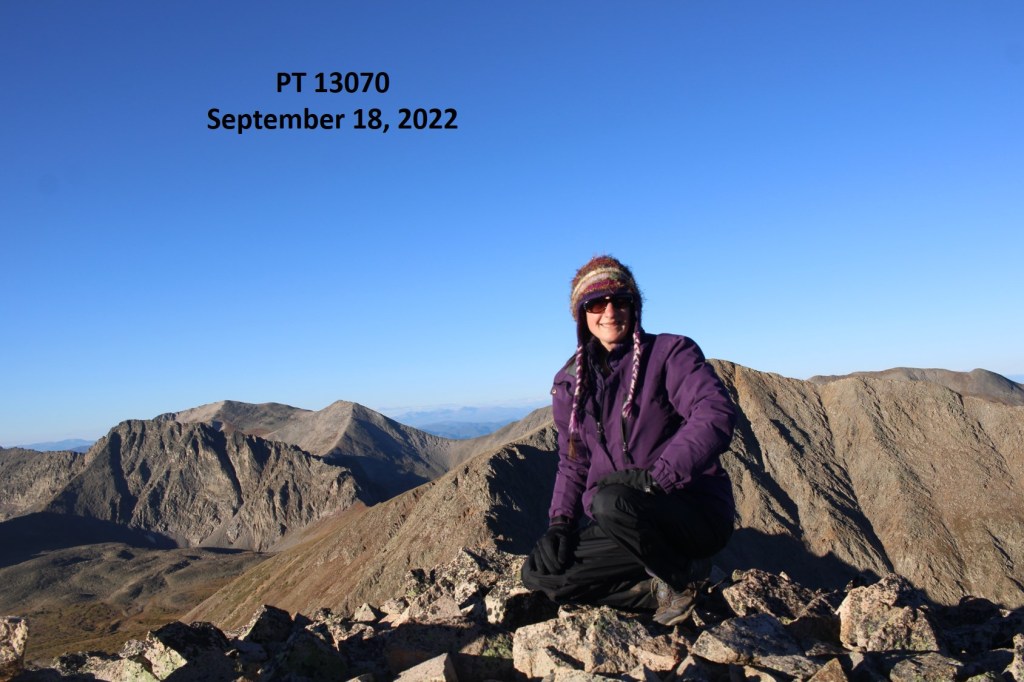
I summited PT 13070 at 7:40am

PT 13070:

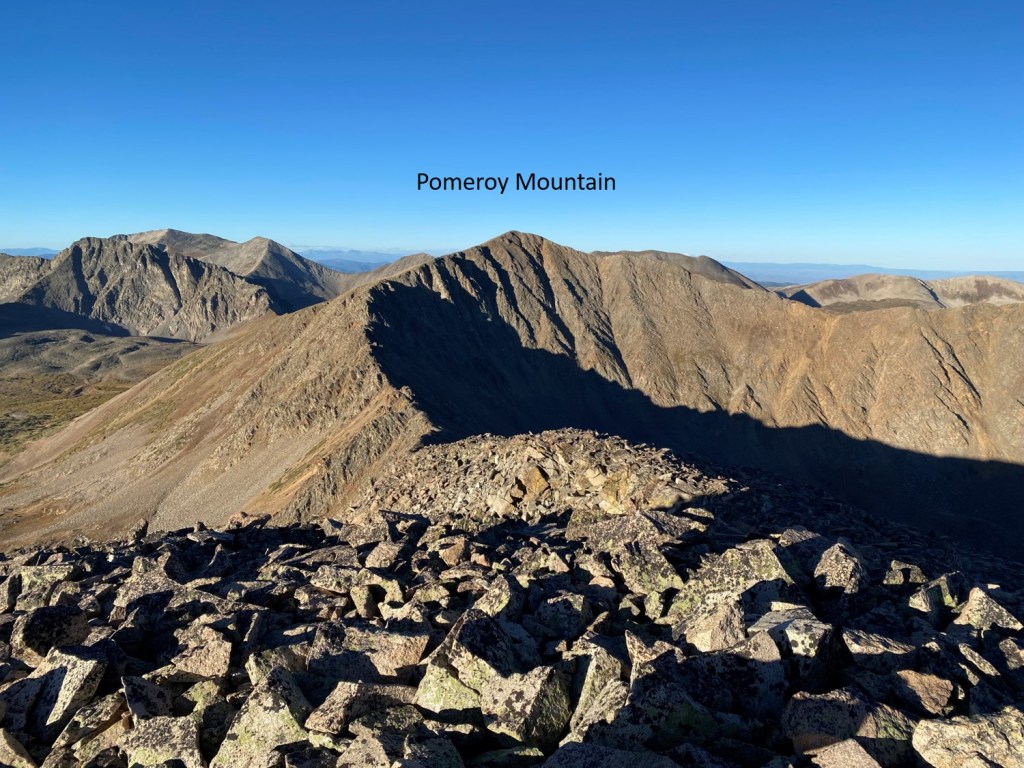
From PT 13070 I could see Pomeroy Mountain to the southwest

I didn’t head southwest, but instead made my way back down to the saddle

Once there, I could clearly see several old mining/social/game trails that led down into the basin.  They were relatively well established, and easy to follow, as they each stopped by the empty mines.

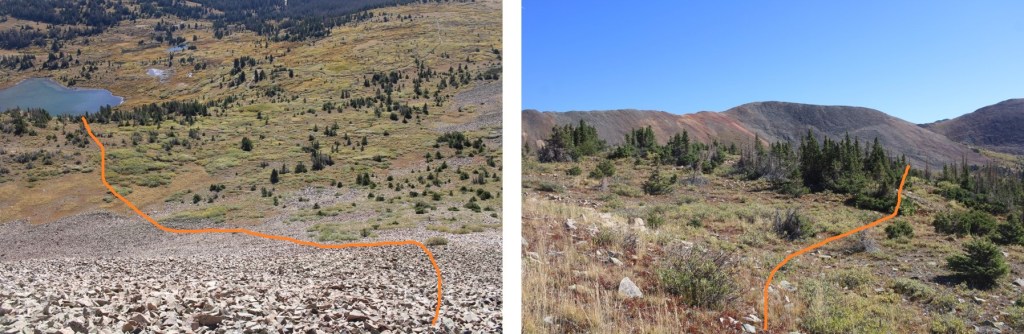
Here’s the route I took back down into the basin and 4WD road 240

There were several options here, and all led back down to the road

Looking back up at the mines, you can see there are trails that go to each one.  If I were to do this again, I’d pick one of those trails and take it to the saddle, instead of taking the entire ridge.

It was easy to find my way back to the road because I was above treeline

Now to head over to Pomeroy

This is the overall route I took to get there

I followed the 4WD dirt road as it curved around the basin, and then ended at the Pride of the West Mine (I’d explore the mine on my way back down).

I continued on the trail that went past the mine for a short ways, and then went west, up this hill.  I placed a large cairn at my exit from the trail

I continued heading west, and then made my way to the ridge, staying to the north of the willows.  The talus here was loose.

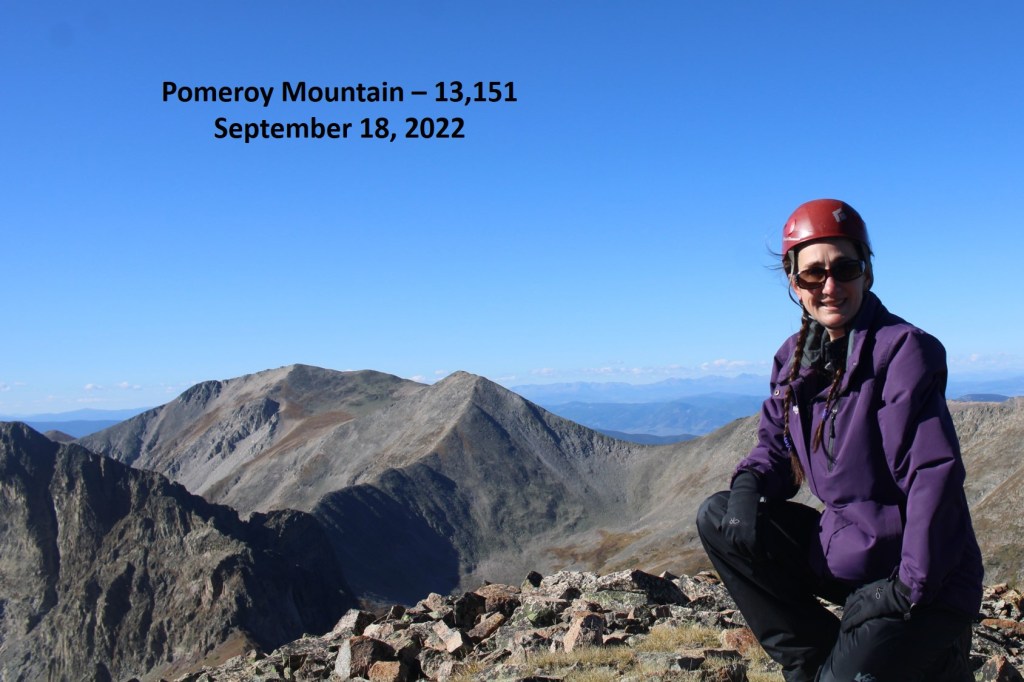
When the talus ran out, I followed the rocky tundra northwest to the summit of Pomeroy Mountain

I summited Pomeroy Mountain at 9:30am

Pomeroy Mountain:

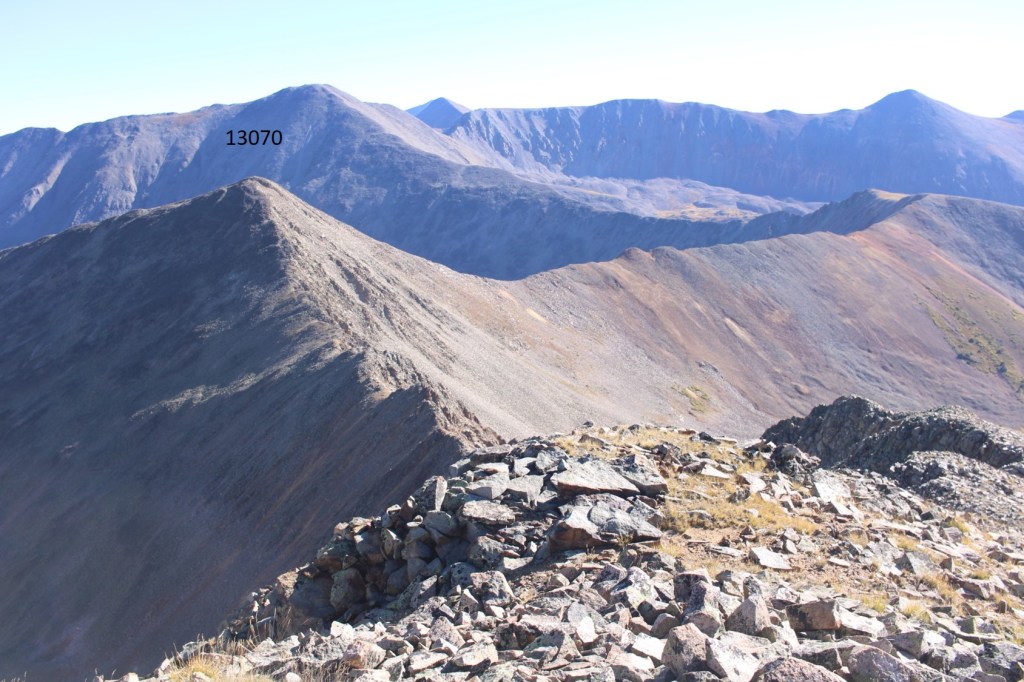
Here’s looking northeast at PT 13070

I re-traced my steps back down to the mine

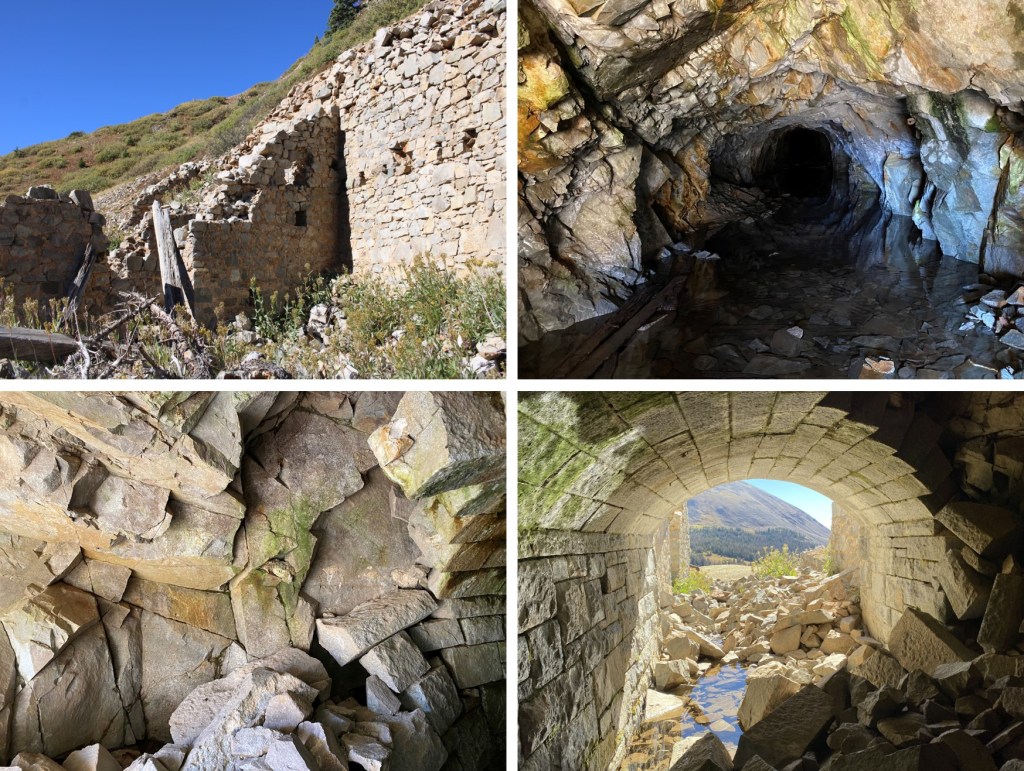
Then, since it was still early and I still had my helmet on, I decided to explore a bit.  The mine is flooded, and falling apart at the entrance, but was still a really neat structure. 

After a few minutes of exploring, I followed the 4WD dirt road back to my campsite.  Also, there were a lot of large campsites along the way that were for dispersed campers as well. The only paid sites were near the reservoir.

I made it back to my campsite at 10:45am, making this a 6.6 mile hike with 3008’ of elevation gain and lots of time exploring the mine in 4 hours, 45 minutes.  The map below is hand drawn in, as STRAVA stopped working when I hit the summit of 13070 and gave me incorrect stats.

On to the next trailhead!