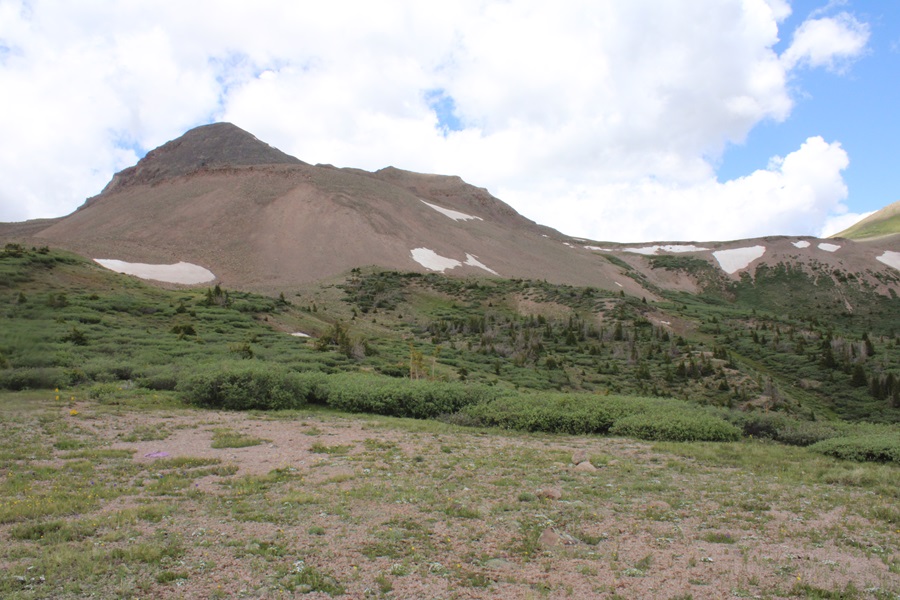
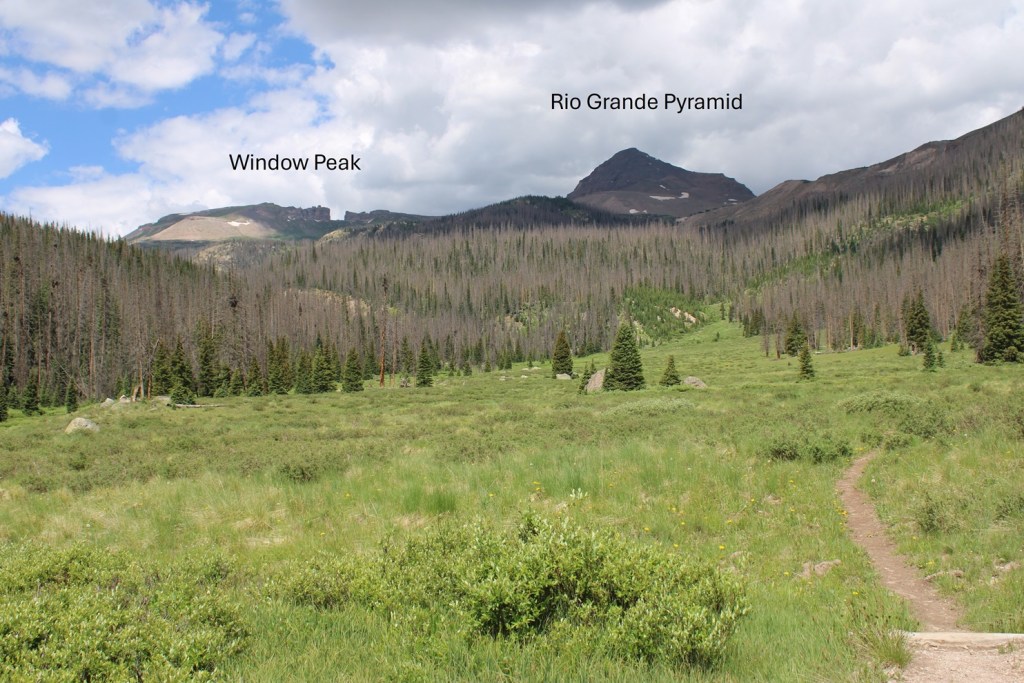
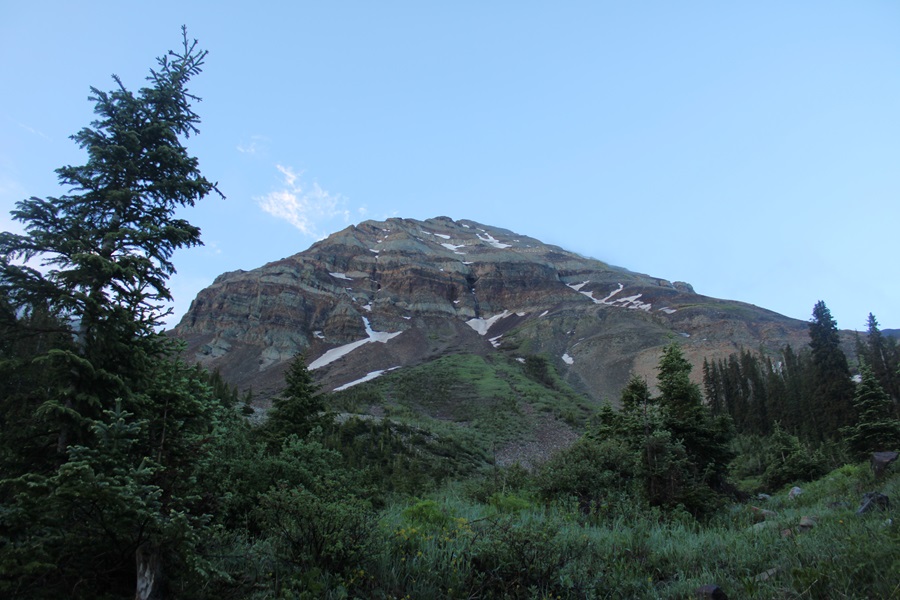
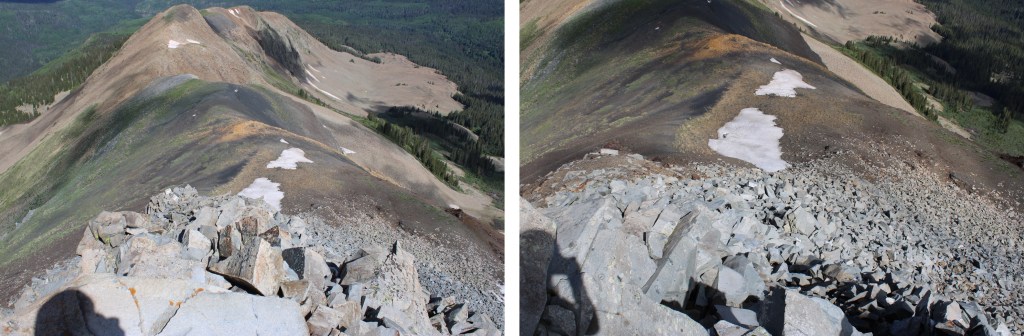
This report will get you to many of the 13ers and 12ers in the Rio Grande Pyramid Group, starting from the trailhead in Thirtymile Campground. It’s a 10 mile trek with 3150’ of elevation gain just to this basecamp, not including adding on mileage and elevation gain for the peaks, so while these peaks are certainly doable in a day if you’re fit and experienced, I decided the last time I was here to take my time and make it a several day trip on my next adventure. As an added bonus of spending the night at this basecamp, the views of Rio Grande Pyramid, Fools Pyramid, PT 13022, and Window Peak/Window Rock are breathtaking.
There are several ways to get to this basecamp at 12210’, and I’ve taken many of them, but the one I’m detailing here is by far the most direct and easiest to follow. The other trails require good route finding and navigating through endless willows, making the trail more difficult to find/follow, especially in the dark.
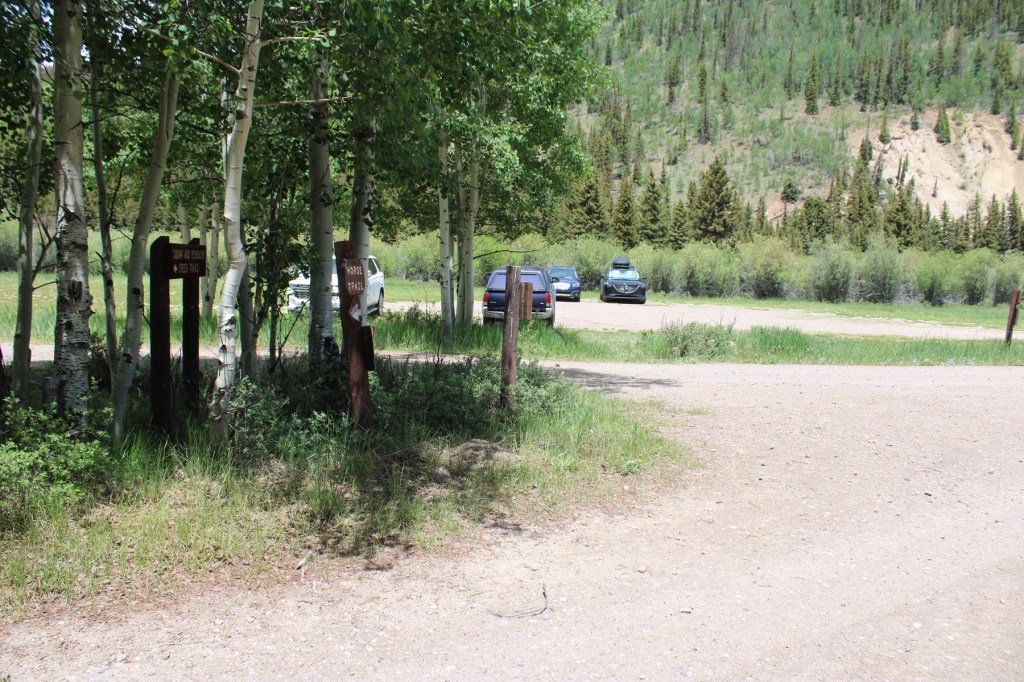
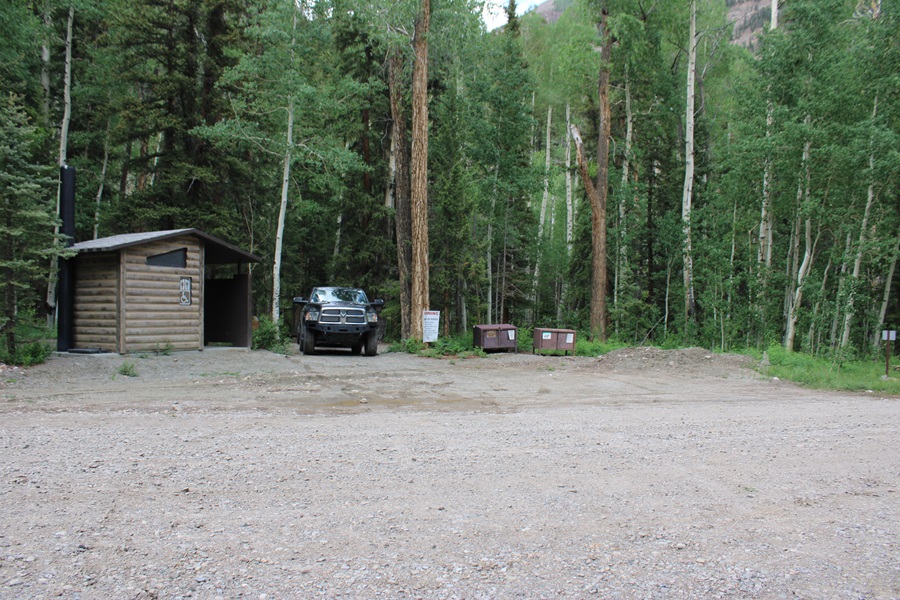
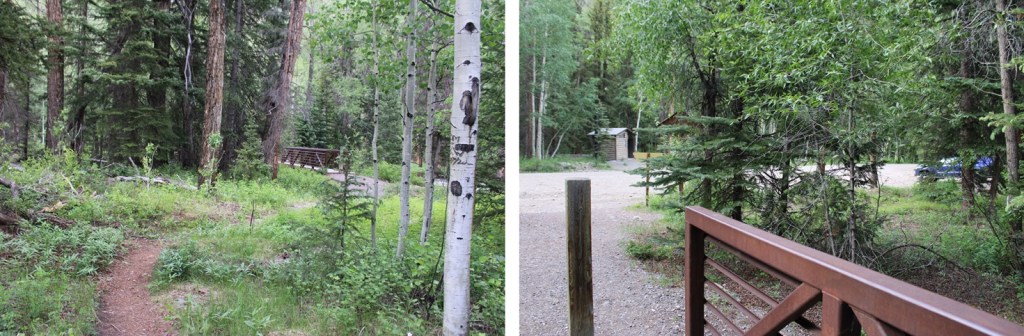
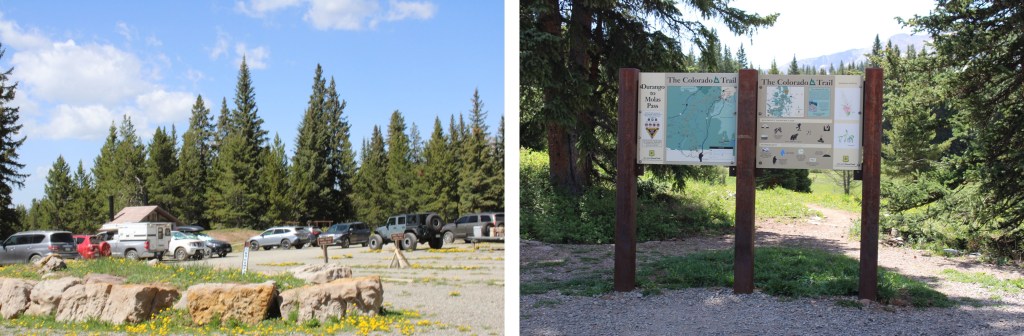
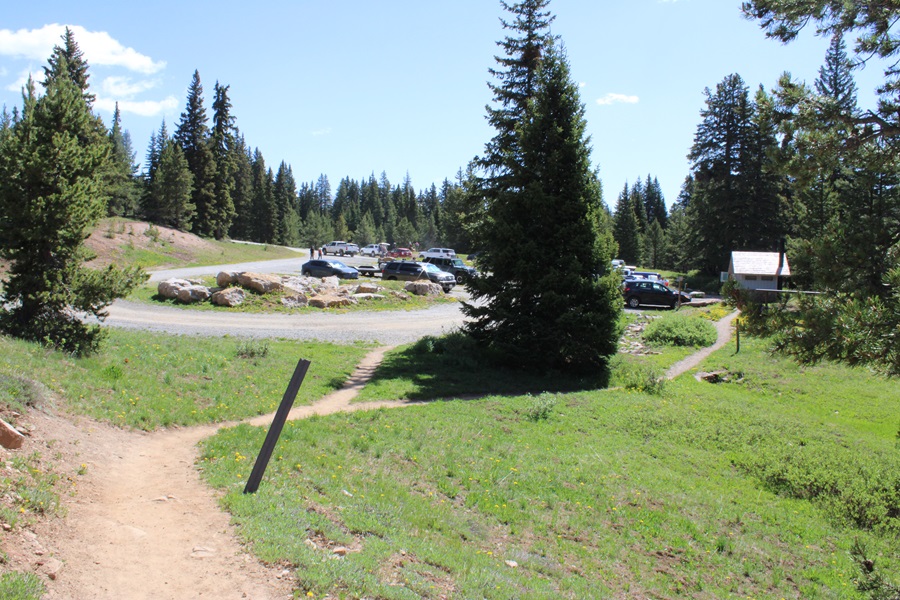
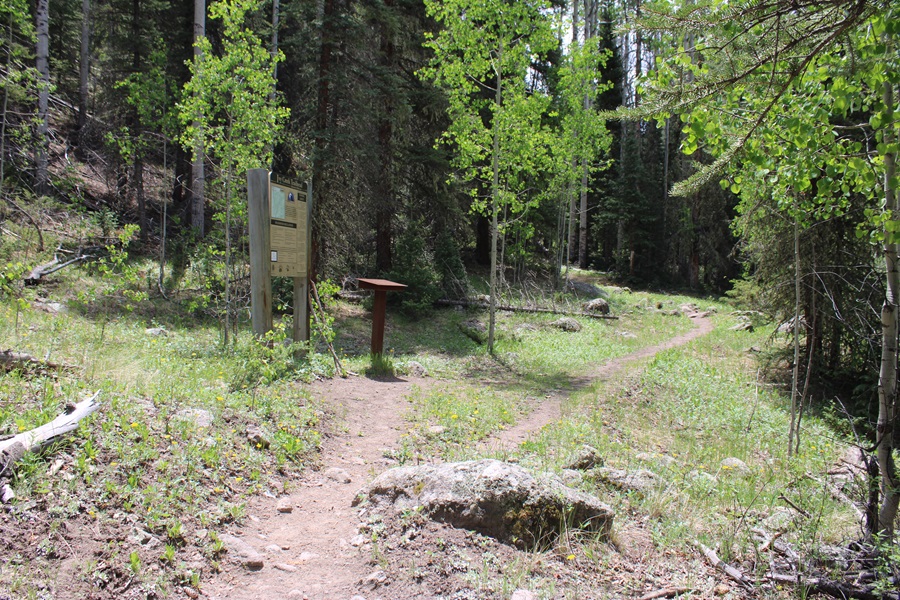
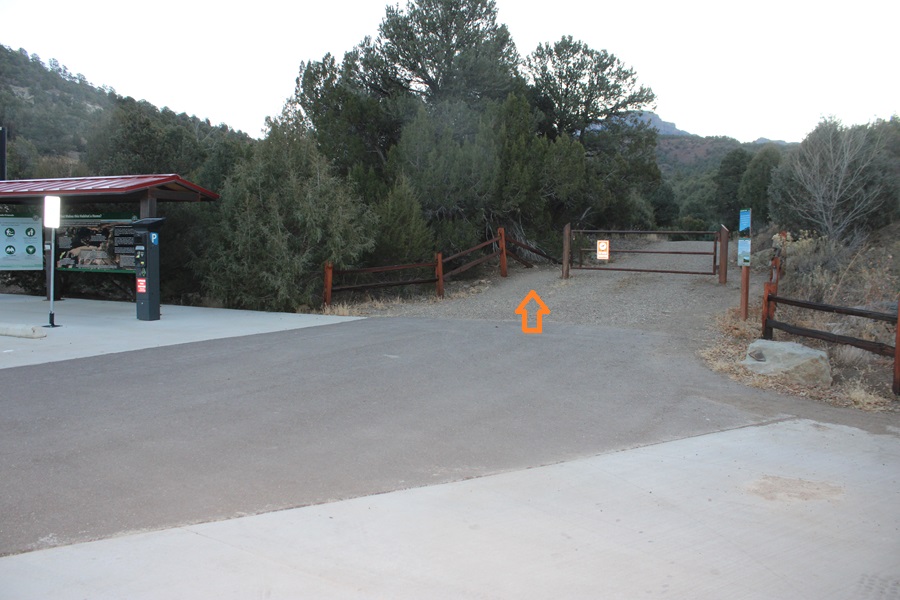
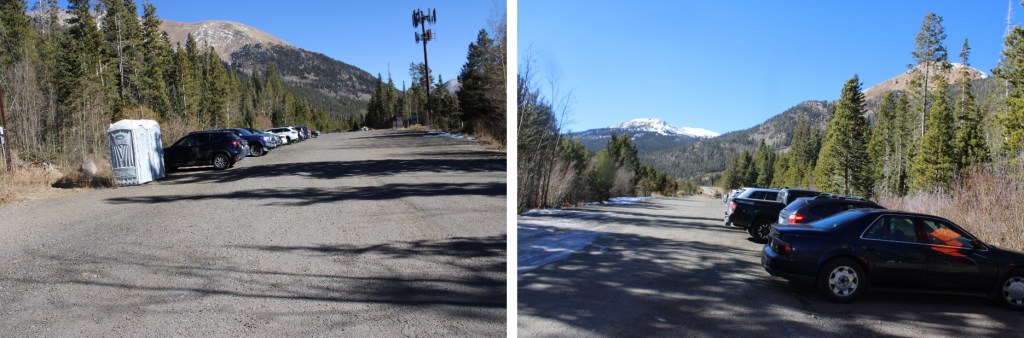
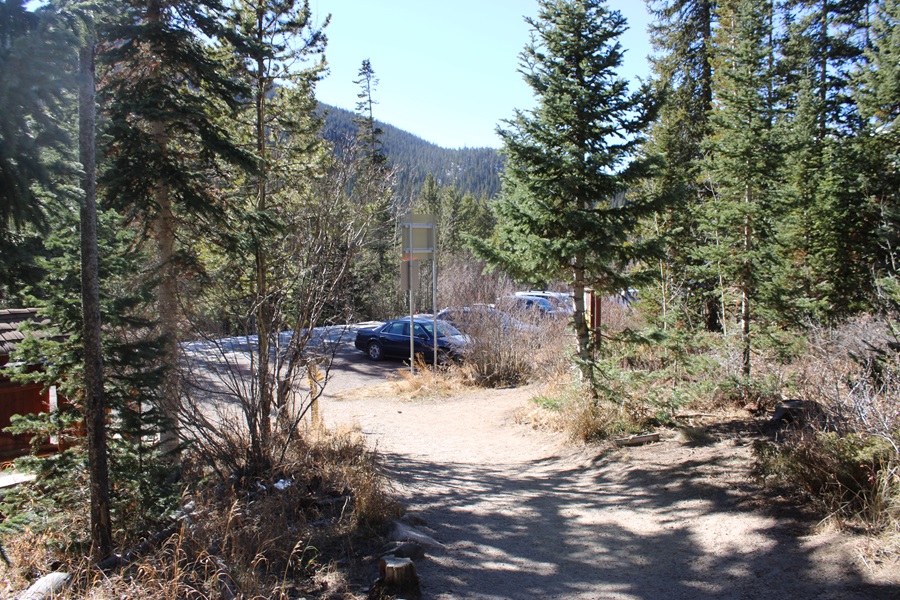
I started by parking at the hikers parking lot at Thirtymile Campground. There are plenty of spaces here, and bathrooms nearby.
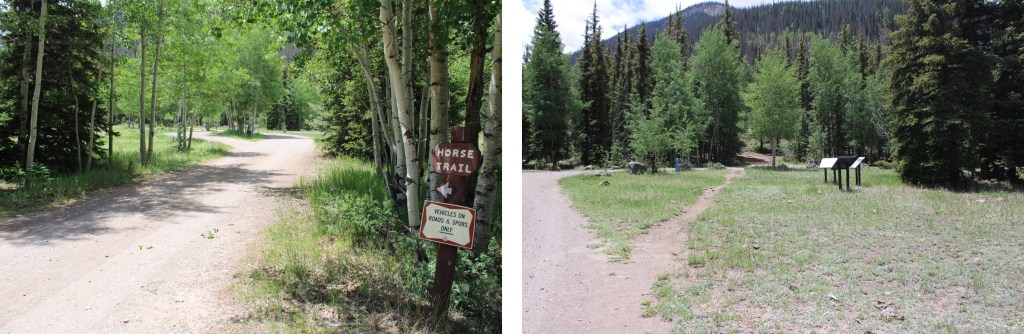
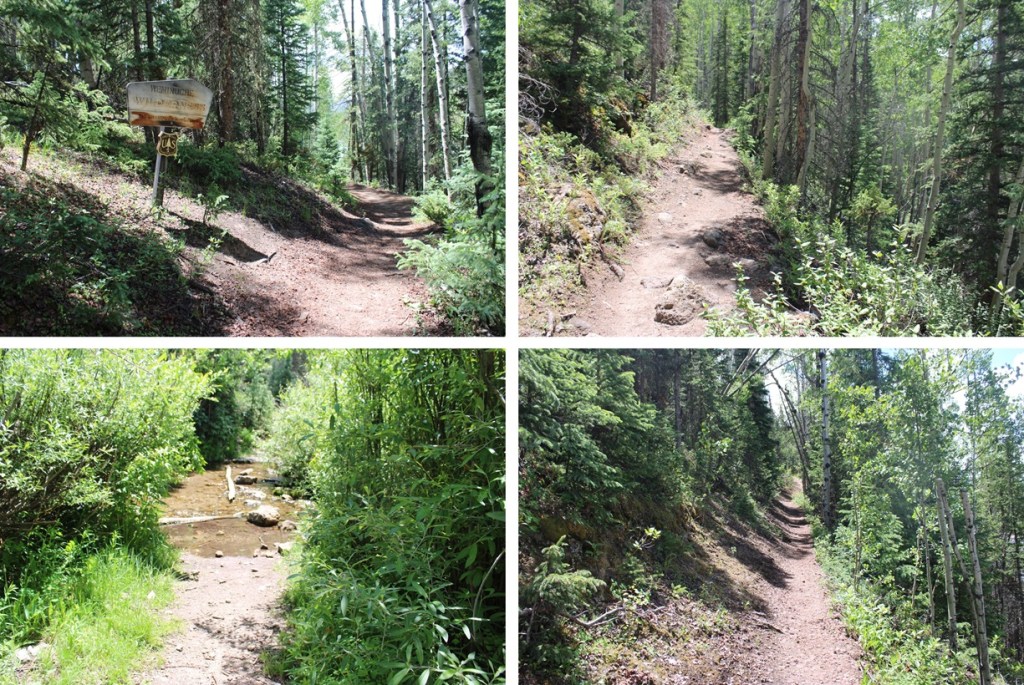
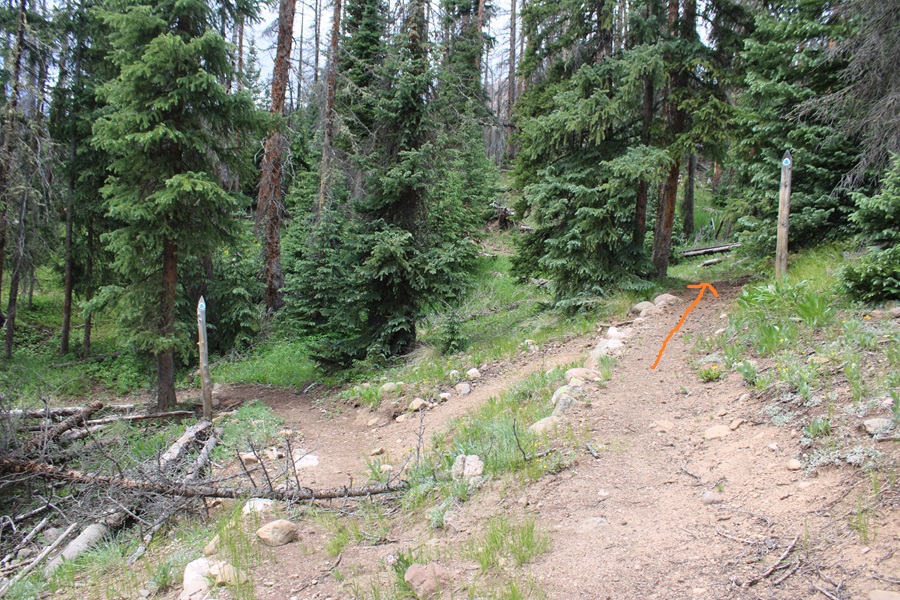
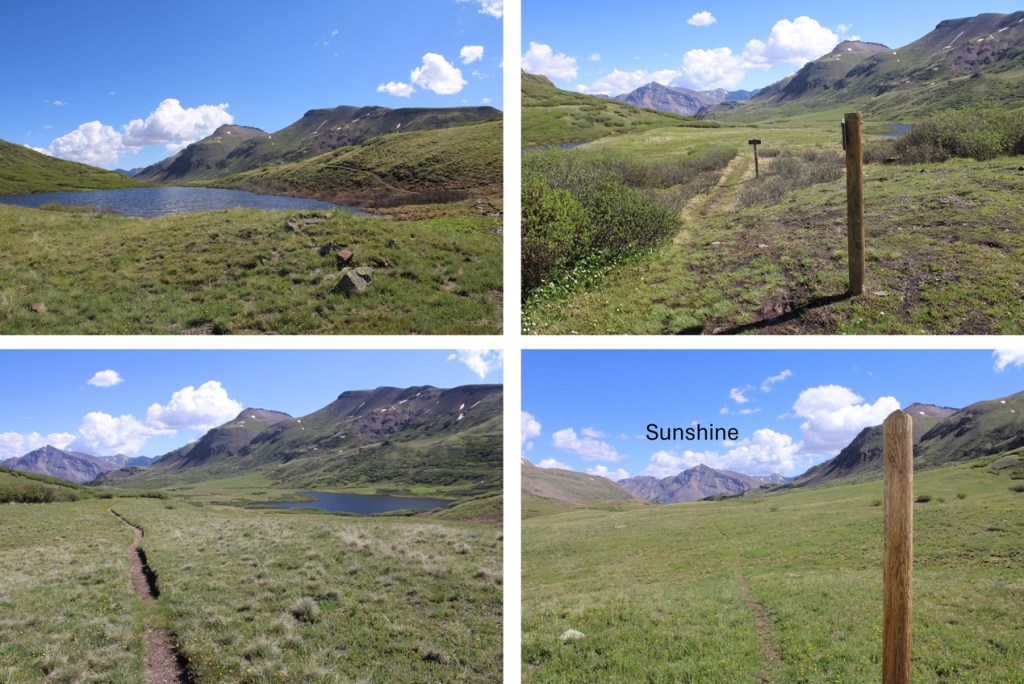
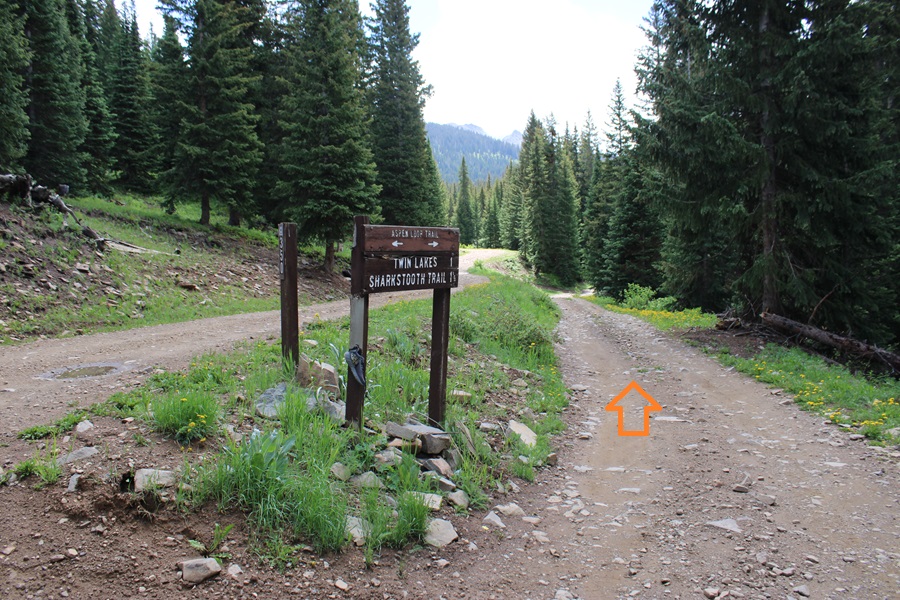
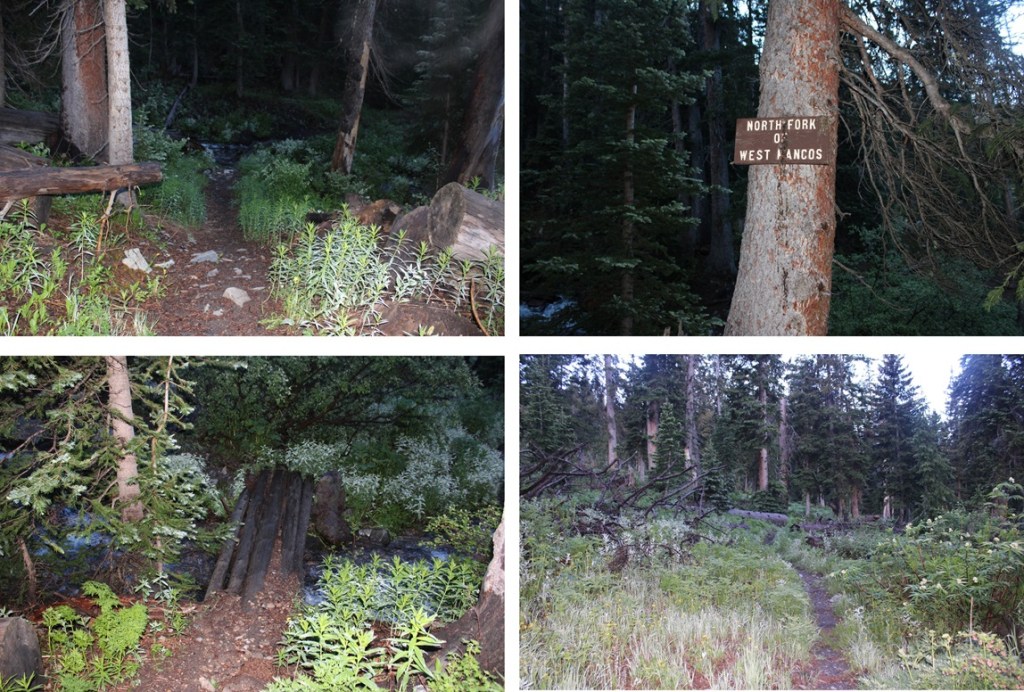
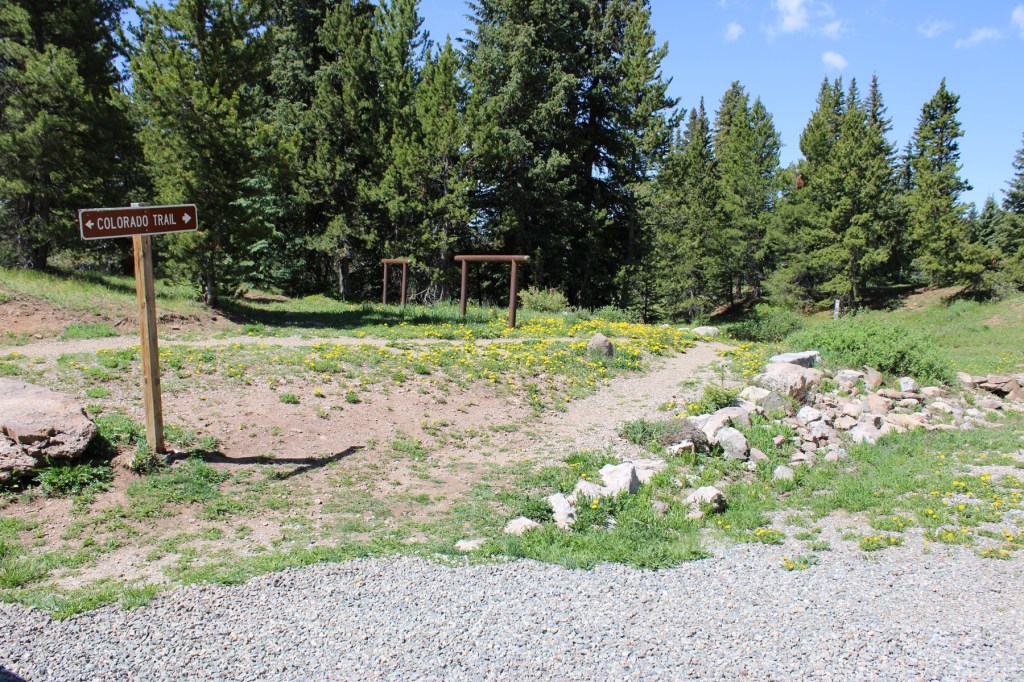
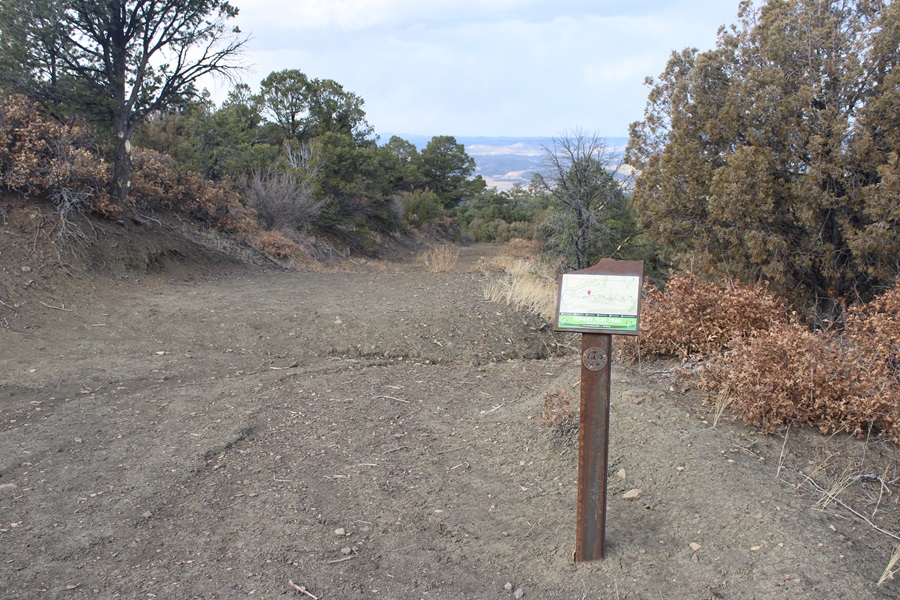
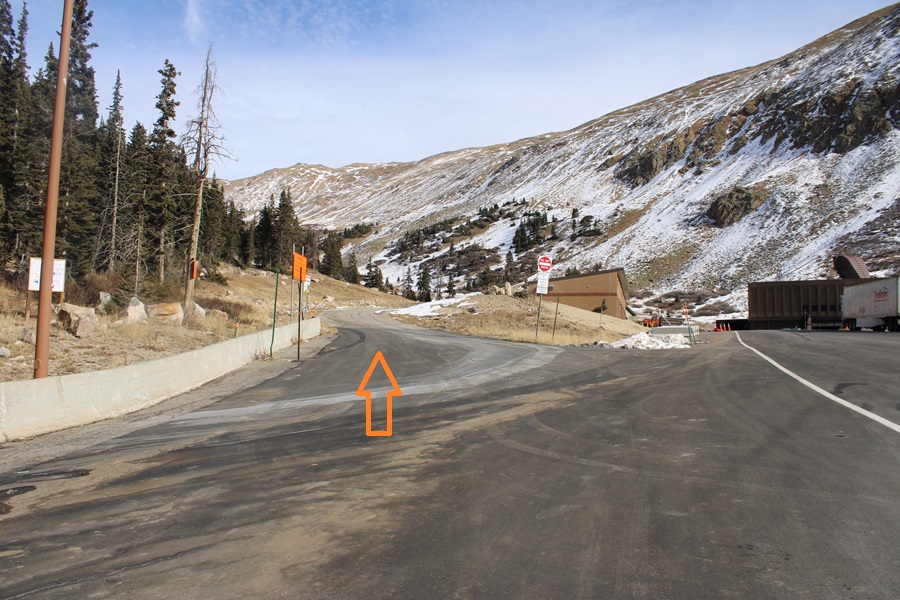
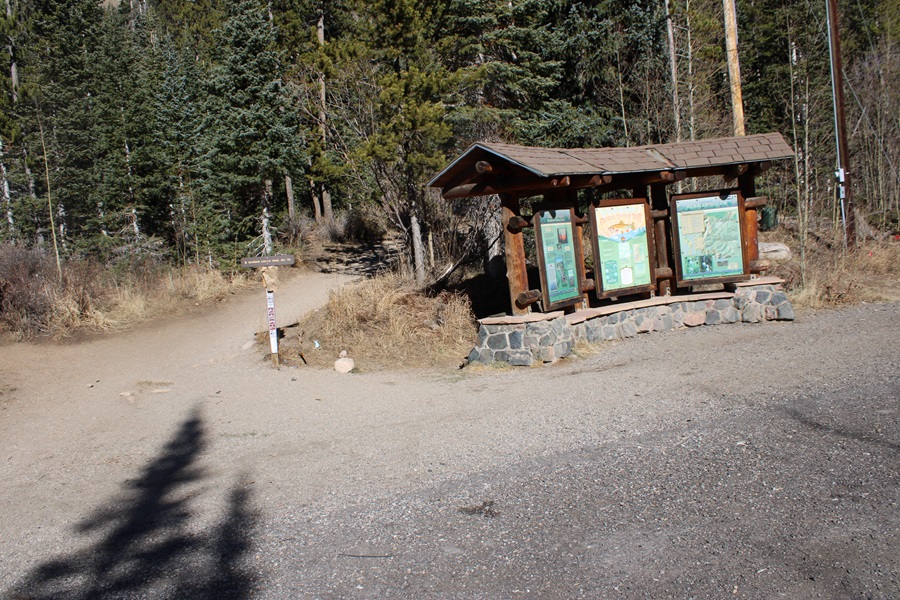
The trail starts to the south of the parking area, and is clearly marked
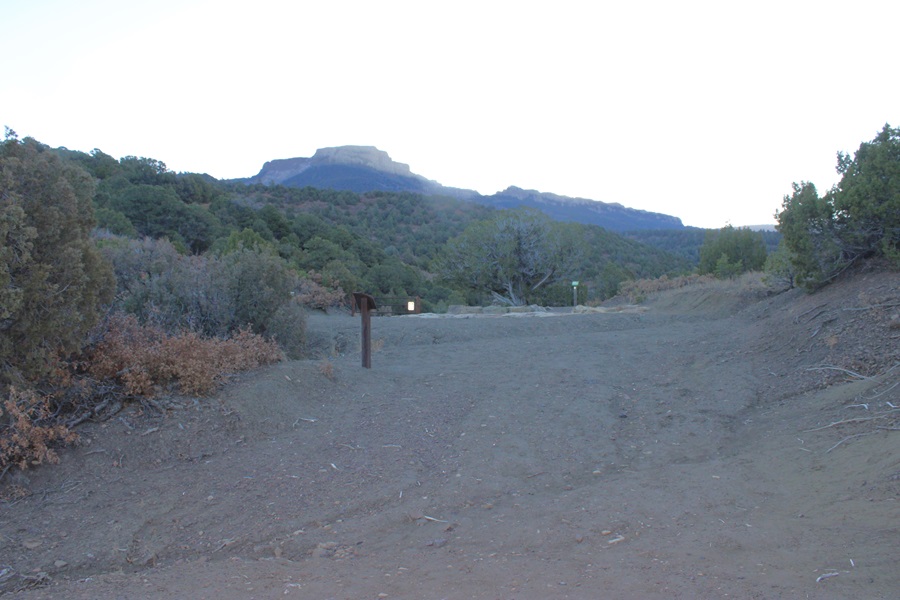
After hiking for a short distance you’ll come to a trail register. Here you have two options: Squaw Creek Trail to the left, or Weminuche Creek Trail to the right. Take the trail to the right.
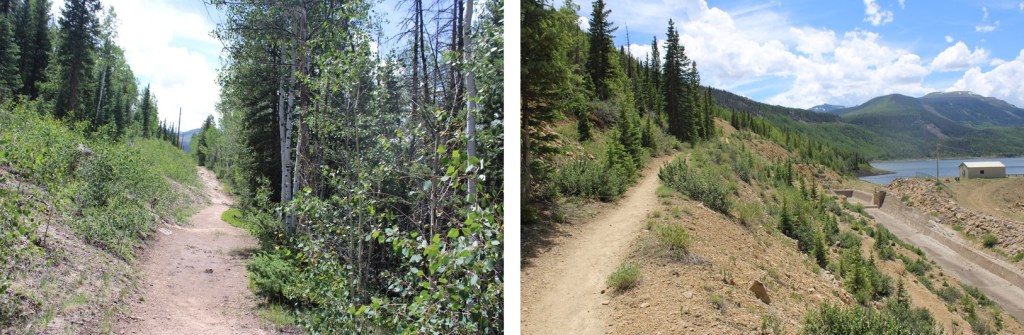
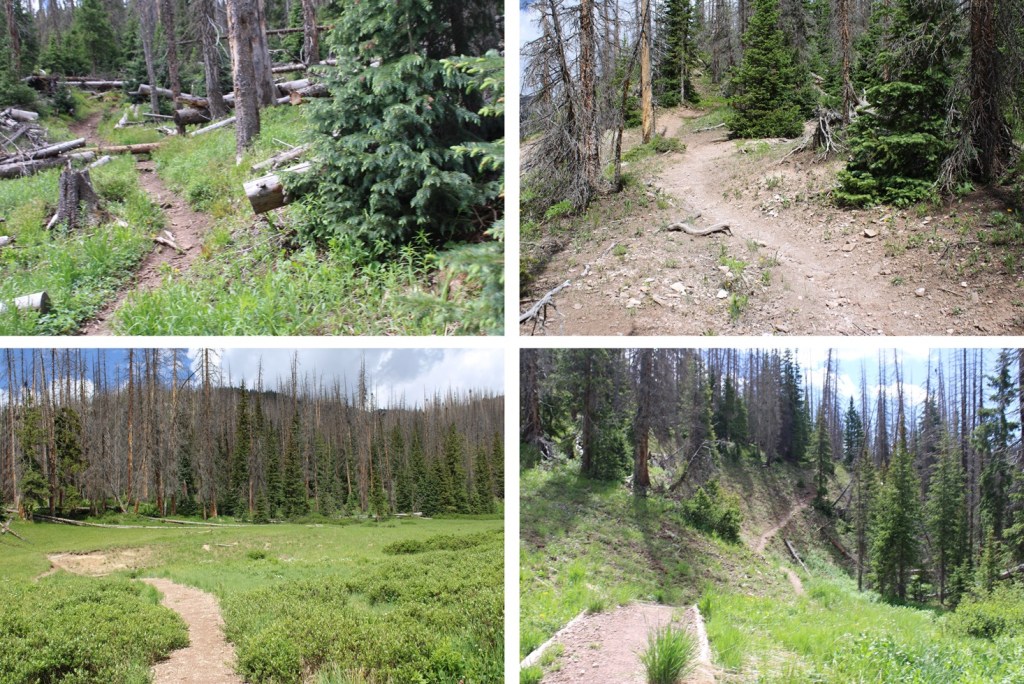
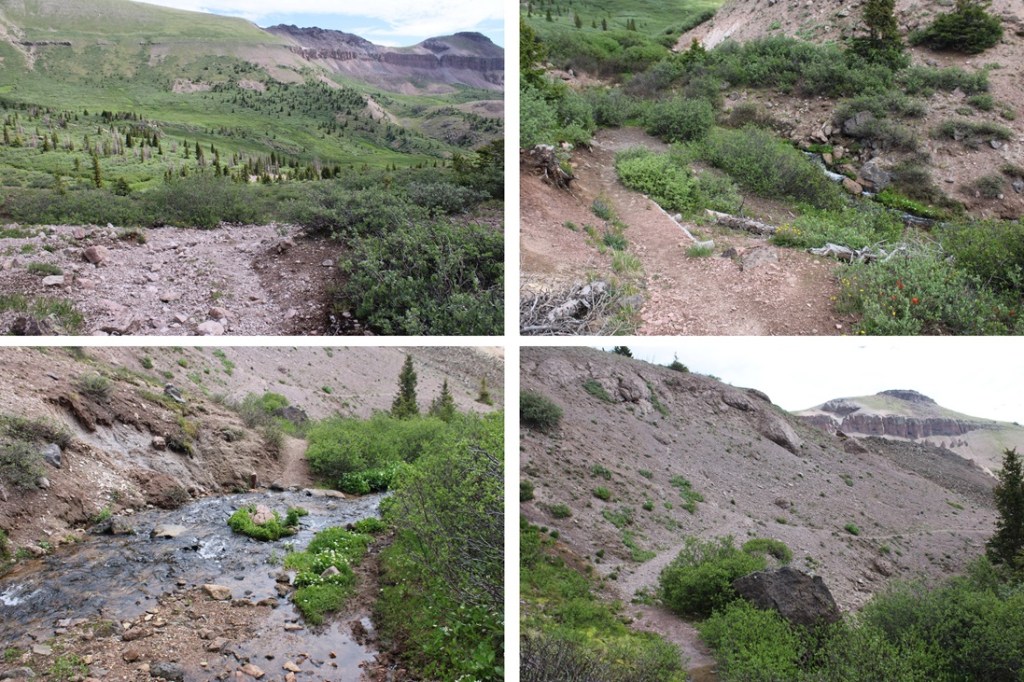
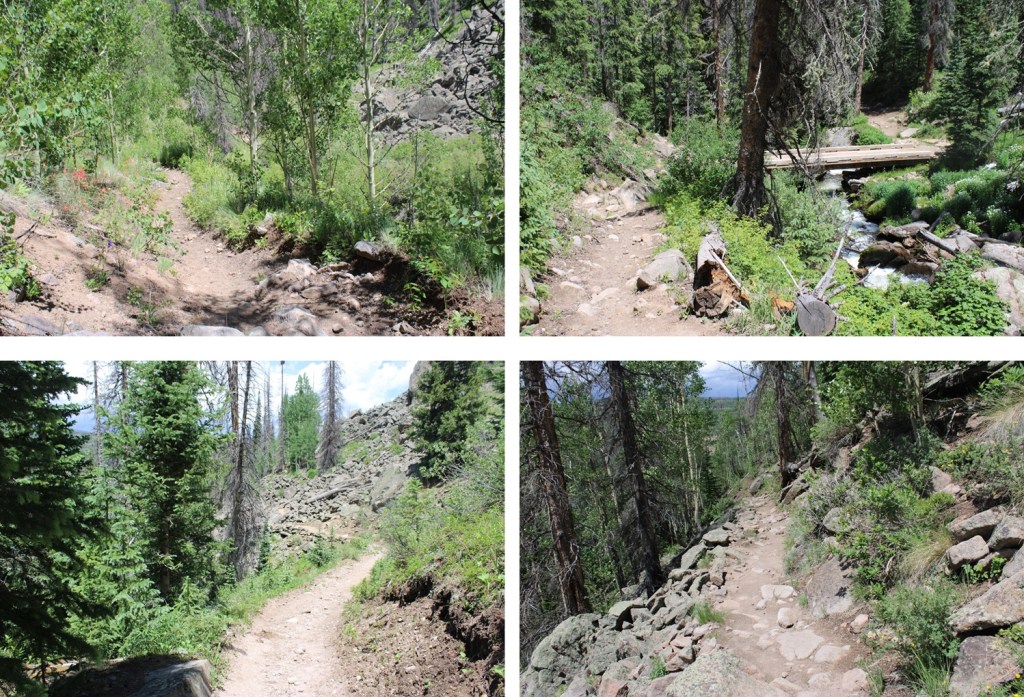
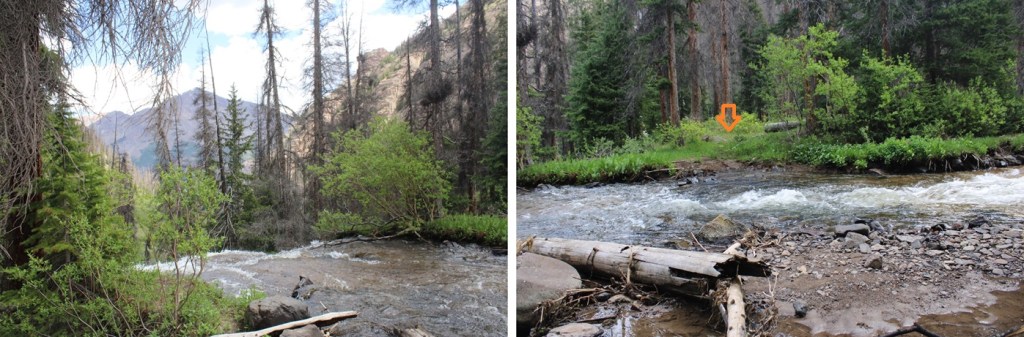
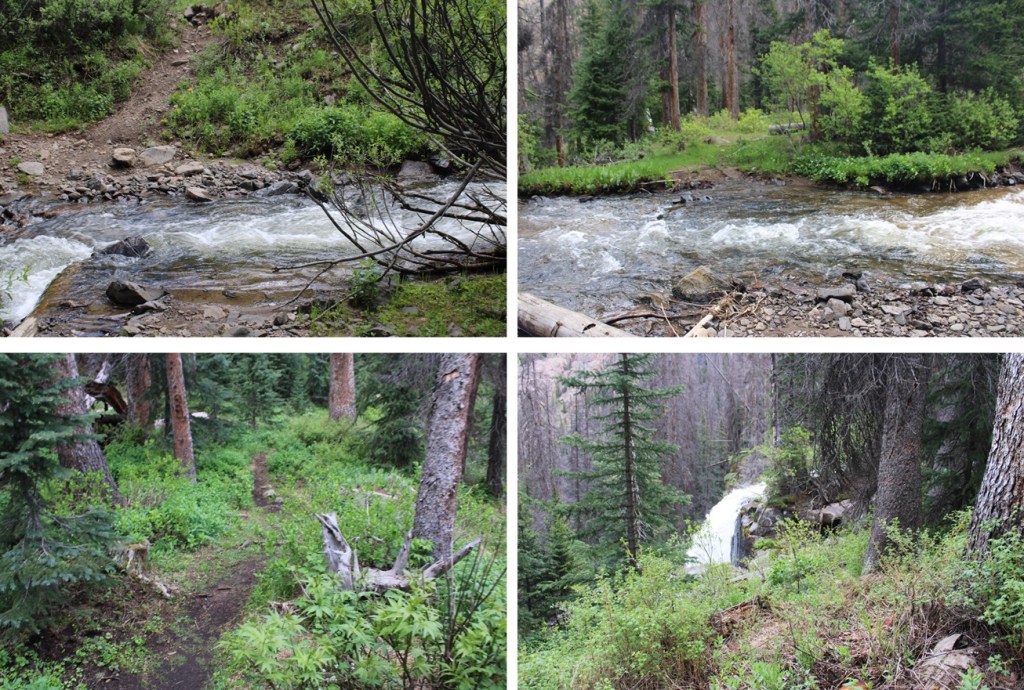
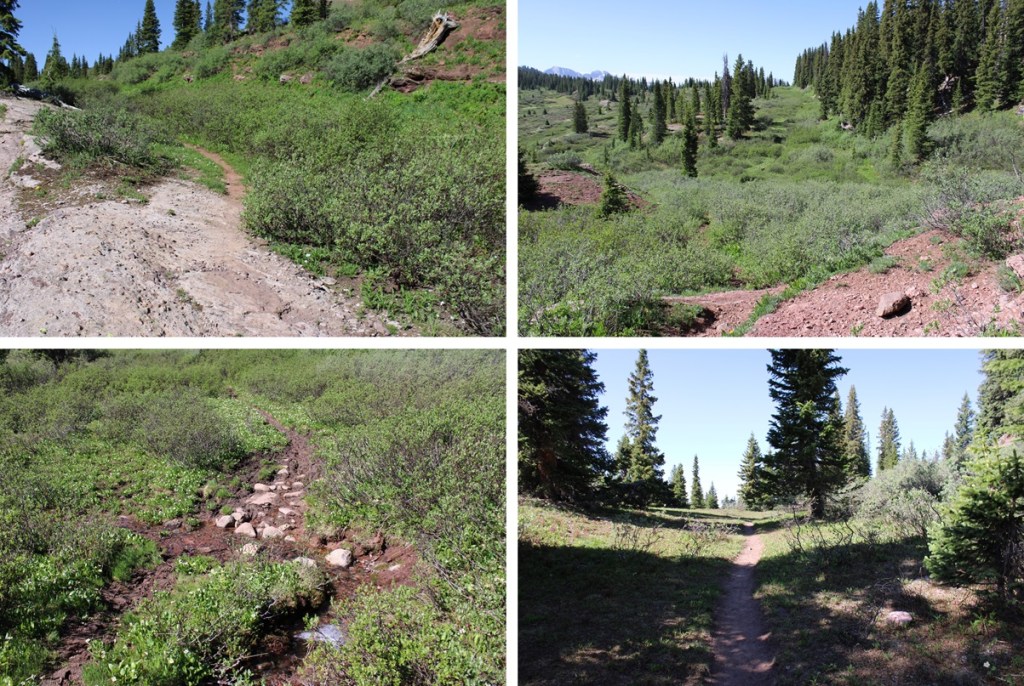
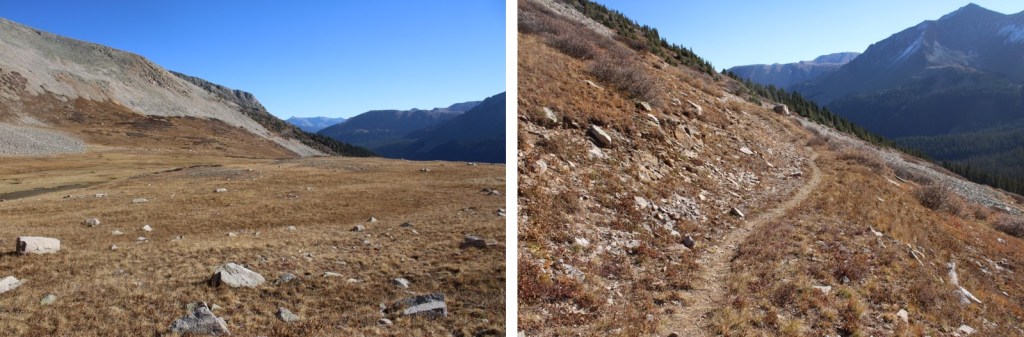
I followed Weminuche Creek Trail (818) for a total of 7.25 miles. This trail starts off by skirting the south side of Rio Grande Reservoir
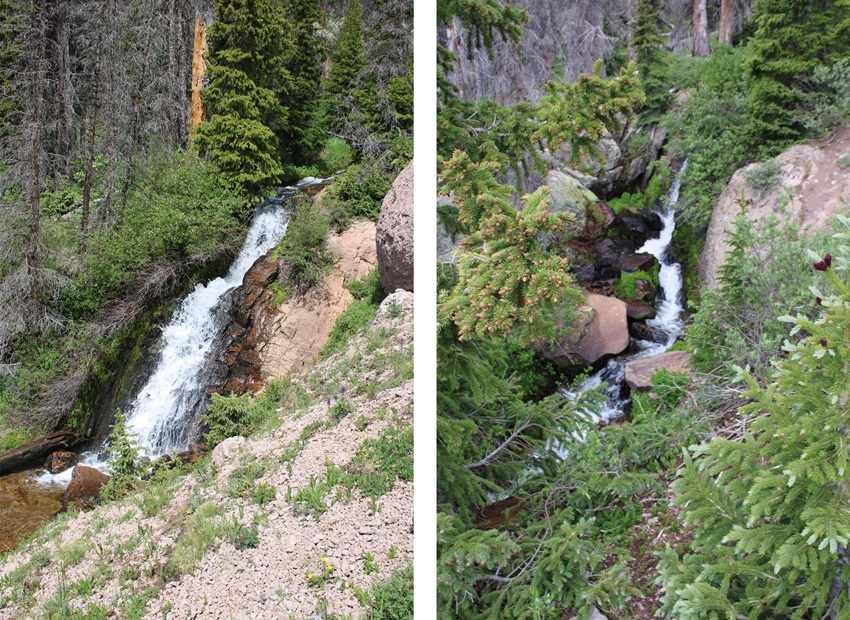
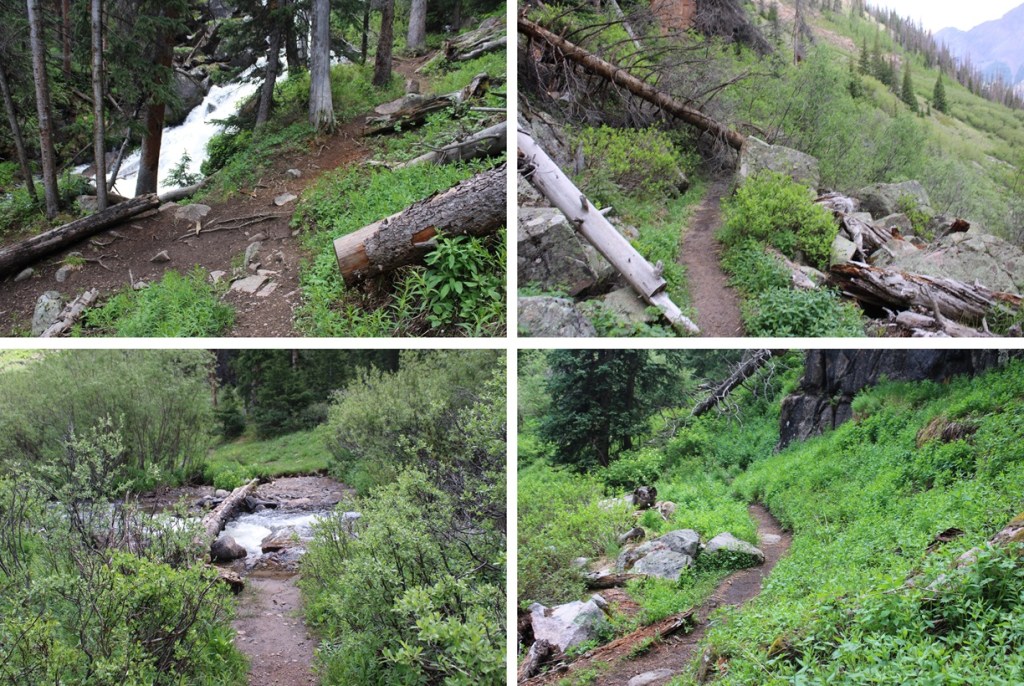
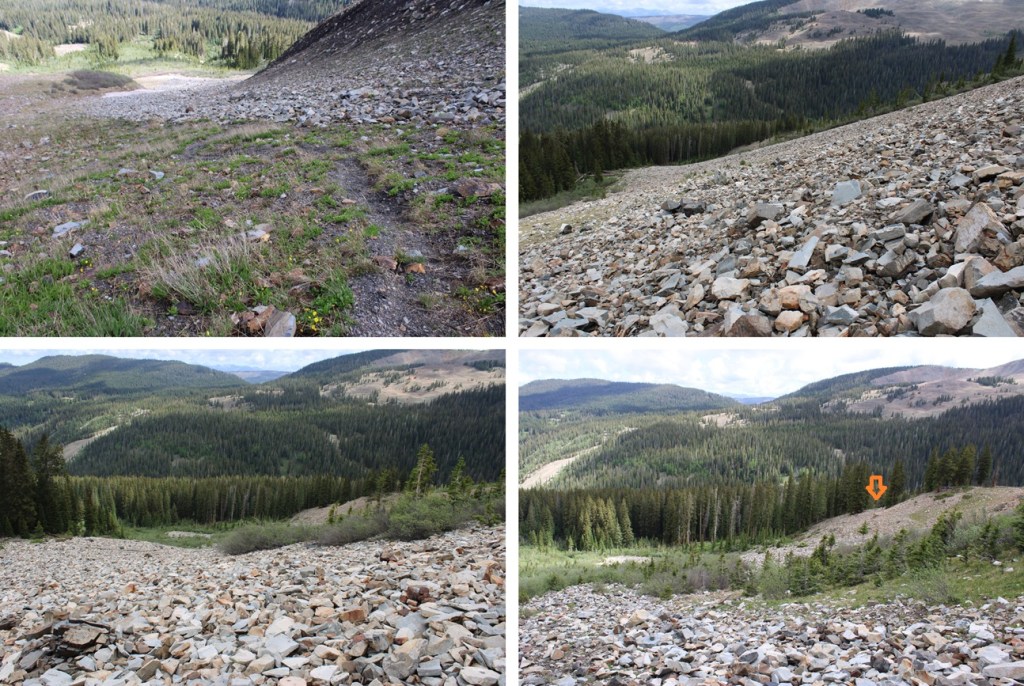
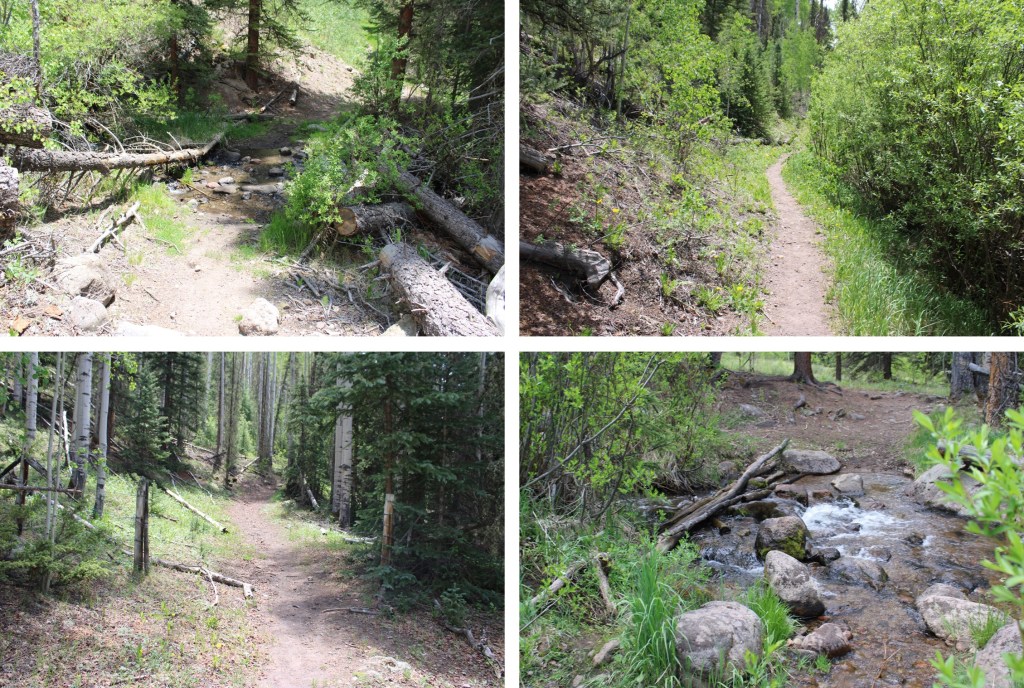
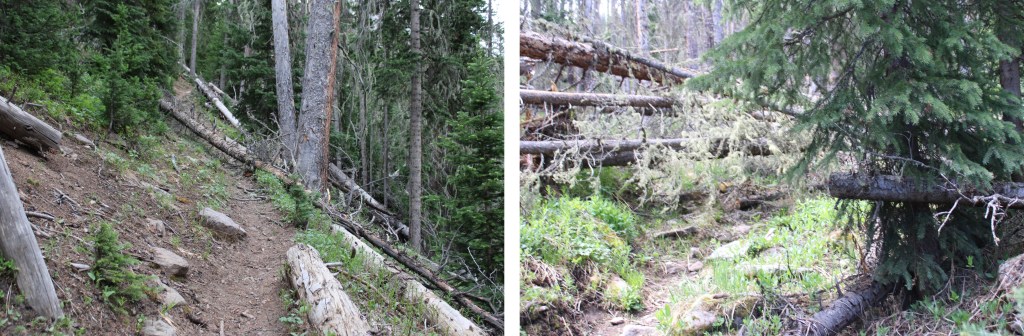
Then the trail goes through a rocky section before crossing a waterfall. The waterfall is about 2 miles into the trek.
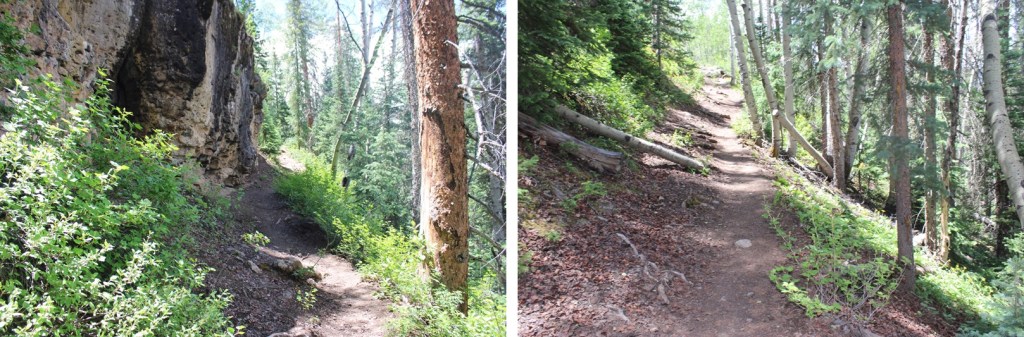
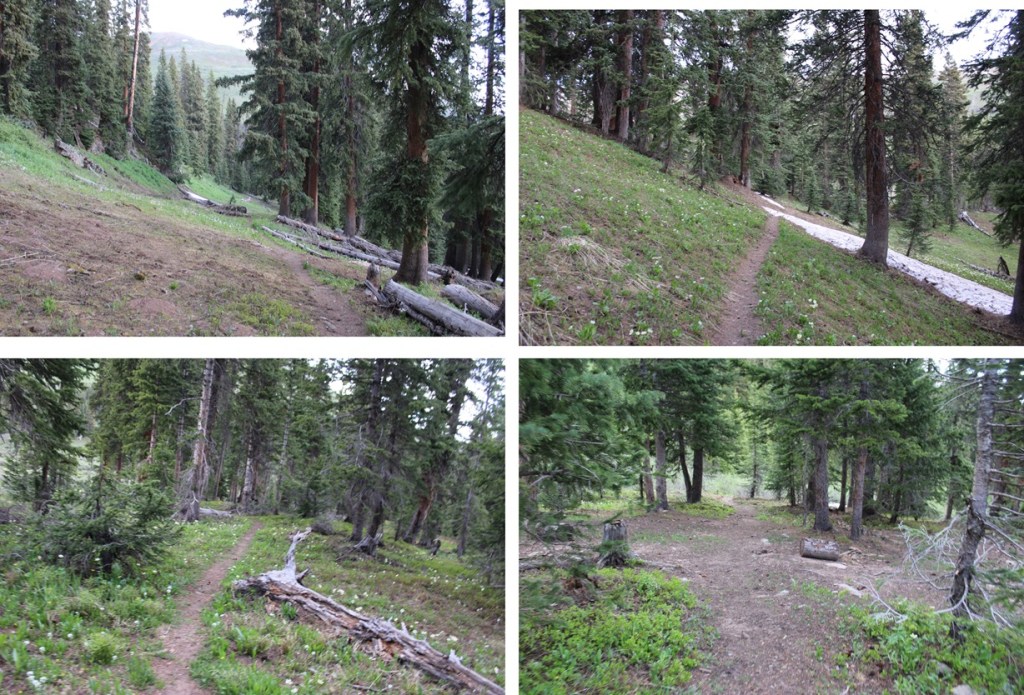
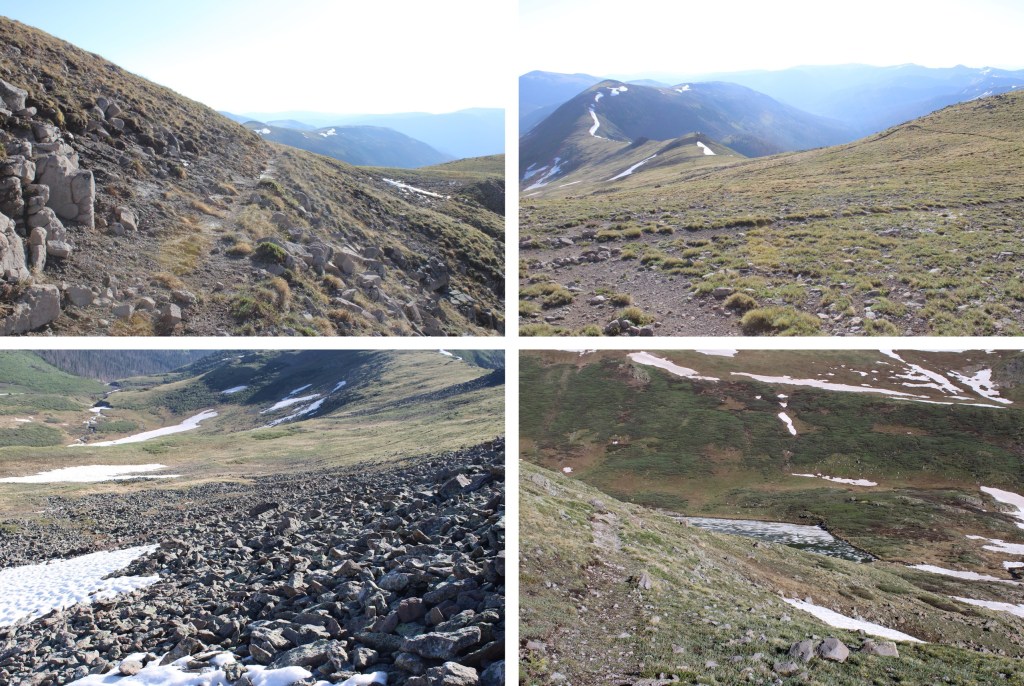
After the waterfall, there was a quick uphill section that would bring me to a large gulch, sprinkled with sections of hiking in the trees and small creek crossings. I followed the trail southwest for another 5 miles.
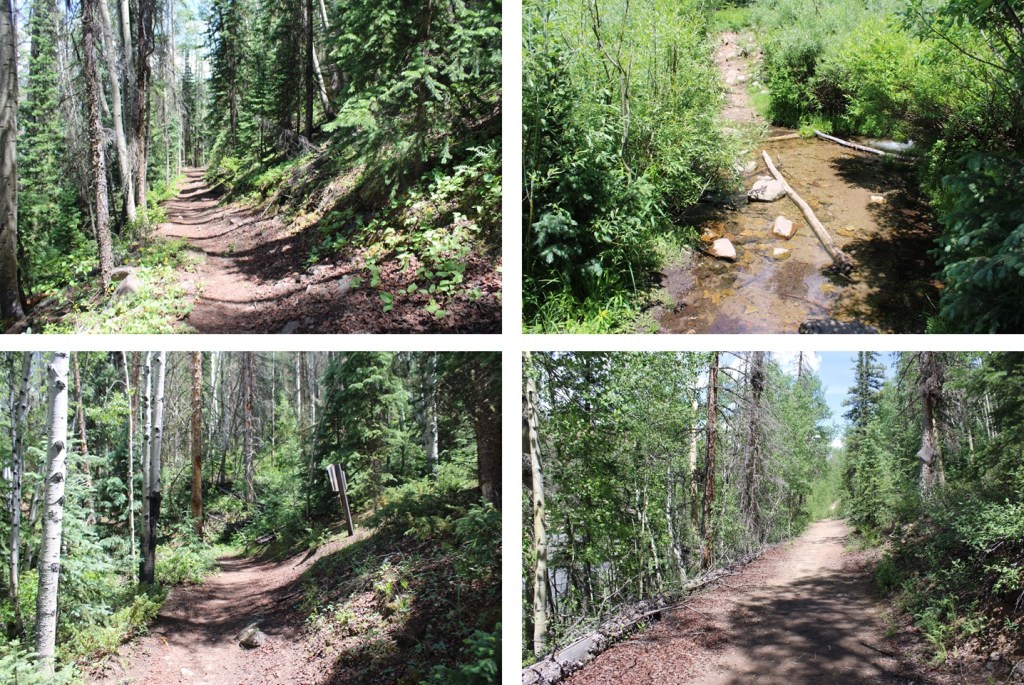
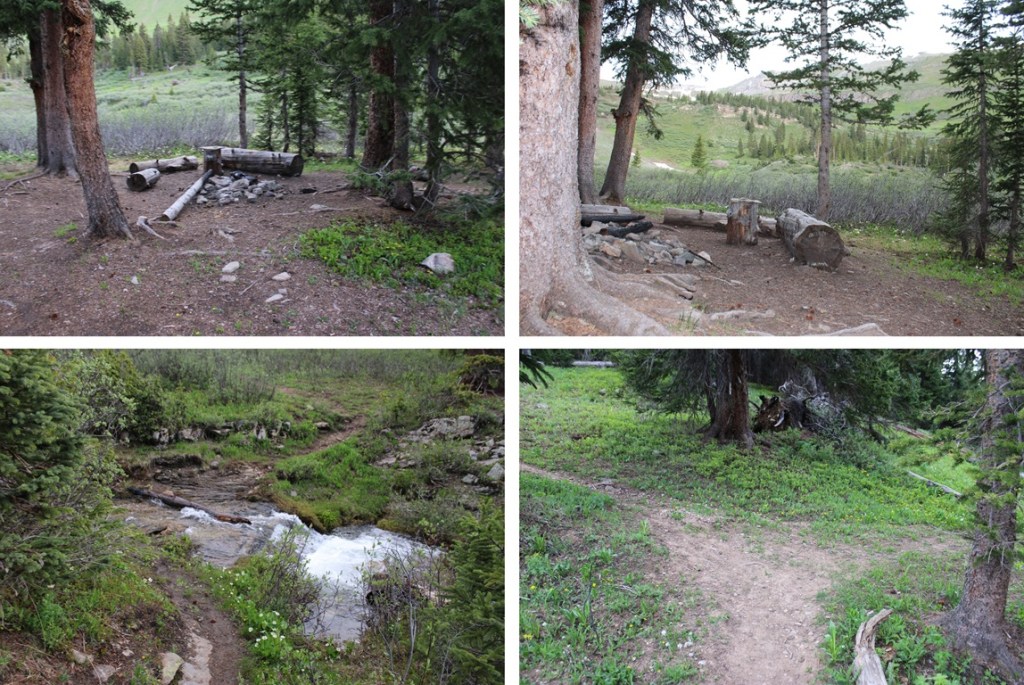
Just after this post (which indicates the cutoff for the Opal Lake Trail, which I wouldn’t recommend taking, as it will lead you through bushwhacking adventures to the murderous willow section), there are some nice camping spots to the left, should you want to camp here. There’s a fire ring, and the ability to filter water.
I continued on the Weminuche Trail, always staying to the right of Weminuche Creek.
After hiking for a total of around 7 miles, I came to the cutoff for the Continental Divide Trail. Here I went right, onto the Continental Divide Trail.
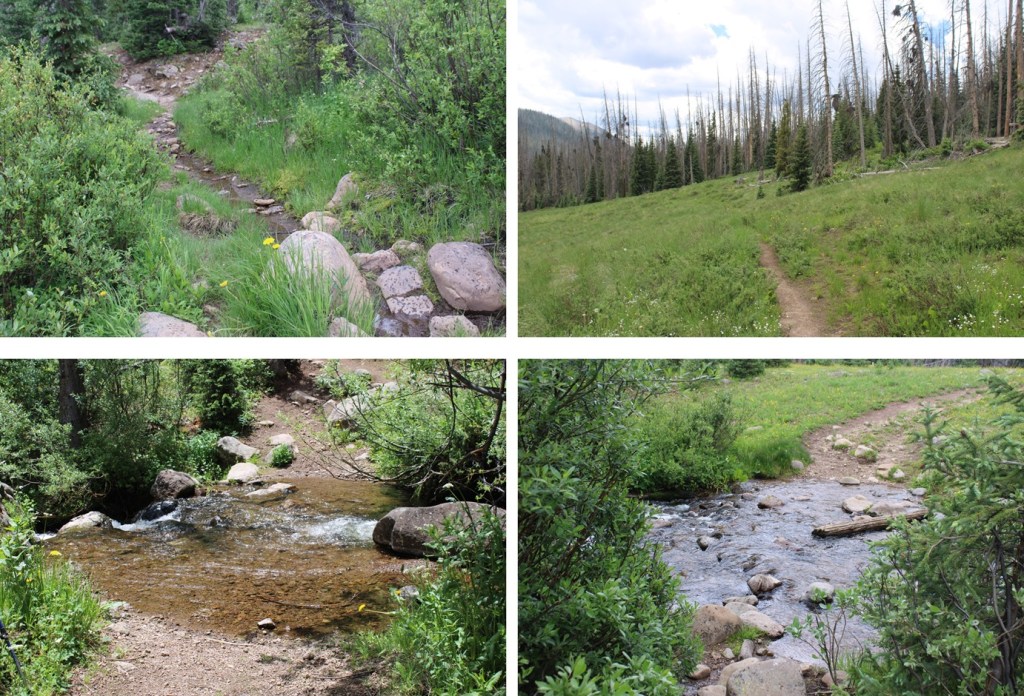
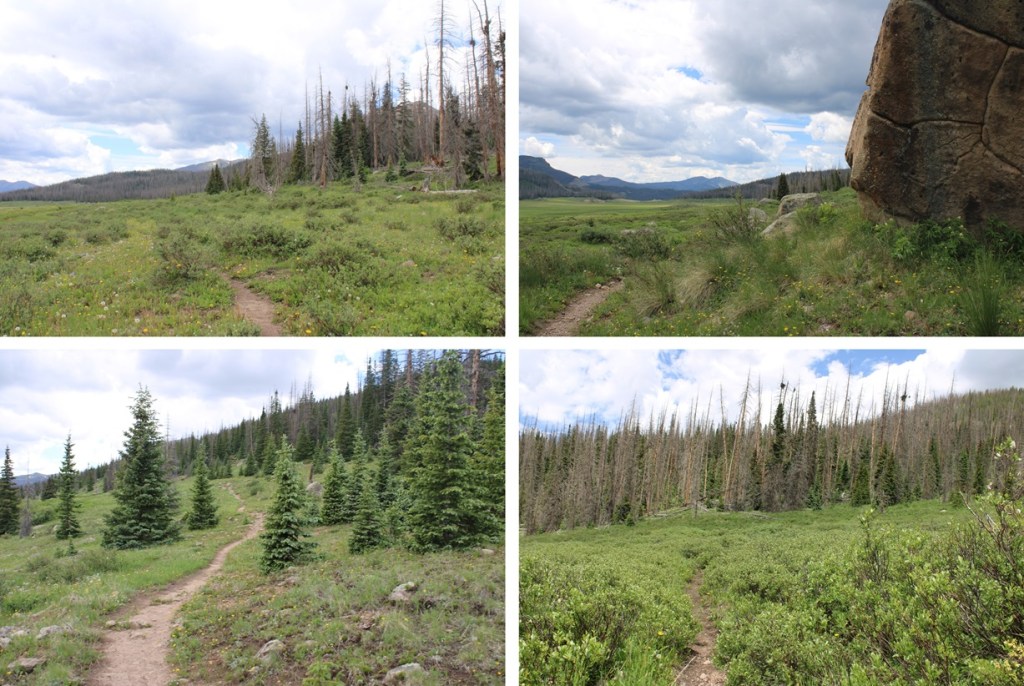
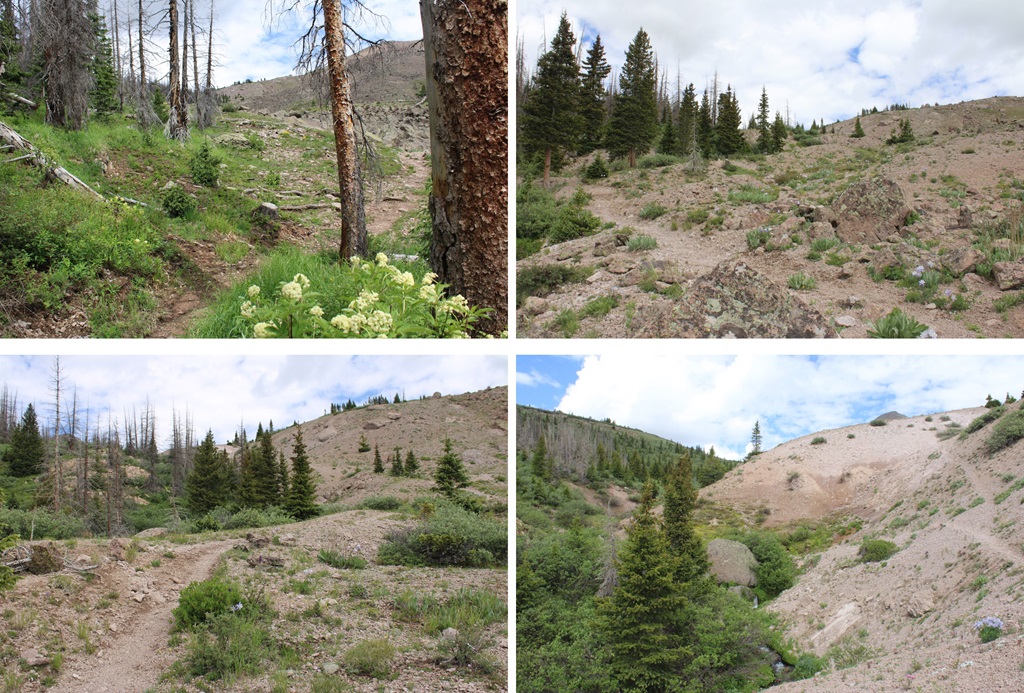
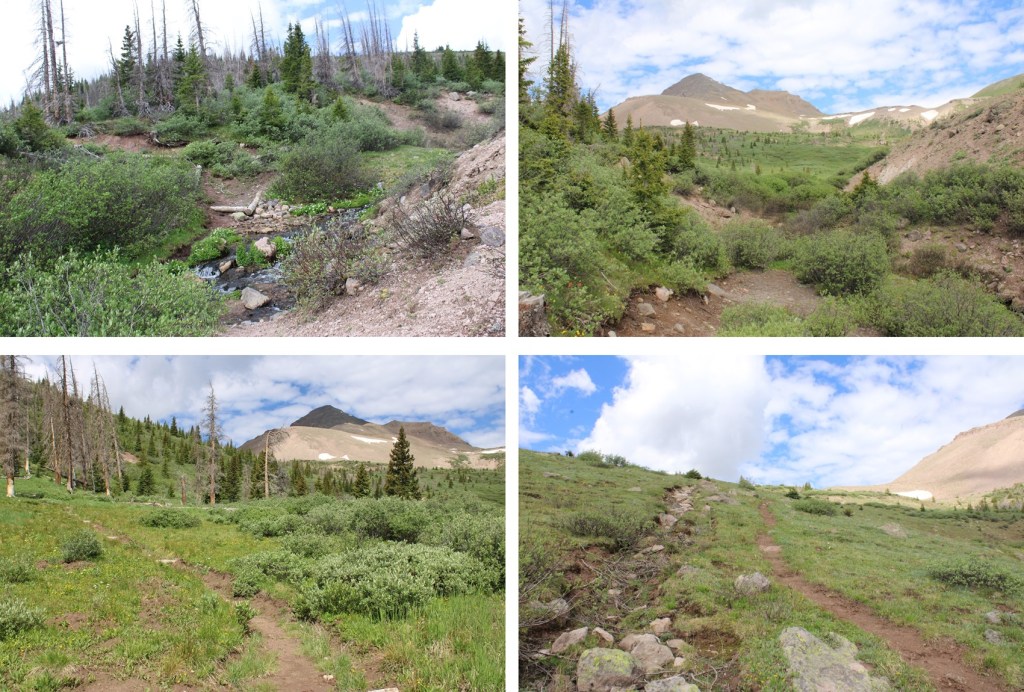
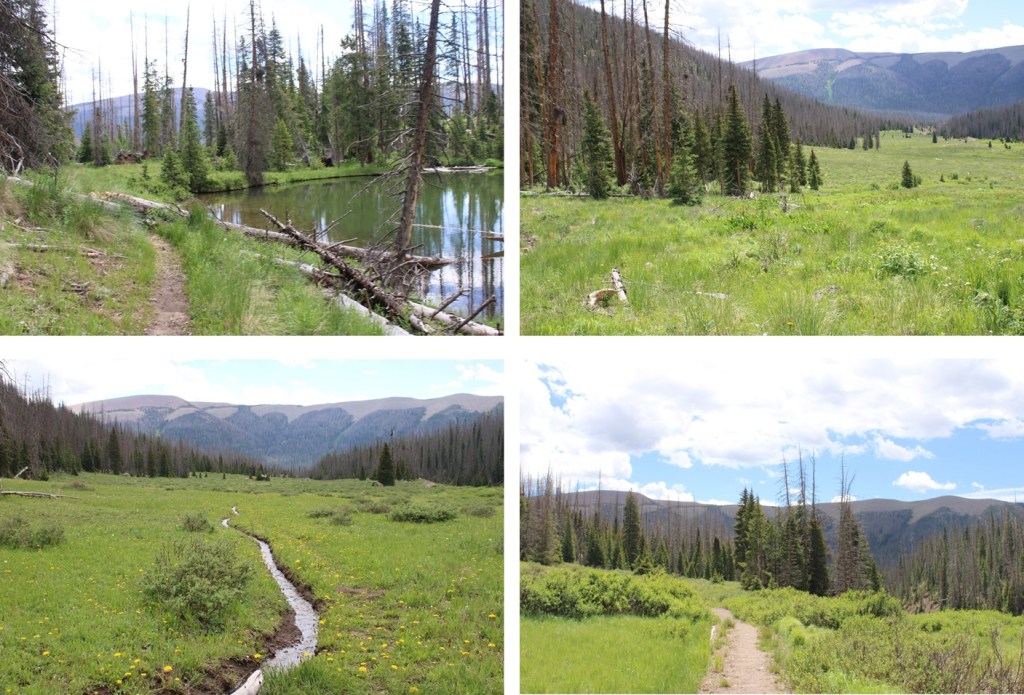
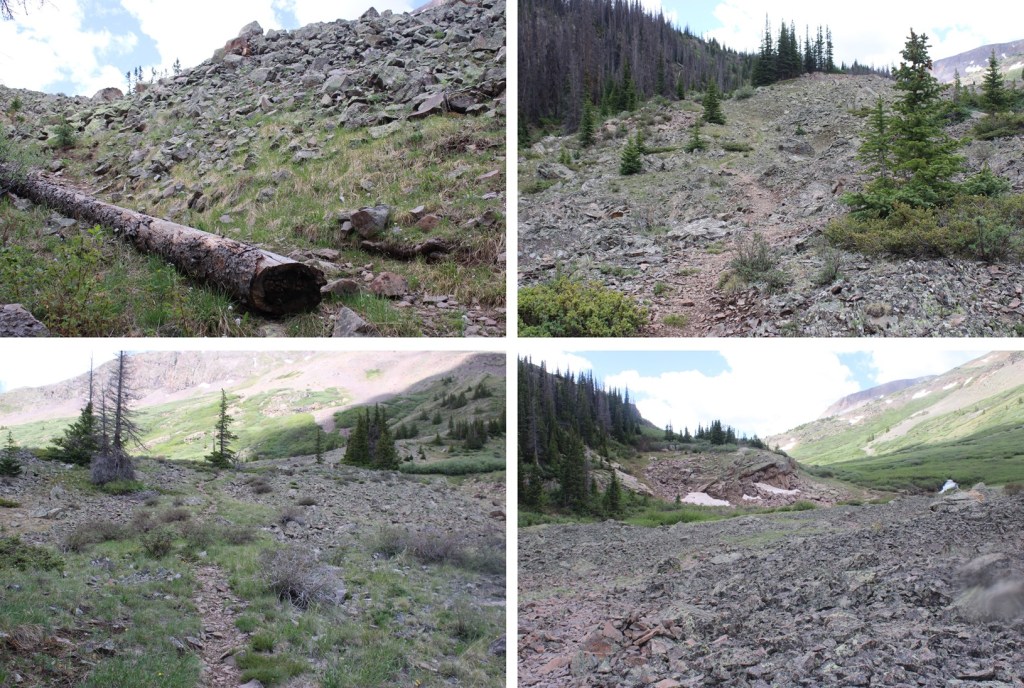
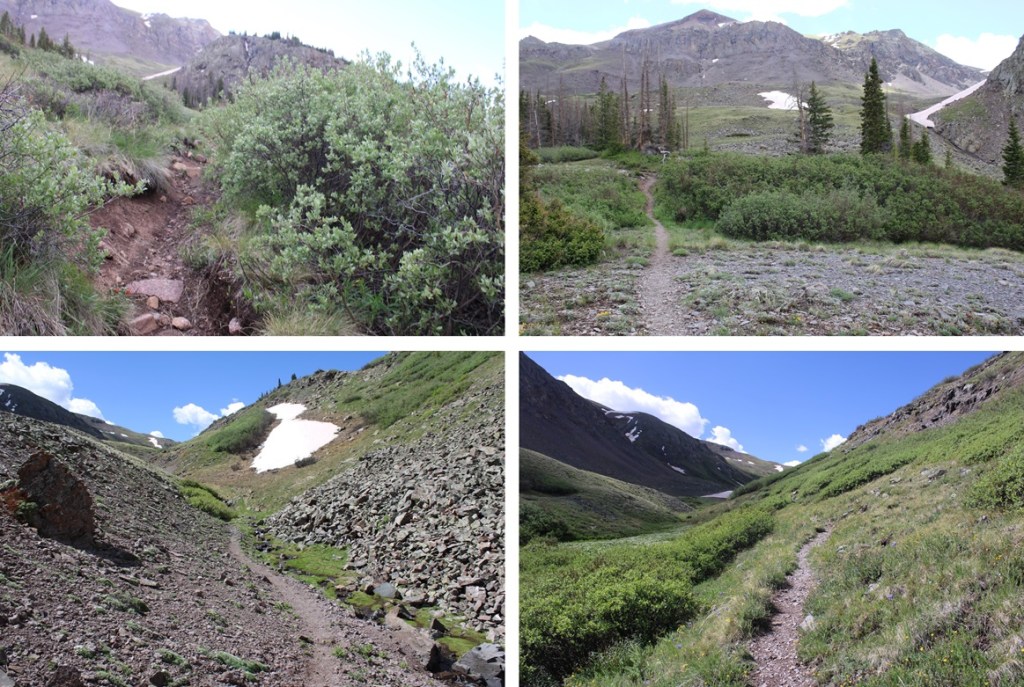
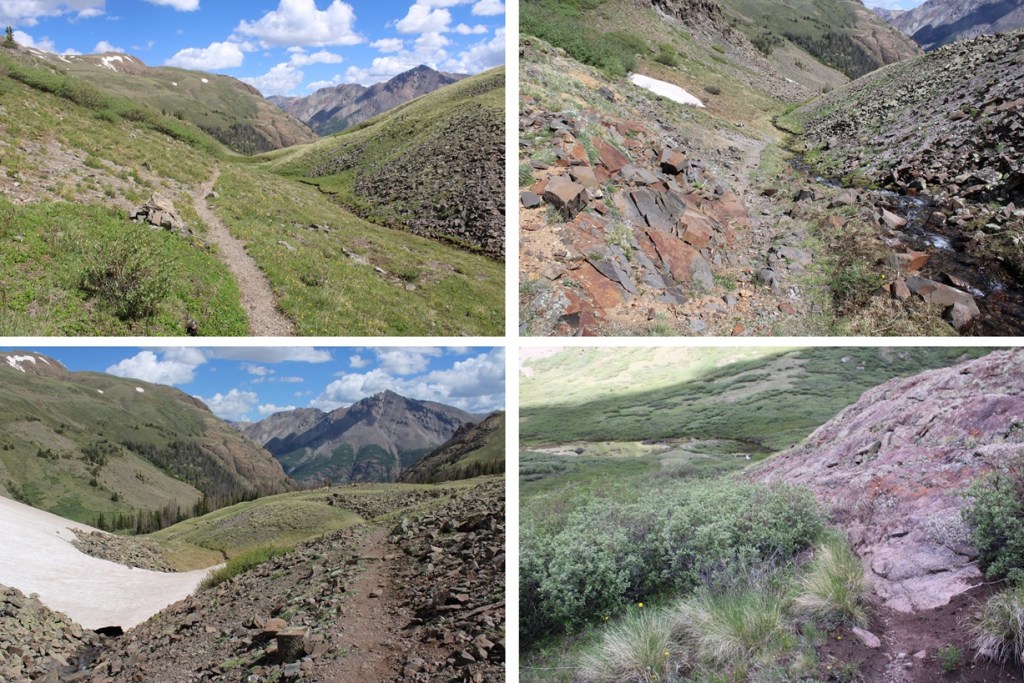
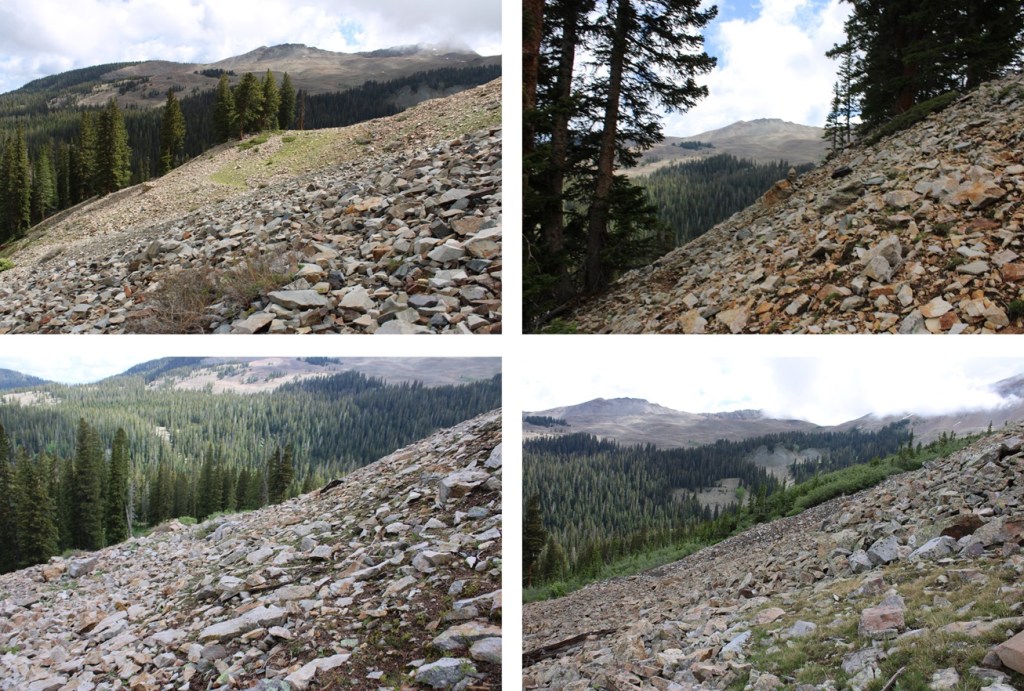
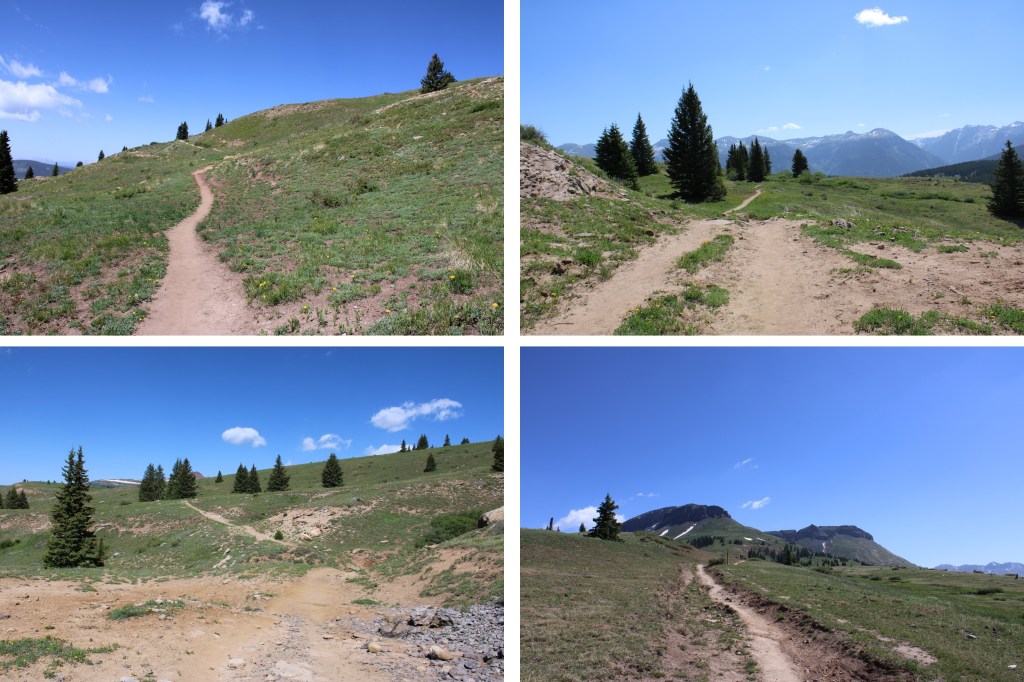
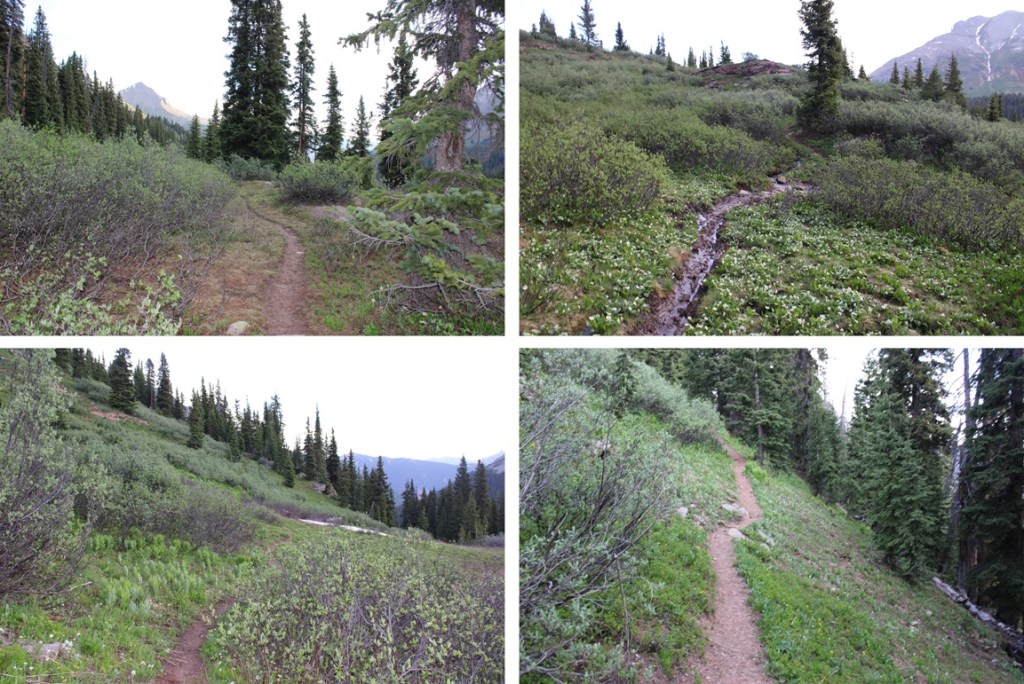
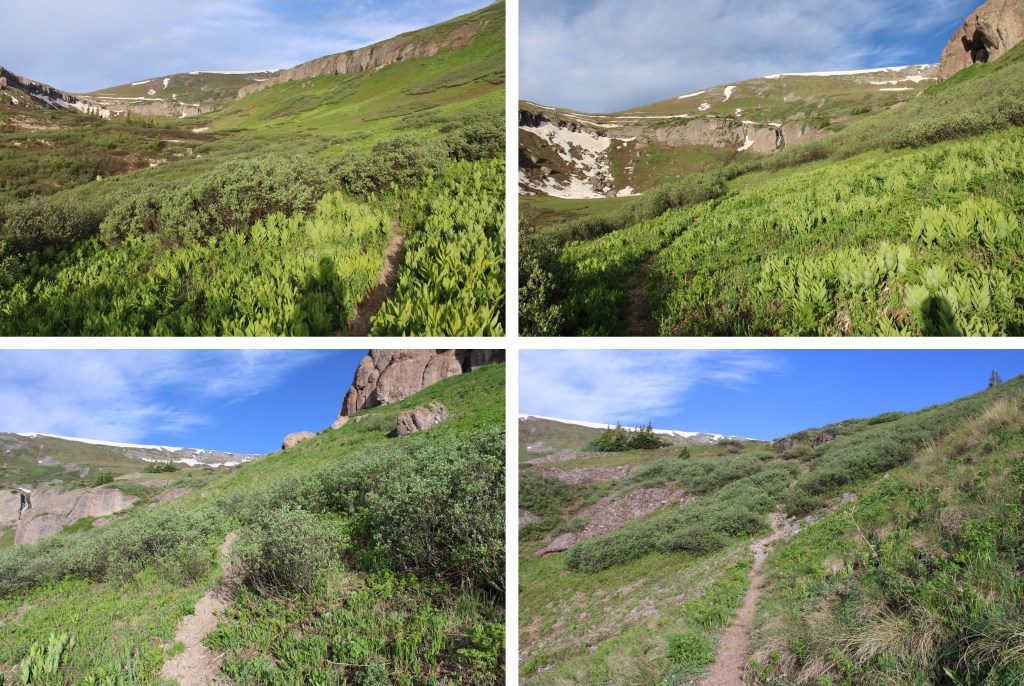
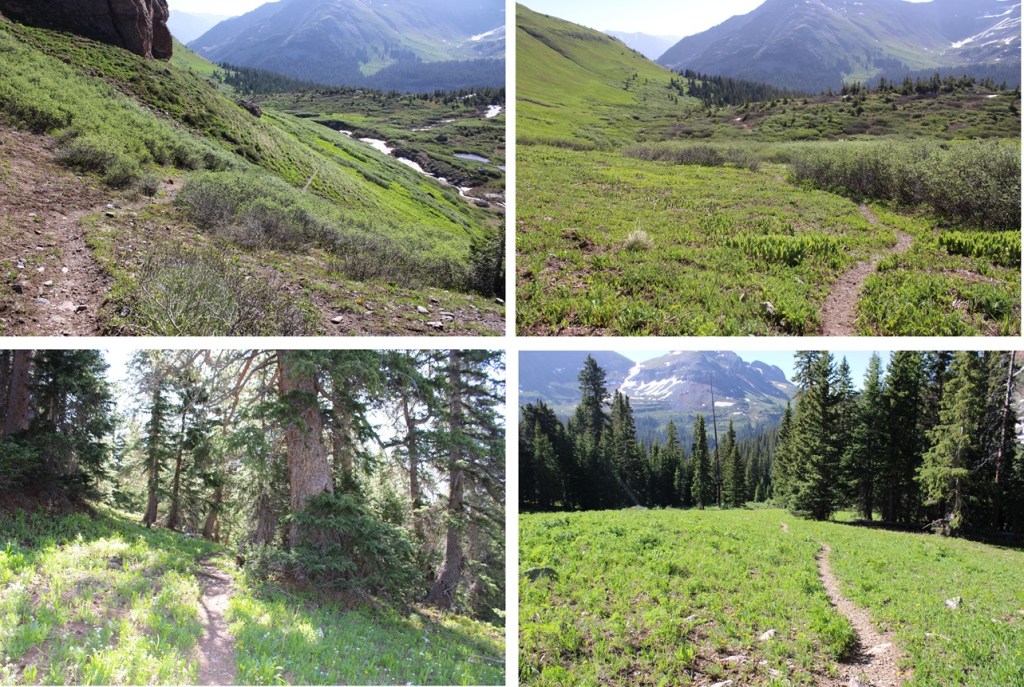
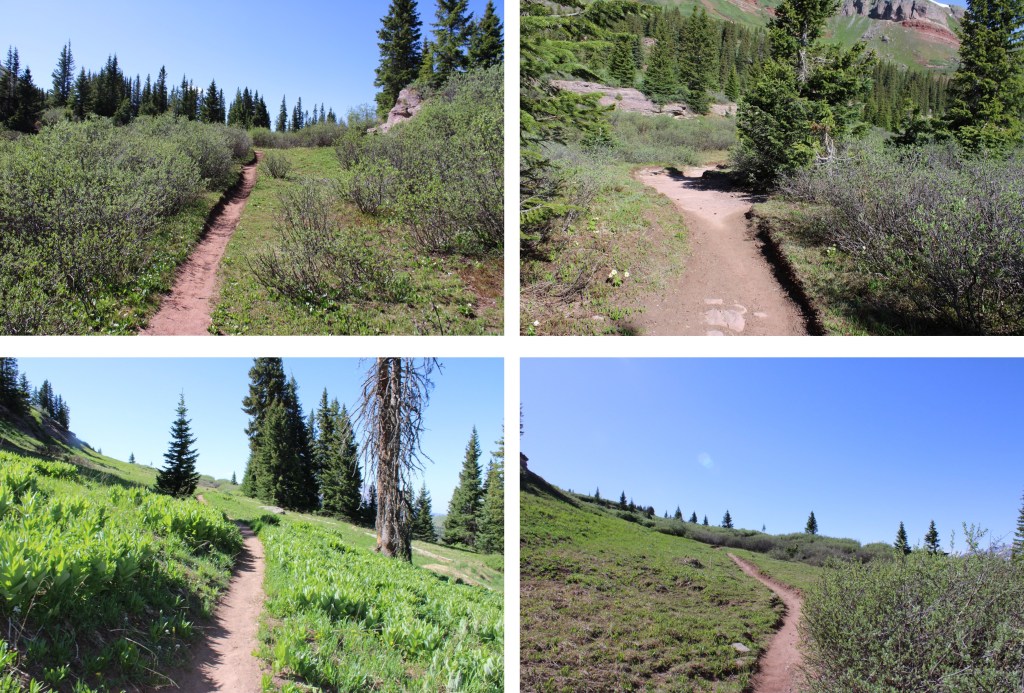
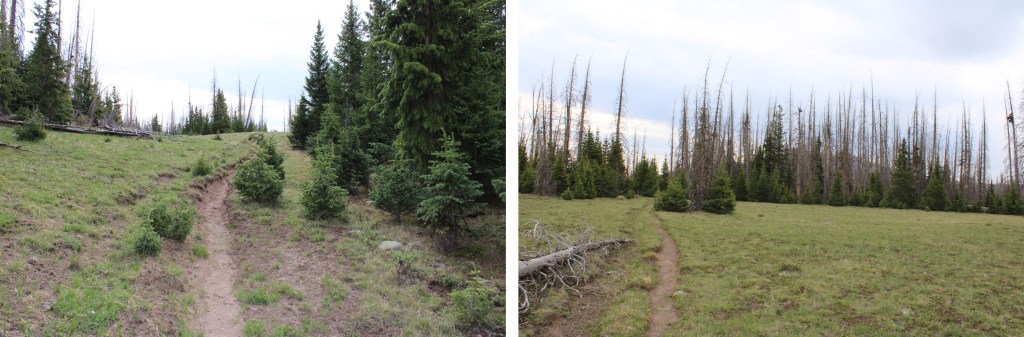
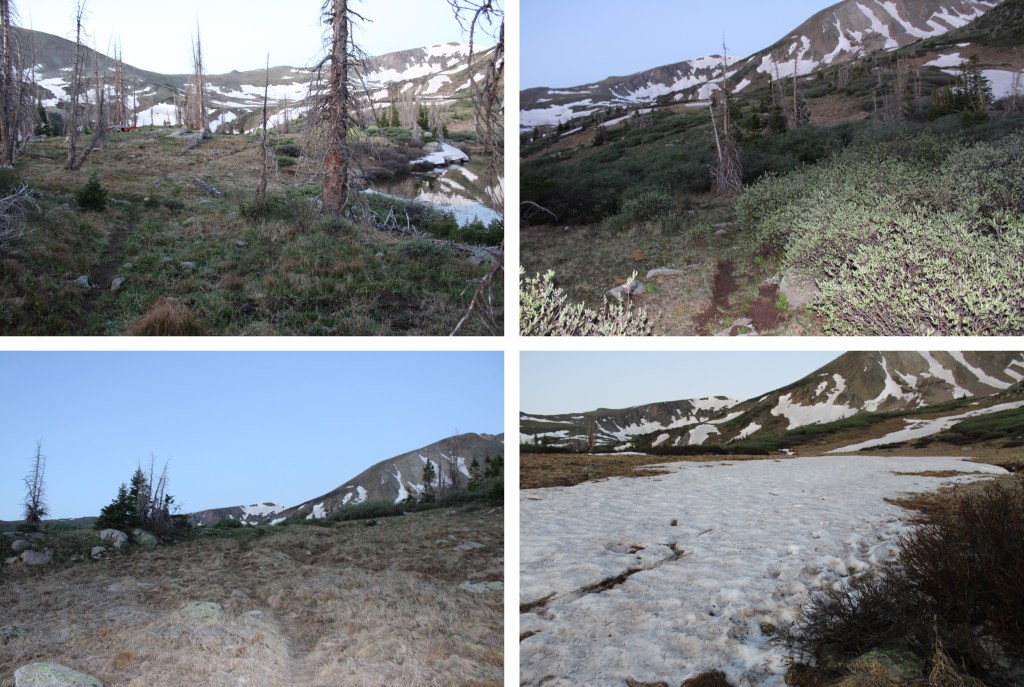
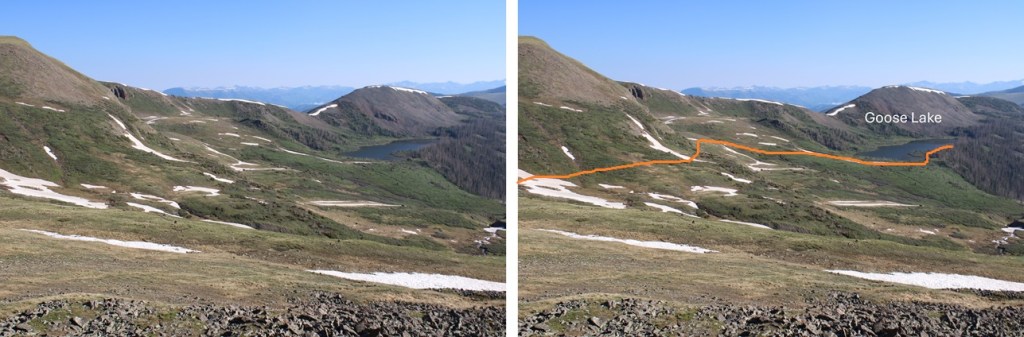
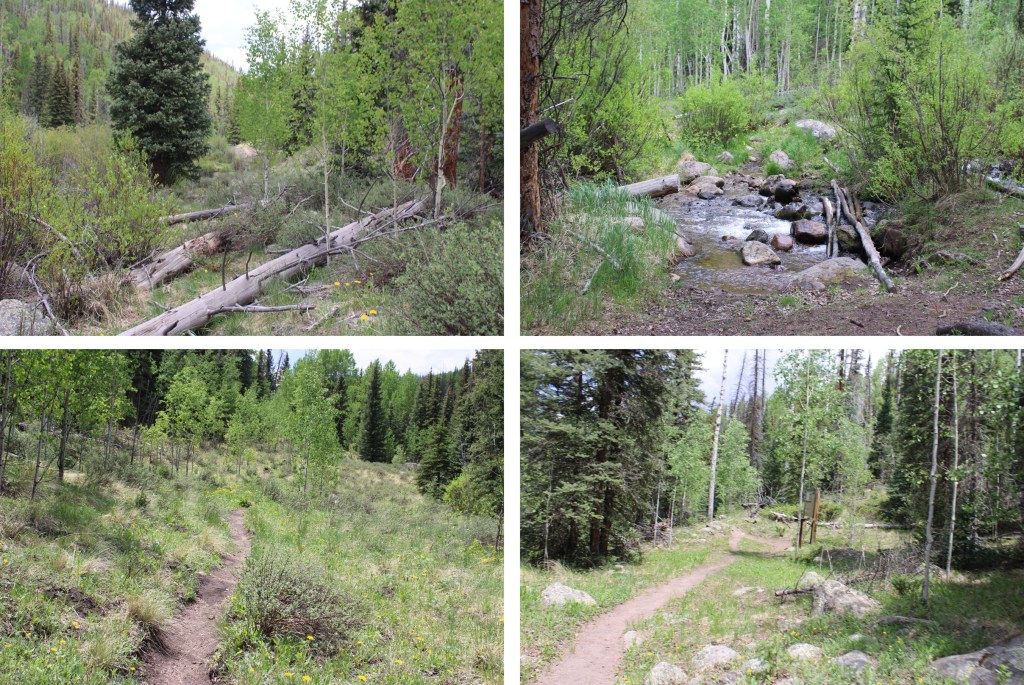
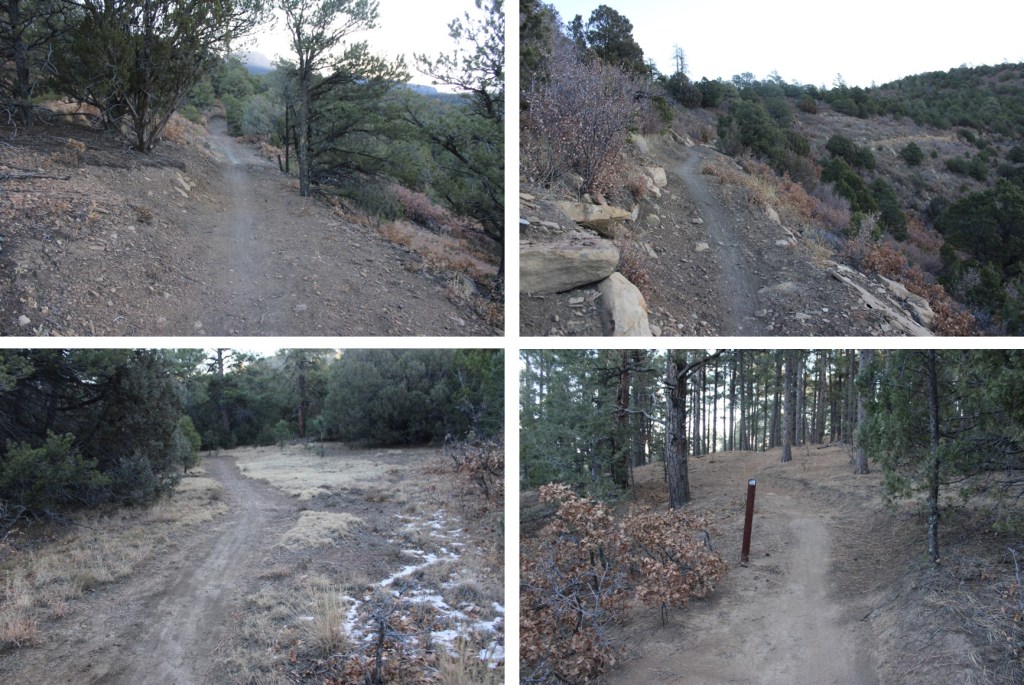
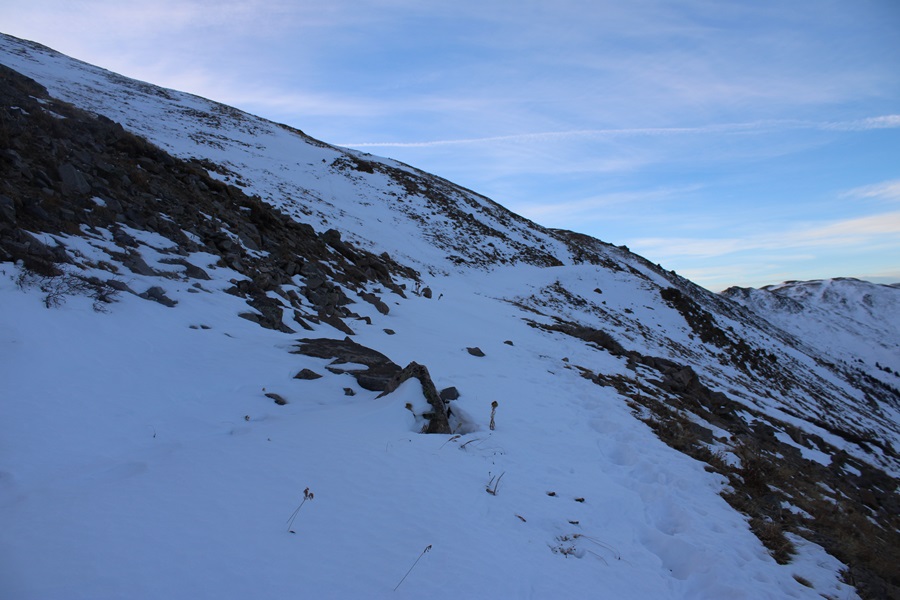
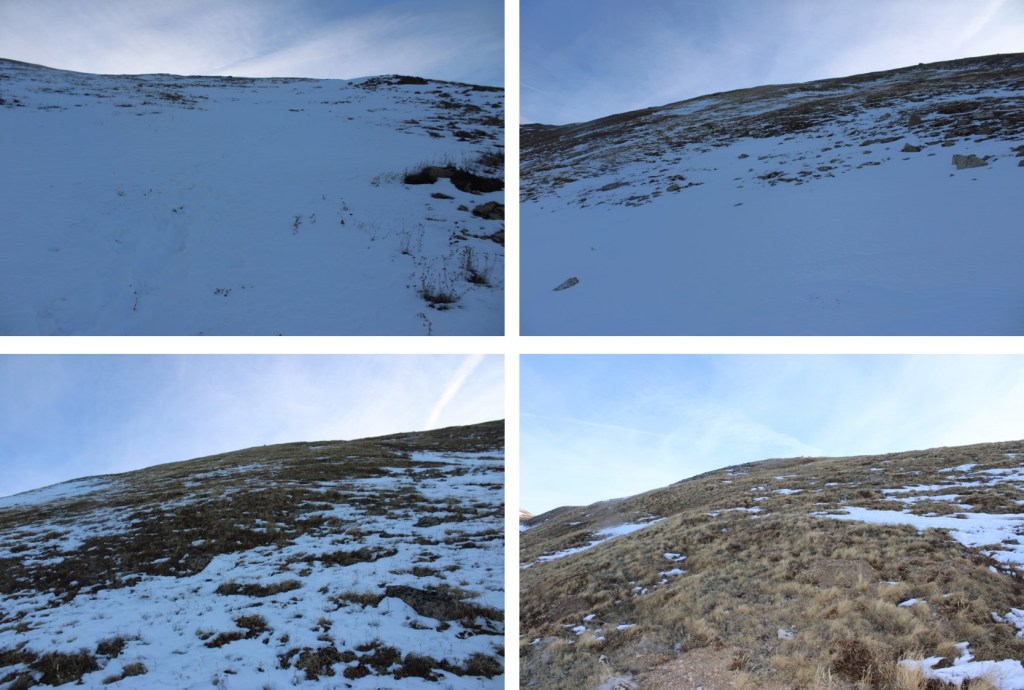
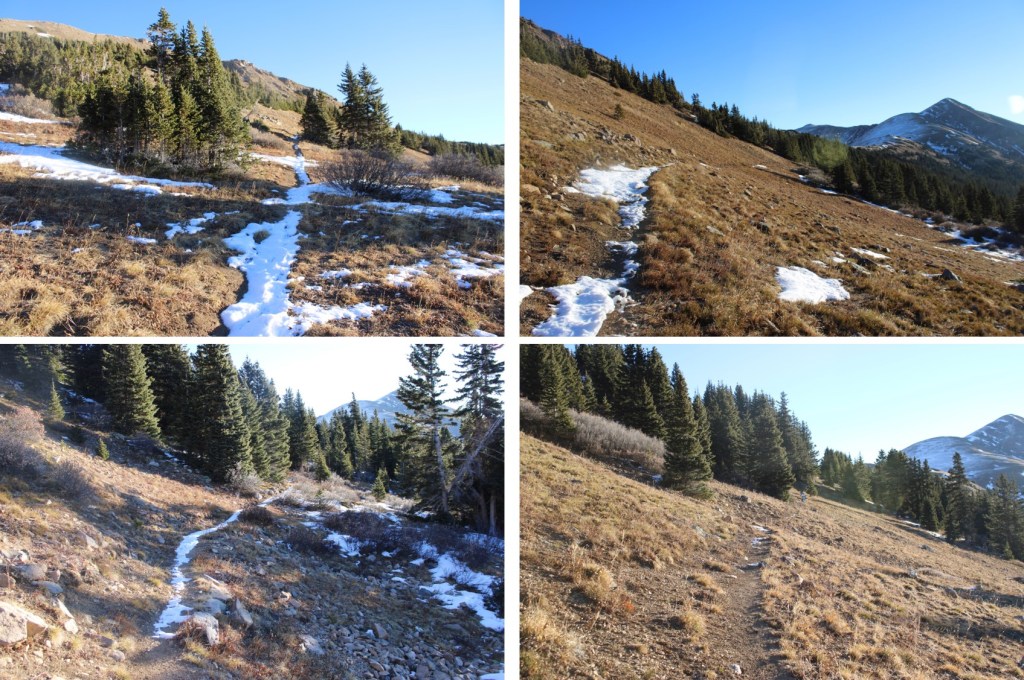
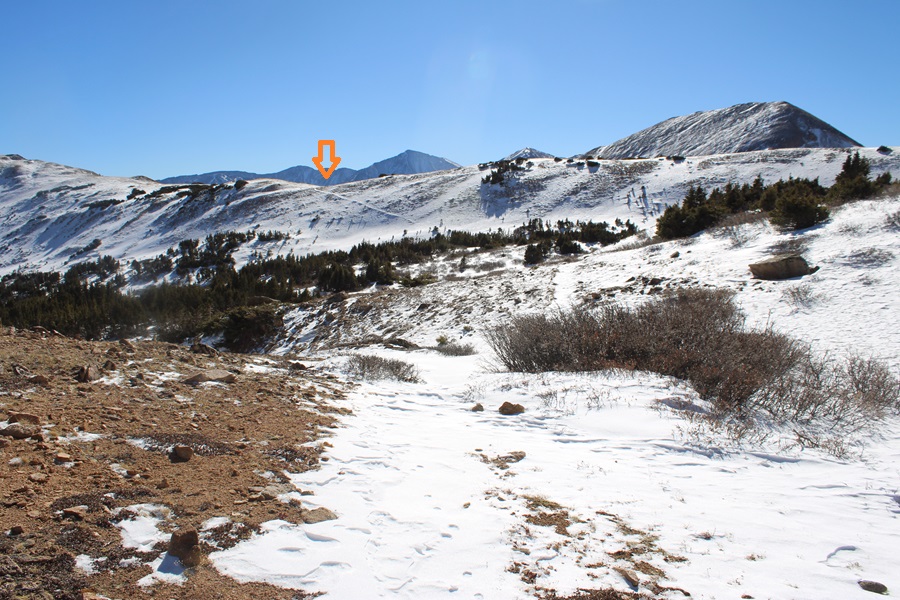
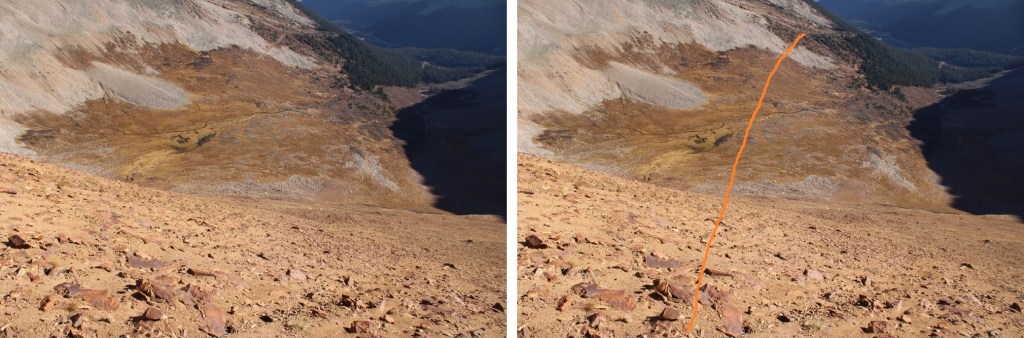
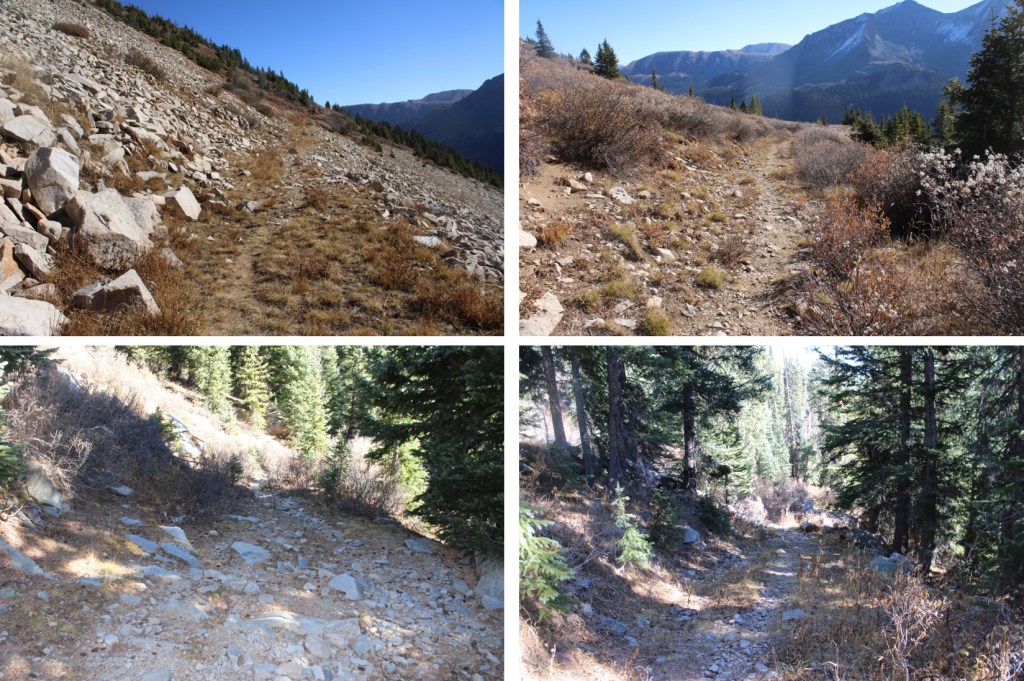
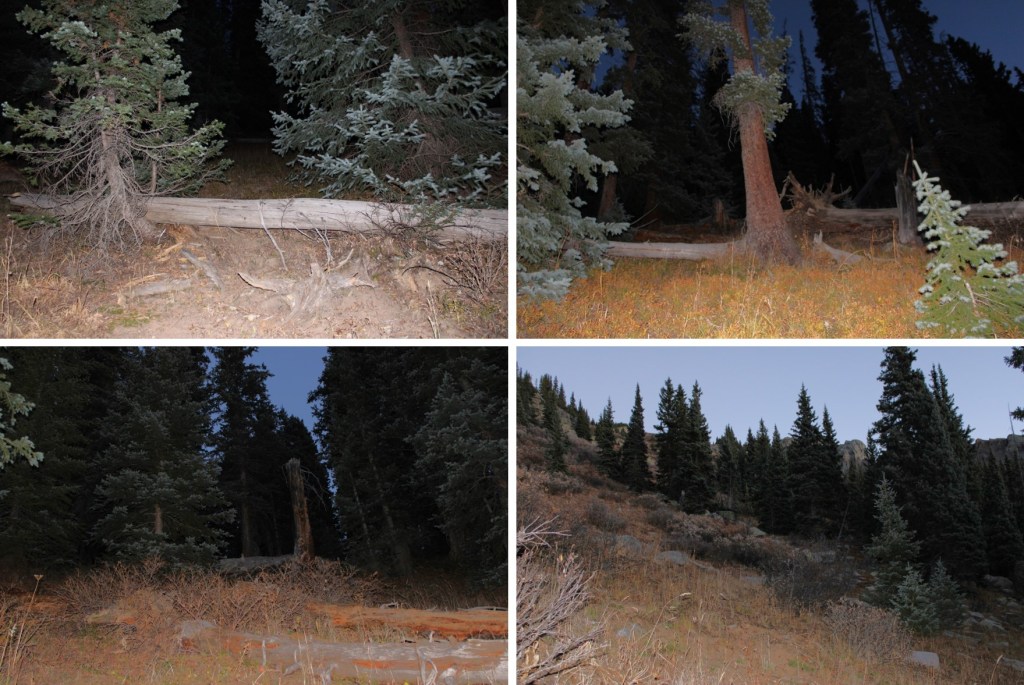
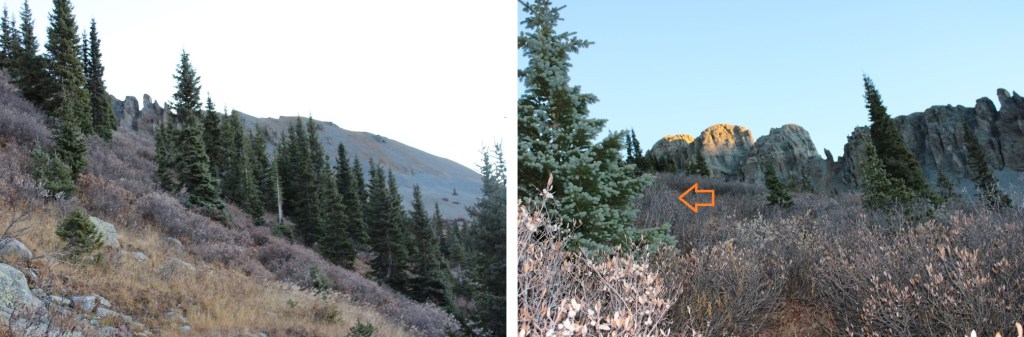
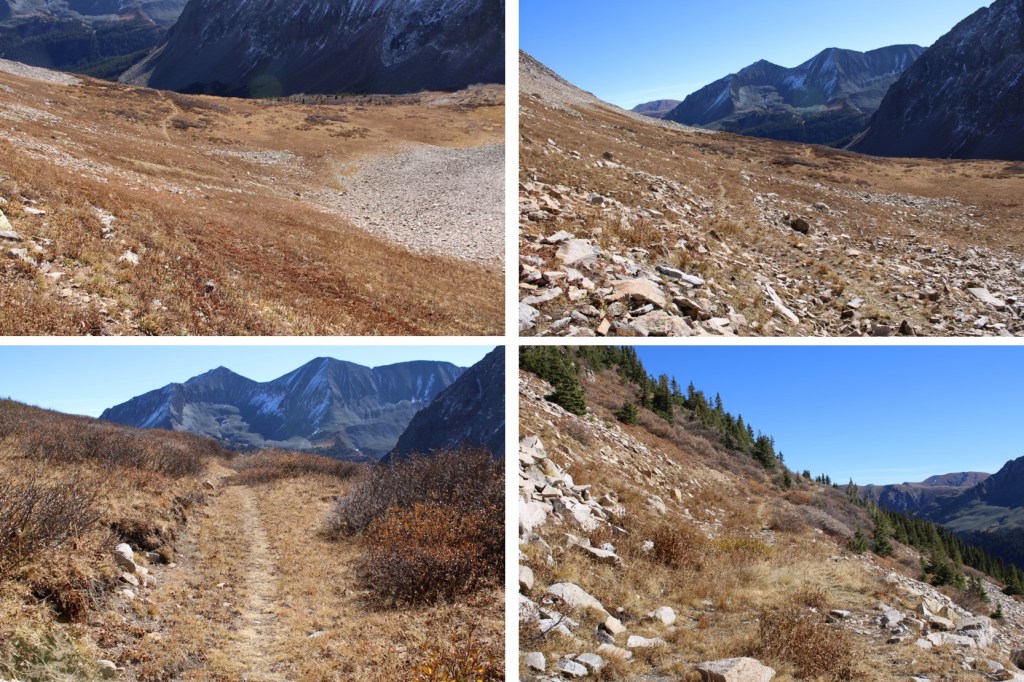
This is where the fun (elevation) begins. For the next 3 or so miles it was uphill all the way, across meadows, around ponds, through trees, beside waterfalls, and through rocky areas. From the very beginning you can see Rio Grande Pyramid to the northwest. Just keep heading that way.
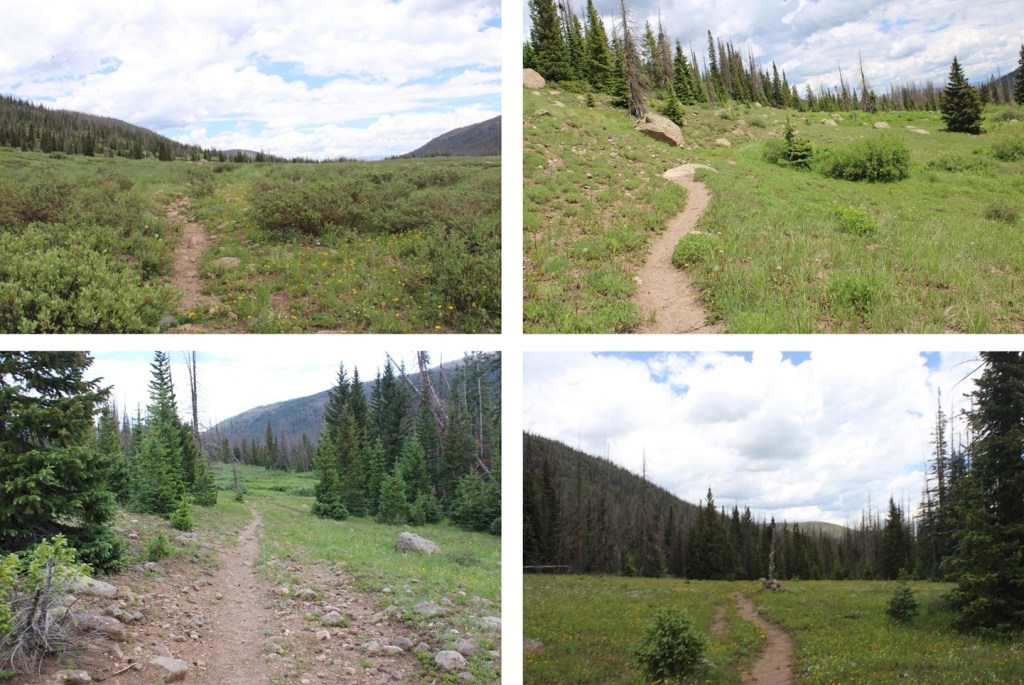
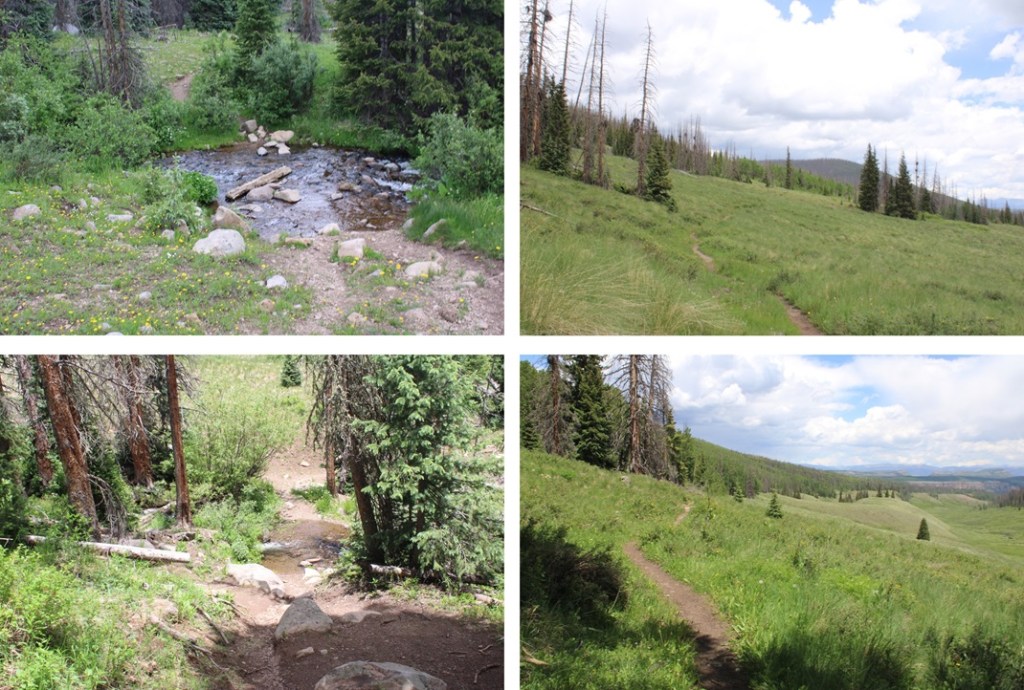
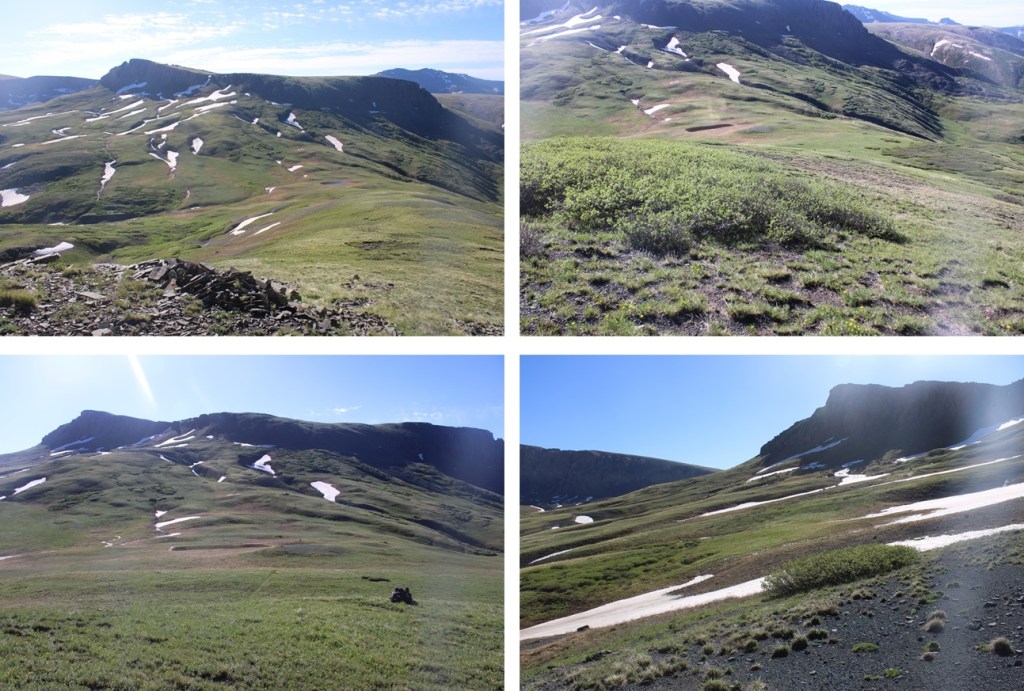
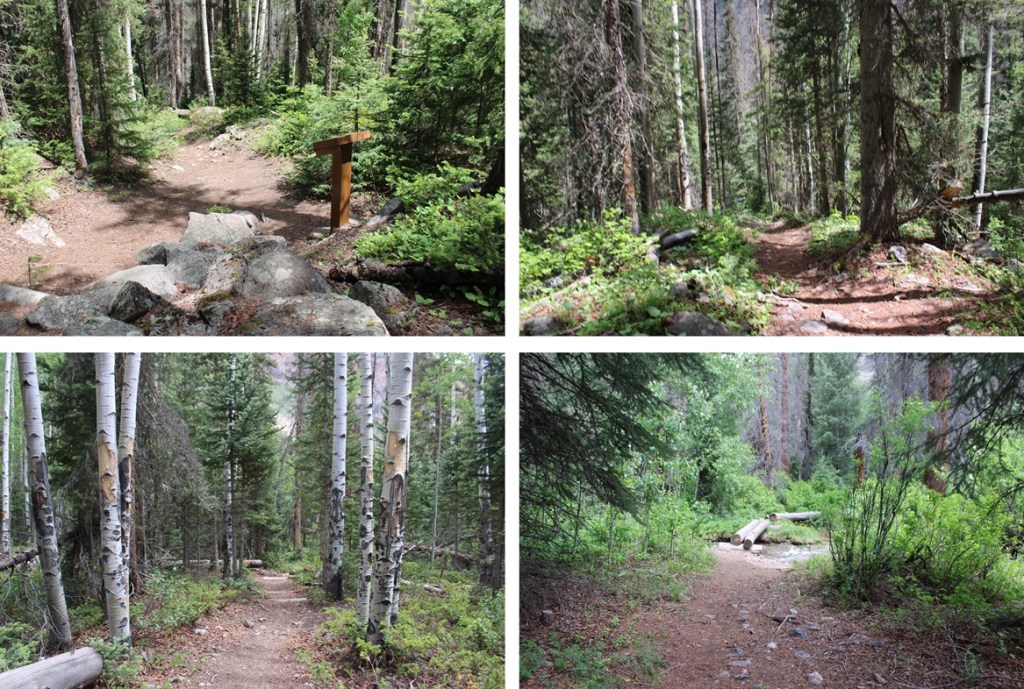
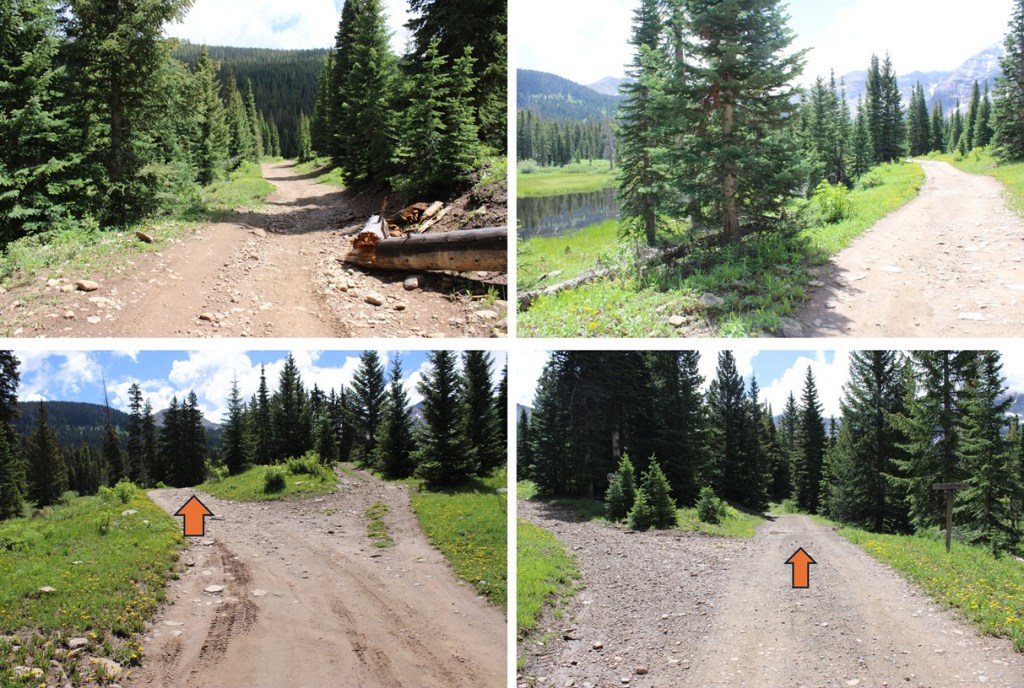
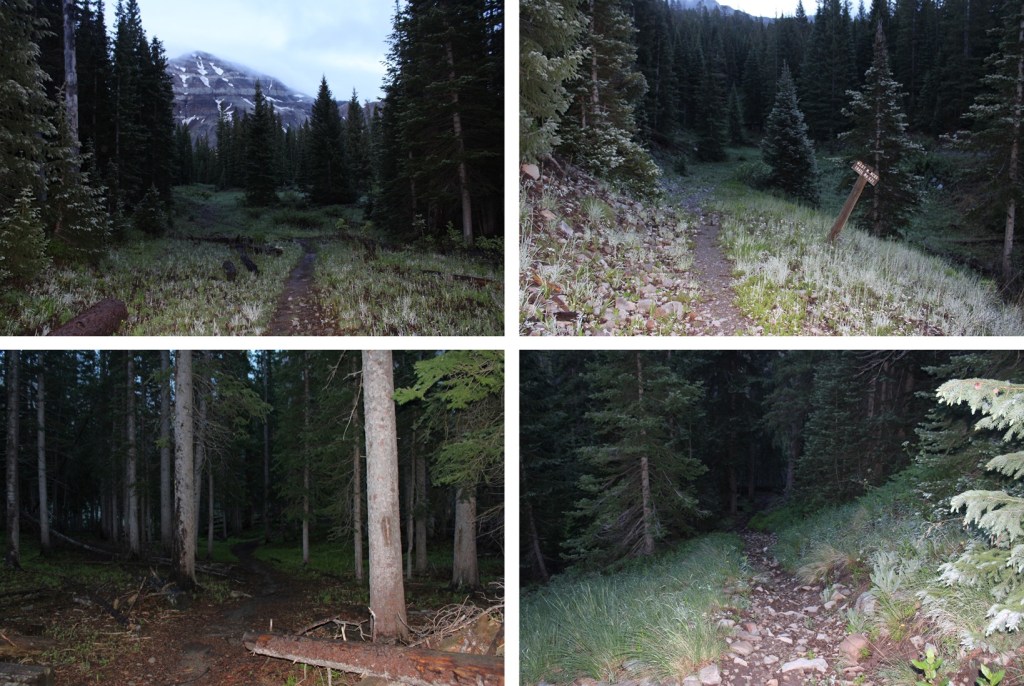
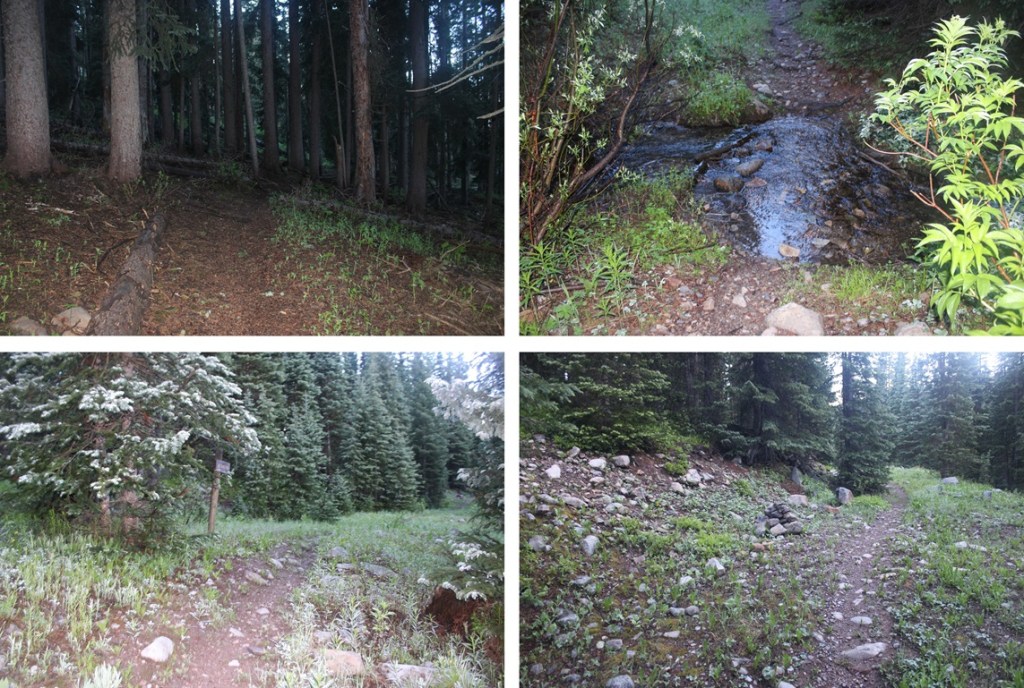
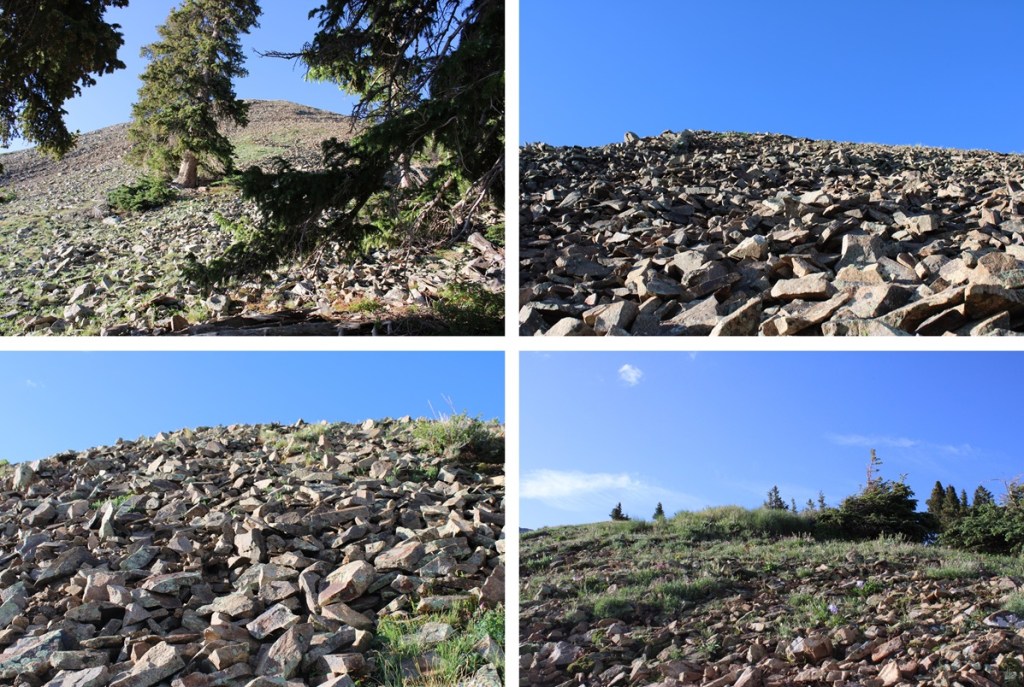
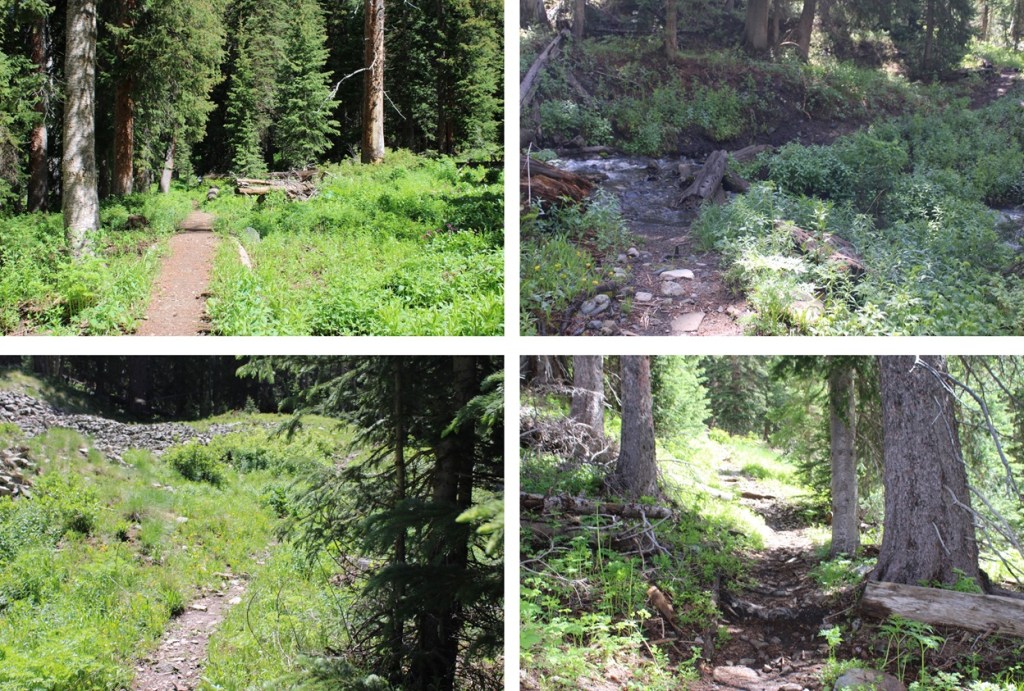
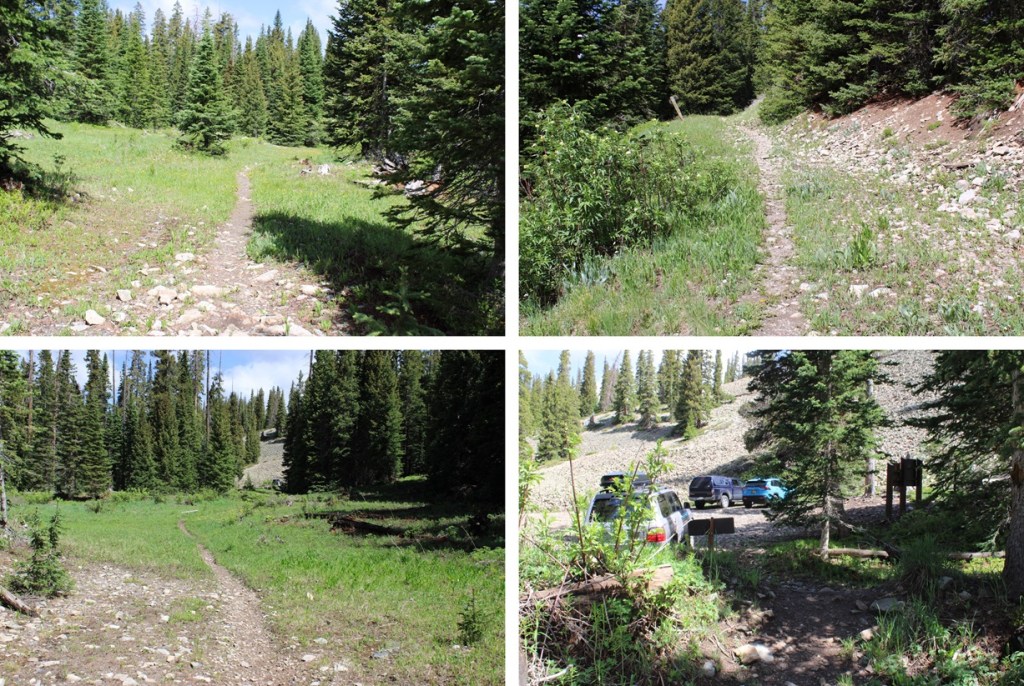
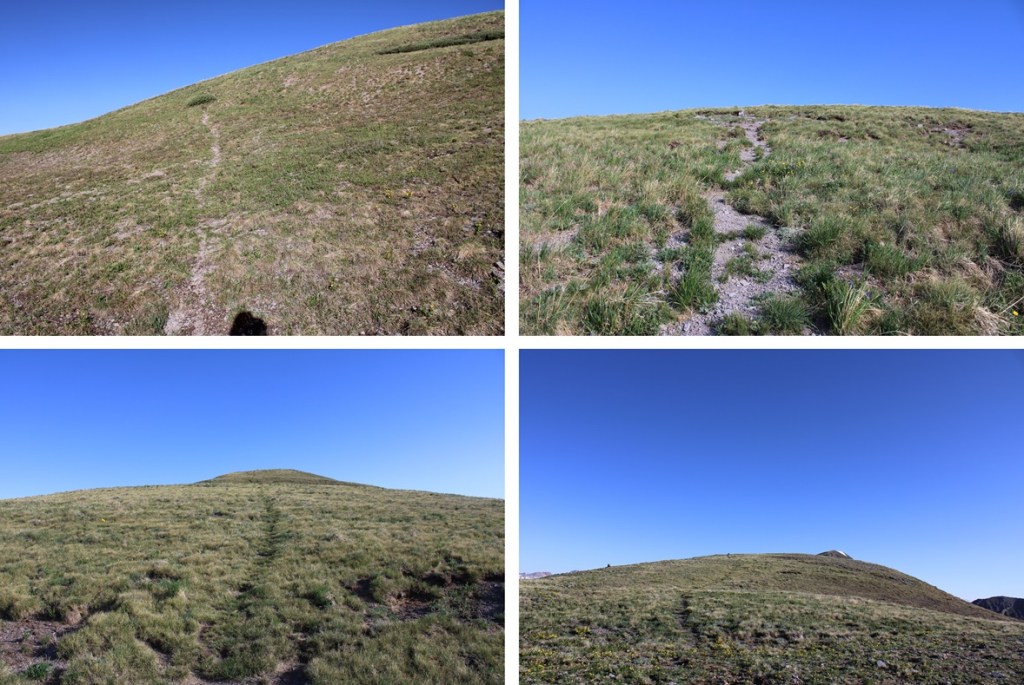
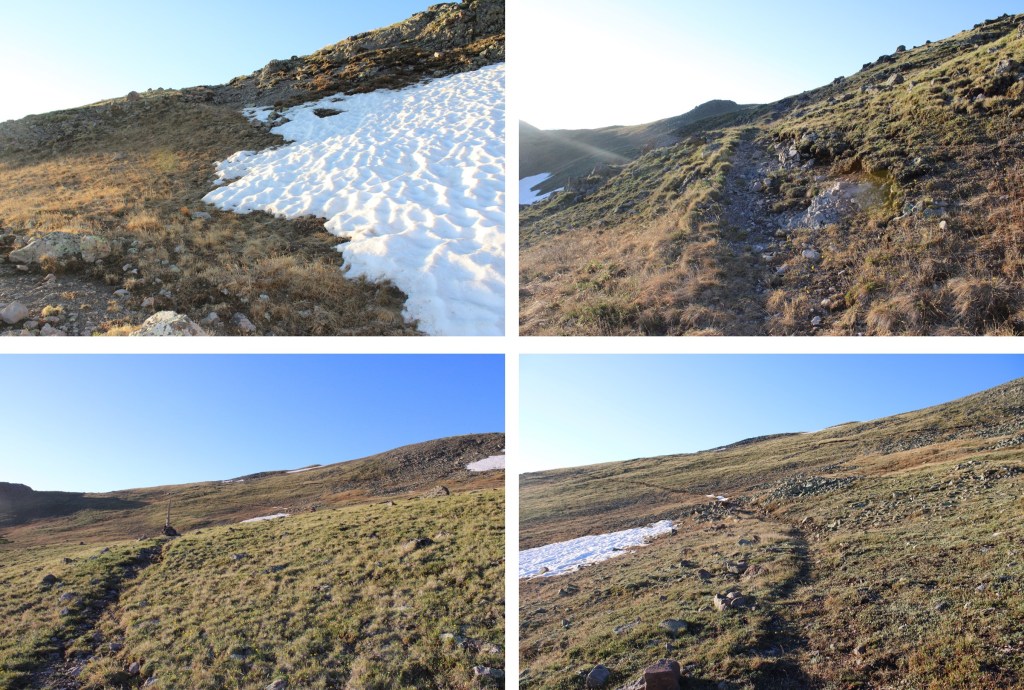
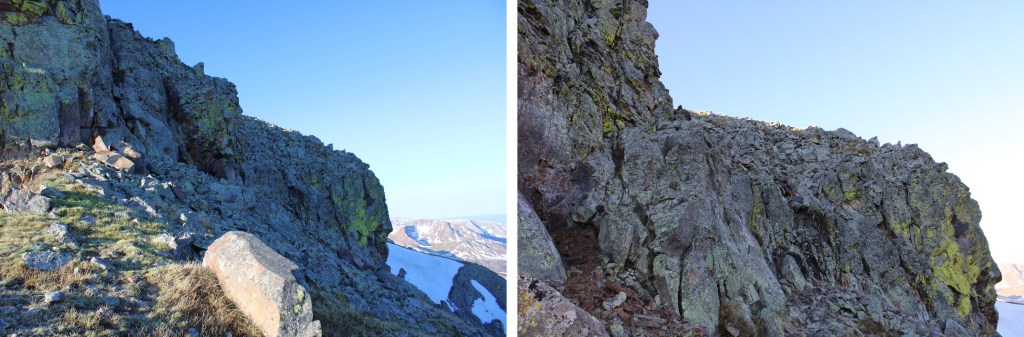
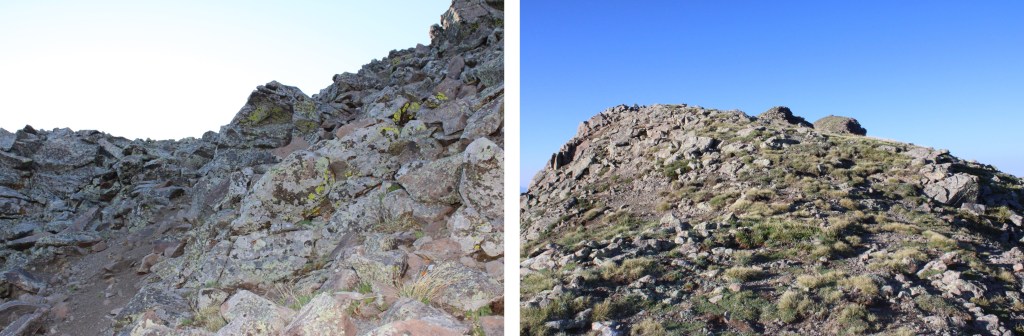
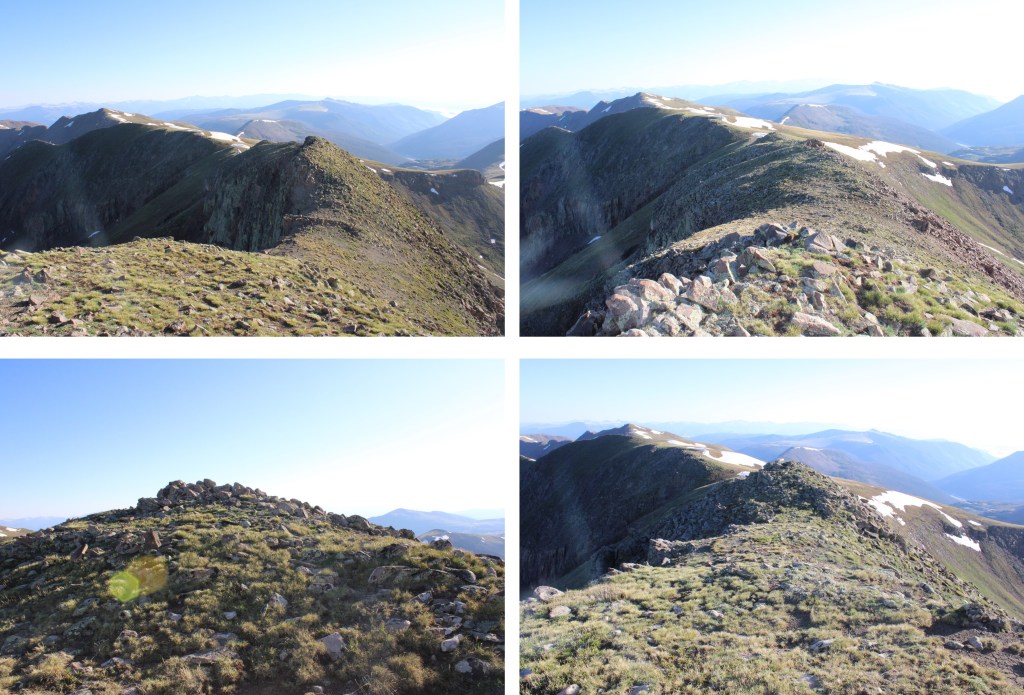
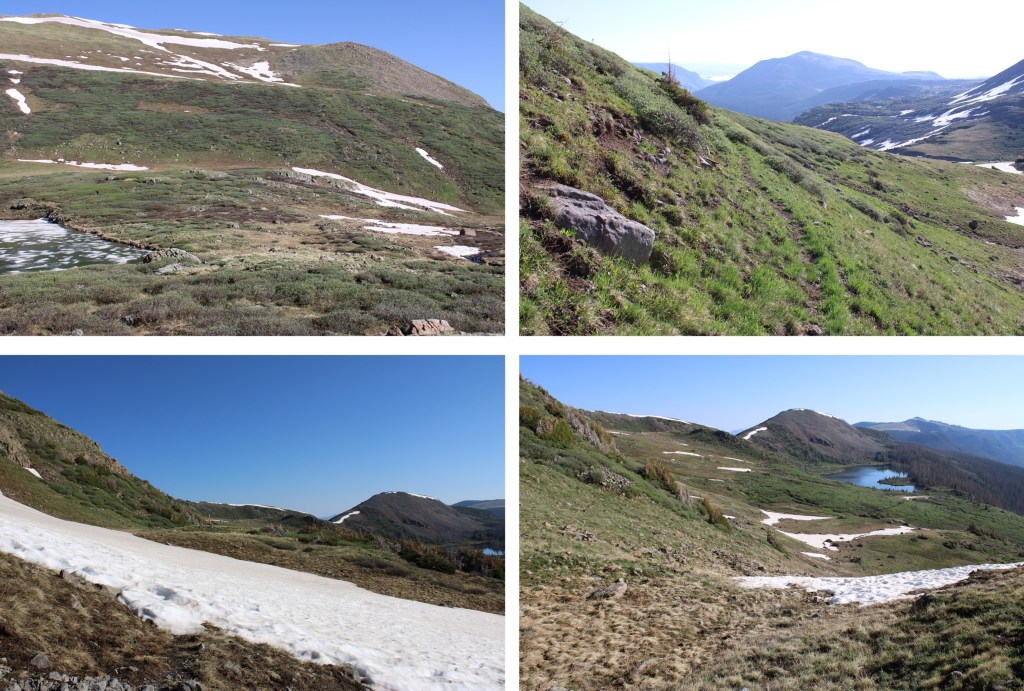
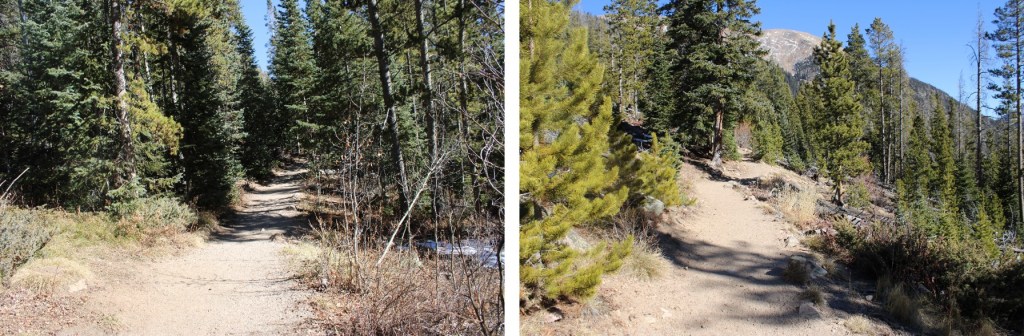
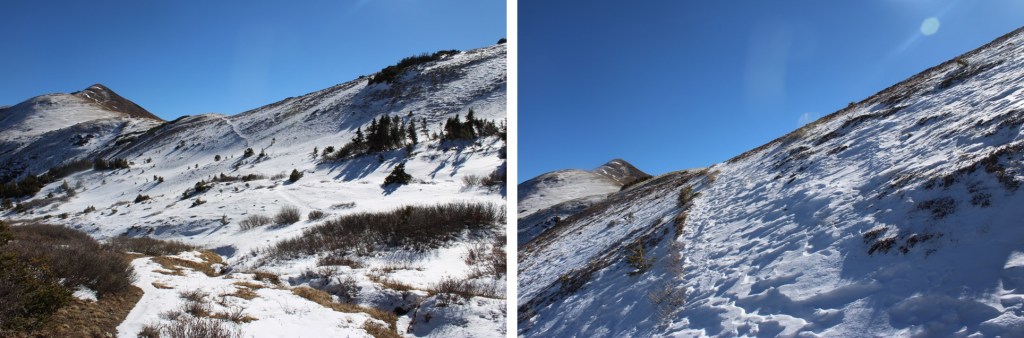
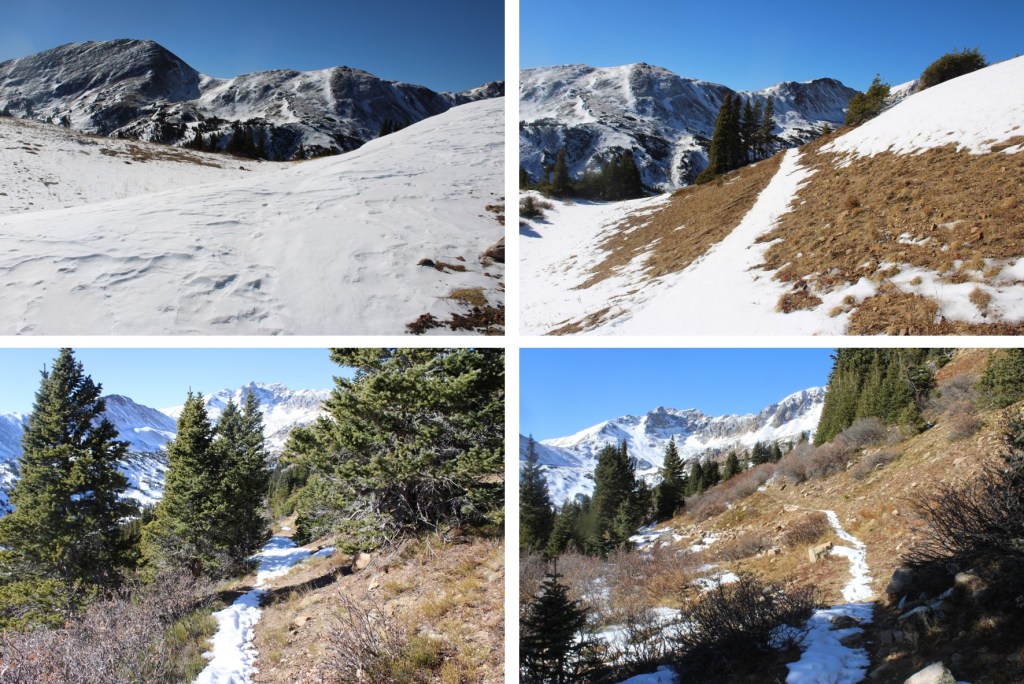
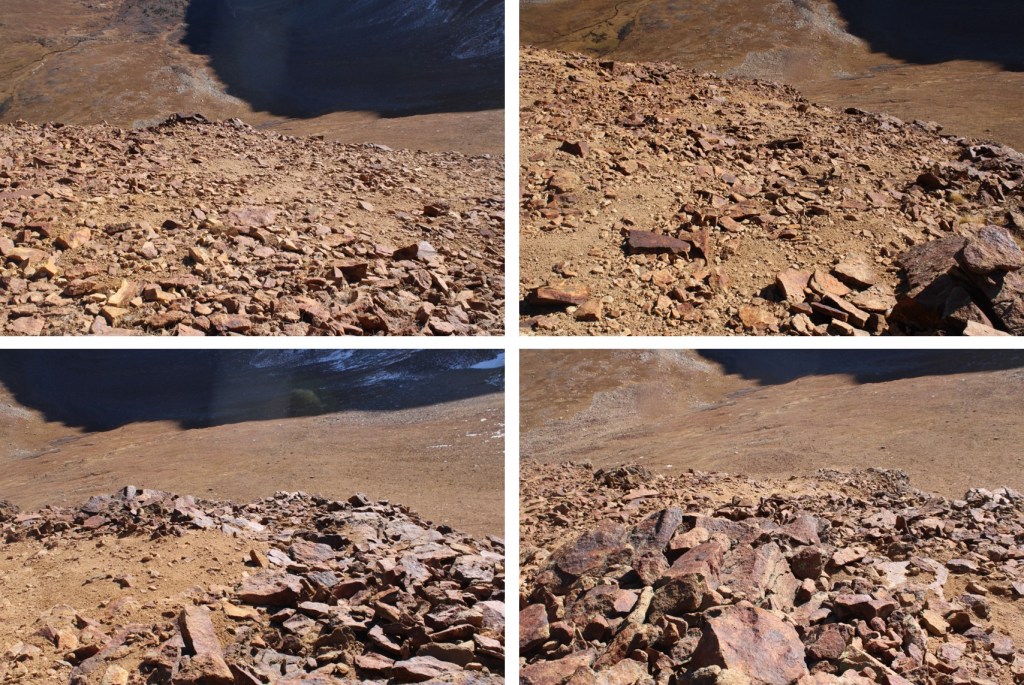
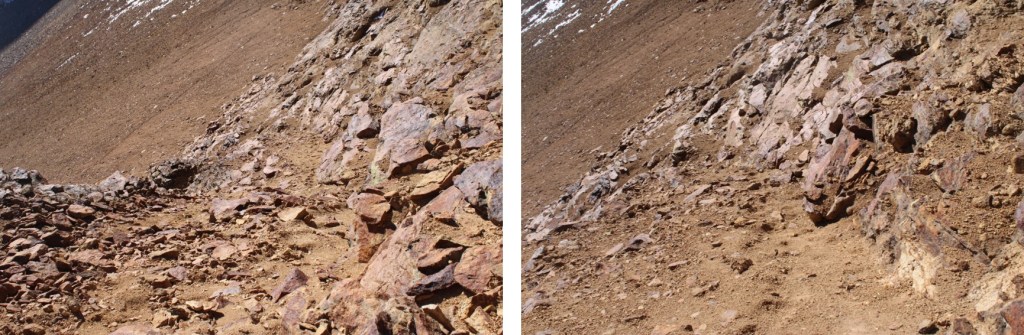
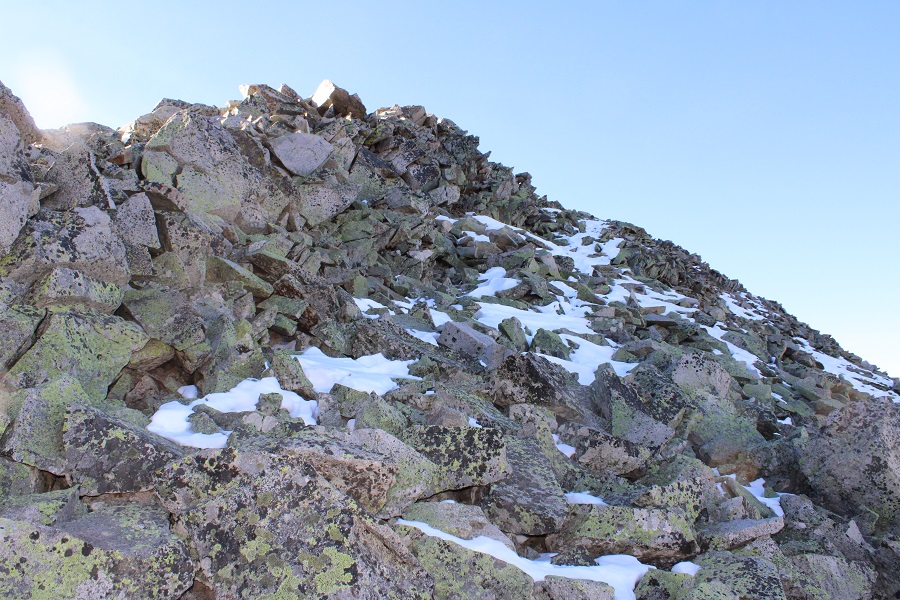
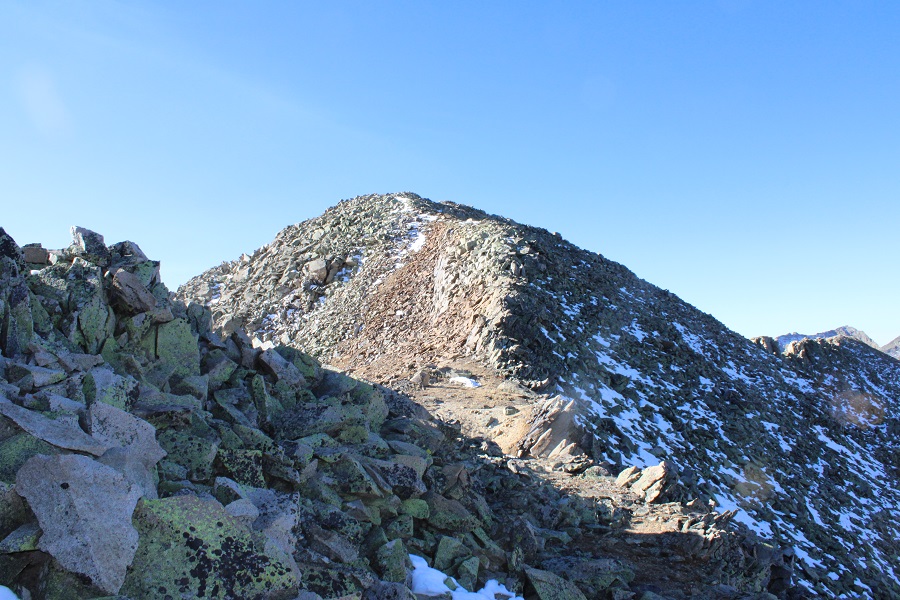
Here are some pictures of my way towards treeline
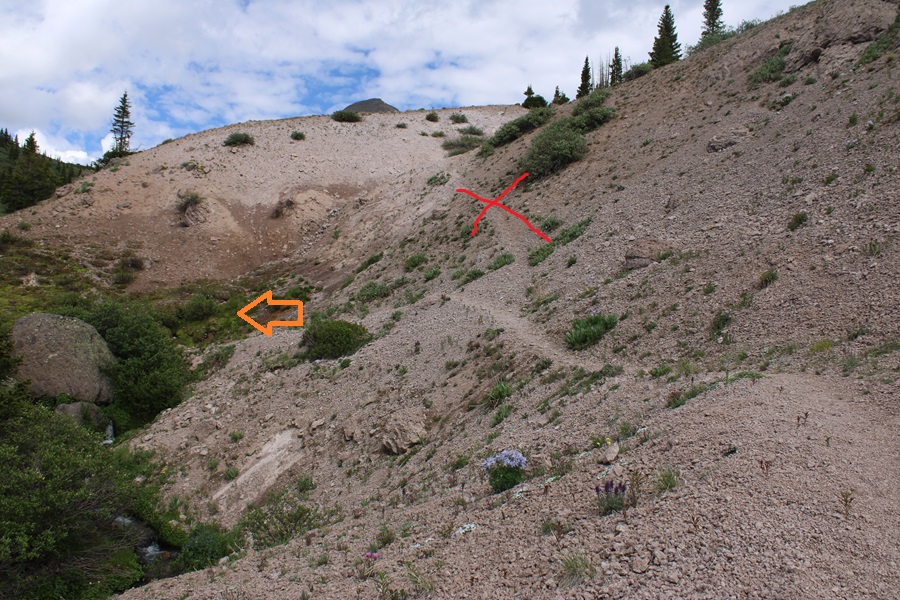
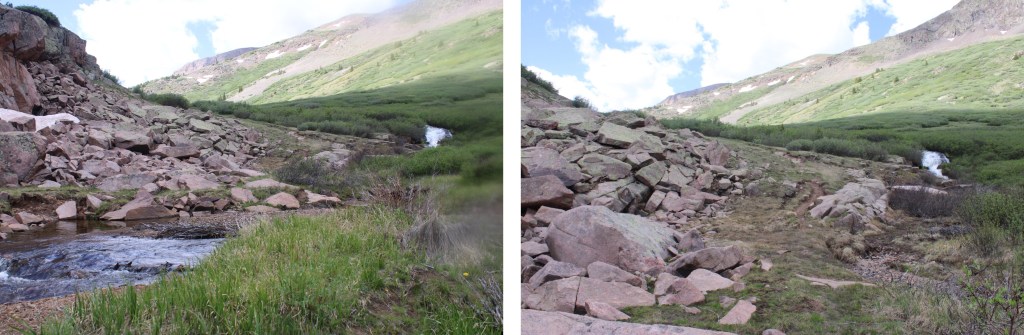
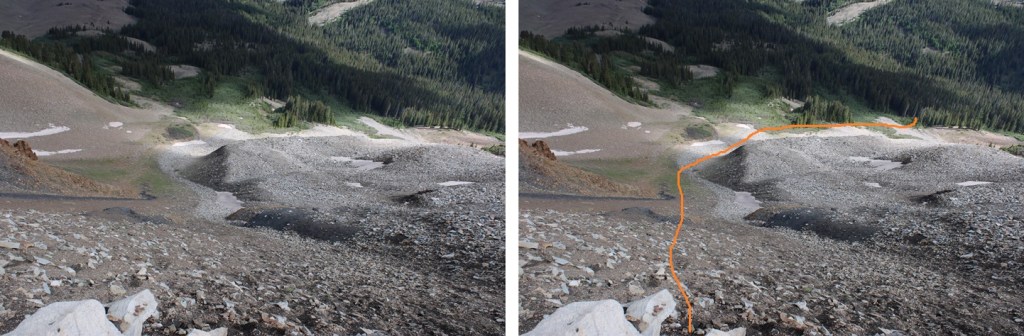
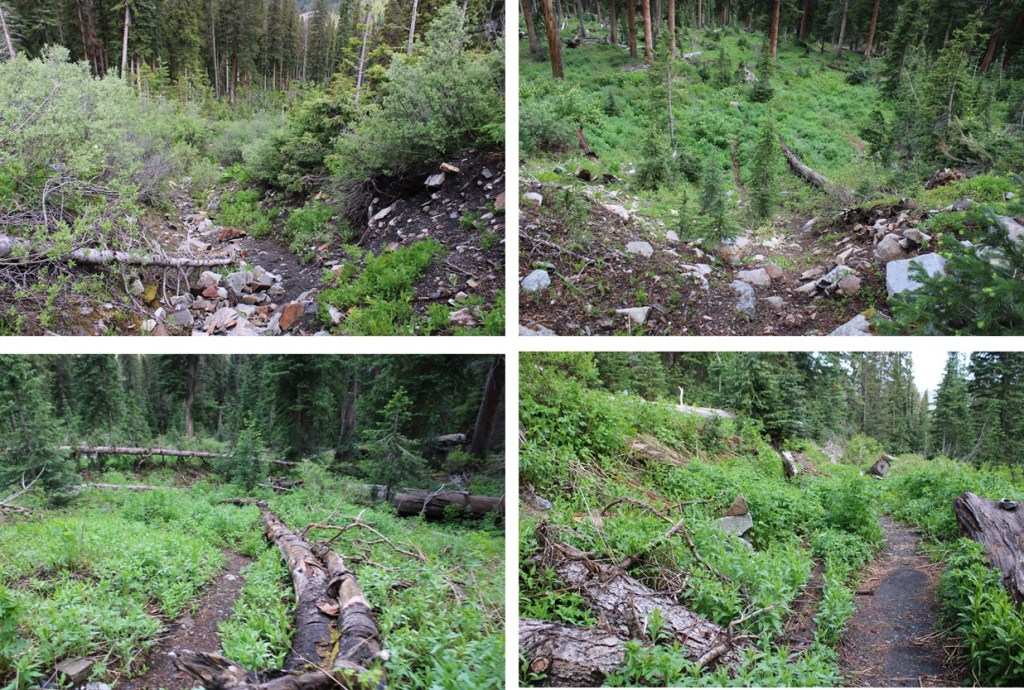
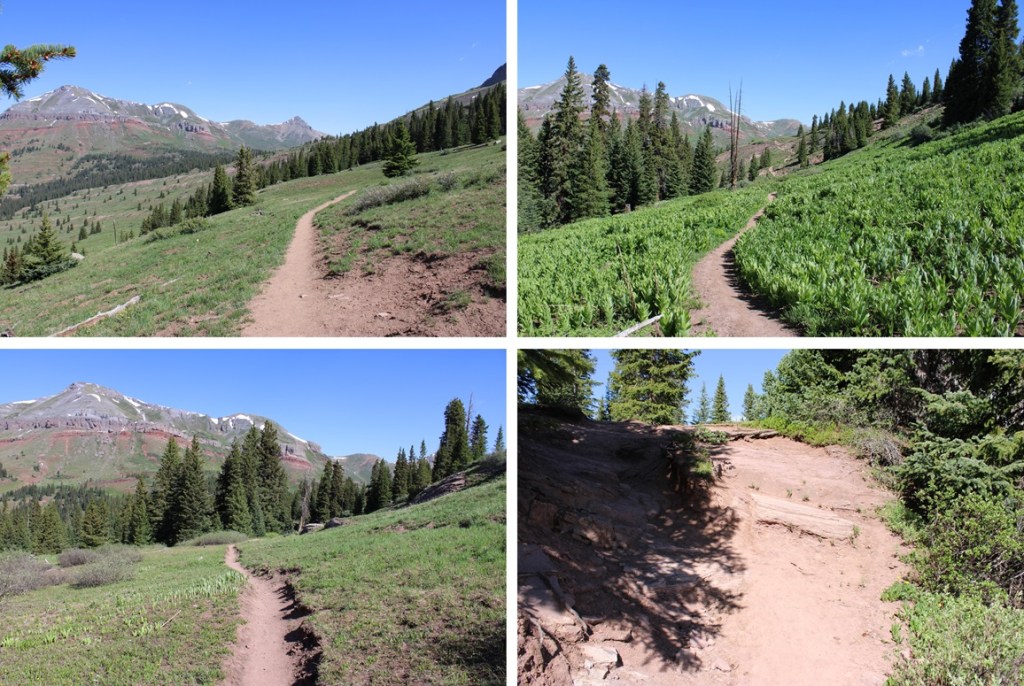
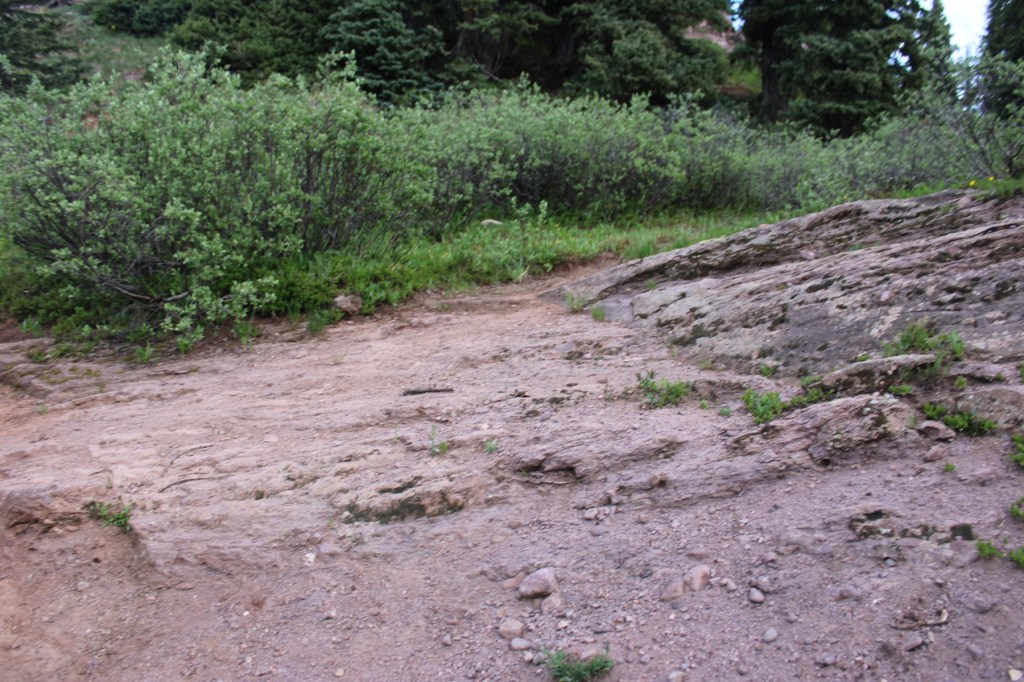
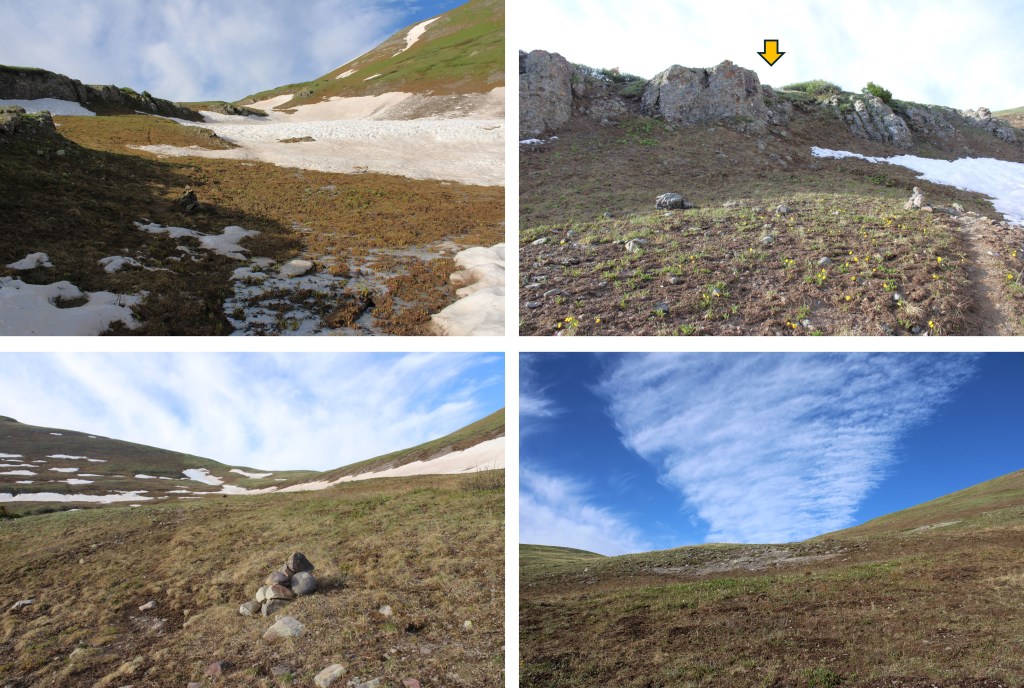
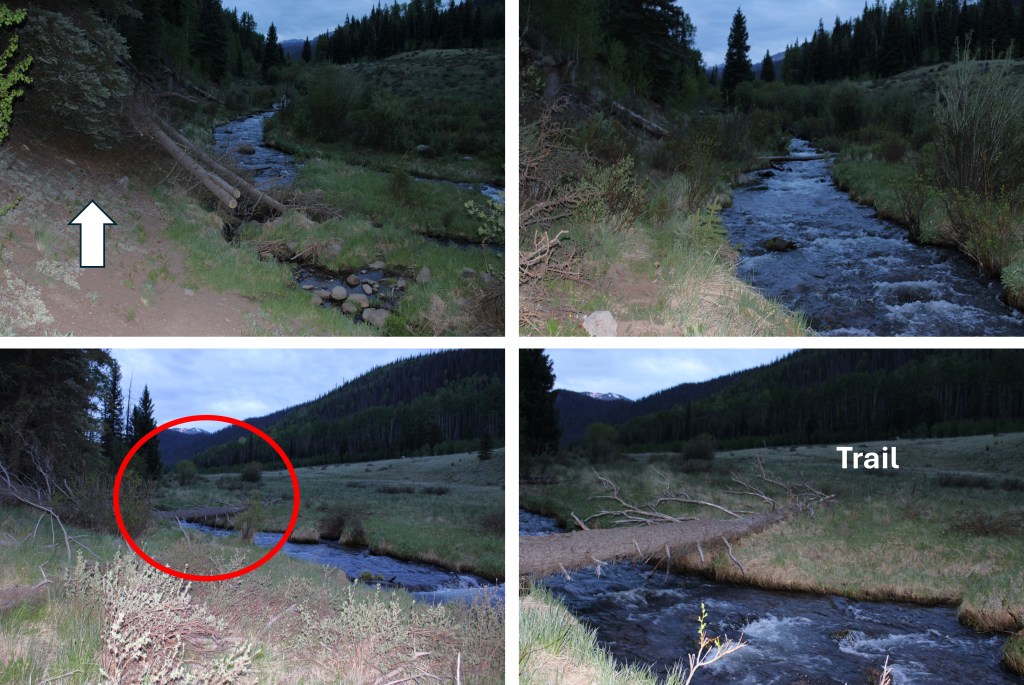
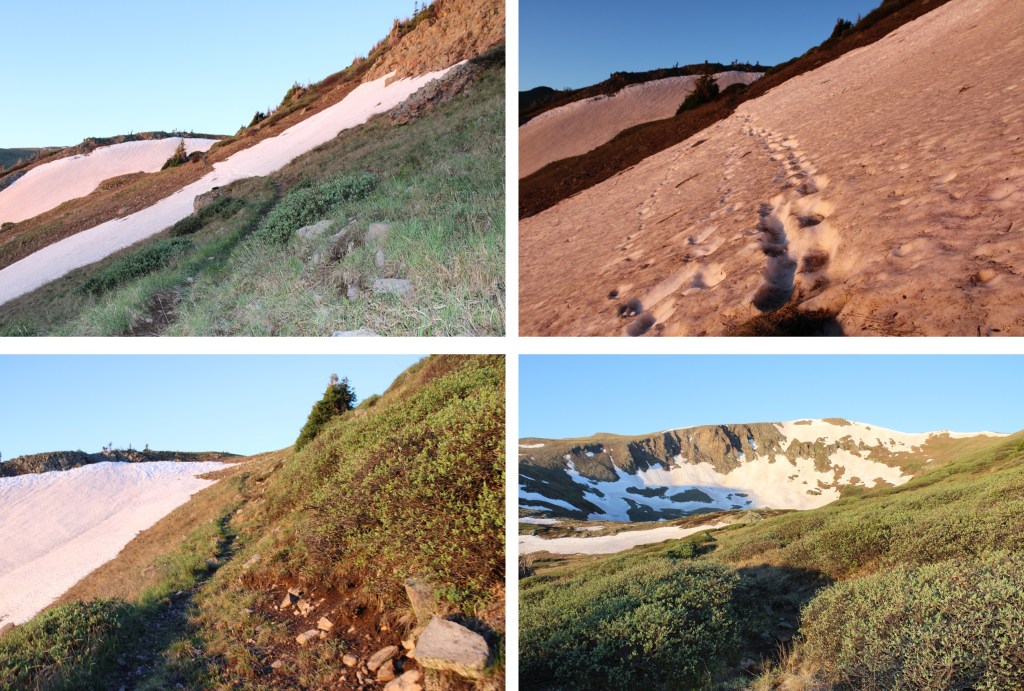
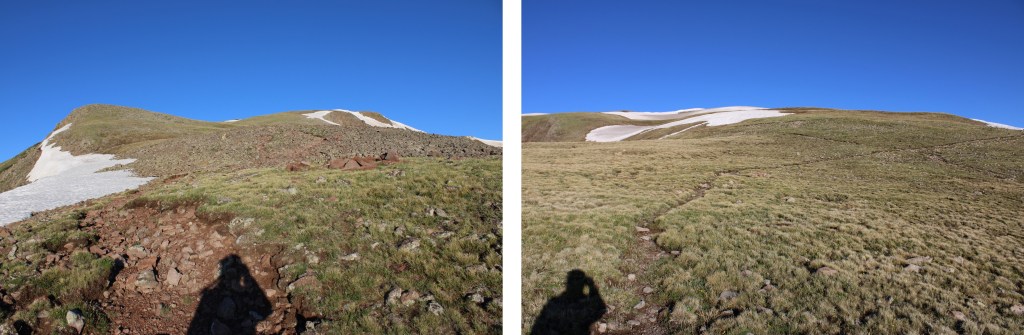
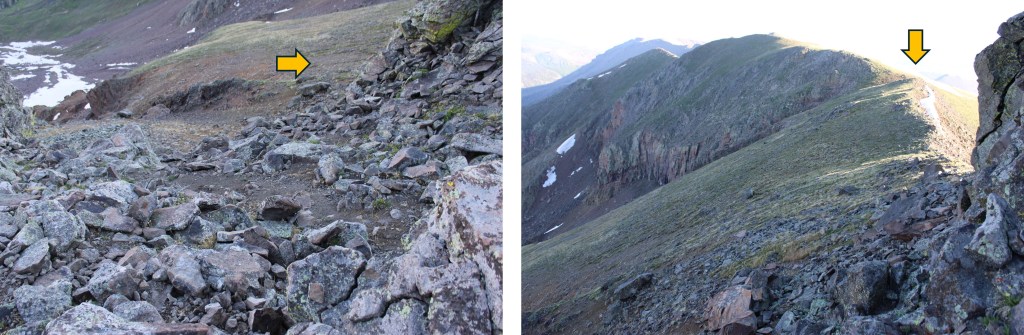
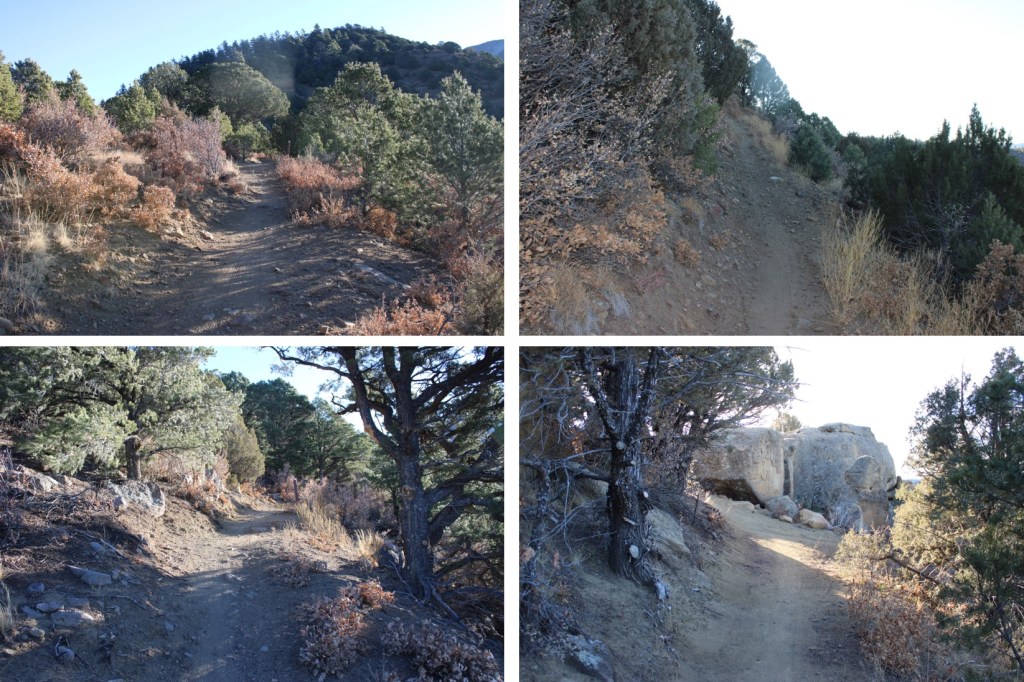
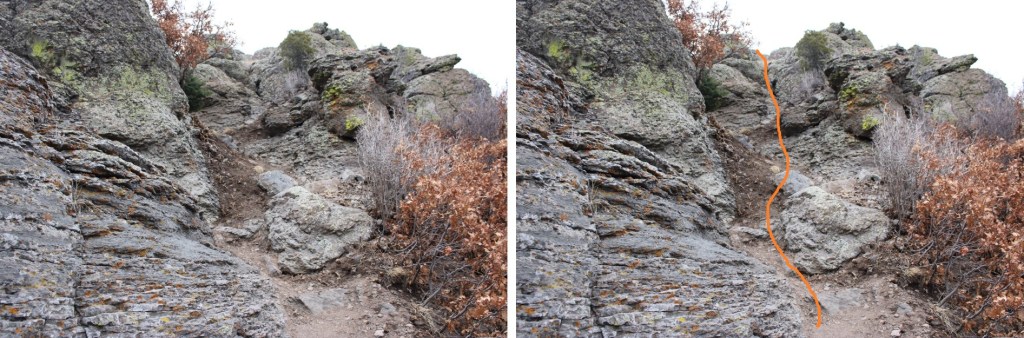
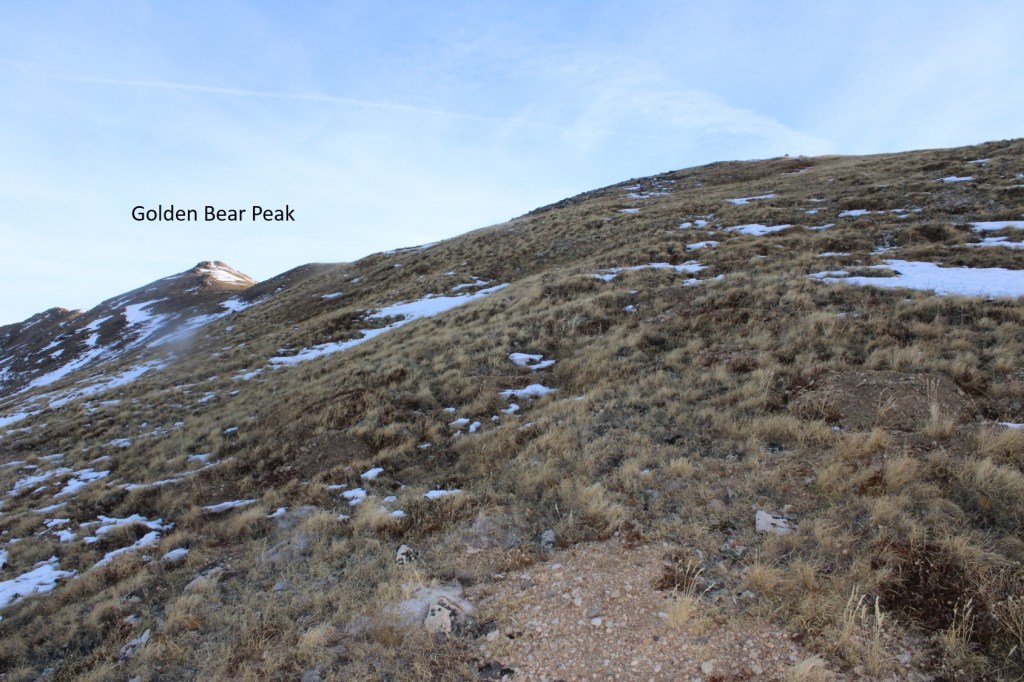
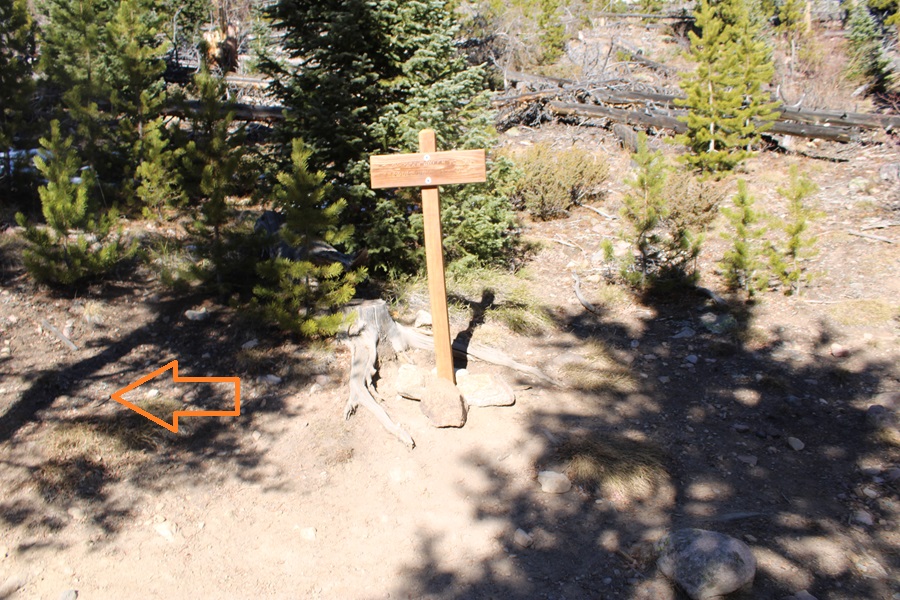
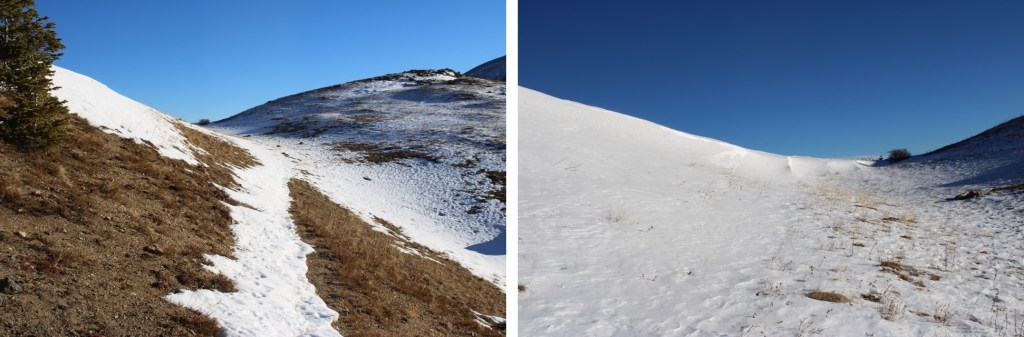
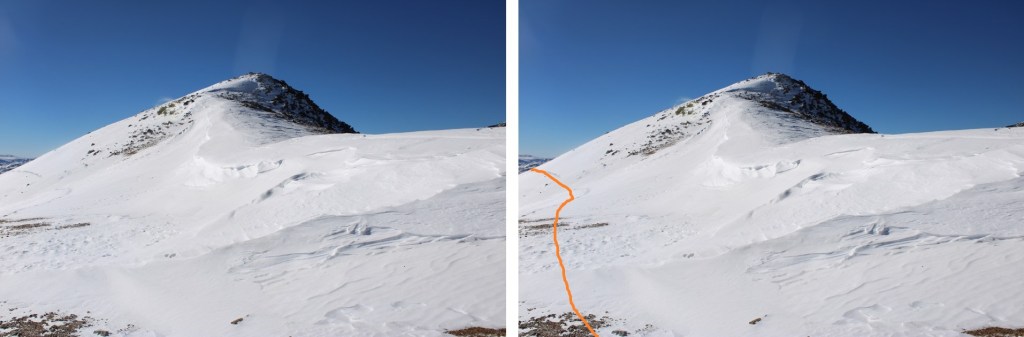
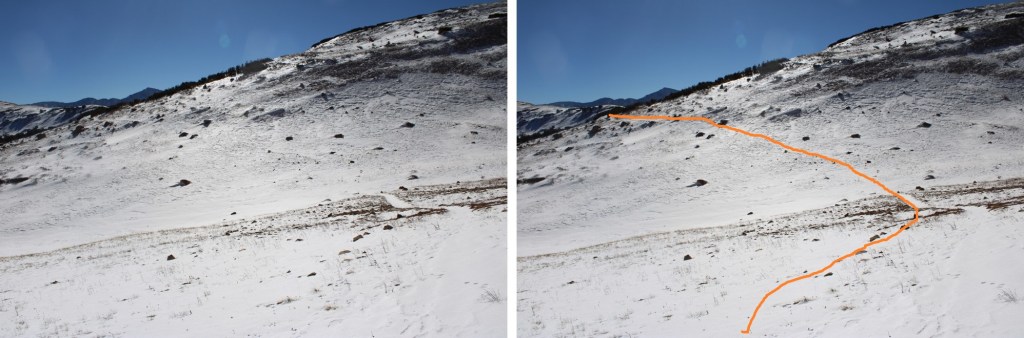
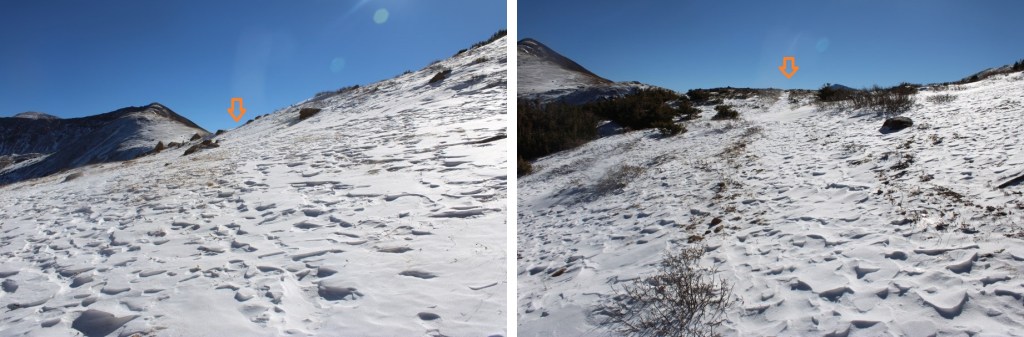
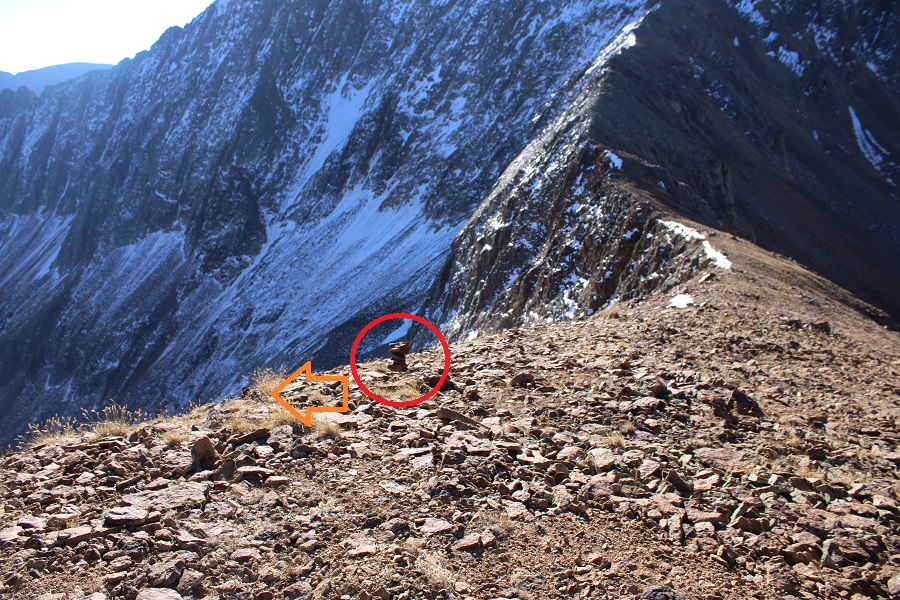
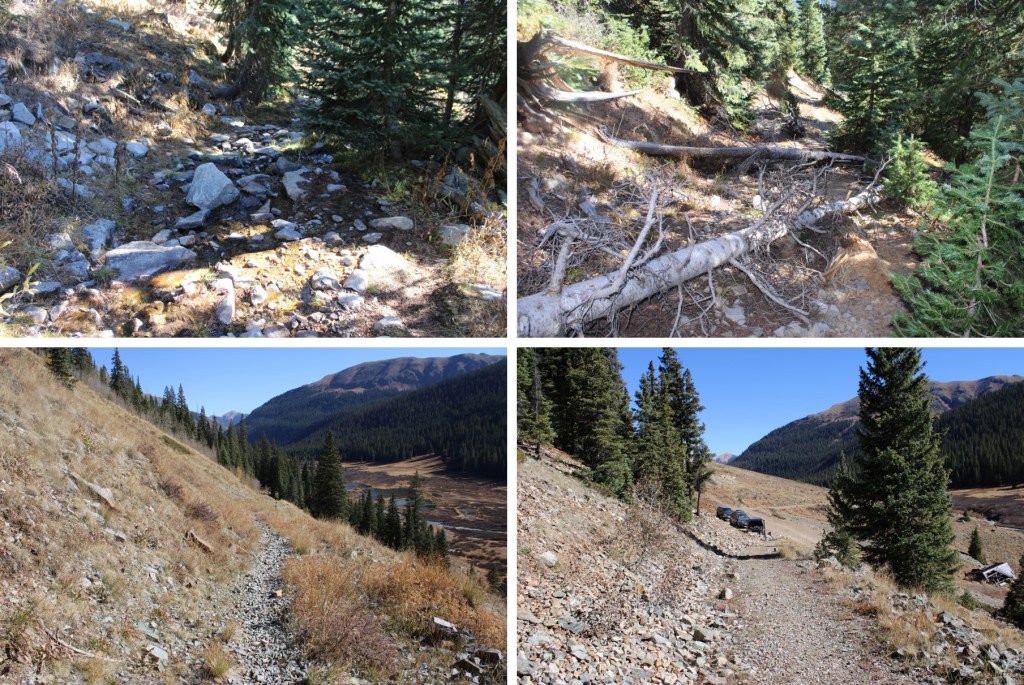
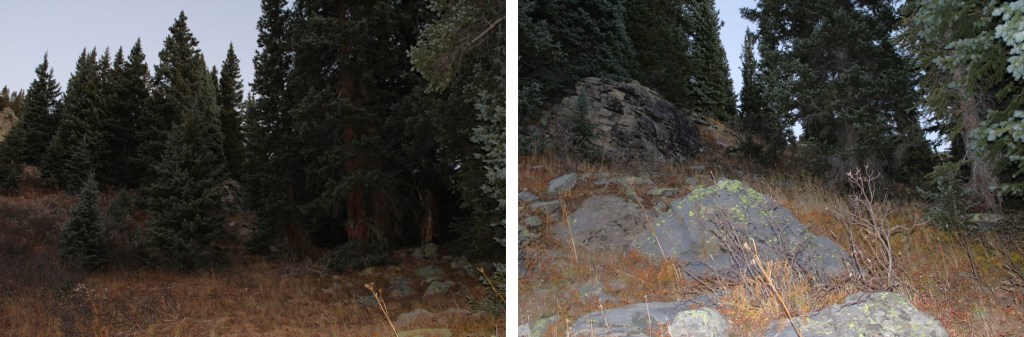
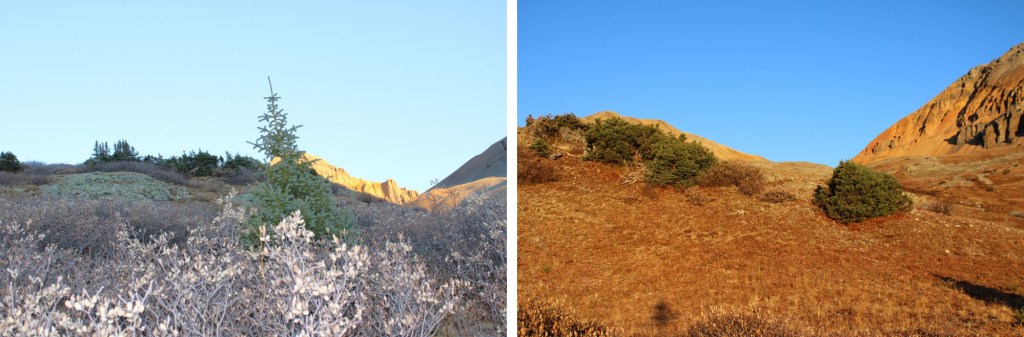
Just before treeline I came to a sandy area. I’d been here before. Make sure you take the trail to the left, across a small creek, and DO NOT take the sandy trail that goes straight. This will lead you into the willows.
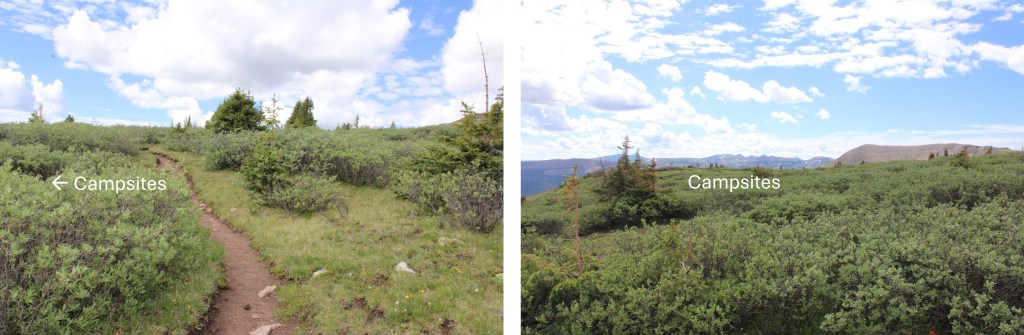
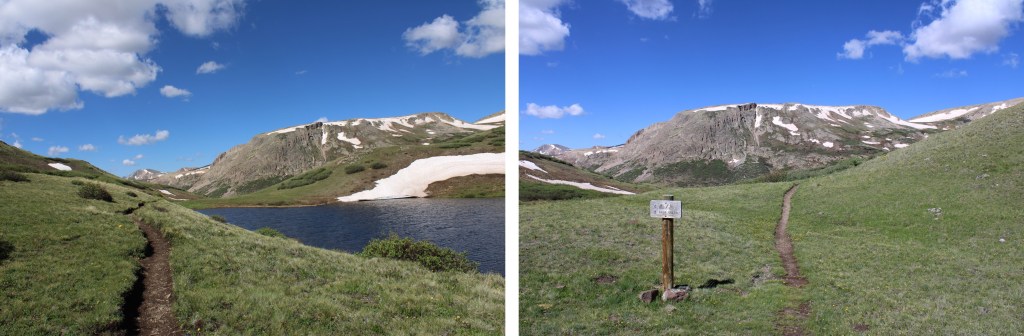
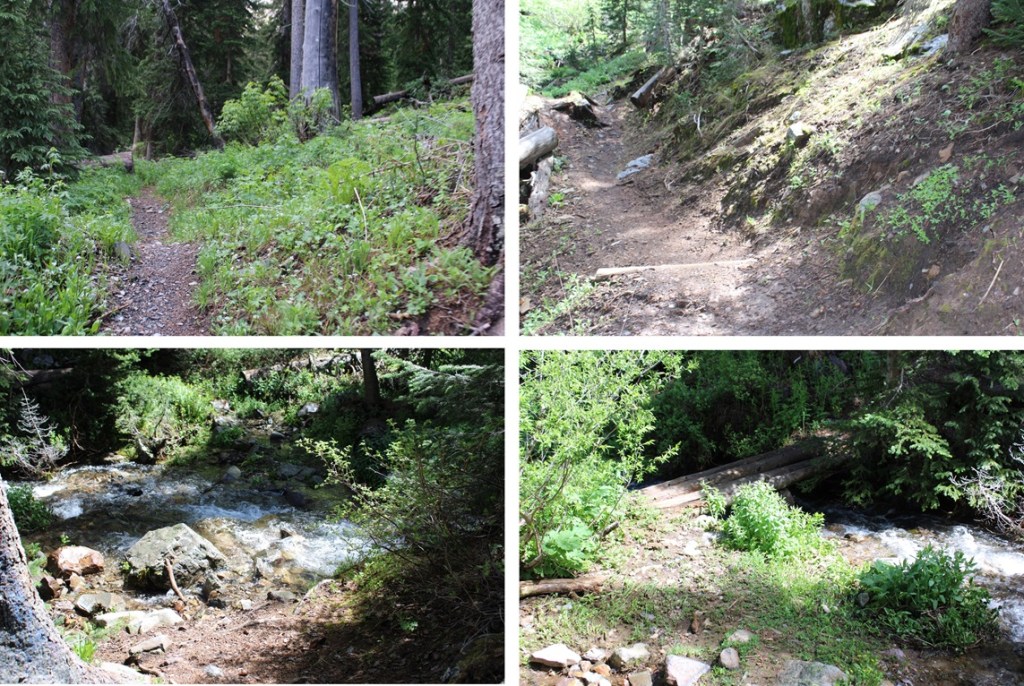
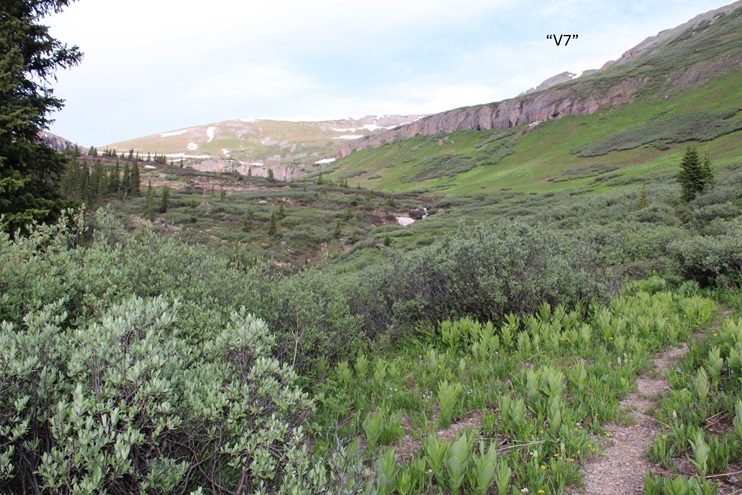
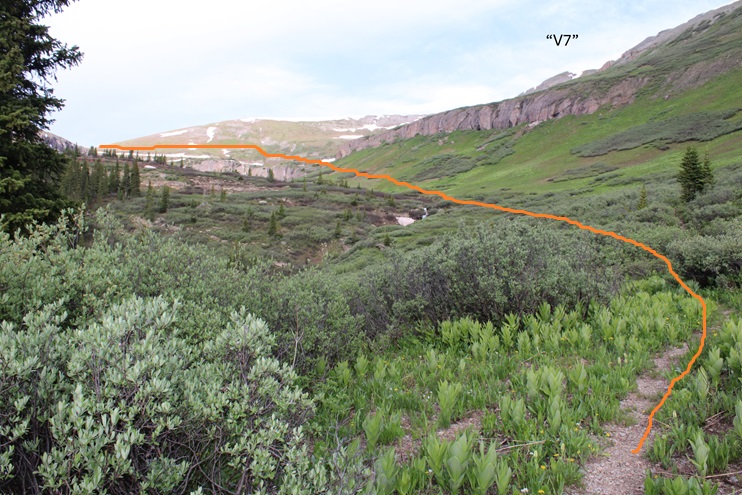
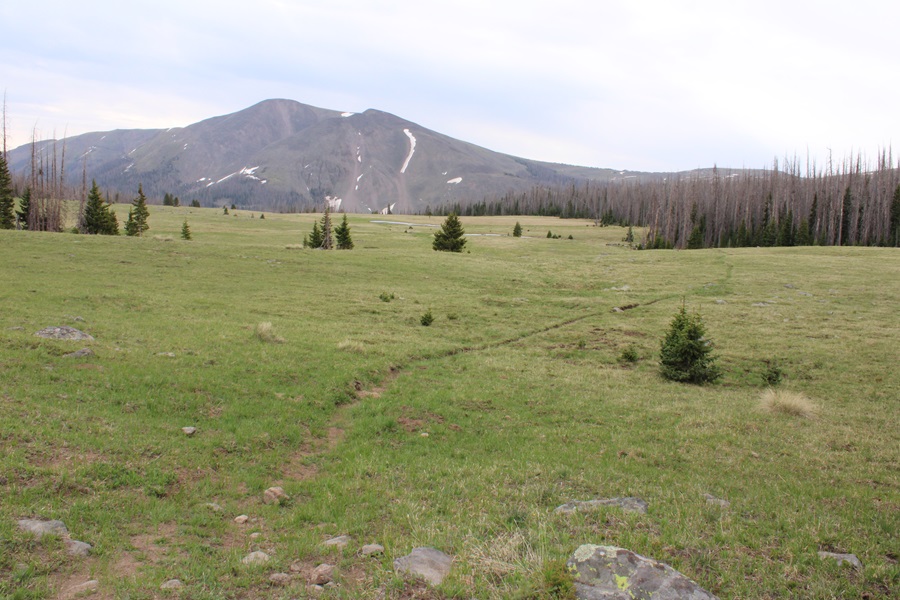
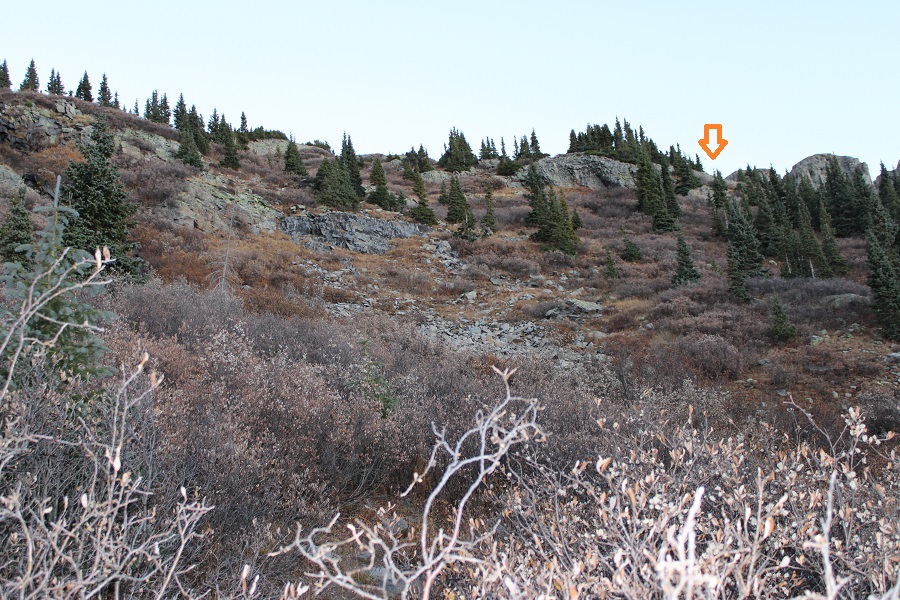
I crossed the small creek, and followed the trail for about another half mile, to about 12210’ of elevation.
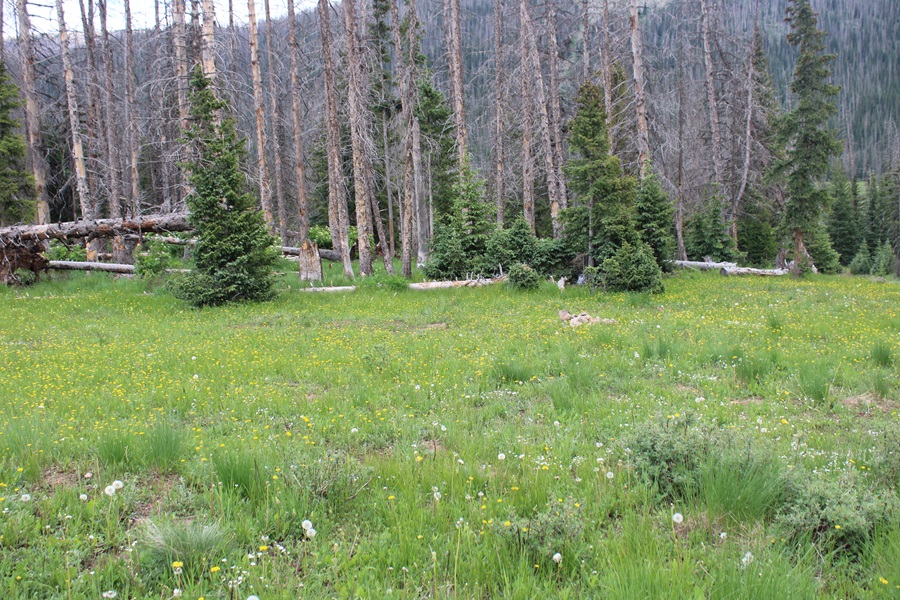
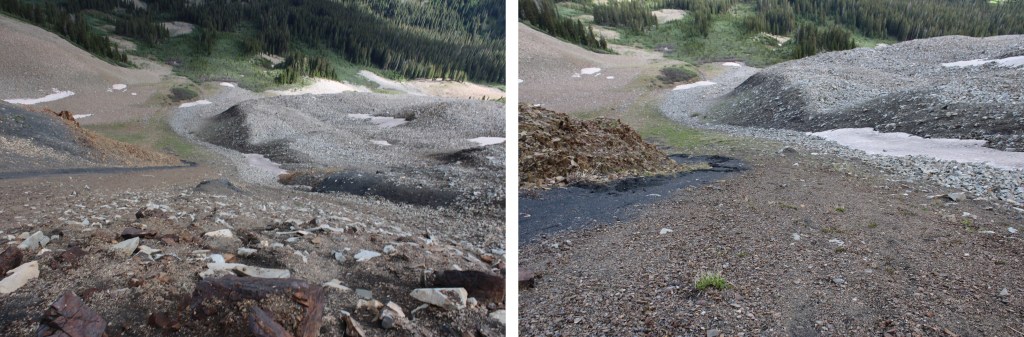
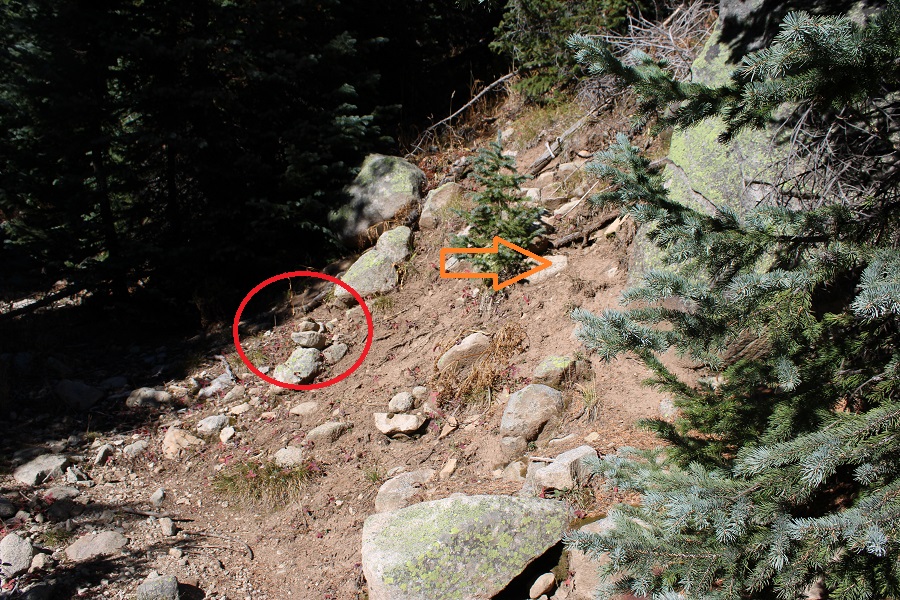
Here there was a willowy area to the left, and a few yards away, plenty of camping space. The camping area are hard to see from all those willows, but trust me, they’re there.
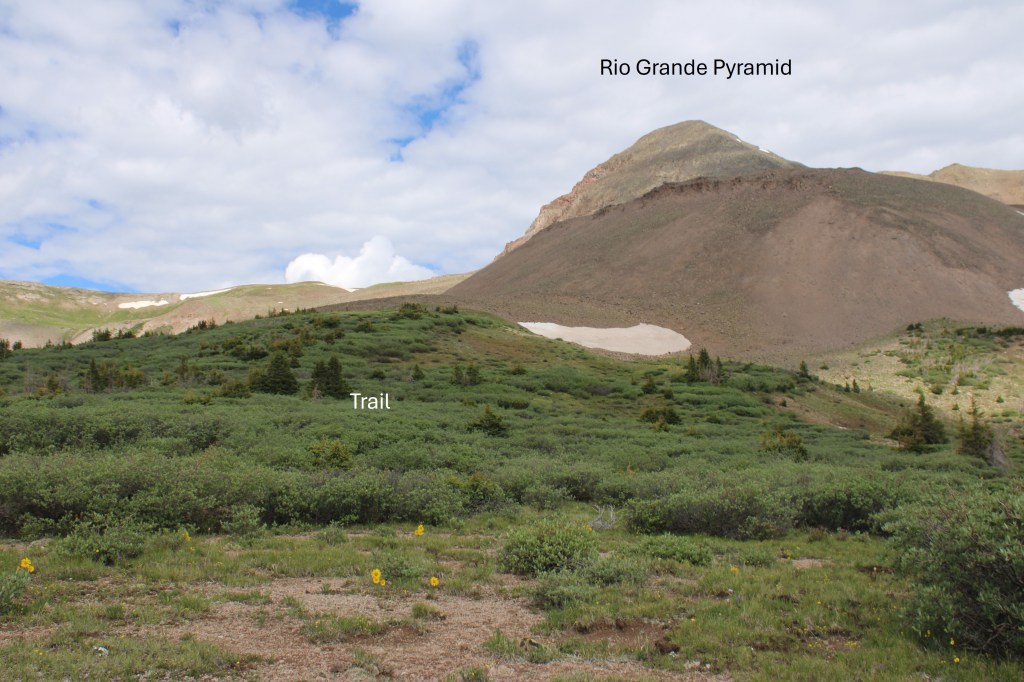
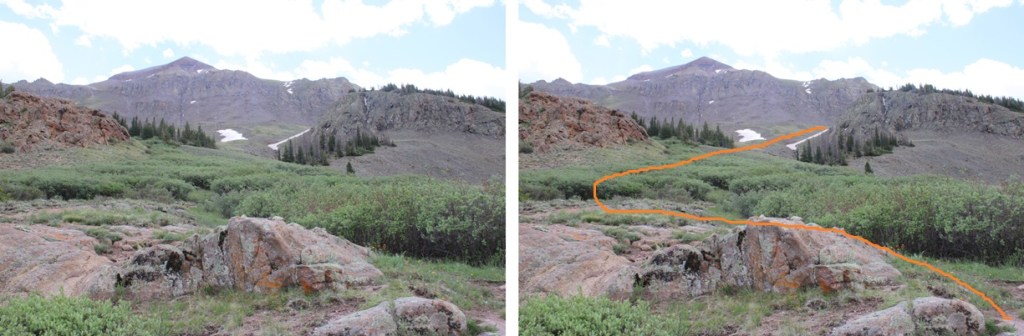
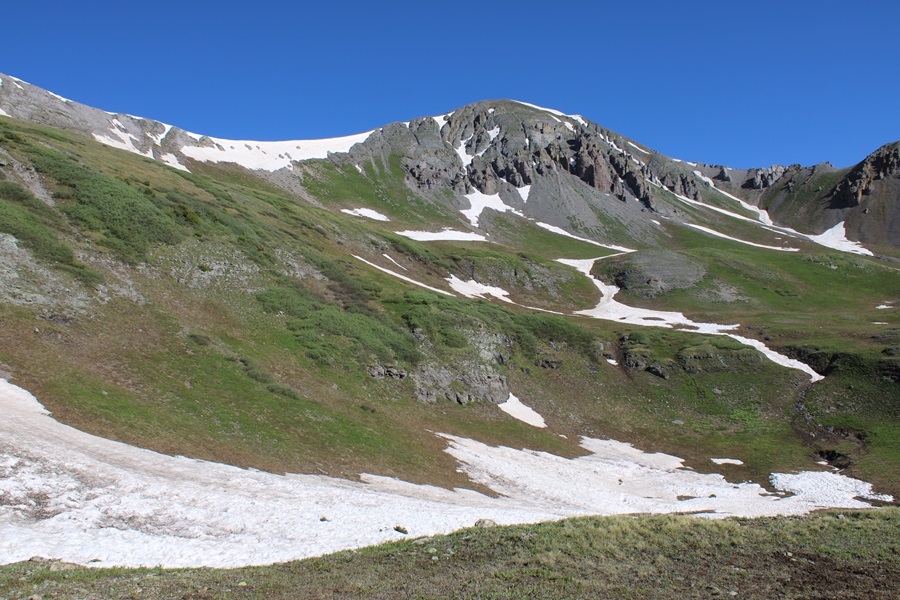
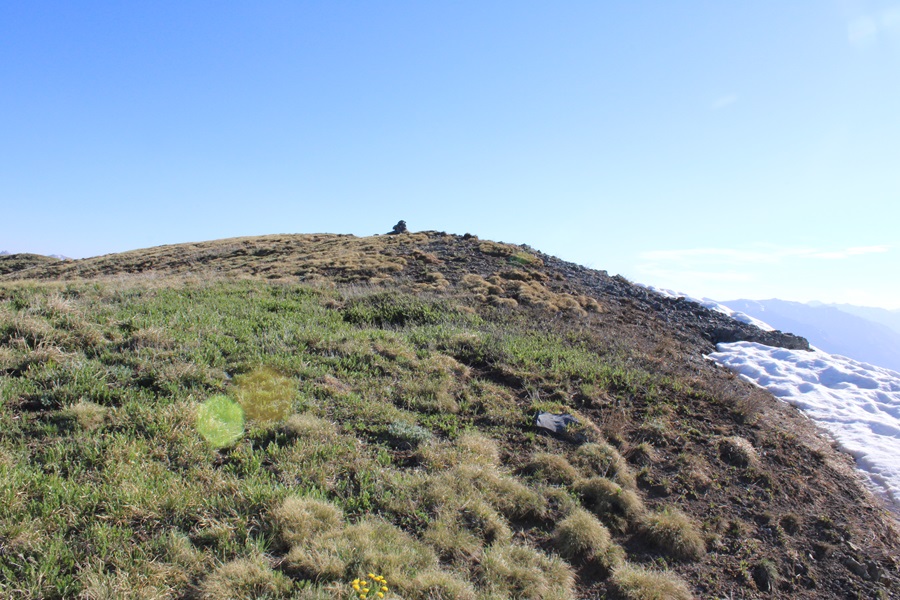
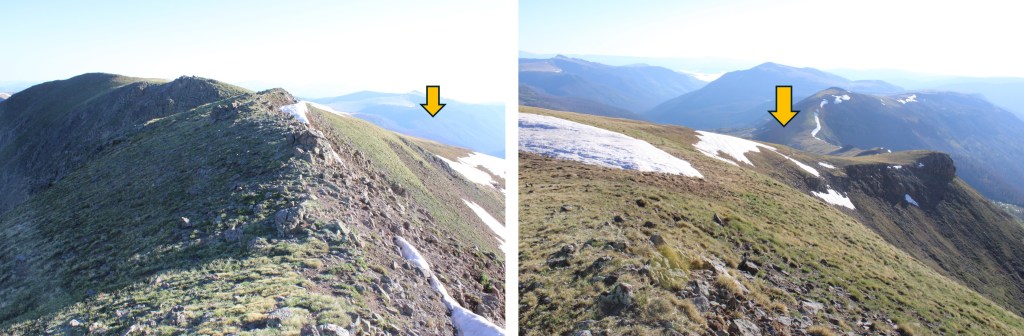
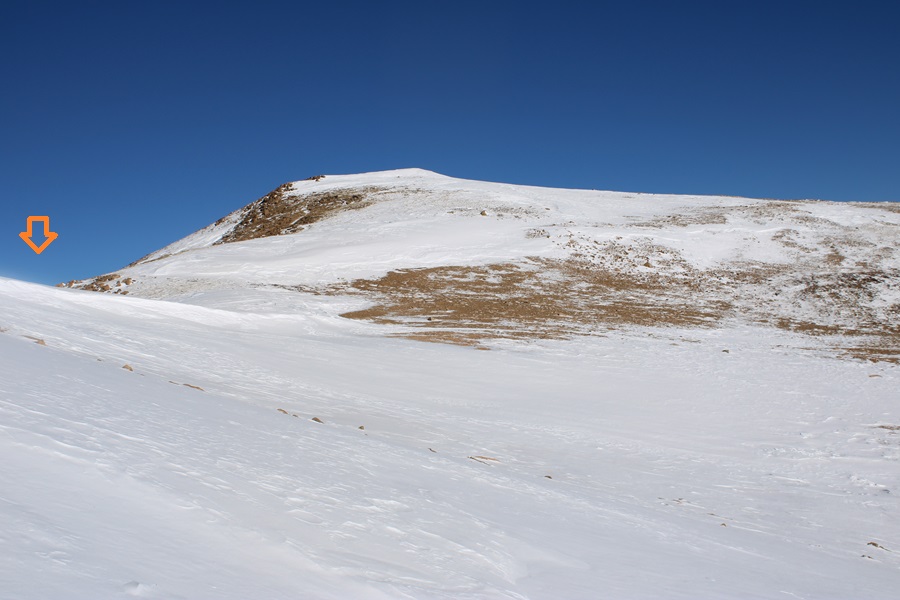
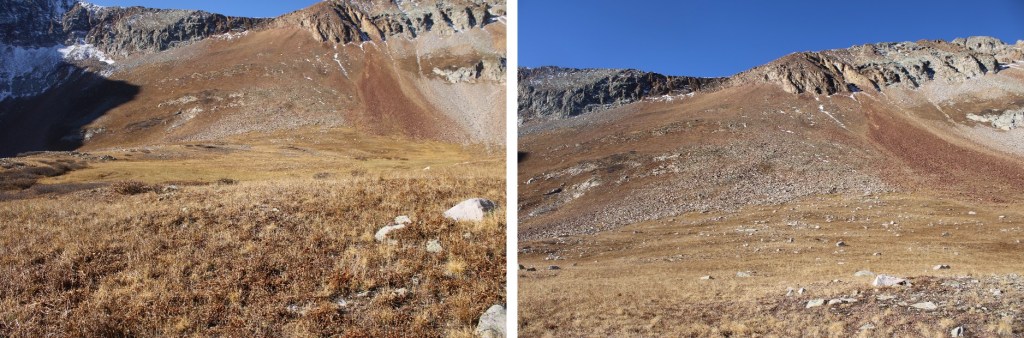
From my campsite, here’s my view of Rio Grande Pyramid. The trail is in those willows.
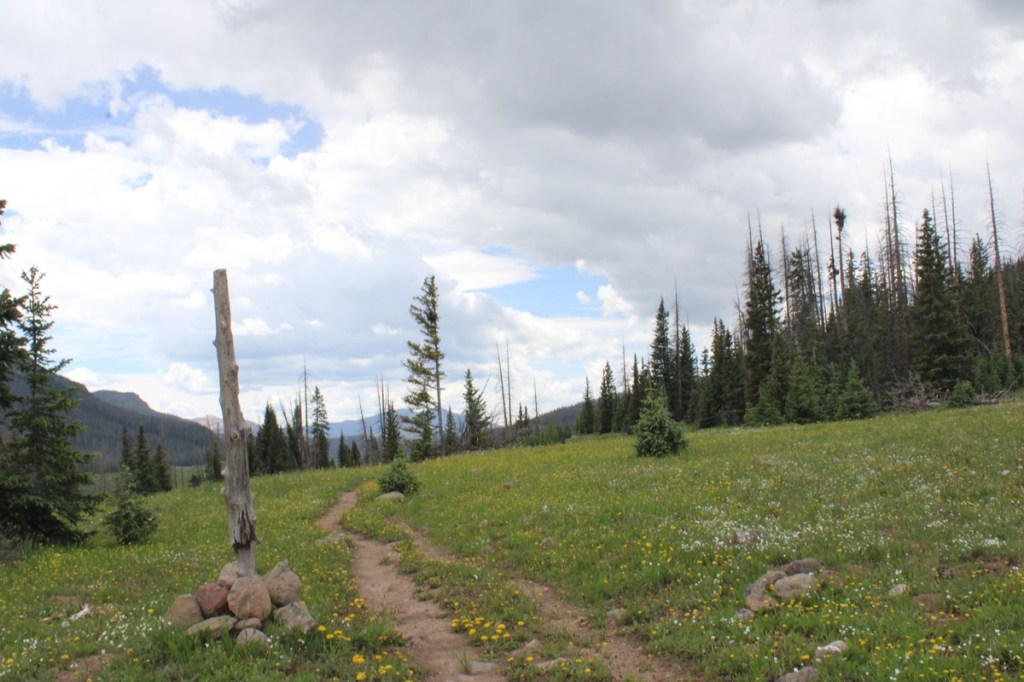
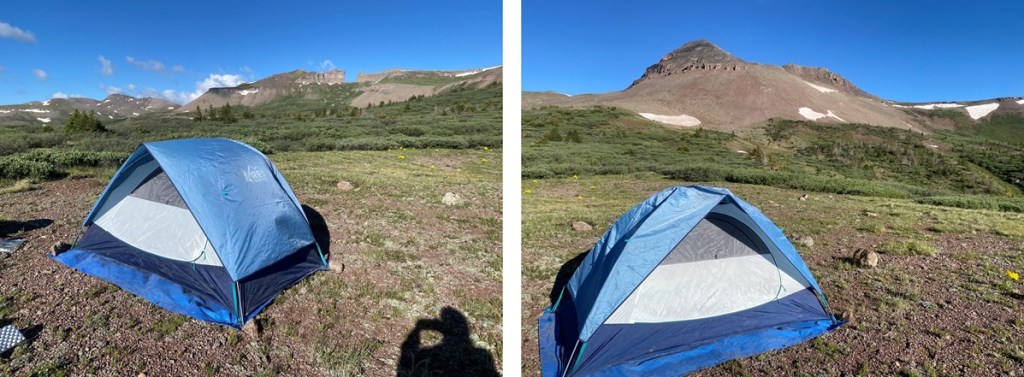
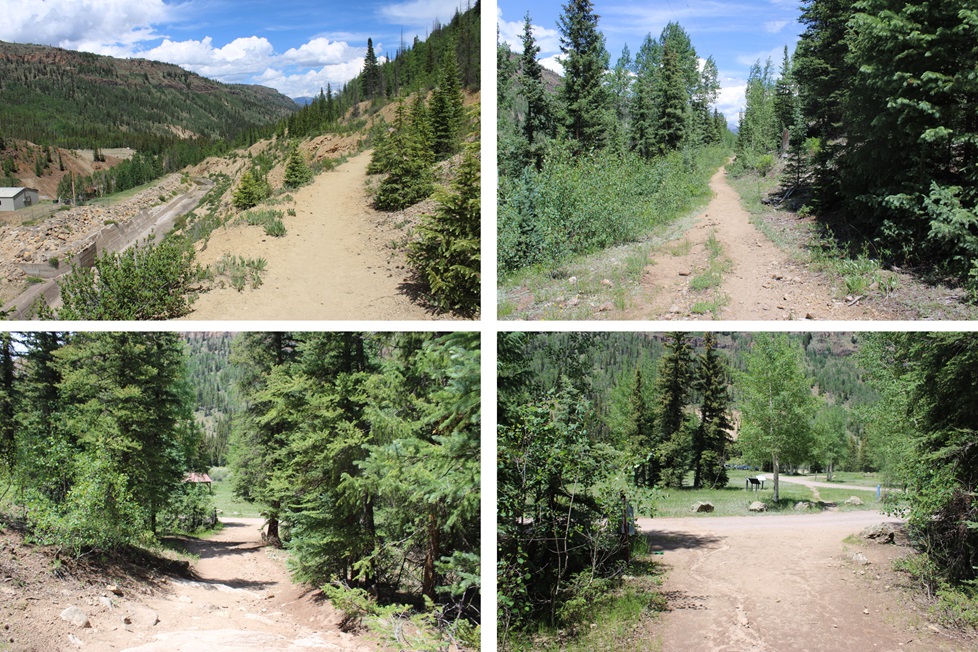
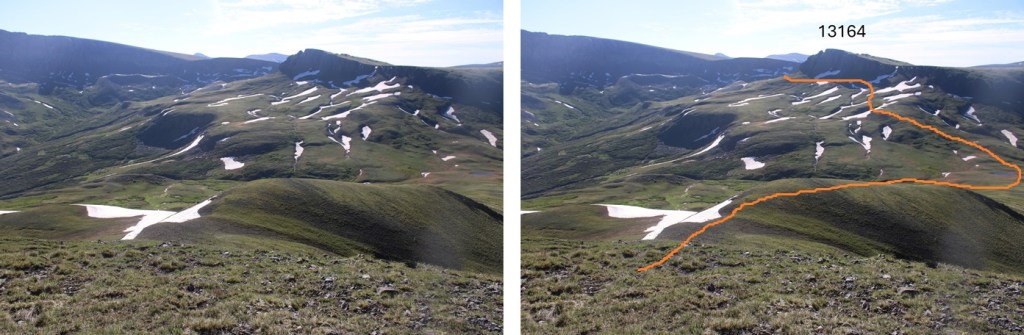
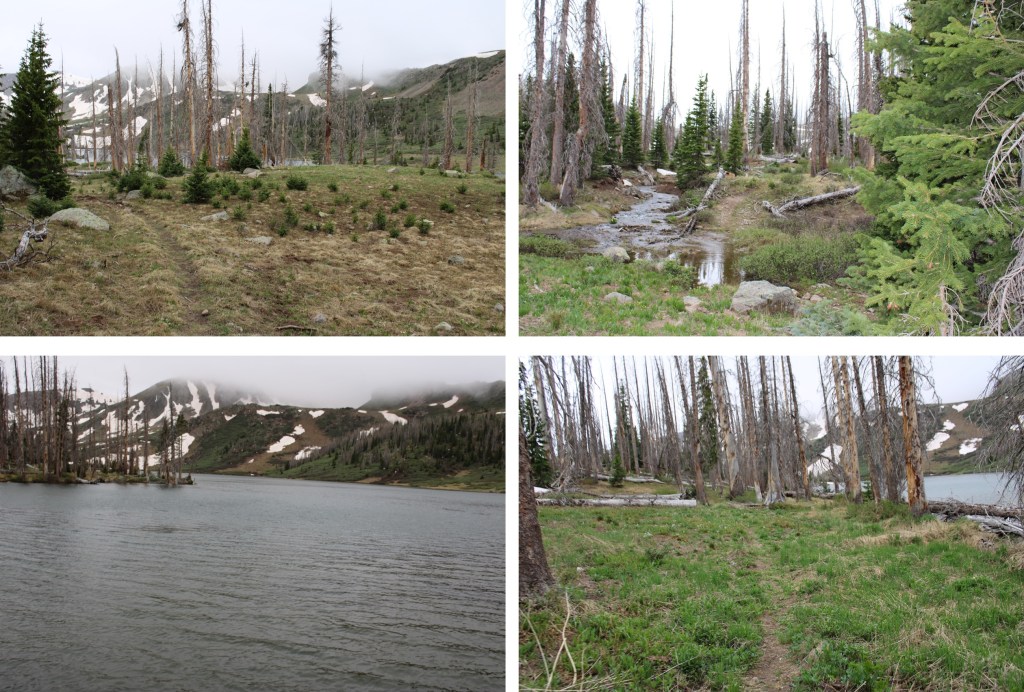
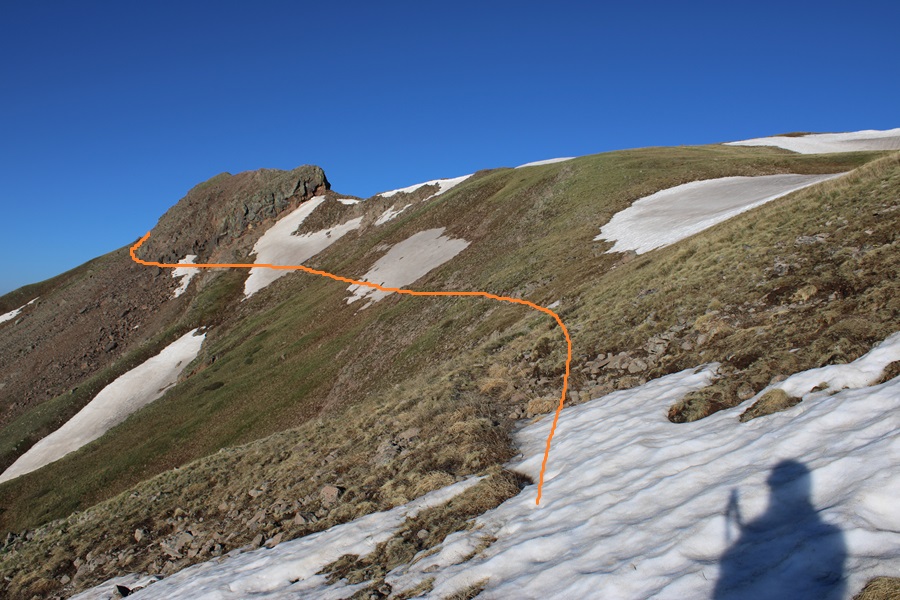
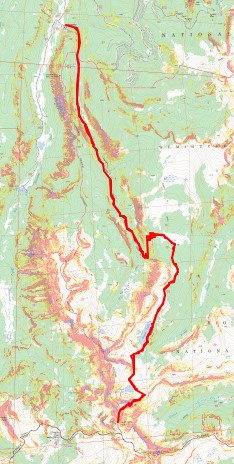
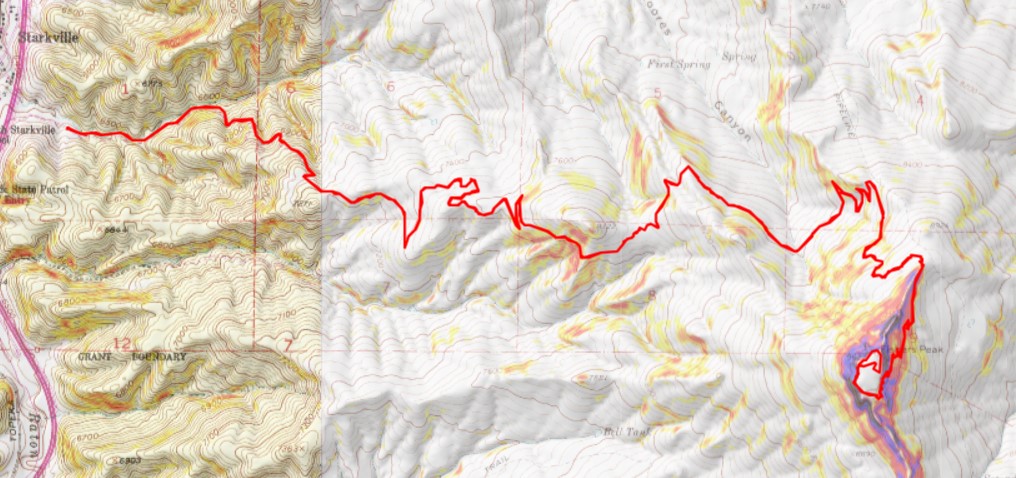
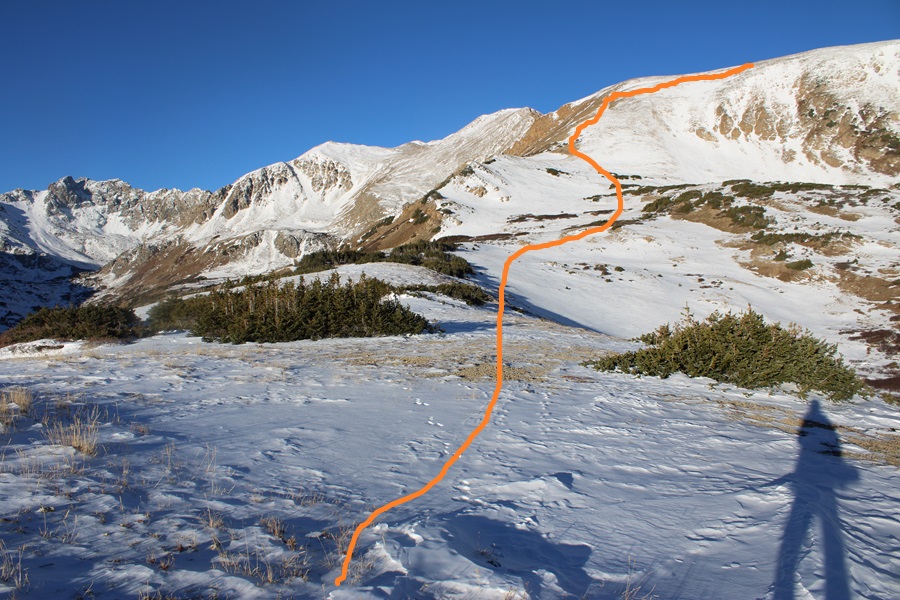
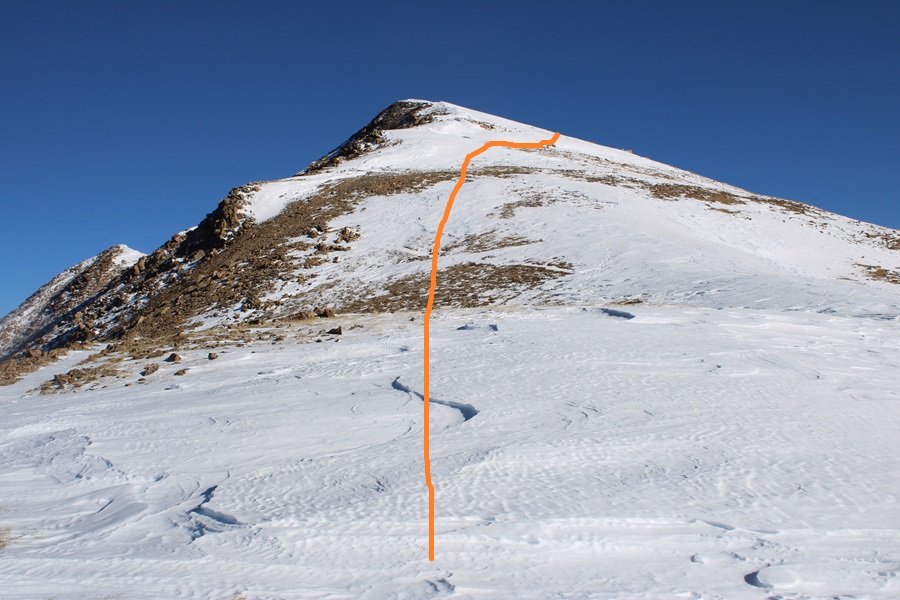
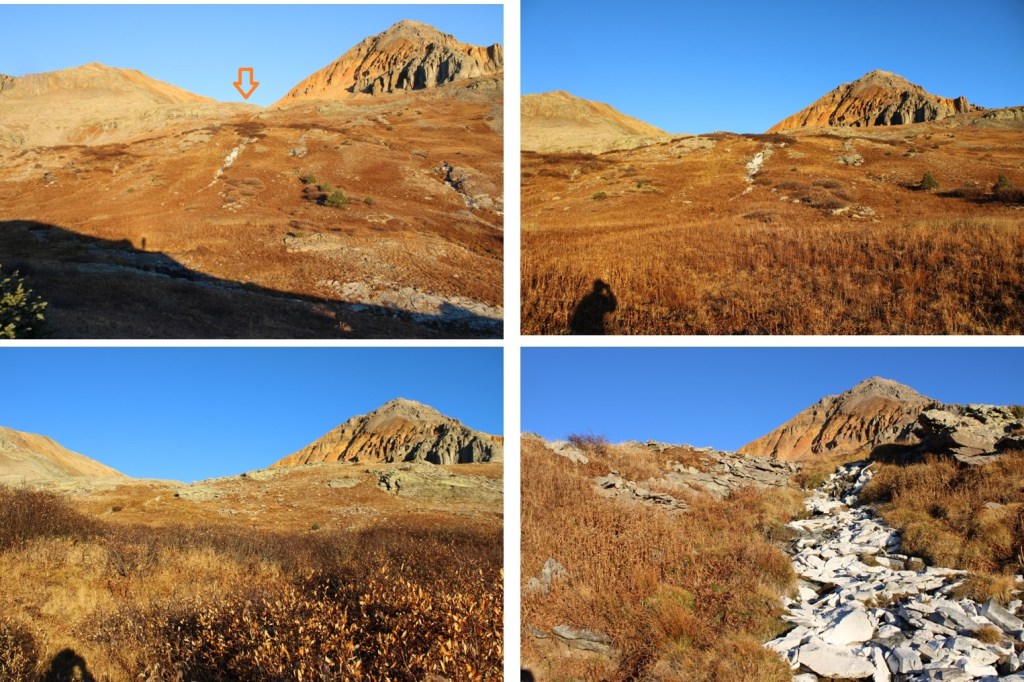
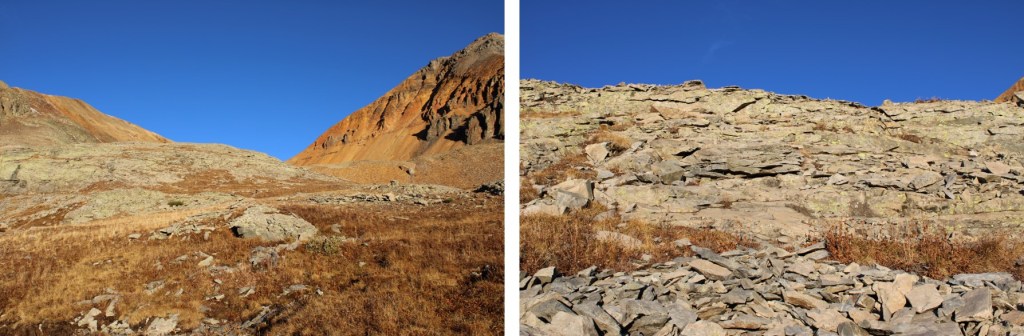
From here you’re at a great base area to climb 13022, Window Peak, Rio Grande Pyramid, Fools Pyramid, 13274, and various other peaks in the area. Here’s a topo map of the route thus far:
I really wish I would have linked up this peak with PT 13164 when I did it in 2019, but then it wasn’t a known ranked 13er. In any event, today was a long day, so I was getting an early start so I could drive back home for work the next morning.
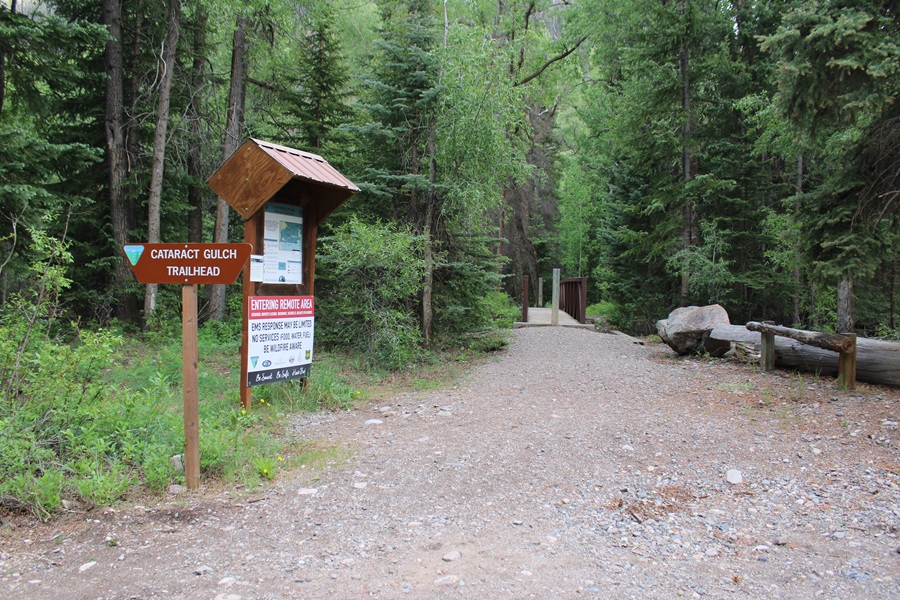
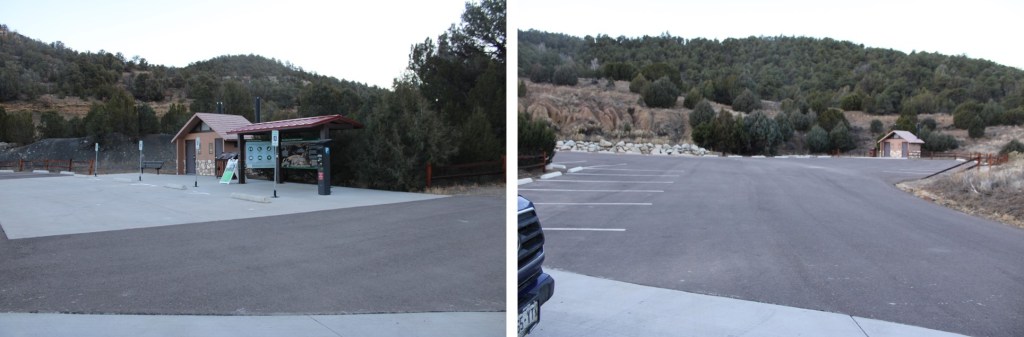
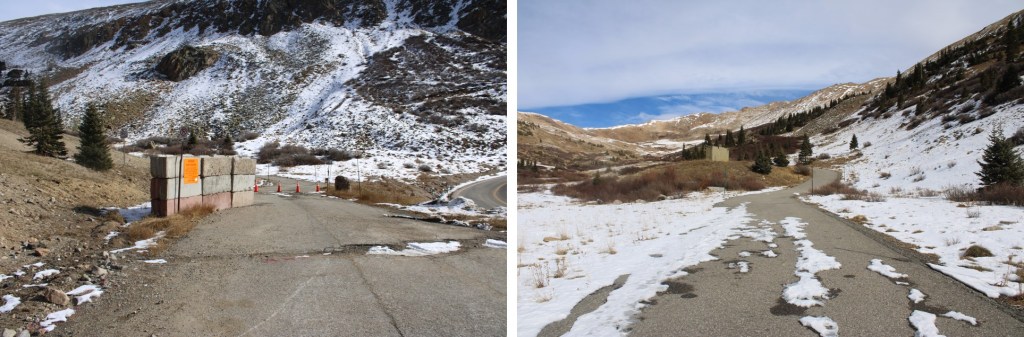
I parked at the Cataract Gulch Trailhead and was on the trail at 3:30am. The trailhead has several parking spaces, dispersed campsites, and bathrooms.
The trailhead is clearly marked, and easy to find.
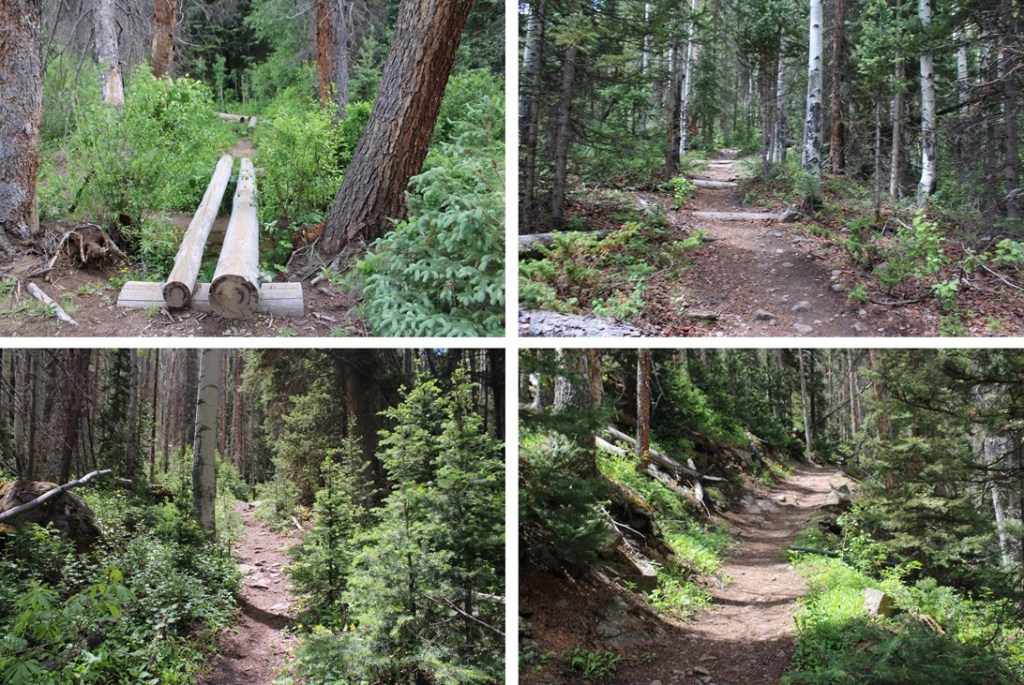
I followed the class 1 Cataract Gulch Trail south, towards Cataract Gulch.
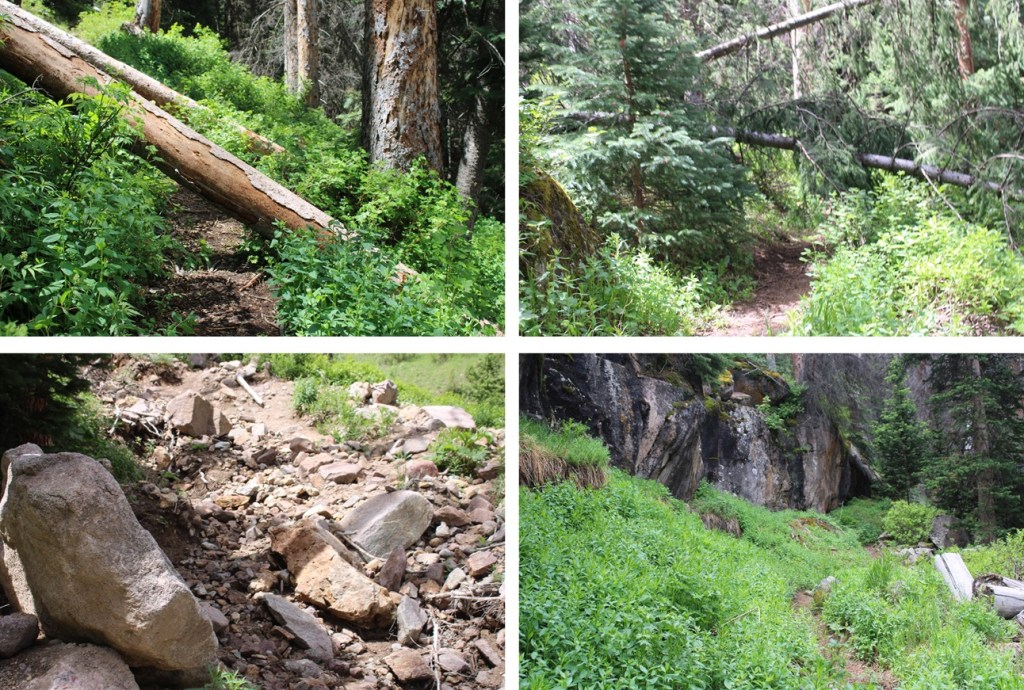
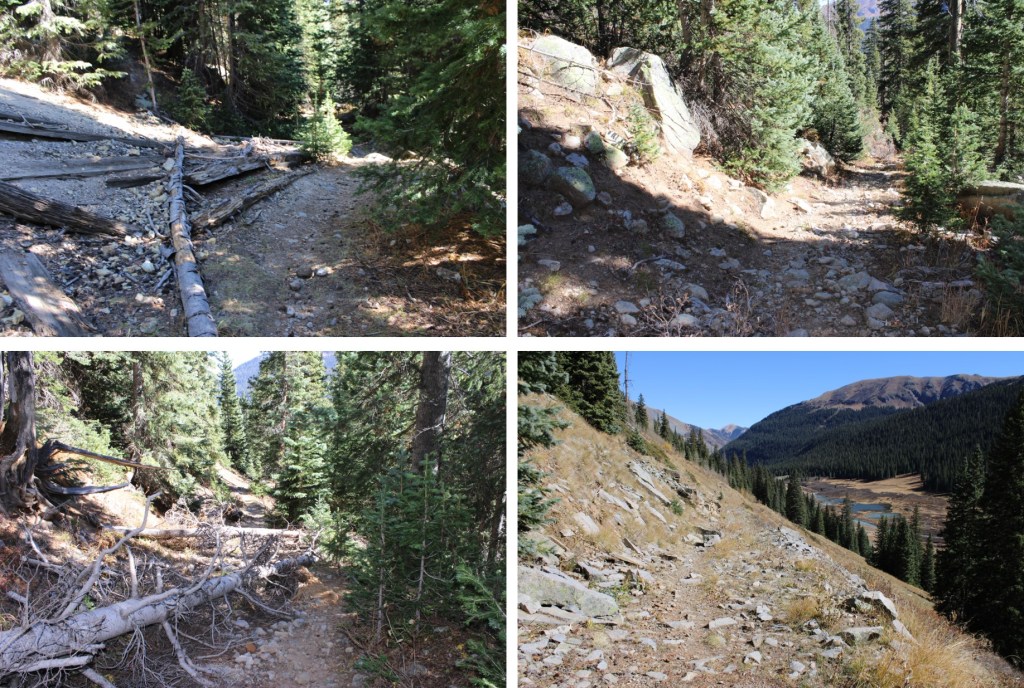
There were several downed trees on the trail, but it was easy to navigate.
Just before reaching the waterfall about 2.5 miles up the trail, I crossed the creek on a couple of logs.
This is where many people get lost. I headed up the slope, and there was a large tree blocking the path. I went left, navigated willows and some boulders, then regained the trail.
I could now see the waterfall clearly. A lot of people continue straight here, towards the waterfall, following the social trails. Instead, look for a trail to the right that goes up and behind the waterfall.
Next, to cross the creek. I crossed directly above the waterfall. Probably about 10 feet from where it drops off. At night I knew where to cross because there are little reflecting circles on the trees across from the water that glow when you shine your flashlight across them. The water was running high today, and I didn’t want to go over the edge, so I crossed carefully. The water was up just past my knees.
I picked up the trail on the other side, and quickly came to a second creek crossing.
I picked up the trail again on the other side, and ascended through a cairned, rocky area.
This led me to my final creek crossing of the morning.
I crossed the creek one more time, and picked up the trail on the other side. It led me up and around to the left, behind boulders and through a small canyon.
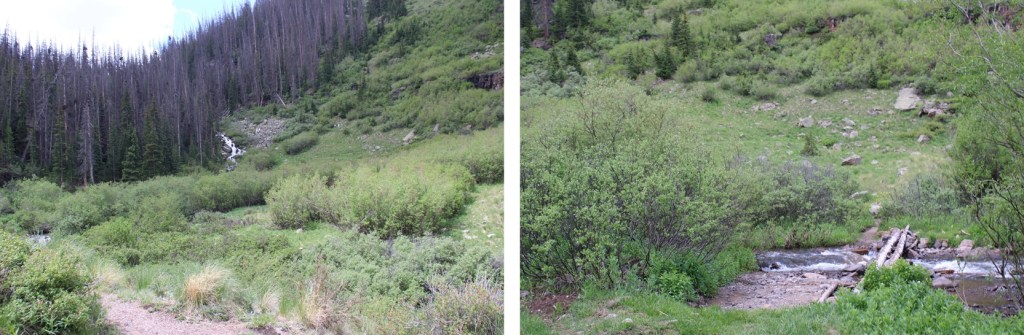
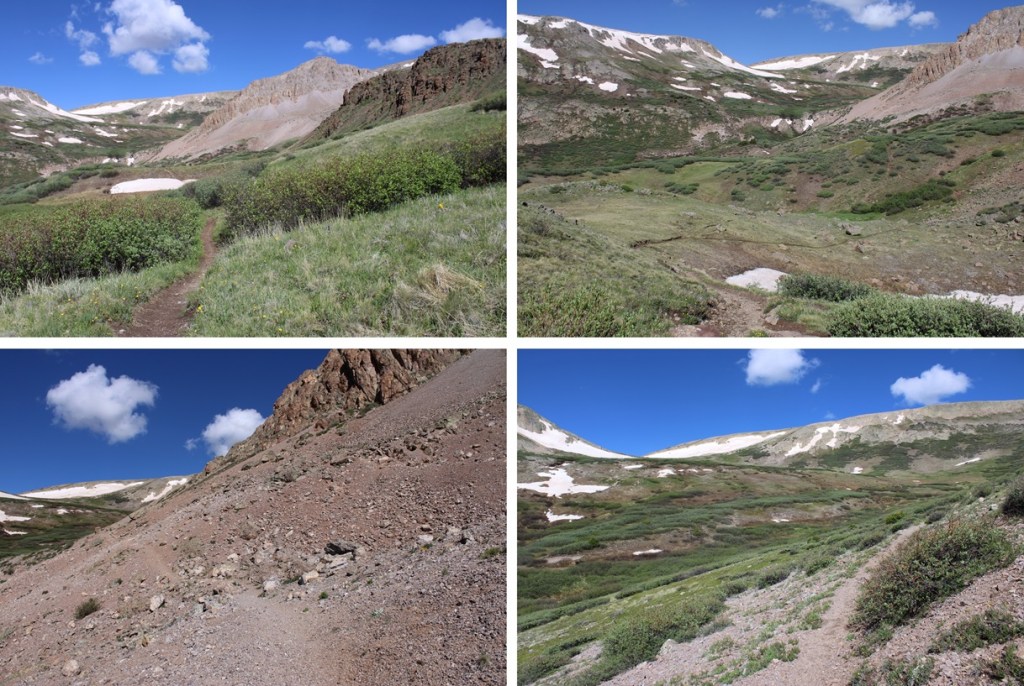
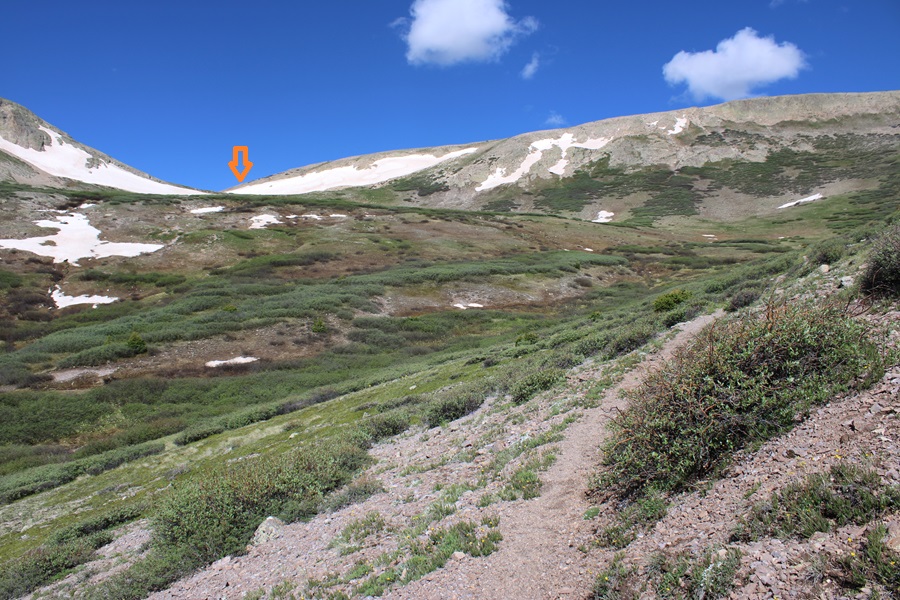
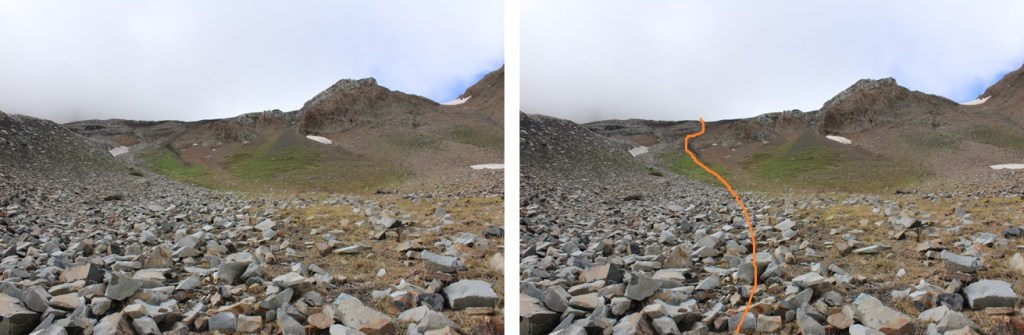
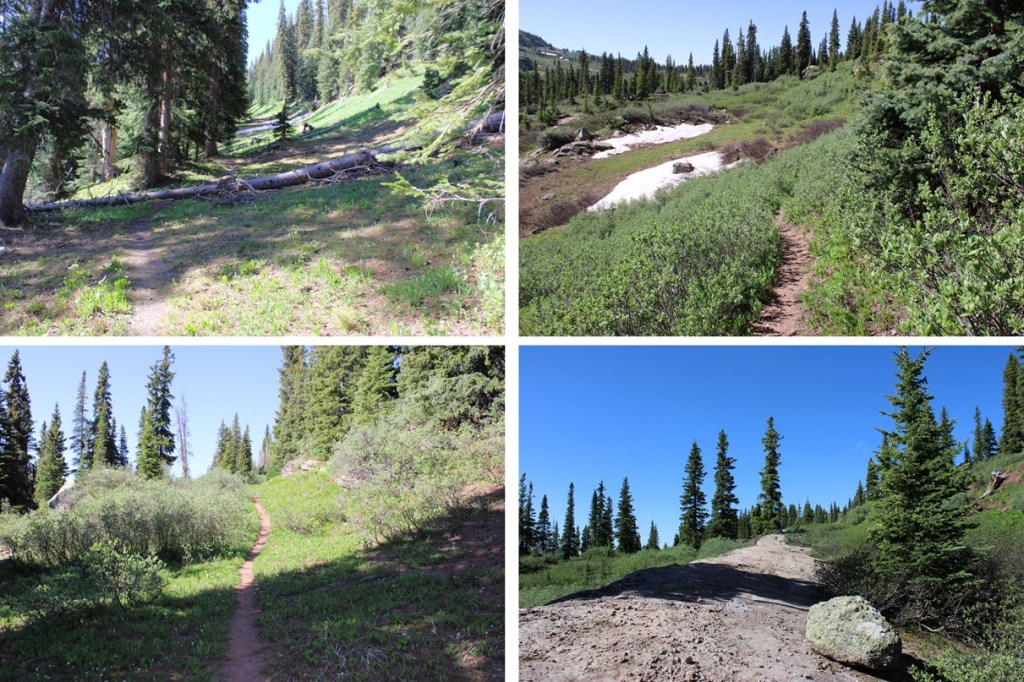
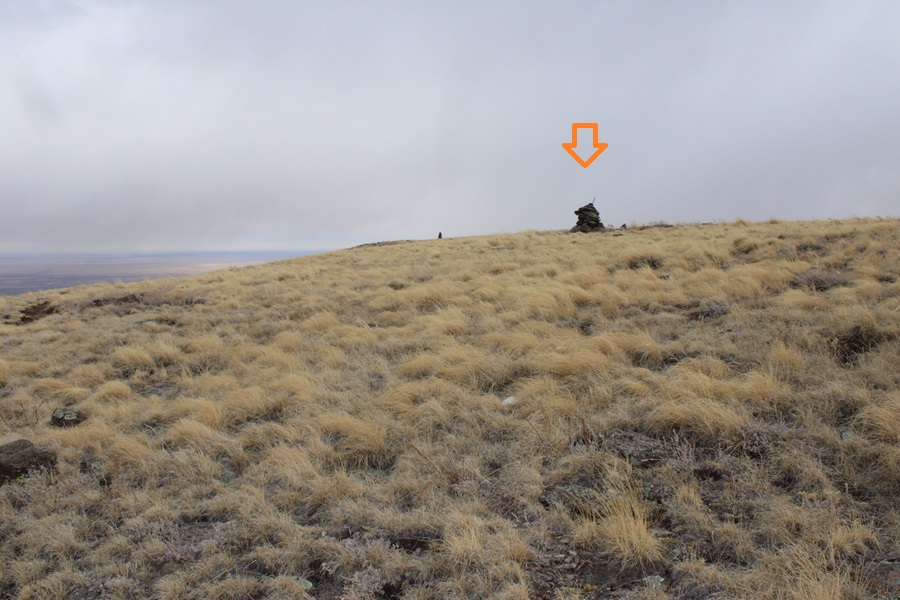
I was now headed south towards Cataract Lake. There’s a pretty good trail here, but every once in a while it gets overgrown. The trail slopes slightly downward as it goes across the tundra and through the willows. There are posts to help guide you if you lose the trail. I was headed here:
I passed Cataract Lake to my left, and a small lake to my right. Here the trail picked up with the Colorado Trail, and I followed it right, west, towards Cuba Gulch.
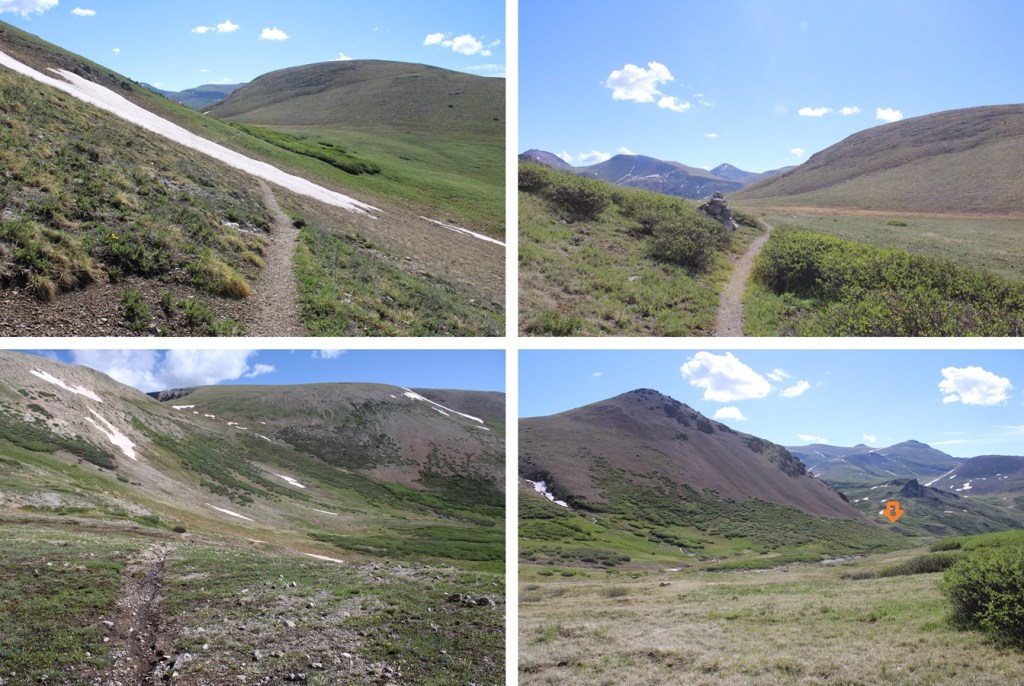
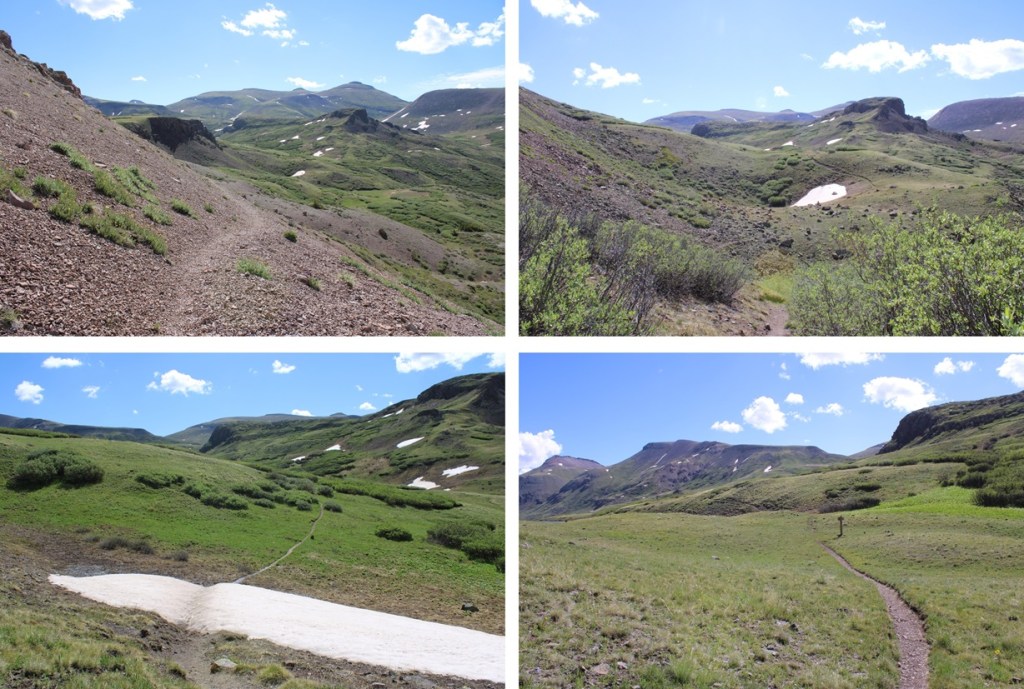
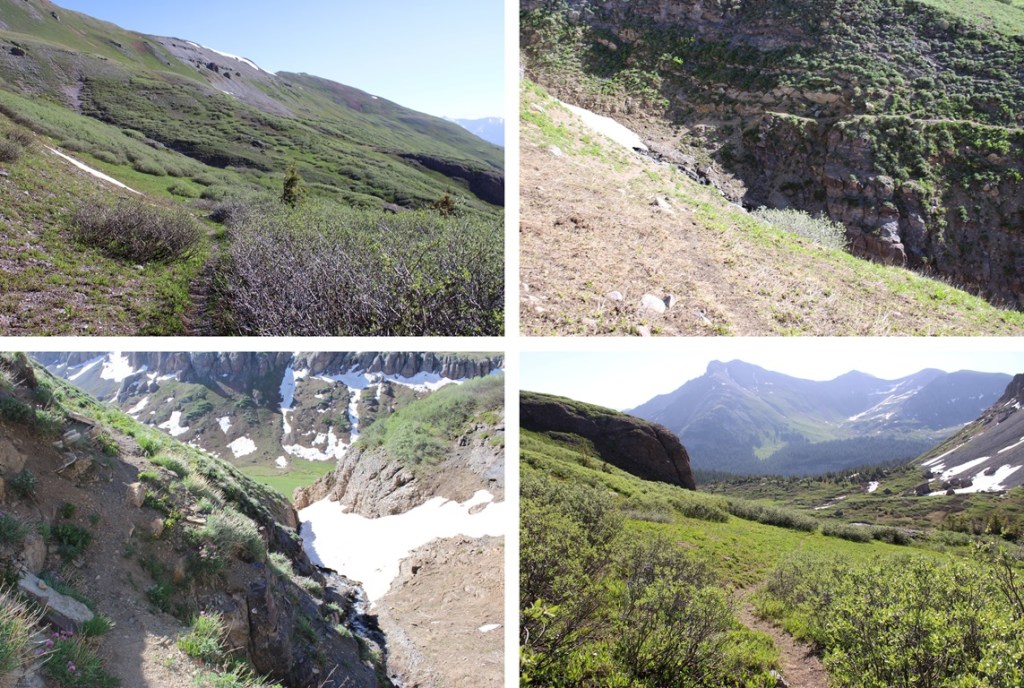
I stayed on the Colorado Trail (East Fork Middle Pole Trail) for most of the rest of the hike. Here are some pictures of the trail.
The trail meanders it’s way to a saddle:
I skirted around the north side of 13164, navigating through a could of ice patches.
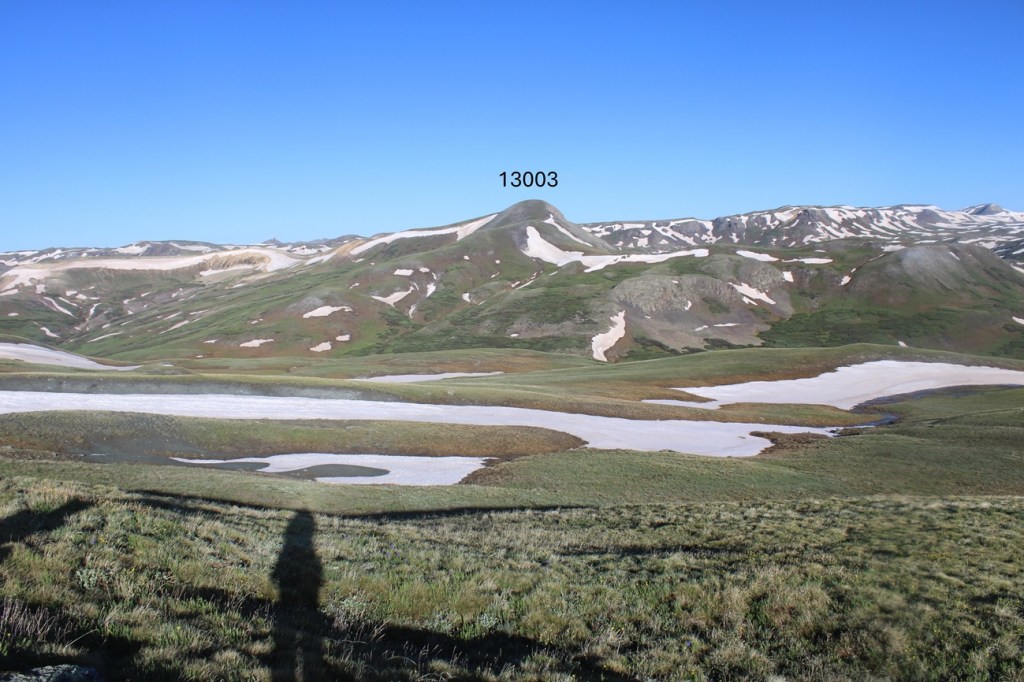
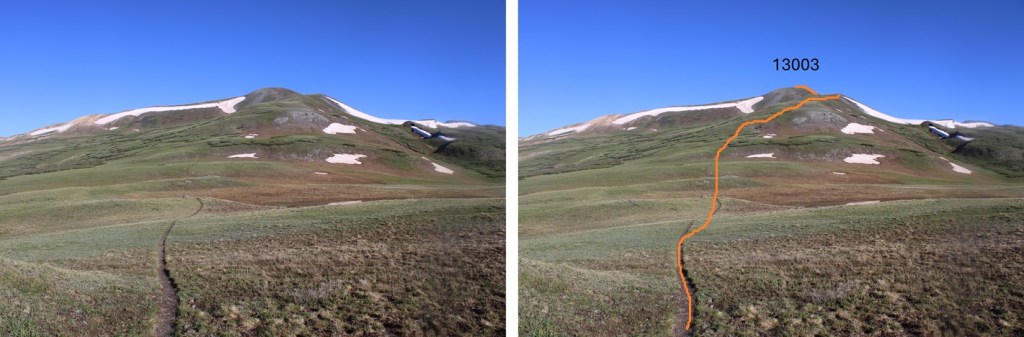
Now on the north side of 13164, I could see 13003 to the west.
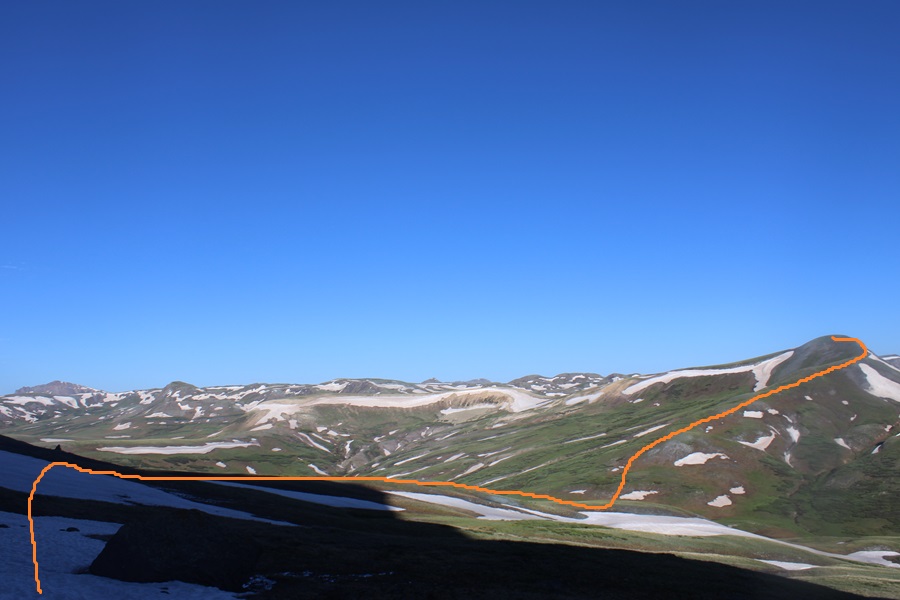
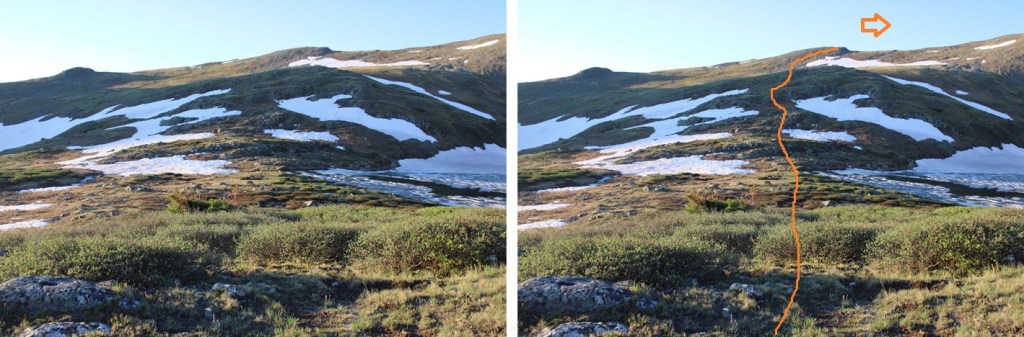
I stayed on the Colorado Trail until I hit the saddle of 13164 and 13003, losing about 500’ of elevation, then left the trail and took the tundra covered ridge to the summit. This is the route I took.
I made my way to the saddle
Then hiked the ridge to the summit
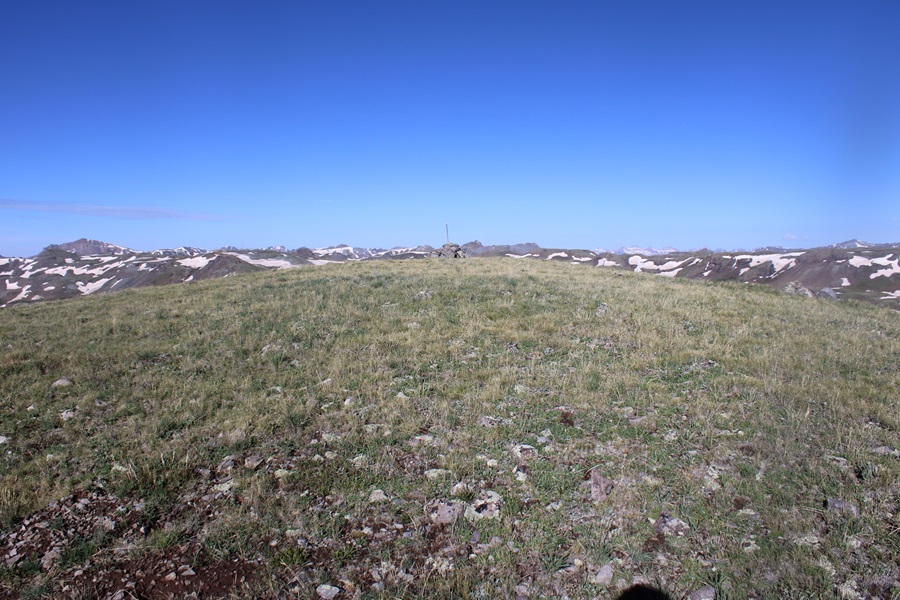
I summited PT 13003 at 8:15am
PT 13003:
This was an out and back hike for me, so I turned around and retraced my steps. Here’s my route back down the saddle, skirting around the left side of PT 13164, following the Colorado Trail.
I then continued following the trail as it wound back to the Cataract Gulch Trail
Past the lakes and through the upper basin, I kept following the trail, aiming for Sunshine Peak to the north.
I crossed the creek
Then descended through the rocky basin
I crossed the creek twice more, and then followed the trail back down around the waterfall and back to the trailhead.
I made it back to the trailhead at 12pm, making this a 17.1 mile hike with 4750’ of elevation gain in 8.5 hours. Note: My Strava glitched about 2 miles into this hike, so I drew in my route for this peak on the topo map. This was easy because most of the route was on a trail, so it auto populated. My phone and watch gave me 19.1 miles for the hike, but I got 17.1 miles when I drew the map in CalTopo.
Also, every time I’ve been to Cataract Gulch I’ve seen moose. Today was no exception.
I parked at the 2WD Sharkstooth Trailhead the night before and waited out a thunderstorm. If you’re not familiar with the area, be sure to double check your directions: Google Maps kept trying to route me on ATV roads, and I got turned around several times trying to get to the actual trailhead. When I got there, I found there weren’t any parking spaces (as in, no place to park period… there weren’t any other vehicles there), so I had to park in a turnout a couple dozen yards from the trailhead. The drive was 2WD on a dirt road up until this point. This is what the lower trailhead looks like.
The next morning, after battling a night of storms and mosquitoes, I was up and on the trail at 5:30am. I realized rather quickly the 4WD road to the upper trailhead wasn’t all that difficult to navigate, and I could have easily driven all the way there. There were also several dispersed campsites along the way.
Now at the upper trailhead, I started following West Mancos Trail 621, which was the trail to the right.
Hearing mixed reviews about how to climb this peak, I decided to take the ridge up, and the gully down. This meant descending about 600 feet and 2 miles from the upper trailhead to my turnoff point. I just kept following the West Mancos Trail. There were plenty of signs along the way to remind me I was still on the West Mancos Trail.
At about 10400’ of elevation, after I’d been hiking for a total of 3.9 miles, just when I was thinking I should leave the trail and head for the ridge, I saw a large cairn, indicating the cutoff point for heading towards the ridge.
I turned left, and bushwhacked my way southwest towards the ridge. There was no visible trail here, but I soon made it out of treeline.
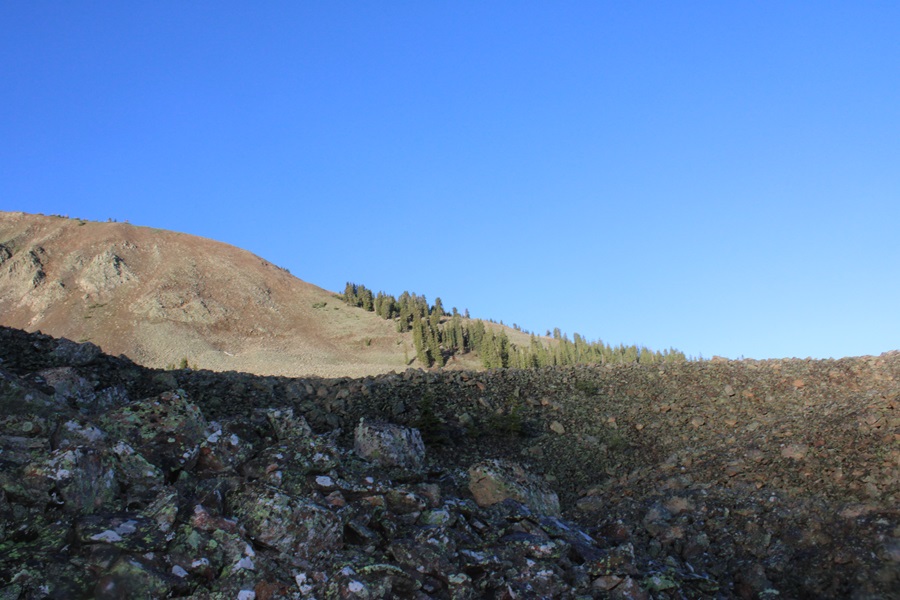
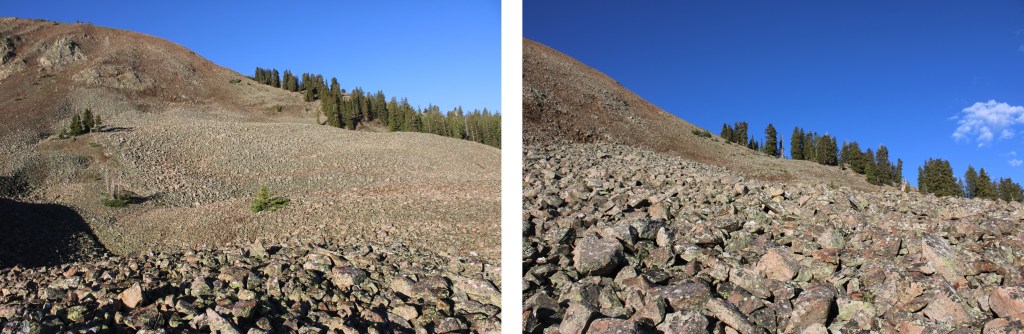
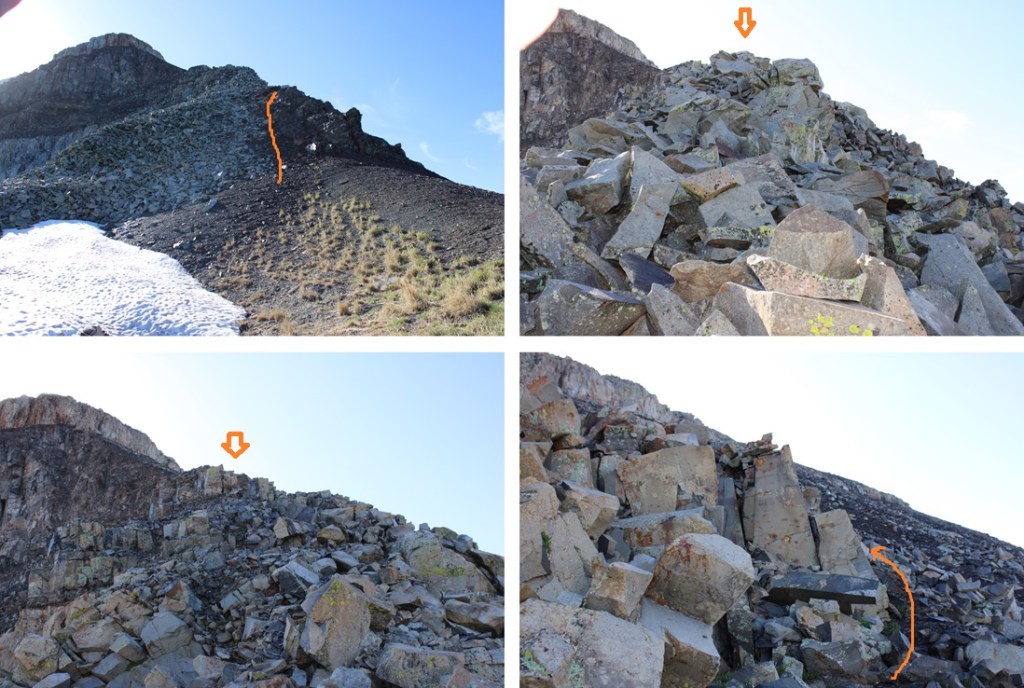
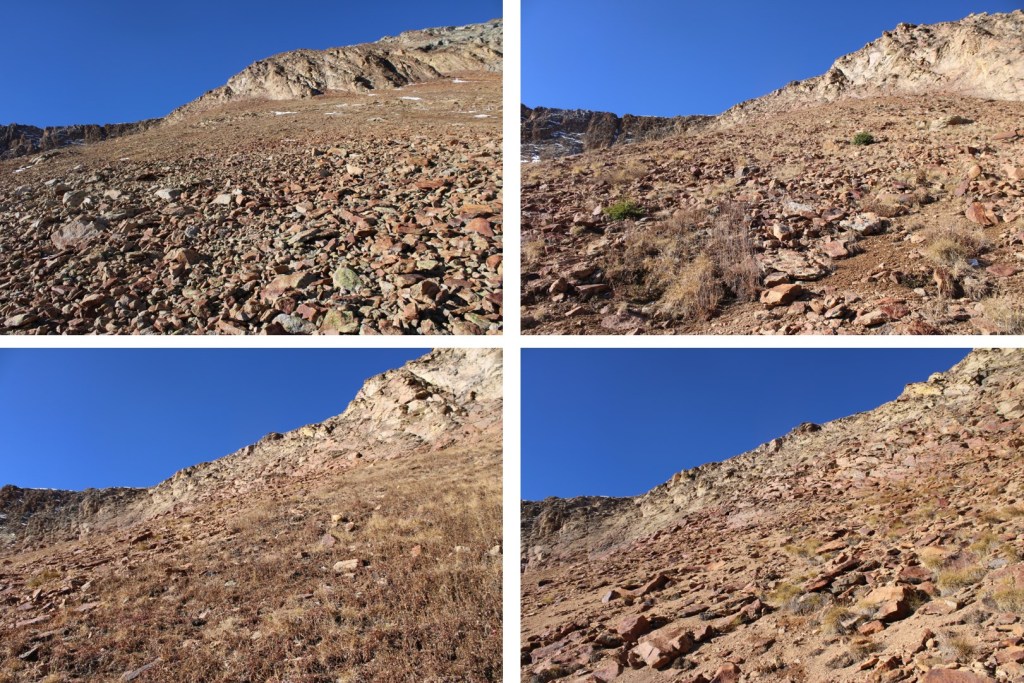
At treeline I came to a huge basin of rocks. To get to the ridge, I was going to have to head southwest, through this basin of loose, unstable rock. I did my best to stay low, and try to skirt the piles of rocks, but eventually I had to go up and over.
I now had a clear view of the ridge.
This is choose your own adventure, and none of it was pleasant. It was full of loose, rolling rocks. This is the route I took to gain the ridge.
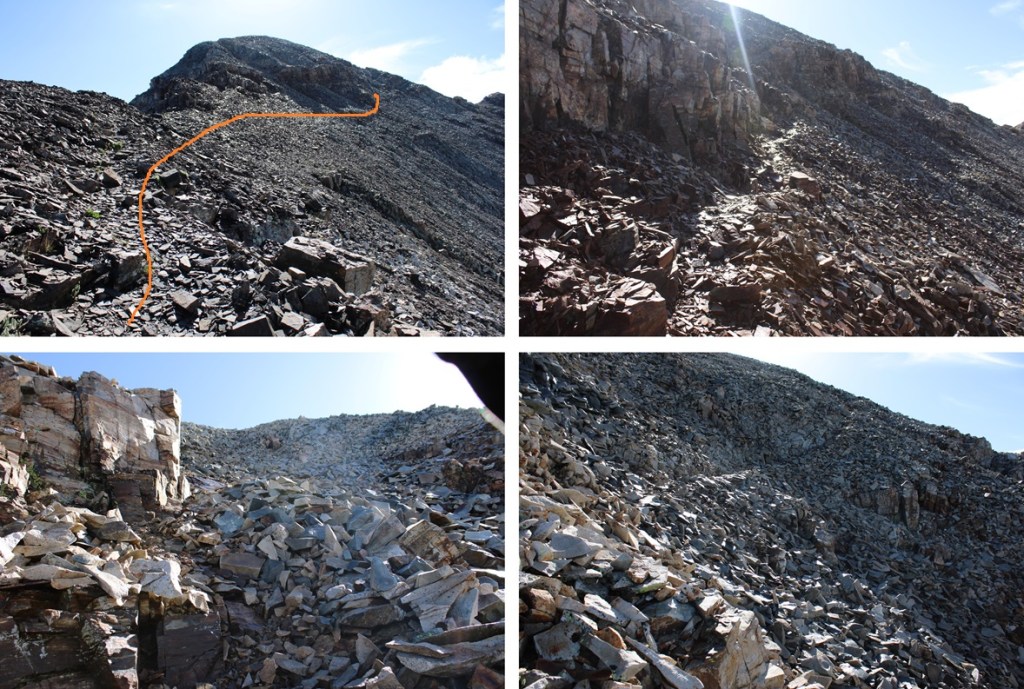
Once on the ridge, I turned left, and encountered the most difficult part of my day: Tons of mosquitoes and 350’ of elevation gain in 1/10th of a mile on dinner plate sized, extremely loose talus. There was no clear path or game trails, I just kept heading up. It was so miserable, I decided then and there I was not going to go back down this way if I could help it.
I was greeted at the top with a nice, gently sloping ridge that was easy to follow southeast towards Hesperus Mountain. There were some rocky sections, but clear game trails to follow.
I came to the end of the ridge and where the fun began.
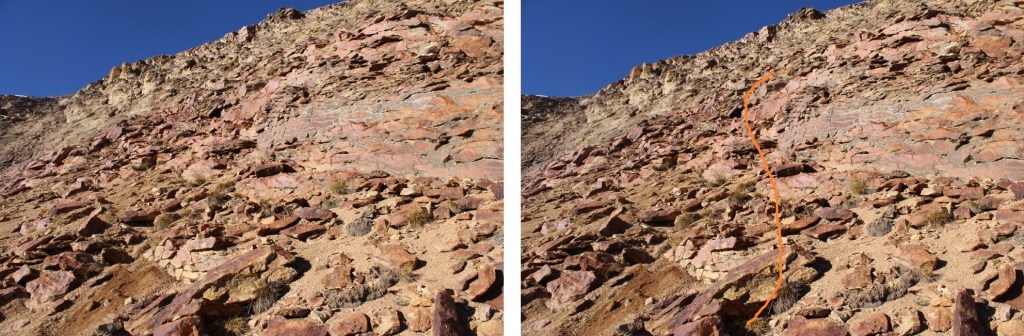
There were quite a few game trails here, and the sun was in my eyes the entire time, so I’m not sure if I picked the correct route. If you go to the right of the class 3 section you can keep it class 2, but it’s easy to get lost. I decided to head straight up the rocks, then found a game trail that wound me around up to the summit. As I kept getting higher and higher up the mountain I found more and more trails, all seeming to lead to the same place. As long as you’re headed up and east, you should be good. This is the route I took:
And some step by step pictures of the route I took, first navigating the class 3 section
I was then able to pick up game trails that led me to the summit. I took a different path up than I did on my way back down, but all the game trails that went up led to the summit. As long as you’re keeping it class 2 you should be fine.
The summit was to the left of the trail, filled with large, loose boulders, and a wind shelter.
I summited Hesperus Mountain at 9:15am
Hesperus Mountain:
After spending considerable time on the summit, I turned and headed back down to the ridge. Once again, taking a slightly different route than I had on the way up, as trails were easier to see with the sun behind me instead of in front of me.
I made my way down the class 3 section
Ahead of me I could see the route I’d taken in, along the ridge
I looked to my right. I had a choice to make. I didn’t want to descend the same way I’d ascended, so I went over and took a look at the gullies. There were at least three to choose from, and I picked the middle one to descend, as it didn’t have any snow and I had a clear view of my exit route back into the trees.
Here’s the route I took down the gully. Since it had rained the night before, the scree was a bit muddy, and easy to grip.
And a look back at the gully I came down. As you can see, I had several options to make it down from the ridge.
At the base of the gully I followed the rocks to the north (right), finding cairns along the way that led me towards a trail in the trees.
I followed this trail through the willows and into treeline north, back to the West Mancos River Trail.
Back on the West Mancos River Trail, I followed it back to the upper trailhead, crossing the West Mancos River, and gaining elevation as I went.
At the Upper Sharkstooth Trailhead, I followed the 4WD road northeast, past Twin Lakes, just under 2 miles back to the 2WD trailhead.
I made it back to my truck at 11:30am, making this an 11.08 mile hike with 3440’ of elevation gain in 6 hours.
I don’t know why more people don’t hike this peak. It’s class 1 98% of the time, the trailhead is easily accessible, the views are amazing, and there’s abundant wildlife. In any event, I’m recommending it to trail runners especially because it looks like good terrain for trail running. I felt this peak was almost too easy.
I started at the Colorado Trail Segment 25 Trailhead near Little Molas Lake. There are several dispersed campsites here, public restrooms (although the women’s side was closed for the season), and tons of parking.
The trail is easily marked, and starts at the south end of the parking area
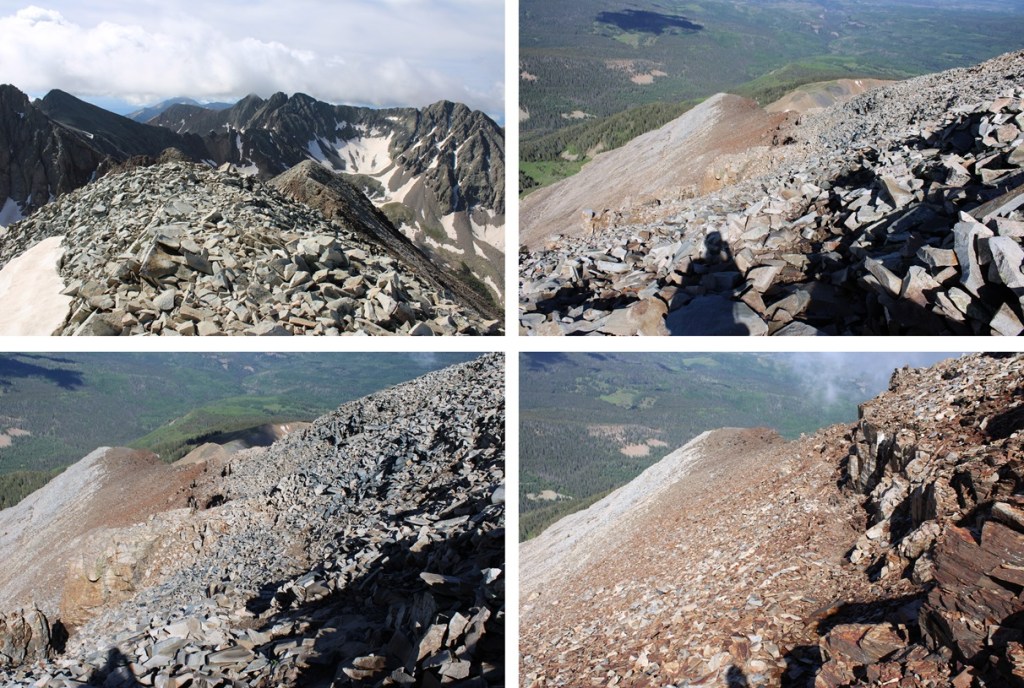
I followed this well-defined trail for just under 3.5 miles as it wove in and out of treeline. (Note, between miles 2-5 of this hike I gained and also lost a lot of elevation).
After hiking for just under 3.5 miles I found myself at the base of PT 12,864. The Colorado Trail continues to the left, but if you look closely, at the top of the rock formation here there is also a trail to the right. I left the Colorado Trail and took the trail to the right.
While not named, this is also a well-established trail. By the looks of all the tire tracks, it’s popular for the mountain bikers. It took me up and down and around to the north, towards Putnam Basin.
Just before the basin were a few campsites, and a creek to cross. There are a few social trails in the area due to the campsites, so if you’re given the option, go left.
Now at the base of Putnam Basin, I had a clear view of the route ahead of me. No more losing elevation, I would just be gaining for the rest of the hike. This is still on a class 1 trail, all the way to the saddle.
This is the route I took
And some step by step pictures of the route:
Just before the ledge that brought me to the saddle there was some snow on the route, so I had to get a little creative. It’s all straightforward though, and there are several cairns to follow if you cannot see the trail. I just aimed for the saddle.
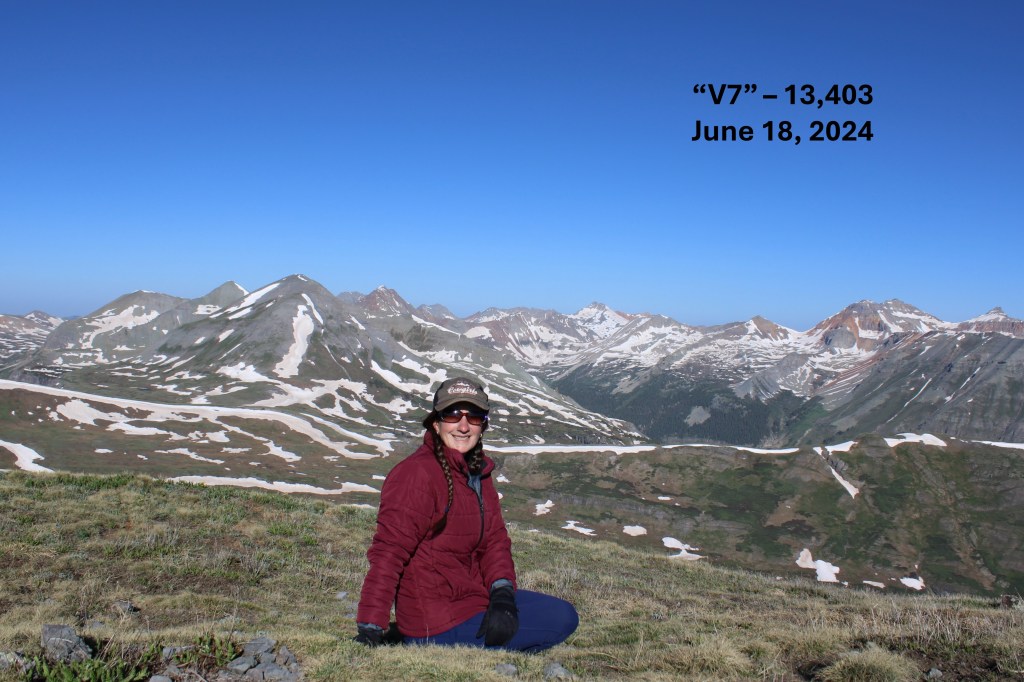
Once at the saddle, I turned right and followed the ridge north to the summit. If you’re lucky, you’ll find a game trail that leads all the way to the summit. Just make sure you stay on the ridge proper, as there’s a trail that goes to the left as well that will skirt “V7” and bring you towards Twin Sisters. The ridge is tundra the entire time.
I summited “V7” at 7:45am
“V7”:
Now to head back down. This was an out and back hike for me, so I turned around and followed my route in. I followed the ridge and headed south, back to the saddle.
Here’s a view from the saddle of Putnam Basin.
At the saddle I turned left, and headed northeast, following the cairns back to the trail
I picked up the trail again, and followed it down the basin, sticking to the left side of the basin/creek.
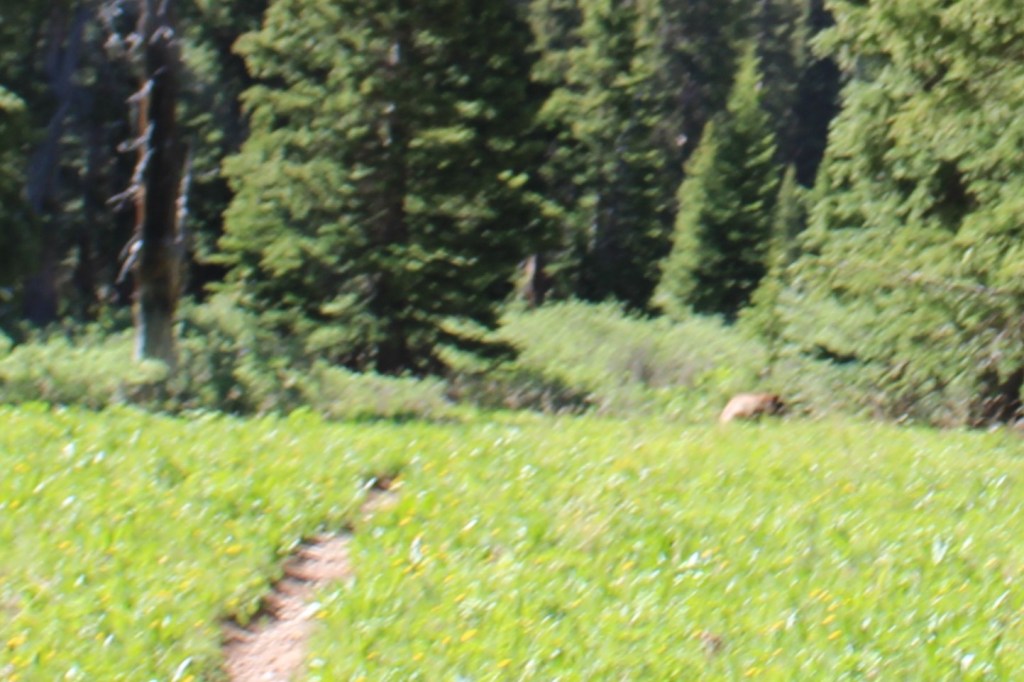
I’d seen quite a few deer that morning. Mostly from afar, but deer nonetheless. As I was nearing the camping area near the base of the basin I saw one running towards me in a funny way, and realized quickly it wasn’t a deer, but a bear. As soon as the bear noticed me, it jumped 90 degrees, and started running the other way. I kind of got a picture, but it’s fuzzy, as the bear was quick.
I started wondering what the bear had been running from? About 20 feet later, I realized what it was: I spied a mama moose with her calf.
I hid behind a tree to watch them while giving them space. I love watching moose calves, especially the really young ones. They tend to bounce around everywhere, turning in circles, braying, and excited about life in general. After this video the calf got really jumpy, but I’d already turned around and started hiking away so as not to bother them.
Mama moose with calf:
I passed the camping area, and continued following the trail, now headed south (and uphill).
I made it to the Colorado Trail cutoff, turned left, and followed it 3.5 miles back to the trailhead.
I made it back to the trailhead at 10:30am, making this a 13.78 mile hike with 3029’ of elevation gain in 5 hours 15 minutes.
I parked at the Ivy Creek Campground and Trailhead. This campground is for tent camping only, and has 4 spots along Ivy Creek. The drive in is dirt 2WD, and there’s a bathroom there for use. There was only one vehicle there when I arrived, but as I was leaving, all the parking spots were taken.
The trail starts at the Ivy Creek Trailhead, southeast of the campsites. I left at 5:15am.
From there the Ivy Creek Trail heads east, and then curves south. I was headed south for most of this hike, on a class 1 trail that was well defined and easy to follow.
I came across a trail register and checked to see if anyone was ahead of me, and there was only one name. This made sense since there was only one truck at the trailhead. He indicated he was going to Goose Lake, so I expected to see him on my way.
There were a few small creek crossings to navigate, but I didn’t even need to get my shoes wet.
After hiking for about a mile, I came to a more demanding creek crossing. I’d been here two weeks prior, and knew the trail was on the other side of the creek, but it was running fast and cold.
Not wanting to get my feet wet if I could avoid it, instead of crossing the creek there, I hugged the creek to the left for about 100 yards, found a nice tree to cross the creek on, then headed west to pick back up the trail.
Back on the trail, I continued heading south for 3 more miles, keeping the creek to my left, passing marshes and willows, and heading in and out of the trees. There were tons of moose tracks and scat here, which stands to reason because I saw two moose in the area 2 weeks prior. I didn’t see them today however.
Did I mention the downed trees? They were littering the trail most of the way. Some were easy to hop over to craw beneath, but most required me to get creative, leave the trail to go around, then work my way back to the trail.
After hiking for 3 miles I came to another creek crossing. Here I met the man who’d signed the register and stayed the night at Goose Lake. He was heading back out to the trailhead. At this point, I was fairly confident there weren’t any other people on the trail, since there hadn’t been any other vehicles at the trailhead. I crossed the creek again, and picked up the trail on the other side.
I followed the trail southeast as it hugged the mountainside.
At about 5.5 miles the switchbacks began. They brought me east, above treeline.
I was now in a wide, open meadow, following a trail that would slope up and down as it wound it’s way in and out of the trees south towards Goose Lake.
About half a mile before reaching Goose Lake it began to rain. Not a big rain, just sprinkles. It was about 9:30am, and I’d been watching the weather all morning. The storm was coming in from behind me. I’d done my due diligence, and knew weather was coming in. It was supposed to start raining around noon, and it was going to last until 6pm. Wind speeds were forecasted to be 5-7mph, with gusts 10-15mph. I’d planned on starting early, getting to my campsite at Little Goose Lake around 10am, setting up camp, and then waiting out the storm in my tent.
Nature had other plans.
Yes, it was sprinkling lightly, but I was about a mile from my intended campsite. I’d just hike a little faster to get there before the storm came in. It wasn’t supposed to really start raining for at least another 2 hours, so I figured I had plenty of time. I crossed over a stream that was flooding the trail and could see Goose Lake to my right.
This is when the trouble began. The rain unexpectedly picked up and started coming down in sheets. I was well prepared with my gear (rain pants, jacket, hat, gloves, etc.) but I was getting soaked. I was going to have to change my plans. No longer intent on making it to Little Goose Lake, instead I was going to set up camp at the south end of Goose Lake. I hiked another 1/3 of a mile in the rain, willing my hands to warm up and telling myself in another few minutes I’d have my tent set up and I could get warm.
I made it to my intended destination only to find a large group of campers already set up. They had identical tents, backpacks, and gear, and were all huddled under a shelter to keep dry from the rain.
Well, this was unexpected. I left the trail to go and talk to the campers sitting under the canopy. I was shivering, mildly hypothermic at this point, and when I went to speak, found words wouldn’t come out properly. I waved, and said something like: “Rain. Early. Cold.” I pointed to a place away from them on the hill, and clumsily got out “Can I set up there?”
They hadn’t paid attention to me as I’d walked up to them, and now that I’d spoken they all quizzically looked back and forth at one another. Probably thinking I was a lunatic. Either that or they didn’t speak English. I certainly wasn’t doing a very good job at it myself at the moment, but I have Raynaud’s, so I get very cold and lose function of my extremities and speech earlier than other people. All I needed to do was get out of the pelting rain and into a shelter.
One man left the group to come talk to me. He pointed back the way I’d hiked in, towards the incoming storm, and said firmly “There’s a nice campsite about half a mile back the way you came.”
It was obvious he wasn’t going to “allow” me to set up my tent anywhere near his group. I was unable to talk any further, and I knew time was now of the essence, so I gave him one long look, willing him to change his mind, realized that was futile, turned around, and started running back towards the other side of the lake.
Many, many things ran through my head as I was searching for another campsite. Most of them I won’t repeat here, but they were focused on finding a campsite as soon as possible, and wondering how that group could have turned me away, when the weather was obviously bad and quickly turning for the worse. I tried to give them the benefit of the doubt, but I couldn’t believe they’d turned someone away from shelter in such conditions.
Then the wind picked up and sleet started coming down in sheets. I was in a full-blown snow/sleet/rain squall, and needed shelter now.
I never made it to the other side of the lake. I could no longer see through the weather clearly, so I found the first patch of open ground I could and started setting up my tent. The wind kept blowing everything around, turning all pieces of my tent into a kite, and my numb and wet fingers weren’t helping things go any faster. The flaps of my tent were open when I unrolled it, and before I could close them the entire inside of my shelter was soaking wet.
I staked my tent and rain fly down, threw in all my gear, took off my shoes, hopped inside, and zipped the flaps closed. I was prepared to wait out the storm. I took off my outer layer and hung it up with a carabiner to the top of my tent to drip dry. Huddling and hugging myself to stay warm, I could hear the wind before it came, and in one big WHOOSH it pulled up my tent stakes and with it my rain fly. Rain now pelted me inside the tent. I cursed to myself, unzipped the tent, put my shoes back on, and clumsily re-secured the rain fly. There was an inch of slush on top of my tent now, which didn’t help my frozen fingers.
I had no dexterity, so even though I tried, I couldn’t undo the Velcro that had attached to itself to secure the rain fly to the tent poles. Instead, I just re-staked the rain fly down and hoped for the best. The wind would blow away my rain fly and I’d repeat the process 3 more times before it finally stopped, my hands warmed up, and I was able to properly secure the rain fly with the Velcro to my tent poles.
Now, I know what you’re thinking: Why didn’t you change your clothes or hop into your sleeping bag to stay warm? Well, I only had one change of clothes and one sleeping bag with me, and seeing as how everything was getting soaked every time the wind blew off my rain fly, I didn’t want the only items I had with me that were dry to become soggy as well. So I sat there in the middle of my tent soaking wet, saving my spare clothes to change into when the weather let up. Which it finally did, 3 hours later.
The wind/snow/sleet/rain stopped, the sun came out, and the birds started chirping. I took off all my wet gear and hung it out to dry on a nearby log, changed into dry clothes, and congratulated myself for not panicking, and making it through the past few hours. Then I went over and over all the mistakes I’d made, and what I’d learned from the experience. I know the dangers of hiking solo, and I was prepared for all kinds of weather. Next time, I’m going to stop as soon as the weather looks like it’s going to turn so I can properly set up my gear before I lose function in my hands. Yes, the weather came earlier than expected, but I should have known better. The mountains make their own weather, and only I can be responsible for what steps I take to keep myself safe. It had been quite the learning experience.
Finally starting to warm up, I set out my sleeping pad inside the wet tent to give me something dry to sleep on, rolled out my sleeping bag, and made it an early night.
It was probably the best night’s sleep I’d had backpacking in my entire life. I was warm and dry inside my sleeping bag, and besides the howling and yipping I heard back and forth in the middle of the night from what I’m hoping were coyotes, I slept all the way through. The next morning was warm and clear. Goose Lake was as still as glass. I was on the trail again at 5:30am. I passed by the campers I’d seen earlier as the sun started to rise. Two of them were awake and kept their backs to me as I passed, but the others were still asleep.
I continued following the trail south as it headed towards Little Goose Lake. There were a few snowfields along the trail, but it was still easy to follow, as I could always see where the trail dried out up ahead.
I followed the trail to the saddle to my left. Here’s the overall route I took:
There were snow fields to cross, but they were solid from the freeze the night before. I put on my microspikes and followed the trail south towards Little Goose Lake.
Little Goose Lake was beautiful in the morning light.
From there, I needed to make it to the saddle. There’s a constant trail that takes you to the saddle and beyond, but with the snow I had to get a little creative. This is the route I took:
I crossed over a small stream coming out from Little Goose Lake, and headed up the slope, taking the trail where I could find it.
Once on the saddle, I could see the summit of South River Peak to the southwest
I continued following the well-defined Ivy Creek Trail.
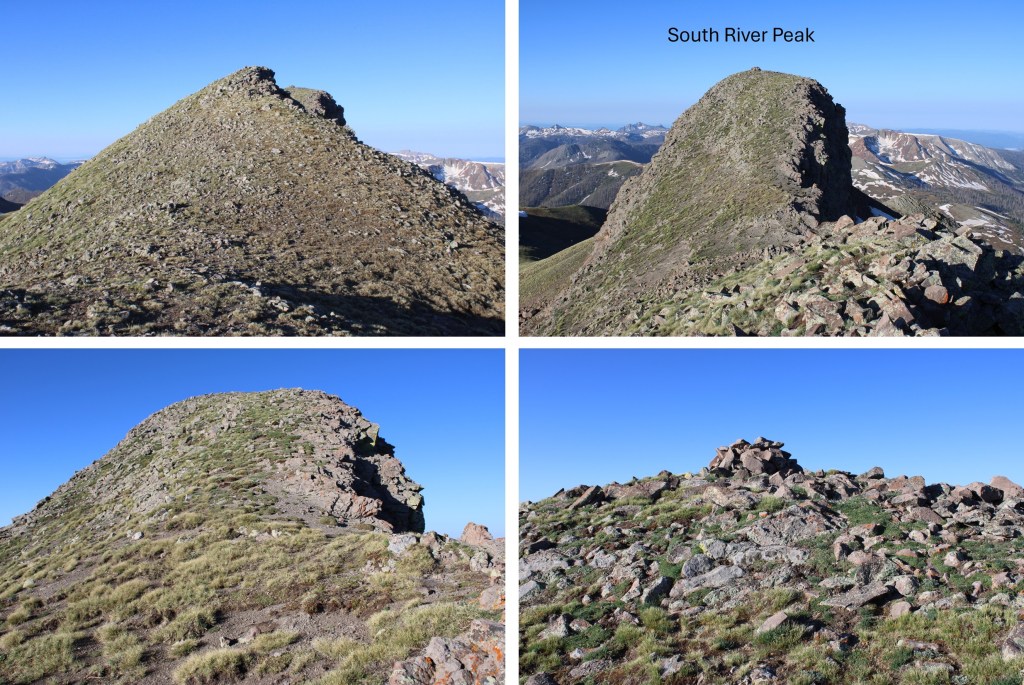
I now had a good view of South River Peak.
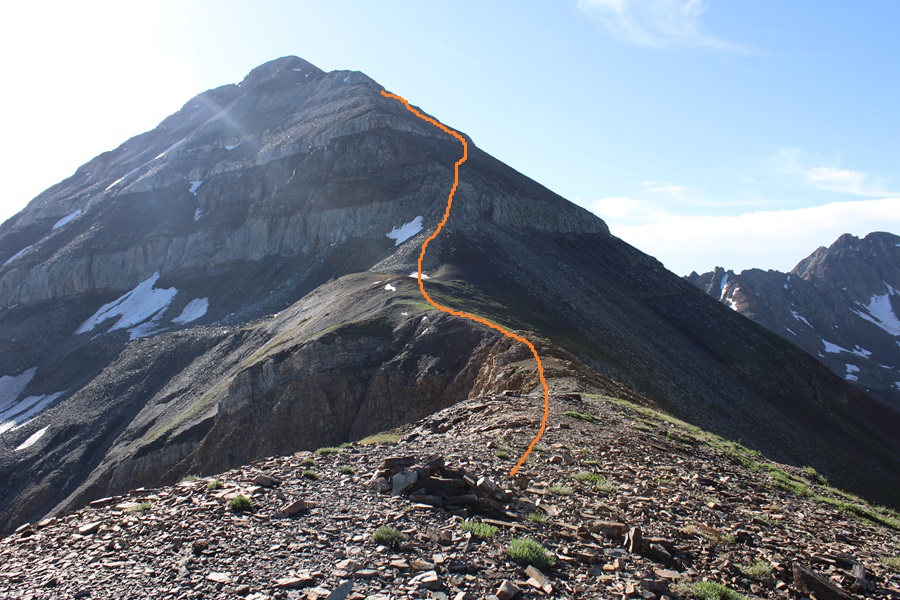
This would normally be a class 1 and easy class 2 trail to the summit, but today the trail was covered in a layer of ice I didn’t want to deal with without my ice axe. Here is the easy way to summit South River Peak:
But that’s not the way I summited. Trying to avoid the snow, I decided to continue gaining the ridge, and summit instead that way. This is the route I took:
First, to gain the ridge
Then I followed it to the base of a rocky drainage, and climbed a short class 3 section
This was choose your own adventure, but there were a lot of options to the right, all easy class 3. It’s easier than it looks.
I topped out, and it was a short class 2 hike to the summit.
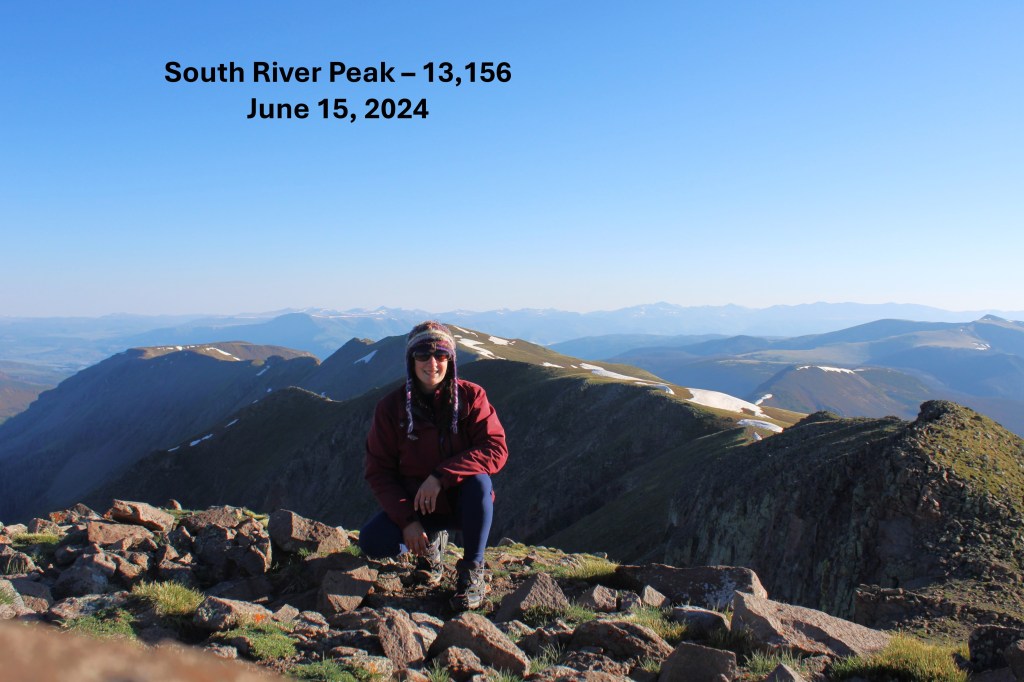
I summited South River Peak at 7:10am
South River Peak:
I was making this an out and back hike, so now to head back down. I turned around and followed the ridge north to the rocky section
Back down the rock drainage
And then down the slope, back to the Ivy Creek Trail.
Back on the trail, I followed it back to Little Goose Lake
Here’s the route I took back to Goose Lake
Once back at Goose Lake, I noticed the group I had encountered the day before had packed up and left. I made it to my campsite, packed up all my gear, and headed back down to the trailhead.
I quickly passed the group of campers I’d encountered earlier, and learned they were part of a Backpacking Ministry from Del Norte, which explained all the identical gear and lack of vehicles at the trailhead: they’d been dropped off and were being picked up at the end of their trip.
I continued on down the switchbacks, over the many creek crossings, around the downed trees littering the trail, and back to the trailhead.
I made it back to the trailhead at 12:20pm. I did this hike as an overnight, carrying a full pack, so my time isn’t as relevant, but Strava gave me 10 hours, 20 minutes of hiking time.
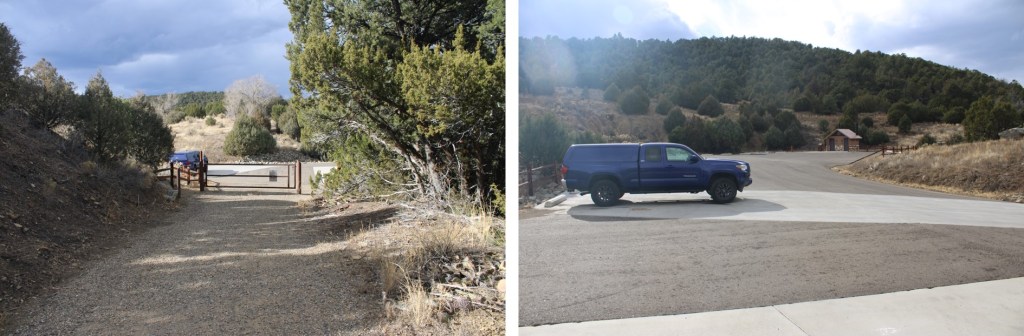
This peak has been on my bucket list for a while, but it was located on private property. Recently this property became a Colorado State Park (currently you need the Colorado State Parks Pass or to pay the $10 to park at the kiosk), and I was able to legally climb the peak. The park is open sunrise to sunset, so I didn’t get my usual pre-dawn start. There is plenty of parking at the trailhead, along with vault toilets and trailhead signs.
I parked at Fishers Peak Trailhead (the only trailhead in the park) and was on my way at 7am. The trailhead is obvious, at the east end of the parking area.
There were a limited number of trail maps at the trailhead, and I snagged one. If there isn’t one there, here’s a copy. I can tell you this isn’t the best map, and the signs can be confusing, but you basically want to take trail 1 to trail 2 to trail 3, then 4, 5, and 6. This may sound obvious, but trail 8 and 10 and 9 all lead to trail 2 as well (they just meander a bit).
Trail 1: Navy Blue on Map, Challenge Hill Section
Trail 2: Dark Magenta on map (as opposed to light Magenta), Osita Ridge Section
Trail 3: Blue on map (as opposed to Navy Blue or light blue), Shady Forest Section
Trail 4: Green on map, Stone Guard Section
Trail 5: Light blue on map (Peak Approach Section)
Trail 6: Brown on map (Summit Loop Section)
I followed the Challenge Hill section for a short while (maybe 100 yards) before coming to a junction with several other trails. I could see Fishers Peak from the parking area.
At the junction I stayed on the Challenge Hill Section, which is the wide path that goes straight (yes, this can be confusing, stay on the road).
The road quickly begins to gain in elevation. I gained 770’ of elevation in just under 1.5 miles.
After hiking for about 1.3 miles, I came to another junction. If you accidentally took trail 10 or 8 or 9, you’ll end up here as well.
I continued east, taking the Osita Ridge Section
Now the trail became more of a bike trail than a hiking trail. It meandered around mountainsides instead of over them, and had a lot of small ups and downs, which I’m assuming make biking up hill easier? I can see problems in the spring with rain and runoff collecting in pools on this trail, but for now it was just mildly annoying.
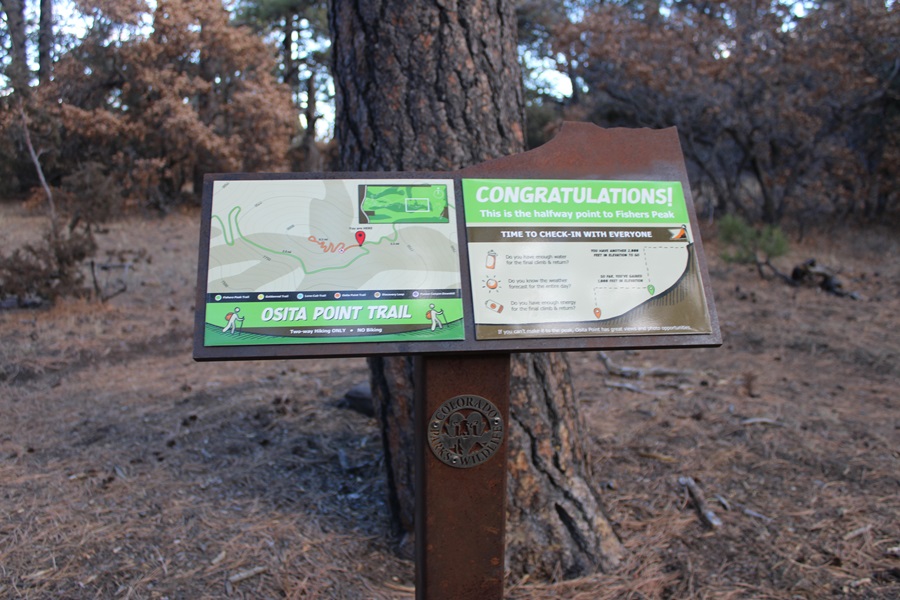
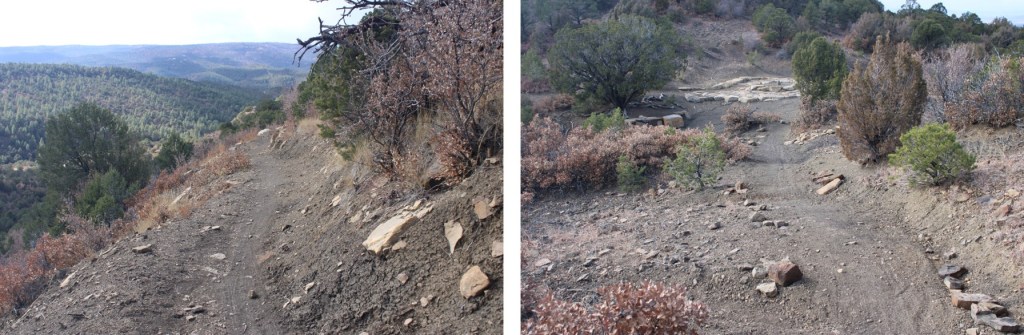
After hiking for 3.85 miles I came to a junction, which congratulated me for making it halfway. I like how the sign asks the hiker if they are truly prepared for the second half of the hike.
At this junction I turned right, and followed the Shady Forest Section. If you go left, you can hike .4 miles up to Osita Point.
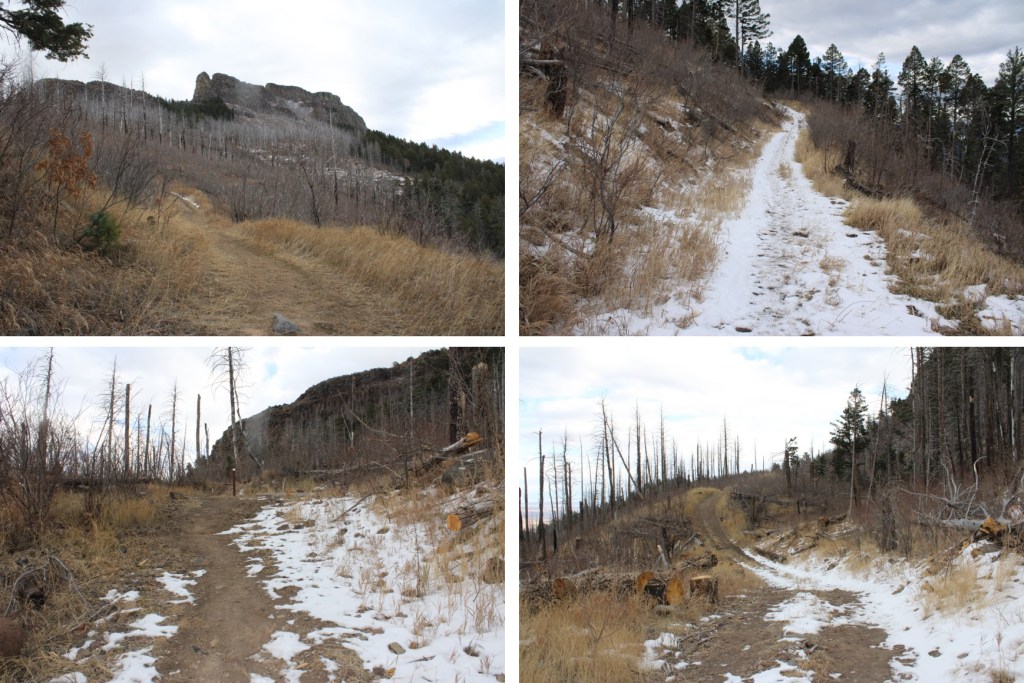
About 2 miles of hiking brought me to a gate. The sign says this portion of the trail is closed March 15-July 31 for Raptor breeding season. So if you’re going to do the peak, don’t plan on coming during that time. This is also a good place to leave your bike if you rode one, as the trail becomes much more rocky and there are stairs involved.
I was now in the Stone Guard Section, and followed the class 1 trail south as it gained the ridge.
There are a couple of gates here, but the trail doesn’t intersect them, and the path is obvious
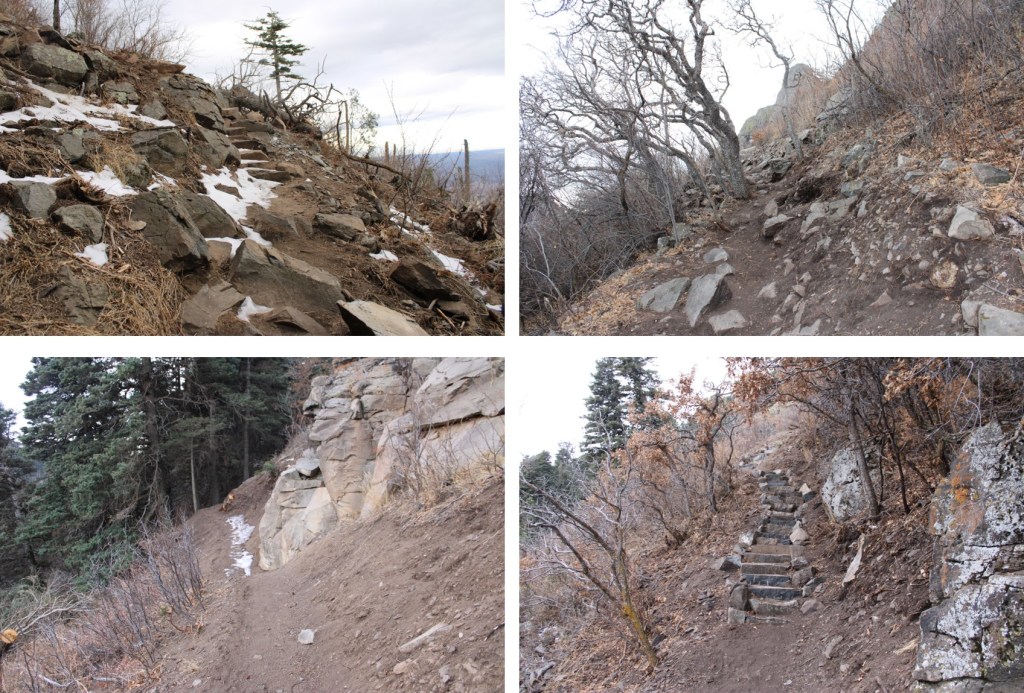
I came upon some stairs, which is the beginning of the ‘hard’ part of this climb. This is a fairly new trail, but the workmanship in the stair and narrow areas doesn’t look like it will last long. I can see it eroding in a year or two, or even after this winter/spring season. Although this is a class 1 trail, care should be taken not to dislodge a rock or slip off the side of the trail.
When you see these signs, you’re almost to the summit. There’s a little bit of scrambling here, but only for about 20 feet or so.
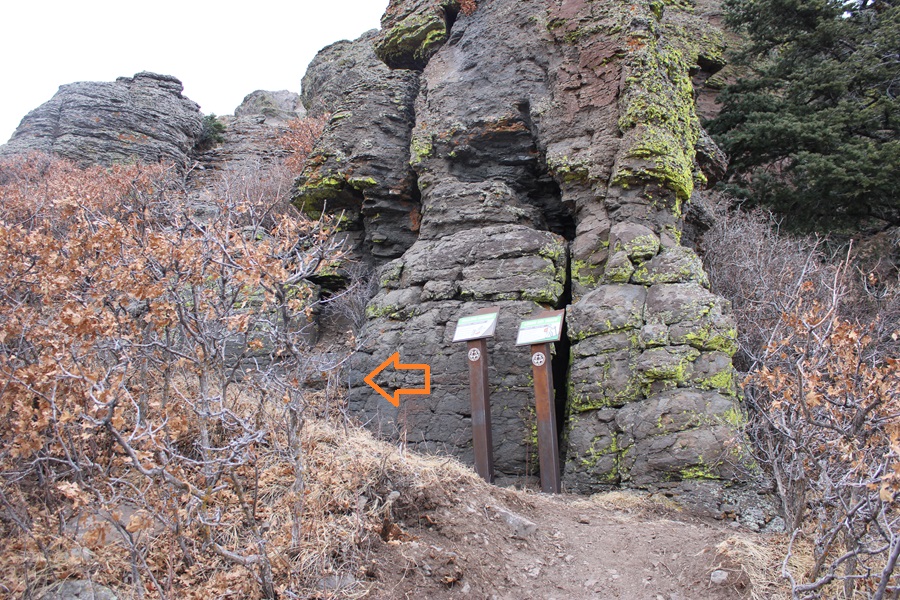
The trail here is not obvious, but you’re trying to ascend these rocks.
At the top of the rocks I was surprised to be greeted by a mesa. There is a well-established trail here, that goes around the mesa. You can go either left or right. I went left. This is the Summit Loop section of the trail.
The actual summit can be difficult to discern, as there are multiple large cairns that look like the summit. It you go left as I did, the summit will be the first large cairn you come to. Because I wasn’t sure at the time, I went all over the mesa to make sure this was indeed the true summit.
I summited Fishers Peak at 10:15am. This video is from the middle of the mesa.
Fishers Peak:
Now to head back down. I simply re-traced my steps back the way I came
Back down the rocky area
Then I followed the trail backwards, taking sections 5-4-3-2-1
It wasn’t supposed to start snowing for another two hours, but mountains have a way of making their own weather. It started graupeling pretty heavily.
Graupel:
I continued on through the graupel, following the well established trail
At the junction of trail 1,2,9 & 10 I followed trail 1, the Challenge Hill Section (the one that’s a dirt road), back to the trailhead. You can take any of the routes, the others will just be longer.
When I got back to the trailhead, my truck was still the only vehicle in the lot, leading me to believe not many people know the park is open
I made it back to my truck at 12:45pm, making this a 15.3 mile hike with 3588’ of elevation gain in 5 hours, 45 minutes
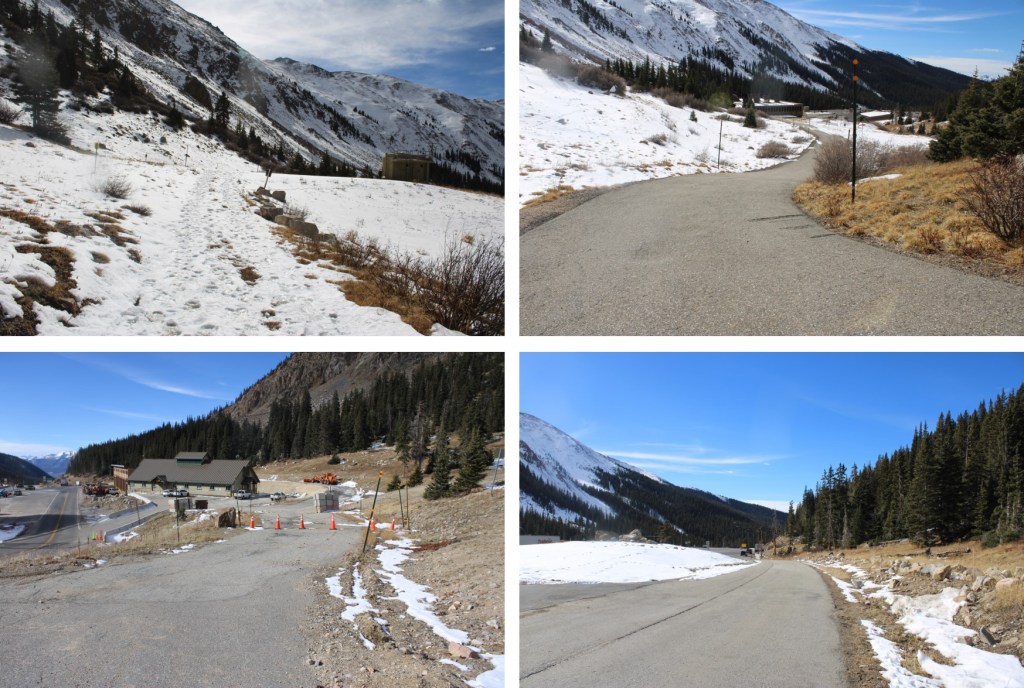
I parked behind some semis at the I-70 MM 213 Westbound Chain Station and was on the trail at 6:20am. I started by taking a paved service road northeast.
The road eventually becomes a dirt road
The dirt road quickly becomes a trail, and this morning that trail was filled with a couple of inches of ice. The kind that microspikes slip on. I followed it as it headed northeast into a basin
After hiking for 1.3 miles I came to a service road and turned right to follow the road towards the ridge.
As you can see from further away, this road goes all the way to the ridge.
However, I did not take the road to the ridge. The road was full of several feet of snow, but the mountainside only had a few inches of snow, so instead of trenching the route, I headed east towards the ridge. This is the route I took.
Here are some pictures of the road
At 12160’ I left the trail and headed up towards the ridge
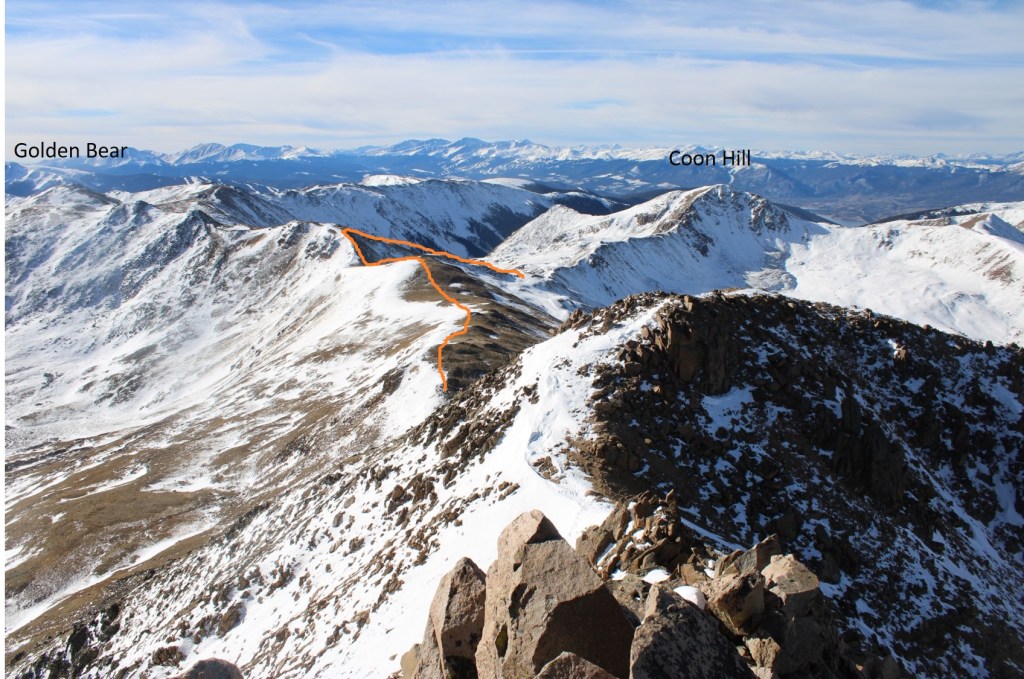
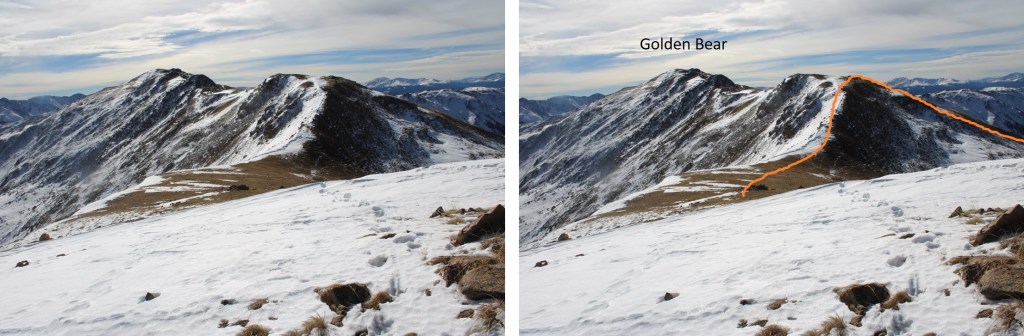
I could now see Golden Bear to my left.
I gained the ridge, and followed it north to the summit of Golden Bear. This was all class 2
There was a marker at the summit
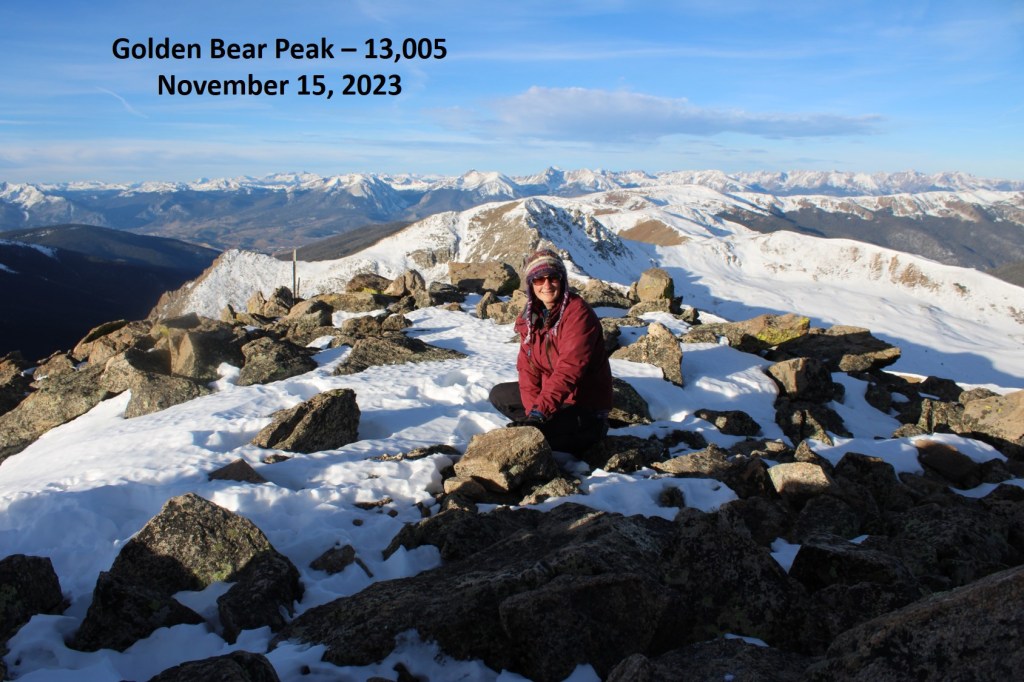
I summited Golden Bear Peak at 8am
Golden Bear Peak:
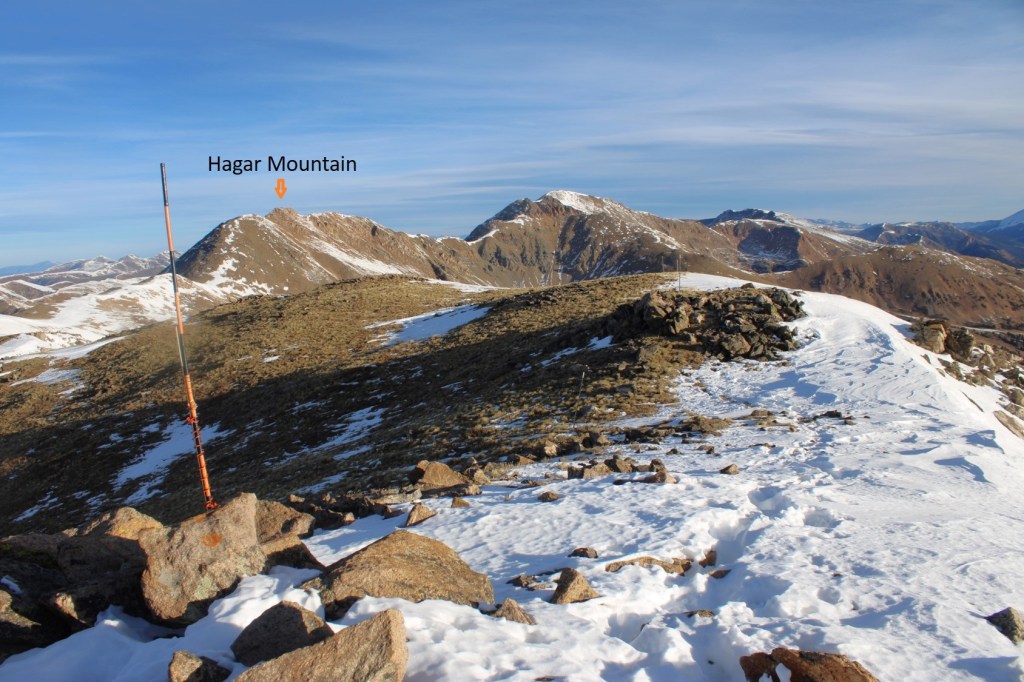
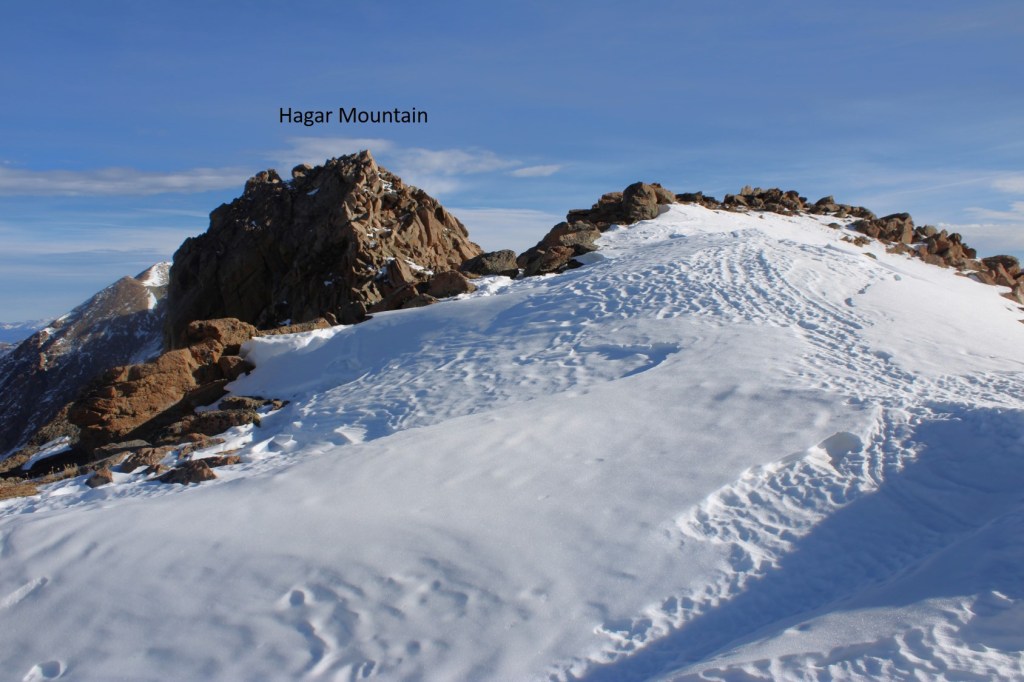
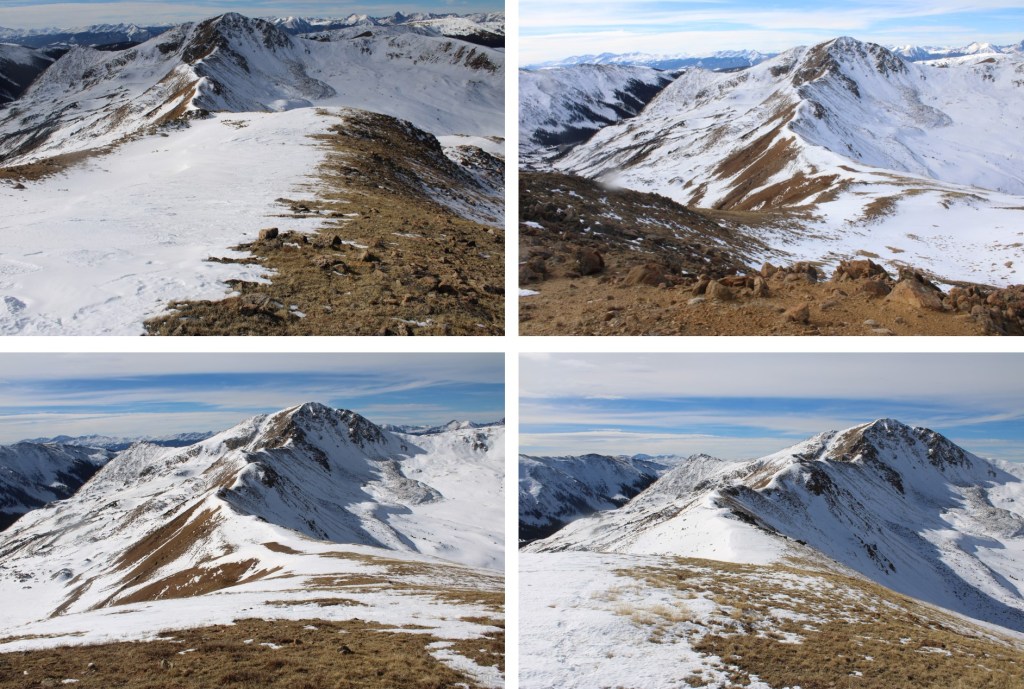
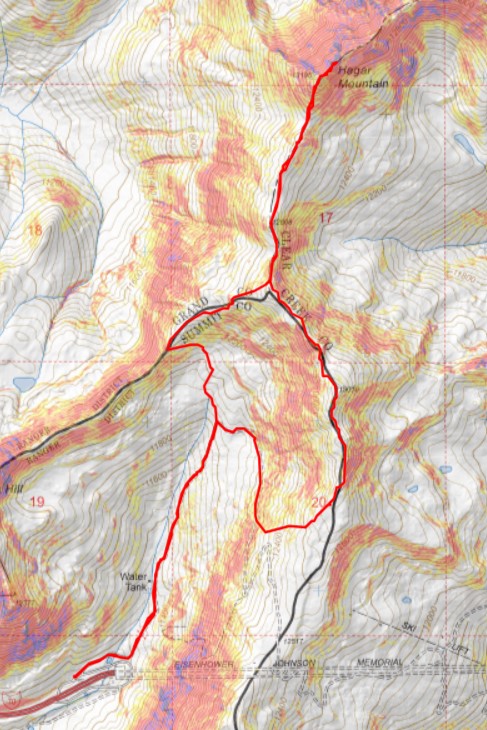
I could see Hagar Mountain to the north
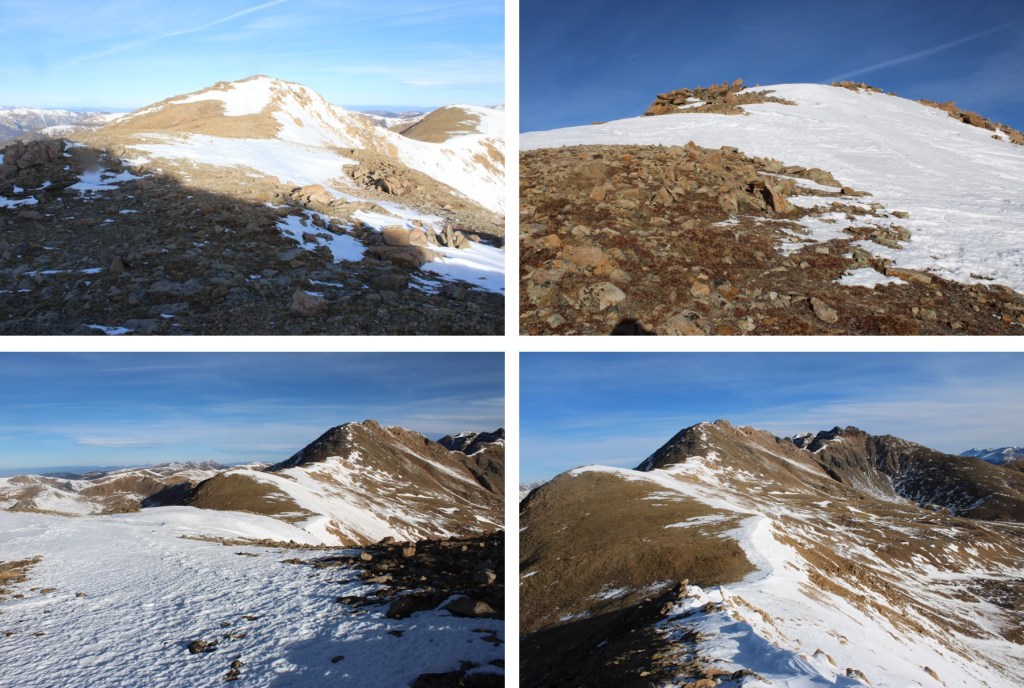
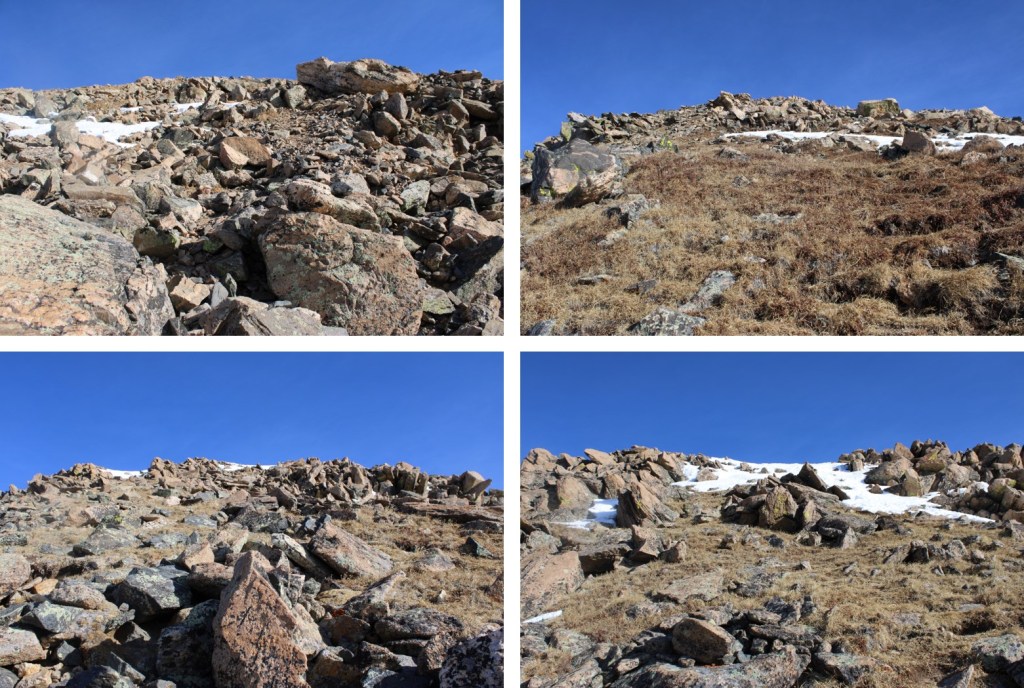
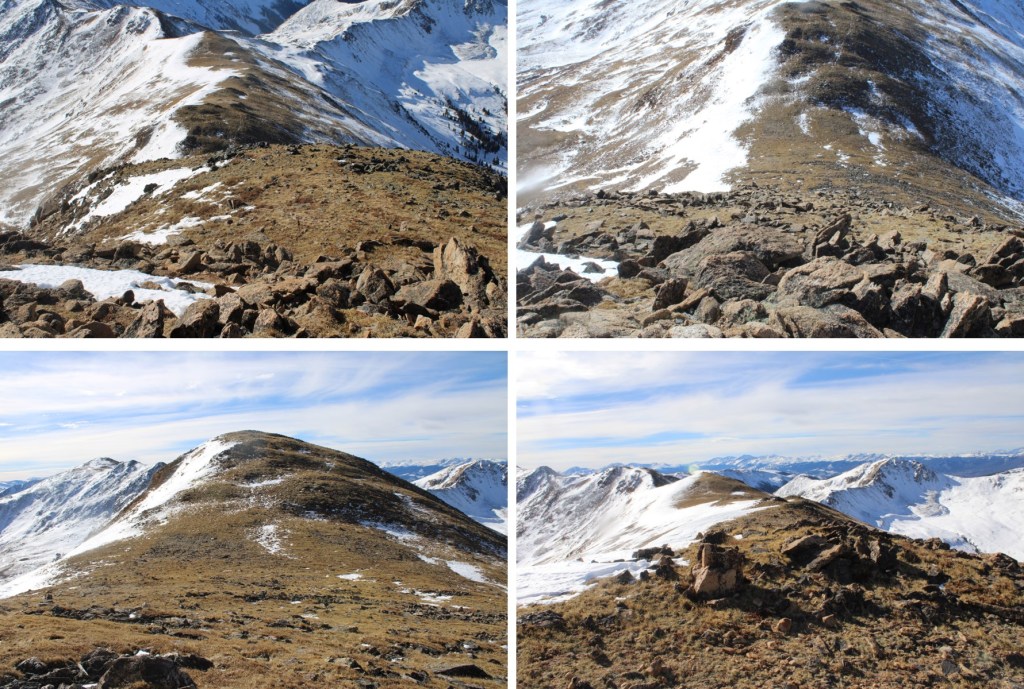
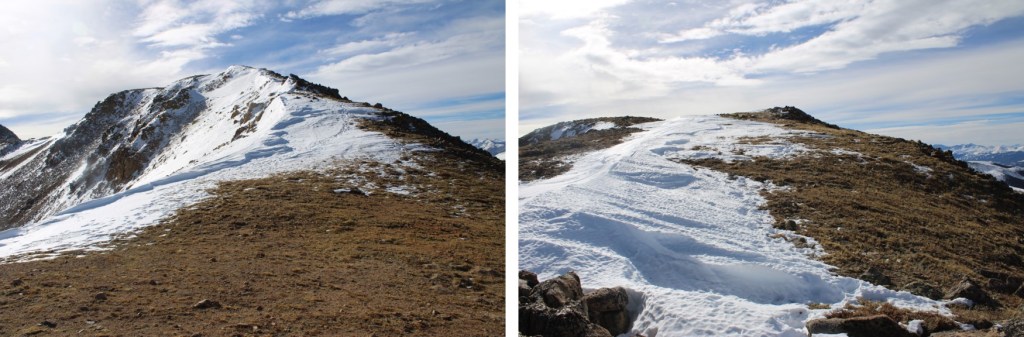
To get there, I continued following this class 2 ridge. There were a lot of ups and downs, but it remained class 2 (until the last 50 feet of elevation gain or so). Here are some pictures of the ridge
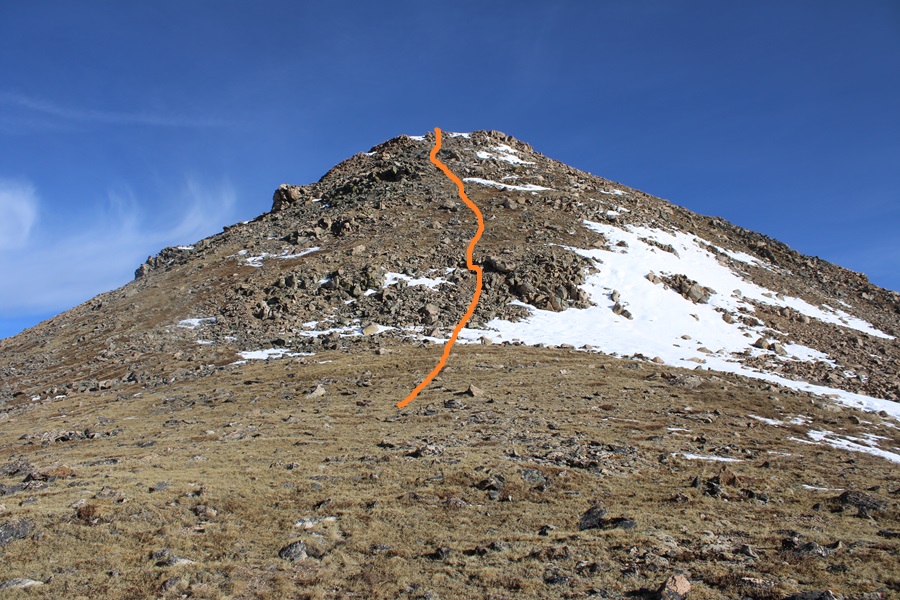
Now the fun begins. It’s class 2 to the top of this ridge. There are a few cairns, but it’s basically choose your own adventure. I went straight up. It’s steeper than it looks, so get a good view before you ascend. This is the route I took.
And some pictures of the route up.
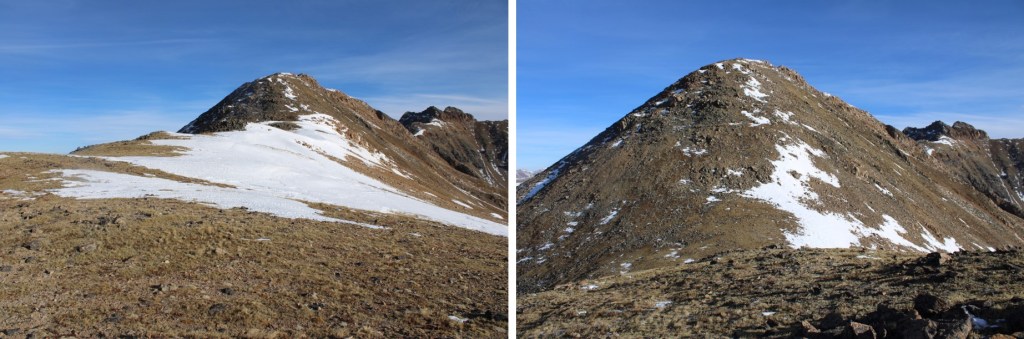
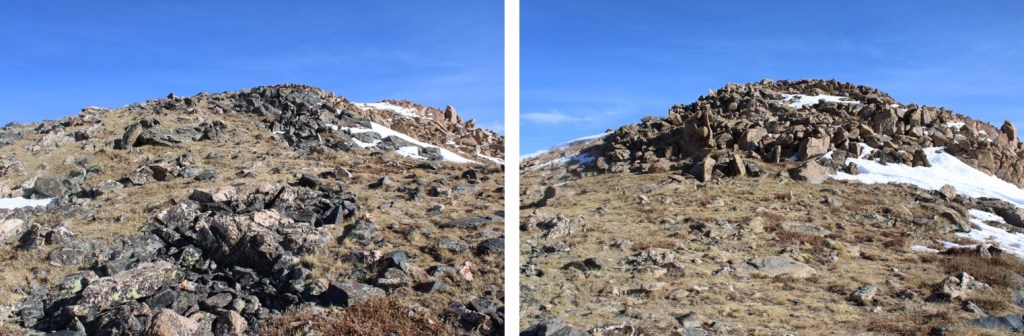
At the top I was greeted with a view of the final approach to Hagar Mountain.
To be honest, I hadn’t done a lot of research on Hagar, and was surprised to find the last bit was class 3. In other words, I didn’t have a helmet. Be sure to bring one! I dropped my pack, descended a bit to the saddle, and then started climbing up.
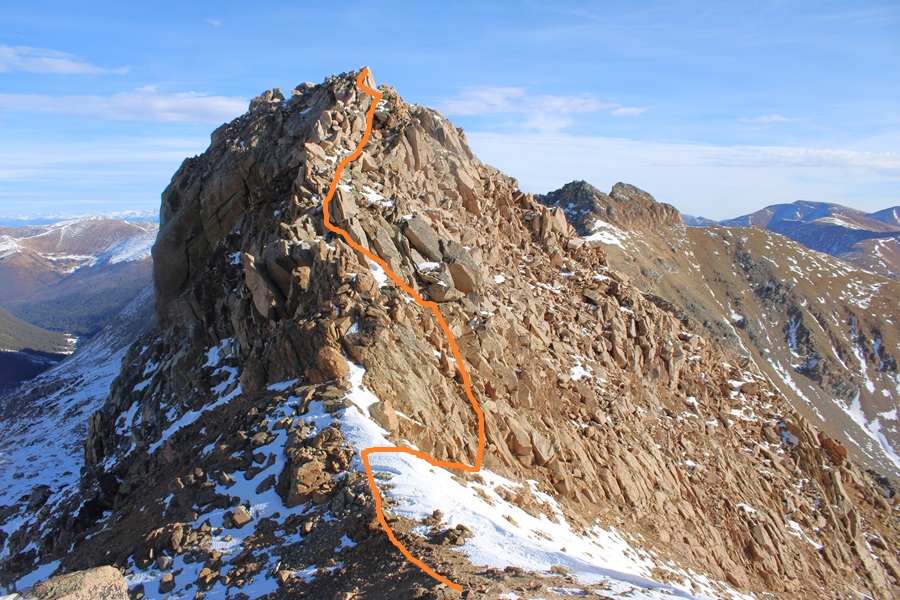
This is again choose your own adventure. This is the overall route I took.
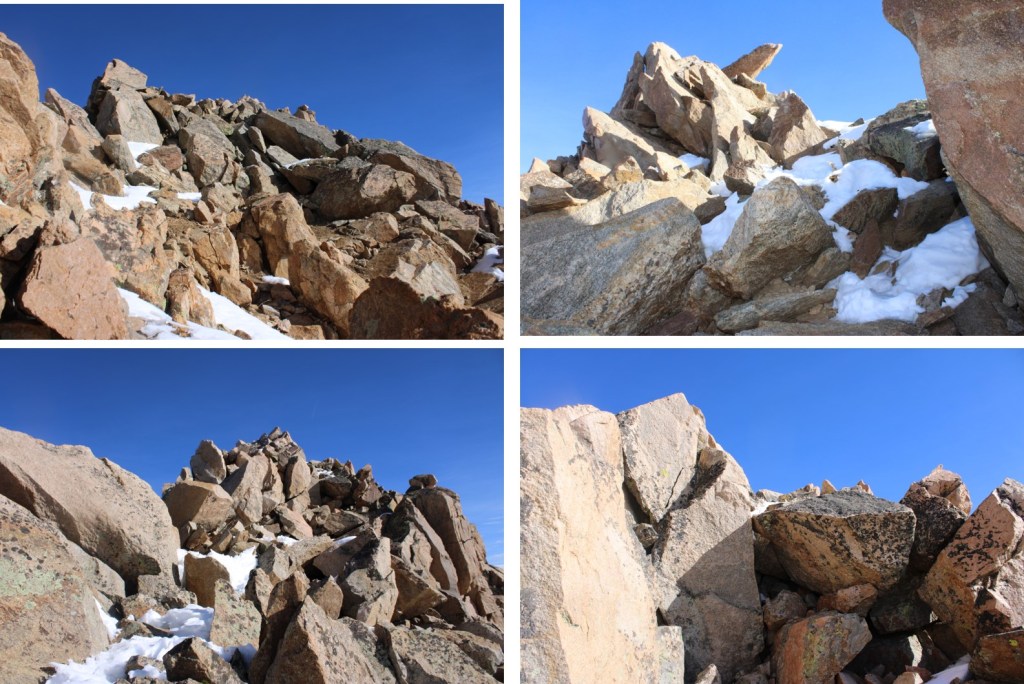
And some pictures of the scramble
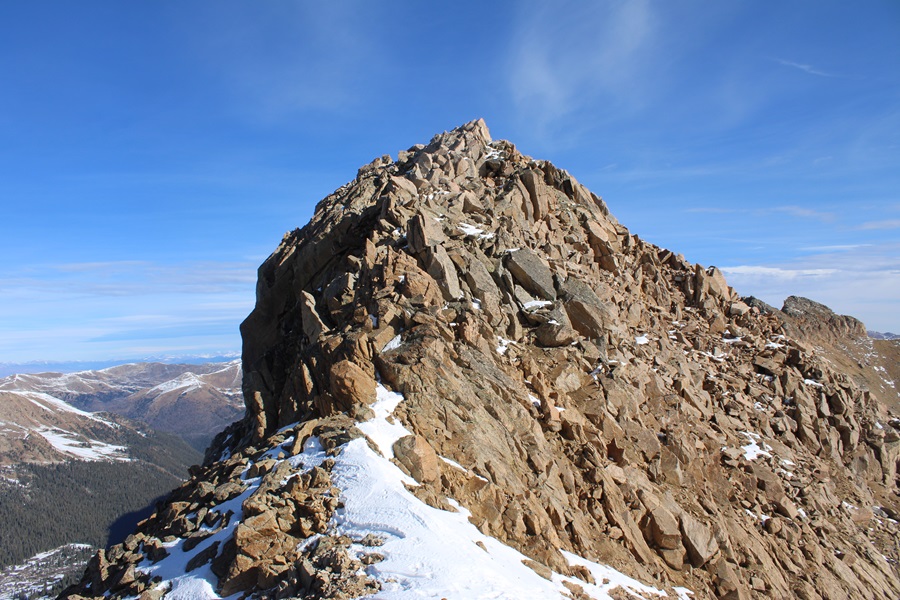
Here’s the actual summit block. It’s the first one you come to.
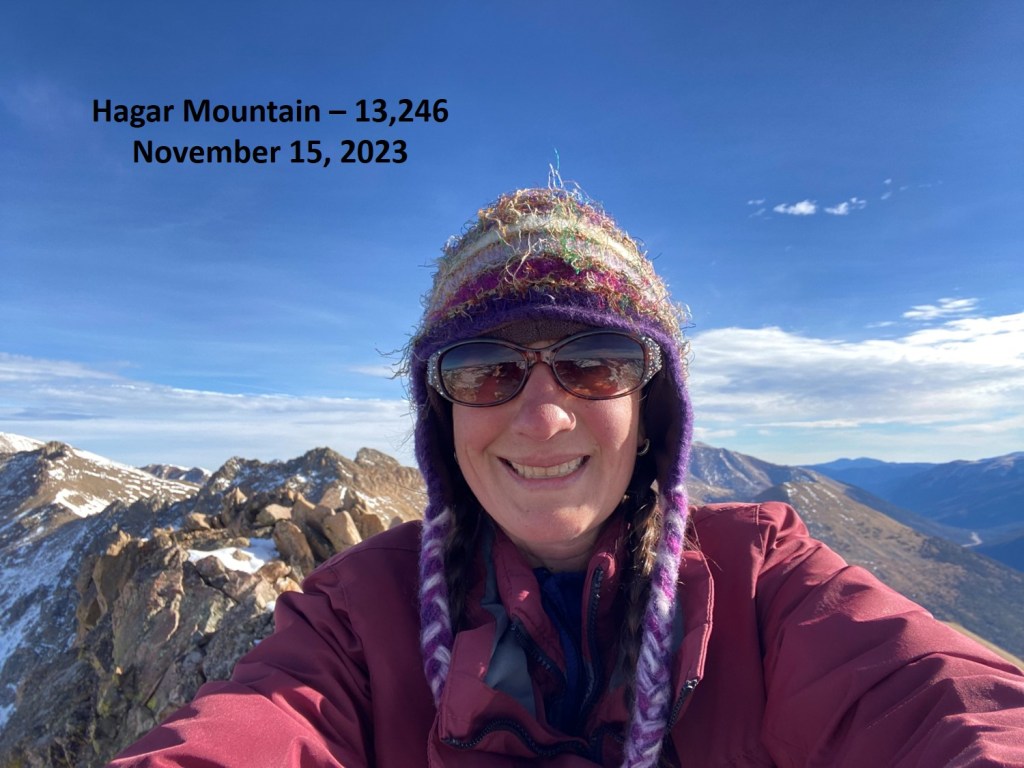
I summited Hagar Mountain at 9:20am
Hagar Mountain:
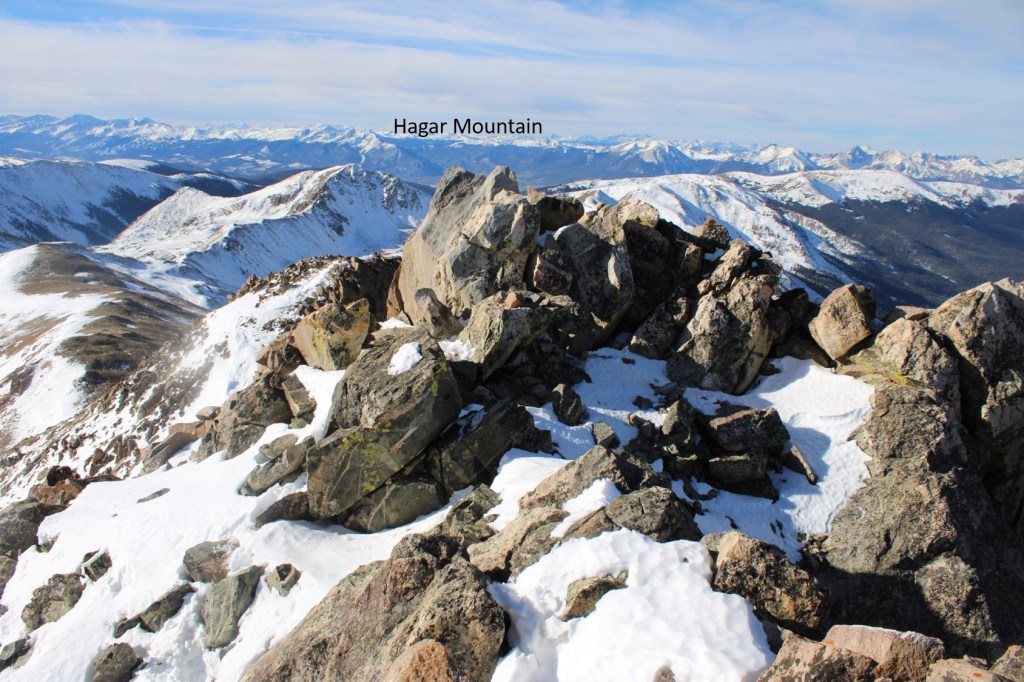
From the summit looking north, it seemed as if the next point was equal height to where I was currently, so I scrambled over there too in case any LiDAR issues should arise.
Here’s looking at Hagar Mountain from the second block
I trekked back over to the first block, and found a summit register, so I’m assuming the first block is the true summit. Now to head back. I retraced my steps, aiming for the Golden Bear/Hagar saddle.
Here’s the overall route I took back to the basin, aiming for the Golden Bear / Coon Hill saddle
First I headed back down Hagar the way I ascended
After making it to the saddle, I followed the ridge up to 12830’
At 12830’ I turned and headed southwest towards the saddle.
At the saddle I found an obvious trail and turned left. This led me back down into the basin and back to the trailhead.
I made it back to the trailhead at 11:20am, making this a 7.82 mile hike with 2760’ of elevation gain in 5 hours.
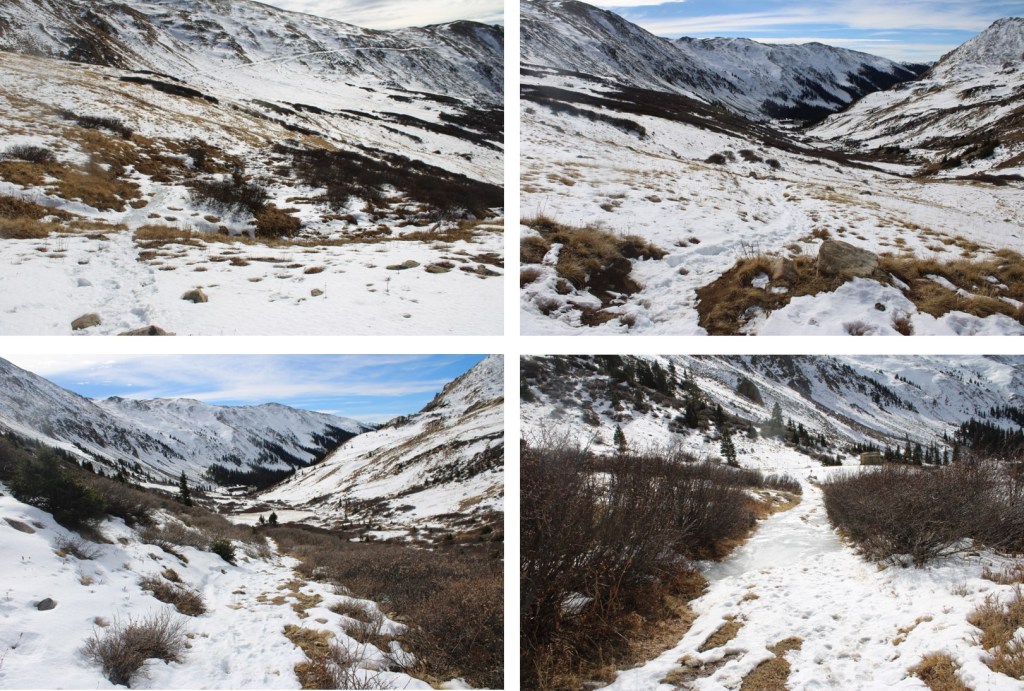
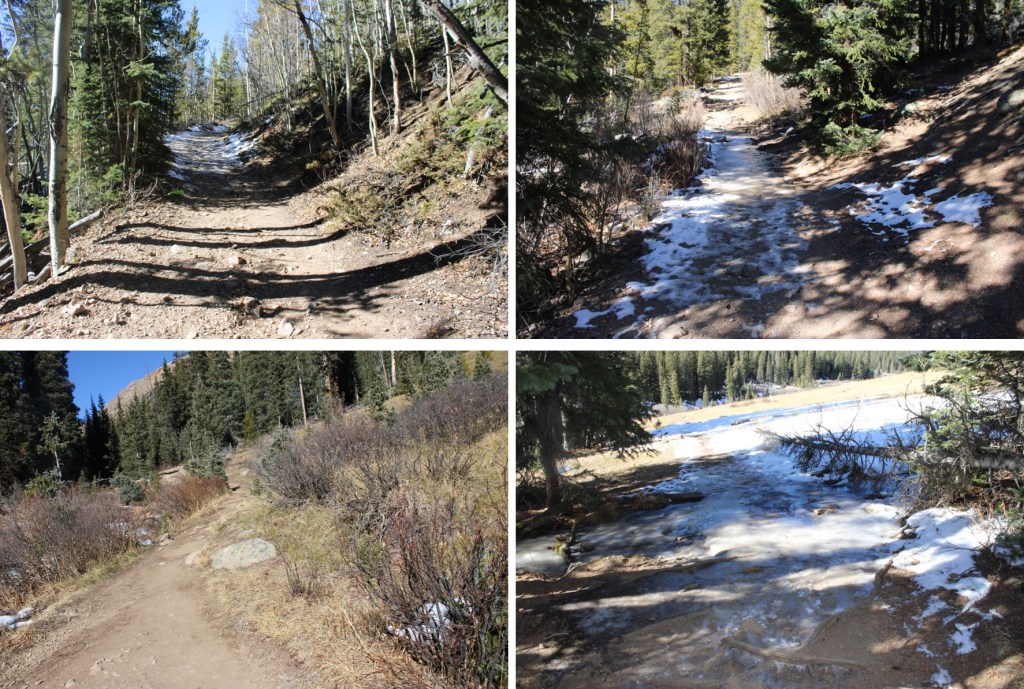
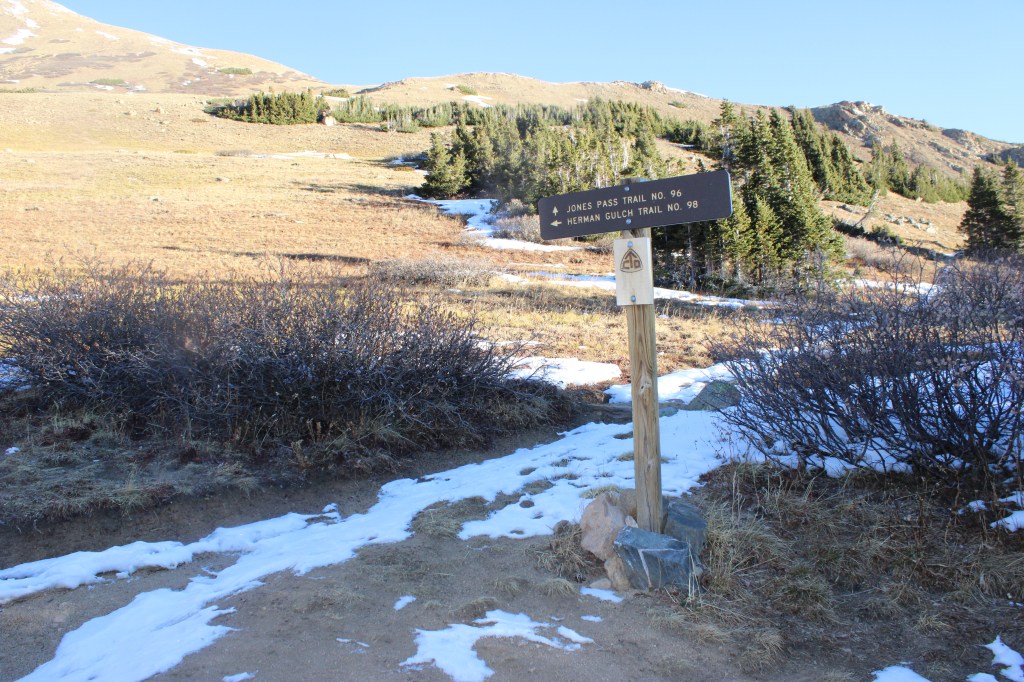
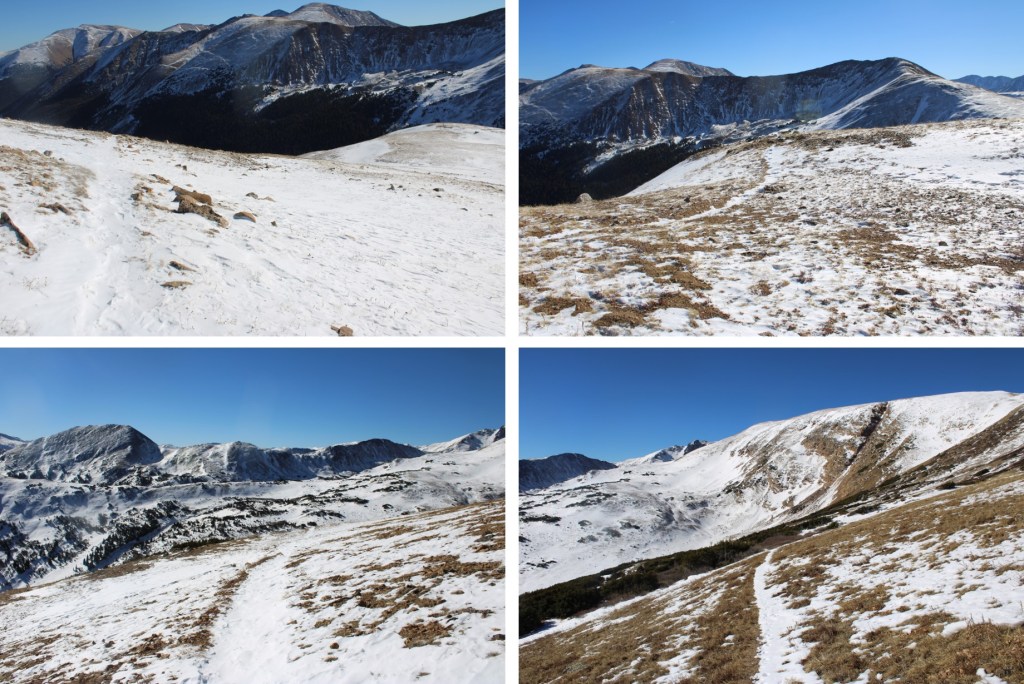
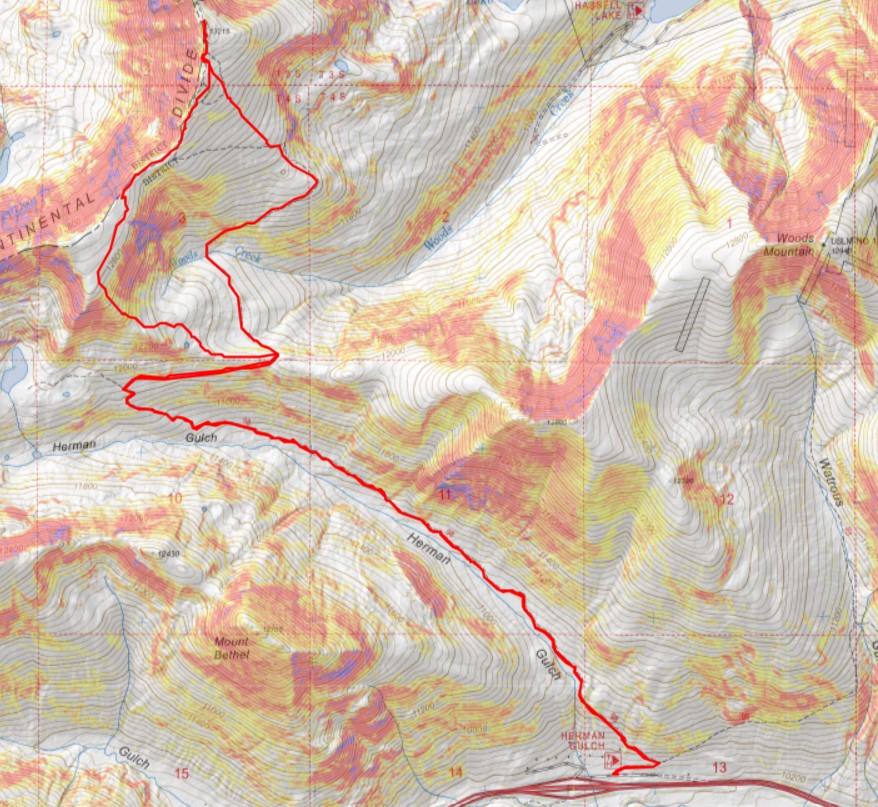
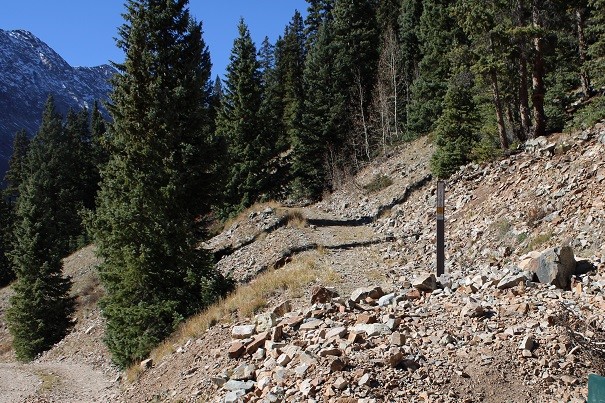
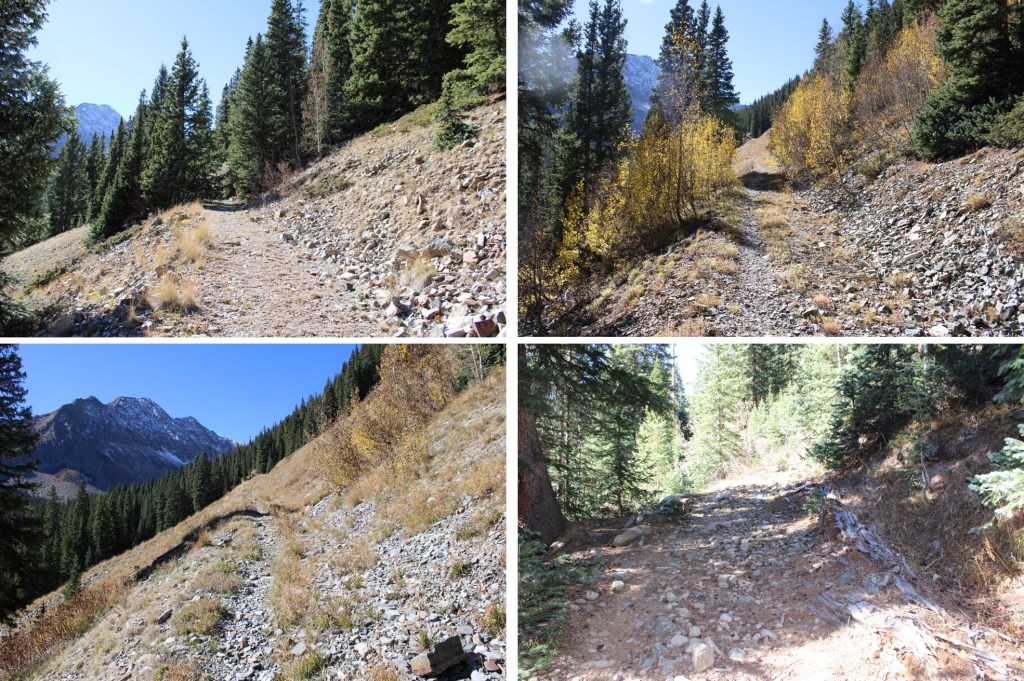
There are a lot of ways to climb this peak. In summer conditions there’s a trail that will take you to the ridge, but today that trail was under snow in many areas, so I decided to start from the Herman Gulch trailhead to Jones Pass, take the ridge to the summit and make this hike a loop. I was on the trail at 6am. Herman Gulch trailhead has room for plenty of vehicles, but it fills up fast all year long.
I followed the trail for less than a quarter of a mile before coming to a junction.
At the junction I turned left, and followed Herman Gulch Trail 98 northwest.
This is a class 1 trail, and easy to follow, but this morning the trail was covered in a thin layer of ice. Microspikes were helpful, especially at the creek crossings.
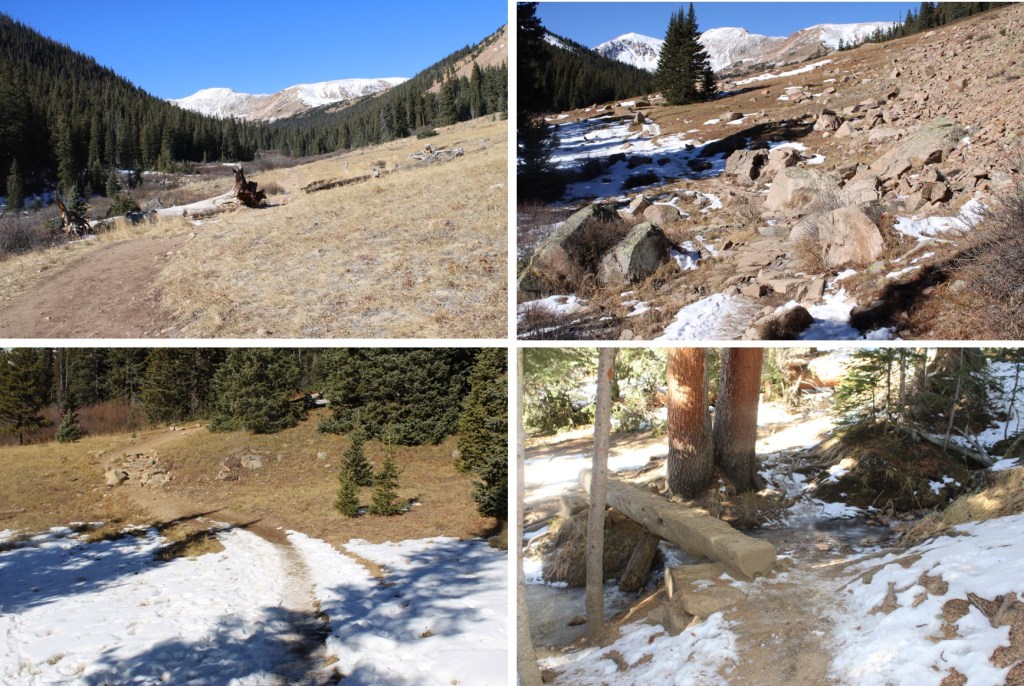
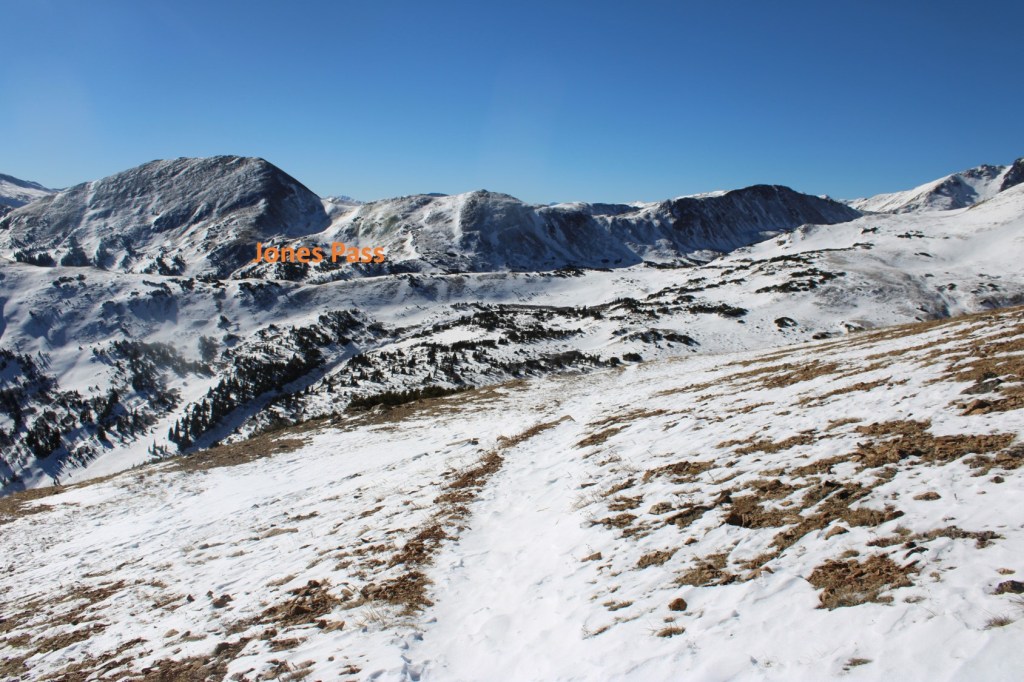
After hiking for a total of 3 miles I came to another junction. I turned right, and followed Jones Passs Trail 96 east towards Jones Pass.
This was still a class 1 trail all the way to the pass
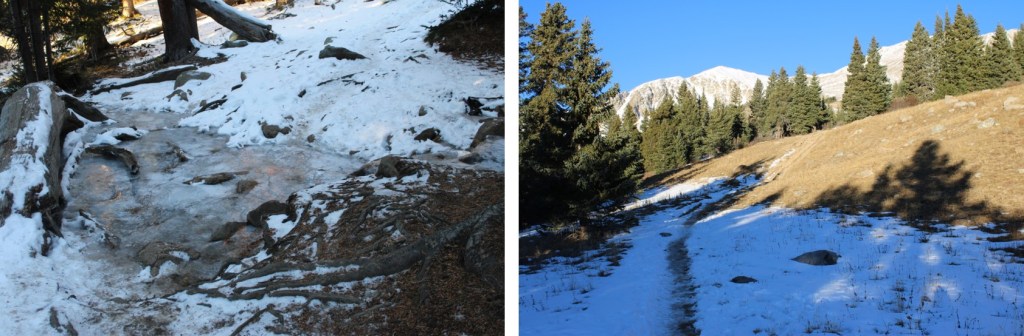
There was a cornice forming at the pass
I climbed up the cornice, and turned left, leaving the trail.
My goal was to make it to the ridge
There was snow on the route, so I took the path of least resistance. This is the route I took.
And some pictures of the route to the ridge.
Knowing there were cornices on the ridge proper, when I got to about 12850’ I started heading northeast towards the saddle to avoid the cornices.
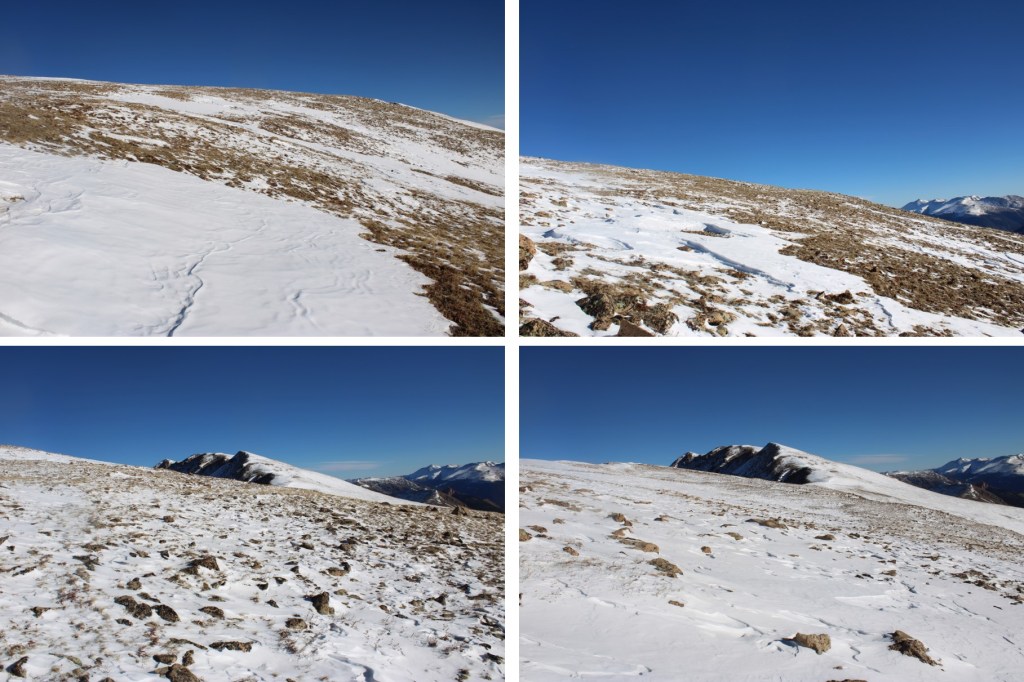
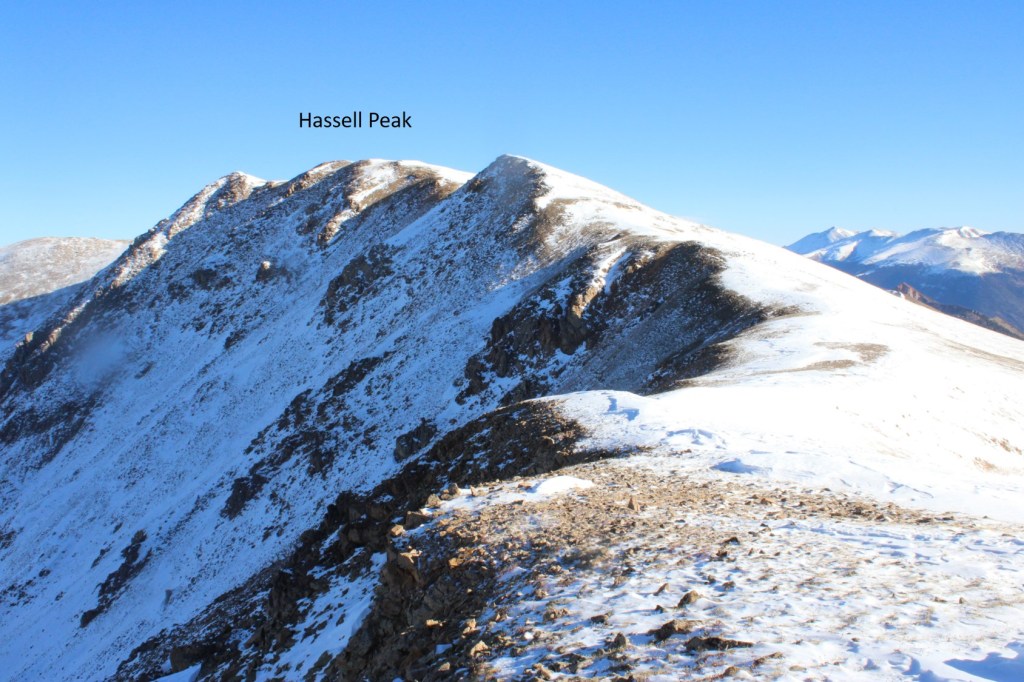
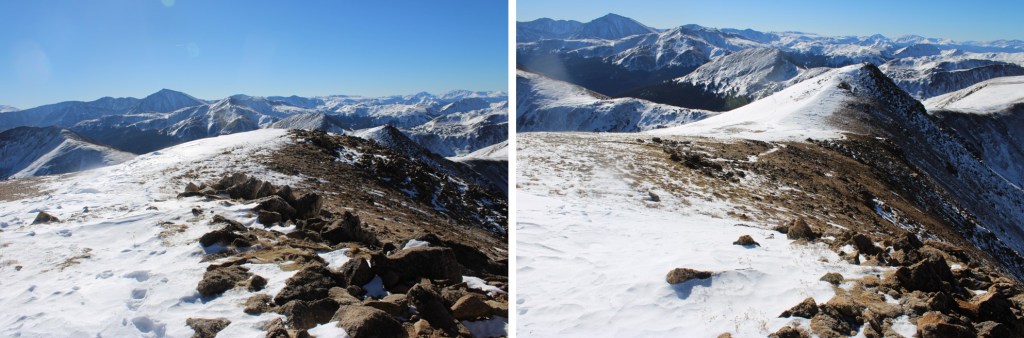
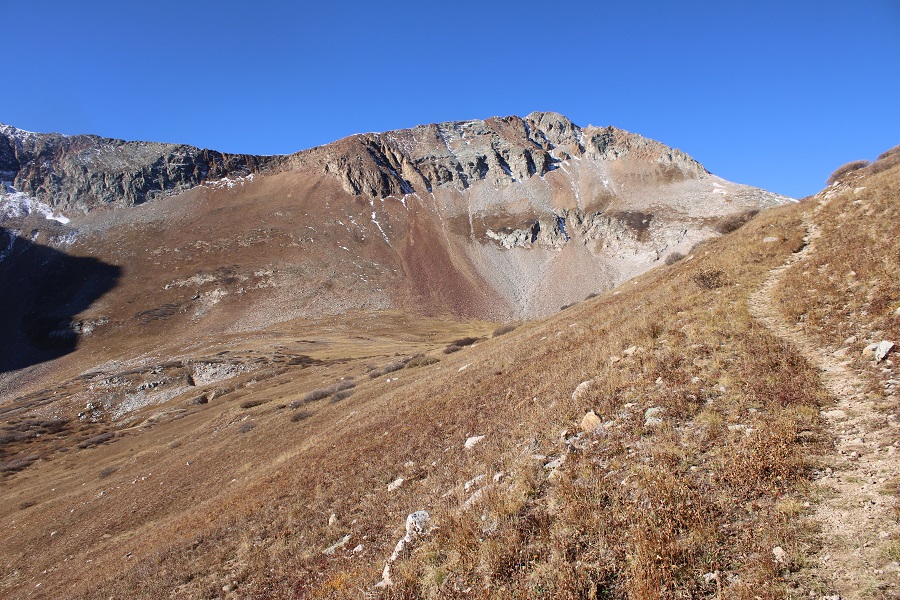
I now had a clear view of Hassell Peak.
And here’s looking back at the snow and cornices I was trying to avoid. They were full of trap-door snow
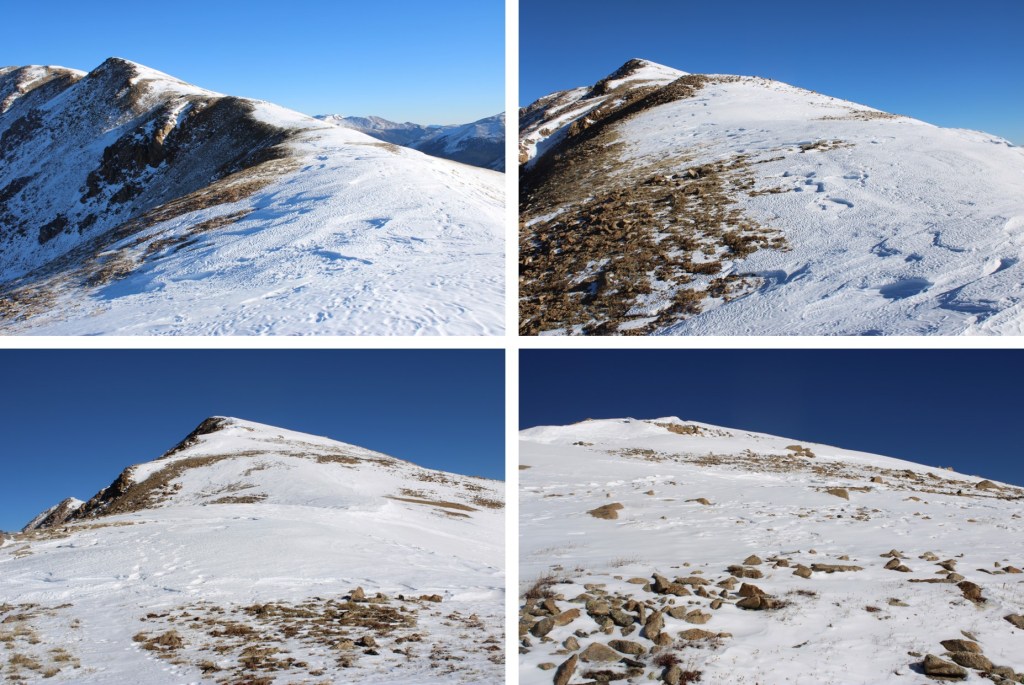
I started following the ridge north
There was more snow on the route than I’d anticipated. I’d originally wanted to go straight up and over the ridge, but when I got there I didn’t trust the snow. There was about 4 inches of unconsolidated snow covering a layer of ice that sounded hollow. Instead, I traversed the ridge to the right, staying on more stable ground.
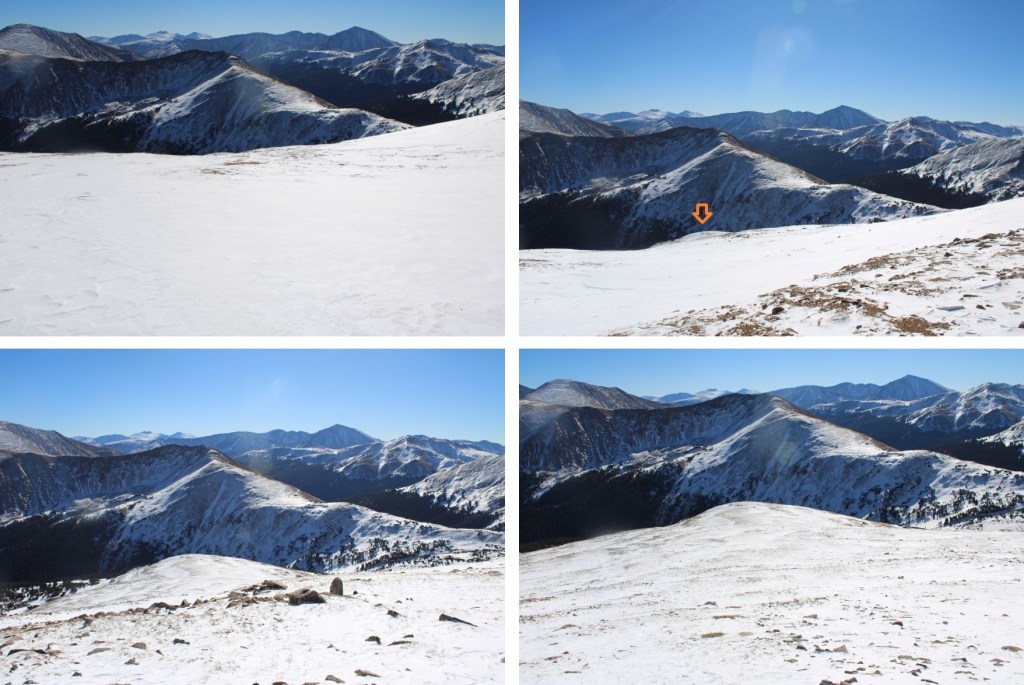
After rounding the ridge I made my way to a small saddle.
Here’s a look back at the route I’d taken around the ridge
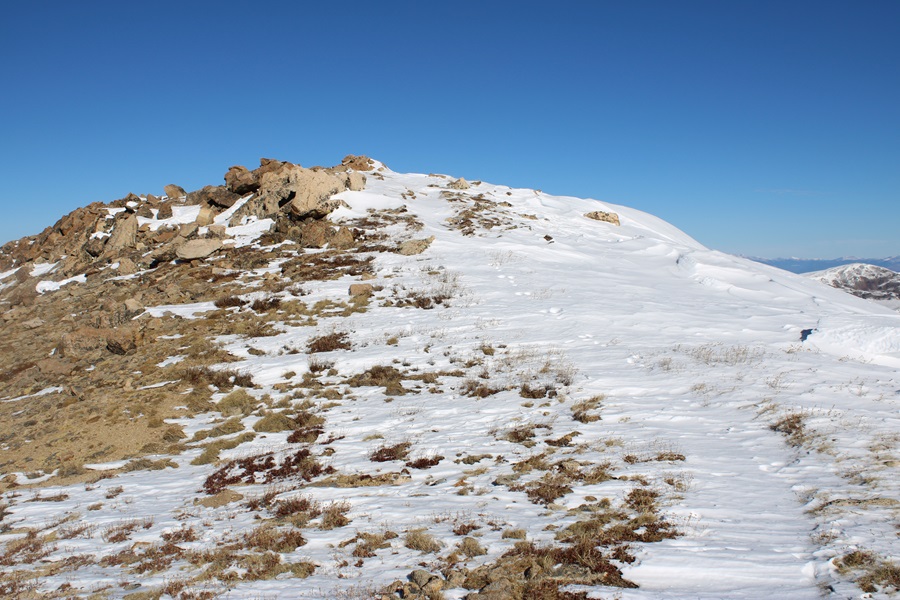
Once at the saddle, the trail picked up, and I followed it a short distance to the summit.
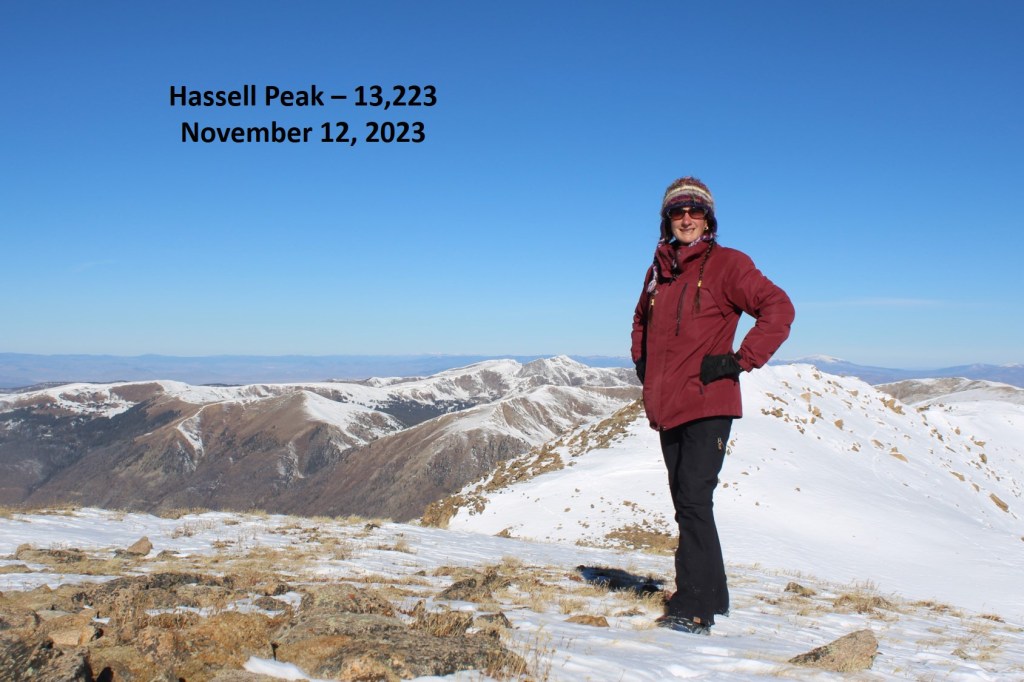
I summited Hassell Peak at 9:40am
Hassell Peak:
I was making this hike a loop, so I headed south back to the small saddle
From here I knew there was a trail in the area, but it was all covered in snow, so I aimed southeast until I could see the trail below me
Back on the trail, I followed it back towards Jones Pass
This was easier said than done however, because some of the trail was covered in snow. Here’s where I was headed first
And then back to the pass
Once at the pass I climbed up the small cornice, and took the trail back to the junction with Herman Gulch.
I turned left at the junction, and followed the Herman Gulch Trail east
The trail was still icy in the afternoon. Microspikes were helpful.
At the Watrous/Herman Gulch junction I turned right and followed the trail a short distance west back to the trailhead.
I made it back to the trailhead at noon, making this an 11.65 mile hike with 3282’ of elevation gain in 6 hours.
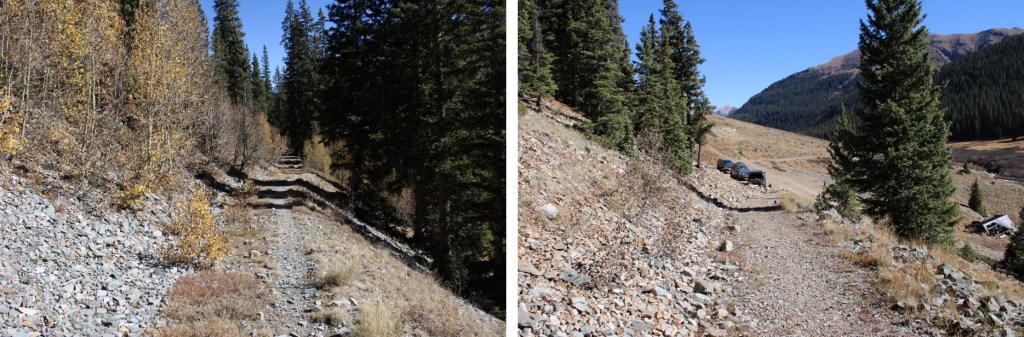
I started this hike from the Bandora Mine site. There’s room for about 3 or 4 vehicles to park at this trailhead.
The day before I saw a beaver tail-splash a coyote. Last night I saw that same beaver tail-splash a moose. This guy means business!
I was on the trail at 6:15am the next morning. I took the trail to Lake Hope, which started just to the south of the parking area.
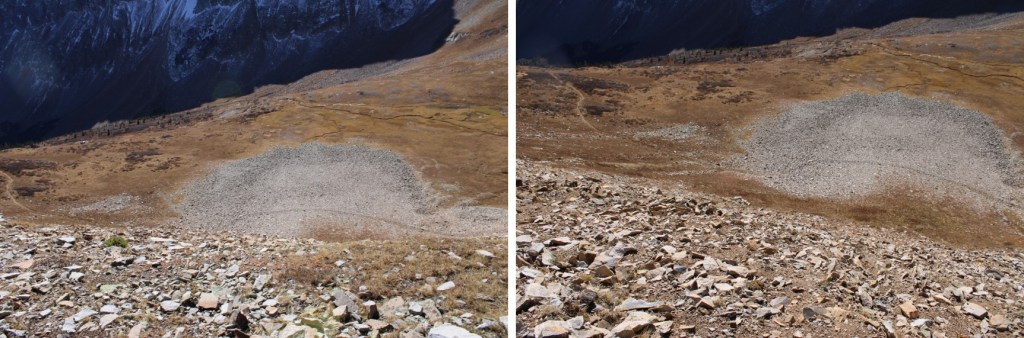
I took this class 1 trail southwest to treeline, which was about 1.75 miles.
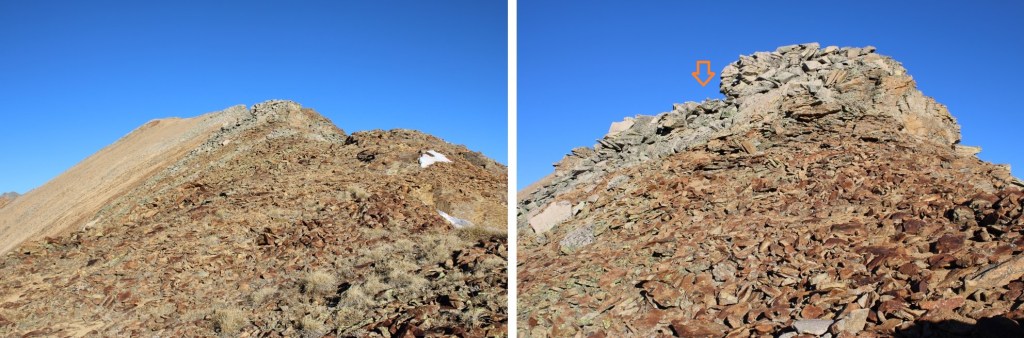
At treeline, I could clearly see V9
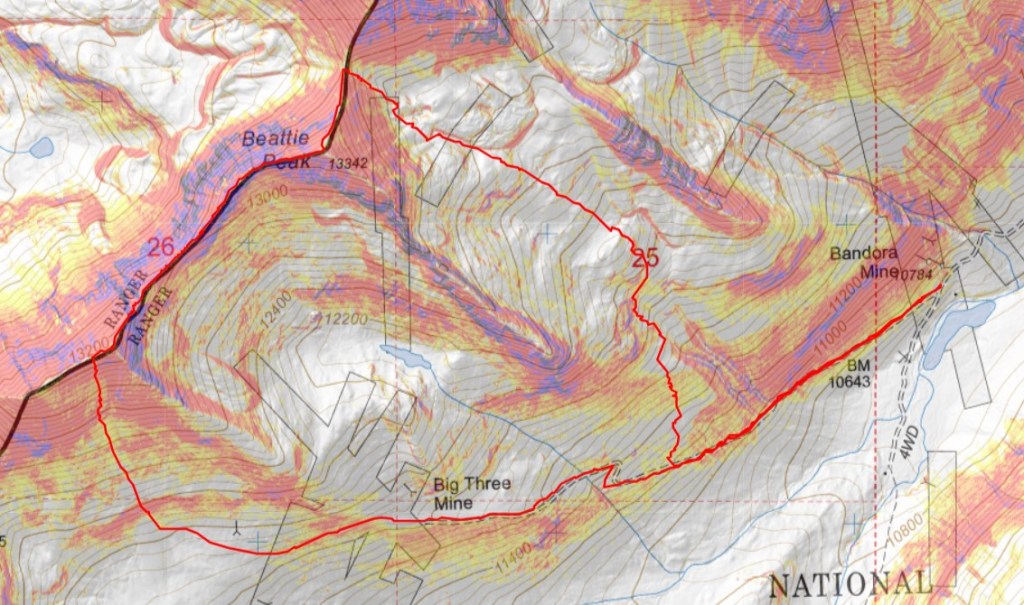
This is the overall route I took to the ridge
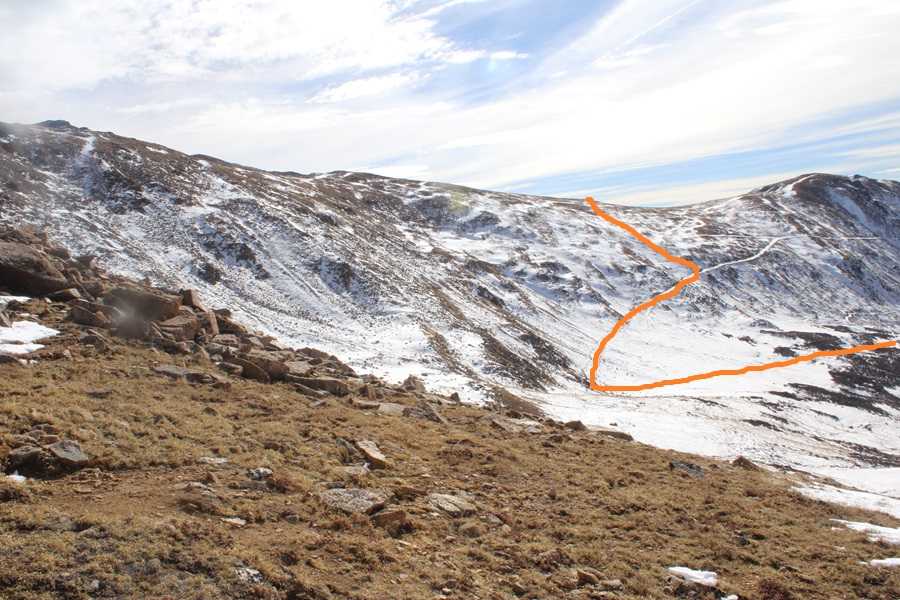
With careful route finding, this can all be kept at class 2+. First, I headed down the basin to the base of the slope.
From there it was 730’ of elevation gain up rocky talus to the rocky area just below the ridge. Microspikes helped for traction.
This is where it becomes choose your own adventure. The goal is to gain the ridge. There’s a lot of class 3 scrambling options to gain the ridge, but I was able to keep it class 2+ by finding lines of scree on the rocks to use. The scree was mostly sand on top of rocks, but it gave me traction to use and a path to follow. Initially I started going straight up, following the scree
I noticed a scree ramp to my right, and took that until it ended.
Once it ended, I turned left and followed scree paths to the ridge
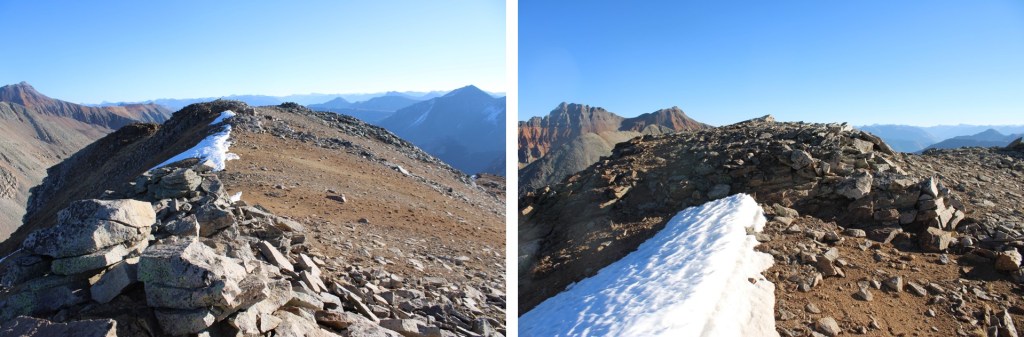
Once on the ridge, I put a small cairn to indicate where I should descend on my way back. I turned right and saw the summit of V9 to the northwest
It was an easy class 2 ridge hike on talus to get there.
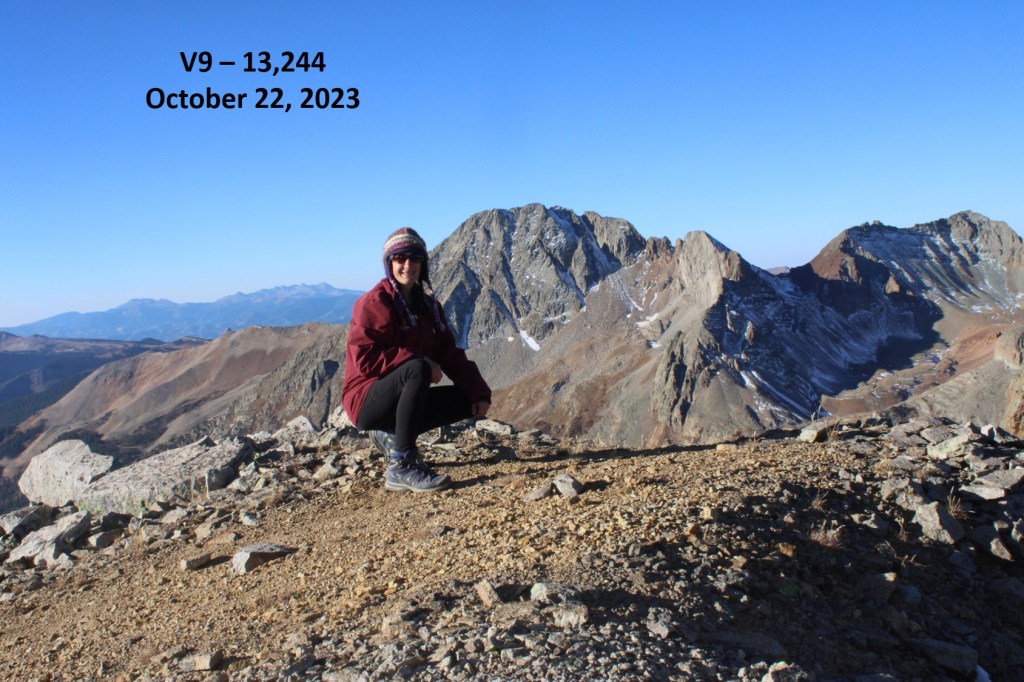
I wasn’t sure where the actual summit was, as it’s rather flat with several “bumps” that all look to be the same height. So I walked all around each of what looked like the highpoints and took a video from the middle. I summited V9 at 8:45am
V9:
This was an out and back hike for me, so I made my way back down the ridge to where I’d placed my cairn.
At the cairn I turned left, and headed back towards the scree ramp
I followed the ramp until it ended
And then followed scree trails to the base of the rocks
Next I made my way down the slope and back to the Lake Hope Trail
Back on the trail, I followed it northeast back to the Bandora Mine
I made it back to the Bandora Mine at 10:45am, making this a 6.96 mile hike with 2657’ of elevation gain.
I made it to the Bandora Mine the day before, and spent the day scouting potential routes.
In the evening I did a little catch and release fishing, the beavers came out of their lodges, and I saw one tail flip a coyote who got too close.
Beaver and Coyote:
Then a bull moose came strolling around, and I went to bed. I was on the trail at 6:30am the next morning. I took the trail to Lake Hope, which started just to the south of the parking area.
I took this class 1 trail southwest for about .8 miles.
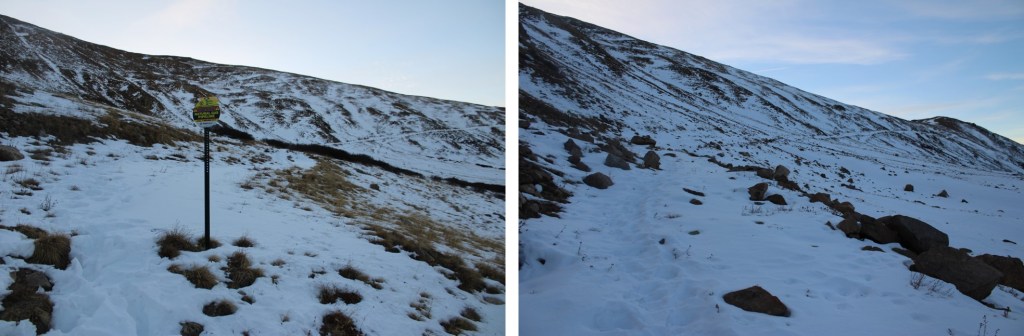
At around 11160’ of elevation I left the trail, and turned right. If you get to the Big Three Mine you’ve gone too far. I placed a cairn here, and headed north.
I bushwhacked north up the mountainside to treeline
I was headed here, which included some willow navigation. I found if I stayed high I could follow game trails.
Once I could see this ridge I turned left and headed northeast to a basin
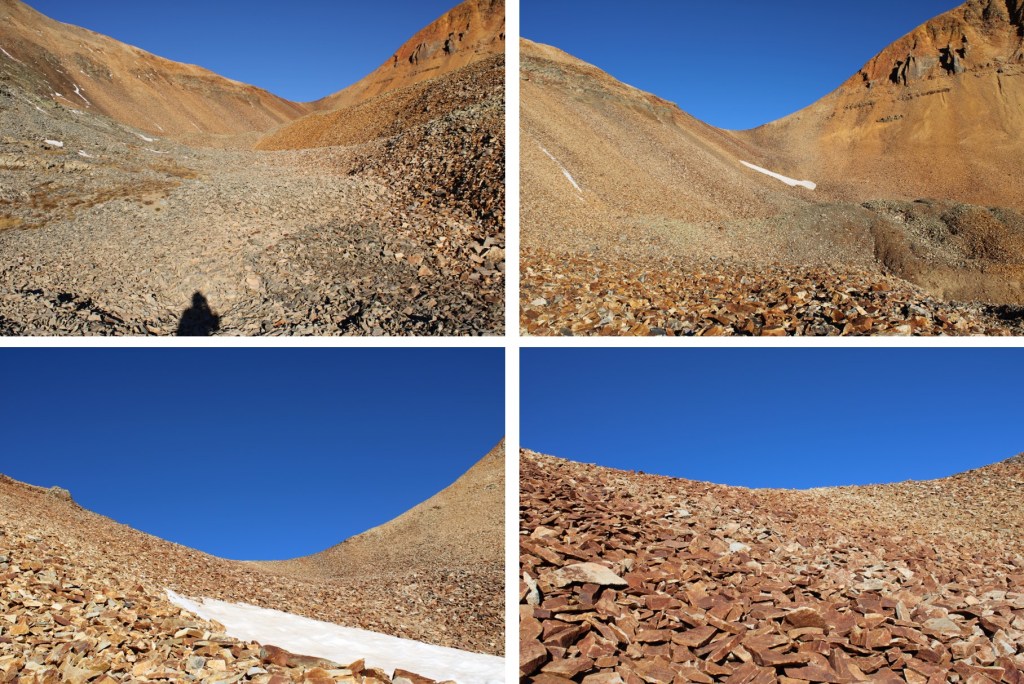
I kept heading northeast, as the tundra changed over to talus
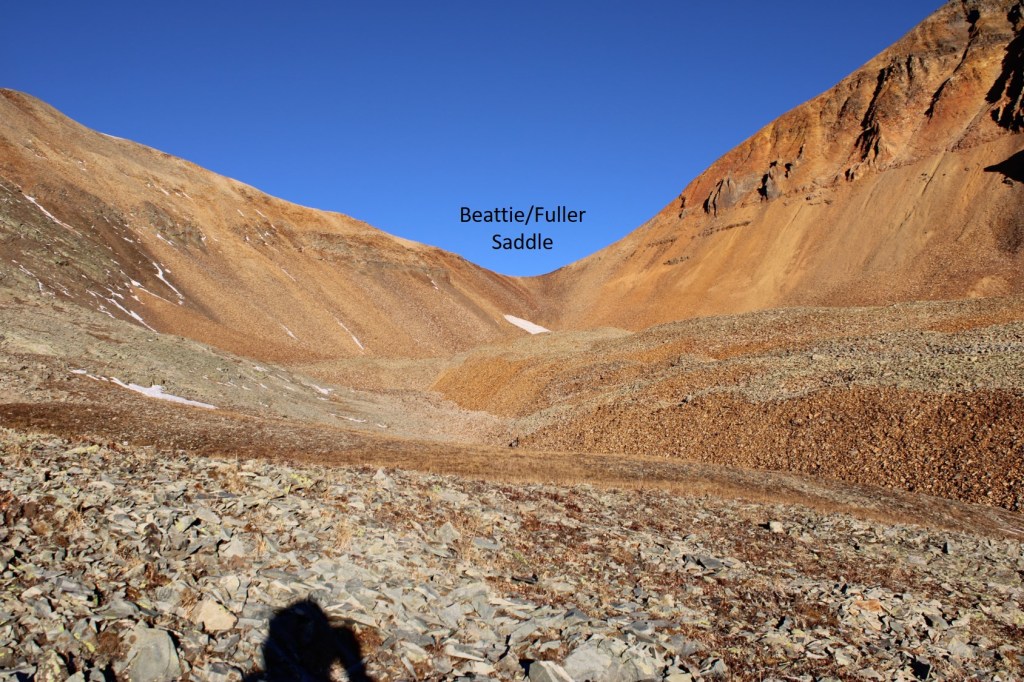
Now in the upper basin, I aimed for the Beattie/Fuller Saddle.
I stayed to the left of the snow, and found the talus was surprisingly stable.
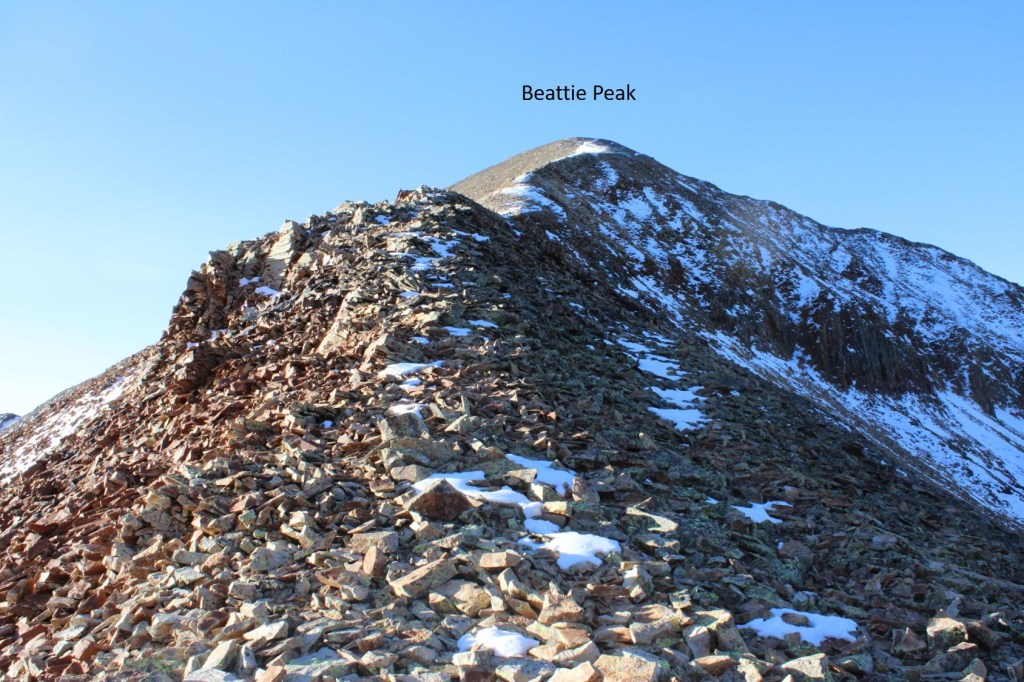
Once at the saddle, I turned left and followed the class 2 ridge to Beattie Peak
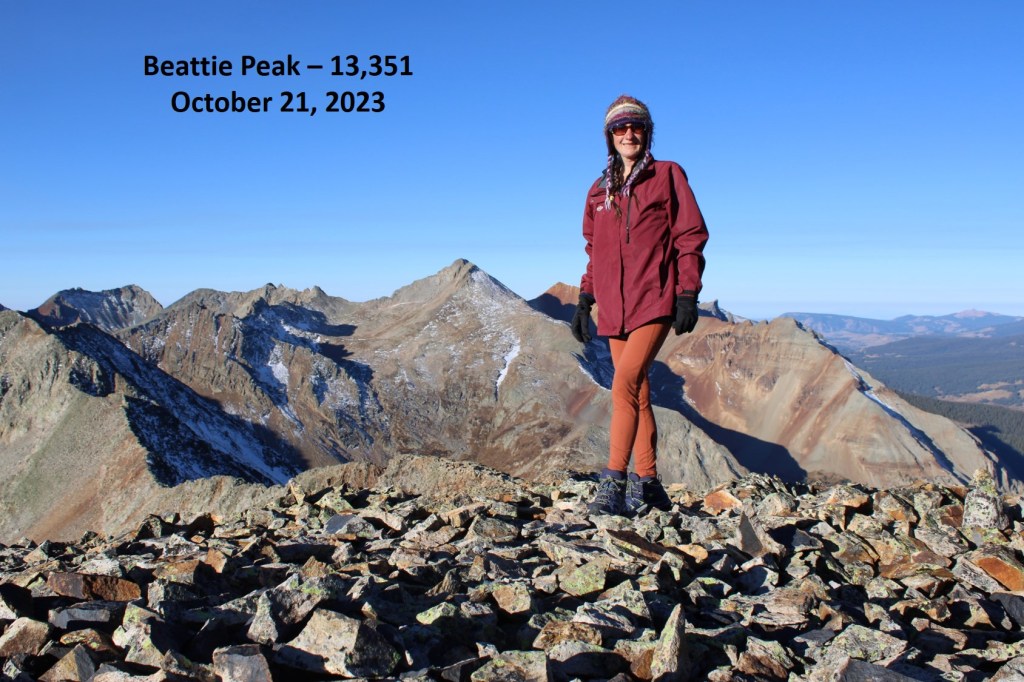
I summited Beattie Peak at 8:45am
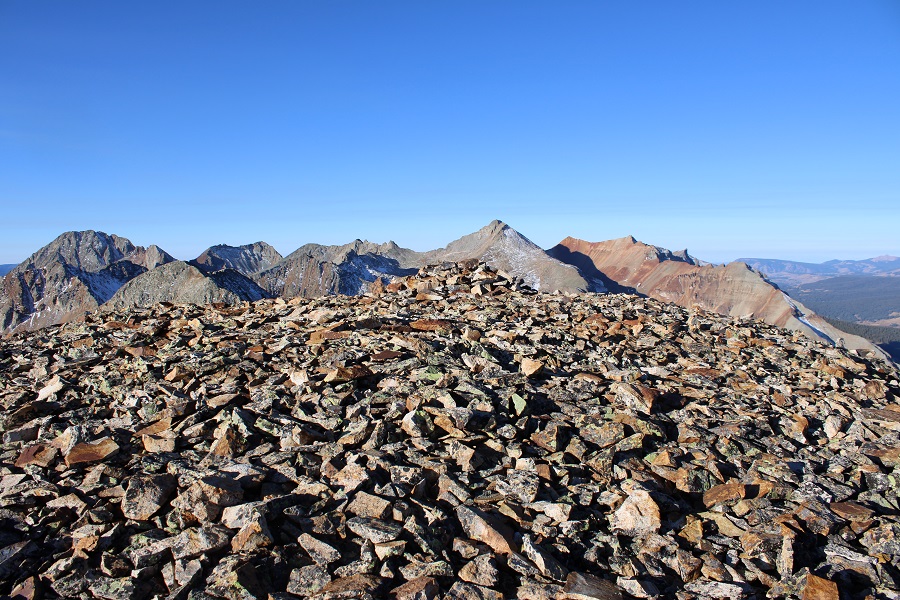
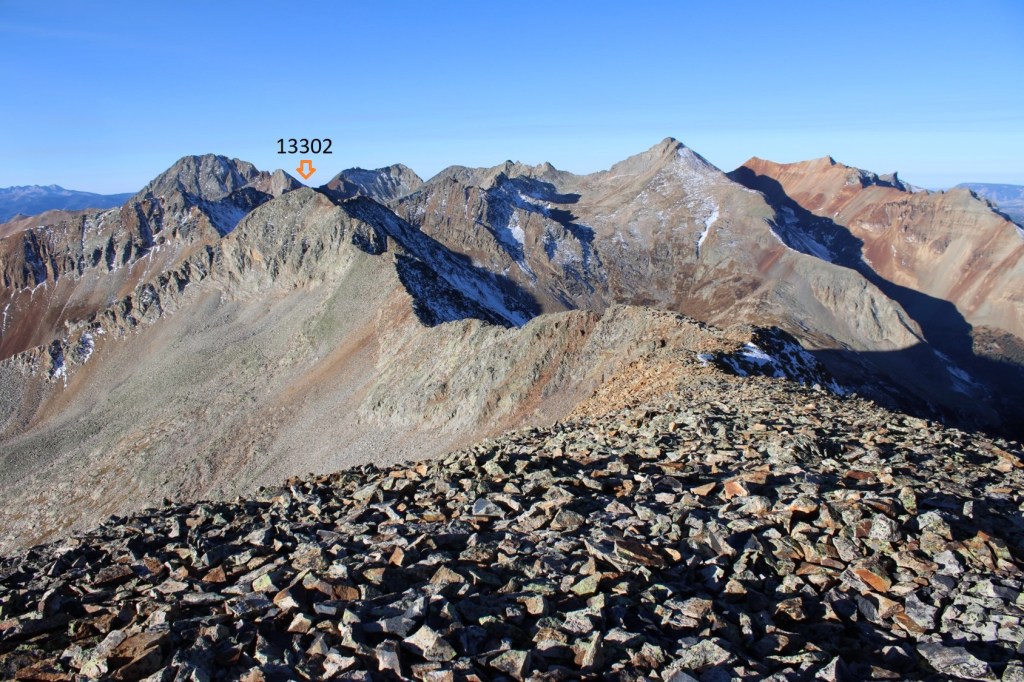
Beattie Peak:
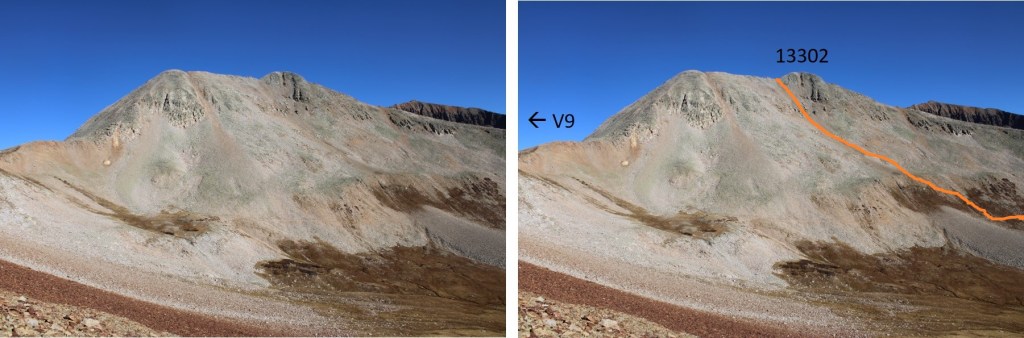
I could see PT 13302 to the southwest.
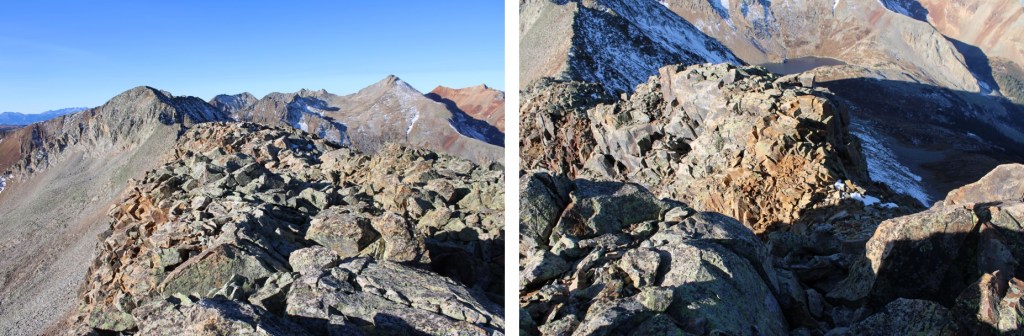
Now is a good time to put your helmet on. This is a class 3 ridge, but starts out as class 2. This is the overall route I took to get there, taking the ridge to a gully.
The initial descent of the ridge is class 2
But quickly becomes narrow, sustained class 3 with exposure. The ridge proper goes at class 3, but twice I dipped down to the left to avoid the exposure involved. Here are some pictures of the ridge
I was now at the base of the gully. Microspikes helped here.
This is the route I took
And some pictures of the gully
At the top of the gully I went right
And then I could see the final approach to the summit
This is the overall route I took to the summit
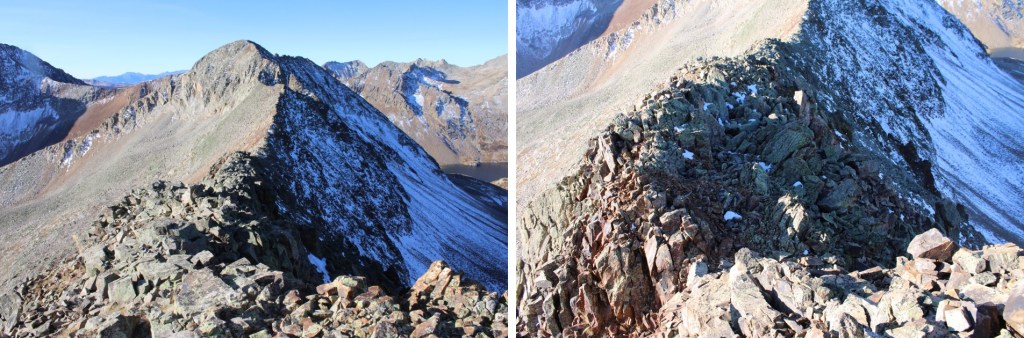
There were two summit cairns, each about 15 feet apart. They looked to be of equal height.
I summited PT 13302 at 10am
PT 13302:
I know the traditional way to descend from PT 13302 is to head southwest and down to the V9/PT 13302 saddle, but I’d been there the day before, and did not want to descend that way. Instead, I headed southwest towards a small saddle, then turned left and scree-surfed south.
This route brought me back to the Lake Hope Trail.
Here’s looking up at the route I scree-surfed down
And here’s an overall view of the route I took
Back on the Lake Hope trail, I followed it east back to Bandora Mine
I made it back to Bandora Mine at 11:45am, making this a 6.87 mile hike with 2945’ of elevation gain in 5 hours, 15 minutes.