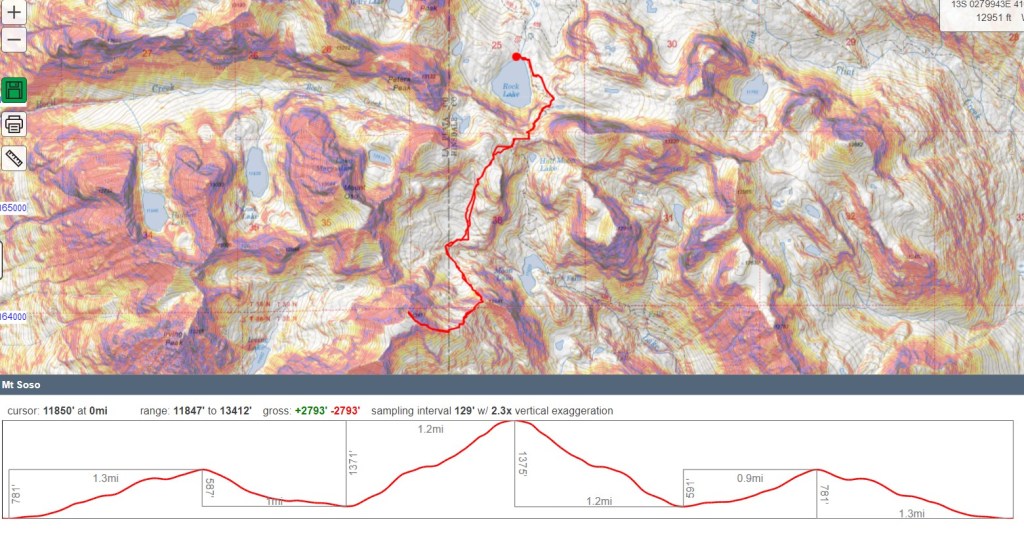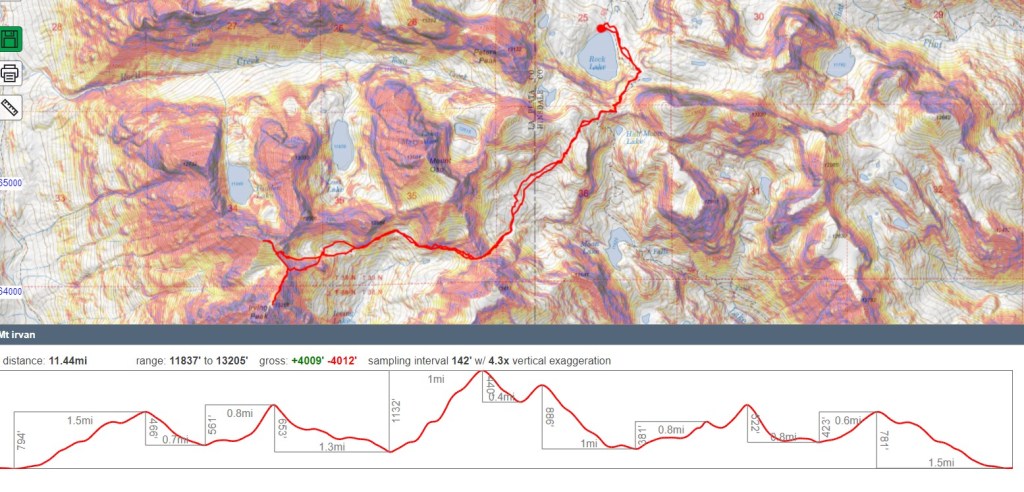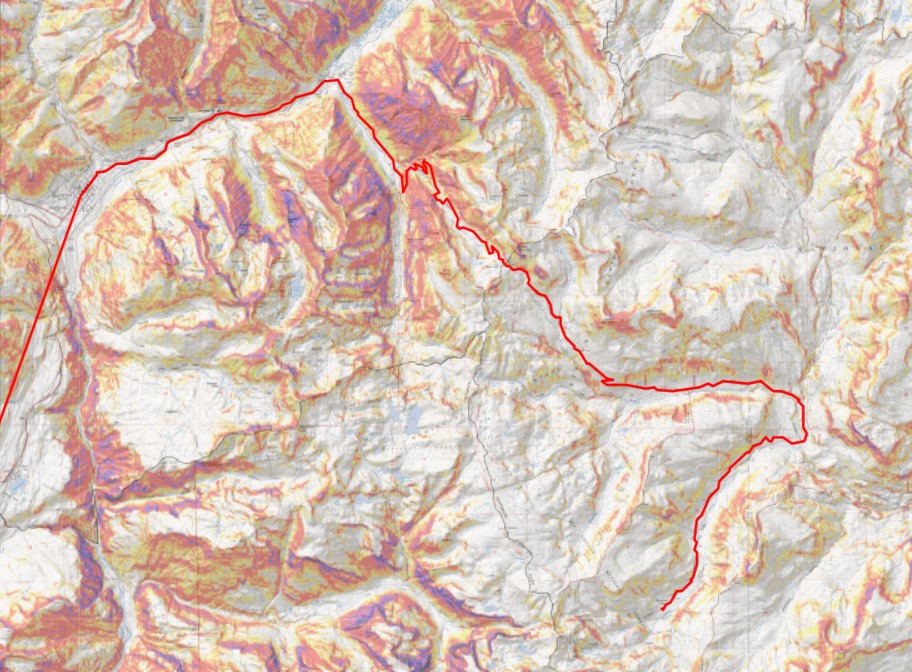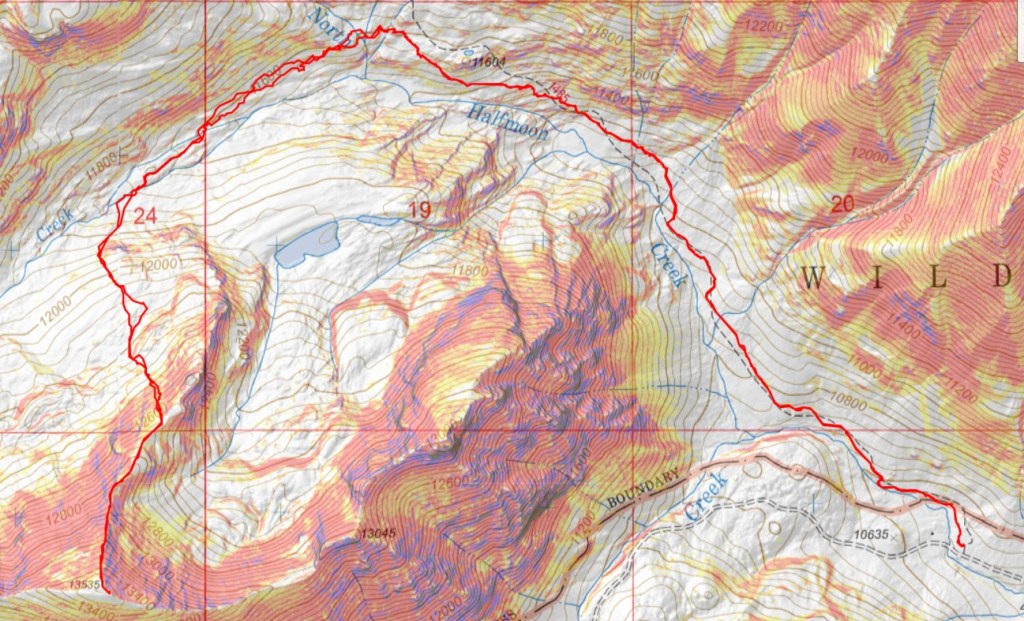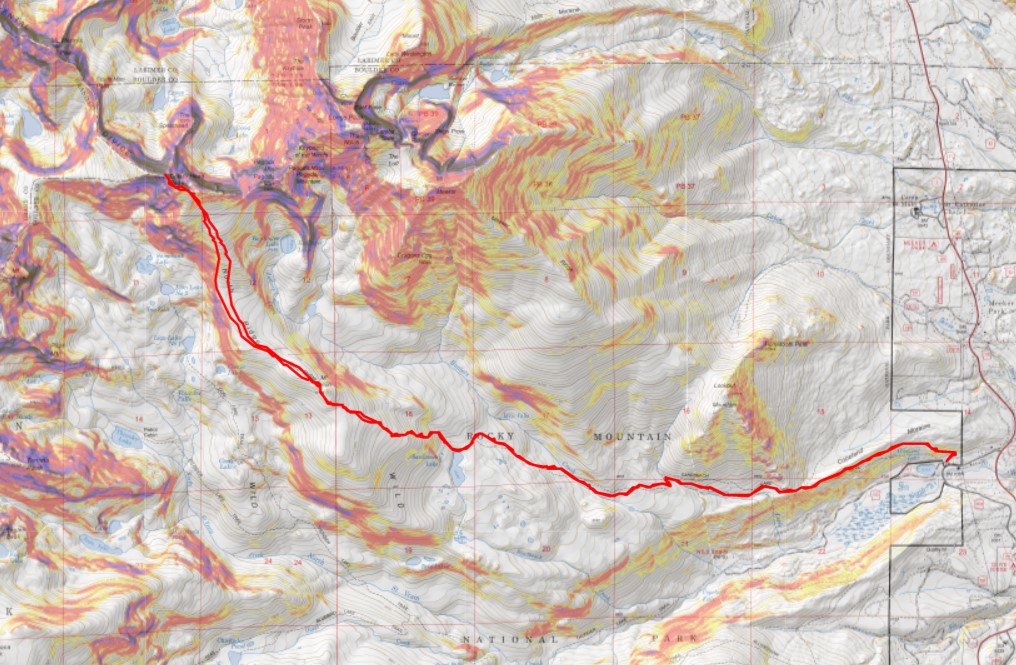
RT Length: 7.04 miles (From Rock Lake)
Elevation Gain: 2793’ (From Rock Lake)
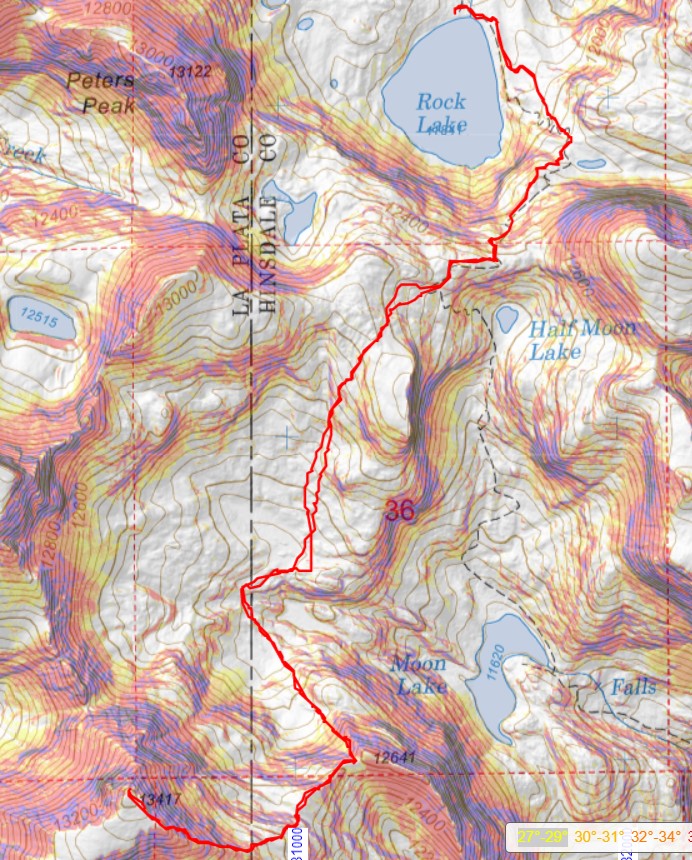
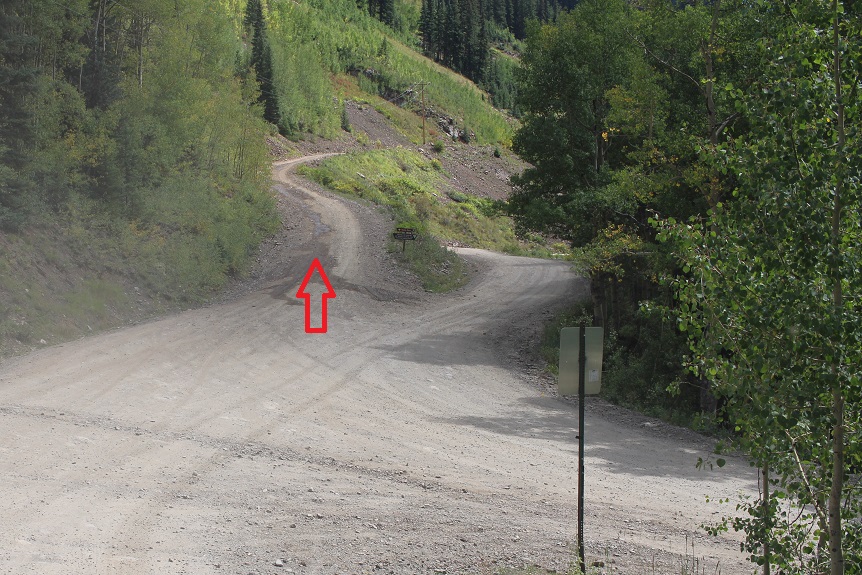
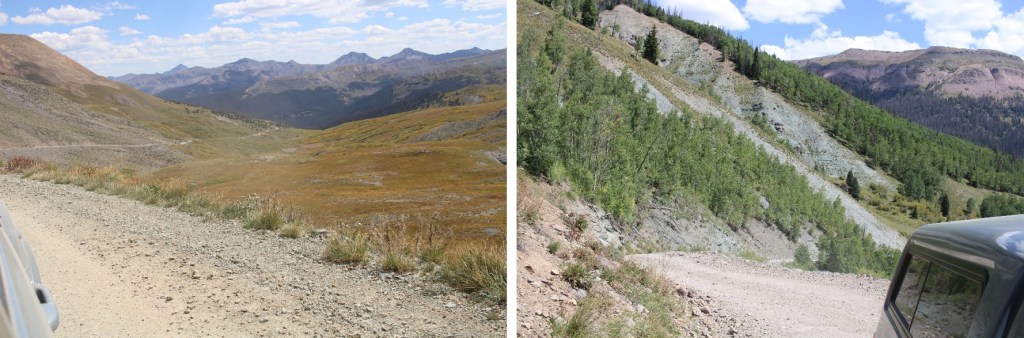
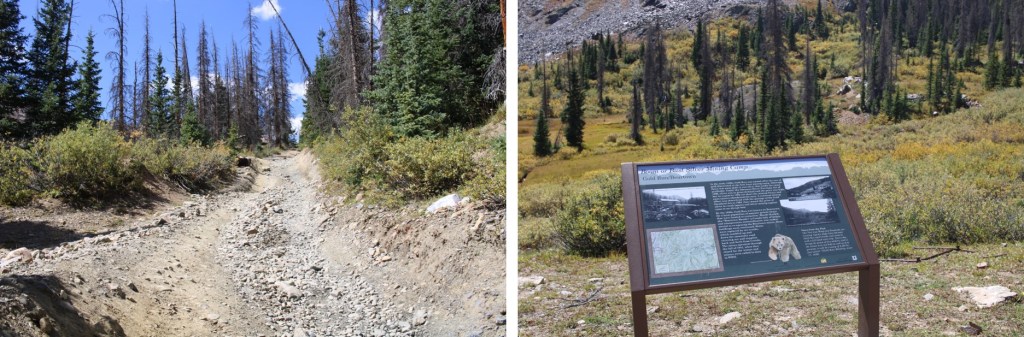
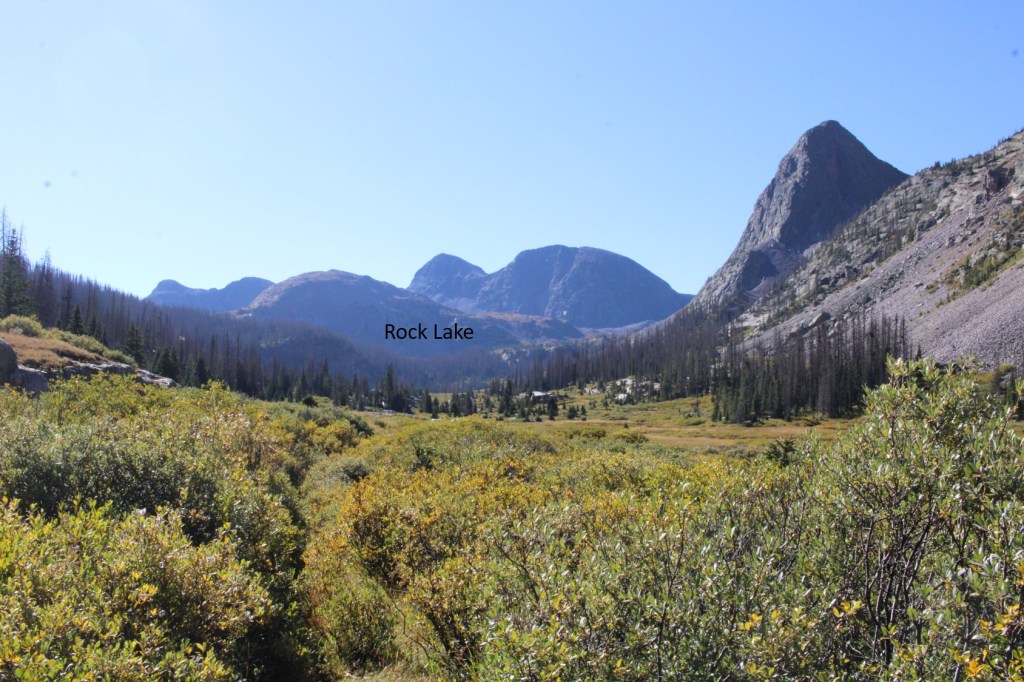
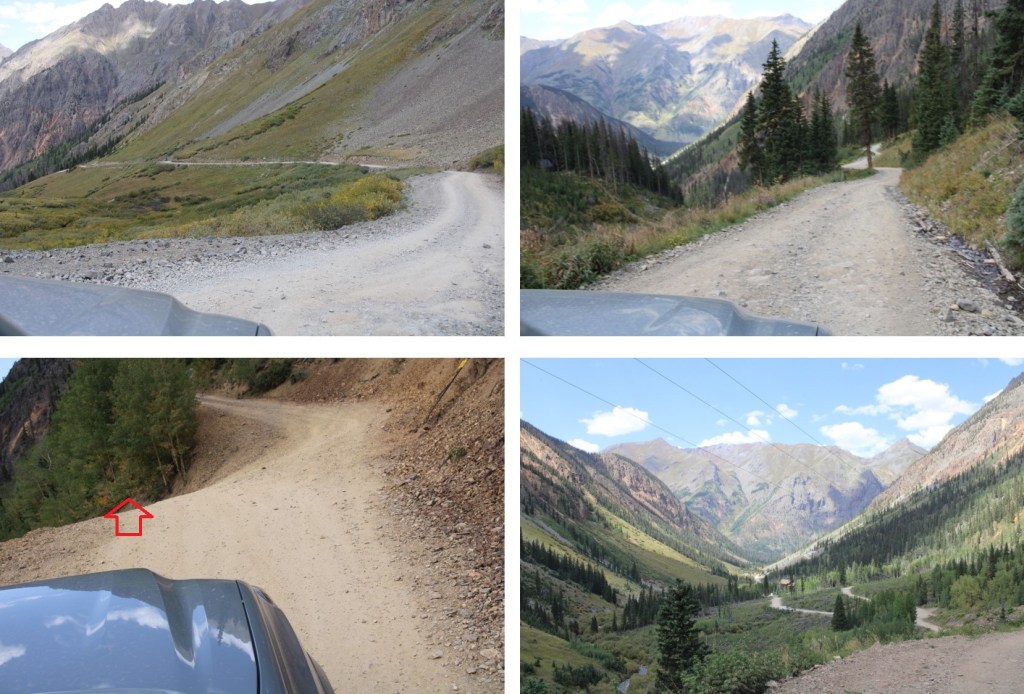
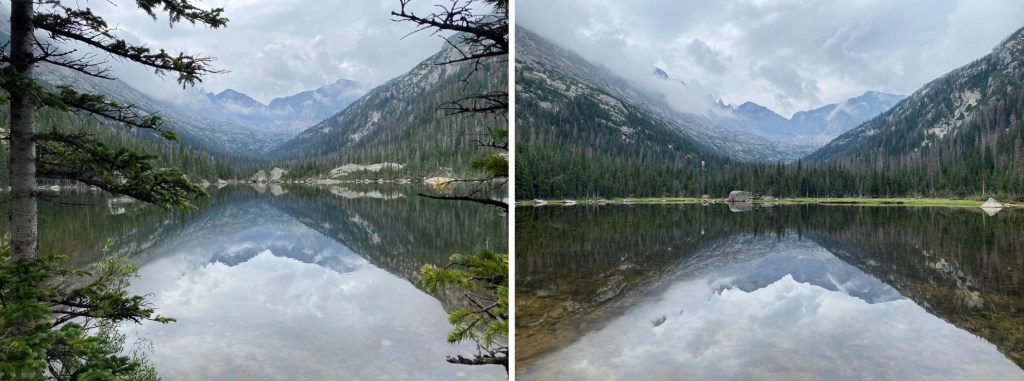
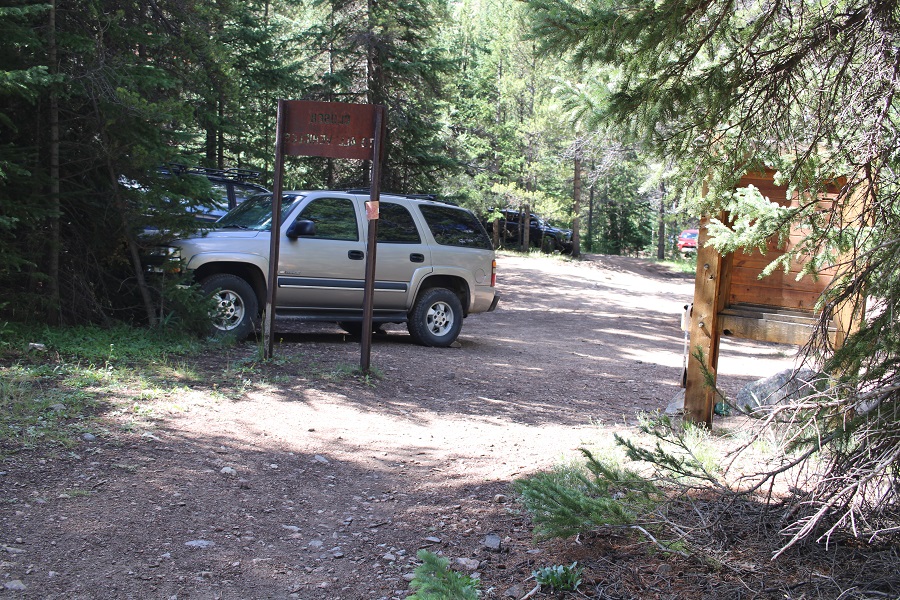
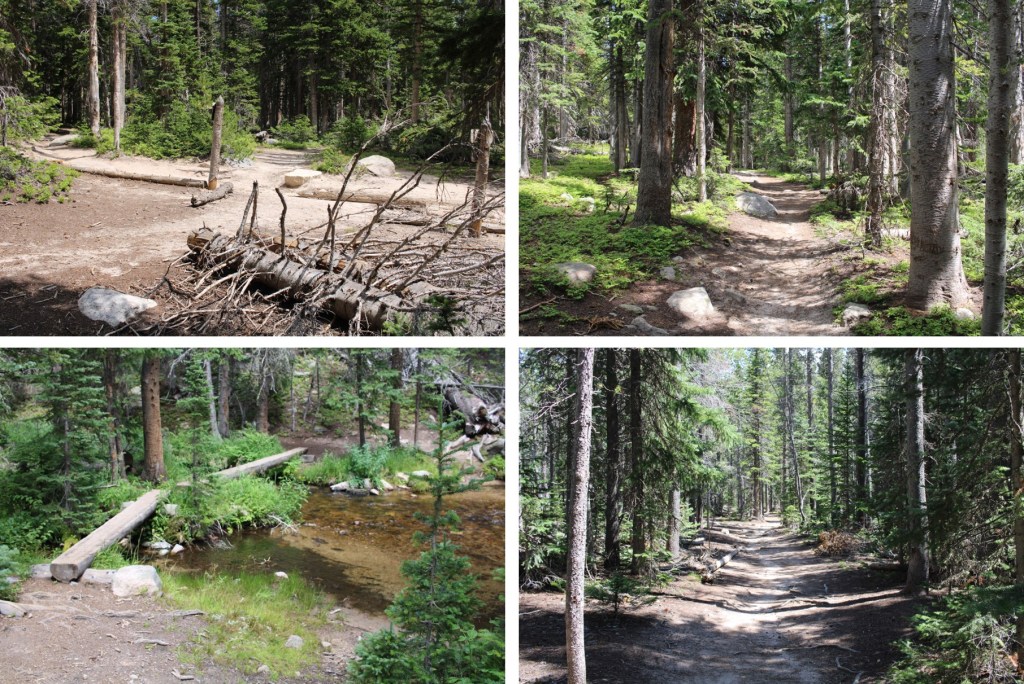
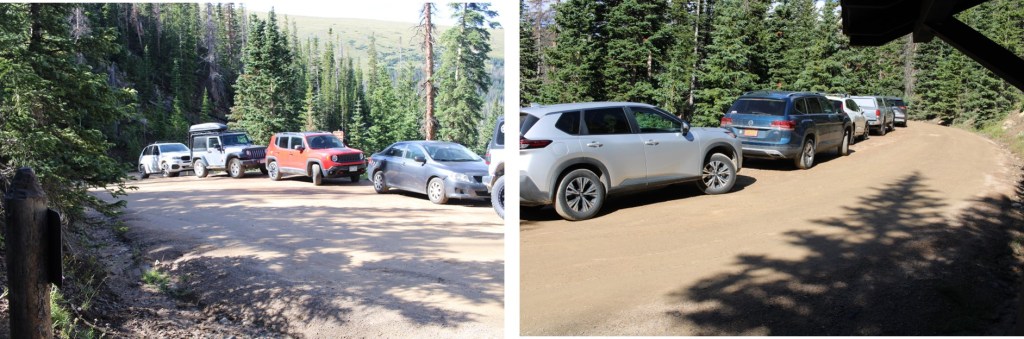
This trip report starts at Rock Lake. For instructions on the approach to Rock Lake, as well as the drive to Beartown from Silverton, click here.
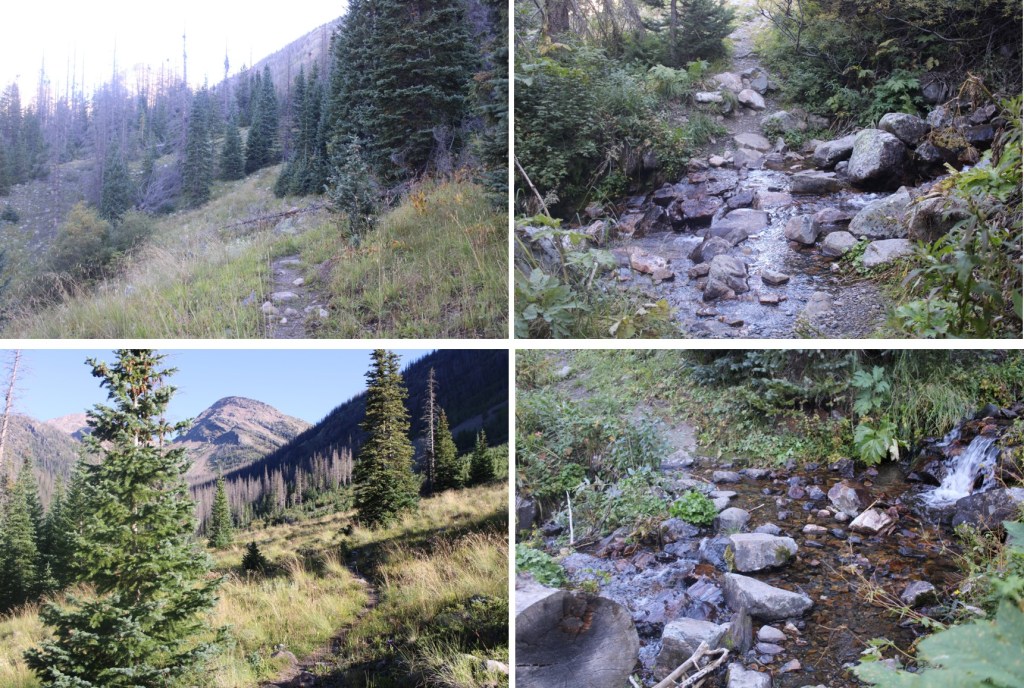
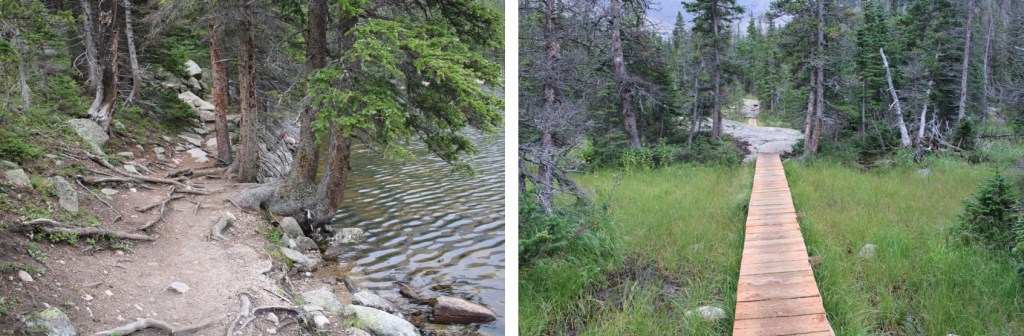
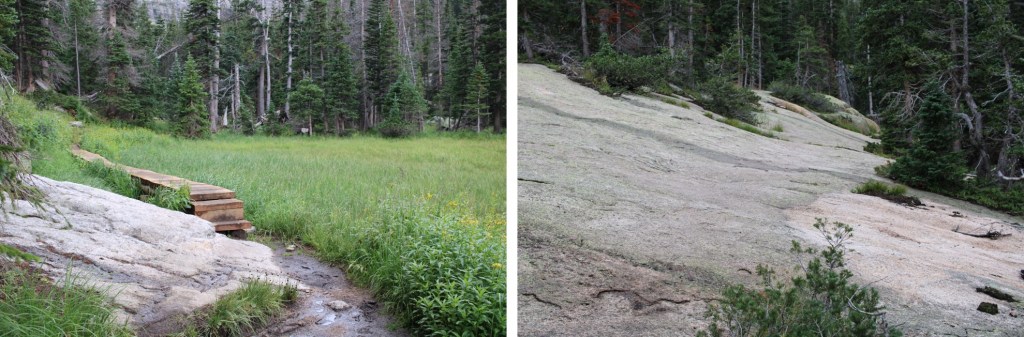
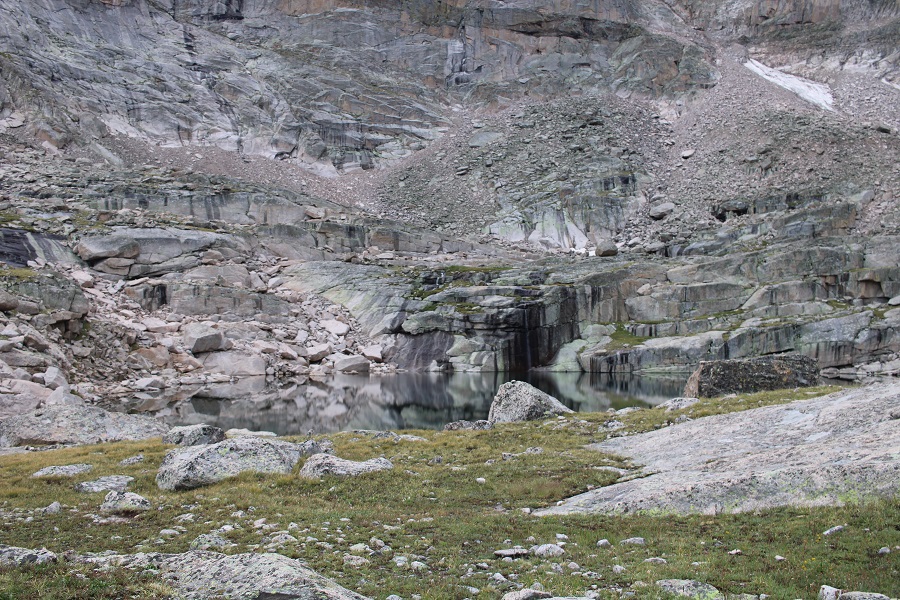
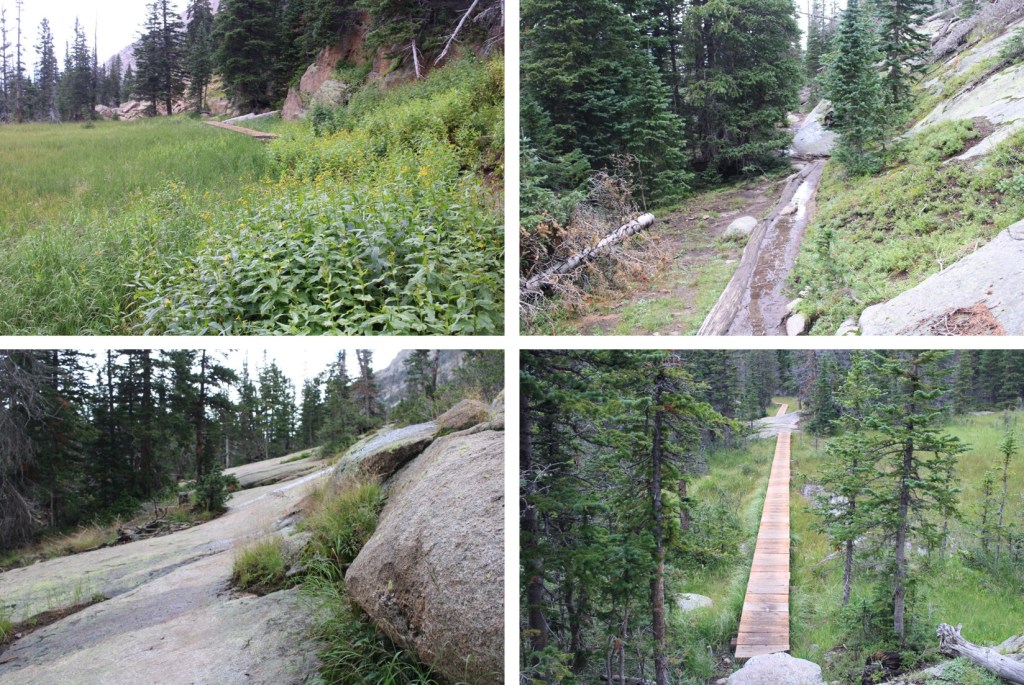
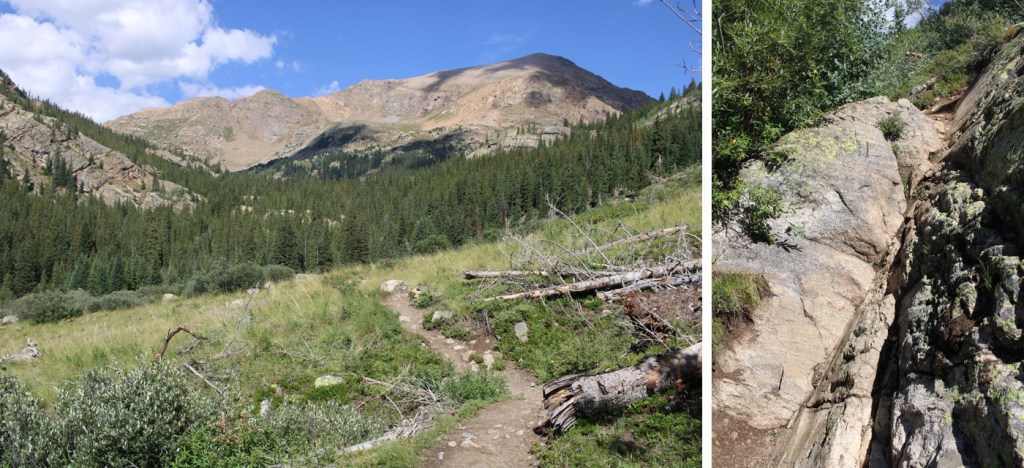
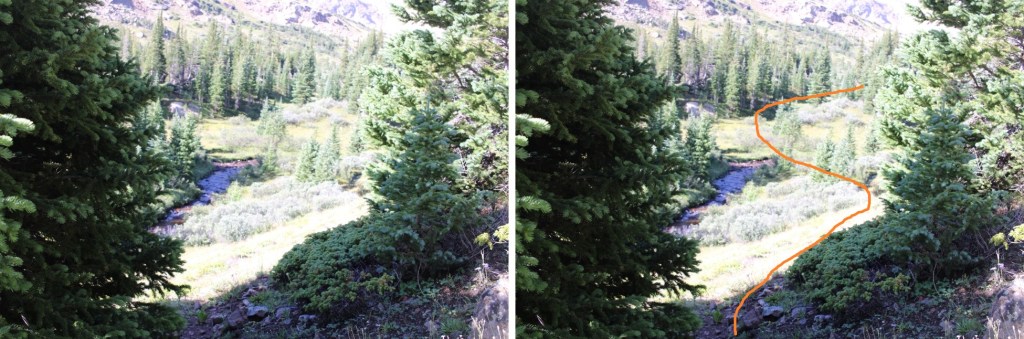
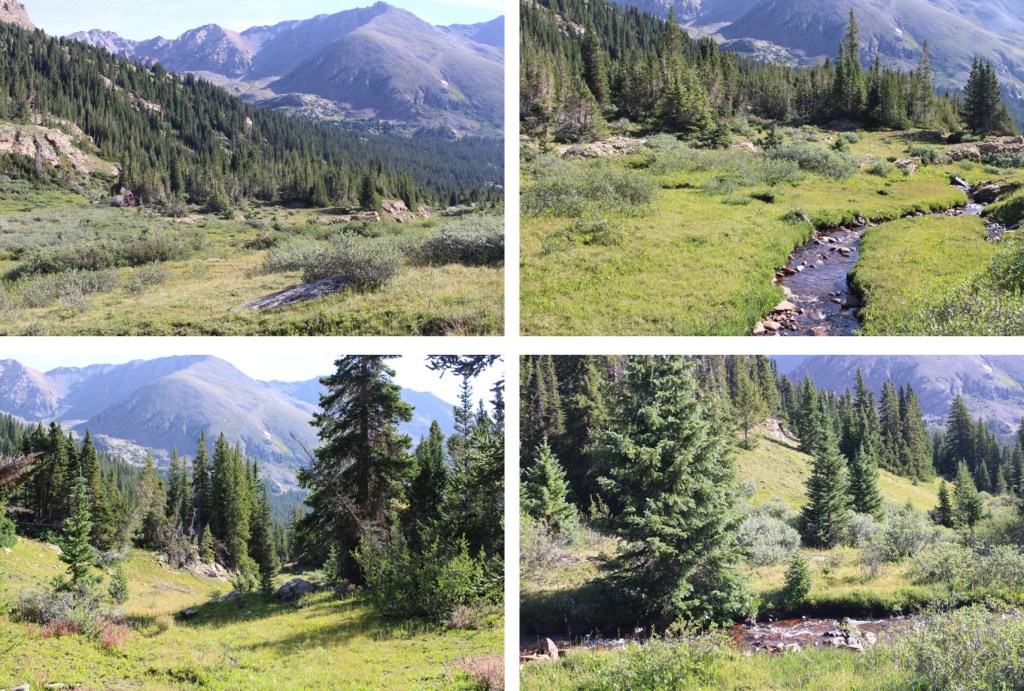
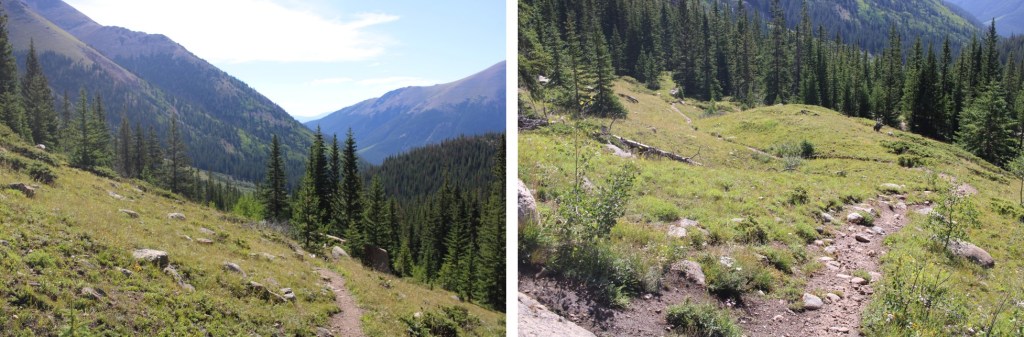
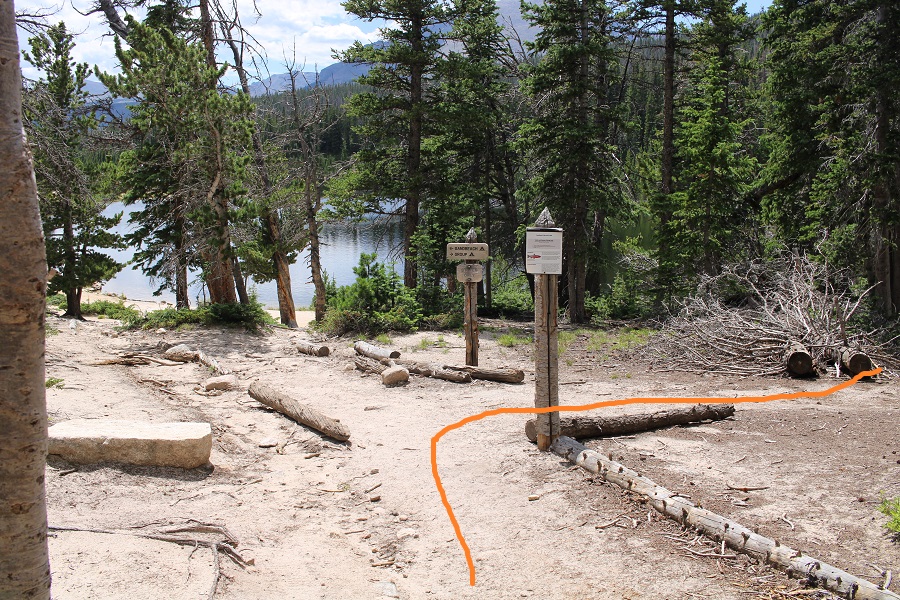
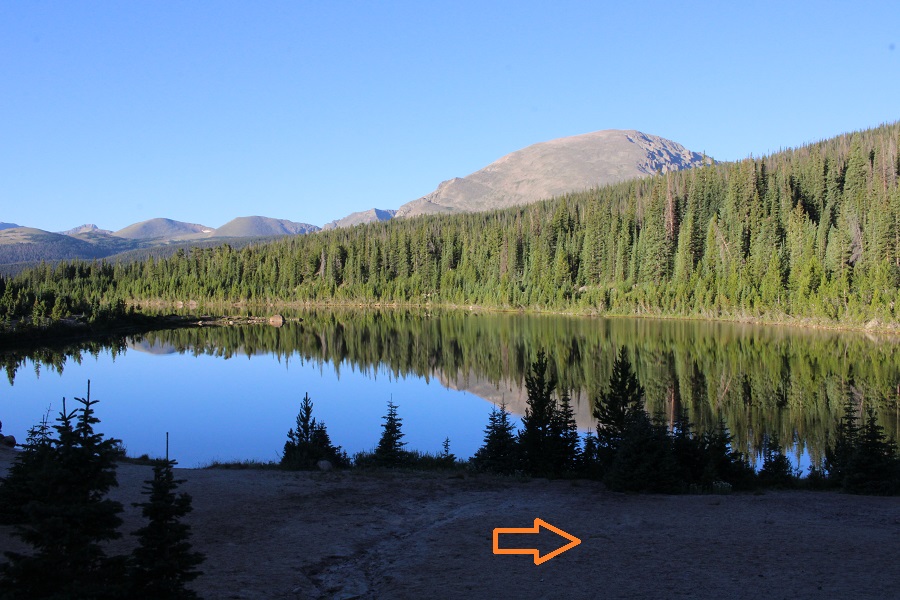
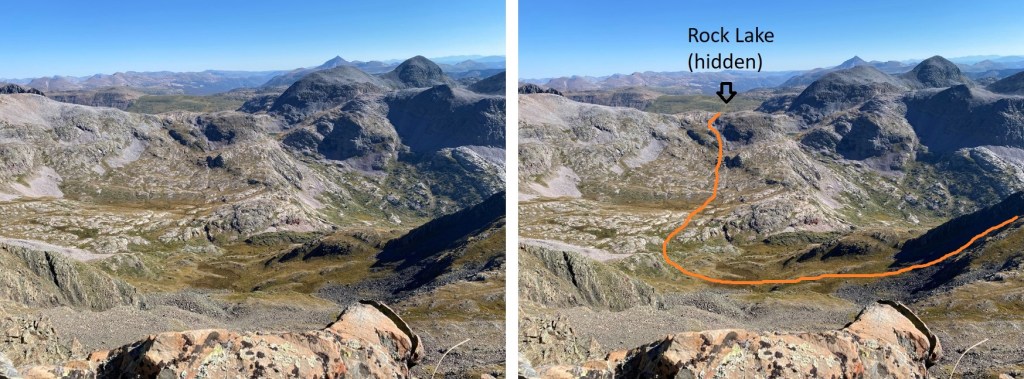
Since I was already at Rock Lake, at around 11850’, I made it a late start and was on the trail at 6am. I was in the camping area directly in front of the lake, and from there I headed south towards the pass.
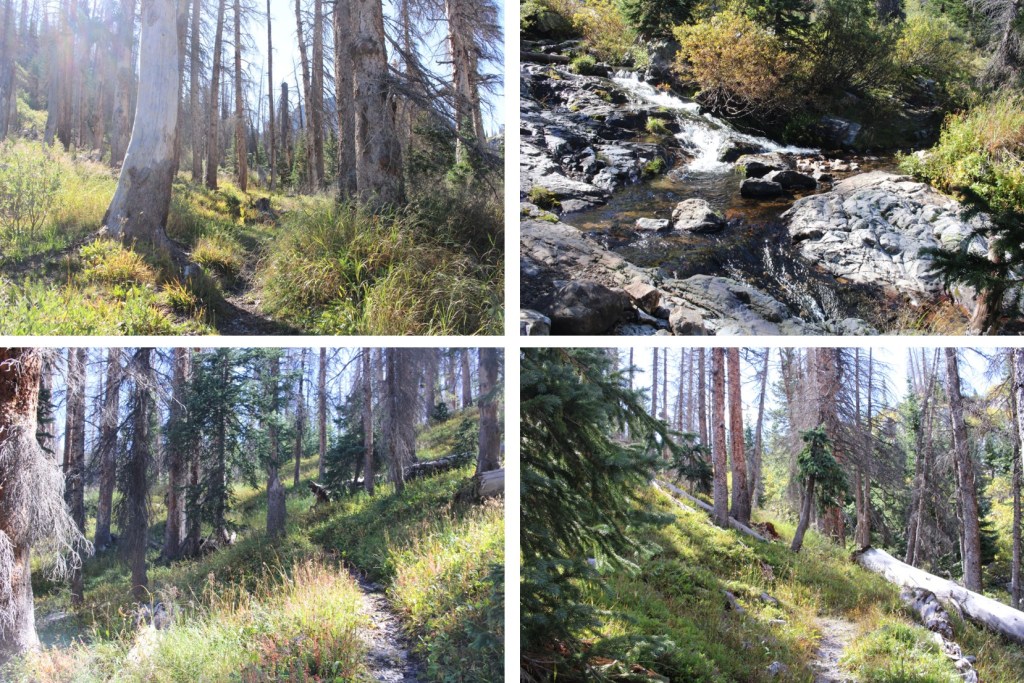
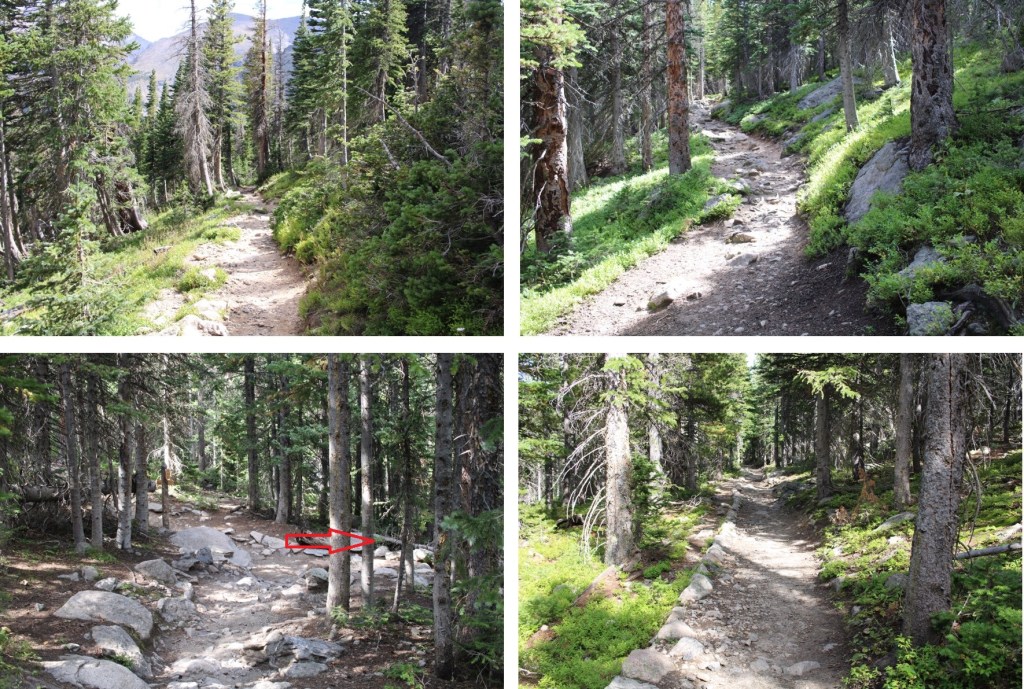
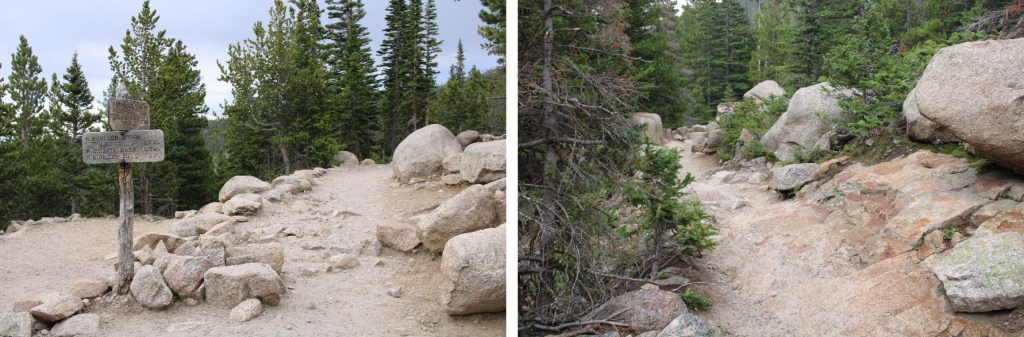
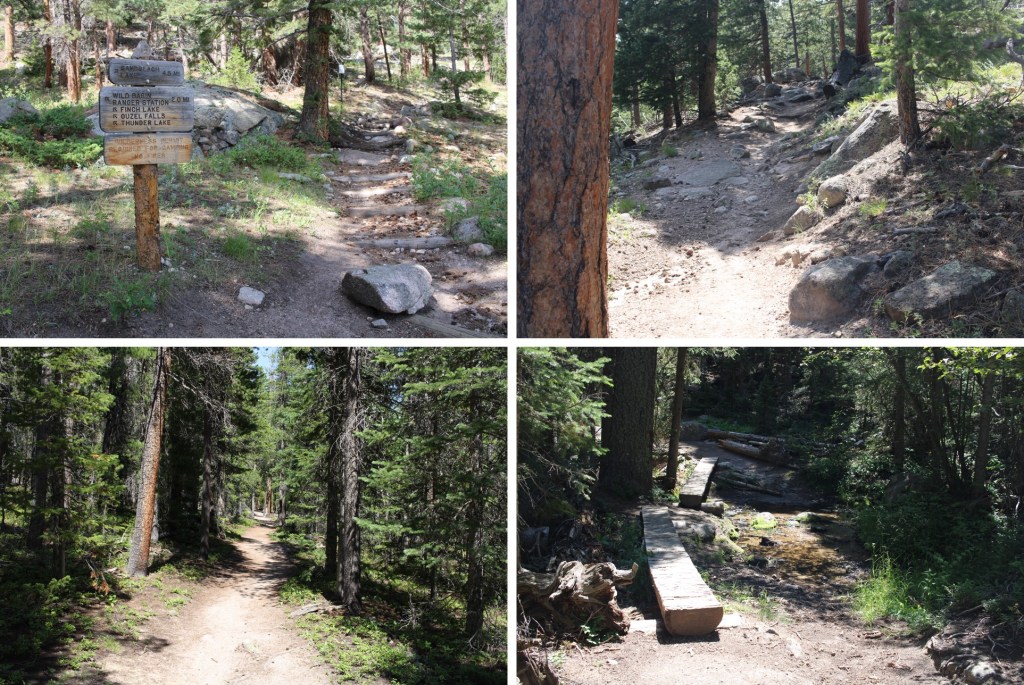
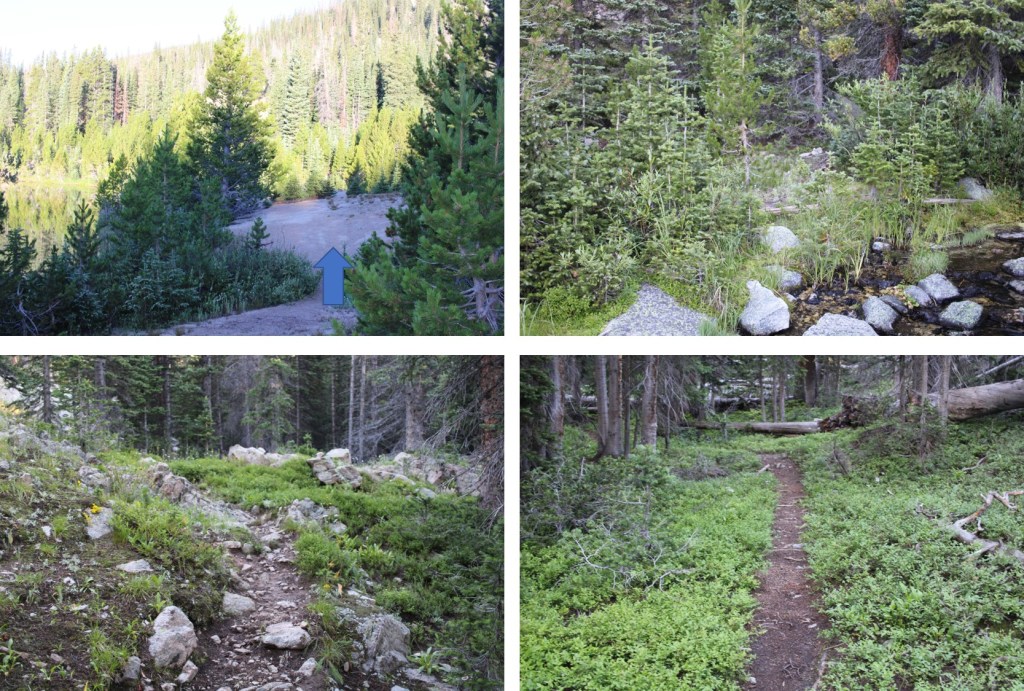
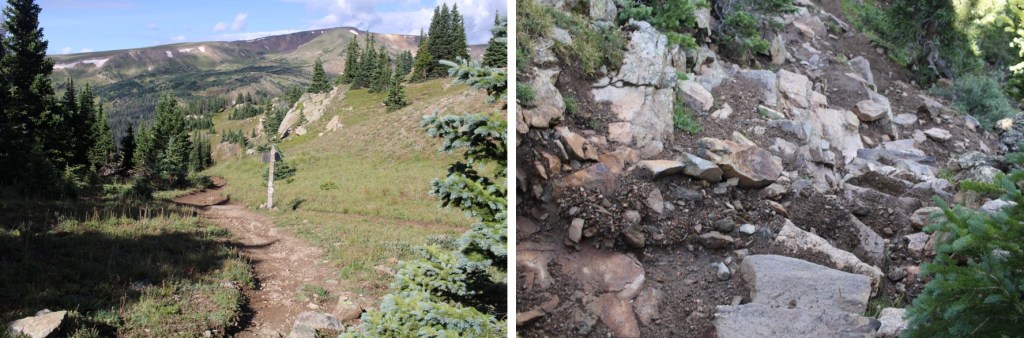
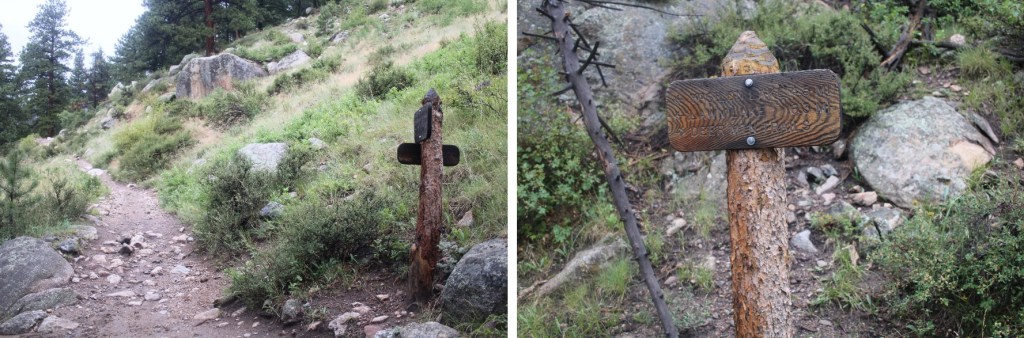
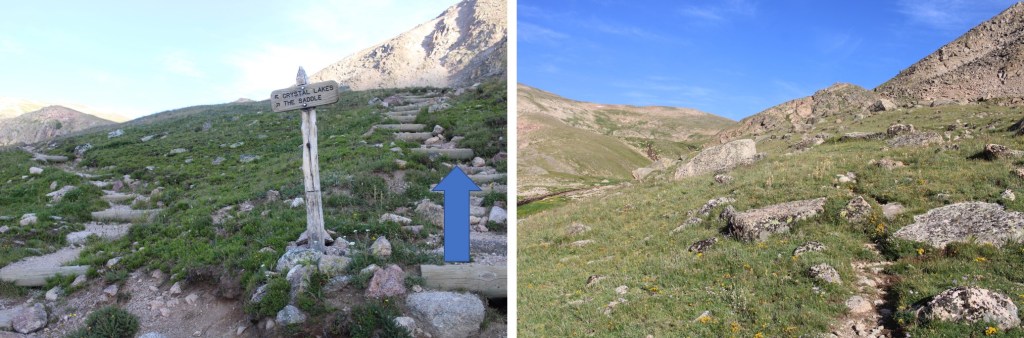
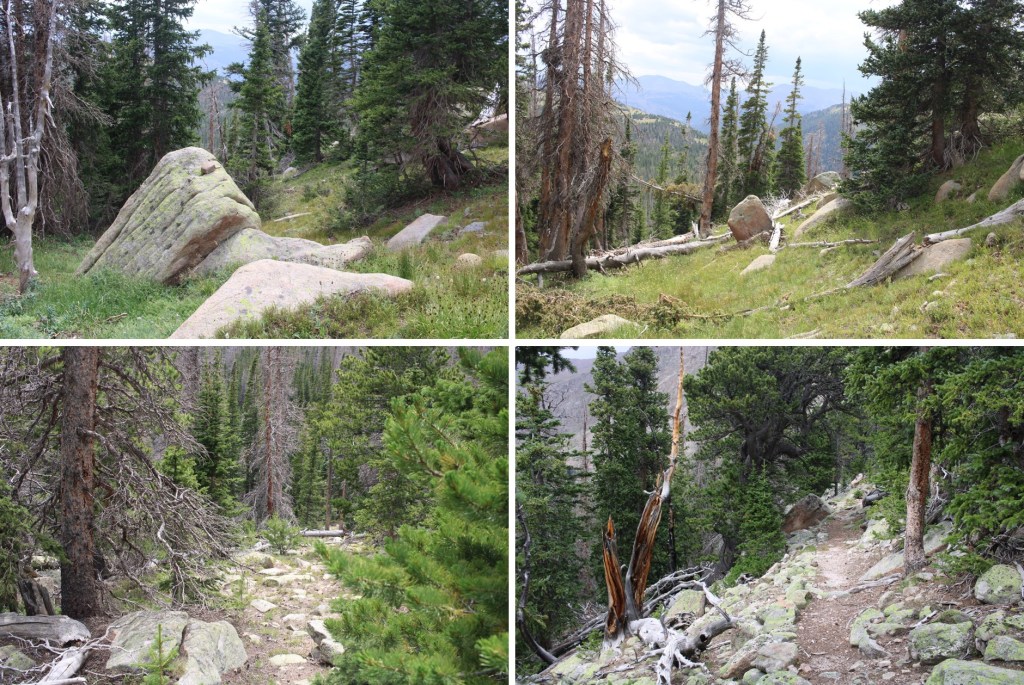
There is a trail that picks up on the east side of the lake, that will take you all the way to the pass on a class 1 trail
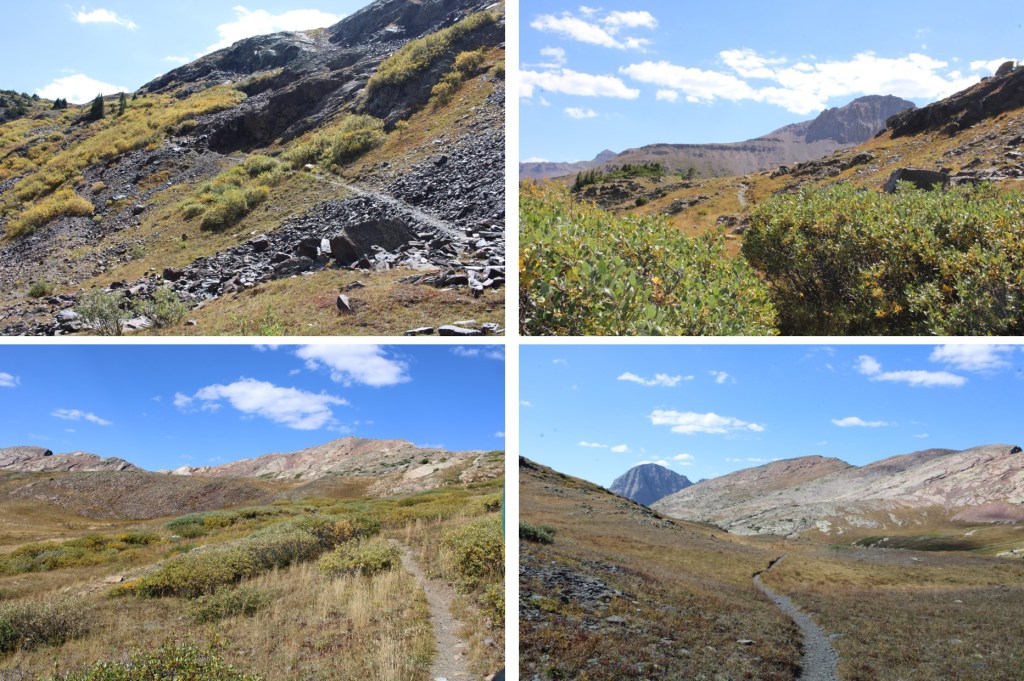
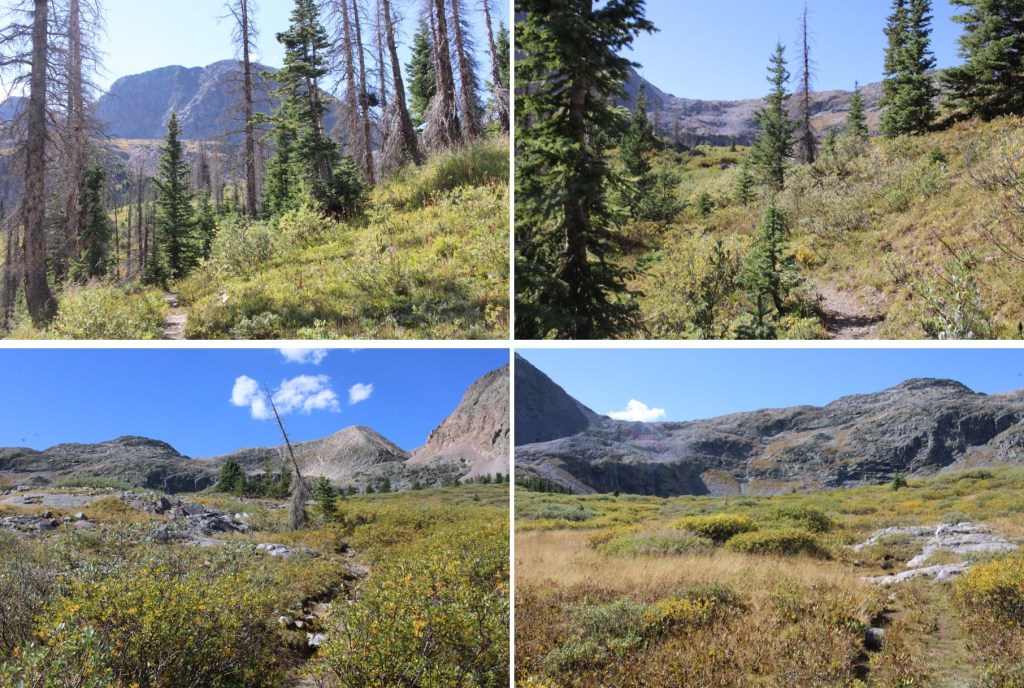
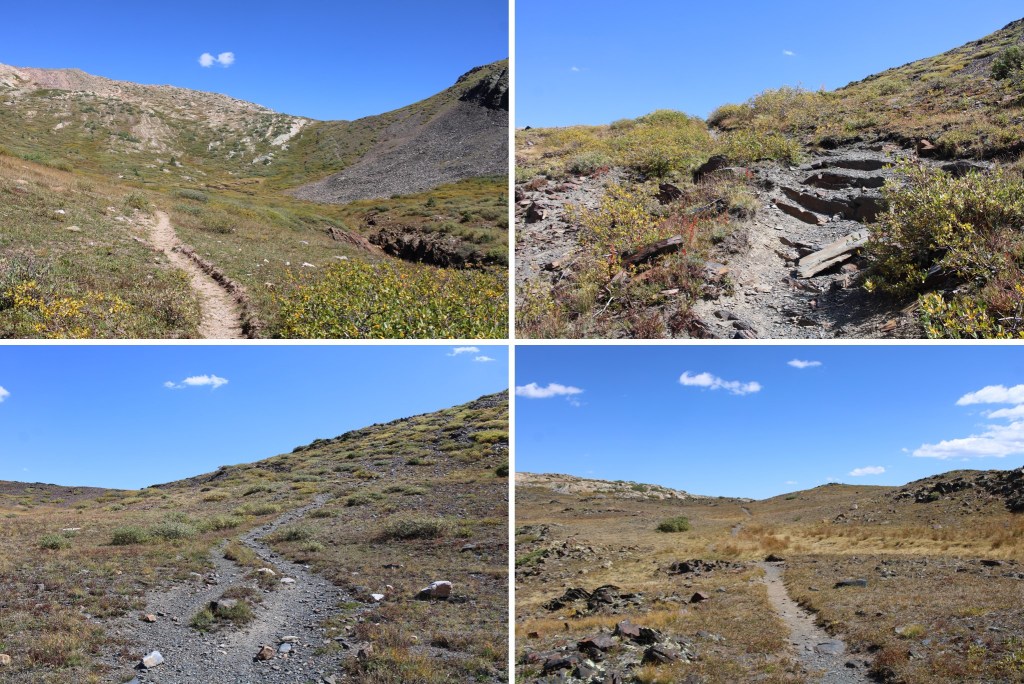
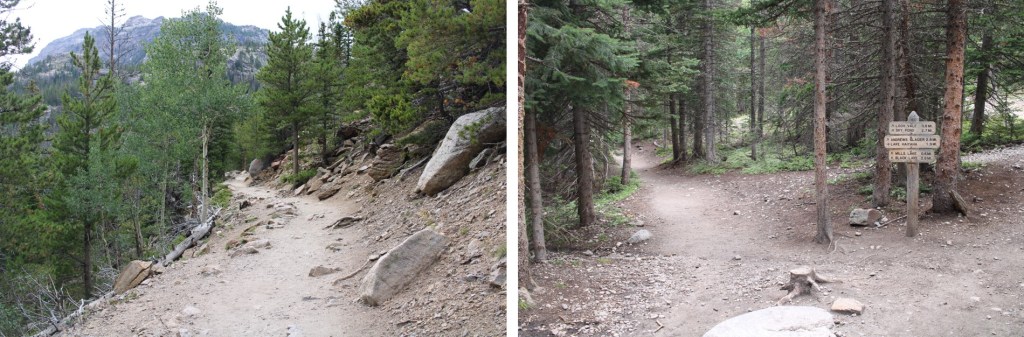
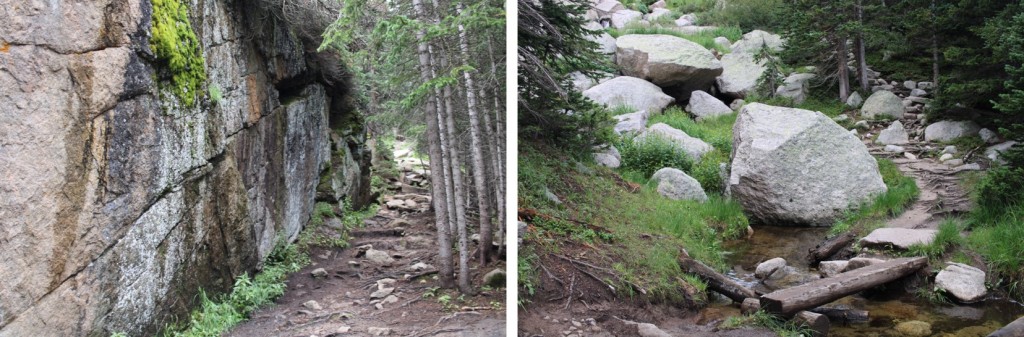
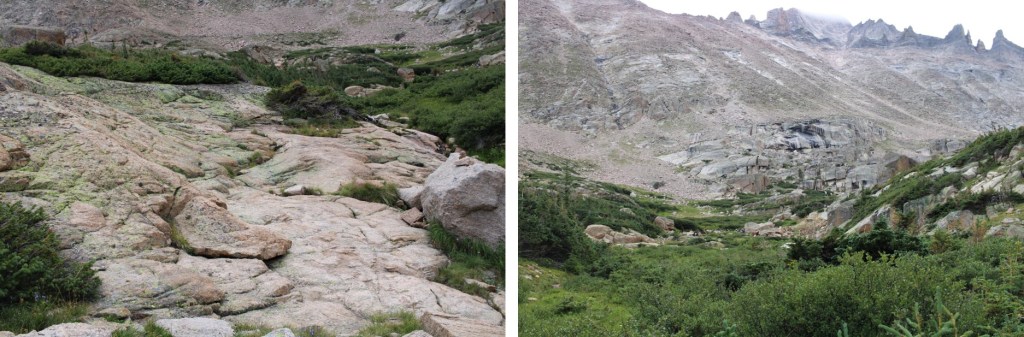
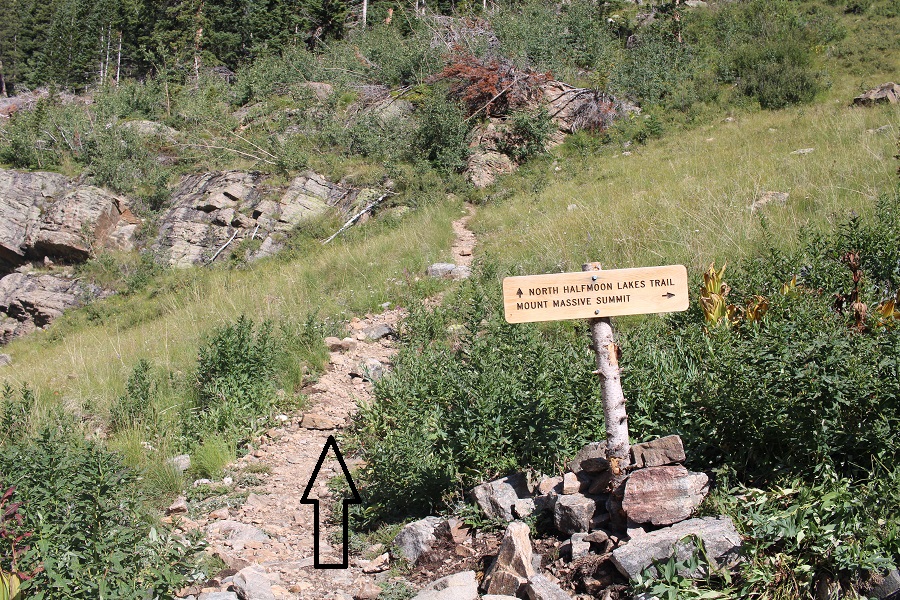
It’s rocky, but there is a well-defined trail here with cairns
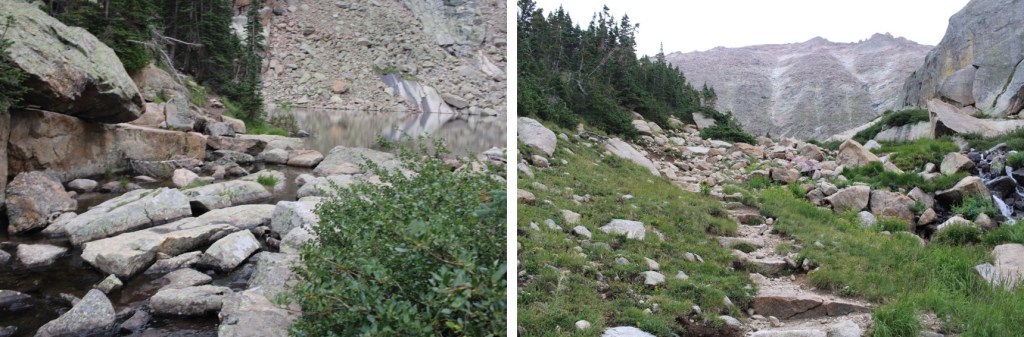
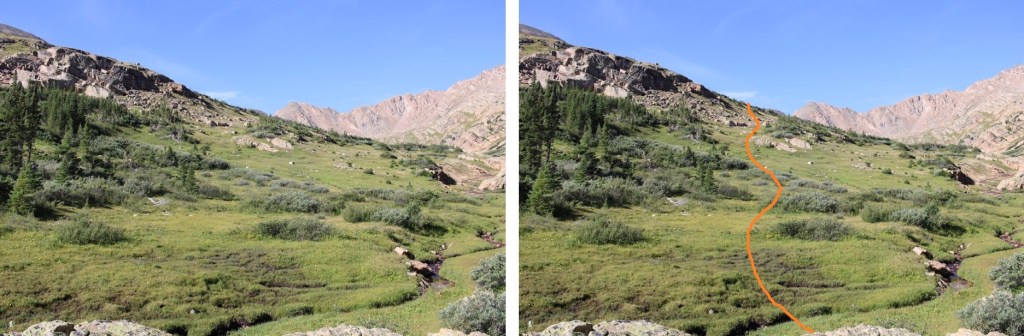
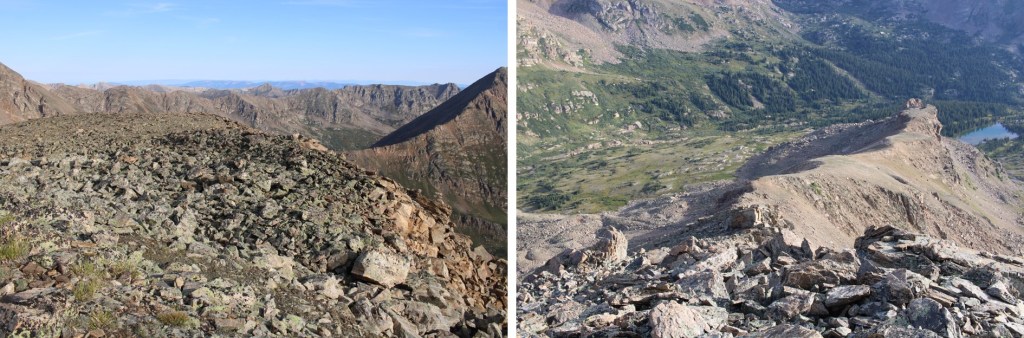
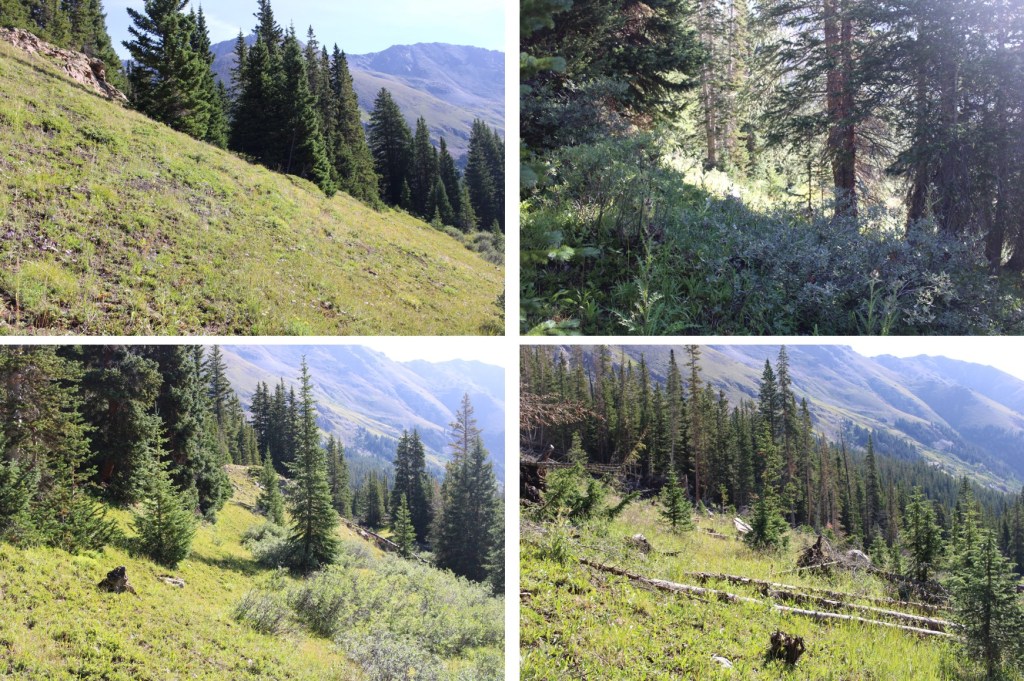
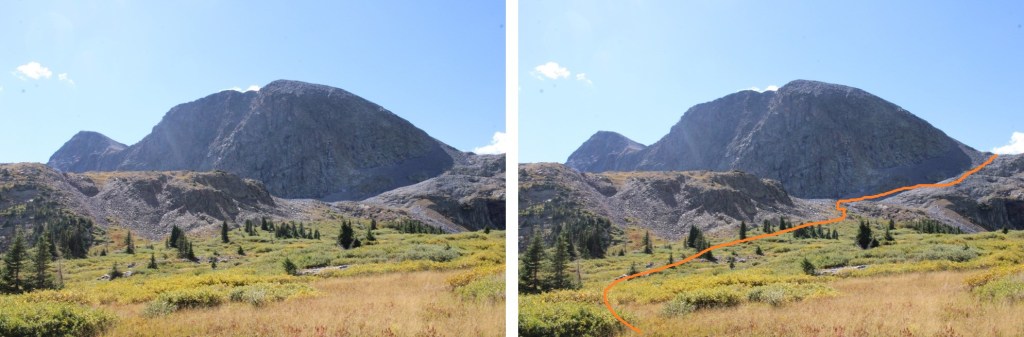
At the top of the pass I headed southwest, following the cairns as they descended a bit. The trail goes on to Half Moon Lake, but I didn’t want to go there, so after descending down a small gully I changed directions, and gained the ridge to the west.
I spent a lot of time putting cairns in this area to help with navigation, but as long as you gain the ridge, the next part of the route will be obvious.

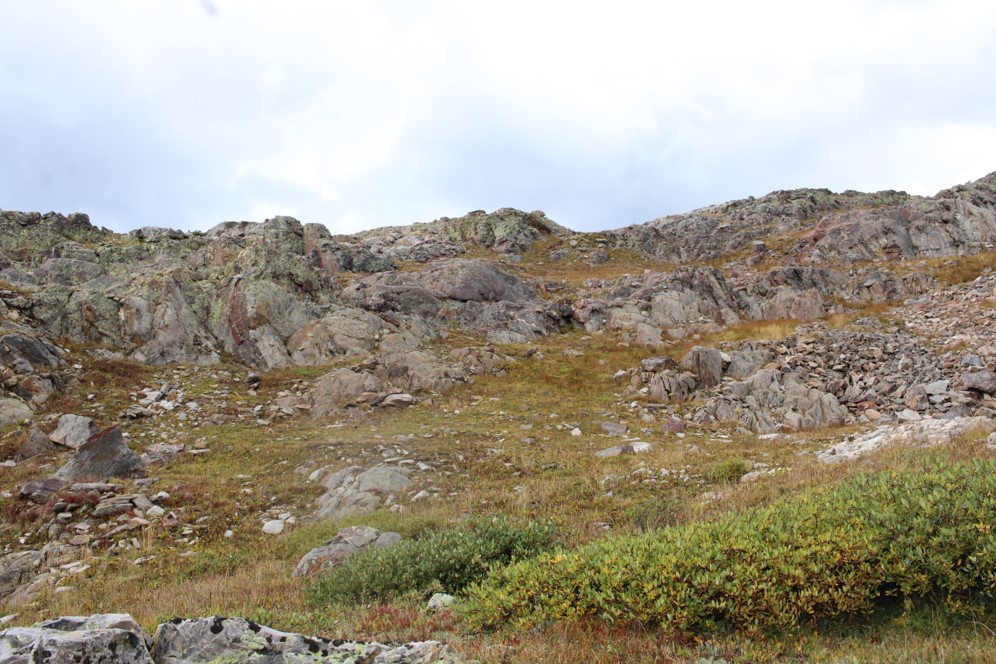
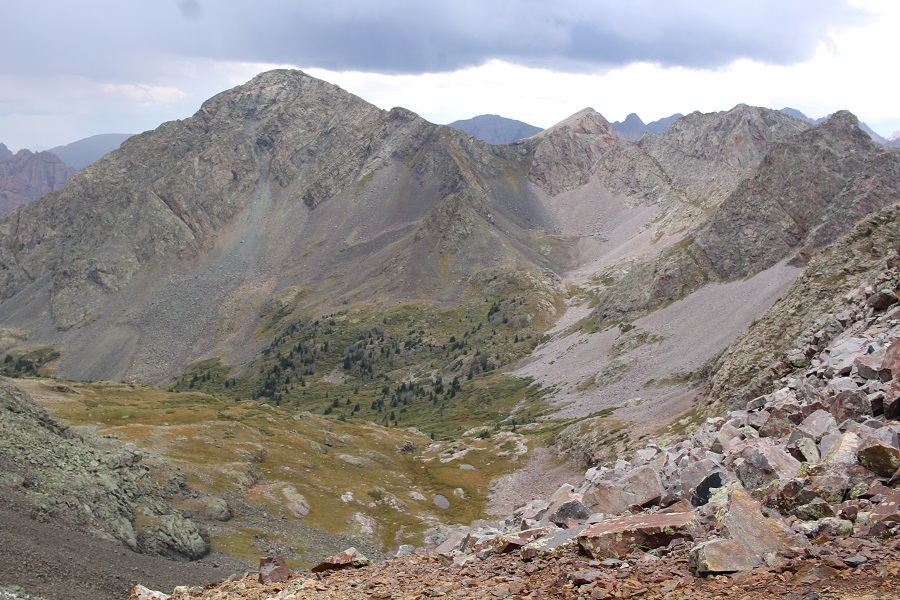
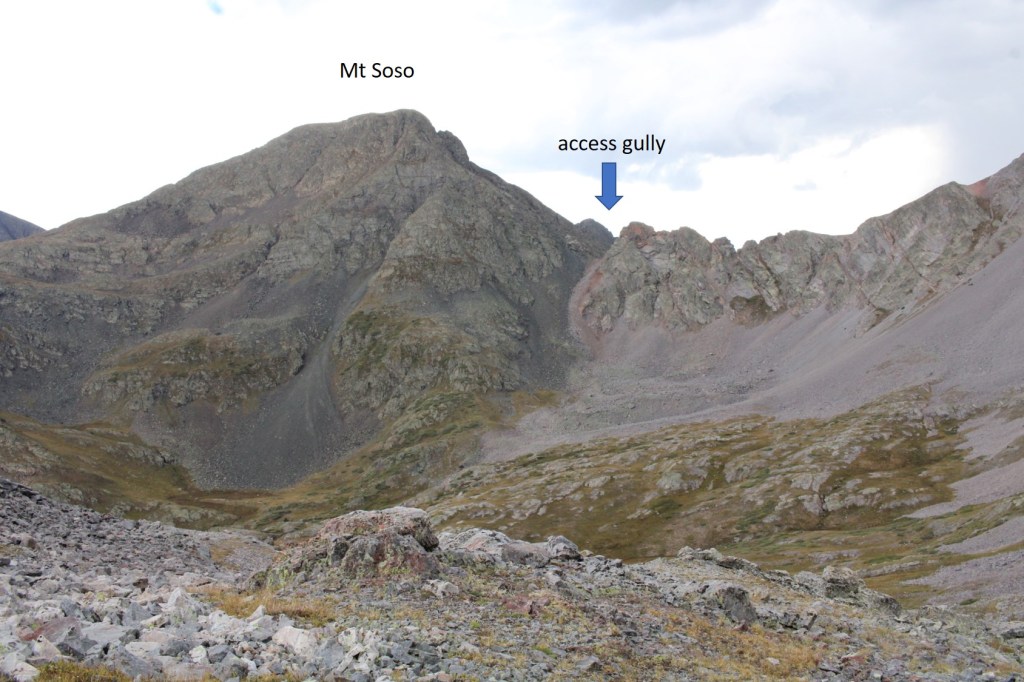
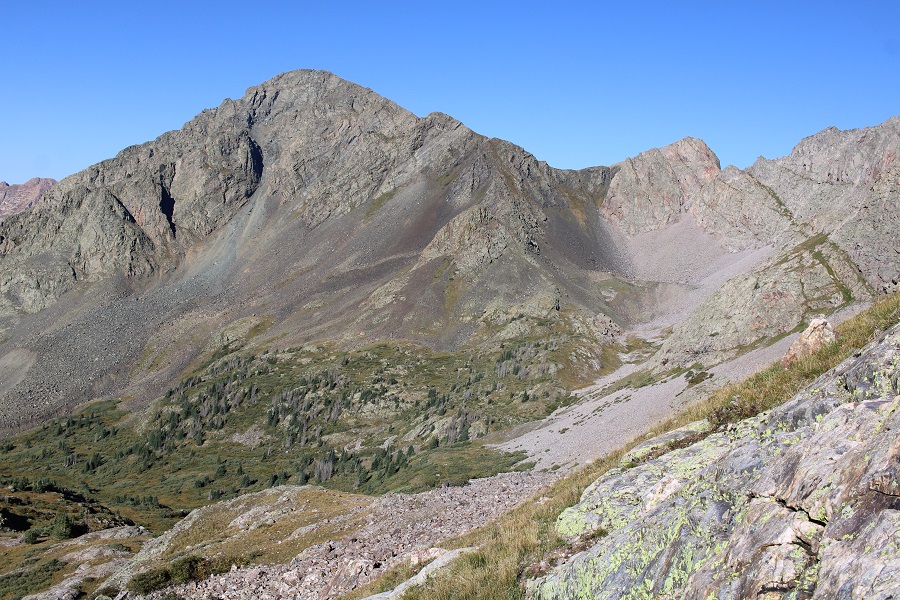
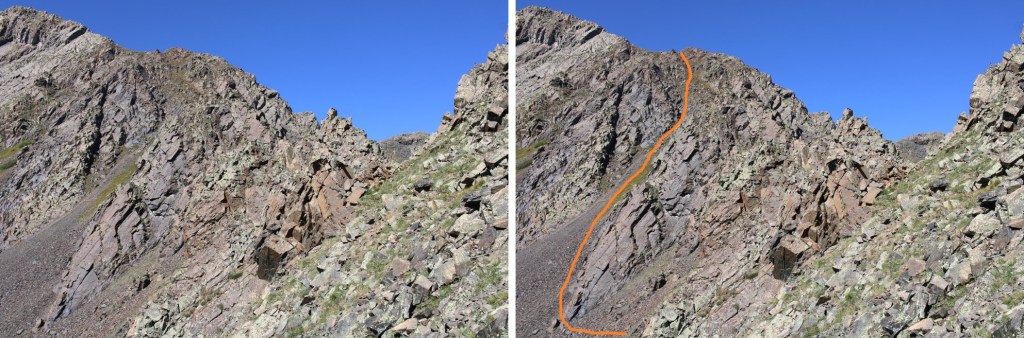
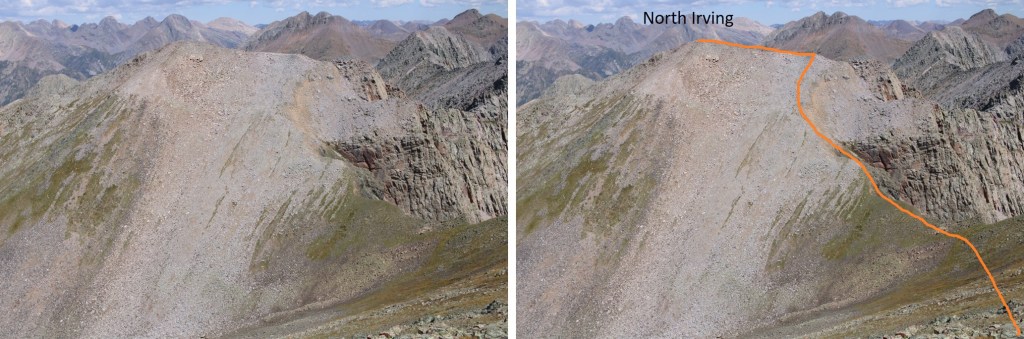
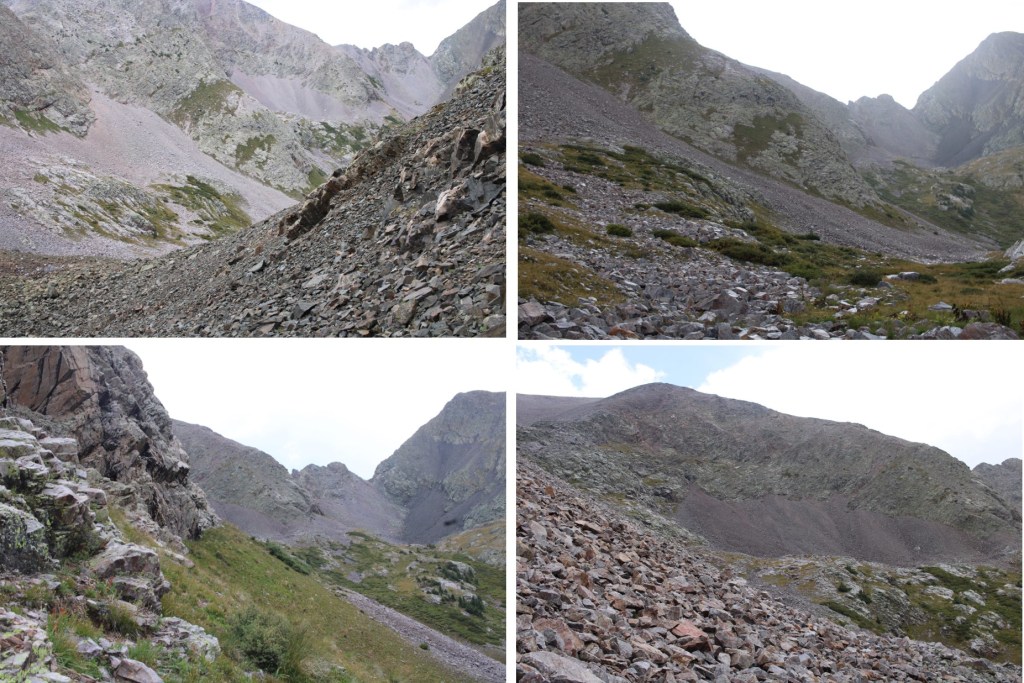
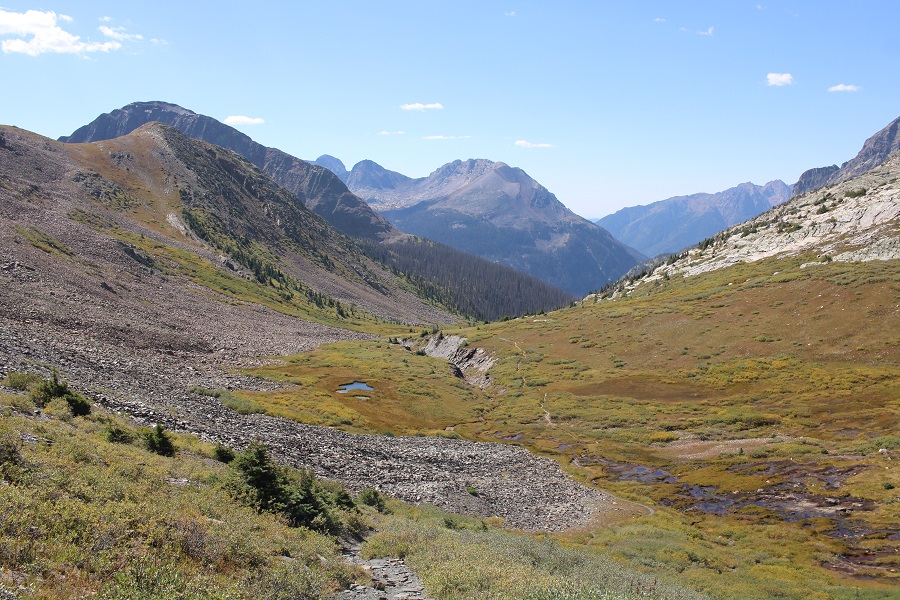
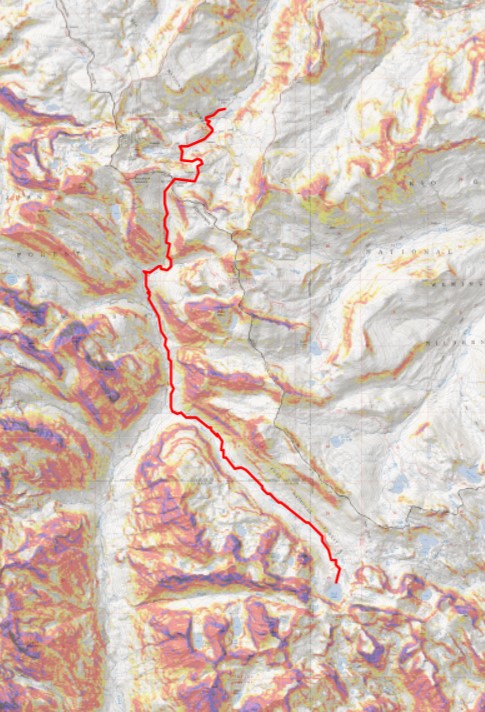
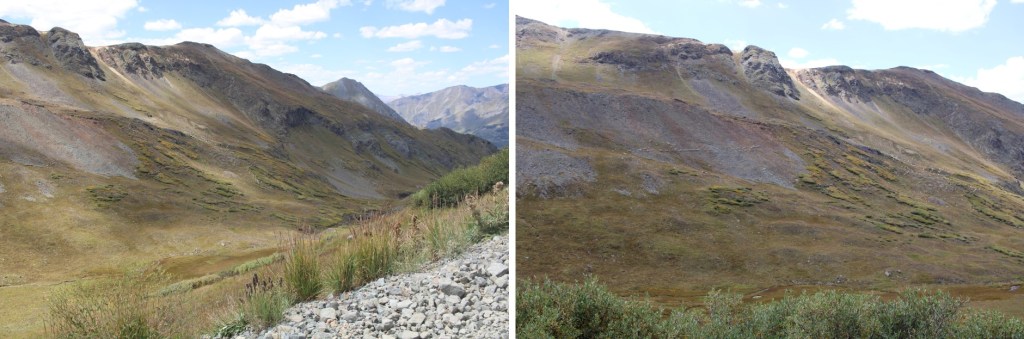
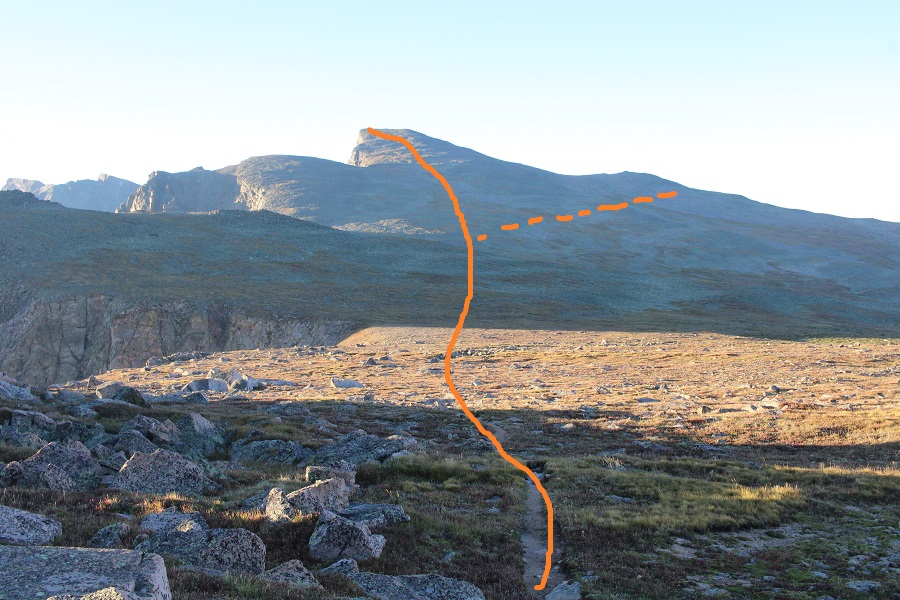
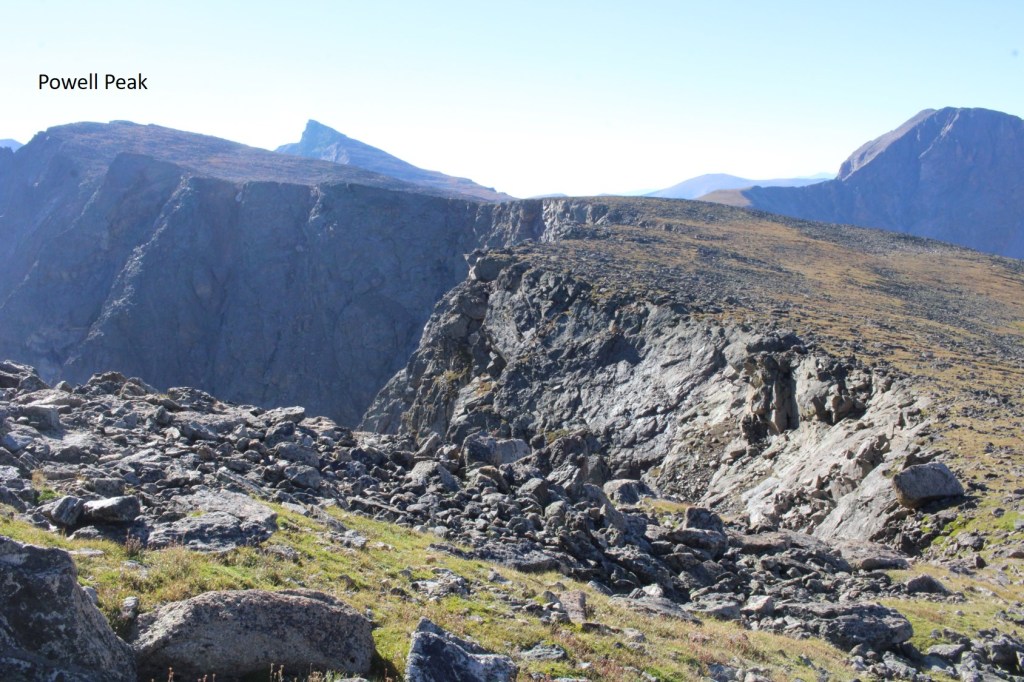
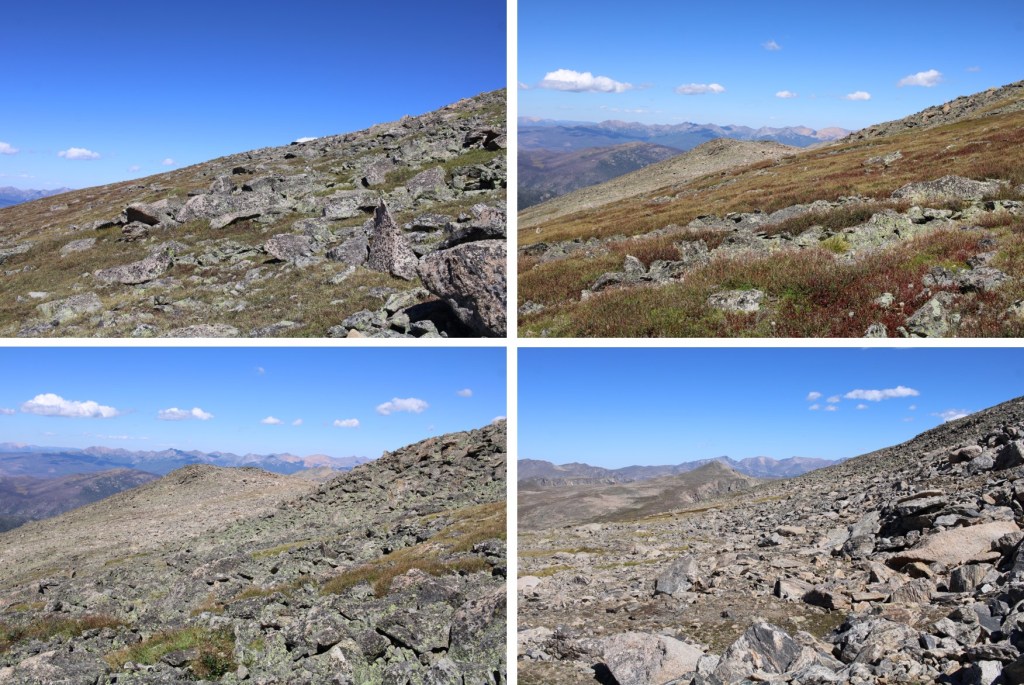
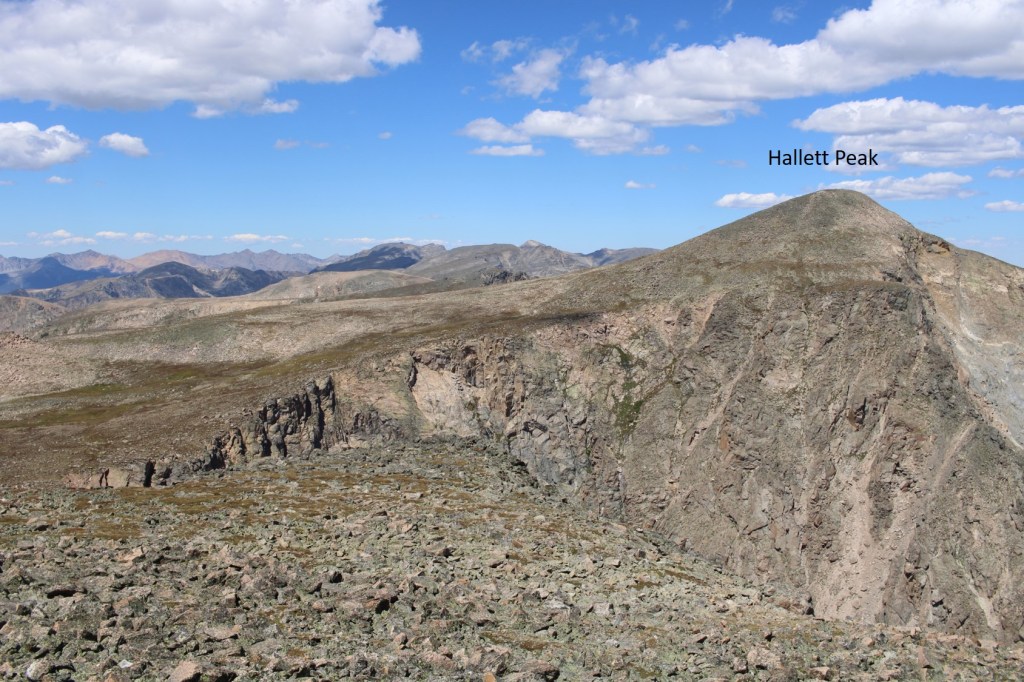
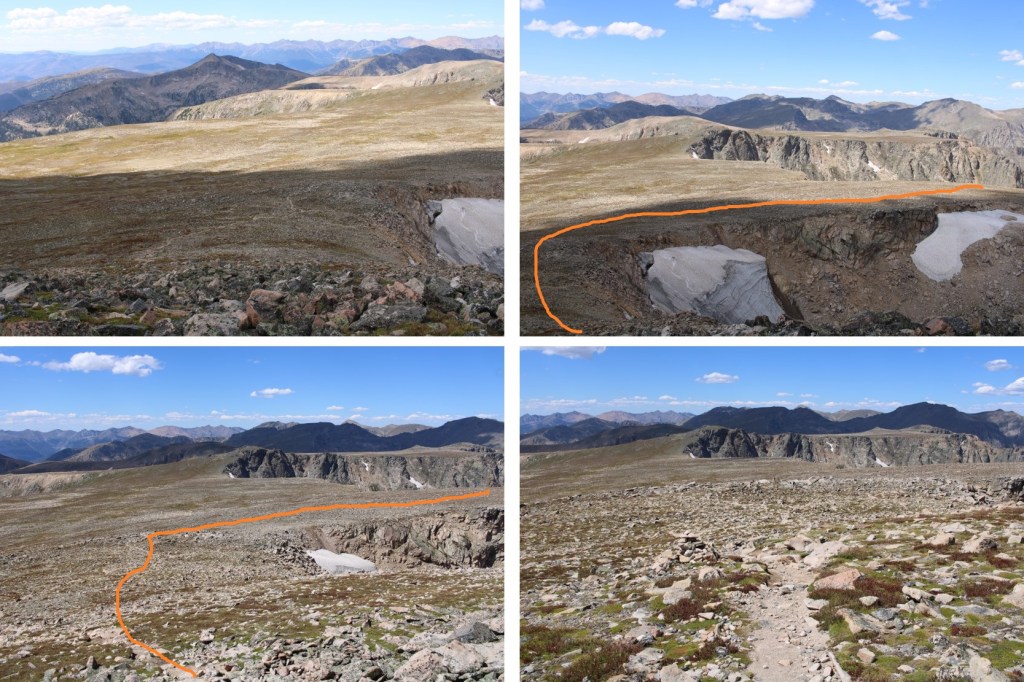
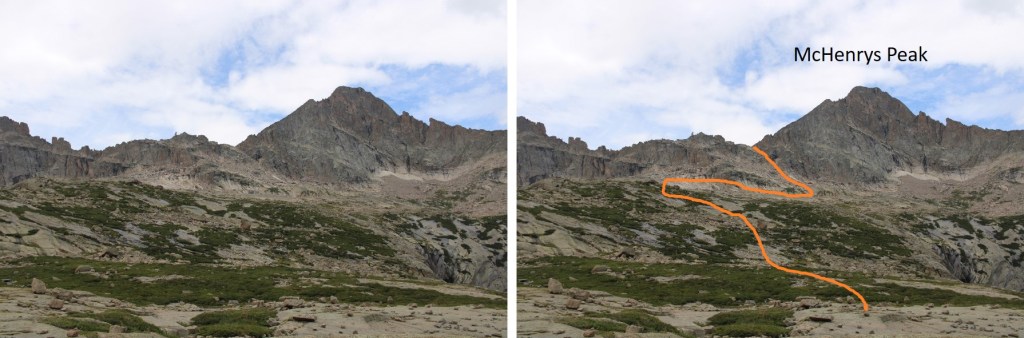
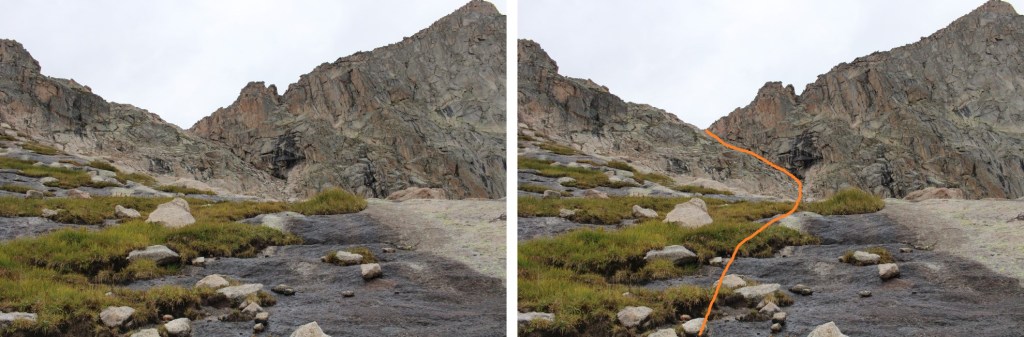
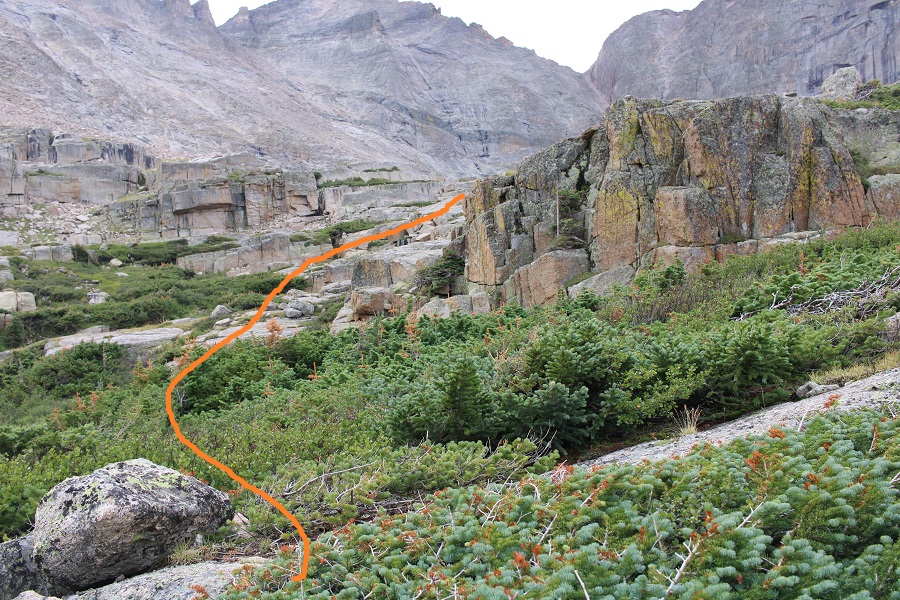
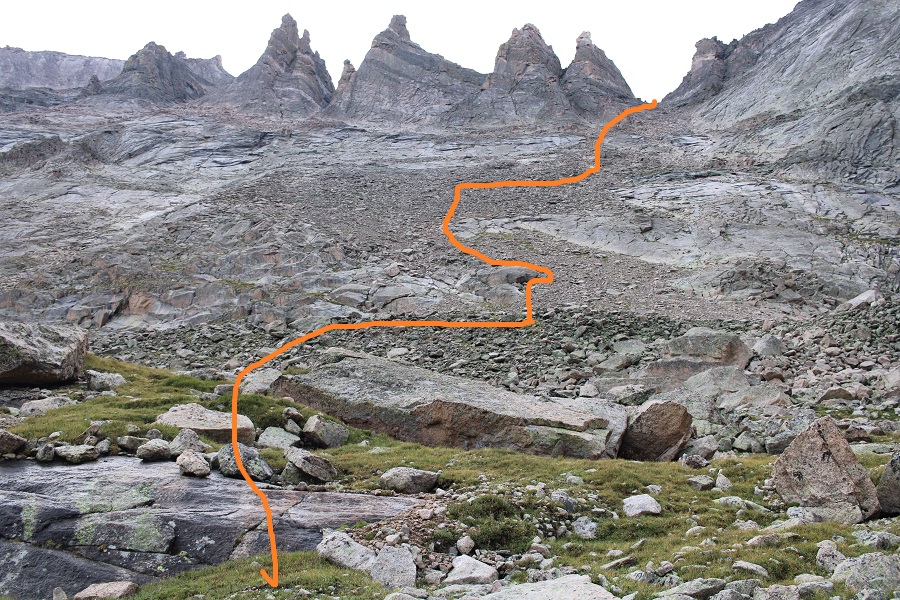
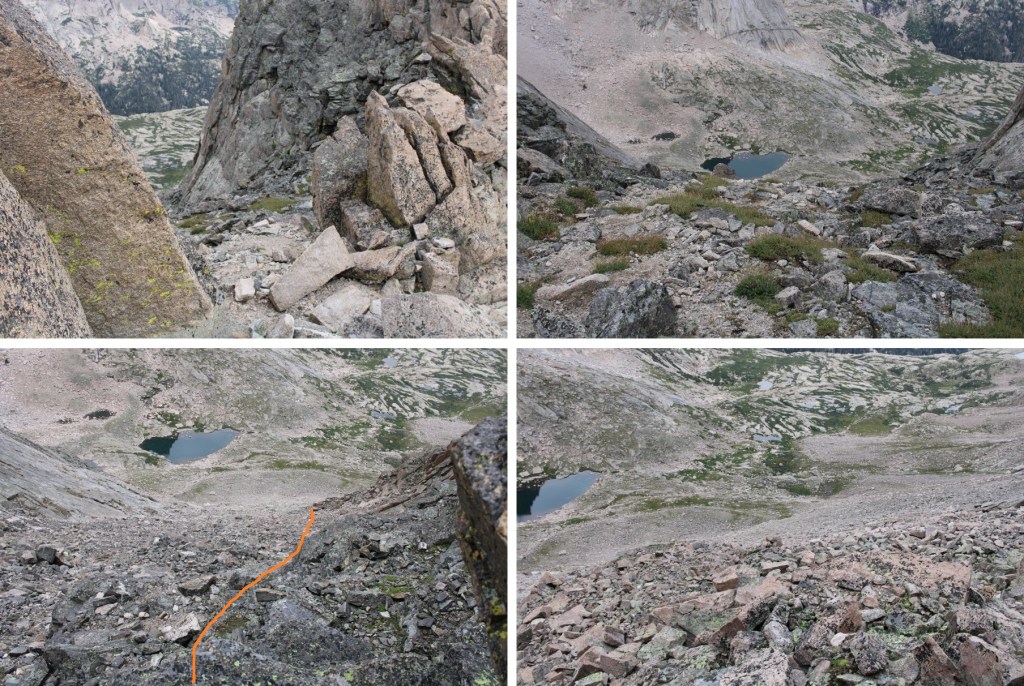
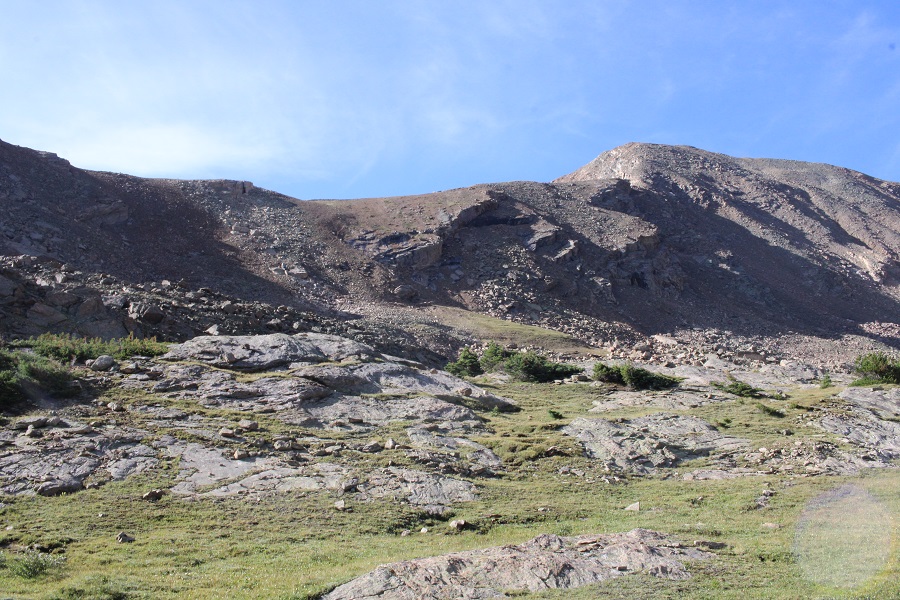
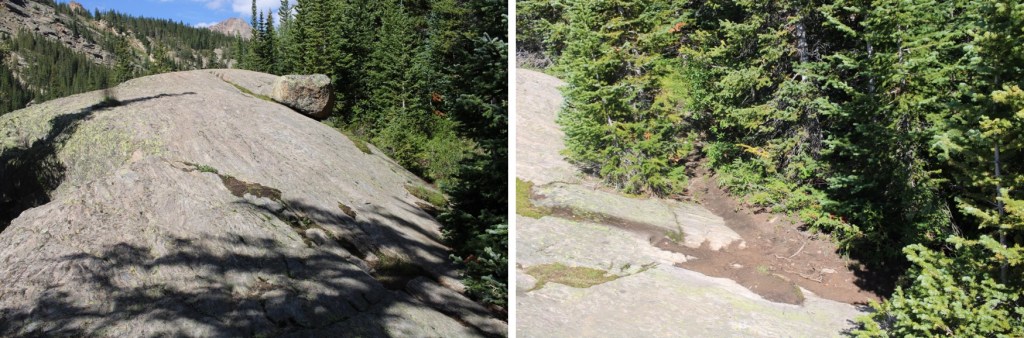
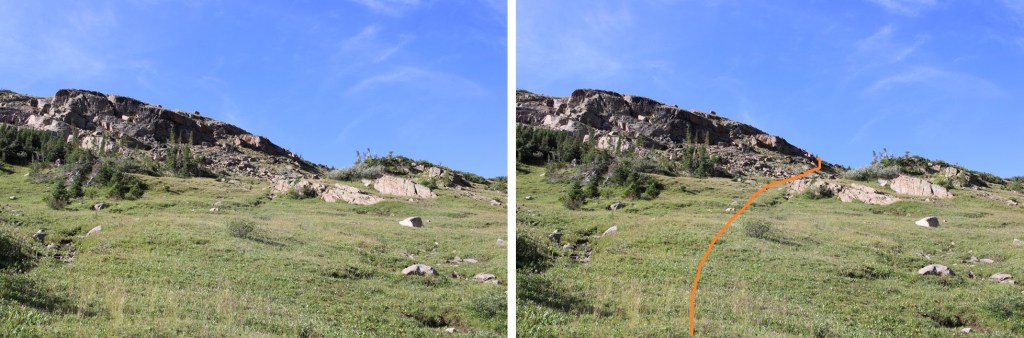
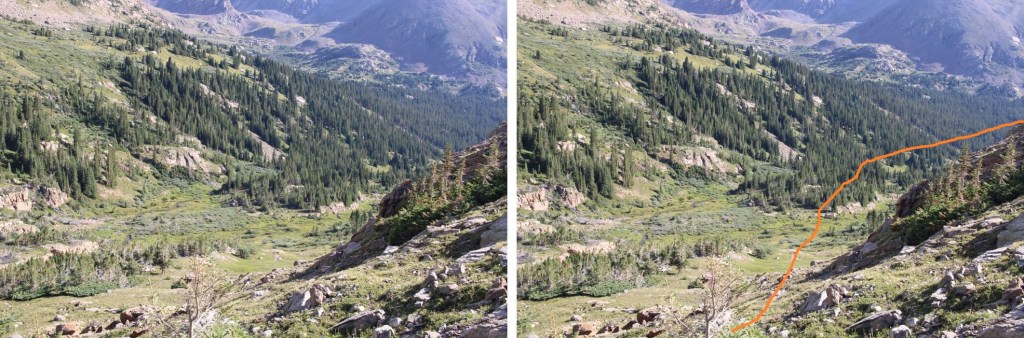
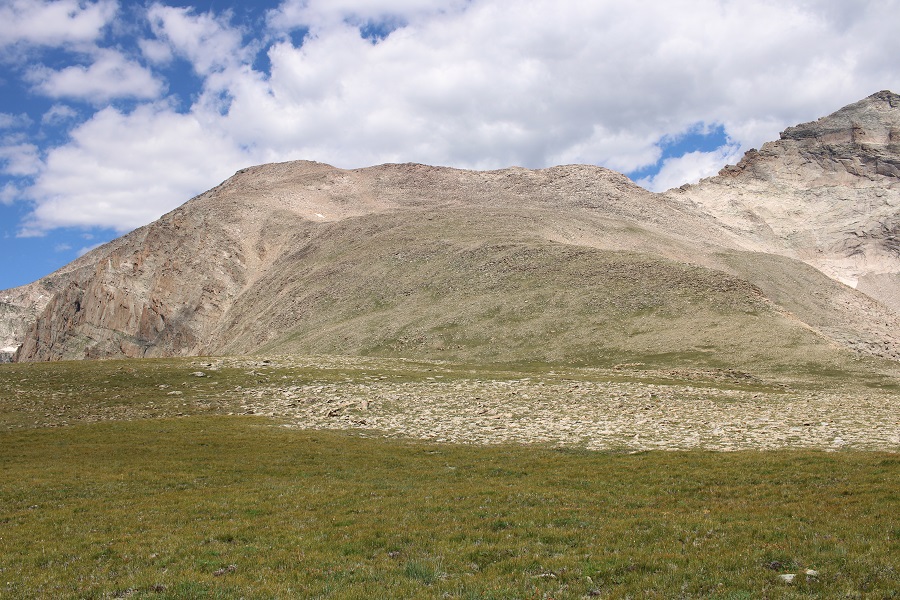
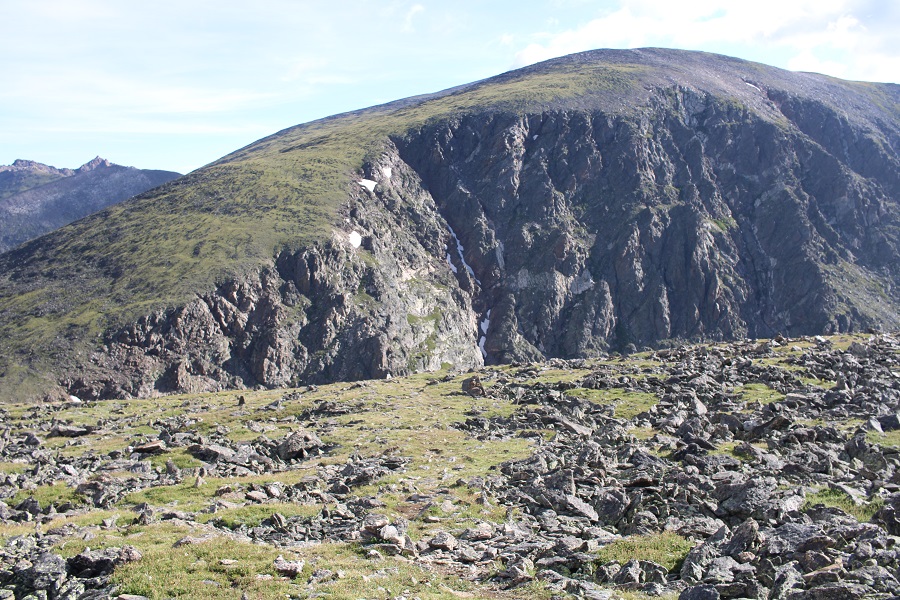
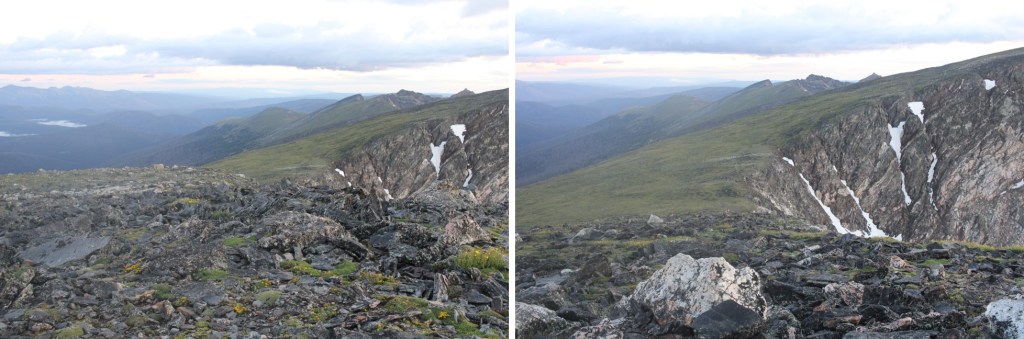
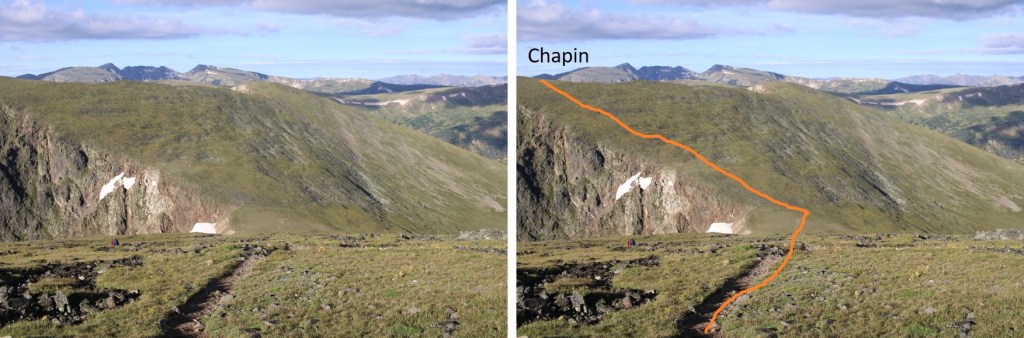
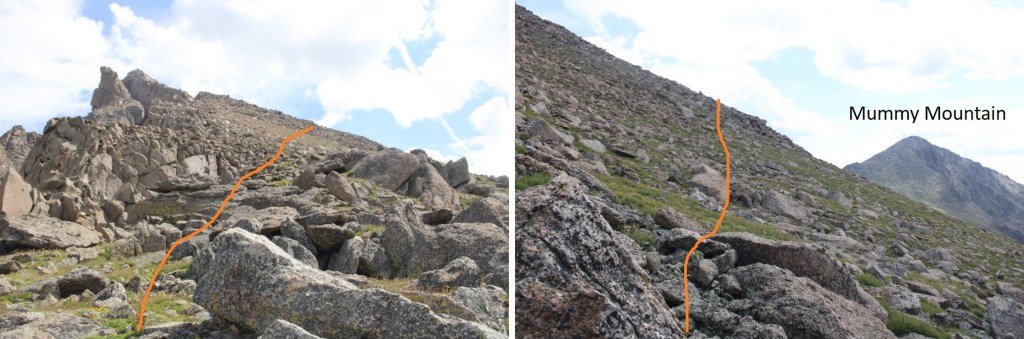
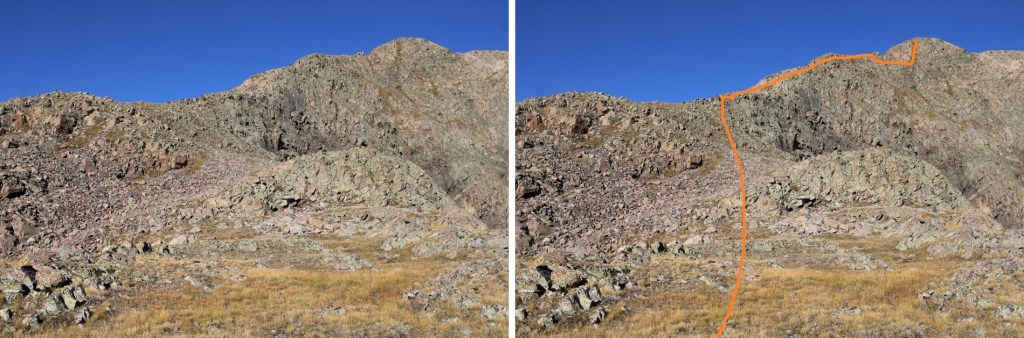
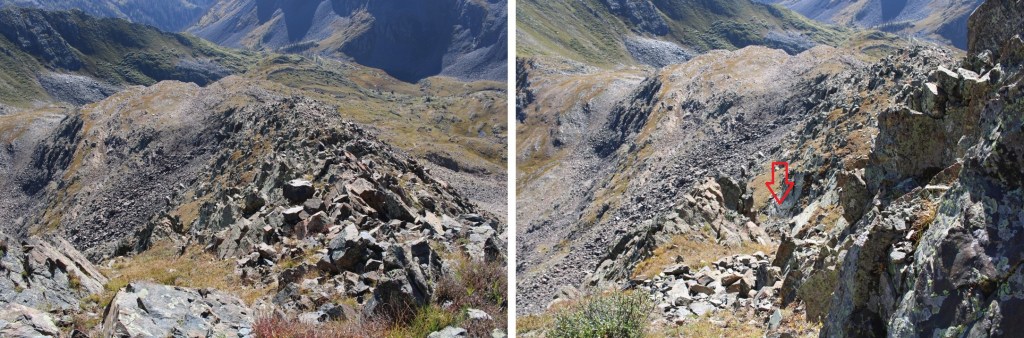
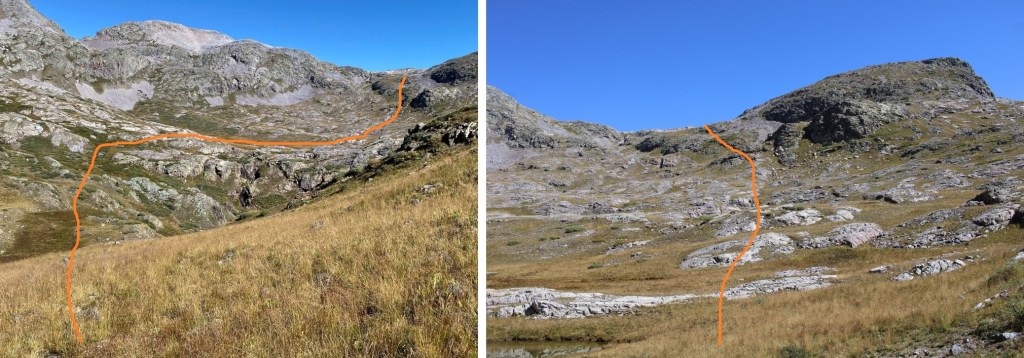
From the top of the ridge, this was my route up to the ridge of Mt Soso.

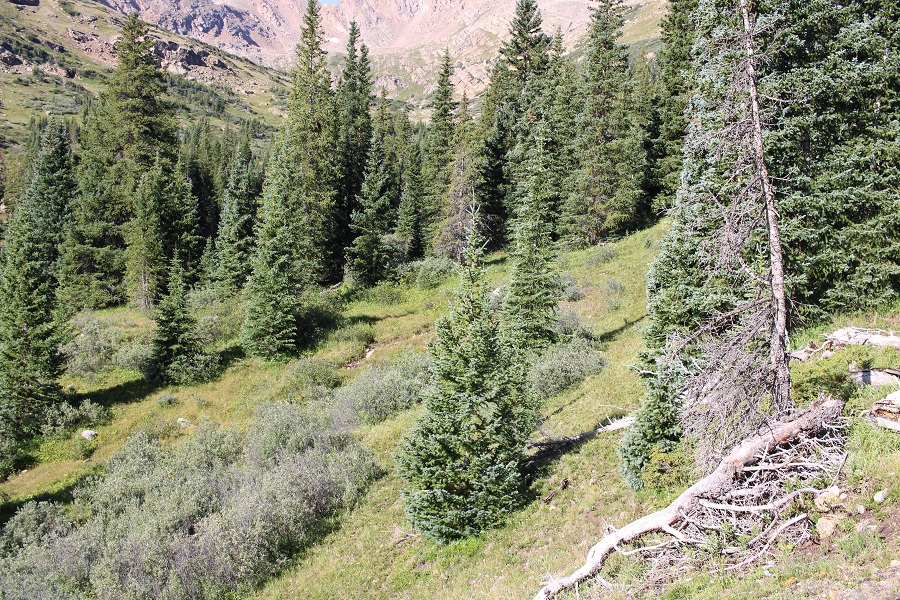
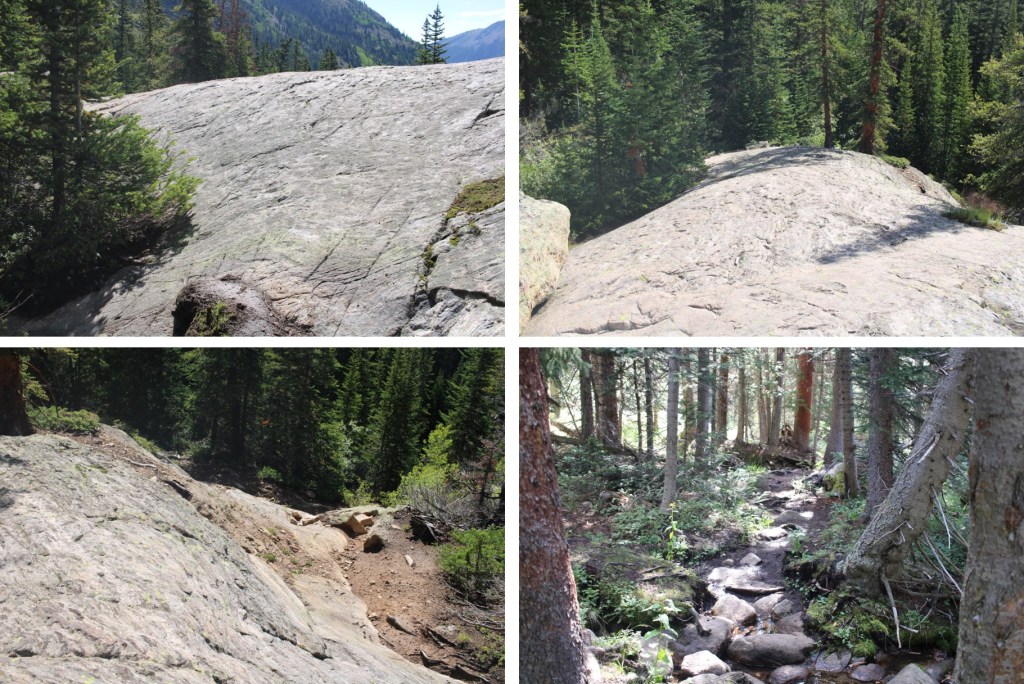
It looks straightforward, but I ended up losing a lot more elevation than I wanted to, mainly because there’s a gorge that you can’t see from the pass. I initially tried to go straight over the large boulders to the left, but it cliffed out. You’ll need to stay more to the west. I lost almost 600’ of elevation making my way down into the basin.

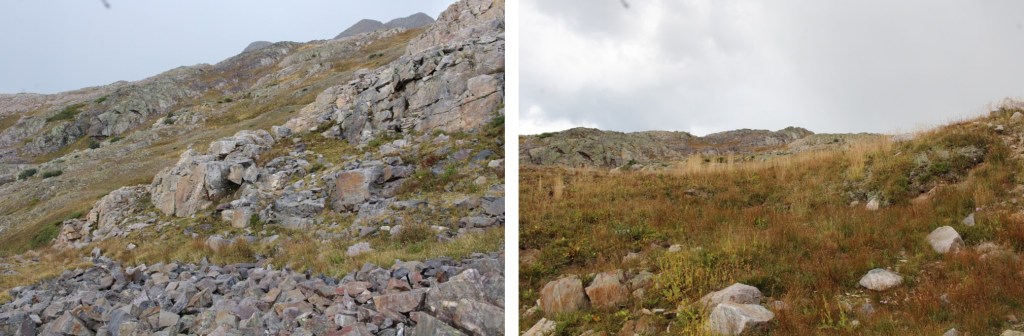
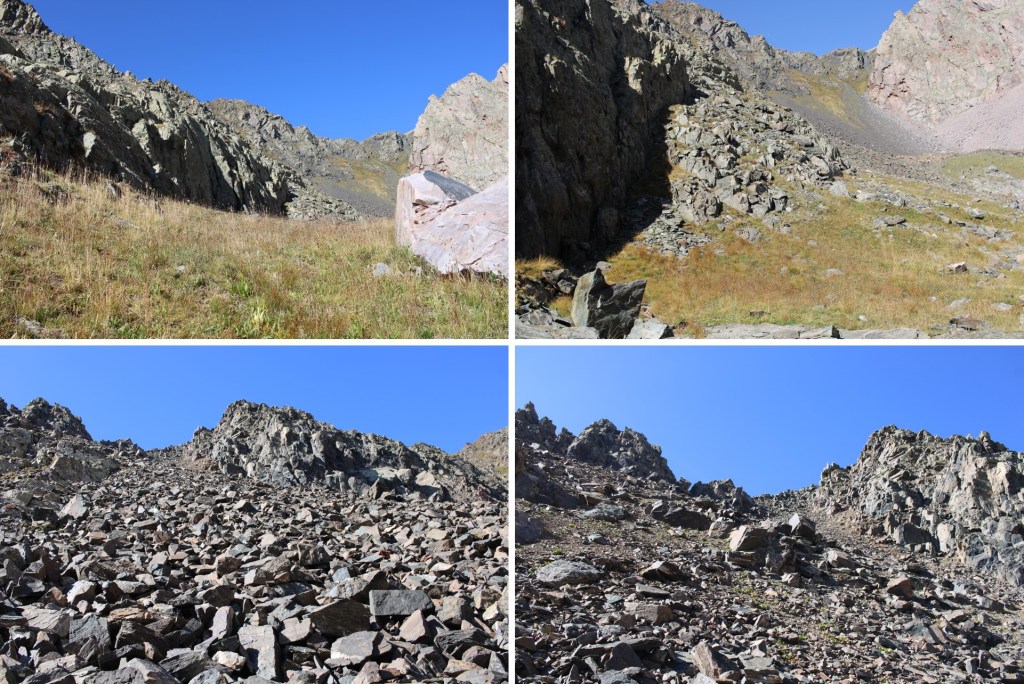
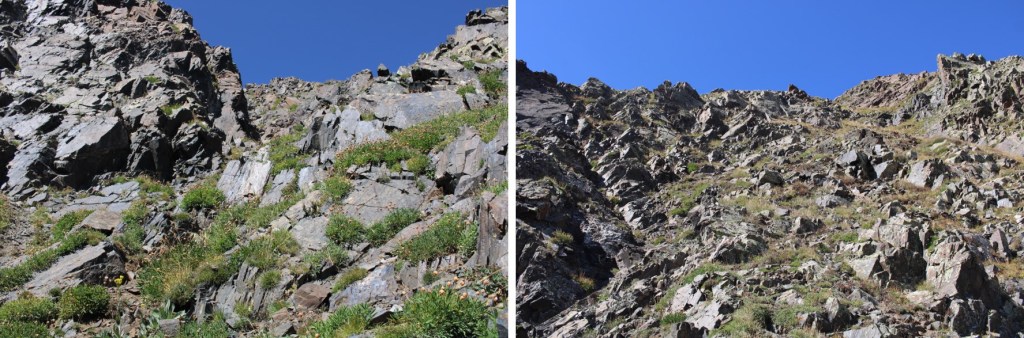
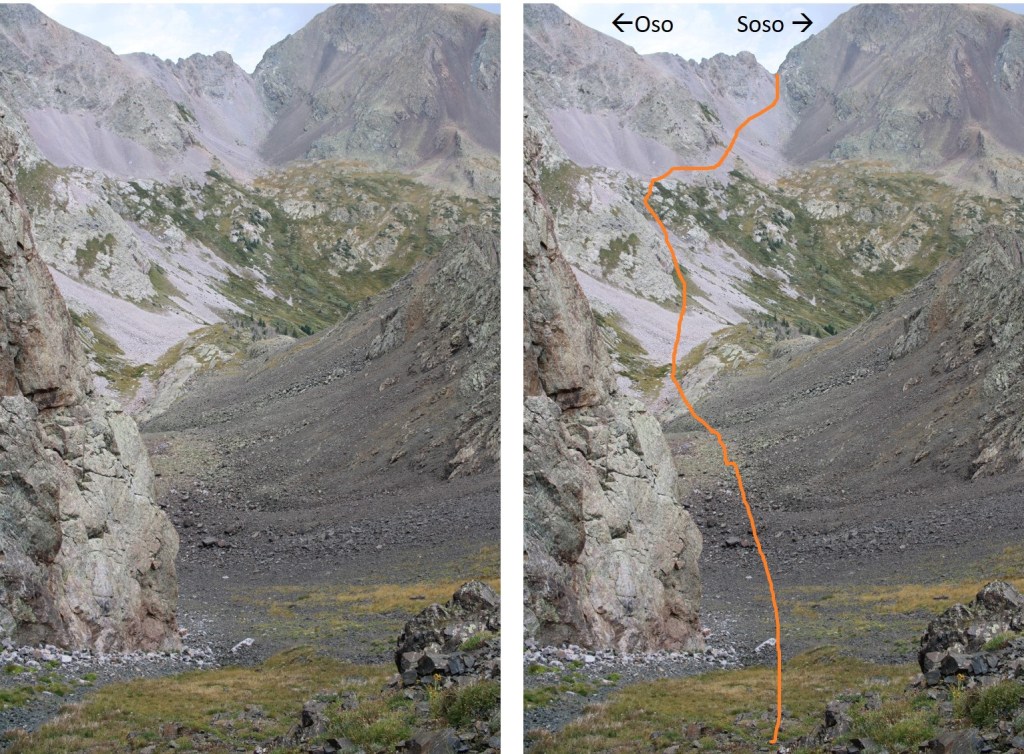
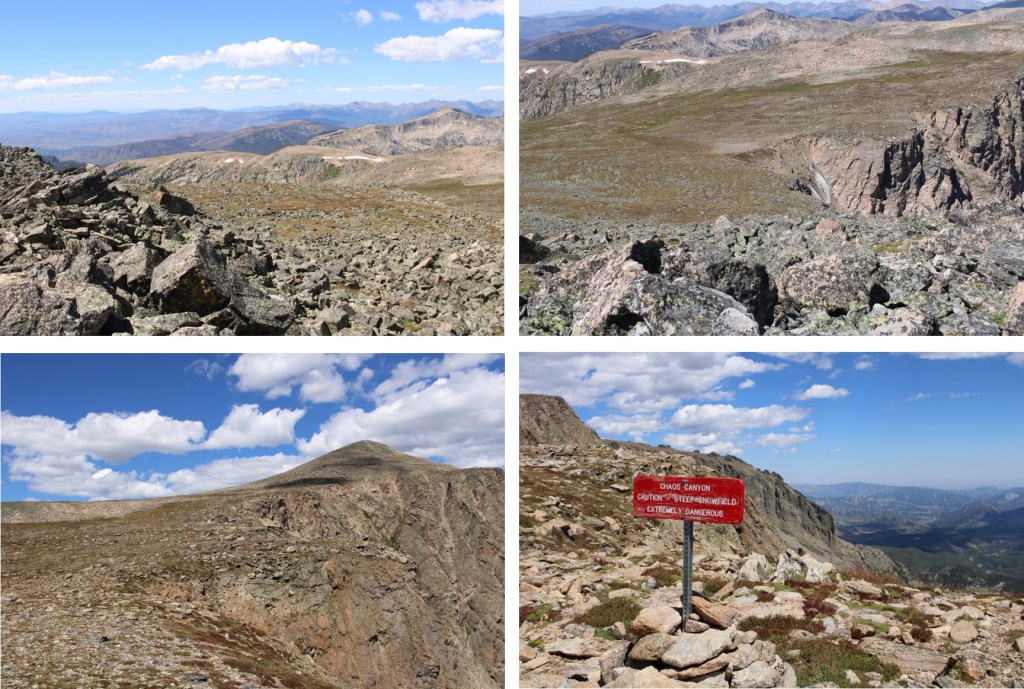
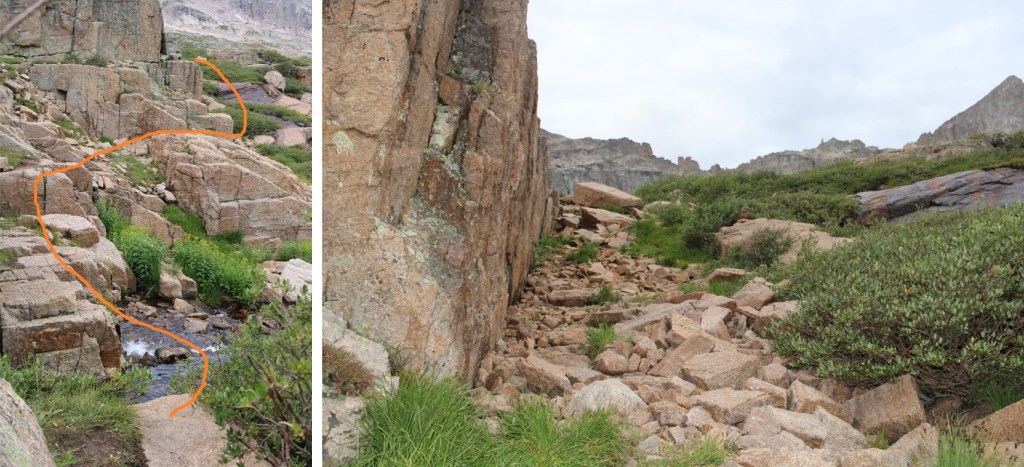
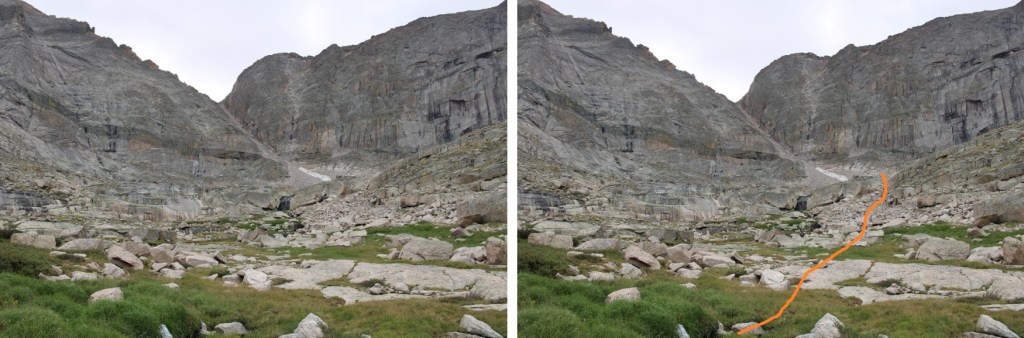
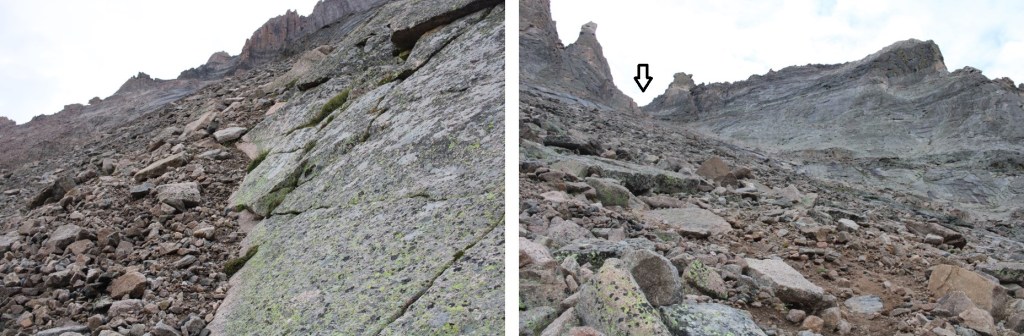
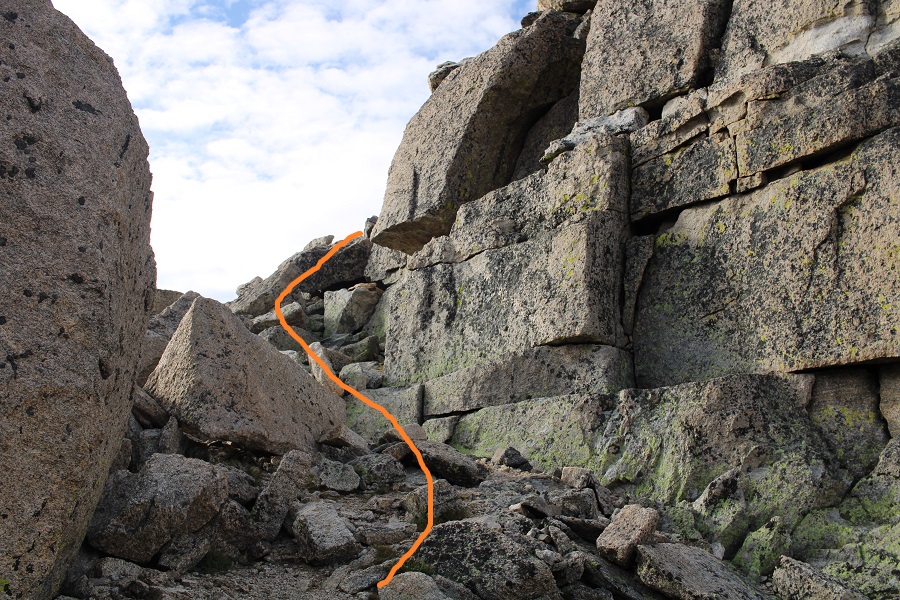
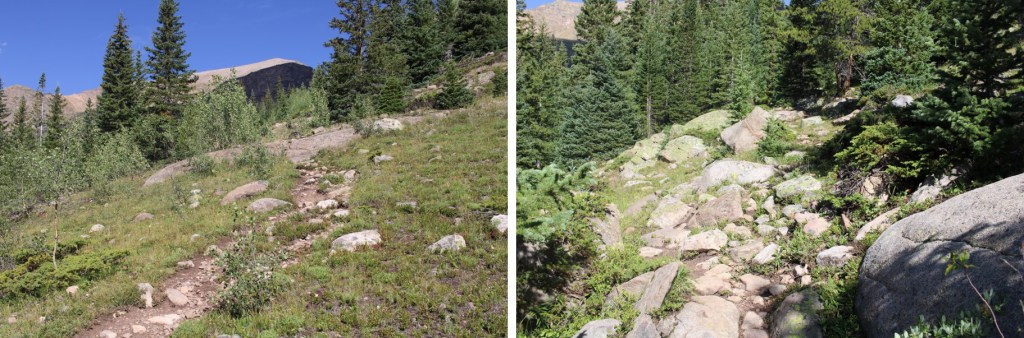
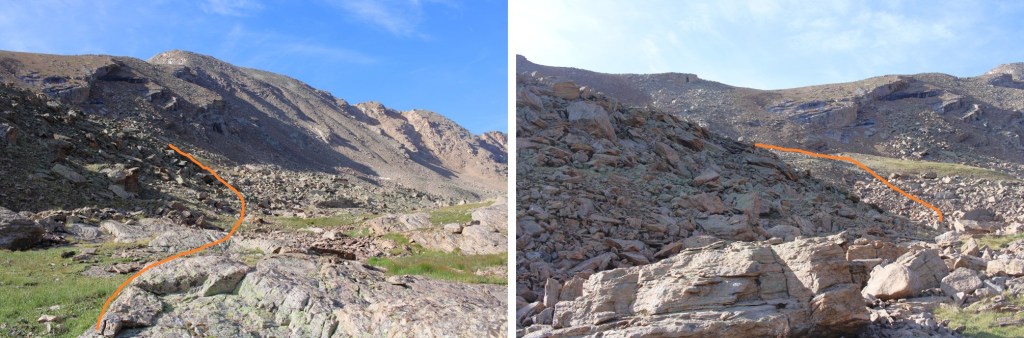
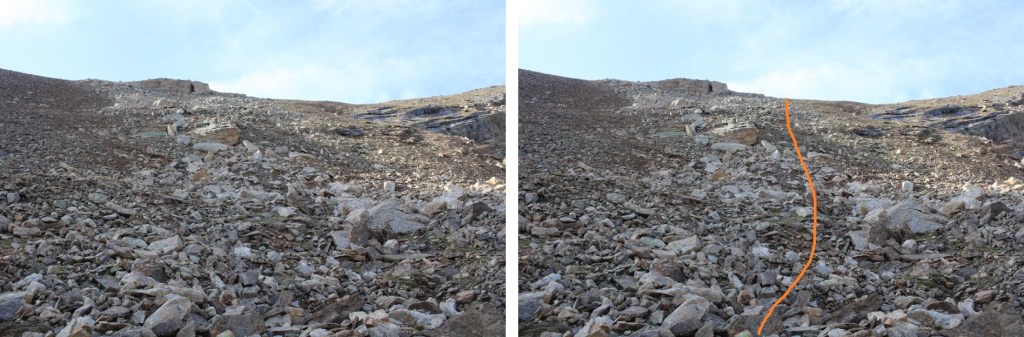
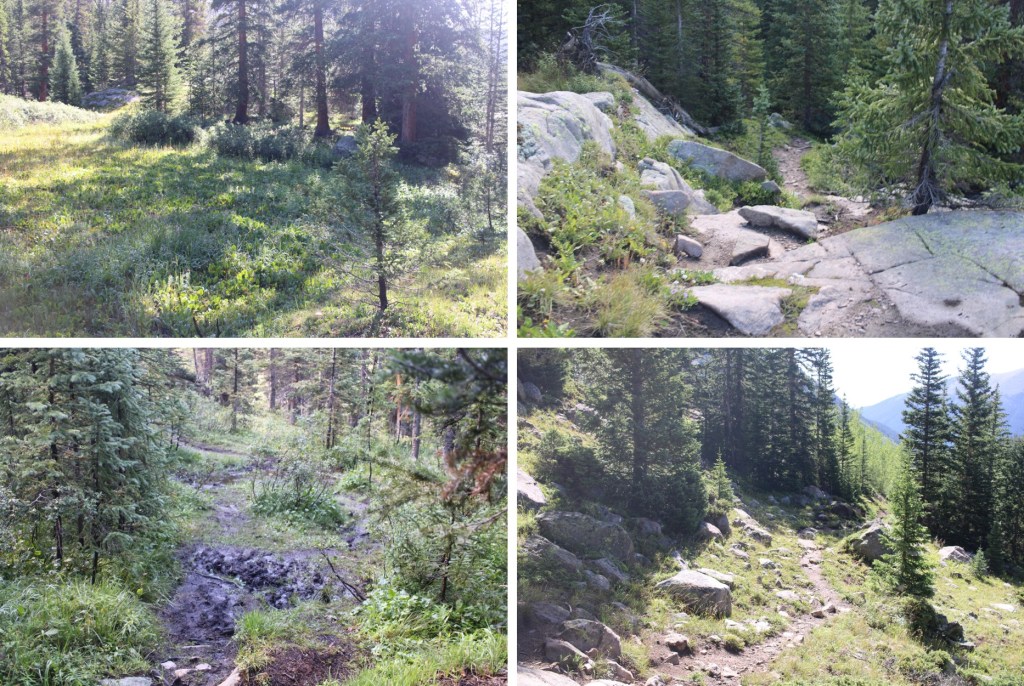
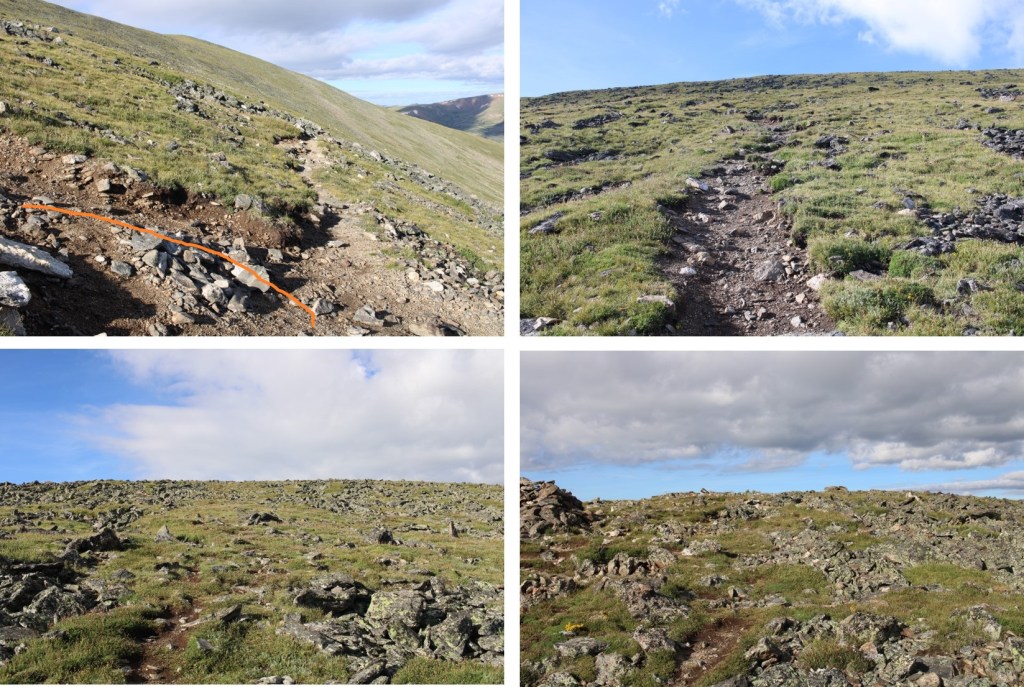
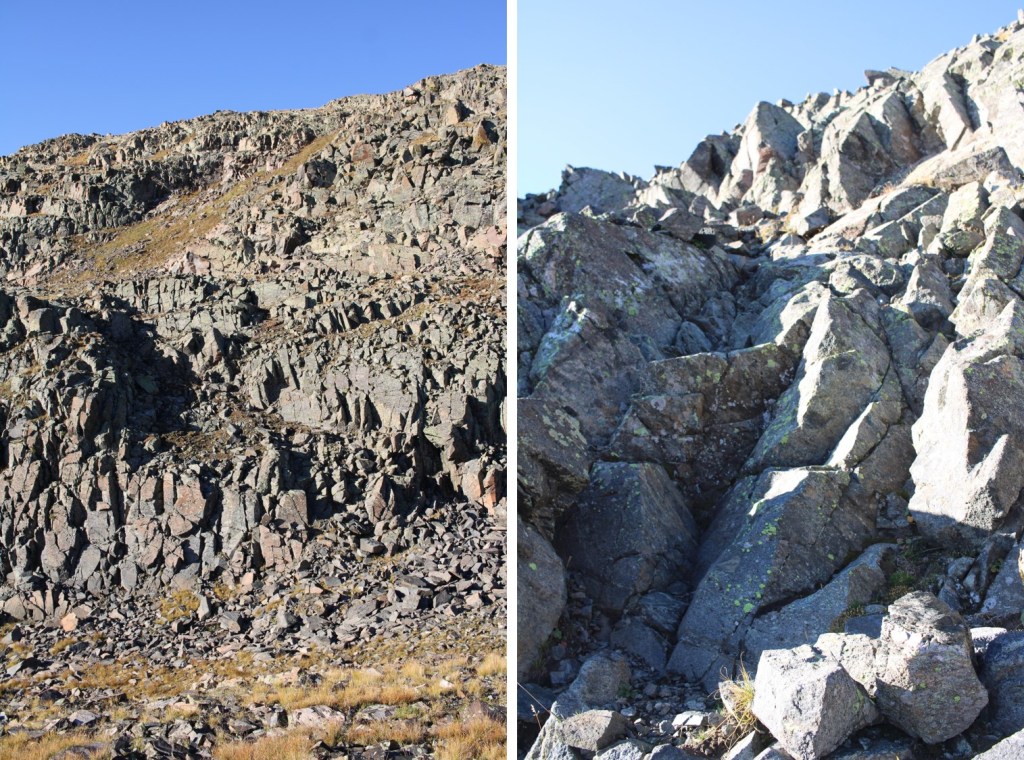
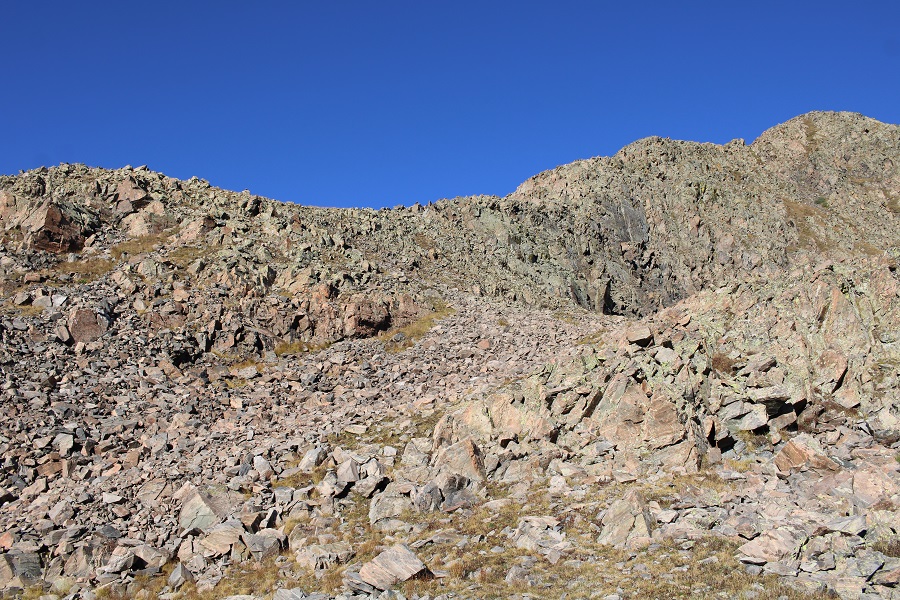
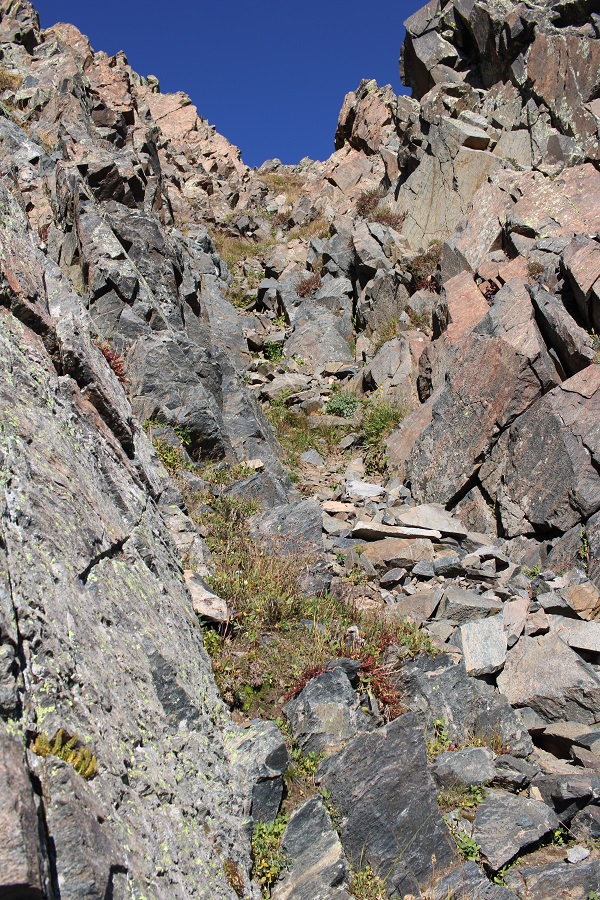
This is all class 2, and easy to navigate. Here’s a picture of the gully that will lead you to the ridge. This is a class 2 gully, and you’ll find a game trail if you stick to climbers left.

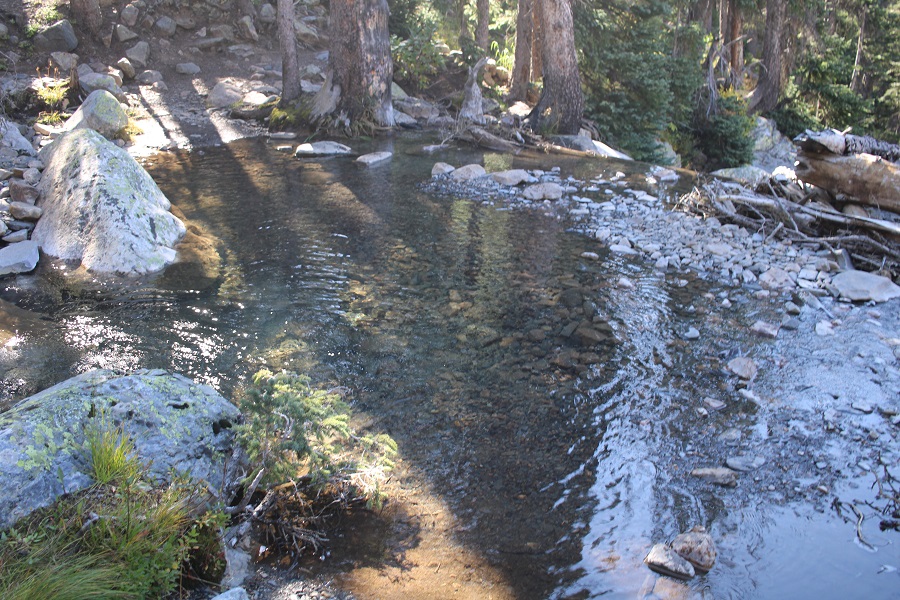
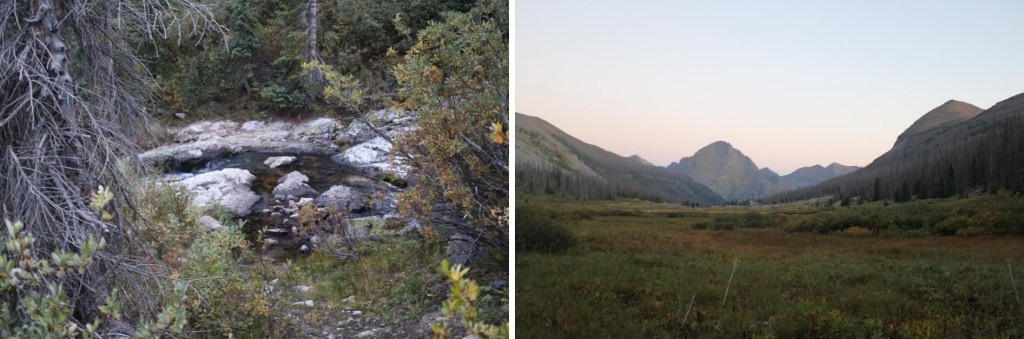
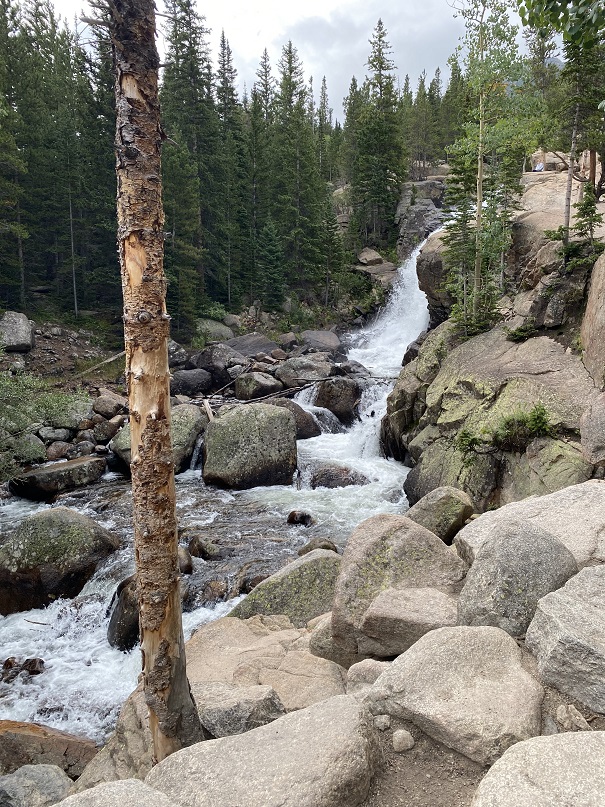
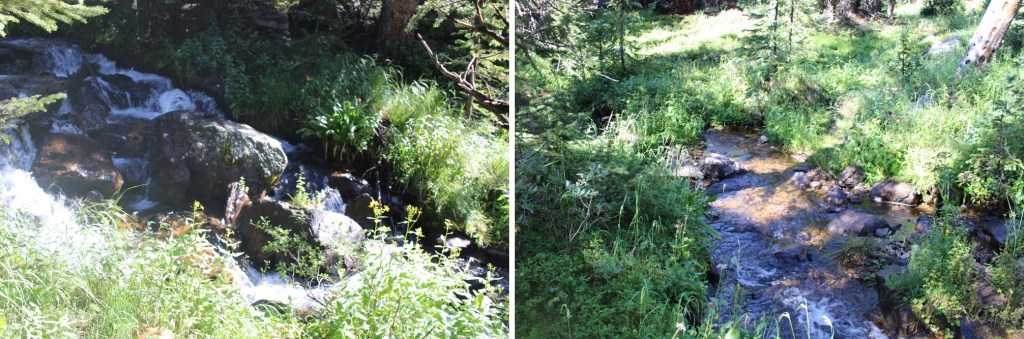
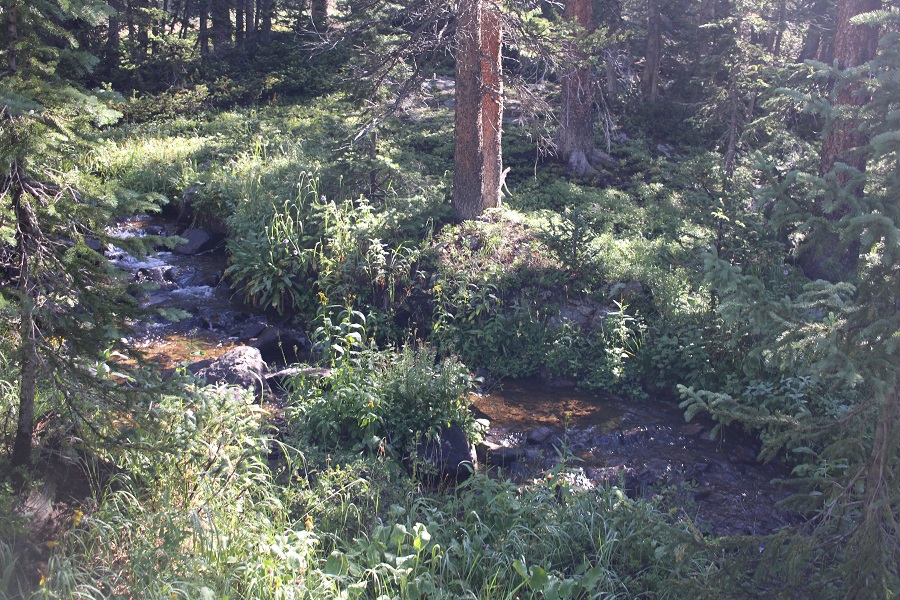
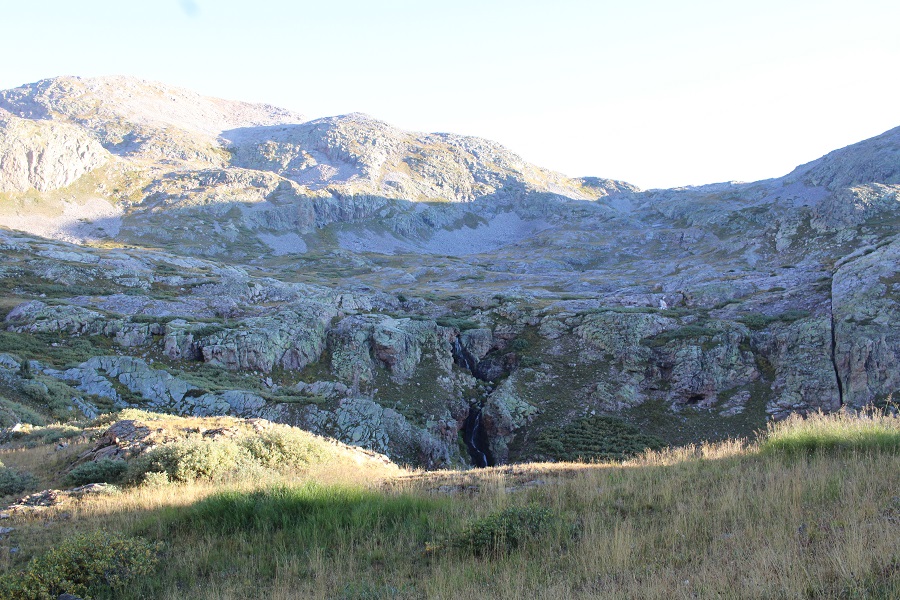
From the top of the gully, looking back on the route I took there, I had a better view of the gorge I’d been trying to avoid. There was a beautiful waterfall I hadn’t been able to see from the other side.
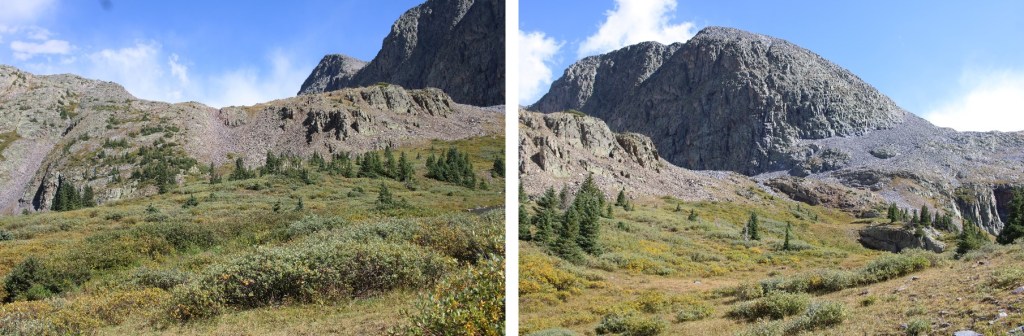
Once on the ridge, I turned right and followed it southwest.
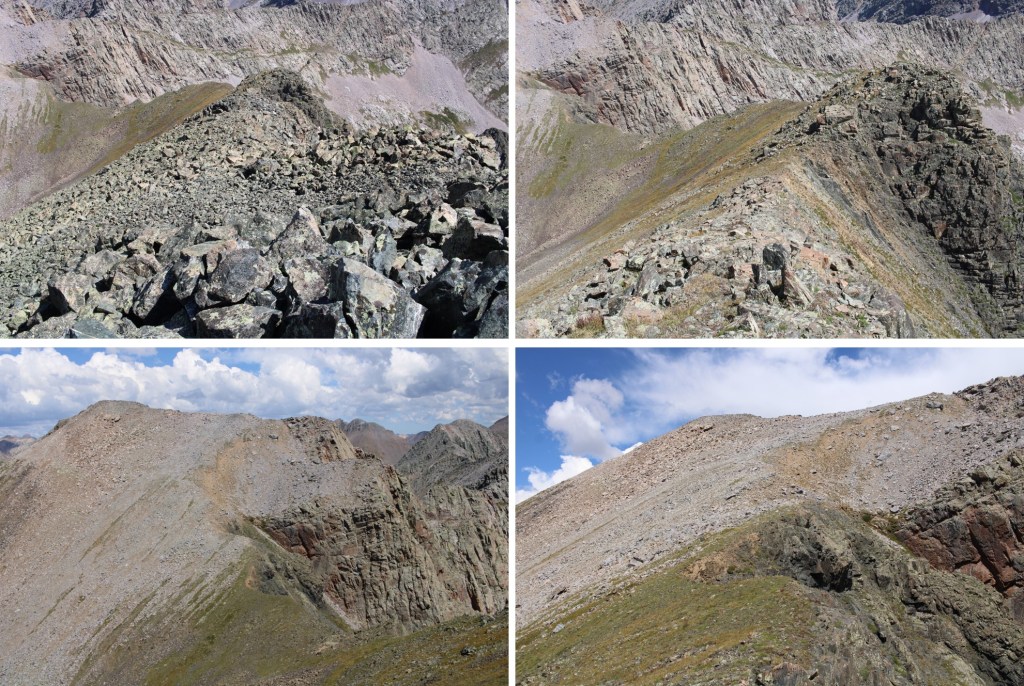
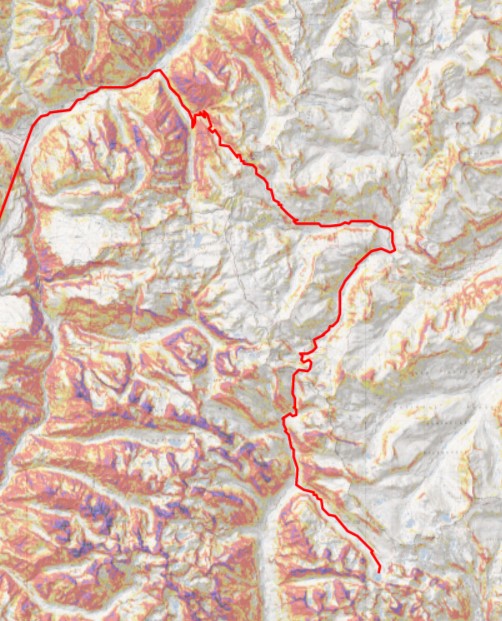
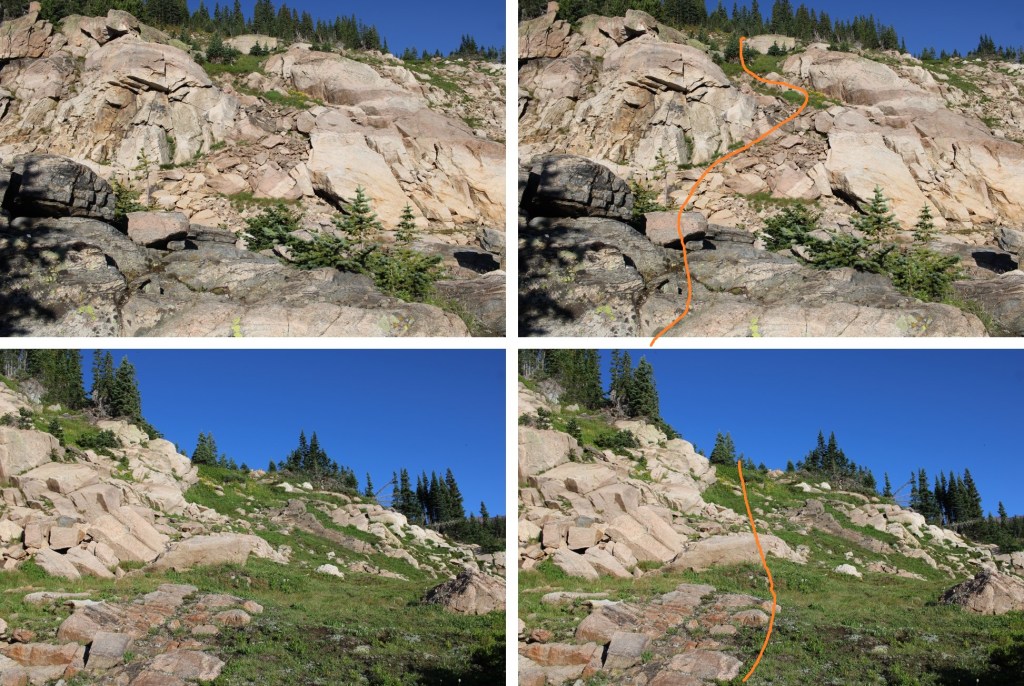
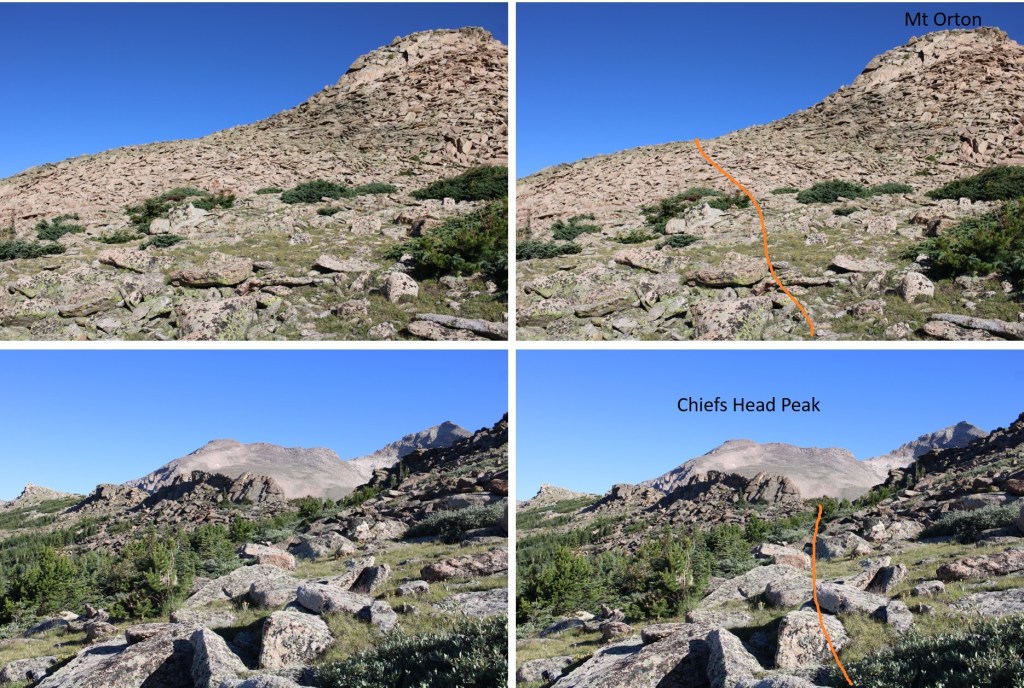
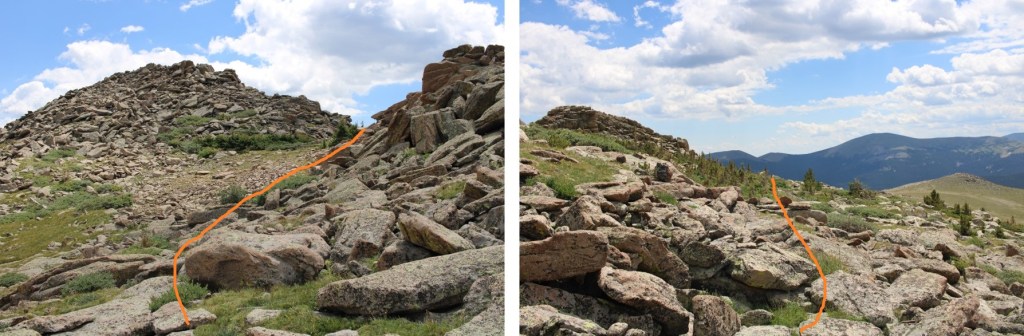
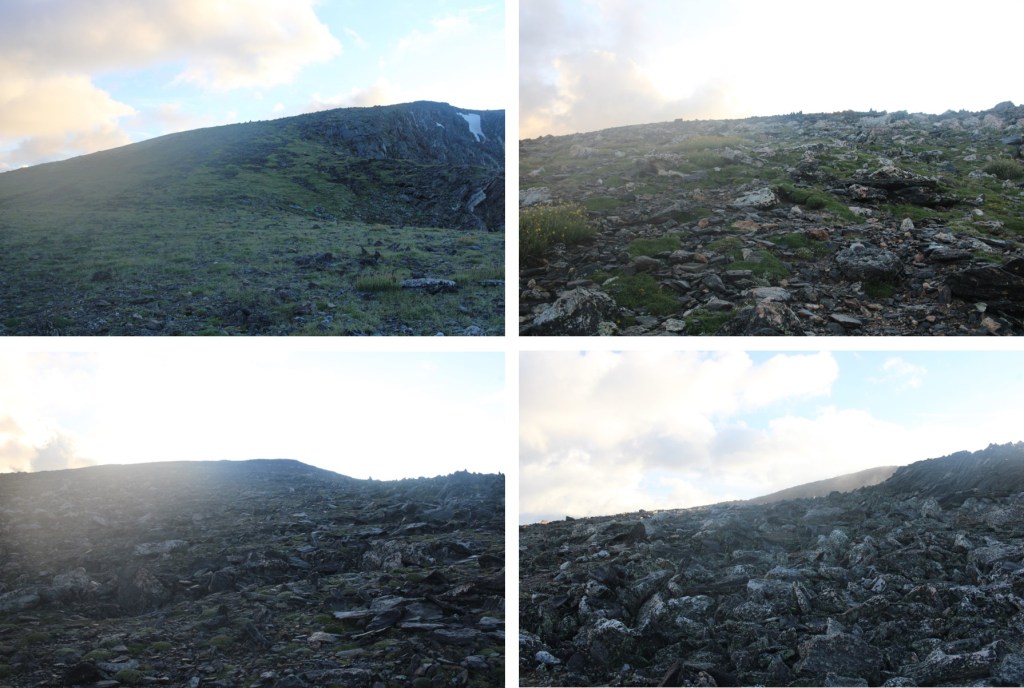
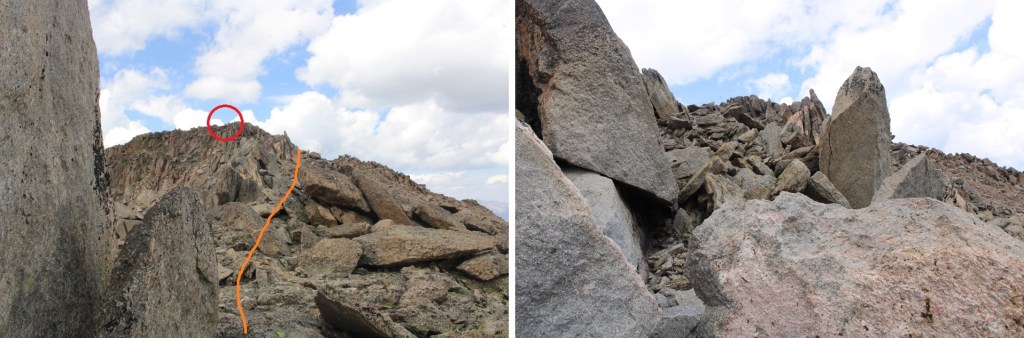
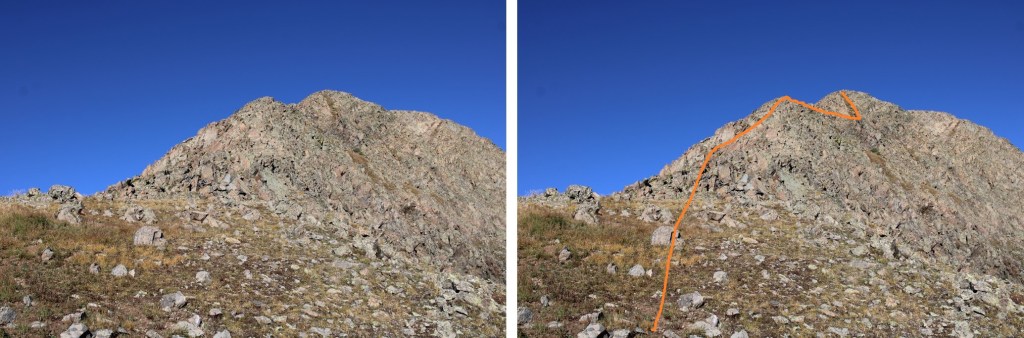
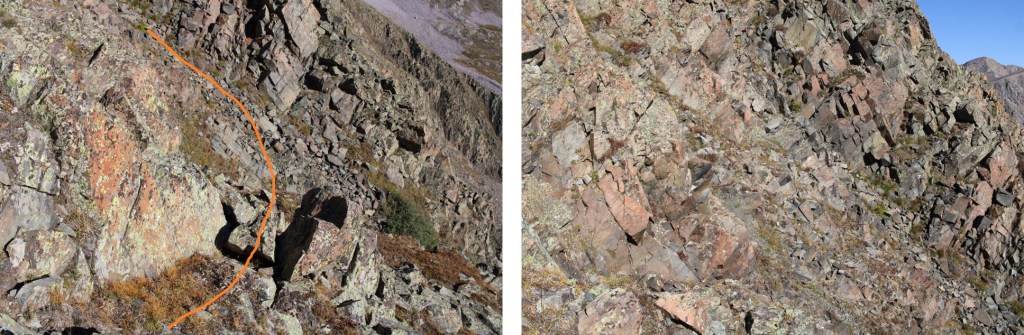
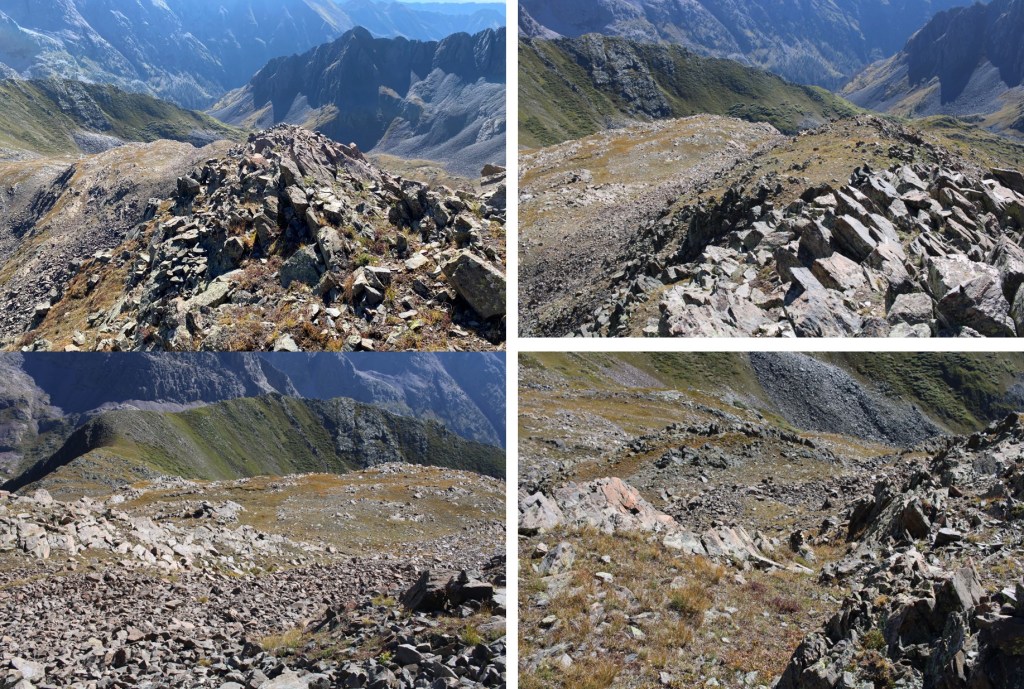
After about a quarter mile of class 2 terrain the ridge became class 3 for a bit. I spent a lot of time putting together cairns for the rest of the route. This is the route I took

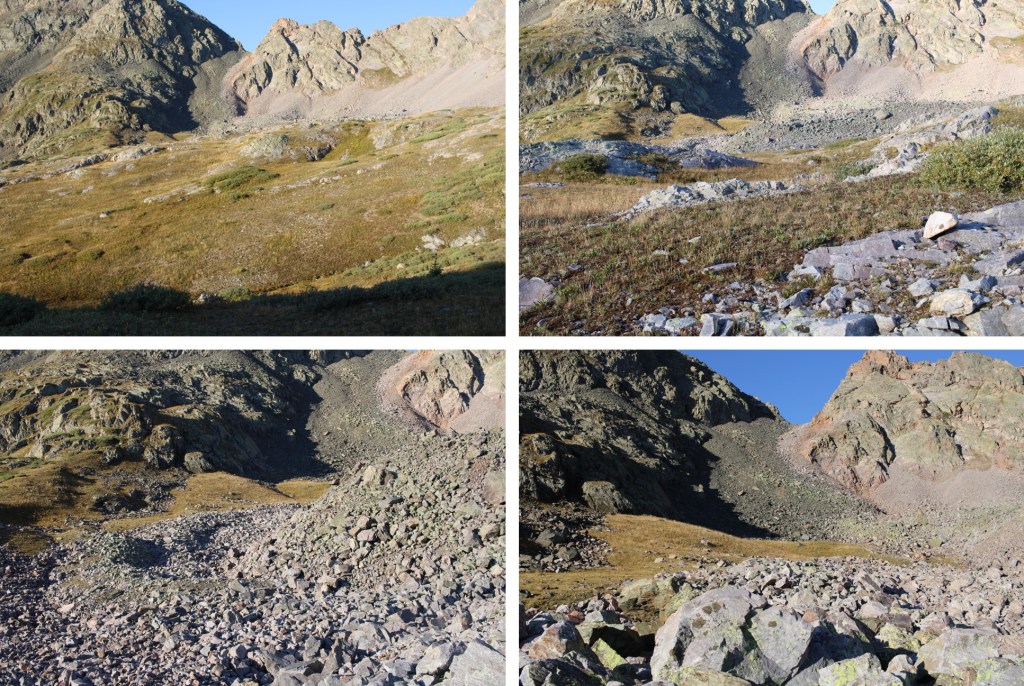
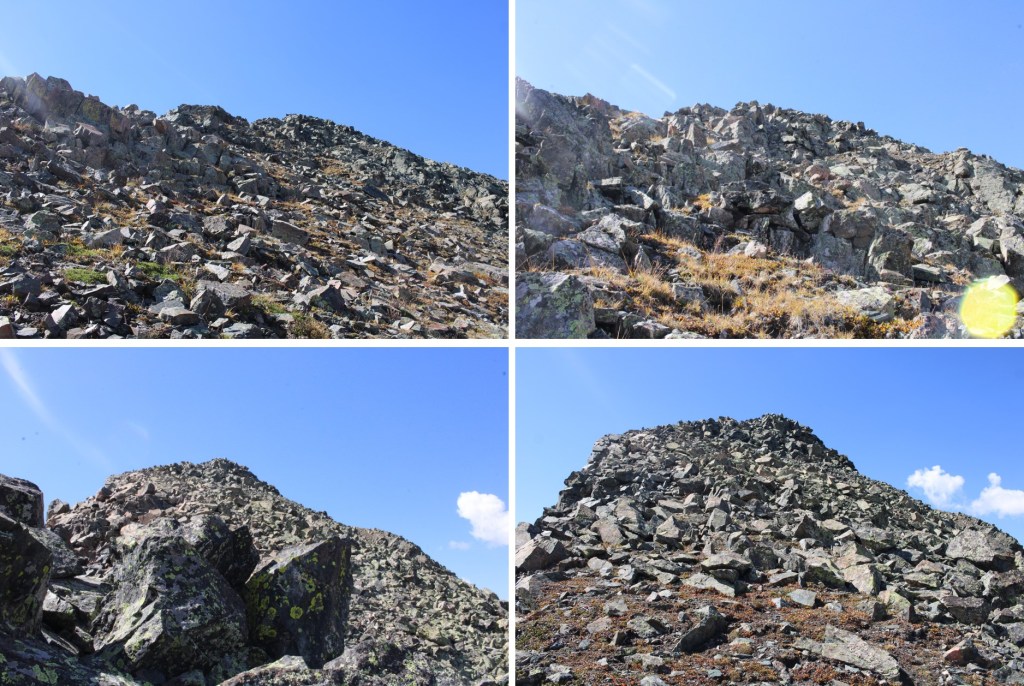
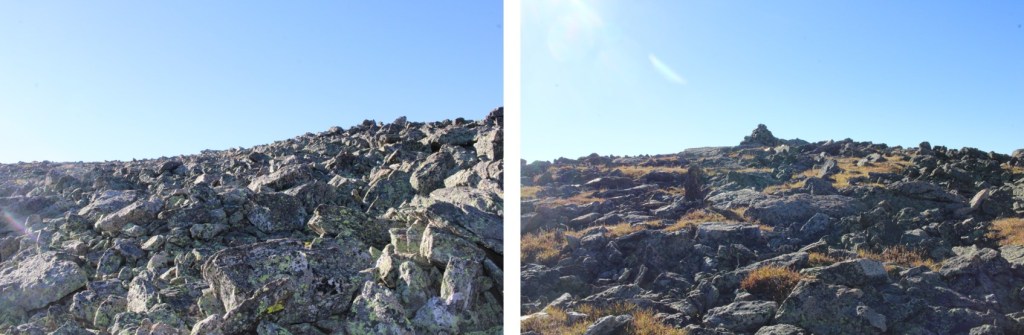
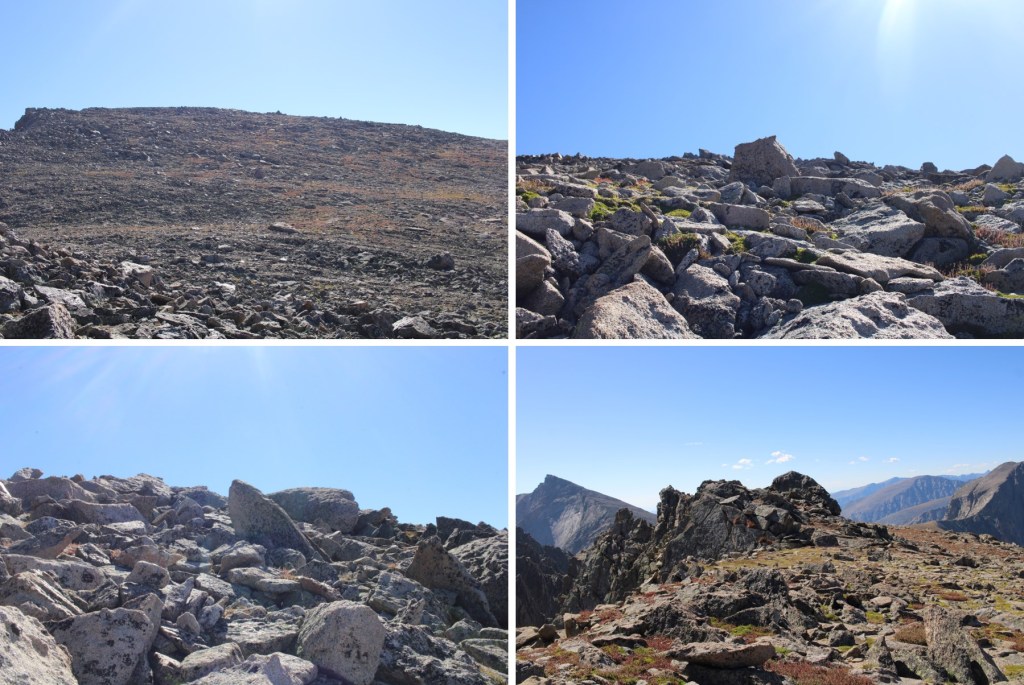
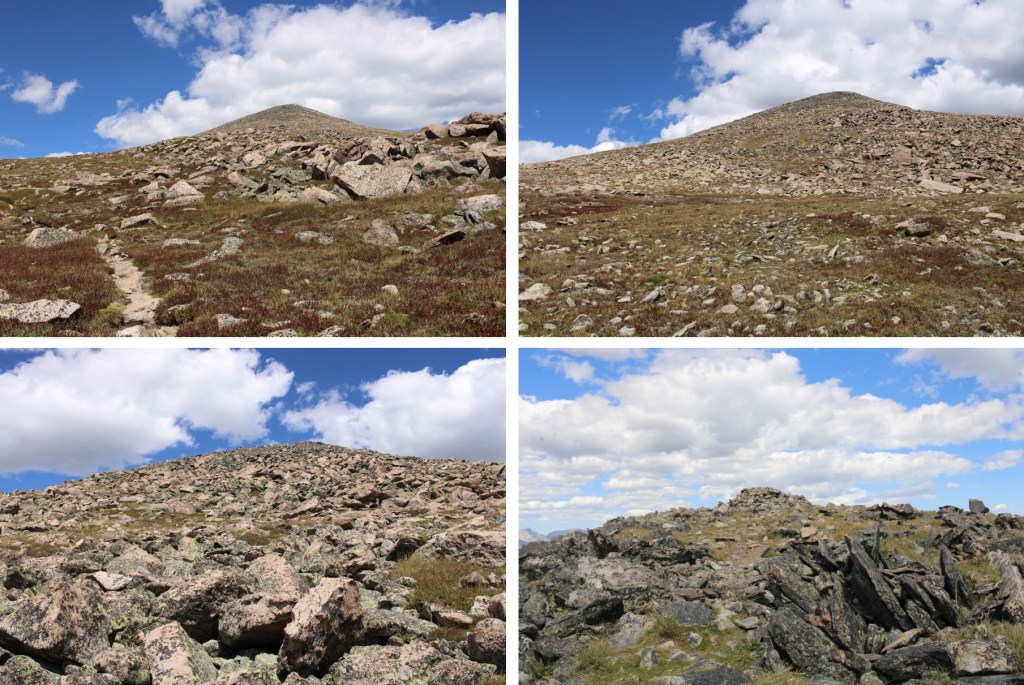
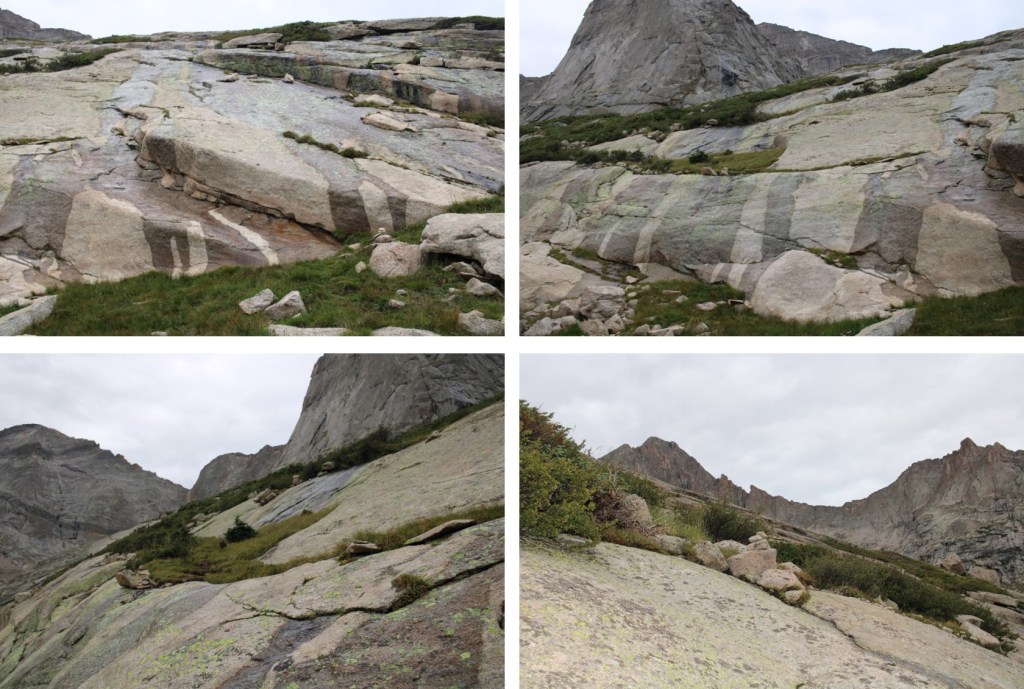
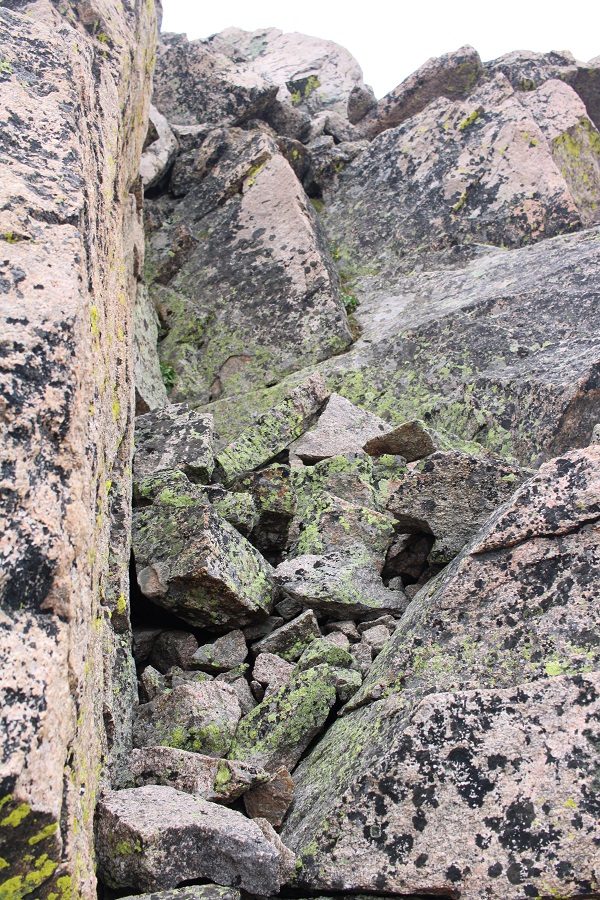
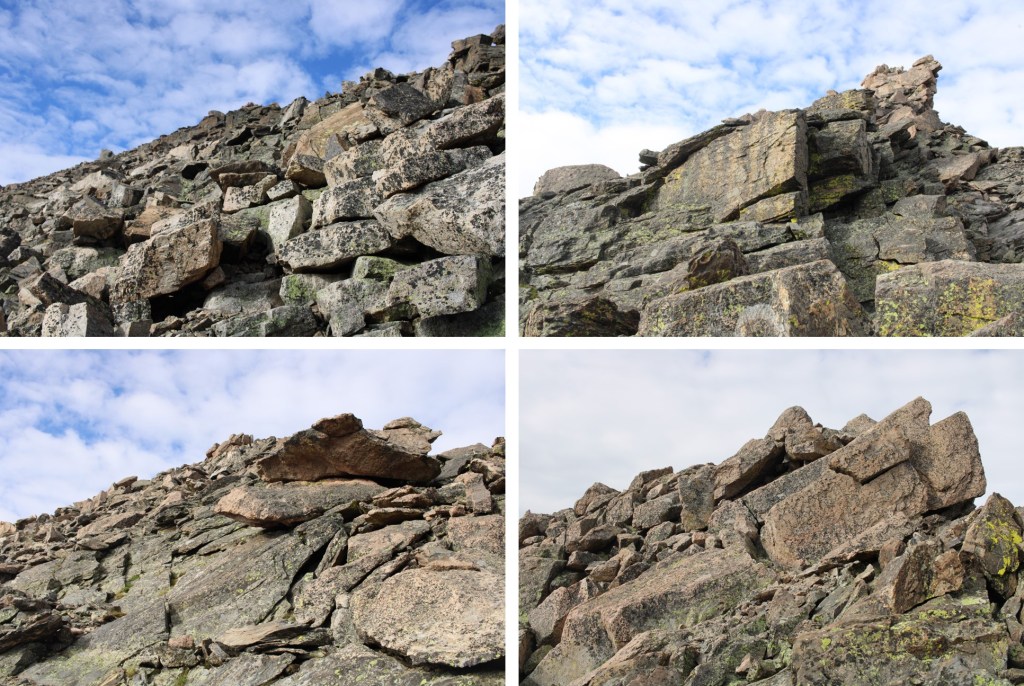
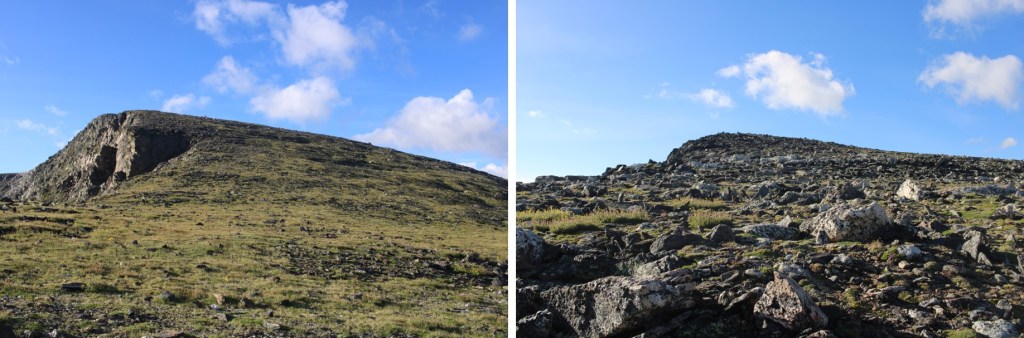
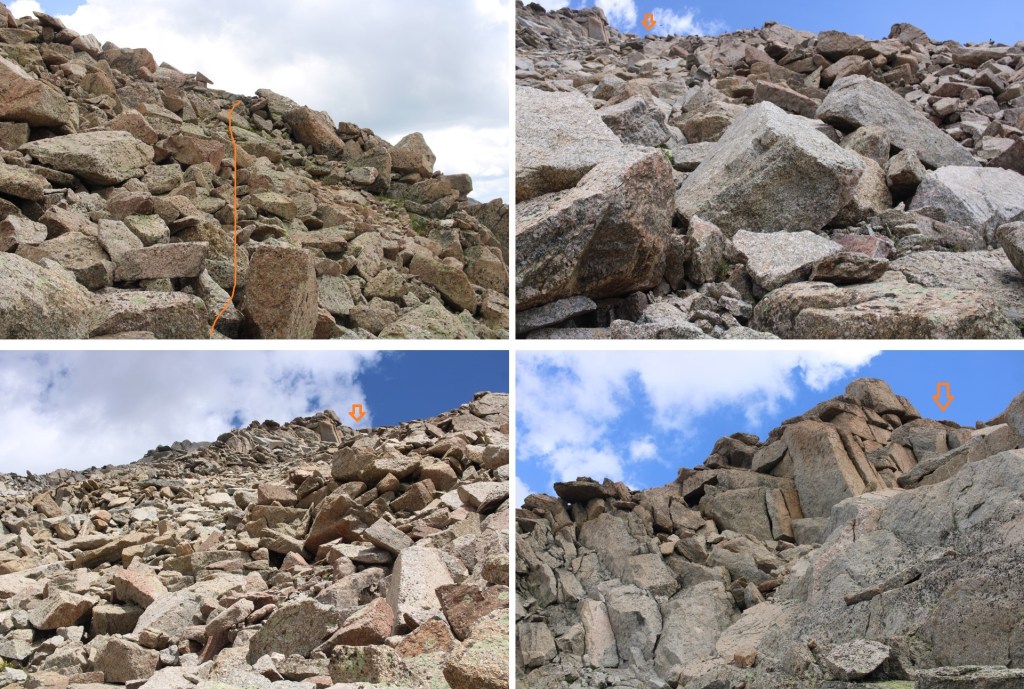
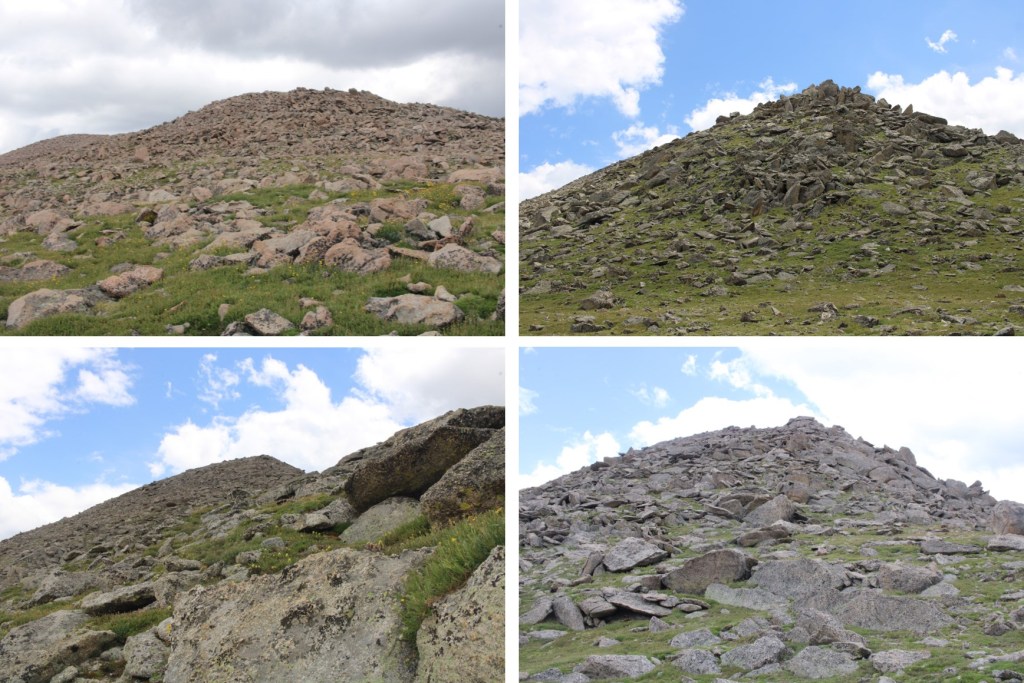
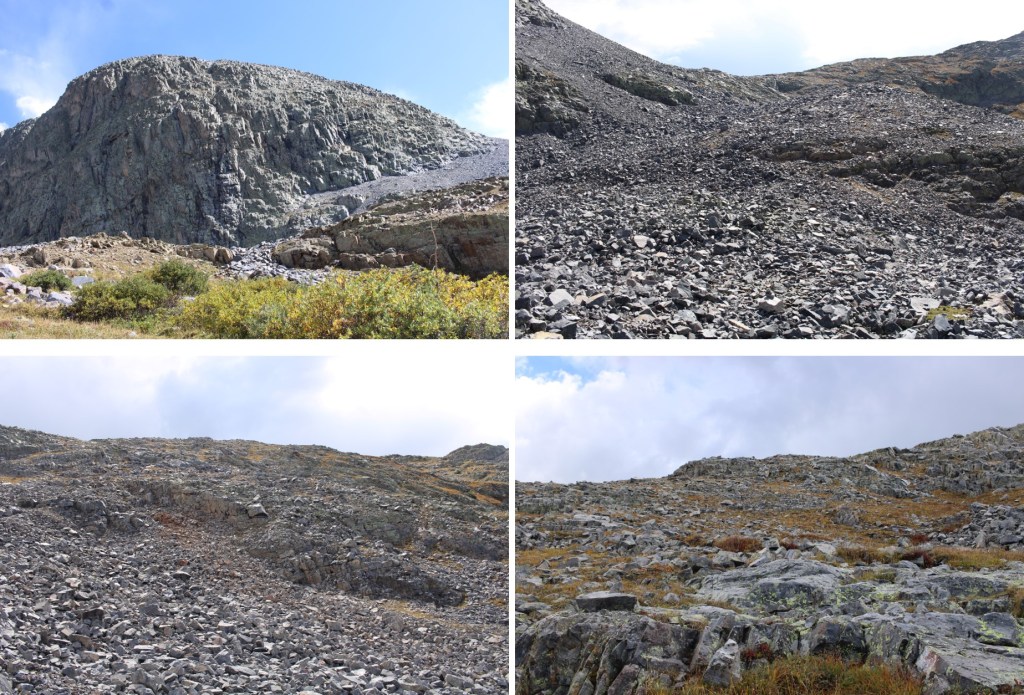
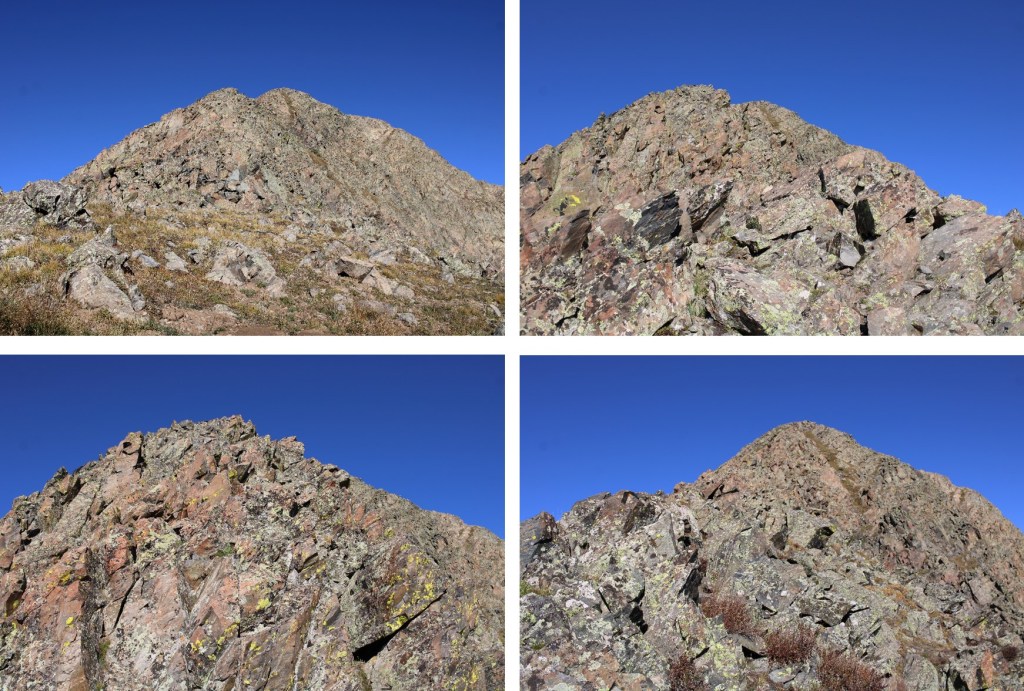
Here are some step-by-step pictures. Most of this is class 2, with some easy class 3 thrown in

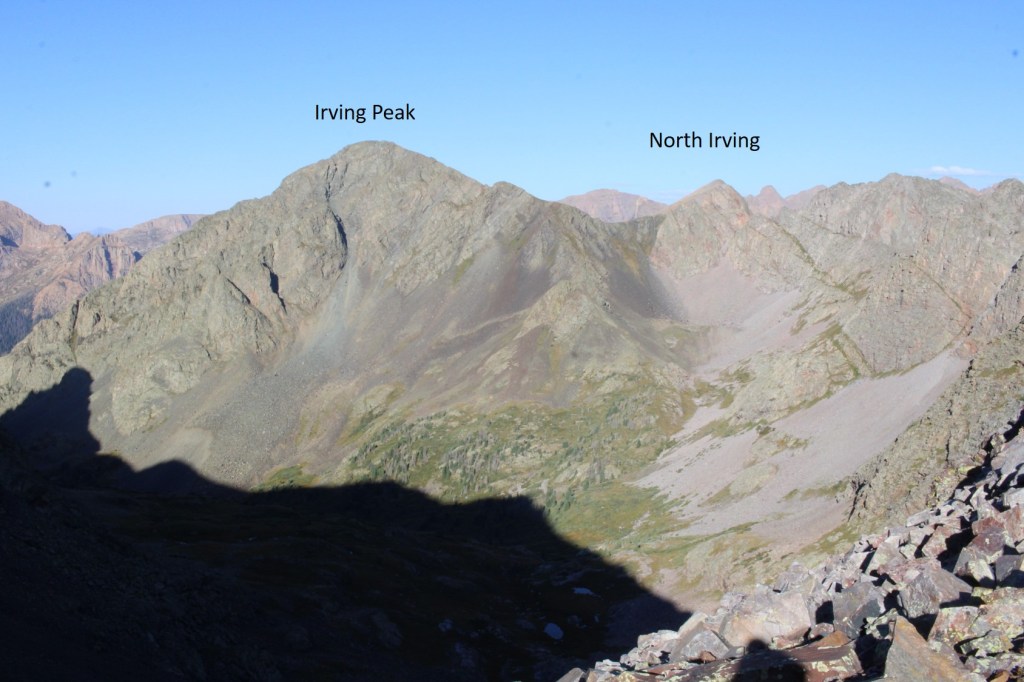
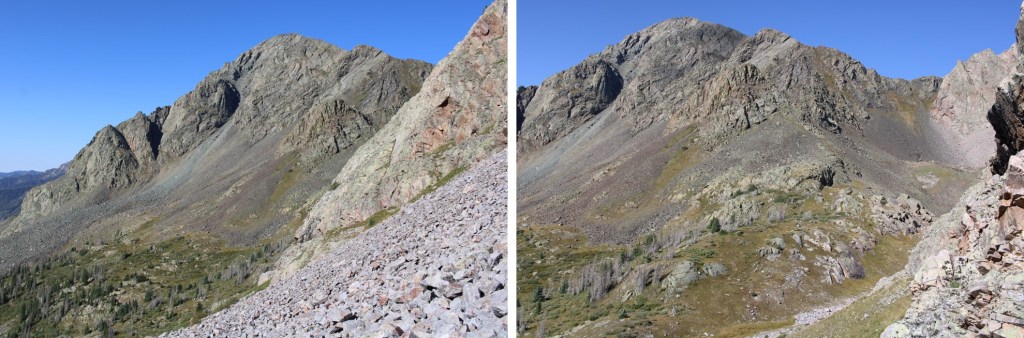
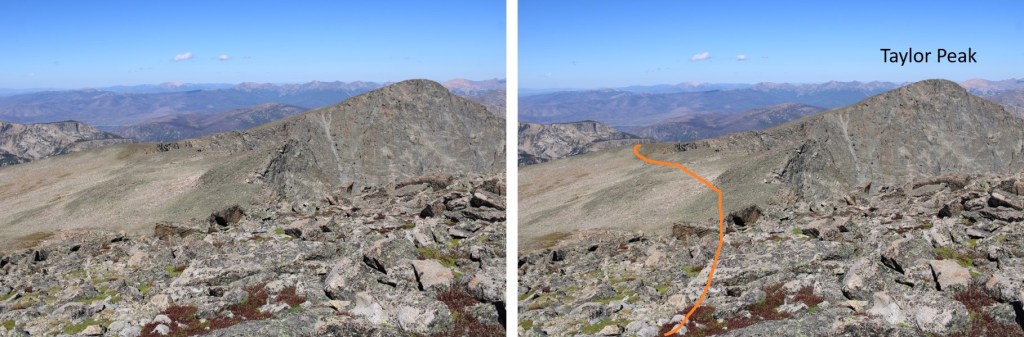
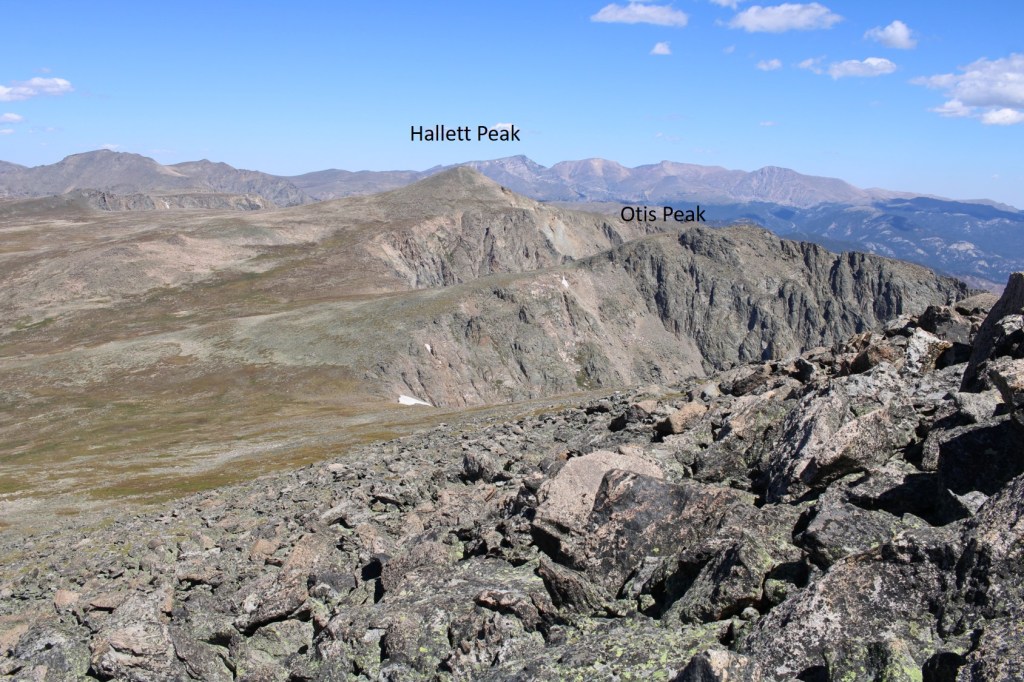
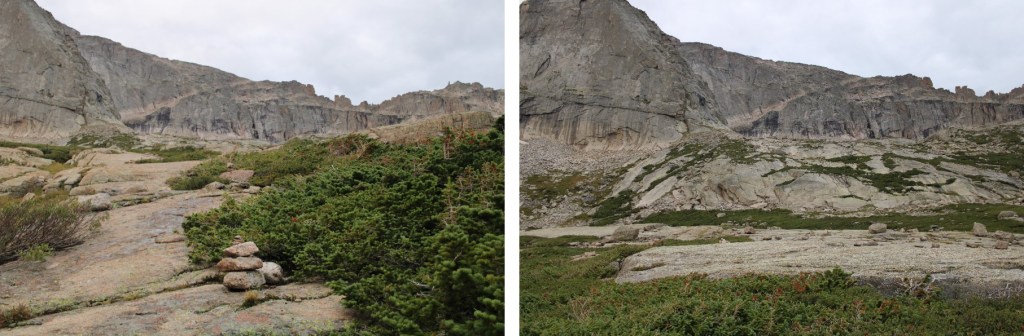
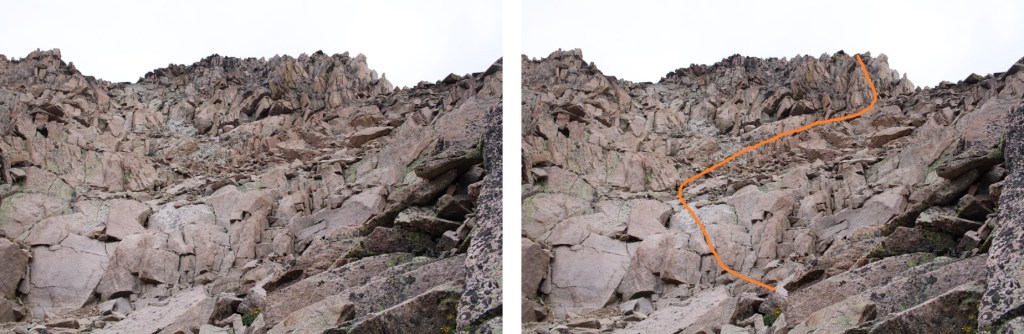
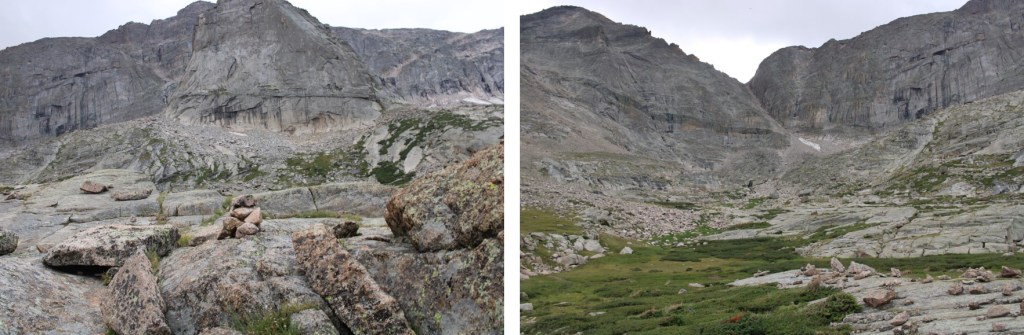
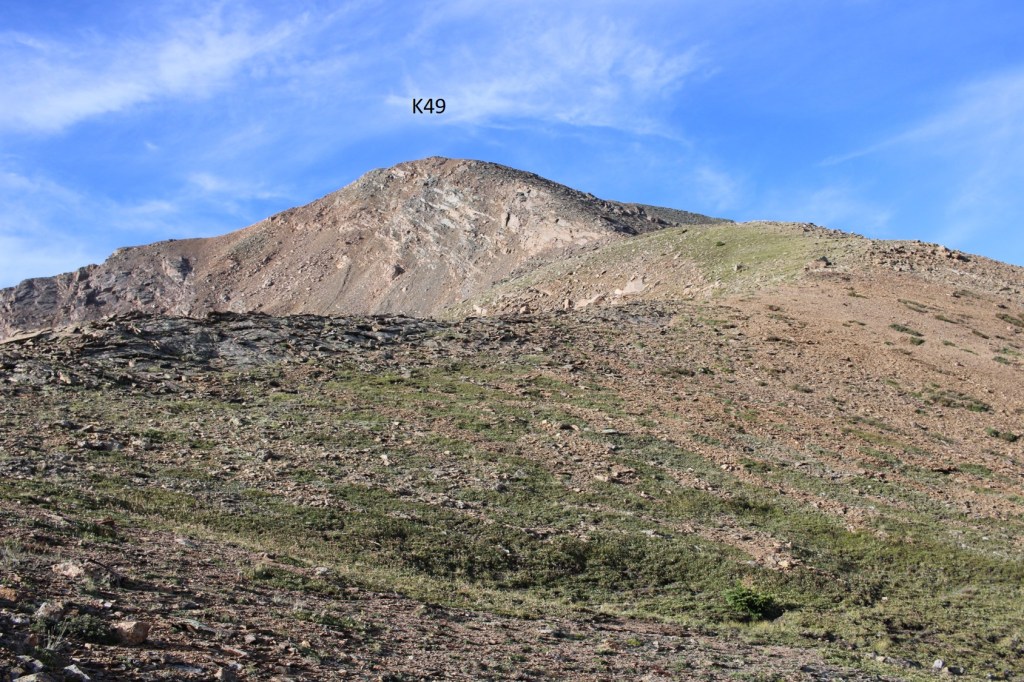
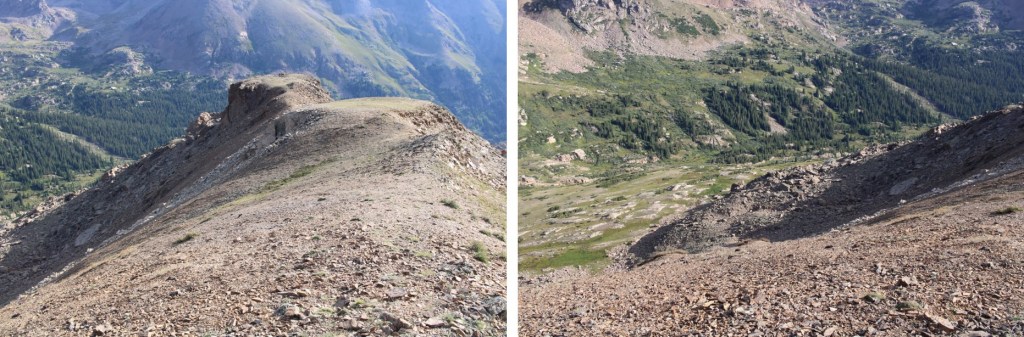
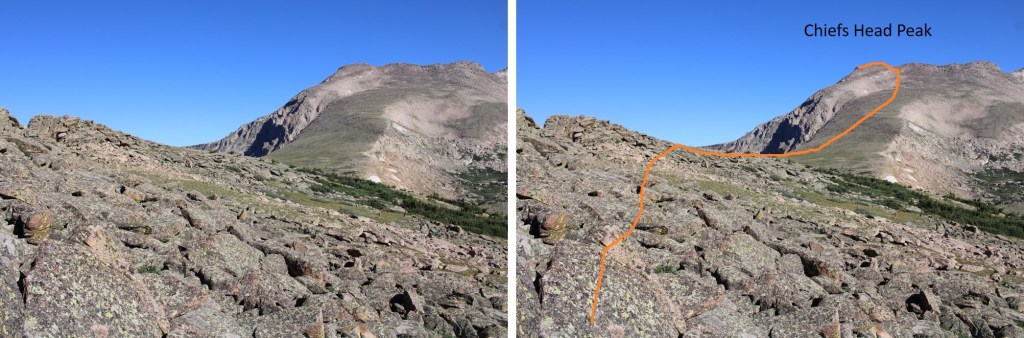
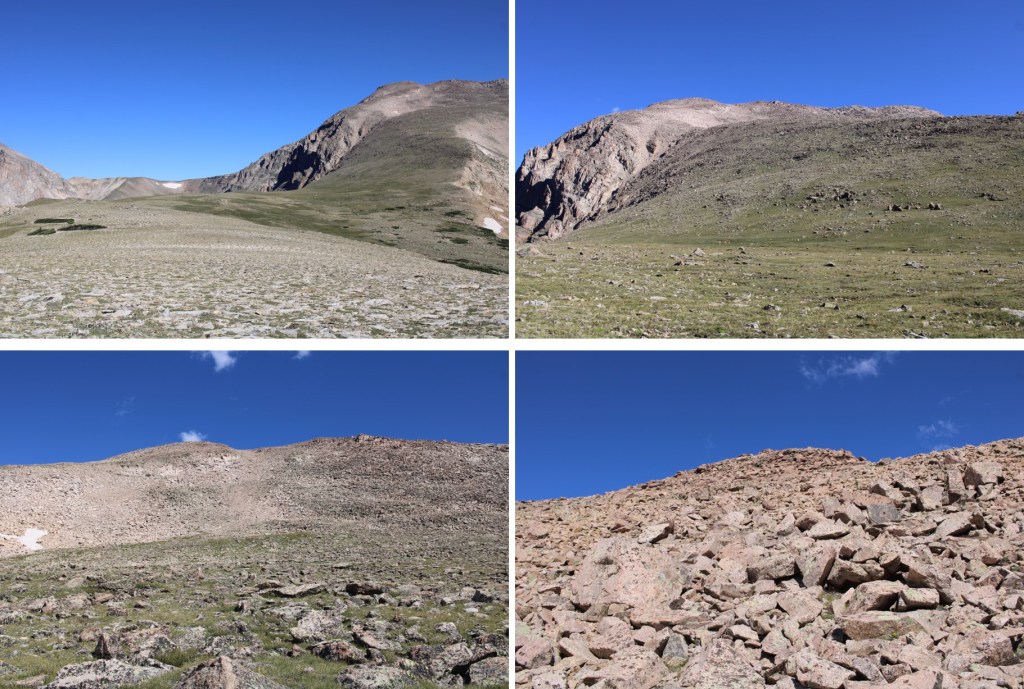
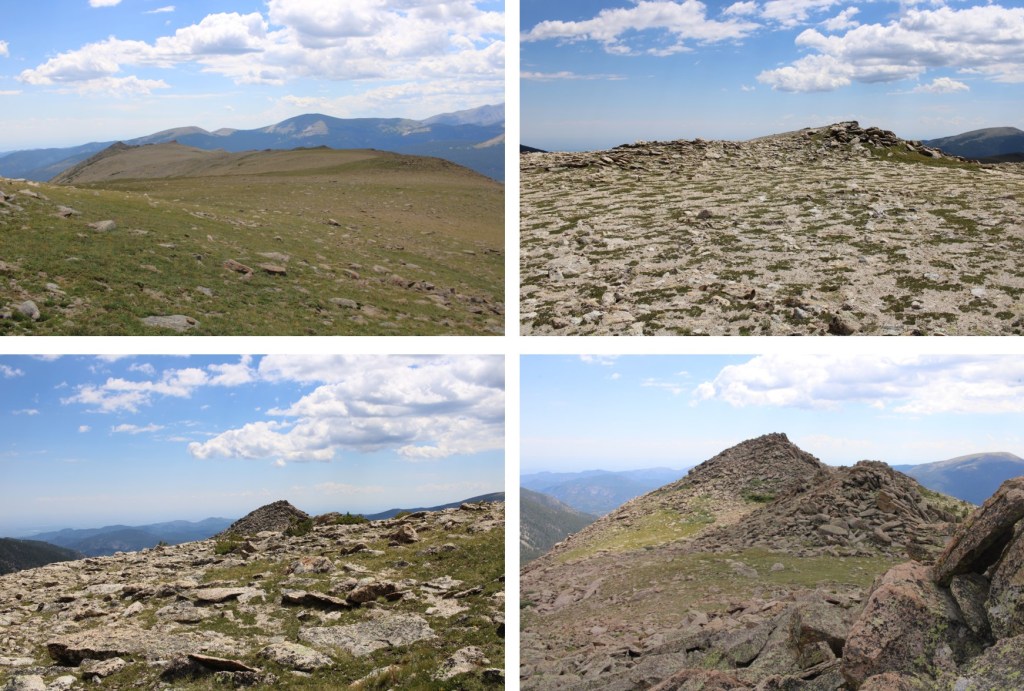
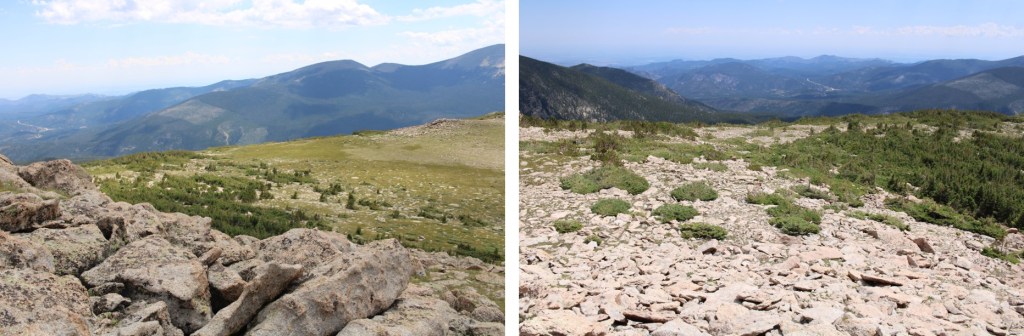
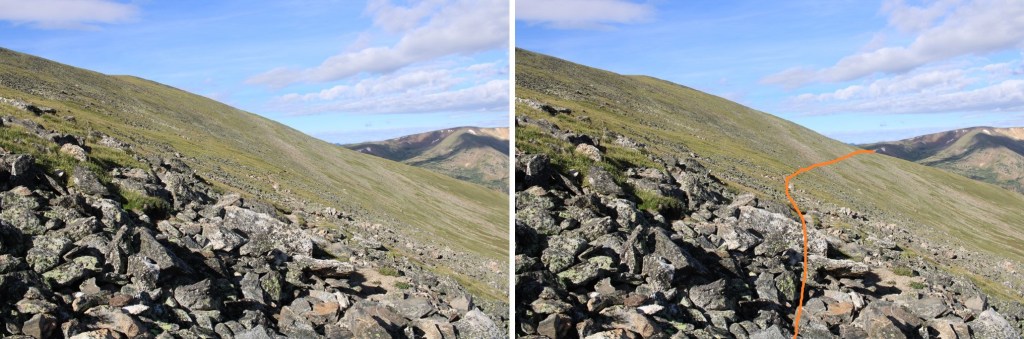
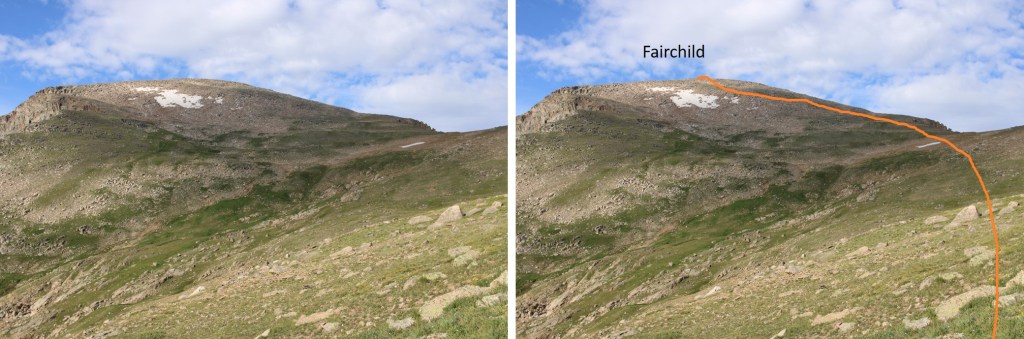
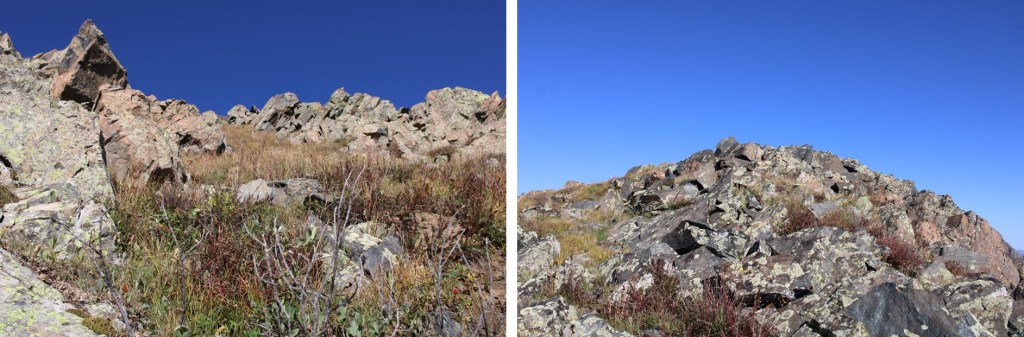
Now is a good time to get a visual on the rest of your route. The upper ridge is sustained class 3, but I dipped down a bit and took the grassy gully to the summit
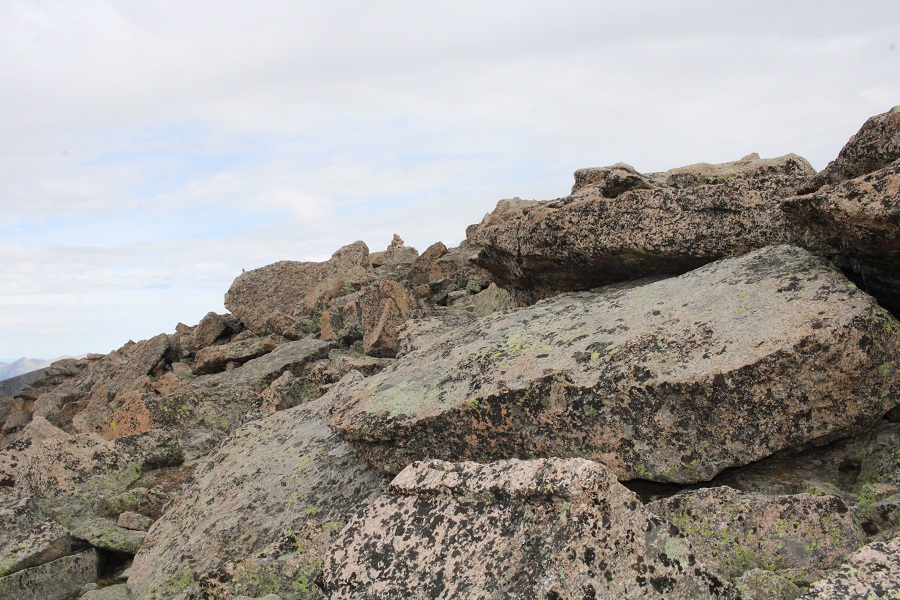
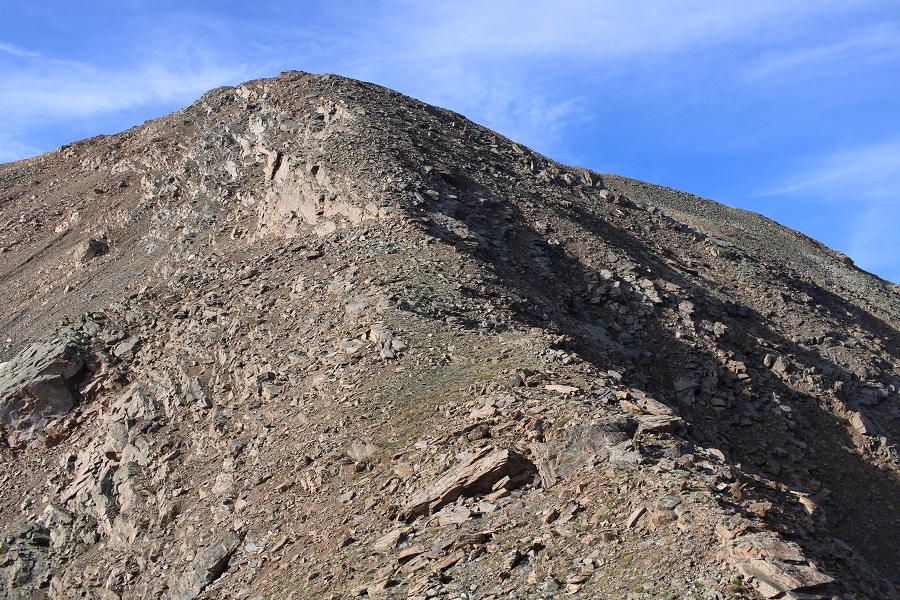
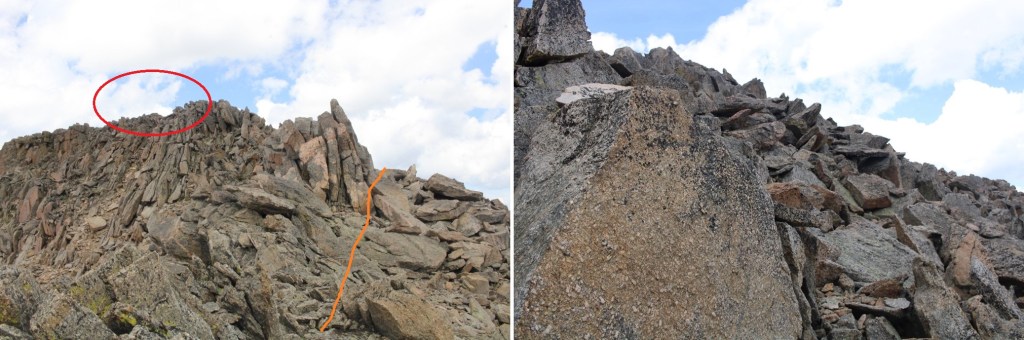
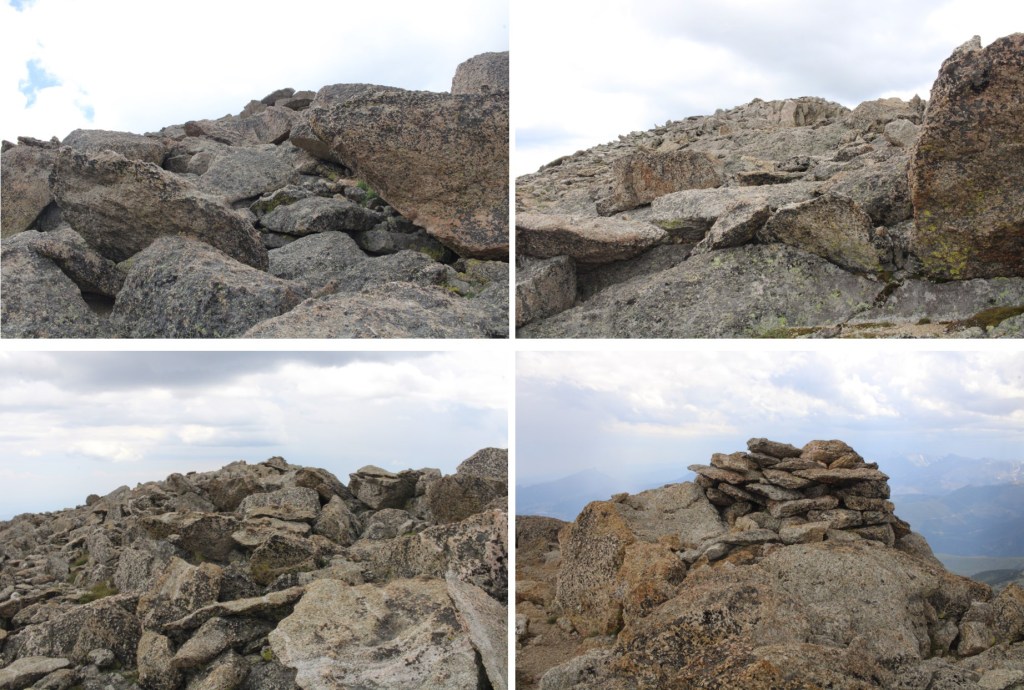
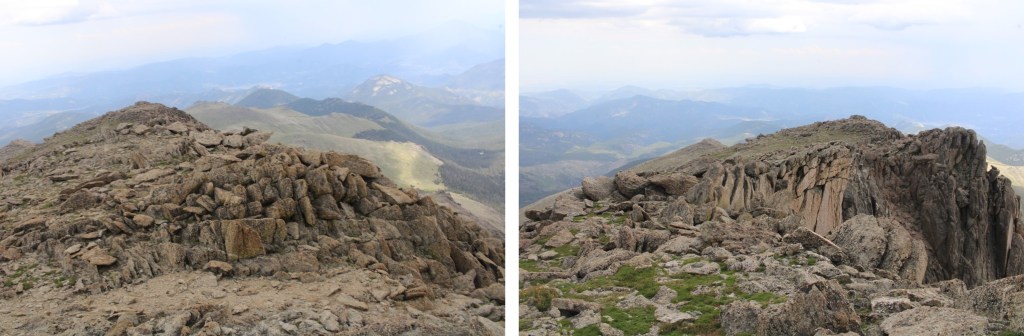
Here’s a better look at the ridge
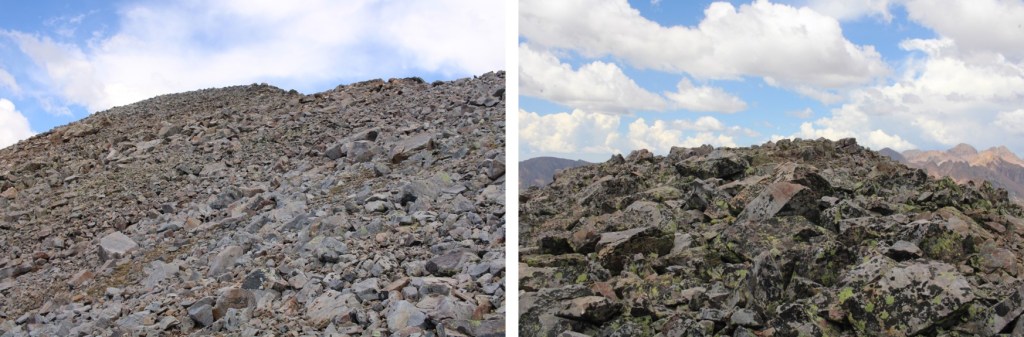
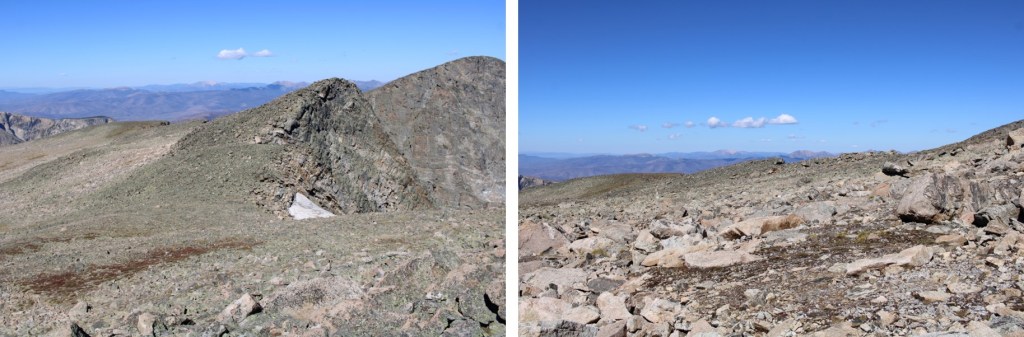
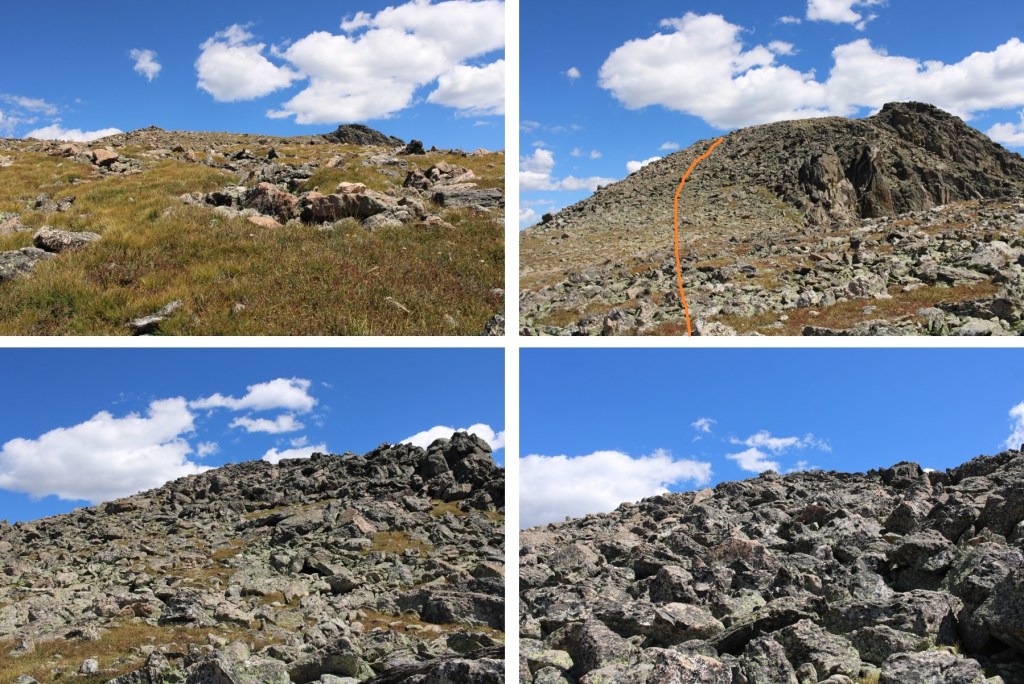
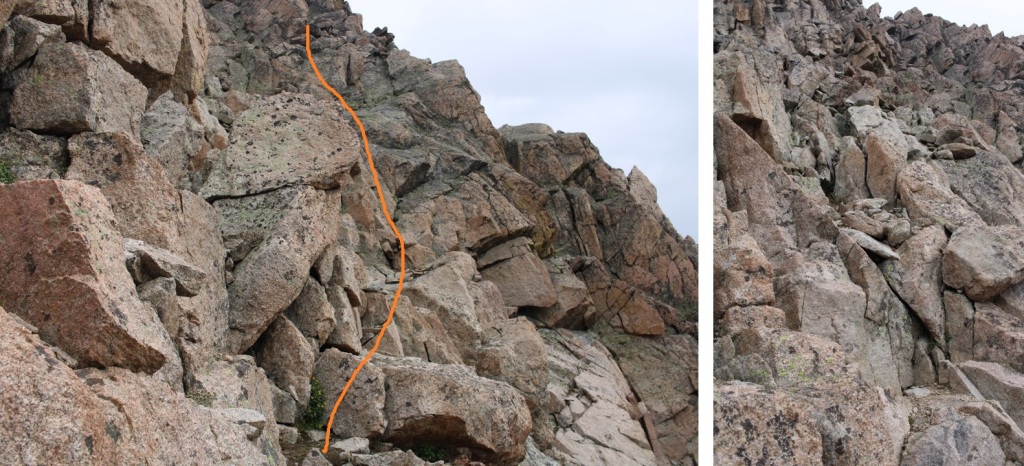
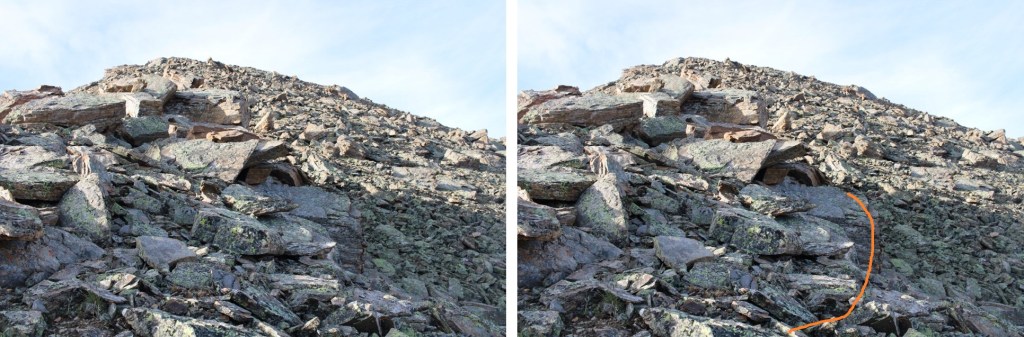
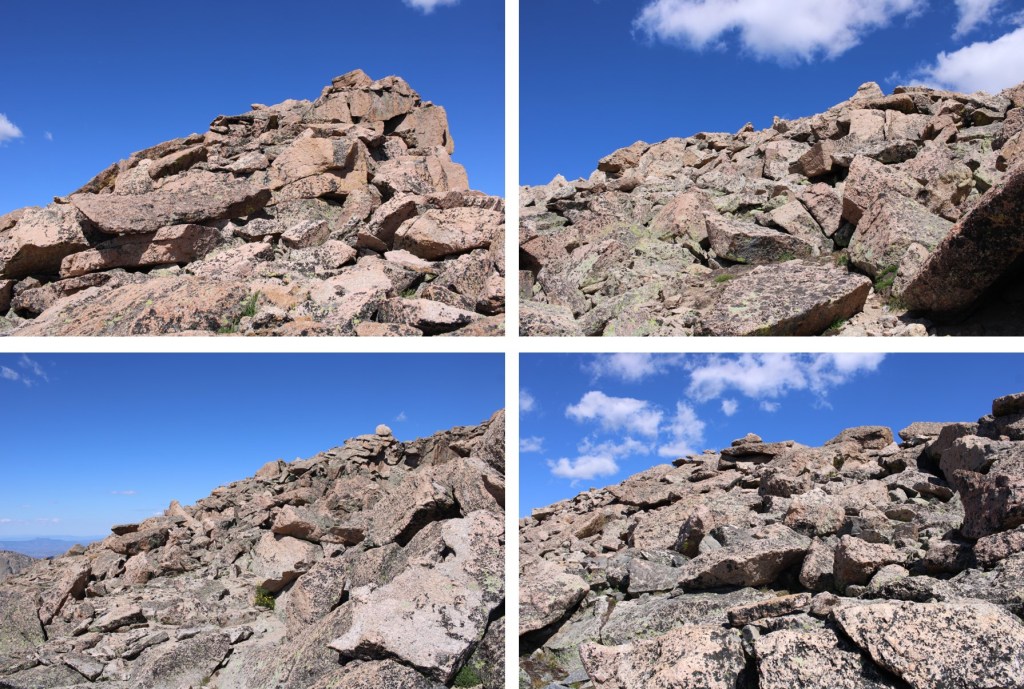
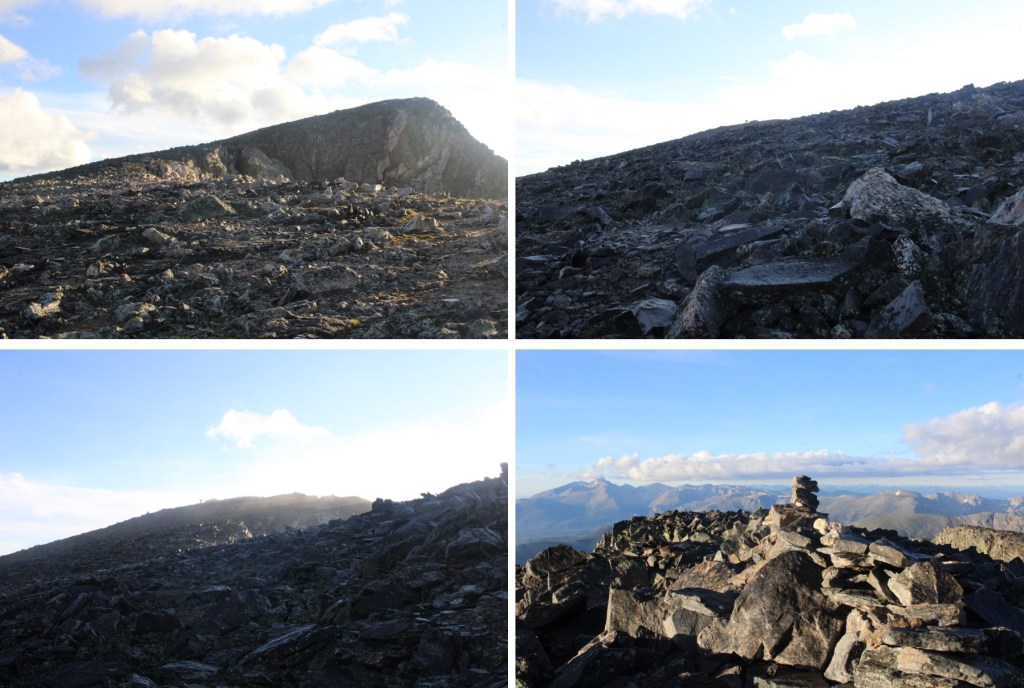
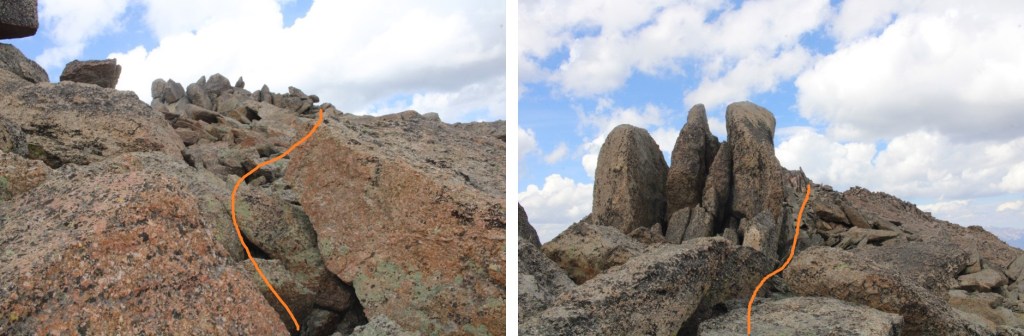
And some close-up pictures of the class 3 scramble. I was able to stay directly on the top of the ridge for this, until I came to just below the grassy area. If you’ve made it this far you can probably just go straight up and over the ridge, but I felt safer dropping down and taking the grassy gully up. I put a ton of cairns in the area to help guide the way.
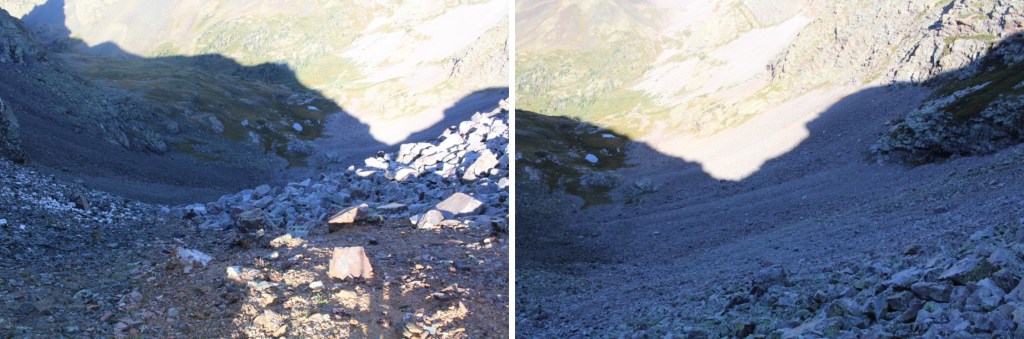
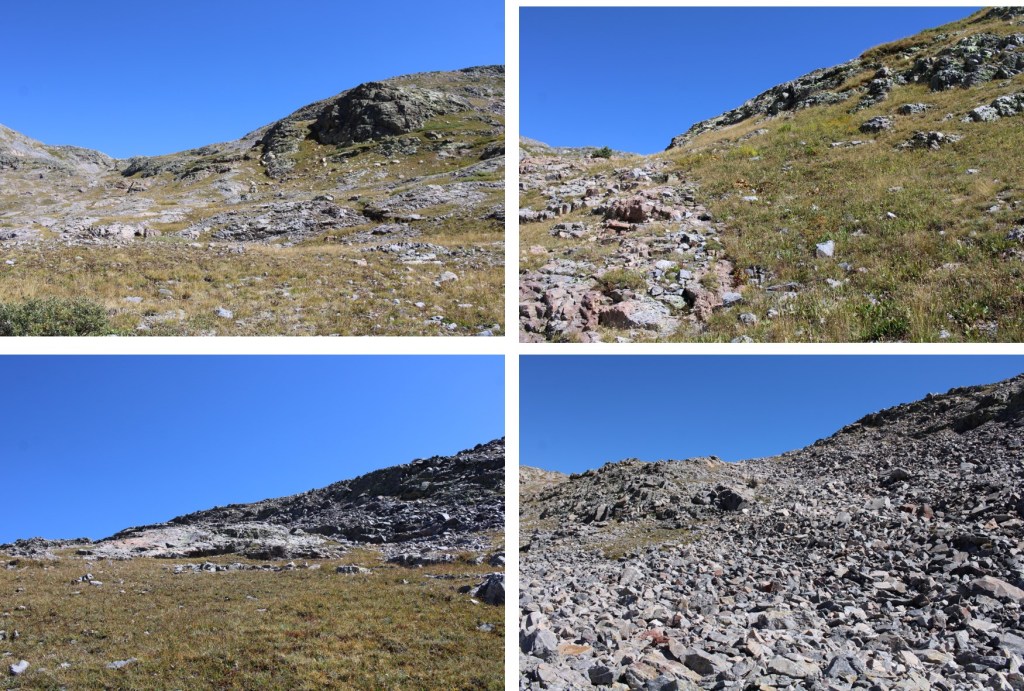
Here’s where I dropped down about 20 feet
And then went up the grassy gully (class 2+)
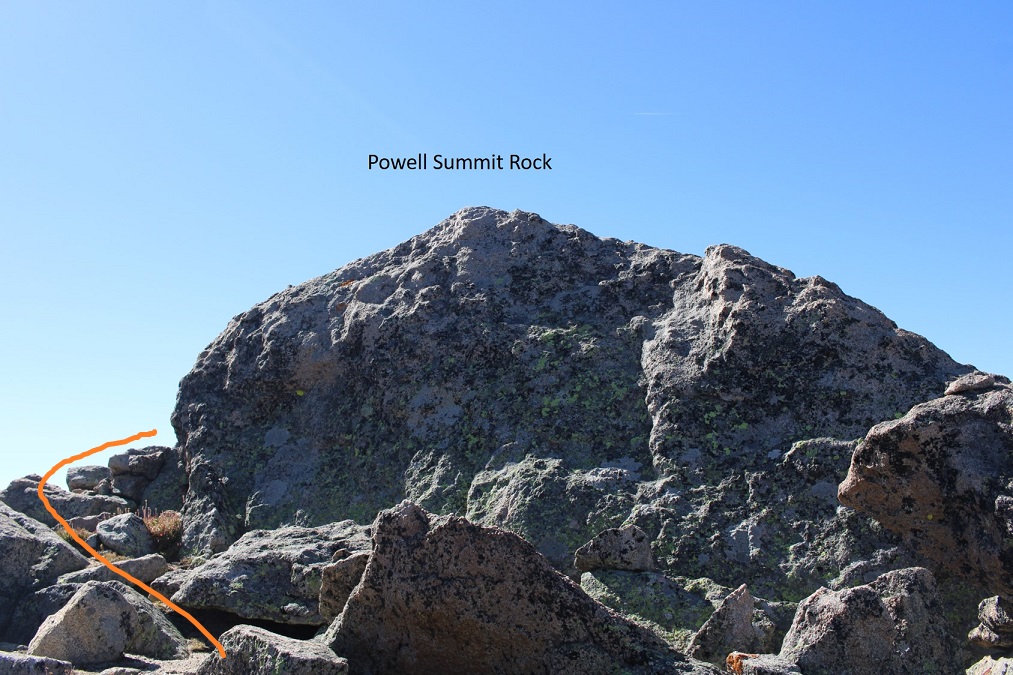
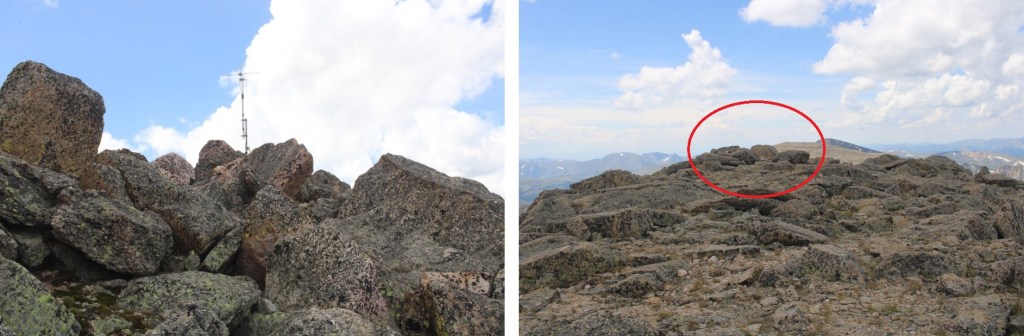
Topping out of the grassy gully
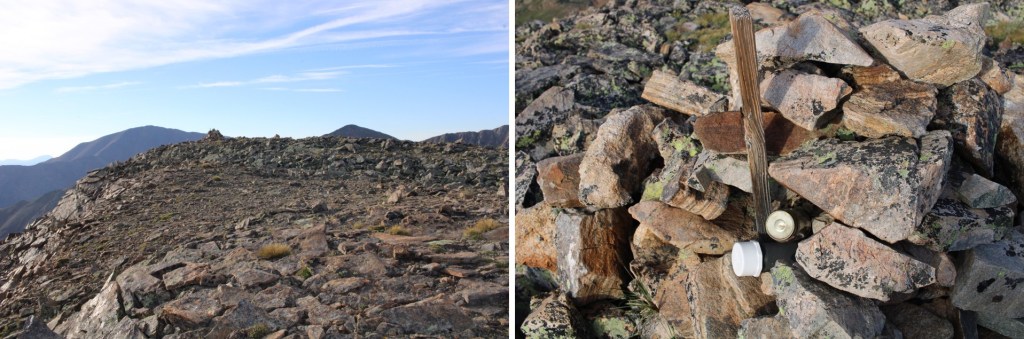
And then it was a quick walk north to the summit
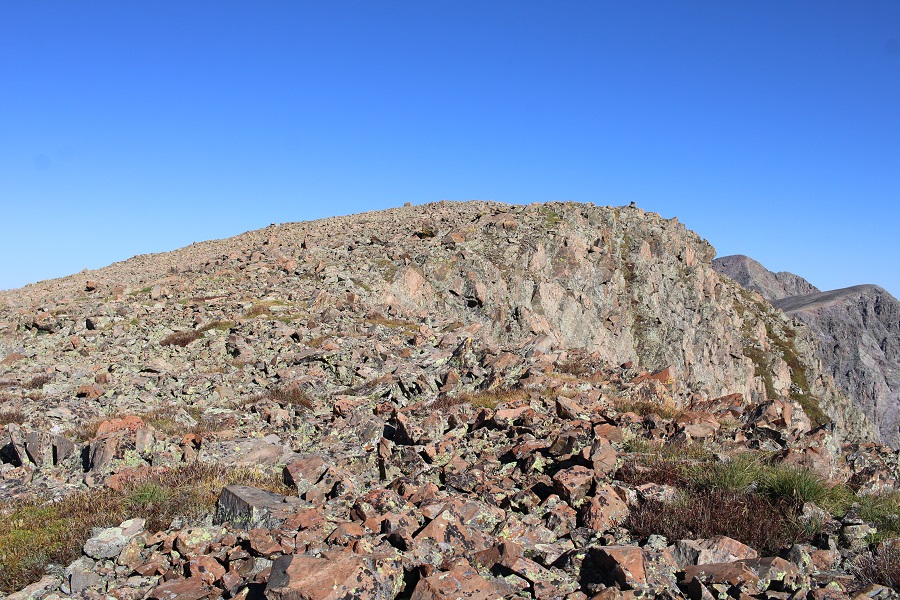
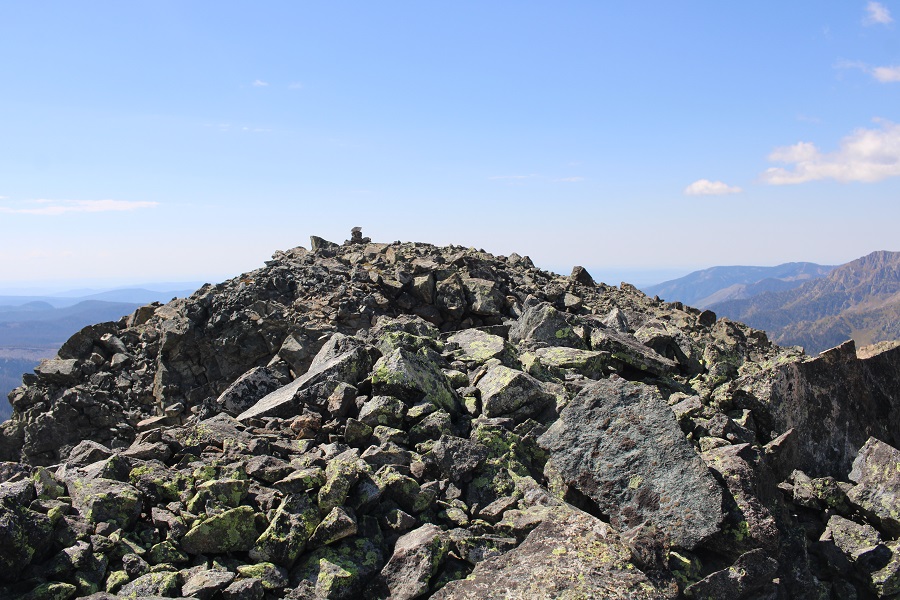
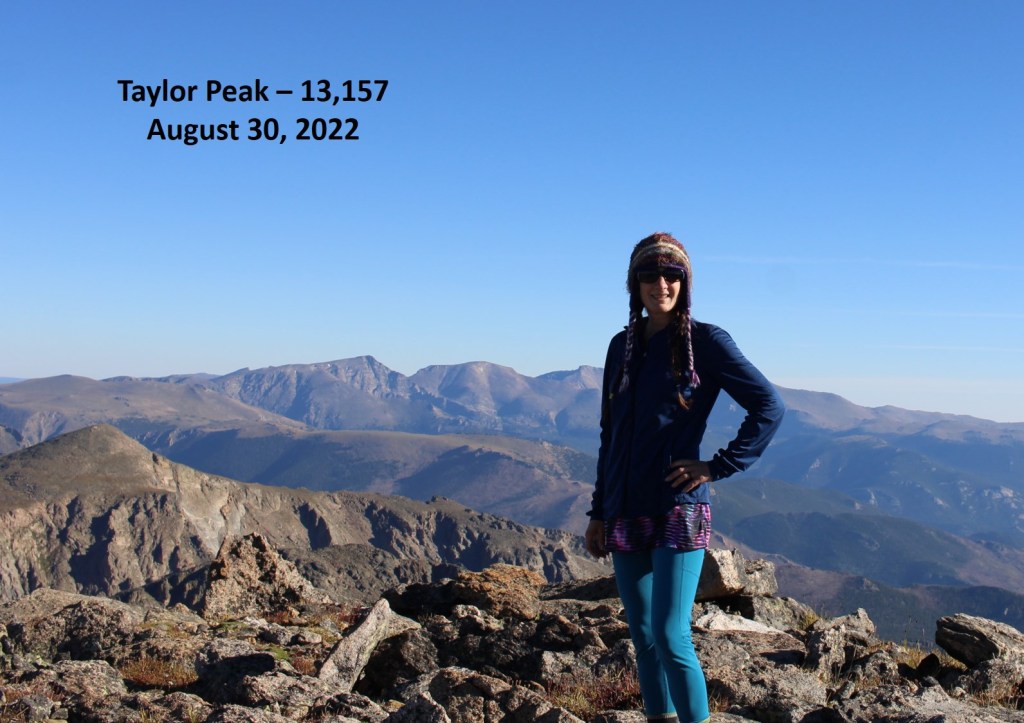
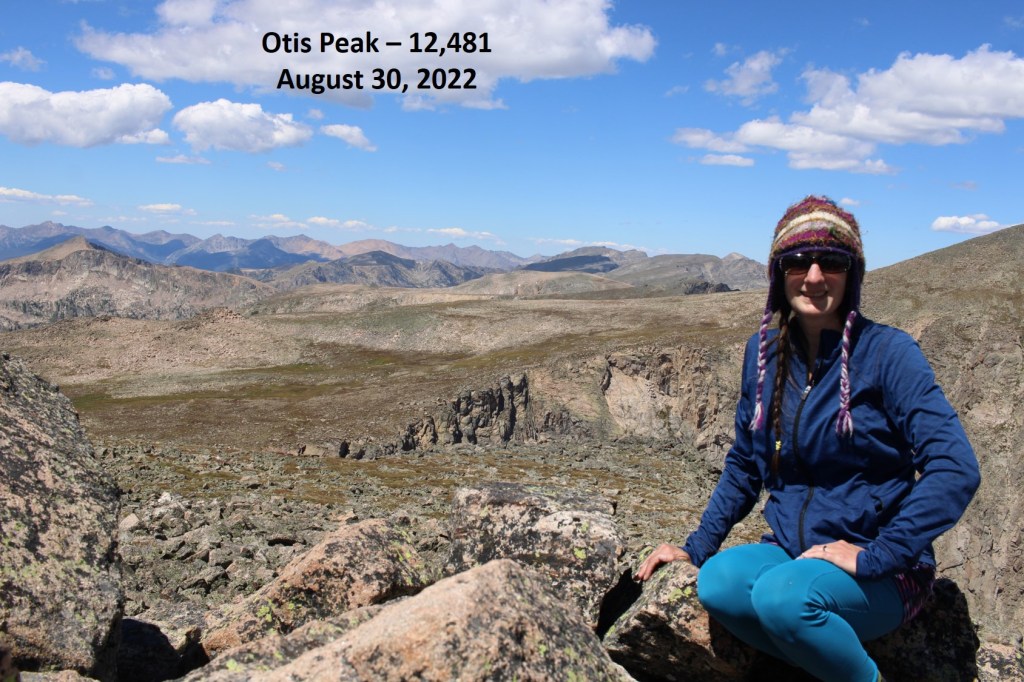
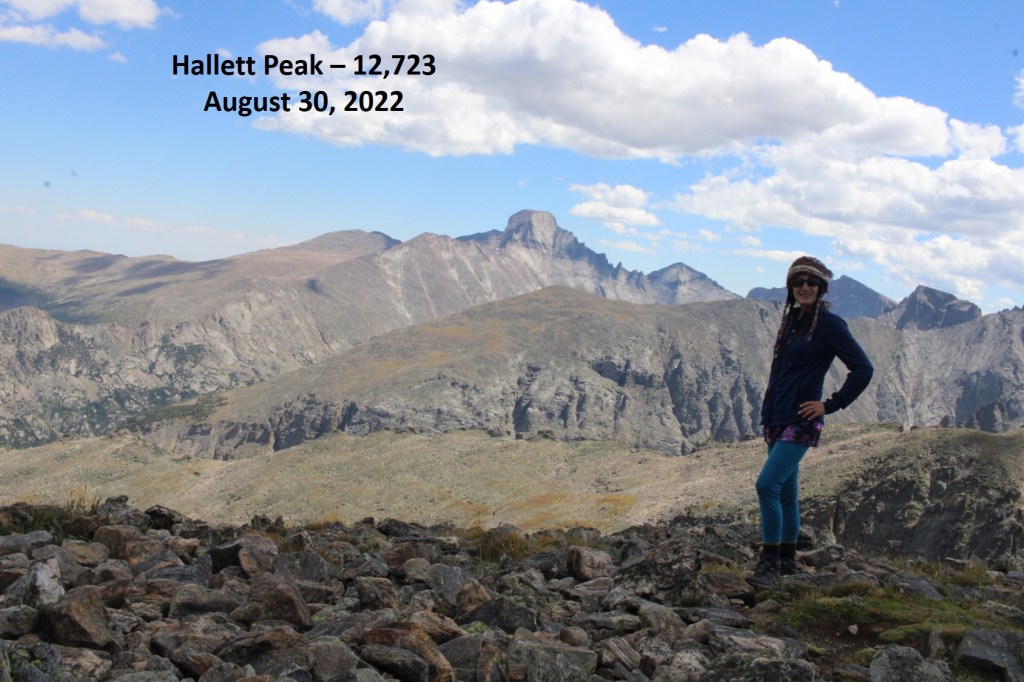
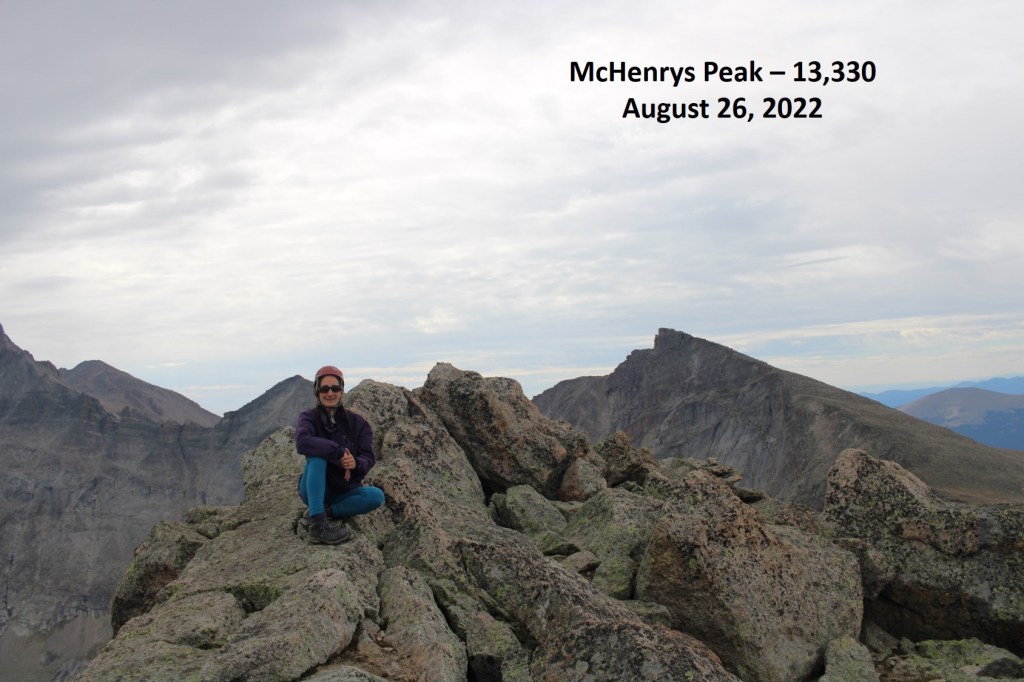
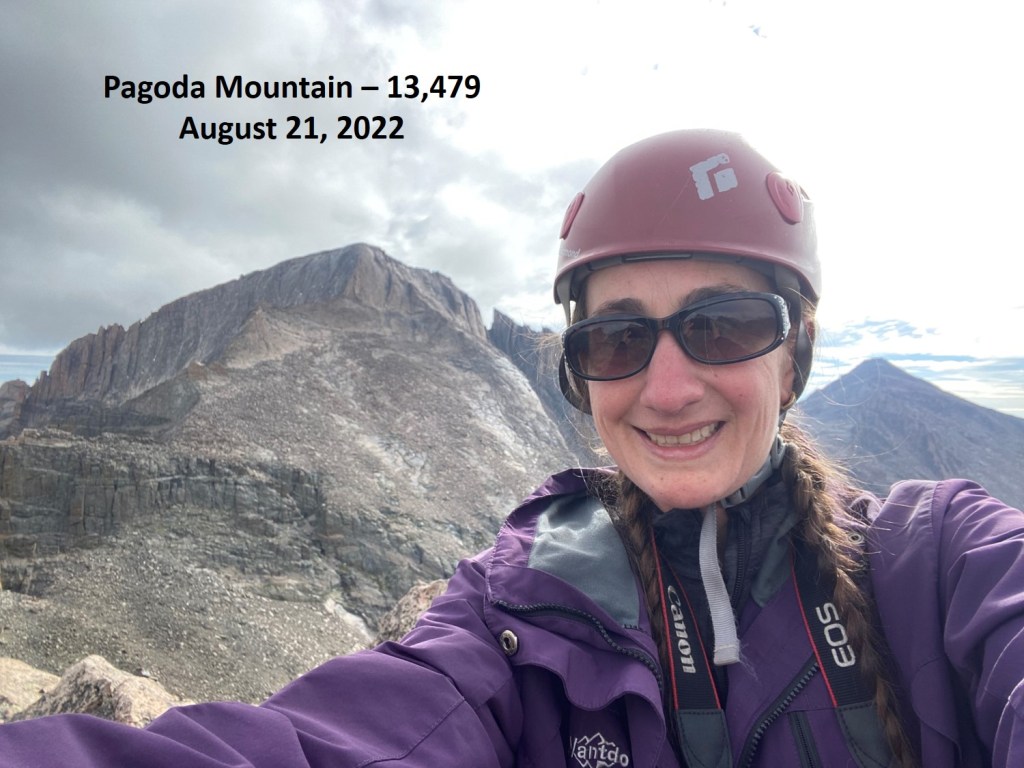
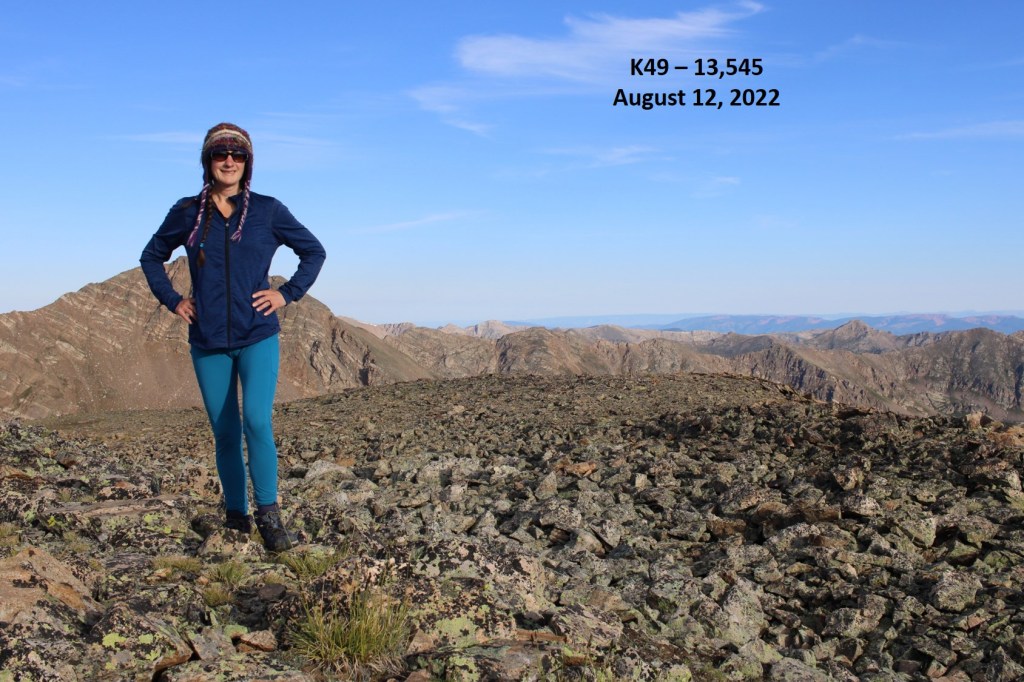
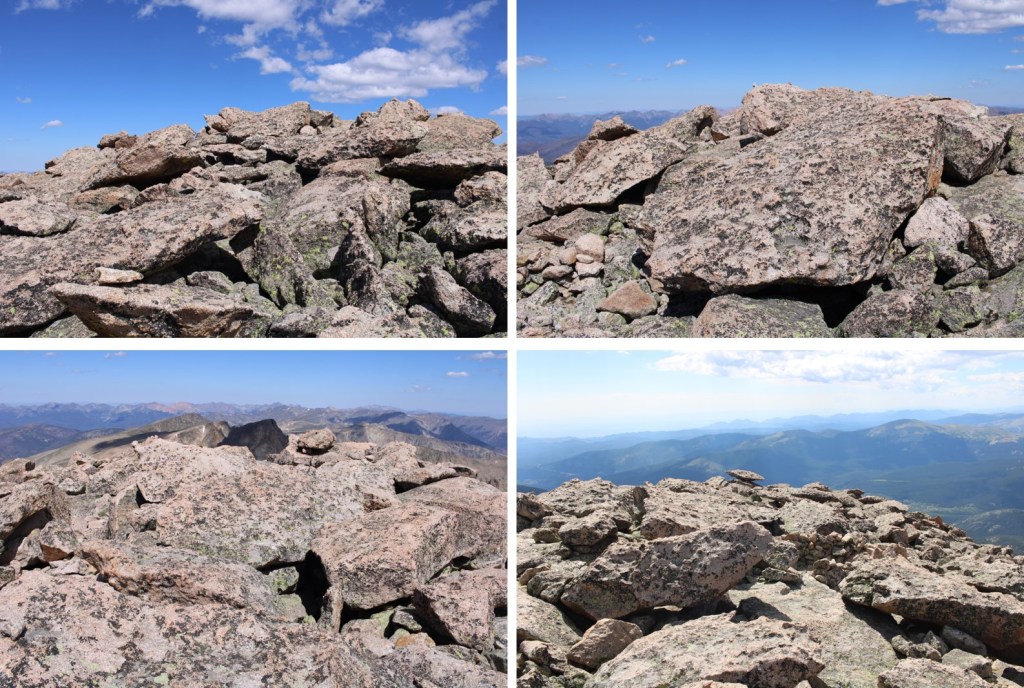
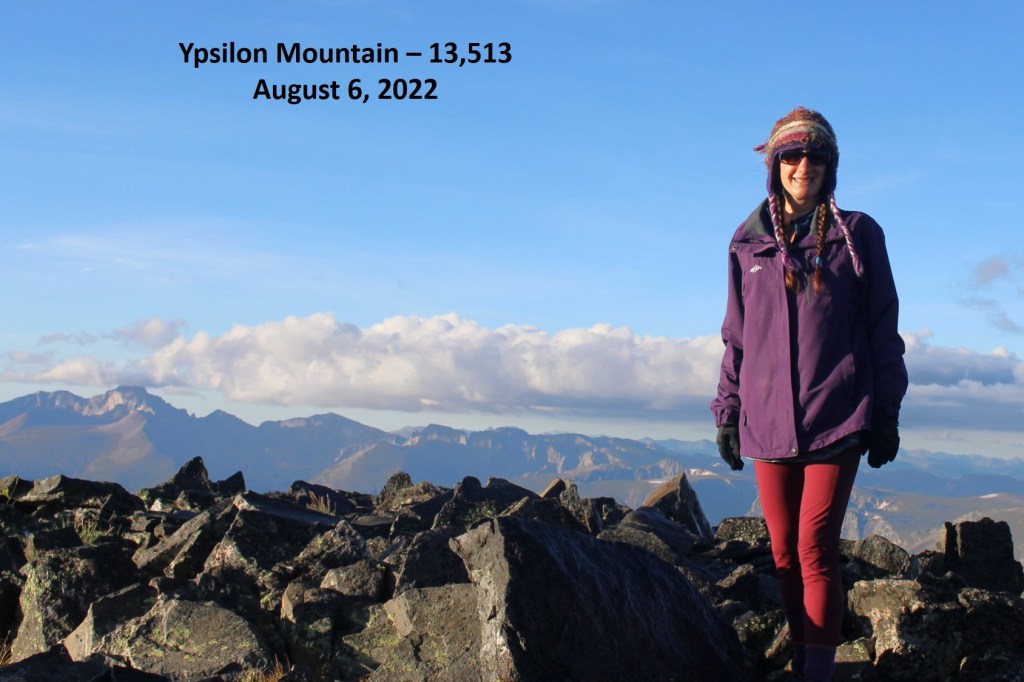
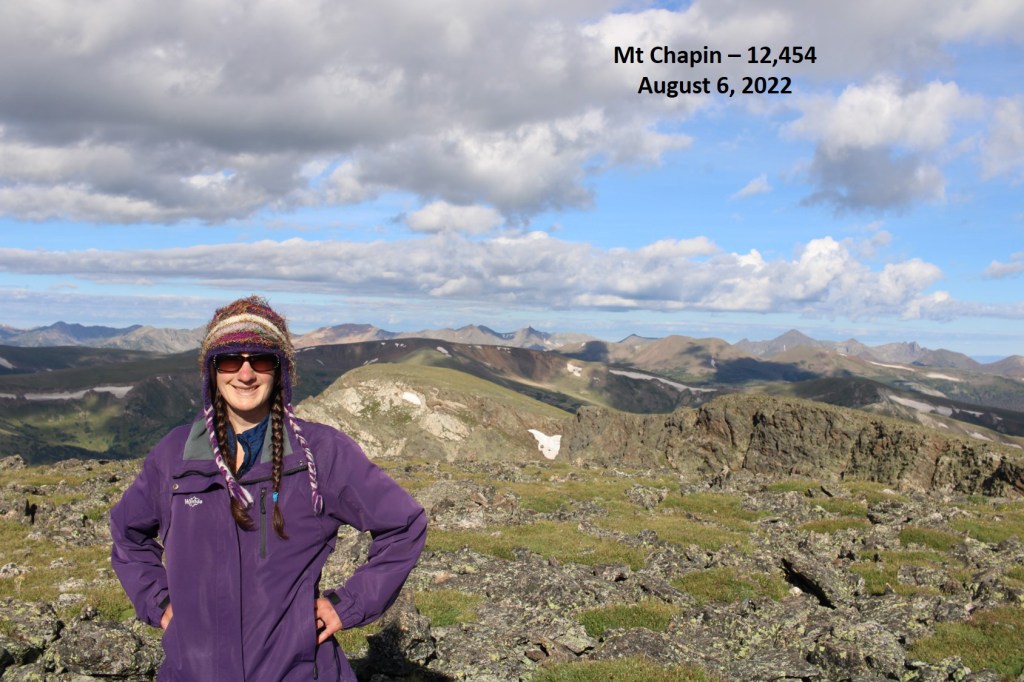
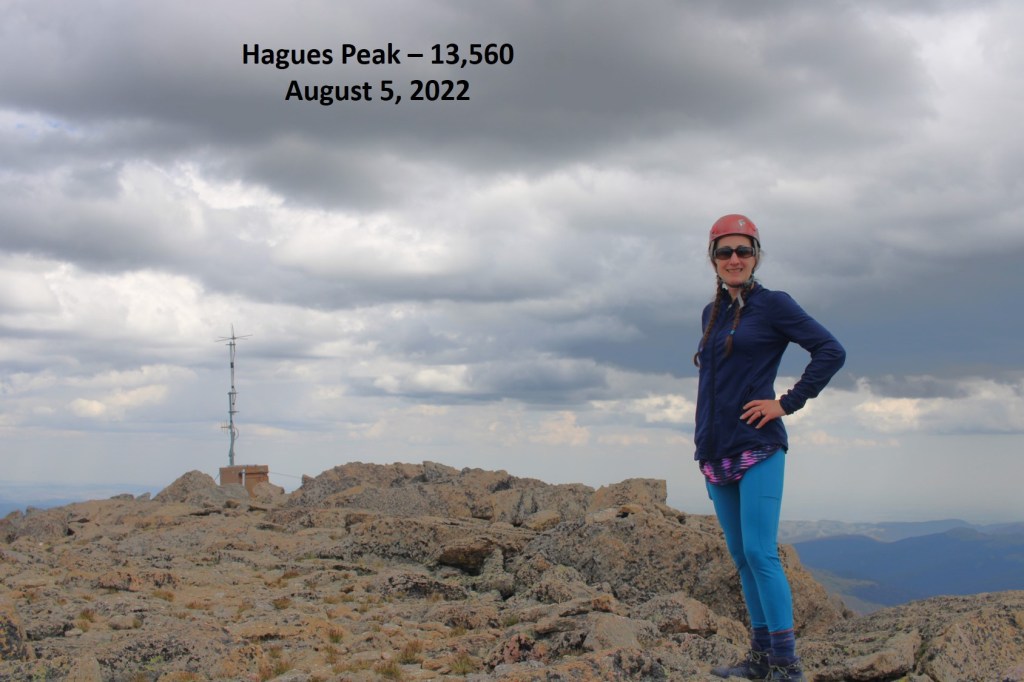
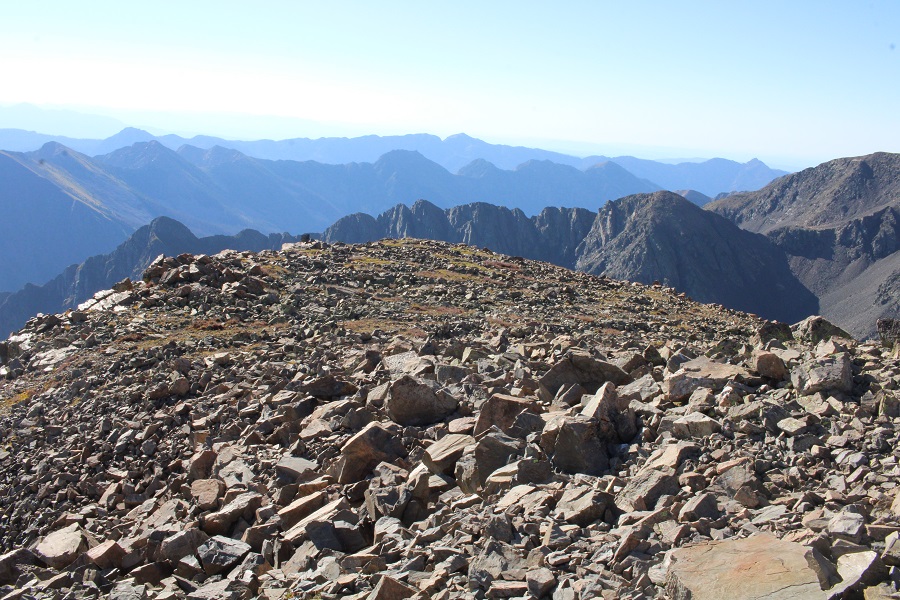
I summited Mt Soso at 9am
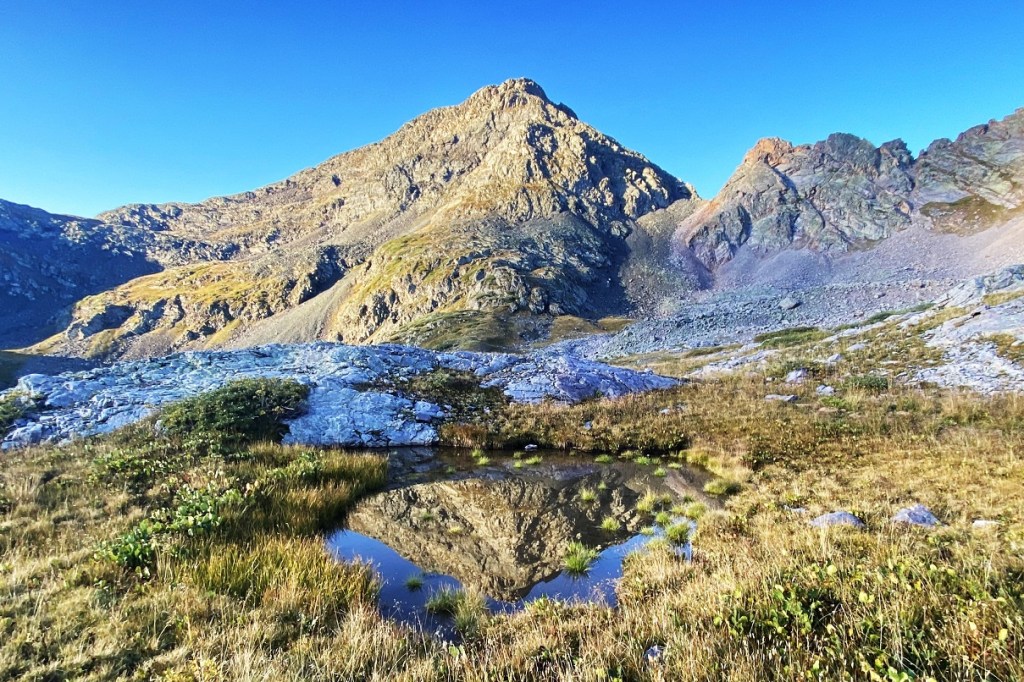
Mt Soso:
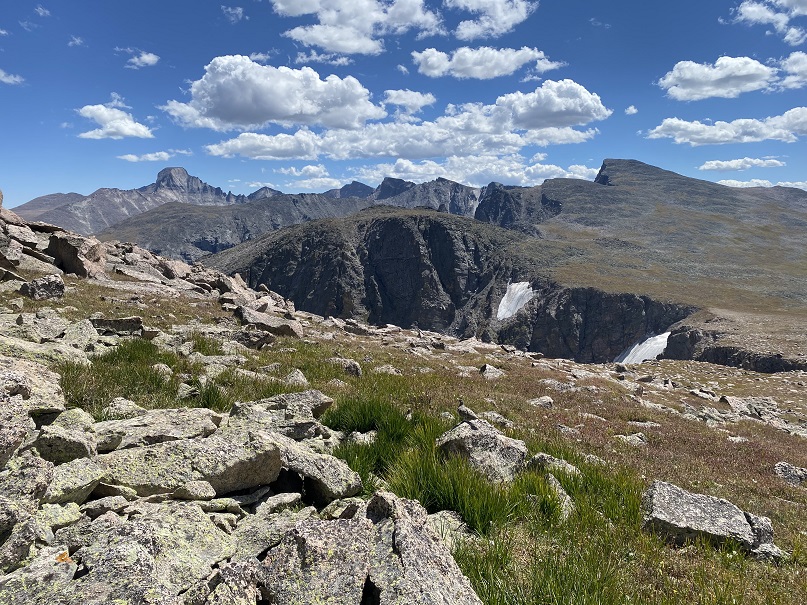
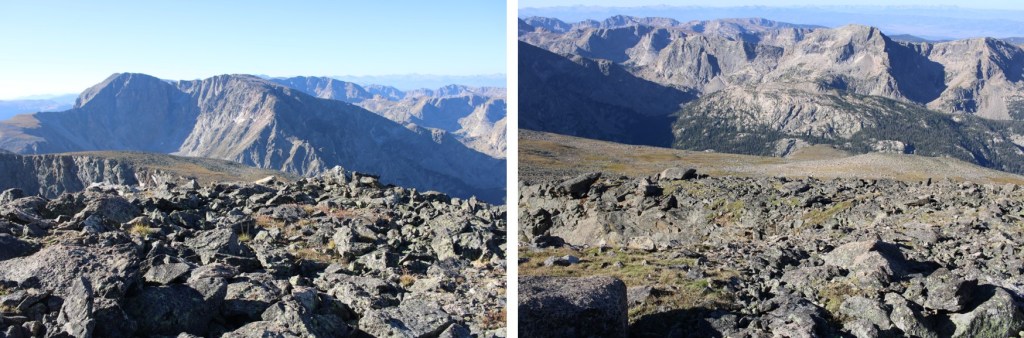
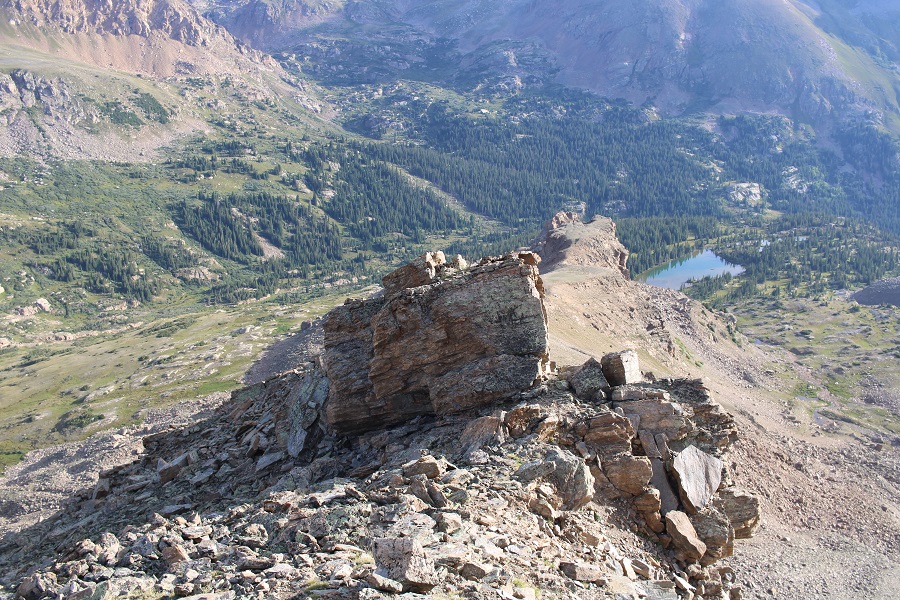
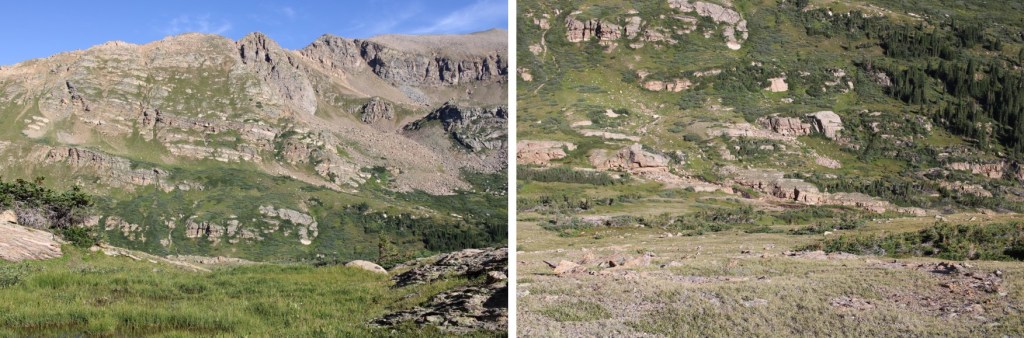
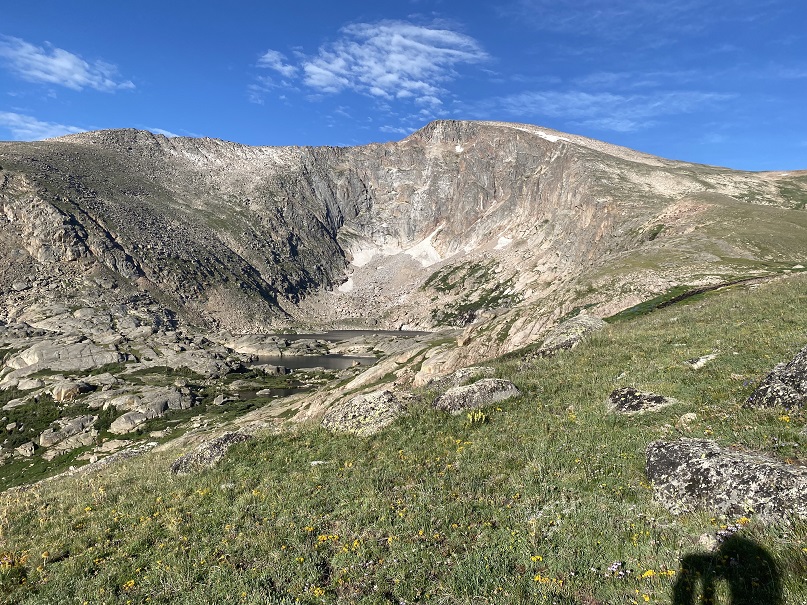
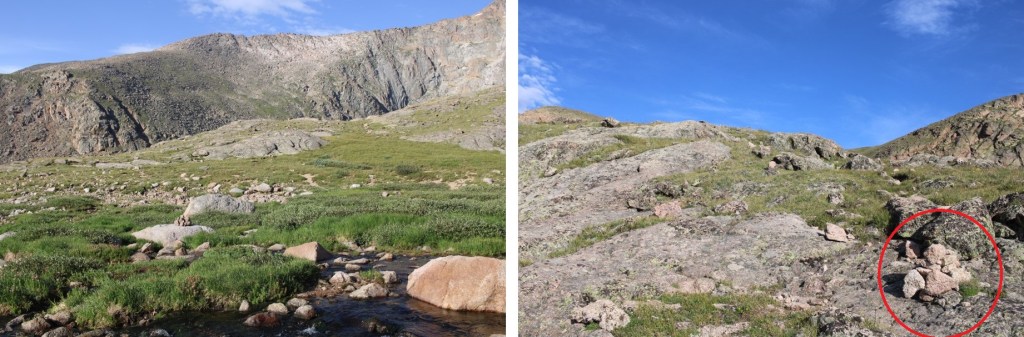
From the summit I could see my hike into the basin, and the cliff band I’d needed to avoid
I stayed on the summit longer than I normally would, because it was such a nice day. Then I re-traced my steps back to Rock Lake, first by heading south to the ridge
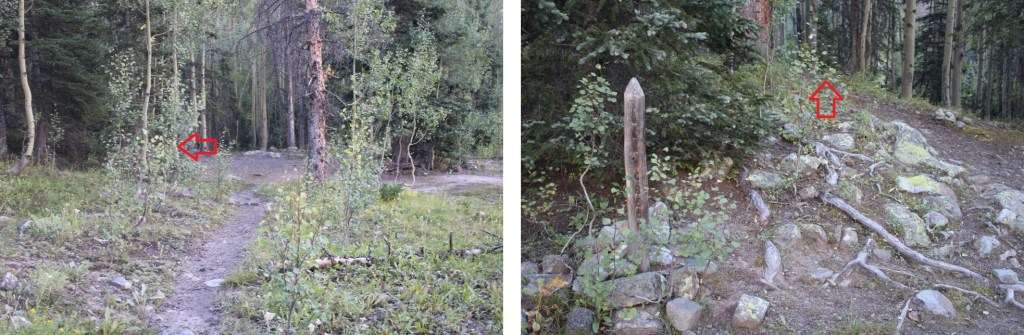
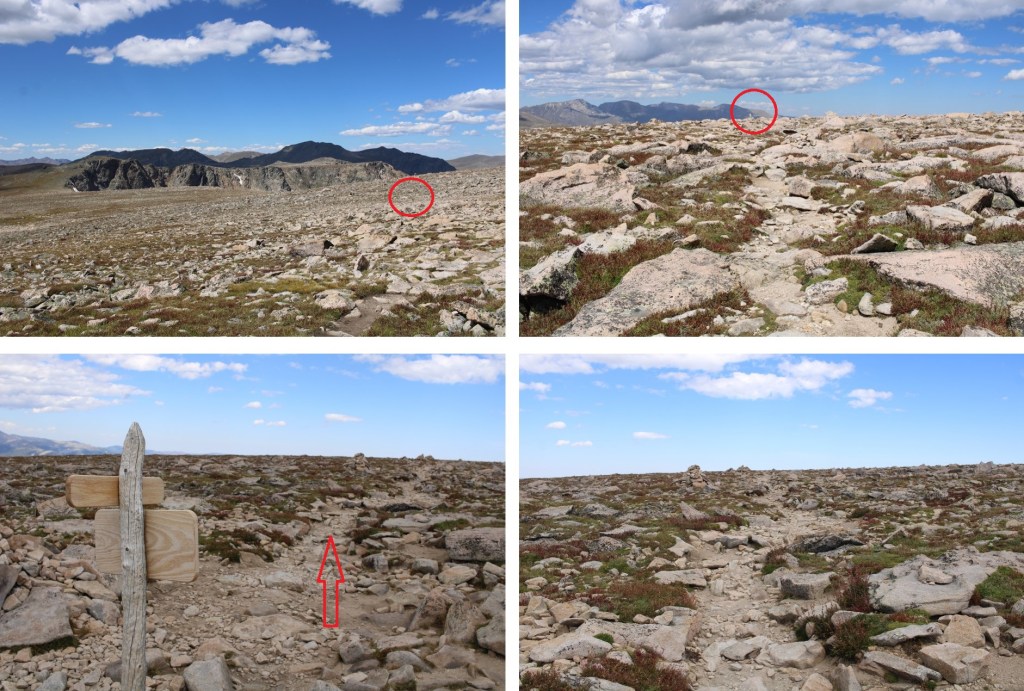
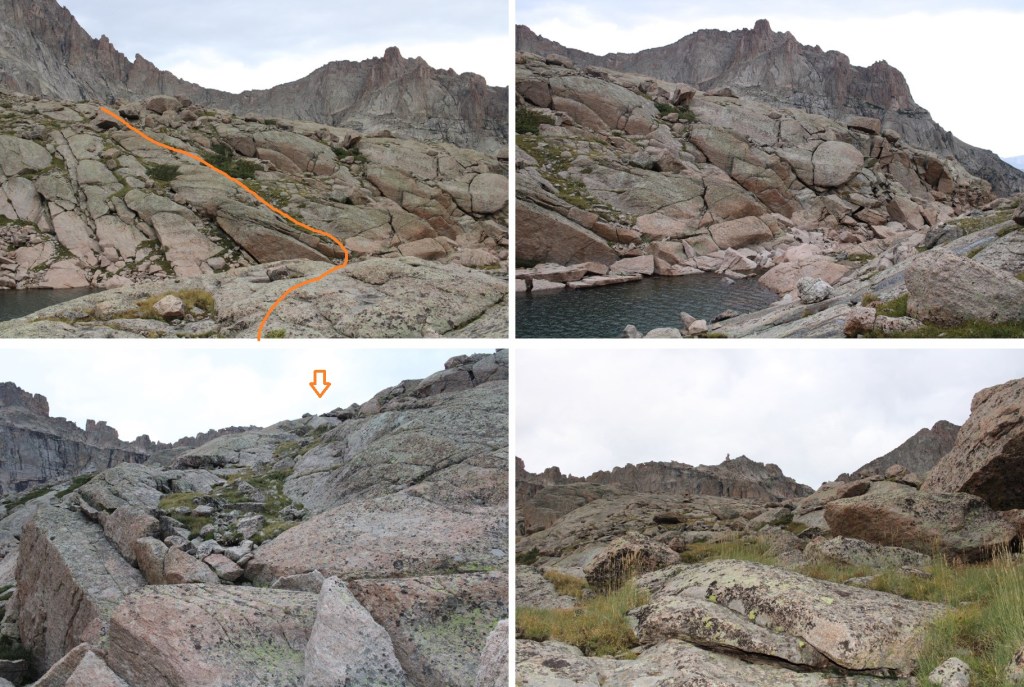
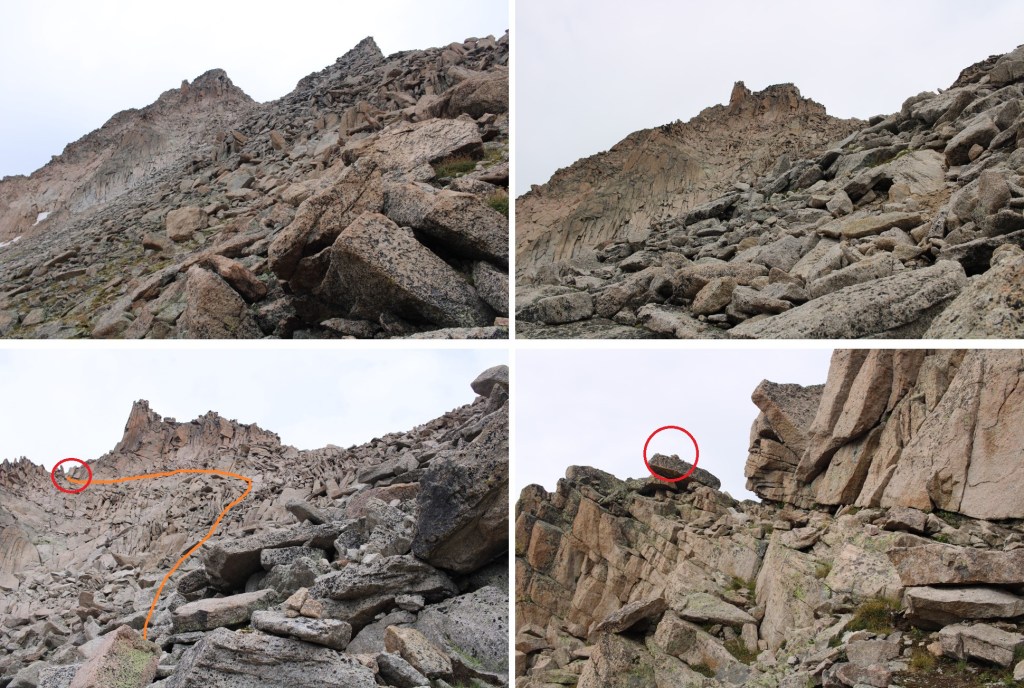
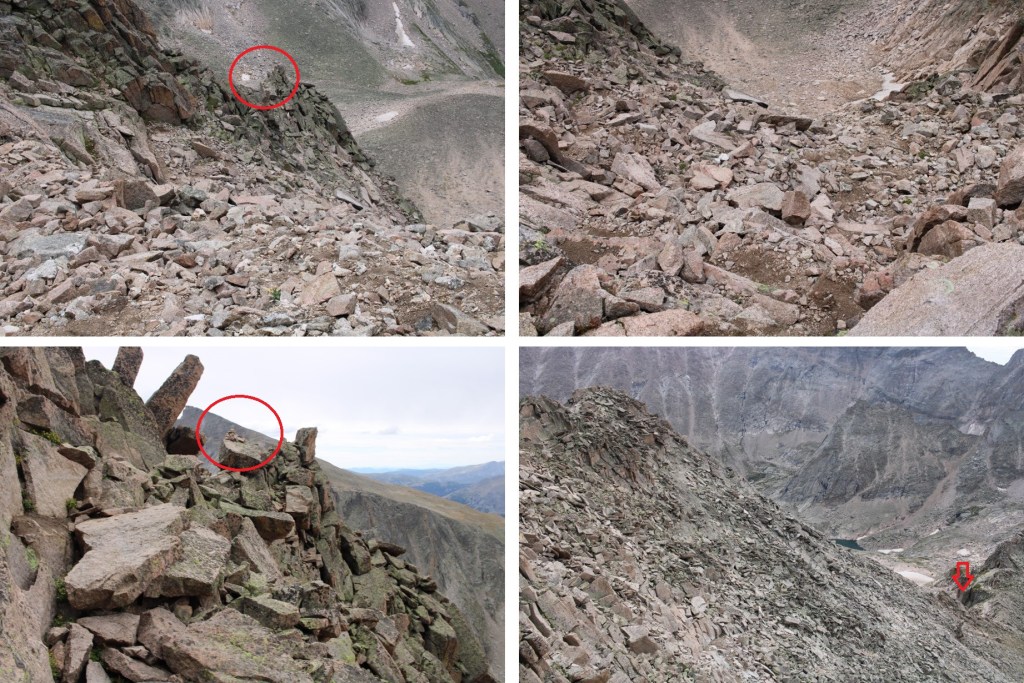
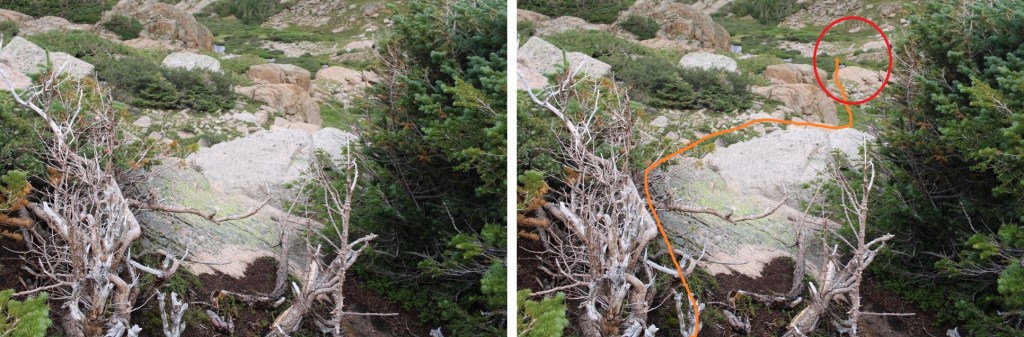
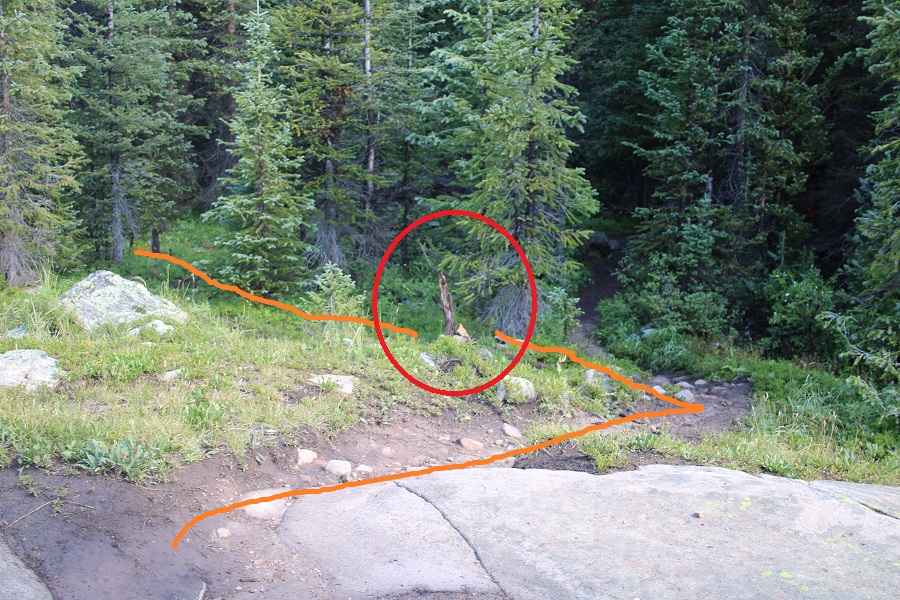
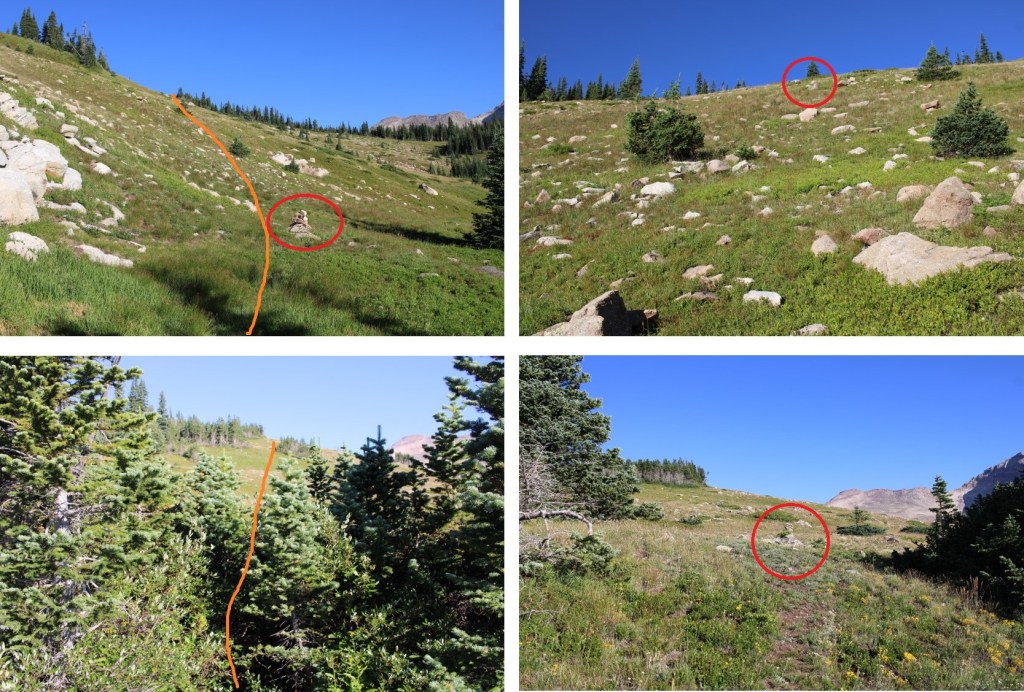
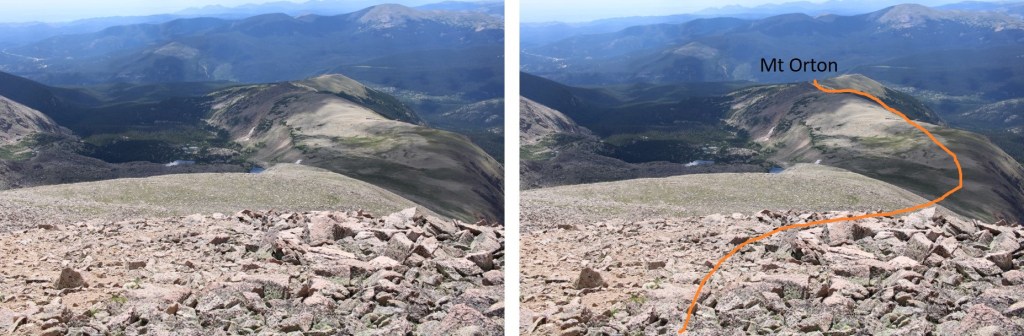
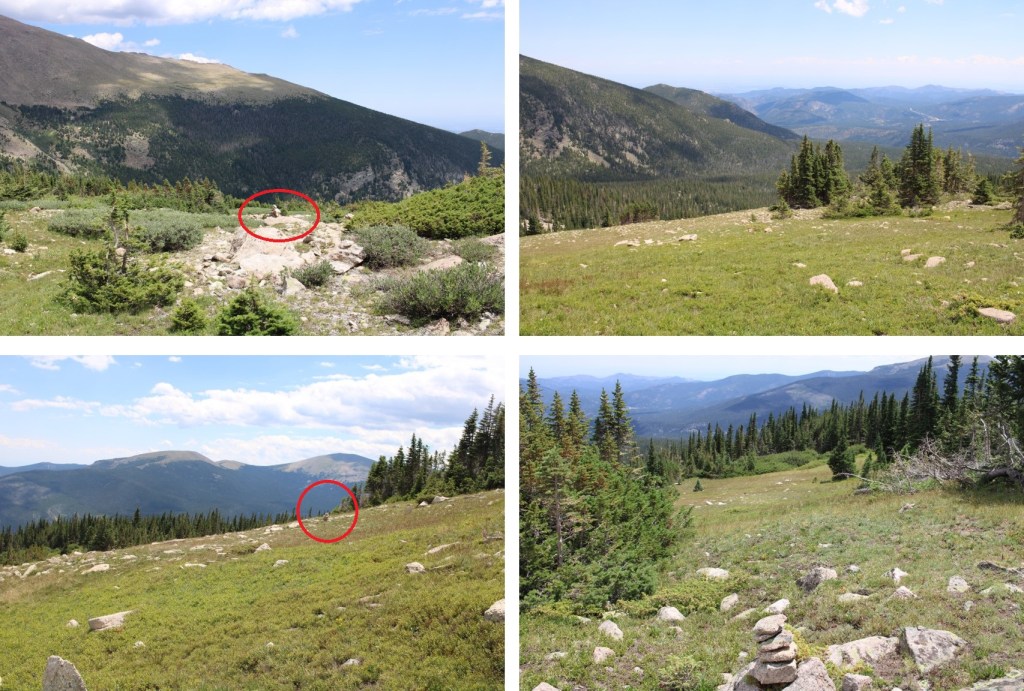
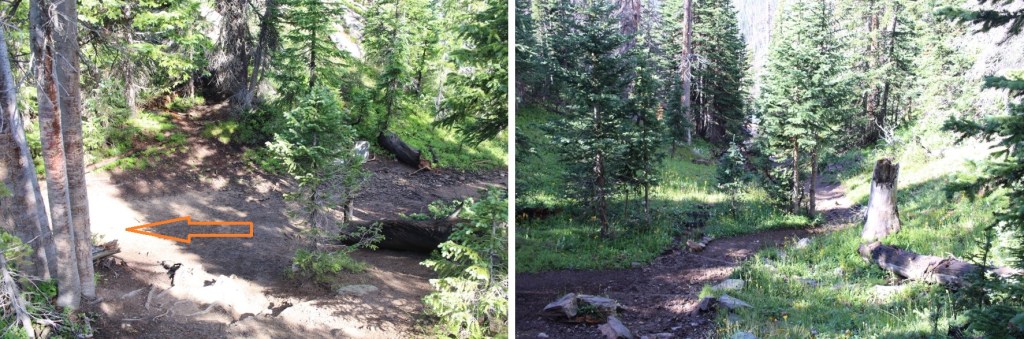
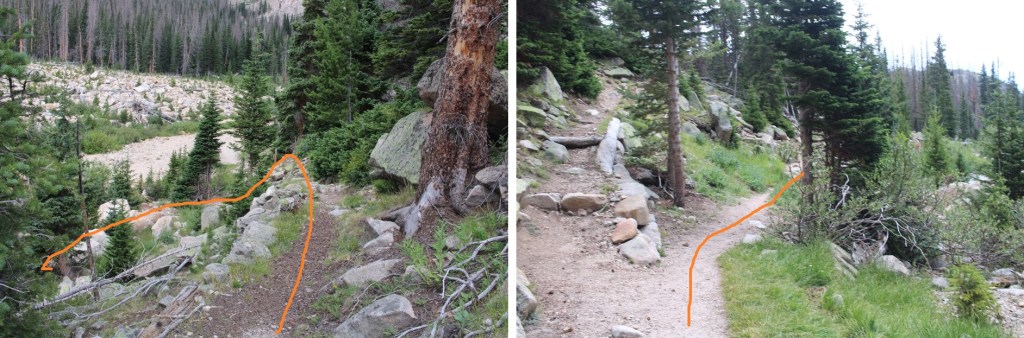
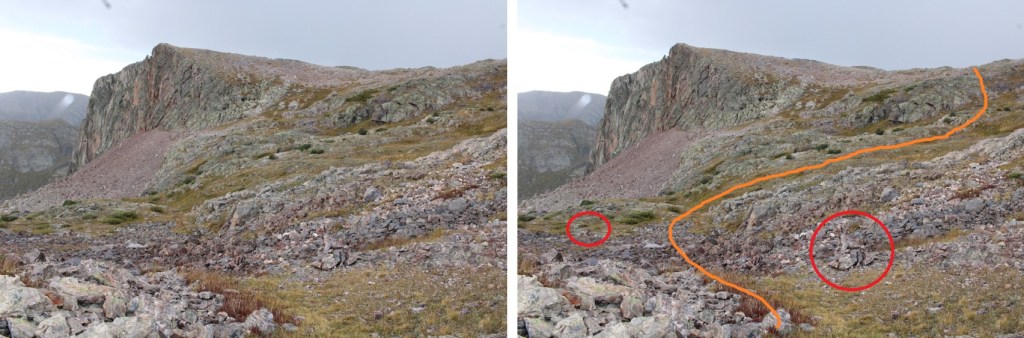
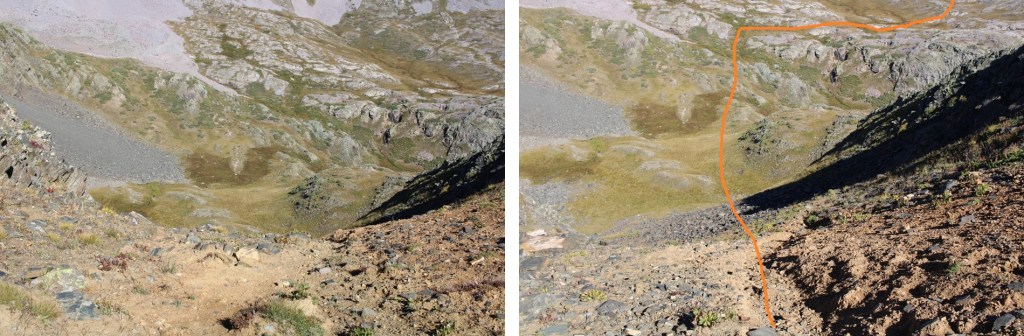
And then taking the grassy gully down. There’s an obvious willow bush in the path. Turn right and head to the ridge BEFORE you make it to this lonely bush.

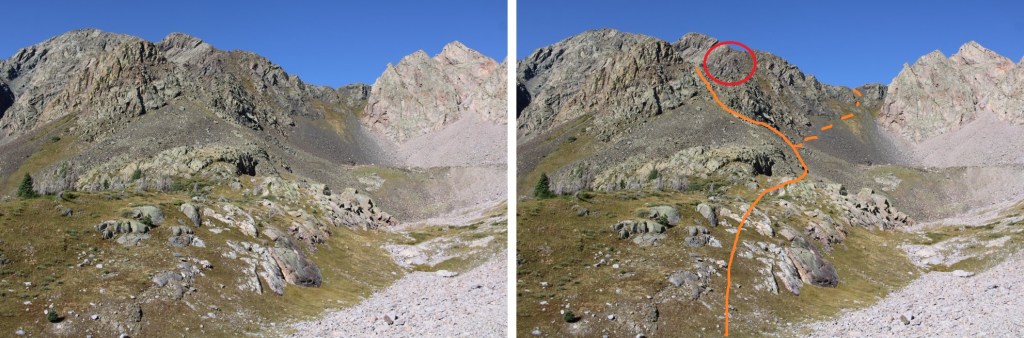
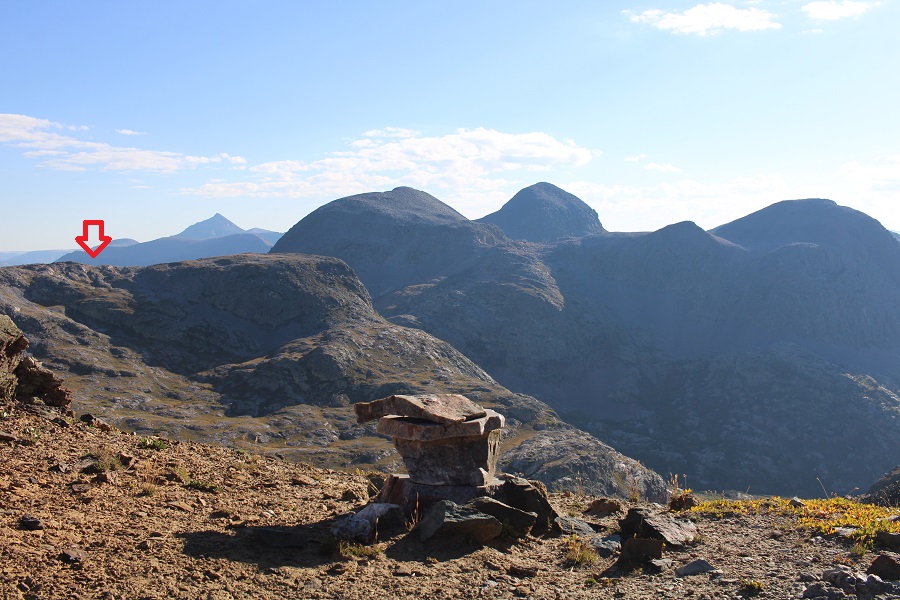
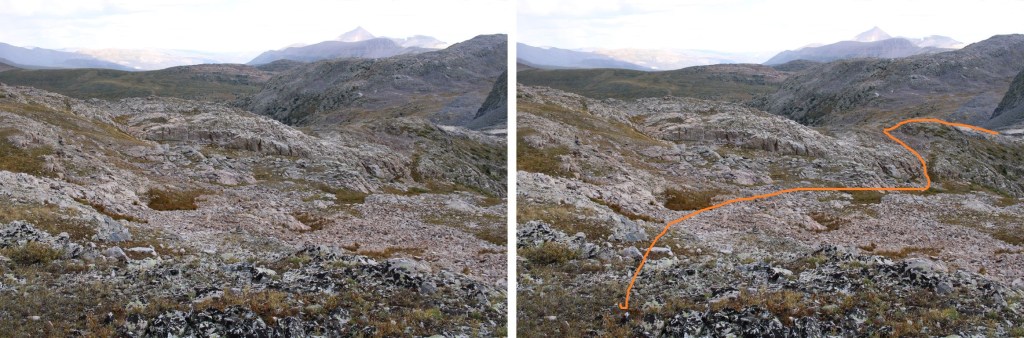
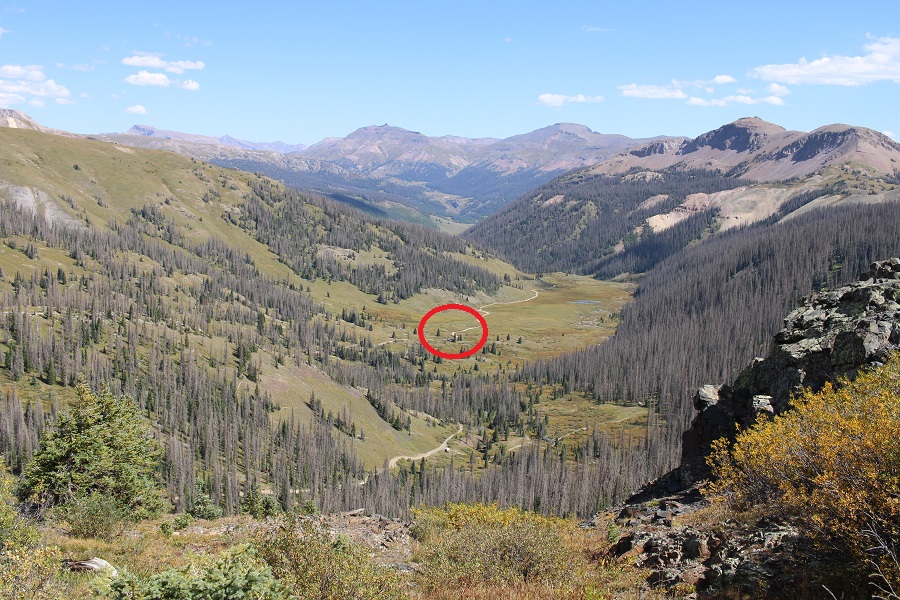
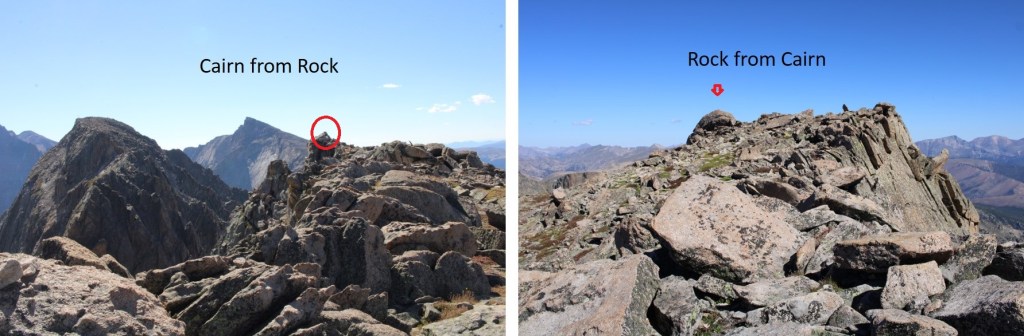
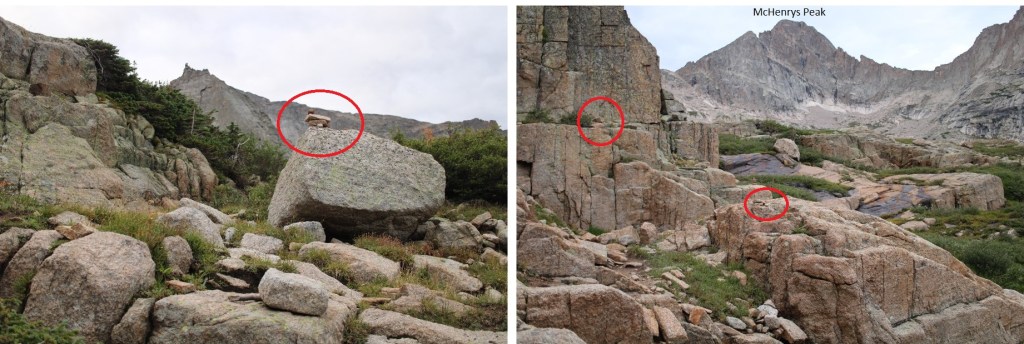
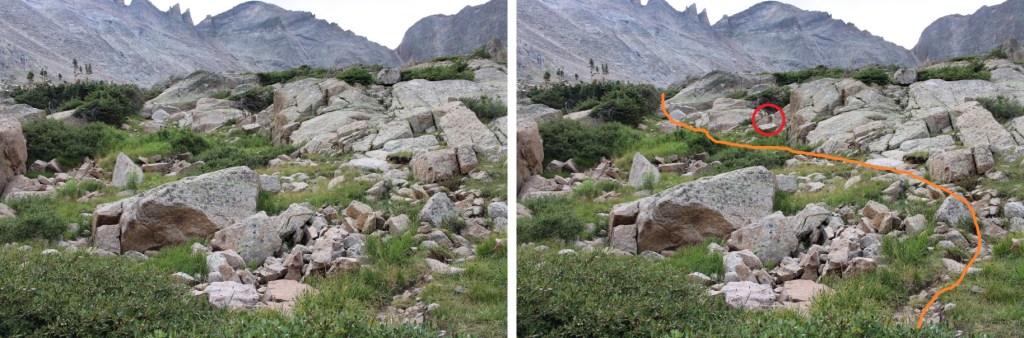
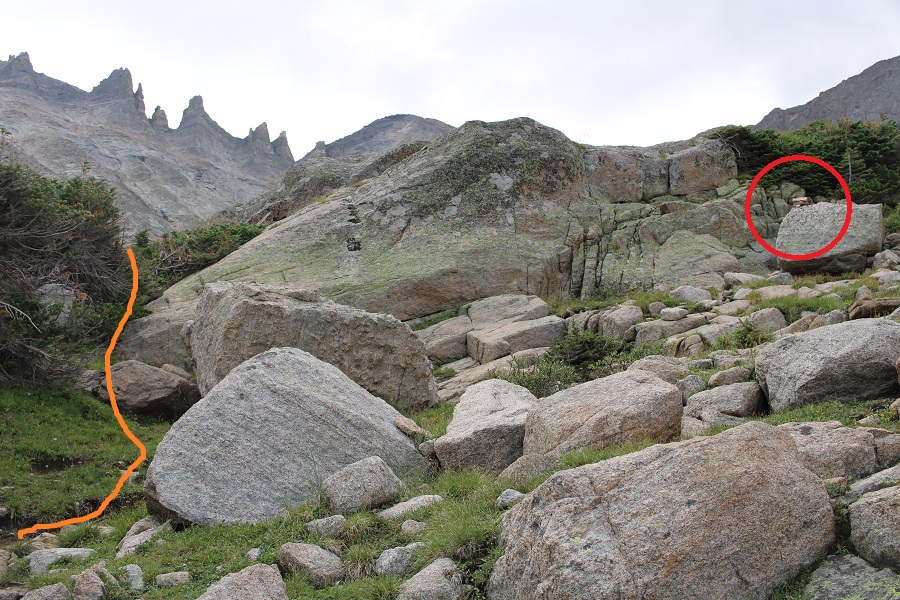
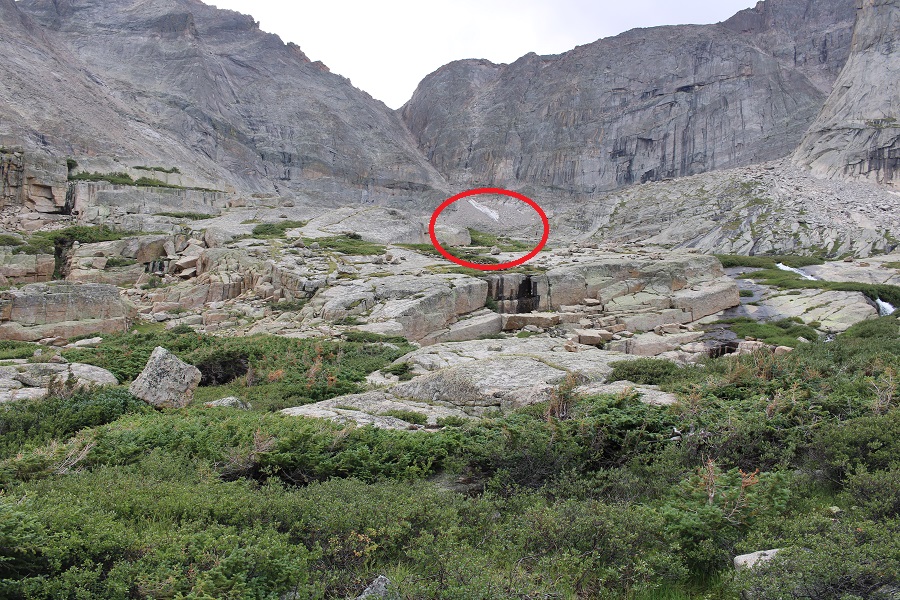
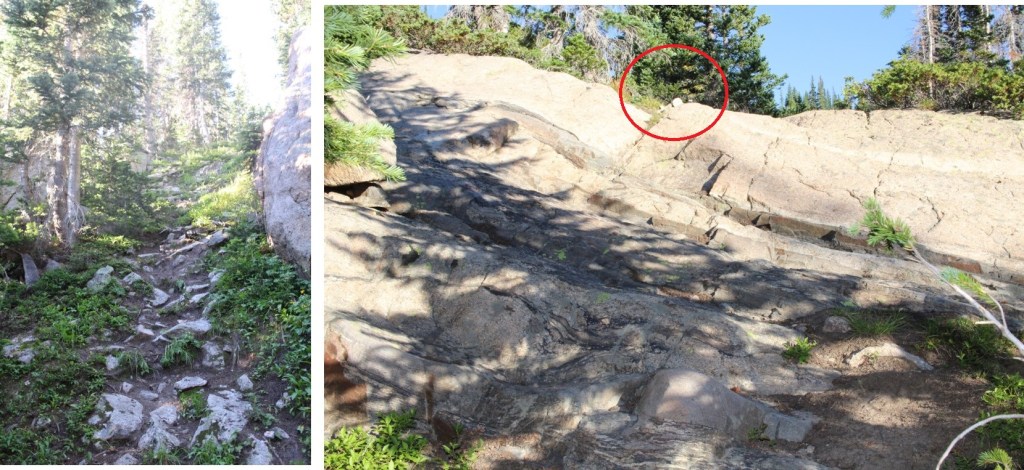
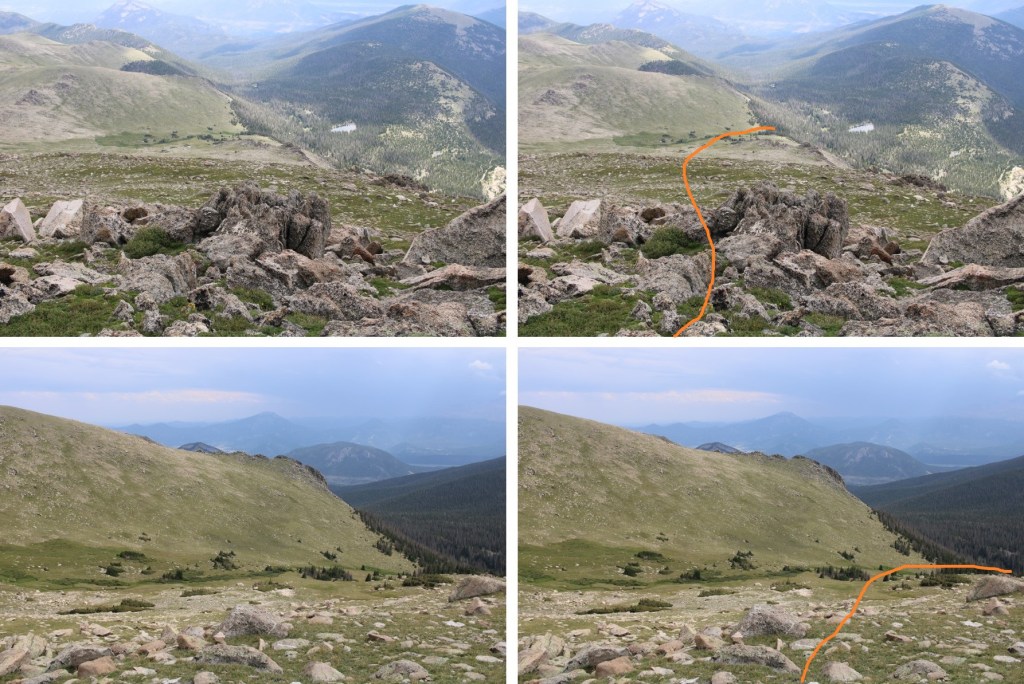
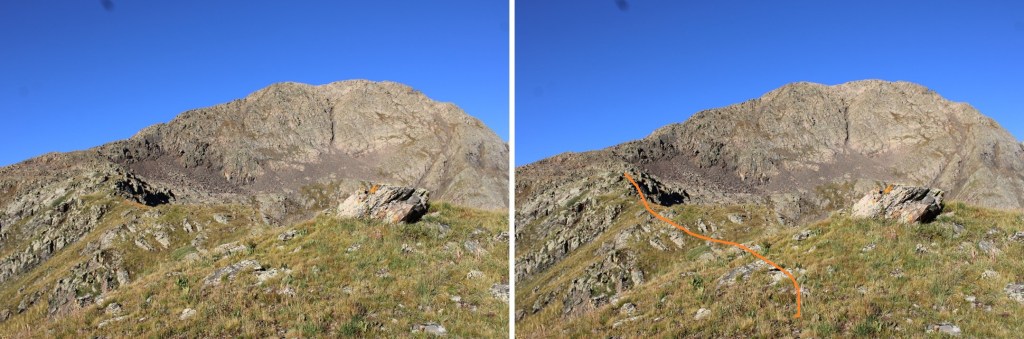
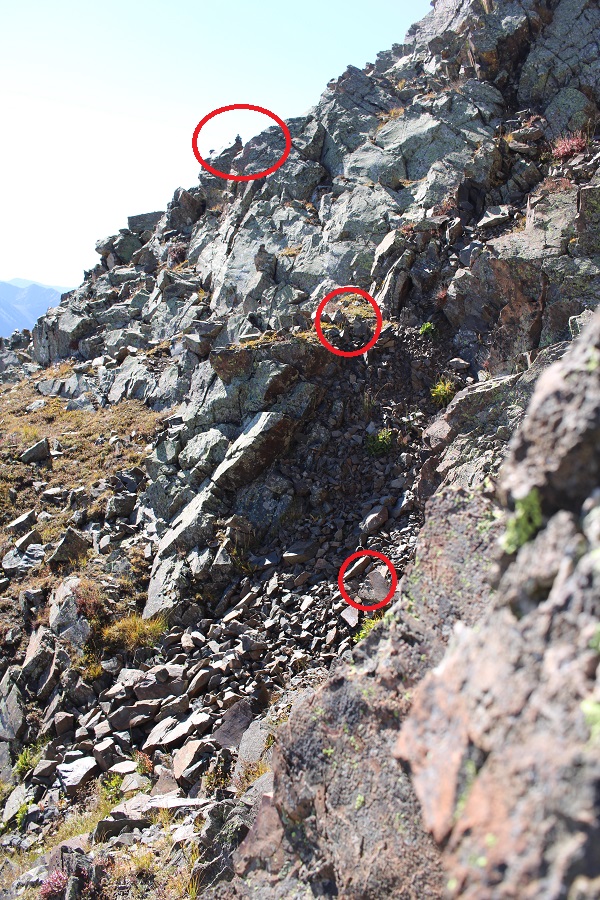
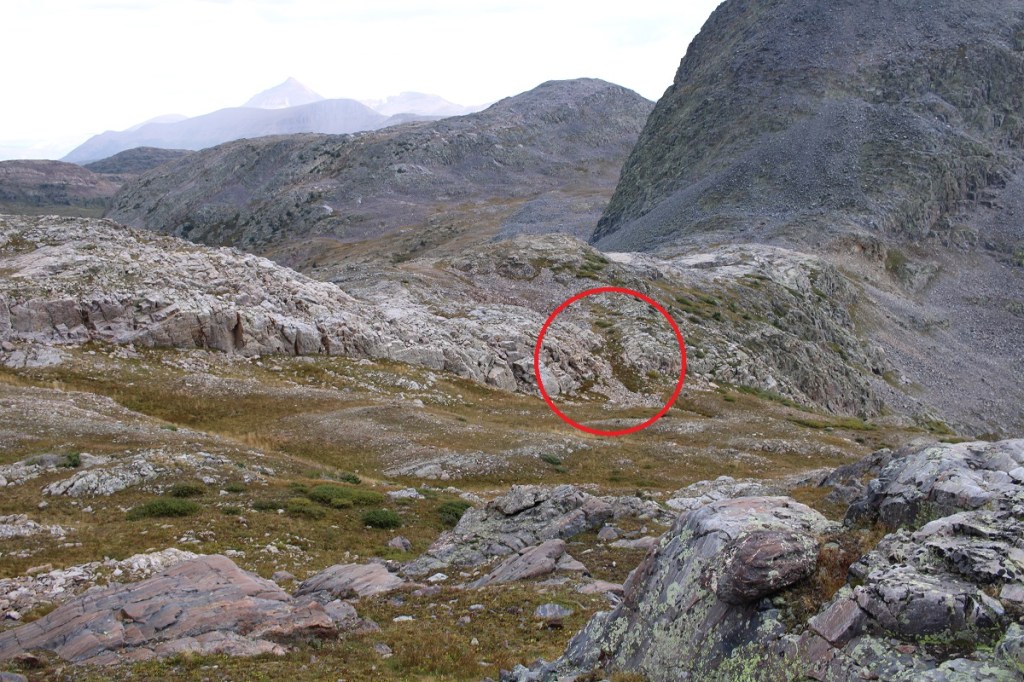
Then following the cairns back up to the ridge (circled in red)
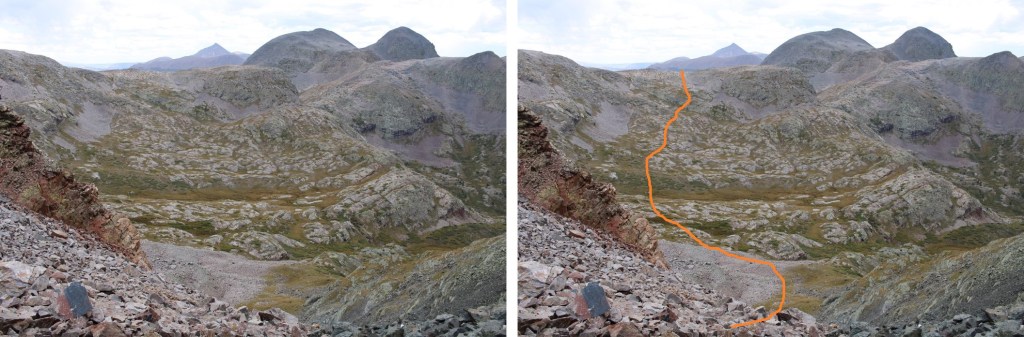
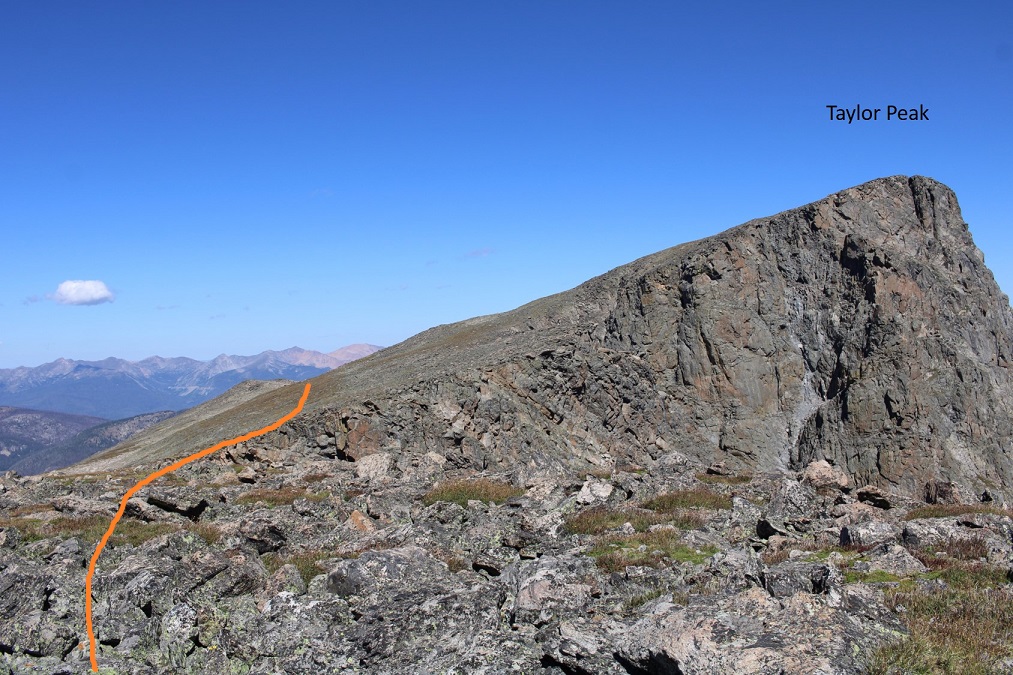
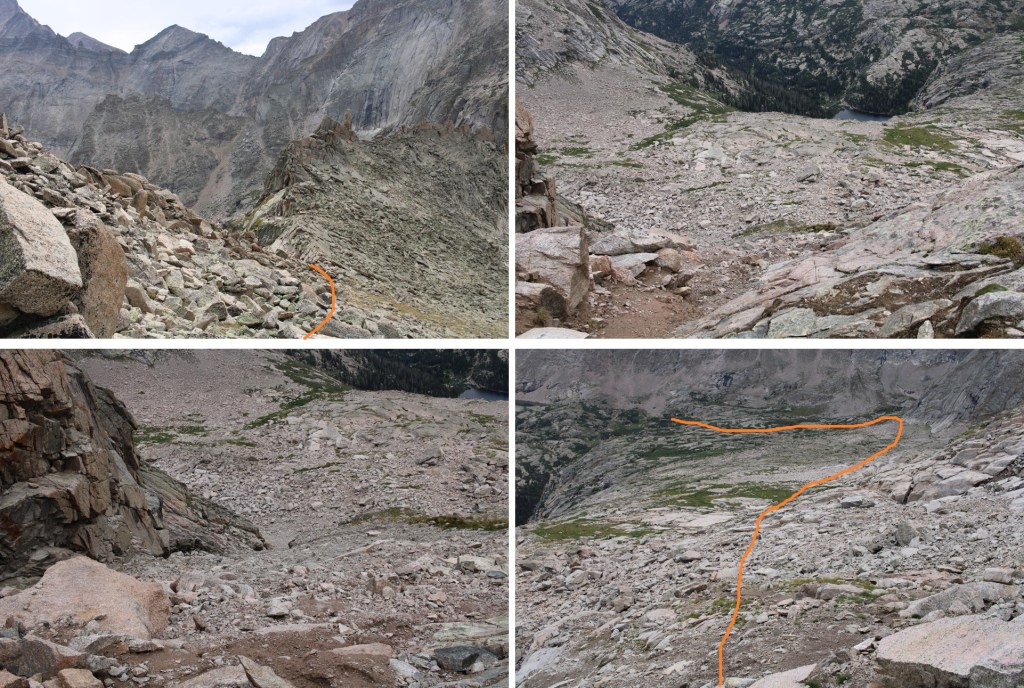
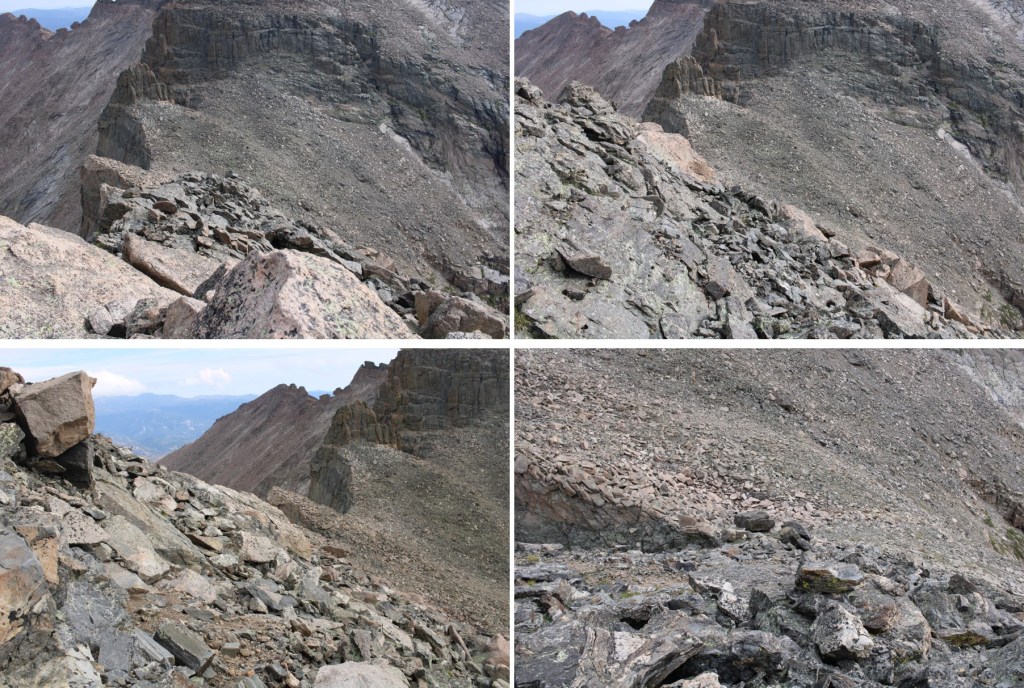
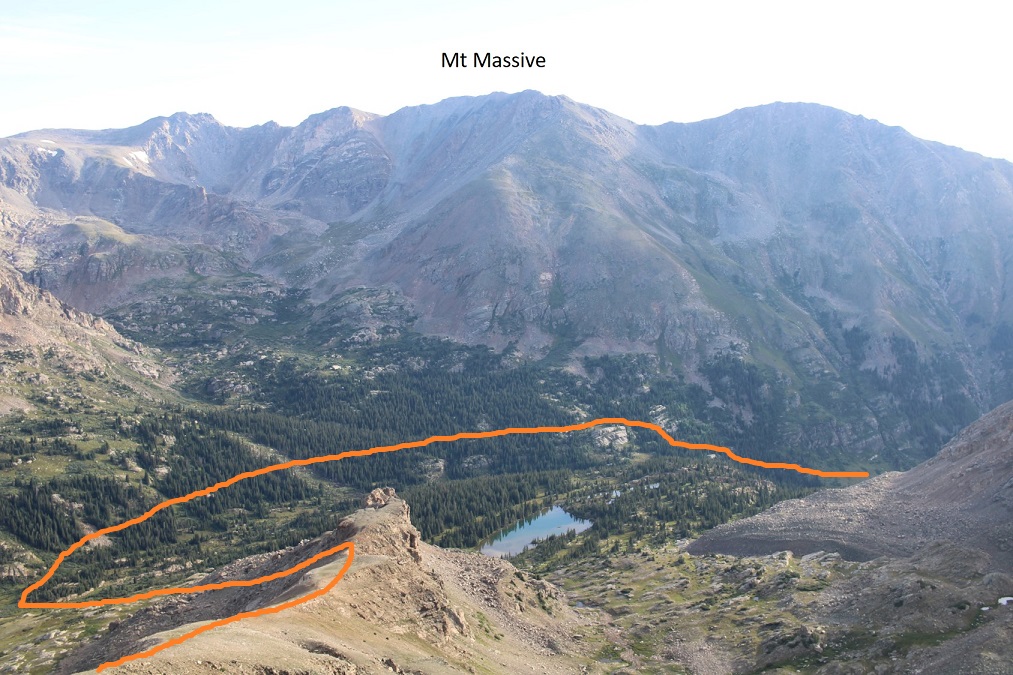
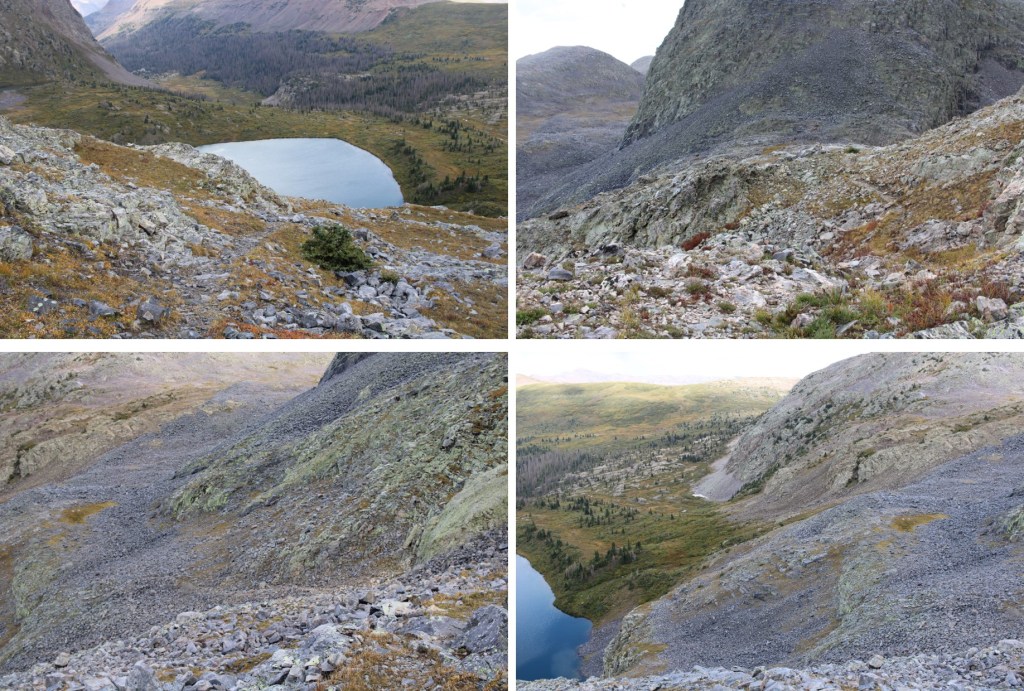
Here’s the overall route down the ridge, back to the access gully that led up the ridge

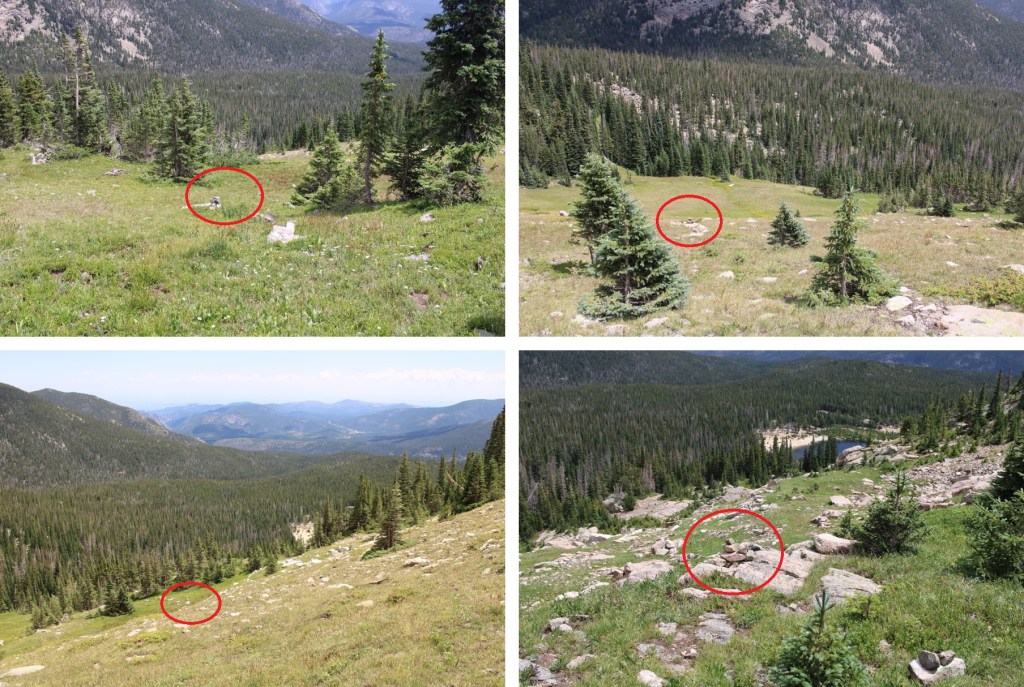
And some step-by-step pictures

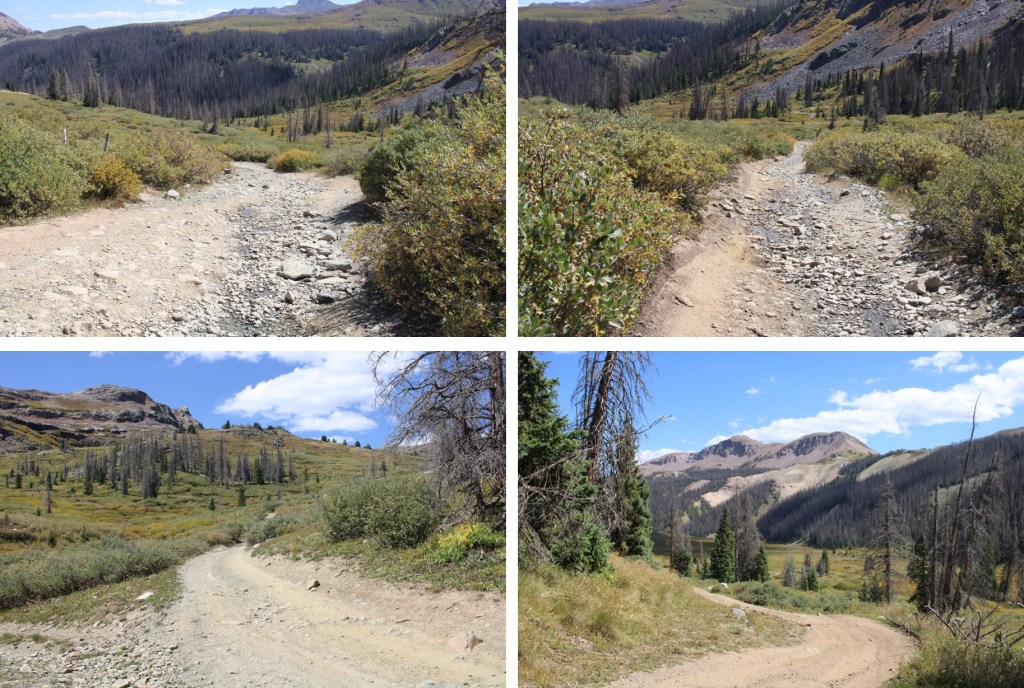
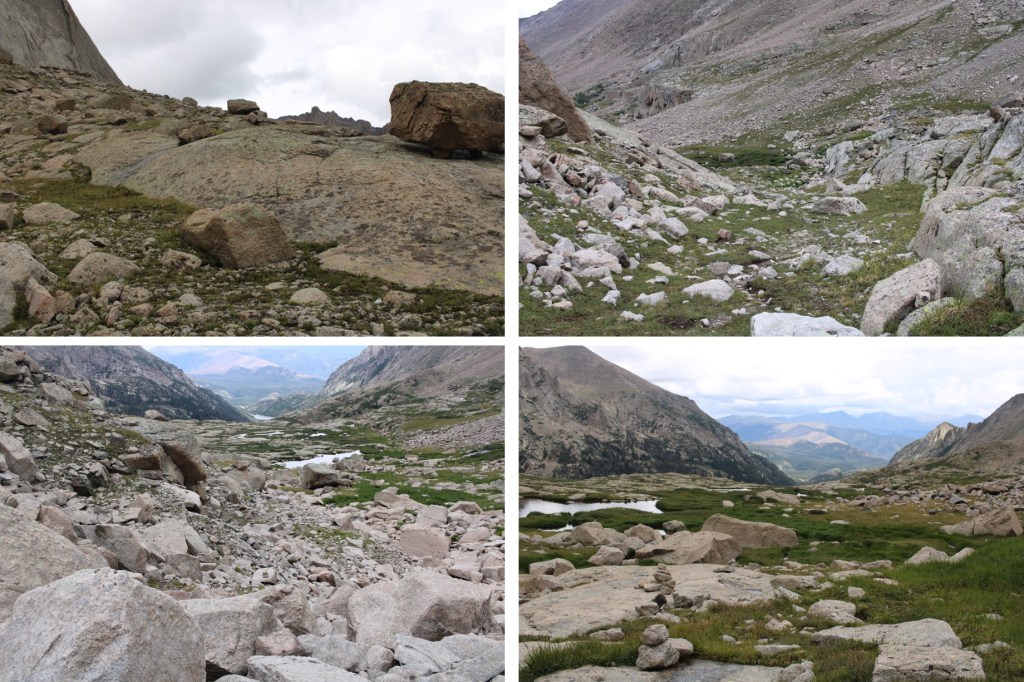
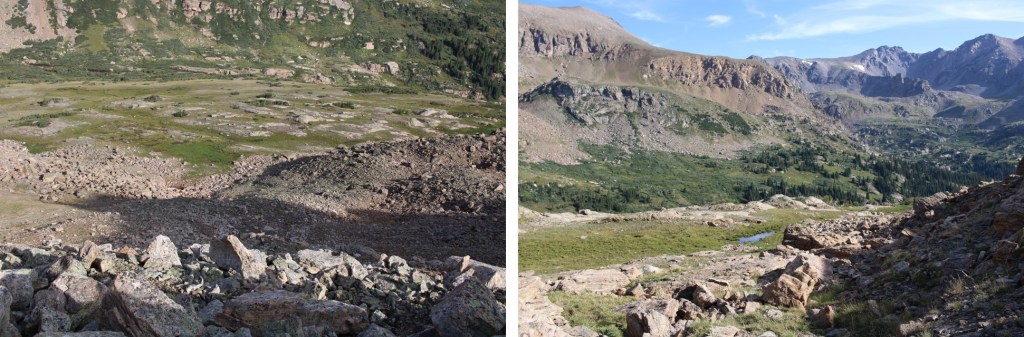
Then back down the gully, into the basin, avoiding the cliffs and waterfall
Then back up to the pass
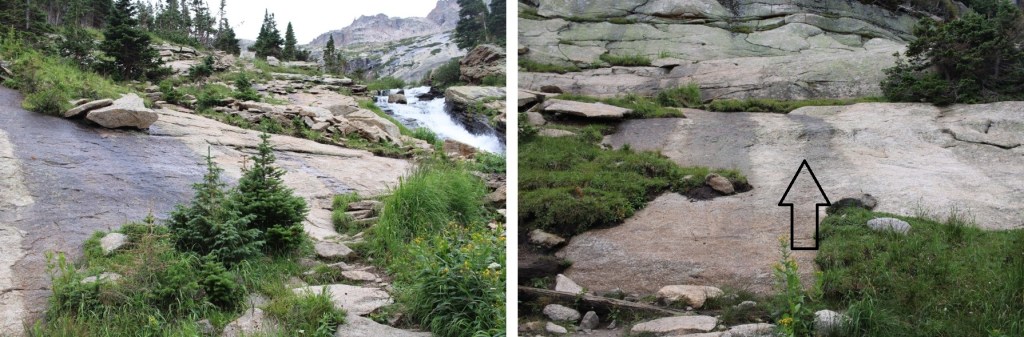
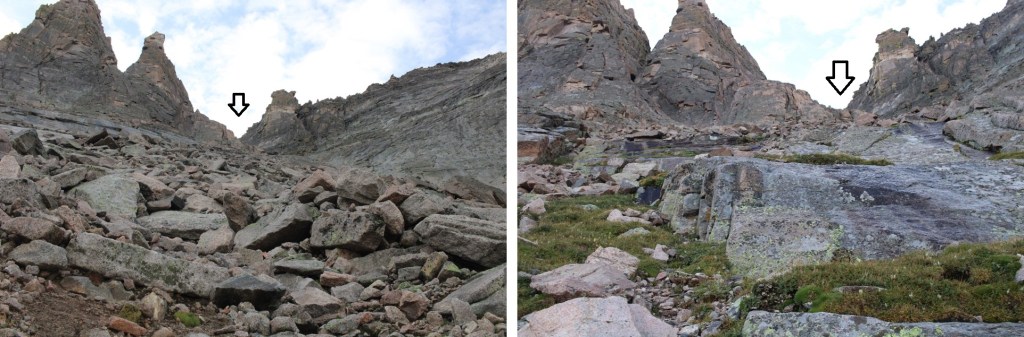
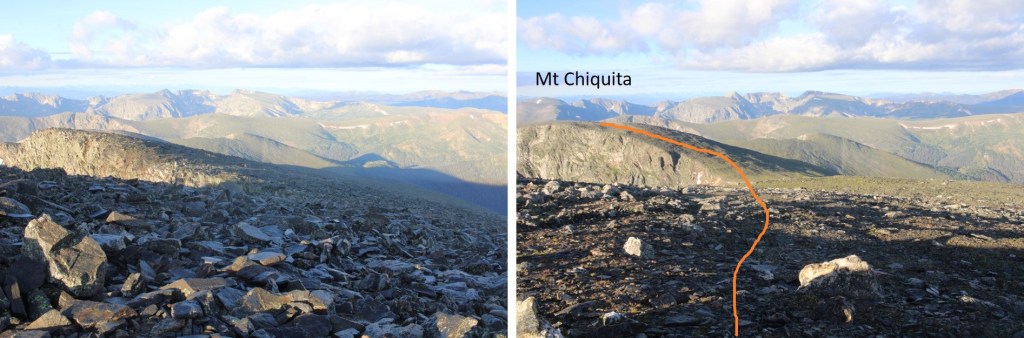
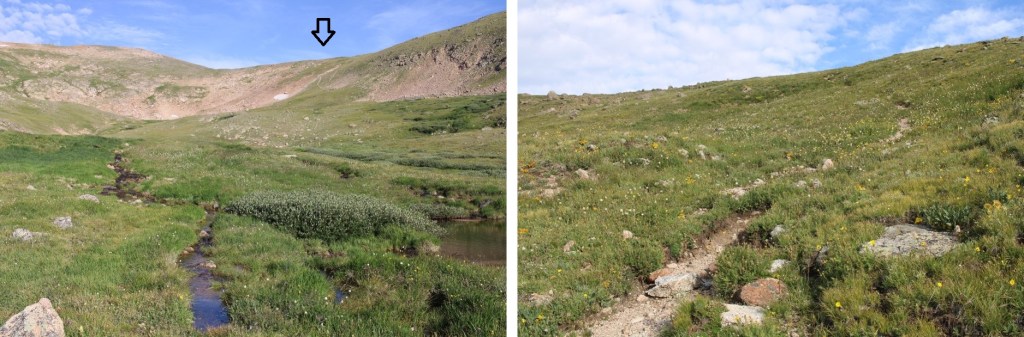
From the top the view can get a little confusing, because there are a lot of rocks. Here’s the route:

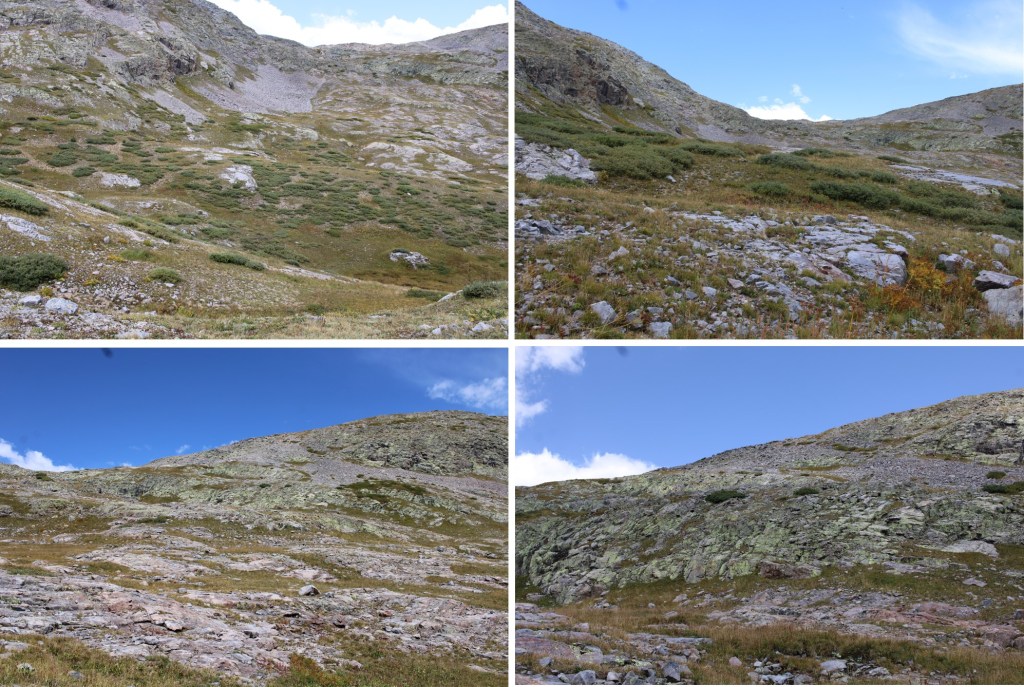
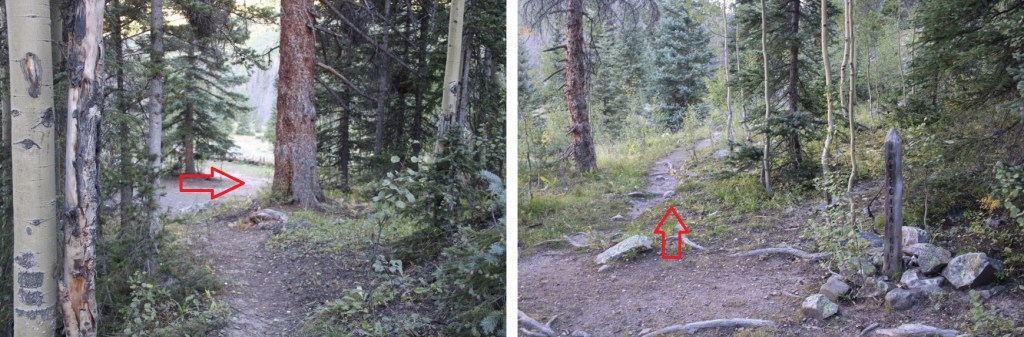
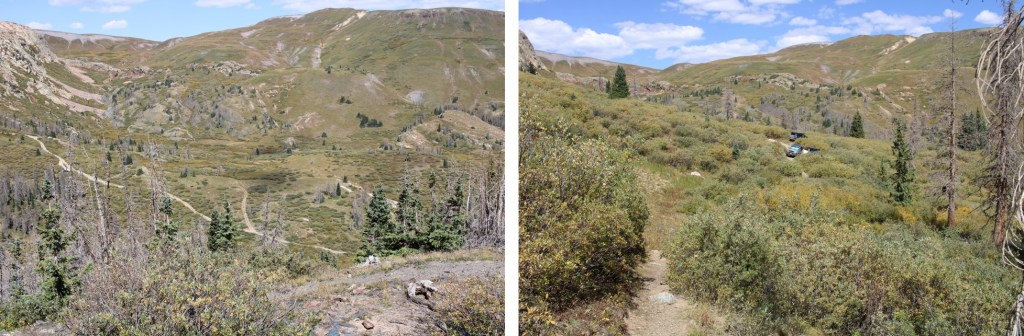
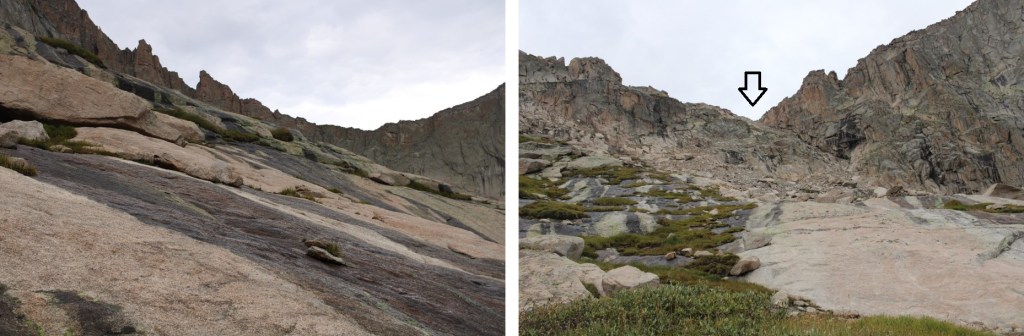
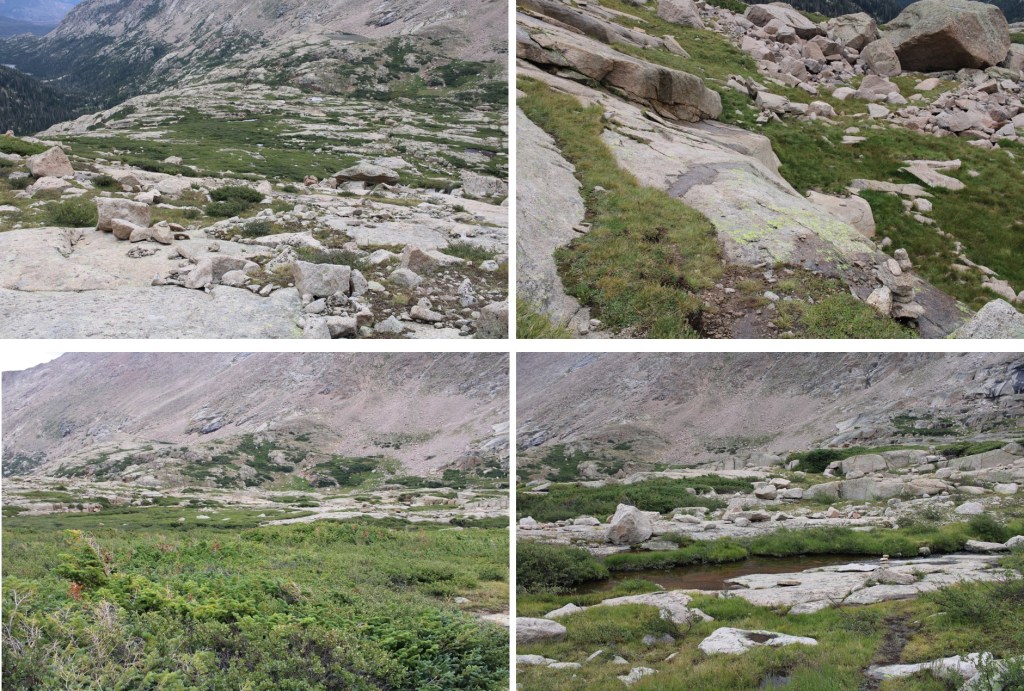
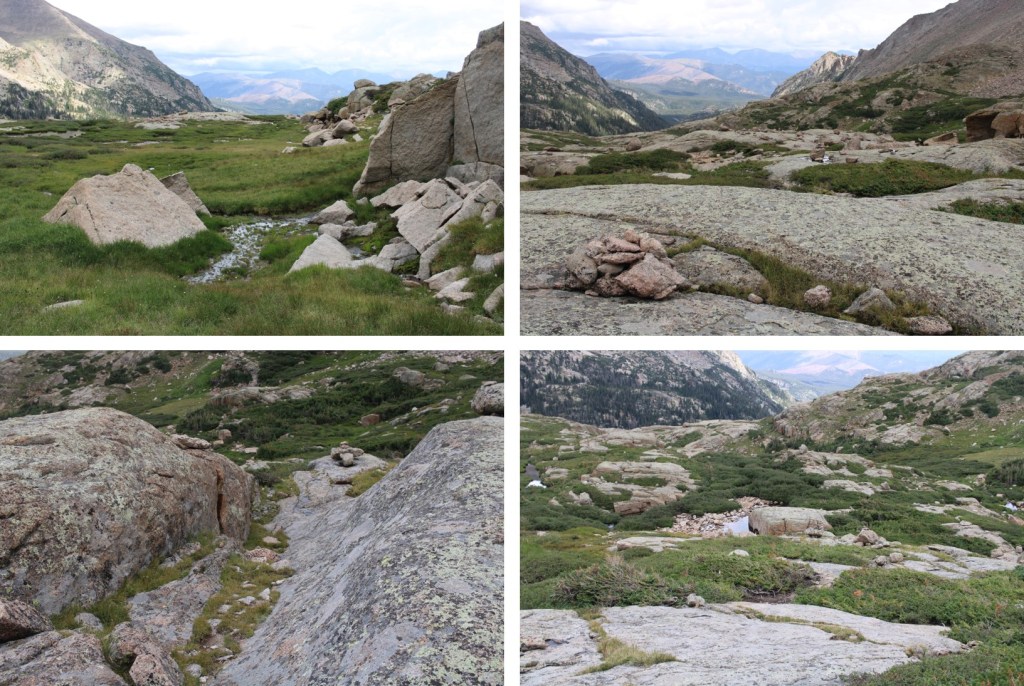
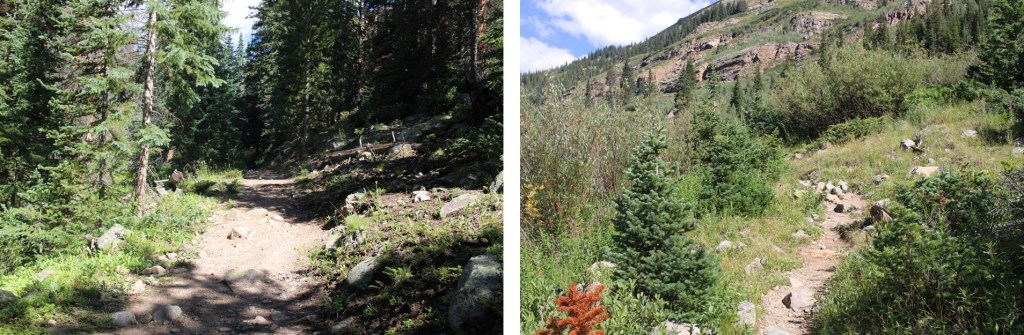
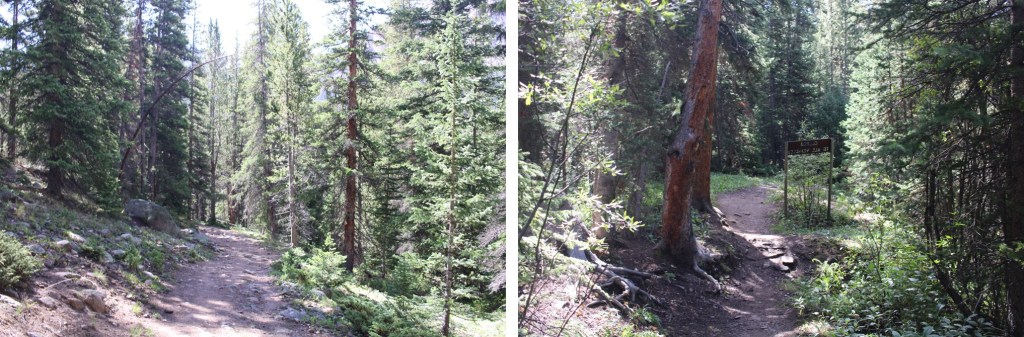
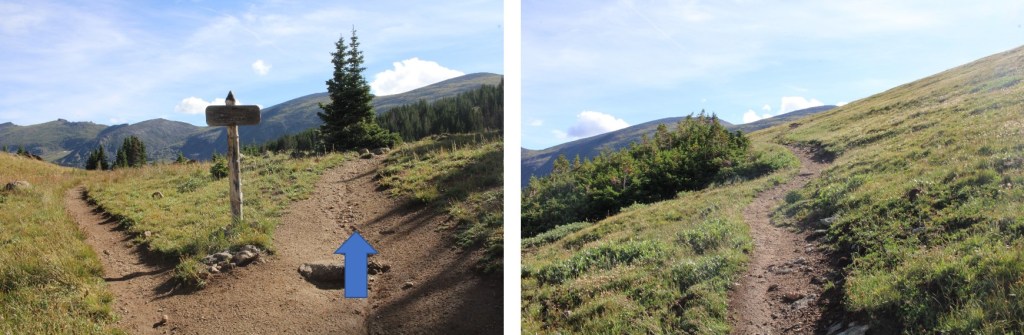
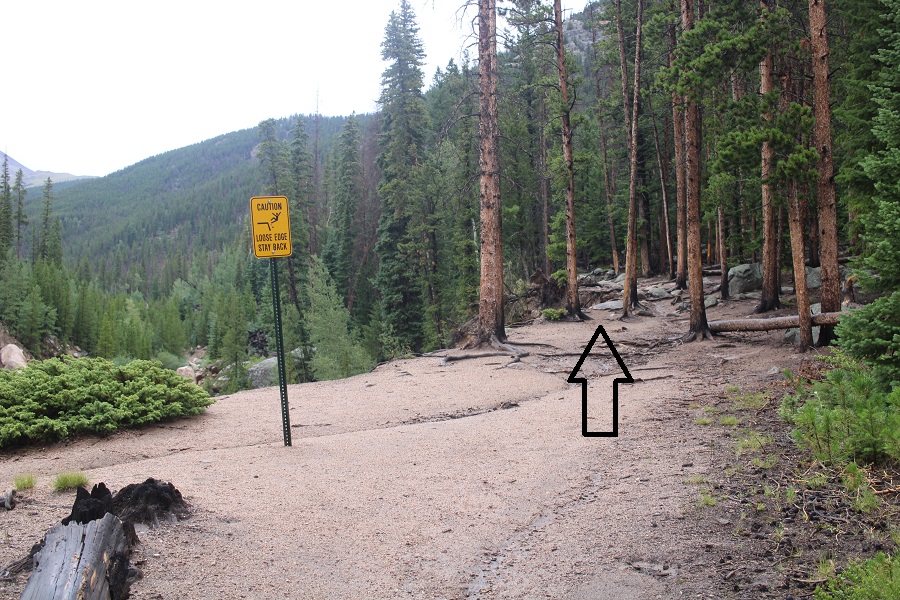
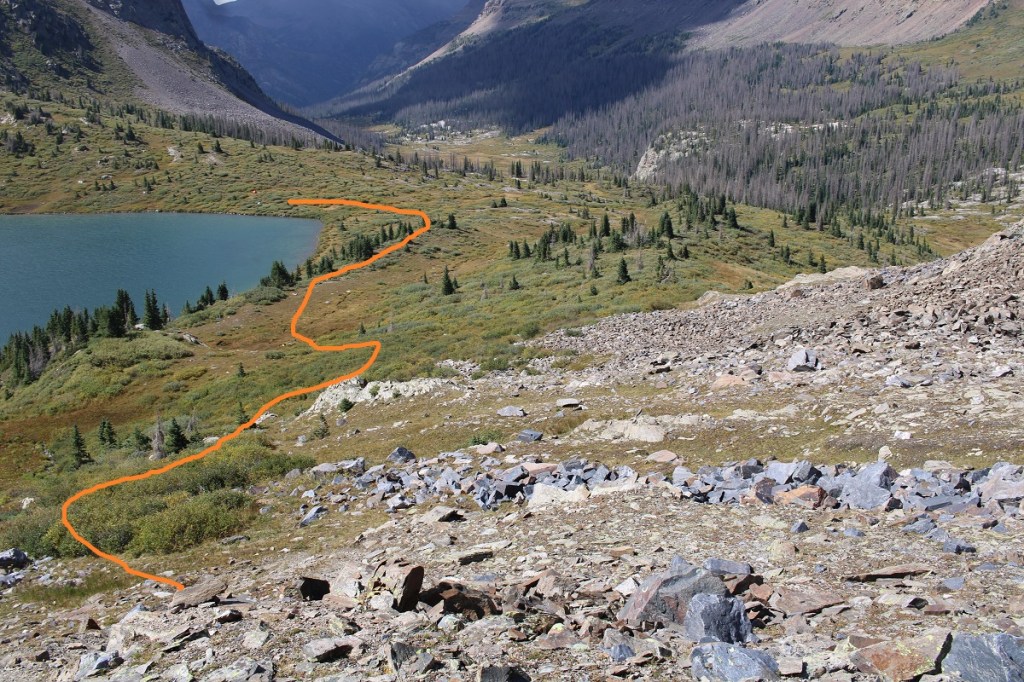
You’re aiming for this gully, which will have cairns that will lead you back down to Rock Lake
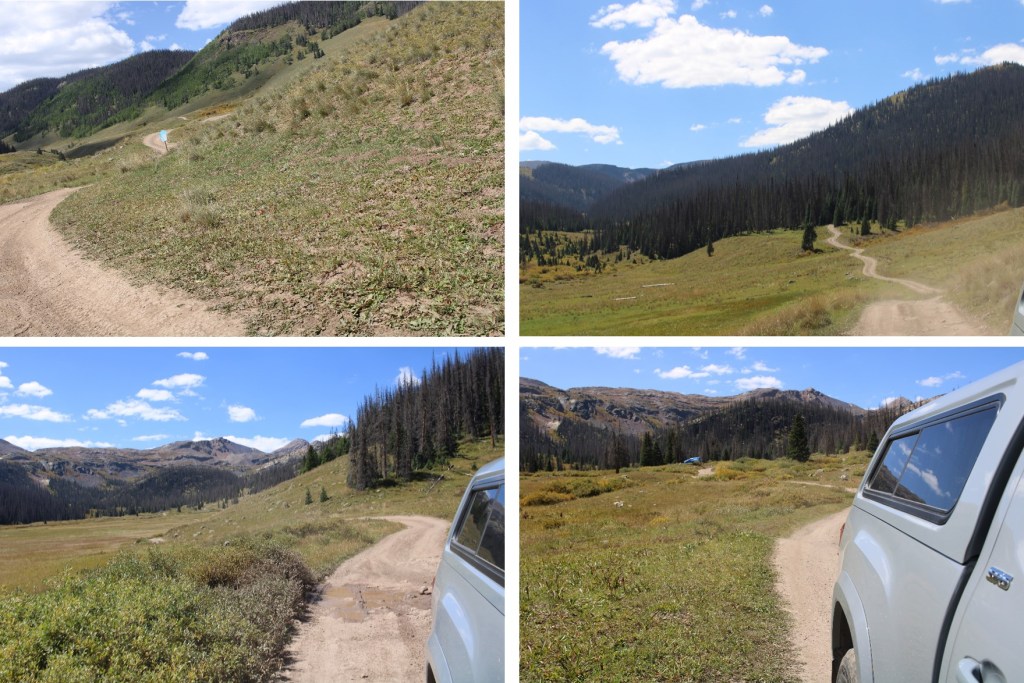
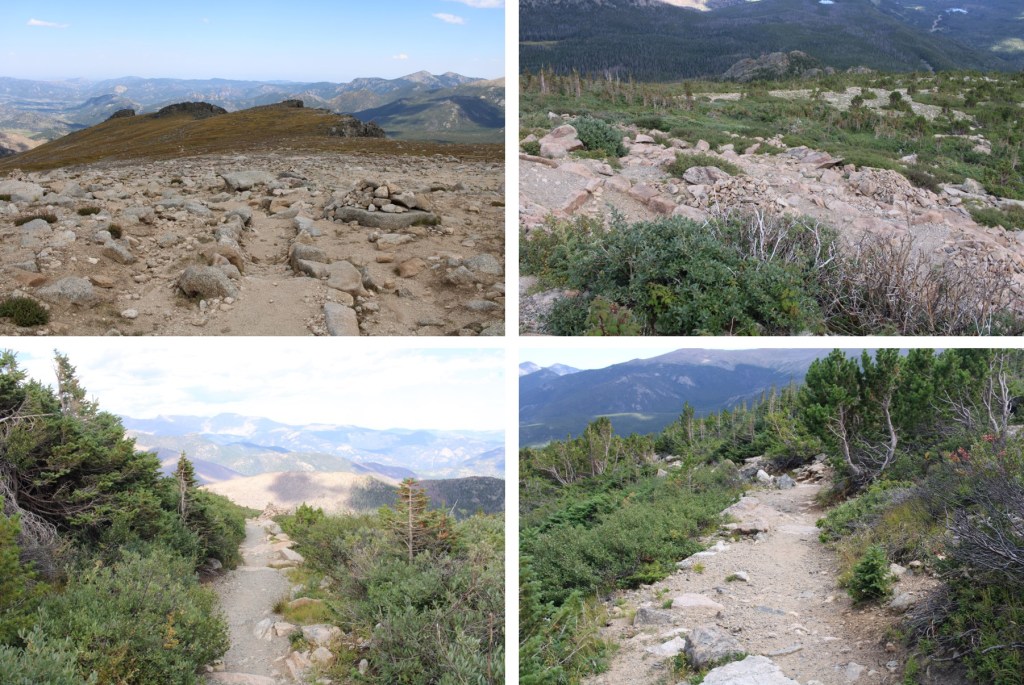
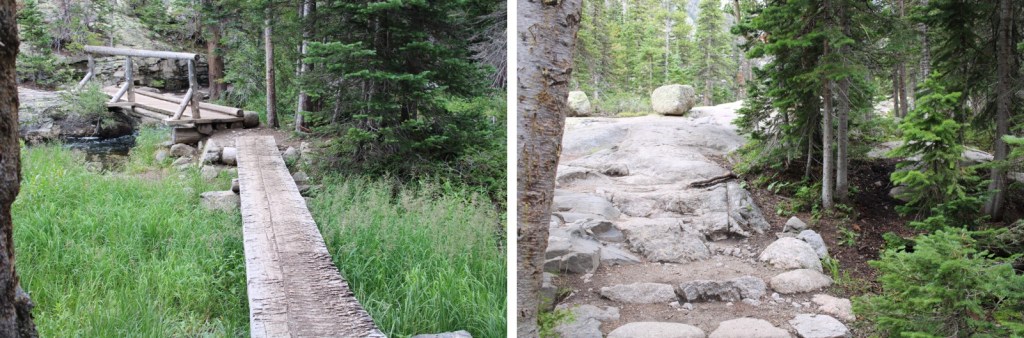
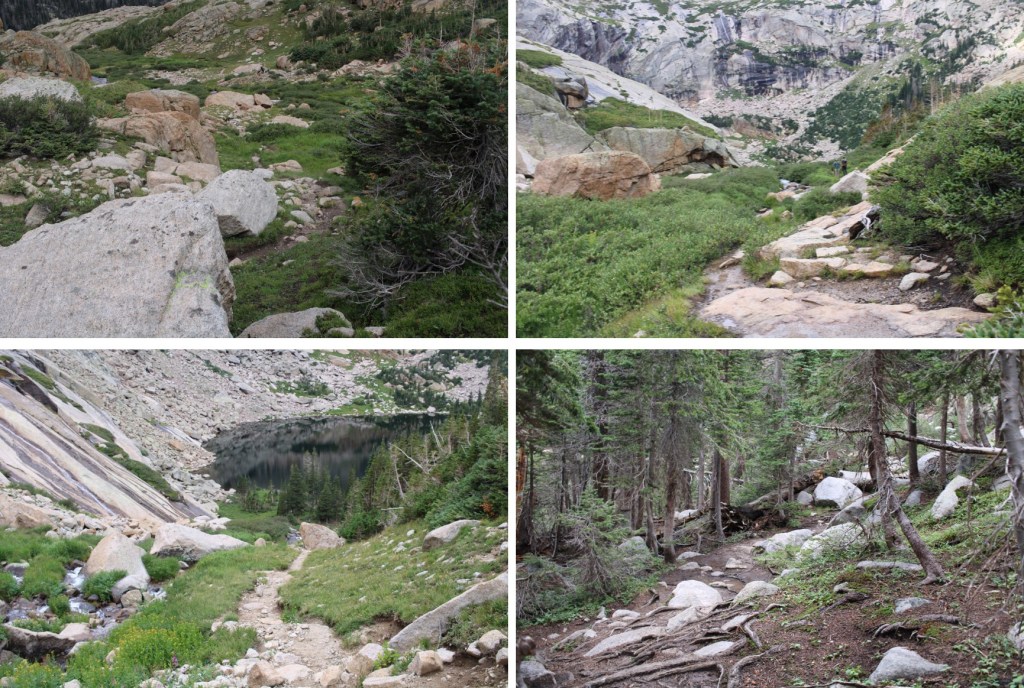
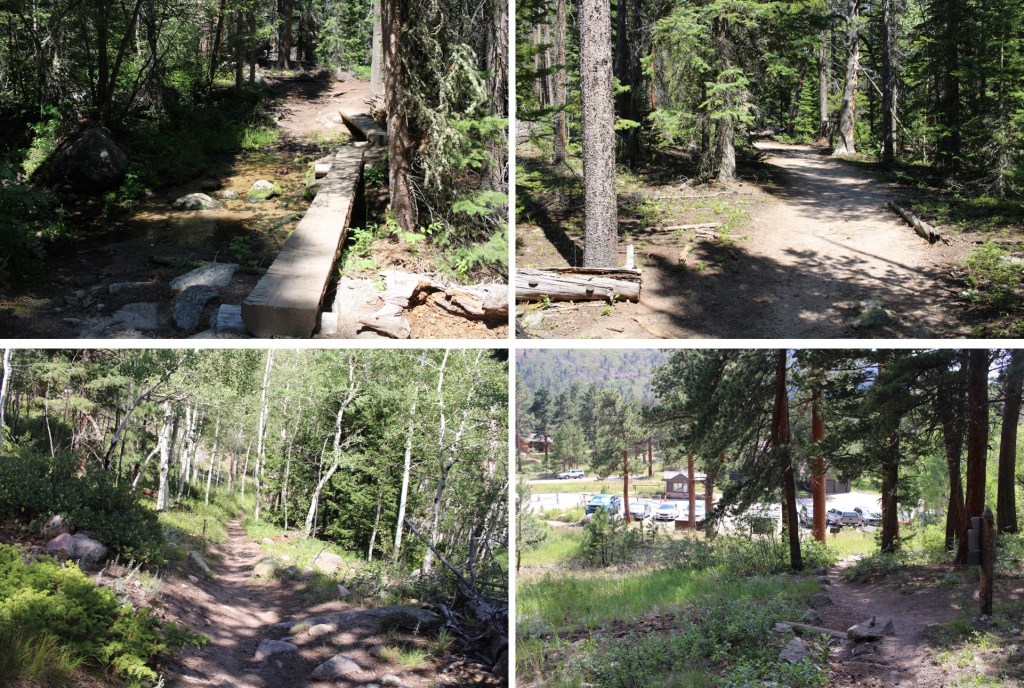
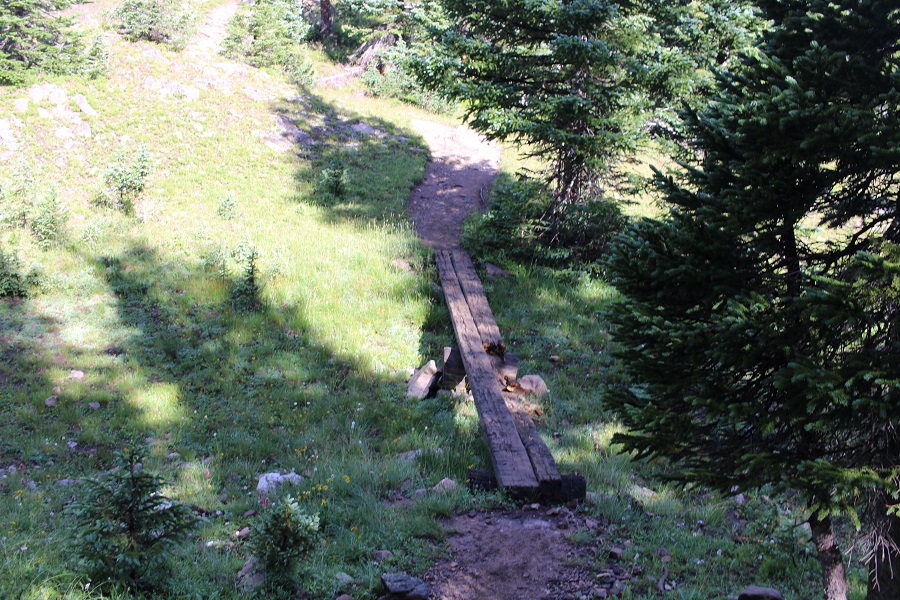
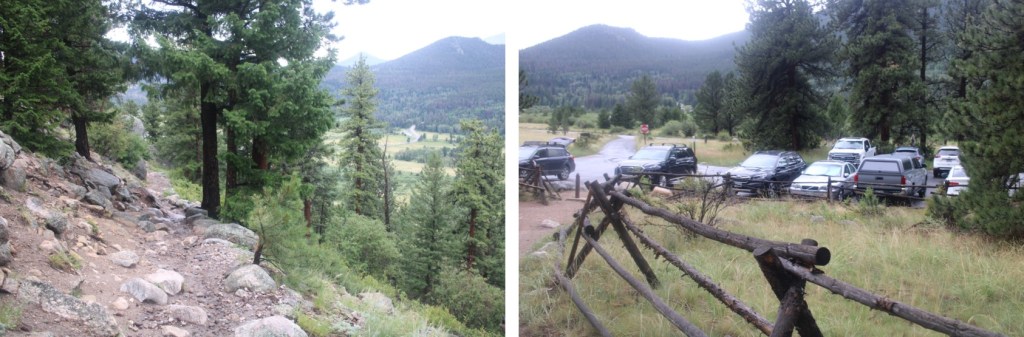
There is a trail here that will lead you back to the lake
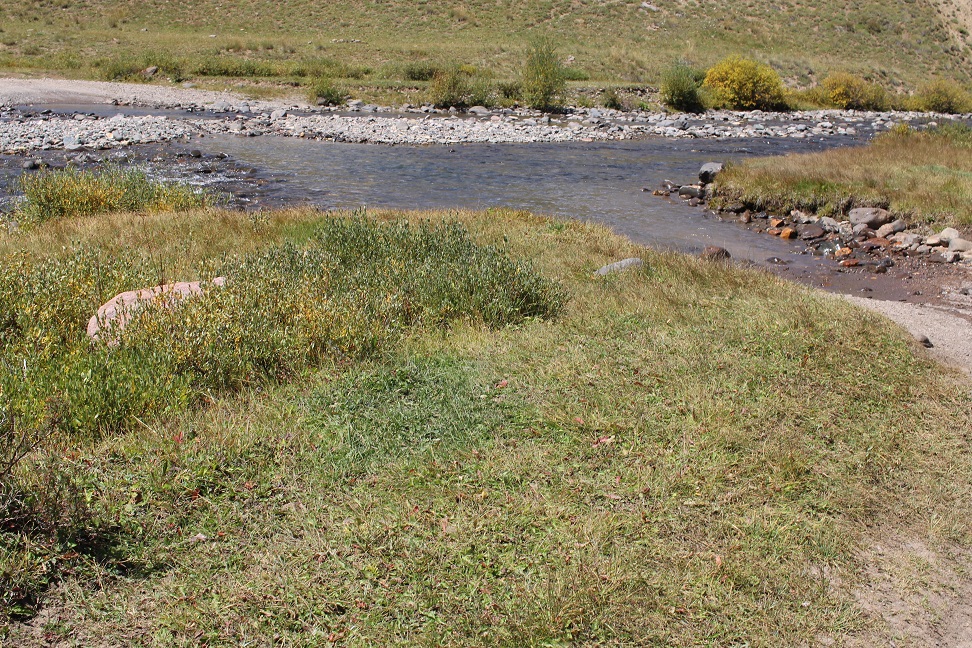
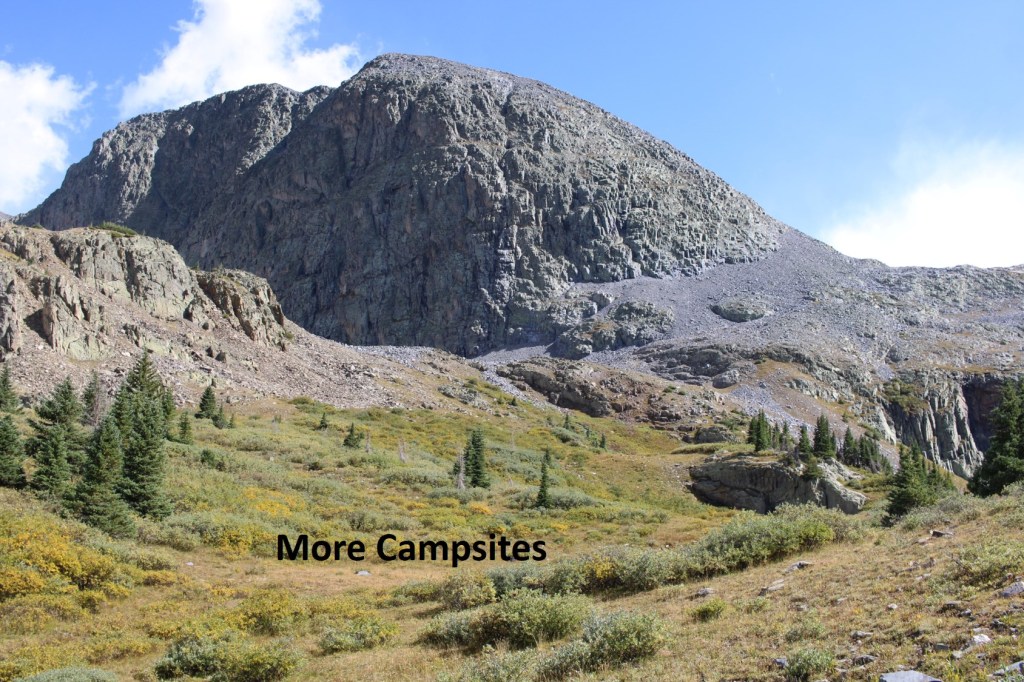
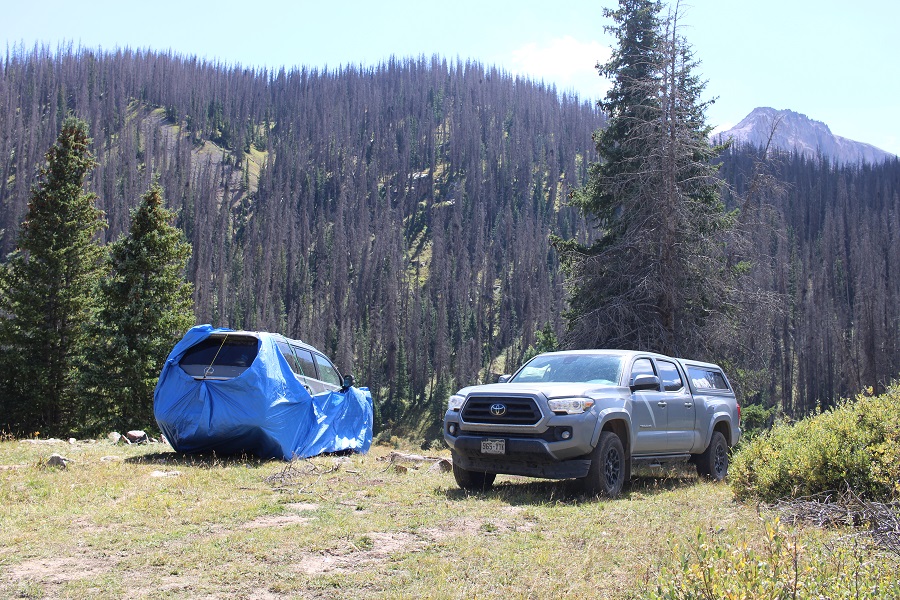
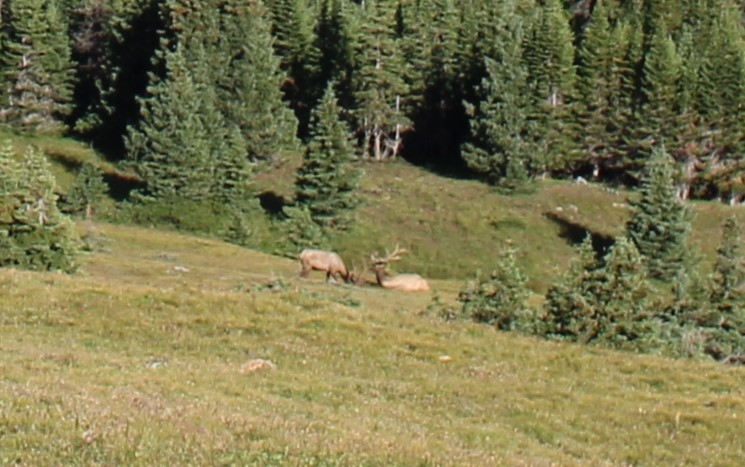
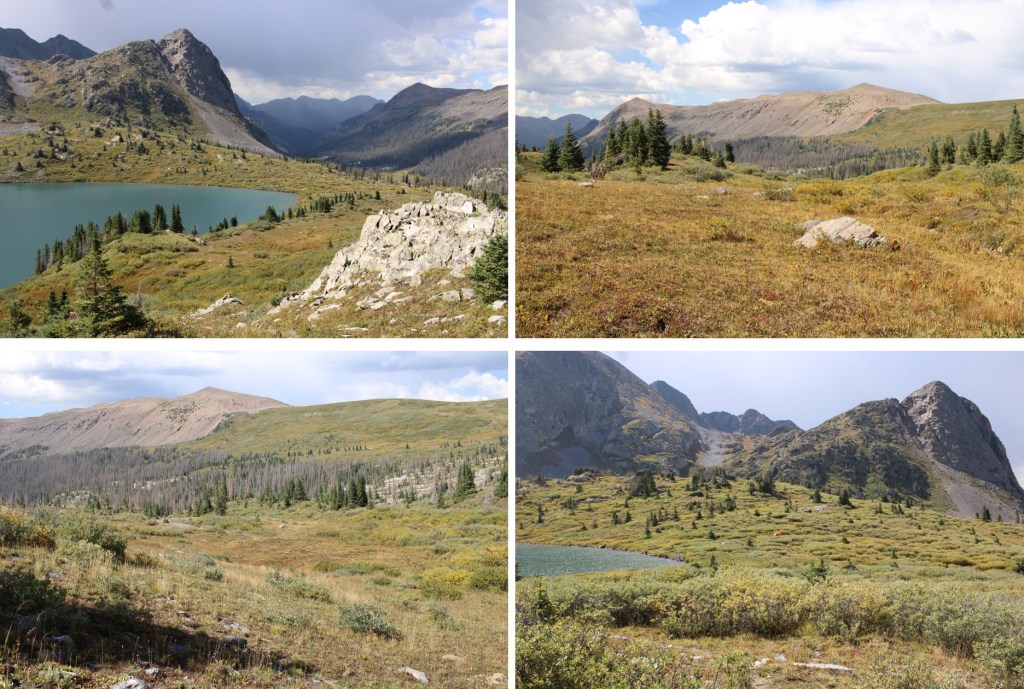
Notice there are a lot of campsites in this valley area as well
I made it back to Rock Lake at 11:45am, making this a 7.04 mile hike with 2793’ of elevation gain in 5 hours, 45 minutes.