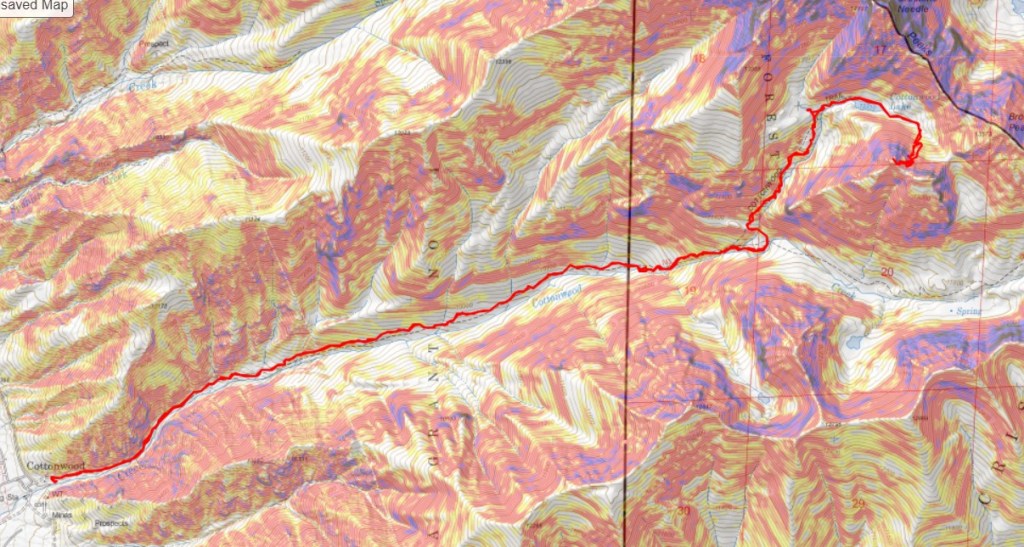
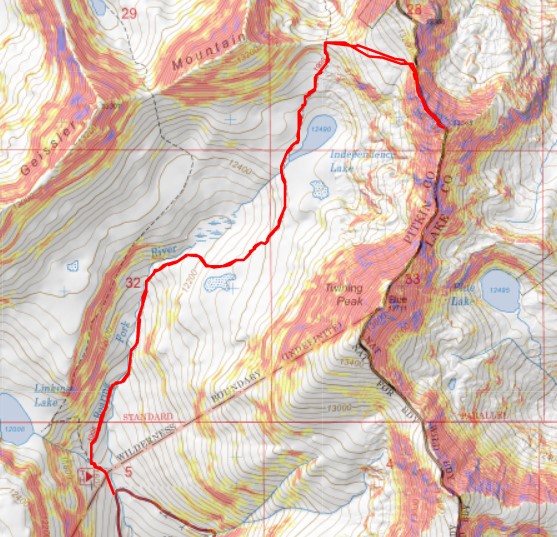
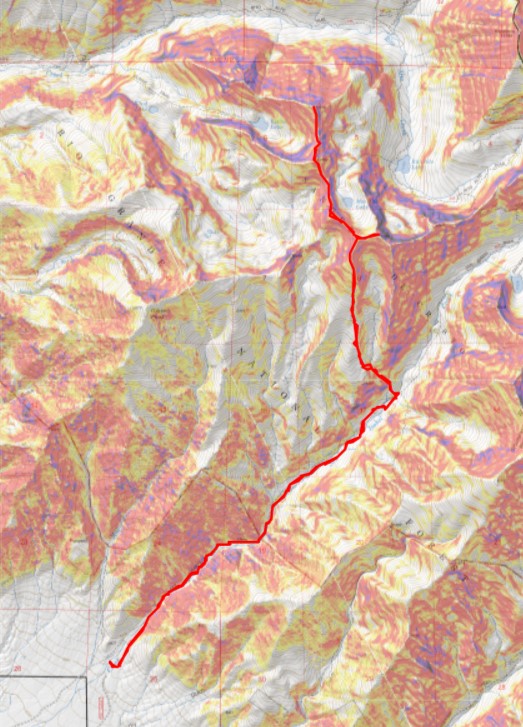
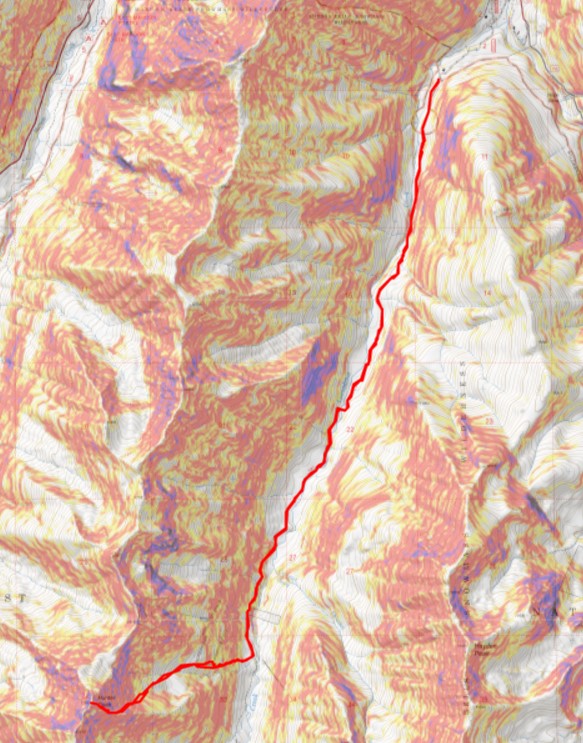
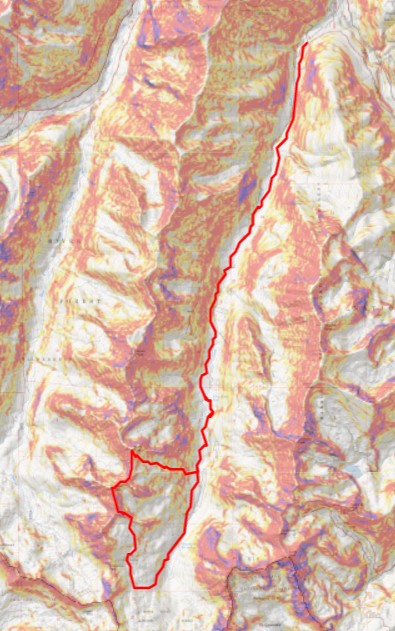
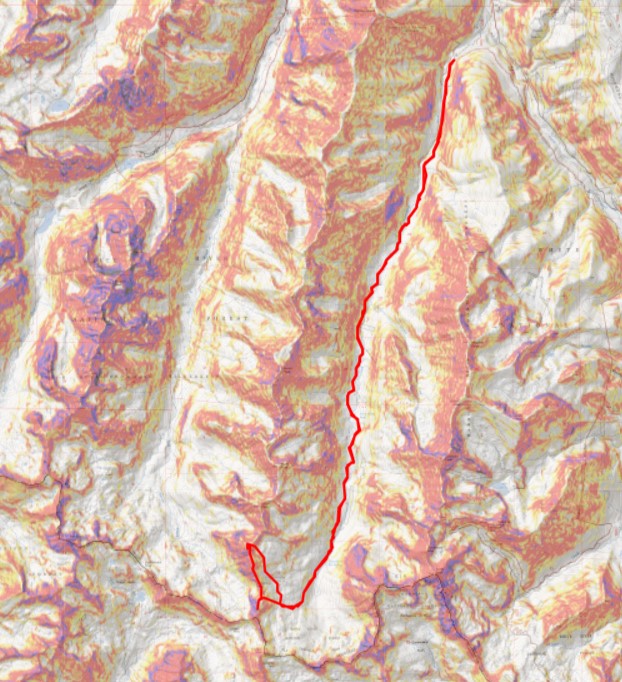
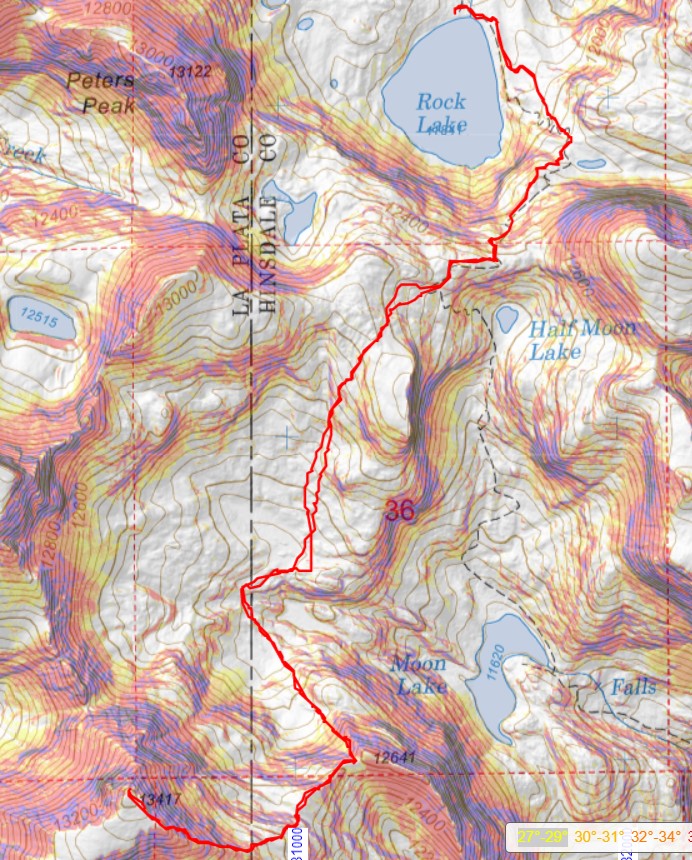
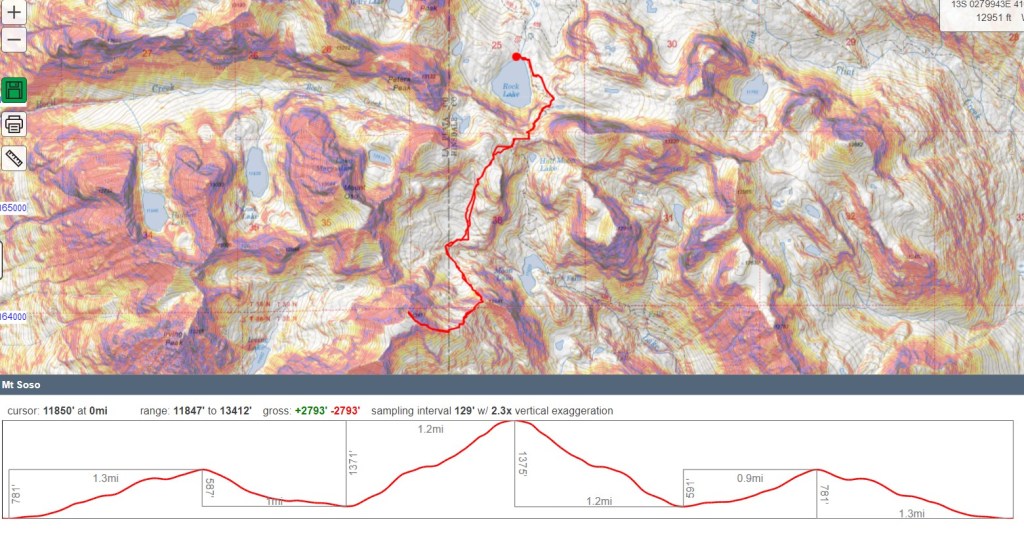
RT Length: 13.3 miles
Elevation Gain: 4605’
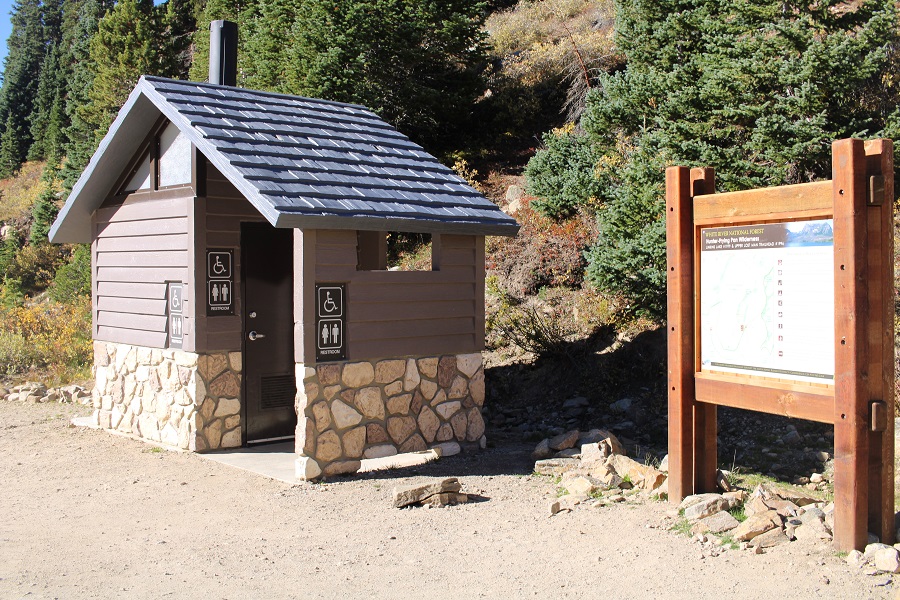
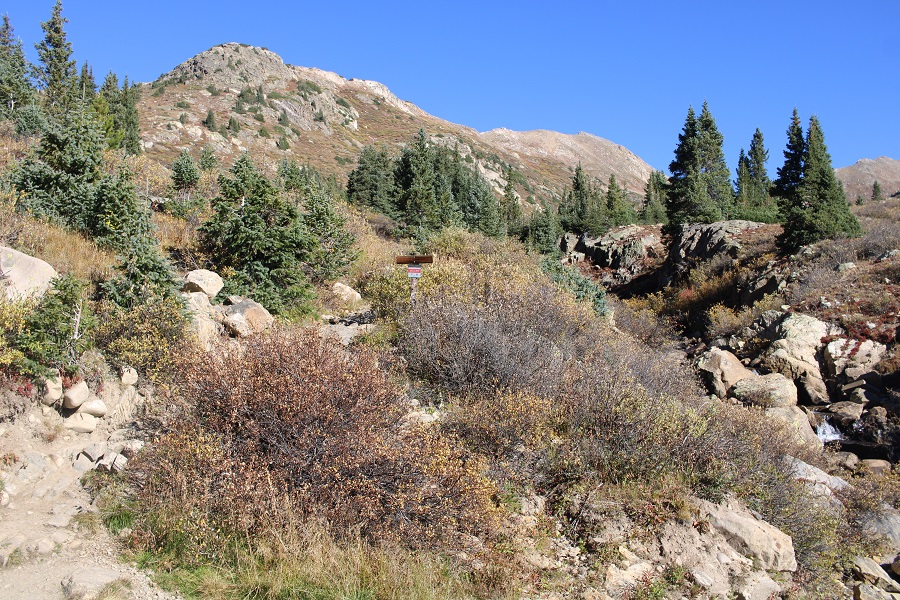
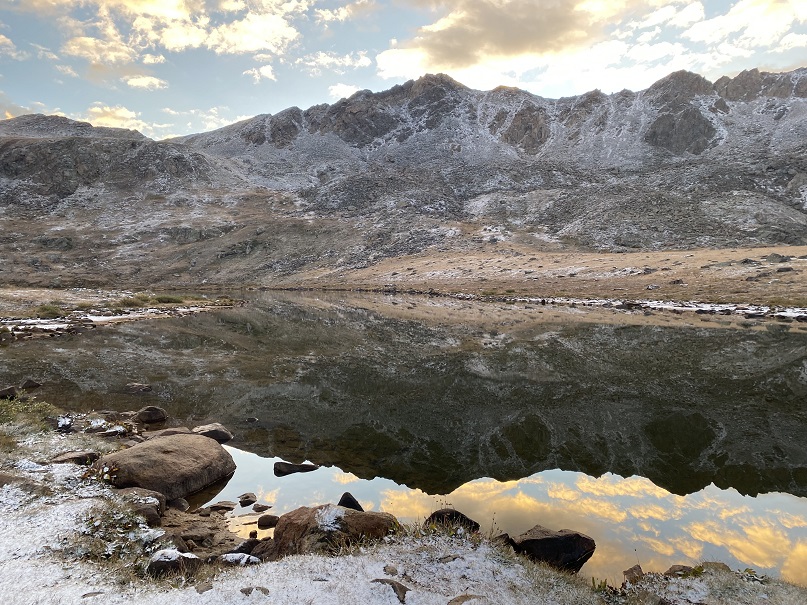
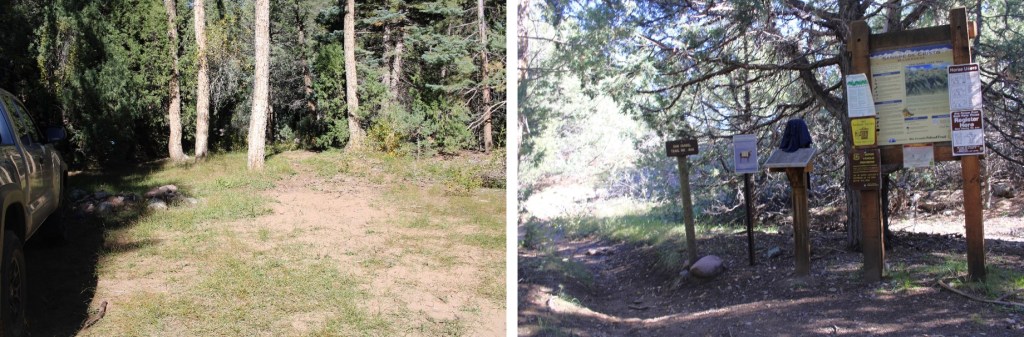
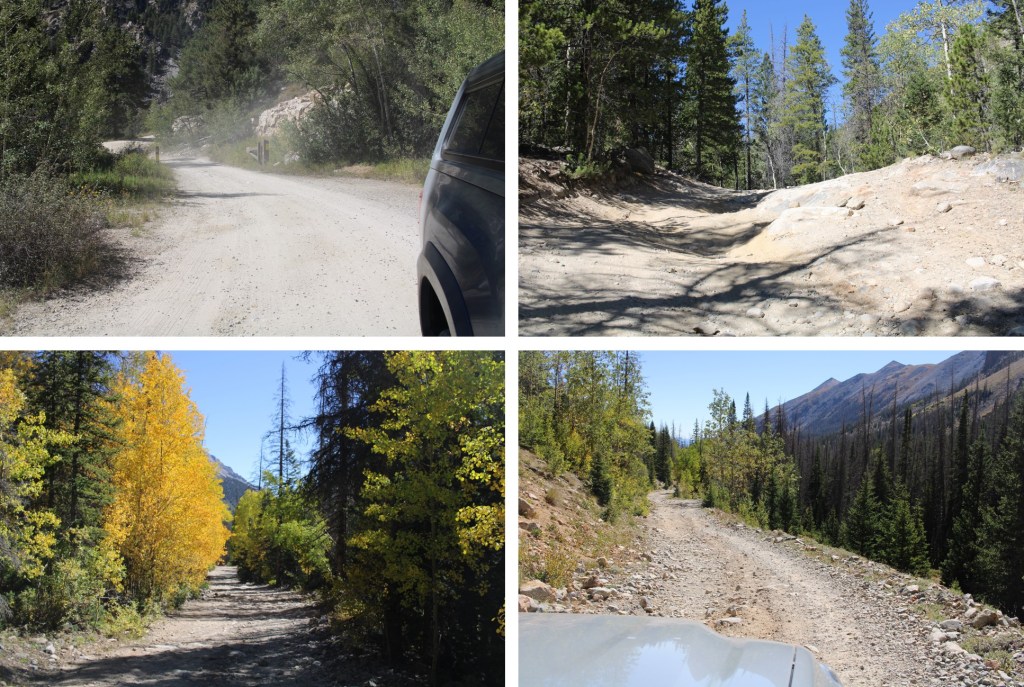
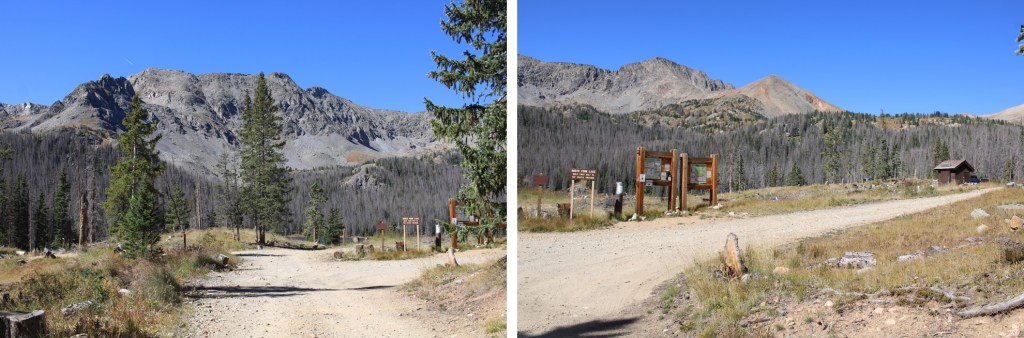
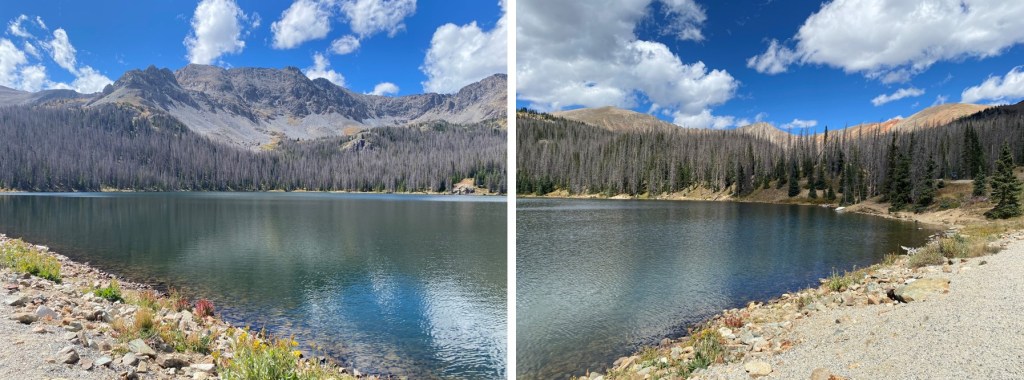
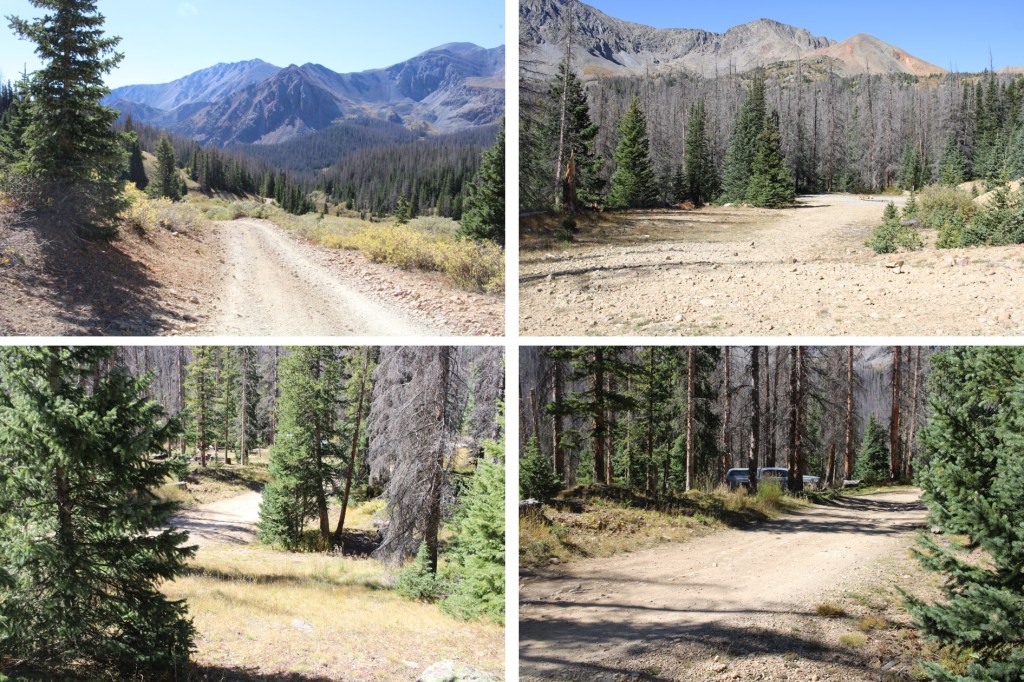
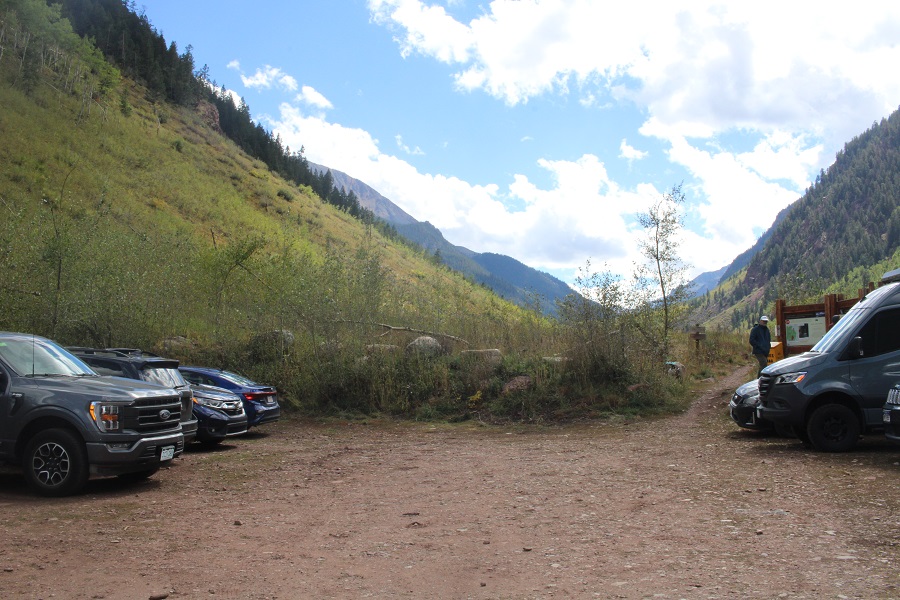
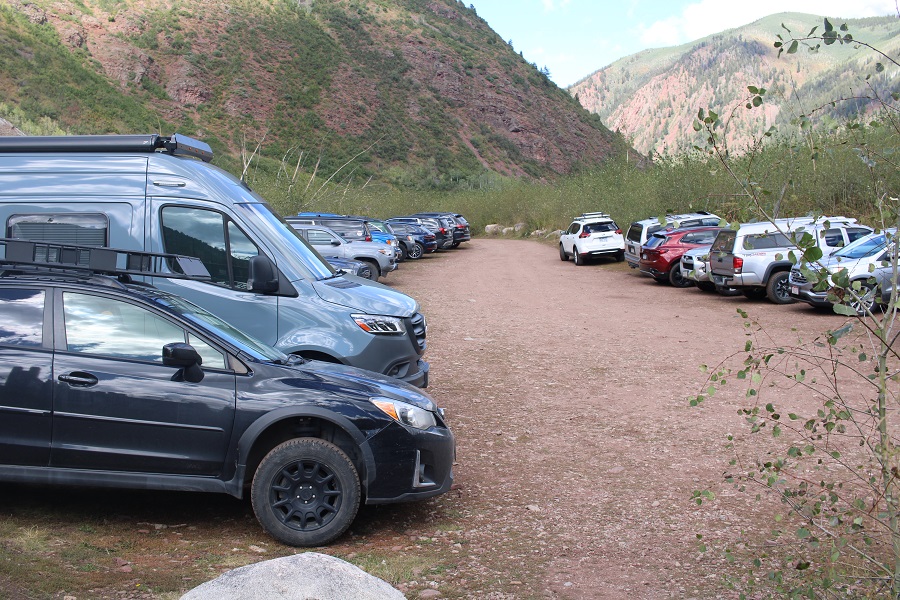
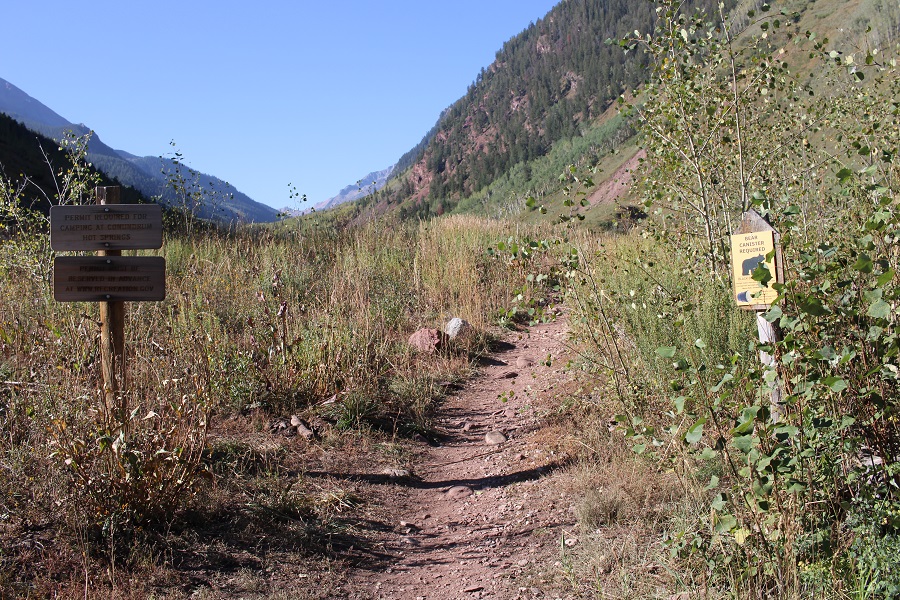
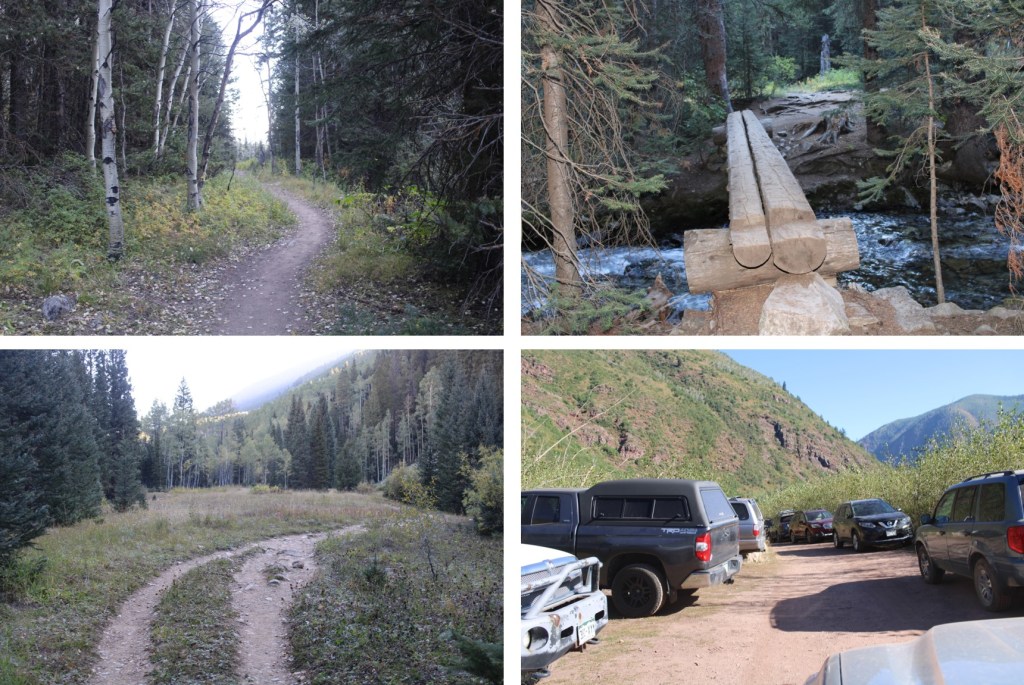
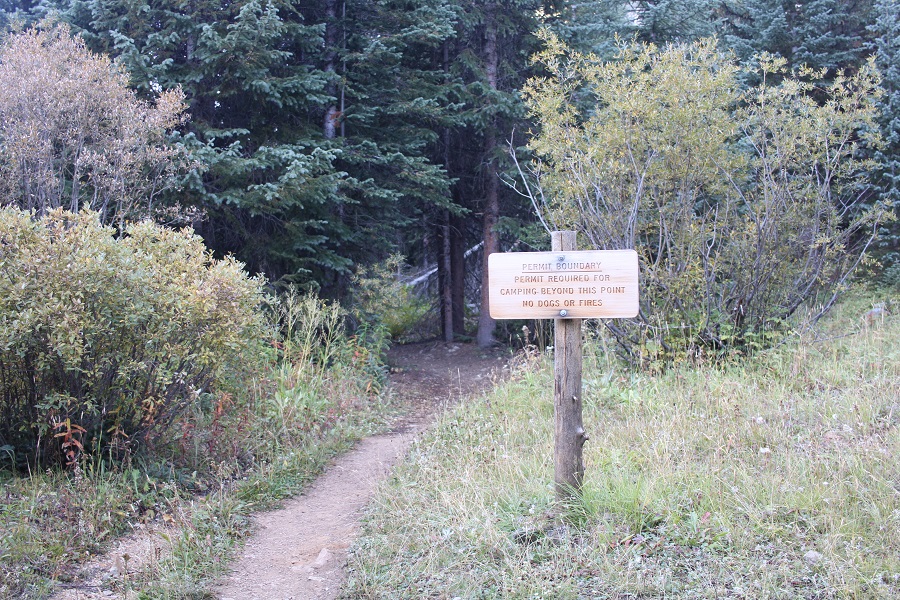
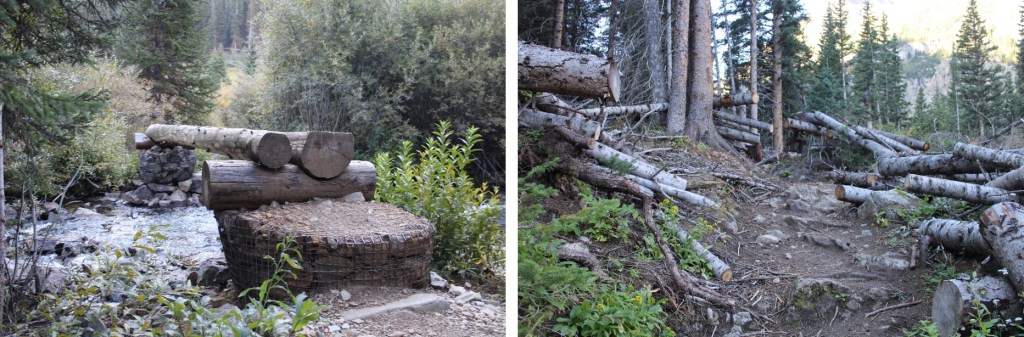
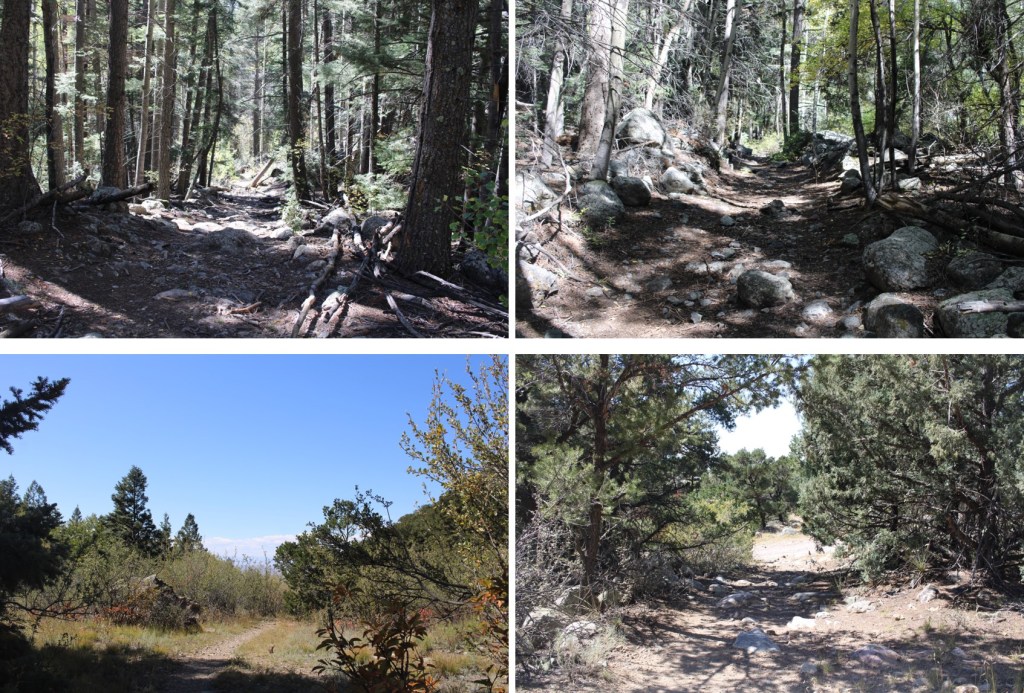
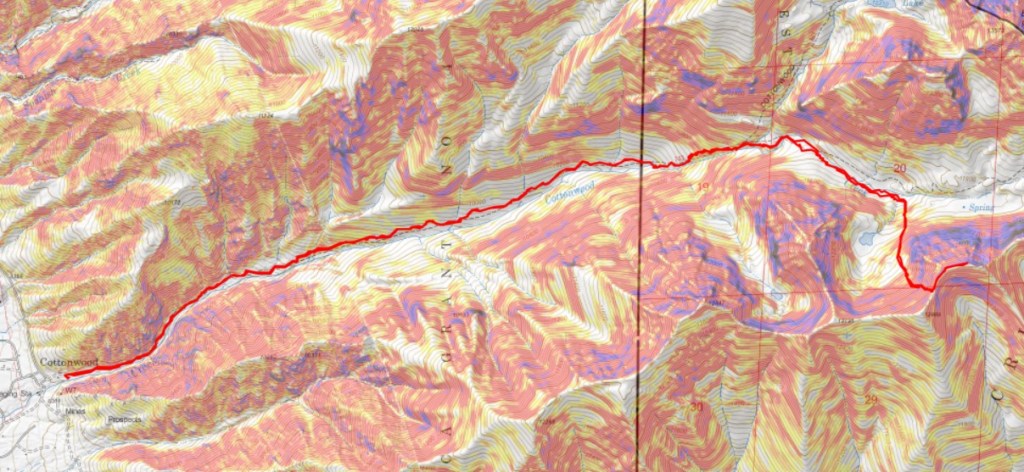
I started from the Cottonwood Creek Trailhead at 4:30am. This trailhead tends to fill up in the summer, but on this fall day my truck was the only one there. It was the only one there the night before as well.
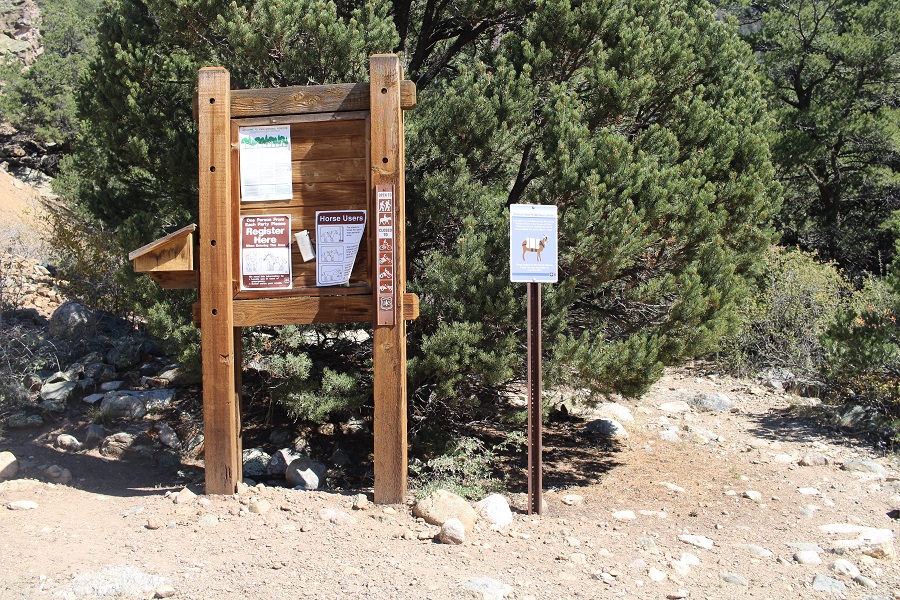
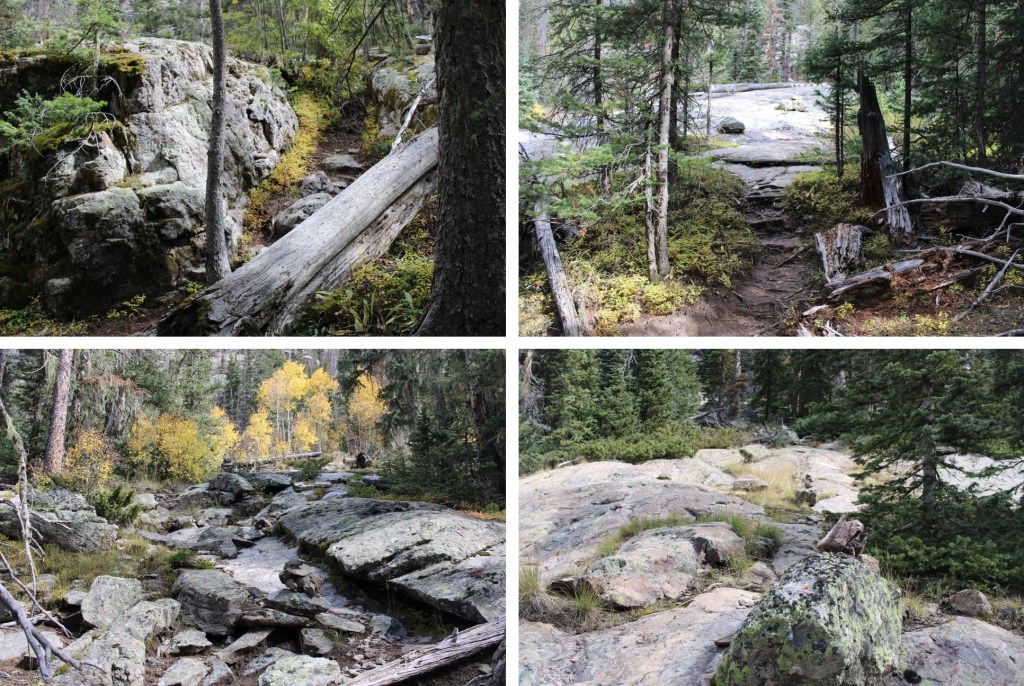
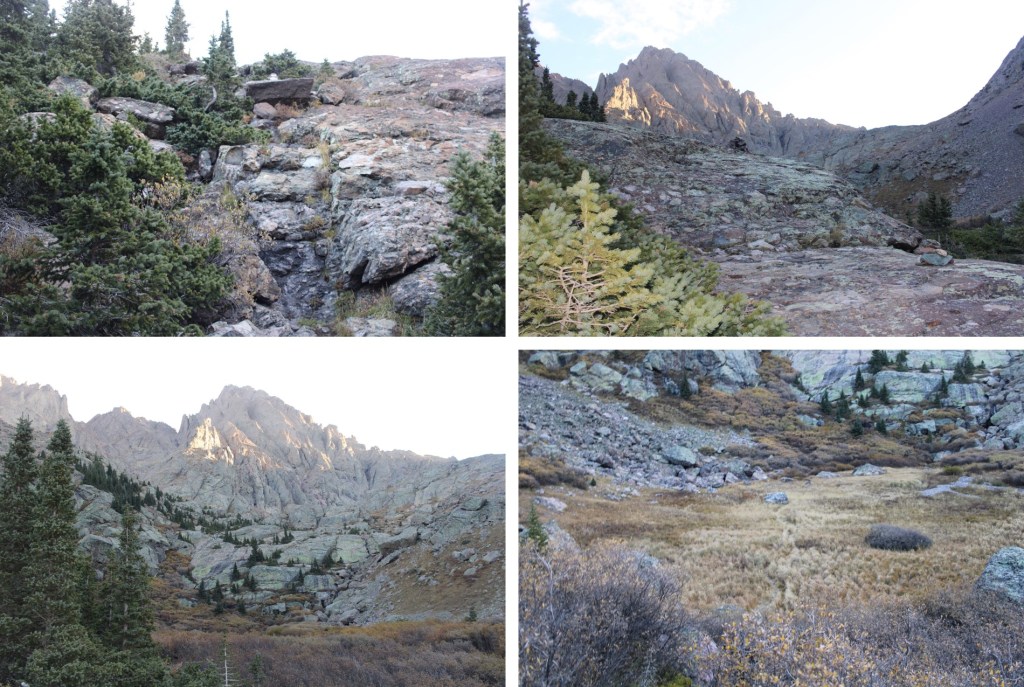
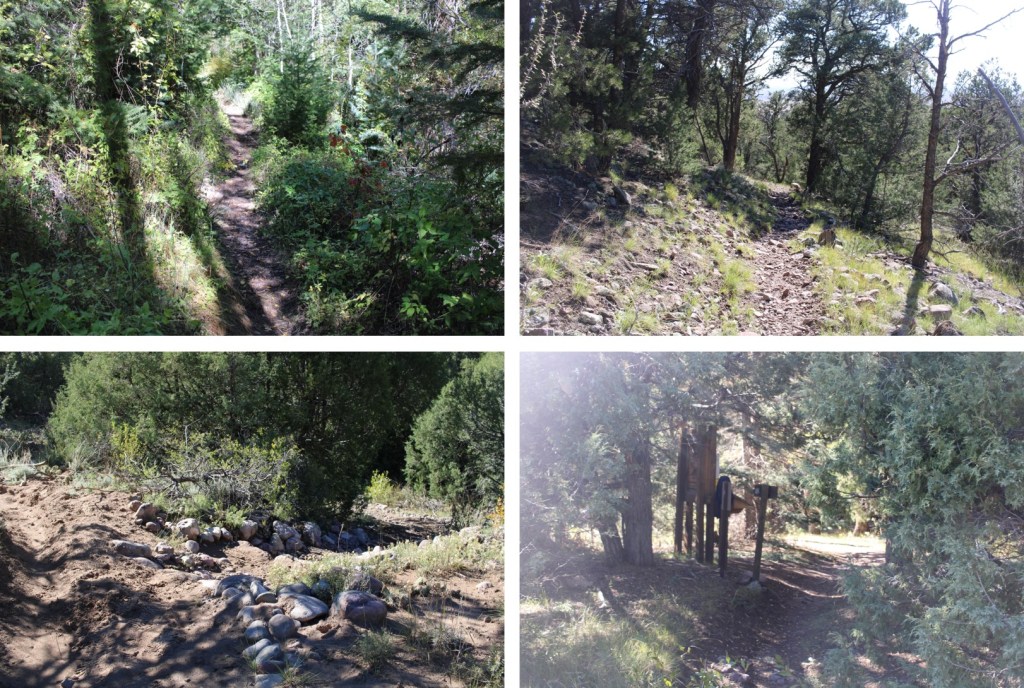
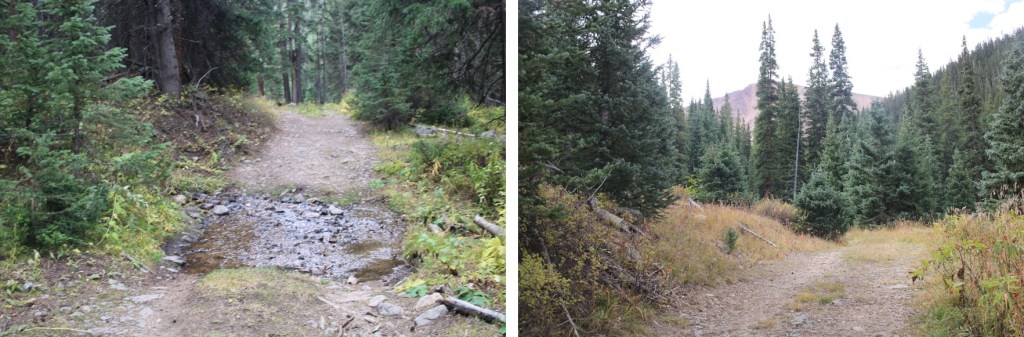
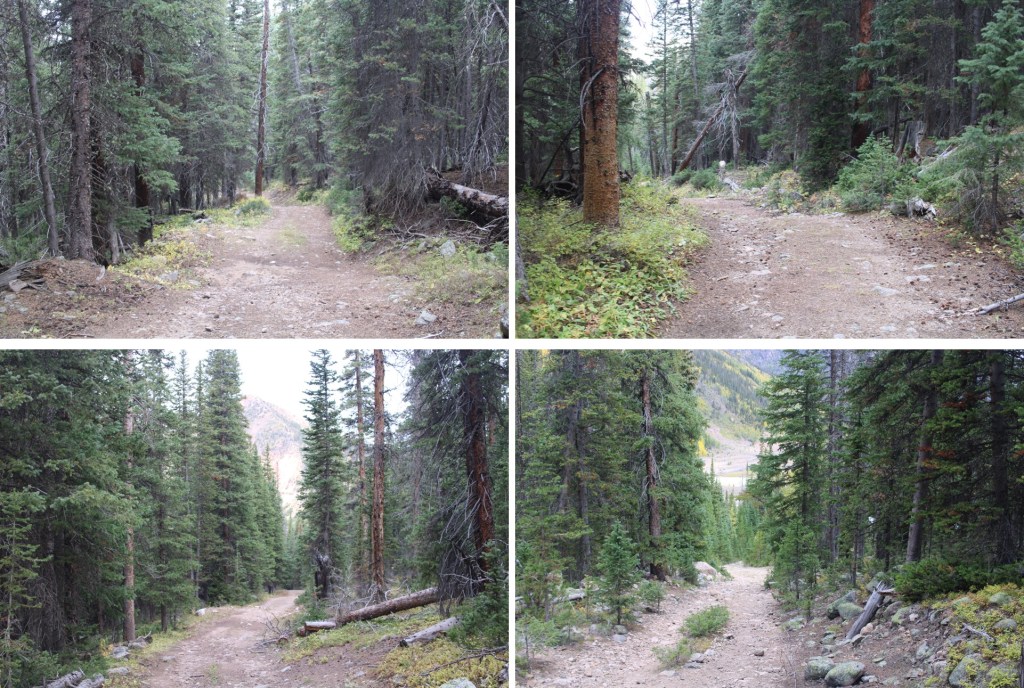
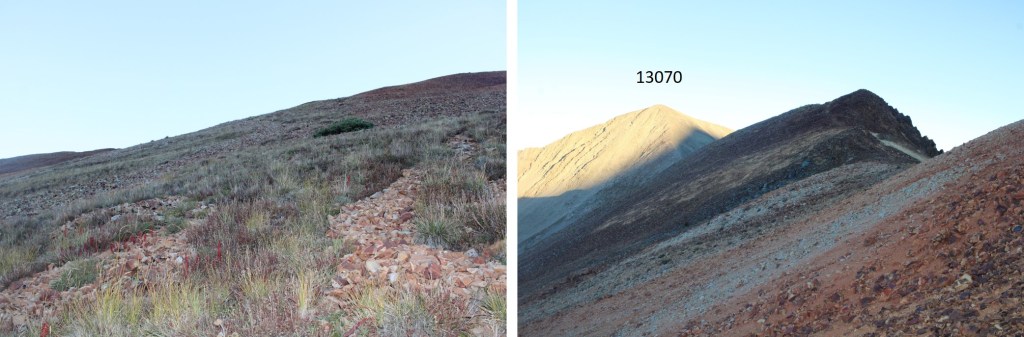
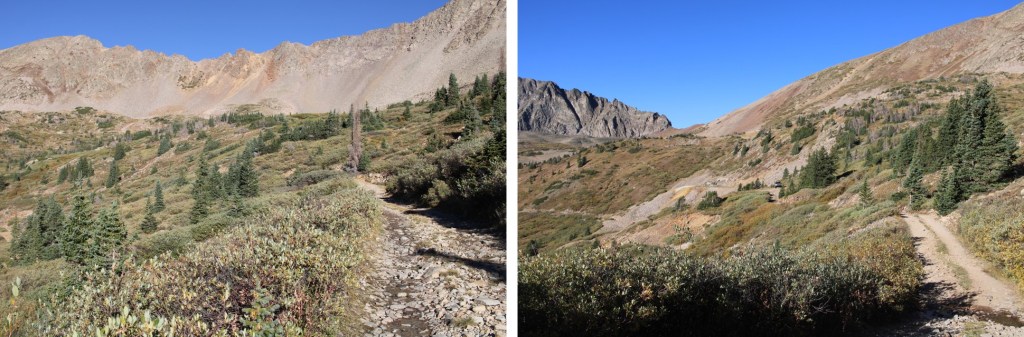
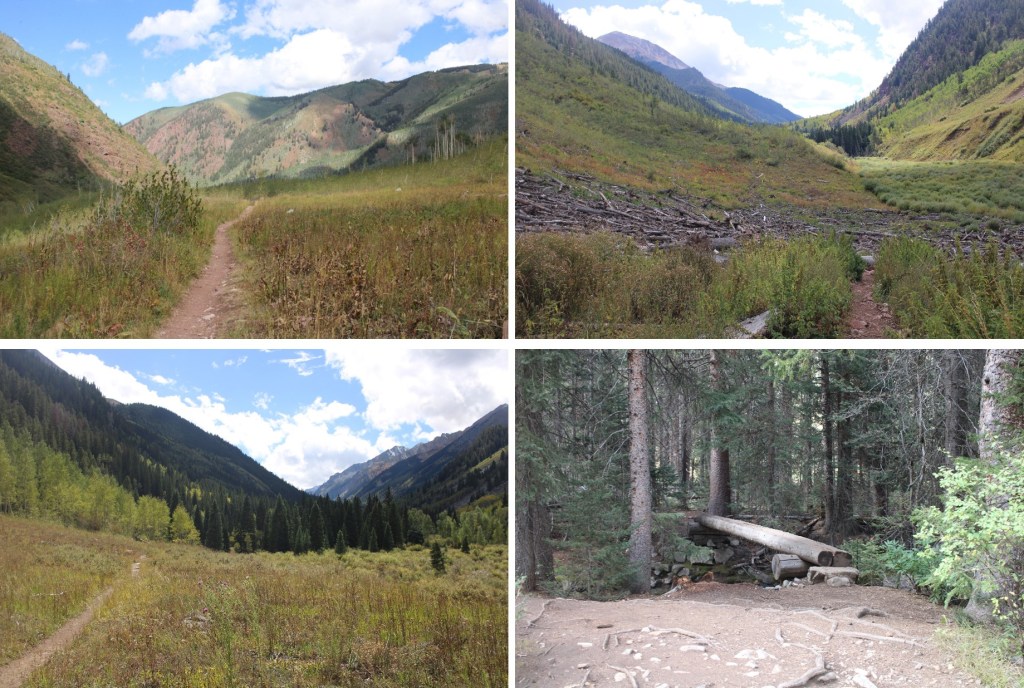
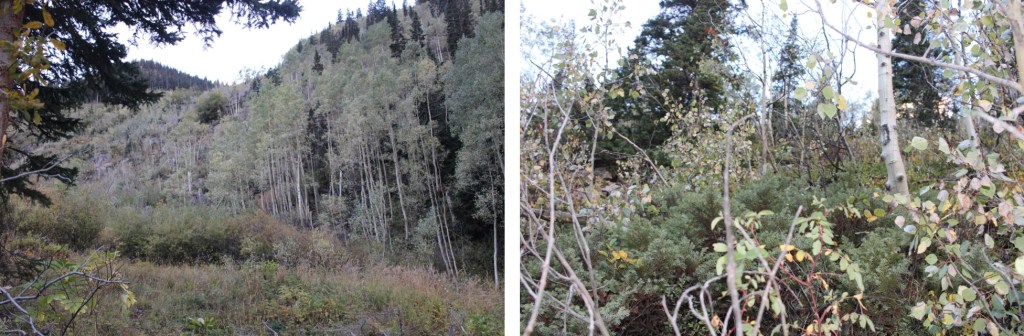
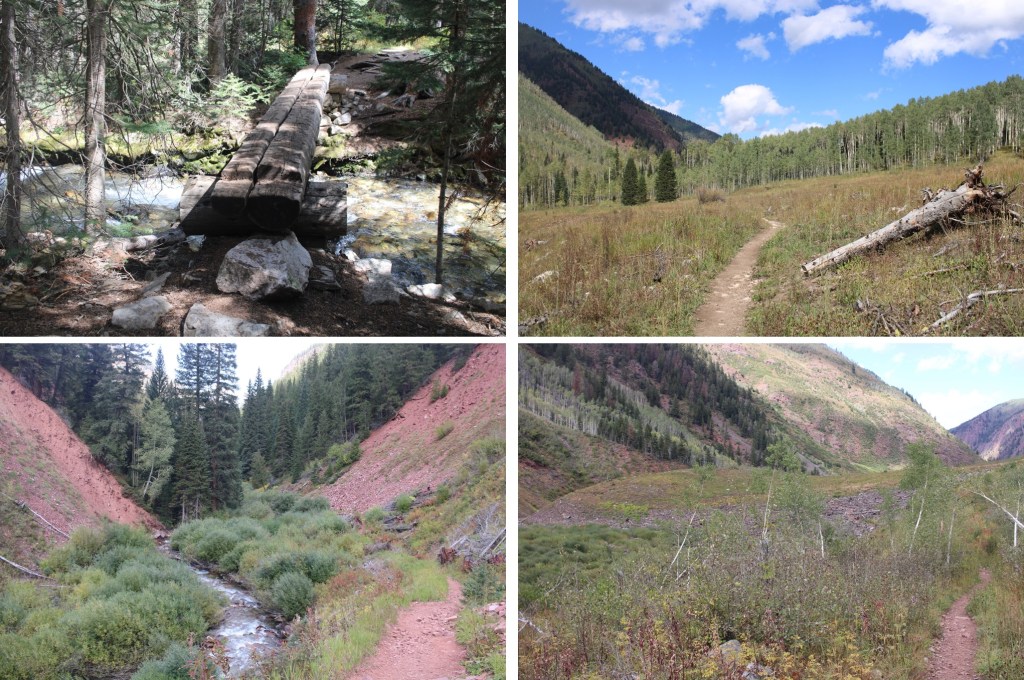
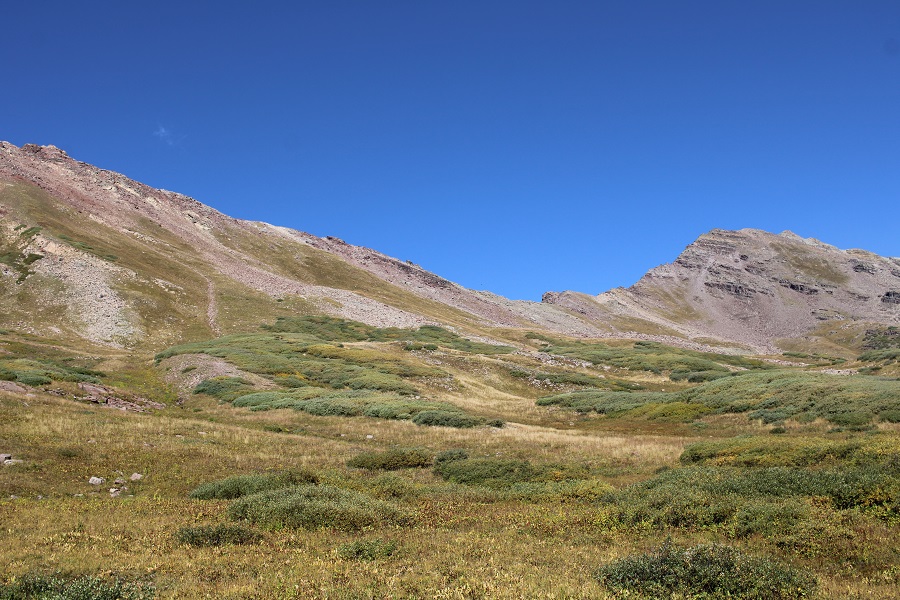
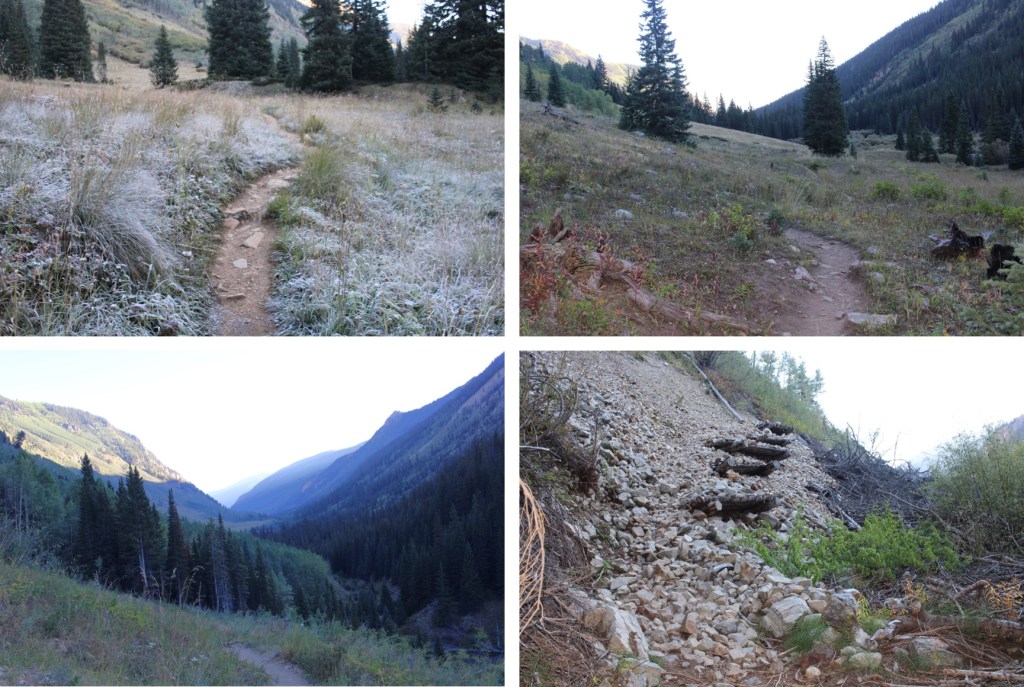
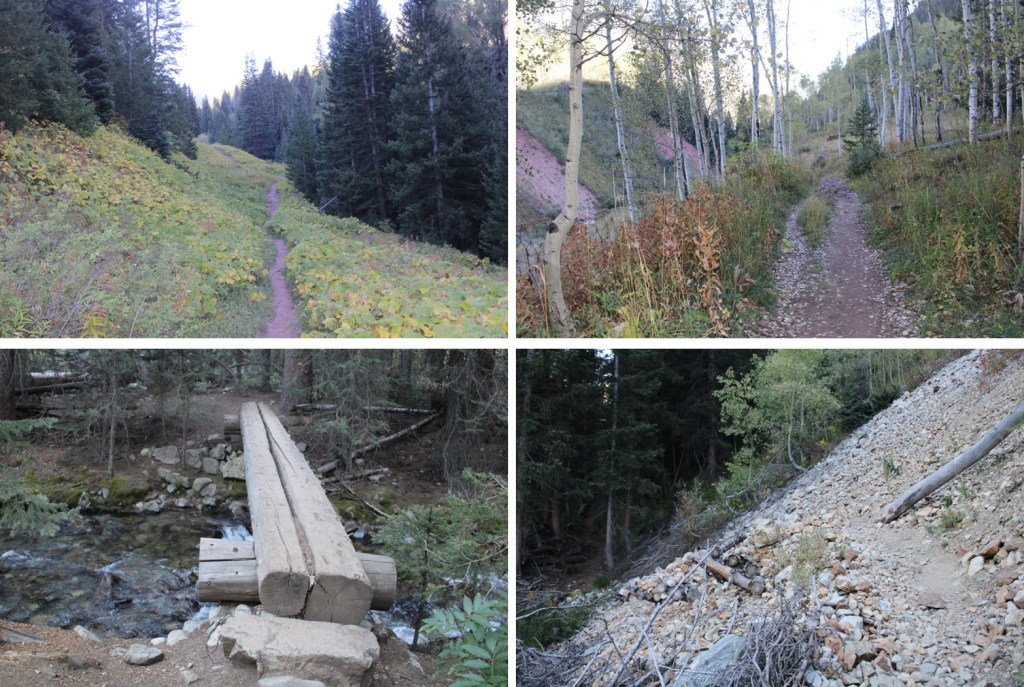
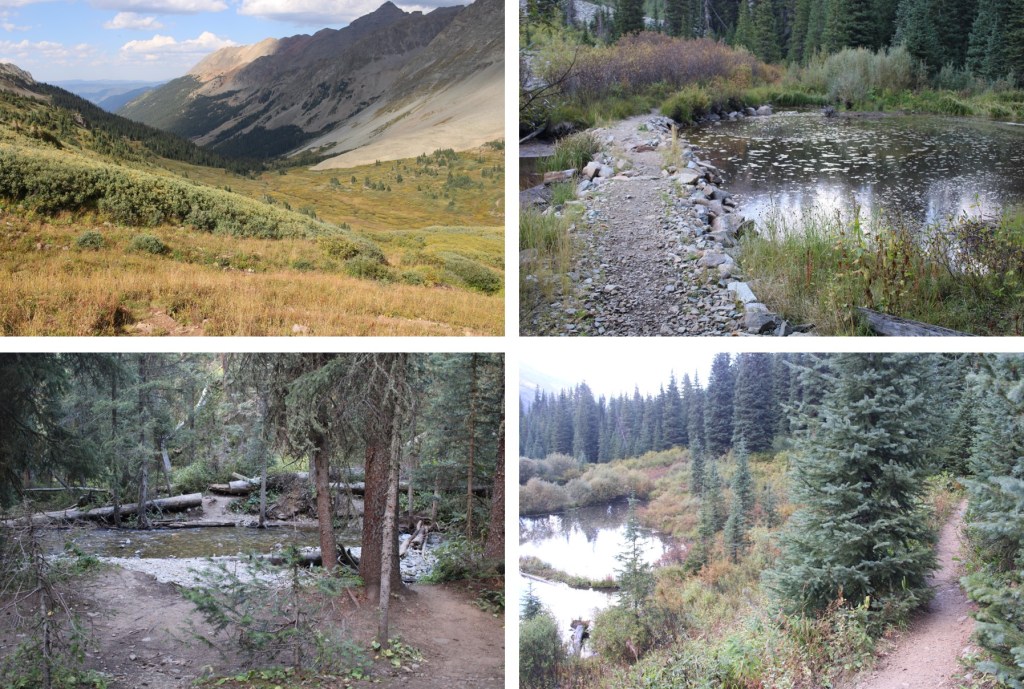
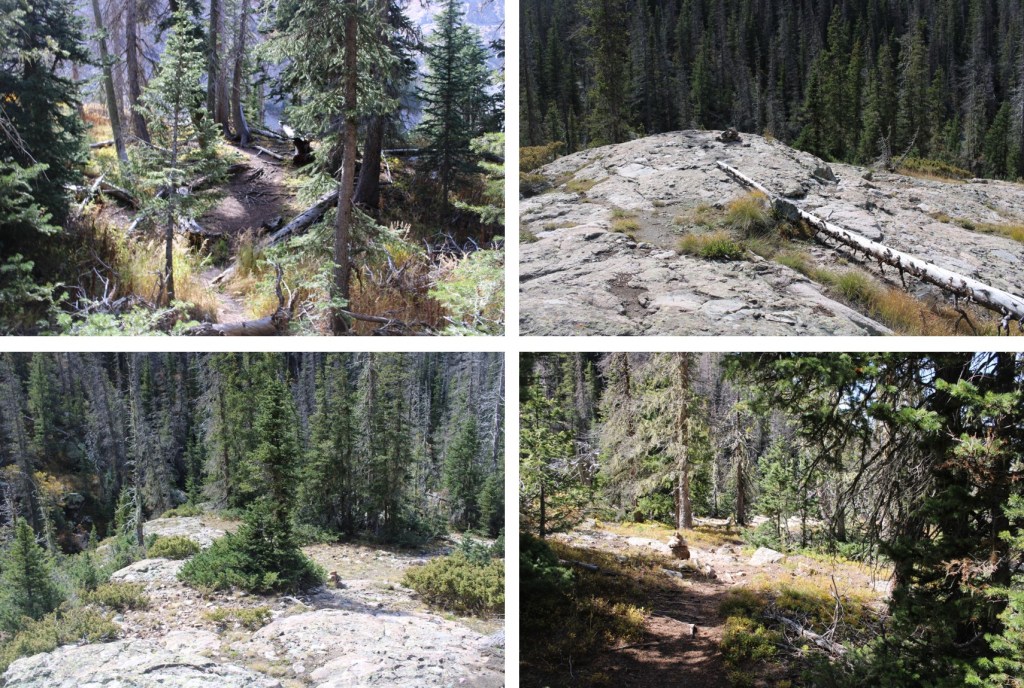
I started out following the class 1 trail east
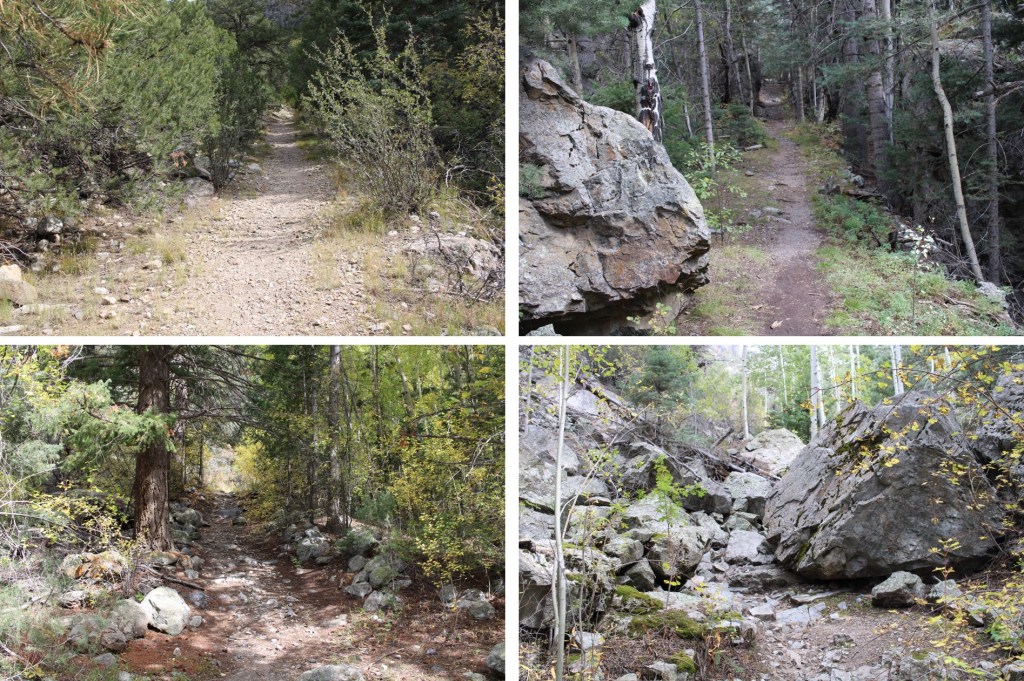
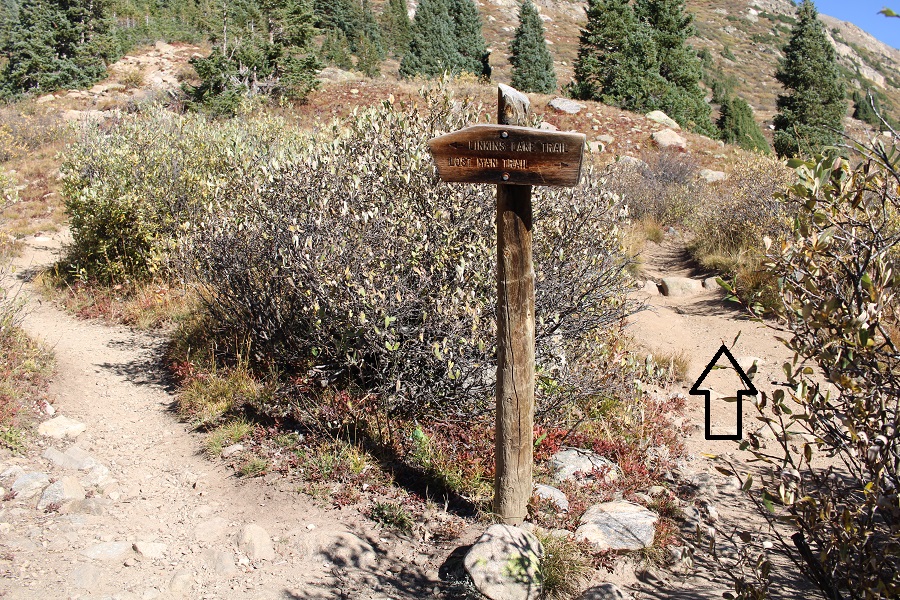
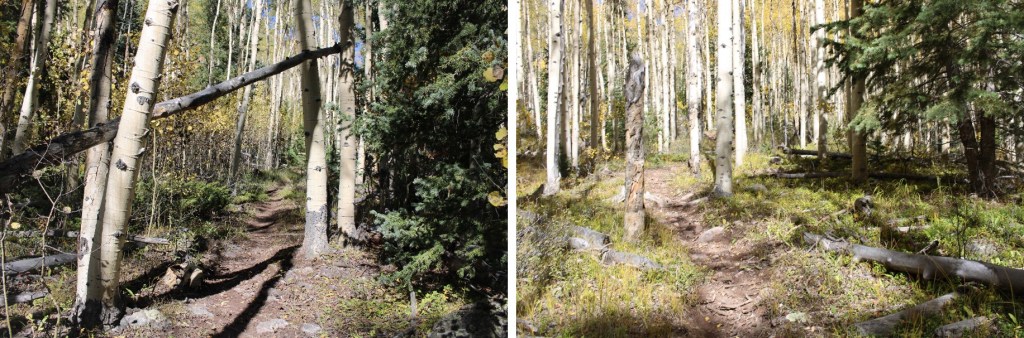
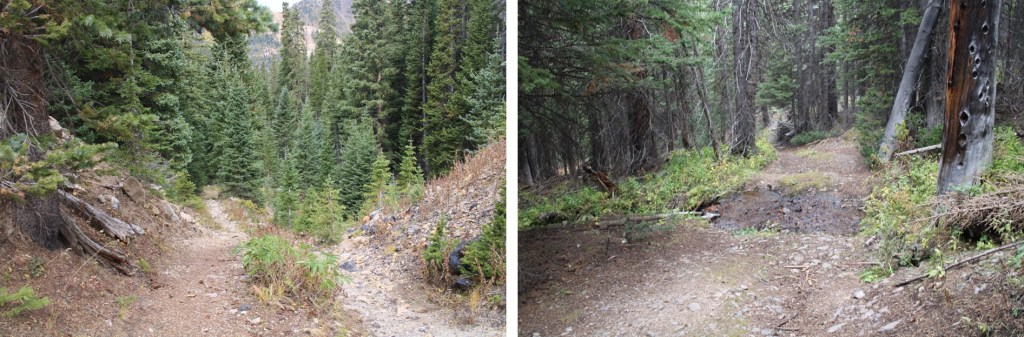
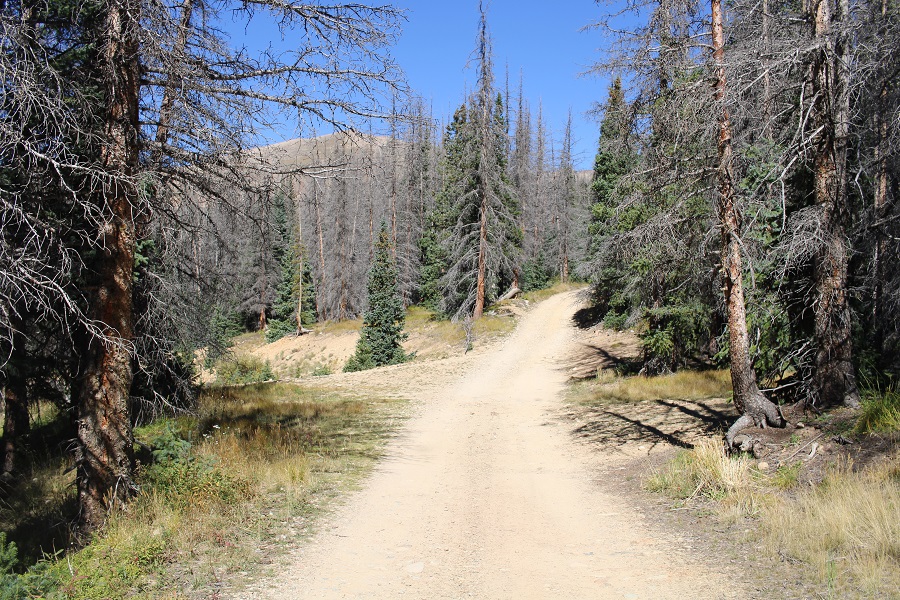
The trail is easy to follow for the first 4 miles
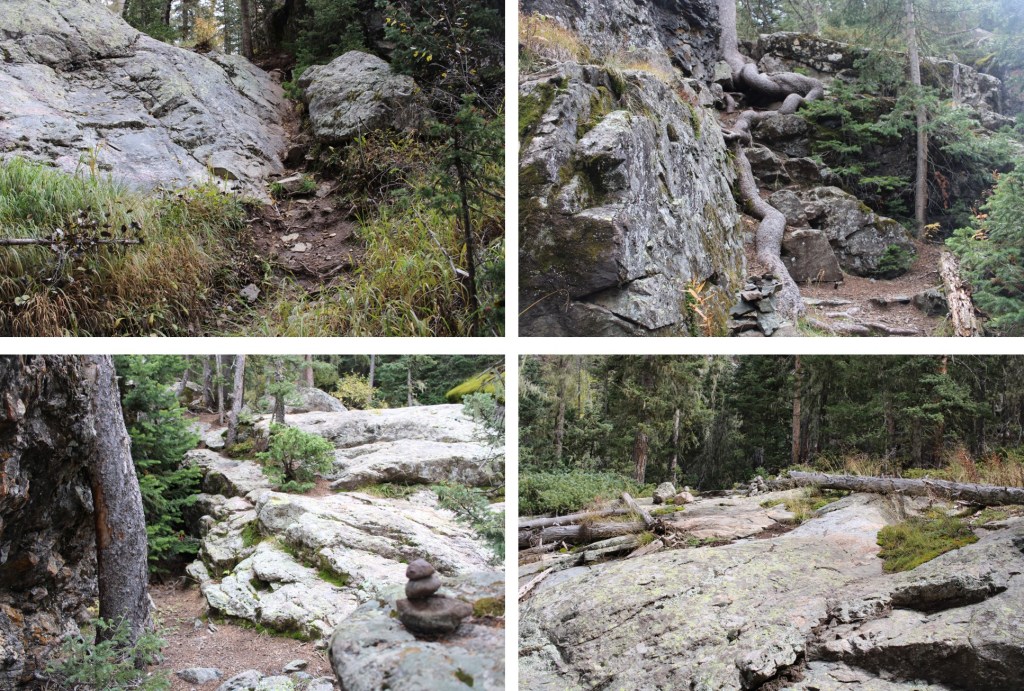

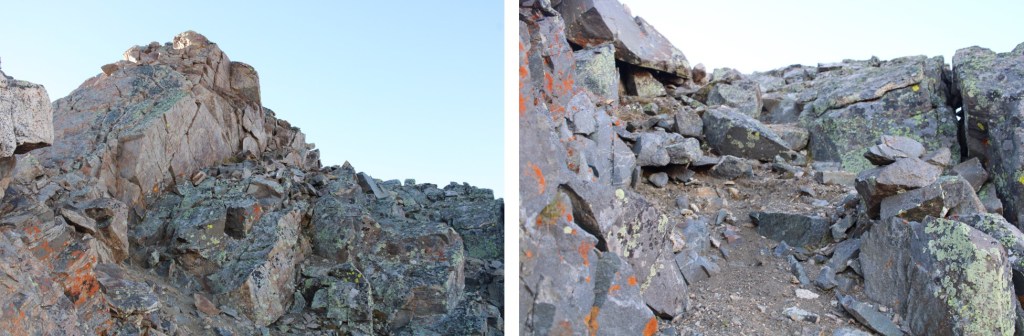
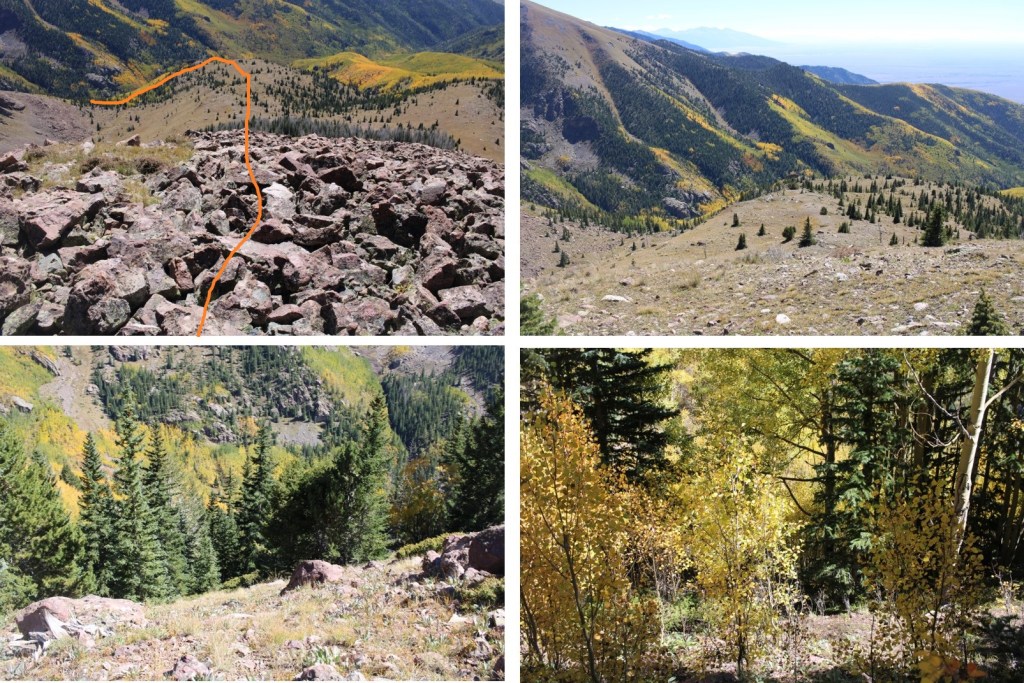
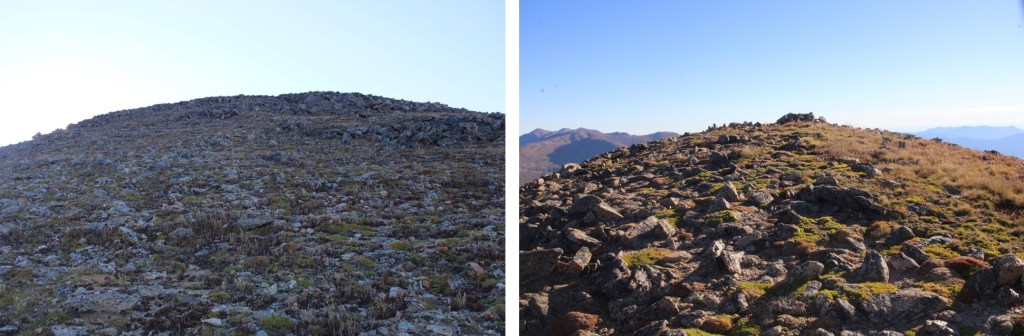
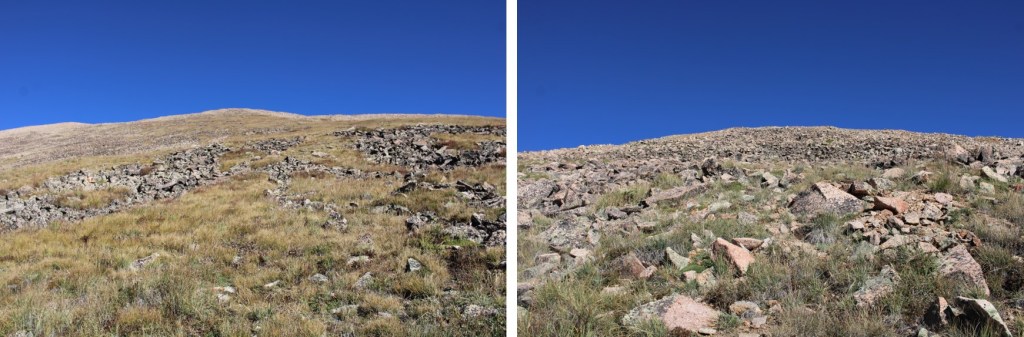
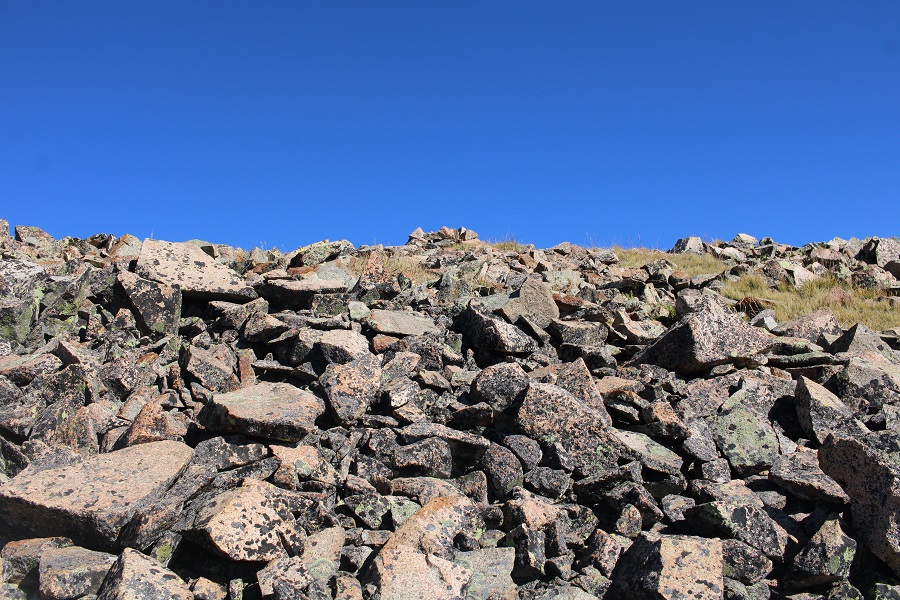
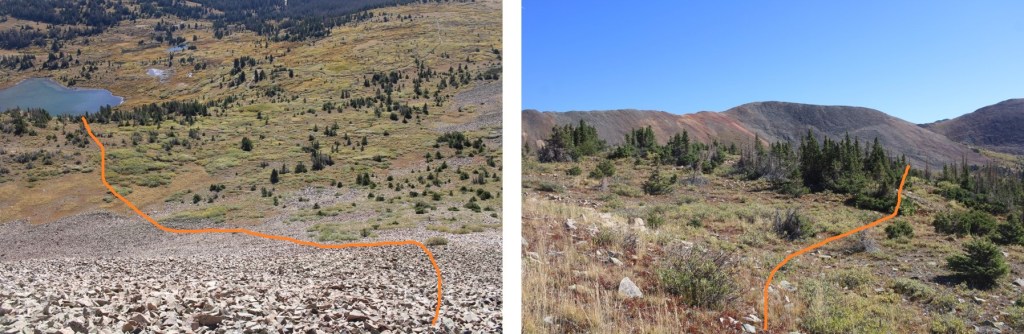
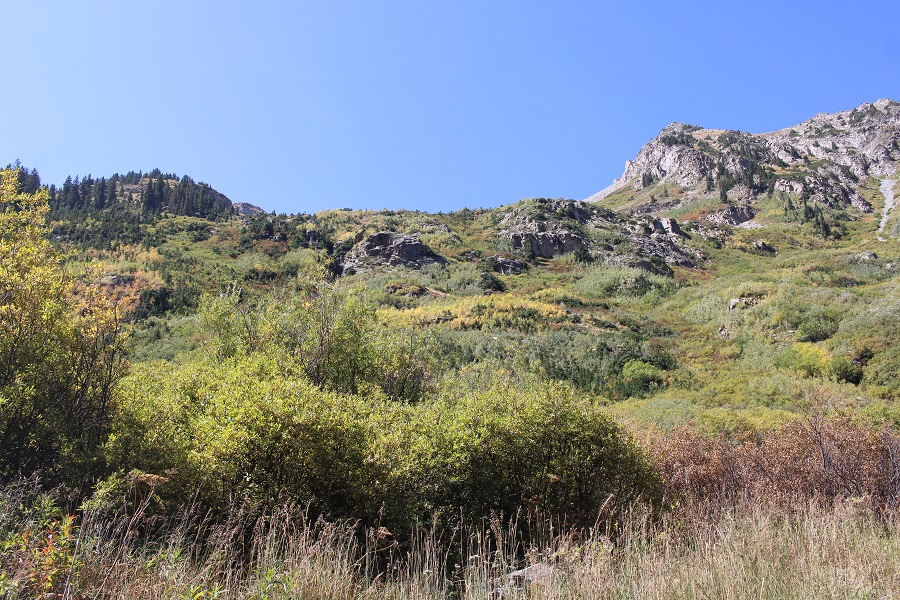
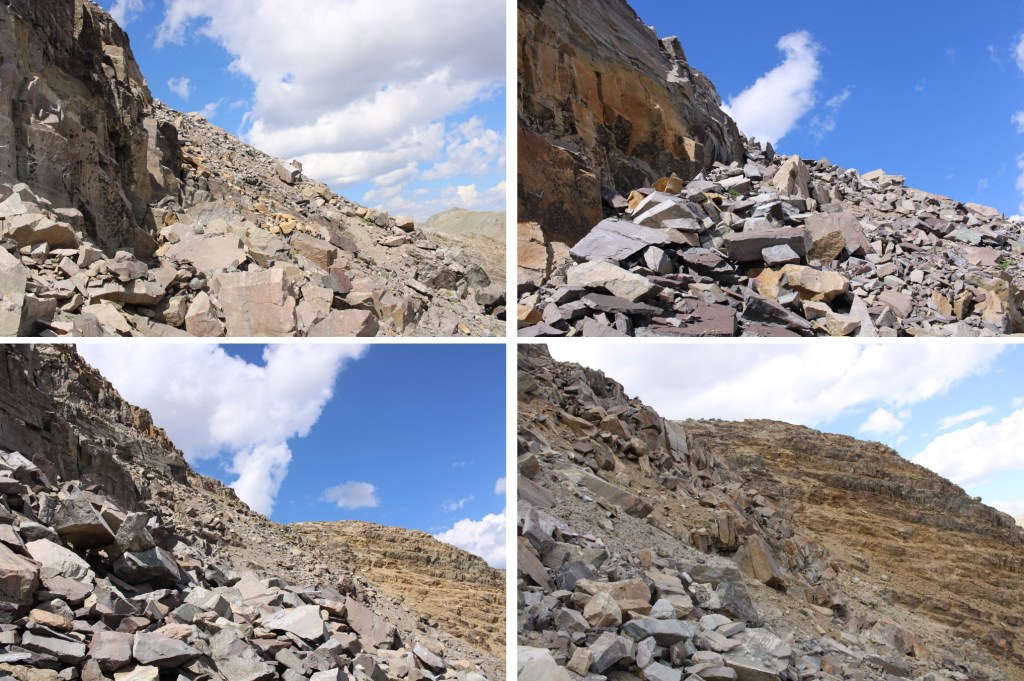
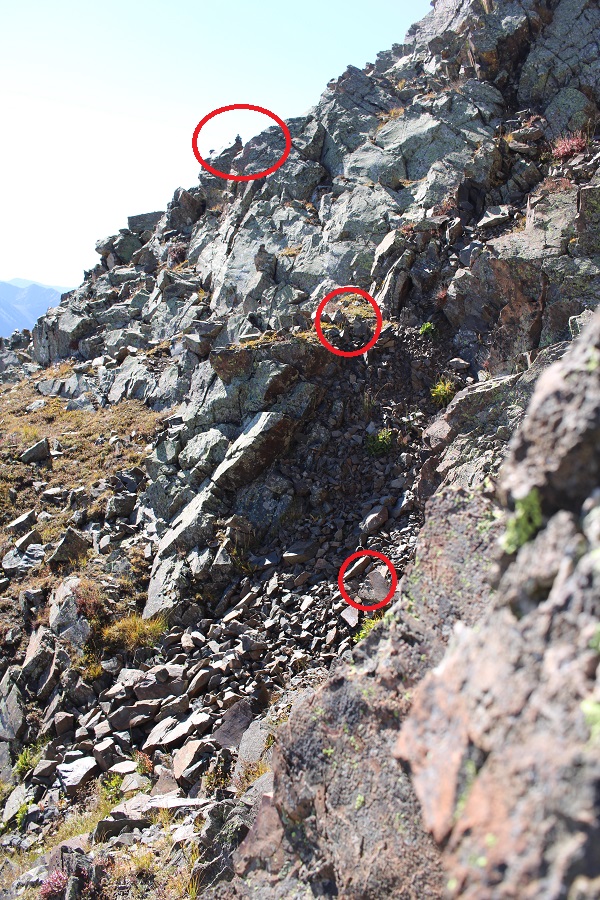
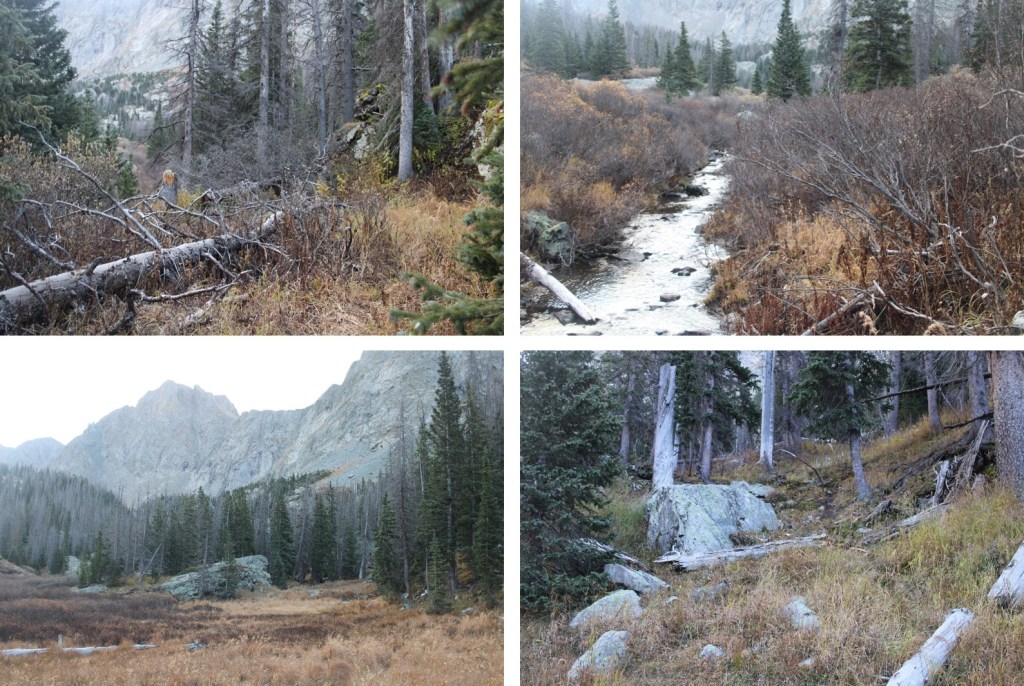
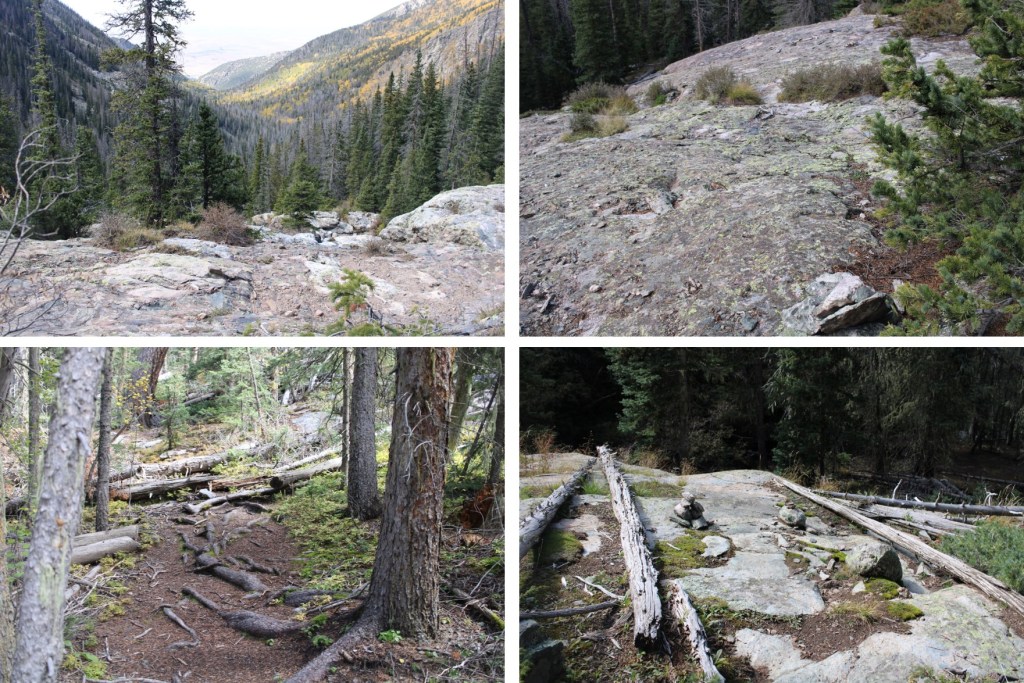
Then I came to what looked like a wall of rock. This wall goes for about three quarters of a mile, and should not be attempted in wet conditions. There are plenty of cairns here to mark the way. If you don’t see a cairn, you’re off route. You head straight up.
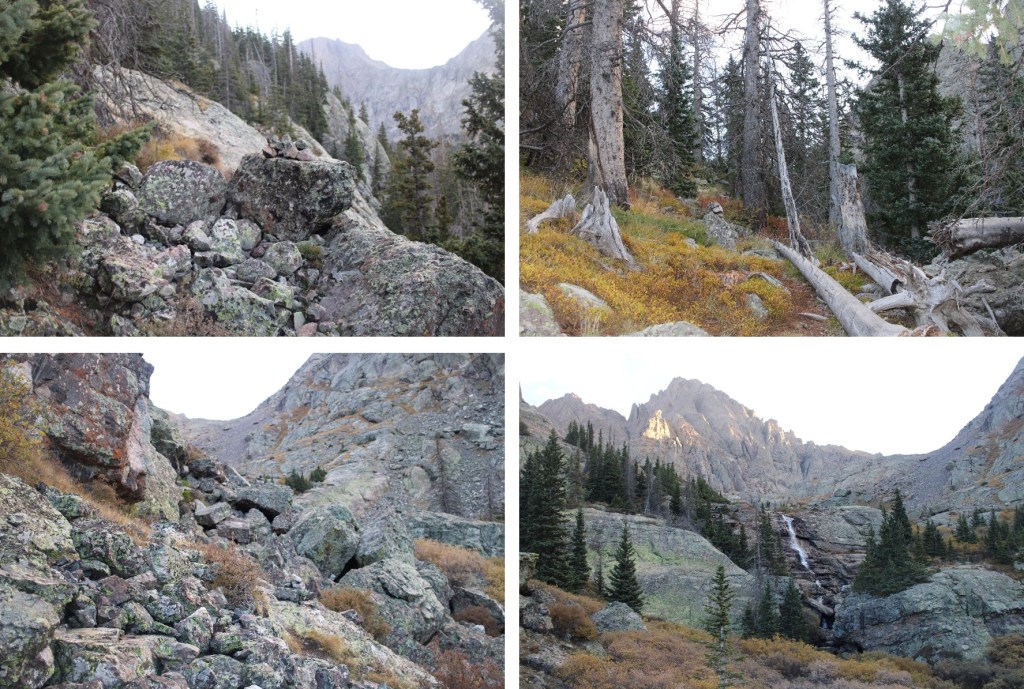
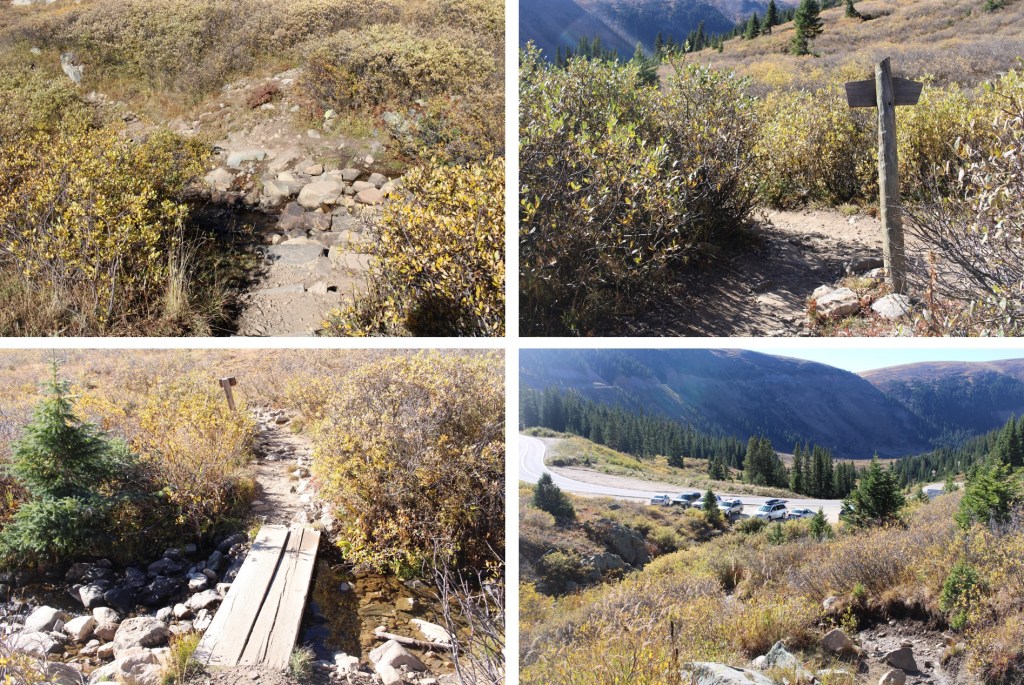
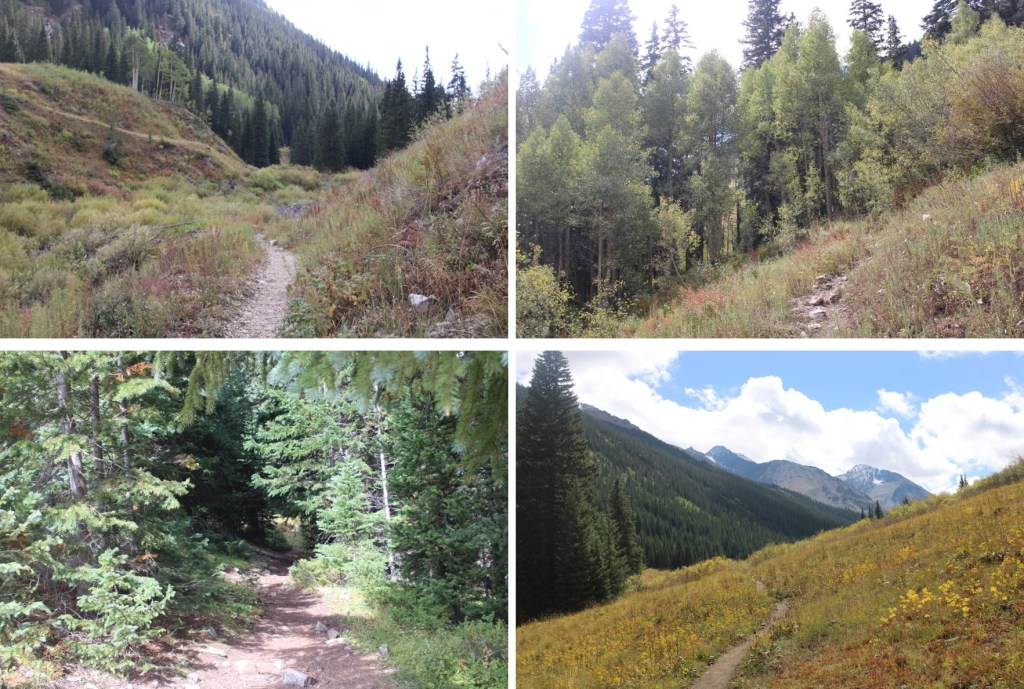
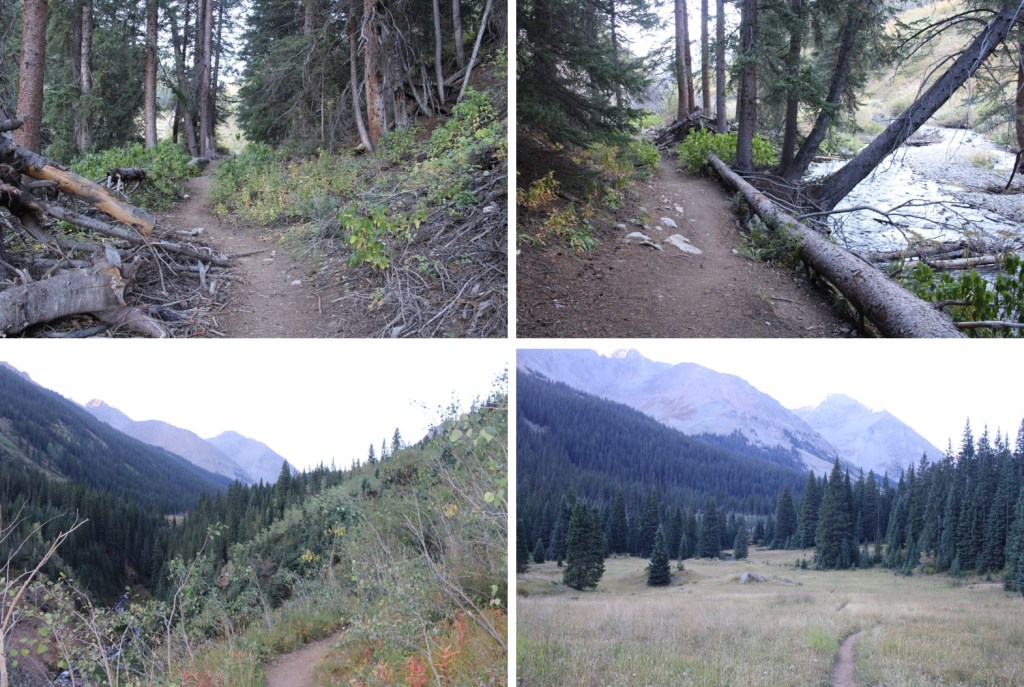
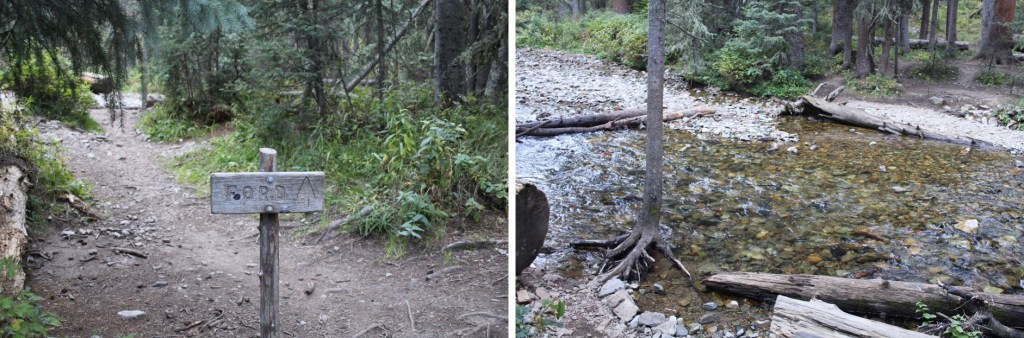
After 4.6 miles I came to a junction between Trail 743 and Trail 861. It’s not obvious, and there are no signs, so you need to be looking for it. I was at 11255’. One trail goes left, the other right, and crosses the creek. Don’t go left, go right and continue following the trail.
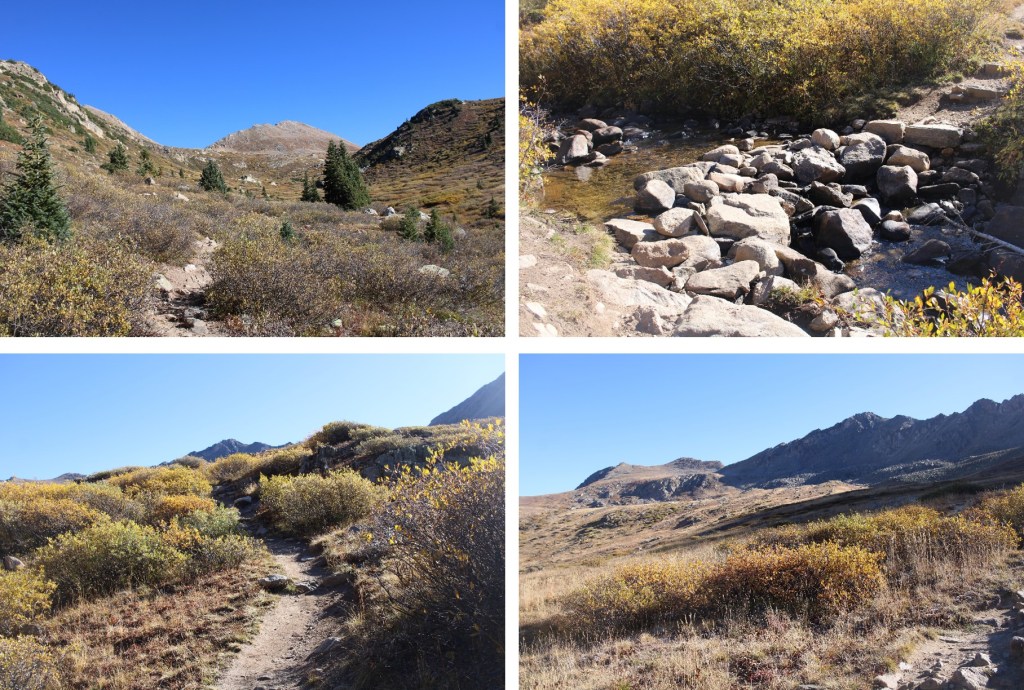
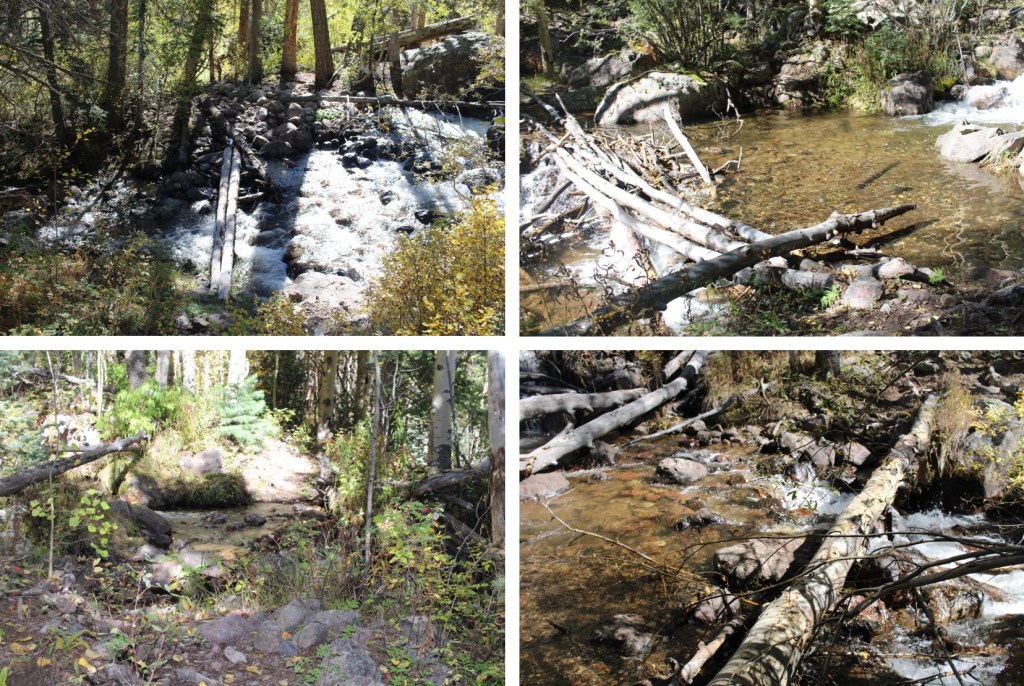
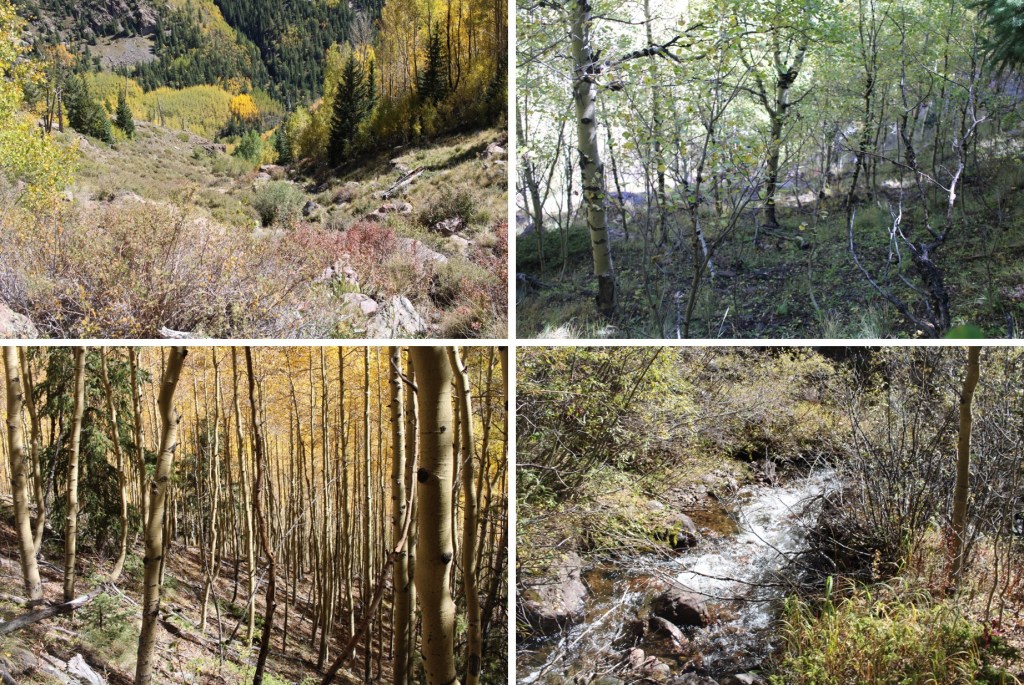
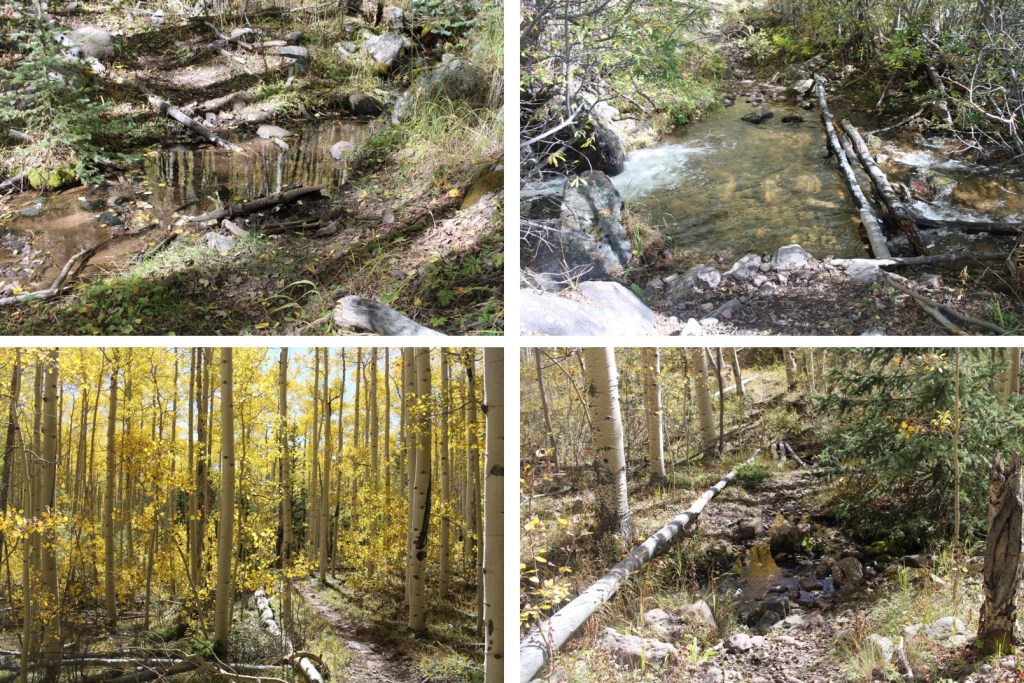
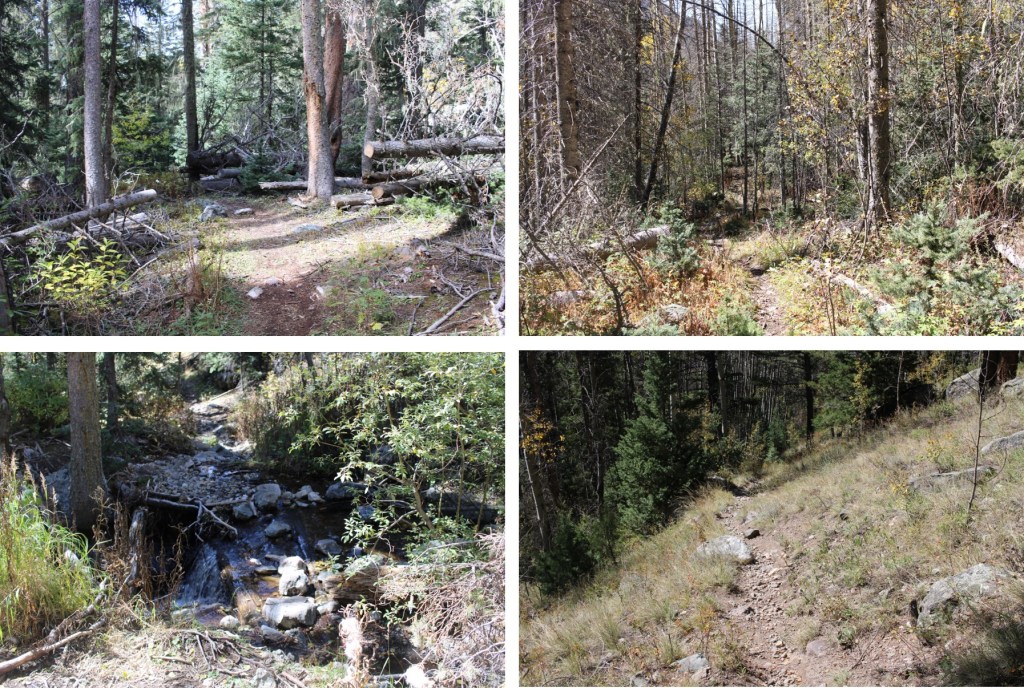
I crossed the creek twice.

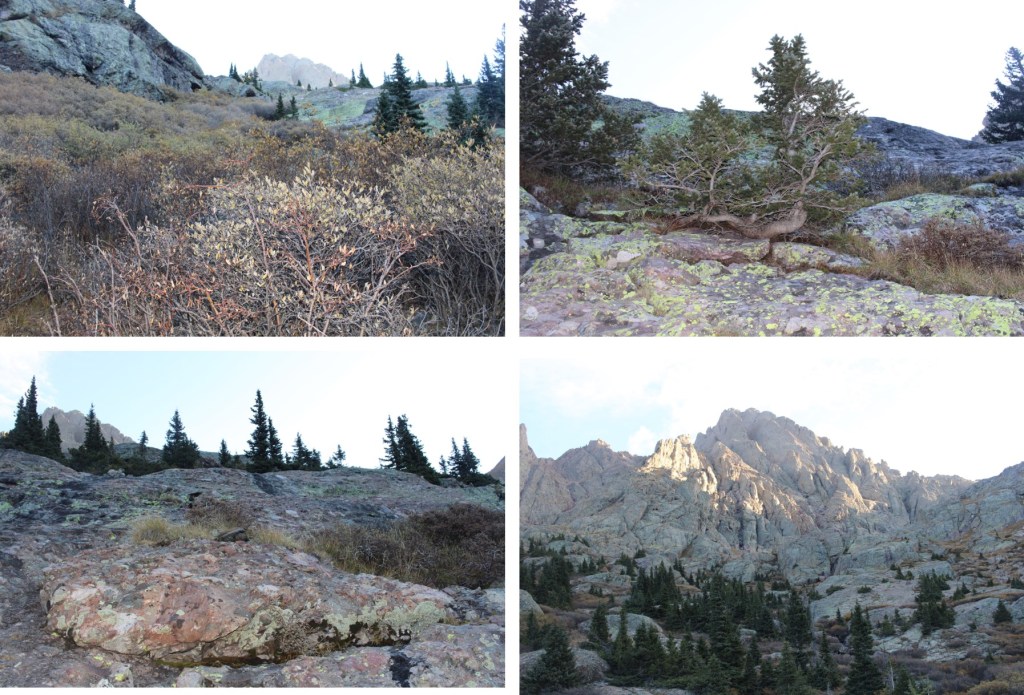
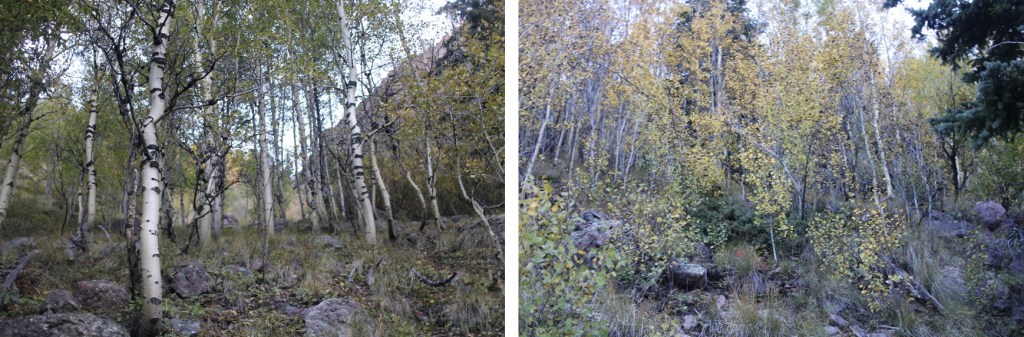
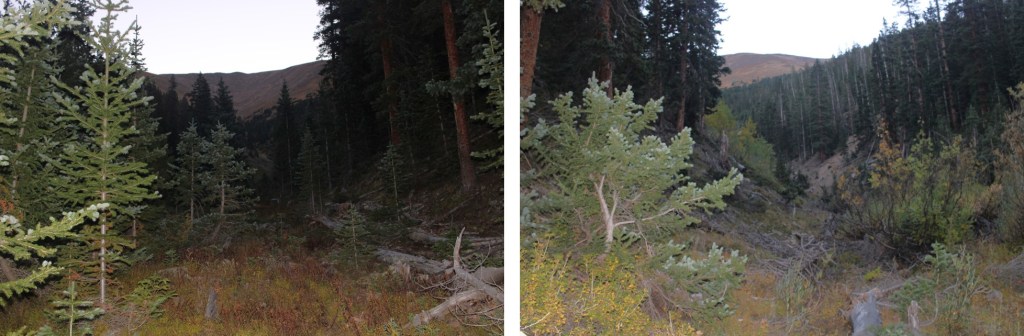
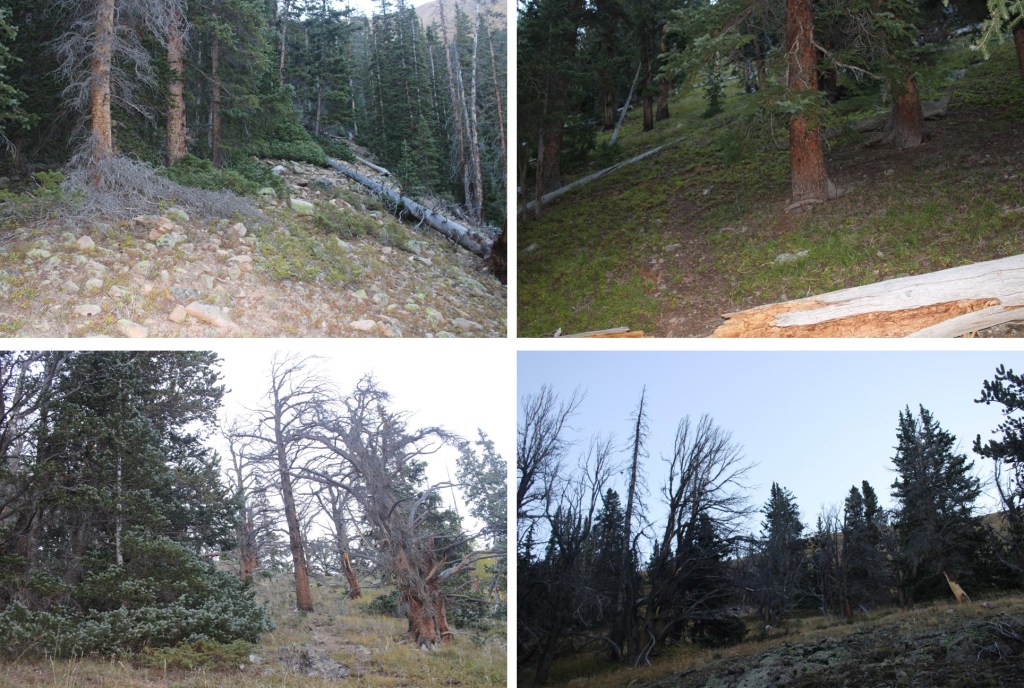
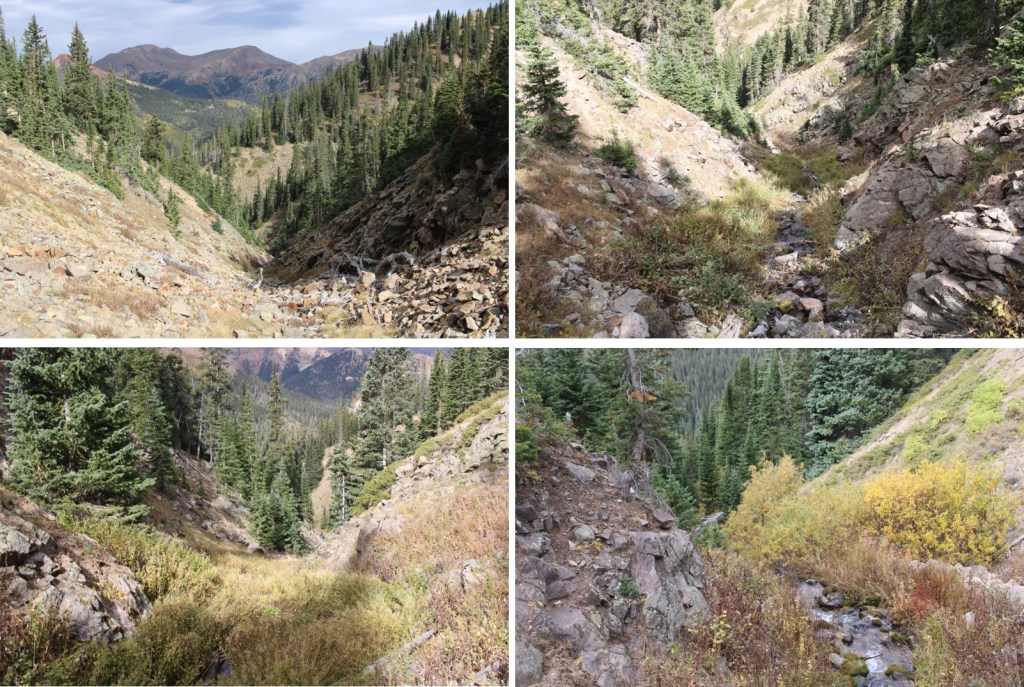
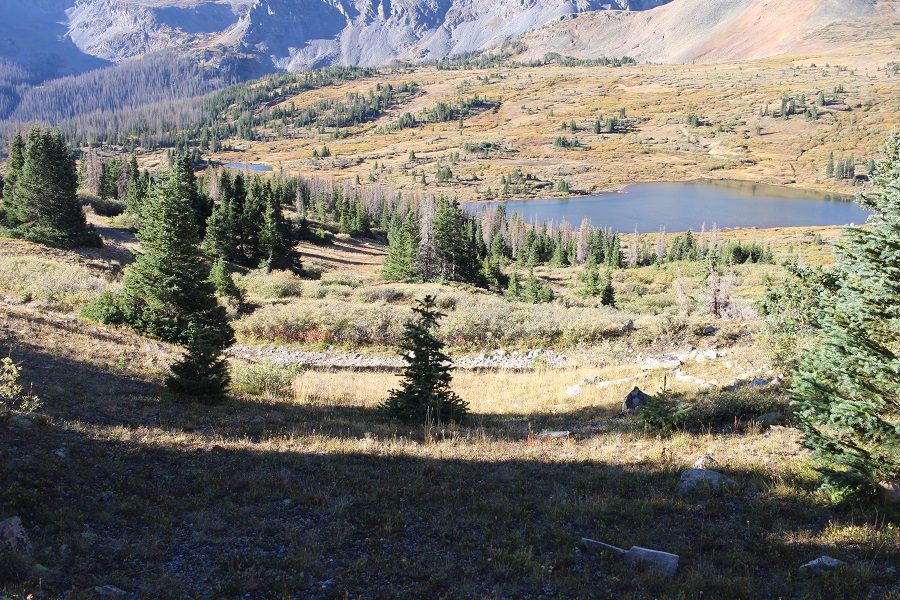
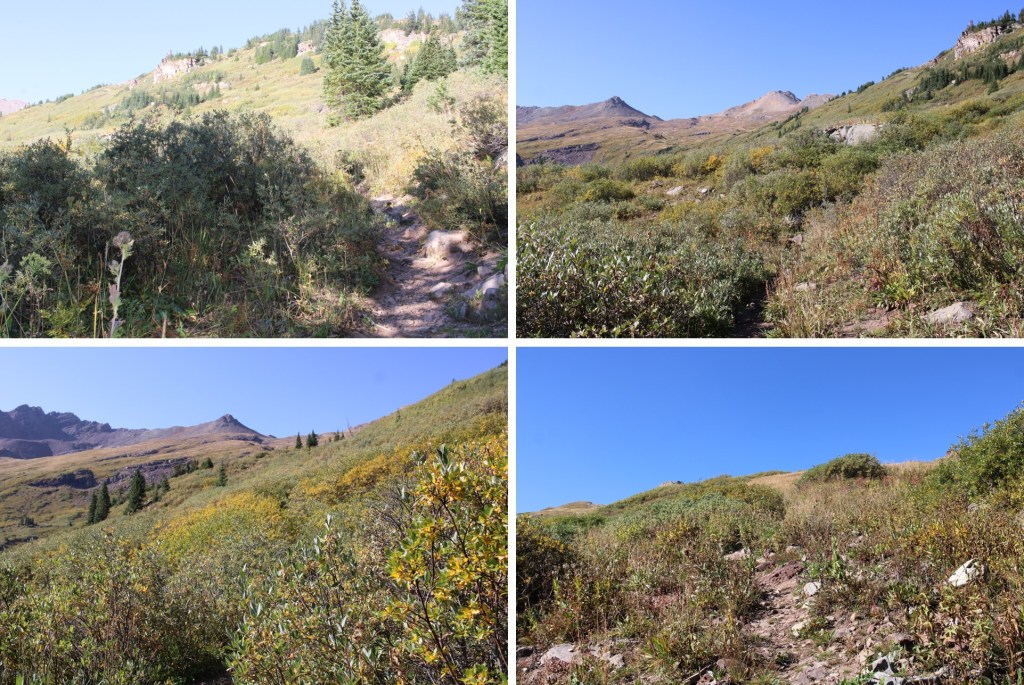
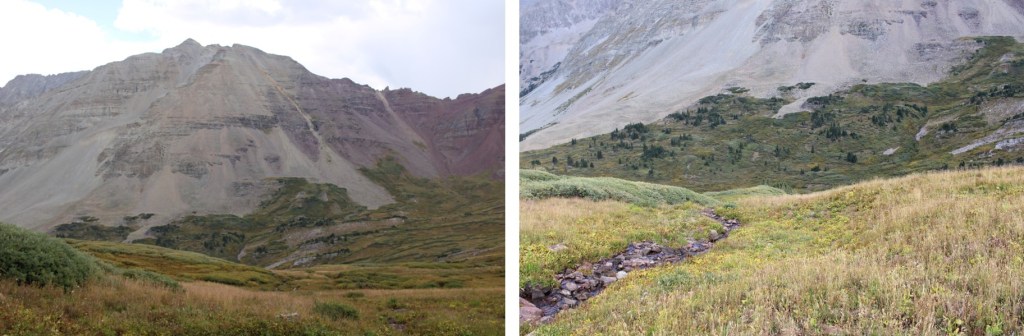
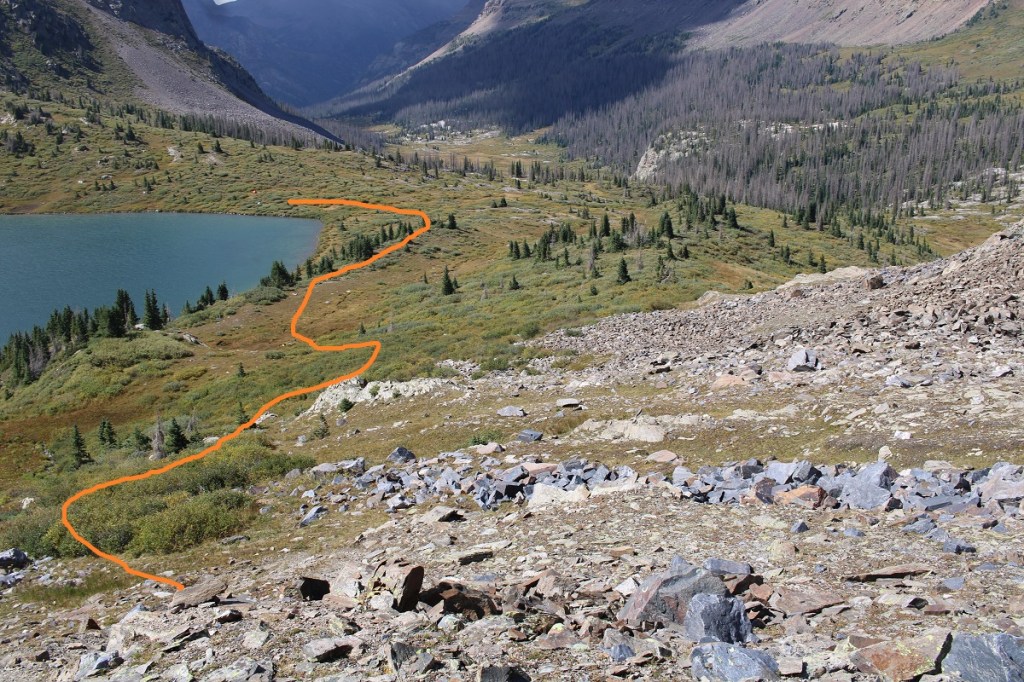
Then continued east along a trail that kept fading. It’s more of a game trail really, and easy to lose. Just remember you now stay on the right side of the creek the entire time.
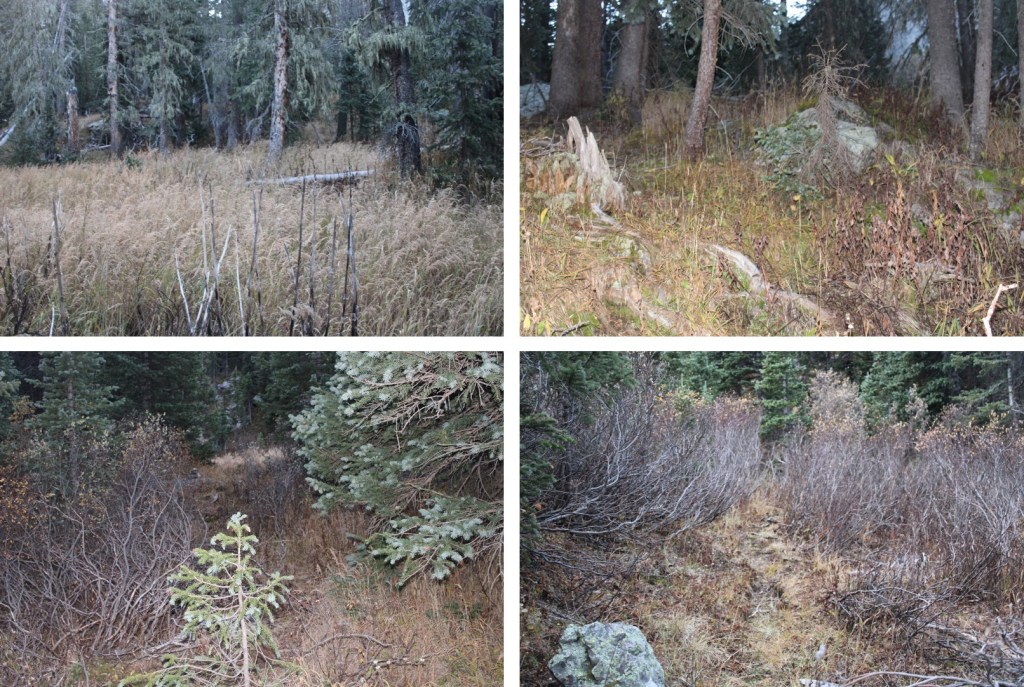
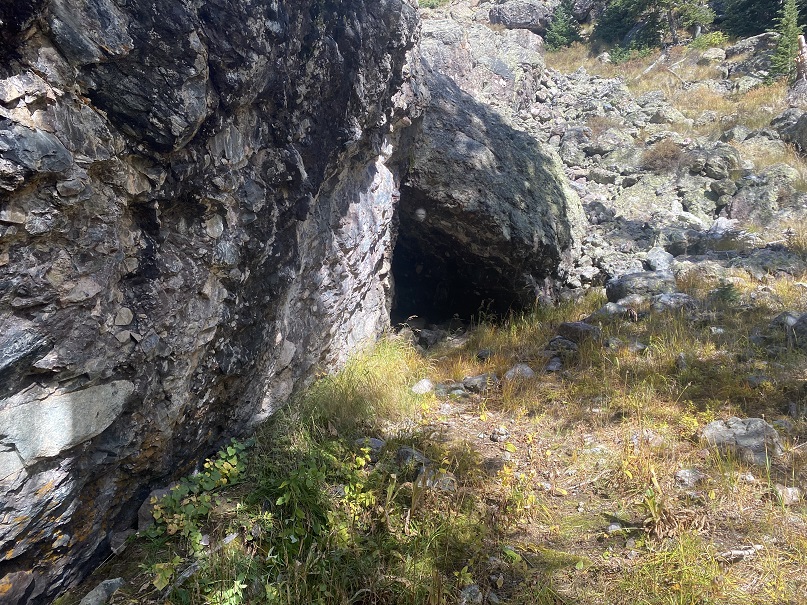
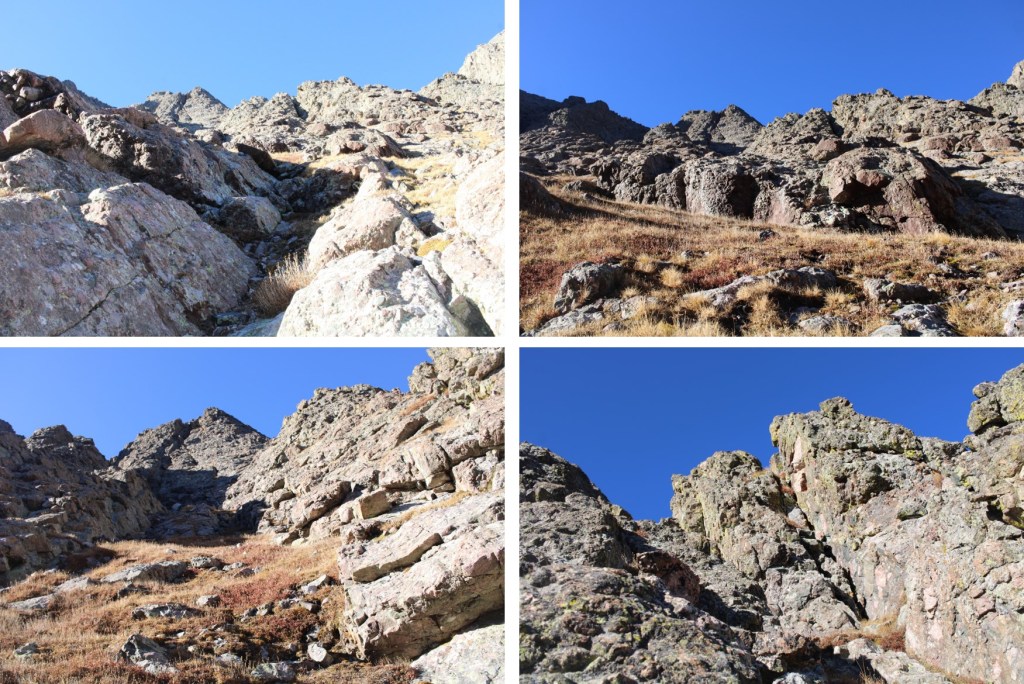
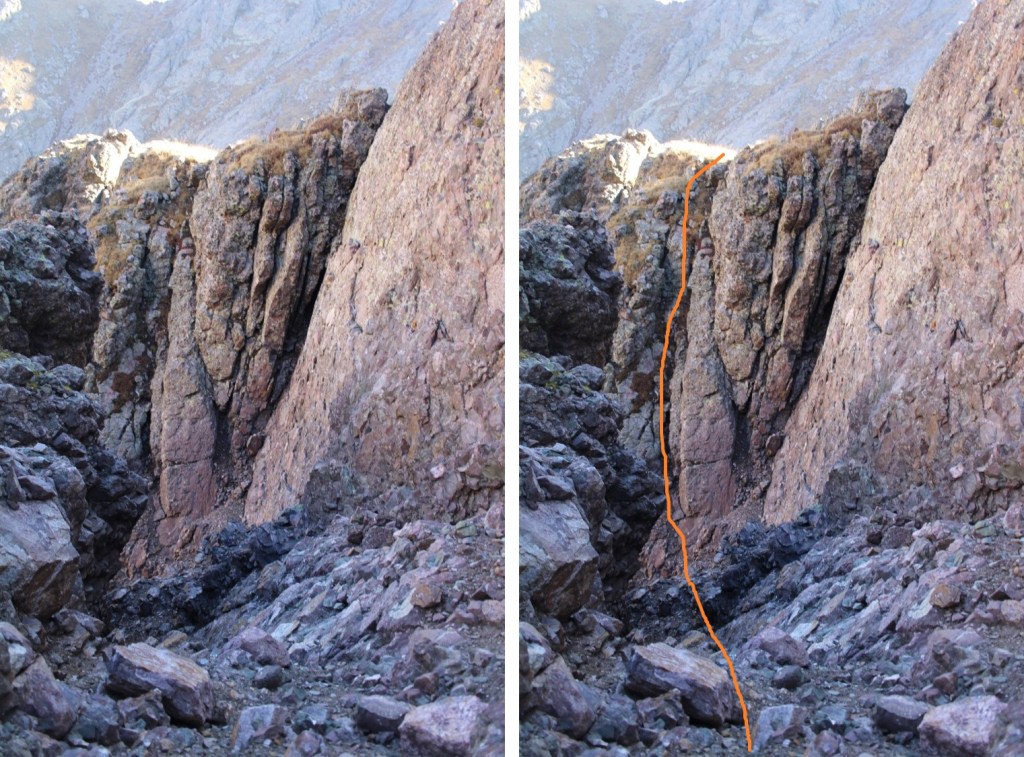
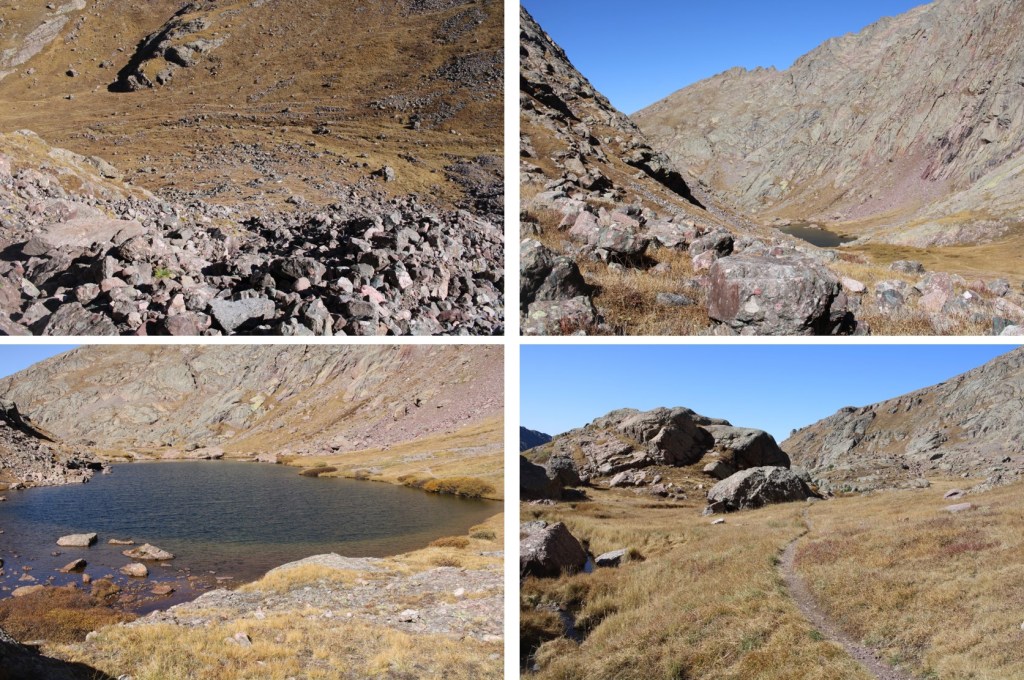
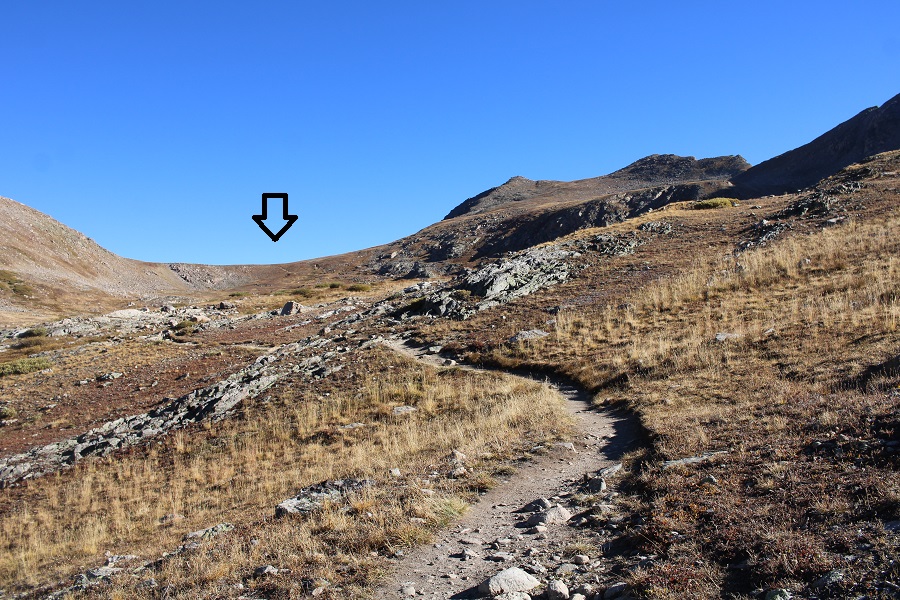
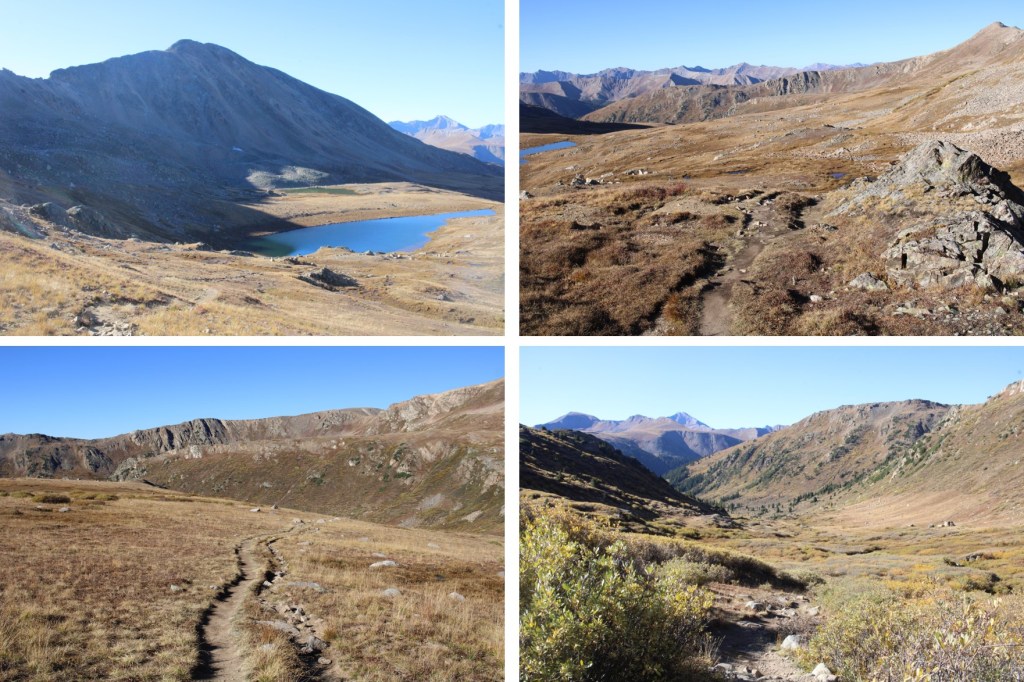
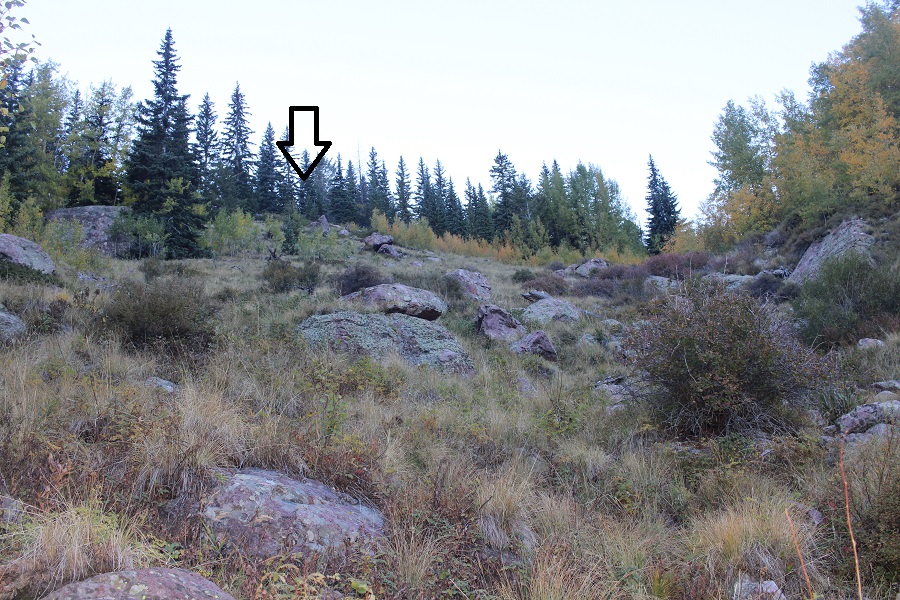
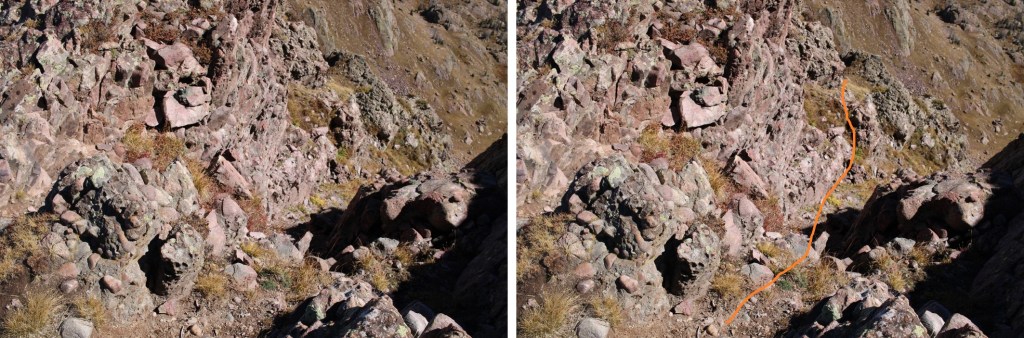
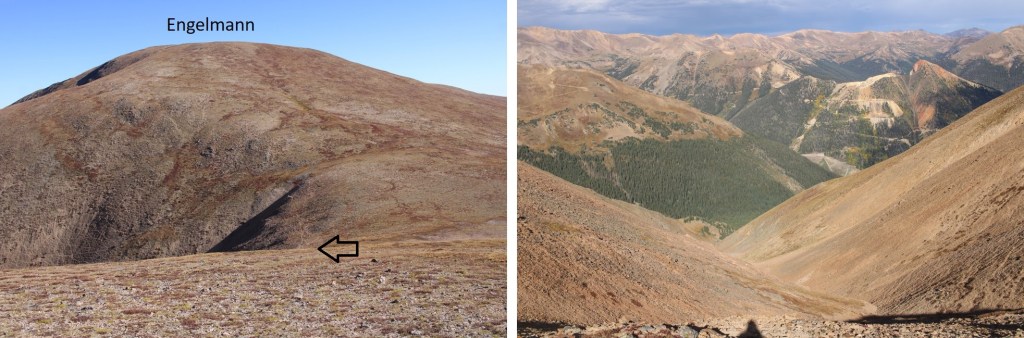
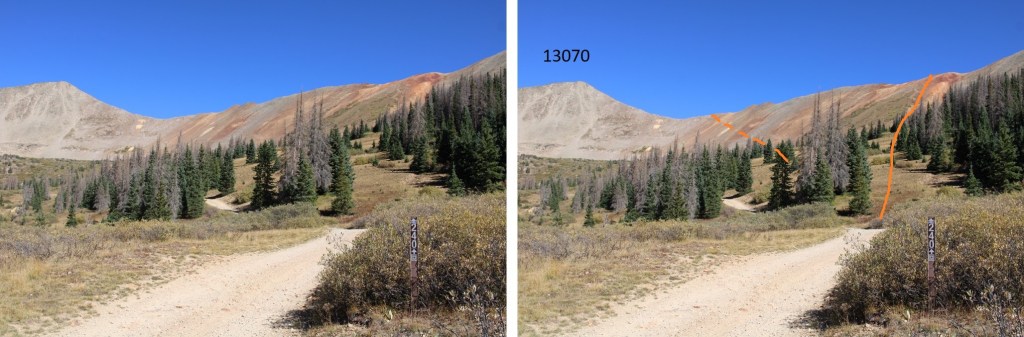
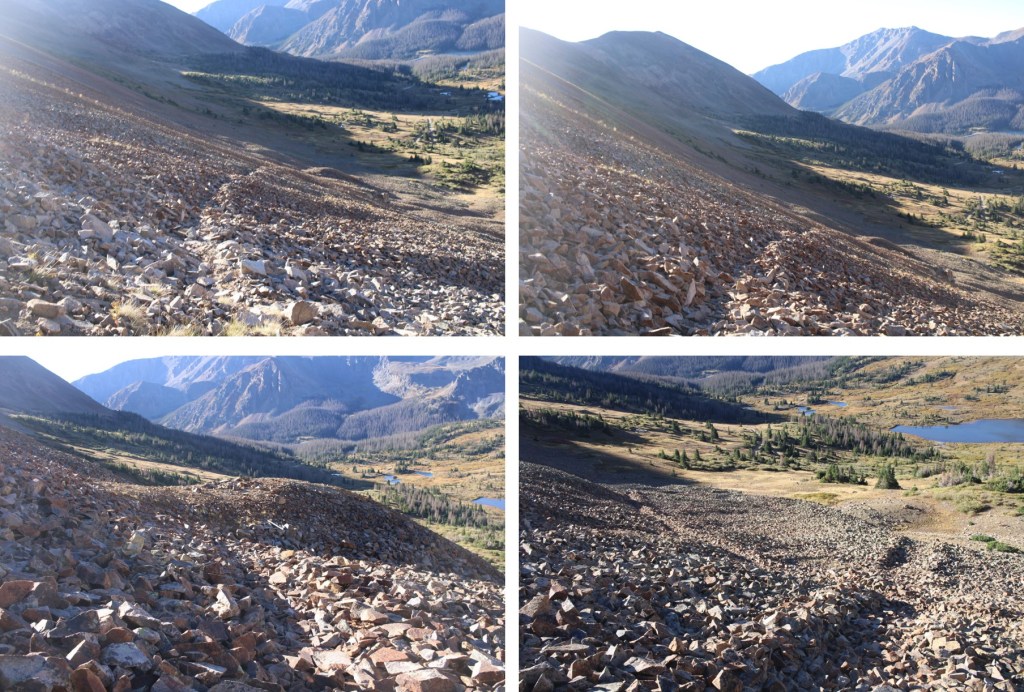
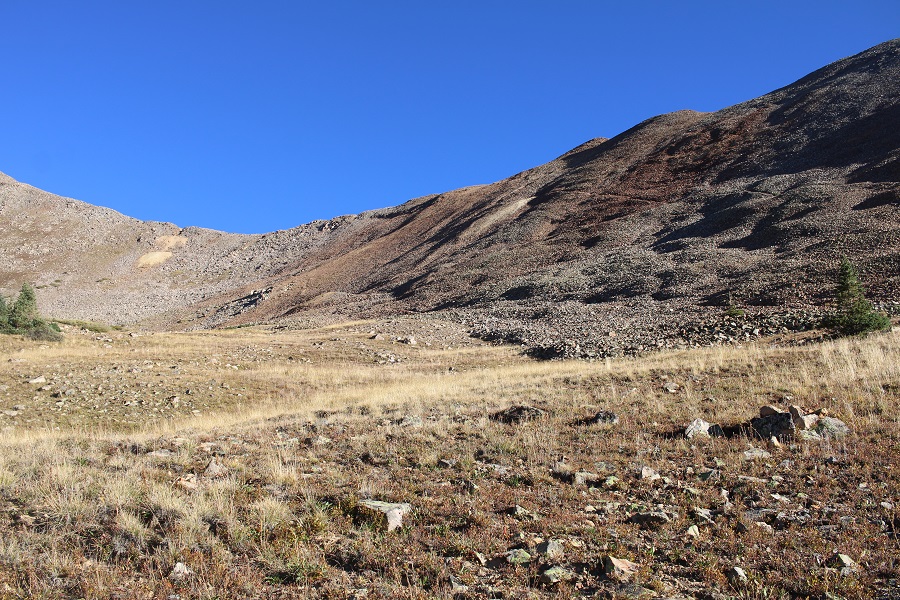
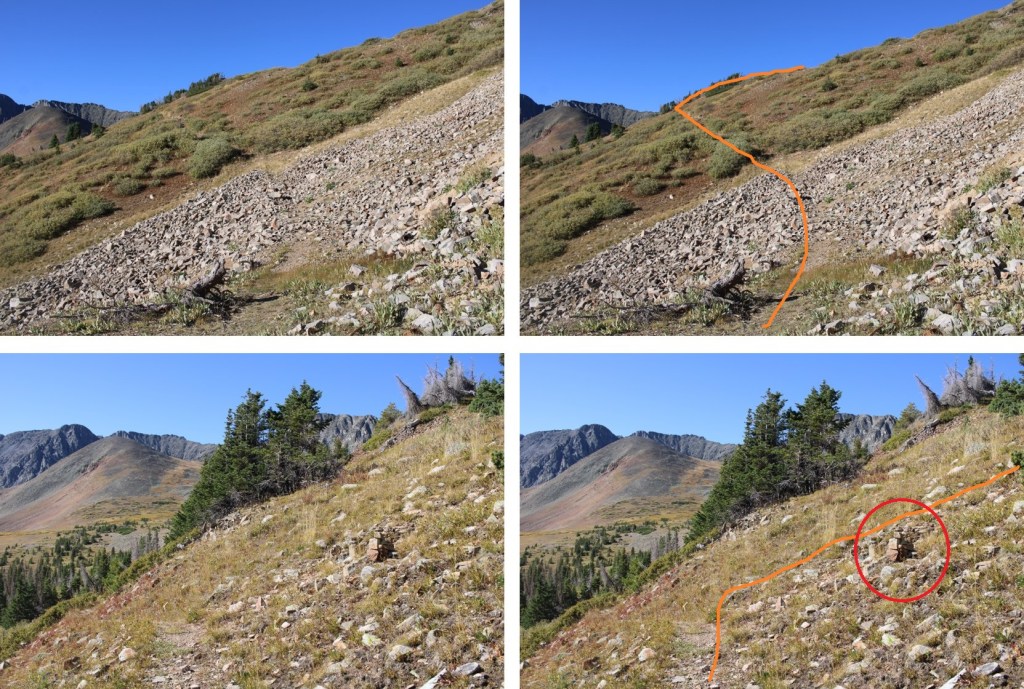
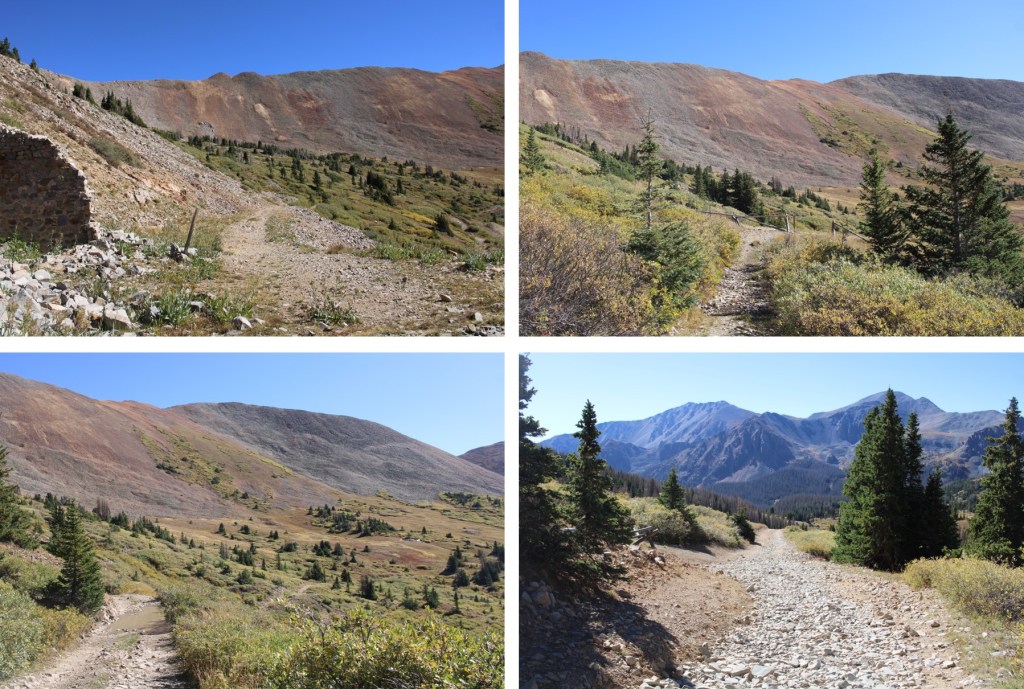
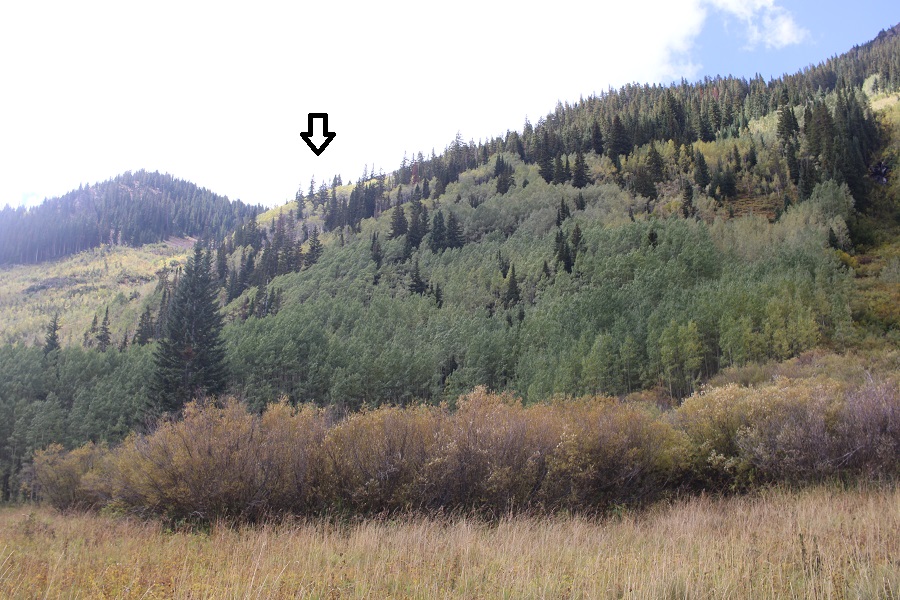
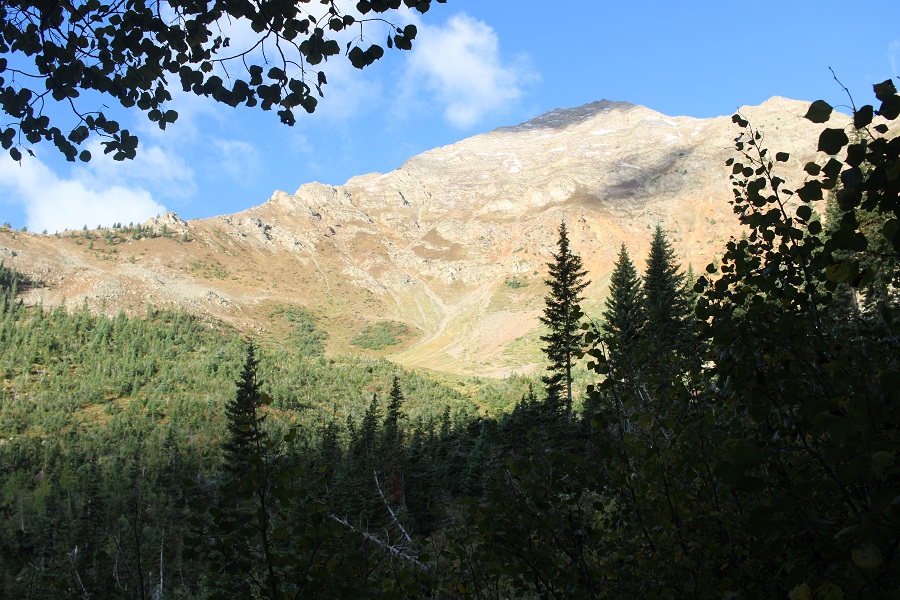
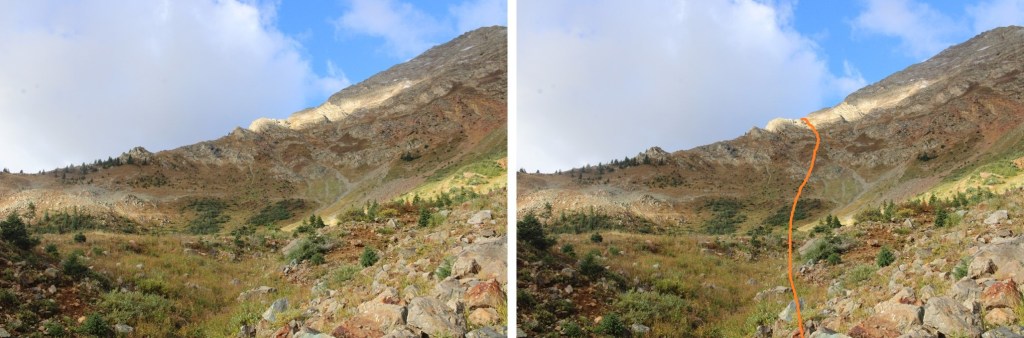
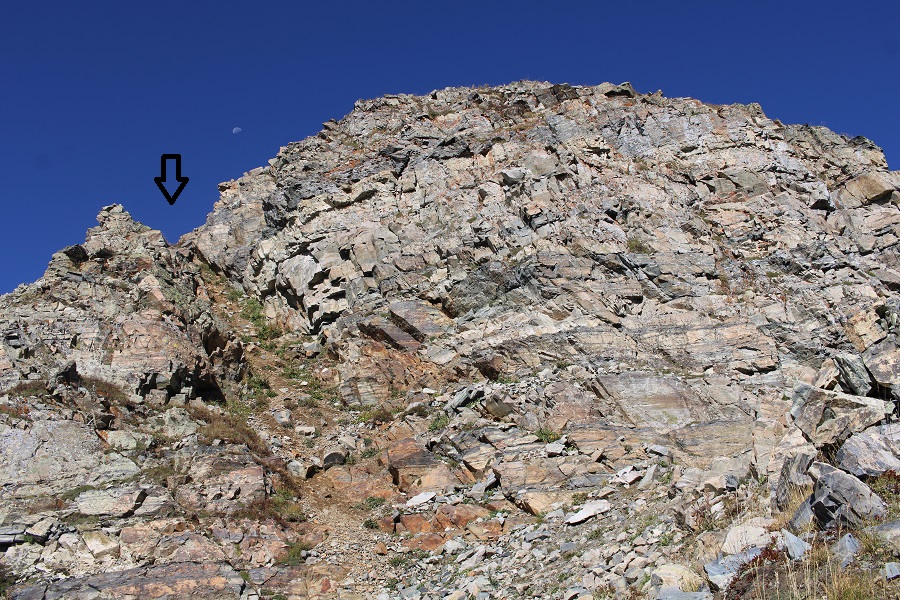
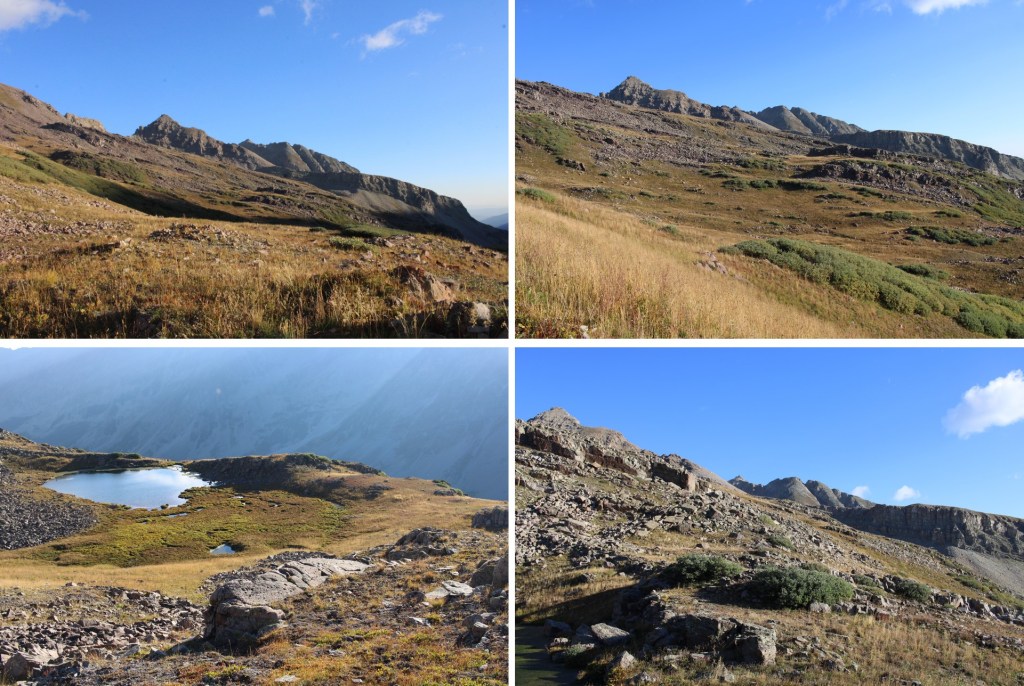
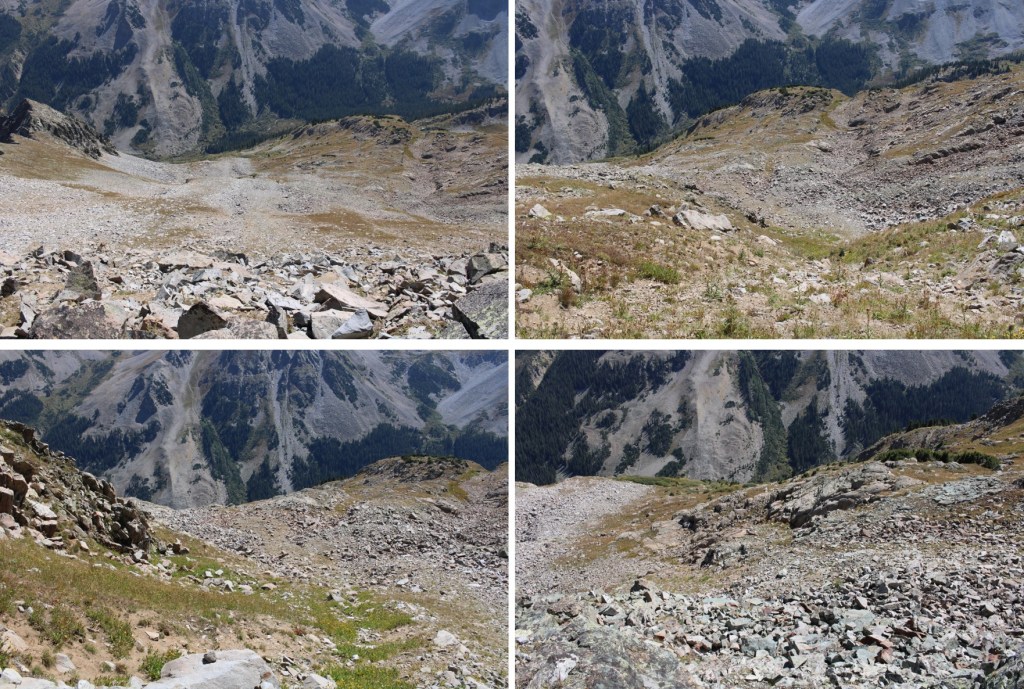
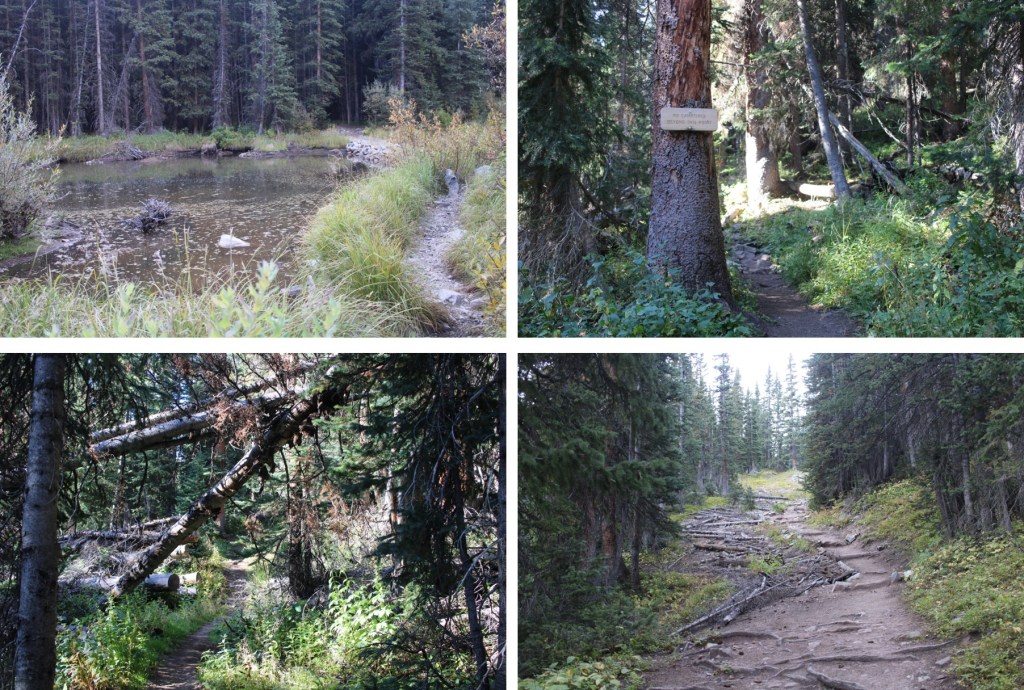
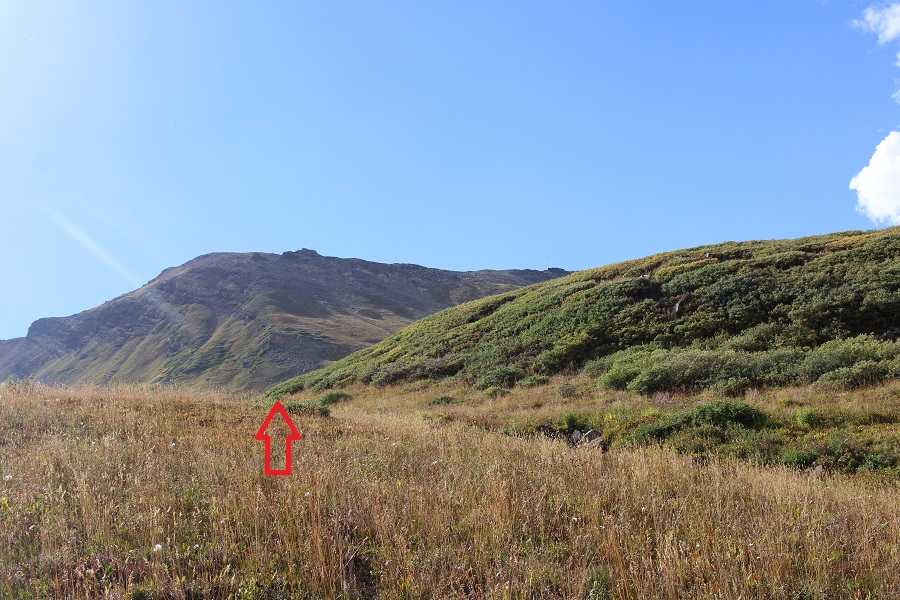
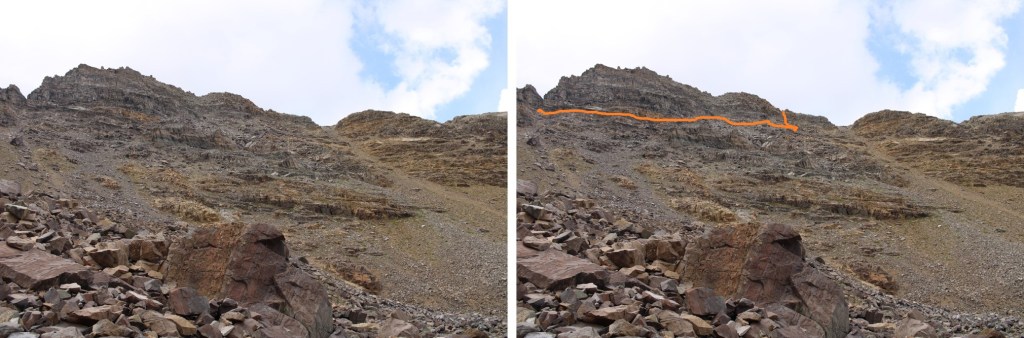
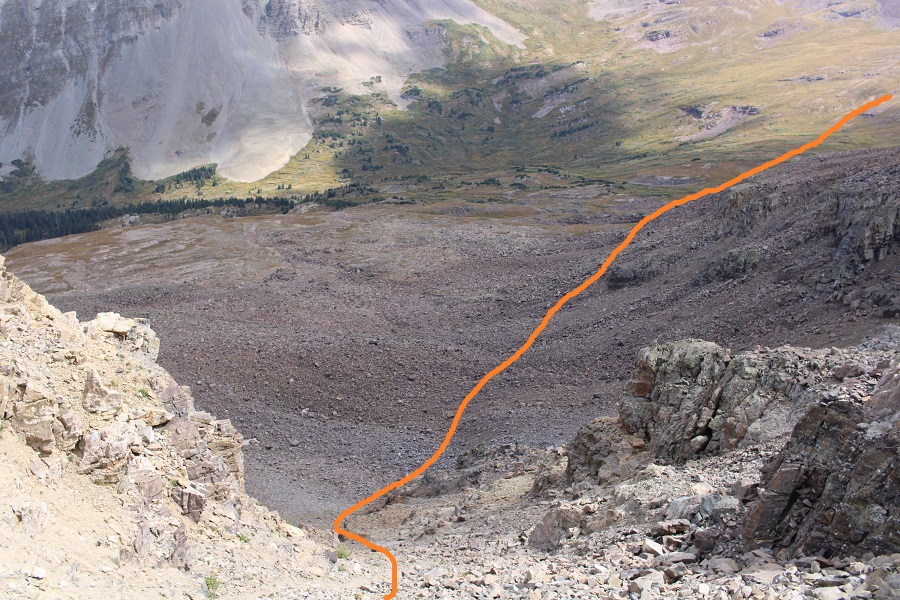
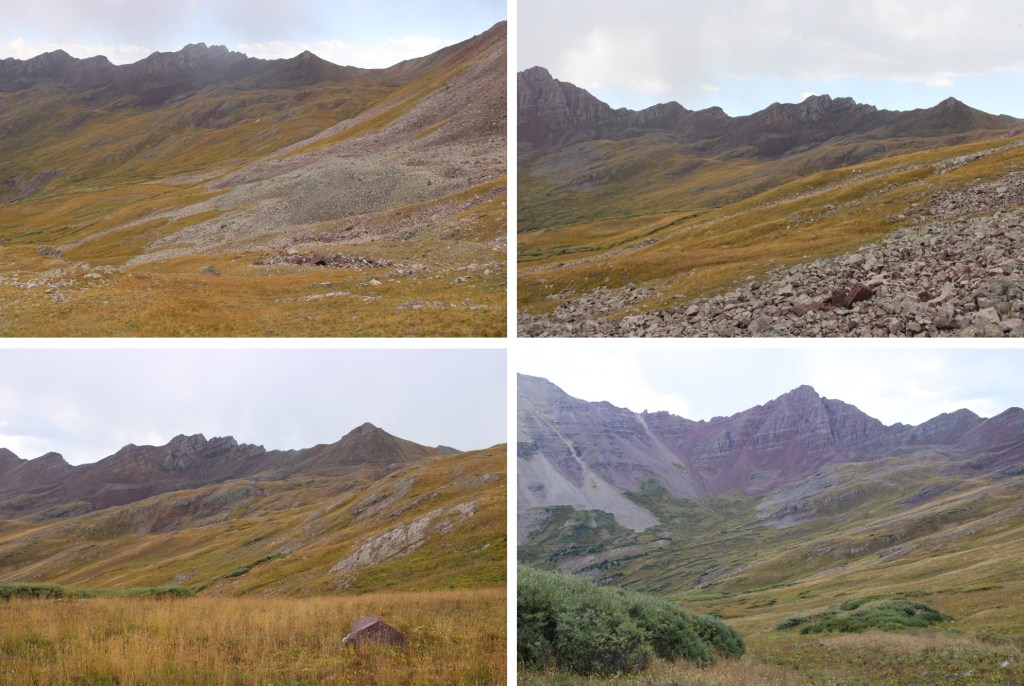
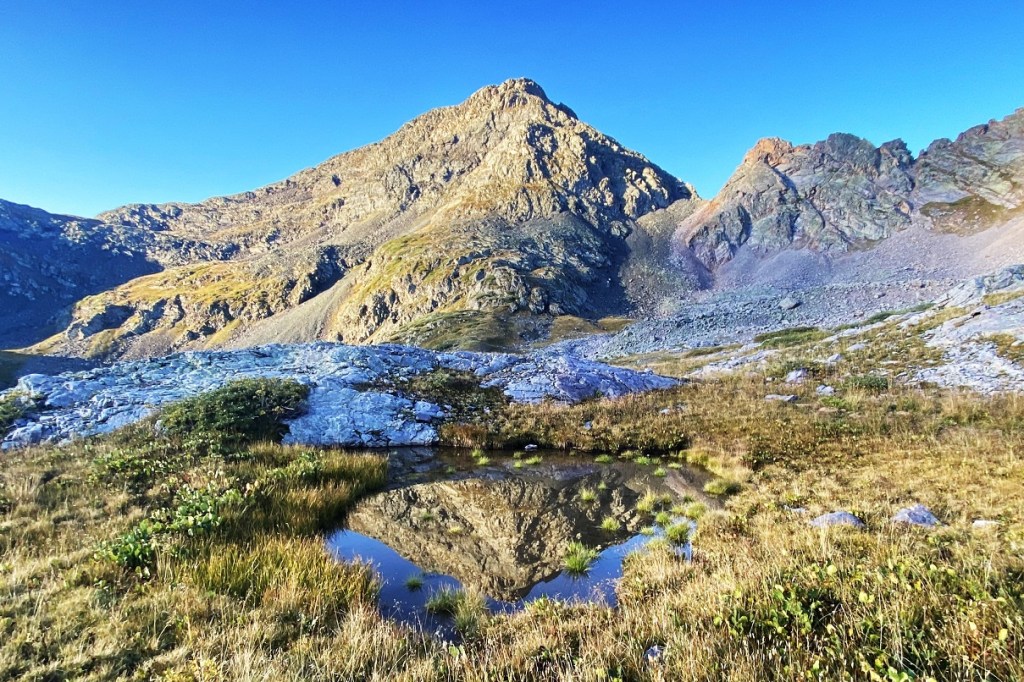
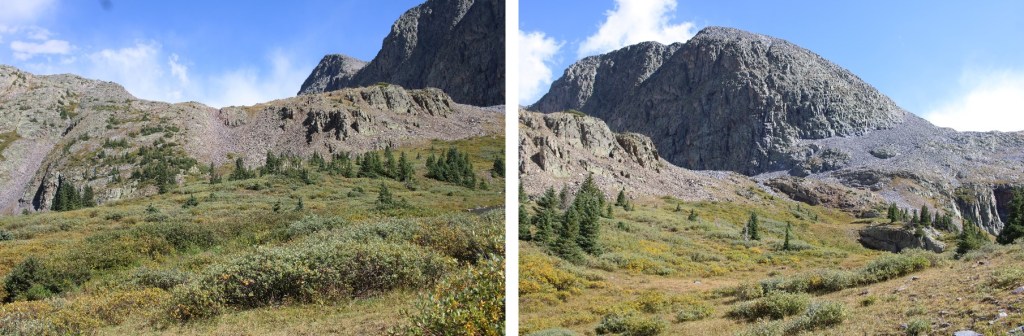
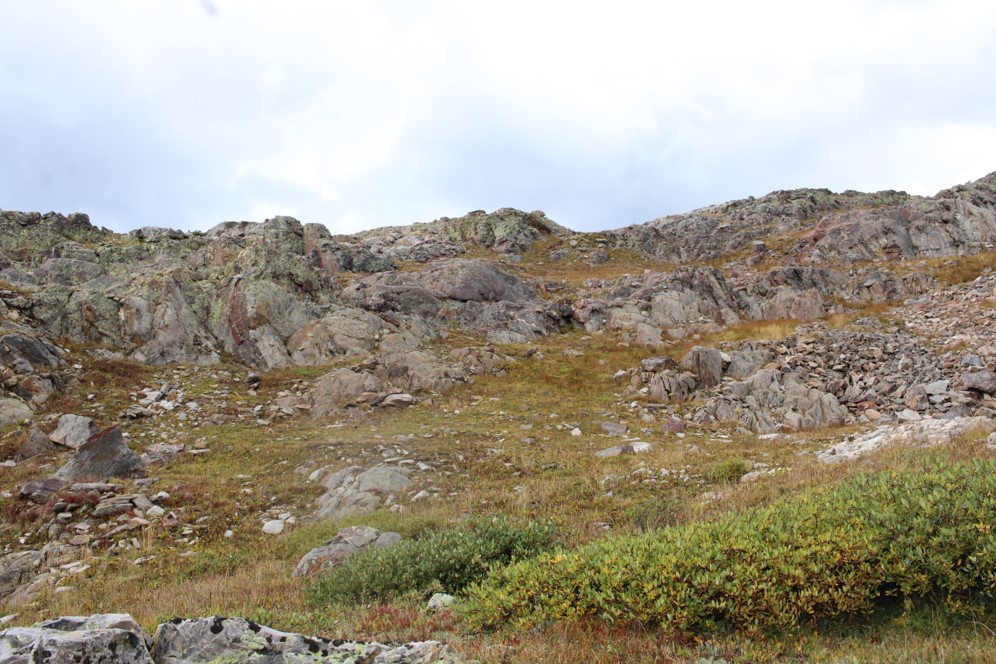
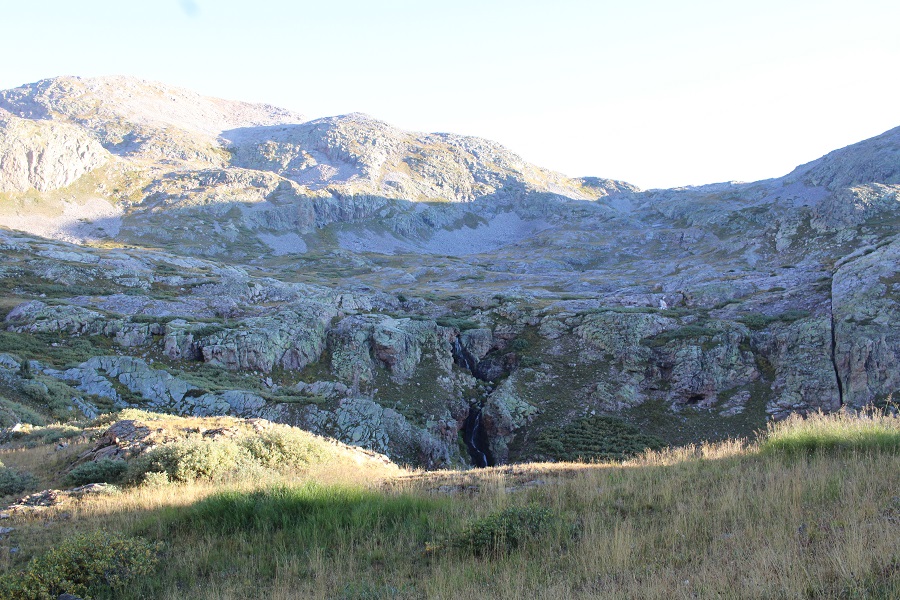
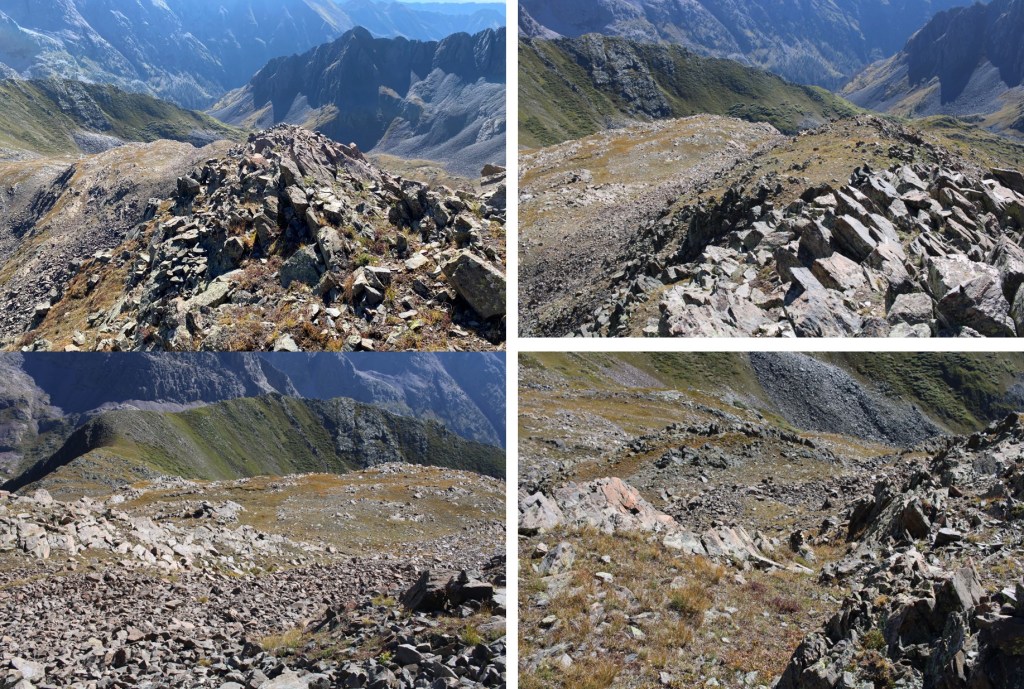
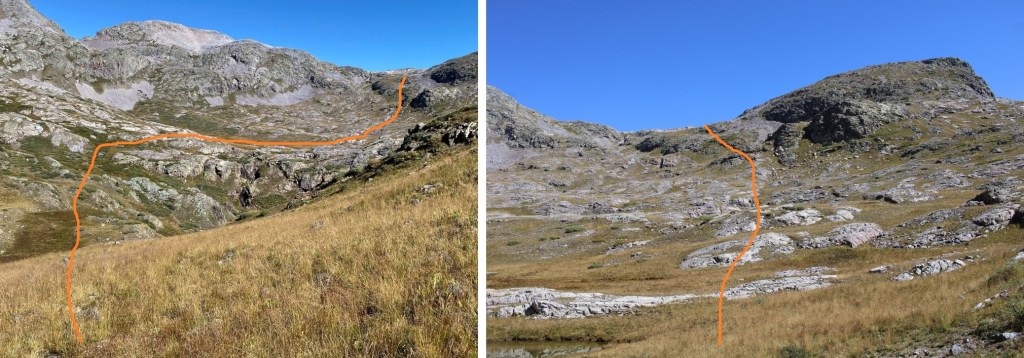
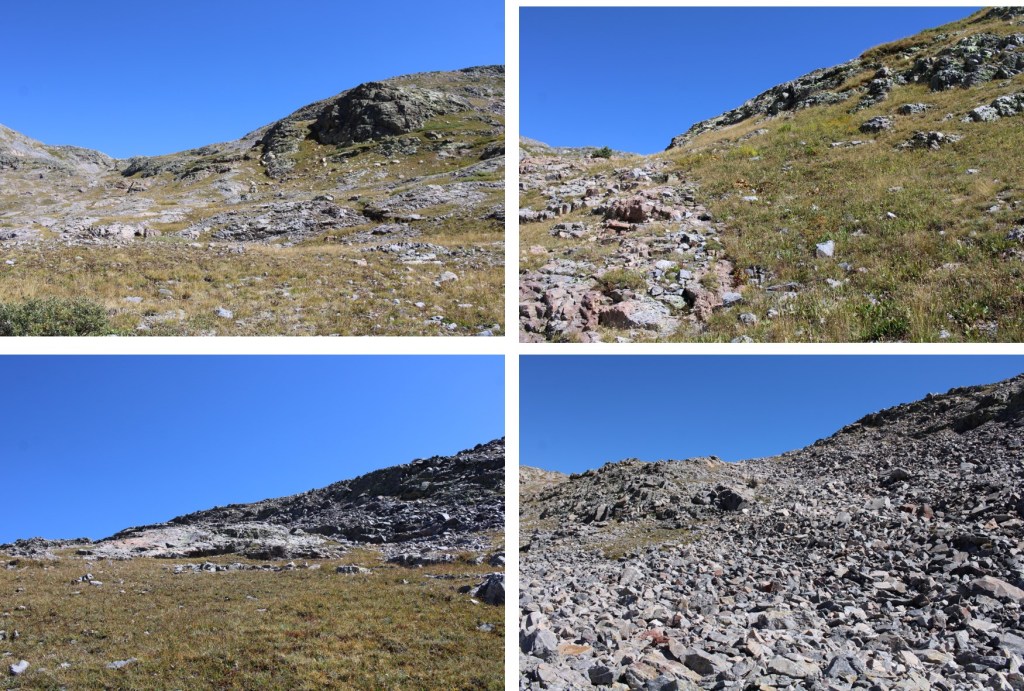
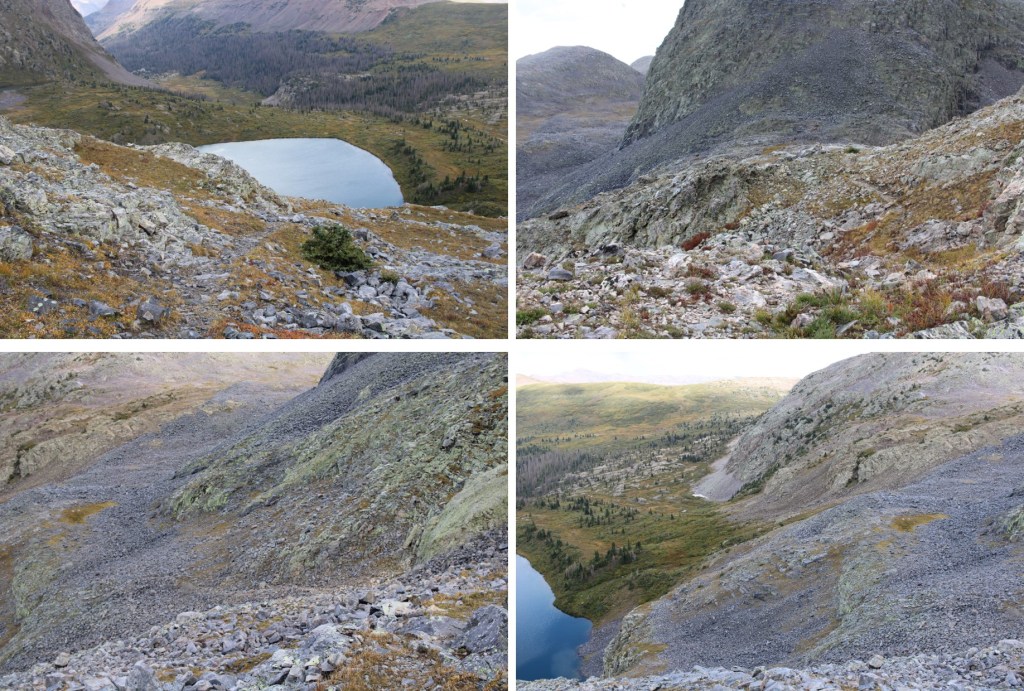
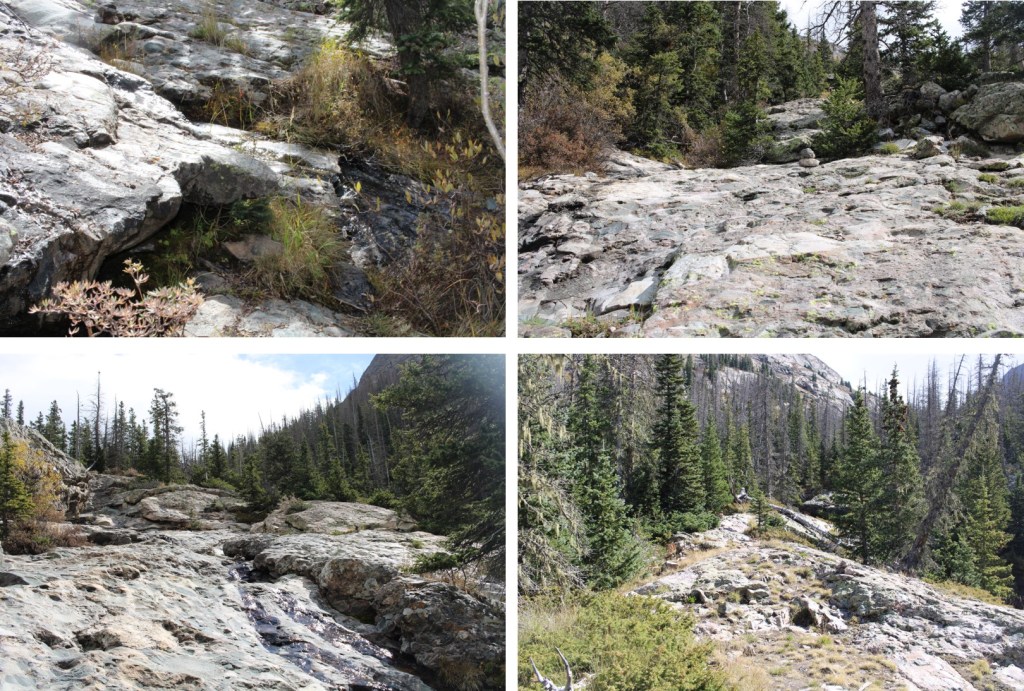
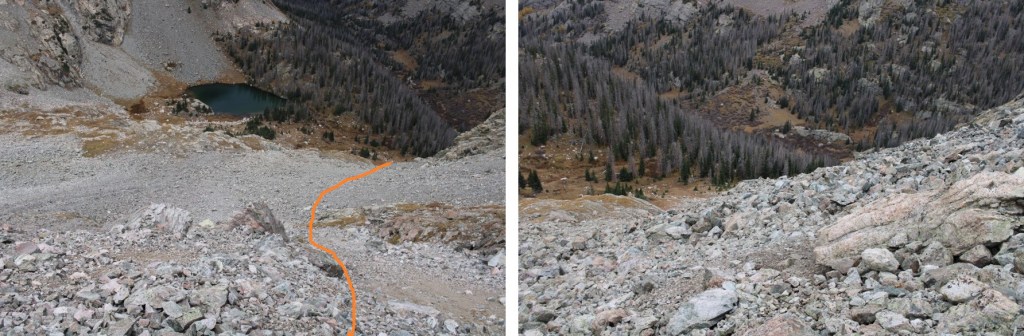
At 11500’, I came to an obvious gully, and took it south

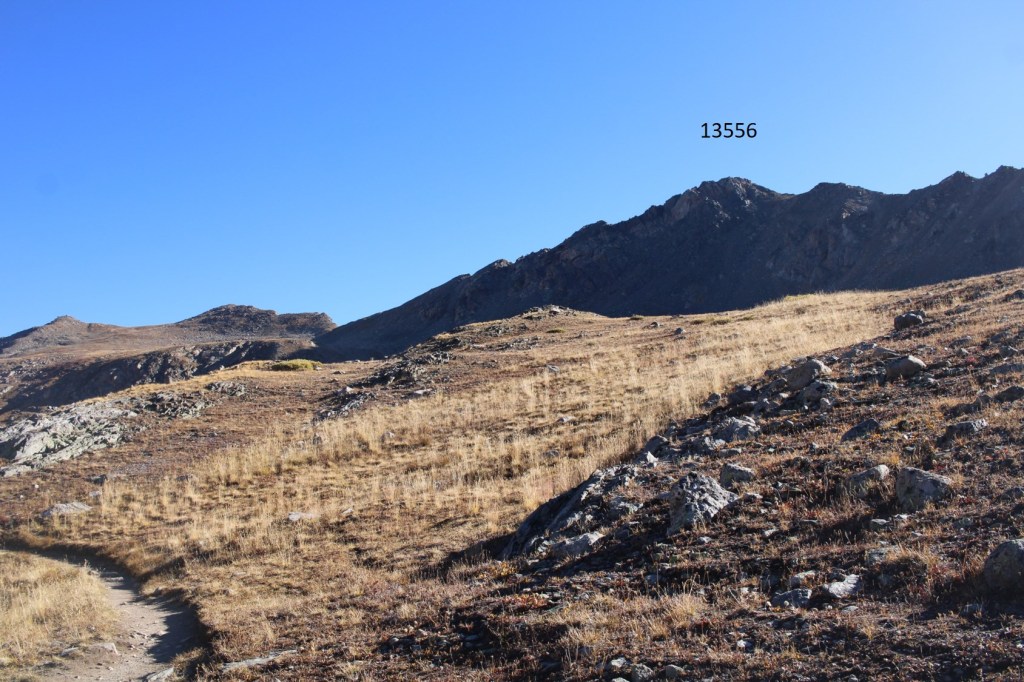
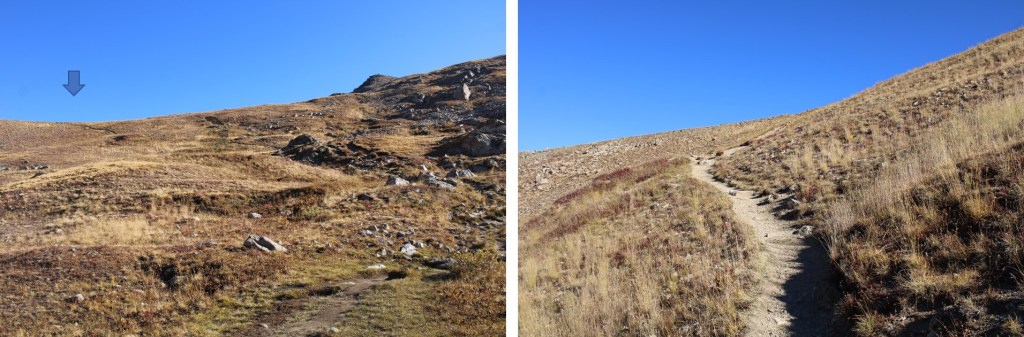
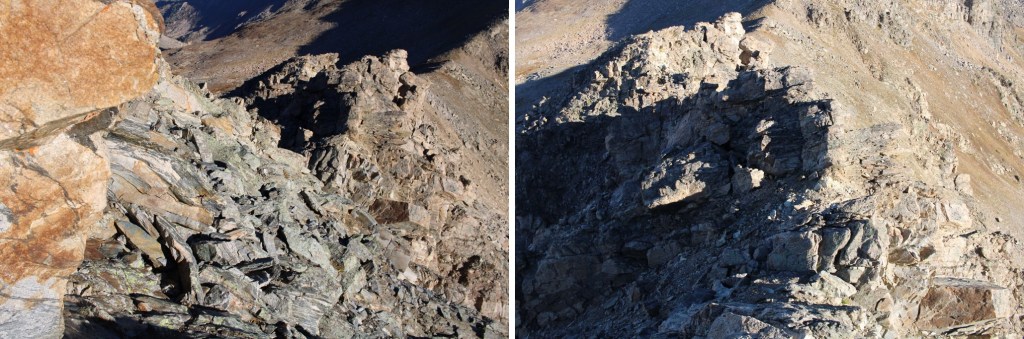
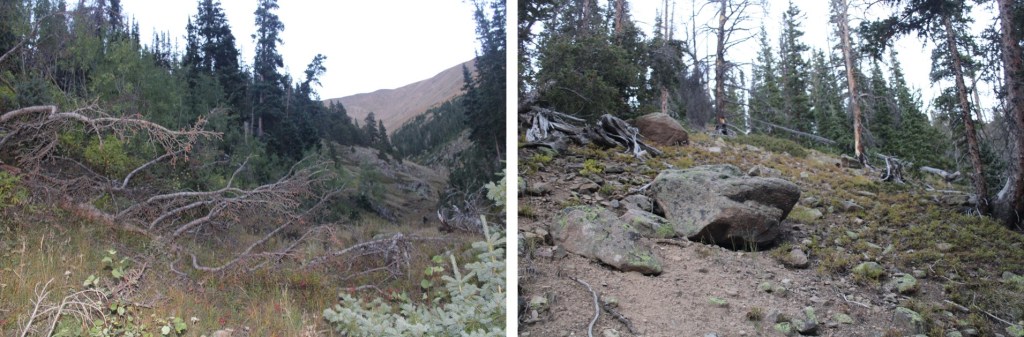
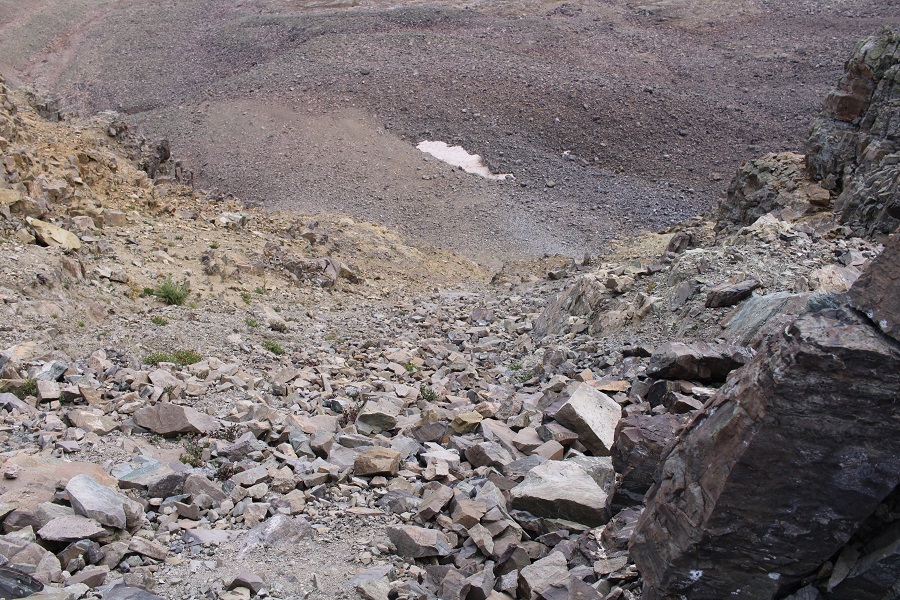
At the top of the gully, I continued hugging the mountainside as I made my way southeast

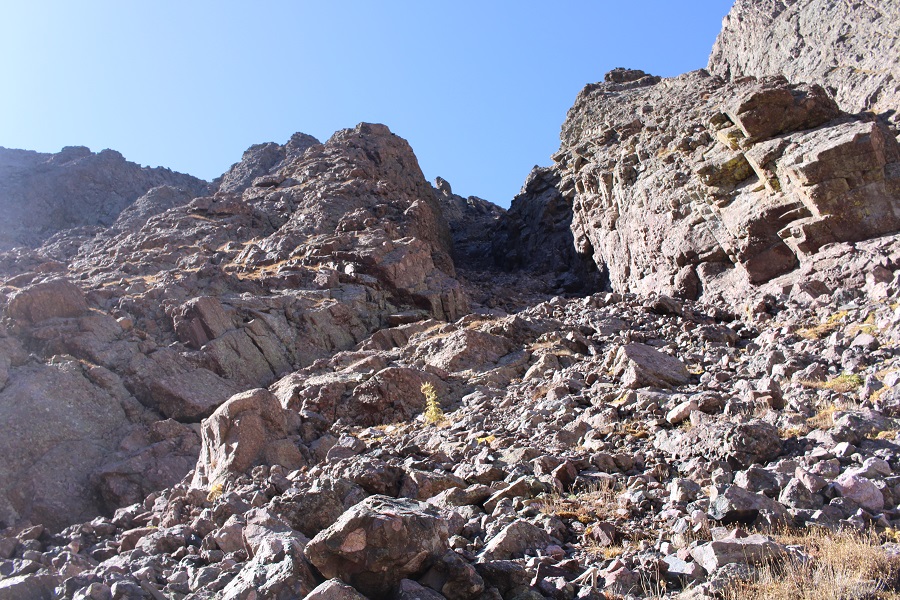
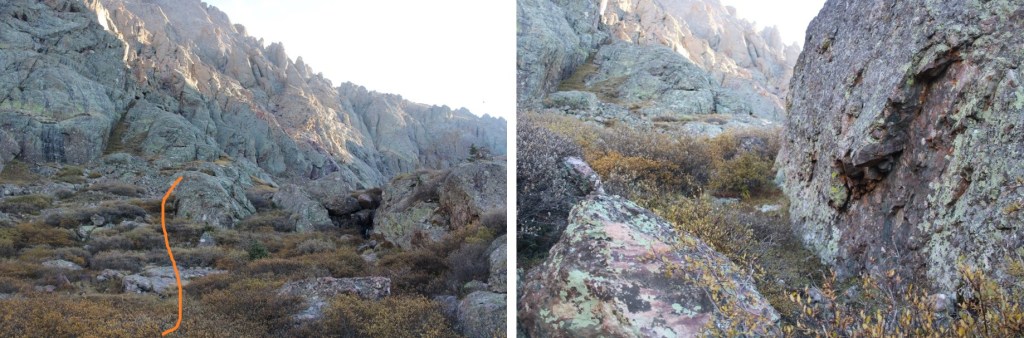
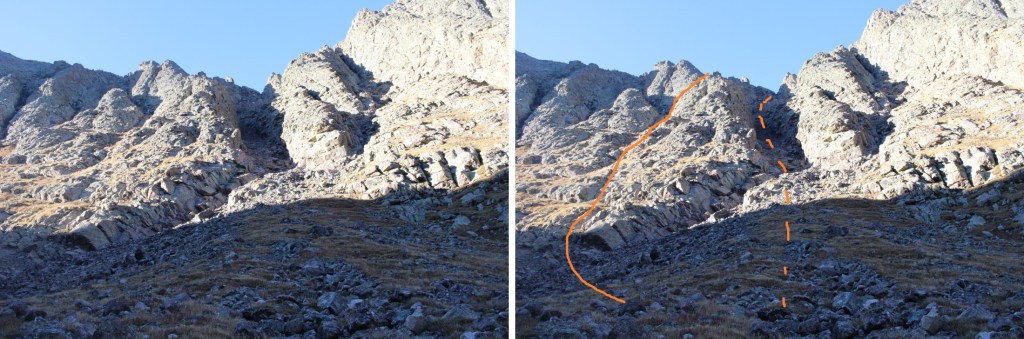
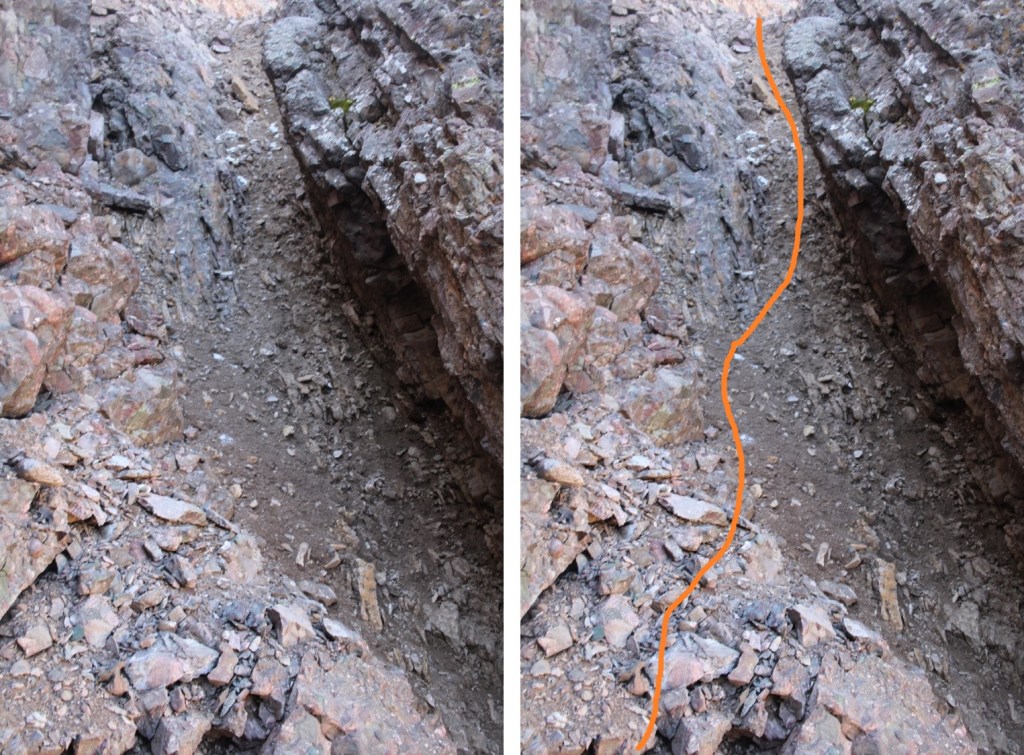
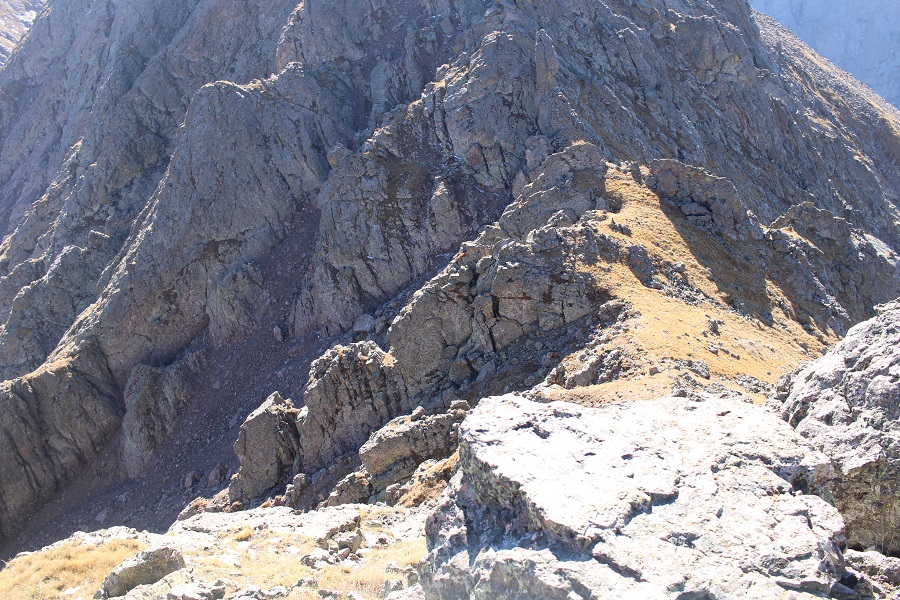
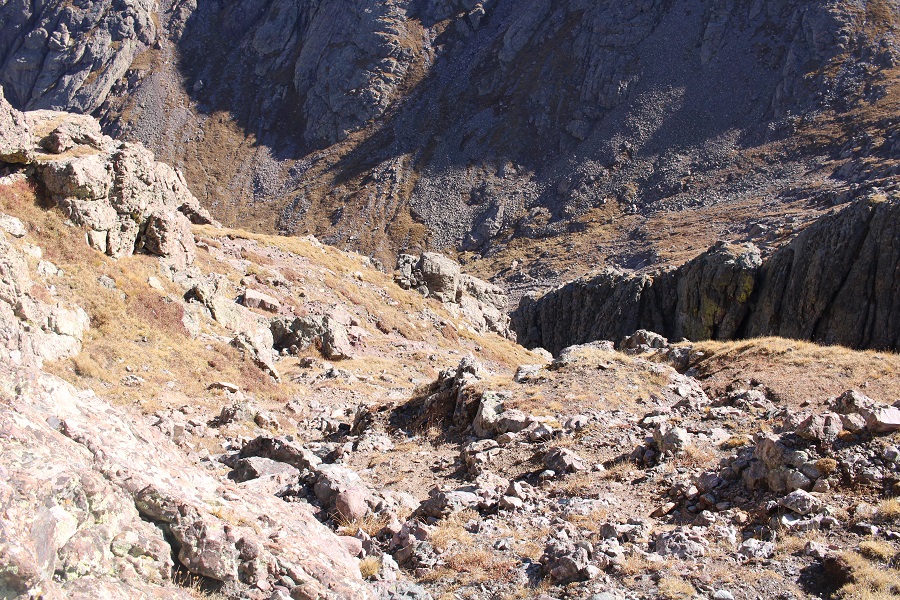
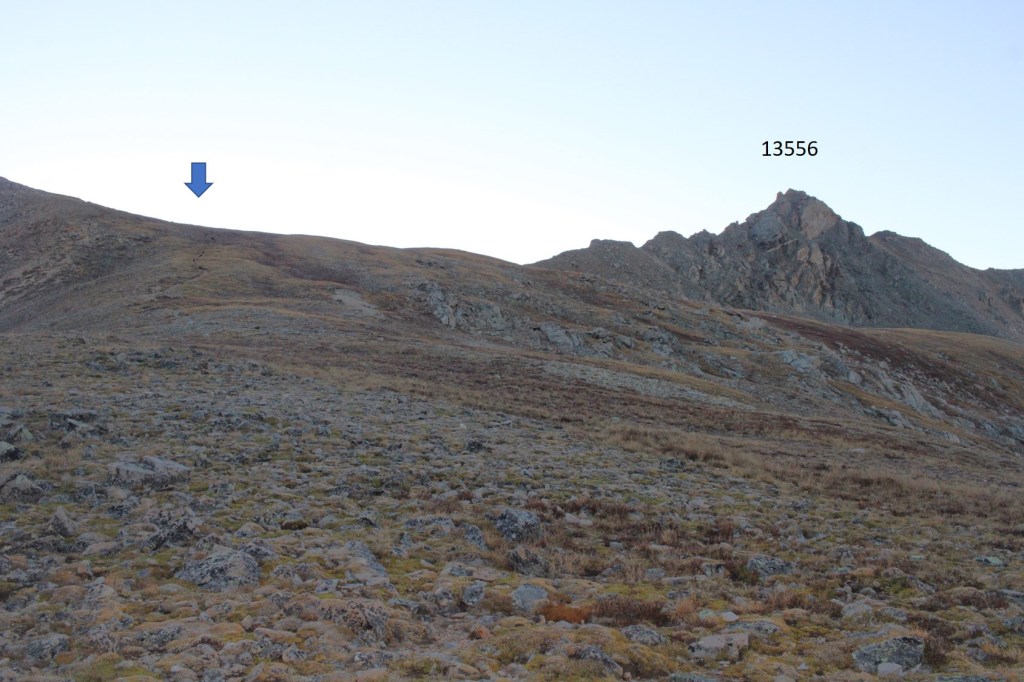
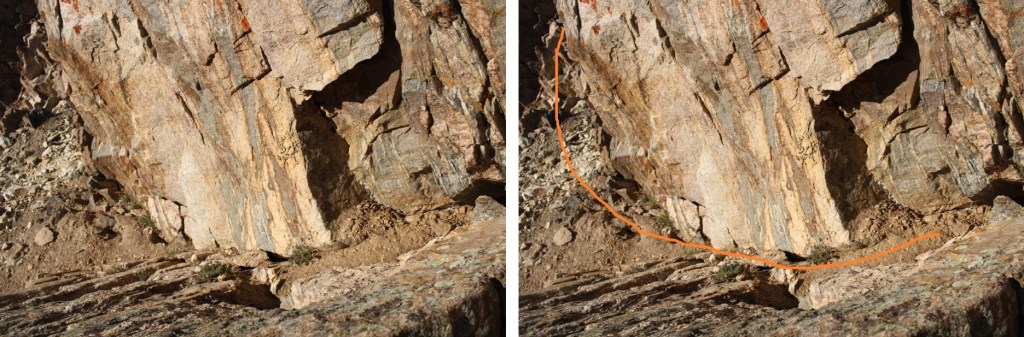
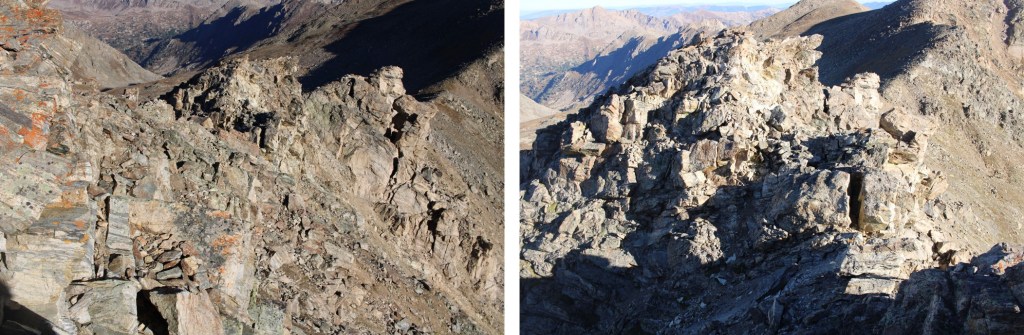
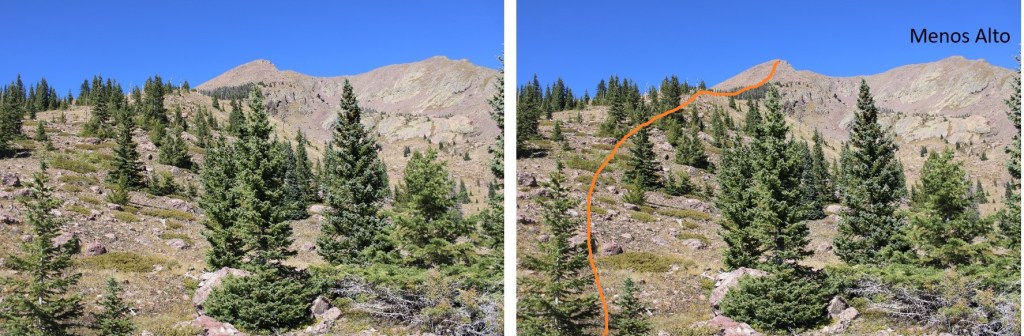
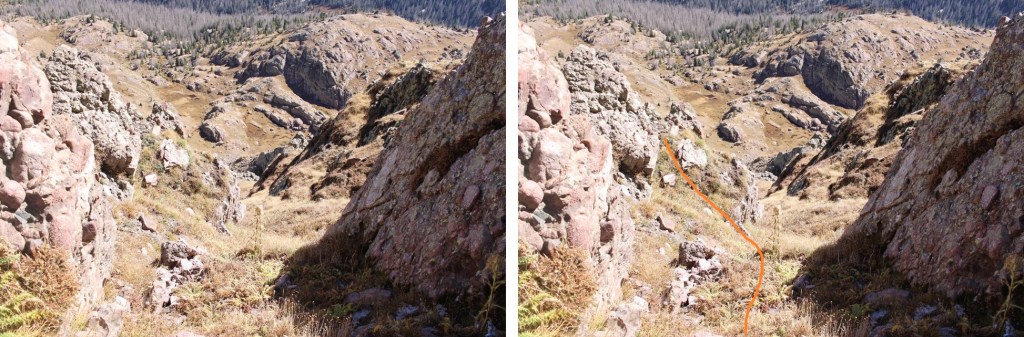
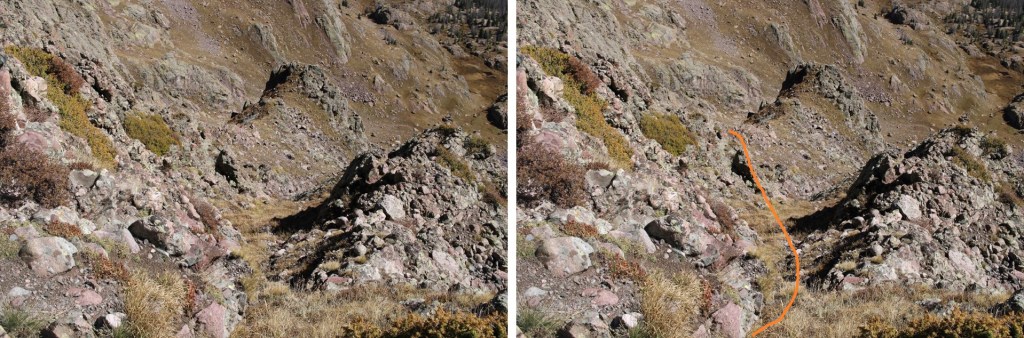
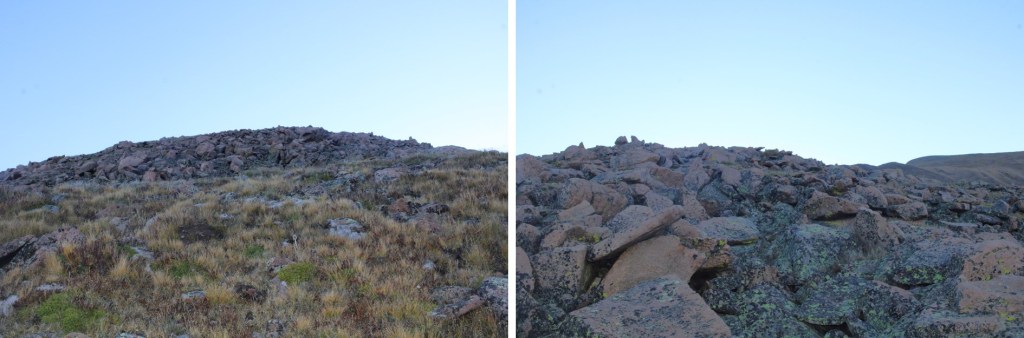
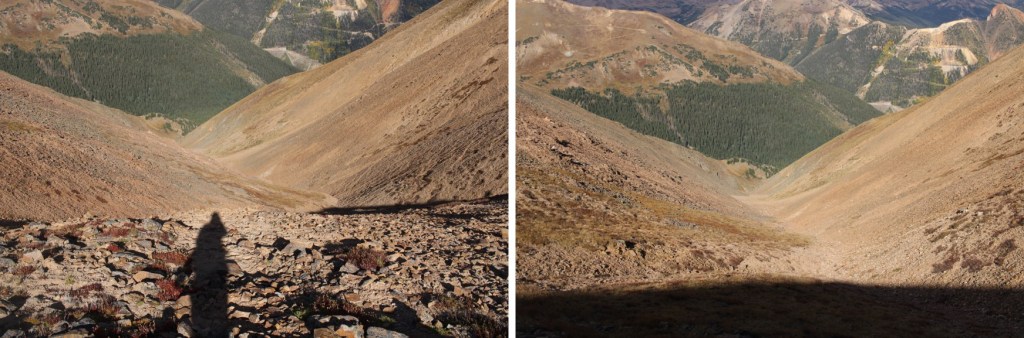
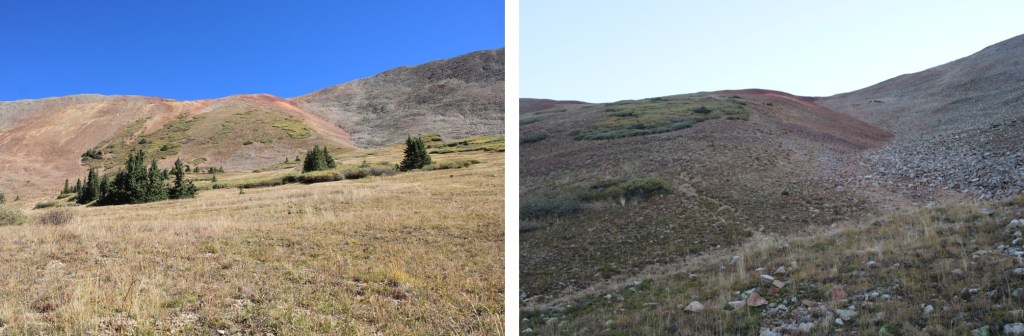
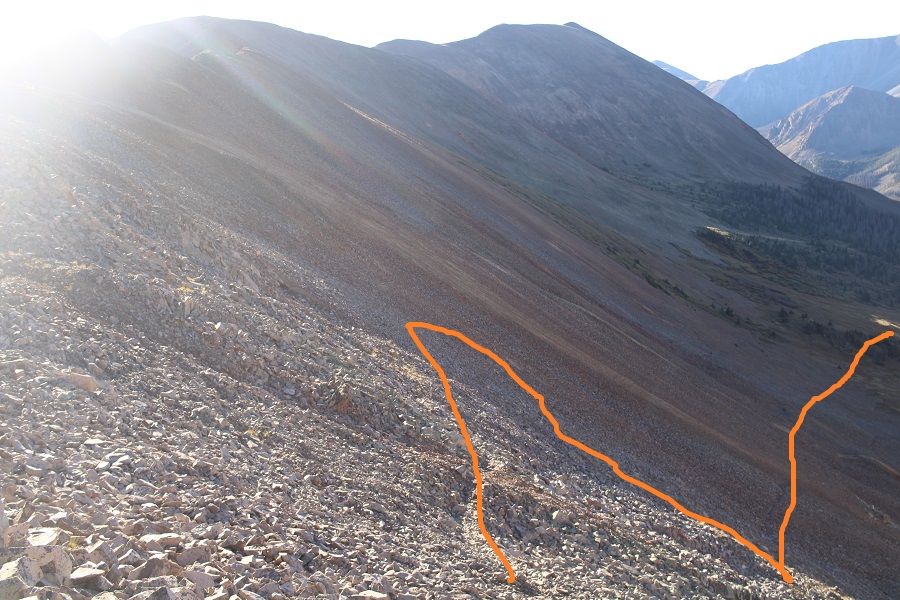
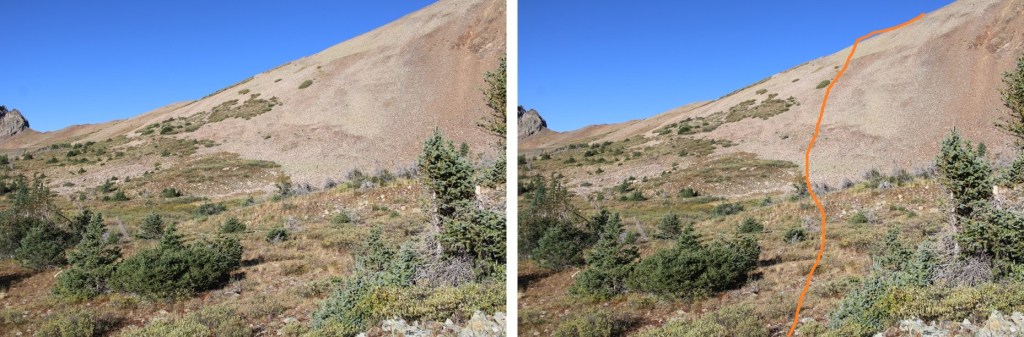
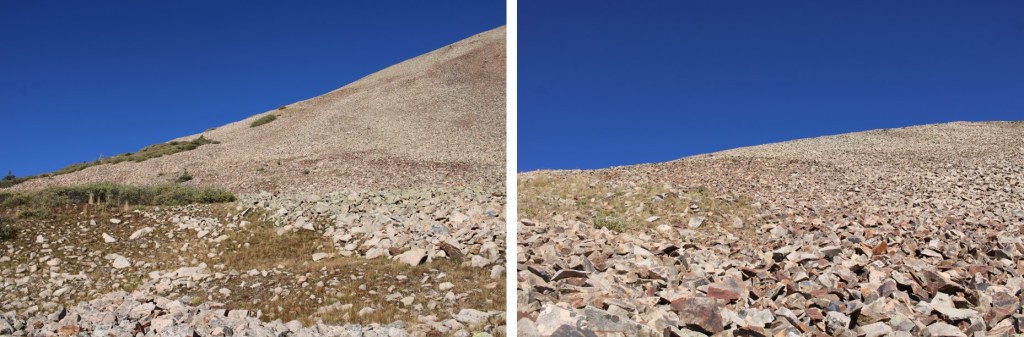
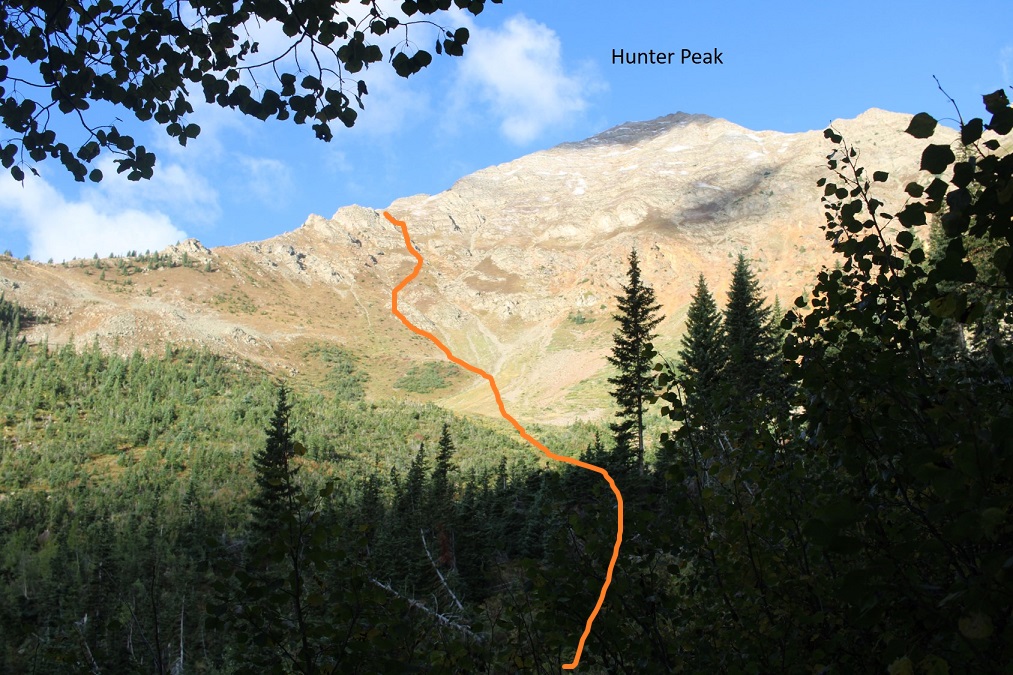
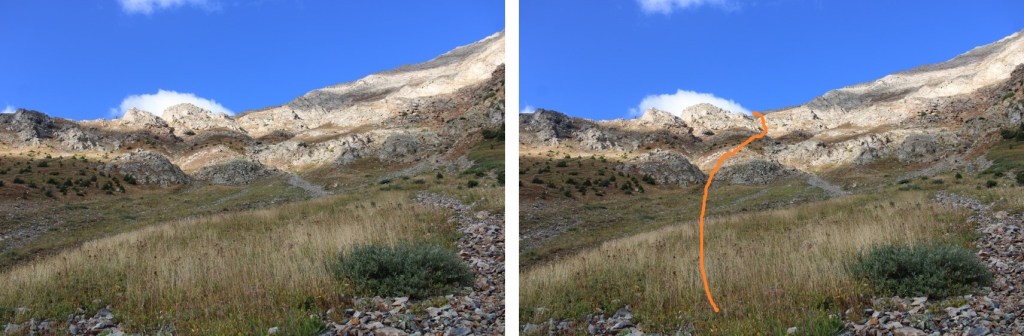
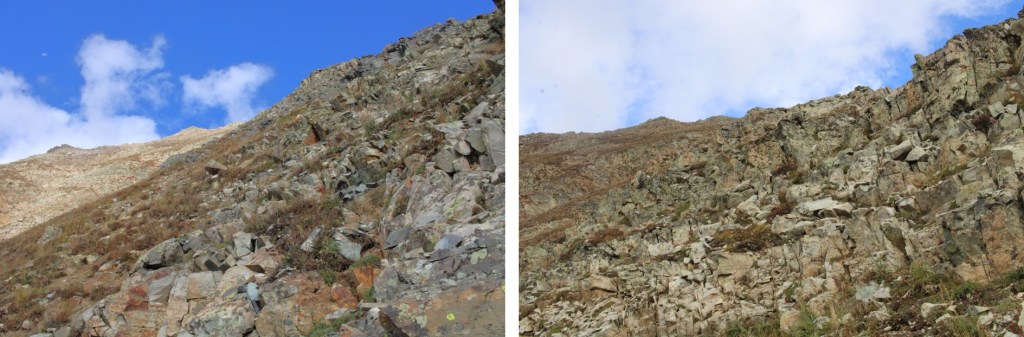
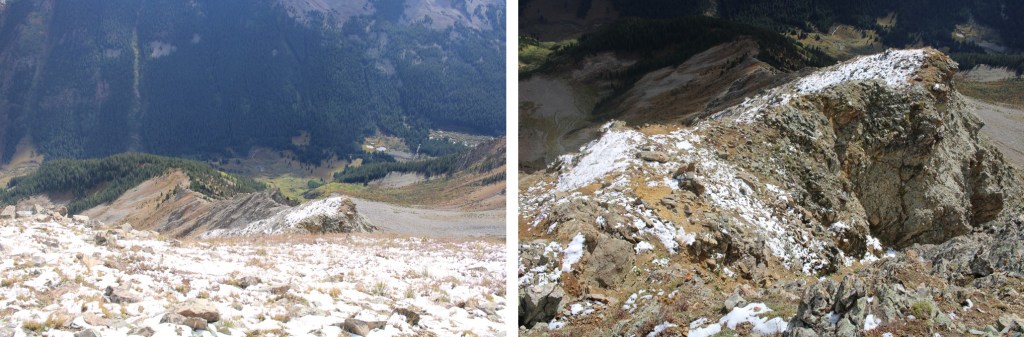
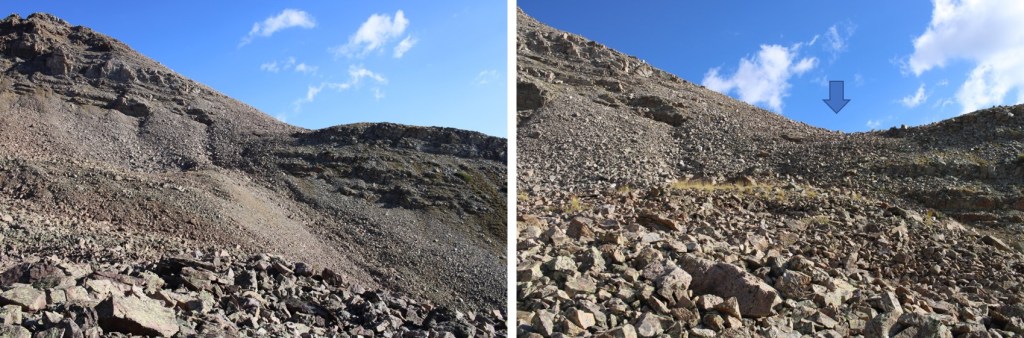
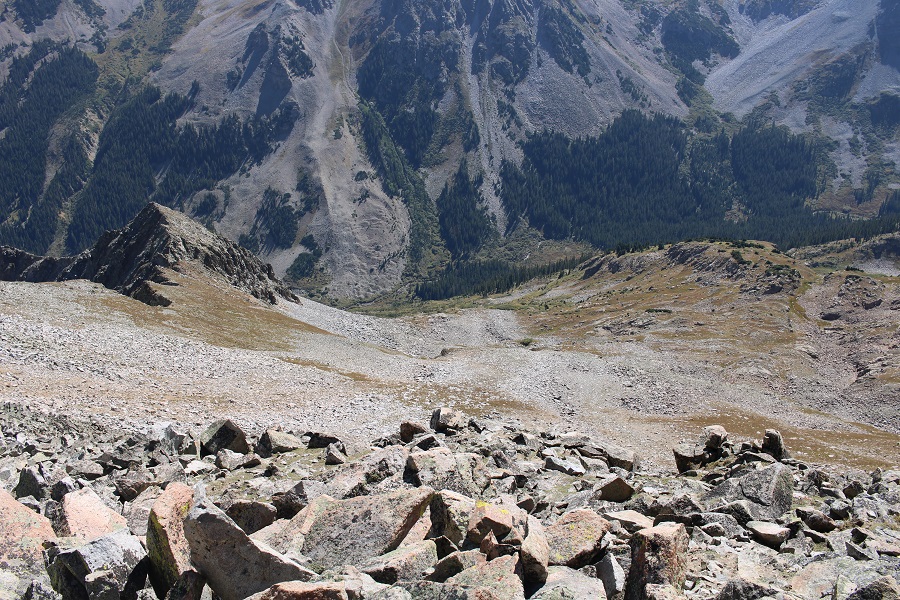
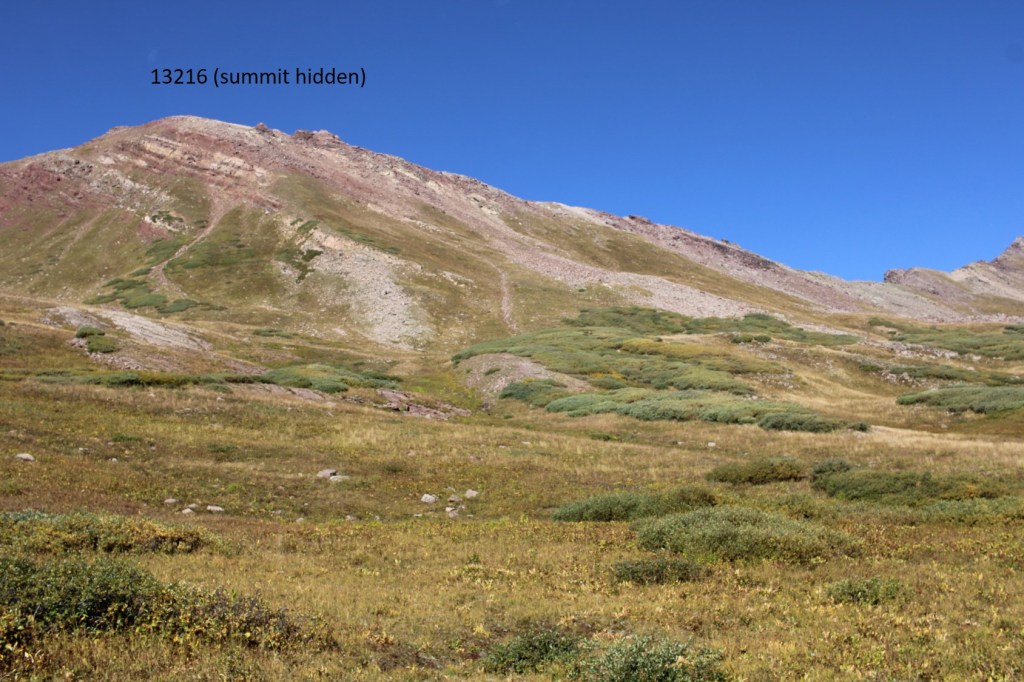
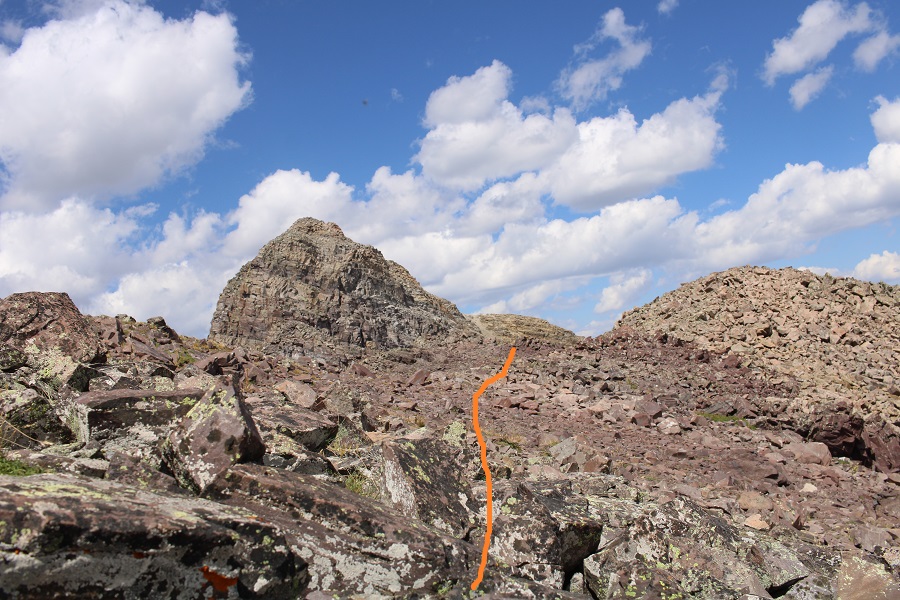
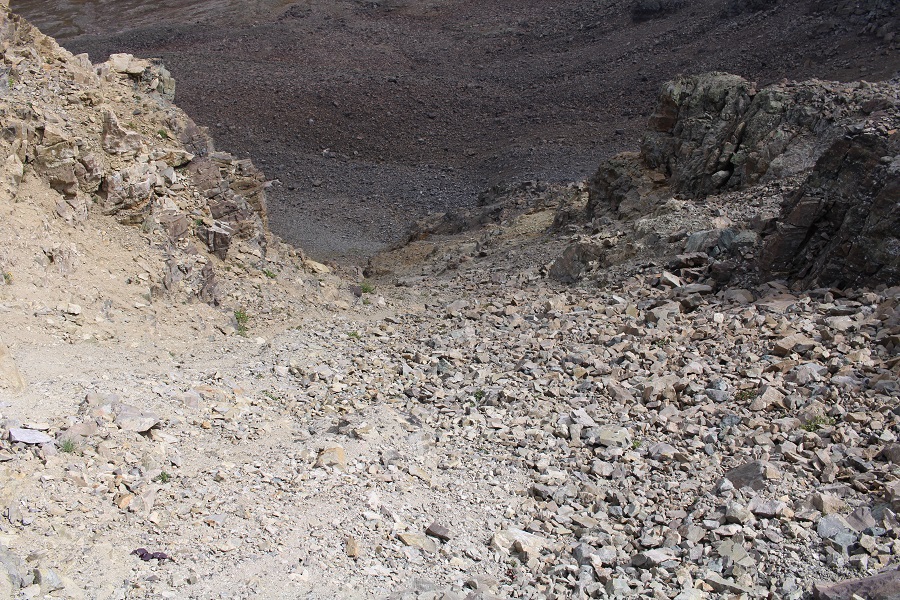
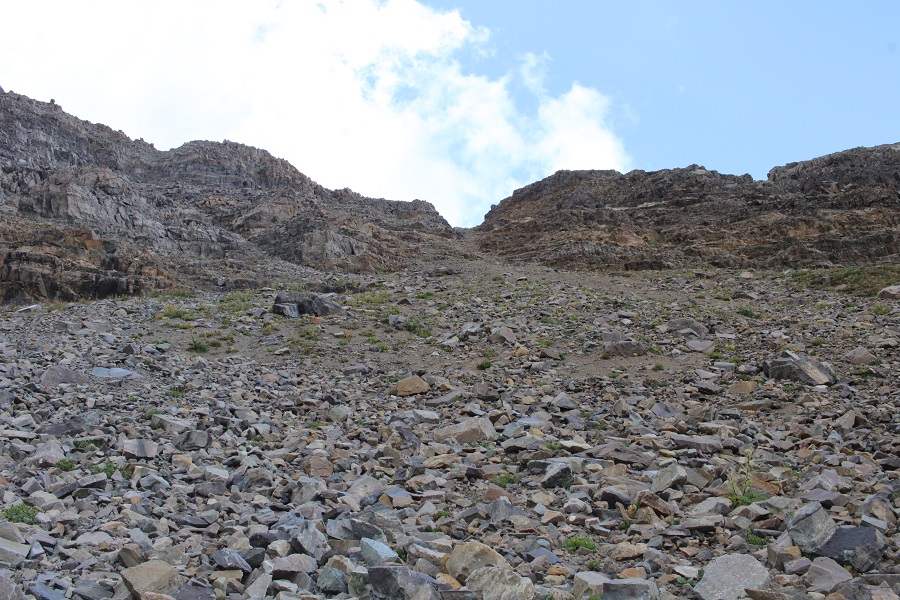
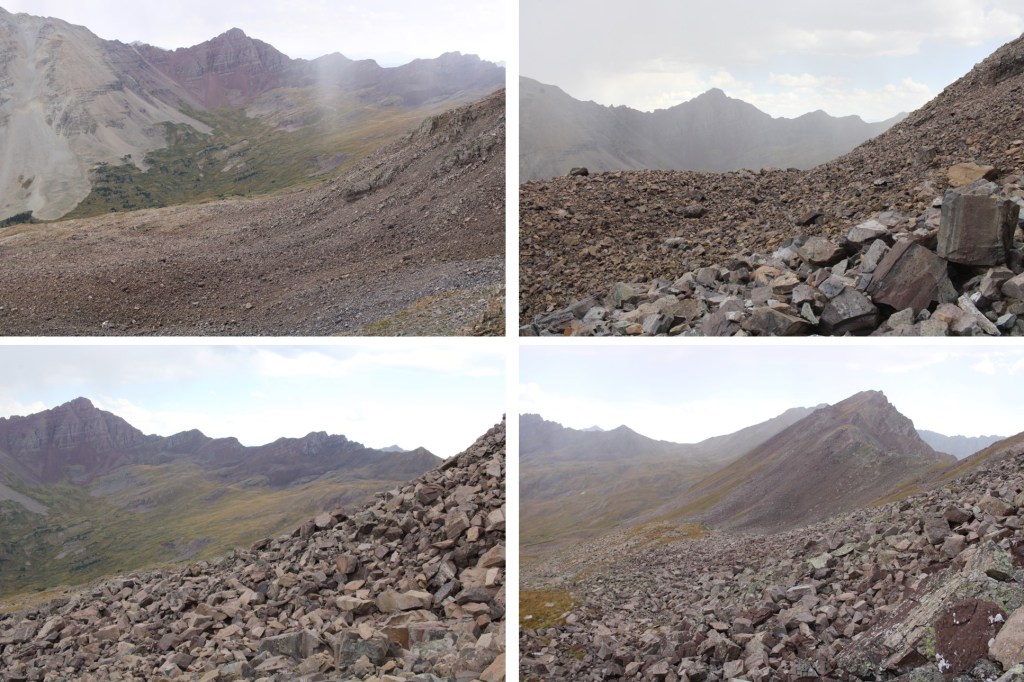
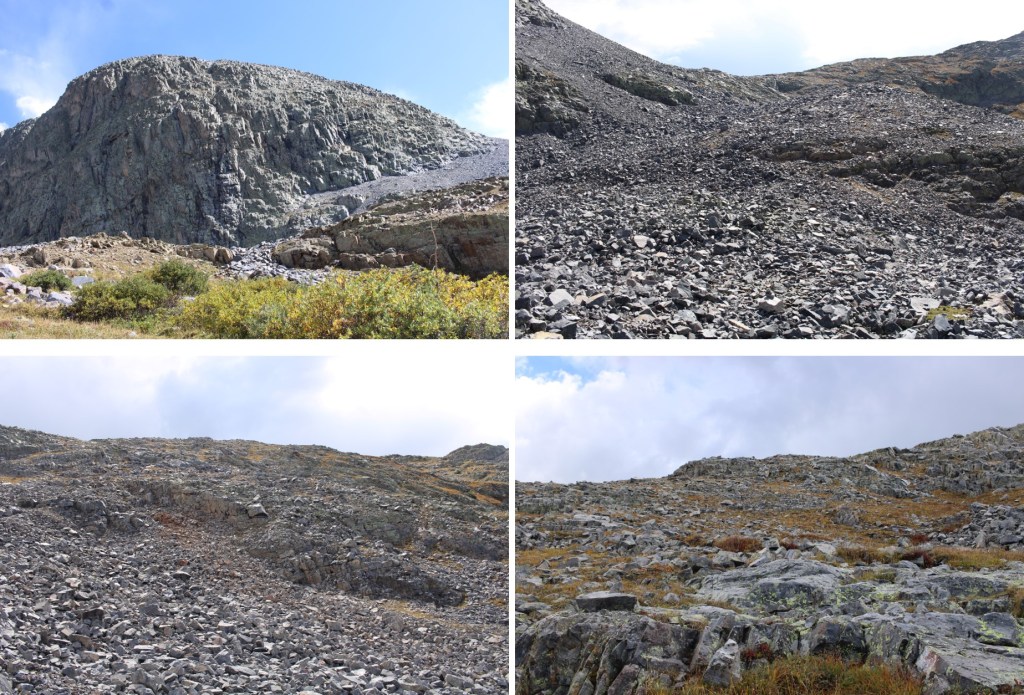
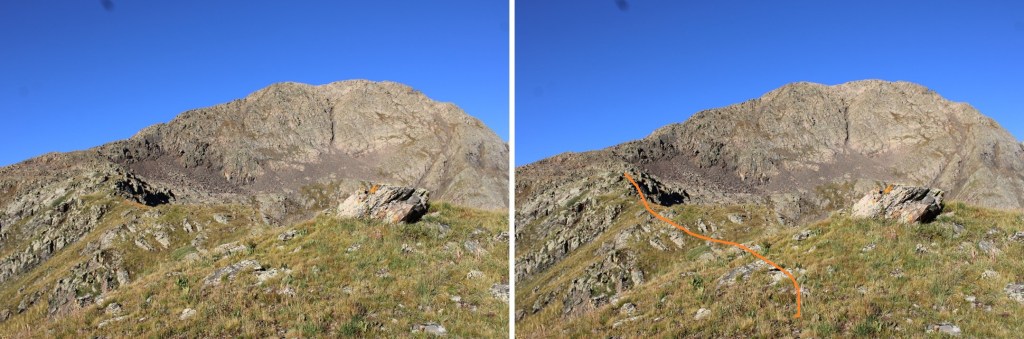
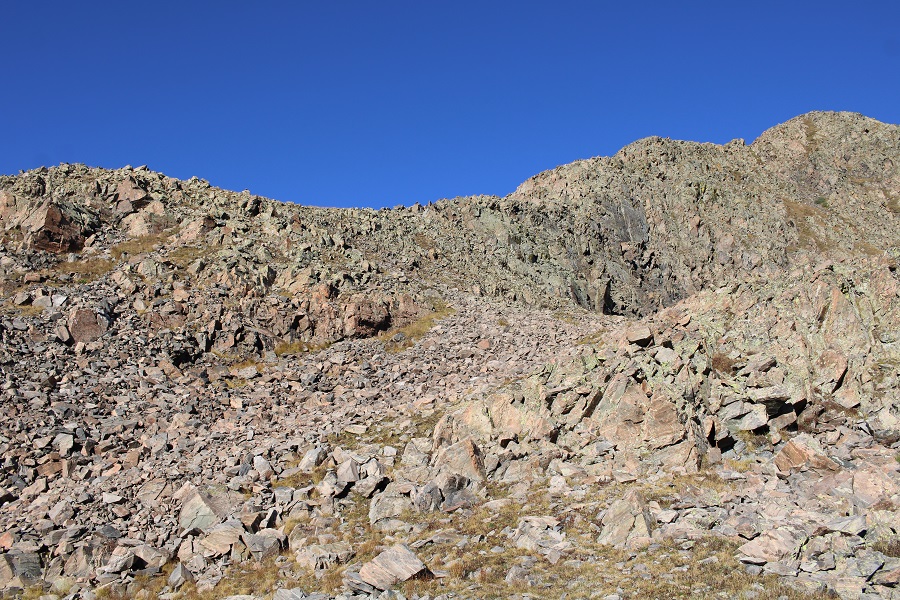
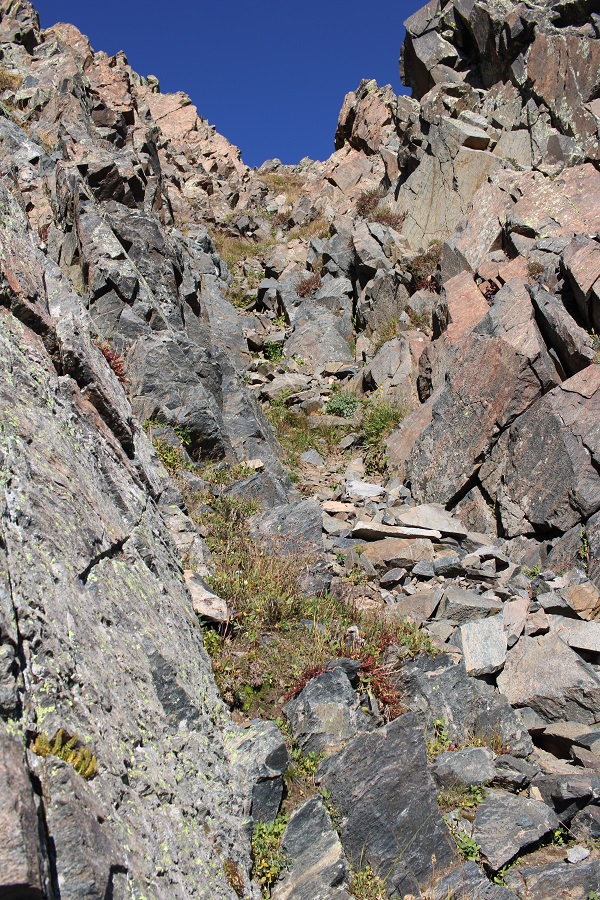
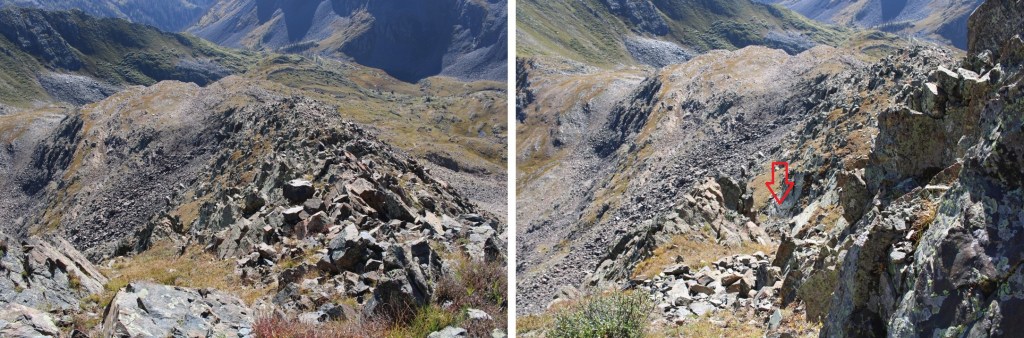
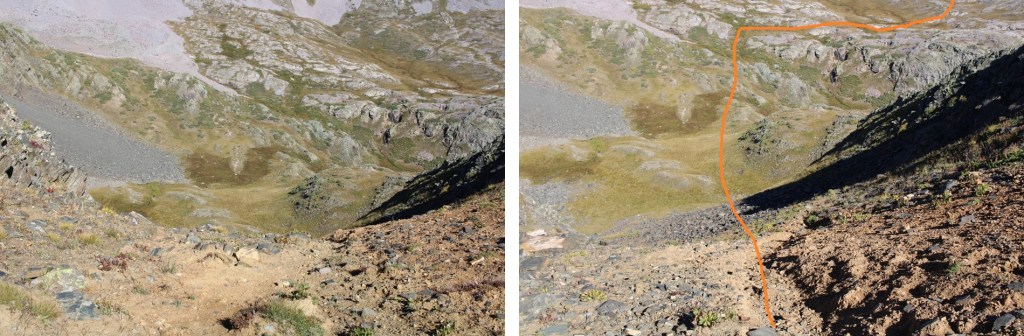
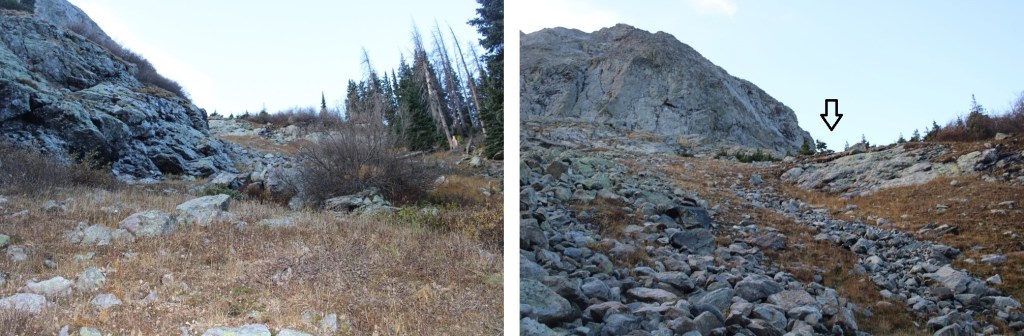
In the middle of the rocky basin, I turned left, and headed east up another gully

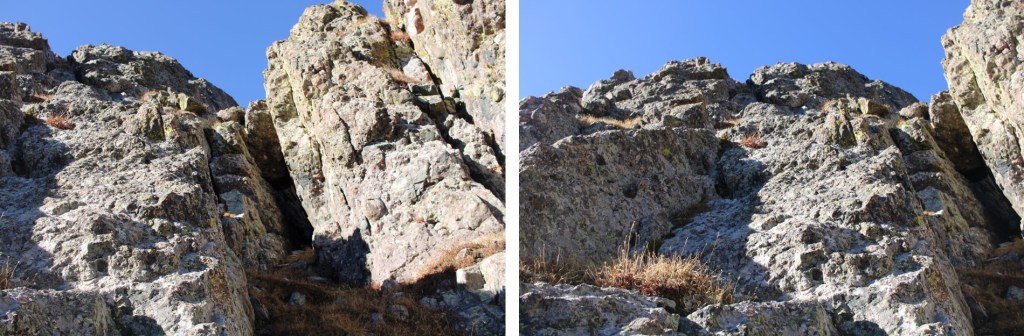
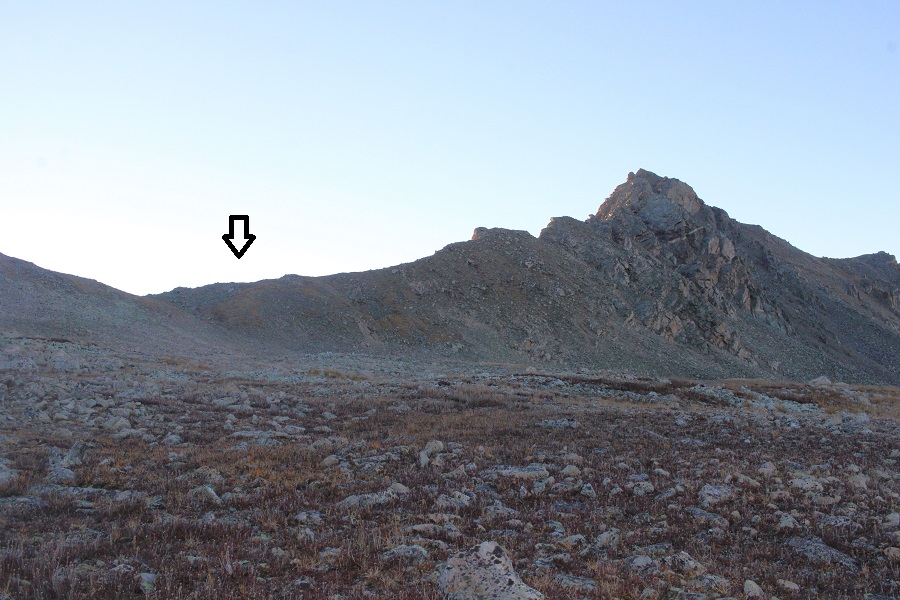
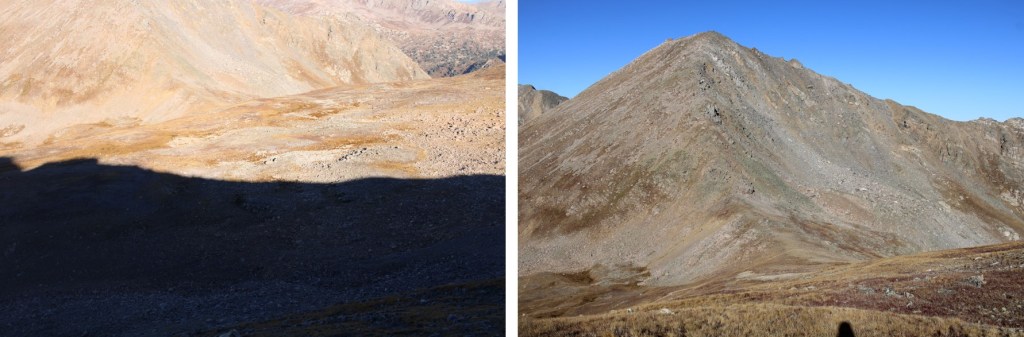
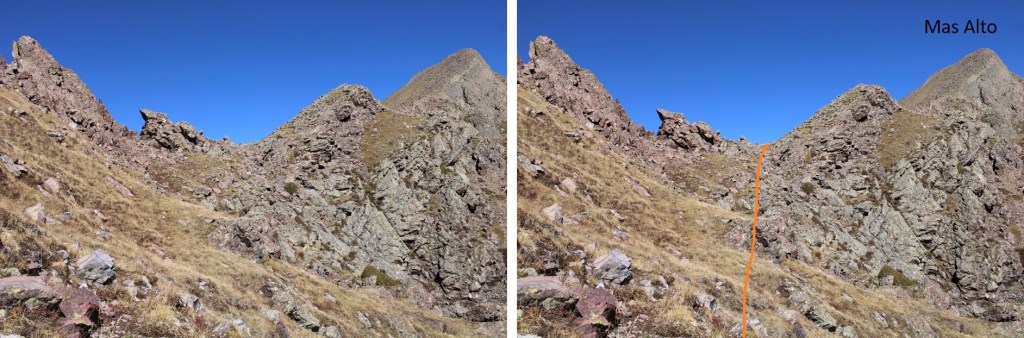
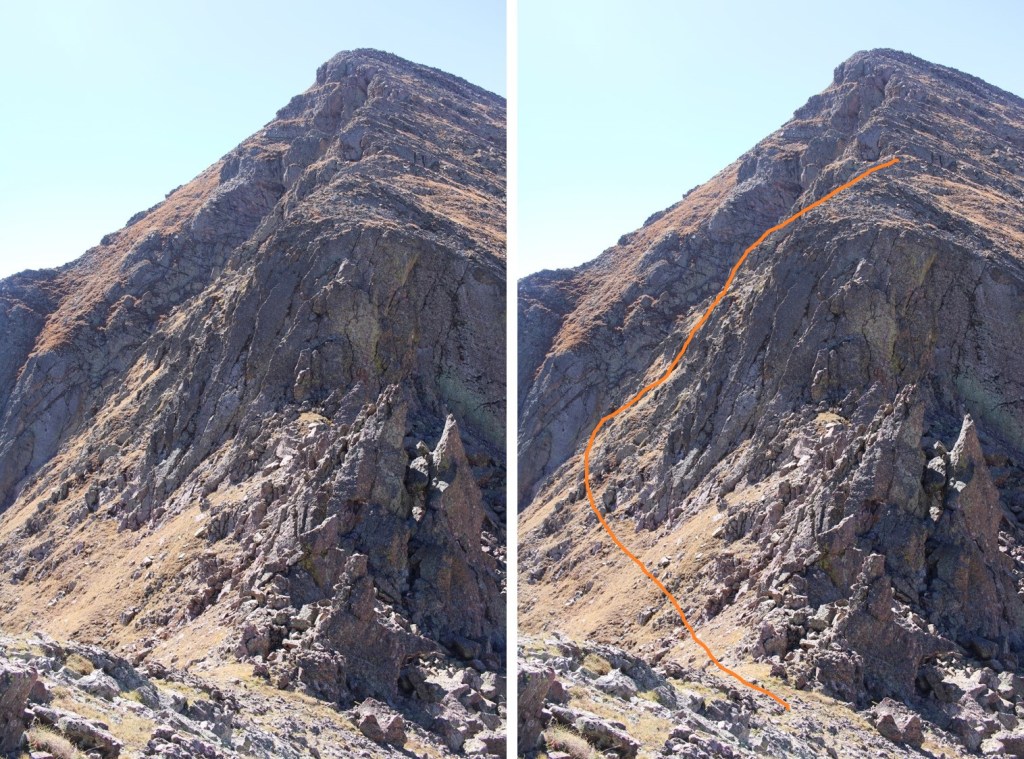
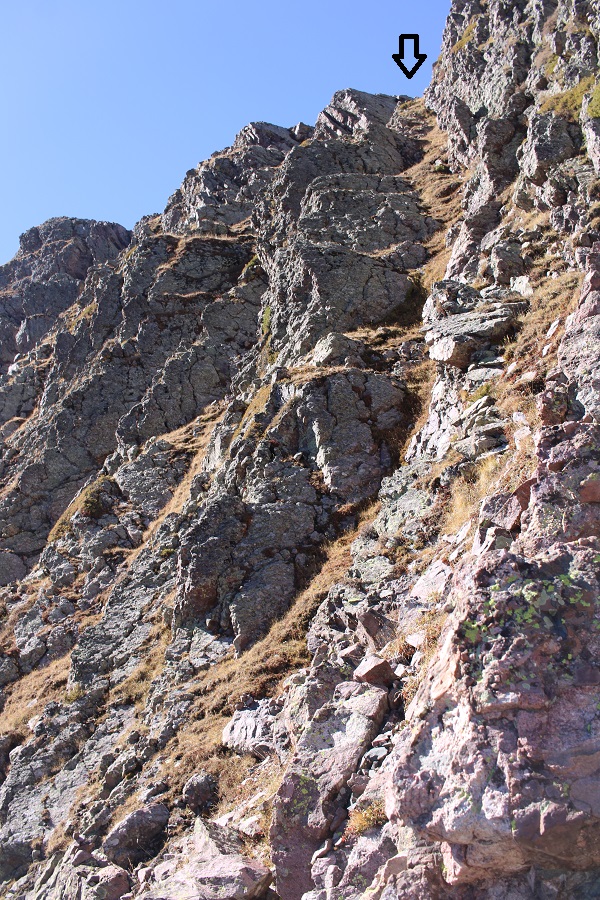
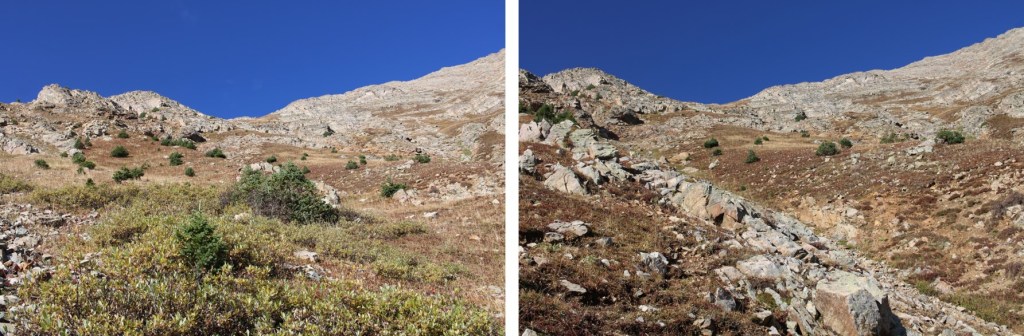
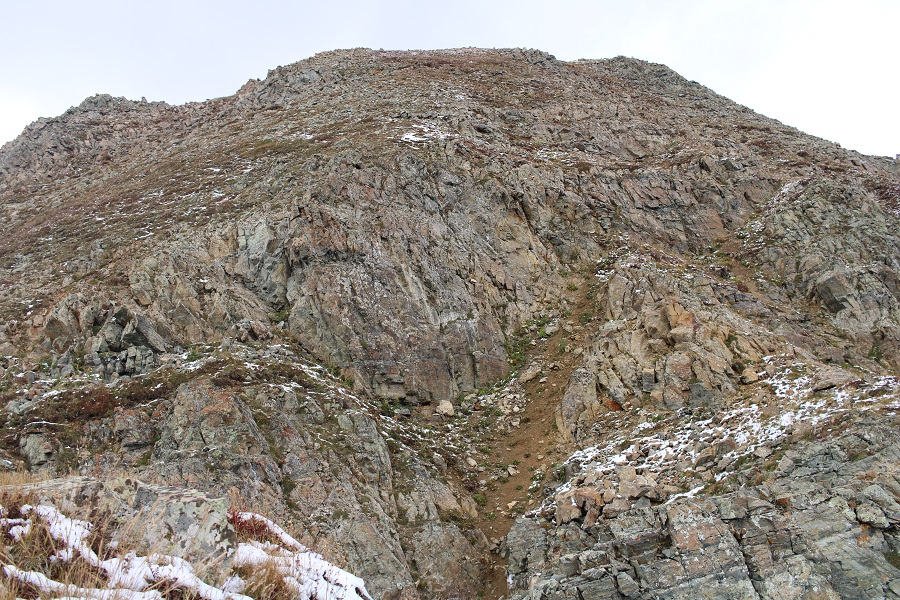
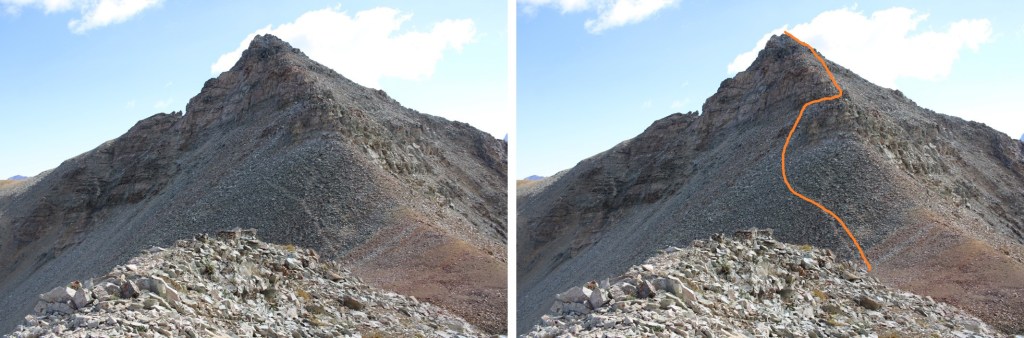
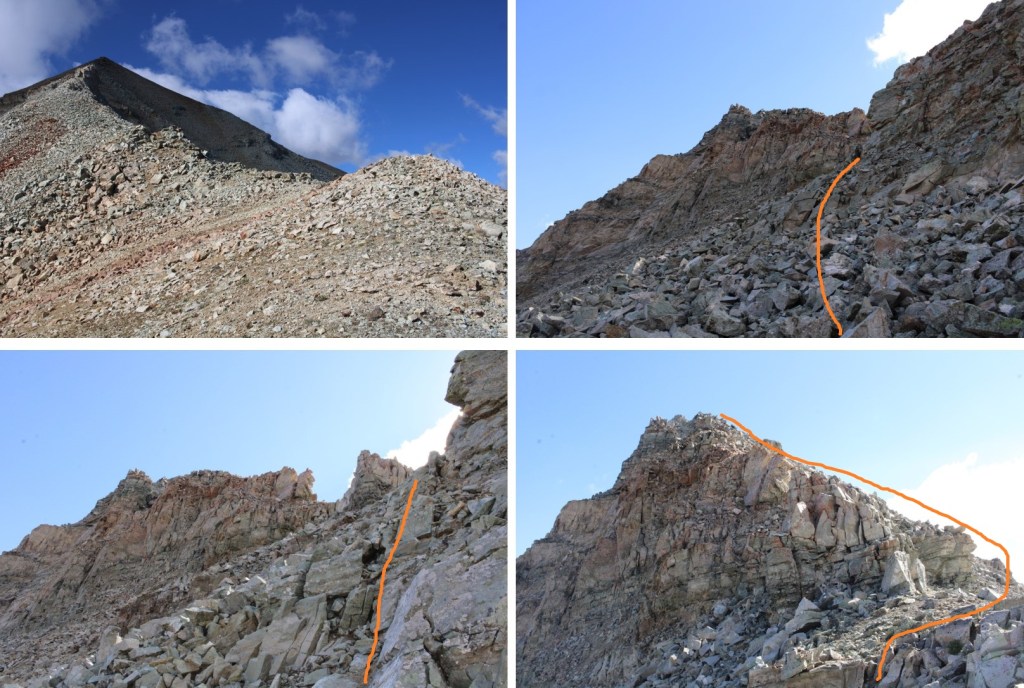
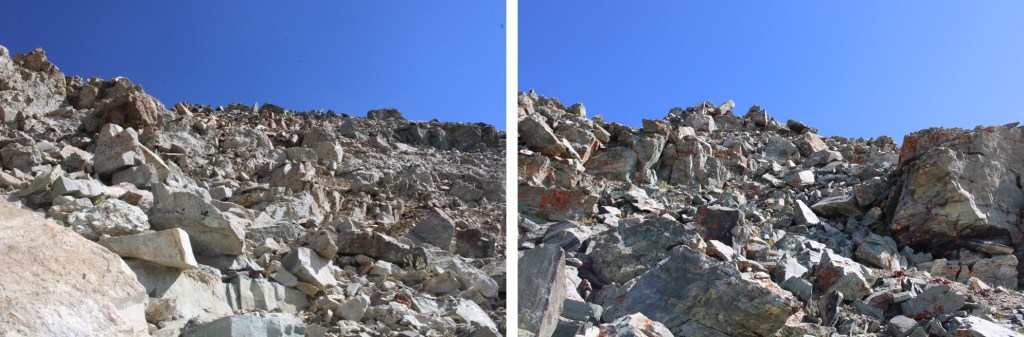
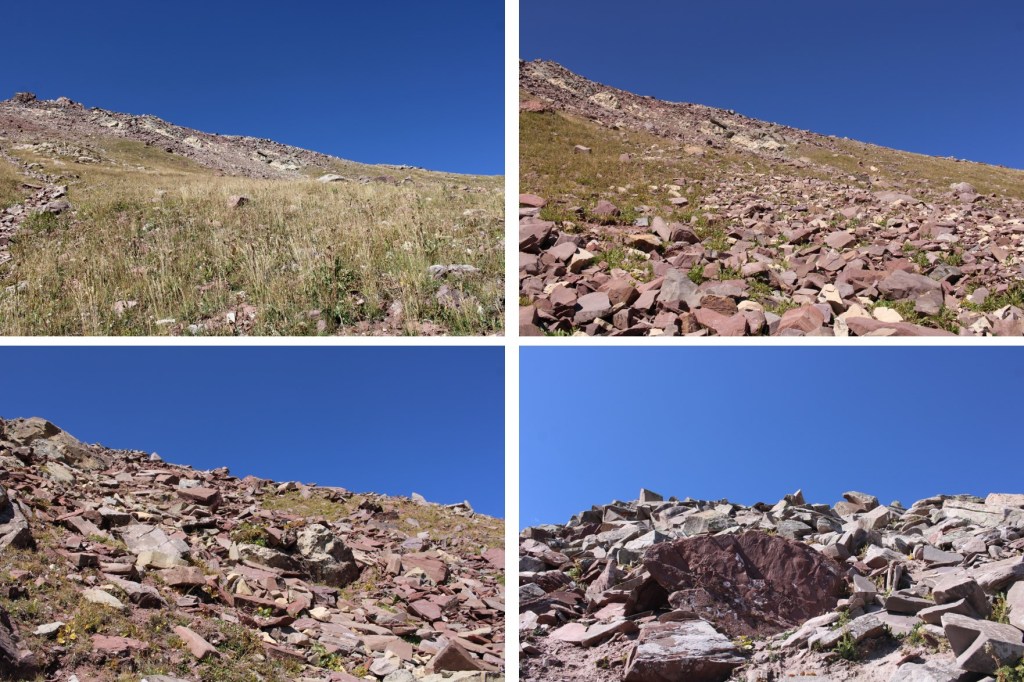
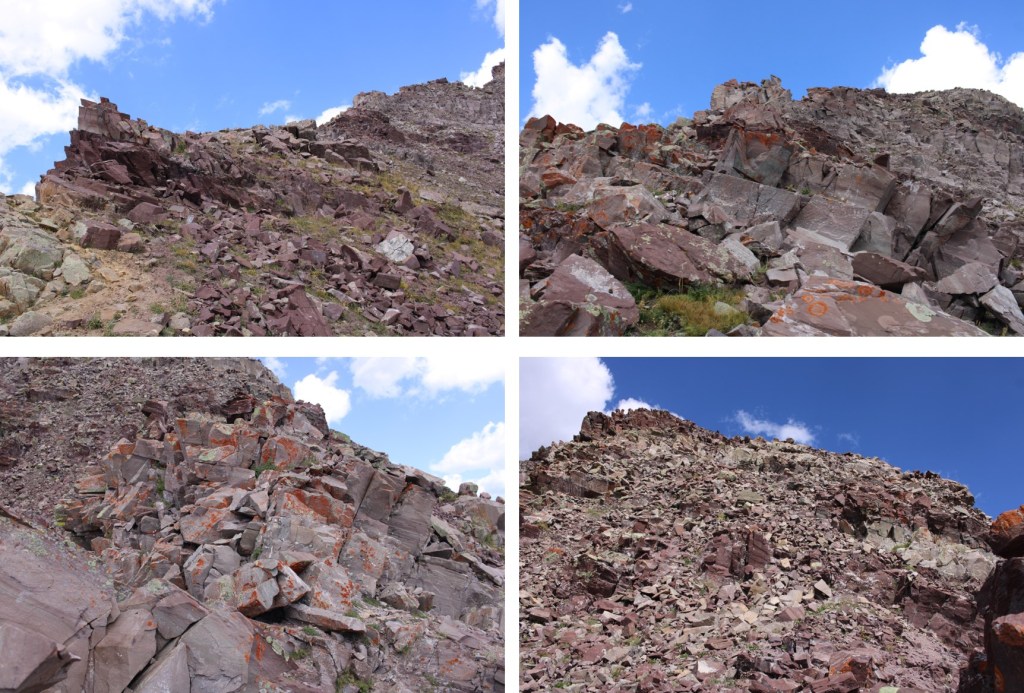
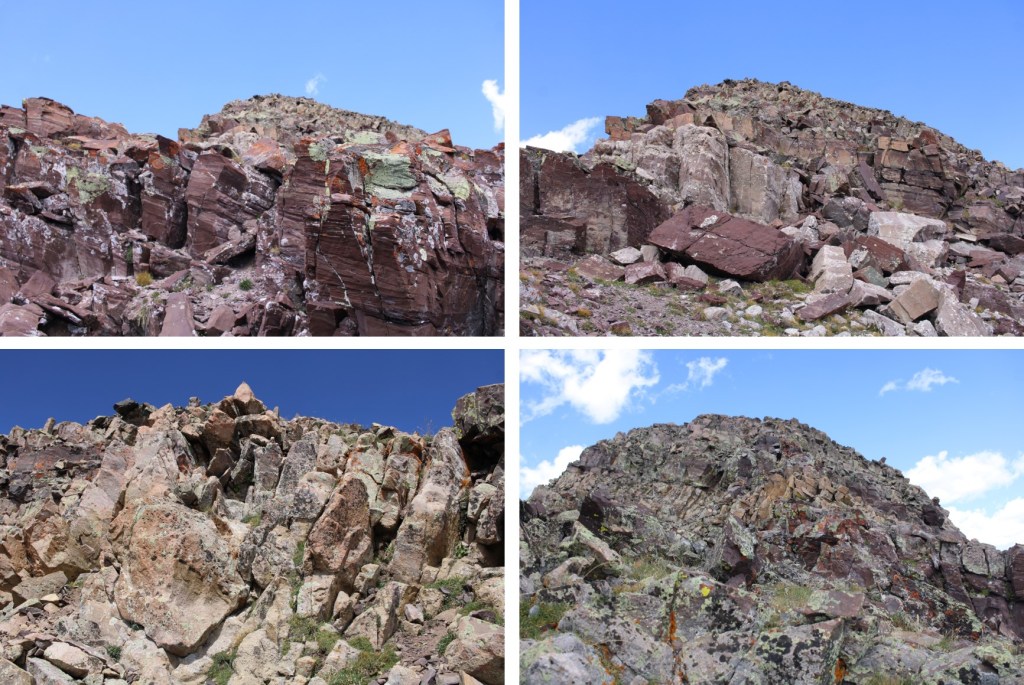
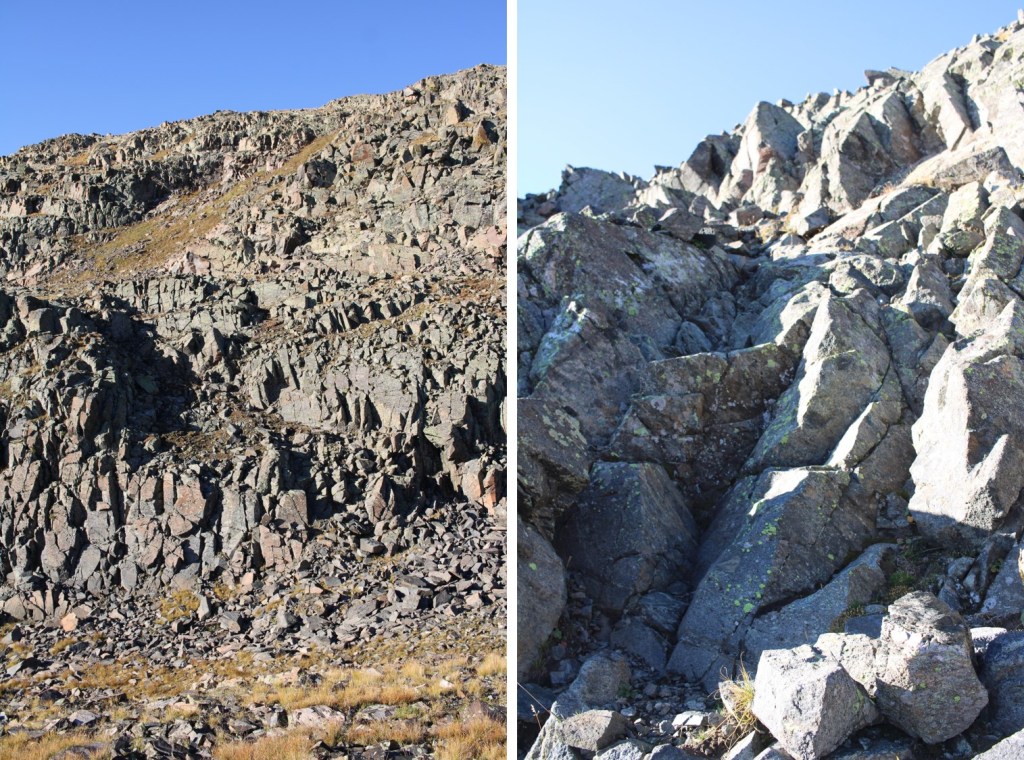
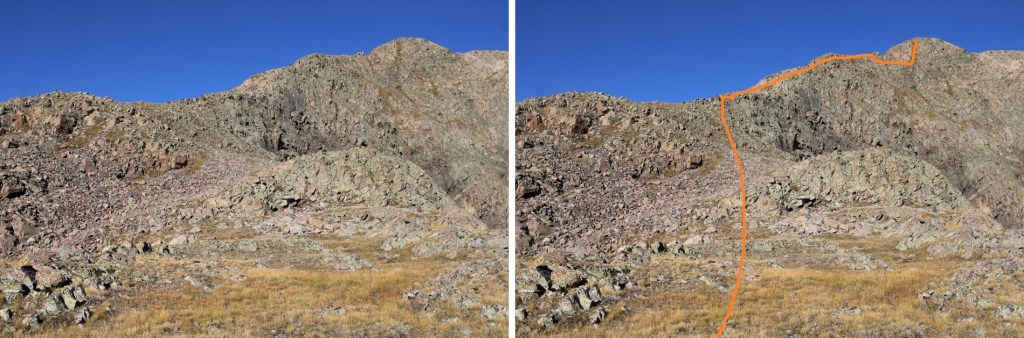
This gully was not friendly, even while wearing microspikes. The large rocks tumbled, and the scree was solid, which meant it was very difficult to get any traction. I made my way 700’ up the gully to the saddle.

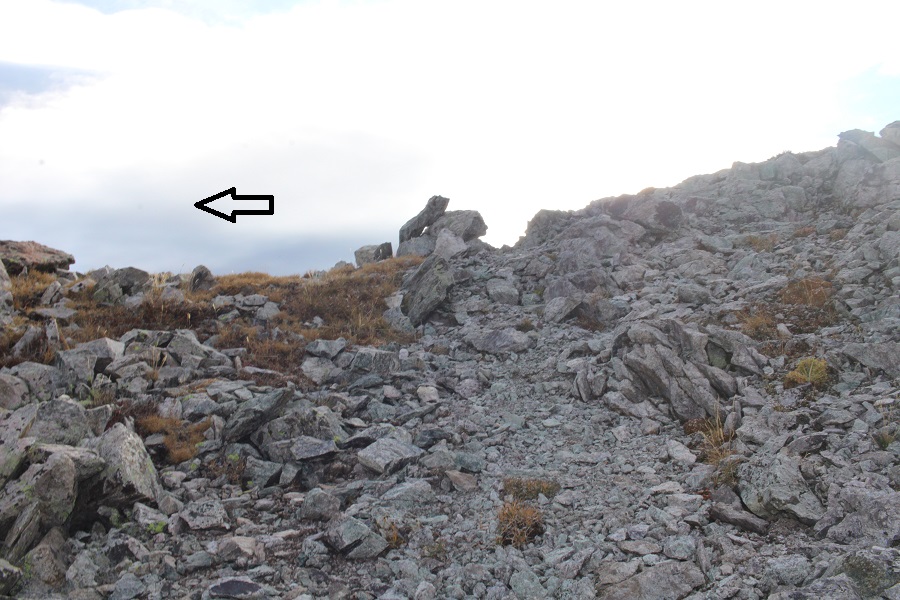
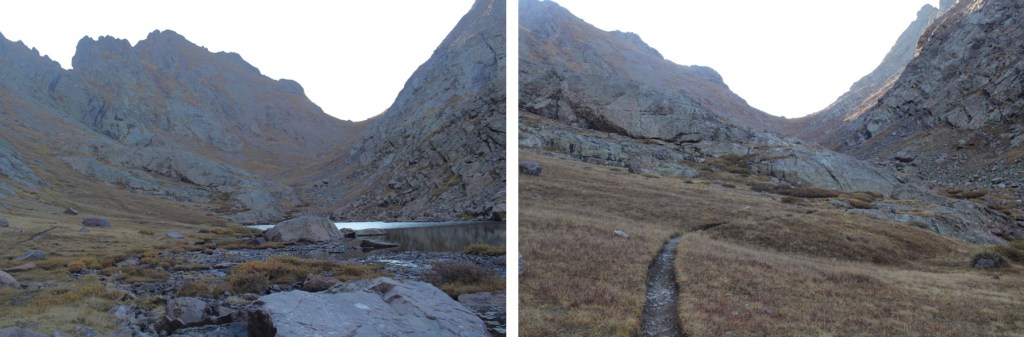
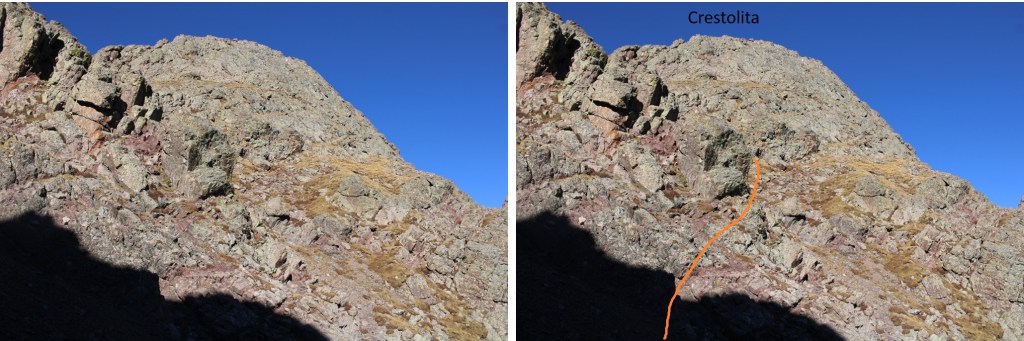
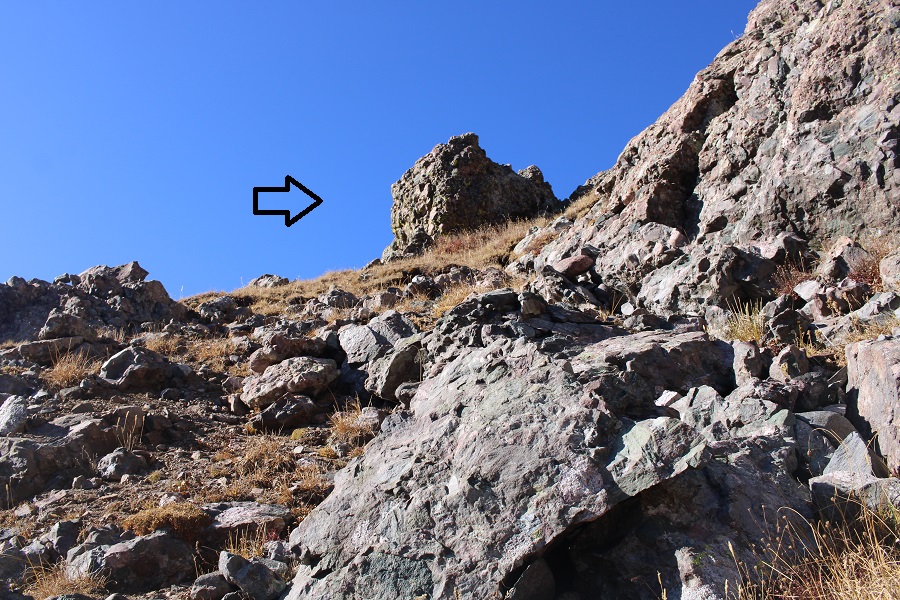
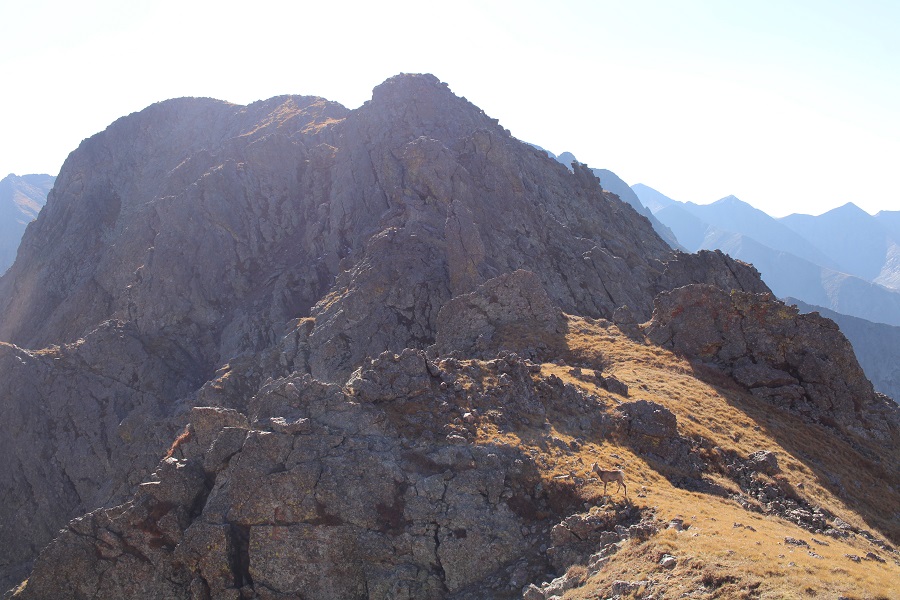
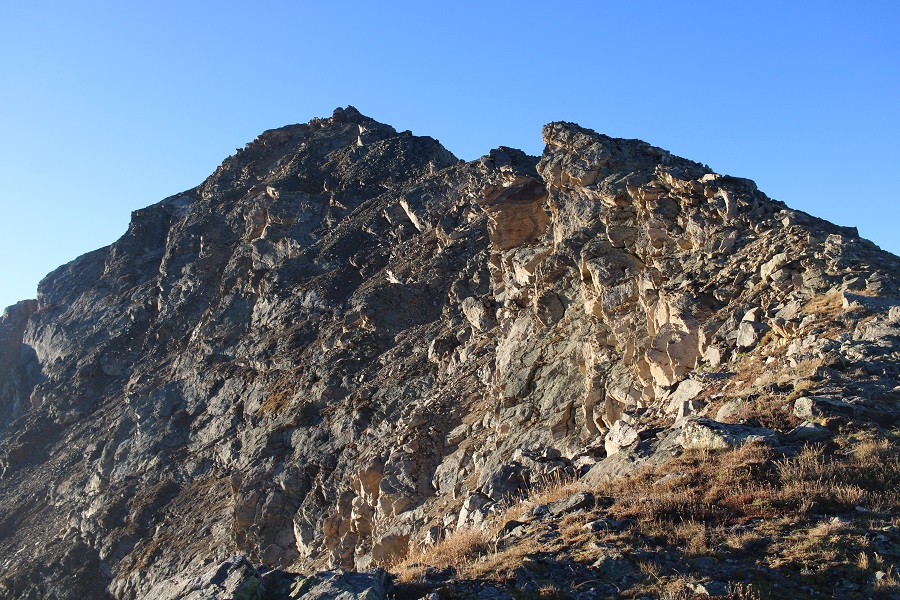
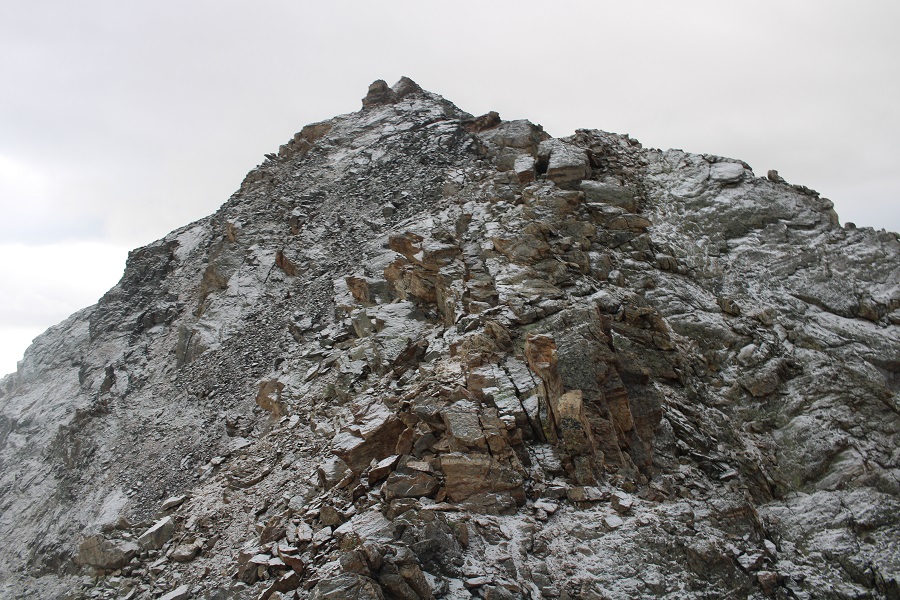
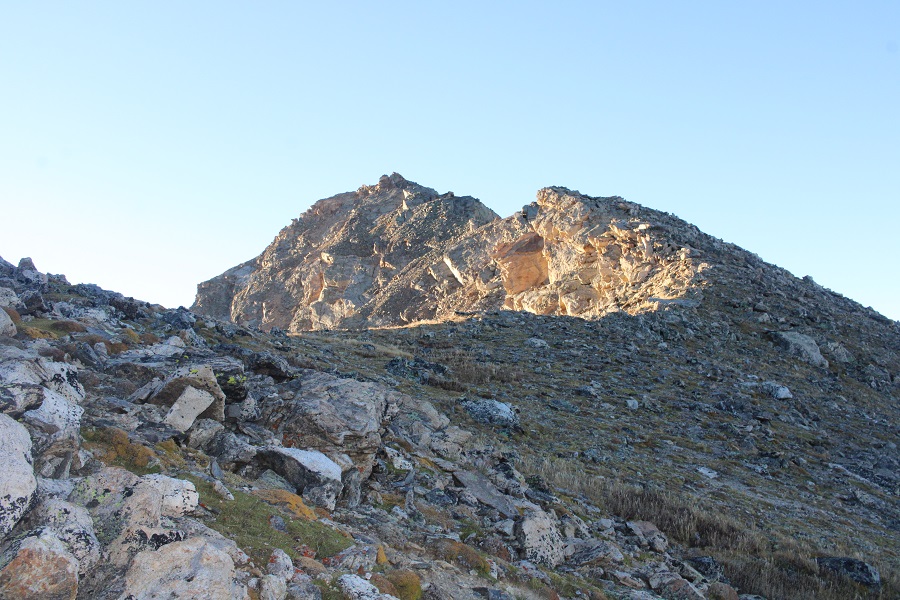
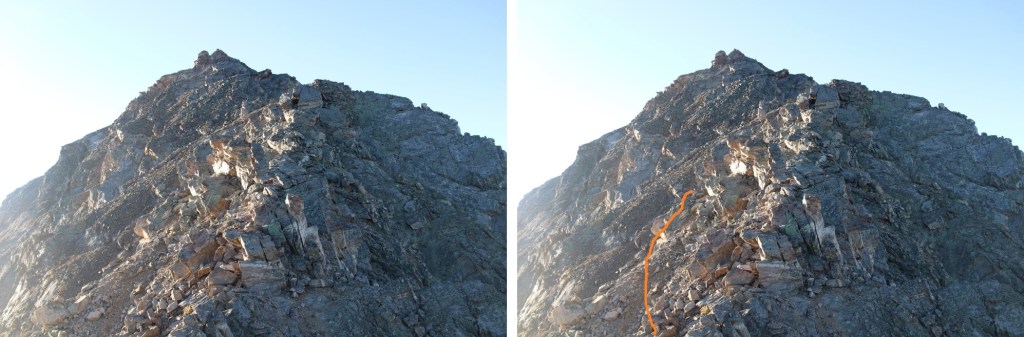
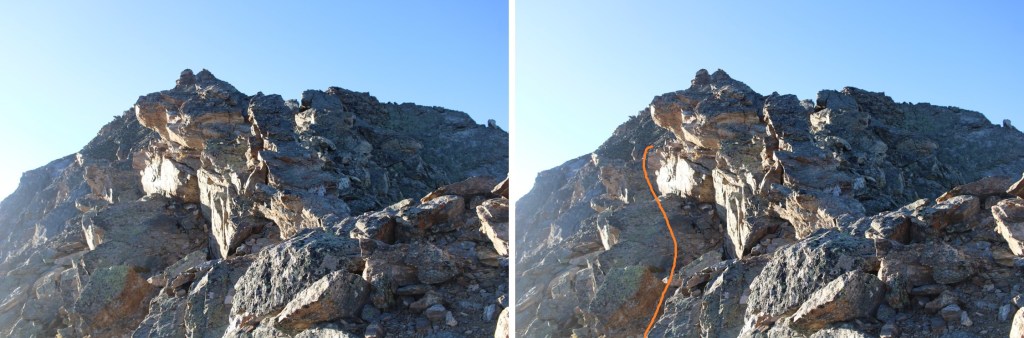
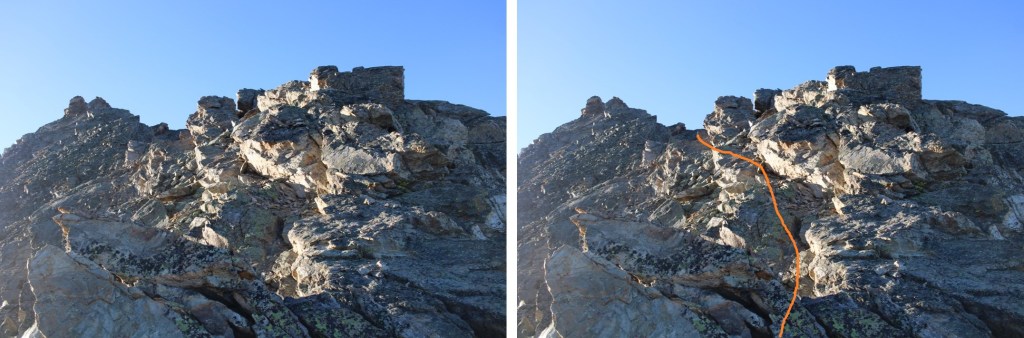
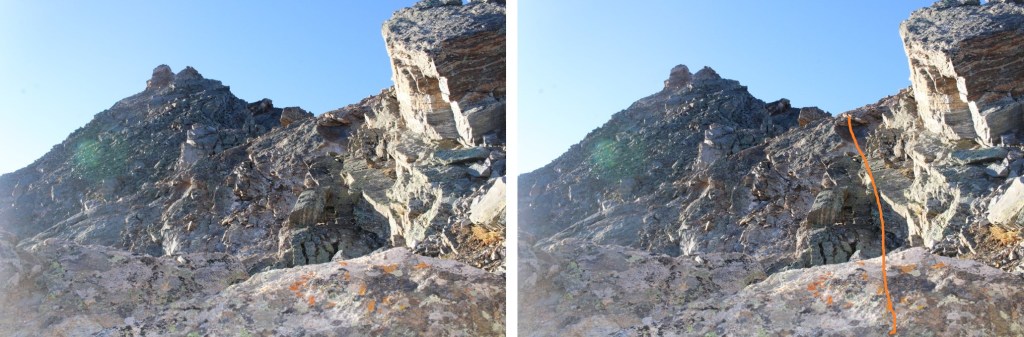
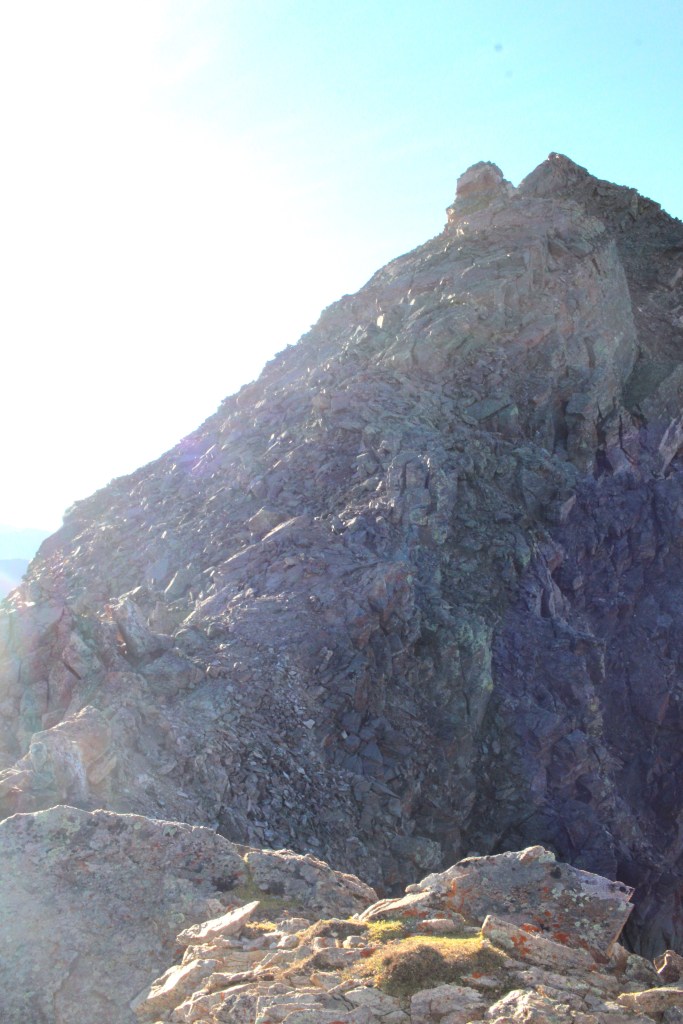
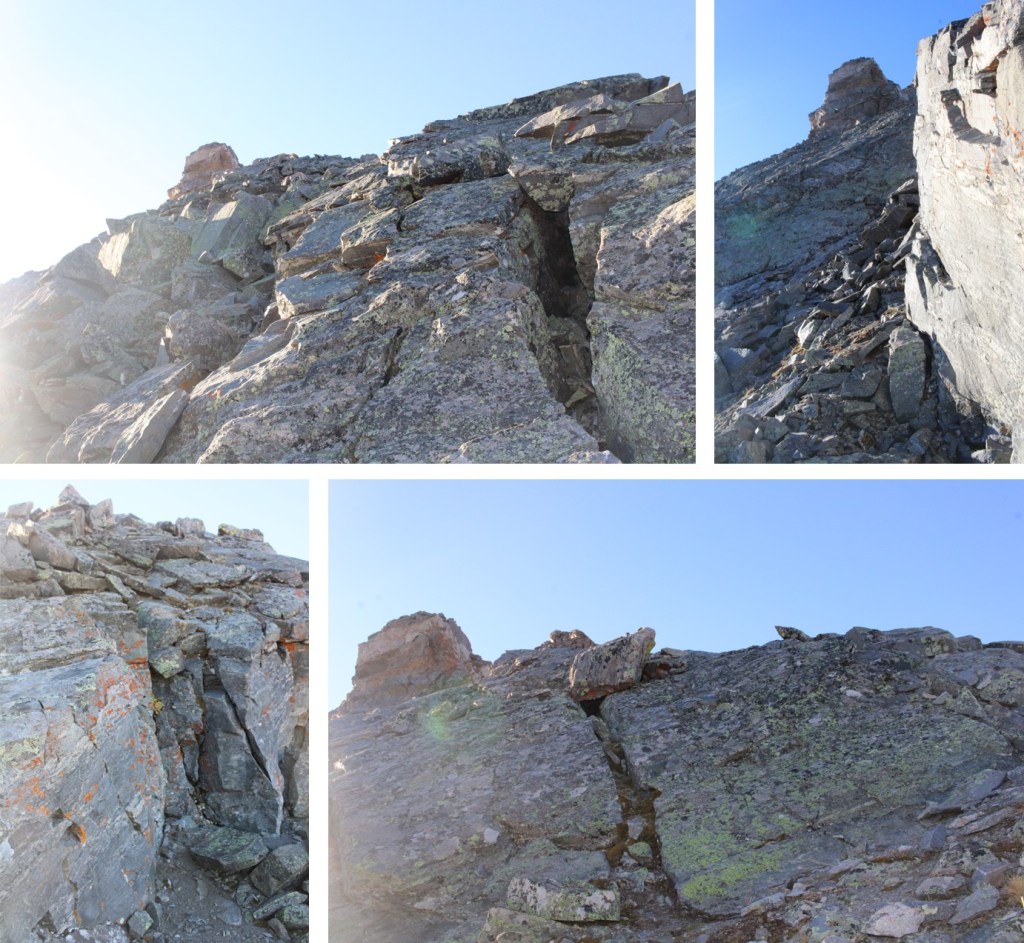
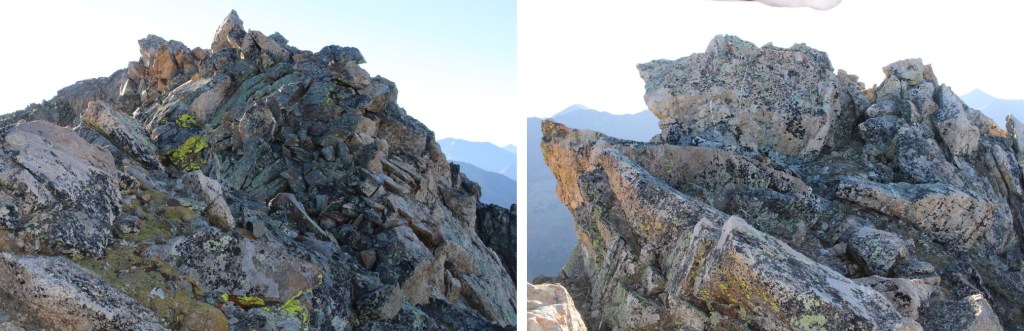
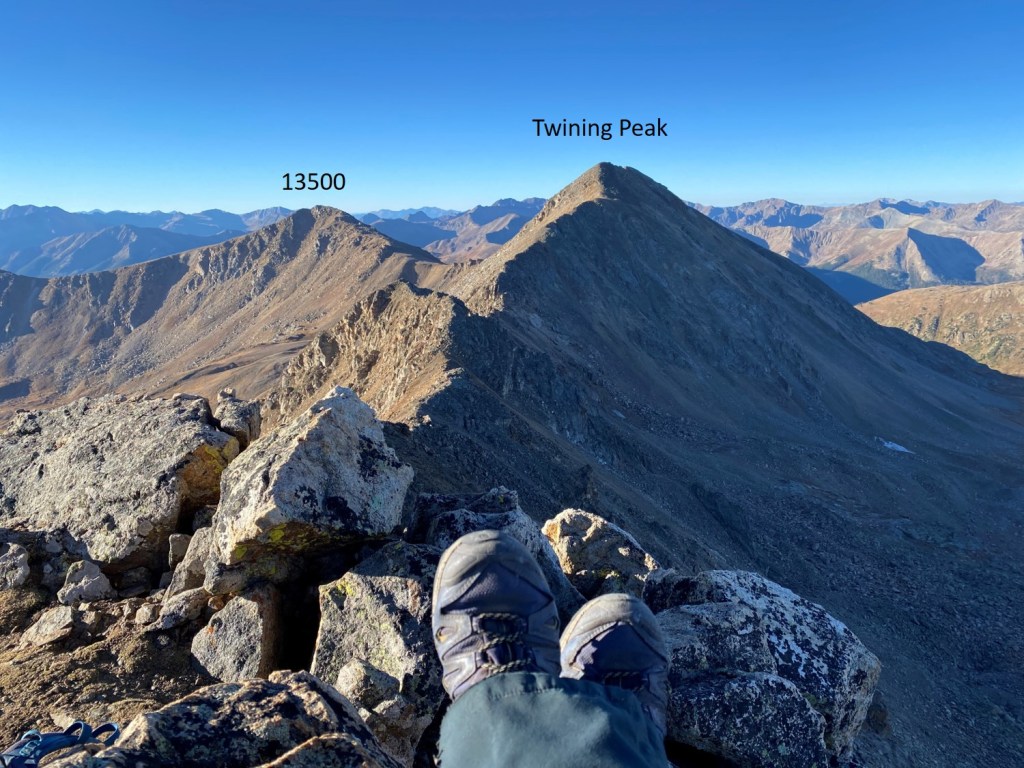
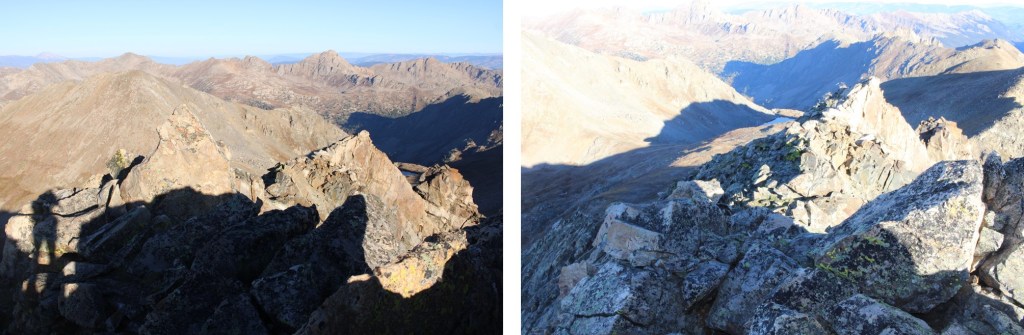
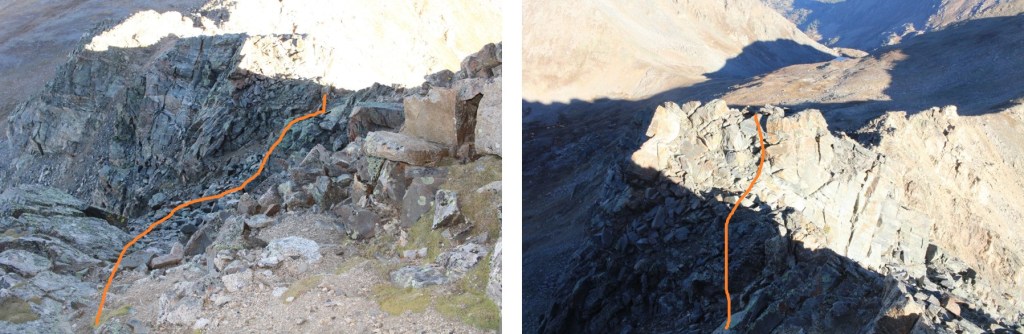
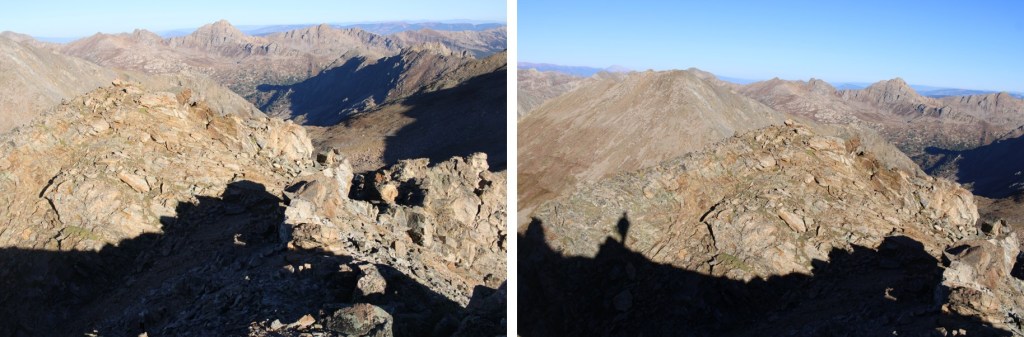
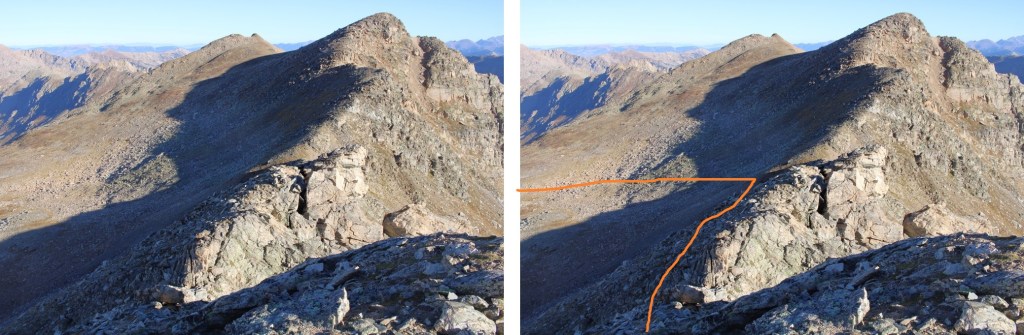
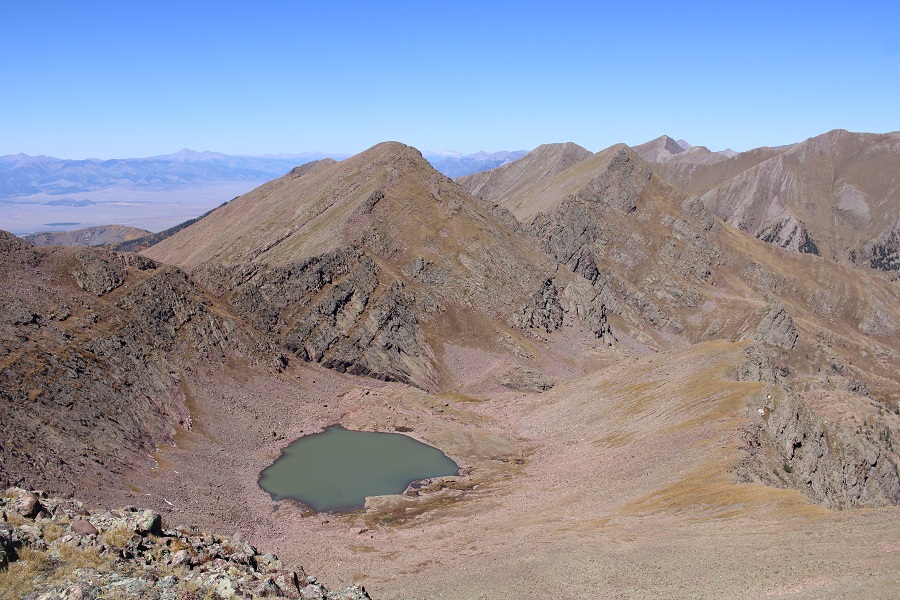
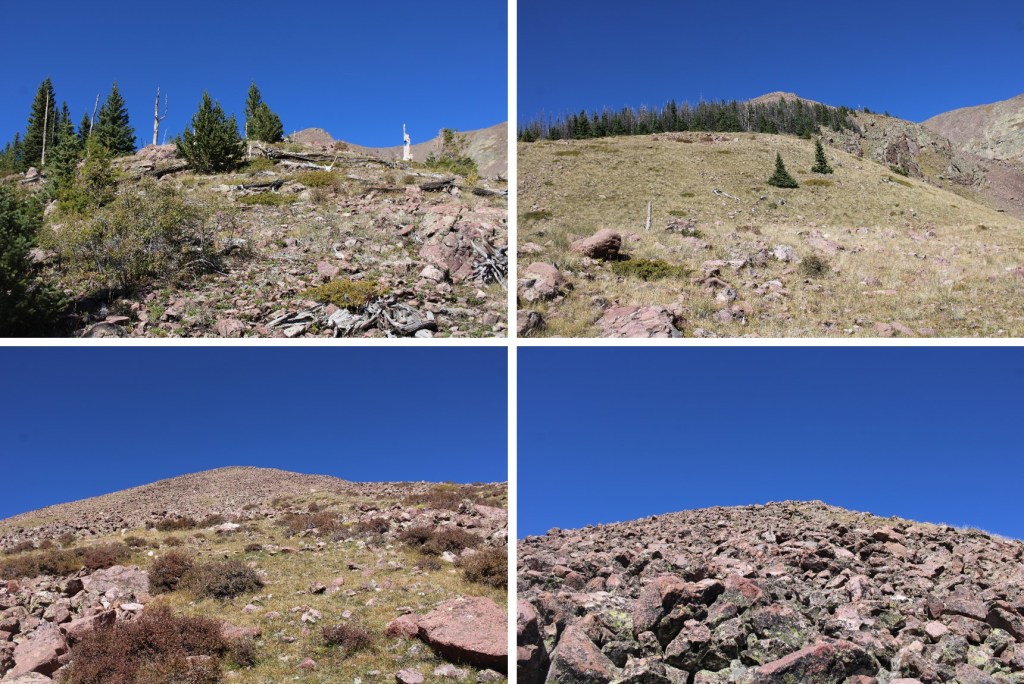
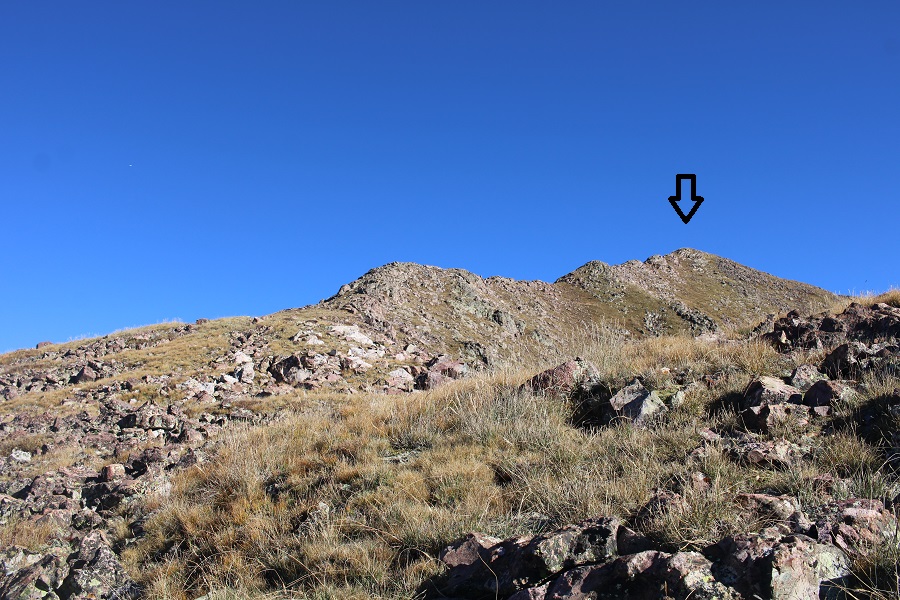
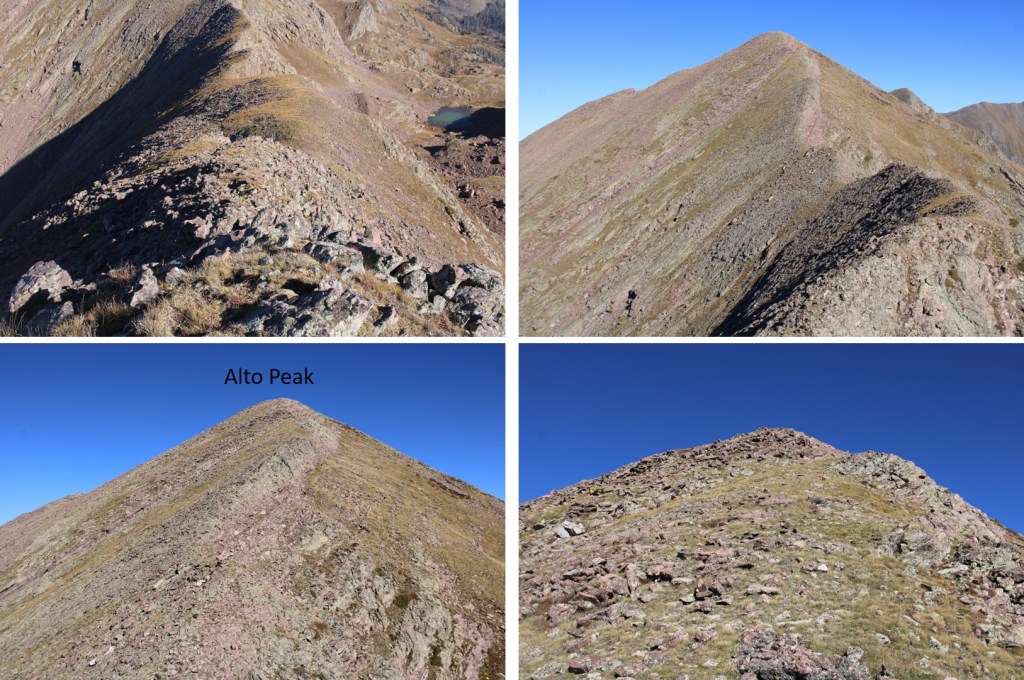
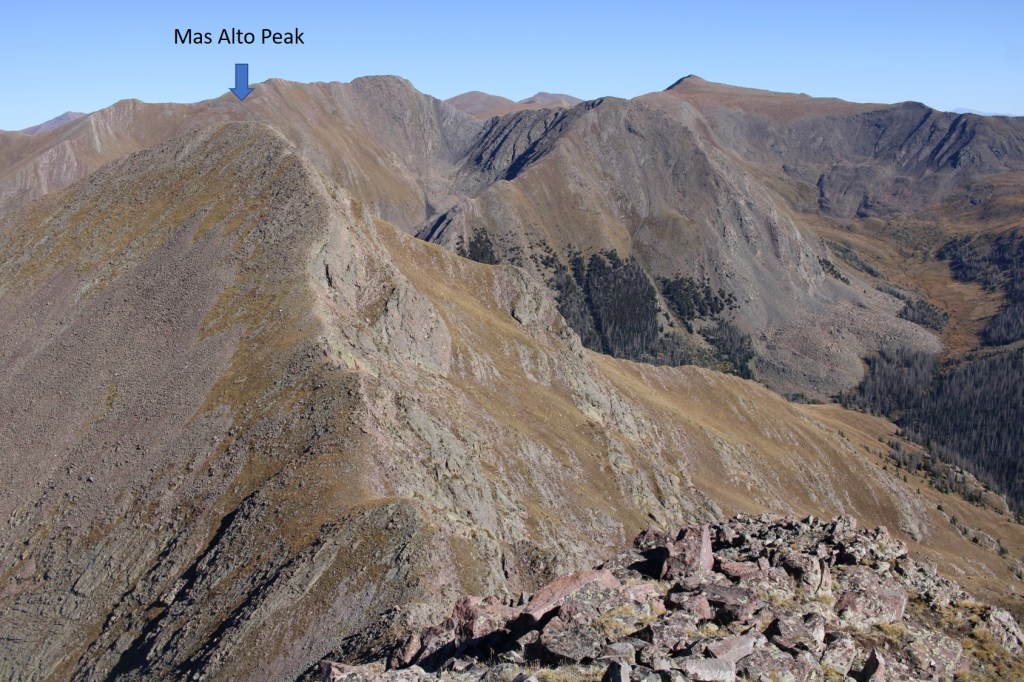
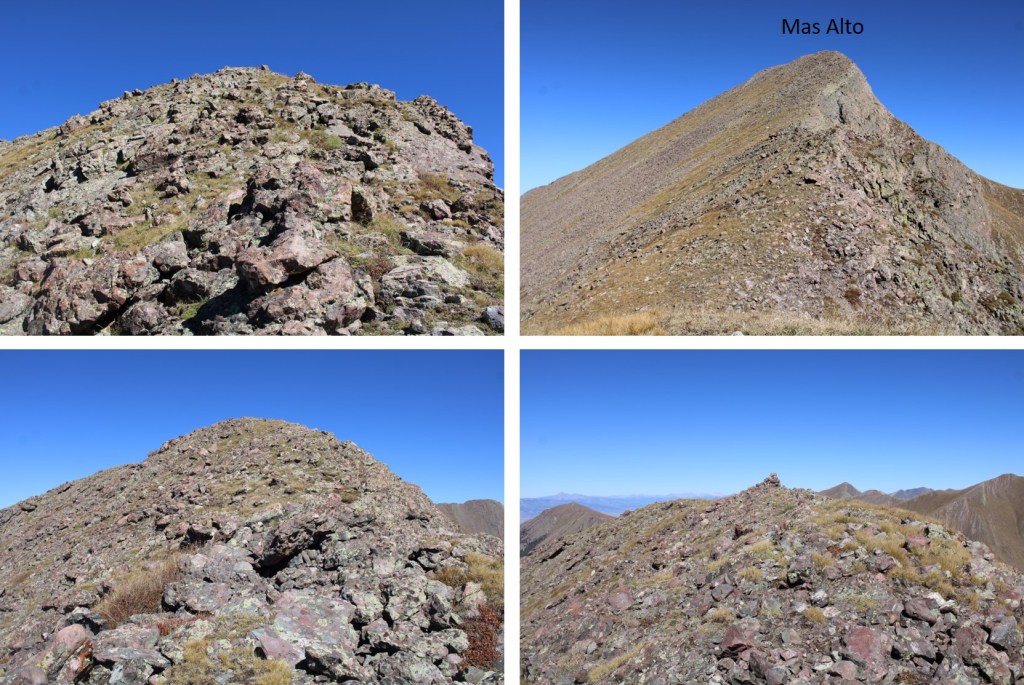
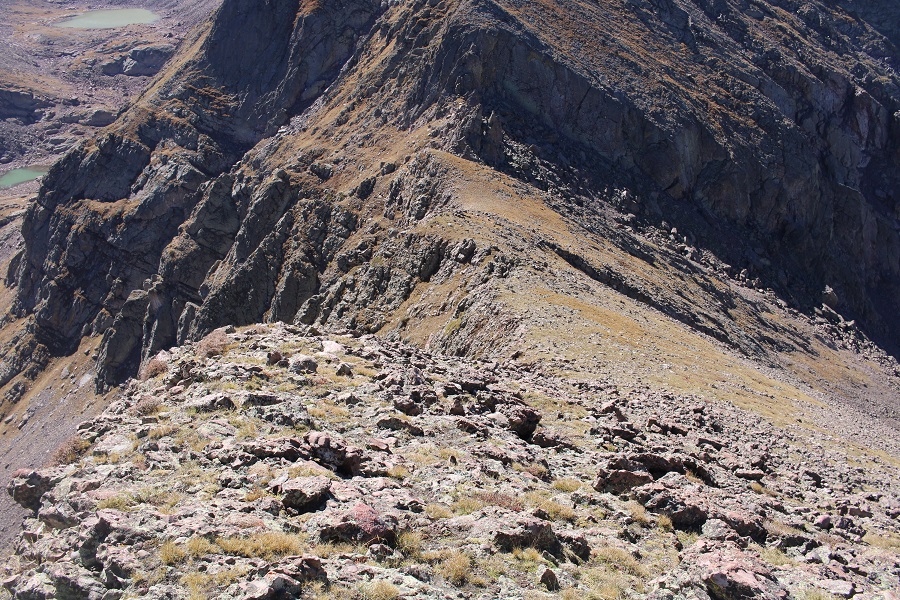
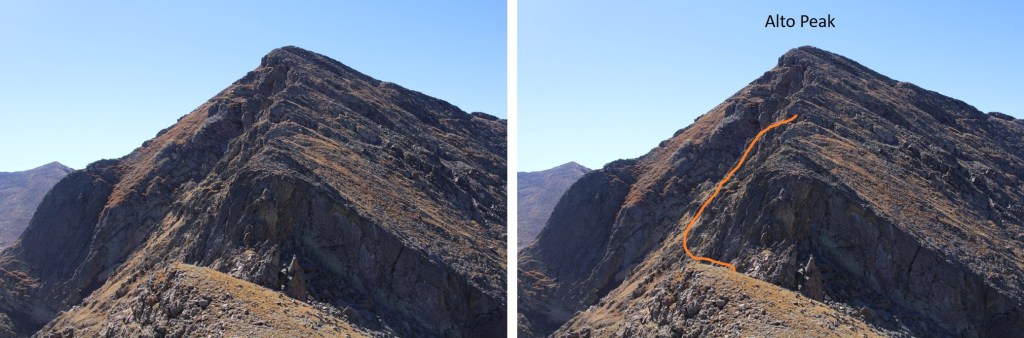
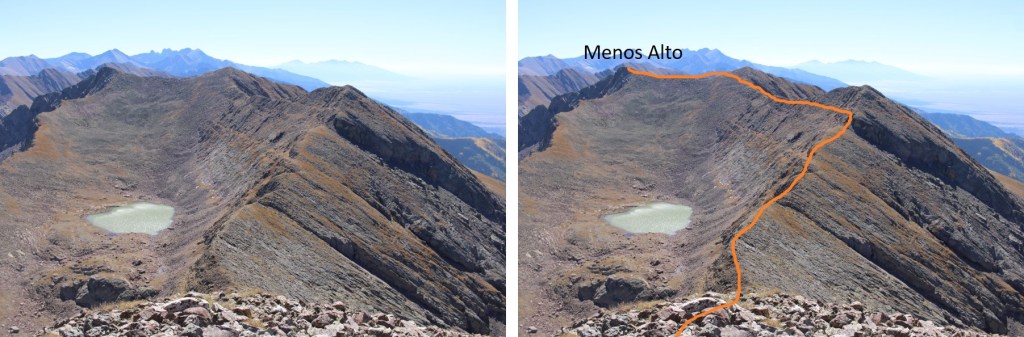
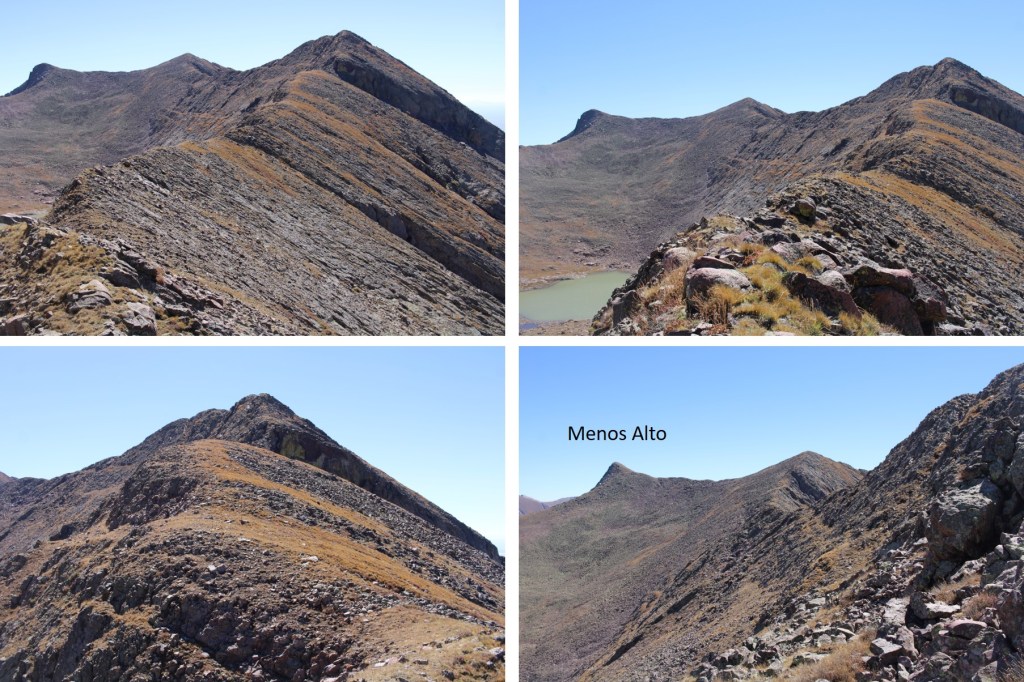
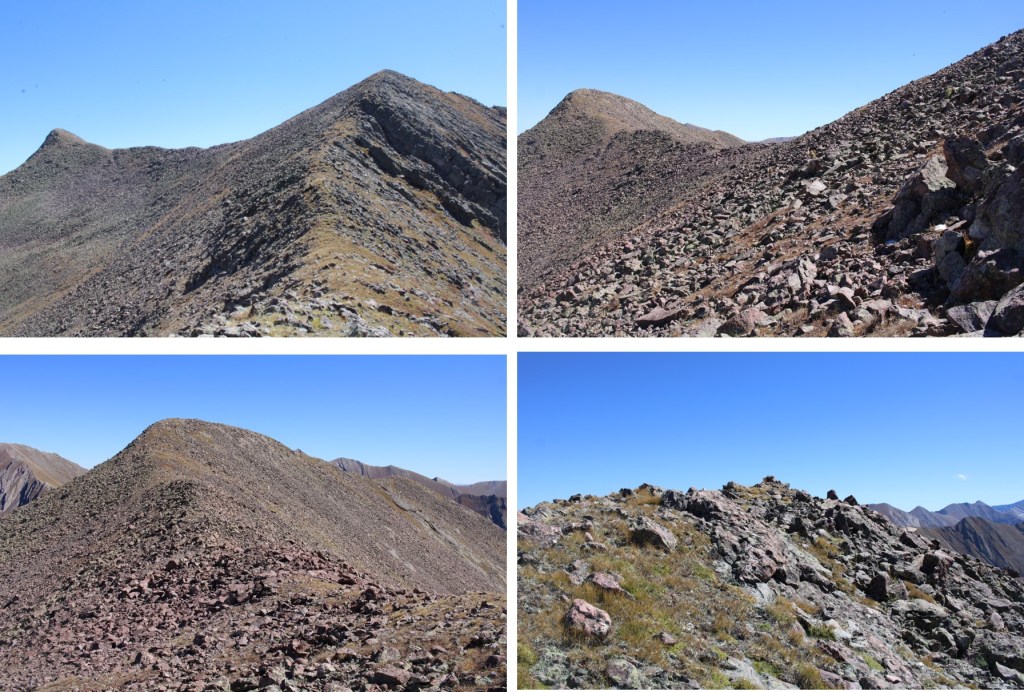
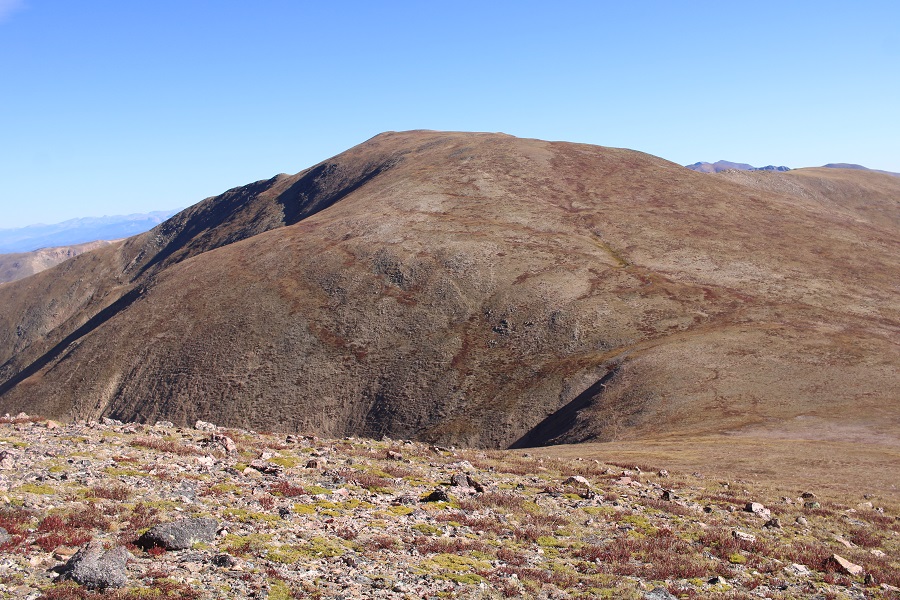
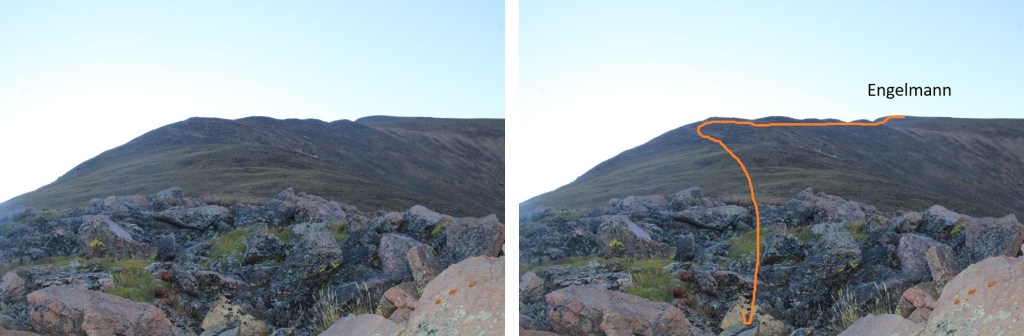
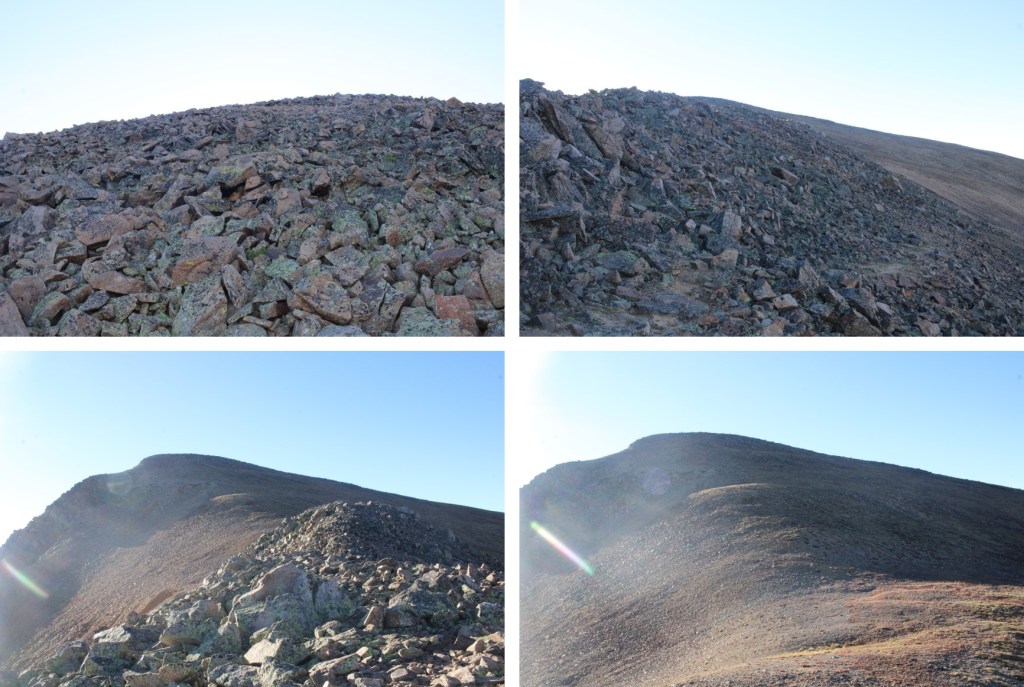
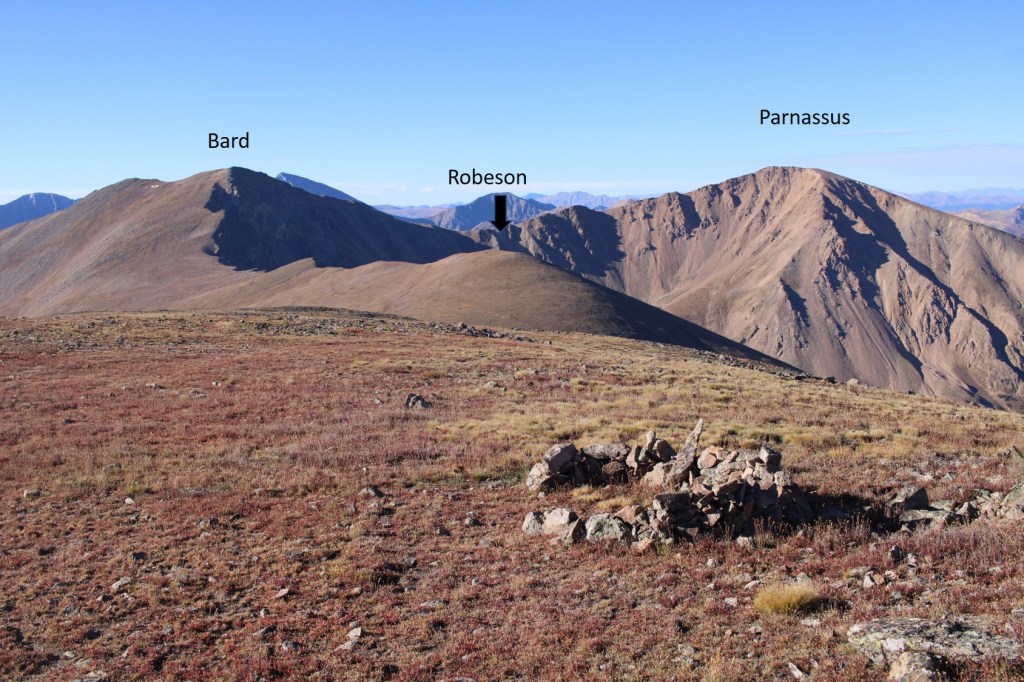
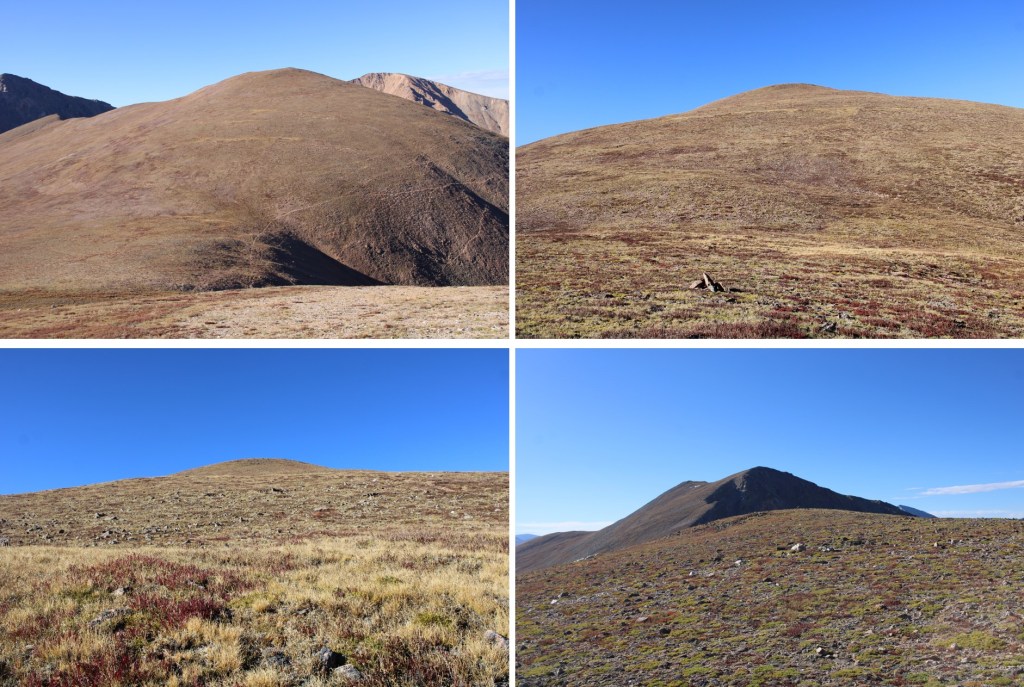
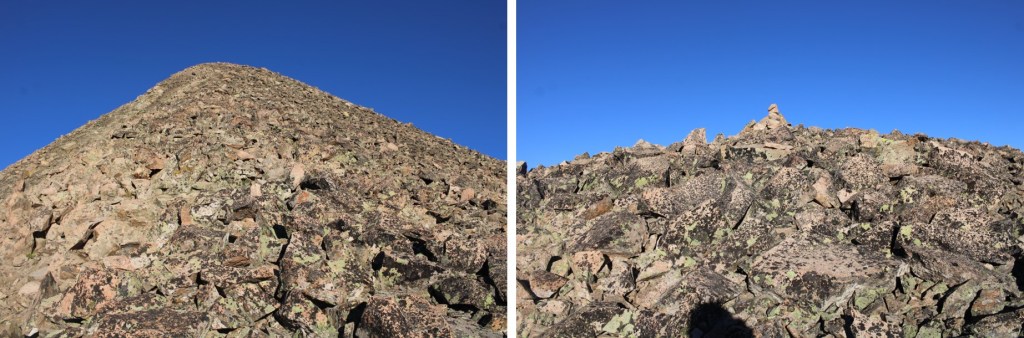
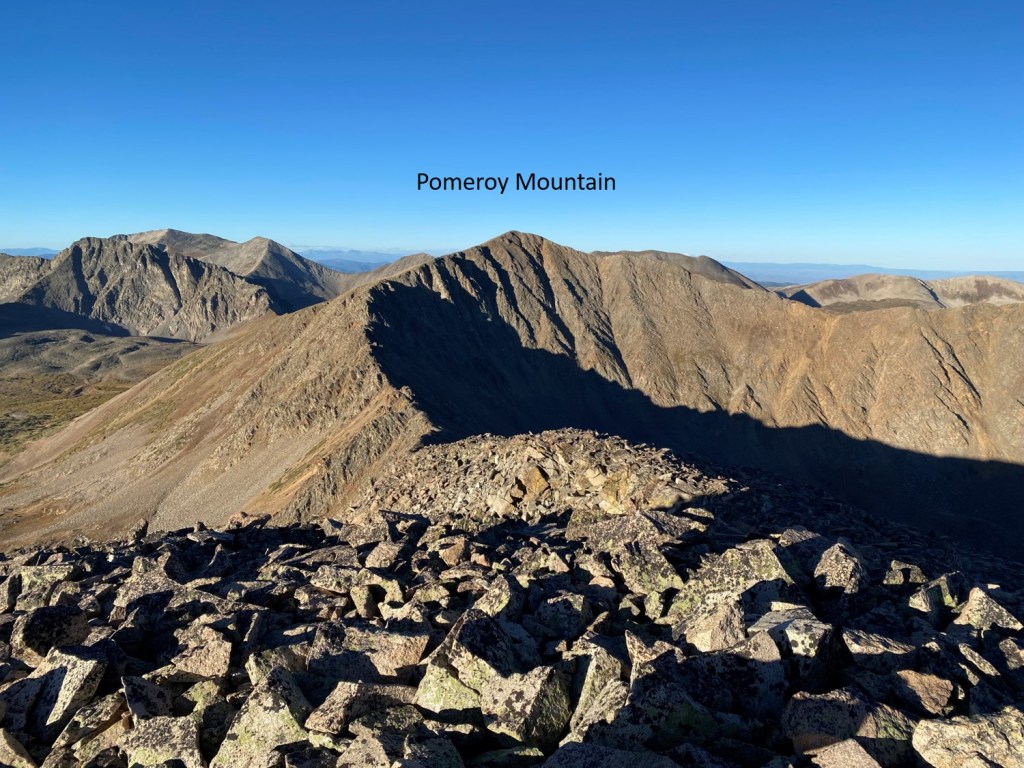
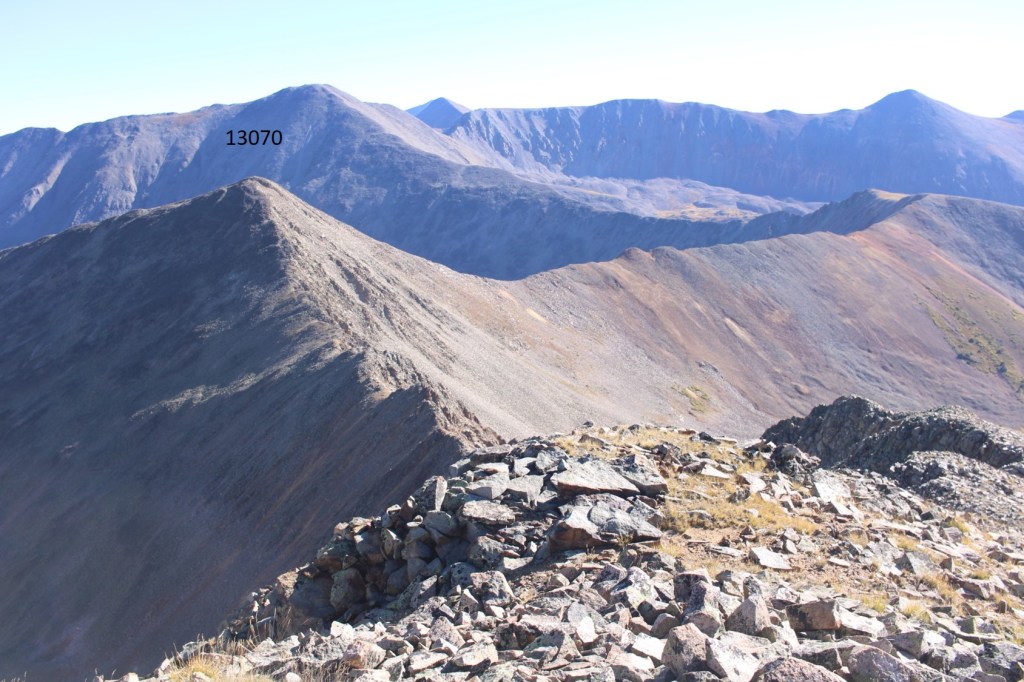
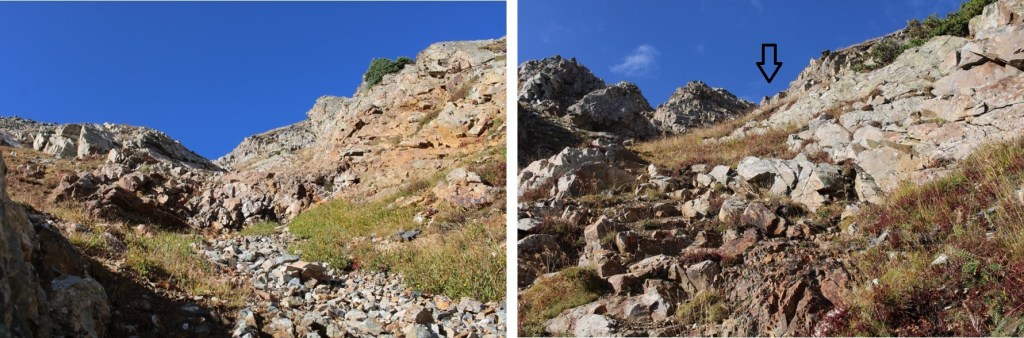
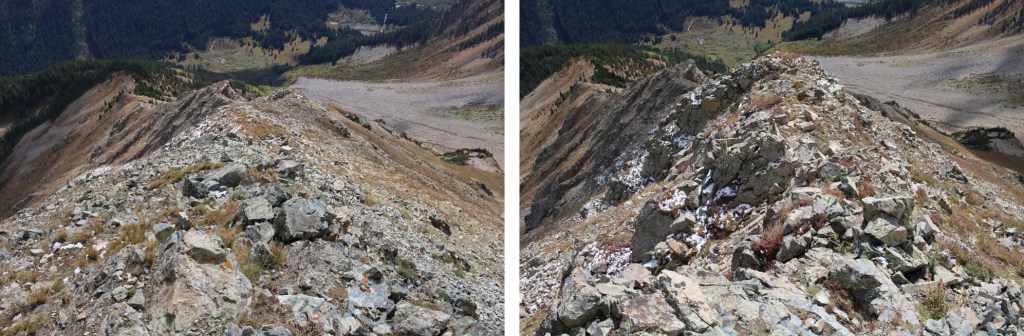
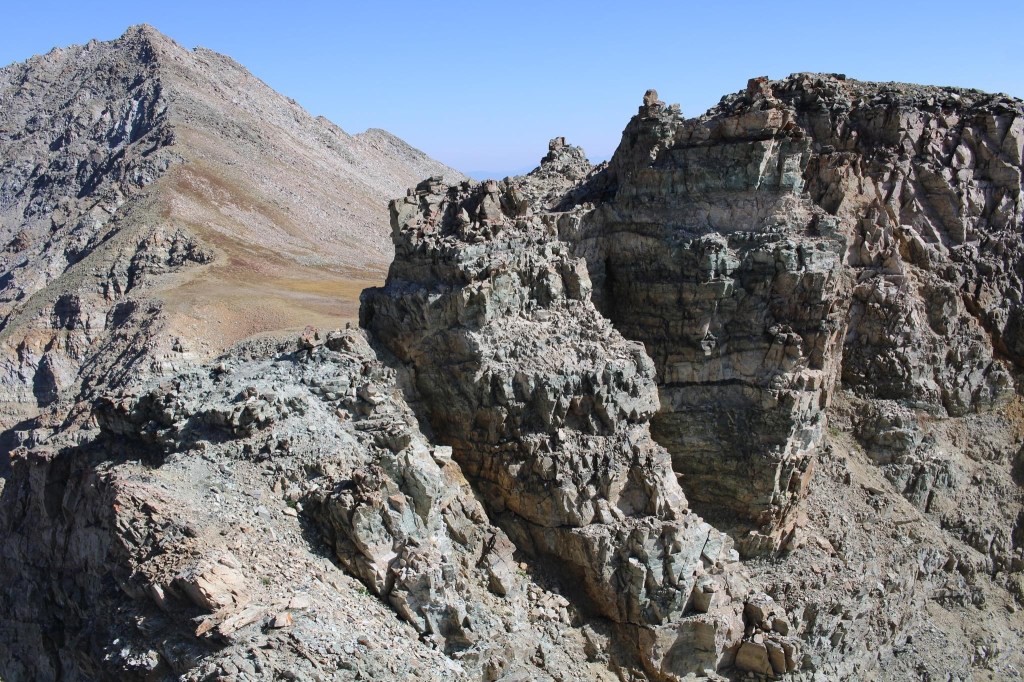
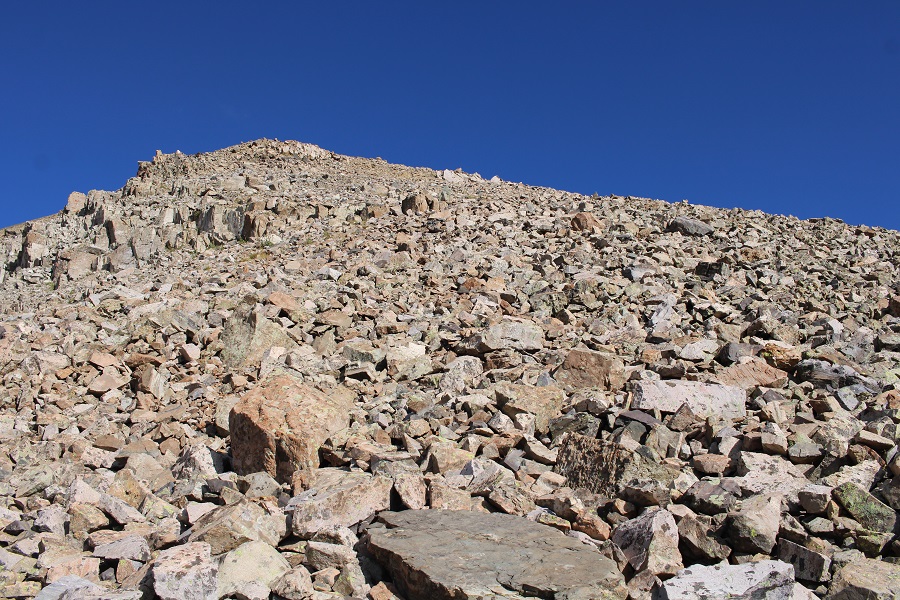
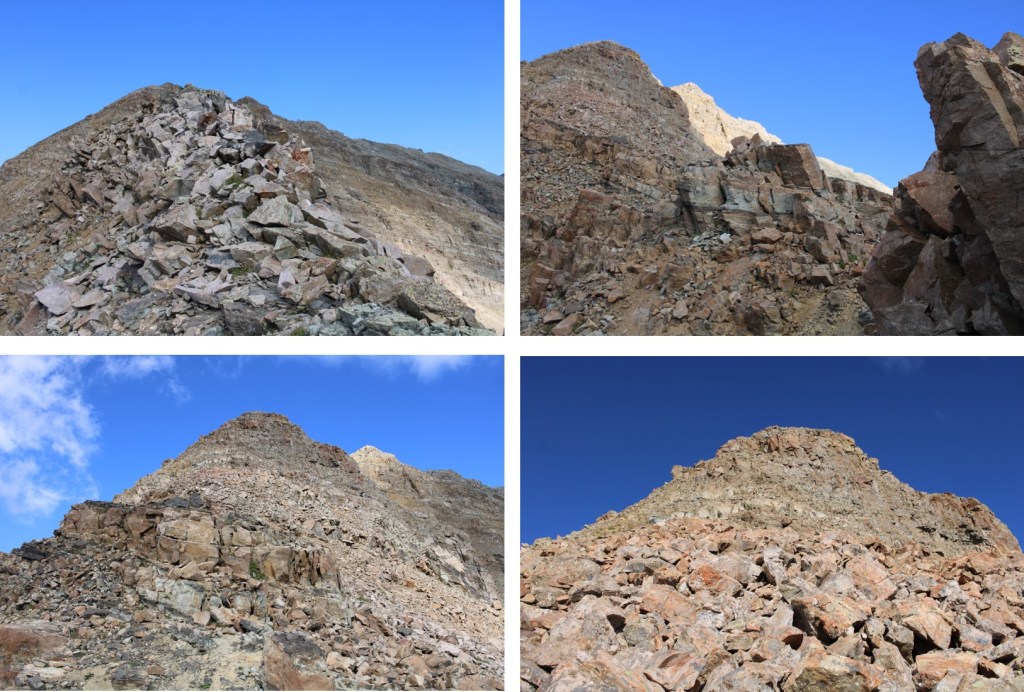
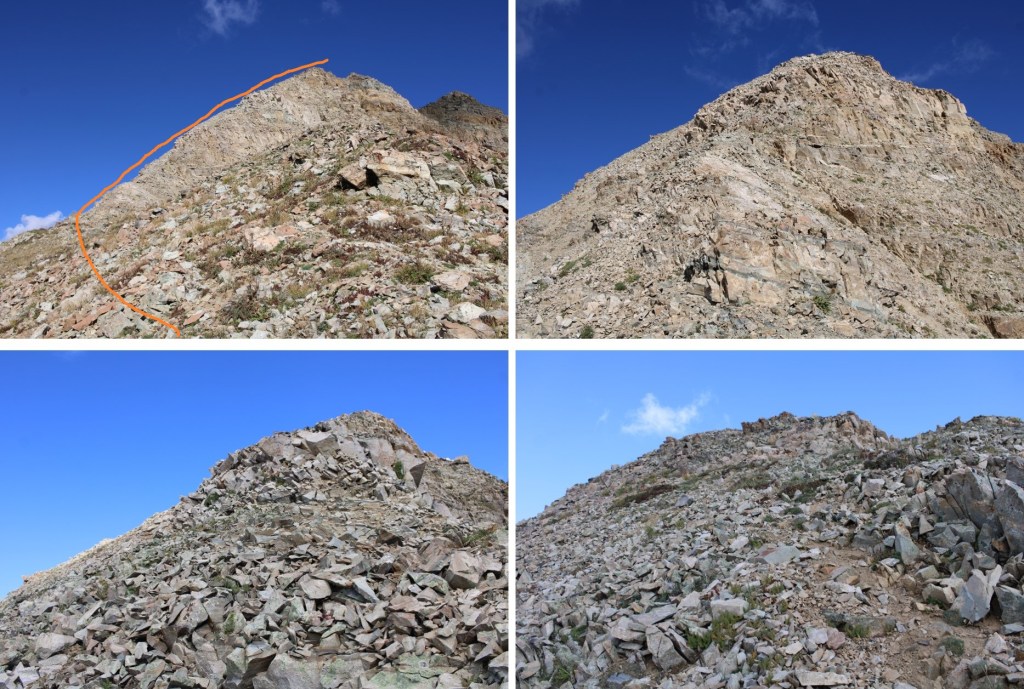
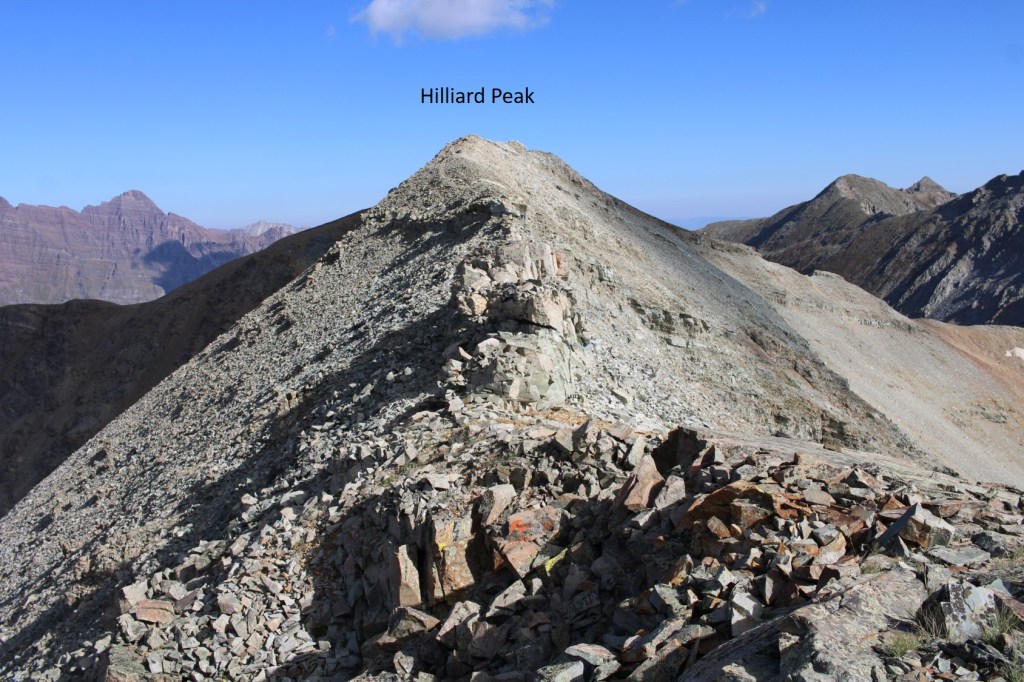
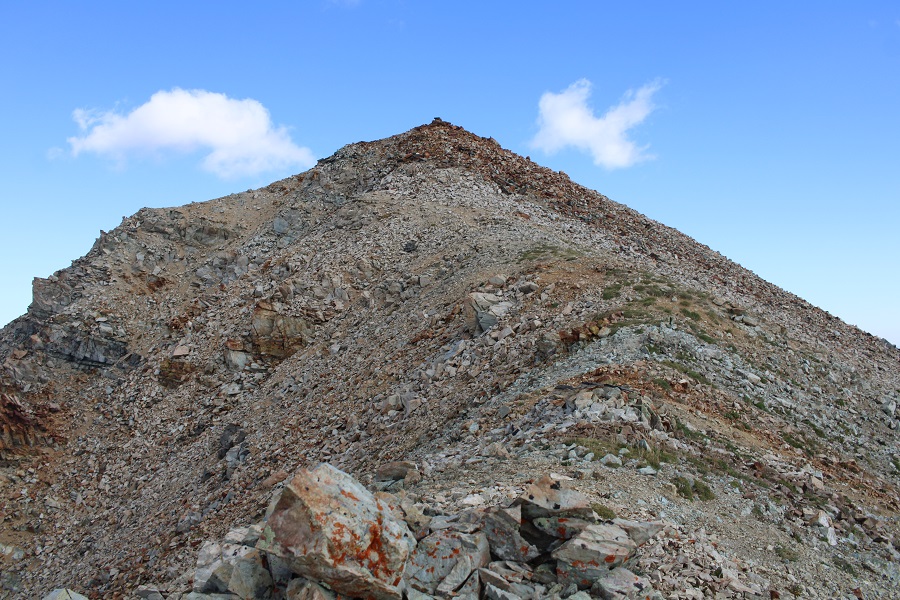
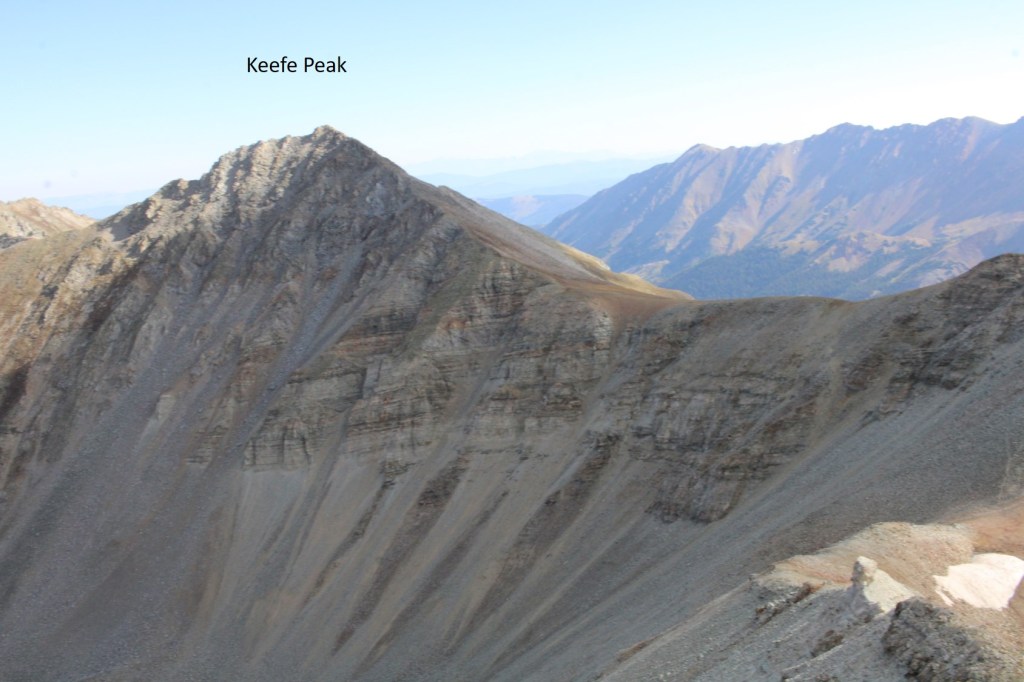
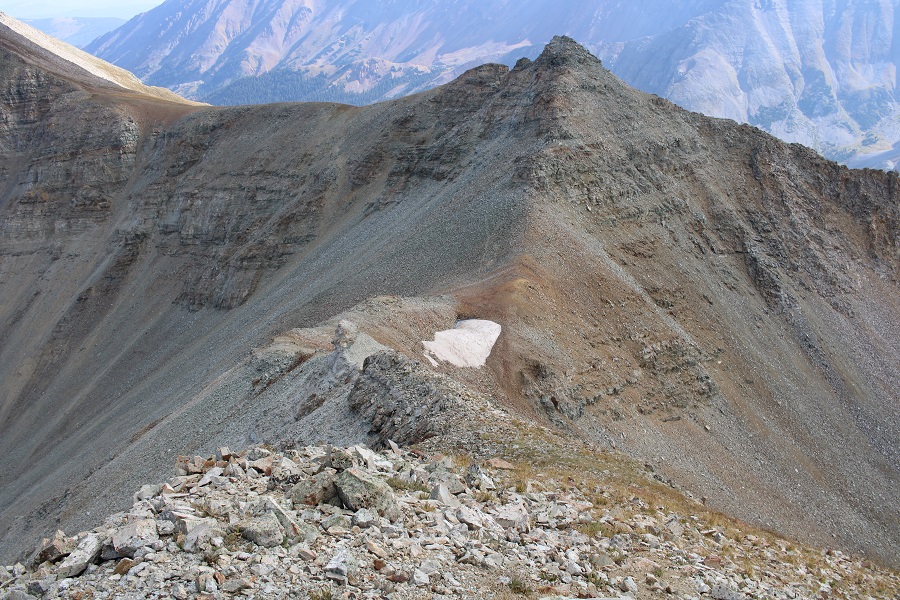
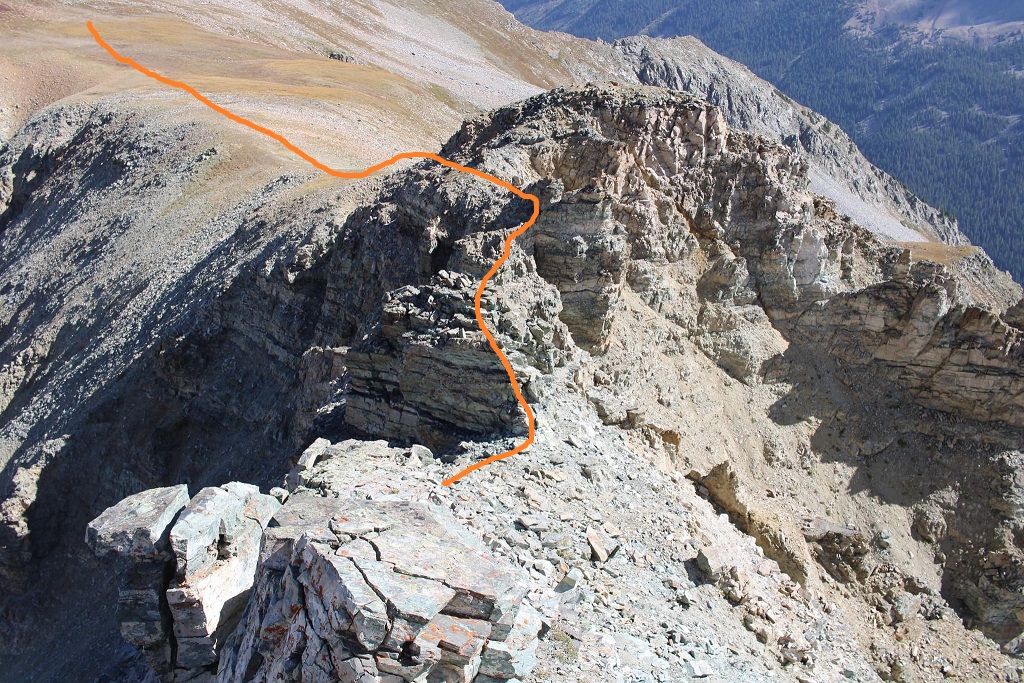
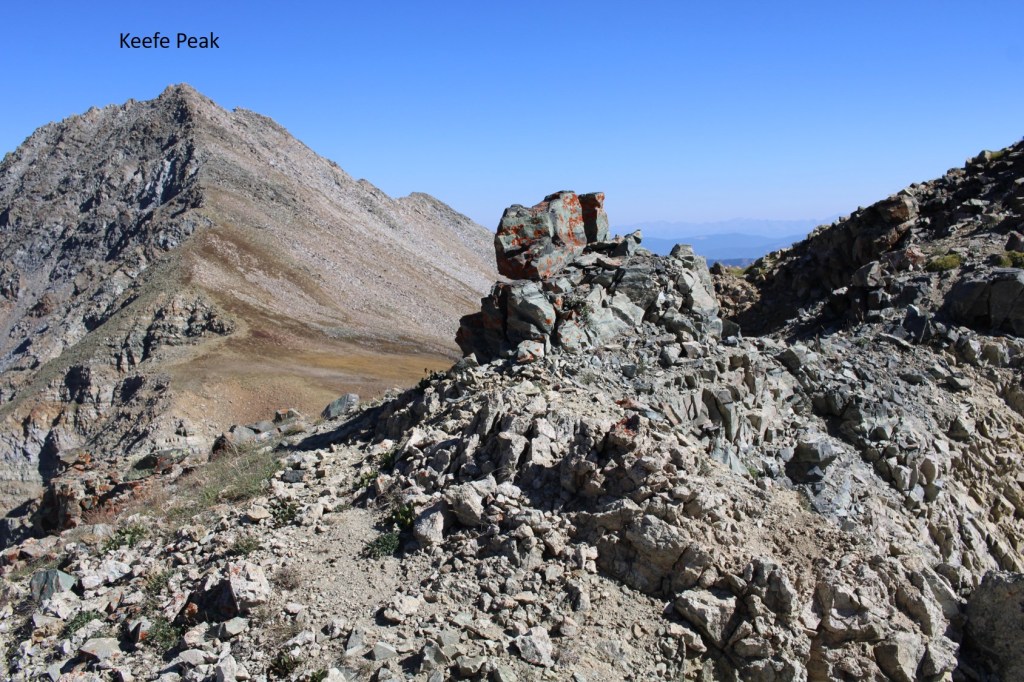
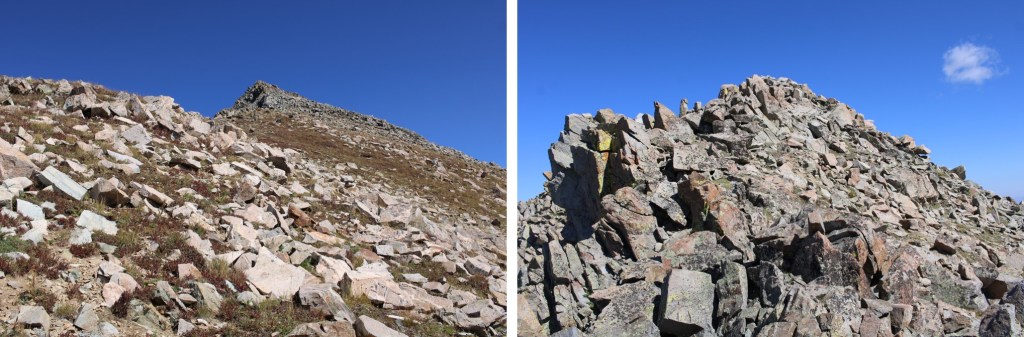
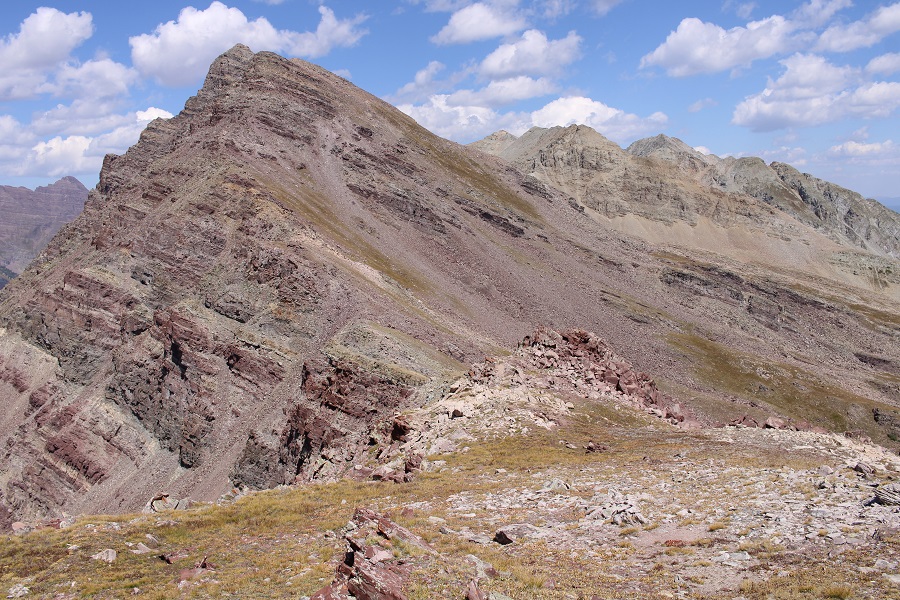
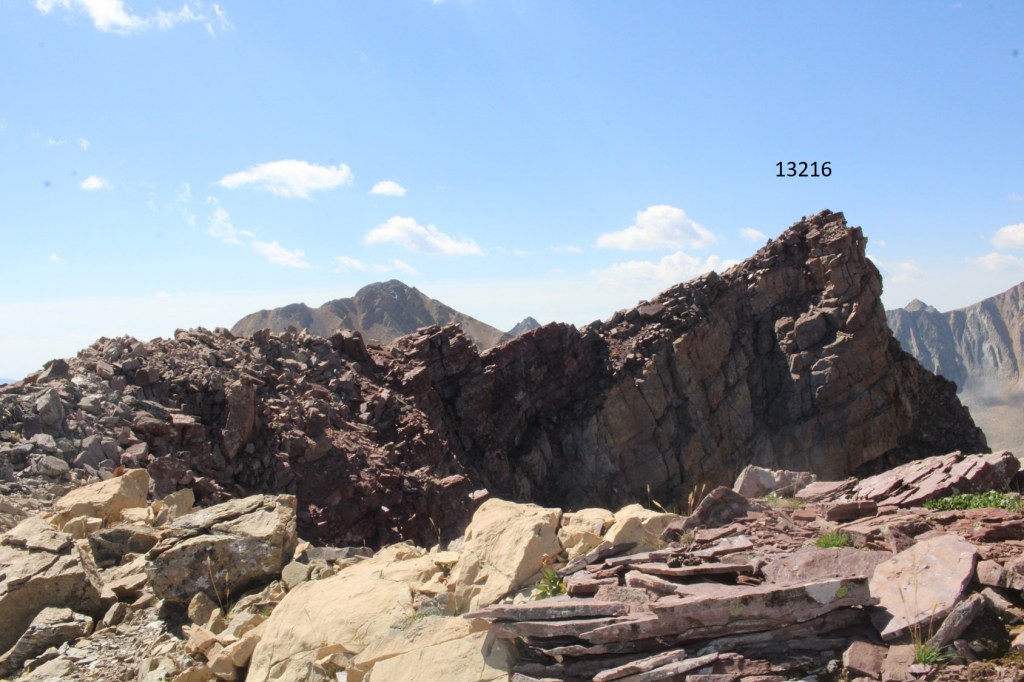
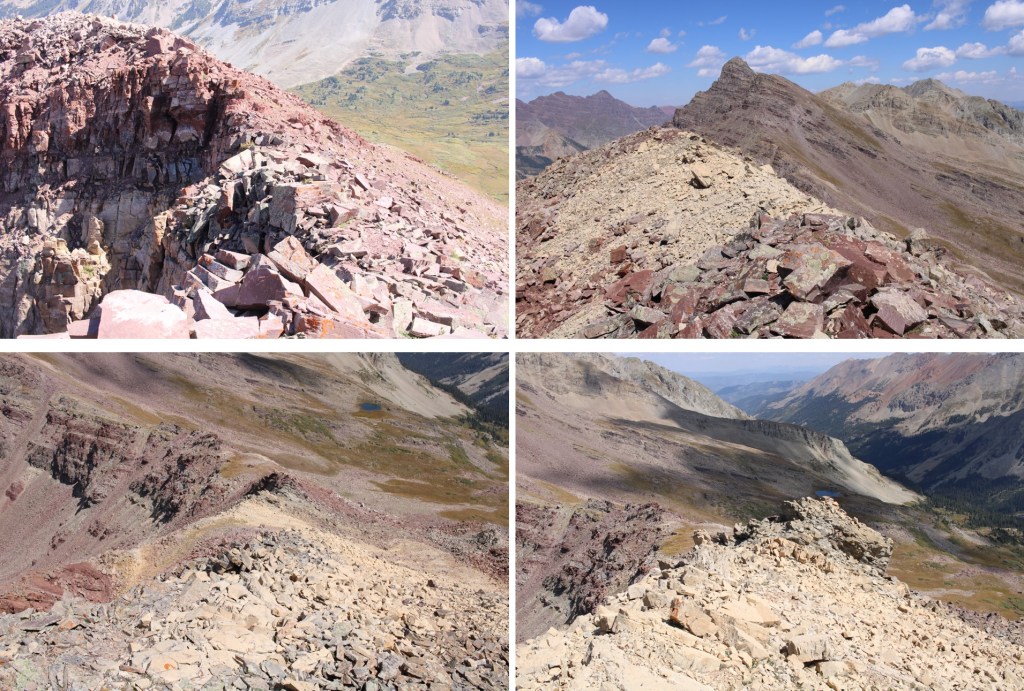
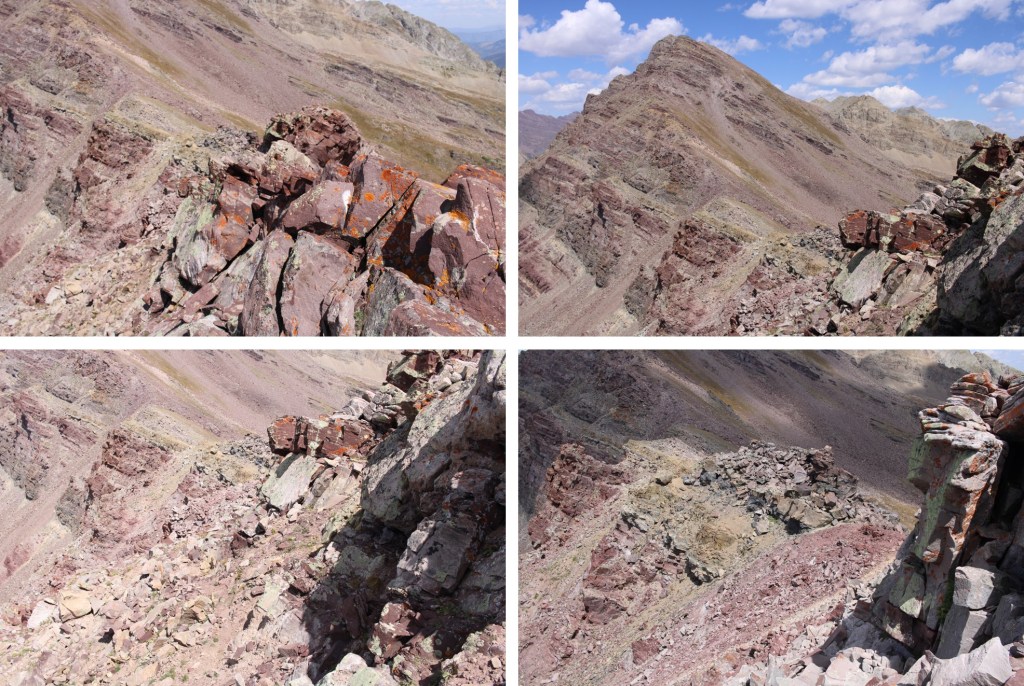
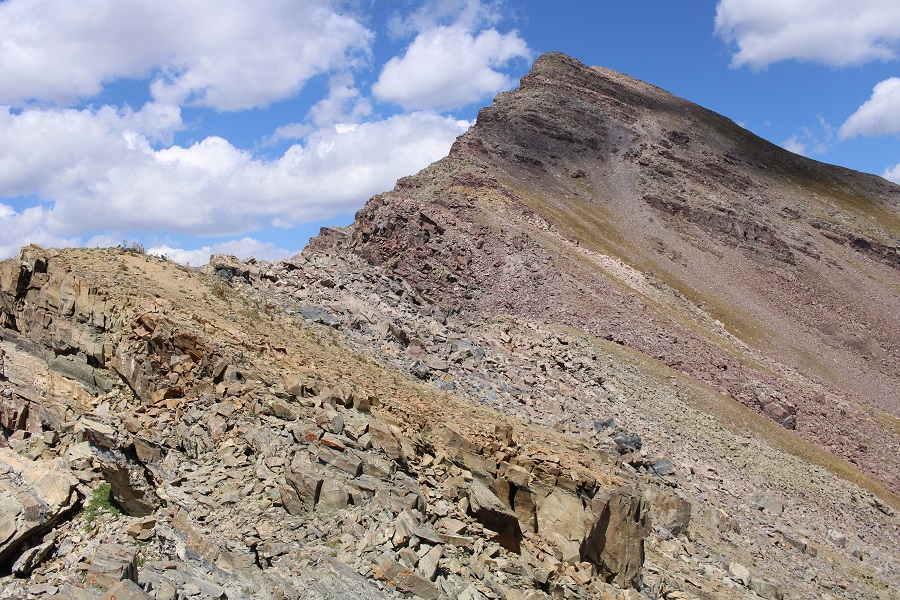
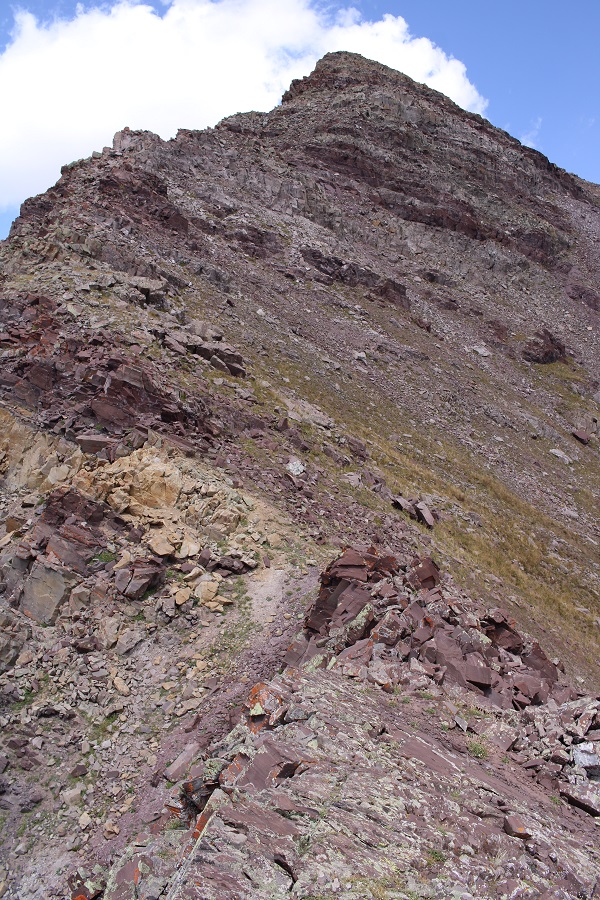
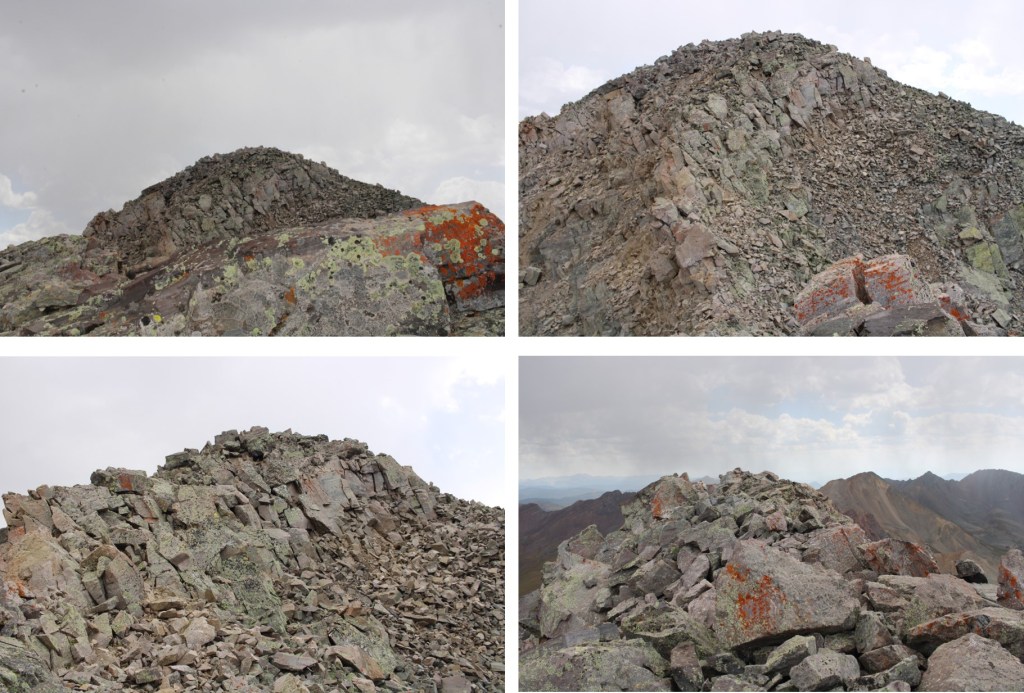
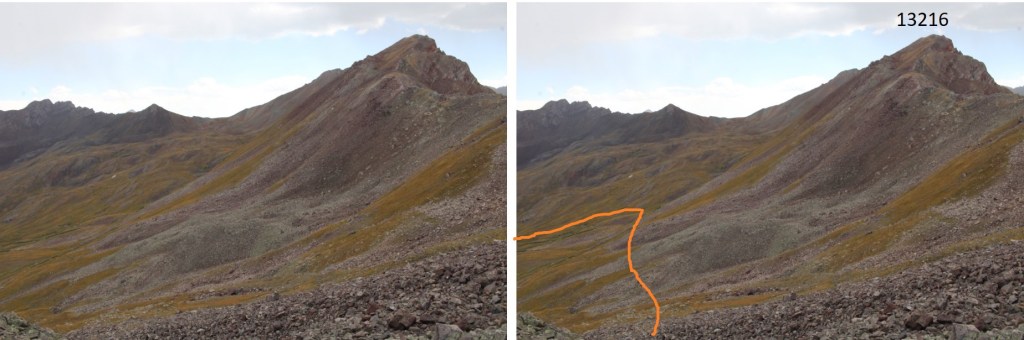
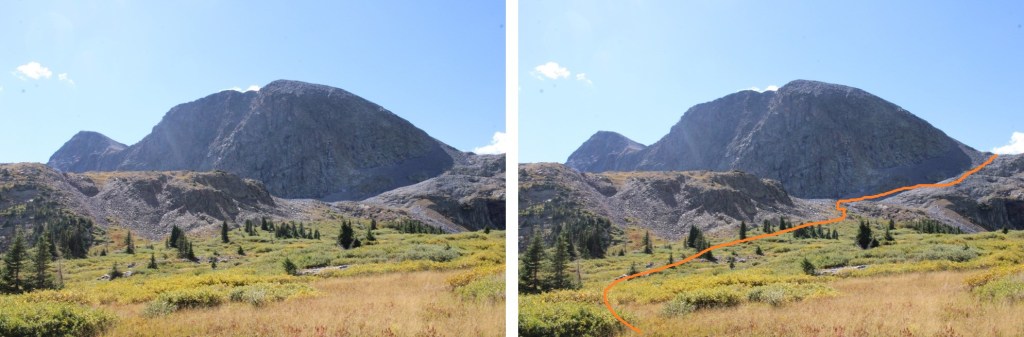
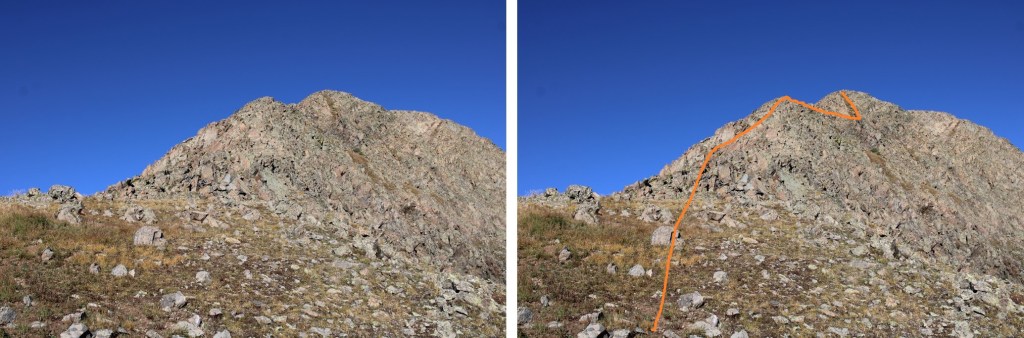
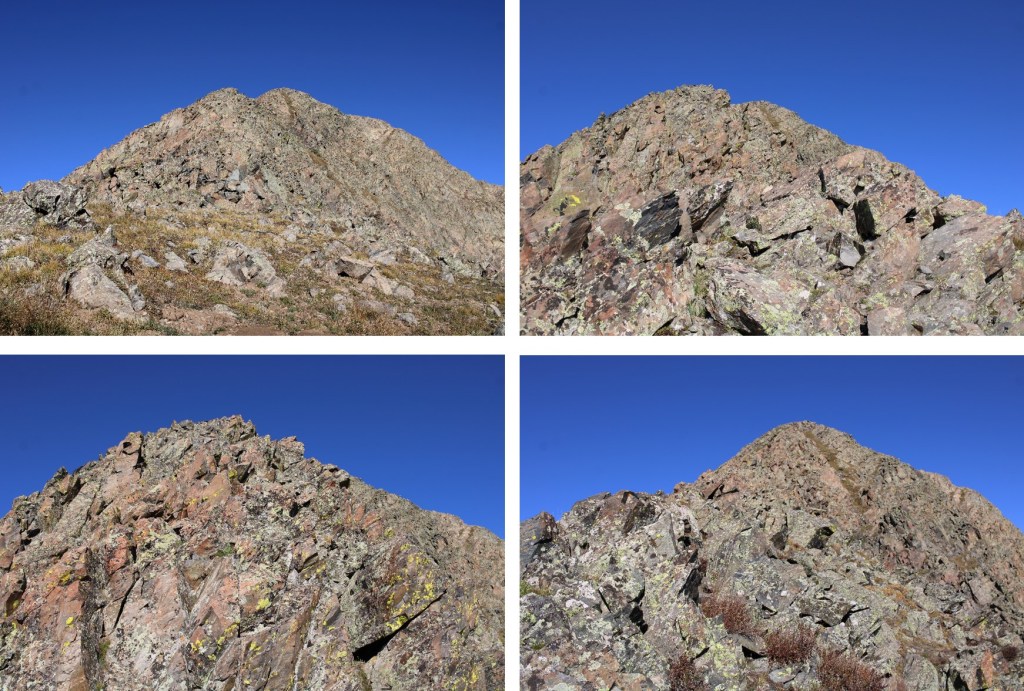
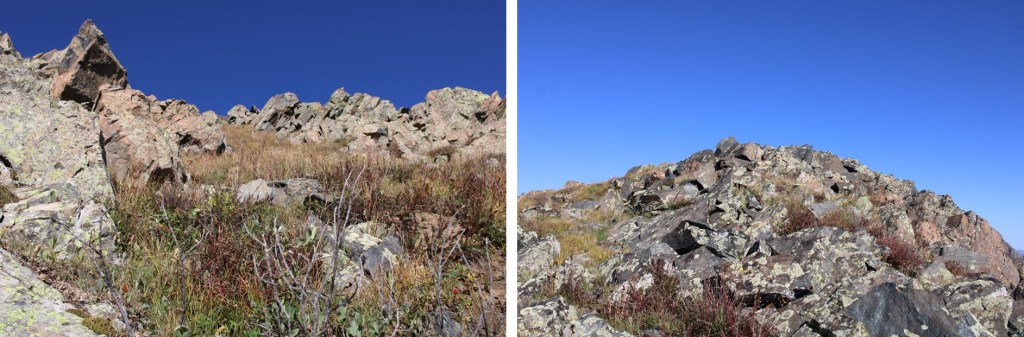
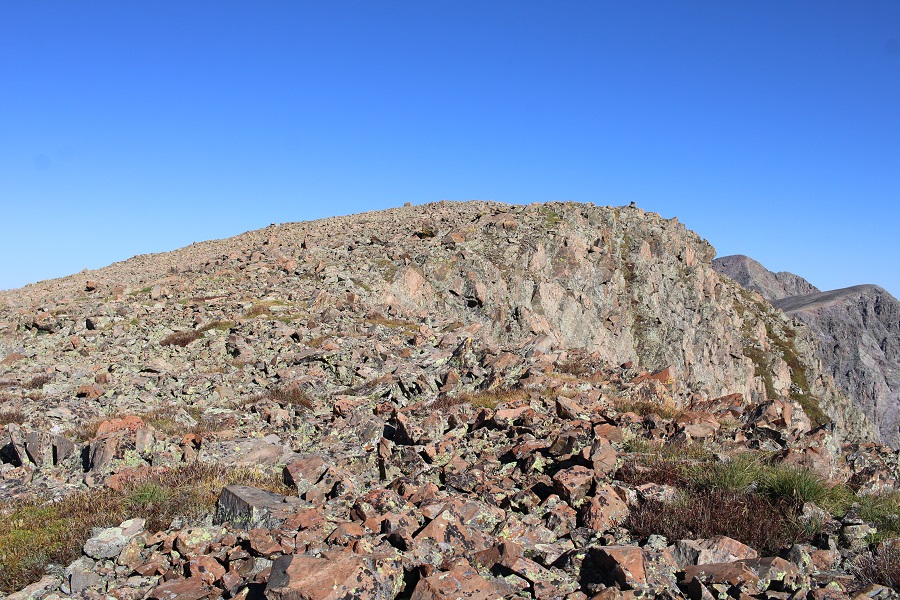
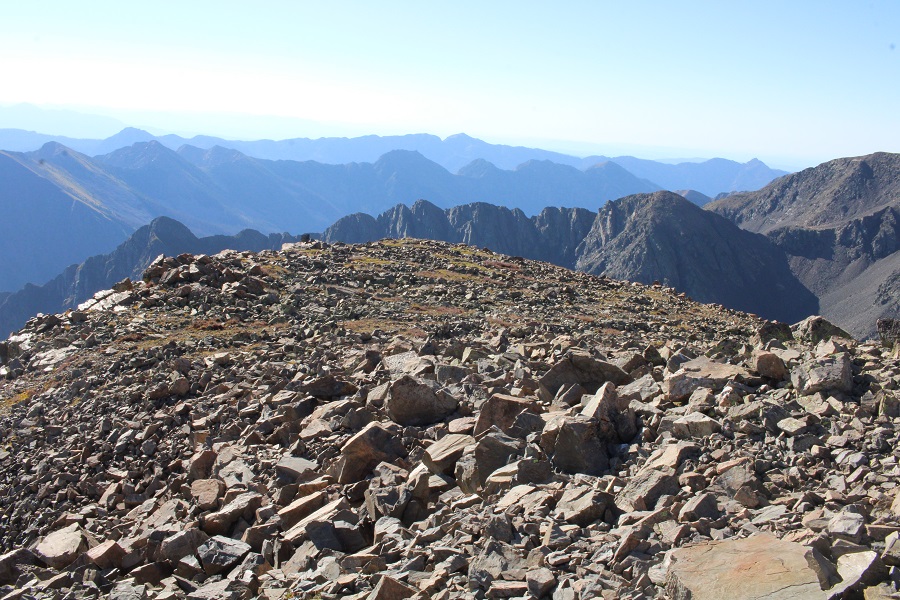
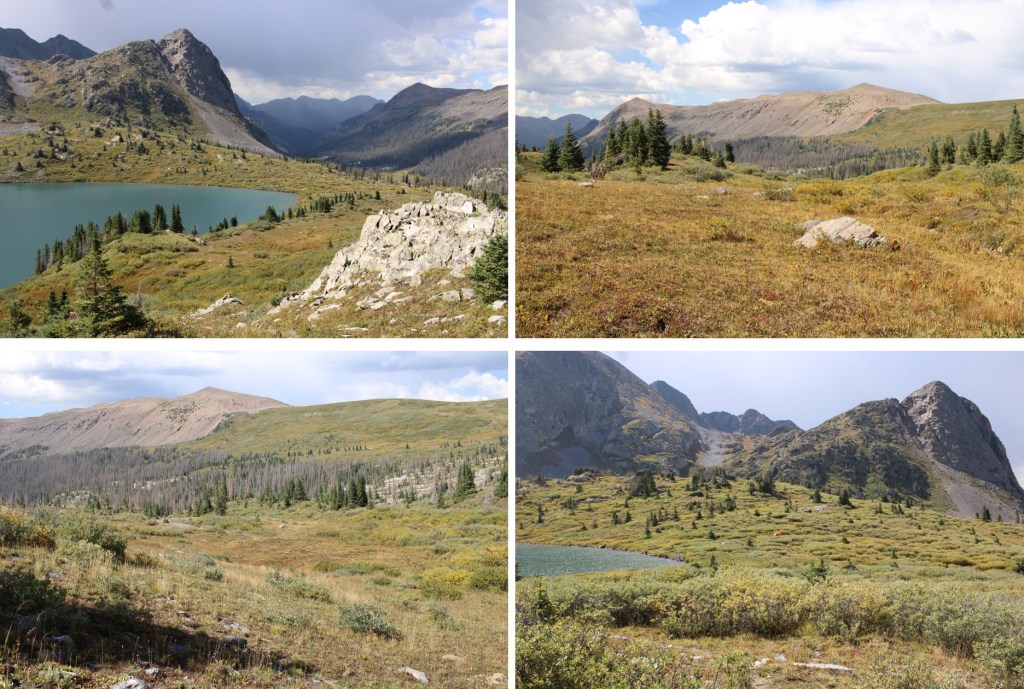
Once at the saddle I turned left, and followed the ridge northeast toward the summit.


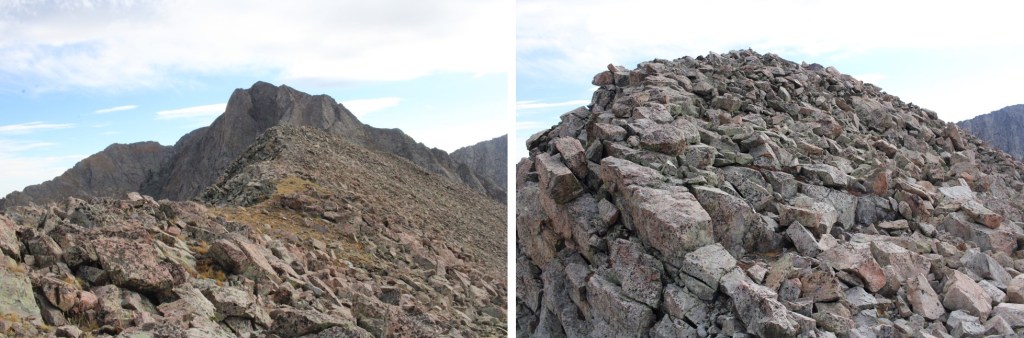
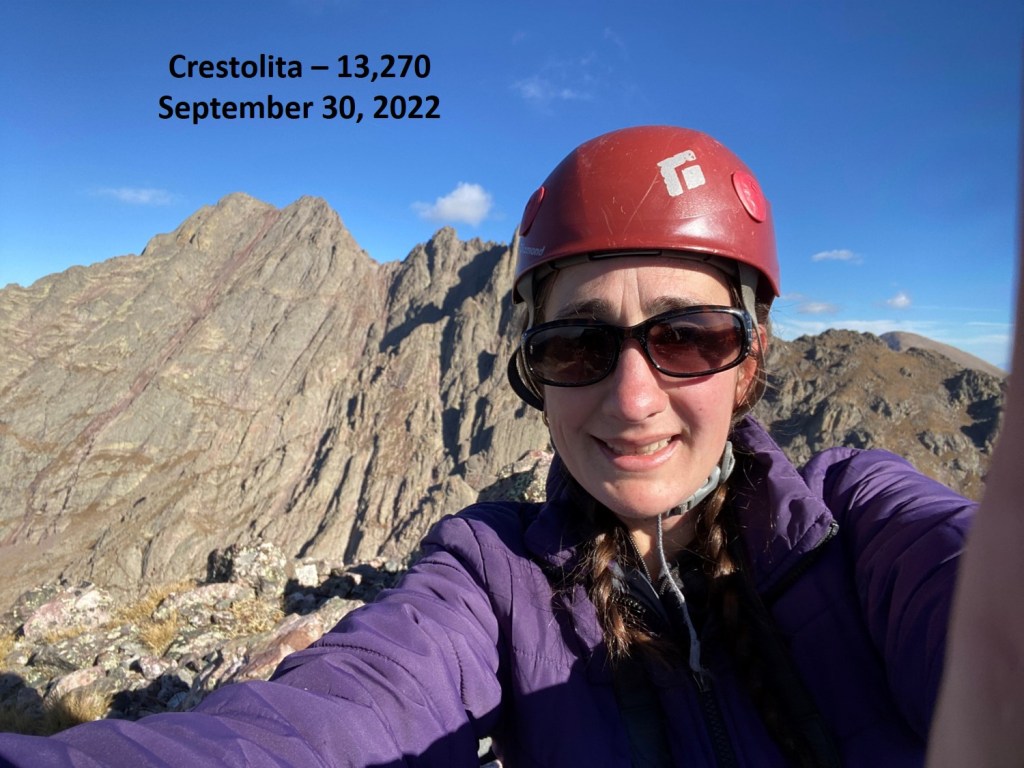
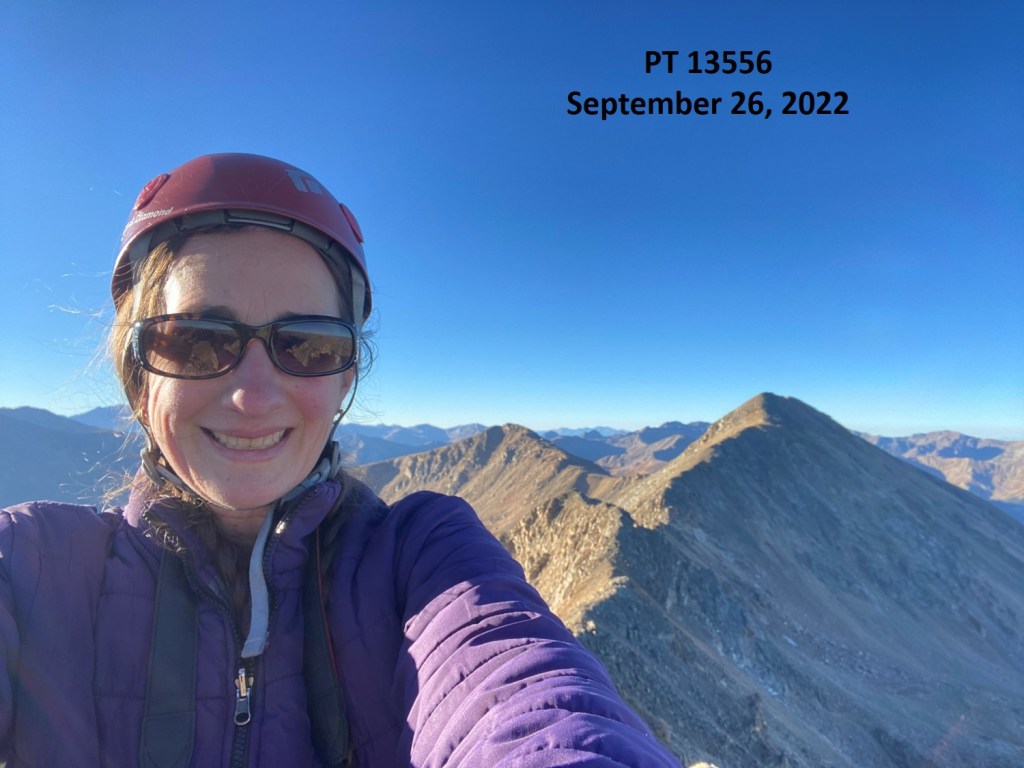
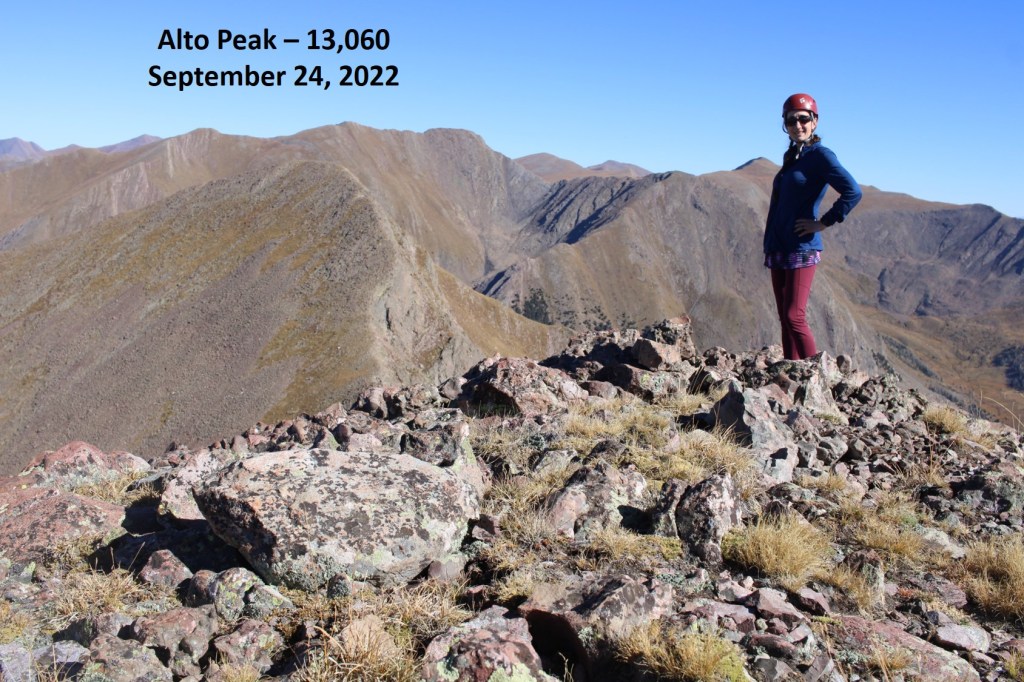
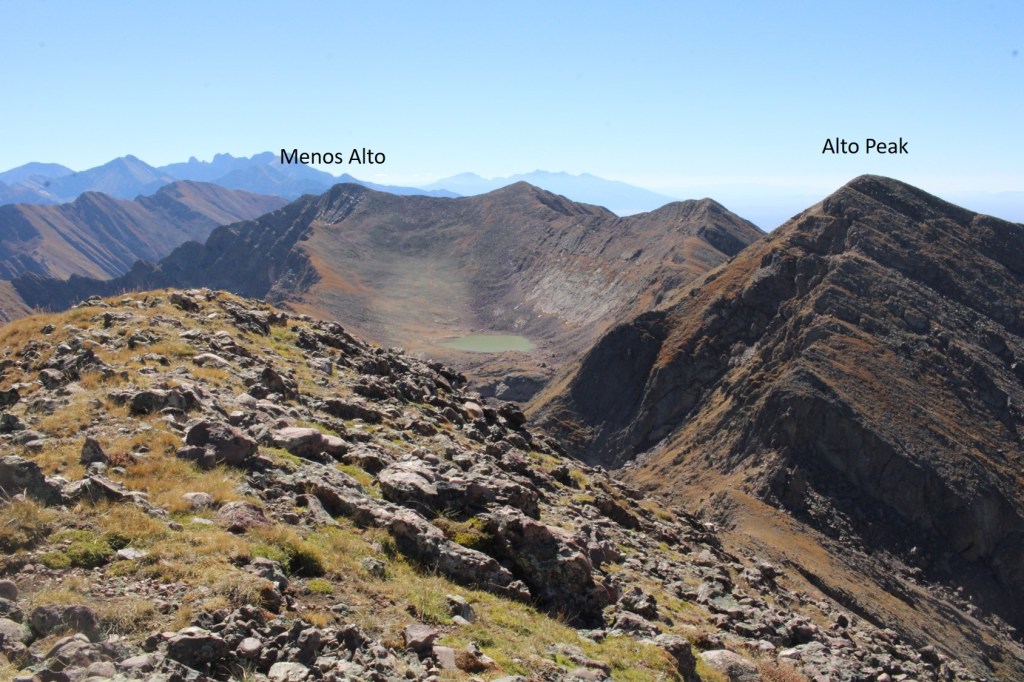
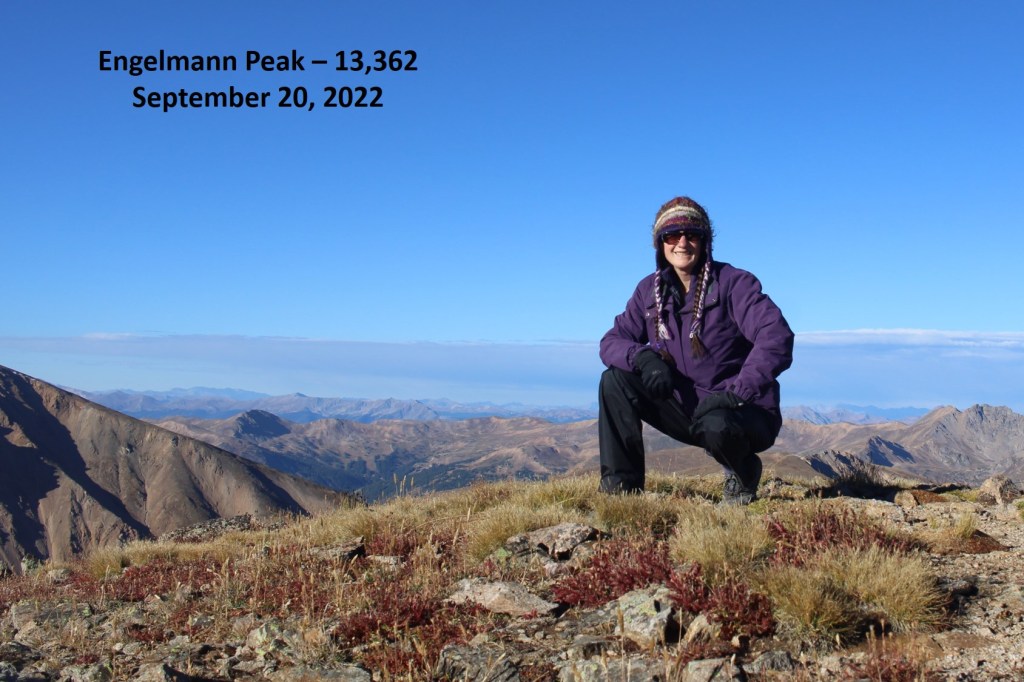
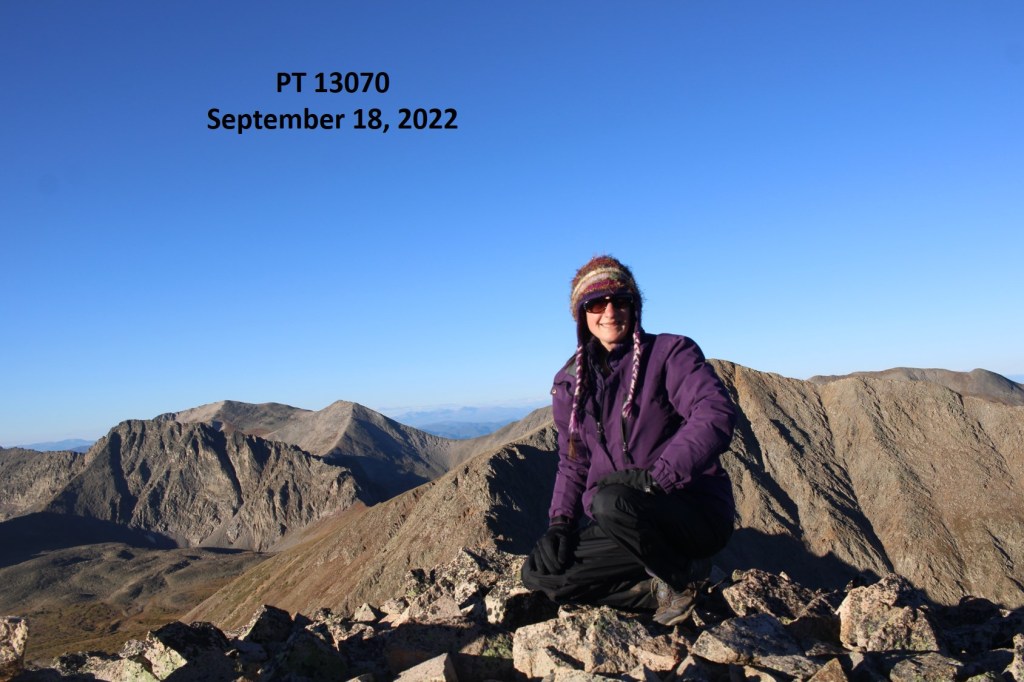
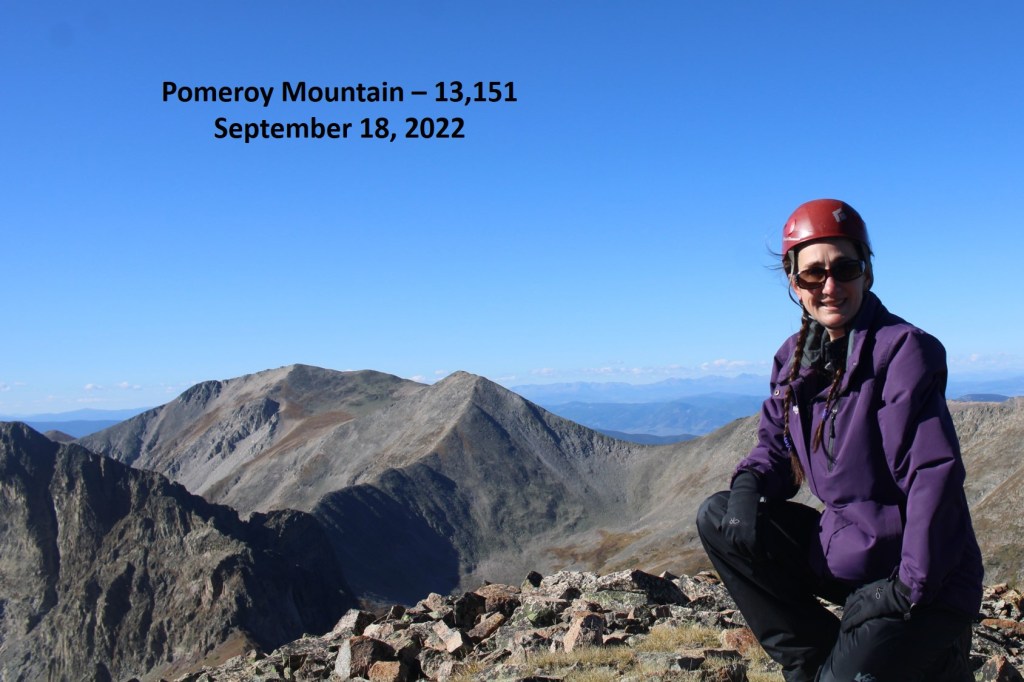
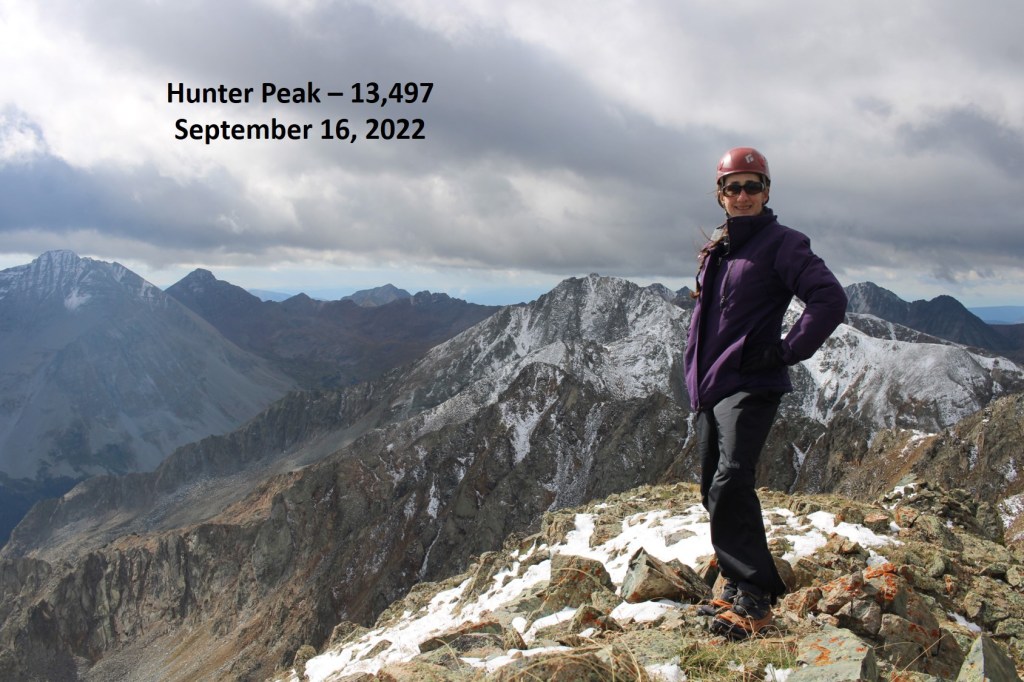
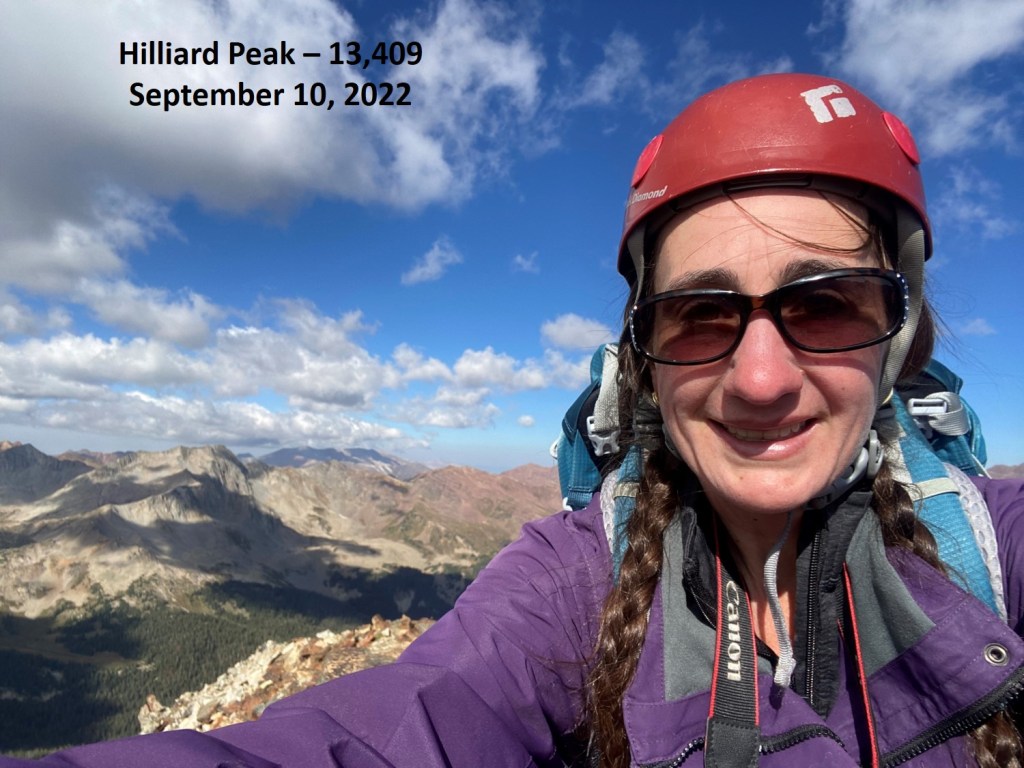
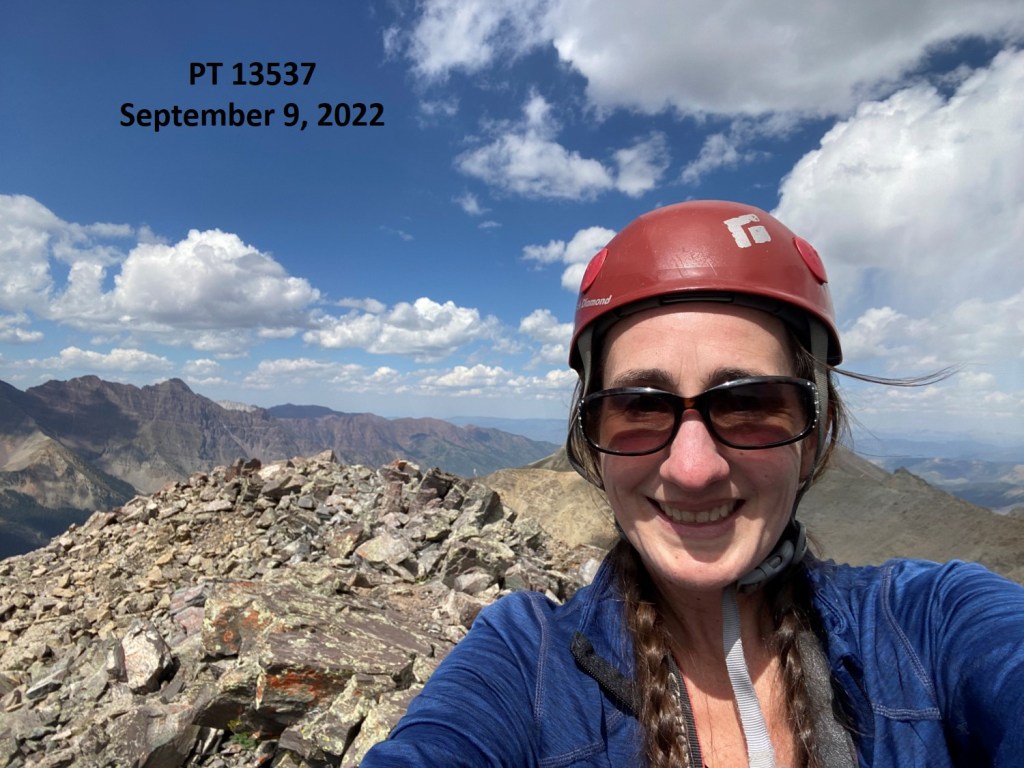
I summited PT 13028 at 9:10am. The first snow of the season was expected that afternoon. It was very windy, and cold.
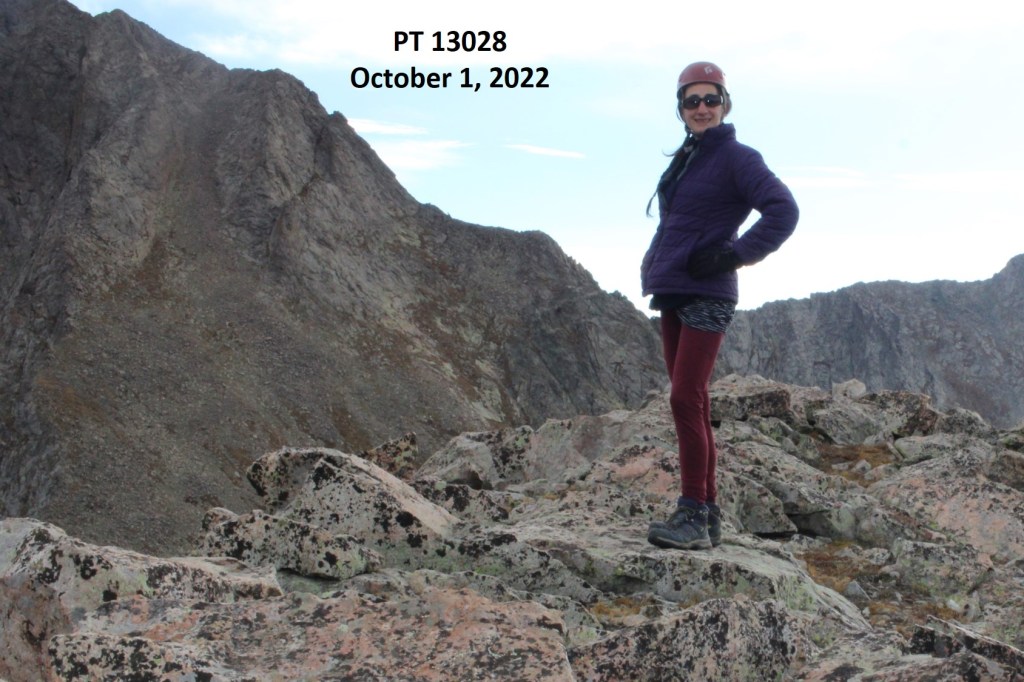
PT 13028:
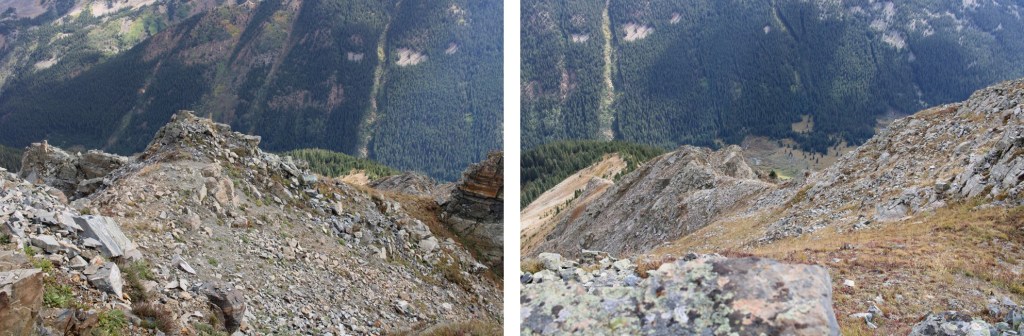
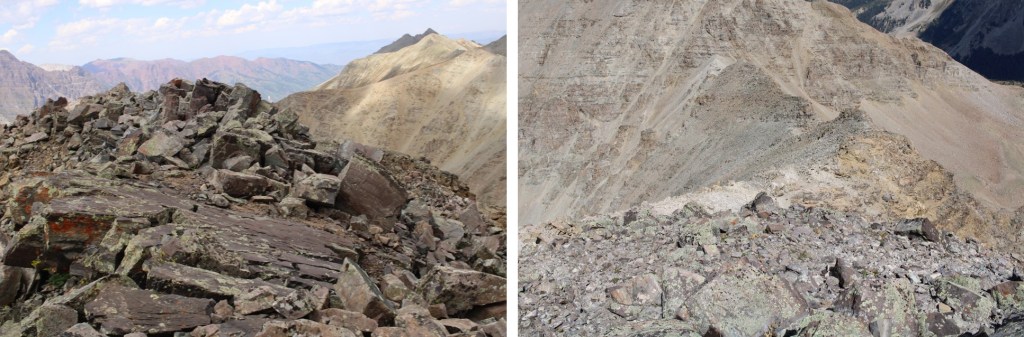
I didn’t stay long, and instead made my way back to the saddle

Back at the saddle, I braced myself to head back down the gully

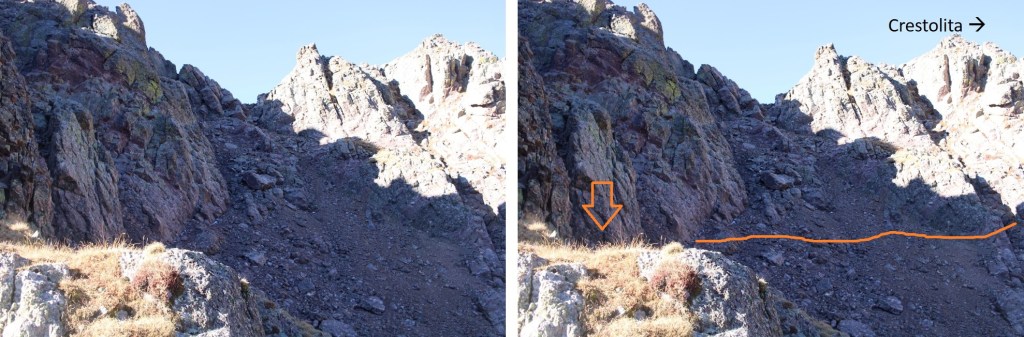
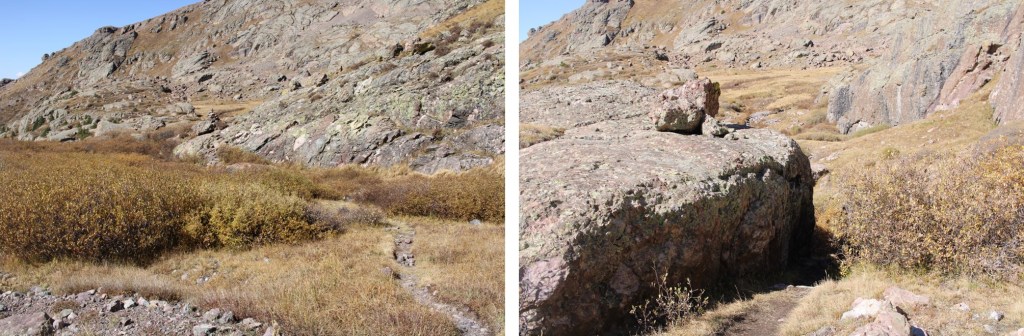
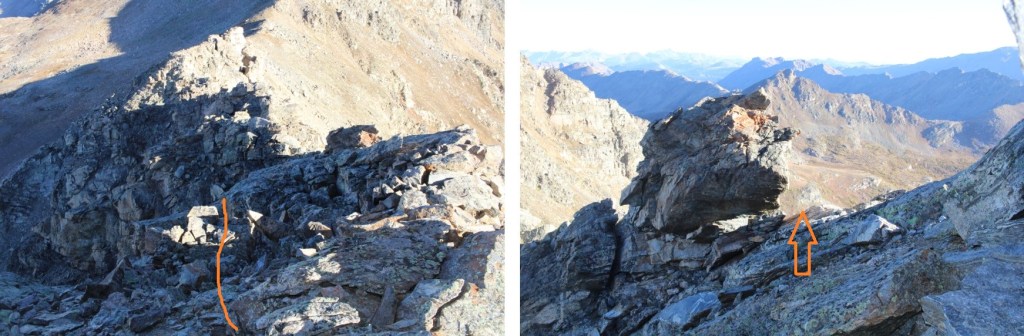
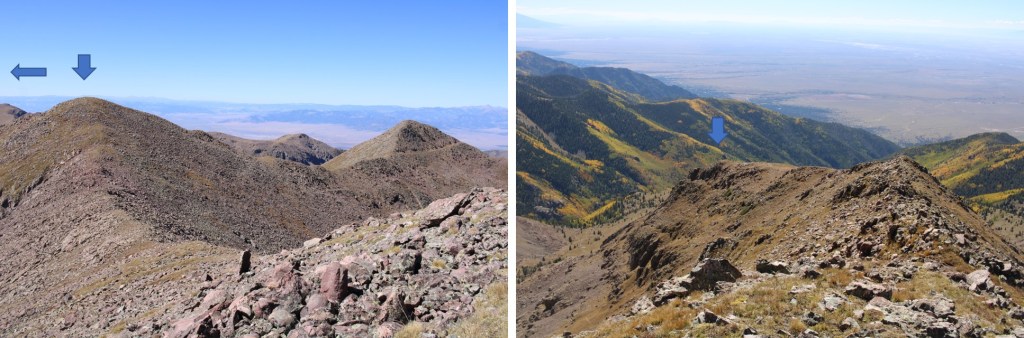
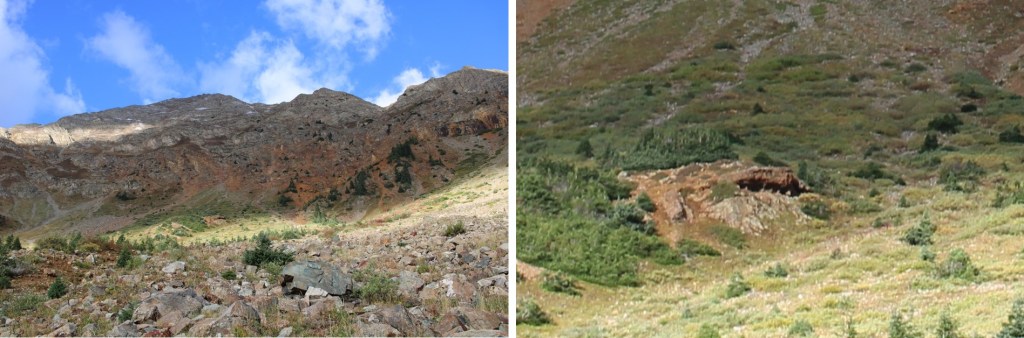
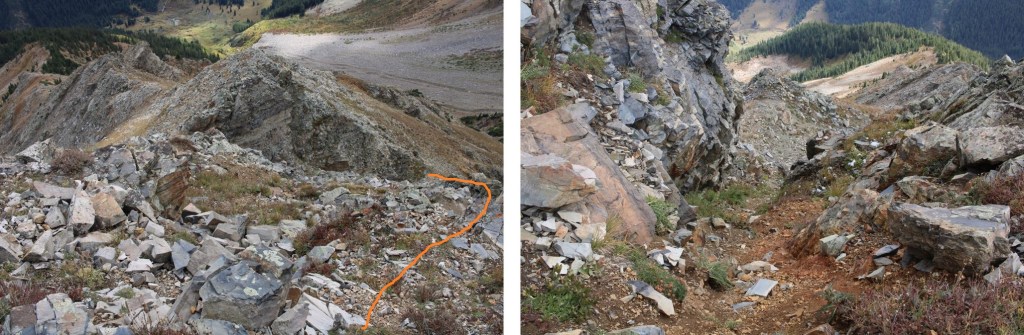
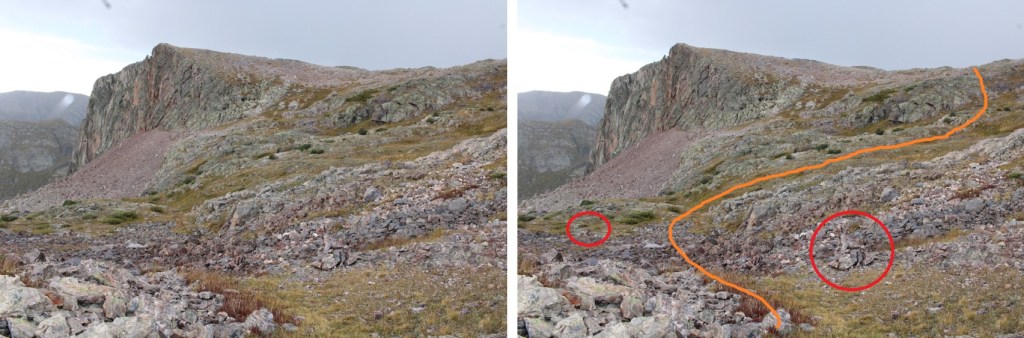
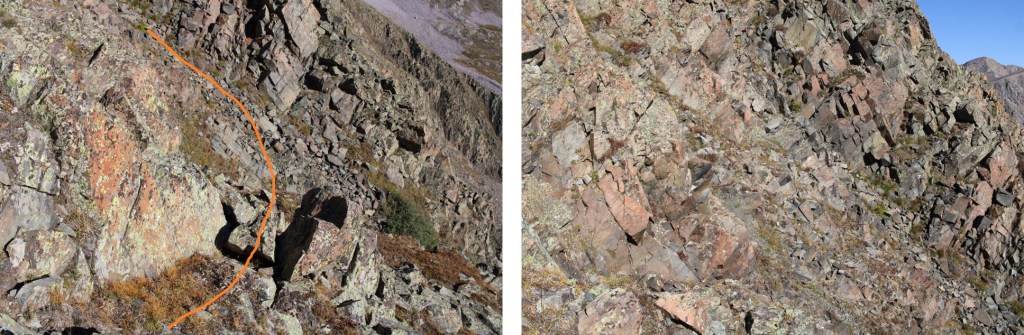
Then I made my way back to the first access gully
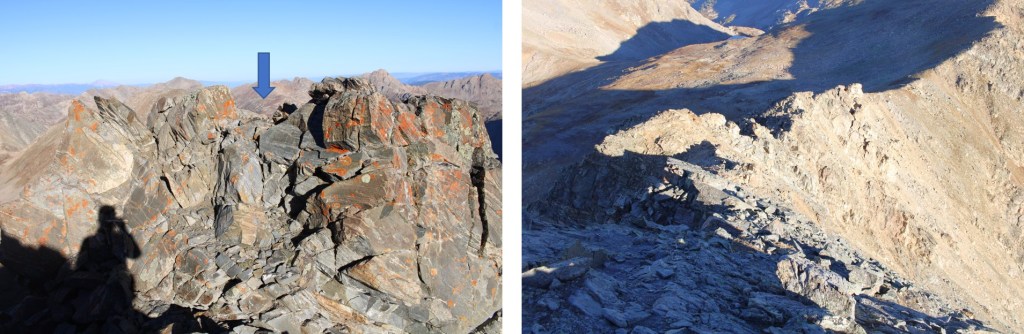
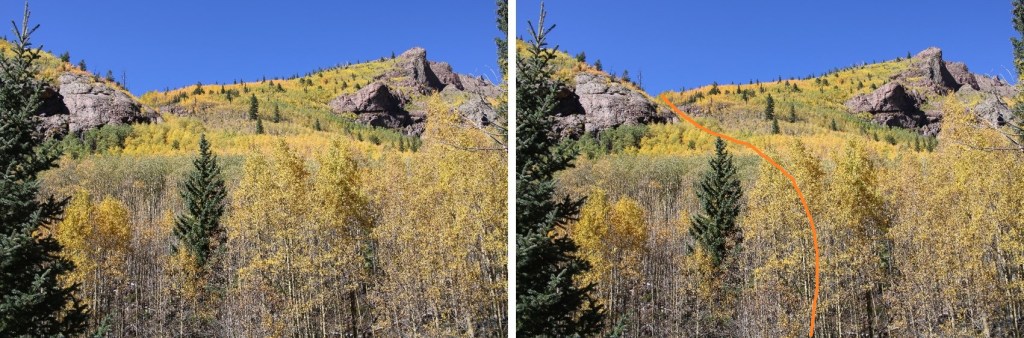
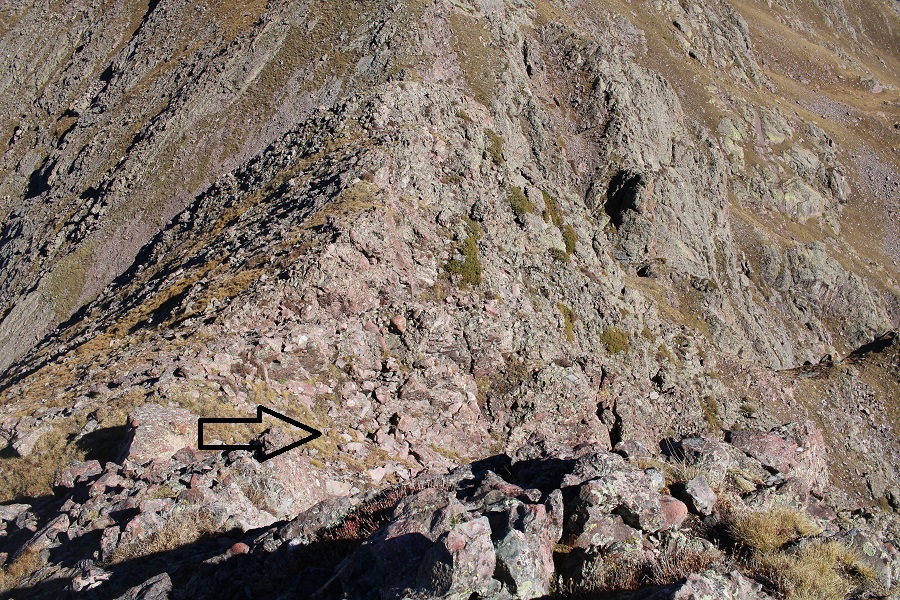
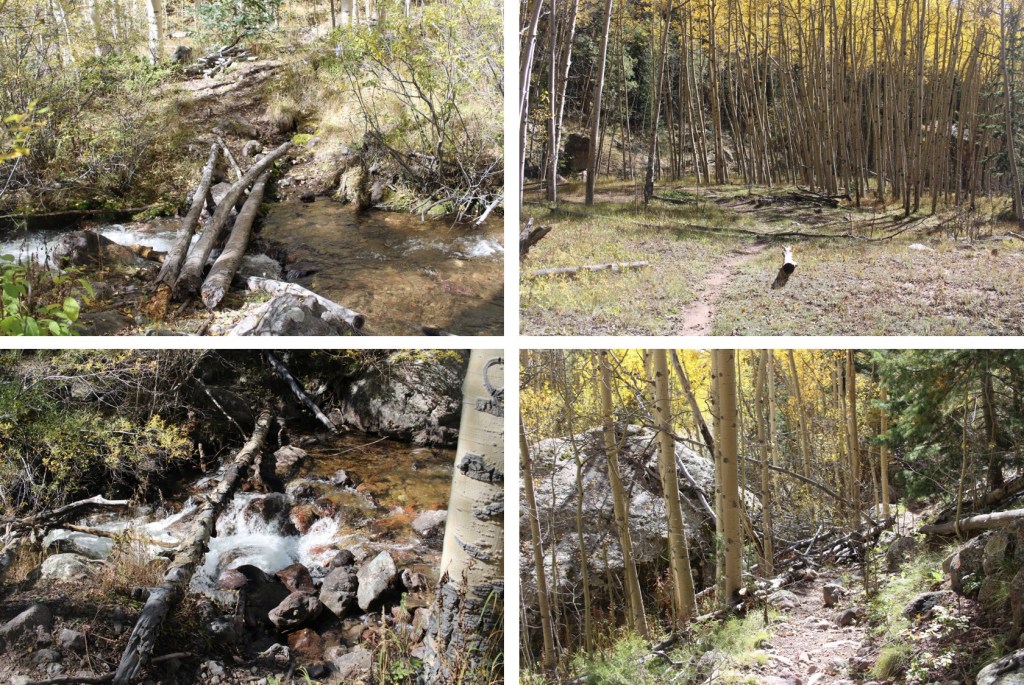
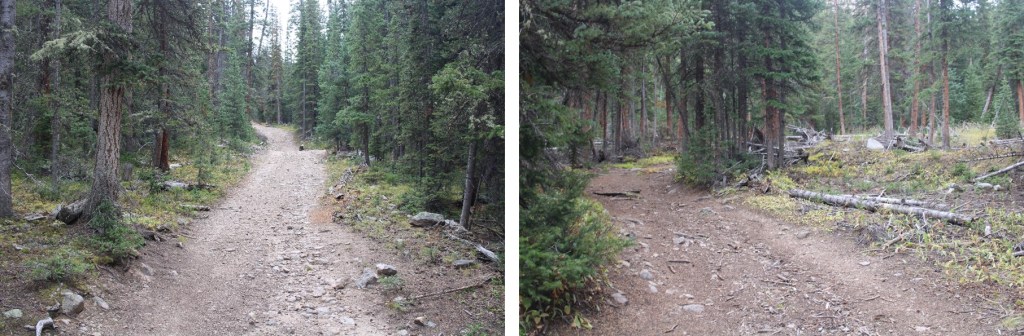
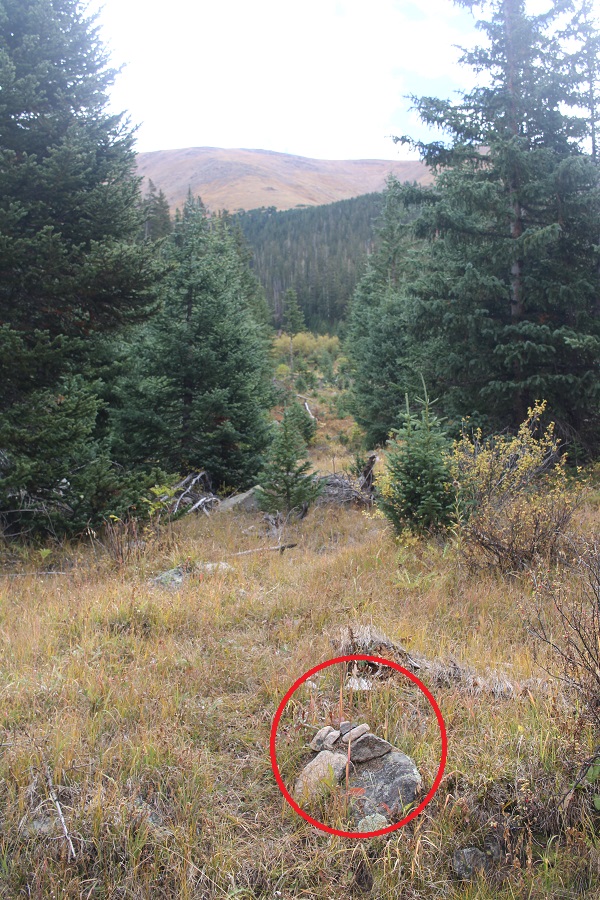
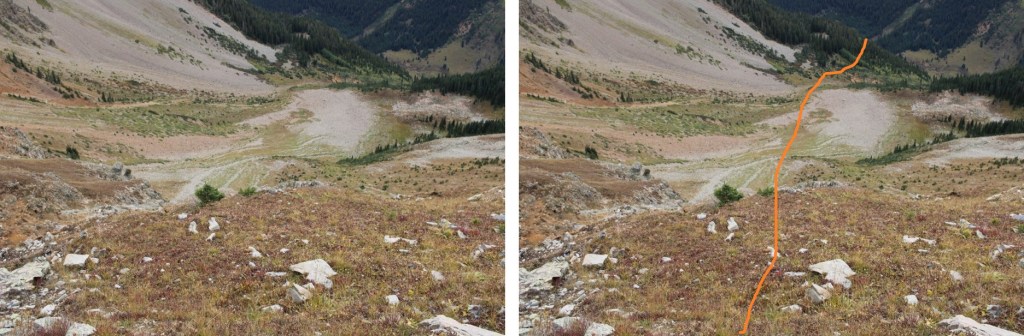
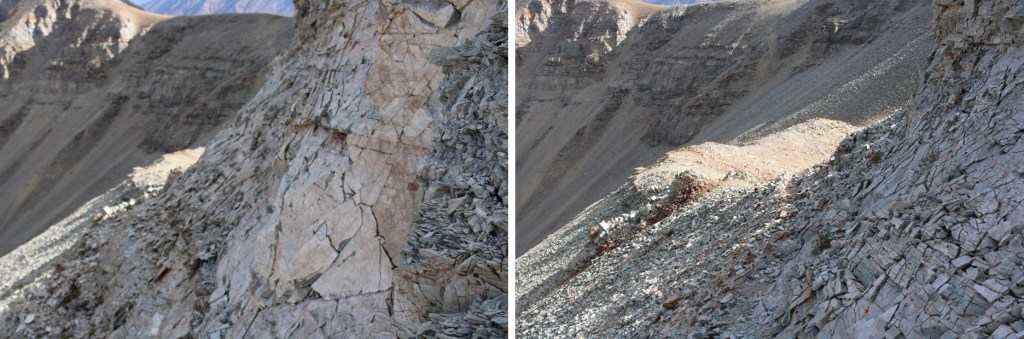
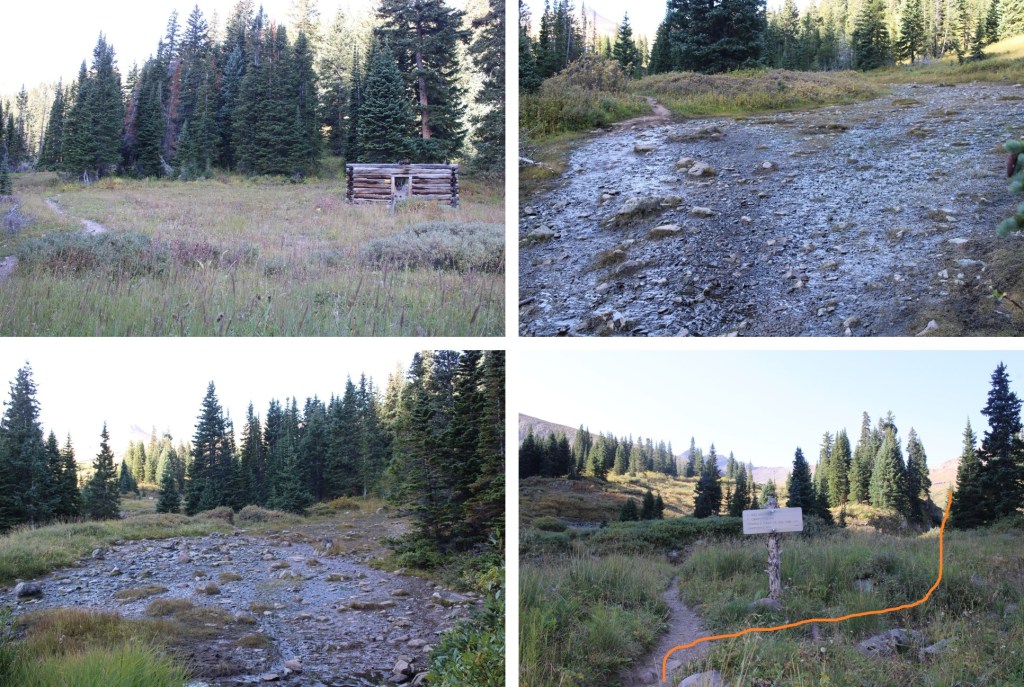
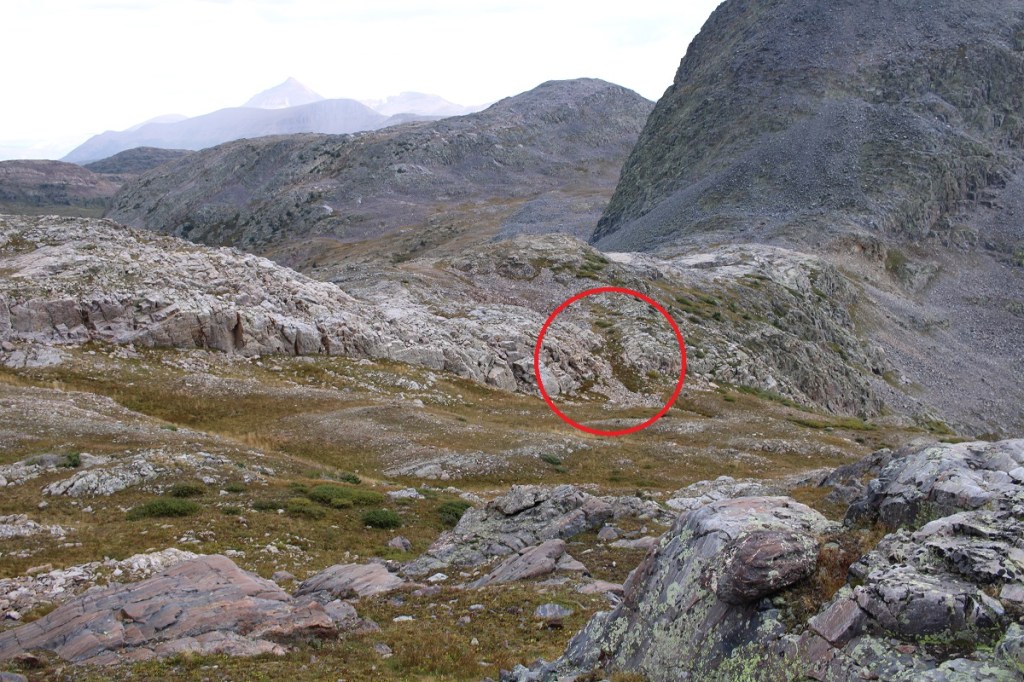
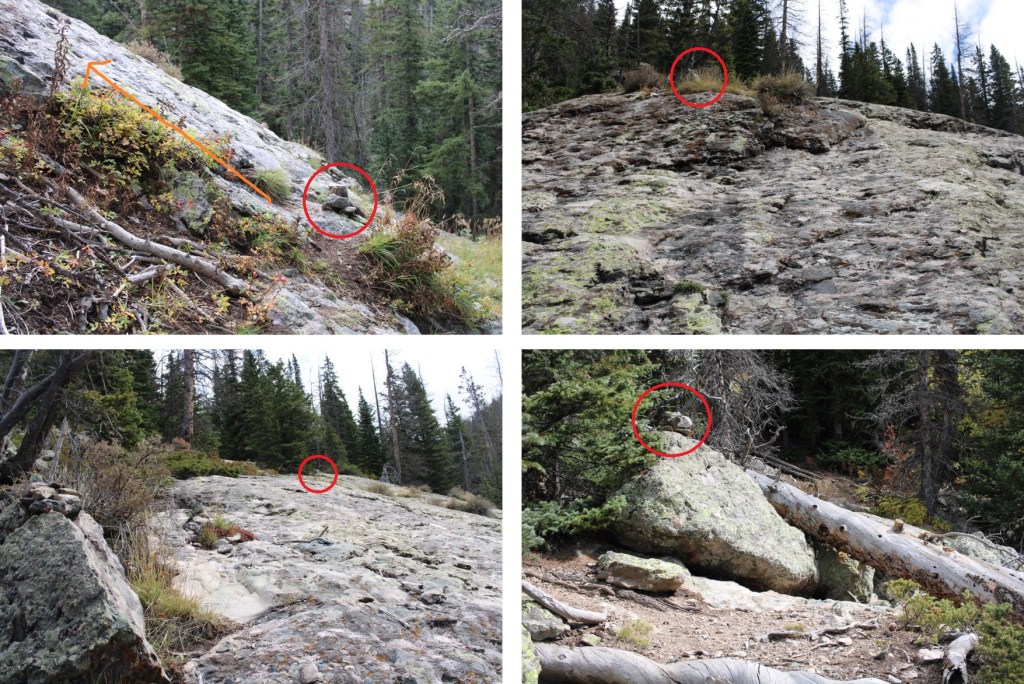
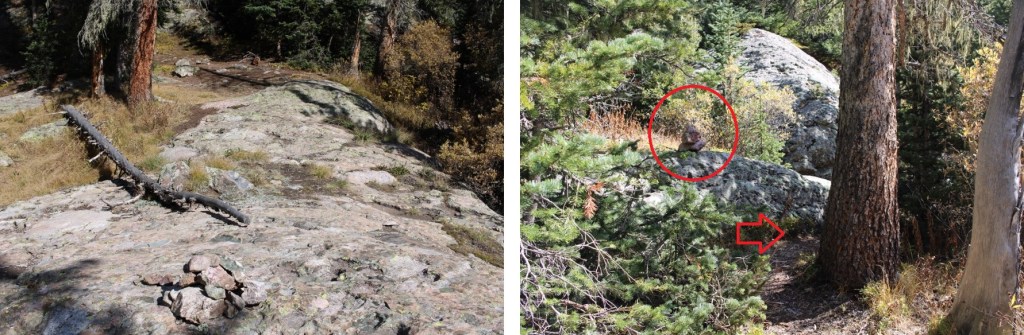
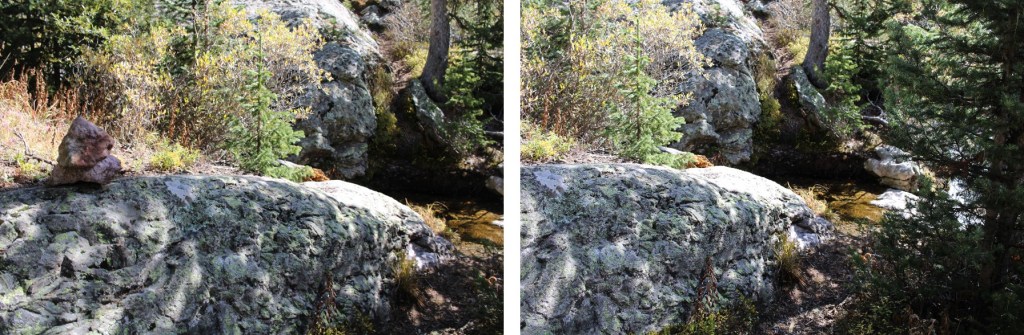
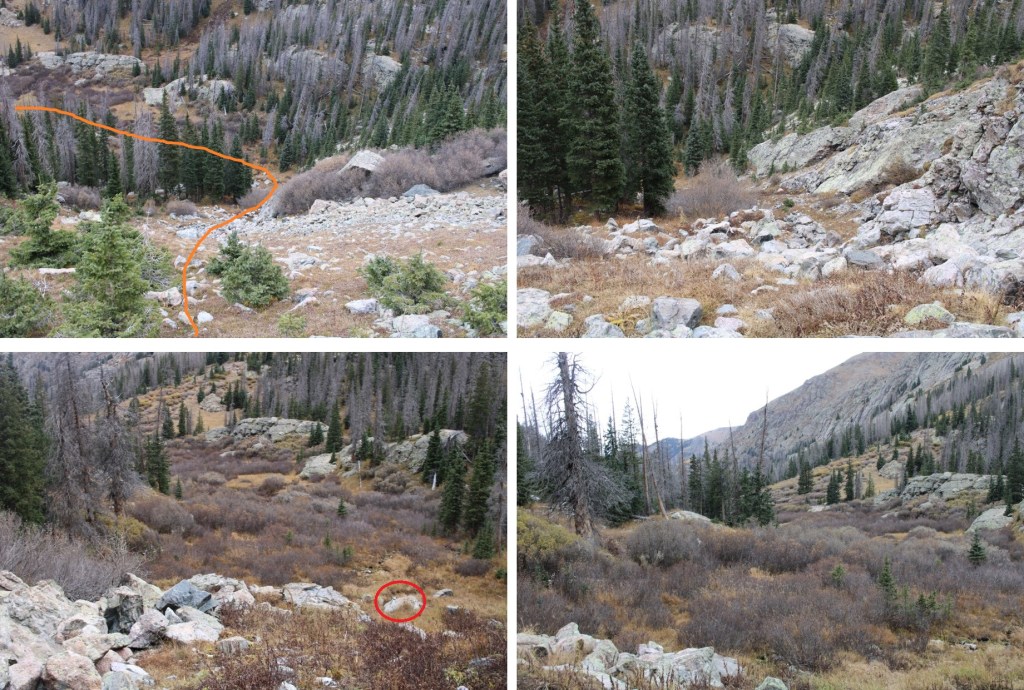
Then down the gully, and back to the ‘trail’. There was a single rock on a boulder, circled in red, to indicate where to turn left and head back to the trail
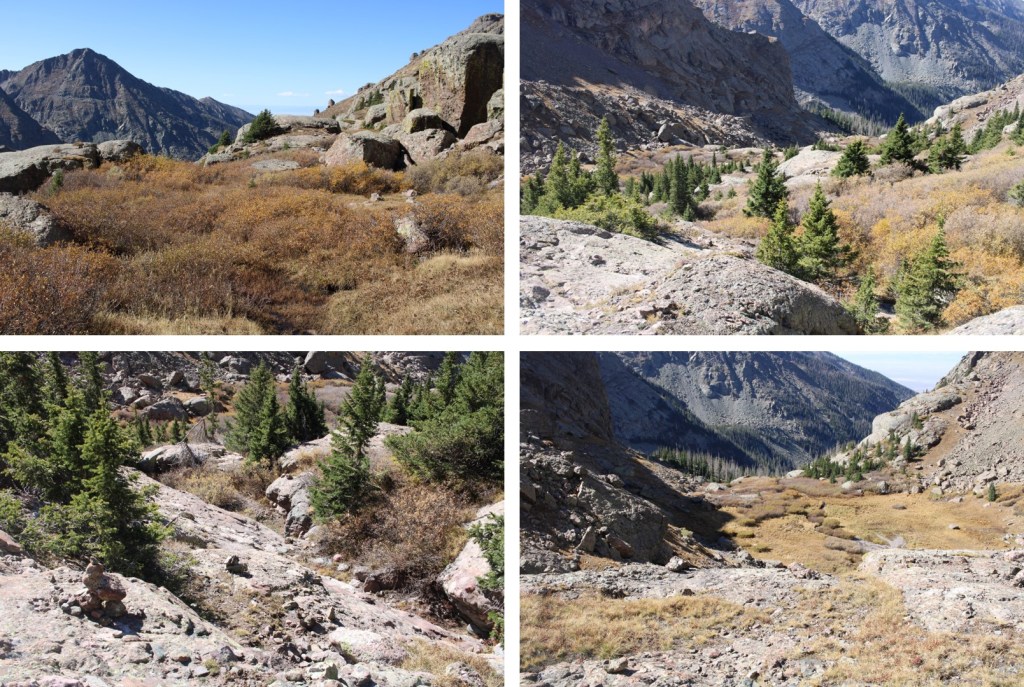
This trail was much easier to follow on the way out than it had been going in. This time I stayed to the left of the creek


I crossed the creek again twice

And then caught back up with the trail that would leave me back to the trailhead. Back at the 861/743 ‘junction’, I followed the trail back down the granite slabs, and through several transition zones back to the trailhead.
I made it back to my truck at 12:30pm, making this a 13.3 mile hike with 4605’ of elevation gain in 8 hours. And with this summit, I’ve now finished all the Sangre de Cristo ranked 13ers and 14ers.
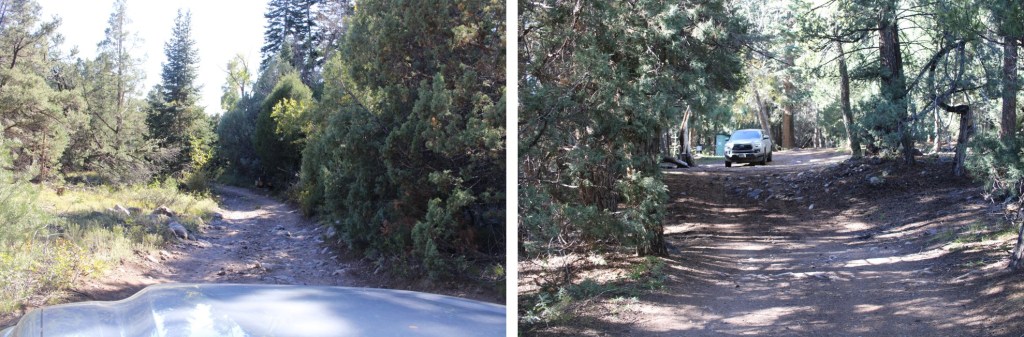
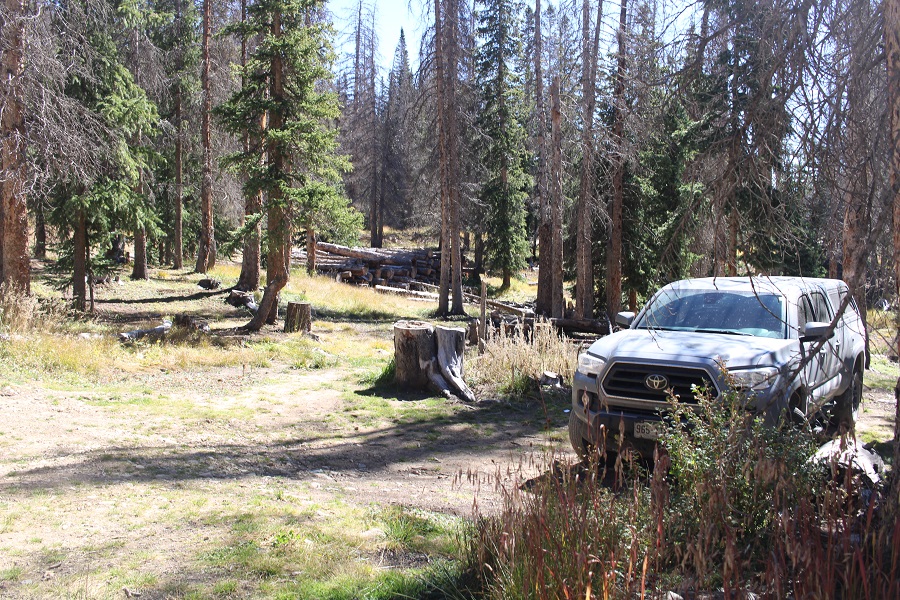
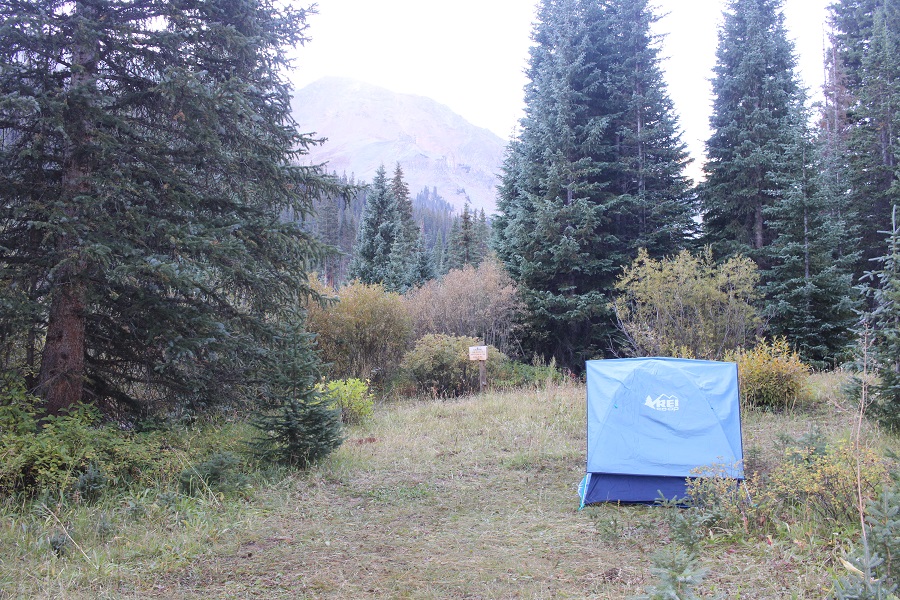
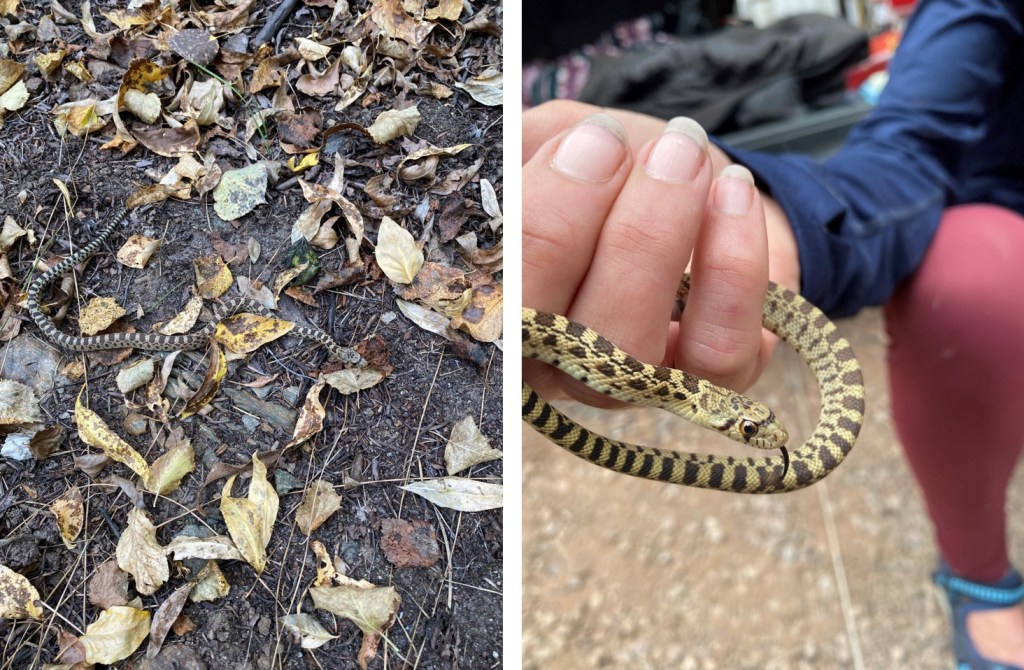
I was staying the night again, and this time, found a small campsite visitor!
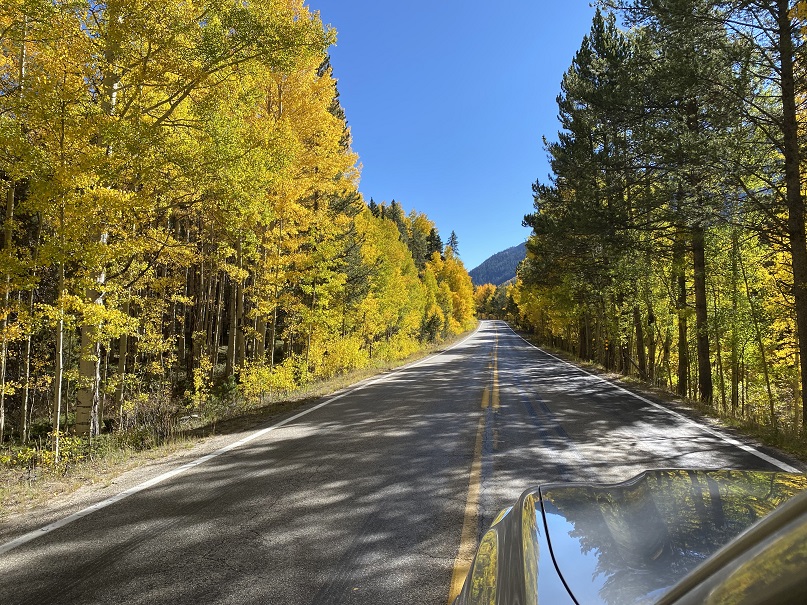
On to the next trailhead!