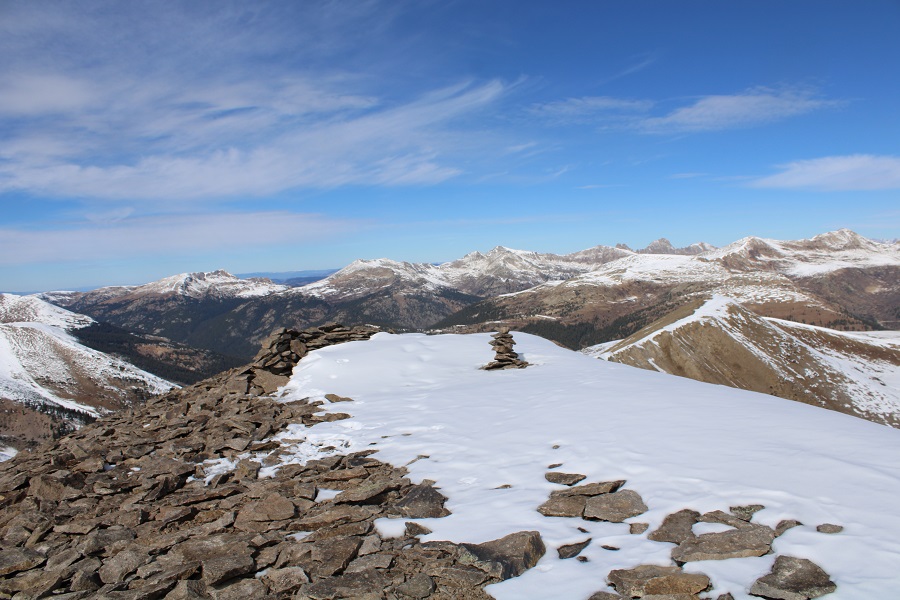
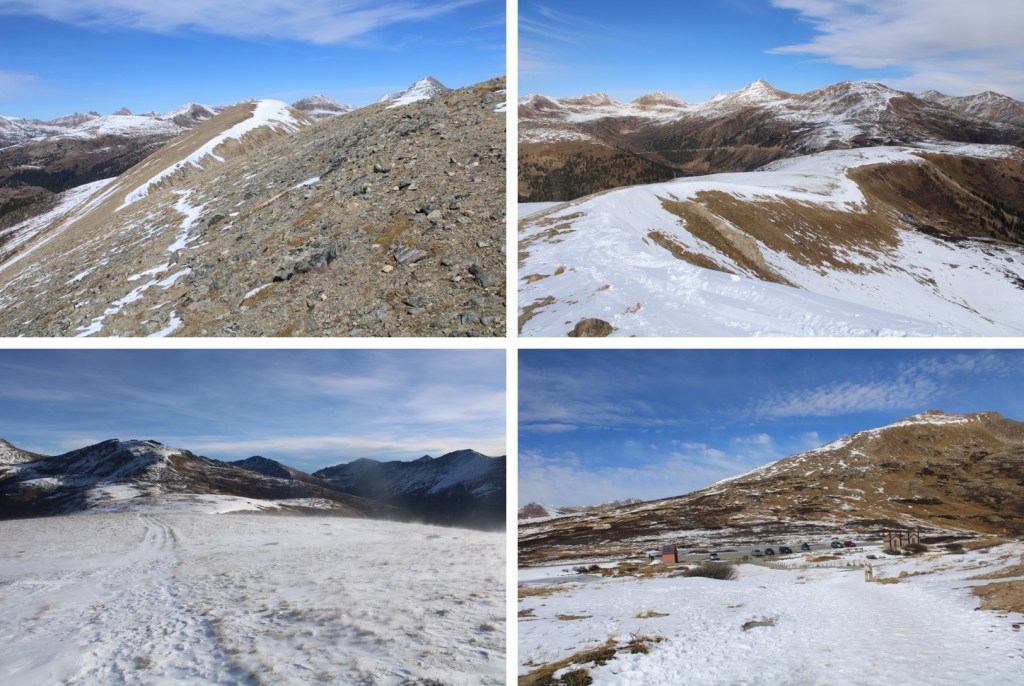
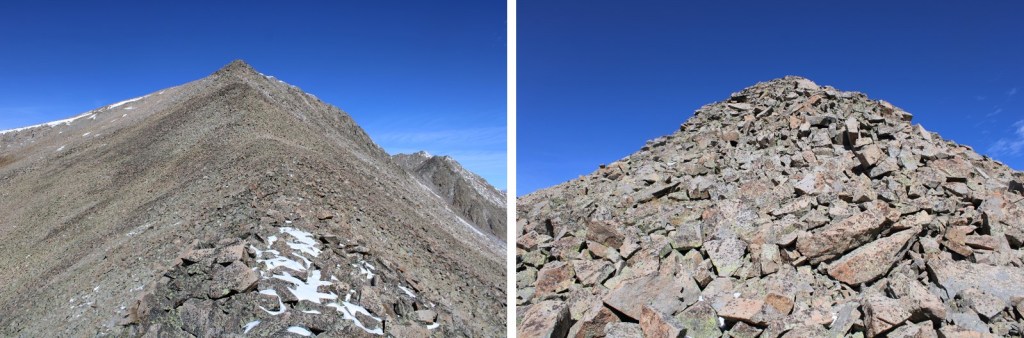
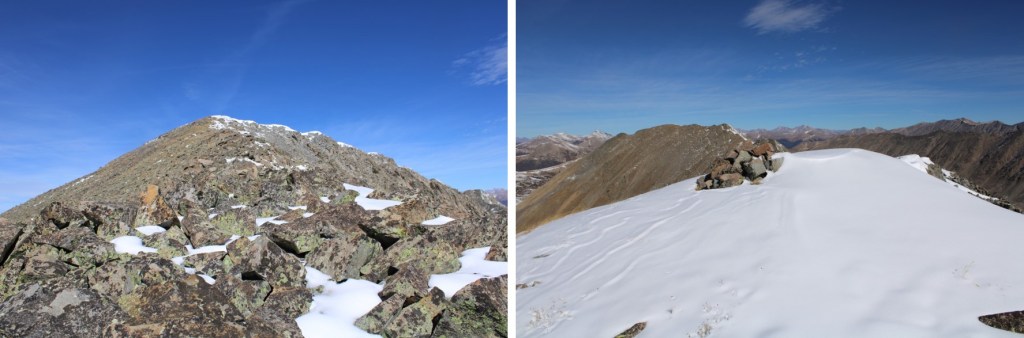
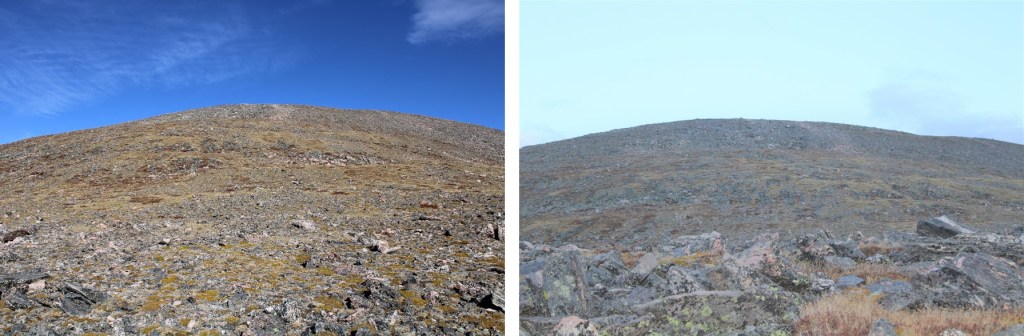
Mountain Boy Peak – 13,198 & Igloo Peak – 13060

RT Length: 6.78 miles

Elevation Gain: 2151’

I wanted to get in one last peak before Interdependence Pass closes for the year.  I was supposed to hike this peak o Tuesday, but weather was coming in, so I changed my plans and hiked it Monday morning instead. 

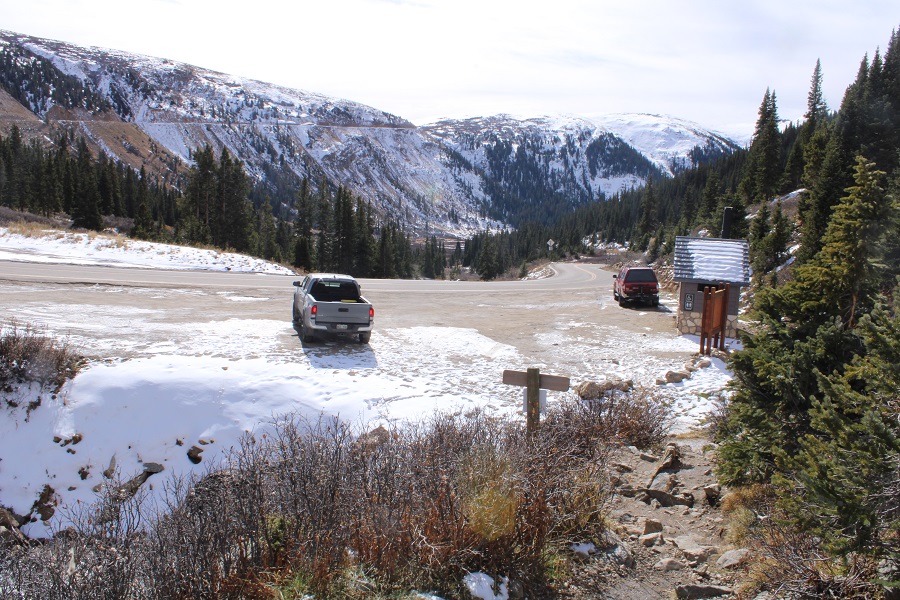
I made it to Independence Pass and was on the trail by 5:30am.  Side note:  I was here October 25th, and the bathrooms were closed for the winter.
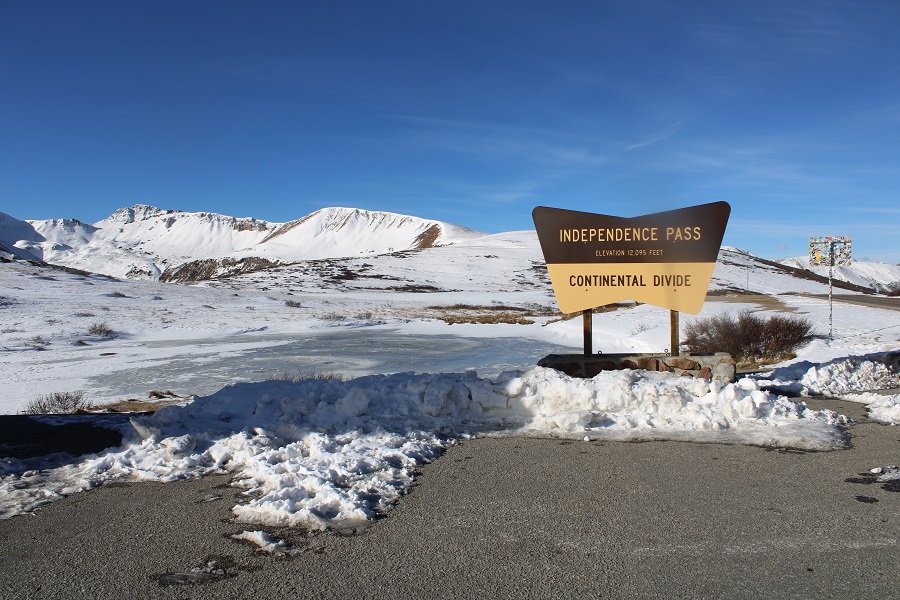
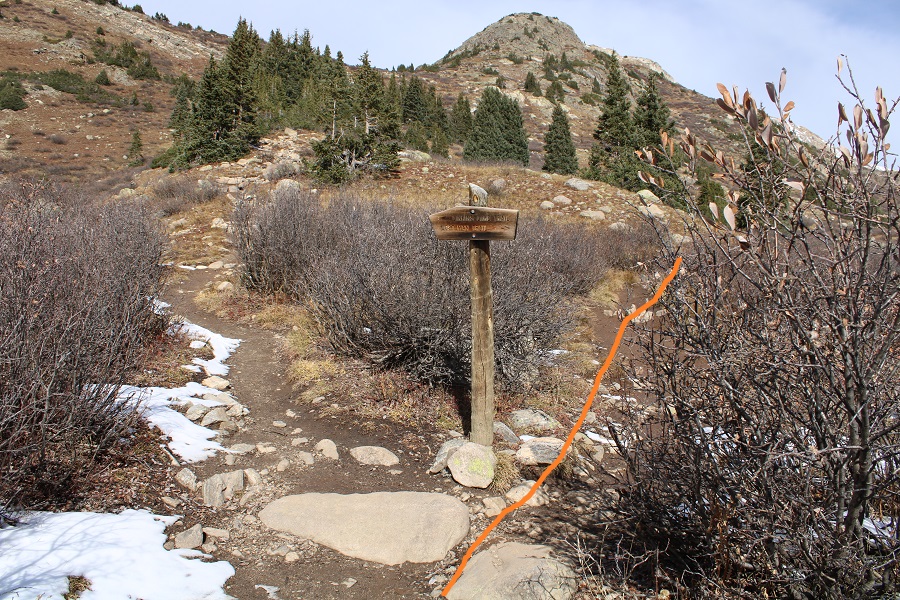
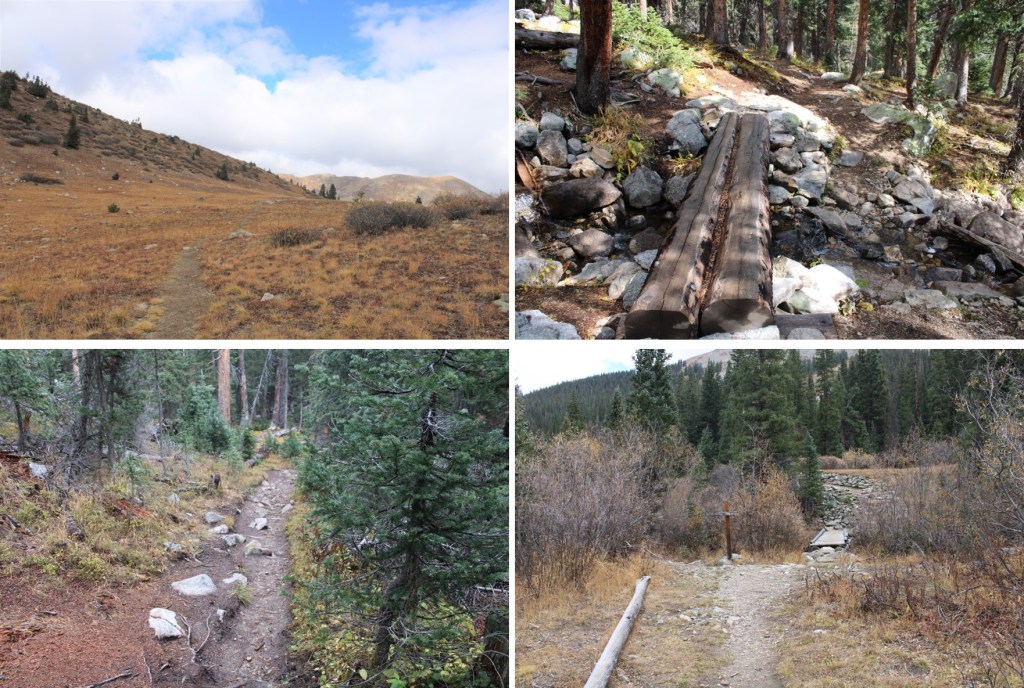
Obviously, mine was the only vehicle in the parking lot that early in the morning. The trail is obvious, and starts by heading south on a paved trail.
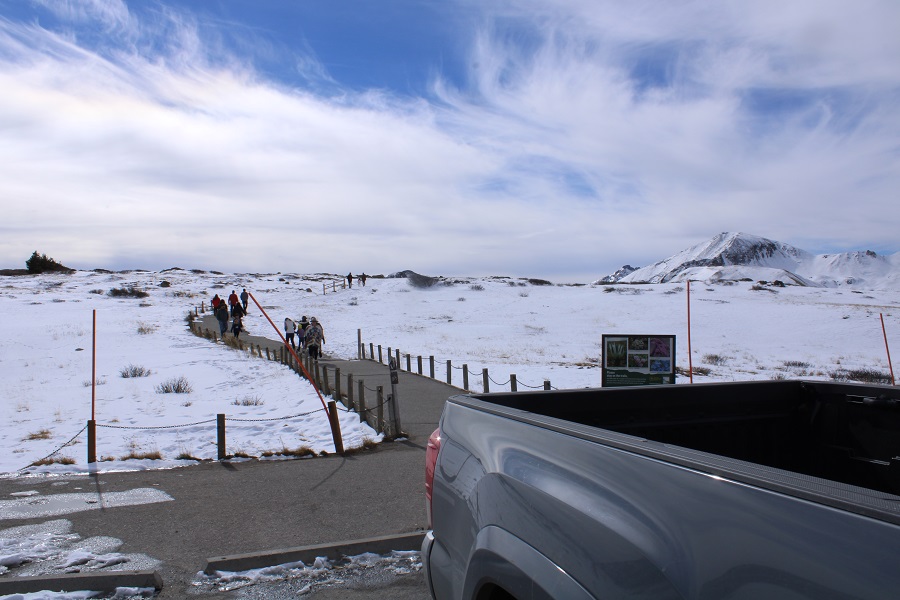
I’ve never been in this area in summer conditions, so I’m not really sure when the trail becomes a trail and no longer paved, but I know I was off pavement pretty quickly, heading west.  This morning, before making it to Igloo Peak, snowshoes were needed some of the time, overkill most of the time.
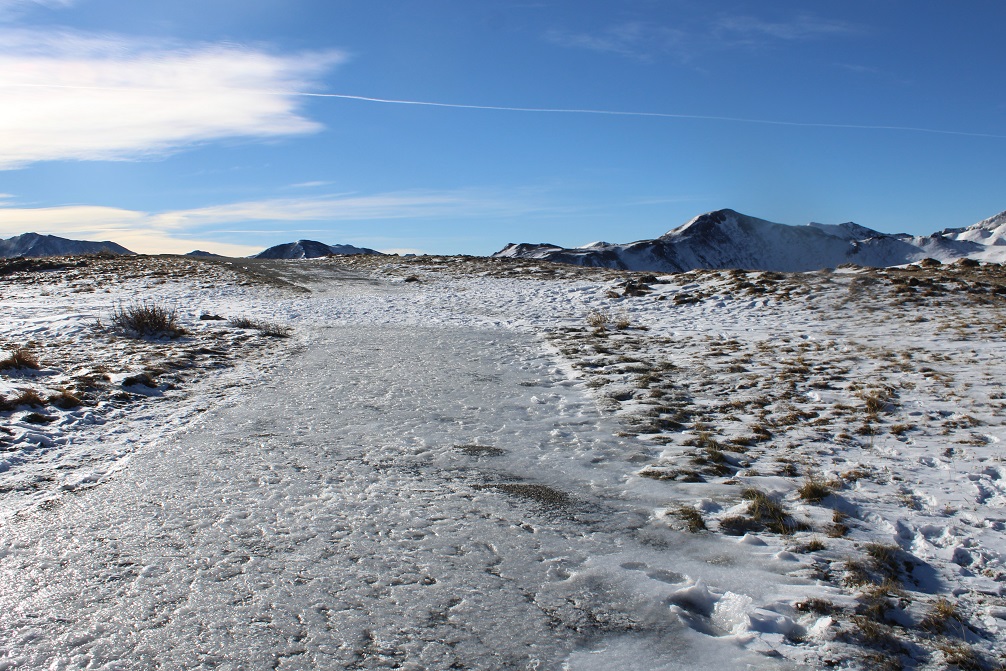
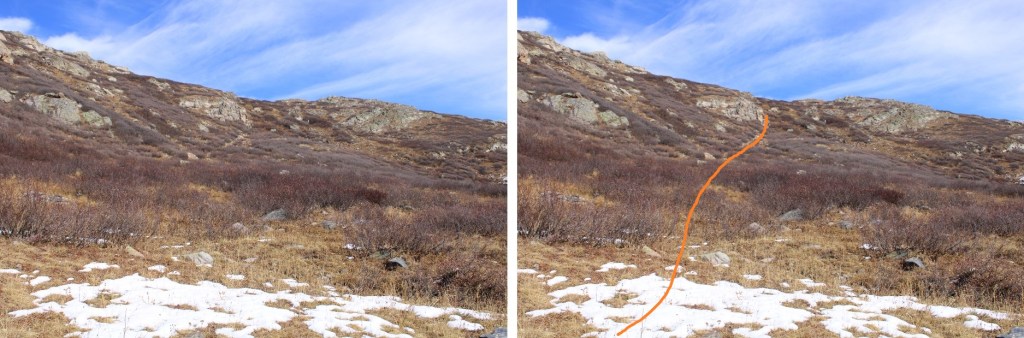
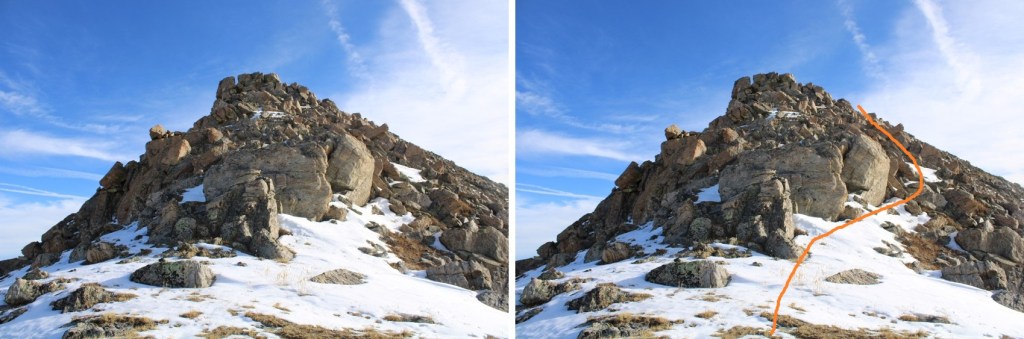
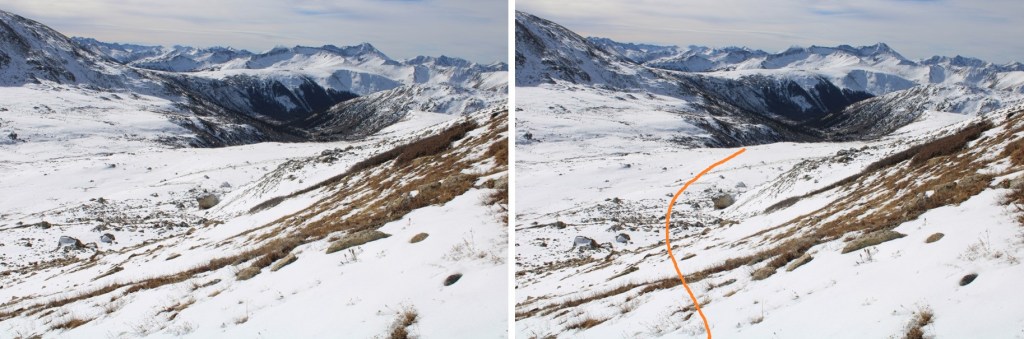
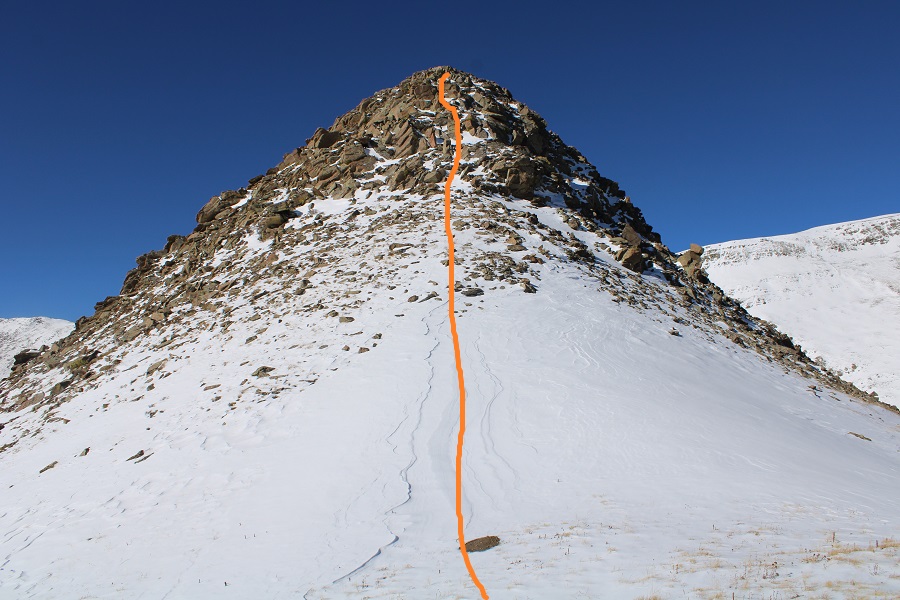
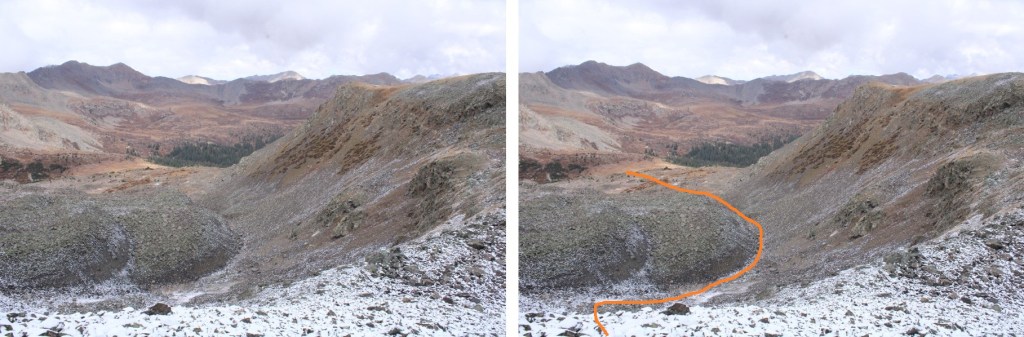
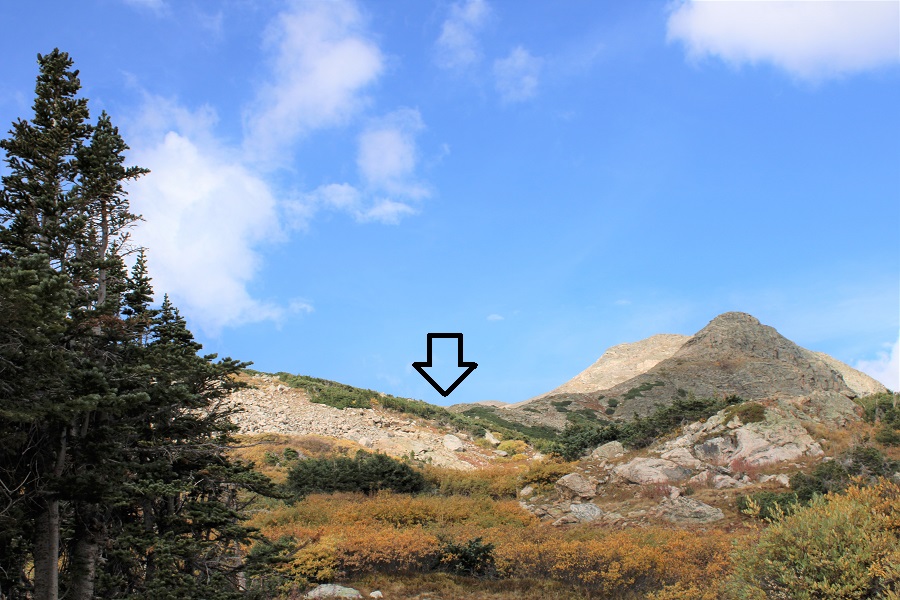
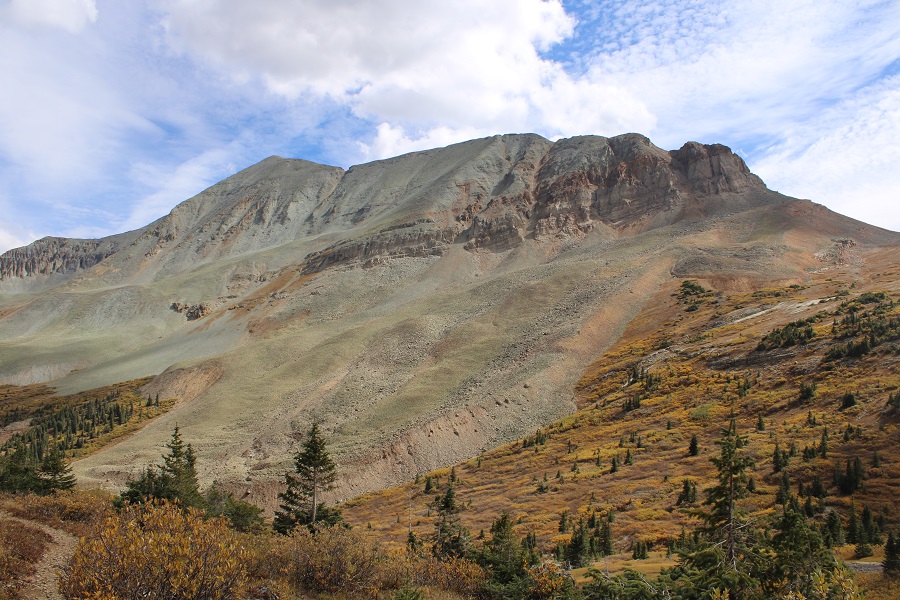
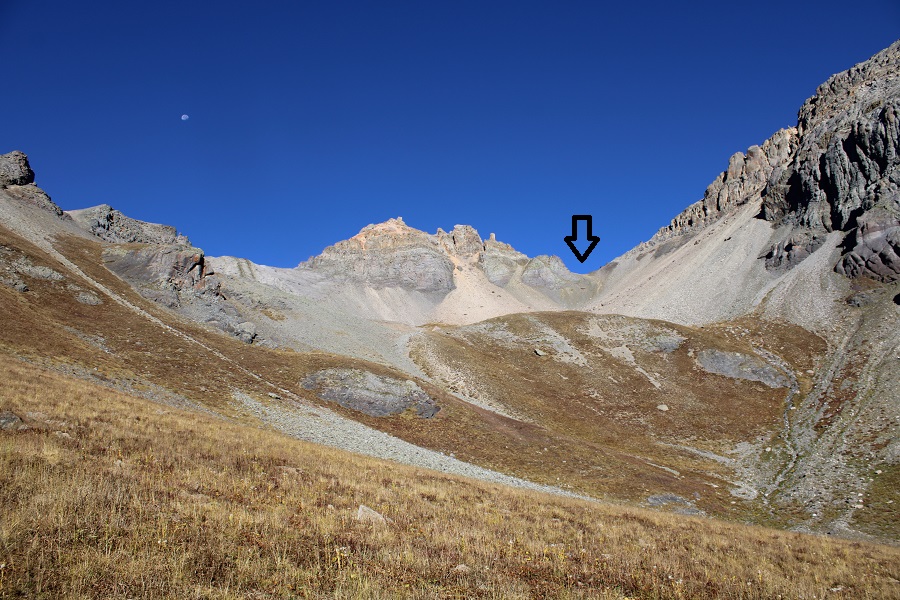
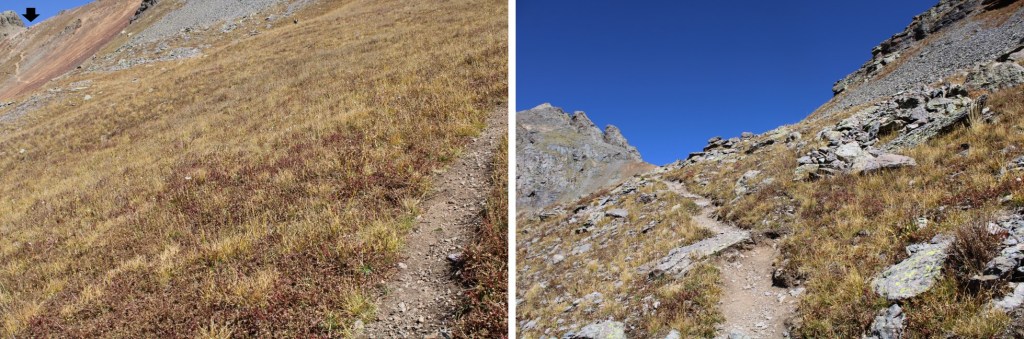
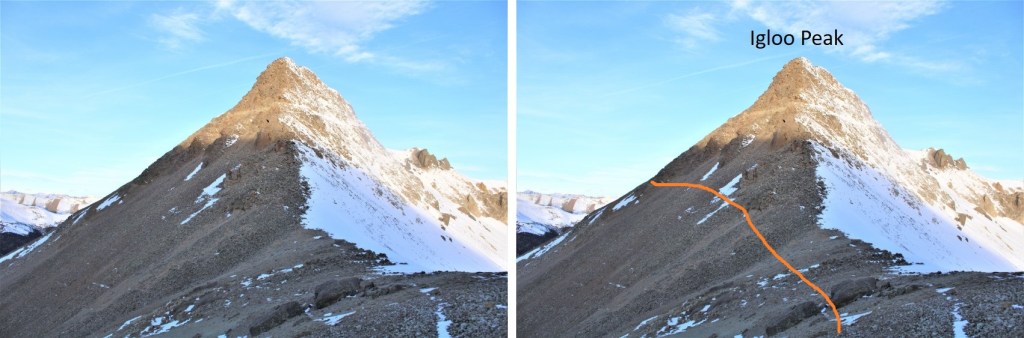
Here’s an overall view of the route to the ridge
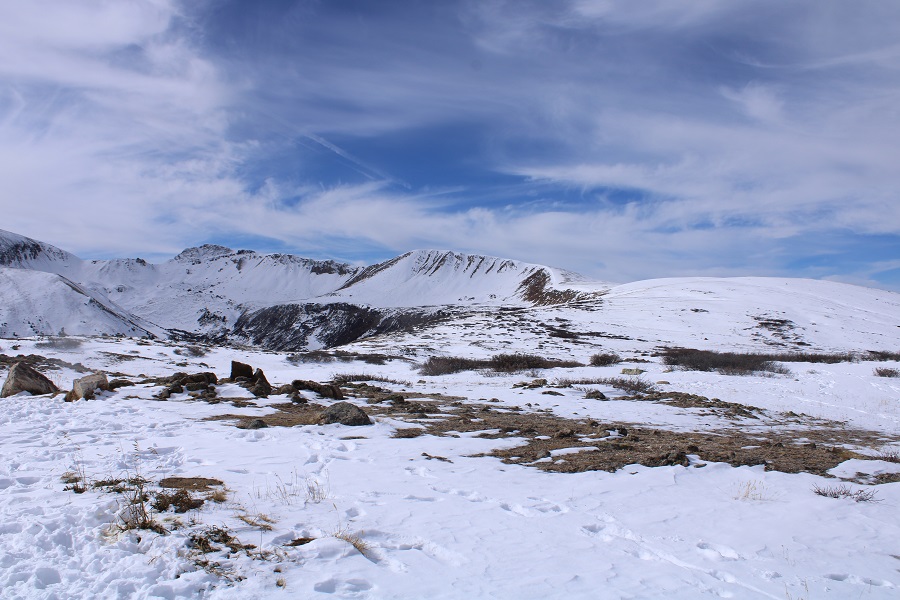
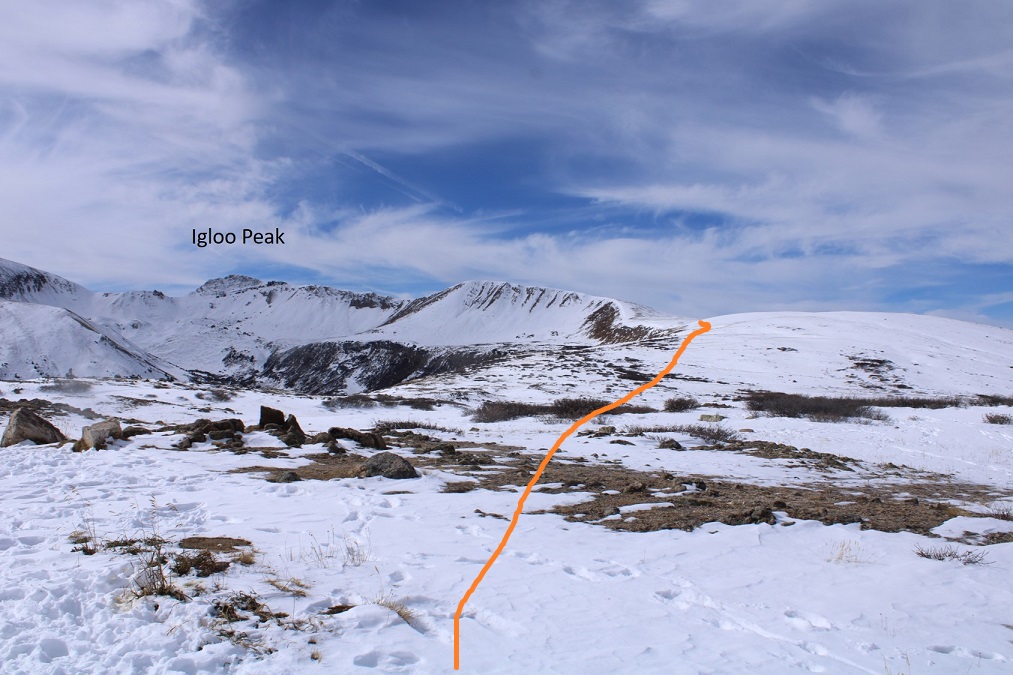
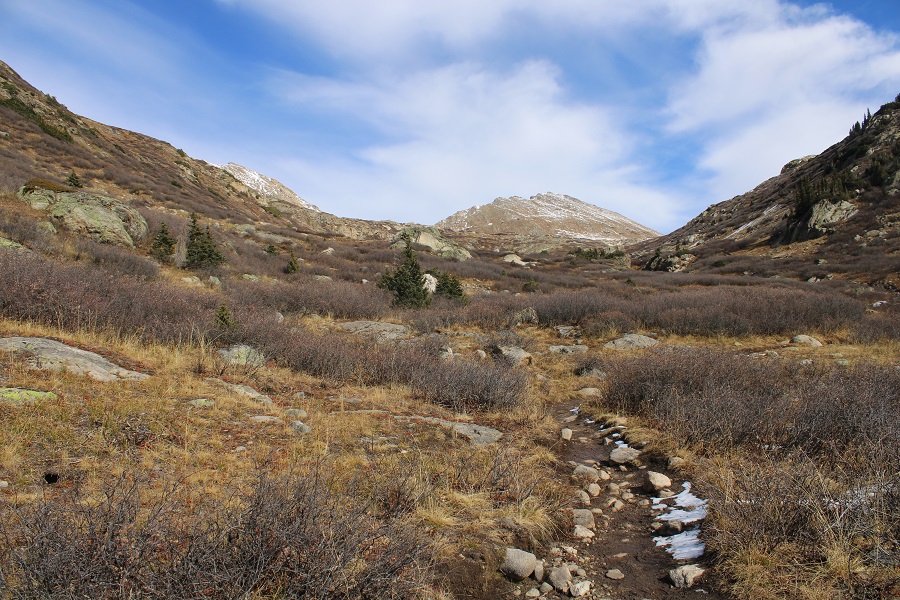
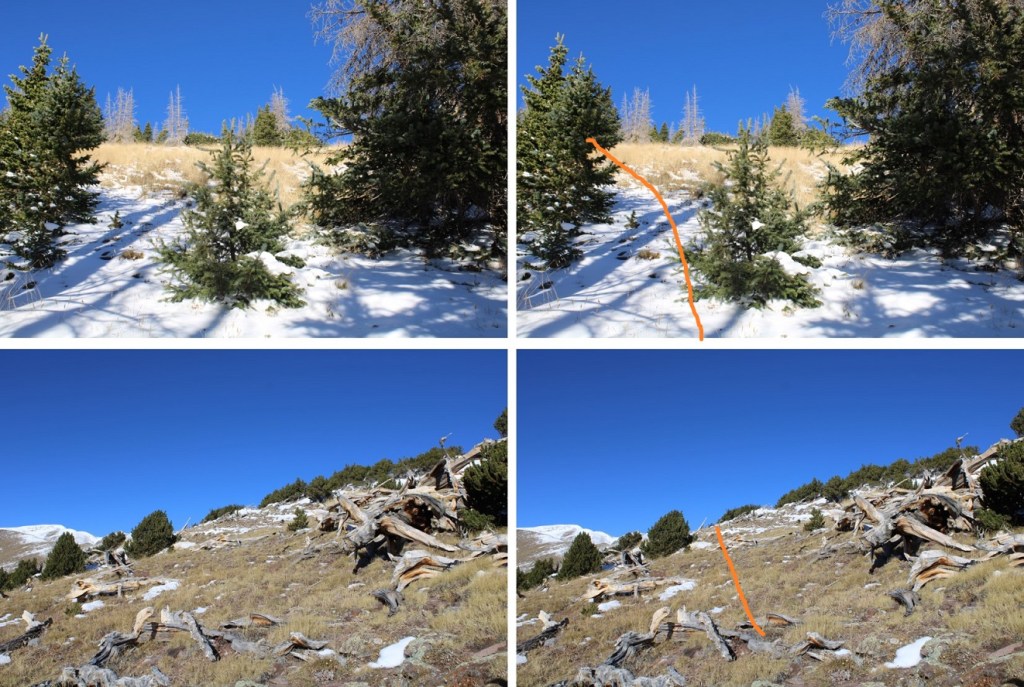
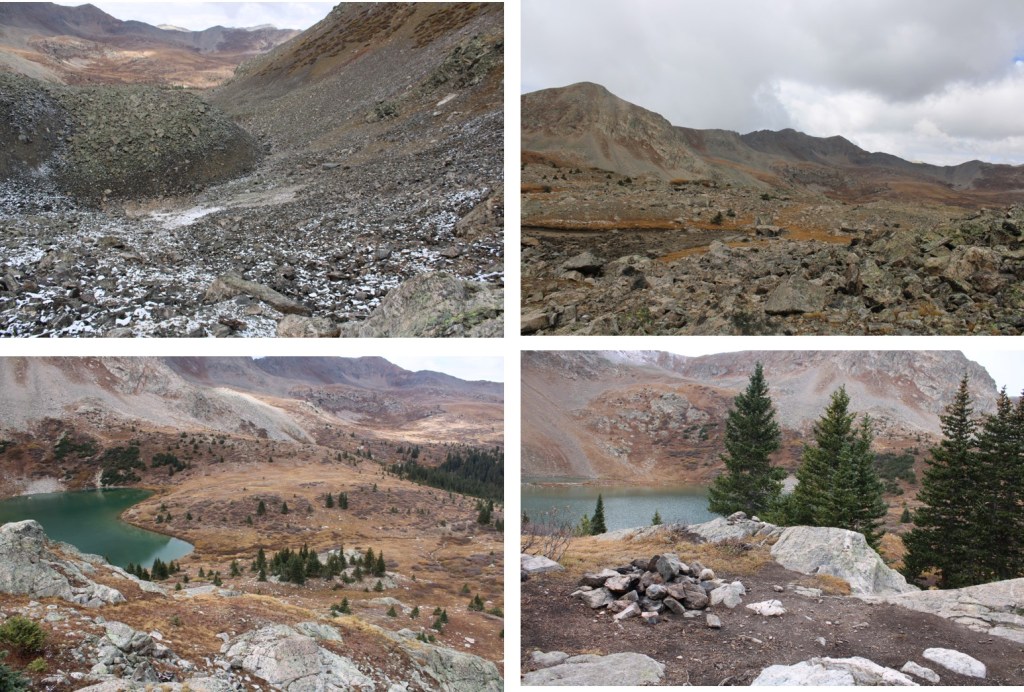
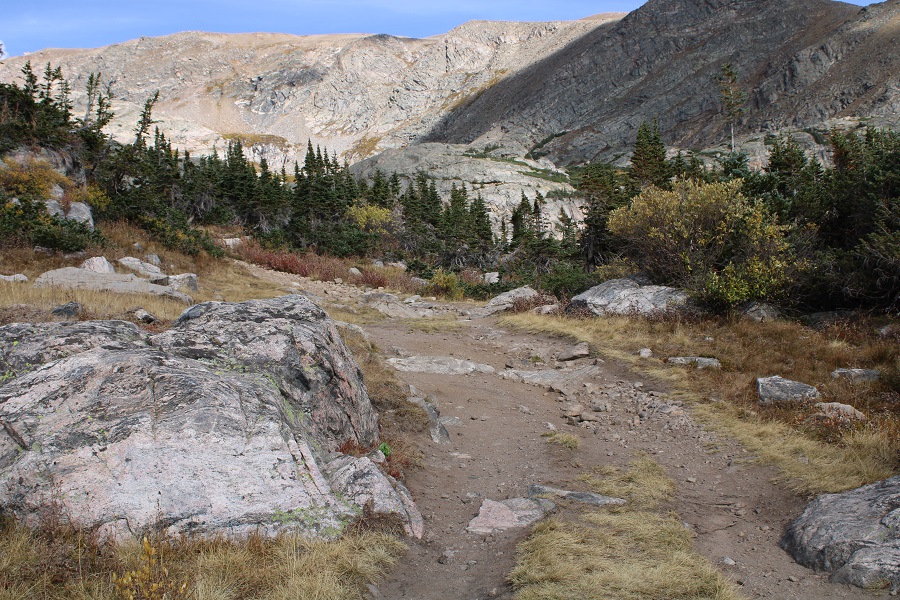
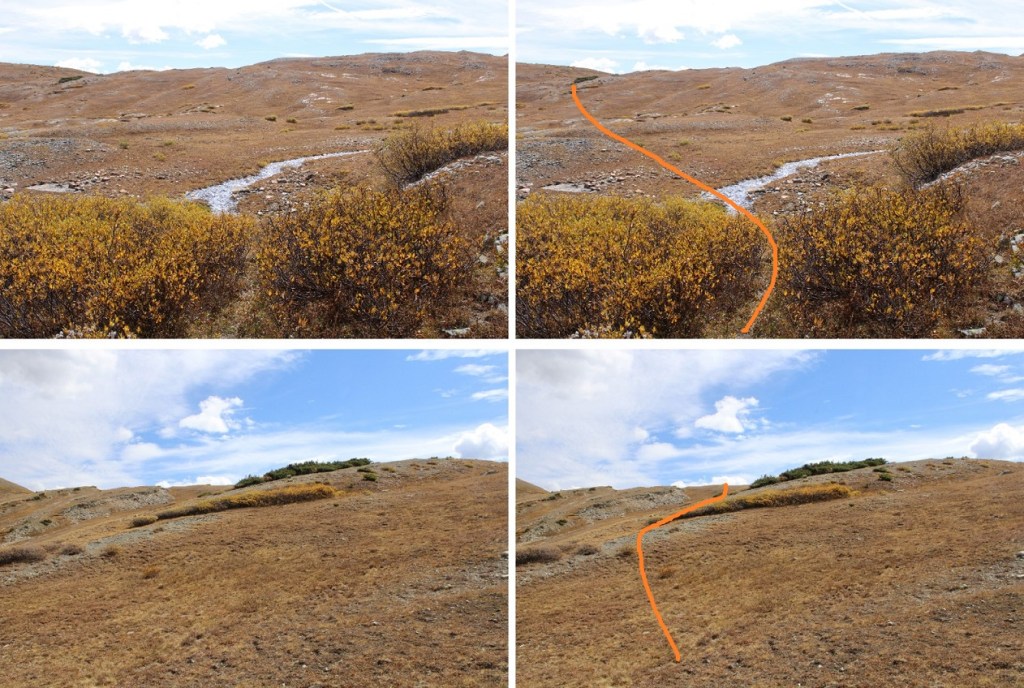
I headed towards the ridge, following an obvious route, which I am sure is class 1 in the summer.
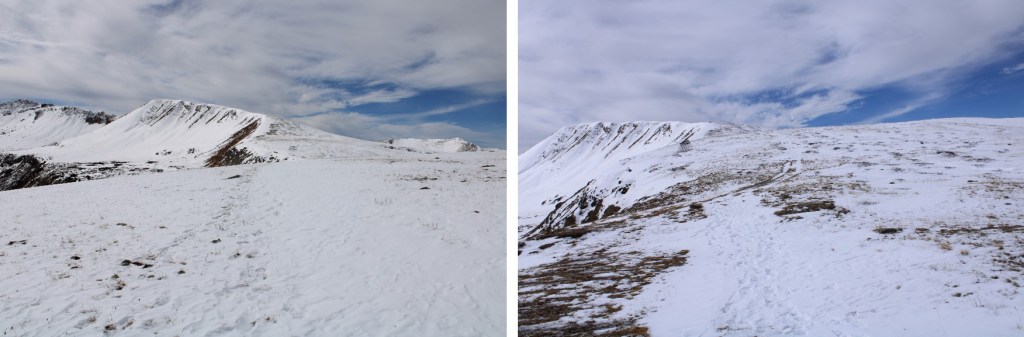
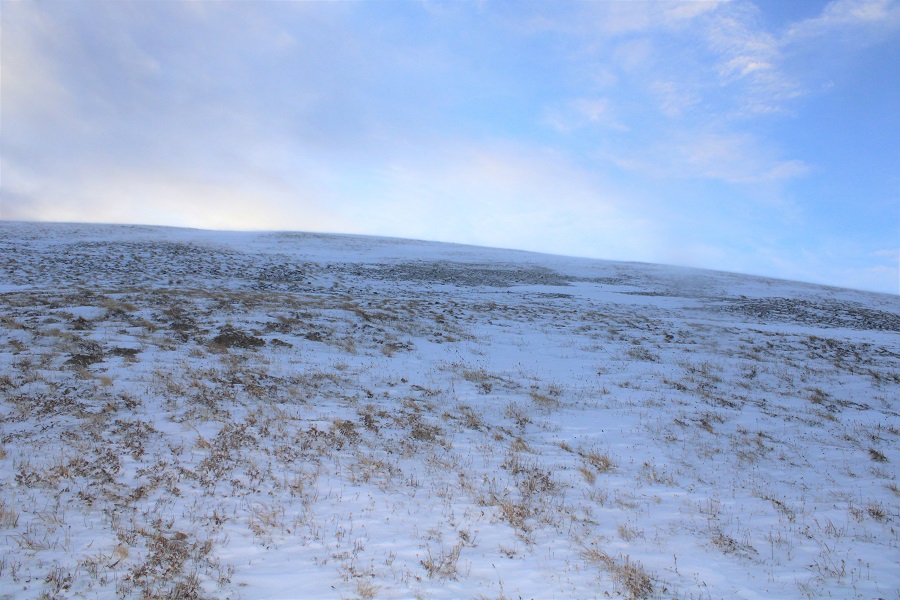
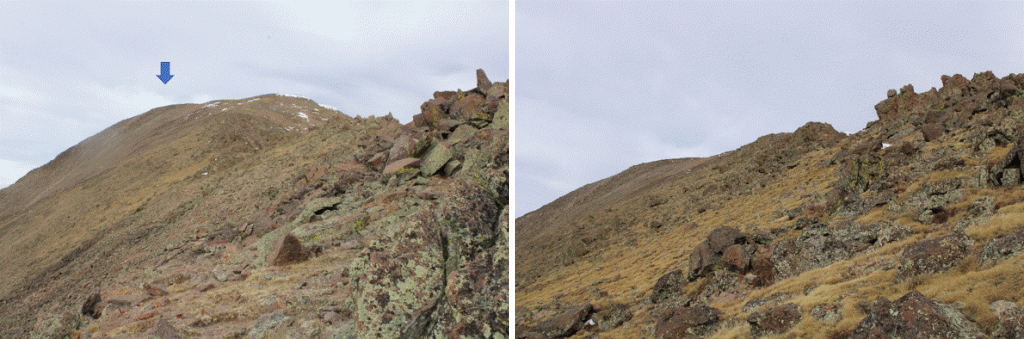
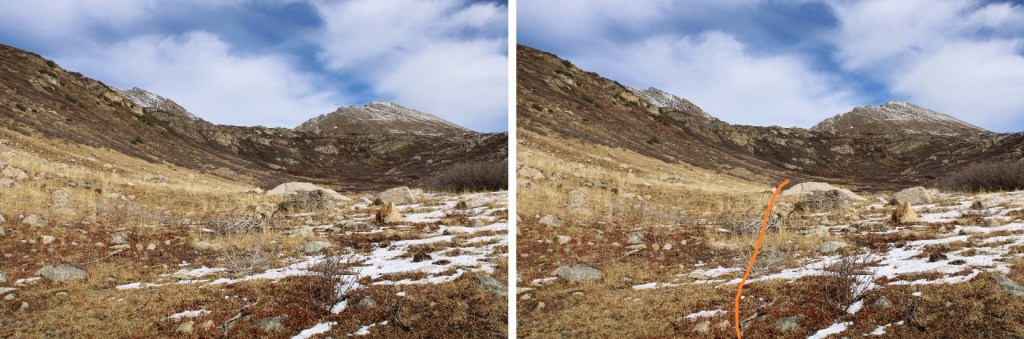
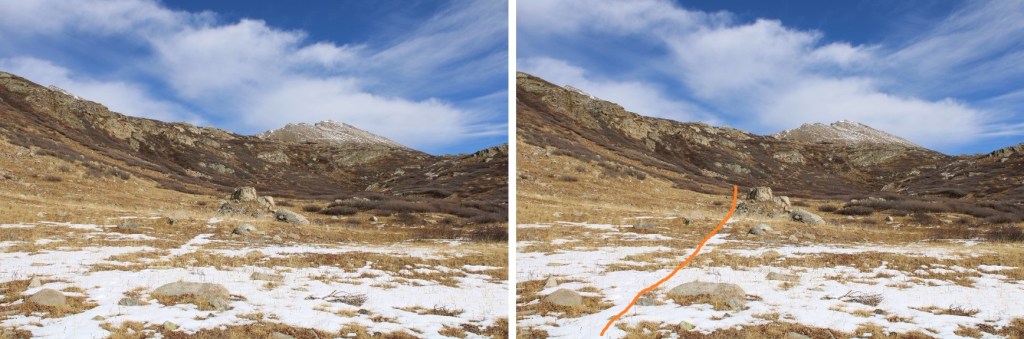
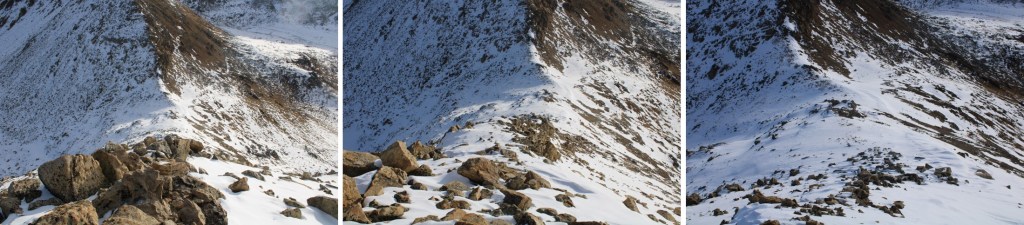
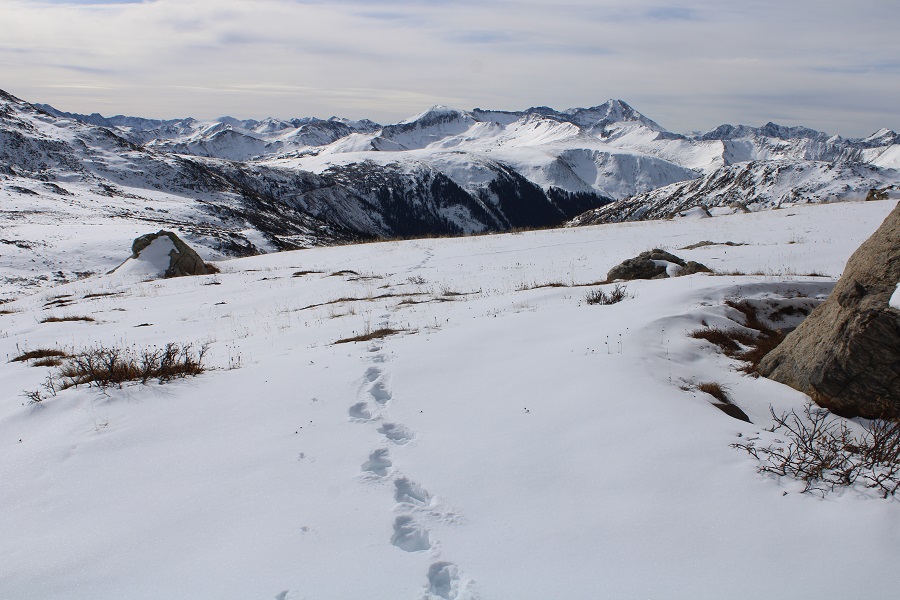
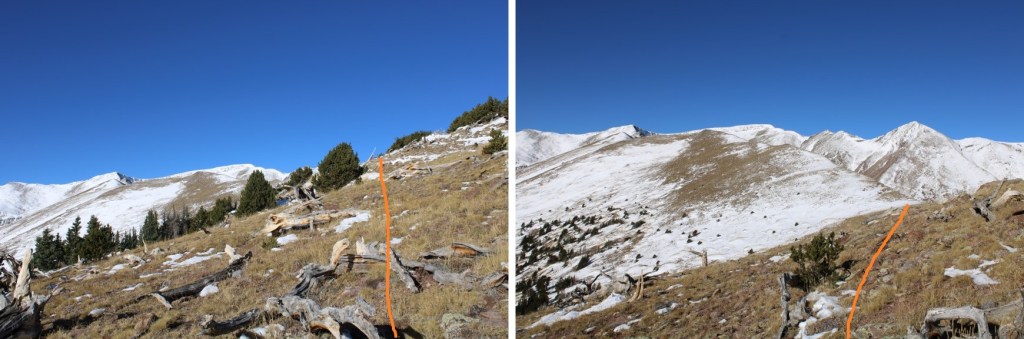
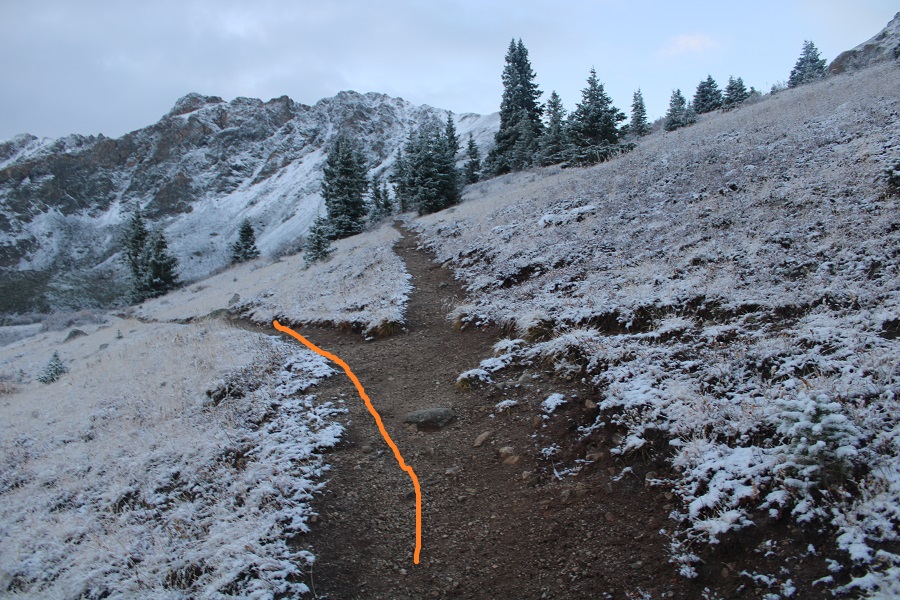
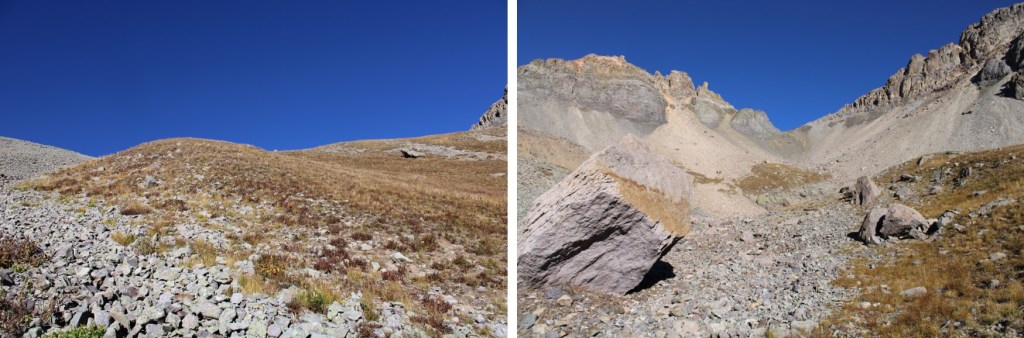
As you can see from the pictures… obvious route.  If it’s not obvious when you’re here, follow the contour of the ridge.  It’s all tundra.
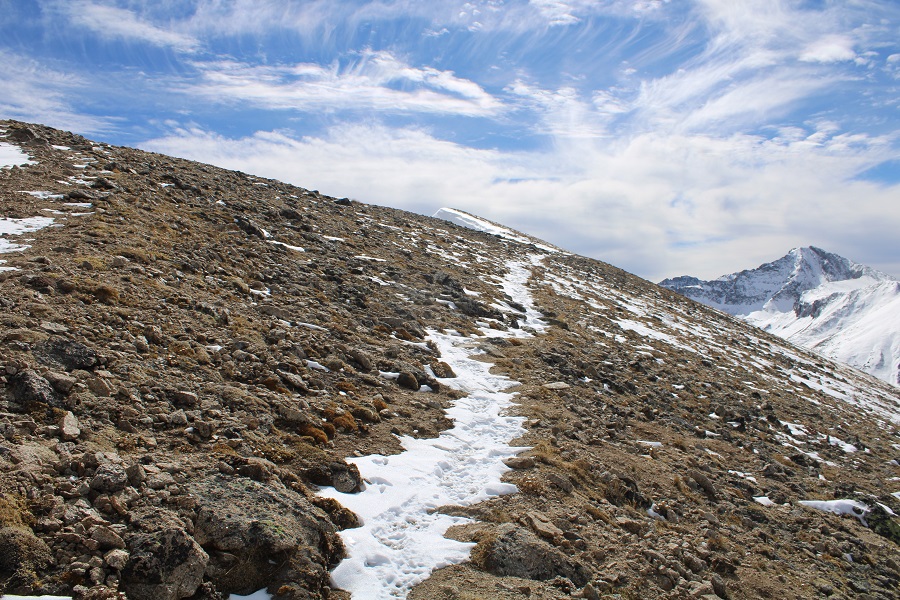
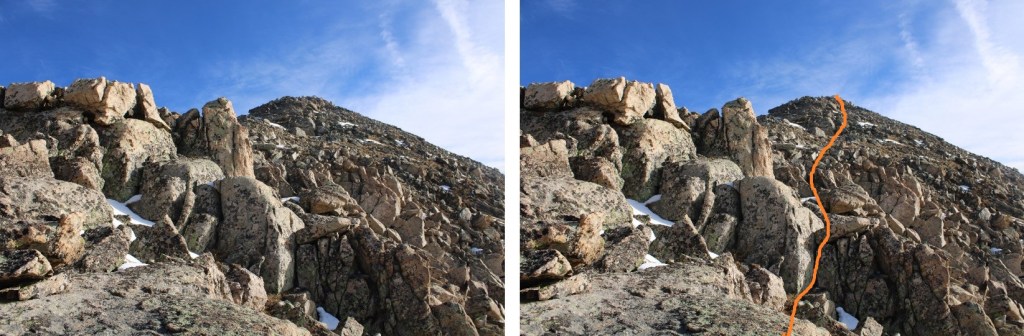
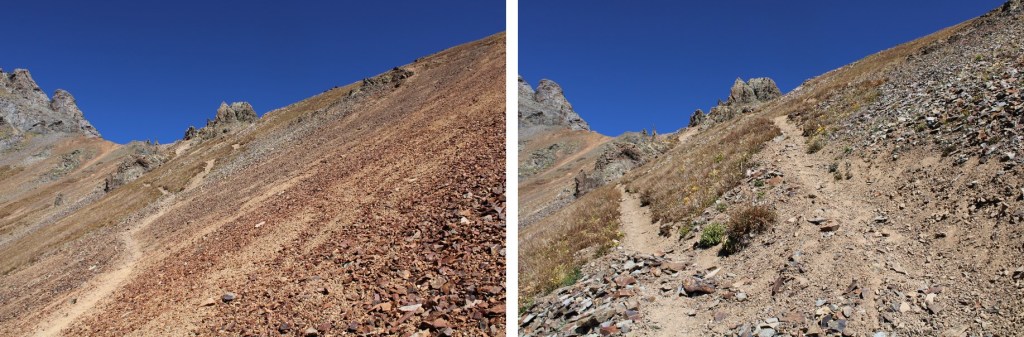
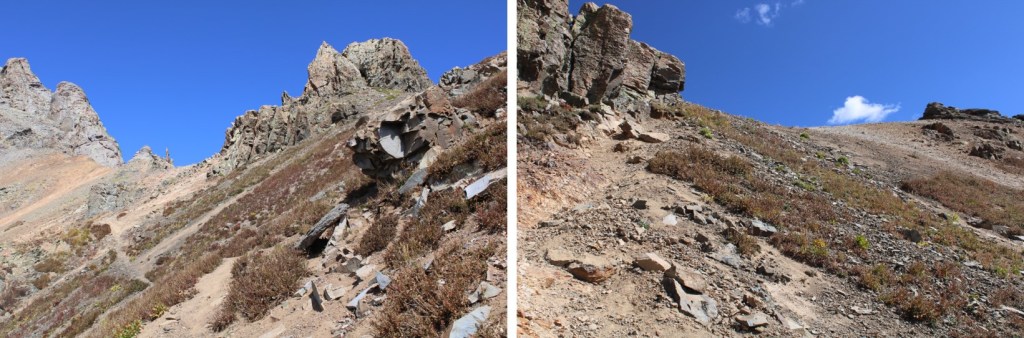
The route becomes briefly class 2 here
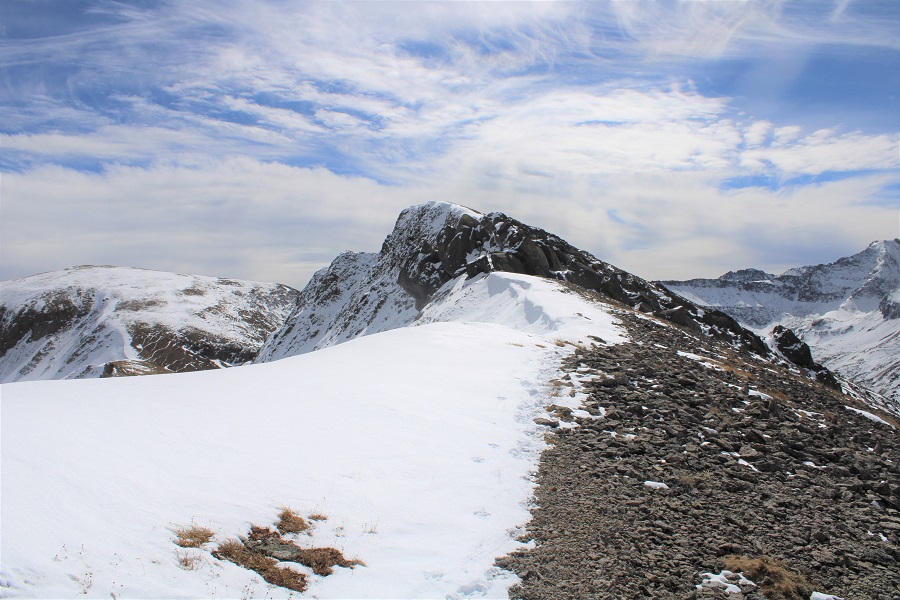
This is very easy to navigate
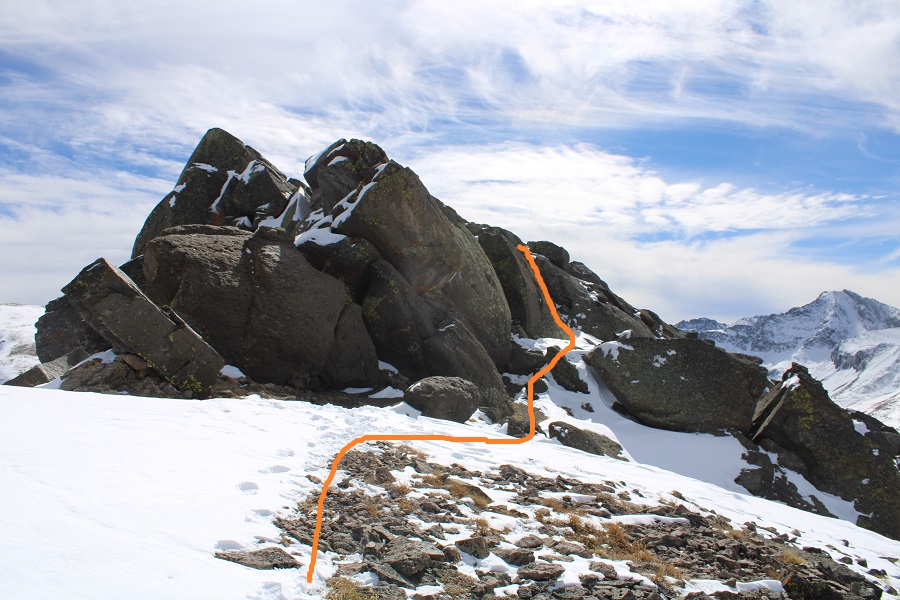
And then it’s back on a class 1 trail again

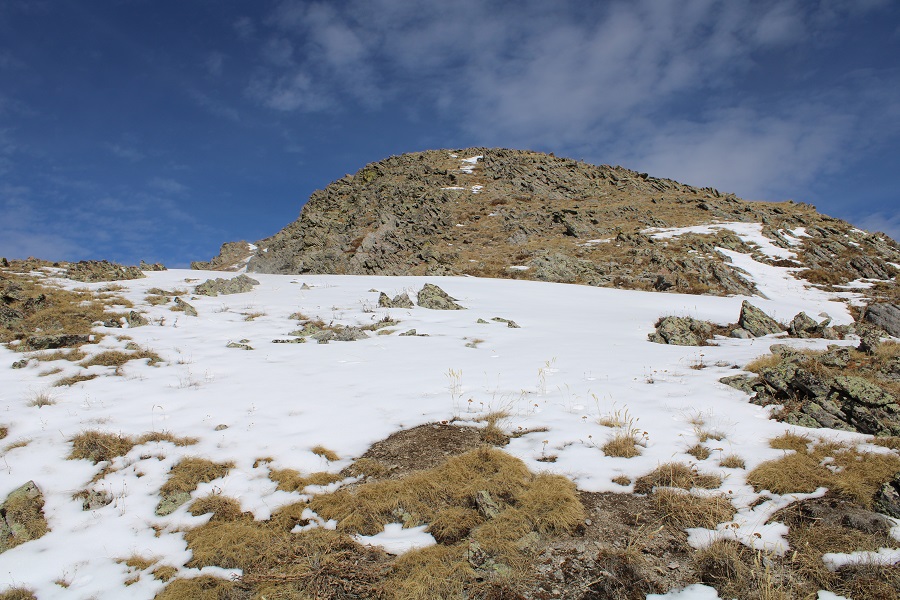
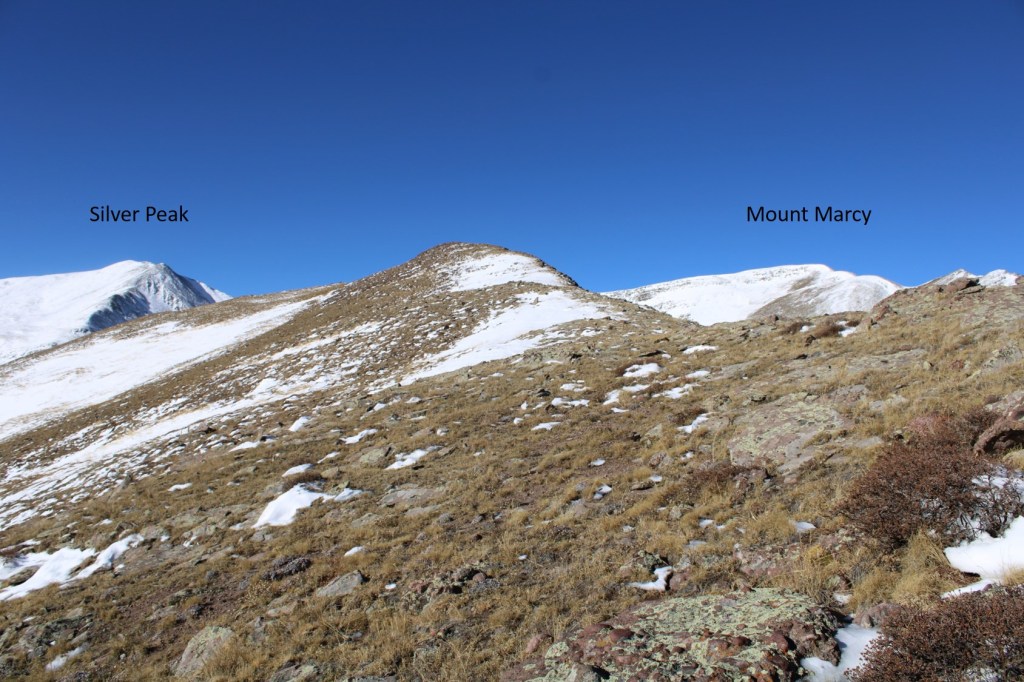
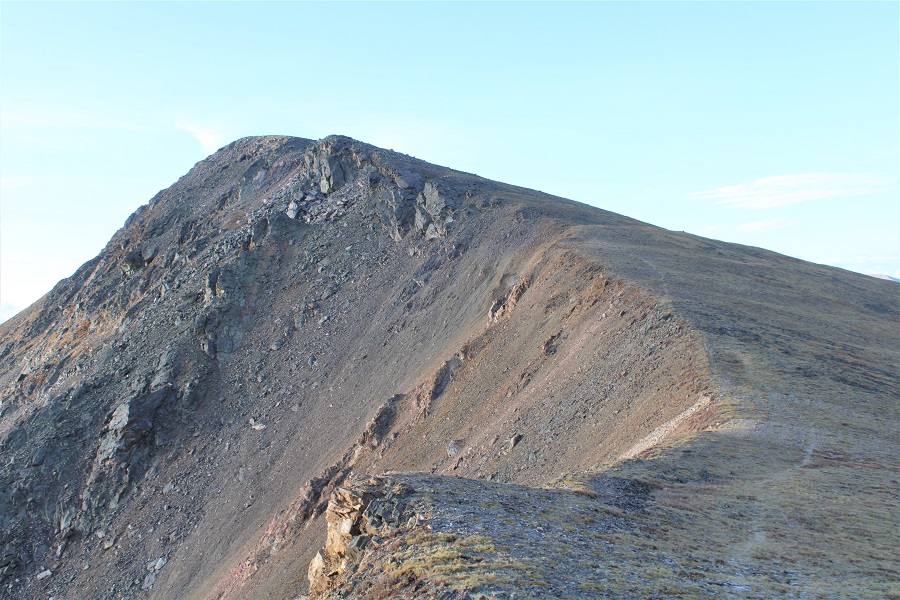
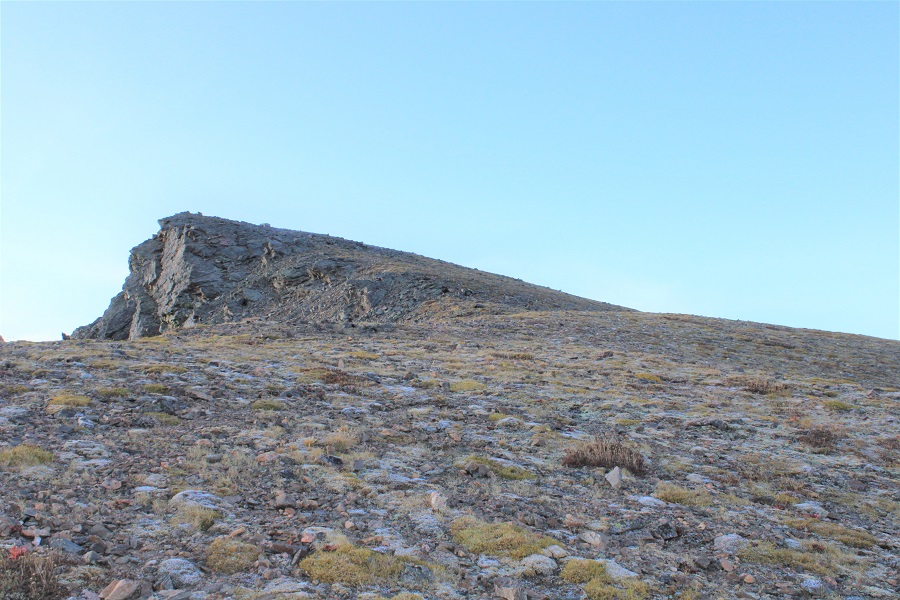
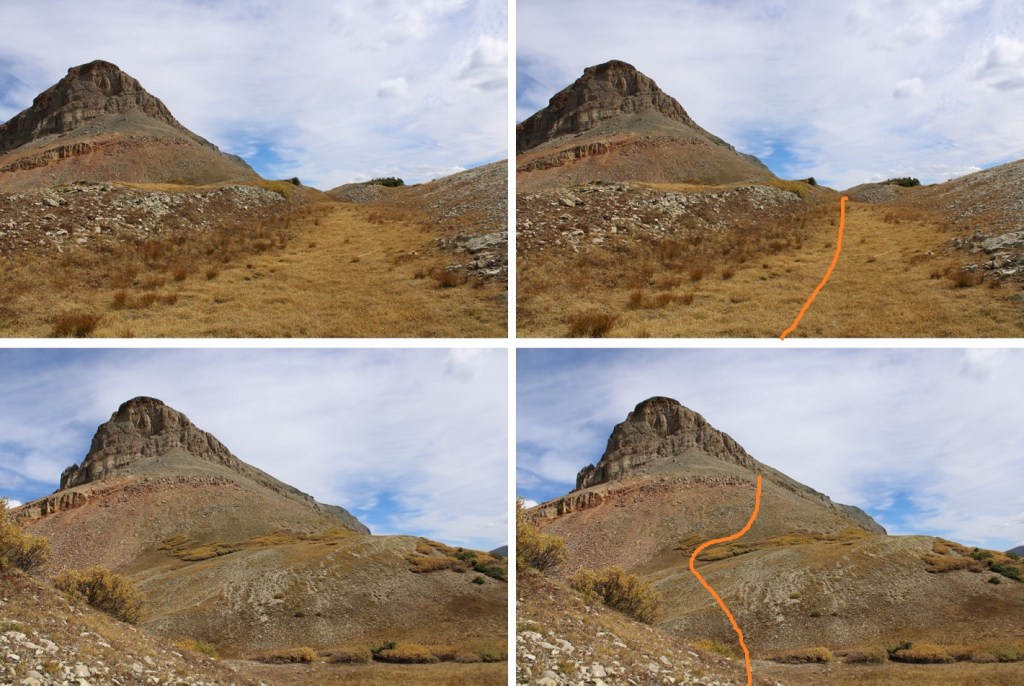
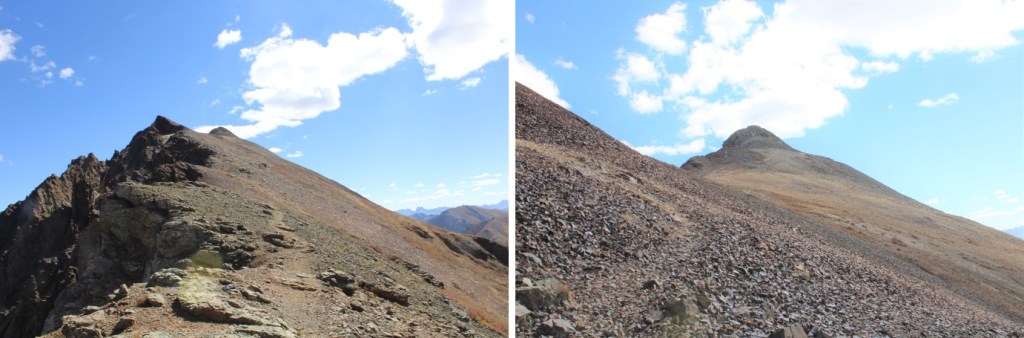
If you stay on the trail, the summit will be obvious
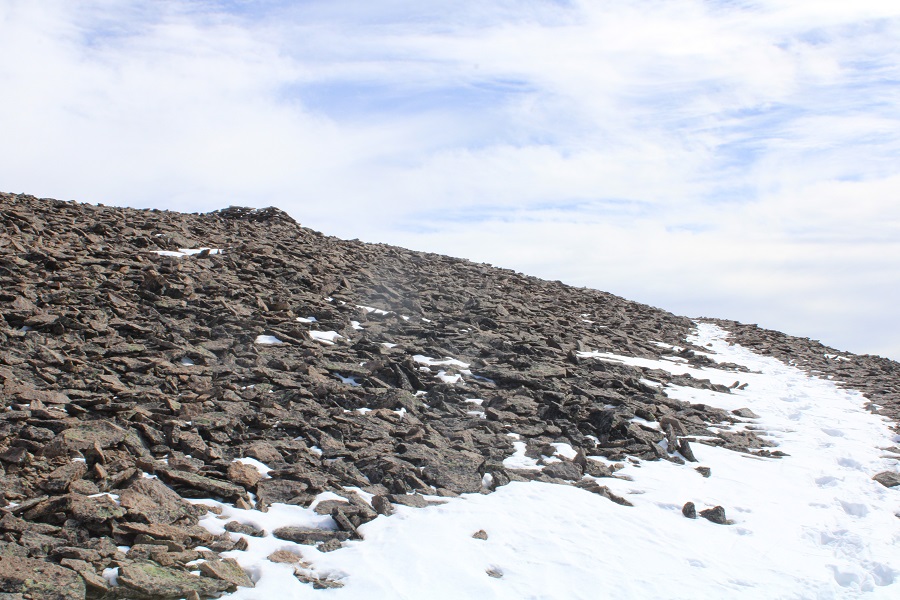
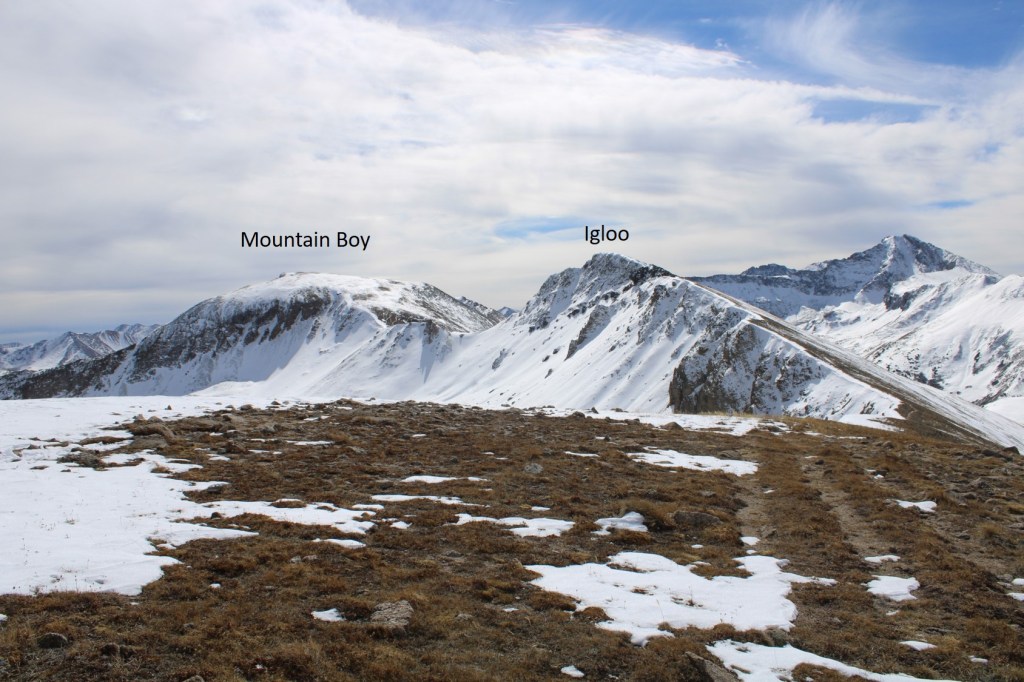
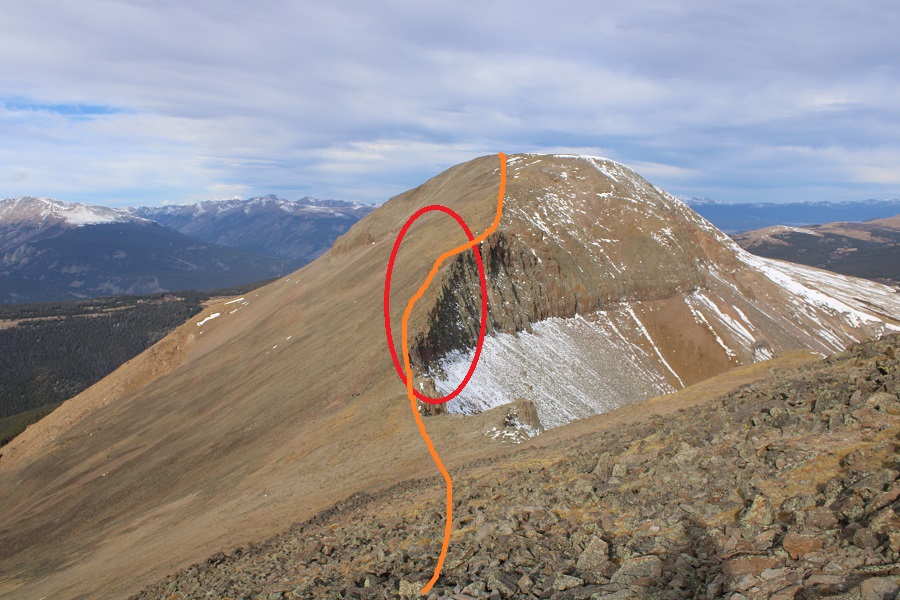
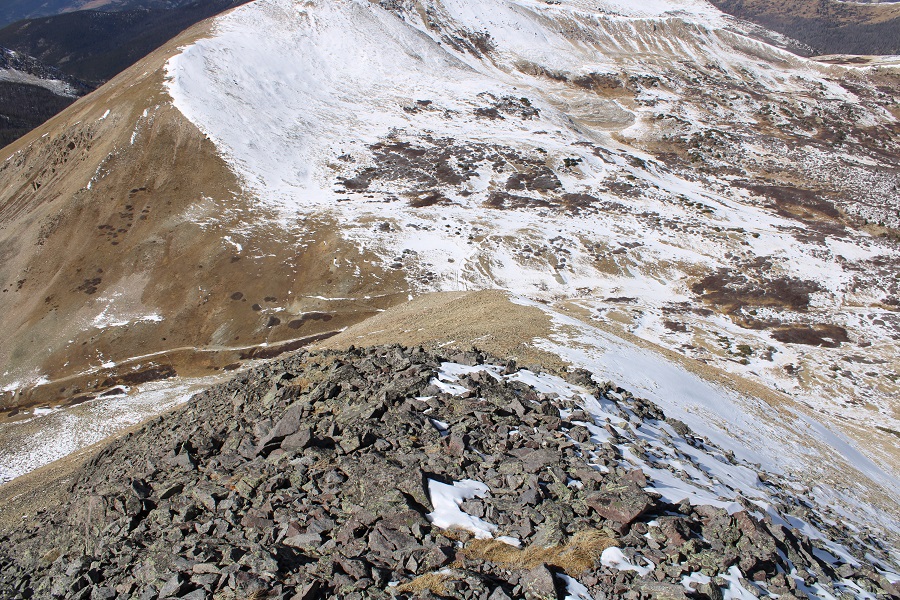
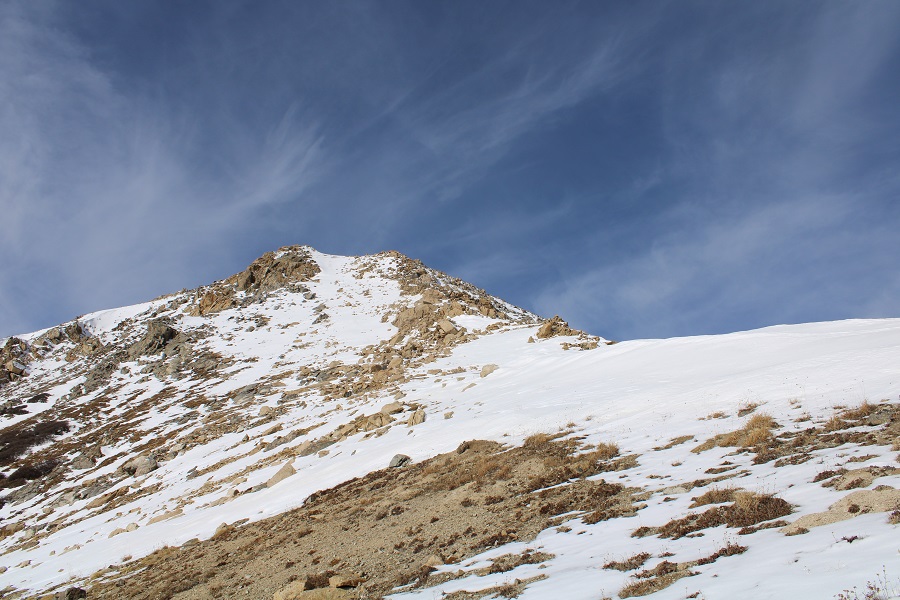
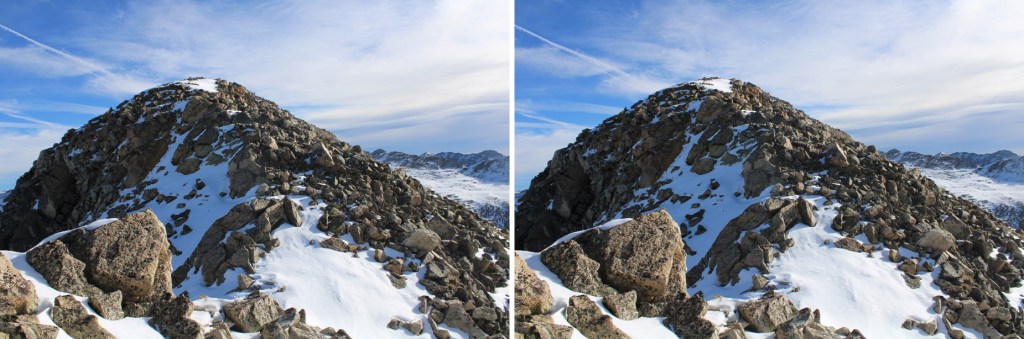
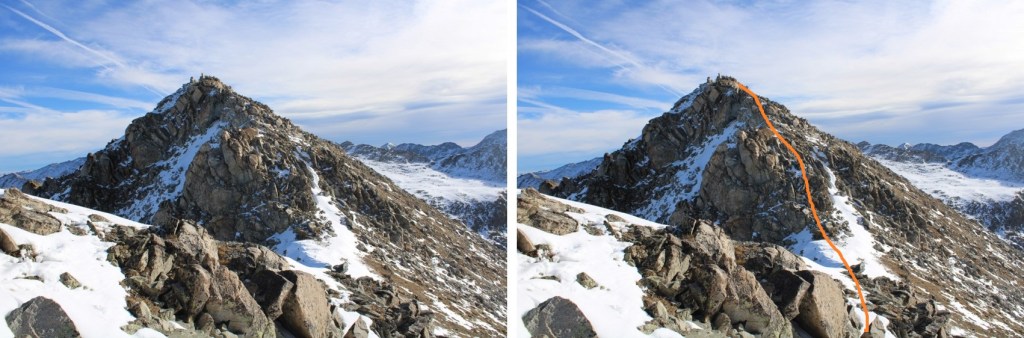
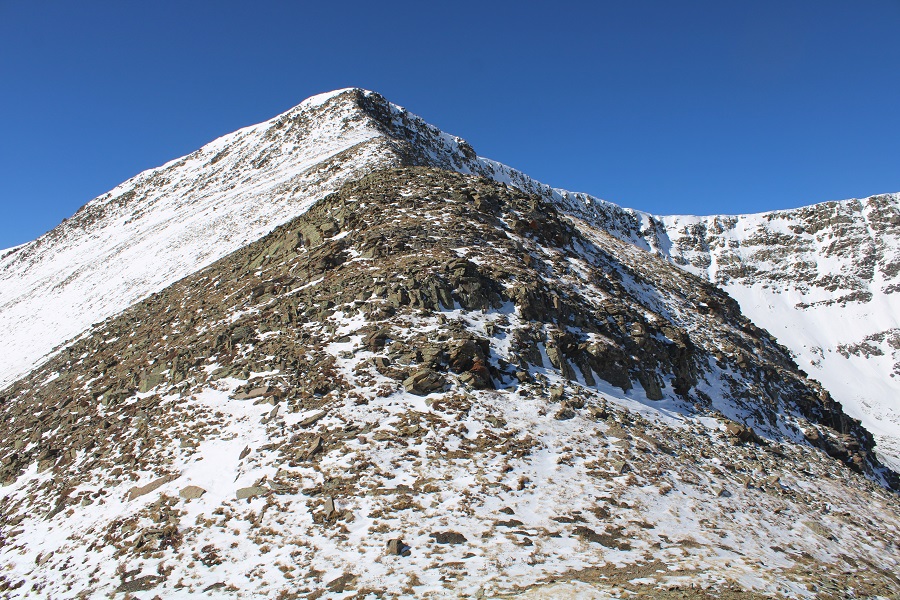
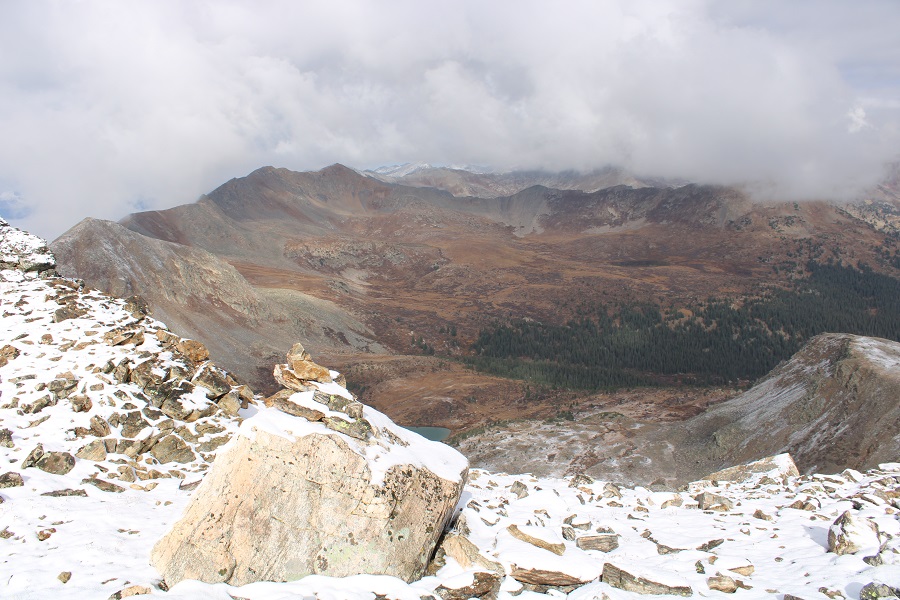
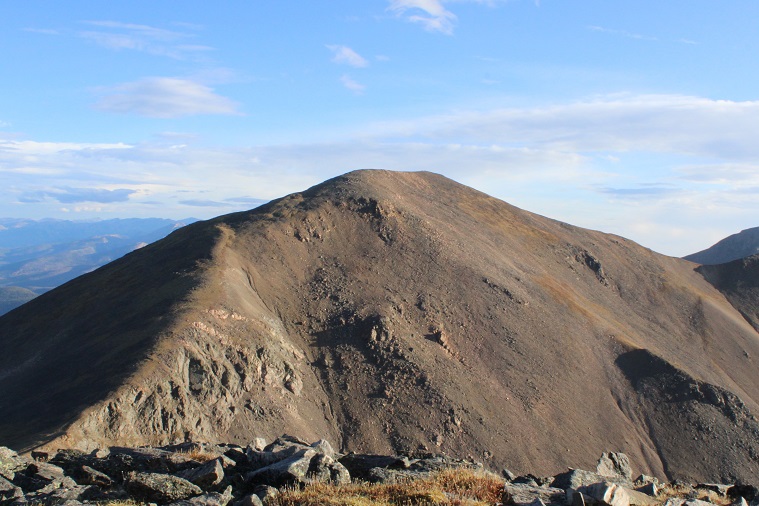
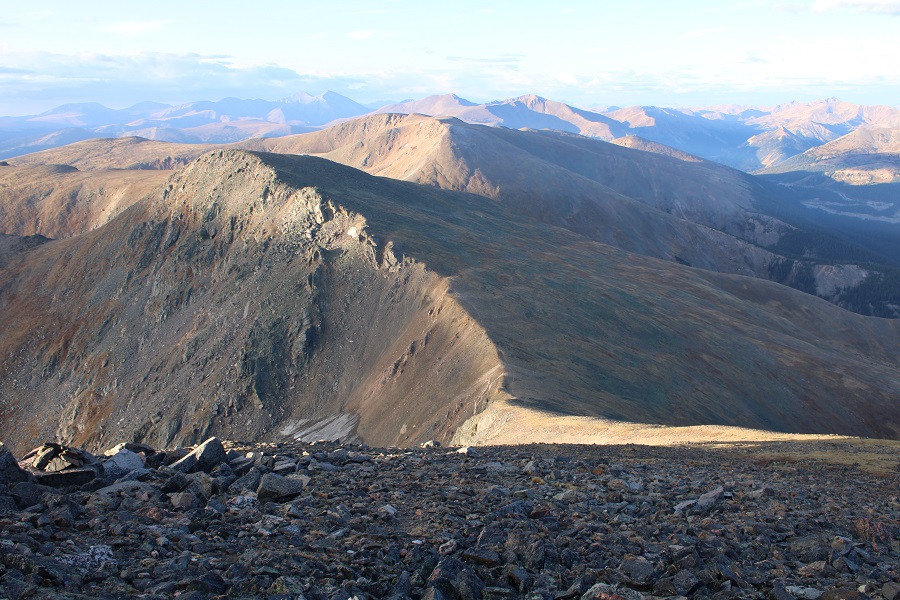
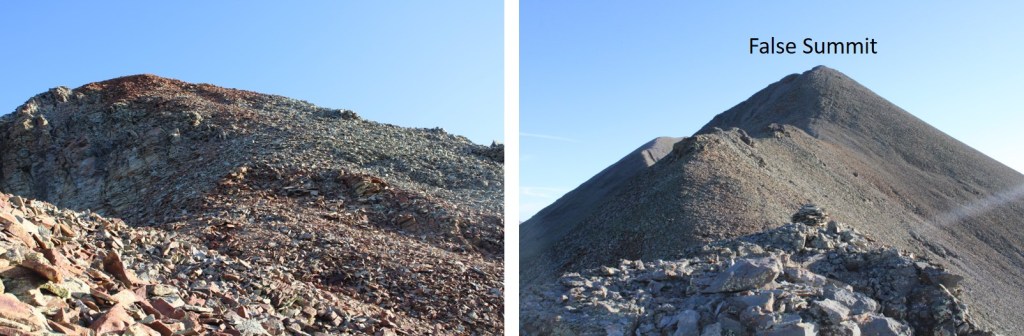
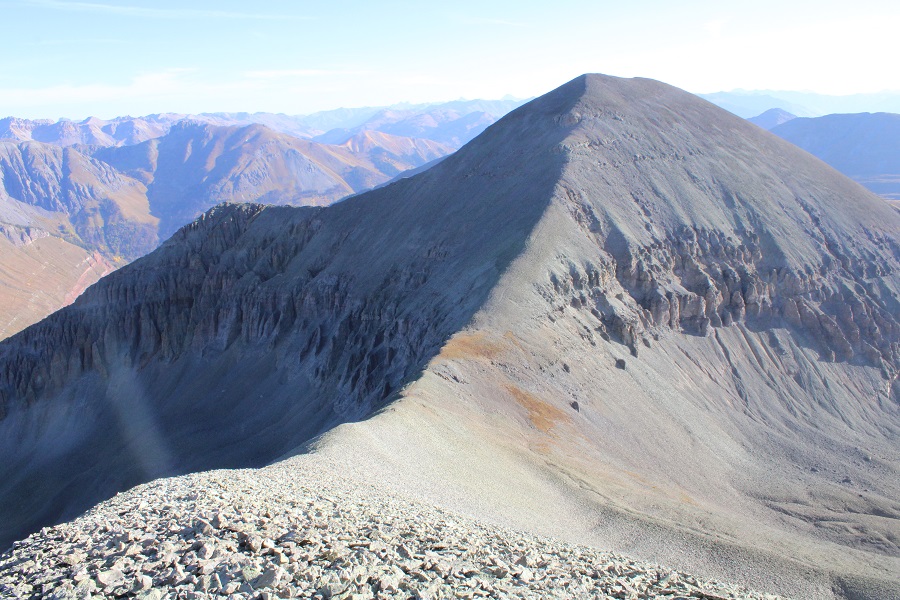
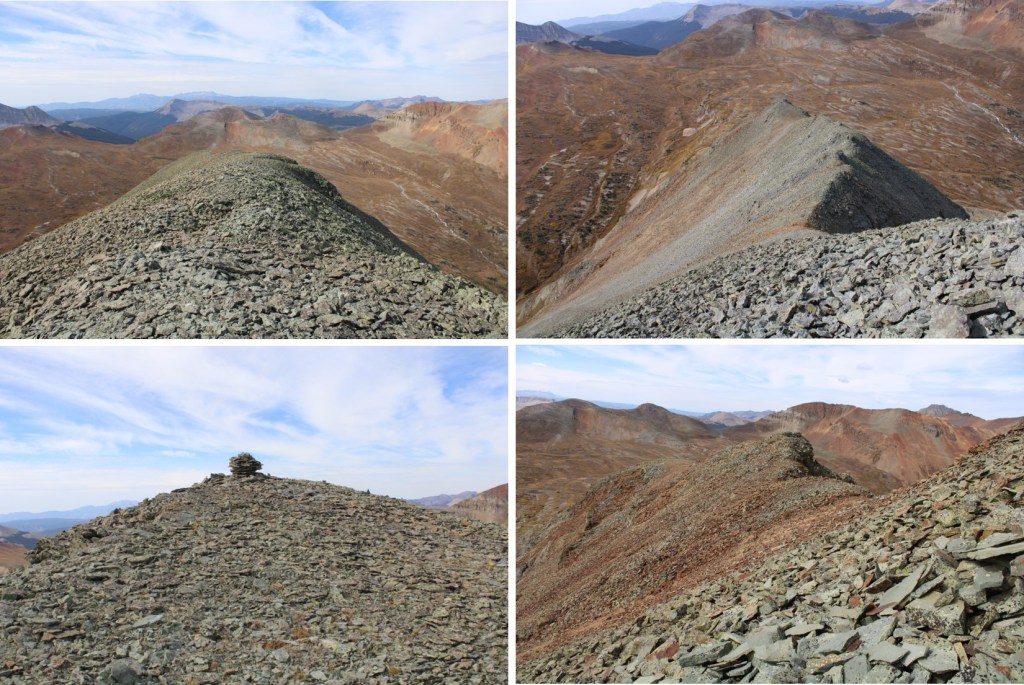
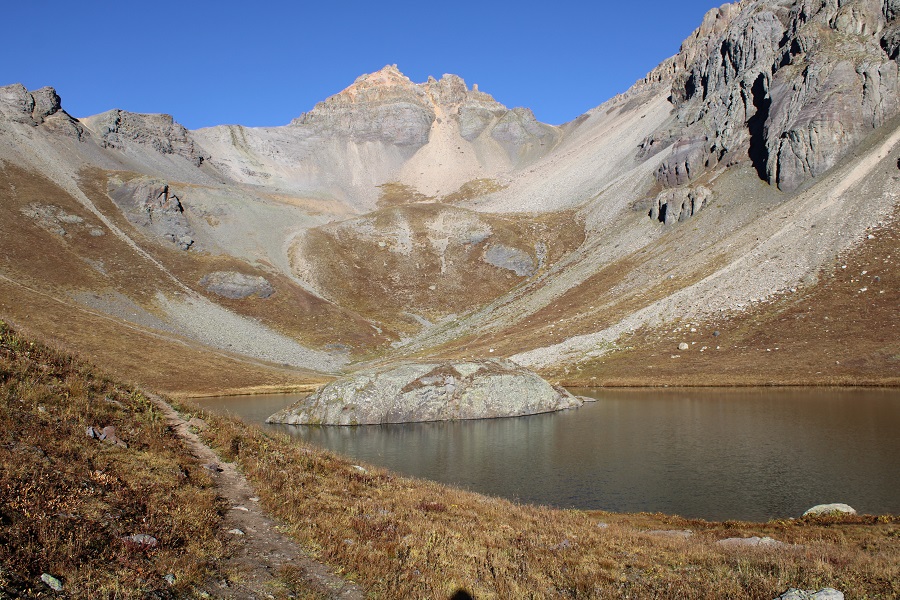
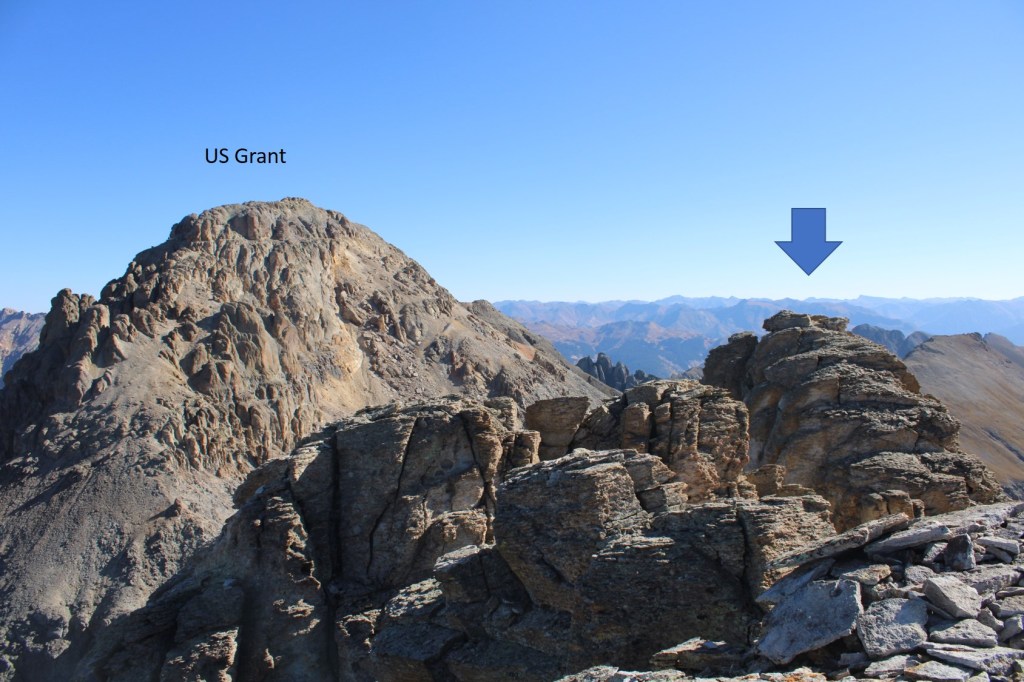
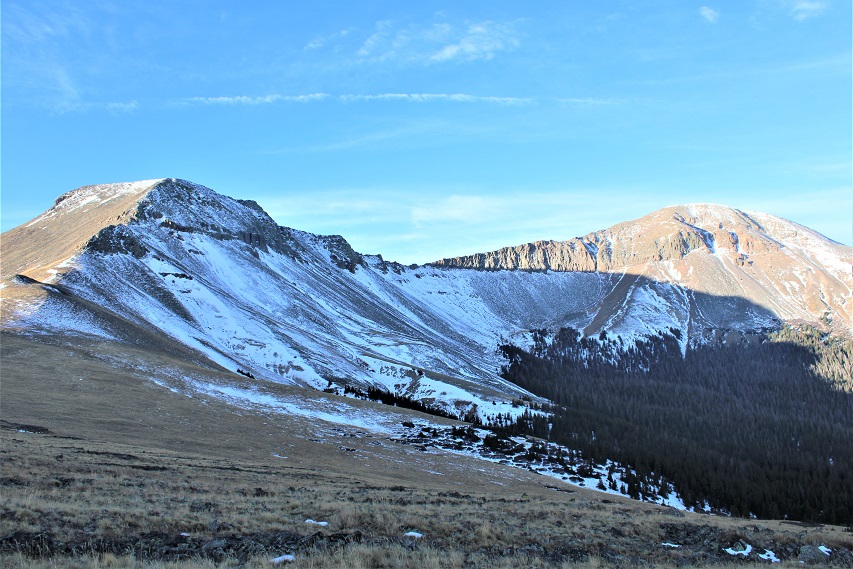
Here’s Mountain Boy from Igloo
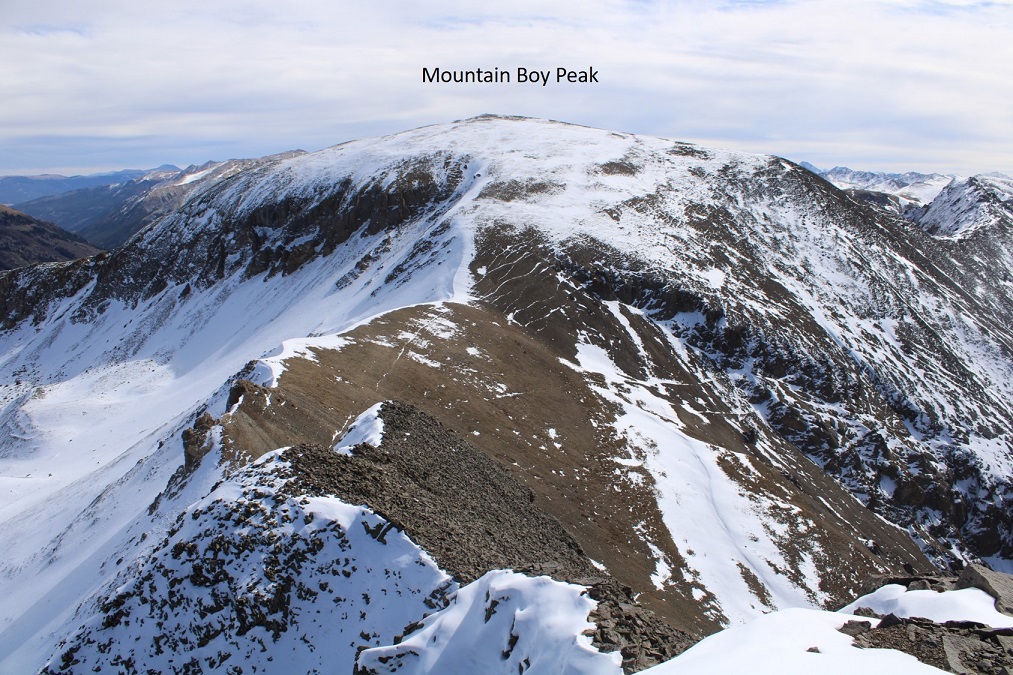
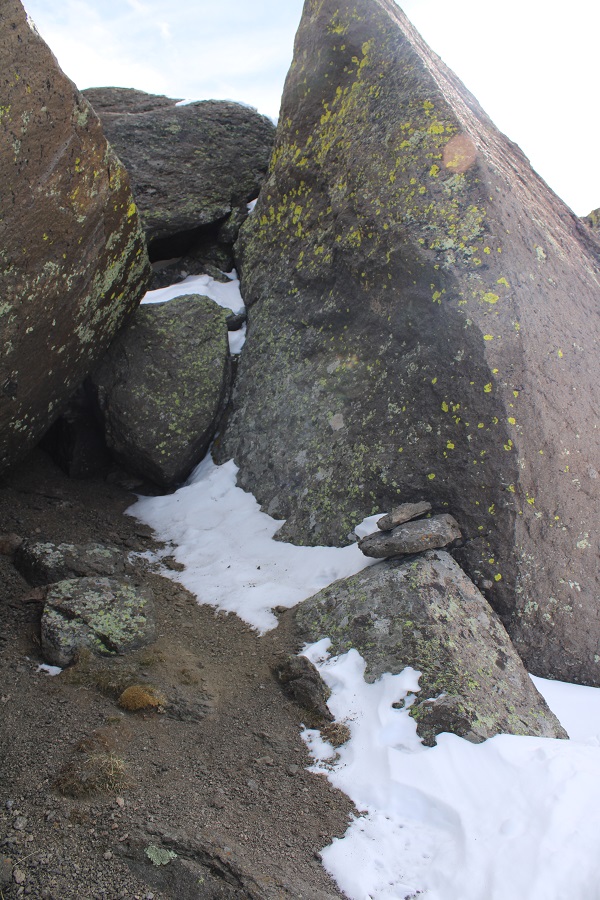
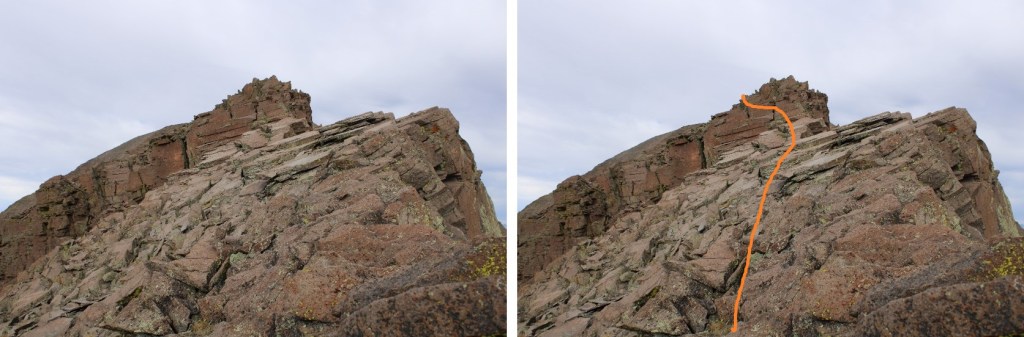
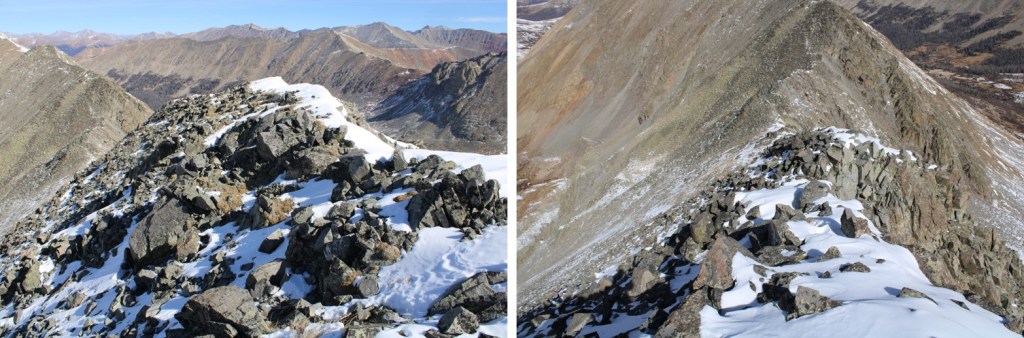
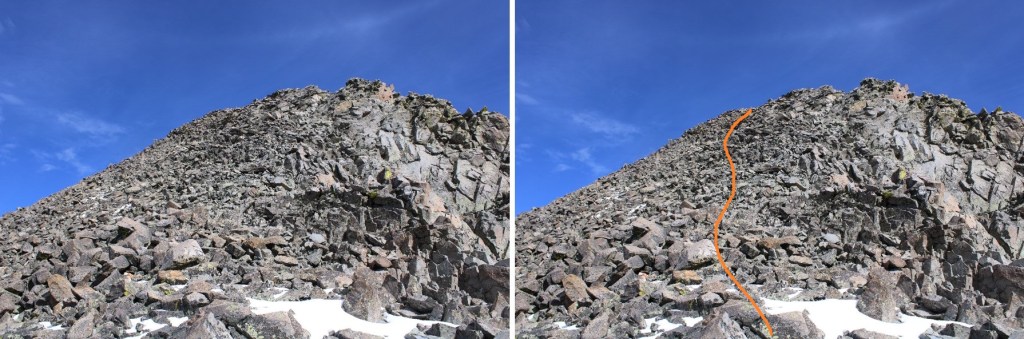
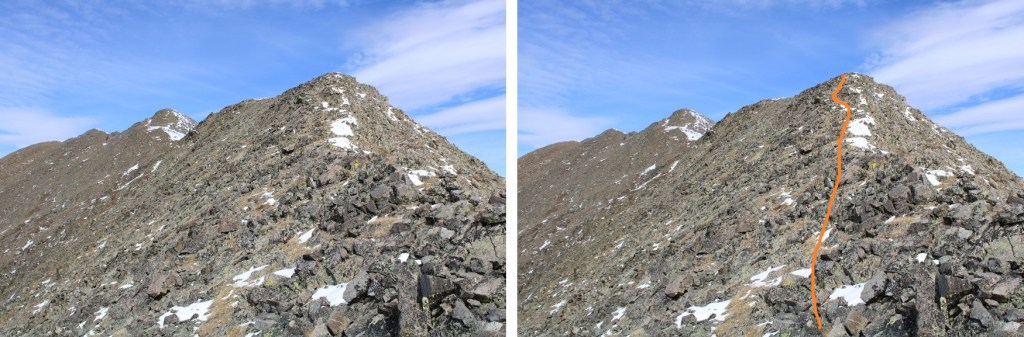
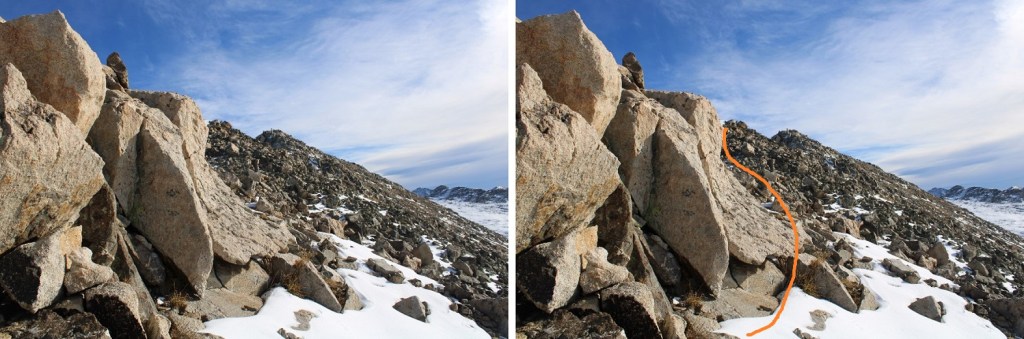
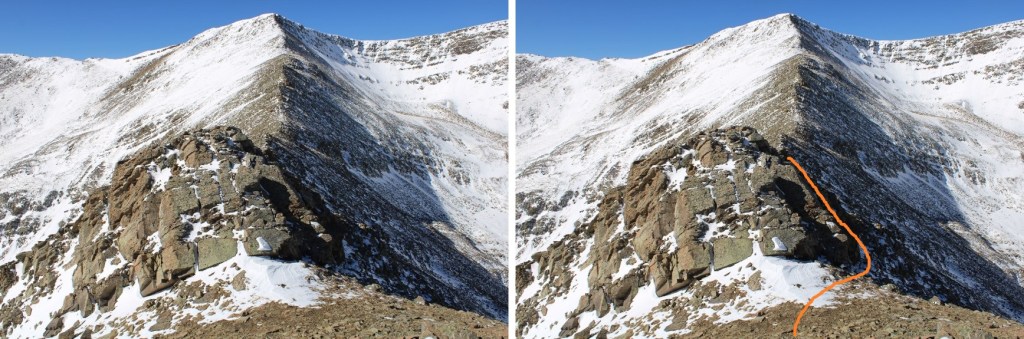
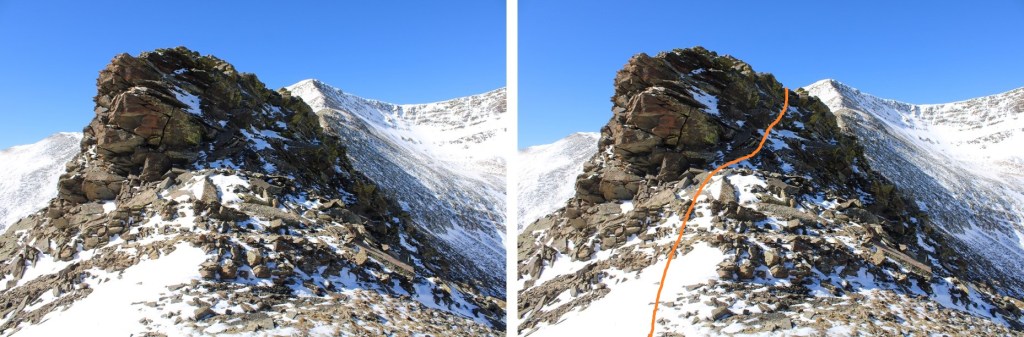
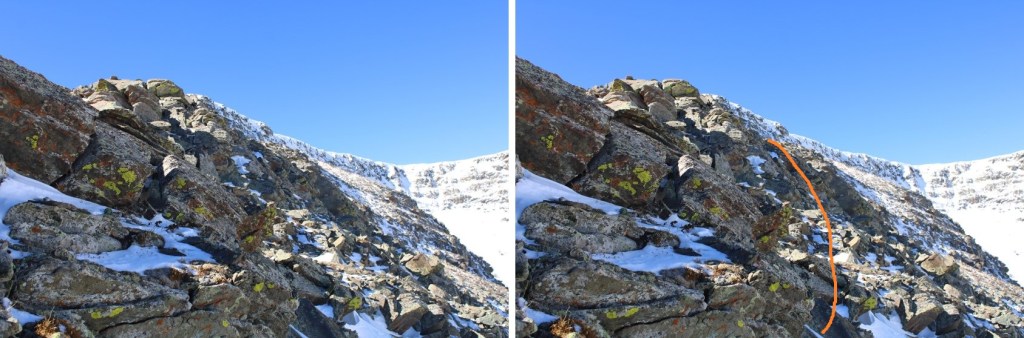
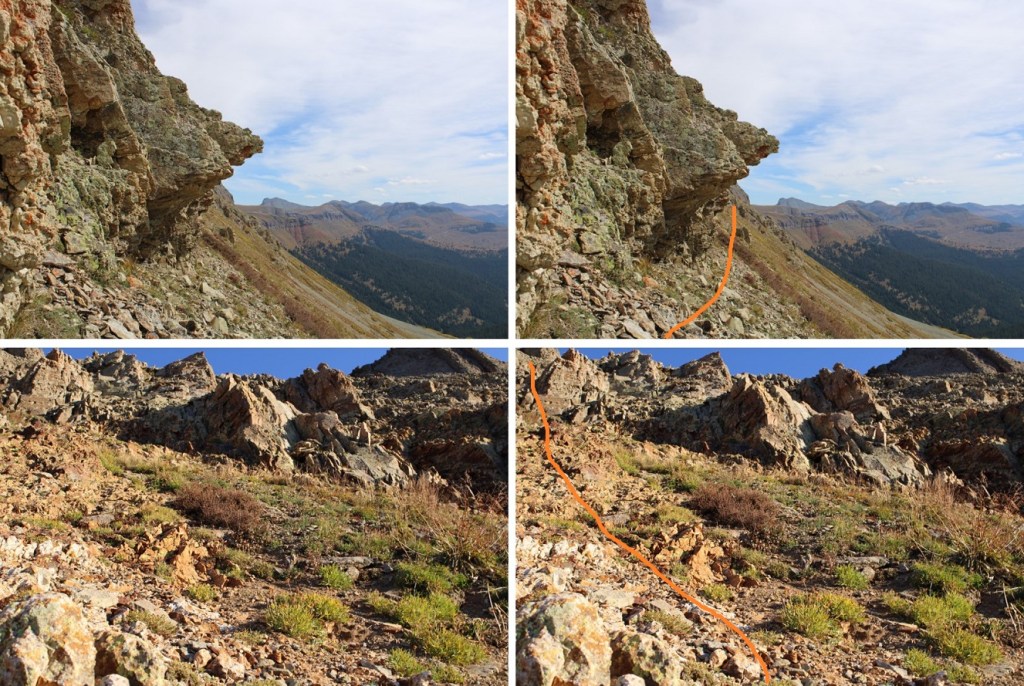
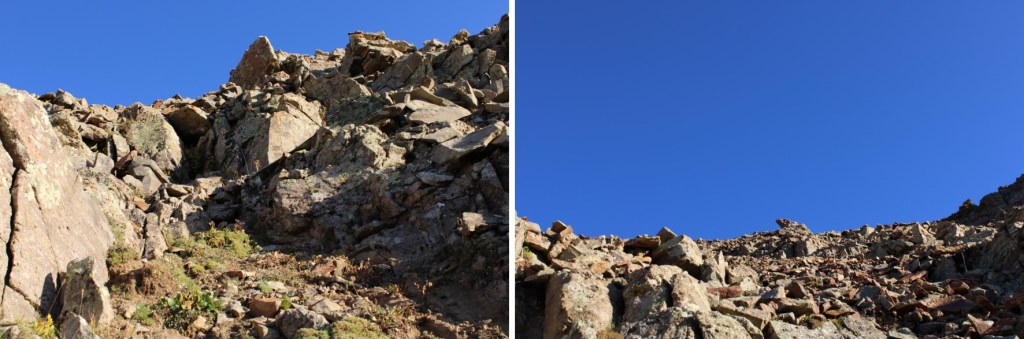
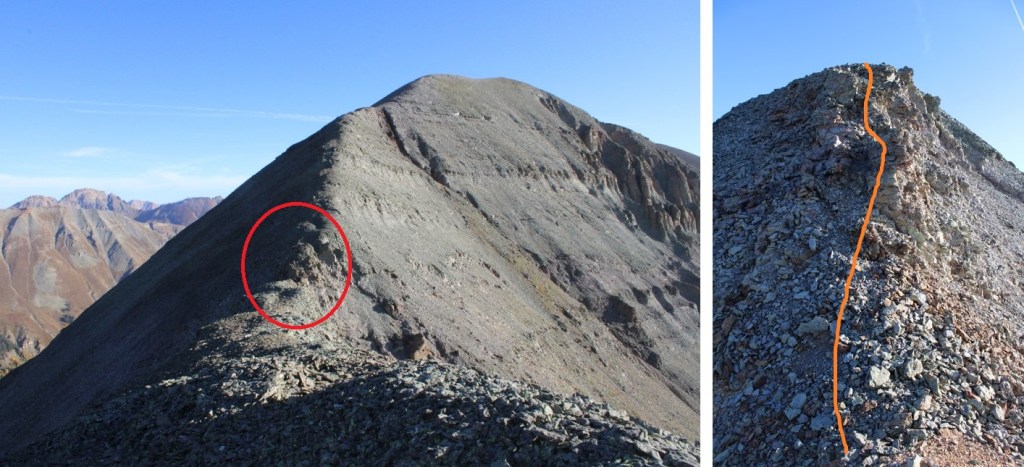
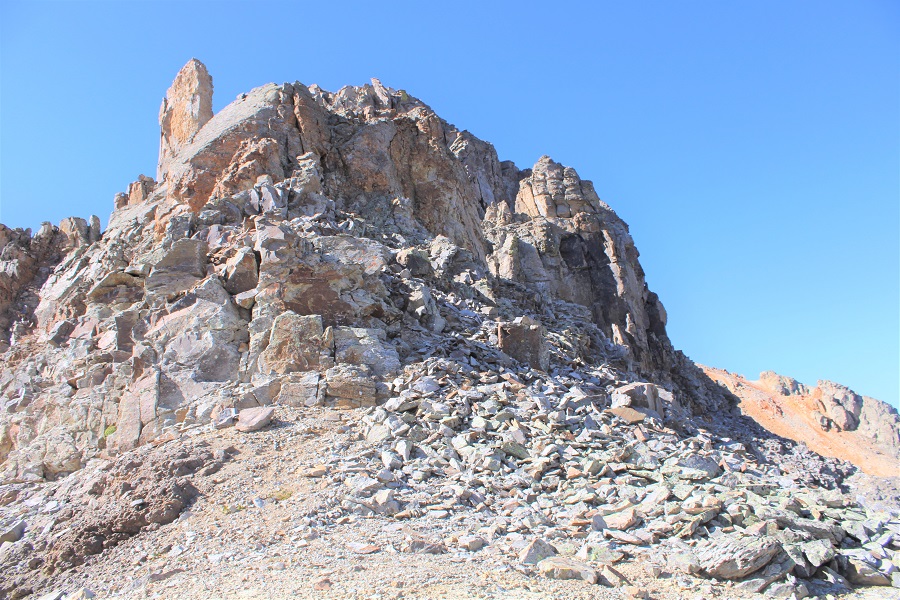
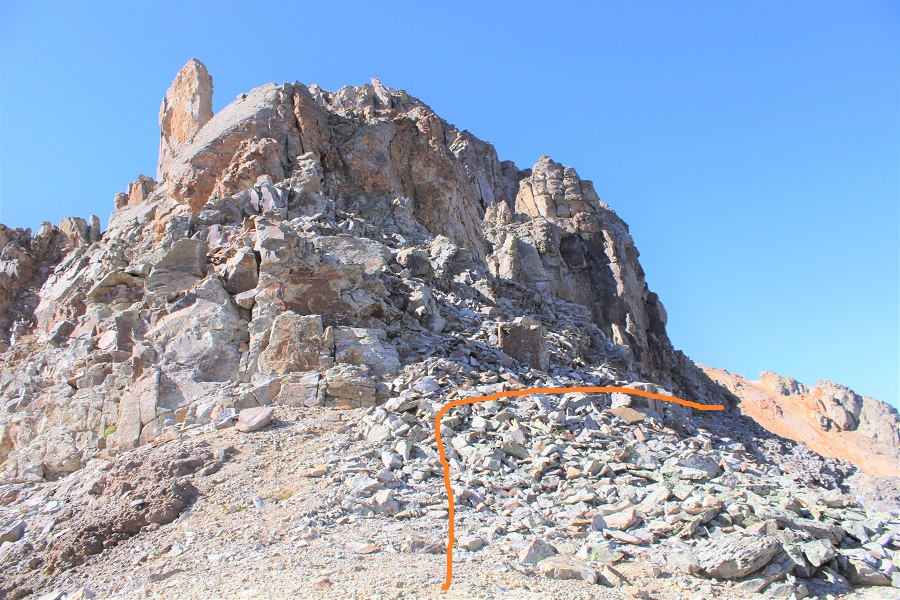
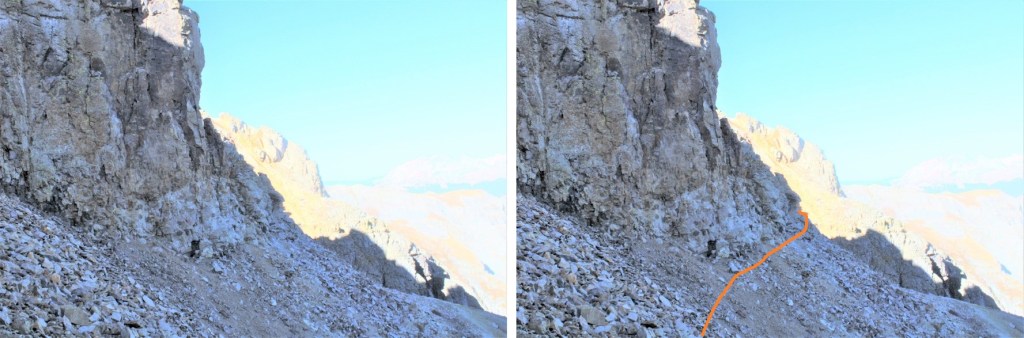
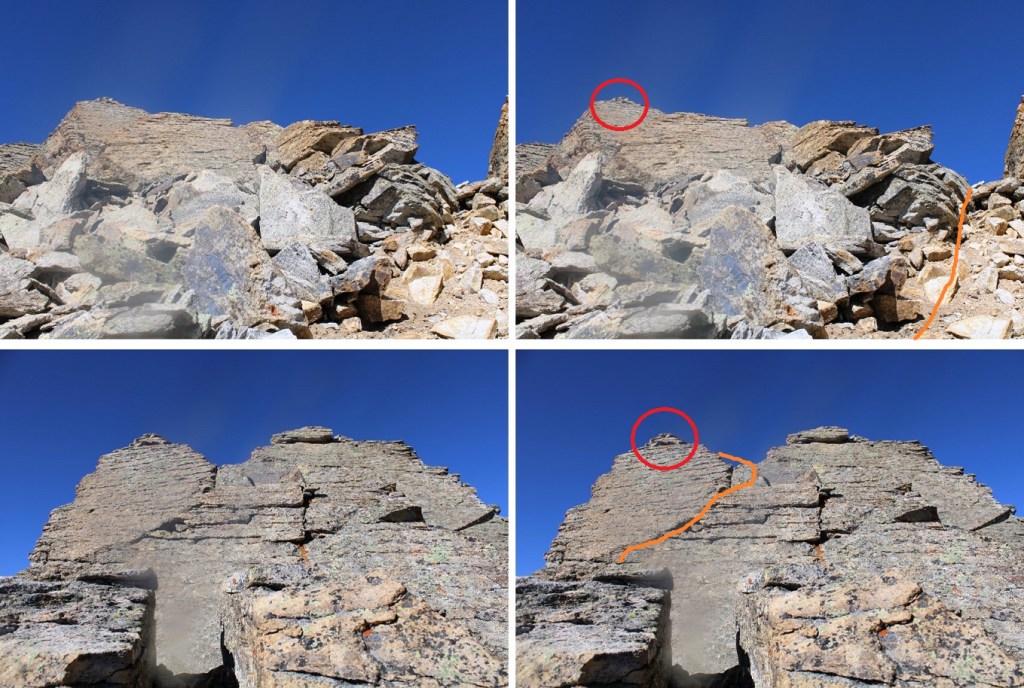
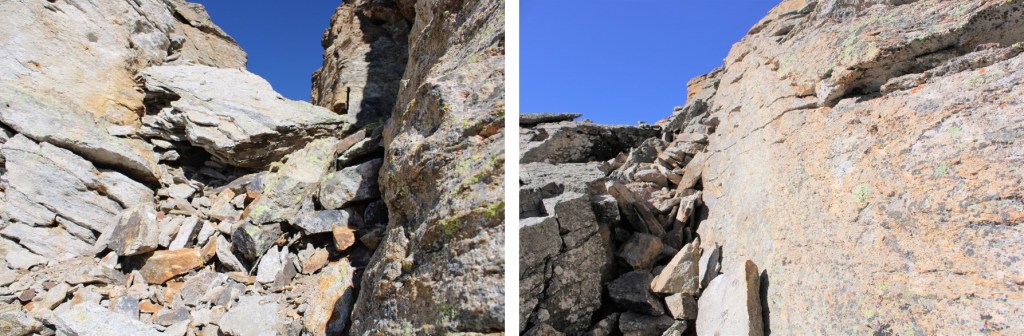
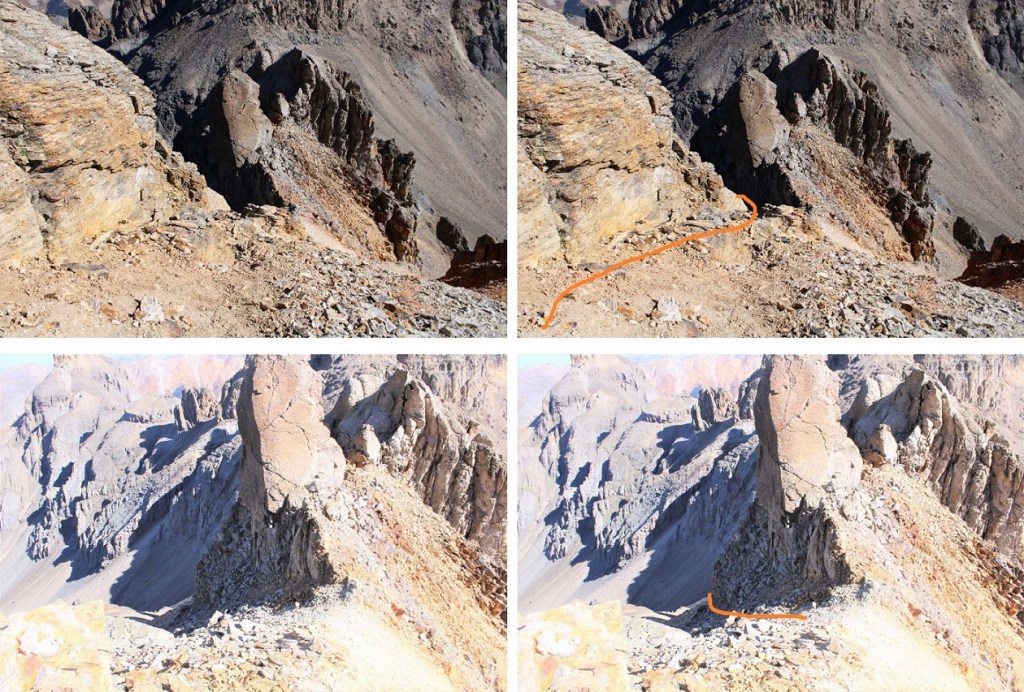
From the summit of Igloo Peak, the trail towards Mountain Boy immediately gets fun.  It’s class 2 from here on out, with one brief class 3 move (or two… it’s a chimney).  Now is a good time to put on your microspikes.  I continued southeast, heading down this briefly class 3 chimney

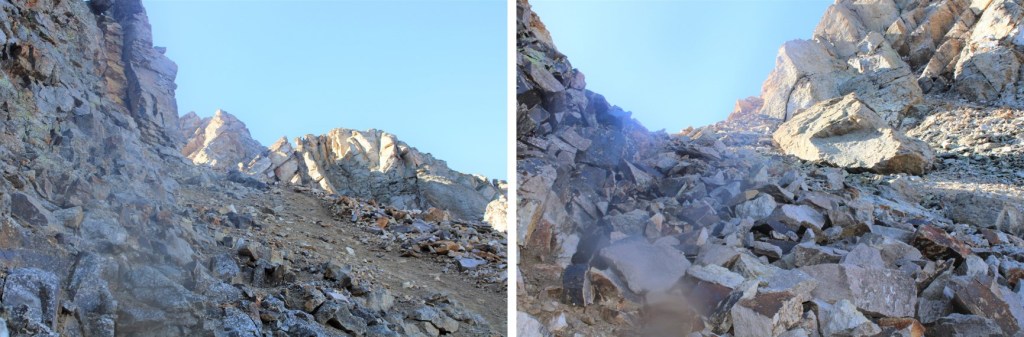
The rock will be loose until you make it to the saddle. 

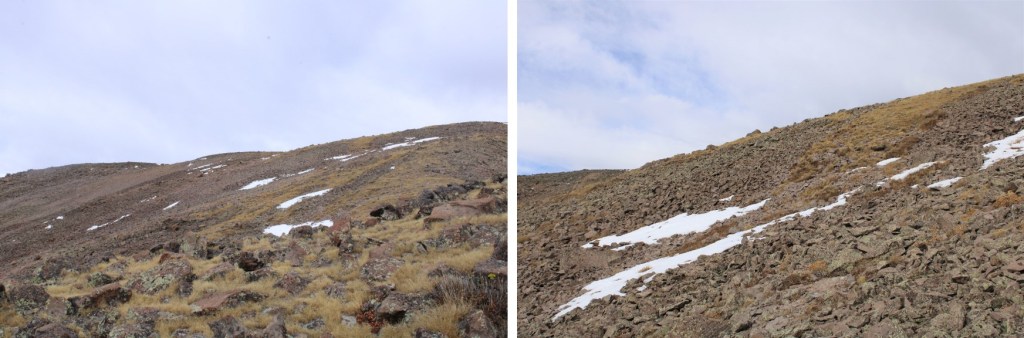
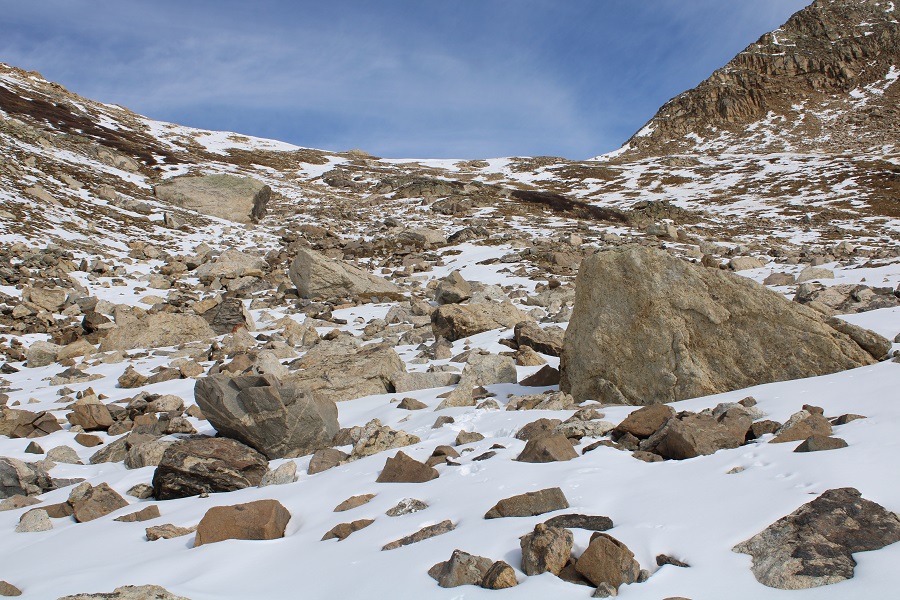
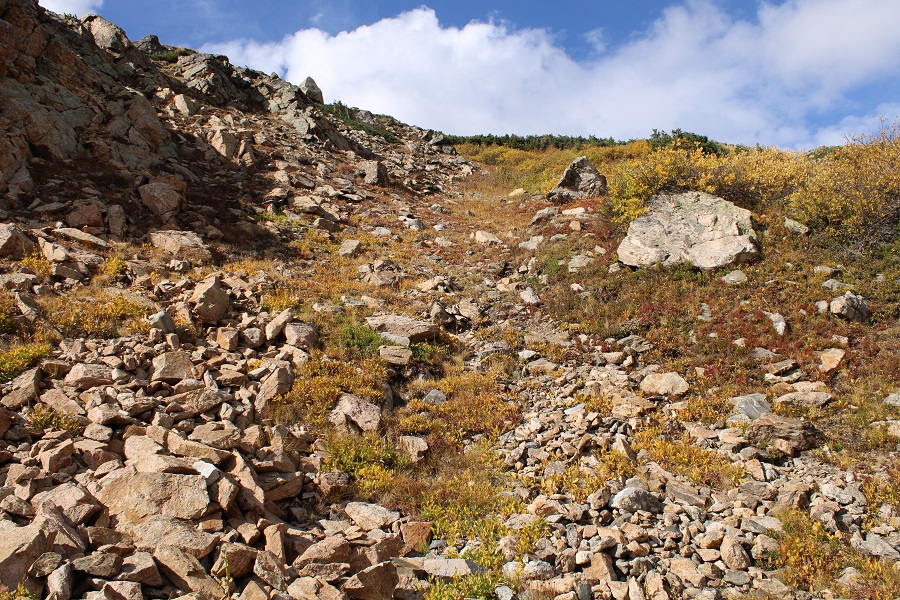
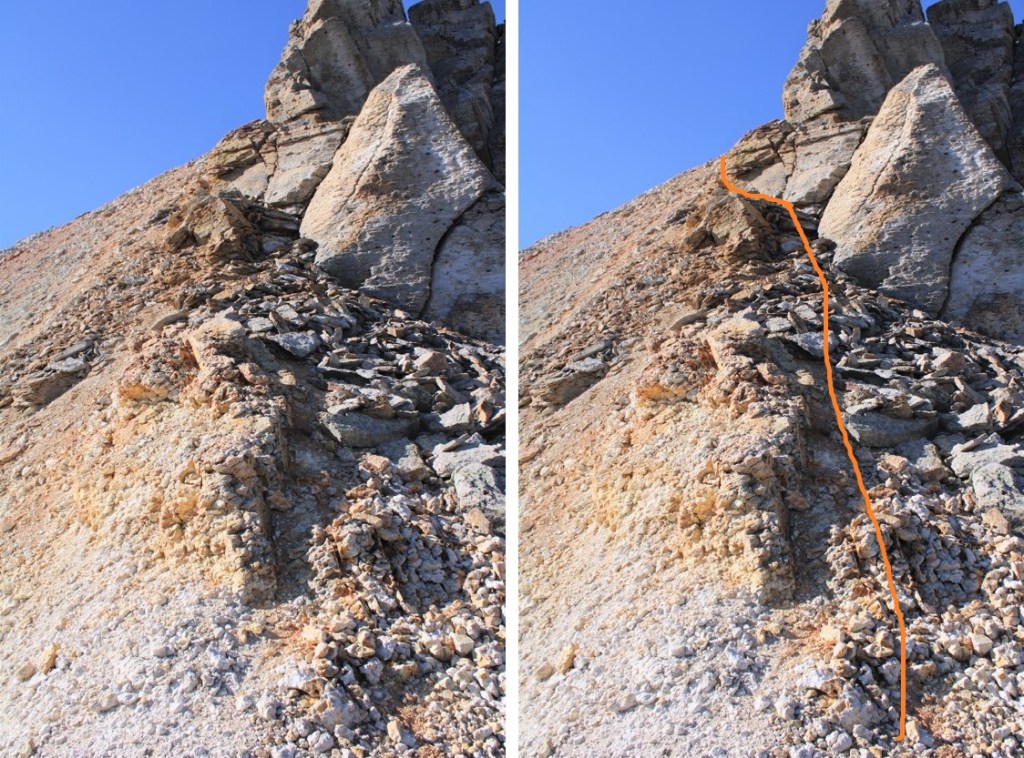
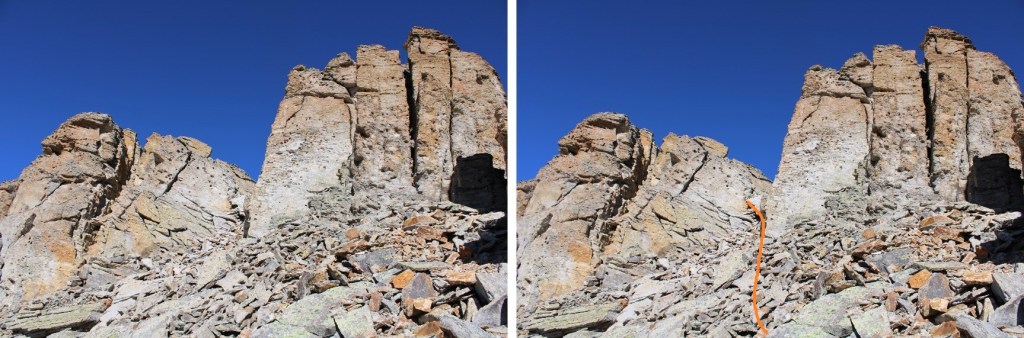
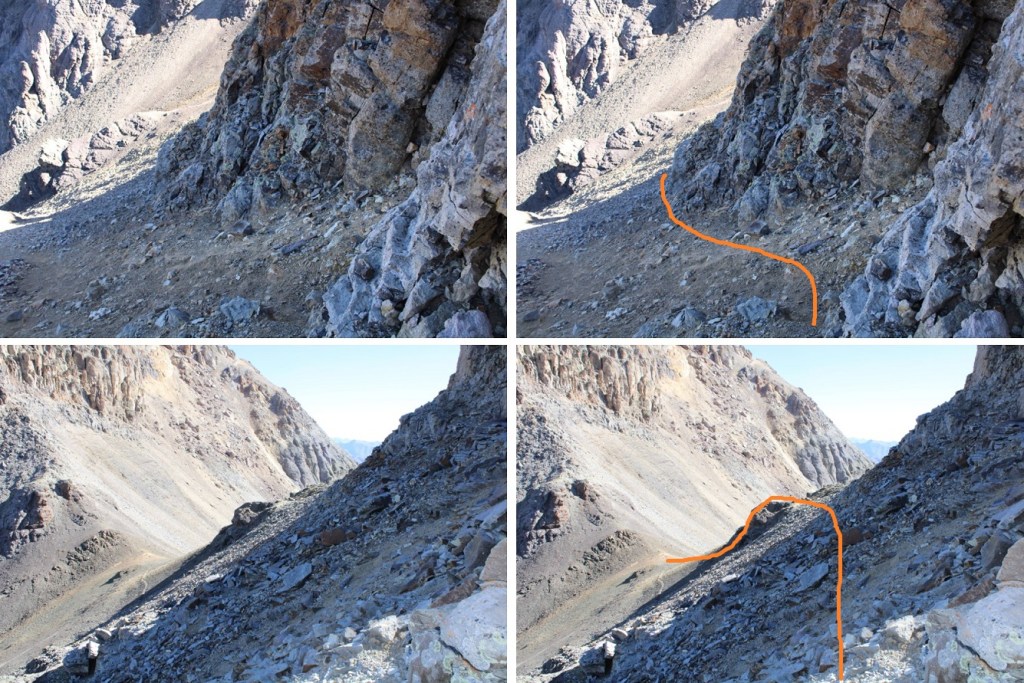
In order to get to the saddle, I headed straight south, down these scree/loose-rock filled gullies
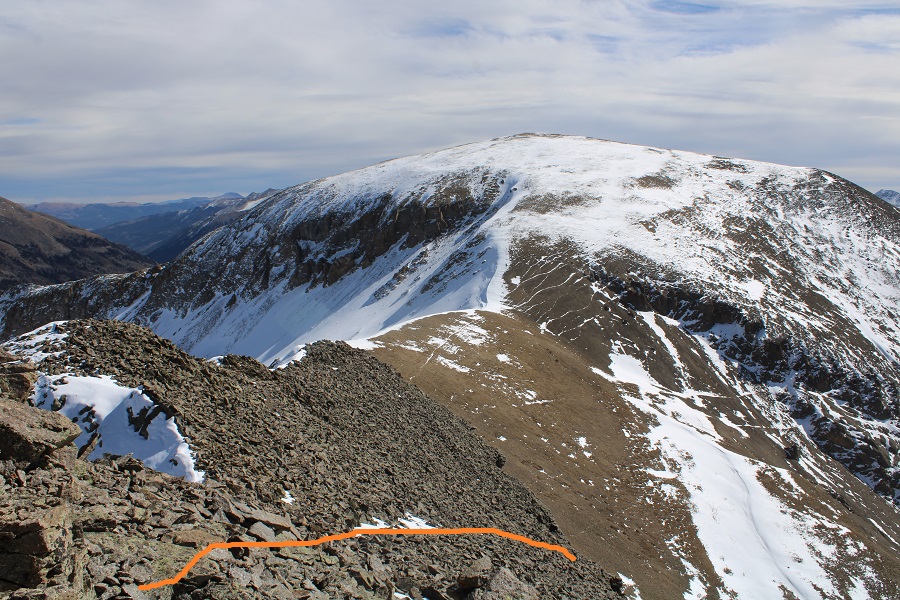
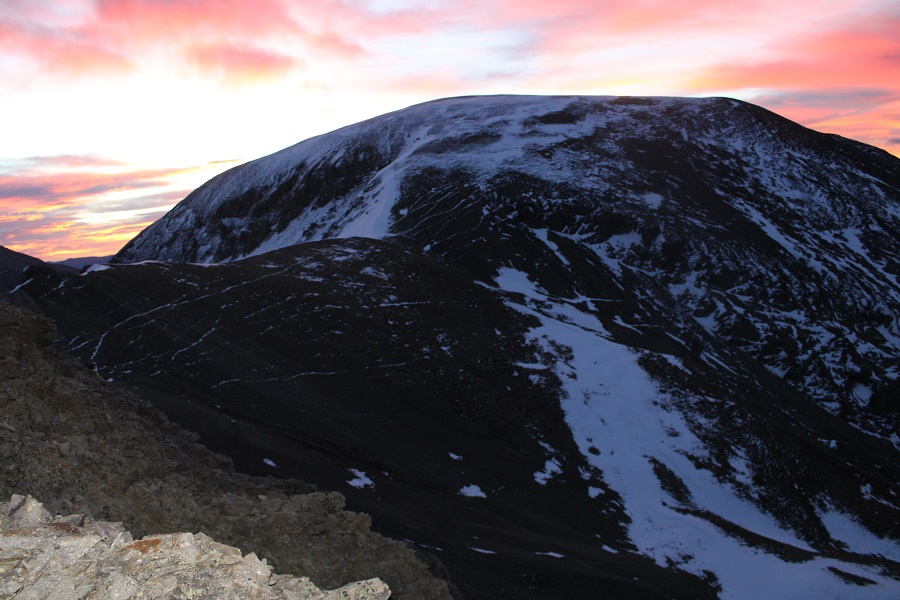
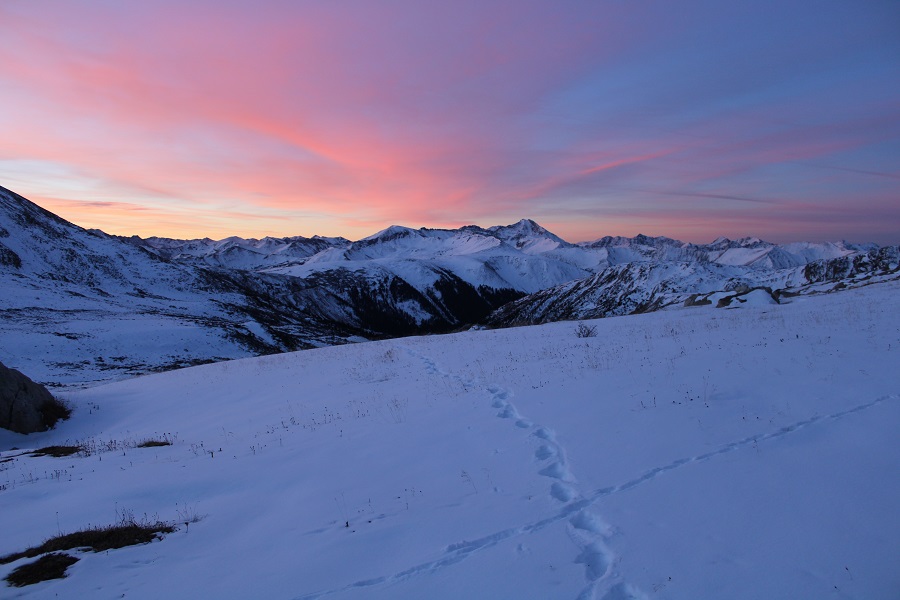
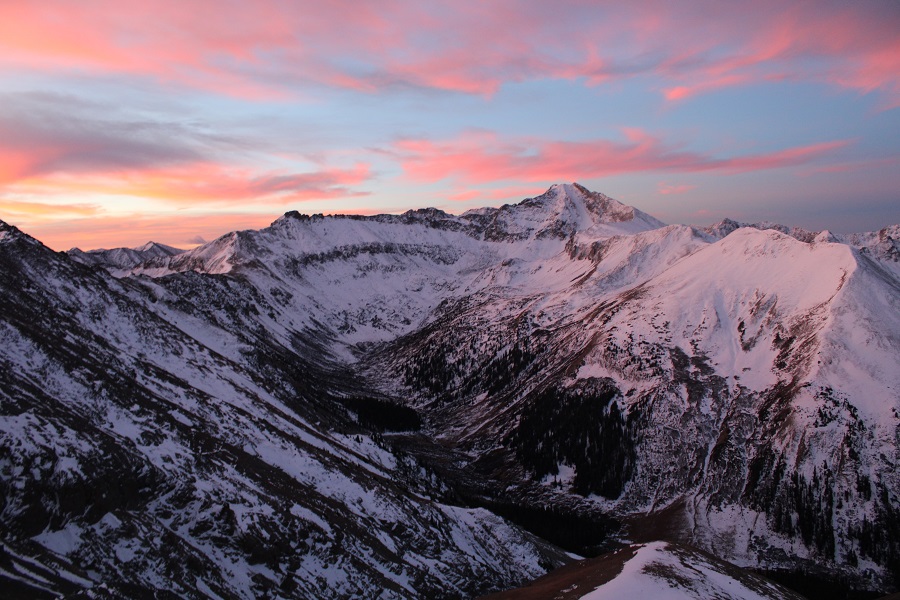
The sun was just starting to rise at this point.  Alpine sunrises are the best!
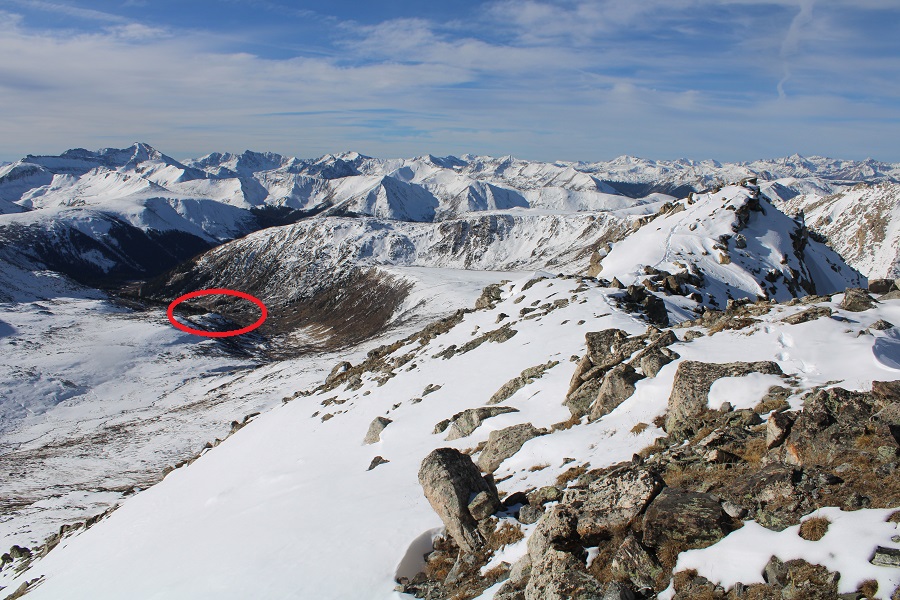
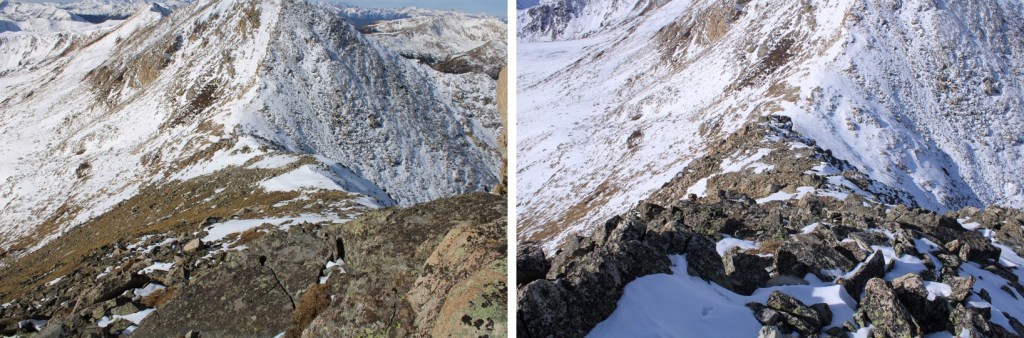
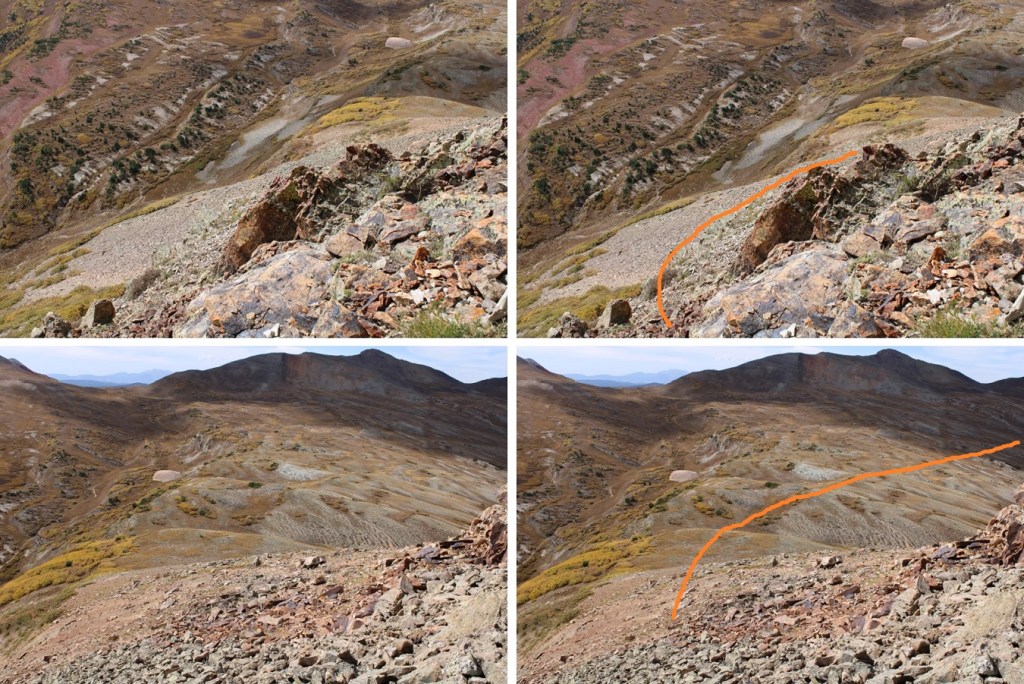
Since the sun was still rising, my view wasn’t that great.  Here’s what I saw as I was descending, following the contour of the drainages.  This is choose your own adventure, but it’ll be obvious when the drainages end.  Don’t descend too early.
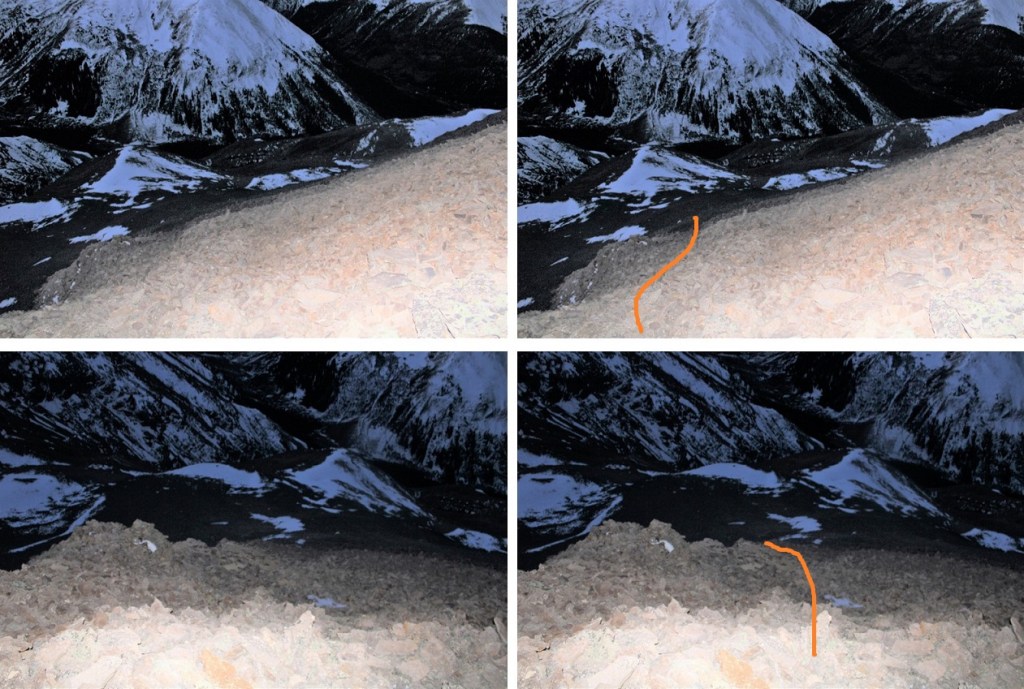
It’ll also be obvious when it’s time to head towards the saddle.  There seem to be several social/game trails here.  I chose to stay high, about level with the saddle, and didn’t regret it.

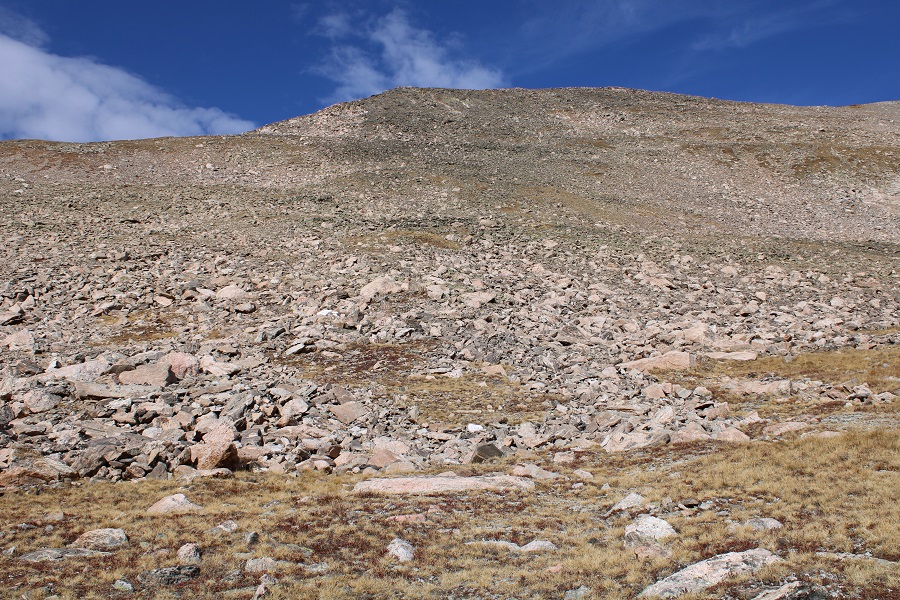
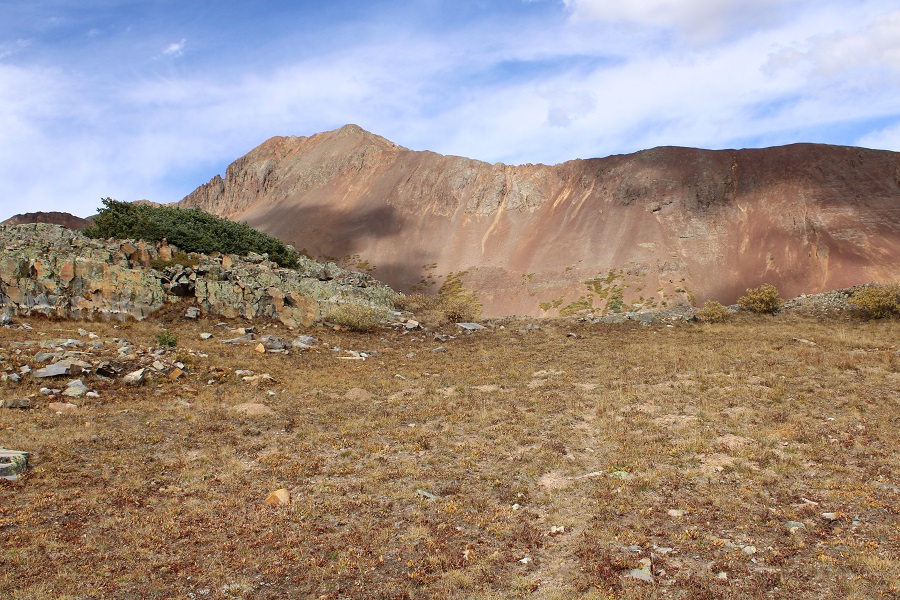
Once at the saddle, there were still a ton of social/game trails.  I chose the one closest to the ridge.  From the saddle, it was an easy hike to the summit of Mountain Boy Peak on scree/tundra

Easy, except for today’s wind!!!  It was relentless, and difficult to catch I pictures/on video at its worst.  This doesn’t begin to describe the gusts

Wind on Mountain Boy: 
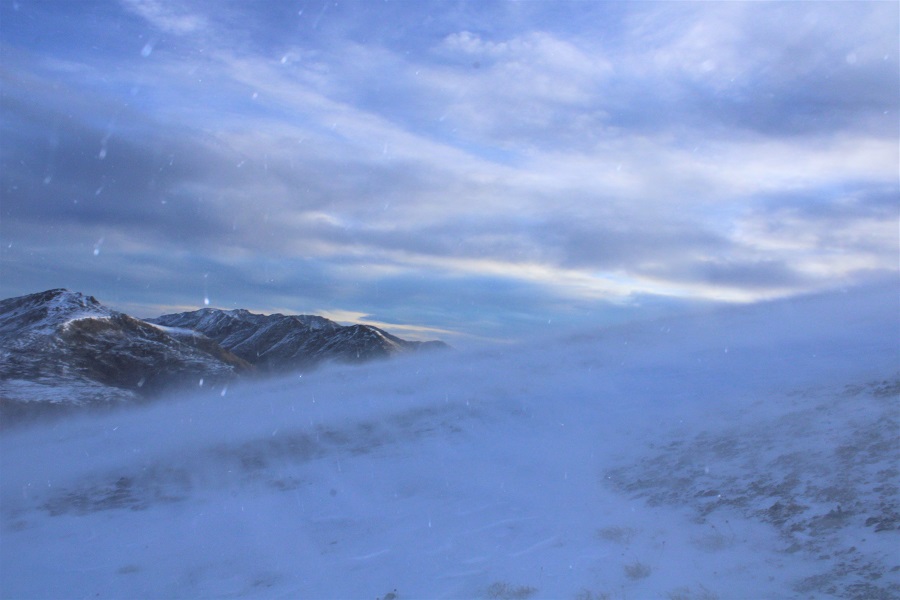
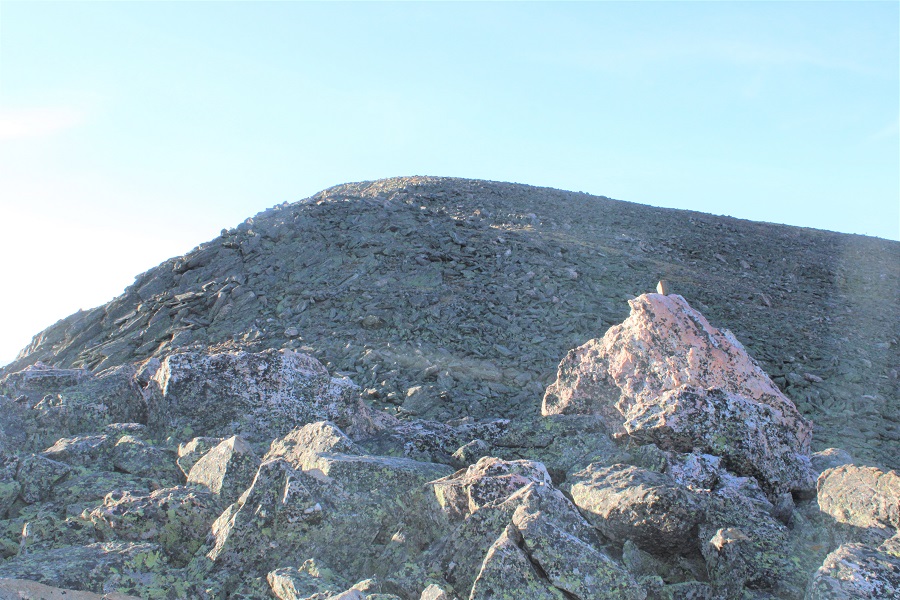
The summit is obvious, marked by a cairn
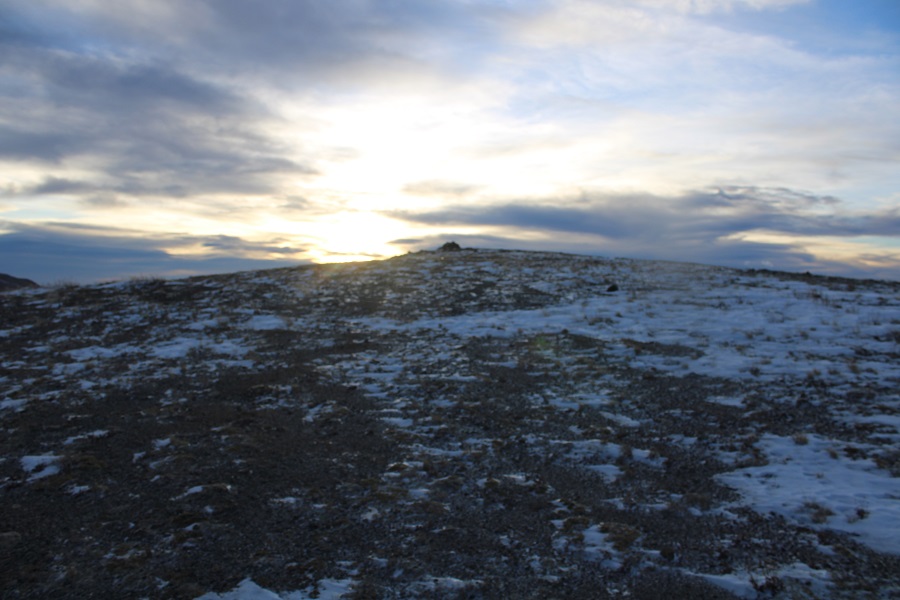
I summited Mountain Boy Peak at 7:45am.
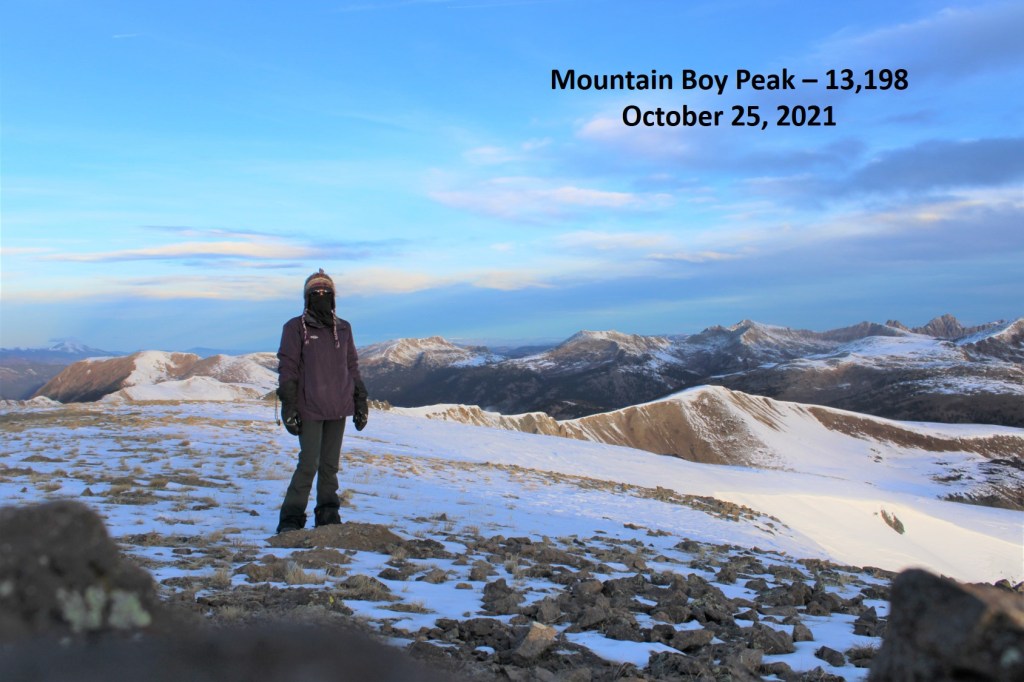
Mountain Boy Peak:

The views of Grizzly Peak were stunning!

I turned and retraced my steps back to the Mountain Boy/Igloo saddle
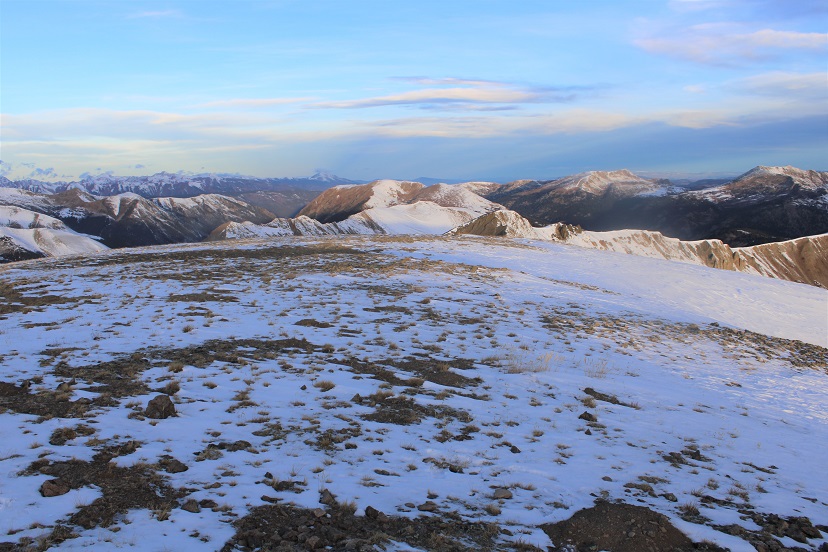
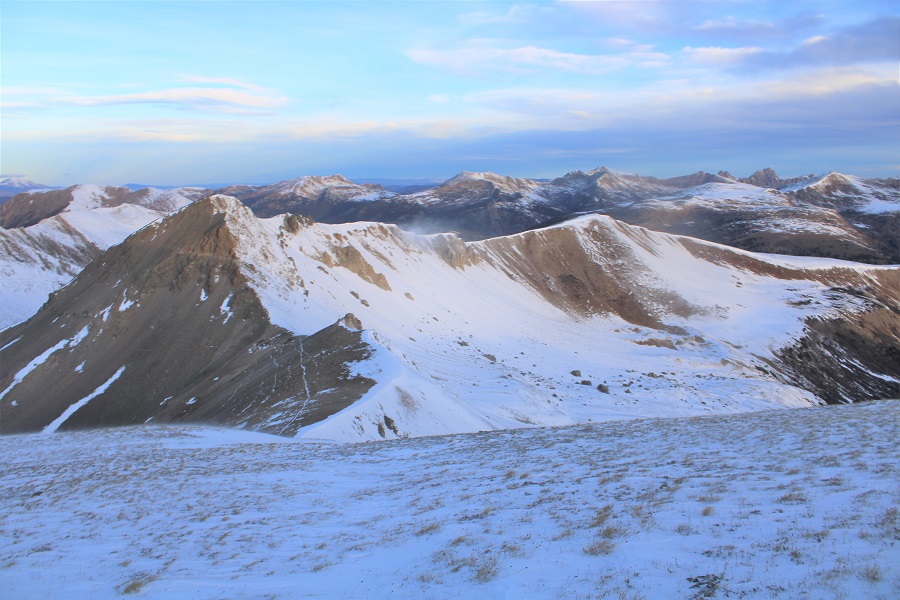
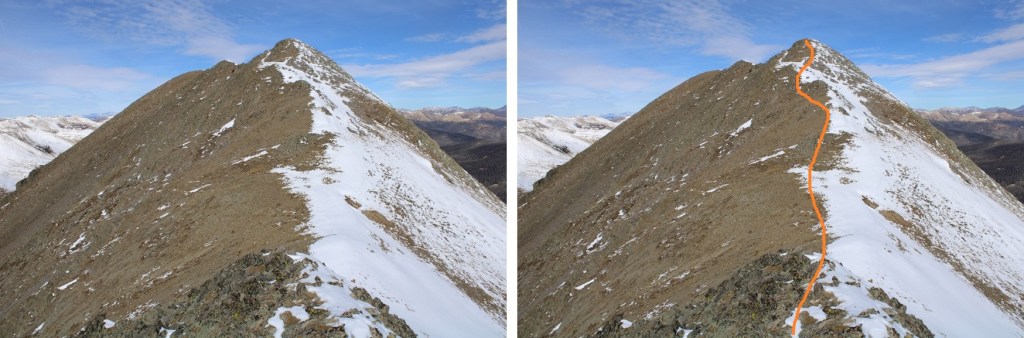
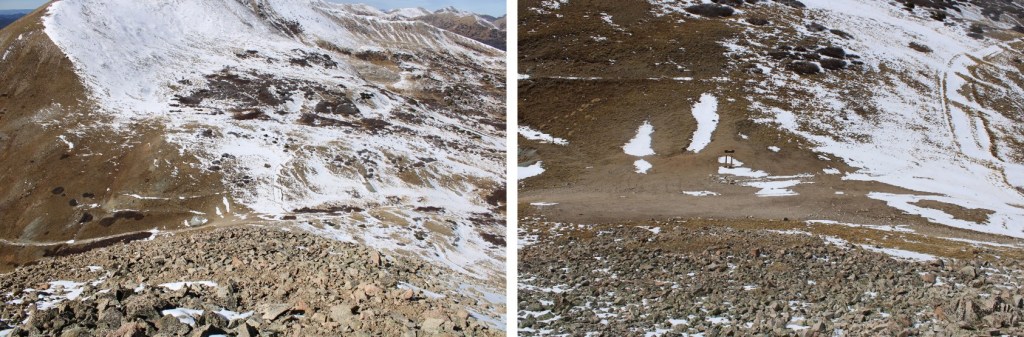
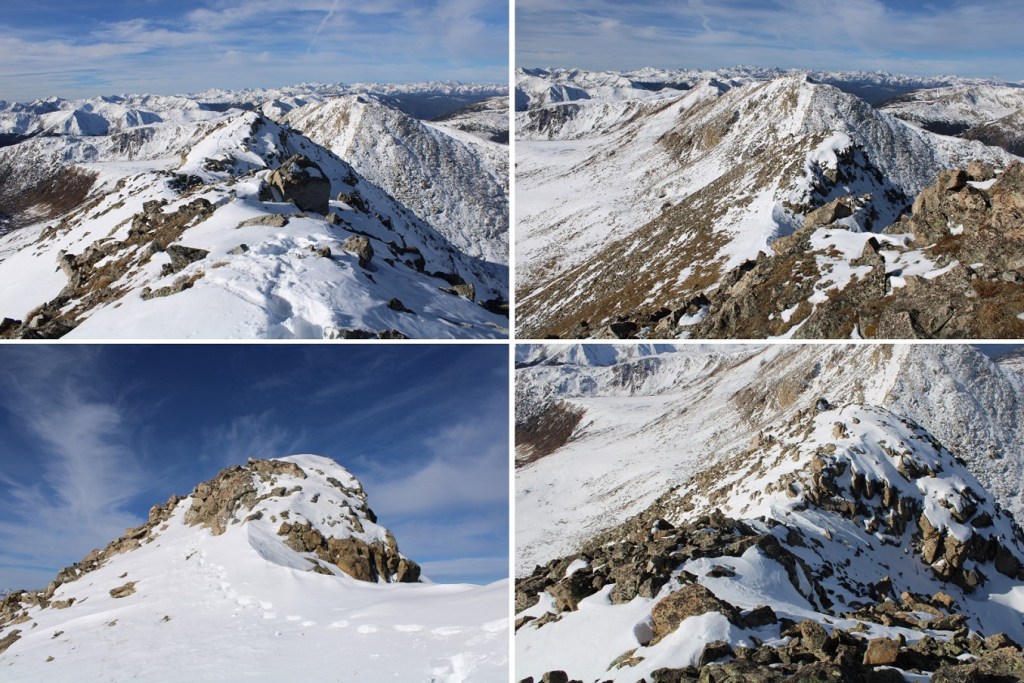
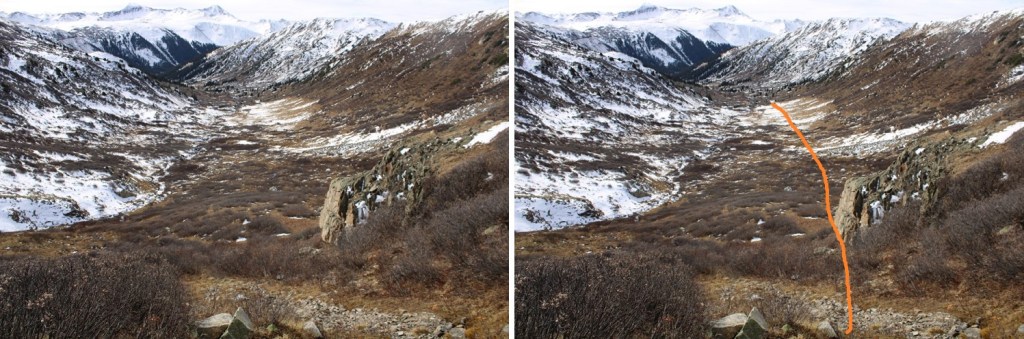
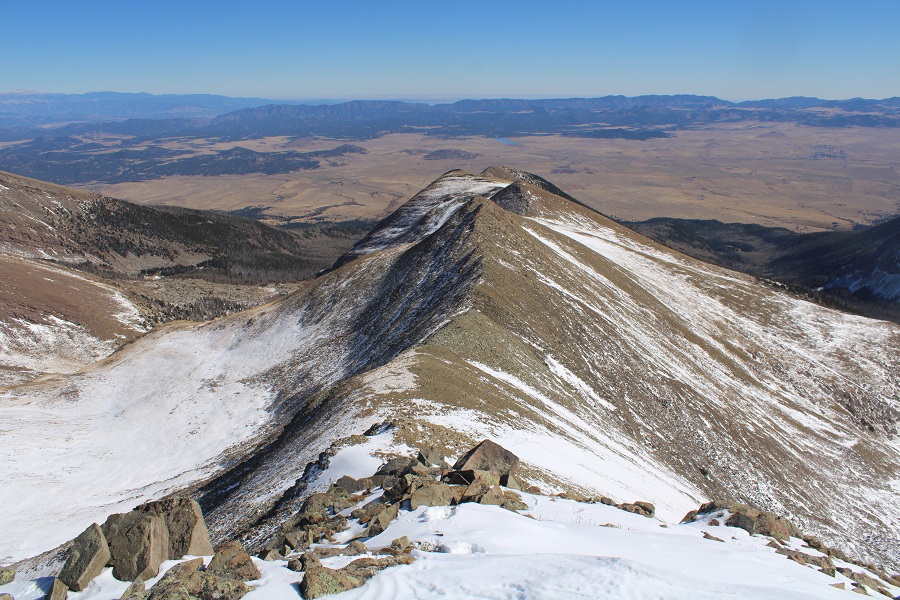
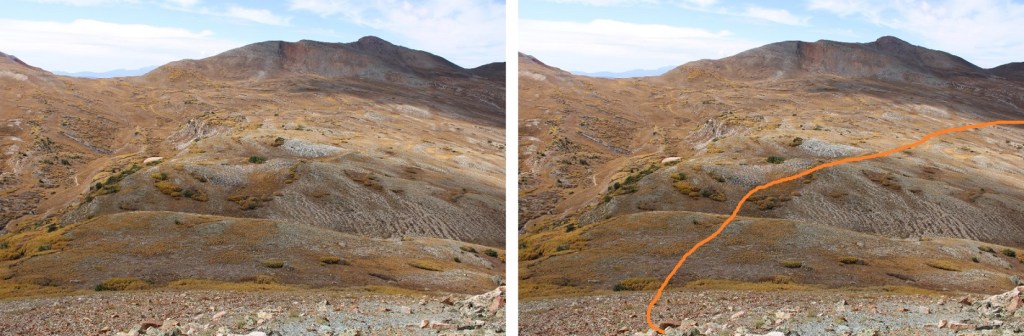
Here’s the route I took back to Igloo, which is the same route I took down.  Microspikes are helpful here, as it’s kitty litter in some areas.
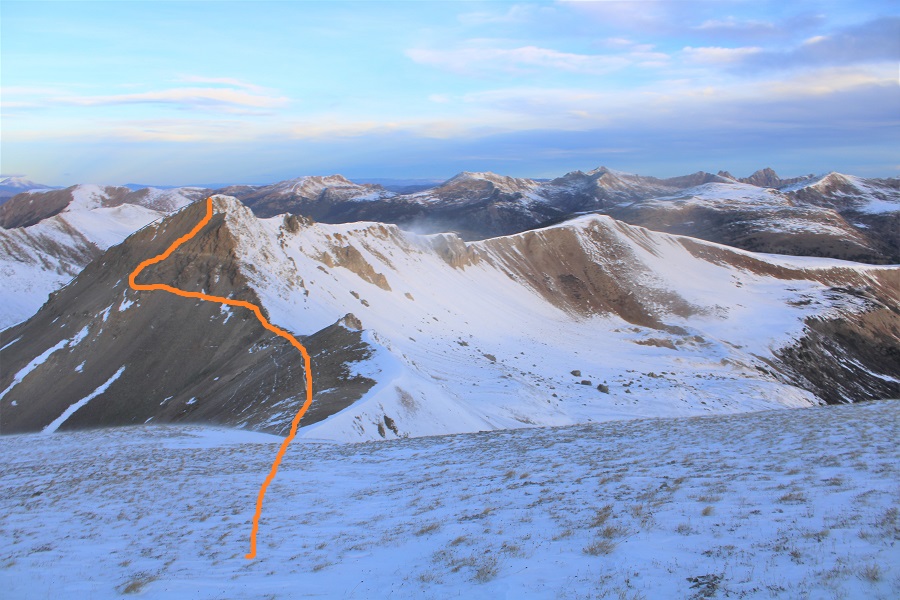
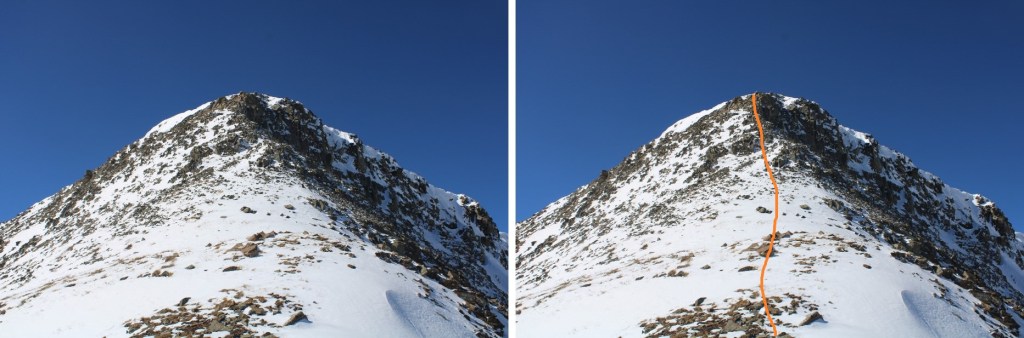
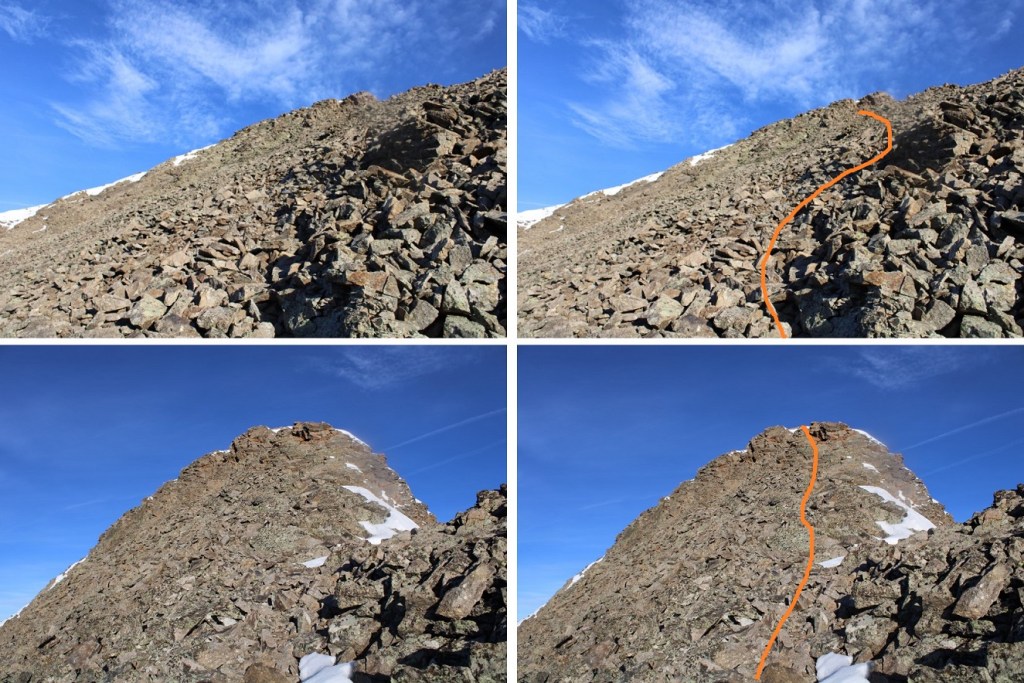
Here are some close-up pictures of the route back up to Igloo
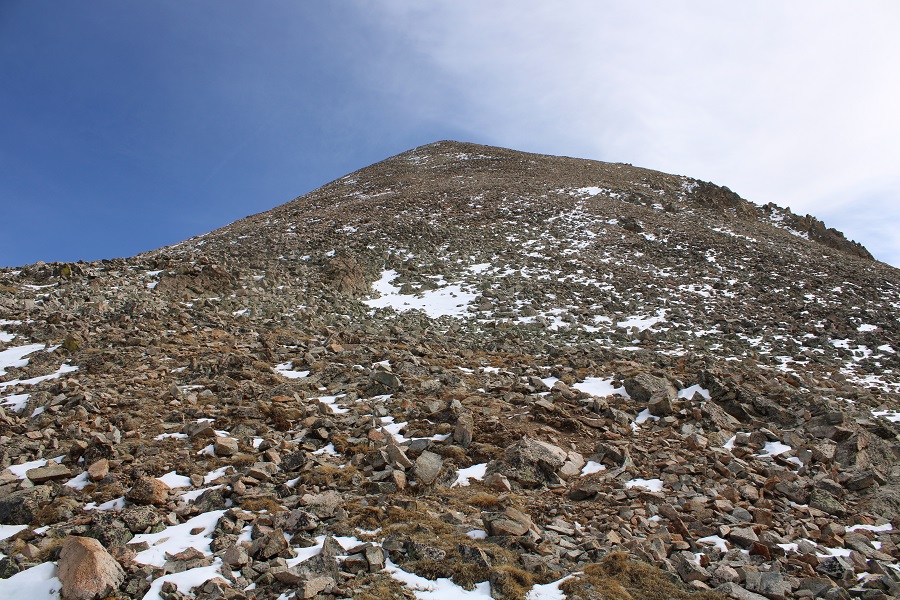
And back up those scree/rock gullies
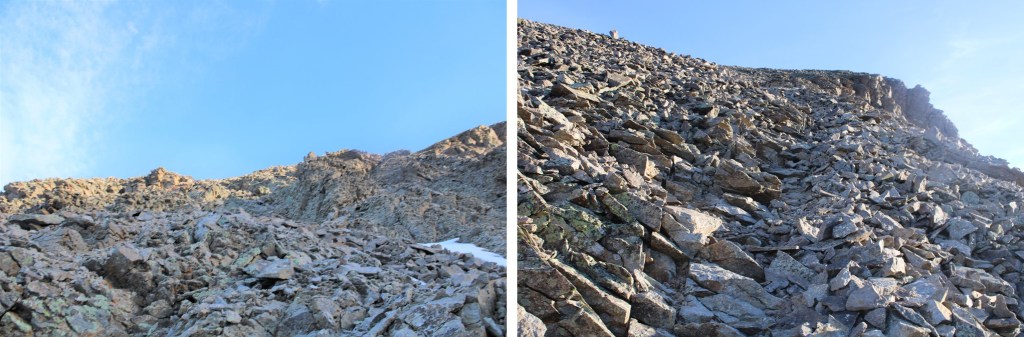
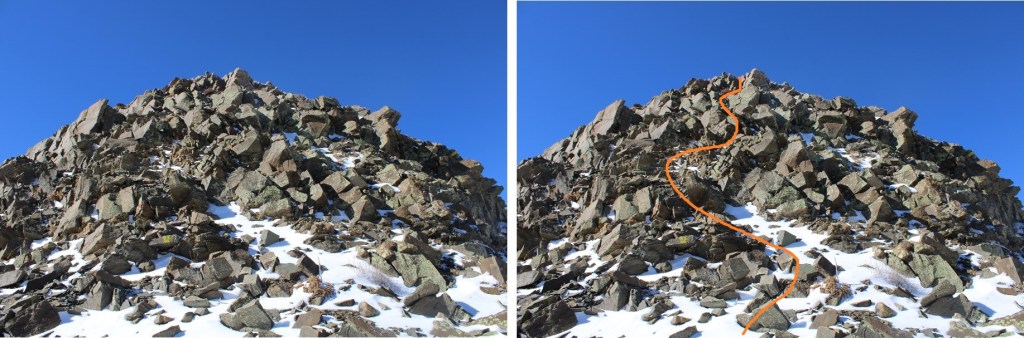
And up that quick chimney to the peak
I re-summited Igloo Peak at 8:25am

Igloo Peak:

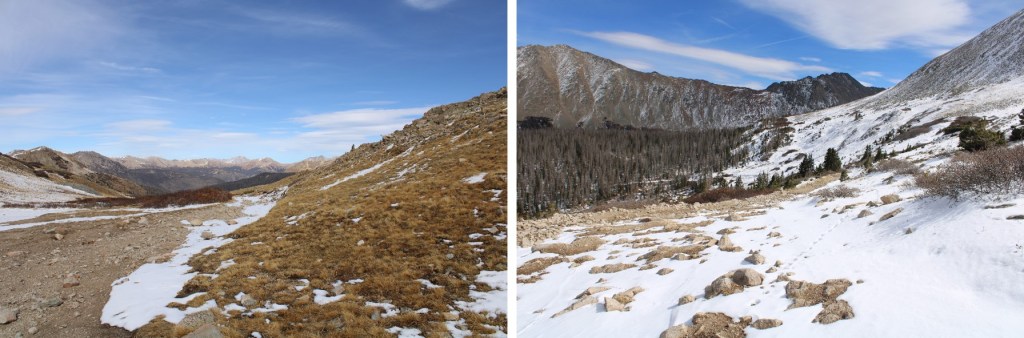
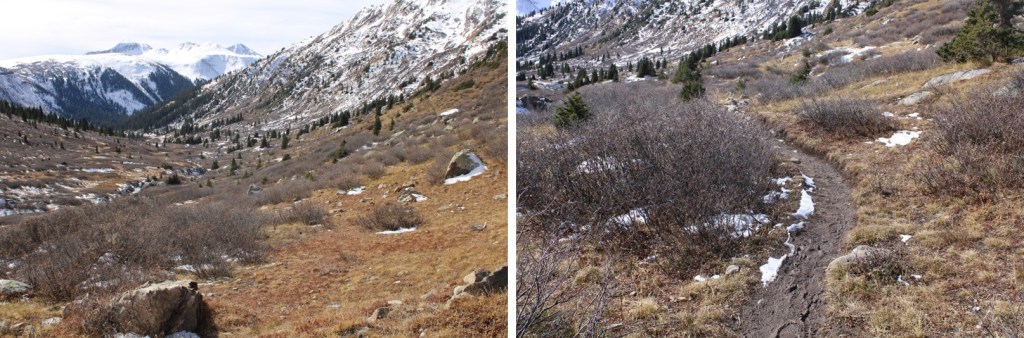
The trek was easy back to the trailhead in the daylight
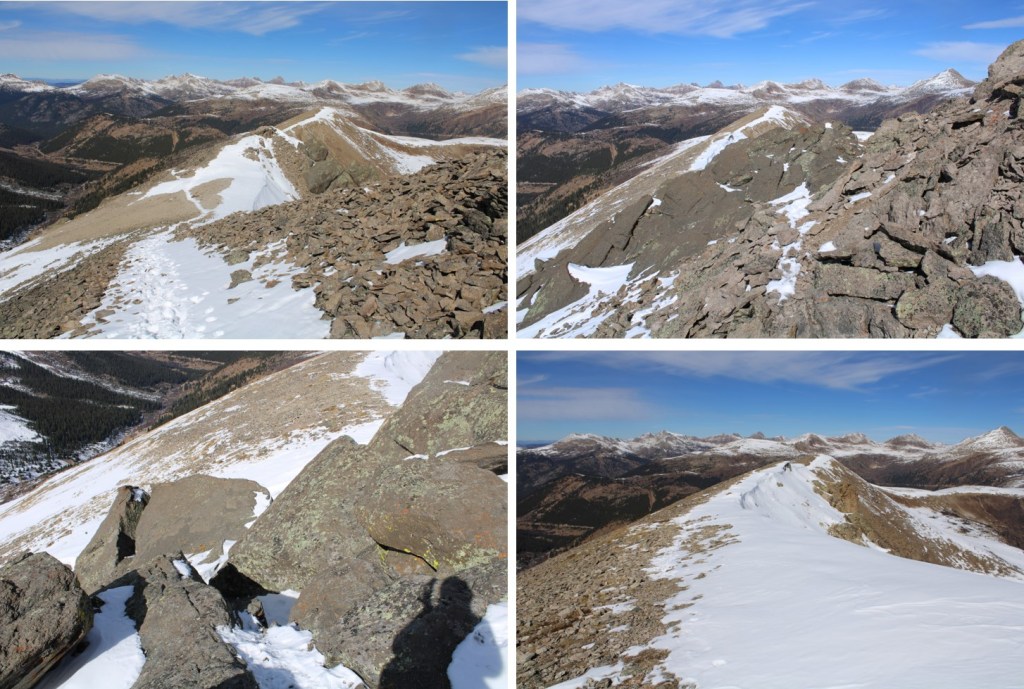
I made it back to my truck at 9:15am, making this a 6.78 mile hike with 2151’ in elevation gain in 3 hours, 45 minutes
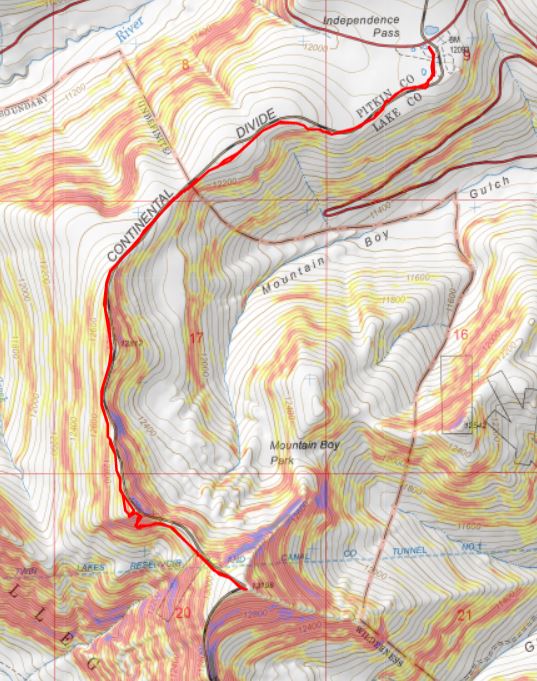
Side note:  I didn’t have my microspikes.  Well, I did, but they fell out of my pack when I took off my snowshoes, and I didn’t realize this until they were needed.  So, when I went to find my microspikes, just before the kitty litter area on the south side of Igloo Peak, they weren’t in my pack.  But I really could have used them!  Especially on the snowy ascent/decent of Mountain Boy Peak. The kitty litter areas were so much more difficult than they needed to be without spikes as well.  I cursed myself the entire time, thinking I’d lost them for good and vowing to buy new ones on my way home as soon as I got cell service.  The reason my track shows movement near Igloo Peak is because, on my way back I realized when I must have lost them and went looking for them.  I found my microspikes, along with a whiskey flask I hadn’t realized I’d lost, just before the summit of Igloo Peak.  From now on, they’re going INSIDE my pack, not in the cup holder of my backpack (I know, I know, not the best decision).
East Buffalo Peak – 13,300 & West Buffalo Peak – 13,326

RT Length:  11.95 miles

Elevation Gain: 3489’

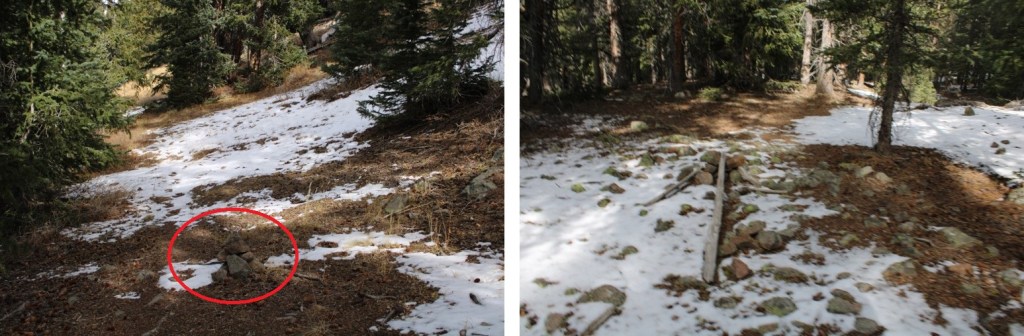
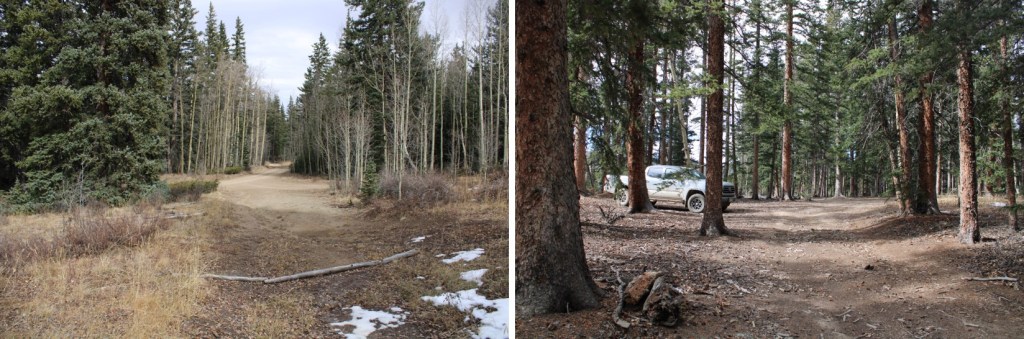
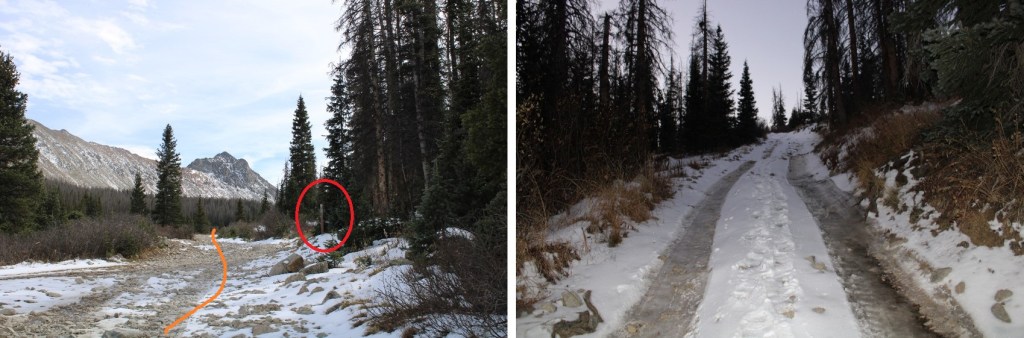
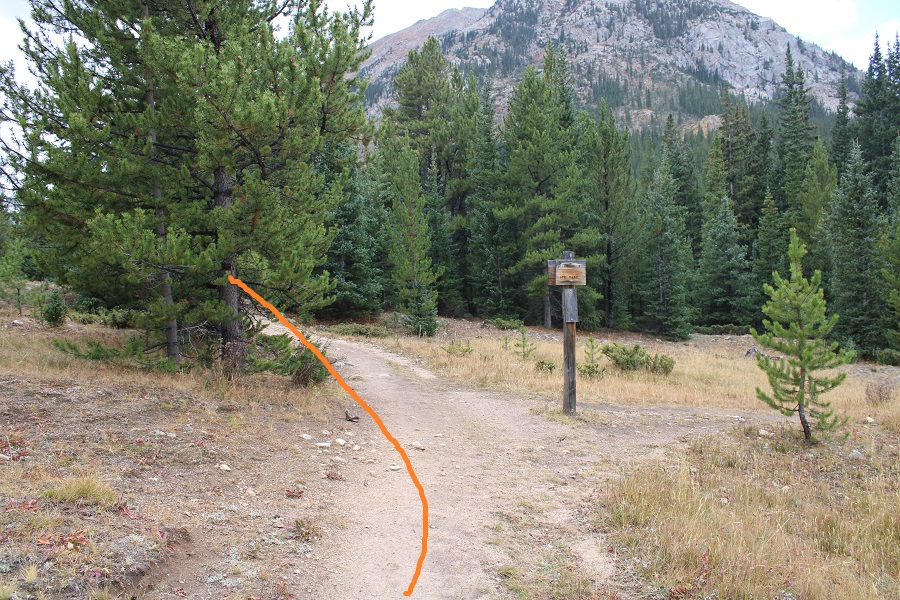
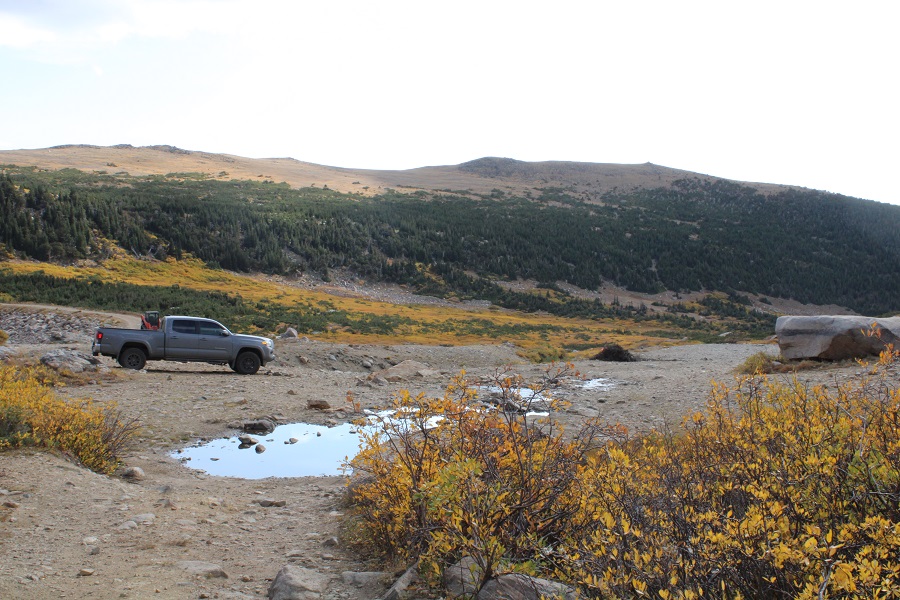
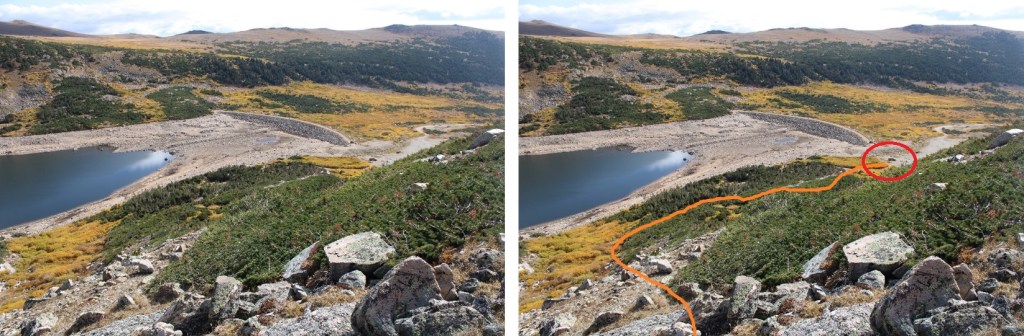
It was an easy 4WD road to the trailhead.  I was surprised I hadn’t seen a single vehicle on the long drive in.  There weren’t any cars parked at the trailhead, but the dispersed campsite was free, so I parked there, being sure to leave room in case anyone else wanted to camp. I read a bit, tried to eat (and failed), sipped whiskey, watched a curious camp robber, and once again, got to bed early.  The trailhead was just to the west of where I parked (trailhead circled in red)

I woke up hungover.  Or, at least, I felt hungover.  I hadn’t had enough to drink last night to give me a hangover, but here I was, with a pounding headache.  Probably has something to do with the fact I have a difficult time eating while I’m hiking, and I’d already hiked 7 peaks above 13K in the past 2 days.  On the positive side, I wasn’t cold this morning: that’s two mornings in a row!  It was 38 degrees.  I slowly gathered my gear, forced down a breakfast bar, and was on the trail at 6:30am, trudging slowly.  It was going to be a long day.

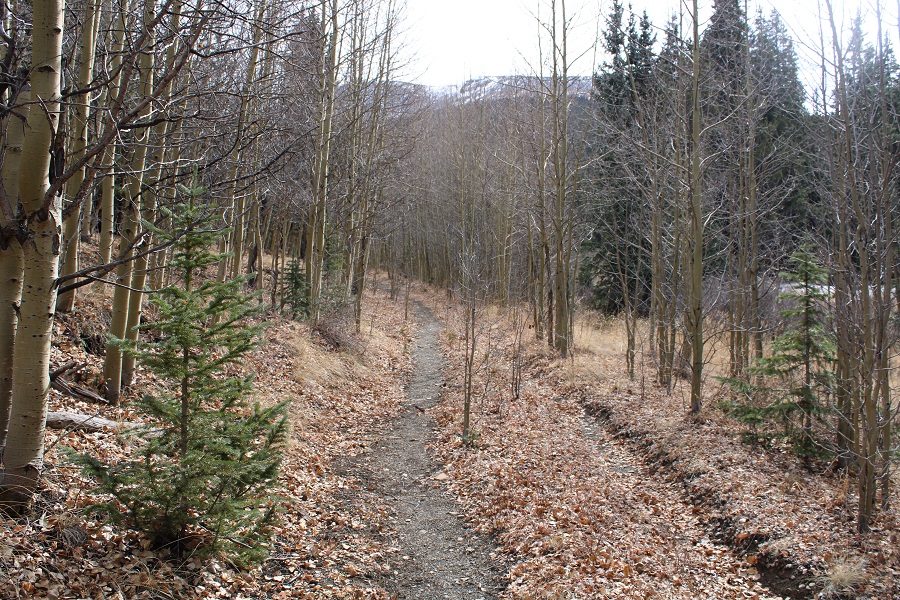
I made my way towards the trailhead (now with a vehicle parked there I hadn’t heard drive in), and followed the trail southwest to a closed 4WD trail.

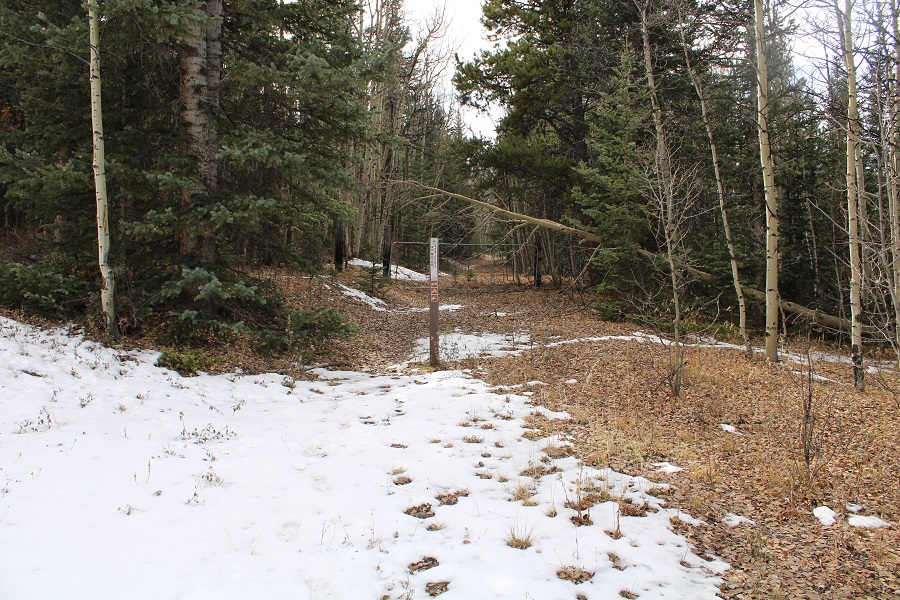
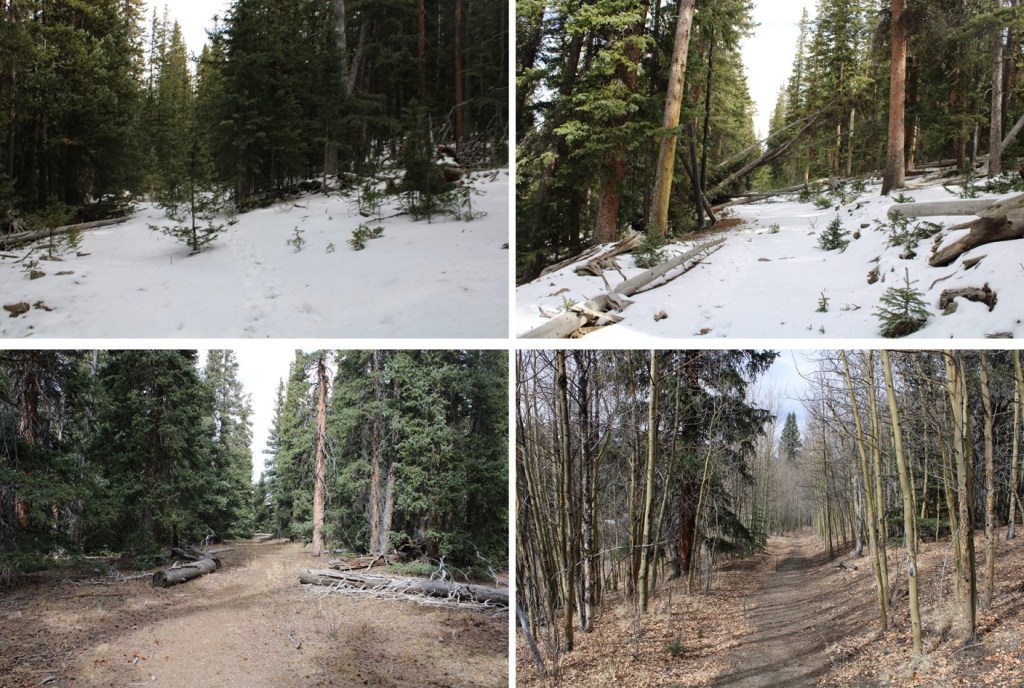
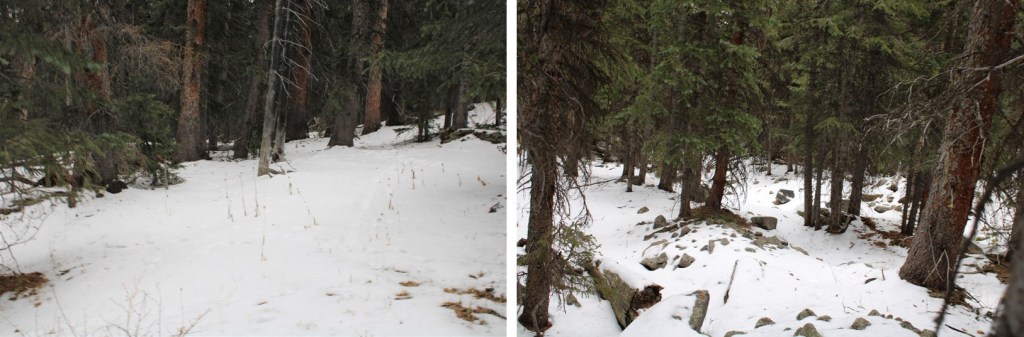
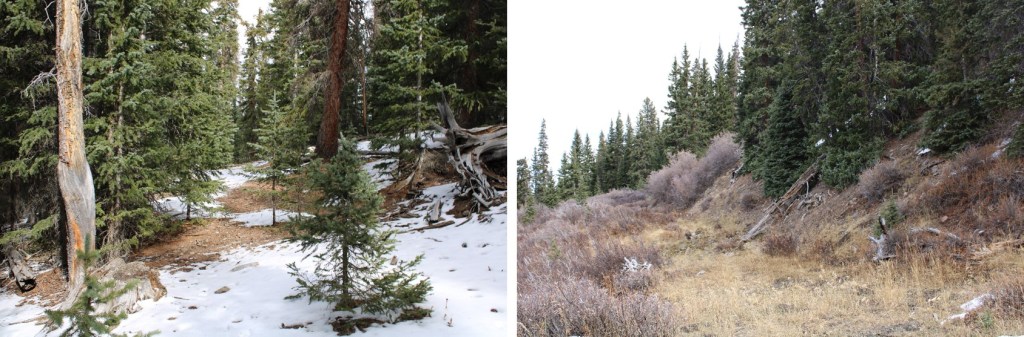
This road obviously hadn’t been in use in quite a while, as there were trees growing directly in the middle of the road, and large trees that had fallen across it years ago

I followed this 4WD road for 3 miles, almost to treeline.  As the sun came up, crows started cawing.  They must have known about my headache. Also, this is when I realized I’d forgotten my sunglasses.

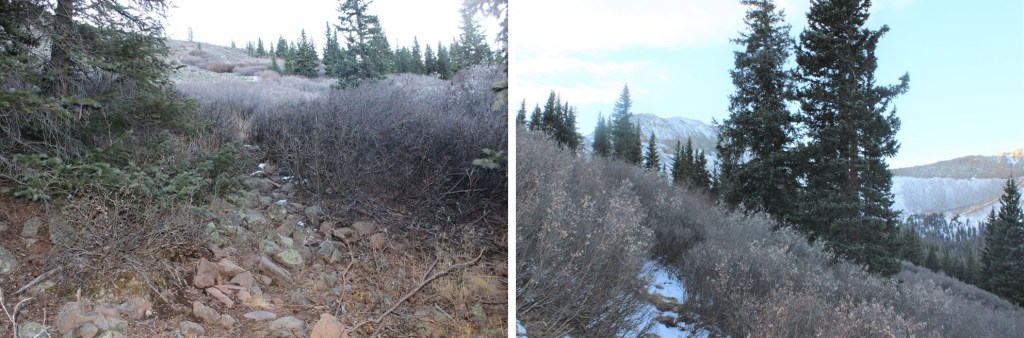
There was one set of tracks on the trail, which ended when the road ended.  When the 4WD road ended, the cairns picked up.  Initially, I’d wanted to hike West Buffalo Peak first, but I wasn’t able to find a marked route.  So, instead I took a visual of how I wanted to head back, in case there wasn’t a route, and followed the cairns south that would lead me towards East Buffalo Peak instead.  The cairns initially brought me to willows.  These willows were easy to navigate.

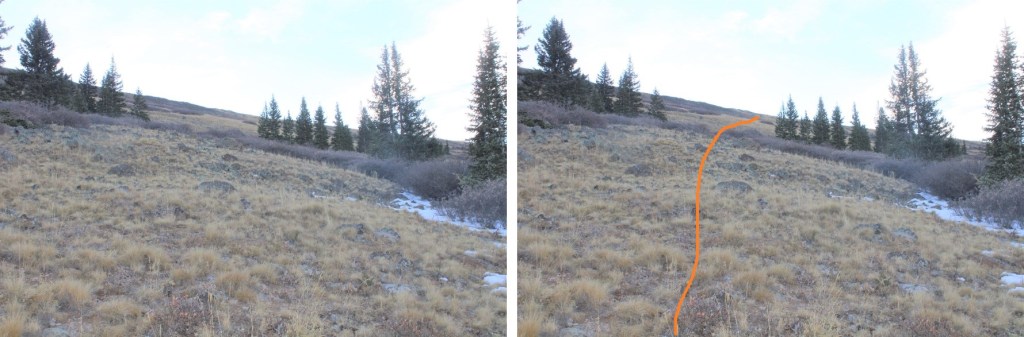
Once out of the willows, I was on tundra.  There were still cairns to guide the way.  I was heading south to the ridge. 

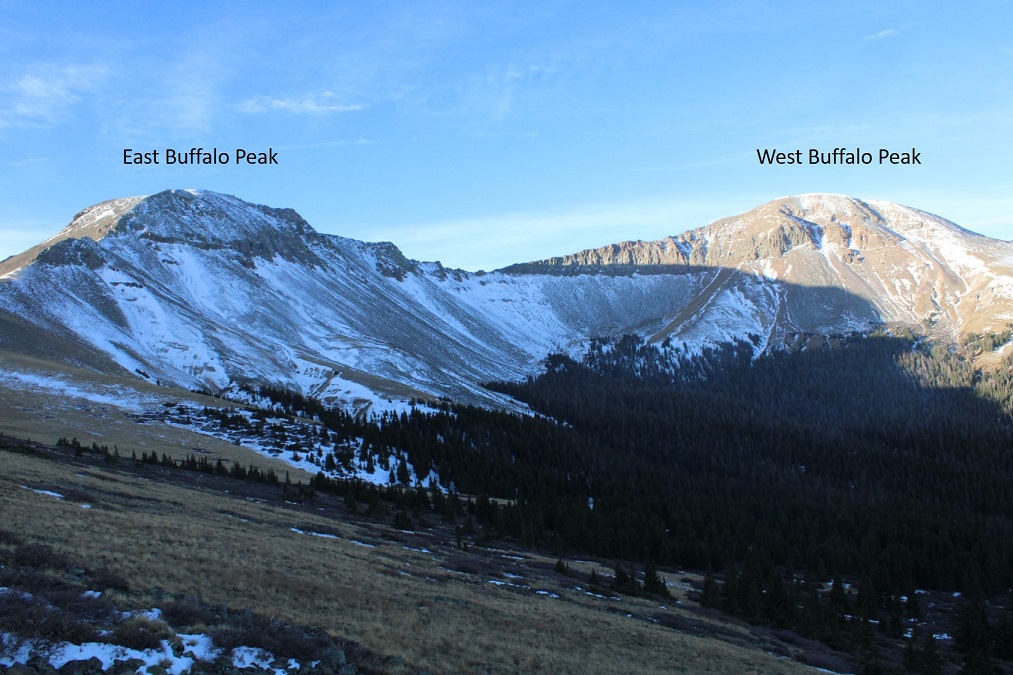
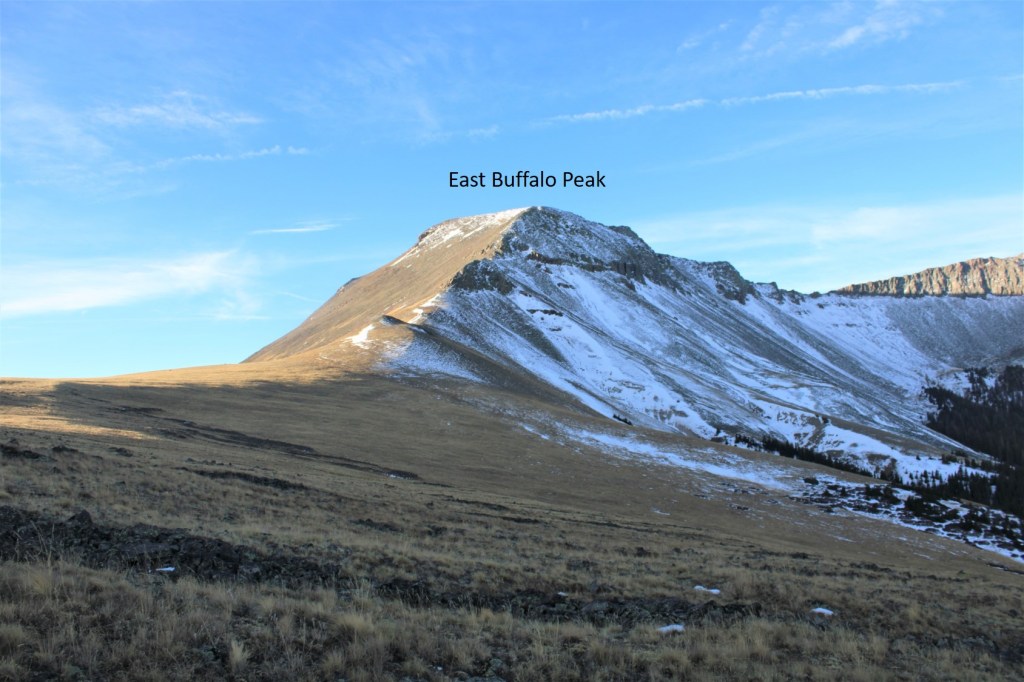
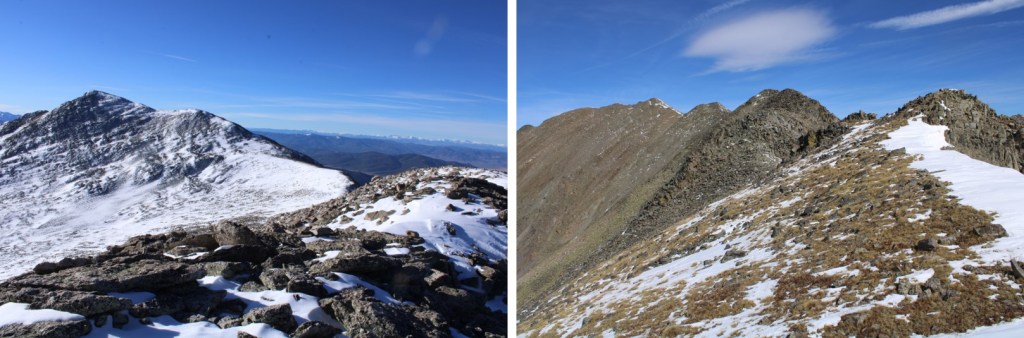
As I was ascending the ridge, I could see East and West Buffalo Peaks

Ok, back to that tundra ridge

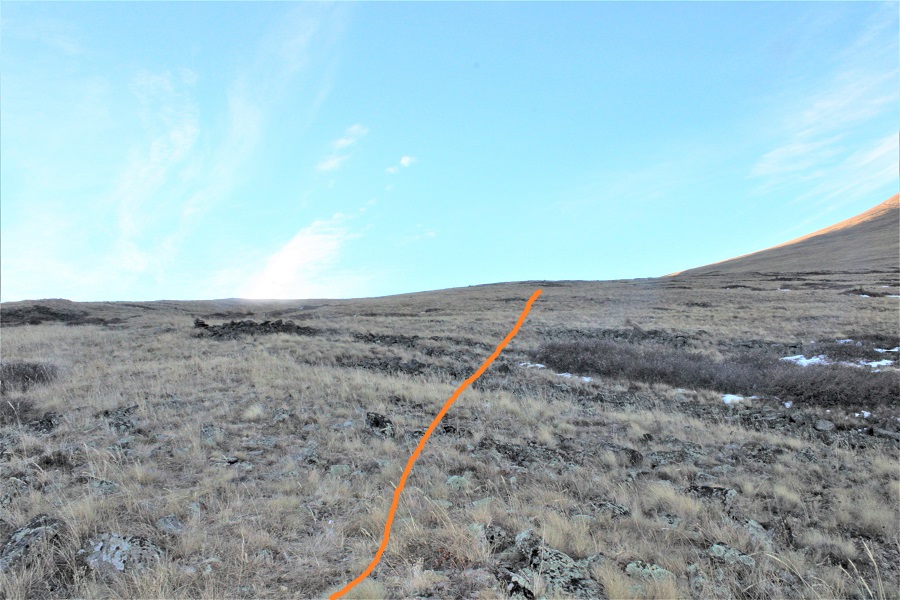
Once near the top of the ridge I turned right and headed southwest towards East Buffalo Peak

Here’s the overall route I took up the ridge

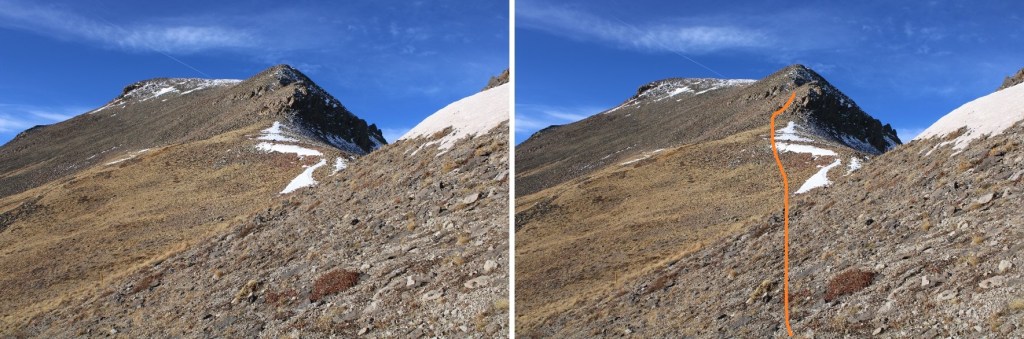
And some step-by-step pictures.  First, I skirted the initial hump to the left

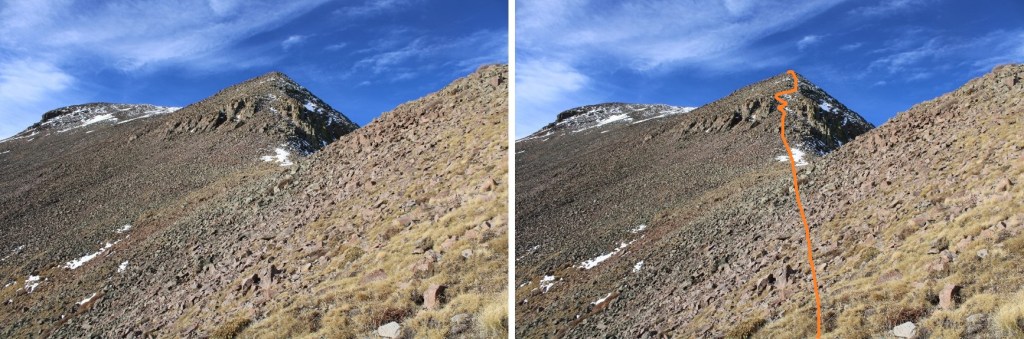
Next, I continued to stay just a bit left, rounding the south side of the ridge

From here on out, I stayed right in the middle of the ridge.  It looked like there were game trails here, but they were half-covered in snow.  The rocks were a bit loose, but this was no more challenging than difficult class 2.  I still had a headache, so I decided to drink water, something I rarely do while hiking.  Where there was snow, I re-filled my water bottle.

I topped out and it was an easy walk on tundra and rocks to the summit, heading southwest.

The summit was large and flat and the summit was at the far west end of the summit area, marked by a large cairn.

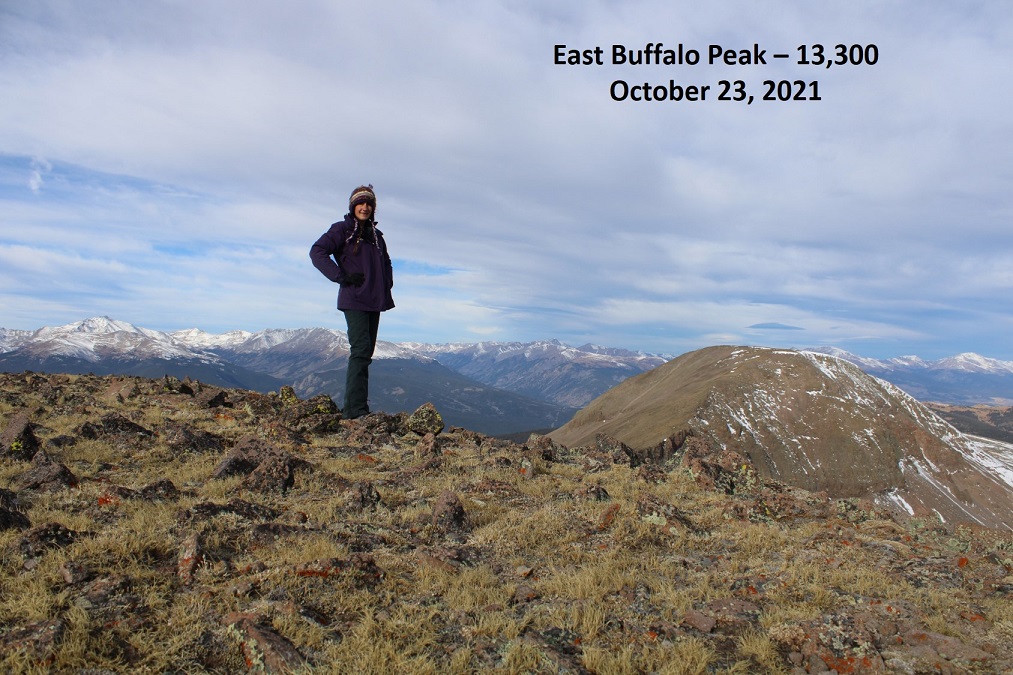
I summited East Buffalo Peak at 9:30am.

East Buffalo Peak:

From East Buffalo Peak, West Buffalo Peak looks like a straightforward ridge hike.  To be honest, it wasn’t any more difficult than class 2, but it was a little harder than it looked.

I started out by following the ridge west, and came upon some drop-offs. These were easy to navigate

I made my way to the saddle on tundra.  What had initially looked like a rocky ridge was in fact, a very rocky ridge.  I stayed a few yards from the ridge proper to the left.

Here are some step-by-step pictures of the ridge up to West Buffalo Peak

I was initially worried about this area circled in red

However, while it was loose shale, I was able to go straight up and over the top without any difficulty.

From there, it was an easy stroll to the summit of West Buffalo Peak. 

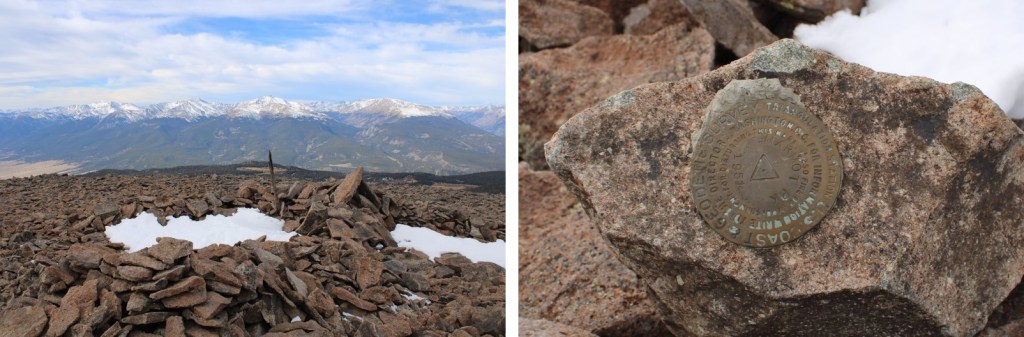
The summit is at the very west end of the peak.  There’s a wind break here, and a summit marker (which says “Marmot Peak”)

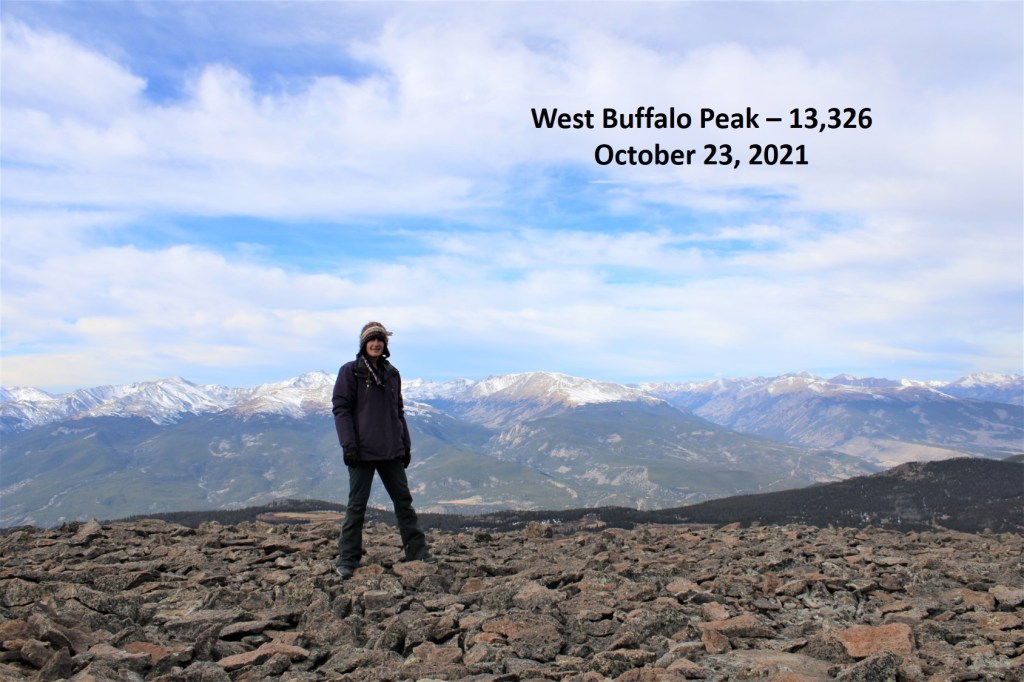
I summited West Buffalo Peak at 10:30am

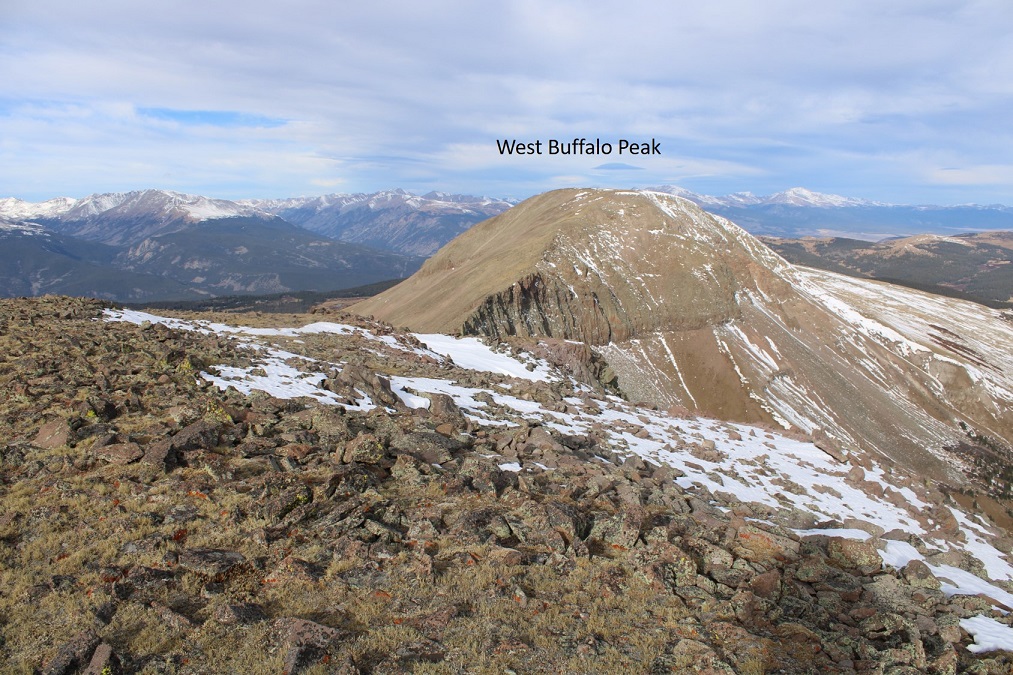
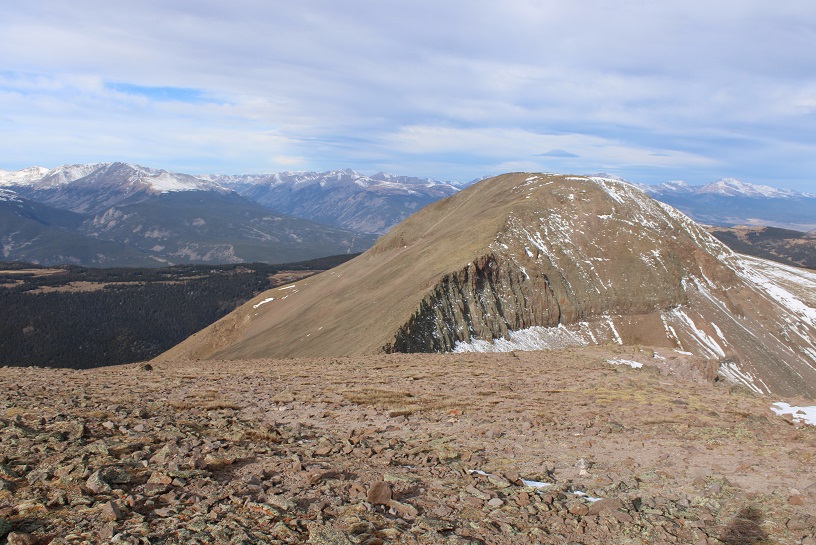
West Buffalo Peak:  

(Sorry about the orientation:  I didn’t realize it when I took the video, and now it’s a pain to fix it…)

I was making this a loop, so I turned and headed northeast, just for about .13 miles. 

Then I descended the ridge, heading northeast towards the 12917/West Buffalo Peak saddle, and then turned right and headed east.

I was hoping to pick up cairns here, similar to the ones I found hiking up East Buffalo Peak, but wasn’t able to locate any.  I wanted to hook back up with the 4WD road.  Much of the route would be below treeline, and in current conditions lined with snow, so as I hiked east, I visualized where I wanted to end up and got out my compass.

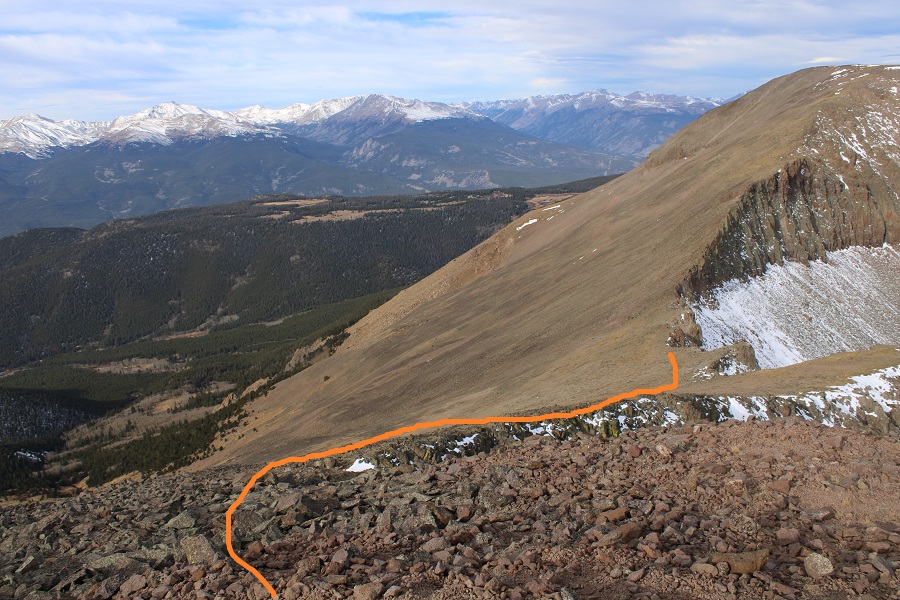
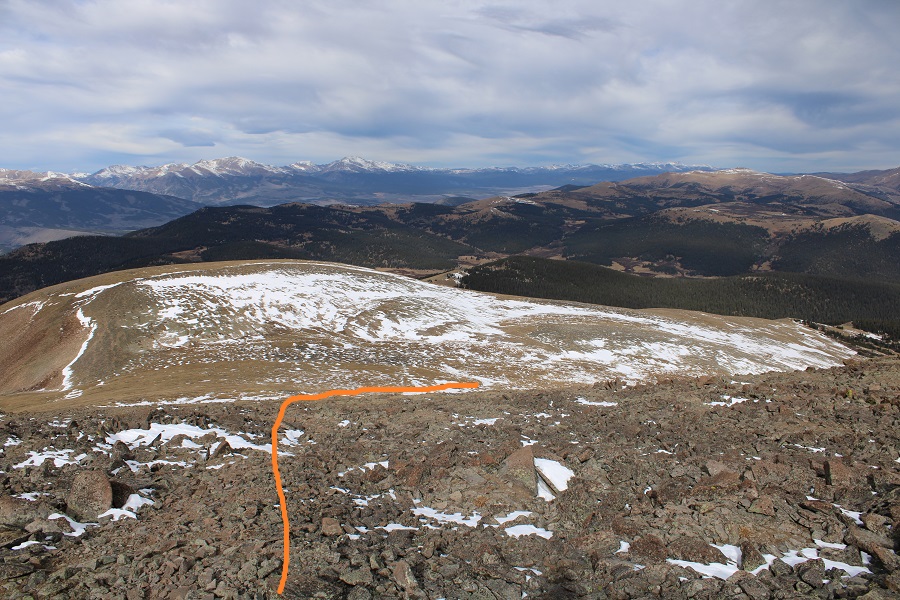
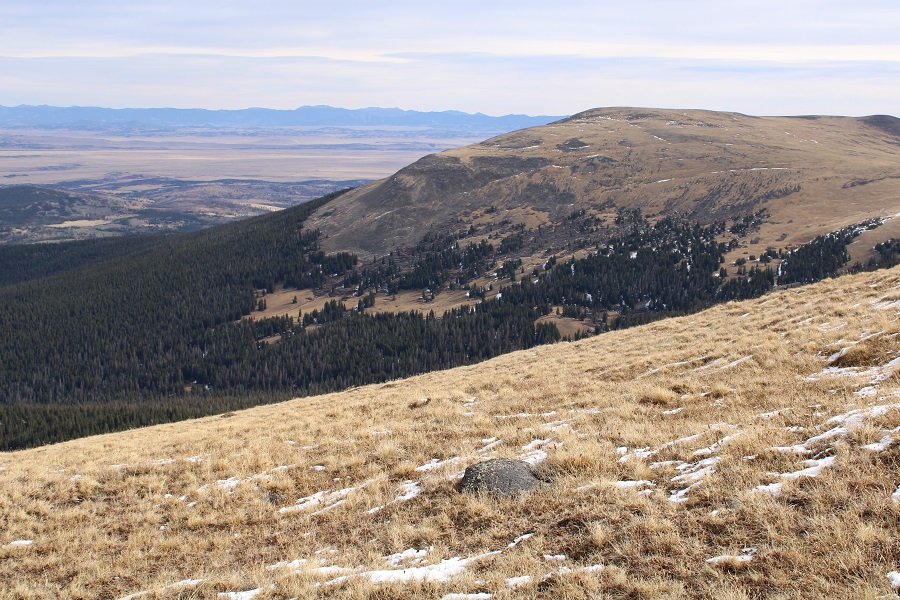
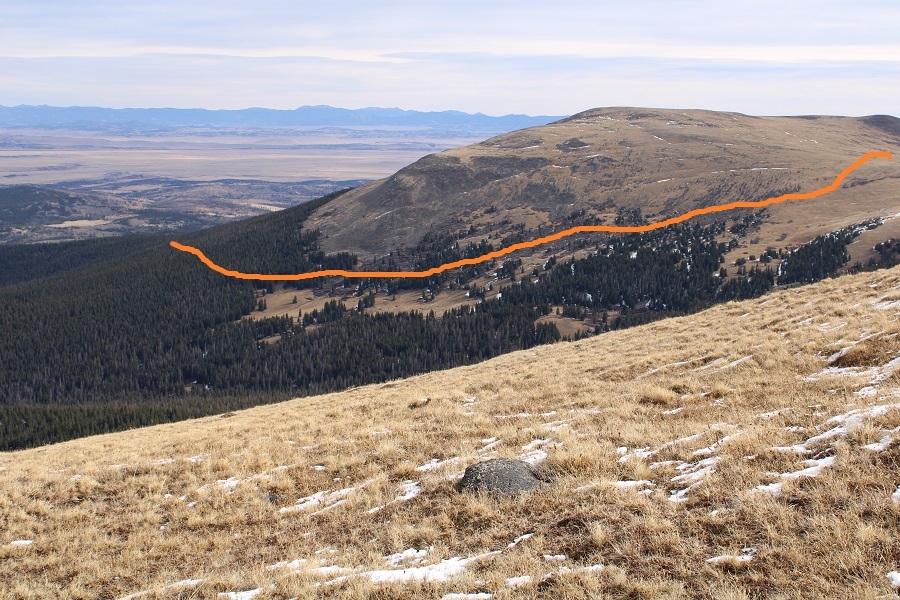
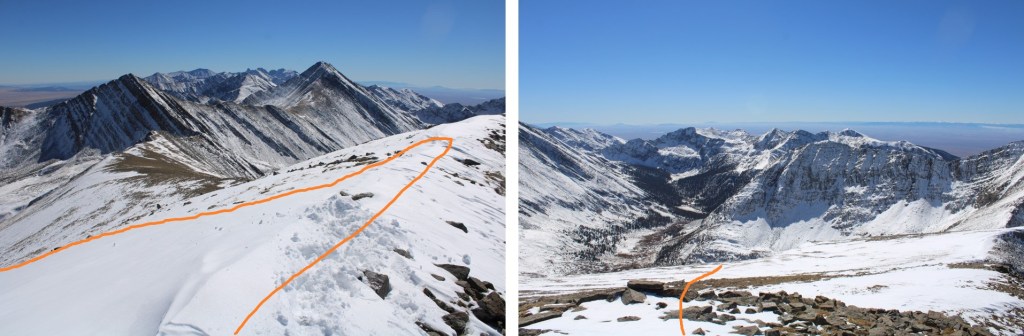
The orange line is how I ascended the ridge to East Buffalo Peak this morning.  So, from where I was at, I needed to aim towards the meadows.

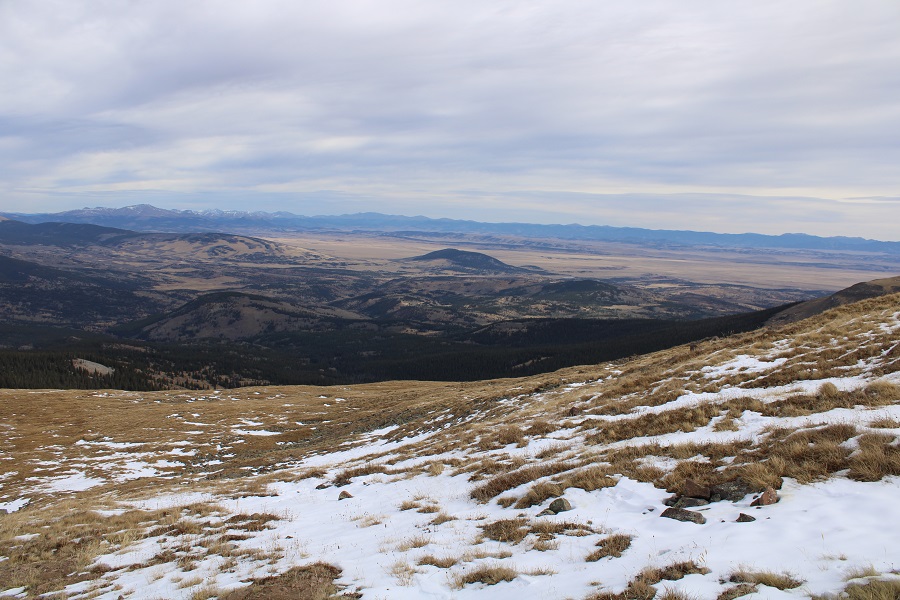
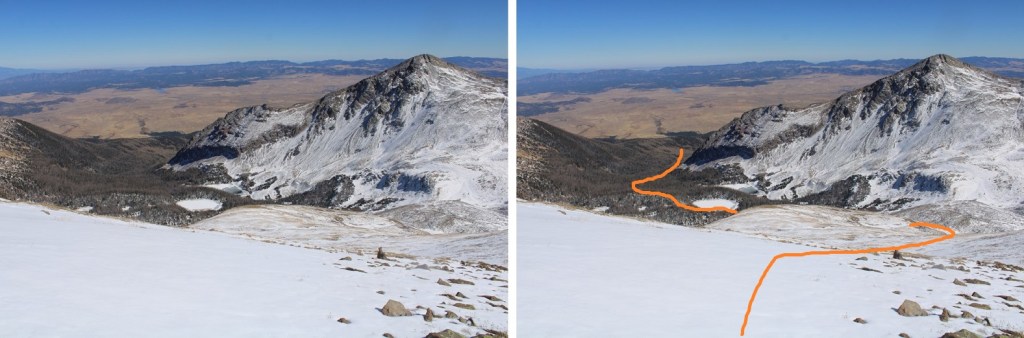
Much of this route is below treeline, so pictures won’t be that helpful.  Here’s an overview of the route I took to get to the meadows.  Once at 11650’, (and crossing a drainage) I did my best to stay at around that same elevation, skirting the mountainside, heading towards the meadows. There were some ups and downs along the way, but nothing major.

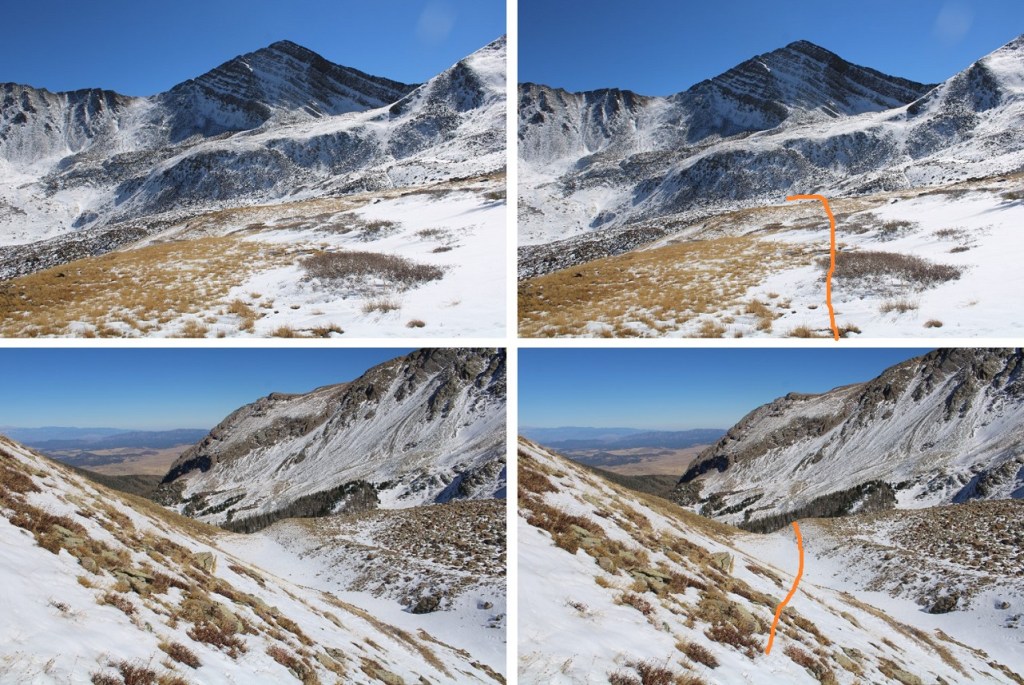
Here are some pictures of the route

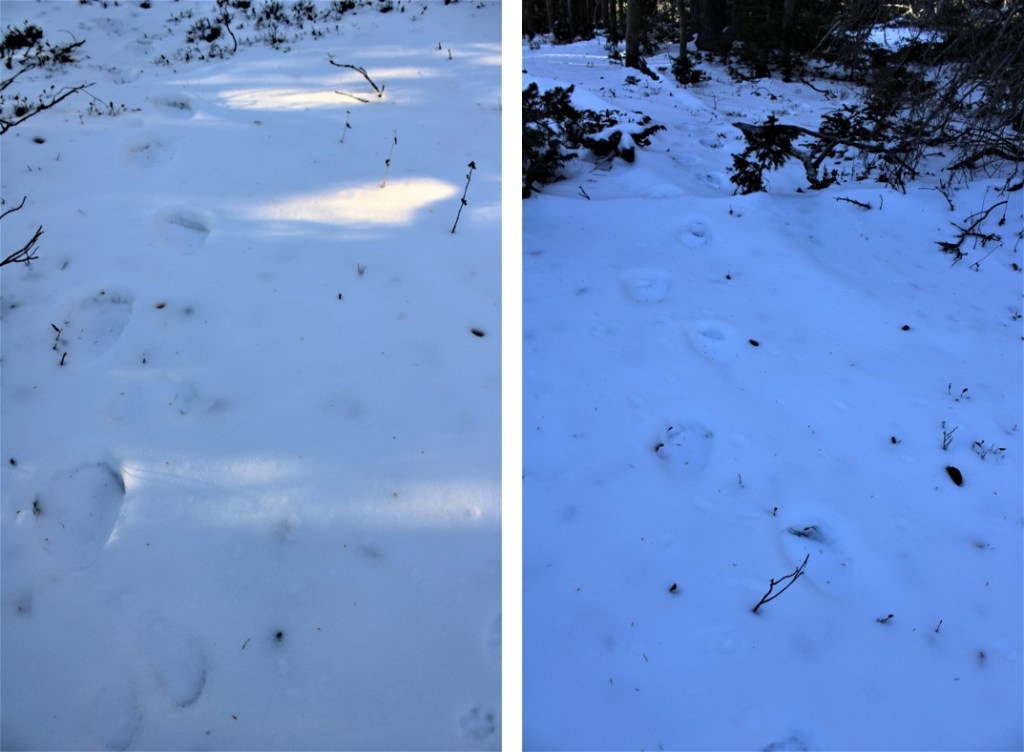
Once in the trees, there were tons of elk tracks.  These were helpful in figuring out snow depth, and I frequently followed them when pertinent.  At one point, I could smell elk near, looked up, and saw a buck with rather large antlers startle about 15 feet from me and bound away.

I made it to the meadows, and followed them back to the 4WD road by trying to stay above them, in the trees

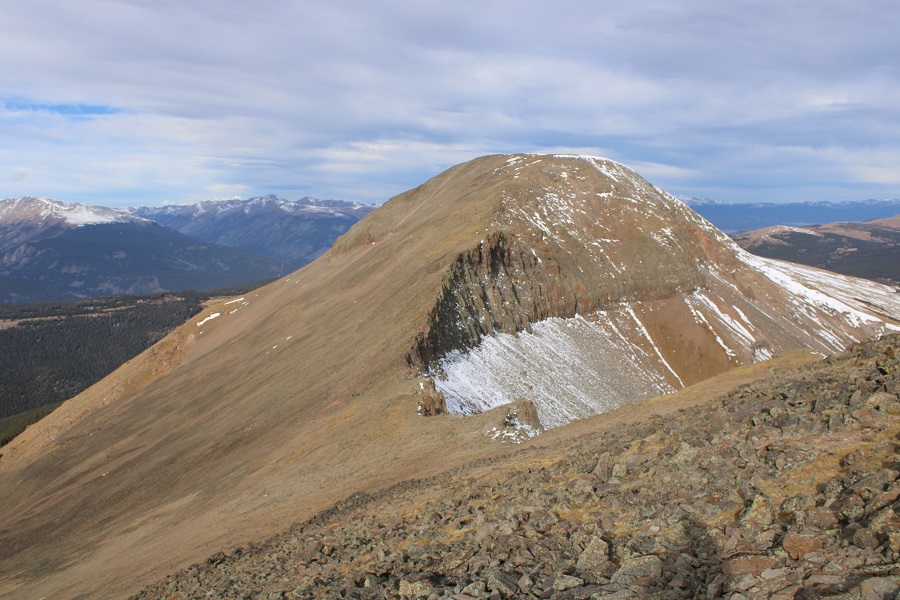
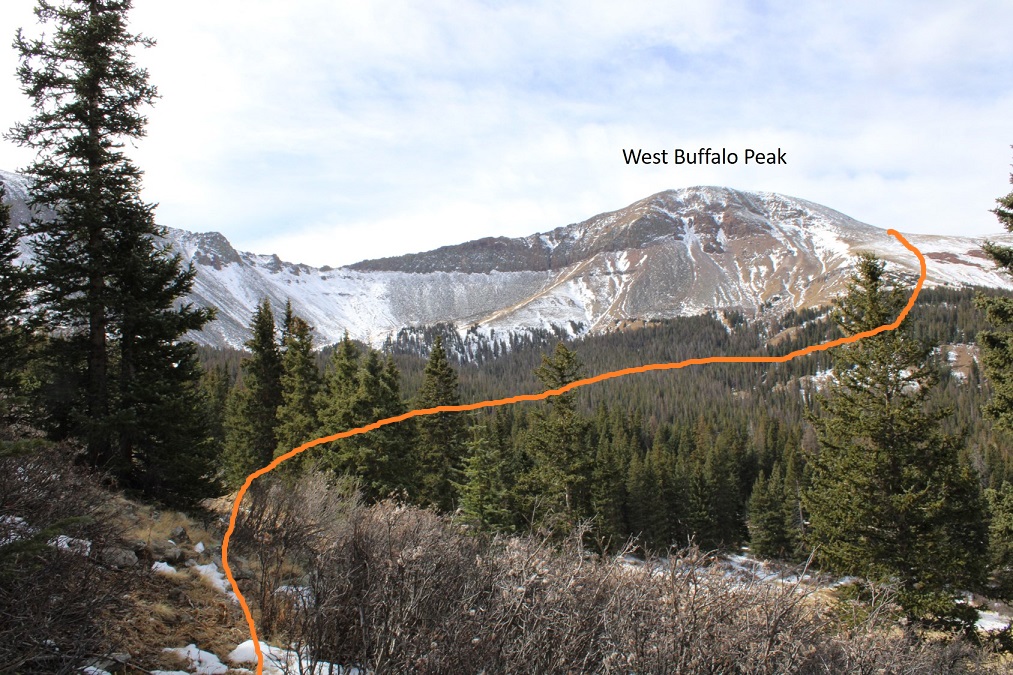
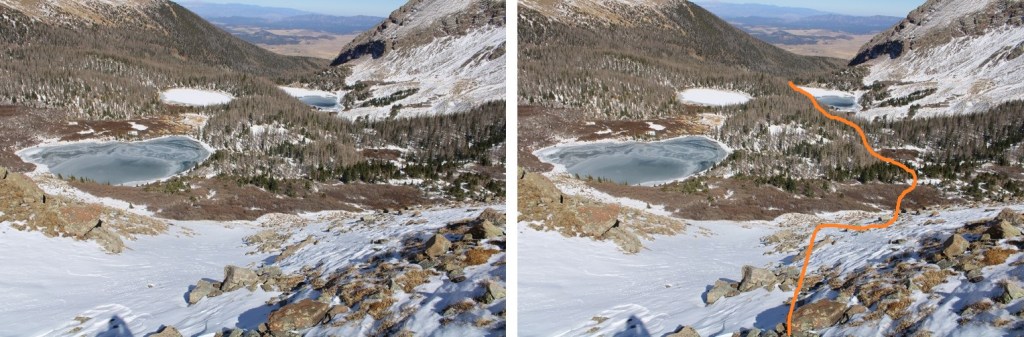
Here’s looking back at West Buffalo and my route back to the 4WD road.  If you’re planning on doing this as a loop and doing East Buffalo first, it’s a good idea to get this visual on your way in.

I was now back at the cairns that would lead me to the road (the same ones that led me to the willows earlier this morning)

I followed the 4WD road back to the trailhead (the crows were still there along the way)

I made it back to my truck at 1pm, making this an 11.95 mile hike with 3489’ of elevation gain in 6.5 hours.

On to the next trailhead!

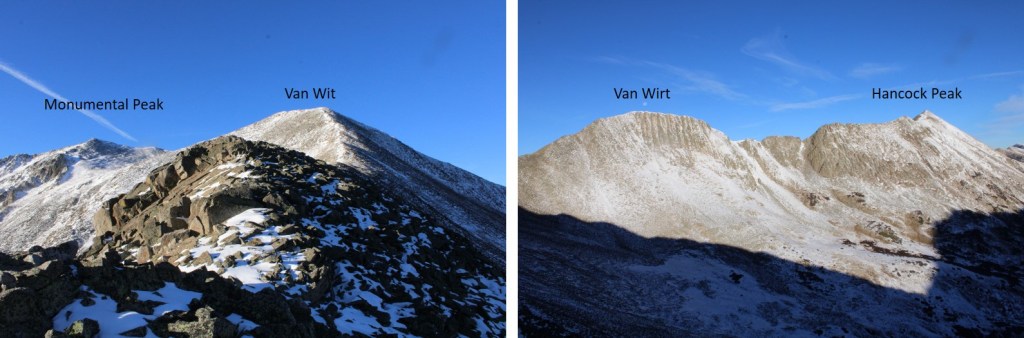
Van Wit – 13,254, Monumental Peak – 13,369, Van Wirt – 13,024, and Hancock Peak – 13,111

RT Length:  10.27 miles

Elevation Gain: 3629’

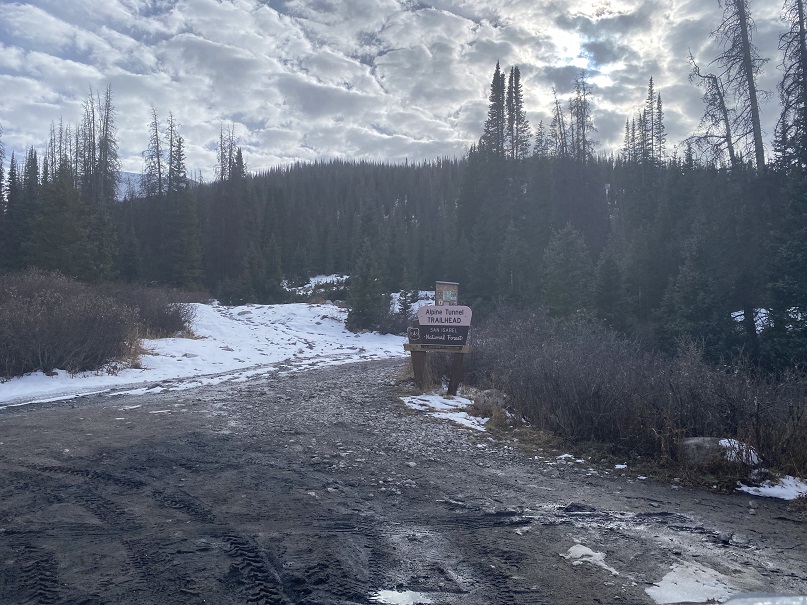
This was my first time at Hancock Ghost Town.  There wasn’t much to it… but there was good parking and the 4WD road looked doable in a 2WD, even in snow.  There was a lot of ice/snow on the road, but that was to be expected for this time of year.  There was an abandoned RV parked with “No Trespassing” signs just before the parking area.  I’m sure the signs were more to protect the mining claim behind the RV than the RV itself, which was missing several windows and looked occupied by wildlife.  Due to the ice and snow, it was also muddy, so I decided not to park at the Alpine Tunnel Trailhead, but at the parking area just before the bridge, where there was less mud.

I got to bed quite early, and woke up to my alarm at 6am.  I was surprised I hadn’t been cold, considering it was 22 degrees outside when I woke up and there was a layer of frost on my windows.  I ate breakfast, gathered my gear, and was on the trail at 6:30am. 

I was following Road 295 south, towards Hancock Lake.  It was dark out, but there was a full moon and the road was easy to follow. I just had to watch out for ice.

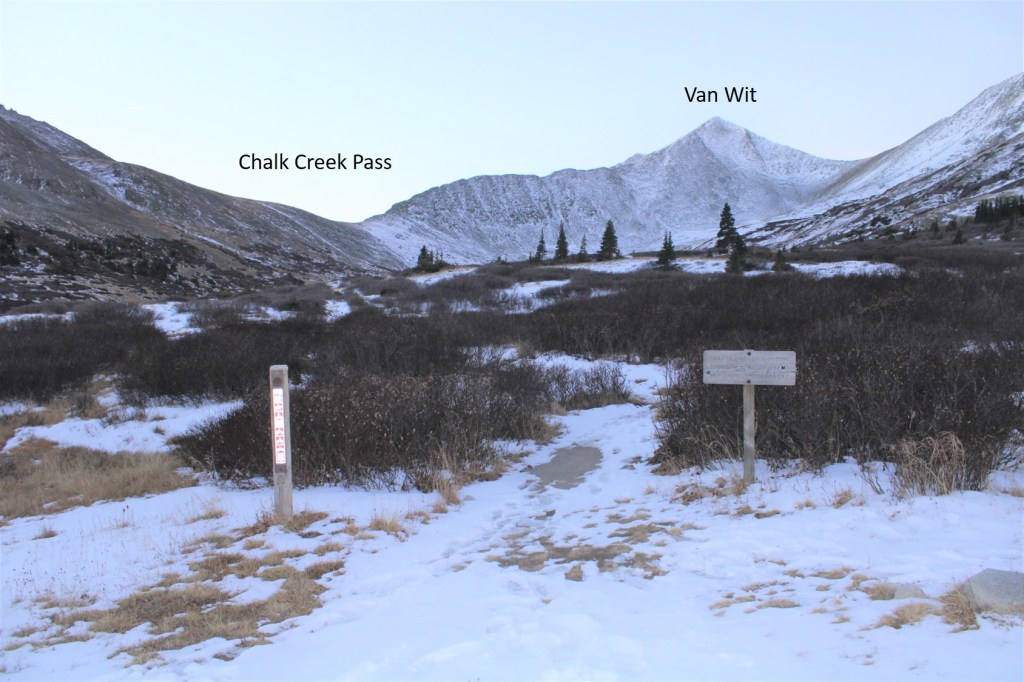
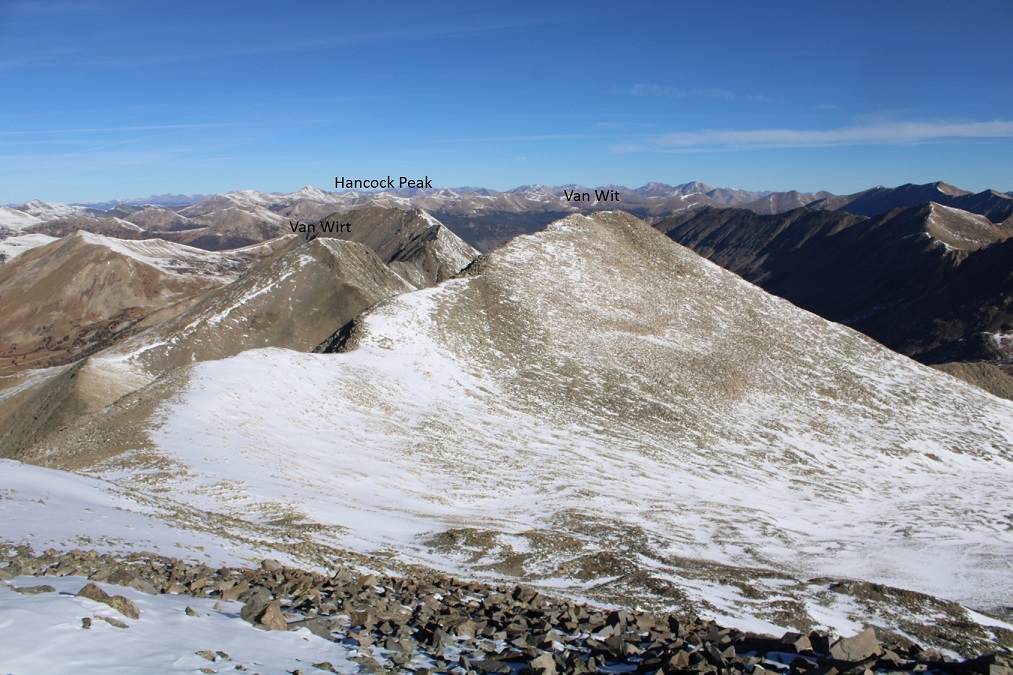
After hiking for 1.6 miles, I made it to Hancock Lake, where the road ended and I picked up trail 1422, skirting the lake to the west, before following the trail east up Chalk Creek Pass.  Here the footprints and tire tracks ended, and I was now making my own tracks in the snow. I kept thinking what a wonderful basin this would be for a moose, when I came across some moose tracks.  The tracks were facing the opposite direction, so I knew running into a moose was unlikely. I followed them all the way over Chalk Creek Pass.  This is a good view of the hike to the pass, and the ridge to Van Wit.

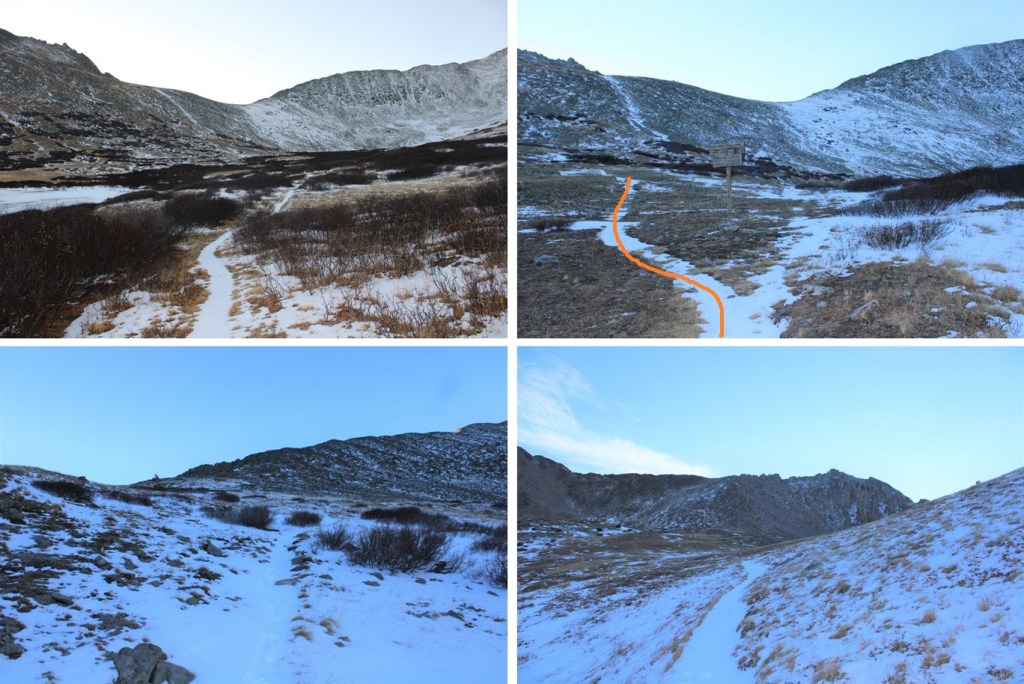
Here’s the route up to the pass, all class 1, sprinkled with snow.  At the junction, take the trail that goes left, towards Chalk Creek Pass.

At the pass I turned right, and headed southwest along the ridge. 

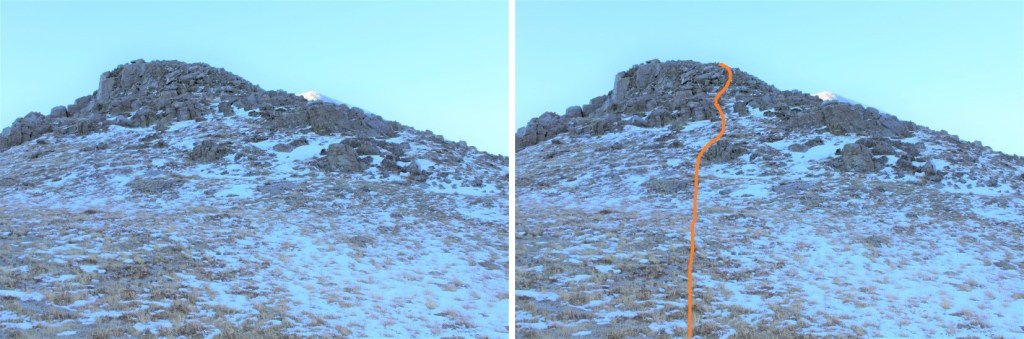
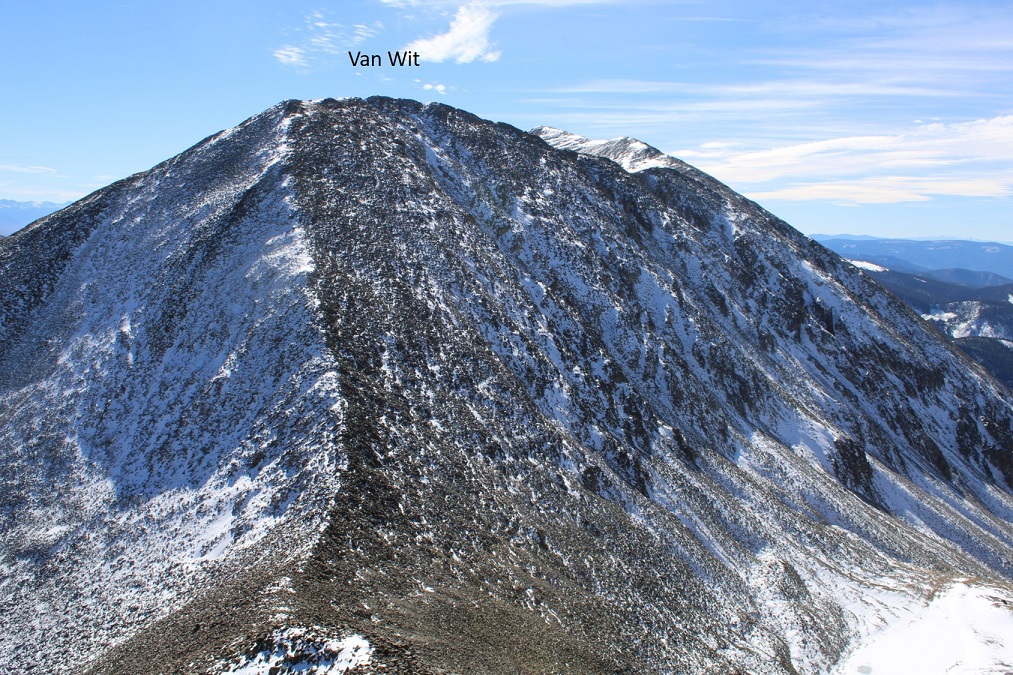
This is normally a class 2 ridge, but today, due to the snow, there were class 3 areas (on all the ridges with snow today). I continued following the ridge, being mindful of loose rocks and voids beneath the snow. From the ridge I had great views of all 4 peaks I’d be climbing today

I stuck to the ridge proper, dipping to the right only when necessary

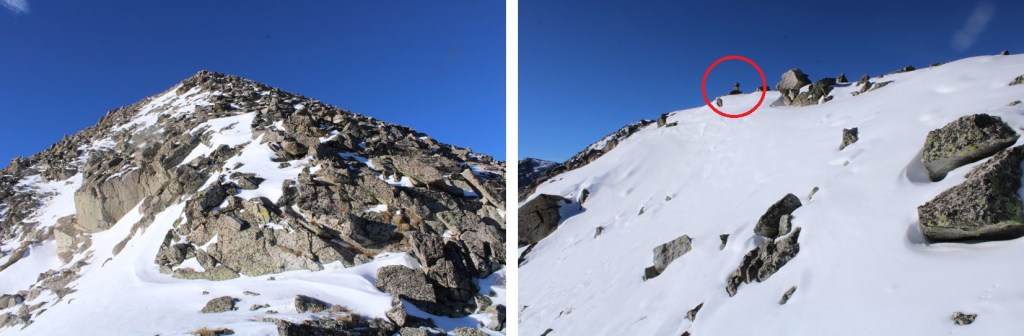
Topping out of the ridge there was some snow to deal with, but a cairn leading the way

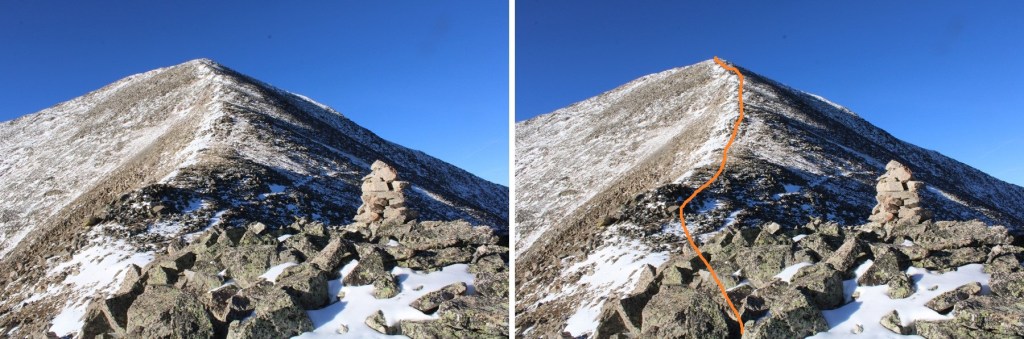
I turned left and followed the ridge south, towards an obvious cairn indicating the summit of Van Wit

I passed the cairn indicating I was at the unranked summit of Van Wit, and continued following the class 2 ridge towards Monumental Peak

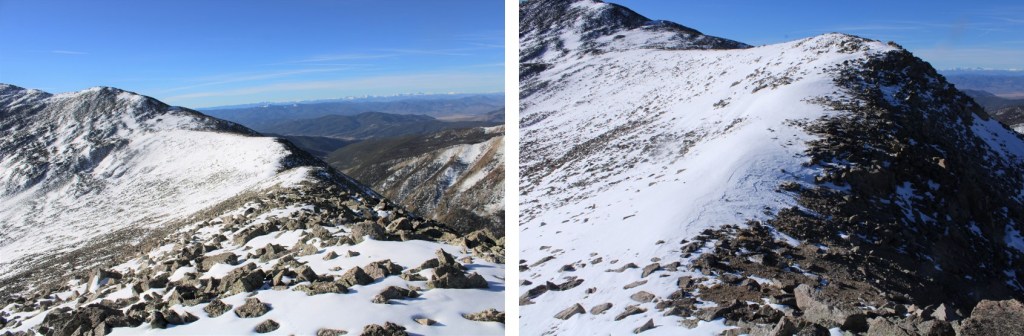
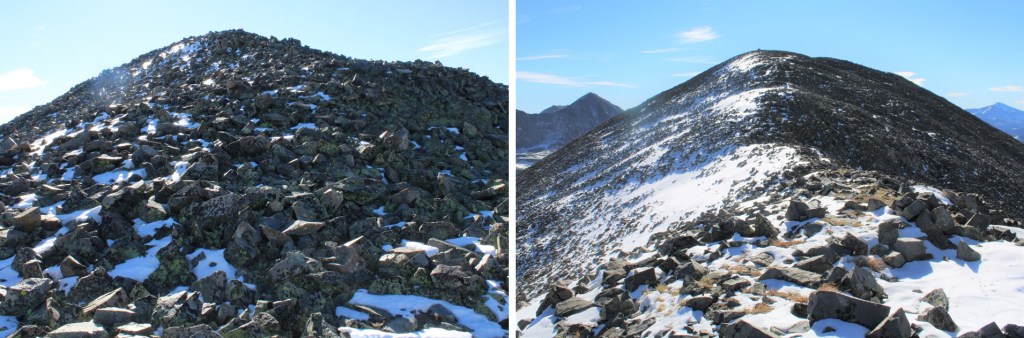
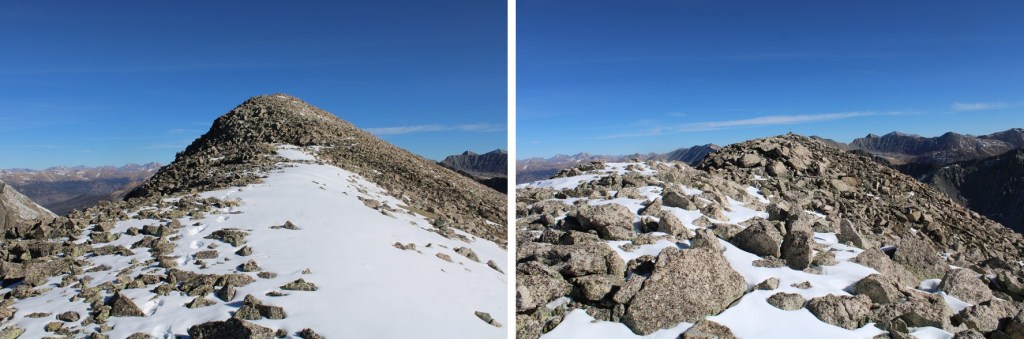
Here are some pictures of the rocky ridge

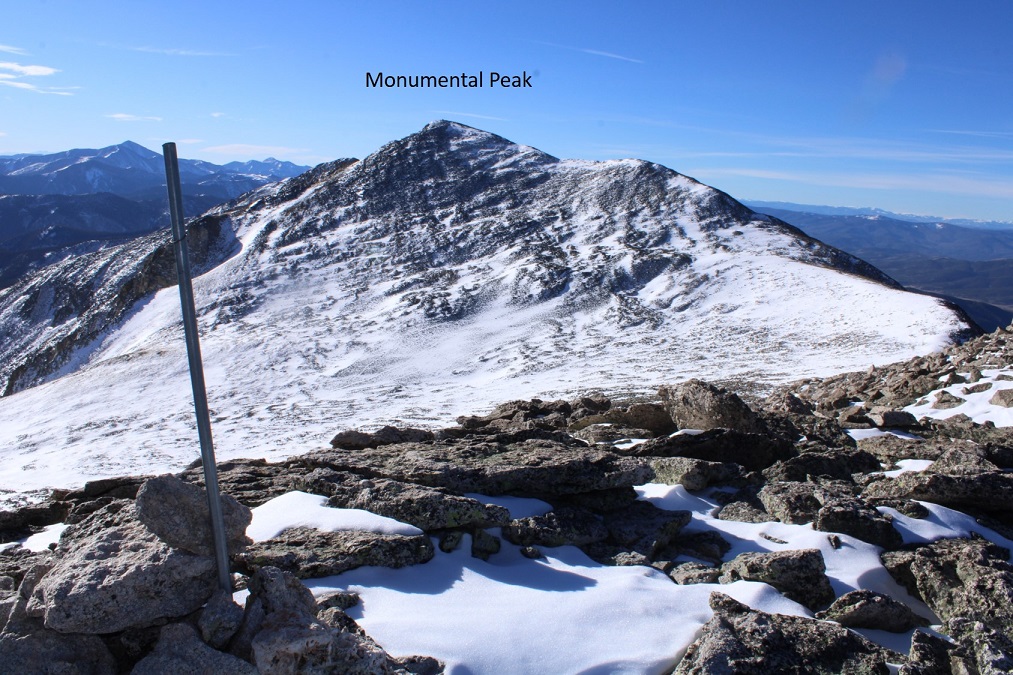
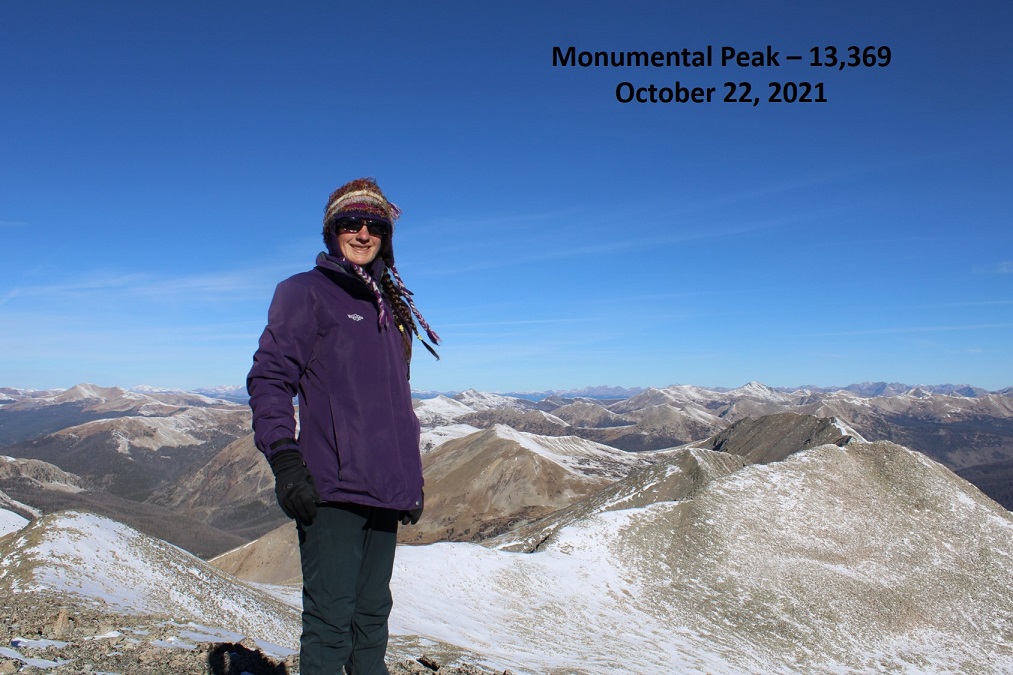
I summited Monumental Peak at 9:30am

Monumental Peak:

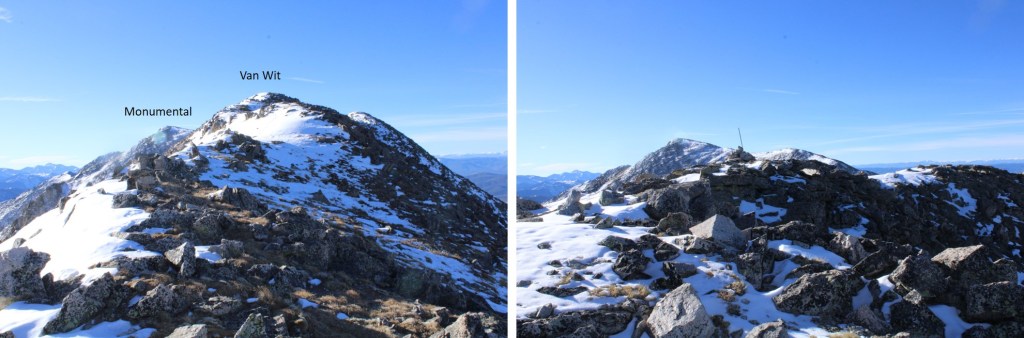
I re-traced my steps back to Van Wit, following the ridge and my tracks in the snow.

Back at the summit of Van Wit, I now followed the ridge northwest, towards Van Wirt.  Due to the snow, this was class 3.  I took a lot of time carefully navigating the rocks and snow on the way down, losing about 620’ of elevation.

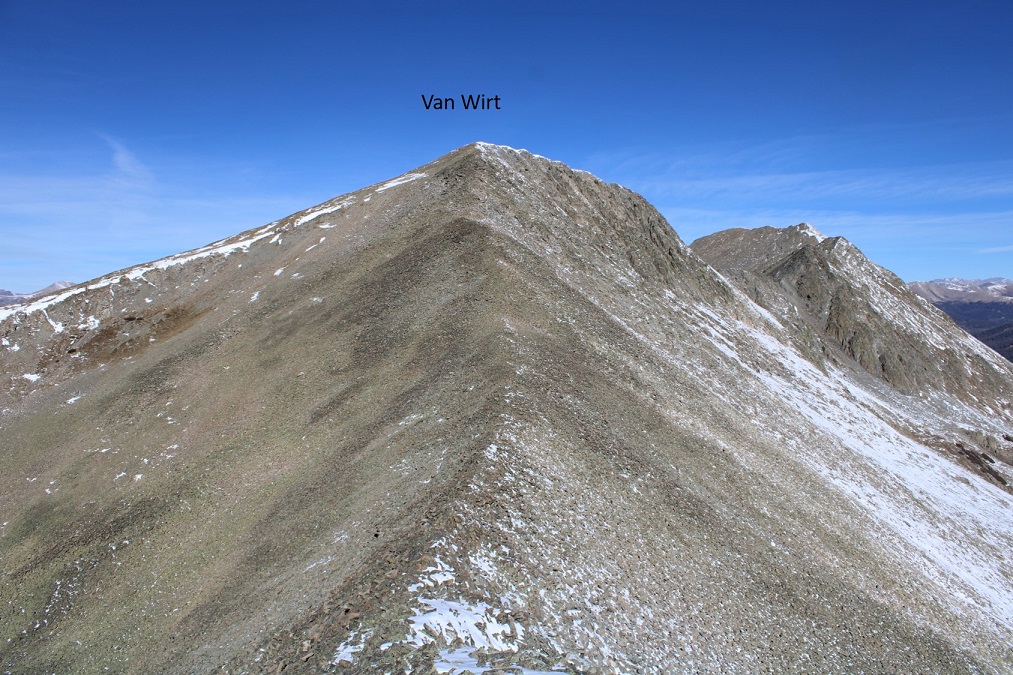
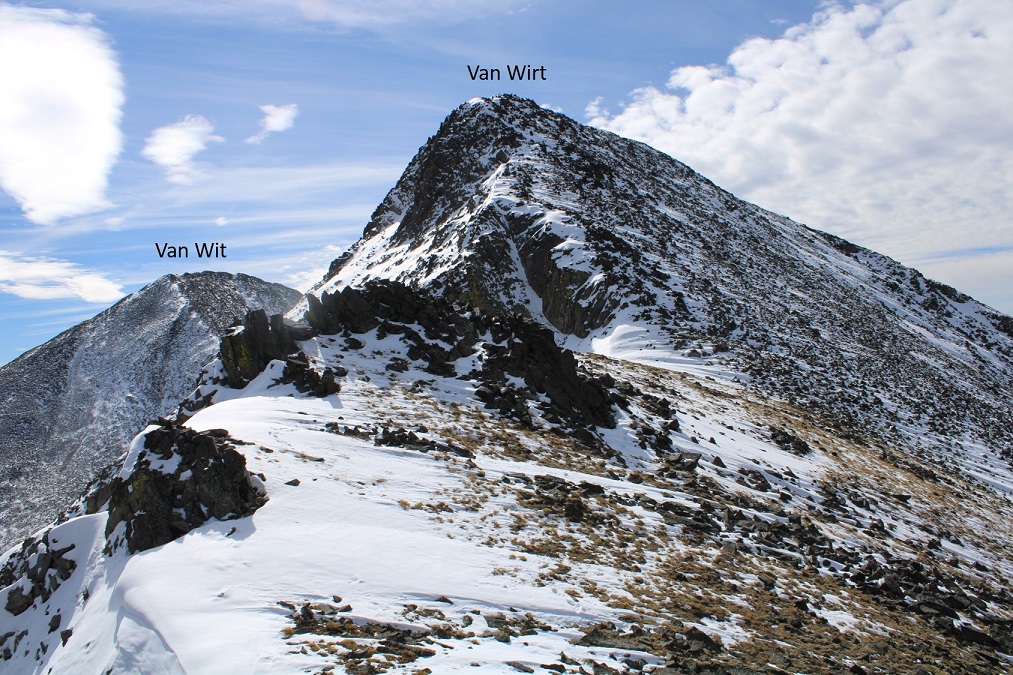
From the Van Wit/Van Wirt Saddle, here’s looking up at Van Wirt

The ridge up to Van Wirt was rocky, but easy to navigate, especially without snow.  I just followed the ridge, gaining about 375’ in elevation

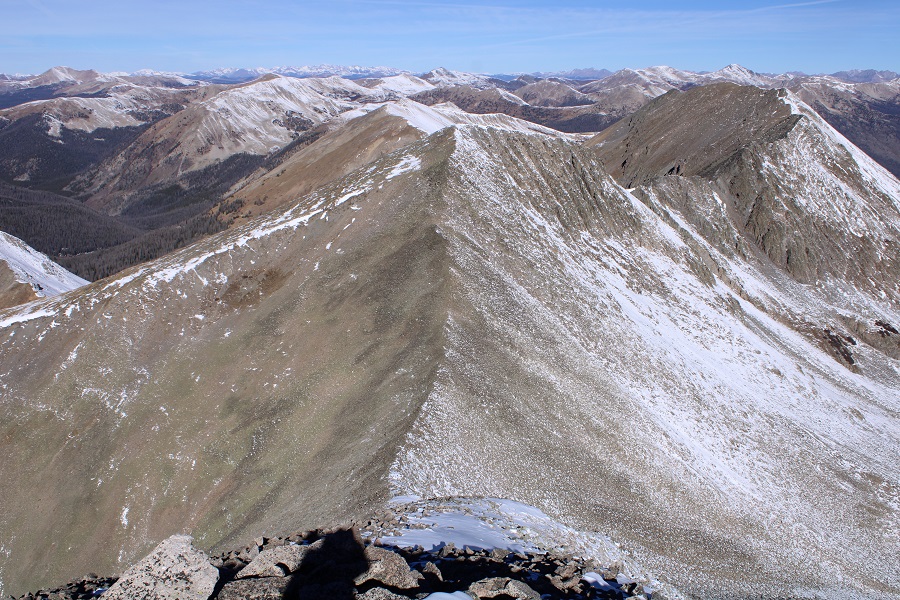
From the summit of Van Wirt, here’s looking back at Van Wit

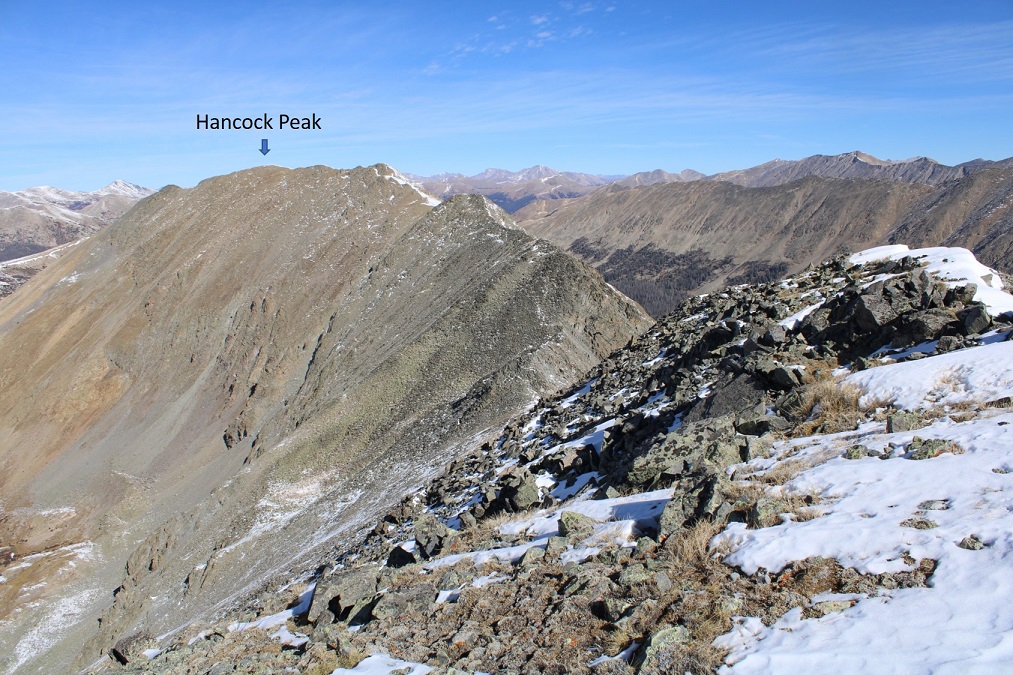
And now, to head over to Hancock Peak.  Here’s the actual summit (you’ll know it because it has a cairn, and it’s in the middle of the upper, long ridge)

I followed the ridge north, losing about 275’ in elevation towards the Van Wirt/Hancock Peak saddle, once again, being careful where I placed my feet with the rolling rocks and snow (all still class 2).

At the saddle I saw recent tracks from an adventurous fox, who decided to go down the gully this morning towards Hancock Lakes

Here’s looking back at Van Wirt

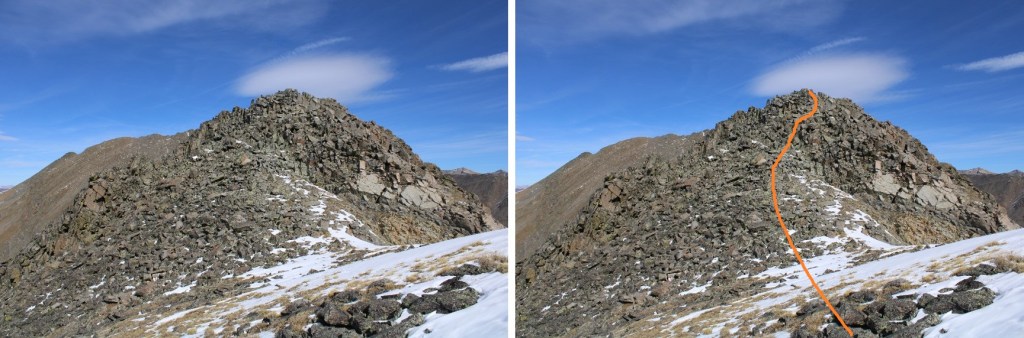
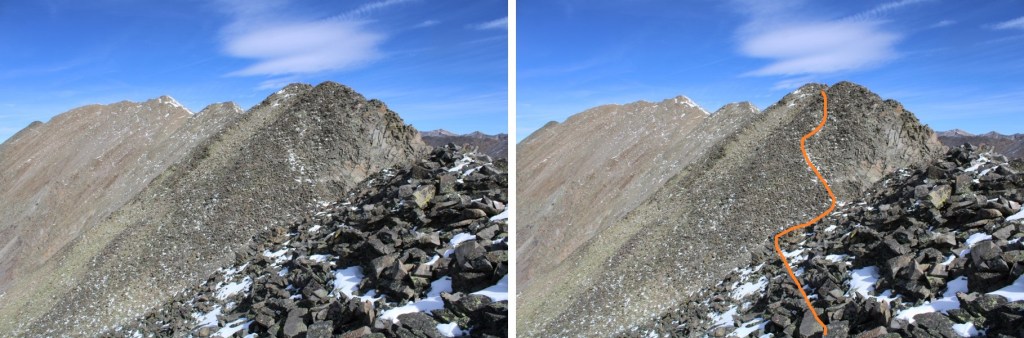
And now, to regain 375’ to the summit of Hancock Peak.  This was rocky, but I was able to follow the ridge directly, keeping it difficult class 2

Here I went a little left, but could have gone straight over the top. 

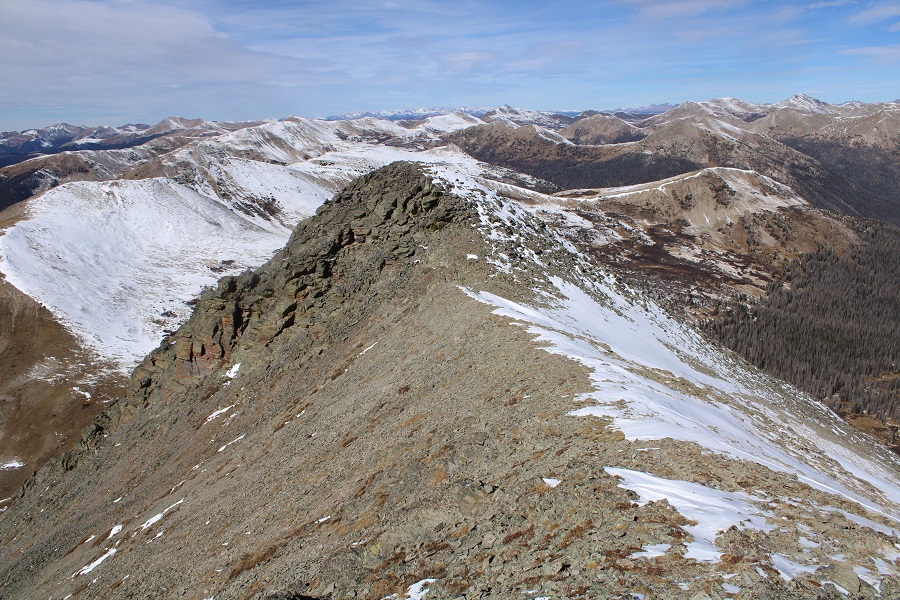
More ridge photos…

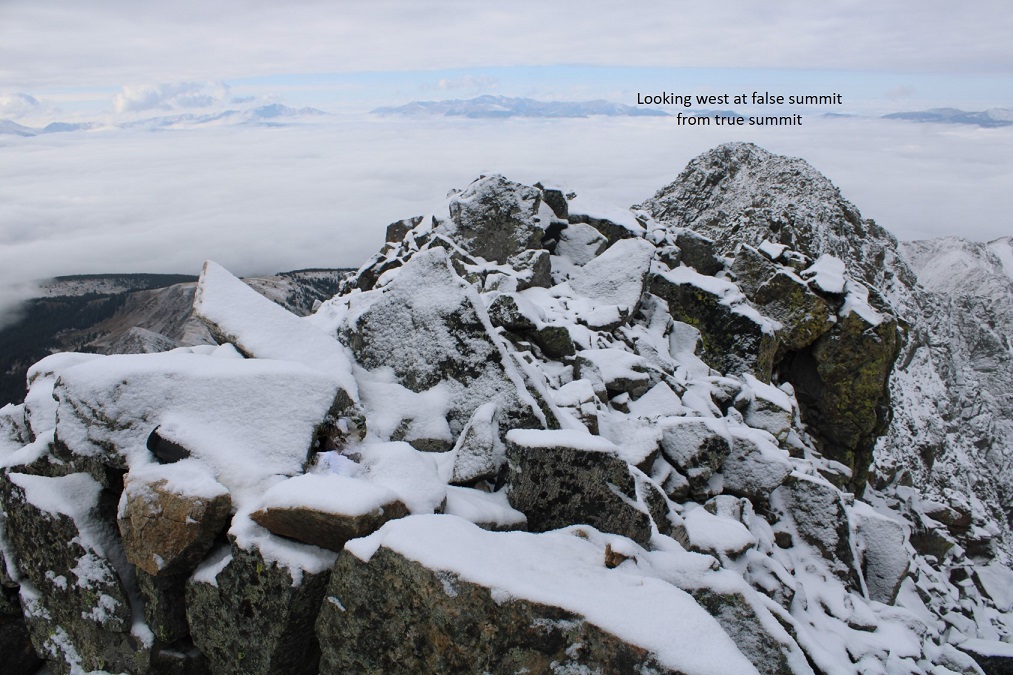
I crossed directly through the snow, which wasn’t as bad as it looked (note, this is a false summit)

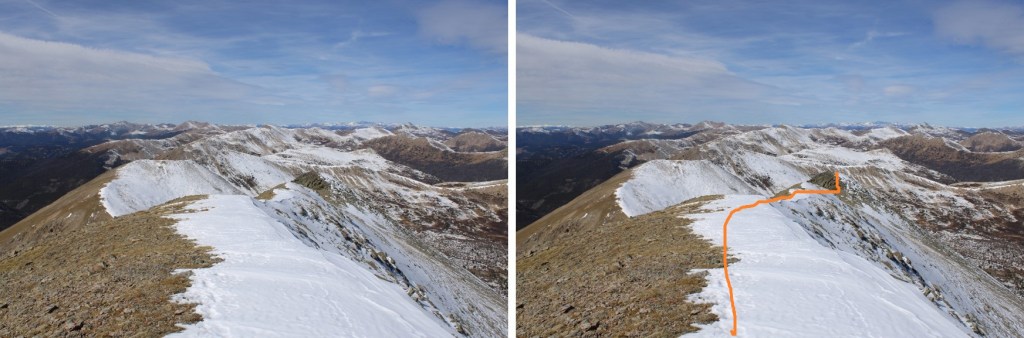
Once at the top of this point, I could see the true summit to the northwest.  You guessed it:  I followed the ridge

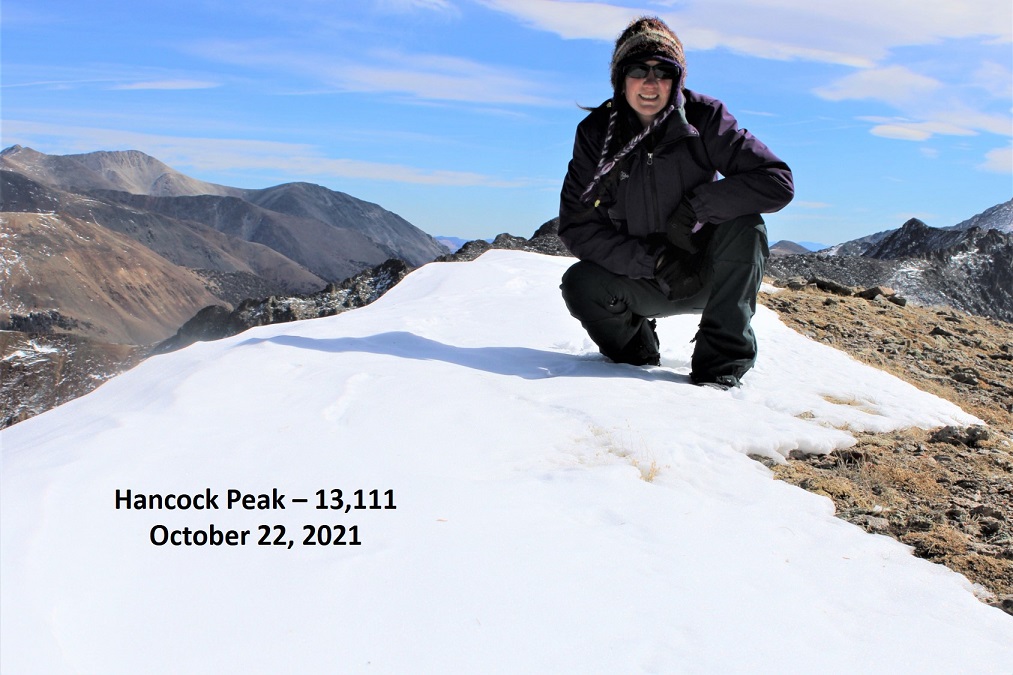
I summited Hancock Peak at 12:30pm

Hancock Peak:

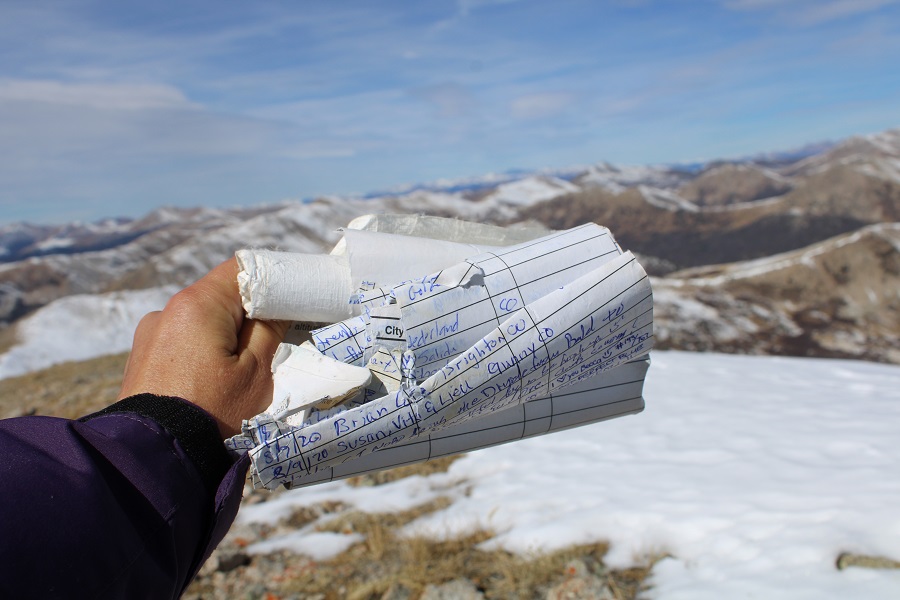
There was a torn-up summit register hidden in the cairn.  The last person to sign was here over a month ago.

I was making this a loop, so I continued following the ridge northwest

I was headed towards Hancock Pass.  At the end of the ridge, just before losing elevation, you can see the pass

I descended towards Hancock Pass, losing 850’ of elevation on rocky and scree filled terrain

From the pass, here’s looking back up the ridge

I turned right, and followed Road 299 for 2.5 miles back to the trailhead.

About halfway back I came across moose tracks again, headed up the pass.  That moose was moving!  It looked like he was just passing through after the storm, and did so quickly.

I made it back to my truck at 2pm, making this a 10.27 mile hike with 3629’ of elevation gain in 7.5 hours.

On to the next trailhead!

Geissler Mountain West – 13301 & Geissler Mountain East – 13380

RT Length:  5.97 miles

EG:  2381’

Independence Pass is still open, so I decided to try and get in a few peaks before it closes.  I drove to the Independence Lake Trailhead the morning of the hike, instead of the night before: every time I drive by this trailhead at night I see porcupines (plural) underneath vehicles parked there. I wonder how many times hikers have returned to their vehicles to find chewed wires at this trailhead?  This morning I was hoping it was cold enough, and late enough where they wouldn’t be out.  There weren’t any other vehicles in the parking area, and no porcupines in sight. 

I gathered my gear and was on the trail at 6am, headed north, following trail 1996.  The moon was full, so it was easy to navigate without a flashlight.

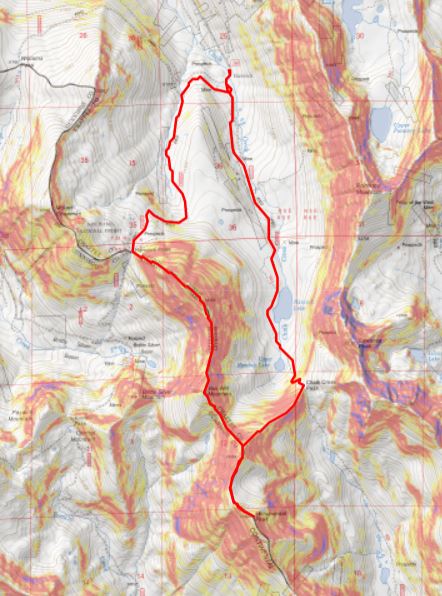
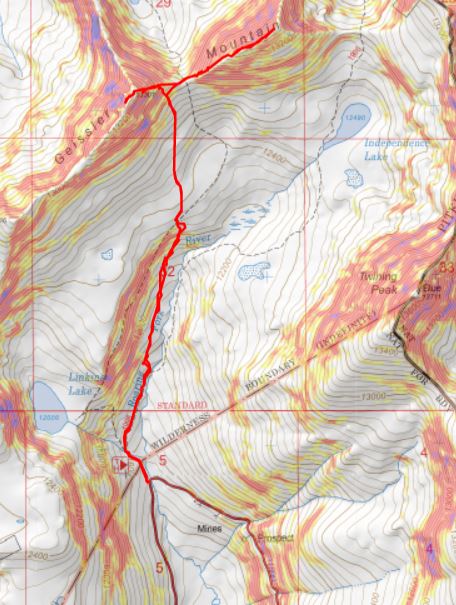
I followed this class 1 trail for just over half a mile before leaving the trail to head north. Here’s an overview of my route.

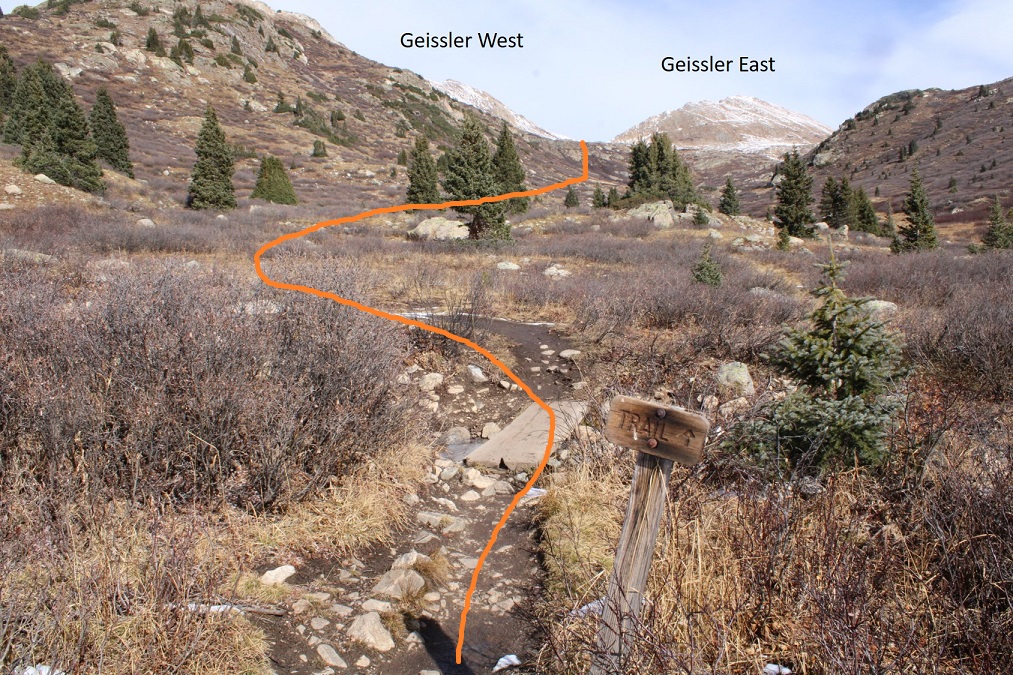
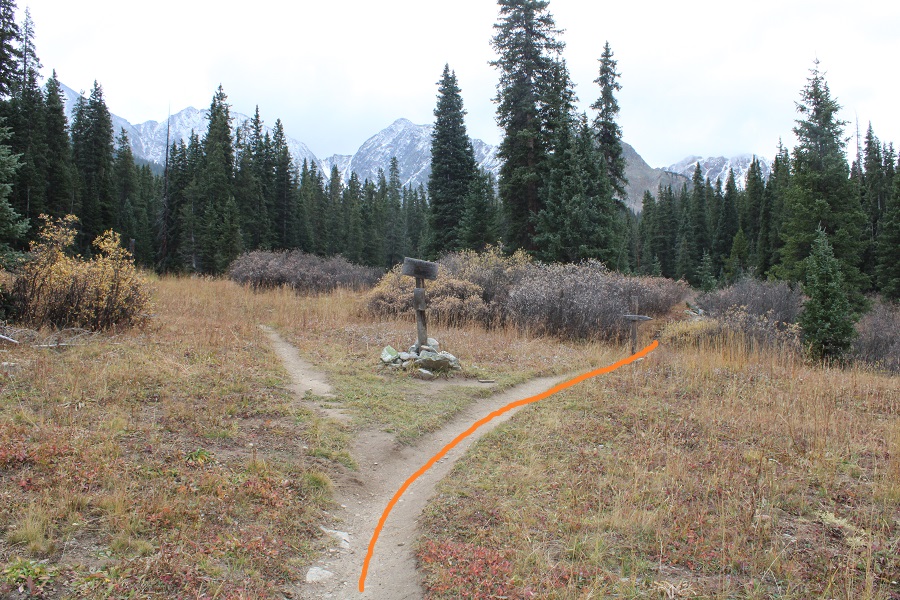
Here are some closer pictures of the route up to the Geissler West/East saddle.  I went right at the only junction

After half a mile of hiking I left the trail and continued heading north, easily avoiding the willows by staying to the west

As I neared the back of the basin, I ascended by hugging a rock outcropping and drainage

And then made my way towards the Geissler West/East saddle.  I actually stayed a little to the left to avoid snow, and because I was hiking Geissler West first

Right about now the sun was beginning to rise from behind me. I love alpine sunrises!

I continued heading towards the saddle

Once at the saddle, I then turned left, and was surprised at how much snow there was on the ridge to Geissler Mountain West.

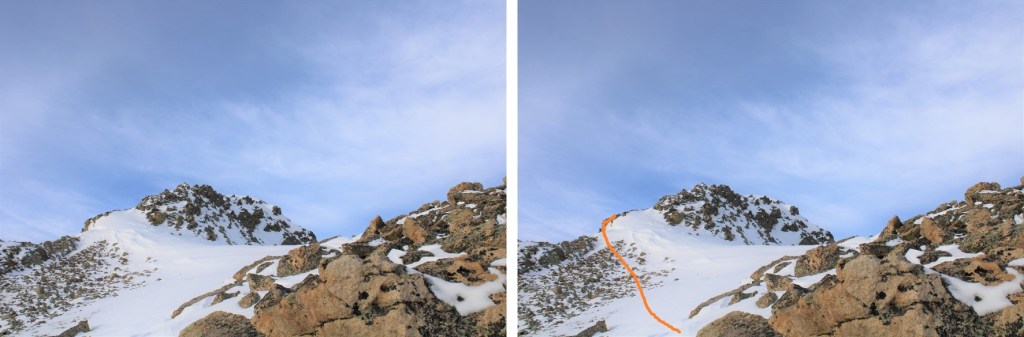
I would have liked to have taken the gully to the summit, but the snow as sugary and unconsolidated, and above my waist in places, making my ice axe and spikes useless, so I took the ridge.  This posed its own set of challenges, as the snow on the ridge was either covering the rocks, or covering the voids.  It was “choose your own adventure” to find out which.  There was some class 3 scrambling here, but I was able to take the ridge proper.

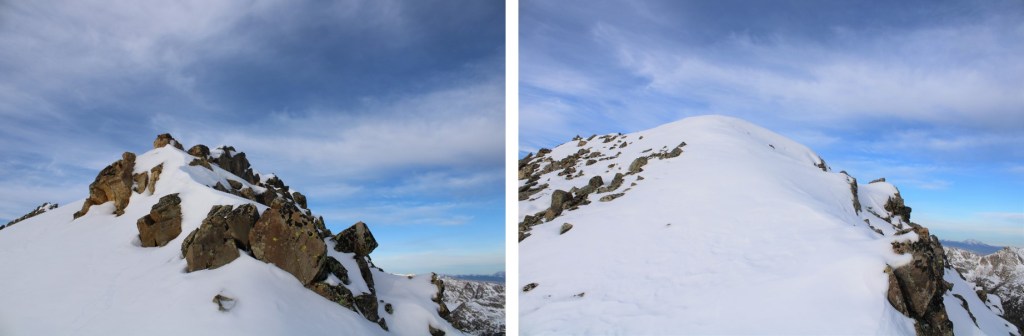
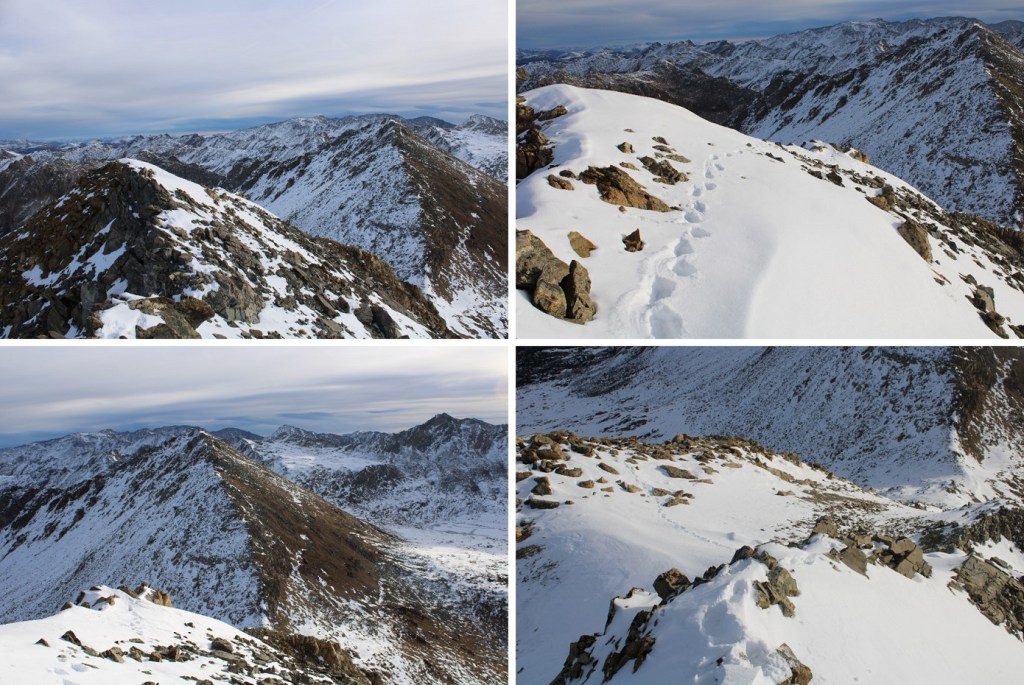
Here are some pictures of the ridge

Once at the top of the ridge I needed to head west towards the summit.  The snow here was up to my waist.  I headed towards the next ridge

I gingerly climbed up this ridge, once again, staying directly on top of the ridge.  This was class 3 as well.

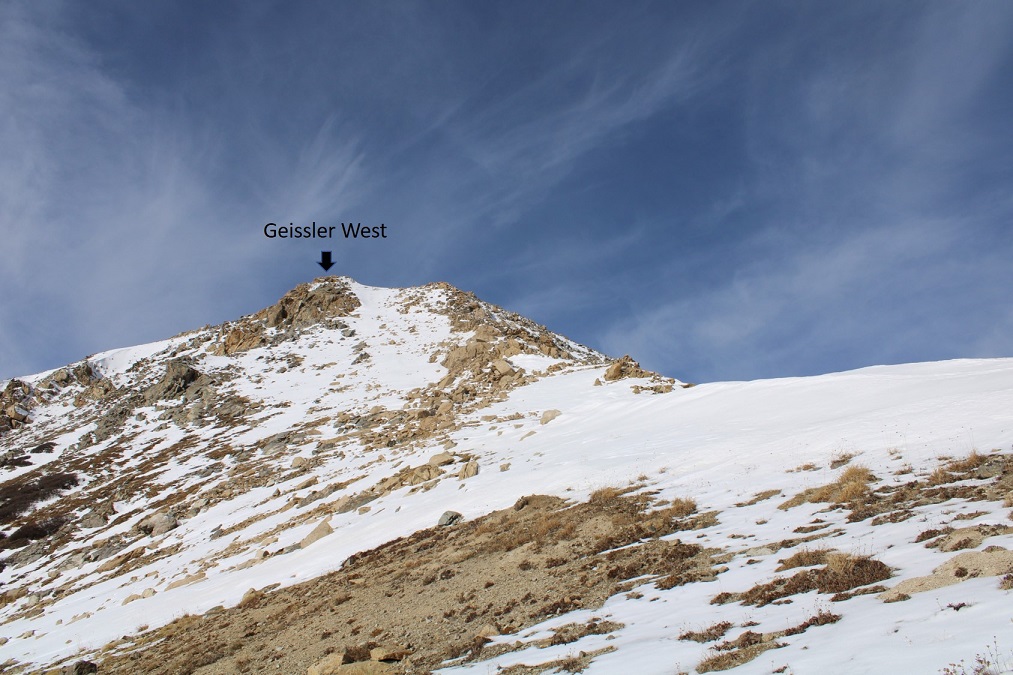
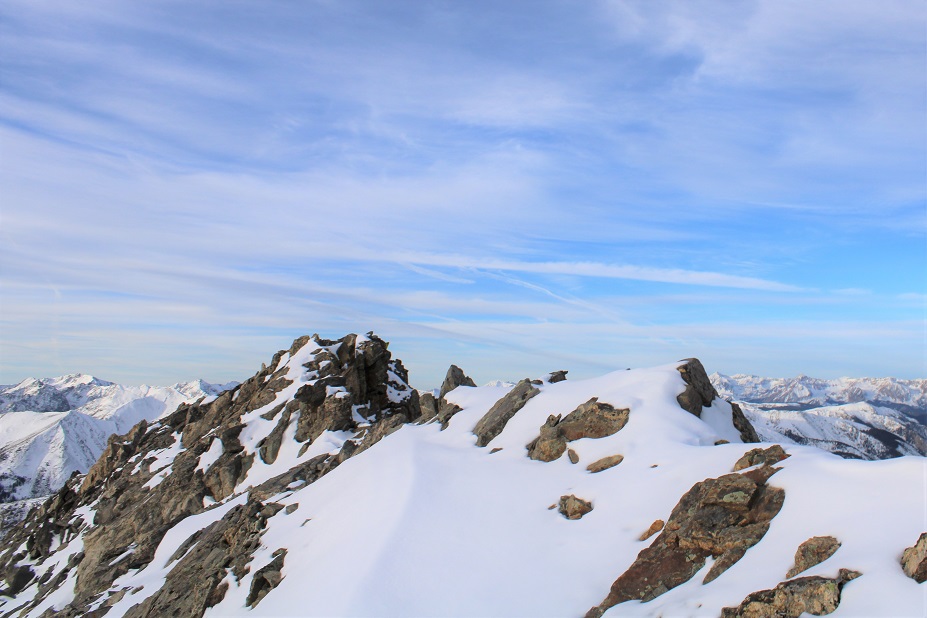
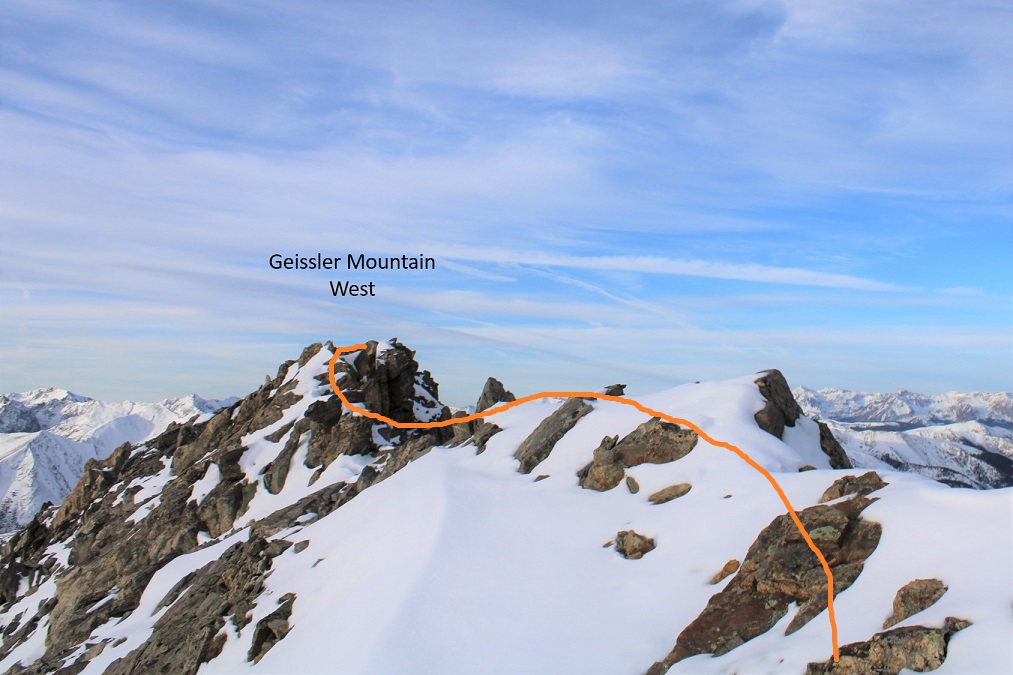
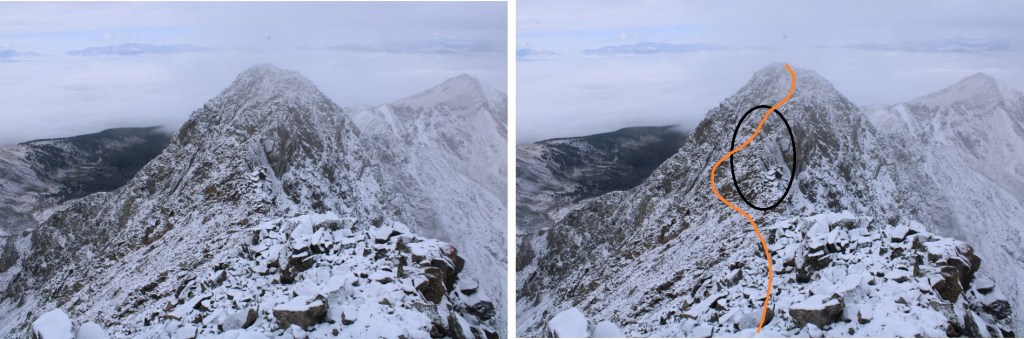
Only to find it was a false summit!  Here’s the true summit of Geissler Mountain West

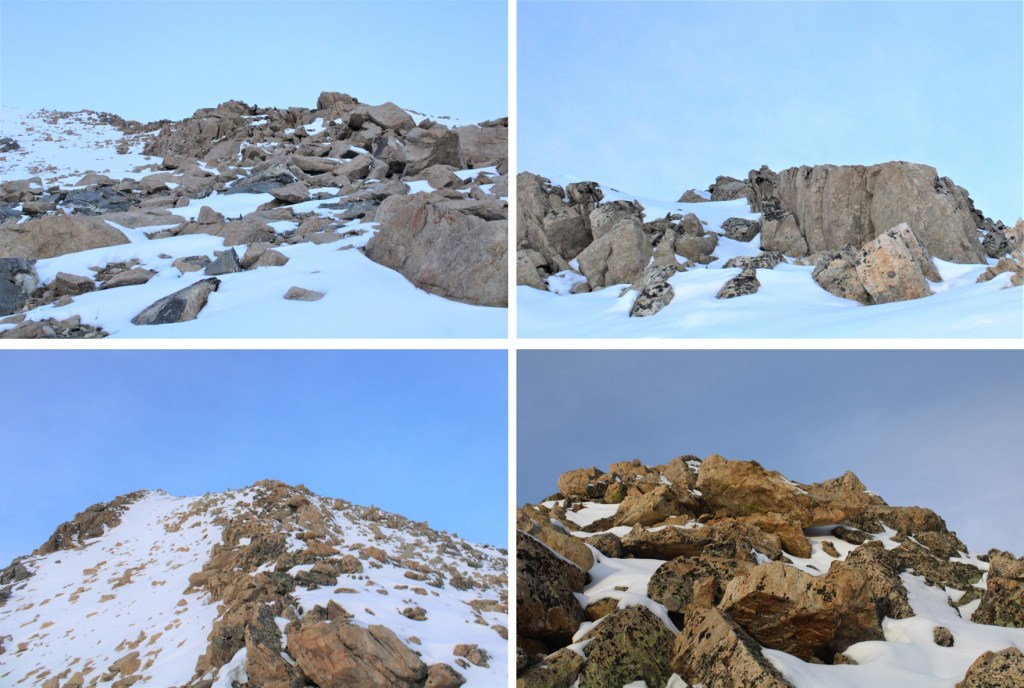
I dropped my gear and just brought my camera with me, climbing over the snow and then hand-over-fisting it on the rocks to the actual summit. This was class 3 with some exposure. I didn’t take the snow because it was an unconsolidated drift, with a lot of voids to twist an ankle, sink up to my chest, or worse

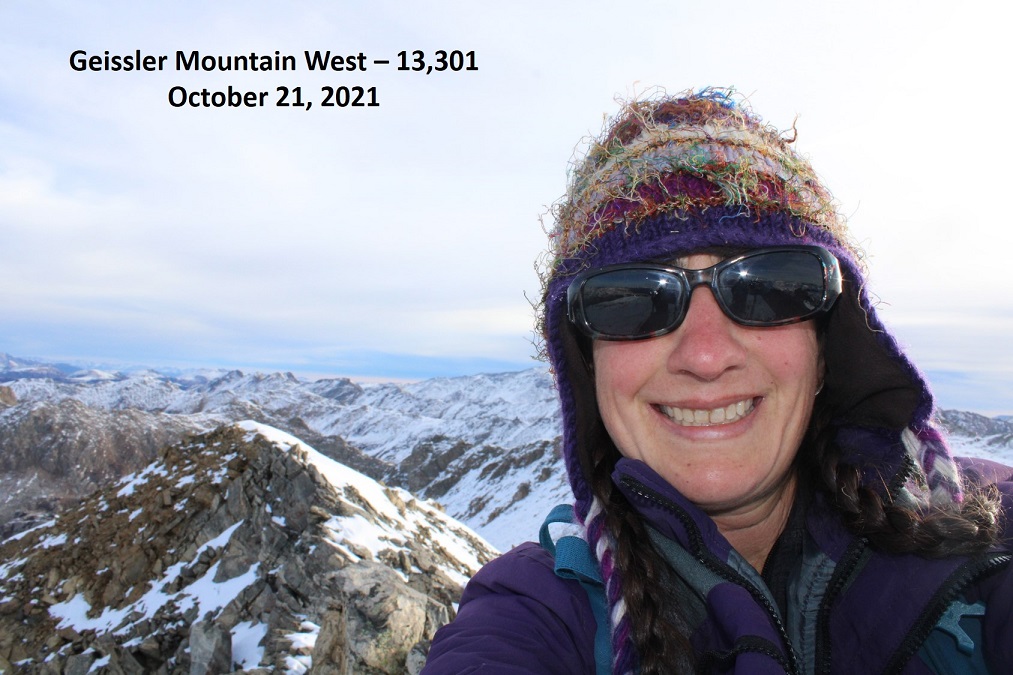
I summited Geissler Mountain West at 8:25am

Geissler Mountain West:

I followed my tracks back to the Geissler West/East saddle

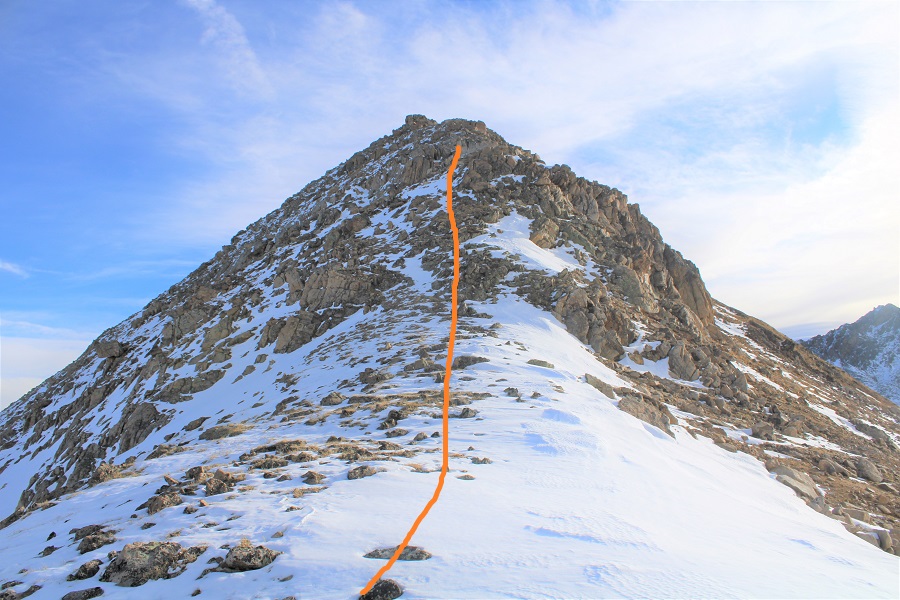
Now to head up towards Geissler East.  Spoiler alert: there are several false summits.  Also, once I could no longer stick to the ridge, I went right, and kept going right, hugging the south side of the mountain

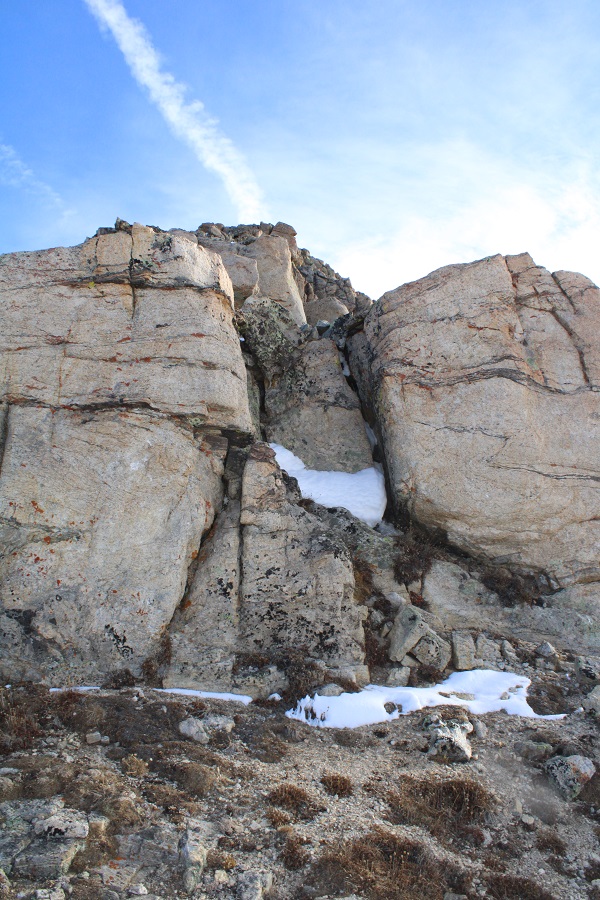
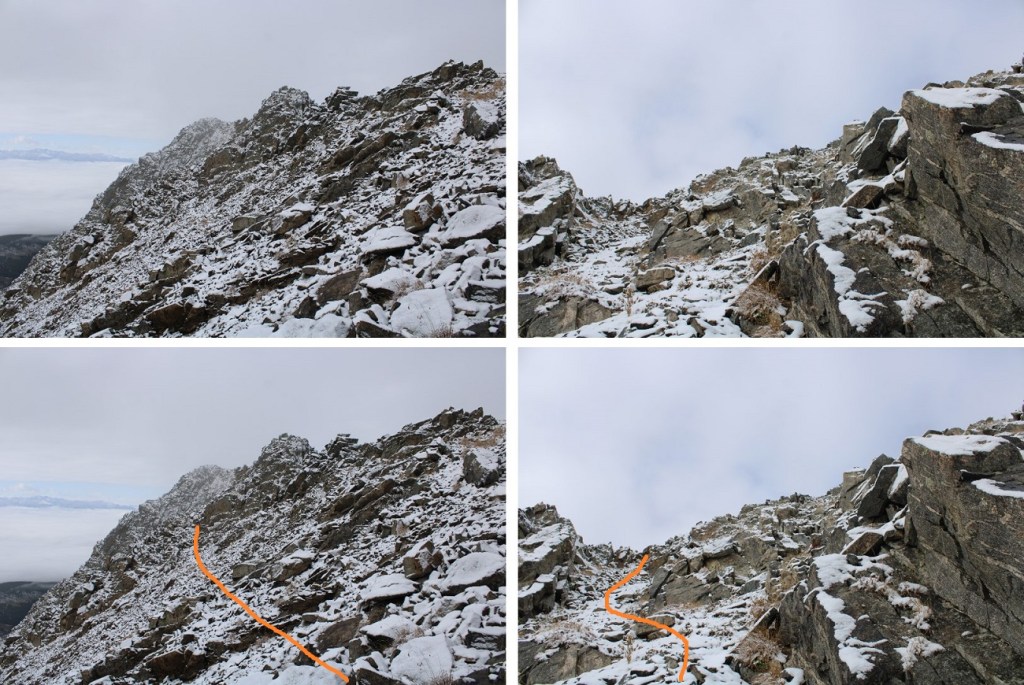
This ridge is mainly class 2, with a few class 3 moves sprinkled in. The class 3 moves probably could have been avoided, if there hadn’t been snow. Here are some pictures of the route

Remember, there are a lot of false summits… and keep heading right

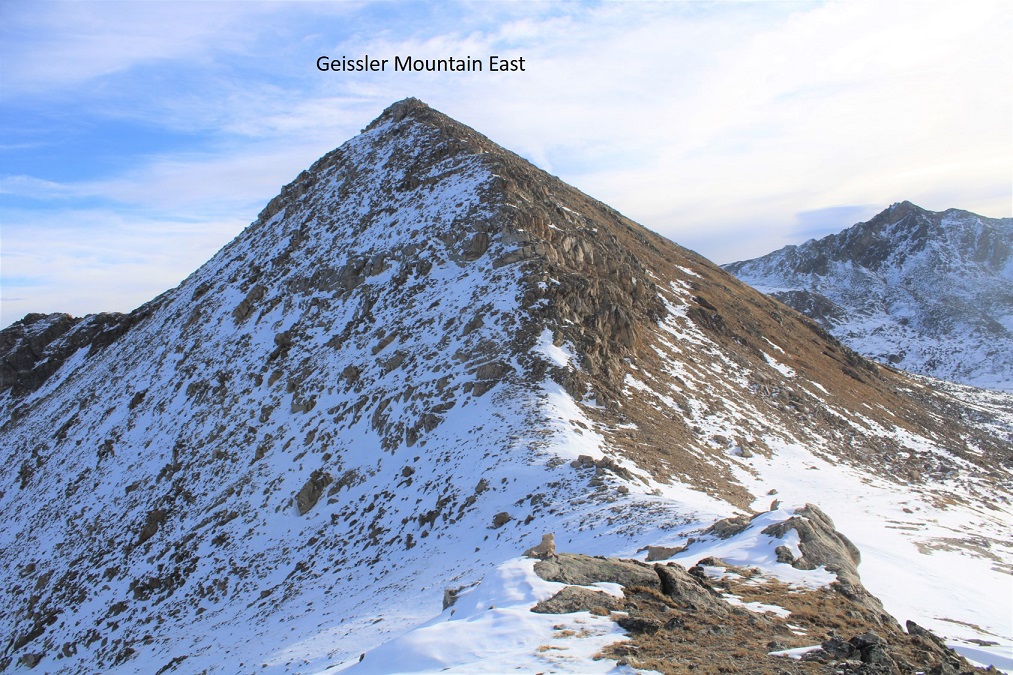
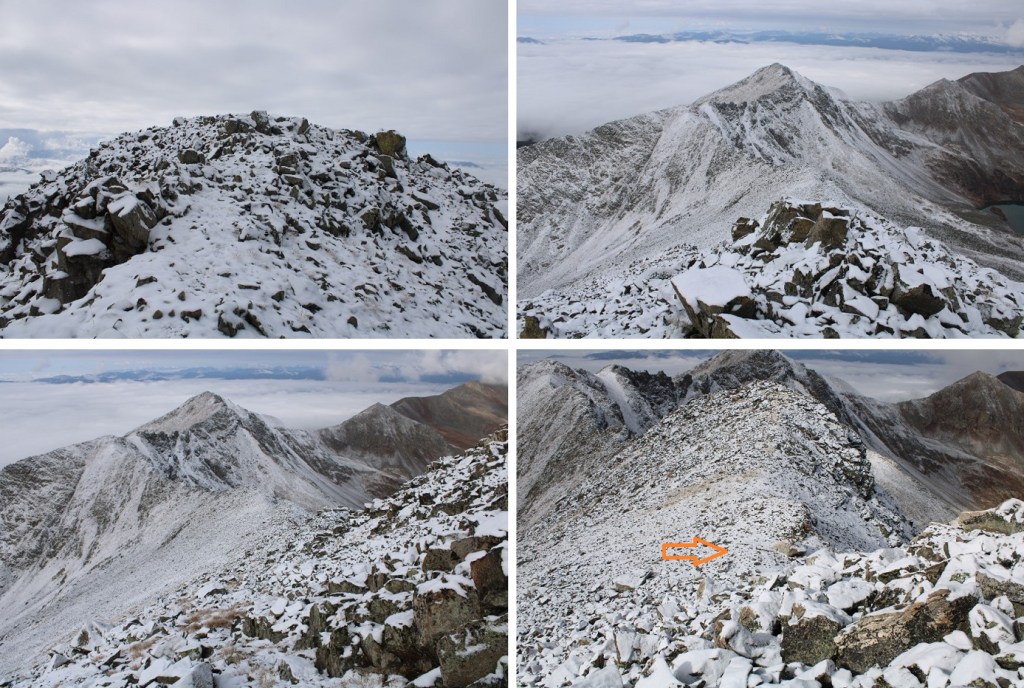
And finally!  The true summit!

I summited Geissler Mountain East at 9:30am

Geissler Mountain East: 

From the summit I could see the trailhead

I decided to re-trace my steps back to the saddle.  This was easy, as I just followed my footprints.

And from the saddle I made my way back down into the basin, once again, following my tracks (I love that snow allows the re-tracing of steps to be so easy!)

Back down to the willows, and eventually the trail

I made it back to my truck at 11am, making this a 5.97 mile hike with 2381’ of elevation gain in 5 hours.

On to the next trailhead!

Mount Marcy – 13,490 and Silver Peak – 13,513

RT Length:  16.6 miles

Elevation Gain: 5573’

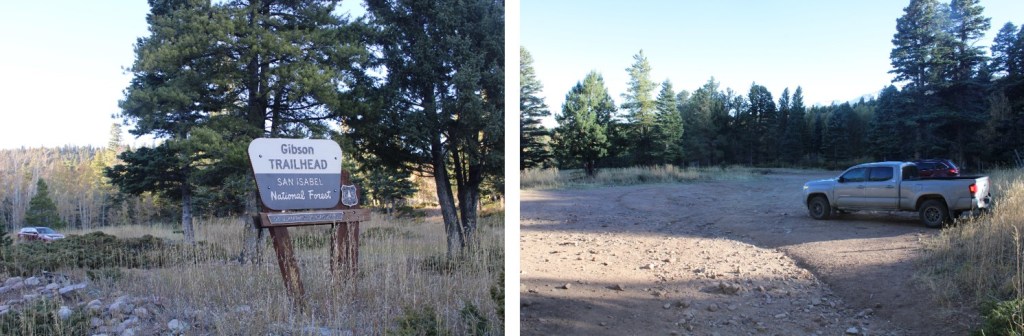
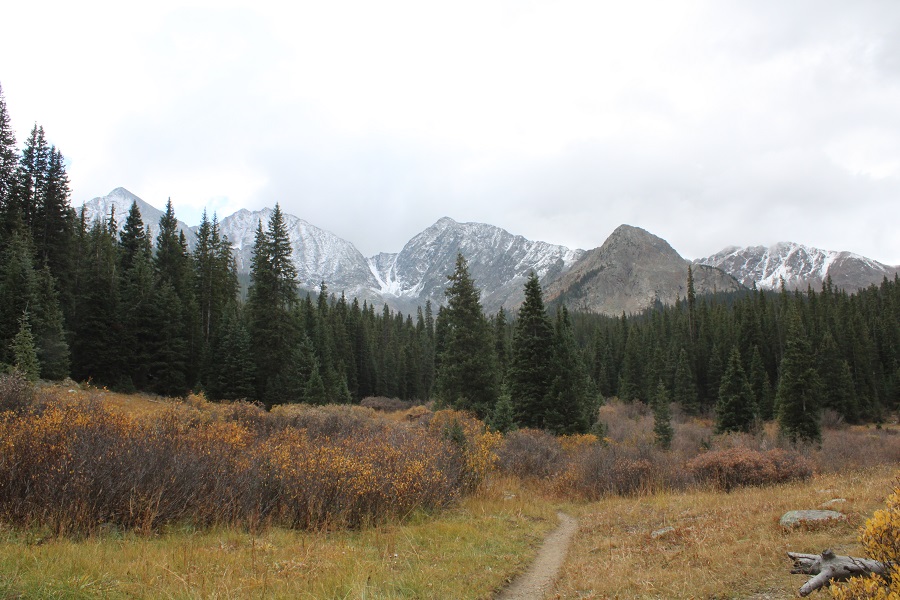
I wanted an early start for this peak, but not too early.  I knew it had snowed the past couple of days, but only a few inches:  I had no idea what to expect when it came to conditions, above or below treeline.  I got a later start than usual because I was making this a loop and wanted to get pictures on the way in of the route.  I gathered my gear and was on the trail at 5:30am.

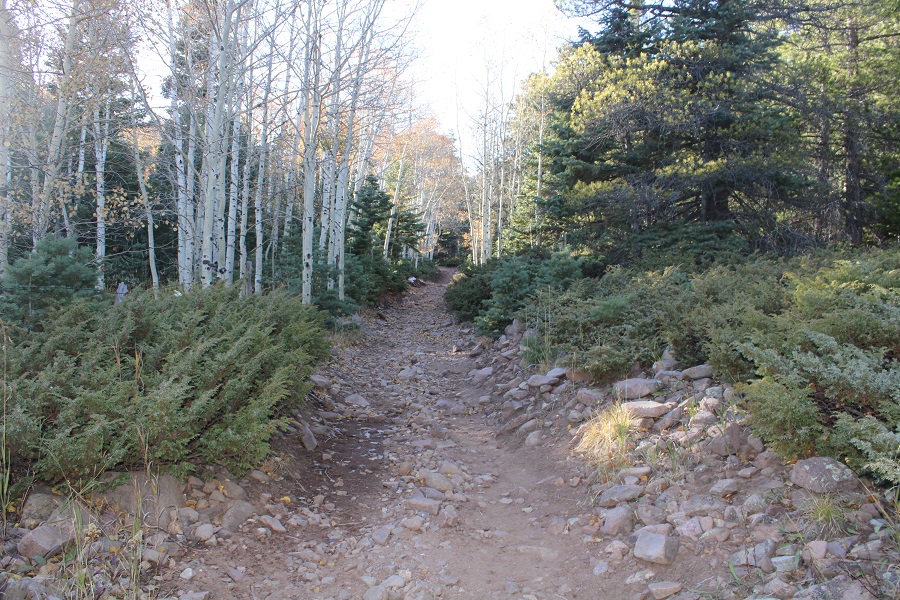
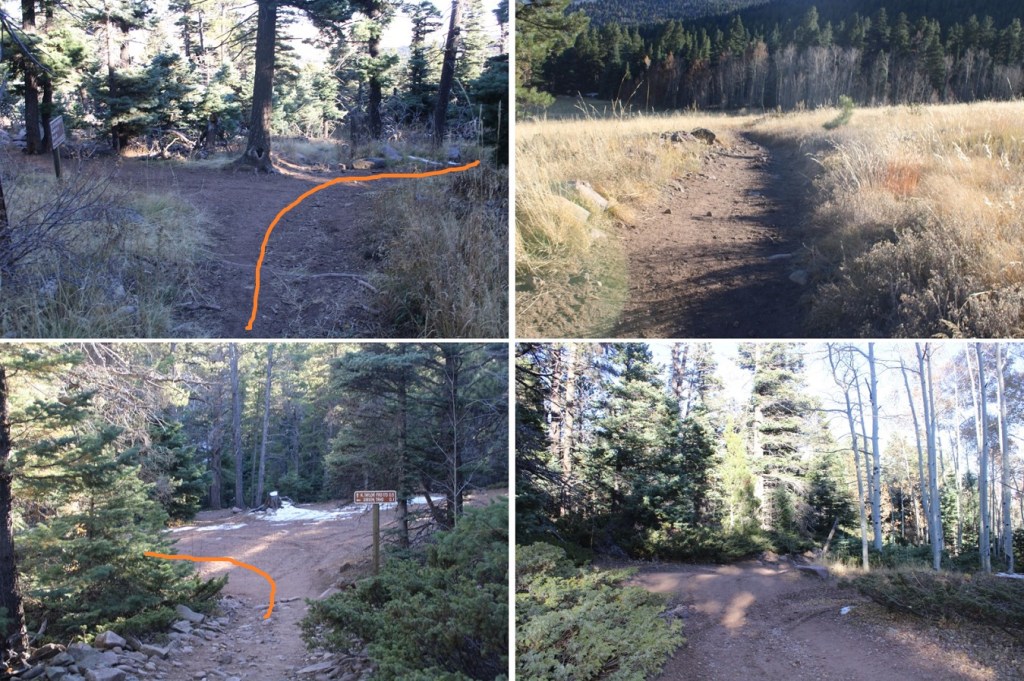
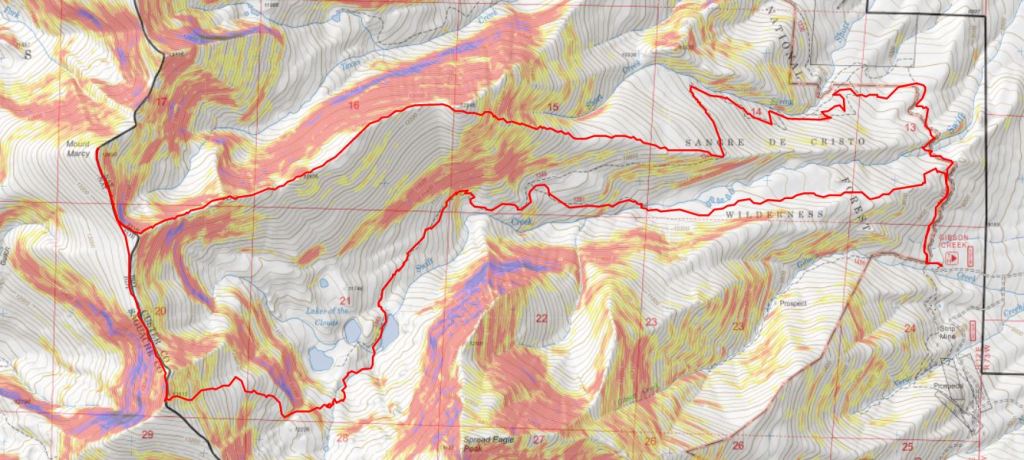
I started following the Gibson Creek trail west, and after about .1 of a mile, turned right onto 1336 (the sign is still damaged) and followed 1336 past the first junction (this is where the loop connects) and turned left onto 1349.  I had hiked for a total of 1.3 miles at this point.

There was now snow on the trail.  It was still dark, and I could hear an owl hooting in the trees. I saw lots of rabbit tracks, and some elk tracks as well.  Mine were the first footprints. I continued following trail 1349 as it switchbacked up the mountainside.

At 10350’, and after a total of 3.4 miles of hiking, the trail will stop increasing in elevation and start heading towards trail 1351.  It was here I left the trail and headed west up the ridge.  I was worried there would be a lot of downfall here, like there is when heading up towards Gibbs Peak, but the ridgeline was surprisingly manageable below treeline.

Along the ridge I came across two separate sets of bear tracks, both heading south

I kept heading west, following the ridge.  Just at treeline, and before topping out, I skirted the ridge to the left. 

There is no need to ascend to PT 12245.  Instead, I stayed just a bit south of the point, then gained the ridge by losing elevation.

Once on the ridge the conditions varied.  They started out with easy, lightly covered-in-snow tundra.  I followed the ridge southwest.

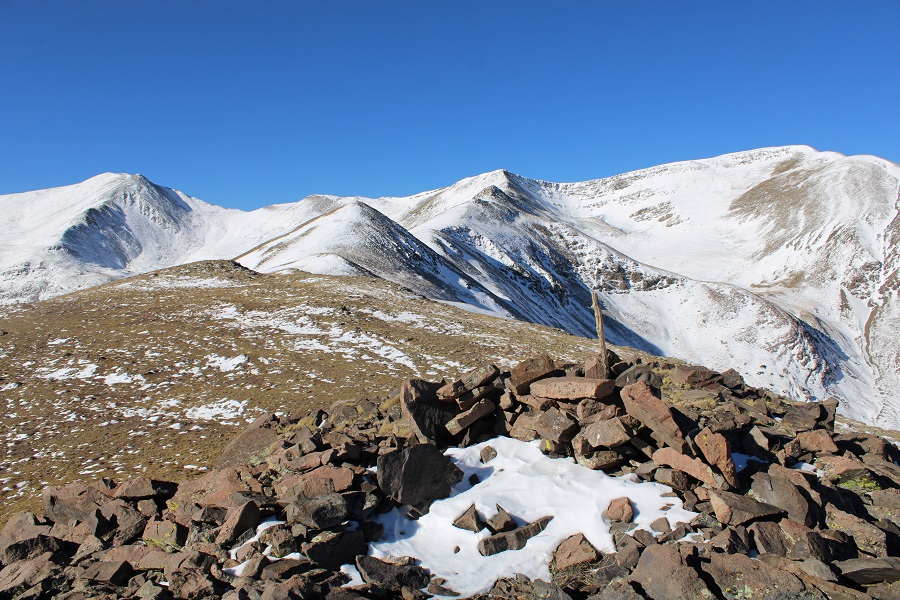
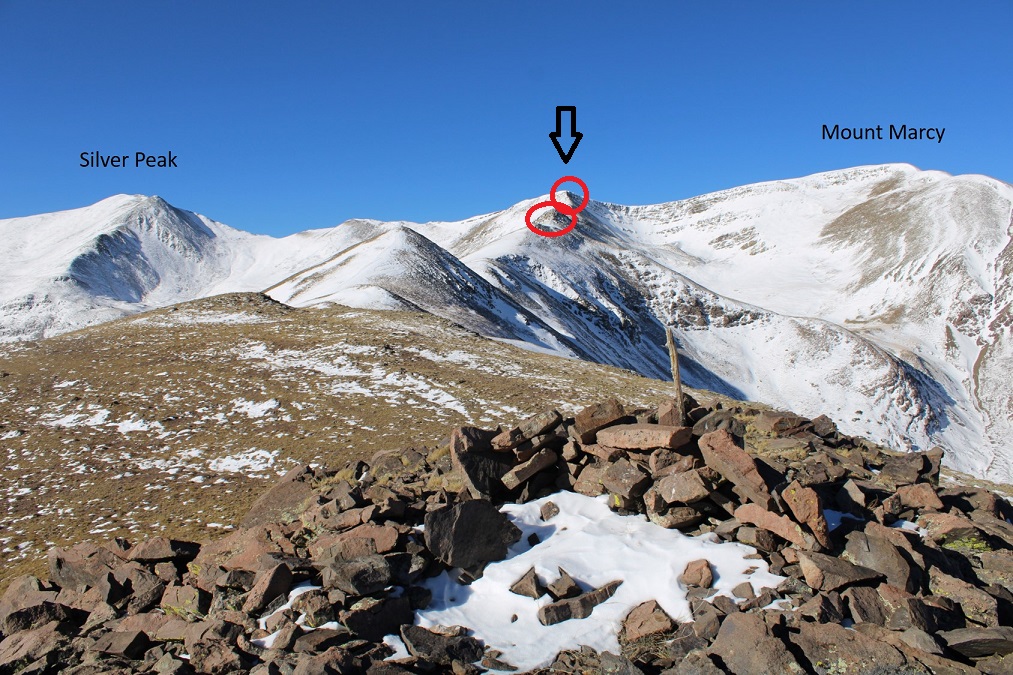
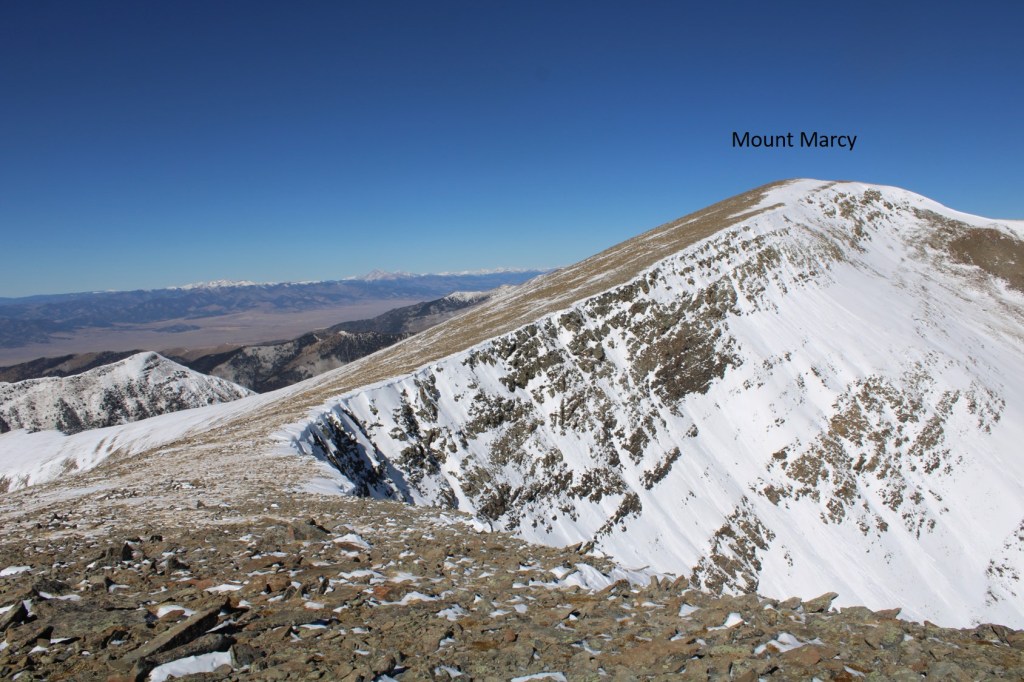
I was able to see Mount Marcy and Silver Peak clearly at this point. 

I continued following the ridge southwest, through varying conditions.  There were a lot of elevation gains and losses. I was aiming for the point in the middle. The difficult areas are circled in red (only difficult because of today’s current snow conditions). The rest of the ridge was a class 2 ridge walk. 

The snow had drifted in some areas, and snowshoes were helpful.

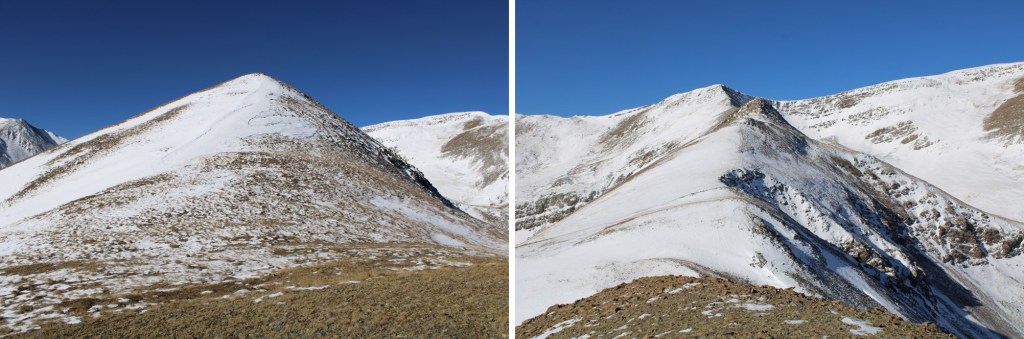
I went straight up and over this, using snowshoes in the beginning, and then taking them off to scramble up the rock.

Here I dipped down to the right to navigate the rocks, and then quickly re-gained the ridge

Here are the next few obstacles, and the path I took.  If I didn’t stay directly on the ridge, I dipped to the right.

I kept aiming for the highest point on the ridge

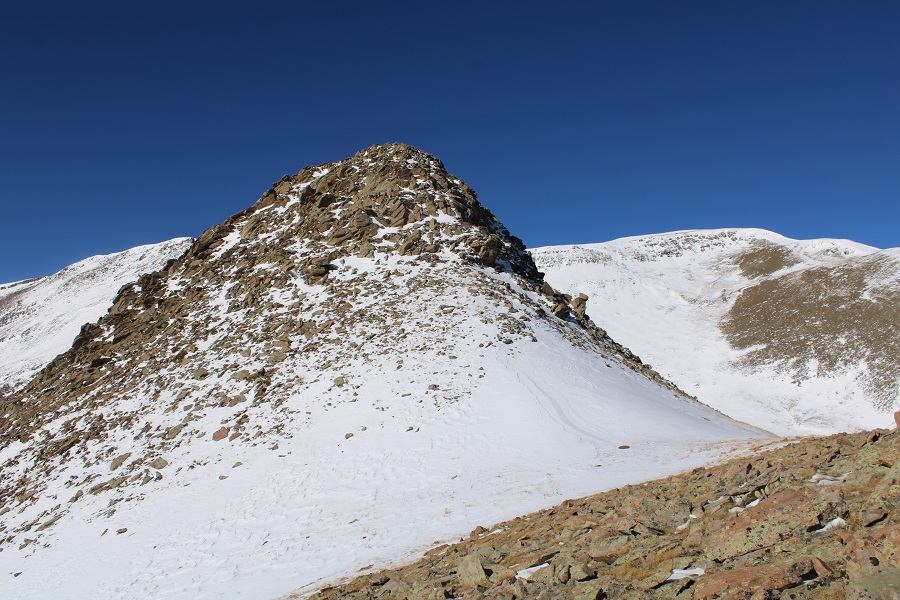
The last push was the hardest.  This was difficult class 3 climbing on the snow.  I stayed mostly in the center of the ridge

Here are some closer pictures of the class 3 scrambling to the top

From the top, here’s looking back at the ridge

I now turned right and followed the easy ridge towards Mount Marcy

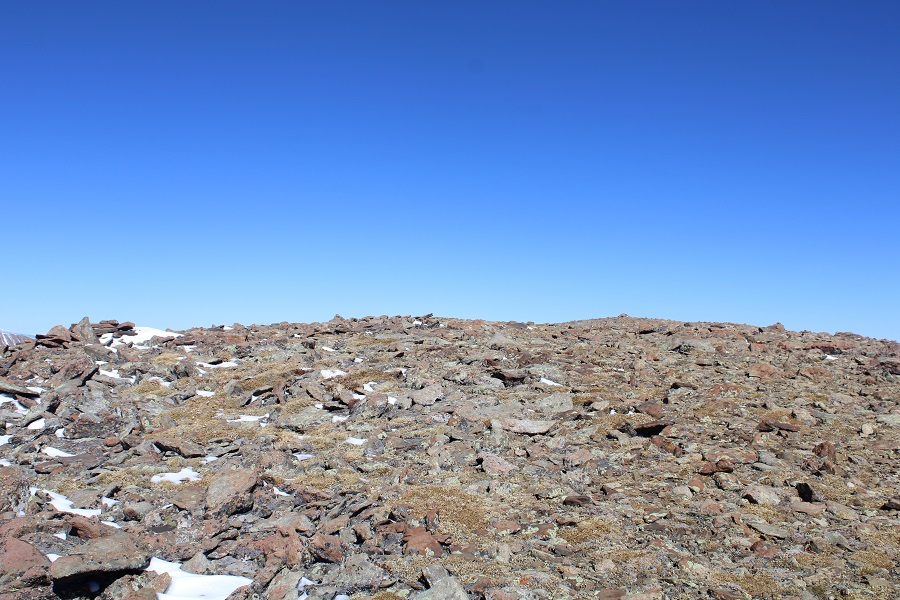
It was difficult to tell where the true summit was, and there were two cairns at the top.  I went with the one furthest north, as it had a summit register and required me to pass the first cairn, thus ensuring I’d hit the summit at some point. 

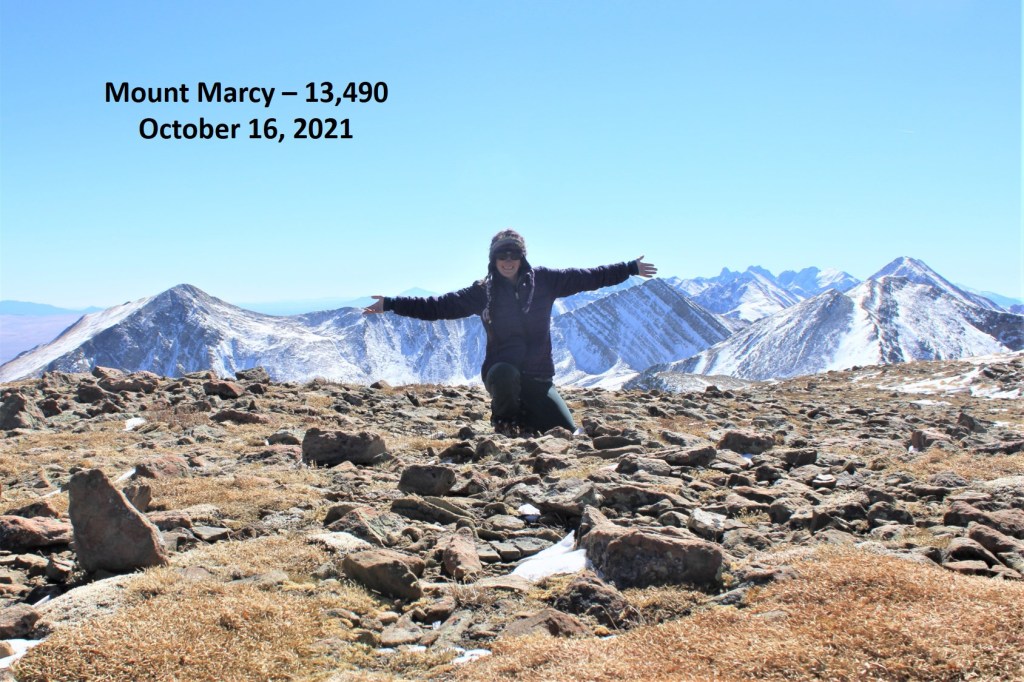
I summited Mount Marcy at 11:40am

Mount Marcy:

I headed back the way I’d come, and headed towards Silver Peak.  I didn’t re-summit the high point, but skirted it to the right on easy terrain

And then followed the ridge to the saddle

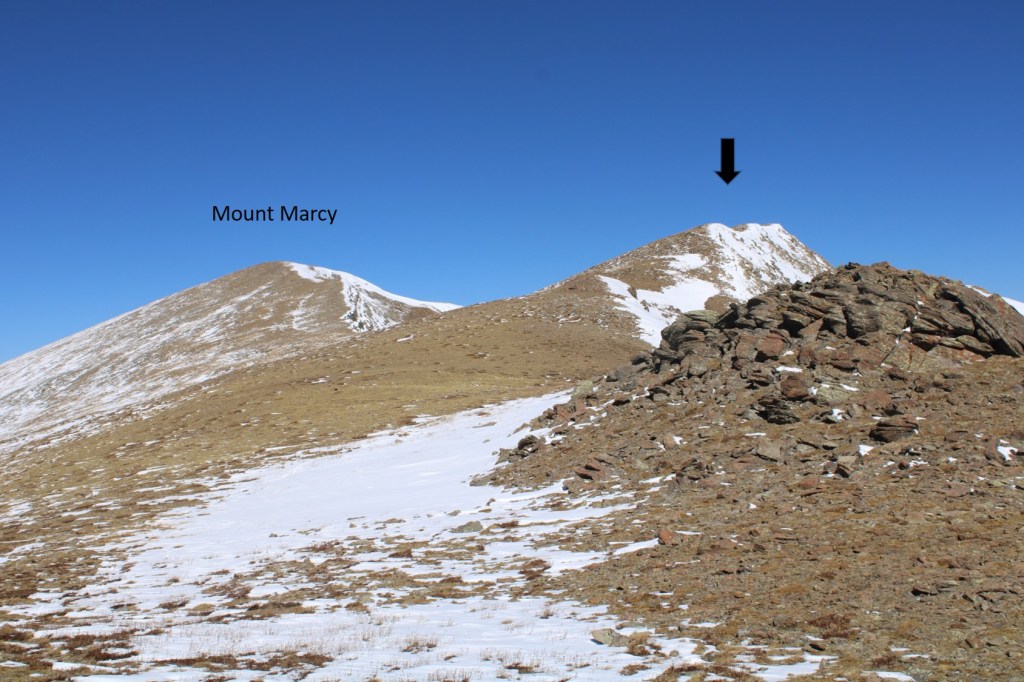
Here’s looking back at Mount Marcy.  The black arrow is how I accessed the ridge

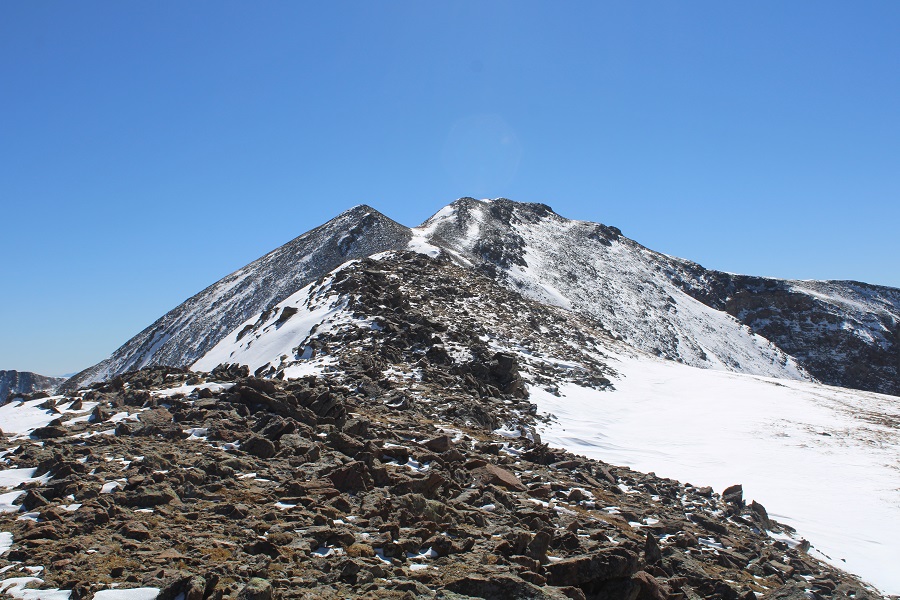
But now, to continue towards Silver Peak

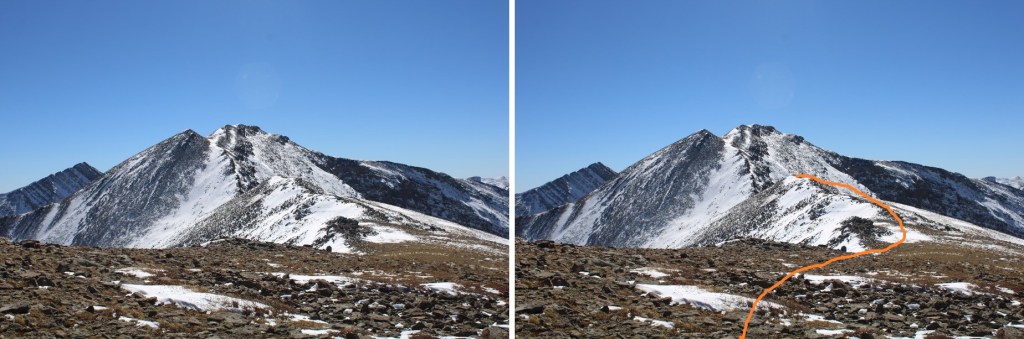
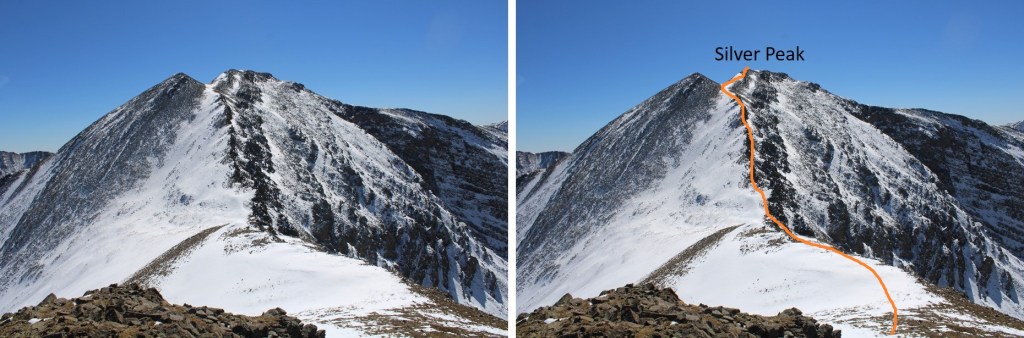
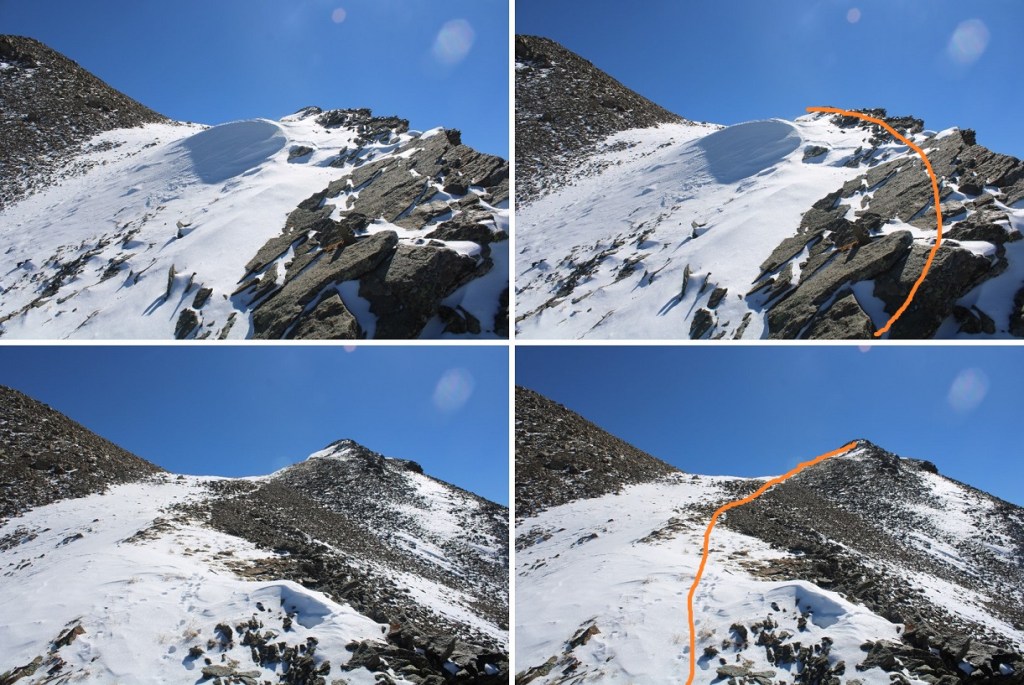
I made it to the saddle, and picked my route. By sticking to the very top of the ridge I was able to keep this class 3, although there were some tricky moves with the snow. Here’s the route I took

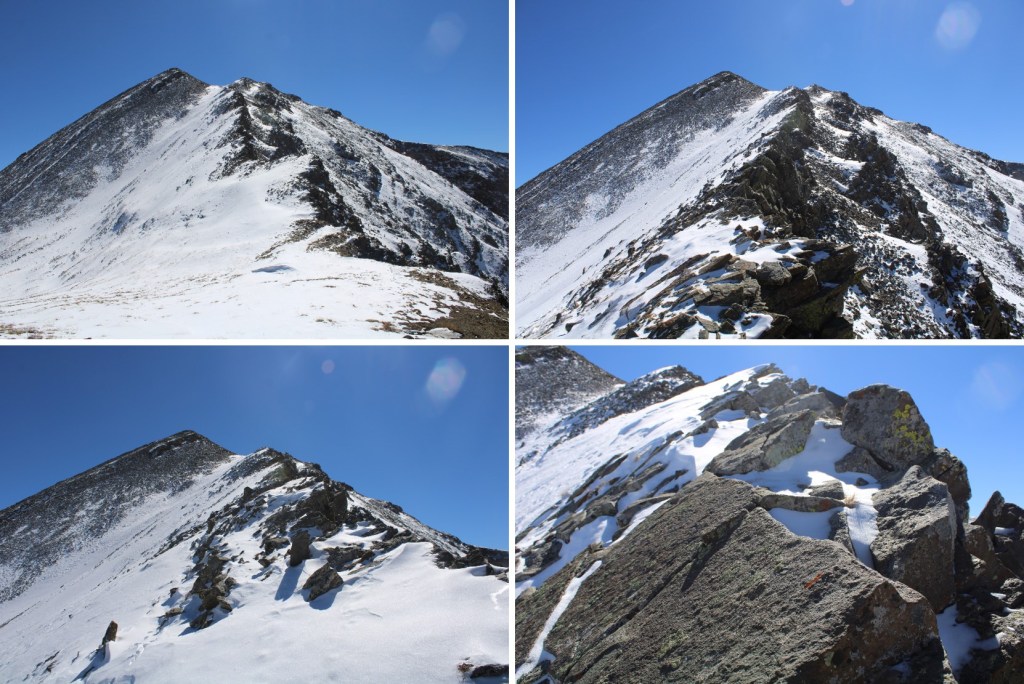
And some closer pictures of the ridge

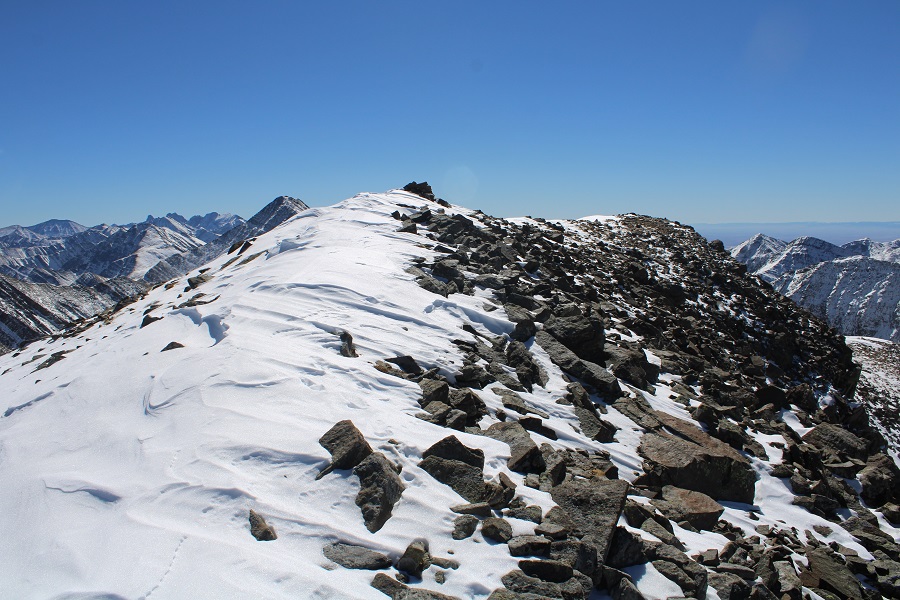
Topping out of the ridge was class 2

I then headed south towards the summit

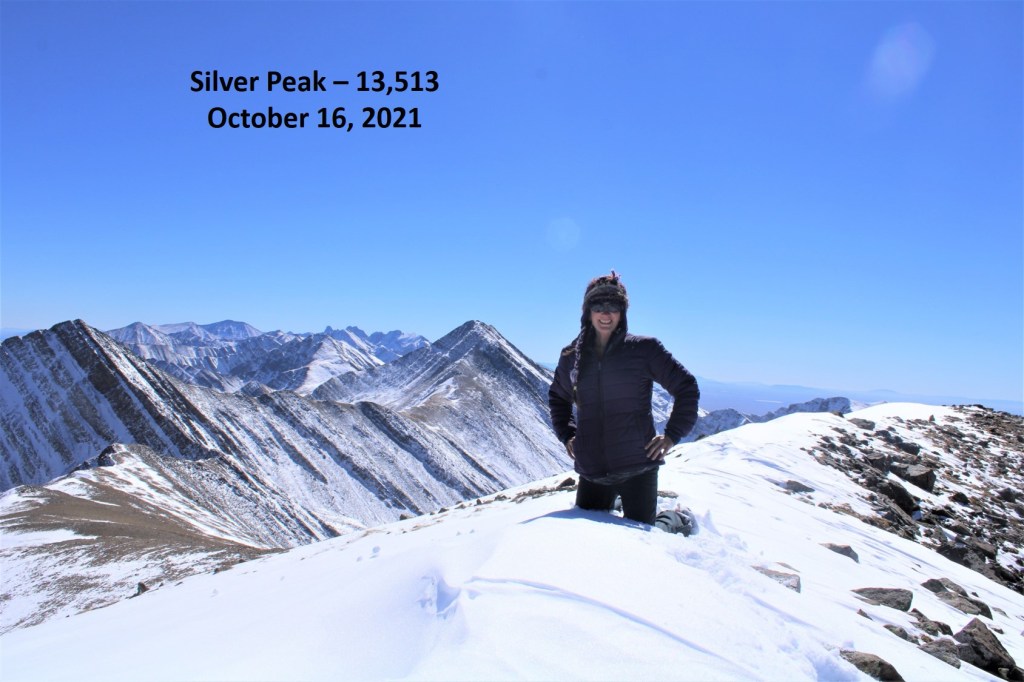
I summited Silver Peak at 1pm

Silver Peak:  

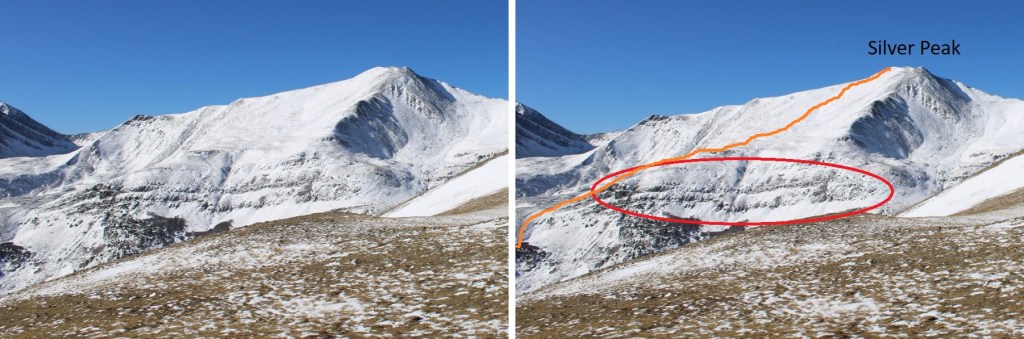
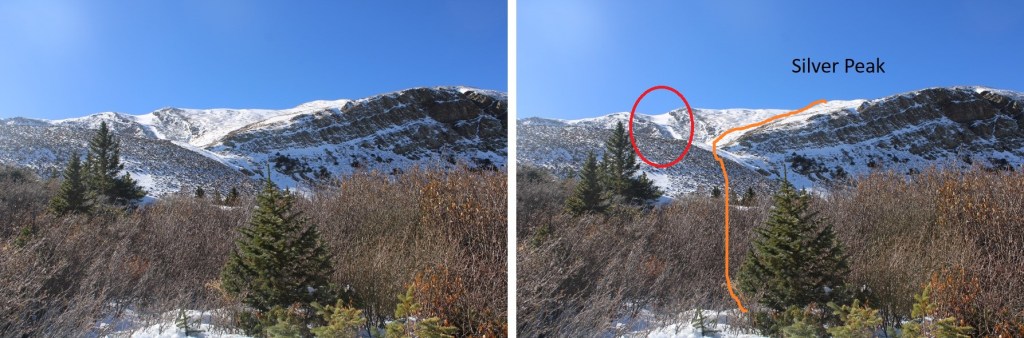
I was making this a loop, so from here I wanted to descend into the Lakes of the Clouds basin.  To do this I followed the ridge about 50 feet south, then turned left and headed east.  It’s important to follow the contour of the ridge, as it cliffs out if you go too far north.  Here’s a visual from earlier in the day.  You’re trying to avoid the cliffs I the circled area

Please note:  I’ll show you how I made it down to the Lakes of the Clouds, but I do NOT recommend this as a winter/winter conditions route, and it’s probably not ideal in summer either.  There was snow in the top of the avalanche chute, and it was mid-October.  The gullies were unstable and difficult to navigate while covered in snow, and it was hard to find a direct route down.  The only positive was the creeks were low, so I was able to walk directly in them to avoid the willows.  (Willows:  another reason to avoid this route, just go back and take the ridge down). 
I made my way into the basin, first heading south, and then east

Once I could see them, I was aiming for this lake, where a trail would pick up

The route required me to cross/use an avalanche route/drainage area.  To navigate this, I stayed as high as possible, once crossing the drainage

I stuck to the stream whenever possible, which would ultimately lead to the lake

I have to say, this part of the hike was miserable.  I had to watch every step, and took considerable time dusting snow off rocks to make sure I had secure hand/foot placement.  It was getting later in the day, so snow stuck to my microspikes.  I lost a spike somewhere along the way… probably in a stream crossing, as the snow that had built up on my foot became engorged with water, much as a snow cone would when adding syrup, became heavy, and slushed into the muck.  Long story short:  my feet were wet the entire hike back to my truck.

Here’s looking back at how I came down from Silver Peak.  The top of the avalanche area is circled in red, and flows all the way to the lakes

I skirted the lake to the left and at the north end of the lake came upon trail 1349, which was packed down this morning by fishermen heading to the lakes

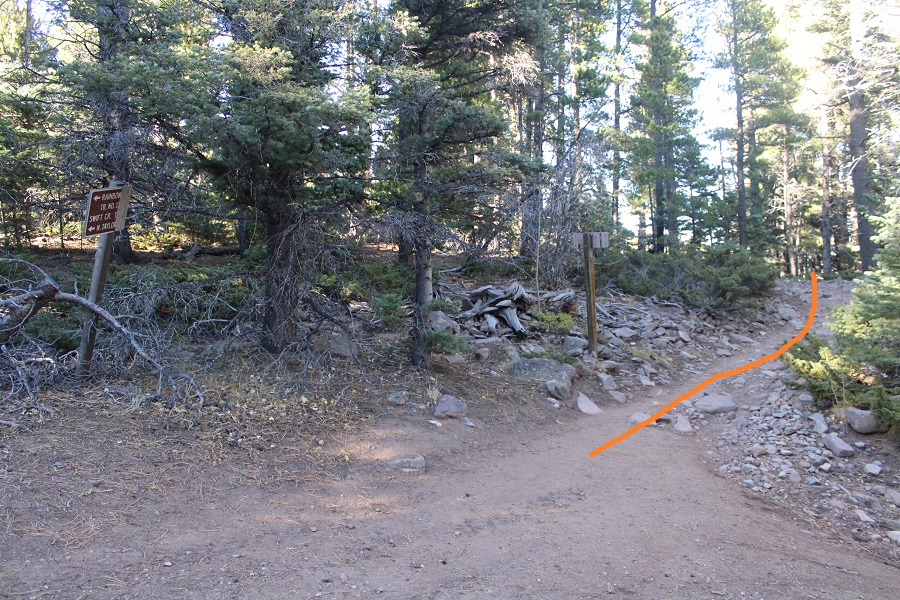
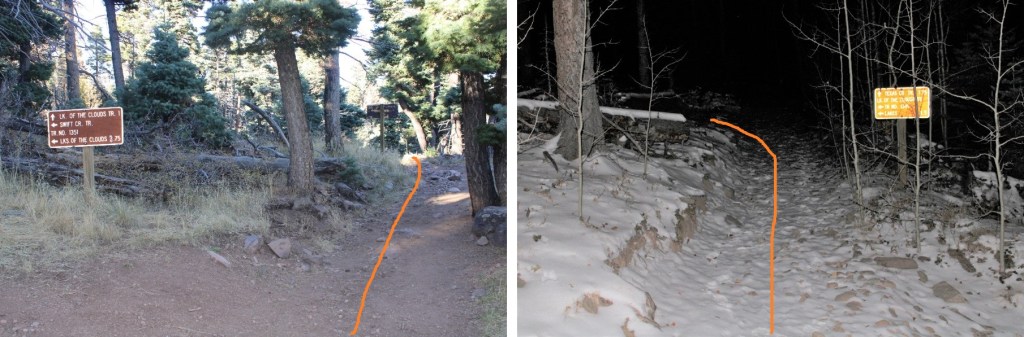
I took Trail 1349 for 3.75 miles, back to Trail 1336, and the to the Gibson Trailhead.  This is a great, class 1 trail.  The only downside are all the softball-volleyball sized rocks littering the path

I made it back to my truck at 4:30pm, making this a 16.6 mile hike with 5573’ of elevation gain in 11 hours.

West Apostle – 13,597

RT Length: 12.04 miles 

Elevation Gain:  3575’

I was the only one at the Lake Ann/Huron Peak trailhead at 5pm on a Friday, and I was thrilled!  The 4WD road to the upper trailhead was a little rougher than I remembered it, but the drive had been worth it to be the only one there. I jotted down some notes from the days hike, sipped some whiskey, and looked at notes for tomorrow. It was still light out when I curled up in the back seat of my Tacoma and drifted off to sleep to the sound of pounding rain:  that meant fresh snow on the peak tomorrow!

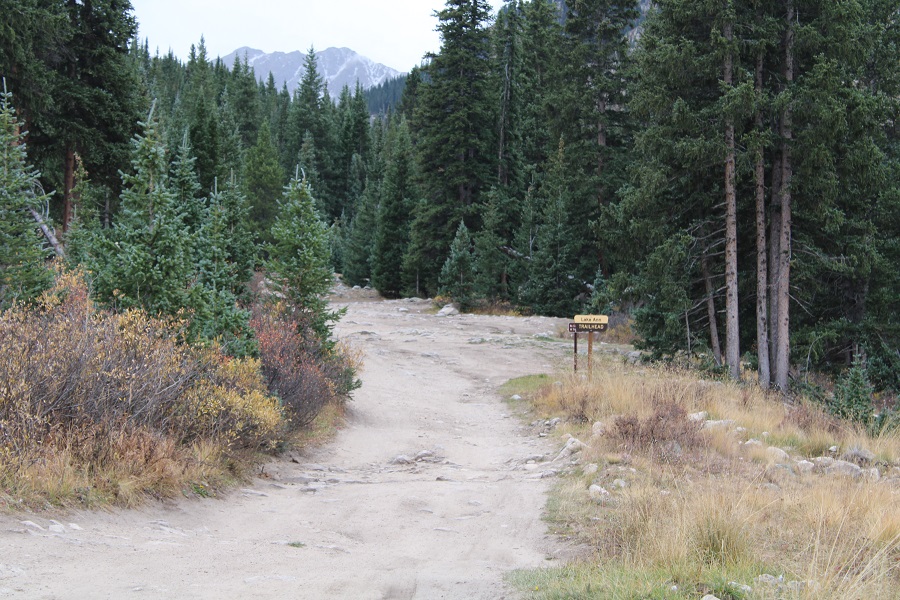
I woke up and things seemed dry outside, which was odd for the amount of rain I’d heard last night.  I put on my winter gear anyway and was on the trail at 5:30am. The trail starts at the south end of the parking area, and continues heading south, towards Lake Ann.  Be sure to take the Lake Ann trail, NOT the Huron Peak Trail

I hiked 4 miles south along a class 1 trail to Lake Ann

Stay left at this crossing

At the second crossing I went right

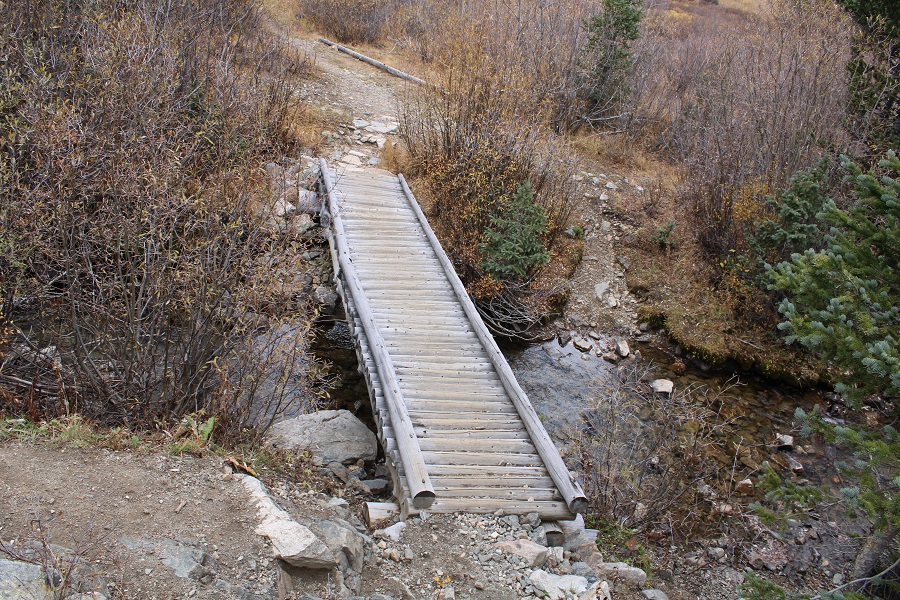
And crossed a creek on a ‘pretty-solid’ bridge

Finally, I started gaining elevation as I made my way towards Lake Ann

Just after making it to treeline, go left at this junction.

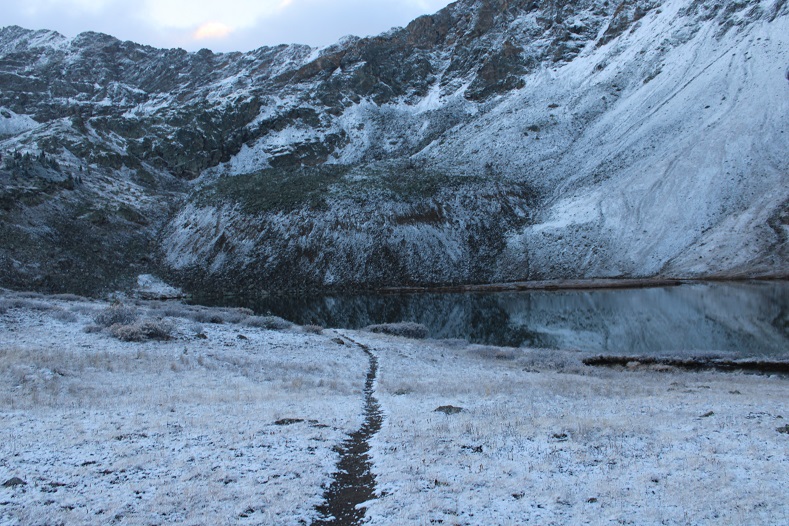
And you’ll arrive at Lake Ann

The goal is to skirt the north side of the lake, and enter the upper basin

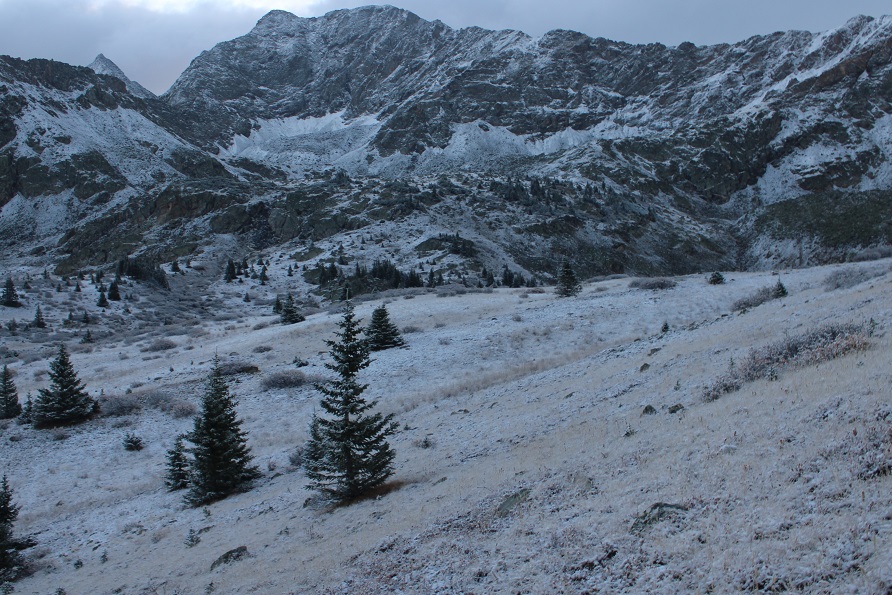
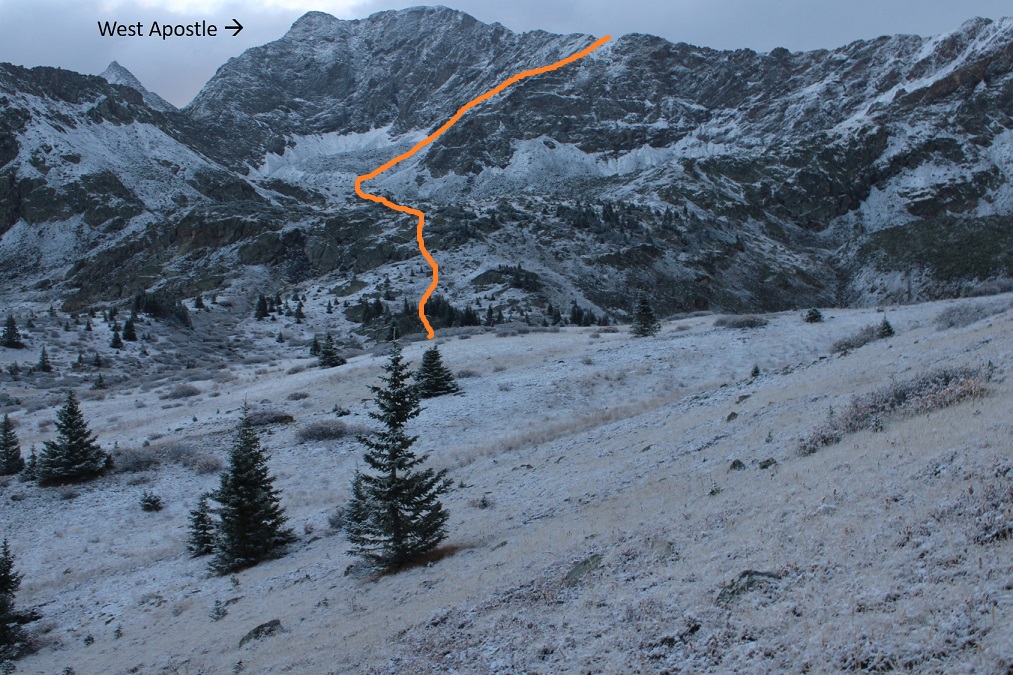
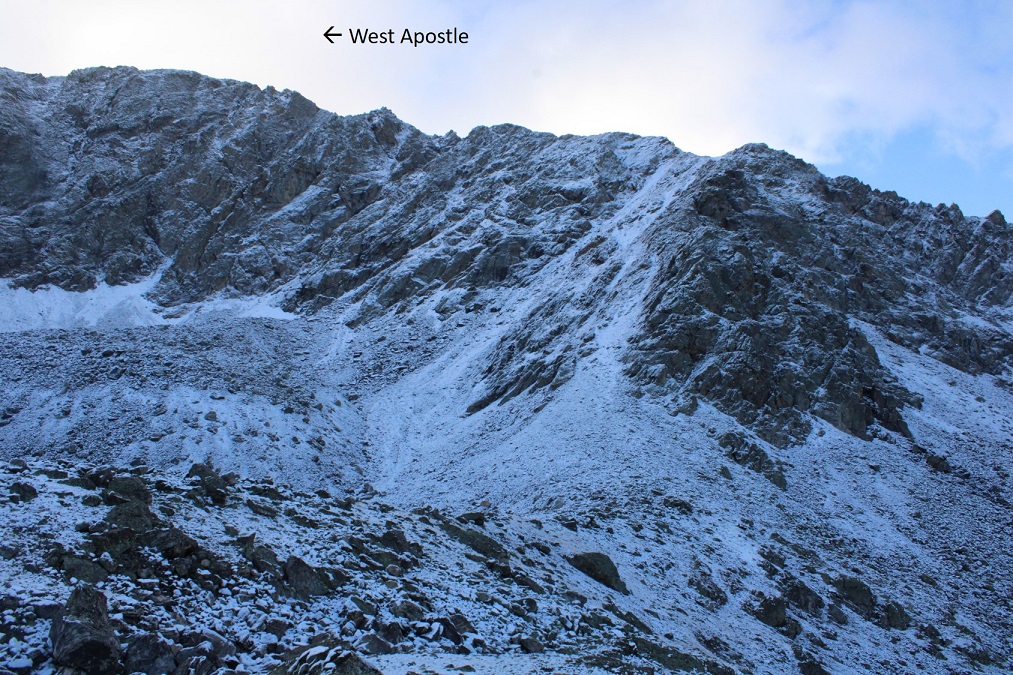
Here’s an overview of the route

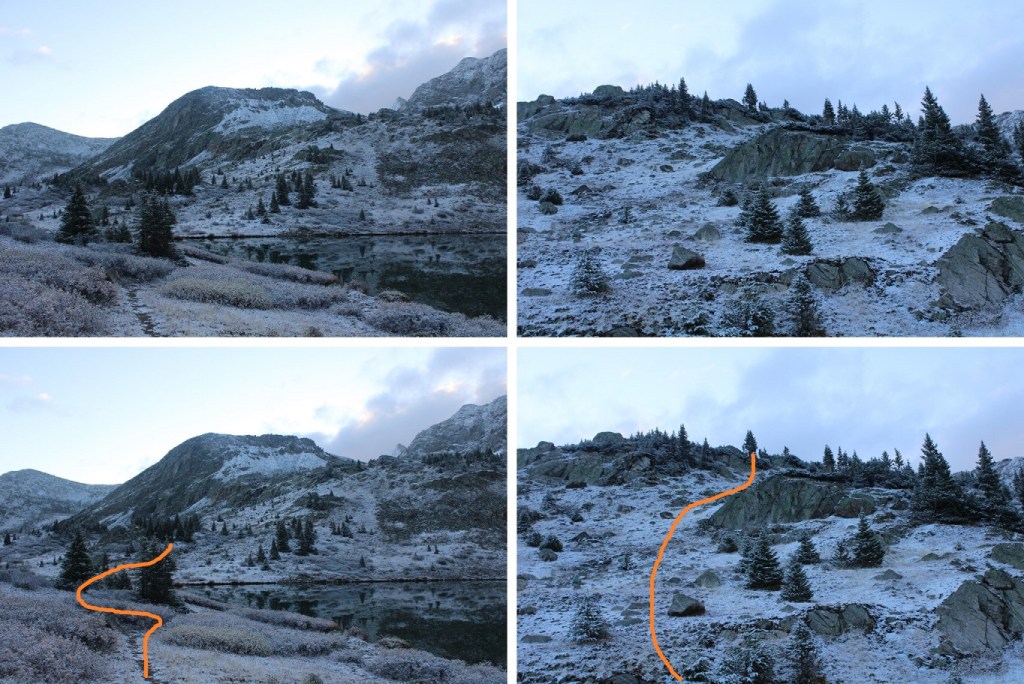
And some step-by-step pictures into the upper basin

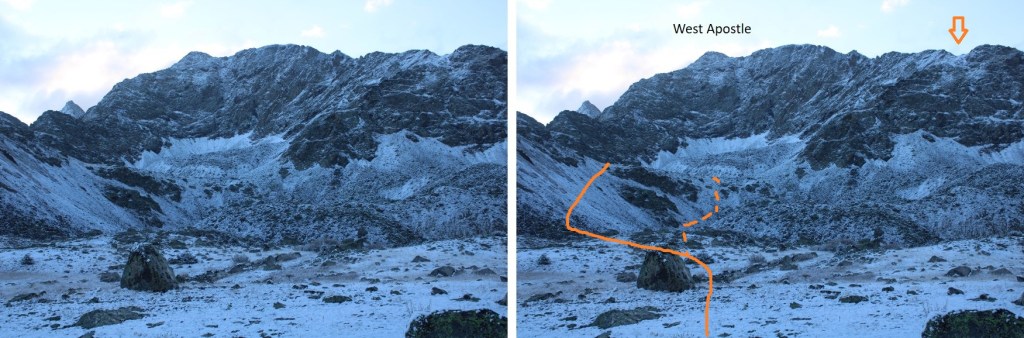
Once in the upper basin I aimed to ascend the amphitheater.  This can be done multiple ways. I decided to stay left on the way up (solid line), and follow (very faint) game trails, and I went right on the way down (dotted line).  The orange arrow is where you’ll eventually be aiming.
Here’s another picture of the amphitheater

Once at the top of the amphitheater I was in another basin.  I turned right, and followed the ridge.  I’m sure the best way to ascend this gully is straight up the gully, but today there was unconsolidated snow blocking that route.  Even with microspikes I wasn’t able to get traction the gully direct, so I took the rocks to the right. 

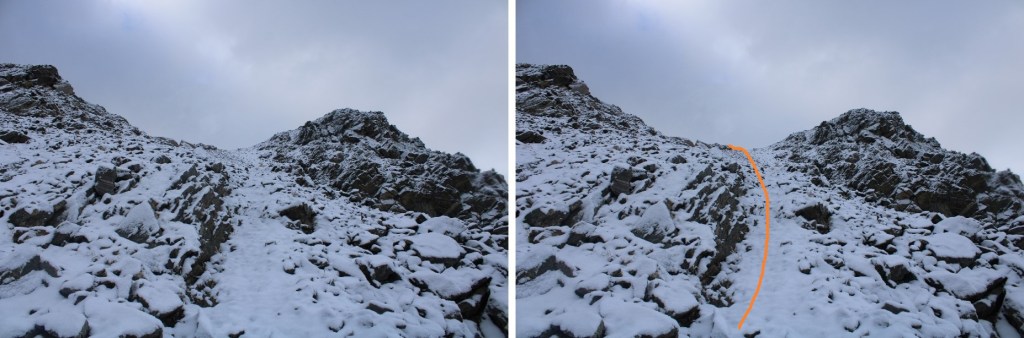
Here are some closer pictures of the gully

At the top of the gully I went left

Which brought me to the ridge (and a cairn!)

I turned left and followed the ridge northeast.  This is a class 2 ridge, which I was able to stay on the top of the ridge to hike most of the way.

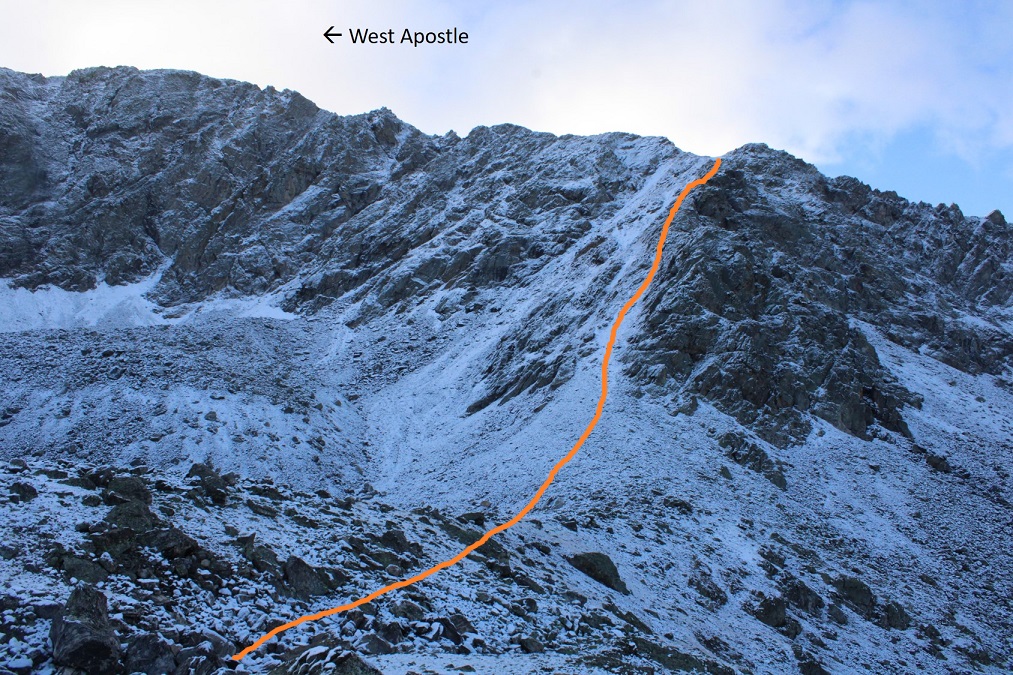
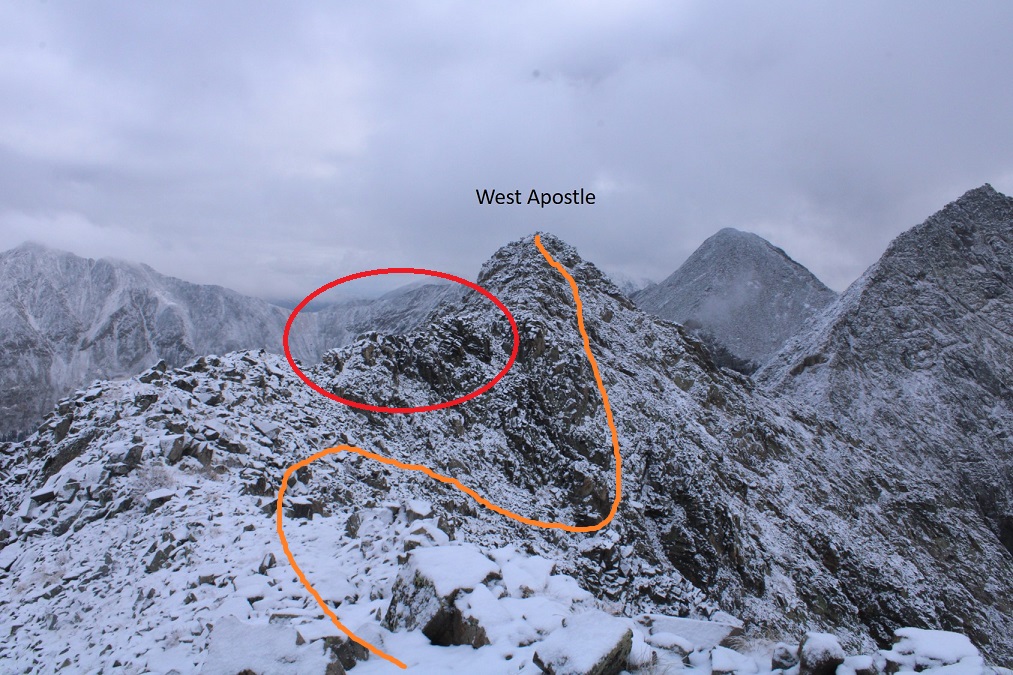
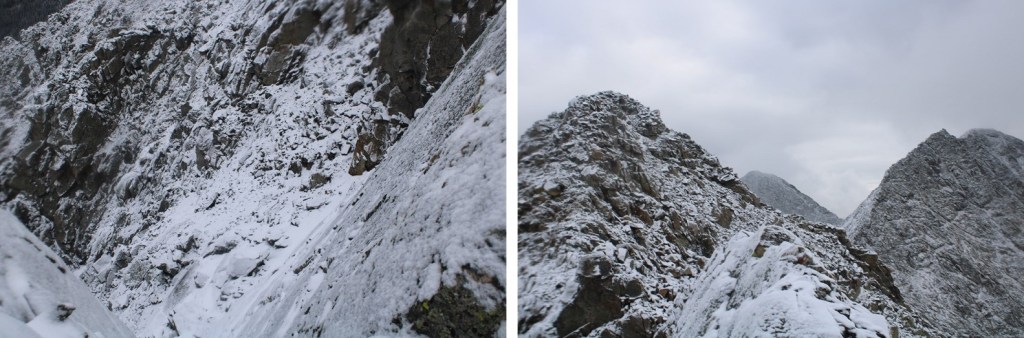
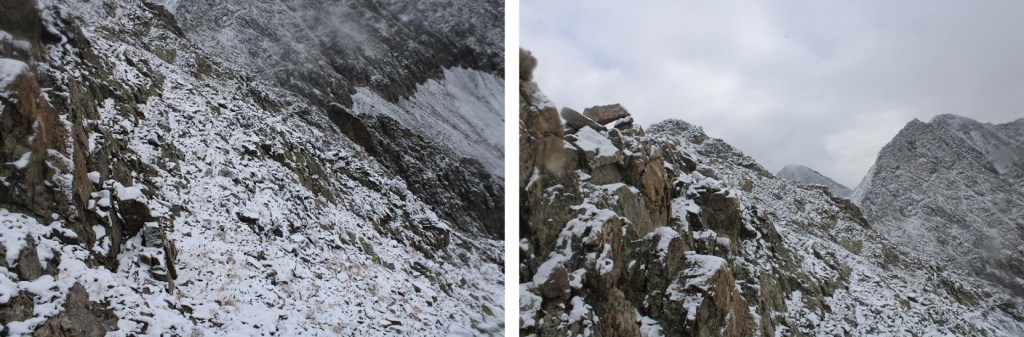
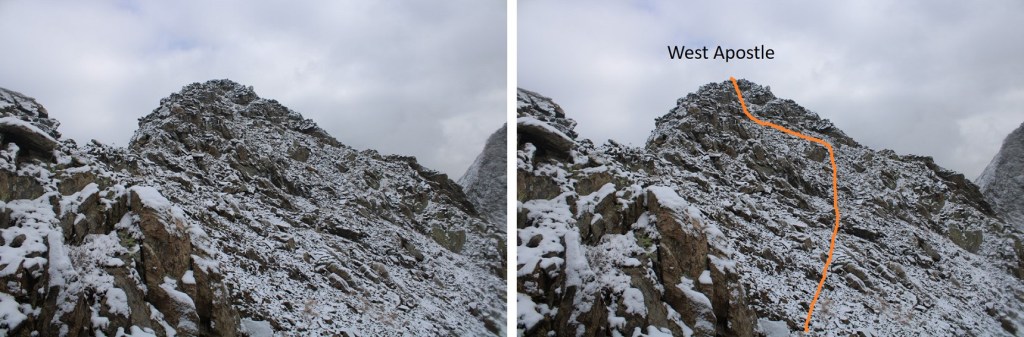
Here it gets a little dicey.  If there hadn’t been snow, I would have taken the ridge all the way to the summit.  However, with the snow and ice today things were slippery, and the exposure was real (to the left).  I decided to dip down to avoid some of the worst of the exposure.  I did this a little later than I should have, as it as getting spicy already.   The area with exposure is circled in red.  This is how I summited West Apostle
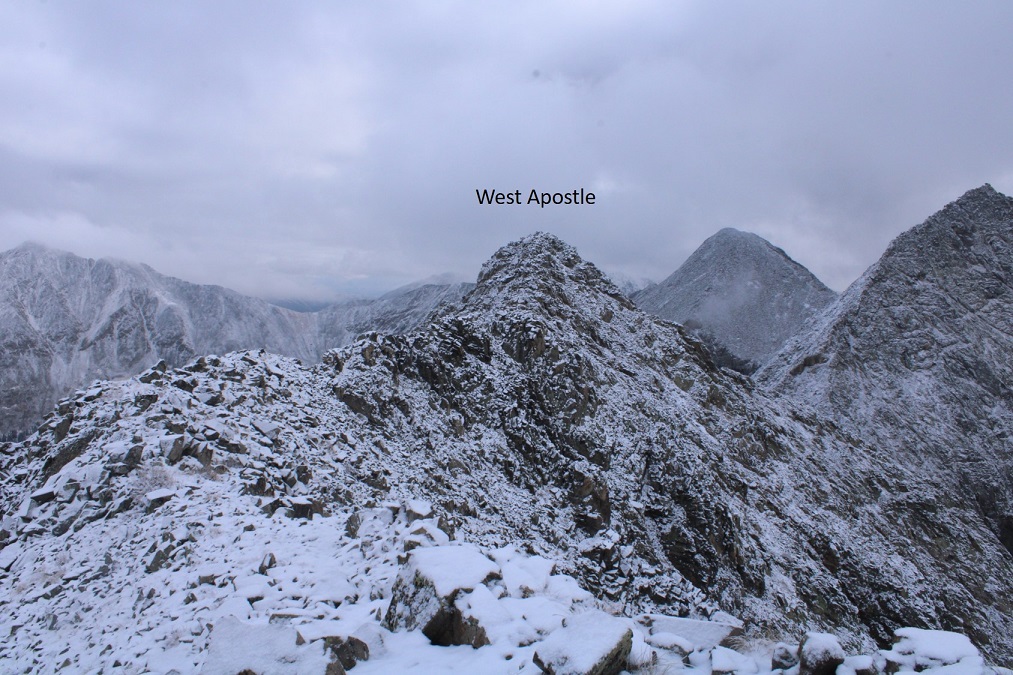
Here’s a picture of the ridge

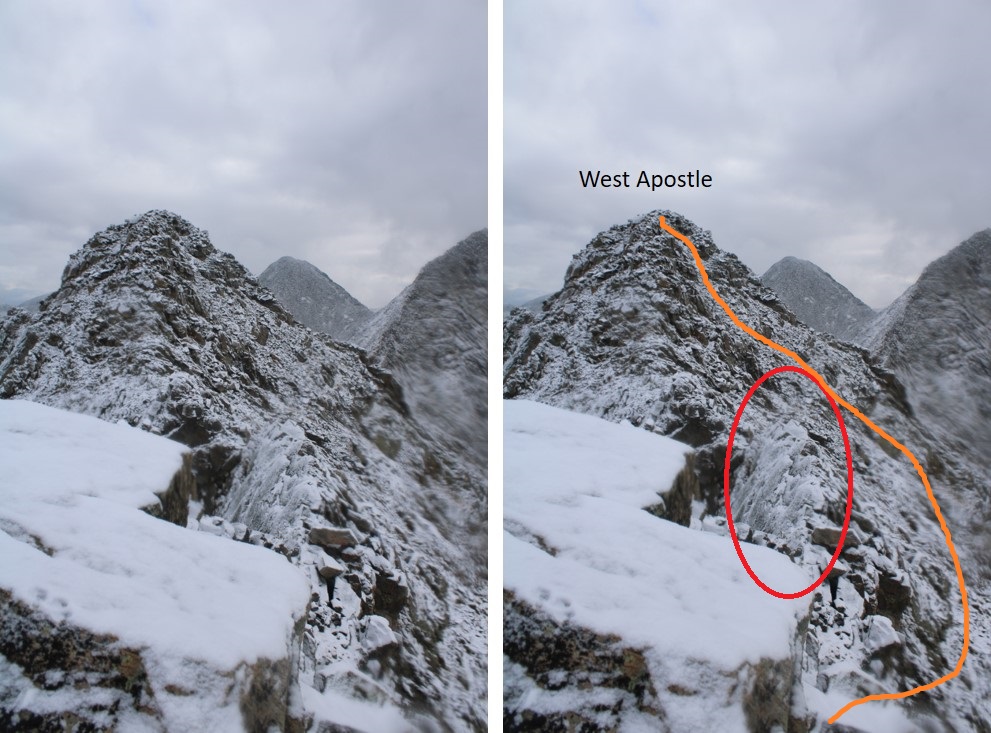
And this is the exposure I was avoiding

So, I dipped down to the right and kept it class 2

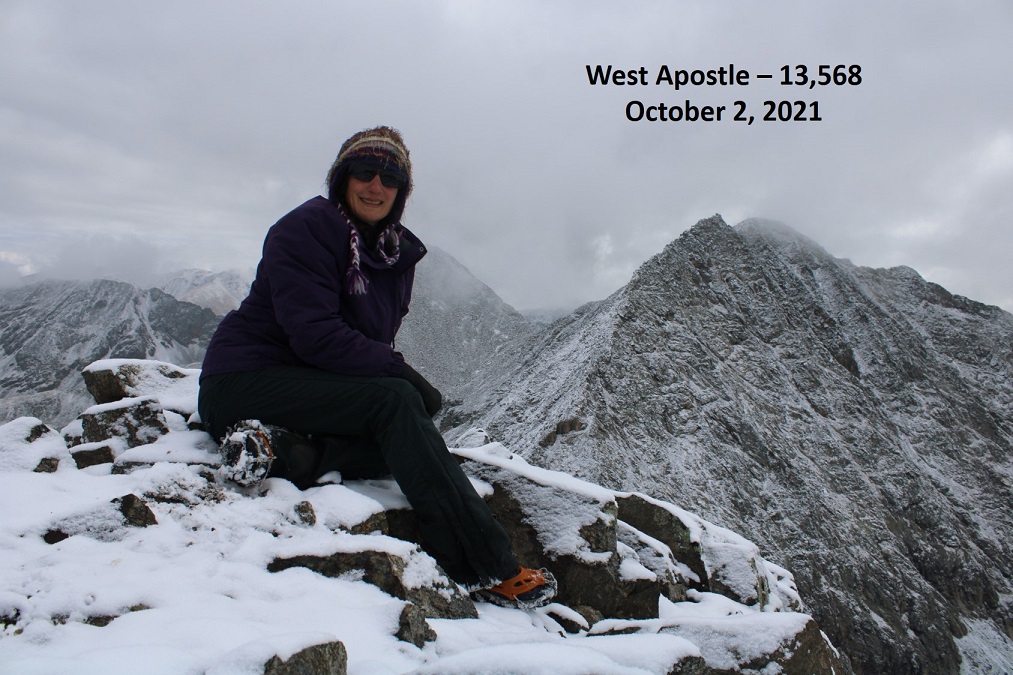
I summited West Apostle at 9:30am

West Apostle: 

There was a summit register, but it was a pipe one missing its lid, so I replaced it with a jar. Here’s looking back at the false summit

I headed back the same way I summited, heading west, avoiding the area with exposure

Here’s what that looks like after dipping down

Back on the ridge, I followed it to the saddle.

The cairn was helpful in finding the correct exit from the ridge in all this snow.

I made my way back down towards the gully, staying as much to the west as possible, avoiding the gully direct and sticking to the rocky area.

I then re-entered the basin, and headed west towards Lake Ann

Back at Lake Ann, it was easy to pick up the class 1 trail and follow it back to the trailhead.

I made it back to my truck at 12:30pm, making this a 12.04 mile hike with 3575’ of elevation gain in 7 hours.

Jenkins Mountain – 13,432, PT 13,145 & PT 13,232

RT Length:  13.75 miles

Elevation Gain:  5322’

Snow had been forecasted for today, but not until later in the afternoon. I made it to the North Fork Creek Trailhead on an easy 4WD road, and it was foggy out.  I was hoping the fog would lift as the sun came up, but it ended up snowing off and on all day. Luckily there was no wind, so the snow was actually enjoyable (if annoying because I couldn’t see very far).   I was on the trail at 5:30am.

I followed North Fork Creek Trail for 2.75 miles southwest to treeline at 11,250’, without gaining or losing much elevation. I never crossed the creek.

Here the trail stopped. I’d hoped by now the sun would have lifted the fog, but unfortunately, it started snowing instead, and visibility wasn’t great.

Here’s a view of the route I took to the ridge, from back on the trail later in the day

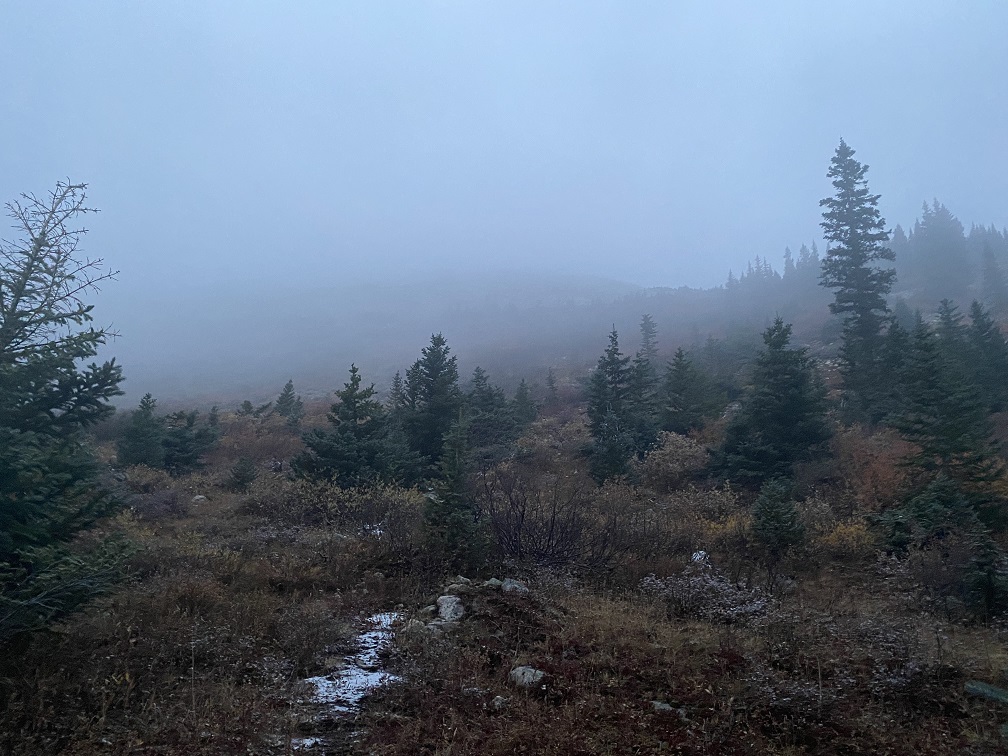
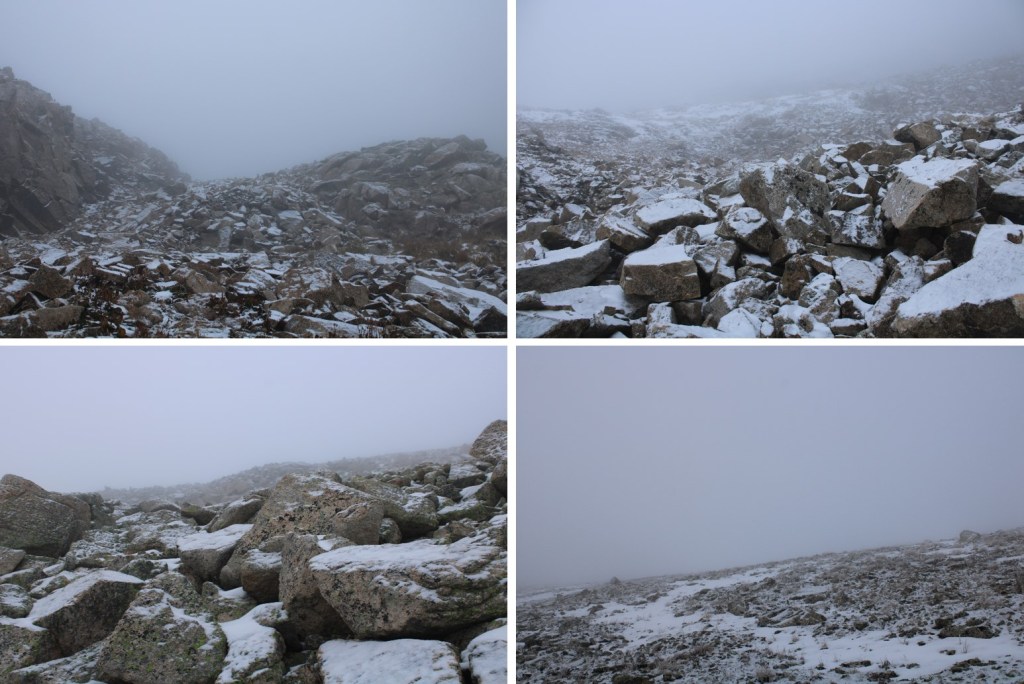
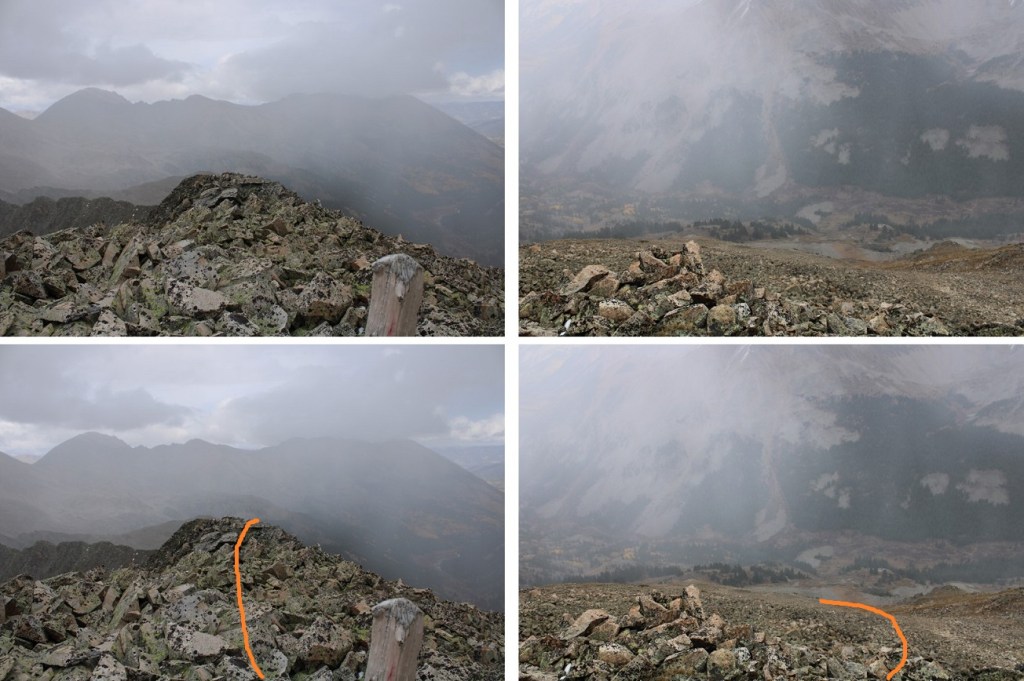
I followed the path of least resistance and headed southwest towards a rocky gully and the ridge (better pictures later).  There was a fog, so I didn’t get great photos, but here are some pictures of what I could see:

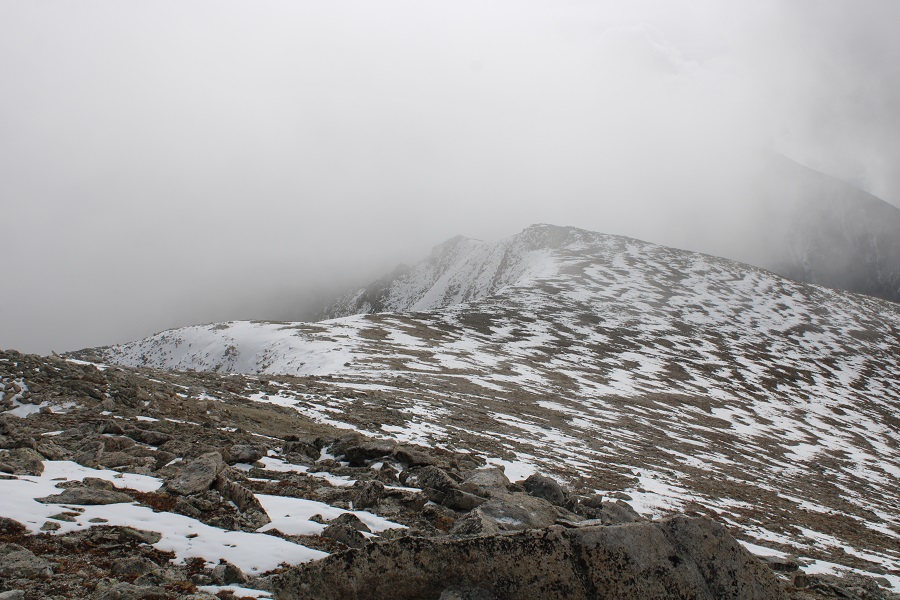
The rocky gully area brought me to the ridge between point 13050 and 13015. I couldn’t see far, which was frustrating, but I knew to continue following the ridge southwest. Luckily, I came back to this spot later I the day, so I have clear pictures of this part of the hike.  The rocks here rolled.  In the morning they were icy, so I had to be especially careful.

I followed the ridge towards 13050. This ridge was easy to follow, even when it was snowing.  I stuck to the ridge proper, only dipping down to the left one time.  This can all be kept at class 2.

Once at PT 13050 I turned right and headed northwest towards Jenkins Mountain, first losing about 230’ of elevation.

This was another ridge hike, where I briefly dipped down to the left to avoid some rocks

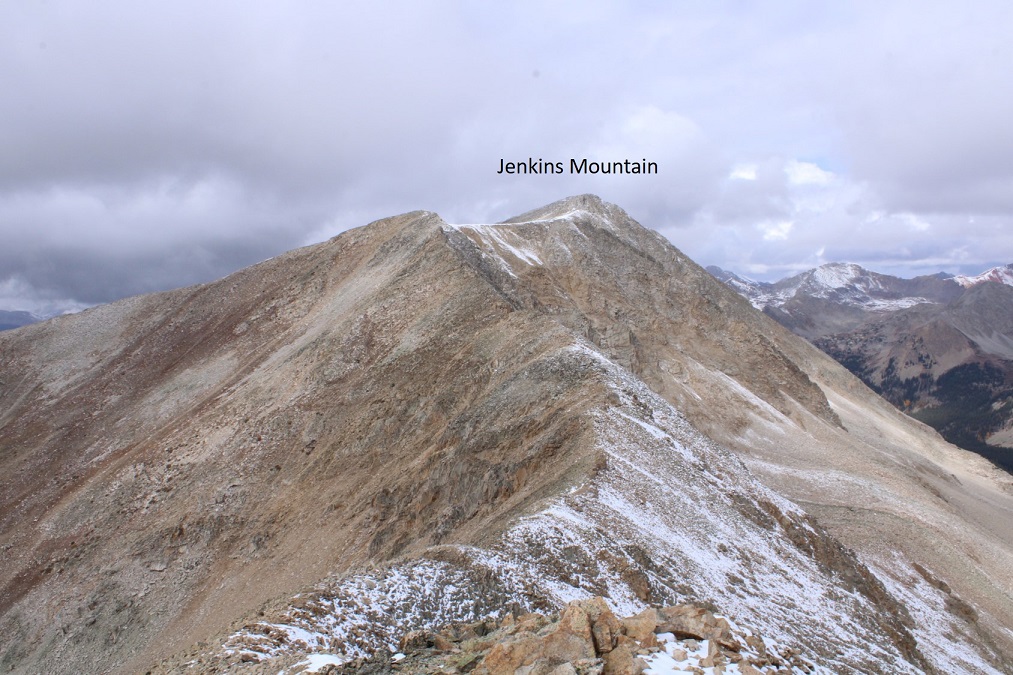
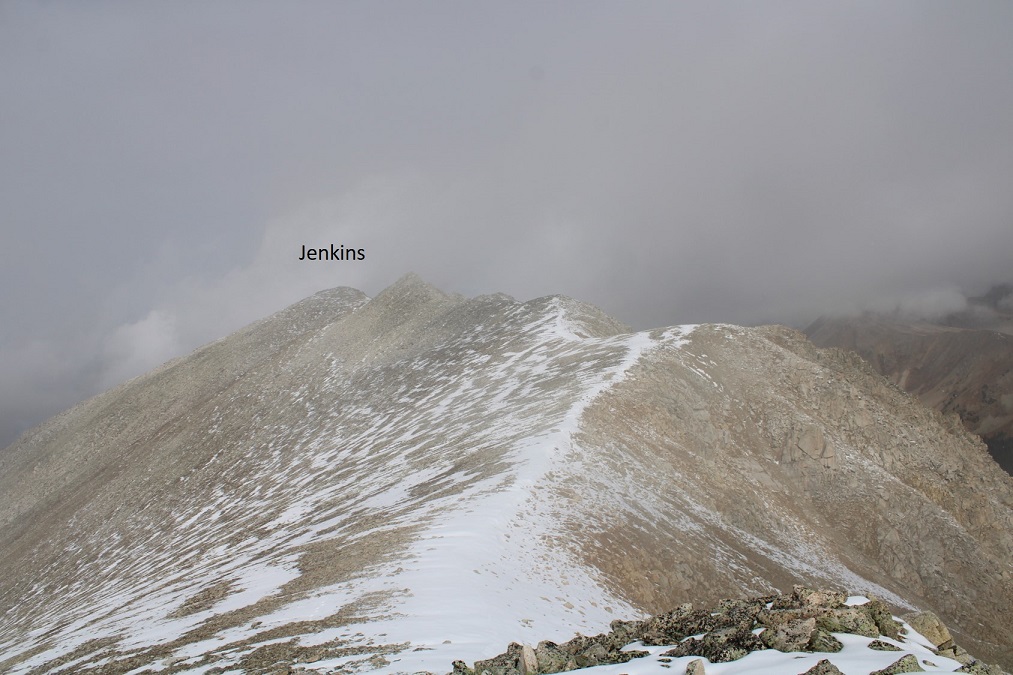
Here are some pictures of the ridge, up to the first “false summit”.  If you can’t stay on the ridge, dip down to the left.

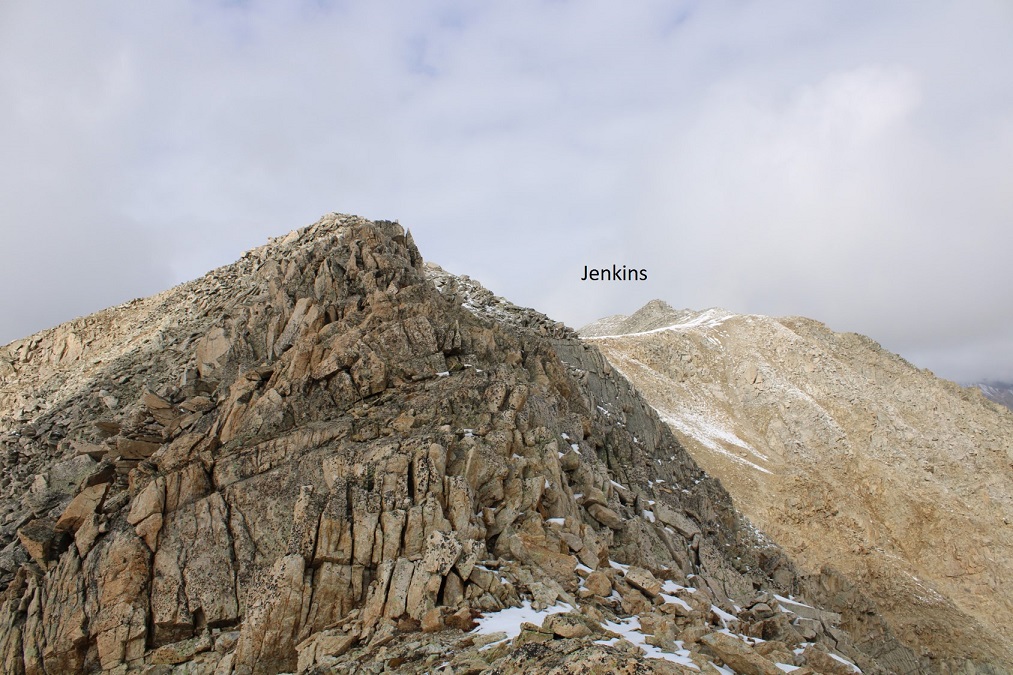
From the top of the false summit, I lost a little bit of elevation, but it was an easy ridge hike to the true summit of Jenkins Mountain.  I’m sure this would be a piece of cake on a clear day. Today however, the ridges were frustrating because I didn’t have visuals of how far they ‘went’

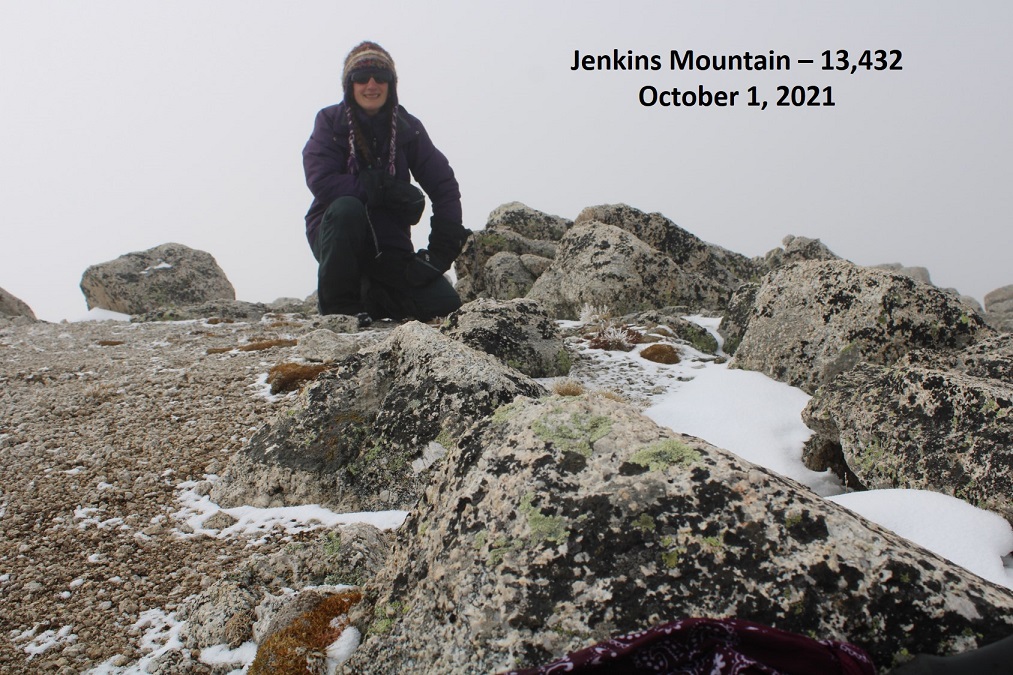
I summited Jenkins Mountain at 10am

Jenkins Mountain: 

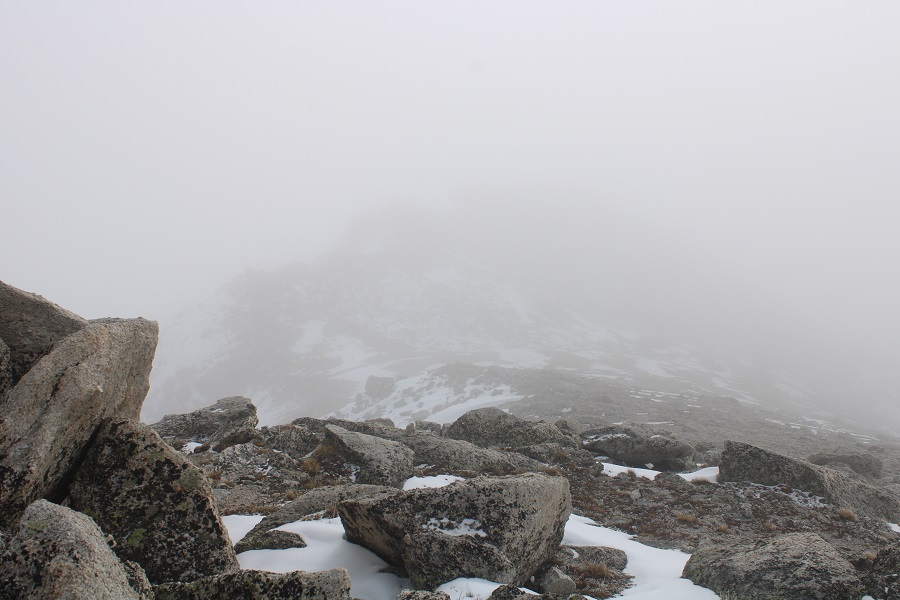
I was happy to see it looked like the weather was starting to improve.  There was a summit register.  I turned and headed back towards PT 13050.

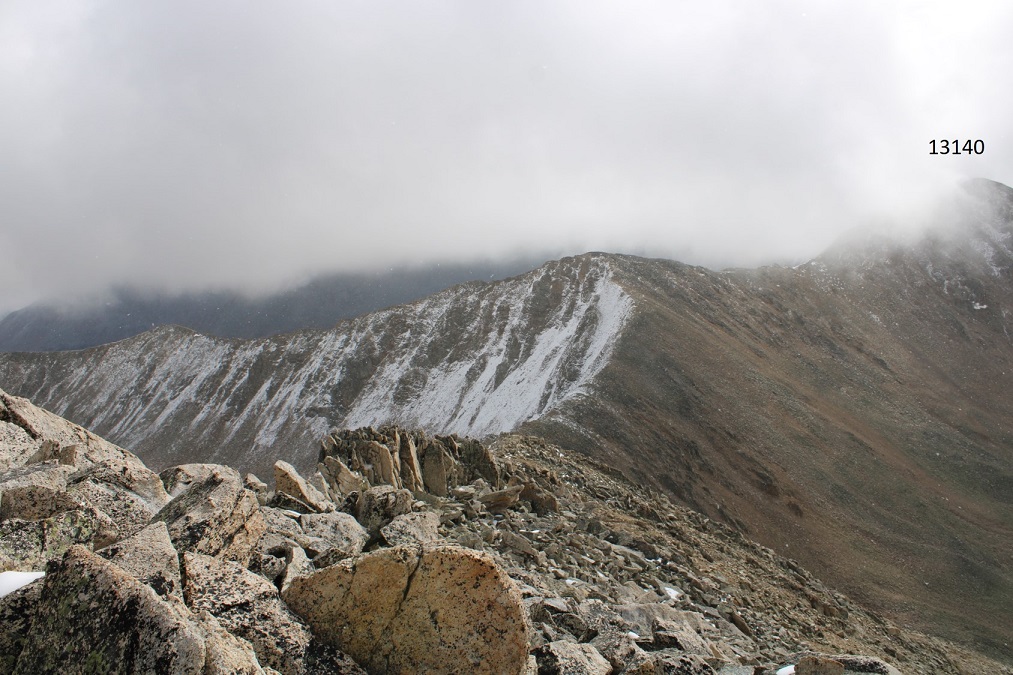
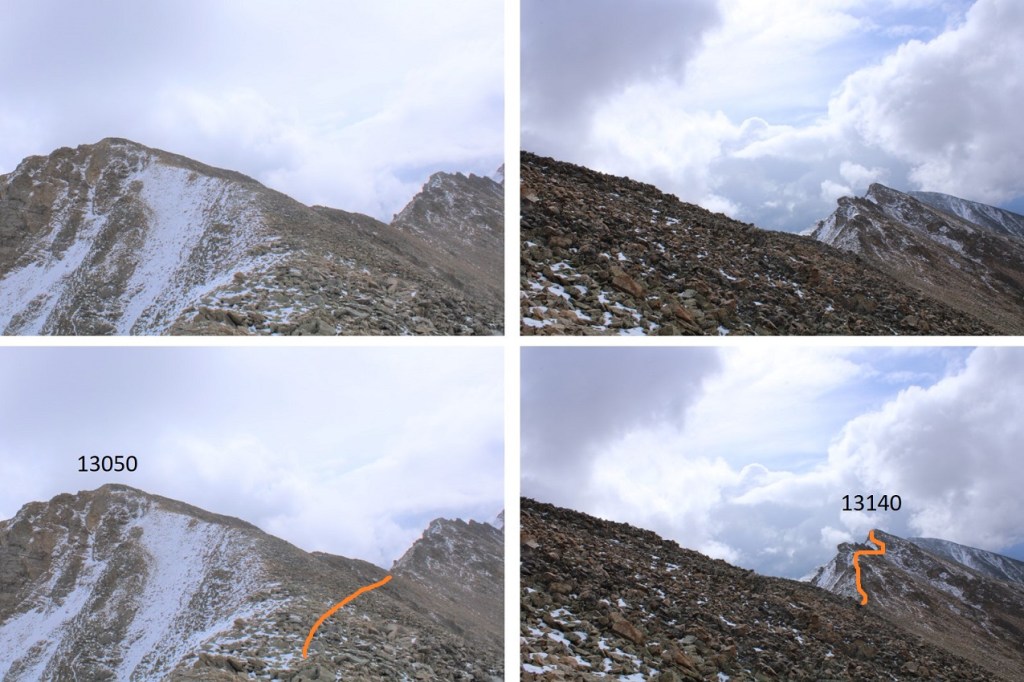
Halfway down the ridge I could see PT 13050, as well as PT 13140

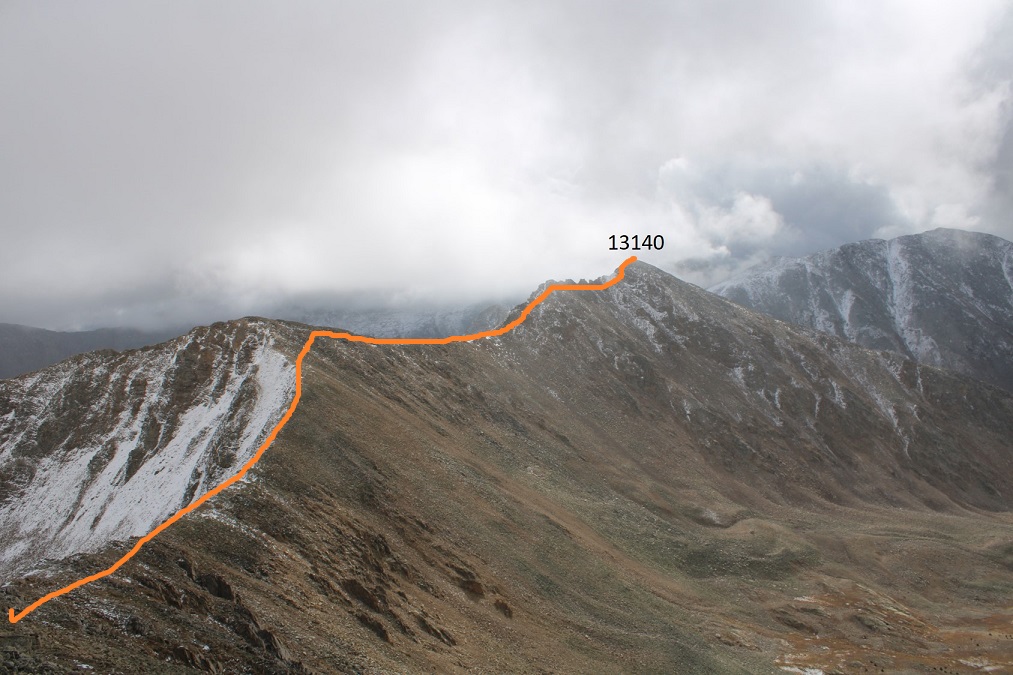
I didn’t completely re-summit PT 13050.  Here’s an overview of the route I took to PT 13140

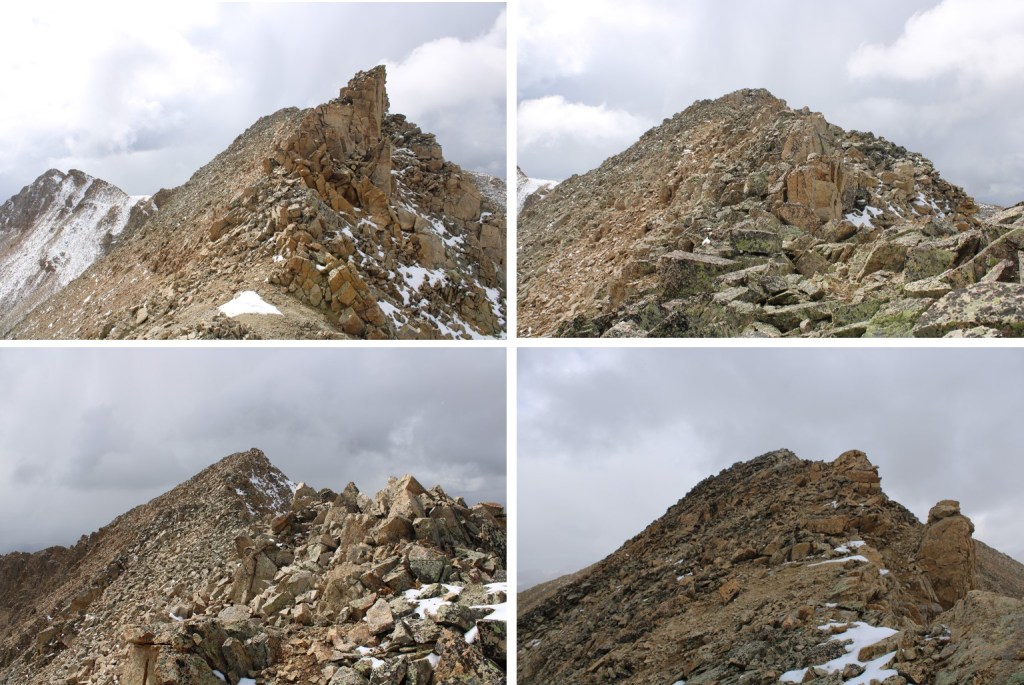
And some step-by-step pictures

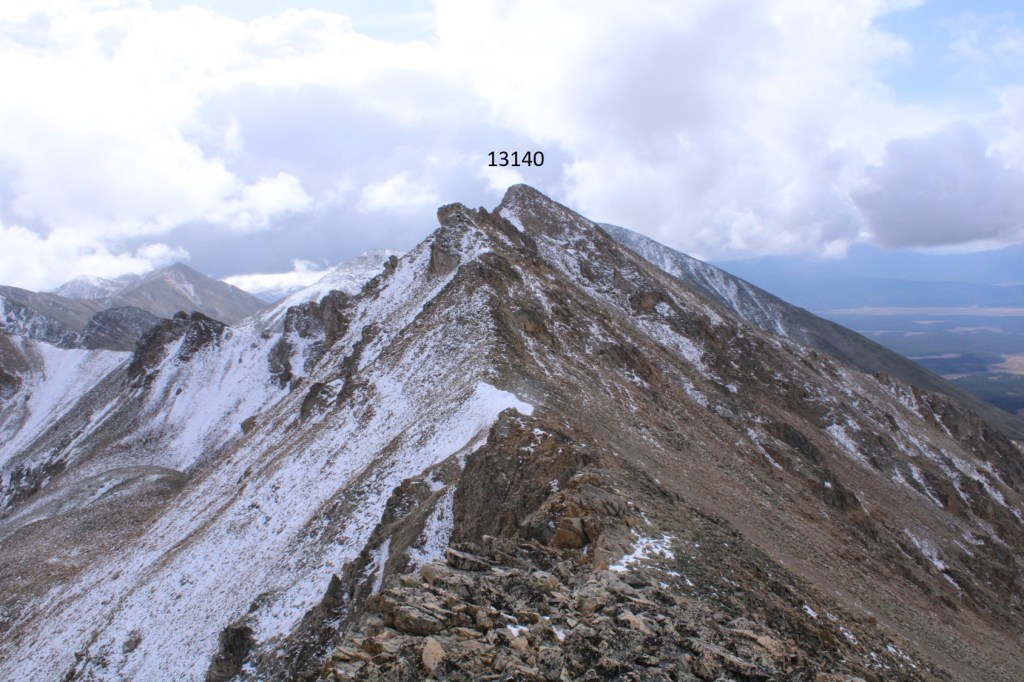
I could stay on top of the ridge for most of the ridge;  it wasn’t until the end I needed to dip right.

After the false summit I needed to dip down and lose about 75’ of elevation

I regained the ridge

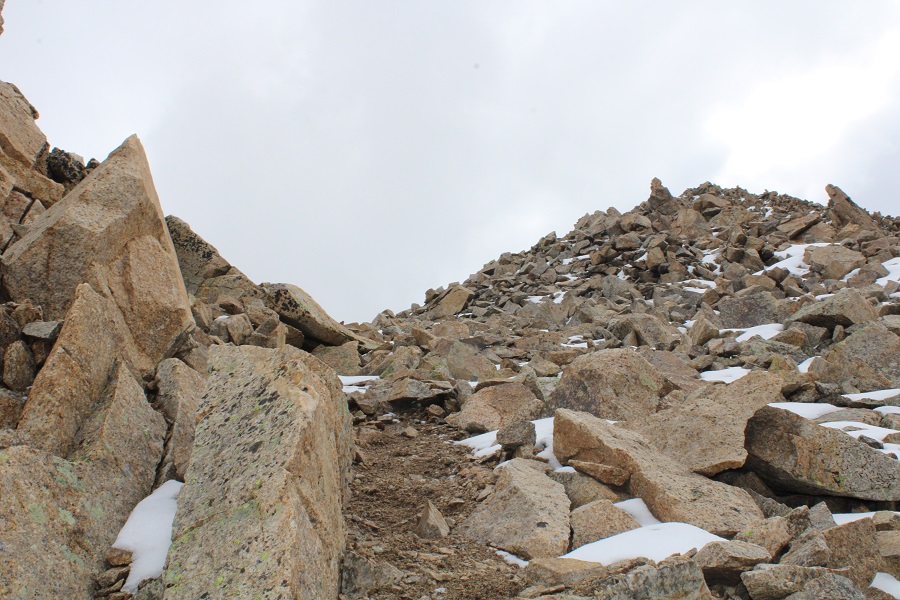
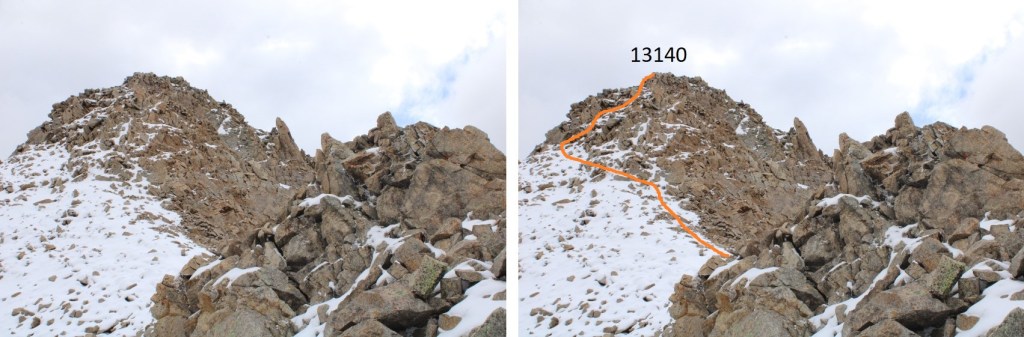
And this is how I summited PT 13140.  I’m sure there was some sort of a trail here, but it was currently covered in snow. The last few feet are ‘choose your own adventure’, all class 2.

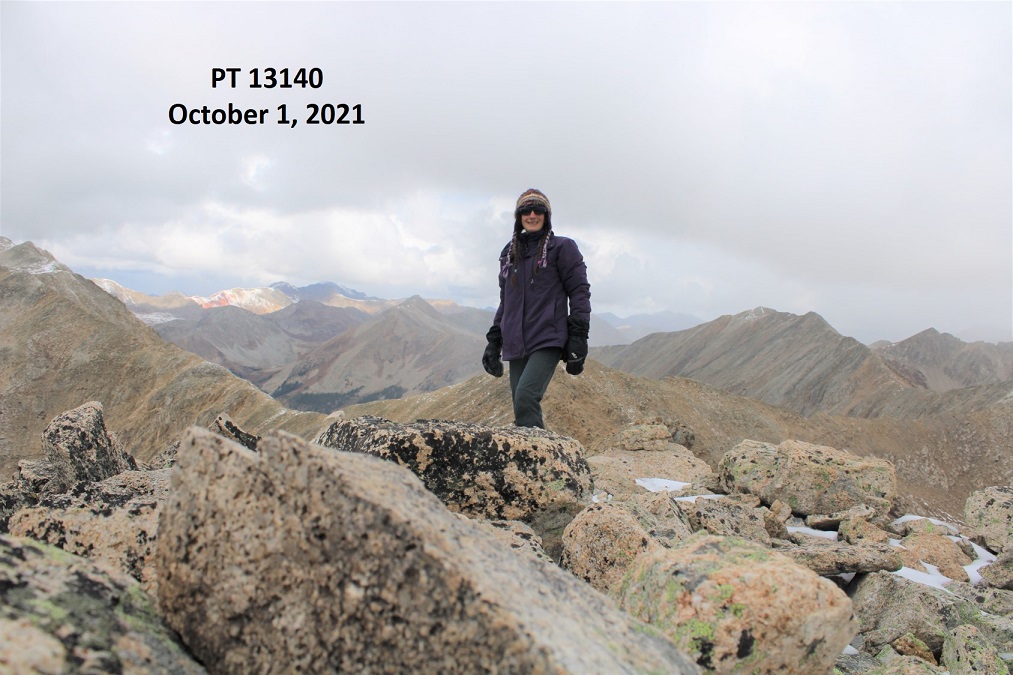
I summited PT 13140 at 11:30am

PT 13140:

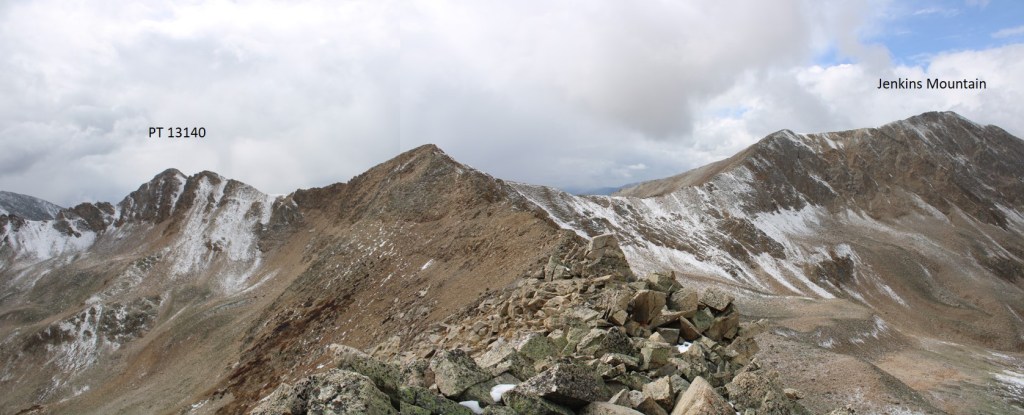
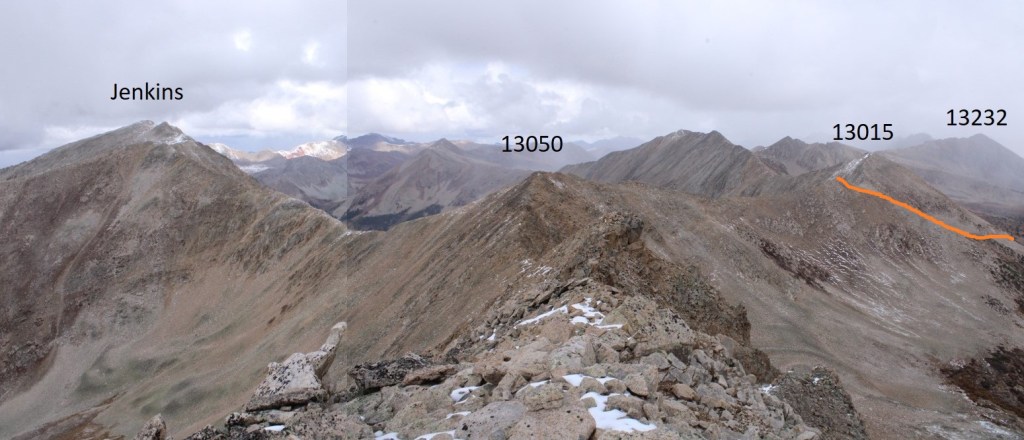
From the summit, here’s looking back at the trek from Jenkins, as well as the next few points for the day

For reference, this is how I gained the ridge to the saddle between PT 13050 and 13015.  It’s kind of a ridge itself.

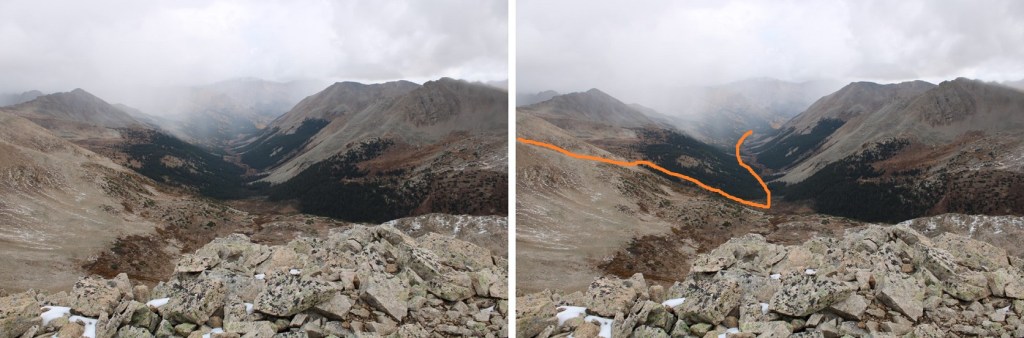
And another view, from PT 13140, looking back at how I exited the basin and gained the ridge. I headed back to PT 13050.

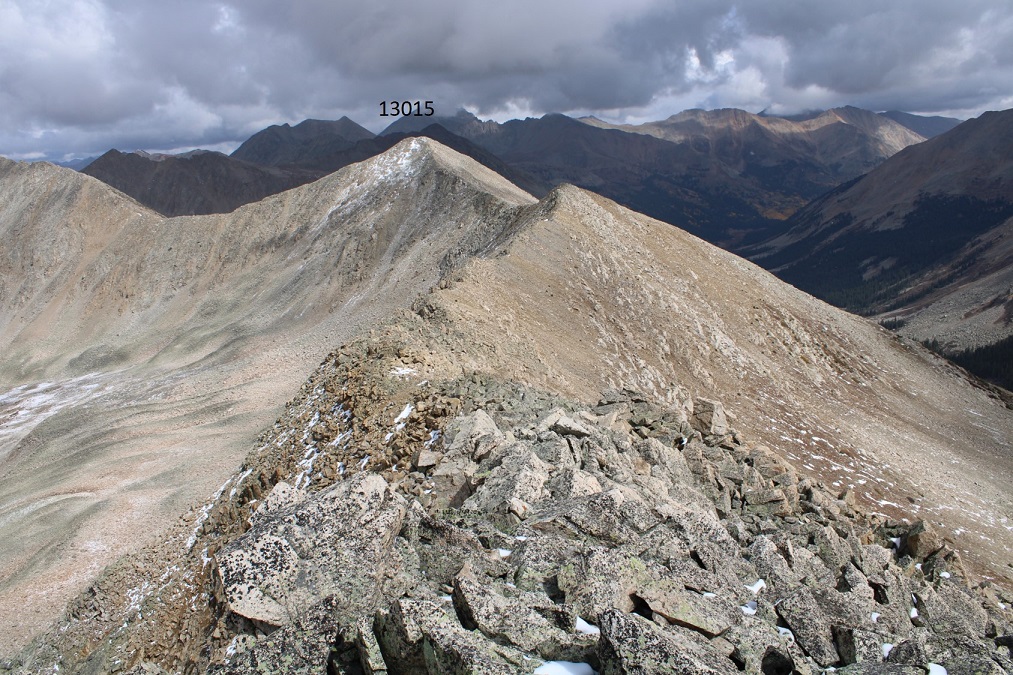
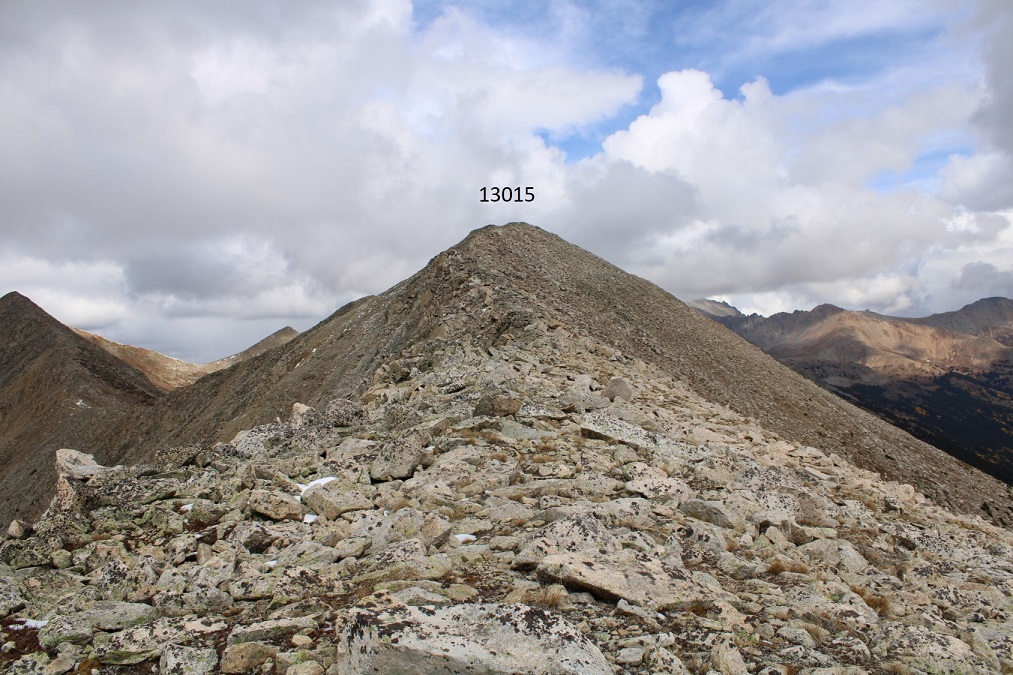
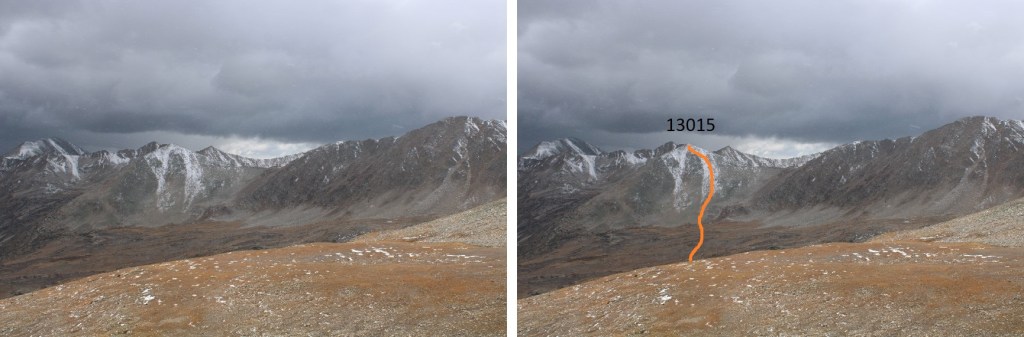
Here’s looking northeast at PT 13015 from 13050.

This was a class 2 hike all the way to PT 13015

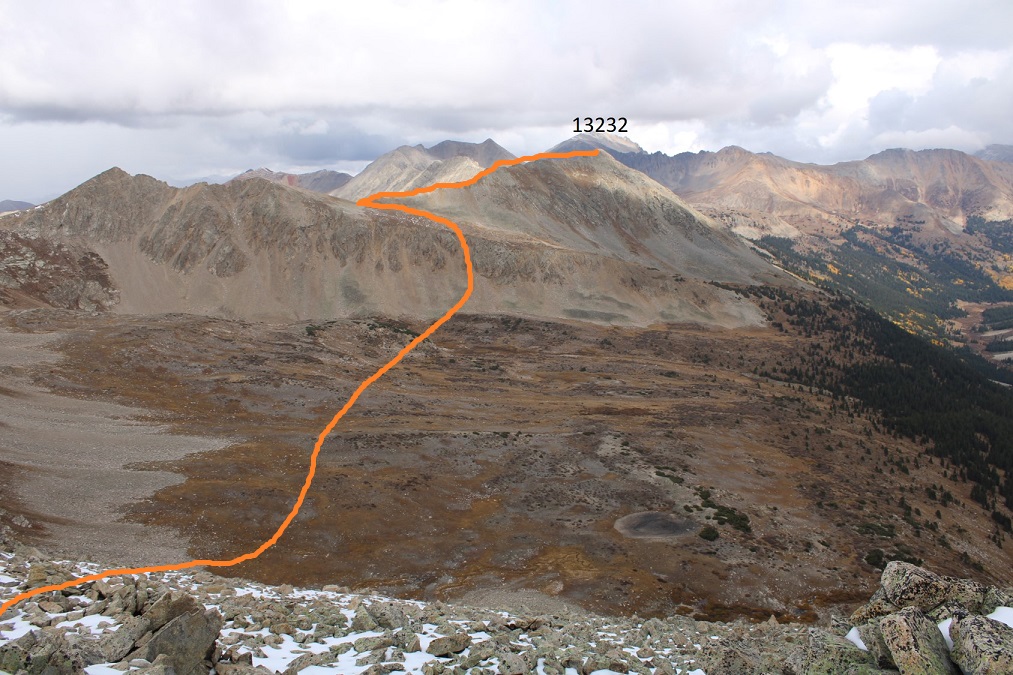
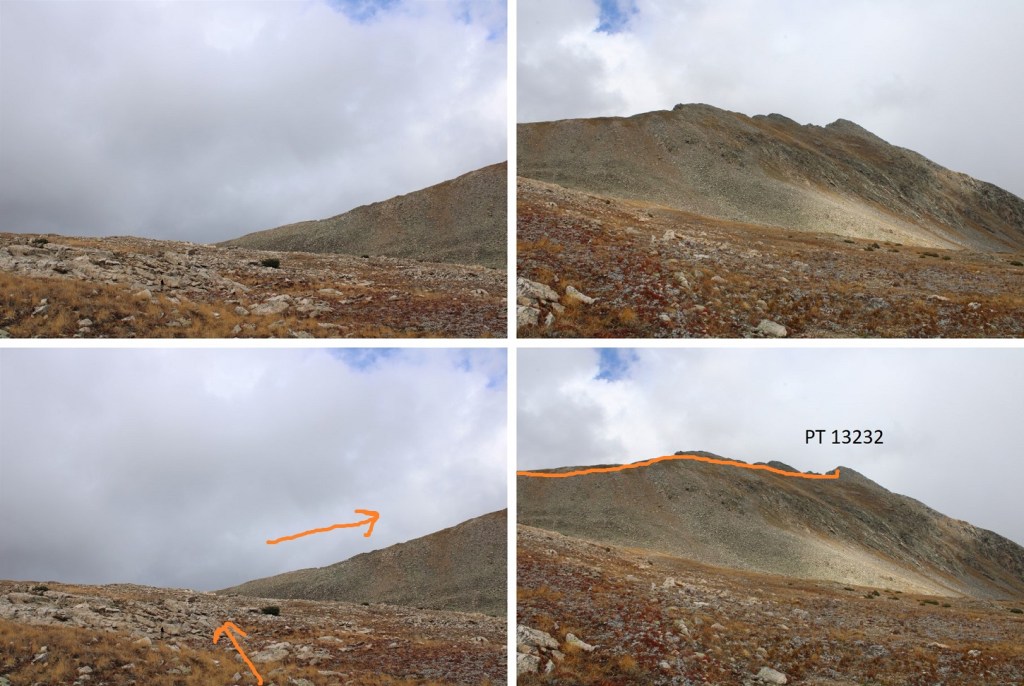
From the summit of PT 13015 I could see my next peak:  Pt 13232. 

This is the route I took to get there:

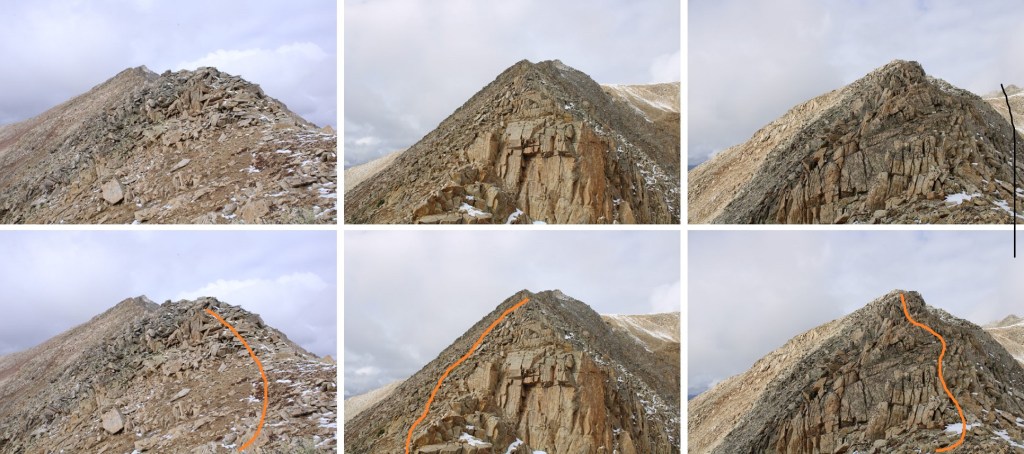
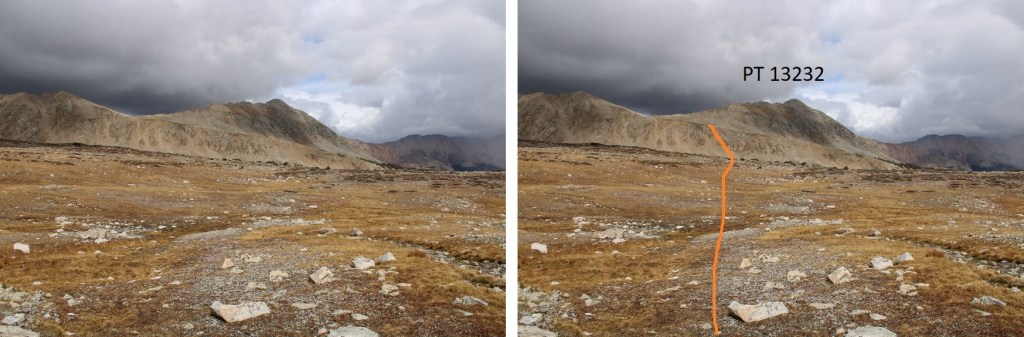
This route had me turning and following the ridge for a short distance northwest, descending a scree, rock, and snow filled gully, crossing the basin, finding another gully and ascending it to a slanting plateau/ramp, taking the plateau to the ridge, and then following the ride to the summit. Here are some step-by-step pictures:

I lost 850’ of elevation, heading int the basin

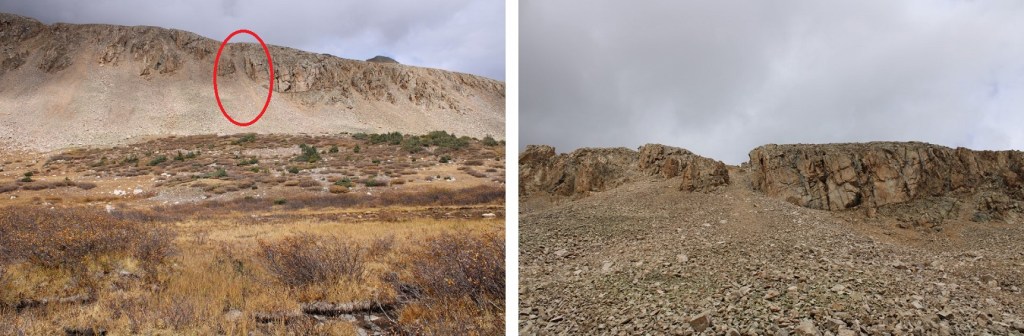
I then headed northeast and crossed the basin, heading towards an access gully (alternately, you can lose more elevation, skirt the then re-ascend the ramp, but I wanted a more direct route. 

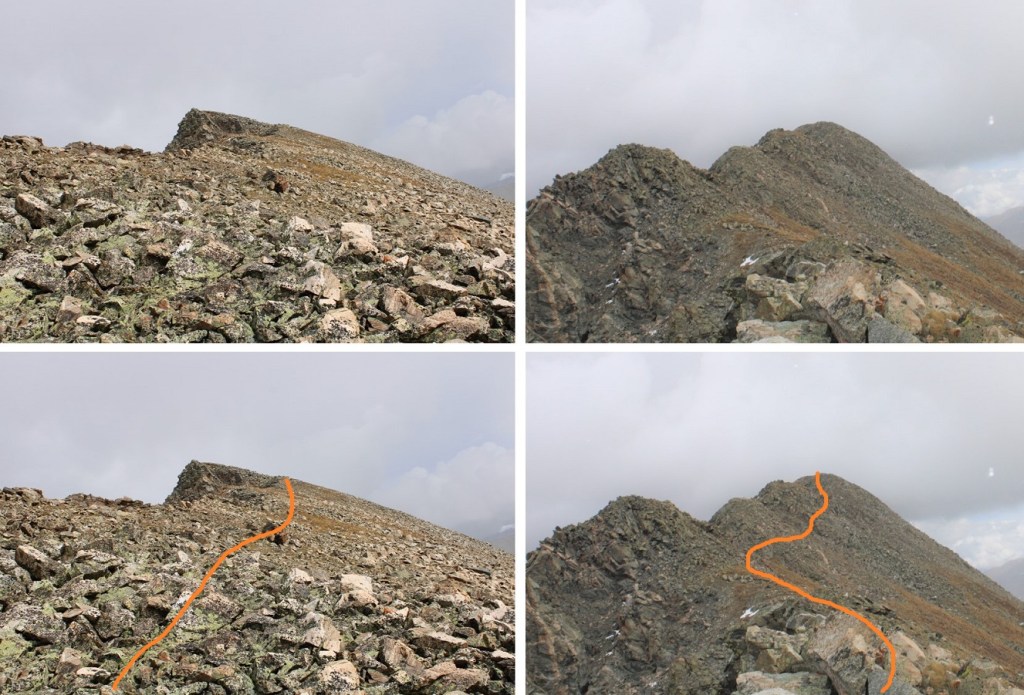
Here’s a closer look at that gully. It was as 2+ gully, but wasn’t technical at all.

At the top of the gully I turned left and headed towards the saddle, then took the ridge to the summit (all class 2)

Here’s looking back at the way I took down and across the basin from 13015

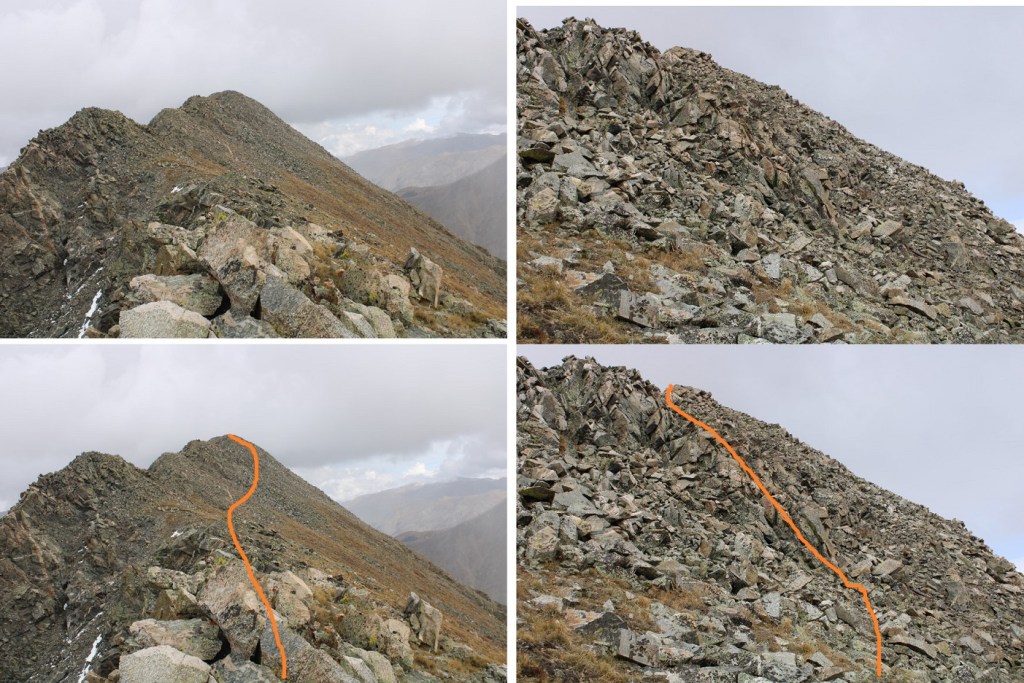
The ridge was rocky, but easy to follow.  I tried to stay where the rocks met the tundra.

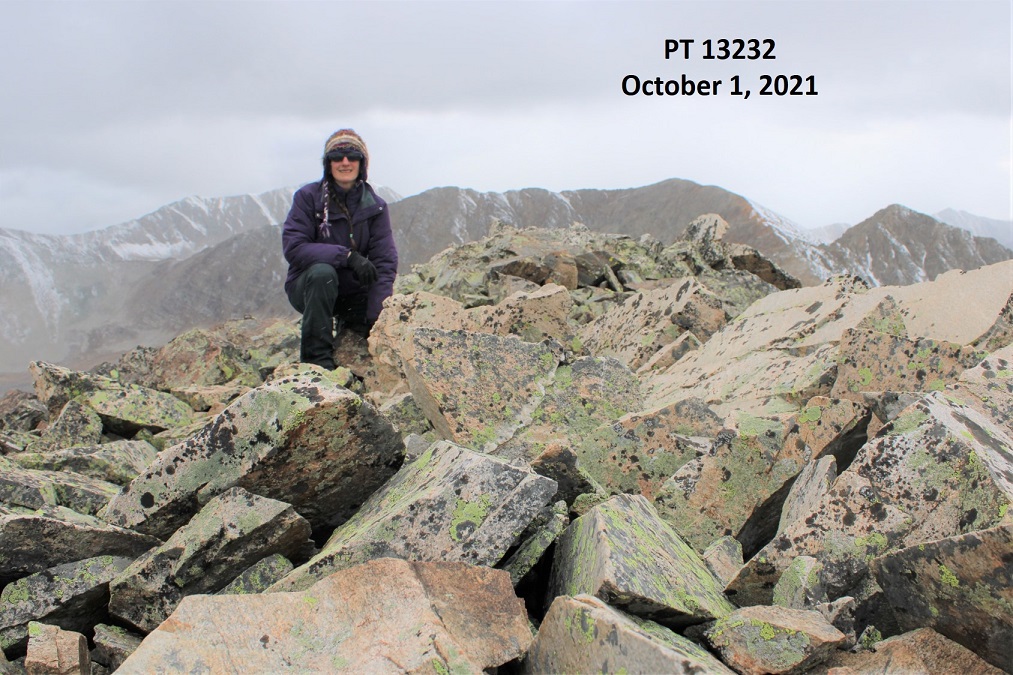
I summited PT 13232 at 2:45pm.  It was now snowing, but it was a nice, gentle snow.

PT 13232:

I could see the trailhead from the summit to the northeast: now I just needed to get there.  I descended the ridge to the northeast. Not far, just a few yards, found a scree filled gully, and took that to tundra.  I then aimed northeast towards North Fork Lake Creek, until I found the trail and followed it back to the trailhead.

Sorry for the foggy pictures here: I was in the clouds and it was snowing much of the day.  The trailhead is circled in red

I descended to the north, and round a gully to take down heading southeast, and turned left at the tundra

I then headed northeast towards North Fork Lake Creek

For reference, here’s looking up the gully I took down from PT 13232

Once on the trail I followed it back to the trailhead. 

I made it back to y truck at 4:30pm, making this a 13.75 mile hike with 5322’ of elevation gain I 11 hours. 

On to the next trailhead!

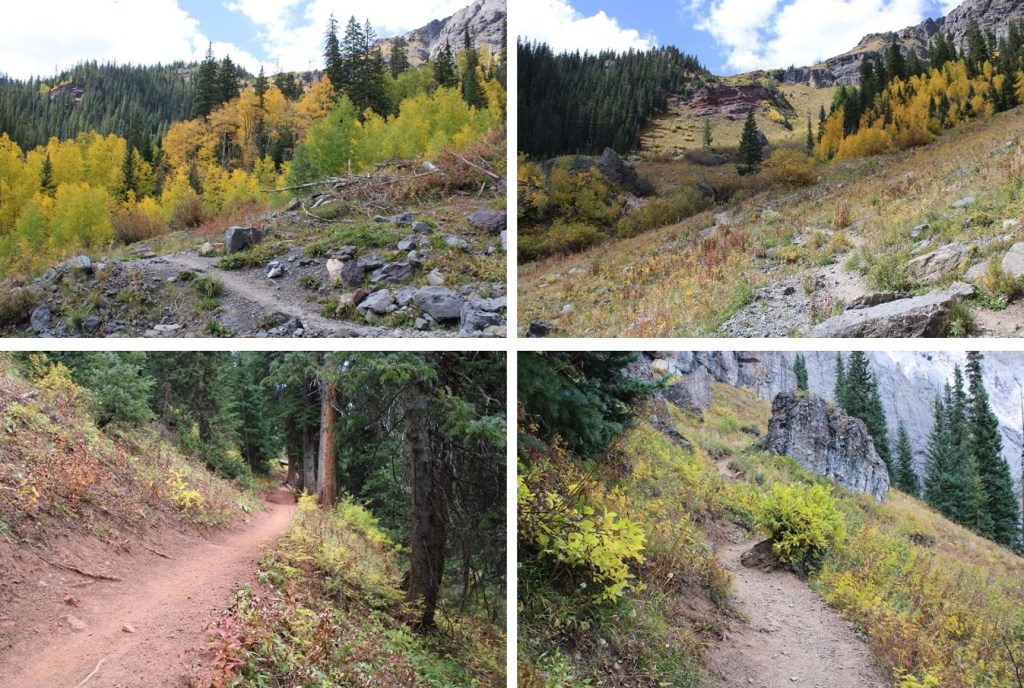
Also, it’s fall

Mt Bancroft – 13,262, Parry Peak – 13,391, and Mt Eva – 13,130

RT Length:  7.29miles

Elevation Gain: 3921’

I got lost in the dark on the drive up to Loch Lomand and accidentally took an intense 4WD road.  Let’s just say, if you’re on a 4WD road that requires serious 4WD skills, you’re on the wrong road.  I made it to Loch Lomand, passing several great dispersed camping sides along the way, parked, and was on the trail at 5:45am. 

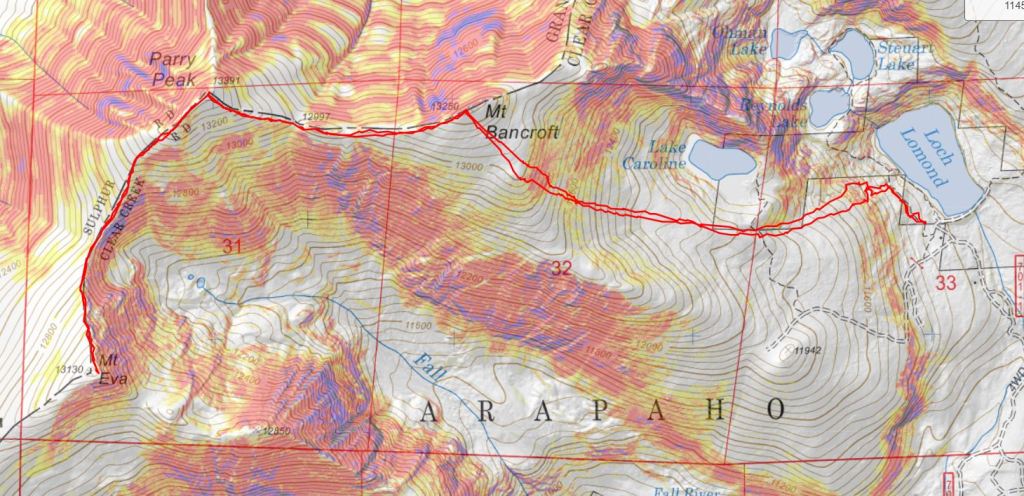
It was still dark when I started out, and I didn’t take the most efficient route, but your main goal is to get to the upper basin, near Lake Caroline. I did this by following a trail around the Loch, and then heading west, up a gully.  You’re aiming to get here, by avoiding as many willows as possible.

I started by following this trail

And then headed up a gully

Eventually the willows ran out, and I was on rocky tundra.  I followed this tundra west

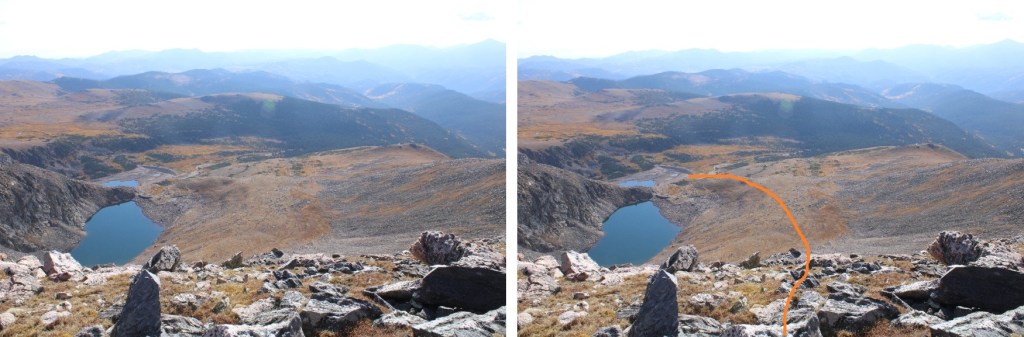
Once un the upper basin, I kept Lake Caroline to my right and gained the ridge.  This can be done any number of ways, Here’s my route:

It was rocky here, but all class 2

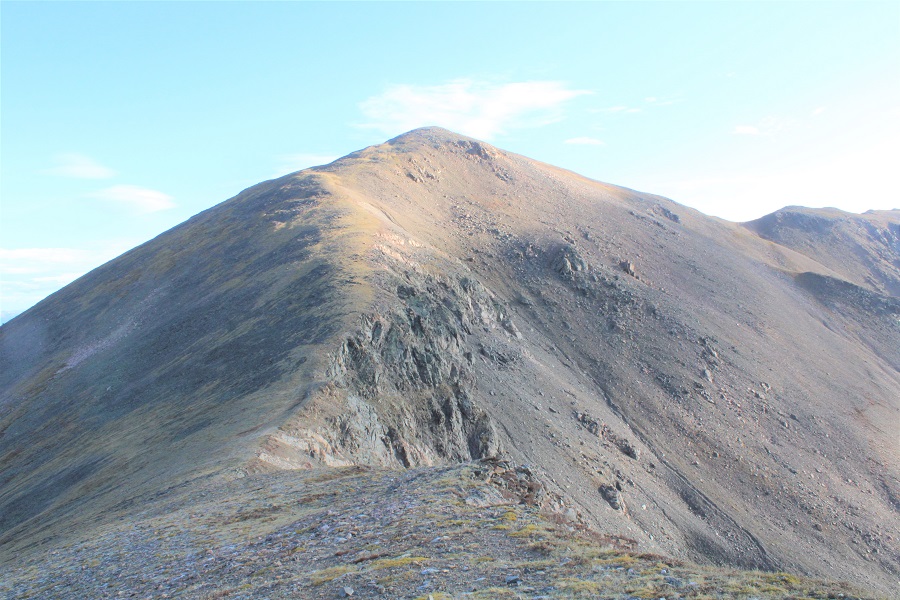
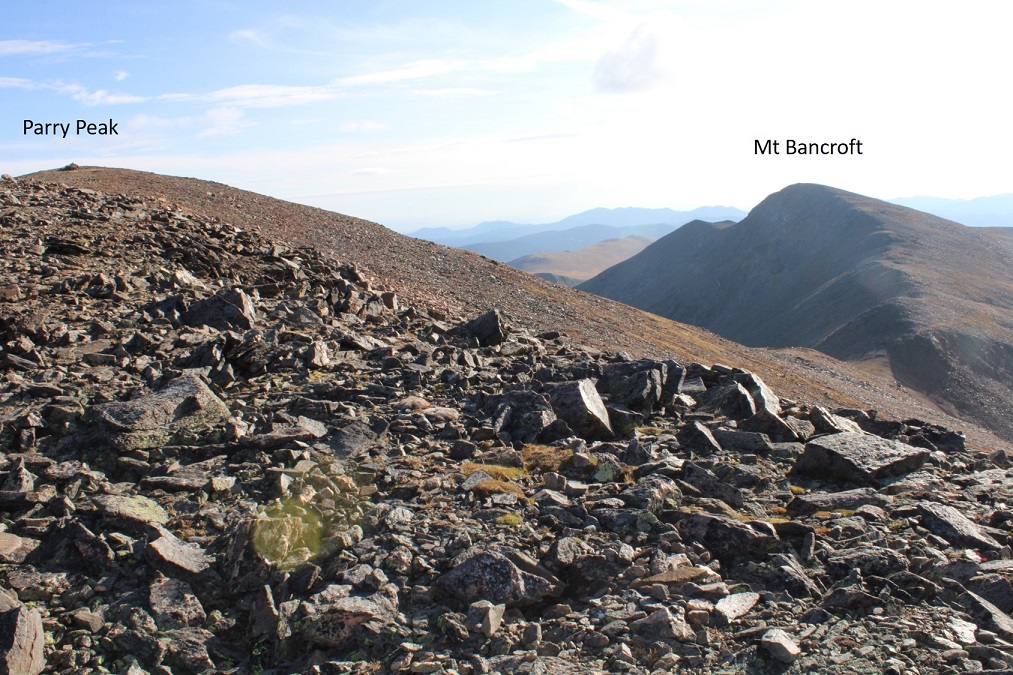
Once on the ridge, I could see the summit cairns to the northwest, and aimed for the summit of Mt Bancroft.

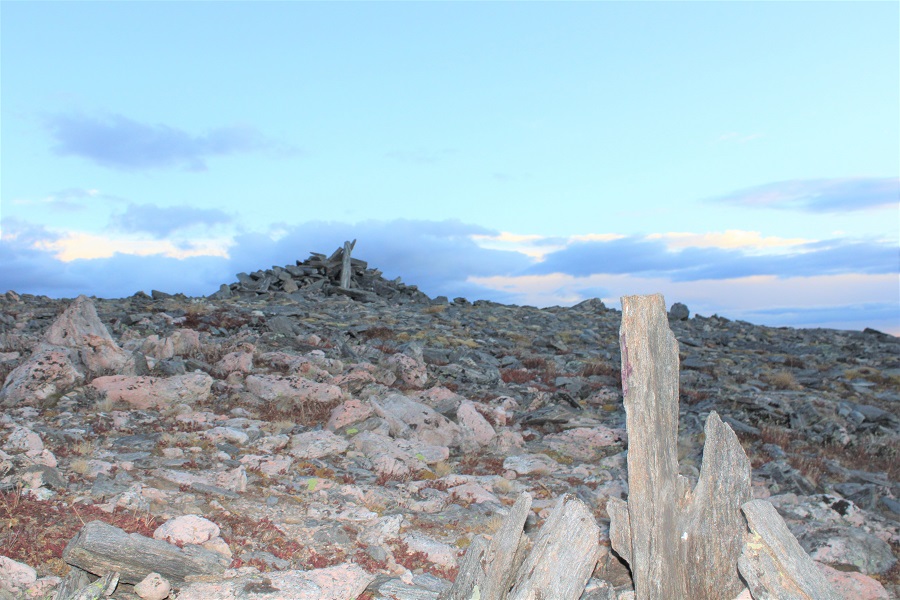
I summited unranked Mt Bancroft at 7am.  There were two large cairns at the summit.

Mt Bancroft:

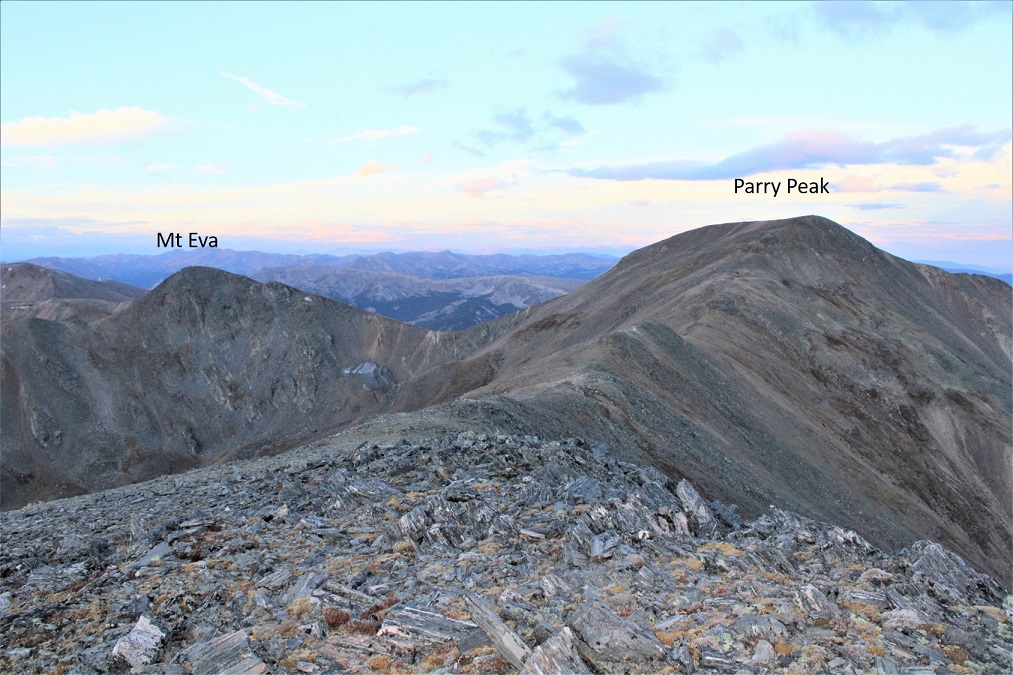
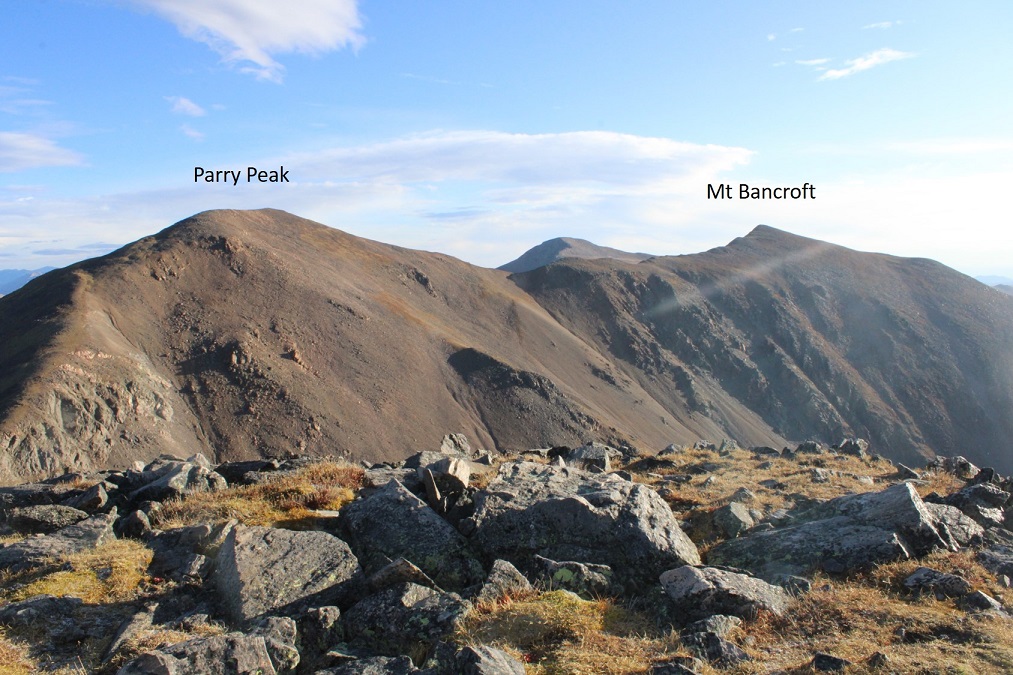
From Mt Bancroft I turned and looked west.  It was a simple ridge hike to both Parry Peak and Mt Eva.

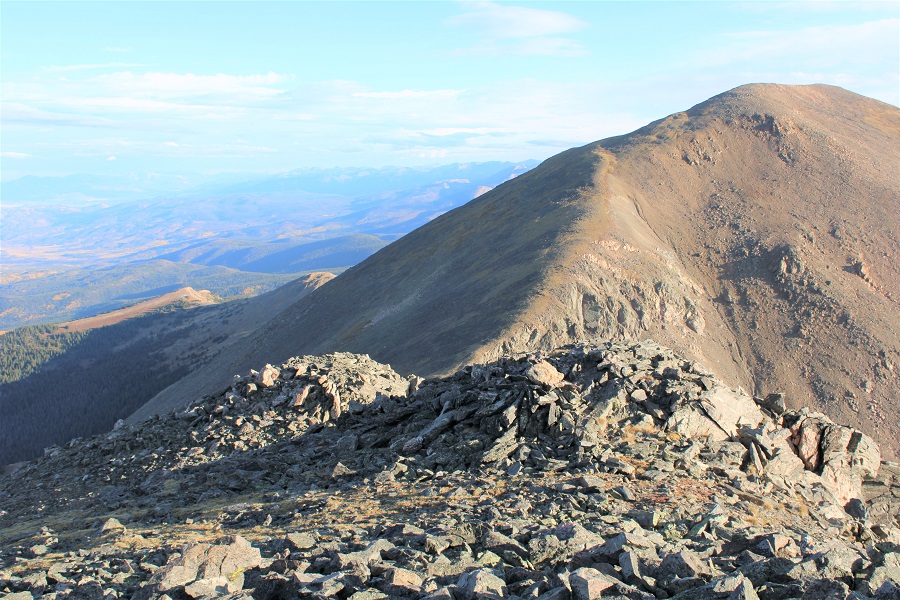
I followed the ridge west towards Parry Peak. Here the wind picked up, and didn’t stop for the rest of the hike.  There were faint trails here

I summited Parry Peak at 7:30am

Parry Peak:

It was WINDY!  Much windier than the forecasted 5-10mph.  I was glad I’d packed my winter gloves.  As I recall, the last time I was on this ridge it was super windy as well.  The wind made the nice day quite cold. There was a storm coming in, so I kept going, turning and following the ridge southwest towards Mt Eva. There are faint trails here too.

This was another simple ridge hike, that got a bit rockier at the end.

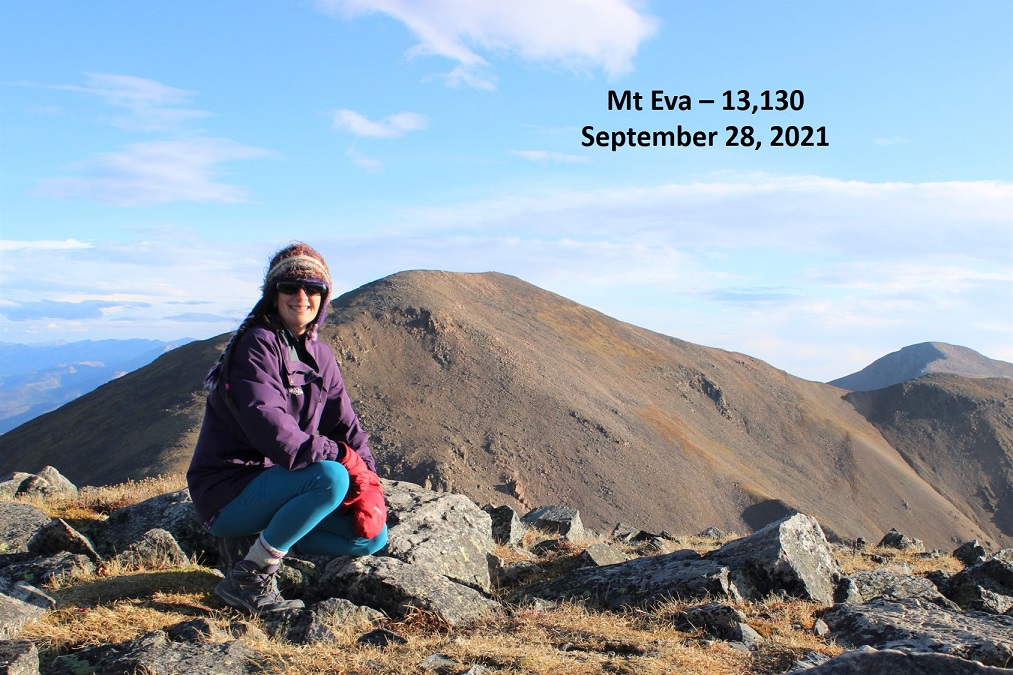
I summited Mt Eva at 8am

Mt Eva:

Today felt really laidback:  it was easy to cruise along the ridgeline, without any major obstacles keeping me from slowing down. Here’s looking back at Parry Peak and Mt Bancroft from Mt Eva

There was a downed communications tower near the summit of Mt Eva.  I’m guessing wind was involved.

And now to head back to Parry Peak. 

I re-summited Parry Peak, and then headed back to Mt Bancroft.  I decided to actually summit these peaks again, as it felt like a really easy day and I welcomed the extra elevation gain.

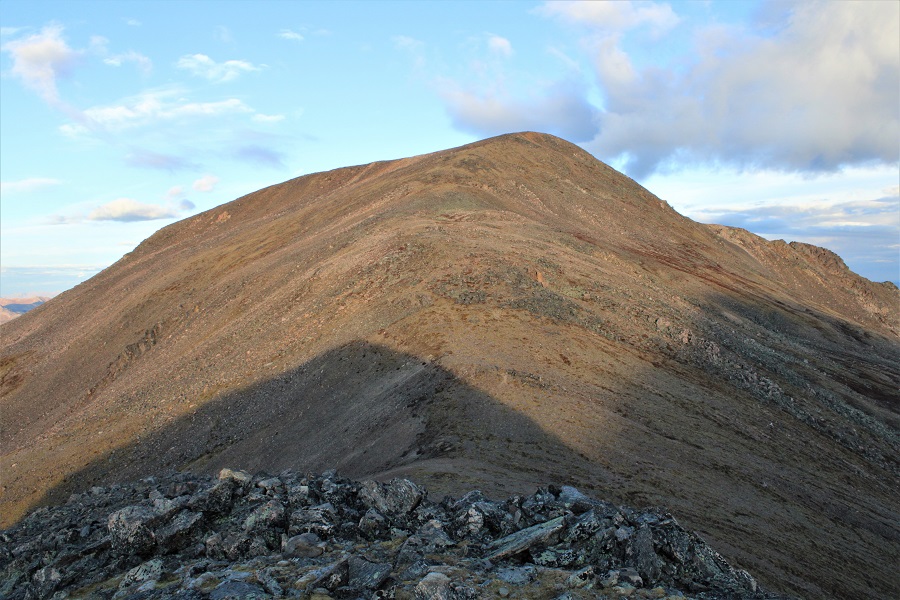
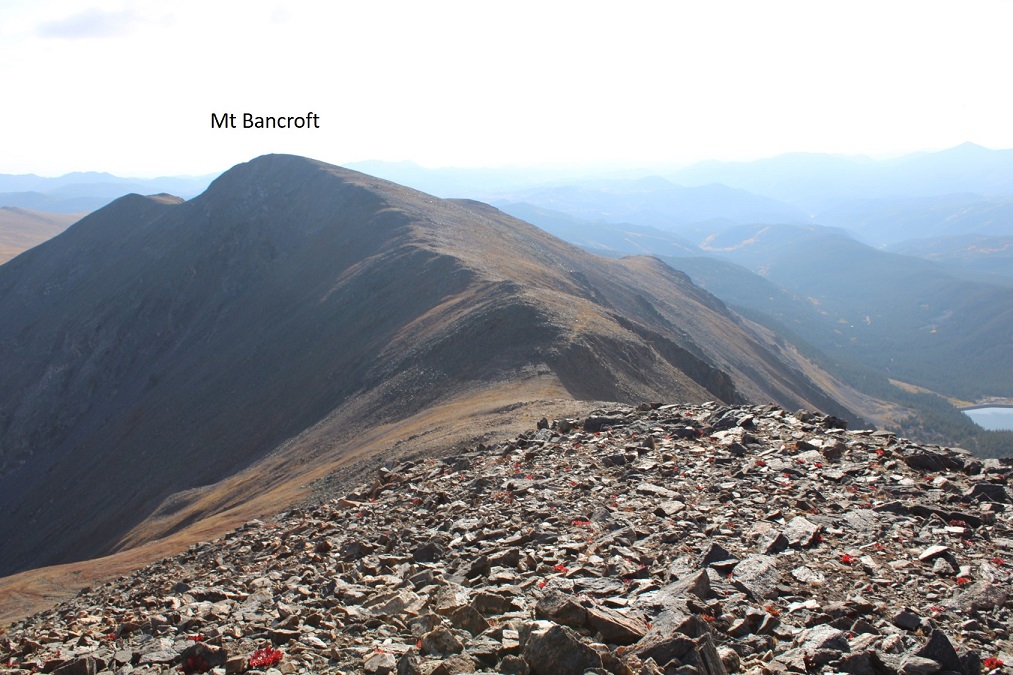
Mt Bancroft from Parry Peak

I re-summited Mt Bancroft, and then followed the ridge southeast

Here’s my overall route out of the basin, keeping Lake Caroline to my left this time

I just kept aiming east, for Loch Lomand

It was much easier in the light of day to navigate my way

I made my way east to the trail, then followed the trail southeast to my truck

I made it back to my truck at 10:15am, making this a 7.29 mile hike with 3921’ of elevation gain in 4.5 hours.  I was surprised at how quick todays hike seemed to be. As I looked behind me, huge storm clouds were starting to form:  it’s going to snow!

Twin Sisters West – 13,374 and Twin Sisters East – 13,432

RT Length:  10.32 miles

Elevation Gain:  4101’

The Rico-Silverton Trailhead past South Mineral Creek has to be one of my favorite trailheads to spend the night.  The 4WD road in isn’t very 4WD (except for the creek crossings), and there are rarely any people there.  Also, no marmots. I was woken up in the middle of the night by a rustling sound I thought was a rodent in my truck, but ended up realizing it was just my elbow brushing a bag of chips. 

It was another cold night, but I was ready to go at 5:45am.  It was still dark, but I’ve taken this trail numerous times, so I knew which way to go. 

The trail starts at the south end of the parking area, and immediately crosses the creek

I followed this class 1 trail all the way to treeline, crossing the creek several times along the way.

Another perk of hiking here is a mama moose owns this basin.  Every year for the past few years I’ve seem mama, mama and baby, or mama and yearling in this basin.  It’s been neat to see mama get bigger, and baby(ies) as well.  This yearling seems to be female, as she didn’t have antlers.  I saw these two just as it was beginning to get light out, so the pictures didn’t turn out well.  As soon as they noticed me they headed south, slowly making their way over the pass.

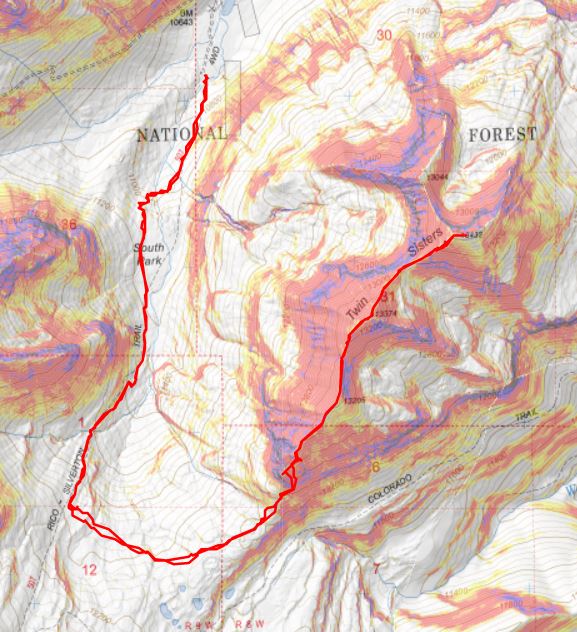
I hiked the Rico-Silverton Trail for 2.2 miles, to about 11925’, and then left the trail to follow the contour of the upper basin east, towards the south side of Twin Sisters.  This is the route I took

And some step-by-step pictures:

There are some faint game trails here, but they aren’t really needed, as long as you’re heading for the base of the mountain

Once there, I found a clear path through the willows and ascended the talus

I was surprised when I heard coyotes yipping during the day:  I usually only hear them at night

Coyotes:

Following this line brought me to the base of the rock outcroppings.  I put on my microspikes, and followed where the slabs met talus until I found the gullies.

All of the gullies go, but, as I found out on my way back down, find the first one and stick with it (turn left and follow it to the ridge).  You’re aiming for the ridge, which means hiking northwest.  Microspikes were extremely helpful here.  This shouldn’t be more difficult than class 2+

It’s going to be a chossy-talus-scree-filled mess, but it’ll go

Once on the ridge, I followed it northeast, staying on the ridge.  There’s a false summit here.  I kept my spikes on, but they were overkill.  The rock here was talus, and annoying, but firm.

Hitting the false summit was a bit of a downer, but the hike had been easy thus far, so it was kind of expected.  I continued following the ridge.  There’s a quick chasm to cross in the circled area.  It can be kept at 2+. I dipped down to the left about 30 feet, then re-ascended and started climbing towards the summit

Form here it was a simple ridge hike to the summit

I summited Twin Sisters West at 8:40am

Twin Sisters West:

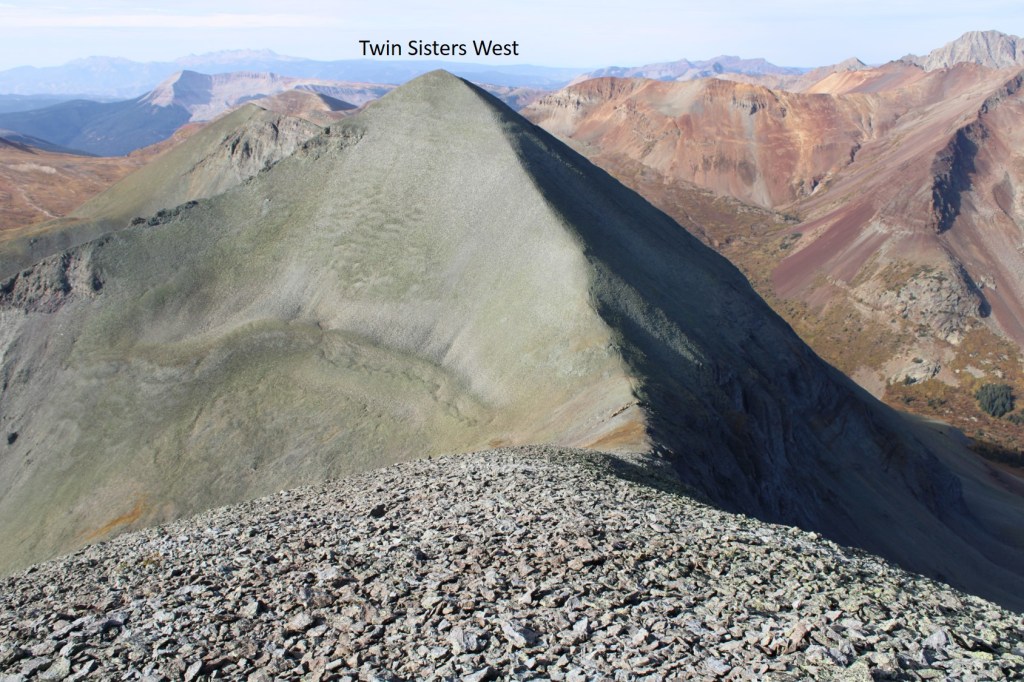
From the summit of ‘west’ it was easy to see the route to Twin Sisters East: I just needed to follow the ridge

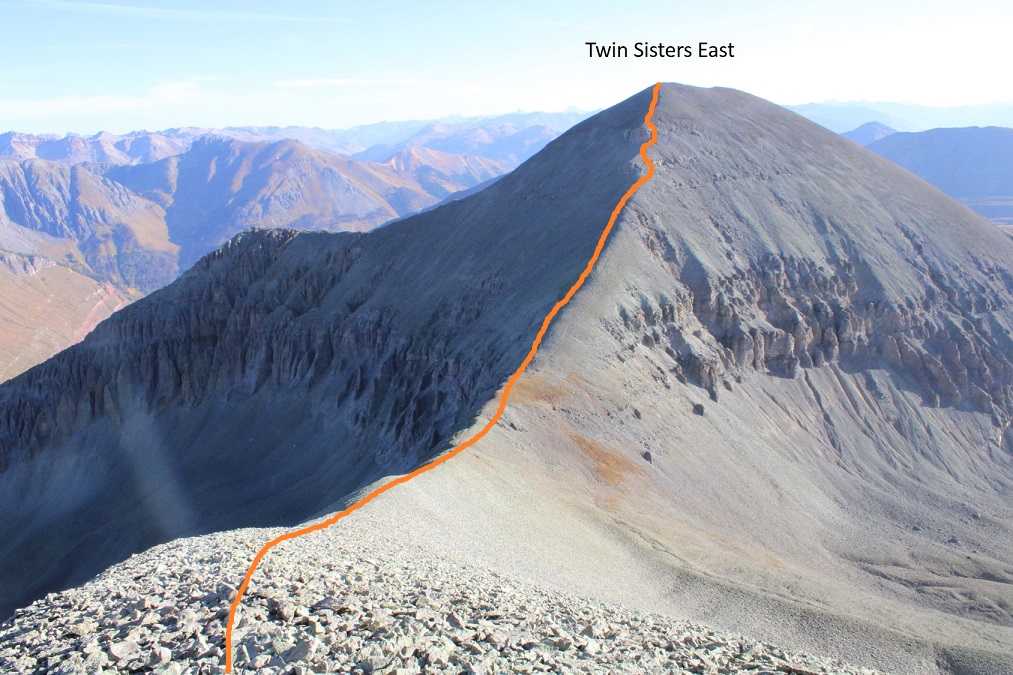
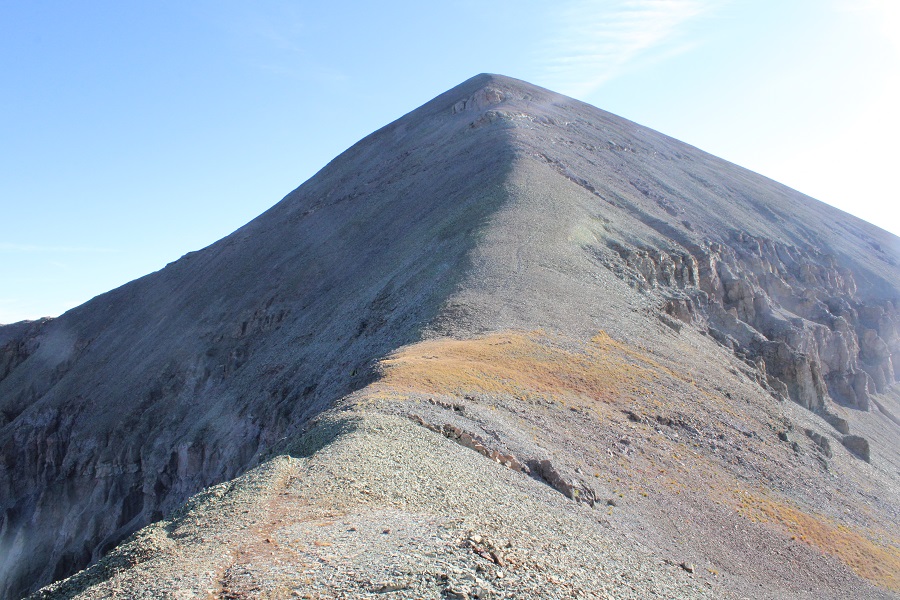
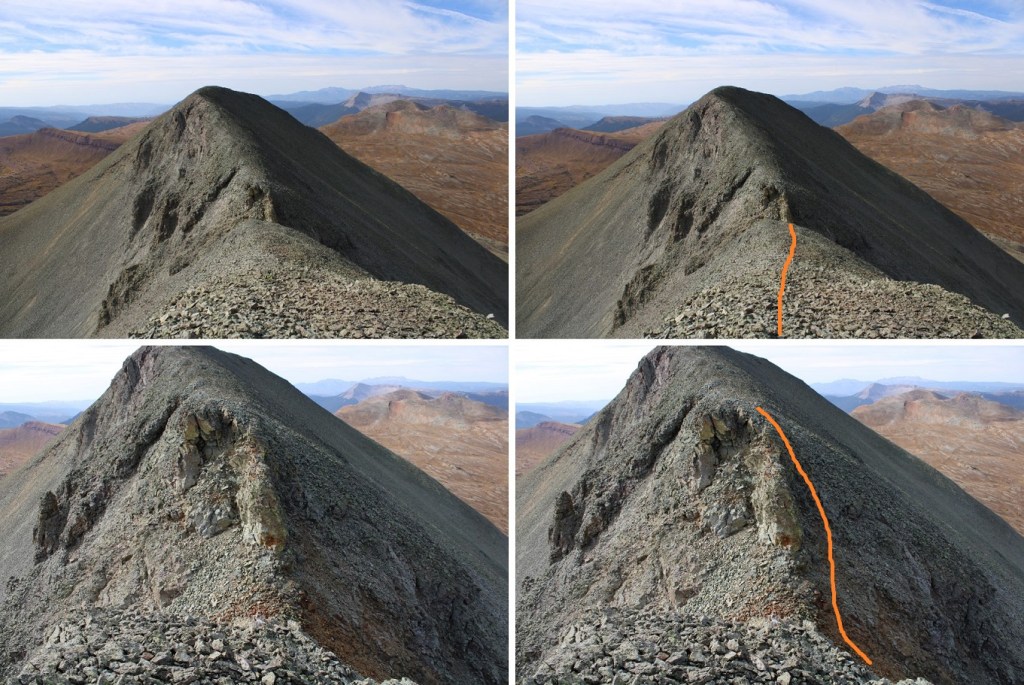
There were no big surprises on this one.  There were some game trails to the right, but they didn’t seem prudent.  I just followed the ridge, and then closely navigated the rock problems, which were all class 2.  This is the route I took

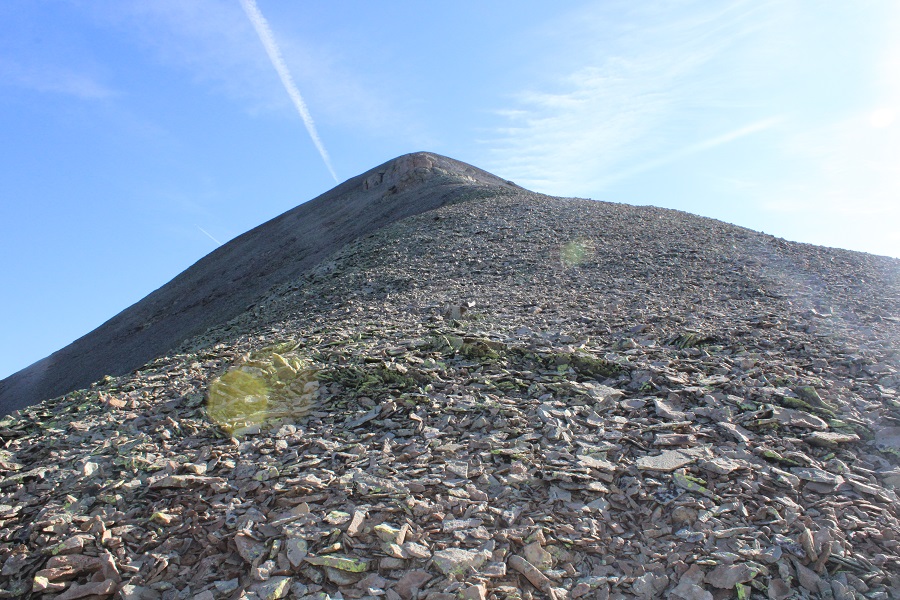
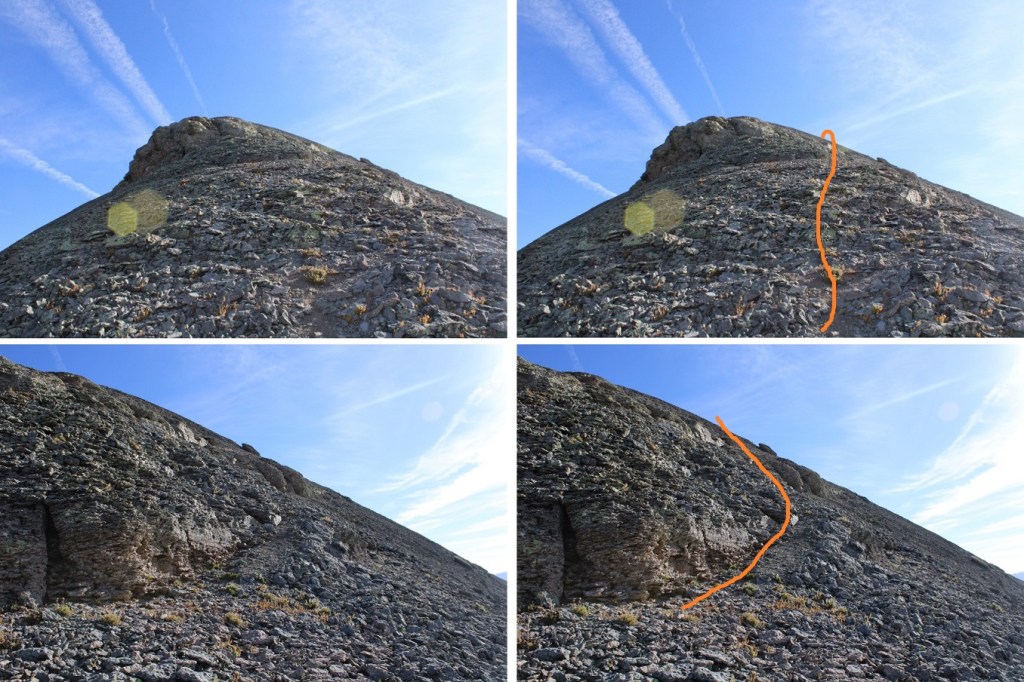
And some closer pictures

The summit was relatively flat.  I wasn’t sure where the exact summit was, so I waked the entire length, just to realize the summit was at the top of the ridge

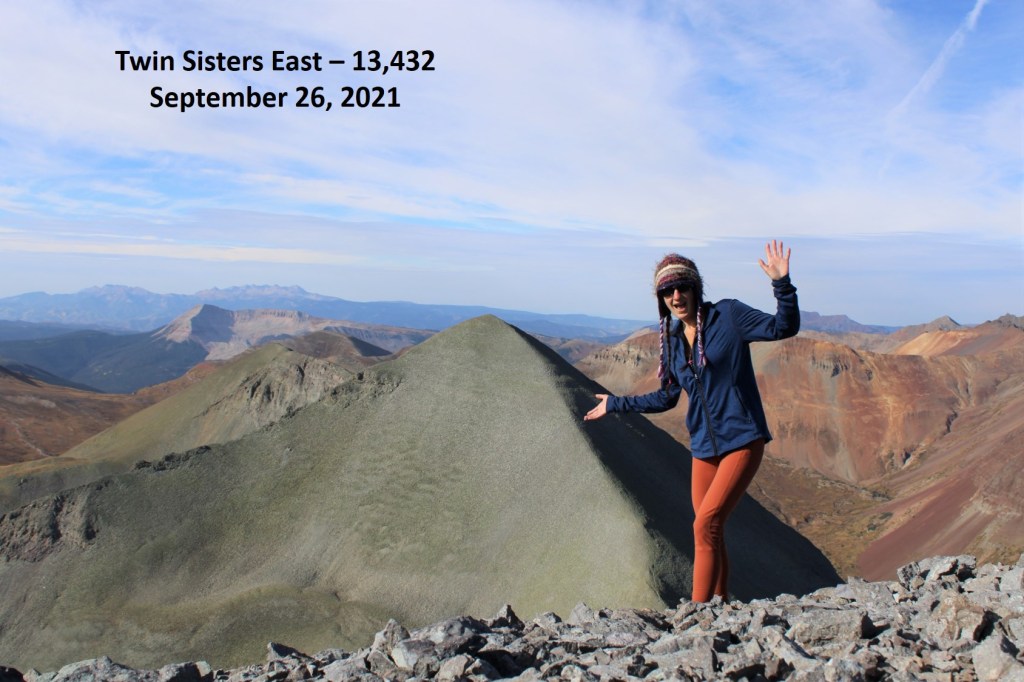
I summited Twin Sisters East at 9:20am

Twin Sisters East: 

Because I’d done most of my hiking in while it was dark, I decided to make this an out and back trip so I could get better pictures of the trek i.  So, I retraced my steps back to Twin Sisters West. This was a simple ridge hike

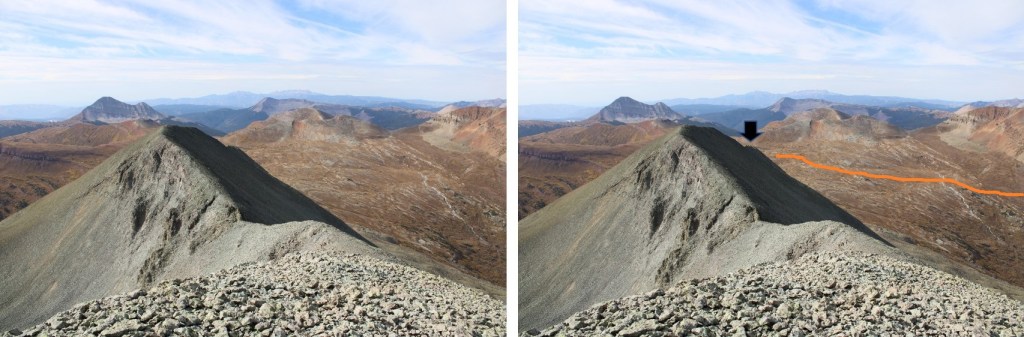
From Twin Sisters West I continued following the ridge southwest.  It’s important to follow this ridge all the way to the end (black arrow).  Also, here’s an overview of the route around the basin.  Fun fact:  the white area isn’t water, but rock from a dry stream bed.  I’m sure at some point in the year it holds water, but I’ve only seen it dry.

Here’s a close up of the ridge problem

And following the ridge to the end

Once at the end of the ridge, I turned left and scree surfed/carefully navigated my way down the gullies

At the base of the gullies I turned right, and headed out of the basin

There were faint game trails here

That led me back to the Rico-Silverton Trail, which I took north back to my truck

I made it back to my truck at 12:30pm, making this a 10.32 mile hike with 4101’ of elevation gain in 6 hours, 45 minutes.

On to the next trailhead!

V4 – 13,541 and V2 – 13,319

RT Length:  12.74 miles

Elevation Gain: 4921’

Due to colder weather than anticipated, I’d abandoned my initial backpacking trip after the first night and was looking for a “Plan B”.  Going through my binder of potential hikes, I narrowed it down to ‘something around South Mineral Creek’ and decided to drive to the trailhead.  It was full when I got there, but that was ok, as I was planning on hiking the next morning (I’d already put in 15 miles that morning).

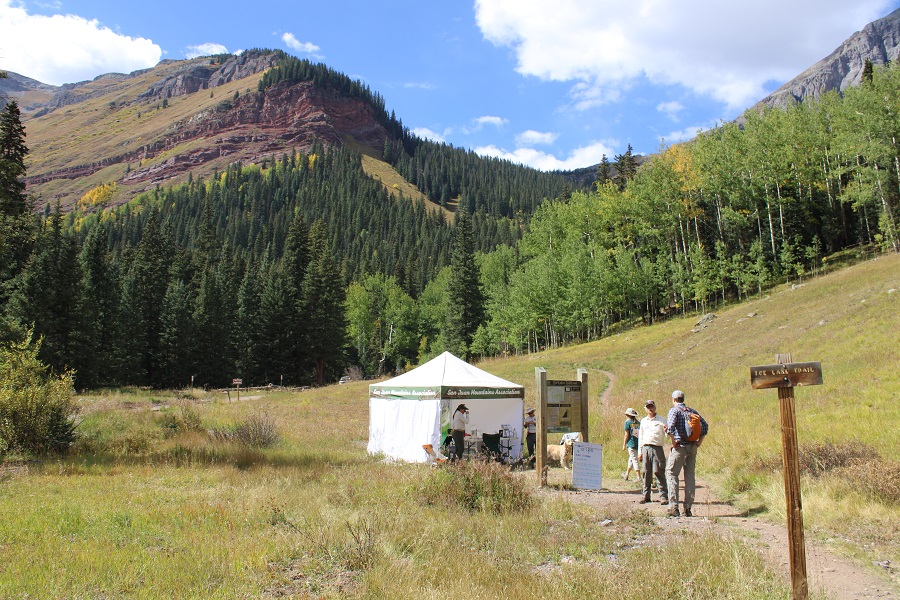
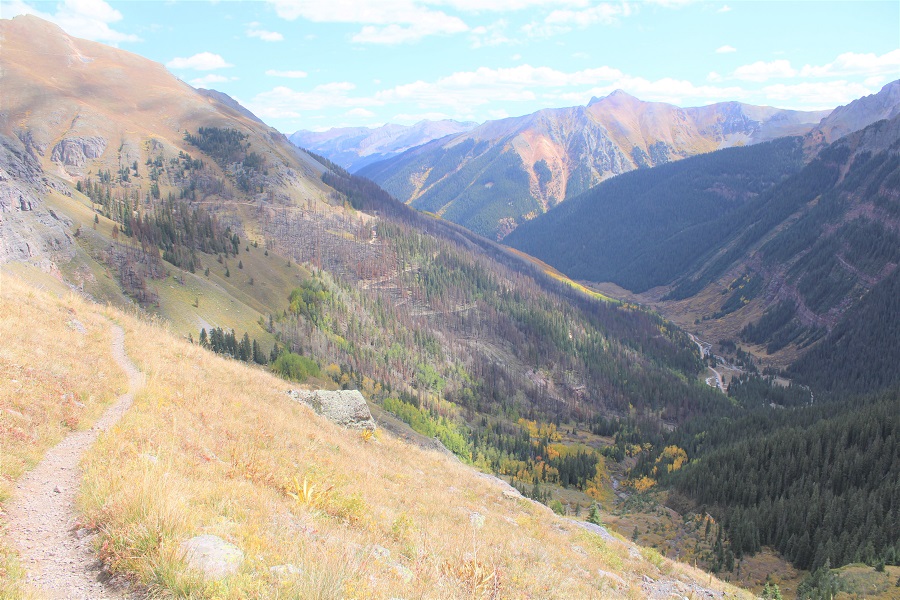
The trailhead was open this week, after being closed due to last year’s fire.  There was an information center set up at the trailhead, with a place for volunteer park rangers to talk with hikers.  There were also signs educating hikers about wildfire.

Speaking of wildfire… where was it? From the parking area there was no evidence of a fire.  As people slowly made their way back to their vehicles and left the parking area, I ate my dinner of noodles and chips, sipped some whiskey, and read a book.  I made it an early night, wanting to get some sleep before it got really cold.

It got really cold.  Another night in the 20s, which made for a layer of frost on everything when I woke up.  I didn’t want to get out from my sleeping bag, where I was warm.  And, I had a headache?  I really wasn’t feeling it this morning, but got ready anyway, and was on the trail at 6:30am, 2 hours later than I’d originally planned.  It was still dark outside.  The trail starts at the west end of the parking area, and has a trail register and signage.  I didn’t sign the trail register, because it was covered in a layer of frost and my hands were cold enough at it was.

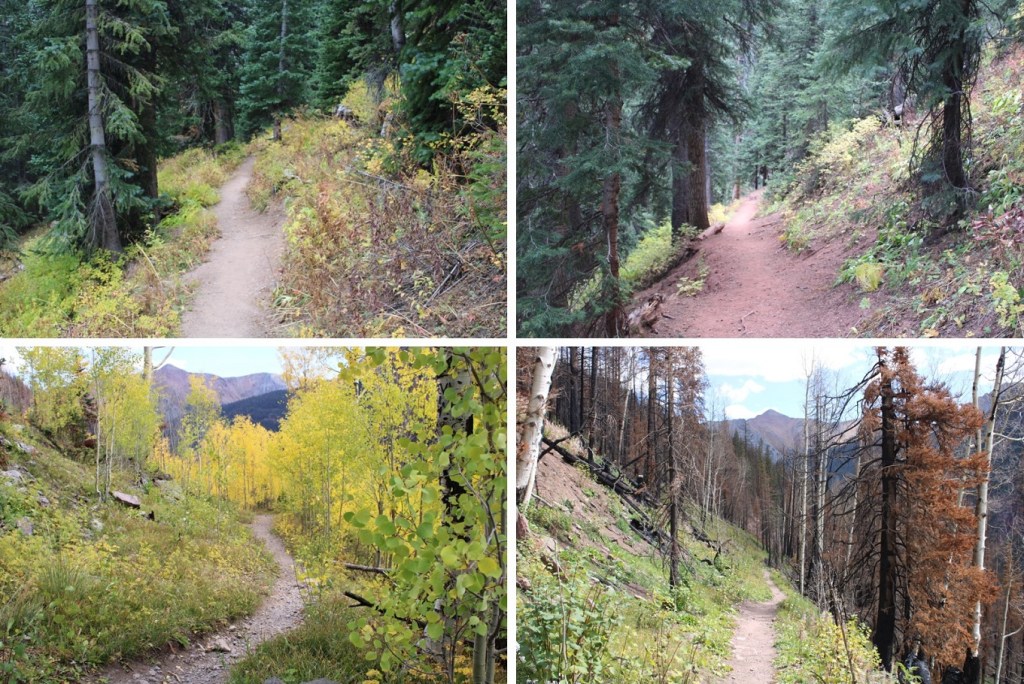
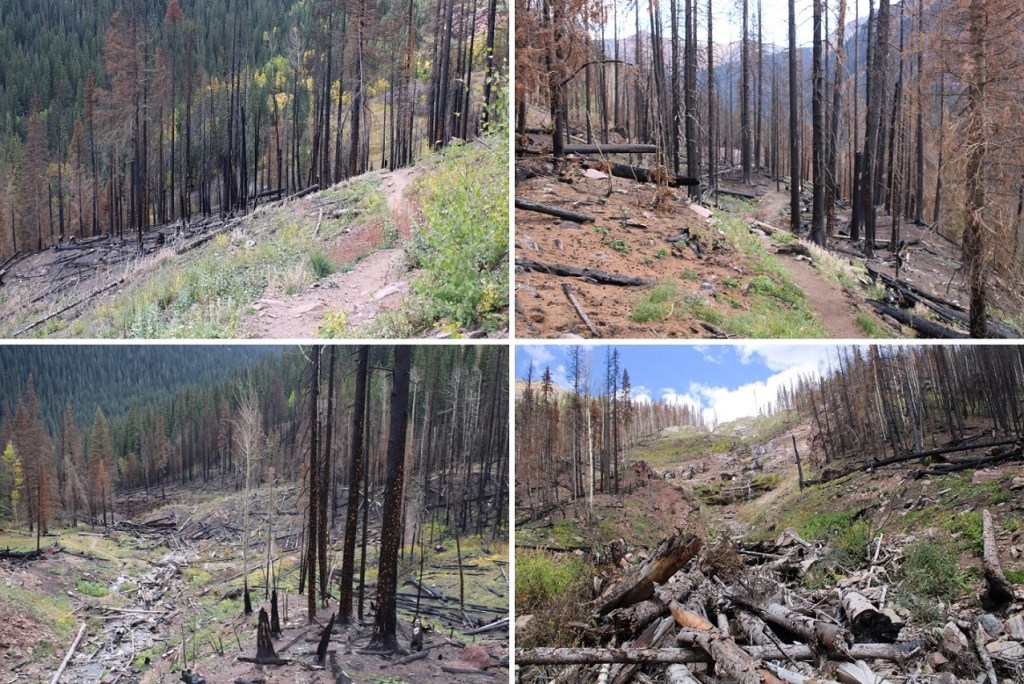
The trail was very easy to follow.  The fire burn area was short, and ended just before the waterfall/4WD trail cutoff.  It seemed to follow the avalanche area from a few years ago. The trail seemed unaffected, and was clear of debris. 

I followed this class 1 trail 2.5 miles to treeline.  At treeline, I started feeling more like myself, excited now I chose to hike today (isn’t that always the case?). 

At the junction around 11425’ I turned right and followed the trail into the upper basin, towards Island Lake.

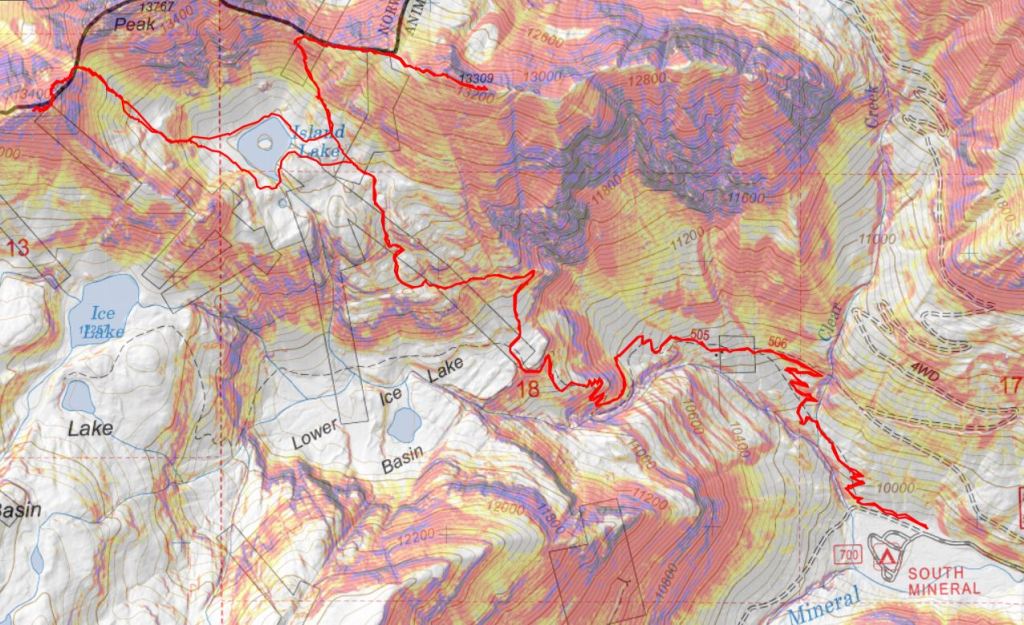
Here’s an overall view of the hike to the V4/US Grant Saddle (the lake isn’t visible yet, but it’s straight ahead).

At the junction I turned left, towards Island Lake.  This is the junction I’d be coming back to when it was time to hike V2.

I decided to skirt the lake to the left, on the obvious trail, but you can take either side.  Note: there isn’t a clearly defined trail to the right, but it’s an easy trek either way. There was a thin layer of ice on the lake.

Once past the lake it’s ‘choose your own adventure’ to the saddle.  All routes go here.

Here are some closer pictures

When I hit the scree I put on my microspikes, and didn’t take them off until I made it back to this spot.  There’s a runnel you can follow, as well as tundra and scree routes.

Once at the saddle I turned left, towards V4

I skirted the north side of V4, hugging where the talus met rock, following the contour of the mountain west.  This is loose rock.

Following the contour of the mountain brought me to a scree-filled gully.  I ascended this gully (microspikes were very helpful here, as it’s steep).

At the top of the gully I turned right and followed the scree up

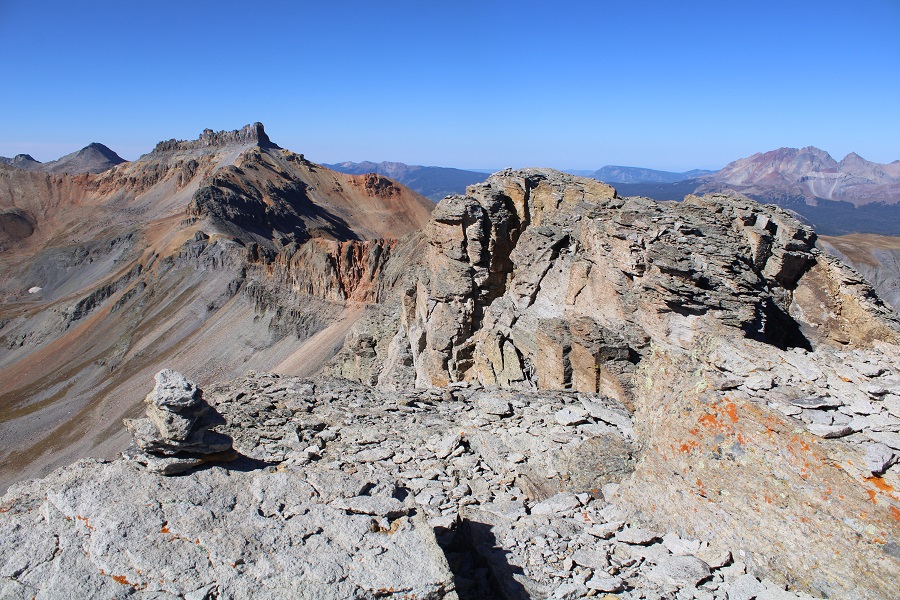
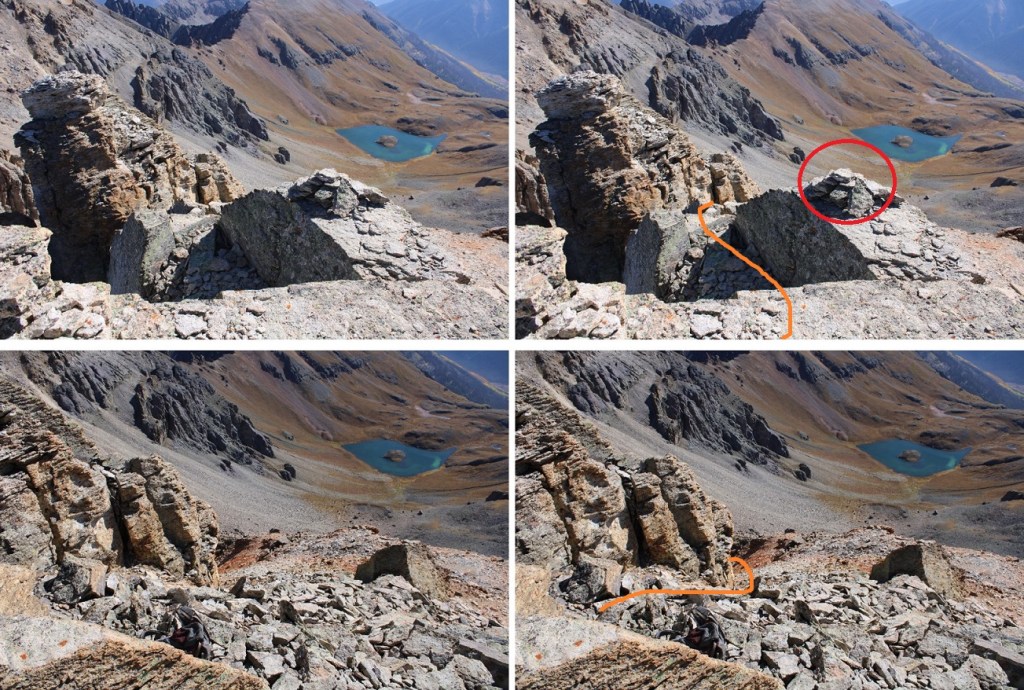
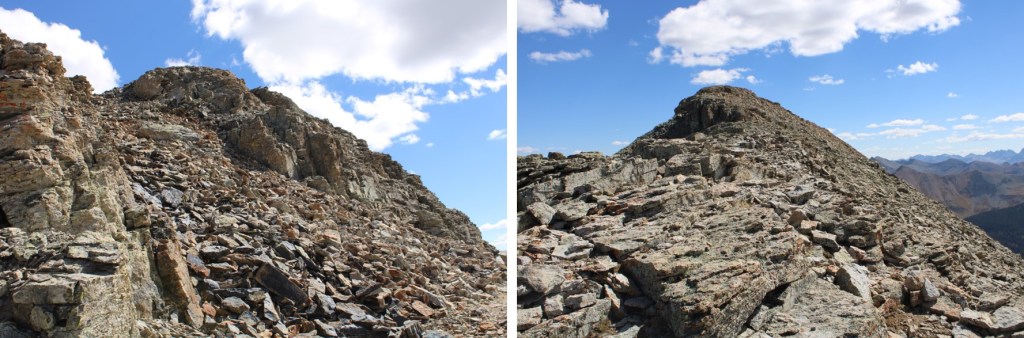
This is where it got complicated.  I’m not entirely sure which it the actual ‘summit’.  I saw a cairn, and scaled the first tower I came to (this was easier than pictures make this look).  The cairn is circled in red

But when I got to the top, it looked like the actual summit might be the next tower. 

So, I checked my altimeter.  It read 13,540’.  I backtracked and made my way to the next tower

But when I got to the top of the next tower and checked my altimeter, that too read 13,540’. I turned and looked back:  the first point now seemed higher to me, and it had a cairn, so I figure that was the high point.  Peakbagger said the peak was 47 feet behind me, but somewhat closer to the first tower… which would have put me in empty space. 

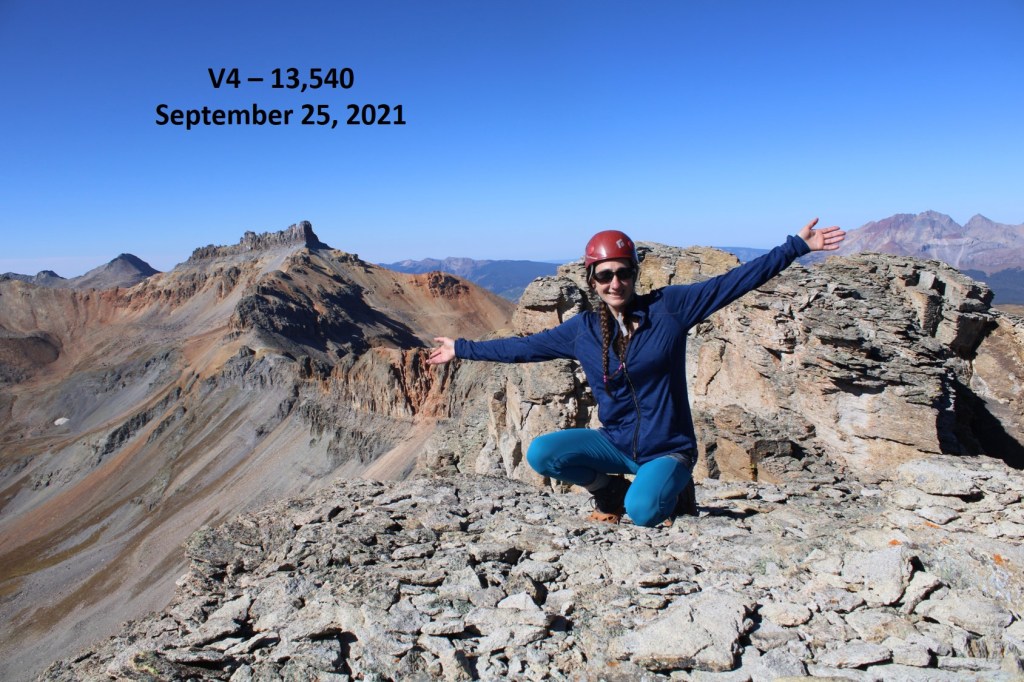
I made my way back to the first tower and took some pictures.  I summited V4 at 10am.  (Not sure why I said V3 in the video, but by the time I realized my mistake I was already back by Island Lake).

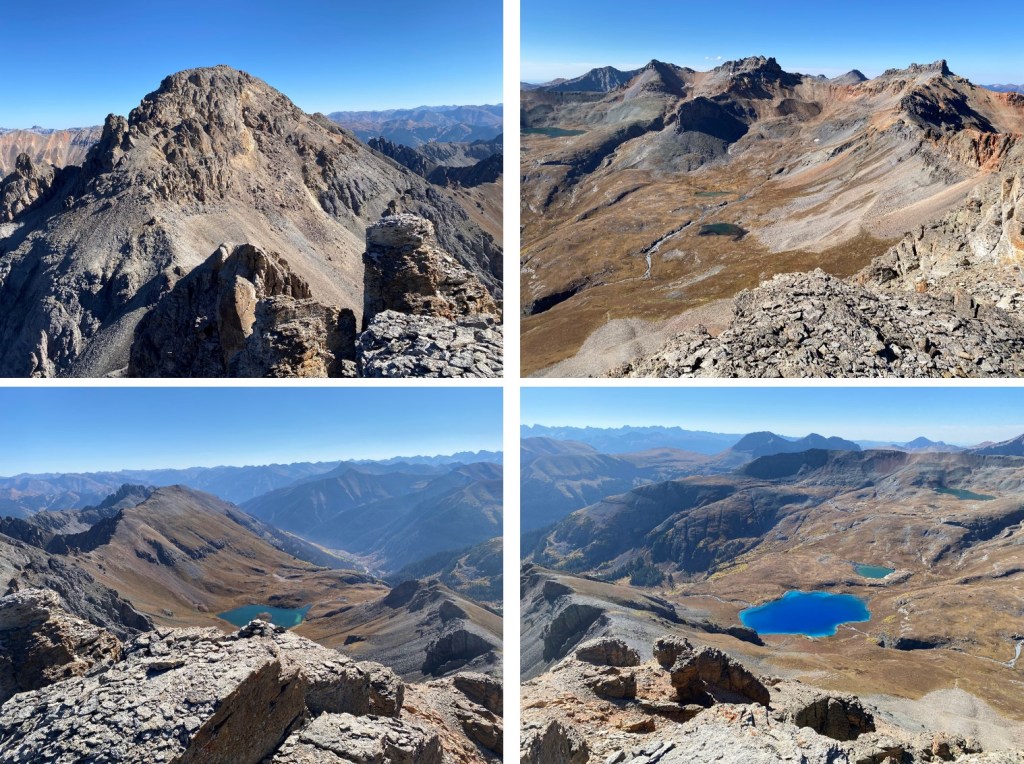
V4:

I headed back the way I’d come, back towards the US Grant/V4 saddle

I stayed high here, to avoid the loose choss

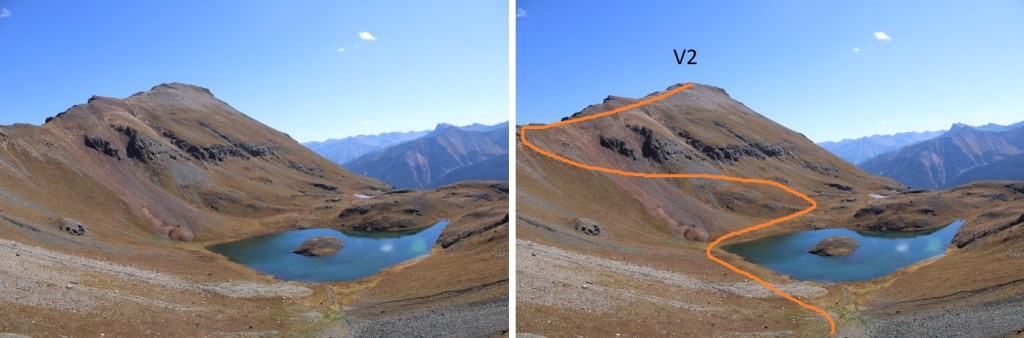
My next objective of the day was V2.  Here’s the overall route I took to get there

I made my way back down towards Island Lake, this time skirting the lake to the north, picking up the obvious trail on the other side that leads to the US Grand/V2 saddle. 

There’s a small fork in the trail about halfway up the hillside, but it doesn’t matter which way you go, as they both merge back together. Microspikes are a good idea here too.

Once at the saddle, I turned right and followed the ridge east, immediately coming across a memorial plaque

There was a trail here, and it was easy to follow.

It was a bit rocky near the summit, but there was still a trail to follow.  Easy class 2

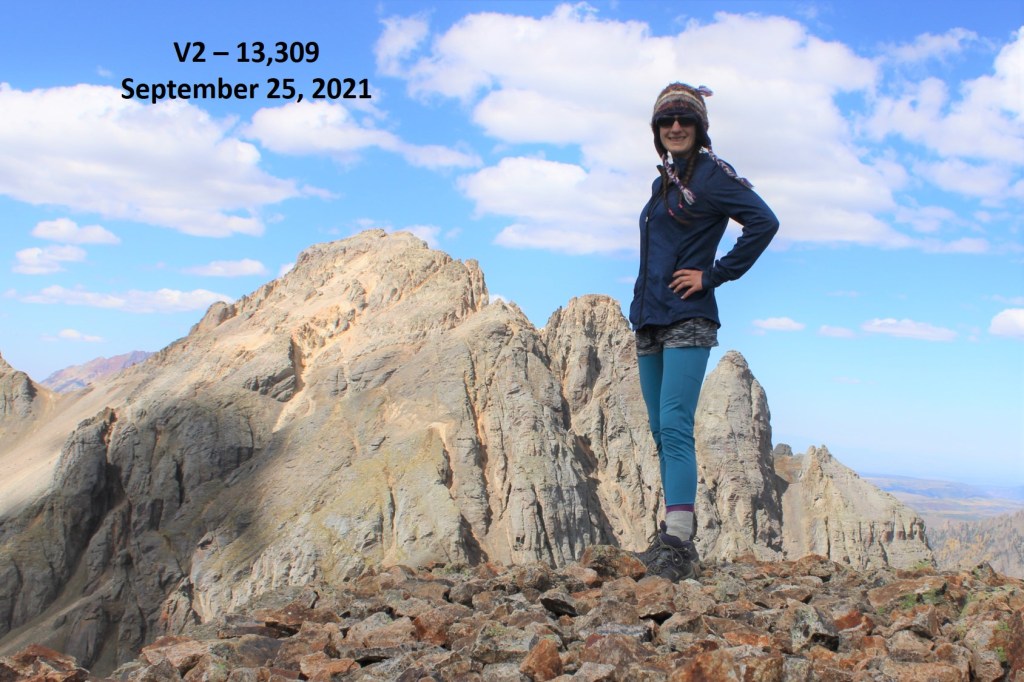
The summit was long. I walked the entire length to make sure I summited, but I’m pretty sure the actual summit is about 1/3 of the way across.  There’s a wind break there.

I summited V2 at 12pm

V2: 

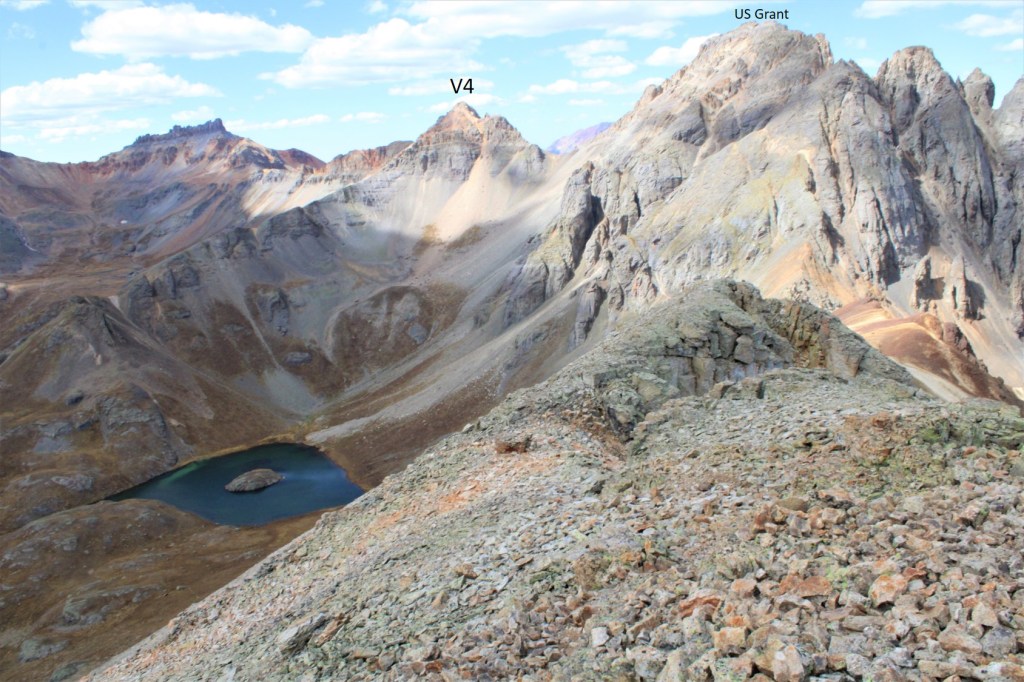
From the summit, here’s looking back at V4

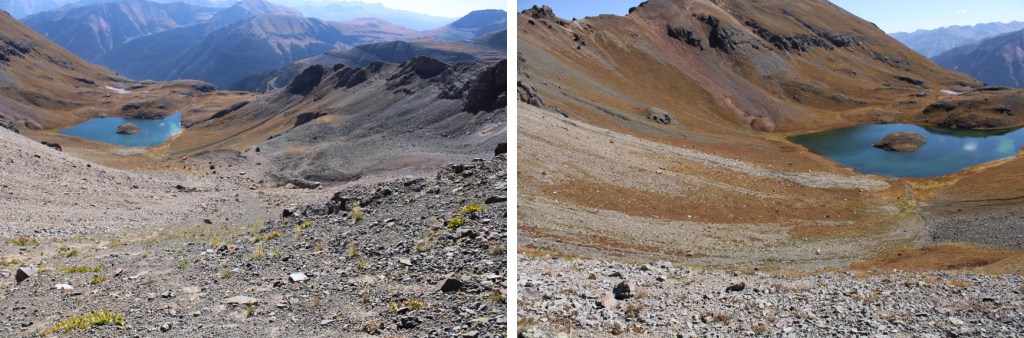
It was getting cold, quick, so I headed back to Island Lake, and followed the trail from the morning back out of the basin

Here you can see the burn area (along the 4WD road)

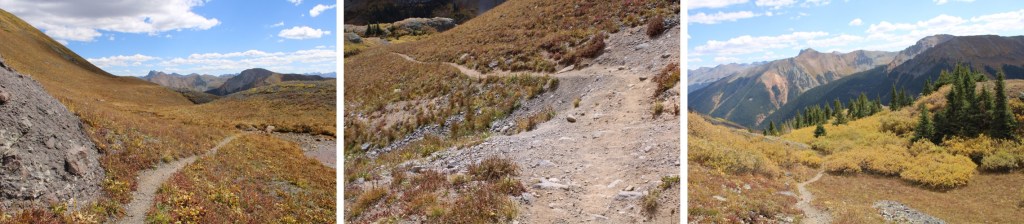
Here are some pictures from the hike out

There were so many people on the trail hiking out!  And everyone seemed to have a dog.  I was discouraged to see trash on the trail:  it hasn’t even been open a week and people are already littering.  I picked up a few pieces on my way out. 

I made it back to my truck at 1:30pm, making this a 12.74 mile hike with 4921’ of elevation gain in 7 hours

On to the next trailhead!