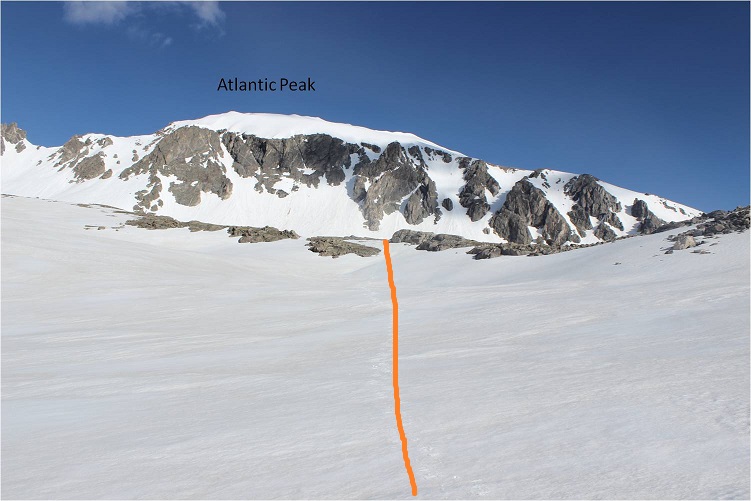
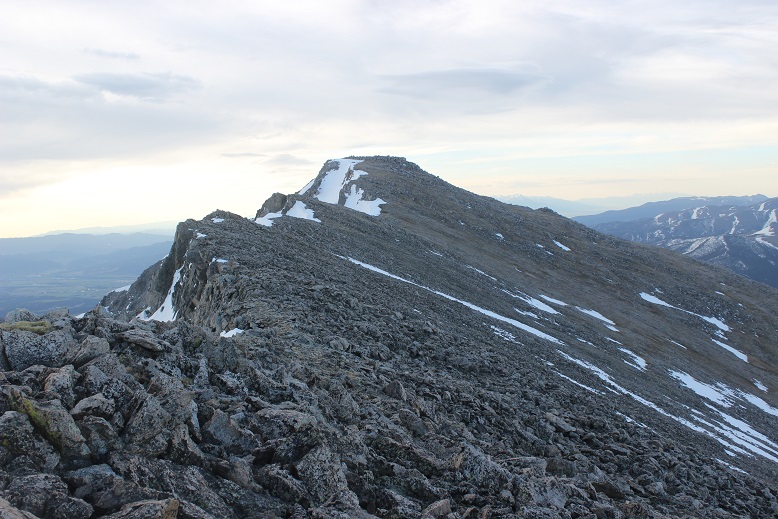
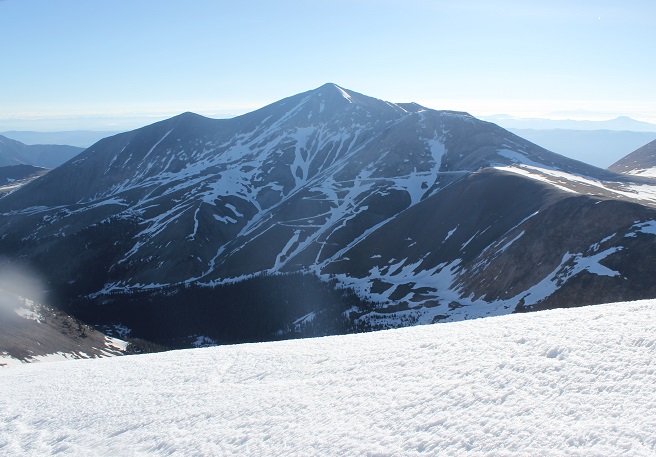
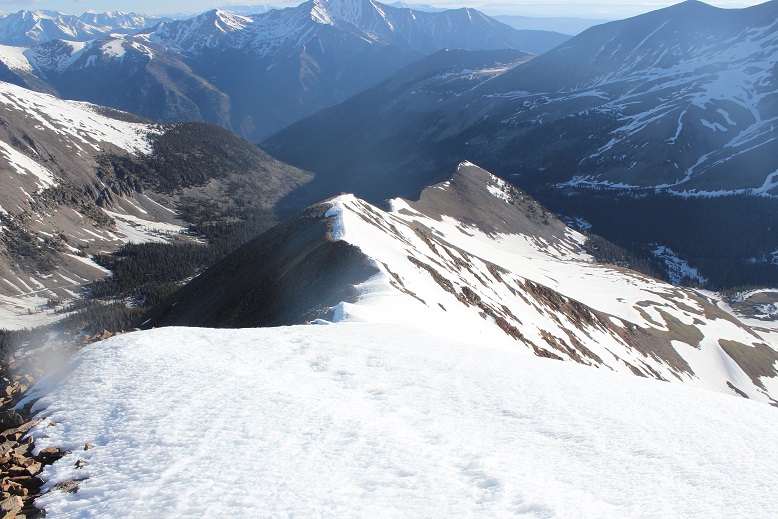
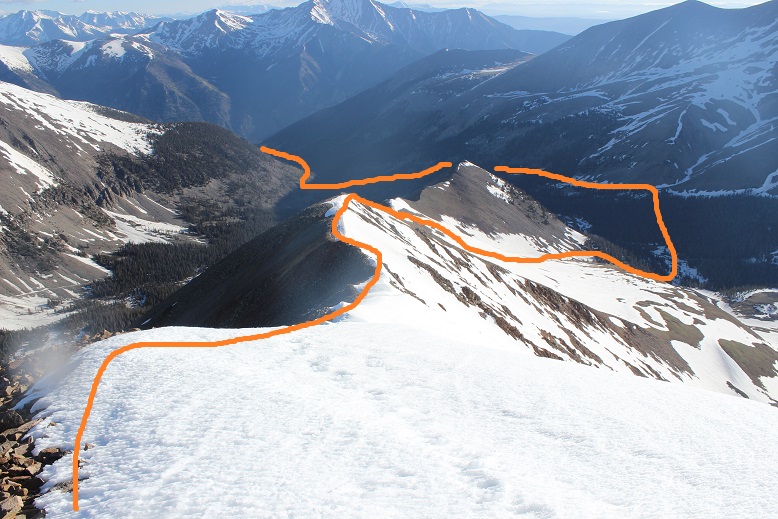
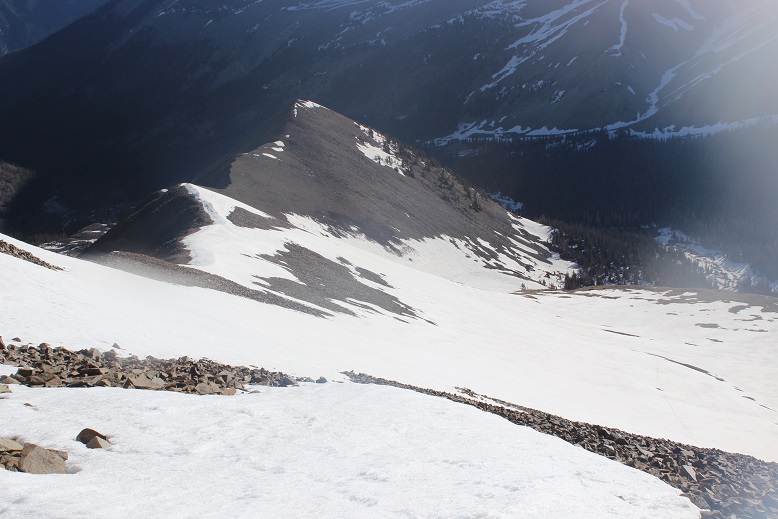
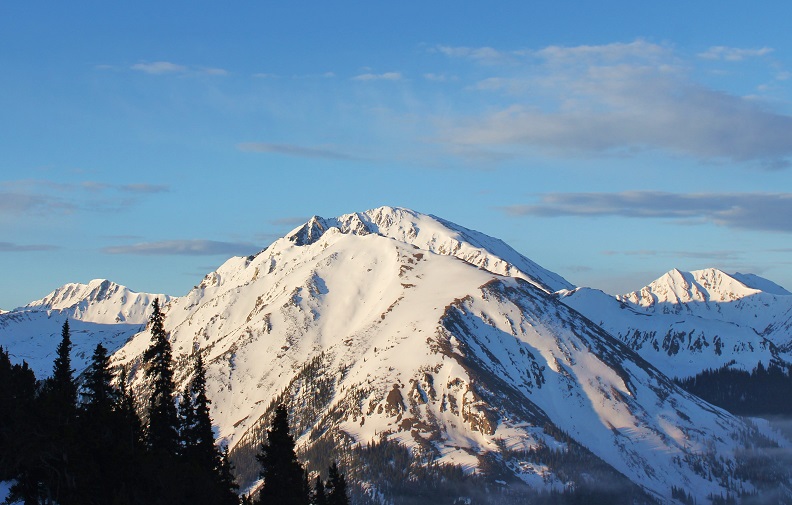
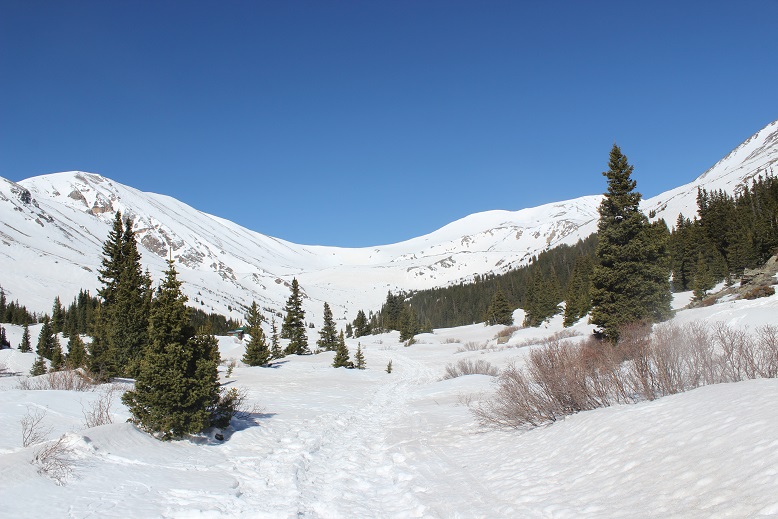
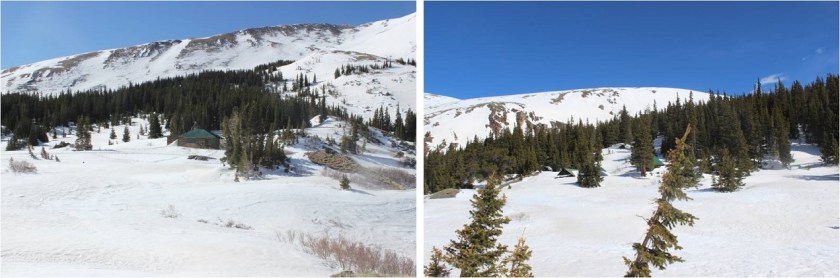
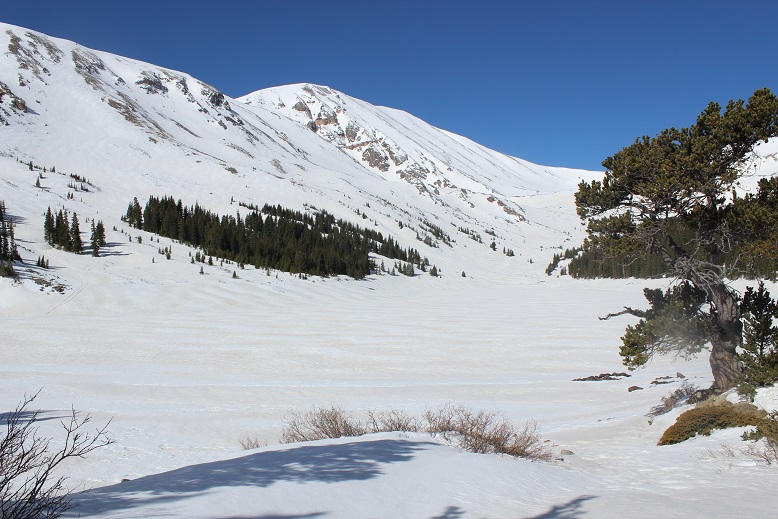
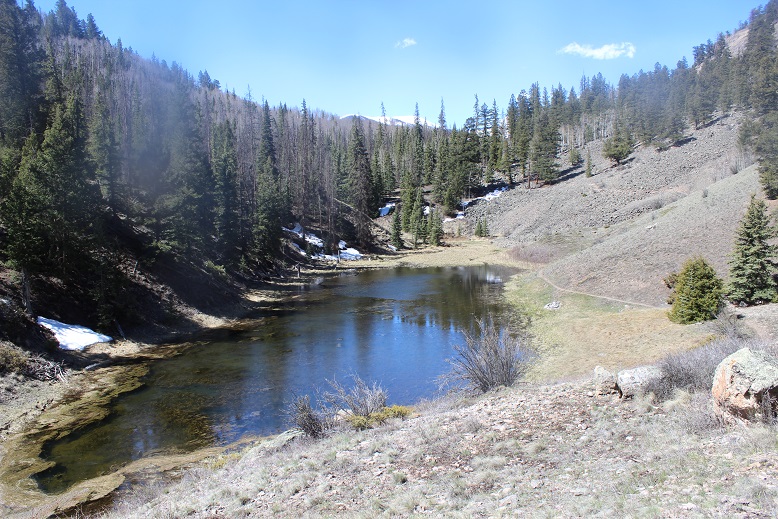
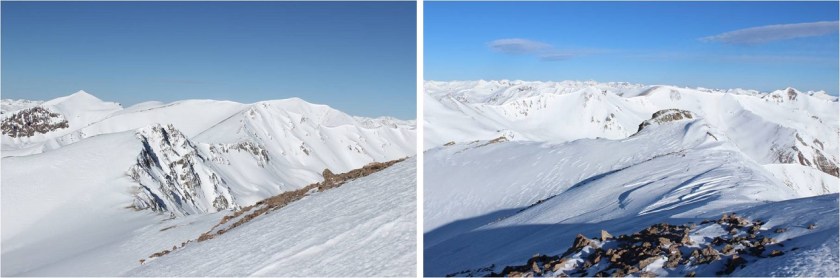
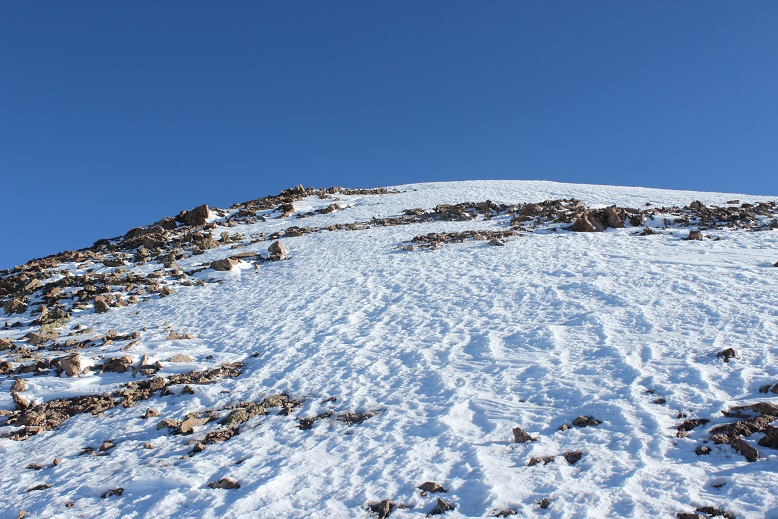
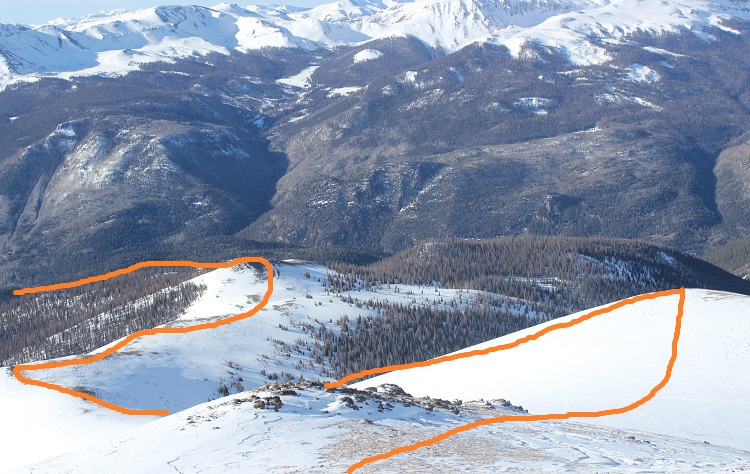
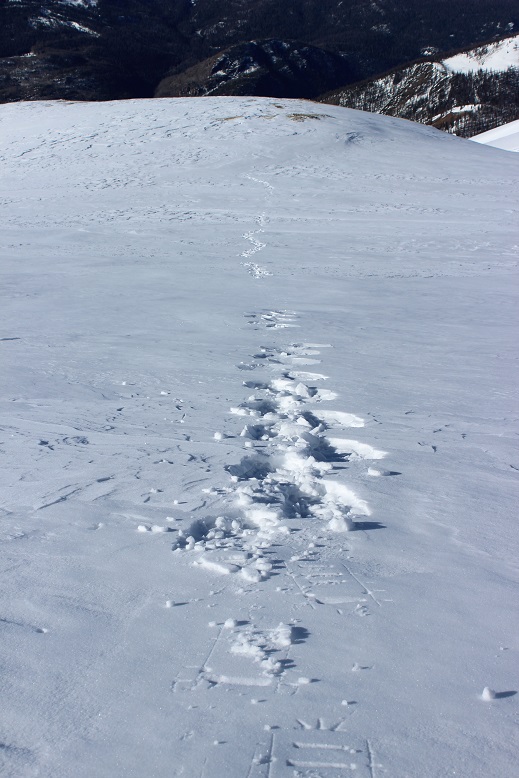
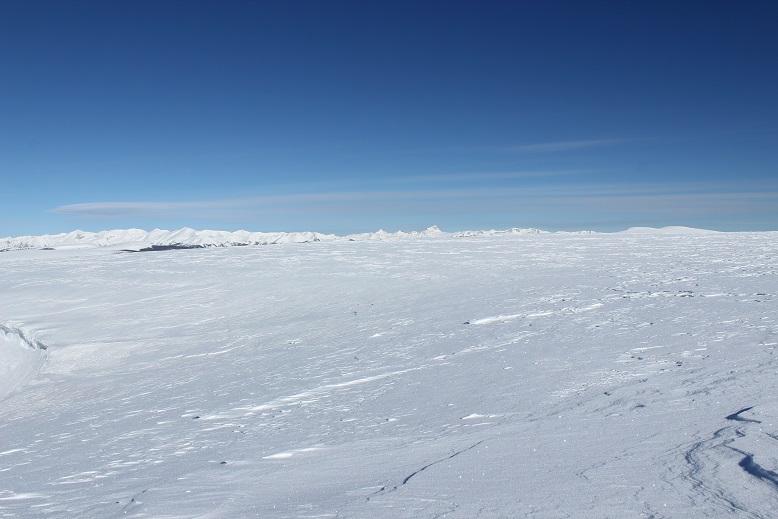
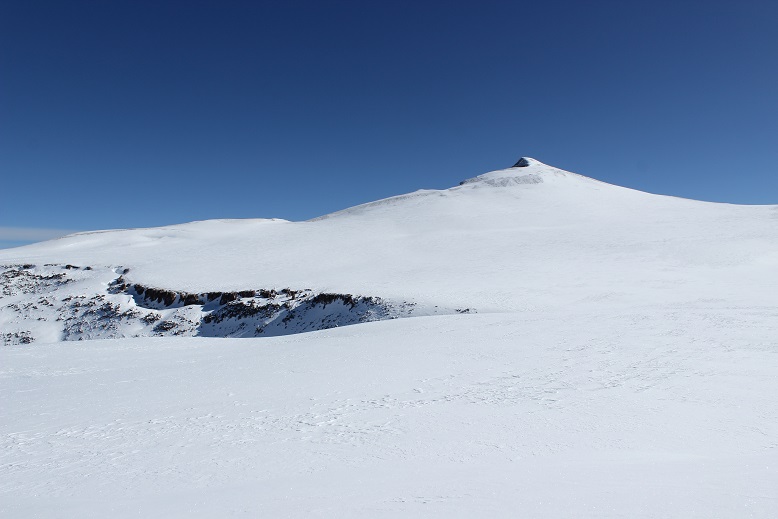
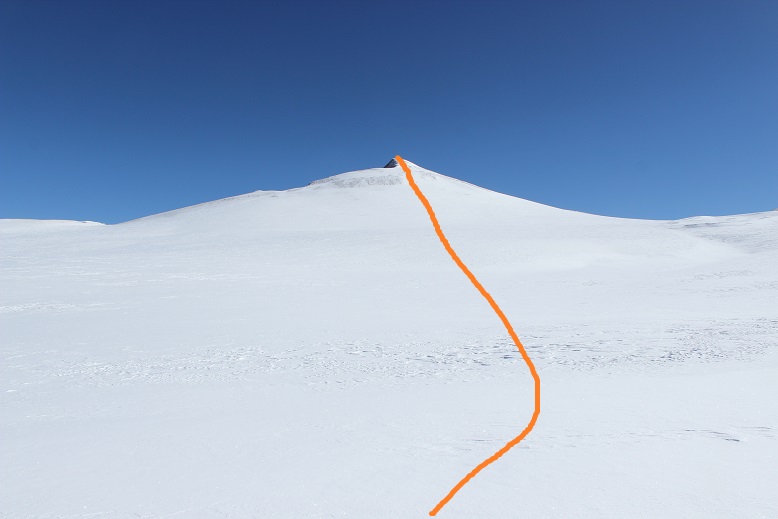
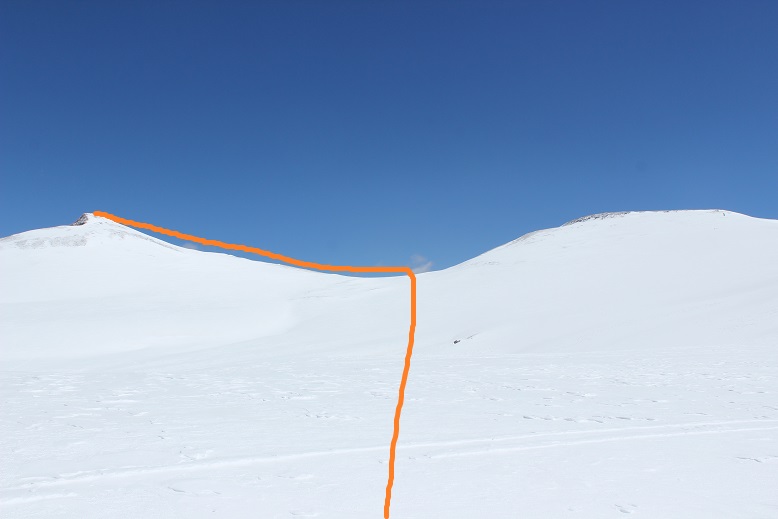
Pacific Peak – 13,965

1

RT Length: 13 miles

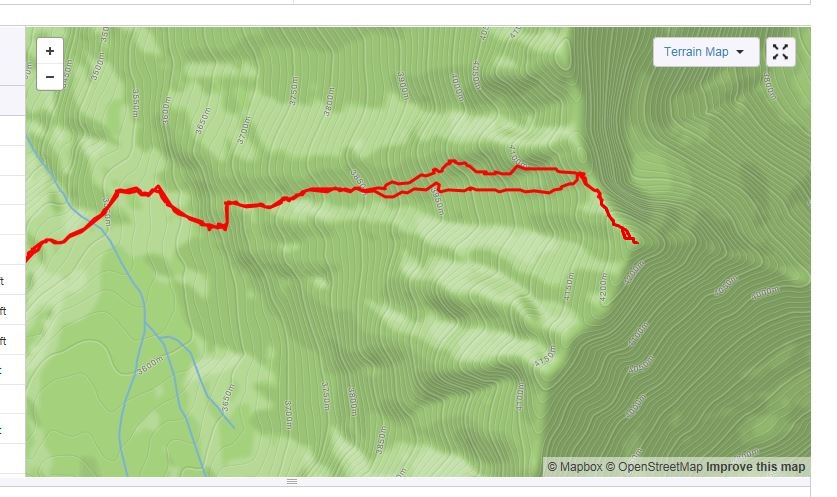
Elevation Gain: 3706’ (From McCullough Gulch lower gate closure)

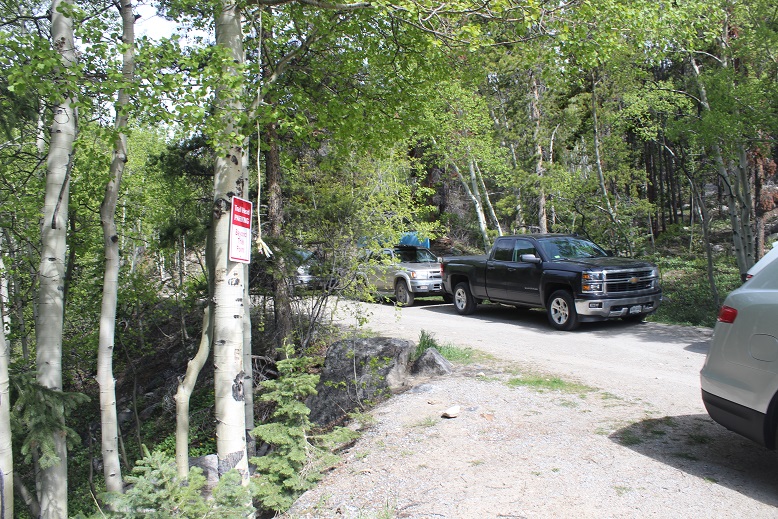
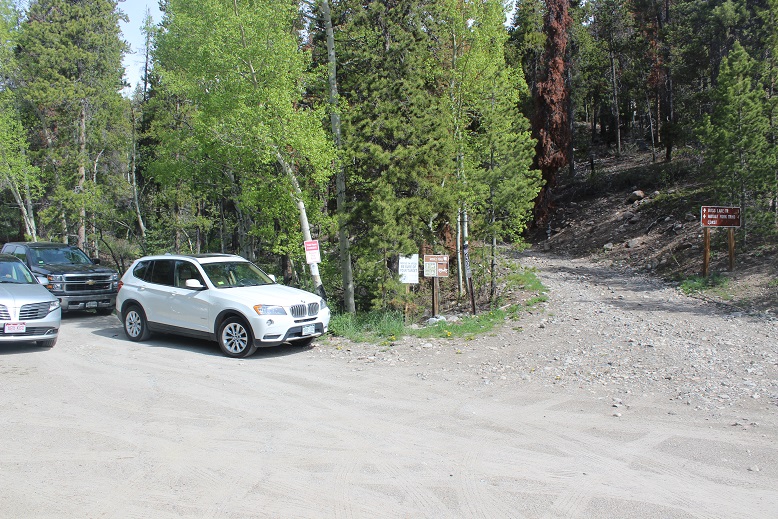
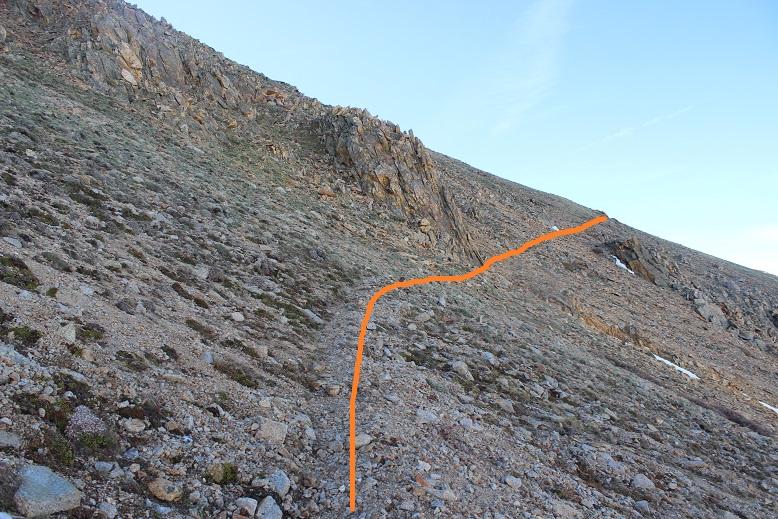
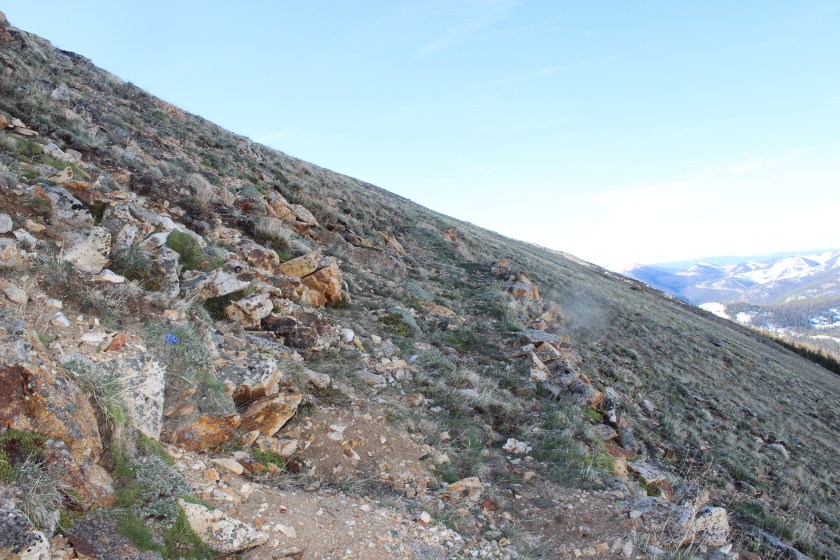
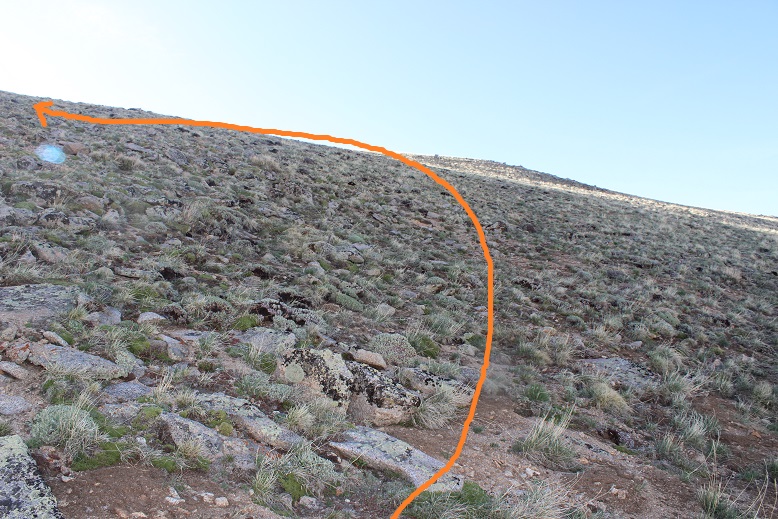
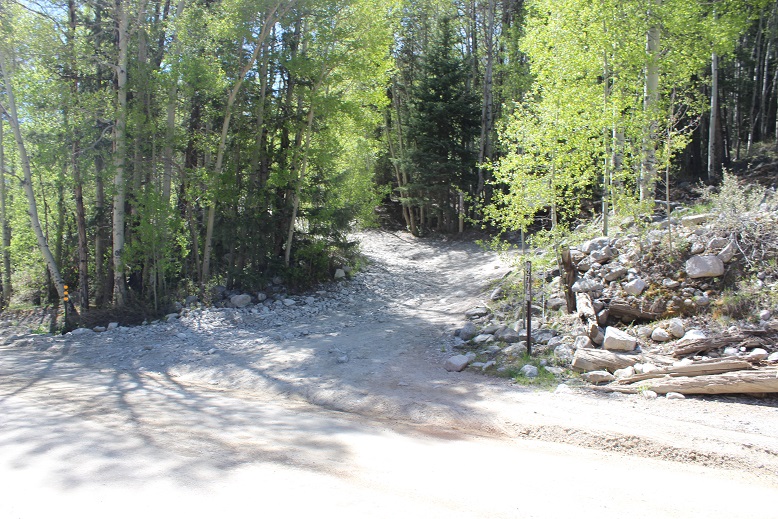
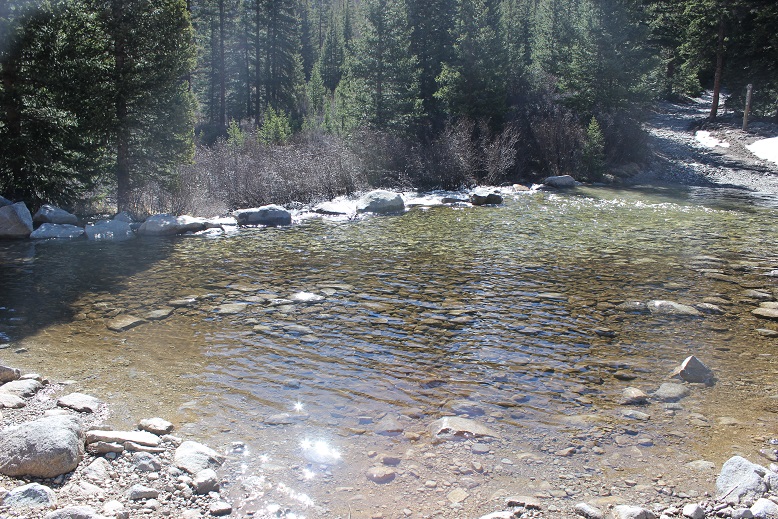
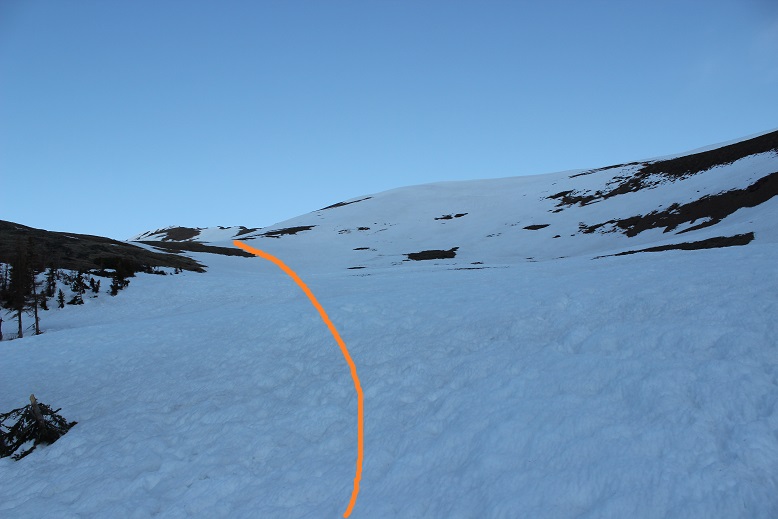
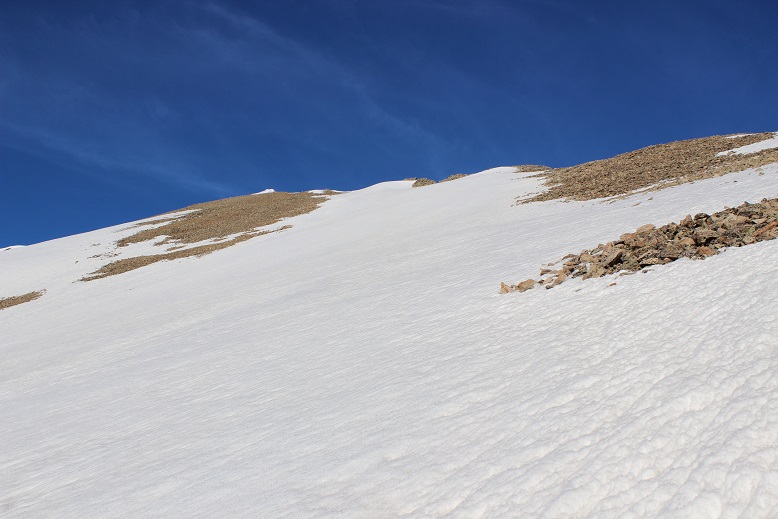
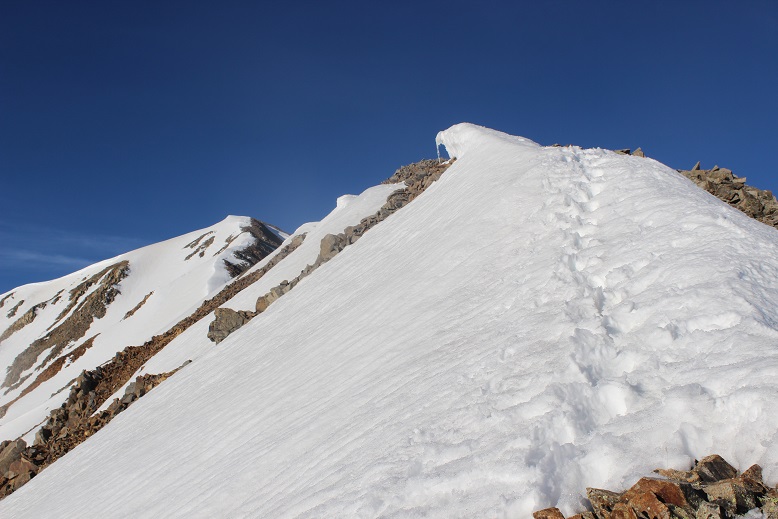
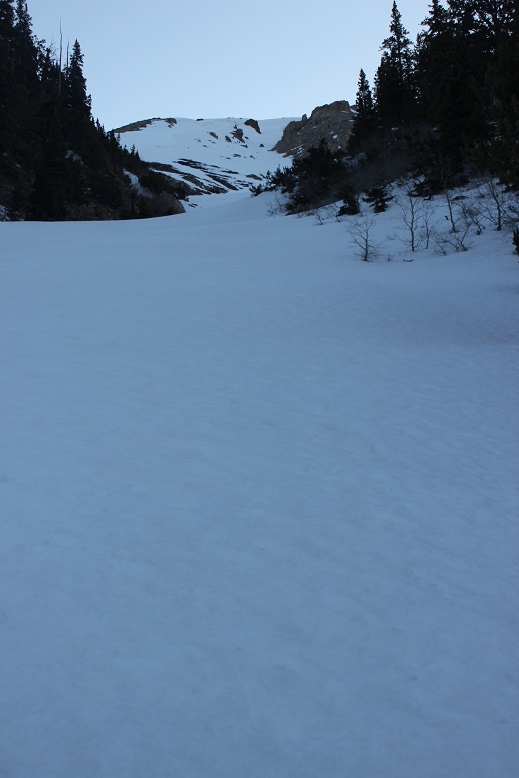
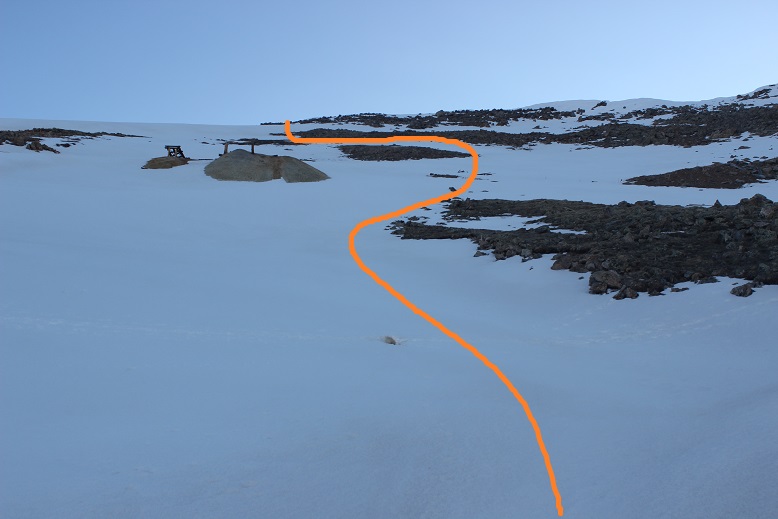
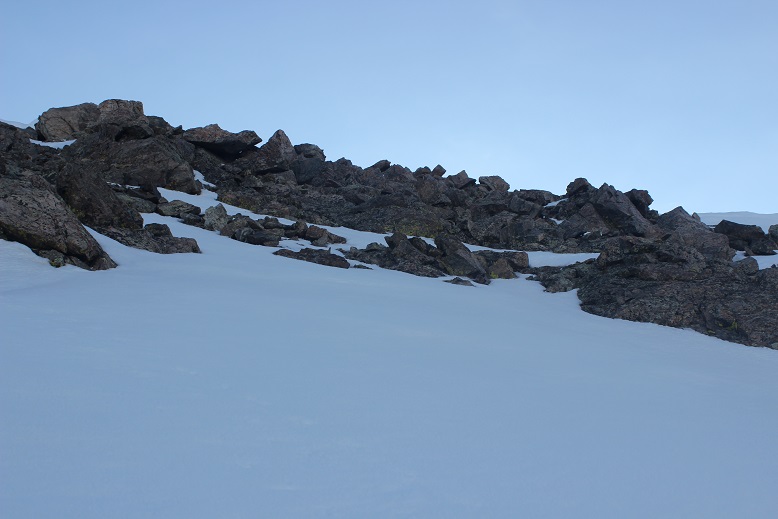
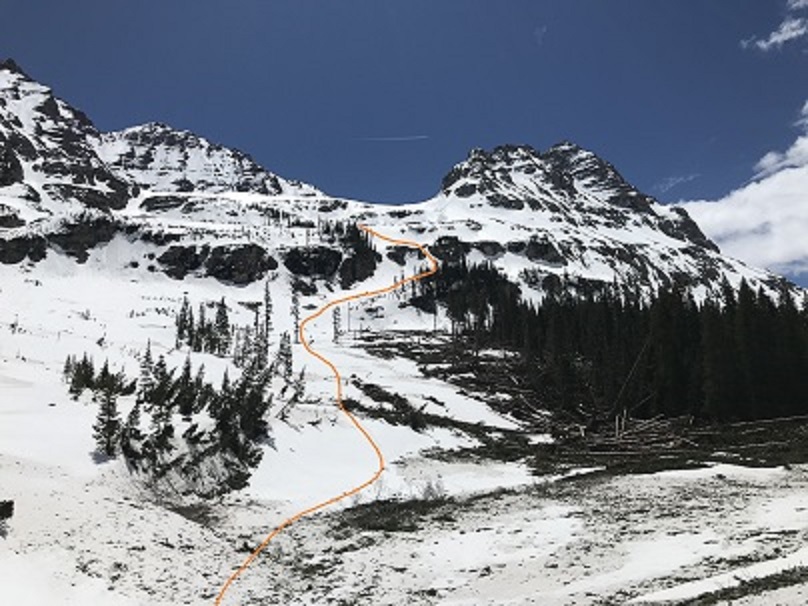
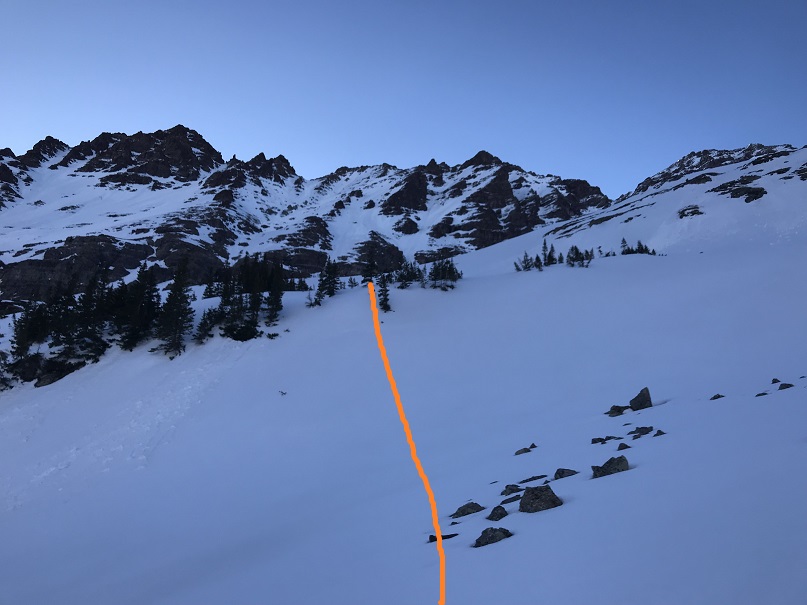
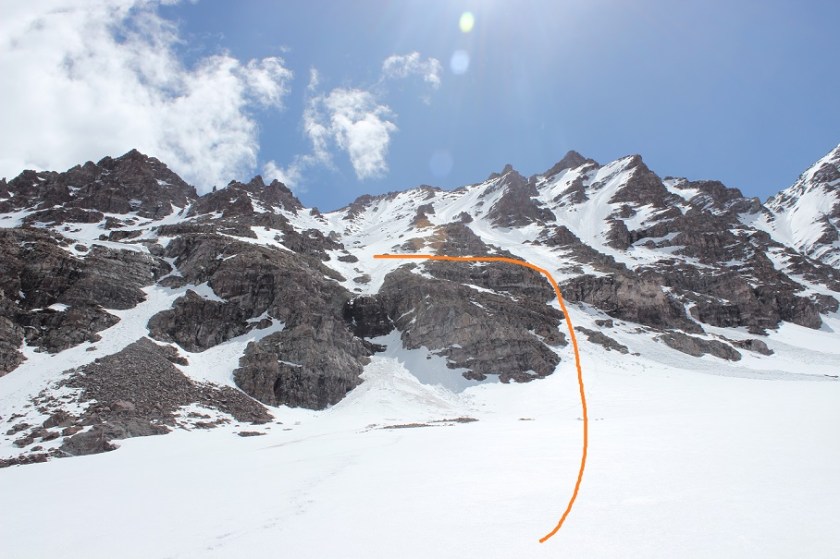
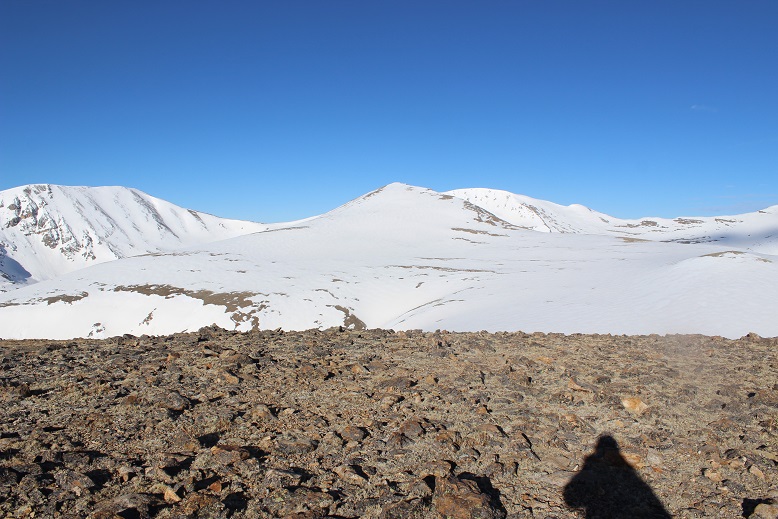
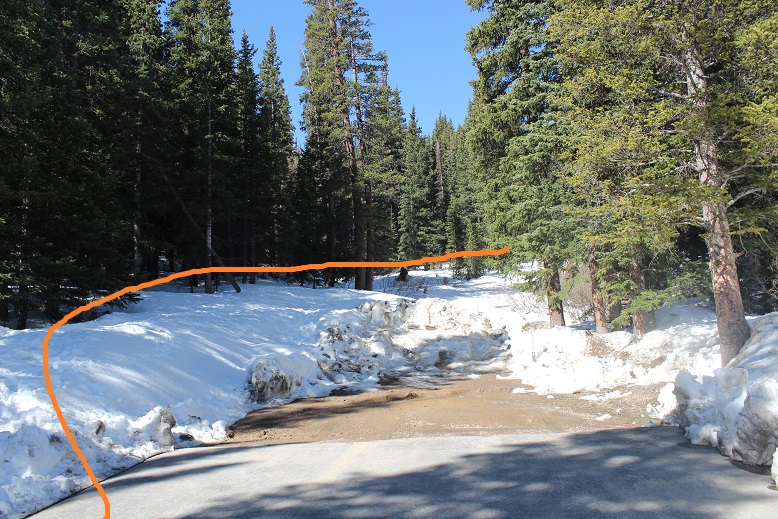
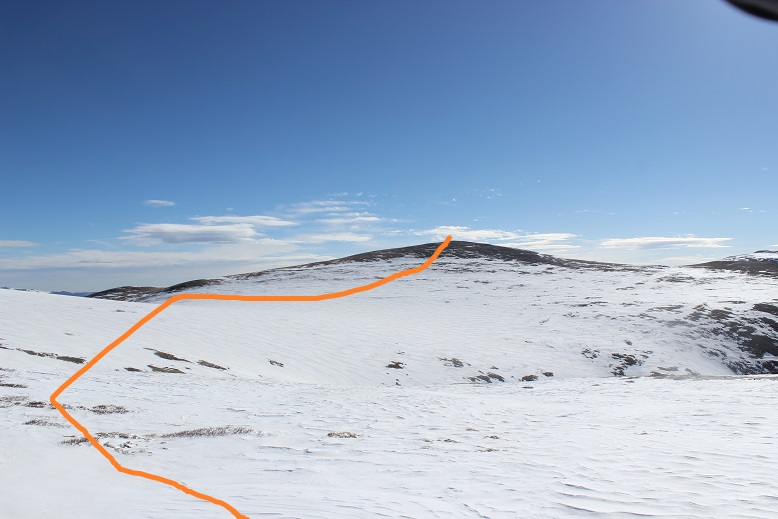
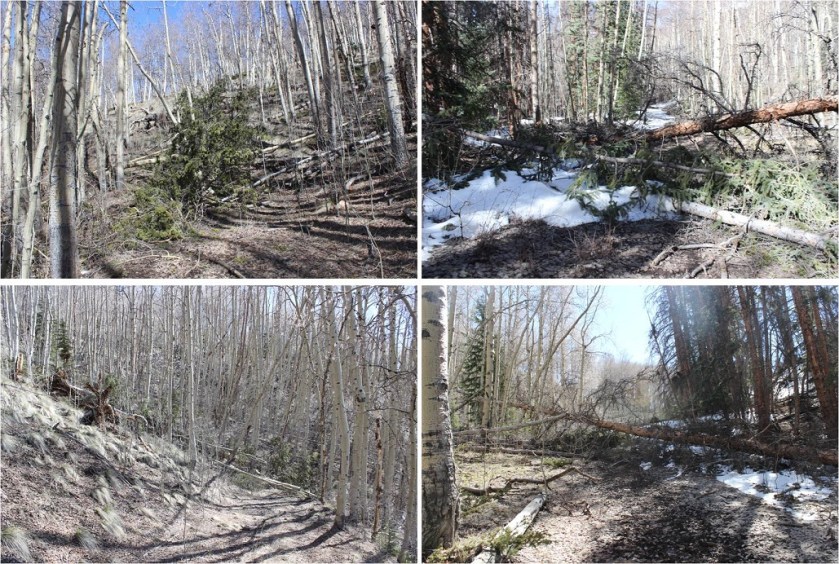
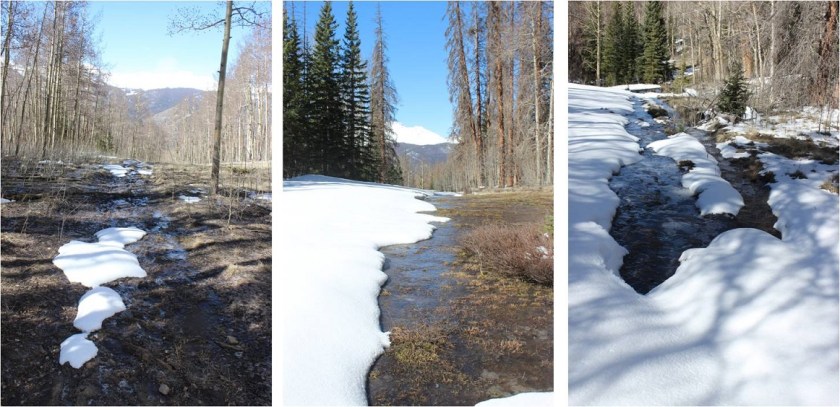
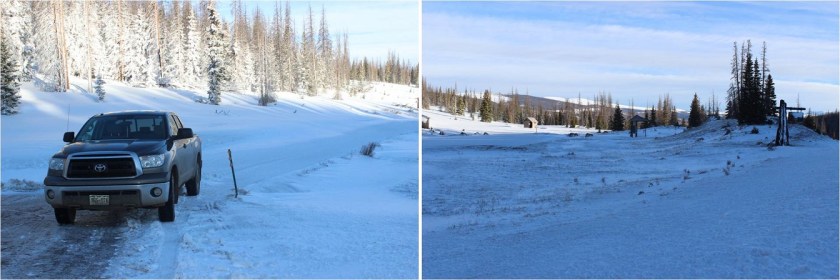
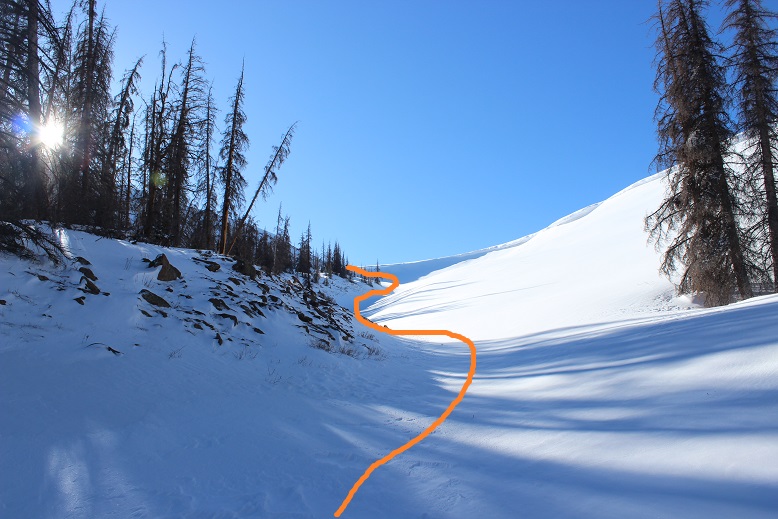
There are so many routes up Pacific Peak I wasn’t sure which one to take? I ended up making the decision the night before, and decided on the Southwest Slopes because I liked the way it looked best on a topo map (particularly the headwall area).  I arrived at the Blue Lakes road and found the gate closed to the McCullough Gulch Trailhead.  So I parked at the closed gate, right next to a small stream of water running off the road.  I gathered my gear and was off at 2:30am.

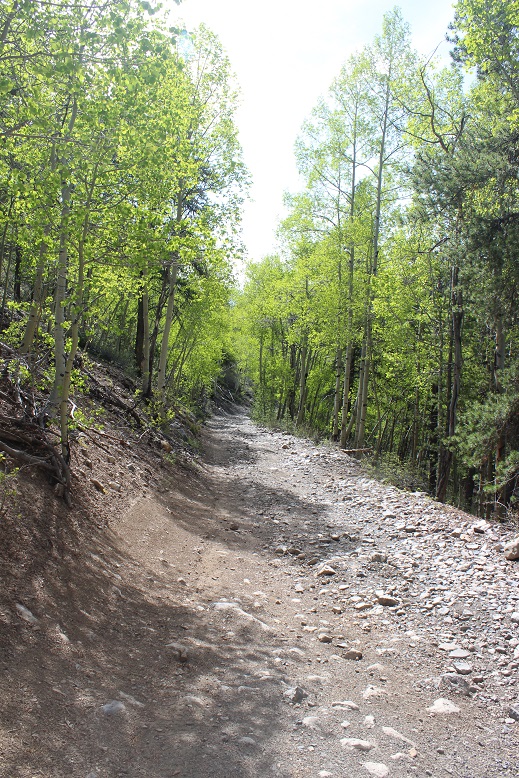
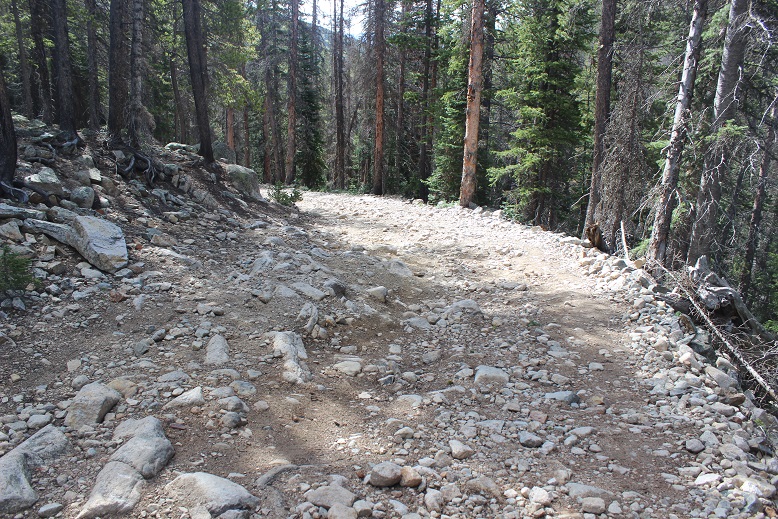
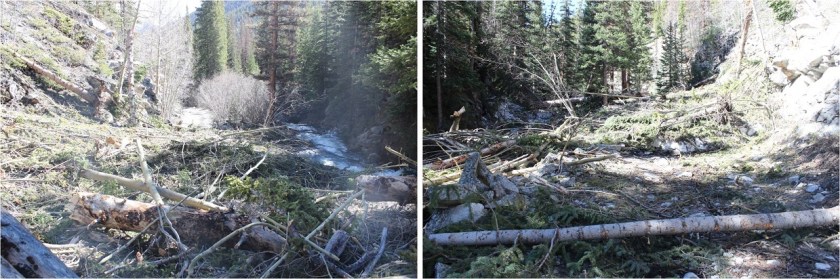
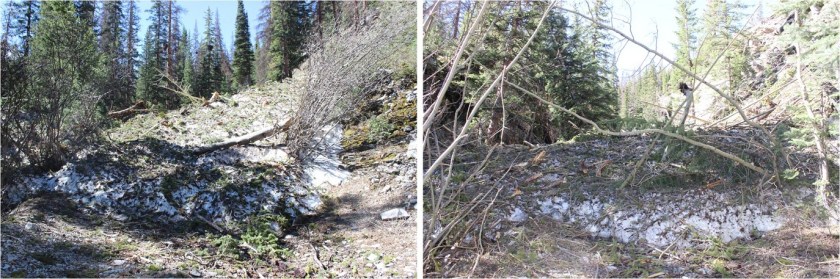
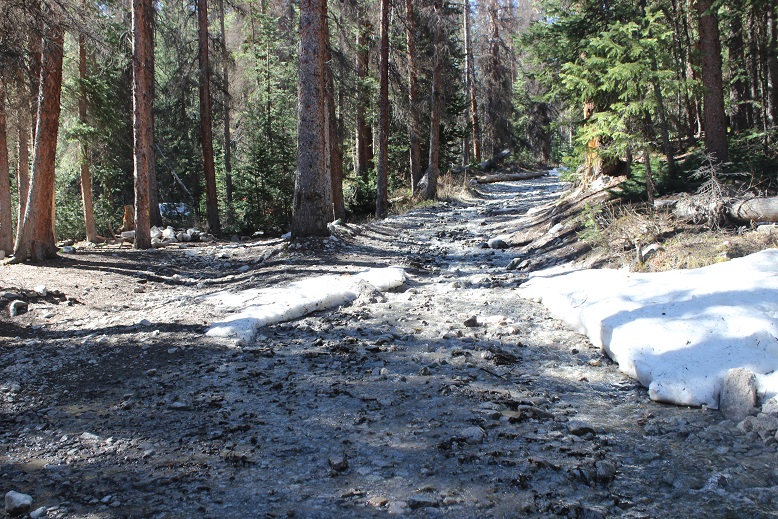
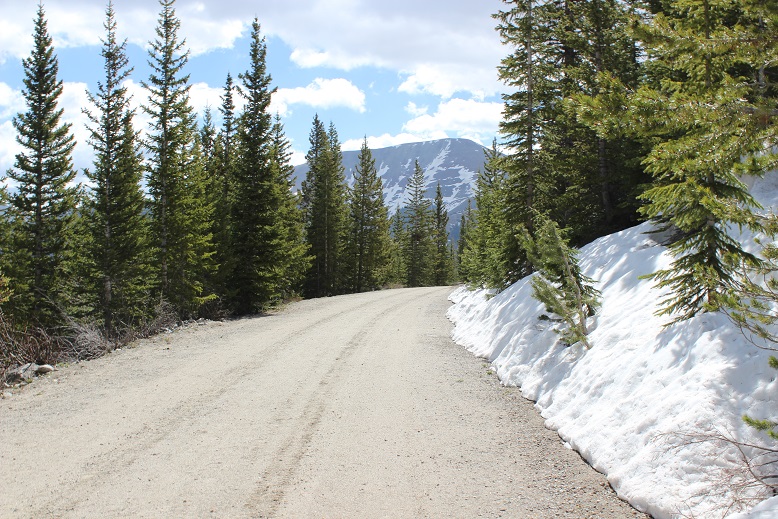
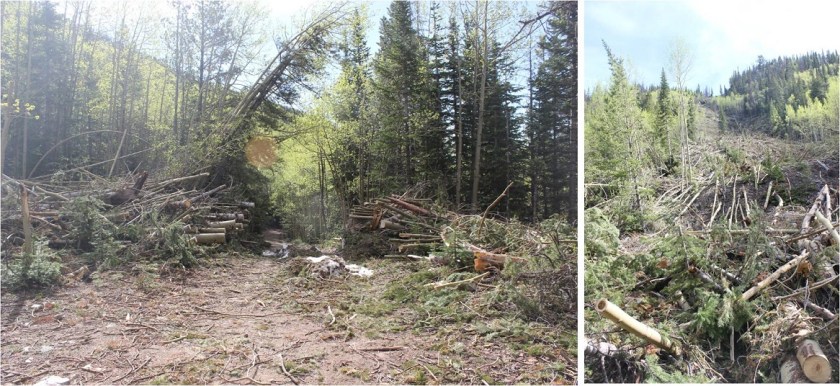
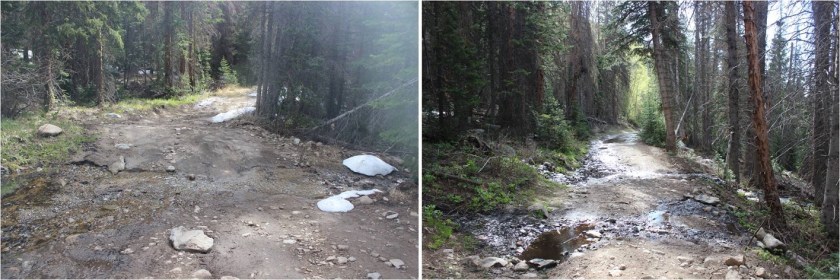
About 20 yards into my hike I heard a loud noise that sounded like a large animal slipping and sliding on the scree below the road and to the right of me. Well… at least whatever it was was running away from me.  Quickly.  The 2WD dirt road to the trailhead was clear, dry, and easy to follow.  I was confused as to why it was still closed, since besides some extremely minor avy debris and a short area with water running by the side of the road, the road was clear.
2

3

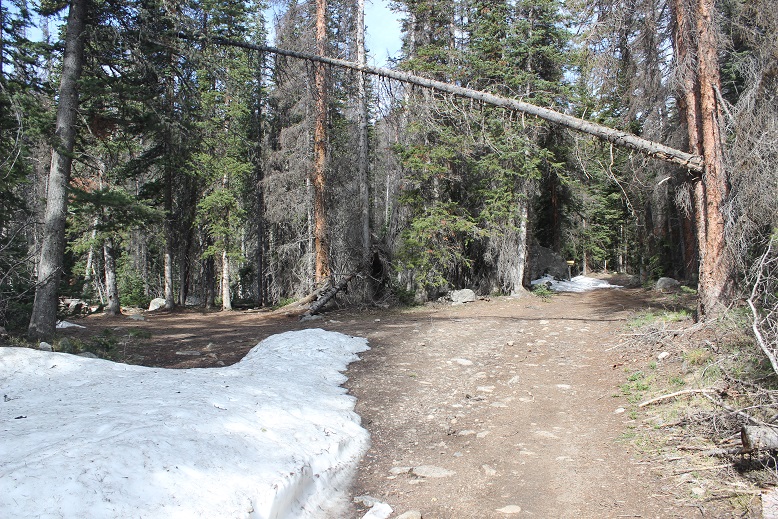
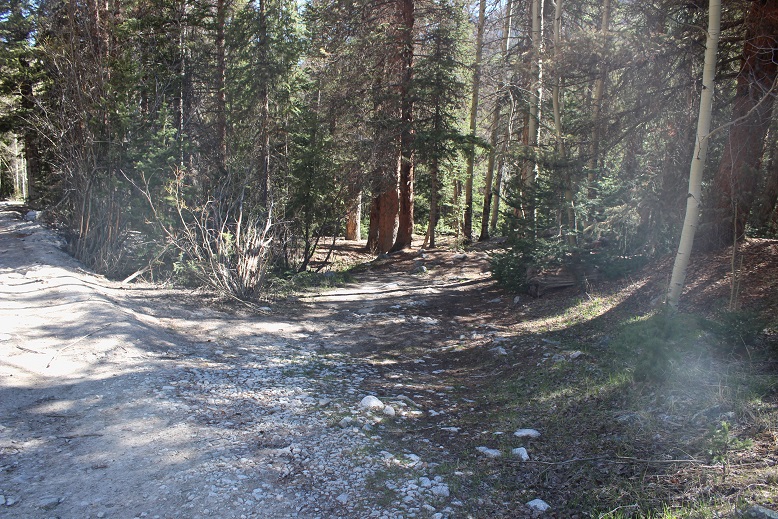
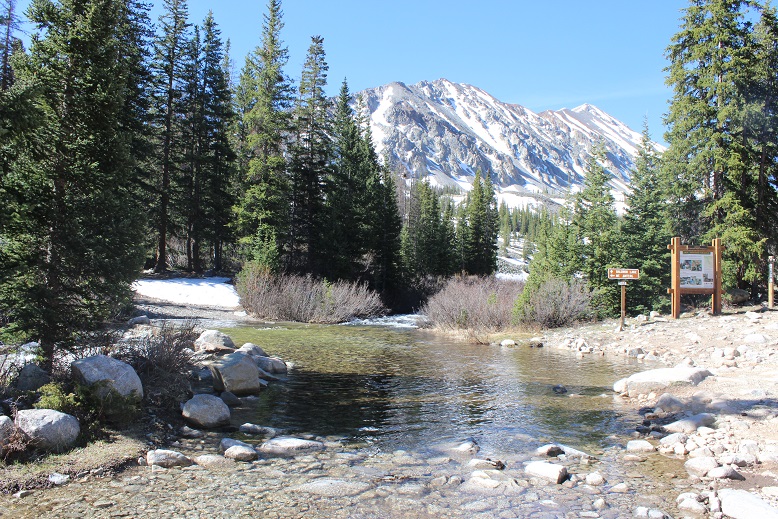
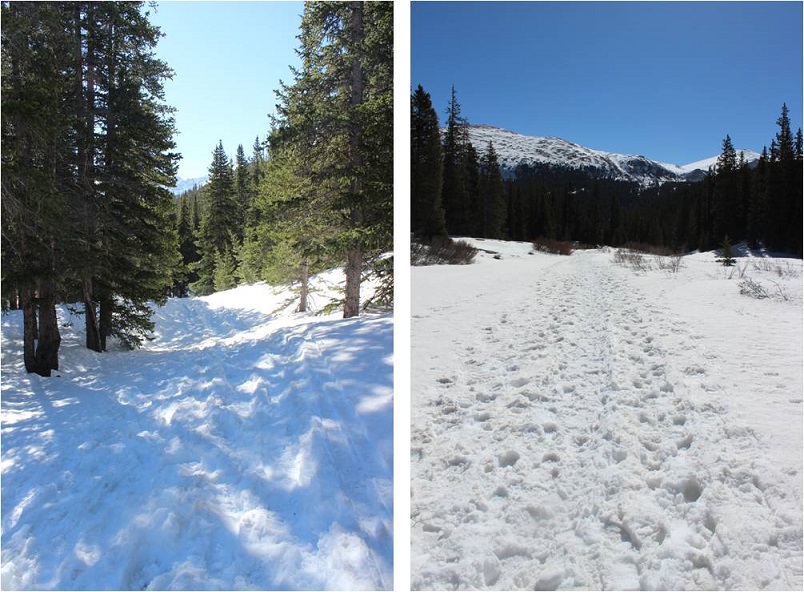
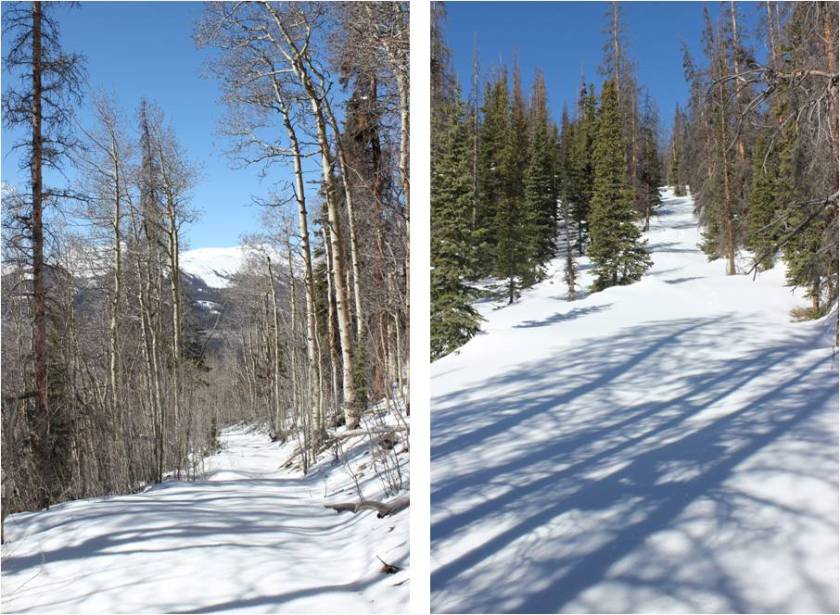
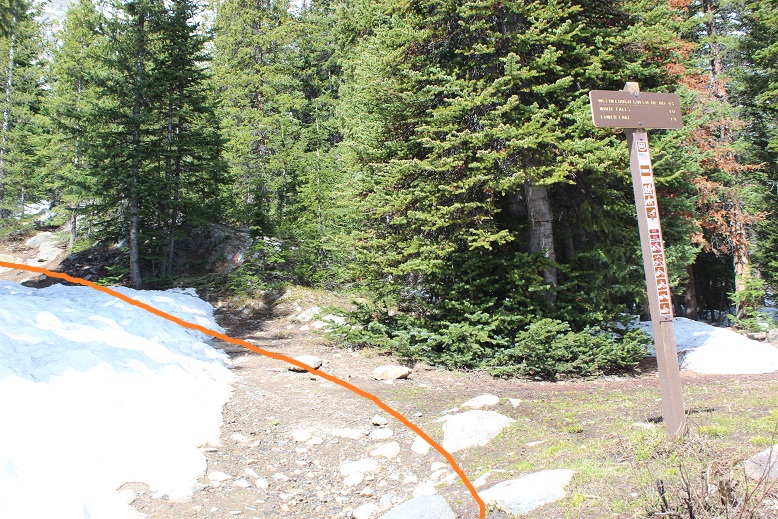
I hiked on this dirt road for 2.2 miles from the closed gate to the start of trailhead. This is where the snow started, and in the dark obscured the beginning of the trail.
4

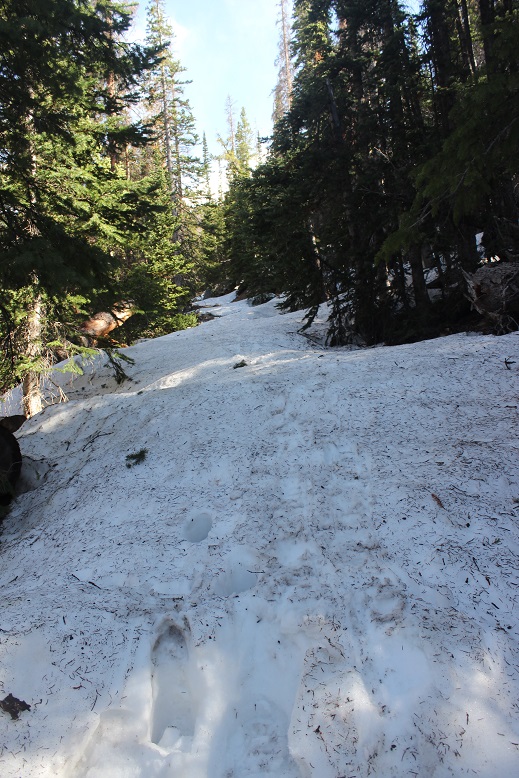
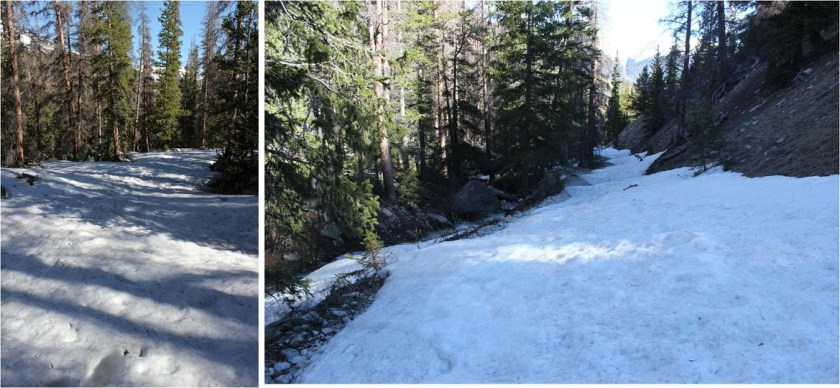
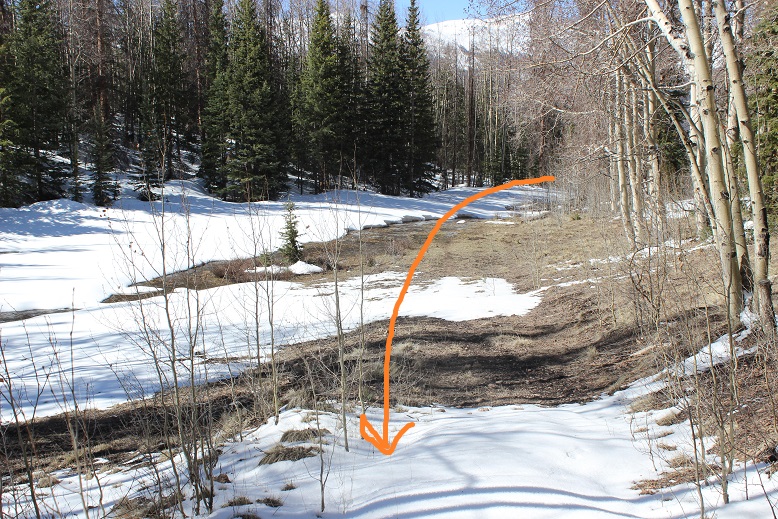
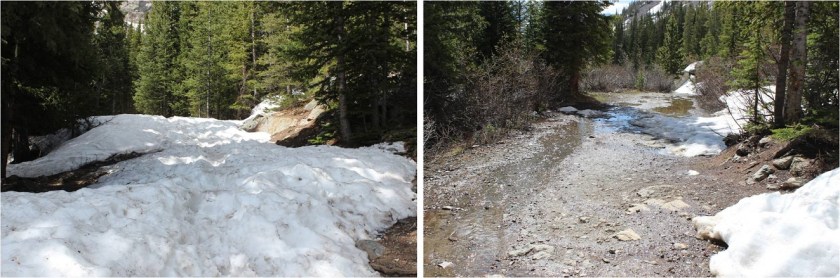
For the next mile the snow was intermittent and soft. I’d need snowshoes for about 30 steps, then not need them for dozens of yards, and then I’d need them again for 30 steps or so.
5

I crossed a bridge

6

And headed left on a trail (the road ended here)

7

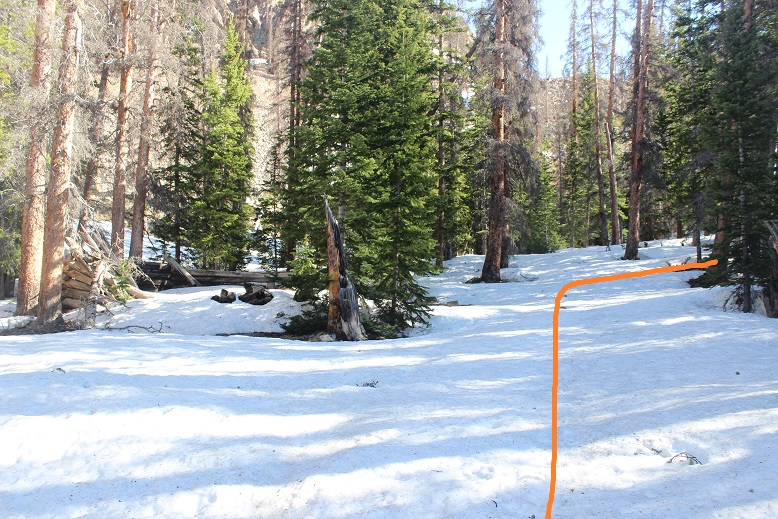
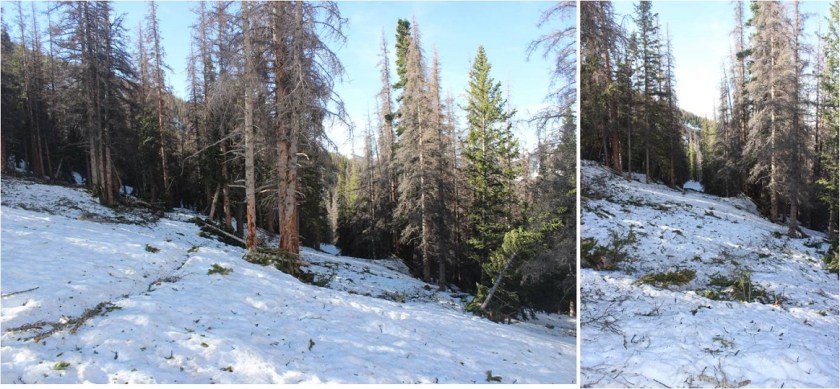
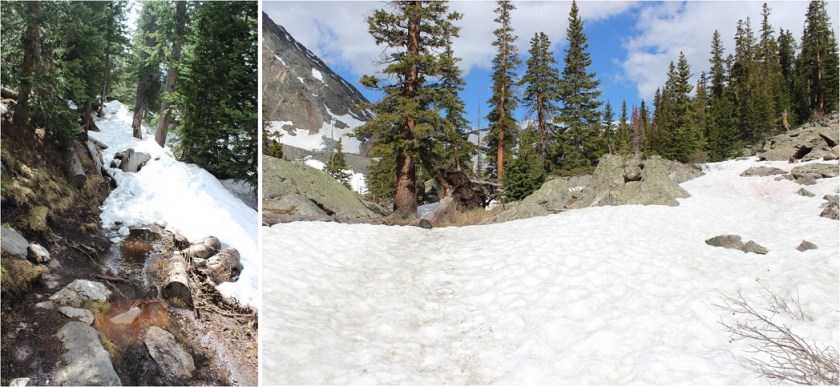
This is where I put snowshoes on and wore them for the rest of the hike. This is also where the trail finding became difficult.  I kept losing and finding the trail and losing it again, so I gave up trying to stay directly on trail and just headed northwest, keeping the creek to my left and the ridge to my right.
8

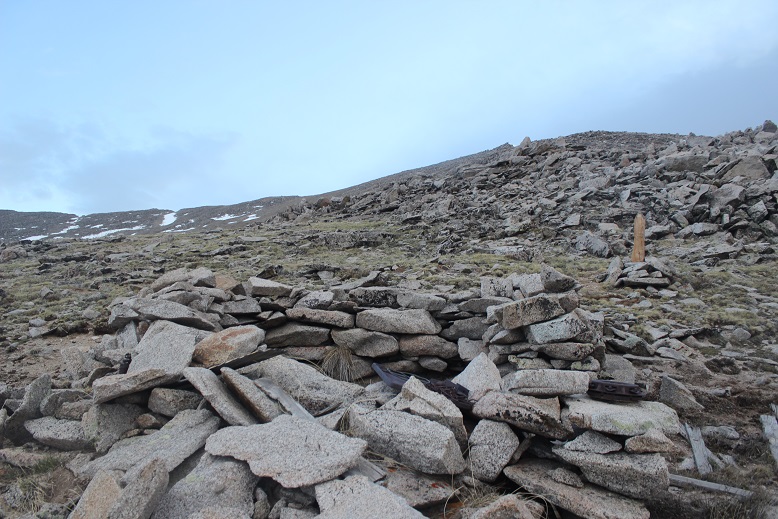
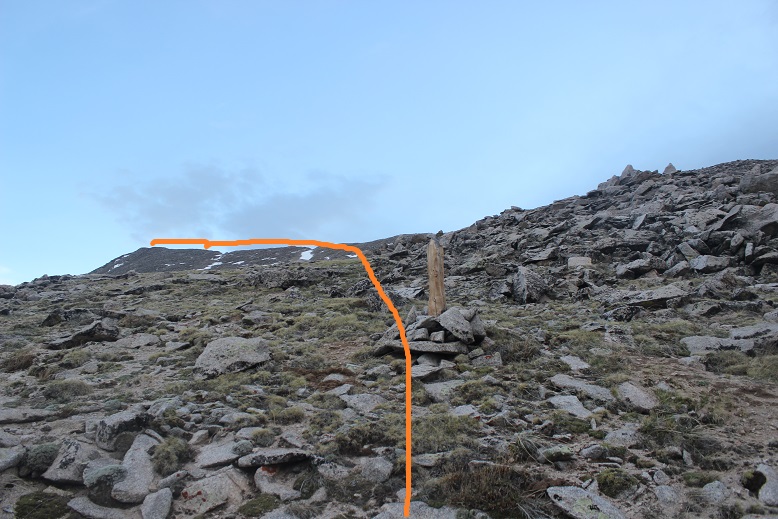
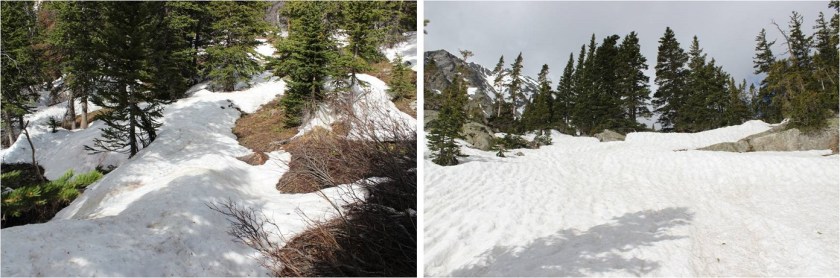
At the end of the boulder field I came across a sign indicating the trail kept going straight. Here I turned right (at the cairn) and followed the gully up and to the northwest, avoiding the large boulders

9

10

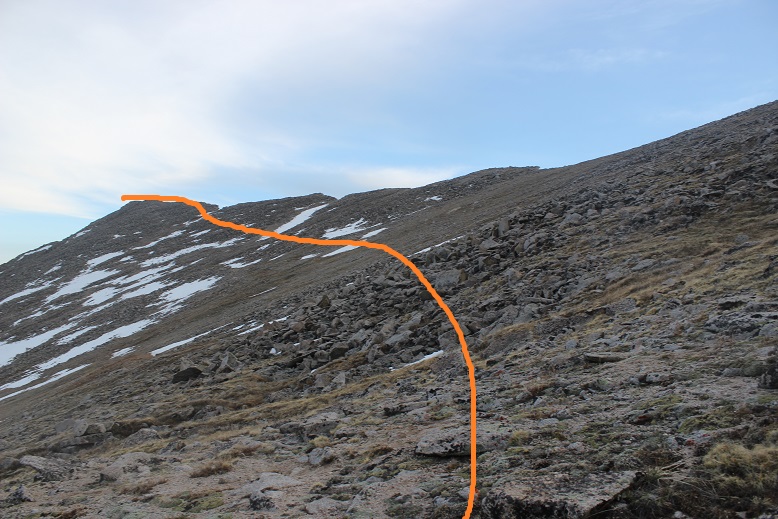
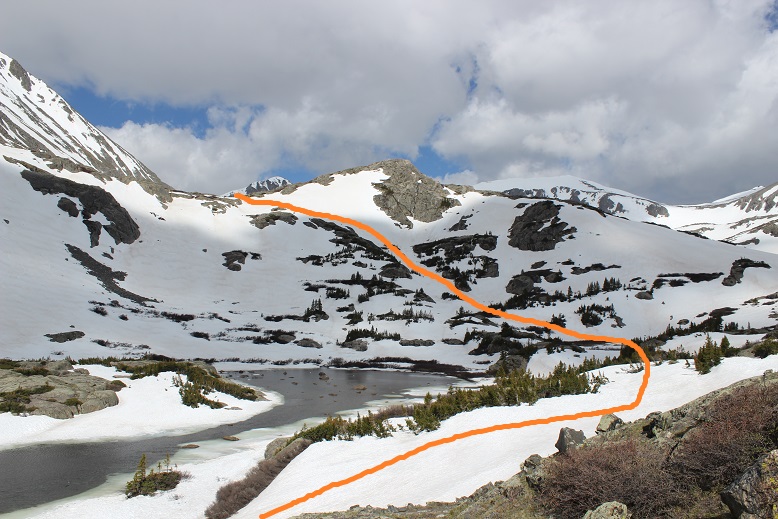
At the top of the gully I rounded the hillside and was deposited below a lake. I walked around the right side of the lake, found the rock rib, and decided to climb the snow next to it to the notch(so I didn’t need to take off my snowshoes again).
11

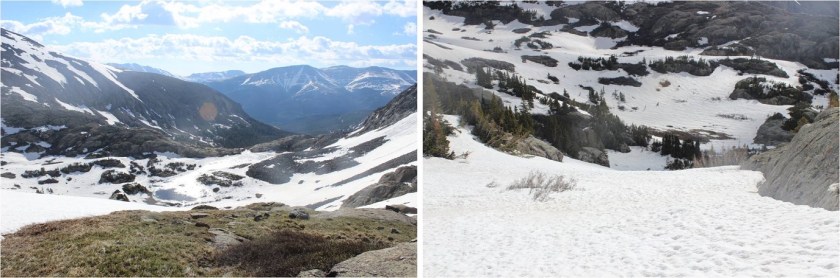
Here’s a look back down from the notch
12

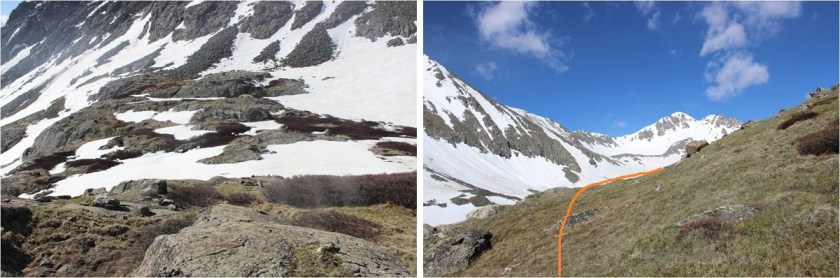
I was at the top of the waterfall area and just needed to turn the corner to the right to see more of the basin
13

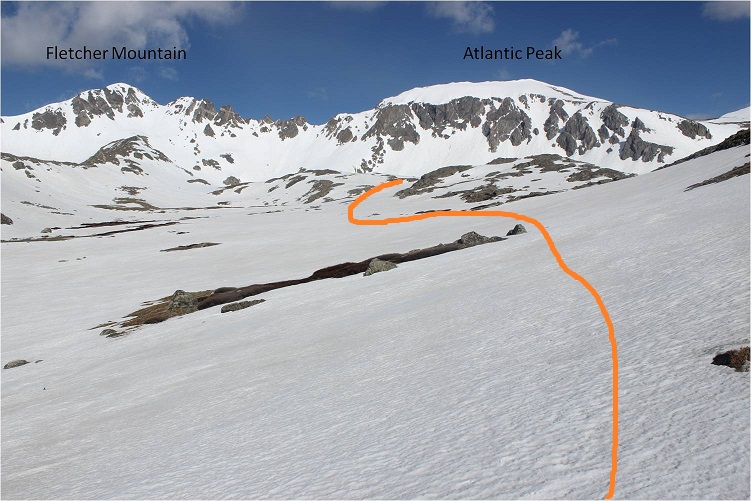
Wow! Lots of snow here!  I headed northeast, skirting what was probably a small lake to my left and couldn’t help but wonder how many feet of snow I was standing on top of?  Way to go June 2019 in Colorado!  You’ve got the snow thing down!
14

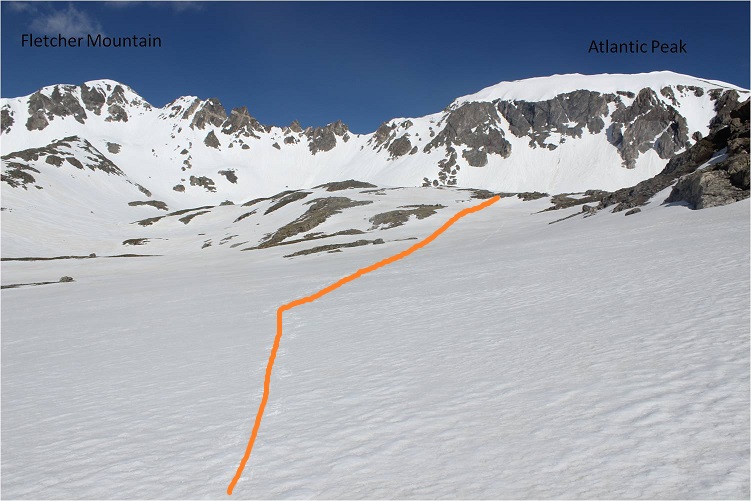
I kept rounding the basin, staying to the right
15

16

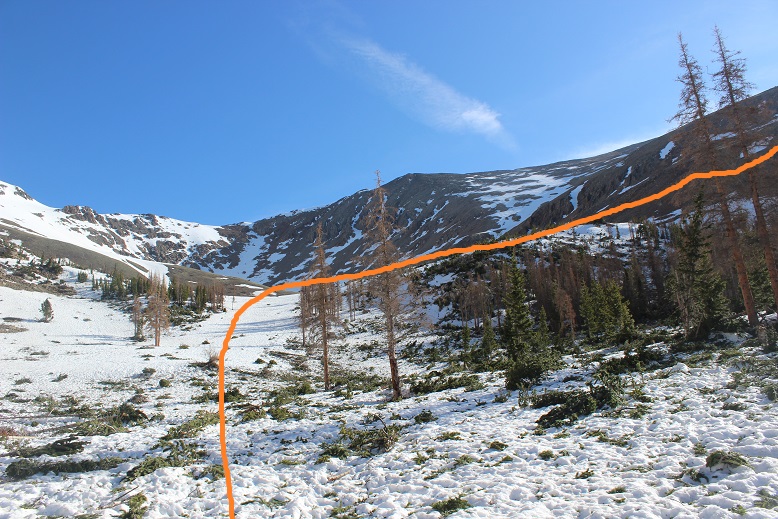
Once again: So.  Much.  Snow!  I kept heading northwest towards the end of the basin.  It’s best to stay high here so you don’t have to regain elevation.

17

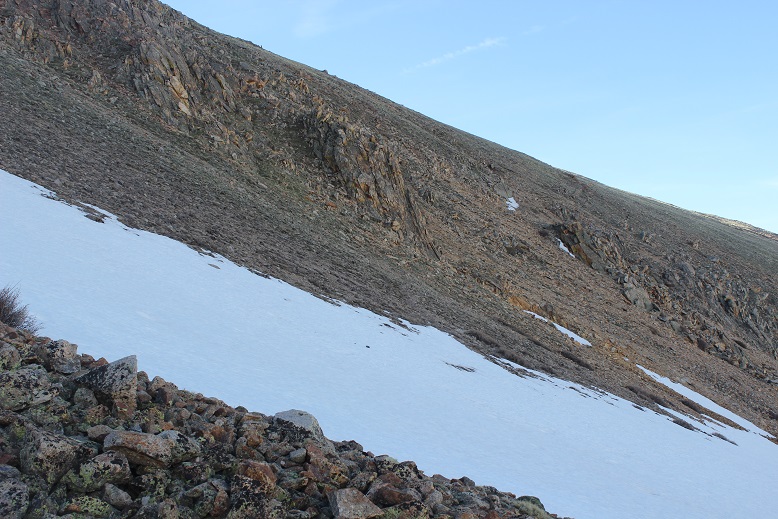
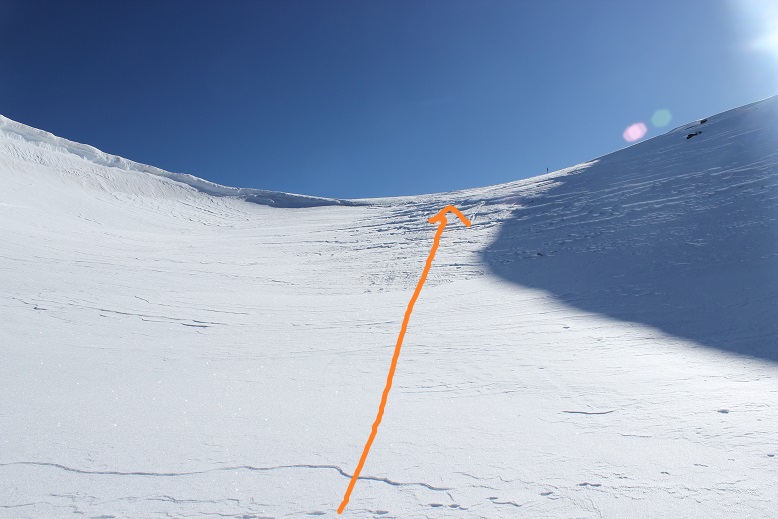
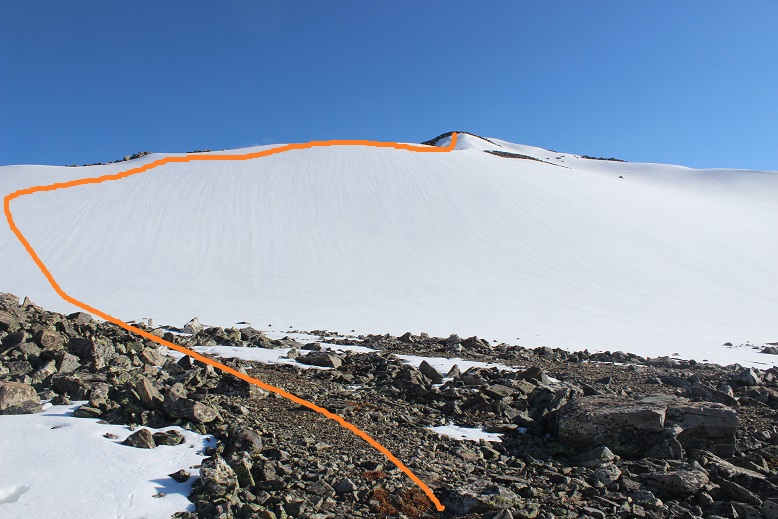
I made it to the headwall. This is the crux of the route, and I decided it was time to take off my snowshoes and put on my crampons.  I got out my ice axe and garden tool (haven’t purchased a second ice tool yet).  The sun was just starting to rise

18

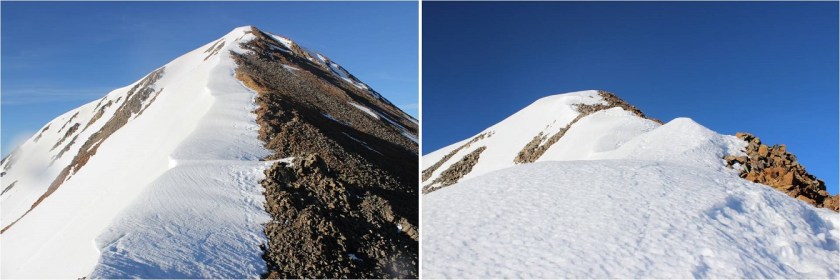
I was pleasantly surprised at the conditions of the headwall: continuous snow coverage that was consolidated just right for crampons.  It was tiring, but I had no difficulties gaining the top of the headwall.  I mentally high fived myself for choosing this route today.  Ok, just a few hundred more feet of elevation gain and I was there!  I made it to the saddle between Atlantic and Pacific, singing “Home for the Holidays” as I went.  To be honest, I that song was in my head for most of this hike.  Oh, and that’s a false summit…
19

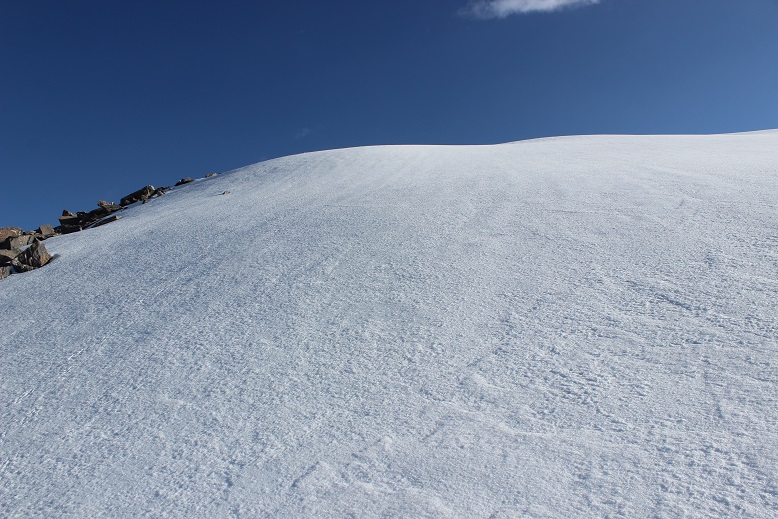
There was a lot of snow here, and some of it felt steeper than the headwall
20

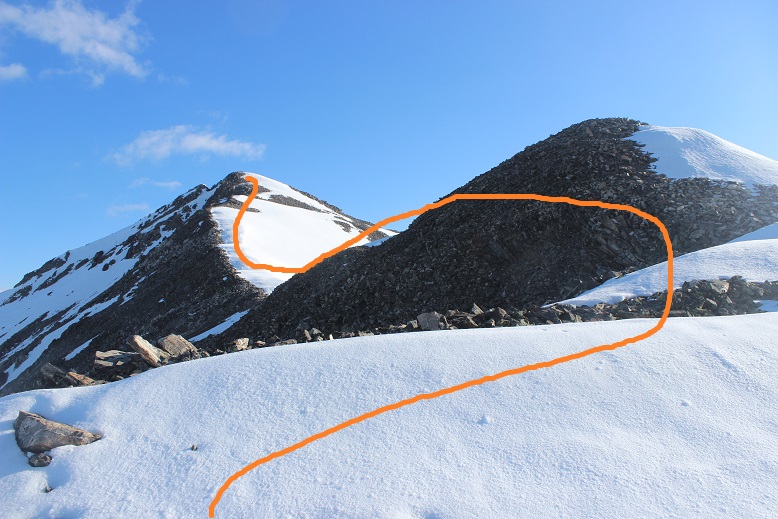
It seemed pointless to summit the false summit, so I skirted the bump to the left and continued towards Pacific.
21

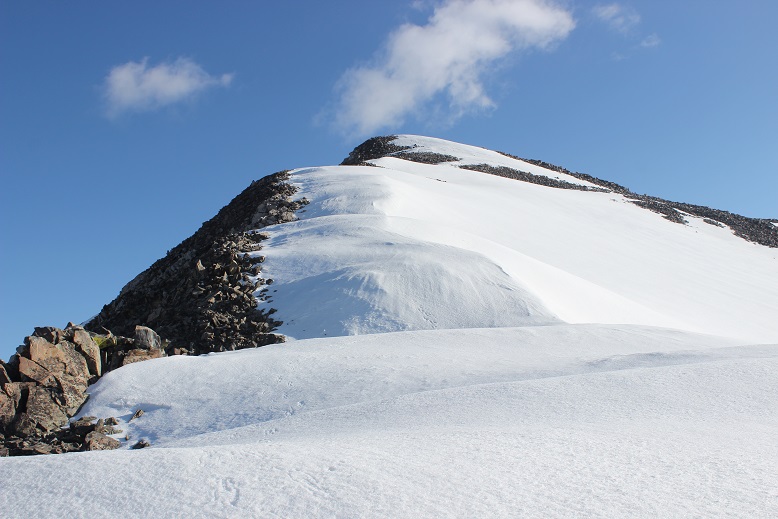
From here the postholing began. The snow here looks solid, but it hugs a ridgeline and much of the snow underneath has melted away, leaving a hollow cap.  At times the cap was thick enough to support my weight, and at others I postholed up to my waist into (or between) large rocks.  I have a few bruises from the fun
22

Still, it was better than hiking with crampons on the rocks (I was too lazy to take them off, so I stuck to the snow)

23

I summited at 6:45am

24

Summit Video

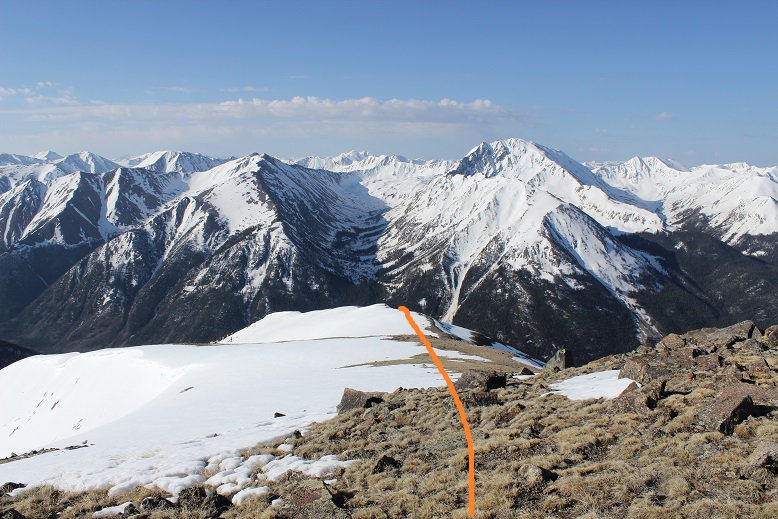
Here’s a look back on the route from the saddle to the summit
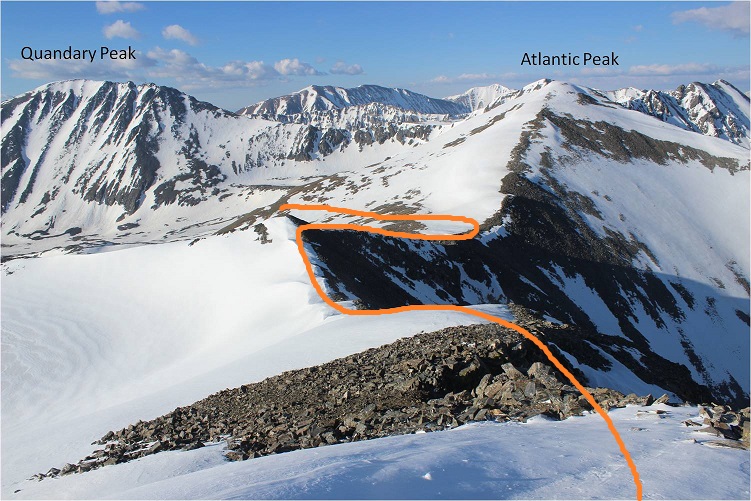
25

The wind was intense here, so I decided to head back down. I made it to the saddle and Atlantic looked very inviting. I’ve already summited Atlantic, and I’m on a bit of a time limit today, so I didn’t feel it necessary to summit Atlantic as well (but it was tempting… you should do it!).

26

I had to stop and enjoy the view from the area just below the saddle (where the wind finally let up a bit). It was breathtaking!

Saddle

From here you can see most of the route back. It’s important to follow the basin and stay close to Quandary Peak on your way out to exit in the correct area.
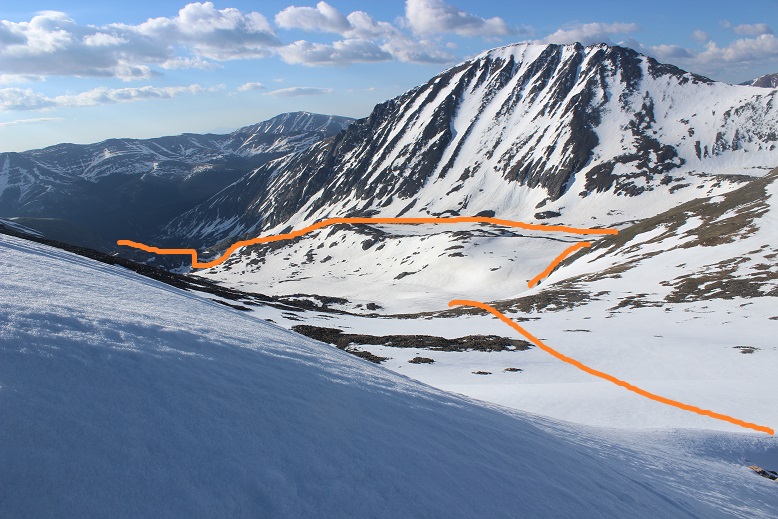
27

OK, time to start down the headwall.

28

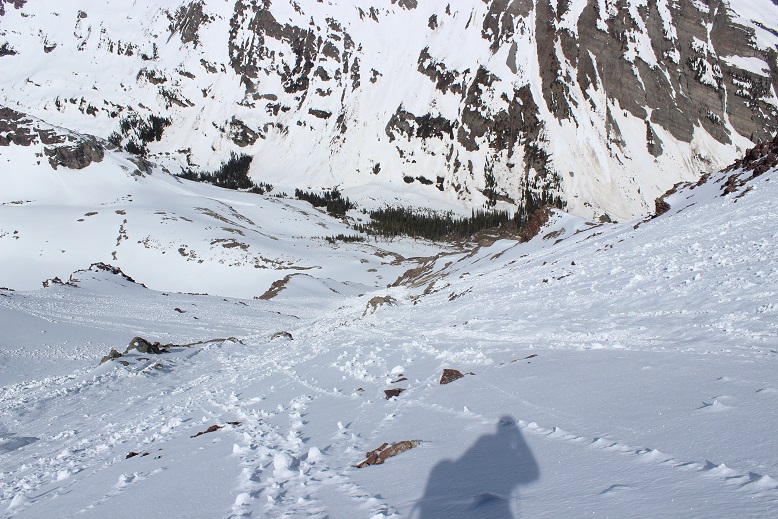
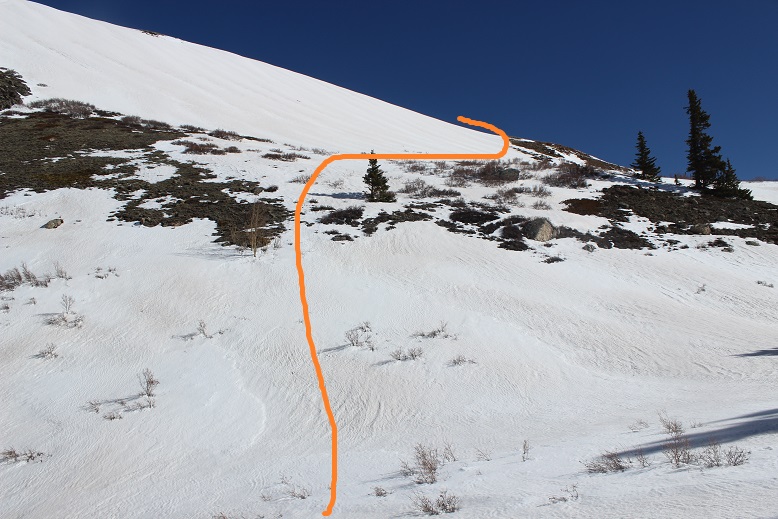
The headwall was steep (so steep you can’t see the route down it here), but not as bad as a lot of gullies I’ve done lately. It’s supposed to be 40-45 degrees at points, but I was able to walk down the entire headwall without turning and facing the mountain.
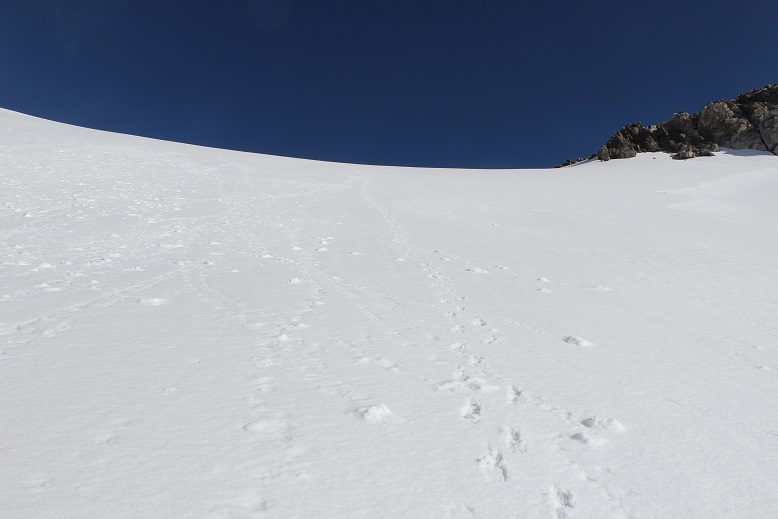
29

30

At the base of the headwall I switched out my crampons for snowshoes, but kept ahold of my ice axe. I followed my tracks southwest
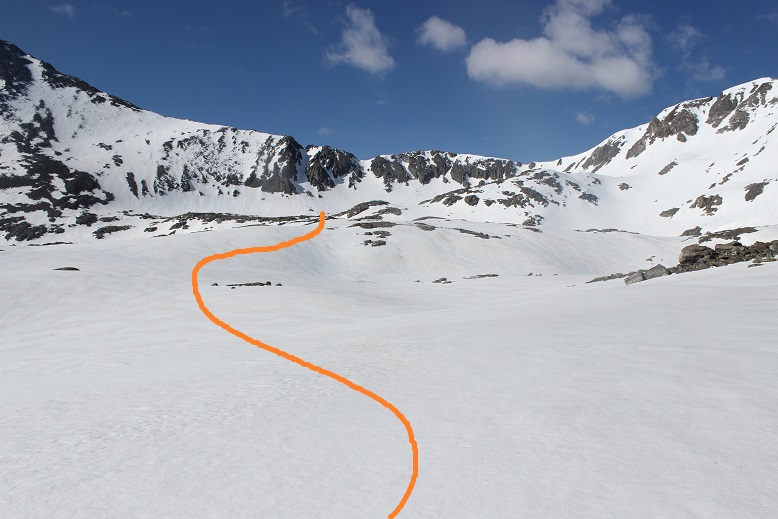
31

Rounded the ridge, and walked out of the basin
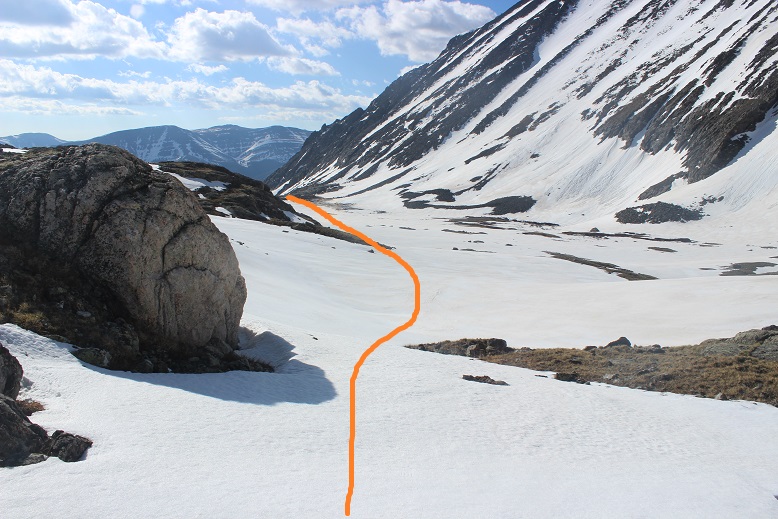
32

The snow was really starting to soften up at this point. For June 21, this is a ton of snow!
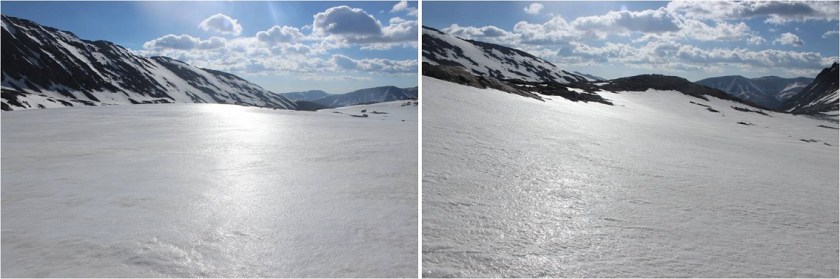
33

I made it down past the rib area without incident, and was just getting ready to skirt the small lake when it happened.

34

I was stepping off a rock and into snow and immediately my left leg sank and slid up to my upper thigh. I’ve postholed thousands of times, but never experienced anything like this:  Try as I might, I couldn’t move my leg.  It wasn’t hurt, but my snowshoe was stuck in the snow and keeping me from being able to move my foot and leg.

As I’d stepped on and slid into the deeper snow the snow had immediately softened up and settled like concrete around my leg, making it immobile. I thought to myself  “So this is what they mean by not being able to get yourself out of an avalanche because the snow settles like concrete” and got to work.  Luckily, this hadn’t been an avalanche and I still had my ice axe in my hand, so I started digging myself out. It took me a solid 15 minutes of work to free my leg.  Also, my butt was now wet from sitting in the snow for so long.  Lovely.  At least no one was around to see.

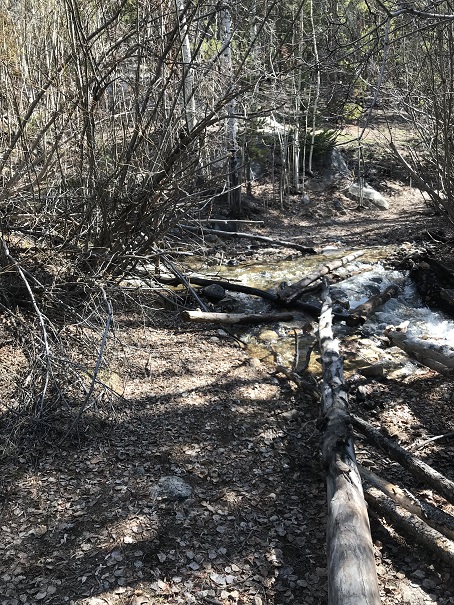
The hike back to the trailhead was uneventful. In the light of day I was easily able to follow the trail and saw things I hadn’t before, like the log bridges and small pools and the actual trail itself…
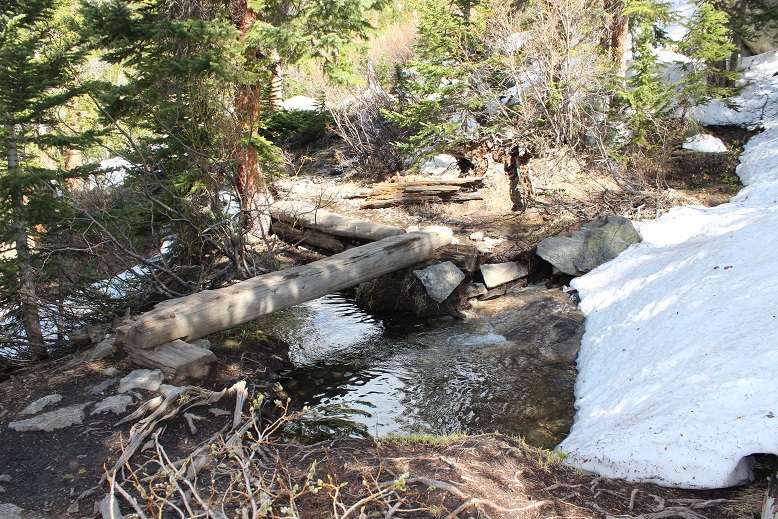
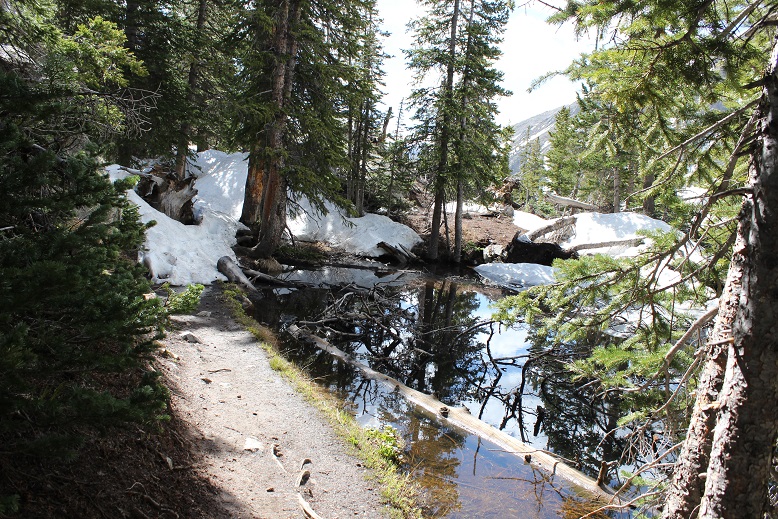
35

36

There was also a lot of evidence of postholing from previous hikers using the trail. I hadn’t seen any of this in the dark (I’d paralleled the actual trail)
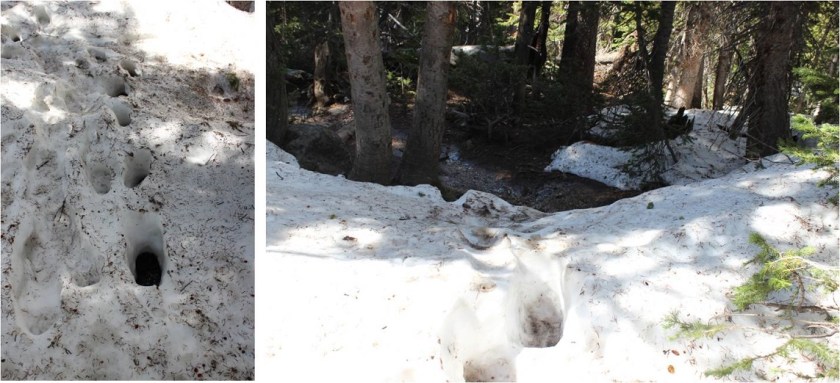
37

There was a snowbridge over the creek, and the creek was raging!
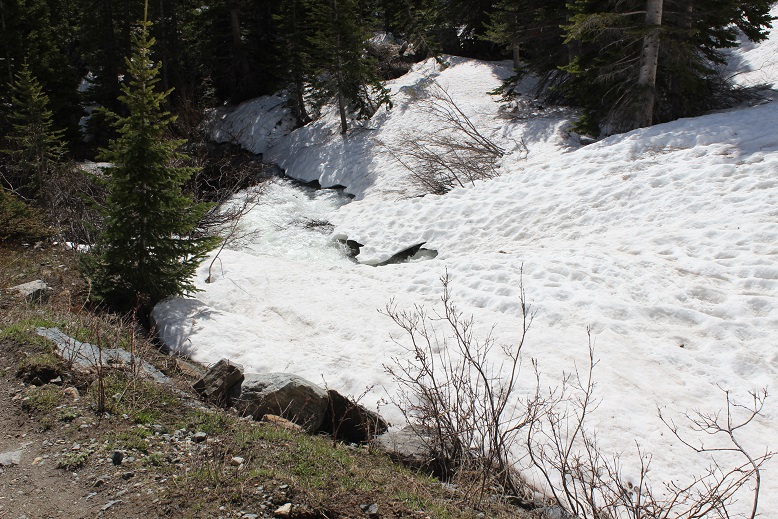
38

Stream

Back on the 2WD road I started seeing other hikers. Quite a few of them actually, and I figured they must have opened the gate. Sure enough, they had and there were cars parked at the summer trailhead as I passed.
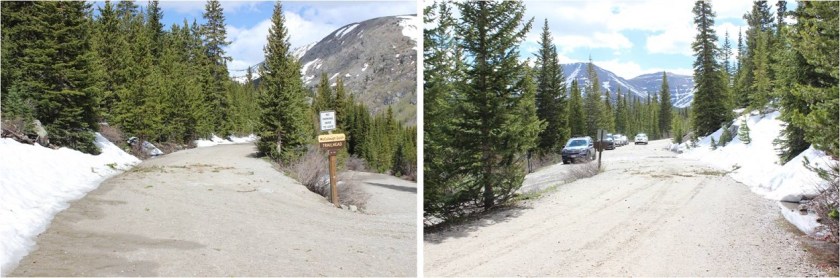
39

I still had 2 miles to go however, but on a positive note, I saw a rather scruffy looking fox on my way back
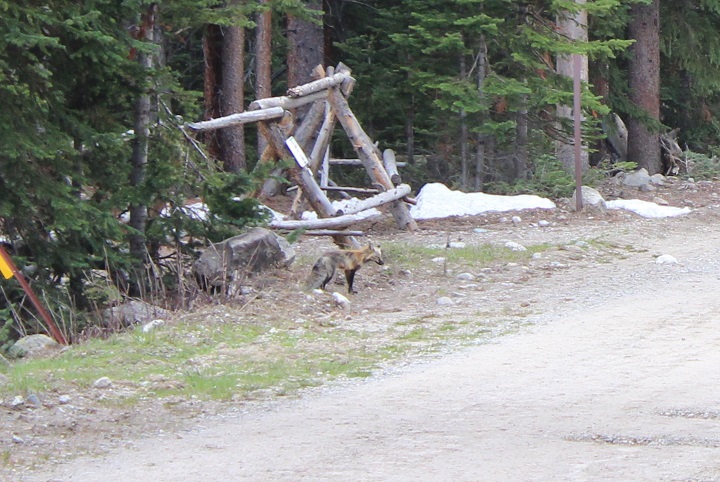
40

Fox

Yep, the gate was now open

41

I made it back to my truck at 10:45am, making this a 13 mile hike with 3700’ in elevation gain in just over 8 hours.

42

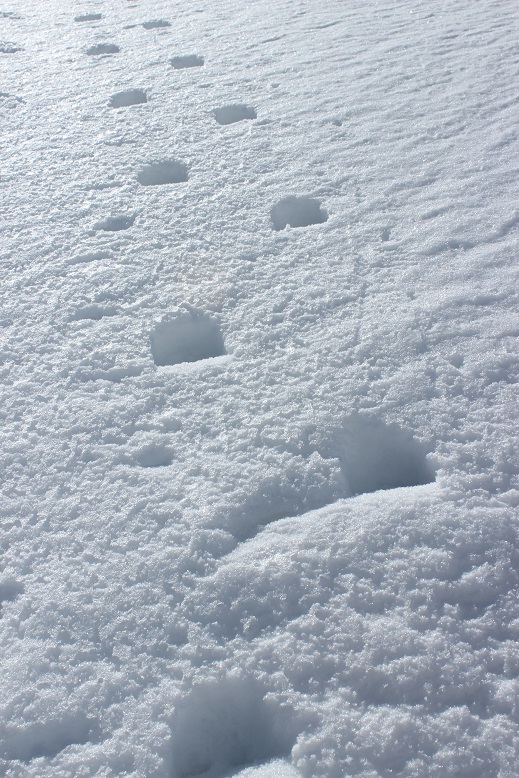
Ugh! It looked like some kids had thrown mud at my truck!  There was dried mud/dirt on every corner, like someone had used my truck for target practice with mud pies.  I was going to have to wash it after picking my daughter up from camp (she’s a counselor at a Girl Scout Camp and off this weekend so I was on my way there now to pick her up).  It was a 3 hour drive, and I made it in plenty of time before release.  While we were walking back to the truck my daughter said “How did your truck get so dirty?”  I told her I it happened at the trailhead this morning.  She went and took a closer look, put each of her hands on two of the marks and said “Mom, how big are bears?”  That’s when I took a closer look at the blobs and realized no one had thrown mud at my truck:  It’d been visited by a bear!  I could see swishes of hair and even faint claw marks on the paint.  Cool!  Maybe that’s the animal I’d heard at the start of my hike?  Now I didn’t want to wash my truck!  Luckily, I took a few photos before it rained on my way home.  I just wish I’d looked at the ground around my truck when I’d noticed the mud… I would probably have seen bear tracks!

43

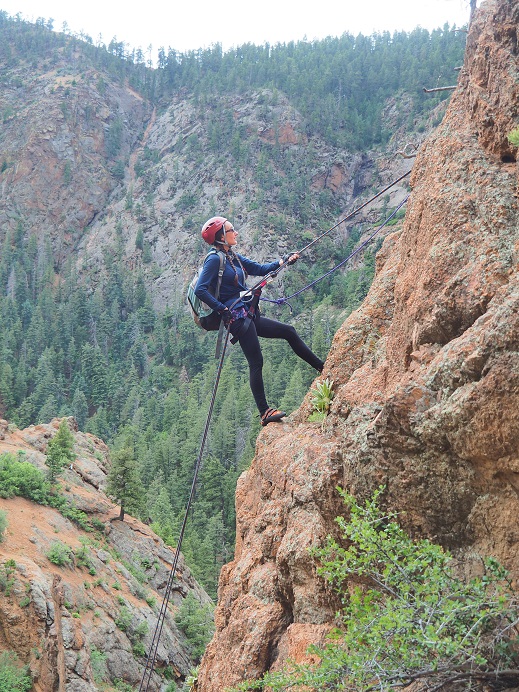
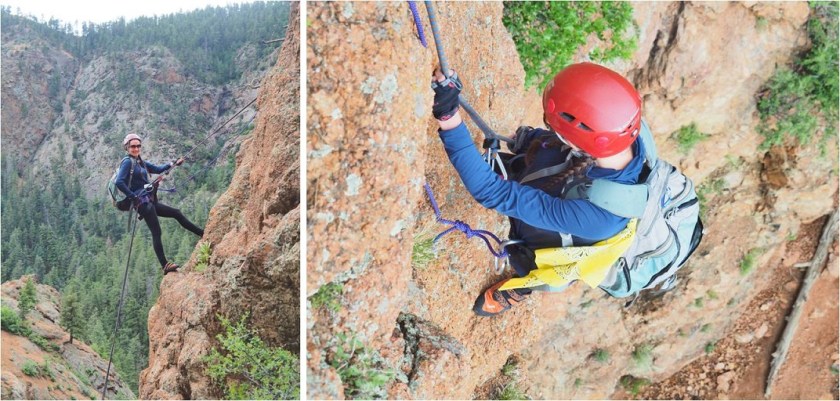
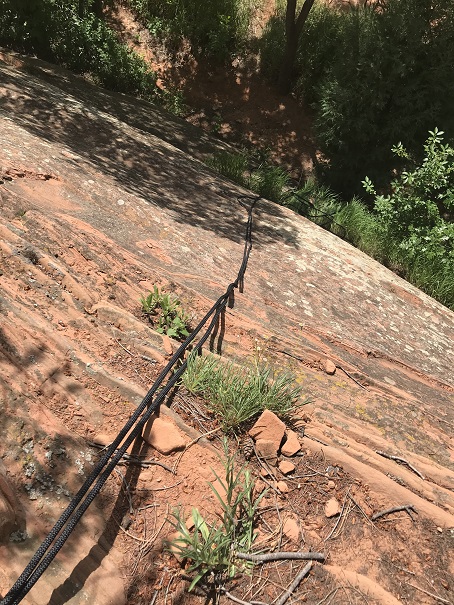
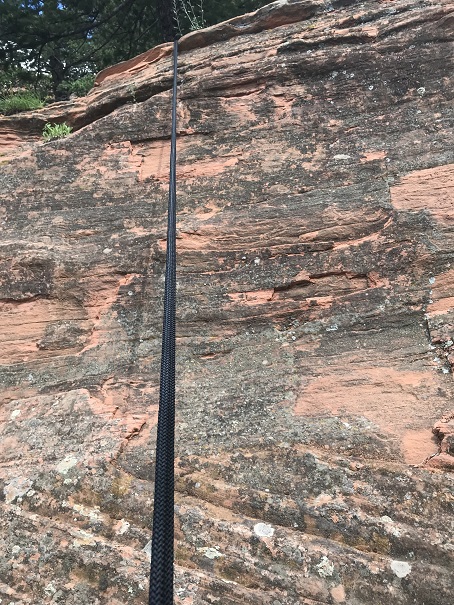
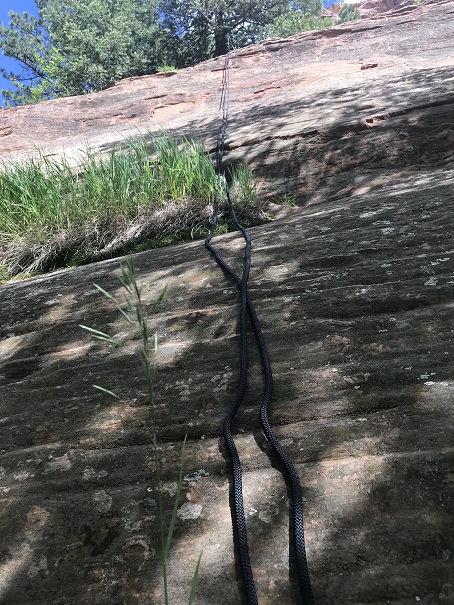
Solo Self Belay Practice

OLYMPUS DIGITAL CAMERA

I’m on a bit of a high right now: I’m feeling fantastic!  Like, Rockstar material!  It’s been a long week, so let me explain…

This week I’m an empty nester, as my oldest is off at Drum Corps for the summer, my son is stationed in Alaska, and my youngest is at Girl Scout Camp. My goal for this week with the kids gone was to learn how to properly set up anchors around rocks, self belay, and figure out what caused me to slip last time I tried doing this on my own.  I’ve been rock climbing/rappelling dozens of times, but I’ve never been in charge of gear/setting up equipment, etc.  I’d planned to find a very small rock, maybe only 5 feet or so off the ground, where I could practice without the fear of falling and hurting myself. I needed to get good at setting up and belaying solo, and this is the only week I have to practice before ‘showtime’.

I mentioned this to a friend who climbs, and he offered to take me out, saying he knew the perfect spot. I’d intended to do this alone (well, with the help of my new favorite book, Mountaineering: Freedom of the Hills, but thought: Great!  I’ll have someone to ask questions while I’m there who’ll be there in case I mess up and won’t let me die.

(Please note: a lot of the following was my fault. The friend who was helping me is a great guy, and I mean no disrespect to him.  I’m also very thankful he offered to help me with this. We have different communication styles and I was frustrated.  This is the way I felt it went down…)

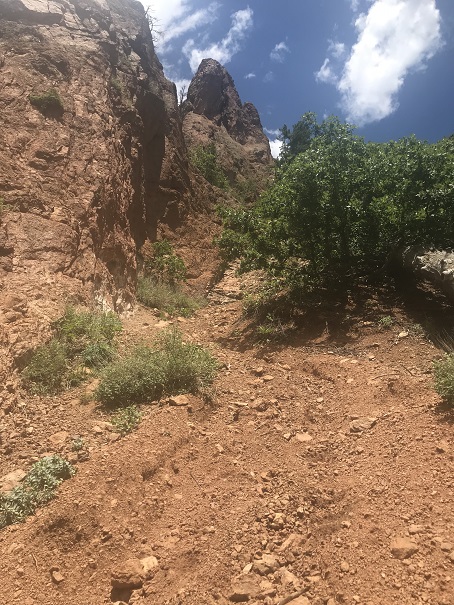
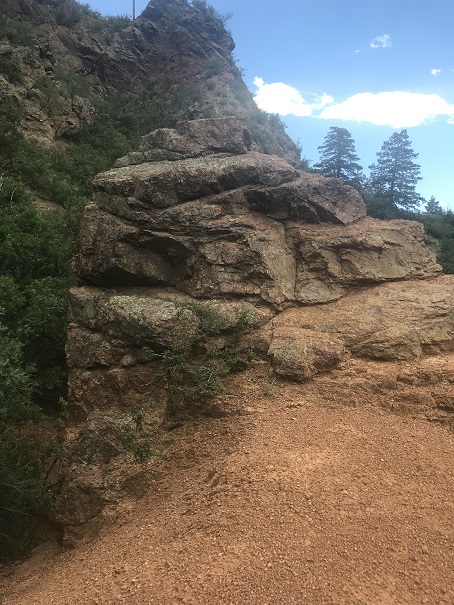
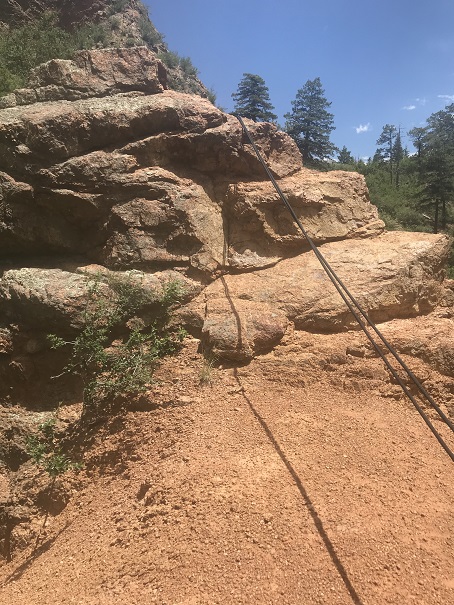
The whole adventure seemed doomed from the start. We arrived at his ‘perfect spot’ in North Cheyenne Canyon and I wasn’t convinced this was the place for me  ‘to learn how to properly set up anchors around rocks, self belay, and figure out what caused me to slip last time I tried doing this on my own’, mainly because there were spires here but few rocks.  I mentioned this to him and he didn’t seem fazed.   He did ask me to leave my gear in the vehicle, which didn’t make sense to me?  I mean, yes, he had better gear, but I needed to practice with the gear I was going to be using.  “Trust me, after today you’ll be throwing away your rope and getting another one”.

I took a deep breath. We argued a bit in the parking lot, where I once again said my goal for today was to ‘learn how to properly set up anchors around rocks, self belay, and figure out what caused me to slip last time I tried doing this on my own’.  I’d planned to find a very small rock, maybe only 5 feet or so off the ground, where I could practice without the fear of falling and hurting myself.

His answer was “Fine, we can do this your way or my way. Which is it going to be?”

Ha! That’s one way to quickly piss me off.  Of course I said “your way”, but only because he drove (no exit strategy) and to be fair, he was there helping me.  I mentally tossed this day out as a total failure and a loss of very precious practice time.  Ugh.  This is why I do things solo:  I should have just gone on my own with my textbook.

I tried to change my attitude and followed him up the hill to where we’d be practicing today. He asked me where I wanted to set up my anchor, and I said “around a very small rock, maybe only 5 feet or so off the ground, where I can practice without the fear of falling and hurting myself”.  But there weren’t any rocks here in which to do this.  So… we were going to set up around a tree.  This to me wasn’t very useful:  The rappelling I’m going to do is thousands of feet above treeline, so there won’t be any trees to use.  I once again stated my goal of today:  to learn how to properly set up anchors around rocks, self belay, and figure out what caused me to slip last time I tried doing this on my own.

He set up around a tree, and I took mental notes of the equipment he was using and asked some safety questions. There was a bit of squabbling here too, with tone implying I was a terrible partner/student, but at this point I probably was a poor student because I was upset and didn’t think he was listening to me.  I didn’t see the relevance of what we were doing as it applied to my final goal.  I’d have to say things two or three times and he’d still do it the way he wanted.  Another deep breath:  He was here to help, right?  Be nice to him.

OK, everything was set up. At this point it started to rain, but luckily it only lasted about 20 minutes or so.  When it stopped he asked me if I was ready to belay myself over the 25 foot spire.  Of course I told him no.  I still hadn’t figured out what had caused me to fall last time, and I did not feel comfortable rappelling on my own until I’d figured that out.

“But I thought you agreed to do this my way?”

Ugh!!! What man over 25 doesn’t know when a woman throws up her hands and says “Fine!  We’ll do it your way!”  she in no way means “Fine!  We’ll do it your way!”?  Also, I hadn’t known the extent of “his way” when we’d started.  I’d assumed he listened to my goals for today and what he had in mind paralleled those goals.  I didn’t mean to sound ungrateful, but what was going on here?

I explained to him my goals again: To learn how to properly set up anchors around rocks, self belay, and figure out what caused me to slip last time I tried doing this on my own. I’d planned to practice on a very small rock, maybe only 5 feet or so off the ground, where I could practice without the fear of falling and hurting myself.  At this point I still did not feel comfortable rappelling on my own because I was afraid I was going to fall and had not learned the techniques to prevent that from happening.  Added to this, red flags were going up everywhere: I’d explained my goals several times and he just wasn’t listening.  I did not feel safe, and I wasn’t going to do this if I didn’t feel safe.  My goal isn’t to love rock climbing, it’s ‘to not die’ while completing the centennials solo.

In the end we tried it where he Fireman belayed me from below. I still didn’t feel great about the whole situation, but I did feel secure enough this way to give it a go.  I belayed this way several times, with both his rope and mine, and was able to figure out differences in gear and my abilities.  The problem indeed had been my gear:   My rope was small, slippery, and dynamic, which is usually a good thing for many reasons, but not for this kind of rappelling.  I was going to need to buy new rope, but at least I’d figured out why and which was going to suit my needs best on my own.

He took some pictures of me at one point.

2

So the day hadn’t been a total loss, but I did leave frustrated. The next day I went to REI and bought some new gear (Ugh! This is getting expensive!) and decided to try again.  Solo this time.

After work I could tell a storm was coming in, but I gave it two hours before it began. Today I chose to go to a ‘secret spot’ I know in Garden of the Gods I felt sure I’d find some proper rocks to practice making anchors with.  I found a parking spot (the last one in the lot: woot!), changed my clothes in the truck, gathered my gear, and started hiking.

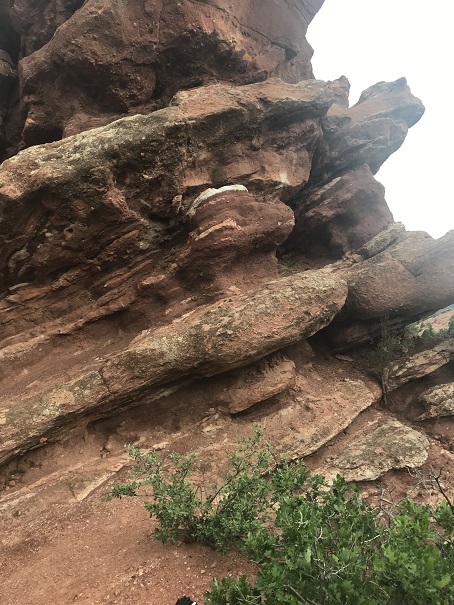
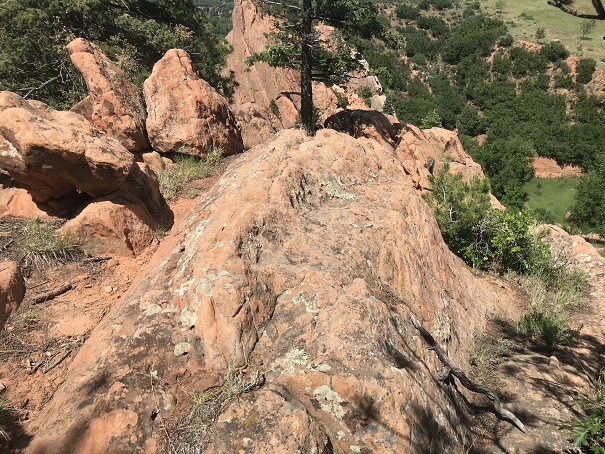
I made it to the area I’d had in mind and was disappointed: I looked and looked and looked, but nothing here was what I was looking for.  I really wanted to find some rocks that would allow me to properly set up anchors, but everything here was one solid block.  The weather wasn’t going to hold out much longer, so I found something that wasn’t perfect but that would work for today and got going.

3

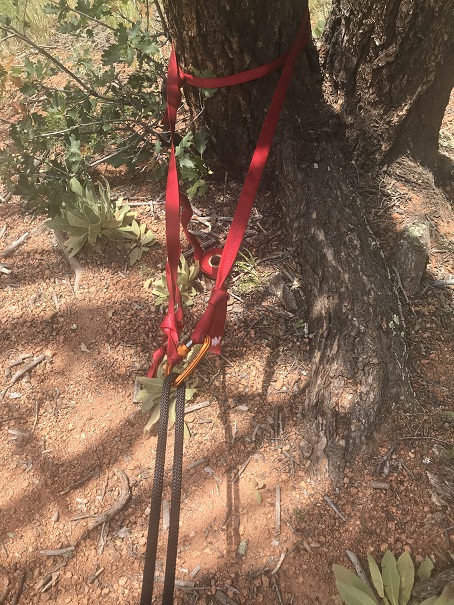
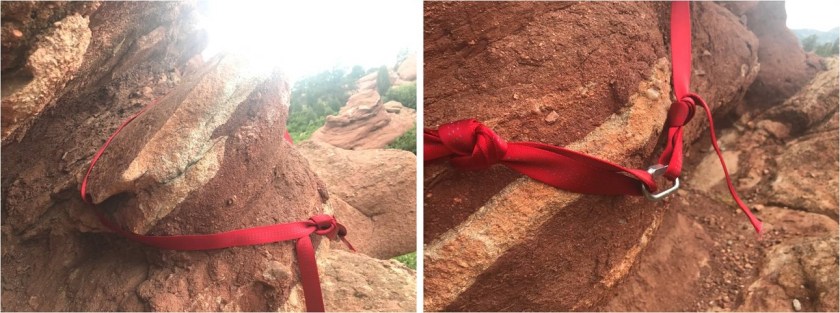
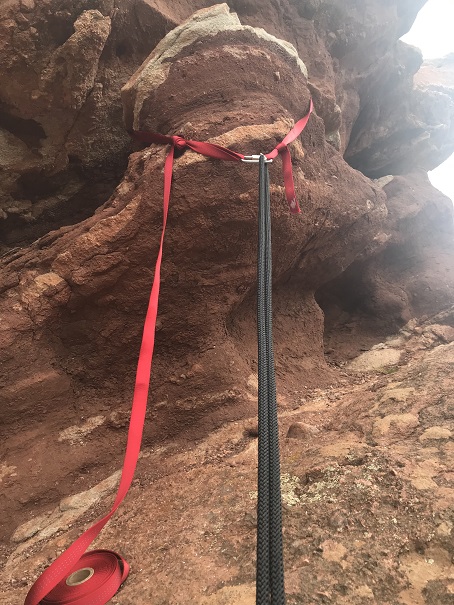
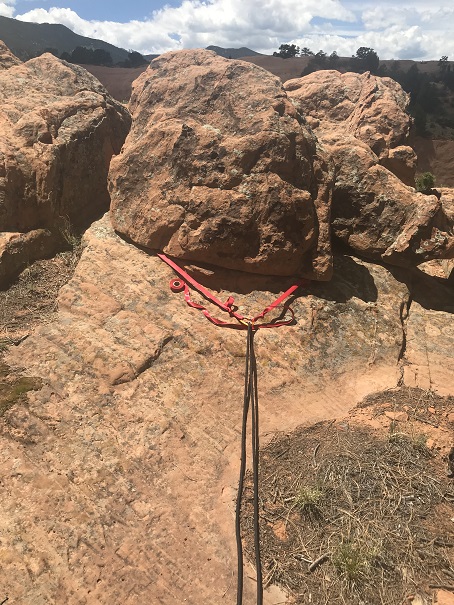
The first thing I did was set up my webbing, remembering to keep it at a 90* angle or less, pointing downward.

4

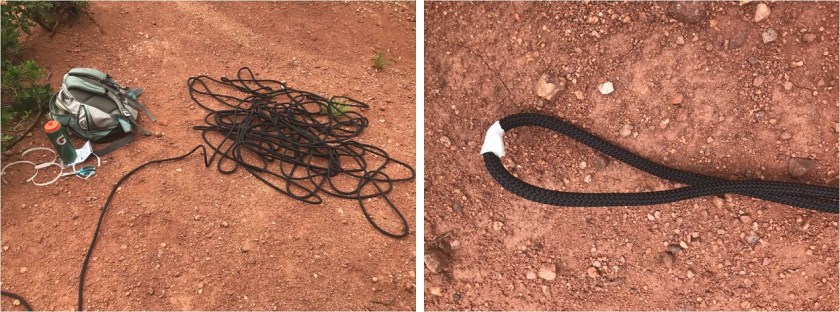
Next I uncoiled my rope, found the middle, and marked it with some tape (note to self: I need to replace the tape).  Also, yes, I cleaned up my mess before I left.

5

I clipped my rope into the screw lock carabiner and immediately discovered I was not a fan of this type of carabiner: There was no way my fingers would be able to screw and unscrew this thing when they were cold up at 13k+.  Note to self:  get another few twist lock carabiners.

6

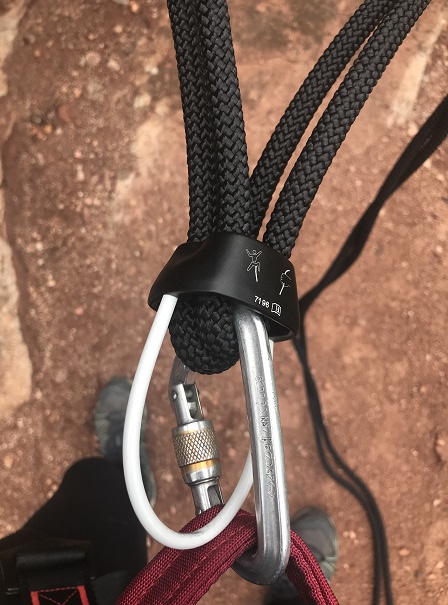
I got out my belay device and had difficulty putting the rope through the holes. For a moment I was worried it wouldn’t fit and that I’d bought the wrong size rope, but in the end I just needed to work the rope a bit for it to fit.

7

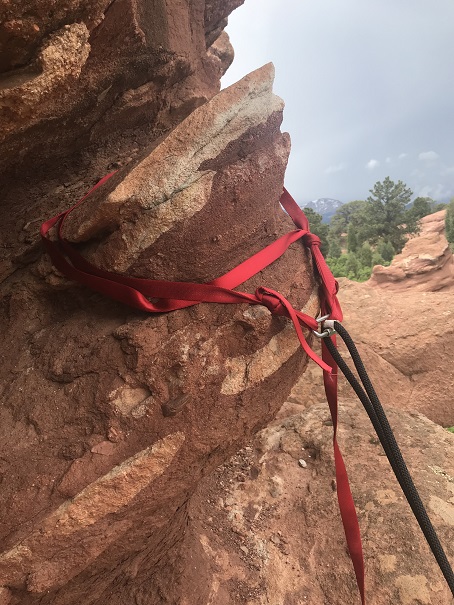
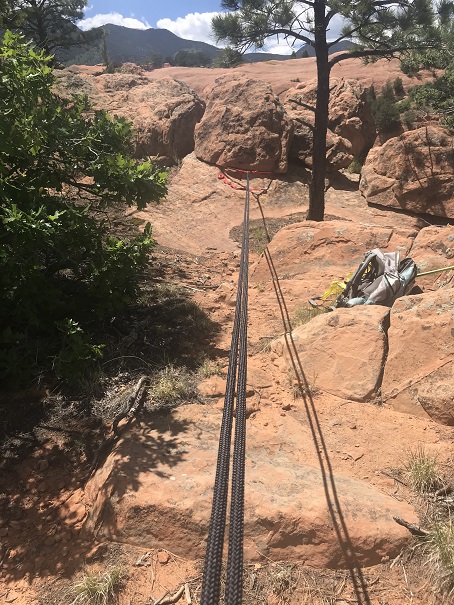
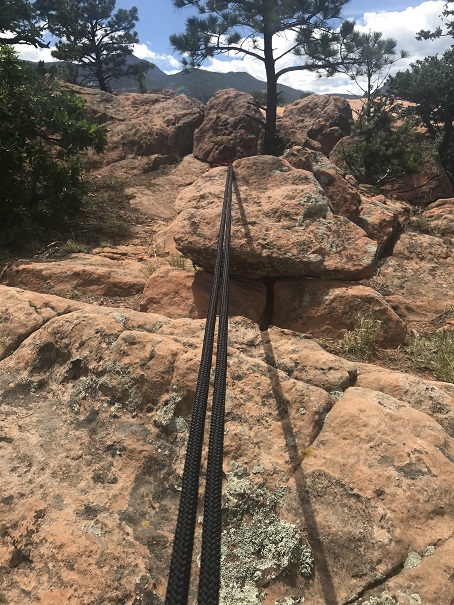
OK, now it was time to practice. I leaned back on the rope, jumped up and down, and played with the system.  Unfortunately the rope I’d anchored around the rock kept slipping.  It wasn’t as secure as I’d wanted.  Nope, this exact location wasn’t ideal, but it was all I had to work with at the moment.  So I adjusted the webbing by putting it around the rock twice and felt a little more secure (but not 100% confident, and no, I wouldn’t be using something like this for any rappelling over 5 feet).

8

No matter: Today was about learning and failing (hopefully fast) so I’d have time to learn and practice correctly later.  I was able to successfully belay myself up and down this area about a dozen times and felt confident I wasn’t going to fall.  I practiced my hand placement and got the knack of stopping myself.  The weather started turning (read:  lots of lightning) and I decided to call it a day.  I did an absolutely terrible job retying my rope (I’d fix that later), cleaned up my mess (this I did well) and hiked back to my truck.  All in all, it had been a successful few hours.  I wasn’t thrilled with my anchor, but I’d learned this location wasn’t a good place to practice.  I’d figured out I liked my rope but didn’t like my carabiner, and my anchor (for what it’s worth) held.  On my way home I stopped by REI and bought another twist lock carabiner to practice with tomorrow.

Armed with my new knowledge I decided to head to Red Rock Open Space after work to practice again. I wasn’t sure exactly where I was going to find a rock to set up webbing and rappel, but I know the area relatively well and had a few places in mind.  I figured I’d try to get in a little bit of a hike out of this as well, so I attached my rope to the top of my pack and headed towards the Quarry.  I came up empty here (everything was too smooth and solid) so I headed down to the cave.  Ugh!  Nothing here either?  Then I noticed a game trail and decided to follow it up and behind the cave.  Here I found an area that wasn’t perfect, but that had rocks I could work with.

I attached webbing around one rock, decided I didn’t like the stability, and looked around. That’s when I saw this lizard…

9

He was sitting on a rock I deemed much more acceptable than where I’d initially set up my webbing. It was further away from where I wanted to rappel than I’d have liked, but luckily I had plenty of rope.  It was going to take more webbing that I’d planned on using, but this was good information to have as well (note to self:  buy more webbing).  I set up the webbing around the rock, adjusted it to make sure it was secure,  and was quite pleased with the result.  I attached my new carabiner and rope and stood back to admire my work

10

Ok, now to test this thing. I really didn’t have too far to rappel (remember, I’d wanted to find a very small rock, maybe only 5 feet or so off the ground, where I could practice without the fear of falling and hurting myself). This area was about 7 vertical feet, but there was a wide ledge before it dropped another 100 feet or so.

11

I felt safe here. I put on my harness and helmet, changed into my climbing shoes, and attached my belay device.

I jumped up and down, leaned back, pulled, etc. Everything looked good. I felt solid and ready to go.  I slowly walked backwards, practicing pulling the rope through the belay device (loosening up the stiff rope).

12

As I slowly walked backwards I found a rock that would work as a nice place to guide the rope, and acted accordingly

13

OK, here was where I needed to lean back and begin the short rappel. While this was still relatively short, it was a step up from yesterday, and I wanted to be sure I had this down.  I slowly leaned back, positioned my feet, and began my rappel.

14

Success! That had worked really, really well!  I walked back up to the webbing, verified the anchor was doing well, and practiced again.  I know this isn’t a big rappel, but I wanted to be totally secure before attempting anything more difficult.  After about an hour or so of rappelling here over and over again I felt confident in my abilities.  Because I’d figured the rock anchor thing out I felt I could now practice with trees on steeper terrain.
I re-coiled my rope (not perfect, but a little better than last time) and noted how sore my arms were from coiling the rope: I was going to have to build up coiling muscles!  As soon as I got home I’d begin practicing, by re-coiling this, um, attempt.

15

I cleaned up my area and headed back down, a skip to my step as I mulled the success of today. I was now happy with my gear, I’d successfully set up an anchor around a rock, and rappelled without hurting myself.  Tomorrow I was going to look for something with a little more elevation, and my options opened up because I wasn’t averse to using trees as anchors anymore now that I’d worked with rock.

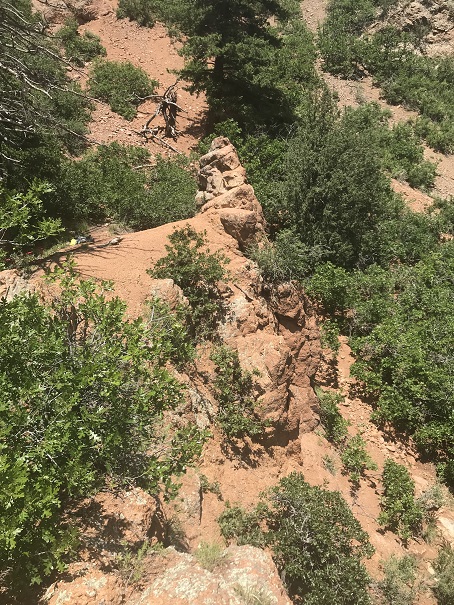
All this was going through my head when I saw it: Exactly what I’d be looking for tomorrow!  The only problem?  This wasn’t something I could climb up first (I’m not there yet, nor did I have the proper equipment).
16

I walked about 50 more feet and found a trail that went up and behind the area, which would give me access from above:  Woot!  I’d found the perfect way to rappel!  I thought I’d been done for the day but no kids waiting for me at home and no other pressing responsibilities I immediately decided the day was just getting started!  I hiked up and around with my gear and set up an anchor around a tree.

17

Next I got on my gear, attached the rope to my belay device, and looked down

18

Once again, nothing too drastic (I’m guessing 25 feet or so), but a step above what I’d done so far. After practicing yesterday and today I felt confident I could perform a successful self belay here as well.  I walked to the edge, leaned back, and slowly eased my way down, finding a notch in the rock that worked well  with the rope…

19

I stopped several times just to get the ‘stop and go’ thing down, and when I made it to the bottom I looked up at what I’d just accomplished: My first completely solo self belay!

20

I wanted to cry! I was so completely ecstatic!  I’d done it!  I’d done it!  Woot!  Up until this point I knew I’d need to be able to self belay, and I kind of knew I could do it, but it’s a totally different thing to actually, well, do it.  For the first time I felt I had the chance to finish the Centennials solo.  This was the last piece I needed to learn to make it happen, and I was doing it!

Time to do it again: I unhooked my gear, ran around to the top of the ledge, and tried it again.  This time I worked on swinging back and forth and staying stable.  The next time I tried rappelling down faster, and the next I adjusted the anchor to hold two carabiners (just for practice).  In total I rappelled successfully 5 times, and only stopped because the rope was starting to heat up.

I re-coiled my rope and was happier with this rendition (the coiling was getting easier). I’d found the rope sat on top of my pack nicely when secured over my helmet with a bandana.  I have straps to secure the rope but left them at home.  This arrangement seemed to work well as a backup.

21

I headed back to my truck, thrilled with today’s success! Tomorrow I’m going back to North Cheyenne Canyon to try it again (on my own).

Oh, and on my way out I saw a dead fish on the trail… hmmm… curious? It was probably dropped there by a bird

22

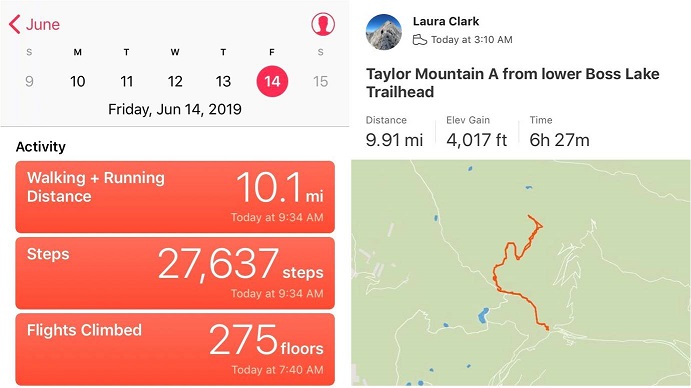
Taylor Mountain A – 13,651

Taylor Mountain A – 13,651

1

RT Length – 10 miles

Elevation Gain – 4017’

I’ve been listening to a lot of Taylor this week, so it was only fitting I chose to hike Taylor Mountain A today.  I made it to the snowmobile area (lower trailhead) around 3am, and decided to park here.  There was one other vehicle when I arrived, and 7 when I left.  This area can hold about 10 vehicles if everyone parks nicely.  Be sure to park behind the red and white signs.

2

One of the deciding factors for parking here was the sign indicating the trailhead was only 1 mile away. This was only supposed to be a 7 mile hike, so I welcomed the added 2 miles distance.  Note:  The trailhead is actually 1.4 miles up this road, which isn’t a big deal unless you’re hiking and worried you ‘missed’ the turnoff in the dark.

3

The trail started off dry-easy-4WD, and stayed that way until I made it to the Boss Lake Trailhead. I could have easily driven my Tundra here.

4

About ½ a mile before the Boss Lake trailhead there was avy debris that had been cleared just enough to let a vehicle through

5

From here the road got a little muddy, but it wasn’t something that would stop a 4WD vehicle from making it to the trailhead.

6

I was very excited when I made it to the upper trailhead (I hadn’t past it in the dark!). There was a little bit of snow here, and no vehicles parked.  There was room for about 4 vehicles total.

7

I followed the 230 for another quarter mile or so, realized I’d missed the turnoff to the 230C in the dark, and turned around. The turnoff was about 1/10 of a mile away from the trailhead.

8

The road became increasingly rockier but was still dry

9

On my way back I took a picture of the turnoff to 230C. It’s on the right side of the road. The intersection is easy to see in the light, but easy to miss in the dark, and as you can tell, the signage is well off the road (20 feet down 230C after the turn).

10

This is where the road really started to get muddy

11

There were tire tracks from an ambitious off road driver all the way to about 10,880’.

12

I started needing snowshoes around 11,000’, and didn’t see any other tracks in the snow

13

The road was easy to follow until it ended at the cabin area, and from here to treeline I was breaking trail. I turned right at the last cabin and navigated my way northwest through the trees, keeping the creek to my left and hugging the mountainside to the right.

14

15

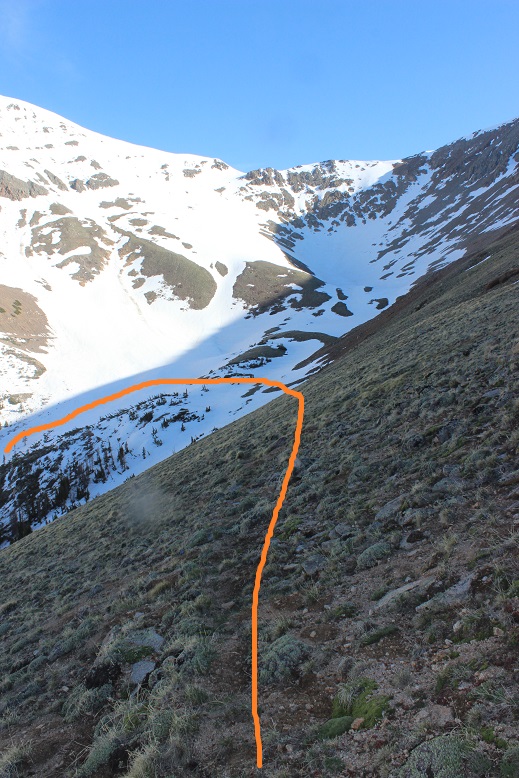
I never came to a meadow, but this is most likely due to a recent (small) avalanche in the area. I just followed the avy debris to the bottom of a small basin

16

And followed the small gully to the top. The snow here was well consolidated, and even a bit icy.

17

At the top of the small gully I turned right

18

And looked for a trail that hugged the mountainside…

19

This was more difficult than it sounds. There wasn’t actually a defined trail.  Well, maybe there was one 50 or 60 years ago, but I’d venture to guess this ‘trail’ hasn’t been use more than a handful of times recently.  It’s more of a goat trail, completely overgrown with tundra.  I took off my snowshoes here and didn’t need them until I made it back to this point.

20

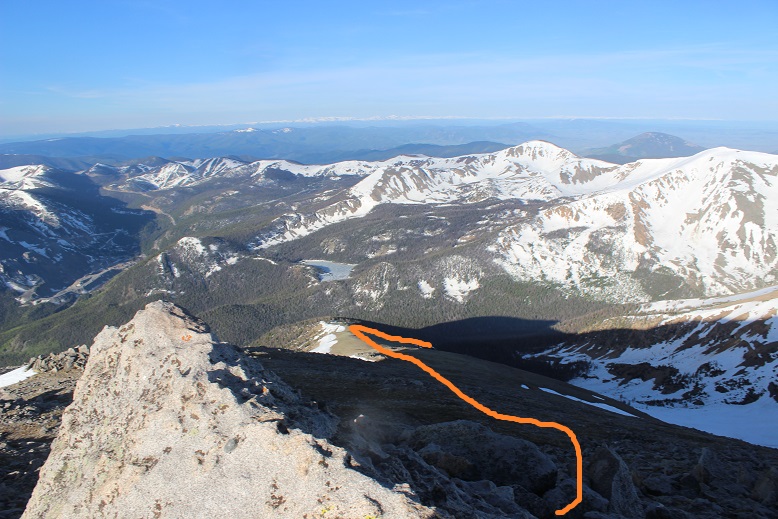
Can you see the trail? Here’s a clue, go this way, under the rock and up the hillside

21

22

Eventually you’ll reach the ridge and turn left to ascend Taylor’s long ridge

23

I made it here just as the sun was beginning to rise. I got a nice view for a minute, but the sun quickly hid behind clouds for most of the rest of the morning

24

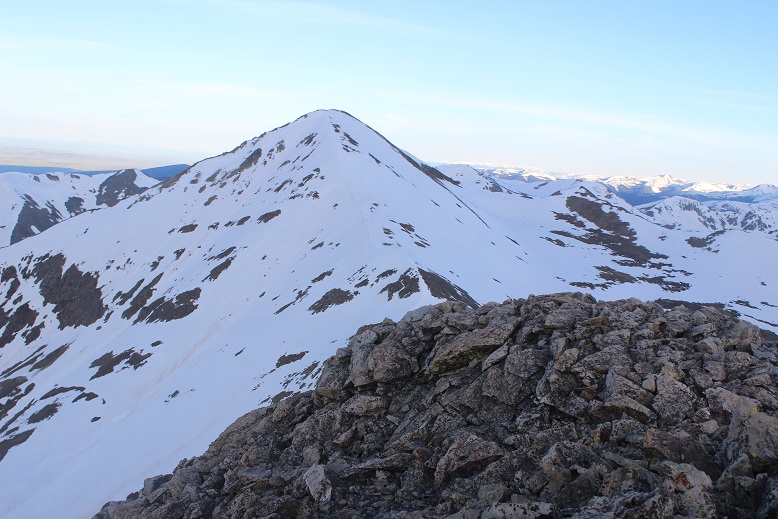
The rest of the route up Taylor Mountain A is a straightforward hike up the ridge.

25

I passed several neat mining sites on the way up

26

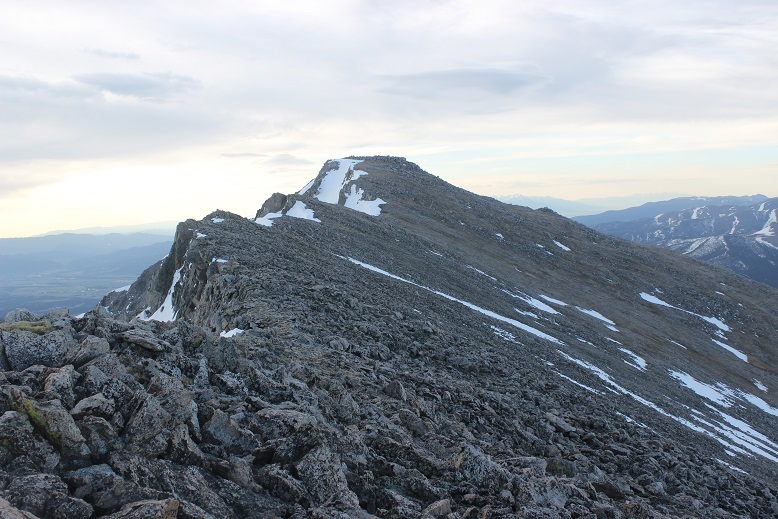
The terrain got increasingly rockier, but nothing too difficult.

27

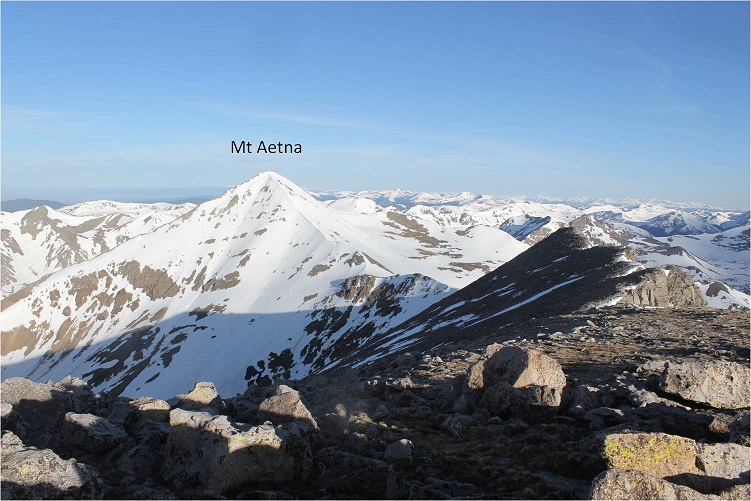
I was actually hoping to make this hike a double summit and attempt Mt Aetna as well. However, I didn’t have any good beta on the ridge below Mt Aetna towards Taylor Mountain.  I knew it usually holds snow, but I’d been hoping the ridge was clear enough to trek without snow on part of the ridge.  Worried the snow would soften up too much for me to be able to climb Mt Aetna, I decided to check out the conditions there before summiting Taylor.  I headed left, to towards the Aetna/Taylor Saddle

28

29

I made it to the ridge, and even before walking all the way to the end became disappointed: the wind had held at a steady 20-25mph all morning, but on this ridge I kept getting knocked down.  The wind here was most likely well above 50mph, and while the route up to Mt Aetna looked to be in great climbing condition, I didn’t feel comfortable crossing the ridge in all this wind.  I wasn’t entirely sure I could do it before the sun warmed up the snow either.

30

So I turned around and looked at the path back to Taylor Mountain.

31

This didn’t look too difficult, and indeed, it wasn’t. A bit rocky, and a few of the rocks were loose, but they weren’t going to tumble down below me or cause a rockslide.  The most they could do is put me off balance.  I navigated the rocks along the ridge

32

Stopping in the middle to take a picture of the route through the avalanche area to the basin and up the ridge

33

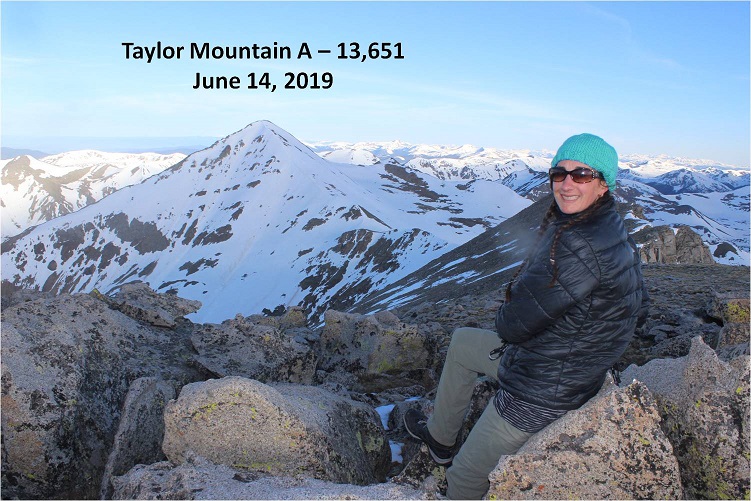
I summited at 7am

34

Summit Video

Almost immediately the sun came out from behind a cloud, and I was pleased with my decision not to attempt a summit of Mt Aetna today, guessing I’d only be making it to the snow now as the sun rose.

35

I turned to head back down Taylor’s South Slope

36

Stopping for a little bit in the mining area to take some more photos

37

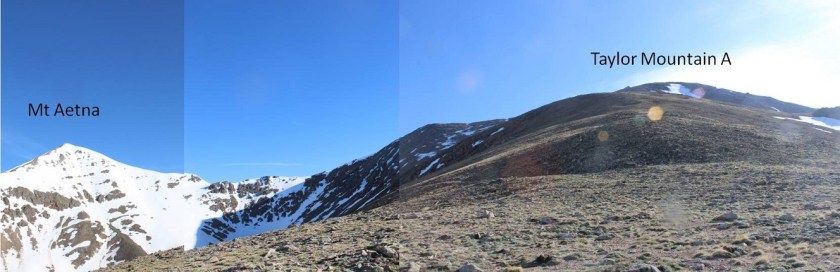
Here’s a picture of the ridge between Aetna and Taylor

38

I made it to the ridge, turned right, found the old miner’s trail, and followed it back down into the basin, humming as I hiked

39

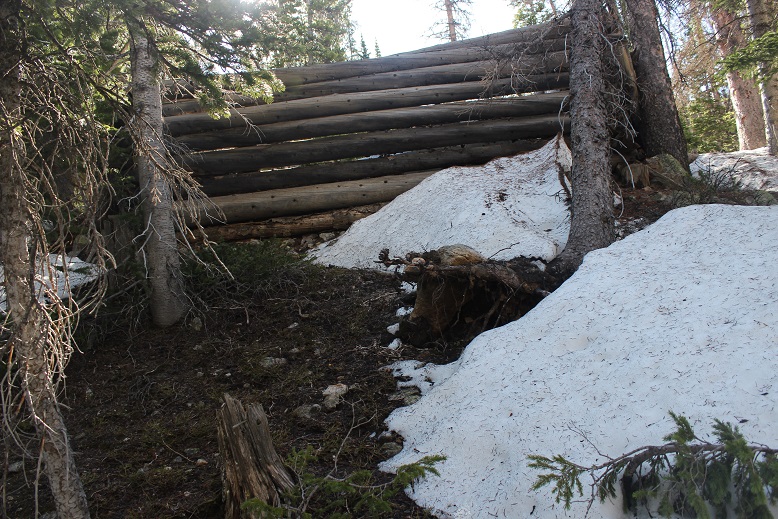
I followed my earlier snowshoe tracks through the avalanche area, down through the trees, and back to the trail, where I was able to see remnants of old cabins in the daylight I hadn’t seen in the dark.

40

I made it back to my truck at around 10am, making this a 10 mile hike with 4017’ in elevation gain in just under 6.5 hours.

41

All in all, today was a fabulous day! Now to drive home and take my daughter to the movies before she heads off to camp for a week.

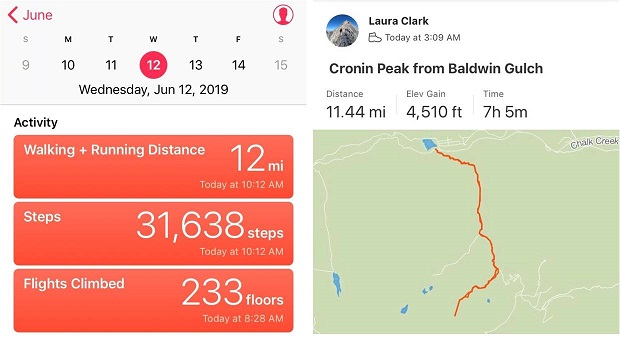
Cronin Peak 13,872

1

RT Length – 11.5 miles

Elevation Gain – 4510’

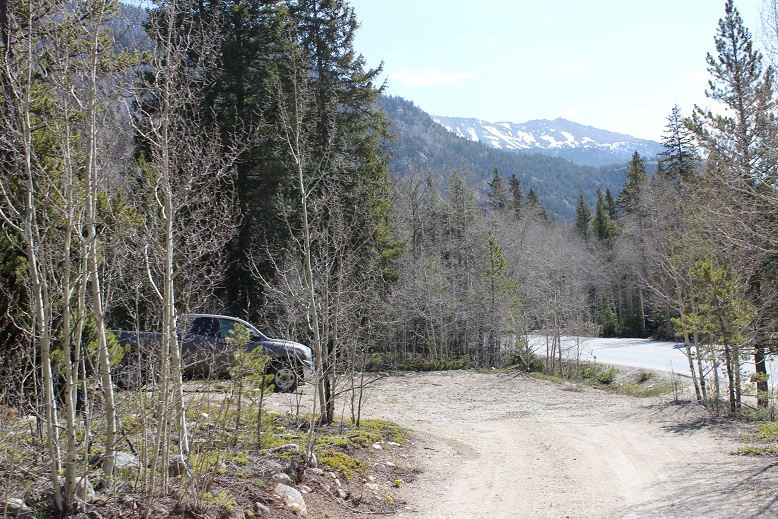
Today became a ‘Surprise! You’re free to hike!’ day at the last minute, which I quickly took advantage of because I was unable to get out last weekend. Luckily the weather cooperated as well.  The 2WD road in to the Baldwin Gulch Trailhead was completely clear and dry all the way to the lower 2WD trailhead.

2

In the dark I could hear and kind of see Chalk Creek. It sounded like it was raging and looked dangerously close to reaching its banks in some areas.  I seriously wondered if it would start to overflow later in the day. I’ve driven up the 4WD #277 road before, and even if it was open I didn’t much want to drive it again, so I parked along the side of the road (in the dark not seeing the lot just before the trailhead) and got my gear ready.

3

I was on the trail just after 3am.

4

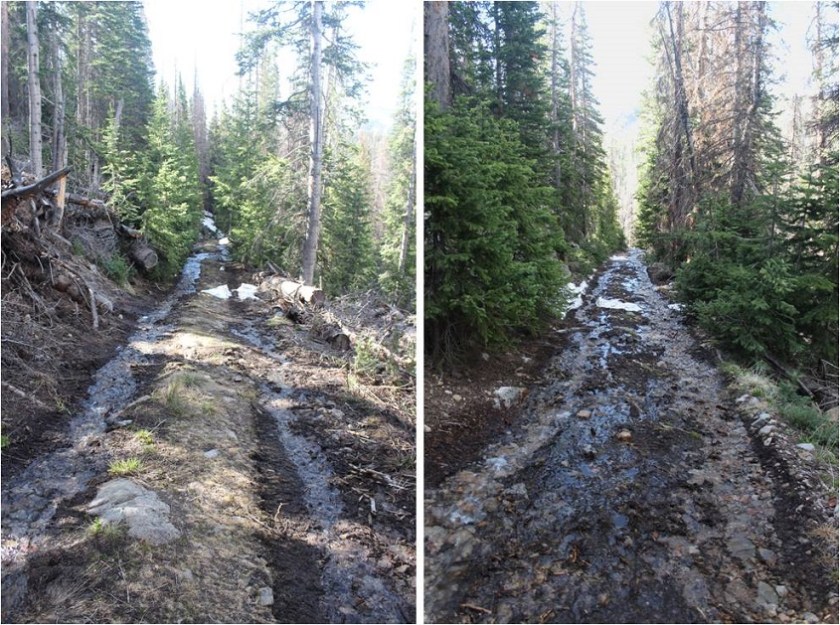
The #277 Baldwin 4WD road was worse than I remember it from 2017 and I was immediately glad I’d chosen to park at the 2WD area. The road was in full spring conditions, with a river of water running directly down the road.

5

After following the road for about 2 miles I came across avalanche debris blocking the way. It wasn’t too difficult to navigate around, even in the dark, but it looks like it’s going to be there for a while and vehicles can’t cross the area.

6

7

If you do decide to drive up the 4WD road there are 2 camping spots with parking for 1 car each before you get to the avy debris. The last spot is located at 10,530’.  It’s also the last place to turn around before the debris.  I’d just recommend parking at the bottom and hiking in though, as it’s an easy hike.

8

After the avy debris the water on the road really picked up. It seemed the creek was overflowing its banks here and I easily crossed through a couple inches of water for hundreds of feet

9

There was also evidence of moose in the area along the trail, but it didn’t look too recent. I made it to the first Baldwin Creek crossing while it was still dark.  I couldn’t see how deep the creek was, but my plan had initially been to rock hop across the creek on the boulders to the left.  I got about halfway across and had second thoughts:  the rocks were slippery and some were under quickly flowing water. I was going to have to jump to make the last few and would most likely end up in the creek in the process.  So I backtracked and thought about what to do.

10

I don’t feel safe crossing streams barefoot, and I hadn’t brought extra shoes/sandals/socks, so if I was going to ford the creek I was going to have to complete the rest of the hike in wet shoes with soggy socks. This did not sound appealing, and I knew soggy socks would turn into ice socks when I got further up in elevation.  I gave my summit a 50% chance of happening if I forded the creek but knew if I stopped now that number dropped to 0%.  I decided to go for it.  In the dark I studied the water and looked for the safest area to cross.  This ended up being close to the mouth of the creek.  I put my electronics in my pack, adjusted my trekking pole, and took a step in the water.  Woot!  My foot stayed dry!  The rocks were not as slippery as I’d imagined, but I was still careful and gingerly crossed the stream.  I took three more steps before my hiking shoes slowly started filling up with water.

11

I made it to the other side of the creek without incident. The only casualty was my wet feet.  I kept hearing squish-squish with each step I took.  This was not going to be enjoyable.  Oh well, on I went.

12

It wasn’t long before I came to the second creek crossing, and since my feet were already wet I didn’t hesitate and just walked through this one as well.

13

This is where the snow started. Since it was still early morning it was consolidated and I was able to walk on top of the snow.   As I continued up the trail I encountered more and more snow.

14

About a mile after the first Baldwin Creek crossing I turned right and entered the trees, aiming for where I mentally knew the willows area should be. I immediately sank up to my waist in snow, but I’m stubborn, so I had to sink about 10 more times in the next 10 more steps to break down and put on my snowshoes.  From then on out I didn’t posthole (much).  Oh, and my wet toes were beginning to freeze inside my wet socks.

15

I didn’t feel like I walked very far before I was in a clearing and could see the willows and the rest of the path before me. The sun was also starting to rise, which was nice.  Here’s the route I took, staying out of the trees and going straight up the gully

16

Luckily there was a small snow bridge over the creek in this area, so I didn’t need to get my feet wet again. I could hear the water rushing underneath, and asked myself if the snow bridge would still hold me this afternoon on my way back?

17

After crossing the stream I navigated around the trees, sticking to the left (southwest). As it rounded I turned west and followed the gully on consolidated snow.

18

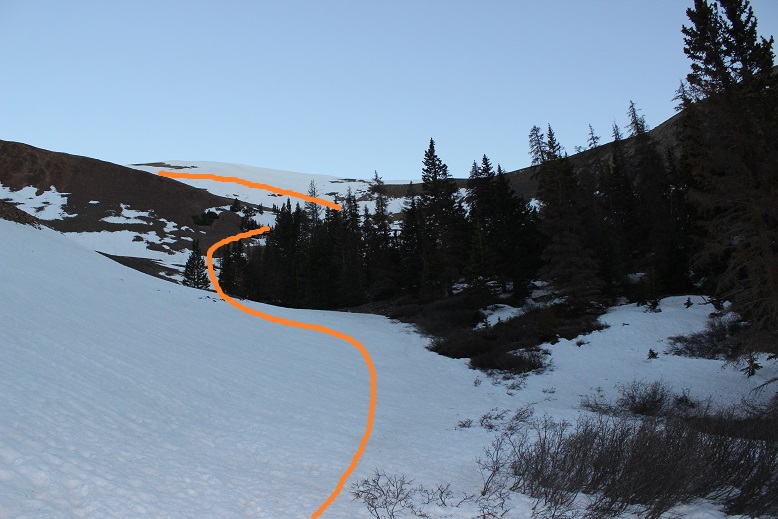
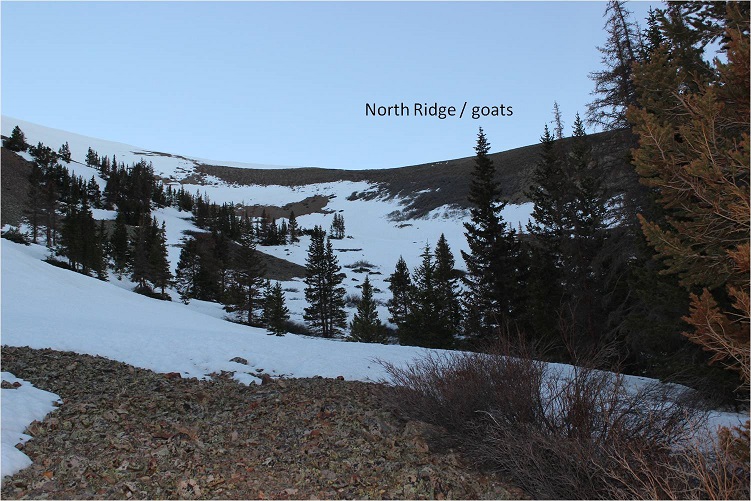
There are a few options from this point to gain the ridge and summit Cronin. One is to take the north ridge, but the scree here didn’t look appealing.  Also, there were goats enjoying their breakfast and I didn’t want to disturb them (but it was mainly the scree that made the decision for me).

19

So I continued following the gully up and to the left (west)

20

I still had options for gaining the ridge, and decided the safest option was to kind of parallel the ridge as I gained elevation. Here’s the path I took to gain the ridge

21

My socks were now frozen. I could feel the ice between my toes, but surprisingly they weren’t cold.  I decided not to question it and kept going.  Gaining the ridge wasn’t difficult, but the snow was starting to soften up.

22

I gained the ridge close to the false summit, and could see the rest of the trail in front of me. There was just enough snow to walk on and goat tracks to follow.

23

From the false summit there’s a little bit of a downclimb and I’d been told it included some tricky footwork, but the snow obscured any difficulties. I postholed here once or twice up to my waist, even with snowshoes on.

24

The ridge was one long but squatty cornice. I stayed to the right on the snow and walked where the snow met the dirt.

25

On the final push to the summit the snow got increasingly softer but was still navigable.

26

I summited at 7am, and set up my camera with my new gorillapod (which isn’t at all what I’d expected: poor quality but gets the job done).

27

Summit Video:

(For some reason I said Casco, but I was on Cronin. Whoops!  Oh well… my fingers were too frozen to try a second time.)

Check out Antero

28

It was windy and my feet were now solid blocks of ice, so I didn’t stay long on the summit. I turned to look back at the way I’d come

29

Here’s the route I took back

30

The snow was warming up quickly so I got out my ice axe. It helped me through some quick sketchy sections

31

The most difficult part of the day was just beginning. This snow section here below the ridge was rapidly warming and became slippery.  I had to walk slowly to prevent slipping, yet wanted to make it down before the sun warmed up the snow even more.  I couldn’t believe how soft the snow was for 7:30am!

32

I made it to the top of the gully area, said hi to the goats, and breathed a sigh of relief: I hadn’t slipped once!

33

Here’s a look back at the route

34

And a look down the gully

35

I made it back to the willows, following the tracks I’d made on the way in. My feet had finally defrosted and I was squishing again.  From here I decided while I was hiking through the trees I would aim for the ridge directly in front of me

36

I made my way to the snow bridge and looked back at the mountain. Cronin looks better in daylight!

37

The snow bridge still held my weight

38

Once in the trees I walked northeast until I made it back to the road. I’d overshot my entry point by a few yards, but was pleased with my navigation skills. My toes had almost dried by the time I made it to the first creek crossing.  Both creek crossings were much easier in the light of day, and with the added bonus of previous experience I just walked across them both.  I followed the road back to my truck, taking pictures in the daylight of the fun I’d had in the morning, my feet squishing the entire way.  I made it back to my truck at 10am, making this an 11.5 mile hike with 4510’ in elevation gain in 7 hours.

39

Chalk Creek hadn’t overflowed its banks, but it was raging! Here’s a picture from further down the road

40

Bull Hill A – 13,758

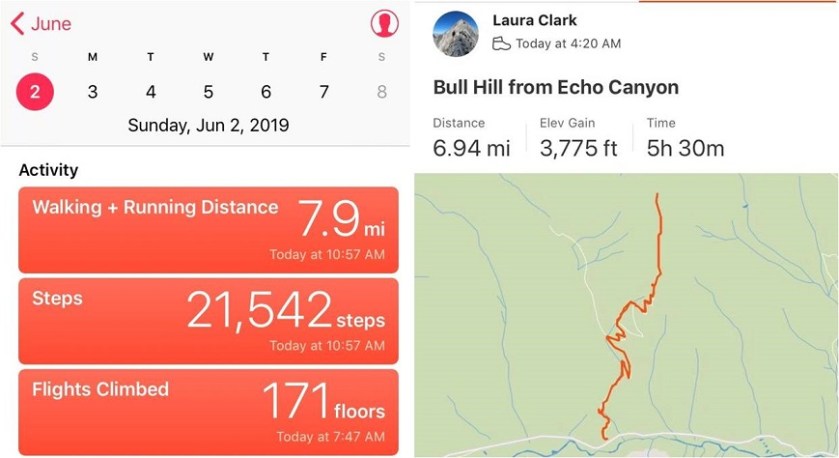
1

RT Length: 7 miles

Elevation Gain: 3775’

I picked Bull Hill because I needed something easy for today so I could be home by noon to meet a friend. The weather forecast was perfect (no wind, 50s at the summit) and I was tired from Friday’s climb but didn’t want to waste a great opportunity to get out and hike.

This was my third attempt at Bull Hill this year. The first time I got turned around before making it to the trailhead due to unexpected heavy falling snow and a road closure.  The second time I had no problem making it to the trailhead, but even after a hard freeze I was postholing up to my waist and couldn’t find the trail.  I ended up turning around shortly after the creek crossing.  Today I learned what a great choice that had been!

The trailhead is easy to get to but difficult to find. It’s located at exactly 12.5 miles down the 82 from Granite.  Turn right and there’s a small parking lot that will hold 4 cars if you all play nice.

2

I started at 4am. From here walk about 10 yards and turn north on an unmarked trail.

3

This trail is super easy to follow, as it’s an old 4WD road. There’s quickly a stream to cross that gave me some pause in the dark.  I couldn’t tell how deep it was and it seemed to be flowing pretty fast.  I walked up and down a bit, looking for a better area to cross, but this was it.

4

I decided I was wasting too much time on this: I had on winter climbing boots, so I decided to just walk across the stream.  I started out the hike with wet feet but they quickly dried.  The trail followed the stream, and here was where the “fun” began

5

And by fun I mean postholing. This was by far the worst experience I’ve ever had postholing.  Every step I took on snow for about 2.5 miles I postholed.  Over and over and over again.  I knew this was a possibility going into this hike (it had happened to me last time, even with a hard freeze) and I just gritted my teeth and continued on, sinking to my knees with every step.  Yes, I was wearing snowshoes, which helped, but they weren’t needed 100% of the time.

6

They were needed just enough to make taking them off not worth it

7

I followed the ill defined (due to the snow) trail to a gully, and took switchbacks up the south ridge. The switchbacks seemed unnecessary.

OK, so postholing isn’t fun, and I was getting tired of it. I came to an unexpected avalanche (although this year they seem to be the norm) and considered what to do?

8

9

It looked like this area went straight up the slope, but I wasn’t entirely sure the path was safe, so I continued on for another few switchbacks, the snow getting deeper and the postholing getting more aggressive as I went.

10

I switchbacked over to the gully once again and took another look.

11

This time it looked like it went all the way to the mine, and the snow in the gully was very consolidated. It didn’t take me long to pick consolidated-snow-gully over postholing-switchbacks.  Yes, this was the way to go!  I turned to look back over my shoulder and thought this was a cool view of La Plata and Ellingwood Ridge

12

I took the gully until it met up again with the road below the mine. The road here was covered in snow, but not a lot of the surrounding terrain had snow.

13

I stopped for a bit at the mine to rest. My quads were killing me! That type of postholing had been the 4 letter word type of postholing.  I was not looking forward to a repeat of that on my way down.  After applying sunscreen (yes, I did get sunburned on Friday’s climb of Thunder Pyramid) I took a look at my next step:  To gain the ridge in front of me. I decided it was best to keep my snowshoes on and looked for a line that would get me to the ridge

14

There was just one rocky area to climb over

15

And by looking left I could see the rest of the route before me

16

This was by far the easiest part of the entire day. The slope was gentle and had enough snow for me to keep my snowshoes on.

17

The only downside was a false summit that took me by surprise, but it was close to the actual summit so I didn’t mind too much.

18

I summited at 7:45am

19

20

Summit Video:

I was amazed at how calm everything was! There wasn’t any wind, which was amazing.  This is the first summit this year I haven’t needed to wear snow clothes to hike, but where there was still a ton of snow!

21

I turned to head back down, making sure to stay right (the ridge to the left goes the wrong way and has a massive cornice, but they look similar, so stay right)

22

23

Halfway down the slope I made a new friend! Ptarmigans have great camouflage.

24

From the ridge here’s a look back down at the mine and the route I took back to the gully

25

There was a busy marmot running to and from its den

26

I decided to have a little fun at the Last Chance Mine, just because I could and I knew I had postholing to look forward to (ok, I was stalling)

27

28

Doesn’t it look like a lot of fun?

29

I again followed the snow covered road back to the gully

30

And hiked back down to where I’d entered the gully earlier

31

I briefly considered taking the gully all the way back down to the stream, but wasn’t sure if it went the entire way. I found out it didn’t, so if you plan on taking the gully instead of the switchbacks you need to wait until the last set (see map)

32

33

The postholing was actually a little better on the way down because I could re-step in my previously made postholes, which meant more stability. The creek crossing wasn’t too bad in the daylight.  My feet got wet again but I was close to my truck and warm socks so I didn’t mind.

34

I made it back to my truck at 9:30am, making this a 7 mile hike in 5.5 hours: I blame it on the excessive postholing and the Last Change Mine.  You should be able to complete this hike in much faster time.

35

Relive:


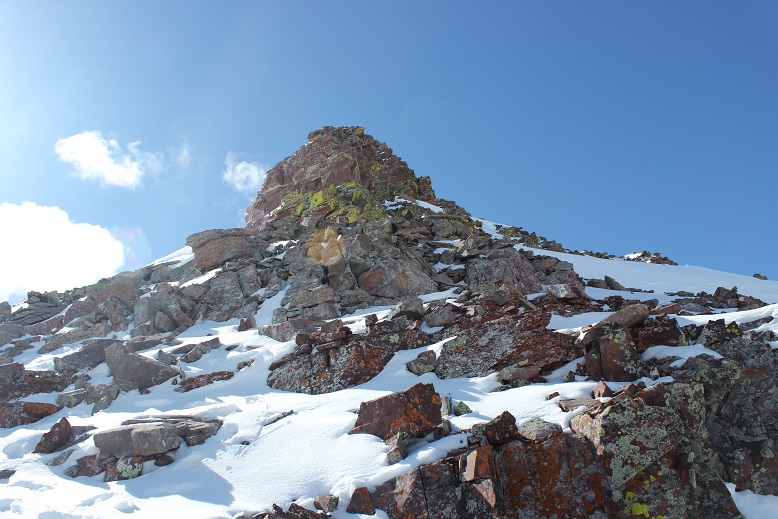
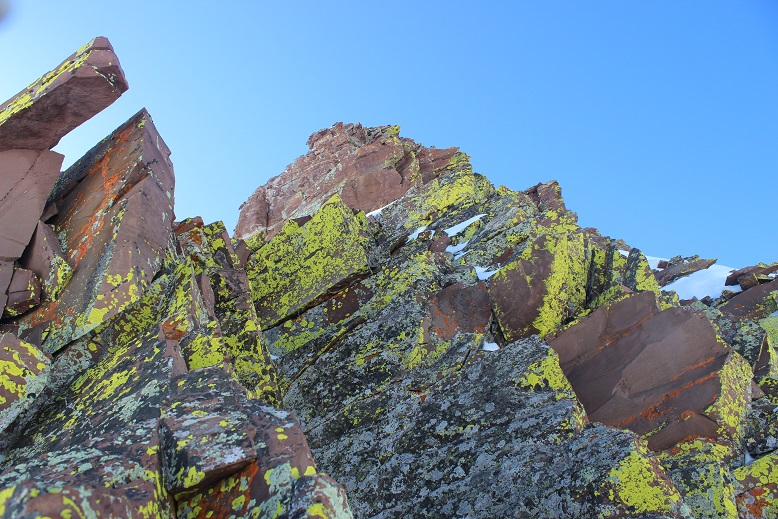
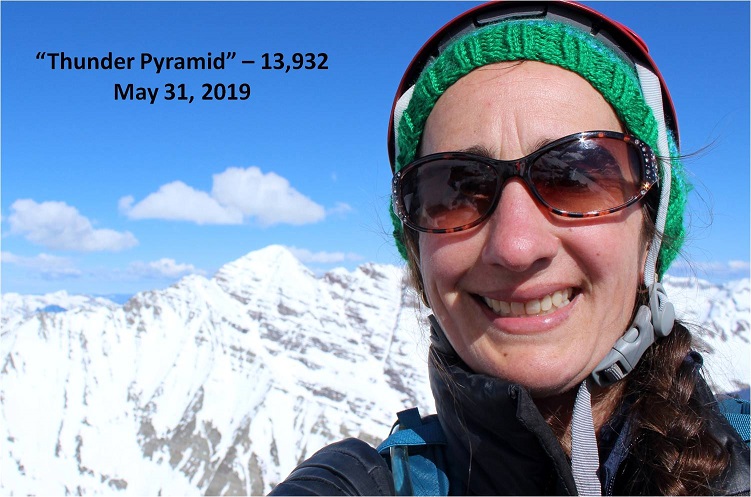
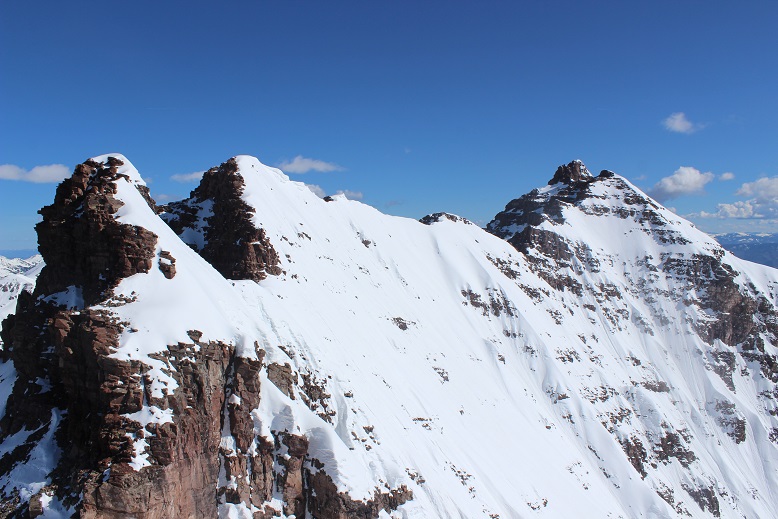
Thunder Pyramid 13,944

1

RT Length: 11.5 miles

Elevation Gain: 4697’

I did a ton of research on this one, as I didn’t want to have to attempt it twice. I’d been watching the weather for the past few weeks for this peak, and now that the road was open into Maroon Bells I figured this would be my best chance of making this peak a snow climb this year. The night before the attempt I was re-reading previous conditions reports and someone mentioned they’d have liked to have had 2 ice picks for this peak.  This seemed curious to me, but if someone’s going to give honest advice I was going to take it.  The only problem:  It was 6pm and I didn’t have a second ice axe.  I gave it some thought, and a wild idea came into my head: I wonder if I could use a hammer?  Probably not the best idea, but maybe just bring it along just in case?  I went to the garage to find a hammer and found a very cheap adze hoe I’d bought at the dollar store last year.  It had three prongs, was very lightweight, and I thought this looked even better than a hammer!  I had no intention of relying on this as my only source of stability (I brought along my ice axe) but I thought I’d have it “just in case”.  I got out some paracord and made a quick leash for it and attached a carabineer to it and put it in my pack, never intending to actually use it.

When I made it to the trailhead there were two other vehicles in the lot. I got my gear together and as I was ready to go I noticed a young man getting his gear ready, so I went over to talk with him  to see which peak he was climbing.  He was a bit surly (which I attributed to it being 2:30am) and he told me he and his friends were going to snowboard down Pyramid.  I wished them luck, put on my helmet (so I wouldn’t forget to later) and was on my way.

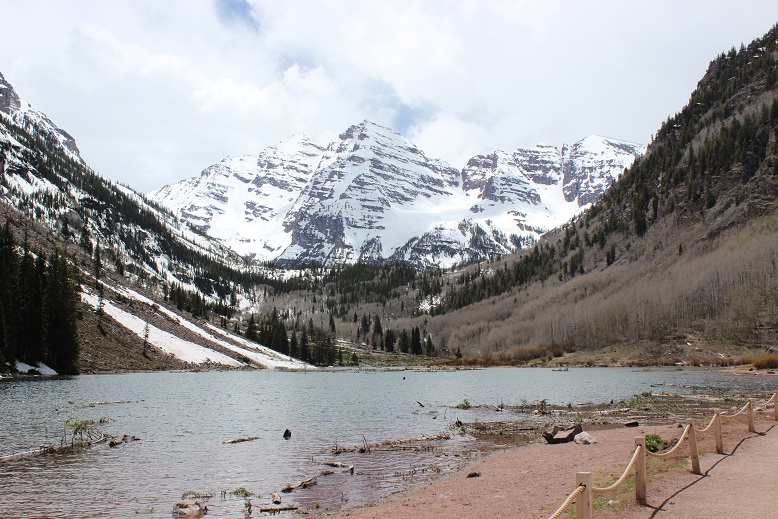
I was surprised to find they’ve recently roped off Maroon Lake (on my way out I saw dozens of people step over the rope for pictures, so unless they have personnel there monitoring visitors I don’t think the ropes are going to make much of a difference).

2

The trail was dry until I hit 9950’, about half a mile before Crater Lake. Luckily the snow was firm so I didn’t need to put on my snowshoes. Crater Lake was covered in recent avalanche debris, but even in the dark it was easy to navigate through.

3

After Crater Lake the trail pretty much stopped: it didn’t look like anyone had been out hiking past Crater Lake yet this season. There was a thick layer of snow and what seemed like avalanches everywhere the trail was supposed to be, so I just worked my way through the willows and followed Maroon Creek as best I could.  I postholed a bit in the camping area, but otherwise the snow was firm.  It was about here I turned around and saw someone’s headlamp in the dark.  It looked like someone as hiking North Maroon Peak this morning, and making good time.  Cool!

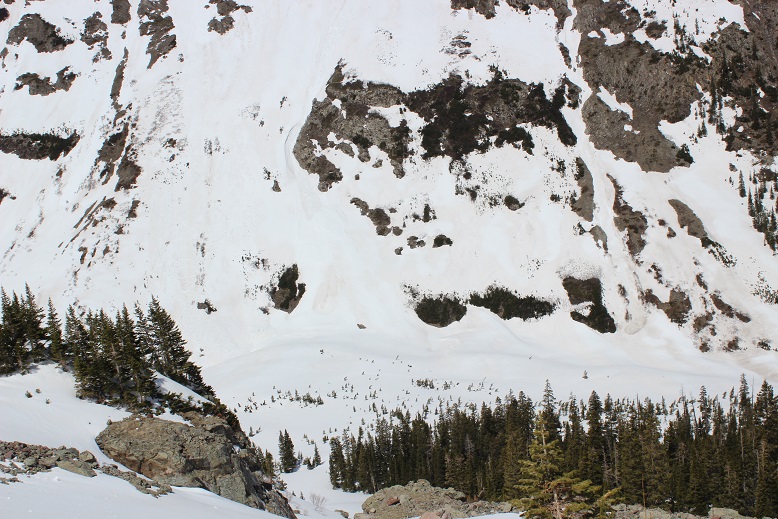
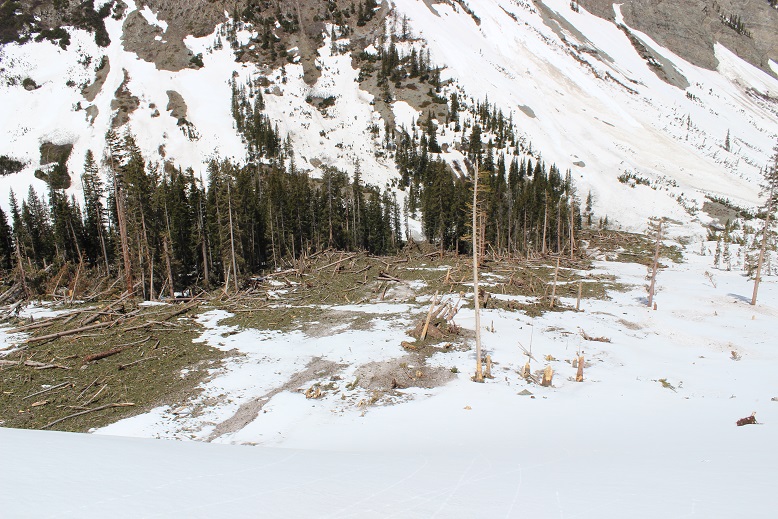
I never saw the creek crossing as it was covered in snow, and in the dark I accidentally went too far and had to backtrack. When I made it back to the correct spot to ascend the first access gully I noticed an avalanche had occurred here as well.  The good news is it makes it easier to see your entire route.  Here’s the route I took up the first access gully.

4

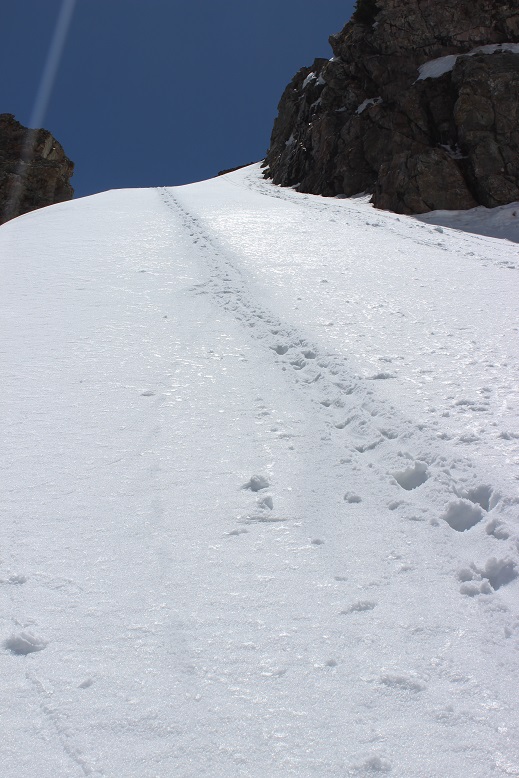
This was much steeper than it looked. At the base I put on my crampons and looked for a good route.  Boy, was that steep!  The snow was consolidated enough to need crampons, but the slope angle was so steep I couldn’t just walk up it either:  I needed to kick in steps.  I decided to take out that adze I’d brought with me and try it out. Kicking in steps was difficult because the snow was so hard.  I’d kick about 15 times for each step.

5

However, the adze was amazing! In fact, I liked it better than my ice pick.  It wasn’t practical for self arresting, but those 3 prongs were great for traction!  I had the adze in my left hand, and once in the snow it felt more secure than my right hand did holding my ice axe.  Wow!

6

It’s really important to pick your line from the base of the mountain because once you’re climbing the terrain is very steep and it’s hard to tell where the actual summit is. This is the route I took.

7

From the top of the first access gully I needed to ascend a band of cliffs. This is the route I chose to take

8

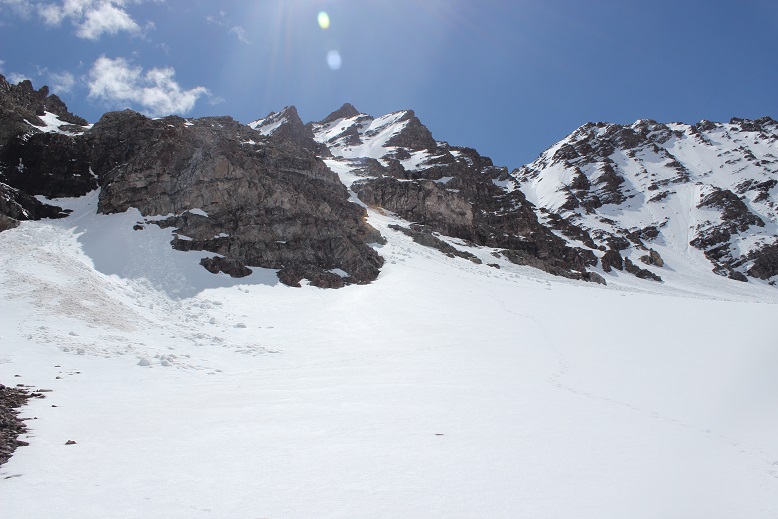
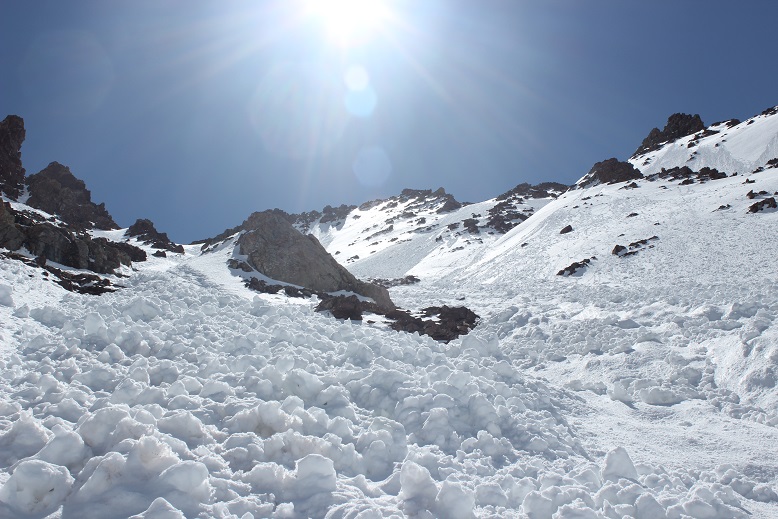
After the cliff bands there’s over 1500’ of gully to climb. This sounds straightforward enough, but the route was really, really steep. Added to that there were unavoidable frozen roller balls and avy debris littering the whole route.

9

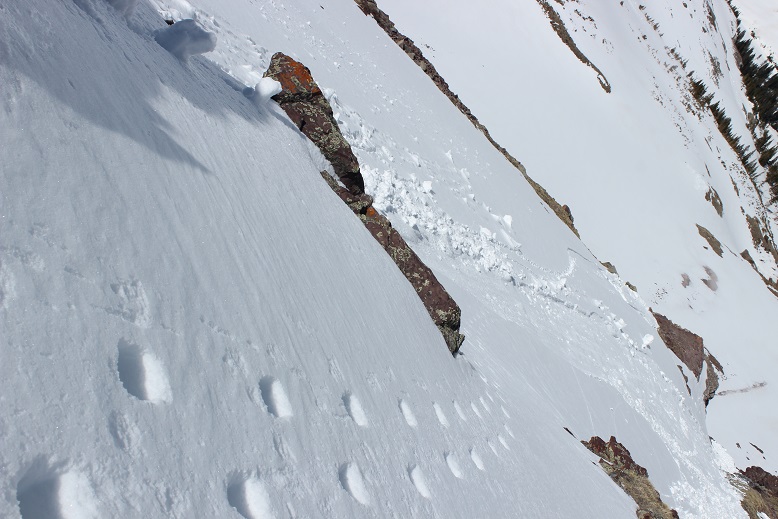
It wasn’t lost on me I was climbing up a slide area, but the entire mountain was a slide area. The debris on the mountain was actually helpful while upclimbing because it gave my feet stability (most of the time, when it wasn’t sliding out from underneath me). I knew I was climbing on a ticking time bomb: as soon as the sun warmed up the mountainside all this debris would become slush and slide (hopefully after I’d made it down).  I tried to decide if it was safer to hike down the slide areas or on the firm snow on steeper terrain that looked like it was about to slide.  I wasn’t sure?

Progress was very slow going. If I were to lose my balance and fall self arrest would be difficult at this angle, and I was going to slide a long, long way if that happened.  So I couldn’t fall.  I made sure each step was secure, having at least 3 points of contact at all times.  This entire stretch required kicking in steps, often times on terrain that fought against me.  Did I mention the adze?  It was amazing!!!  I didn’t care how silly I looked, I was so glad I’d chosen to bring it along.

I was in a race against the sun, and kept reevaluating my current situation. The snow was firm and I was making good (if slow) progress, but I told myself to stay out of harm’s way I needed to make it to the top of the gully before the sun crested the saddle.  If the sun made it before me, I was going to have to turn back for safety reasons.

Most of the trip reports I’d read said to take the right gully, but that wasn’t an option for me as the safer terrain today was to the left. I topped out of the gully at a small saddle between Point 13,820 and Thunder Pyramid.  Here I stopped to catch my breath.  I’d done it!  I’d beaten the sun!  Woot!  It was now a quick 300’ or so climb to the summit.  But was that really the summit?  I took out my phone and pulled up Peakbagger.  Yep, that was it:  I needed to go right.  I put my phone away, took off my crampons for the climb, crossed the saddle and sank up to my arms in soft snow.

10

Drat! I seriously had to hurry!  The sun was going to warm up the mountainside fast. Here’s the rest of the route

11

Whoops, my camera was still covered in snow from that unexpected dip. Here’s a better picture of the route I took

12

It looks steeper than it is. I’ve heard this is class 4-5, but I was able to keep it at class 3-4.

13

14

I made it to the top, took a quick selfie (my gorillapod is still broken: another’s on its way so hopefully this DSLR-selfie thing can stop soon)

15

And booked it back to the saddle. Pyramid is looking wonderful this morning

16

As are the bells

17

The sun was heating things up fast but Thunder Pyramid was still (mostly) in shadows

18

19

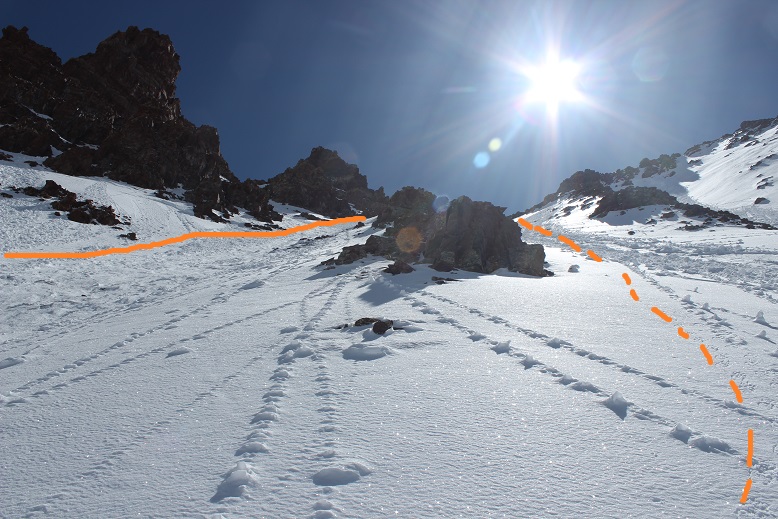
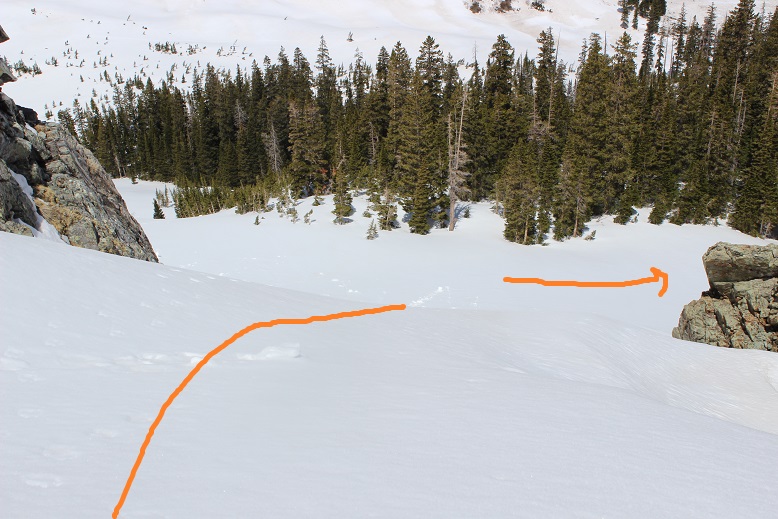
I put my crampons back on, grabbed my ‘tools’, and began descending. I descended a little more to the right than I’d summited, with the intention of climbing the smooth snow instead of the avy debris (which I was worried would fall). Solid line is how I summited, dotted line is how I descended.  Neither was better than the other.

20

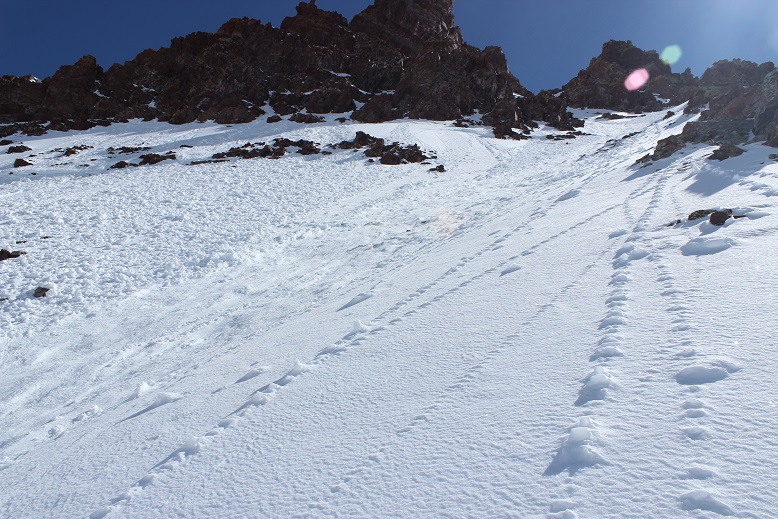
I had to turn and face the mountain the entire way down, and wouldn’t you know it? Slick as snot. This side was no better, and probably worse.

21

22

If anything, there seemed to be more avy debris here, none of it stable.

23

24

I tried to avoid the areas that had recently slid because they were very, very slick. I was also happy to see some of my kicked in steps on the way back down!

25

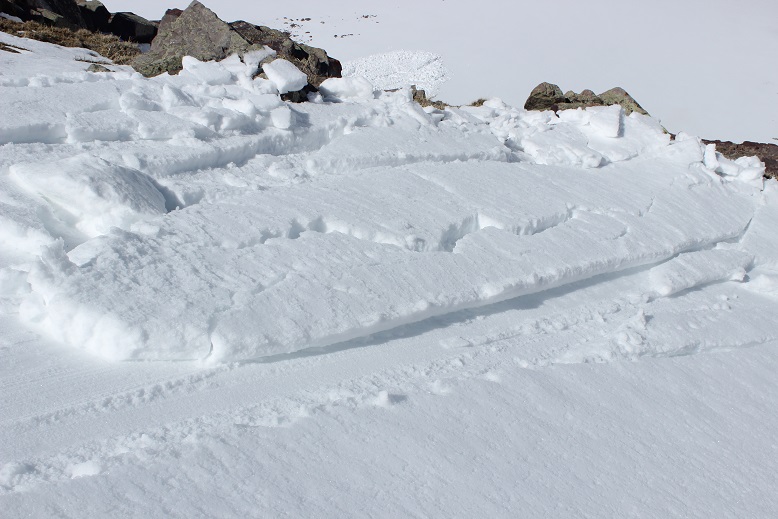
Evidence of wet slab avalanche

26

Downclimbing was just as hard as climbing up, with the added anxiety of making it down (safely) before things started to slide. I made it to the top of the cliff bands and was finally able to turn around and walk down

27

The snow was seriously starting to soften up fast. I kept increasing my speed until I made it to the cairn at the top of the first access gully.  Here was where I could finally breathe a sigh of relief:  I was out of the danger zone!  I figured it was time for some self care:  I reapplied sunscreen (knowing on my way down I’d already done some damage), took off my gloves (it was warm here!), exchanged my crampons for snowshoes, and looked back at the route I’d taken down the cliffs.

28

I also took a picture of my ‘tools’. I was so thankful for the conditions report that suggested I bring 2 ice axes!  The adze wasn’t an ice axe but it had proven extremely useful.  I was glad to have had it with me.

29

Just as I took this picture I heard a loud pop and then a crash that sounded like thunder. It startled me at first, until I realized one of the waterfalls had warmed up and dropped a bunch of ice down its chute.  Then I heard it again, and again, and again.  The entire basin had warmed up at the same time and was filled with icefall.  I’d made it down in perfect time!  Woot!  I sat there and waited for the crashes to stop, just enjoying the experience while I was there.

But I wasn’t out of the woods yet. I’d thought I could descend via the avalanche area and skip going back down that steep access gully, but when I made it to the avalanche area it cliffed out

30

Ugh! I had to backtrack up to the cairn and get out my tools one more time.  The snow was very soft at this point, and I should have just glissaded down the access gully, but I didn’t want to take off my snowshoes (etc) so I turned and faced the cliff and descended in rapidly softening snow.

31

After heading down I turned right (instead of left, the way I’d initially made my way in the dark) and was able to safely descend via the avalanche area. This will probably be the new route

32

33

Here’s looking back on the route

34

And now to head back down the basin to Maroon Lake.

35

The willows were much easier to navigate in the daylight, but unfortunately I was postholing in the snow. There was avy debris hugging the base of the mountains, so I tried to stick to the creek as much as possible.

36

Maroon Creek is beginning to thaw

37

And the avalanche area covering Crater Lake didn’t look so intimidating in the daylight

38

Oh, and you haven’t experienced spring snowshoeing in Colorado until you’ve snowshoed over avy debris. There’s no other experience like getting a pine branch stuck in your snowshoe.  And don’t bother removing it:  another one will take its place with your next step.

39

It was really nice to hear all the birds chirping on my way out. After Crater Lake the crowds picked up and so did the slush.  I was very thankful to have my snowshoes.  Every tourist I passed commented on how ‘smart’ I’d been to bring them.  Ha!

40

41

The last part of the trail was over a path with just enough rocks to slow you down, but at least it was snow free.

42

I started at 2:30am and made it back down at 1:30pm, making this an 11.5 mile hike/climb in 11 hours.

43

Disclaimer: I’m NOT advocating the use of garden tools in place of proper mountaineering equipment.  There are tons of reasons why this was a bad idea, but in the end it worked out well.  The next day I went to REI to buy a second tool.  I asked an employee for help, and she couldn’t recommend anything to me at the moment (apparently ice climbing gear isn’t in season in June).  The only thing she could recommend was a second ice axe, exactly like the one I currently have (which I thought was overkill, too much weight, etc.).  So I’m currently in the market for an ice pick for my left hand and keeping the adze in my pack until that happens.  Hopefully sooner rather than later.

Track:

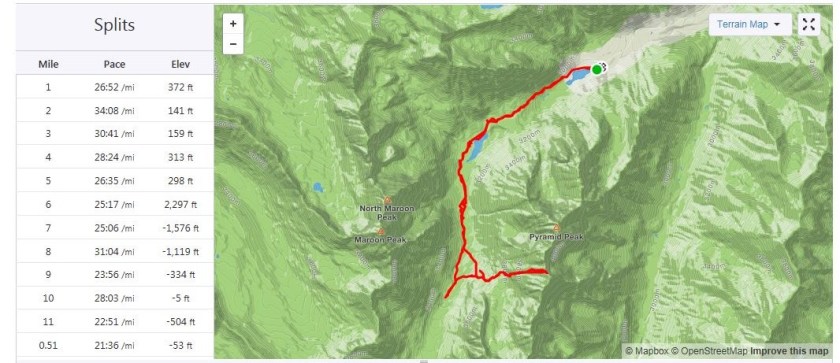
Thunde6Thunder 8

Mt Wilcox 13,408 & Otter Mountain 12,766

1

RT Length: 8.5 miles

Elevation Gain: 3221’

I’d already considered this a successful Memorial Day weekend:  I’d climbed 3 peaks in the San Juans without (major) incident.  Saturday I did all the “mom” stuff:  Washed all the sheets, did the laundry, went shopping, vacuumed, re-planted a few plants destroyed in the storm last week, and took my daughter ice skating.  As we were having dinner I asked my 16 year old what she wanted to do tomorrow?  Sleep and study for finals.  Hmmm… it looked like I had another morning free to hike!  I didn’t want to do anything too far away because it was Memorial Day and I wanted to make something special for dinner, so I did a very quick search of peak conditions and settled on a peak I didn’t need much info to hike:  Mt Wilcox.

Mt Wilcox is generally done as a loop with Argentine Peak and Square Top Mountain, but I’ve already done both other peaks previously and just needed to tick off this one in the area, making it the perfect choice for this morning.

Yes, Mt Wilcox seemed like a quick and easy 13er, and there was a close 12er I could hike if all was going well.  I didn’t do much research but I also couldn’t find much information in the 10 minutes or so I spent gathering information.  I looked at a few trip reports, printed out a shaded topo map and was ready to go.

I arrived at the Guanella Pass Campground / Silver Dollar Road trailhead at 4am and was on the trail by 4:15am.  I put on snowshoes in the parking lot and kept them on for the entire hike.  I did not regret this decision:  they were a bit overkill in the morning, but very helpful on my way back.

2

I followed the Silver Dollar Road Trail for a little over a mile.  The road was still covered in a few feet of crunchy ice.

3

I followed the road all the way to Naylor Lake, which was covered in ice as well.  I steered clear, but it looked like others had recently tried to ski across it?!?!?

4

There were a few cabins here, some mostly covered in ice.  There were footprints and ski tracks everywhere.

5

6

At the lake the trail ended and I headed Northeast through the trees and up a small gully to treeline

7

My beta told me to ascend here, to which (in the dark) I said nope.

8

There had to be an easier way!  I decided to trek along the small basin to see if there was an easier way to get up and over this part.  I knew from looking at my topo map once I got above this area the terrain would just slope.  I came to this point and thought to myself “this is doable”, picked a line, and made my way up.

9

9-2

It was still pretty steep, but nothing as dramatic as the suggested route.  It’s amazing how snow changes things!  On the topo map this area looked very similar to Elkhead Pass, which I was unable to downclimb, yet this was manageable.

10

I made it up this difficult area and then was greeted with a long white climb up snow

11

Every so often I’d look back, waiting for the sun to rise.  The Sawtooth looks pretty cool!

12

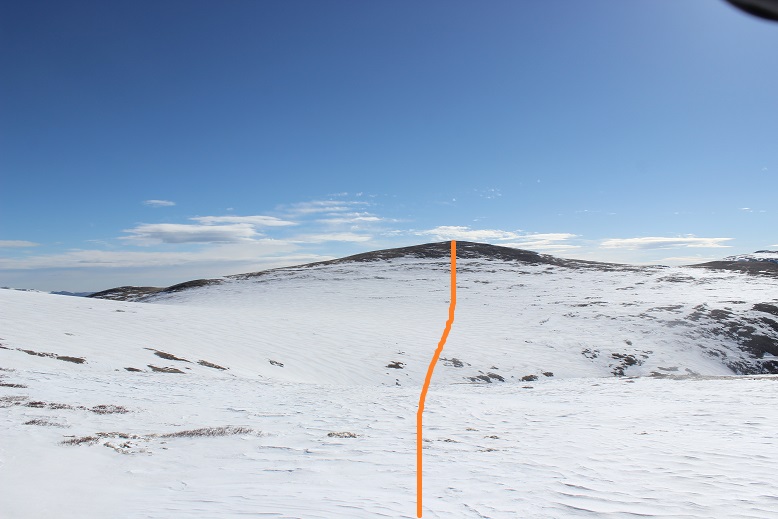
I kept heading west until I could see the summit of Mt Wilcox.  When it came into view I thought to myself “That’s it?  That looks too easy!”

13

What I didn’t realize was it’s much further than it looks.    I had a hard time focusing on the path ahead of me because I kept turning around to watch the sunrise.  Alpine sunrises are the best!

14

They turn the snow pink for 5 minutes or so

15

The snow here was very consolidated and easy to navigate.  I wasn’t making any tracks though

16

This hike wasn’t very challenging, but it didn’t seem like I was getting any closer to Mt Wilcox

17

I’d climb over one area, just to be greeted with another slope

18

The summit was snow covered, with amazing views!

19

20

The hike to the summit hadn’t taken me very long and I wasn’t tired, so I decided to head over to Otter Mountain.

21

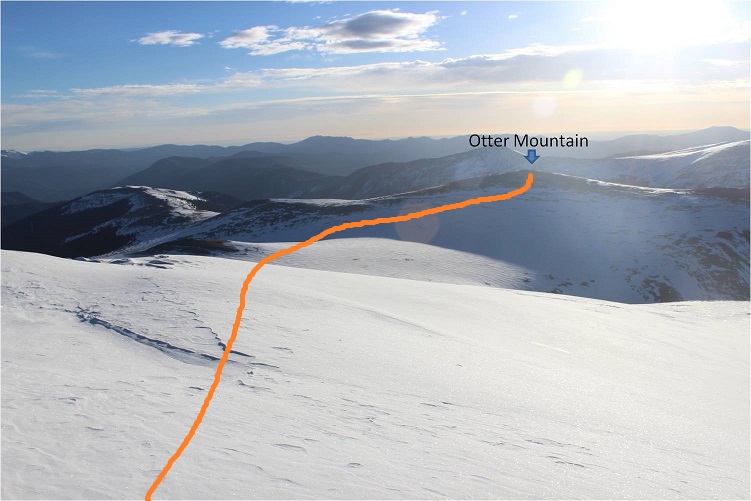
This was very easy.  I hiked northeast down the slope of Mt Wilcox to about 12,300’ (losing about 1100’ in elevation) and then just ascended Otter Mountain

22

Here’s a look back at Mt Wilcox from the base of Otter

23

The only downside (besides the 400+ feet in elevation gain I had to regain) was the sun was rising as I was hiking up Otter Mountain.  I was hiking directly into the sun, which was less than ideal

24

I kept trying to race the sun, trying to make it to the shadows, hiking faster than it was rising, and when I was almost to the top I won!

25

The last 100 feet or so in elevation gain were on dry tundra, so I took off my snowshoes and hiked the rest of the way with them in my hands

26

Yay summit views!

27

I summited Otter Mountain at 7:15am

28

Otter Summit Views: 

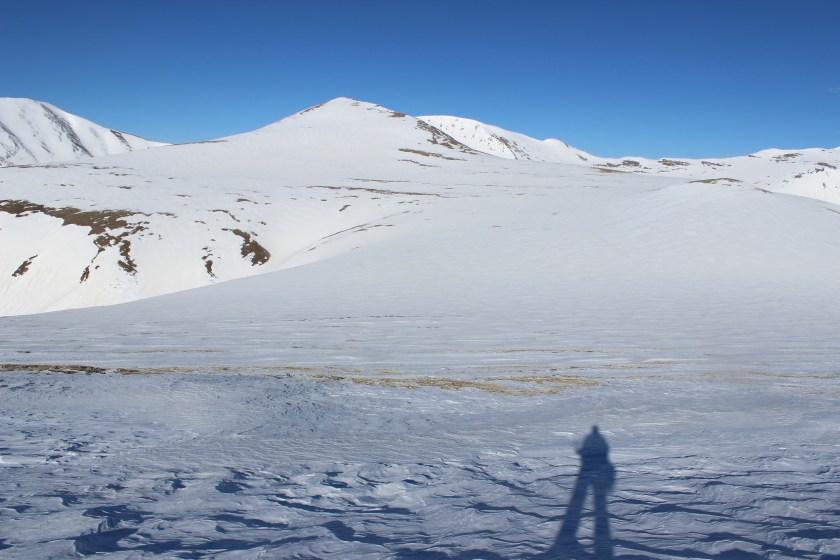
One thing I really like about 12ers is it’s easy to breathe while you’re hiking to the summit.  I turned around to look at Mt Wilcox and the path I’d taken

29

Time to head back.   I knew I could just take the slope of Otter Mountain down to the parking lot,

30

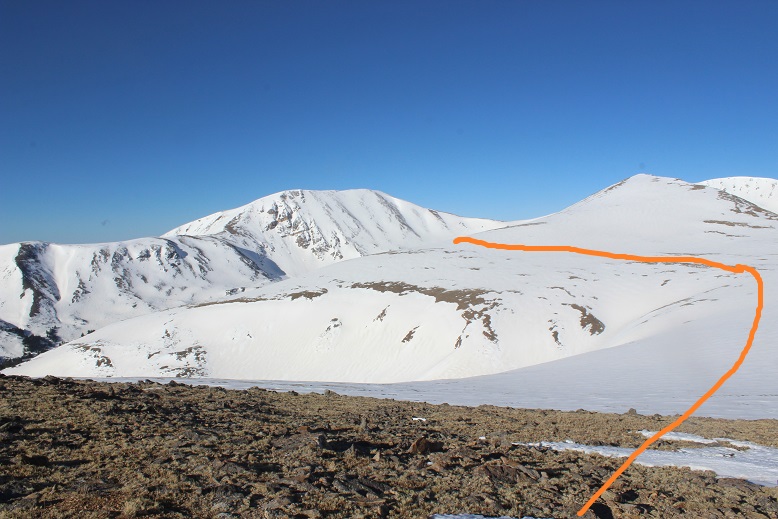
But I wanted to get day pictures of the hike, so I made it a loop.  I stayed high to avoid the drainage area (which was a serious drop from every angle).  Here’s the path I took back

31

Just Because…

32

And a look back at Otter Mountain and the route I took from the Mt Wilcox ledge area

33

Time to try and find my tracks and head back down!  Another reason I wanted to make this a loop was to see how difficult the downclimb would be.  I can climb up terrain no problem, but the downclimb still puts me on edge sometimes, and I considered this great practice without too much commitment (a fall wouldn’t be too far and it would land me in the willows).

34

I hate saying this, but once again, it’s steeper than it looks

35

I made it down successfully to the willows

36

And trekked back to Naylor Lake.  It looked like someone had been skiing in the area recently.  As I passed the cabins I noticed a “No Trespassing” sign near an open gate.  Note: in the dark on the way in I hadn’t seen the gate OR the “No Trespassing” sign.  It wasn’t reflective and had been covered in snow.  The gate was 90% covered in snow, open, and had tracks going straight through it.  The rest of the hike was done in slushy conditions, even though it wasn’t yet 9am.  I was glad I’d worn snowshoes.  I made it back to my truck at 9am, making this an 8.5 mile hike in under 5 hours.  I made it home by 11:30am, 30 minutes before my promised 12pm arrival.

37

OK, so obviously all I thought about on my way home were those “No Trespassing” and “Private Property” signs.  I was mad because I hadn’t realized this was private property and because I’d been following tons of footprints (meaning others hadn’t been respecting private property either).  I was mad at myself for not doing more research before the hike (I hadn’t checked maps that would have given me this information) and I was upset all the trip reports I’d looked at (although few) hadn’t mentioned private property and I’d taken their advice.  Also, I kept seeing NFS trail signs, so I had no idea I was on private property.

The first thing I did when I got home was look up a map and find a way to fix this.  I didn’t have this map on my trek:  I made it when I got home.  (The topo I had just had slope angle and terrain, and didn’t include the lakes (etc)).  Please don’t take my route (the dotted line).  There’s another route you can take to the left of Naylor Lake that will get you around the lake, looks easier than the route I took in some areas, and will keep you on public lands.

38

Also, I will gladly donate tons of Girl Scout cookies to the Naylor Lake Club as penance (and you should close your gates and put up reflective signs for us early birds if you don’t want trespassers… just sayin’).

The best part about my hike?  I met some friends by the side of the road on my way down!

39

40

41

Relive:

Oh, and Memorial Dinner was a great American dish:  Beef with Broccoli (but at least I grilled the beef on the grill before adding the glaze… ).

Point 13,820

1

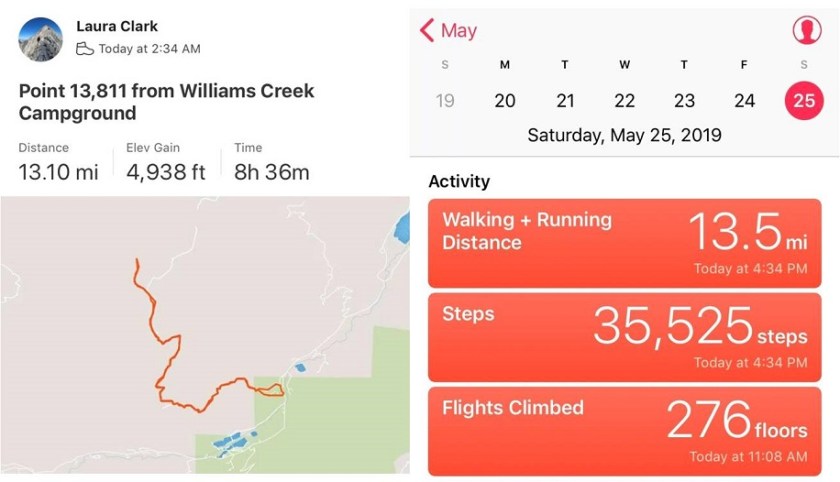
RT Length: 13.5 miles

Elevation Gain: 4938’

So far this weekend nothing was going as planned. I took a 2 hour nap before getting up at 10pm to drive the 6 hours to the trailhead.  I’d wanted to hike Point 13,811 today but ended up getting “lost” (apparently there are two Williams Creek Trailheads geographically close to each other) and long story short the workaround was a 3 hour drive, so I missed my window to climb Point 13,811 safely yesterday.  What really stinks is I’d printed out the correct directions, set my GPS to the incorrect campground, and when my GPS took me a different way I didn’t challenge it, I just figured I was headed in the back way (face palm).  Lesson learned.

Well, I’d driven all this way and wasn’t going to drive back without a hike. I switched my plans and decided to hike 13ers Baldy and friends instead.

After hiking Baldy and friends I drove the 30 minutes to Lake City and the William’s Creek Campground. There was tension in the air in Lake City.  The residents seemed to be on edge, and for good reason:  Avalanches have closed the popular 4WD roads in the area and now the residents are worried of flooding when those avalanches thaw. Apparently so are the tourists because they aren’t here.  This is Memorial Day weekend, and the city looks like a ghost town.

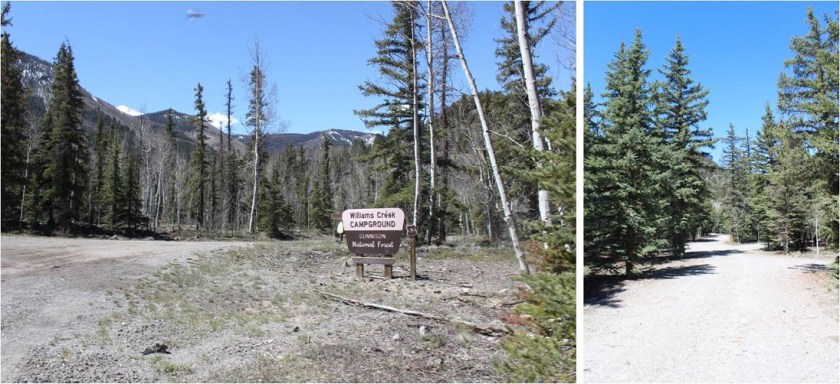
I drove to the campground and was surprised to find not one of the campsites was taken. Not one.

2

I stopped to talk with the camp host and she told me she’s never seen it like this before. Her voice was quivered as she worried it would be like this all summer.  I told her I was just interested in sleeping in my truck near the trailhead but wondered what to do since the trailhead was inside the campground?  Should I just park on the road and hike in?  She told me to just pick any spot I wanted and I could camp for free.  I offered to pay, and she refused.  Wow!

She was also concerned I was going out there by myself with “all that snow”. I told her I’d be fine and I’d be gone by noon, but if my truck was still here at night she could start worrying about me.

The trail starts at the back of the campground between spots 11 & 12, so I backed my truck into spot #12 and prepared to make it an early night. A quick wet-wipe bath, 4 packages of tuna, a roll of Ritz crackers, and 3 shots of whiskey later I was sound asleep (by 3pm).

3

I woke up twice during the night but was able to quickly get back to sleep. When my alarm rang at 2am I was not a happy camper (I’m not a fan of sleeping at trailheads:  getting up is the hardest part) but forced myself out of my warm sleeping bag and got ready for the hike.  I made myself eat a bagel as well (I don’t like to eat in the morning, as it makes me nauseous while hiking, but I knew I needed the calories).  I was going to drink water on this hike too for two reasons.  1) I was dehydrated from not drinking anything yesterday (except 3 shots of whiskey) and 2) hydration is important.  I just hoped it didn’t make me nauseous.

I’d done so much research and knew I wanted to make it to treeline as the sun rose, so I needed to be on the trail early. It was 4.5 miles of intense elevation gain to make it to treeline, so I started today at 2:30am, passing through the gate between sites 11 & 12.

4

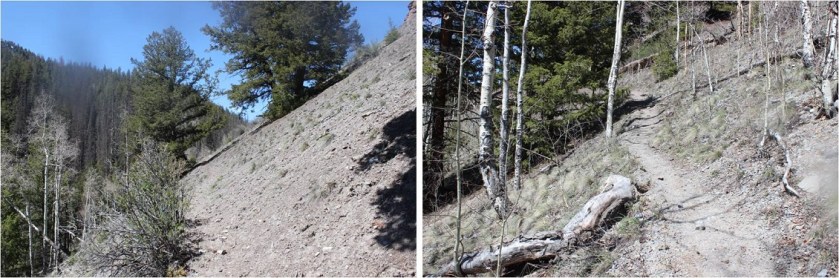
The first part of the trail was dry.

5

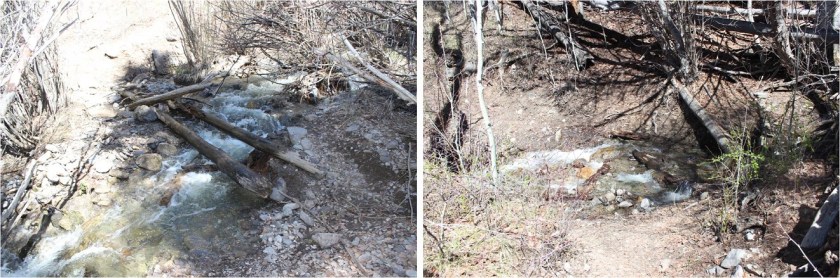
The trail was easy to follow as it crossed a few streams and skirted the south side of the mountain.  The stream crossings were a bit tricky in the dark, as everything was slippery and loose and the water was flowing fast.   Any logs you see that look stable over the water are in fact, not.

6

I could see lots of evidence of deer/elk/moose in the area (all 3 determined by the scat I saw) but didn’t see any wildlife.

7

The trail passed by a few ponds. The first one I had no trouble navigating in the dark

8

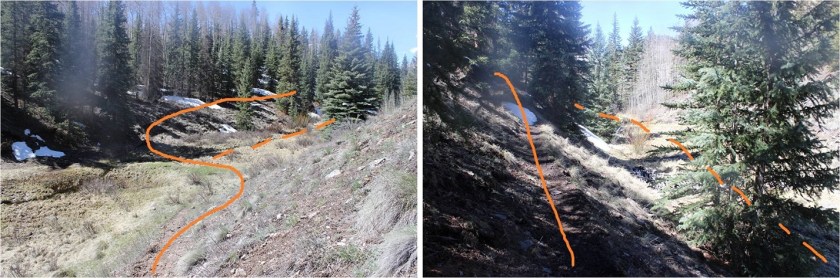
The second one is where I had some problems. The correct thing to do here is to go left and hug the side of the slope.  In the dark I didn’t know this and instead followed what I thought was the trail (but was really the creek).  Luckily this only lasted a quarter mile or so and I was back on track.  I didn’t even know I’d done anything wrong until I was hiking back and could see the obvious (and dry) trail above me.  The solid way is the way you should go, the dotted one is the way I took.  My advice:  stay high, stay dry.

9

Directly after I found the trail again I was in a rocky basin. However, I didn’t know this at the time, I just thought I was following a good trail (with a little bit of solid snow).  On my way back I realized it was a rocky basin.

10

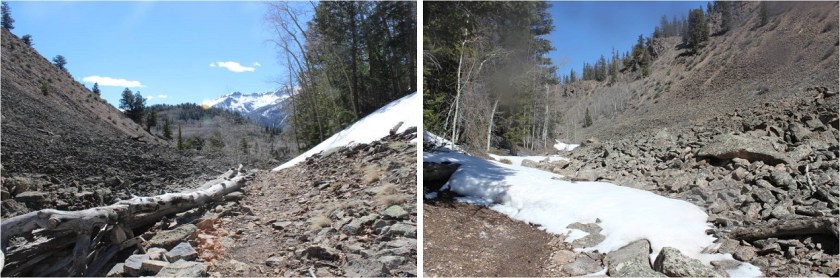
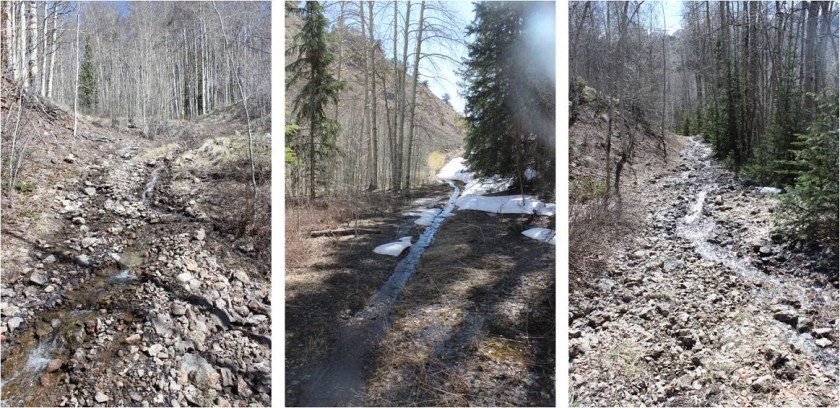
Here’s where the “fun” began. We’re currently right in the middle of spring thaw after an intense winter season. At this point the trail conditions became less than ideal as the spring melt became a river in the middle of the trail

11

You can imagine how much fun this was to hike in the early morning dark when it was still pretty icy. I came to a small meadow and followed it through what had become a springtime marsh

12

This area did not smell good: It smelled infected.  Just after the meadow is where the fun began, as I was now on a very small and “defined” jeep road.  There were several areas with large downed trees covering the trail.  On my way back in the daylight this wasn’t difficult to navigate, but as I’ve found quite a bit lately, navigating downed trees in the dark isn’t a pleasant task.  Luckily they were all within the same 200 feet or so on the trail.

13

Oh, and remember how the trail was covered in ice and water earlier? Now it was covered in ice and water and snow!  So much fun!  I hopped back and forth, trying to stay on the snow.  Luckily it was consolidated and not too difficult to accomplish.

14

Here the trail became difficult to follow again due to the conditions. I was able to find the “jeep road” again at this point (here I’m looking back)

15

The steady snow began at 11,000’ and never stopped. The road was initially easy to follow, and then around 11,500’ I lost it.

16

In the dark I had no idea where the road had gone, but the snow was getting a little slushy so I put on my snowshoes and looked at my topo. I needed to head east to summit the mountain in front of me (12,000’).  I aimed east and forged my own trail, amazed at how deep the snow was in this area.

17

I made it to treeline, where both the wind and elevation gain quickly picked up. I was excited to get to the top of this hill (which was point 12,195)

18

Here’s looking back on the way I came up to treeline

19

My plan had worked! I’d made it to treeline just as the sun was beginning to rise

20

21

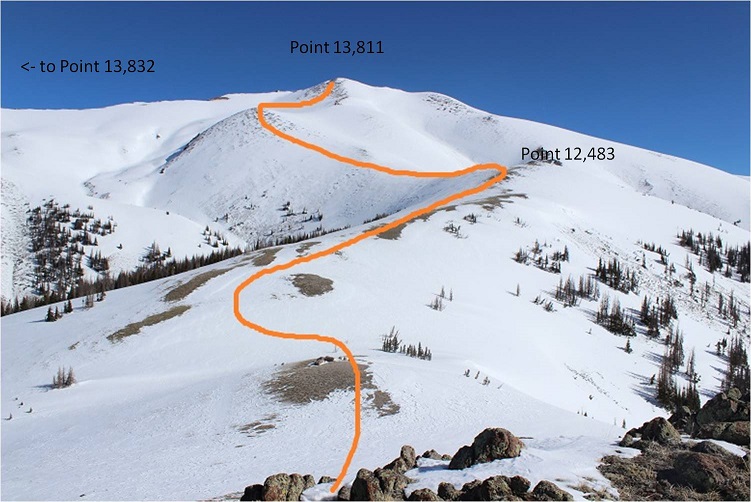
I took another sip of water and considered: I now had a clear view of the path to the summit.  Here’s the route I took

22

It looks easy and straightforward, and it is, but there are a few things you should know:

  • Point 12,195 and Point 12,483 are not ranked (I know, bummed me out too!)
    • Neither is Point 13,632
  • The elevation gain is steeper than it looks
  • It’s longer than it looks (about a mile and a half, maybe more)

So I started on my way. I skirted Point 12,483 and started hiking the hill to the east (it looks like you can just go straight and hike the adjacent hill but you’ll hit a gully).  So, you hike up and when you reach a small plateau you turn right and head north to the summit.

23

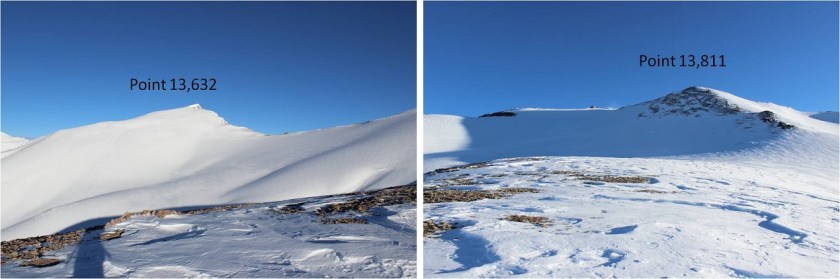
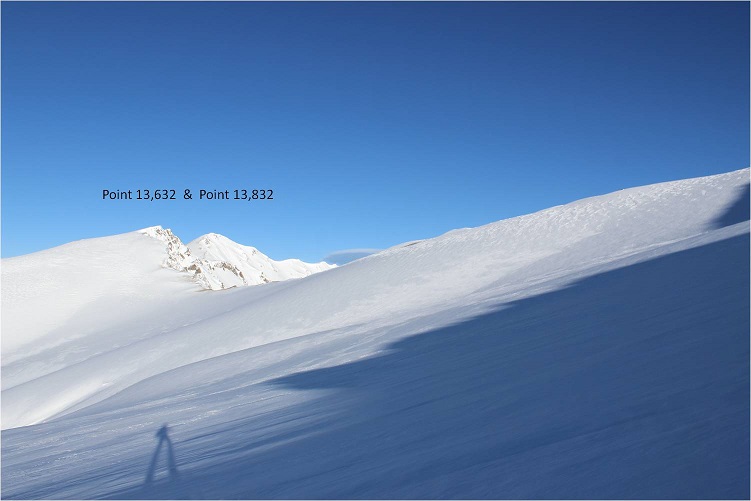
From the plateau if you look left you can see Point 13,632, and to the right is Point 13,811

24

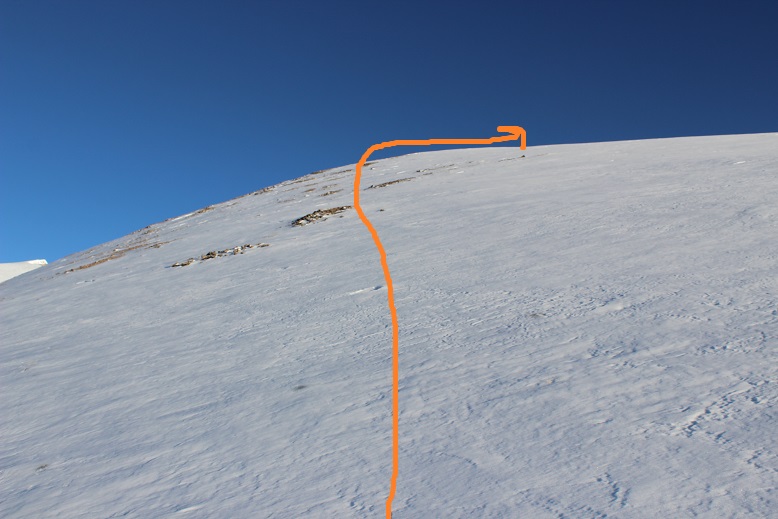
I headed north to summit Point 13,811. Here the snow changed and changed and changed, from consolidated to postholing to very slippery ice. This is the route I took.  I took the dotted line up, and the solid line down.

25

I would NOT recommend taking the dotted line route. I repeat, DO NOT TAKE THIS ROUTE.  It was nasty scree mixed with ice or snow, neither which provided any traction on the 30-35* slope.  A fall here would tear up your gear and your hands if you weren’t wearing protection.

26

From halfway up I got my first good view of another centennial: Point 13,832 (and took a few more sips of water)

27

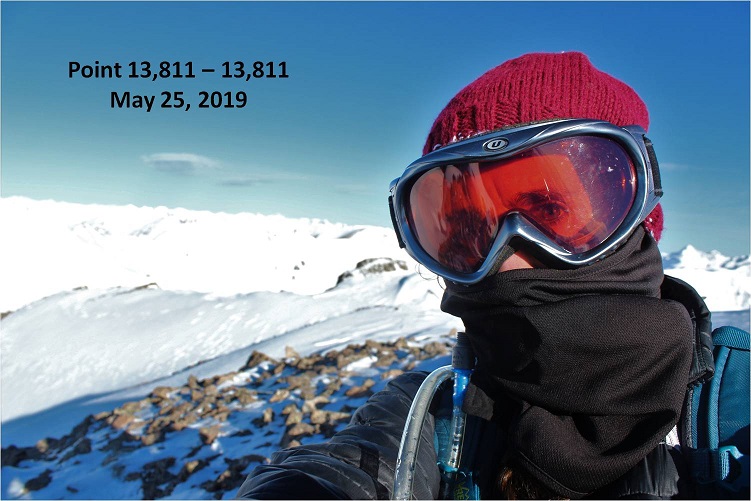
I summited to intense winds on a small cornice.

28

There was no place to set my camera where it wouldn’t slide down the peak so I did my best to get a selfie (sorry, it’s terrible) and looked around

29

30

I’d really wanted to hike over to Point 13,832 today and get in both centennials, but I didn’t feel secure on that ridge. In fact, I’d kind of expected it to be more wind-blown.  I’d just hiked across snow that looked similar, and the conditions varied quite a bit.  Parts that looked secure were not, and parts that didn’t look solid were.  I didn’t want to fall and slide that far unsupported.  The fall line was so long I couldn’t get it all in one picture

31

And so I mentally prepared myself to drive the 6 hours back to Lake City sometime this summer to knock off that other point. Time to head down.   As I said before, this last 200 feet of vertical or so was not pleasant.  I wasn’t going to do that again on my way down.  Not going to happen.  But the ridge wasn’t much better:  It was all ice at a sharp angle, and when the ice gave way rocks went with it.  I’m not gonna lie:  I turned and faced the mountain at times for this part.  Also, I love my ice axe.

32

I made it to the small saddle and looked at the rest of the route down

33

And started to get nauseous. Ugh!  I knew this would happen!  Well, at least I was descending in elevation.  Here the snow had varying conditions as well, but less danger of injury

34

I made it to Point 12,483, over Point 12,195, and back down the trail, following my tracks below treeline. Here I discovered things I hadn’t seen in the dark (the correct trail, stream crossings, navigation around downed trees, rock piles, etc.) and a few things I hadn’t seen in the dark (notice the spider?)

35

Oh, an old beaver dam…

36

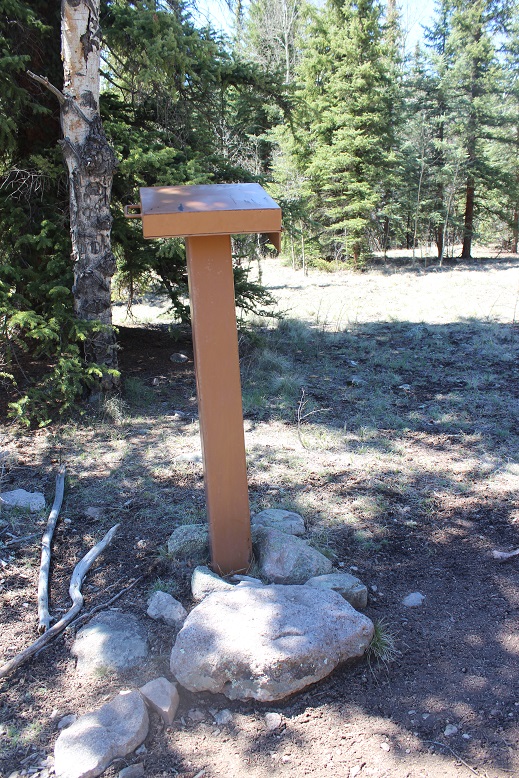
I was almost done with the hike when I came to a fork in the road I hadn’t remembered, and decided to take the path more traveled. This ended up being a mistake (although not an unfortunate one).  I quickly came to a trail register I hadn’t seen in the dark.  It was designed for hikers over 7 feet tall, so someone had placed a large rock at its base.  I still couldn’t see inside.

37

Now I was in a meadow. I wasn’t entirely sure I remembered a meadow at the beginning of this hike? Hmmm… things are different in the dark

38

As I walked through the meadow my arms started to hurt. You know what I’m talking about:  your arms get sore from elevation and the blood pools in your hands and you do the “Praise Jesus” walk through the woods.  Well, I was doing it now through the meadow

39

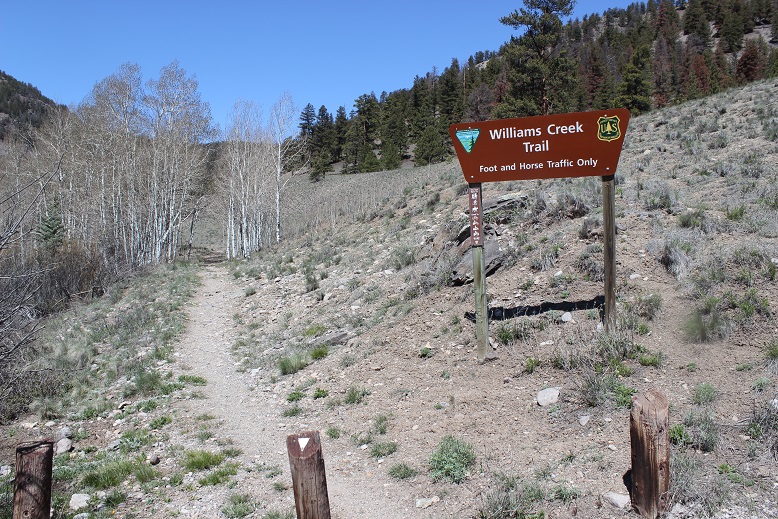
And then I saw houses? Wait. Uh oh.  This wasn’t right, but I immediately knew what had happened.  I exited the meadow and saw a sign I hadn’t seen on my drive in:  A sign for the (correct) Williams Creek trailhead.  Because of it’s placement you can’t see it driving in unless you know it’s there, but you can see it driving out.

40

I turned right and immediately saw the campground sign. Hmph.  OK, so I guess I hadn’t needed to enter the campground to find the trailhead.

41

I felt really dumb, but not really because at least I knew where I was. I walked back to the campground, through the campground to my campsite, and stopped the clock.  I made it back at exactly 11:11am

I’d hiked 13.5 miles with almost 5000’ of elevation gain in 8.5 hours.

42

Oh, and check out my pants. I seriously need a new pair of winter pants.  I’ve had this pair since 1998 when I bought it at a garage sale for $3.  Last year my crampons tore a hole in them, and I’ve been sewing them up ever since, but I think it’s time for a new pair.  This hole collects snow when I hike, which means I can stop every 5 minutes or so and unload 5lbs of snow-turned ice or I can carry it in my leg, limping unevenly as I go.

Added to that they’re bibs, which makes using the facilities unpleasant; especially when it’s cold outside. I’ve been looking for new snow pants for quite a while but I can’t find any in my size, and yes I’ve checked Goodwill and in children’s sections.  Any petite ladies out there have advice on buying snow pants that fit (and preferably look good)?  I think I’m seriously in the market for a new pair at this point…

43

On my way out I stopped by and thanked the Camp Host, wishing I had something to offer her in return (since she wouldn’t take money). Usually I give out Girl Scout Cookies but I didn’t have any this time.  She asked me to let people know Lake City is open, half of the city is in no danger of flooding, and she’d love to have some campers!  If you get the chance this summer, consider camping in Lake City at any of the campgrounds along County Road 30.  They’re open (and empty).  I drove through the Mill Creek Campground and it didn’t have any campers either…

“Baldy no es Cinco” 13,313 & Baldy Cinco 13,383

1

RT Length: 10.5 miles

Elevation Gain: 3357’

So far today nothing was going as planned. I took a 2 hour nap before getting up at 10pm to drive the 6 hours to the trailhead.  I’d wanted to hike Point 13,811 today but ended up getting “lost” (apparently there are two Williams Creek Trailheads geographically close to each other) and long story short the workaround was a 3 hour drive, so I missed my window to climb Point 13,811 safely today.

I’d driven all this way and wasn’t going to drive back without a hike. I switched my hiking plans around and decided to hike Baldy and friends today instead.  I drove faster than I should have and I made it to the Spring Creek Pass trailhead at 6:45am (after leaving at 10pm last night).  It had snowed overnight and it was really cool seeing a black moose in contrast to the white snow on the ground and hanging from the trees.  This lifted my spirits a bit (moose was too far away to get a good picture).

When I arrived at the trailhead it was covered in a layer of ice a couple inches thick so I decided not to park in the parking lot but just at the entrance to the road.

2

I’m sure this was going to make some people mad when they arrived later in the day, but I tried to allow as much room as possible so after the ice melted other vehicles could drive past.   And to be fair, a snow plow had put a foot or so of snow at the entrance to the parking area, so I guessed they expected people to still park on the road.

I’d planned on studying the route while spending the night at the trailhead (you know, after hiking point 13811 today), but since that didn’t happen I was just going to bring along my notes and hike from memory. On a positive note, I was starting this hike in the daylight, so while there was no visible trail route finding was easy.  I’m pretty sure this is the first hike I’ve done this year that’s started before sunrise.

I crossed the road and a small creek and looked for an obvious sign of a trail. There wasn’t one, but I knew I was aiming for the bowl, so I started hiking southeast.  Once again, I was glad I was doing this in the daylight.

3

The trail follows the Colorado Trail, but with all the snow last night there was no clear path to follow. I was excited when I saw a trail marker (woot!  I was headed the right way!)

4

From this marker I turned left and headed towards the trees

5

Looks like someone lost a snowmobile…

6

I encountered a clearing and once again entered the trees, aiming for the gully that led to the bowl/mesa

7

Wow! This was so cool!  I made it to treeline and followed this drainage path.  At first I wasn’t sure this was the correct way (it looked a bit dangerous), but it was

8

Why was it dangerous? Check out those cornices!  They looked ready to drop at any moment (and in fact, a few already had).

9

10

OK, so I headed directly up and over the lip of a bowl that’s steeper than it looks

11

And everything was white. I was on top of a very large mesa that had just been dumped on with snow.

View from Mesa:

I turned around to look at my path back down the bowl

12

Time to get my bearings. The mesa was large, but the peaks I’d intended on hiking were obvious.  I wasn’t able to find a lot of information about these peaks, so I wasn’t exactly sure what to expect or the best way to attempt the climb.  I decided to cross the mesa and pay attention to optional routes, making sure to look behind me every so often so I wouldn’t get lost on my way out (a real consequence in all this snow).  The wind was erasing my tracks as soon as I made them.

13

14

As I got closer to “Baldy no es Cinco” (which means “Baldy is not five” in Spanish) I noticed a trench and was worried I wouldn’t be able to cross the area, but by sticking to the right (east) I was able to avoid losing too much elevation or entering the trench

15

Here’s the route I took up “Baldy no es Cinco”

16

Please note, I would not advise taking this route up. It gets very steep and I needed to use my ice axe and crampons, and it felt sketchy at times.

17

Luckily the snow was very firm. If I were to do this again, I’d hike to the saddle of “Baldy no es Cinco” and Baldy Cinco and hike the ridge.

18

The reason I hadn’t done this was my research had told me to just hike up the face (that’s the problem with no winter beta) and honestly, the snow was blinding, even with sunglasses on. You can probably tell by these pictures they’re overexposed and I’ve been trying to darken them up so you can see details. I wasn’t able to see details very well, and I couldn’t tell how big the cornices were on the ridge, so I didn’t attempt the saddle.  In any event, I’d advise you to take the saddle.

The last bit to the summit was the easiest part of this climb. It was a bit icy and windy, but the ice made for great traction (the wind I could have done without).

19

I summited at 9:15am. There was a massive cairn on the summit that begged to be in my summit photo.

20

21

“Baldy no es Cinco” summit video:

I decided to take the ridge from “Baldy no es Cinco” over towards Baldy Cinco

22

Also, the entire way down the ridge towards Baldy Cinco was one large cornice.

23
Here’s a look from the saddle back up at “Baldy no es Cinco” and towards Baldy Cinco.

24

The hike up Baldy Cinco wasn’t challenging. The terrain was a mix of ice and rock, with cornices all over

25

The summit was icy rocks

26

I summited at 10am

27

View from Baldy Cinco:

Here’s looking back at “Baldy no es Cinco” from the summit of Baldy Cinco. Check out those San Juans!!!

28

At this point I should have just turned around and headed back down the slope of Baldy Cinco, towards the mesa and down the bowl. In fact, this would have been another great way to summit these two peaks.  (Summit up Baldy Cinco, take the ridge to “Baldy no es Cinco”, and descend using the saddle)

29

But it was still really early (10am) and I knew there were more peaks out here, calling my name. I looked over at Point 13,162A and was seriously tempted.  I didn’t have any beta on this peak, other than its location.  Once again, check out those cornices!!!

30

What you can’t see in this photo is the dramatic drop in elevation (topo suggests 800’). I decided to go for it.  Up close the cornices were intense

31

I made it to the saddle and re-assessed where I was at. Here’s a look back at Baldy Cinco and up at Point 13,162A.

32

The snow was starting to act up here. It was getting warmer and the snow was crunching and breaking under my feet, sending cornices falling.  I was starting to get tired, and wanted to save my energy for tomorrow’s hike (which had way more mileage/elevation than today’s hike, which is why I’d initially wanted to do that one first).

33

Ugh! I’d just descended 800’ in elevation, only to find a change in conditions.  I decided to head back and attempt point 13,162A another day (with unnamed 13510A and unnamed 13020C as well).

I knew in my head the route back was southwest to the mesa, but the snow was seriously blinding and I didn’t know the area “that well” (read: I could see myself getting lost if I attempted to find my way back to the mesa with just a topo map).  So instead of trying to route find in the blinding snow I decided to re-ascend Baldy Cinco to find my way back. Don’t worry, I didn’t re-gain the 800’ I’d lost, just enough elevation to see my way back visually (about 500’).

34

I skirted Baldy Cinco and headed here (where I found a huge cairn! See, that would have been the way to summit Baldy Cinco.  Oh well, today I got to be the beta).

35

36

At the cairn I saw something green flying through the air. Cool!  Someone was speedriding!  They were zipping all over the mesa at high speeds.  I was able to see their snowmobile sitting in the middle of the mesa as well (great idea btw).

37

For those of you intending to hike up Baldy Cinco first via this route, here’s a look from the cairn up at the summit of Baldy Cinco

38

From the cairn you might think you just head towards the obvious depression in the mesa, but this is not the way to exit. I was seriously glad I’d looked back over and over again at my route so I’d know how to exit the mesa.  It’s not obvious.  In fact, it’s counterintuitive: you head away from what looks like the exit and continue to the straight part of the mesa that looks like a drop off

39

40

The snow on the mesa had changed dramatically: it was now quite soft under my feet and I was sinking in my snowshoes about 6-8 inches every time I stepped (quite a change from this morning).  I was so excited to see the Colorado Trail marker!

41

As you can see, it looks like you just drop over the mesa (which you do)

42

It’s a quick drop back into the bowl. Here I started seeing snowmobile tracks (it’s steeper than it looks)

43

The tracks followed mine most of the way to the trailhead. Very cool!  He’d re-treaded my tracks, making the hike back easy.  I wasn’t sure what the protocol was for hiking next to/over snowmobile tread, so I decided to play it safe and just hike out parallel to the tracks (where possible).

44

When I got back to the parking lot it had indeed melted out and there were a few other vehicles parked in actual spaces

45

I made it back at 12:30pm, making this a 10.5 mile hike in 5.5 hours.

46

Ok, now I was headed to fix my earlier mistake and head to the correct trailhead. Lake City, here I come!

Relive:

47