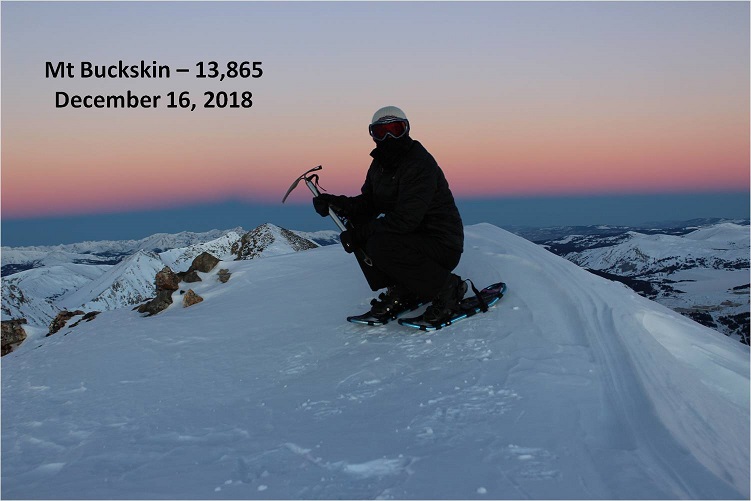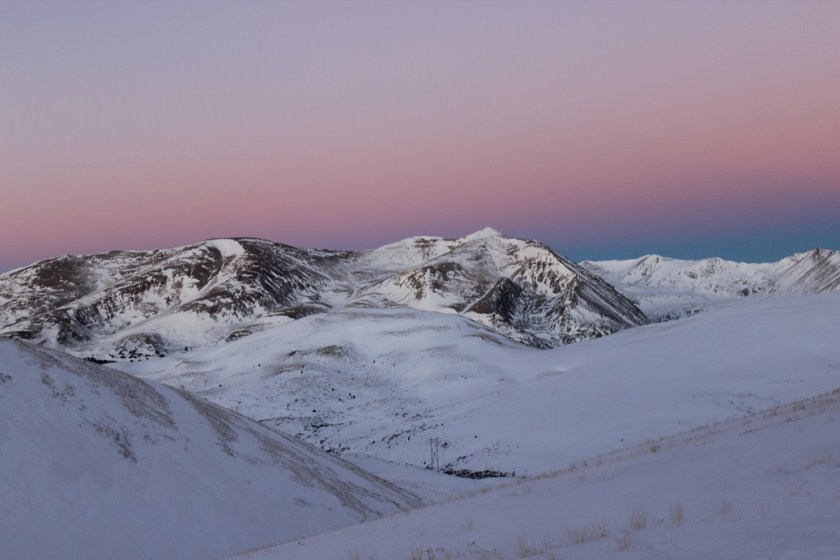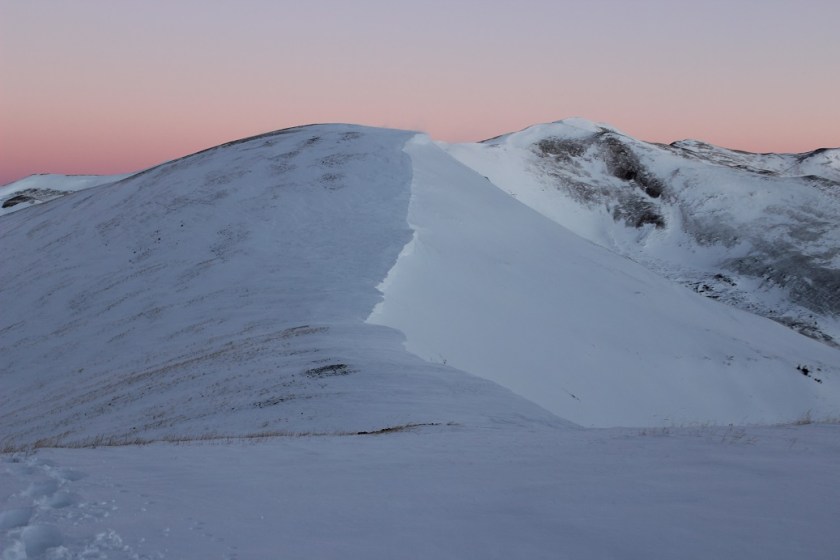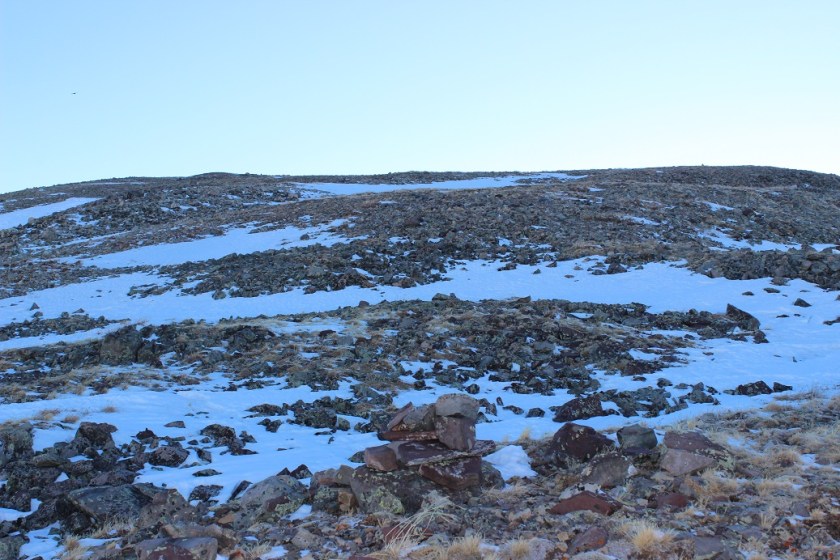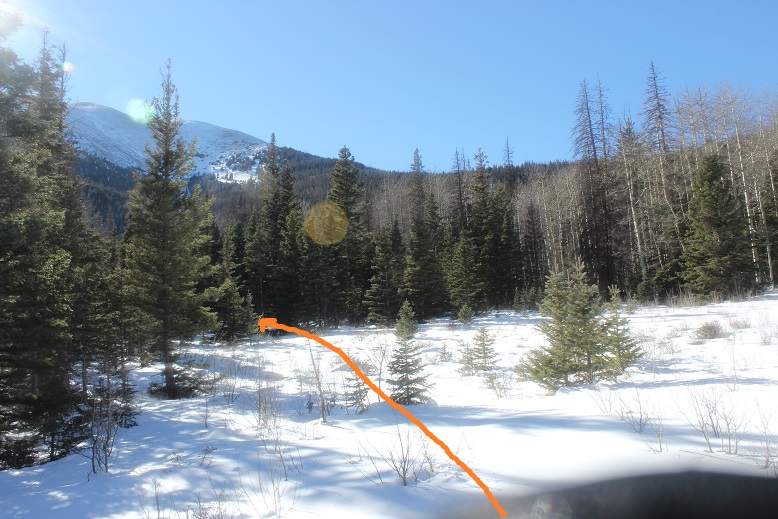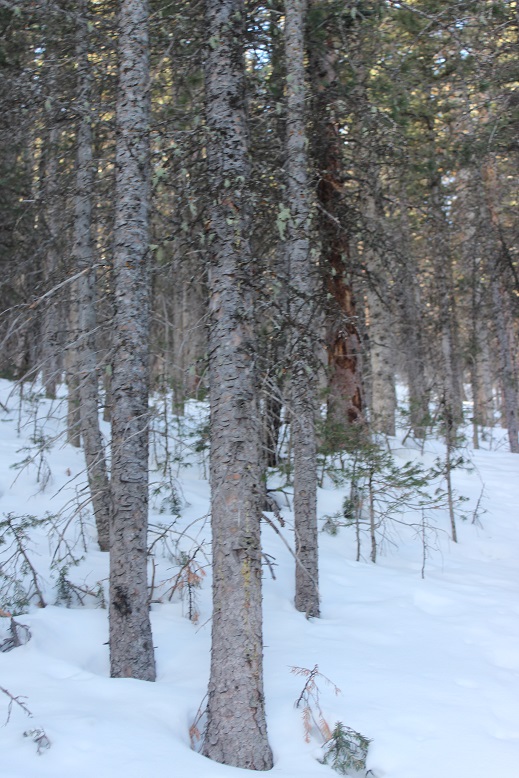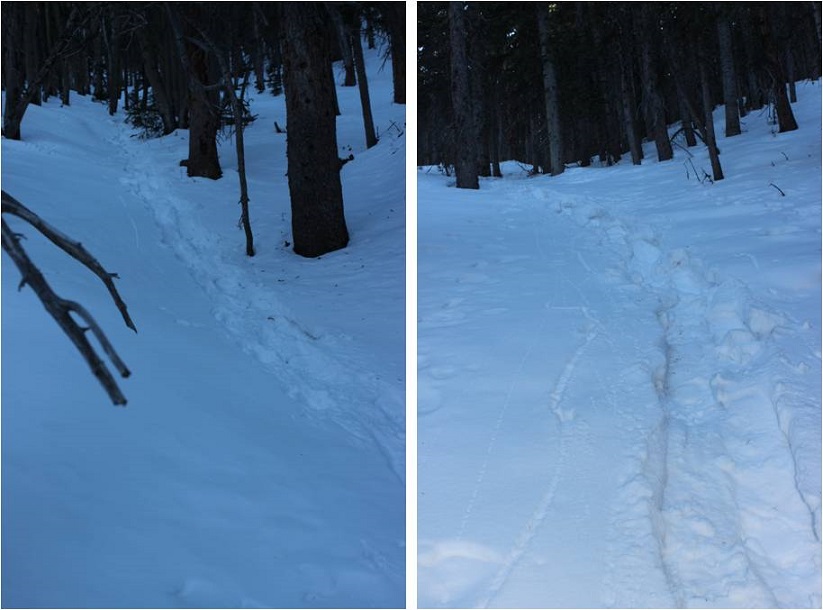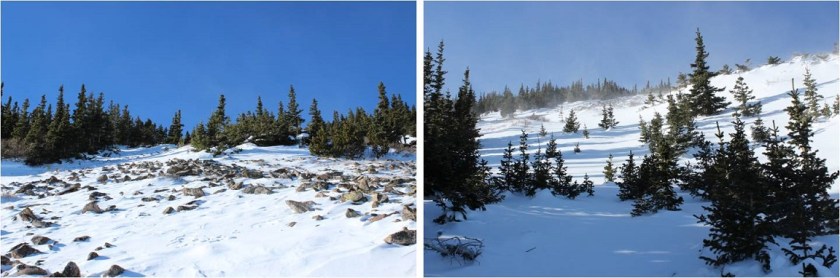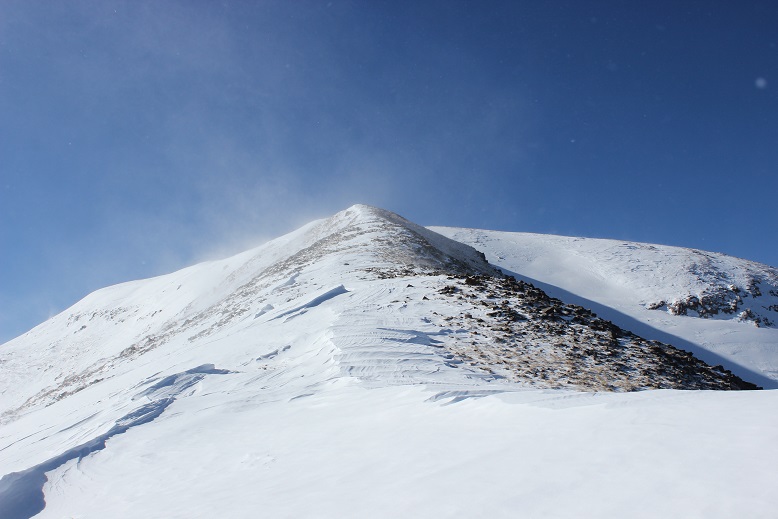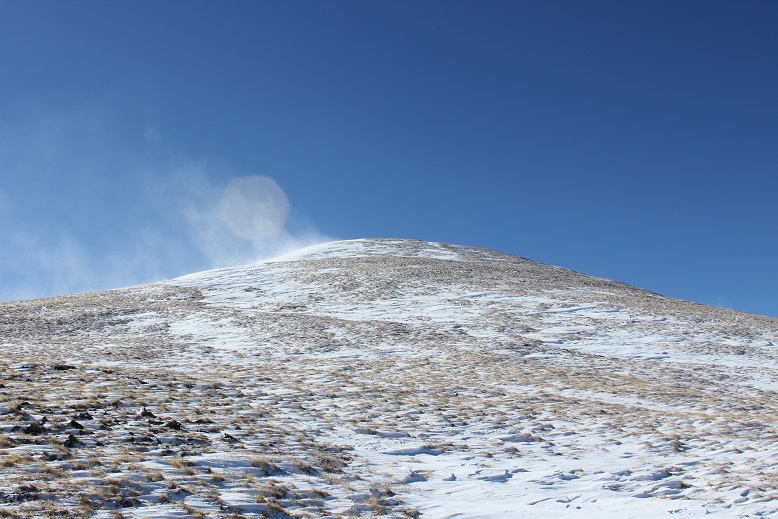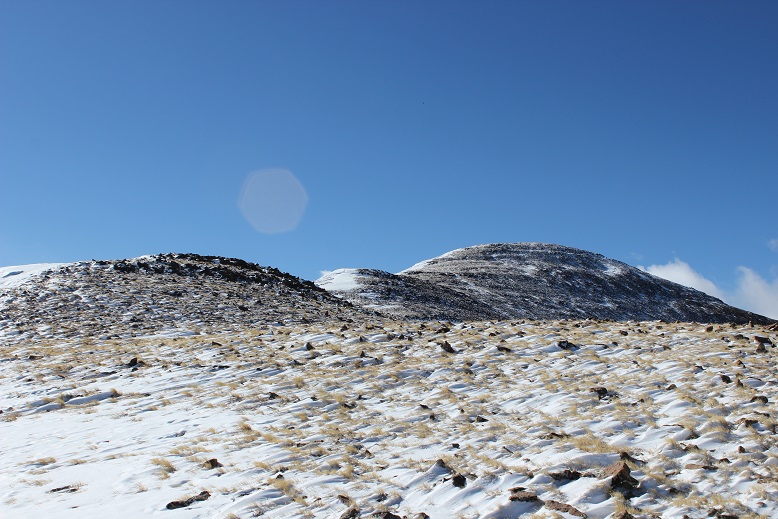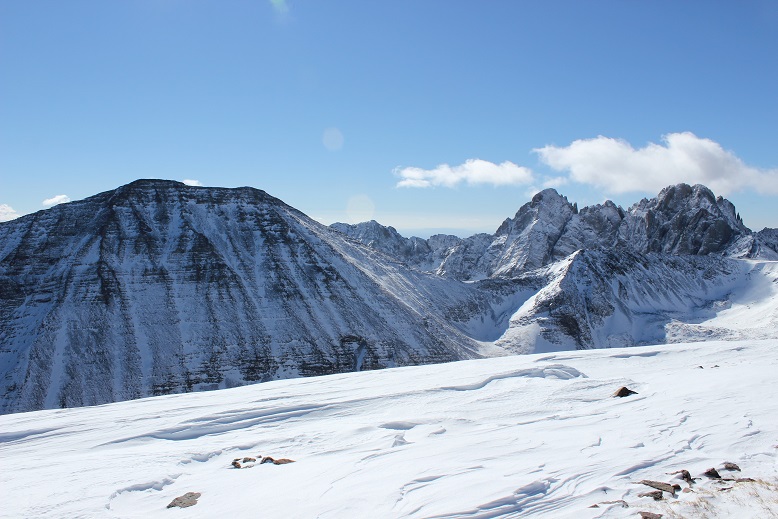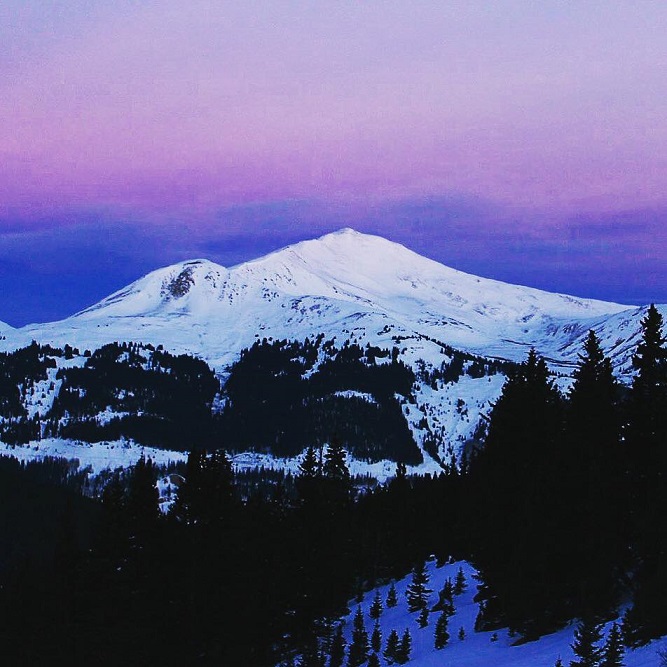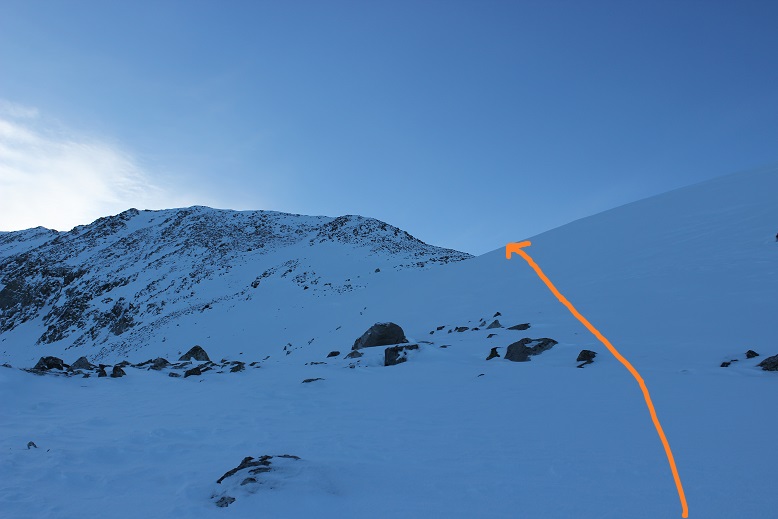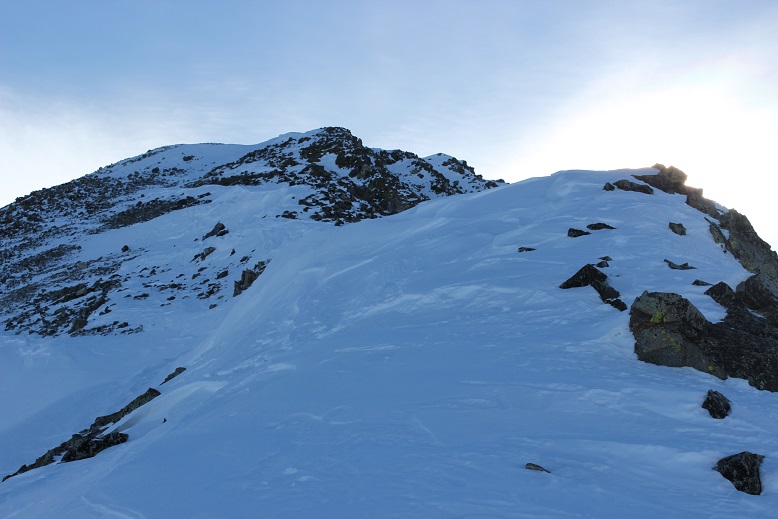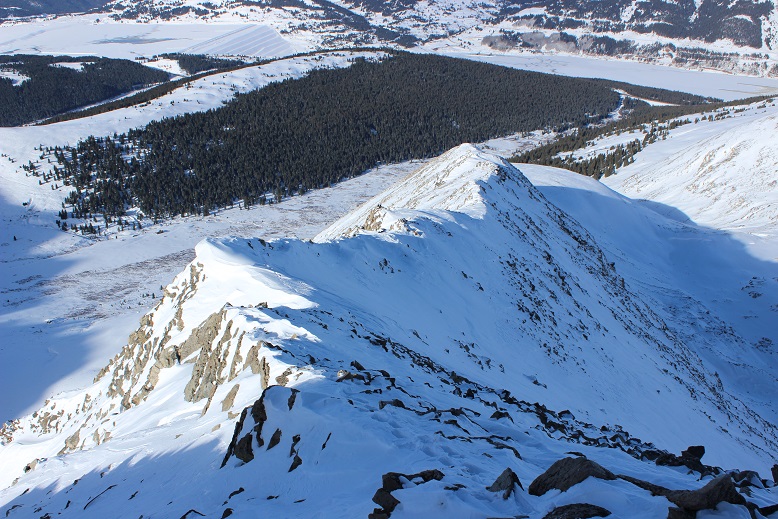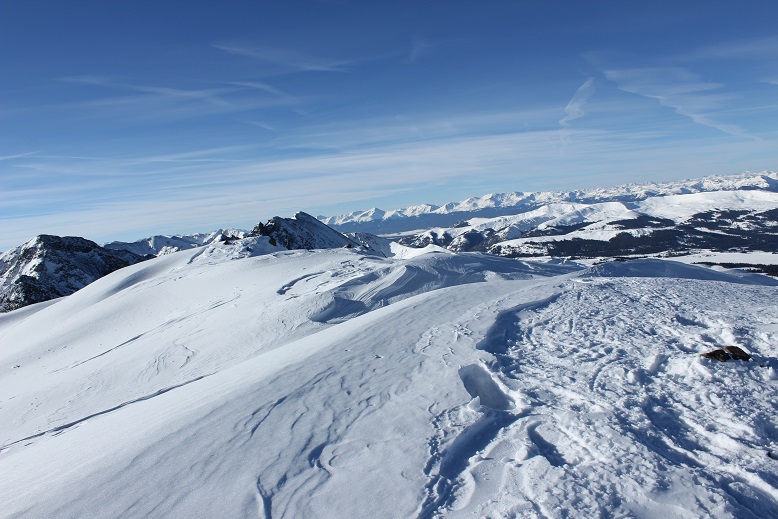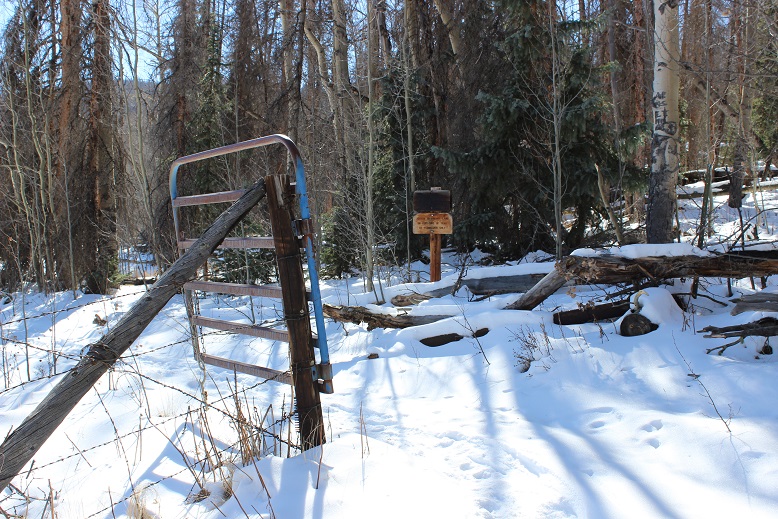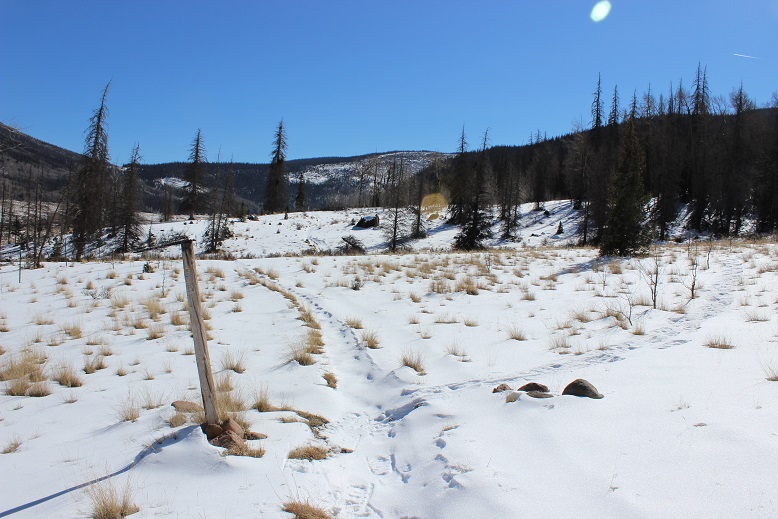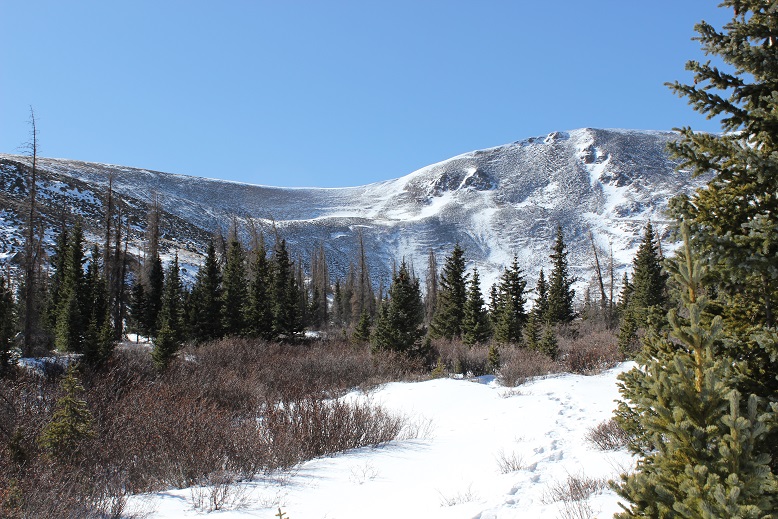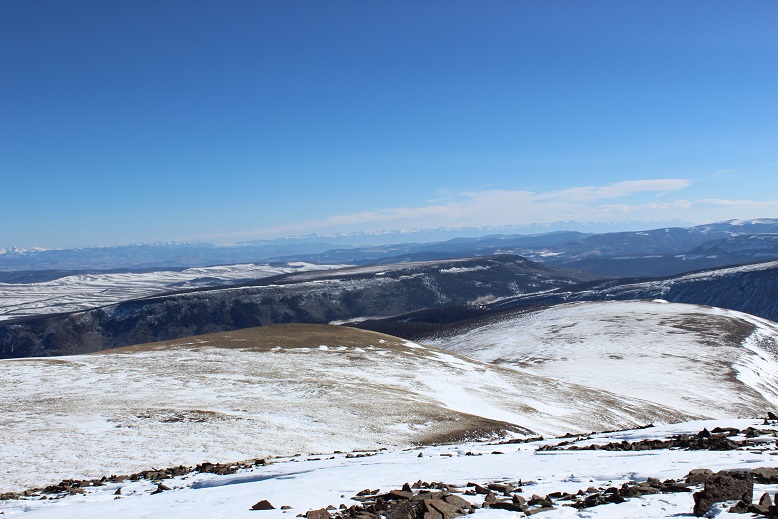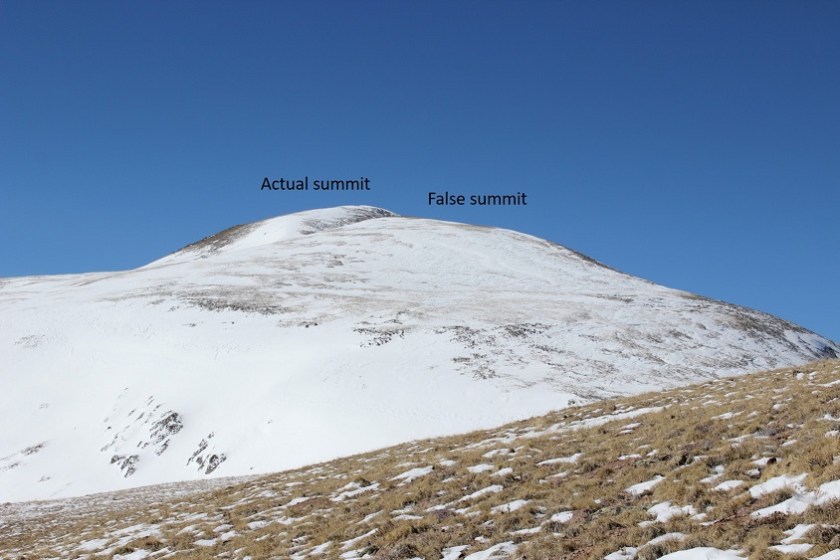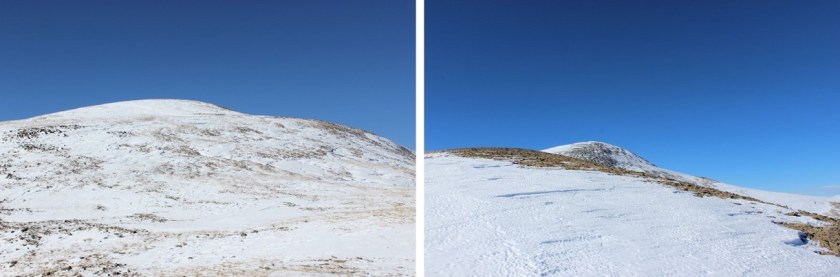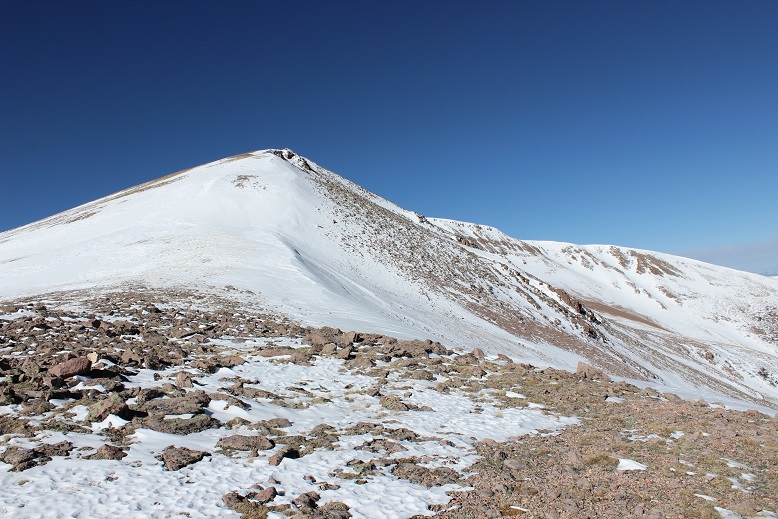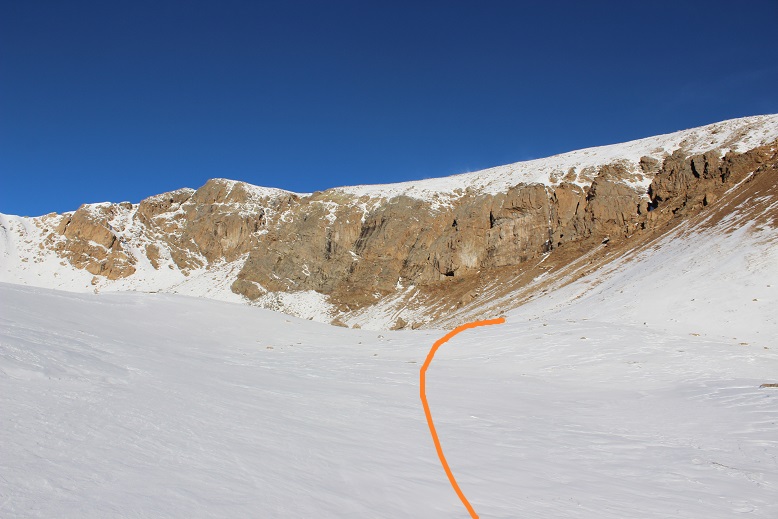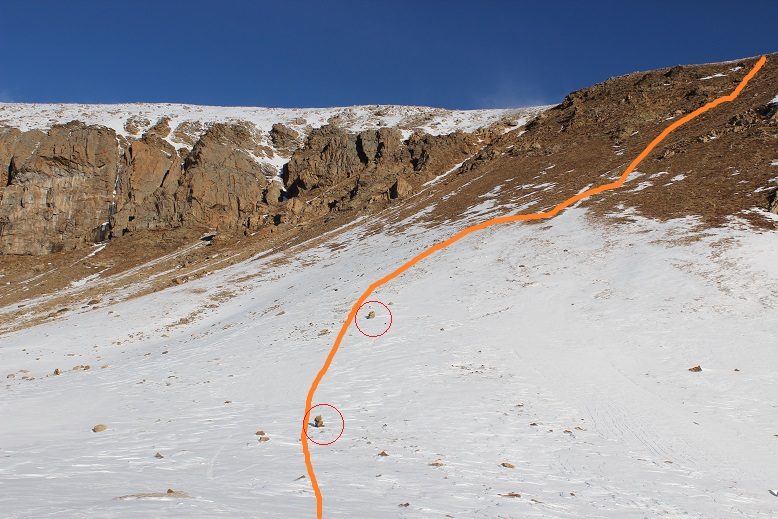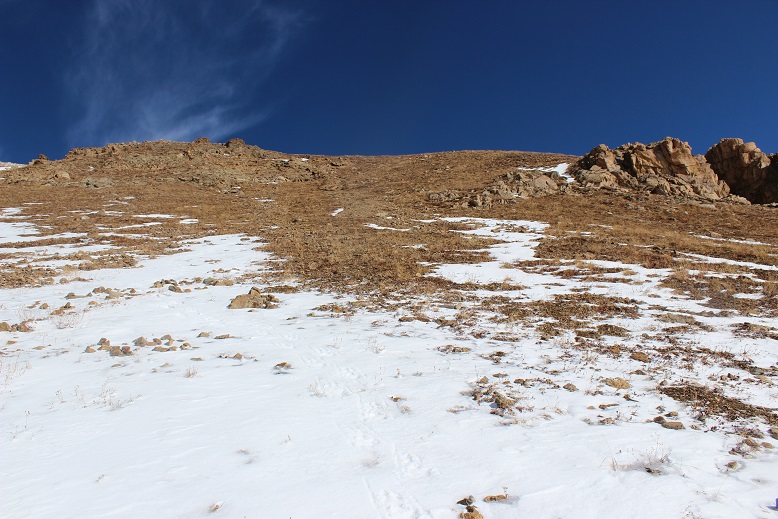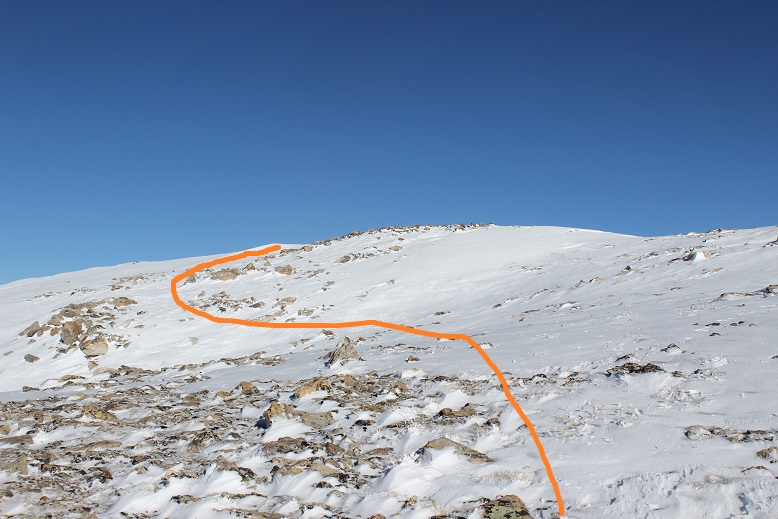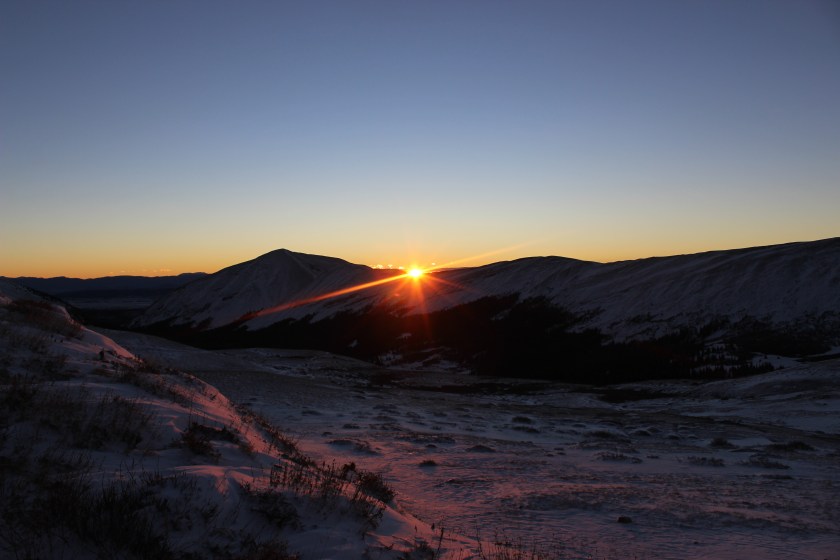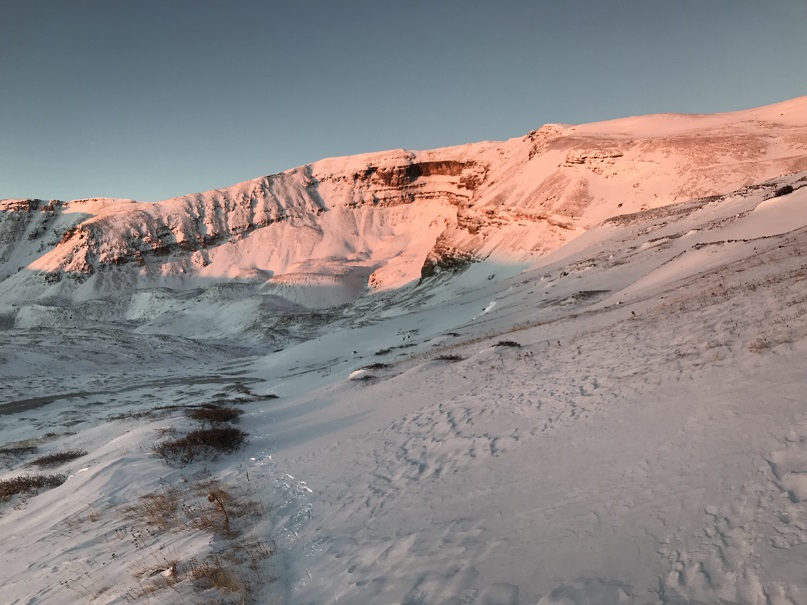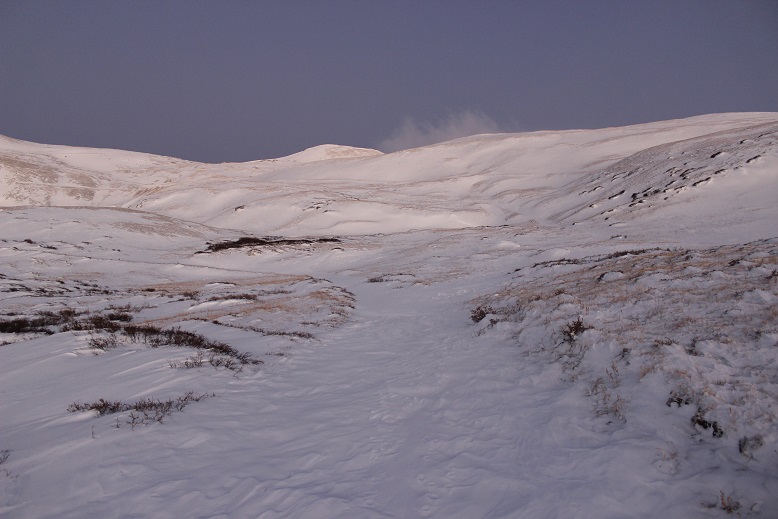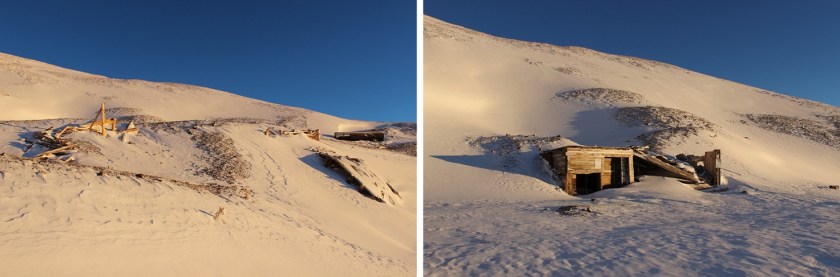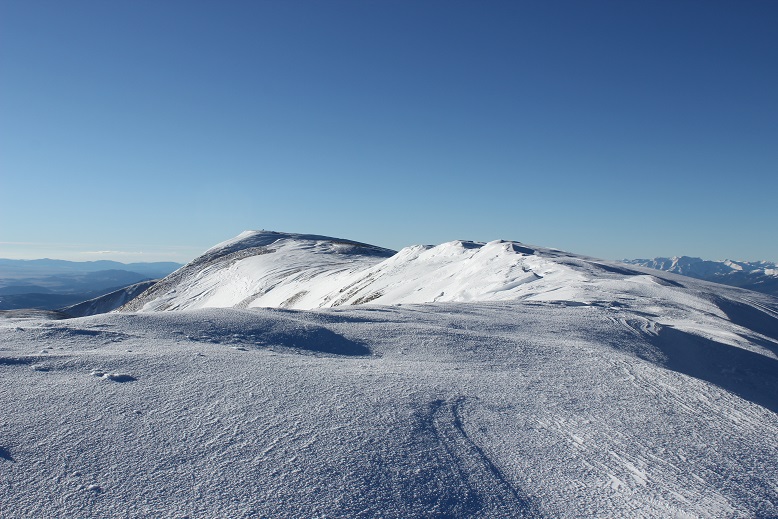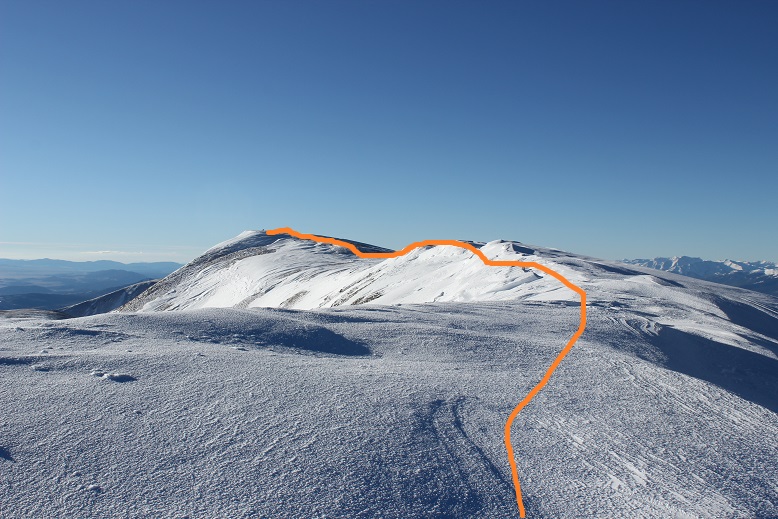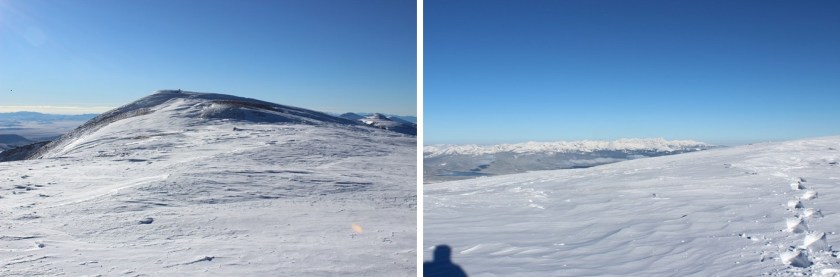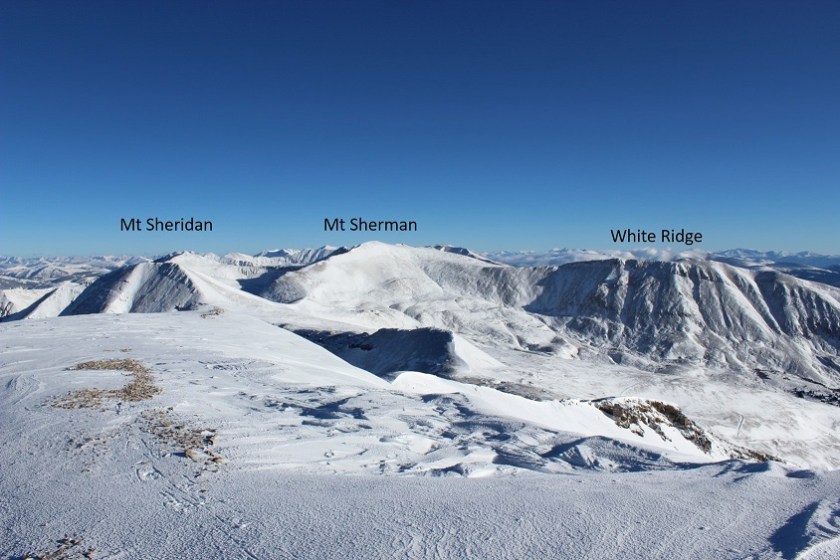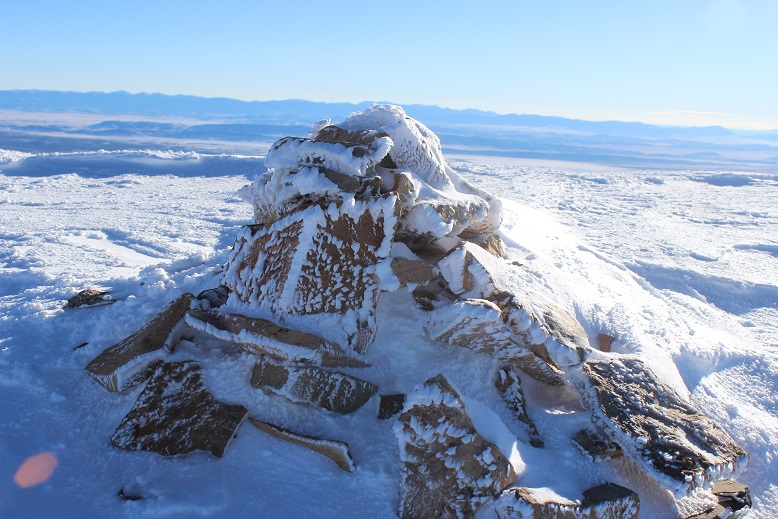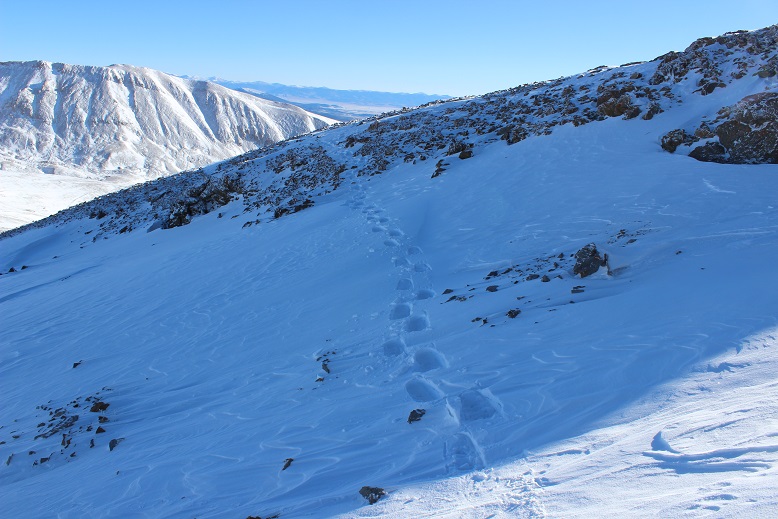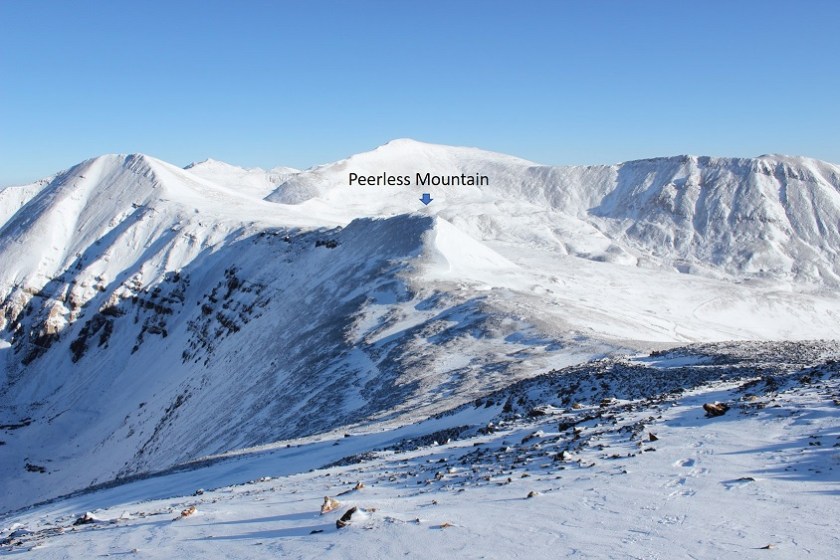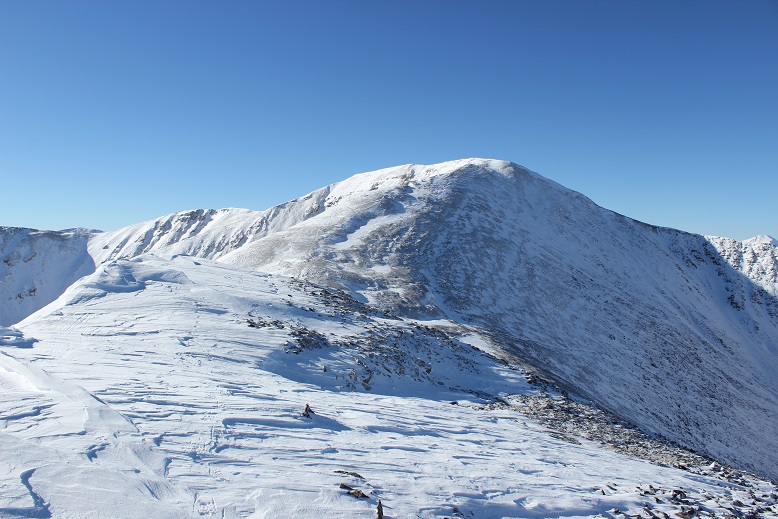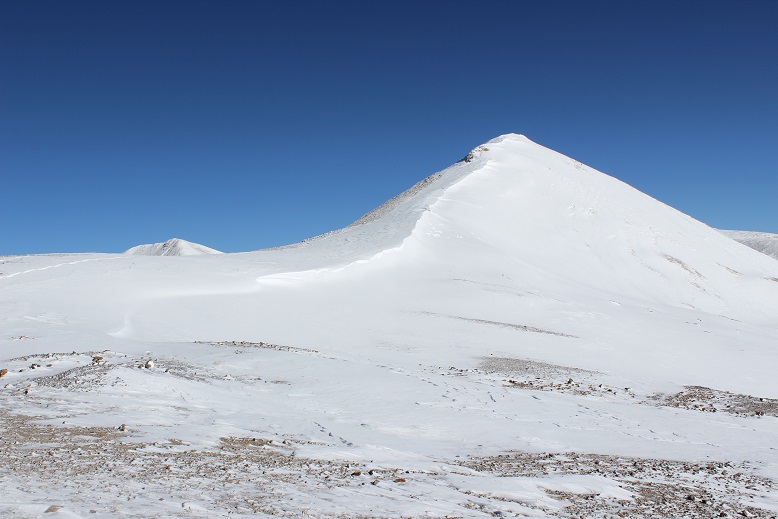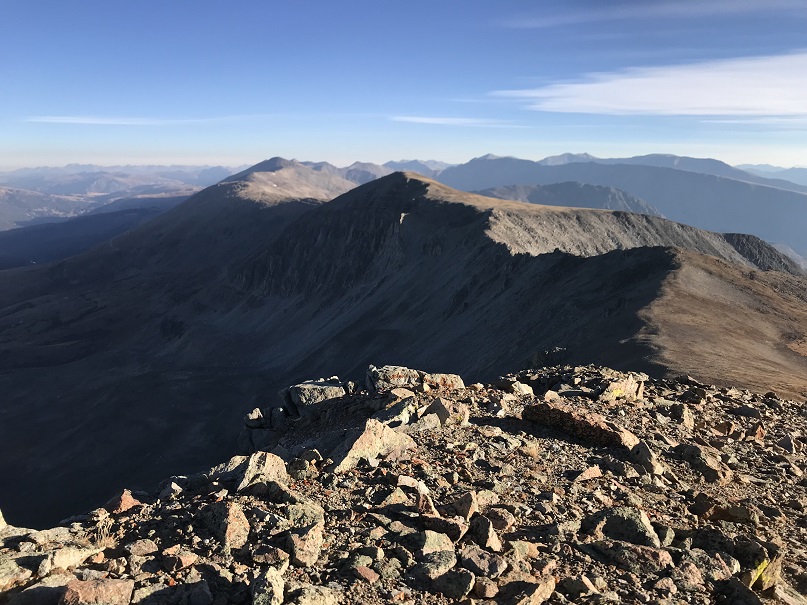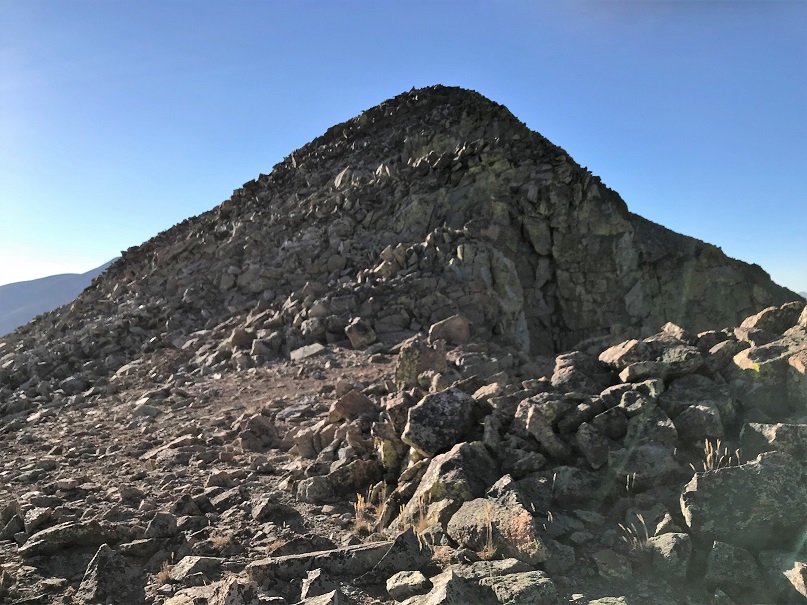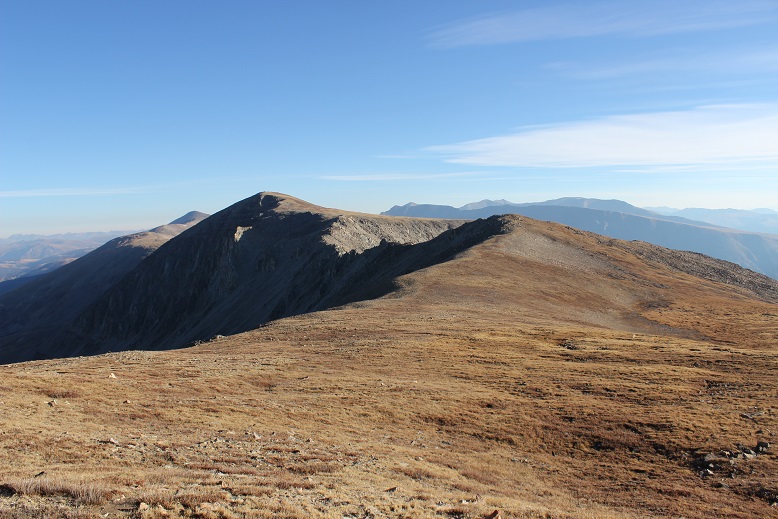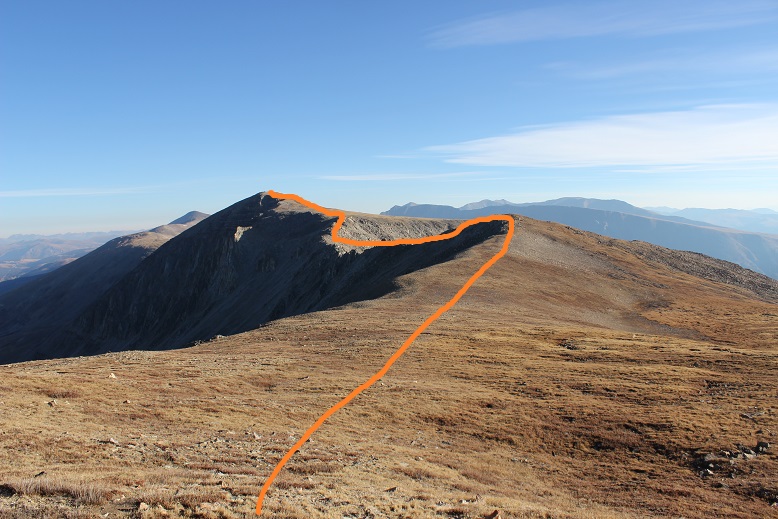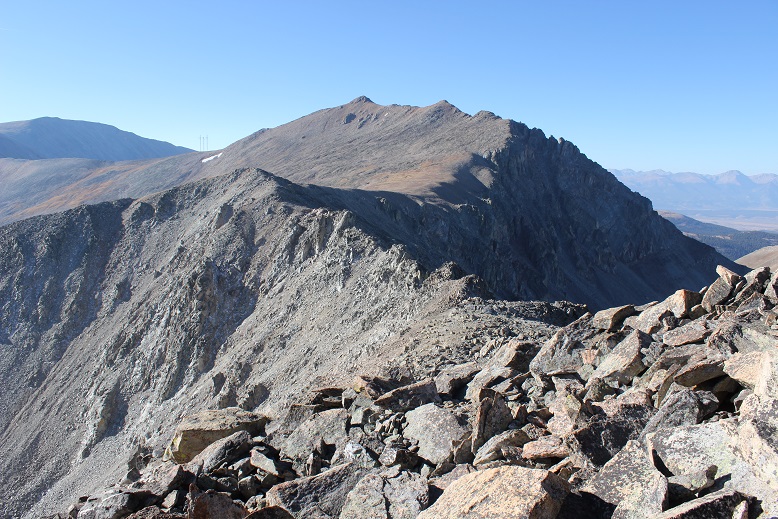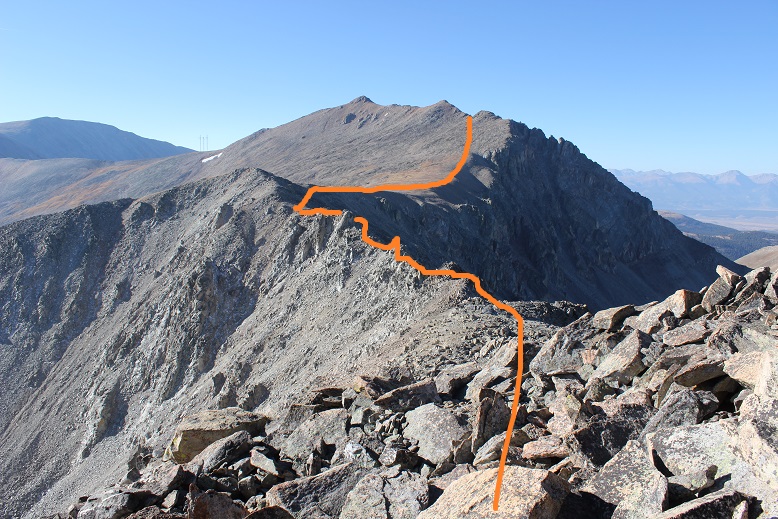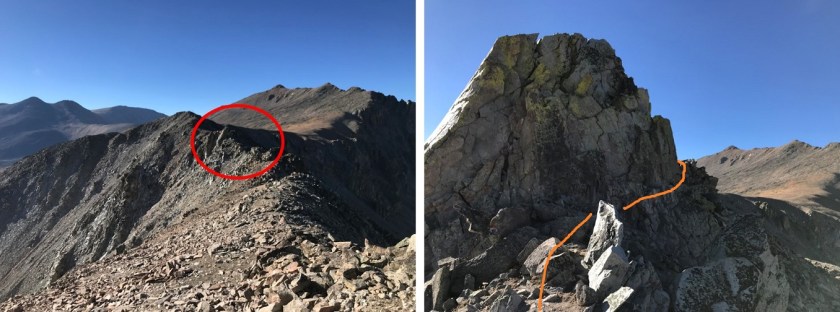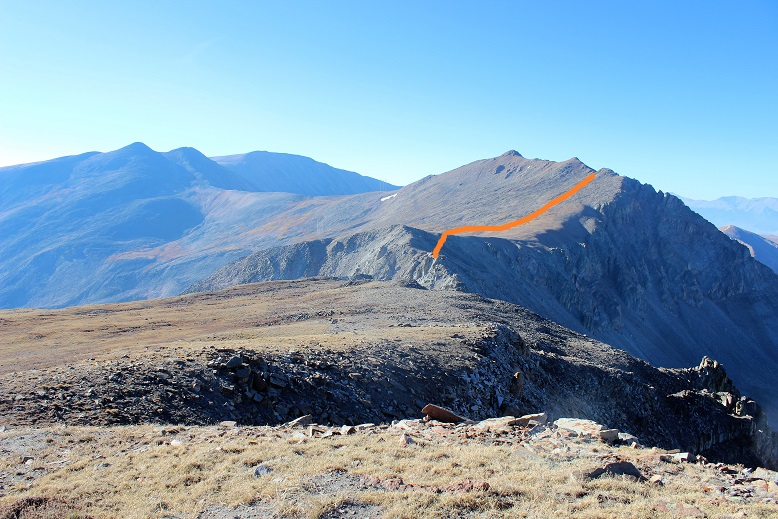
Mt Buckskin 13,871 & Loveland Mountain 13,692

1

RT Length: 7 miles

Elevation Gain: 2950’

I thought I was done with summits for 2018. I’ll be gone next week on a road trip visiting my family in Mississippi for Christmas, and along the way picking up my son from his base in Texas to join us (I’m so glad he got leave for the holidays before transferring to Alaska!!!).  I’d just been hiking yesterday, but today I noticed the weather for tomorrow was perfect for hiking as well.  I did some mental calculations, and then had this conversation with my youngest (a sophomore in High School).

Me: What are your plans for tomorrow?

Her: I was planning on sleeping in and then studying for finals. And I’d like to get in some rink time if possible.

Me: Do you want any help studying?  I did graduate with my undergrad 2nd in my class.  And I have an MBA.  I’m pretty good at the whole ‘studying’ thing.

Her (with a terrified look on her face): No mom.  Just… no.  I get straight A’s and have my academic letter to prove it.  I’ve got this.

Me: I was thinking of hiking tomorrow, but I’d also like to spend time with you.  What do you think?

Her: You should go hiking.  That way I can sleep and study.  I’ll probably still be sleeping when you get back anyway.

Me: How much studying do you need to do?  Is studying more important than sleeping?

Her: Mom, I’m a teenager.  Teenagers gotta sleep.  At this point I need more sleep than study time.

Me: OK, but that still leaves rink time.  How about we go to the rink tonight from 7-9pm, tomorrow I’ll hike, you’ll sleep, I’ll wake you up to study, and we’ll have dinner together.

Emily: Deal.

Woot! It looked like I was going to get one more hike in this year after all!  The weather looked great, and my schedule for the morning was cleared.  Because of rink time I didn’t make it to bed until 10pm, which meant I only got 4 hours of sleep, but that seems to be the norm for me these days.  I’ve discovered the hike is always worth the lack of sleep.

Once again, I woke up at 2am and drove to the trailhead. I encountered a herd of about 40 elk at the same place I had on Friday, and this time I was prepared when I saw them in the center of the road.   I slowed down and waited for them to budge, but they didn’t seem concerned with doing so.  They were quite happy to stand in the middle of the road and just watch me wait.  It seemed I was in more of a hurry than they were.   Luckily there were no other vehicles on this road.  After two minutes I did something I knew would make them move:  I took out my camera.  Sure enough, before I got the chance to take picture they’d scattered to the sides of the road.  I was on my way!

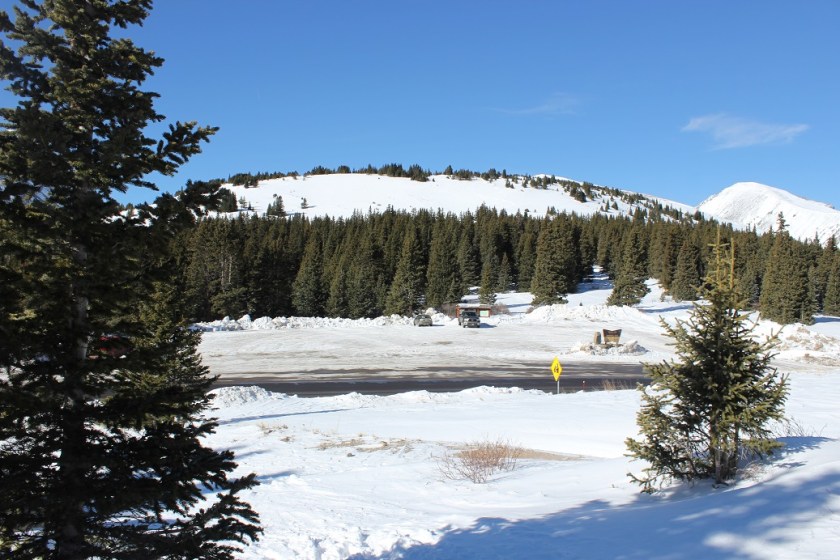
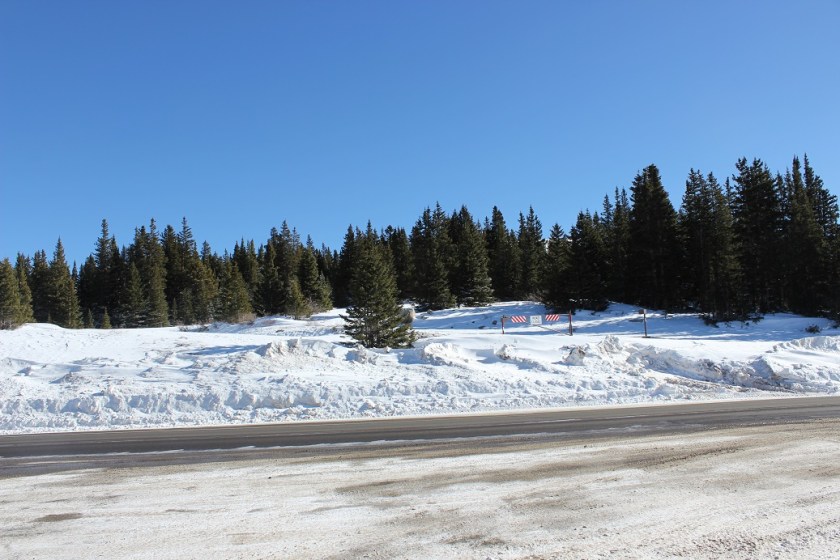
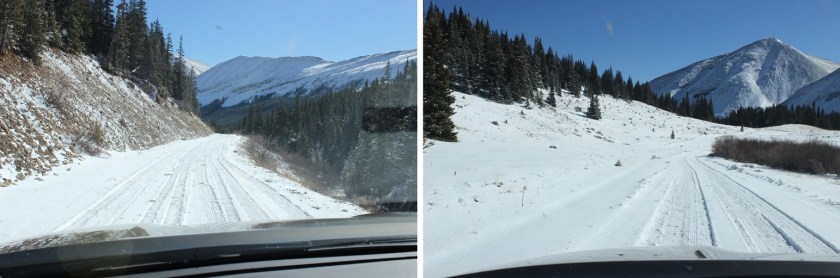
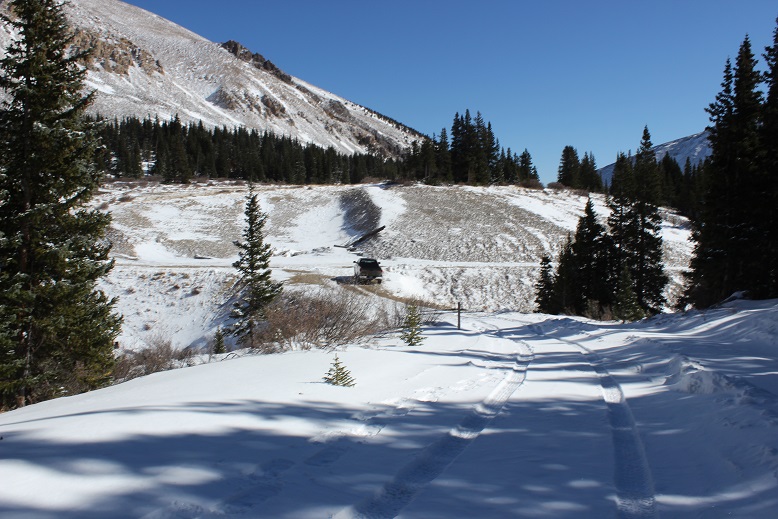
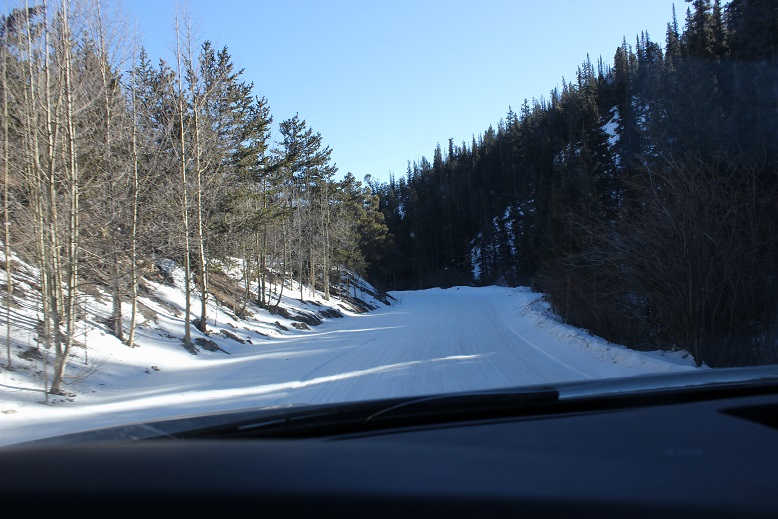
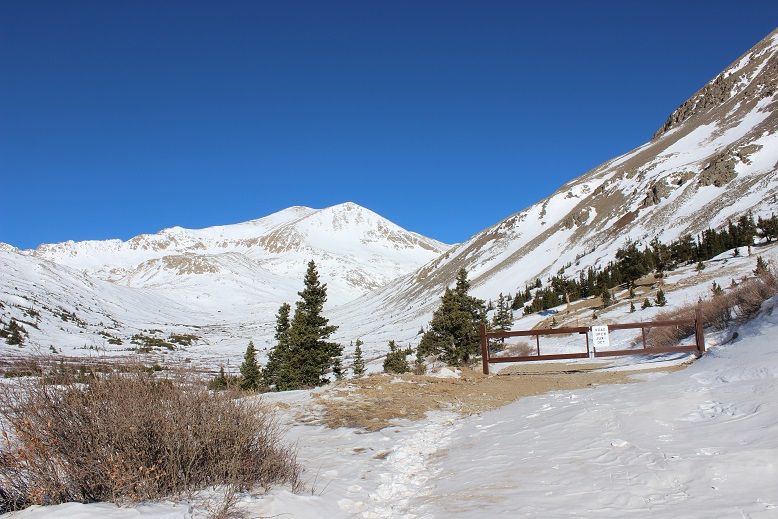
I haven’t been to the Kite Lake Trailhead for what seemed like ages. The last time I was here was back in June of 2017.  The 2WD dirt road was icy but clear and plowed up to the gate closure, about a mile from Kite Lake.
2

3

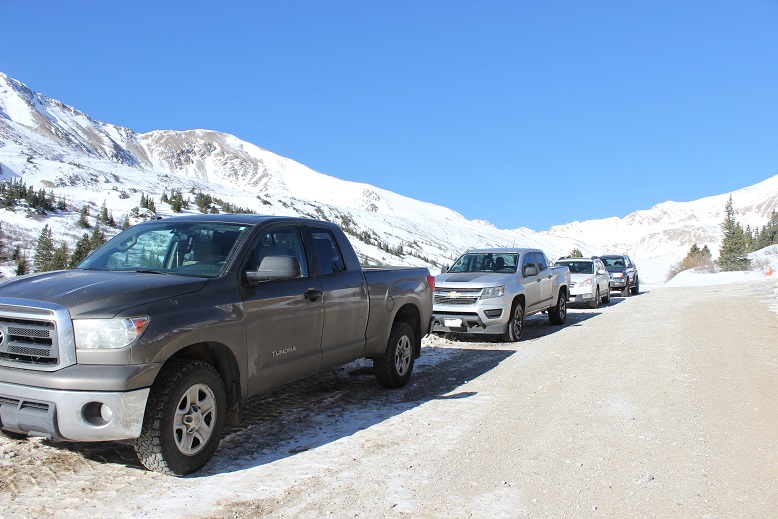
This was also a pleasant surprise: I’d expected to park about 3 miles from the trailhead, and here I was, just 1 mile away.  This day just kept getting better and better!

There was room for about 5 cars at the gate, if everyone cooperated and parked nicely.
4

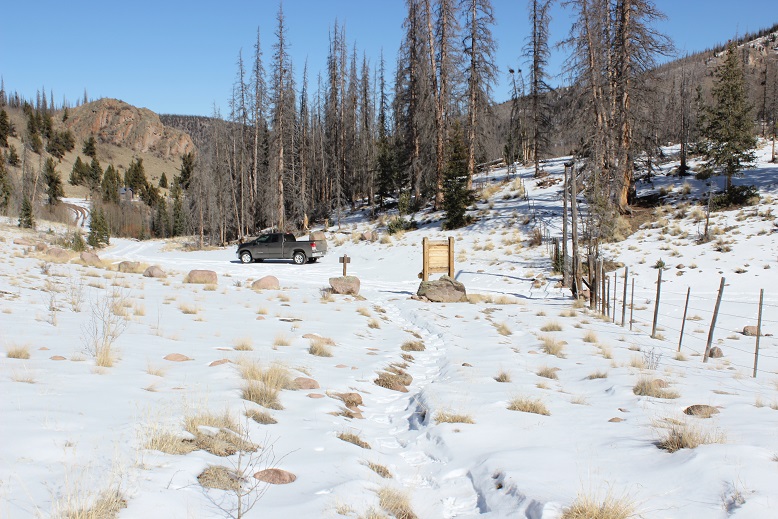
I was the first vehicle there, so I tried to pull up and leave as much room as possible for others. Also, about 40 feet before the gate the road isn’t plowed, and a few vehicles tried to drive past a snow drift and obviously had to turn back.  My advice:  Don’t even attempt to drive past where it’s plowed.  Your vehicle might make it, but there’s no parking in front of the gate so you’ll need to turn around and park lower anyway.

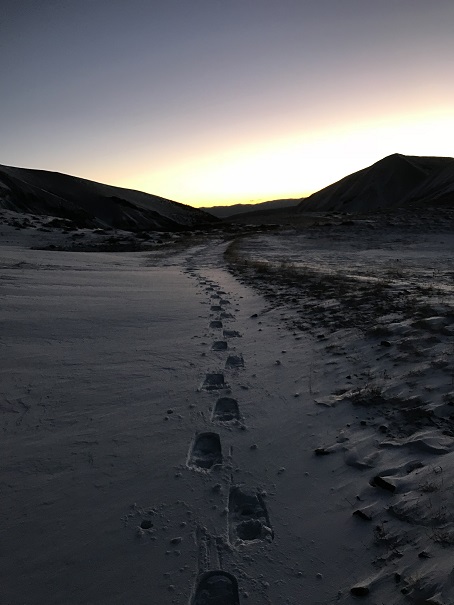
I gathered my gear and began hiking towards Kite Lake at 4:45am. Just after the gate I had to stop and put on my snowshoes.  I left them on for the entire hike.

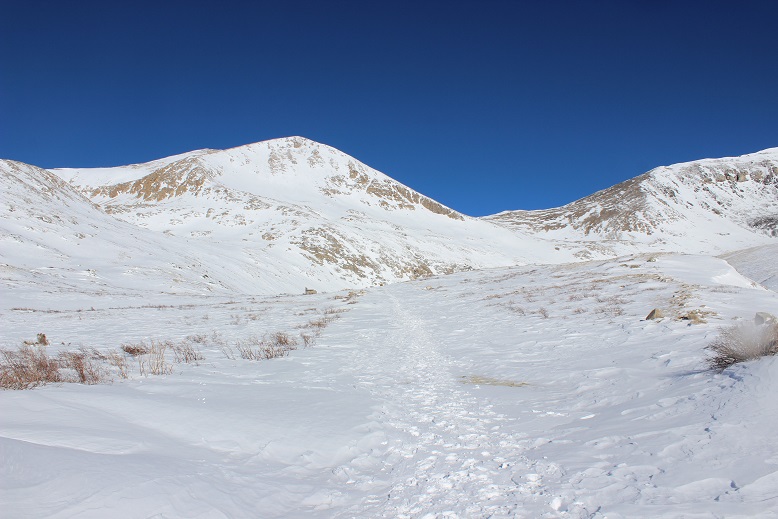
The hike up to Kite Lake was simple: I just followed the road.
5

The sky was clear with no moon, and when I looked up I often saw leftover shooting stars from Friday’s Geminid Meteor Shower. The only downside was the wind!  Wow!  It sure wasn’t the forecasted 8mph, and it wasn’t letting up.  It was like I was walking headfirst into a wind tunnel:  the wind was funneling down the mountains and straight towards me as I trudged towards the lake.  I remembered last time I was here the wind was intense as well, and hoped it died down at some point.

OK, I made it to Kite Lake.

6

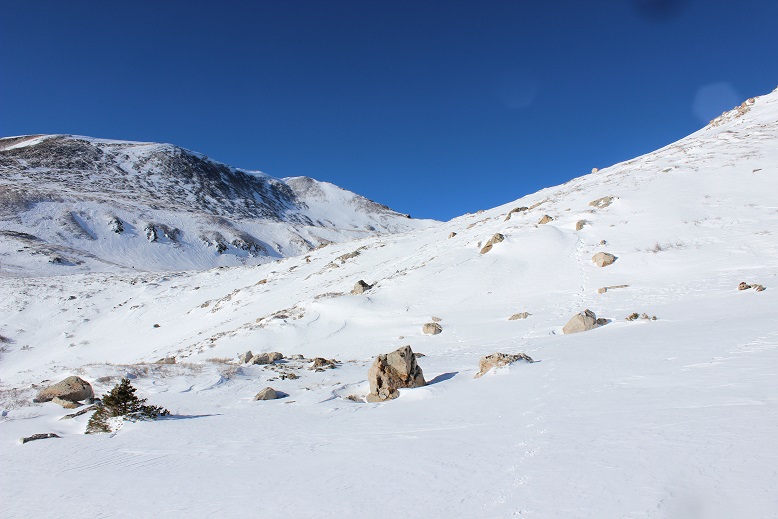
My directions said to look for the trail to Lake Emma, which was supposed to be highly visible behind the bathrooms to the left. Hmmm.  No trail was visible, just a lot of snow.
7

I hiked around for a bit, looking for an obvious trail sign, tracks, path indentations in the snow, etc, and when I didn’t find any I just headed southeast.

Before long I was in a basin, and thankfully here the wind stopped. Even though it was dark I could tell I was in a basin because the ground was relatively flat, and there were outlines of the mountains surrounding me.  I’d been told there were willows here, but they must have been buried under all the snow.

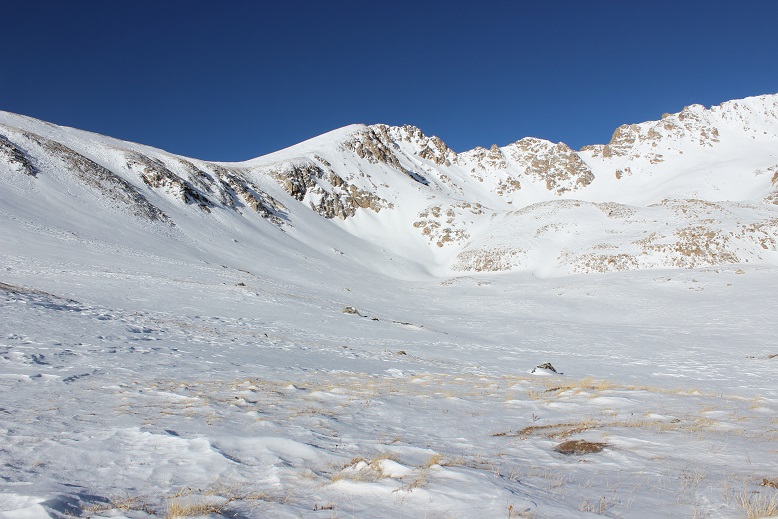
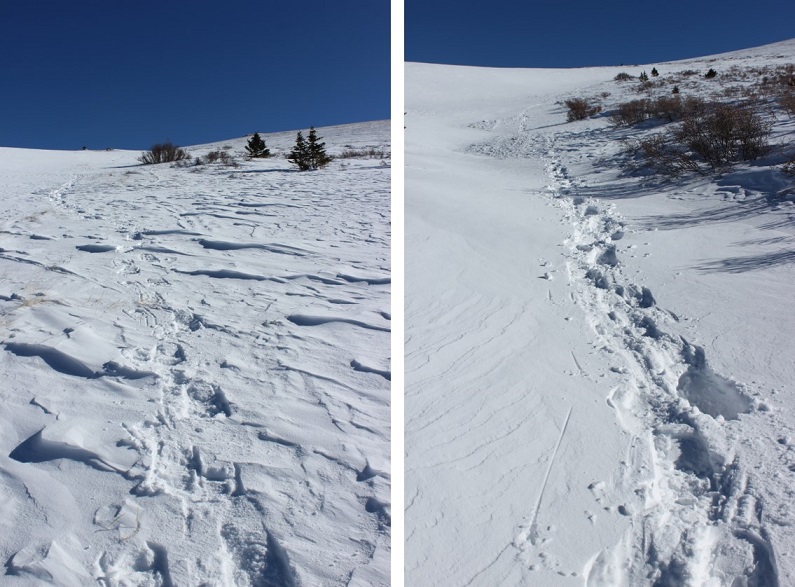
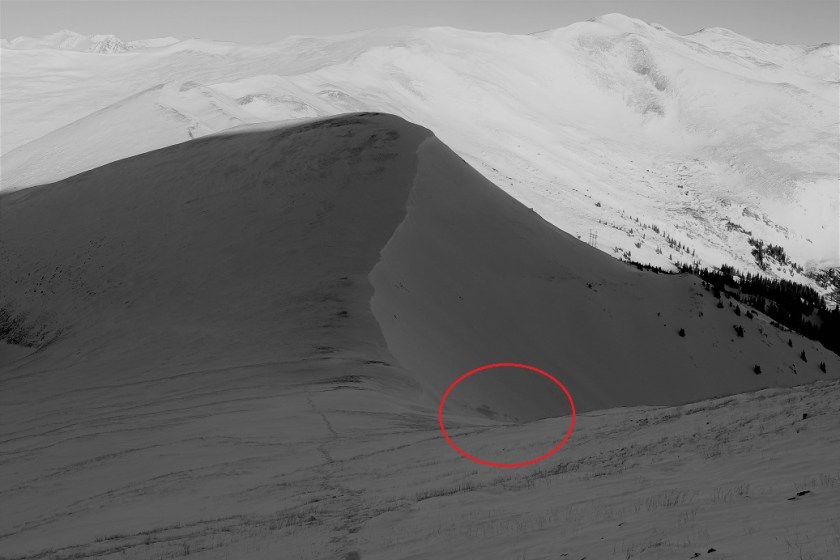
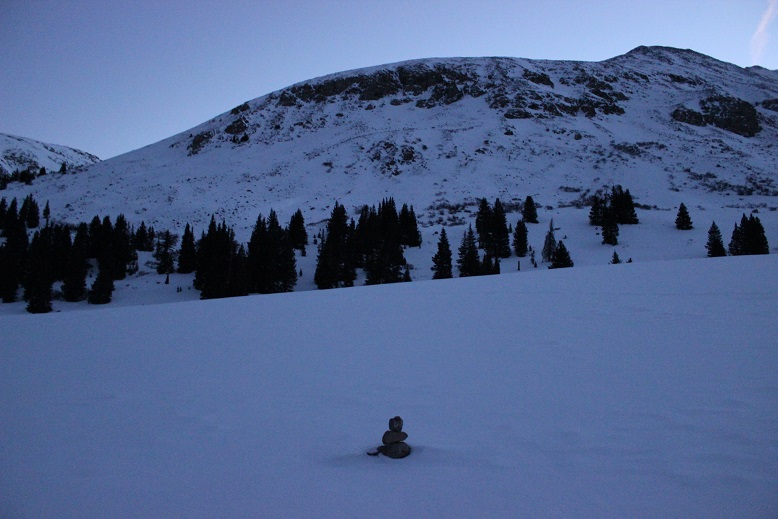
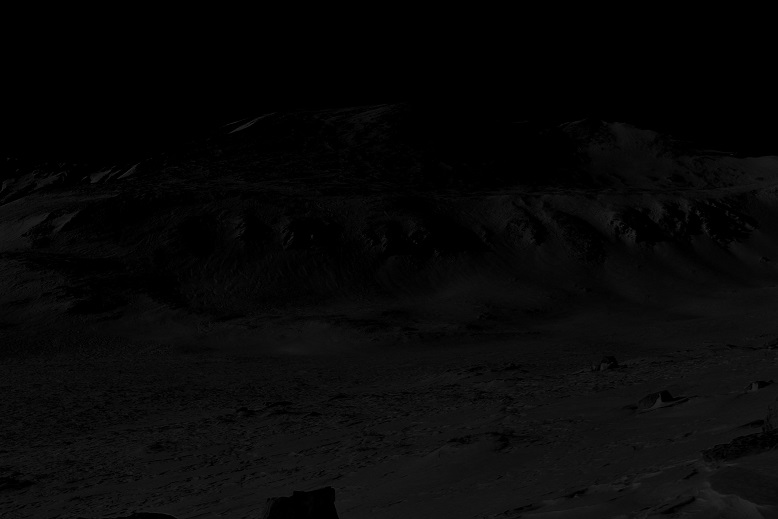
I crossed the basin to the south, squinting in the dark, trying to see Mt Buckskin before me. From the basin I’d wanted to get a good look at Mt Buckskin so I could pick a safe line to climb, but in the dark all I could see was there were a lot of snow covered slopes surrounding me.  I couldn’t be sure in the dark how stable/deep/etc. those snow covered slopes were.  In fact, I couldn’t see much but lots of white surrounding a few areas of black shapes.  I was pretty sure the dark areas were cliffs, and not climbable.  Imagine seeing this (which is actually more than I was actually able to see at the time), and trying to decide which path was safest to take.
8

I kept slowing my pace, hoping the sun would rise and I’d be able to see what I was up against conditions wise. Why wasn’t it getting light out?  This would be a whole lot easier if it were light out.

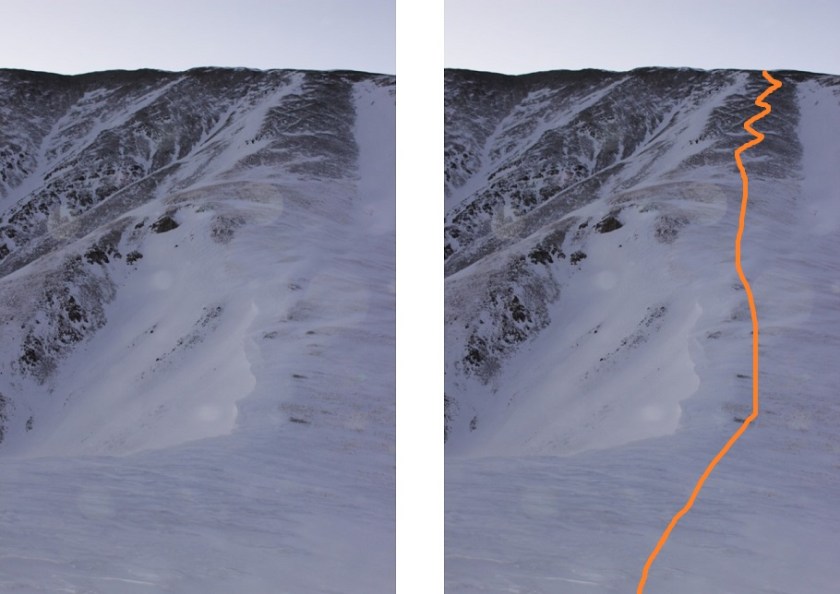
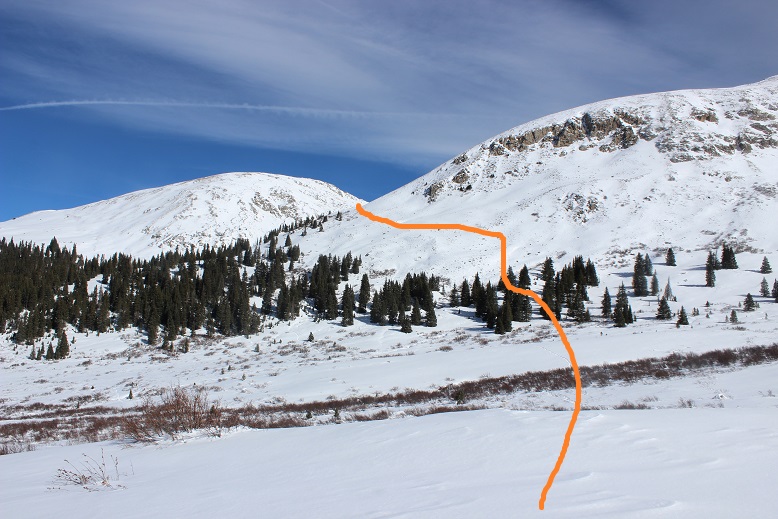
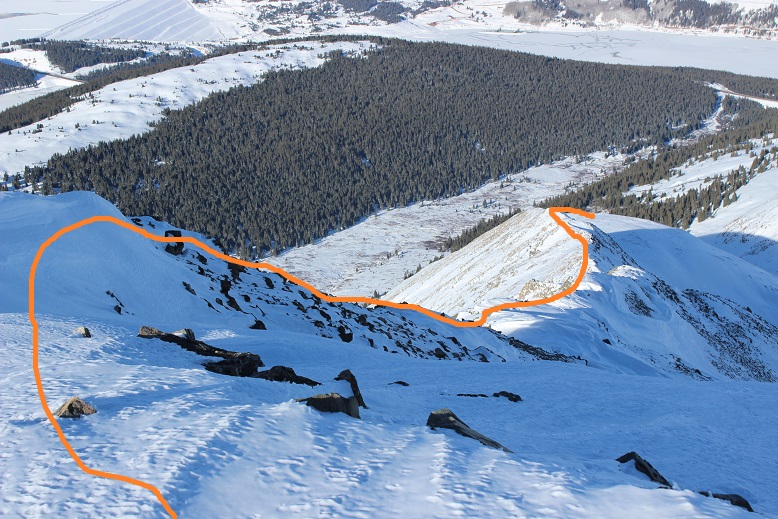
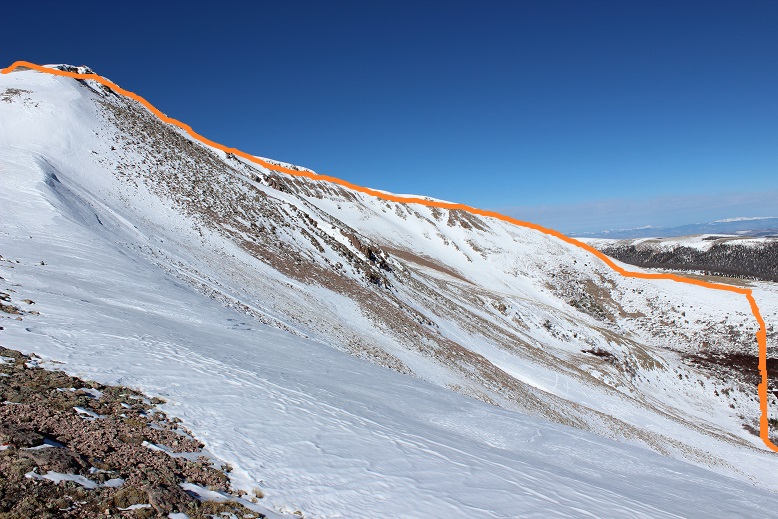
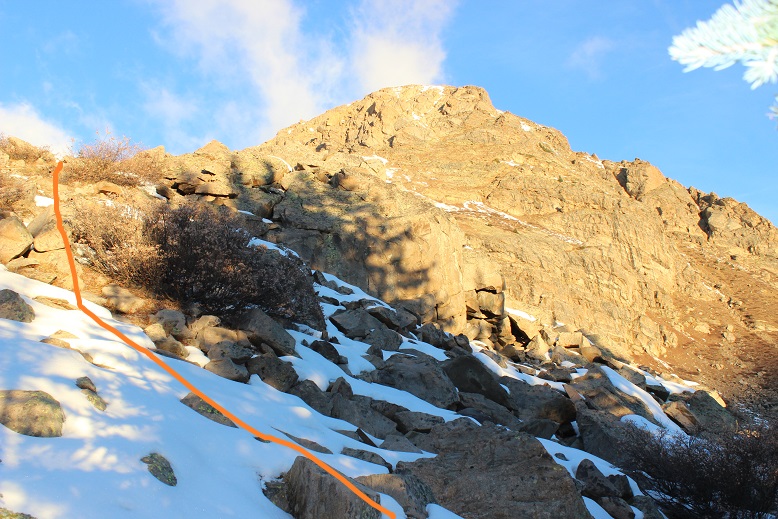
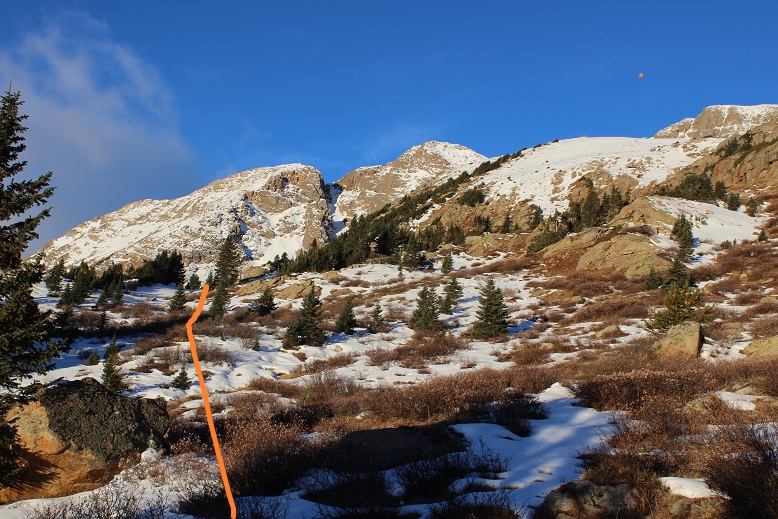
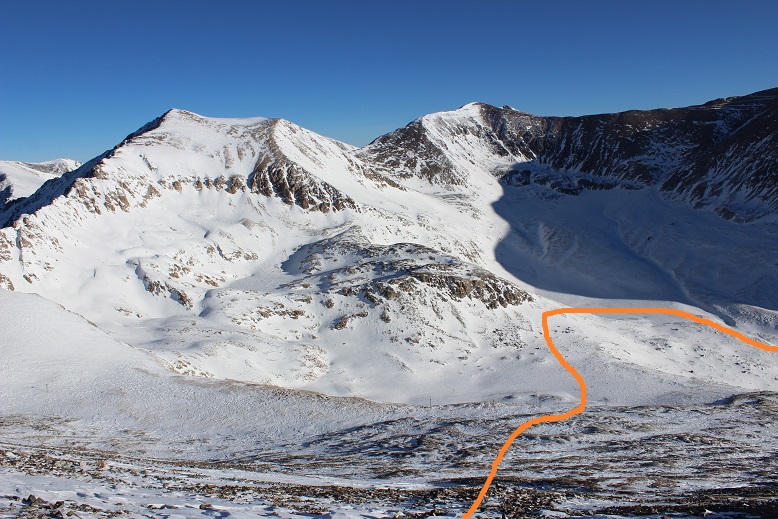
After checking my watch and realizing it wouldn’t be light out for quite some time I decided to aim left, where it looked like there was tundra near the snow. I looked at my topo map and it seemed to have the least drastic slope angle.  I figured if I stuck to that path I’d have firm ground to hike up if the snow wasn’t stable.  This ended up being an excellent idea.  The terrain was quite steep but not as steep as in other areas, and no cliffs.  Here’s the route I took.  In the daylight I realized I’d made the correct choice.

9

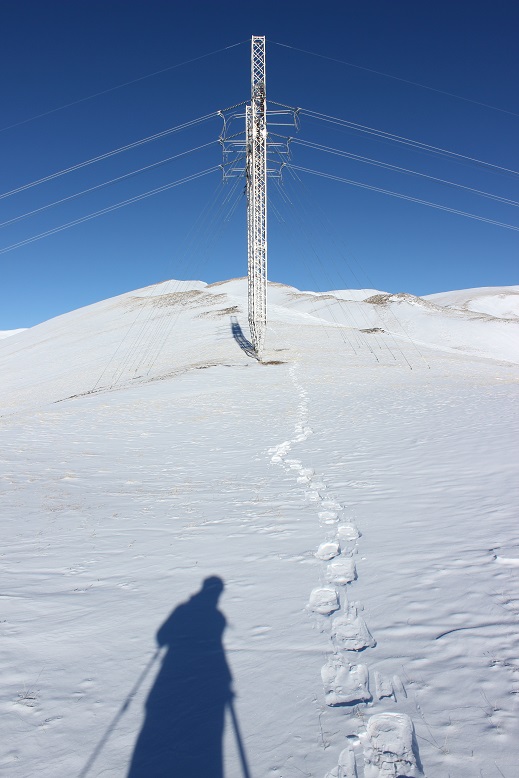
About halfway up the hill I could see power lines in front of me, and decided this would be an excellent point of reference. I aimed for the power line with 3 poles (and discovered later all the others only had 2).
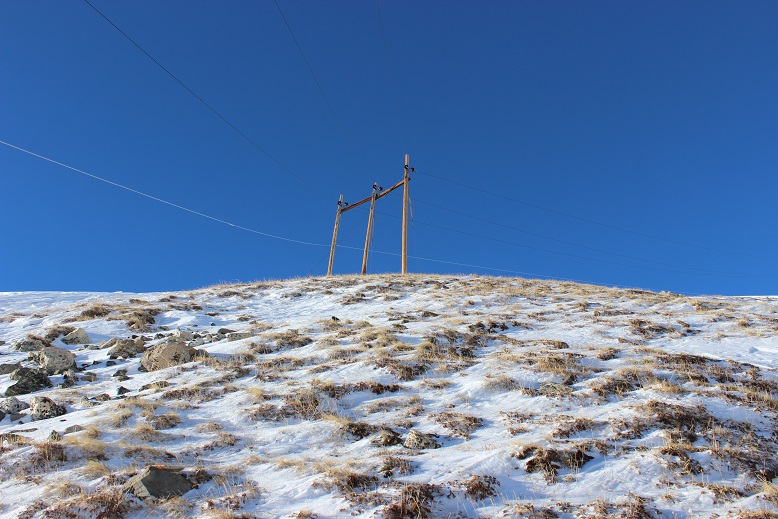
10

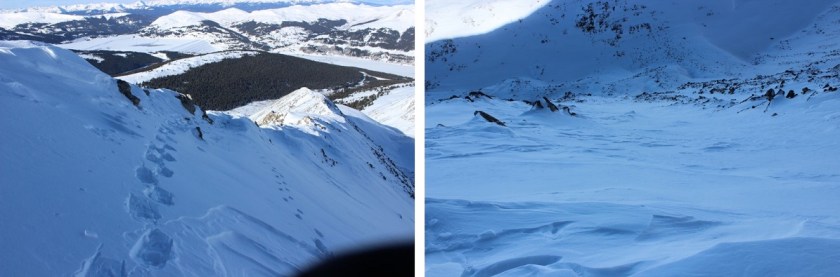
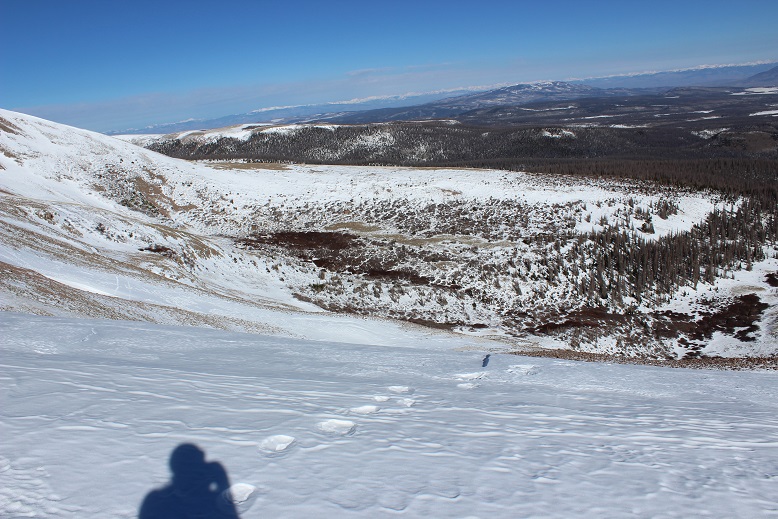
This was a very steep section. Here’s the look back down (from later in the day)
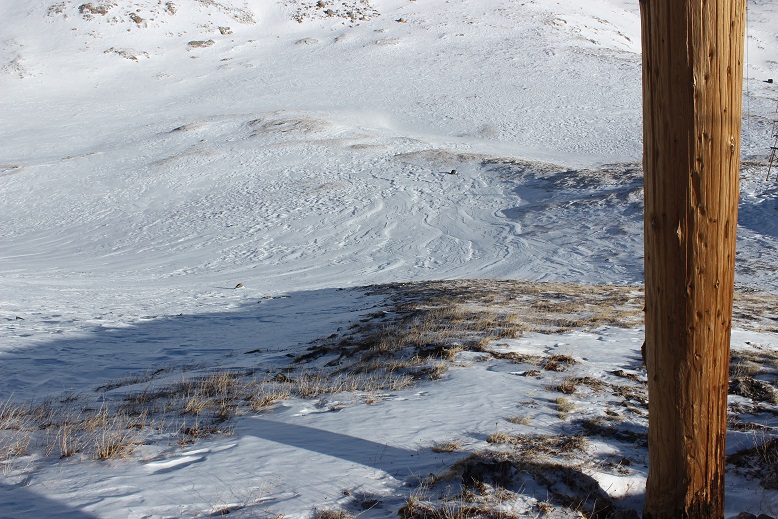
11

When I made it to the power line I set my next goal of making it to the top of the summit ridge. While the sun hadn’t risen yet, the sky was beginning to get light and I could see better than when I was down in the basin.
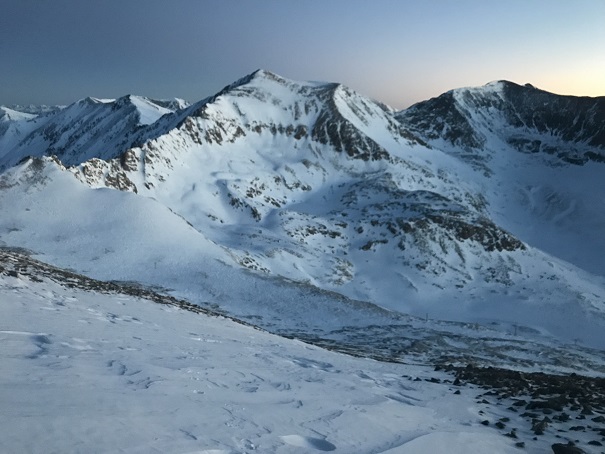
12

Here the snow was firm and I wanted to keep my snowshoes on so I looked for a continuous line of snow to the ridge. Here’s the path I took
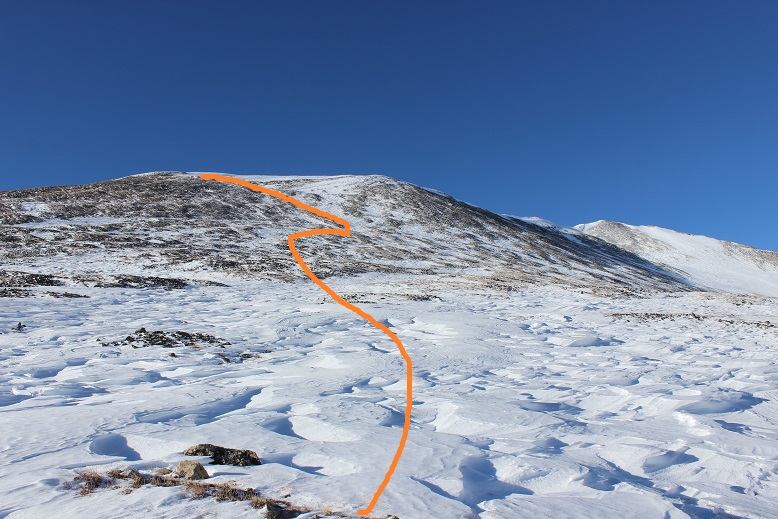
13

Once again, pictures don’t do the steepness here justice.
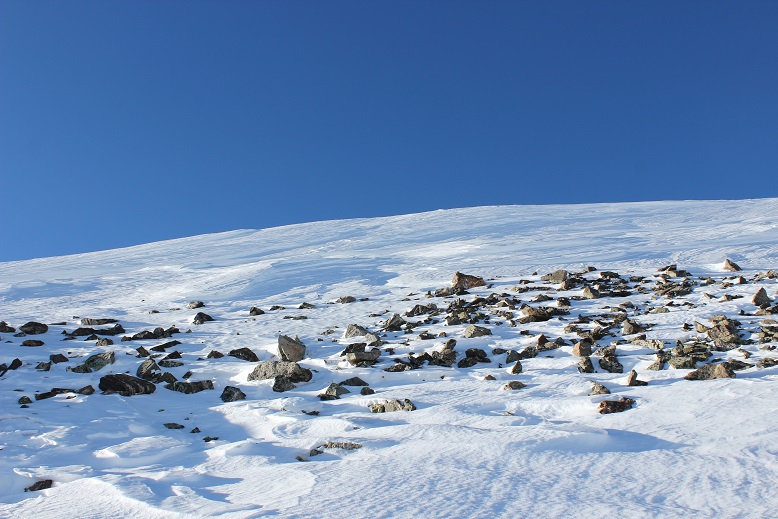
14

The snow at this point was consolidated and I was glad my snowshoes had crampons: microspikes wouldn’t have been sufficient.  I was also glad I had my ice axe.
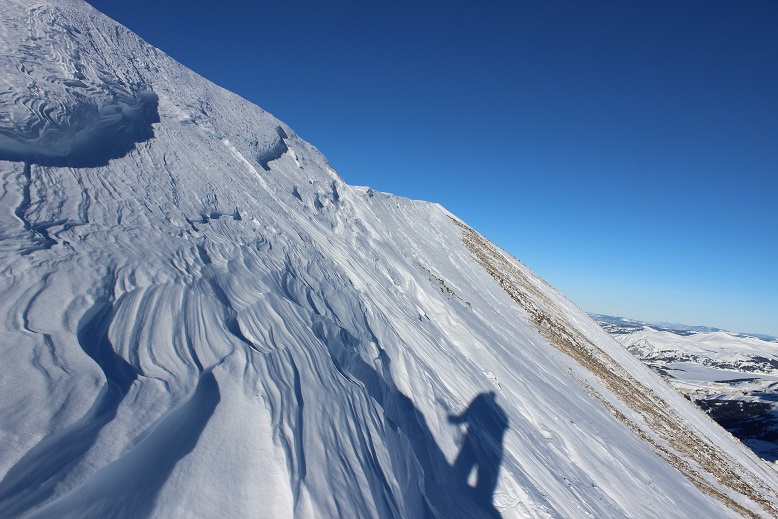
15

After what seemed like forever I gained the ridge just as the sky began to turn pink.
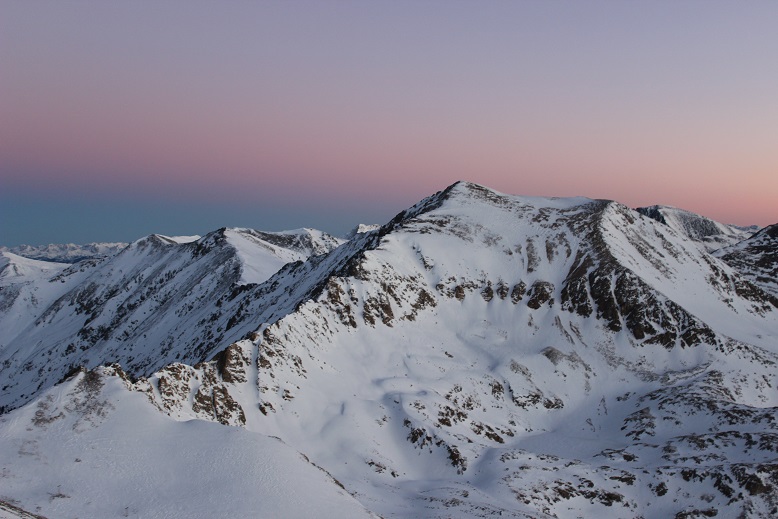
16

I stopped for a minute to admire the view, and then realized if I hurried I’d be able to make it to the summit to watch the sunrise. I quickly sauntered in my snowshoes the last hundred yards or so towards the summit.
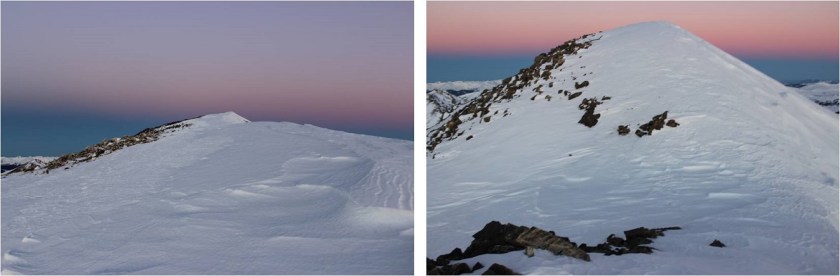
17

I summited at 7am

18 Mt Buckskin 13965

Mt Buckskin:

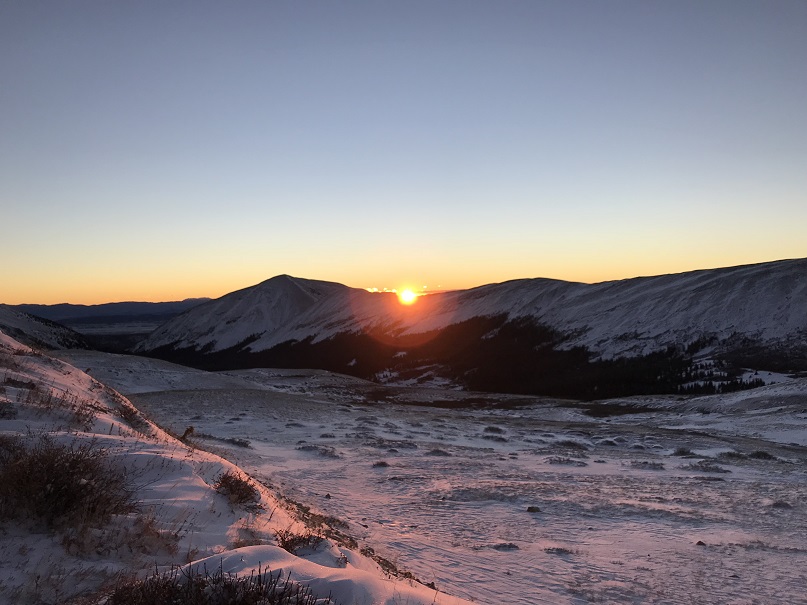
And yes, I was able to watch the sunrise (it rose directly from behind Pikes Peak, which was cool but not something I was able to capture with my camera)
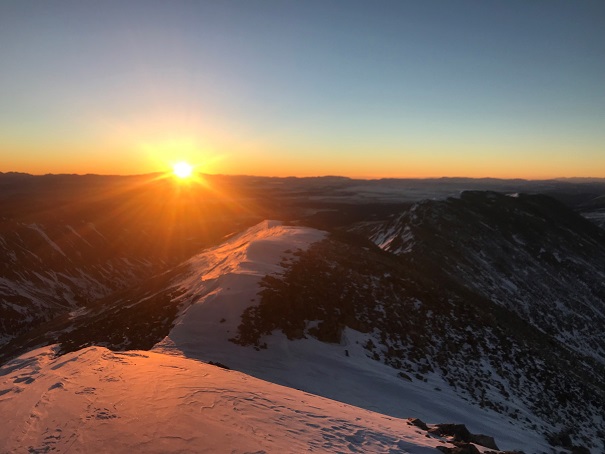
19

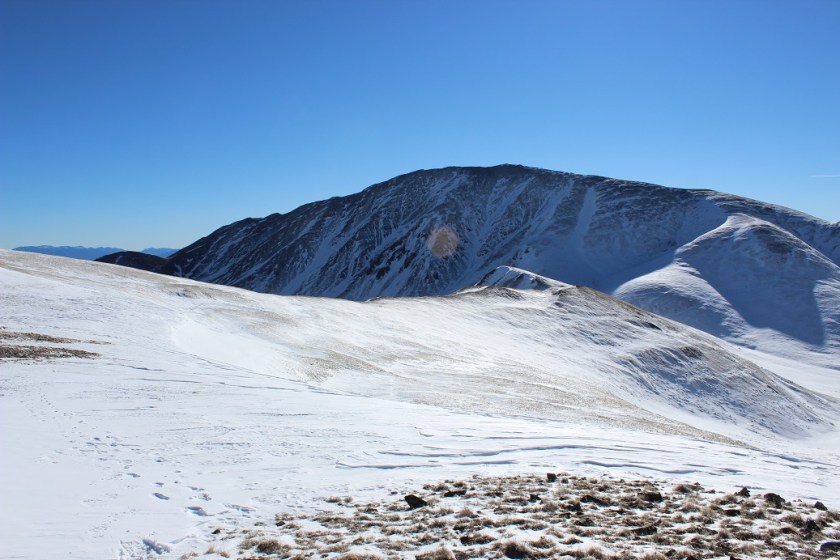
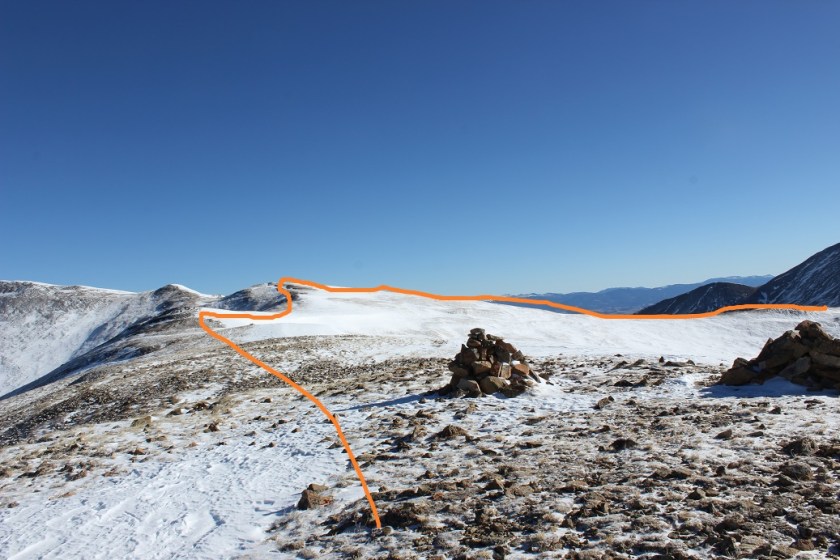
I also wanted to summit Loveland Mountain today, so I turned and walked back the way I’d come. The trail over to Loveland Mountain looked very straightforward.  I could see the path outlined in snow
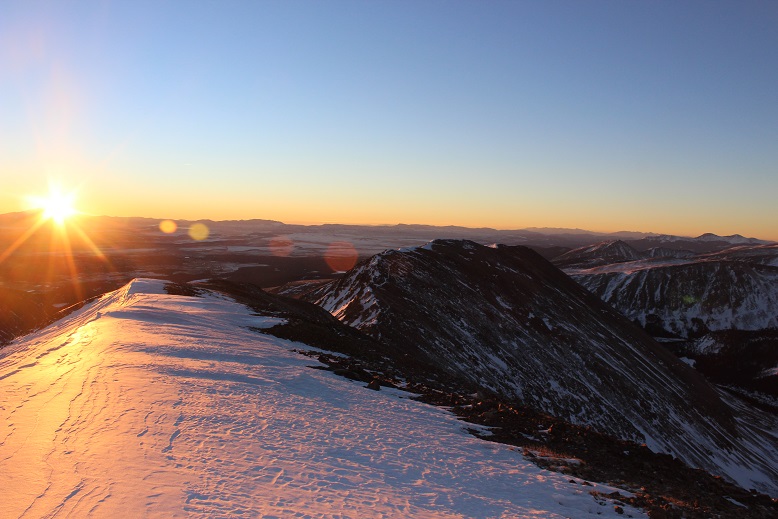
20

I made my way to the Buckskin/Loveland saddle, careful not to trip in my snowshoes.
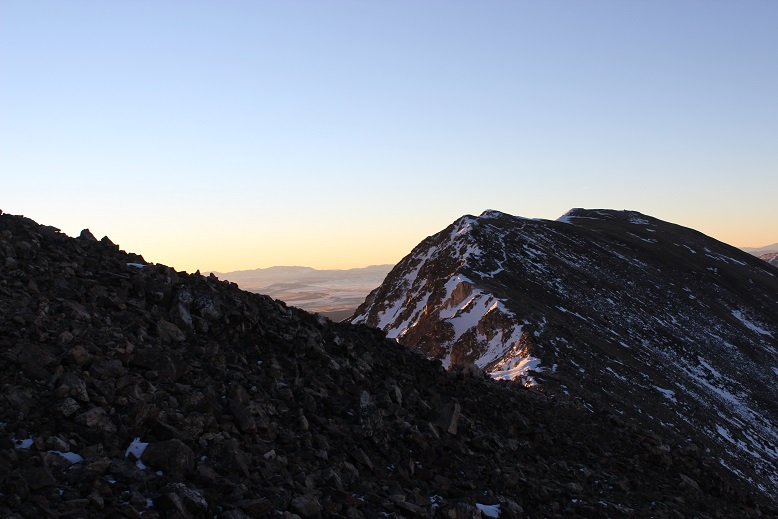
21

From here there was a rocky section to navigate
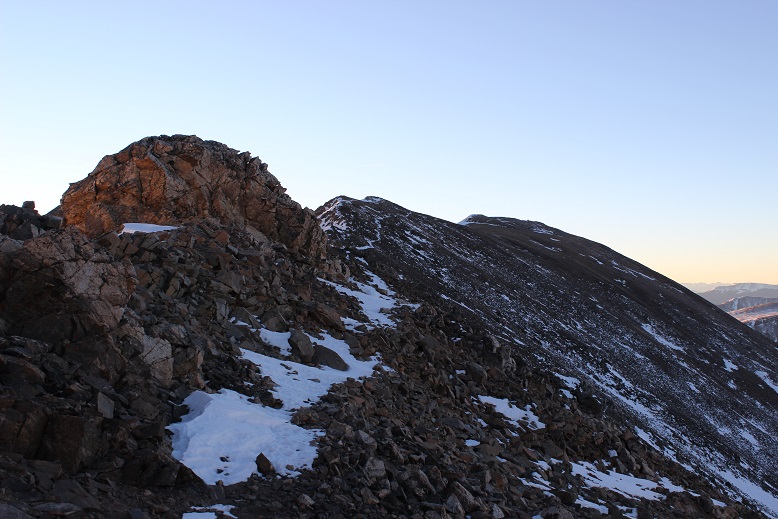
22

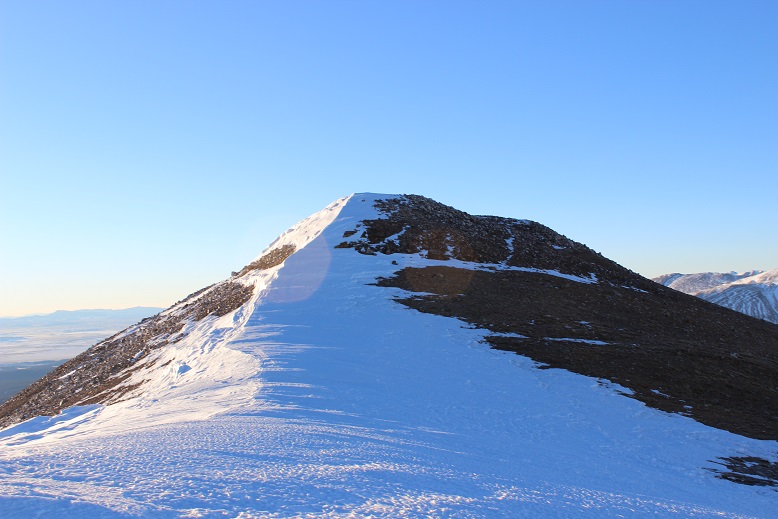
And then I had the choice to summit via the trail to the right or the hard packed snow to the left.
23

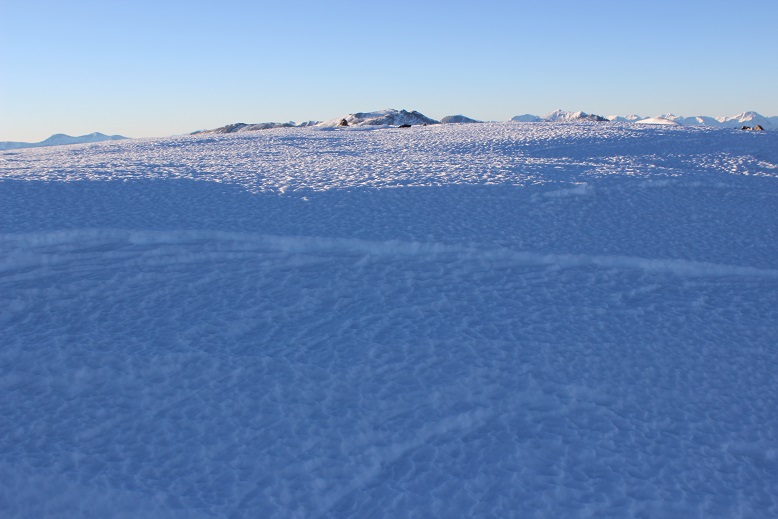
I had on my snowshoes, so I decided to take the snow route, which has more snow than it looks like from a distance
24

I gained Loveland’s ridge and walked to the cairn on the relatively flat summit

25

I summited Loveland Mountain at 7:50am

26 Loveland Mountain 13692

Loveland Mountain:

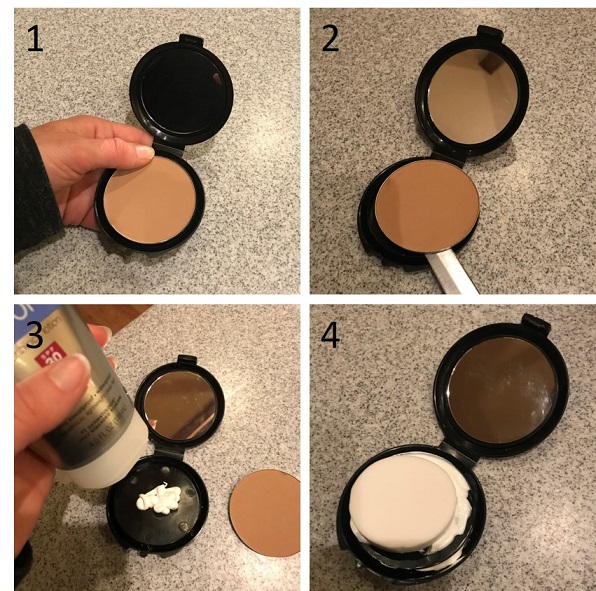
Now that the sun had fully risen it was time to apply my sunscreen. This has been problematic in the past because a tube of sunscreen freezes in the winter above treeline. Using an aerosol spray isn’t practical for obvious reasons (wind) and the sunscreen that comes in a deodorant-like stick doesn’t apply evenly.  Yesterday I’d visited my new esthetician and we’d had the usual sunscreen talk.  I’d told her I usually just keep my face completely covered when above treeline, since I’m unable to apply sunscreen when it freezes.  She told me about something she’d recently heard of, and I decided to give it a try.  I went to the dollar store and bought a compact, took out the powder, cleaned the compact out, and filled it with my favorite sunscreen.  Then I placed a new compact sponge over it (30 for $1 at the dollar store as well) and let the sponge absorb the sunscreen.
27

I had the compact in my pocket as I was hiking this morning (inside of a plastic ziplock as well) and now was the time to take it out and see if the sponge had kept the sunscreen from freezing. I sat on the summit cairn, took out the sunscreen filled compact and applied the sunscreen to my face using just the sponge.  I was amazed at how well this worked!  The sunscreen hadn’t frozen!  Using the sponge it was easy to apply the sunscreen to my face, and my fingers didn’t get cold because they weren’t in direct contact with the sunscreen.  I hadn’t expected this to work so well.  This is life changing.  I took a picture to prove to her I’d tried out her idea.

28

OK, that had been fun, but now it was time to head back down. Here’s a look at the ridge back to Mt Buckskin

29

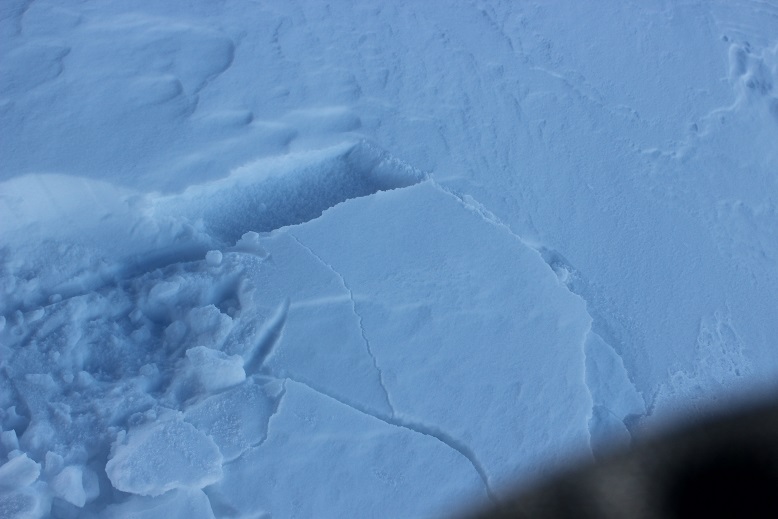
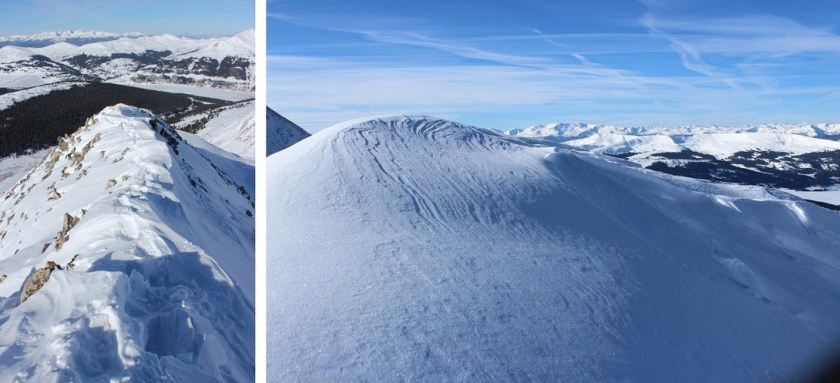
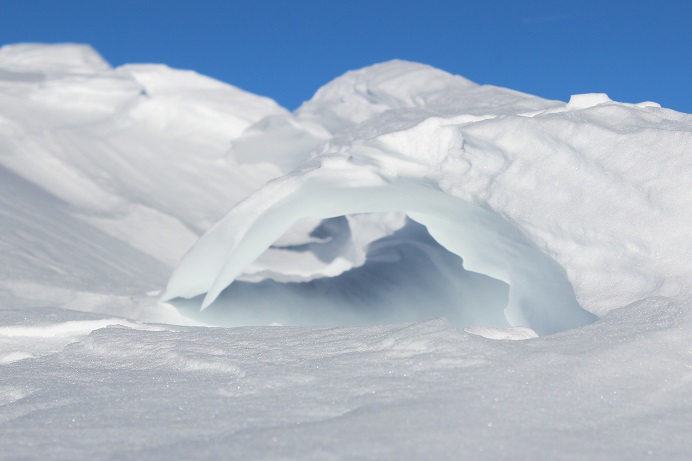
Yes, I had to regain some elevation, but at this point I was feeling great so it was no big deal.  When I reached the top of the Mt Buckskin ridge I noticed a few cool looking cornices forming (these were small, only a few feet wide)
30

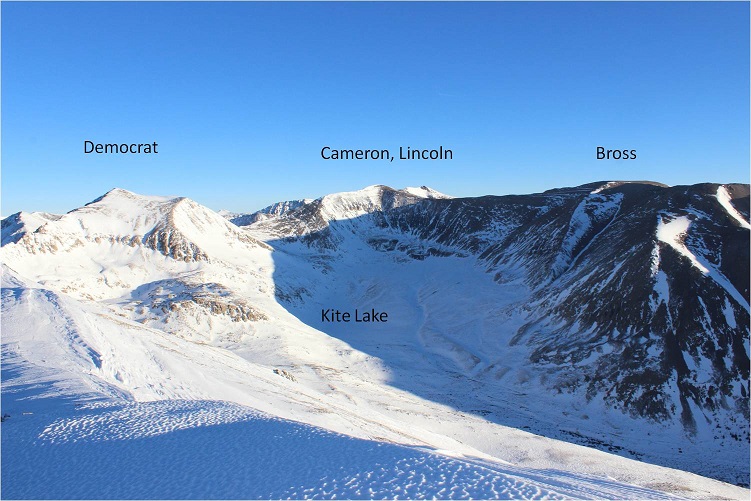
Here’s a look at the view from the Mt Buckskin Ridge
31

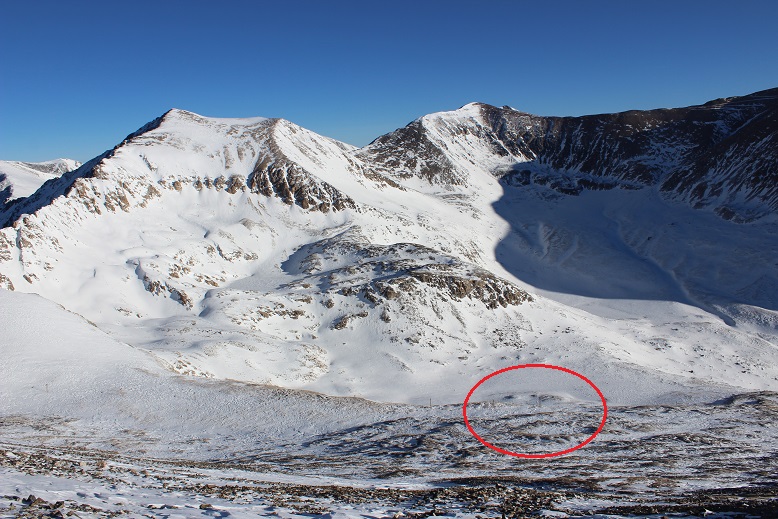
On my way back down I once again aimed for the power lines, which were much easier to see in the light of day.
32

33

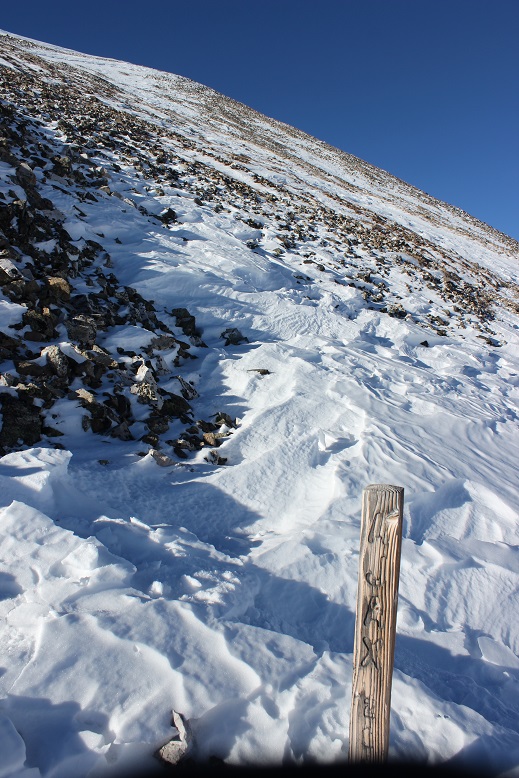
Here’s looking back up the slope to Buckskin
34

From the power lines I headed back into the basin.
35

And from the basin a look back up at the route I’d taken
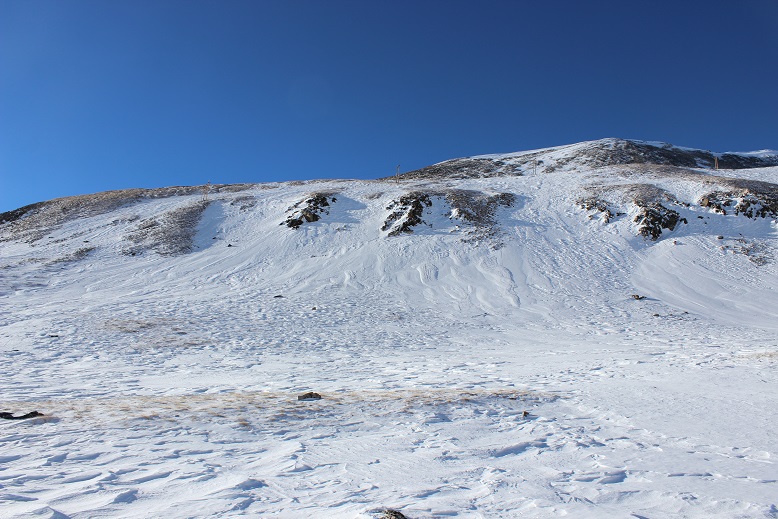
36

Wow, what a basin! In the light of day I could full appreciate how vast it was.  I stopped to take some pictures and admire the view
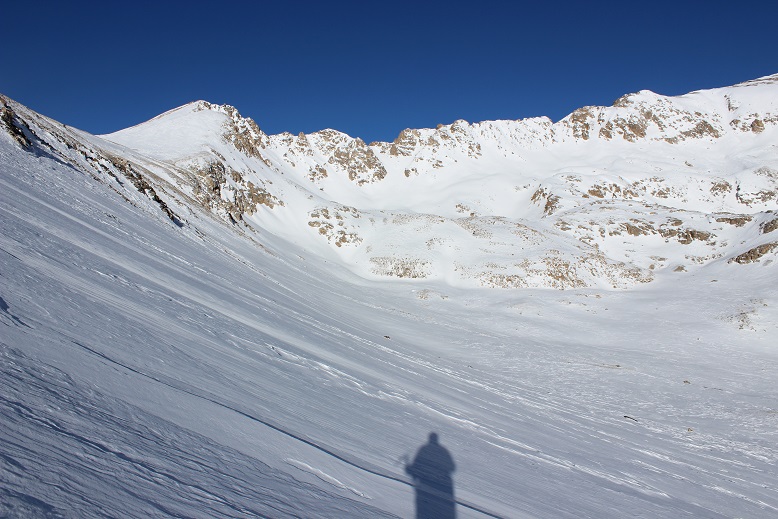
37

38

I realized I’d made the right choice in choosing the line I had to ascend Buckskin’s slope, and now aimed for Kite Lake

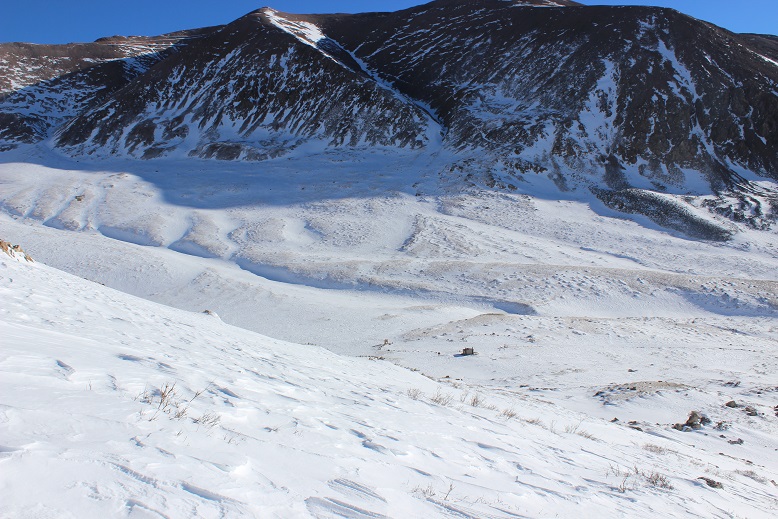
39

40

Once at Kite Lake, and while hiking the road back to the gate, I got a really good view of Mt Buckskin and the path I’d taken to the top. I had the realization this hike would have been much more straightforward in the dark if I’d just followed the power lines up the ridge.
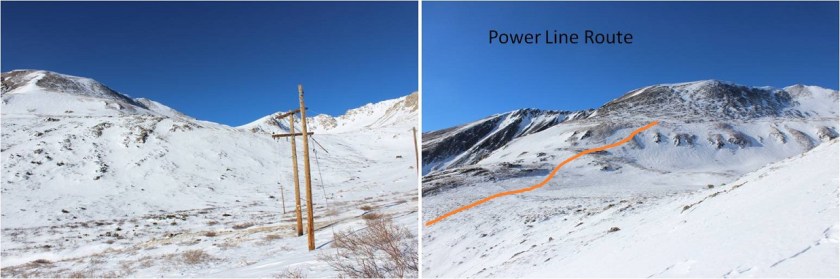
41

The power lines start on the road and lead up the mountain, avoiding the basin altogether. I’m not sure if they cross private land (etc.) but this seems a much easier option that would have made the hike quicker as well.
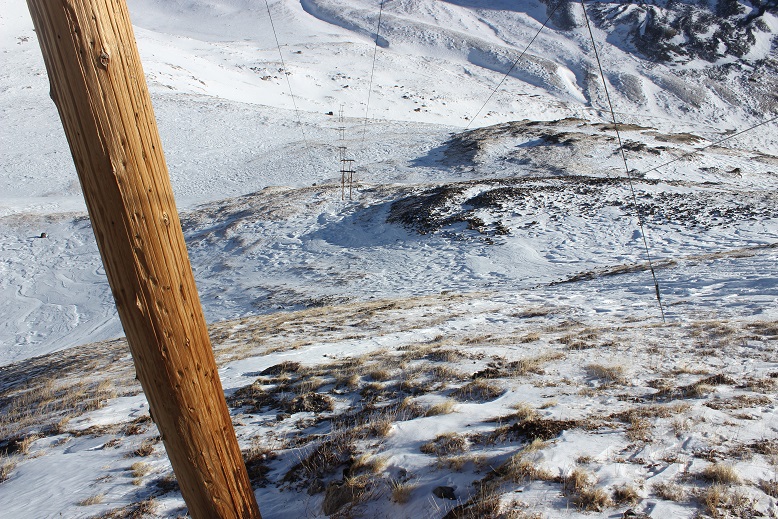
42

In any event, the weather had been perfect today once the wind had stopped. Not a cloud in the sky, and as I was walking from Kite Lake back to my truck it got really warm out and I was able to take off my hat and balaclava.

43

I made it back to my truck at 10:30am, making this a 7 mile hike with 2950’ in elevation gain in 5 hours, 45 minutes. This gave me plenty of time to drive home, get the truck washed and gassed up for the road trip, and to wake my still sleeping daughter up to start studying.  All in all, an absolutely perfect day!
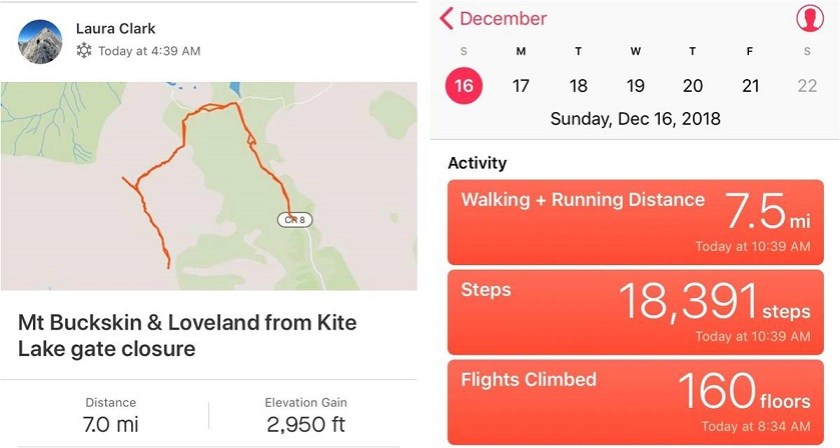
44

And just because it’s fun, here’s my Relive video: https://www.relive.cc/view/2020503730

45

Mt Silverheels – 13,828

1

RT Length:  9 miles

Elevation Gain: 3800’

Last night I was at an event and didn’t make it home until midnight, which meant I wasn’t in bed until about 12:30am.  Nevertheless I set my alarm for 2am, got up, and headed to the trailhead.  Yes, I was tired, but if I only hiked on the days I wasn’t tired I’d never get to hike.  Also, today was supposed to be beautiful!  I really wanted to get above treeline.

Hoosier Pass Trailhead was probably the easiest trailhead I’ve ever driven to.  It was easy to find, and directly off the main road with plenty of parking space.

2

I arrived at the trailhead 4:45am.  I parked my truck, got my gear together, and crossed the road to begin my hike around 5am.

3

It was about 19* outside, but for some reason it felt extremely cold this morning.  So cold I didn’t take out my topo map, and instead followed the tracks that led to the left.  This ended up being a mistake I noticed about ¼ of a mile in when I stopped to put on my snowshoes.  Yep, I was definitely going the wrong way.  So I backtracked back to the gate, got out my map, and re-oriented myself.  I was supposed to go east… where there weren’t any tracks.  (After the gate don’t go left, go straight).  I re-started my tracker and began again.

4

I broke trail in the dark.  This is actually much more difficult than it sounds, and the new powdered snow made it more difficult than it should have been.  I’ve never hiked in this area before, but I knew there was a good trail/4WD road here somewhere.  Unfortunately, with the snow and in the dark I couldn’t see said trail.  Everything looked the same.  I’d only notice I was “off” the trail when I’d suddenly sink to my knees in the snow.   Luckily it’s really not that far to treeline so this didn’t slow me down too much.

5

The best part about hiking in the dark?  Tonight’s Geminid Meteor shower!  I saw dozens of shooting stars, maybe more.   Every time I looked up I’d see another one.  This had me stopping quite a bit just to enjoy the sight, and was a major plus to my hiking this morning (and one of the reasons I forwent sleep).  There was no moon, the sky was clear, and there were hundreds of stars in the sky.  Wow.  Just… wow.  Colorado is amazing!!!  Why wasn’t anyone out here with a better camera than I had photographing this?!?!?

I made it to treeline and it was still very dark.  I knew the general direction I was supposed to head, so I just aimed east and kept hiking up a gentle slope, enjoying the stars.

6

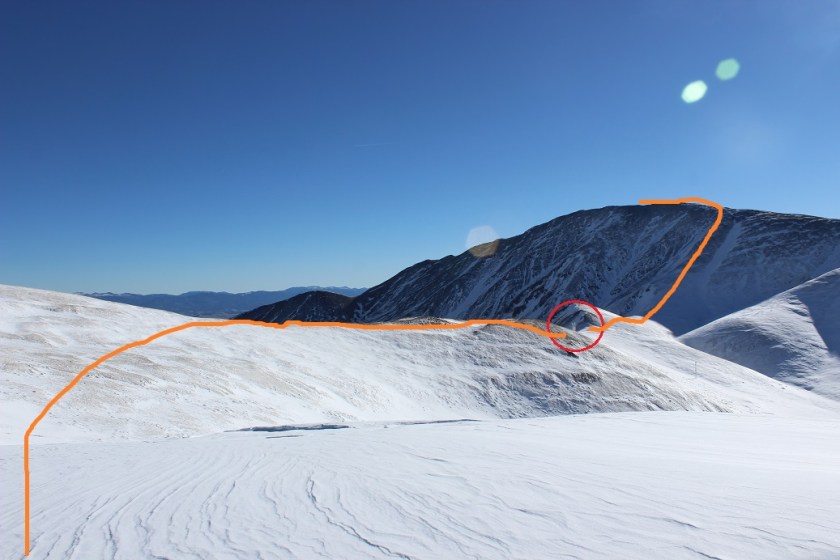
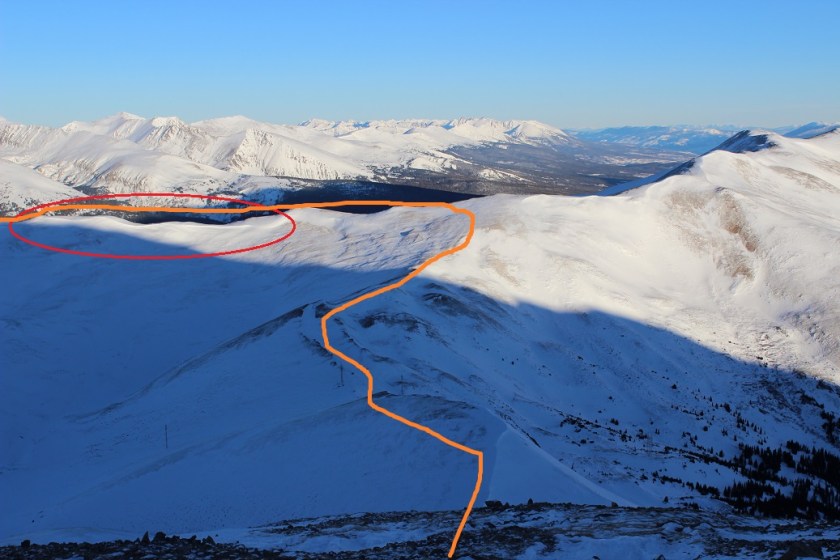
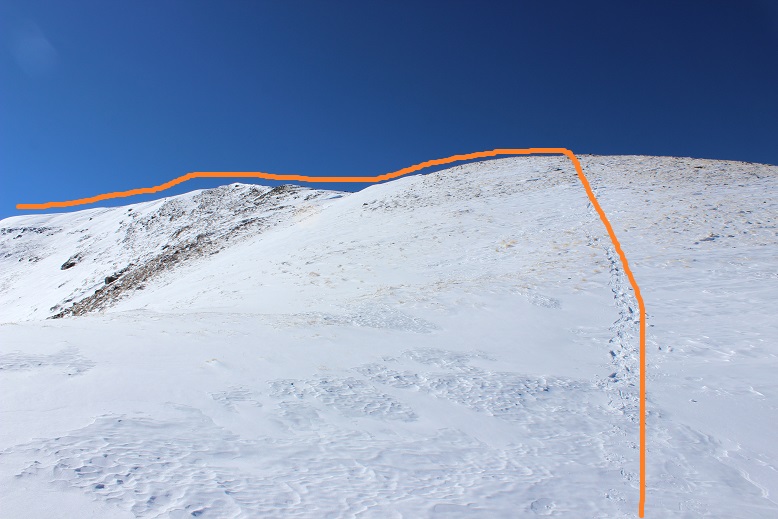
When I made it to the top of the first slope it was still dark, but it was beginning to get a little lighter out.  I could see the ridge I was supposed to follow, but couldn’t really tell how deep the snow was, so I stuck to the ridge longer than necessary.  This ended up being a great idea because there were cornices I was unable to see.  Here’s the path I took.  You’ll notice where I started heading south is further than I needed to go, but once again this had been a good choice due to the cornices

7

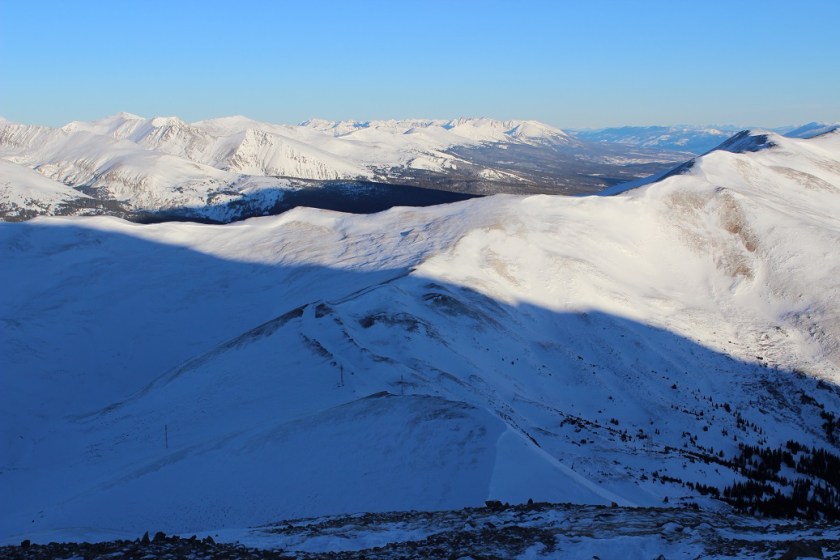
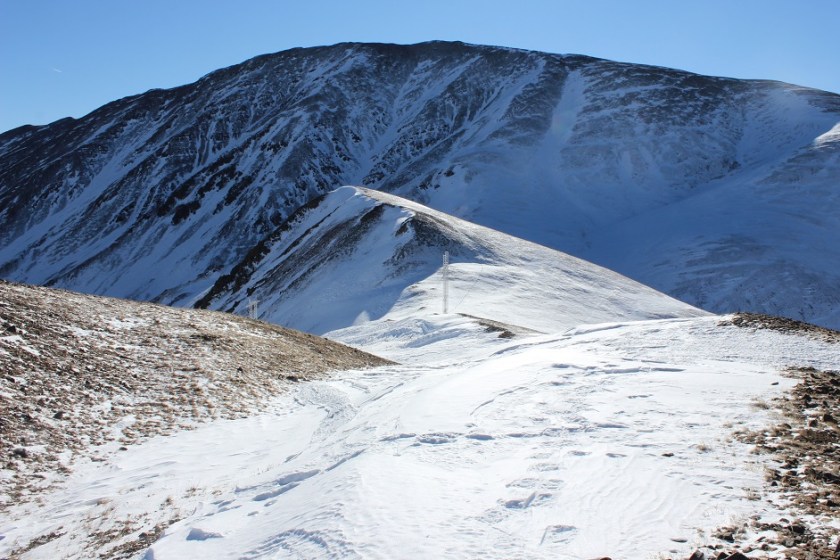
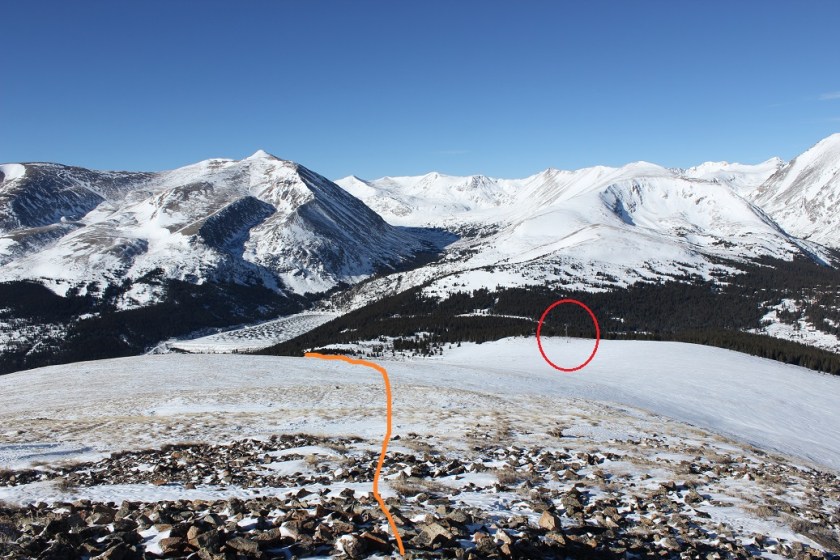
From here I was supposed to aim for the power lines (circled in red) and continue down to about 12,400’.  Ouch!  This meant a loss in elevation of about 500’!  Here’s the rest of the route from this point

8

Did I mention it was WINDY?!?!?  Seriously windy.  The kind of wind that flings your snot into the air before you have a chance to wipe it.  I had snot on my nose, cheek, eyebrow, and I’m pretty sure I’d have it in my hair too if I wasn’t wearing a hat.The forecast had called for 10-15mph winds, and they were at least that, and steady, with 30mph+ gusts thrown in every now and then for fun.

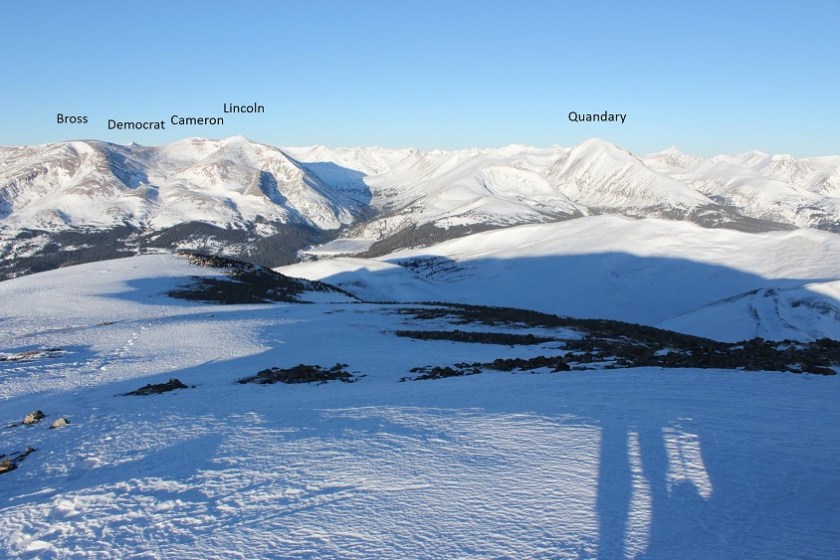
It was much too windy for me to take off my gloves, and I was happy the sun was beginning to rise so I could now see the rest of the route before me.  I looked west. Again, wow!

9

OK, back to that wind.  It was creating cornices all over the place!  See this?

10

Here’s what it looked like on the other side

11

I crossed the final bump along the connecting ridge and found the rib I was supposed to climb that would lead me to the top of Mt Silverheels.  This looked straightforward.  Here’s the route I took, careful to avoid both gullies and the cornices

12

Towards the top of the rib the snow decreased and I was left with talus

13

Here’s a look back on the route I took to get to the top of the ridge.  By sticking to the ridge I’d avoided the cornices circled in red (which are larger than they appear in this picture)

14

From here it was a very easy walk to the summit

15

I summited at 8am.  It took me 2.5 hours to summit.

16 Mt Silverheels 13822


Check out some of the views!

17

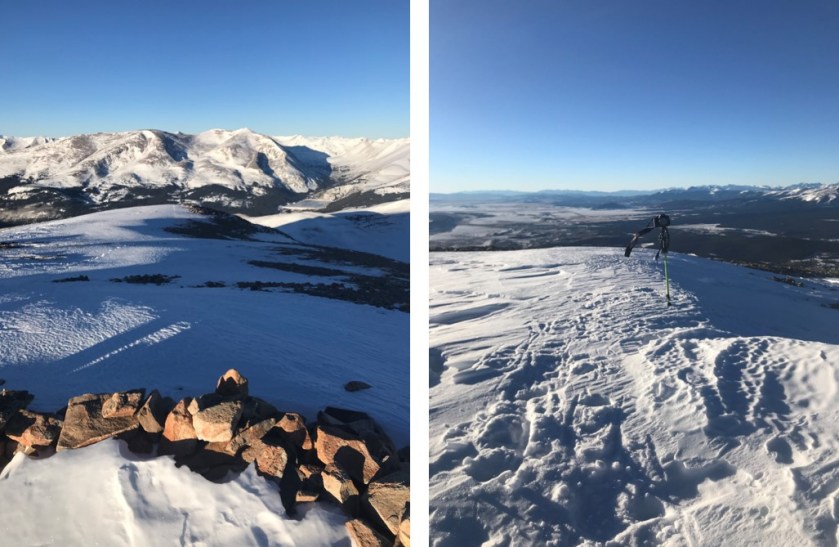
The summit was relatively flat.  Here’s a picture of the last bit of the trek up, and another of how I get those summit-selfie photos…

18

The wind had died down a bit, so I stayed on the summit longer than I normally do to enjoy the view.

When I did start on my way down I had a little difficulty finding the exact spot to descend.  I wanted to be sure to miss the two gullies, but that exact spot was difficult to find once on top of the rib.  Finally, I decided to just parallel with the radio towers and head down.  This ended up being the correct choice, and I soon found my snowshoe tracks to follow back down.

19

The wind began to pick up again, and I noticed a cornice crumble and slide.  It was a small slide, but interesting just the same.  The red circle is where the snow came to a stop after falling

20

I continued on, aiming for the radio towers and dreading that upcoming elevation gain

21

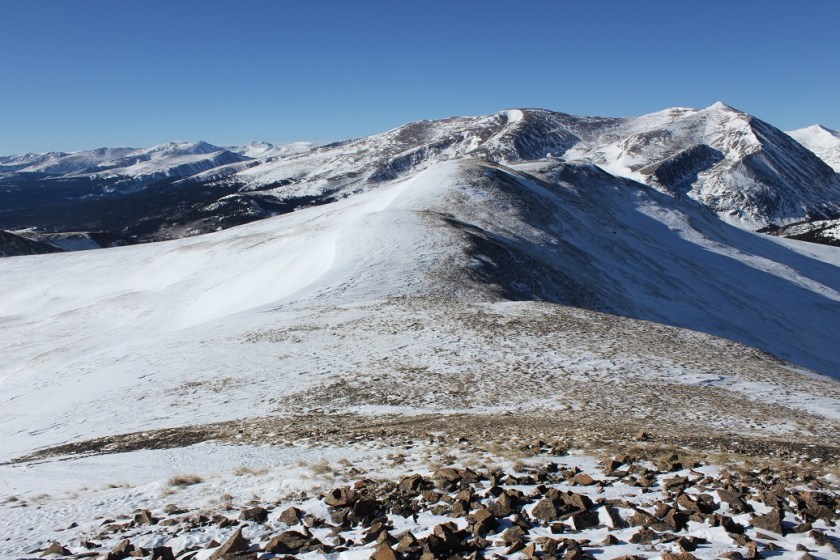
Here’s a look back on the route down from Mt Silverheels

22

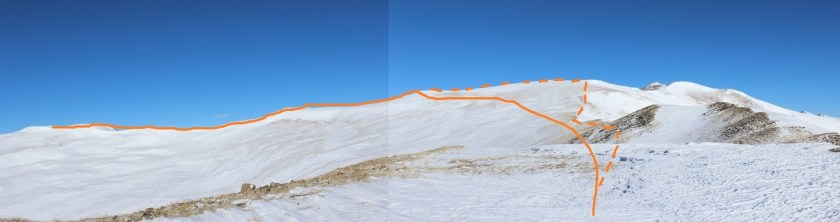
In the light of day I could see a better path over Hoosier ridge than I’d used on my trek in.  I was going to stay a bit lower, now that I could see in the daylight how the snow didn’t pose avalanche danger.   The dotted route is the way I hiked in, the solid line the way I hiked out, careful to stay on solid ground/snow and then on the ridge to avoid the cornices.

23

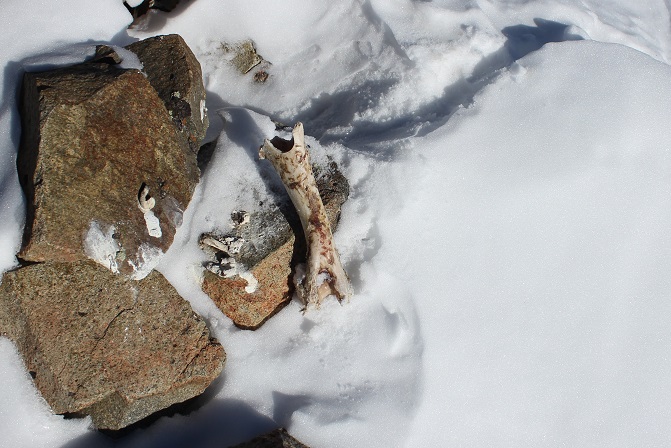
I saw this bone on a cairn.  The bone was about 6 inches long

24

I made it to the ridge and just followed it back

25

At the end of the ridge I saw the last bit of my hike down to treeline, and the radio towers I’d missed in the dark on my hike in.

26

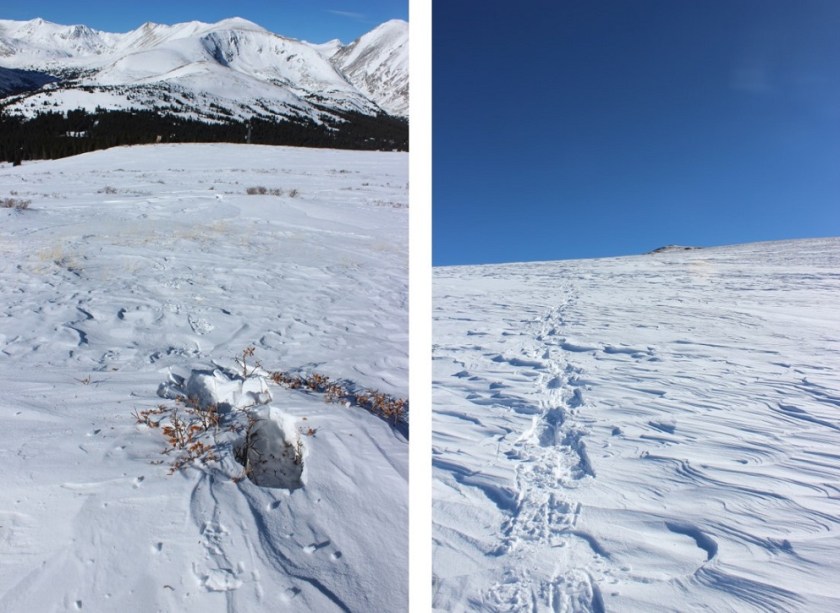
The wind started dying down and I started making tracks again.  They started out pretty scarce, but got deeper and deeper as I made my way to treeline.   Every now and then I’d stumble upon a willow and sink a bit

27

Back beneath treeline I was able to see the snow frosted trees I’d missed in the dark.  Such a beautiful sight!  And the trench I’d put in this morning was still there so I deepened it a bit.

28

I made it back down to my truck at 11am, making this a 9 mile hike in 5.5 hours, with a little bit of trenching, lots of wind, and about 25 minutes on the summit.  (my first distance includes my off route hiking from the beginning, so it’s a little off).

29

Because they’re fun, here’s my relive video: https://www.relive.cc/view/2016998888

Oh, and this was my 50th 13er.  Woot!

Colony Baldy – 13,705’

1

RT Length: 13 miles

Elevation Gain: 5100’

The roads on the drive in were insanely icy all the way from Colorado Springs to the trailhead. This was unexpected because it hadn’t snowed/rained lately:  the ice was all due to a low lying and heavy fog.  This was serious ice too!  I didn’t even really notice the ice until I narrowly avoided sliding into a mama raccoon crossing the street with two of her babies.  From then on I couldn’t drive faster than 35mph the entire way, which meant I didn’t make it to the trailhead until 5:30am (I should have been there around 4:30am).    Luckily today was one of those rare days when I didn’t have a serious schedule or need to be home at a specific time, so I took it all in stride.

Besides being icy the road to the trailhead was a paved 2WD road. There was about 3 inches of snow in the parking lot and no other vehicles.  The bathrooms are locked for the season.

2

There was snow on the ground so I decided to just put on my snowshoes in the car so I wouldn’t need to later. I kept them on the entire hike.  I started at 5:40am, following the mud, rocks, ice, and snow that today was the Rainbow Trail.  Despite what you may think by the name of the trailhead, you actually turn left at this sign and take the Rainbow/Macey Trail #1336.

3

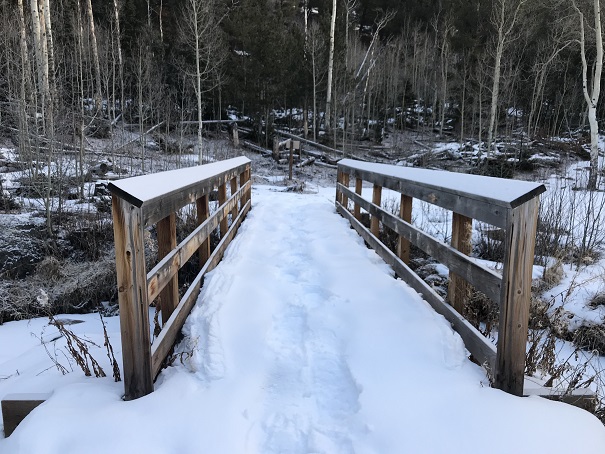
There are two creek crossings on this hike. The first is Horn Creek.  Cross this bridge and take the trail to the left (Macey Lakes Trail)

4

The trail weaves around the mountainside, so it varied from mud and rocks to 2+ feet of snow, depending on which side of the mountain I was on at that point. I decided it wasn’t worth taking off and putting my snowshoes on every ¼ mile or so, so they stayed on.  I hiked in silence, all except for the sound of ice crunching underneath my snowshoes.

5

The sun was beginning to rise, and with it the low-lying fog.

6

The second bridge is over Macey Creek. It is very similar to the first bridge.

7

Here I got my first view of Colony Baldy

8

At the Macey Creek bridge the snow was deep and from here to the summit I broke trail. Once you cross Macey Creek you’ll follow the trail down to the bottom of a long hill, losing about 200-300’ in elevation (thinking WHY?!?!? the entire time).  Just before you get to the bottom of this hill there’s a path to the right.  I was unable to see it as the path was covered in snow and I had to backtrack and look for it, knowing from my topo map it was there.  If you see the drainage you’ve gone too far.

9

On my way out I noticed the path is directly opposite of this sign, and I took a picture of my GPS coordinates

10

This is where the trail ends. I followed the drainage west through a heavily forested area until I came to a small clearing.

11

From here I could see Colony Baldy, and turned south (left).

12

I was supposed to follow the ridge to treeline, but the trees were so dense it was difficult to see anything, let alone a ridge

13

Instead of following the ridge I followed the drainage, which was a great idea since I couldn’t see the ridge: all I could see were hills and trees.  The drainage didn’t have water, and didn’t look like it ever held water, but it gave me a nice, stable ‘V’ to follow up the hillside.

From the small clearing to treeline was the most difficult part of this hike. The snow was about 3 feet deep and like cotton candy:  I’d take a step and sink to my knees, sliding backwards.  Every step was like this, and as I made it higher up the mountain my steps became deeper and the snow became softer.   The snow also made the angle I was climbing much steeper.

It seemed to take forever to make it to treeline! Each step was exhausting.  The angle of the slope is much steeper than these pictures suggest.  Many times my snowshoes would slide backwards as I tried to take a step forwards.  It was like climbing on a treadmill at elevation that isn’t turned on.

14

I made it to the bristlecone pine trees and was only halfway done with the hardest part of this hike. That bristlecone pine area is a good half mile of very steep elevation gain.

15

This was the largest dispersion of bristlecone pines at treeline I’ve ever encountered, and it all goes straight up. Just when you think you’ve made it to the top of the bristlecone pine area you encounter more.  Once again, the steepness of the slope cannot be stressed enough, especially with the added snow.  I was using tree branches as handholds to keep myself from sliding backwards.

This is also where the wind picked up and didn’t stop. It was only about 20mph, but it was a steady 20mph with no breaks between gusts. On the plus side it was beautiful to watch the snow get thrown into the air and fall back down.

16

I put on my goggles and pulled my balaclava up over my nose and kept climbing until I was finally out of the bristlecone pine area and just needed to finish gaining the ridge. I kept looking back at the route I’d taken thinking to myself how it all looked the same:  There were so many tree covered hills at seemingly equal elevation below treeline.  I seriously hoped the wind didn’t cover my tracks with snow or I’d be using my map and compass to find my way back as well.

17

Once I gained the ridge I had a great view of Colony Baldy

18

And the route before me

19

From here to the summit it was an easy hike over rocky tundra. Easy, yes, but it took me forever to complete.  The hike thus far had completely worn me out.  I haven’t been this tired/slow going on an alpine hike in a very, very long time.  I’d take 50 steps (yes, I’d count them) and then reward myself with a rest to breathe for 10 seconds.  And all the false summits!  Here’s the first one

20

And the second one

21

I gained the second false summit after a battle of wills with myself. I was exhausted.  The wind coming straight at me and the intense elevation gain up the ridge and through the bristlecone pines had seriously worn me out.  I kept telling myself it was almost over and I just needed to gain this one last hill and I’d be done.  I promised myself I’d take a break once I’d summited and rest a bit.  Imagine the words that went through my head when I gained the ‘summit’ and was met with this

22

Argh!!! Nope, I didn’t stop, even though my legs were screaming and I was having a difficult time catching my breath (something else that hasn’t happened on an alpine hike for me in quite a while).  I kept going:  50 steps, 10 seconds to breathe.  50 steps, another 10 seconds to breathe.  And you know what?  When I finally gained that last hill to the true summit it was all worth it:  I was met with the most fantastic view of the Crestones I’ve ever seen!

23

The downside? It was freezing cold!  And windy.  I took a summit picture

24

And a quick video before my cell phone went from 49% battery down to 7%

VIDEO:

I plugged in my cell phone to the charger and it immediately went back up to 15% and just stayed there, so I put my cell phone back in my pack and headed down, as my hands were starting to burn inside my mittens.

Here’s a look at that long, wonderfully ‘easy’ ridge. While it looks flat, it’s really just an easy slope.

25

26

The best part about hiking down? I was using different leg muscles and now I wasn’t tired at all.  Each step downhill it became easier to breathe and I started picking up the pace (being careful not to trip on the rocks poking out from between the snow with my snowshoes).  At the end of the slope I turned right (northeast) and followed the slope back past a small outcropping and to the bristlecone pine area.  My tracks were all still (mostly) visible.  Woot!

27

28

This is where I decided to have a little fun. The trench I’d made on my way up was steep and I kept slipping and sliding forward on my way back down because the snow was really, really soft.  So I decided to just glissade on purpose because I was doing it by accident anyway.

29

I ended up doing this almost the entire way back down to the meadow. The path I’d taken was steep enough for me to slide down the entire way, but the snow was deep enough not to let me go too fast (an ice axe wouldn’t have been much help in this snow).

I made it back to the meadow and turned right and headed back to the Rainbow Trail. The 3.5 miles back to the trailhead seemed to last forever.  It still wasn’t worth it to take off my snowshoes for the help they gave me in the shaded/snowy areas, so I kept them on.  Wearing them included the added bonus of not needing to carry them.  I didn’t see anyone else all day, and my tracks in were still the only tracks I saw on my way out, so I’d been alone all day today on the mountain.

30
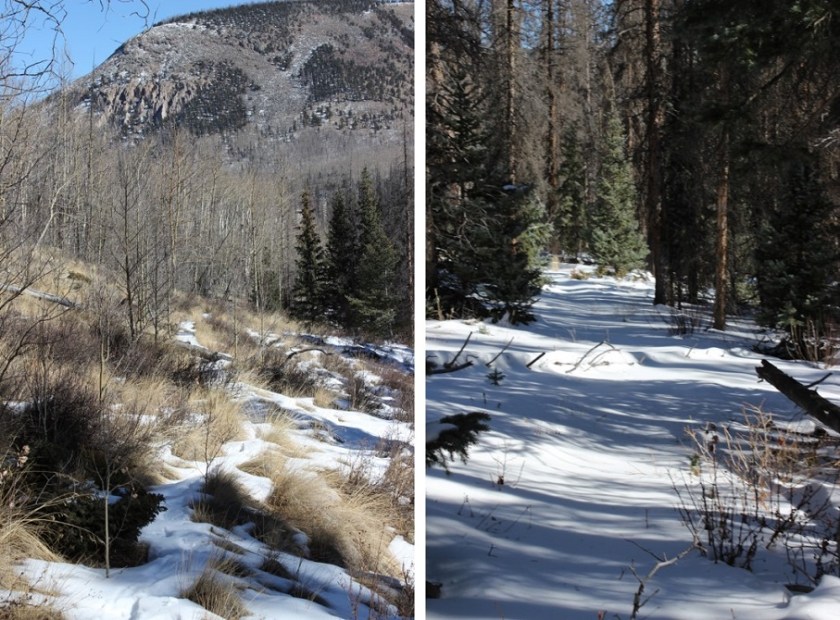
I made it back to my truck at 3pm, making this a 13 mile hike with 5100’ of elevation gain in approximately 9.5 hours.

31

Here’s the relive video of the trek : https://www.relive.cc/view/1972846660

I made it back home at about 6pm and when I went to jump out of my truck my entire body groaned as I touched the ground. That soreness is something else I haven’t experienced for a long time, and an indication of a fabulous hike and a day well spent!

Atlantic Peak 13,856

1

RT Length:

Elevation Gain:

I really wanted to do Atlantic and Pacific together, but until April I have limited time schedules for hiking (I need to be back at my truck by noon to make it home in time to pick up my daughter from school, so it’s hikes under 8 miles until then).  The weather indicated Atlantic Peak would be a good choice for today, so I went for it.  This was only supposed to be a 4-6 mile hike and I wanted to break in my new winter hiking boots.  They were supposed to be lighter and warmer than my Sorrels, but I was skeptical so I wanted to use them on a shorter hike before committing to longer distances.

I arrived at the Mayflower Gulch trailhead at 5:15am to 14* weather, much better than the -5* weather of last week in the San Juans.  I was also pleasantly surprised to find it was right off the road:  no off road driving for me today.  There was one other vehicle (a Subaru) in the lot, and while the gate was open up to Boston Mine I decided to park my truck at the lower lot and hike in.

2

The lower lot was icy!!!  I put on my microspikes in the truck and gathered my gear.  I set out at 5:30am.  It was very peaceful hiking at night.   Silent.  Very silent.  No moon, but the stars were magnificent!  The only sound was the snow falling off tree branches and onto the trail below.  The trail was tightly packed down by other hikers, snowshoers and skiers.

3

A 4WD vehicle could have made the icy drive, but since this hike was so short it didn’t seem worth the extra mile and a half.  I made it to the Boston Mine area before sunrise and put on my snowshoes in the dark.  I was lazy so I kept my microspikes on and just put my snowshoes on over them.  If I needed to take them off it would be a quick transition and maybe I could keep my gloves on the entire time (saving my fingers from the cold).

Oh, btw, this fence is not the height of a normal fence… it’s probably half the height (so the snow looks deeper than it actually is).

4

Snowshoes ended up being a great idea, because while the trail was packed down, as soon as I went off trail I started sinking to my knees, even while wearing my snowshoes.  I looked for a trail across the gulch, but it looked like I was the first since the last snowfall so I broke my own trail.

5

The sun was beginning to rise, and Jacque Peak looked beautiful.

6

The snow was sugary and made snowshoeing difficult.  I’d be fine for a few yards, and then plunge up to my waist.  This was a serious problem in the willows, but I made it across the gulch and was surprised to exit and stumble upon a cairn!  This was an unexpected treat!  I found about 4 cairns on the entire route, always unexpected and sometimes on my way back down.

7

After crossing the gulch I was supposed to follow Mayflower Creek up to Atlantic’s west ridge, but the snow didn’t look stable and it looked really deep, so I stayed higher up on the hillside.  This was great (early elevation gain) but there were times I was seriously worried about avalanche danger.  It wouldn’t have been an intense avalanche, but I could see signs I should take an alternate route back once it warmed up. So I was slow in traversing the slope, but careful and ultimately safe.

8

Here’s the route I took

9

My next task was to hike Atlantic’s lower west ridge.  This ended up being more difficult than anticipated:  the snow here was very consolidated, unlike the sugary snow on the slopes and gullies.  My snowshoes weren’t going to cut it.  I took off one snowshoe and tried it with my microspikes.  They became ice skates.  Hmph.  Ok, I was going to need to get creative.  I put back on my snowshoes and got out my ice axe.  This wouldn’t have been a problem with two ice axes or two ice picks and crampons, but I only had one ice axe and I hadn’t brought my crampons (I thought it was still too early).  So I used my ice axe to drill a hole big enough for my left hand and then struck the snow with the axe and my right hand for support and lifted myself up.  My snowshoes used the holds I’d made for my hands.  This worked very well and I was able to gain the ridge in no time at all.  (Note to self:  It’s time for crampons).

10

11

Here’s a look back on the route

12

From here I was just supposed to follow the trail to the summit, but there wasn’t a trail, and in fact, at about 12,700’ I encountered some of the most difficult terrain of this hike.

13

This is where I wanted to turn back.  I seriously considered it.   The snow was intermittent and what snow there was was sugary and covering loose talus, so I couldn’t get a good grip on it in my snowshoes.  I took them off again  to try it with just spikes and it was even worse!  My microspikes were of no use:  I really needed the stability/flotation of snowshoes.  Even though they weren’t perfect, they were a big help. This area took me much longer to navigate than it should have, but I didn’t quit and I didn’t turn back.  I gained this ridge and was met with this:

14

Wow.  That ridge didn’t look too difficult in normal conditions, but I could already see this would be a challenge due to the unpredictable snow.  Maybe not a challenge for seasoned snow summiters, but I’m still new to this.  There was snow, lots of cornices beginning to form, and a narrow ridge to navigate.  I forged on ahead.

15

Luckily a mountain goat had been here last night and gave me some tracks to consider.  There were times I didn’t feel safe following it’s tracks, but they did give me a good general direction to follow, which was directly on top on the ridge.

16

I’d reach one summit and find another, which was frustrating, but I knew everything I encountered was within my abilities and even a bit challenging.  I came across a few sections that would have been class 2 if there hadn’t been snow, but with the snow (and instability of said snow) I decided it was safer just to go straight over the ridge.  This turned the hike into a class 3 climb, and with snowshoes made me a bit clumsy (but safer than without).

17

This was one of those learning opportunities where I was scared at times but knew I could do it so I kept pushing forward, even though there were many times I wanted to quit and come back in the summer.

Here’s the route I took:

18

The trek wasn’t long, and I wasn’t tired when I reached the summit, but I was cold.  Luckily my phone and camera were working, although my phone cut out halfway though the first video and I had to take another one and then it shut down.  I plugged it into my portable charger and took pictures with my DSLR.   I summited at 9am.

19

VIDEO:

While it was cold it wasn’t windy, so the cold was bearable.  I stayed on the summit much longer than I normally do, taking pictures and marveling at the beauty of the mountains with snow.

20

I considered traversing Pacific Peak as well, but didn’t think I’d be able to do it successfully with my time constraints.  The class 3 route looks doable now though, so I may be back in the next few weeks.

21

Here’s a look back at the route

22

The trek back was easier than the hike in because I just followed my tracks (and didn’t look down).  Looking down would have caused unnecessary anxiety.

23

Those ridges were something else!

24

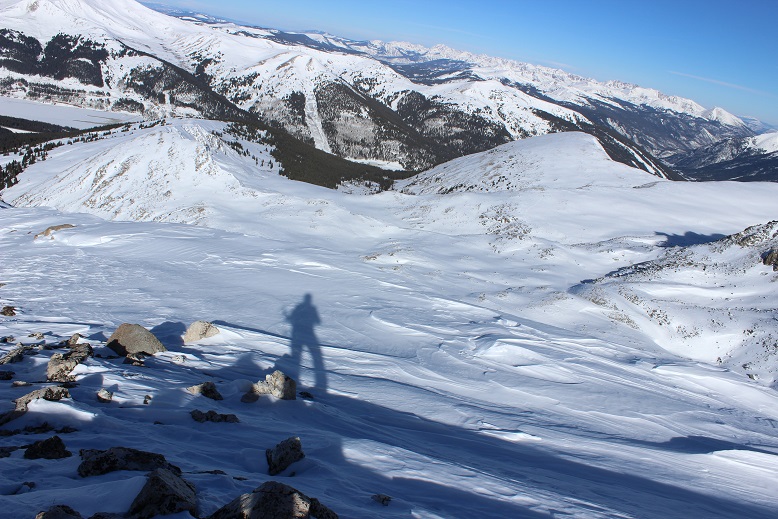
Of course I took a shadowselfie

25

I decided to follow the creek down because that was what I was supposed to do and I was seriously worried about avalanche danger on the route I’d taken up the mountain.  I’m still learning about avalanches, but know some of the initial signs and what I was seeing wasn’t making me comfortable.  So I took the creek, but this proved difficult as well, as out of nowhere I’d sink up to mu chest in soft snow and then have to work myself out.  This happened many times and was frustrating, but I still felt safer than on the slope above.

26

27

Just before hitting Mayflower gulch my toes started to hurt:  the new snow boots were fine, but the snowshoes and boots combination was cutting off circulation in my toes and trekking downhill was beginning to hurt.  This hadn’t happened in my previous boots, and is something I need to consider.

Also, I lost my phone.  It fell out of my pocket and I had to retrace my steps ¼ of a mile uphill to find it.  That wasn’t fun.  I found it buried in snow (but attached to my bright orange solar charger).  I picked it up and trudged back down the hill and across Mayflower Gulch to Boston Mine.

28

It was a beautiful day!  And warm!  I took off my gloves but had to put them back on again once I made it back to the trail (and shade).  Have I mentioned I love my new gloves!

29

My new winter books are ok, but despite my double tying them and folding them under my laces they still came undone while hiking, which isn’t an option for me since I can’t tie them wearing mittens.  I may try safety pinning them next time.

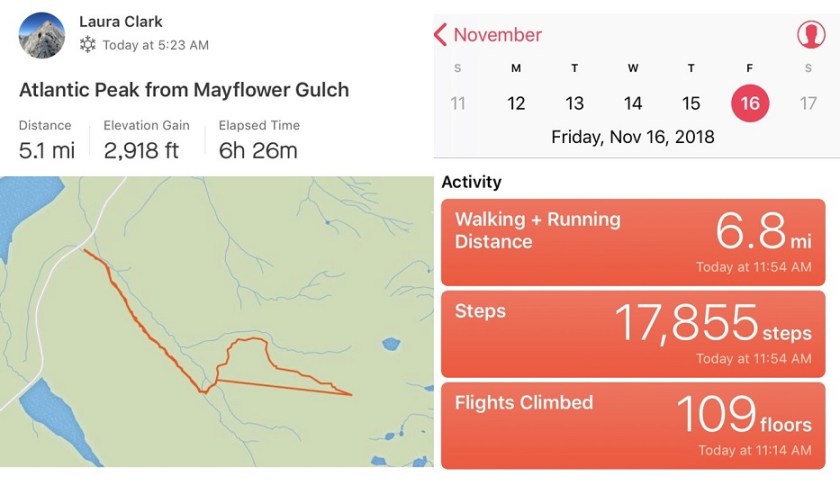
I made it back to the trailhead at noon and looked at my STRAVA map.  Hmph!  This wasn’t right:  It showed my trek to the summit, but it seems it stopped working there and picked up again where I found my phone in the snow after losing it (please don’t attempt to take that straight line:  it’s not safe!!!).  So while the elevation gain is most likely correct, the trek down and mileage definitely are not.  My iPhone told me I’d hiked 6.8 miles, so I’m going with that for mileage.  The hike was 5.5 hours.

30
Here’s my Relive map (which is also false since it did that straight line thing from the summit to where I lost my phone).

https://www.relive.cc/view/1968357714

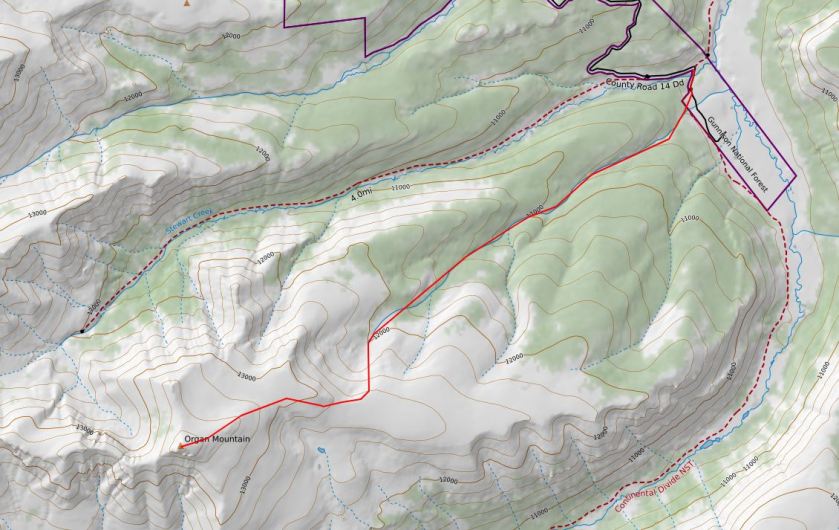
Organ Mountain 13,808

1

RT Length: 9 miles

Elevation Gain: 3500’

My hiking days got switched this week due to mandatory Friday dentist appointments. (Side note: anyone know of a great dentist in Colorado Springs that’s open nights and weekends?  I love my dentist office but their hours stink!!!).   I was willing to give up my hiking day this week for dental hygiene but when I asked my kids what they wanted to do this weekend one was gone and the other wanted to sleep until 4pm (she’s a teenager, this is doable for her) but she wanted me to take her to see the school play at 7pm.  Woohoo!  This gave me a Saturday hiking day, and I could drive further since I didn’t need to be home by 3pm.

So I changed my schedule and took a nap Friday night and woke up at 11:45pm and drove the 6 hours to the Eddiesville Trailhead in the San Juans. The weather wasn’t supposed to be spectacular (0-29* at the summit, with wind chill making it 0 to 10*) but as I was driving down the dirt road my heart sank as the temperature dropped to -5* and held there for a bit.  I got excited when it rose to 7* (I know, crazy to be happy about 7* weather) and disappointed again when it went back down to 0* and then held steady again at -5*.  With my Raynaud’s I was seriously worried a hike wasn’t going to happen today: I’ve never hiked in such cold weather and had my doubts.
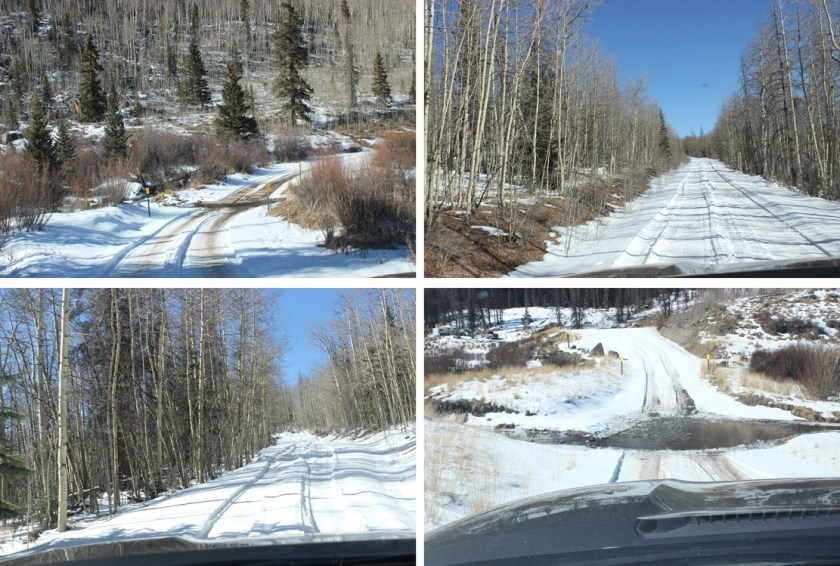
I’d seen a report from earlier this week stating the trailhead was still open (woohoo!) but that it was icy. Let me tell you, they weren’t kidding!  I’ve never experienced this kind of ice before.  Granted it was -5* outside, but the dirt road was covered in 2-4 inches of ice and there was no way to gain traction on the road.  This is the very first time I’ve ever experienced my 4WD Tundra slip in the 6+ years I’ve been driving it on ice and snow.  It caught me off guard, but I straightened it out and kept it under 5mph until I reached the trailhead.  Those steep hills with tight curves were a killer!  I could tell by tire tracks several other vehicles had slid into the drainage on the side of the road in the past few days.  There was a pretty good rut going for tires which was nice, but would have made passing another vehicle a nightmare.  Here are pics from my drive out.  The creek crossing(s) were fun, especially the second one that had a thick layer of ice at 5am I got to break through with my truck:  My truck was happy!

2

There were tons of animal tracks along and through the road. Very cool!  Hopefully I’d see some wildlife today.  I saw some of the biggest white rabbits I’ve ever seen.  Seriously.  They reminded me of the jackrabbits we had in Arizona, the ones the size of racoons.  I arrived at the trailhead at 5:30am to -5* weather and snow everywhere and a gate preventing me from driving further.

3

I’m still learning about winter condition hiking and where my limits are, so I’d decided before even arriving to give it a try and turn back if needed. I’d driven all this way, hadn’t I?  I might as well use this as a learning experience, -5* weather or not.

So I put my snowshoes on in the truck and bundled up for the cold weather with multiple pairs of gloves, my balaclava, knit hat, etc. I opened the door and was greeted with intensely cold air, but luckily no wind.  I took a deep breath:  I could do this! (Probably).

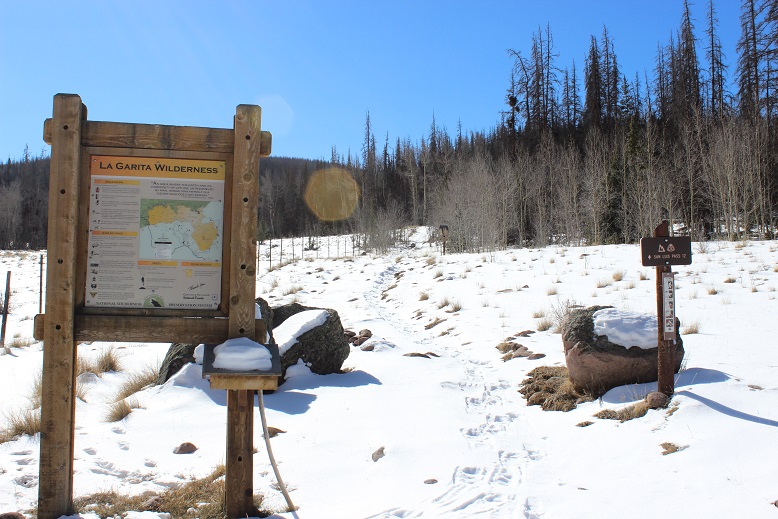
The trail actually had signs, which was an unexpected treat.

4

I followed the trail through a gate and to the left (southeast) for about 150 yards

5

until I saw this post and turned right. There was supposed to be a trail here, but it was invisible in the snow.

6

My fingers were burning. Seriously burning from the cold.  I stopped and took off my felt gloves that were under my mittens and just wore my mittens.  My hands were instantly warmer, but I was giving up finger flexibility:  I would no longer be able to take off my mittens to actually do stuff (like adjust my snowshoes, take photos, look at my phone/gps, etc).  (Another side note: Someone seriously needs to invent better gloves.  I need actual gloves with finger casings for dexterity, but unfortunately they don’t keep my hands warm enough.  I need mittens that have small fingertip holes made with thin weatherproof fabric that retract inside the mitten but you can poke your fingertips through when necessary.  Someone please invent these.  But I digress…

Now that my hands were warm my hike instantly looked more promising, despite the cold weather. The lack of wind below treeline helped too.  The trail varied from large amounts of snow to just a little on the trail. It was easier to just keep my snowshoes on, so I did, even when they weren’t necessary.

7

As the sun started to rise I got my first good look at Organ Mountain (this isn’t the summit).

8

Did I mention the animal tracks? It was obvious no one had been on this trail for quite a while.  Well, no one but our 4 legged friends.  I saw tiny prints from mice, fox prints, and the biggest rabbit prints I’d ever seen.  Oh, and the deer and elk and moose prints were everywhere. This is how I knew they were moose tracks…

9

The animal tracks were super helpful for finding the actual trail. There was a trail here, but it was invisible with all the snow.  Luckily the animals knew where it was (mostly).  When the animal tracks obviously veered off the trail I just followed the creek.  This trail follows the Hondo Creek all the way to treeline, so as long as you parallel the creek you’re fine.

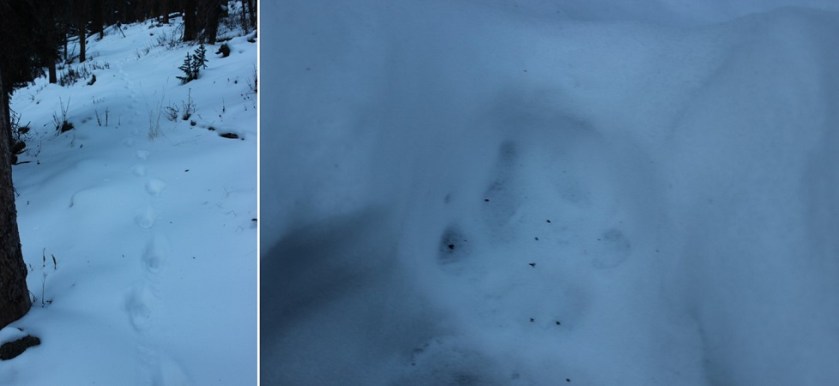
And check these tracks out! I instantly knew these were mountain lion tracks and got excited!

10

They followed the trail for over a mile and were headed in the same direction I was. I found it fun the lion didn’t always stick to the trail, but sometimes hopped onto logs and traversed them seemingly for ‘fun’ and then jumped back along the trail again.

11

Then all at once the tracks veered off in another direction. I decided to follow them for a bit to see if they paralleled the trail I was on or went another way.  While these tracks were hours old (I could tell by traces of elements left by the wind) I still felt it prudent to see which direction the lion had taken so I knew whether or not to be on the lookout.  Imagine my surprise when the tracks led me to its den no more than 50 feet off the route I was on!  With no tracks leading back out I quickly retraced my steps and continued my hike (sorry, no pictures:  I want to keep the kitty safe!).

I continued following Hondo Creek until treeline and got a great view of the route before me.

12

My research said to take a route to the right, but to me the left side of the mountain looked easier: Give me quick elevation gain over the long way any day!  So, despite my map and trail directions I decided to go up the left (south) face of the mountain.  It just seemed safer, especially since avalanche danger is more prominent on the north/east faces right now. Not that there was much snow to worry about.  I was worried about the wind.

13

This was a steep climb and would have been easier without the traces of snow, but the rocks were semi stable and I didn’t need to worry about causing an avalanche/rockslide below me. I kept my snowshoes on for stability.  I was able to gain the ridge in about half an hour and could see the rest of the route before me.  This is where the wind picked up (25mph) and took the 0* temperatures to new negative levels.  But I was dressed well, and as long as I didn’t take off my gloves I was ok.

14

This is the route I took.

15

And looking back down from the ridge at the route from my truck to this point

16

There are several false summits on this mountain. After gaining the ridge I was on a small plateau that gave me a break from elevation gain (here’s looking back at the plateau)

17

But there were still two other points to gain

18

I stuck to the drier areas and just followed the ridge up to 13,400’ where there was a small rock wall and a lot of wind. It wasn’t too steep and as long as I didn’t stop I didn’t get too cold.

19

20

From here I dipped down and climbed the approx. 400’ to the summit or Organ Mountain. Sorry, but I don’t have many pictures from the summit.  I couldn’t take off my gloves and my DSLR camera was doing that fun thing where it takes 50 seconds to take a picture, and I was, well, FREEZING!  That wind was brutal!  I got out my cell phone to take a video and it went from 40% battery to 9% and turned itself off before I could even start videoing, let alone take off my gloves to start the process.  Great.  I’d made it, but my camera(s) hadn’t.  Here’s the one terrible picture I got from the summit before my cameras failed.  I summited at 9:28am.

21

I didn’t stay long because I was cold and on a mission to get home before 6pm so I could take my daughter to a play tonight, so I turned and booked it back down. When I made it to point 13,400 again the wind died down for a bit and I was able to plug my phone into the solar powered battery charger I’d brought.  The phone turned on again, but my route had been lost.

I made it to the ridge and had a great view of the way I was supposed to gain the ridge to the plateau but hadn’t. No regrets!

22

Time to head back down! (Those tracks aren’t mine… I’m guessing Mountain Sheep/Goat)

23

Here’s the route I took. I just headed for the basin.  Yes, it’s steeper than it looks, but the rocks are relatively stable, especially with snowshoes on.

24

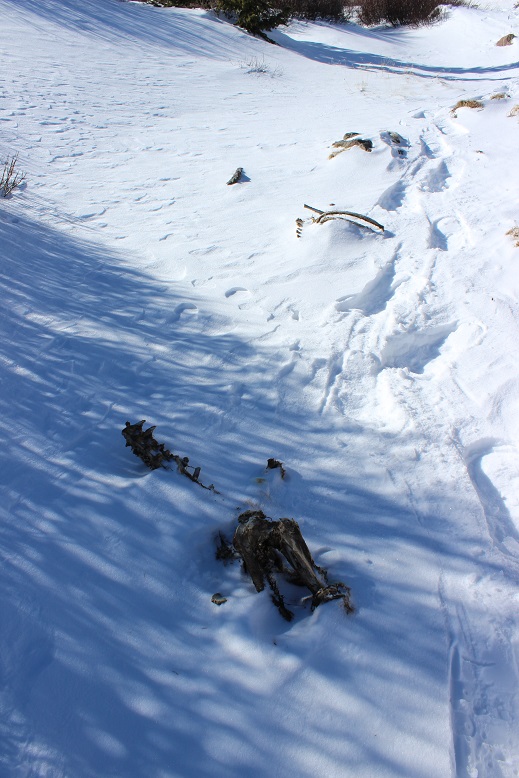
I made it back to the basin and followed it back to Hondo Creek. At the top I found the remains of what’s most likely an elk/moose, and probably the source of a few of the mountain lions’ meals (or had been this past spring/summer: the carcass had been picked pretty dry by this point).  It was the right distance away from the lion den to be its food source, and it had been buried at one point.  There weren’t any tracks here, but I didn’t stop to investigate much either.

25

Now I was racing against the clock. Luckily, I had my previous tracks to guide me back down the mountain.  Knowing I just needed to follow the creek I took a more expeditious route and stayed to the north of the creek, instead of dropping down into the creek as I had on the way up.  This made the trek much faster.

As I descended the temperature warmed up and I was much more comfortable. I made it back down to my truck at 12:15pm, still the only vehicle in the lot. This was a 9 mile hike with 3500’ of elevation gain completed in approximately 6.5 hours.

26

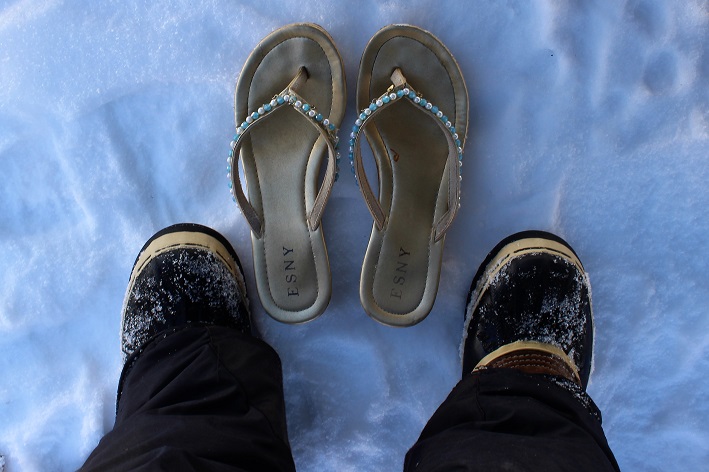
I immediately changed out of my gear and switched my snow boots to sandals for the drive home.

27

The drive out was much easier than the drive in, but I was more careful as well. There weren’t any vehicles parked at any of the trailheads.  I passed a truck with a trailer full of wood who didn’t seem to mind driving on the snow to get around me, and a large tractor with the biggest tires I’d ever seen wearing chains crunching down the road.  And I didn’t die from exposure!  Woot!

28

Incline X 2 and Rocky Mountain – 9250

1

RT Length:  10 miles

Elevation Gain: 4500’

The weather forecast for this weekend was terrible.  So terrible in fact they cancelled the 14er Winter Welcomer (where they teach newbies how to hike in winter-like conditions).  I watched the weather very closely and narrowed the best weather down to the Sawatch range, right along the 82.  Unfortunately, they usually close the 82 the first week of November, and today’s the 2nd.  Oh, and the weather forecast wasn’t that great, it was just better than anywhere else in the state (40% chance of snow, 15-29*, winds 20-45mph… yes, that was the BEST forecast).

I’m still learning about alpine hiking in late fall/winter (considered early winter season conditions), so I made a promise to myself until I learn more about correlating forecasts to actual conditions to drive out to the trailheads and not make a decision on whether or not I’d hike until I was actually there.  So this morning I drove past Buena Vista and a sign indicating the 82/Independence Pass was open.  Woohoo!  Now my only worry was they’d close it while I was parked at a trailhead and I wouldn’t be able to drive out (do they have plans for that?).

Well, that was my only worry, until I started driving on the 82.  Almost immediately it was sketchy.  It wasn’t snowing, but snow was blowing all over the roads.  I could tell no one had been on the road in quite some time (an hour or more?).  No one was passing me coming the other way, and I had to drive much slower than normal to avoid ice.  I made it to the trailhead, but when I arrived it was whiteout conditions, and actually snowing at that time.  The forecast indicated the snow would stop but the winds would pick up.  I knew it wasn’t safe to hike in the dark in these conditions (and most likely not in the light of day either).  I couldn’t wait for the sun to rise because I wouldn’t have enough time to complete the hike.  Drat.  I was going to have to turn around.  This stunk, but I knew it was the right decision.  Those winds were insane, and the snow was just going to keep blowing as long as the wind did.  If these were the conditions below treeline it would be a miserable hike, even more so above treeline, and I most likely wouldn’t summit.

When you show up to the 13er trailhead with the best weather forecast in the state and life gives you whiteout conditions but you NEED TO HIKE you change tactics.

On the drive home I frantically thought of which local mountains (below treeline) I’d yet to summit.  I had none in mind… In fact, I haven’t even started planning my local winter summits because I figured if I never planned them I’d never have to use them. Ouch, that was coming back to haunt me now.  I didn’t have any of my local maps with me, or any routes planned (I did have 8 different 13er routes though, but the weather wasn’t going to let any of them happen today).  I guess I’d just hike the Incline a few times so at least I’d still get in some elevation gain.  That’s when it hit me:  Mt Manitou!  I’d heard that was a nice alternative to the incline that no one used.  I googled it.  No luck.  I couldn’t find a route, but I could find one for Rocky Mountain (a 9K summit directly behind the Incline).  I was going to go for it.

I made it to the Manitou Incline Trailhead and began at 8am (after taking off my snow clothes:  it wouldn’t get that cold below 10K today).

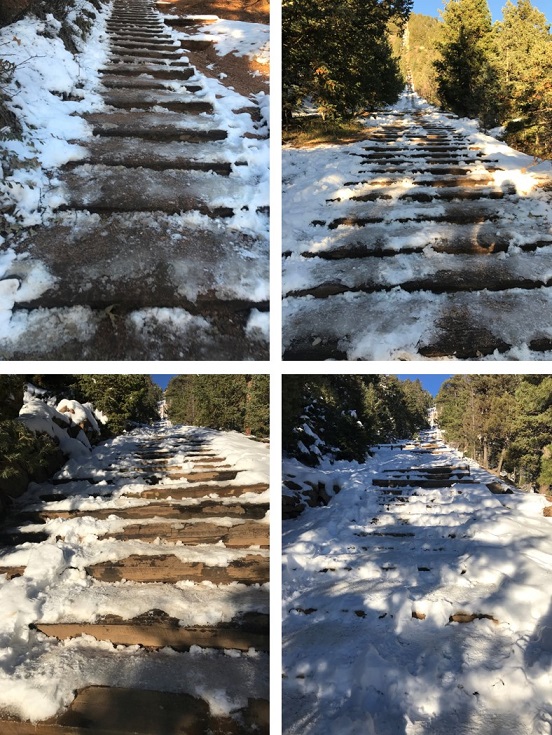
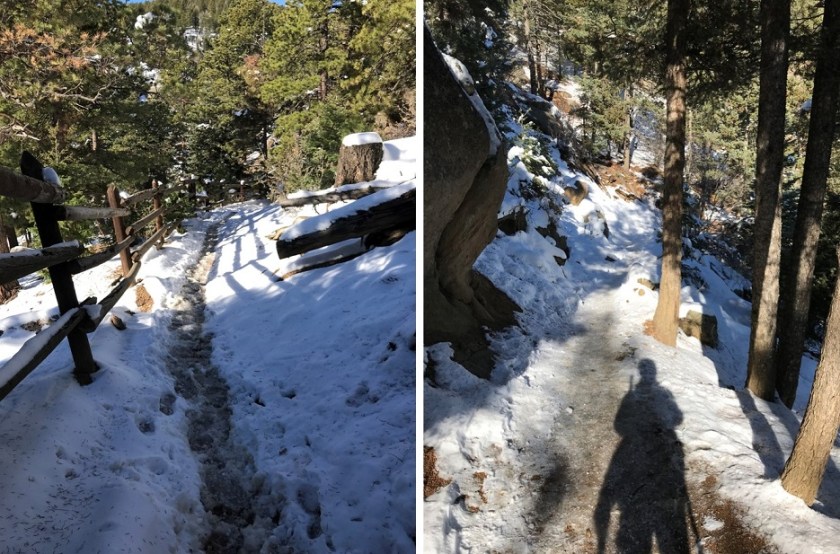
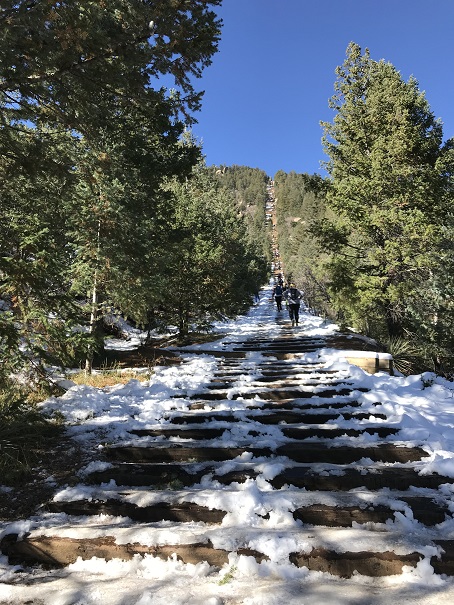
The Incline was much icier than I’d anticipated.

2

I had my microspikes, but didn’t put them on.  Most experienced incliners had theirs on.  As usual with the incline, I kept a steady pace but didn’t stop.  It took me 41 minutes 39 seconds to make it to the top, after taking time to help someone with their yack tracks and careful foot placement due to ice.

3

4

I was overdressed in my knit hat and snow jacket, but the top of the incline wasn’t my intended destination.  I took a few pictures and continued uphill, past the old foundations.

5

There’s actually a 4WD road here.

6

I took it for 1.5 miles and then left the road on a trail that heads towards the summit.  The cutoff is at this post.

7

The trail was covered in snow, and I backtracked a few times due to game trails (and fresh prints from said game) but was always able to find my way back to the actual trail.

8

The snow was about 6” deep.  Luckily I had on winter boots that went to my shins.  These had looked ridiculous on the incline, but were coming in handy now.

I turned right at an area with some large boulders (after initially heading straight/north, which I soon figured wasn’t a trail that led to the summit)

9

I rounded several corners and finally came to the summit block of Rocky Mountain.  This is what I saw.

10

What?!?!?  This didn’t look too difficult, but I didn’t bring my helmet, as I didn’t think I’d need to do any rock climbing.  It was also icy due to snow and, well, ice.  Before climbing I decided to walk further around the side to see if there was another route up, and sure enough, there was.

11

It was an easy climb to the summit, which still had remnants of some sort of past structure.

12

I summited at 9:15am

13

VIDEO:

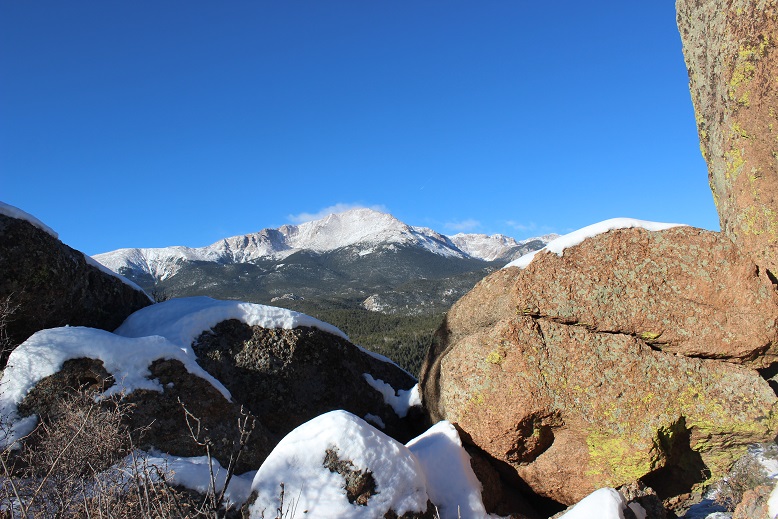
It was WINDY!  Seriously windy!  And COLD!!!  And I wasn’t even above treeline!  It was a good call to alter my hiking plans for today and to overdress for the Incline.  After retrieving a glove that had been caught in the wind and flown about 10 yards away I hiked back to below the summit block and got a few pictures of Pikes Peak.

14

15

16

And then I was on my way down.  I just followed my tracks.  When I got to the boulder area I decided to actually take that trail I’d seen earlier, but I wasn’t entirely sure it was a trail.  I stopped for a bit, turned on my data, and tried to see if there was a trail to Mt Manitou from here?  No luck. The trail I was on went north (and lower in elevation).  I could see Mt Manitou,

17

and debated just hiking the half mile over there, but the snow was getting deeper and I didn’t have snow pants/snow shoes and the snow I’d been trekking in was turning to water on my clothes.  This wouldn’t end well with the wind, so I backtracked and found the Barr trail.  Here’s a view of Cameron Cone

18

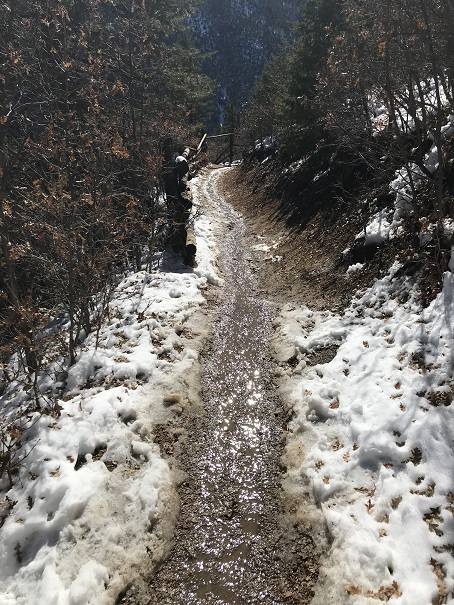
taking it back down to the base of the Incline.  The Barr trail was much icier than I’d anticipated.  Spikes would have been helpful (but I was too stubborn to put them on and instead put up with the occasional sliding:  Thank you Yoga for the balance).

19

I made it back to where I’d started, but I wasn’t tired yet!!!  It was exactly 11am, so I decided to hike the Incline again.  The second go up the incline was more difficult than the first because there were a lot more people, it was warmer out (I still had on my winter coat and hat) and I was tired.  This time it took me 49 minutes to summit.  That’s the longest it’s ever taken me, and I was quite tired when I reached the top.

20

21

I immediately headed back down the trail, which was muddy now since most of the snow/ice had melted.

22

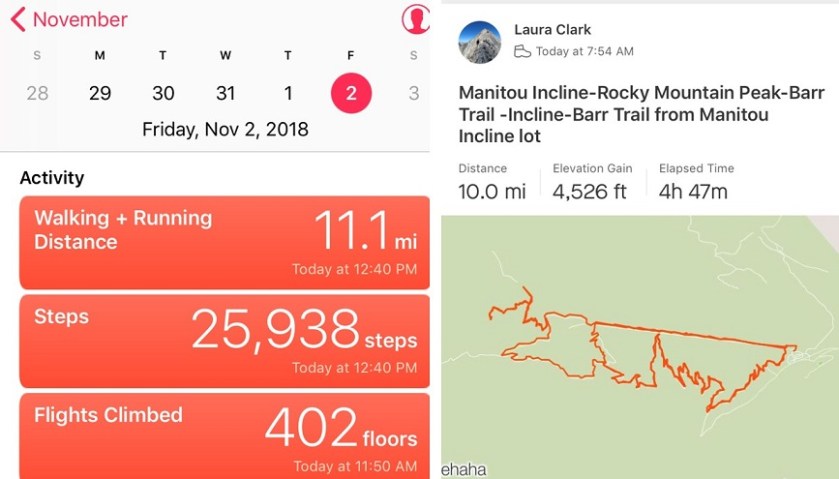
I made it to my truck at 12:40pm.  I checked Strava, and this was a 10 mile hike with 4500’ in elevation gain, completed in under 5 hours.  I felt great!

23

Here’s my relive video:   https://www.relive.cc/view/1941775243

Mt Oklahoma – 13,843

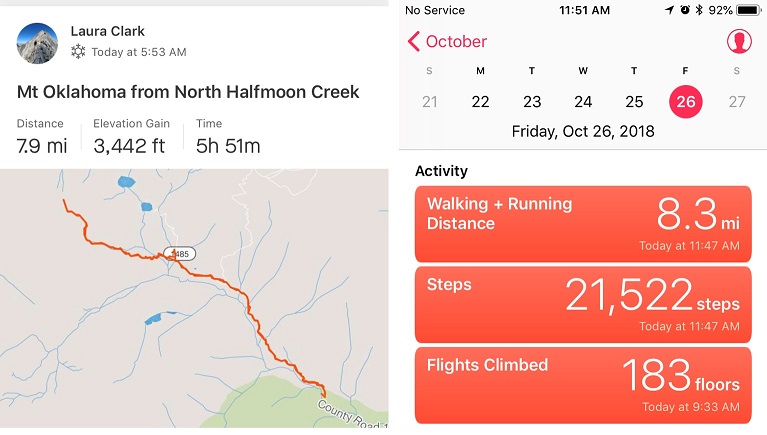
1

RT Length:  8 miles

Elevation Gain: 3450’

I made several spreadsheets this week outlining possible hikes, and finally settled on Mt Oklahoma.  Imagine my surprise when I checked the weather forecast one more time at 2am and it switched from 15mph winds to 45mph winds!  I considered changing my peak at the last minute, and then looked at the direction of the wind.  I should be ok….

Speaking of OK, when I was about 8 or 9 years old I understood the joke for the first time that “Oklahoma is OK”.  I thought this was hilarious, even though my friends didn’t ‘get it’.  I told it over and over again and got blank stares.  Maybe I just wasn’t telling it right?  But I digress…

I arrived at the trailhead around 5:30am, surprised the 4WD road was clear of snow all the way to the upper trailhead, despite snow in the forecast for last night.  Conditions of the road in are the same as the last time I was here (https://wildwandererlmc.wordpress.com/2018/07/20/55-mt-massive-14421/).

2

There were no other vehicles in the parking lot.  I gathered my gear (whoops!  I forgot my goggles, oh well, my sunglasses would have to do) and started just before 6am.  I followed the Mt Massive/Halfmoon Lakes trail to the trail junction in the dark, but by the light of the full moon.  The trail had pockets of snow, but no traction was needed.

3

The moon gave off enough light so I didn’t need my flashlight, but not enough light to get a good picture of the mountains in all their snow capped glory.  They were beautiful, and I stopped several times to try and photograph them (none of which turned out).   I was wasting serious time trying to get a picture I’d never be able to capture, so I put my camera(s) away and kept going.

4

From the trail junction I continued west, back into the trees

5

And up and over a very large rock (I’m guessing 50-70 feet long?)

6

I kept thinking to myself how I wished the elevation gain would start soon. I was over 2 miles into a 4 mile summit, and still no real elevation gain.  Those last few miles were going to be a killer!  From here I left the North Halfmoon Lakes trail and the route-finding began.  The trail was surprisingly free of snow until I passed the second creek crossing.

7

From here snowshoes would have been helpful, but I didn’t put them on. Route finding through the trees was interesting.  At points I could tell there was a trail, or a heavily used path out there somewhere, but most of the time everything was covered under lots of snow.

8

I had to backtrack once, but was able to find my way to the ridge and after exiting treeline I found a few cairns (not enough to rely on… maybe 5 total in the next 2 miles).  At the ridge I continued left

9

Over this hill and up the drainage

10

And up some more drainage.  This is where I put on my snowshoes.  The snow is deceptively deep in some areas here (it is a drainage after all) and bare in other places.  The snowshoes were worth it for the times I sank to my waist.

11

At the top of this drainage was a small basin

12

I found 2 cairns here, indicating the way I should take up the slope.

13

This is where the hike became challenging.  That slope is much steeper than it looks, and just when you reach the top, there’s another slope just as long to navigate.  I kept on my snowshoes until the snow stopped, and then put them in my pack and hiked up to the ridge.  Hiking was much easier with the snowshoes!  I’ll take snow over scree any day.

14

When I reached the ridge I was surprised to see more snow.  A lot of it!  But it didn’t look that deep, so I put on my microspikes and started forward.

15

That lasted about 30 feet.  There was no way this was going to work. I needed snowshoes.  And goggles (that wind!).  I stopped to put them on, realized I’d left my goggles in my truck (drat!) and looked at the task before me.  I had less than an hour to make it to the top before my turn around time.  My legs were burning, and it was slow going, but I knew I could do this.  I trudged on. There isn’t an exact route to the top, just keep aiming for the highest point. I chose to go left instead of straight because the snow looked deeper and less stable directly in front of me.

16

Once again, it’s steeper than it looks and I had to stop every 50 feet or so just to catch my breath.  My ice axe proved useful several times.  The wind was picking up and I was getting cold.  Those 2 miles without elevation gain were catching up on me!

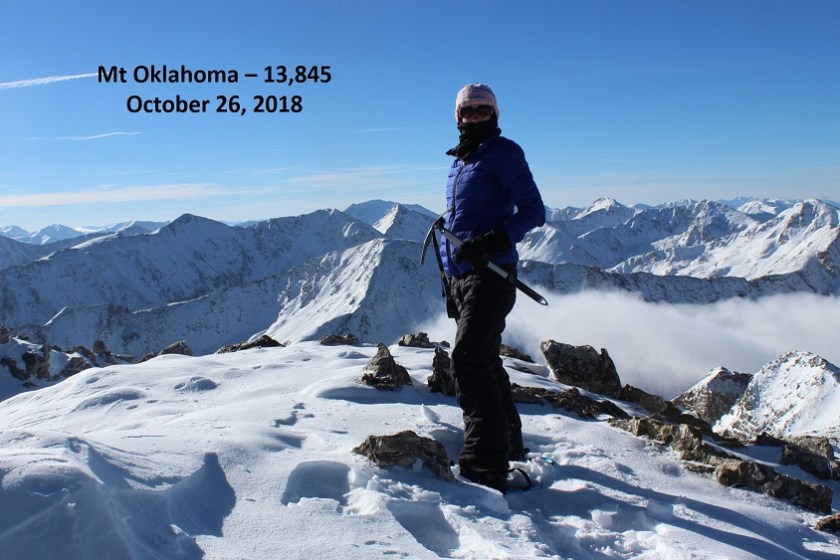
17

I summited at 9:25am (my turnaround time was 9:30am)

18 Mt Oklahoma 13845

VIDEO:

The summit is mostly flat, with a small cropping of rocks near the Mt Massive side.

19

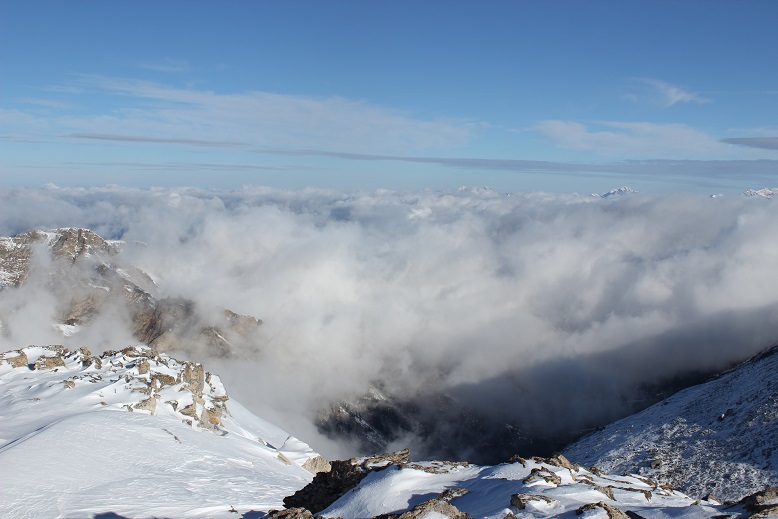
Here’s a view to the south

20

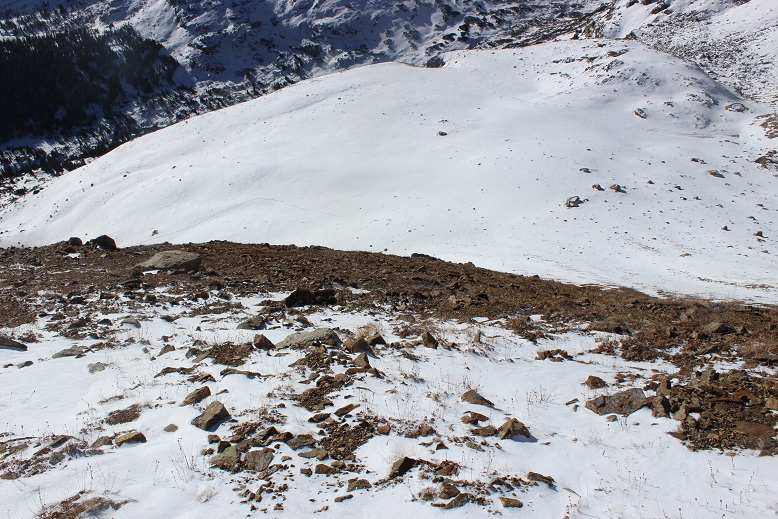
This is the way I came up

21

I turned and looked to the left of Massive, and there was the weather I’d been worried about.  45mph winds turning fresh snow into ice clouds, headed towards me.  It was time to book it off this summit before those clouds reached me.

22

But first, a shadow selfie

23

I backtracked the way I’d hiked in, following my tracks

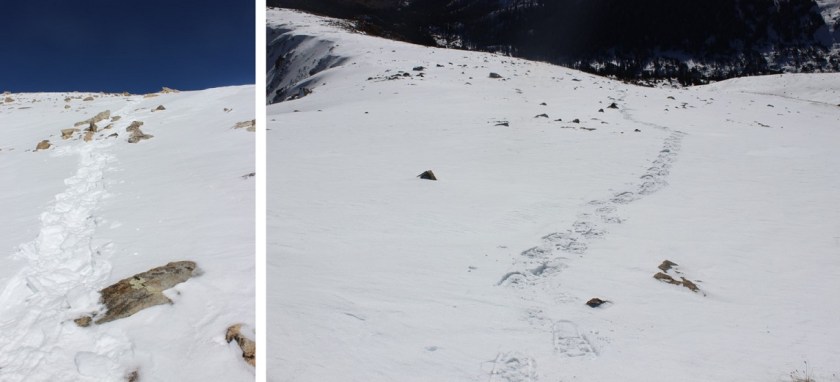
24

The snow was soft, perfect for skiing.  I didn’t have any skis, but I had fun gliding in strides in my snowshoes.  I quickly made it back to the scree slope where the snow ended for about 200’ and the scree reigned.

25

I decided against taking off my snowshoes for this part. Snowshoes actually provide the same stability on scree as they do on snow.  Plus I was too lazy to take them off just to put them back on again. (If your snowshoes are aluminum don’t try this.  Also, get new snowshoes).

26

I made it down into the basin and stopped for a bit to reapply sunscreen and take off my gloves (I had on multiple pairs).  This was also the last time I saw my hat.  Since I had on a balaclava too I didn’t notice when it went missing.  I’m not sure if I lost it here or in the trees, but if you find it please bring it down and donate it to a worthy organization (I knit about 300 a year and give them to low income elementary schools and teen homeless shelters in Colorado).  This was the only time I wore it, and after washing it I’d planned on adding it to the donation pile.

27

I continued following my tracks back down to treeline and back to the North Halfmoon Lakes trail.  After the second stream crossing the snow virtually stopped, and when I hit the junction it was gone all except for when I was in the trees

28

I made it back to my truck at 11:50am, 10 minutes before my 12pm target time, making this an 8 mile hike/climb/snowshoe adventure in about 6 hours.

29

I didn’t see a single person the entire day, which I consider a win!  There was a Tacoma in the parking lot when I left, and I did see at least 2 if not 4 sets of tracks on the trail going up to Mt Massive as I was heading down.

Here’s my relive video:

https://www.relive.cc/view/1928750207

Note to self:  it’s time to keep goggles in gear bag.

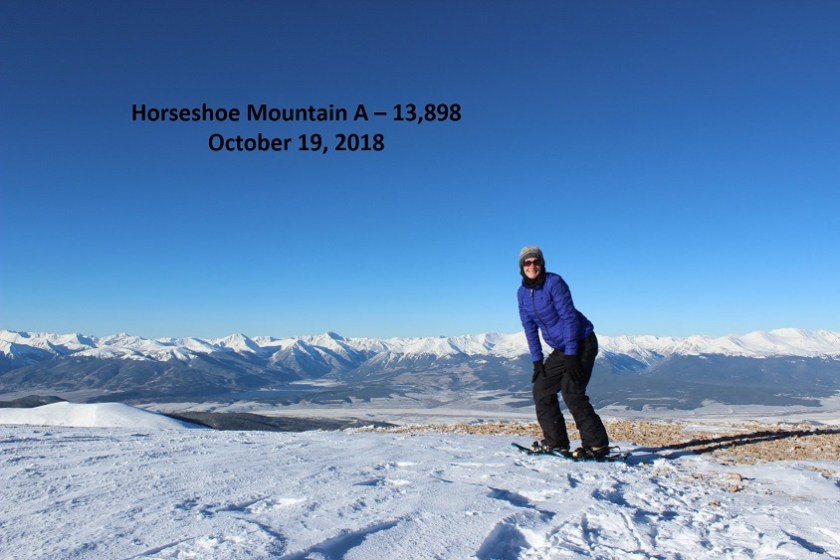
Horseshoe Mountain A – 13,898 & Peerless Mountain 13,348

RT Length: 8.3 miles

Elevation Gain: 2500’

I needed a successful summit today.  I mean I really needed one.  The past two peaks I’ve attempted to summit have been thwarted by downed trees on the drive in or early season wind slab avalanche danger at treeline.  If I didn’t get in a summit today I was ready to call off alpine hiking for the year.  Maybe.

Last year I was new to alpine hiking and decided to take the winter off from 13ers and 14ers and instead map out the entire North Cheyenne Canyon area peaks, most of which do not have established routes.  I was able to learn quite a bit about route finding and navigation below treeline, while still staying in the relative warmth of 8K to 12K peaks where I felt I couldn’t get ‘too lost’.

This winter I may choose to do the same in another area, depending on my success rate with hiking/climbing 13ers in winter conditions.  But first, an ‘easy’ early season 13er with ‘perfect’ weather conditions (sunny at the summit and 35* with 5-10mph winds)

My alarm didn’t go off at 2am as planned, but fortuitously my internal alarm woke me up at 3am and I decided to still book it to the trailhead.  Probably the most difficult part of this whole day was the 10 mile drive in on County Road 18.  There was a 40% chance of snow last night, which I’ve found usually means if it does snow it’ll only be about an inch or so.  Well, as soon as the road turned to dirt there was at least 4-6 inches of fresh snow on the road, which was unexpected.  I’d been driving about 40 mph and quickly downgraded it to 10 mph (or slower).

Luckily there were fresh tire tracks ahead of me, so I knew someone must have made it down the road.  I figured someone was attempting Sherman this morning and their alarm clock rang on time.  From their tracks I could see where the snow became deeper in the road. At times the snow was a foot or more deep (from drifts) and at others it was non-existent.   Unfortunately, the tire tracks abruptly turned off the road to the left after about a mile in, and I was now driving the road on my own.

I have a very capable 4WD Toyota Tundra that never says “no” to anything I’ve asked it to do, but I was still cautious:  I knew this was a well maintained road but with all the snow I couldn’t tell how deep the snow actually was; and there were drifts.  Multiple times I considered turning back, but my truck kept plowing through with no difficulties, so I kept driving on.  Mental note:  it’s now time to drive with a shovel in the back of my truck.

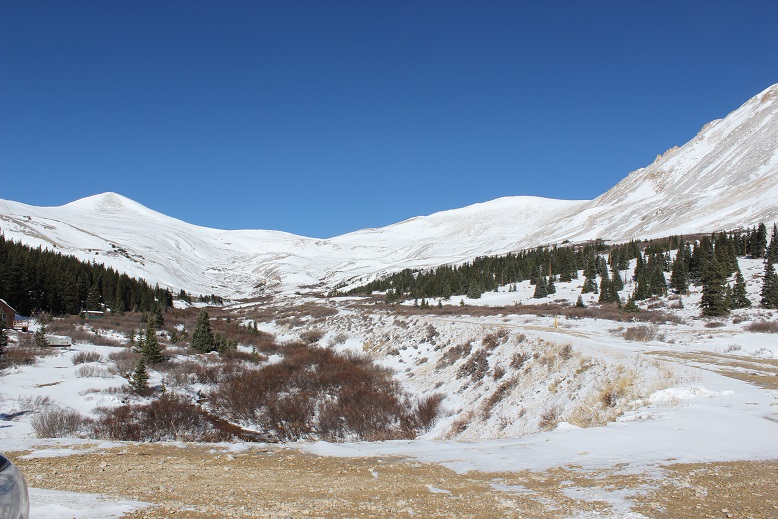
I drove too far.  I made it all the way to the upper trailhead for Sherman, realized my mistake, and turned around and found the parking area after the Leavick Mine.  I debated driving up the 4WD road to see how much further I could go, but decided against pushing my luck.  I’d made it safely this far and didn’t want to chance my summit today by doing anything stupid.  This ended up being a grand idea because less than a mile up the road there were several tracks in the snow indicating vehicles in the past few days had tried to continue further and failed.  With the added snow from last night there’s no way I’d have made it.  Here’s a picture from the drive on my way out.  Most of the snow had melted or been packed down by this point.

2

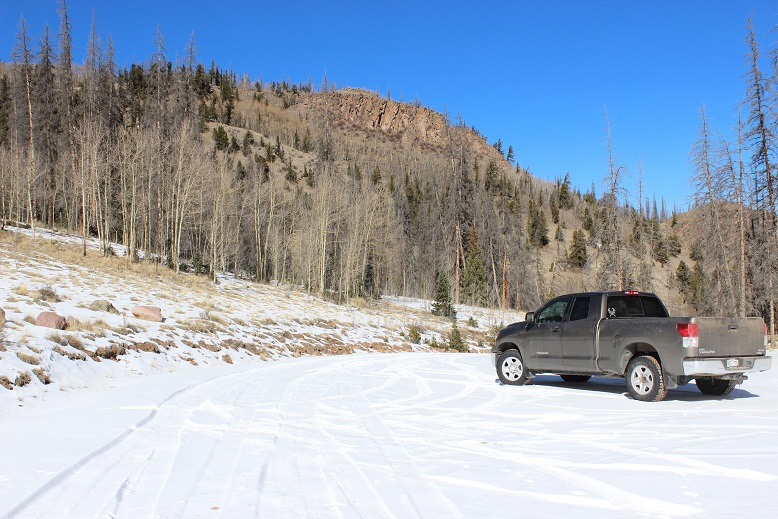
I parked at the Silver Horseshoe Road junction and put on my snowshoes while sitting in my truck.  I kept them on for the entire hike.  I started at 6:25am.  Here’s where I parked.

3

From the beginning the road was covered in snow.  And it was dark.  And silent.  And beautiful.  The first part of the hike was relatively easy: I just followed the snow covered dirt road.

4

Around 7am the sun began to rise.  I slowed down to enjoy the experience.  I love sunrises!

5

6

I got my first view of Horseshoe.  What an amazing mountain!

7

And Peerless.  It looked like there was wind up high, but the forecast said it was supposed to die down this morning, settling around 5-10mph.  So I trudged on.  Snowshoeing takes more energy than hiking!

8

Being the first one on the trail has it’s perks:  I saw numerous animal tracks from the night before.

9

At 12,600’ I passed an old mine.

10

From here as I gained in elevation the road became more difficult to find.  It was covered in snow drifts, making it blend in with the mountainside. I did my best to stay on route and probably didn’t, but could see my intended destination (the Peerless/Horseshoe saddle) and just kept aiming for that while avoiding pockets of soft snow.

11

I made it to the 13,200’ saddle and turned left (south).  I had a great view of the route before me.

12

I did a physical check here.  The hike thus far had been tiring but not difficult.  I was sweating and could still feel my fingers.  I wasn’t a popsicle yet.  This was fantastic!  I decided to keep hiking.  On the ridge the trail was either covered in snow or held no snow at all.  I kept my snowshoes on either way.

13

The only part that gave me pause was here.  I wasn’t sure if the snow was consolidated or not.  I continued on, knowing if I slipped I wouldn’t be falling too far.  Second mental note of the day:  Bring an ice axe from now on.

14

I followed the ridge and was surprised by a false summit.  Well, surprised is the wrong word. I’ve come to expect them, but today it wasn’t appreciated because as soon as I made it to the top the wind picked up. Luckily, while it looked far it was actually an easy hike over to the true summit.

15

Here’s the route I took

16

I had fun here learning about different types of snow.  I wasn’t able to always tell what was snow and what was ridge, so I traversed carefully.  Luckily here the ridge was wide and most of the snow as consolidated.

17

I summited at 8:45am

18 Horseshoe Mountain A 13898

VIDEO:

Up until now I hadn’t been too cold, but on the summit the wind picked up.  I took a few pictures of the amazing view

19

20

The summit cairn

21

And took a look at my route back down.

22

It had been my intention to summit Peerless as well (an unranked 13er) but my fingers were burning.  I was clapping them together, putting them under my armpits, in my pockets, etc., but they just weren’t warming up.  I needed the wind to settle down.  I told myself I’d make the decision whether or not to climb Peerless when I made it back to the saddle.

Here’s my snowshoe tracks.  I love snowshoe tracks!

23

And here’s my next target:  Peerless

24

I made it back to the saddle and looked at the route back up to Horseshoe

25

And up to Peerless

26

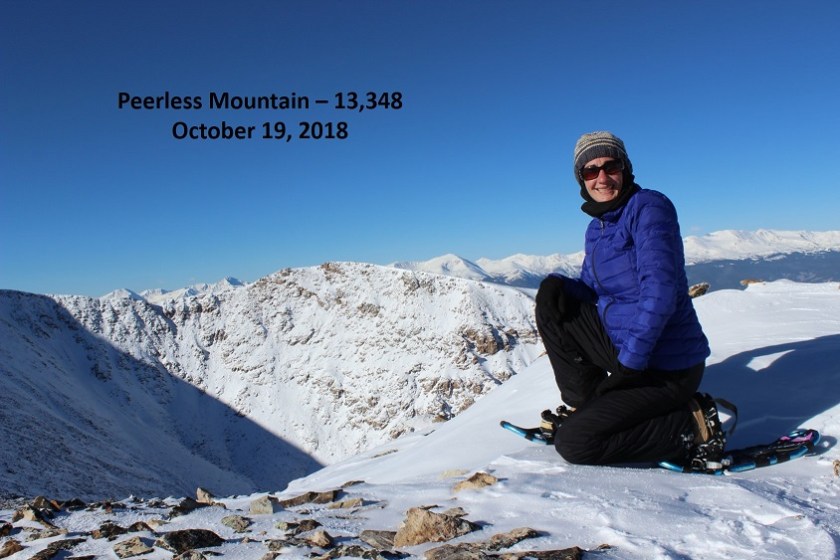
It looked like a cornice was forming on Peerless, but there was an open path if I stayed to the left and avoided the snow.  The wind had stopped, and while I couldn’t feel my fingers they were no longer burning, so I decided to go for it.  It was a quick 150’ trek to the summit.  I summited at 9:25am

27 Peerless Mountain 13348

VIDEO:

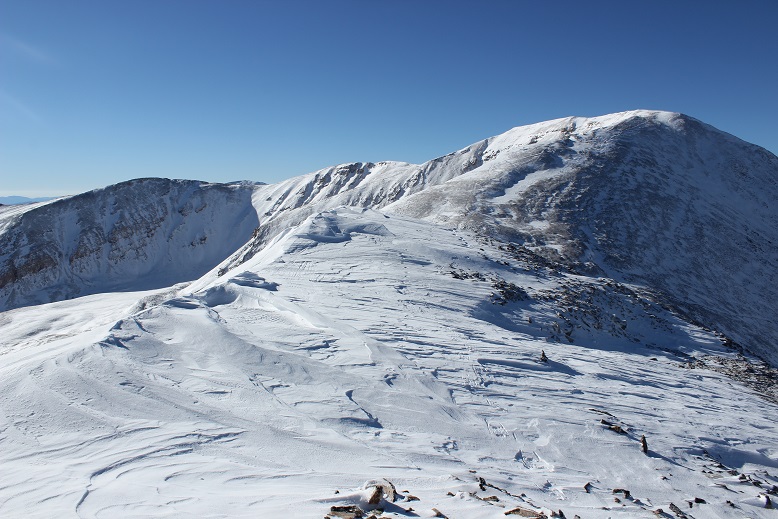
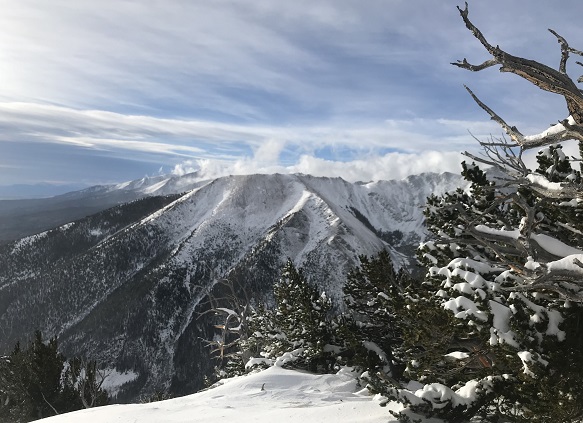
Here’s a look back at Horseshoe from Peerless.  The only difficult part was deciding which snow was stable to hike on, and which was part of the cornice/loose snow.  In other words, I wasn’t sure where the mountain ended and cornice began, especially as I got higher up.

28

The trek back down was very easy as there hadn’t been much wind and I could just follow my snowshoe tracks.  I noticed a lot of new holes in the snow from critters who weren’t quite ready yet for winter.

29

The entire hike in the snow seemed to continually change.  It would be consolidated for 10 steps or so, and then suddenly become soft and I’d sink to my shins.  On my way back I was able to capture the experience in a photo

30

Here’s what the 4WD road looked like on my way back out

31

And I know a lot of people are wondering what Sherman looks like right now…

32

I made it back to my truck at 10:45am, making this an 8.3 mile hike with 2500’ of elevation gain in 4.5 hours.

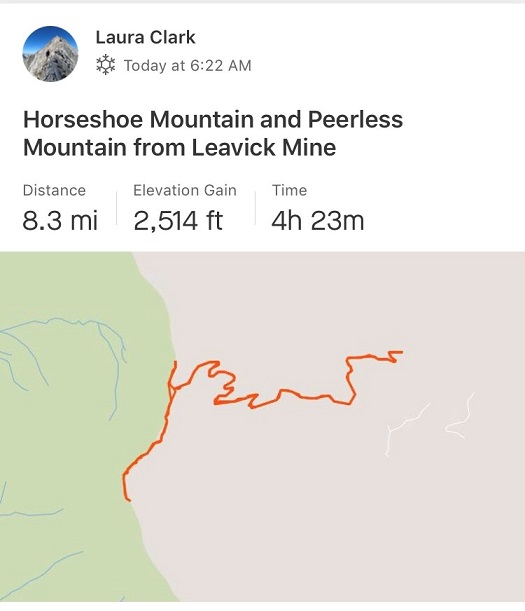
Here’s my STRAVA route:

33

And Relive visual:  https://www.relive.cc/view/1914862651

Today was a huge learning experience for me. I know this wasn’t a difficult peak, but I learned a lot about how to navigate different types of snow, drifts, snow stability, and winter route finding.  And I stayed (relatively) warm.  I’m considering today a success!

Spread Eagle Peak

1

Woohoo! The mountains got their first dusting of snow of the season, and I wanted to be a part of it.  The only problem?  Since the snowfall had just stopped last night all over Colorado there wasn’t any beta on snowfall amounts or the conditions of any of the trails.  So I picked an ‘easy’ 13er and headed out at 2am.  All was going well until I made it to the dirt road at the base of the Hermit Pass trailhead.  It quickly turned into a 4WD road, which normally wouldn’t be a problem, but soon it became icy and my truck started slipping!  This is the first time I’ve ever experienced my truck slip in any conditions.  I’m guessing there was mud under the ice.  I was a bit worried but also knew the road was supposed to level out pretty soon.  In addition to the snow it had been windy this week, and I drove over a few downed trees.  I was 4 miles from the trailhead when I was forced to turn around due to a downed tree too big for my truck to drive over.  I was a bit bummed, but I’d also been prepared for this eventuality.  I didn’t have time today to park where the downed tree was and hike 4 extra miles each way.  Luckily there was another 13er 5 miles away with a 2WD trailhead.  I hadn’t done much research on this peak, and it was my second choice because it was more difficult than the first, but it was accessible, so I drove towards the Gibson Creek Trailhead and made it there at 5am.  The parking lot can easily hold about 20 vehicles.

2

From the trailhead I followed the fence to a trail junction and continued straight towards Gibson Creek.

3

It was obvious I was the first person to use this trail since the snow fell, and route finding was a bit challenging in the dark with all the snow (about 8-12 inches). I crossed the creek a couple of times and the trail ended completely.  I was met with dense forest, but knew all I had to do was climb south and gain the ridge.

4

Sounds simple, right? Normally yes, but today this was a much more difficult feat than I’d anticipated.  The snow kept getting deeper and deeper and the mountainside keeps getting steeper and steeper, and since I’m stubborn I refused to put on my snowshoes.  That meant I was slipping quite a bit.  The angle of the slope was intense.  My quads and calves were screaming.  I had to stop every few steps to rest my legs, which isn’t normal for me.  Finally, after what seemed like forever I put on my snowshoes and reached the bristlecone pine trees at the base of treeline, around 12,000’.  The wind was powerful (I’m guessing 40mph), which made the sugary snow feel like glass on my face when the wind blew.  The wind also dropped the temperature quite a bit (read:  I was frozen).  The snow kept piling up as I reached the ridge.  This is where I ran into trouble.  I was supposed to cross the ridge, but there was quite a bit of snow, all piled up into a cornice, just waiting for me to trigger an early season soft snow avalanche.

5

I looked around for a safer route, but the only route was straight across the ridge (it dropped to either side). So I made the decision to turn around and hike this peak another time, when the snow was either more consolidated or gone altogether.  I didn’t want to turn back, but I also didn’t want to risk causing an avalanche.  Summiting is optional, making it back down is mandatory.

6

Since the sun was now up I could enjoy the beauty of the snow on the trees as I trekked back down.

7

Route finding was also much easier on my return trip, since all I had to do was follow my snowshoe tracks. Also, downhill in snowshoes is much easier than uphill without.

8

VIDEO:


I crossed the stream again several times.

9

And followed the snow and leaf covered trail back to the trailhead

10

At about 9500’ the snow was pretty much gone altogether

11

I made it back to the trailhead much earlier than anticipated, since I’d only hiked about 6 miles this morning. However, in the daylight I was greeted with fall colors I hadn’t seen this morning in the dark and about 10 forest service workers clearing downed trees.

12

I’d thought fall was over for Colorado, especially with the recent snow, but I guess not! All through Westcliffe I saw the leaves change.

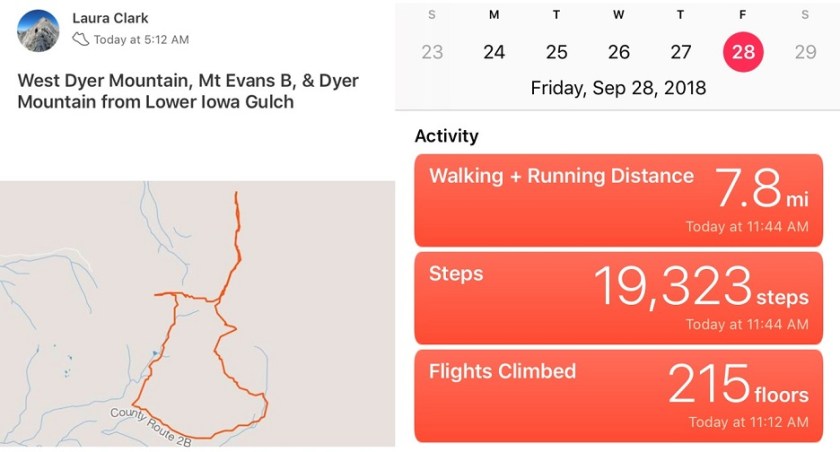
Dyer Mountain 13,855 – West Dyer 13,047 – Mount Evans B 13,577

1

RT Length: 7.5 miles

Elevation Gain: 3350’

I woke up at 2am and made it to the Lower Iowa Gulch Trailhead at 5:15am, which was much earlier than I’d anticipated.  The drive in is easy on a 2WD dirt road.

2

There is no official trailhead, so I parked near a tree, gathered my gear, and headed northwest through the base of the amphitheater towards the West Dyer/Dyer saddle.

3

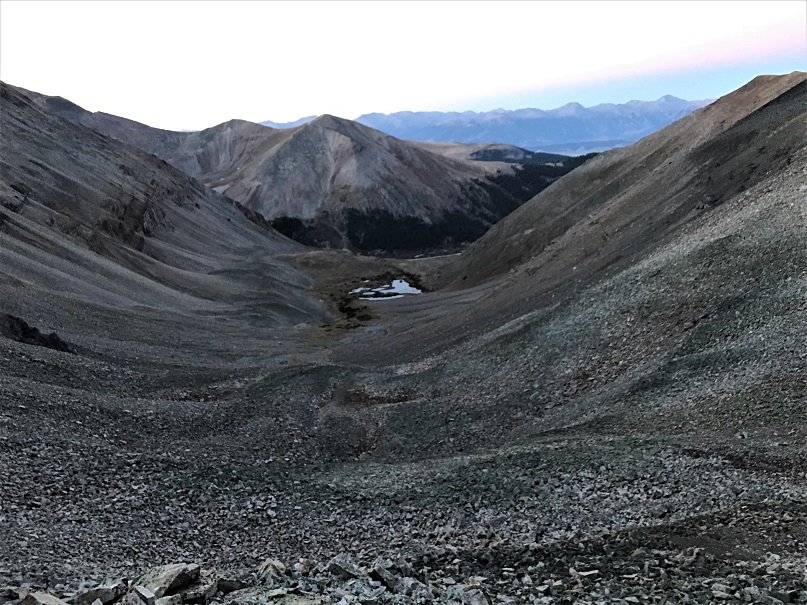
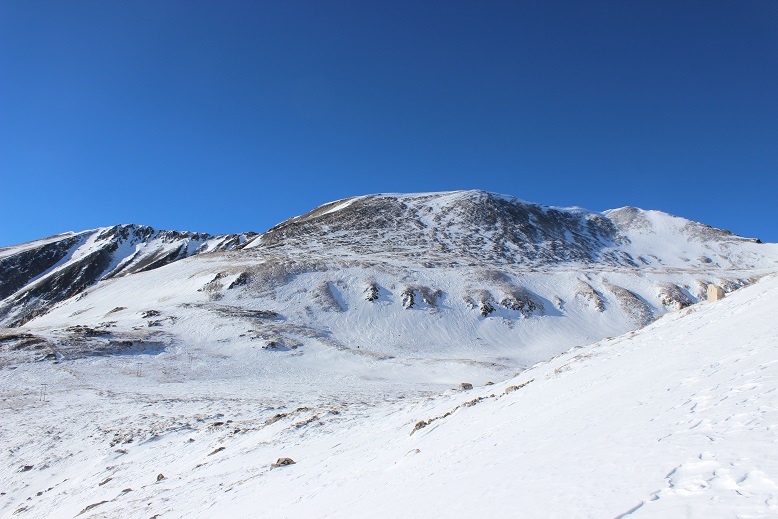
It was only 1.3 miles to the base of the West Dyer/Dyer saddle.  There isn’t a trail, but the route is fairly obvious, even in the dark.  Just keep heading for the saddle.  Here’s a look back on the basin from the saddle

4

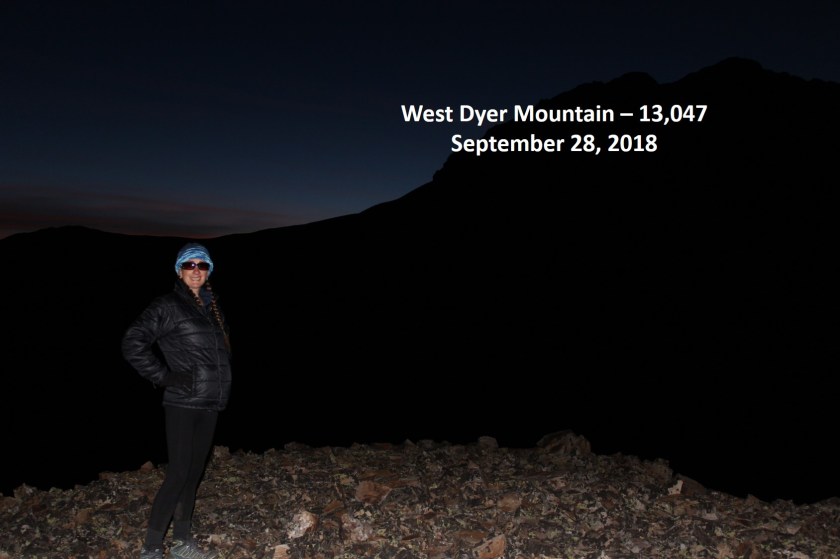
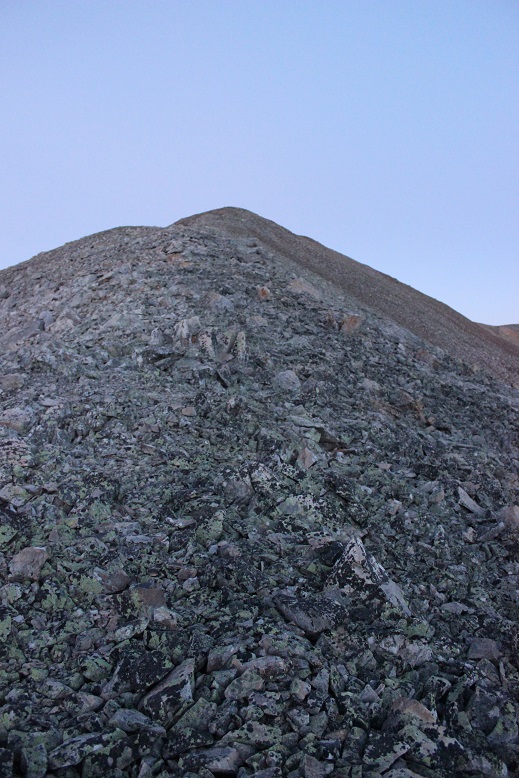
From the saddle I chose to summit West Dyer Mountain first, an unranked 13er.  I chose my route to reflect my time constraints and sunrise/daylight limitations.  For me it’s a delicate balance between hiking in the dark/daylight (pictures turn out better in the light) and being back at the TH by noon.

It takes so long for the sun to rise in the fall!  I wanted to summit and get pictures, but I also needed to be back at my truck by noon so I could drive home in time to pick up my daughter from school and start our day.  So while I was hiking slowly because I wanted to get pictures from the summit in the daylight, I also wanted to get in as much hiking as possible today.  In any event, after the saddle I turned west and hiked .2 miles to the summit of West Dyer Mountain, slowly, willing the sun to rise.  I summited at 6:20am, while it was still dark.  I took some pictures of the summit and waited for the sun to rise.  But it just wasn’t happening.

5

6

West Dyer Mountain 13047

West Dyer:

So I turned back towards the West Dyer/Dyer saddle and put on my helmet.

7

It was still dark and hard to make out the path I was supposed to take up Dyer’s West Ridge.  I was hoping it would be more obvious as I got closer to the route.  Here’s a look back on West Dyer from the saddle

8

The route up Dyers West Ridge is a class 4 route.  I knew I was supposed to look for the chimney to the right, climb it, and then stick to the right of the ridge to the summit.  That didn’t happen.  In the dark I never found the chimney, but I also didn’t look too hard.  I was expecting a class 4 route, and I discovered if I stuck to the ridge, and once or twice went to the left when necessary (just a little to the left, not much) I was able to follow the ridge all the way to the false summit.  Here’s the route I took (solid orange) and the suggested route (dotted line)

9

It was class 4 the entire way, but doable, spicy, and FUN!

10

11

In fact, I kept expecting to cliff out somewhere, and to need to retrace my steps and head more to the right, but that never happened.

12

It was serious exposure and solid class 4 climbing for the entire ridge.  I met up with the regular class 4 route here, just before the false summit.  This area has much more exposure than it looks, and is both the most difficult climbing and also the end of the difficult climbing.  This picture (below) doesn’t do the exposure justice: The dirt pyramid on the bottom is a 15 foot drop from where I was standing, and actually where two gullies meet, each dropping down on either side to an unclimbable area.  I wish I had better pictures of the exposure, but honestly this was all class 4 and I needed my phone in my pocket and my hands gripping the rocks at all times.

13

After navigating this area (to the left) I was quickly deposited at a false summit, with a great view of Mount Evans B

14

And Dyer’s false summit

15

Dyer Mountain was the closer 13er, but I didn’t want to summit it twice today.  I’d intended on making this hike a loop, and Mount Evans B was my next goal.  Unfortunately, there isn’t much beta on the ridge between Mount Evans B and Dyer Mountain.  From where I was it looked doable, and I know it’s been done in the past, so I kept on my helmet and headed towards the ridge.

16

Here’s the route I took

17

I followed the ridge crest most of the way, only once or twice navigating to the left or right around some large boulders.  This is a class 3 move where I hugged the wall as I traversed a crack in the rock. (There’s another picture later in the report that shows the other side of this wall and my route)

18

As you can imagine, climbing after point 13,383 is the crux of the route, but it stays at a class 3

19

After the most difficult climbing is over it’s a class 2 hike up the ledge

20

To a long grassy slope to the summit

21

I summited at 8:55am

22 Mount Evans B 13577

VIDEO:  Mount Evans B:

It was an absolutely beautiful day!  Besides the wind it was perfect.  Here’s a look back on the way I’d come, and the way I’d now need to retrace my steps to summit Dyer.

23

24

Here’s a look back on the Dyer/Mount Evans B Ridge

25

And the route I took

26

Here’s the class 3 part and the way I navigated around it

27

I decided not to re-summit point 13,383 but instead cut it to the right.

28

And headed up to the Dyer Mountain ridge and followed the ridge to the summit

29

As I ascended the ridge the rocks became loose and mixed with unstable gravel, but it was navigable.

30

Here’s a look at Dyer Mountain from the ridge

31

I summited at 10am

32 Dyer Mountain 13855

Dyer Mountain:

My next goal was Gemini, and then a trek over to Mt Sherman, and finally make it a loop back down to Iowa Gulch.

33

I made it about halfway down towards the Gemini/Dyer saddle, almost to the radio towers, when I pulled out my phone to take a picture and looked at the time.  10:10am!  Whoops!  I needed to turn back!  Looking at my intended route there was no way I could hike the mile up to Gemini, .7 miles across to Sherman, and 2.5 miles back down to the trailhead before noon.  Hmph!  I was a bit mad at my circumstances, mainly because it was an absolutely beautiful day and I wasn’t even beginning to get tired.  But I reminded myself in another few months my youngest would have her license and I’d rarely see her again (I know, it happened with my older two), so I’d better get a hustle on and enjoy the time I still have with her now.  Besides, I’ve already summited Sherman, and combining it with Gemini would make for a good winter climb.  I’d be back.

I was in a weird spot on the mountain when this realization occurred.  I’m not entirely sure why, but instead of just heading towards the basin I cut across the mountain to the south, trying to link up with the south slope route off of Dyer Mountain.  I hadn’t realized there wasn’t any established trail off the mountain, but did as soon as I linked back up with the route.  Traversing back was time consuming through very large, loose rocks.  Several microwave sized rocks slid below me, doing their best to take me with them.

34

As soon as I reconnected with the correct ridge I just aimed towards the road in the basin and the towers.  It’s important to link up with the road in the correct place because otherwise you’ll end up needing to cross a drainage area

35

I saw some pretty amazing rocks on the way down

36

Once I met up with the road I followed it back to my truck.  Here’s a look at the upper Iowa Gulch Trailhead

37

And where I parked my truck at the lower Iowa Gulch Trailhead

38

I made it back to my truck at 11:40am, making this a 7.5 mile hike/climb with 3350’ in elevation gain in 6.5 hours.

39

Relive it here: Dyer Mountain

I made it home in time to pick up my daughter from school, take her to ice skating lessons, make dinner, and then headed over watch one of my Girl Scouts cheer at her High School Homecoming Football game, making this a very long day, but totally worth it!