Colored Peaks

1

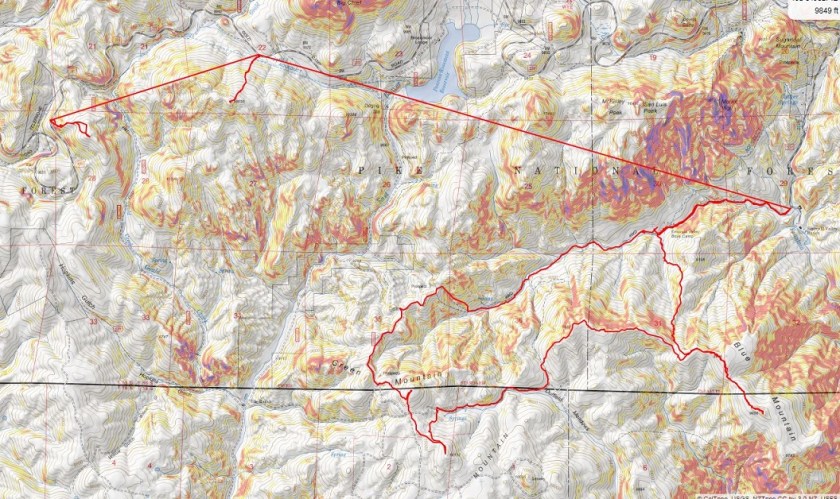
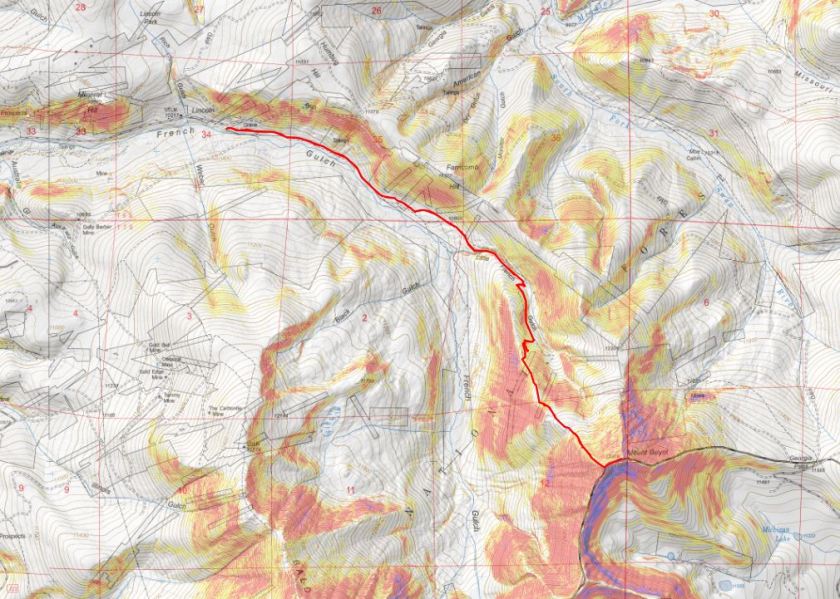
RT Length: 15.5 miles

Elevation Gain: 4692’
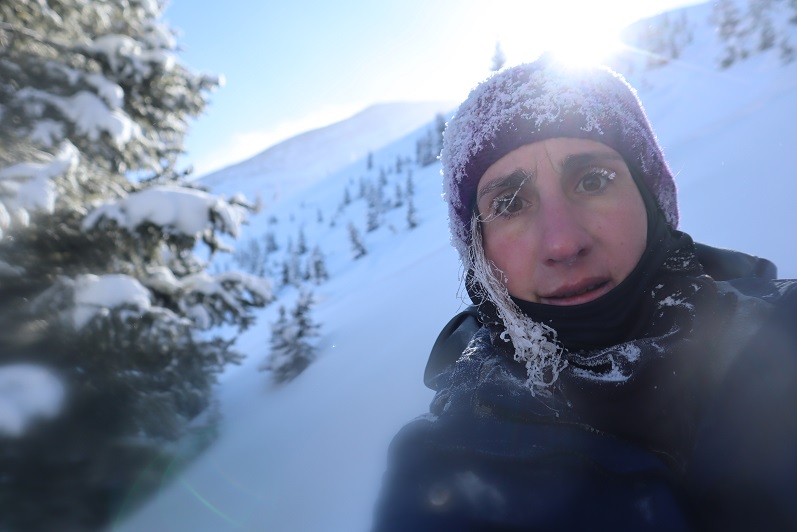
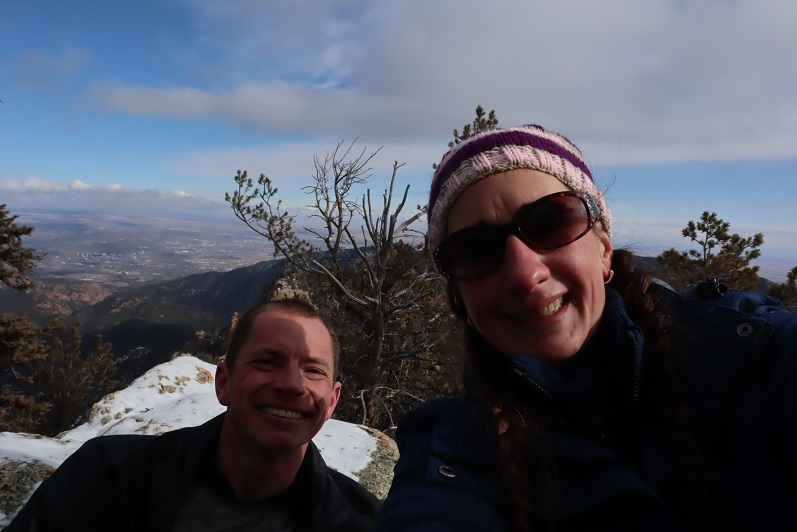
Partner: Steffen

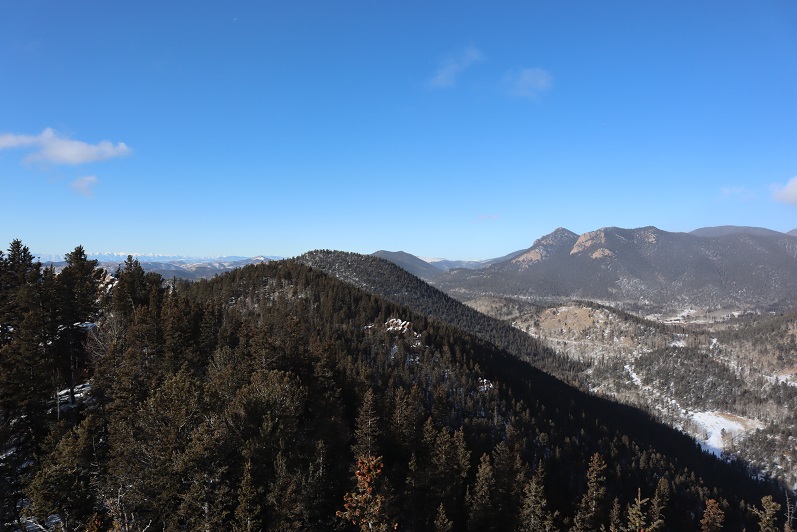
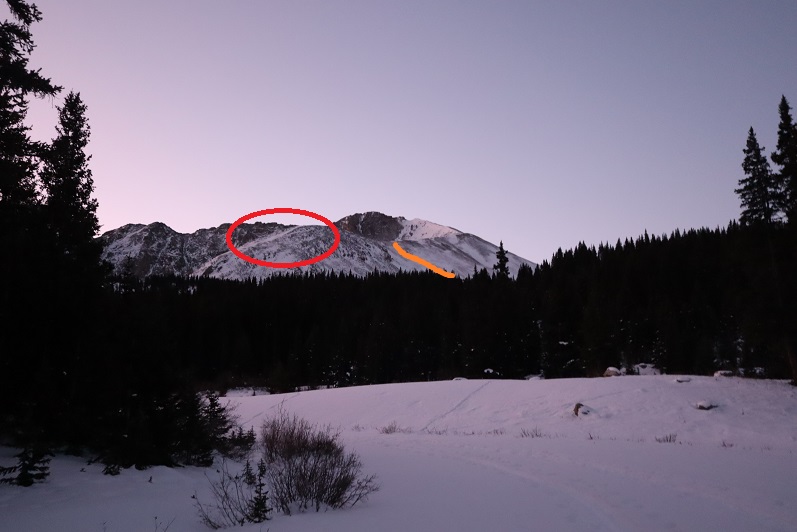
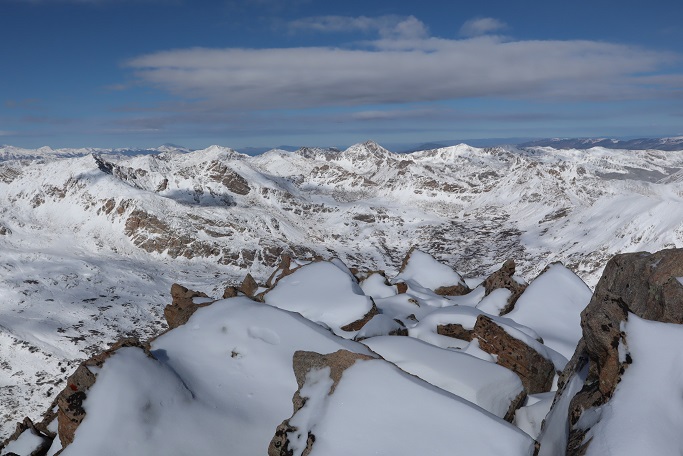
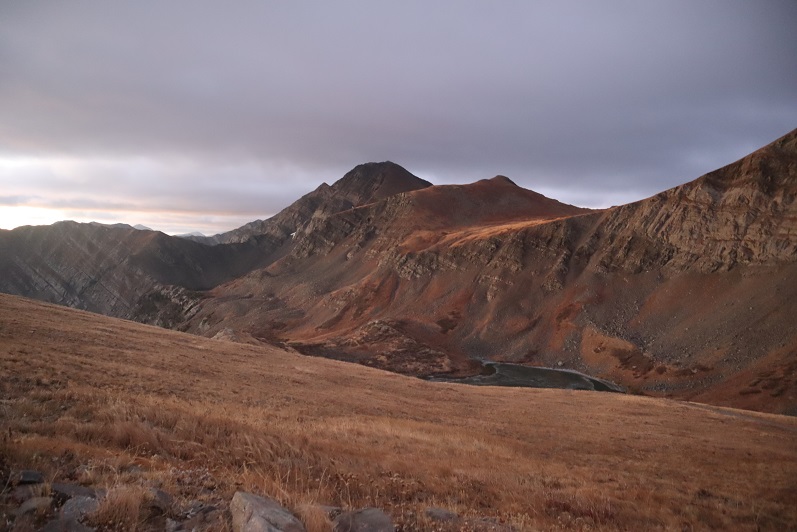
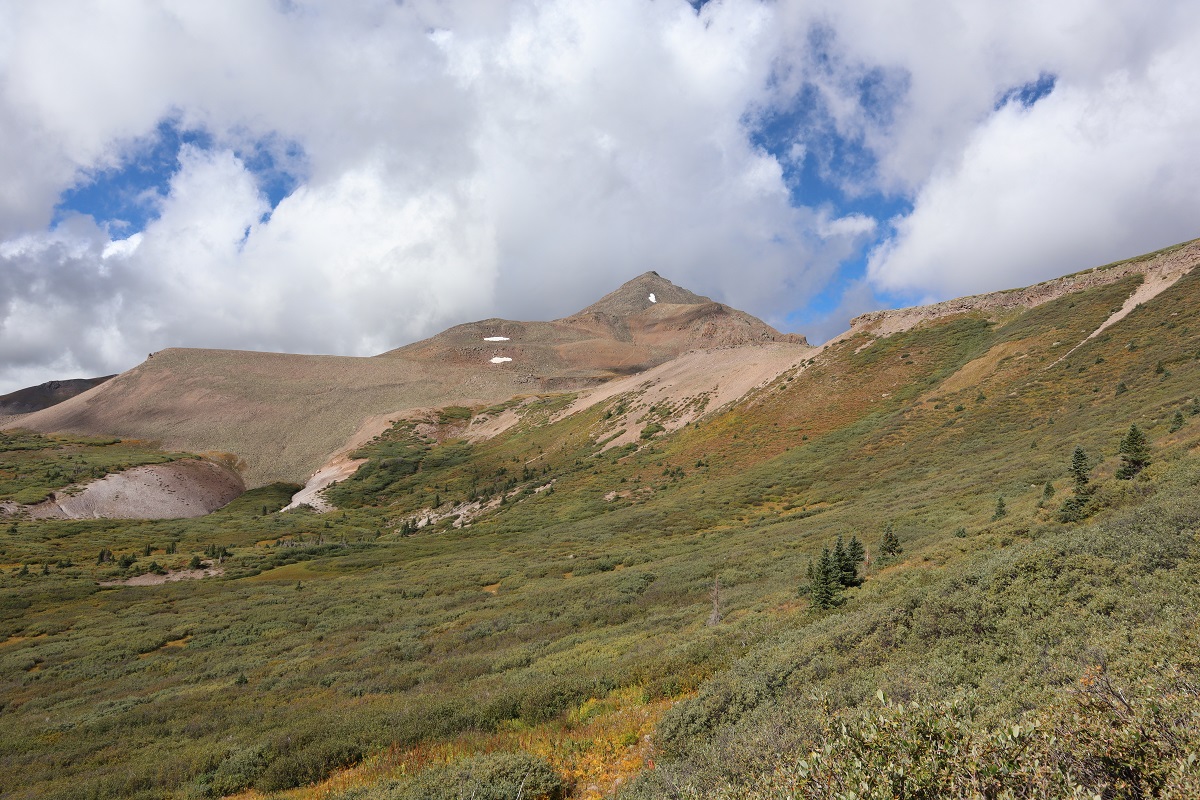
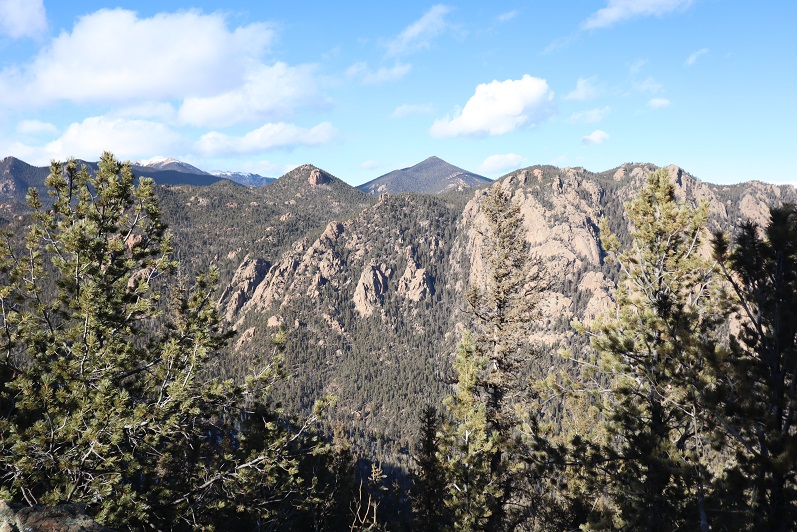
I’m calling this post “Colored Peaks” because really, there were 6 peaks and it would have taken too long to title: Gold Flake – 10165, Red Flake – 10650, Blue Mountain – 9856, Yellow Mountain – 9982, Black Mountain (UR) – 10132, & Green Mountain – 10140

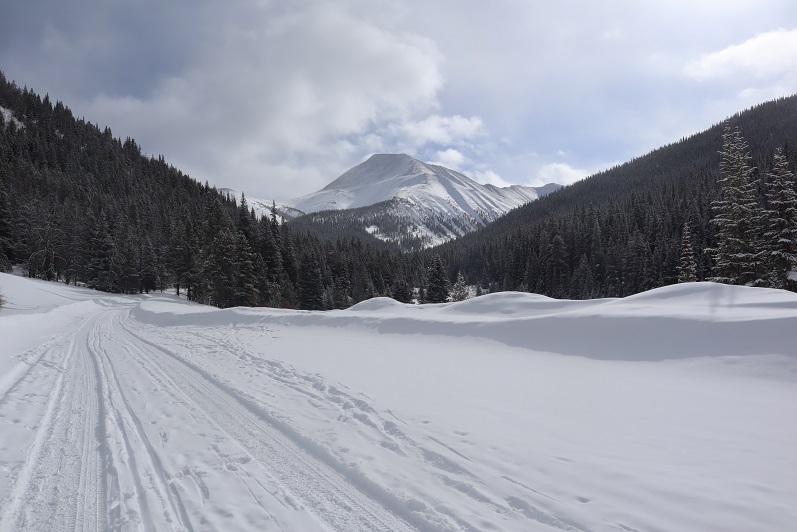
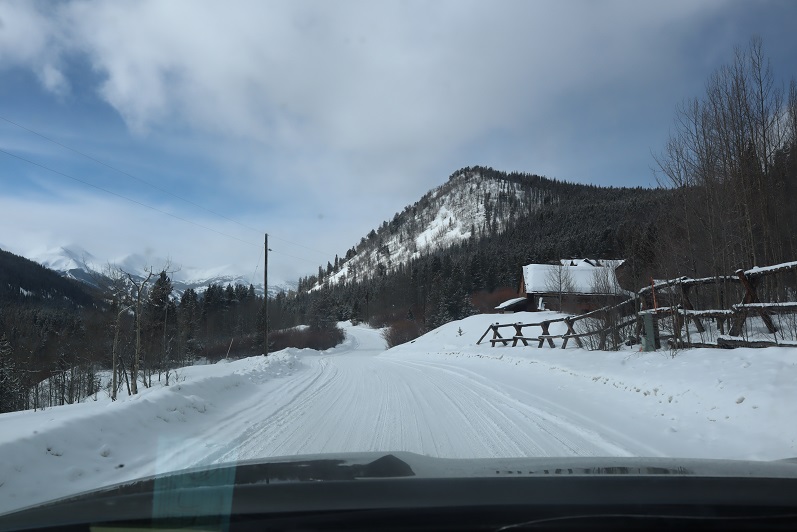
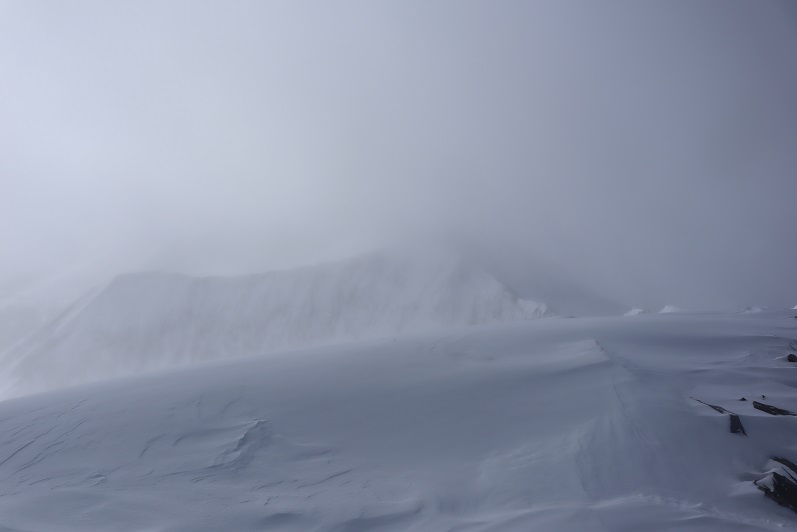
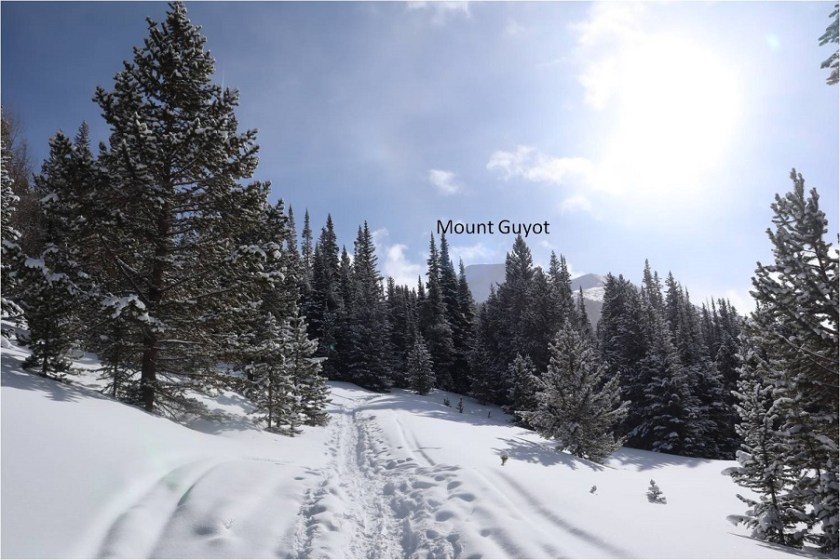
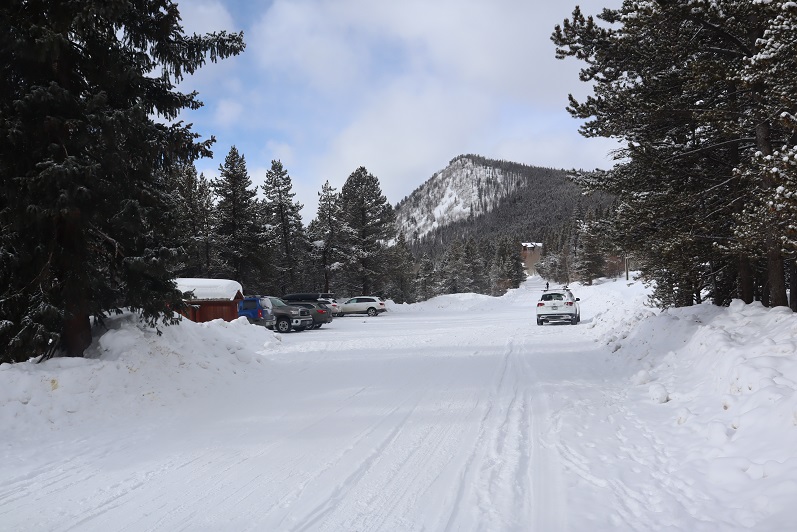
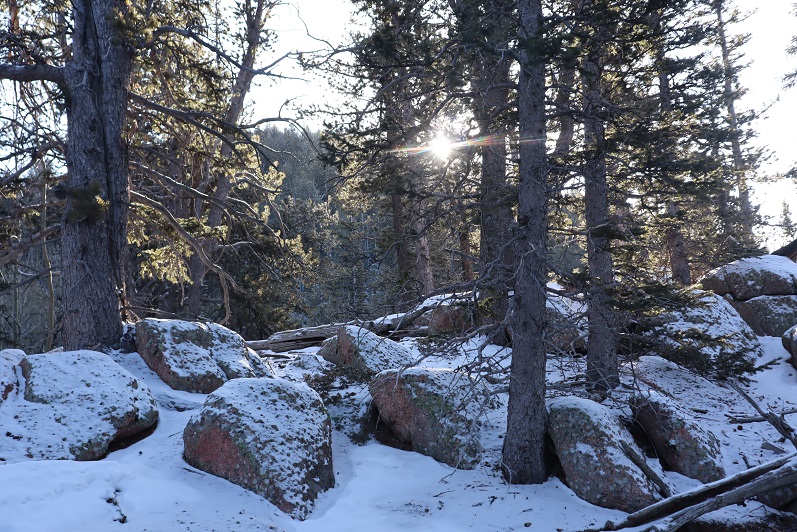
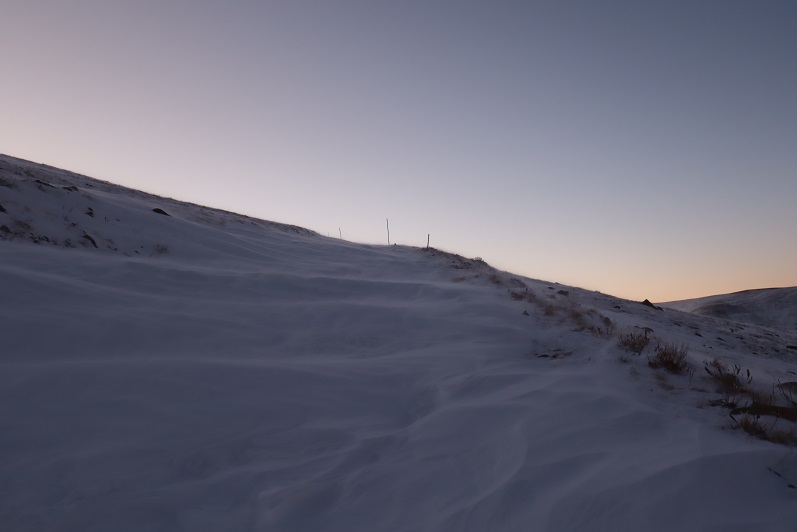
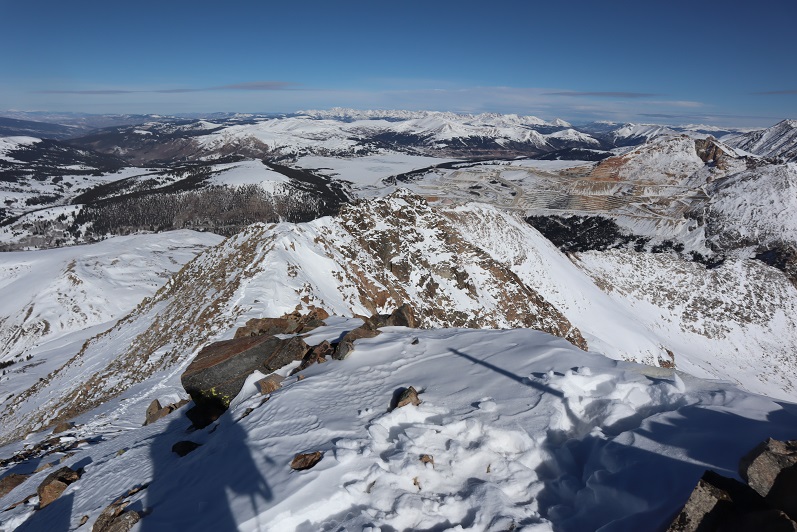
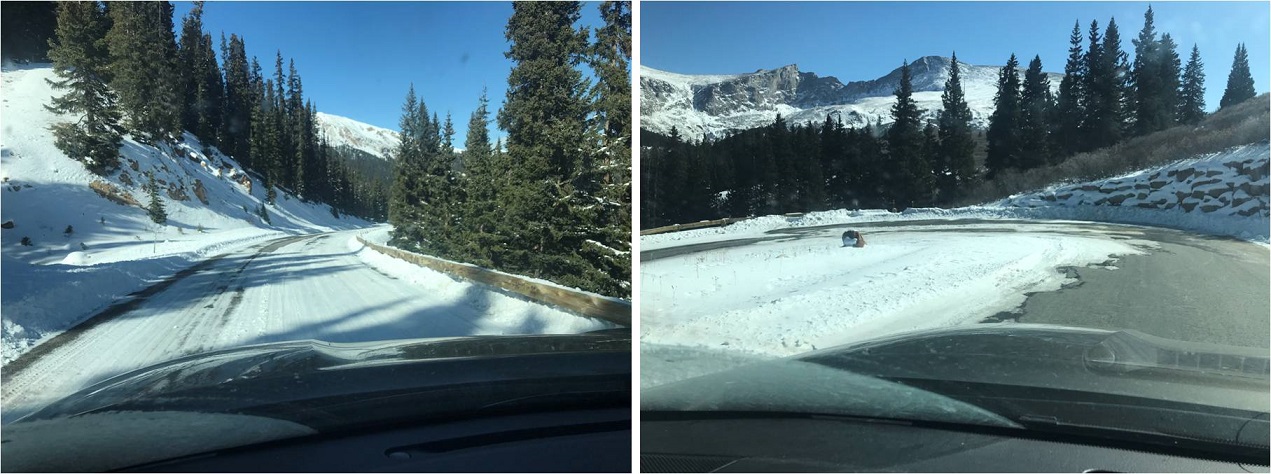
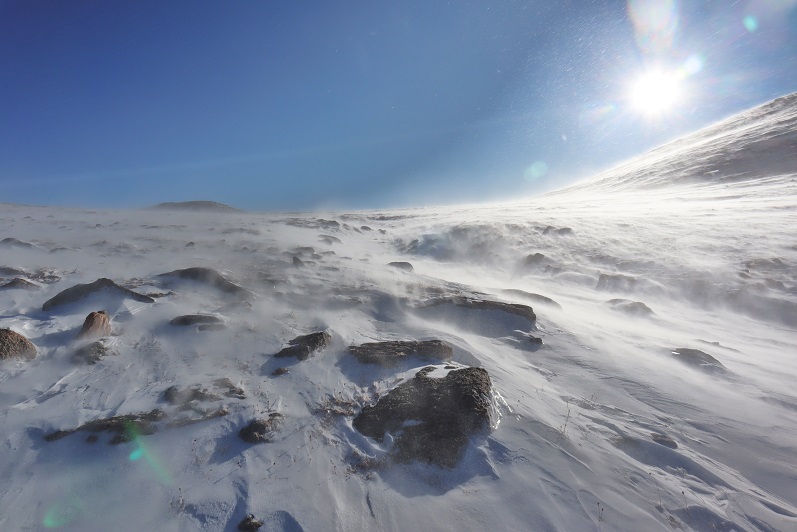
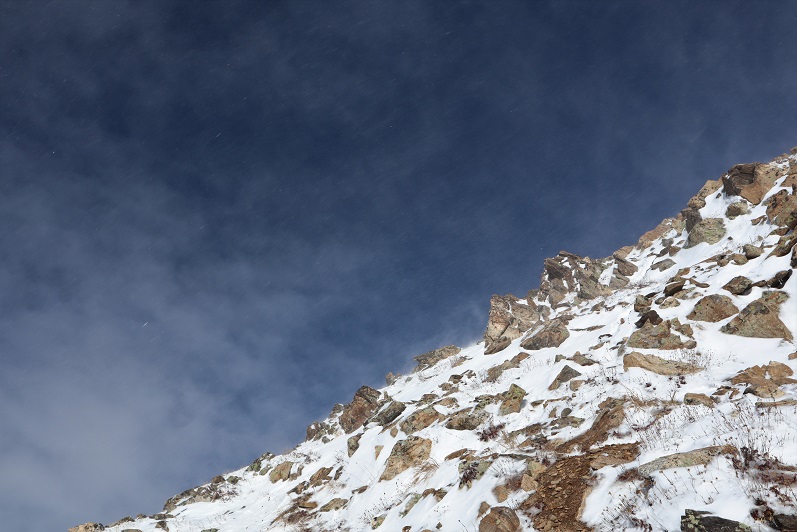
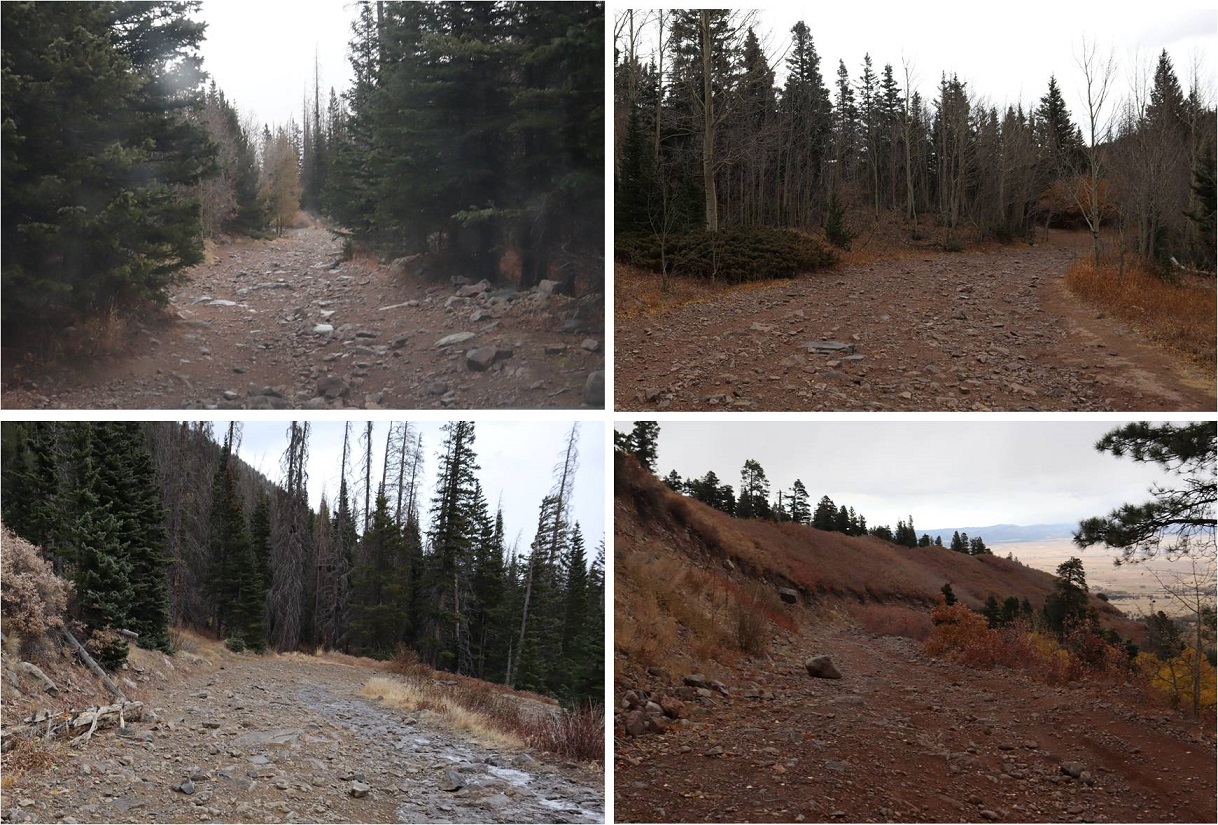
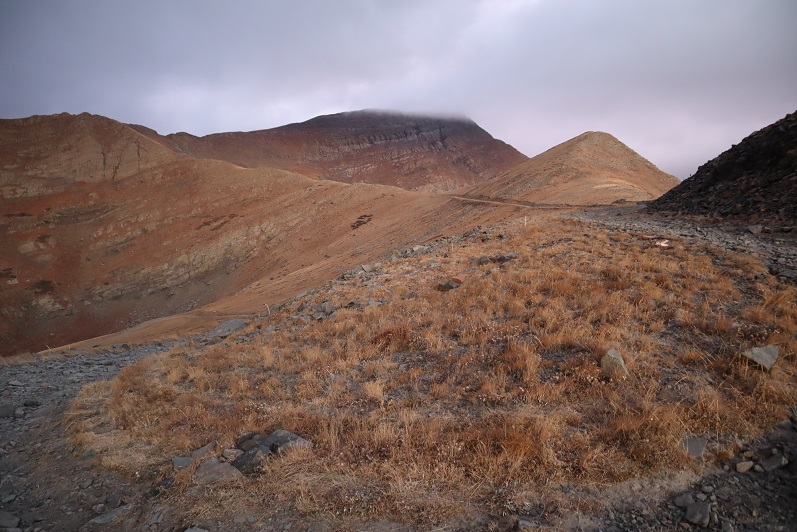
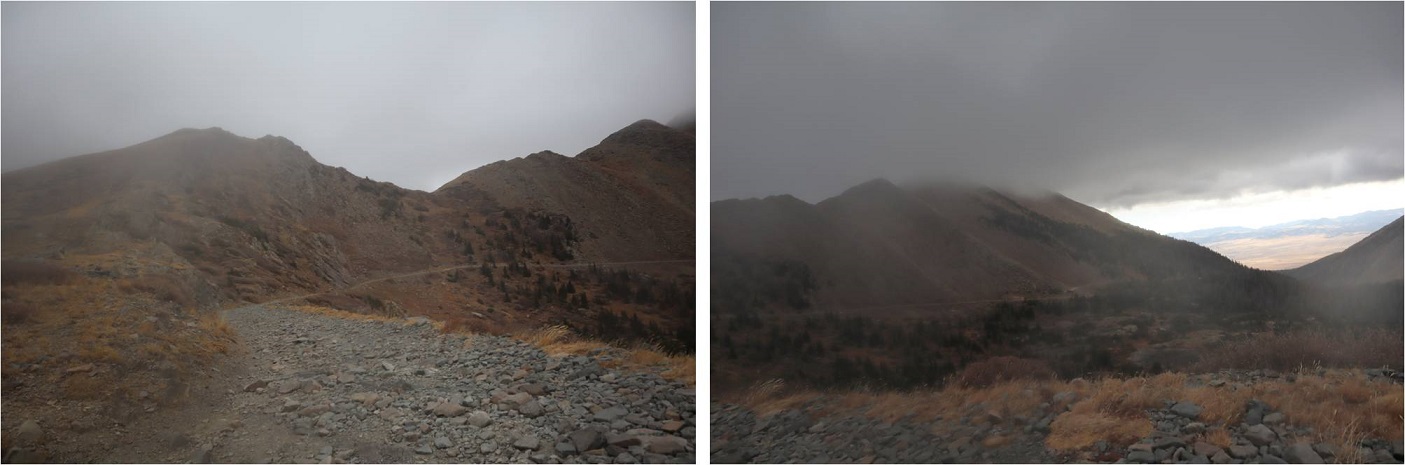
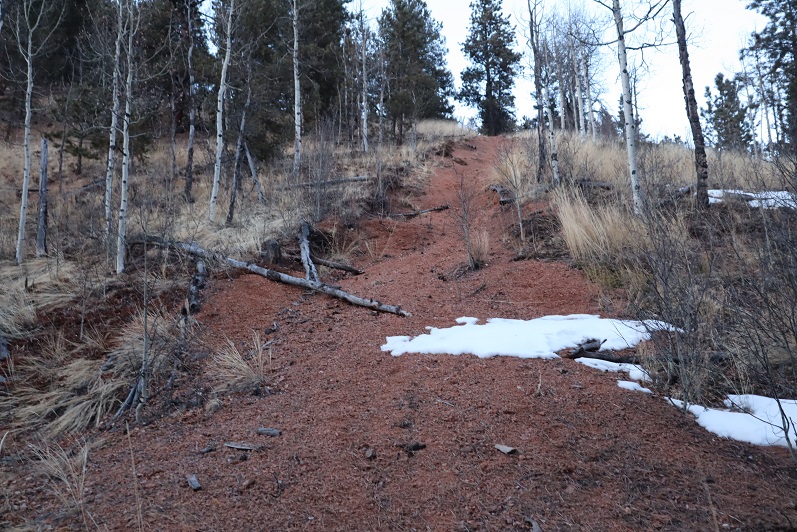
The forecast for wind today was between 70-90mph up high, so instead of hiking above treeline today we chose to hike some 10K and 9K peaks. It was still pretty windy, but at least we weren’t being blown away.  We got a bit of a late start because Old Stage Road takes forever to drive.  It’s nicely plowed but still icy in the morning.  I decided to park at the furthest peak first and work our way back.  The first two peaks were each less than a mile in length, and more like warm-ups for the rest of the day.   I’m really glad we decided to do them first because if we’d left them for the end I’m not sure we would have summited them.

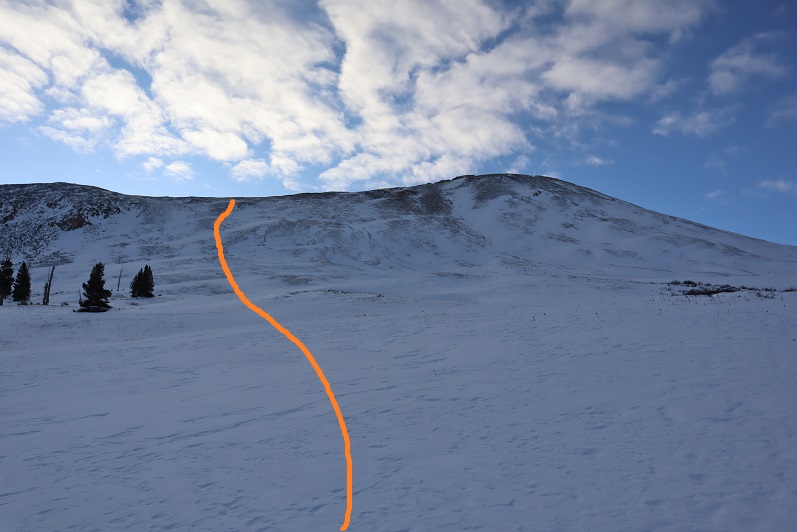
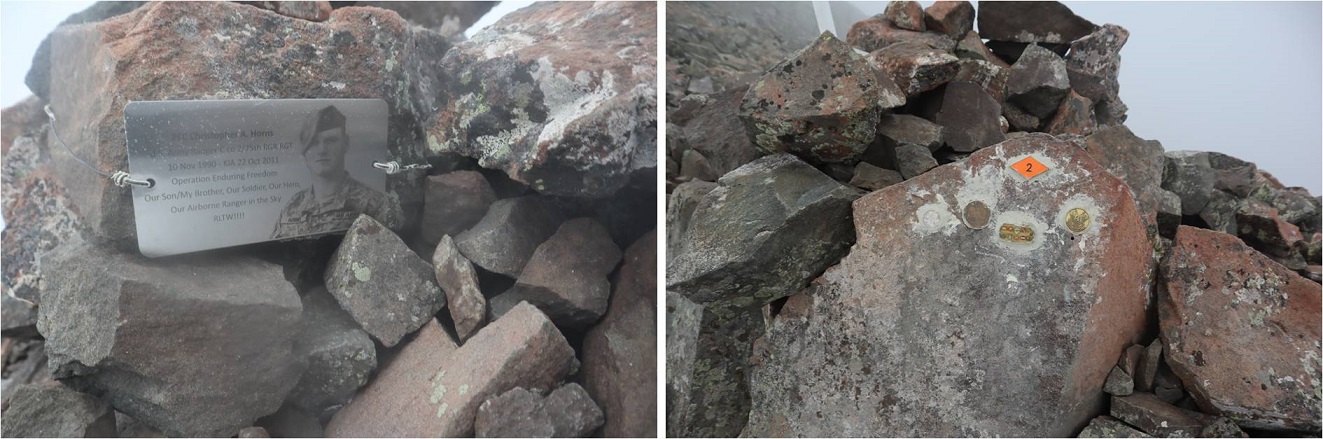
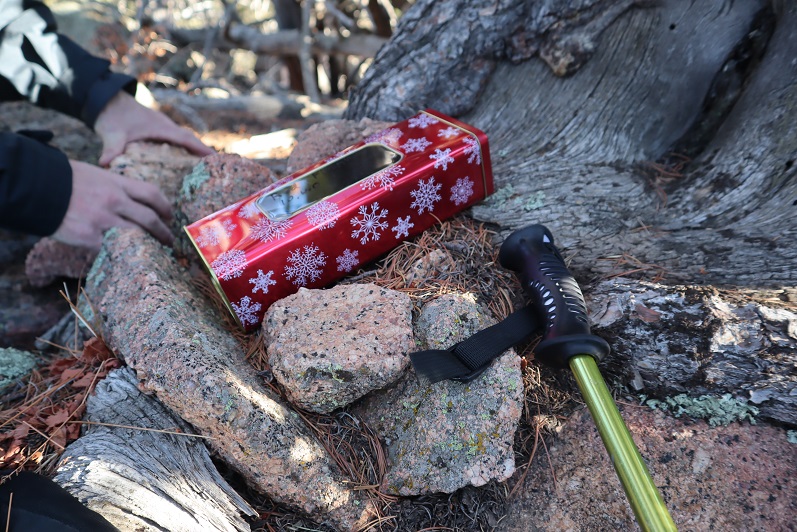
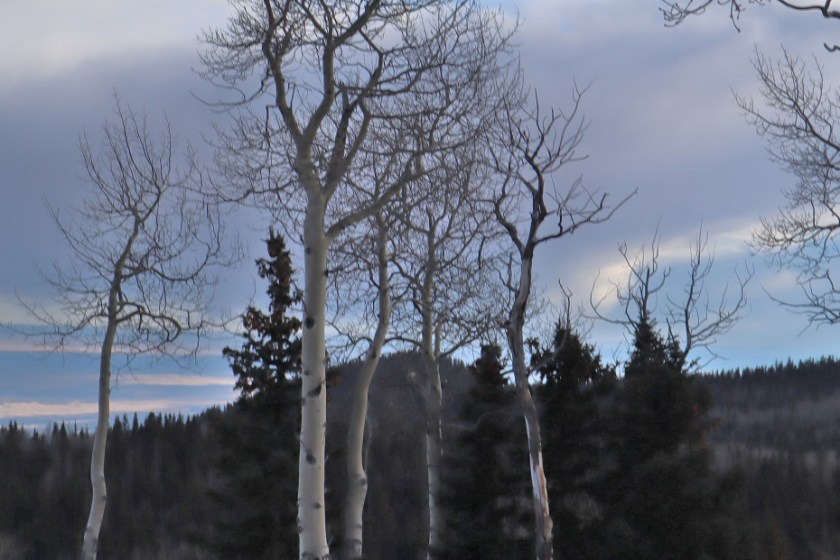
Gold Flake – 10165 (so named because of the gold tin and golden morning)

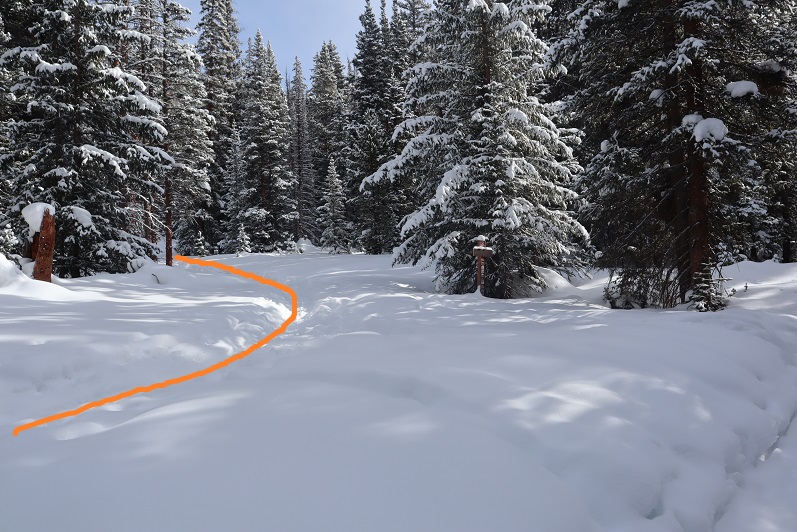
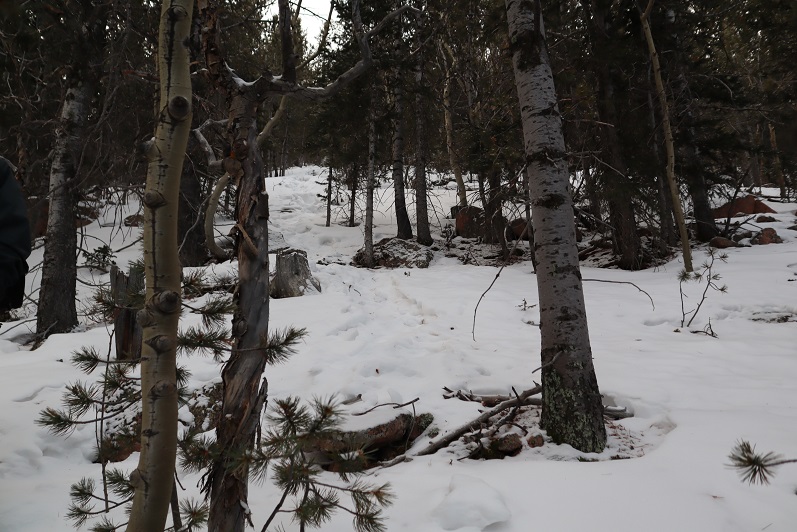
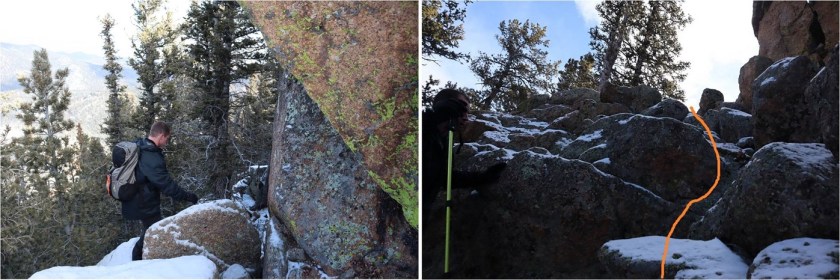
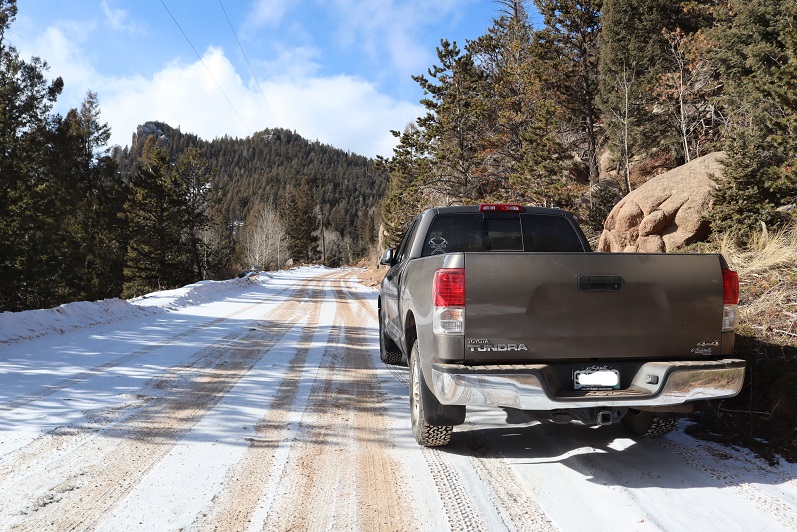
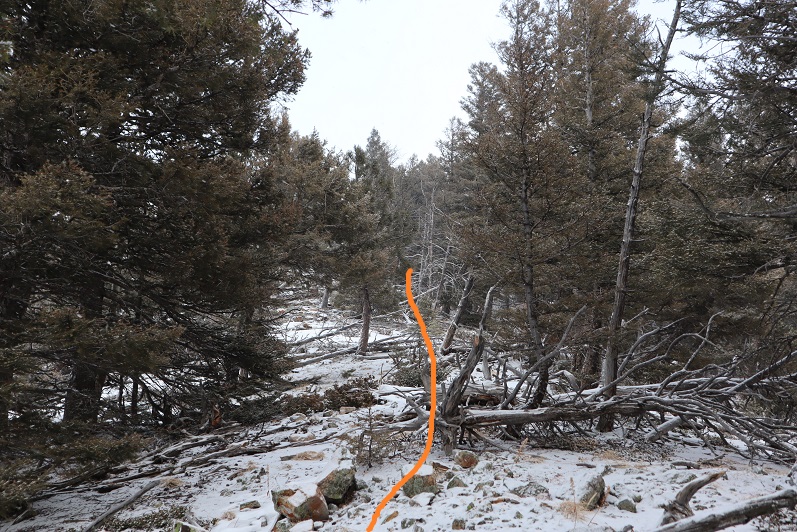
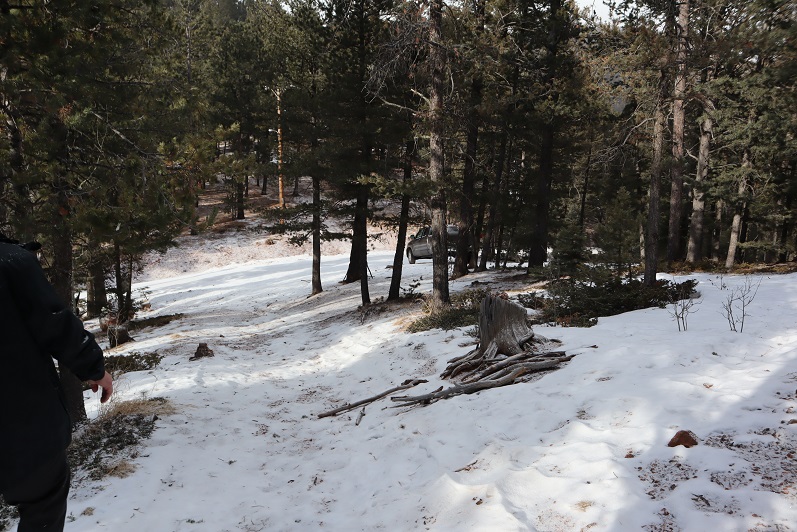
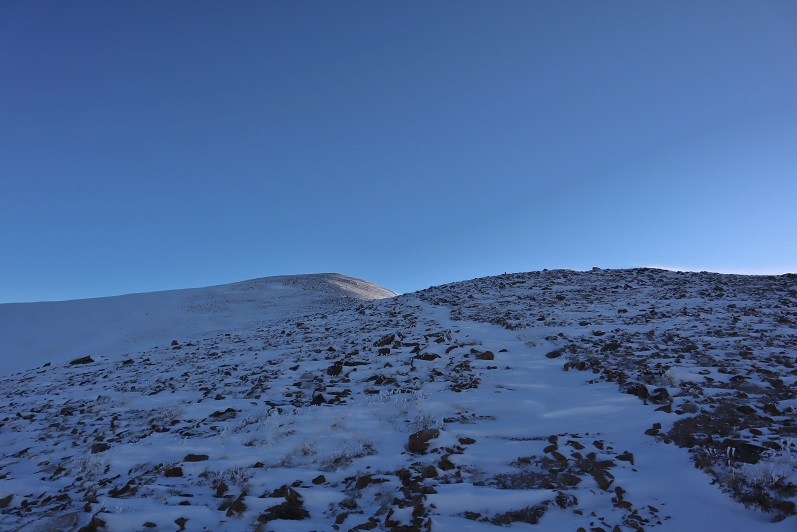
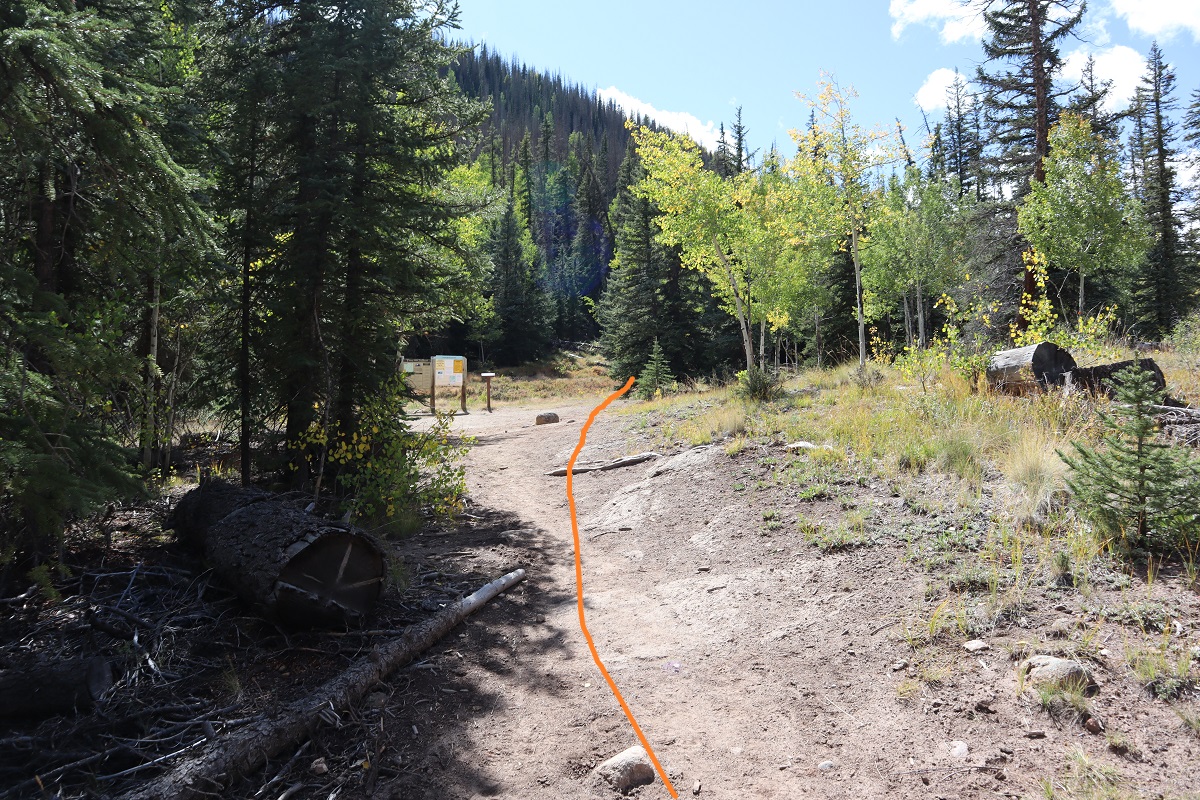
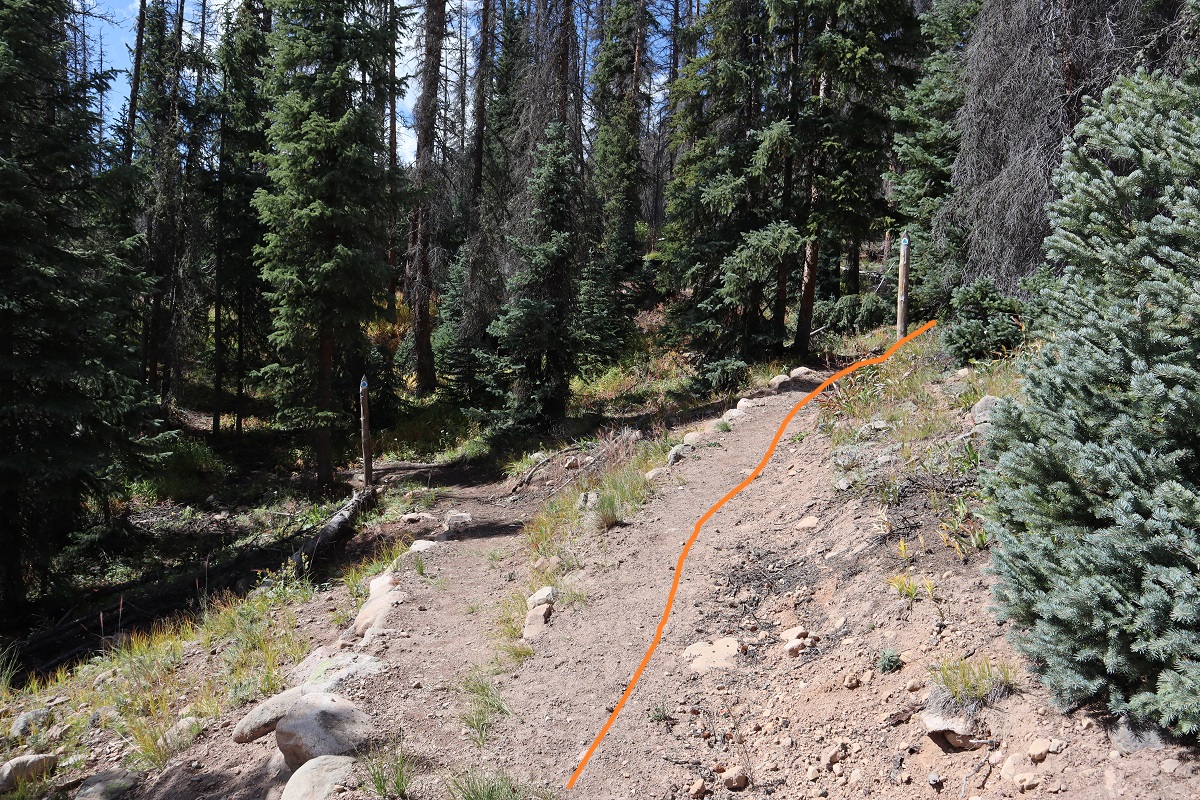
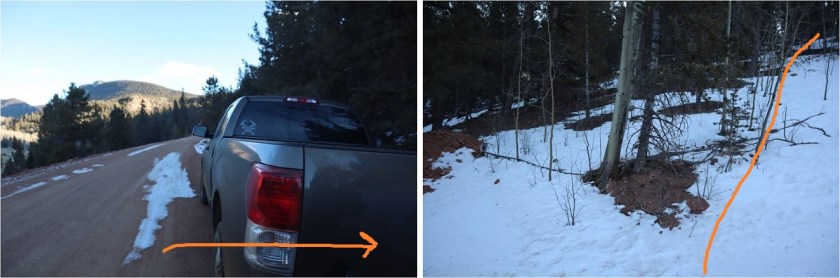
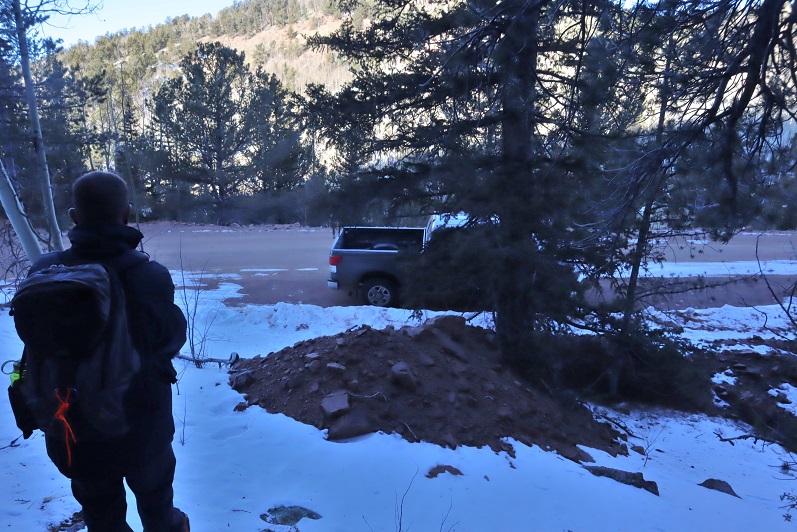
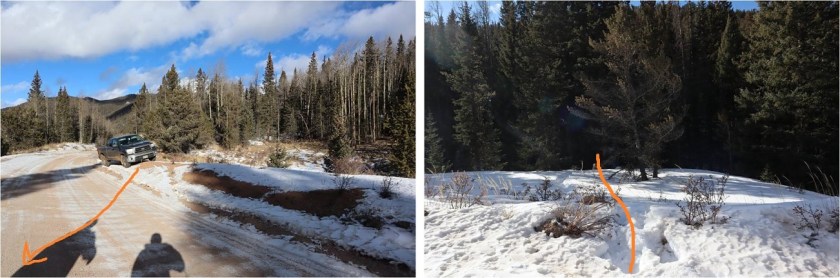
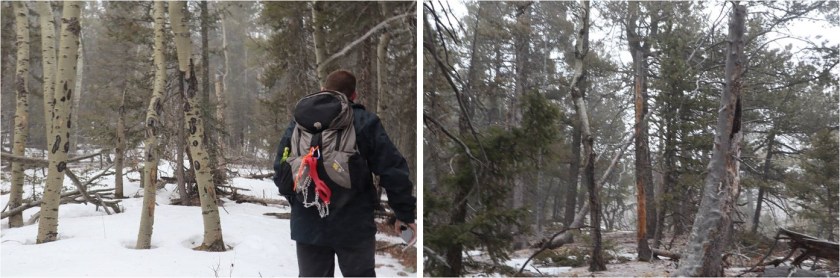
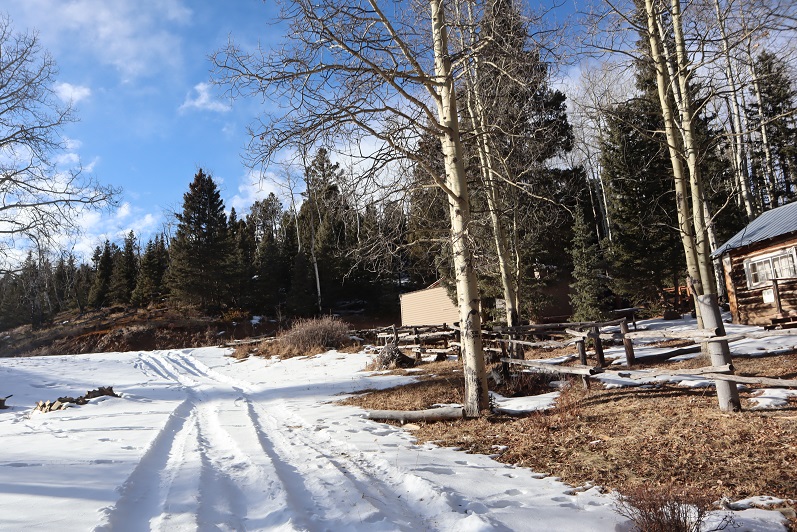
I parked my truck on the side of the road and we headed east through the trees

2

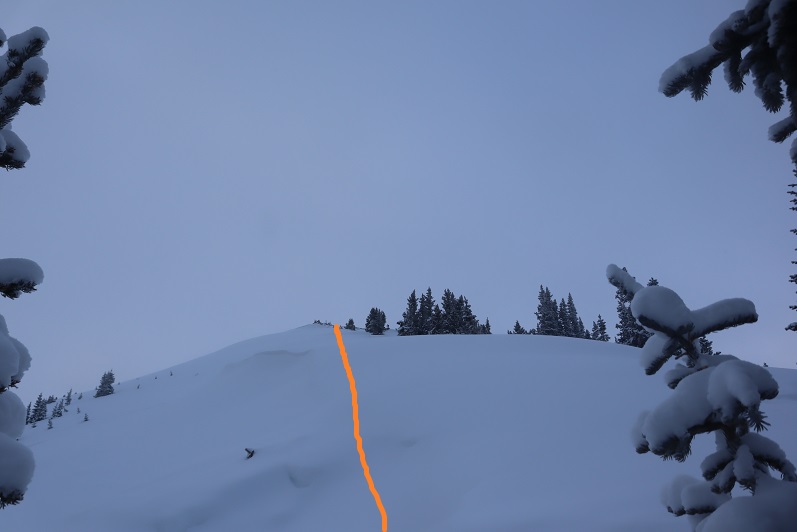
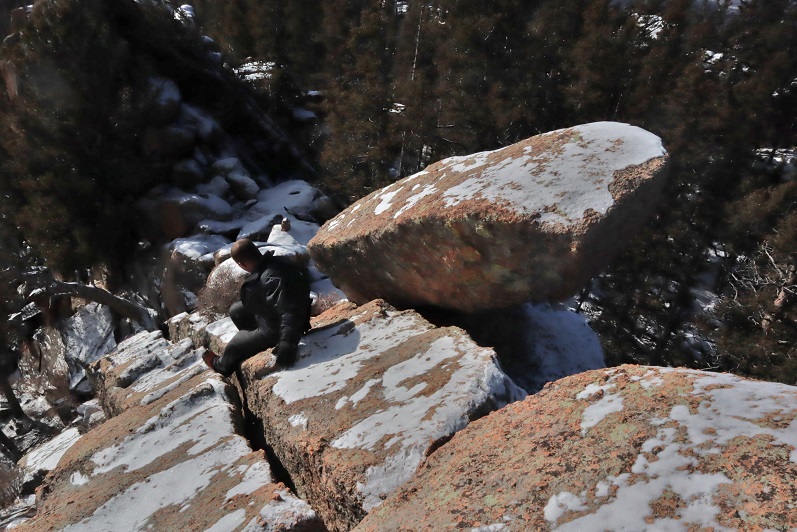
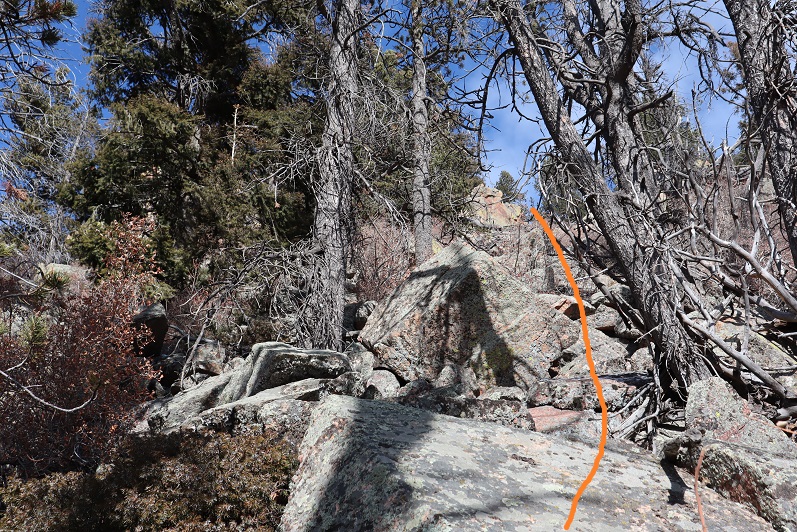
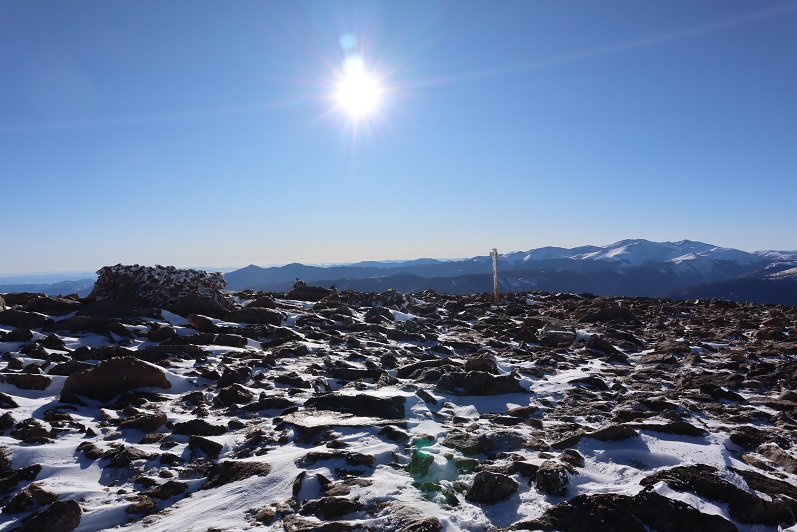
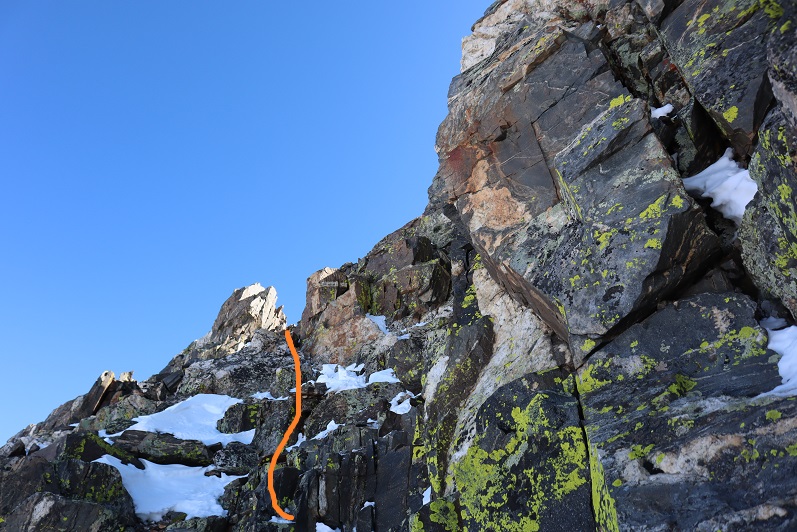
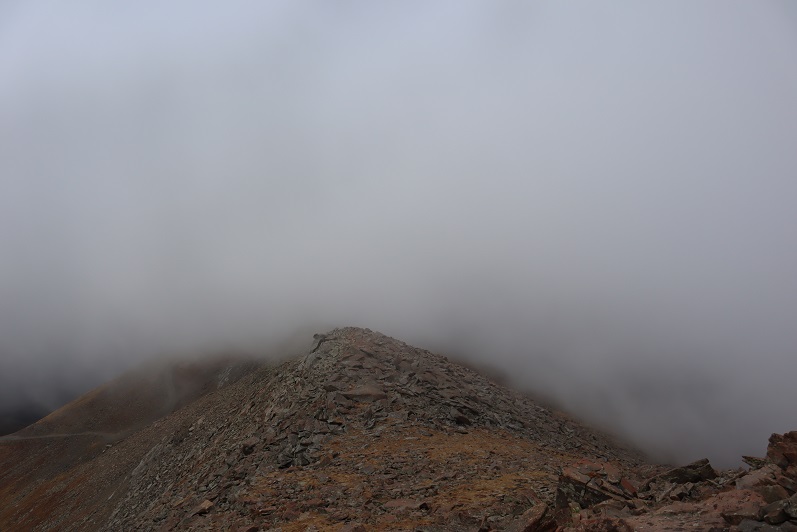
And then south to the (rocky) summit.

3

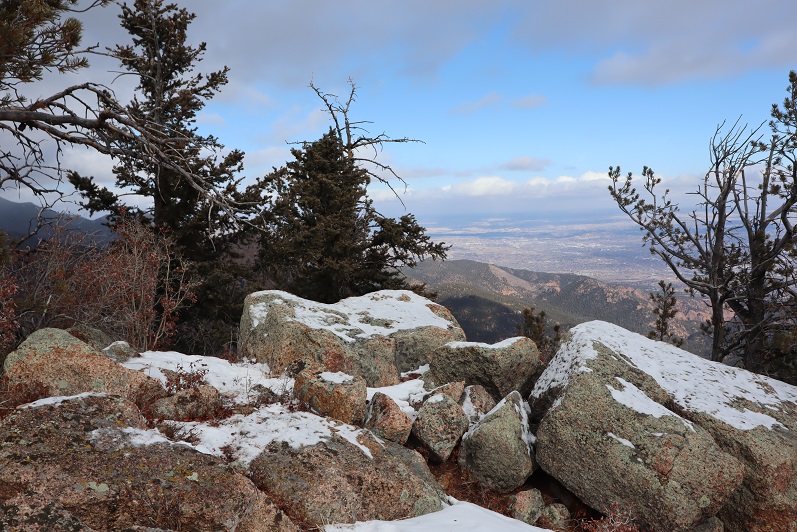
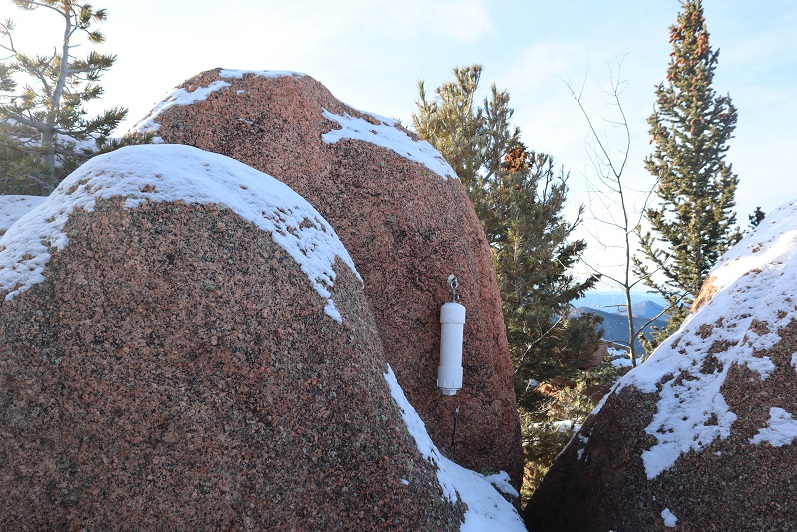
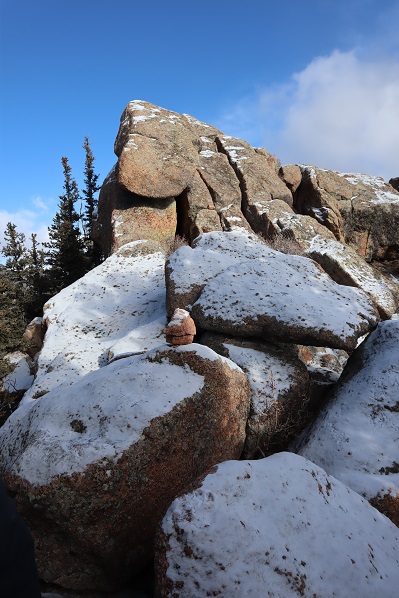
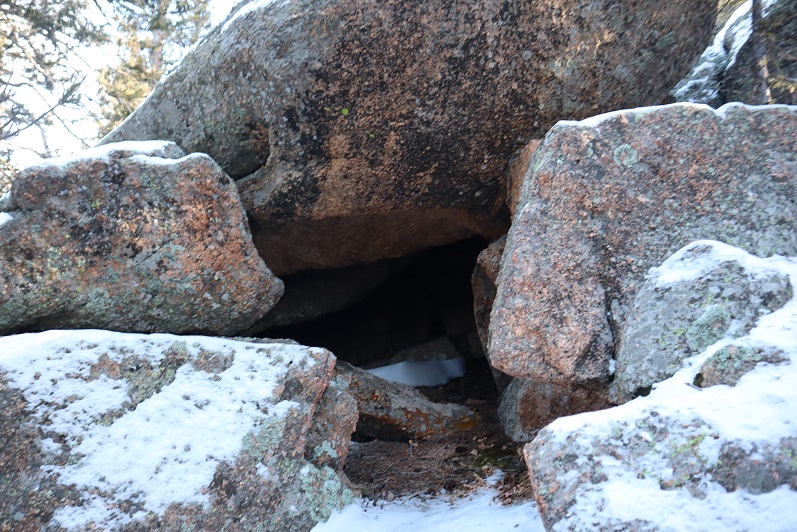
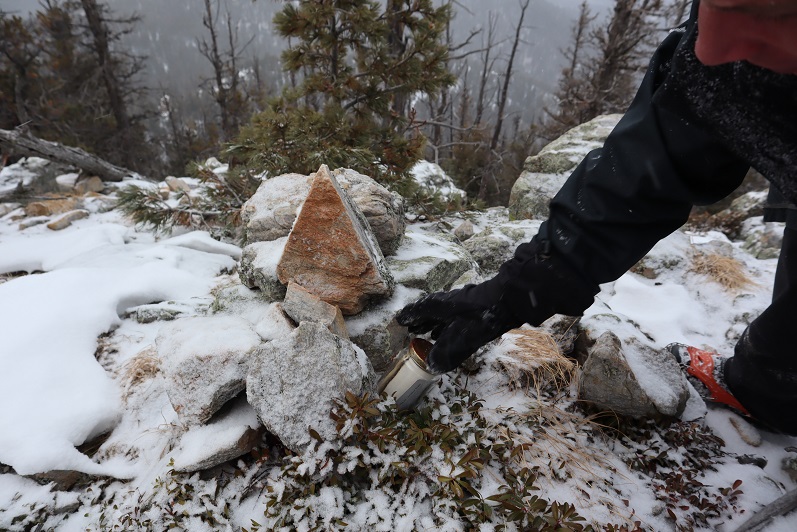
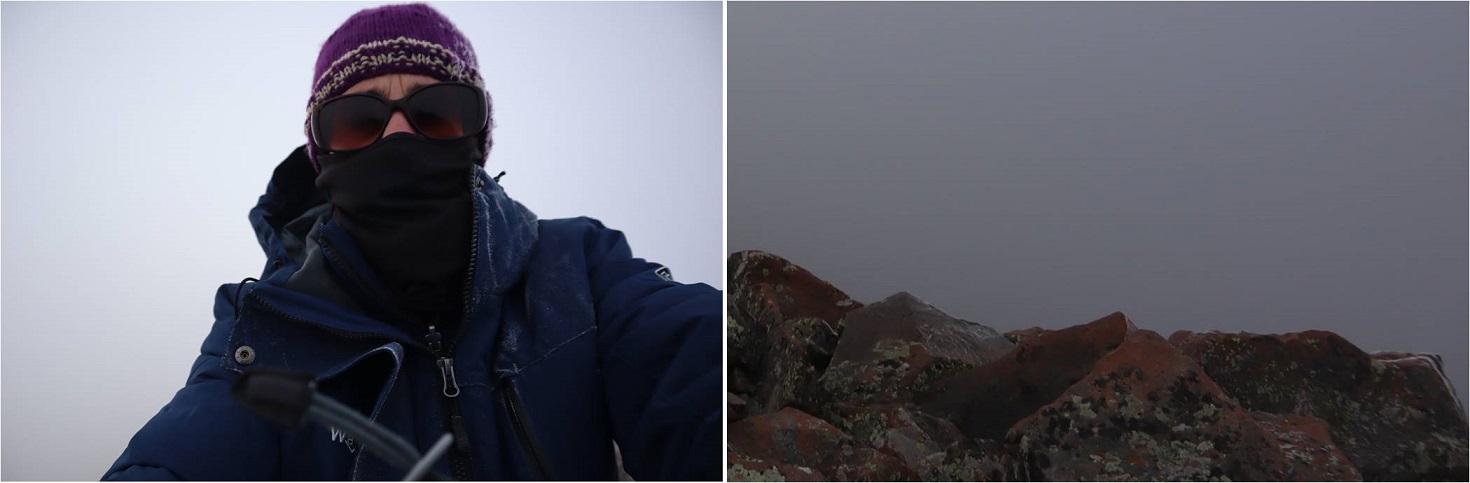
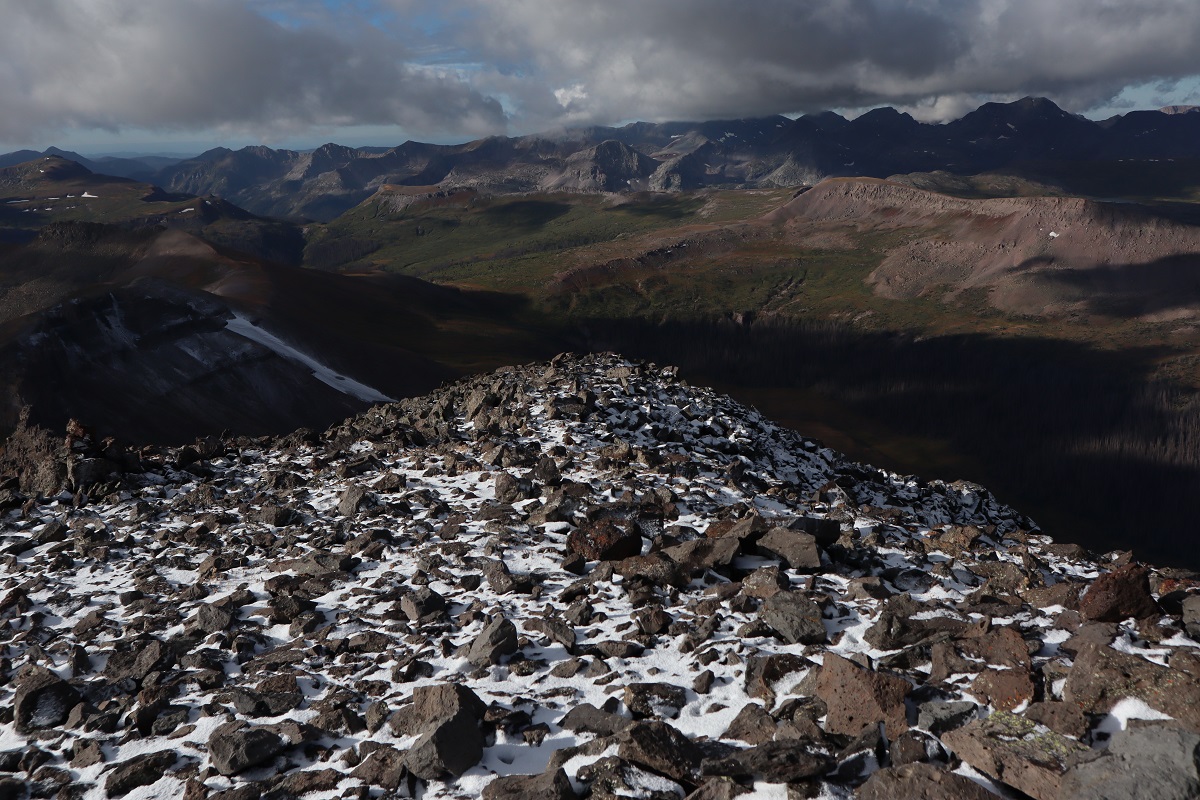
There were no views on this summit, so we took a quick picture

4

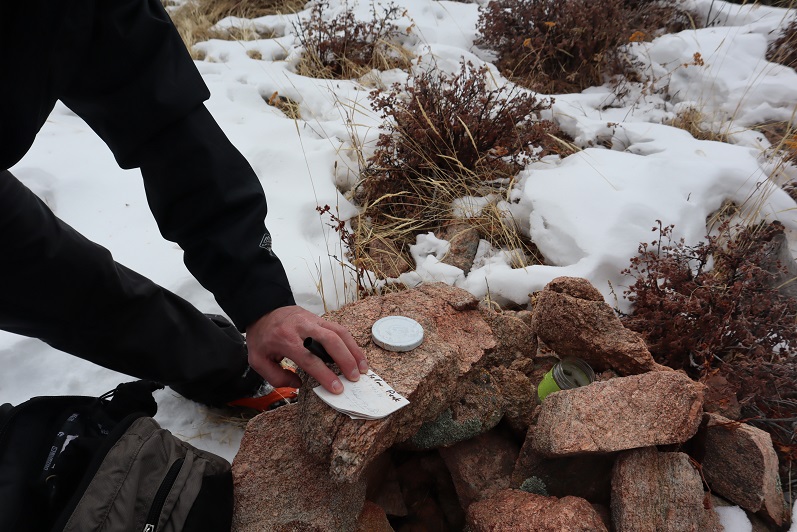
Signed and replaced the summit register

5

And made our way back to the truck.

6

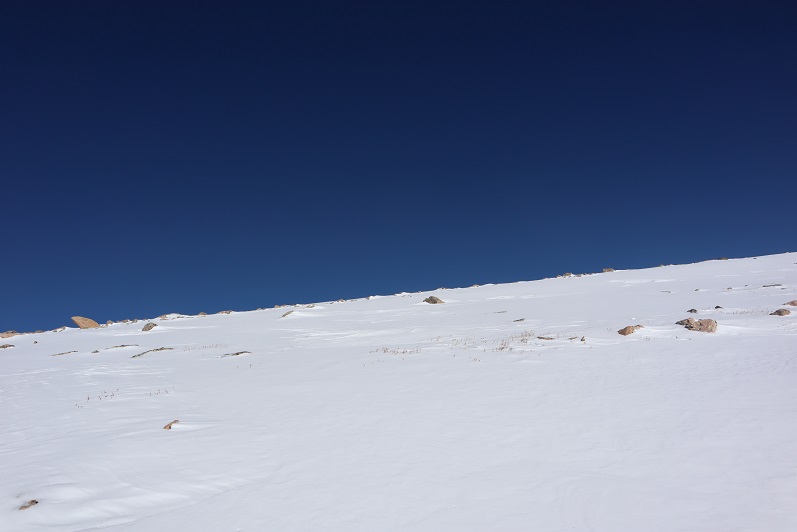
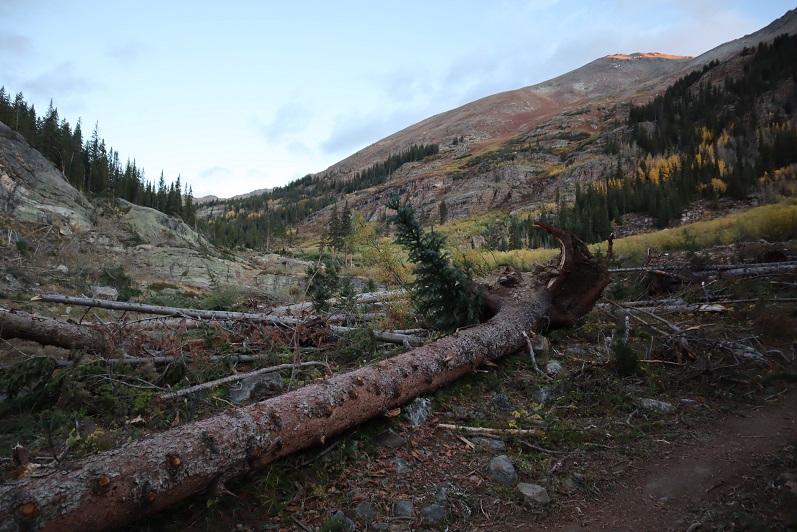
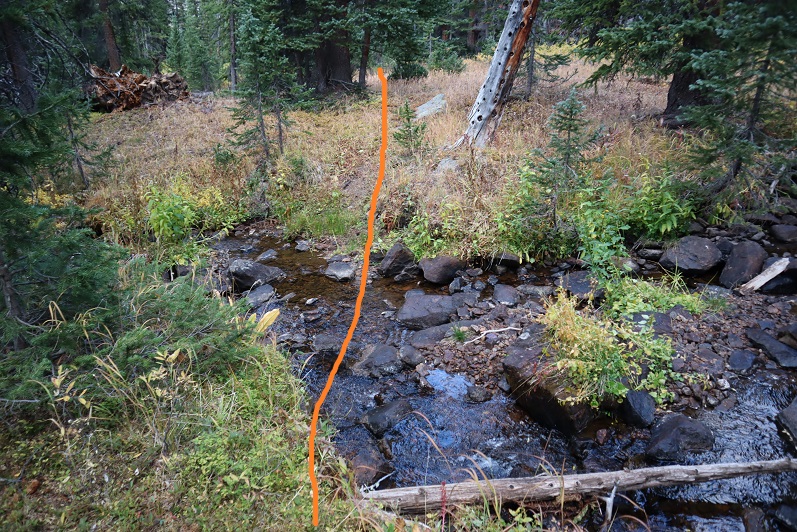
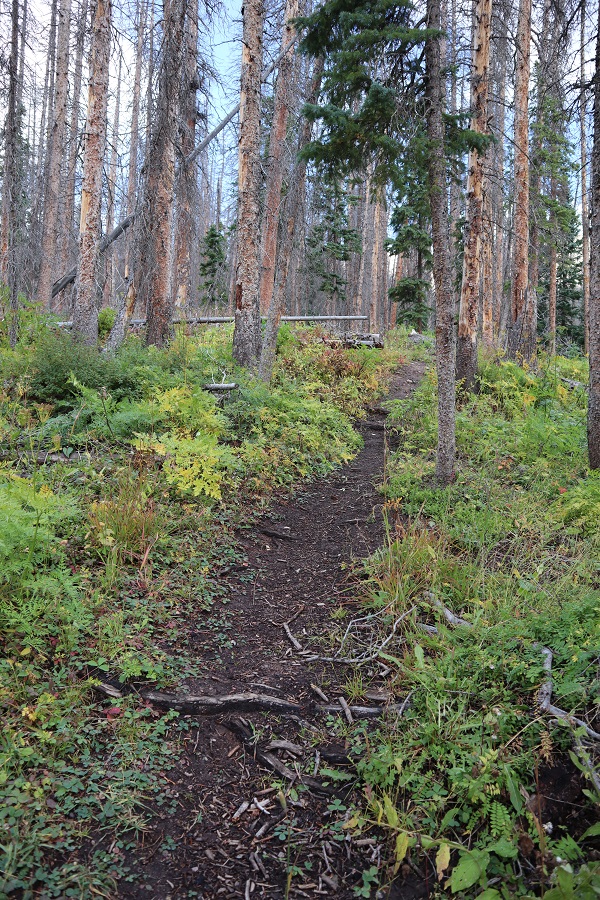
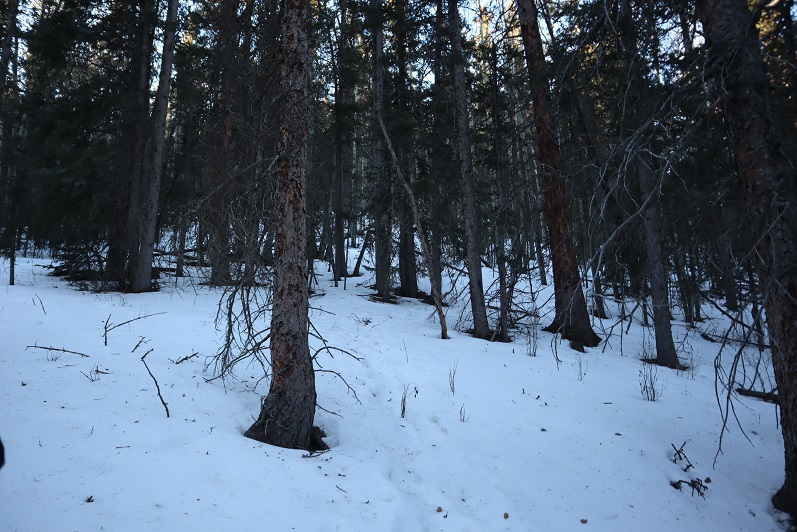
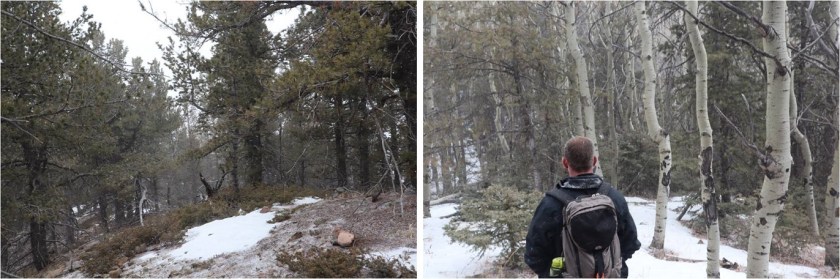
This was a very simple and straightforward trek up and down the mountain (without a trail or views).

Red Flake – 10650’ (so named because of the red tin)

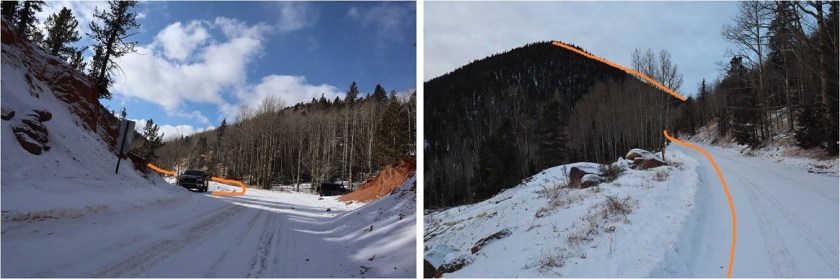
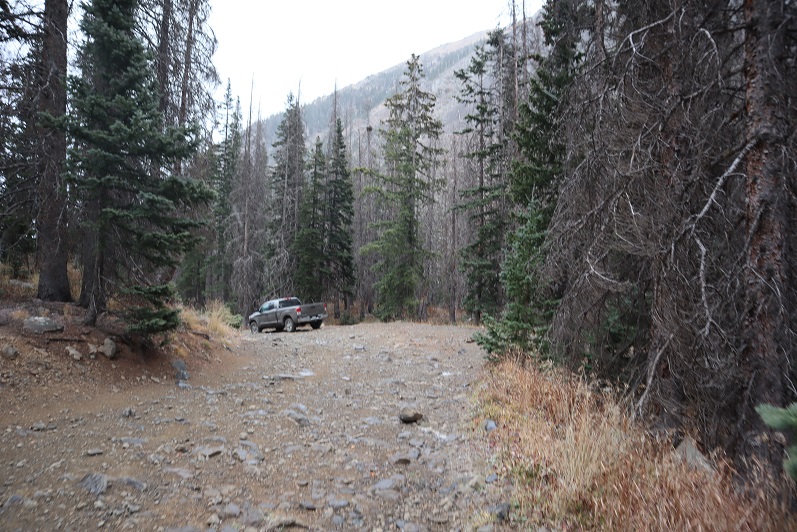
We hopped in the truck, leaving on all our gear, and headed to the next trailhead. There wasn’t a place to park so I parked on top of a dirt berm near a shooting area littered with shell casings and we headed southwest up the side of the mountain.

7

8

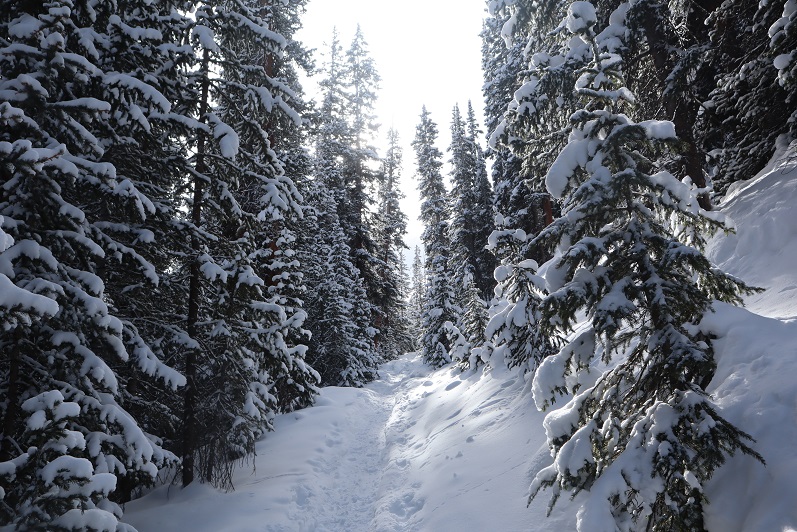
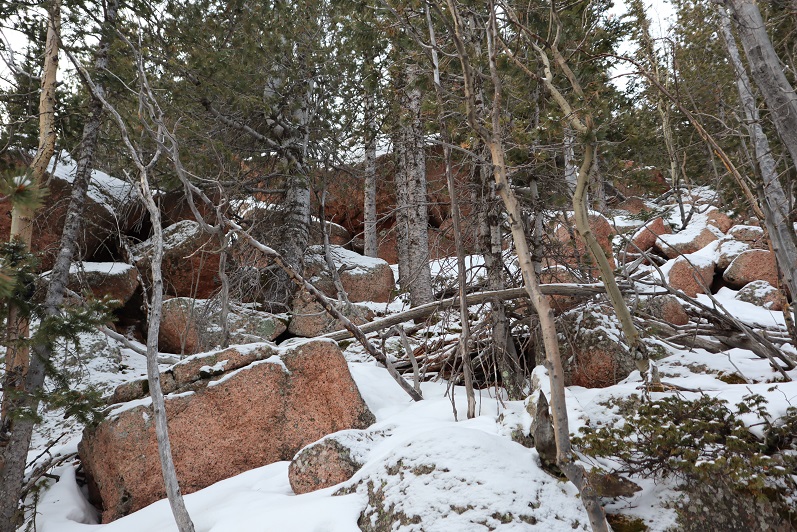
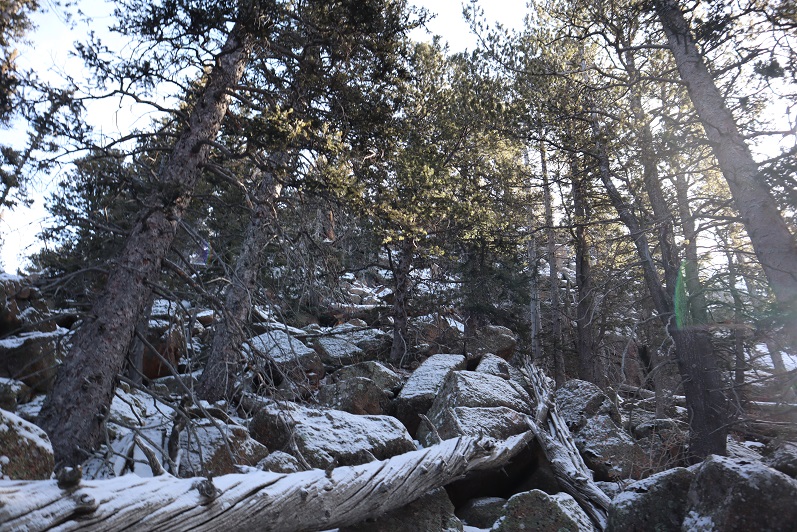
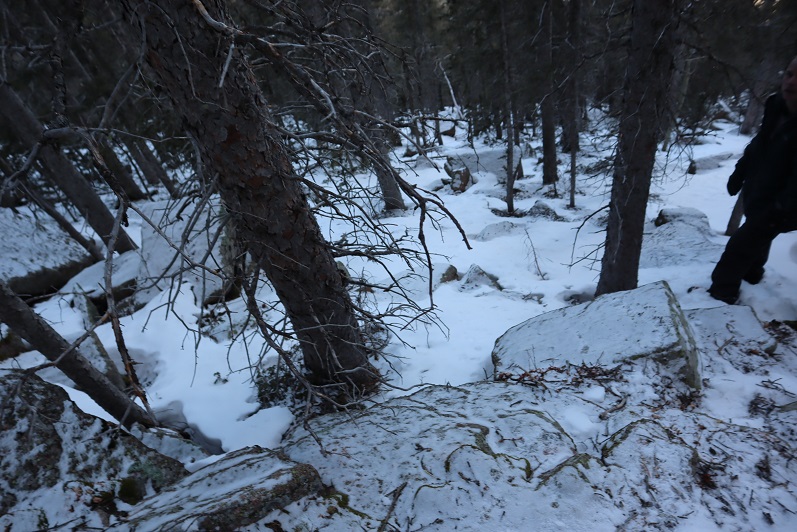
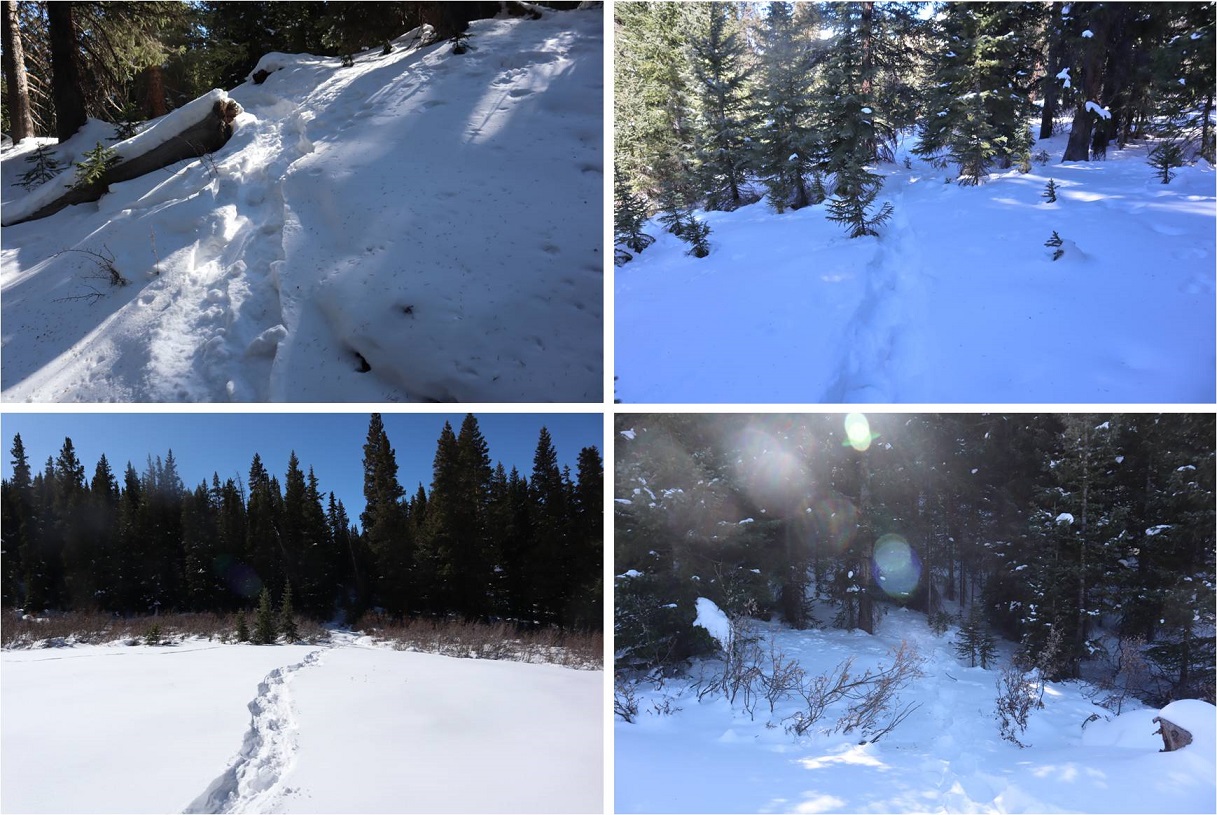
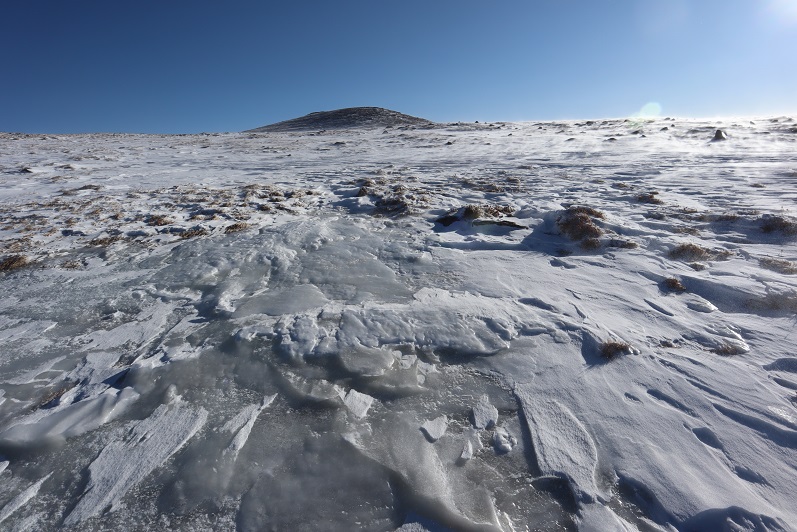
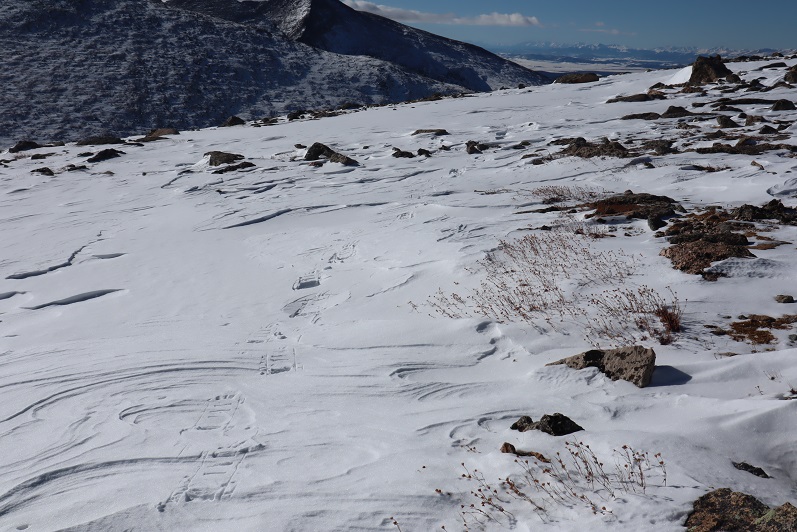
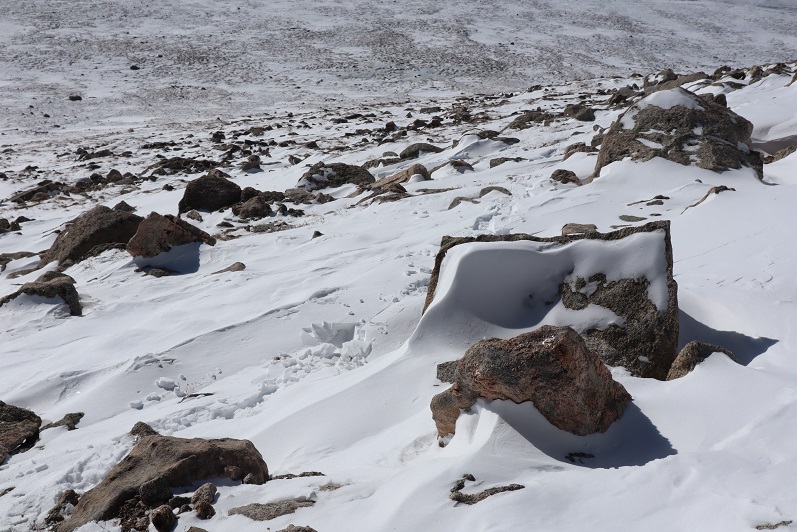
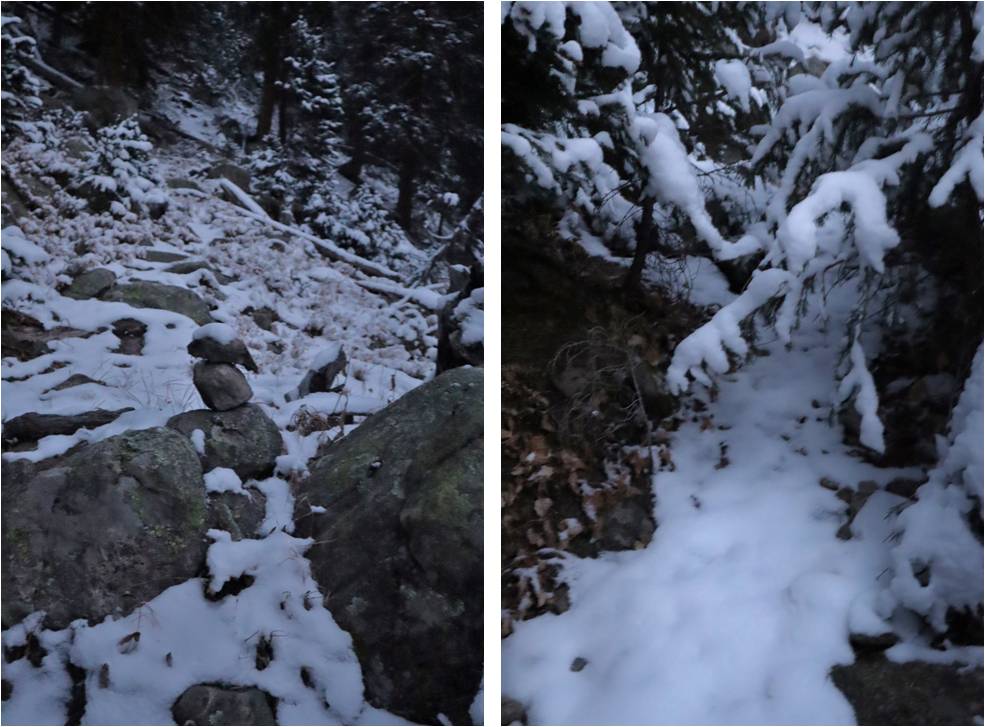
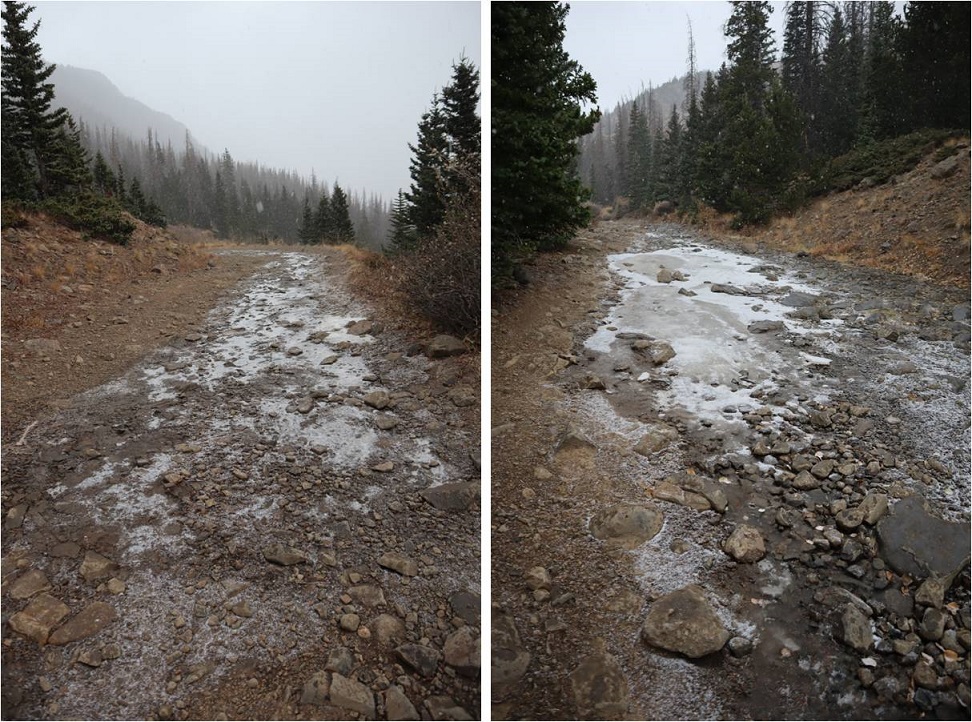
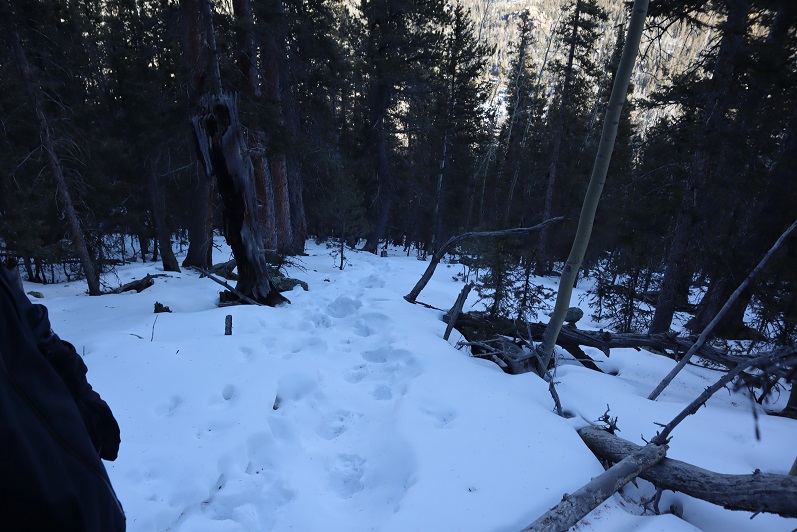
There was more snow here, but luckily we soon came upon a trench! It looked over a week old, but made route finding much easier.  We found a microspike on the trail.  I attached it to Steffen’s pack and we took it out with us.

9

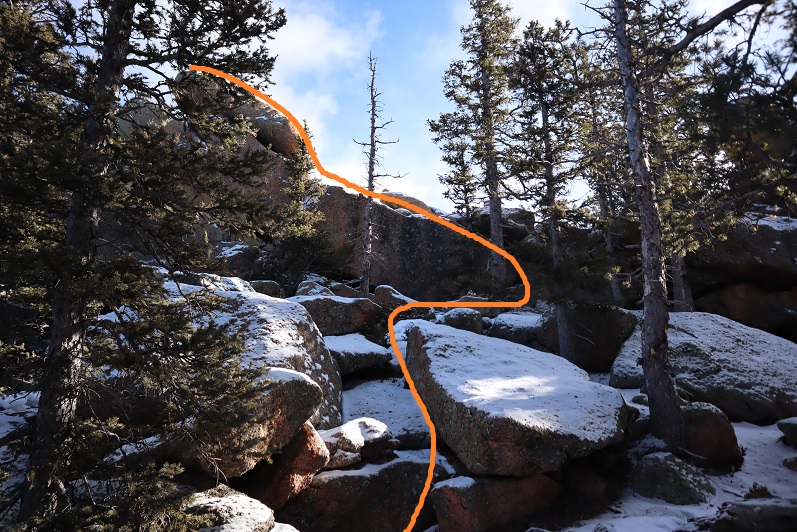
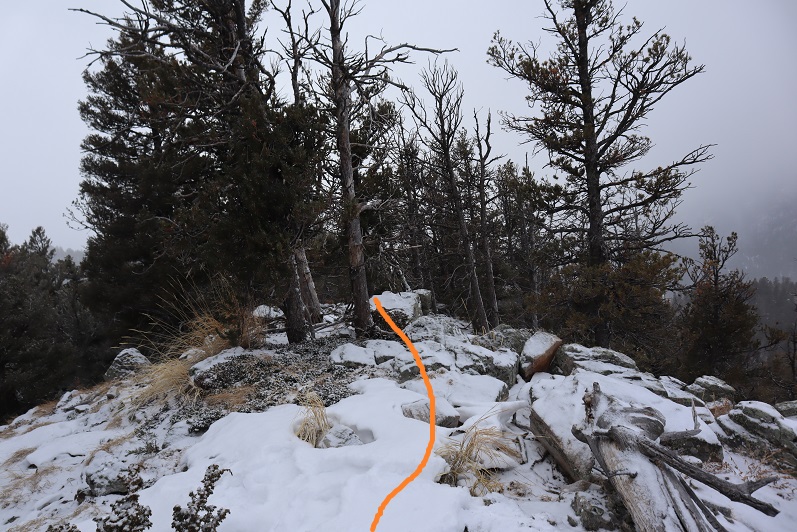
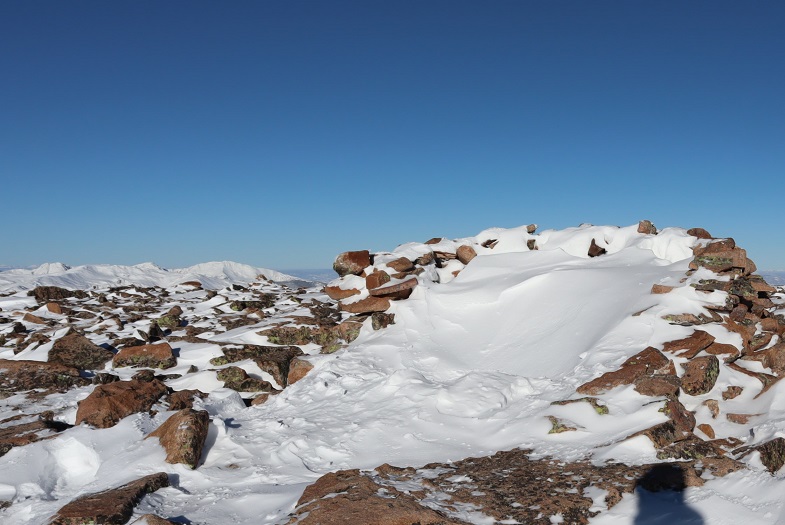
The trench led us to another rocky summit without any views

10

We signed and replaced the summit register and were quickly on our way back down.

11

12

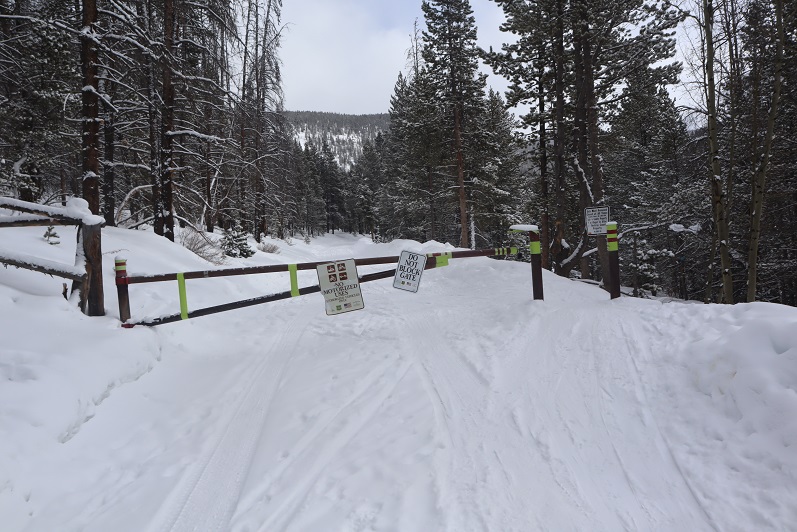
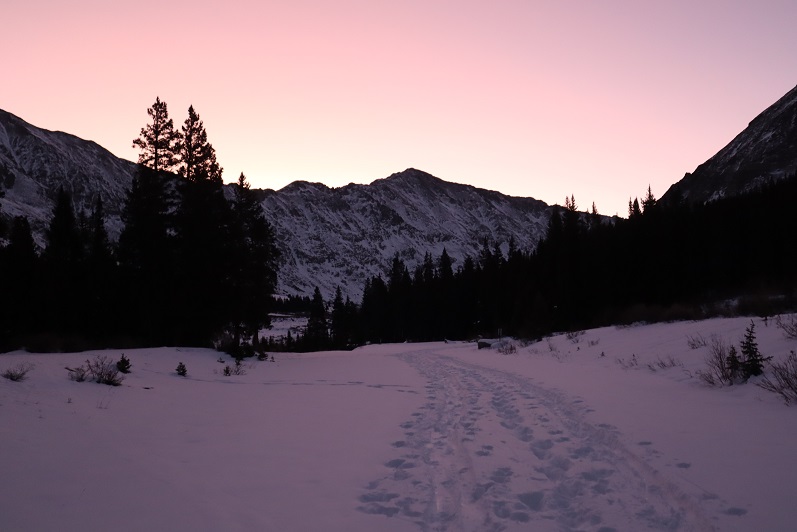
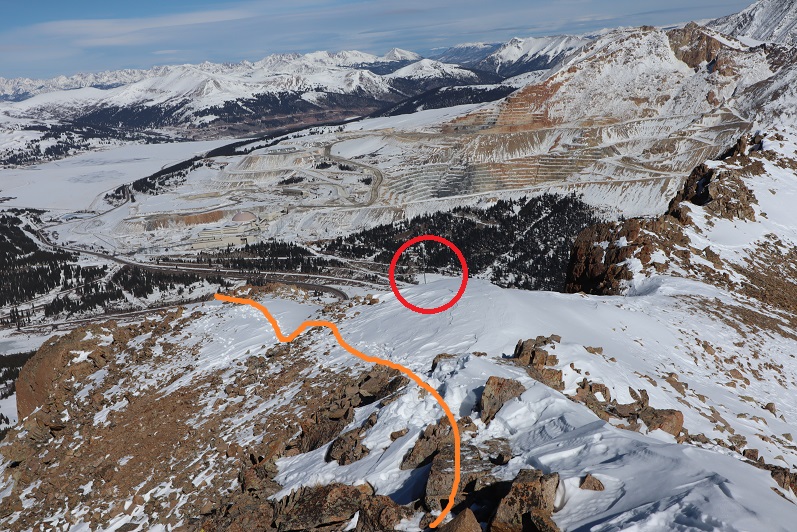
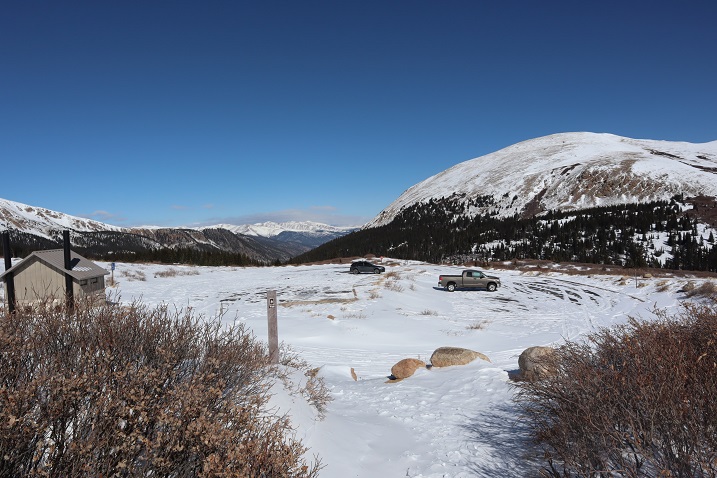
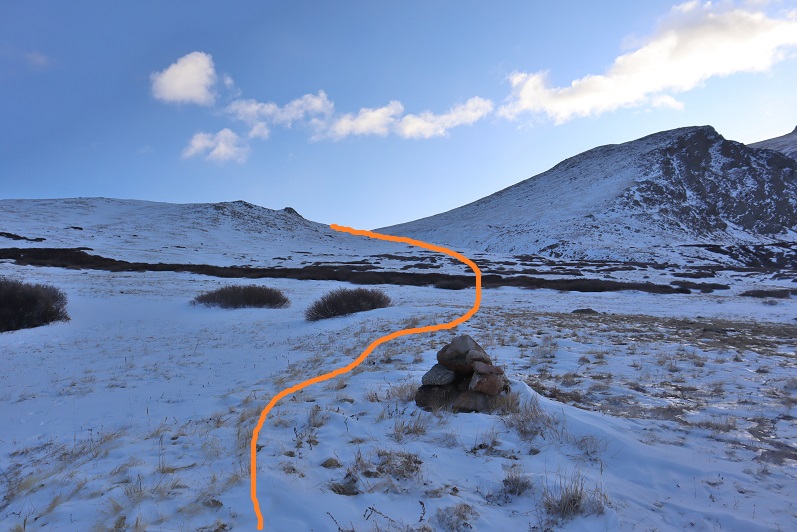
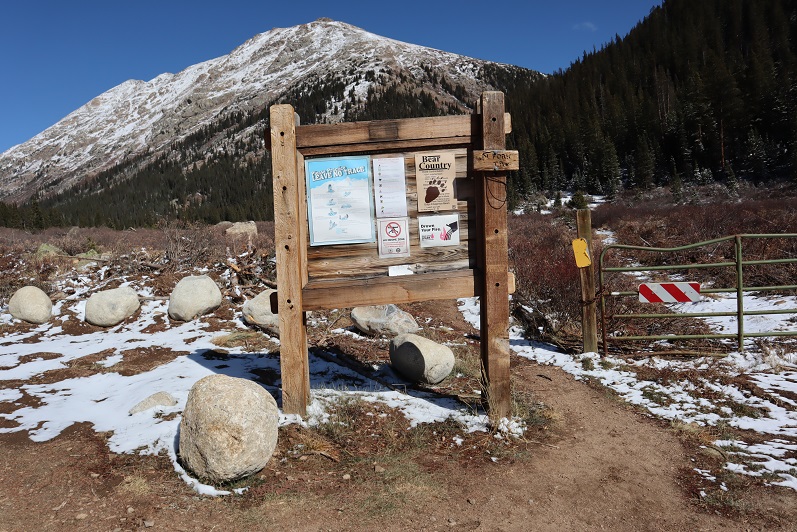
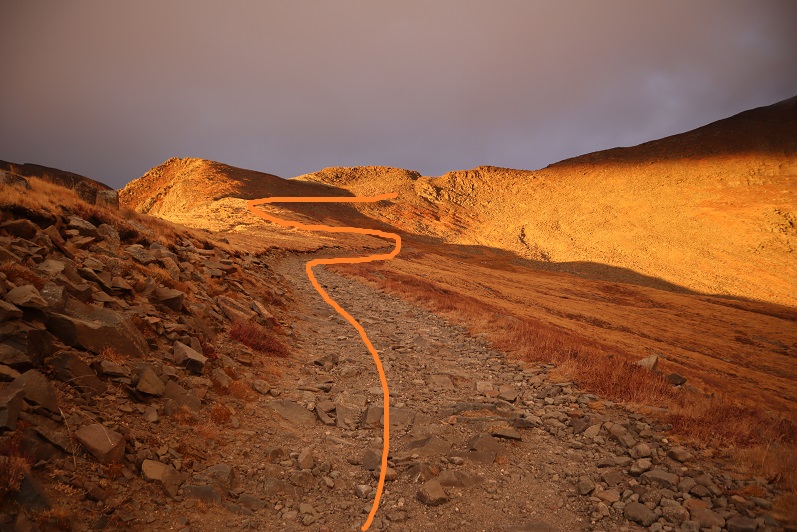
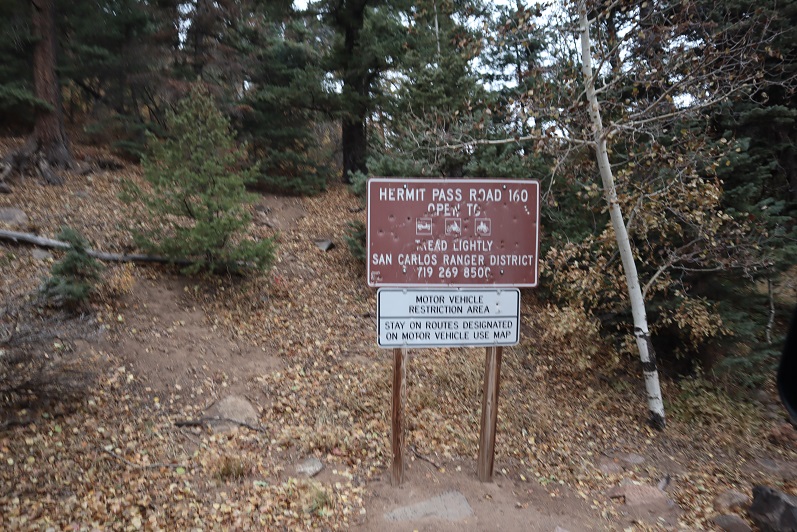
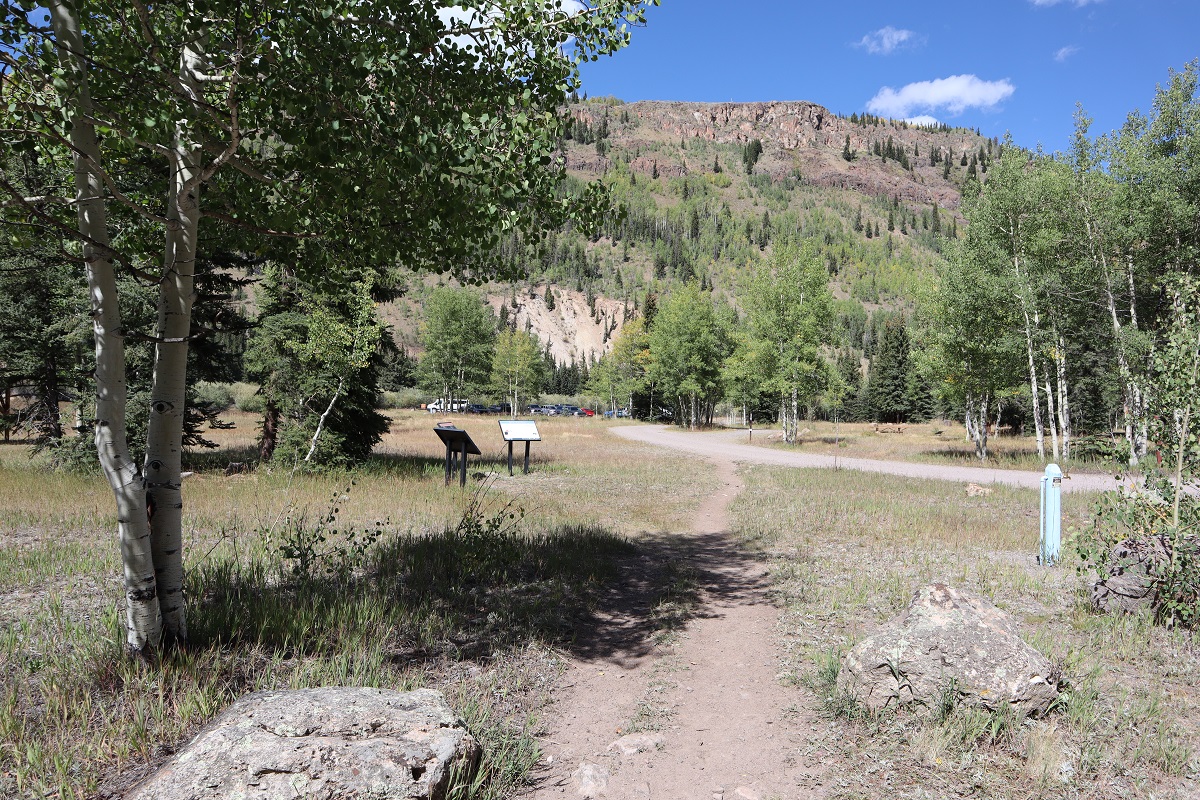
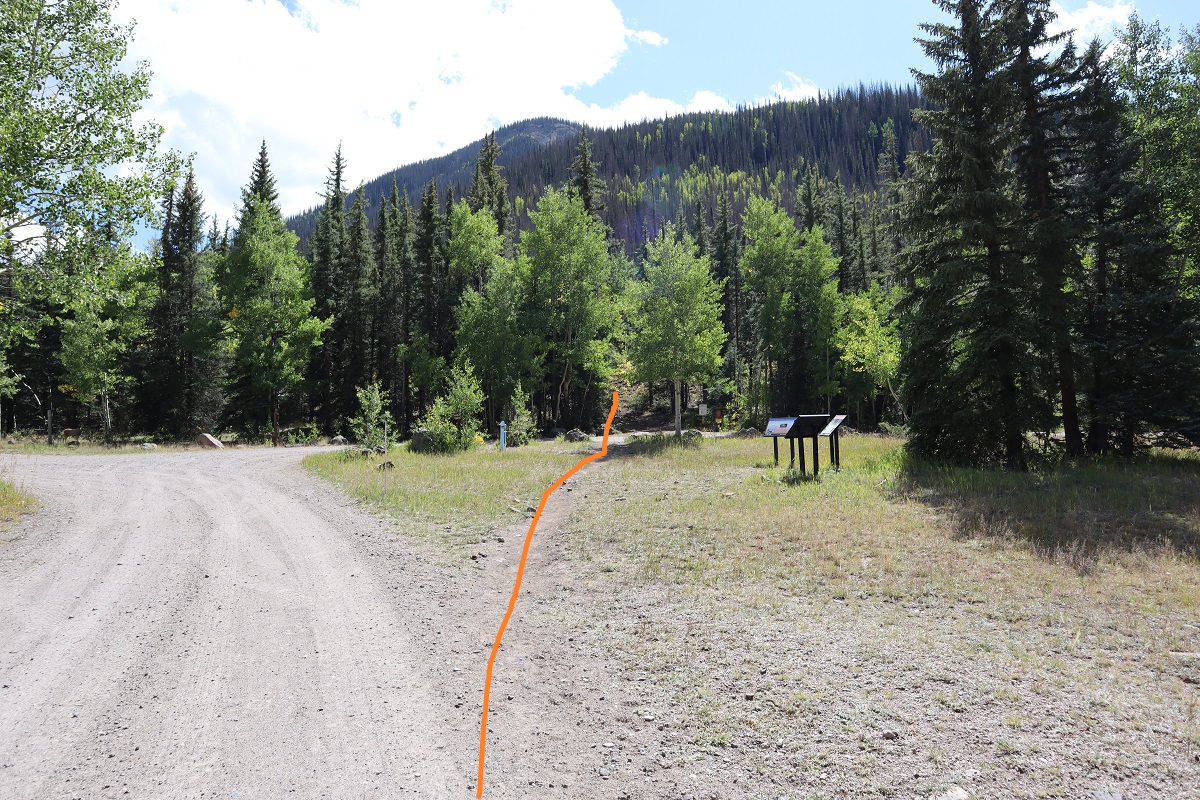
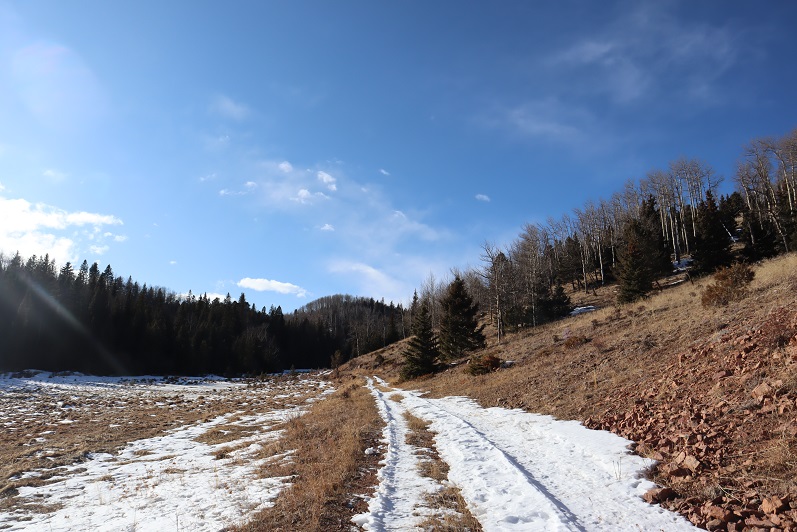
Two easy peaks down, we now drove Old Stage Road to 371 and took that 4WD dirt road south to Emerald Valley Ranch, where I parked next to a locked gate.

13

Blue Mountain – 9856’

Emerald Valley Ranch is now owned by the Broadmoor, but was originally purchased as a Girl Scout Camp, and then sold to Spencer Penrose.

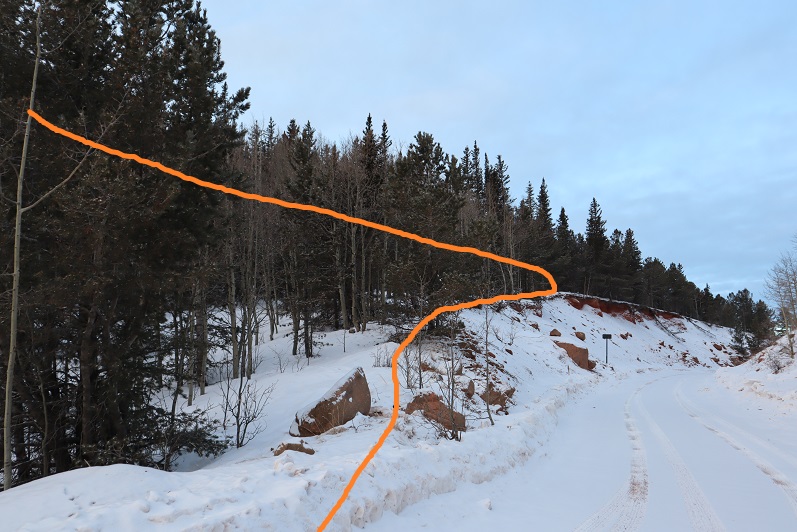
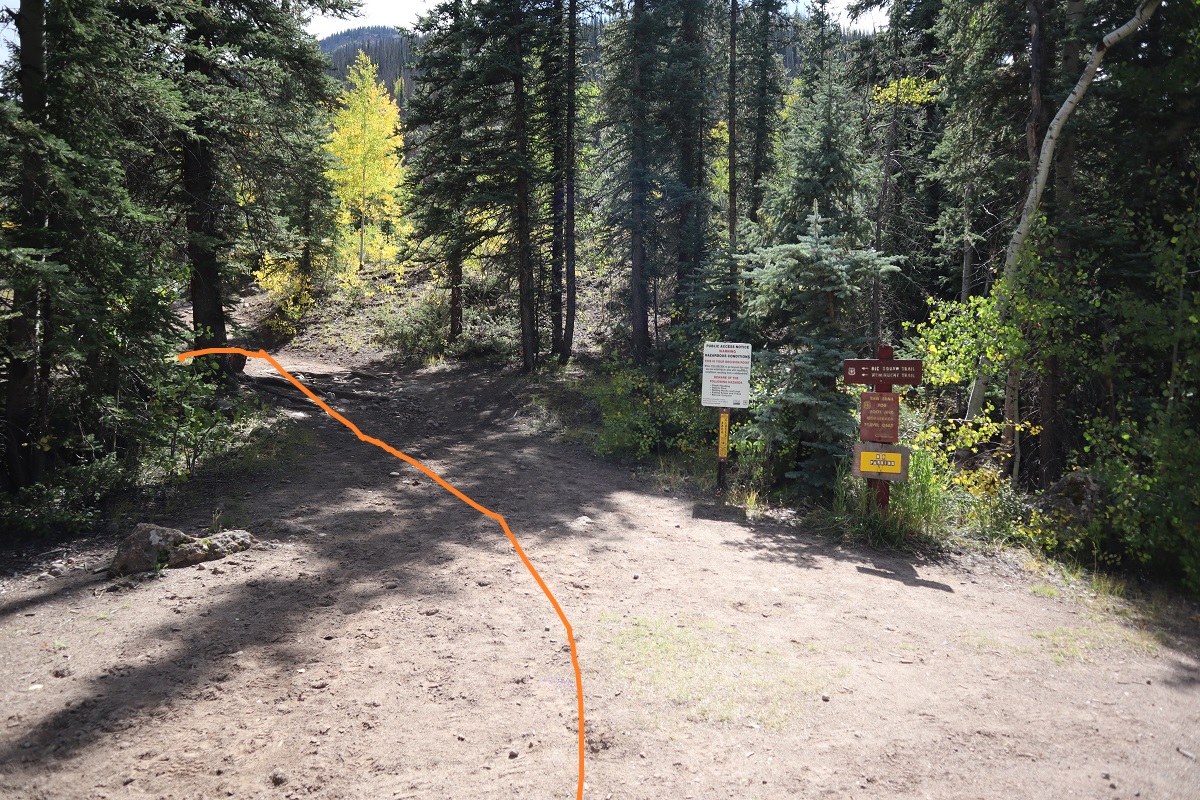
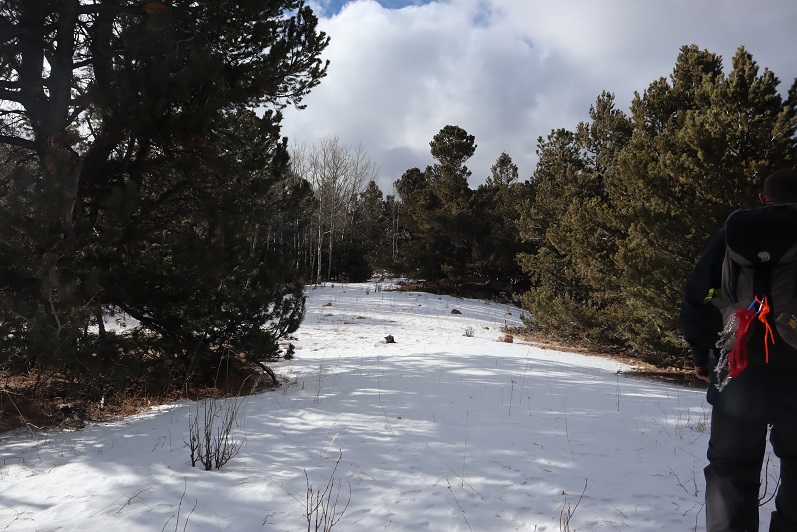
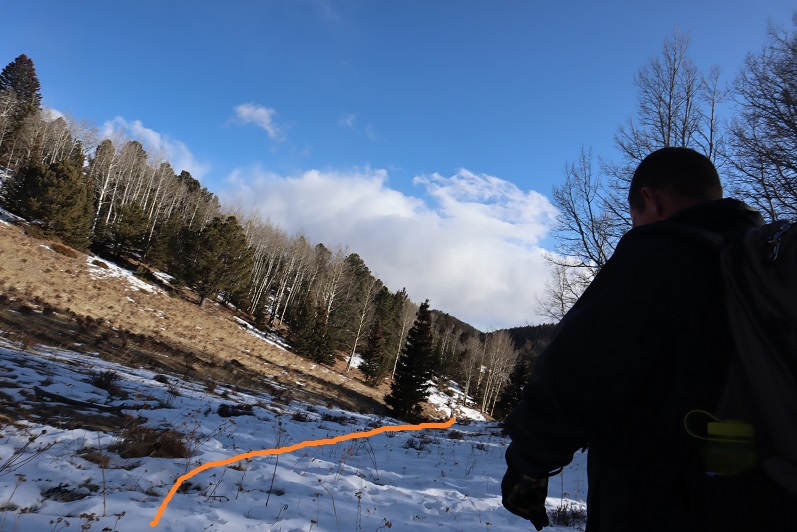
We started out hiking southwest along the road

14

There was a locked gate, but no ‘no trespassing’ sign and tons of footprints, so we just went through the gate

15

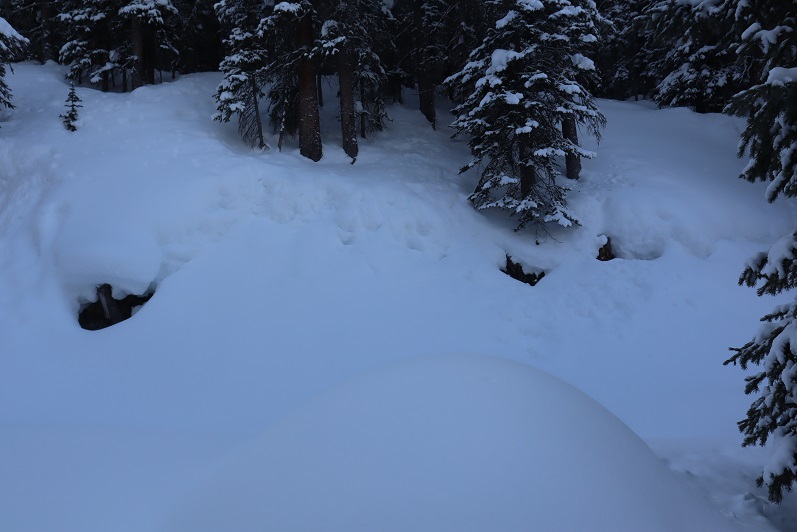
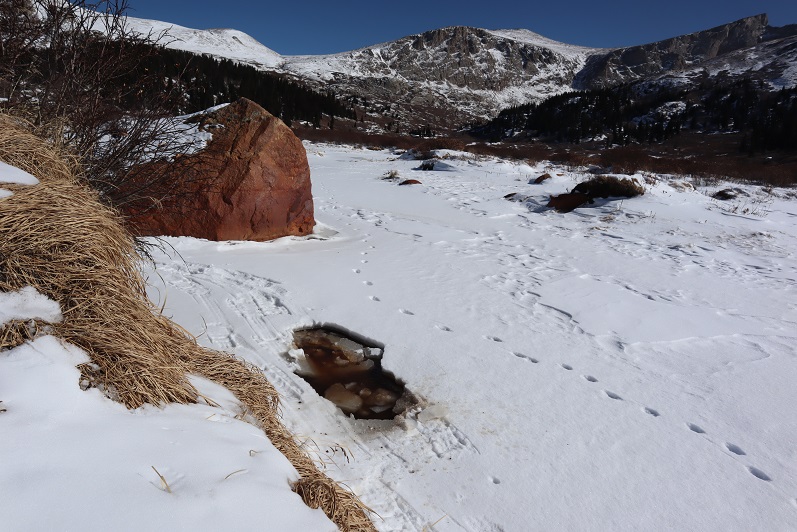
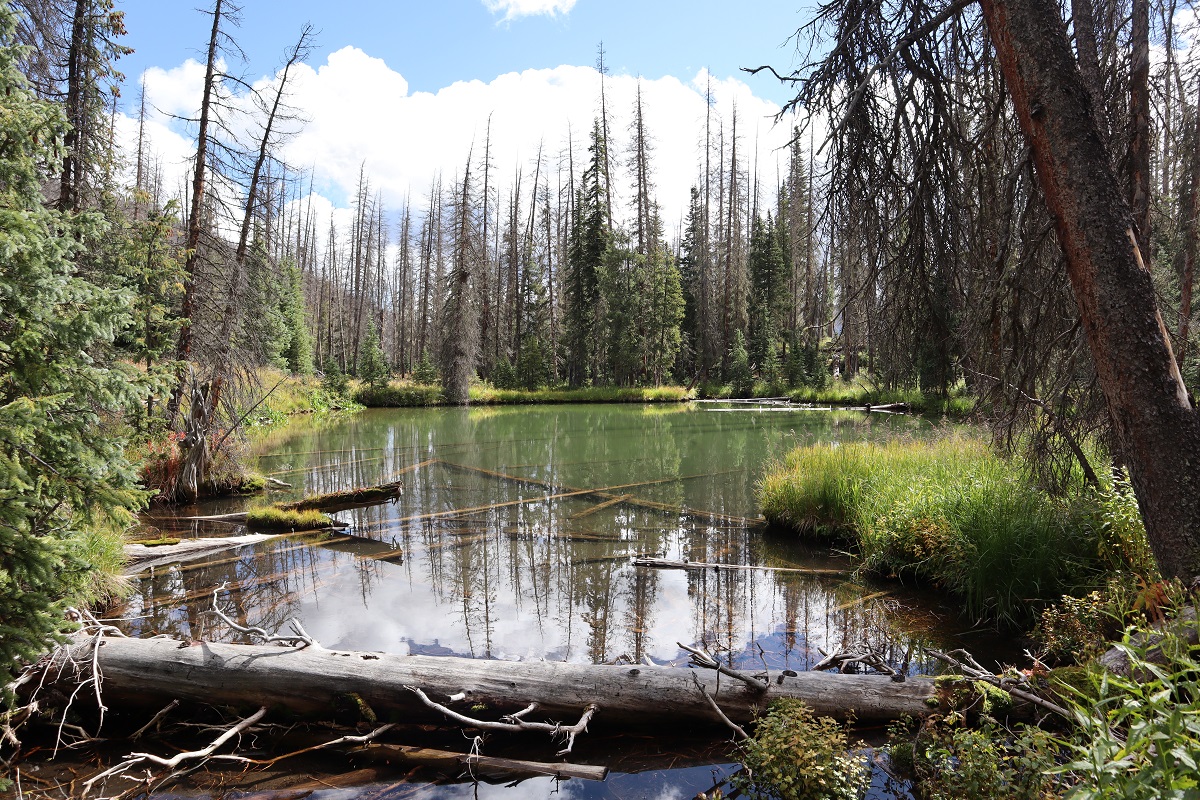
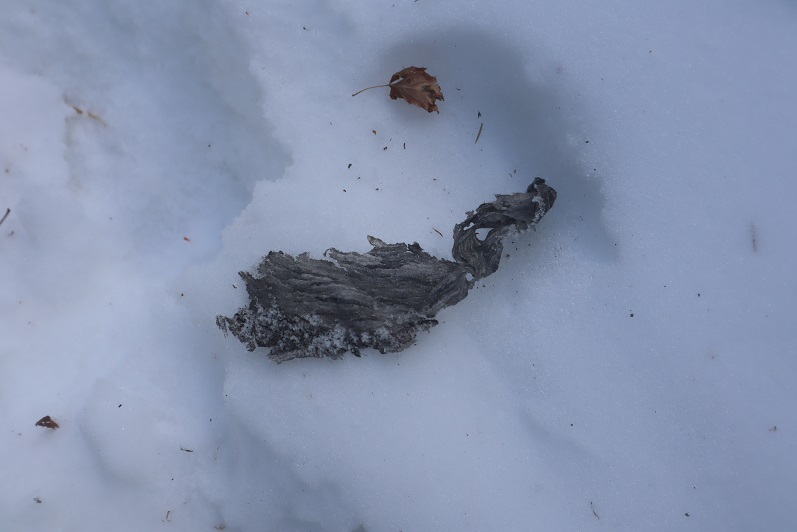
I found some pieces to a hornets’ nest in the snow. At first I thought it was the entire nest buried, but it ended up just being a few pieces.

16

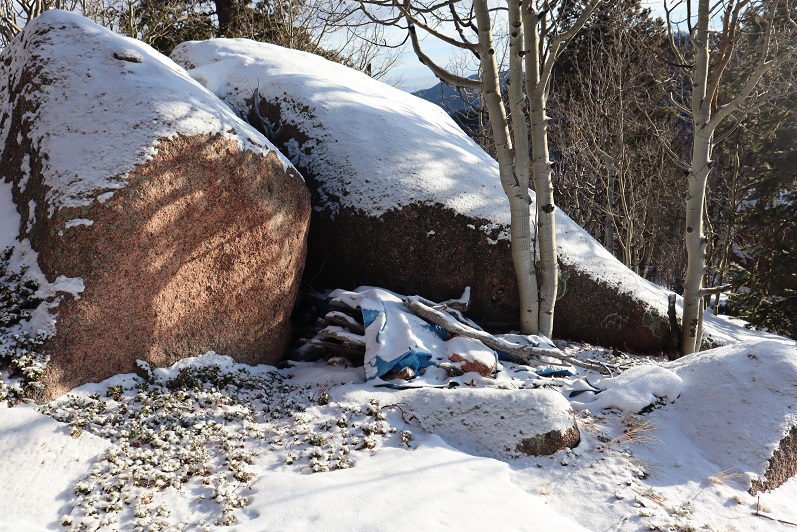
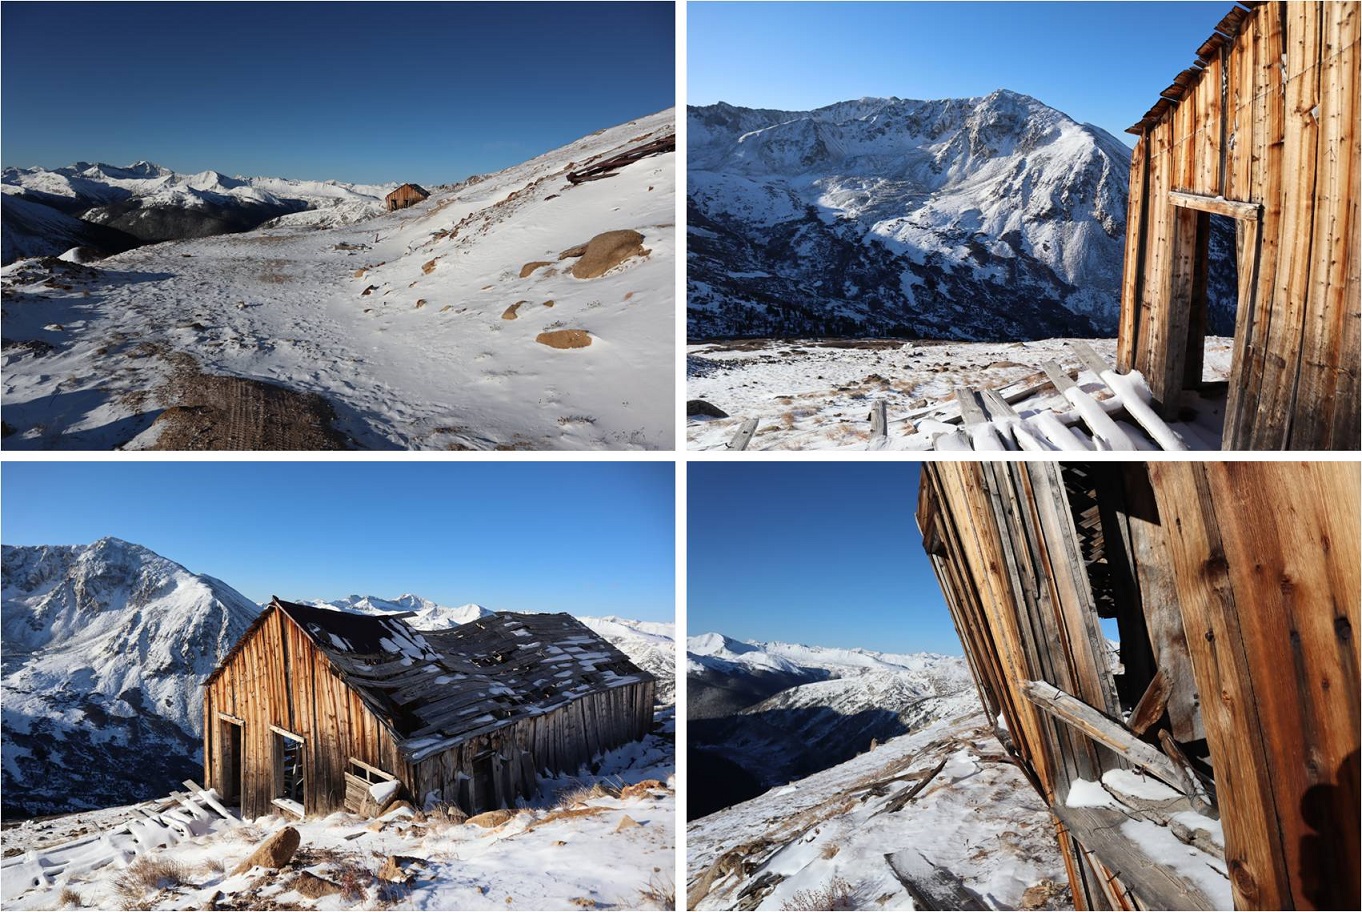
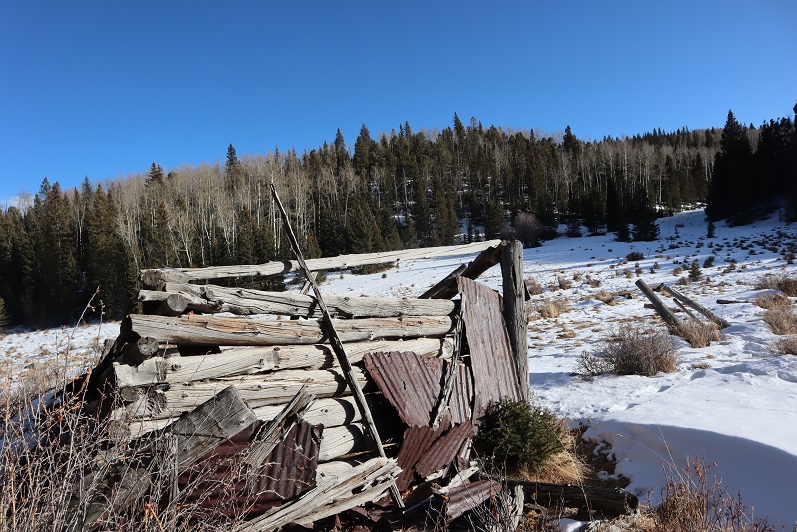
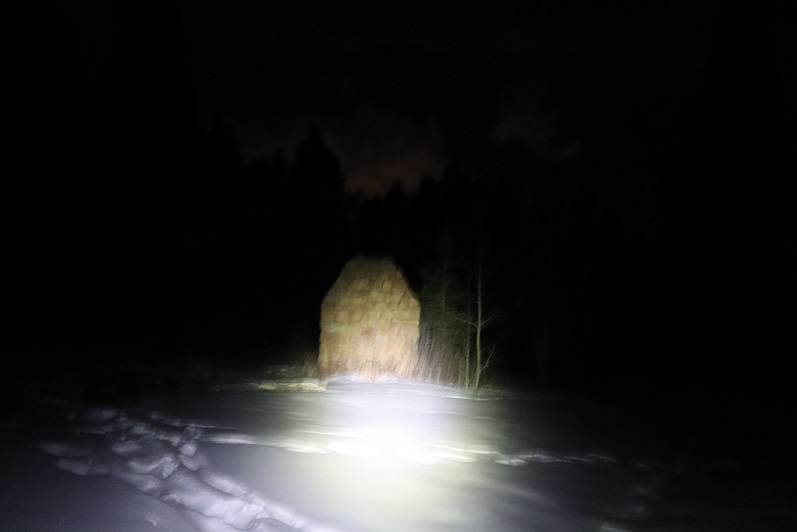
The road was supposed to lead us near Emerald Valley Boys Camp, but we didn’t see any evidence of that. Instead we came to what was left of an old cabin.  We looked around for a bit and then headed south.

17

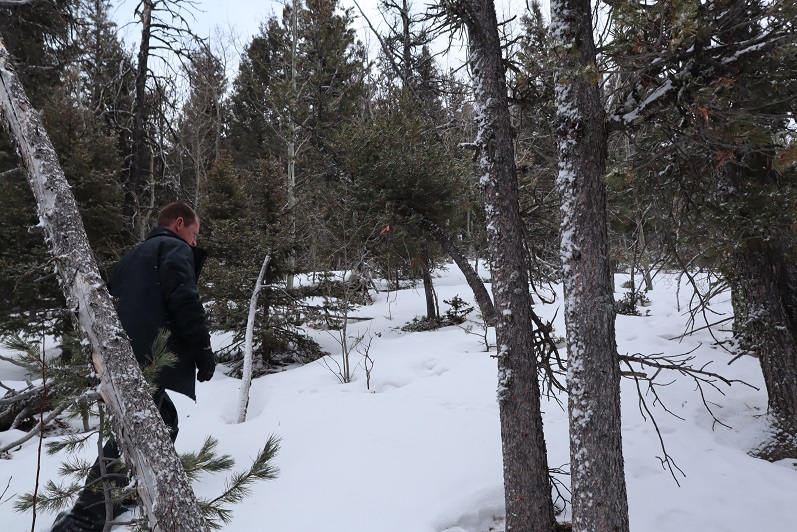
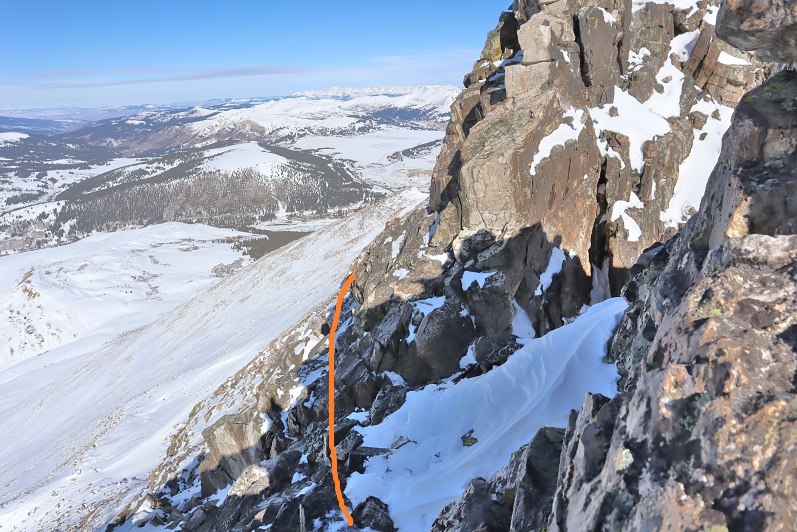
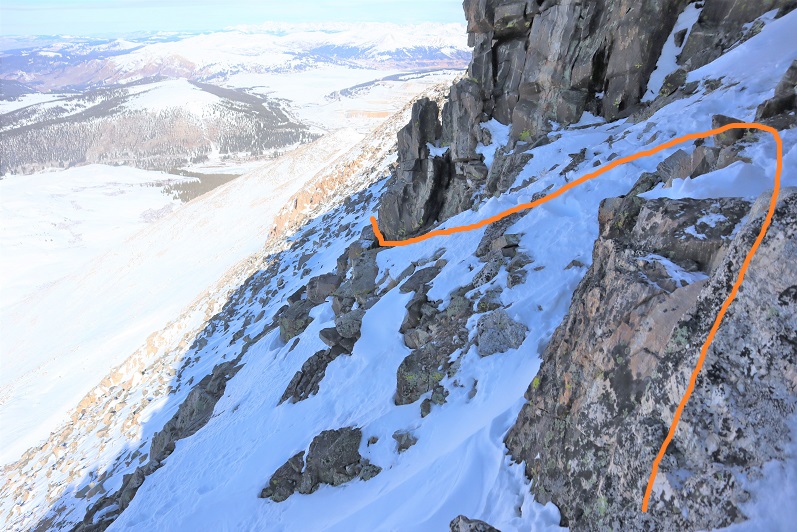
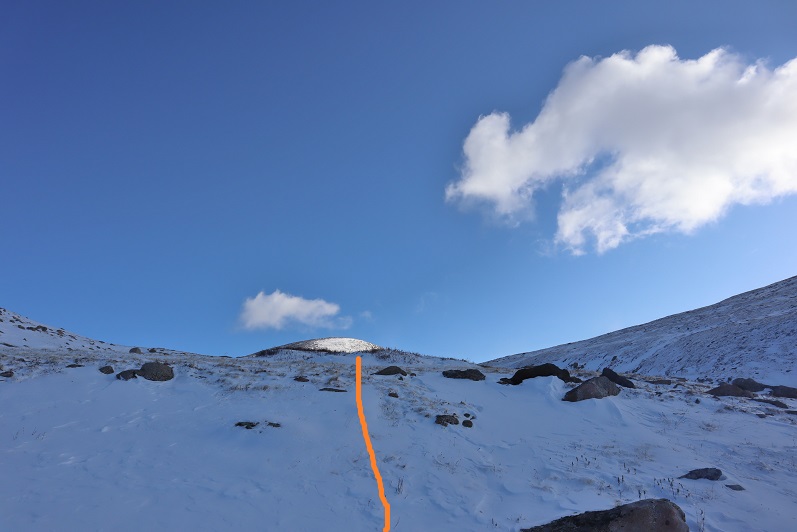
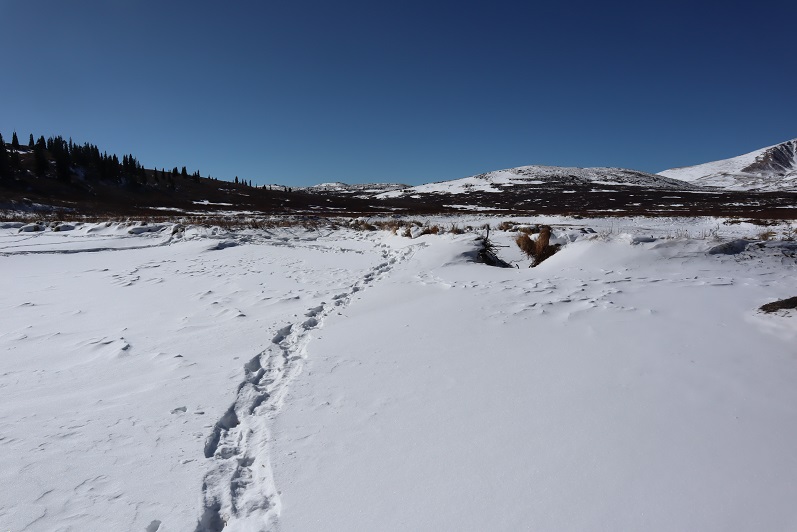
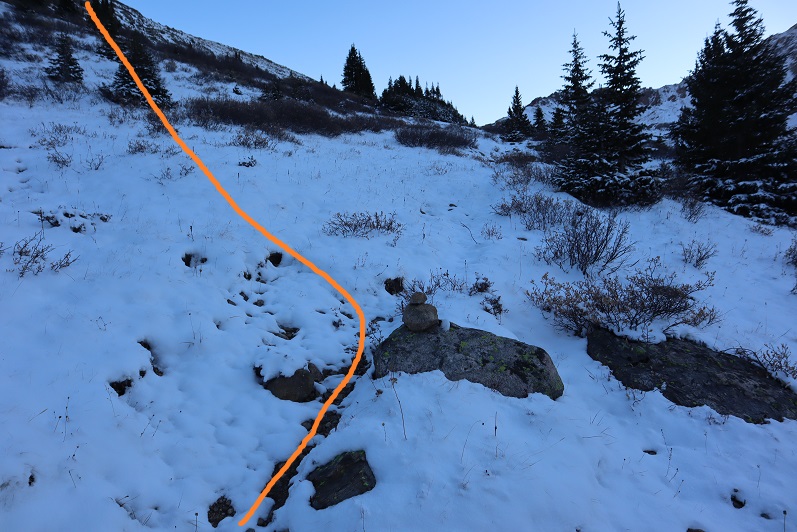
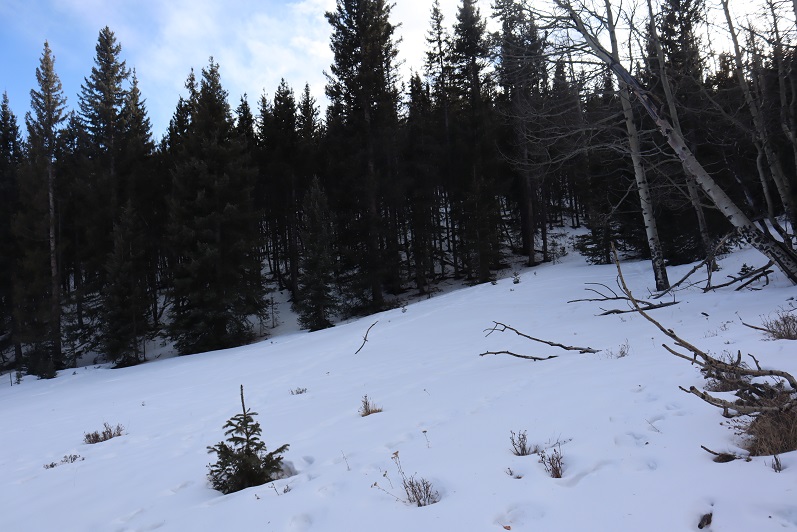
The trench stopped at the cabin and there was no trail here, so we bushwhacked our way south up the mountainside, following deer/animal tracks when available.

18

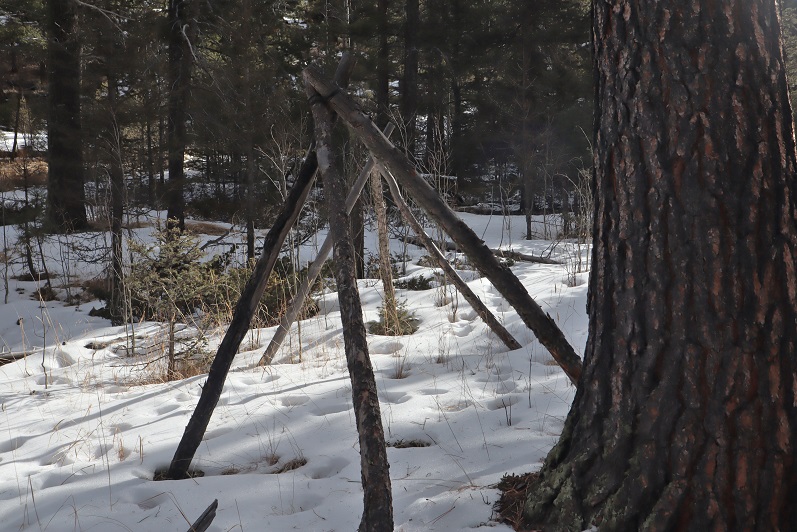
We came upon a small lashed structure that looked to have been lashed recently. Maybe this was part of the Boys’ camp? It would make a good tent if you brought along a tarp.

19

Onward and upward! Check it out: I found some pieces to another hornets’ nest!  Kind of cool, considering it was over a mile away from the last one

20

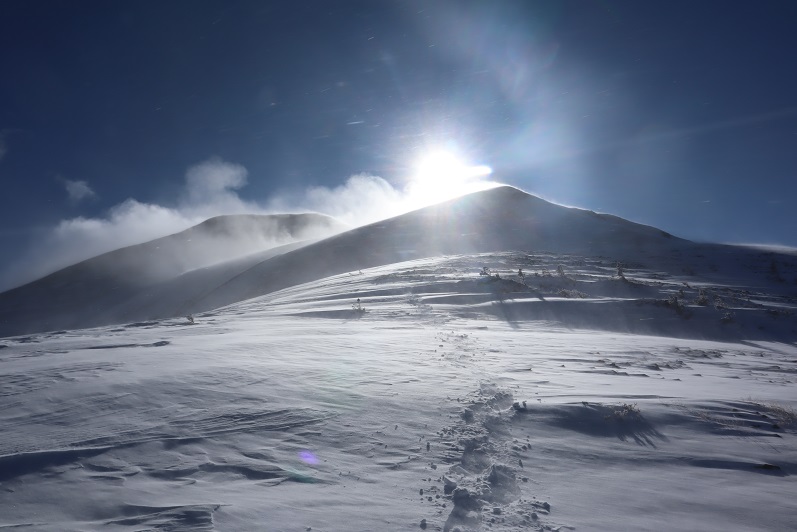
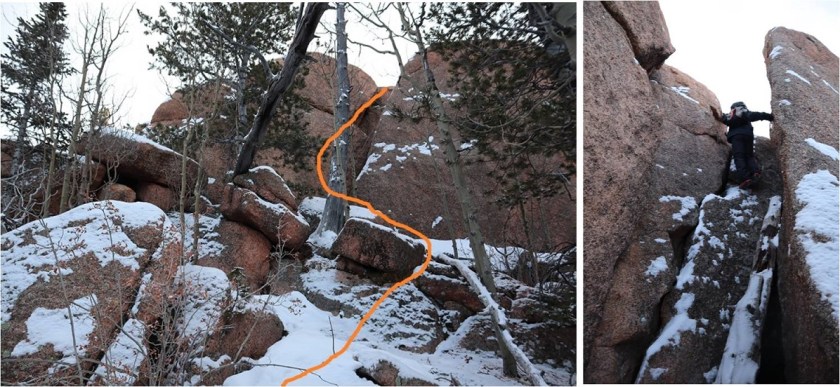
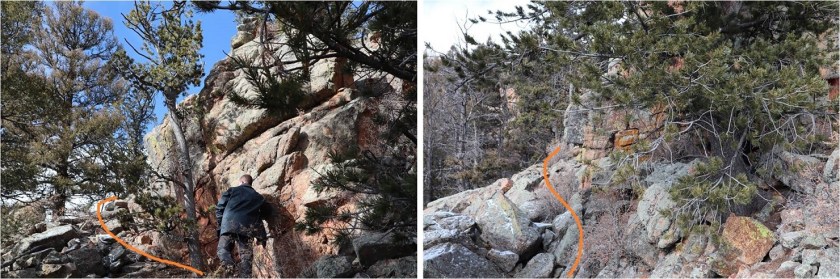
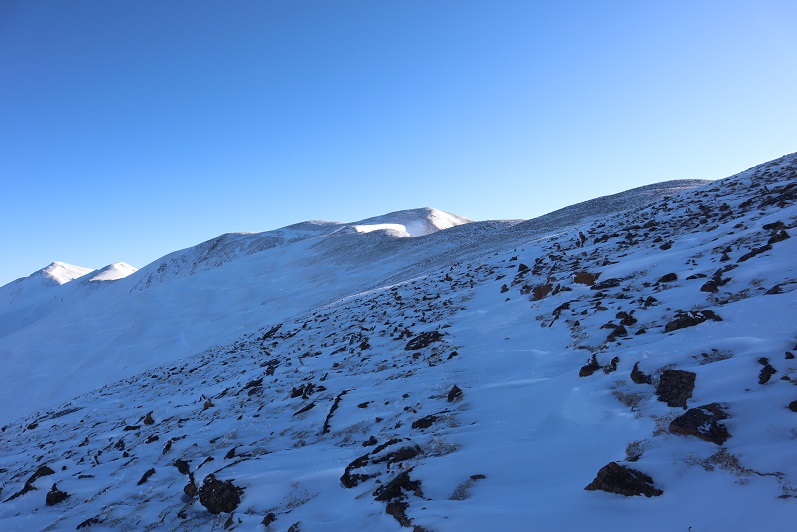
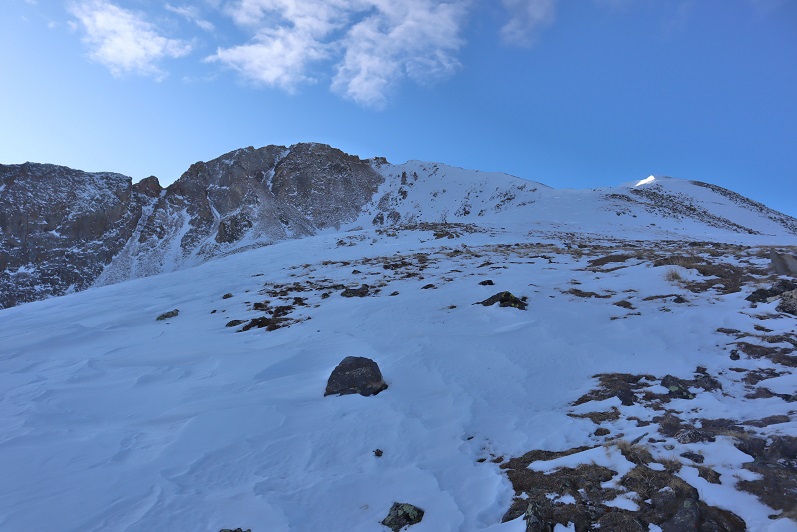
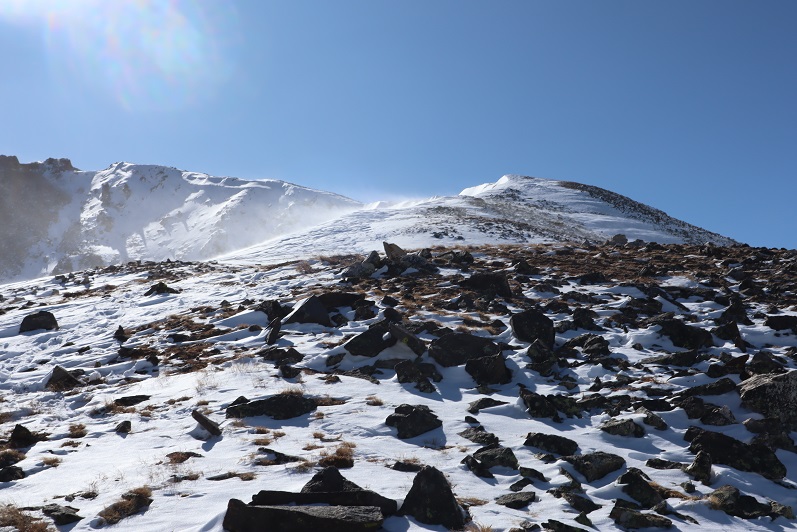
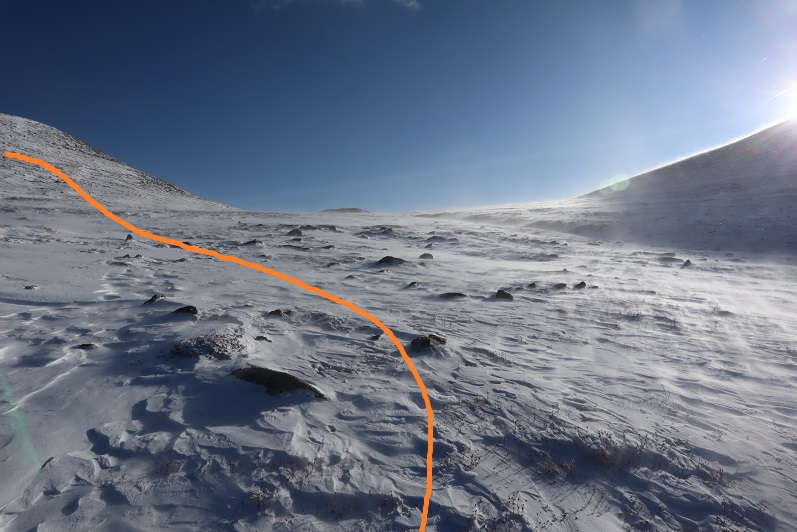
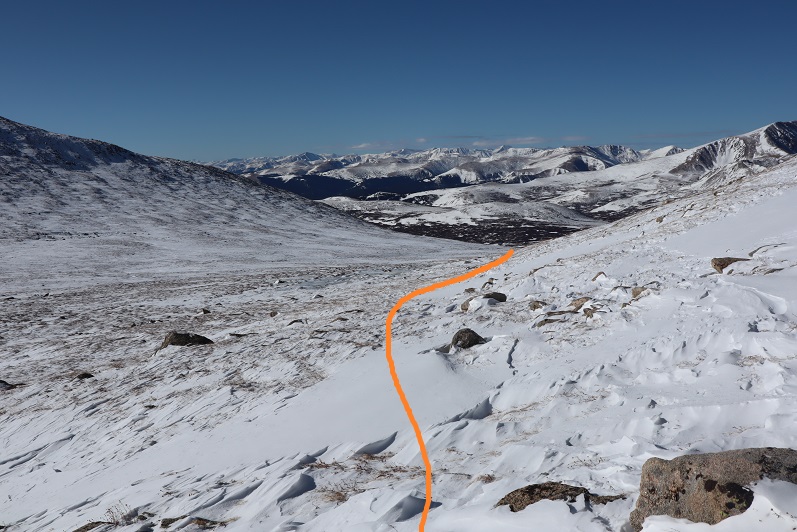
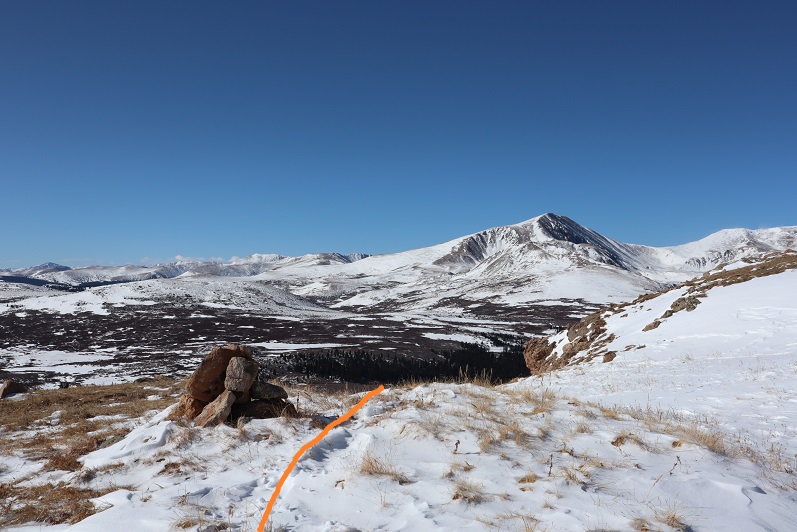
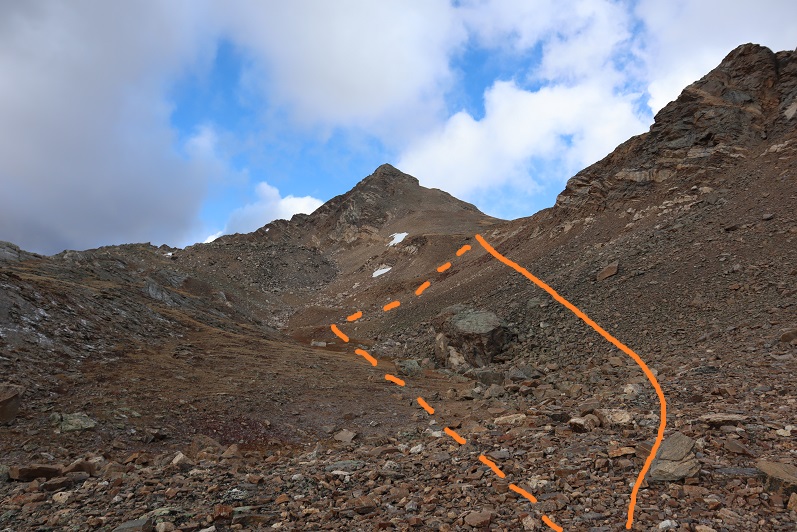
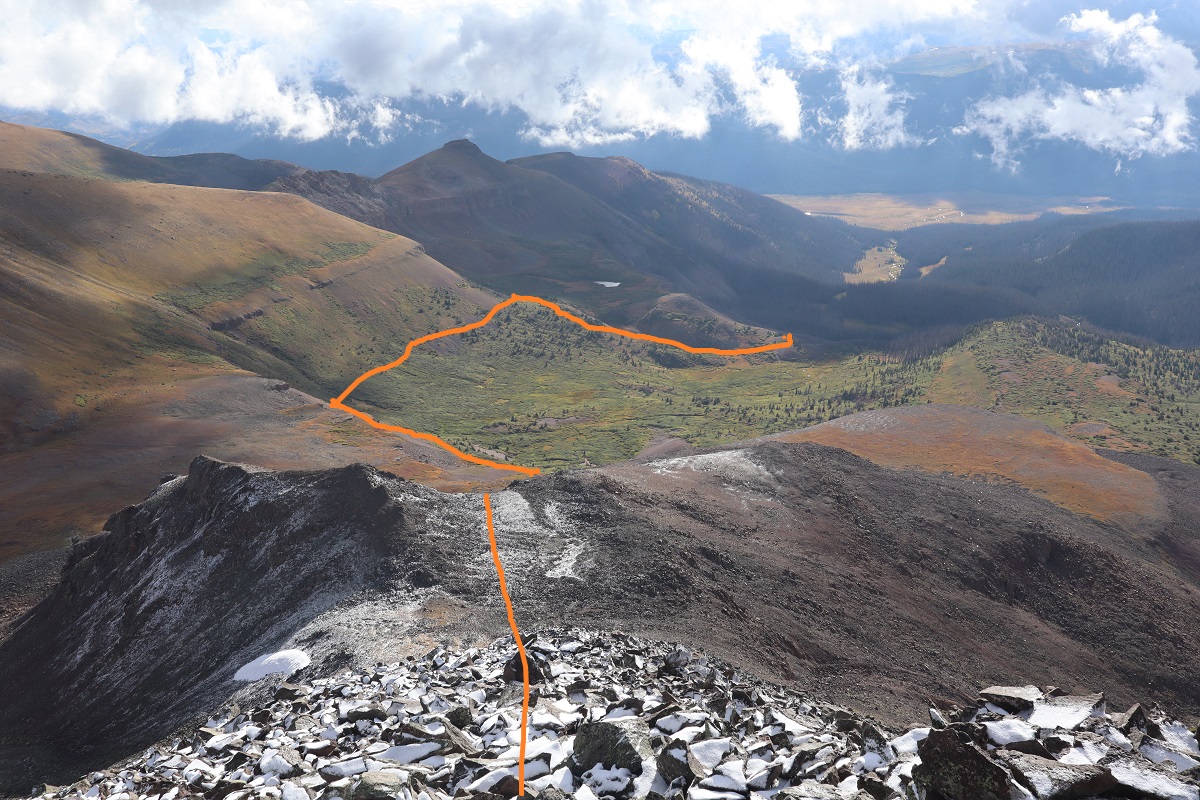
We were still straddling the ravine until we made it to the ridge
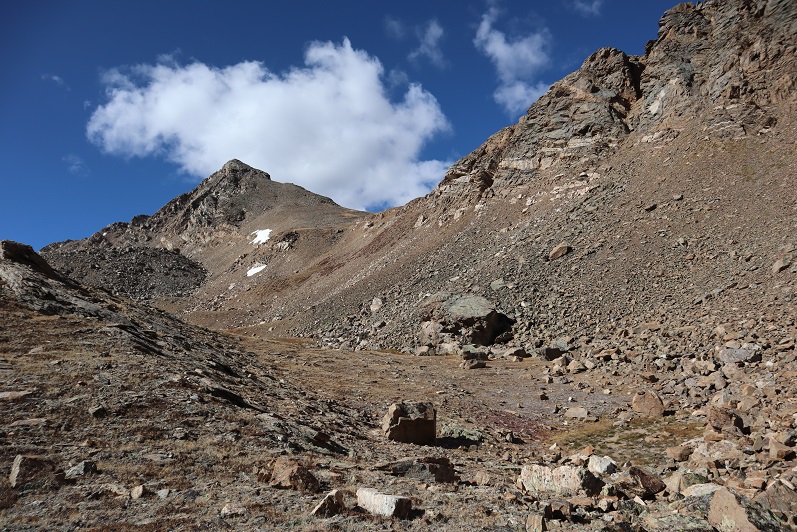
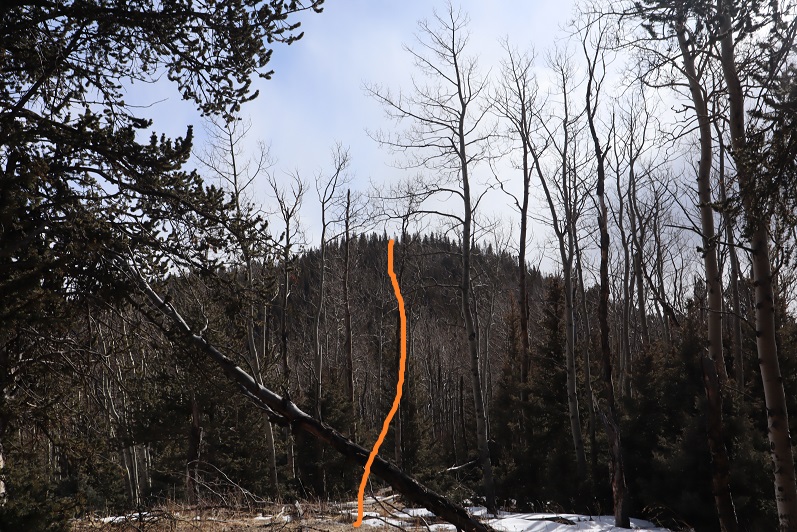
21

This was our aim

22

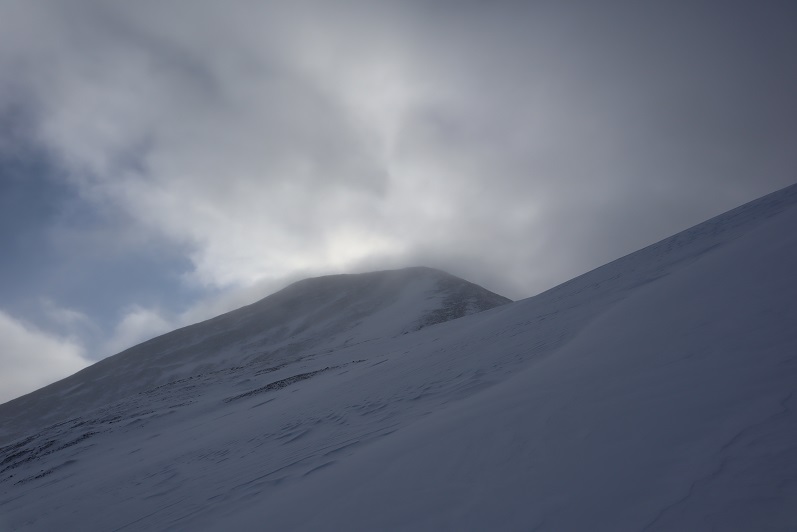
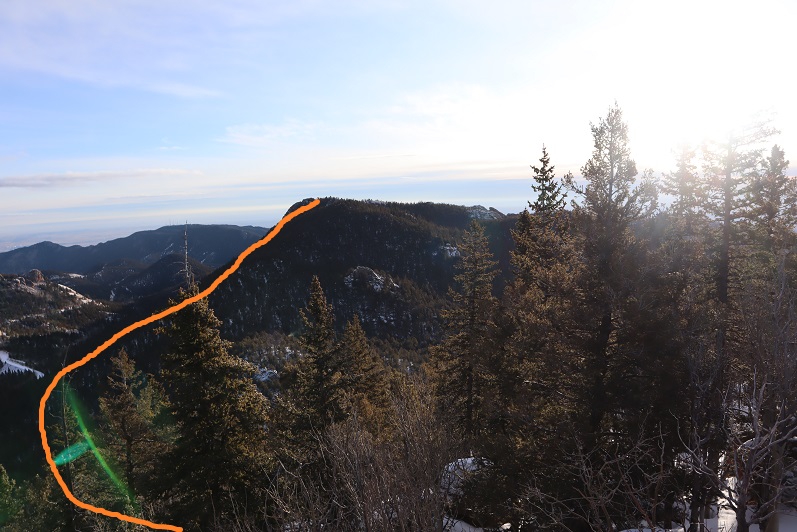
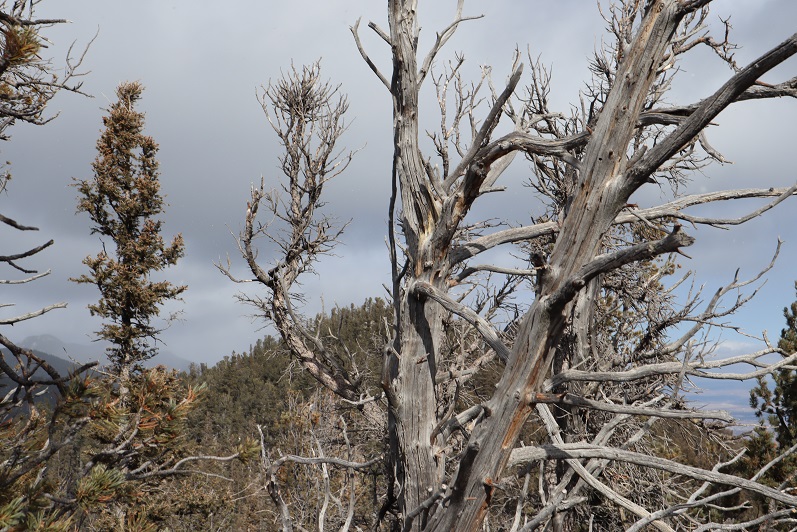
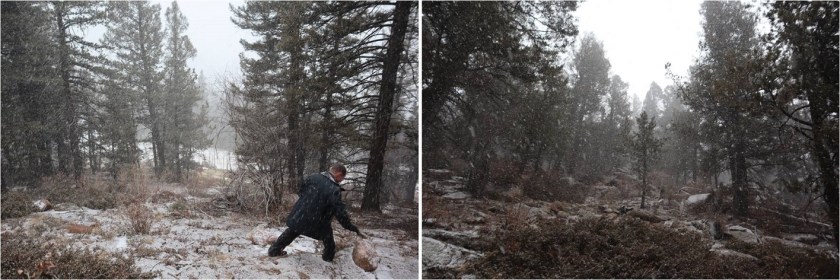
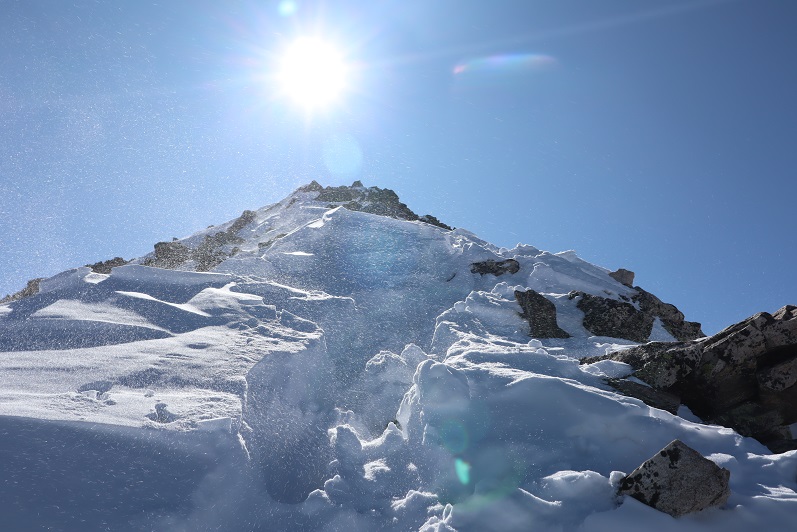
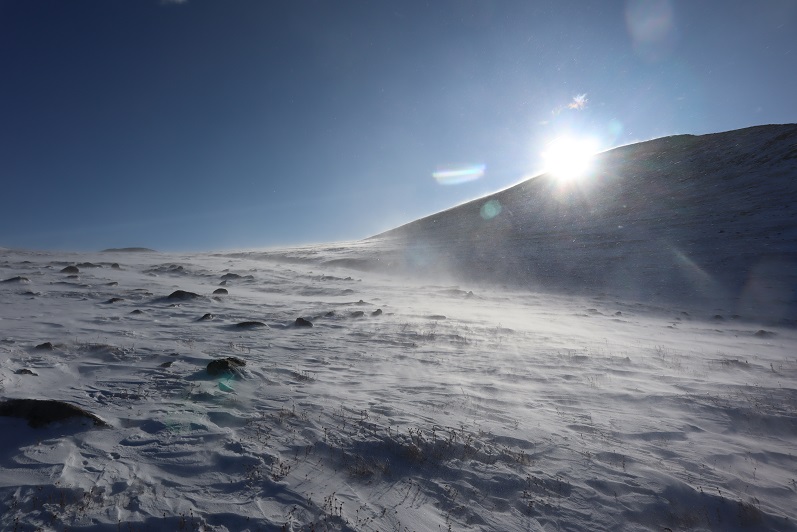
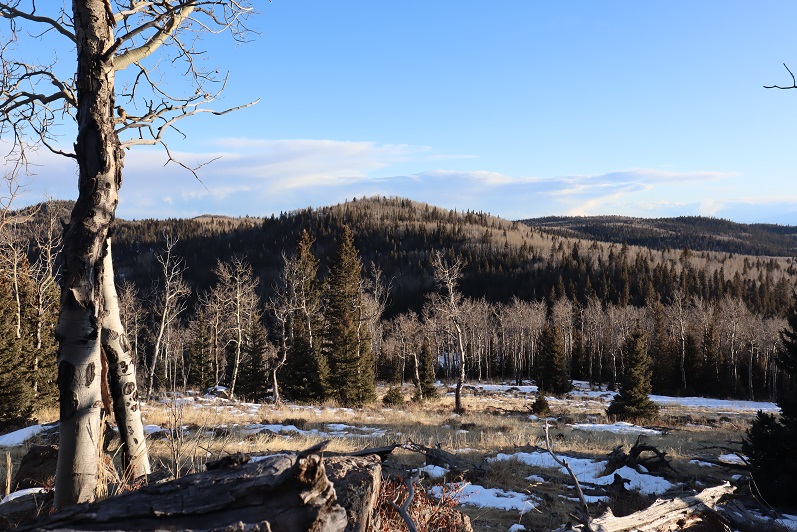
Once we made it to the ridge it started snowing, which was weird because snow wasn’t in the forecast for today. The wind also picked up, but since we were below treeline it was tolerable.  Notice all the deer/elk chews on the trees?  We saw them all day, and tons of scat as well (from Deer, Elk, and Bighorn Sheep)

23

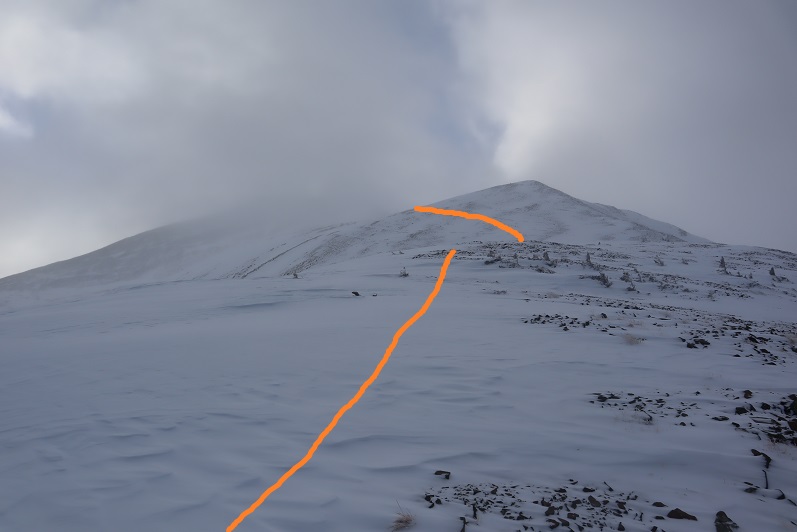
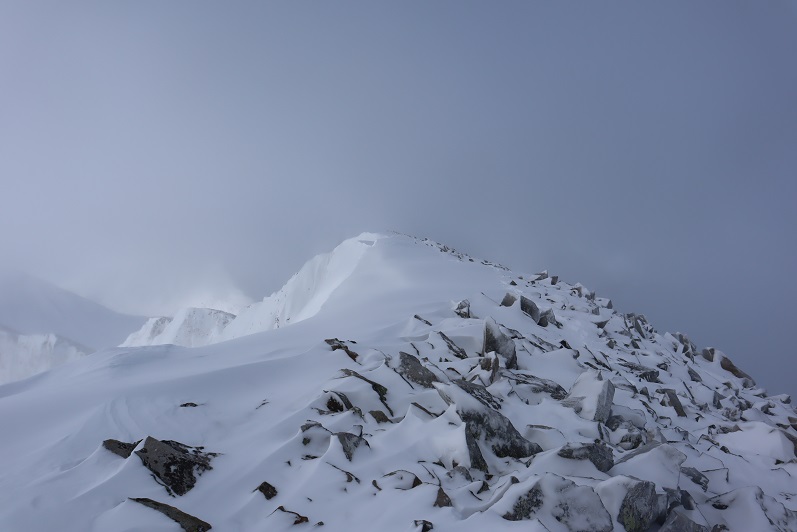
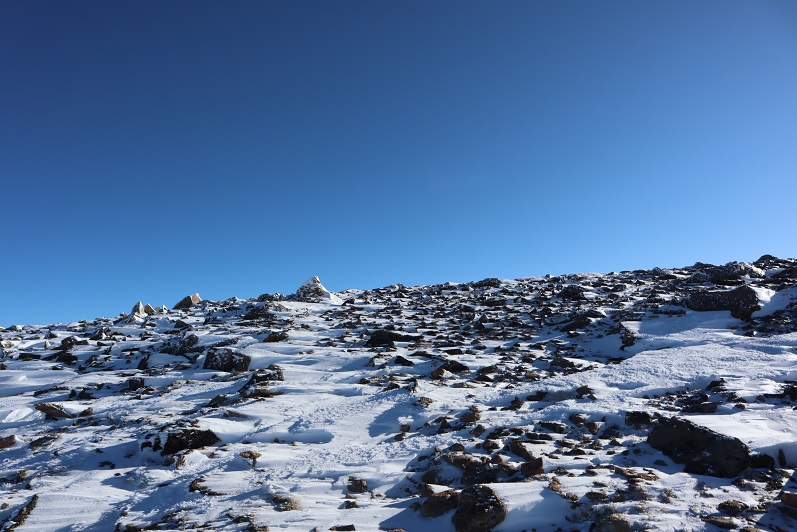
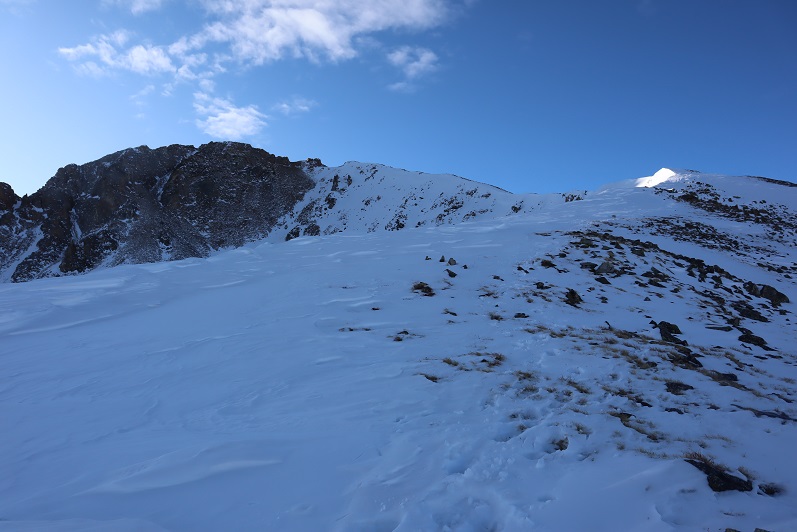
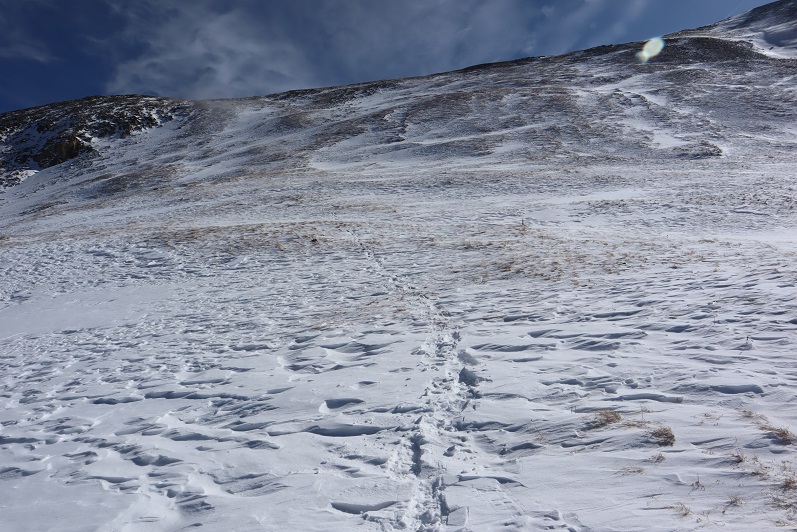
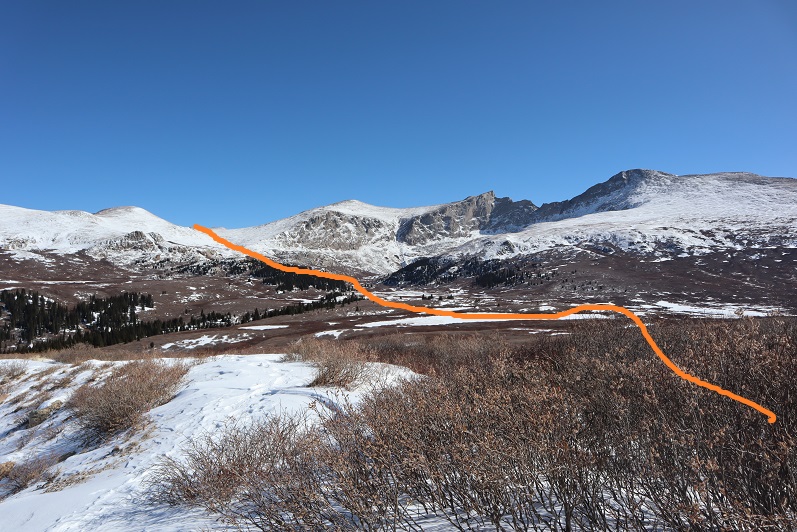
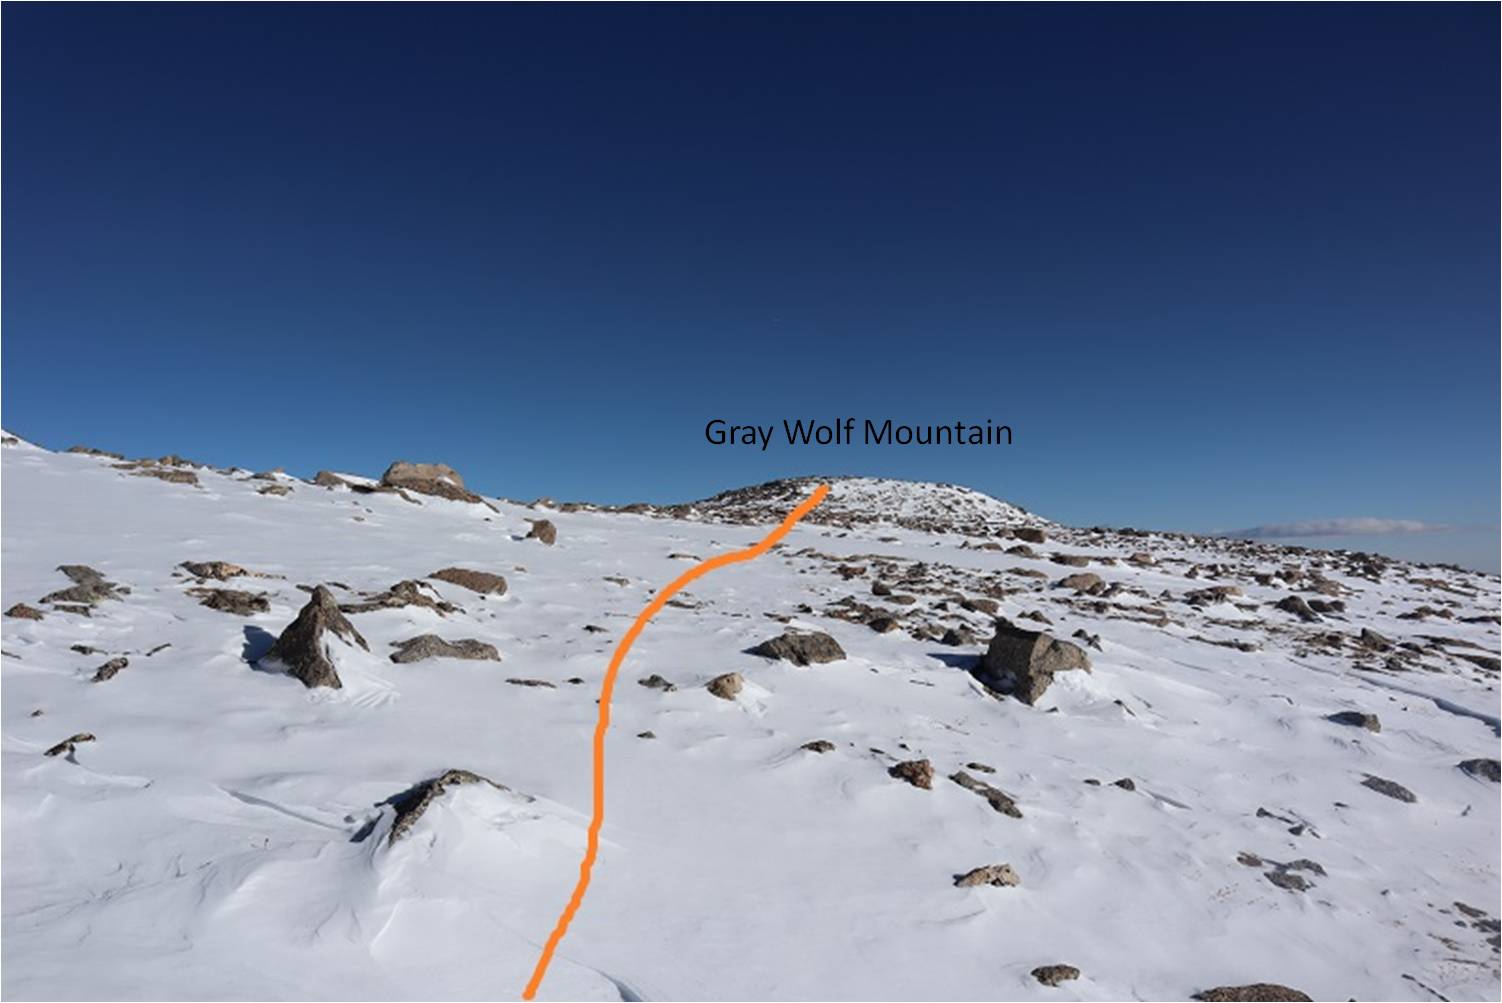
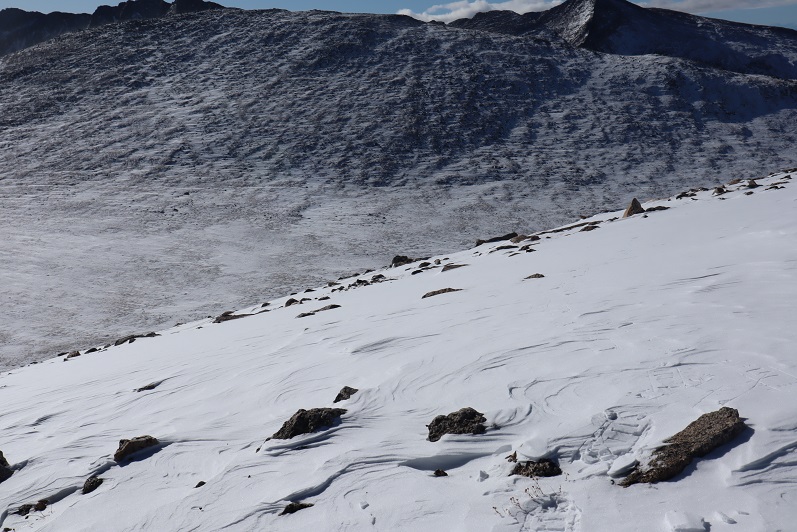
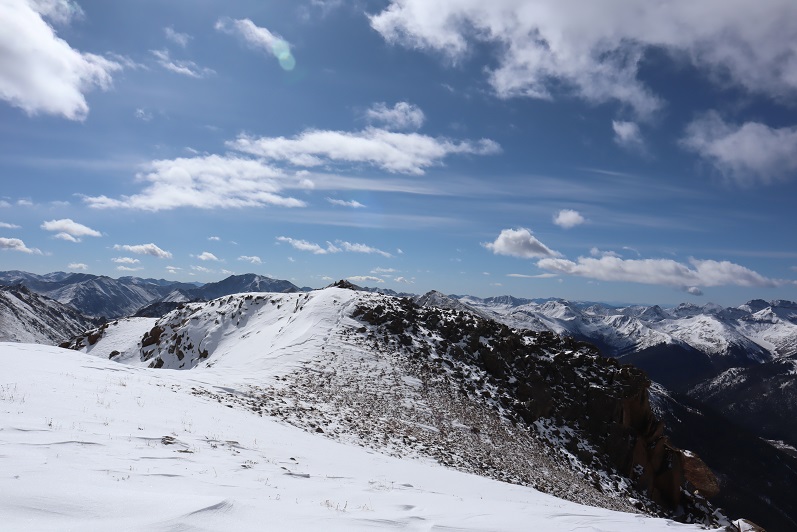
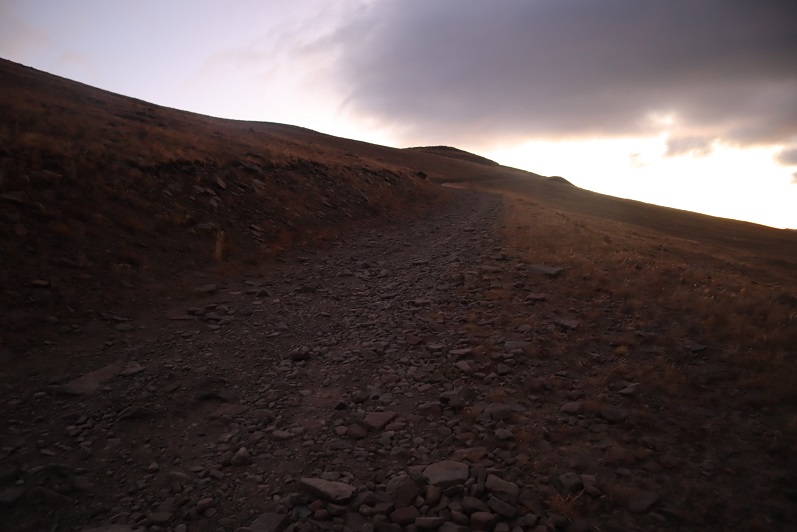
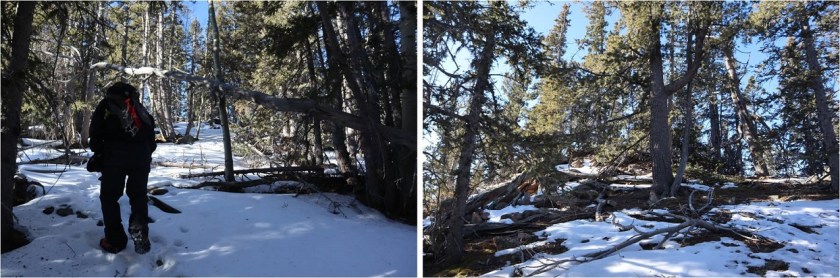
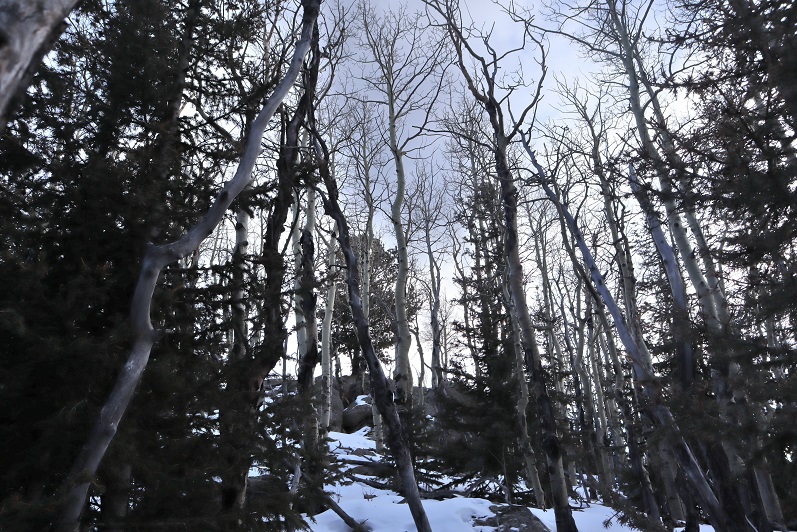
The ridge seemed to last forever! Every time we thought we were at the summit the route would dip down and then back up again

24

25

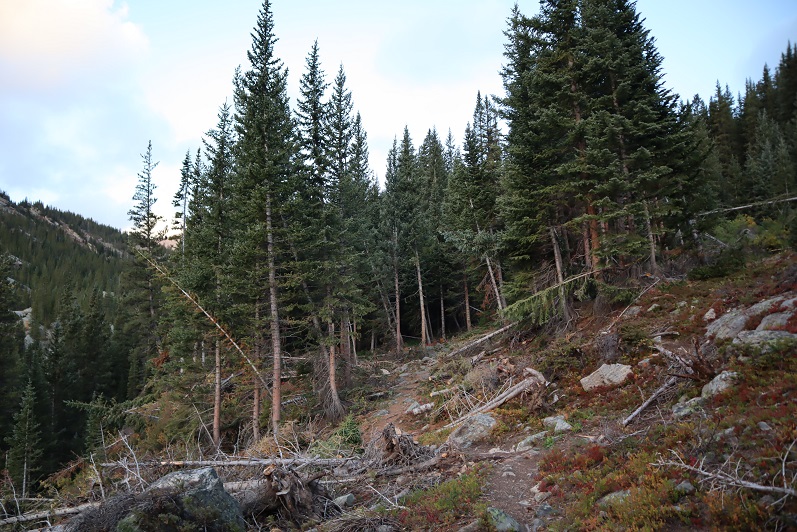
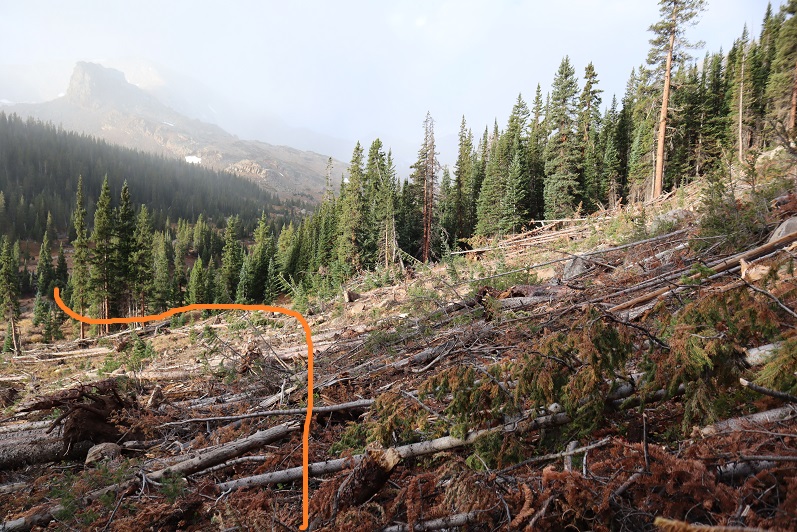
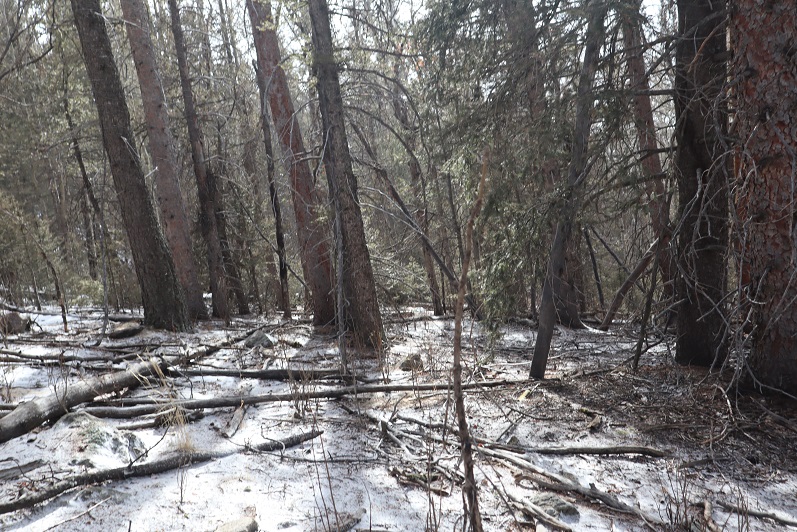
There were so many downed trees! Branches and limbs were scattered everywhere.  We had to go around large piles of dead trees and circle back again several times to stay on the ridge.

26

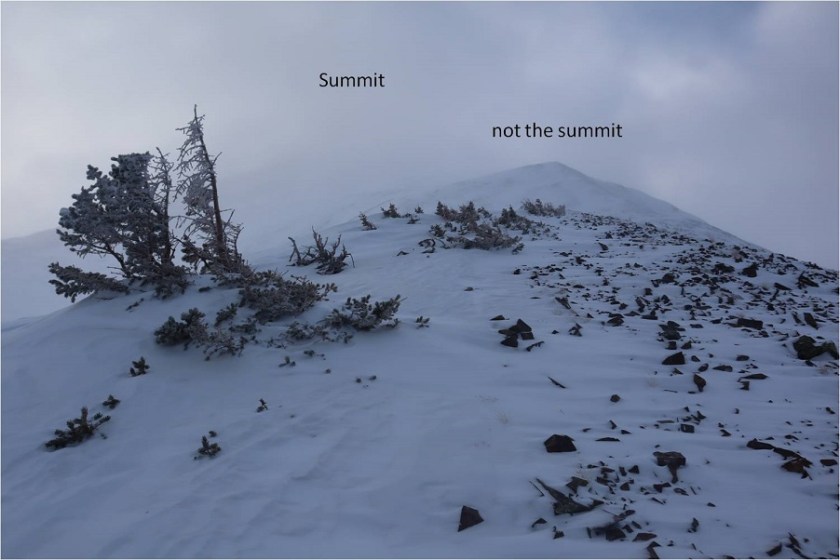
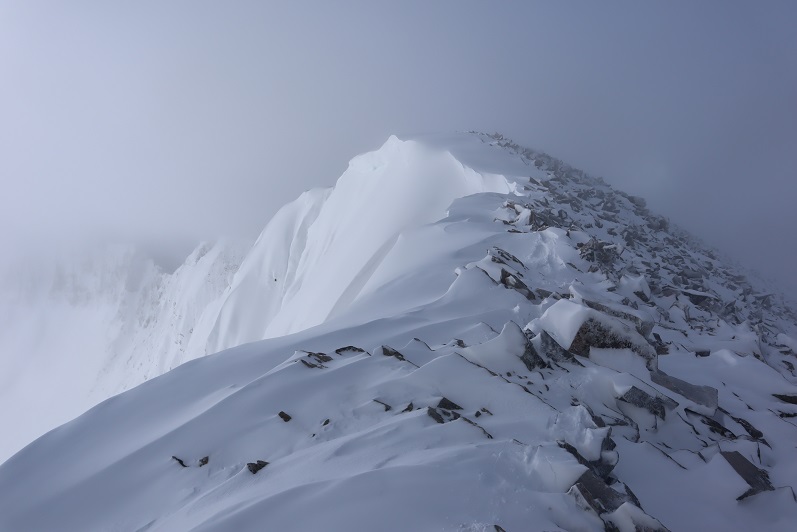
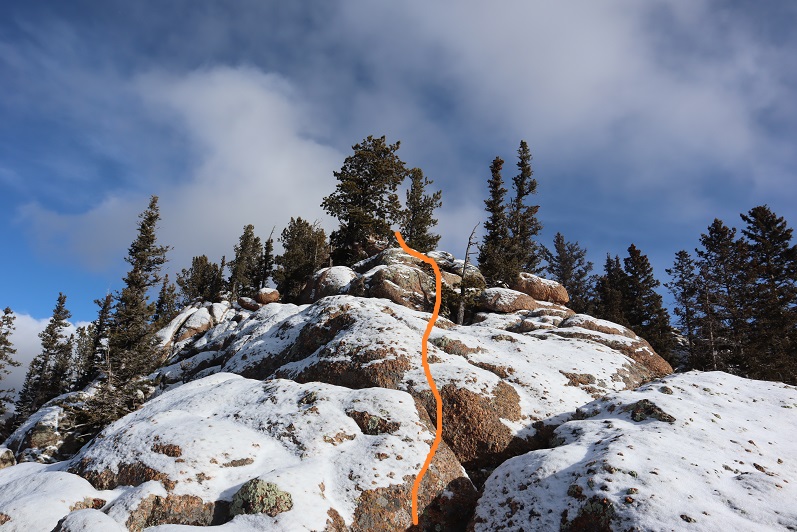
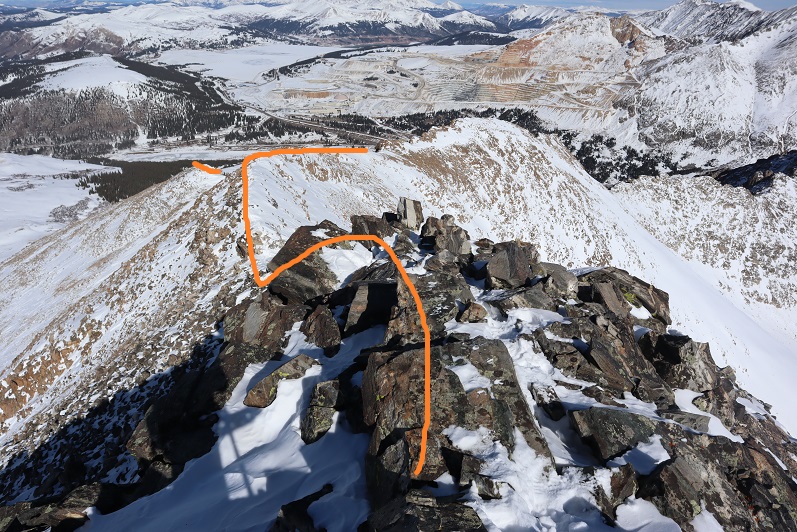
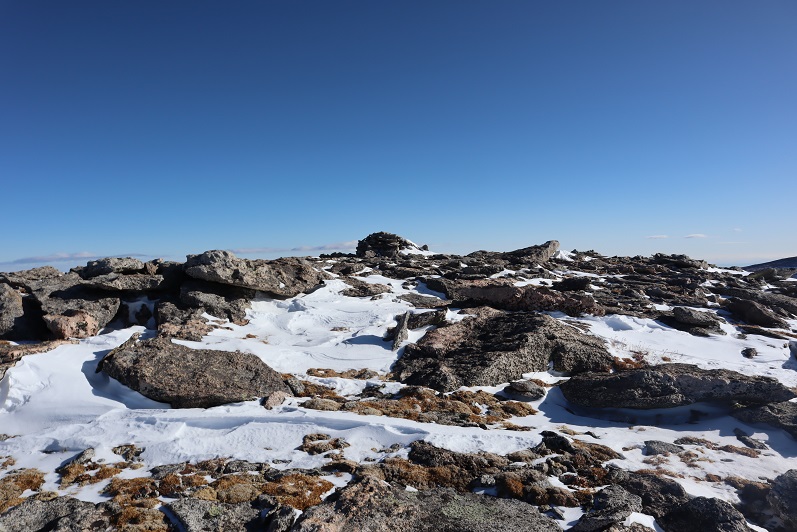
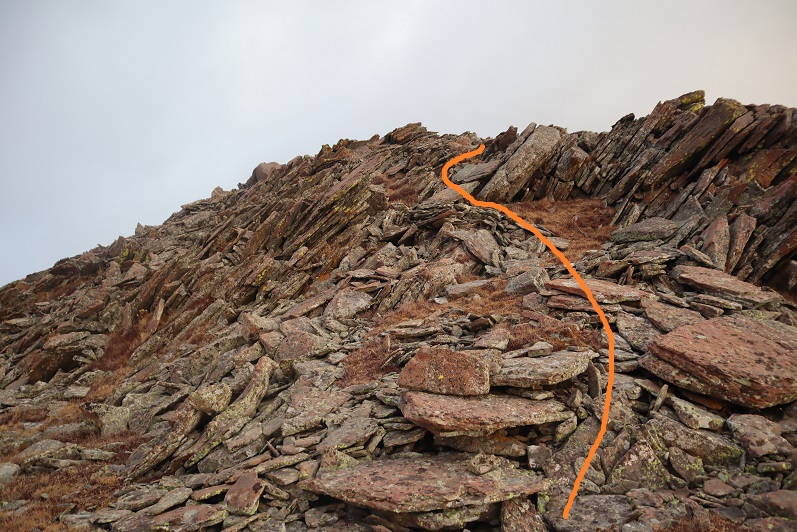
There were several places that looked like the true summit. We walked around them all but agreed the highest point was the one furthest to the southeast.  None of the high areas had a summit register, so we left one and since it was cold turned around and headed back down the ridge, being careful to stay on the ridge this time and not heading back down the gully
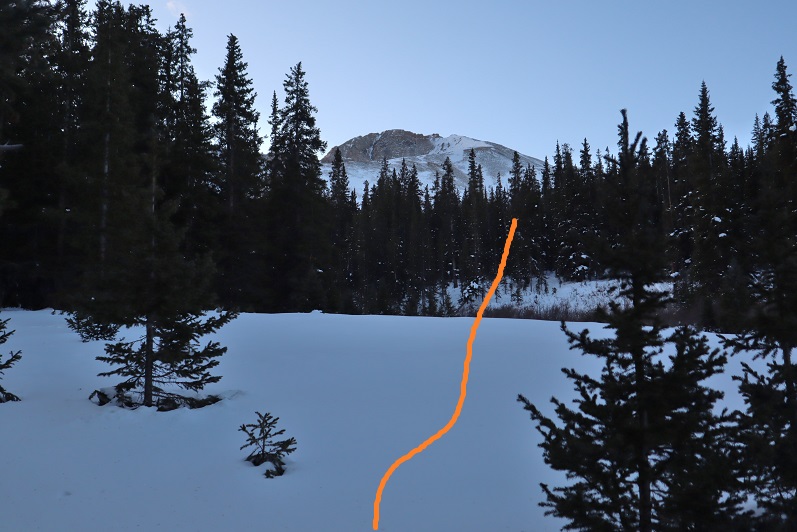
27

28

Yellow Peak – 9982’

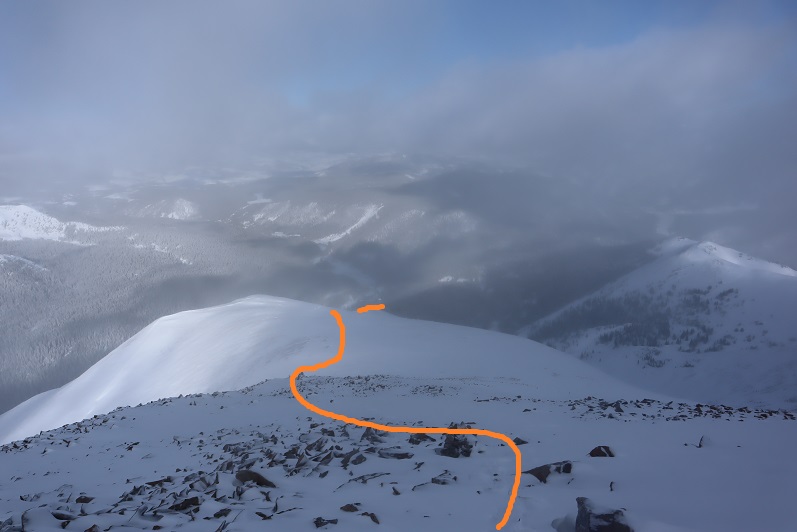
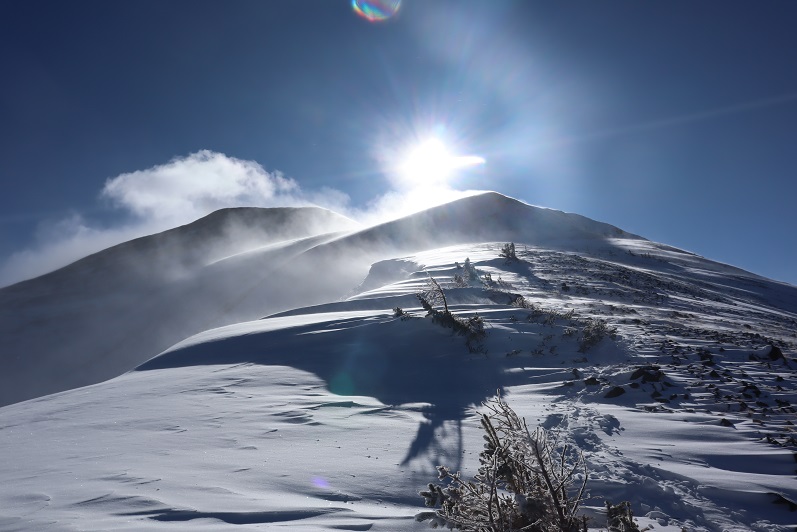
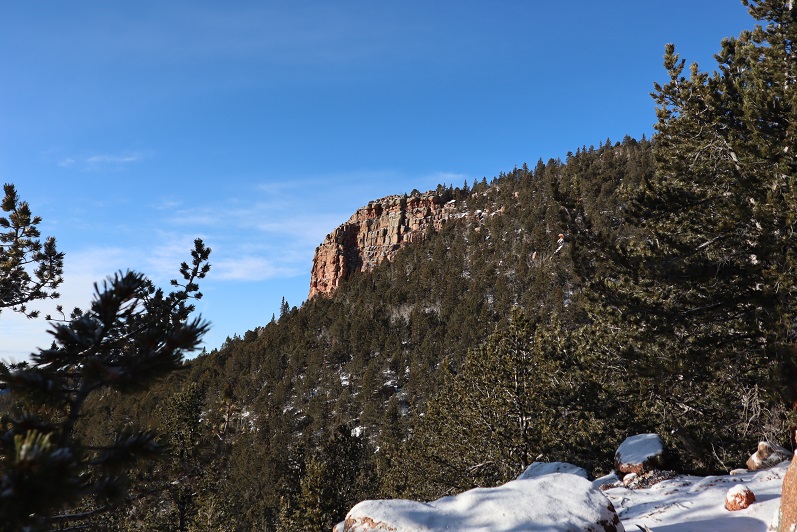
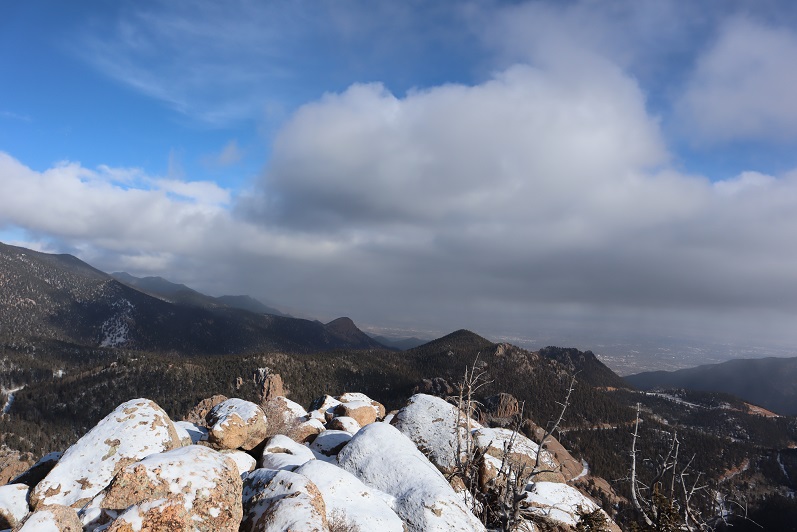
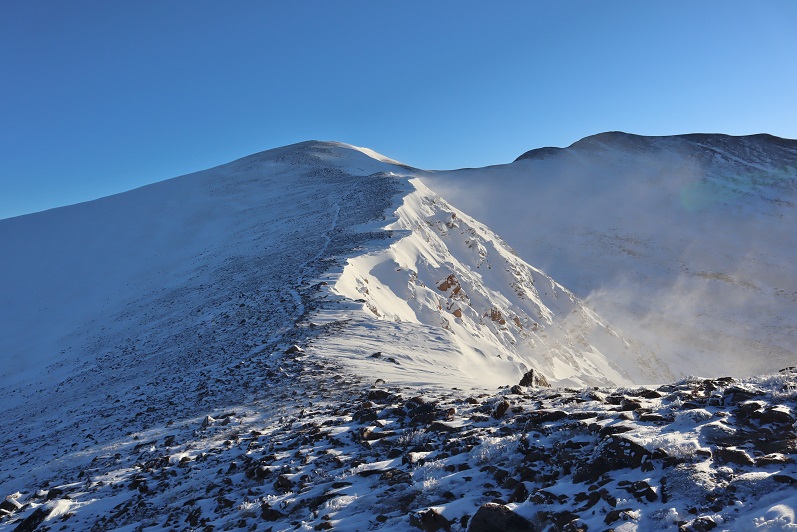
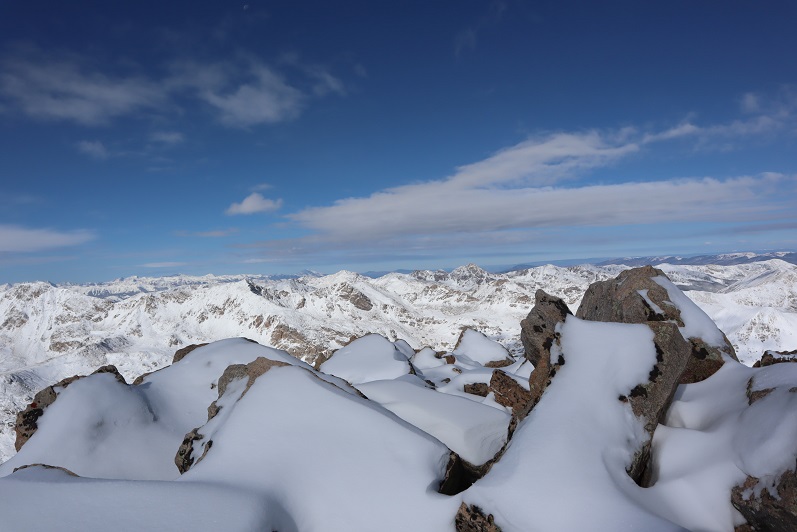
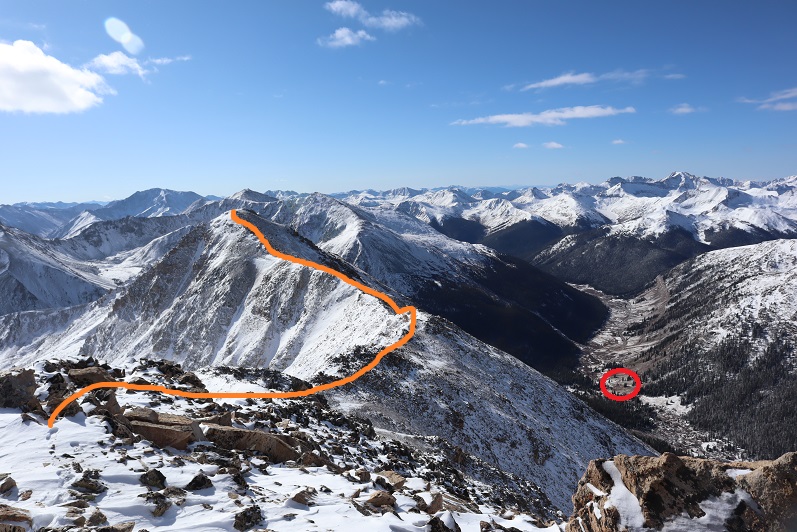
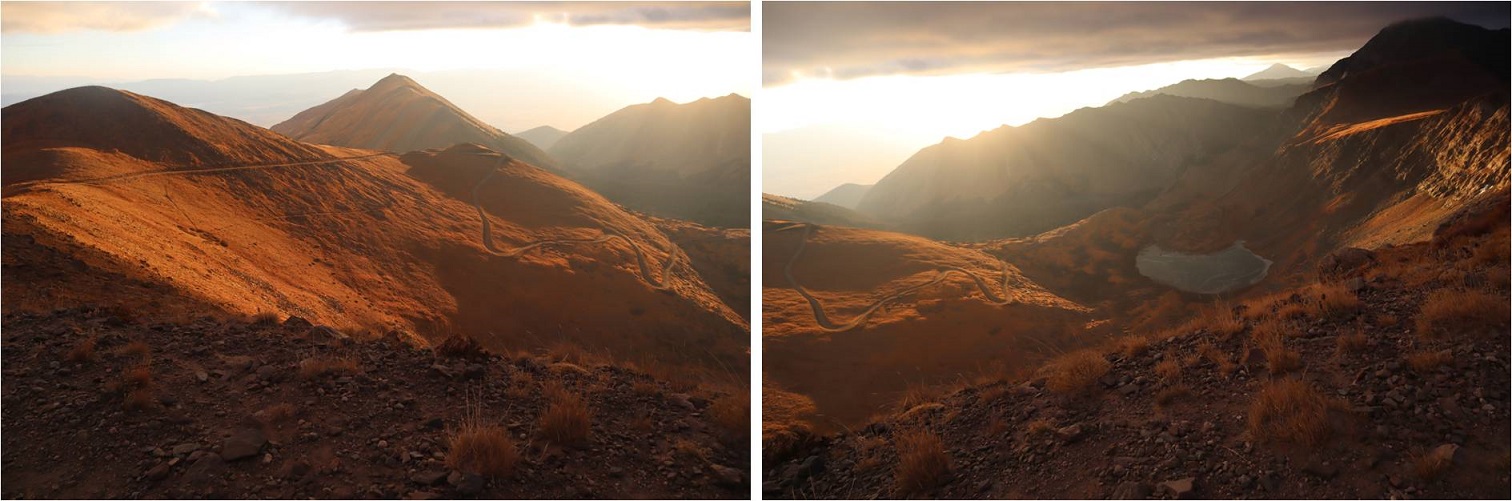
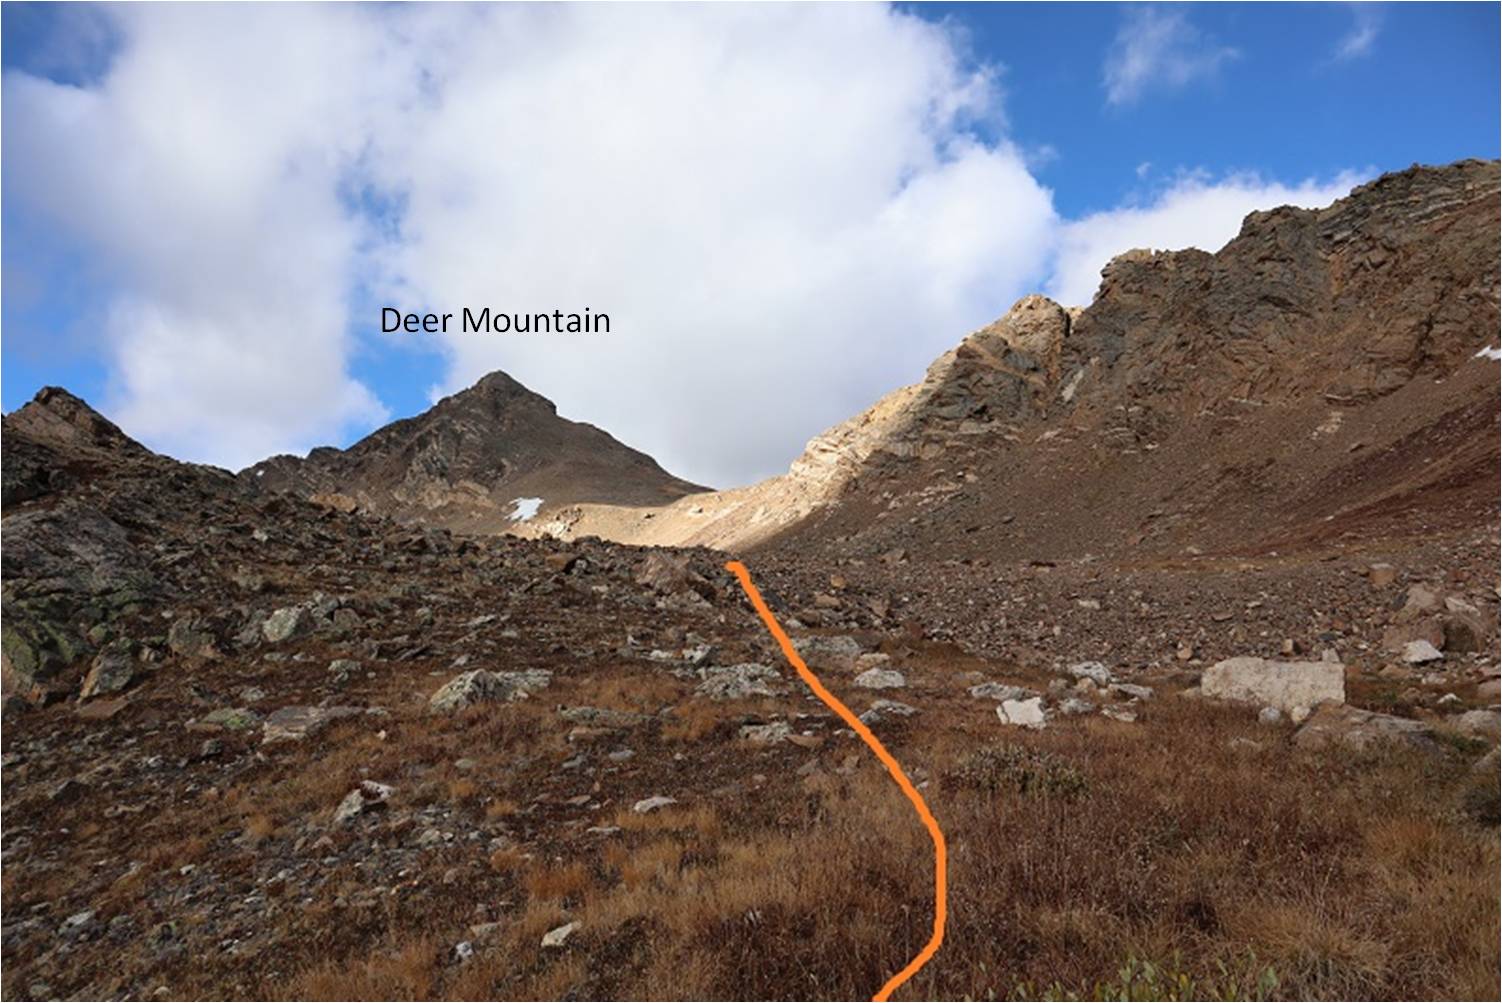
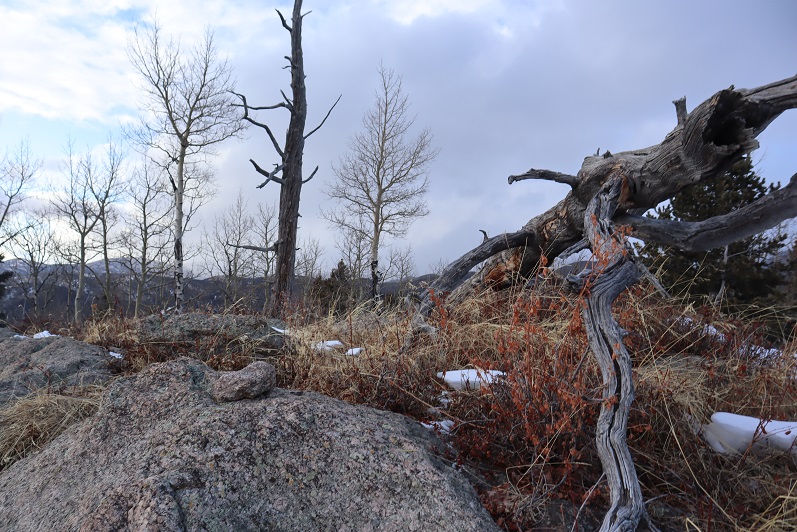
The skies suddenly cleared and we were treated to a great view of the peaks we hiked last weekend: Knights, McKinley, and San Luis

29

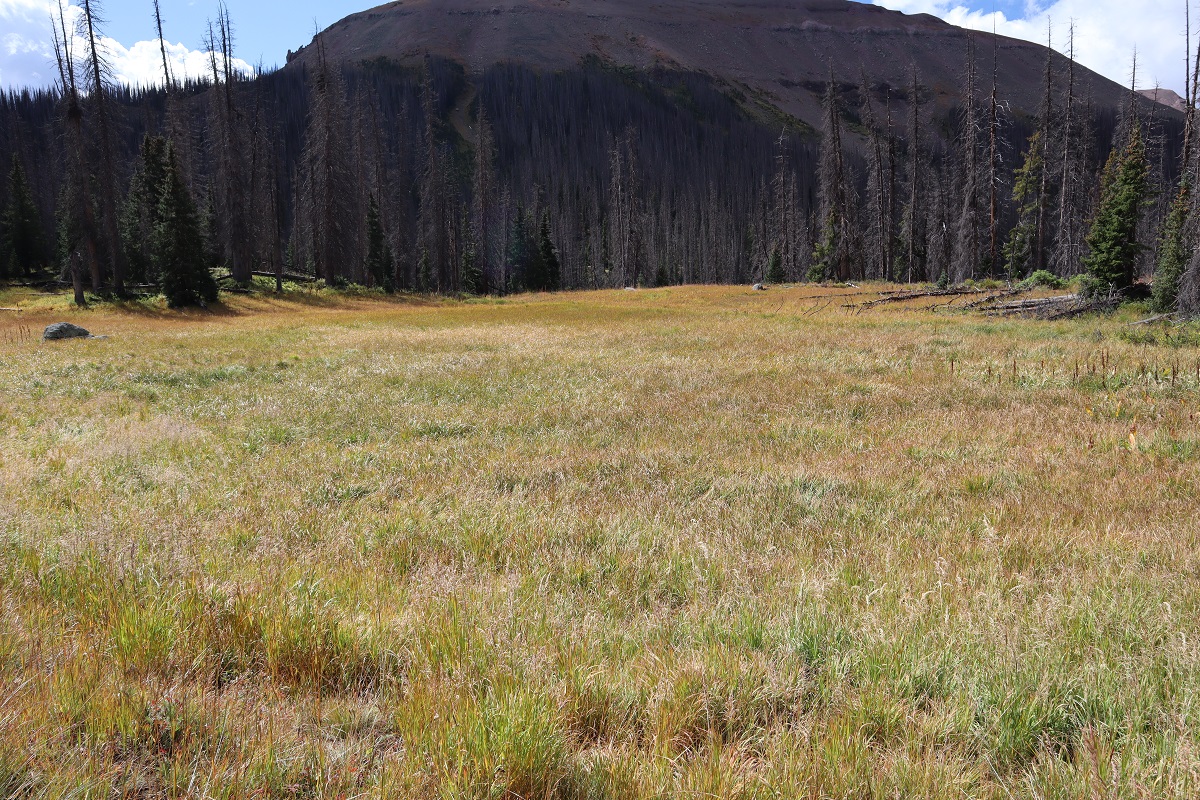
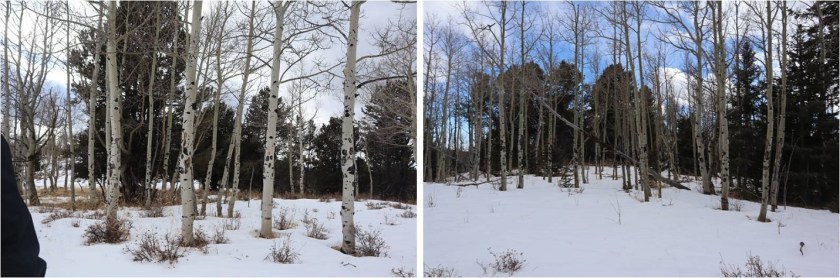
The ridge had some open areas that looked great for grazing and lots of aspens with bite marks

30

31

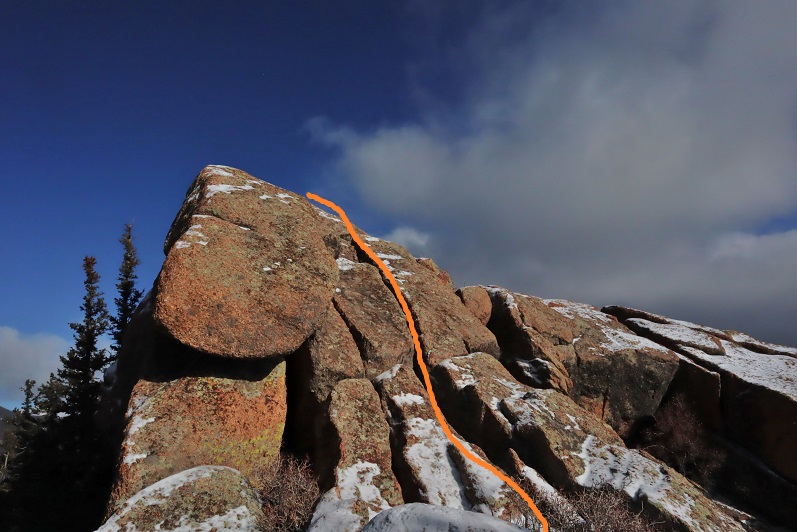
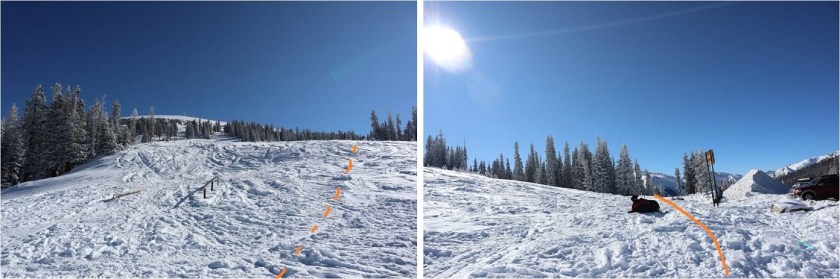
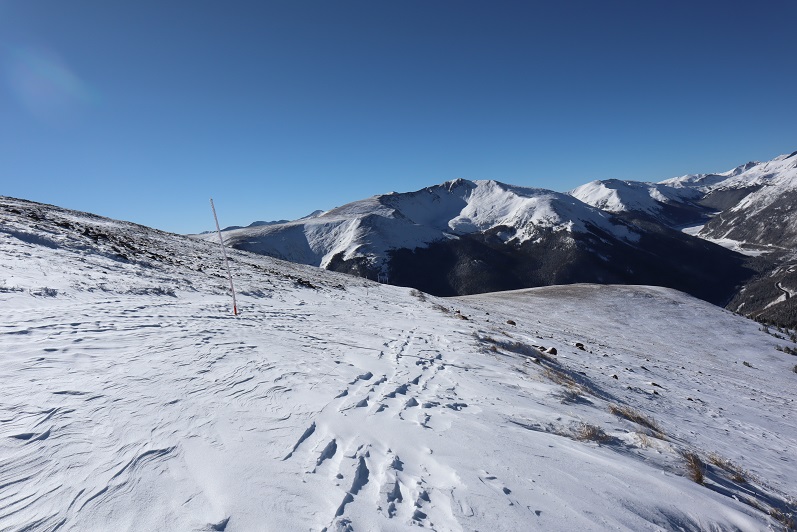
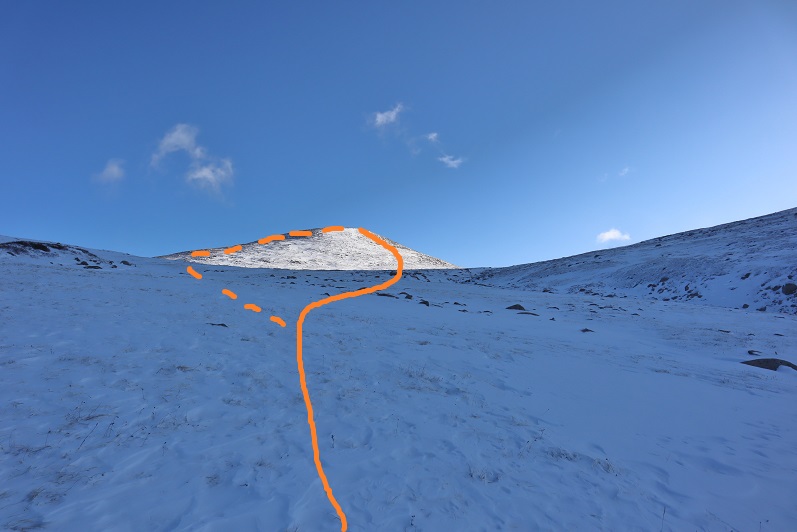
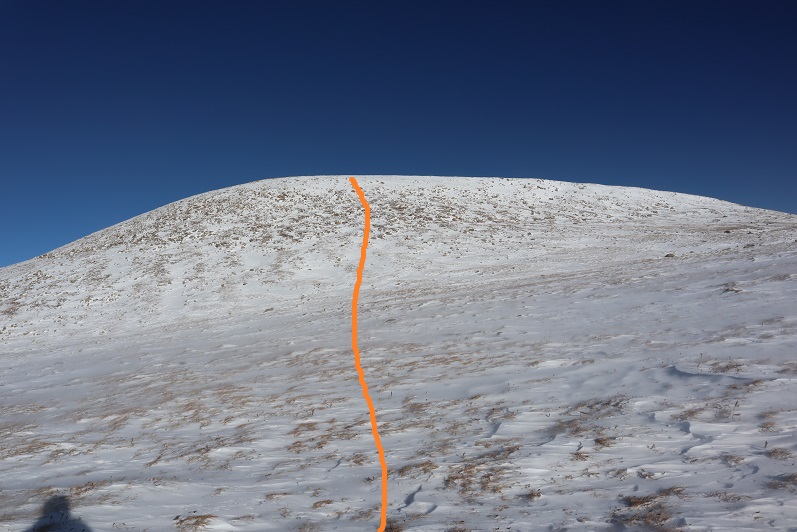
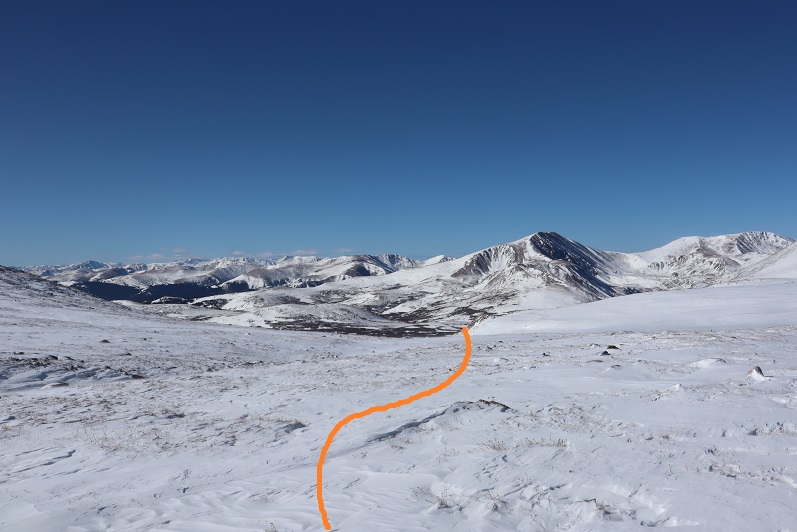
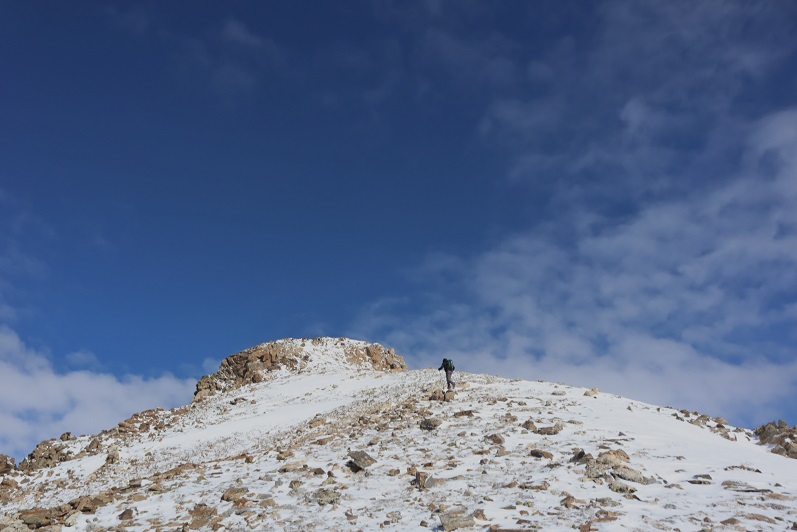
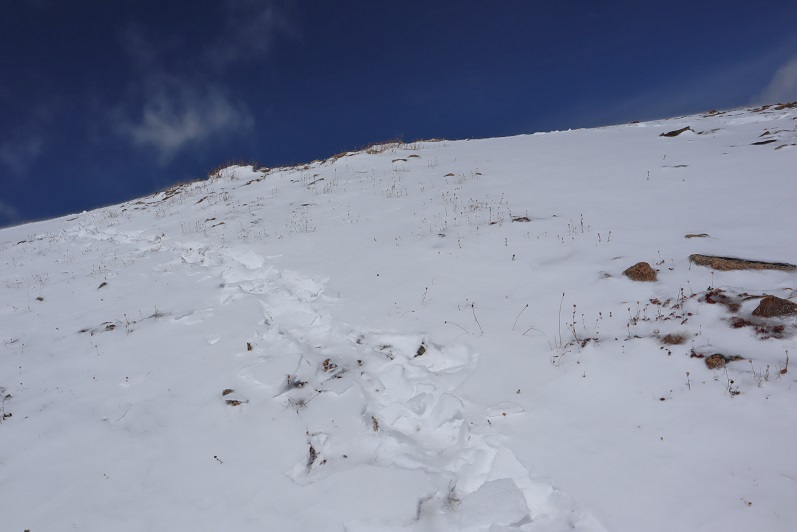
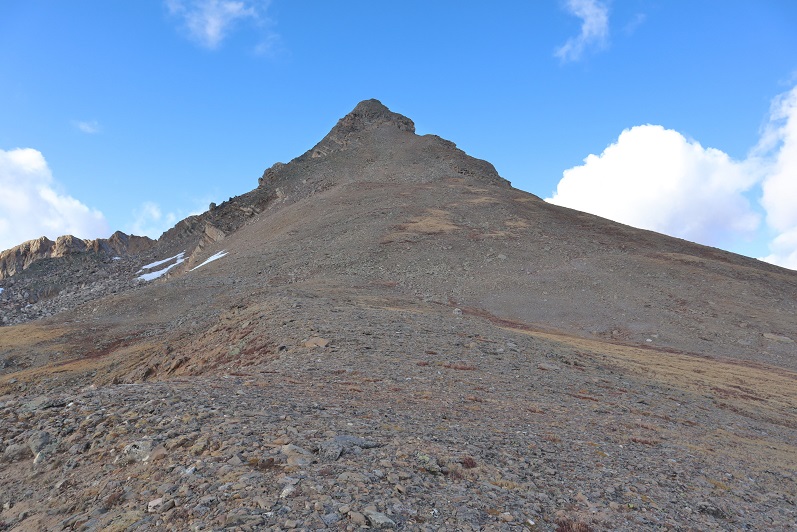
Here’s the last bit of the trek to the summit

32

We followed the ridge all the way to 9982, which we named “Yellow Peak” because it fit and because there was yellow duct tape on the summit register.

33

Here’s looking back on Blue Mountain

34

Black Mountain (UR) – 10,132’

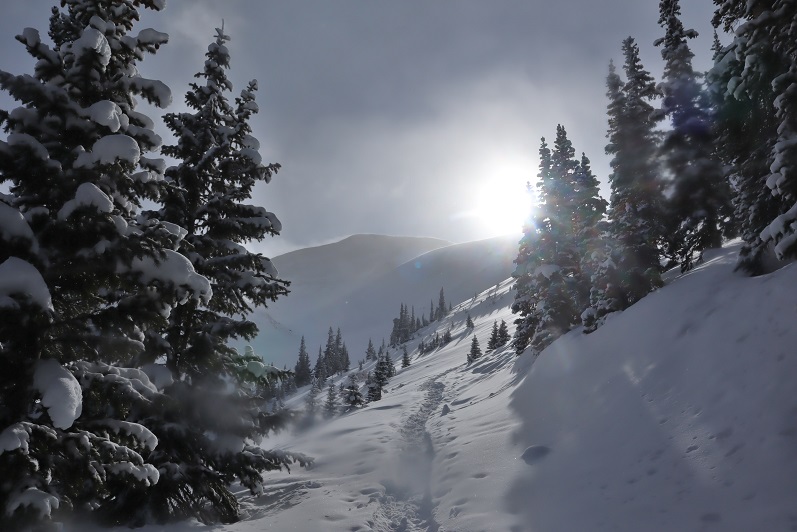
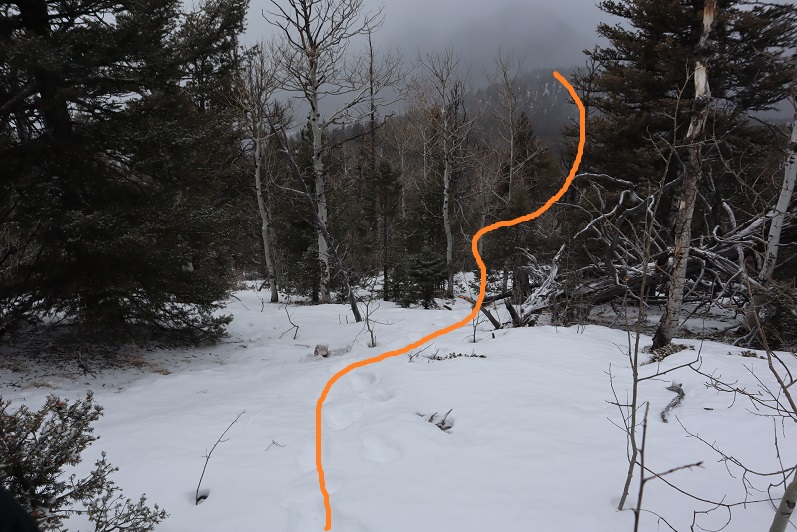
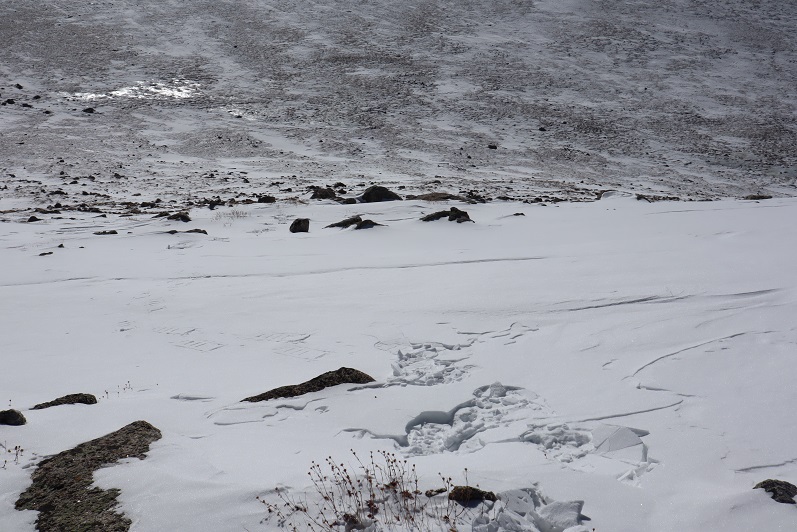
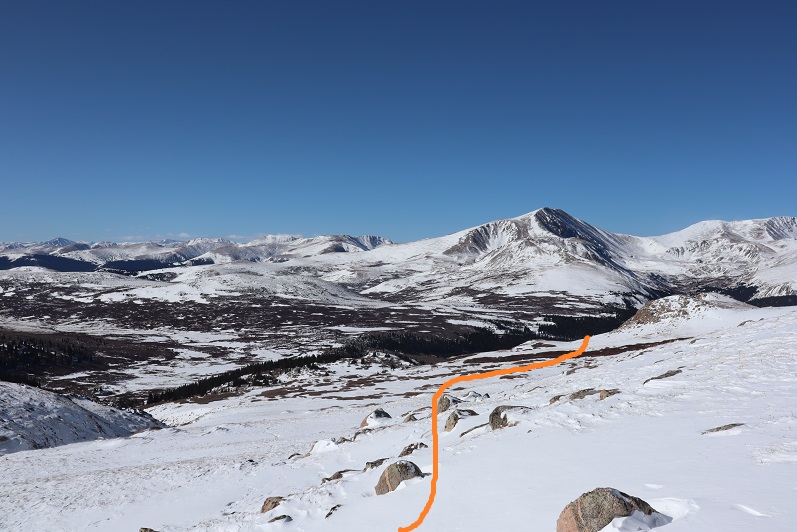
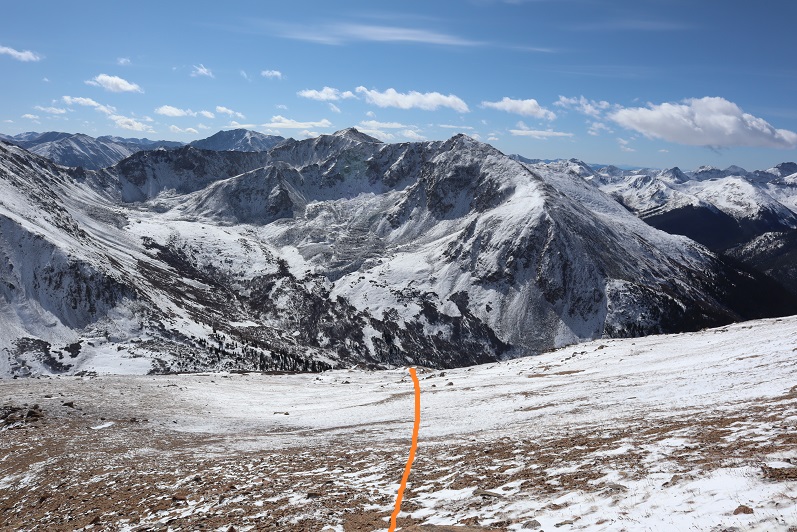
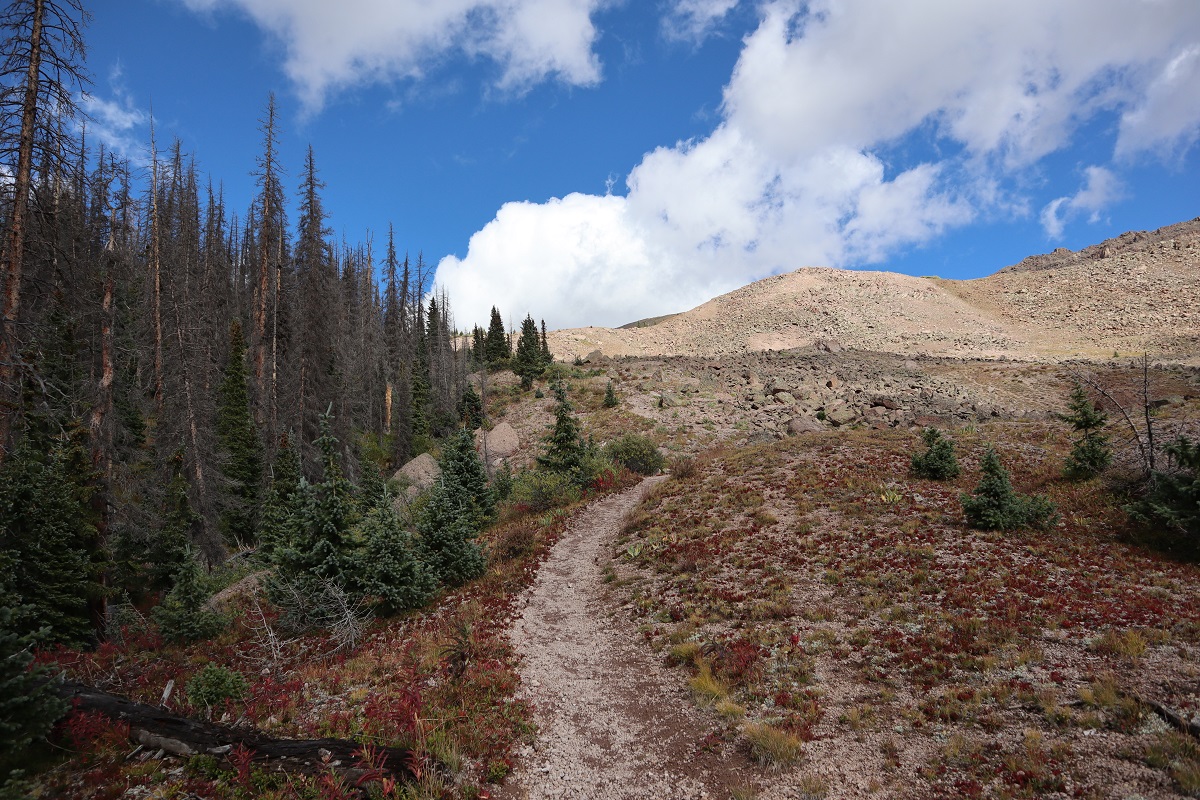
At this point we had a decision to make: we either turned back now and headed back to the ruins/Emerald Valley Boys Camp area, or we made this a loop and continued on.  I was a bit worried because I hadn’t brought a flashlight and if we continued I knew we’d be hiking out in the dark.  Luckily Steffen had one in his backpack and we were feeling great so we decided to keep going and hit a few more peaks today.  We continued west down the mountain to a small saddle on a game trail, and once at the saddle picked up an actual trail.

35

36

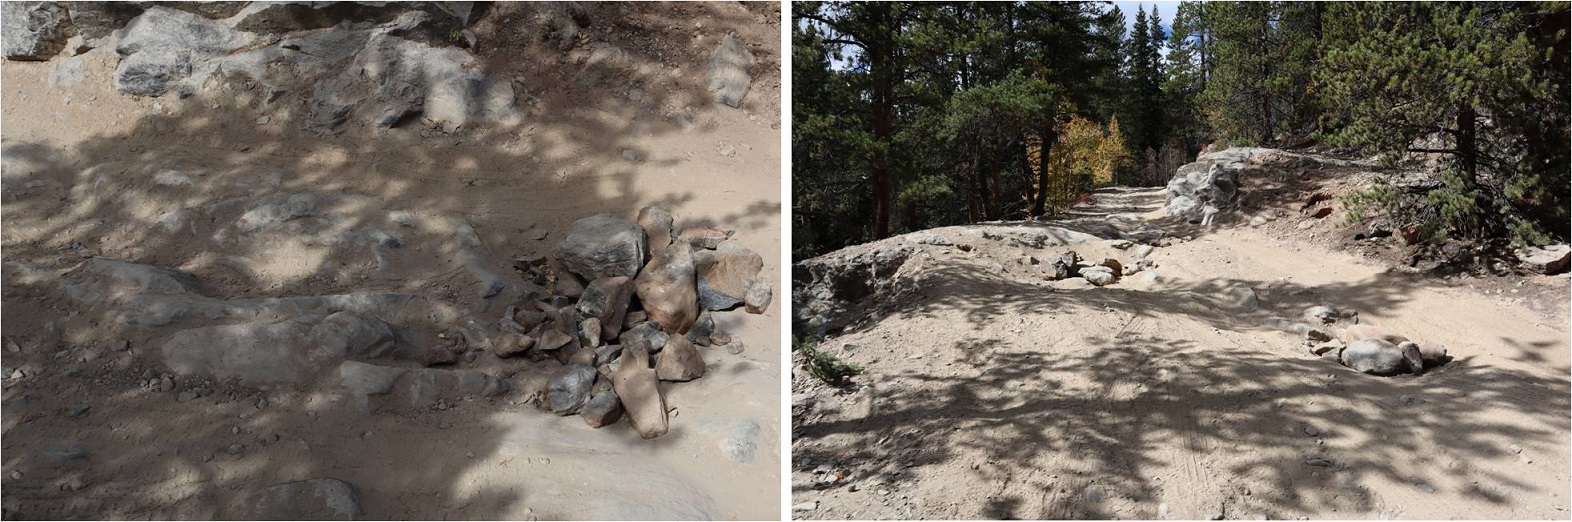
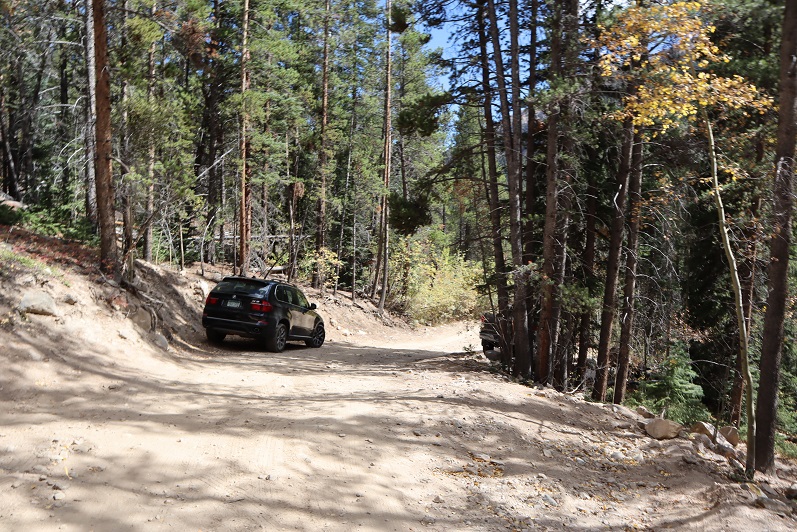
That led to a 4wd road! This was great!

37

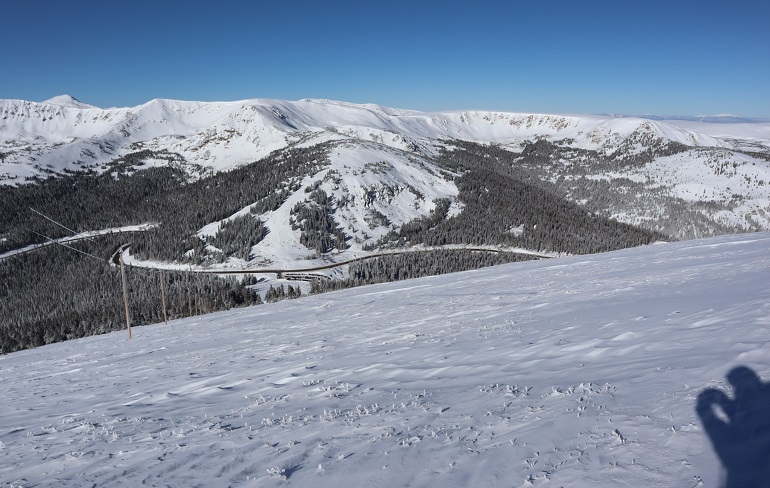
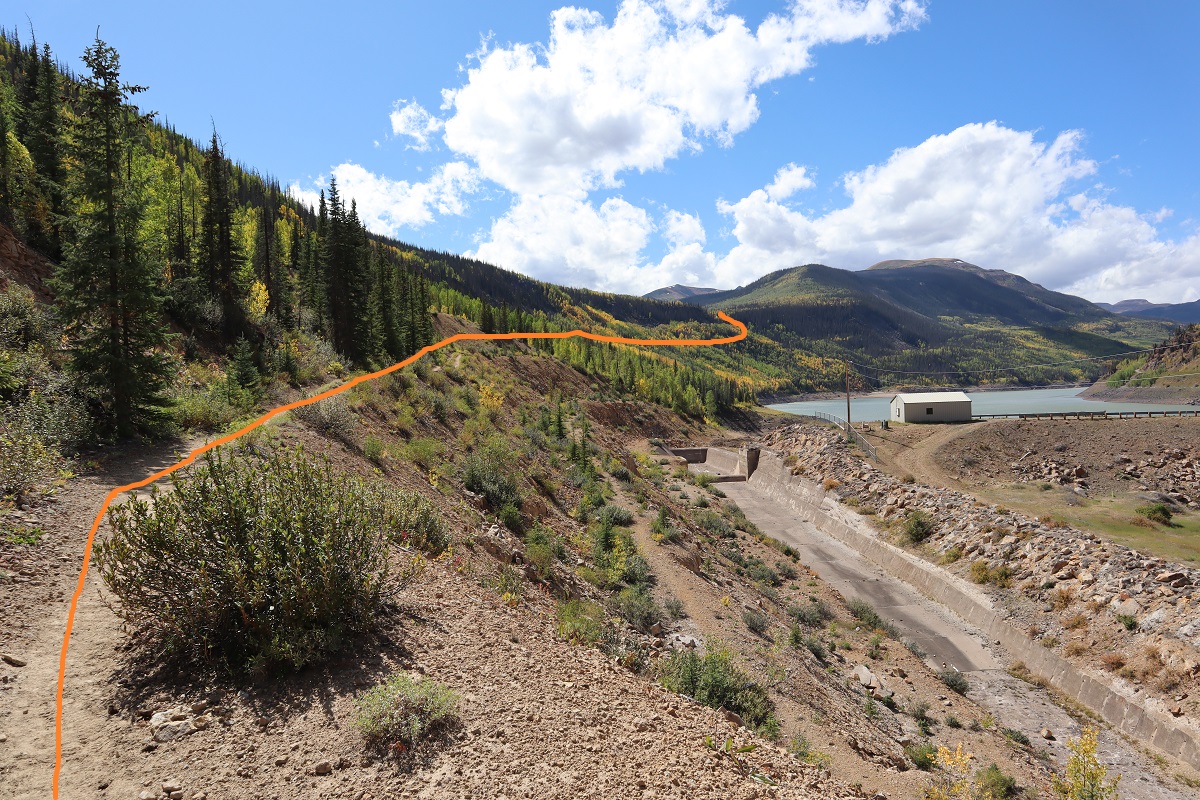
We followed the road west for quite a ways, past a run-down cabin and a couple of homes sporting tons of elk antlers

38

39

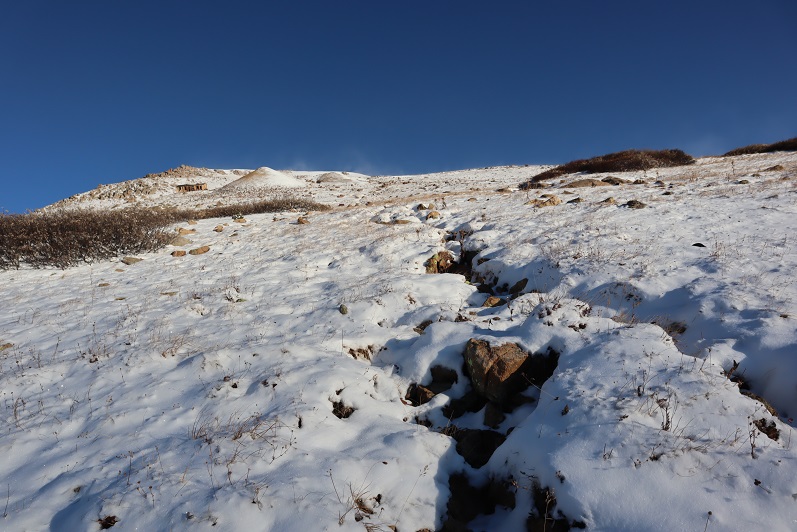
We could have followed the road up to the saddle, but at the time we didn’t know this, instead we cut across a field and headed south up the mountain (through a lot of snow)

40

41

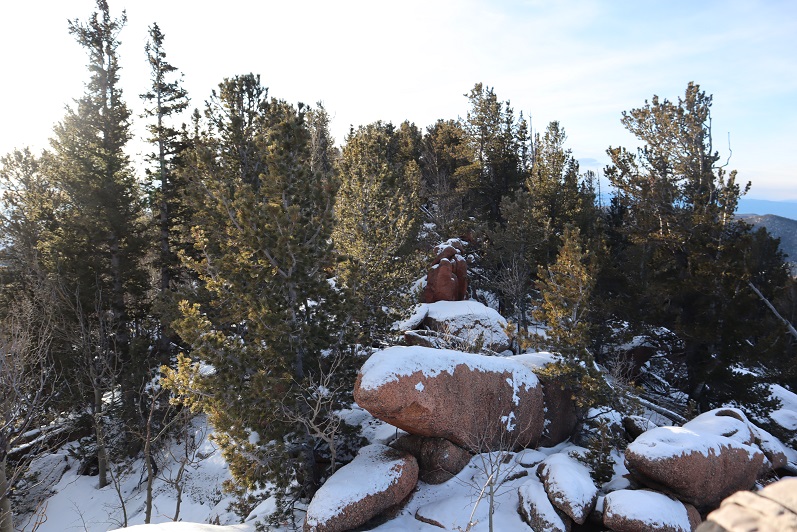
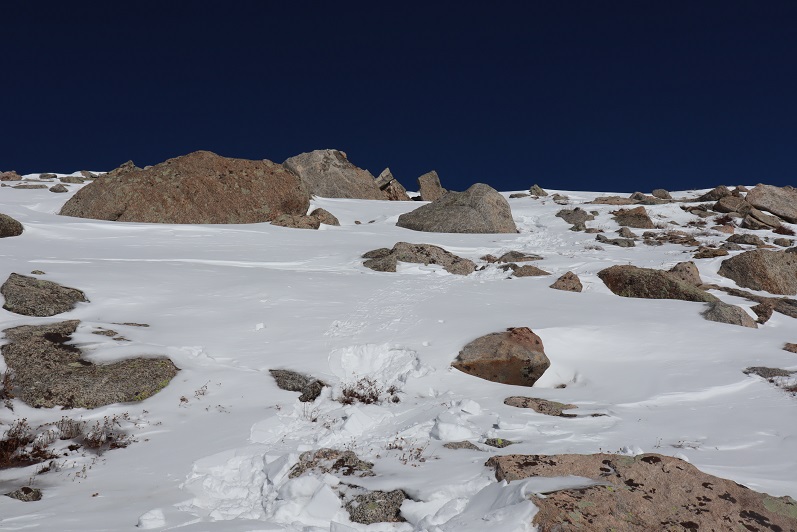
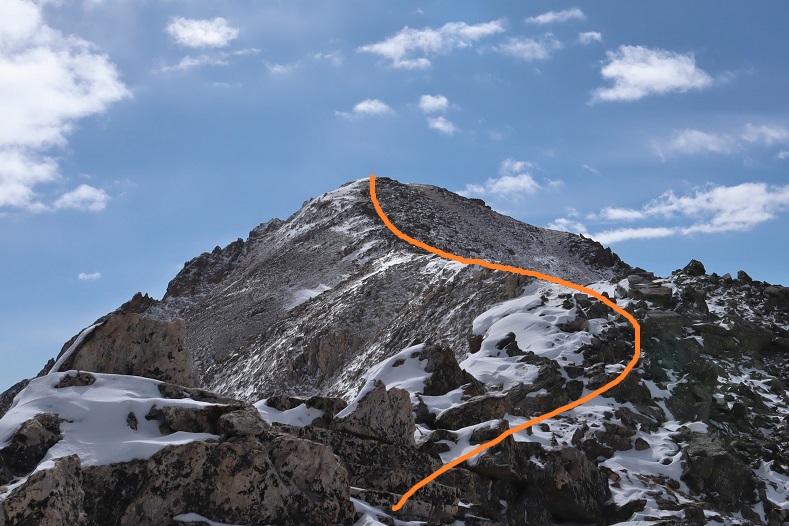
There wasn’t a lot of elevation gain on this one since it’s an unranked peak, and it didn’t take us long to make it to the summit.

42

There wasn’t a summit register on this peak. We would have left one but we didn’t have one to leave.

43

Turning to the northwest we could see our last summit of the day:

Green Mountain – 10,140’

44

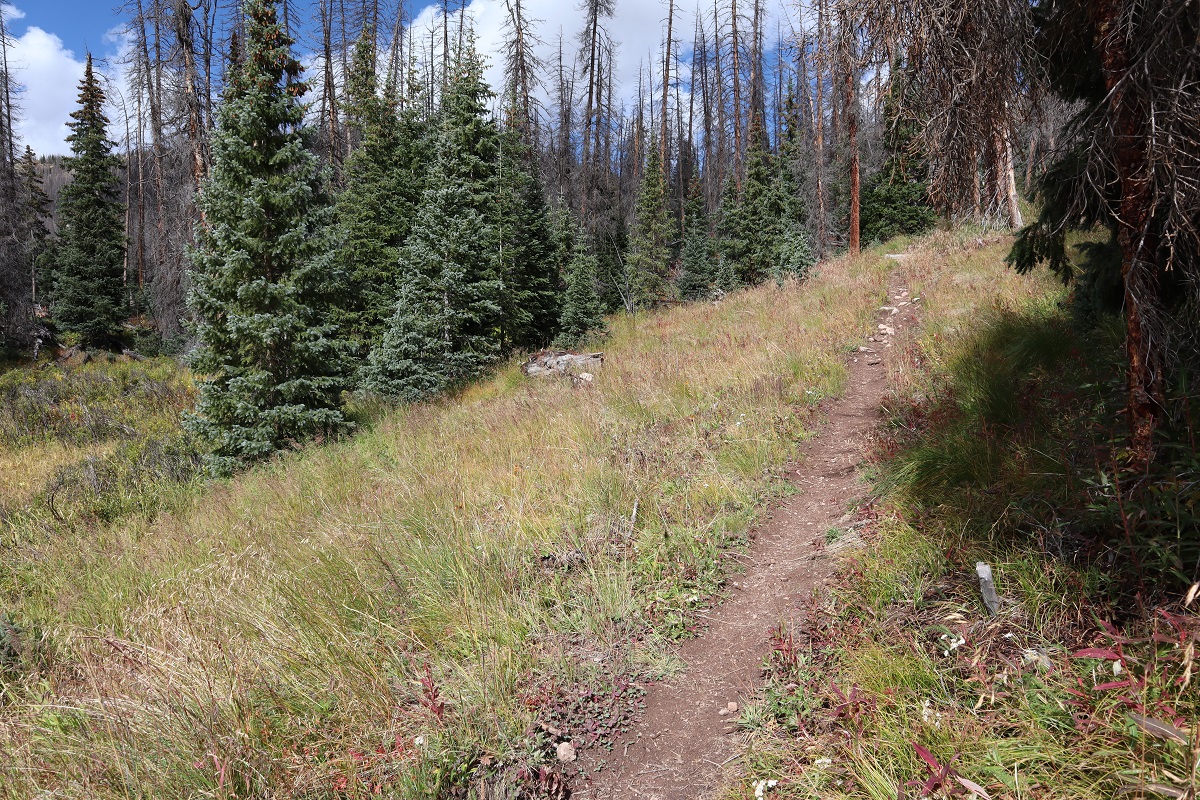
This really was a simple hike northwest past the road and up to the summit of Green Mountain.

45

When we arrived we had a great view of Black Mountain

46

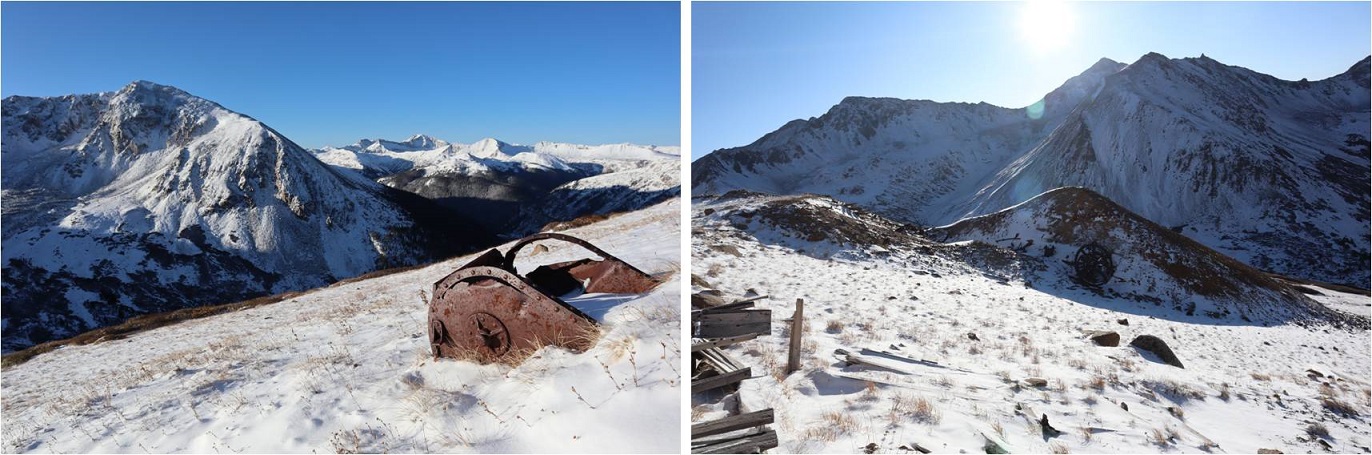
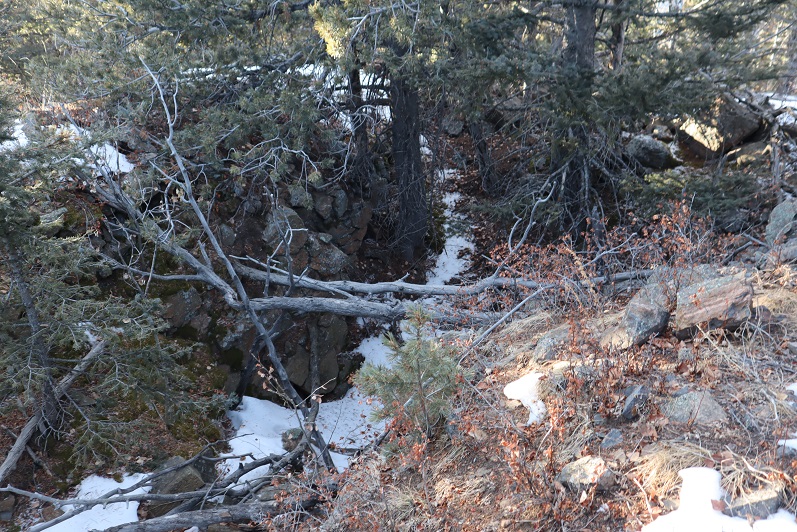
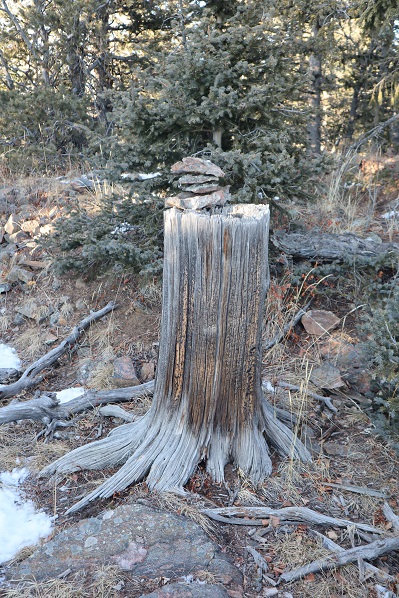
There was what looked to be a mine at the summit?

47

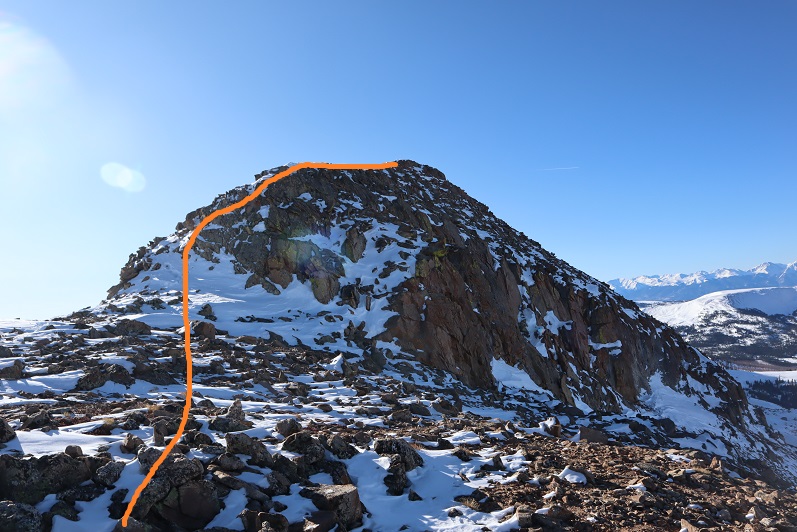
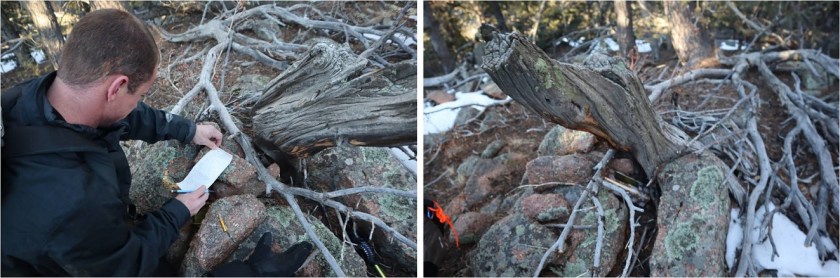
We walked all along the top of the summit just to make sure we hit the actual ‘high point’. We were unable to find a summit register for this one either, and were a bit disappointed until Steffen got an idea:  he decided to look inside this stump and guess what?  There it was!  It hadn’t been signed since 2010 so I’m sure no one else had thought to look inside the stump since then.

48

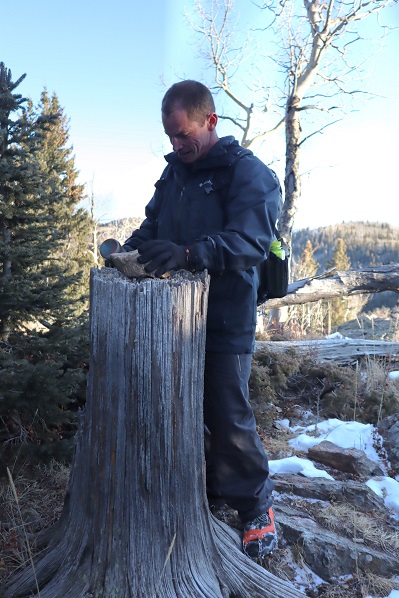
We signed the register and put a cairn on top of the tree so others would know it’s there

49

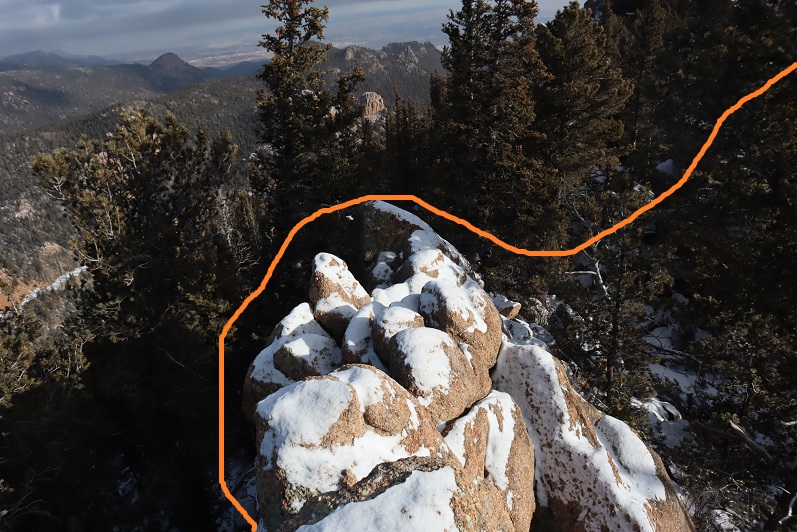
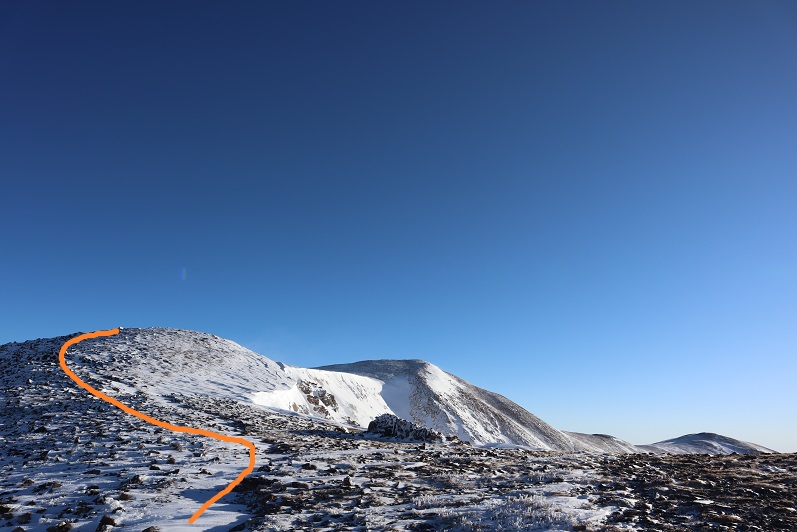
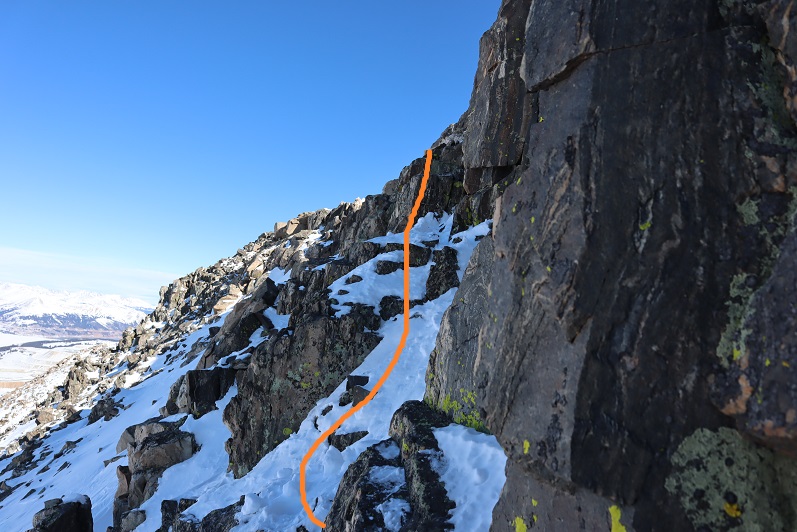
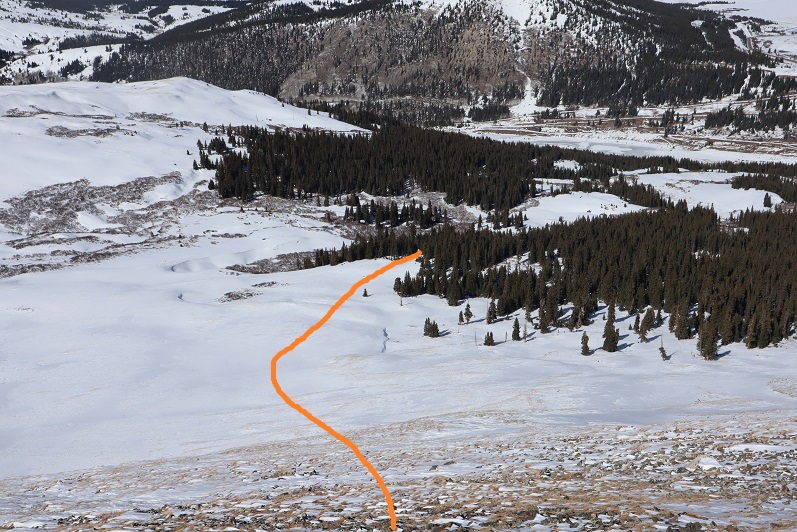
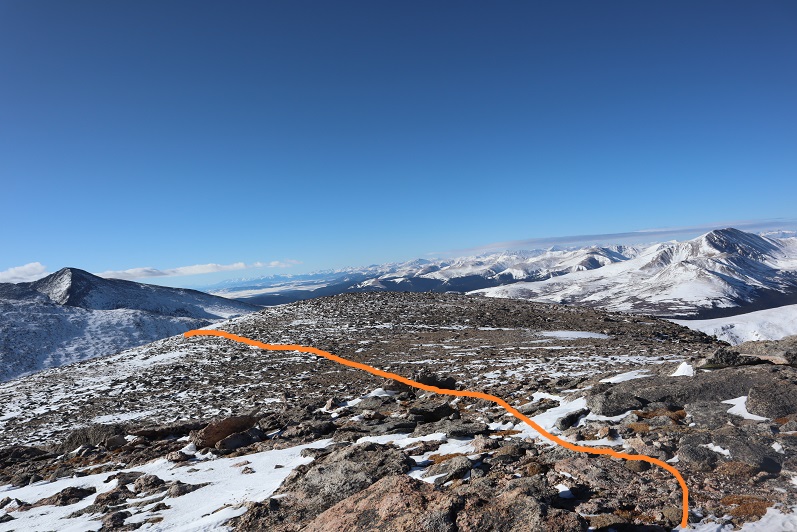
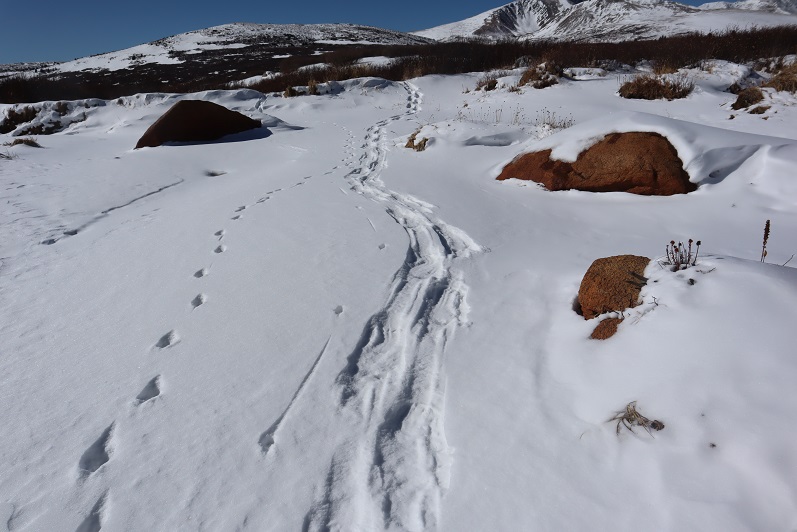
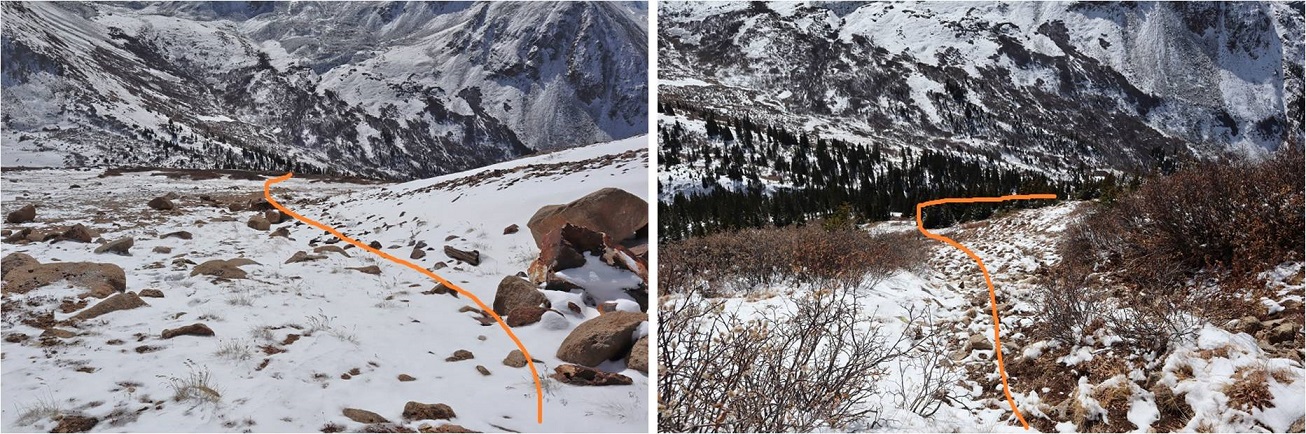
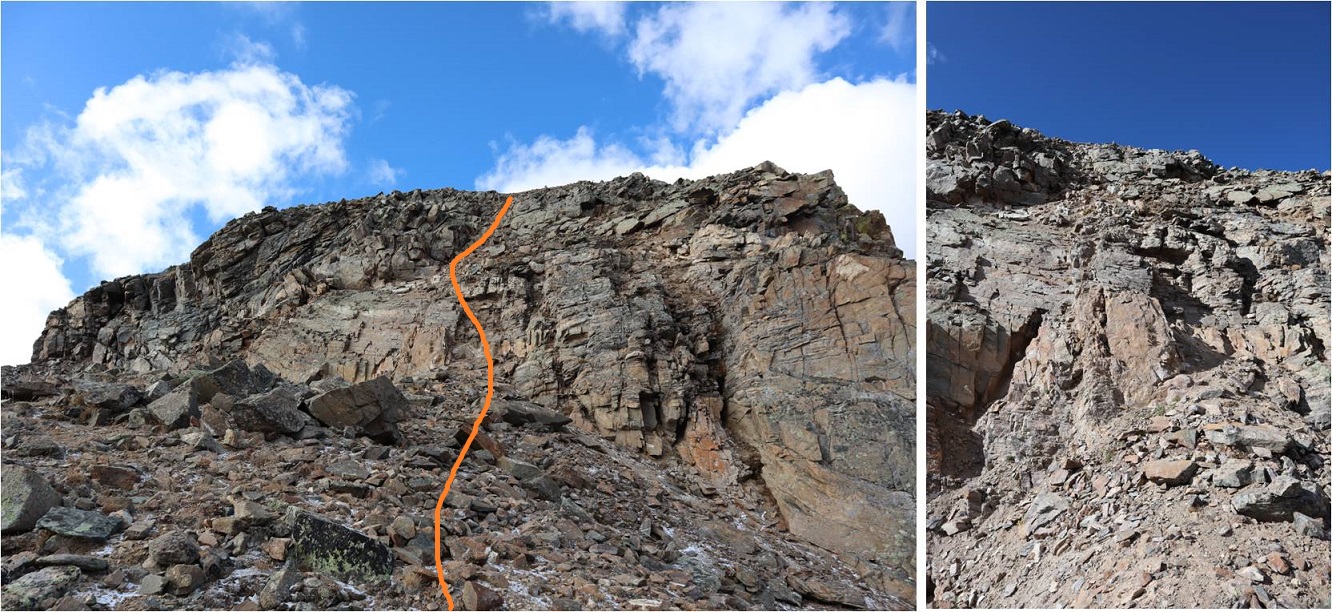
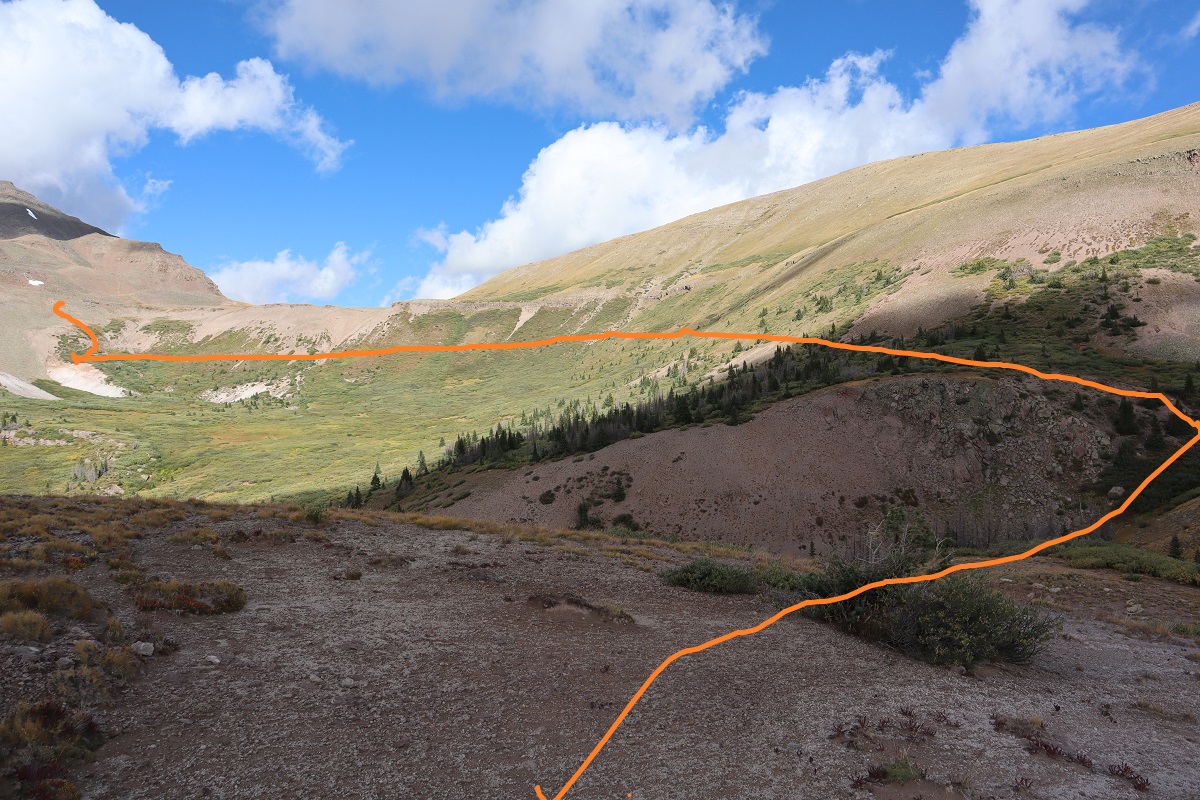
Time to make this a loop! We traveled west down the ridge, avoiding this outcropping by navigating it to the left

50

This quickly brought us to the road

51

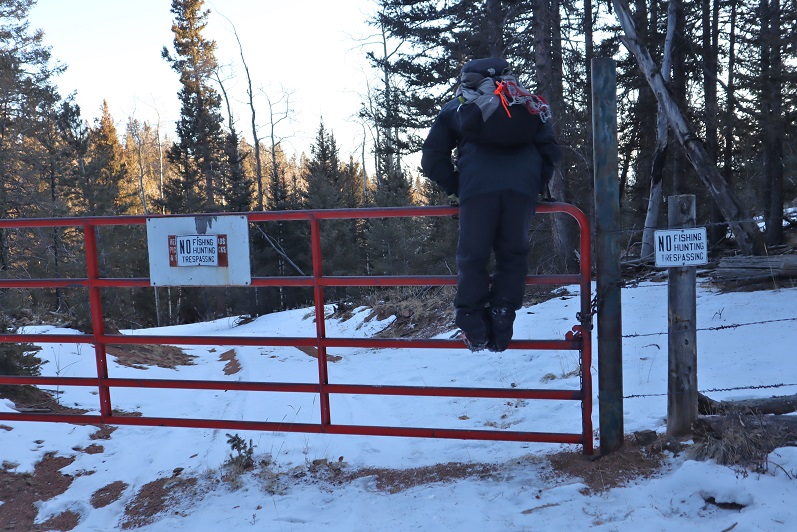
We followed it and were surprised to come across a gate. The only thing to do was climb over it. When we made it to the other side we realized we were now on the ‘right side’ of the gate.  Curious though, since we hadn’t seen any other gates/no trespassing signs on our way in?

52

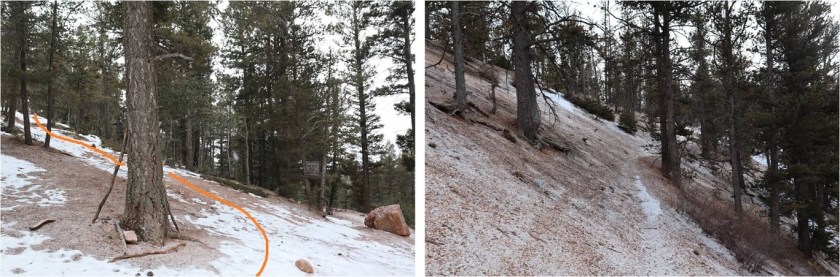
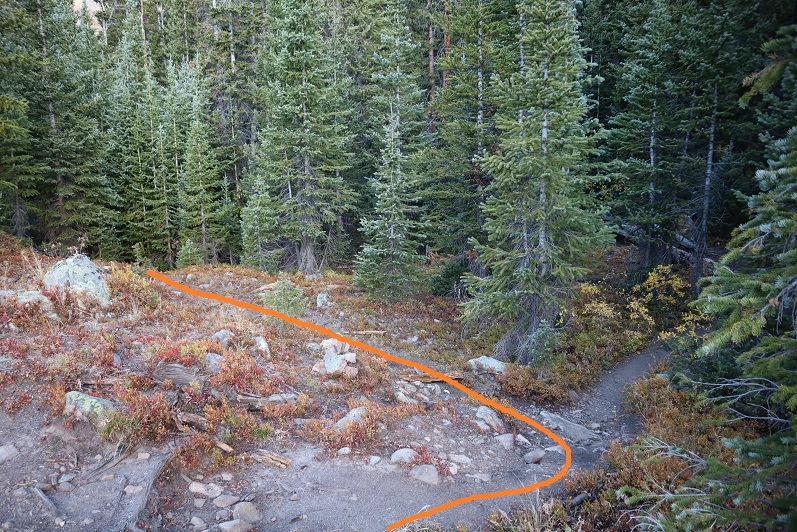
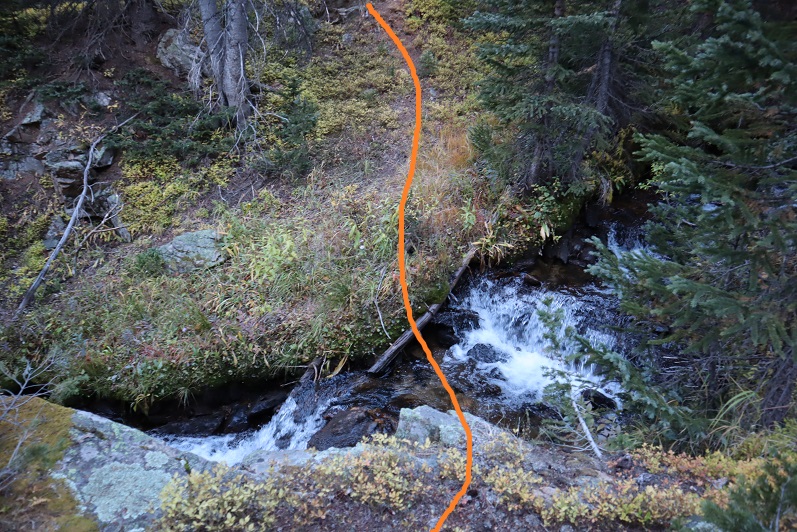
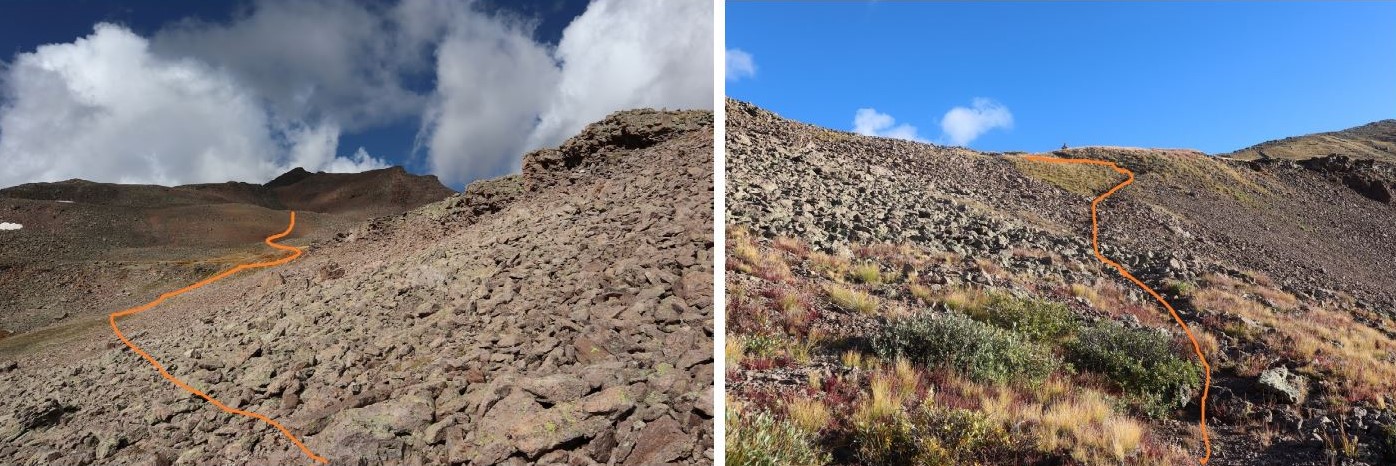
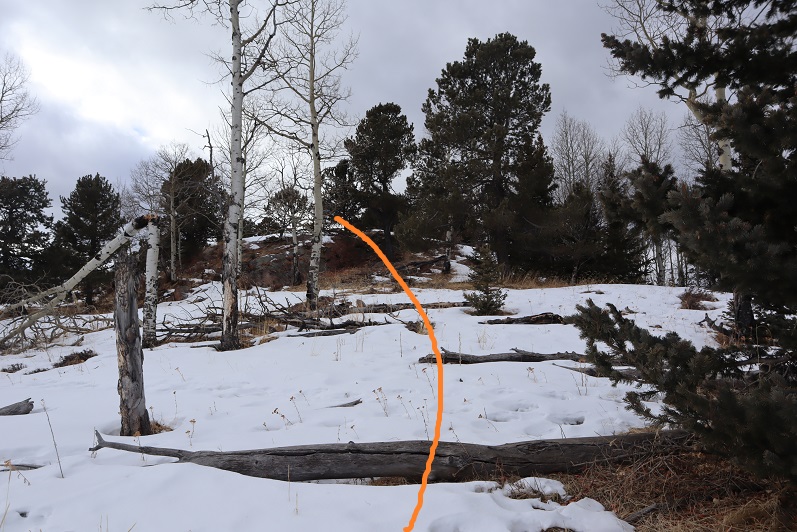
A little ways after the gate, and just before the road curved west, we saw a cairn to our left (well, a rock on a log) and followed a faint trail down the mountainside.

53

54

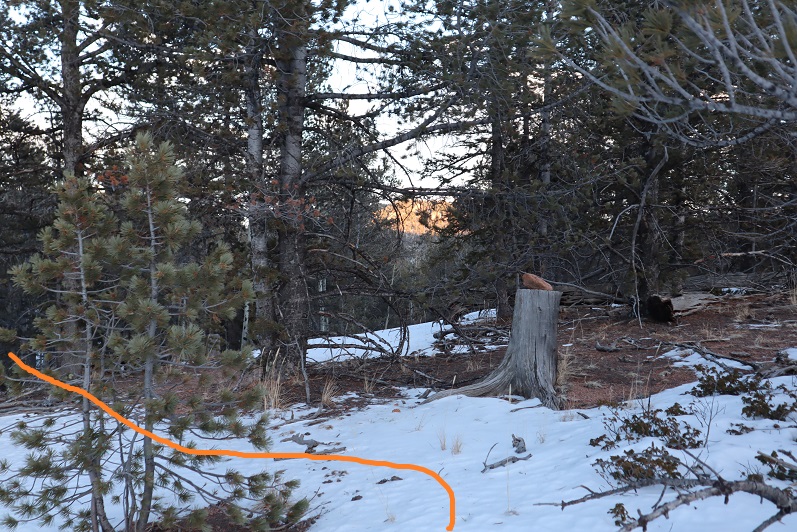
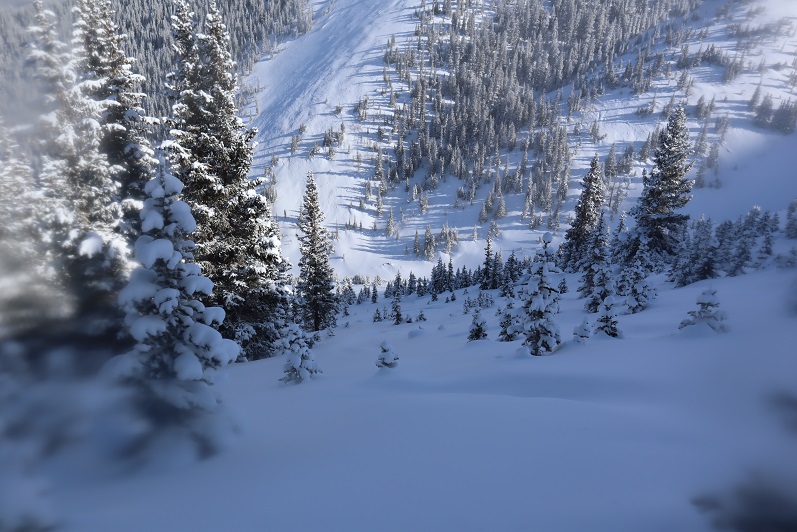
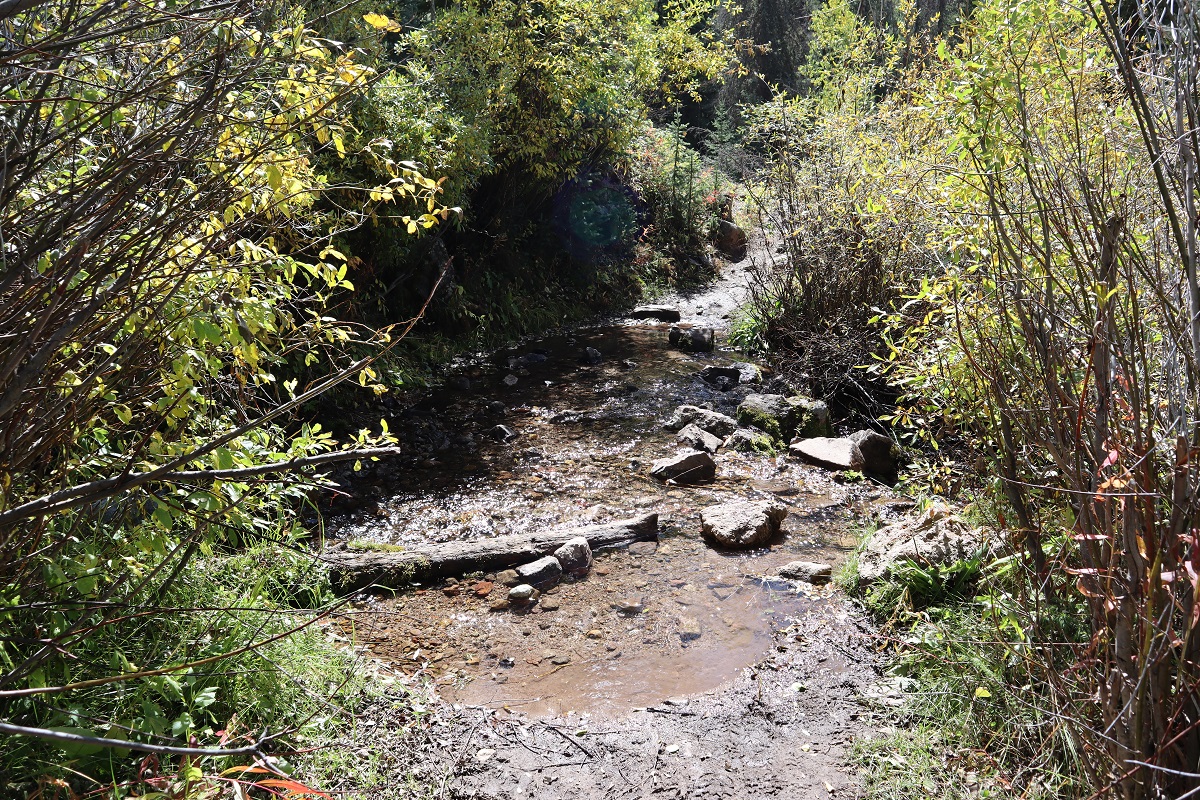
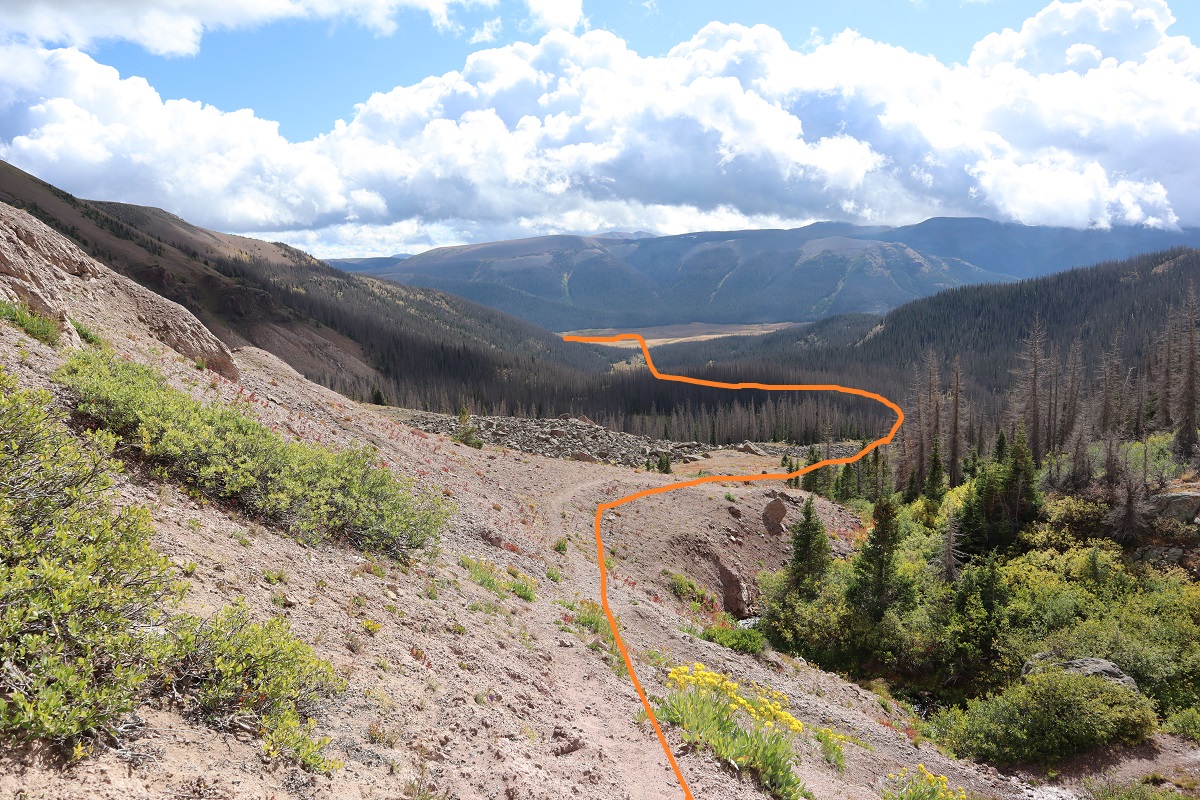
Eventually the snow stopped and we descended a steep pipeline/scree slope to another 4WD road.

55

56

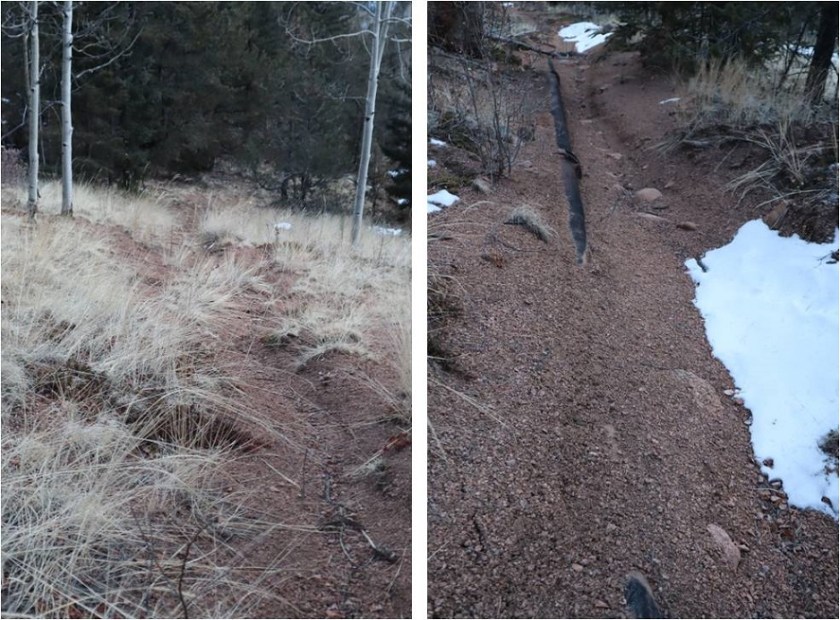
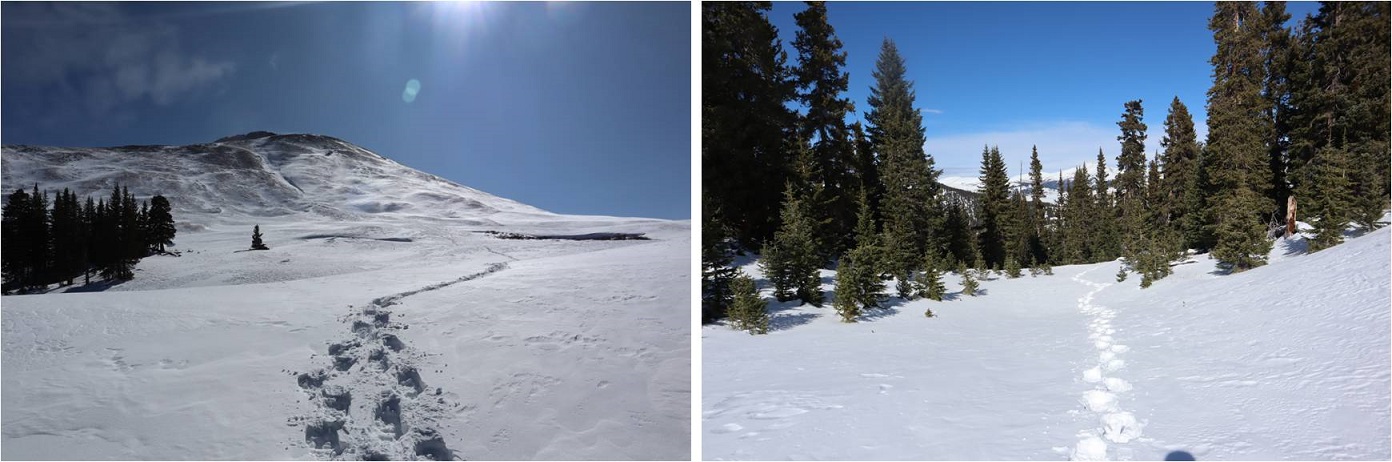
I was excited to finally make it to this road! We still had quite a ways to hike, but now all we had to do was follow this road out.  Well, I was excited until the road became covered in snow.

57

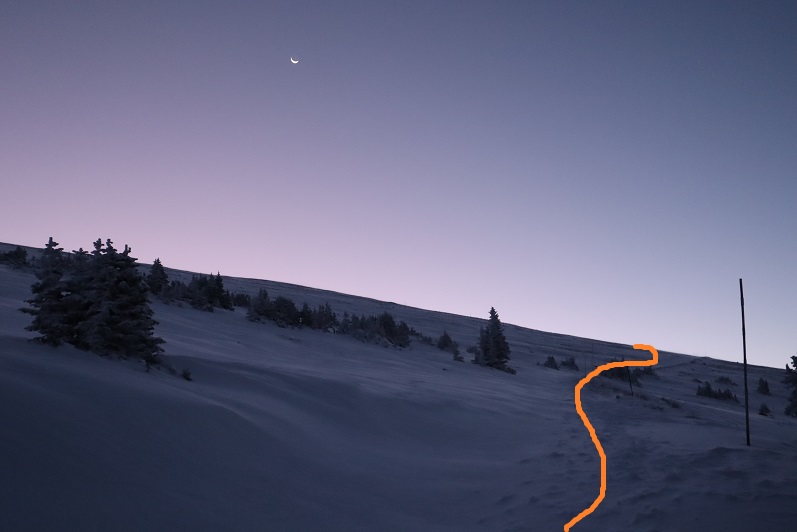
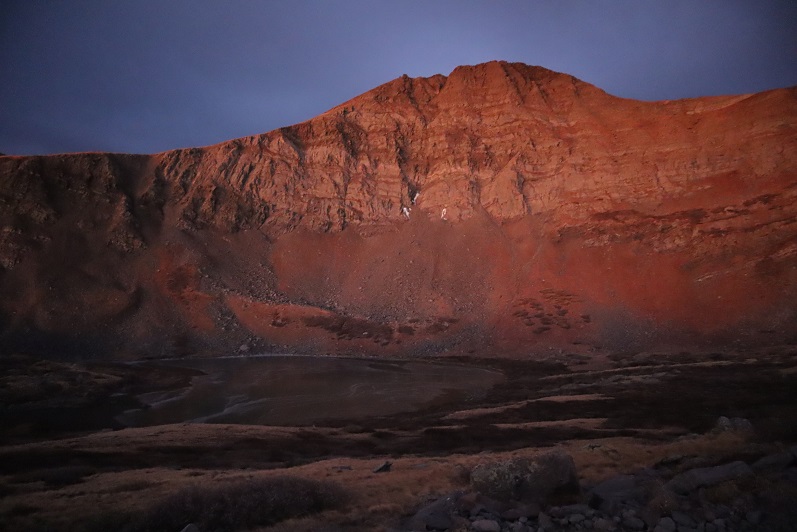
The snow was about 2 feet deep and snowshoes would have helped greatly, but we didn’t have any. Instead we took turns trenching and walking in each others’ footsteps.  I could tell this was especially taxing for Steffen.  I’m used to going for long hikes without eating/drinking anything.  My body is just used to it, but his isn’t.  Although he’d had plenty of snacks today and was currently out of water because he’d drank it all, he was tired, hungry, and thirsty.  He’d already taken a few Advil and I was worried about him hiking in the dark.  And then it started to snow.

58

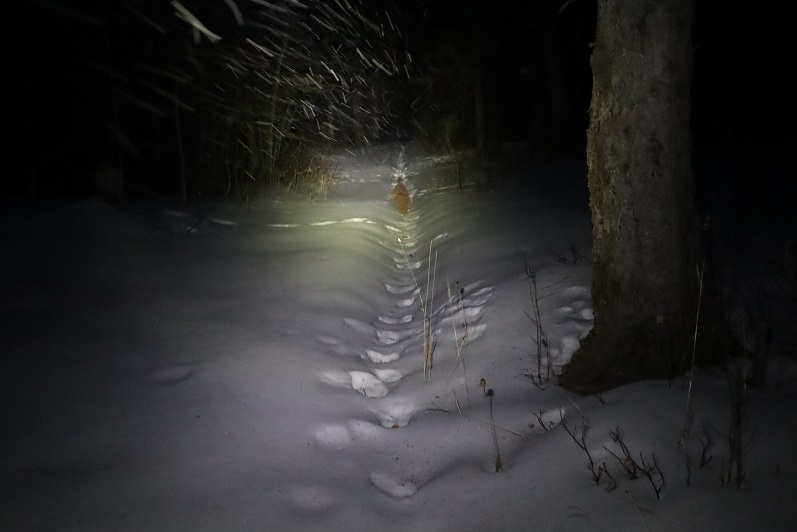
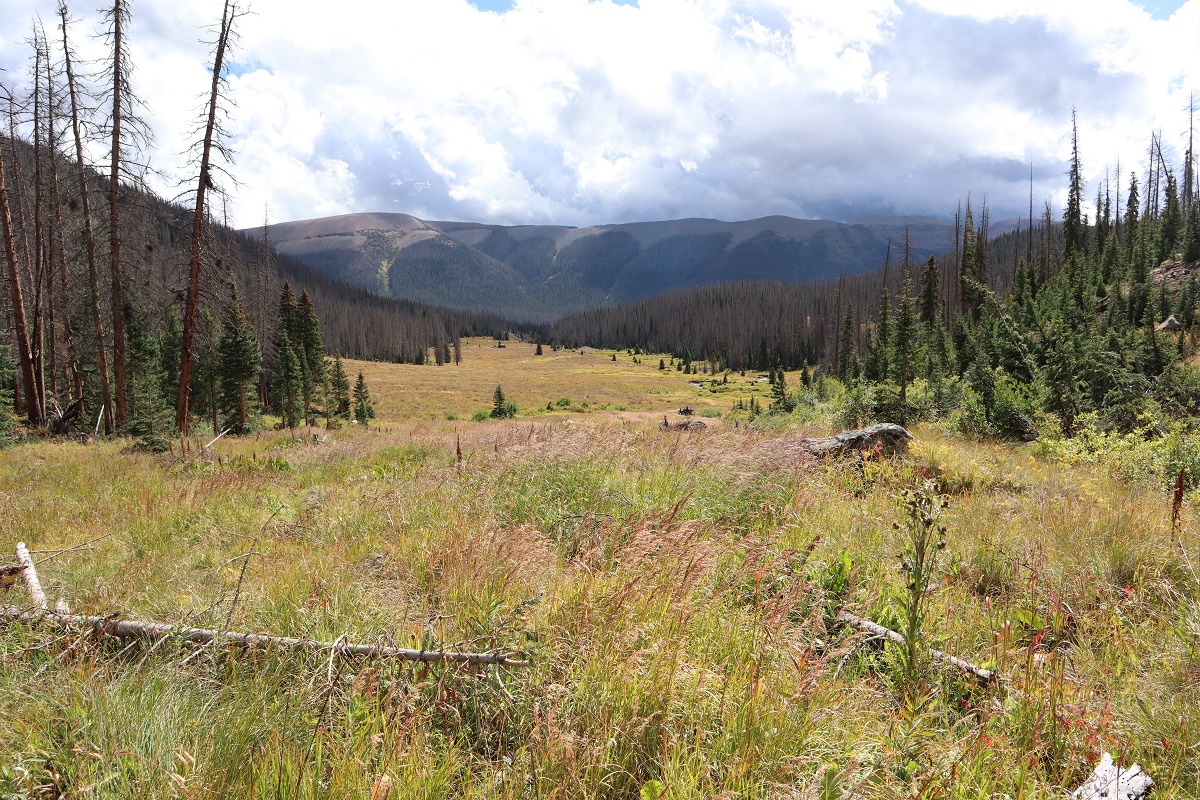
He stopped to take another Advil and we heard a large cat scream twice to our left. We decided to double the pace towards the ruined cabin.  At times there were animal tracks to follow, but most of the time we were trenching through several feet of snow.

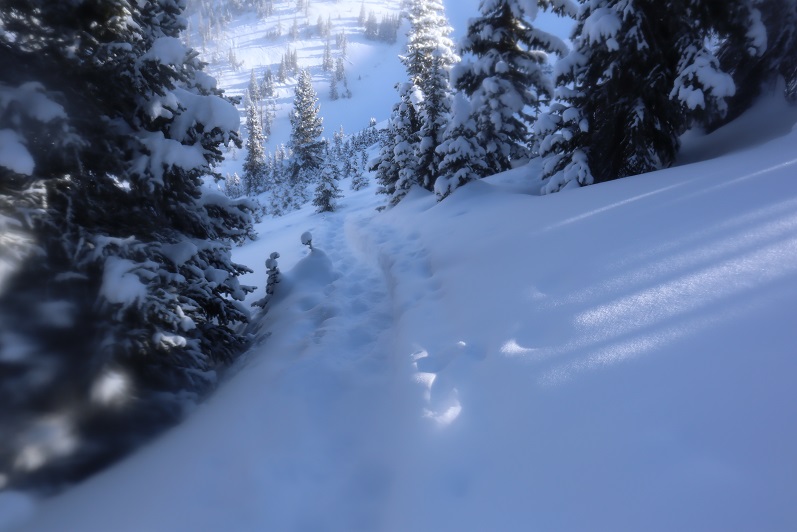
I was excited again when we finally made it to the ruins: we now had less than a mile to go!

59

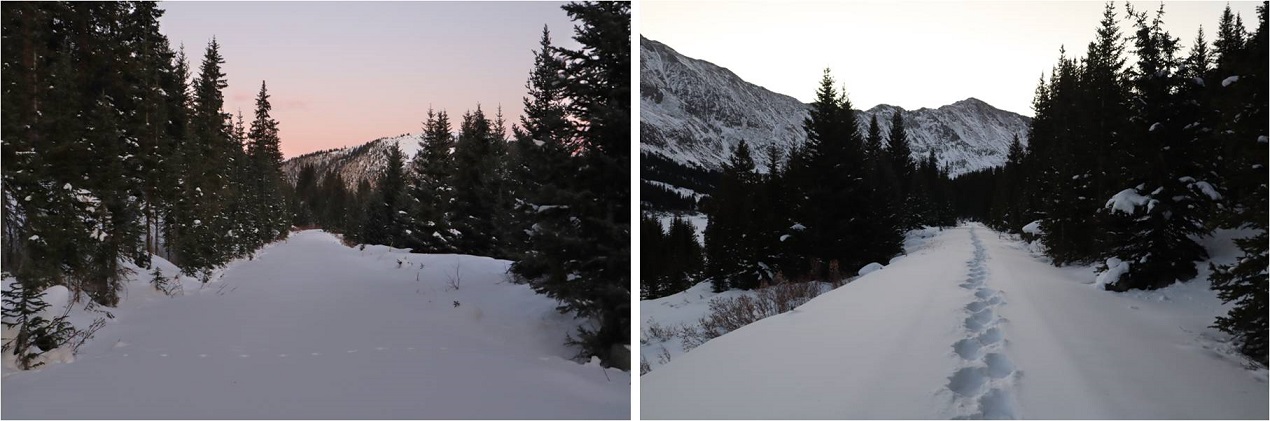
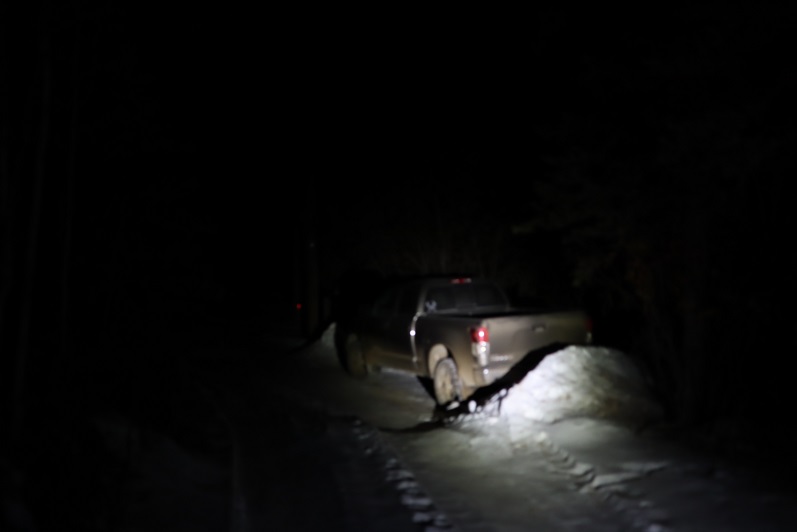
This was the easiest part because the trenching stopped and we followed our footsteps in. We made it back to my truck around 6:30pm, making this a 15.5 mile trek with 4692’ of elevation gain in 10 hours, 45 minutes.

60

I was proud of Steffen! This was the longest hike he’s ever done.  He was exhausted, and offered to cook me steak to celebrate when I dropped him off at home.

61

Mount Guyot – 13,370

1

RT Length: 8 miles

Elevation Gain 3115’

Time: 5.5 hours

As seems to always be the case, my plans changed last minute. The weather’s been so cold and windy lately I’ve been highpointing closer to home, sticking mainly to 9K and 10K peaks with less snow and warmer temperatures. I’m helping someone learn how to route find, but he has a minor heel injury.   Instead of hiking today closer to home he wanted to rest it for next week.  So I did a quick search and the best forecast I could find for a peak on my list showed 0-6 degree low/high temperature with 30mph gustss at the summit.  This would put wind chill in the negative 20s.  I debated back and forth and finally just decided to go for it:  I could always turn back, but there would be trenching involved, so at least I’d get in a good workout.

I’d wanted to be on the trail by 5:30am but I drove to the wrong trailhead. Actually, Google didn’t take me to a trailhead at all, and when I checked my map realized I was about a quarter mile away but needed to drive for a bit to make it to the correct place.  No worries though, because it was still dark outside and snowing, and I was hoping the snow would let up before I started.

When I made it to the French Gulch Trailhead it was still snowing, and a balmy 9 degrees outside. The road to the trailhead was plowed and packed down.  I decided against putting on my snowshoes right away and attached them to my pack instead.  I did put on my microspikes.

2

At 6:15am I started to the left of the trailhead sign, following the 4WD road past the closed gate.

3

4

It was snowing lightly and I could see the full moon through the clouds. It was a cool, quiet morning.  I followed the road until I came to the turnoff for Little French Gulch. Here I turned left and donned my snowshoes:  I was going to need them!

5

While the road had been pretty packed down the previous trench on the Little French Gulch trail had been filled with several inches of fresh snow. In most areas I could tell where the trail went, but the entire time I had to re-trench the trail.  I tried to see how deep the snow here was by probing it with my trekking pole, but the pole went all the way down and never hit dirt, so I’m guessing there was at least 5 feet of snow on the ground.

6

7

Last night, while looking at a topo map, I’d planned to leave the trail and head straight up the ridge just after the Little French Gulch turnoff. I realized this morning there was no way that was going to happen:  the snow was deeper here than it looks, and the first step I took I sank up to my waist in snow while wearing my snowshoes.  Nope.

8

So instead I followed the trail to just below treeline, where I turned right (west) and headed up to the ridge, switchbacking as I went. (Side note:  I took many of these pictures on my way back down.  The snow was sugary and often times I’d trench up to my waist and my camera would get covered in snow.  It was so cold I was unable to get the snow off the lens, so the pictures are a little blurry).

9

To avoid any avalanche danger I tried to stick to the trees, close to the ski area

10

It stopped snowing just as I made it to the ridge. I turned left (south) and followed the ridge.  Here the snow was rather deep and sugary, and the wind picked up dramatically.

11

12

Once on the ridge the summit was obscured with clouds. Here the snow ranged from bare ground to several feet deep.  I kept on my snowshoes.

13

Instead of going over the bump I skirted it to the left (it’s a false summit that would be more obvious without the clouds)

14

There were several snow covered ‘trails’. I chose one of the higher ones.

15

Looking back down the ridge

16

And at the rest of the route to the summit

17

While the snow had stopped and the clouds had lifted, snow was being blown from Bard Peak, turning into clouds, and blowing over Mount Guyot.

18

The wind was intense and I couldn’t see very far ahead of me due to ice crystals in the air. I considered turning back several times more than I’d like to admit, but I wasn’t beyond cold (yet) and I decided to keep going.  My toes still felt fine, and my fingers were holding up.  The ridge to the summit was mostly windswept, with a few areas of deep snow.  I kept my snowshoes on because I didn’t have the dexterity in my fingers to take them off, and I knew if I did I wouldn’t be able to put them back on again. This meant my final push to the summit ridge was slow, as I was basically carefully rock-hopping in snowshoes, trying not to twist an ankle.  Cold doesn’t begin to describe the weather:  I thought to myself how I was glad I was solo today:  everyone else I know would have turned back, and if I were with someone I would have had to turn back as well (with my Raynaud’s I have to keep moving and not take breaks, especially in the cold/wind).  I went straight up the ridge, sticking to the snow when possible to avoid the rocks.

19

20

At the top of the ridge I turned left (east) and carefully made my way to the summit

21

This area was fraught with cornices. In my snowshoes I tried to stick to the area of snow closest to the rocks, walking on the rocks when necessary to avoid the cornices.  It was cloudy when I made it to the summit, and I was cold.  Frigid even.  I kept pumping my fingers back and forth. I could feel the ice on my face, in my eyelashes, and on my hair.  Yes, frigid was a good way to describe the weather. I had sunglasses and ski goggles but couldn’t put them on because I had no dexterity in my fingers and told myself the sun wasn’t that bright anyway.  In no way was I risking taking off my gloves to get a photo of myself and I wanted out of this weather as soon as possible so I tried to take a selfie with my camera by just turning it around.  For some reason, I got a video instead (still not sure how this happens:  I should spend more time learning how to use my camera)

Summit Video:

I was finally able to get a picture (with my gloves in the way). I wasn’t about to try and get another photo.

22

There weren’t great summit views today.

23

I turned and headed back across the ridge. Check out those cornices!

24

25

Looking down the ridge

26

Most of my tracks were gone on my way back down.

27

I didn’t think it was possible, but the wind picked up even more on the way back down the ridge. 30mph winds seemed a low estimate for what I was experiencing now. Brrrr!

28

29

30

31

I was so excited when I made it back to treeline and out of the wind! Well, excited until I found the wind had covered most of my tracks and I had to re-trench them on the way back down.  The snow was soft and I frequently postholed up to my waist, causing me to twist and turn to get up, covering my snowshoes, clothes, etc. (and camera) with snow in the process.

32

After a few dozen yards the trail was once again easy to follow back down to the gulch

33

34

I’d honestly thought it would warm up when I made it back below treeline, but it didn’t. I’m kind of digging the frosted eyelash look…

35

I continued on the trail and came across some backcountry skiers with their dog. They thanked me for trenching the trail, and did a great job of smoothing it down with their skis.  I wished them luck, thanked them for smoothing my tracks down, and was on my way.  They gave me an odd look:  I smiled back, but I’m sure I looked a mess!

36

Back on the road I kept my snowshoes on just because I didn’t want to take off my gloves. It was still so cold out! There were now several cars in the parking area

37

I made it back to my truck at 11:45am, making this an 8 mile hike with 3115 feet of elevation gain in 5 hours, 30 minutes.

38

I was really glad I’d decided to hike above treeline today. I’d been a little put off due to the forecast, and I’d had to seriously push myself during the hike, but it had been worth the experience. It reminded me again when I have the option to go hiking or not, the answer is to at least give it a try.

When I made it back to my truck I took off my snowshoes and hopped into the cab and turned on the heater to warm up. The temperature outside read 12 degrees.  Slowly, I re-warmed my hands and once my fingers were moving normally again I took off my shoes, socks, and outer jackets/layers.  I was happy to see my toes looked ‘normal’!  The ice in my hair was the worst:  it dripped onto my neck/shoulders as it gradually warmed and melted. I put on sandals and started my drive home.  About 10 minutes later my foot started throbbing.  I pulled over and drat!  My toes were blue!  I turned over my foot and the entire pad was blue as well.  So much for “operation no blue toes” this year.  I was so frustrated!  They’d seemed fine when I got back to my truck, why were they hurting and blue now?  After about 30 minutes they were back to ‘normal’ again, going from blue to a waxy red and eventually back to white.  No permanent damage, just a Raynaud’s attack (they only last about 30 minutes or so, and can happen in any weather, just most likely when cold).  One way to prevent them is to stop hiking in the winter, and that’s not going to happen, so I’m going to have to learn to live with the attacks or suck it up and take the medication (I’m not a fan of drugs, so this isn’t likely to happen either).  At least they’re not affected while I’m hiking.

39


Knights Peak – 10490, McKinley Peak (UR) – 10450, San Luis Peak – 10460, PT 10100 & PT 9410

1

RT Length: 10 miles

Elevation Gain: 4094’ (debatable?)

Time: 7 hours

Partner: Steffen

Another day of local highpointing! Today I’d wanted to hit 5 highpoints off Old Stage Road and Steffen volunteered to go with me to practice some routefinding below treeline.  It was snowing (lightly) when we made it to the first parking spot.  Actually, the drive took what seemed like forever because I was careful driving on the icy road.  I had to turn around a few times before finding a big enough space to park my truck while avoiding drifts and ended up parking a little ways further than I’d wanted to.

2

We donned our microspikes, left the snowshoes in the truck, and headed west along Old Stage Road. There isn’t a trail on this one (or if there is it was covered in snow) so we just walked up this slope and continued southeast up the ridge

3

Knight’s Peak, McKinley Peak, and San Luis Peak

There was snow here, and a lot of downed trees. I let Steffen route-find since he’s learning.  In places where I would have zig-zagged to avoid branches he just knocked down the ones in the way.  My bandana kept getting caught on branches (and eventually ripped in half).

4

About half way up the ridge we ran into an old set of tracks and decided to follow them up

5

The tracks led to a rock formation

6

This rock formation had a class 3/4 chimney we used a strategically placed log to climb. This part was unexpected and fun!

7

Looking down the chimney

8

From here we continued southeast towards the summit

9

The summit block had a rather fancy trail register

10

We didn’t sign the register, but we did climb up on the rock to make sure we tagged the high point.   From here we had a great view of our next objective:  Unranked McKinley Peak.  Here’s an overview of the route we took

11

Heading down from Knights Peak was fun! We passed some stashed firewood, which made no sense to us since this place was littered with fallen trees

12

We headed towards the saddle and then up the ridge. There were some neat rock formations here too.

13

Check out the view of Knights Peak! When you descend this peak be sure to stay to the north.

14

There’s a bit of a false summit to McKinley, but the actual summit isn’t that far away.

15

We went up these rocks

16

Skirted this rock formation to the right (south)

17

Carefully maneuvered our way up this ramp

18

And noticed the summit of San Luis Peak was to the right (east)

19

So we downclimbed the rock we were on to the left (west), skirted the large rock and re-climbed with a little scrambling back to the east

20

21

And headed towards the summit

22

This part was definitely class 3-4 climbing! It reminded me of the summit block on Sunlight in the Chicago Basin, but a bit longer

23

This part was challenging for me because it required taking off my gloves. The rocks were cold and covered in a thin layer of snow, so my fingers weren’t very useful.  I did summit however, and took some photos for fun.

24

25

Here’s looking back on the other two peaks we’d already summited this morning

26

Steffen headed down the summit block first. He wanted to climb the other tower, which we both agreed seemed to be about 10 feet lower than the summit of San Luis Peak

27

28

I slowly made my way down, being careful not to slip because there was no way to catch myself. Ropes would be a good idea on this part.  Helmets too.

We fixed the cairns (they were pointing towards the lower of the two spires)

29

And headed back down the rocks. Here’s the route we took, using the tree for added support.

30

Once again, there was no path down this mountain. We just zig-zagged our way down through the trees toward the road.  It was very steep, and I was glad we’d decided to take this way down instead of up.

31

We came across a cool cave that would make a great den. We didn’t see any tracks near here in the snow, so we assumed it was vacant

32

Steffen stopped to make a snow angel

33

And we exited the trees and followed the road back to my truck

34

Here we could have taken a short cut between the mountains back to my truck, but the snow was too deep. If we’d had snowshoes it wouldn’t have been a problem though

35

Our next peak was a little ways away, so after getting back to my truck we drove on Old Stage Road back the way we’d come and found a parking spot at the base of 10100.

36

10100

There was less snow here but we kept on our microspikes, not sure of what we’d encounter. The first part of this climb was steep and ascended through lots of brush and trees, both alive and dead

37

We angled slightly left up the mountain until we came to a rocky area. We rock hopped up the rocks

38

And came to rocks that were not climbable, so we skirted the formation to the left

39

And went up a small gully

40

We turned left at the top of the gully and followed the ridge to what we thought was the highpoint, but was really a false summit. From here we could see the true summit of 10100, more to the north of us.  We could also see increasing clouds.

41

It was a short hike over to the true summit. Here we found a summit register and Steffen signed it (I don’t usually sign them, but added my WW for good measure).

42

43

The wind picked up and snow flurries began, so we decided to head back to my truck. It was amazing how different the trail looked on the way back with no visual cues to help with route finding.  On the way in I’d kept looking back at the mountains to remember how to exit, yet now the snow was so enveloping it covered our earlier tracks and I was unable to see any mountains.

44

In the snow we had a little trouble finding the correct gully to descend, but eventually found it and made our way back to the road.

45

9410

With all this unexpected snow we debated our final peak of the day, but once we made it to the trailhead we decided to go for it. Peak 9410 is an easy hike on an established trail for 80% of the time, and a good introduction to easy route finding and peakbagging. We parked at the top of a hill at the trailhead for Gray Back Peak and headed southeast on a scree and snow filled trail.

46

This trail quickly became snow packed, but there was a nice trench to follow

47

We hiked it up past point 9153 and descended a bit, losing about 150 feet in elevation before regaining it and reaching the top of a hill. The trail continues south here towards Gray Back Peak, but we found this marker on a tree and left the trail, heading east.

48

Every so often we’d see a cairn or surveyors tape, letting us know we were on the right track. We headed east and once we reached the ridge northwest towards the summit

49

50

Once again, the summit views weren’t all that great due to the snow/clouds, but the short trek had totally been worth it.

51

We found a summit register but didn’t bother to sign it

52

And instead headed back down the mountain

53

54

And back to the truck

55

We made it back to my truck at 2:30pm, making this a 10 mile hike with 4094’ of elevation gain in 7 hours, with a couple of trailhead drives in the middle.

56

But those numbers are debatable. Steffen’s numbers were drastically different than mine.  We both used Strava to track our progress, and hiked the entire time together, yet his elevation gain read in the 5000’ range, while mine was in the low 4000’.  That doesn’t make a lot of sense.  Our mileage was off too, making me wonder what’s up with the disparities.  Have my numbers been artificially low, or are his high?

Colorado Mines Peak – 12,493 & Mt Flora – 13,129

1

RT Length: 7.75 miles

Elevation Gain: 2334’

The weather always wins. The day before this hike instead of getting 1-3” of snow we got more like 8” and I’d spent quite a bit of time shoveling my driveway.  This extra snow occurred all over the state and the peak I’d intended to climb now wouldn’t have a reachable trailhead.  So I did the easy thing and just switched my plans to hike a peak with a 2WD trailhead.  Admittingly, I didn’t do much research and just left the house with a topo map and a vague idea of where I was headed.  Luckily this is one of those peaks you can do that with.

2

I’d never been to Berthoud Pass before and was surprised at how large the parking lot was. It was 12* when I arrived around 5am and I decided to put on all my gear while sitting in my truck.   Then I waited for a little bit of light before heading out.  It had snowed here quite a bit yesterday as well and there were several feet of fresh, sugary powder on the ground.  Since there were no tracks I wasn’t sure where the road/trail was so I just headed up the mountain (dotted line).  This was more difficult than I‘d expected, as I kept sinking up to my waist in the snow.  Snowshoes weren’t helping.  Eventually I made my way to a road (solid line) and realized where it went all the way down to the parking lot (whoops!) and took it all the way up to Colorado Mines Peak.   The road is located at the south end of the parking lot and without snow should be easy to find.  In the afternoon there were several tracks made to the road by others who’d known what they were doing.

3

The road was easy to follow because there were poles placed every 50 feet or so along the trail. I was postholing here as well, and my legs were getting quite a workout.

4

As soon as I was out of the trees the wind picked up and never stopped. It wasn’t more than 20mph, but it just wouldn’t let up.

5

6

There wasn’t much route finding on this part of the trek, as the road was easy to follow all the way to the top of Colorado Mines Peak. At the top there were radio towers and buildings, etc.

7

I wasn’t sure where the summit was, so I just walked all around, taking pictures of the various structures.  They’re larger than they look.

8

It was windy and cold and I didn’t feel like setting up my camera so I just got a quick selfie

9

I didn’t see an established trail from the top of Colorado Mines Peak to Mt Flora, but I could see a trail heading up the ridge of Mt Flora so I headed northeast down the side of Colorado Mines Peak towards the saddle

10

The wind was still blowing, forming a cornice along the ridge

11

The trail from the saddle up was easy to see. Snowshoes weren’t needed here, but due to the wind and cold temperatures I didn’t want to take off my gloves to take off my snowshoes, so I left them on.

12

Did I mention the wind? At about this time it was getting really annoying.  I kept thinking every time I went around a corner or over a hill that the wind would die down, but it didn’t seem to matter which side of the mountain I was on: I was getting pounded by the wind (and ice)

13

This was all very frustrating because this was a relatively easy hike, yet I was starting to get a headache from the constant wind

14

15

16

17

After winding around the mountain for what seemed like a long while I could see the last bit to the summit. Here the sastrugi was beautiful and in most places solid, making it easy to cross

18

19

There were several large cairns indicating the path to the summit

20

The summit was large and relatively flat, with cairns, signs, and windbreaks full of snow

21

22

I’m not sure what time I summited, but it still felt like early morning.

23

It was still early in the day when I summited and I wasn’t tired at all, yet I was starting to feel nauseous. This wind was really getting to me.  My balaclava had frozen to my face and I was worried I was getting frostnip on my nose (I was).  I walked around the summit and looked at some of the other peaks I’d wanted to hike today

24

This should have been such an easy hike (and it was) but I decided here not to continue on. Yes, I’d wanted to summit a few other peaks today, but the forecast called for increased winds in the afternoon and I’d already had enough.  This wind was making the morning miserable. Looking ahead at an added 6 miles of wind sounded like torture, and that’s not why I hike. I told myself I’d come back and do this hike again when the conditions were better (less wind). So I turned and headed back towards Colorado Mines Peak

25

As the wind increased and I became ever more nauseous I celebrated my decision to head back and enjoyed the views

26

Instead of going back up and over Colorado Mines Peak I decided to follow the trail that went around the mountain. Until the trail was obscured by snow and I couldn’t follow it anymore.  Then I just made my way around the mountain until I found the road again.

27

The snow here was thicker and I was glad I’d kept on my snowshoes

28

29

Here’s a look back at my tracks to the road

30

Once on the road again I noticed all of the tracks I’d made this morning were gone

31

Here the wind let up and I took a minute to take some ibuprofen. Almost immediately I began to feel better.  I could see the parking lot was full of vehicles and if I had skis I’d just slide my way down there.  The snow was all powder and the skiers seemed to be enjoying themselves immensely.

32

About halfway down the mountain I came across plenty of new tracks and two trenches on either side of the road. Needless to say, hiking down with a trench is a lot easier than trenching on the way up.  I was thankful for everyone who came after me and made a solid trench.

33

34

I was also thankful to be out of the wind. The trees were lined with fresh snow and made for a beautiful trek out.

35

I made it back to my truck around 11am and was surprised to find people tailgating in the parking lot. I guess that’s a skiing thing?  The parking lot was buzzing with activity, too many vehicles, people and pets, and I had to be careful not to run anyone over in the parking lot on my way out.  I looked at my nose in the mirror.  Yep, I’d definitely gotten a little bit of frostnip.  I wish I could find a way to keep my balaclava from freezing?  Hmmmm.  Maybe I just need to try a different brand.

I started this hike around 6am and finished just before 11am, making this a 7.75 mile hike with 2334’ in elevation gain in 5 hours. I was a little disappointed I hadn’t done more today, but felt trenching in powder had given me a good workout just the same.  Any day above treeline is a win.  I’ll be back to complete this hike soon.

36

37

Mt Arkansas – 13,804

1

RT Length: 6 miles

Elevation Gain: 2759’

I got a late start on this one but I didn’t mind much. I made it to the Freemont Pass South trailhead just before 6am, surprised to see two other vehicles already parked there.  I’m not sure we made the best use of our parking spaces

2

When I looked up at the mountain I could see headlamps. Wow!  It’s not often I’m not the first person out.   That’s what happens when you sleep in.  They were taking a different route to the ridge than I planned on taking, and I wondered if they knew something I didn’t?  You can’t really see them, but they’re circled here.  The orange line is how I gained the ridge

3

I put on my microspikes under my snowshoes and headed out. As the sun started to rise I followed the road as it wound southwest, switchbacking a couple of times

4

There were plenty of tracks on the road until I came to a straightaway. All tracks went left (east) but my instructions said to go right, so I got to be the first one on the new snow!

5

After about a quarter mile I turned left and entered the trees

6

There was no trail here but I could see the mountain. I trenched my way south, sometimes coming across ski tracks or old game trails

7

8

Eventually I made it to treeline and had no difficulty figuring out the route before me. There were some large snow drifts towards the end of the basin I wanted to avoid so I decided to gain the ridge early.  The snow here was soft and sugary and I was once again glad I’d worn snowshoes.

9

Here’s the path I took up the ridge

10

It’s steeper than it looks. Once on top of the ridge I ran into the tracks of the hikers I’d seen that morning. None of the tracks headed back down so they must still be on the mountain. I turned southwest and started up the ridge

11

12

The snow here wasn’t consistent.  In some places there wasn’t any snow, and in others it was consolidated.  I saw just enough postholing tracks from the hikers above me to convince me to keep my snowshoes on.

13

I followed the ridge to a small saddle and ascended the hill.

14

I completely thought I was nearing the end of this climb and kept looking for the other hikers. They should have been way ahead of me.  Why hadn’t I seen them yet?  I kept feeling like I was getting closer and closer to the end, which meant they should have been on their way back by now.  At the top of that hill there was a pole. This pole is important, as it signifies the correct route to take back down.  It’s good to make a mental note of where this is. I went right here

15

This is where the fun began. Once again, I totally assumed this was the summit (it wasn’t). I went up and over

16

And saw this

17

No worries… that must be the summit (it wasn’t). It was an easy class 2 hike though, until I came to a short class 4 section here, which was interesting in snowshoes

18

At the top of the class 4 section my heart sank: I still had a long ways to the actual summit, and it looked like all class 3+ from here.  I couldn’t see the other hikers anywhere and I was getting seriously worried because all tracks still pointed up.

19

I looked for the class 2 section as an alternate, but there was so much snow it wasn’t a viable option. If I was going to continue I was going to have to climb class 3 in the snow.  That wasn’t going to be possible with my snowshoes on.  I seriously considered turning back.  This would be an easy hike with no snow, one I could do quickly next summer.   I debated my chances of success in the current conditions.

I decided since it was a nice day I’d take it one step at a time and turn back if necessary.   The snowshoes weren’t necessary so I sat down to take them off and stash them while I summited.  Just as I was kicking them off (I didn’t want to take my gloves off so there was a bit of a struggle)  I saw the group of hikers coming towards me.  No, they hadn’t been slow, it had just been a much longer ridge than I’d anticipated and they’d been behind rocks when I’d made it within final view of the actual summit.  I waited for them to pass me.  I had a hard time making conversation (my mouth was frozen and it was difficult to make words) but we had a quick chat.  They said the headwall on the way they’d come up hadn’t been fun.  I wished them luck and we were on our separate ways.  I was so glad I’d decided to put on my spikes under my snowshoes!  It was worth it not to need to take off my gloves.  The wind wasn’t too terrible, but I’d need all the feeling in my fingers I could get for some class 3 scrambling.

This last route on the ridge mainly sticks to the ridge, but it does dip down a few times to the right. Here’s the route I took

20

21

22

It looked like the group ahead of me had gone a little higher in places than I did but I felt their route looked class 4 and felt more comfortable staying a bit lower. I was never more than 30 or so feet below the ridge and most of the time I was right on top.  The last push to the summit was on class 2 rocks

23

24

There was a big cairn indicating the summit. I was thrilled I’d decided not to turn back!  That had been easier than I’d anticipated.

25

Here’s my summit photo

26

It is much harder to work a camera with large gloves on than you’d think. If you have a few minutes to spare you can watch one of my attempts (I couldn’t figure out why it wasn’t working.  Turns out it was on video mode).  This sort of stuff happens frequently and wastes time on the summit.  I tend to give up quickly and go with the first shot I take, especially when it’s cold and time has more meaning.

Summit Post

27

Here’s a look back down the ridge

28

The trail down the ridge was pretty similar to the way up. Here’s a look at the tricky sections

29

30

31

32

Remember how I said that pole was important? Here’s why:  You don’t follow this ridge all the way down.  You’ll eventually turn left and follow a different ridge

33

The wind was starting to pick up, and some of the trenches forming were body-sized because of the sugary snow

34

The pole is circled here in red. Follow the ridge to the left, don’t go straight or it will take you to point 12923.

35

From here I followed the ridge to just before the headwall

36

Looking back things started to get windy

37

I turned left and headed down the side of the mountain. Down was much easier than up.

38

Here’s my exit route back into the trees

39

My tracks were mostly gone in a lot of the basin but I could see where they picked up near treeline

40

Once at treeline I just followed my tracks back to my truck, doing my best to form a nice trench

41

I made it back to my truck at 12:30pm, making this a 6 mile hike with 2759’ of elevation gain in 6 and a half hours. The hike had felt longer distance wise than it was, and I it felt shorter time wise.  I guess I kind of went into a zone when crossing the ridge and lost track of time.

42

43

Gray Wolf Mountain – 13,604

1

RT Length: 9.5 miles

Elevation Gain: 2300’

Surprised they hadn’t yet closed Guanella Pass for the season, and with the only above treeline forecast for peaks I want to climb that didn’t have forecasted “blowing snow and blustery winds” I decided to try to get in this bicentennial before they closed the road. The drive up was icy so I took it slow, arriving at the Guanella Pass trailhead at 6am.

2

3

It was windy and cold and windy. Did I mention it was windy?  I got ready in my truck, put on my snowshoes, and sat in the front seat, willing the wind to stop blowing my truck back and forth.  It didn’t, so I decided as soon as it was light enough where I didn’t need a flashlight I’d be on my way.  Today’s hike was short and I wasn’t too worried about time.

I started from the south end of the parking lot at 6:40am

4

Here’s an overview of my route

5

I followed the well trenched Bierstadt trail through the willows until I came to post #11

6

The wind stopped as soon as I descended into the basin, which was a welcome surprise. At post #11the trail continued to Bierstadt, but ended for me.  I turned left and angled northeast through the basin, doing my best to avoid the willows and creeks.

7

Avoiding the willows wasn’t too difficult, but avoiding the small tributaries and creeks was a challenge.   It seemed as if there were offshoots of water everywhere.  They were covered in a thin layer of ice and several inches of snow.  Since they hadn’t yet frozen over completely they were a hazard.  It would look as if I was walking along a section of grass, and then I’d hear cracking and gurgling beneath me.  I had to take care not to plunge step into a small creek but wasn’t too worried as they weren’t very deep.  As I made it to the middle of the basin I noticed a herd of elk moving ahead of me.  They’d obviously seen me first and were doing their best to put some distance between us.  Luckily for me I noticed they were traveling in the same direction I wanted to go, so I decided to just follow their tracks.

8

Following the elk had its advantages: they’re heavier than I am and I can see where they posthole and whether or not they break through ice.  I didn’t take the conventional way up this slope, but I felt more secure in my footing following animal tracks.

I followed game trails through the willows and trees

9

to a small plateau. Still following the elk tracks I gained the side of the mountain

10

And found a cairn! Woot!  It seems I was on the right track.  The elk had gone left and I wanted to go straight so I stopped following their prints and headed east through the willows and then followed the drainage up the basin, keeping the drainage to my right.

11

The beginning this part of the hike wasn’t too bad. I just kept following the drainage towards Gray Wolf Mountain

12

Just as I made it to the base of the peak the wind started picking up intensely. I made the decision not to ascend Gray Wolf Mountain via the ridge because I was worried the winds would be too much for me (dotted line).  Instead I followed the basin until I felt I was parallel with the summit and gained the ridge that way, thus being able to make it to the top without the intense wind (solid line)

13

Winds were forecasted at 20-25mph, but they far exceeded those numbers. The winds never slowed down and they never stopped.  It’s difficult to get a picture of wind…

14

15

Eventually I hit an ice patch and decided it was time to start climbing Gray Wolf Mountain

16

I turned left (north) and ascended the ridge

17

18

The higher I climbed the lower the wind speeds became. The snow here was either hard packed or soft and unconsolidated, making route finding challenging.  I had to go slower than I would have liked to avoid twisting an ankle in the snow hollows between larger rocks.

19

The further up the mountain I went the more snow I encountered

20

Until I made it to the ridge and saw it was mostly windblown. Here’s the path to the summit

21

And looking back, you can see a better view of the dropoff between Gray Wolf Mountain and Mt Spalding and the wind that went with it

22

As I got closer and closer to the summit of Gray Wolf Mountain the winds increased again. I had to keep my head down and body angled forward to avoid getting blown over

23

When I made it to the summit I took off my backpack to set it down and it was blown by the wind, tumbling 10 feet away from me. I hobbled back and forth in my snowshoes to retrieve it before it was blown off the mountain altogether.  Wow, those were some strong winds!  I set up my camera between two rocks on the summit cairn to get a picture of myself on the summit.  I got one before the camera was blown over.  This is me stoically struggling against the wind to remain upright in the wind. Also, I’m cold.

24

I didn’t even bother looking to see if the picture was good: The wind wasn’t stopping and I had to get out of there.  These were sustained winds that I’m guessing exceeded 60mph.  I bent down to retrieve my backpack to put it on.  I was able to get one arm through one of the straps, but tried over and over again unsuccessfully to get the other arm through.  The wind kept blowing the pack away.  Frustrated, I half laughed/screamed “STOP!!!!”  to the wind.  It didn’t listen and it wasn’t going to listen so I had to get creative.  I propped my backpack up against the cairn, turned around, sat down and put the pack on.  At this point the wind was blowing me against the cairn and I couldn’t stand up from a sitting position.  I rolled onto my side and used my trekking pole to hoist myself up.  I made the decision right there not to attempt Mt Spalding today:  If the wind was this bad at 13,600’ I could just imagine what it was like at 13,800’.

I trudged against the wind back the way I’d come

25

When I made it back to the ridge the wind lessened as I descended out of its path. I followed my tracks back to the plateau

26

27

28

Here you can see how each step varied: sometimes the snow was firm, and other times I’d sink

29

30

I followed the drainage back down, keeping the drainage to my left. The wind was again strong here, but nothing like it had been on the summit

31

I aimed for this bump in the ridge

32

33

Found the cairn

34

And headed back down the hillside and into the basin. Here you can see my tracks, along with a bunch of elk prints

35

The wind hadn’t been present here, so I was easily able to follow my tracks back to the trail

36

37

38

I only ran into an issue once, when an area I’d crossed earlier had warmed up and I stepped through the ice. I’d known water was here and traversed the area slowly.  In my snowshoes my foot didn’t even get wet, but this picture shows a break in the ice

39

I love following animal tracks!

40

There were tons of moose tracks near the boardwalks in the willows that hadn’t been there when I’d hiked in, but I didn’t see any moose. There was one other vehicle in the parking lot when I left.  I didn’t see anyone else all day so I’m assuming they hiked Bierstadt.

I made it back to my truck at noon, making this a 9.5 mile hike with 2300’ of elevation gain in 5 hours, 20 minutes. When I went to stop my tracker it had shut off about an hour or so into the hike (I’m assuming due to cold) so for mileage I’m going by my iPhone’s tally and for elevation gain I’m just using topo estimates.  Red is what Strava recorded, orange is the rest of my route, hand drawn. If there hadn’t been any wind this would have been a really easy day.  I was kind of bummed I hadn’t had been able to try Mt Spalding, but there are numerous ways I can hit it next time.

41

42

Also, apparently my balaclava hadn’t been entirely covering my face. It had frozen in the wind and I’d thought everything was covered but when I looked in the mirror I had a dime sized sunburn on the tip of my nose.  Very cute.

Mt Champion 13,645 & PT 13,736

1

RT Length: 8 miles

Elevation Gain: 3692’

I really wanted to get in this hike before they close Colorado 82 for the winter, and this weekend seemed like a great opportunity: The weather had a nice forecast so I decided to go for it.  I made it to the trailhead and was on the trail by 6am.   My truck was the only vehicle in the lot, and there was frost on the ground and glittering in the moonlight on the willows.  It had snowed 3-5 inches the night before and right now it was cold, cold, cold!

2

I’d just started out when I heard the loudest sound of tires screeching I’ve ever heard. I turned around and saw a truck’s headlights stopped in the distance.  In the dark the driver had missed the last turn before ascending up to Independence Pass and had driven about 40 feet off the road.  They were very lucky this part of the road was relatively flat!  I watched the truck as it backed up, stopped, backed up again, stopped, and backed up a third time to make it back to the road.  Once they were successfully on their way so was I.

I’ve been in this area before and the instructions I’d put together said to follow Lackawanna Gulch. So I did, but I had difficulty with the frozen stream crossings.  The usual areas had more water than I’d expected so I had to walk up and down the banks of the creek to find a place to cross.  I didn’t feel comfortable taking off my boots and fording the stream with all that ice.  I ended up turning back and starting over again when I came to an area I didn’t recognize.  Yes, I’d been here before and I knew the way I was going would get me to the gulch, but I wasn’t headed the way I’d left instructions I said I was going, so I backtracked and crossed the creek again and headed northeast until I came across a cairn, which led me to another cairn and another and I knew I was on the correct trail.

3

4

The snow was fresh and I used my trekking pole to knock it off the trees when they were covering the path.

5

The sun started to rise and through the trees I could tell the views today were not going to disappoint.

6

The trail was faint but easy to follow, even in the snow, until I made it to the avalanche area.

7

Here the trail ended so I followed some fresh deer tracks through the debris and into the trees. Keeping the creek to my right I made my way west.

8

There are a bunch of game trails here, and they all lead in the correct direction. Just before making it to the creek again I found a cairn and turned left (north) and headed up Champion’s east ridge.

9

There was no trail here, or if there was it was covered in snow. I followed a steep rocky drainage up the slope and towards a mine.

10

11

Once at treeline the wind picked up a bit, but stayed at the forecasted 20-30mph. I made it to a 4WD road and decided to do some exploring of the Champion Mine as an excuse to get out of the wind for a bit.

12

There was old equipment littered about the area

13

I stayed here for about half an hour taking pictures. I didn’t spend too much time inside because in the wind it didn’t feel too stable.  There was a lot of creaking going on.  I headed back to the road and continued heading northeast up the side of Mt Champion.

14

15

This was by far the most difficult part of the hike for me. It wasn’t technical at all, but I haven’t hiked in snow for many months and I was using muscles in my calves and quads I haven’t used for a while.  I’d brought snowshoes and seriously considered putting them on, but in the end didn’t because I felt they would be overkill in such little snow and this was actually good conditioning for the months to come.  The snow was about 6-8 inches deep in its deepest spots, and at times there was bare dirt. I aimed for the ridge and followed it up.  Note: this is not the summit

16

But it’s close. This is the true summit

17

The summit was marked with a cairn and summit register (which I didn’t touch).

18

I was surprised to find a cornice already beginning to form on the summit. Surprised because this was the first snowfall here of the season.

19

I was quite cold and debated heading over to PT 13,736: that last bit of elevation gain after the mine had worn me out!  Did I mention the views?  Absolutely amazing!!!

20

21

Of course I decided to continue on (I wasn’t that tired, just a bit out of hiking-in-snow shape).  The trek over to PT 13,736 is a straightforward scramble along the ridge

22

I had to be careful because some of the rocks were large and the spaces in-between them was often covered in snow and my feet could fall between the cracks if I wasn’t paying attention. I probably took more time on this ridge than it required, but I didn’t slip, fall, or twist an ankle.  Microspikes didn’t seem necessary, my boots provided enough traction here.

23

Once again, windy, but with the balaclava and hat it was tolerable

24

Here’s the last push to the summit

25

26

The summit was small and full of large, snow covered rocks.

27

I set up my camera, sat on a snow covered rock and took 1 picture of myself. I was super glad when I got home and saw the picture turned out ok because it was the only one I took (logistics made it difficult to take a picture of myself on this summit).  I didn’t see a summit register, but it was probably buried under the rocks and snow.

28

The views from here were as equally amazing as from Mt Champion

29

Here’s the route back to Mt Champion, and the North Lake Creek trailhead is circled in red.

30

A short way down from the summit I met another hiker! I was very surprised to see anyone else out here today.  We talked for a short while, but I don’t do well standing still in the cold so I was probably a little quick to end the conversation.  He said he might be headed over to French Mountain after this, and had taken the road in.  I wished him luck and was on my way

31

Re-summiting Mt Champion was easier than I’d thought it would be: I wasn’t nearly so tired after taking the ridge. Heading back was a breeze as all I had to do was follow in my previous footsteps.

32

33

Here’s the route down from the summit of Mt Champion

34

By now the sun was warming up the snow and it was getting slippery, but I still didn’t feel I needed traction

35

36

I found the rock drainage again and followed it back down the mountain

37

I slipped here. Twice.  Turns out snow covering moss that’s still green is slippery when the sun warms it up.

On my way out of the gulch I stayed higher in the trees than on my way in because I found a cairned trail. I followed it until it disappeared and then followed game trails to the avalanche area.

38

Where I linked up with the trail I’d followed in and followed it back out. The sun had already melted out a lot of the snow from this morning.

39

The creek crossing was much easier to navigate in the daylight and I found an easy place to cross

40

From here I could see the dirt road, so I aimed for it and followed it back to the trailhead.

41

I made it back to my truck at 1pm, making this an 8 mile hike with 3692’ in elevation gain in 7 hours. I was surprisingly but pleasantly sore from such little mileage/elevation gain.

42

43

Rito Alto Peak – 13,794

1

RT Length: 9 miles

Elevation Gain: 2849’

This was my second attempt of Rito Alto Peak, as the last time I was here I had to turn around due to downed trees and too much ice on the 4WD road in. The weather forecast for today showed heavy winds (70-80mph) overnight that would calm down to 30mph around 8am, and a 20% chance of snow between 1-3pm.  I wanted to summit 3 peaks today:  Rito Alto Peak, Hermit Peak, and Eureka Mountain, and I figured if I started around 6am I should be able to summit them all and avoid the weather in the morning and the afternoon.  Note:  most of these pictures have been lightened because it was darker than anticipated and the pictures didn’t turn out well.

Let’s talk about Hermit Pass Road: It’s definitely a high-clearance 4WD road I wanted to drive when I wouldn’t need to pass another vehicle.  October after the leaves had fallen off the trees seemed like a good time.  It took me about 45 minutes to go the final 3 miles to where I parked around 11,300’.  My Tundra handled it just fine, but it’s not something I want to drive again.

2

The wind was howling and I was seriously worried a tree would fall in the road while I was hiking and block my drive out. Note to self:  time to put the axe and shovel in the back of the truck again.  At one point I saw a two person backpacking tent (set up) on the side of the road.  I thought to myself “Wow, they’re camping seriously close to the road.  Who would do that?” (I’ve done this before near a trail, but never on a road).  Then another gust of wind blew and the tent flew about 30 feet into the air and over my truck.  Hmmm… seems like someone lost a tent.

I parked around 11,300’ but my truck could have made it all the way to the top of the pass. There were a lot of camping areas along the road, but not many areas to pass another vehicle.

3

I parked my truck and got out my gear, glad to notice it seemed the wind had stopped. My GPS stated it was 3.6 miles further on this road to the pass. I started hiking along Hermit Pass road at 6am.  The stars were out in full force and there was only one small cloud in the sky, illuminated by the moon.  The road was no more fun to hike than it was to drive.  There are so many bowling ball sized rocks that you have to be careful where you step.  At least there wasn’t any route finding involved.

4

I made it to Horseshoe Lake just as the sun was beginning to rise. I could see a thin layer of ice on the lake.

5

As I followed the road it curved around the hillside and up towards Hermit Pass. Here I got my first (and best) view of Rito Alto Peak.  The summit was in the clouds, but I figured by the time I made it there the fog would have lifted.

6

Once again, well defined road to the pass

7

Here’s looking back on the road from the top of the pass

8

Just before reaching the pass I left the road and climbed a rocky gully to reach the ridge.

9

Once on the ridge I looked to the west and assessed the weather situation. The wind picked up and it was pushing the fog towards me at an accelerated pace.  “Good” I thought.  “The wind should push the fog past me around the time I make it to the summit.”   Unfortunately, mountains make their own weather.

10

I turned northwest and headed up this rocky section

11

And onto the ridge

12

From here it was a simple class 2 ridge hike to the summit

13

Here is where the wind seriously started picking up, bringing the fog with it at an alarming pace. I could see it rushing up the mountainside towards me

14

I continued following the ridgeline as the fog turned into clouds

15

16

Now I could only see a few feet in front of me, and wondered how I’d know I’d made it to the summit?

17

That’s when I saw it: A flag and cairn in the distance!

18

I headed towards that flag and when I got there I dropped all my gear and took a photo

19

It was cold and that wind was brutal. I took some pictures of the memorial

20

And was taking a picture of the flag again when I noticed it:

21

I wasn’t at the highpoint of Rito Alto Peak. The wind slowed down for a bit and I could see the terrain angled up ahead of me. Frustrated (why would the memorial be below the summit?)  I gathered my gear and continued north for a couple dozen yards in almost no visibility.  The rocks got larger and then I felt they were heading down.  I had no idea if I’d reached the summit because I couldn’t see anything.  I took a selfie (lightened for clarity) and a picture of the rocks (not lightened) and decided to head back down, hoping the clouds at this point would have cleared enough below for me to see my way to Hermit Peak.

22

The clouds I expected to dissipate as I hiked down instead grew thicker and I had a hard time orienting myself because I couldn’t see any landmarks. I just kept aiming southeast, hoping I was following the ridge.  Every once in a while the wind would slow down and I could see a few yards ahead of me.

23

I was thrilled when I made it to a point where I could see the road again! It looked like this was where the clouds were at their lowest.

24

Foolishly I entertained the idea of waiting them out. I honestly expected the clouds to lift at any moment because weather wasn’t predicted until 1pm today (and then only a 20% chance). Instead of hiking down to the road I hiked straight to the pass, hoping to see Hermit Peak.  When I got to the pass I couldn’t see Hermit Peak, or much of anything really

25

I did see this…

26

Undeterred, I decided to hike to the road slowly. Maybe the clouds would lift in the next few minutes?

I found a sign saying “road closed” and a trail register

27

The clouds grew thicker. Argh!  I had all day to hike and I wasn’t even tired at this point.  I really wanted to summit Hermit Peak and Eureka Mountain today as well, but without visuals I didn’t want to continue on.  I also really didn’t want to come back for these peaks:  that 4WD road in had not been pleasant and I didn’t want to drive it again.  The weather was rapidly deteriorating.  I wasn’t worried about summiting the 2 other peaks, I was worried about the descent from Eureka back to the lake.  I’d had a good look at the route on the way in and in case the clouds didn’t lift (I still thought they would) it wasn’t a route I wanted to attempt with low visibility.

28

I wrestled with my decision for longer than I’d like to admit, and in the end chose to head back. This ended up being the correct choice:  The clouds continued to form and followed me down the road.

29

The clouds played tricks with my eyes: it was if I could see each tiny particle swirling around in the mist. It was beautiful to watch but caused me to blink my eyes every so often to refocus.  Visibility got a little better as I made my way back to Horseshoe Lake.

30

Here’s a look at the road back out

31

It kept getting colder and colder and then it started to snow. The snow was peaceful and nice to hike out with.

32

Yes, turning back had been the correct decision, but I felt a bit deflated because I didn’t get in as much elevation gain/mileage today as I’d hoped. Those clouds never lifted, they just got worse, and the snow had been quite unexpected this early in the day.  I made it back to my truck at 11am, well before the possible snow time of 1pm.  This was a 9 mile hike with 2849’ of elevation gain hiked in 5 hours.

33

34

I kept apologizing to my truck on the drive down: I love my truck, and this road isn’t something you do to something you love. At this sign it’s 6.7 miles up to Hermit Pass.  I know I’ll be coming back to hike Hermit/Eureka, and I want to summit Rito Alto again at the same time so I can get better summit shots. Physically the hike really wasn’t very difficult from the pass.  Next time I think I’ll just park here and make it a long day (or possibly come in another way?).

35

Here’s a look back at the weather on my way out. The snow didn’t stop for as long as I had the mountains in view.

36

For some reason I was under the impression the name of this peak was “Rio Alto Peak”. Maybe I just spelled it wrong in my notes the first time and never caught the error?  It wasn’t until I came home and looked at my log on a topo map that I realized my mistake.  Whoops!


Deer Mountain A – 13,761

1

RT Length: 10.5 miles

Elevation Gain: 3737’

Immediately I knew something was wrong. It was still dark outside, but my alarm hadn’t gone off.  I threw back the covers and grabbed my phone:  it was 3:24am.  Drat!  If I were the kind of person to swear several choice words would have been uttered.  I had set my alarm correctly for 11:45pm, and wasn’t sure why it didn’t go off? I need a new phone because stuff like this keeps happening.

I’d wanted an extra early start today because I was meeting a friend to go Raft-packing tonight and wanted to get there with plenty of rafting in the sun time. Oh well.  I sent a quick text to my friend saying I’d be a little later than intended and was out of the house by 3:30am.

I made it to the North Halfmoon Creek Trailhead at 6:10am. Well, almost there.  Someone had put large rocks in the last ‘difficult’ area before the trailhead (most likely an owner whose vehicle shouldn’t have been out here in the first place because it didn’t have enough ground clearance).  In any event, I just got new tires yesterday and didn’t want to subject them to those pointy rocks (mentally grumbling because I wouldn’t have thought twice about this section if the rocks hadn’t been there).  So I made a 30-point turn and parked just below the trailhead on the side of the road.  When I came back another driver with a competent vehicle had done the same.  I put on my helmet and started on the trail at 6:30am.

2

3

As I got out of my truck it started raining. Luckily it didn’t last too long.  There was a 4Runner in the lot when I got there (the only other vehicle I saw all day).  The North Halfmoon Creek Trailhead has wonderful signage.

4

It was weird starting this hike in the daylight: I haven’t started a hike this late in a very, very long time. It made route-finding so much easier!  There were a bunch of small avalanche areas along the trail which had been cleared so they were easy to walk through.

5

The first part of the trail is very easy to follow

6

I continued straight at the Mt Massive turnoff

7

Through a small forested area

8

Up a large rocky area

9

And came to this junction. Here I went left, even though it’s ‘blocked off’.  I believe going the other way takes you to Mt Oklahoma.

10

Here the trail ends and the fun begins! I traveled west, crossed a small stream

11

Continued across an open area back into the trees

12

And crossed another stream

13

Back into the trees the ‘trail’ looks like this

14

I angled southwest down the mountainside, losing about 100’ in elevation. There were tons of game trails here, but not one that were consistent.

15

After losing about 100’ of elevation I came to a recent avalanche area. It hadn’t been cleared and there’s no straight path through the debris.  It started to snow.  At this point I was glad I’d started late because this wouldn’t have been fun to traverse in the dark.  Luckily it wasn’t too difficult in the light of day.  I just looked for the path of least resistance, crossed, and then headed down to North Halfmoon Creek.  The snow ended before I reached the creek.

16

17

When I made it to the creek I followed it to the end of the basin. At first I walked through the willows, but (obviously) this wasn’t ideal

18

After a few dozen yards I looked over at the creek, noticed the top of the rocks were dry and decided to just walk along the creek to the end of the basin. This ended up being a fabulous idea and saved me quite a bit of willow-time.

19

At the end of the basin the creek becomes a small trickle. Here I turned right (northwest) and headed up a grassy gully and then another, more rocky gully. The grassy gully was full of terribly mean-prickly plants.

20

Here the terrain became rockier, with loose talus and unstable rocks. At the top of the gully I turned left (west).

21

The goal from here is to gain the saddle. I took the solid line up (thinking it would be easier) and the dotted line down.  The dotted line down the gully was much easier.  If I were to do this again I’d take the dotted line both up and down the saddle.

22

At the saddle I turned left again. My goal now was to gain this point (which is a false summit).  Once again, with no trail I just headed towards the peak.  This is steeper than it looks, but still class 2

23

Until you get here, and then it becomes a class 3 chimney. There are several chimneys to choose from.  I went straight up the center.  It was a little loose, but there were plenty of hand/foot holds.

24

At the top of the class 3 chimney I still wasn’t there: I continued along this ridge.  The best option here is to stick to the right.

25

As you can probably tell by the photos, here’s where it started to get icy. What you can’t see is that it was quite windy as well.  I made it to the final ridge section and had a choice:  I could turn back now and attempt Deer Mountain A at another time, or be extra-super careful and continue on.  I kept going, but slowed down my pace so I could be extra careful where there was snow/ice.

26

This ridge is short but packs a punch (especially with wind, which there was). The boulders here are very large and unstable, with huge gaps between them you could fall through.  Also, there’s exposure.  I’d liken it to Halo Ridge but add larger drop spaces and tons of exposure.  I would not want to do this in winter where the snow would make invisible the huge gaps between the boulders.  Somewhere along this ridge the wind swept the paper I had made with instructions on how to attempt the final summit push out of my pocket.  Lovely.

27

Once across the ridge I came to the most difficult part of the climb. This is class 4, and took me a few attempts to figure out (I hadn’t quite memorized the instructions I’d just lost).  At first I started with the circled area, but about ¾ of the way up came to a place that felt way too committing to be class 4 (even for someone short like me) so I retreated and tried again.

28

I took another look behind the ridge and decided this was not the better option, as this side was much icier than the one I wanted to climb. I tried again in another area and this time was successful making it over the ridge.  I had to take off my mittens here to climb, and my fingers were becoming numb: I kept putting them on and then taking them off again to climb. Here’s the route I took.  This felt solid class 4.

29

30

Once on top of the ridge I wasn’t happy to see all the ice (it’s pretty much invisible in these photos, but it’s there). I once again committed myself to being extra careful as I mapped out the safest route.  This is the route I took (sometimes on my hands and knees on the rocks to avoid slipping)

31

32

From the top of this area it was a short walk to the summit

33

I summited at 10:20am

34

Deer Mountain A Summit:

The wind was still a steady 30-40mph at this point and I didn’t want to stay long because I was worried about my fingers. Here’s a look back at that ridge after the class 3 section.

35

Ok, time to head back. Here’s the route I took back to the class 4 section, aiming for a small notch in the ridge

36

37

Here’s what it looks like heading back down the class 4 area. You can see why I didn’t want to take the icy area up or down: it was flat, unclimable rock due to the ice

38

Back over the ridge with the large boulders

39

From here you can see the rest of the route back. Oh, and amazingly enough I spotted my instruction paper stuck under a rock.  It took some fancy footwork, but I retrieved it and, no longer needed, I put it in my pack.

40

Here’s looking down the class 3 chimney

41

And the class 2 section back down to the saddle

42

At the top of the gullies I aimed for the creek and headed out. This is where my fingers started to thaw.

43

I followed the creek most of the way

44

While following the creek, about halfway to the avalanche area I came across a male hiker, surprised to see anyone this far off trail. I asked him where he was headed (expecting him to say Deer Mountain).  “Mt. Oklahoma” he replied.  He’d never heard of Deer Mountain.  I wished him luck and was on my way.  I’d hiked on over a quarter of a mile before thinking much of it, but he’d passed the route I’d taken to summit Oklahoma about half a mile before reaching me. I know there are several ways to summit each mountain, and hoped he knew of a different route.  Otherwise, he was off track. I wished I’d had a way to let him know, but he also looked like a competent hiker and it was still early in the day with no chance of storms, so if he was off route he had time to figure that out.  I got a picture of his vehicle at the trailhead (the only other one there) just in case.

I made it back to the avalanche area, crossed the streams, and found the trail with no difficulties. The rest of the hike out was uneventful.

45

46

I started at 6:30am and ended at 1:30pm, making this a 10.5 miles hike with 3737’ in elevation gain in 7 hours.

49

48

And now to meet my friend for some early October rafting/camping along the Arkansas River!

Rio Grande Pyramid – 13,825

1

RT Length: 23.5 miles

Elevation Gain: 5115′

NOTE:  I have been to this area again, and have a better approach.  Please use this approach to the base of Rio Grande Pyramid.

I finally received my new camera in the mail and was quite excited to try it out. I left my house at 8pm and arrived at the Thirty Mile Campground at 1am after a long but easy 2WD dirt road in. There’s a designated area for backpackers/hikers to park.

2

I really wanted to get out on the trail, but as soon as I parked my truck it started raining. Hmph! It was supposed to stop raining at 1am, but from the looks of things the rain was just getting started. So I got all ready to go and then leaned the drivers seat back and tried to get some rest. I set my alarm for 20 minute intervals, and after the fourth time realized the rain wasn’t going to stop so I might as well get going. I put on my poncho and snow gear (I’m still in the market for waterproof pants, choosing instead to get the Alti Mitts this month because keeping my hands warm is more important) and headed out on the trail.

This is the start of the trail. It follows the Weminuche Trail.

3

4

I signed the trail register (which was a mess!!! It needs a new notebook) and was off

5

The beginning of the trail is easy to follow, if a little muddy. Since it was raining I expected the mud. I hiked alongside the Rio Grande Reservoir and after a little over a mile I turned left and headed up the drainage area. As I was hiking here I heard a loud “snap” and figured I’d scared a deer.

6

There was an easy creek crossing

7

and lots of mud (mixed with horse manure)

8

After turning the corner to the left (south) I encountered a small boulder field

9

Before coming to a well built bridge at 2 miles. I crossed the bridge and turned left. It was still raining.

10

From here the trail switchbacked a bit through some aspen trees

11

and was a bit washed out in areas but there were side trails to navigate the damage

12

From here I hiked for what seemed like forever along the CDT. Forever. It was relatively flat hiking and I could tell I was in a basin, with lots of large boulders strewn about and open space.

13

At 4.2 miles I came to another stream crossing

14

and continued hiking in the mud (and rain) to another stream crossing at 5.3 miles

15

There also seemed to be camping here

16

Still on the CDT, I went right here

17

and kept following the CDT

18

After 6.8 miles I came to the CDT Junction and once again stayed right

19

Now heading west I passed a small pond and celebrated the rain stopping (finally!!!)

20

I entered and exited trees and came to an area that looked good for camping after about 8.5 miles

21

I entered the trees again

22

23

and after what seemed like forever (9.5 miles actually) I made it to treeline! Still on a good trail I passed another small boulder field

24

At the top of the boulder field I had a choice to go left or right. I went right (although both ways will get you where you need to go). Overall, I felt the way I chose was shorter (at least, it should have been if I’d taken the direct route the first time and not got bogged down in the willows).

25

I made it to the top of the hill and this is what I saw. All I needed to do was to make my way around the willows to the gully and ascend the rest of the way to the peak. Also, it was evident it had been snowing on the peak while it had been raining on me this morning

26

Here I lost the trail, and initially tried to cut across the willows and head straight for the gully. That didn’t last long: there were little streams everywhere and boggy areas and the willows were saturated with water (so I became so as well). It looked like there were trails through the willows, but they always ended at a stream and an area of willows too thick to pass.

I retraced my steps and went right (northwest) and trudged up the hillside. Eventually I found a surprisingly intact trail and followed that around the mountainside and up towards the gully (on my way back I followed the trail further, knowing where it began).

27

Here there were still willows but they were much more manageable. An added bonus was the sun was starting to warm things up and evaporate the rain. I was still “soaking wet” but now I was able to dry off in the sun.

28

Once out of the willows I followed the cairns up the hillside and aimed for a class 2 gully

29

30

This gully wasn’t really that bad…

31

and at the top there was a cairn

32

All I had to do now was head straight up the slope to the summit. Unfortunately, here is where the sprinkling of snow began. It didn’t require traction, but it did require careful footing, as a lot of the snow had turned into ice.

33

The boulders were a bit loose, but I found several dirt paths that led straight up

34

After hiking for 11.7 miles I summited at 8:50am

35

Summit:

It was really, really windy at the summit, and while it had looked clear while hiking up from below, now I wasn’t so sure. The wind and snow made it cold, and looking at those clouds I wanted to make it down as soon as possible. Those mitts has been a good choice.

36

Route finding on the way down was much easier than on the way up.

37

Here’s a look at “Fools Pyramid” if you’re thinking of attempting it. I had another big day tomorrow and I was worried about the potential snow for today so I didn’t head that way, but it’s definately something I’d consider in the future. I found a really great camping spot near treeline (before the boulder field by a stream) that I’d like to hike into some day, spend the night, hike “Fools Pyramid” and PT 13,261, camp again, and hike out the next day. Today was not that day.

38

Once at the top of the basin here’s the route back on the CDT

39

40

The further I descended the more the wind picked up. I heard what sounded like gunshots and realized I was hearing trees falling over. I kept looking at the clouds, wondering if it was going to rain again, but the wind seemed to blow them away as quickly as they came.

On my way down I came across a strawberry patch and even a few raspberry bushes.

Back down in the basin I had a clear view of the trail in the daylight. What I thought might have been tents in the dark ended up being large boulders. The wind here became insane. I’d stir up a bird as I was walking on the trail, and startled, it would try to fly away, only to be swept sideways in the wind. This happened about a dozen times (the birds were sheltering from the wind in the bushes) and I felt bad every time one took to the air. They were usually pushed by the wind sideways into bushes.

41

42

Just before I made it back to the bridge I came across someone who had all the right equipment but looked too clean and tidy to be a thru hiker. I asked him where he was going and he said he’d just started and was trying to find a lake. I’d travelled pretty far and hadn’t seen one, and told him as much. His response was it was 180 miles in. I was jealous, and wished him luck.

The last 5 miles took what seemed like forever for me to complete, and I was glad I’d chosen not to summit those two other peaks: I was tired!

I made it back to the trailhead at 2:30pm, making this a 23.5 mile hike with 5115′ of elevation gain in 12 hours.

43

44