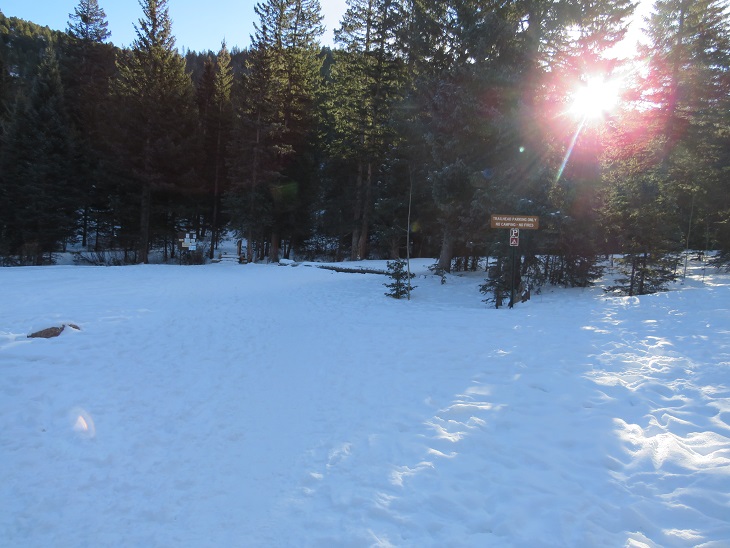
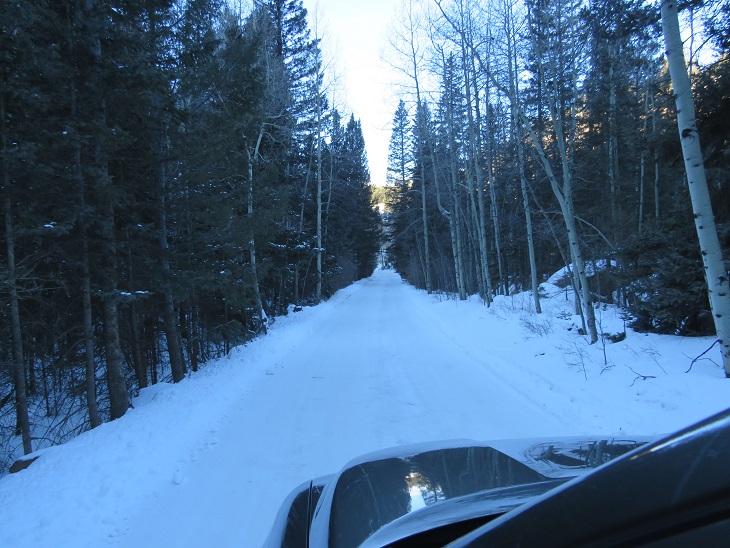
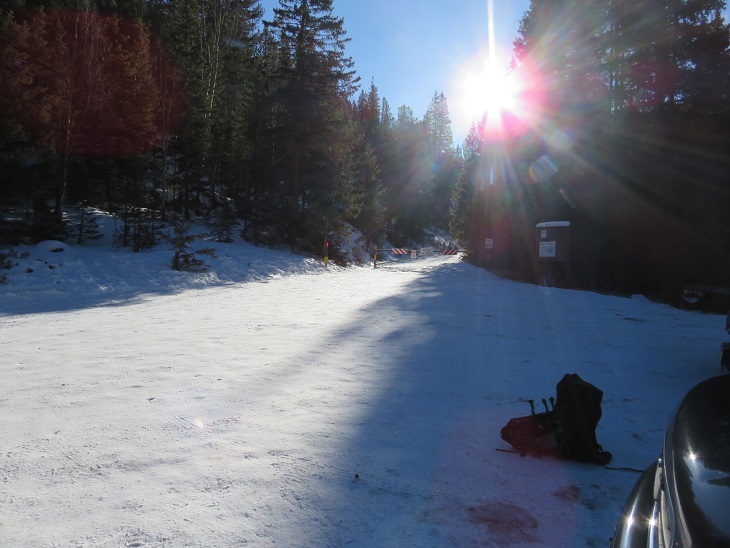
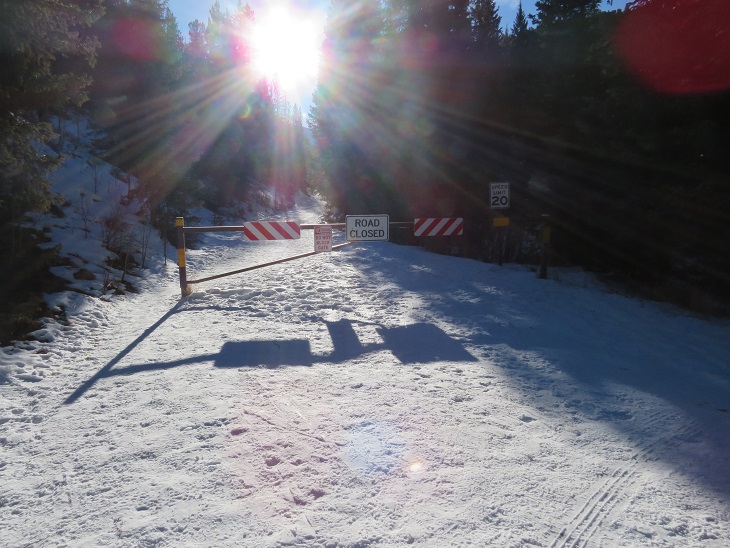
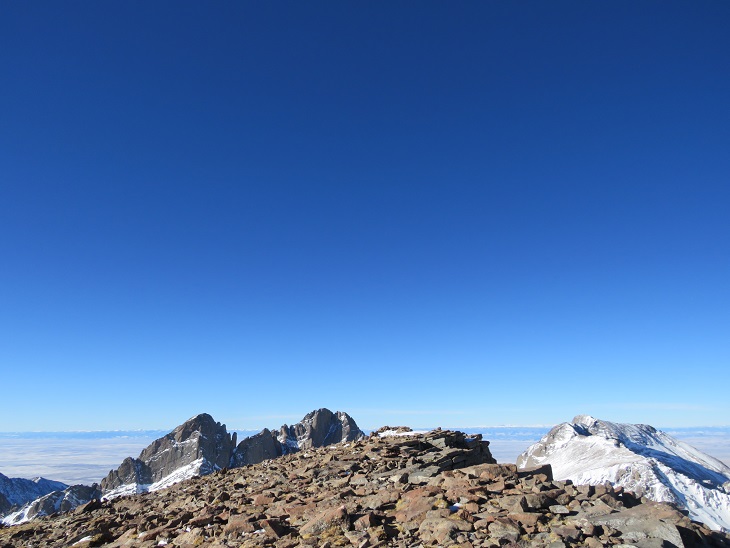
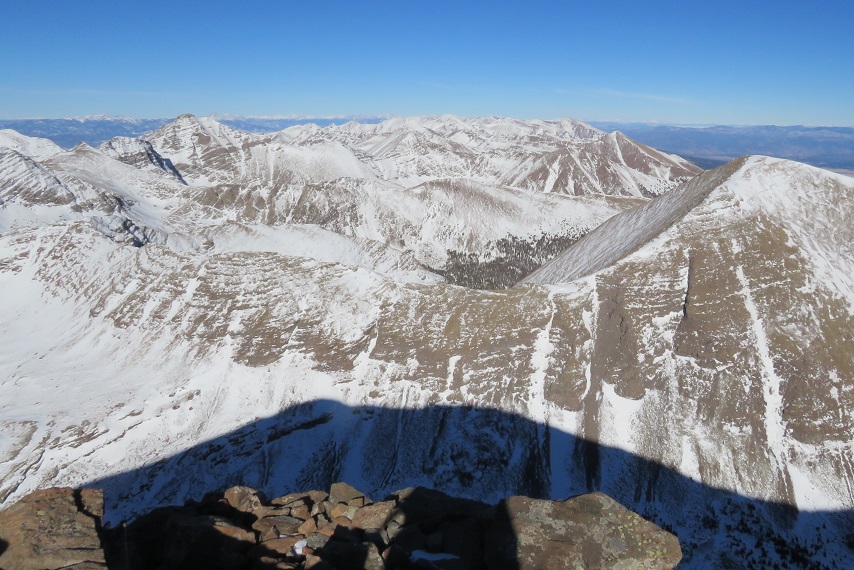
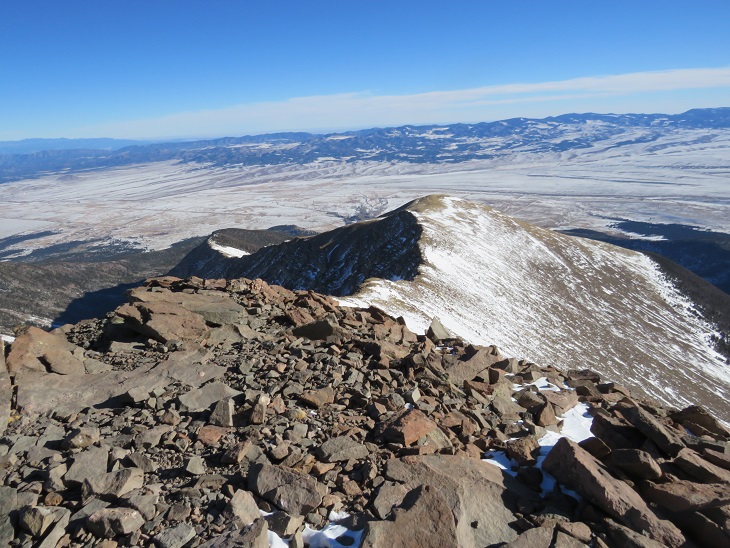
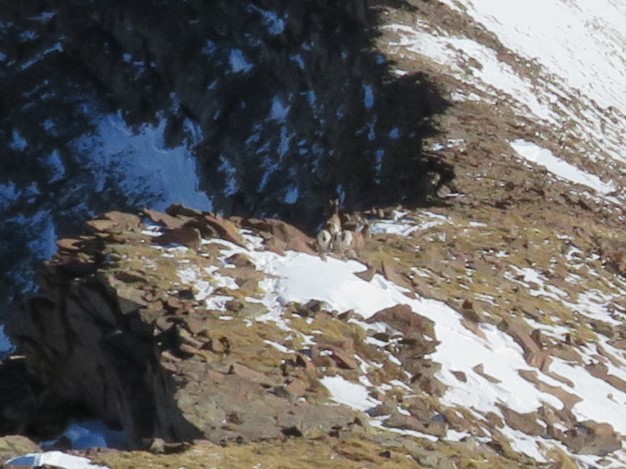
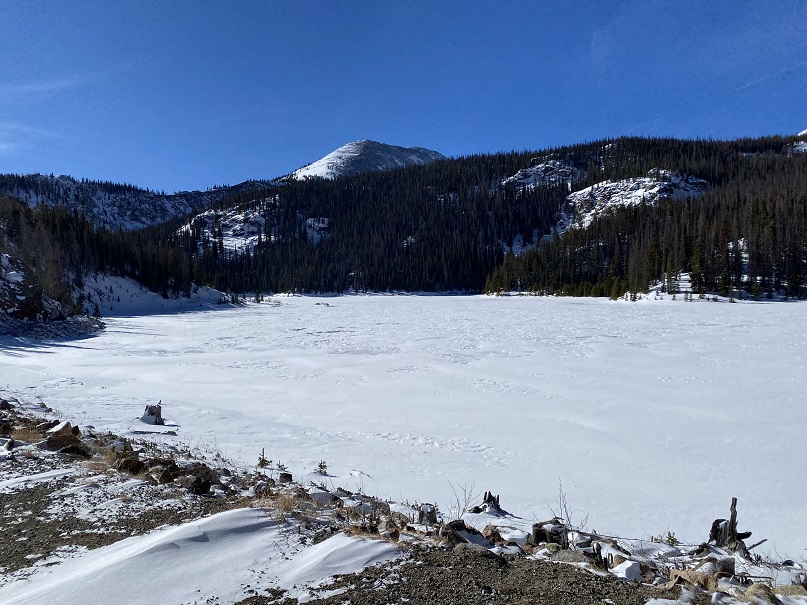
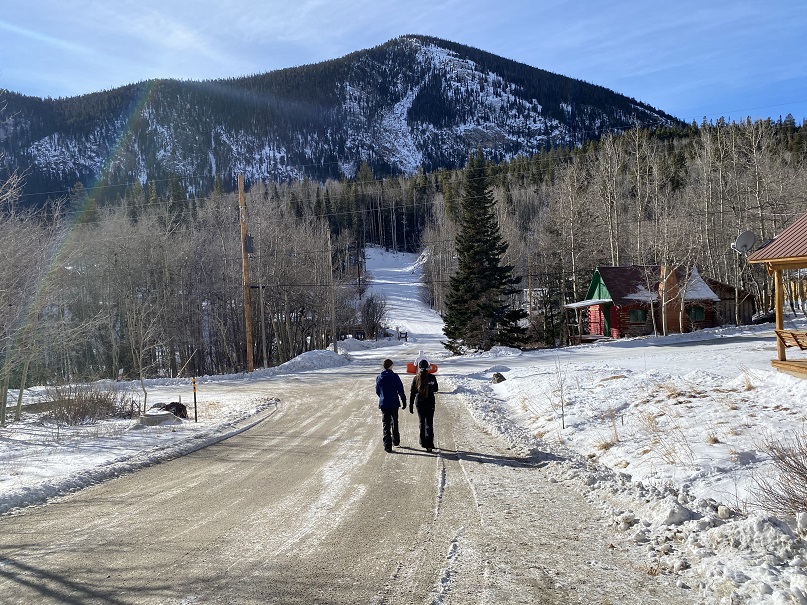
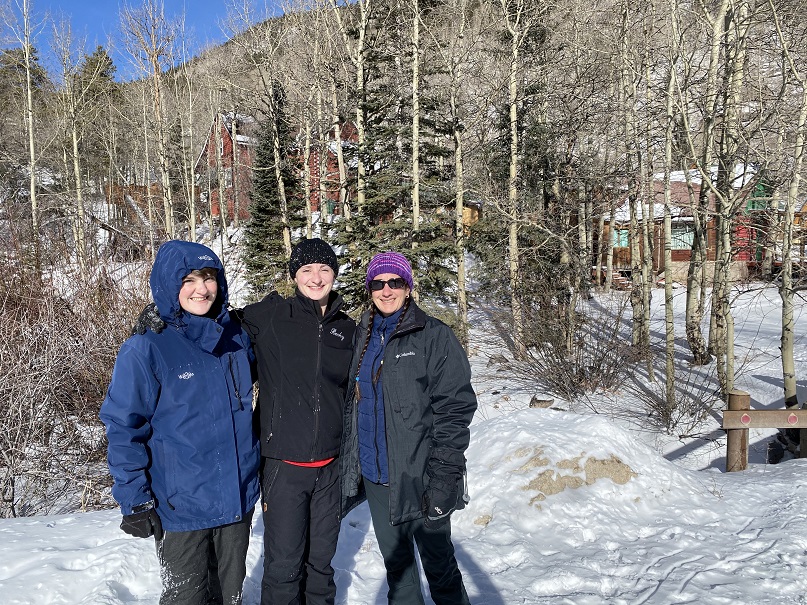
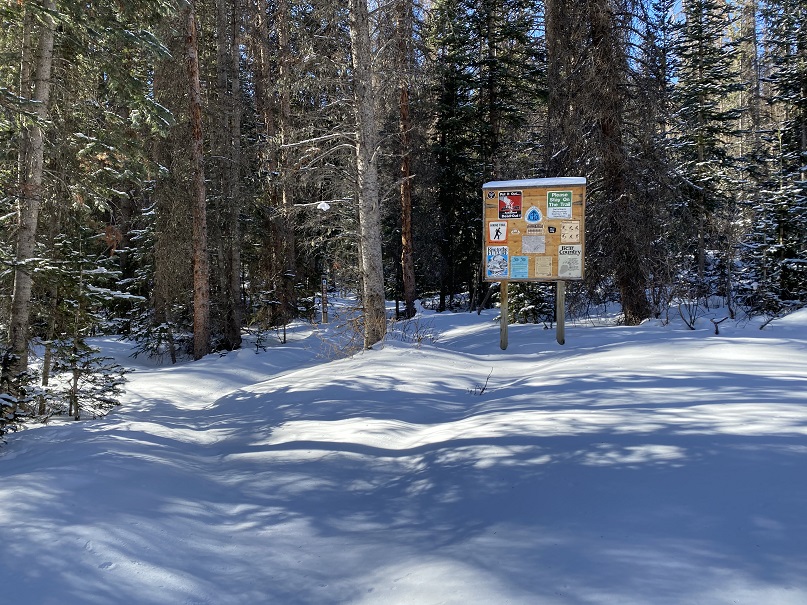
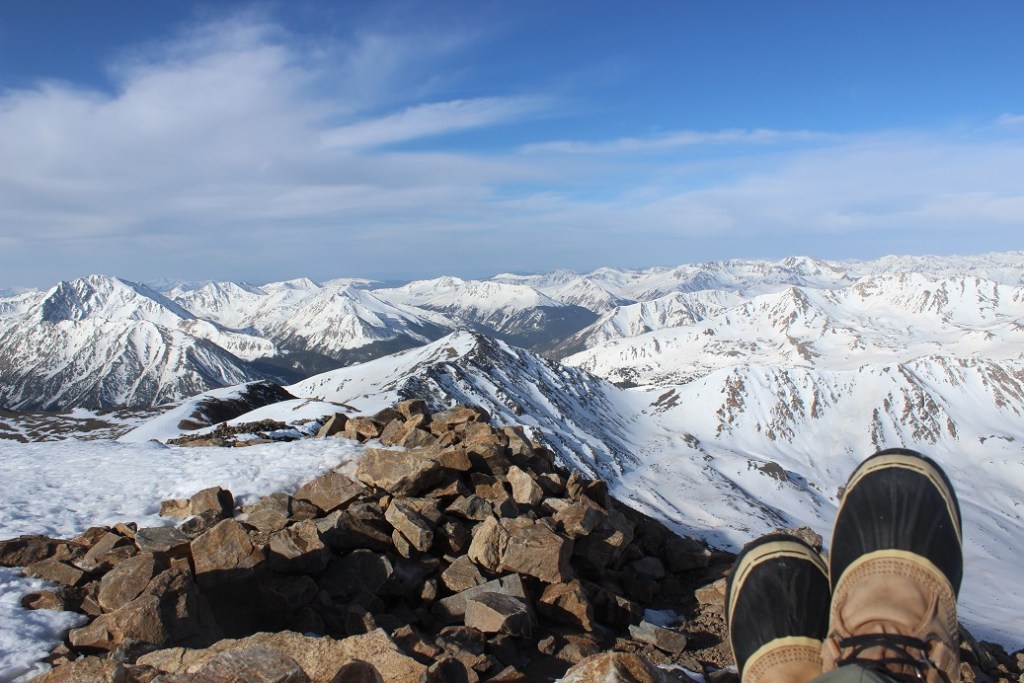
I arrived at the trailhead to find the roads icy but plowed all the way to the winter closure. I was actually kind of surprised to find the gate closed, and this altered my plans just a little bit: I’d planned to drive down the road to other peaks after this one. With the road closed I didn’t have enough time. I parked my truck and gathered my gear, noticing there was a light on in the vehicle next to me. No one was inside the vehicle, and the doors were locked, so I couldn’t turn the lights off for them. I’m guessing they were hiking Pikes Peak today, and would most likely run down their battery. Luckily this is a popular trailhead, so they should be able to find help nearby.
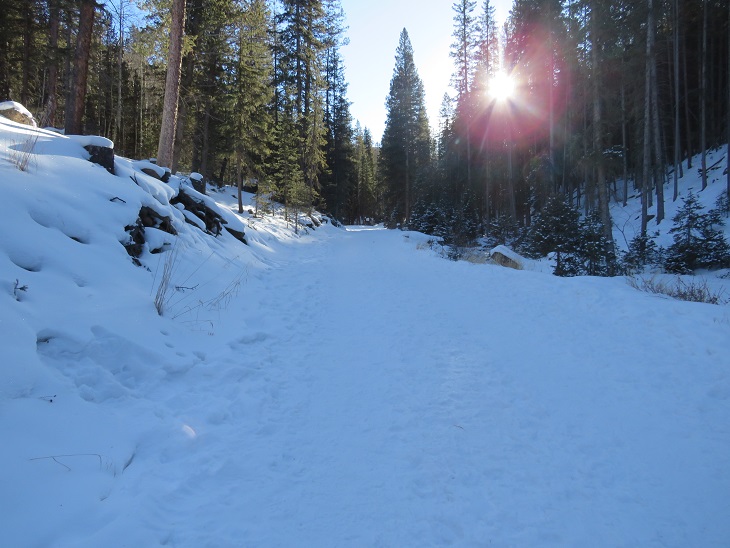
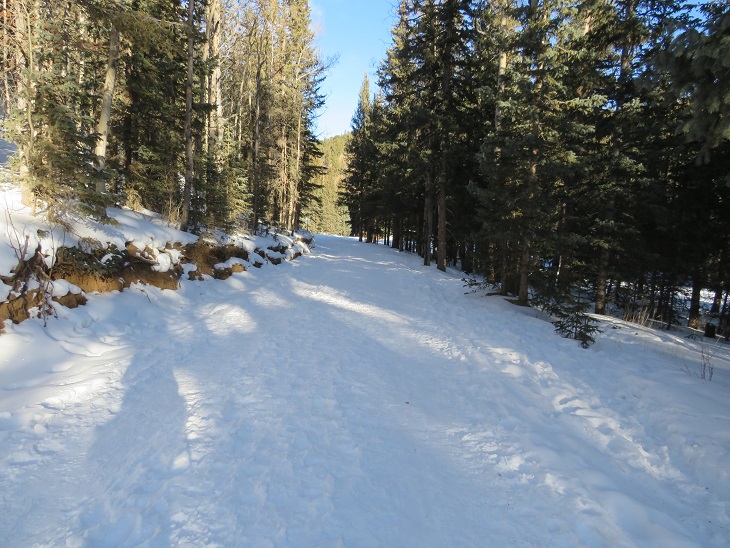
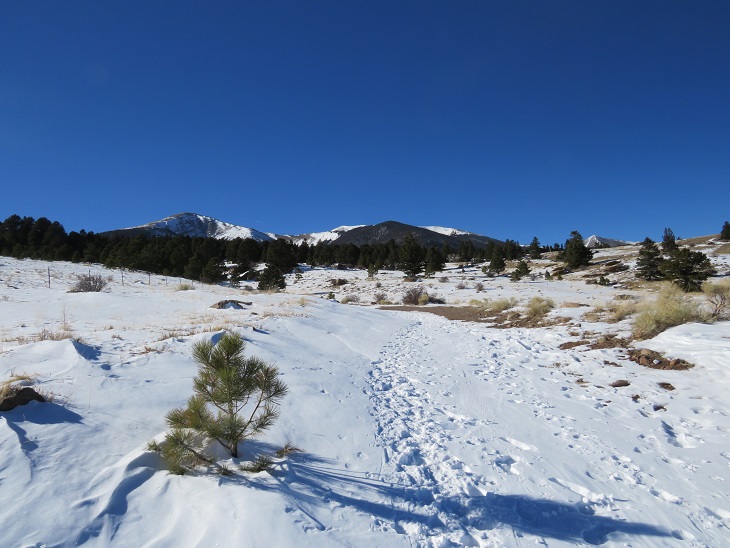
It was a cold morning (once again, below 12 degrees) so I put on all my gear and set out just as it was beginning to get light. I love hiking without a flashlight! I walked past the gate and followed the road for .7 miles
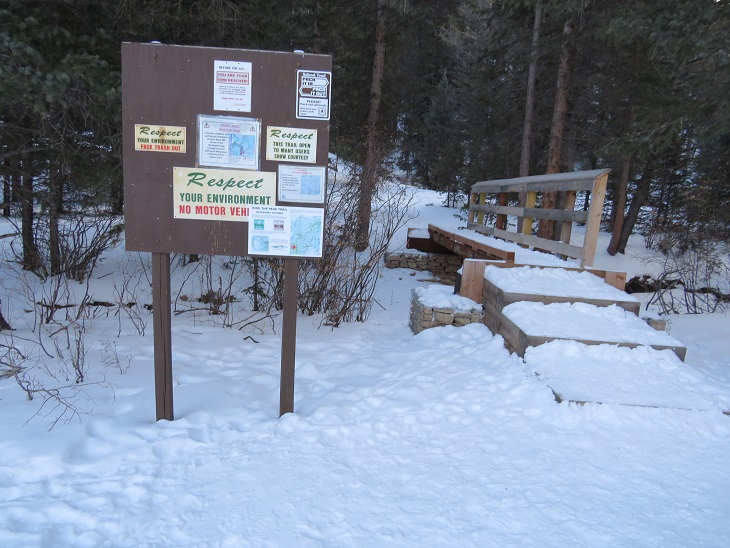
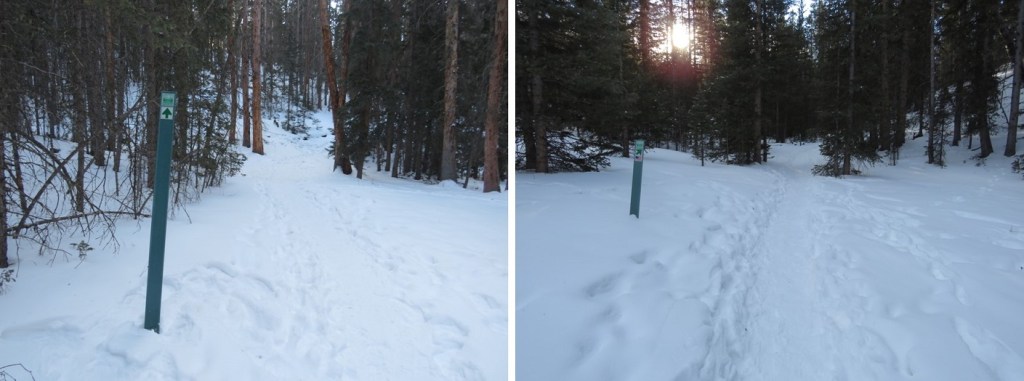
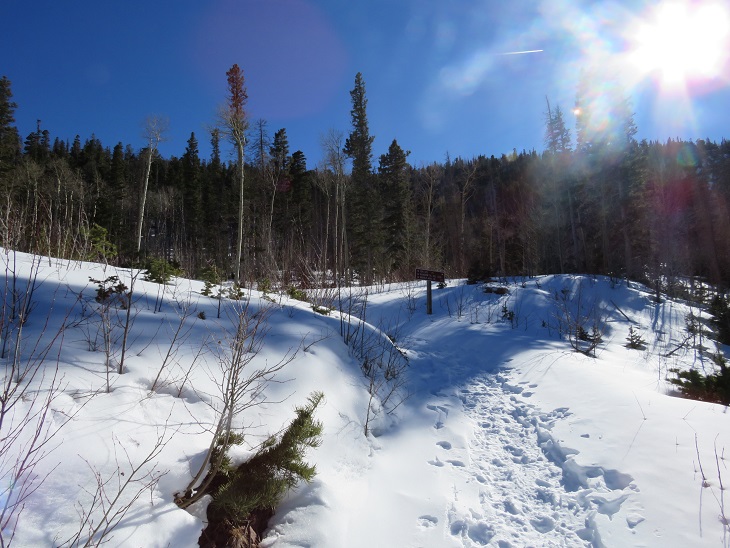
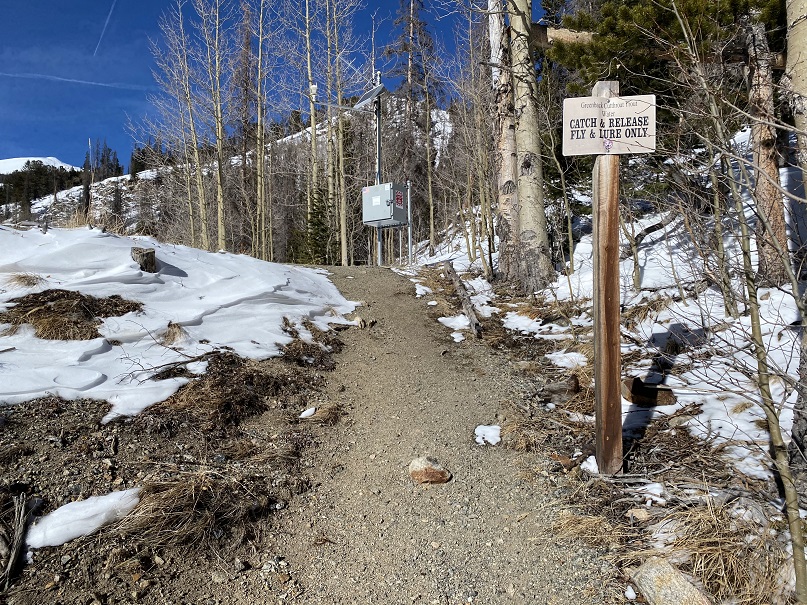
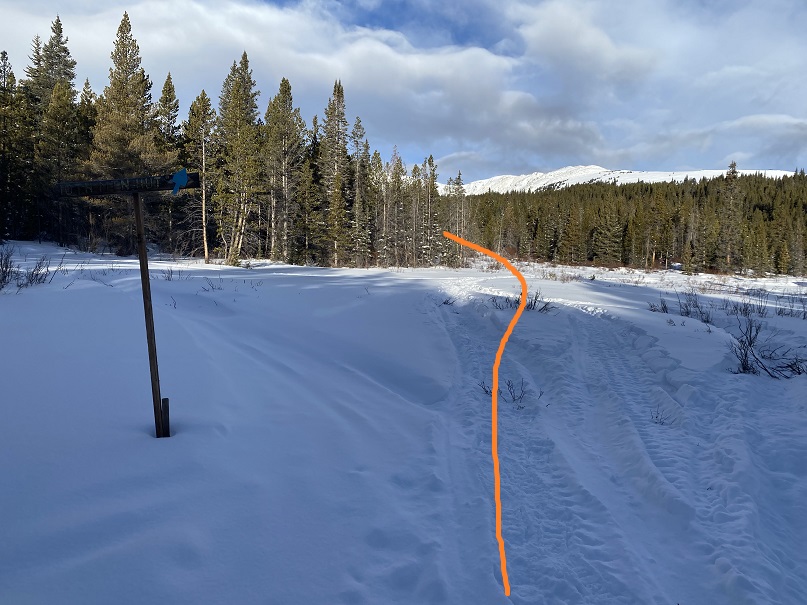
After .7 miles I came to the Raspberry Mountain Trailhead
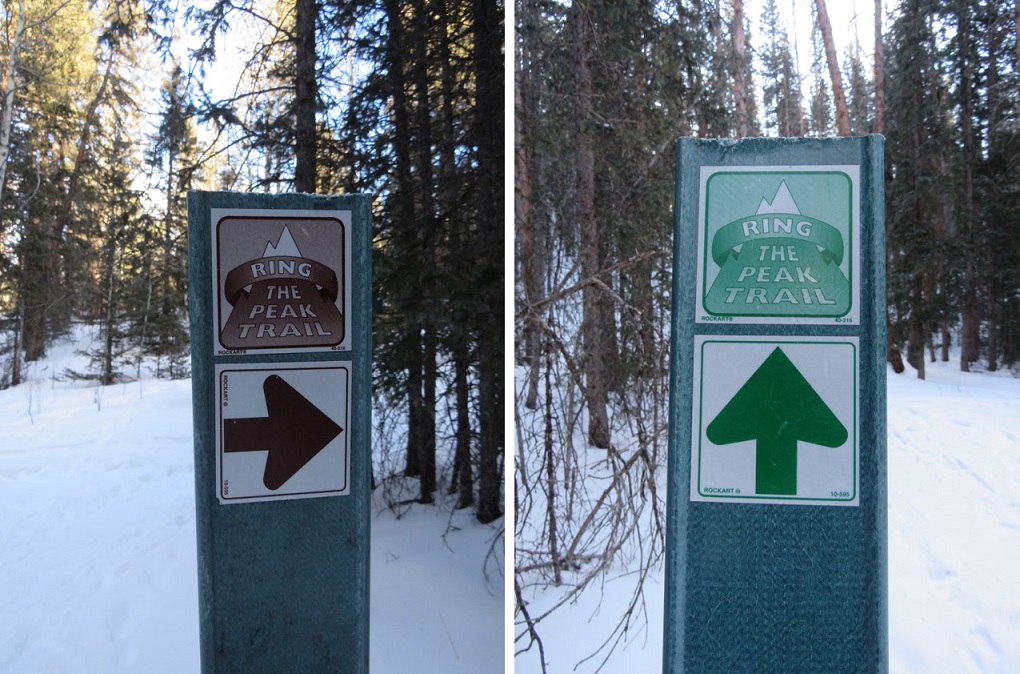
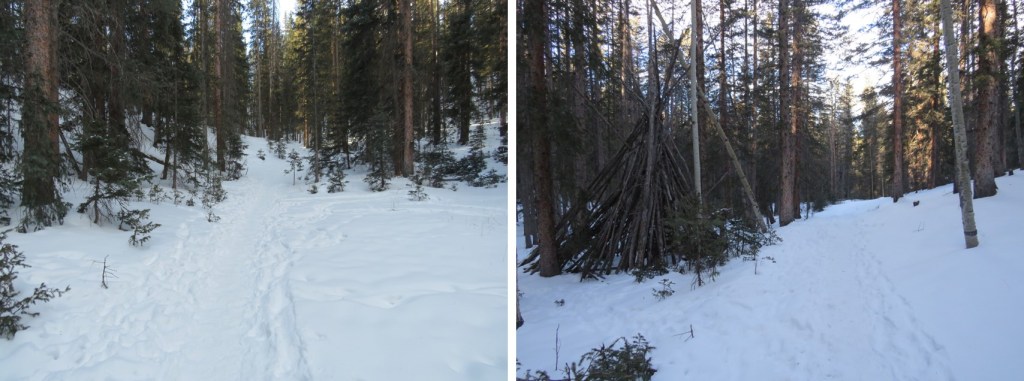
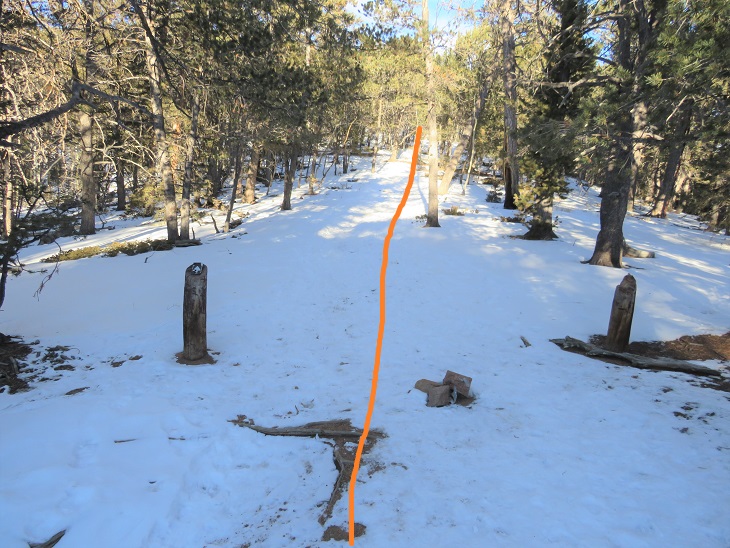
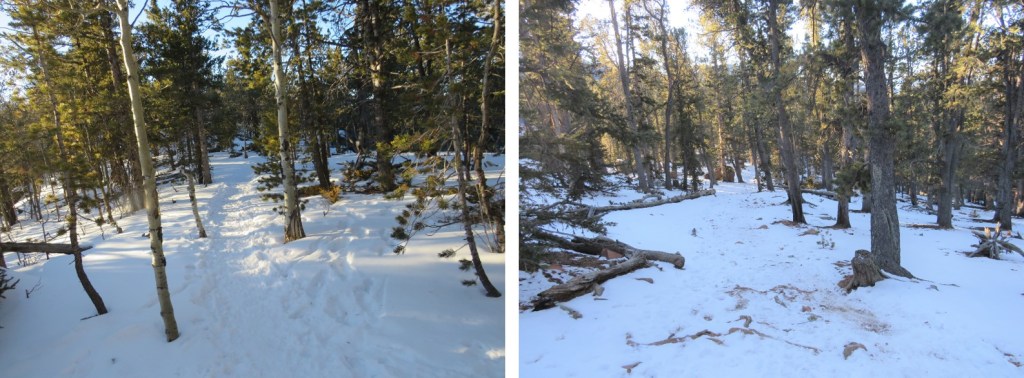
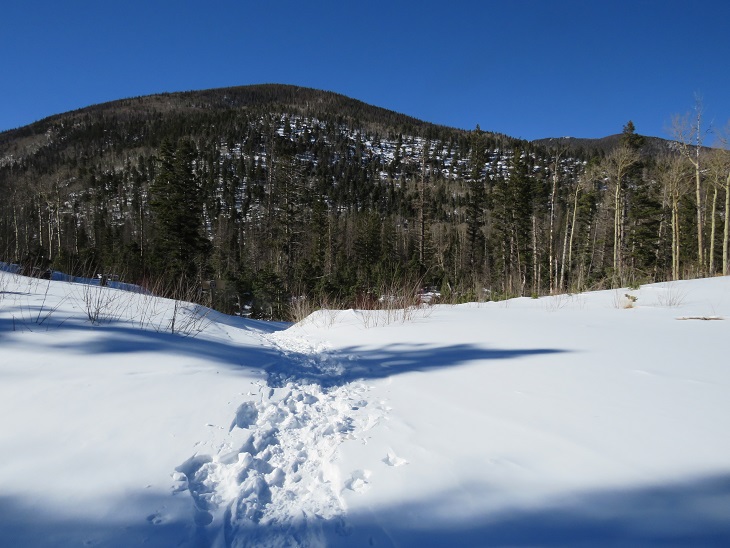
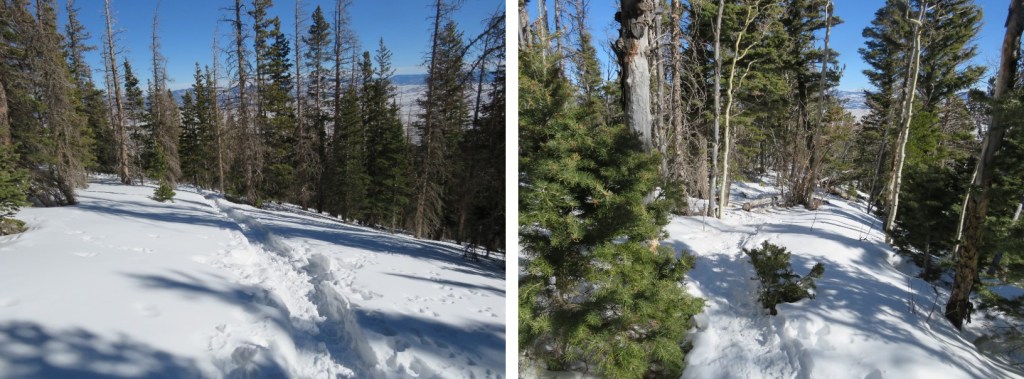
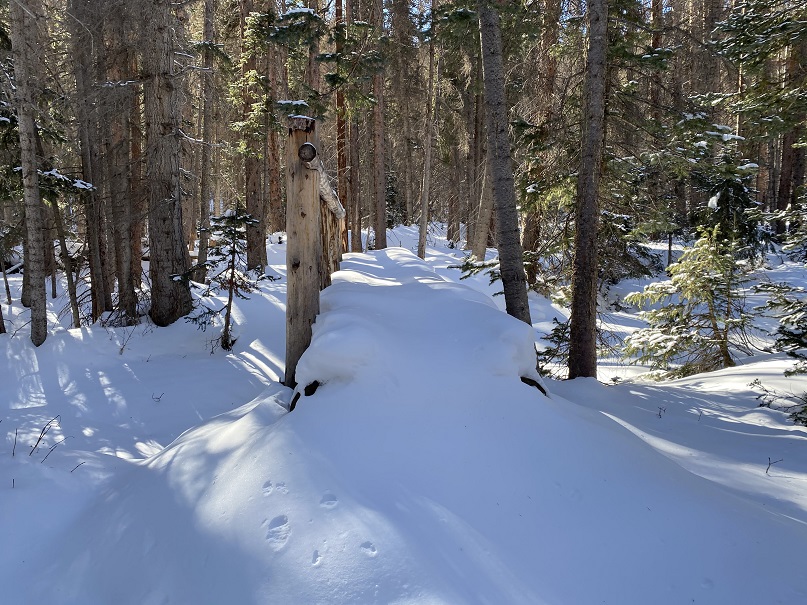
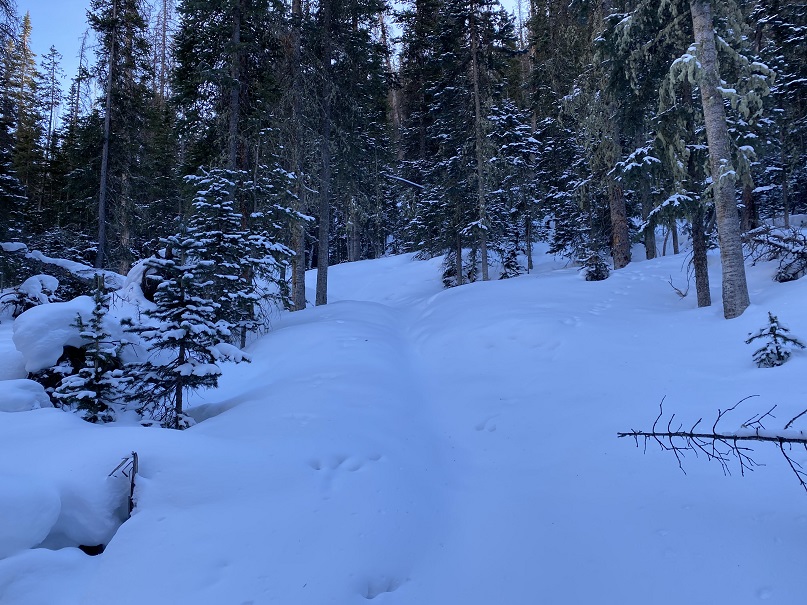
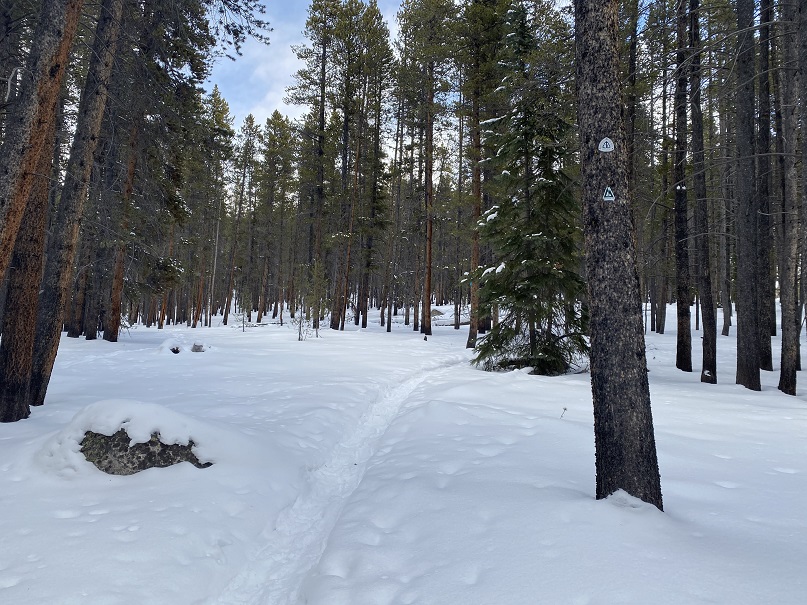
From here on it was a very simple hike: I just followed the bootpack. In summer months this would be an easy to follow trail. I had on microspikes, and didn’t need traction. From the trailhead it was 2.5 miles of hiking north to the summit, following the Ring the Peak Trail
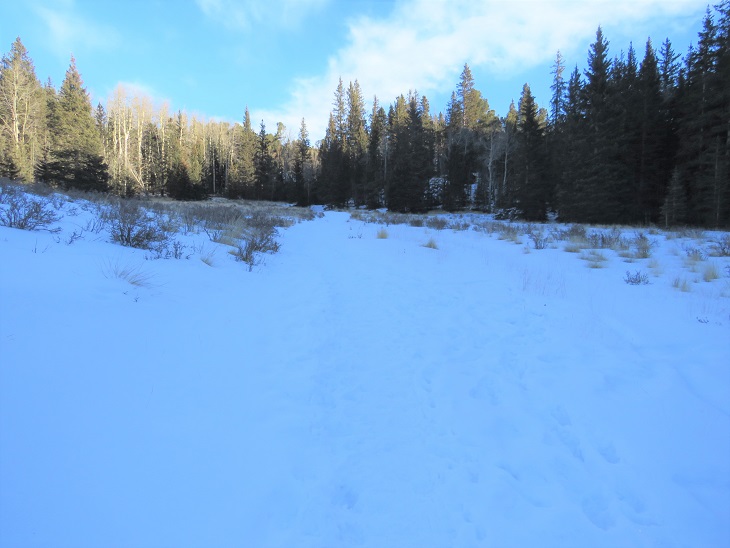
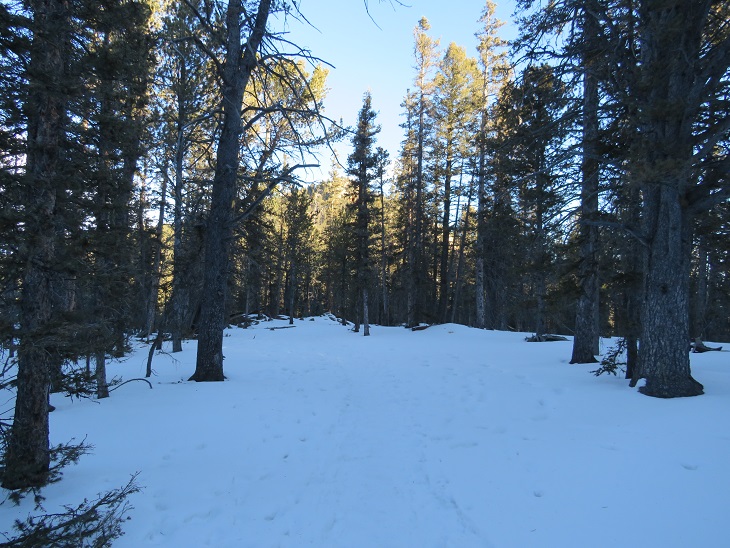
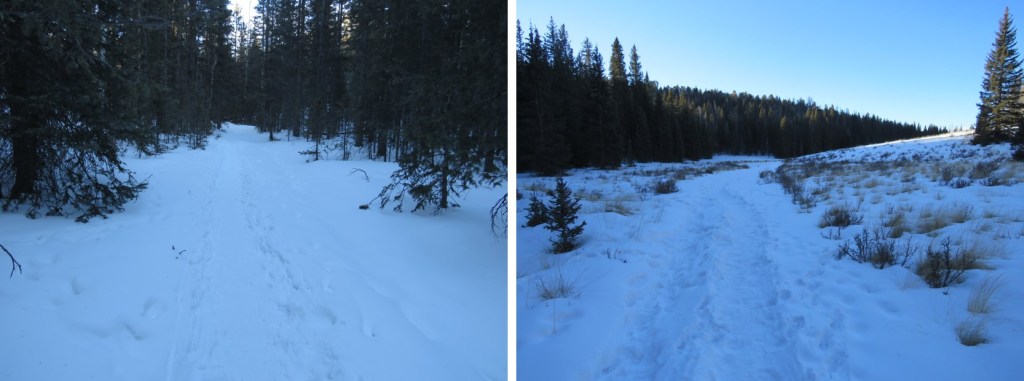
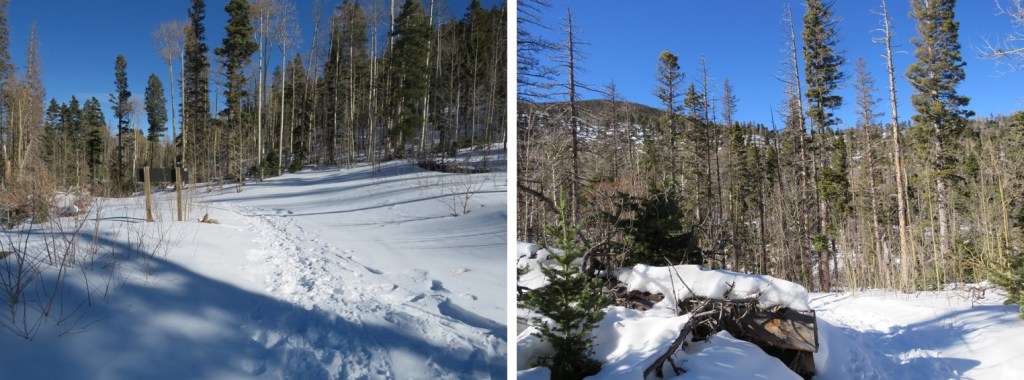
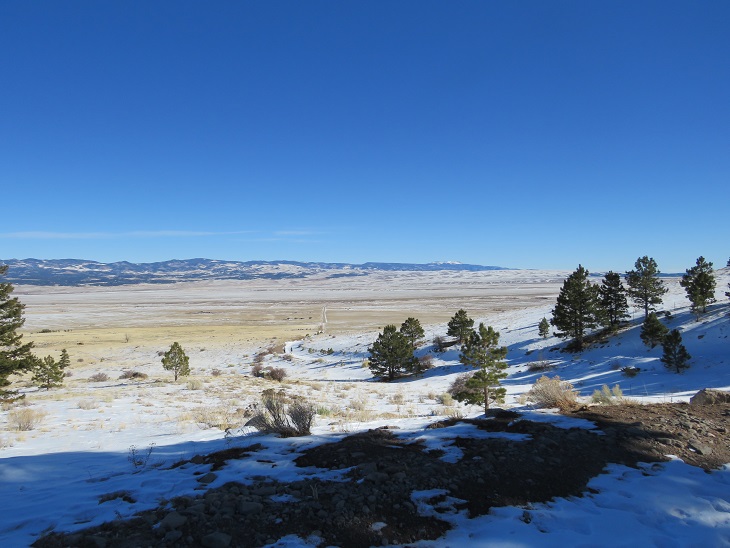
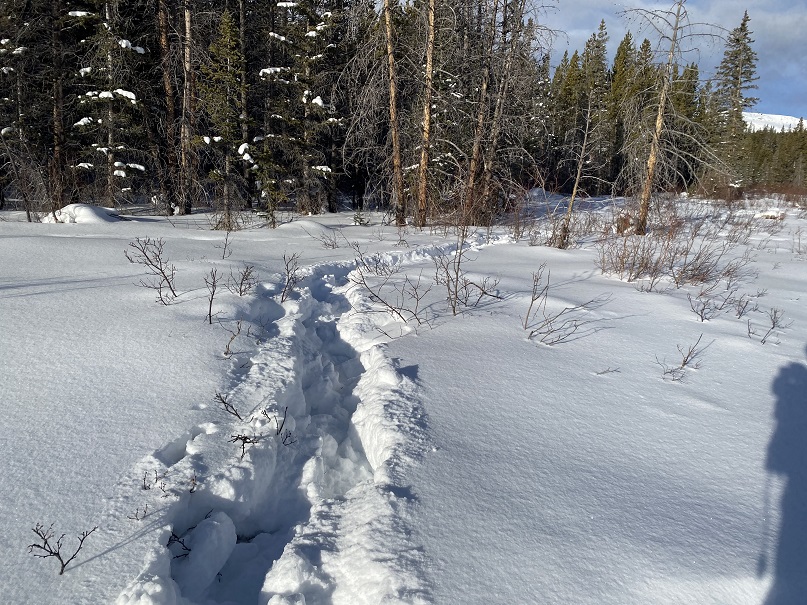
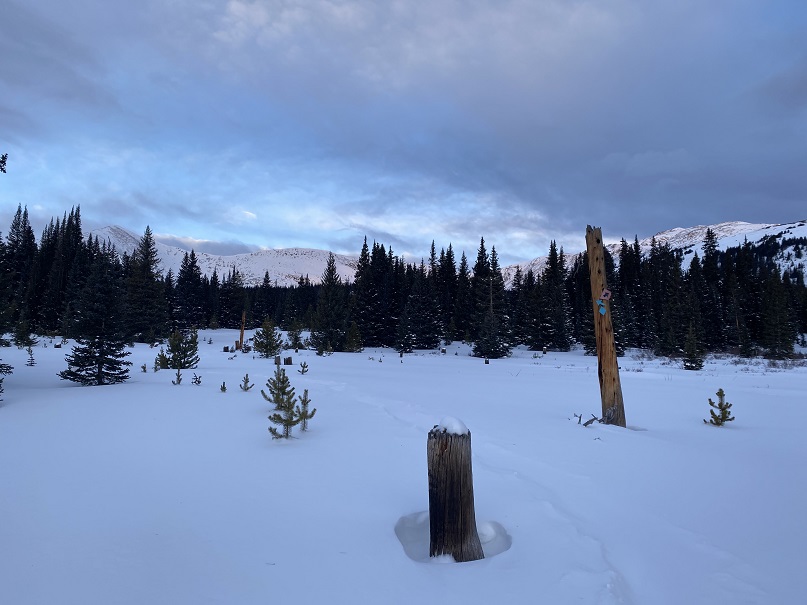
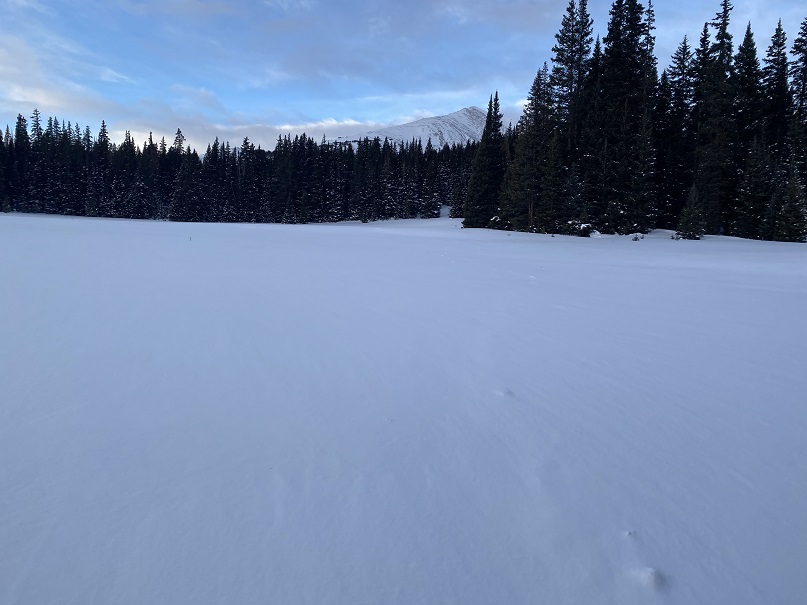
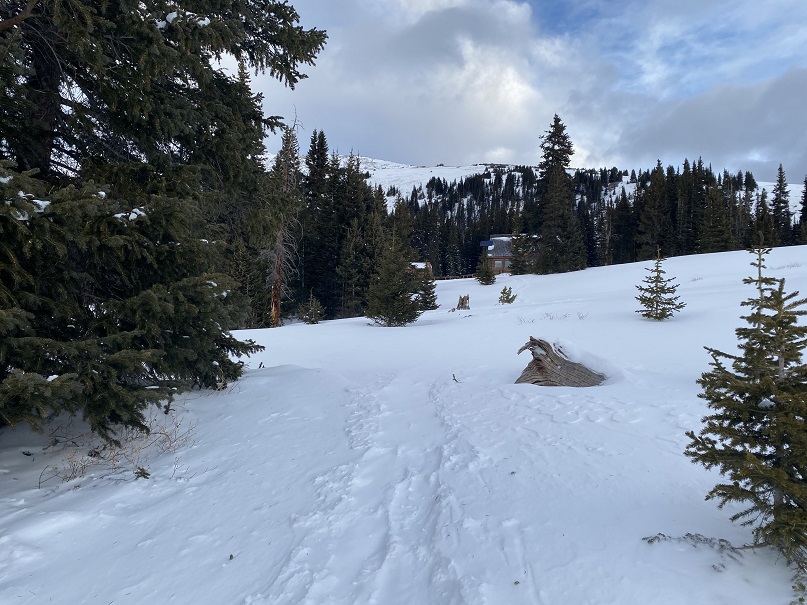
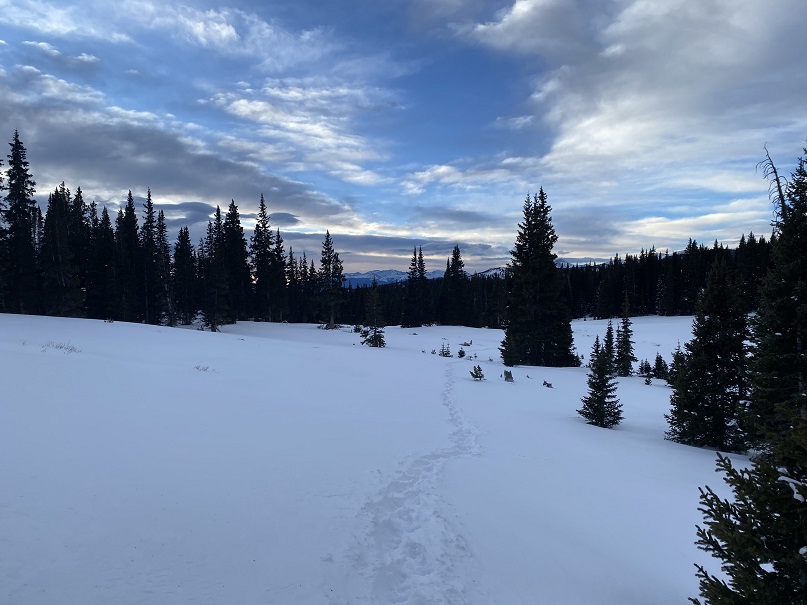
I passed through a small meadow
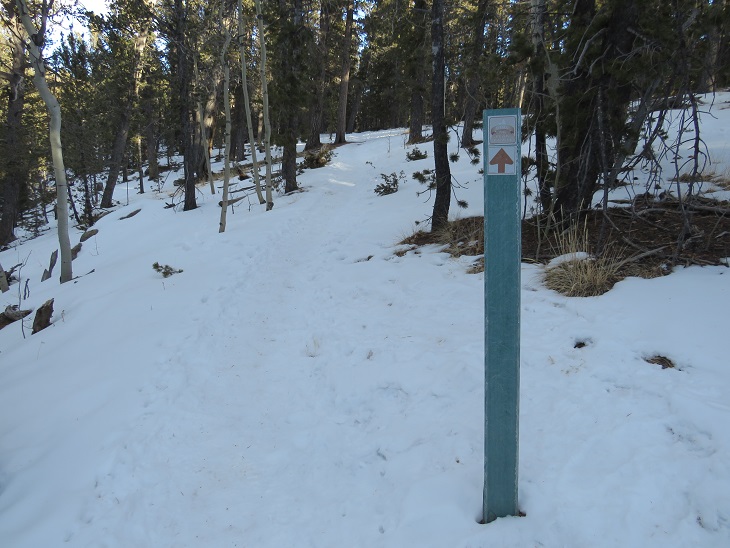
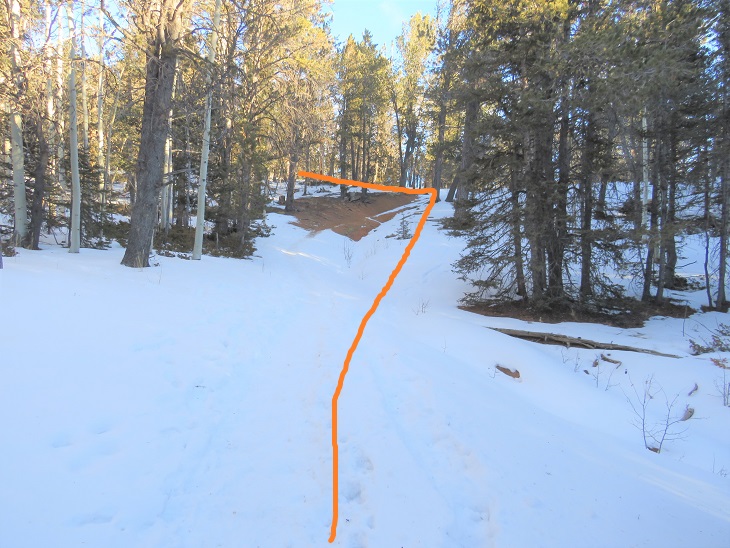
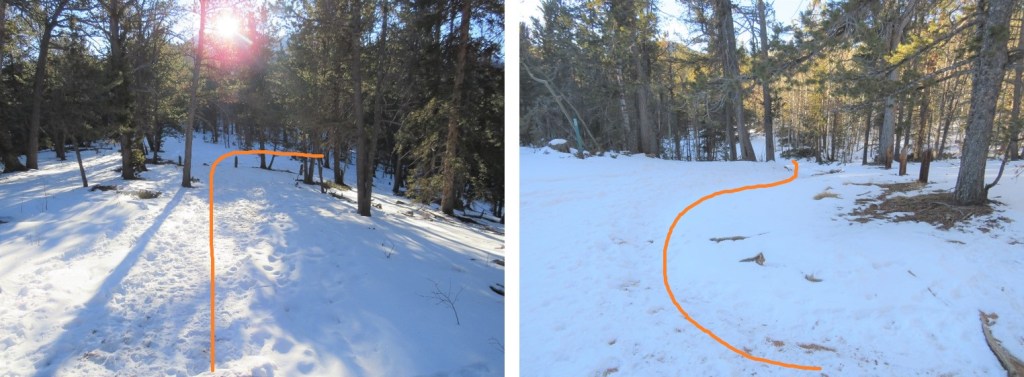
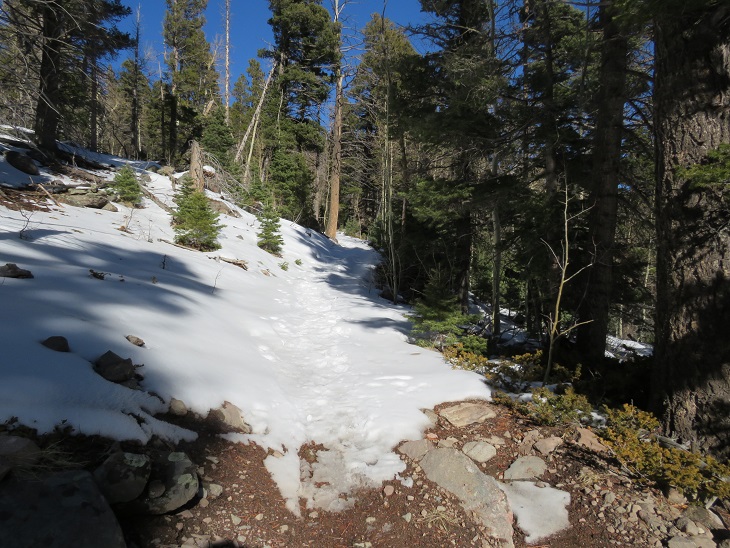
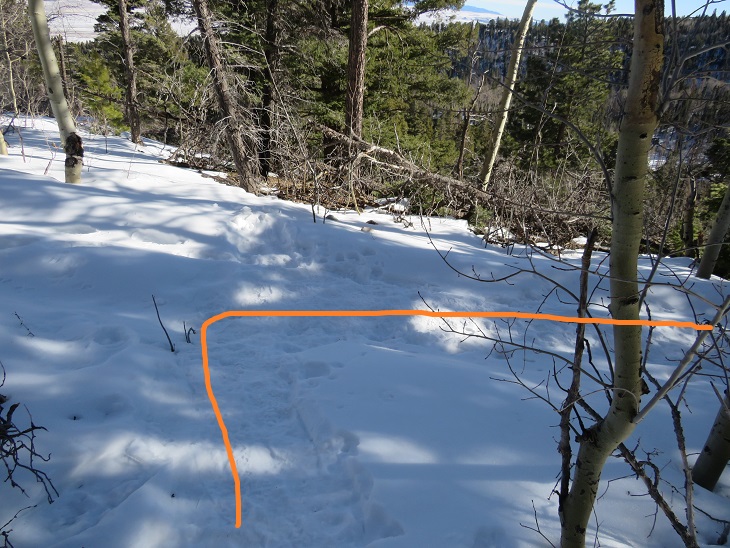
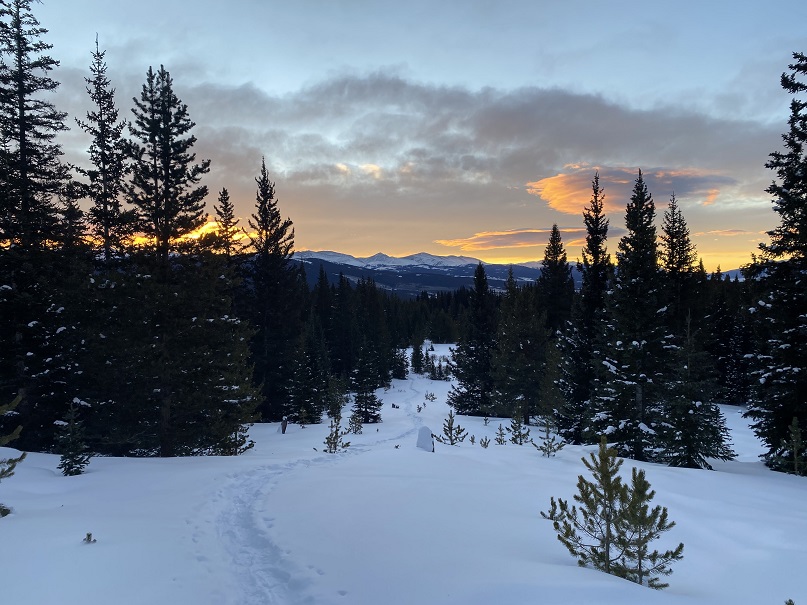
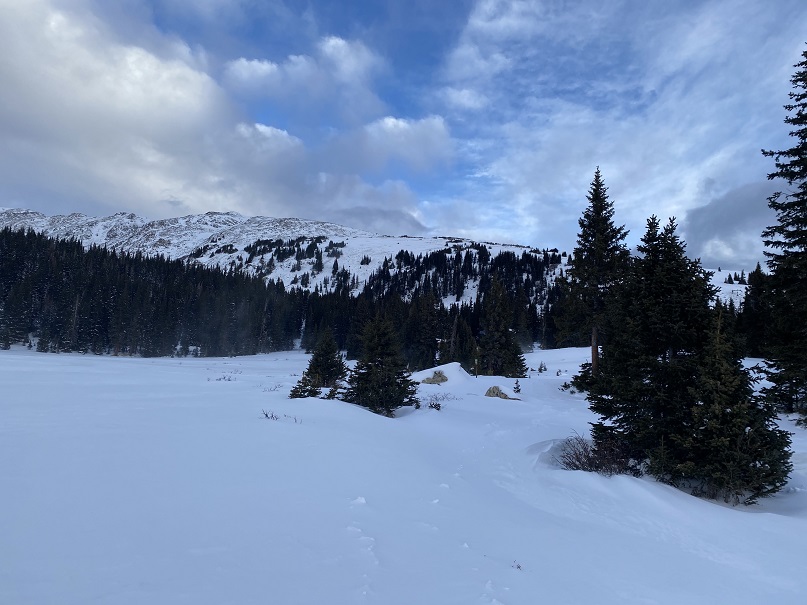
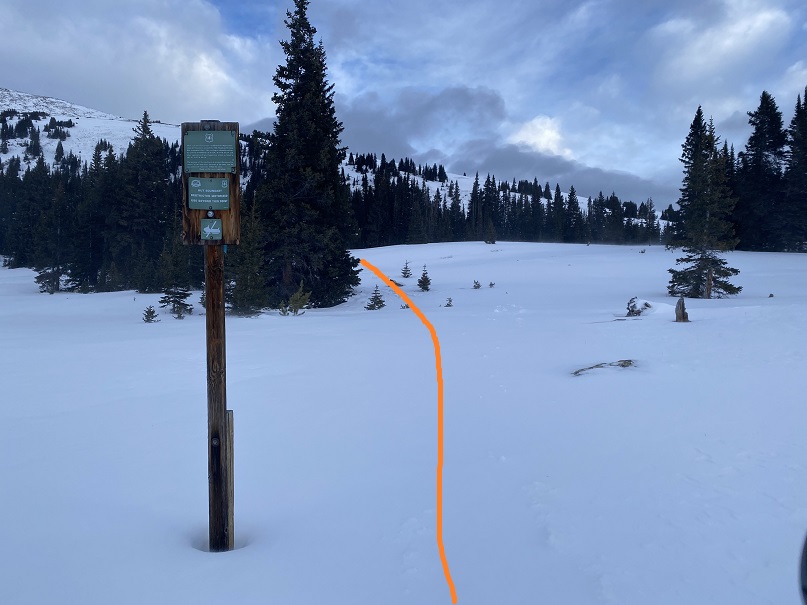
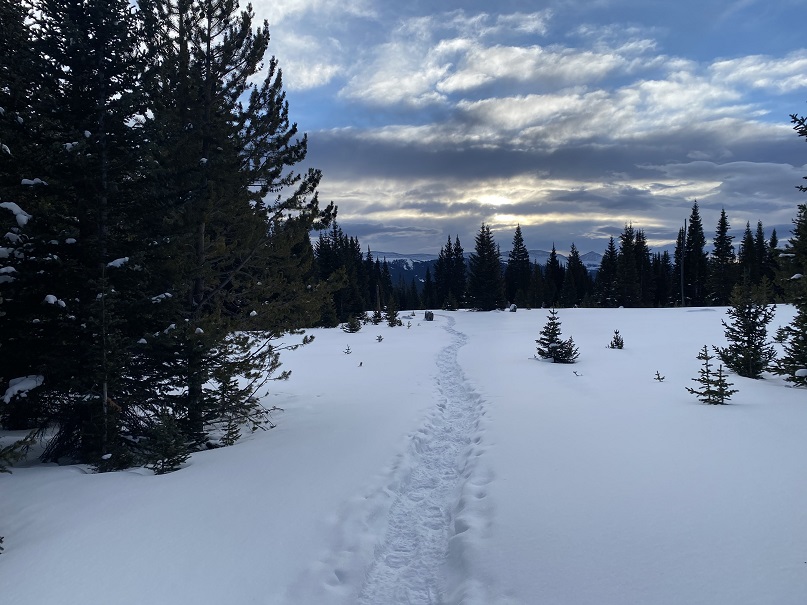
And then gained and lost some elevation as I rounded the west side of the mountain. At the top of this small saddle there’s a trailhead of sorts. Turn left here
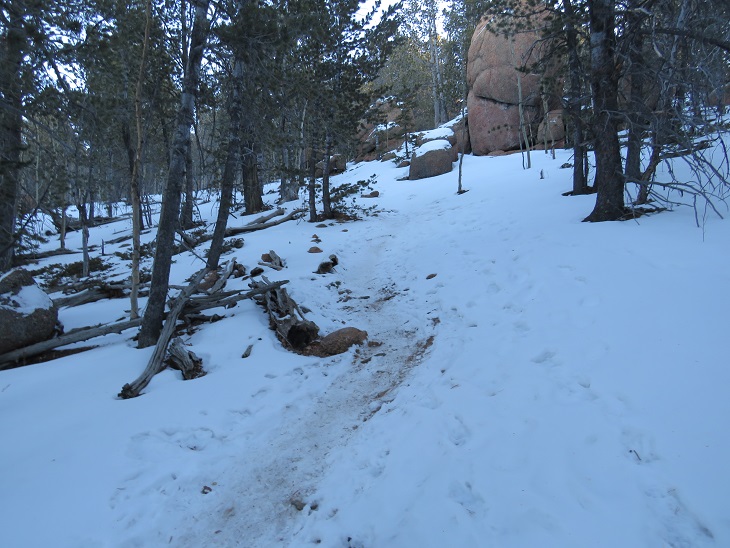
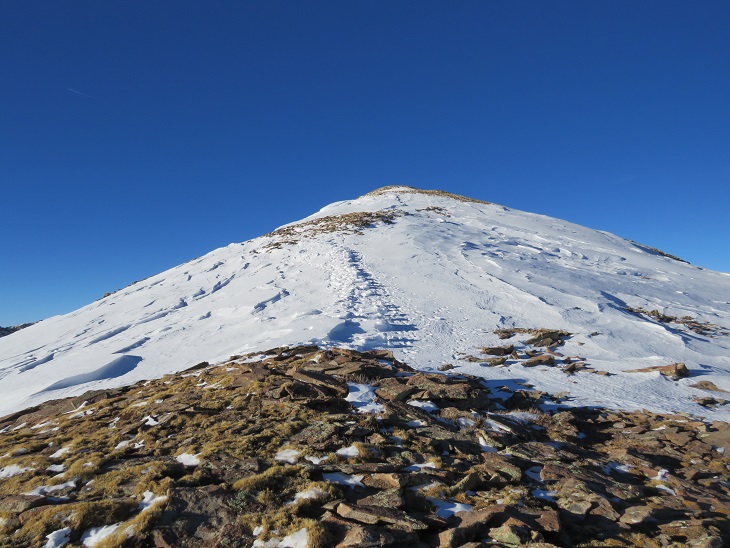
As I followed the trail I could see Raspberry Mountain in the distance. You actually summit from behind
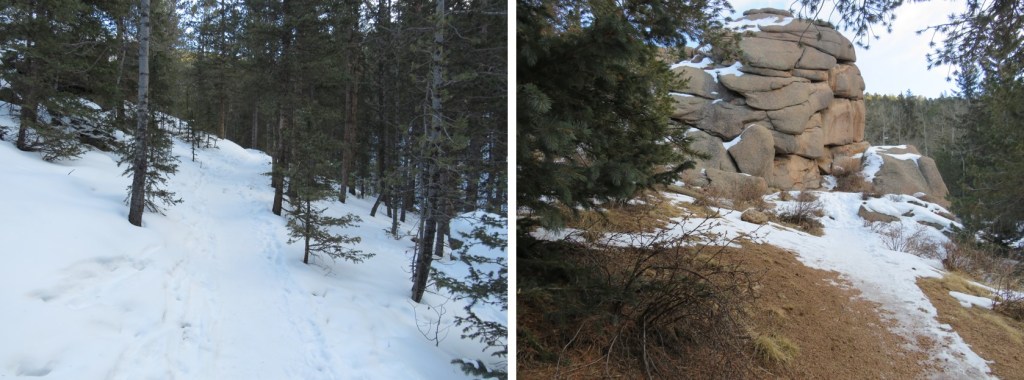
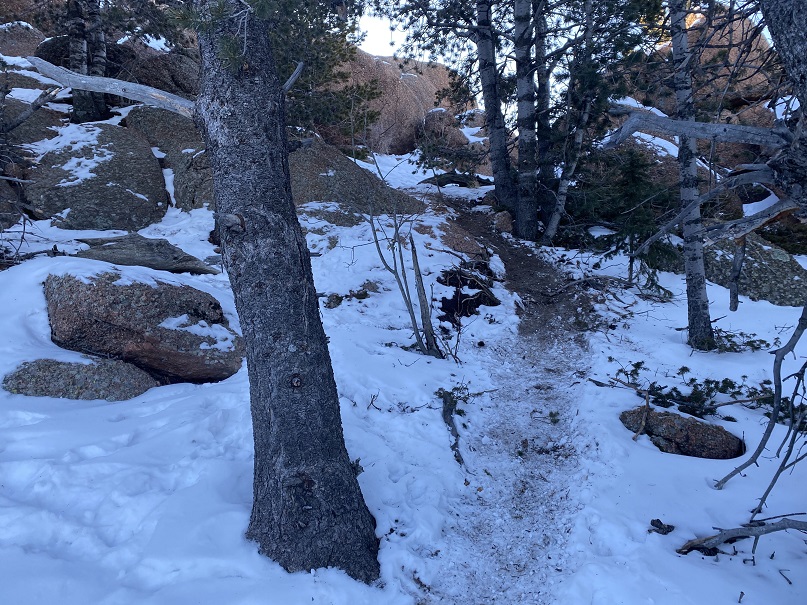
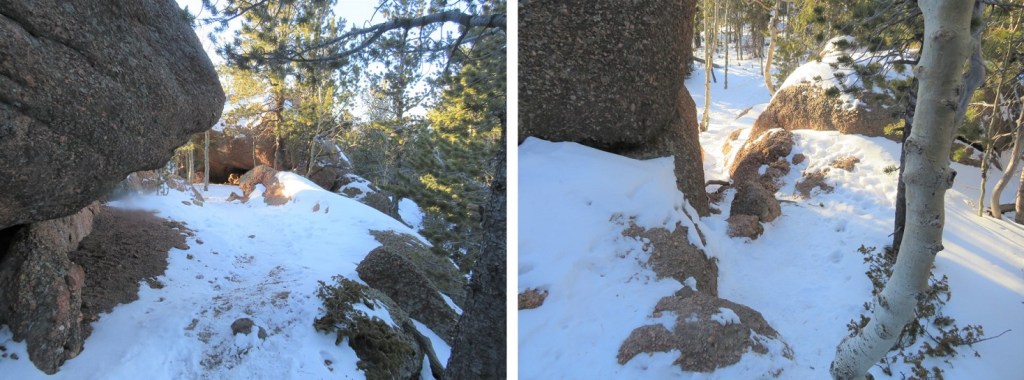
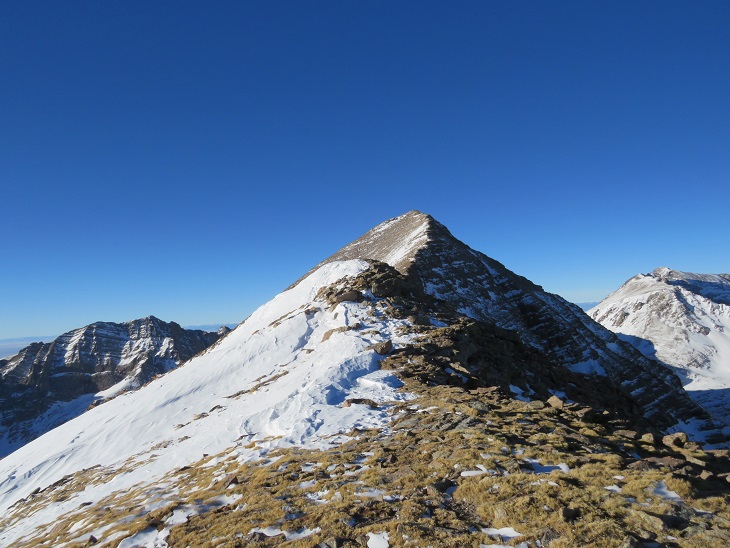
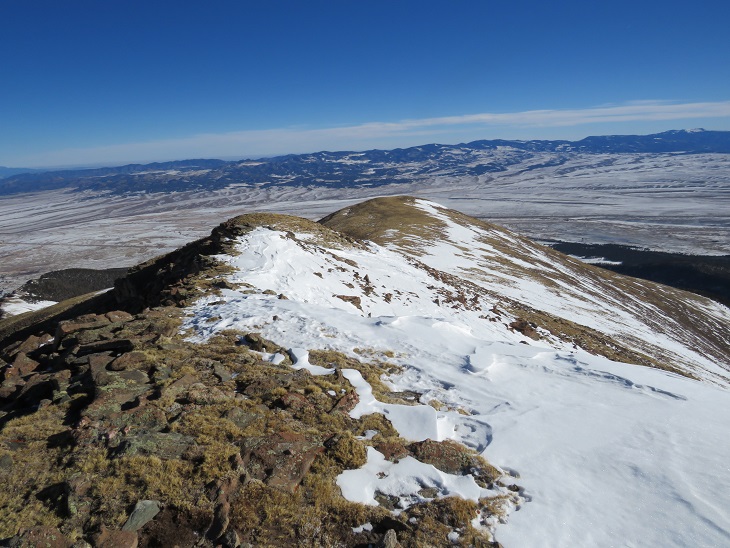
I curved around the north side of the mountain and came to a rocky outcropping
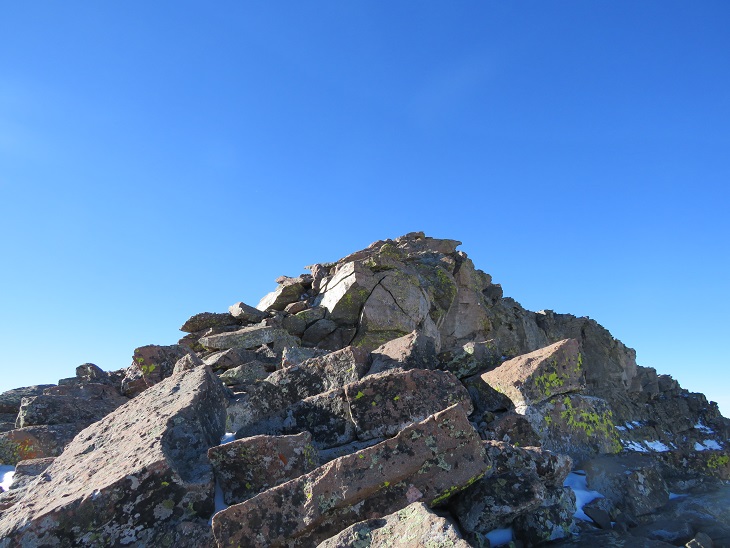
This was class 3, but without any exposure and easy to navigate. I just heel-toed it up this ramp
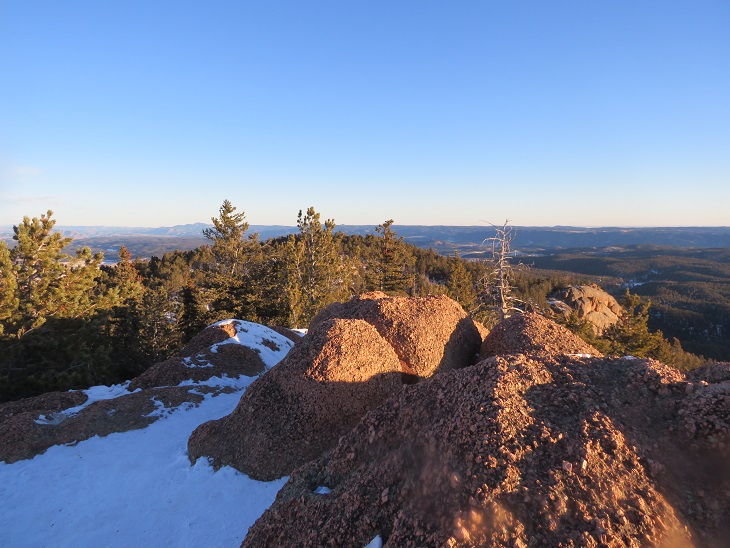
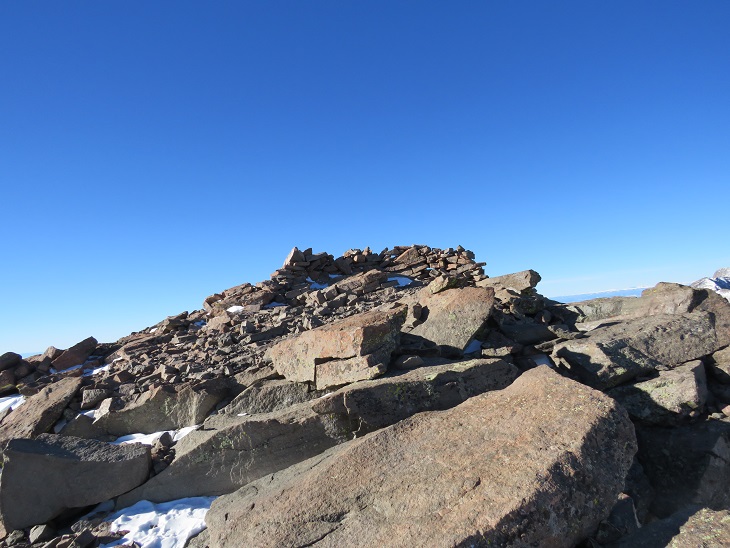
And I’d made it to the summit. The summit had large rocks, but no exposure
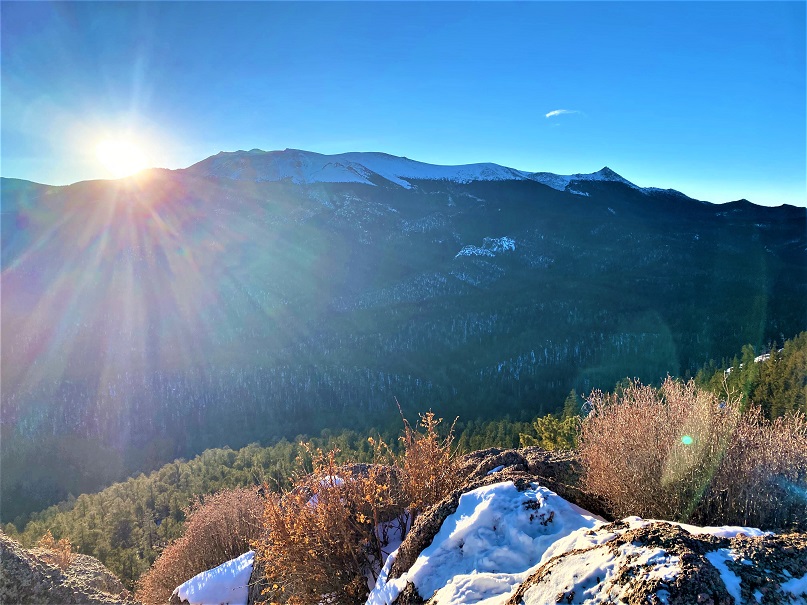
There was also a nice view of the west side of Pikes Peak. This side doesn’t get much attention, I’m afraid.
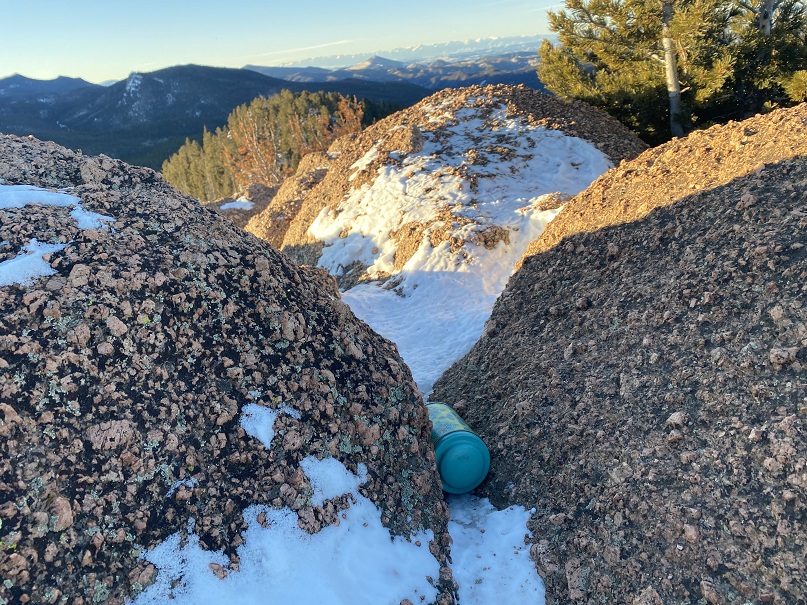
There wasn’t a commit register, so I left one in an obvious place. This is a Teller County Highpoint, so I found it odd there wasn’t a register.
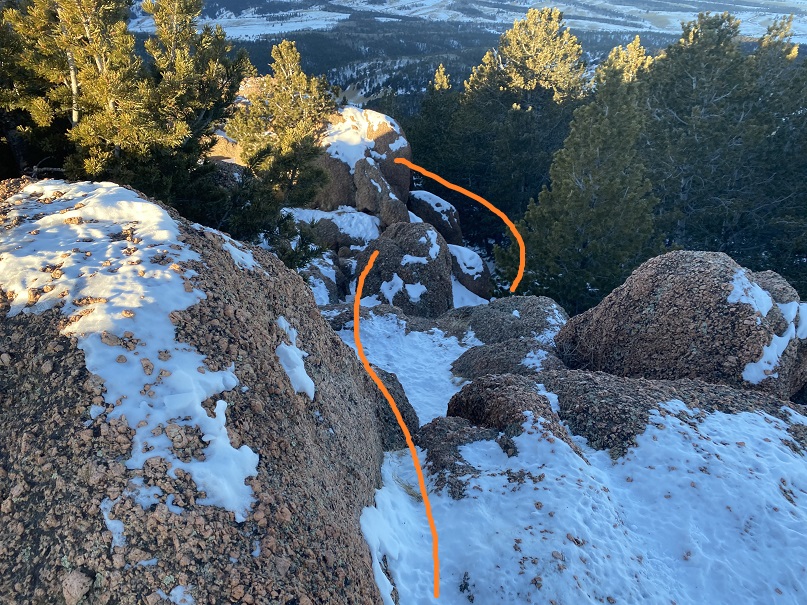
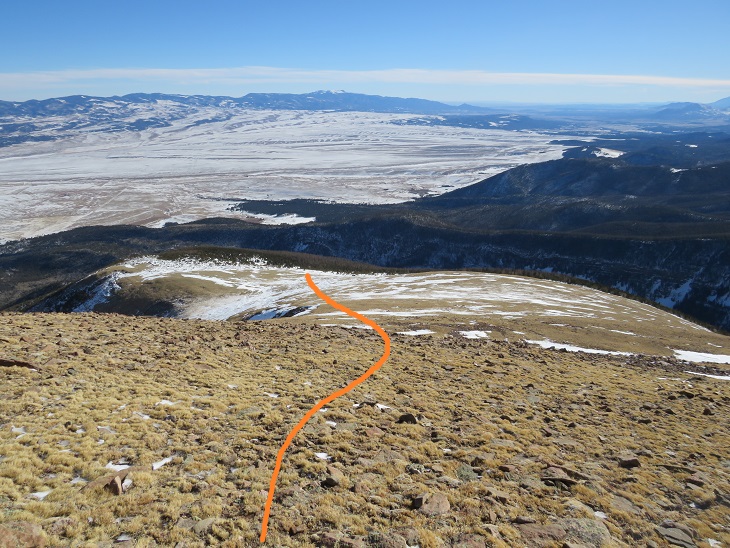
My camera stopped working about now. It froze, and I was told to replace the battery (this is what happens when it gets cold), and then when I tried to clean the lens the water instantly turned to ice. So I started using my cell phone. Did I mention it was quite windy and cold? Time to head back, first down the rocky area
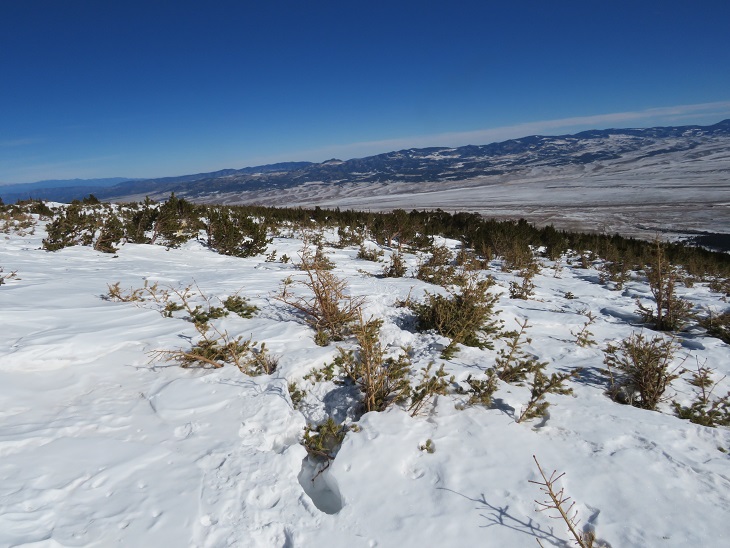
Then re-tracing my steps back to the upper ‘trailhead’
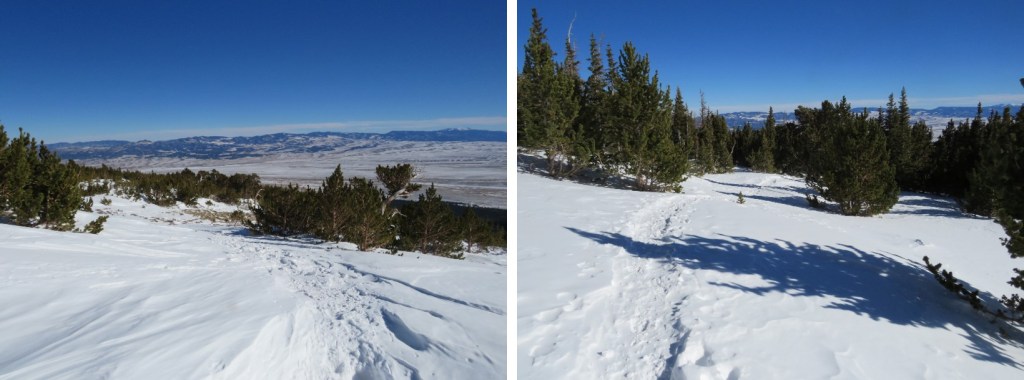
And back to the lower trailhead
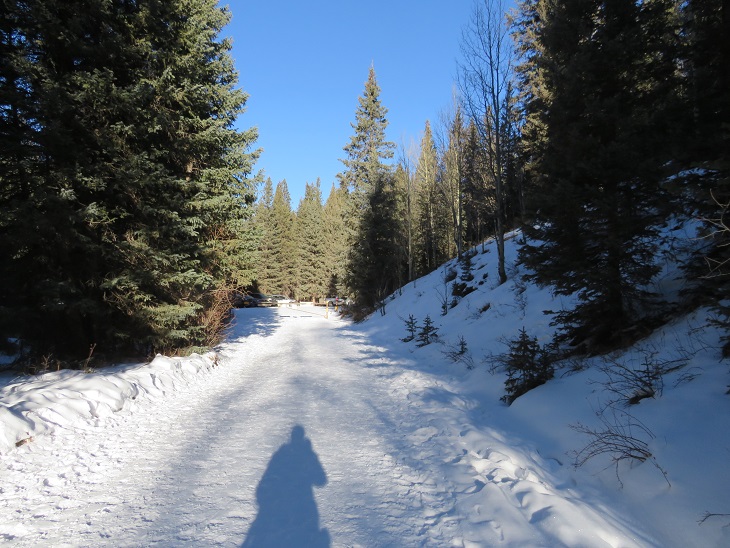
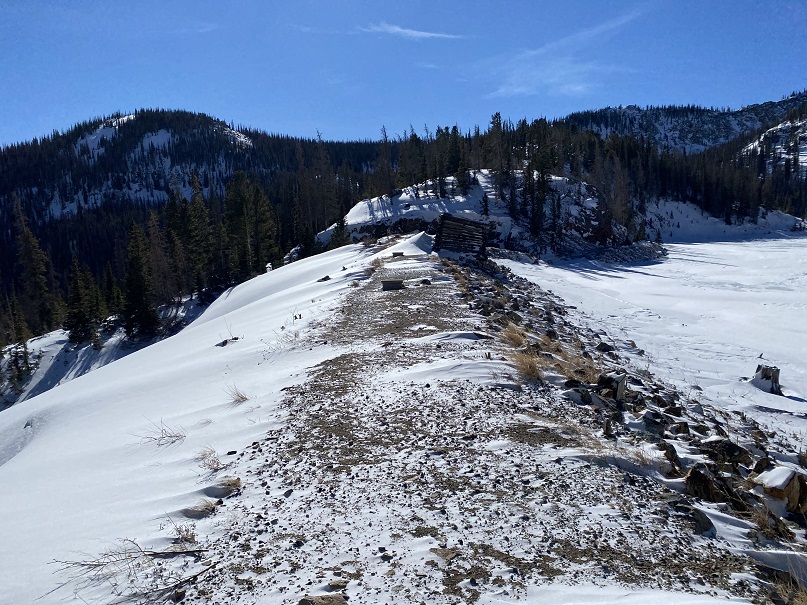
Following the dirt ‘road’ back to the gate closure
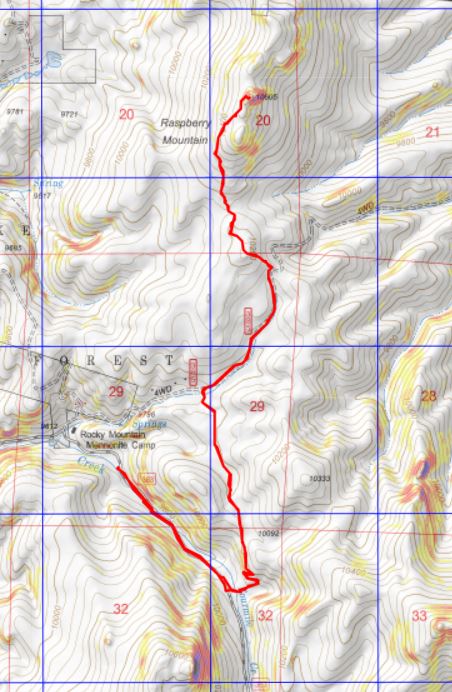
I made it back to my truck at 9:15am, with much of the day still ahead of me. There were quite a few vehicles parked at the trailhead at this time. Today had been much easier than I’d anticipated, so I drove home and hopped on the treadmill for an hour. Here’s a topo map of my route
We live 3 hours away from this highpoint, so I’ve been saving it for a bad weather day, or a day in which I wasn’t able to hike but didn’t want to waste staying at home. Imagine my surprise when I asked my daughters if they wanted to go with me, and they said YES!
Since my oldest was going we decided to make this a write off (we’re starting a business) and get some pictures for our facebook page. We collected some stickers and snacks and were on our way.
The drive isn’t very pretty. There’s not much between where I live and the highest point in Kansas except wide, open fields. And no gas stations (this comes into play later). I stopped at the last place to get gas, did some mental calculations and figured I’d have just enough to get there and back without seeing a gas station, and we were on our way.
Also, we brought the cat. Westley is quite the road tripper. He likes to look out the window, and has no problem snuggling up on various laps during the drive. He’s not fond of getting out of the vehicle though.
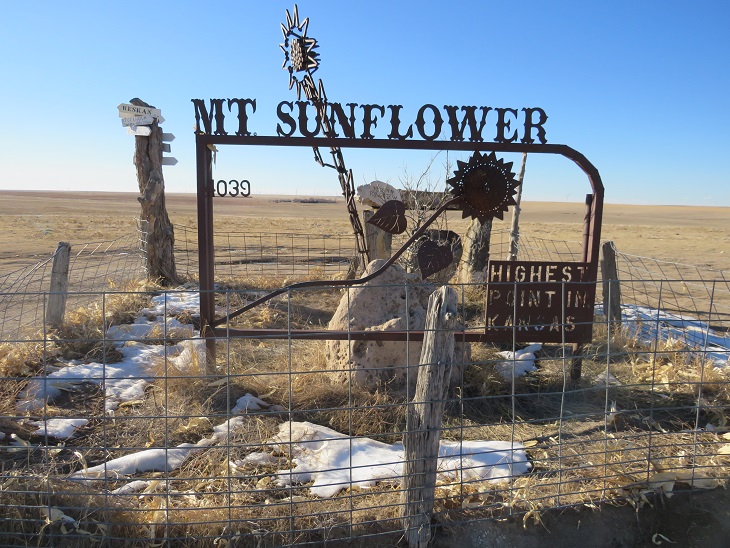
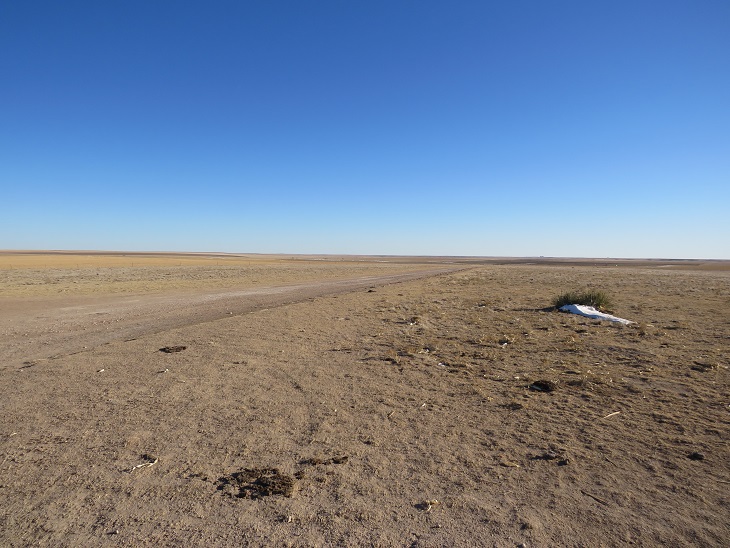
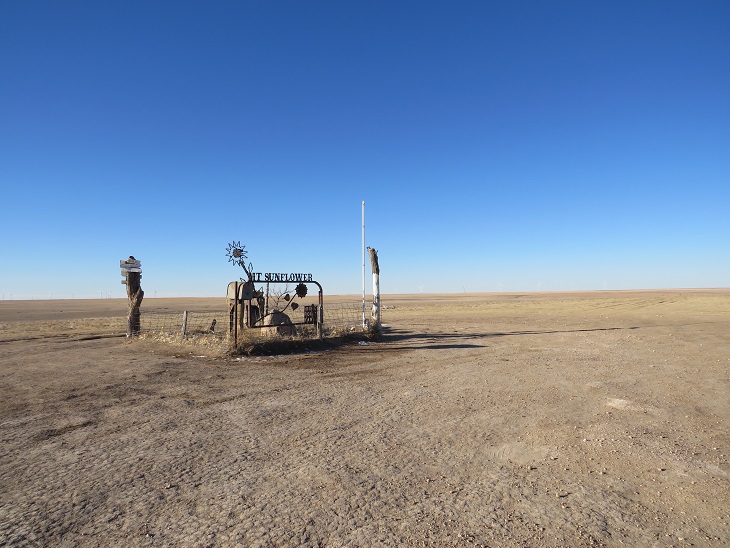
Finally, after almost 3 hours of driving, we made it to a 12 mile dirt road that took us to the ‘summit’. It’s not a true summit, just the highest point, which was relatively flat. I drove 65mph down those dirt roads, kicking up dust. There was no one to see…
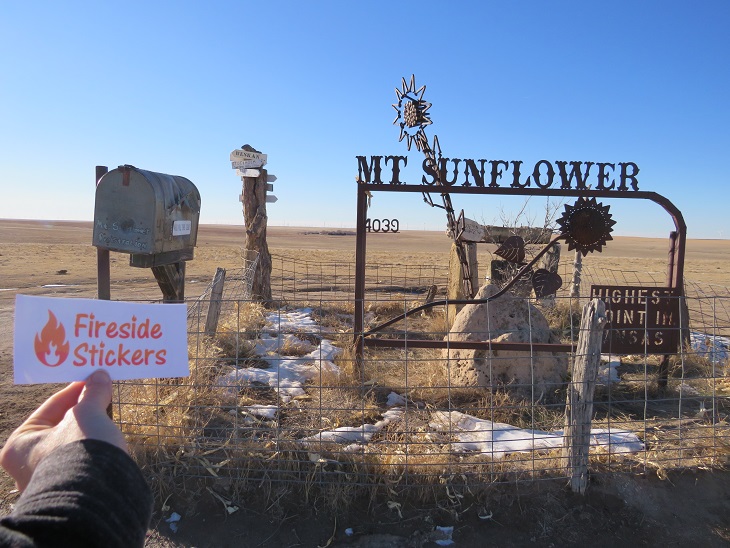
We pulled up and were the only ones at the site. Yep, THIS is the highest point in Kansas
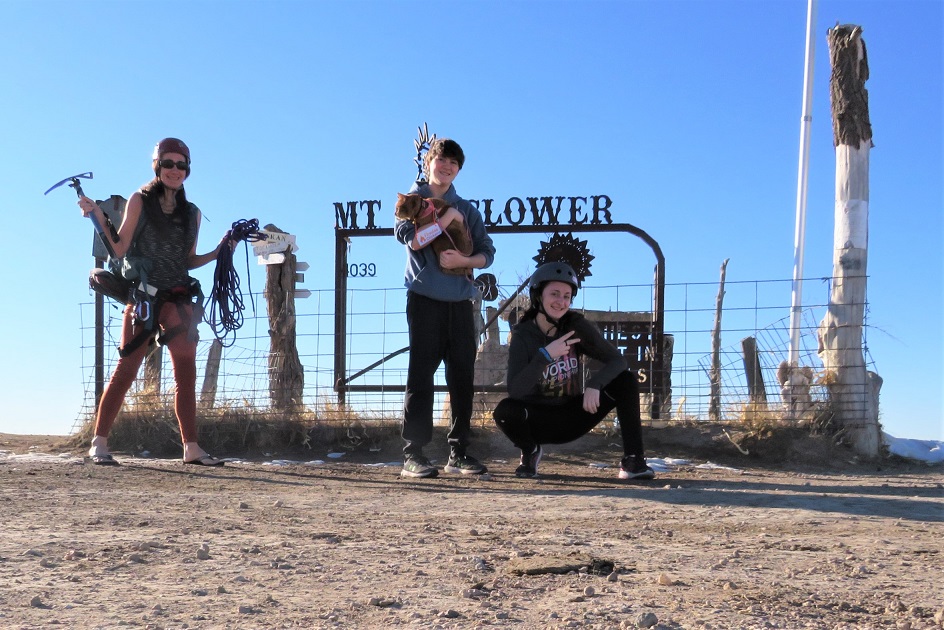
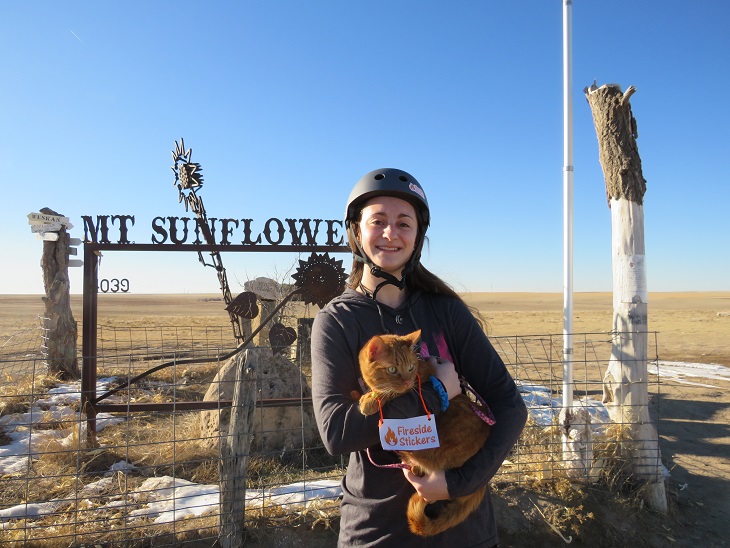
I came prepared with all my gear, but was able to summit in just sandals. I got Rebecca to wear a helmet, and Emily felt confident summiting without gear, while also holding the cat.
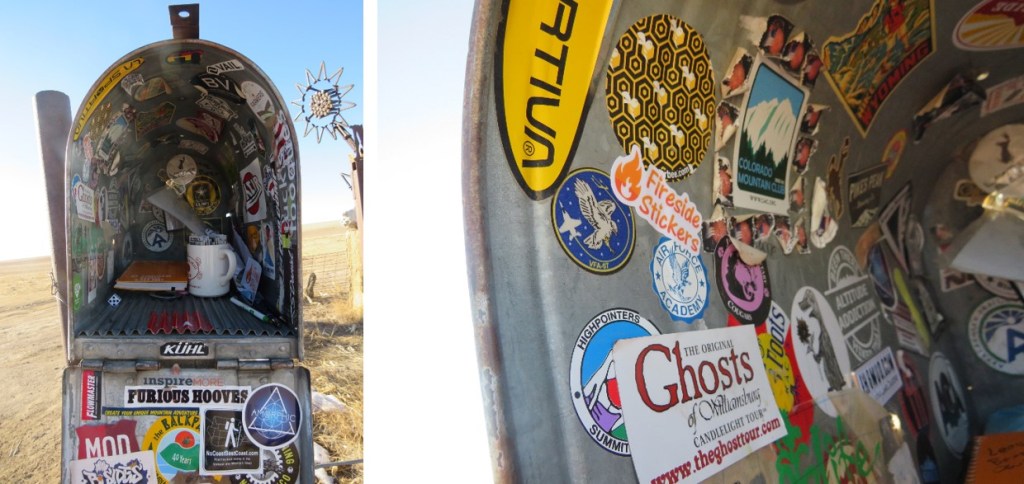
We took a few photos just for fun, and then put one of our stickers into the mailbox (busines launch isn’t until next month).
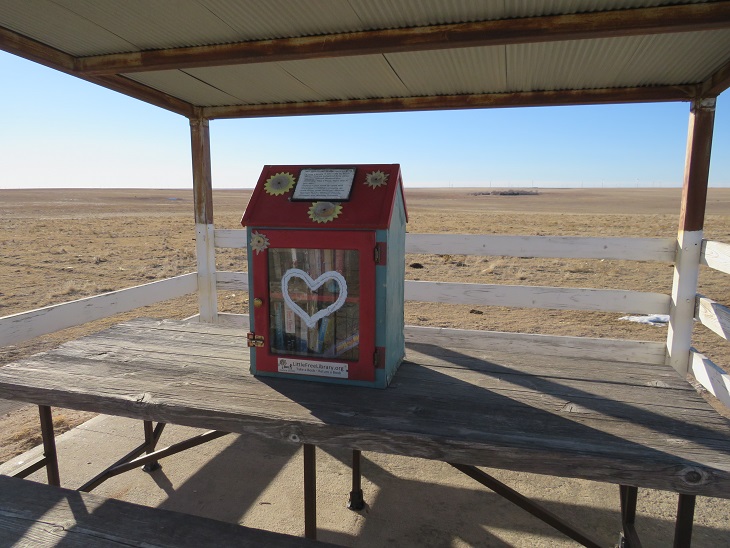
They also have a nice little free library for anyone interested (bring a book to swap!)
Hike/walk/run/treadmill elevation gain of 1 million feet
Summit a combined total of 10 winter 13/14ers
Finish the Bicentennials
Summit 3 new state highpoints outside of Colorado
Summit 3 new El Paso County Highpoints
Hike another section of the Colorado Trail
Keep my average above 10+ miles and 4000’+ of elevation gain per hike
Quandary Peak – 14,265
RT Length: 7.22 miles
Elevation Gain: 3444’
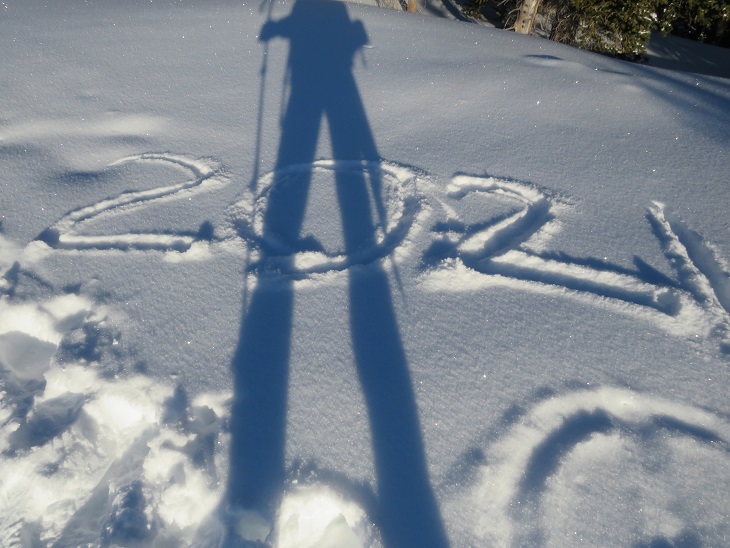
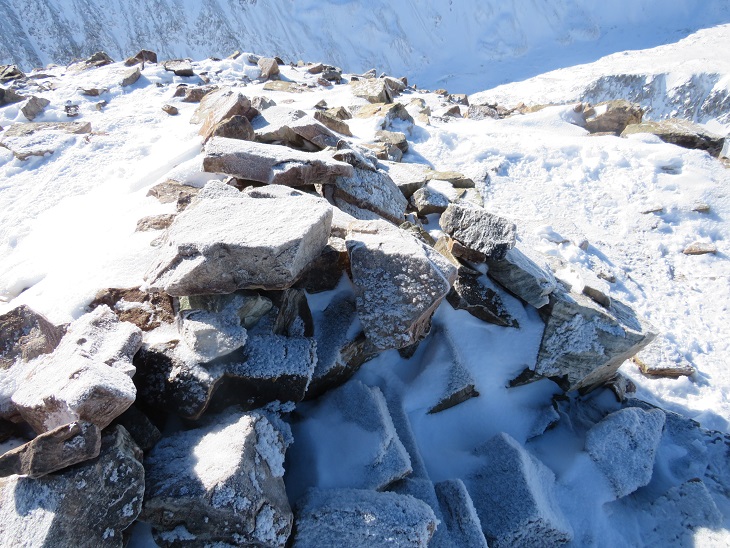
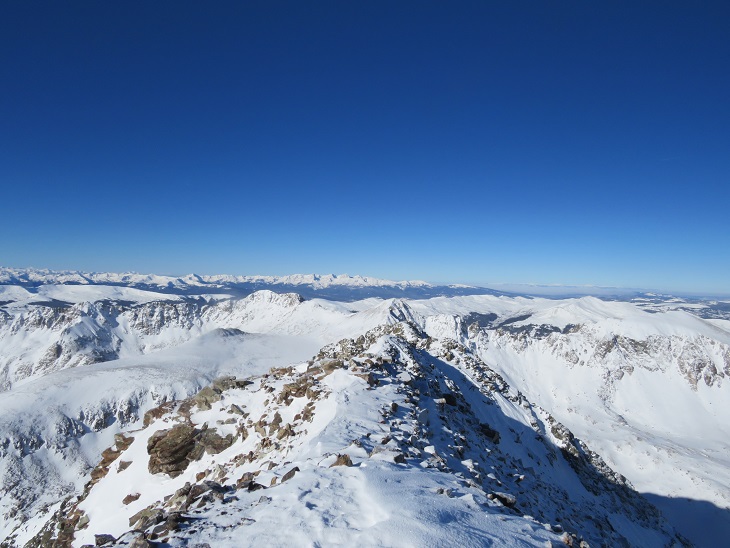
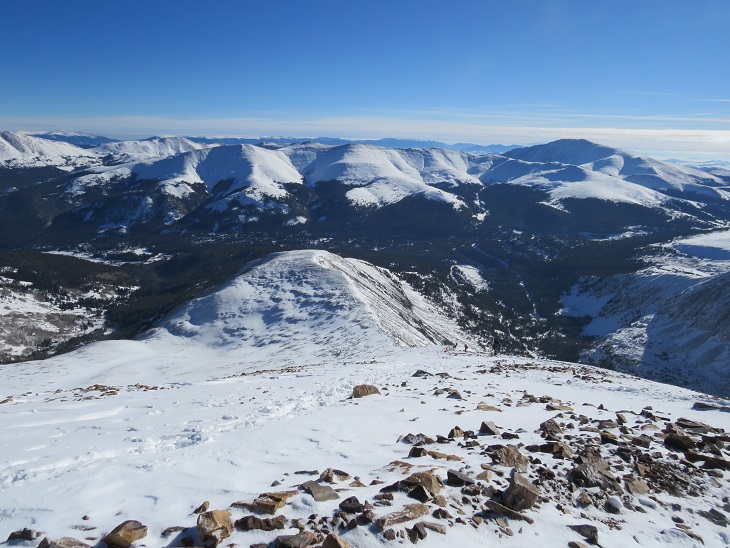
Just to get 2021 off to a good start, I set my alarm for early and made a reservation to hike the Manitou Springs Incline on New Years Day. Unfortunately, my alarm didn’t go off and I ended up missing my start time. I was super bummed, but I didn’t let it get me down: I still had enough time to get a hike in. I figured I’d just do Quandary Peak instead. This is the 4th time I’ve hiked Quandary, and I’ve written several trip reports on the peak, so I’ll just post some pictures with highlights:
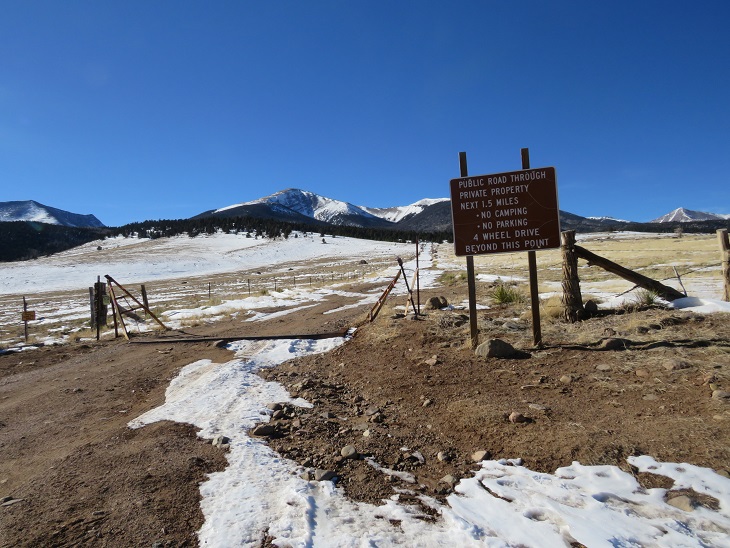
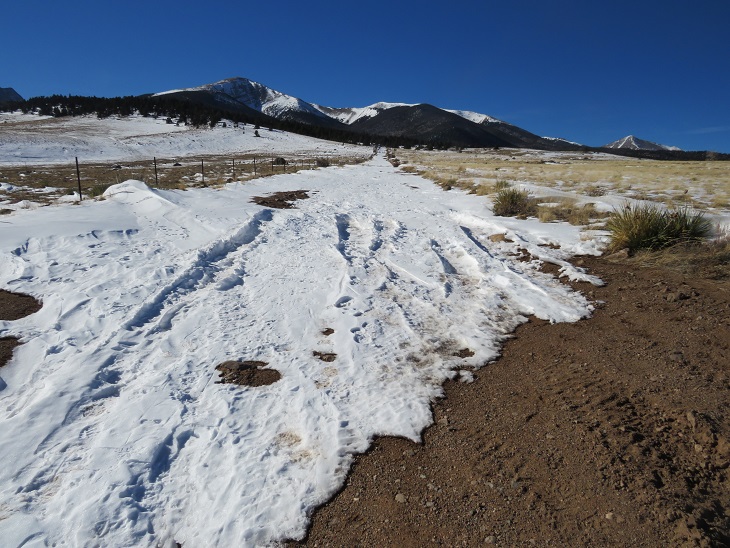
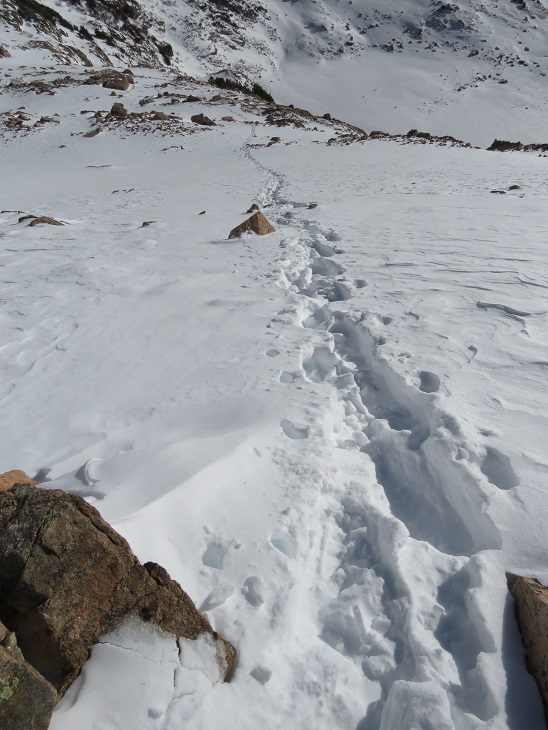
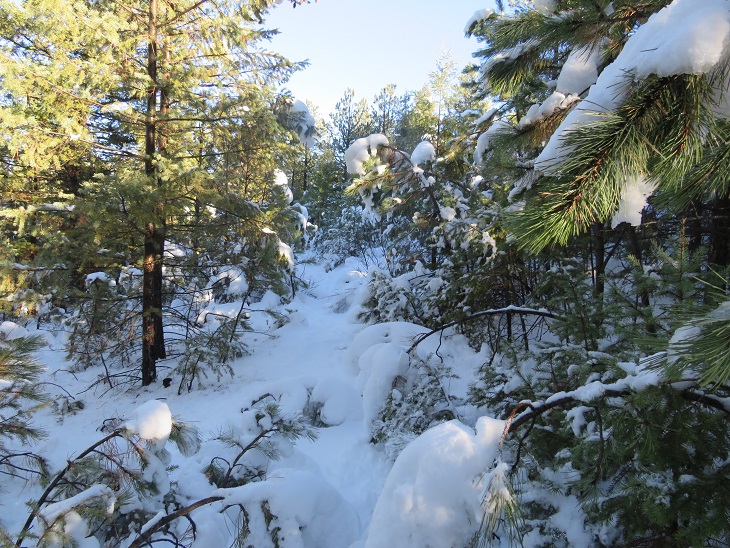
The road and trail was well packed down
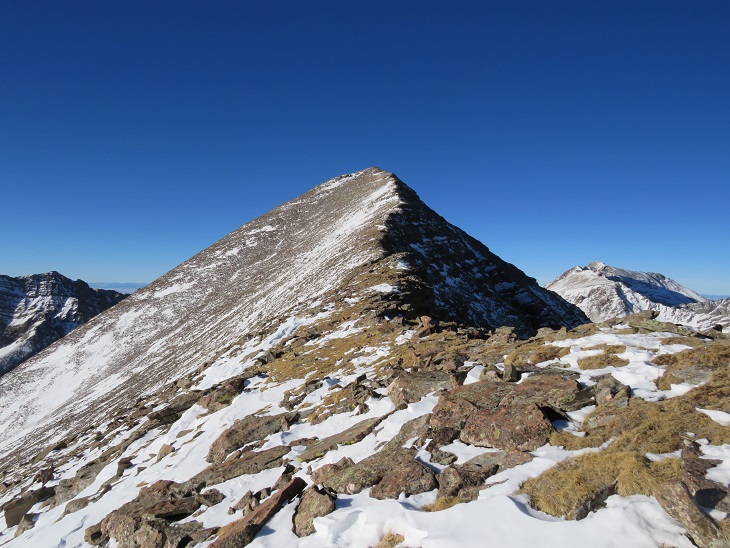
This time I decided not to stop at all, and guess what? I had my fastest summit of Quandary Peak! There were tons of dogs on the trail today, and I even saw a group of skiers with guides. Here’s the summit
It was very, very cold today. It didn’t get above 18 degrees (that’s what the temperature was when I got back to my truck). There was a slight layer of frost on everything
Looking west
Heading back down I came across some BASE jumpers who were intending to jump from the summit. I didn’t think it was windy enough today. In fact, it was a perfect, bluebird day to go hiking!
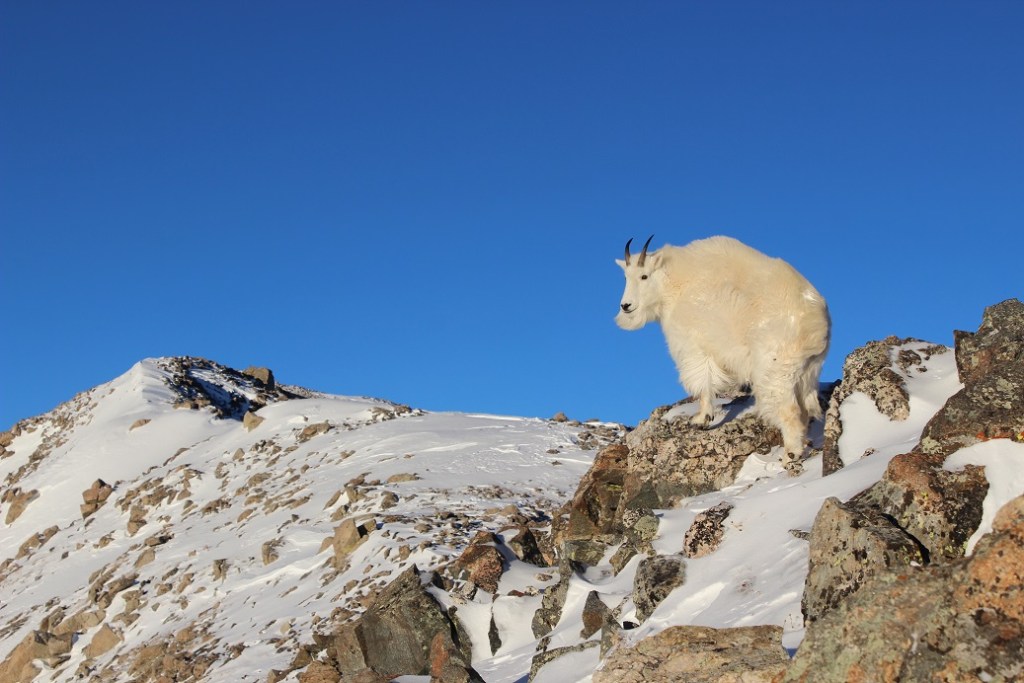
I saw Mountain Goats on the way down, but they were kind of far away
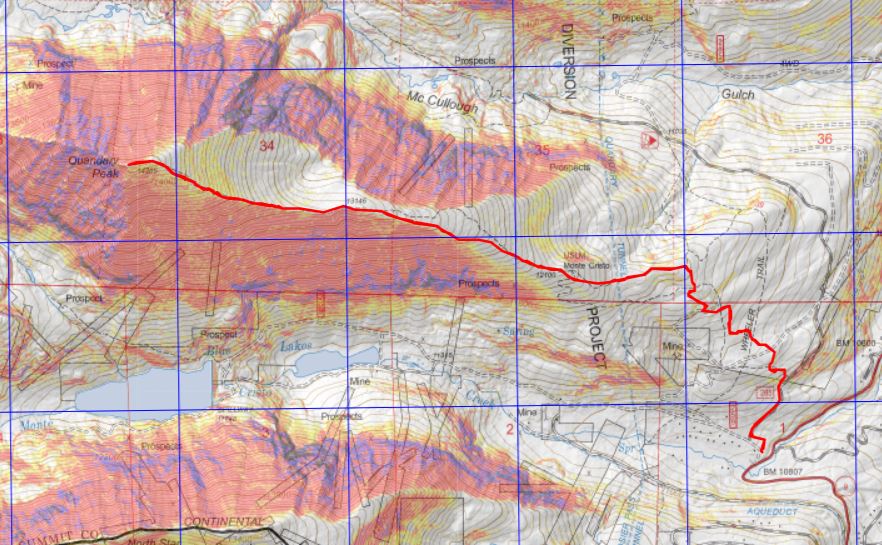
Here’s a topo map of the route. I made it back to my truck at 11:45am, making this a 4 hour hike: 7.22 miles with 3444’ of elevation gain
The Quandary Peak Summit Sticker can be found here
Here are my stats for my 2020 Hiking Related Goals:
Hike on 60 days this calendar year: I hiked 110+ days
Hike/walk/run/treadmill 2020 miles: Done: 2630 miles
Summit a combined total of 10 winter 13/14ers: I summited 12
Finish all the Bicentennials outside of the San Juans: Done
Hike in the San Juans at least 4 times: Done
Complete one new class 5 Bicentennial: Done (Coxcomb)
Summit 2 highpoints outside of Colorado: I summited 9
Summit 3 new El Paso County Highpoints: Done
Hike one section of the Colorado Trail: Sections 1-3, done
Complete Grand Canyon R2R: Done
Keep my average above 10+ miles and 4000’+ of elevation gain per hike: Almost. I averaged 12+ miles per hike with 3745’ of elevation gain
I was able to get in 164 peaks, 110 hikes, 1,315,869’ of elevation gain, and 2630 miles this year, so I’m considering my 2020 hiking adventures a success. On to 2021!
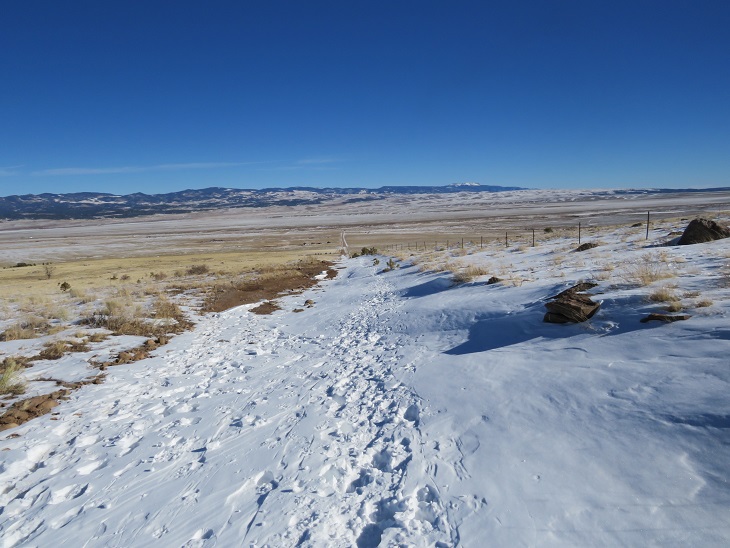
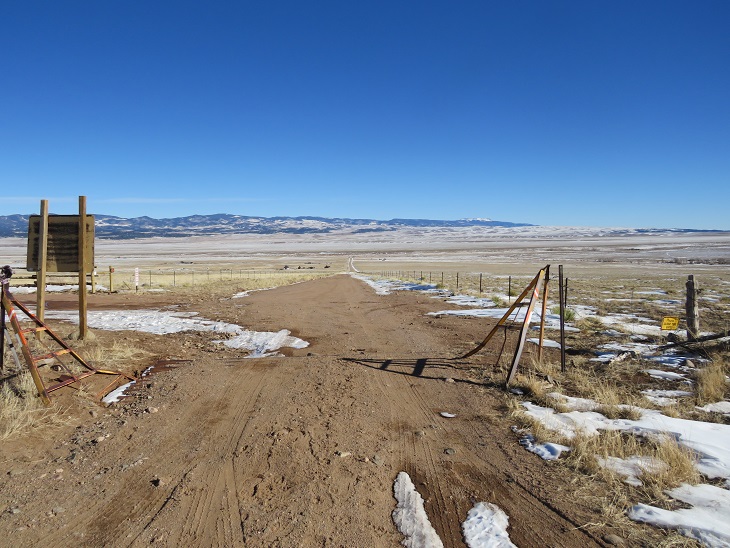
This was my third time hiking Humboldt, but my first time in calendar winter. The last time I was here there was a terrible wind that was causing the snow to become clouds, and I couldn’t see the summit when I arrived (or my own 2 feet). This time I was here for better pictures of the route, and to count it as an official snowflake. I arrived at the South Colony Lakes lower trailhead and was the only one in the lot when I parked my truck. I put on my gear, using only microspikes as my footwear, and was on the trail at 4:30am. As usual in winter, the snow started just past the 2WD parking area. I always find it amusing to see how far the tire tracks try to go up the road. This time, they didn’t go far.
The snow on the road started right away, but there was a good trench. I followed the road for 2.3 miles to the junction with Rainbow Trail. It was still dark out, and as I rounded the last corner of the trail where I could still ‘see’ the trailhead I noticed there was another car parked there. It seems there would be hikers about a mile behind me today. Also, my flashlight started flickering. Time to change the batteries!
At Rainbow Trail the trench spiked, one side going towards Marble Mountain, the other towards Humboldt Peak’s East Ridge. There weren’t any tracks headed further down the road to South Colony Lakes. I turned right and followed Rainbow Trail for .5 miles.
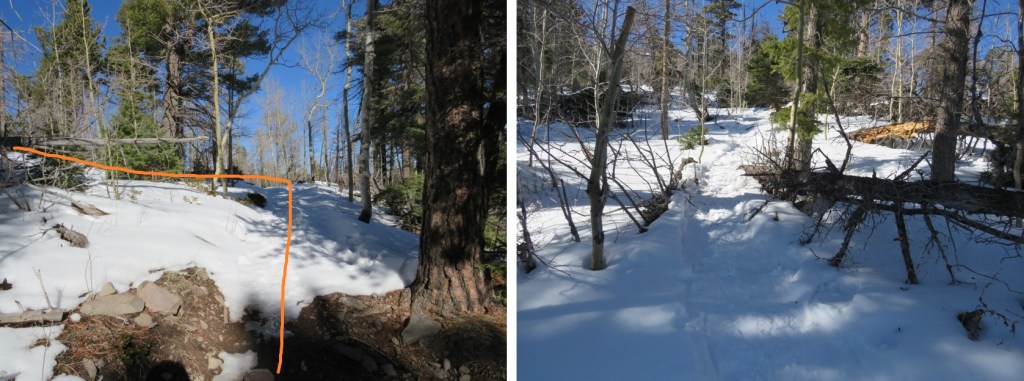
I quickly came to a bridge, then took the trail to the top of a slope
At the top of the slope I was thrilled to see there was a trench in place leading up the ridge. Last time I did this hike I’d had to trench it myself, and it had taken quite a bit of work. Today, I was going to poach someone else’s trench! Woot!
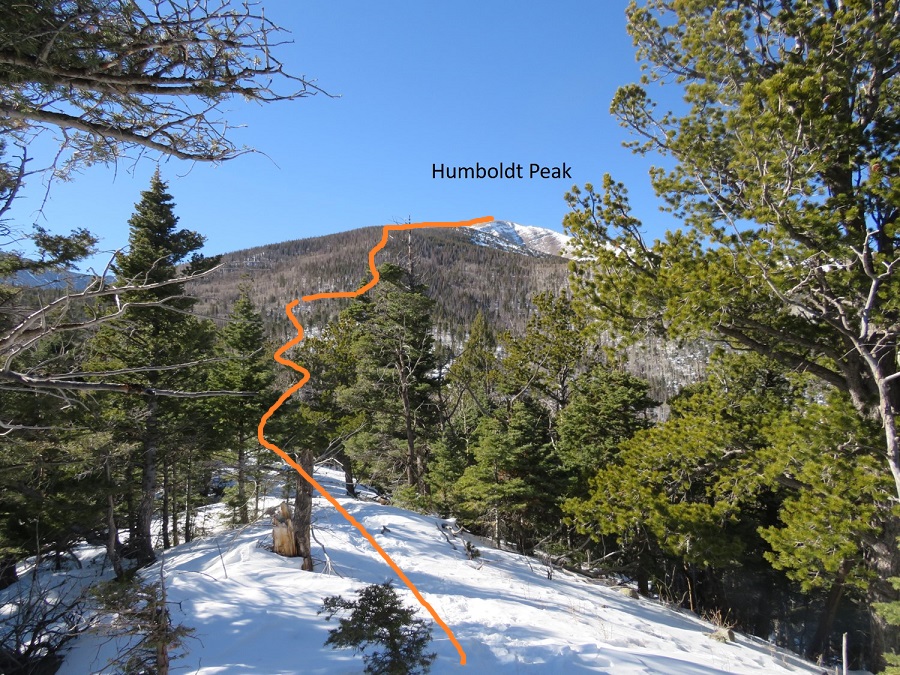
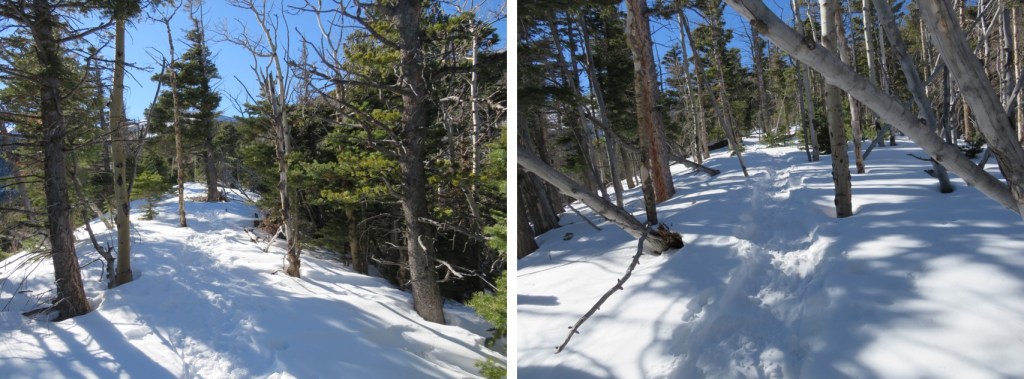
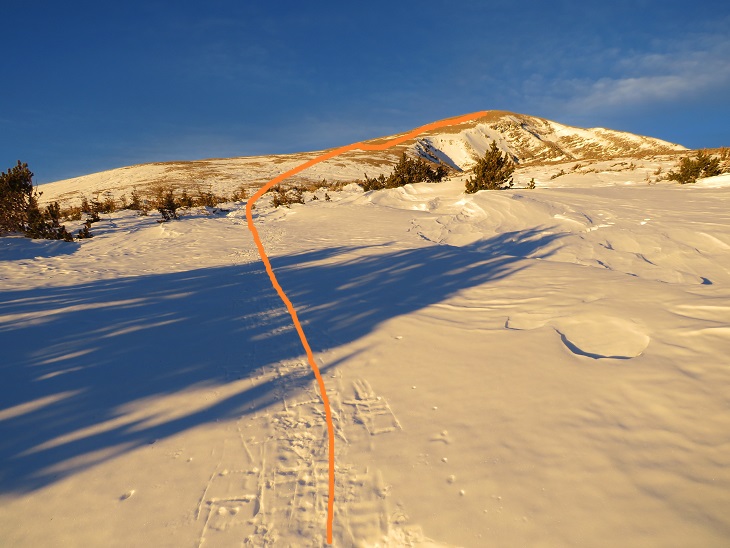
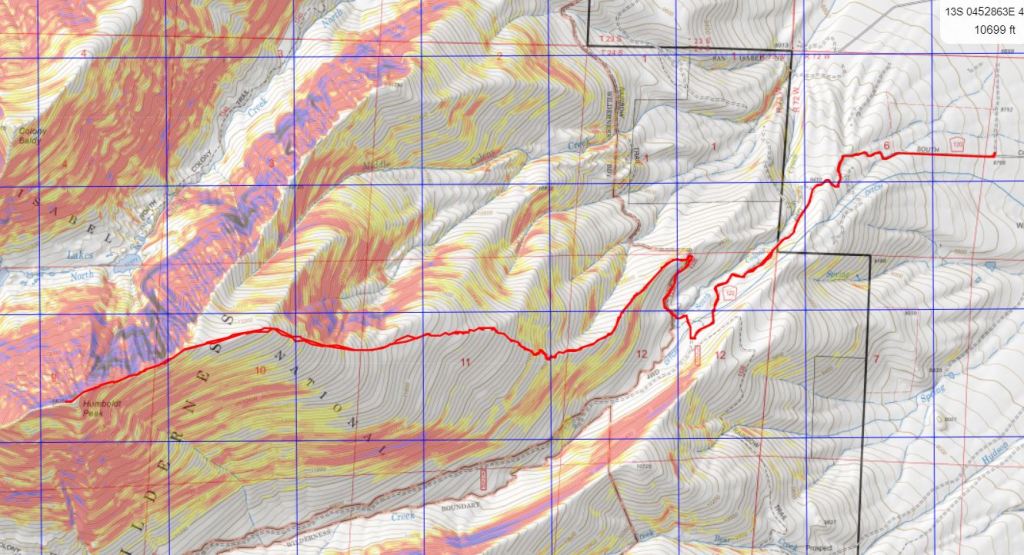
And what a trench it was! I followed it as it for 2 miles as it ascended the east side of the ridge, all the way to treeline. Here’s an overview of the route up to Humboldt Peak
If you keep heading west and stick to the rib/ridge, it will take you to treeline. I could hear the wind above the trees, and got a bit anxious for the above treeline part of the hike.
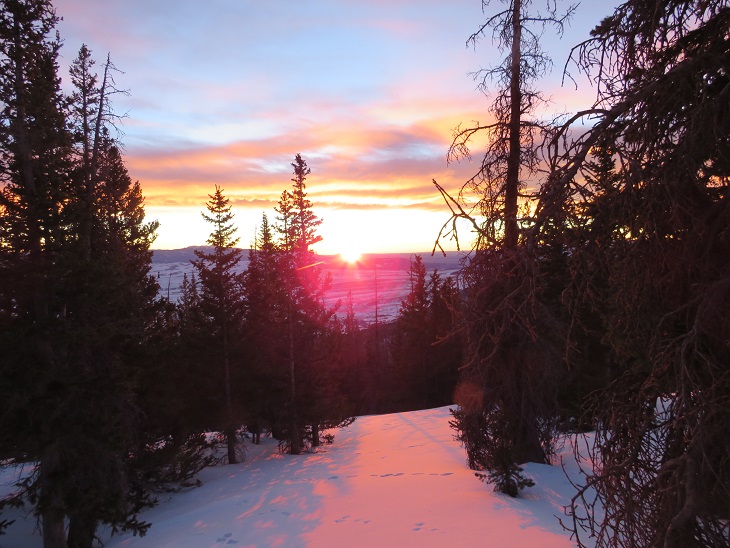
As I hit treeline the sun started to rise. I took a few minutes to enjoy the view. (side note: there were a lot of rabbit tracks here)
The trench ended near treeline. I could see where it was supposed to go, so I kind of re-trenched it as best I could wearing just spikes.
Here’s the general overview of my route up the ridge
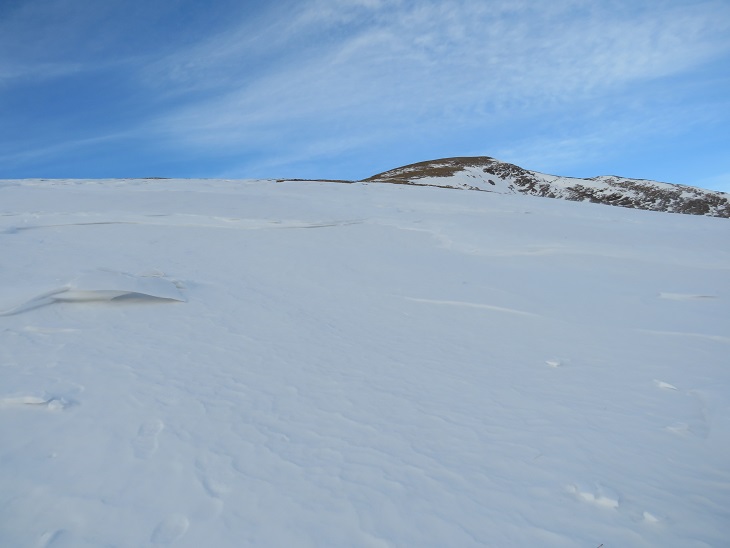
The wind had been intense all morning, but once I was above treeline it became difficult at times to even stay upright. So much for the forecased 11-17mph winds! I’d started early to avoid the most intense winds that were supposed to start around 11am, but it seems they started a little early. I had to hunker down at times and turn away from the wind, which turned the snowflakes into glass, and was side-stepping as I hiked just to stay in a straight line. I tried to take pictures, but unfortunately, wind is invisible. I kept my gloves on and was glad I’d put on my balaclava at the trailhead. Here are some pictures of the ridge.
Here I noticed some bighorn sheep in the distance. They also noticed me and trotted off.
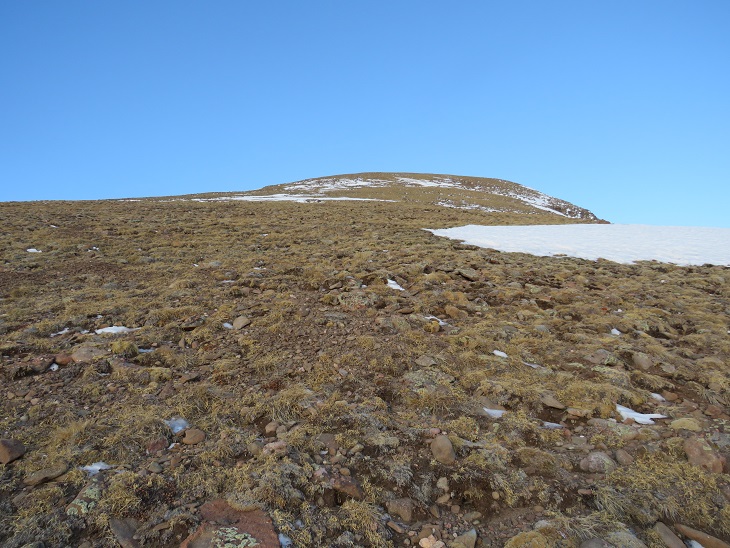
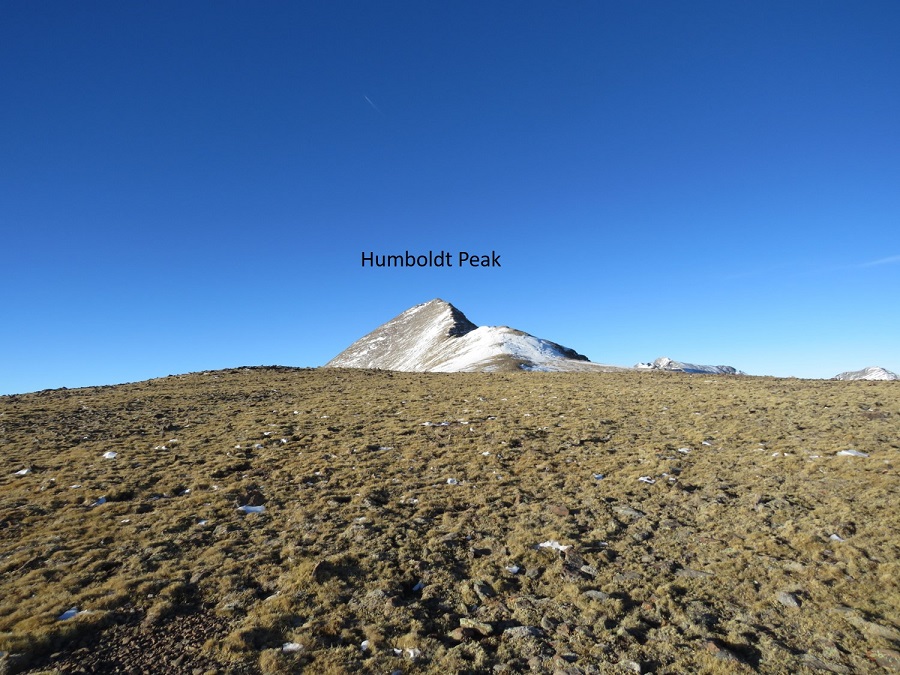
At the top of the ridge was another ridge, so this had been a false summit. Here’s the actual summit of Humboldt Peak. It’s a straightforward ridge hike to the summit, nothing above class 2.
Here are some pictures of the ridge. There was some snow, but it was all firm enough not to need traction
On this part of the ridge the wind really picked up. I had to hide behind rock structures to get out of the brunt of it, and the noise it made as it came up and over the rocks was creepy. The balls of my feet were frozen at this point (due to Raynaud’s) and it felt like I was walking with large rocks in my shoes (I wasn’t, it was just the ball of my foot that had frozen). Several times I hunkered down to maintain my balance, but it was still a straightforward ridge hike.
I knew I’d made it to the summit when I found the wind breaks. I never saw a summit marker, but I don’t think there’s one here?
I’ve summited Humboldt Peak twice before, so I knew I was at the summit at the first wind break, but I walked further west for better pictures.
I summited Humboldt Peak at 9:45am
Humboldt Peak:
The views of the Crestones/Sange de Cristo range were beautiful!
Time to head back down the ridge
The wind was still fierce, and I was worried I was getting a nasty windburn in all the areas my balaclava didn’t cover. The wind speeds weren’t supposed to be this high, so I’d left my goggles at my truck. Note to self: next time, bring the goggles. On my way back down the ridge I saw the Bighorn Sheep again. They quickly turned when they saw me and headed over the mountainside. There was a big drop on the other side, and I was surprised I couldn’t see them again when I passed.
This was a simple ridge stroll, or, it would have been, without the wind
Here’s looking at my route back down the ridge to treeline
Here I met some hikers heading up. The wind had died down considerably by this point, so I figured they had the better weather of the day (I found out later it picked back up again, and they said their summit was just as windy as mine). My feet started to de-thaw, and I had a minor Raynaud’s attack: think insane pins and needles as the blood started flowing again. It lasted about 30 minutes, and to combat it I just kept hiking. On a positive note, I could feel my toes! Finding my tracks back to the trail was a bit of a challenge, but I came across them eventually.
Then I followed the trench back to Rainbow Trail. I should have put on snowshoes here, as I postholed ever 30 feet or so, but I really didn’t want to stop. I was just glad I’d started early enough in the day not to need snowshoes (spikes worked just fine). Anyone heading back down later than me would need snowshoes.
Once back at the trail I followed it a half mile to South Colony Lakes Road
Once on the road I hiked the 2.3 miles back to the trailhead, noticing a lot of dog tracks along the way. As I neared the trailhead I saw a couple walking with two beautiful dogs. It seems they were out on a day hike, and I thought this was a great idea, as it was a beautiful day below treeline.
Here’s a look at the trailhead on my way back. Easily 2WD accessible.
I made it back to my truck at 1pm, making this a 14.02 mile hike with 5563’ of elevation gain in 8.5 hours.
Unfortunately, when I made it back to my truck I could hear the conversation the couple with the dogs were having. The man kept cussing at his female companion, and the dogs, over simple things like an overturned water bowl. To me there’s no need for vulgar words, and he was using multiple ones in each sentence he uttered. I felt the urge to say something, but no one else in his party seemed to mind his behavior, so I kept it to myself. I’m not sure why women allow themselves to be treated that way?
The Humboldt Peak Summit Sticker can be bought here
This year we rented a cabin up near Salida for a few days before Christmas. There wasn’t ny internet/cell service, so we spend time cooking, baking, watching movies, and putting together a puzzle.
We were supposed to leave early Christmas morning, so we pretended Christmas Eve was Christmas day. After opening presents we went sledding on a nearby hill, which was actually a street. It didn’t matter though: the girls had fun!
We were done sledding around 10am and the girls wanted a nap, so I decided to go hiking. It was too late to climb a peak, so I decided to hike to Boss Lake instead, a lake at the base of two prominent 13ers in the area.
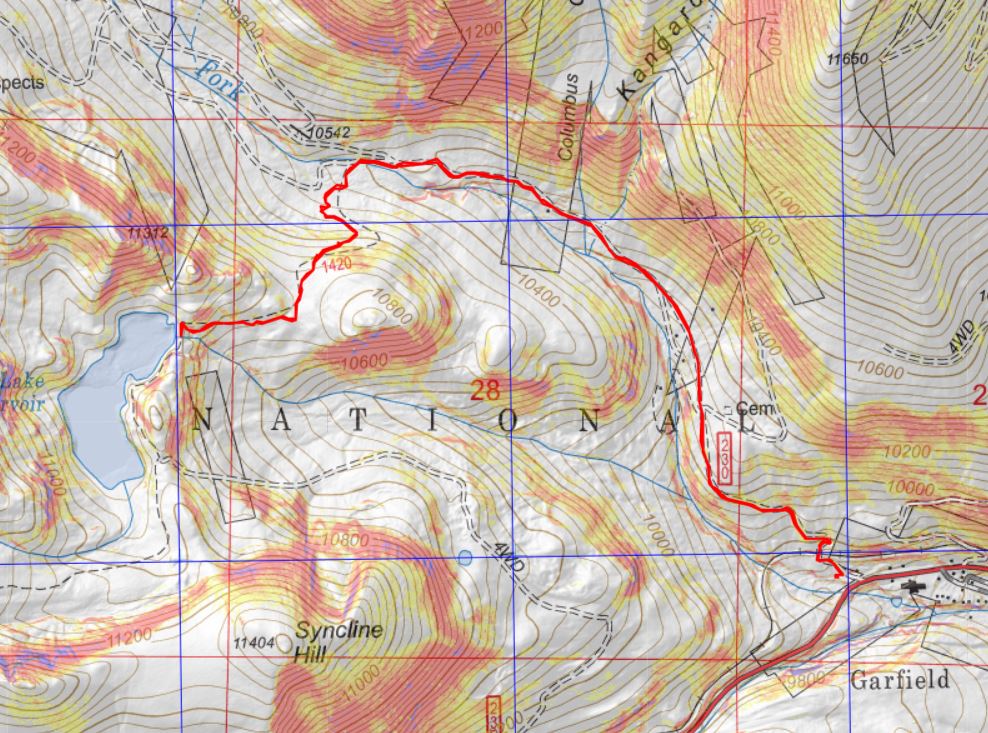
I’ve hiked past the Boss Lake Trailhead a couple of times, and was told the lake was only about .3 miles from the trailhead. Spoiler alert: It’s actually closer to a mile. On my way up 4WD road 230 I saw some skiers heading down. They told me they’d just come from the hut. I didn’t know there was a hut in the area? Next time I’m going to have to try and find it.
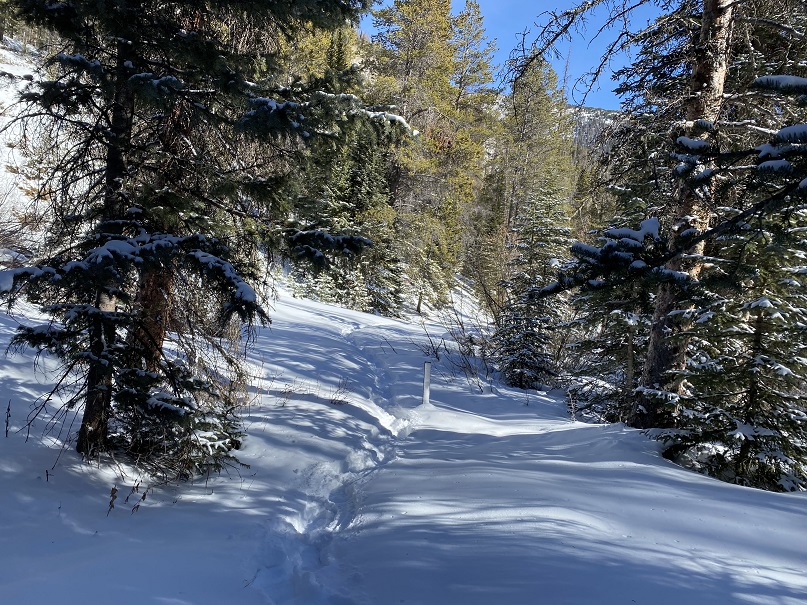
The trail was nicely packed down along the road, but as soon as I came to the trailhead that ended and it was time to put on my snowshoes. It was 1.5 miles from the parking area to the trailhead (Boss Lake Trail 1420). I trenched all the way to the lake in snow at least 2 feet deep.
It was nice to be on another section of the Colorado Trail. It seems there’s also a new hostel in the area that caters to thru-hikers
I crossed the bridge and trenched a mile to the lake, where the snow suddenly stopped
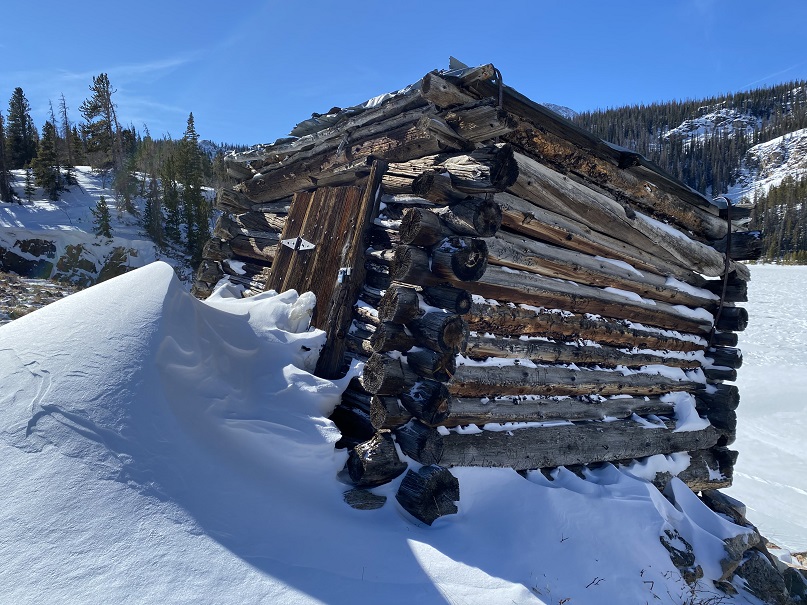
I was hoping to find a nice, frozen lake, but instead I found a large pond covered in snow. There was a cool building next to the lake. It was locked.
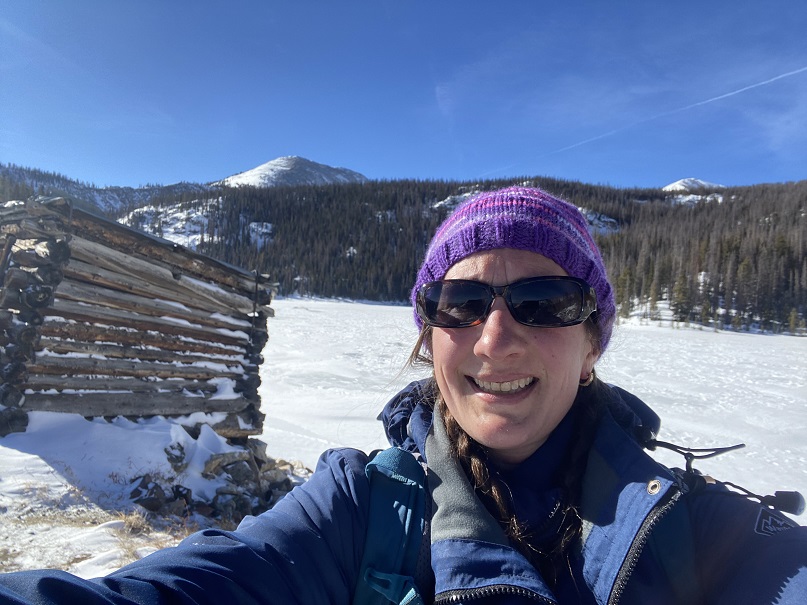
I took a selfie to prove I was there and headed back
The trek out was easier than the trek in, as I just followed my trench
I met some nice people along the way, who were snowshoeing for the first time with their Sheba. They were thankful for the trench, and I told them to try hiking for a bit off trench, just to get a real feel for snowshoes.
I made it back to my truck and felt the day had been too easy, but at least I’d burned some calories, and this was vacation after all.
This trip started out as a summit attempt on Homestake Peak, but it ended with an unexpected trip to the 10th Mountain Hut.
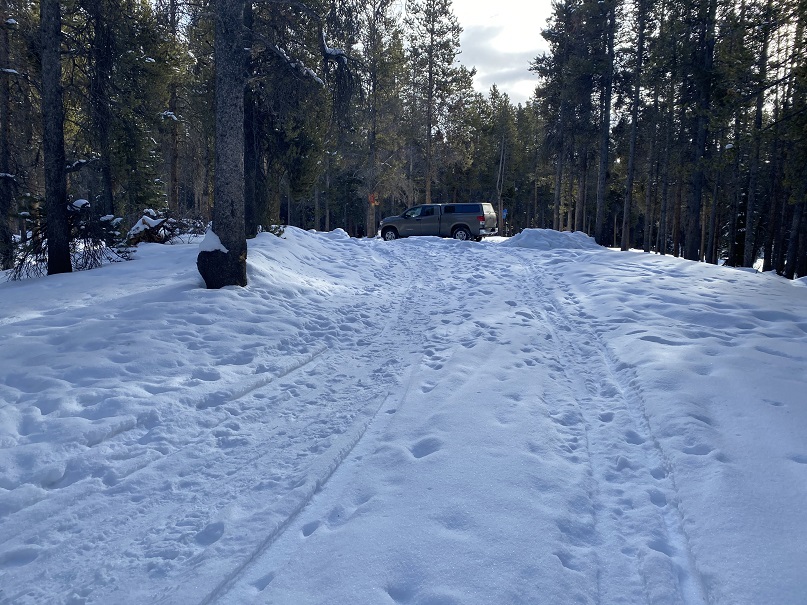
Weather all over the state either had high avalanche danger or high winds, so I settled on hiking Homestake Peak today, with a frigid forecast but only 5-10mph winds and no cloud cover. Or, so I thought. I arrived at the trailhead and put on my gear, including snowshoes, inside my truck.
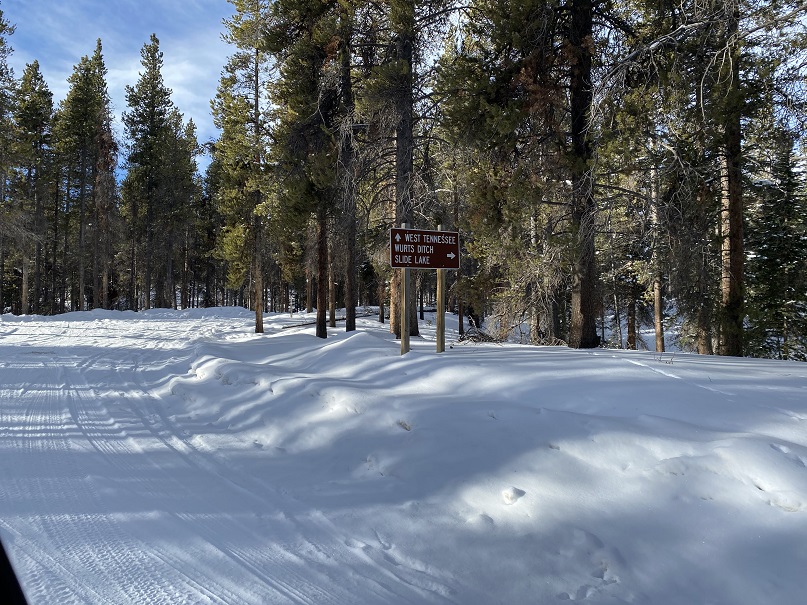
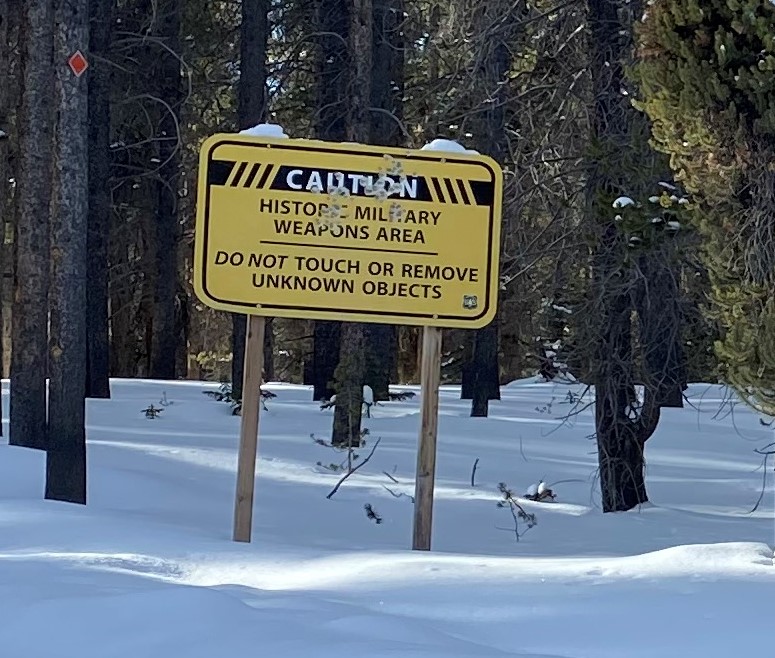
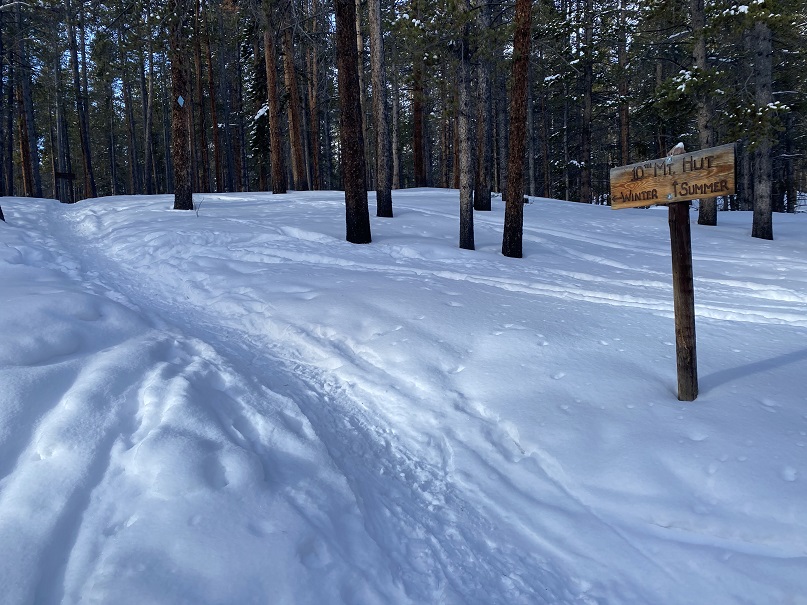
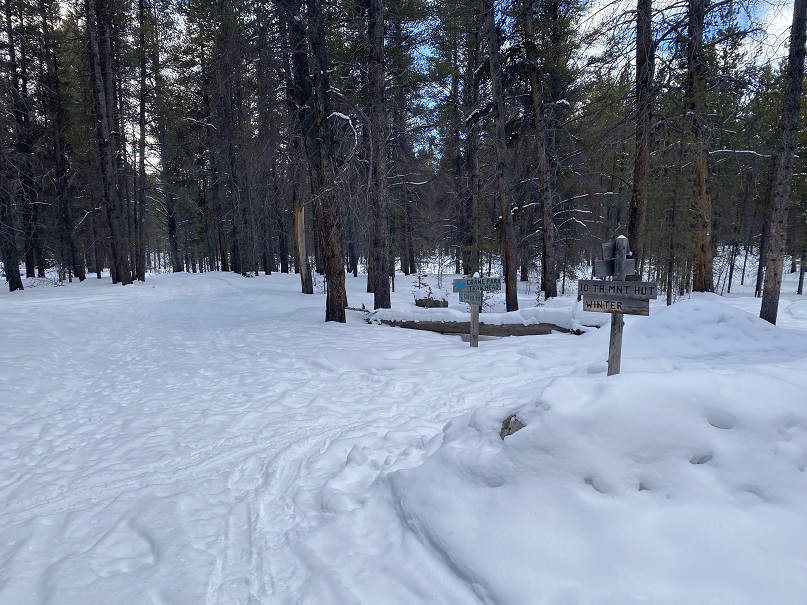
There were some cool signs in the area
I was on the trail when it was still dark, and noticed tracks coming towards me, presumably made earlier in the night. I’m guessing they’re coyote
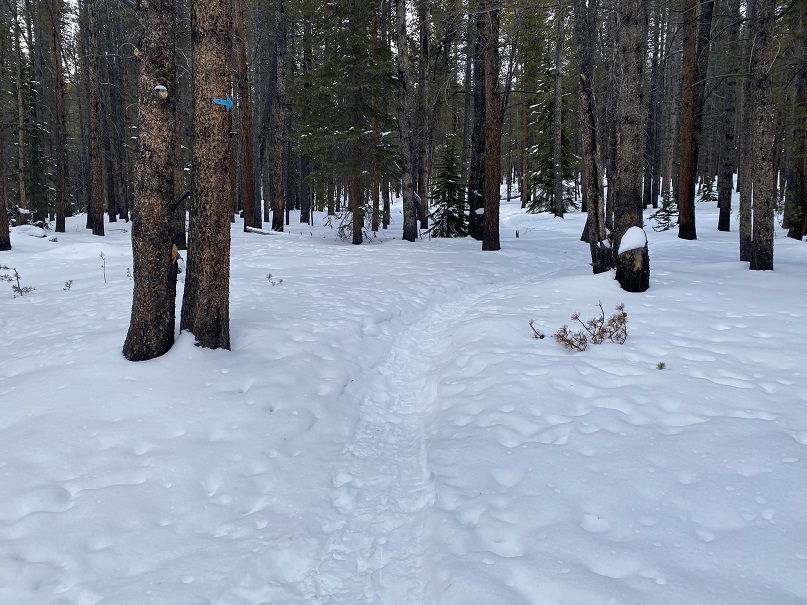
I followed the well-marked trail, using the blue diamond route
And then following the route to the 10th Mountain Hut (still blue diamond/arrows).
Here I was following the Colorado Trail. It was just a for a short time, but still kind of cool to be back on the trail for a bit.
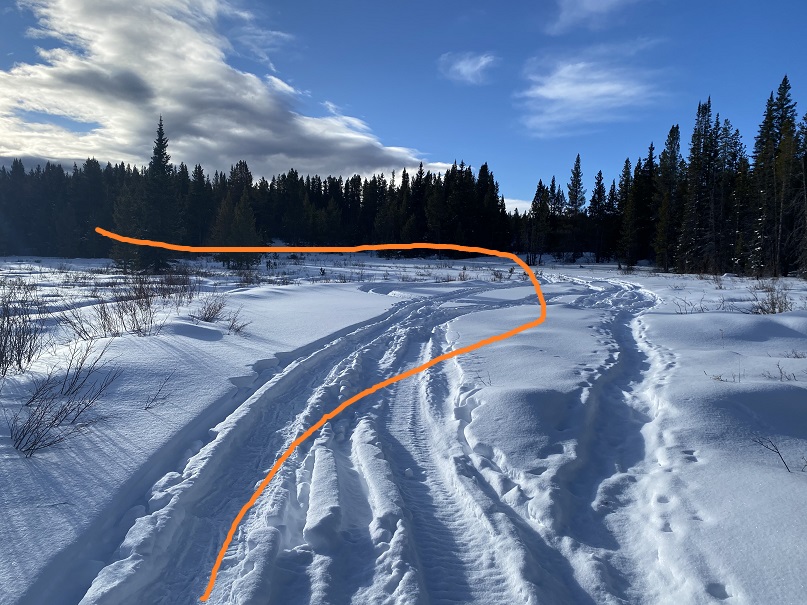
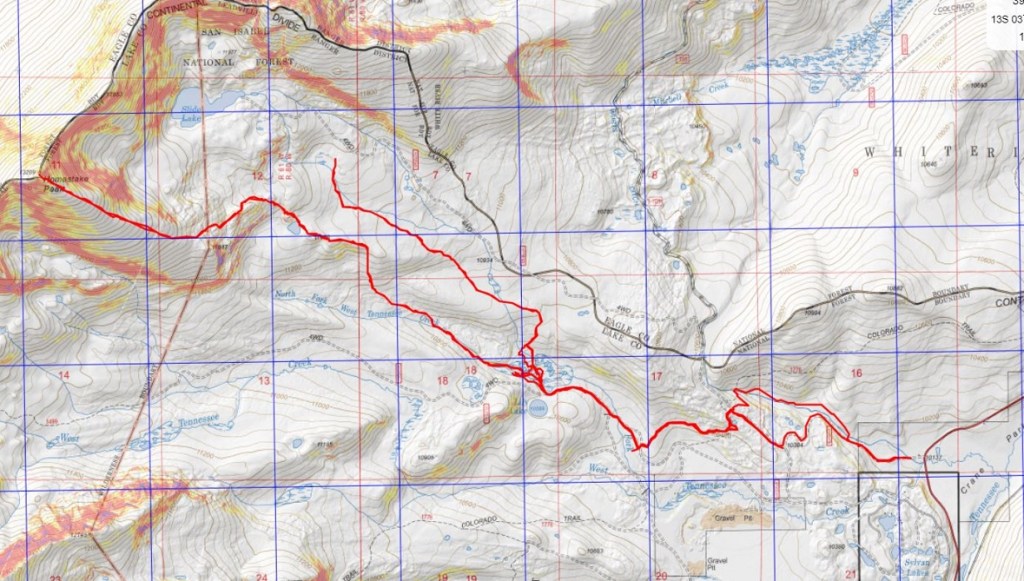
The trail was easy to follow until I came to a meadow. I was supposed to take the route outlined below, but the snow was too soft in the willows.
I ended up zig zagging back and forth, trying my best to follow deer/elk tracks. I kept falling into invisible streams covered in several feet of snow. At one point my phone froze and I was unable to unlock the screen to see where I should have been going. My stylus wasn’t working in the cold either. Several times I sank up to my chest in snow, and after the third time getting my snowshoe caught in debris that immobilized me I decided to call it and head back to the trail. I wanted to try to find another way to summit: the conditions in the marshy area were just not safe. I could see myself twisting an ankle or breaking a leg on this route. Here’s my route out of the willows.
I didn’t want my day to be over, so I decided to follow the tracks to see where they led. They continued to follow the blue diamonds.
Right about now the sun was beginning to rise, and I could see it wasn’t going to be a cloudless day. The clouds made for a beautiful sunrise though!
As the sun rose the wind picked up. I could see snow swirling all around me, which was pretty cool. I also knew I needed to be more to the southwest if I wanted to attempt Homestake Peak today, but every time I tried to cross the snow and head southwest I sank up to my chest in the snow. That snow was seriously deep, and sugary. I’d need skis to attempt a safe crossing (I don’t own skis).
I could also tell the clouds were increasing, and by looking at how fast they were moving, they weren’t going 5-10 mph (more like 40mph or so). Here the well trenched trail ended, but I could see a faint line of where it had been a few days ago and decided to re-trench the trail to see where it went.
I came to a small sign, stating no snowmobiles were allowed past this point, and continued heading northwest.
Just after the sign I came to the 10th Mountain Hut! So cool!
I wanted to take a look around, but as I got closer I could see people moving about inside and decided to leave them be. They looked like they were packing up to head back out. They must have trenched in on Friday, and I’m sure they’d be excited when they noticed I’d re-trenched their way out.
Heading back was easy, as I just followed my tracks
I made it back to my truck at 9:15am, making this a 9.06 mile hike with 1456’ of elevation gain in 4 hours
Here you can see my intended route (bottom) and the route I actually took (top)
As I drove home the winds became more intense. There were semis parked on the side of I70, waiting out the wind. Yes, it had been a good idea to switch directions today. While any day out hiking is a great day, I wasn’t happy with today’s stats, so after making it home I hopped on the treadmill.
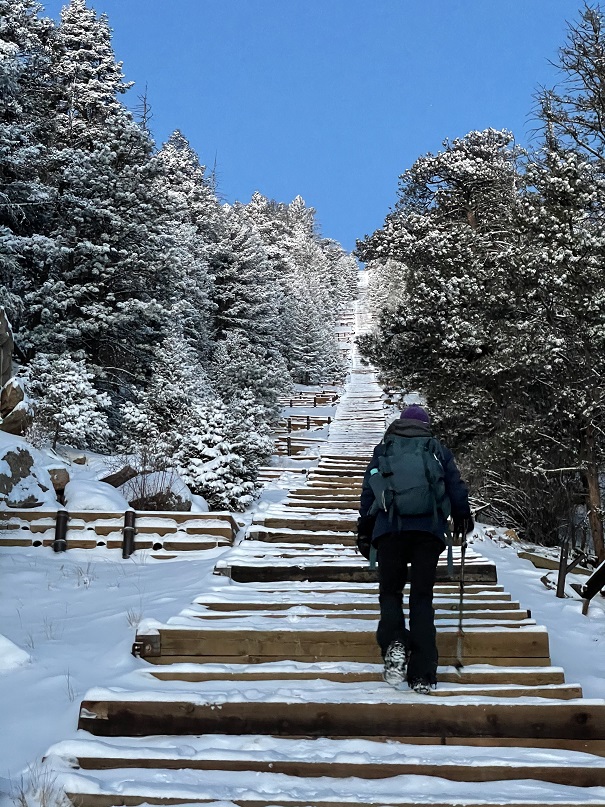
I haven’t been to the Manitou Springs Incline since they’ve implemented the reservation system, but since there was high avalanche danger all across the state, I figured today was a good day to go. The reservations were free, and easy to obtain. There are 25 slots open every half hour for reservation, and I secured the last two. However, when we arrived we only passed/say about 8 other people all day, and no one was enforcing the permit system. Maybe they took a snow day?
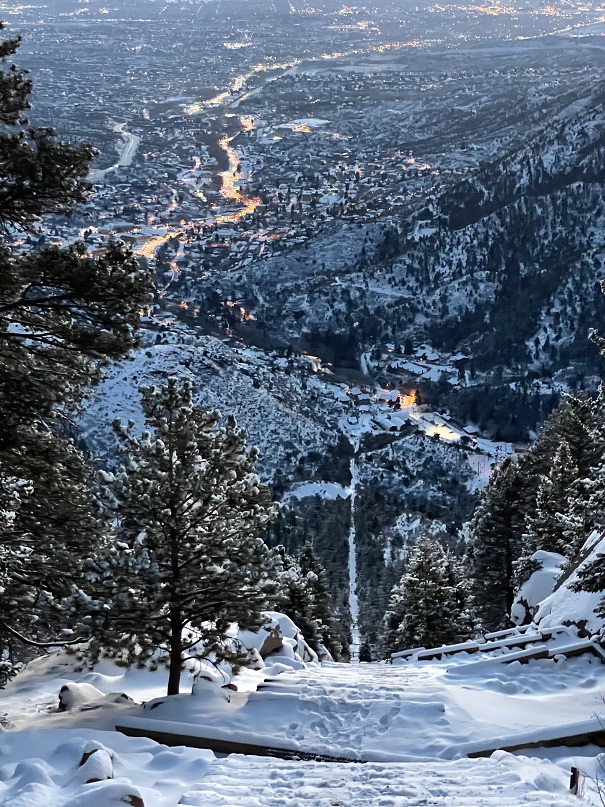
We paid to park while it was still dark and headed up the trail. It was 12 degrees outside, and SkyDiverHiker had on his new gloves. We weren’t sure if we were going to hike the incline once or twice today, so we decided to take it slow. We also wanted to see the sunrise, and we knew at our normal speed we’d get there half an hour before it happened, so if we went a little slower we’d stay warm longer. Check out our view of Manitou Springs
We kept the pace slow and steady. About halfway up SkyDiverHiker’s calves started cramping up, so we decided to make this a one and done day.
It took us about 40 minutes to reach the top, so we had a bit of waiting to do.
We took a selfie at the top: notice how cold it is? My hair is frozen!
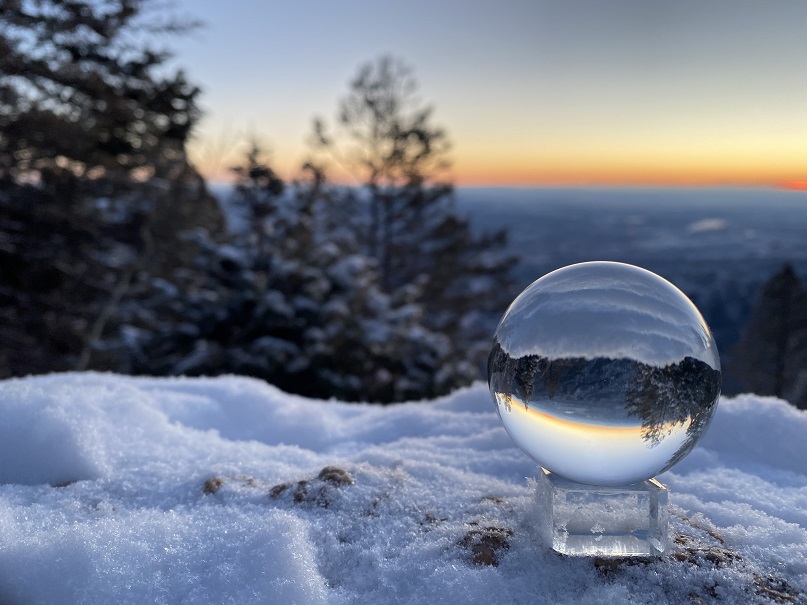
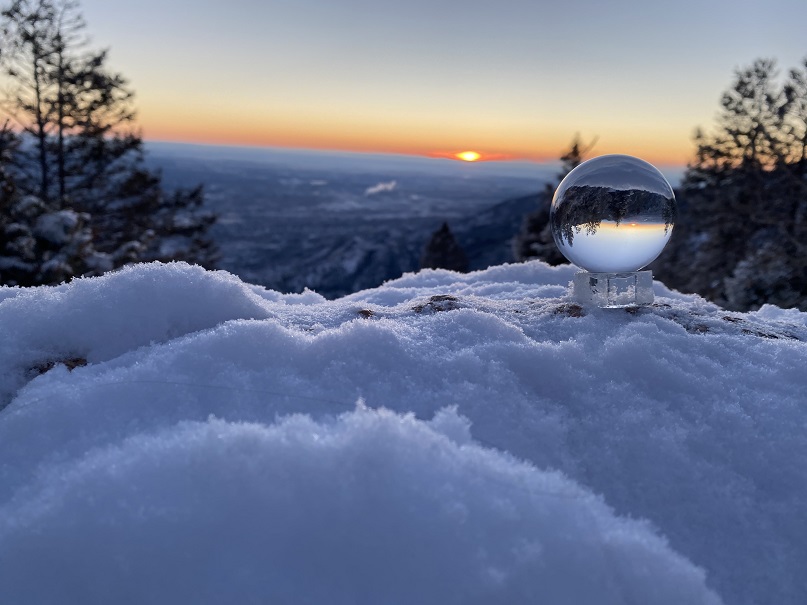
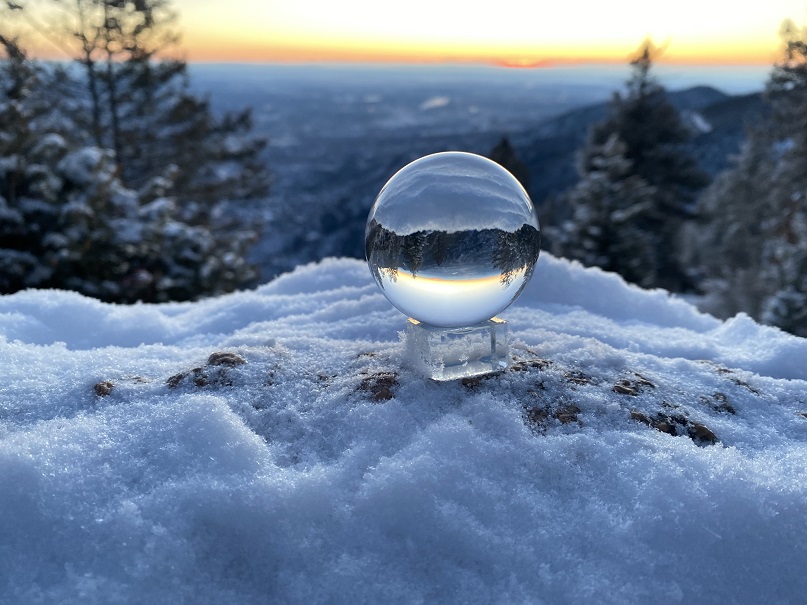
While we waited I got out my new photography sphere. I took a bunch of photos, trying to figure out how it worked. Unfortunately, it was still really cold outside, and my phone froze. The stylus didn’t work and my fingers were numb, so I didn’t get as many pictures as I’d of liked. I need some more practice.
It seemed to take forever for the sun to rise!
Jill and her husband met us at the top, and she took a few sphere photos too. Then we were off, back down the trail
Halfway down we had someone ask us if we’d seen a dog. No, we hadn’t, but a few minutes later a medium sized black mutt raced past us. We ended seeing the dog again and were able to coax it to us. We retraced our steps back up the trail to the owners, who were grateful, but I had to ask them if they had a leash? They looked confused, said “Oh yeah”, and got it out and put it on the dog. When we got back to the truck it was still 12 degrees outside! Brrrr!
We’ve had this trip for months, and in October had to re-scheduled it due to COVID concerns. I was a bit worried we were attempting some of these peaks too late in the year, and, unfortunately, ended up being right about that. Many roads we encountered were closed, even though their status showed as ‘open’. No matter though, we still had a great, whirlwind weekend where we were able to get in 5 Highpoints. Originally, we’d planned on 8 (and called them the ‘bowtie 8’ because our drive would go in a bowtie pattern). The weather had other plans.
We flew into ATL, arriving around 11am. The flight had been uneventful, the airport was crowded, and it seemed to take forever to make it to ground transportation (several trains were involved). When we arrived there was an hour wait at the Enterprise counter to get our vehicle (they wouldn’t let me use the kiosk because I was paying with a debit card instead of a credit card). On a positive note, we received an upgrade on our vehicle, and we were able to choose any vehicle in the row. We ended up picking a Nissan SUV so we could sleep in the back, which ended up being much more comfortable than our last trip, where we slept in the front seats.
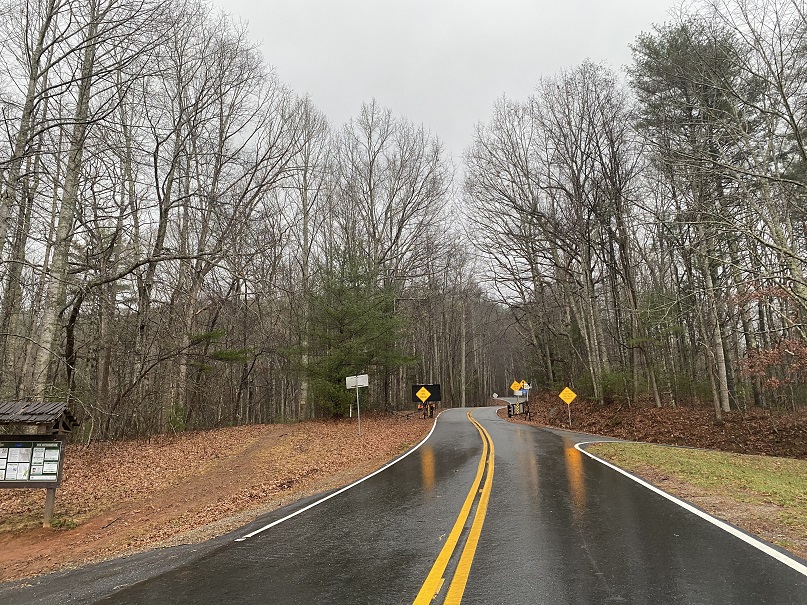
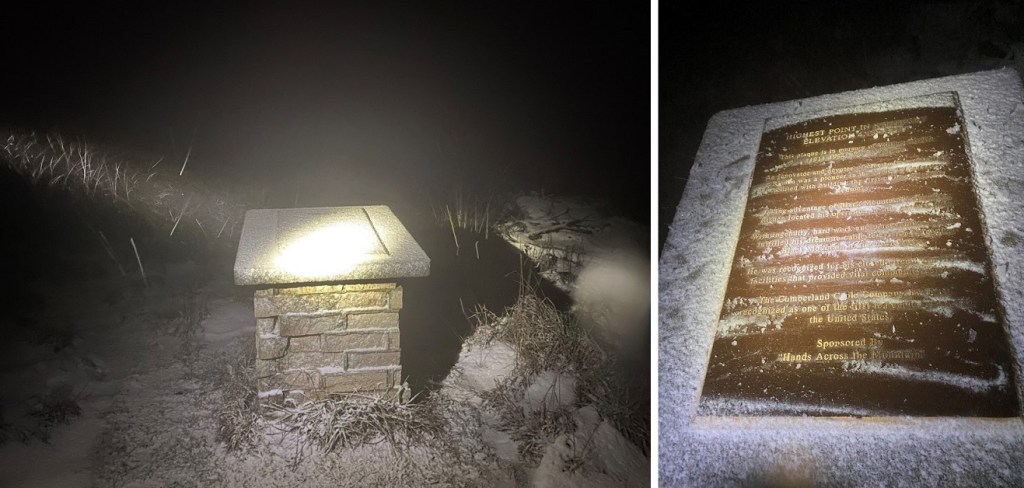
We were on our way around 1pm. First stop: Brasstown Bald, Georgia’s Highpoint. It rained the entire way there, and when we arrived, the parking area was shrouded in clouds.
I wasn’t even sure we were in the right place, but after getting out my directions I realized it was a half mile walk up a closed (but paved) road. We paid the $3 per person entry fee and parked.
The weather was miserable, so I put on my hat, jacket, and heavy-duty gloves and we were on our way, walking up the road.
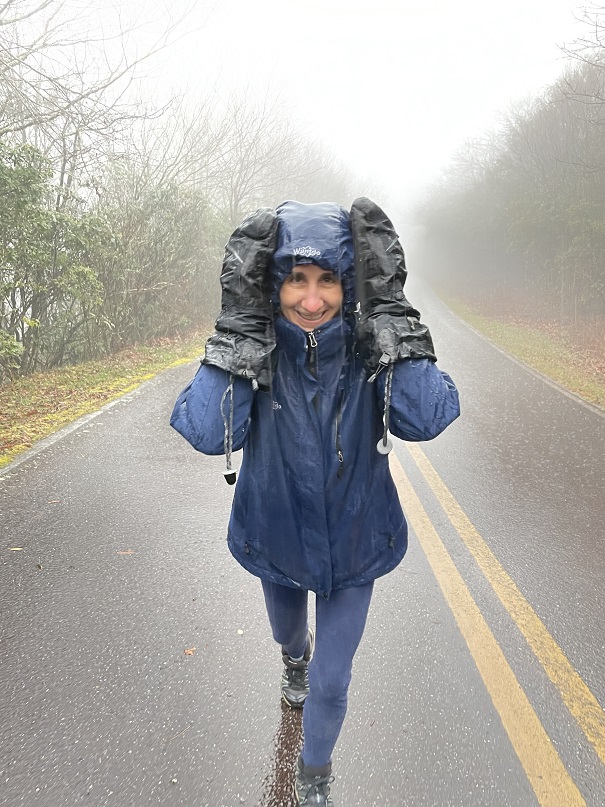
The walk up this road was easy, but in today’s conditions, miserable. It wasn’t quite snowing yet, so we were getting soaked from the rain. It was bitterly cold. Water was running down my gloves and I had to pull my jacket hood so tight I could only see a few feet in front of me. I much prefer snow to rain.
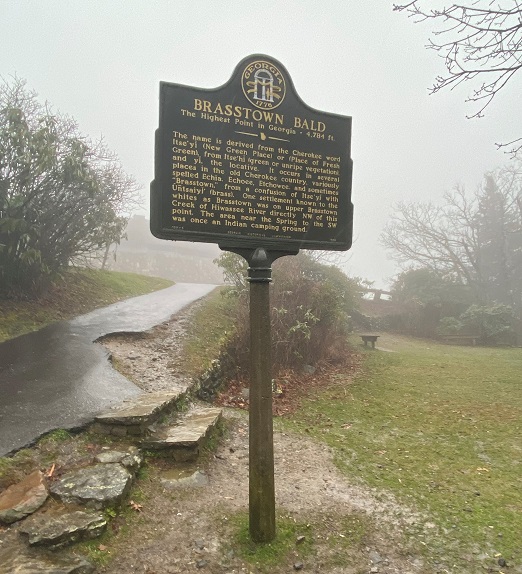
At the top of the hill was a plaque and a sitting area
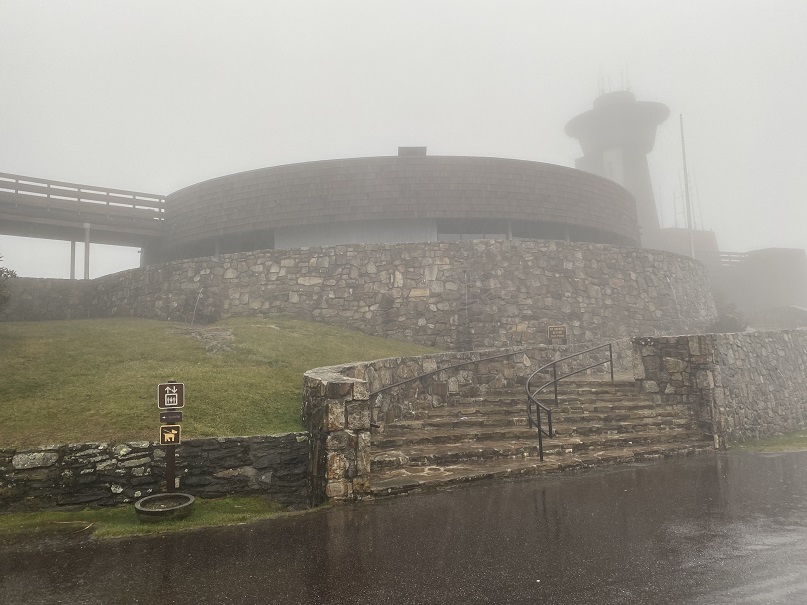
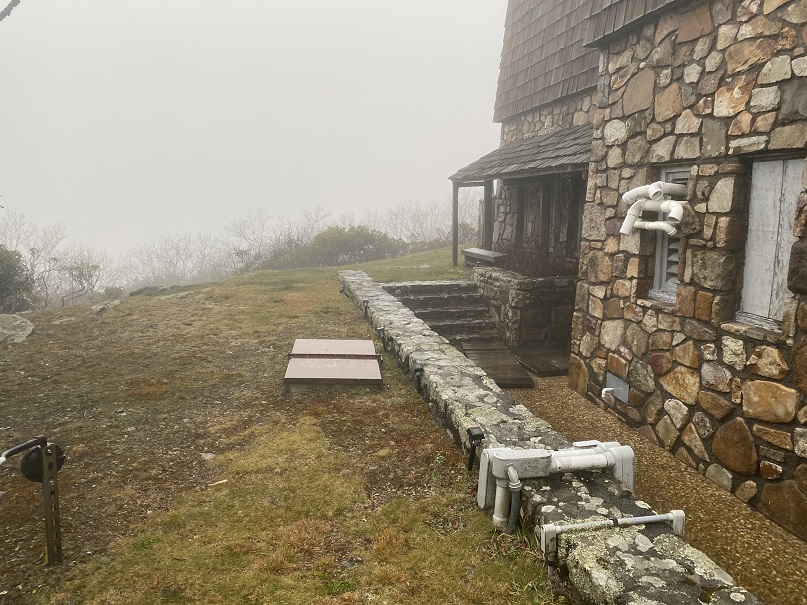
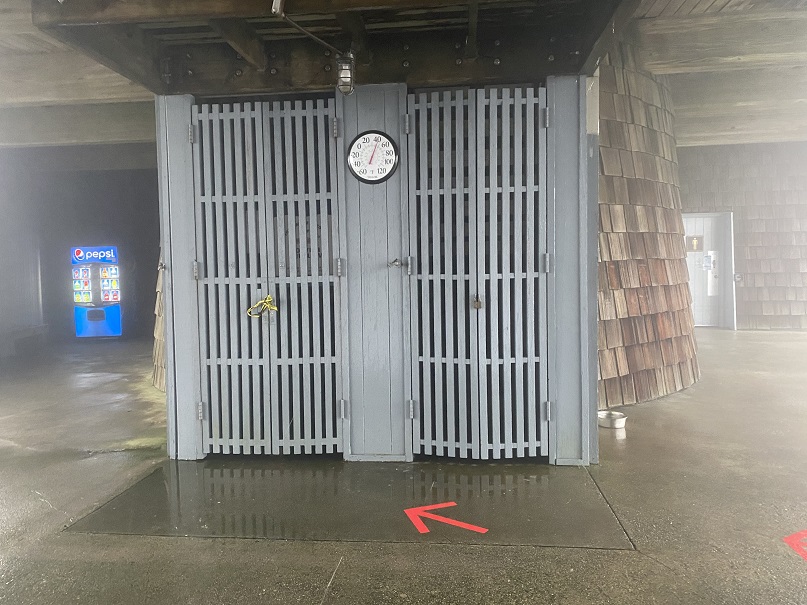
And beyond that, the visitor’s center (closed)
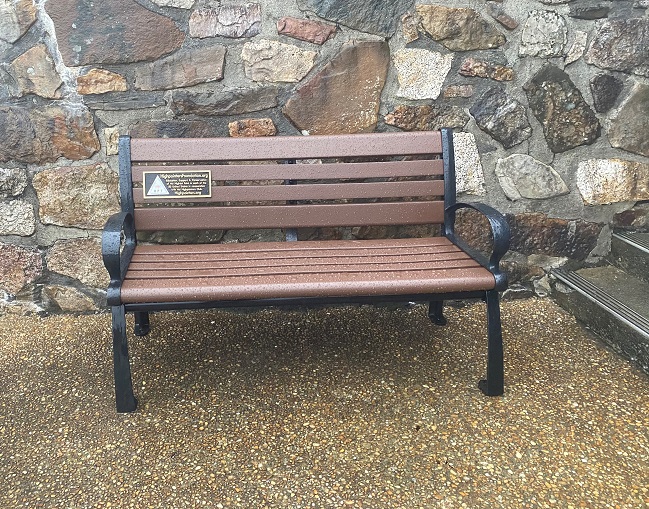
It was no surprise we were the only ones here today, as the weather was brutal. The wind picked up as we took a look around, searching for the summit marker (side note, there isn’t one. The rangers keep it locked up inside so no one steals it). We found the Highpointers bench, and then climbed the stairs to the tower. Unfortunately, the tower was closed due to COVID.
The wind picked up and it started snowing, so we decided to head back down. We rushed to the car and headed towards our second highpoint of the day: Clingman’s Dome, TN. Unfortunately, the road was closed 6.5 miles from the summit, and it was still raining, so we decided to skip this Highpoint too and instead headed to Kentucky.
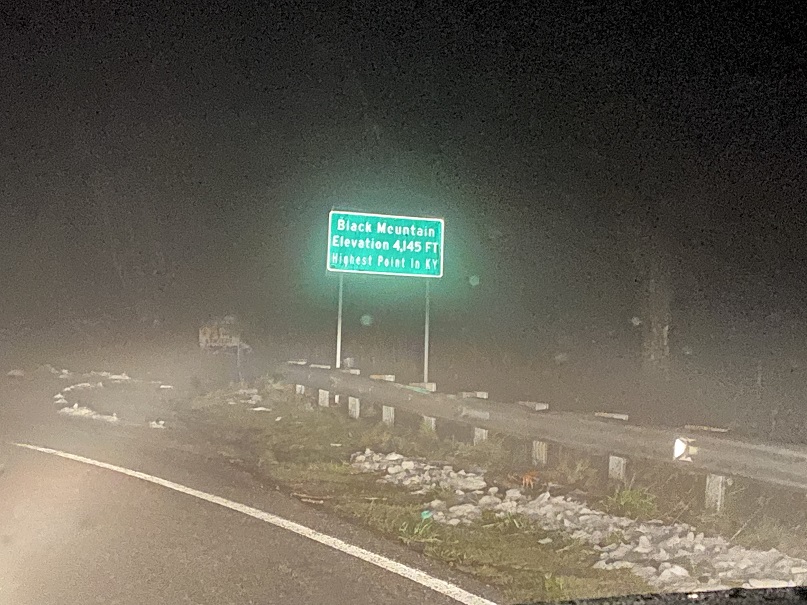
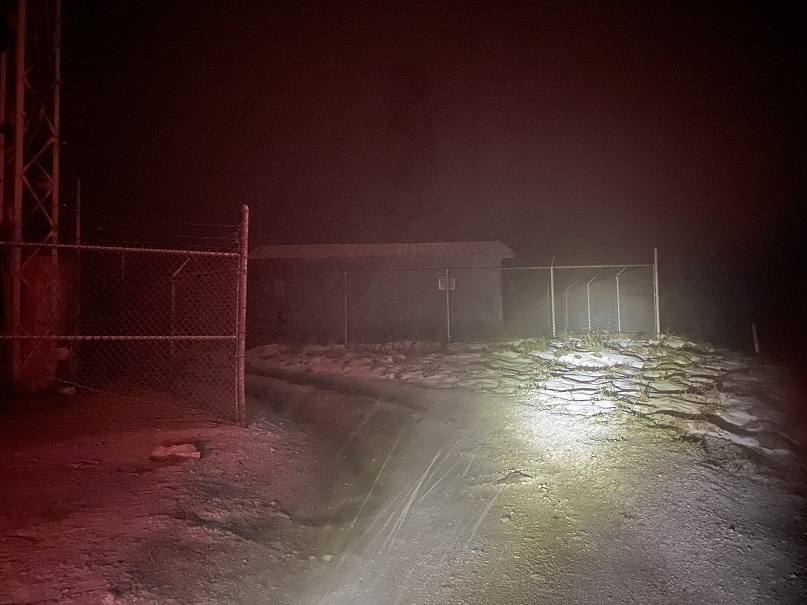
We got lost driving (this happens a lot when we highpoint, the intense 4WD road should have tipped us off) and arrived late at night, walking the short distance to the summit in snow. This highpoint is on private property, so we kept our waivers on us as we looked walked around the summit.
This summit had a tower as well, but we didn’t climb it (too clod)
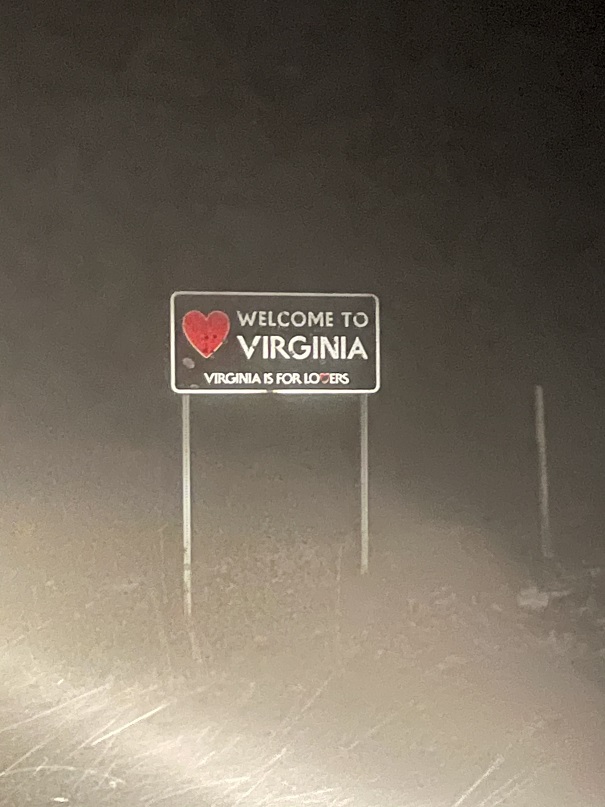
We made a mental note next time to add GPS coordinates to highpoints for our next trip, so we wouldn’t have such difficulties finding them, headed back to the car and drove to the summit we hoped to hike in the morning: Mt Rogers, VA. Passing through Gaitlinburg we noticed they were having some sort of parade/celebration, as the city was all done up in lights and there were tons of people milling about. This looked like a fun town. Maybe next time we’ll stay here when we come back for the highpoints we weren’t able to get this trip. We stopped at a grocery store for some cheese, crackers, and meat (side note: garlic ritz are the bomb) and were on our way, listening to a Harry Potter book on tape.
We arrived at 4am to the trailhead. The snow, which was supposed to stop around midnight, showed no signs of stopping. We decided to get a few hours rest and start out at first light. The wind howled and blew snow around us as we slept, or rather, tried to sleep, as we were slightly afraid the car would tip over in the wind. We were comfortable sleeping in the back with our sleeping bags and heated blanket, but the noise from the wind kept us awake. At 6am we turned on the heater, and at 7am we called it. The wind and snow were just too much for an attempt today.
On to the next highpoint!
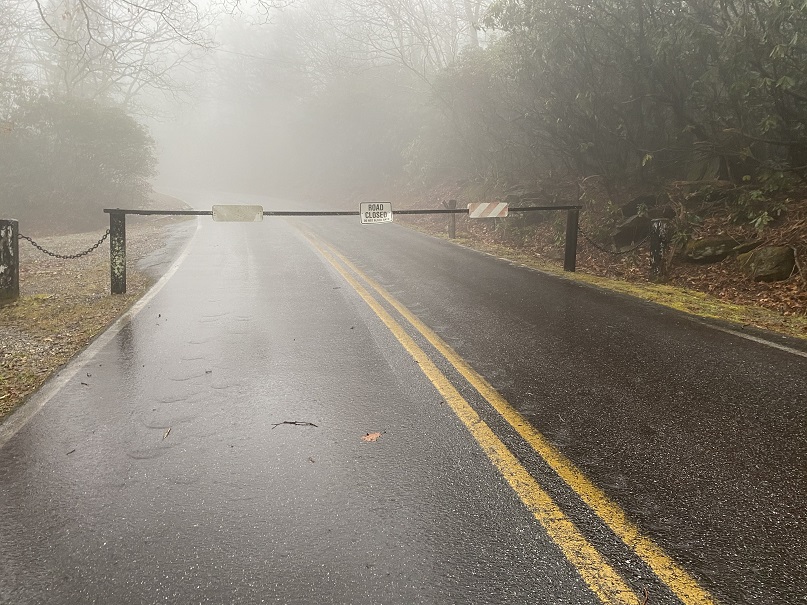
We crossed into North Carolina, and attempted to take the Blue Ridge Parkway to the summit of Mt Mitchell, but it waws closed. We then tried to take a back route, and got pretty close. The weather was nice and there wasn’t any snow on the ground, but we encountered a winter closure gate. Hmmmm. They should really publicize things. There are a lot of great dispersed camping spots here.
No worries though: on to the next highpoint!
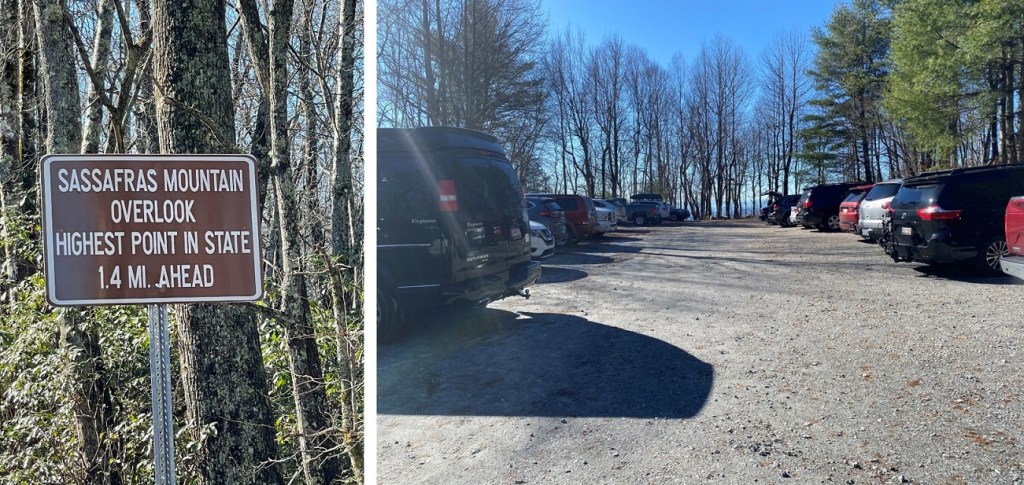
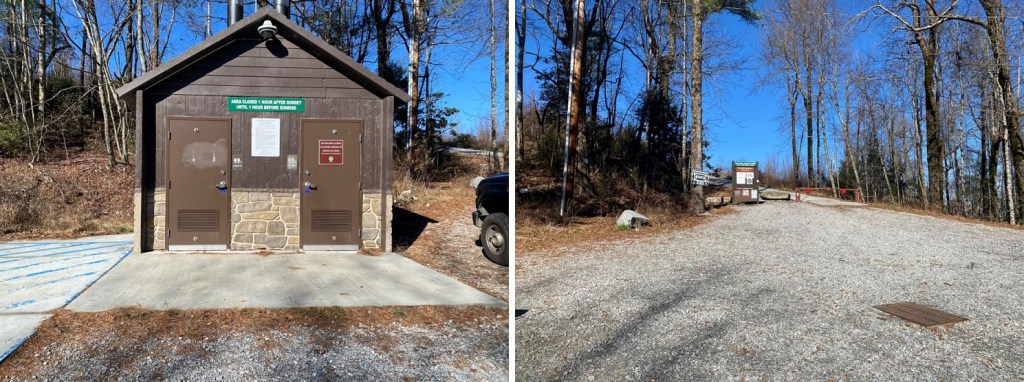
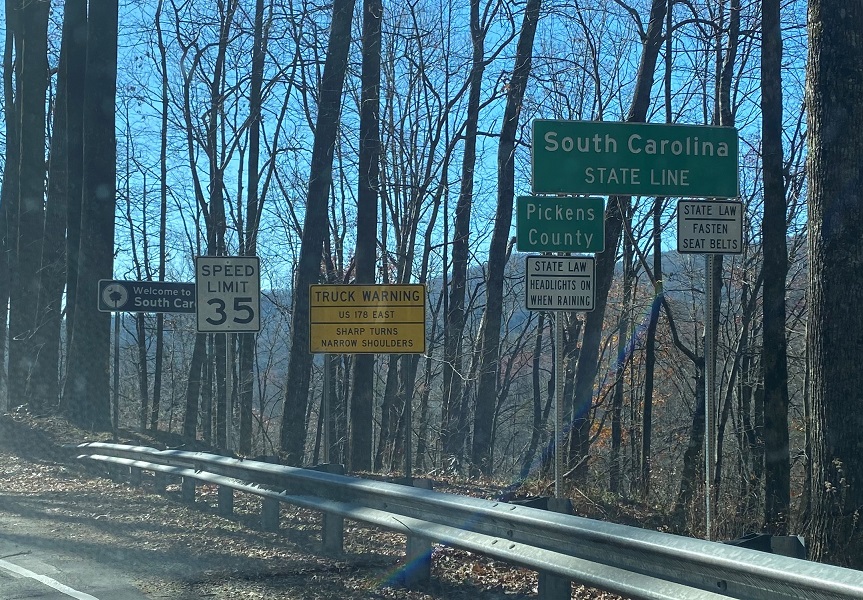
We were on our way to South Carolina. Sassafras Mountain was my favorite highpoint of the trip. Not only does it have a cool name, but the road was open to the top and it was a beautiful day! There’s a short hike to the summit area just beyond the closed gate.
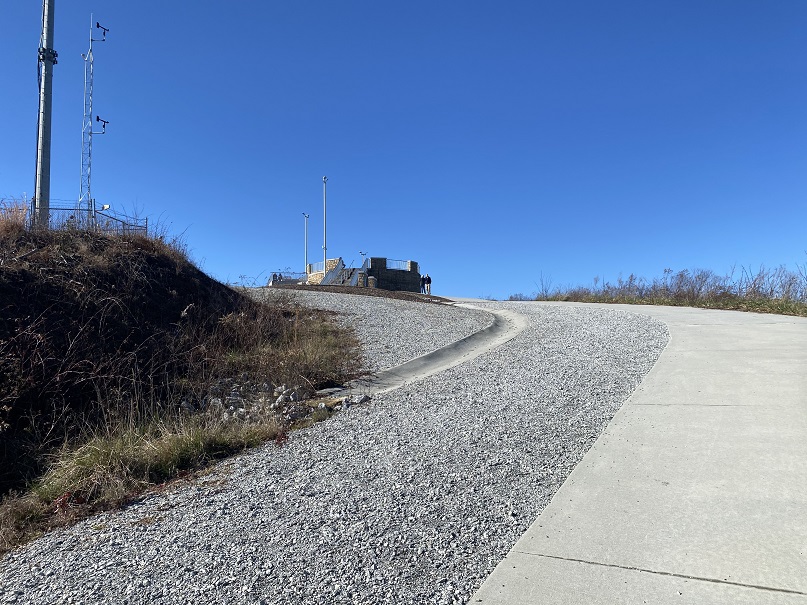
We walked up the gravel road to a very nicely done highpoint.
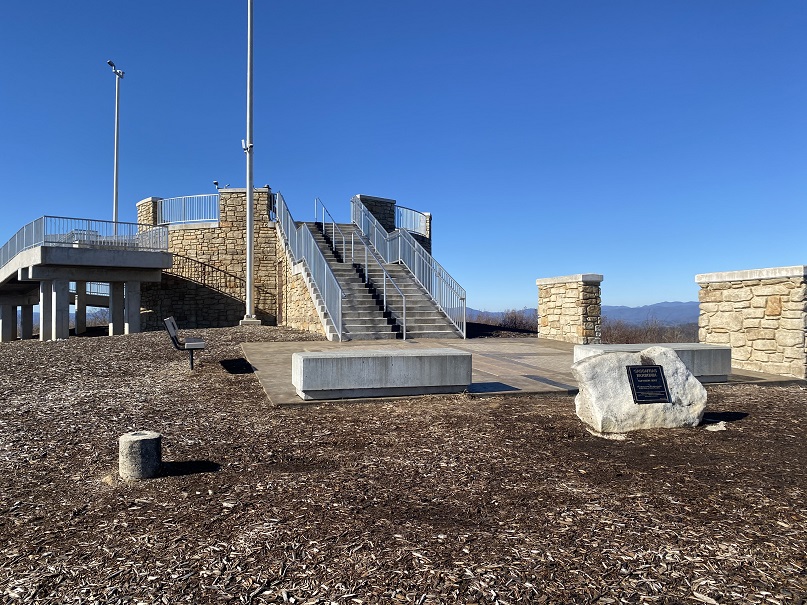
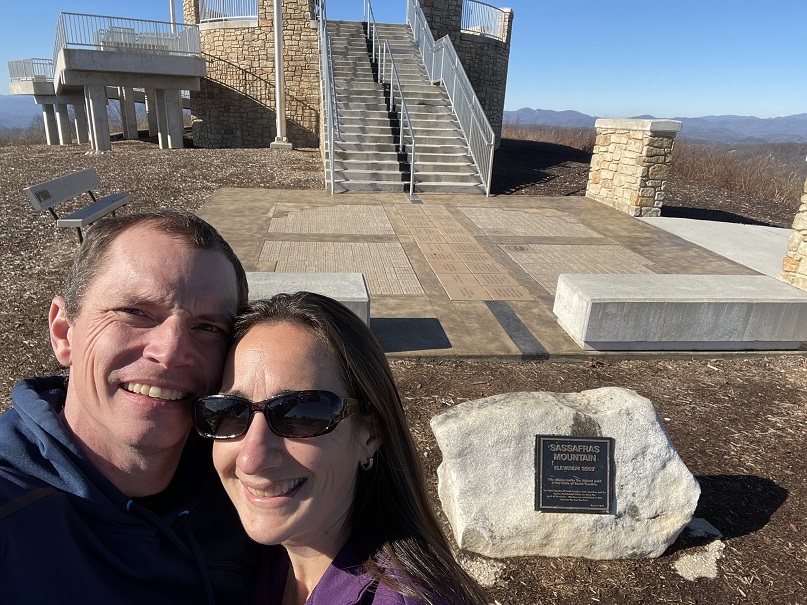
The summit marker, bench, and plaques were easy to find
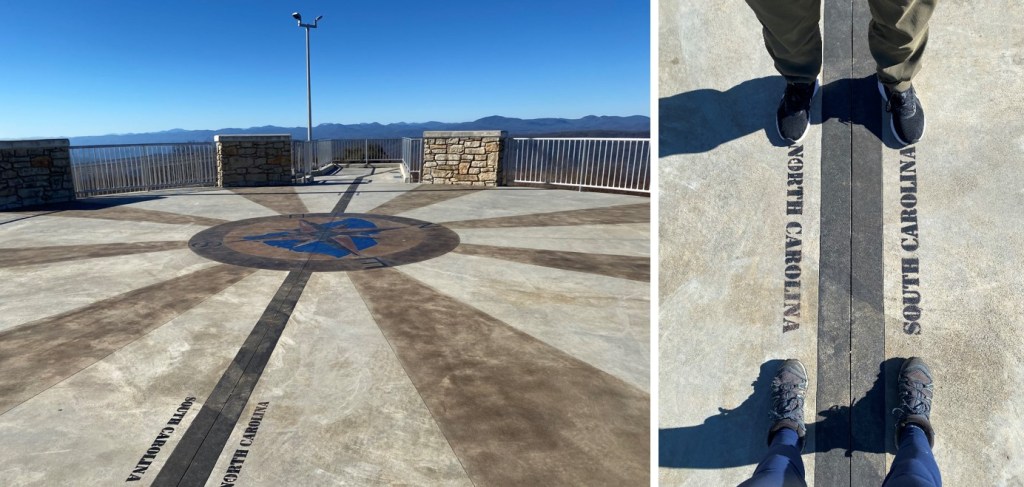
We walked up the stairs to the observation area, and realized we were on the NC/SC state line! So cool! So, of course we took photos.
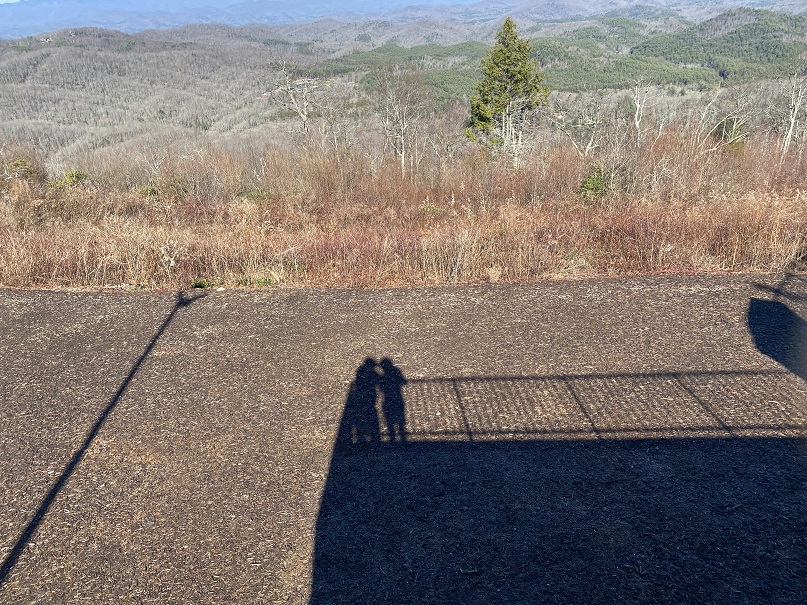
Check out the view from the observation area
Sassafras Mountain:
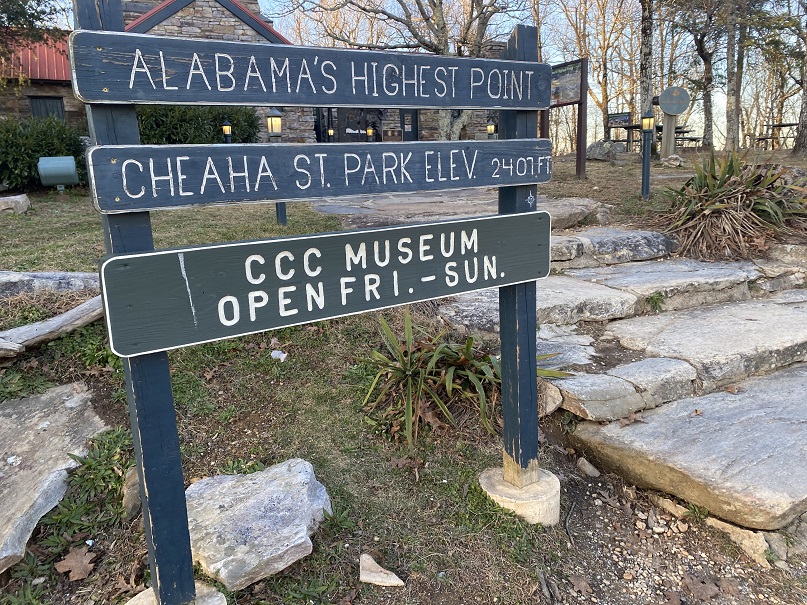
It was still early in the day, so we decided to drive over to visit the Alabama State Highpoint as well (Cheaha Mountain). We ended up starting out the wrong way and heading back into South Carolina
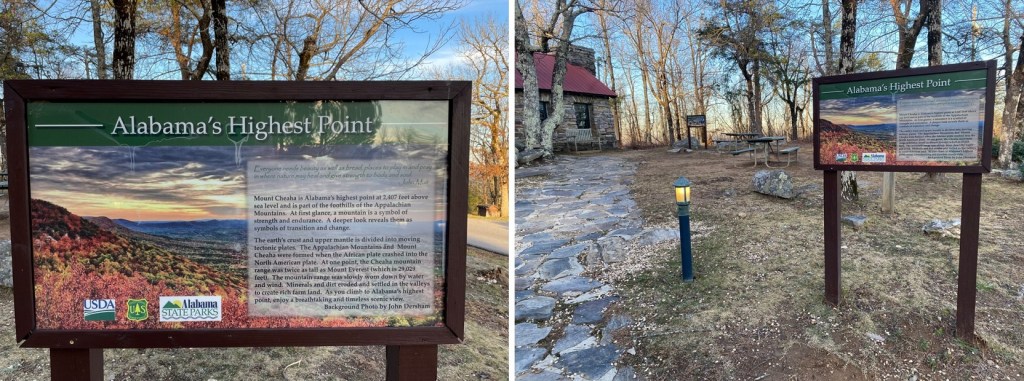
But we quickly noticed our mistake and turned around. After arriving at the State Park (which had people camping but no open bathrooms) we paid the entrance fee (the girl who took our money wasn’t wearing a COVID mask, and was a little rude) and drove to the observation area. This was another nice observation area.
We were the only ones there, so we went inside and climbed the stairs
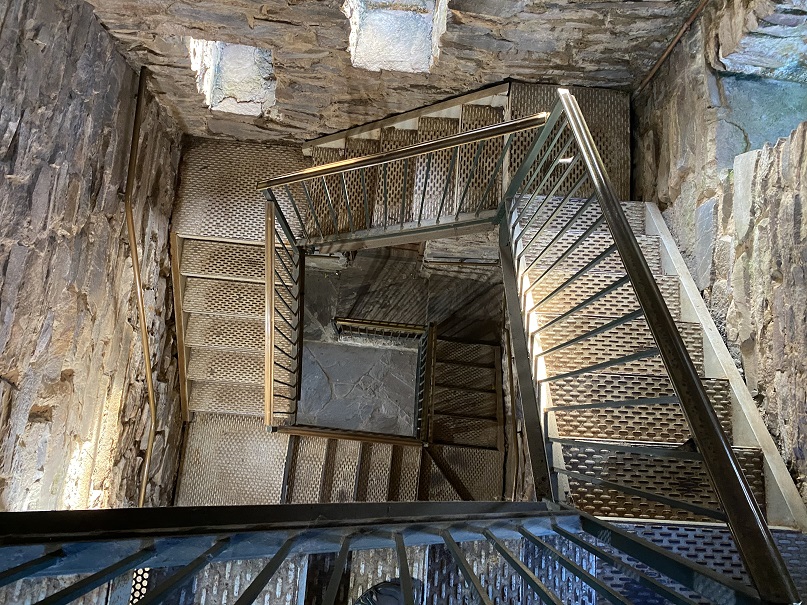
The stairs looked pretty cool on the way back down.
After doing some calculations we realized we had time to drive all the way to the beach and visit Florida’s highpoint tomorrow. We stopped to get gas and noticed Alabama doesn’t have a COVID mask mandate in place. The town we drove through was sketchy, and I got some very negative looks from the locals when I wore a mask while getting gas. The people giving me the looks looked to be members of street gangs, so we didn’t stay long. We drove all the way to Chocktaw Beach and parked on the side of the road, backing the SUV in. We were right next to the water, and I was excited to wake up to the sunrise the next morning. We ate our dinner (drive thru taco-bell) and I jotted some notes down in my journal. How cool was it we were sleeping on the beach tonight? Sorry, no pictures of this, as it was dark. In the end the sunrise wasn’t that spectacular and we forgot to take pictures, but it’s a memory I’ll never forget.
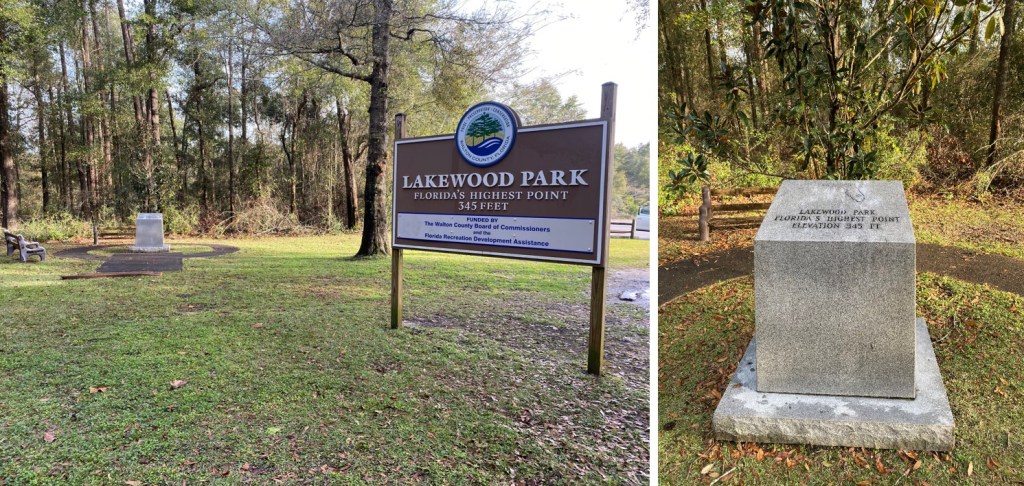
It was an hour from the beach to Britton Hill, Florida’s highest point. At 345’ it’s not much of a highpoint. In fact, it’s not even a valid peak. The park was nice though (not the bathrooms, as they were quite filthy, but the park itself, Lakewood Park, was nice).
And now for the 5 hour drive back to ATL. There was considerably less traffic as we made it back to Georgia
Some notes:
There was a lot of Christmas cheer in the form of holiday light displays
We passed no less than 500 Baptist churches
We saw a lot of deer
They close Blue Ridge Parkway in winter, even though they say they don’t
The cops in Alabama only have blue lights on their patrol cars
We didn’t see any wildlife except for deer (I was kind of expecting to see armadillos in FL)
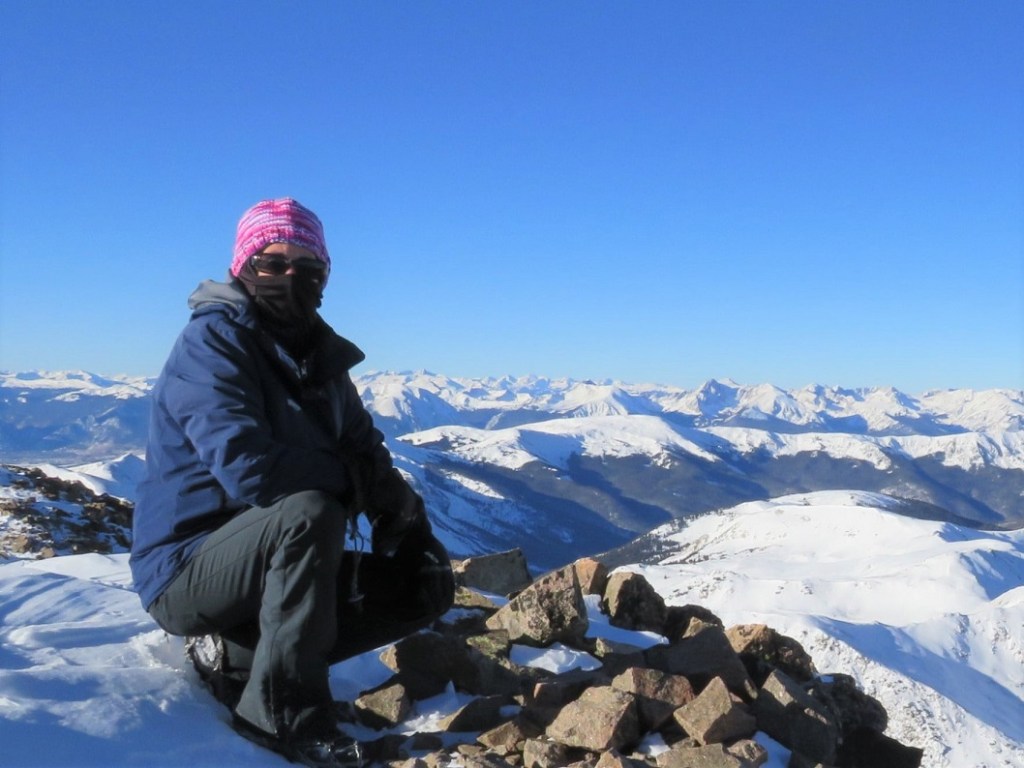
My trail name is Wild Wanderer, I’m a mountaineer, and I have Raynaud’s. So far this year I’ve summited over 160 peaks above treeline, many of them in winter conditions, and I haven’t had a single Raynaud’s attack this year. With the cold weather approaching (or already here!) I’ve been asked to put together some tips on how I successfully mountaineer in the winter and manage my Raynaud’s. I believe these tips can help all cold weather hikers and adventurers.
Disclaimer: These tips in no way all inclusive or a substitute for the education you should receive before entering the backcountry in winter. Please consider taking classes in alpinism, orienteering, avalanche awareness, and wilderness first aid before entering the backcountry, especially in winter.
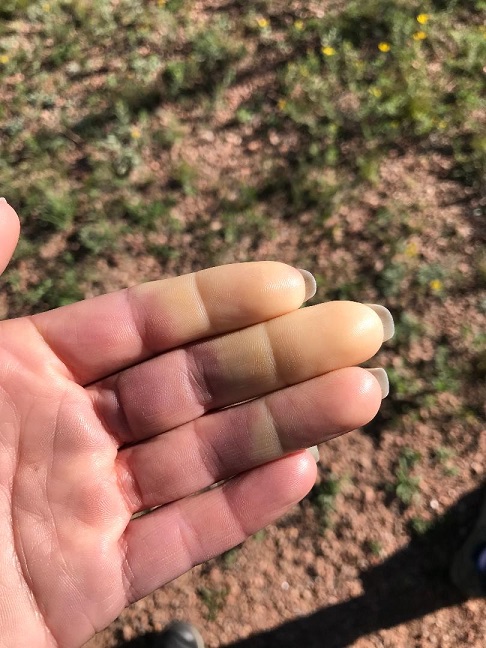
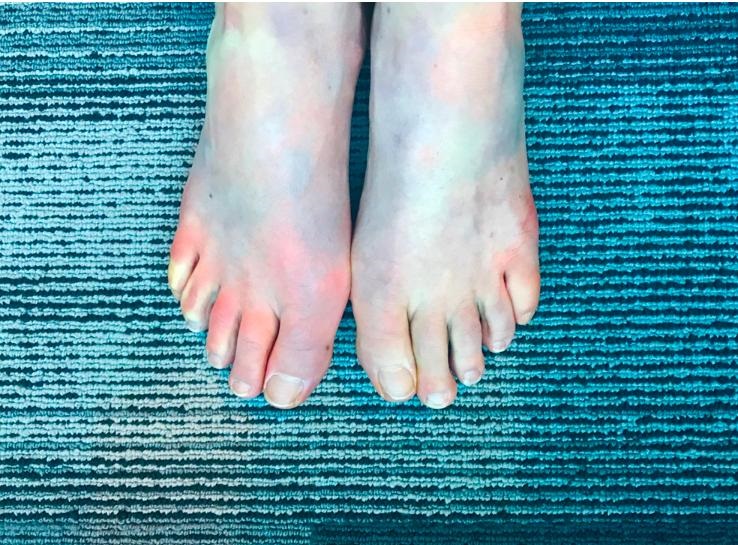
Raynaud’s causes some areas of your body — such as your fingers and toes — to feel numb and cold in response to cold temperatures or stress. In Raynaud’s disease, smaller arteries that supply blood to your skin become narrow, limiting blood flow to affected areas (vasospasm). This can happen even in warm weather.
This picture was taken of my fingers while camping on a 70 degree day.These are my feet having an attack while I was at work, sitting at my desk
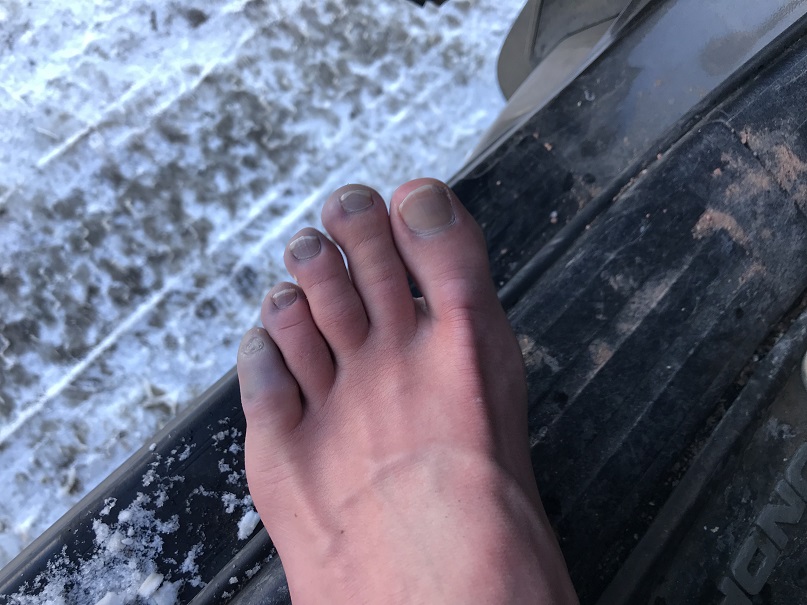
During an attack of Raynaud’s, affected areas of your skin usually first turn white. Then, they often turn blue and feel cold and numb. As you warm and your circulation improves, the affected areas may turn red, throb, tingle or swell. This can be a very painful experience. Many people mistake it for frostbite. This time I’d earned my blue toes, as I’d been snow-shoeing without the proper gear
Winter hiking is a wonderful experience. There’s a special reverence and tranquility to a winter mountain landscape. The trails are less crowded, the views are amazing, the wildlife easier to spot, and with this comes a unique sense of achievement to summiting a mountain covered in snow and ice. However, the cold and wind can be a barrier to this sport. I’ve been a mountaineer for 6 years now, and I’ve learned quite a few tips and tricks to keeping myself (and my digits) warm and attack free. It all comes down to prevention and preparedness.
What Wild Wanderer Wears
I usually wear the same outfit when I mountaineer, emphasizing moisture wicking layers and fleece. It’s kind of boring and predictable, but it keeps me warm.
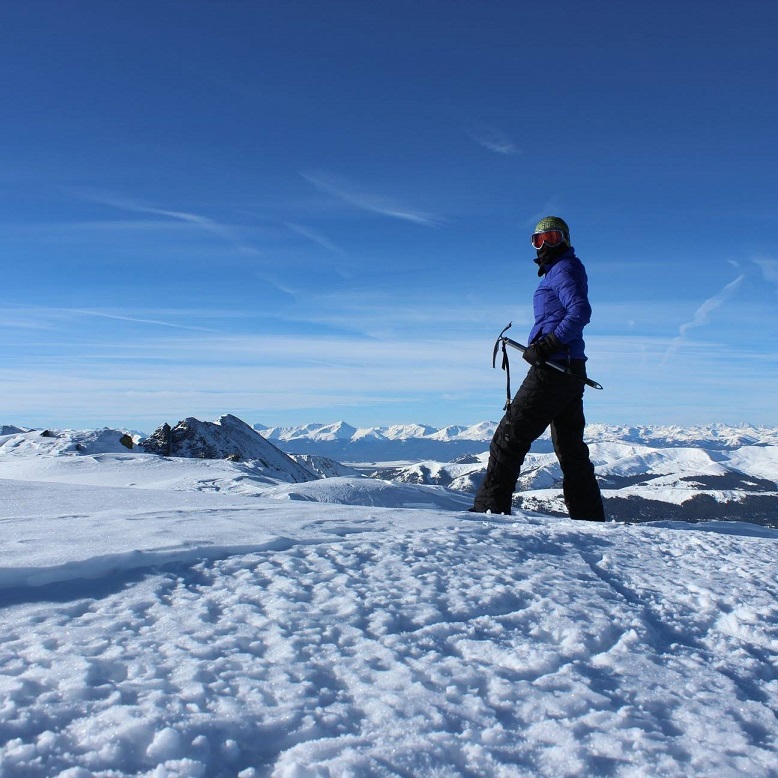
Here’s what I wear, from head to toe (scroll down for detailed information)
Knit/Wool Hat
Balaclava
Sunglasses / Snow Goggles
Sports Bra
Moisture wicking tank
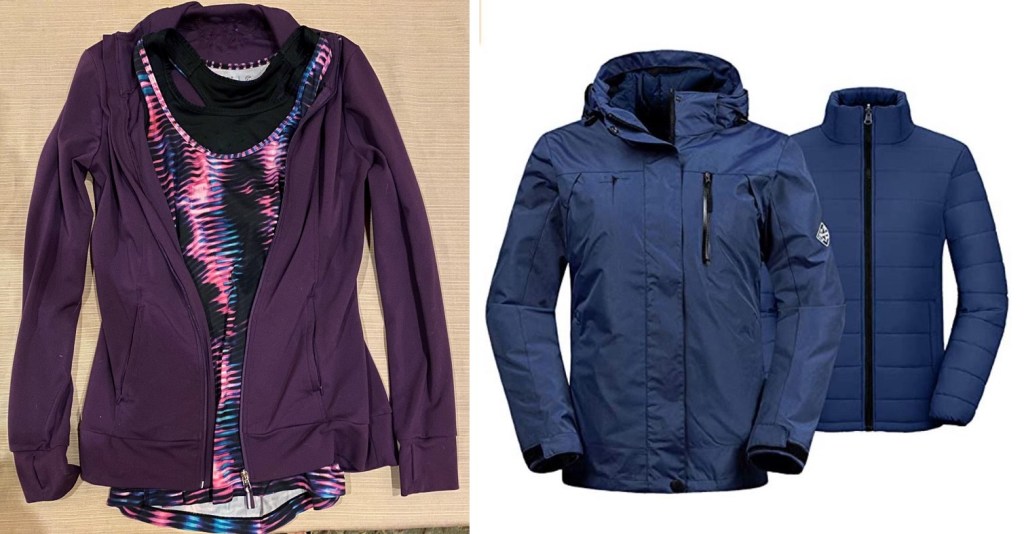
Moisture wicking jacket
Puffy Jacket
Jacket Shell
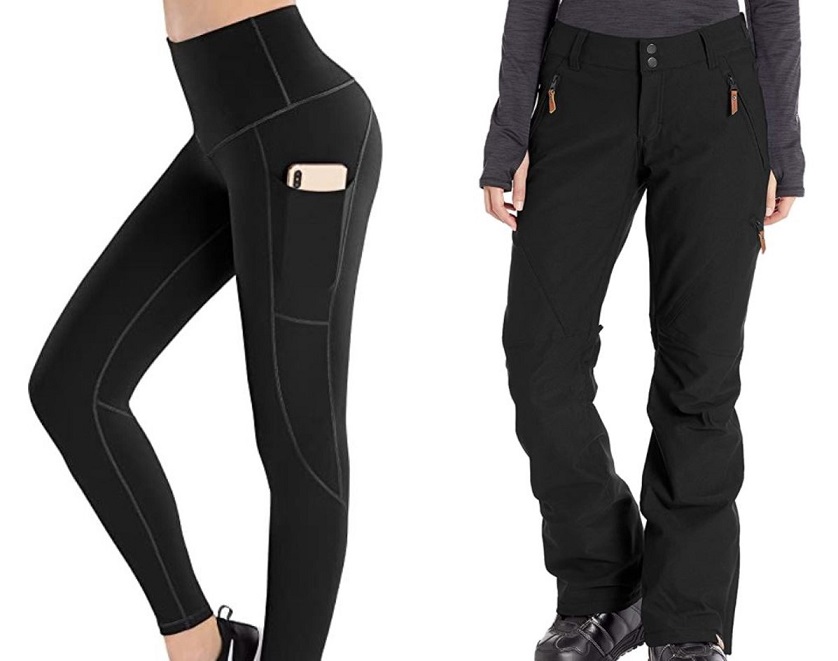
Yoga Pants
Snowboarding Pants
Wool Socks
Mountaineering Boots
Gloves
Bandana
Extra Gear (depending on weather/conditions)
Snowshoes
Microspikes
Ice Axe
Crampons
Knit/Wool Hat: I knit hats and donate them to an outdoor school for 4th graders. These kids are outside all winter long, and their heads need to stay warm. I make hundreds of these hats a year, and I always wear a different one each time I go hiking. When I get back, I wash the hat and donate it. The kids get a kick out of seeing me wearing their hat on top of a mountain. Wool is a great material, just don’t buy a cotton hat: cotton kills (more on this later).
Balaclava: If it’s windy you’re going to want one of these. Make sure it covers your whole face and nose, is made out of a breathable fabric (polyester works) and covers your neck and is long enough to be tucked underneath your inner layers.
Sunglasses / Snow Goggles: The snow can be blinding, and you’d be surprised how a good pair of goggles cuts down on the cold the wind can bring. I put my sunglasses in my jacket pocket before setting out, so they’re easily accessible.
Upper Layers: I rarely take layers off during a hike, as I’d rather be too hot than too cold. With Raynaud’s it’s easy to cool off when hot, but difficult to warm up once cold. I wear a moisture wicking sports bra, tank, and jacket all the time, no matter what. On top of that I have a puffy and a shell (the shell doubles as a rain jacket). The shell has a hood, which I have prepped to fit my head if needed to block out the wind.
Bottom Layers: To prevent chaffing, I like to wear form fitting yoga pants (polyester/spandex) under fleece lined snowboarding pants. These snowboarding pants will get torn up from crampons, microspikes and snowshoes, so I reserve a pair primarily for mountaineering. NOTE: Ski bibs are a terrible idea, as you need to take off unnecessary layers to use the restroom. Make sure your pants are just that: pants.
Wool Socks: Not cotton. Not too snug. You want your feet to be able to breathe and circulation to flow. Also, this is an instance where two is not better than one: only wear one pair of socks.
Mountaineering Boots: This is going to be a highly personal choice. I go through 4 pairs of boots a year, but to be fair I put a lot of miles in a year – around 2500 and over a million feet of elevation gain. What’s important here is to buy a pair a size larger than you’d normally wear, and, unless you have extremely narrow feet, get them in a wide size. This is because your feet will swell above treeline and you want them to have room to do so freely. A constricted foot is a cold foot. You don’t want to wear anything too constricting on your hands or feet. The footwear should also be waterproof, have a good tread, be flexible, and feel comfortable. Go to an outdoor recreation store and try on a few pair to see what works best for you before buying.
Gloves: Unfortunately, hand warmers have never worked for me (not the chemical ones, the battery-operated ones, or the ones that use fuel). Note: If you have Raynaud’s you can never take off all your gloves while winter hiking. Never. The cold will zap the heat out of your hands instantly, and regaining that heat is difficult.
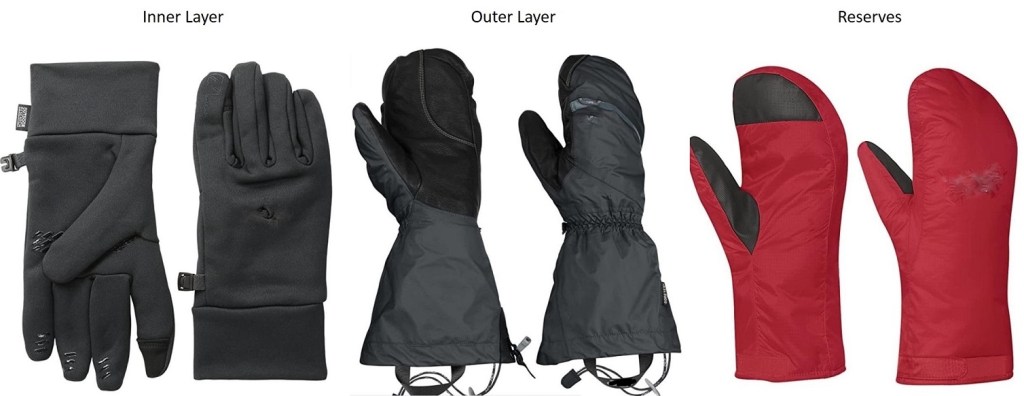
I bring along 3 pairs of gloves: I wear two at a time, and have the third in reserve in case I loose one I’m wearing: The wind above treeline can be ferocious, and I’ve seen gloves blow away in the wind. If you have Raynaud’s and you lose a glove above treeline it’s quite possible you’ll be losing fingers with it. I buy all gloves one size bigger than I normally wear. This allows for my hands to swell at altitude and makes them easier to put on/take off as needed.
The first pair I wear is made of a 95% polyester, breathable, wicking, quick drying fabric with 300-weight fleece and a 100 weight fleece liner. I always have a glove with fingers as the base layer so I can move my fingers to perform tasks that require dexterity with a layer still on, protecting my hands from the elements. I never take these gloves off. Ever. (See stylus information below).
The second pair I wear is a shell. They’re waterproof, breathable, windproof, wicking, fully seam-taped with a water-resistant leather palm. These do a great job keeping out the wind, and are easy to take on and off. It’s important the outer layer are mittens and not gloves because my fingers and hands stay warmer in a mitten.
My reserve pair is also a pair of mittens. They’re fleece lined and come with the outer mitts. I keep these as a back-up in case I lose one of my other gloves.
Bandana: This is very important! I tie one to a carabineer and put it on the side of my pack so I have easy access to blow my nose. My nose drips like a faucet above treeline, and it’s nice to have something readily available to wipe my nose. (Yes, learning how to clog one nostril and blow is helpful, but not practical with large mountaineering gloves). The bandana should be made of polyester so it dries out fast. If you buy a cotton one it will freeze faster, get stiff, and be unusable until it melts. It becomes frozen snot.
Snowshoes: When it comes to snowshoes, you most likely won’t be putting these on at the trailhead, but later in your hike. Thus, ease of use is very important: you want to be able to put them on without taking off your inner glove. The three things I look for in a snowshoe are that they’re made of steel (not aluminum), have heel risers, and ratchet bindings. Ratchet bindings are the most important feature: I climbed all of Colorado’s 58 peaks over 14,000’ in a cheap pair of snowshoes, but I wouldn’t have been able to accomplish this if they hadn’t had the ratchet bindings.
Microspikes: Don’t spend a lot of money on these. A cheap, $7 pair will last you a long time. I use them year-round (they work great on scree for stability) and would never pay more than $10 for a pair. My advice here is if there’s any ice at the trailhead to put them on while you’re still in your vehicle, keeping your hands warm while doing so. I’ve worn microspikes for miles when they weren’t needed, and it didn’t damage them. It did however keep my fingers from getting needlessly cold putting them on. (Remember, when it comes to the cold, prevention is key). Microspikes can also be worn with snowshoes: There’s no need to take microspikes off to put snowshoes on.
Ice Axe: These are usually made of stainless steel/aluminum, which gets cold. I have an ice axe with a rubber grip (which is moderately warmer) and a leash. The leash goes around my wrist, under my outer glove but on top of my shell. I try to hold the ice axe by the leash when it’s not necessary to hold the shaft for safety purposes. Another way to avoid the cold here is to put a bandana around the shaft while gripping it.
Crampons: Make sure they’re made of steel and not aluminum (aluminum bends) and have front facing spikes for traction. Learn how to use these before trying them in the elements for the first time, as they can be tricky to put on correctly, especially while wearing gloves.
Keep Your Pack Packed
Unfortunately, those of us with Raynaud’s don’t have the luxury of packing light: we need to be prepared for all types of weather, and due to the possibility some of our gear might fail/get lost, we need backups. I like to keep all my gear in my backpack when not in use. When I get back from a hike, I usually wash my bandana, refill my water bottle, wash my sunscreen compact, and put them all back in my pack. I don’t forget important gear at home, as it’s always in my pack. In addition to the 10 essentials, I carry the following items (scroll down for detailed information):
Carabiners
Jetboil
16oz water bottle (in addition to my regular water bottle)
Stylus
Vaseline
Sunscreen
Camera
Collapsible trekking pole
Carabiners: Carabiners are your friend! The larger the better, so they’re easier to manipulate while wearing gloves. I use them to attach my water bottle to my pack, as well as my ice axe, bandana, and any other gear I want easily accessible.
Jetboil and 16oz Water Bottle: Jetboils are a useful tool, as they are relatively lightweight and can boil water very, very quickly. I have one in my pack during the winter, along with a 16oz Nalgene. Before the hike I warm up water, put it in the Nalgene, and keep this smaller water bottle close to my skin as I hike (sometimes in a pocket, or the waist of my pants, etc.) This helps keep me warm. I also start my hike with warm water in my drinking water bottle to help prevent it from freezing. Keeping the water bottle close to my body (and not in my pack) helps to keep the water from becoming frozen during the hike. The Jetboil comes along with me, and if needed I can warm up the water again, or, if the water is frozen, I can quickly heat up snow.
Stylus: These are so helpful to people suffering from Raynaud’s! Our fingers don’t register well on touch screen devices, including ATMs, gas station machines, phones, and tablets. A stylus is cheap (I bought 12 in a pack from Amazon for $4) and solves the problem of using our fingers on screens. A stylus while hiking has the added benefit of reducing the need to take off your gloves to use your phone or GPS device to take pictures or find direction. I keep a stylus attached to all my devices that require touch to operate.
Vaseline: I’m in love with Vaseline/Petroleum Jelly. Movie stars have sworn by its beauty effects (wear it to bed to keep skin soft and younger looking), it helps wounds heal faster, restores moisture after wind burn, and when you’re a mountaineer, it keeps your nose from freezing. Before hitting the trailhead I slather a generous layer of Vaseline on my nose to keep my nose warm. It works wonders!
Sunscreen: OK, so it’s cold above treeline, but due to the reflection of the sun on the snow sunscreen is still needed. This can be problematic because a tube of sunscreen freezes in the winter above treeline. Using an aerosol spray isn’t practical for obvious reasons (wind) and the sunscreen that comes in a deodorant-like stick doesn’t apply evenly/melt when frozen. To combat this, I went to the dollar store and bought a compact, took out the powder, cleaned the compact out, and filled it with my favorite sunscreen. Then I placed a new compact sponge over it (30 sponges for $1 at the dollar store) and let the sponge absorb the sunscreen.
I keep the compact in my pocket as I’m hiking (inside of a plastic ziplock bag) and when the sun comes up, I take out the compact and apply the sunscreen. The first time I did this I was surprised at how well it worked: The sunscreen doesn’t freeze this way, and is easy to apply. The only downside is the set-up needs to be washed/replaced every time you use it.
Camera: Of course, you’ll want to bring a camera, and the specific kind is up to you. Did you know cameras get cold too? The batteries freeze and they stop working. To combat this, I put my camera on a strap around my neck, and in between snapping photos keep the camera between my puffy and outer layer. This keeps the battery from freezing.
Collapsible Trekking Pole: These are indispensable for a variety of reasons at all times of the year. In the winter they are used for probing the snow to measure snow depth, determining the stability of ice at frozen stream/river crossings, and to whack snow off trees bent over with snow and blocking the trail. Make sure the handle is made of cork or plastic (not metal/aluminum) and easy to manipulate while wearing gloves. When not in use because you’re using your ice axe, collapse and attach to your pack with a carabiner. Also, a trekking pole is your first line of defense against 2 and 4 legged animals.
Trail Tips and Tricks:
Get dressed in your vehicle: It’s cumbersome to drive to the trailhead wearing all my winter gear, so when I arrive at a trailhead I tend to get dressed in the car. I do so with the heat on high, and put all my gear on without opening the car door (this includes snowshoes). It takes a little maneuvering, but I start the hike warm.
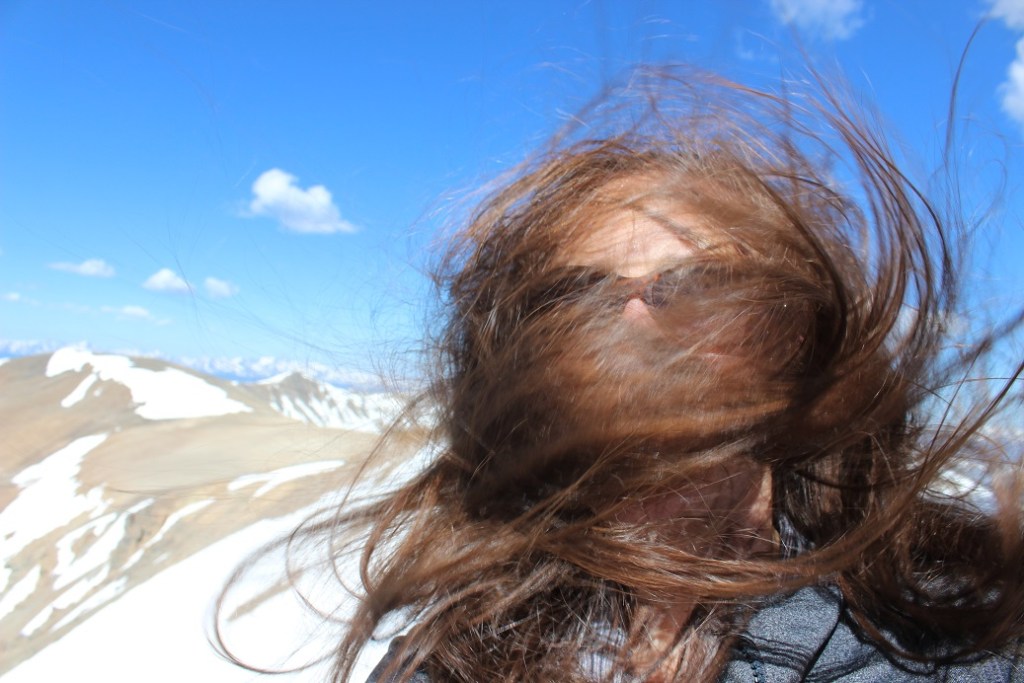
Tie your hair back: Here I believe a picture is worth 1000 words. I now braid my hair before a climb.
Don’t Wear Cotton: Cotton is heavy, takes a long time to dry, adds to rapid body heat loss, and absorbs too much moisture. That means you stay wet/cold for a long time. This includes jeans and that cool ‘It’s another half-mile or so’ t-shirt. Instead, pick a synthetic fiber such as polyester, nylon, fleece, or merino wool.
Add string to your zippers: Yes, wearing lobster-claw gloves is great for keeping your hands warm, but it makes manipulating your fingers and doing ordinary tasks, such as unzipping a zipper, difficult. I’ve added string to my zippers so they’re easier to grab while wearing bulky gloves. Note: don’t make the string too long, as it will flap in the wind and hurt when it hits you in the face at high speeds. 6 inches of string is best.
Pee Before Treeline: Wind intensifies at treeline, and stripping off layers in these conditions is not a good idea. If you’ll need to use the facilities (always assume you will), do so under the cover and protection of the trees.
Never Leave Gear Stashed: It’s tempting to leave your snowshoes stashed somewhere when no longer needed to pick up on your way back, but I’ve learned it’s important to carry all gear you’ll need to get down the mountain for your entire hike. I’ve had gear taken (either stolen or someone brought it down to the trailhead, thinking I’d lost it) and it’s easy to forget where you’ve placed the items. If you needed the gear to climb up the mountain, keep it with you so you’ll absolutely have it to get back down.
Keep Moving: There are times when rest is necessary, but resting can quickly lead to frigid body temperatures. Never allow your feet to stop moving, as this is when they cool down. If you’re taking a sip of water or rearranging gear, keep your feet engaged, moving them up and down (marching in place) as you do so. This will help prevent cold toes. Pump your fingers back and forth inside your gloves to keep the circulation going.
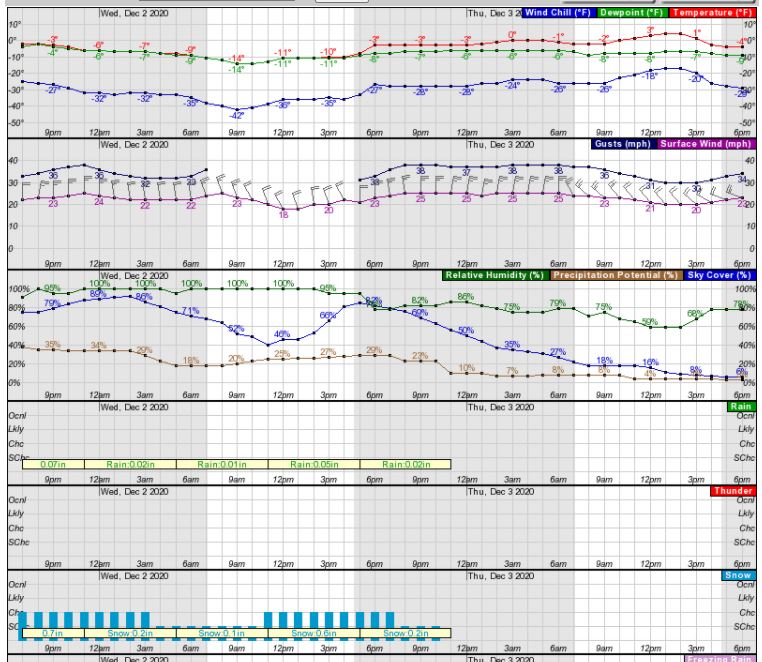
Become a Hobby Meteorologist: In winter the days are shorter, so daylight hiking time is less than in summer. Always check the forecast, but remember forecasts are often wrong and change during the day. Learn how to read weather forecasts and know how they relate to timing, topo maps, and geographic features. I’d recommend spending time learning how to navigate the NOAA weather forecasting site, particularly as it pertains to hourly weather forecasts for specific regions/peaks. You’ll gain information such as temperature, wind speeds, wind gusts, sky cover, potential precipitation, lightning, etc. in an hourly forecast. What you see may look daunting at first, but a few minutes studying and it’s mostly self-explanatory picture of the day’s conditions, letting you know the best times to climb, or if you should climb at all.
Windy Weather: When reading forecasts, know wind speeds/gusts are often much more important than how cold it is outside. Hiking in 20 degree weather is actually quite nice when prepared, wearing proper gear and the sun is shining, but add in windchill and it can quickly become hazardous. I’ve mountaineered in winds up to 80mph, and from personal experience, if the wind is predicted to be above 20mph I choose a different area to mountaineer or stay below treeline.
Learn how to read the forecasts to see which way the wind is coming from, and then you can plan your route to avoid ridges where there will be more wind, or at minimum design a route that avoids the brunt of the wind for as long as possible by staying below treeline for a longer period or in the shelter of the side of the mountain with less wind.
For example, in the picture below, if the normal route is in red, but there are winds coming from the north or west that day, you could avoid most of the wind by taking the black route instead, limiting your exposure time on the ridge.
The summit is only halfway: Know your limits, and realize when to turn back. People with Raynaud’s experience cold much more intensely than other people, with quicker and more drastic effects. Summiting is optional, making it back to the trailhead is mandatory. Preferably with all your digits intact. Know when to turn back.
Prevention is key: A Raynaud’s attack, once triggered, is very painful and can take a while to recover from, even after the affected area has been re-warmed. Doing as much as you can to prevent an attack is never wasted: Dress warmly, wear a wind barrier (outer shell), never take off your inner gloves, keep all your gear easily accessible, and bring along warm water. Start with short winter hikes and work your way up to longer, more technical climbs.
I hope this article has been helpful for those of you with Raynaud’s, as well as those of you who may not have Raynaud’s but are interested in staying warm while winter hiking. I’d love to hear from you! Do you have any advice for winter hiking? Comments? Questions? Is there a topic you’d like me to discuss? Contact Wild Wanderer here