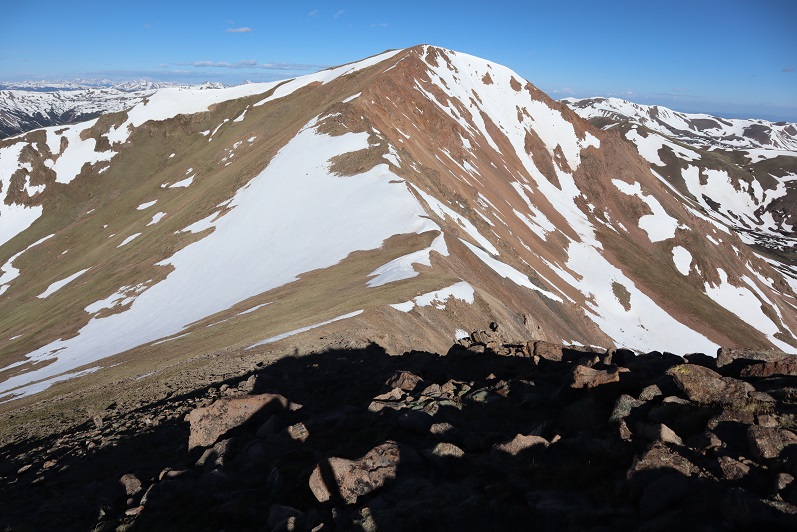
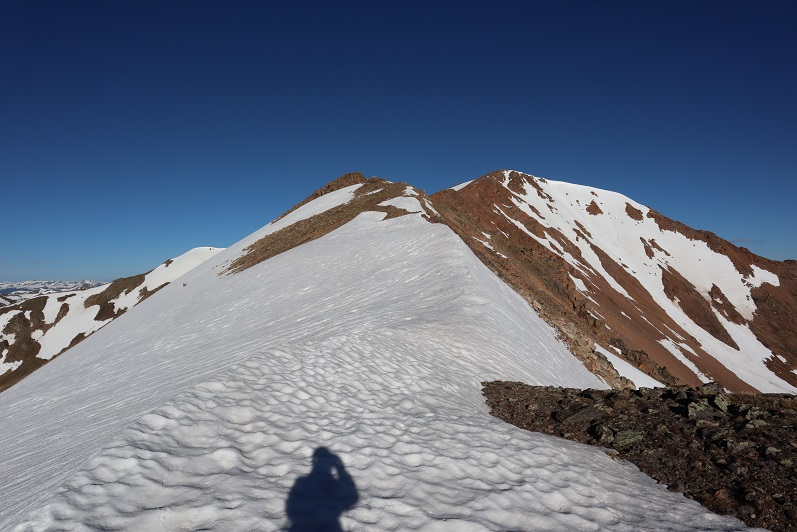
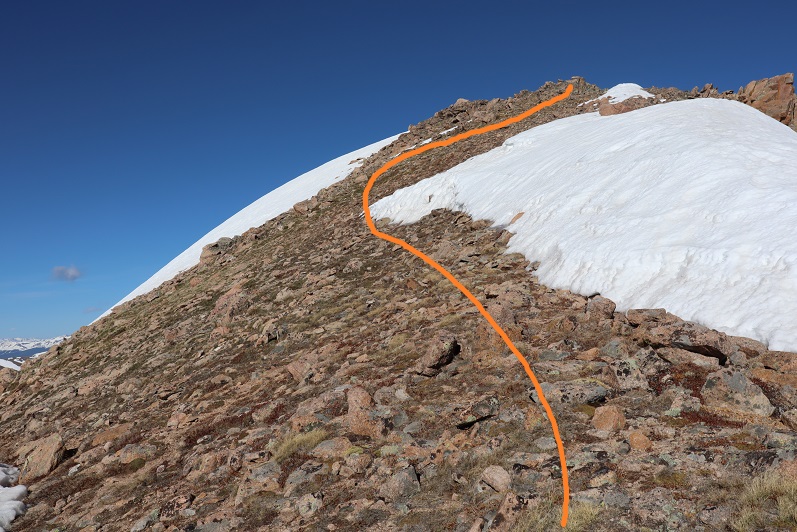
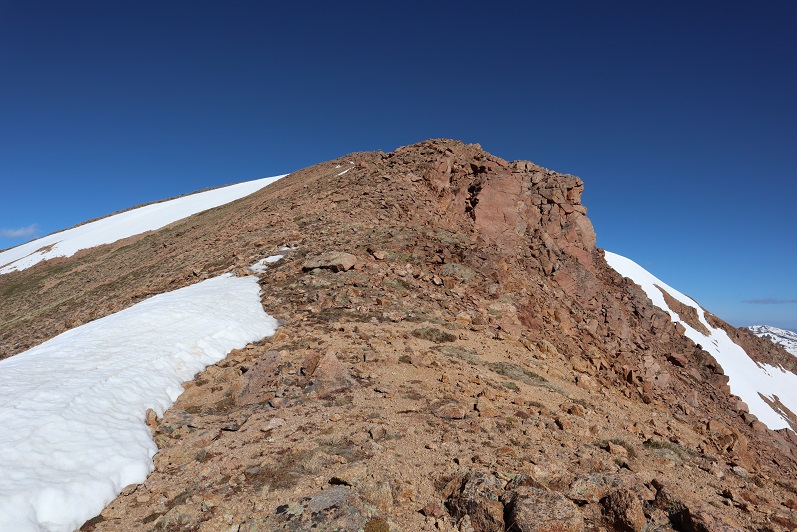
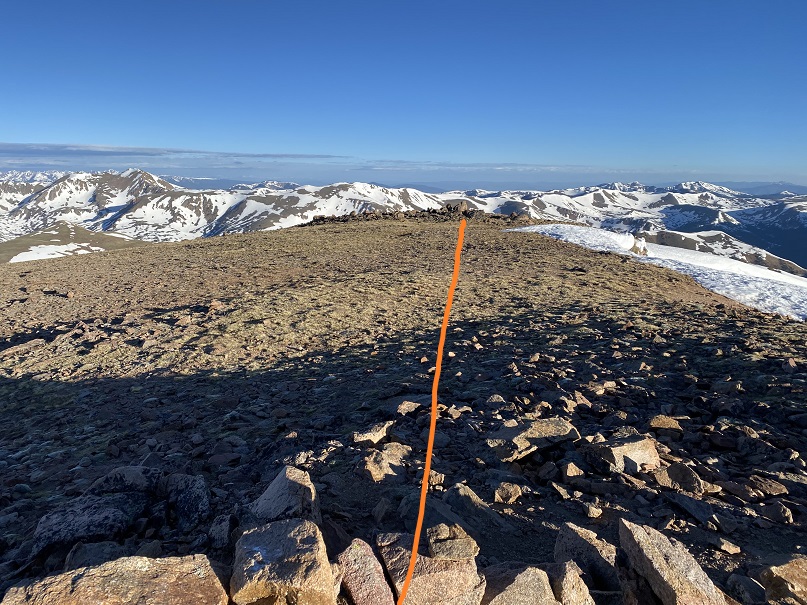
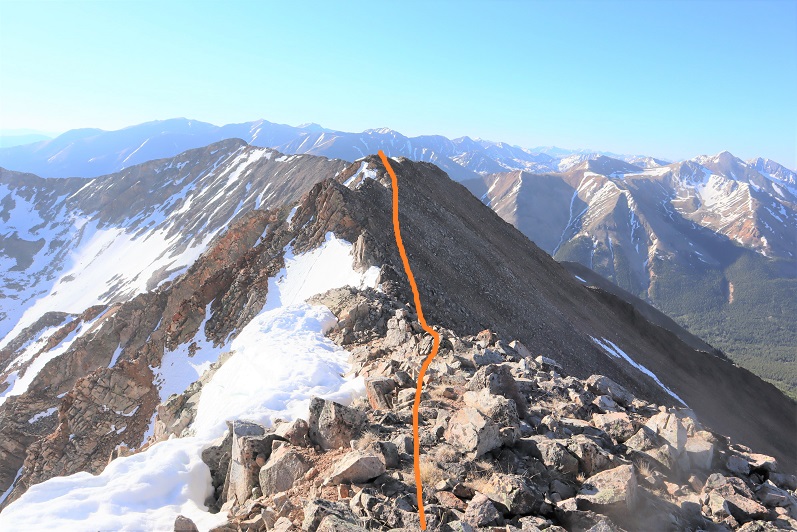
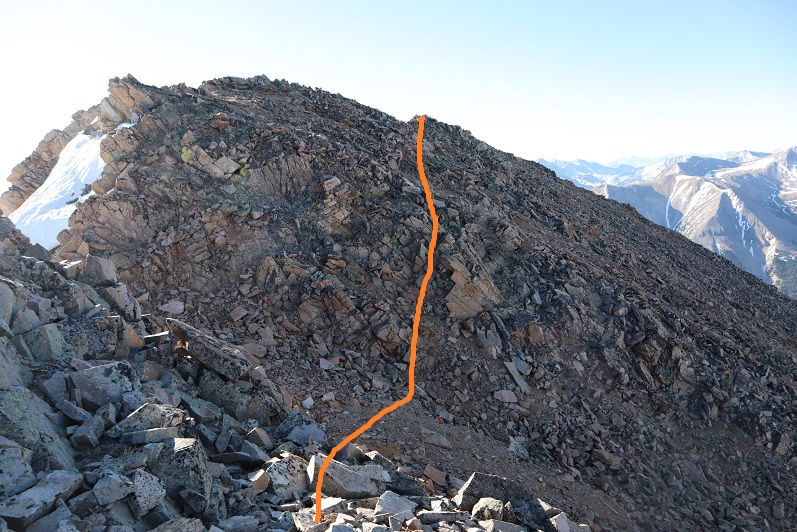
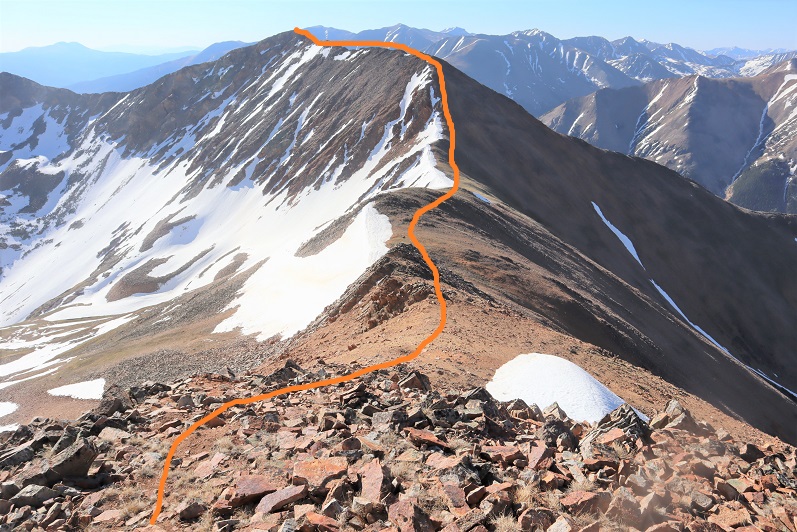
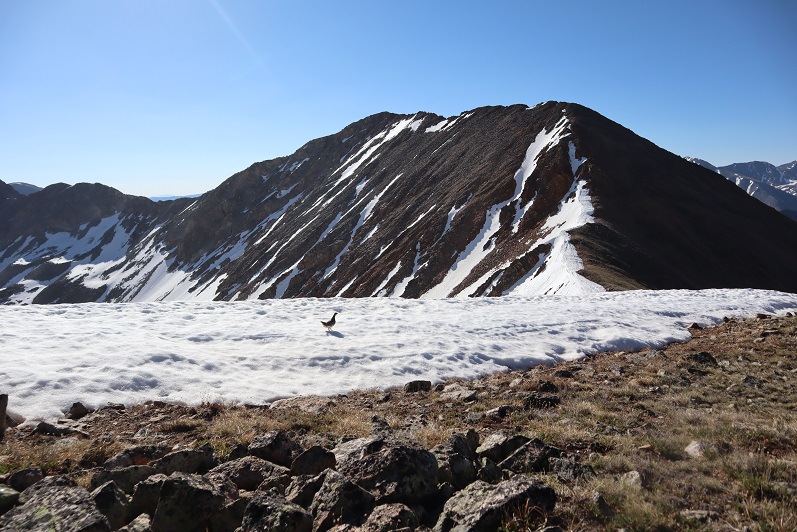
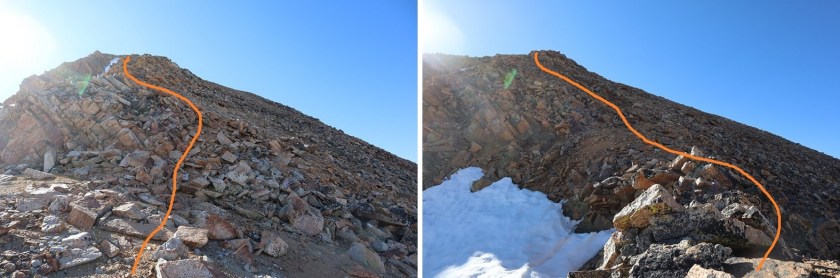
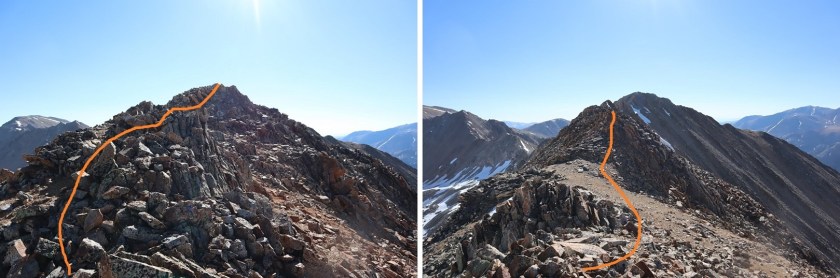
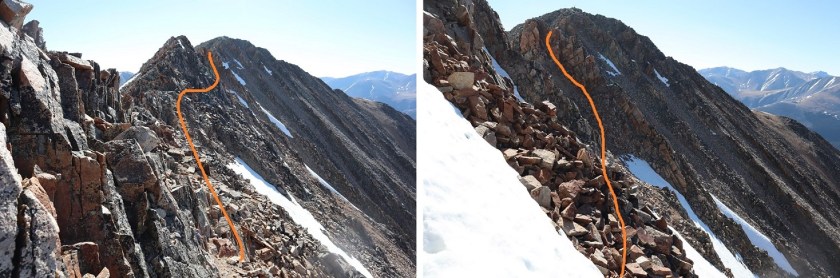
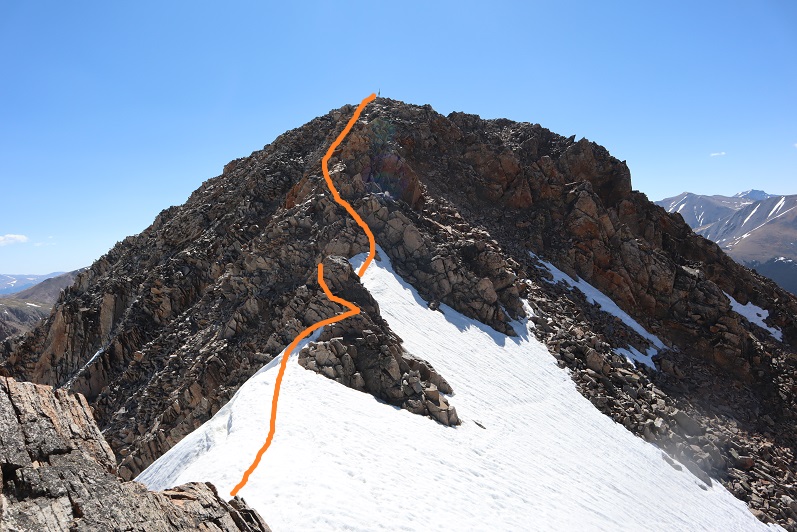
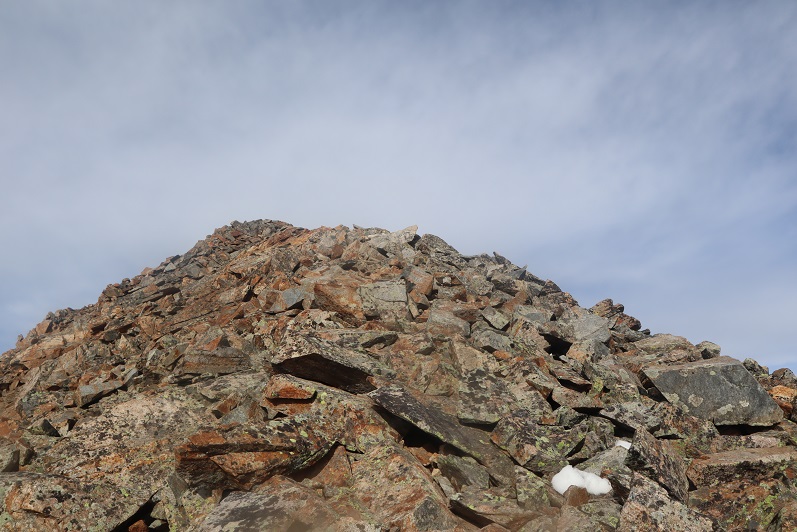
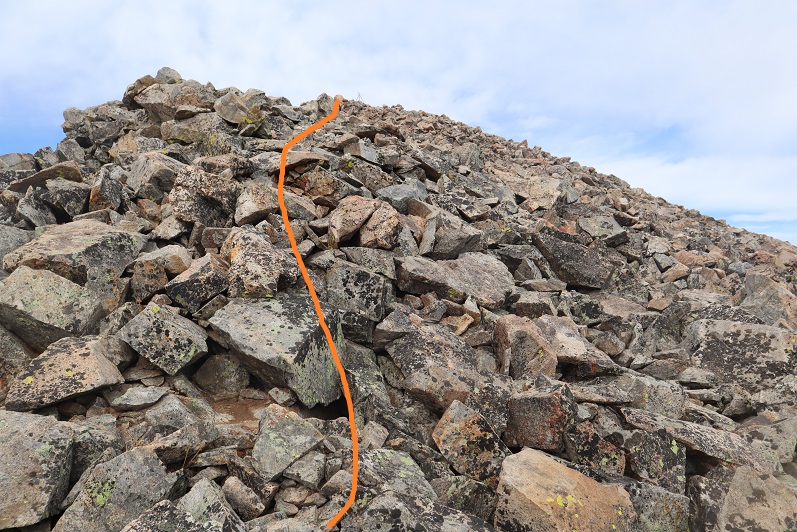
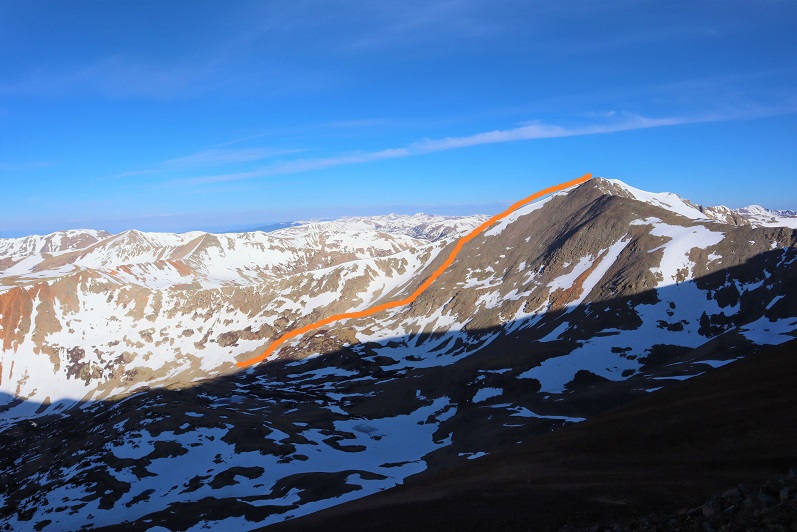
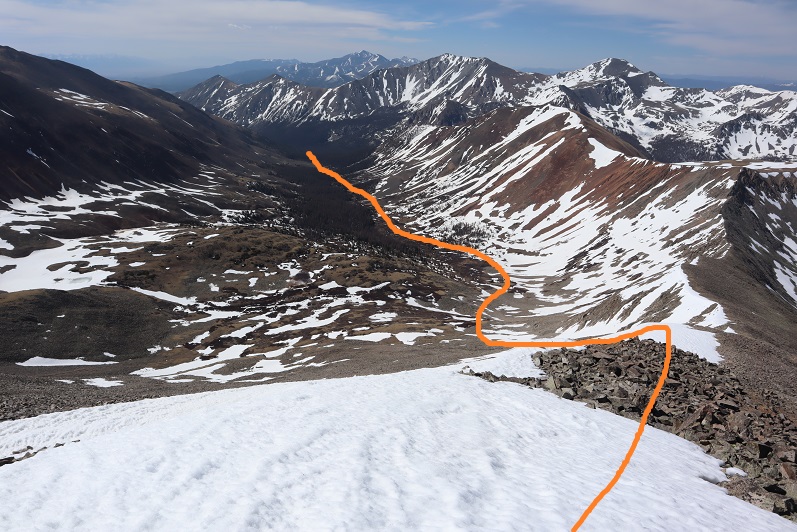
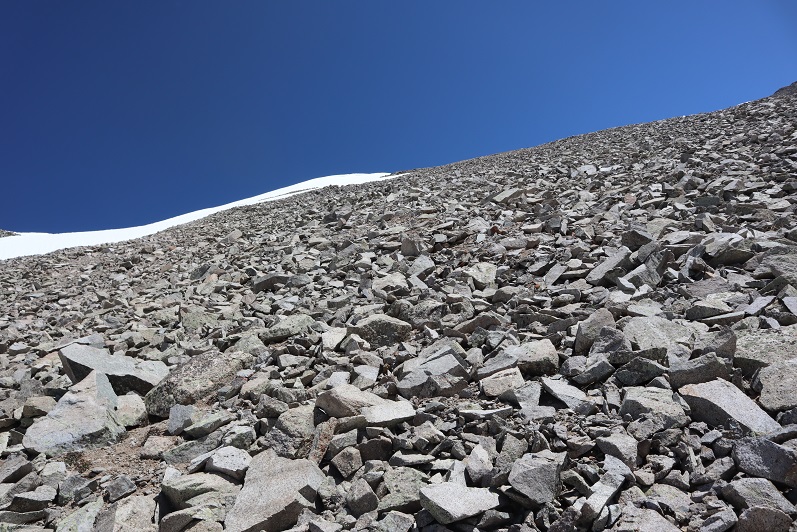
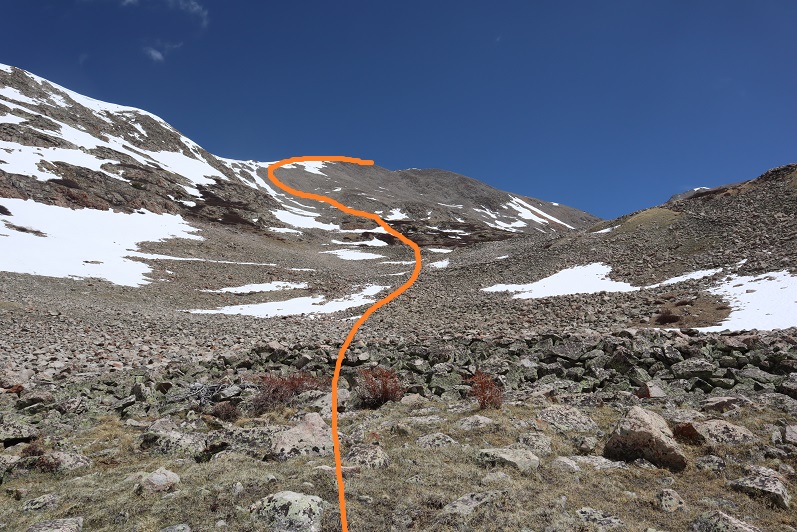
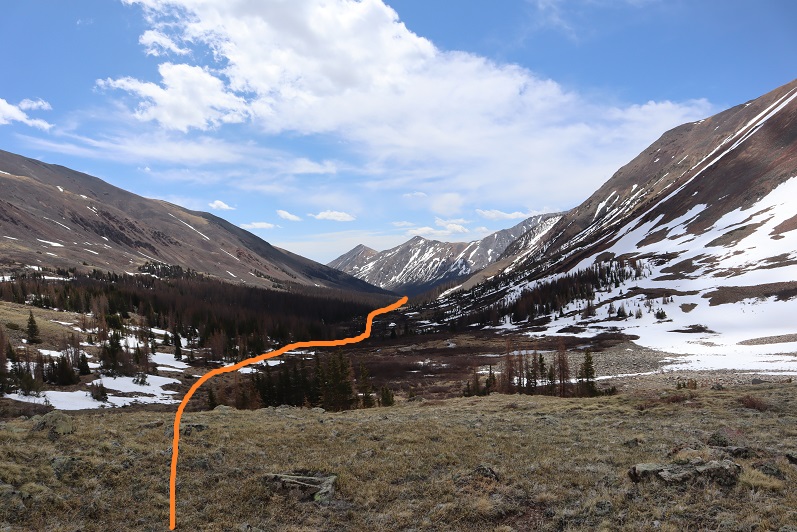
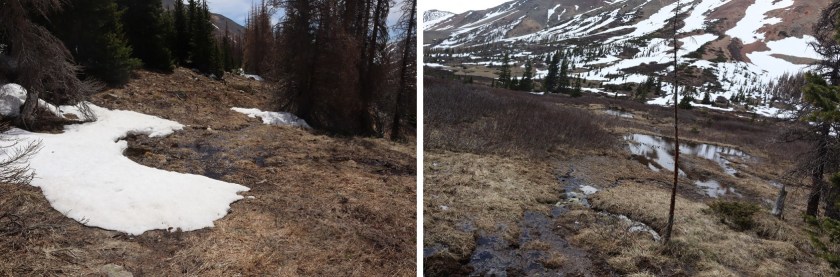
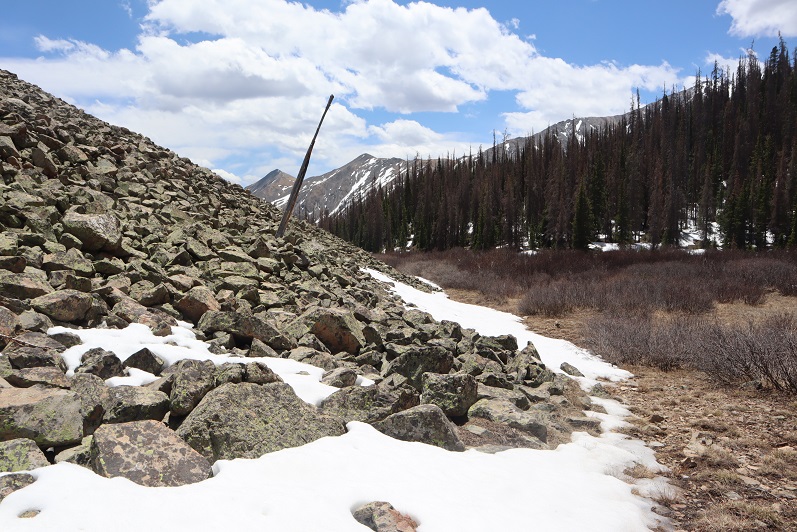
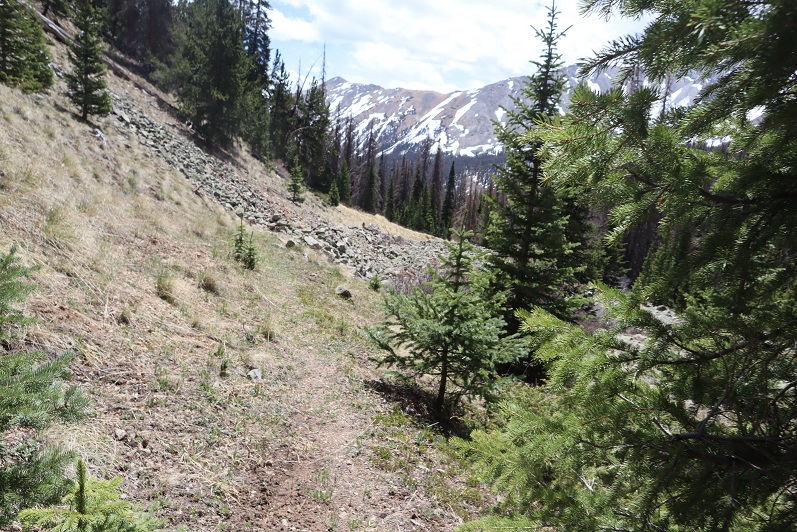
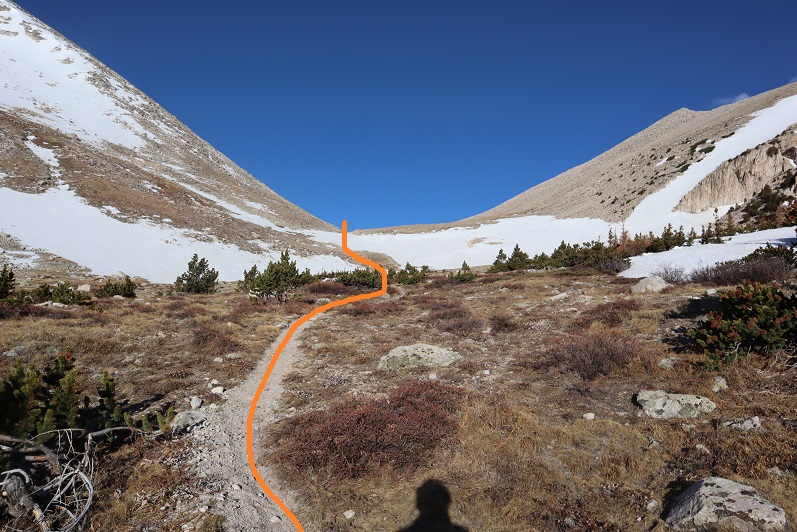
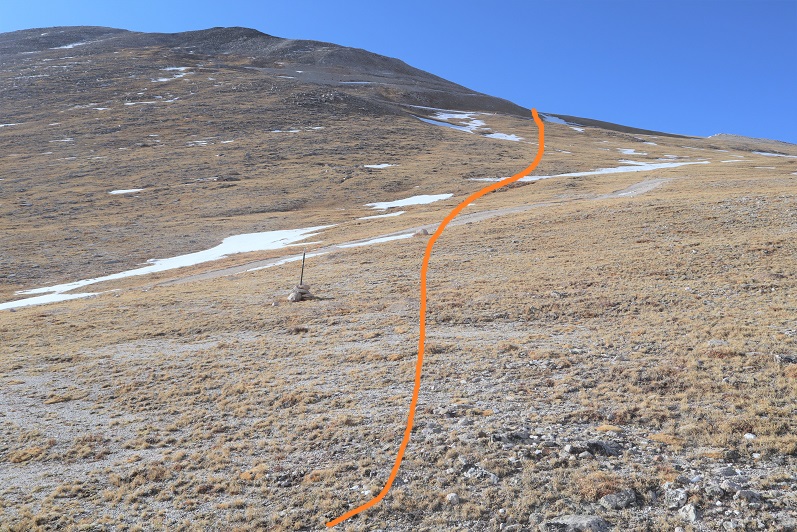
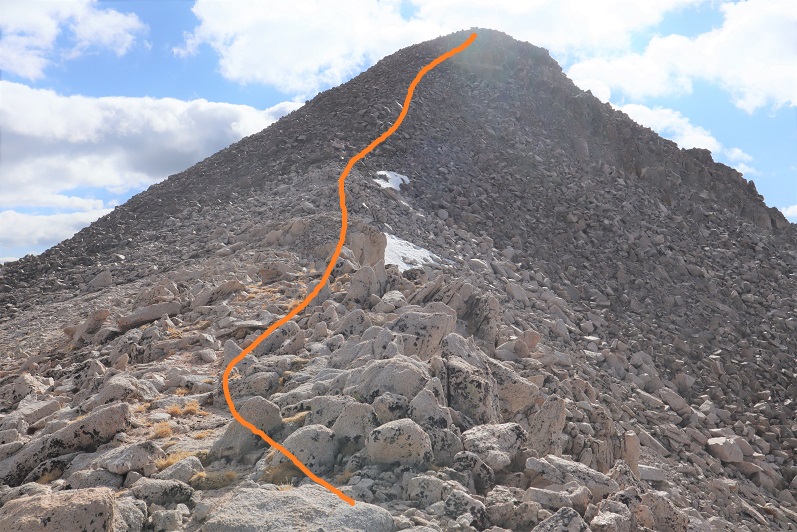
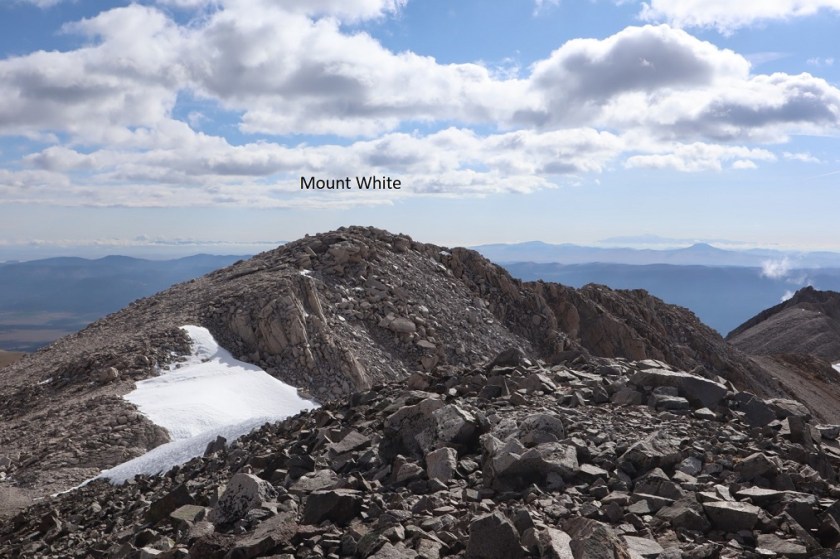
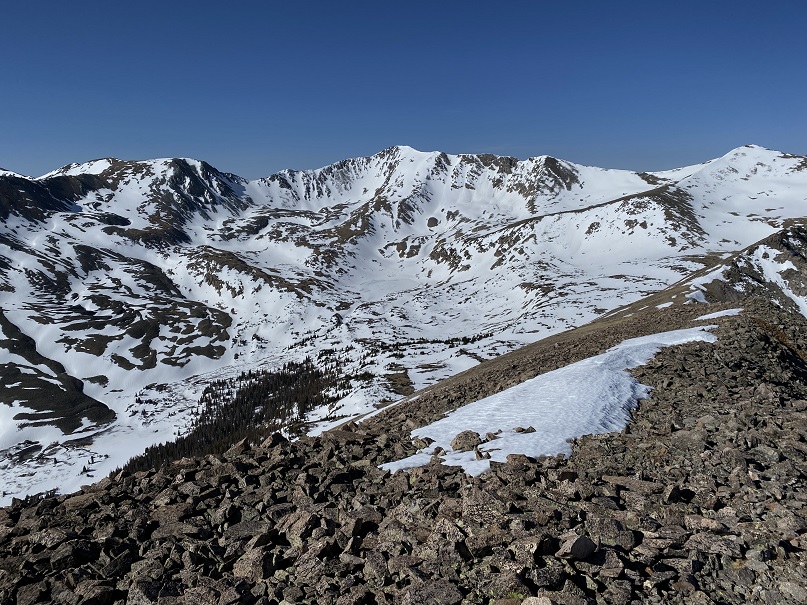
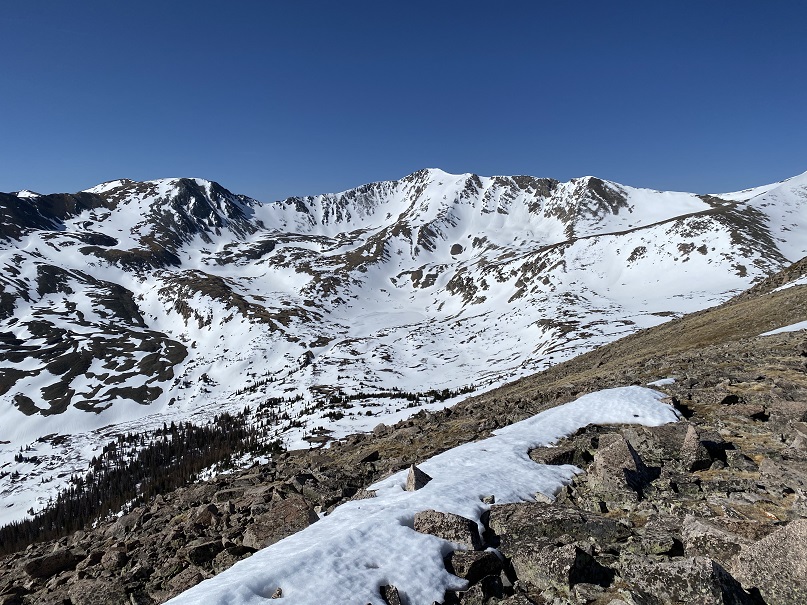
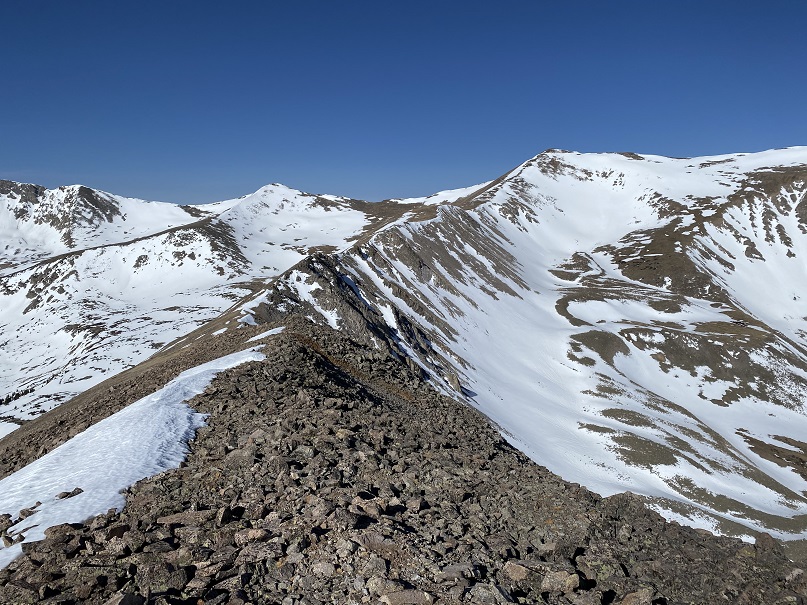
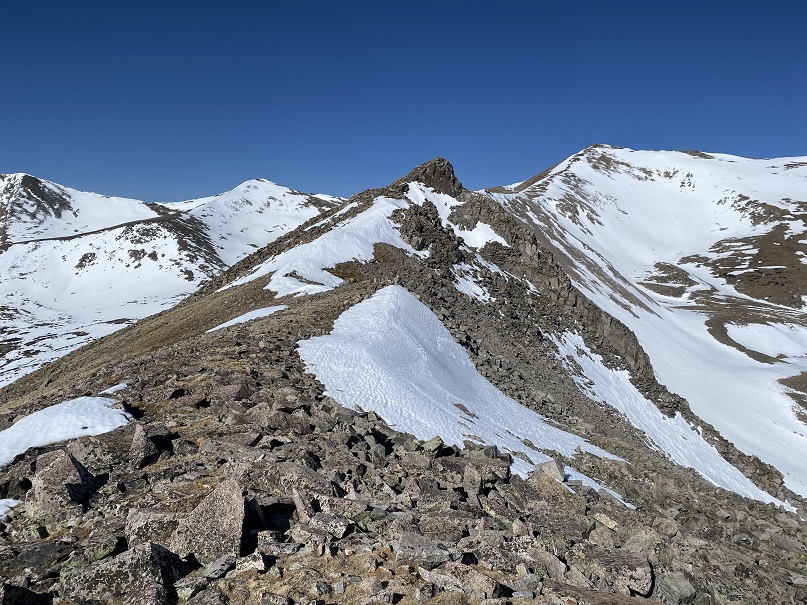
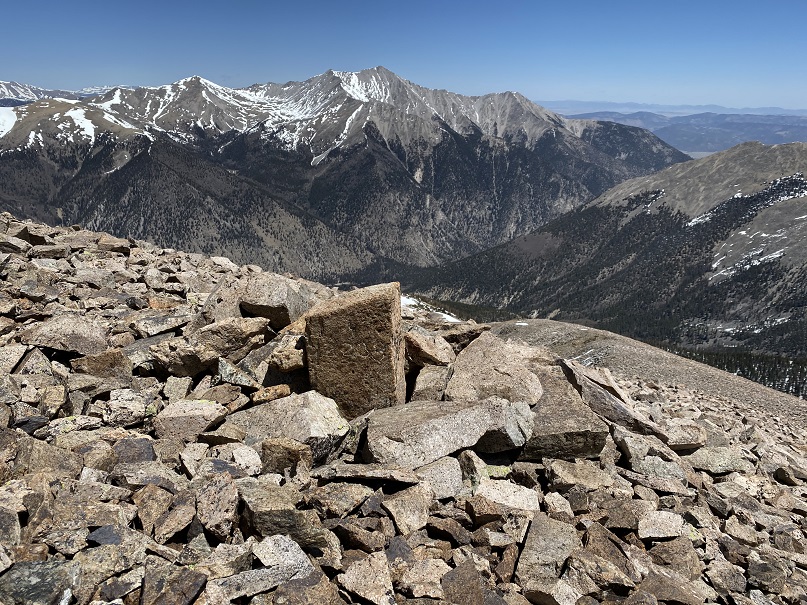
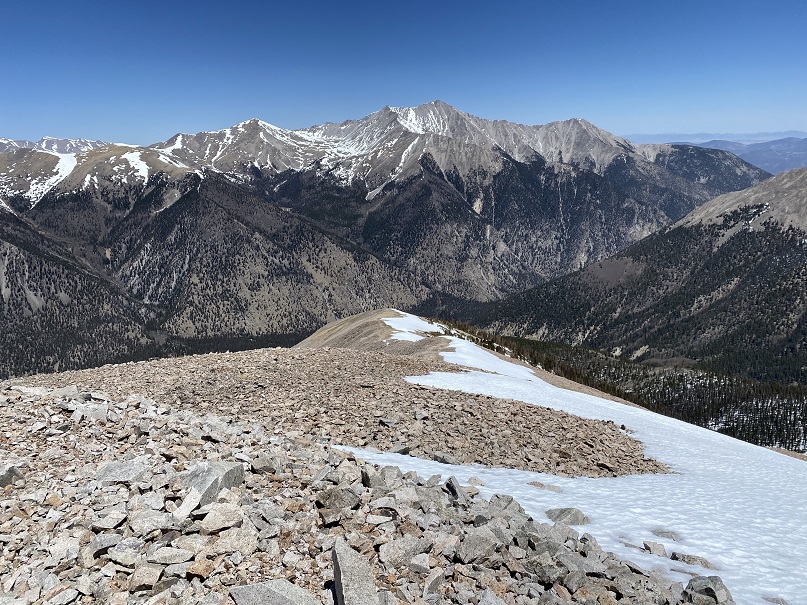
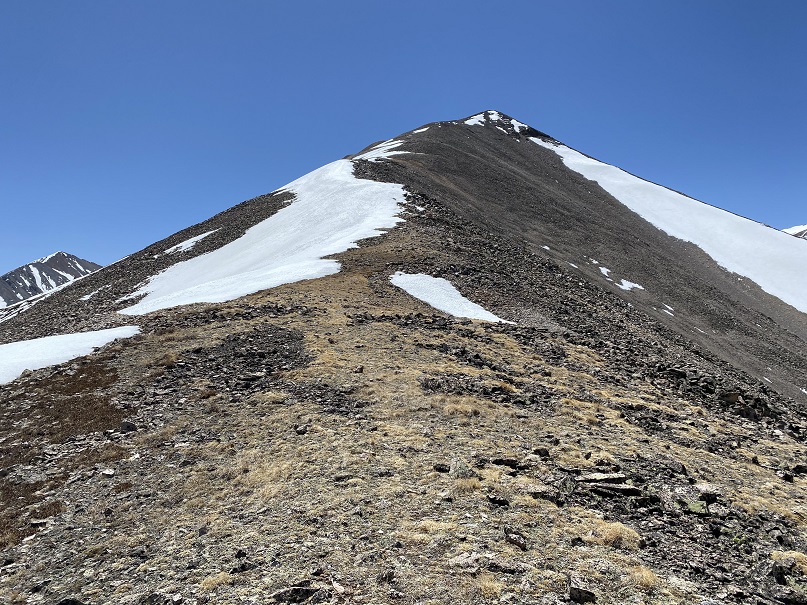
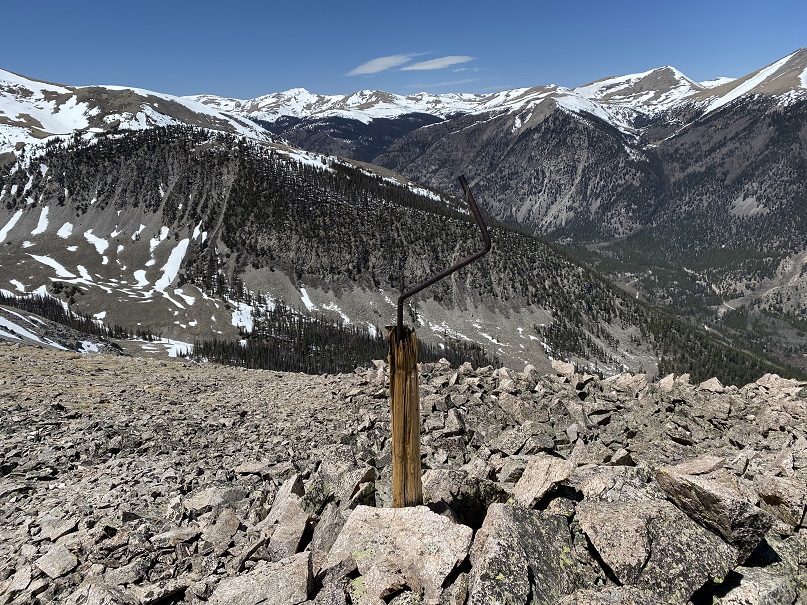
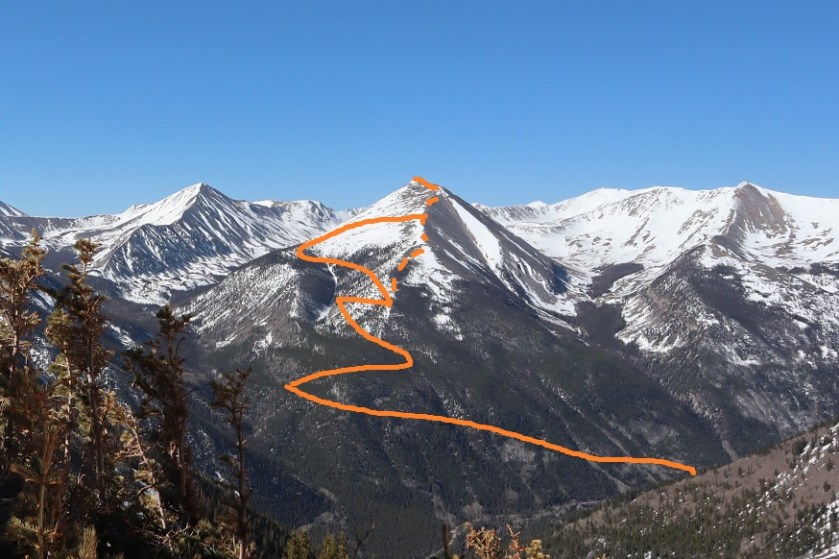
Sayres Benchmark – 13,746 & PT 13,440

1

RT Length: 12.61 Miles

Elevation Gain: 4652’


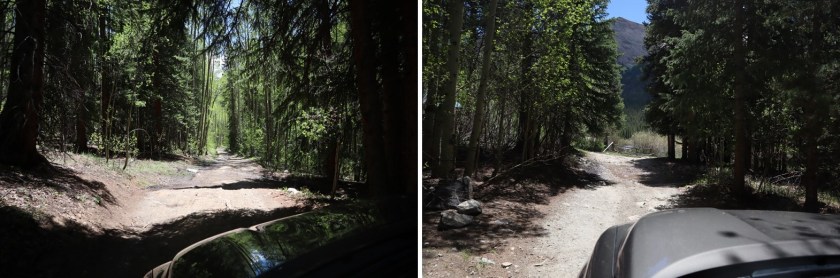
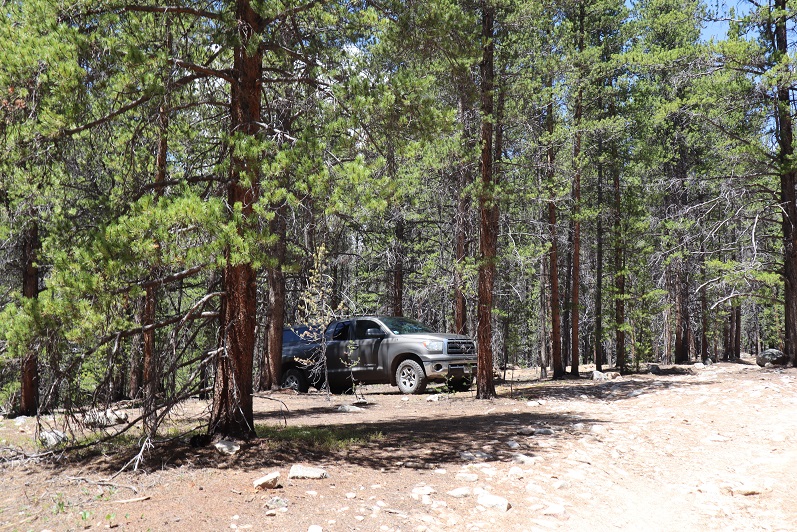
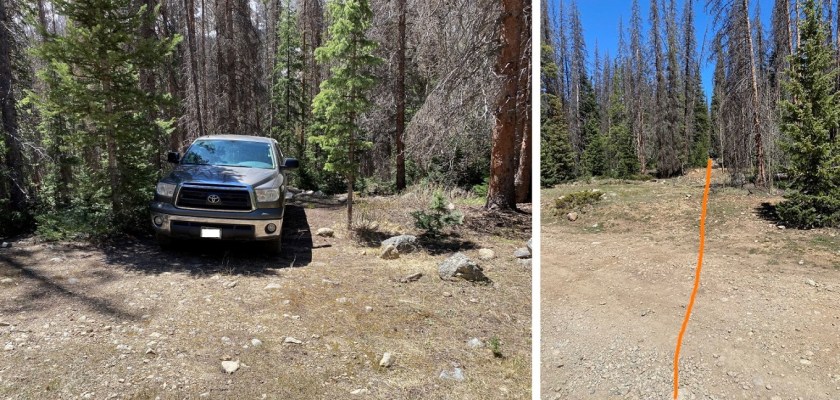
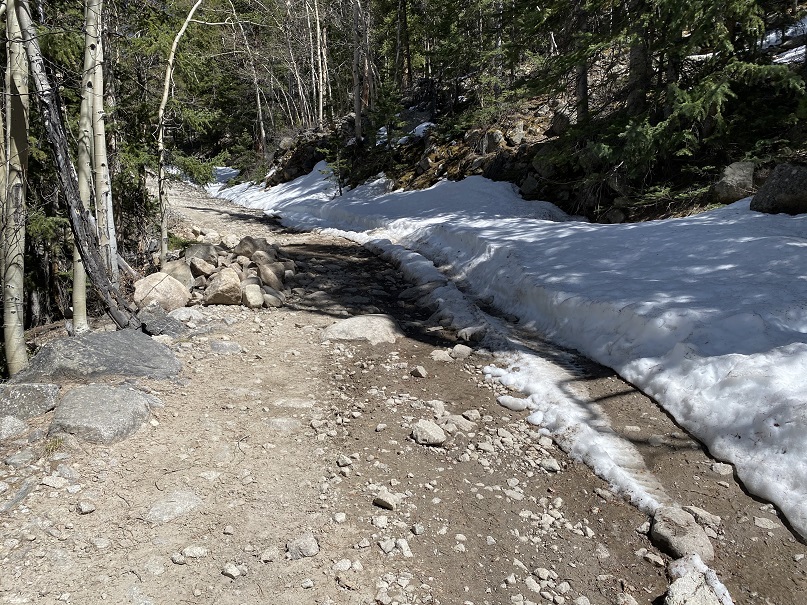
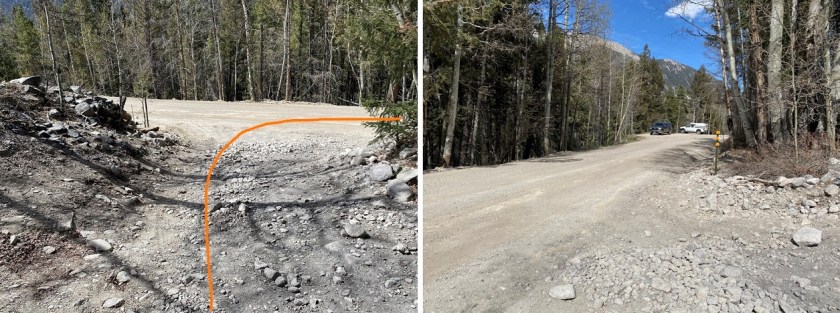
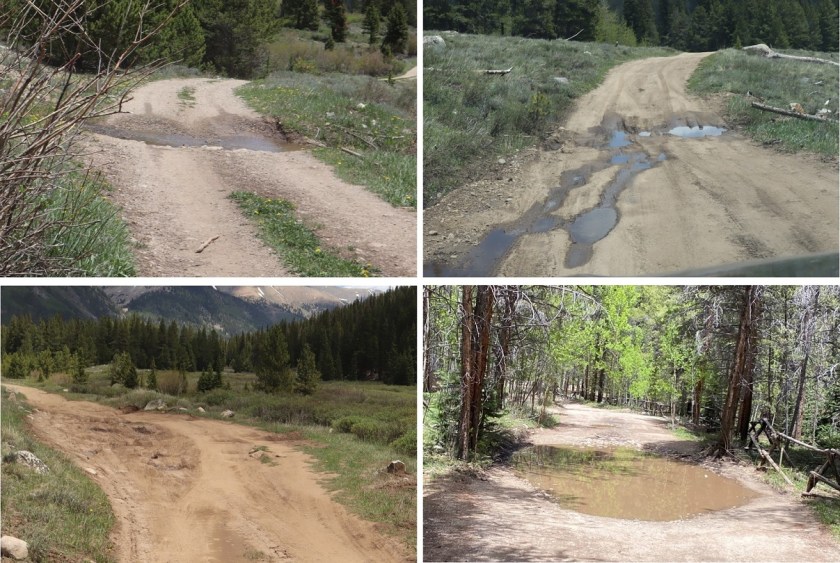
I drove to the La Plata Gulch Traihead and then took 391 for a little over 2.5 miles to a junction with 382, 391, and 392, where I parked my truck. This is an easy 4WD road in, with a few water holes to navigate.
2

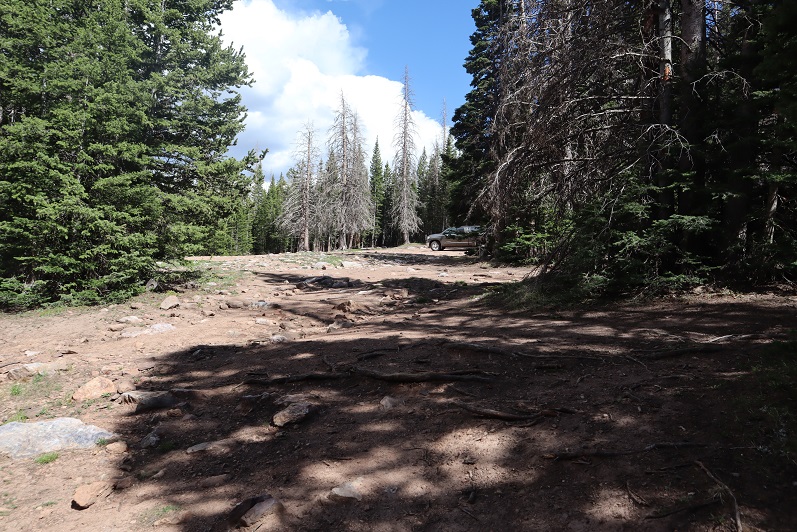
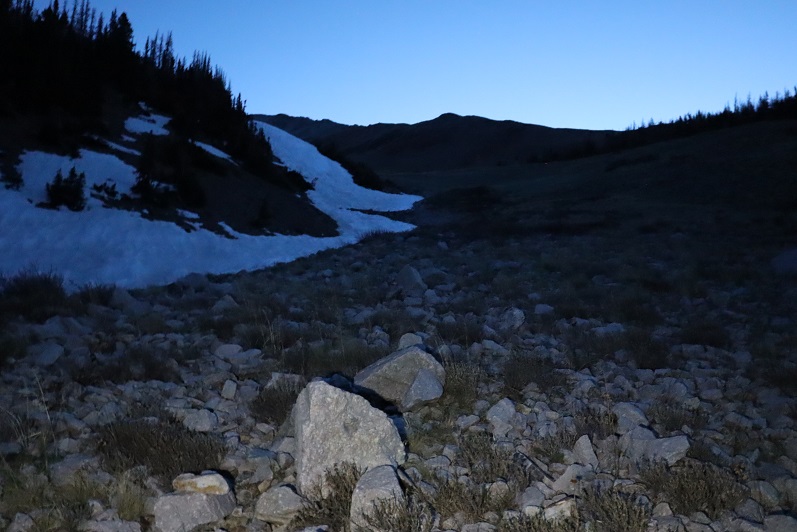
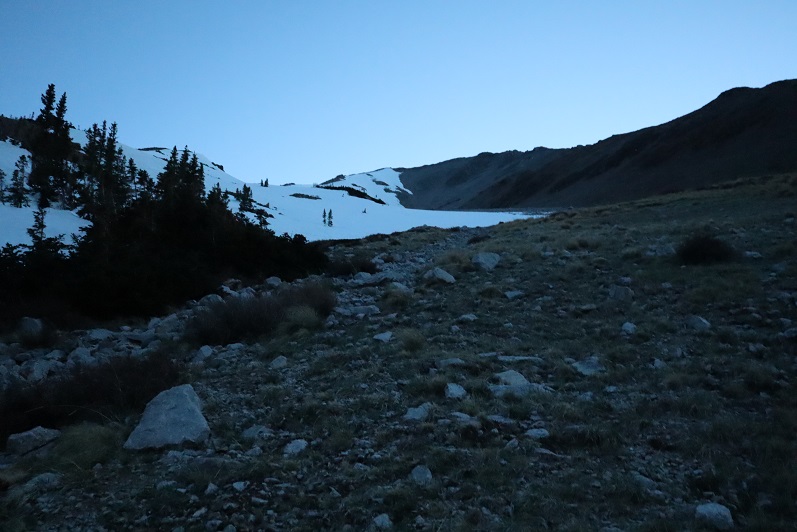
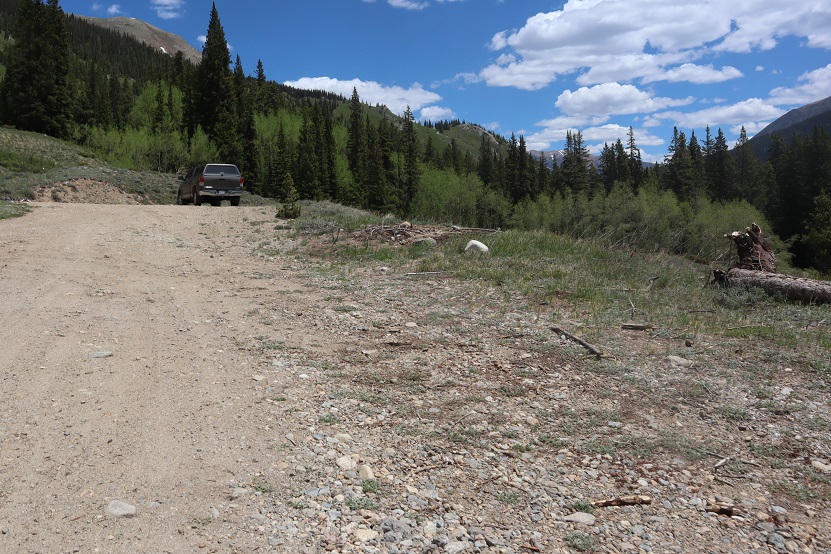
I parked at what looked to be an avalanche runout area.
3

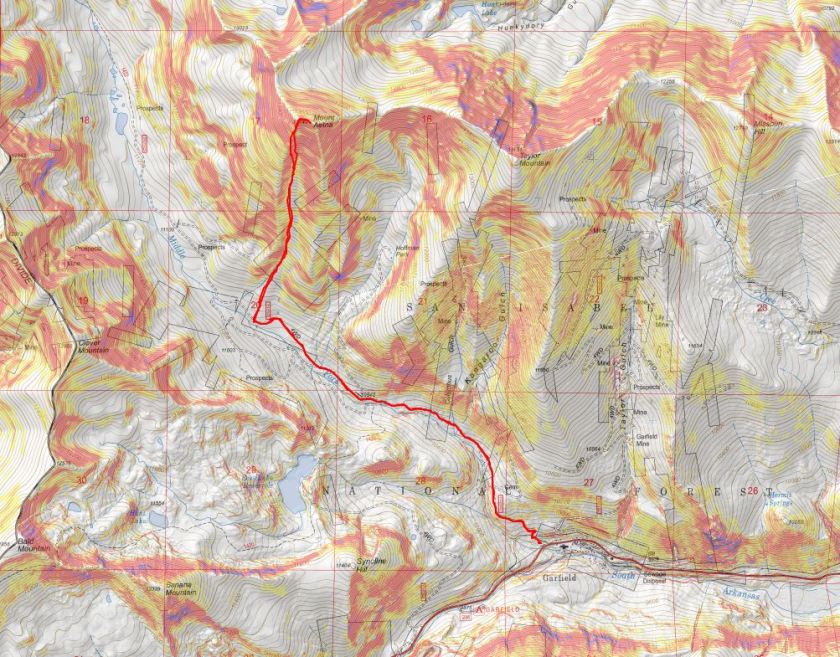
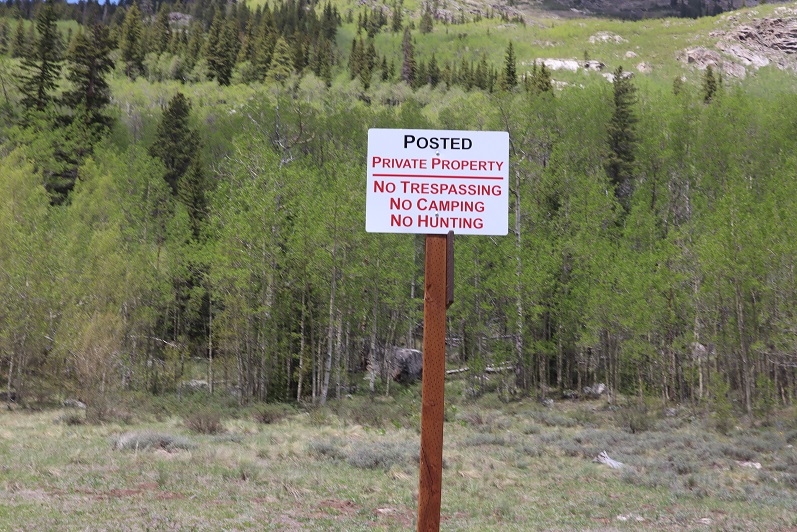
Initially I’d intended to make this a loop and incorporate Unnamed 13,300F and PT 12,601, but the area that I’d exit the hike as a loop with had a lot of “no trespassing” signs, so I decided early on just to make this a 2 peak hike.
4

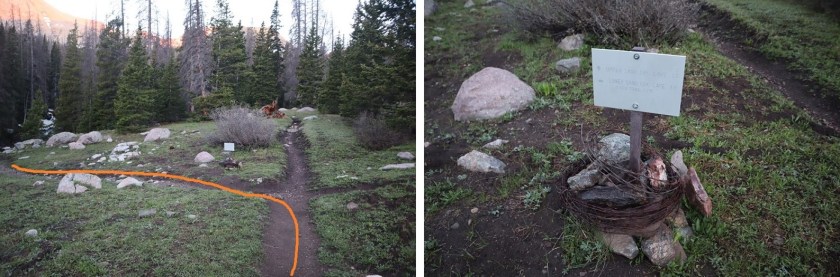
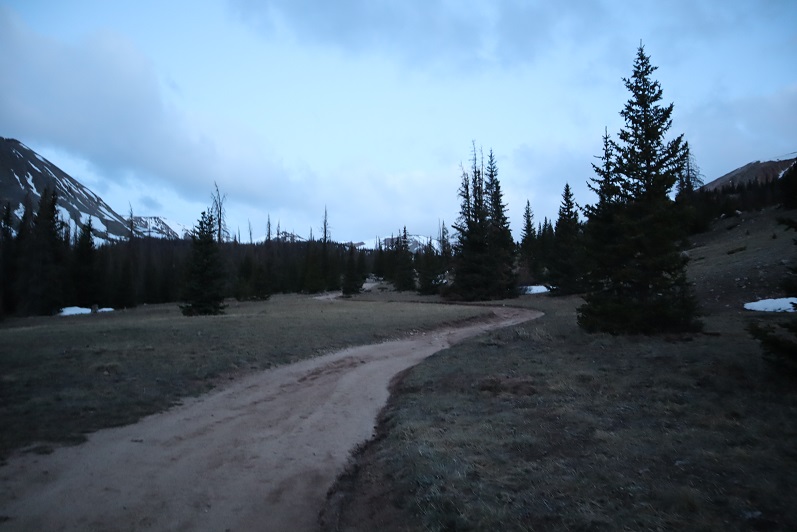
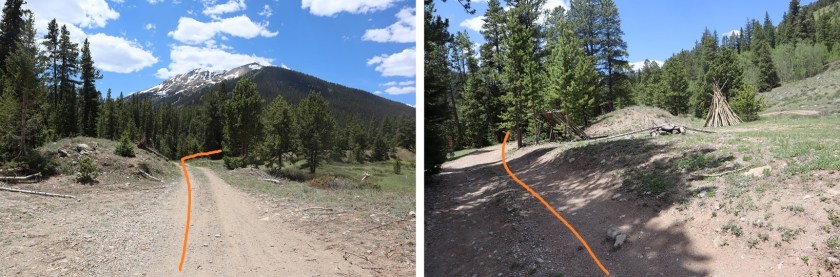
At 5am I gathered my gear and headed southwest, following 392, passing some dispersed campsites and wiki-ups.
5

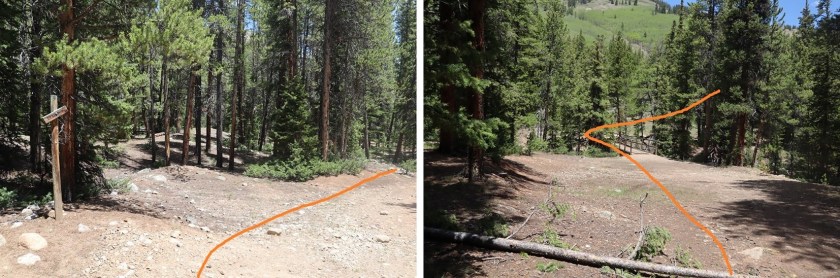
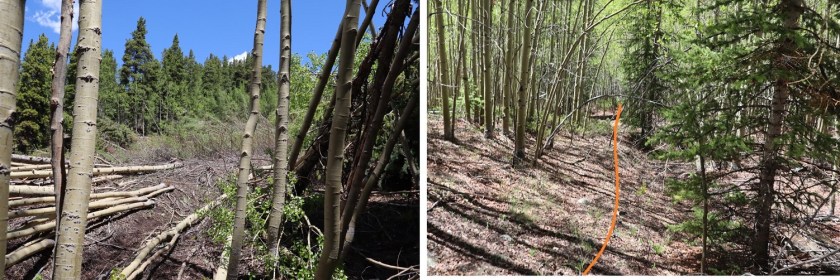
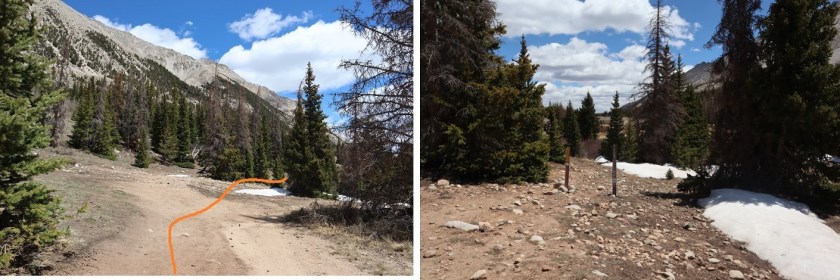
I crossed a bridge and turned right, following 392. There are more dispersed campsites here. The dispersed campsites make it a little difficult to follow/see the road.

6

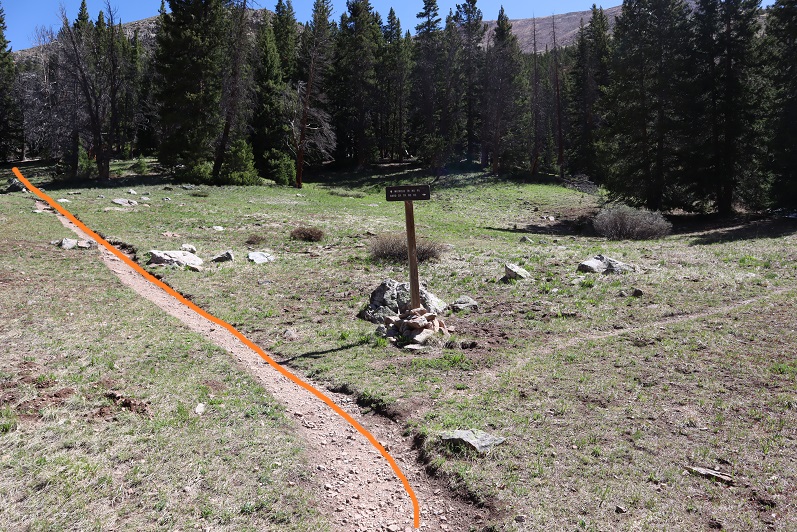
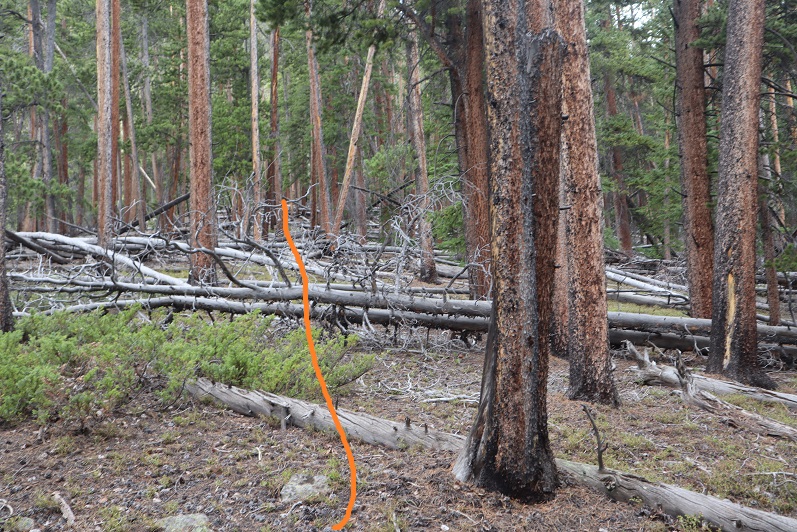
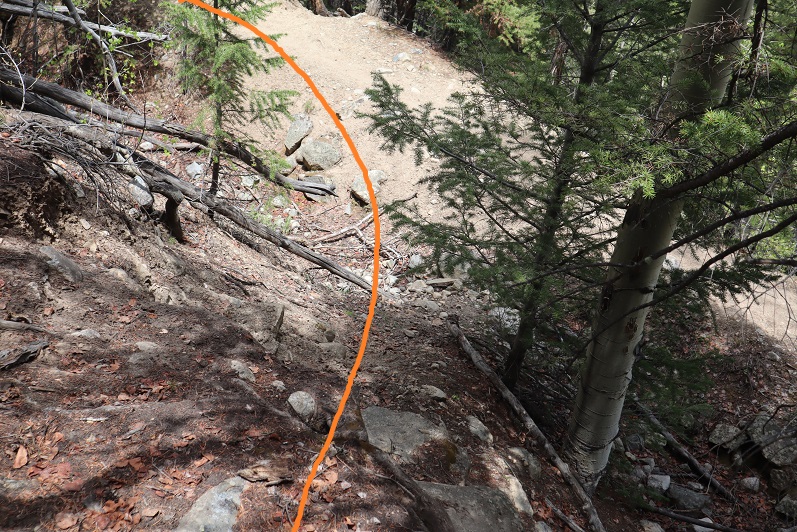
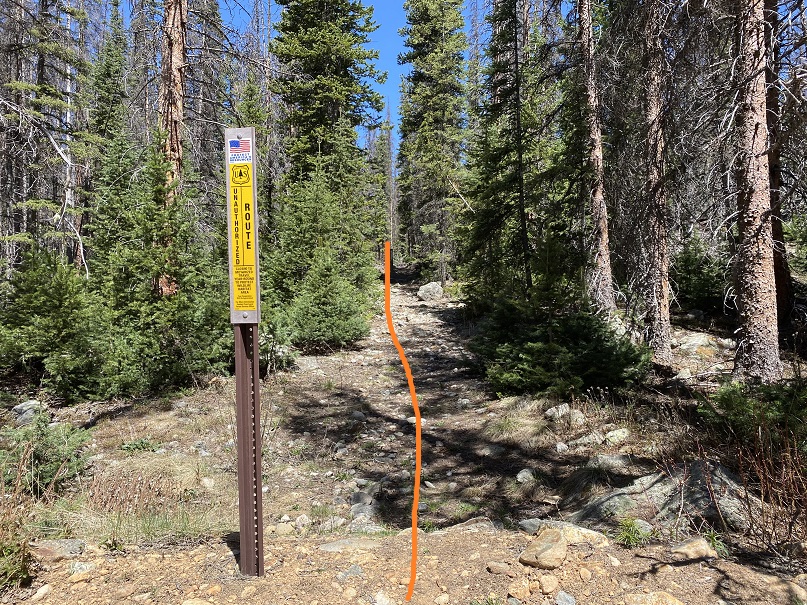
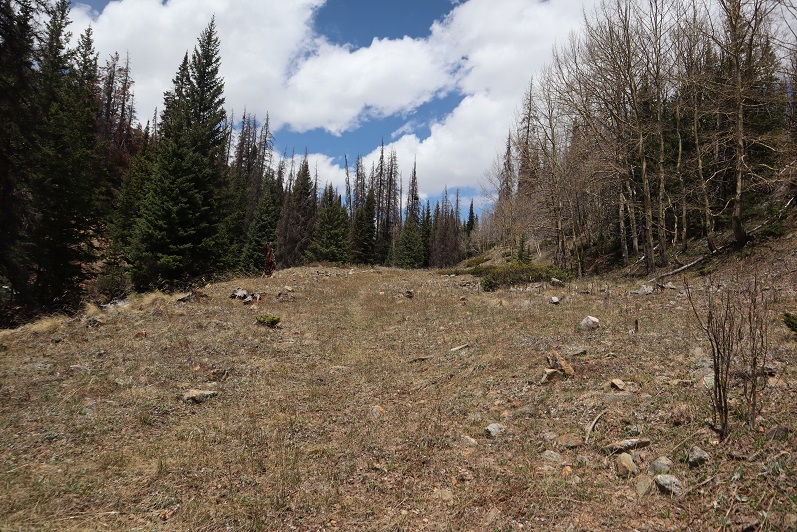
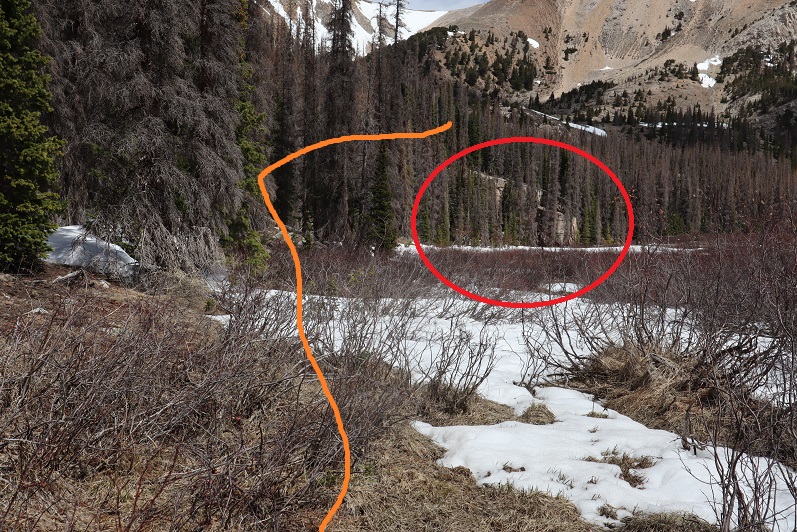
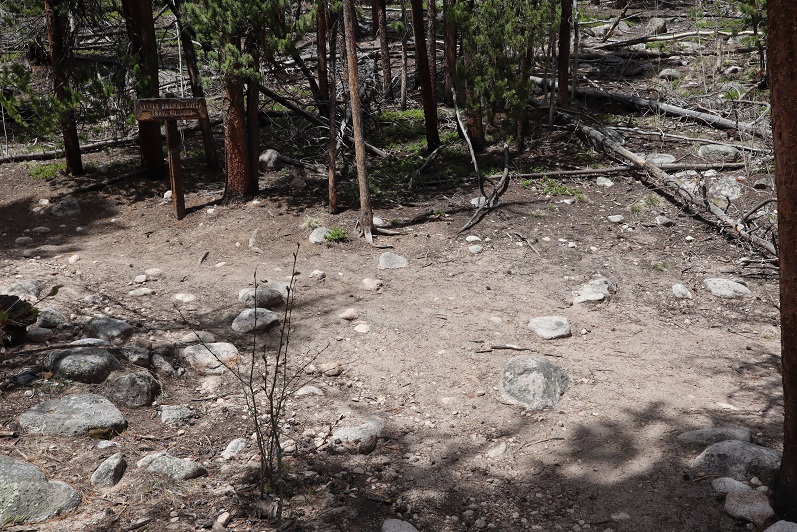
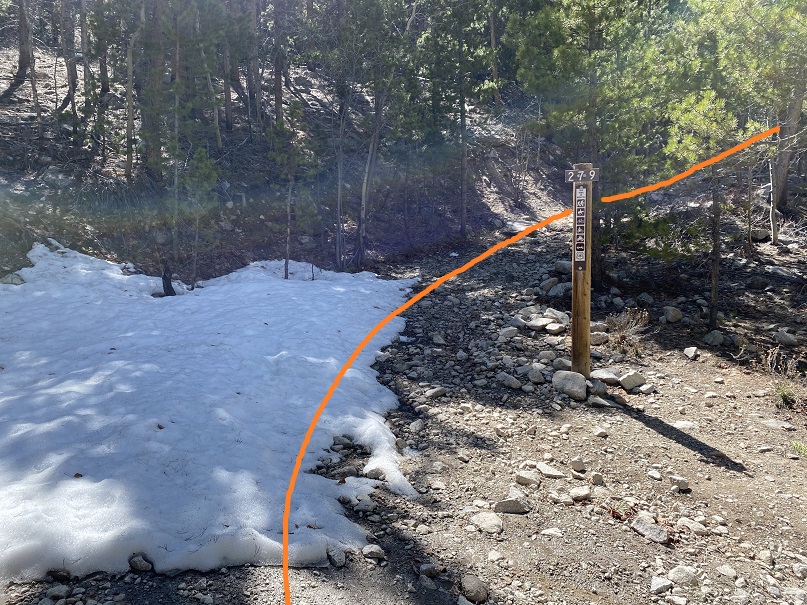
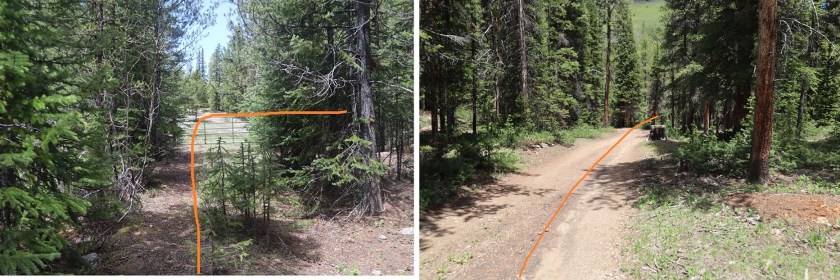
In the dark I ended up going too far south on 382, missing the obvious 392 sign, and the not so obvious road. Turn left at this sign, even though there’s no road.

7

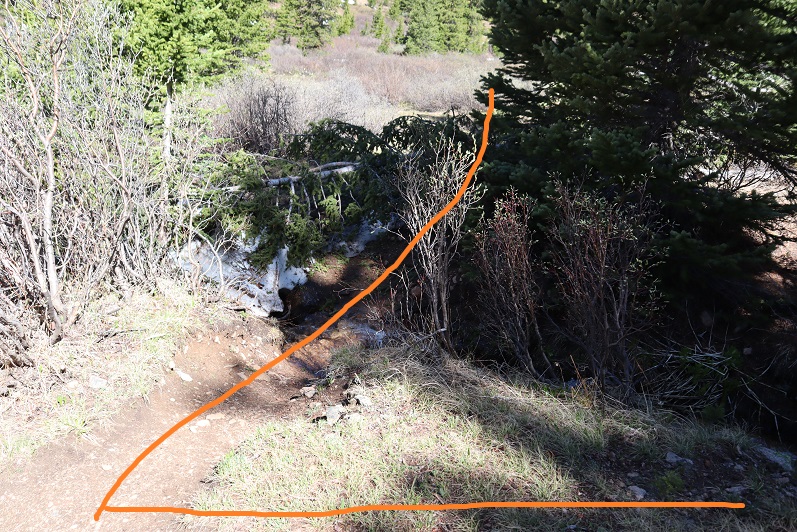
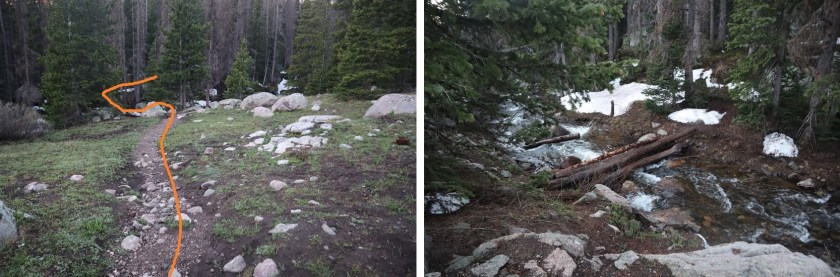
And pass through a gate, now following the 392 4WD road.

8

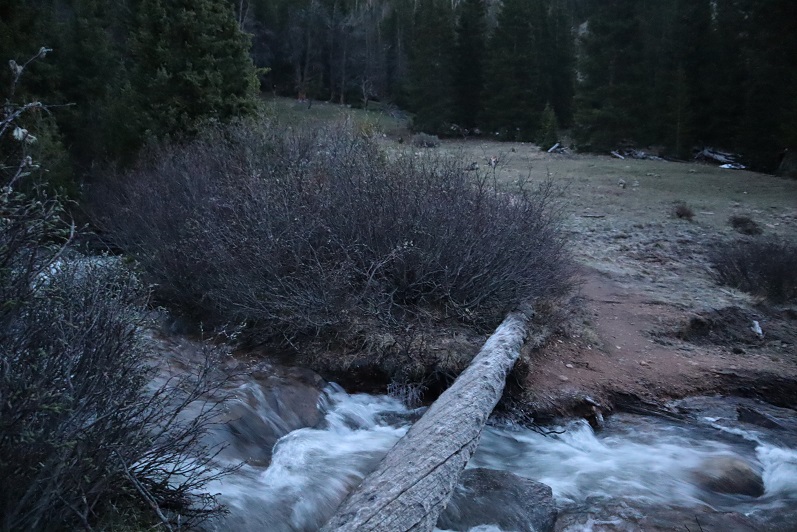
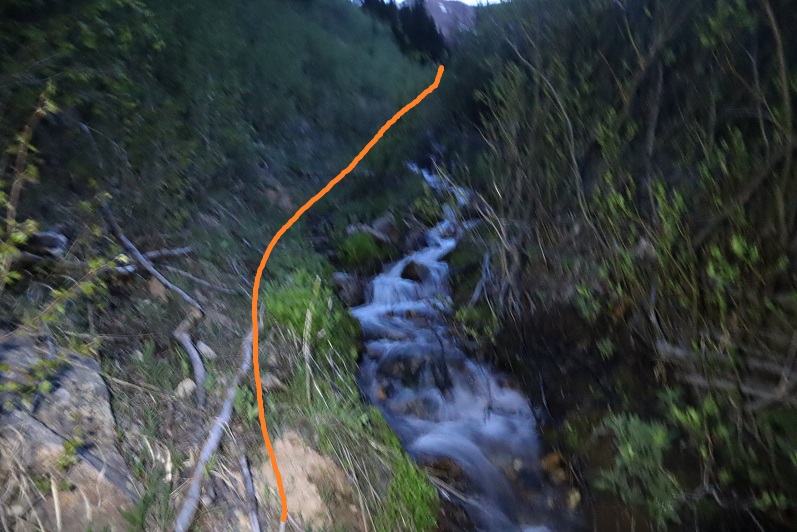
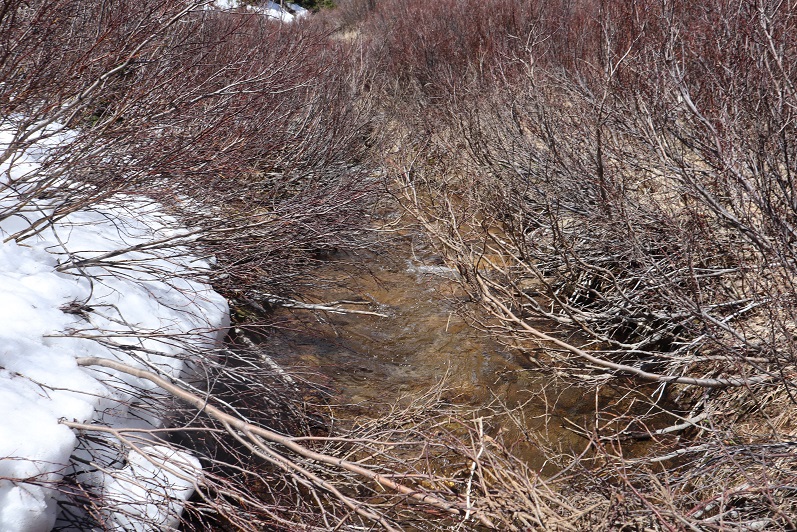
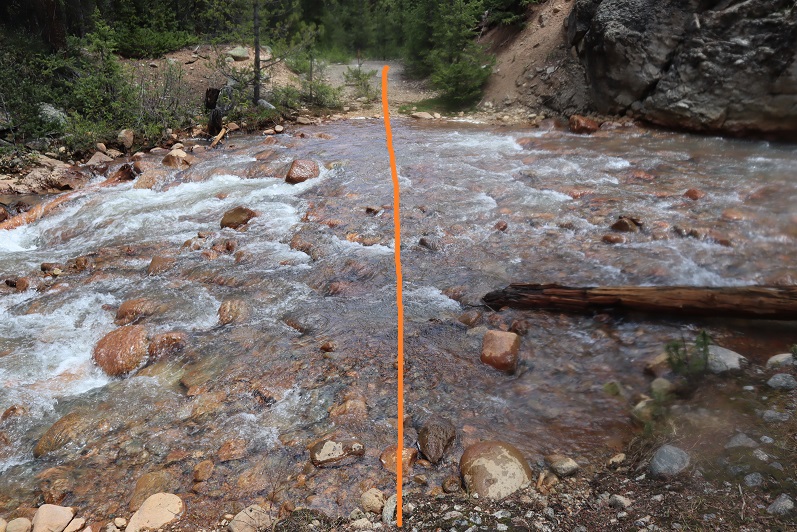
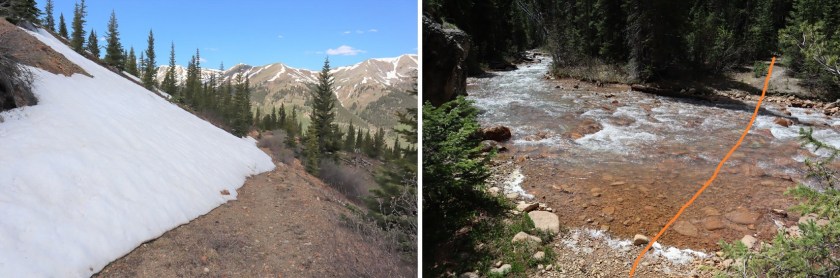
Almost immediately I came to a creek crossing that required me to take off my shoes and get out my sandals. The creek was cold (especially at 5am) but the water only went up to my knees in the deepest of places.
9

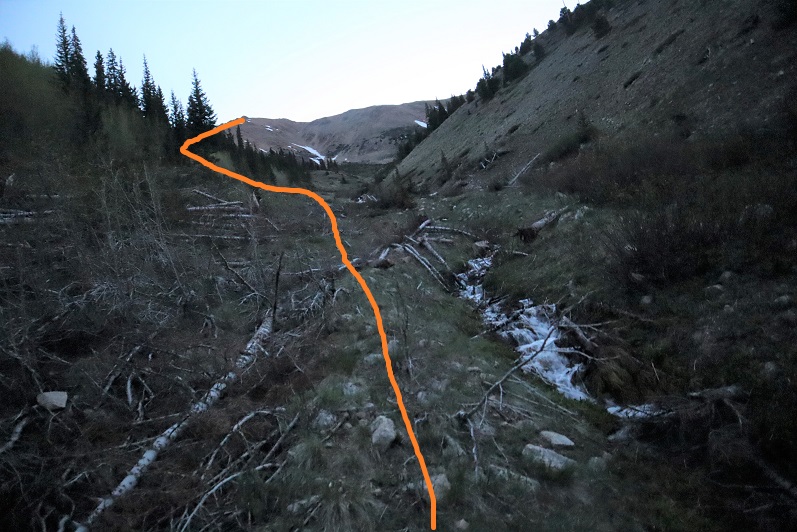
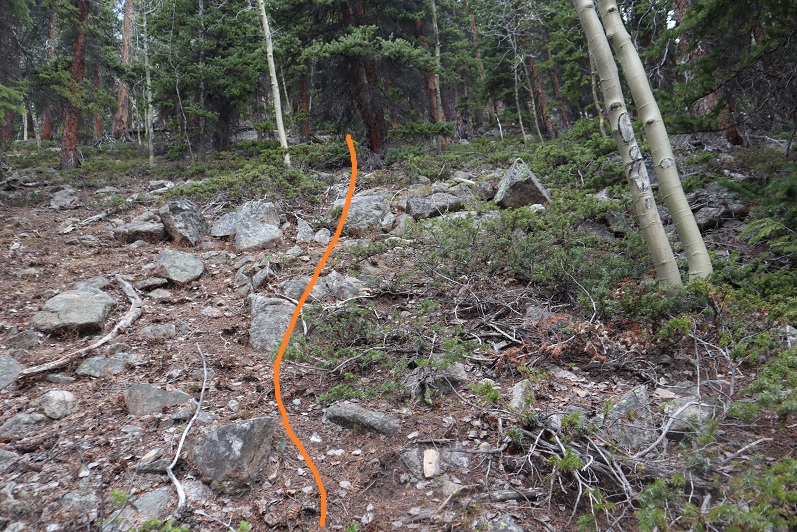
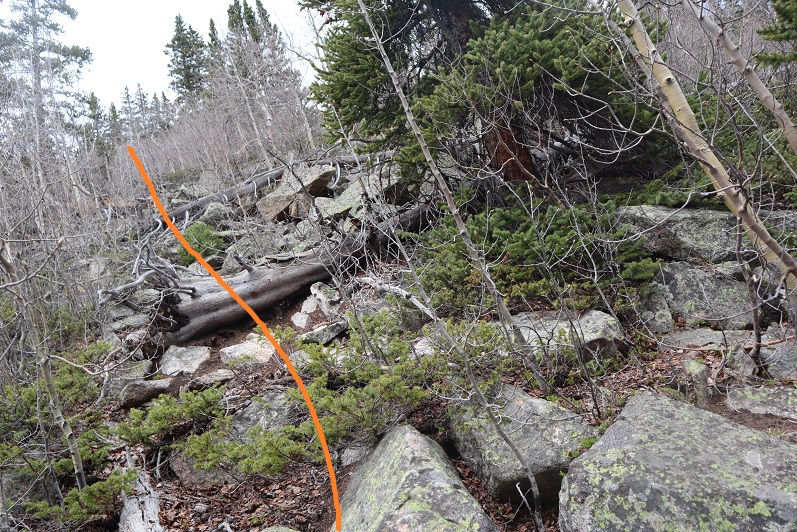
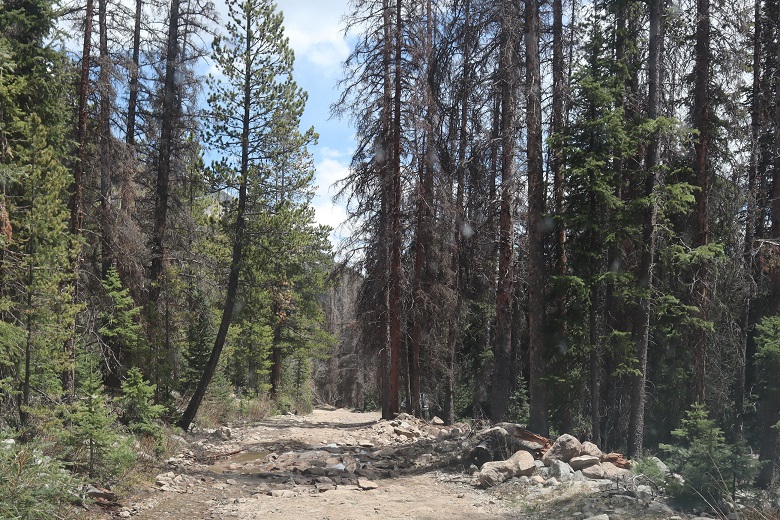
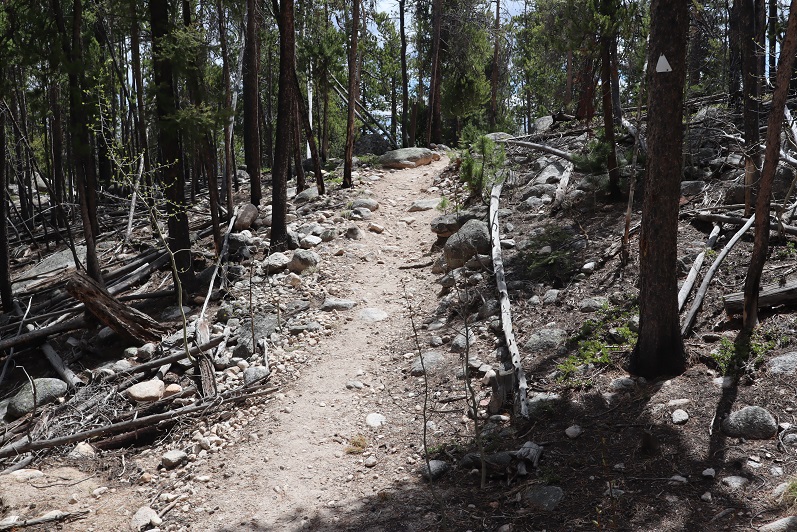
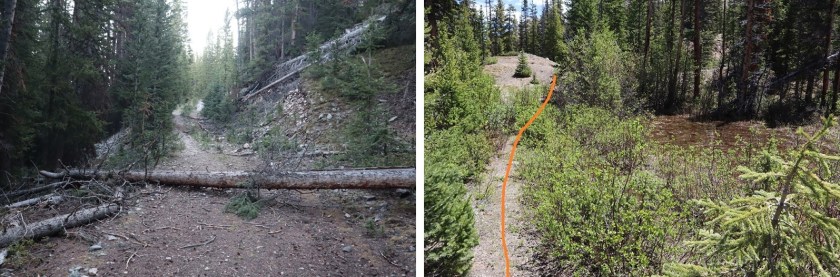
Shoes back on, I followed the 4WD road. “4WD Road” is a bit of a misnomer. This was probably a road decades ago, but it has gone into disrepair and hasn’t been used for quite a while. It’s easy to follow, but overgrown in many areas with willows, aspens, and even 10+ foot pine trees.
10

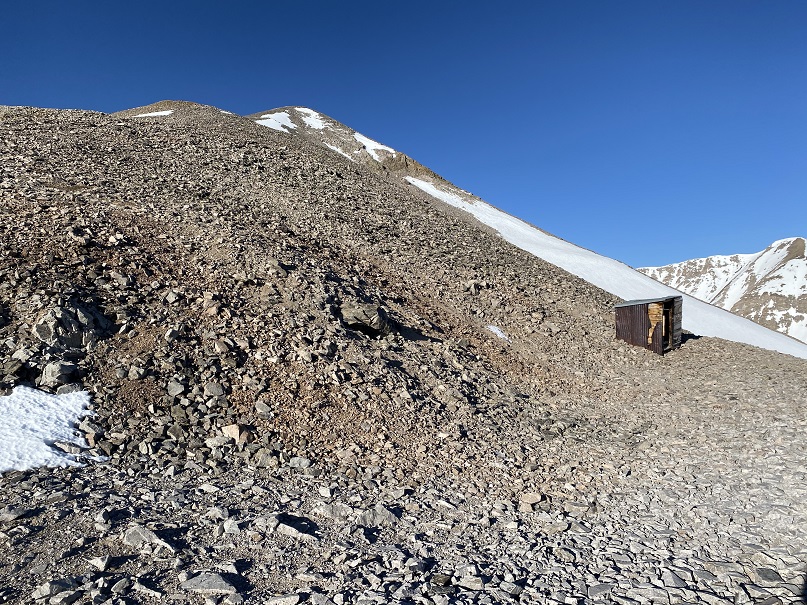
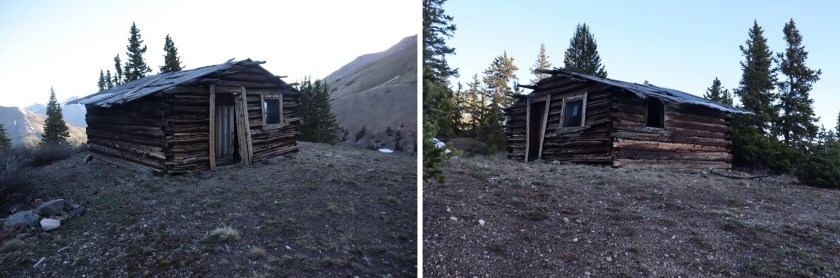
At 11,950’ I came to a small cabin with a great view.
11

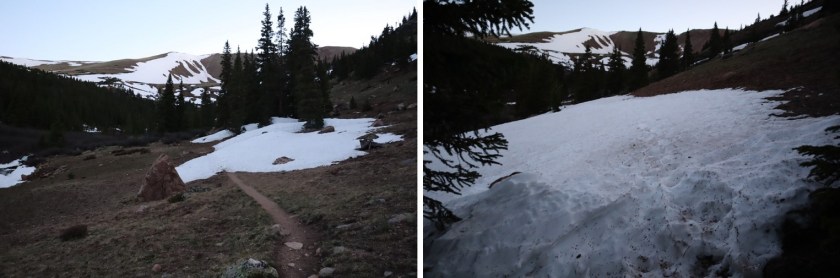
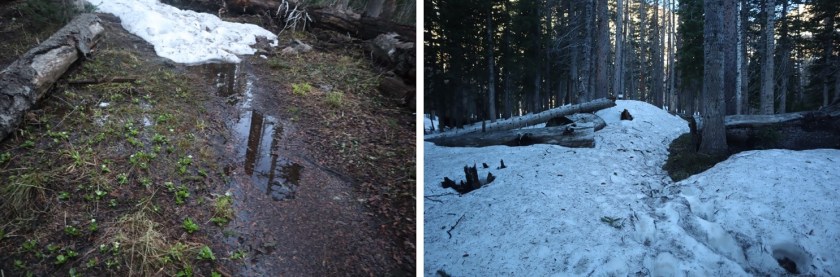
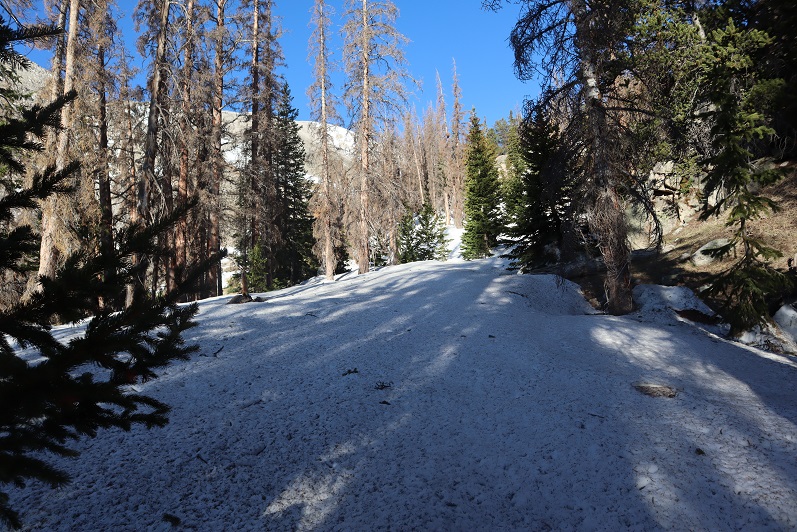
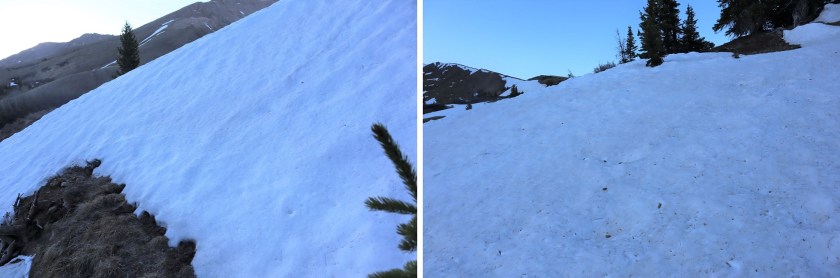
I peered inside: someone had left a peanut bottle full of trail mix (peanuts and M&M’s?) on a shelf. It was dark and cold inside and I’ve seen horror movies so I didn’t take the bait. I turned around and considered my options. Here the road still had some snow/ice covering it, but early in the morning I could walk across it when necessary without traction. On the way back I was able to see dry spots to navigate down and avoided the snow.
12

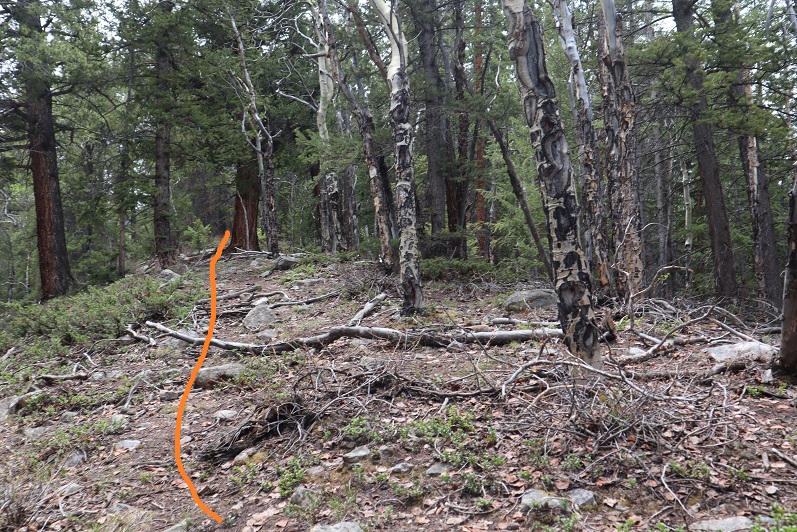
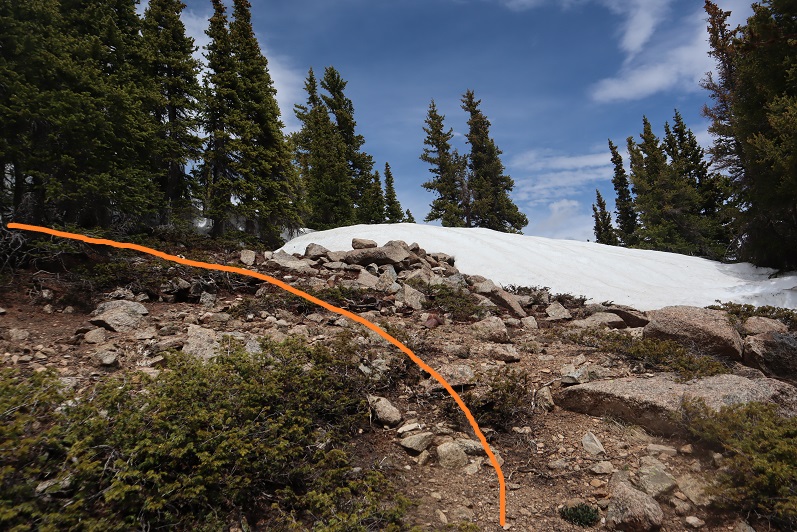
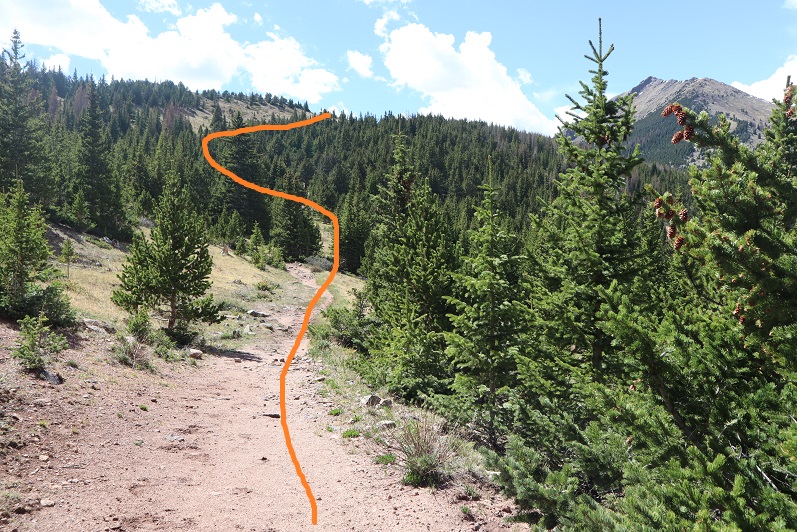
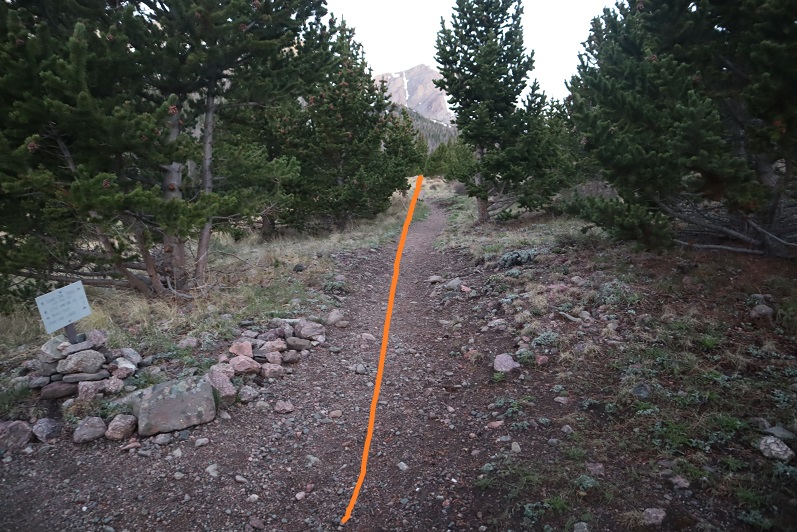
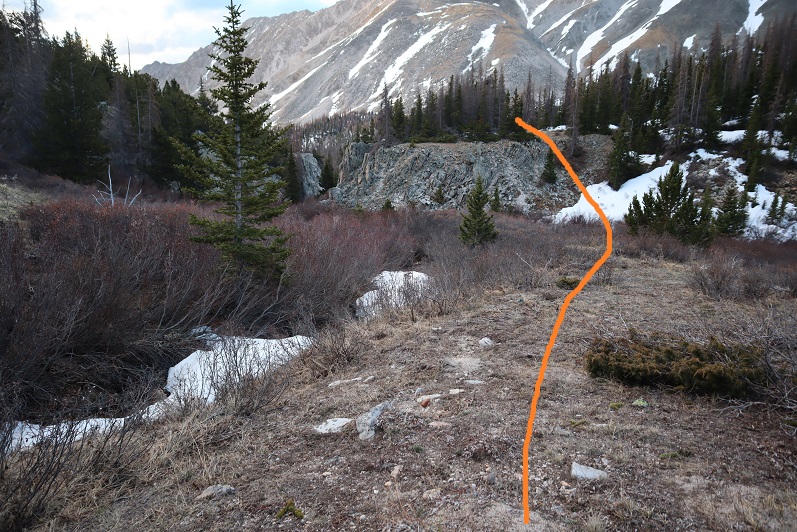
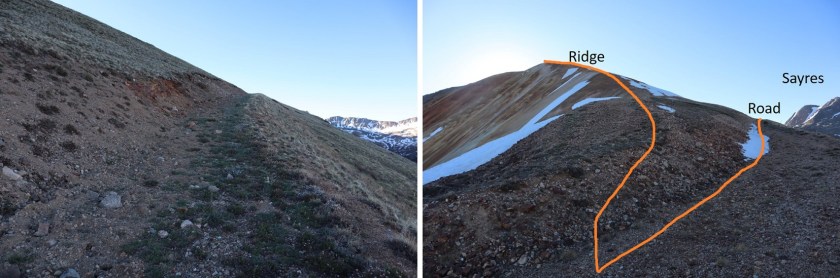
My options were to either take the road or follow the ridge. I decided to take the road up and follow the ridge back down. I wasn’t disappointed. I also placed a cairn here to show where you leave the trail to follow the ridge (even though it should be obvious).

13

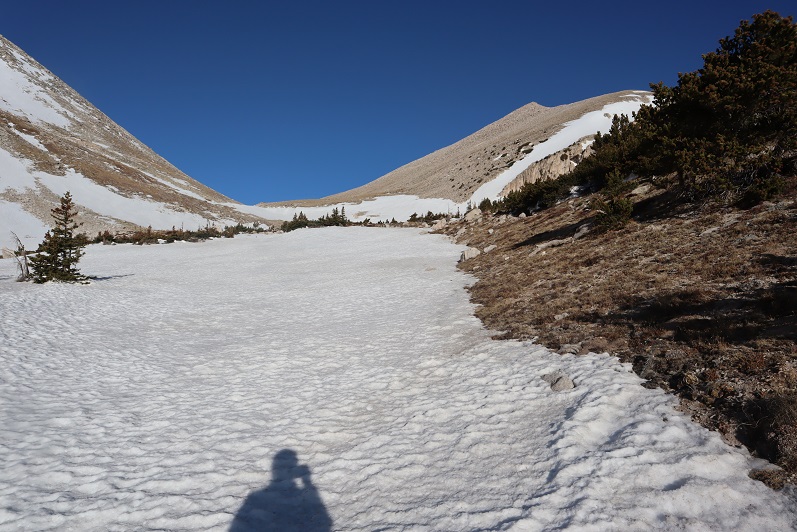
The road really didn’t have much snow on it after I passed this point and was quite easy to follow all the way to the saddle. Several times I intersected with the ridge route as I followed the road.
14

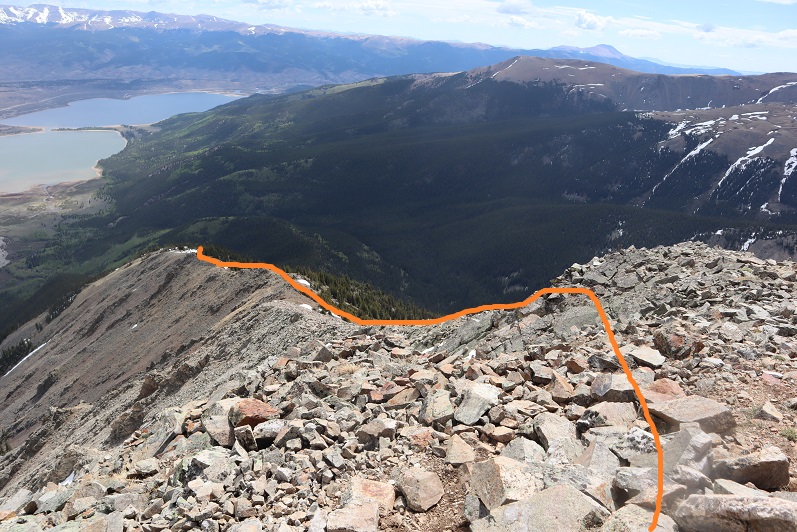
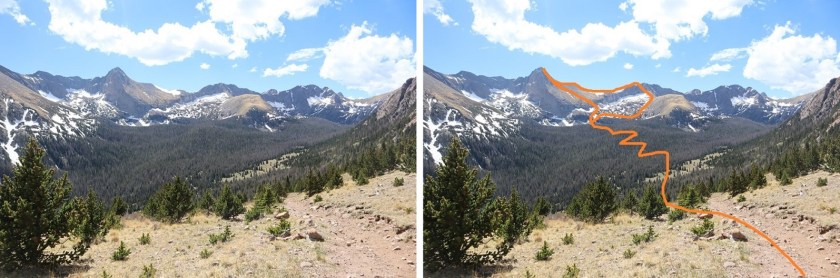
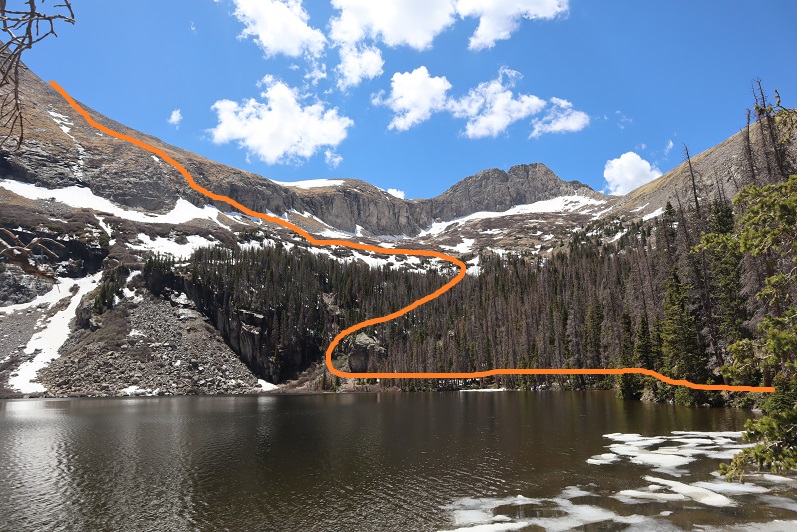
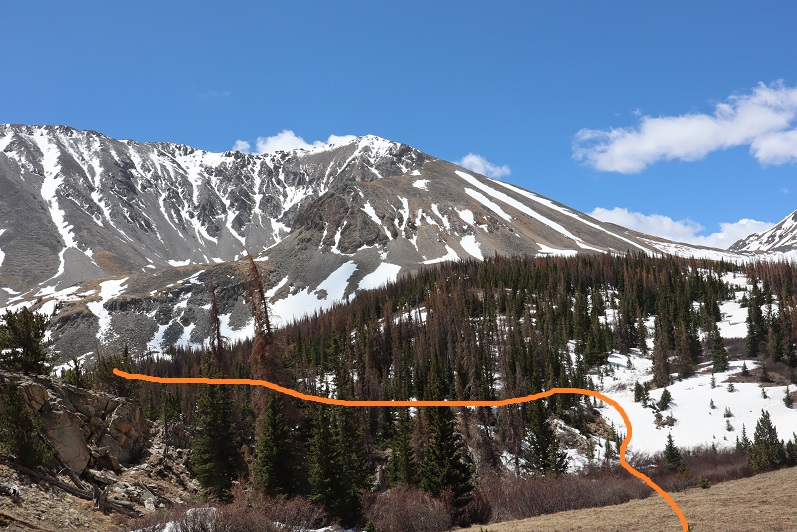
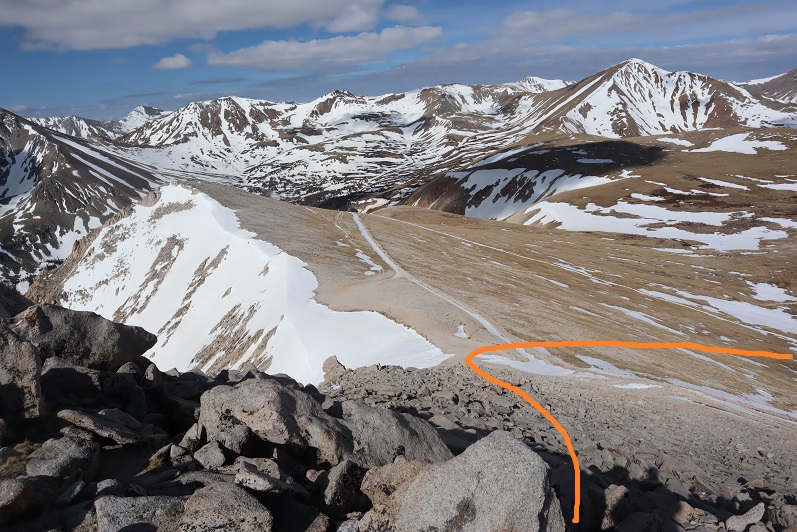
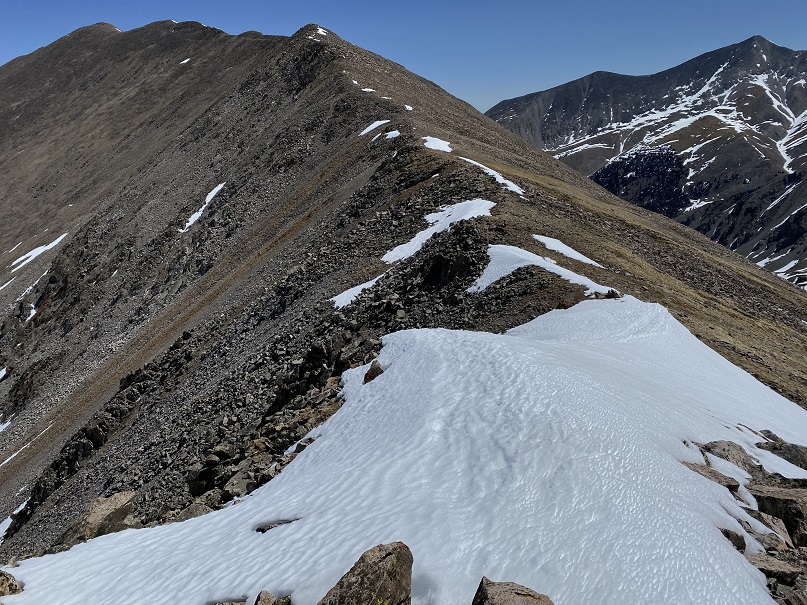
From the ridge you can see the road, and the path you take to get to Sayres Benchmark

15

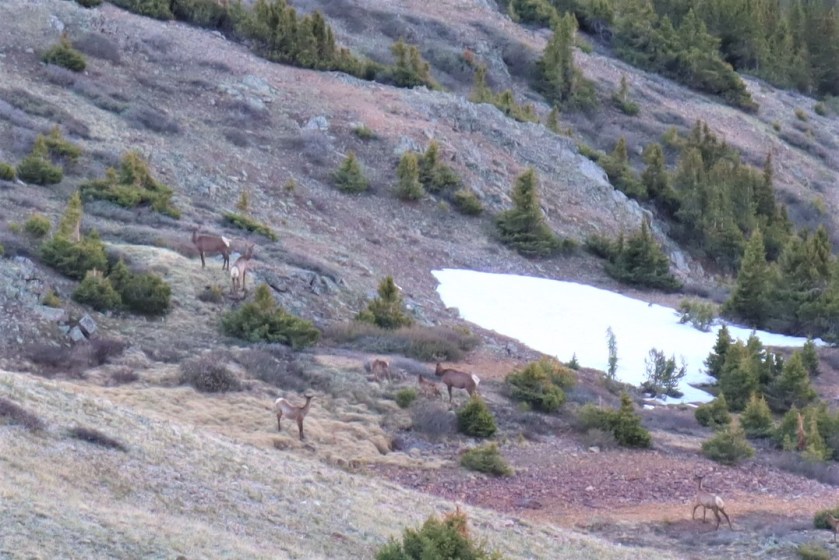
I was really glad I decided to take the road up. Not because it was easier than the ridge, but because it was here I saw some elk. My favorite were the calves, suckling breakfast until they noticed me and their mamas decided it was time for them to leave.
16

Elk:

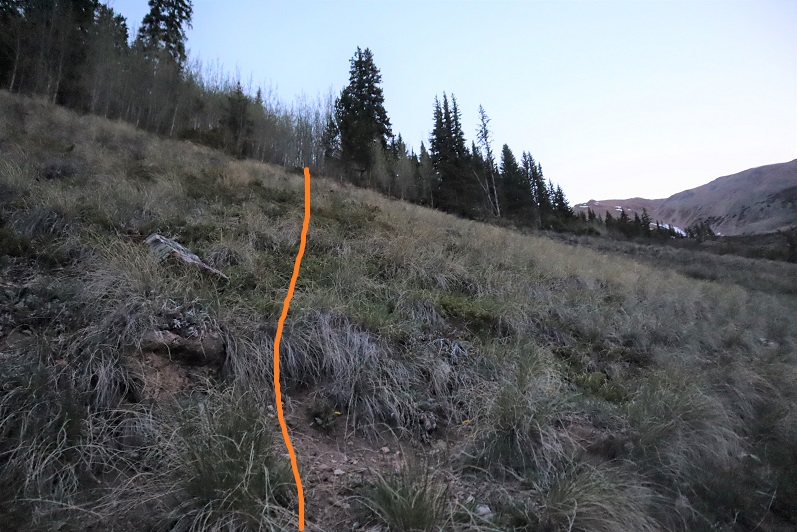
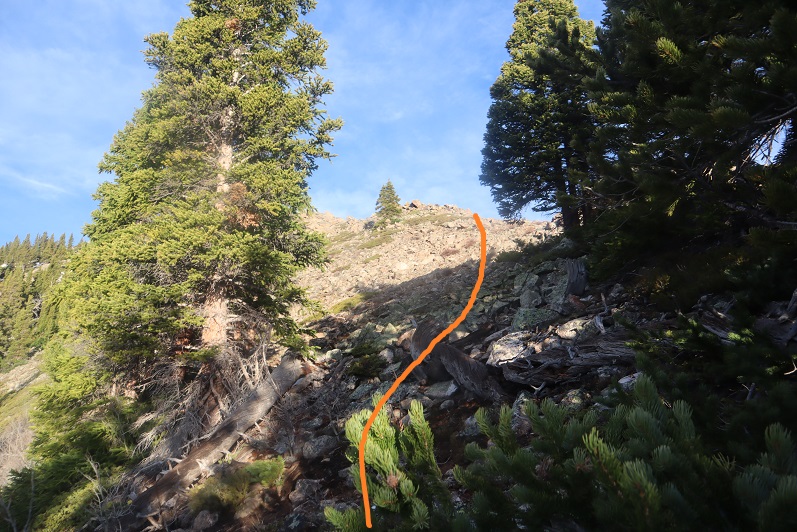
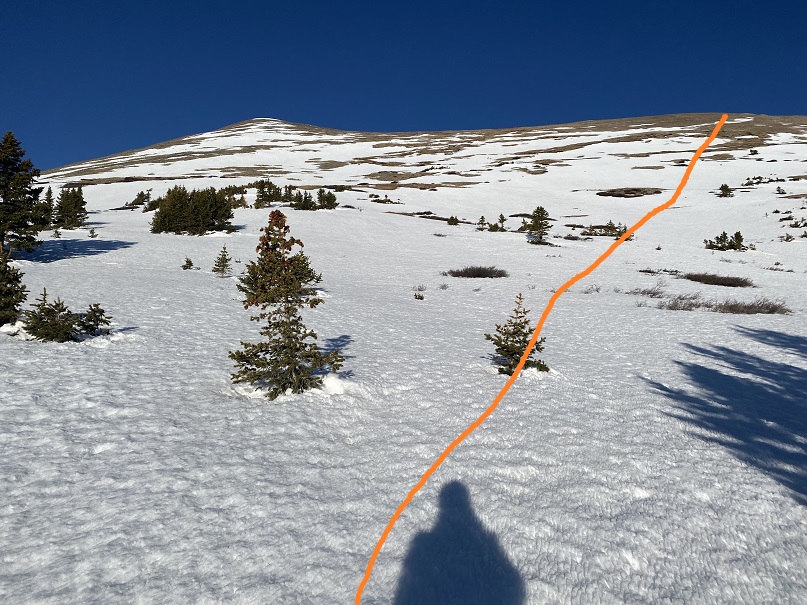
Following the road to 13275 feel of elevation I then turned right (south) and followed the ridge, losing 300 or so feet of elevation as I made my way to the saddle. I decided to just follow the ridge, even though it meant going up and down in elevation a few times. (This is all class 2)
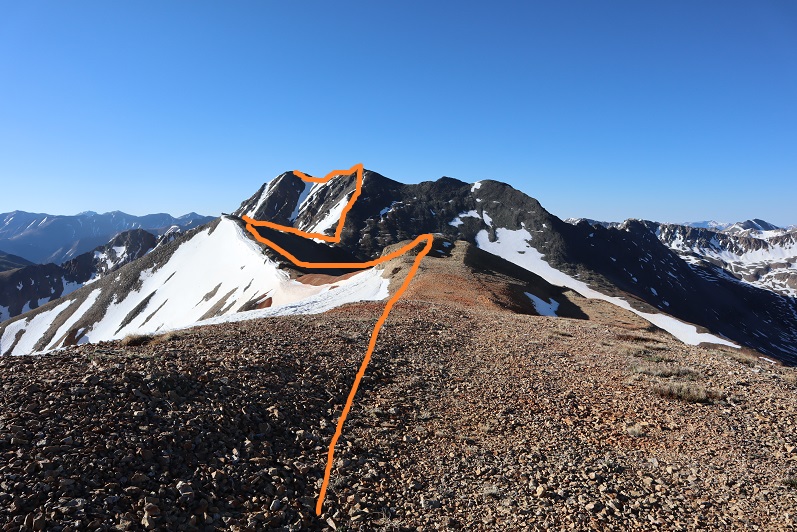
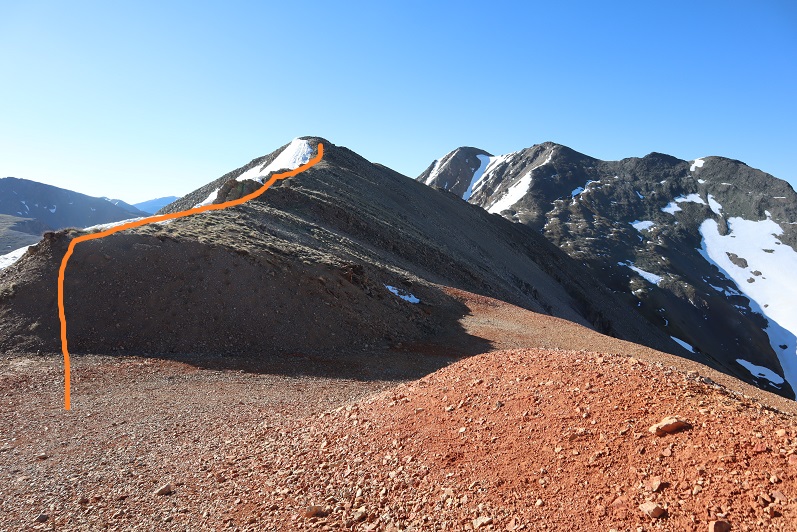
17

18

19

There was still some snow on the ridge. I made the 50/50 decision to stick to the right of the ridge and wasn’t disappointed, as later I could see the ridge to the left was impassable due to snow.
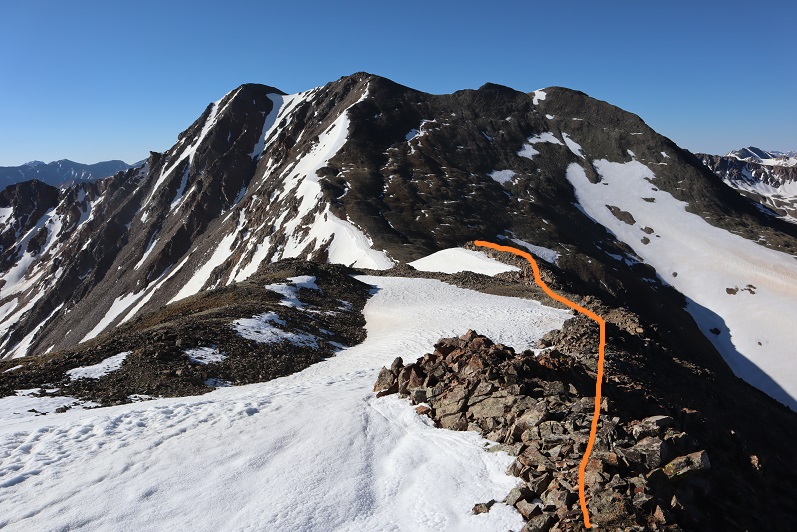
20

I stuck to the right of the snow

21

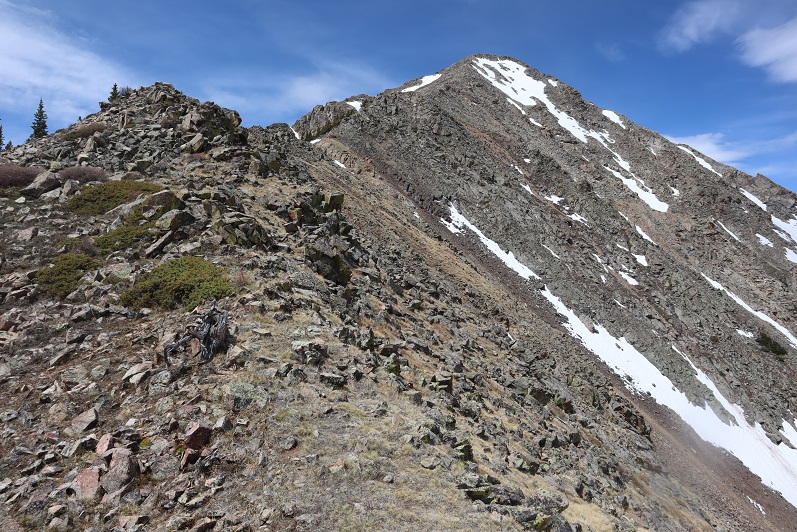
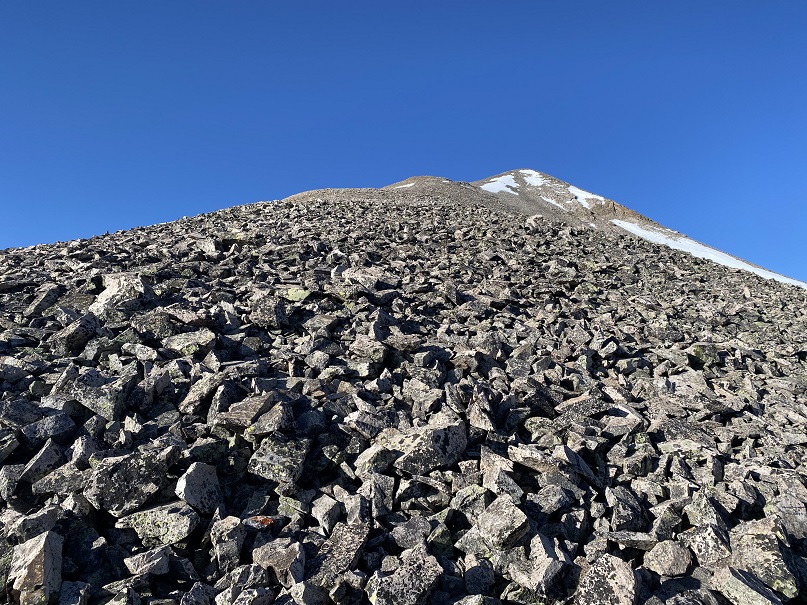
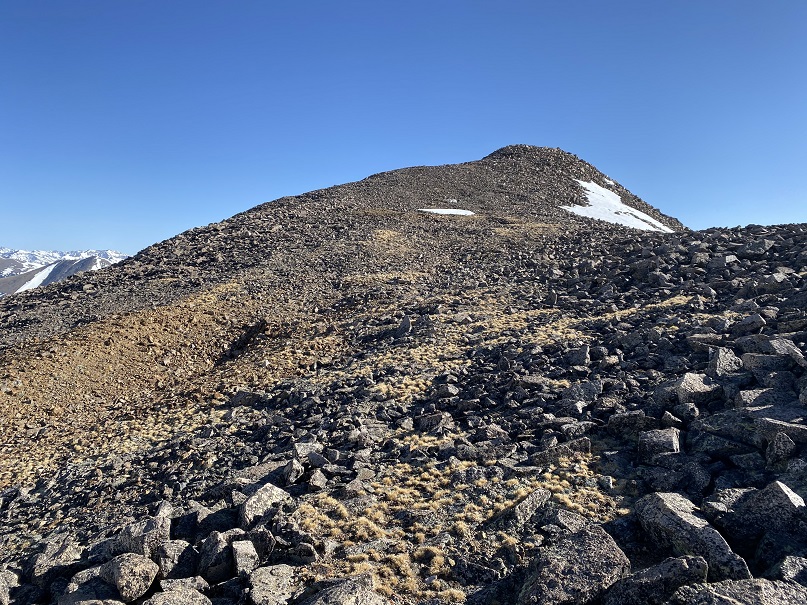
Towards the top the tundra gave way to rocks
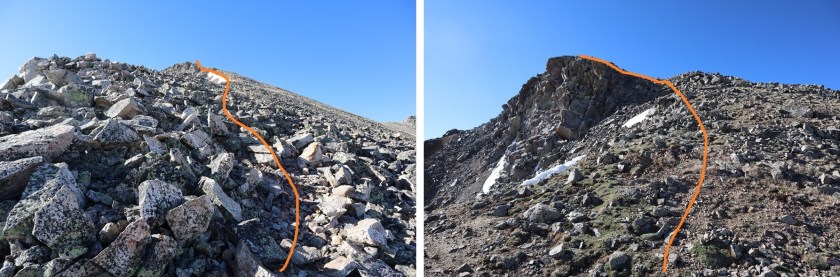
22

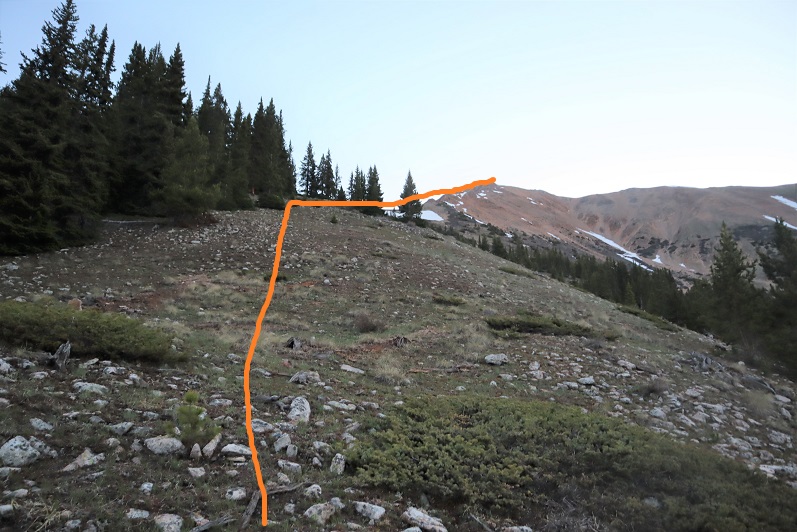
The top of this is unfortunately not the summit of Sayres Benchmark, even if it looks like it is from far away. Nope, when you get to the top of the ridge turn left (northeast) and hike to another small saddle and then up to the summit of Sayres.
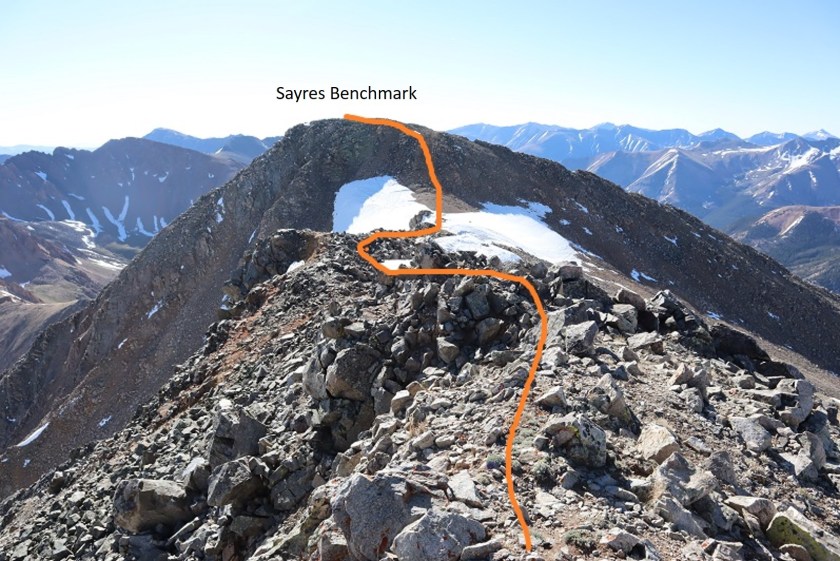
23

There was more snow here than I would have liked, but it was firm this early in the morning. I decided against putting on spikes or crampons and just hiked across.
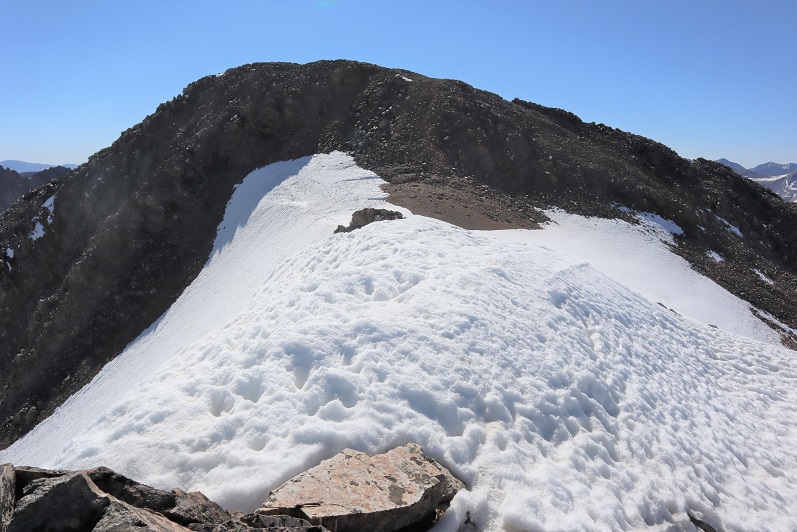
24

After this small saddle I picked one of the many dirt filled gullies and climbed to the top
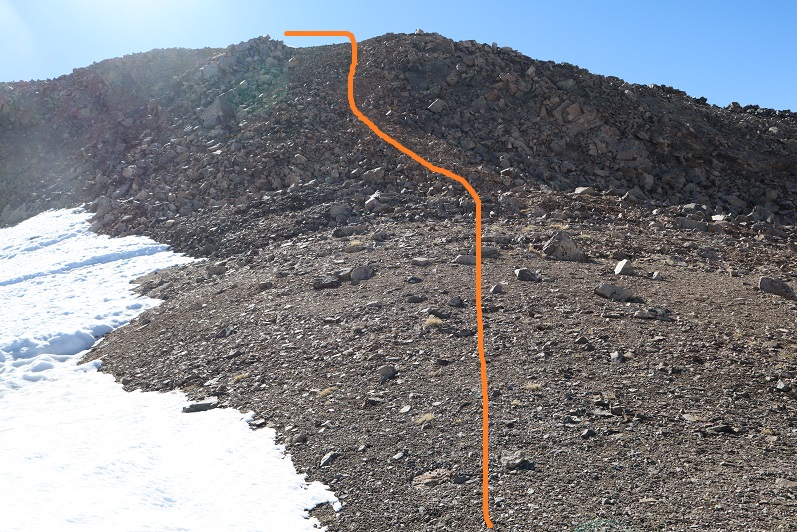
25

I summited at 8:40am.

26

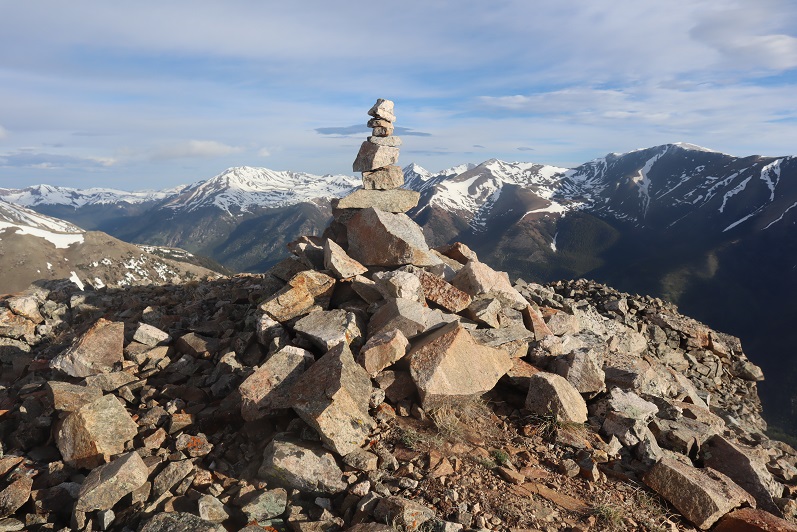
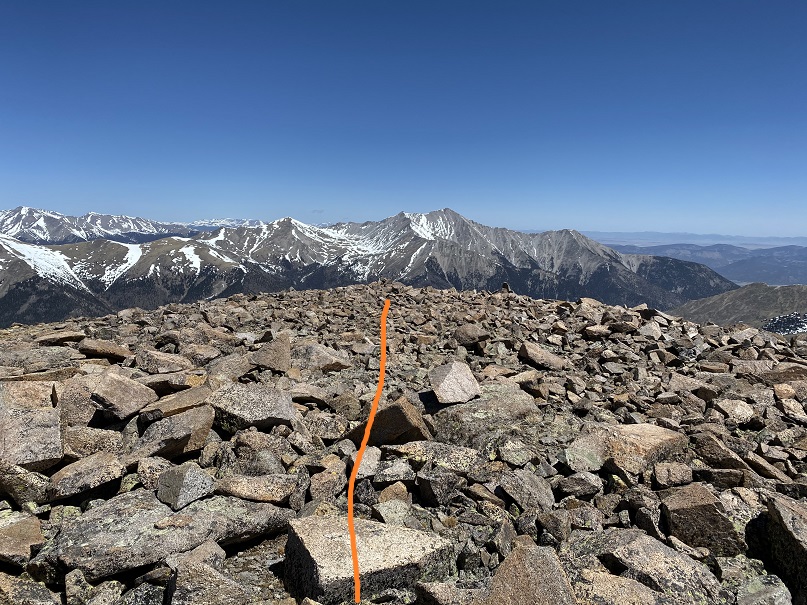
Summit of Sayres:

There was a benchmark that I’m pretty sure is off by 1000’ or so…
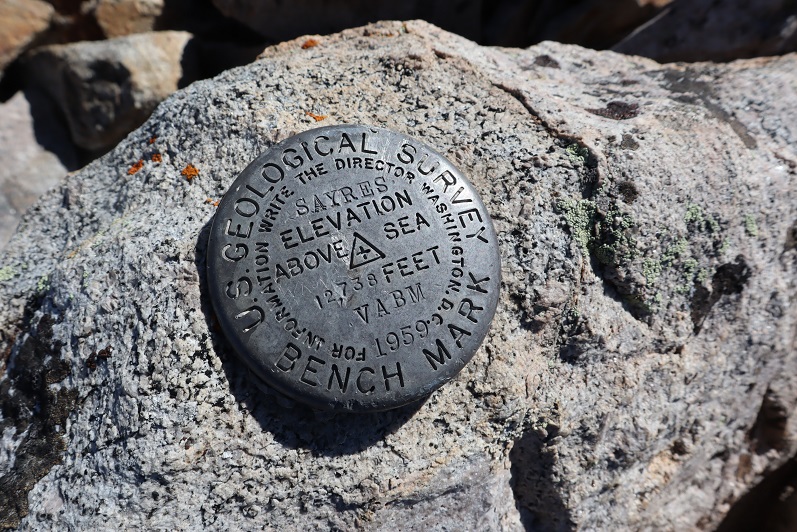
27

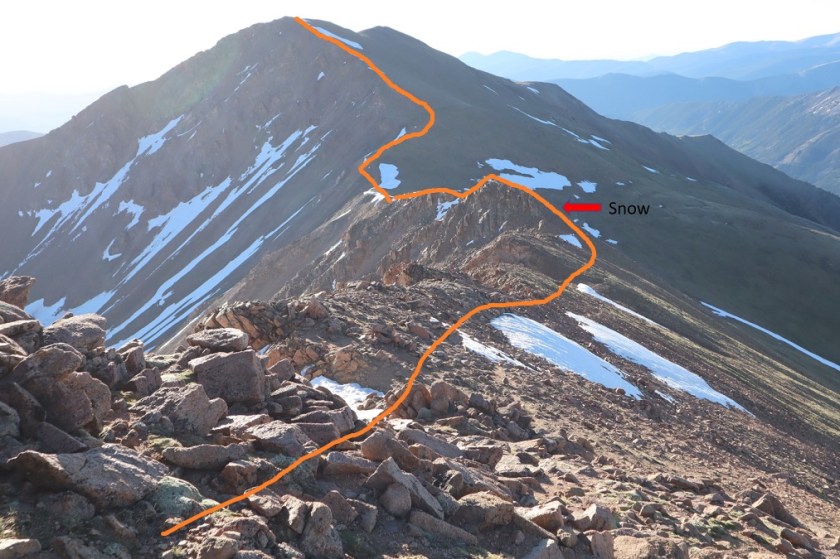
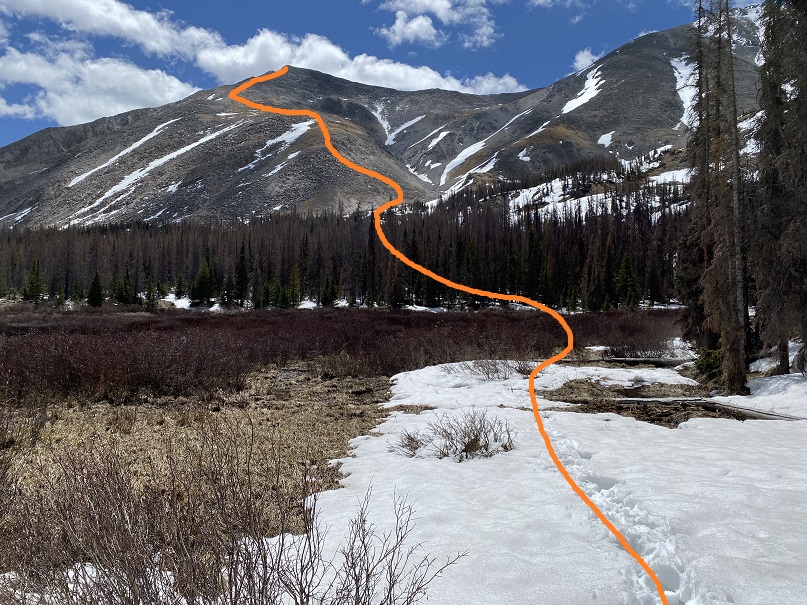
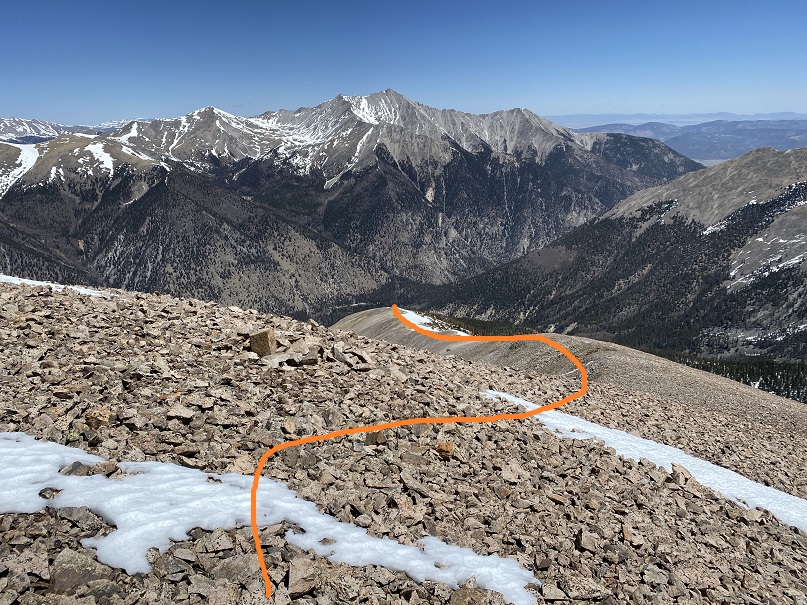
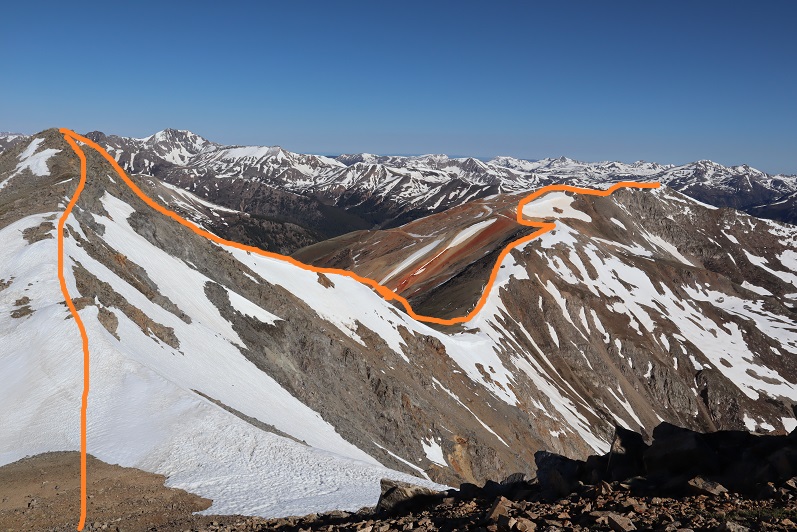
There was a summit register, but as always, I didn’t open it. Time to head back the way I came. I turned back and headed towards the small saddle, retracing my steps. Here’s an overview of the route to PT 13460
28

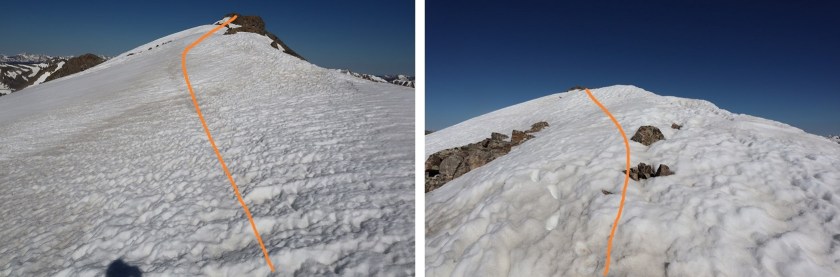
I was glad the snow was still firm enough not to need traction. Today there was minimal exposure as well.
29

30

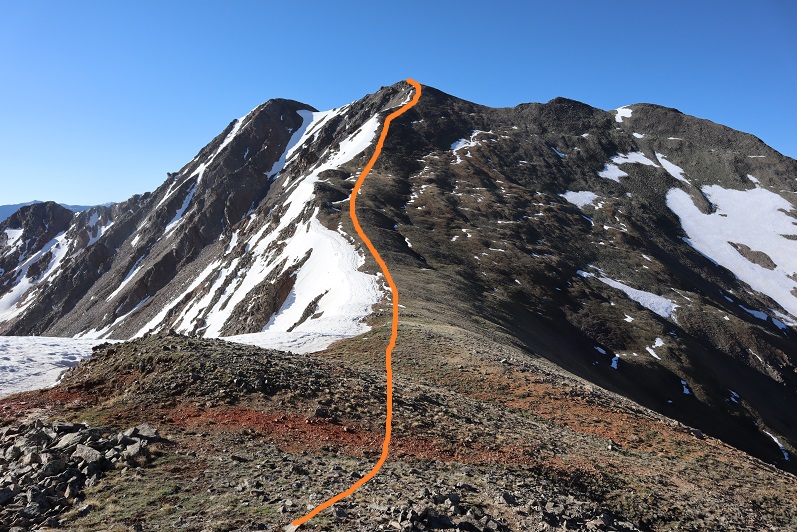
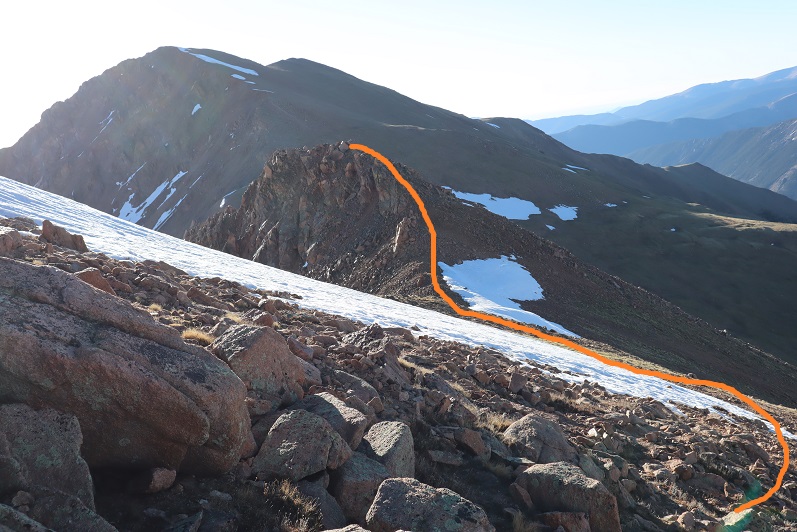
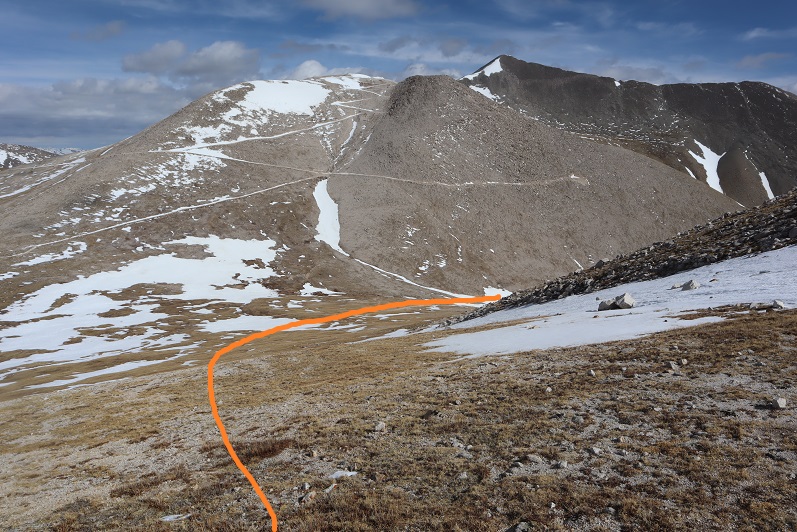
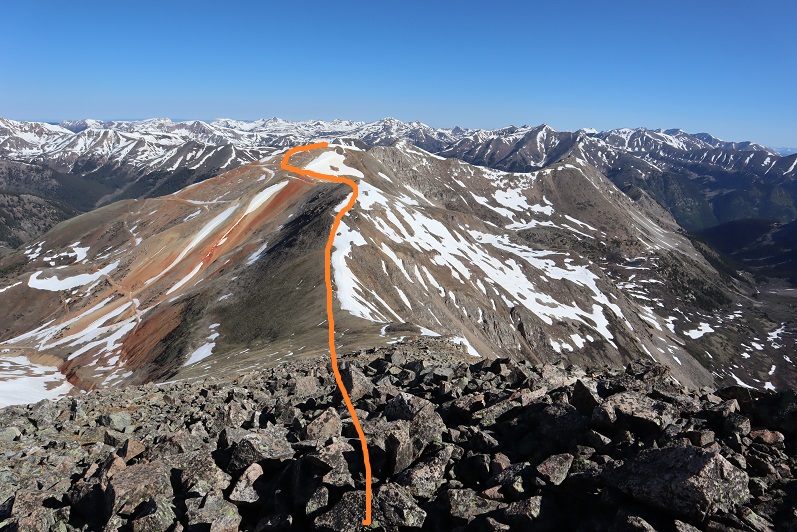
Here’s an overview of the route back to PT 13,430 (not considered ranked or unranked)
31

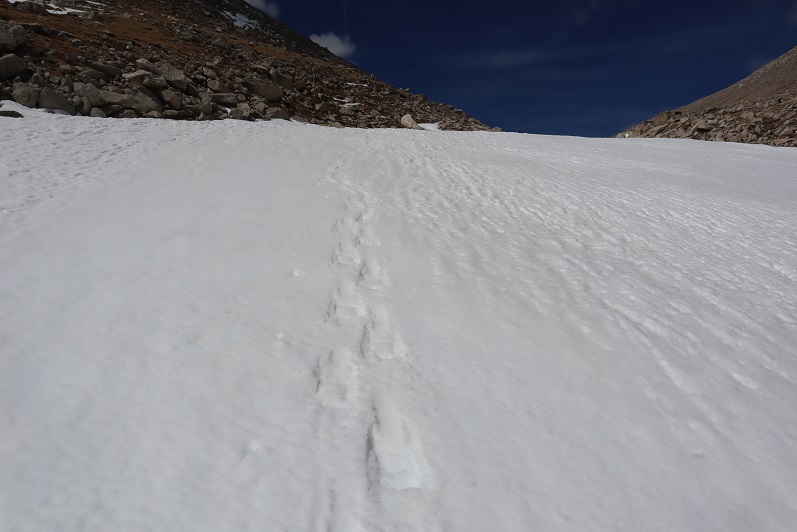
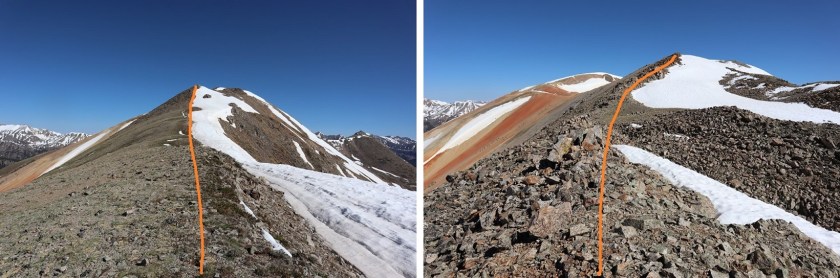
Notice the snow? It’s good here to stick to the left (west side)
32

33

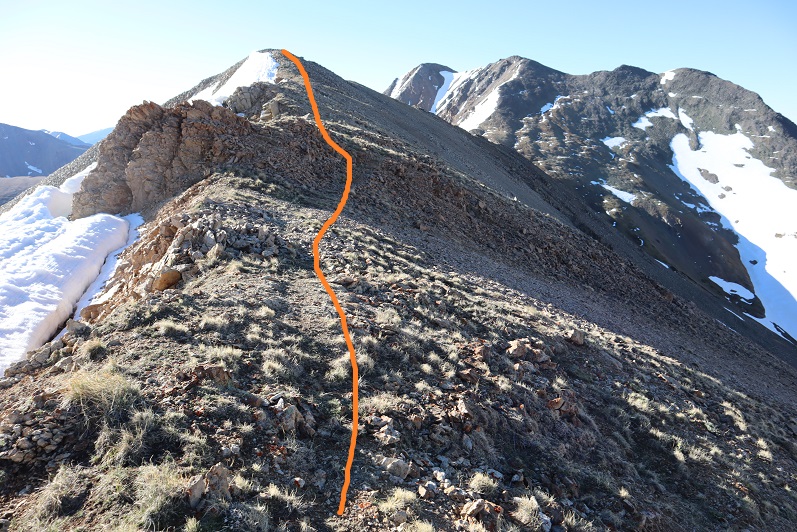
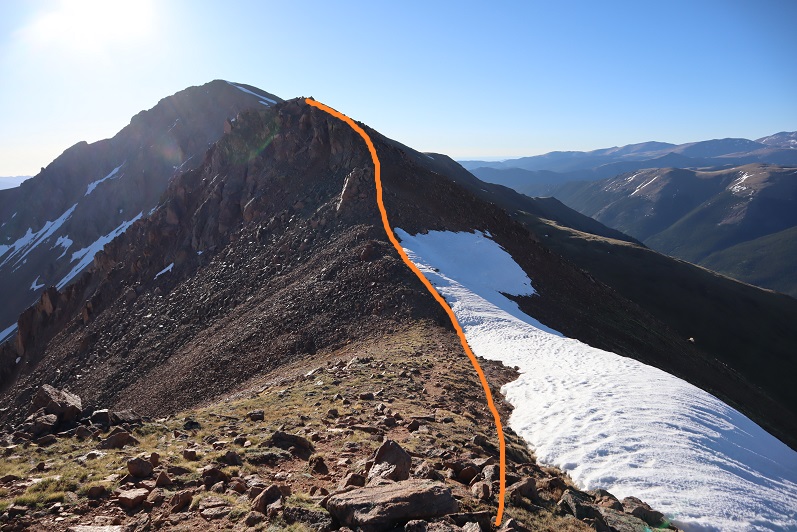
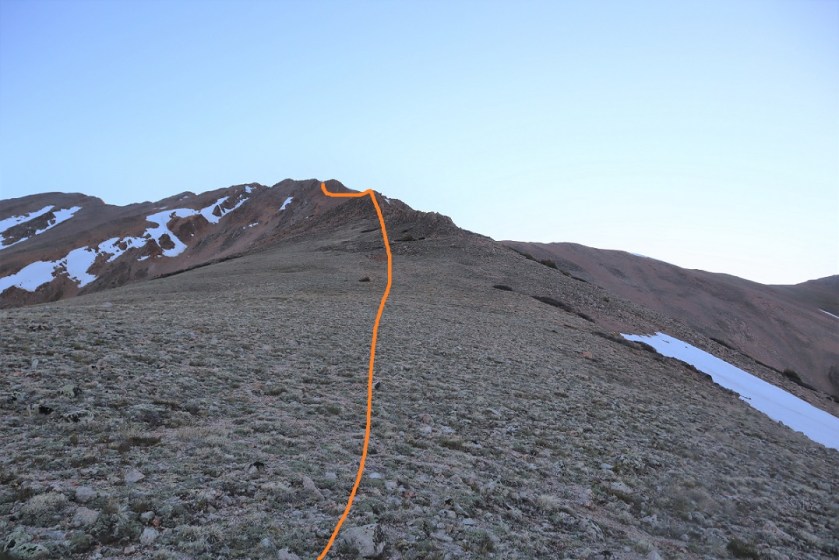
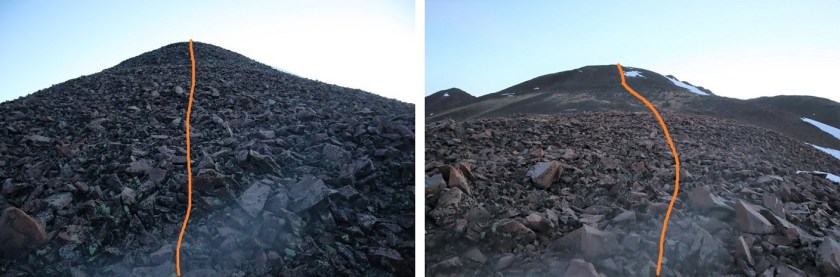
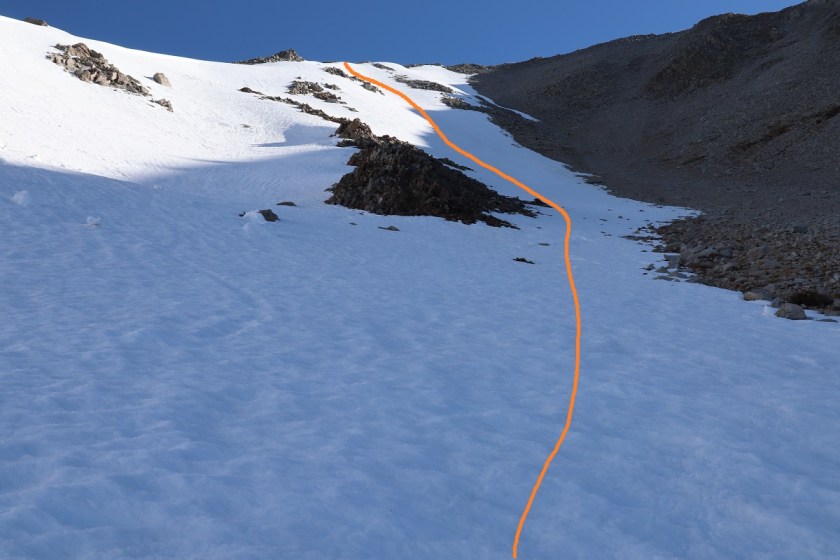
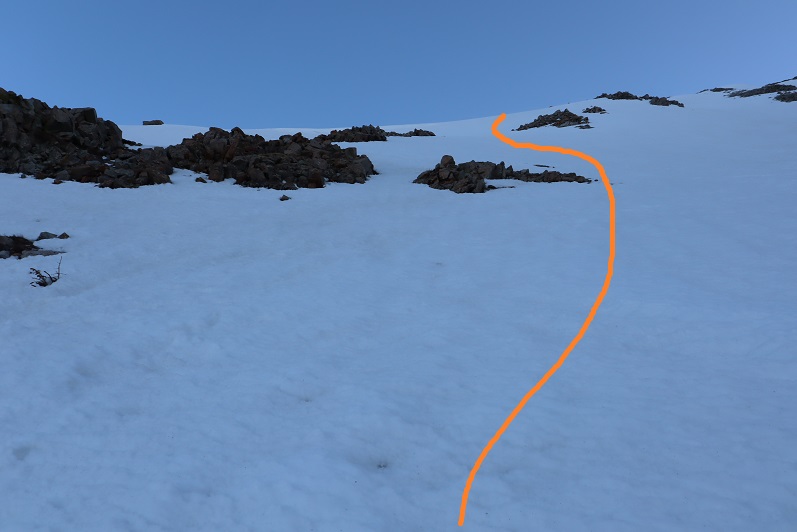
Here’s a visual of the route to the top of PT 13,430
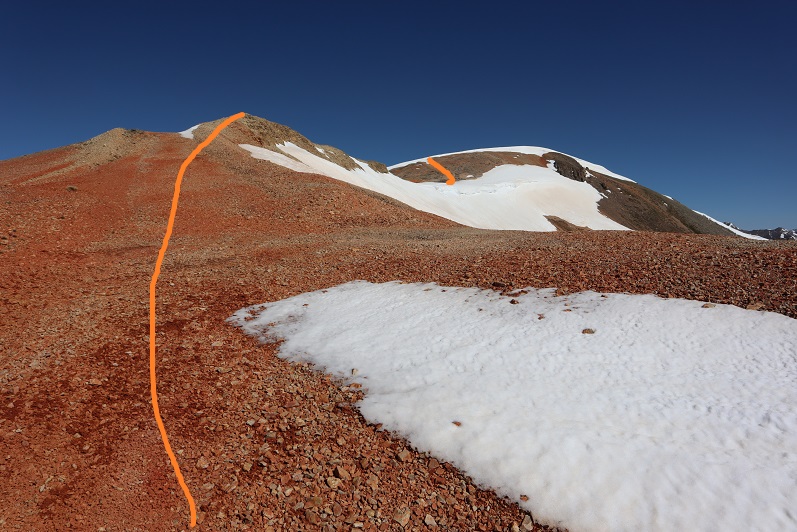
35

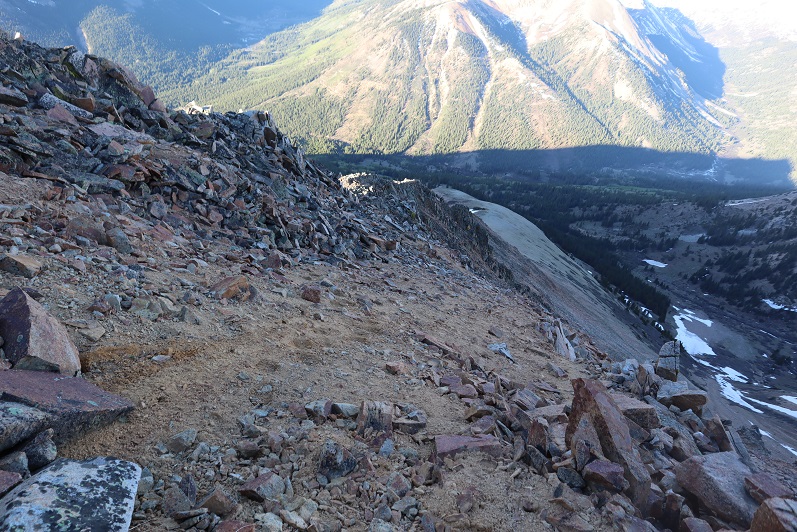
I took the road to the ridge, turned right (northeast) and once I was on the ridge the ground turned sandy for a bit, but mostly it was crushed rock.
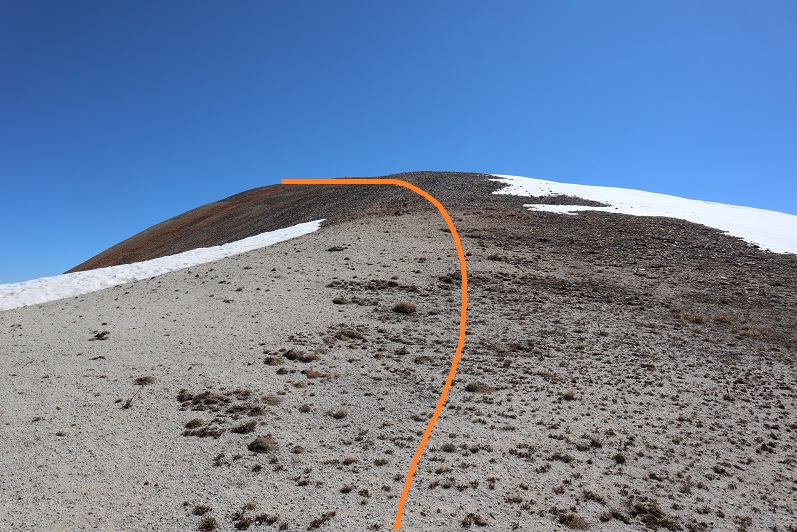
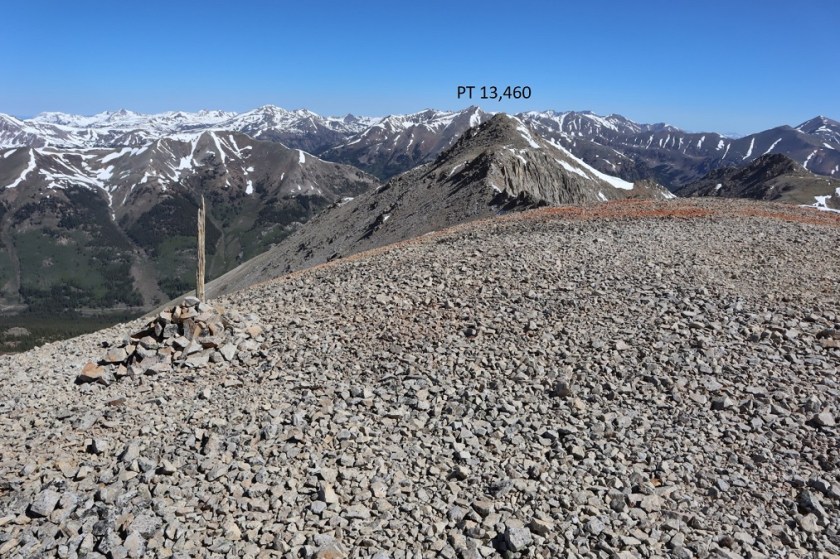
36

Here’s a view of PT 13,460 from PT 13,430
37

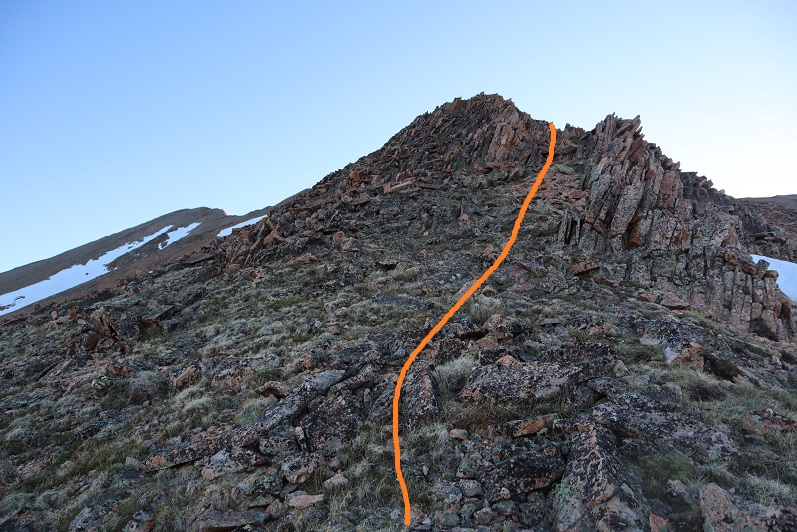
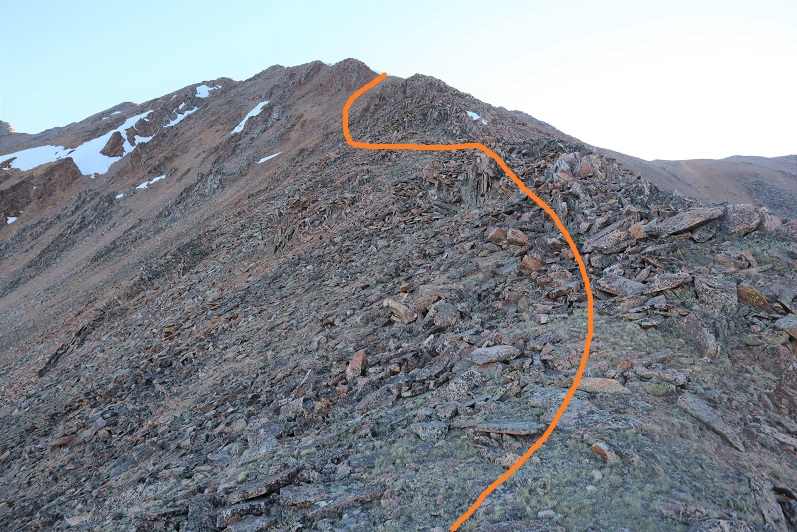
Here’s the route I took to get to PT 13,430. I tried to stick to the ridge, but when that wasn’t possible I dipped to the left. This is all class 2, maybe easy 2D (if that can be a thing?)

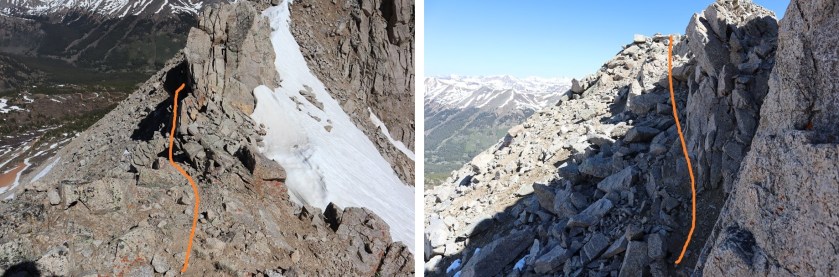
38

39

Here you dip down to the left and climb back up through a short gully
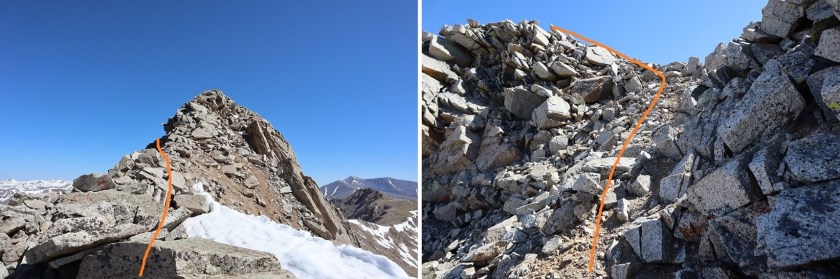
40

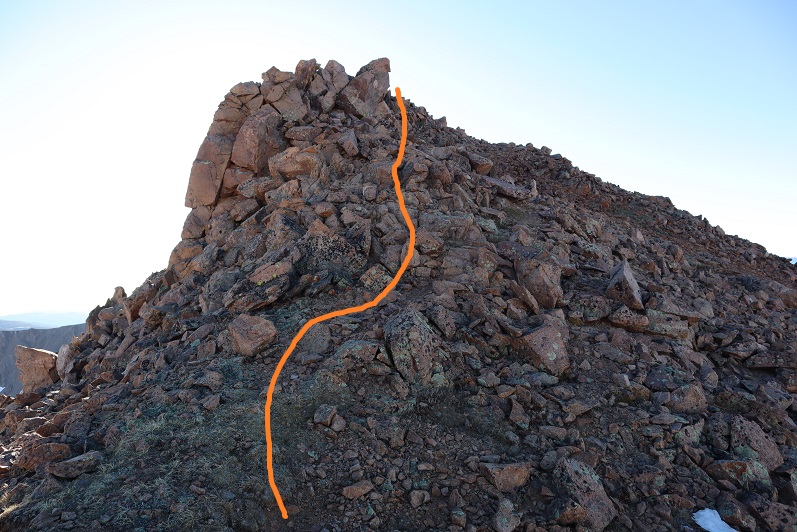
The final trek to 13,460

41

I summited PT 13,460 at 10:20am. There was as a summit register here.
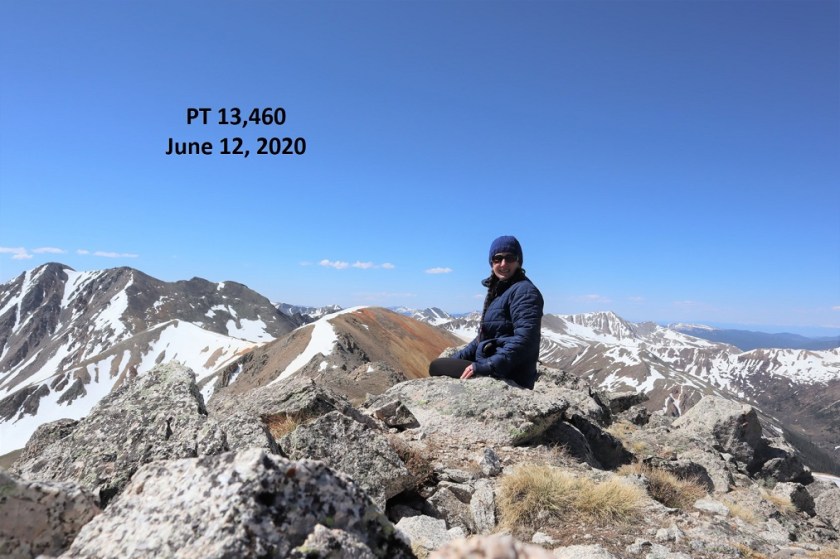
42

Summit of 13,460:

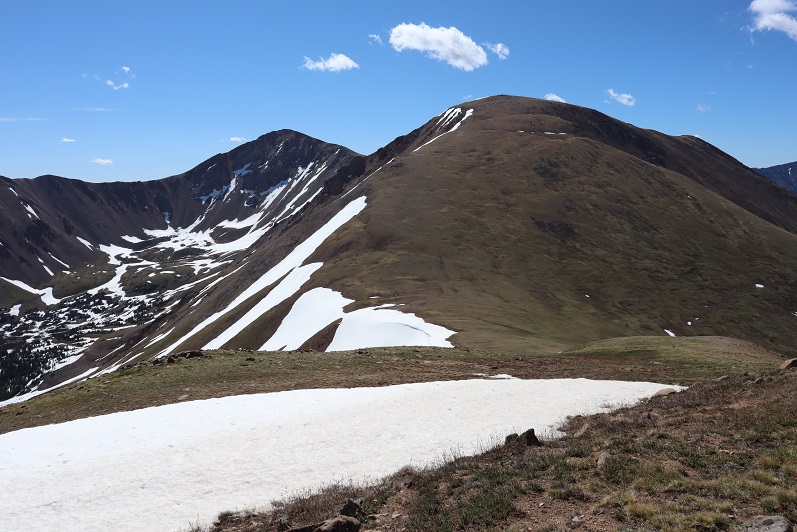
Here’s looking back at today’s peaks

43

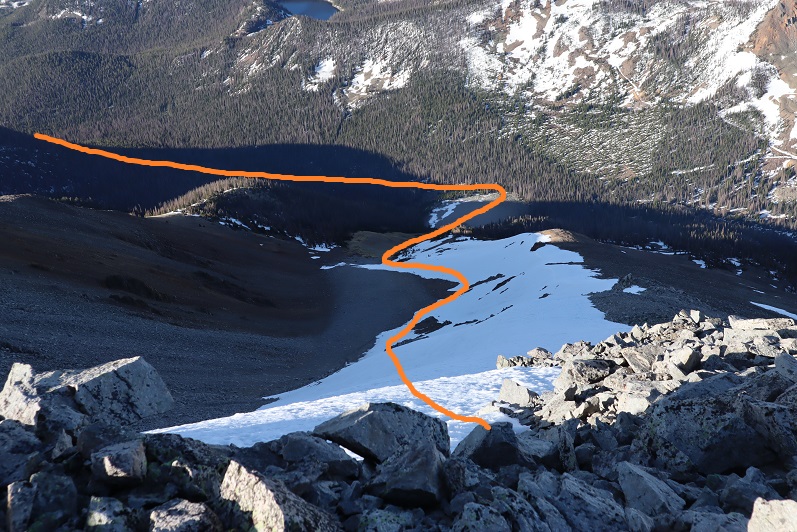
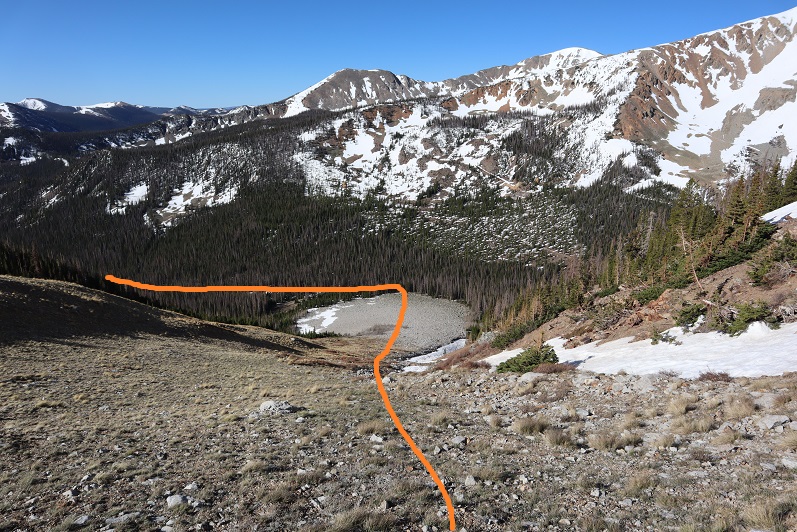
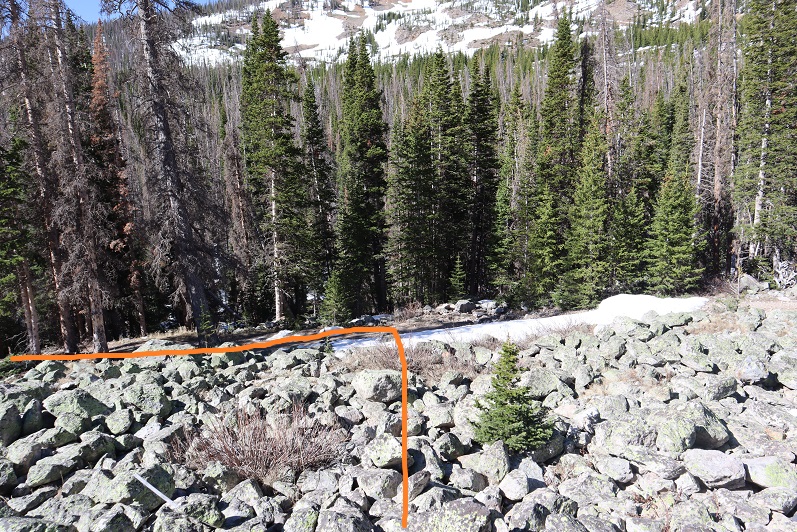
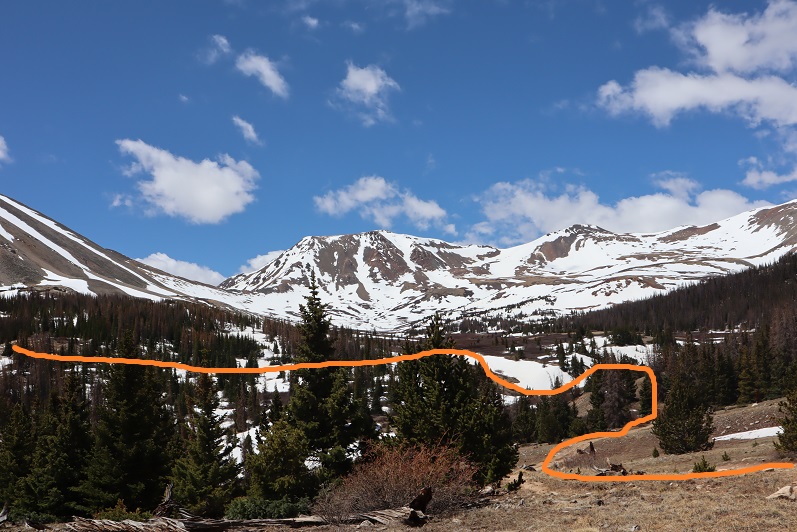
I made my way back to PT 13,430, retracing my steps. Here’s an overview of the route back down from the ridge before PT 13,460. You can clearly see the road at the end of the ridge. I circled where my truck is parked.
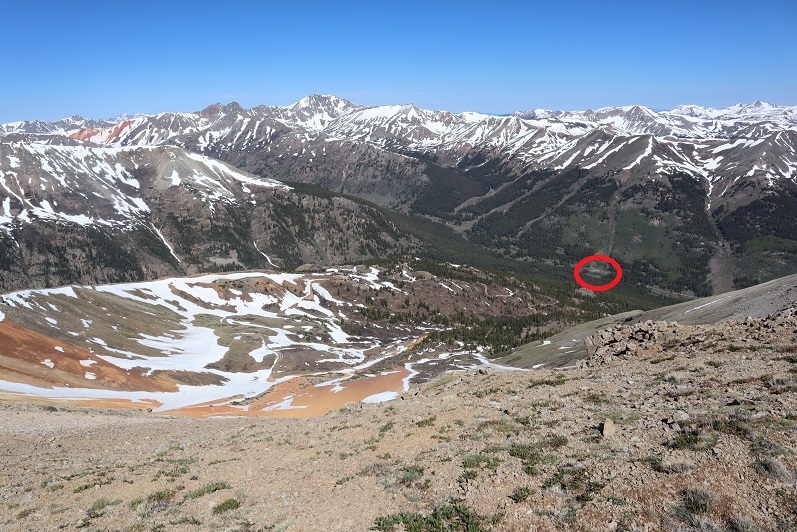
44

The ridge started out as rubble and turned to tundra before making it back to the road
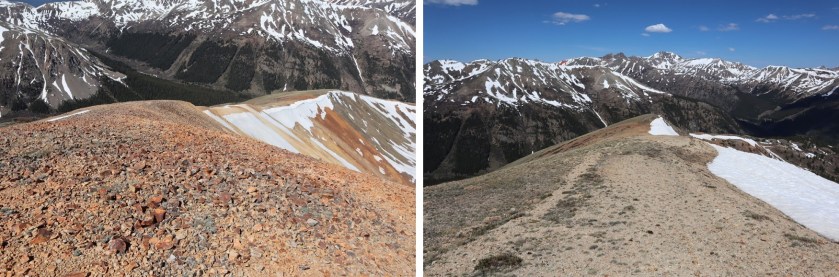
45

Here’s looking back at the ridge. While hiking the ridge I ran into another hiker! I hadn’t expected to see anyone at all today, and as we passed I was thrilled to see she was another female solo hiker. It’s nice to see other women out rocking the mountains. We talked for a bit. I was probably a bit clipped because I had other plans for today and wanted to keep moving, but she did too so after chatting about the weekend weather around the state and other peaks for this weekend we were both on our way.

46

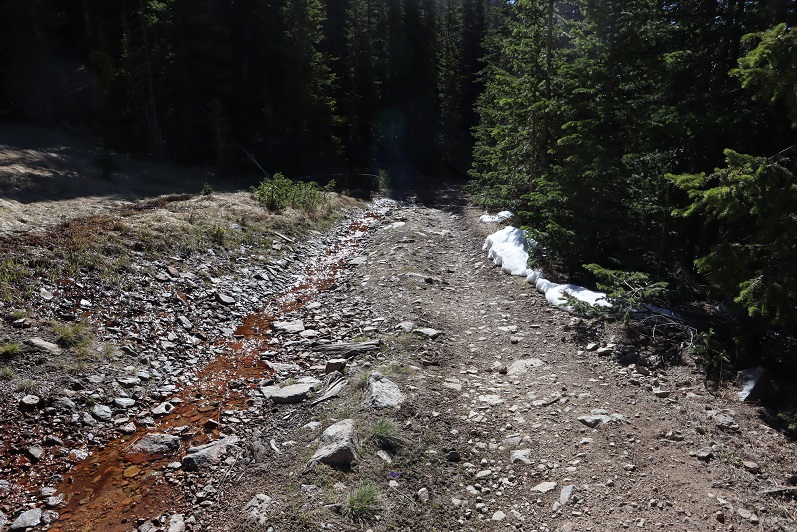
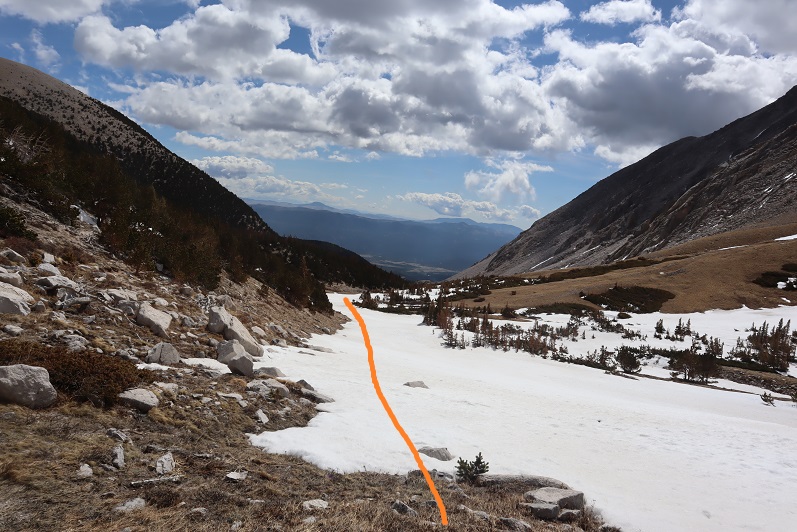
I followed the road back to the creek crossing, through the gate, turned right, and followed the trail back to my truck. I kept my sandals on after the creek crossing, since it was such a short distance and I’d be changing back into them when I was done anyway.
47

48

49

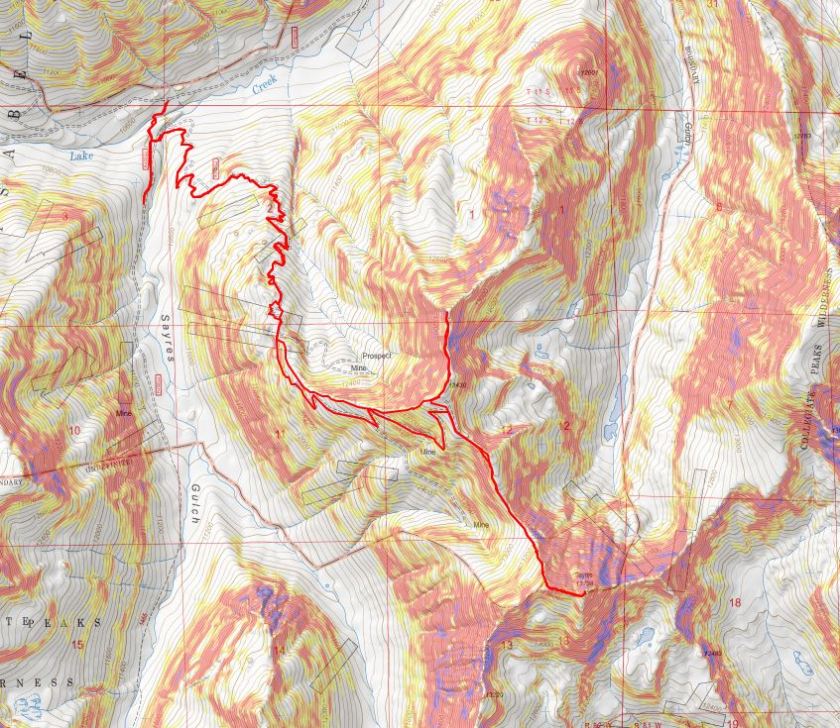
I made it back to my truck at 12:30pm, making this a 12.61 mile hike with 4652’ of elevation gain in 7.5 hours.
50

Since it was still early, the weather seemed to be holding up, and I wasn’t yet exhausted I decided to drive over to Independence Pass and see if I could hit a few more ranked 13ers today. As I drove out all of those empty dispersed camping spots were full.
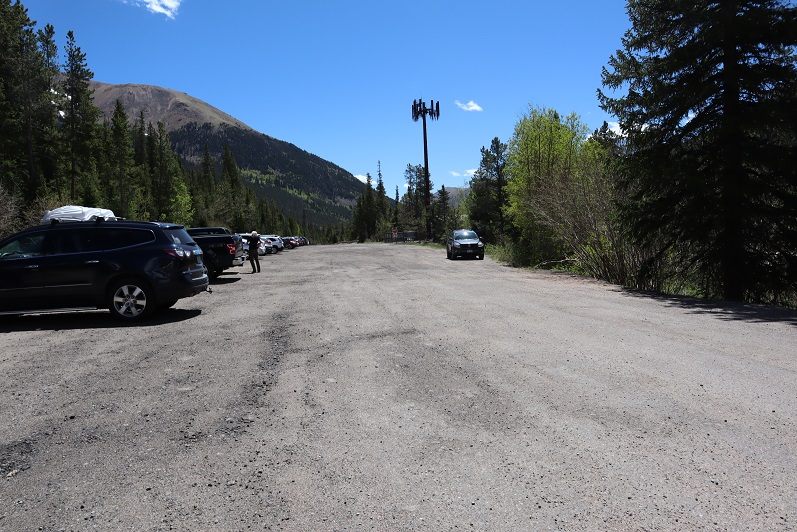
Mt Parnassus – 13,580, Bard Peak – 13,641 & Woods Mountain 12,940

1

RT Length: 10.25 miles

Elevation Gain: 4965’

This was my third attempt going for Bard Peak. The first time I made it as far as Parnassus, but the wind and cold temperatures (and Raynaud’s) prevented me from going any further. My second attempt was from the Berthoud Falls area, and the snow just wasn’t cooperating. Imagine my surprise when I found out today this is actually an easy trail when not in full winter conditions!

I parked at the Herman Gulch trailhead and was on the trail by 4:30am. This trailhead has tons of parking, but beware: it fills up fast. There was a full moon and I could see by looking at the mountains I wouldn’t be needing snowshoes today, so I left them in my truck.

2

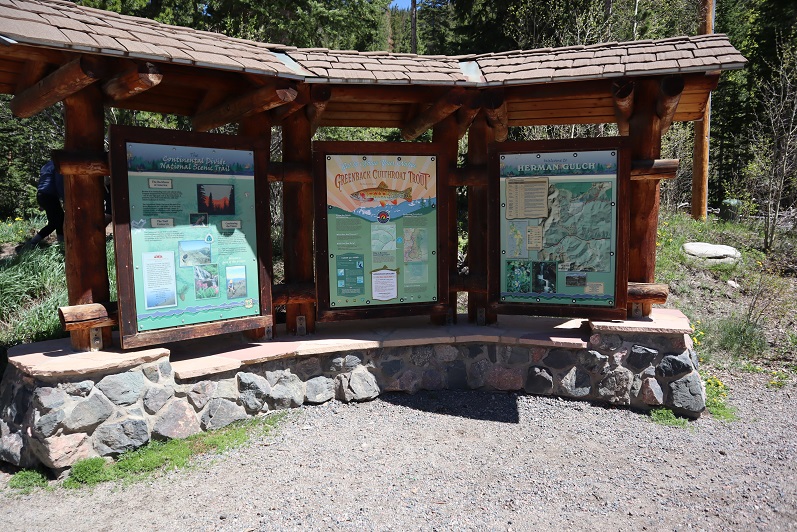
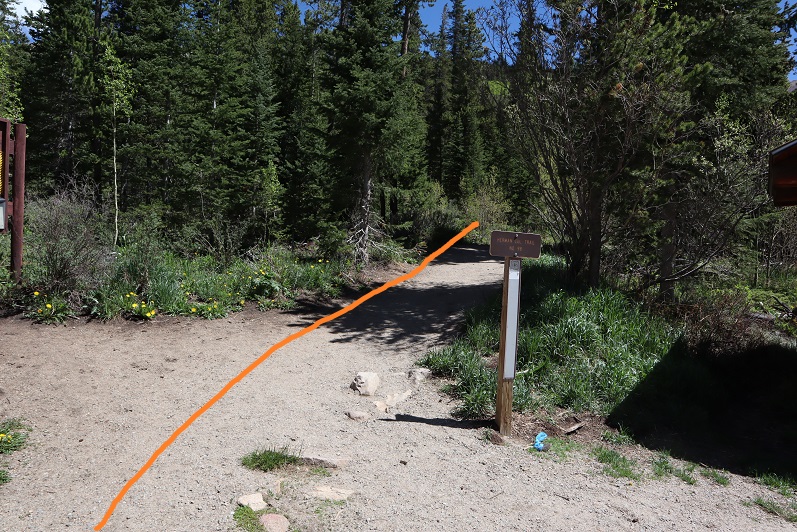
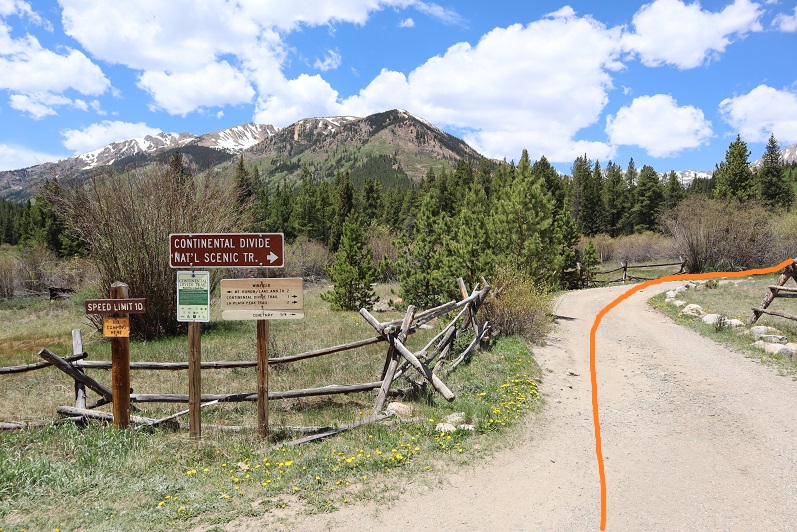
The trail starts in the middle of the parking area. I took the Herman Gulch trail to begin, which is just behind the information signs.

3

4

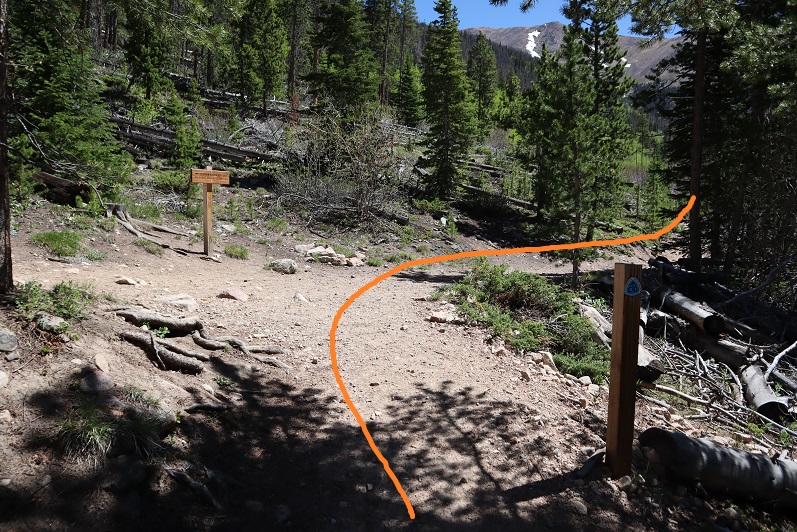
After hiking .2 miles I turned right (east) at this junction to follow the Waterous Gulch Trail.

5

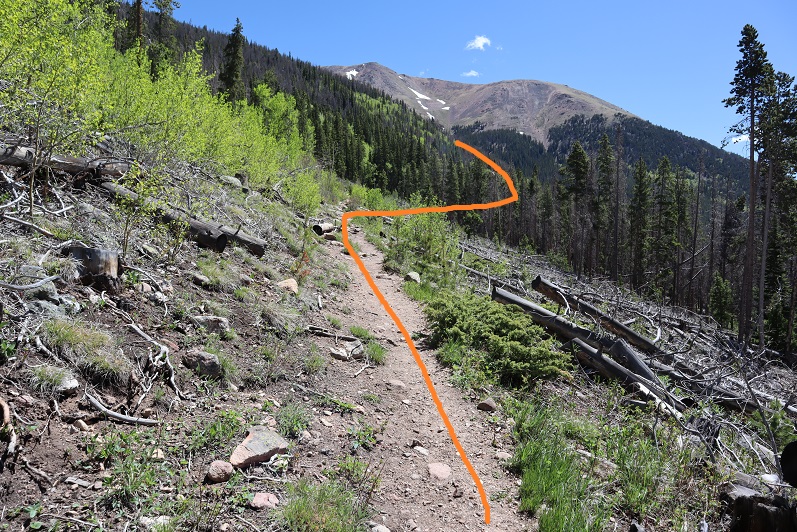
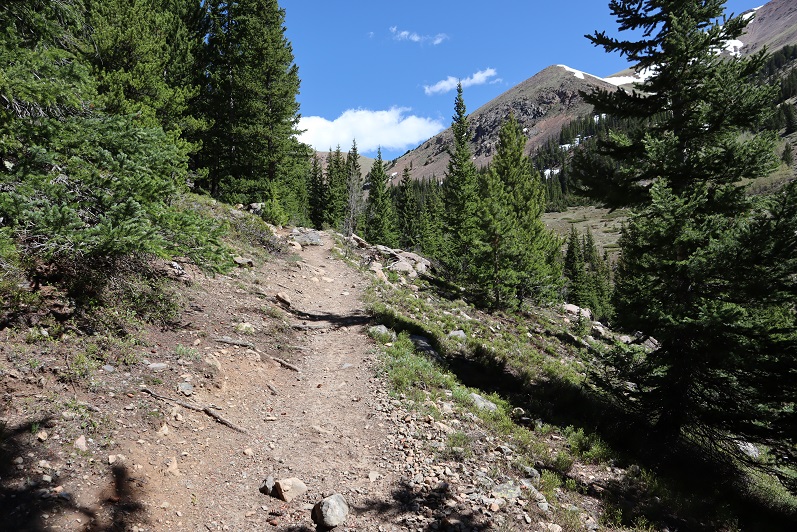
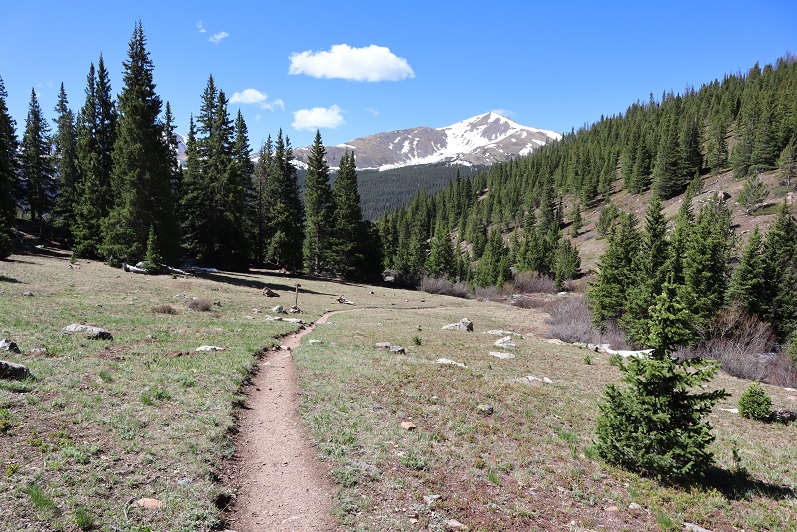
This trail is an easy, class 1 trail all the way to the basin. Last time I was here the area was covered in snow and I had no idea there was a trail that went that far. Today the hike was easy! No real route finding below treeline.

6

7

After hiking for about 1.5 miles I came to a creek crossing in Waterous Gulch, crossed the creek on an icy log by sitting down, straddling the log, and shimmying across (due to the ice I would definitely have slipped if I’d tried to cross standing up). I turned left and headed north through the gulch on a great trail (still the Waterous Gulch Trail).

8

9

10

Starting here there was snow on the trail, but just enough to be annoying: I could still figure out where the trail went

11

I crossed a small stream and continued on the trail. Note: You can also choose to go right and not cross the stream here and take a parallel trail that leads you to the exact same place as the Waterous Gulch trail. I stayed straight here and continued to the end of the gulch on the way in and took the parallel trail on the way out. They were similar, but the one that follows the gulch also follows the stream, which was nice.

12

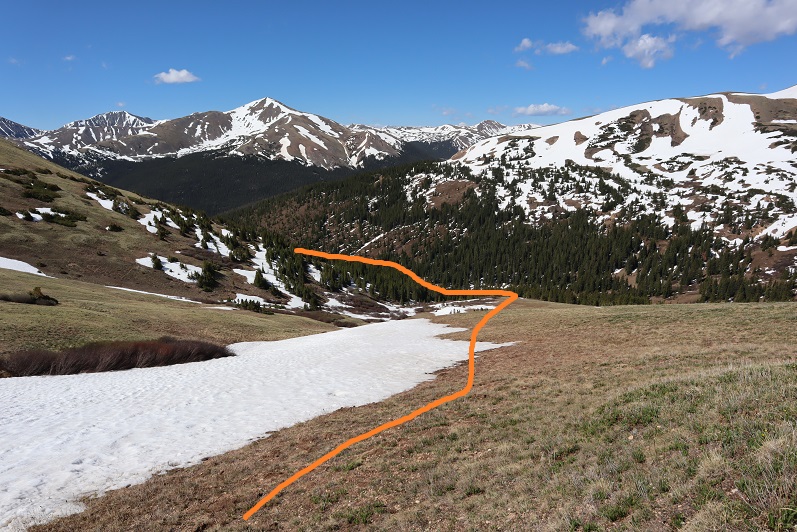
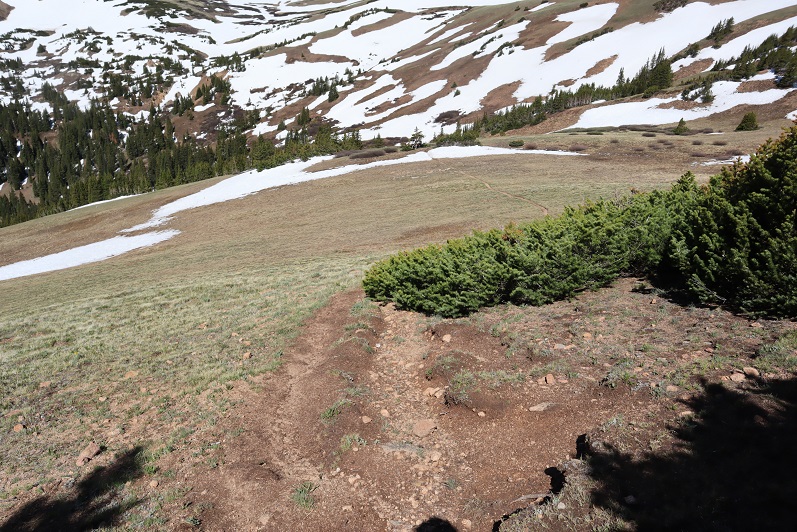
I followed the class 1 trail to the end of the gulch, and after 2.2 miles of hiking turned right and continued following the trail up to the saddle of Woods/Parnassus. There are a lot of ways to gain the summit of Parnassus. Last time I hiked further south, avoiding the saddle, and I would not recommend that route. Instead, take the easy gully and aim for the saddle and go as far as you can before turning right and heading southeast towards the summit. This is where the intense wind started and didn’t stop. Forecasted winds were 17-24mph, but those winds don’t knock you over. For the rest of this hike I was using my trekking pole for stability, hiking sideways into the wind.

13

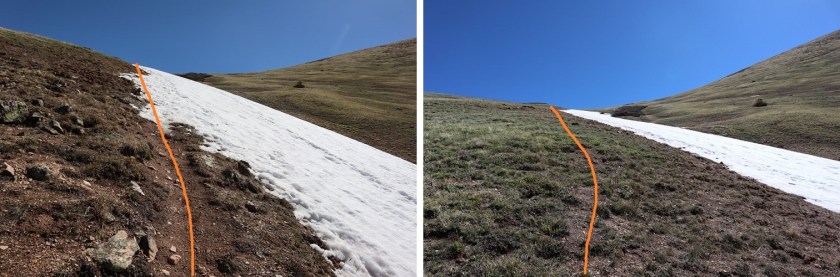
The trail stopped here somewhere under the snow. I paralleled the snow to the saddle

14

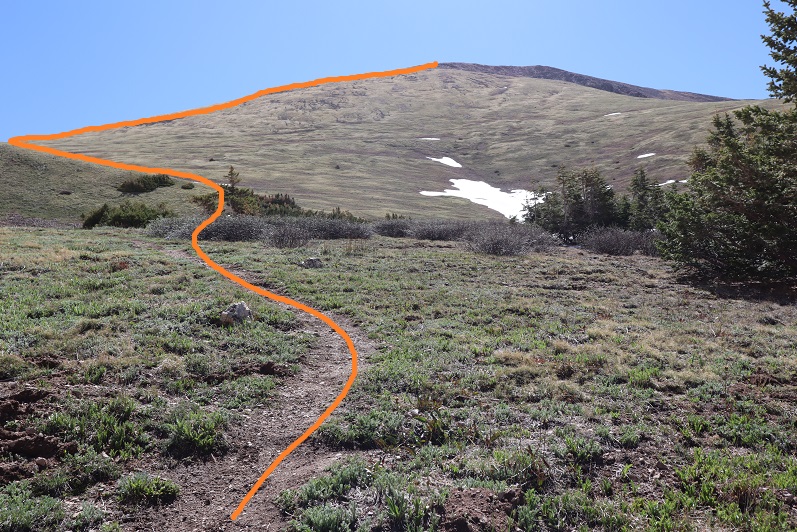
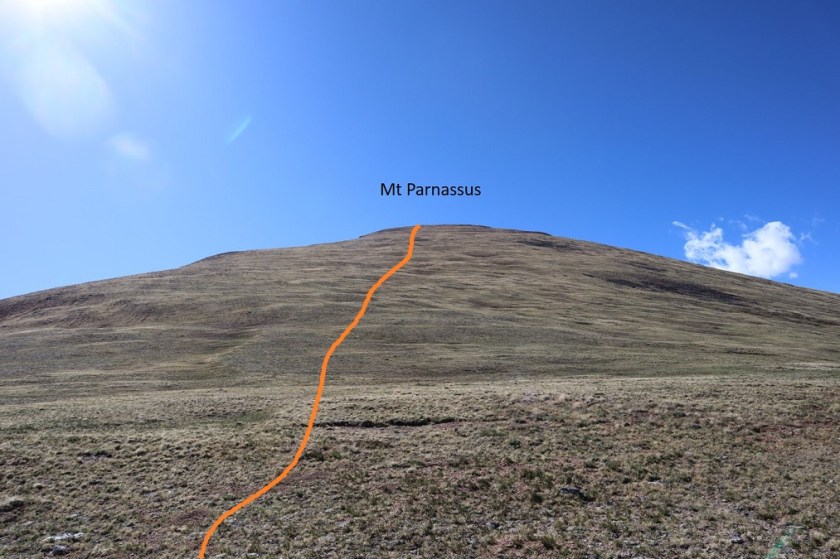
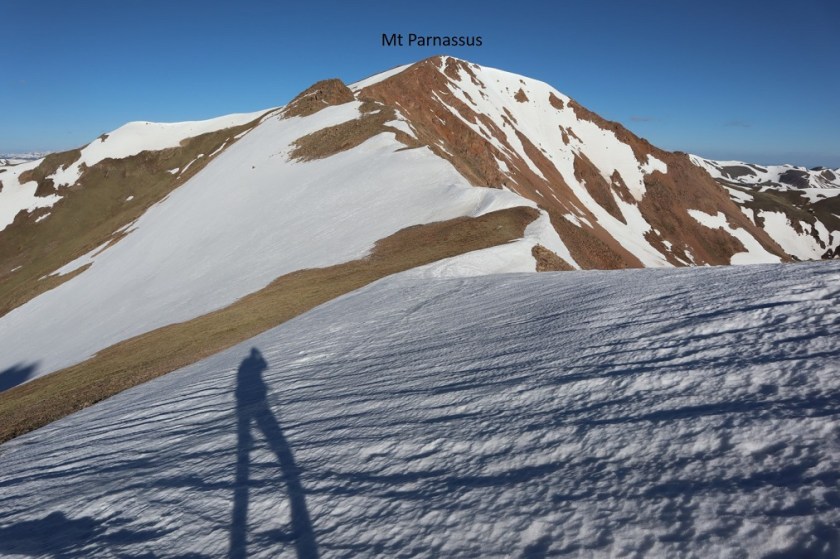
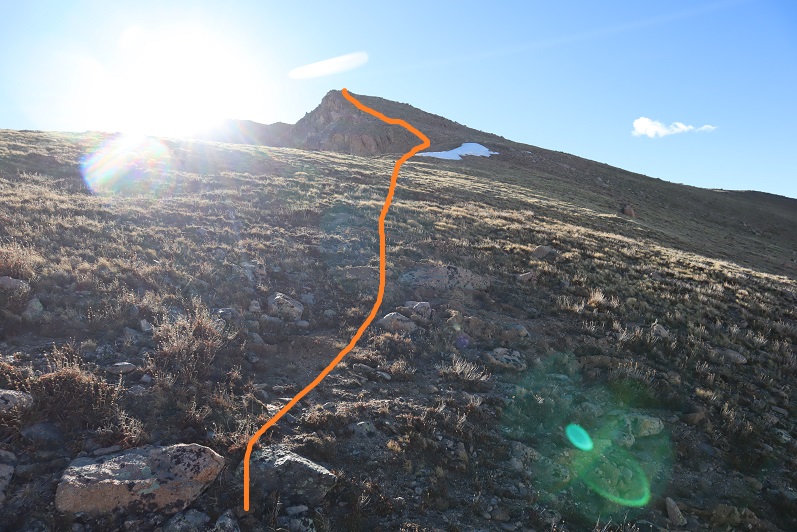
At the saddle I turned right and headed southeast towards the summit of Mt Parnassus. This is an easy hike on tundra.

15

The terrain gets a bit rockier near the top.

16

The summit is relatively flat. I summited Mt Parnassus at 6:40am, after just over 3.5 miles and 2 hours of hiking. Since this is my second summit of Mt Parnassus I’ll spare you the selfie and let you watch the summit video instead.

Mt Parnassus:

Bard Peak is just over a mile east of Mt Parnassus.

17

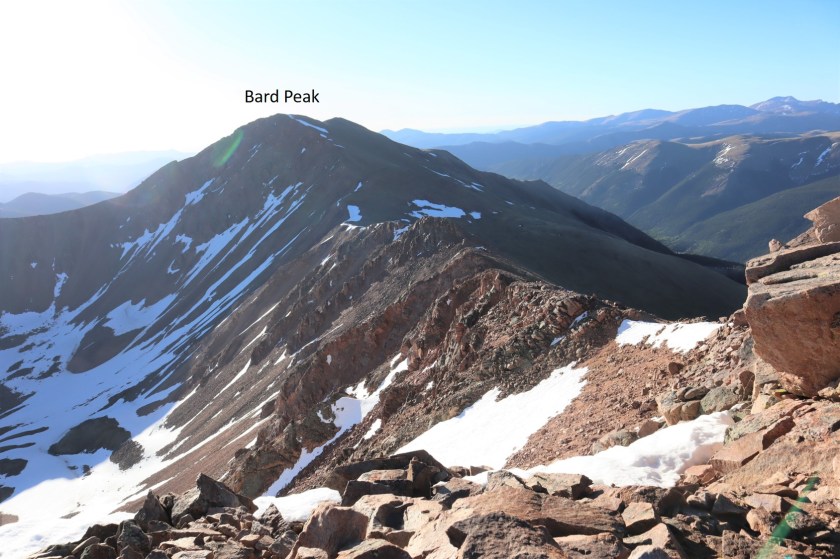
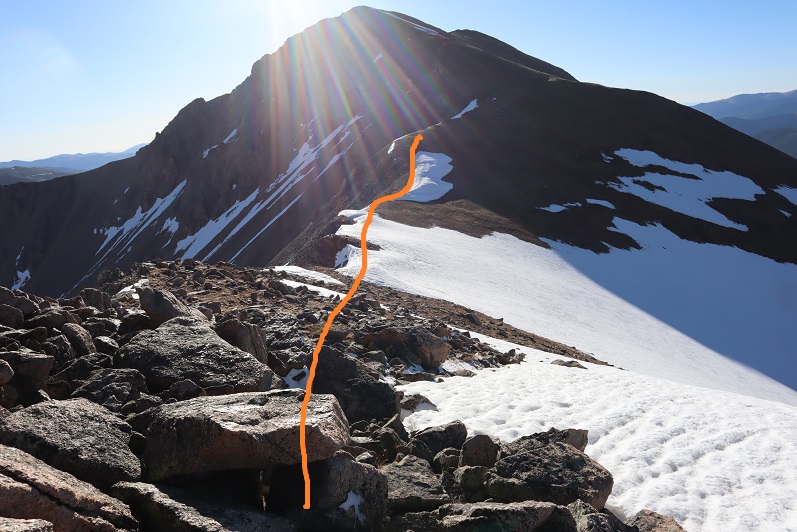
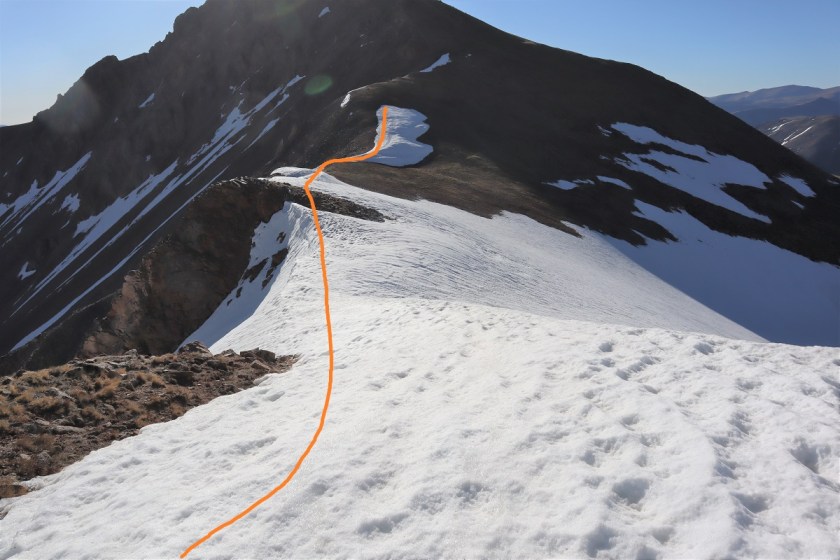
There’s a bit of a trail from Parnassus to Bard. I followed it where I could. It was faint, so sometimes I lost it, but mostly followed the ridge. It’s important to follow the ridge when snow is present. This ridge is easy class 2 ‘scrambling’. Just watch for loose rocks. I could see a faint trail go to the right of the ridge (south), but it became covered in snow and would have been difficult to cross. Here’s an overview of my route

18

And some close-ups in order:

19

20

21

When I got to this section I did not feel comfortable traversing without crampons and my ice axe (luckily I had both). I sat down, strapped on my crampons, and crossed the snow. The snow was slippery at this time in the morning (not mushy, more like icy). You could probably traverse this section with just microspikes if you were here at the right time of the day.

22

Because I could I kept the crampons on until the last of the snow.

23

Here’s looking back on the section you want to avoid, and the reason I stuck to the ridge. You can also see a slip here would take you a ways.

24

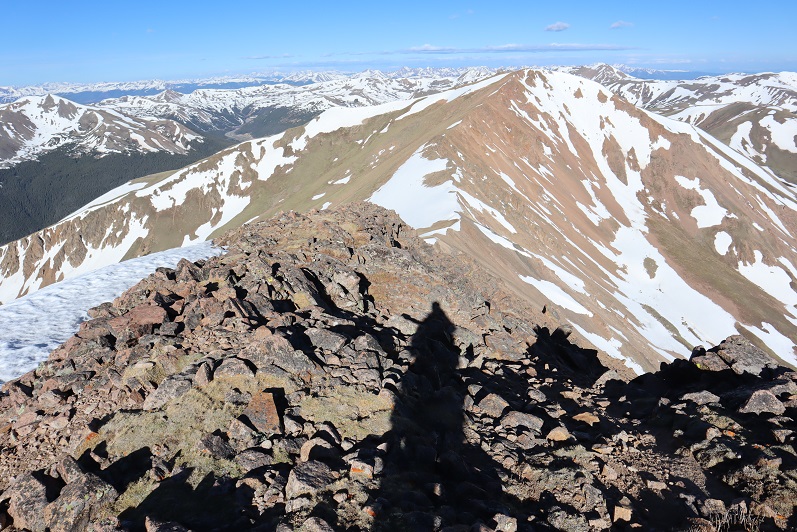
After taking off my crampons and putting them away I headed up to the summit of Bard Peak, keeping close to the ridge

25

26

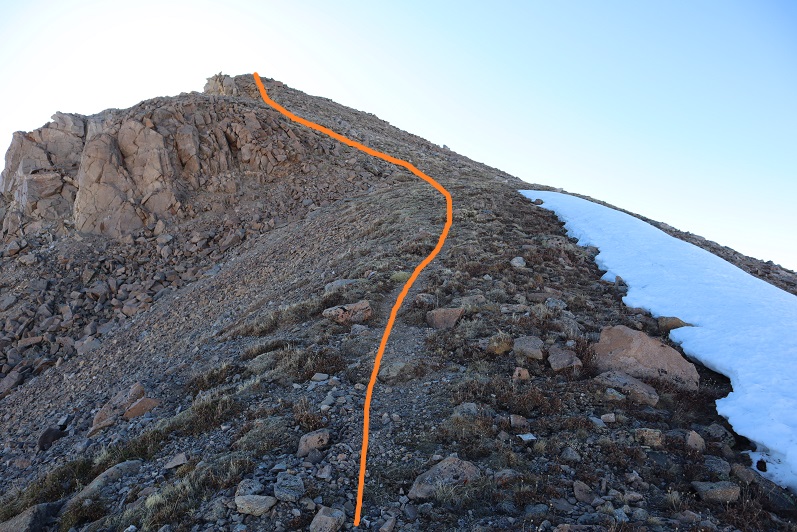
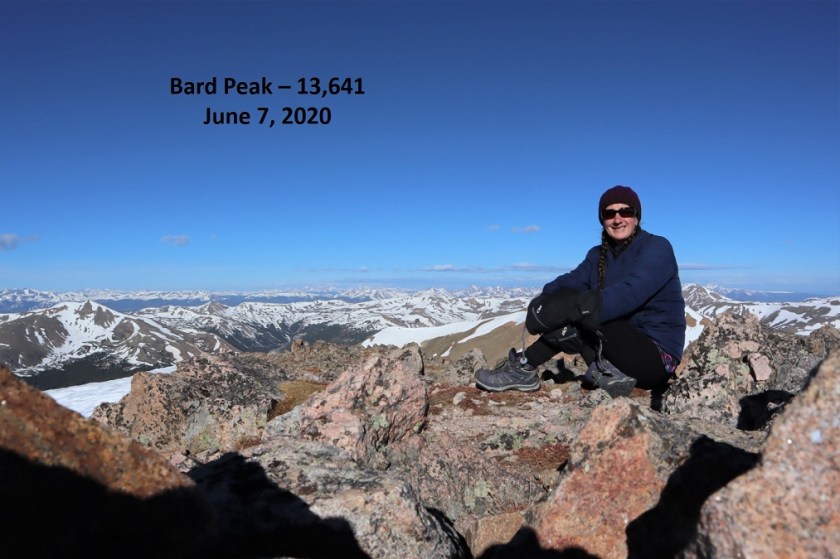
I summited Bard Peak at 7:50am, after 4.7 miles of hiking.

27

Bard Peak:

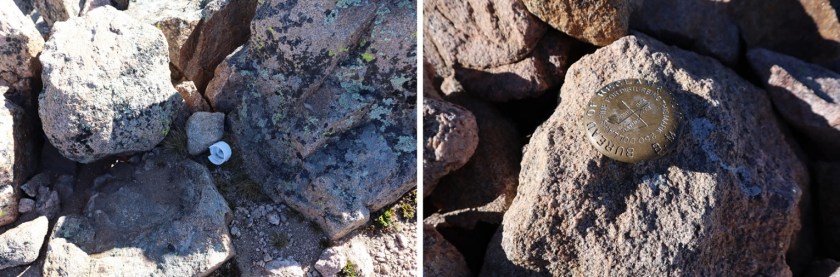
There was a broken summit register and a benchmark on the summit

28

Now to head back to Mt Parnassus. I backtracked down to the saddle, put on my crampons again, got out my ice axe, and crossed the snow.

29

30

31

It was easy to avoid the snow on the rest of the way back to Parnassus

32

33

34

35

From the summit of Mt Parnassus I descended the way I’d summited, back down to the Woods/Parnassus saddle

36

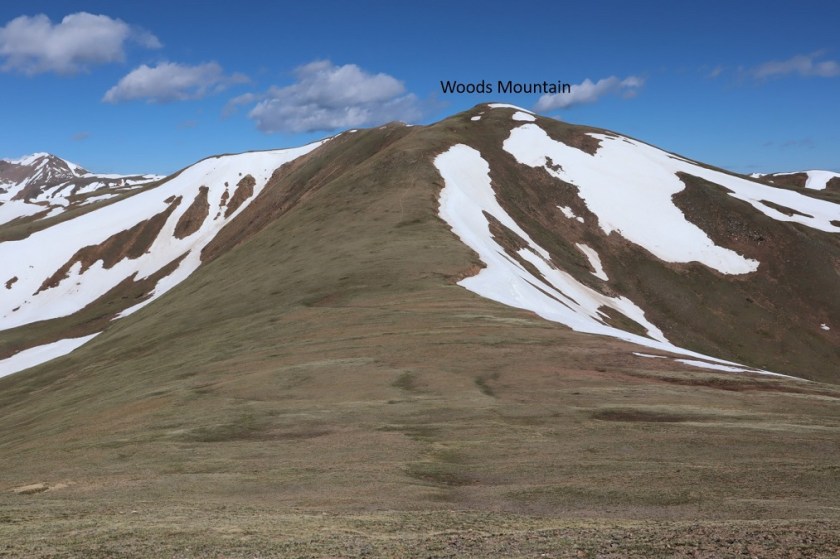
When I made it to the saddle I still wasn’t tired so I decided to summit 12er Woods Mountain as well. This summit doesn’t require much guidance: it’s an easy tundra stroll to the top. This added 460’ of elevation gain to the hike. This is where the wind became the most intense (yes, it was still blowing). It was so windy I was hiking sideways with each step, and had to over-compensate each step to stay in a straight line, crisscrossing my steps as I went.

37

I reached the summit of Woods Mountain at 9:40am. I’ll spare you the selfie of this one as well, since I’ve already summited this peak. Here’s the summit register and a video

38

Woods Mountain:

This wind was insane! Time to head back down to the saddle and back down to the gulch

39

40

41

I followed the trail back down the gulch, over the log bridge, and back to the trailhead. This is where I started seeing a lot of other hikers. When I made it to the trailhead the large parking area was completely full.

42

43

44

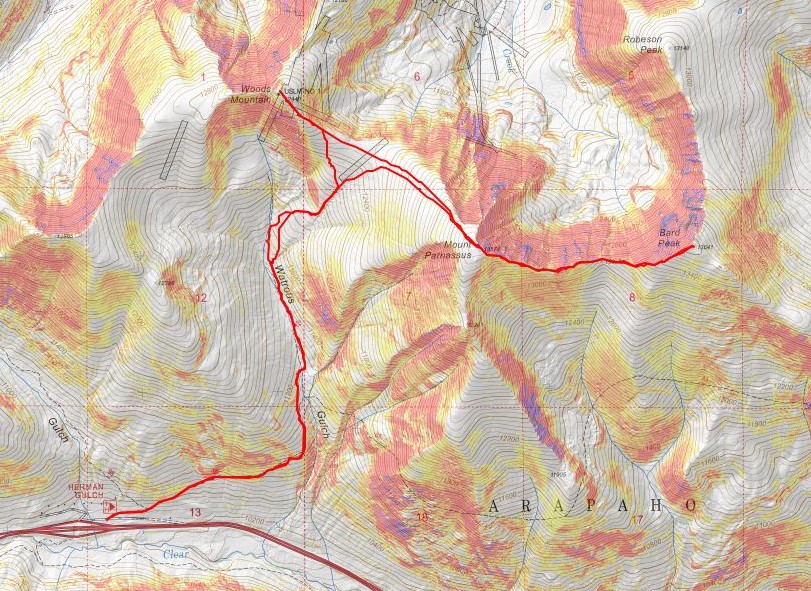
I made it back to my truck at 11am, making this a 10.25 mile hike with 4965’ of elevation gain in 6.5 hours. Here’s a topo map of the route:

45

I felt really good about the hike today: The weather had been warm, no clouds, not much route finding, and when I made it back to my truck I wasn’t even tired yet. The only thing that could have been better was the wind. It’s amazing how good conditions can change the outcome of a hike!

Mt Blaurock – 13,626 & Ervin Peak – 13,538

1

RT Length: 6 miles

Elevation Gain: 3821’

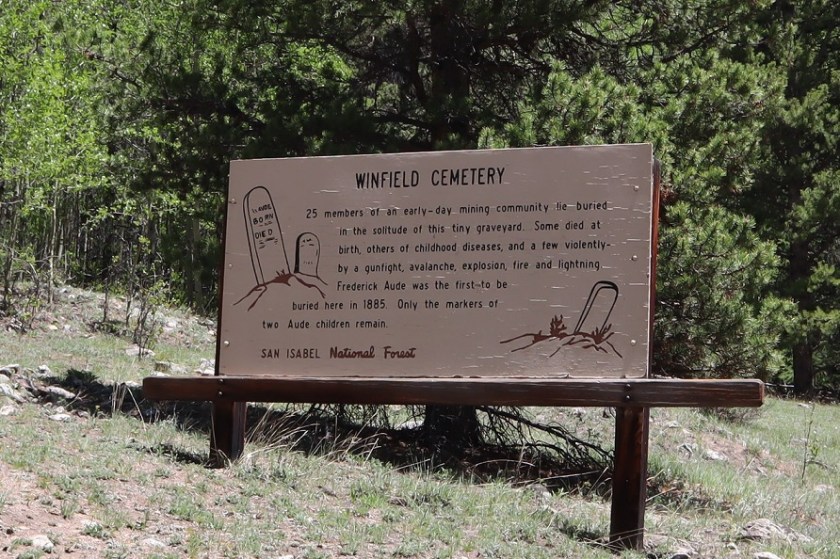
There’s currently a curfew in place in Colorado Springs, so the beginning of the drive felt a bit ominous: I didn’t see any other vehicles on the road until I made it to the freeway, and even then there were very few vehicles compared to normal, even for 1am, and even when compared to being quarantined. I’d stopped for gas the day before so I didn’t need to stop at all this morning. With less people out I felt like I saw more wildlife: 4 foxes and a dozen or so elk. I made it to Winfield around 4am and decided to take the easy 4WD dirt road a little further, past the cemetery to some dispersed camping spots .85 of a mile from Winfield. You can park at Winfield and it won’t add more than 2 miles to this hike.

2

3

4

5

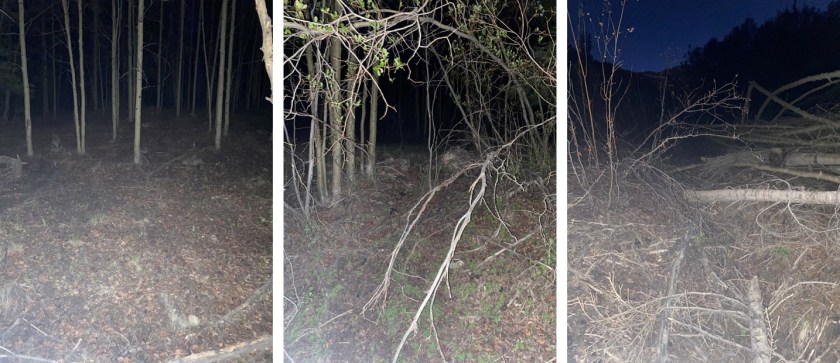
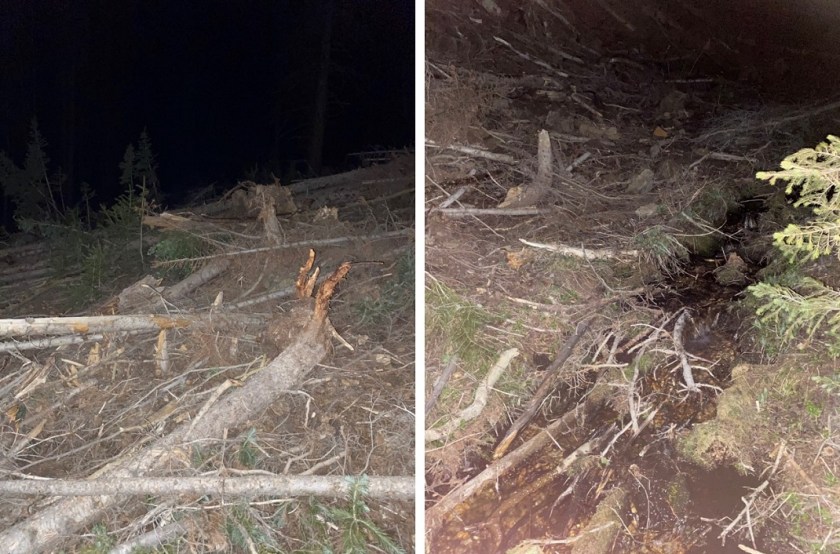
Looking at a topo map, I wanted to follow Grey Copper Creek to begin. After finding a dispersed parking spot I headed northwest in the dark, following game trails, zig-zagging in what felt like I was in a horror movie until I hit the creek. The creek was easy to find because there’s been a recent avalanche in the area.   This also made the creek easy to follow (after initially climbing over some downed trees).

6

I crossed the creek and stayed on the west side, startling a porcupine as I went. There are new game trails starting here that parallel the creek.

7

There are a few ways to summit Mt Blaurock: You can follow the creek until it ends and continue climbing until you make it to the Blaurock/Ervin saddle, or gain the south ridge and follow that route. There was still some snow in the gully so I decided to take the south ridge route.

8

There is no special point to gain the south ridge. I turned and headed west after a little over a mile of hiking, aiming for the ridge

9

From treeline it was easy to see the route, following the ridge northeast

10

The first part of the ridge is an easy stroll on tundra

11

Once the tundra ended the loose rock began and didn’t quit until the hike was almost over and I was back at the avy area. I’d call it rotten rubble, or choss most of the way. I rounded the first bump in the ridge to the left, climbed straight over the second, and then took a gully up to the top. There is some loose rock here.

12

13

14

9

Here’s a look back down to this point

16

Turning left (northwest) I dipped down to the left a few times to avoid snow and unnecessary ridge crossings

17

18

Of course, the summit is the furthest ‘hump’ on the ridge

19

I followed a small, rock filled gully to the summit

20

I summited Mt Blaurock at 7:30am

21

Mt Blaurock Summit:

There are some great views of surrounding peaks, a few of which I visited last week;

22

23

I headed back over the ridge on the same path I took in:

24

25

26

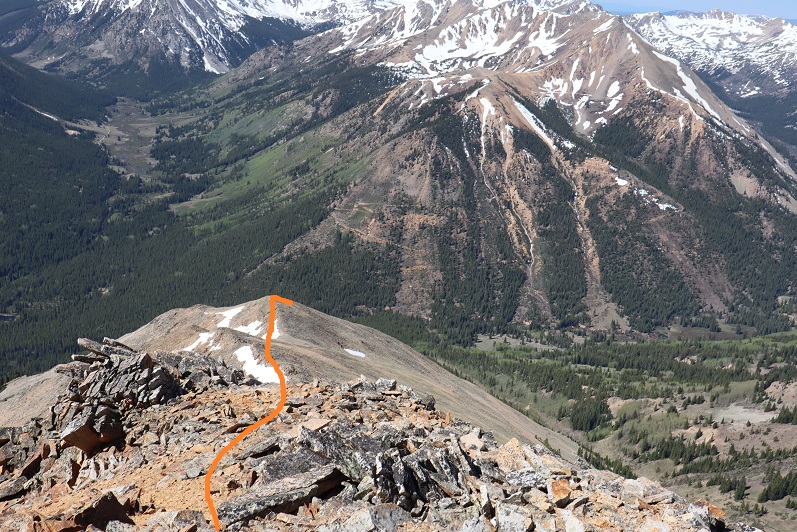
Here’s looking down at the traverse between Blaurock and Ervin Peak. The hike down to the saddle from Blaurock is easy

27

I met a nice ptarmigan along the way

28

Here’s a look from the saddle of the ridge to Blaurock and Ervin

29

This is where it gets tricky. Here’s the route I took to avoid the snow:

30

31

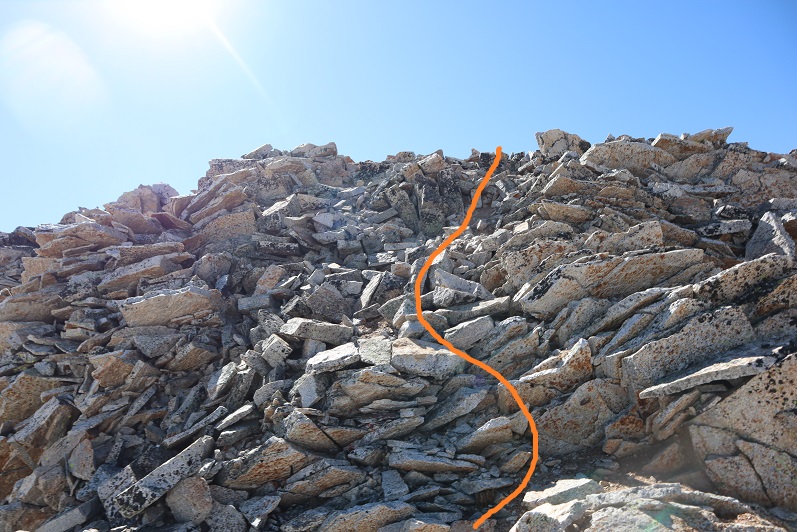
It looks like there might be a class 2 path here along the right (south) side, but with the snow in key areas I wasn’t able to take that route. There was snow in this section, turning the rest of the hike into class 3 on loose rock. I had one rock the size of a microwave fall while I was testing it. Luckily, I was just testing and didn’t have any weight on the rock. It scared me though. A helmet would be a good idea. Note which areas actually “go”: The dirt gullies here make it look like there are trails where there are not. Here are pictures of how I navigated the ridge. This took quite a bit of careful route finding.

32

33

34

35

This is actually easier than it looks. Class 3, and I placed a cairn here so I’d remember how to get back (there are a lot of drastic drops in this area).

36

The last hurdle was unavoidable snow just before the summit. I tested the snow and honestly considered turning back. The snow was slippery and a fall would have took me a long way. In the end I strapped on my crampons and got out my ice axe, glad I’d brought both. I traversed these two areas (about 40 feet each) gingerly.

37

The last bit up to the summit was full of loose rock but was straightforward

38

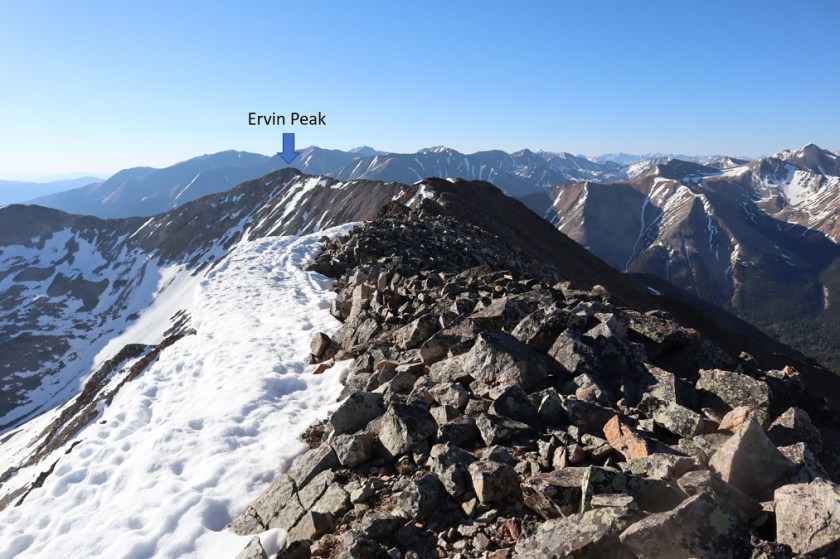
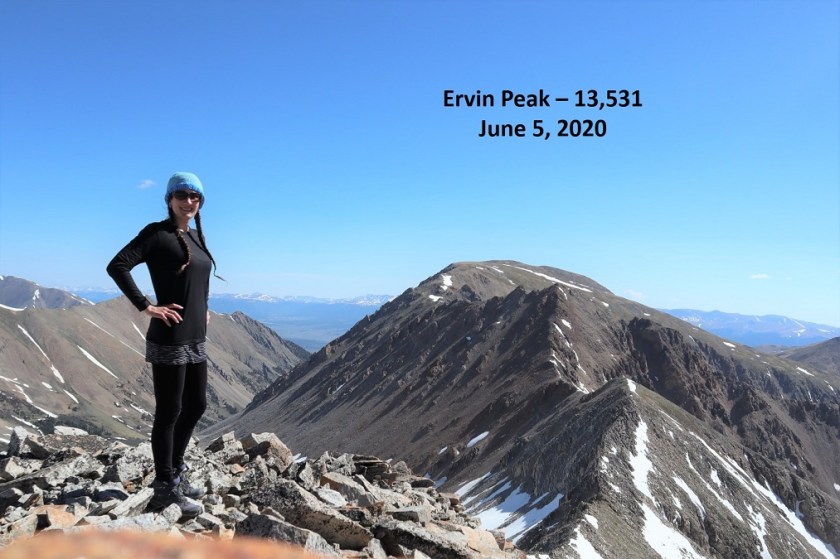
I summited Mt Ervin at 9:30am (that’s Mt Hope in the background)

39

Ervin Peak Summit:

I didn’t stay long on the summit. The day was warm and the snow was melting fast: I wanted to cross the snowy areas as quickly as possible to avoid slipping. I turned around and headed back the way I’d come.

40

41

I was making this a loop, so when I hit the westernmost part of the ridge I turned and headed southwest down. This ridge was easy to navigate but full of loose, rolling rocks. It was slow going because I had to be careful with foot placement. This ridge kind of turns right as it goes. Here’s a hint: If it’s daylight, just keep heading towards the switchbacks that you can see in the middle of the picture below.

42

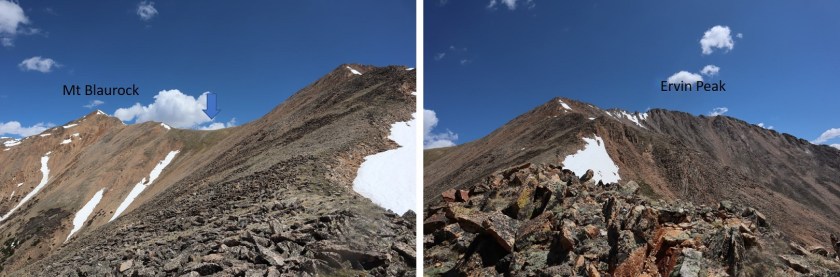
From about halfway down the ridge here’s looking back at Mt Blaurock and Ervin Peak. The blue arrow points to where you could hike from the landslide area straight to the saddle instead of taking the ridges up and down

43

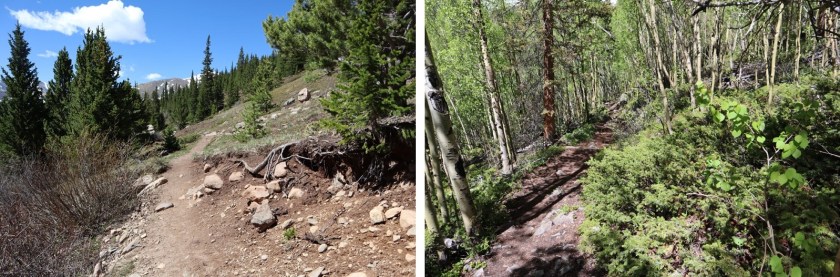
Here you can see you want to meet back up with the landslide area, and that to do so you’ll be bushwhacking through dense aspen. I could still see the switchbacks, but only just barely and only because the aspens aren’t completely full of leaves yet.

44

There were enough game trails here to follow not to make this too difficult. It would have been easier if I were 2 feet tall though, because those trails go under logs and through brush.

45

I made it back to the landslide area, took a picture of it in the daylight, and turned and headed south towards my parking space.

46

47

I made it back to my truck at 12pm, making this a 6 mile hike/climb with 3821’ of elevation gain in 8 hours, most of it spent route finding and watching for rolling rocks.

48

Here’s a picture of the saddle, should you choose to ascend that way

49

When I got home and started jotting down notes I realized today I’d hiked my 145th unique 13er, as well as my 145th unique bicentennial. Pretty cool!

Also, it’s time to retire my hiking boots, as they are no longer waterproof. They almost made it a year….

50

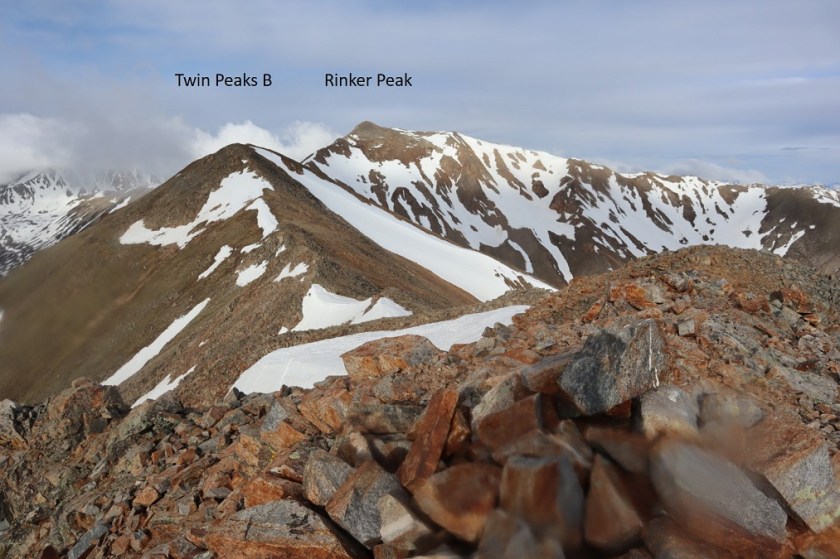
Rinker Peak – 13,789, Twin Peaks B – 13,333 & Twin Peaks Northeast – 13,270

1

RT Length: 10.5 Miles

Elevation Gain: 5471’

Wow, what a difference a couple of months make! I’d attempted Rinker Peak back in January but didn’t get very far. Today there was no snow on the ground at the Willis Gulch Trailhead and I was easily able to get a parking spot instead of parking on the side of the road. I gathered my gear and was on the trail by 3:30am.

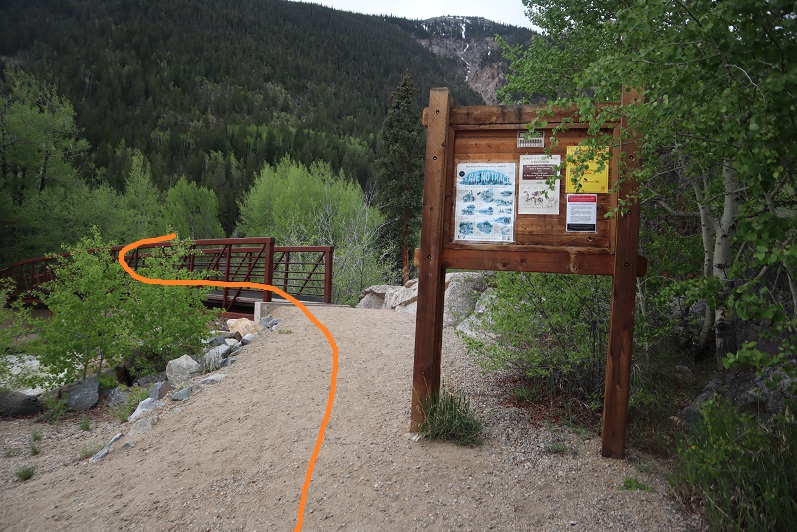
The trail begins at the south end of the parking area by crossing a bridge over Lake Creek and turning right.

2

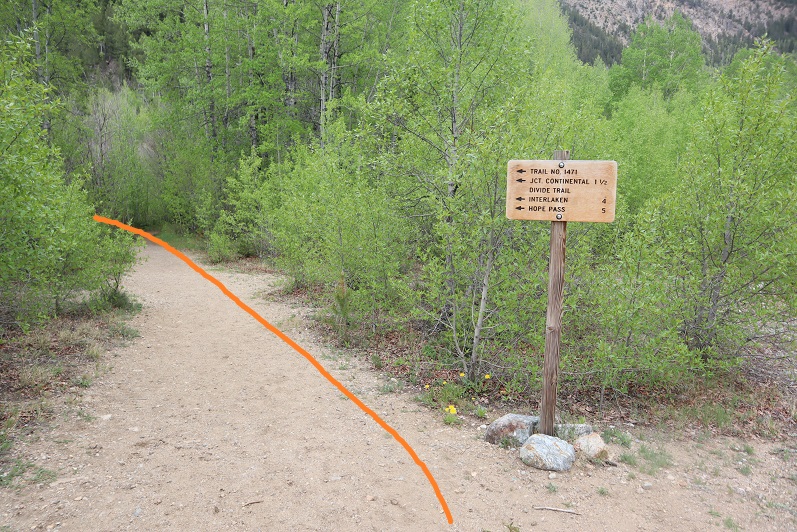
At this sign turn left and follow Trail No 1471

3

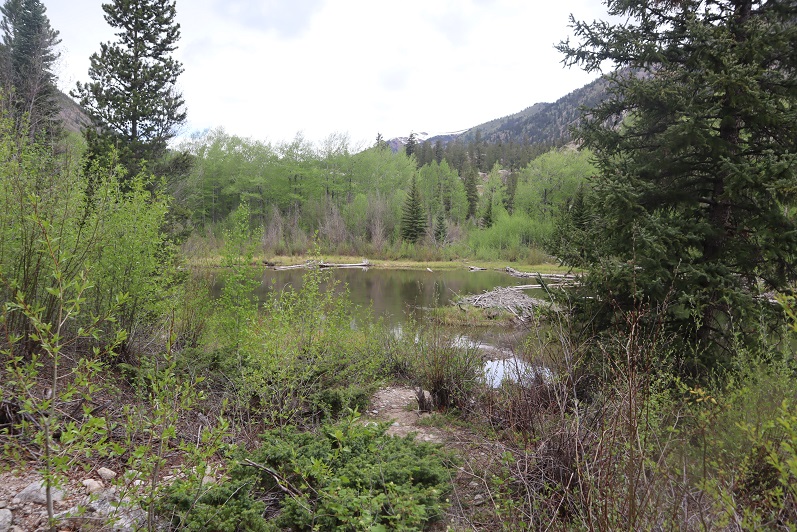
This will lead you through some Beaver Ponds on a nice trail. In the dark of the morning I heard a beaver sized splash about 4 feet away from me, stood in place for a second making noise, and for the next 15 minutes hit my trekking pole on every rock/tree I saw. I’m pretty sure it was a beaver, and the beaver didn’t care.

4

I followed the class 1 trail and stayed right at this junction to stay on Trail No 1471

5

After hiking for 1.3 miles I turned right off the trail and bushwhacked my way up to the top of the slope. And I mean bushwhacked.

6

This was harder to do than it sounds, and I’m glad I did it at this time of year (before the bushes have too many leaves). There was a 20% chance of rain here last night and it looked like this section of the mountain got it: The branches and groundcover were wet and slippery and the slope angle just enough to keep me on my toes. There were tons of trails here, but they were all game trails and frequently and abruptly stopped. I just kept heading southwest, doing my best to find the path of least resistance, thinking to myself this ‘wet’ is the reason I could never do a thru hike, as I’d never dry out. Give me snow any day! (Also, I truly do want to do a thru hike…). It was quite an experience running into so many spiderwebs in the dark…

7

At 9275’ and after about half a mile of hiking off trail I came to the top of this part of the mountain, a kind of ‘ridge under the trees’. I wouldn’t call it a ridge per se, but from here if I would continue heading southwest I would have started losing elevation, so I turned left (south).

8

I followed this ridge south and then west as it rounded to treeline. There wasn’t a trail and I only saw 1 cairn all day (on the ridge)

9

I came to an area with a lot of downed trees (which was fun to navigate at night, easy during the day)

10

And headed straight up the mountain to treeline, passing through pine trees, dense aspens, and some loose rock piles

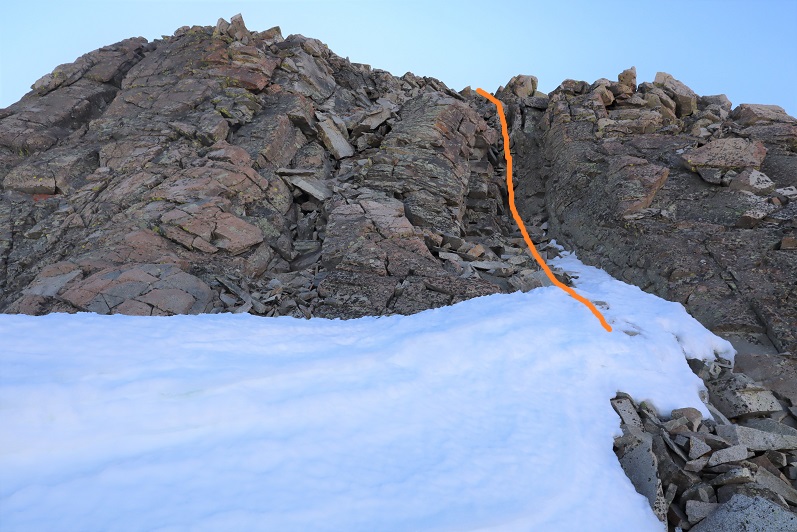
11

12

The rocks were large but many were loose. Be careful of your footing here: I don’t think any rocks will tumble down, but they will roll out from under you.

13

This brought me to treeline, where I found what looked like maybe an old structure (or windbreak) covered in snow so I couldn’t really tell. There were also rusted cans scattered all over and an old coffee pot. That means there had to be a better trail to get to this point than the one I’d taken, as it was obvious this area was once used more frequently.

14

This was basically treeline, but there was just enough snow that I skirted it for a bit to make it to the ridge.

15

16

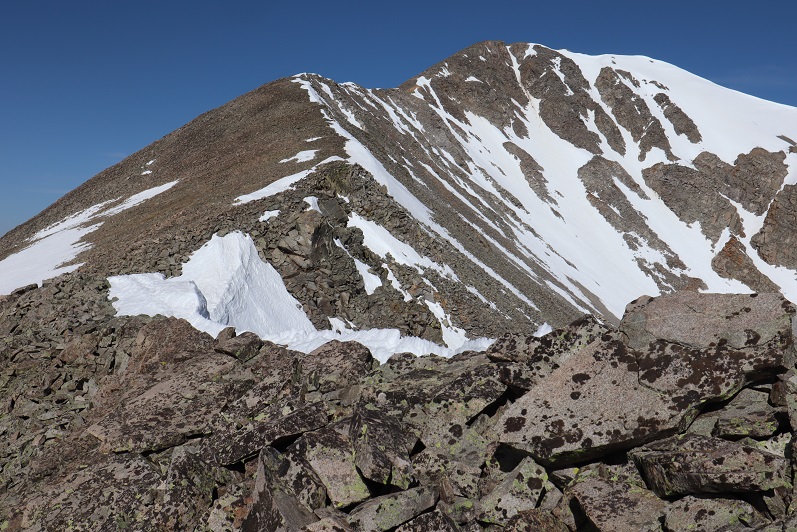
The ridge is straightforward. I thought the top would be Twin Peaks Northeast (it’s not).

17

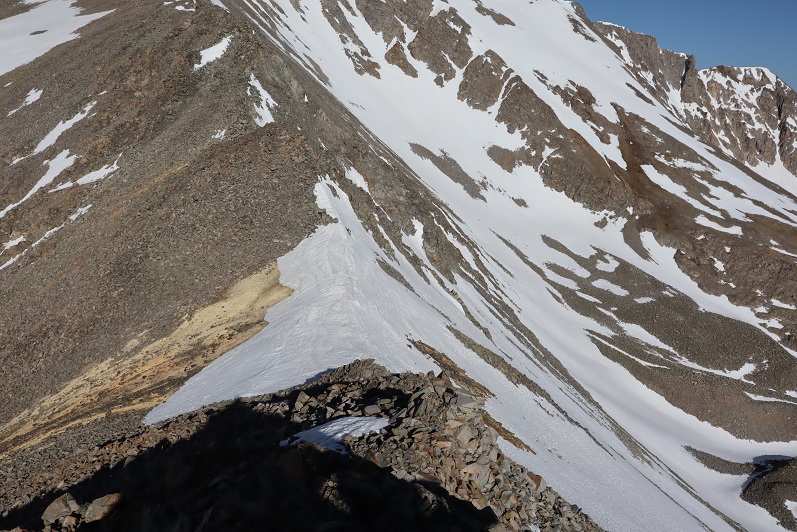
There are a couple of goat trails on the left side of the ridge, and one area where I had to dip down to the right to avoid a gully

18

19

There’s a cairn at the top. I reached the ridge after 3.75 miles of hiking

20

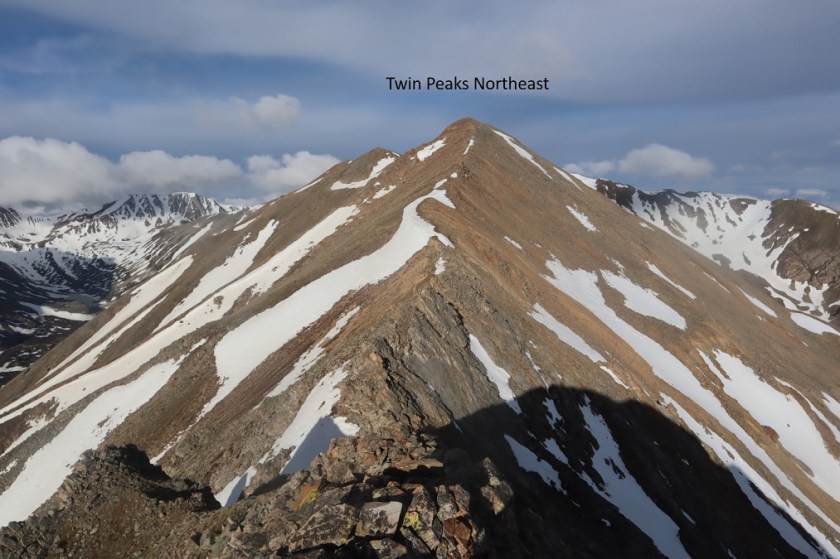
And from the top of the ridge you can see Twin Peaks Northeast

21

From here there are a lot of ups and downs to the rest of this hike. This is a class 2 ridge, and nothing too difficult presents itself. I went right here

22

But mostly just followed the ridge. I made it to the top of Twin Peaks Northeast at 7:38am, after 4 miles of hiking. It was windy and thus cold, and here I put on my outer layer and balaclava and extra gloves. I got selfies here and at the next peak but I’ll spare you those and just let you see the videos, as these are unranked peaks.

23

Twin Peaks Northeast:

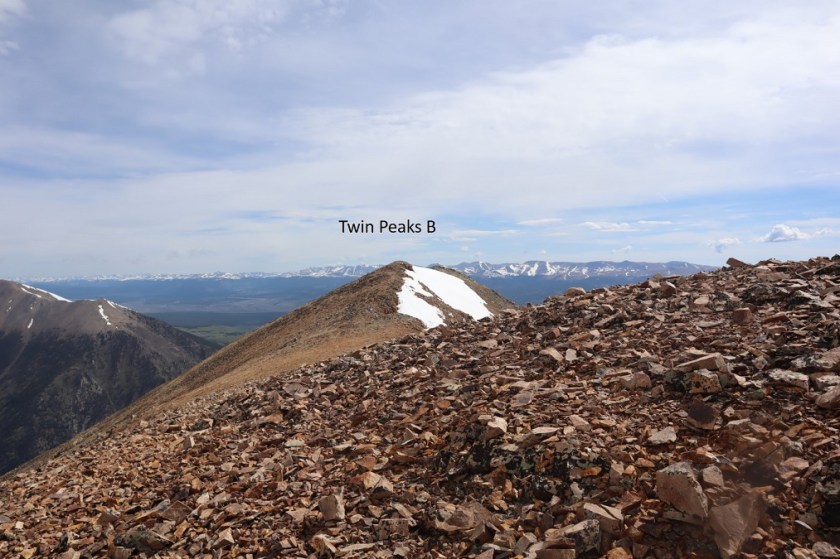
A storm was coming in, or at least it looked like clouds were rapidly forming, so I had to make a decision: Should I continue along the ridge or turn back? In the end I decided to continue to Twin Peaks and make the decision at that point. This is a long ridge, and requires commitment on the weathers part. I continued southwest along the ridge to Twin Peaks. The hardest part of this ridge was over and it was a simple trek (or it would have been simple without all that wind!!!). I made it to Twin Peaks B at 7:50am after 4.5 miles of hiking.

Twin Peaks B:

24

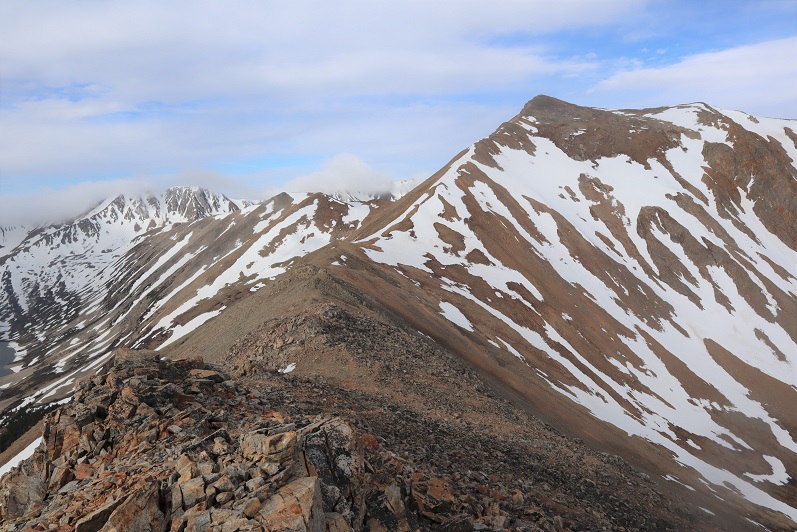
The weather seemed to be holding so I headed over to Rinker Peak. This was an easy class 2 ridge hike to the saddle

25

Here’s the route I took up to the summit of Rinker. Snow was (mostly) avoidable, and while I did some minor postholing, no traction was needed

26

27

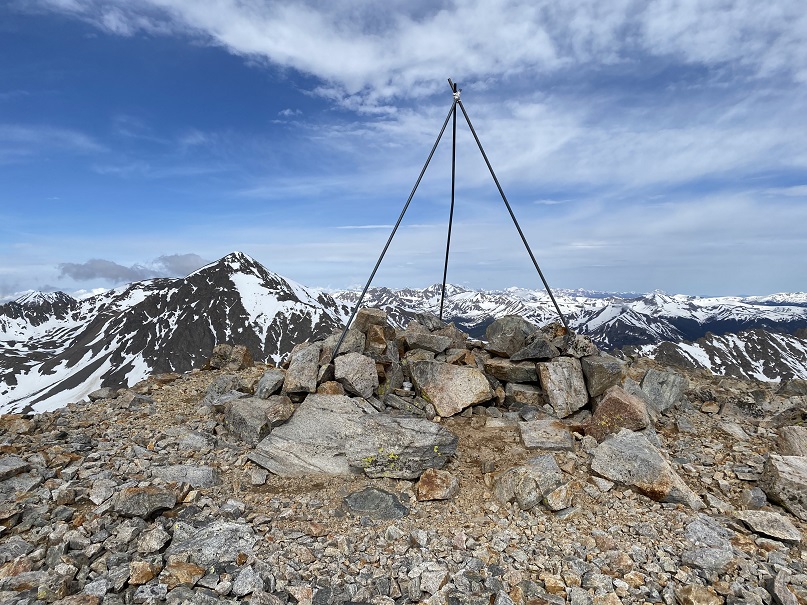
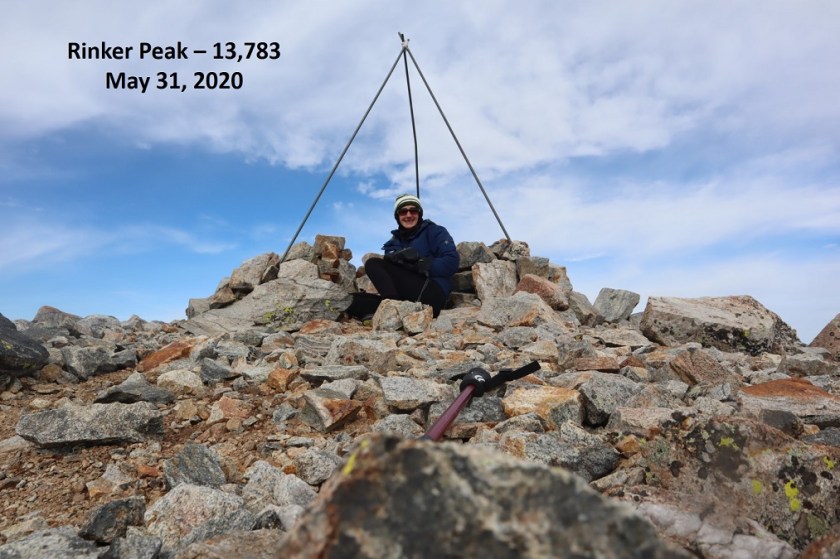
There was a tripod at the top, so if you brought up a tarp and rope you could have a nice shelter from the wind. I summited at 8:50am, glad I’d decided to continue this hike. It was 5.35 miles to this point and the weather was great.

28

29

Rinker Peak:

Here’s looking at the route to this point

30

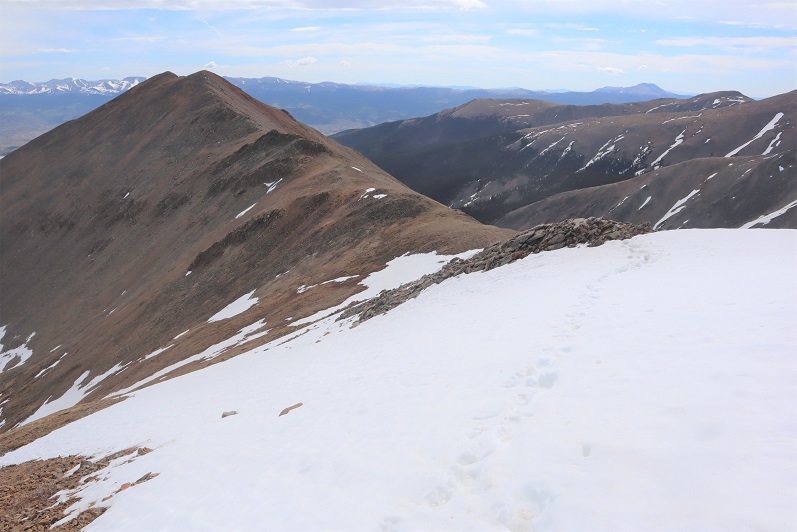
And the route back along the ridge (there are goat trails in areas to follow here)

31

32

33

As on the way in, the only really tricky section (if you want to call it that) is between Twin Peaks Northeast and the point on the ridge to head back down

34

Go right around this rock

35

Left here (just before the saddle)

36

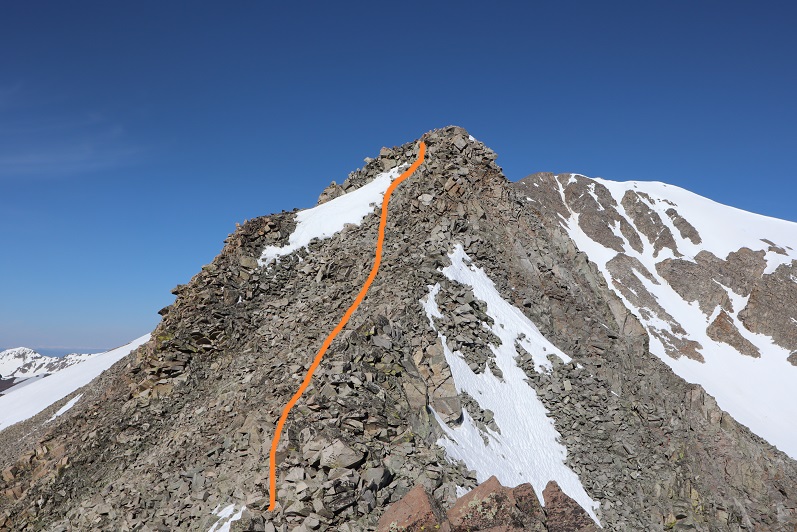
And this is the route to the top

37

Be careful of loose rock here

38

This will bring you back to the cairn

39

Just follow the ridge back to treeline

40

And back through the rocks, aspens, and pine trees

41

42

43

That will lead you to the ridge to follow below treeline

44

And eventually back to the trail

45

I passed the beaver pond in daylight (I didn’t see any beavers)

46

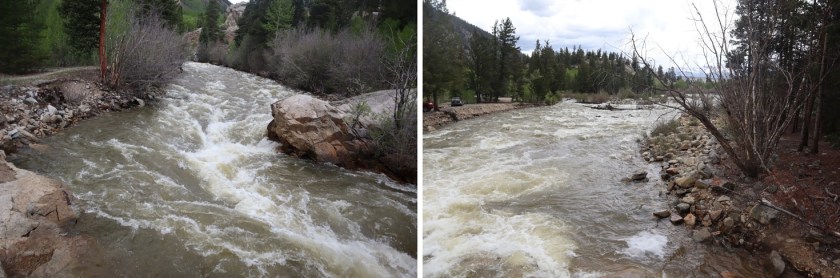
And crossed Lake Creek. It had more raging water than I’ve ever seen there before but to be fair, I’m usually in this area in winter and it’s mostly frozen.

47

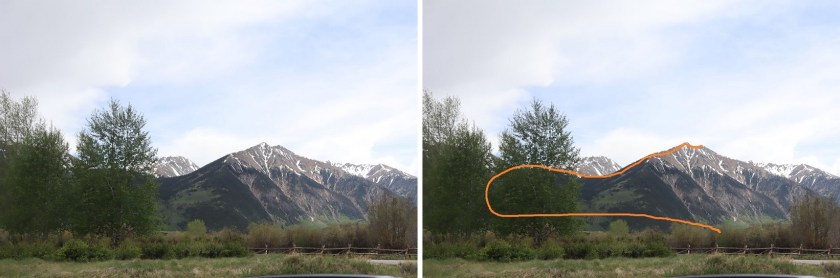
I made it back to my truck at 1:30pm, making this a 10.5 mile hike with 5471’ of elevation gain in 10 hours. I didn’t see another person all day, even when I was on the class 1 trail. It started raining as I left the parking lot. Here’s the route to the ridge as seen from Twin Lakes

48

And my topo

49


Tijeras Peak – 13,612 & Music Mountain – 13,365

1

RT Length: 12 miles

Elevation Gain: 4587’

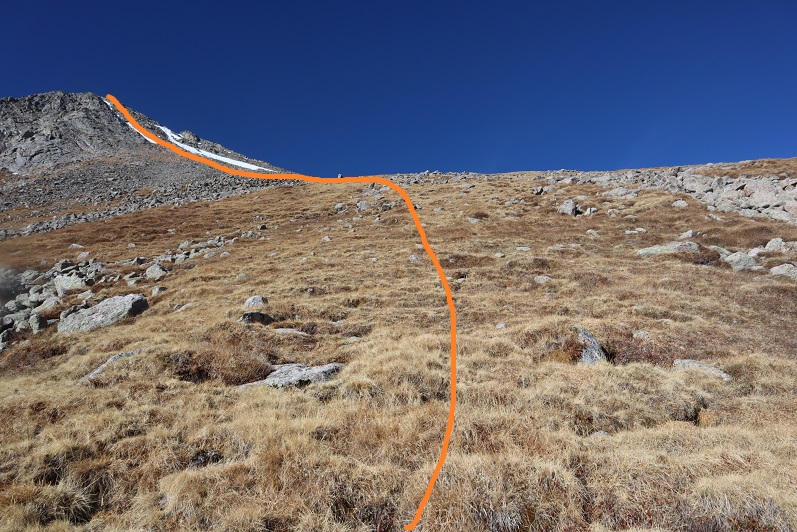
I’d intended to be on the trail by 4am, but the last 2.5 miles of 4WD road past Grape Creek TH to Music Pass TH took longer than I’d anticipated. It is indeed a 4WD road that requires some clearance. It was better than South Colony Lakes though. I brought snowshoes but decided to leave them in the truck. I was the only vehicle in the very large parking area when I left. I put on my helmet and was on my way by 4:30am.

2

The trail starts at the west end of the parking area.

3

The trail is class 1 all the way to the Lower Sand Creek Lake. I came across a (full) trail register quickly

4

And continued on a well-maintained trail west 1.2 miles to Music Pass, where there was another (full) trail register.

5

6

From Music Pass there’s a great view of the entire route:

7

From Music Pass the trail loses 450’ in elevation as it brings you to the valley below.

8

Stay straight at the first junction (2 miles)

9

And turn left at the second (2.3 miles)

10

I quickly crossed Sand Creek on a bridge put together by fallen logs, and continued along the class 1 trail

11

The trail was easy to follow, but, ah, spring conditions. If there wasn’t water on the trail there was snow. More than once I regretted leaving my snowshoes in the truck: It was posthole city at 6am.

12

I swithchbacked up to the lake, where the trail ended (or was covered in too much snow to follow). I made it to the lake after 3.5 miles of hiking. My next objective was to skirt the north side of the lake and ascend the gully to make it into the upper basin. Here’s an overview of the route:

13

Here’s where I began the ascent. Note, that big rock to the left is basically a waterfall. On my way down it was nice letting the water sprinkle over me in the heat.  There is a gully to the right that is an actual waterfall with lots of flowing water. If it were winter or no flowing water it could be an alternate route to the basin.

14

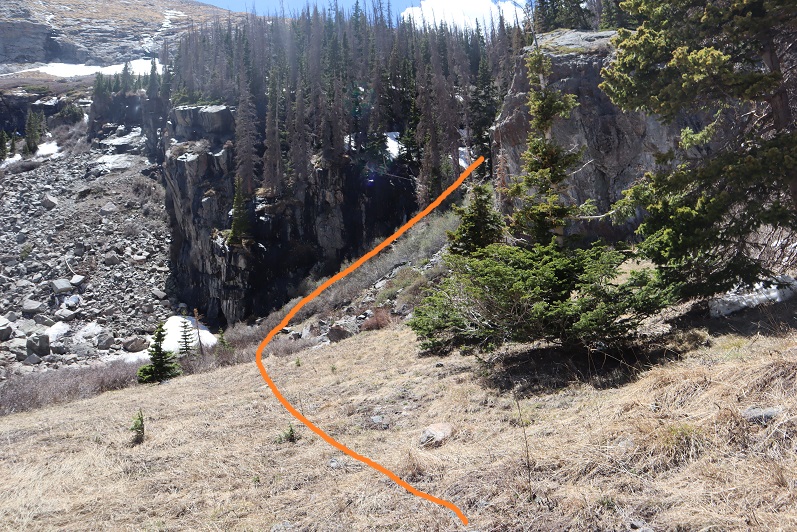
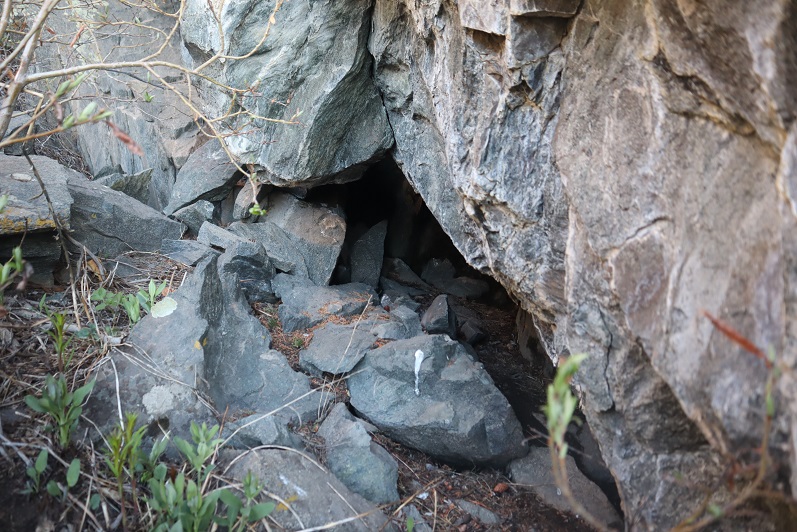
The rock to the right has a huge cave underneath it (big enough for several people to fit inside). It looked perfect for a mountain lion or bear den so I chose to hug the opposite rock more on my return.

15

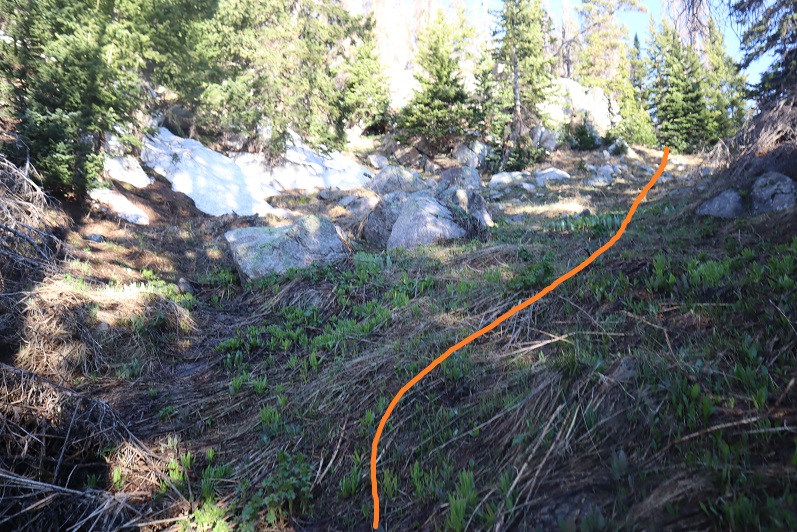
The gully only goes for about half a mile before you turn left (south) and cross the basin

16

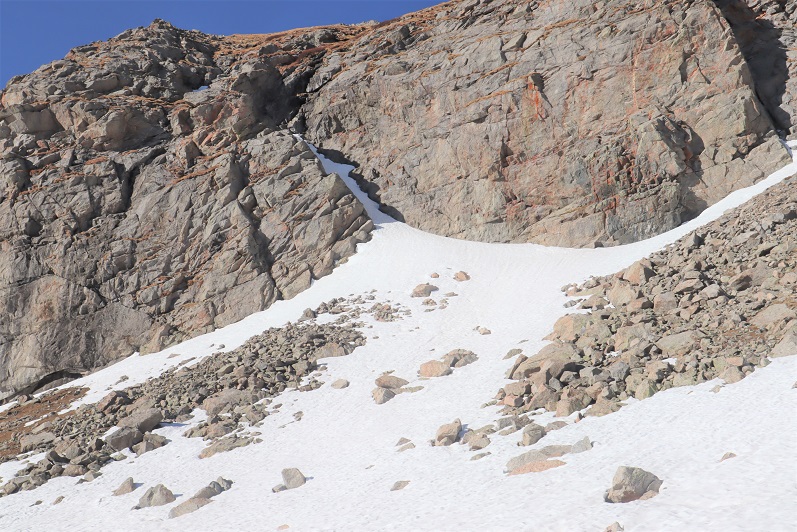
There was a lot of snow here, and it was impossible to avoid it. It was still early morning but there hadn’t been a freeze the night before so the snow was soft. Postholing was terrible and I knew it was only going to get worse so I chose to ascend via the first ramp I saw instead of inspecting the others. As I was postholing I aimed for this rock, which was visible above the willows.

17

I made it to the ramp, a bit displeased to find the snow just kept getting softer. Before making the decision to ascend I made sure I had an exit route. I knew if I ascended here the snow would be too soft to descend, most likely at about the time I reached the top. If I was going to continue I was going to need to make this a loop. I looked over to Music Mountain and the way down, took some pictures for further reference, looked at pictures of the route I’d taken from this morning, and consulted the sky (70% chance of thunderstorms after 4pm today, I so needed to be able to make it down well before then). I saw a viable route to descend via Music with avoidable snow and decided to go for it. Note: you only have two options to ascend and descend this loop, as it cliffs out everywhere else. Before committing know your options.  I strapped on my crampons, got out my ice axe, and went for it.

The snow was soft, so kicking in steps was easy (almost too easy at times and I had to re-make them when the snow turned to mush under my feet).

18

A view from inside, looking up and looking down

19

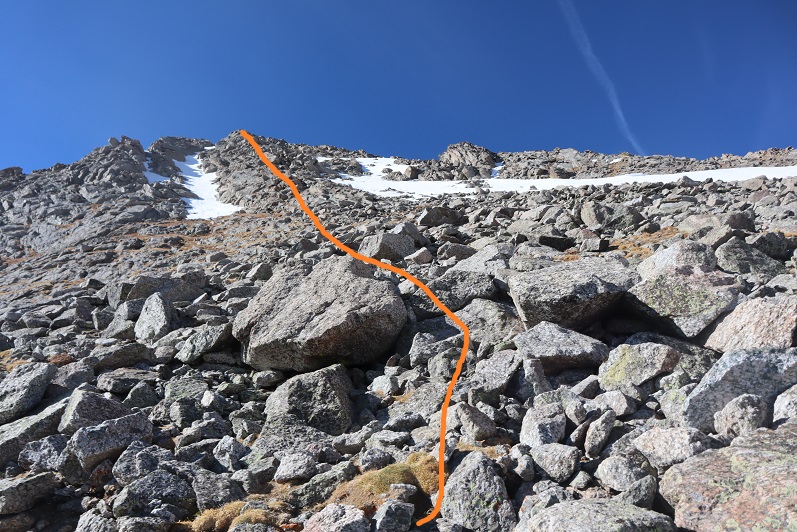
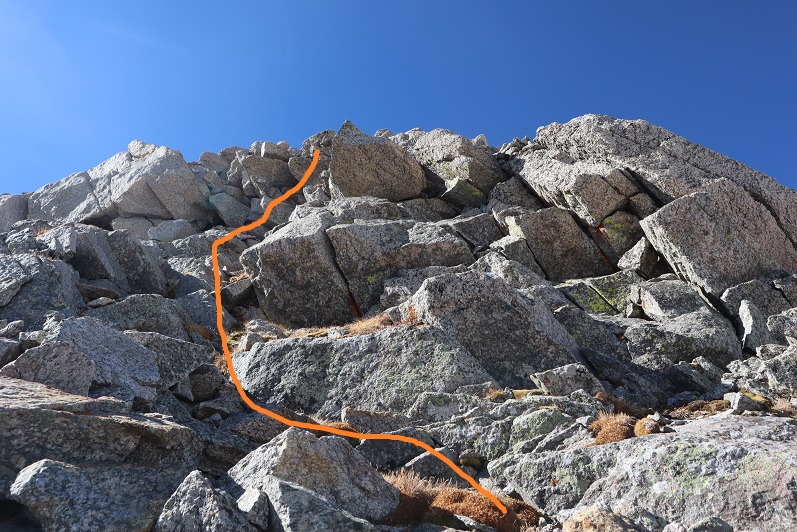
Eventually the snow ran out and I scrambled on rock/tundra to reach the top of the ledge. Here’s the route from the ledge to the summit

20

Note: This is NOT the only route. You could make this easier by hiking to the saddle and then turning left and hiking up the class 2 (possibly easy 3) ridge. I chose instead to go up the face and get in a little scrambling. As with a lot of scrambling routes, there is no exact route; you need to pick it and choose it carefully. Here’s how I went, once again, sticking to the center as much as possible.

21

22

23

The rocks were surprisingly stable, although there were several areas that looked as if they’d recently experienced a rockslide. I made it to the summit at 9:30am

24

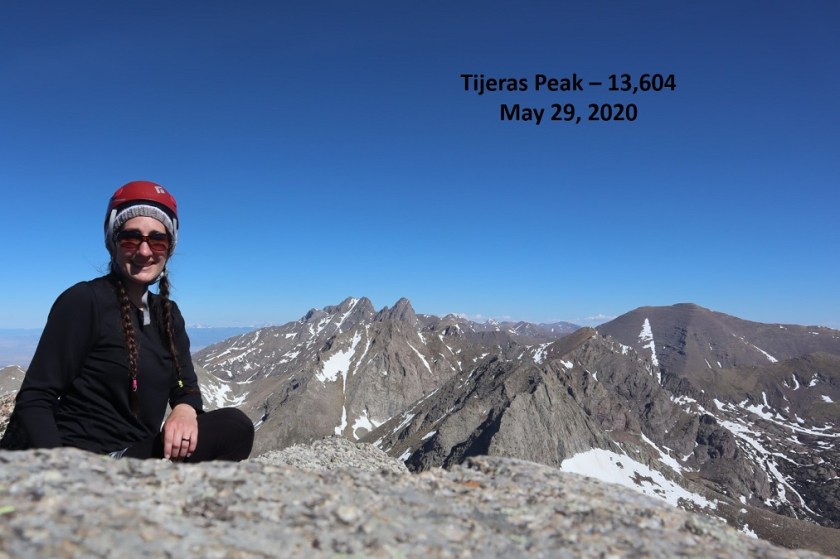
Tijeras Peak:

There was a water bottle summit register at the top, and great views of the surrounding mountains.

25

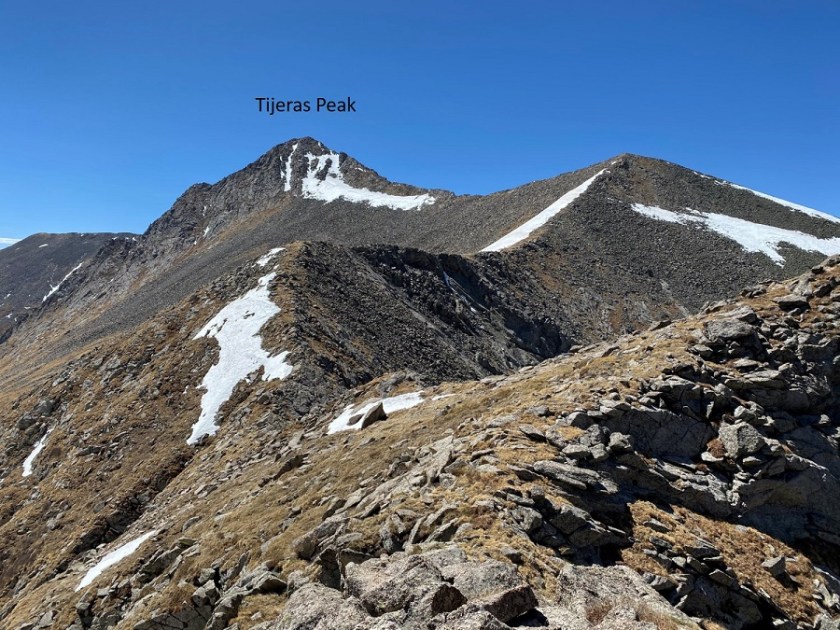
I turned northwest to head down the ridge of Tijeras towards its saddle with Music Mountain.

26

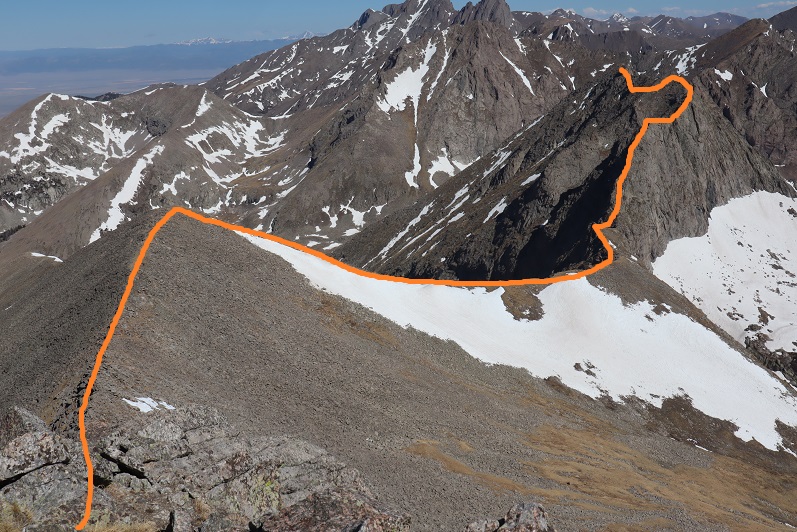
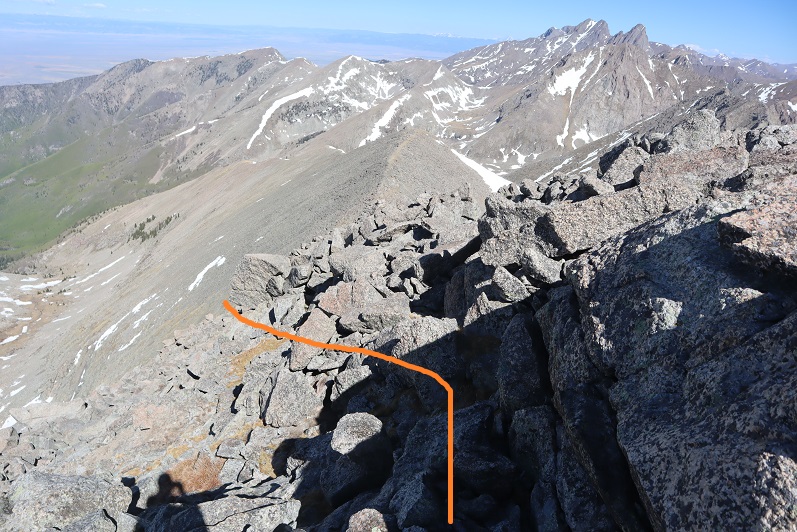
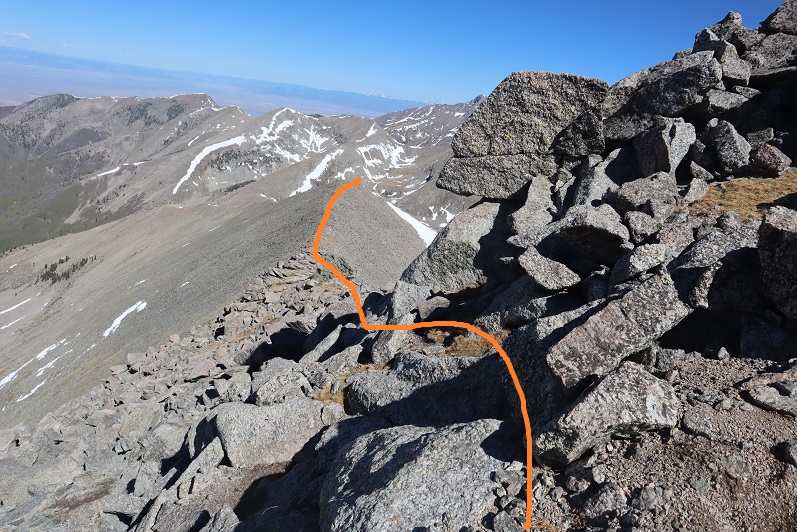
Here’s the route I took in a nutshell

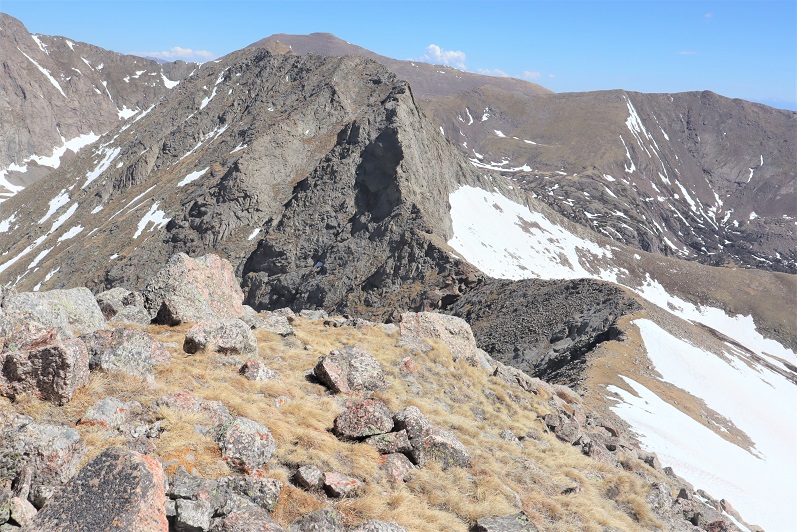
27

For much of this ridge walk I stuck to the ridge, but there was a time I dipped to the left a little. This is not a simple ridge walk, and did require some scrambling. Nothing that gets your heart going like on the way up Tijeras, but scrambling nonetheless.

28

29

30

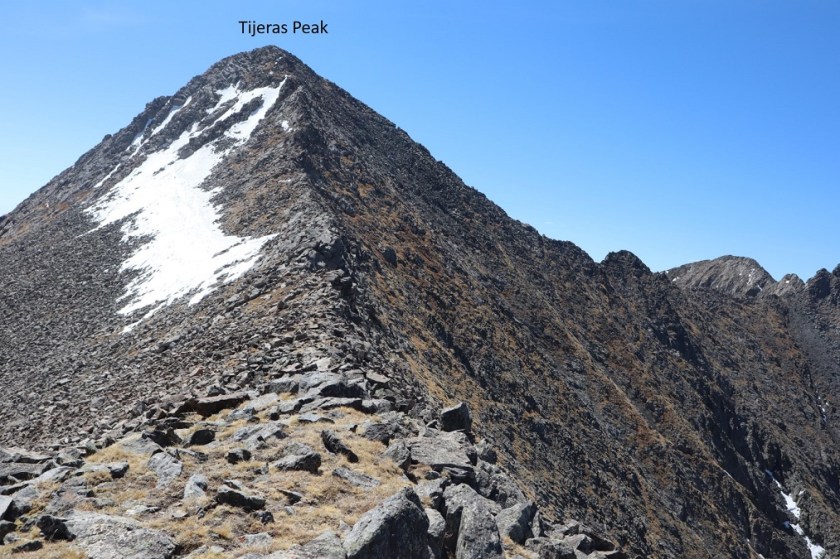
Here’s a look back up the ridge of Tijeras

31

Once down on the saddle the walk to the base of the Music Mountain climb was easy.

32

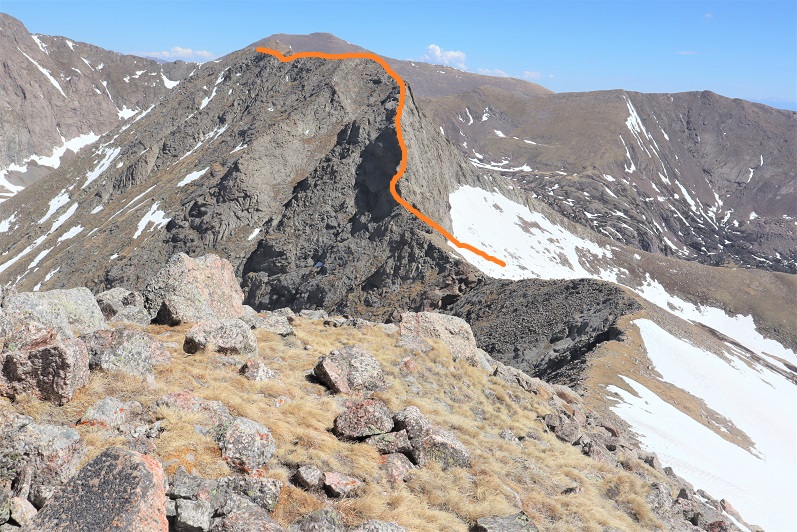
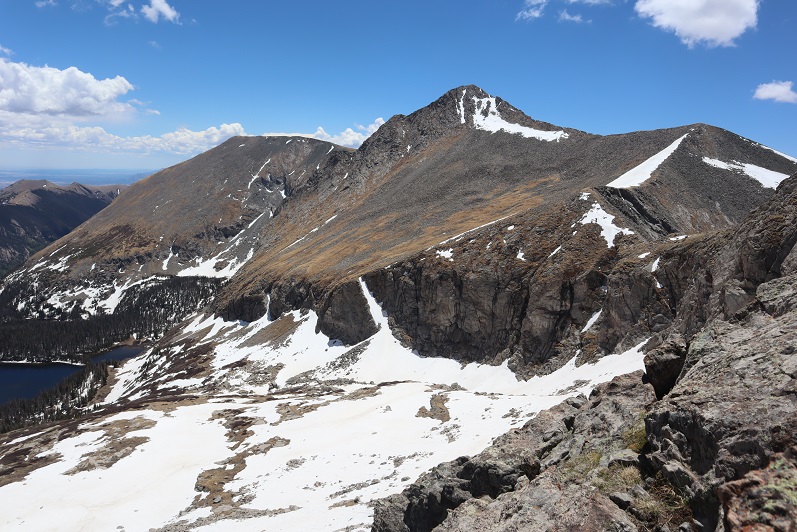
Here’s a look at my route down Tijeras and over to Music

33

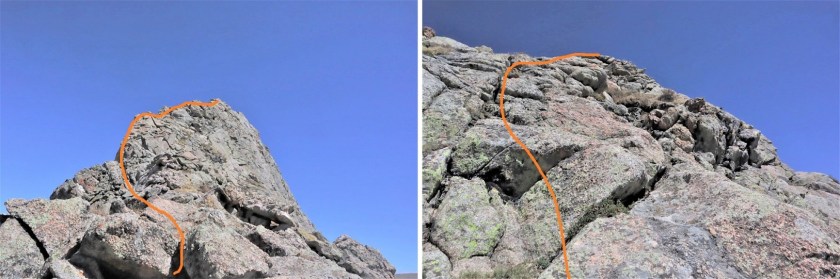
Climbing up Music Mountain was the biggest challenge of my day. The entire route was scrambling that took committed attention to each and every move. Luckily the rock was solid and there were many hand/foot holds. Since I climb solo I was extremely careful and tested each hold several times before committing, which made the process slow. Also, I didn’t look down: This ridge was spicy. I began by going straight up the ridge and staying on that ridge through class 3 and 4 sections, only altering one time to use a gully because I felt the ridge was too dangerous (but I’m sure you can make it go all the way because I had no problem downclimbing the entire ridge). Here’s an overview

34

And step by step, straight up and over. It’s more committing than it looks

35

36

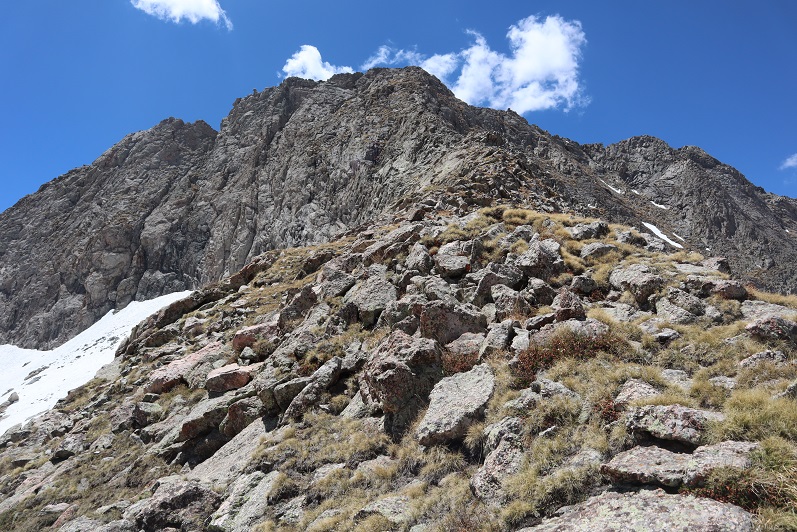
37

At the top of the first ridge I saw a lot more scrambling (and what looked like a knife edge from below but really wasn’t) and decided to divert the main ridge by finding a gully to climb instead. This is the area I had no trouble downclimbing.

38

39

And then more ridge work. I’m standing on one of three ‘highpoints’ on Music Mountain, taking a picture of the other two. This was the easiest part of the ridge

40

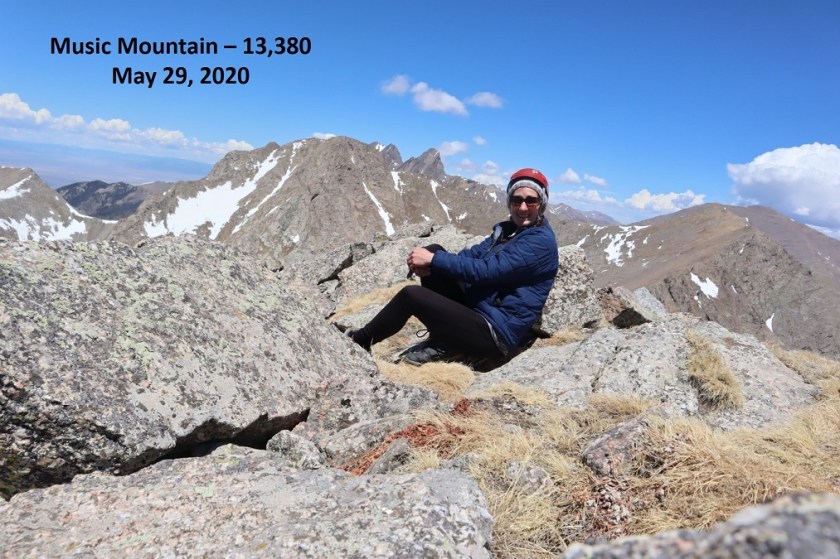
I couldn’t be sure which point was the actual summit of Music Mountain: There was no summit marker/cairn and all three points seemed to be the same height, so I just made sure to hike to the last one. On my way back I took altimeter measurements of all three. Surprisingly, the point in the middle measured highest, and the first point measured lowest. In any event, I hit all three and took a picture at the furthest point because it offered the best views

41

Music Mountain:

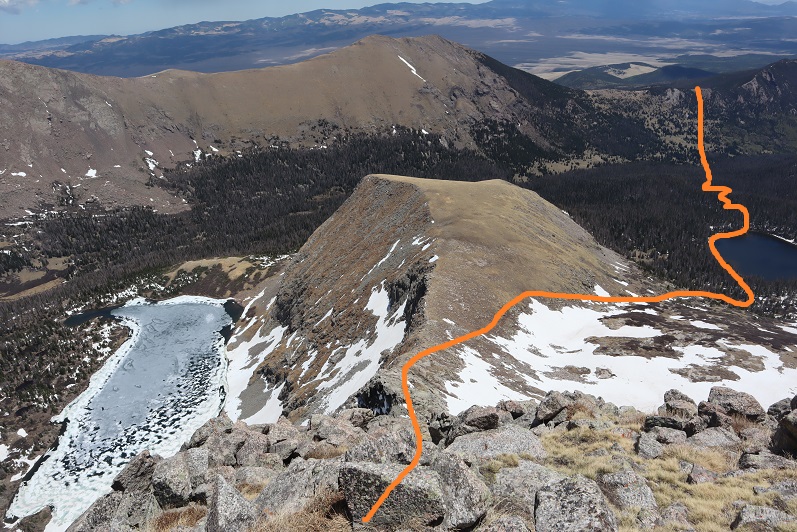
Time to head back. I took Music’s East Ridge down. those grassy ledges and rock faces are steep! Nothing compared to the previous ridges of the day, but they still took careful planning and foot placement. Nothing special to add here except watch out for the gullies and try to stick to the tundra or ridge when possible. Here’s the route I took down

42

And a look back up at the ridge

43

Here are the current options for gaining the ledges on Tijeras. I took the smaller one to the left

44

I made it back down the gully to the lake and followed the trail back to Music Pass

45

46

Re-summiting Music Pass was a bit of a buzz kill after such a long day, but this would still be high on my list of most beautiful places to hike. The mountains were absolutely gorgeous!

47

I made it up to Music Pass and opened the trail register to sign out, but when I did so no less than 10 miller moths flew out at me. I slammed the lid and said ‘no thank you’ and was on my way. There wasn’t really a place to sign out anyway, just a record of who’d been there. I didn’t bother signing out of the second register, not wanting the same experience.

I made it back to my truck at 3:15pm, making this a 12 mile hike with 4587’ of elevation gain in just under 12 hours.

48

Here’s a topo of the route

49

I saw some wild horses on my way out… either that or the horses got out. In any event, we chatted for a bit until it started to rain. It seemed those thunder storms were going to happen today after all!

50


Carbonate Mountain A – 13,663, Cyclone Mountain A – 13,616, & Grizzly Mountain – 13,708

1

RT Length: 8.75 miles

Elevation Gain: 4090’

I made it to the 1 vehicle trailhead early the day before after hiking another peak in the area. I had a lot of time to kill before heading to bed for the night and enjoyed every minute.  The Cyclone Creek Trailhead is located at 10750’, where the Cyclone Creek and CR 240 meet. It’s located 8.25 miles after turning onto CR 240 from HWY 50. The road is 4WD (not too rough, any stock 4WD should be able to make it).

2

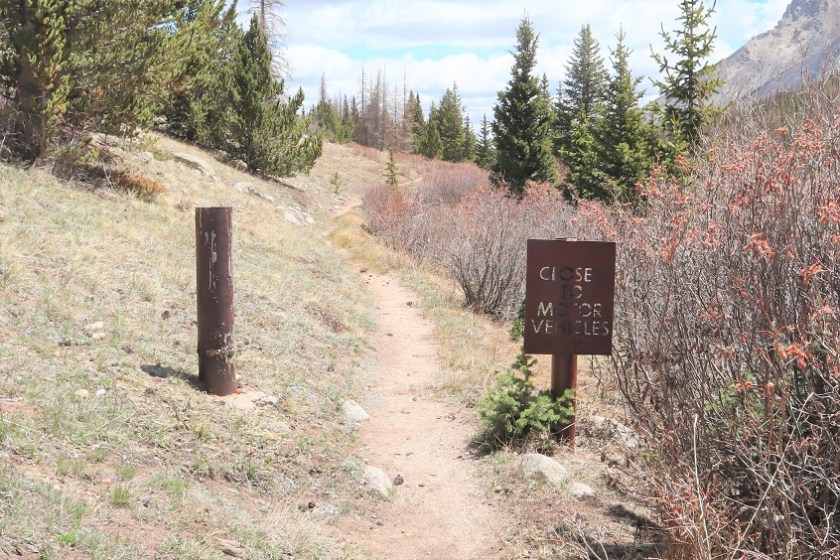
Since I made it here early I decided to check out the area. The trail starts just on the other side of the road, but isn’t marked well. In fact, the sign just says “closed to motorized vehicles”

3

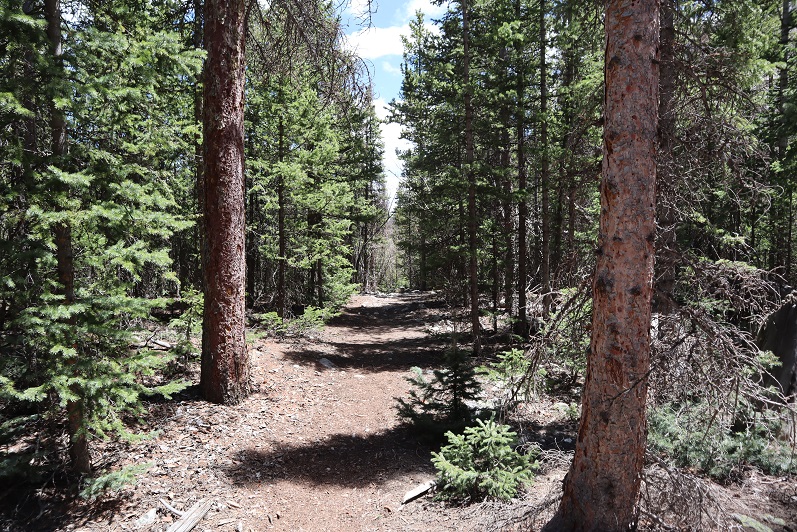
I woke up at 2:45am and was on the trail by 3am. The trail started out decent, but quickly deteriorated and became difficult to follow.

4

After hiking for about half a mile I turned right (east) and headed up the side of the mountain. There was no trail here and it was dark so route finding was tricky, especially in the avalanche area (11,150’). I found a small stream and followed it until it went away, right at about treeline

5

Here the terrain became very, very steep (scree) and at times I crawled to continue moving forward. The wind was intense and cold, cold, cold. My nose started dripping like a faucet and yes, that’s snot you see on the lens at the bottom of the next few pictures. The scree gave way to some of the loosest talus/rubble I’ve ever experienced as I made my way towards the ridge thinking “there has to be a better way to ascend the ridge than what I’m doing, there just has to”. I probably would have altered my course a bit if it were daylight and I could see.

6

7

This ridge seemed to last forever, with a few small false summits

8

9

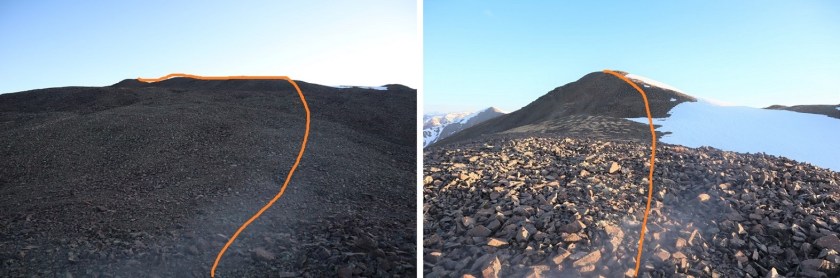
I’m not sure I’d ascend Carbonate this way again: I’d instead ascend the ridge to the right (start ascending directly from where I parked my truck). Here’s looking back at the way I ascended. The dotted line is how I’d do it if I were to do this again.

10

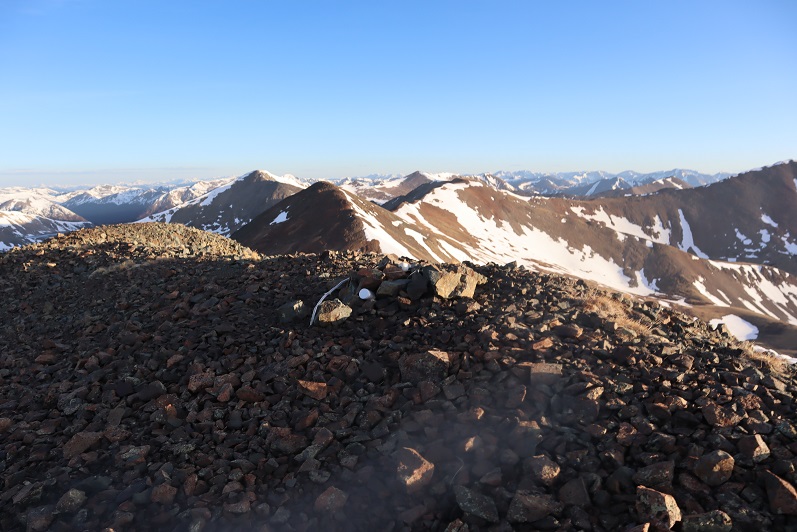
I summited Carbonate Mountain A to frigid winds that just wouldn’t quit. There was a summit register, but I didn’t even try to open it.

11

I couldn’t feel my lips or fingers and decided I’d just take a quick selfie with my camera and not stop to set the camera up for a better shot. This is also when I noticed the snot on my camera lens and cleaned it off…

12

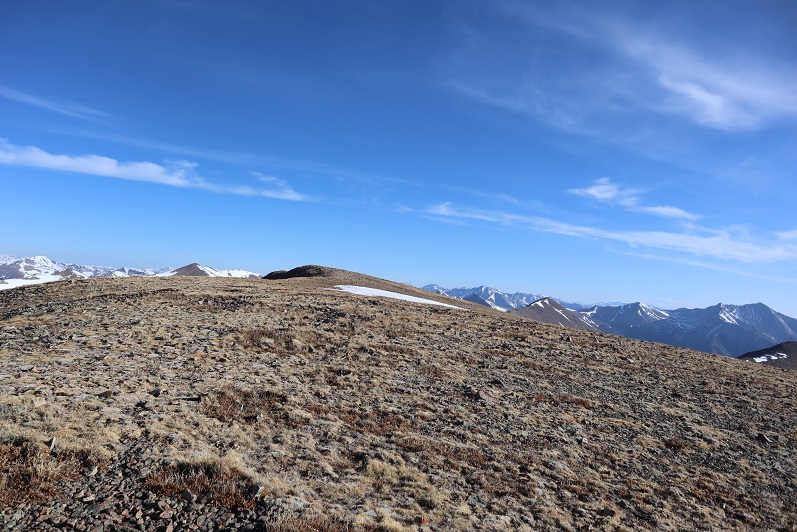
I needed to keep moving and I needed the sun to warm things up and the wind to die down. The only thing I could control was my pace, so I kept moving. I followed the ridge north to Cyclone. The terrain was full of loose rocks but was straightforward

13

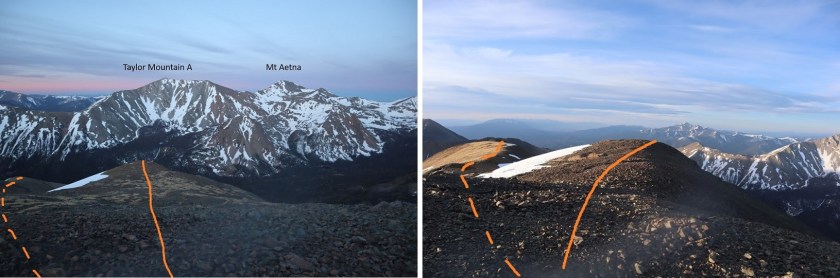
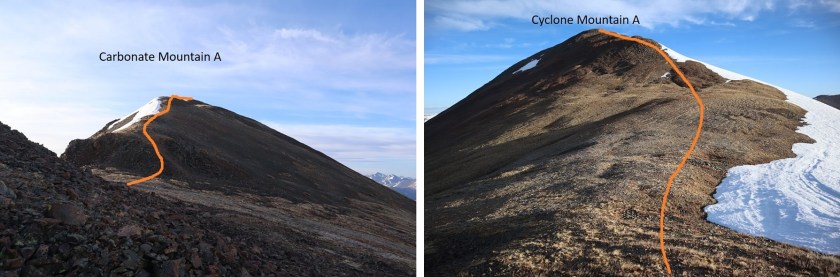
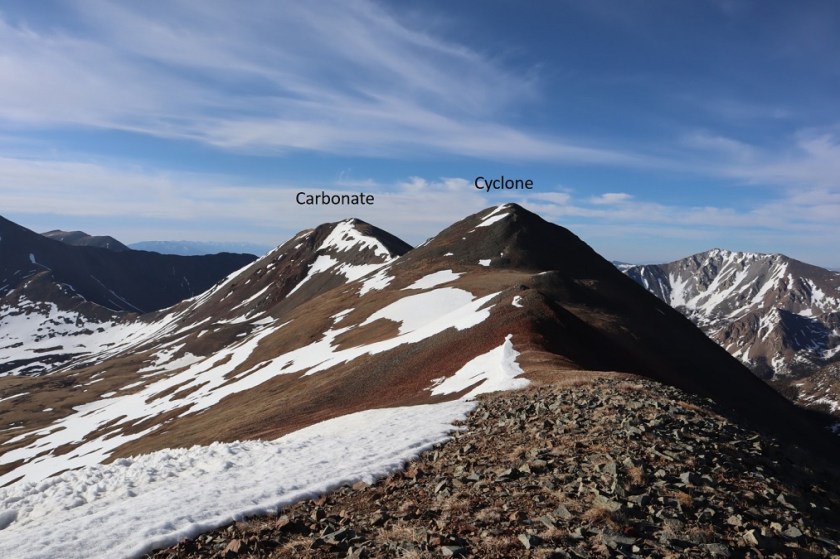
This was easier than it looked and didn’t take much time. Here’s looking back at the decent off Carbonate Mountain, and the ascent route up Cyclone Mountain

14

Somewhere along this route I stopped to put on my balaclava, and things immediately warmed up a bit. Here’s the talus filled final push up Cyclone

15

There was a summit register but it was open and empty. The wind hadn’t stopped but I was a tad bit warmer. I set up the camera, but only took one shot. This is what I got

16

Here’s the route to Grizzly Mountain. I was especially concerned with the area circled in red, as that’s the scrambling section and I was worried it had some snow I couldn’t see from my view atop Mt Aetna yesterday.

17

It looked good from this angle. I kept going, looking for possible bail out routes should I need one. I descended Cyclone Mountain, which was once again composed of steep and loose rubble

18

The rest of the trek was on more stable ground as I headed towards the traverse.

19

Here’s looking back on Carbonate and Cyclone

20

From the beginning the traverse over to Grizzly Mountain doesn’t seem that intimidating

21

22

But as soon as you round the first corner things get interesting. I began by sticking to the ridge

23

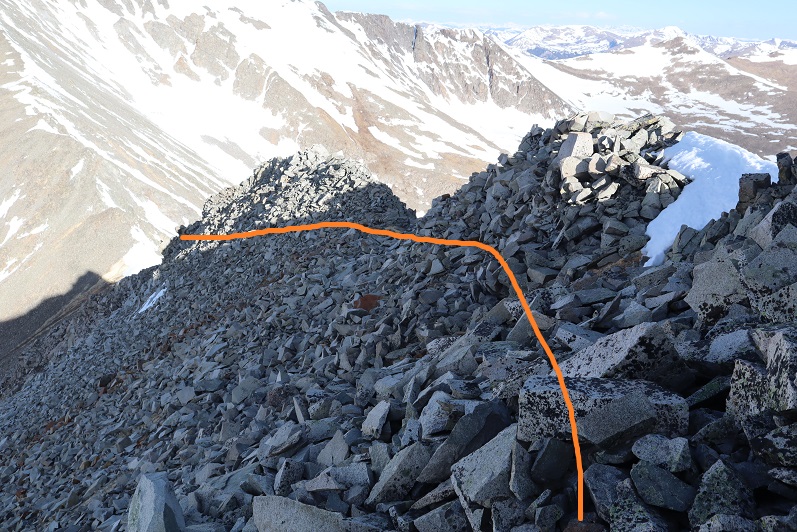
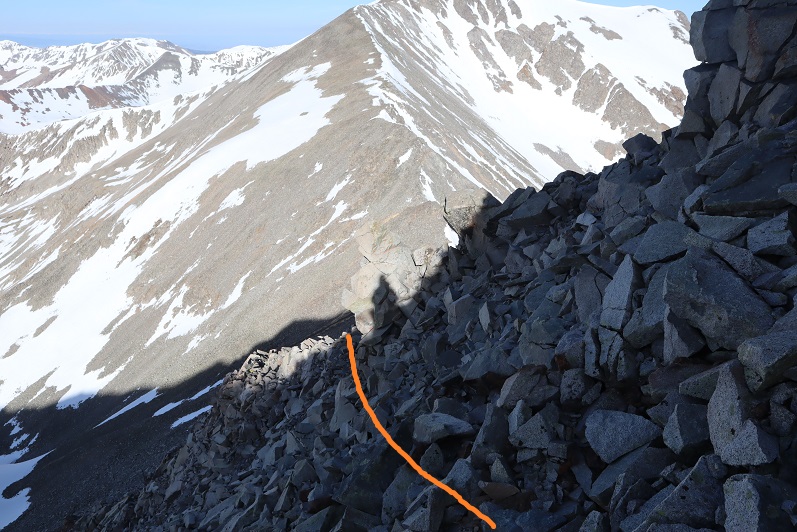
But that quickly became impossible. The rock here is very, very loose, large, and ready to fall. There are tons of rock-filled gullies and route finding can be tricky. I stayed to the left of the ridge the entire time because the right side was full of varying amounts of snow. I definitely experienced some class 4 sections. Here’s the way I went:

24

25

Here things got spicy, as I encountered a gully with several options for descent. There seemed to be three possible lines. I felt the safest route was the middle route and aimed for the snow

26

It’s steeper than it looks. Here’s looking back at the route I took. I’m thinking it was about 35 feet of downclimbing

27

I continued to make my way down towards the snow filled saddle. Luckily it was firm and easy to cross. I breathed a big sigh of relief when I made it here, but the dangerous part wasn’t over yet

28

Here’s an overview of my way to the saddle (looking back on my route)

29

The rock was still loose and I had to be careful to triple check every hold so as not to dislodge a rock. I went slowly here, carefully choosing my route.

30

31

Here’s the final route up Grizzly. The terrain became more stable as I continued, but the rocks were always loose

32

33

34

35

36

I summited Grizzly Mountain at 9:30am.

37

Grizzly Mountain Summit:

Here’s a look back at the ridge traverse as seen from the summit of Grizzly Mountain

38

While on the traverse I’d studied my intended route down. I was able to avoid most of the snow to head down into the basin.

39

While avoiding the snow I instead descended on scree and loose rock: I wasn’t sure which was worse, the ascent up Carbonate or the descent down Grizzly. I took it slow to avoid rolling an ankle and headed towards the basin.   Here’s the route out:

40

I did have a little snow to contend with, but only for about 100 feet or so. The conditions were perfect to cross without traction.

41

Here’s a look at the rubble

42

And a look back at my descent route.

43

Once in the basin I knew I wanted to stay just to the right of the trees and follow the creek back to my truck. There was supposed to be a trail here, but I was unable to see it from above. Either that or it was under one of the dozens of small streams of water. What I hadn’t known until I’d made it down into the basin was the ‘dry’ area between the trees and the creek was actually a boggy mess! The mountains were melting out. It was impossible not to get my feet wet. For a while I tried hiking in the trees but the snow was just soft enough to make postholing miserable and snowshoes overkill. So I stayed in the marshy area, following game trails through the willows. I even saw two elk bounding away from me as I sloshed along.

44

45

I passed an avalanche area (not the same one as in the morning) and rounded a small boulder field, always keeping the creek to my right

46

In this area I was almost done with the hike but somehow I came across an actual trail and followed it back to my truck.

47

48

I made it back to my truck at 1pm, making this an 8.75 mile hike with 4090’ of elevation gain in 10 hours.

Looking from Mt Aetna, here’s an overview of the route

49

And my topo

50

Mt Aetna – 13,745

1

RT Length: 8 miles

Elevation Gain: 4103’

I’m not a fan of couloir climbs, but feel they are something I should practice. I intentionally chose to climb Mt Aetna when there wasn’t a ton of snow so I’d have the option of hiking on either snow or rock.

I left my house at midnight to a swirl of thousands of Miller moths. I’m not exaggerating; as I opened my garage door they swarmed my truck and at least 5 made it inside the cab with me. I spent the next few hours doing my best not to get frightened when one flew past my face.

The drive was uneventful, but I saw no less than 6 police vehicles in the short drive from 285 to the Boss Lake Trailhead (seemed excessive for such a remote area at this time of night). Memorial Day weekend should be interesting. I parked at the lower trailhead so I could add the 1.4 miles each way and hopefully some elevation gain: I’m still trying to keep my average at 10 miles per hike with 4000’ of elevation gain and I’m a little under that right now so every little bit helps.

2

I parked and was on the trail by 3:15am.

3

The 230 4WD road isn’t that bad to drive or to hike. I was glad I’d parked where I did because there were downed trees on the road before a little ways before the trailhead

4

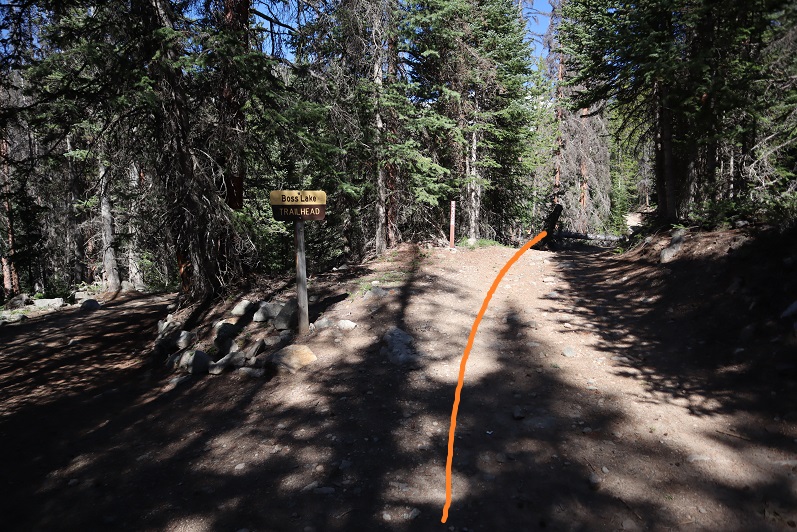
At the trailhead sign I went right

5

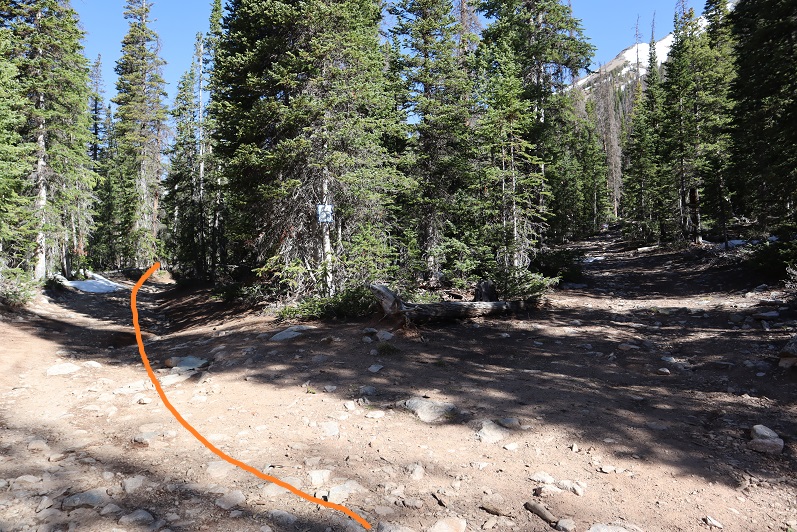
And at the fork in the road I went left (the road has a chain across it and a “no trespassing” sign to the right)

6

The trail follows the 230 4WD road for 2.5 miles from the lower parking area. At 2.5 miles if it were light out you could see Mt Aetna on your right. I could have driven the entire way to this spot if there hadn’t been downed trees in the way.

7

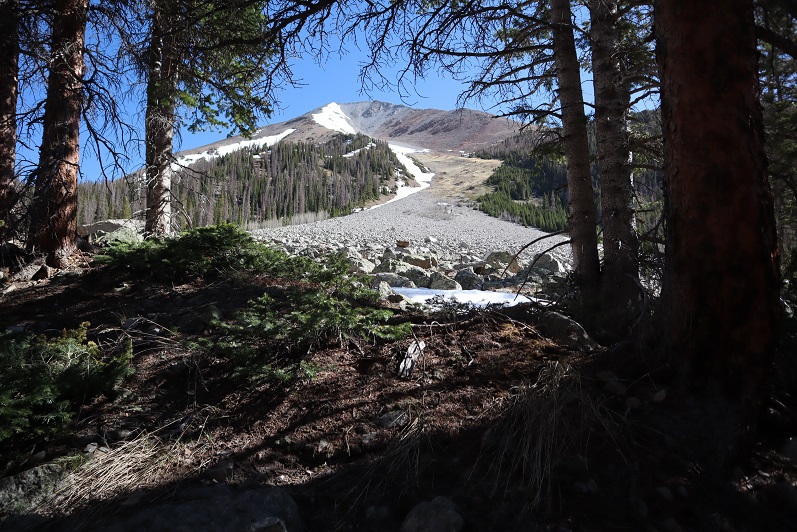
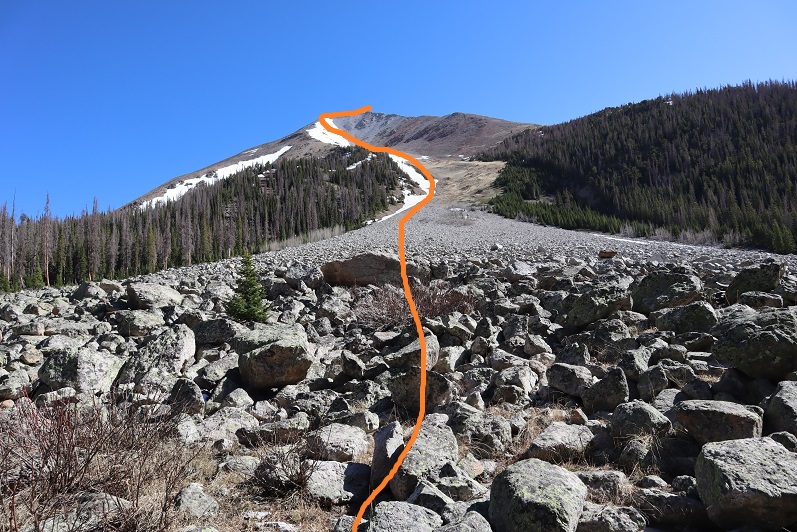
I turned right and crossed a boulder field. These rocks were loose and rolled. Since it was still dark I couldn’t see where I was going, so I headed northeast. As the sun started to come up it was obvious I had a lot of options for today’s summit. Here’s an outline of the route I took:

8

There is actually a lot more snow than it looks like from far away. I followed the gully about a third of the way on rocks and tundra until I had a decision to make: take the ridge to the left, the ridge to the right, ascend the scree just to the right of center, or put on crampons and go straight up the snow

9

10

I decided today was a good day to practice my couloir climbing. The snow was firm and I wasn’t the slightest bit tired yet. I strapped on my crampons, got out my ice axe (I brought along two proper ice axes this time but only needed one) and got to climbing.

11

I changed my intended route several times because the snow was steeper than it looked in some sections.

12

13

Once I made it to the ridge I found it was easier to keep my crampons on and walk along the snow than it was to walk on the loose rocks, so for as long as I could I stuck to the snow

14

Eventually the snow ran out and I followed the rocky but (mostly) dry ridge to the summit

15

16

17

I summited at 7am and kept thinking to myself “that was much easier than I’d anticipated: why don’t I like couloir climbs again?”

18

Mt Aetna Summit:

I stayed longer at the summit than I usually do, taking a good look at the nearby mountains I wanted to summit tomorrow, checking to see if the crux area was free from snow. It looked like it was, but a lot of the area seemed to be hit or miss with snow and too much was still in shadows to be completely sure.

19

20

Here’s the route I took down, keeping to the snow as much as possible.

21

22

Make no mistake, it’s steeper than it looks but the snow was still firm and I was able to walk down the entire way without turning to face the mountain.

23

What’s nice about this climb is you have a visual the entire way up and down of where you need to go.

24

I made it back to the road, turned left, and followed it back to the trailhead.

25

26

27

I made it back to my truck at 10am, making this an 8 mile hike/climb with 4103’ of elevation gain in 6 hours, 45 minutes.

28

Here’s a topo map of my route.

29

Now I was off to the next trailhead. As soon as I came to an area with cell-service I pulled over to text my kids and see how they were doing (they were still sleeping). As I was sitting there an undercover cop pulled someone over for speeding right behind me. At first I only saw the flashing lights and thought I was in trouble for something. I sat there for a good 20 minutes and luckily for me, I was never approached and the police officer left before I did. But I got to see him again.

I turned onto CR 240 as I was headed to my next trailhead and saw two police vehicles parked on either side of the road. There were two police officers standing outside of their cars, stopping vehicles. I panicked and turned right into the (semi) residential area, drove for a bit, parked, and thought about my next move. Should I try to continue on to the trailhead, or turn around and go home? In the end I chose to continue to the trailhead: If I got stopped and ticketed or told to turn around at least I’d have beta for the next person.

I drove back the way I’d come and slowed down when I came to the police officers. I waved to them, and for some unexplainable reason, they waved me on! Woot! Maybe because I’d turned from the residential area and not the main highway they assumed I was a local? In any event, I drove the rough 4WD road to the next trailhead, found a place to park, made dinner, jotted down some trip notes, set out my gear for the next day, walked around the creek for a bit, knitted a hat for tomorrow, read a bit from a Colorado History book, had a few glasses of whiskey and went to bed early (tomorrow was going to be a long day). Oh, and I didn’t see one other vehicle drive down the road the entire time I was there, and it’s Friday to Memorial Day weekend at a well known dispersed camping area.

30

PT 13,712

1

RT Length: 18.69 miles

Elevation Gain: 5360’

I only woke up one time during the night, and that was just to put on my thermal top and hide under another layer of covers. When my alarm went off at 1:30am I started my coffee and decided it was too early to get out of my warm truck-bed, so I re-set my alarm and didn’t get up until 2:15am. I was on the trail by 2:30am.

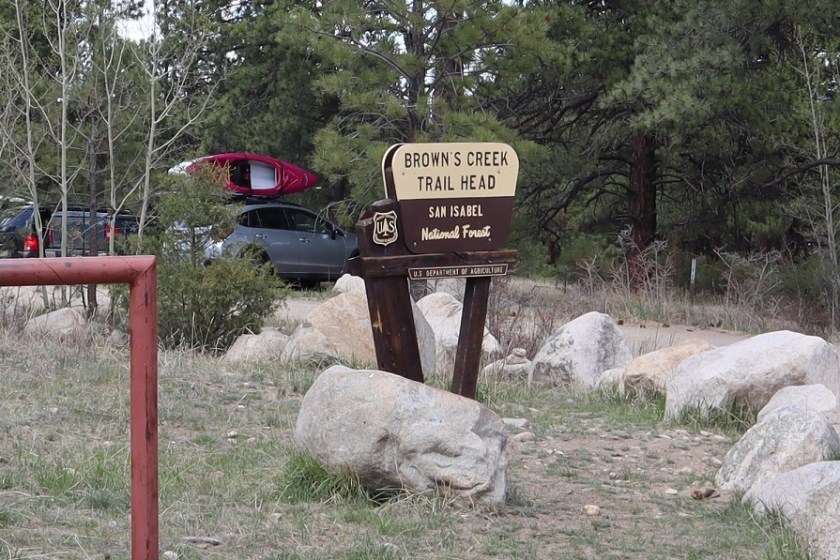
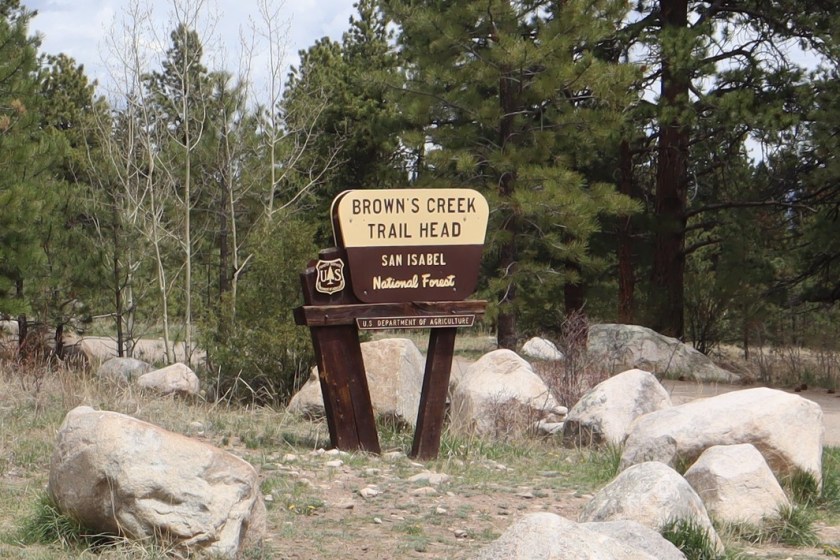
The road to Browns Creek Trailhead is an easy 2WD dirt road.

2

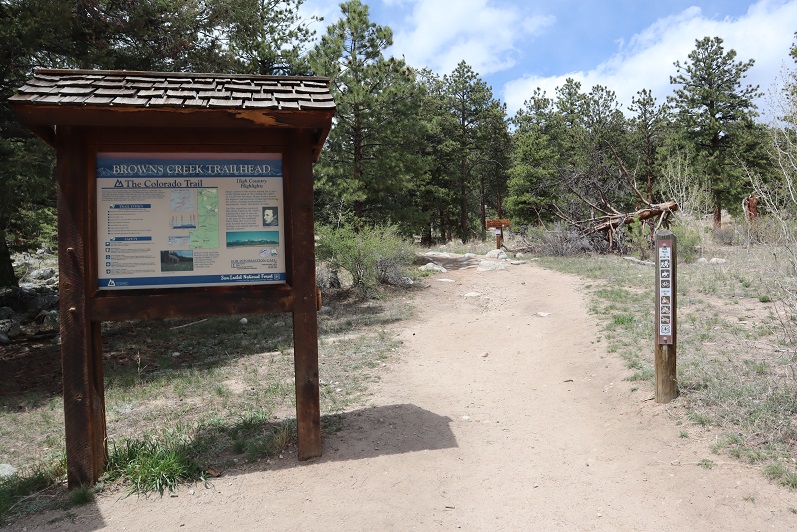
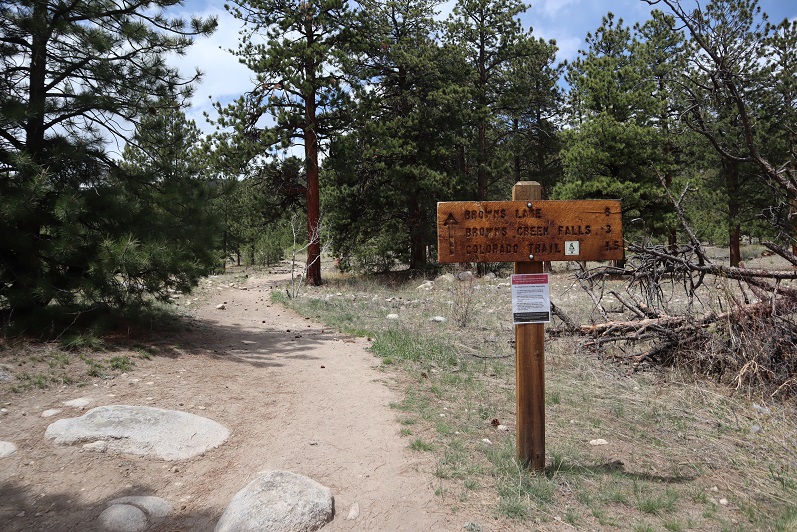
The trailhead had plenty of parking and restrooms (which are currently closed due to Covid-19: they had signs asking us to “recreate responsibly”). The trail starts at the north end of the parking lot, and follows trail 1429 west

3

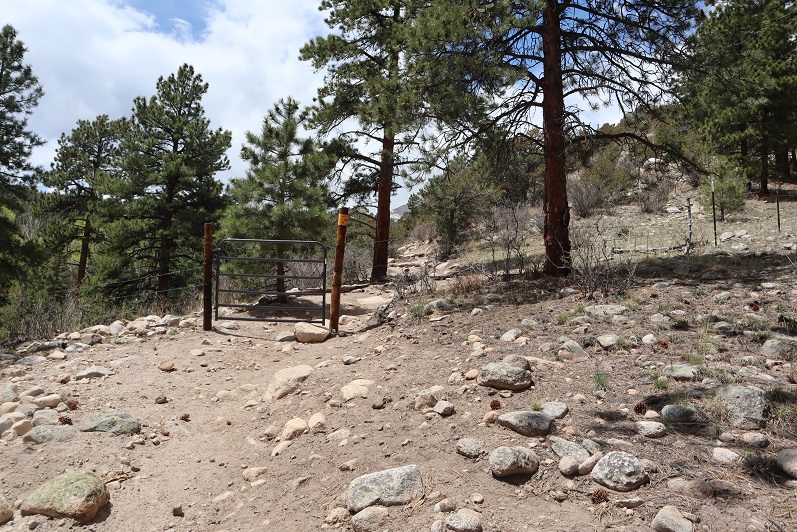
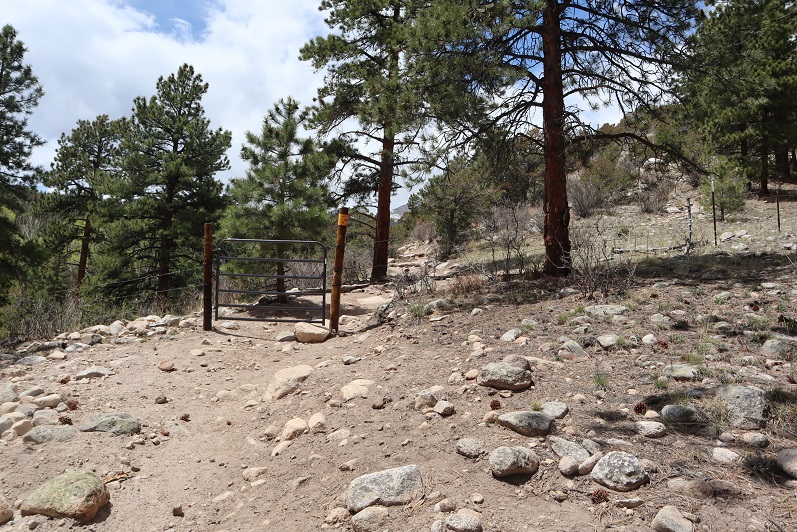
I passed through an unlocked gate

4

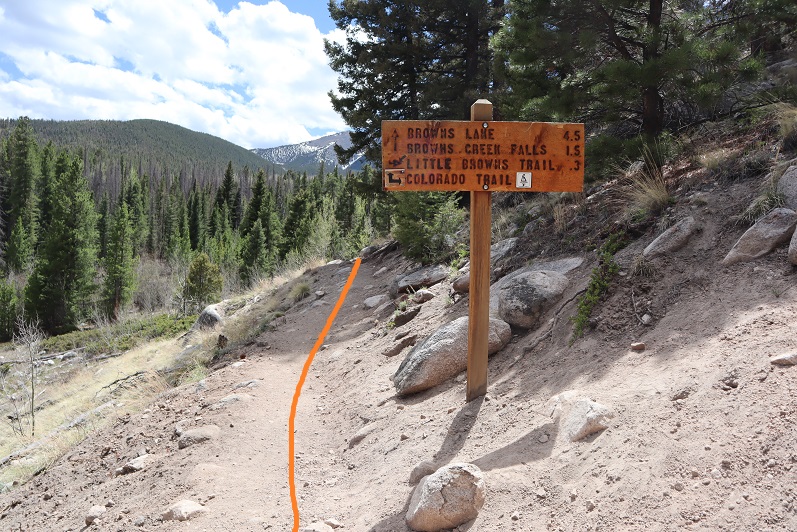
After hiking for 1.5 miles I came to a junction and continued west on trail 1429

5

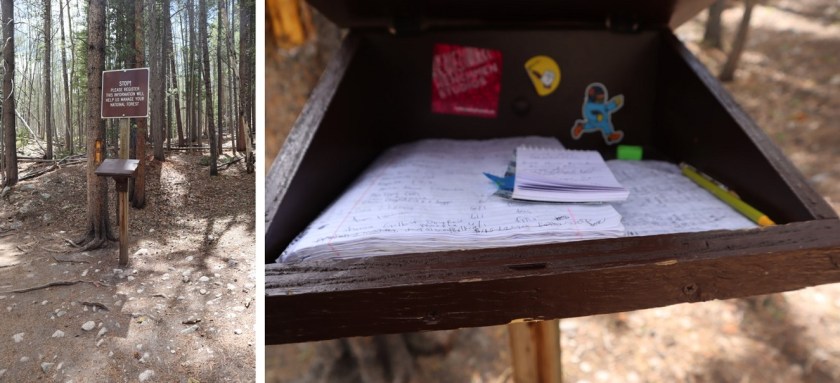
Shortly after the junction there was a hiking register with a spiral notebook inside that had every single page full. On my way back someone had left a small 3 x 5 notepad for people to write on inside. This must be a popular trail.  Here is also where I realized I’d left my creek crossing sandals in my truck. I hoped that didn’t come back to haunt me…
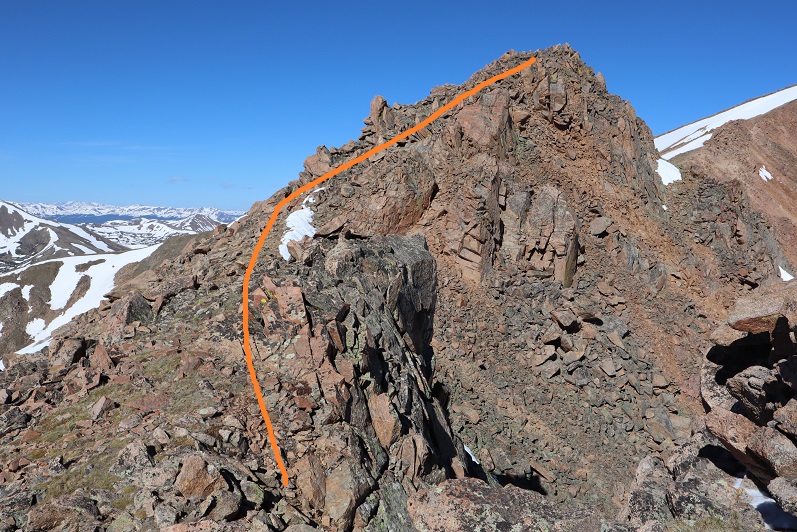
6

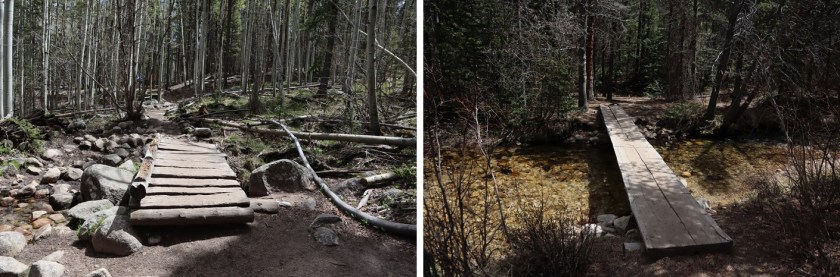
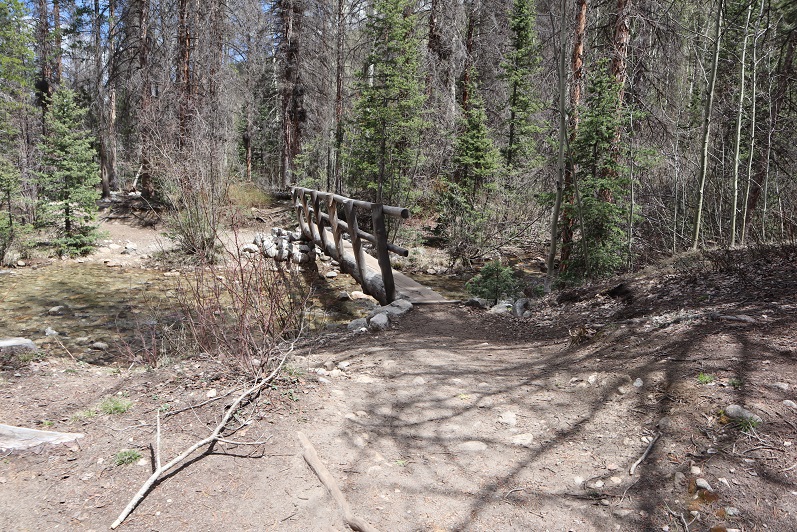
I crossed Browns Creek several times, always on a good footbridge

7

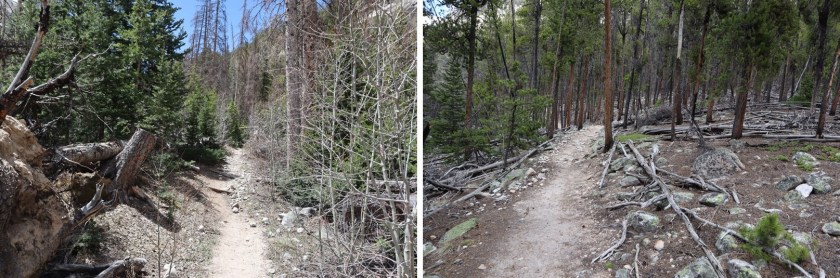
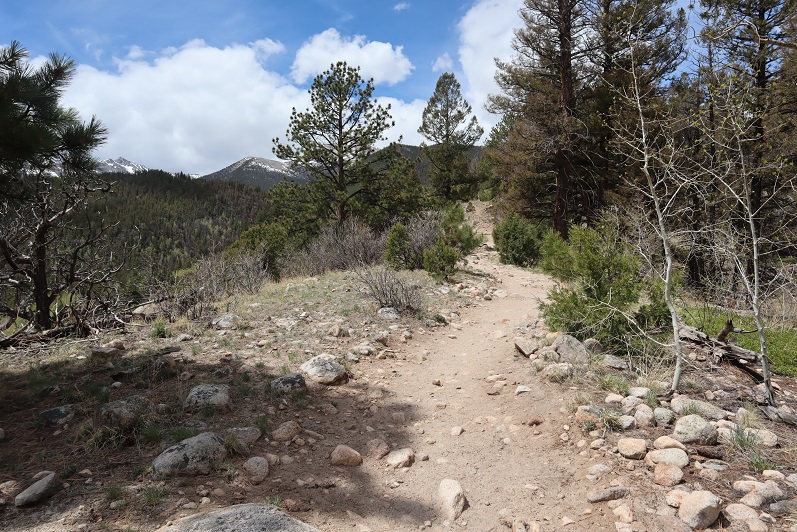
At 2.9 miles I crossed the last bridge and continued hiking along the class 1, well defined trail. Route finding was minimal.

8

9

10

The trail parallels Browns Creek, which was difficult to see because of all the trees covering the water. It looks like there was a wildfire in the area some years ago, and the land is still recovering. The trail was mostly clear of trees however.

11

I was hiking this portion in the dark, and at one point I heard a rather loud twig snap off to my right. I did the only logical thing and used my trekking pole to make as much noise as I could, banging it loudly on every rock and tree I came across, and stopping every few yards for a while to turn around and scan the area with my flashlight. I never saw anything, but on my return noticed I’d been in an area with a lot of downed trees, as well as boulders that would make a great den for a large animal. Curiously, I also heard a loud noise in the daylight crossing the same area on my way back, but didn’t see anything.

After hiking for about 3 hours in the dark the sun finally started to rise.  My reward was hearing the birds wake up and wish each other a good morning. What’s even better is my presence didn’t seem to bother them

Birds:

After hiking for 6 miles I came to a small boulder field

12

On the other side of this boulder field is Browns Lake

13

This area is marshy and has a lot of willows. Unfortunately, I didn’t see any wildlife or signs of wildlife (besides the birds). I continued west along the trail

14

Until it turned into a 4WD dirt road

15

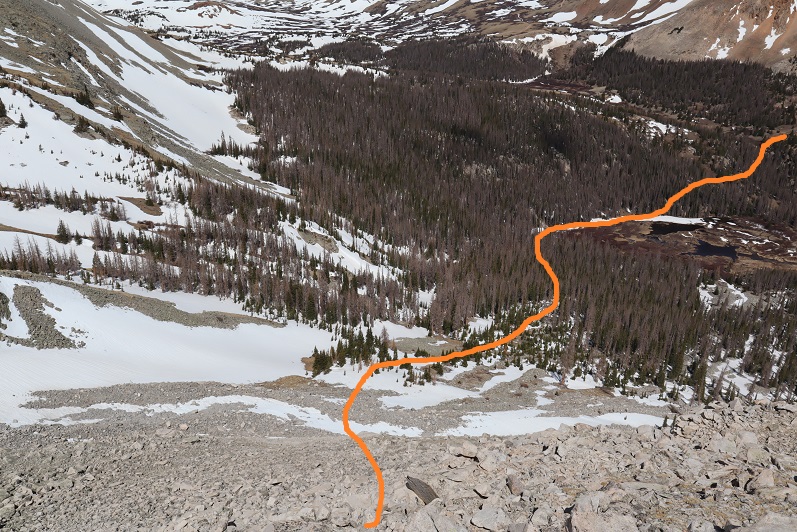
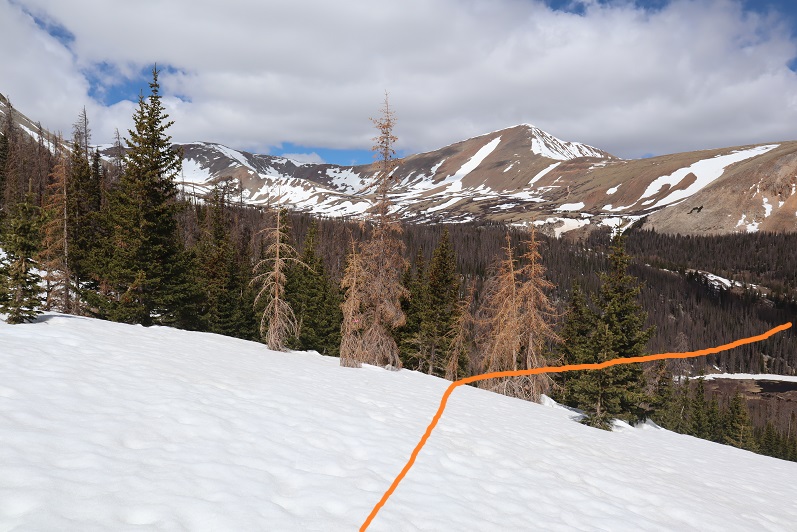
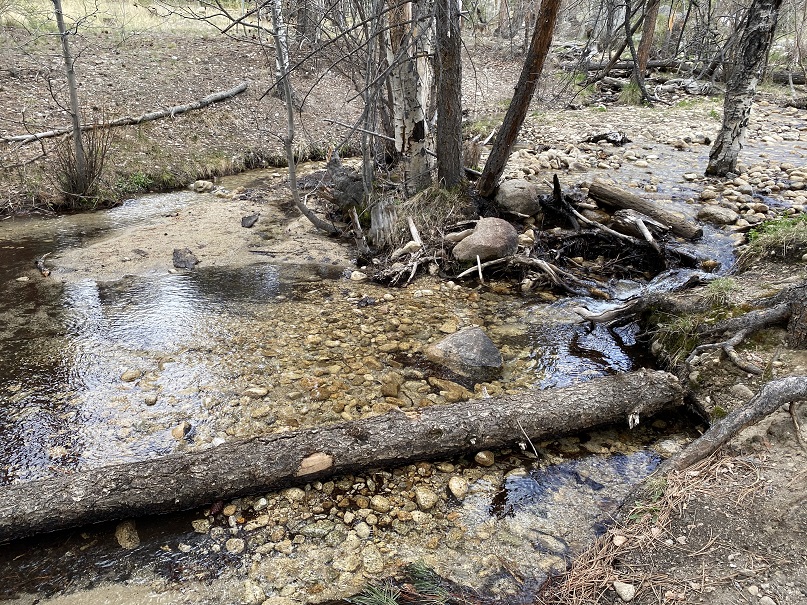
I followed the road for .6 of a mile before coming to a creek. This is where the route finding became tricky. I needed to leave the road and traverse the east side of the mountain and make my way towards the marsh area, cross the willows, and then enter back into the trees and find my way to treeline.

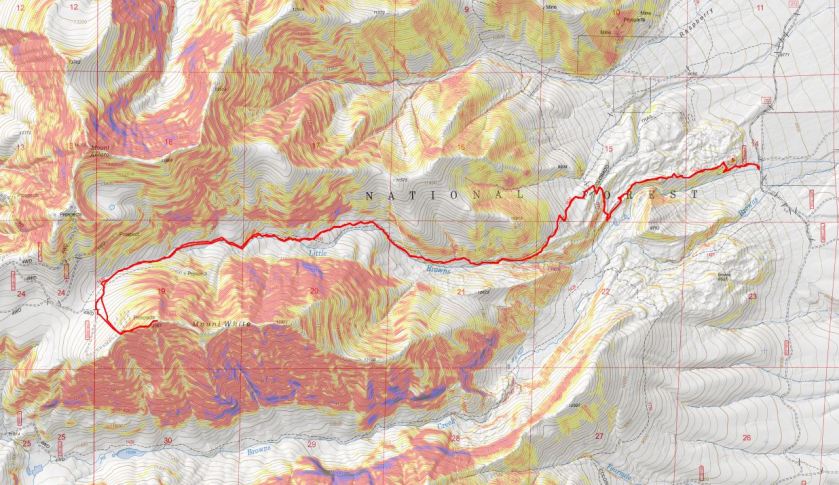
Yesterday while on the summit of Mount White I visually tried to get a good view of the route I wanted to take. This 1 mile section included lots of route finding. I’ll do my best to give you pictures so it’ll be easier for you (as you can see from my topo below, I had to do some route finding and backtrack a few times myself to figure out the correct path).

Here’s an overview:

I left the 4WD road after hiking a total of 7.5 miles (I was at 11600’). I hiked south to cross the creek. It is important you cross here because there’s a small gorge you want to avoid to the left (east)

16

17

There is no trail here, and yes, the willows suck.

18

Once you’ve crossed the stream, make your way up the banks to the top and then skirt the mountainside to the left

19

To the left is the small gorge you’re trying to avoid.

20

From here you don’t need to hike along the ridge because you’re really aiming for the marsh. The reason you’re hiking towards the center of the hillside and not the top or bottom is to avoid the gorge and some rock outcroppings closer to the marsh on your way in. There’s no need to hike all the way to the top because you’ll be heading back down anyway. Here is where the route finding got fun, and I needed to strap on my snowshoes. Here are a few visuals:

You’ll want to avoid the rocks to the left and head into the trees (no trail)

21

22

To avoid the large rocks (circled in red)

23

24

After avoiding the rocks you want to make your way down to the willows, skirt the willows, and re-enter the trees, making your way towards the gully. Here’s an overview of the entire route

25

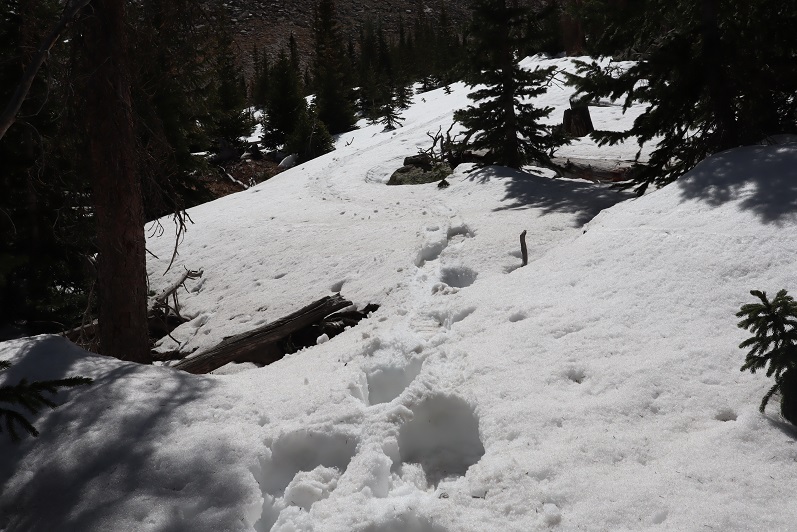
This was harder than it looked, as the marsh was more like a bog, the willows were dense, and once back in the trees the snow and downed trees were cumbersome to say the least. I was very grateful I’d lugged my snowshoes this far. They were only needed for this one mile section, but I wouldn’t have been able to summit without them.

26

27

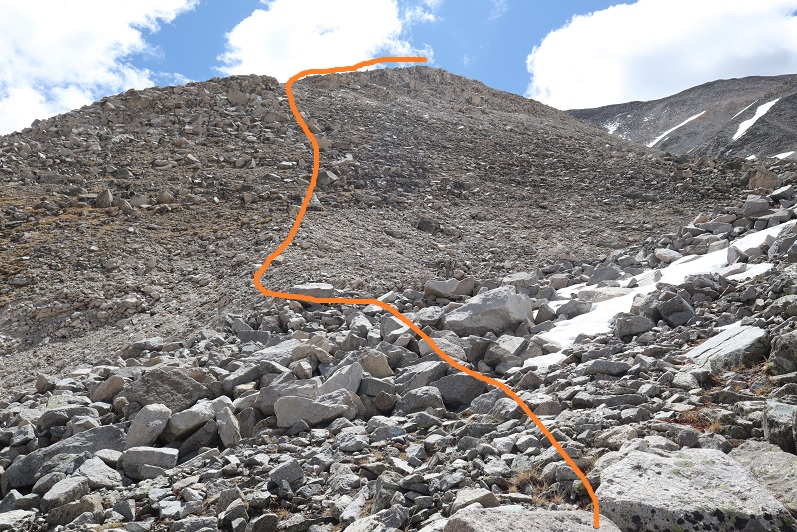
Once above treeline the route was much more obvious. I crossed a small runout/gully and began ascending the loose, rocky, scree filled slope. There are a few cairns here, none of them seem to follow the same path and all seemed arbitrary. Just head up. It looks like the rocks shift often, so pick your line carefully. Microspikes are helpful on the scree.

28

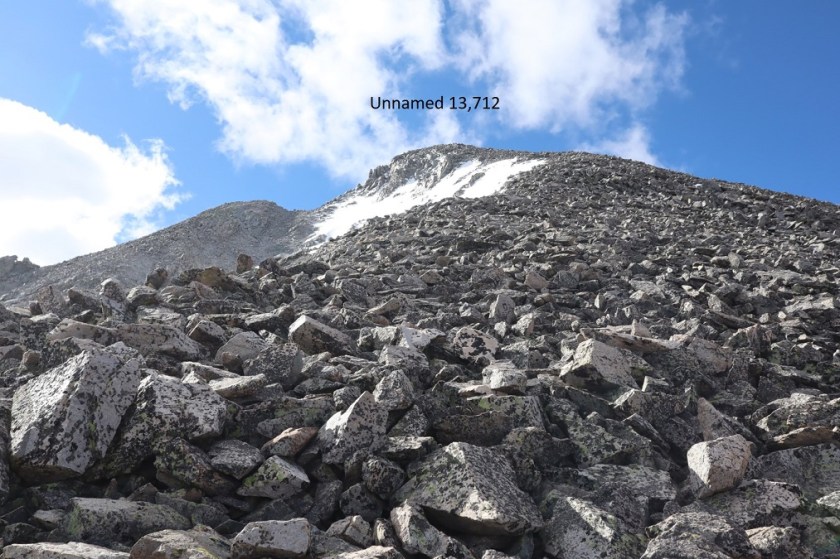
The scree eventually gave way to some tundra (I was aiming for the ridge: yes, that summit is 13,712, so no false summits today!!!)

29

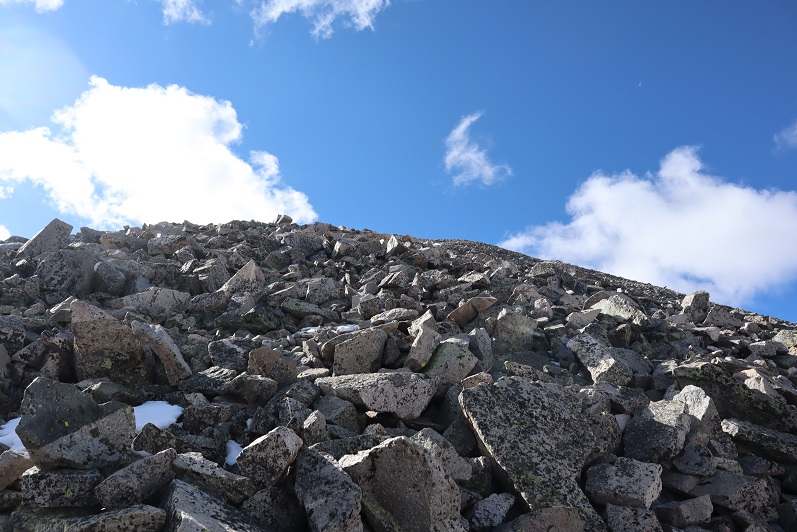
And then more loose rocks (bowling ball and microwave size, none of which were stable)

30

31

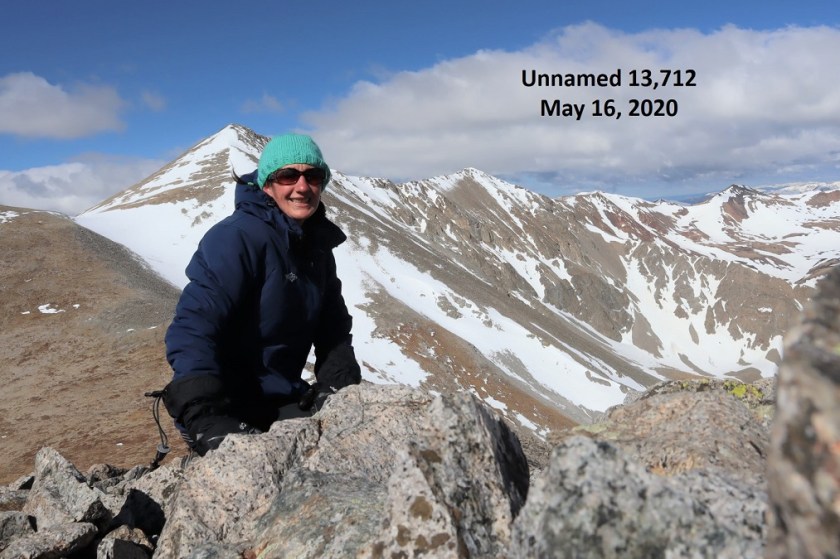
I summited at 9:10am. I’m not fond of this picture, but it’s what I’ve got

32

13712 Summit:

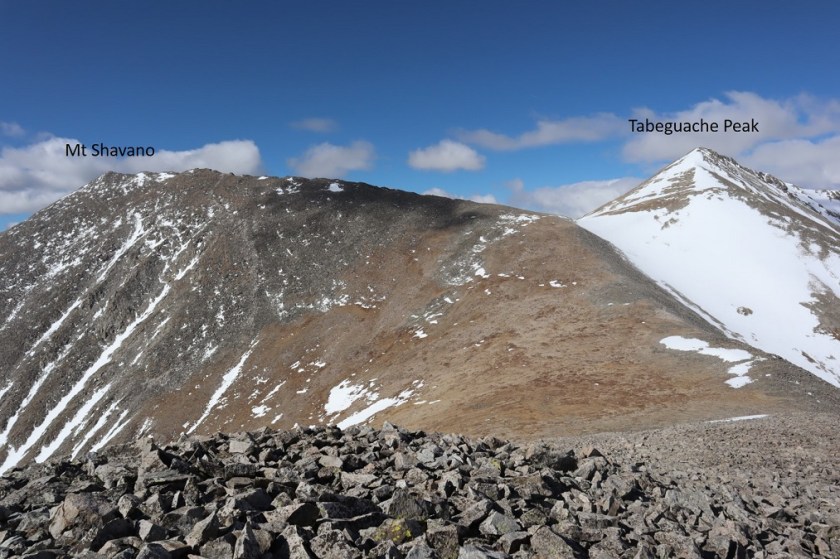
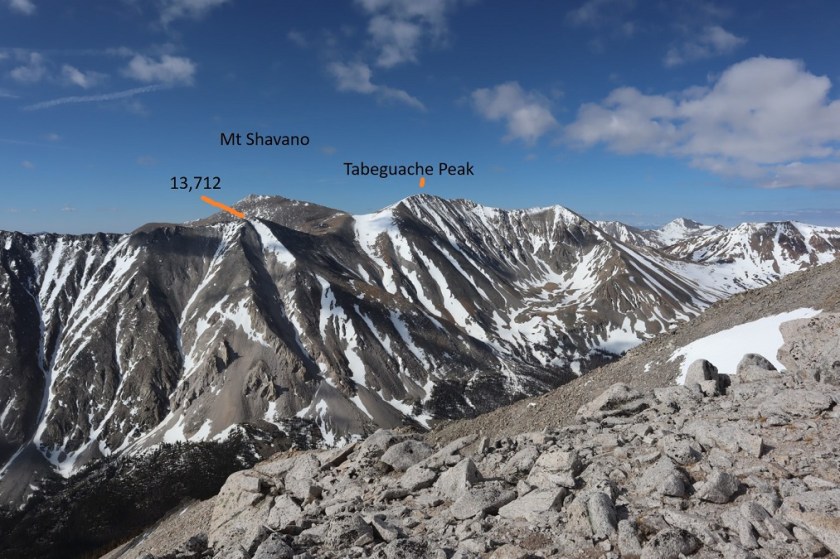
It was very, very windy on the summit. I was surprised to see just how close I was to Shavano and Tabeguache and noticed two climbers making their final ascent up the snow on Tabeguache.

33

I didn’t plan on summiting either of those peaks today however: The snow had been soft enough on my way in, and I needed to make it back down before it became any softer.

34

All along the ridge I looked for a safer way back down than the way I’d come up, but couldn’t seem to figure a better way: the marshy area was full of either snow, ice, or deep water I didn’t want to cross, so I did my best to retrace my steps back down. The snow made the mile a slog.

35

36

37

38

Here’s that boulder you’re trying to avoid on your way back

39

I made my way back to the creek, crossed it and headed back to the 4WD road, happy to be done with snowshoes for the day. While crossing the creek I’d accidentally stepped in it (both feet ended up getting wet when I lost balance because I was too hard-headed to take off my snowshoes first) and now my hiking shoes were soaking wet. Should be a fun 7.5 mile hike back to the trailhead! Here are some photos of the way back:

40

(also, whoever made this sign forgot the letter ‘d’: there’s obviously space for it, and upon closer inspection there was never a letter there to begin with)

41

42

43

44

45

As I passed Browns Lake and made my way closer and closer to the trailhead there were more and more people on the trail, and everyone seemed to have a dog (or two or three) and I even saw people riding horses. Indeed, this is a popular trail. On a positive note, I didn’t see dog-waste bags lining the trail. I did see someone fishing in the creek in an area made for horse crossing.

I made it back to my truck at 2:45pm, making this an 18.69 mile hike with 5360’ of elevation gain in 12 hours, 15 minutes.

Here’s a topo map of my route

46

Mount White – 13,657

1

RT Length: 14.25 miles

Elevation Gain: 4945’

I arrived at Browns Creek Trailhead to one other vehicle in the lot. It didn’t look like they were sleeping in their car so I assumed they were either already on the trail or camping in the basin overnight. I didn’t pass anyone all day, so they must have been in Browns Creek (I was taking the Little Browns Creek approach). The road to Browns Creek Trailhead is an easy 2WD dirt road.

2

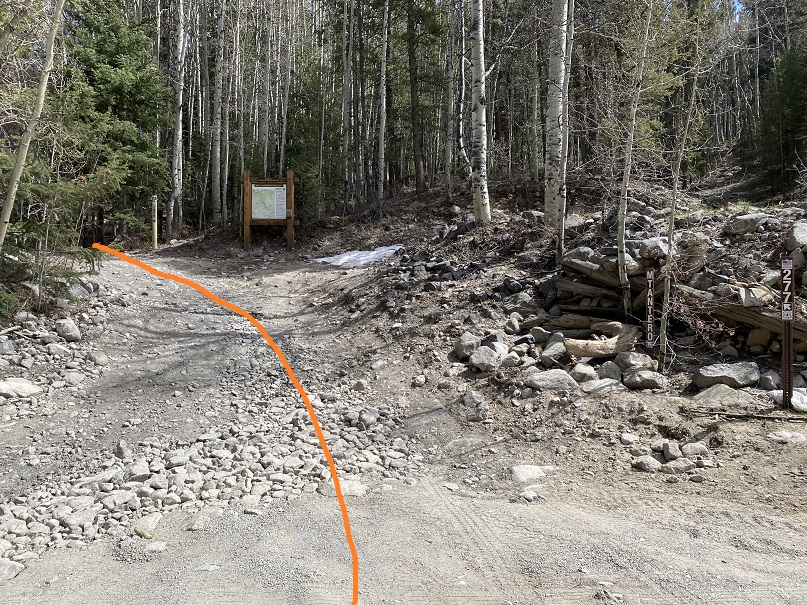
The trailhead had plenty of parking and restrooms (which are currently closed due to Covid-19: they had signs asking us to “recreate responsibly”). The trail starts at the north end of the parking lot, and follows trail 1429 west

3

4

I walked along the trail and quickly encountered a gate (not locked)

5

6

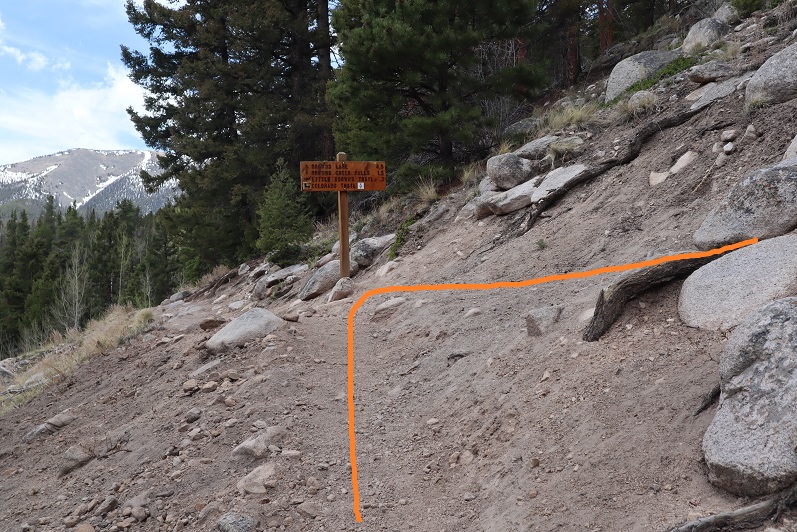
After hiking for 1.5 miles along a well maintained trail I came to a junction and turned right (north) and followed the Colorado Trial for a bit (not long) before continuing on trail 1430. There are well placed and visible signs at each junction.

7

For the first 5.25 miles of this hike it was an easy, class 1 trail that was both horse and bicycle friendly (I saw evidence of both)

8

9

10

The sun seemed to rise earlier than normal, and I was able to easily see where I was going. After 5.25 miles however, snow began to cover the trail at around 11,490’. This was punchy snow, and I couldn’t have crossed the area without snowshoes.

11

I strapped my snowshoes on and followed the ravine west.

12

13

There was one spot that was a little steep, but nothing I needed an ice axe for

14

It was clear there was a trail under the snow, as at times it would rise above the snow before sinking back down. Luckily it was still early and the snow was firm enough to navigate with snowshoes. I would not have been able to traverse this area without them, especially on the way back.

15

At 6.4 miles (12,670’) I left the trail to follow a 4WD road. I was supposed to take the road to the ridge, but what little snow there was here only seemed to be on the road itself, so instead I just hiked straight to the ridge

16

17

Once at the ridge I turned left (east) and hiked the third of a mile to the summit on rocky terrain. The was class 2.

18

19

There was a false summit (but it wasn’t too far from the actual summit)

20

21

I summited at 8:40am, after 4.5 hours of hiking and 7.2 miles

22

Mt White Summit:

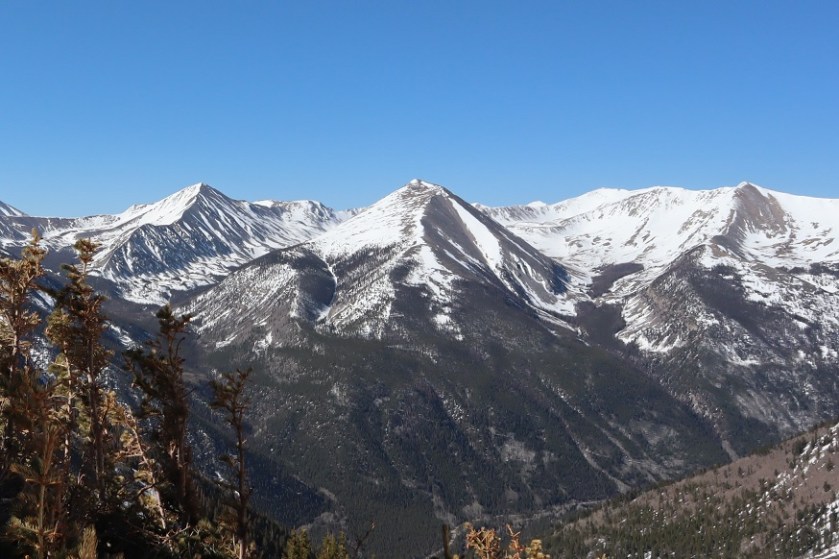
It was quite windy but I still spent a few minutes getting a good look at the conditions of the local mountains: I intended to summit Unnamed 13,712 tomorrow and wanted to get a good look at the route. To be honest, I wasn’t exactly sure how I was going to summit, so I took a bunch of photos to study later tonight along with a topo map. Check out some of the surrounding peaks:

23

24

Time to head back down the ridge

25

26

27

I made a new friend

28

And turned right (north) and headed down into the basin

29

It was still morning, yet when I hit the area with snow it was already very soft. I put my snowshoes back on and headed directly down the snow, back to the trail. I was very happy to have lugged my snowshoes all this way: they weren’t always needed, but it would have been a miserable trek without them, if not impossible.

30

31

32

33

35

36

After taking off my snowshoes I followed the class 1 trail back to the trailhead. Little Browns Creek was dry the entire way.

37

38

39

It looked like this area had seen a fire in the past few years, but the trail was clear of debris

40

I made it back to the trailhead at 12:30pm, making this a 14.25 mile hike with 4945’ of elevation gain in 8 hours, 30 minutes.

41

Here’s a topo map of my route:

42

It was my intention to stay here tonight so I cleaned up, made dinner, took off my shoes, and enjoyed eating by the creek with my feet in the water.  Well, I didn’t much enjoy the food (I have to force myself to eat after a hike) but it didn’t taste bad. It took me about 45 minutes to finish my spaghetti, but I’m proud to say I ate it all.

43

I did a physical check: I’d returned the boots I’d previously bought and wore my old boots today instead. They were full of holes but at least they didn’t rub my ankles raw (my ankles were still red and raw from last week, but nothing my old shoes and some rather large band aids couldn’t fix. Also, I’m in the market for good winter hiking boots). I had cell service, so I text my kids to see how their day was (my youngest rocked her online APUSH exam and was now headed to work), answered a few emails and checked the weather for tomorrow.

I was surprised at how many people were at the trailhead now. The parking lot was completely full. Everyone seemed to have kids or a dog. The creek was a great distraction for both.

After dinner I sat in the back of my truck with a glass of whiskey and my topo map, trying to figure out how I was going to summit PT 13,712 tomorrow. It might have been the alcohol talking, but I couldn’t help but think of how much I loved my new truck set-up! I had another hummingbird fly into the back: that’s twice in as many days camping out and I think it’s because they think my hanging lights are flowers. I was just glad the buzzing noise wasn’t a giant bumblebee. The mosquitoes started coming out around 3pm so I shut my tailgate.

It became cloudy and started to rain. I looked at the time: 4:30pm. I decided to read for a bit, and then get to bed early. I needed to be up around 1:30am to hike past the snow before it got too soft. I prepped my coffee for the morning so all I had to do was turn on the stove, set out my clothes for tomorrow, and closed and locked all my doors/windows. It was still warm and very light outside but I knew it would get rather cold tonight. I was pleased my blackout curtains did their job and despite the early hour I was able to fall fast asleep.

Boulder Mountain – 13,528 & Mt Mamma – 13,646

1

RT Length: 15 miles

Elevation Gain: 5607’

I realized I’d forgotten my camera about 10 minutes after leaving the house, and decided it wasn’t worth it to drive back and get it. That decision haunted me for the next hour. Luckily I still had my phone and it was supposed to be a warm day, so as long as it wasn’t too windy I’d still be able to take pictures.

I arrived at the Baldwin Gulch trailhead, parked, and was on the trail by 4:30am. A little later than I’d wanted to start, but early just the same. The trail starts here, at the intersection of 162 (which parallels Chalk Creek) and 277.

2

The 4WD road that is 277 was drivable, but I was glad I’d walked the 1.25 miles because there was no place to park a vehicle: all of the parking areas were covered in snow.

3

After hiking for 1.25 miles I turned right (west) onto 279 and followed another 4WD road. This road was not drivable.

4

5

At this time in the morning the snow was still solid and I could walk on top of it, but I knew it would be a slog-fest by the afternoon. There weren’t any footprints/snowshoe/ski/animal tracks on this entire road, so I knew no one had been here in while.

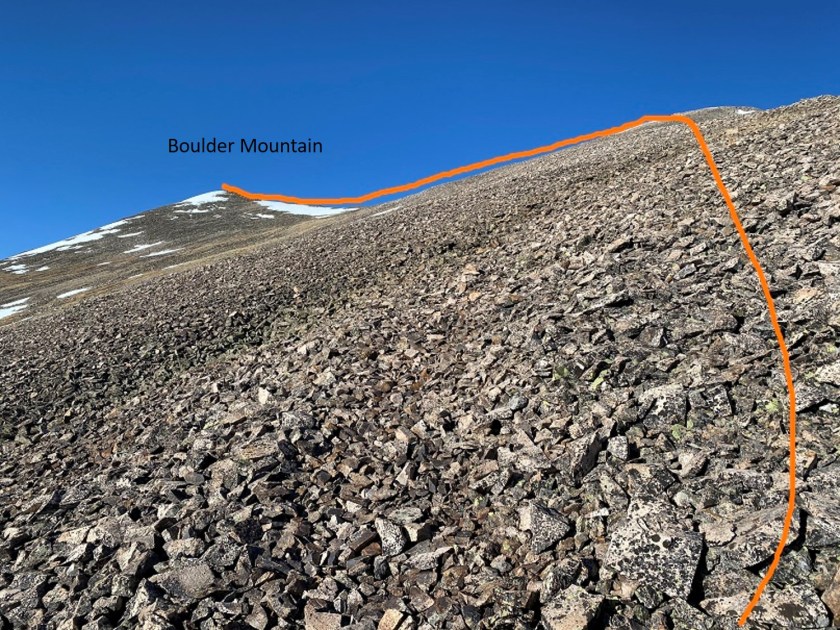
279 switchbacks around the east side of Boulder Mountain. Last week I’d attempted 13,626 and got a good view of how I wanted to summit Boulder: My goal was to hike along the road until I made it to the ridge, and then take the ridge up. However, as I was hiking the road looked ‘doable’ so instead of aiming for the ridge early I continued hiking on the road. I realized later this wasn’t the best option. I crossed a snow-filled gully at 11,700’ that did not look like it would be stable in the afternoon sun and followed the road until about 12,100’ when the road became too dangerous to traverse. The slope angle here was between 29-32* and luckily for me the snow was still fairly solid. I decided to leave the road and instead climb straight up to the ridge. Snowshoes and spikes were not needed, as the snow was still firm.

6

7

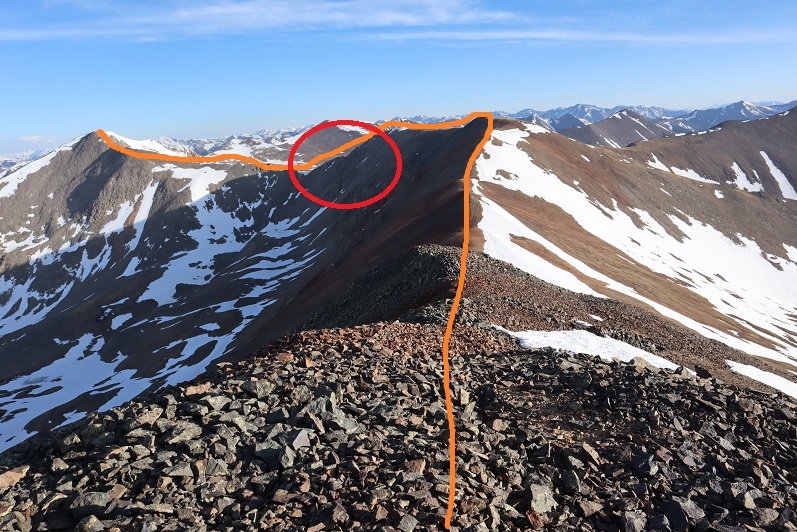
This was trickier than I’d anticipated, and I decided as I was climbing up I was not going to take the same way back down. I had several options for my descent and would make my final decision depending on further conditions. The route I took is in orange, the gully I wished to avoid is circled in red, and everything above the circle was avalanche prone. I didn’t want to walk on the road below the gully on my descent, or traverse across the gully again.

8

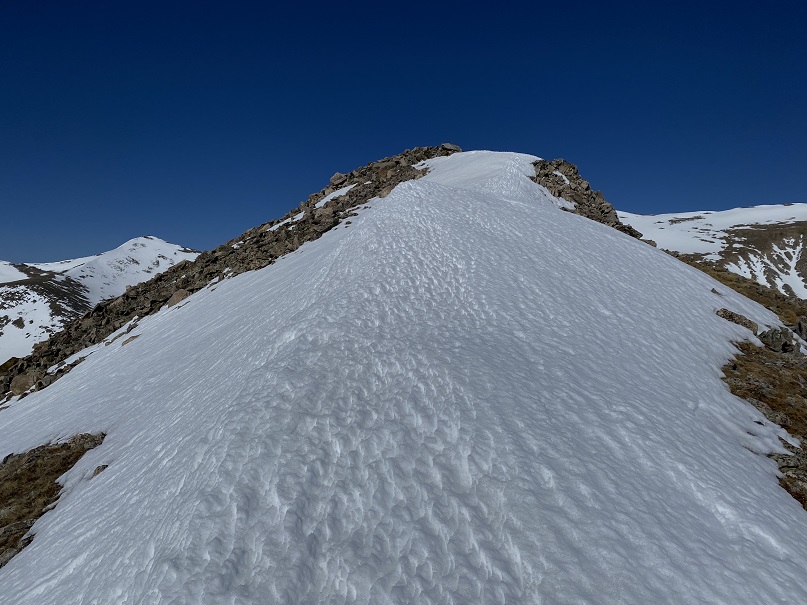
I felt much safer once I made it to the windswept ridge. It was a simple hike up the ridge to the summit on loose talus. Also, that’s not the summit.

9

I passed quite a few mines and a small, empty building

10

As I continued hiking up the ridge the true summit came into view

11

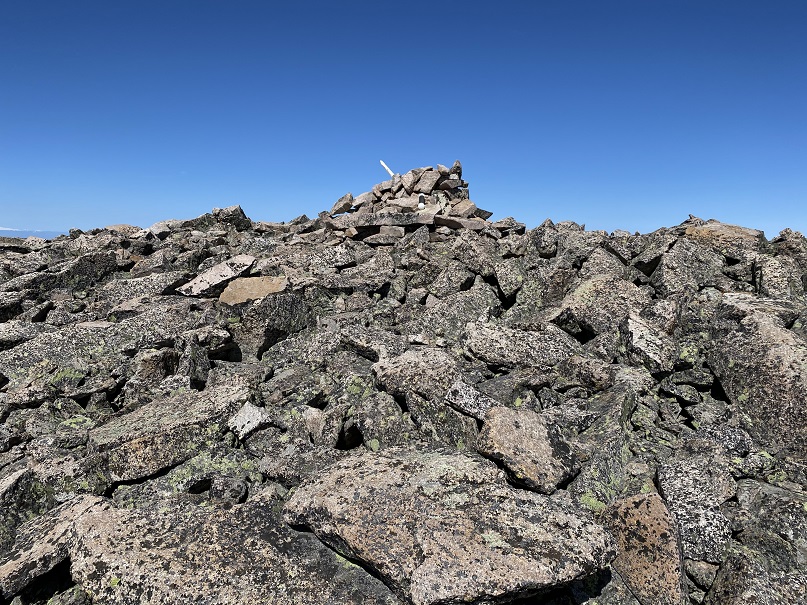
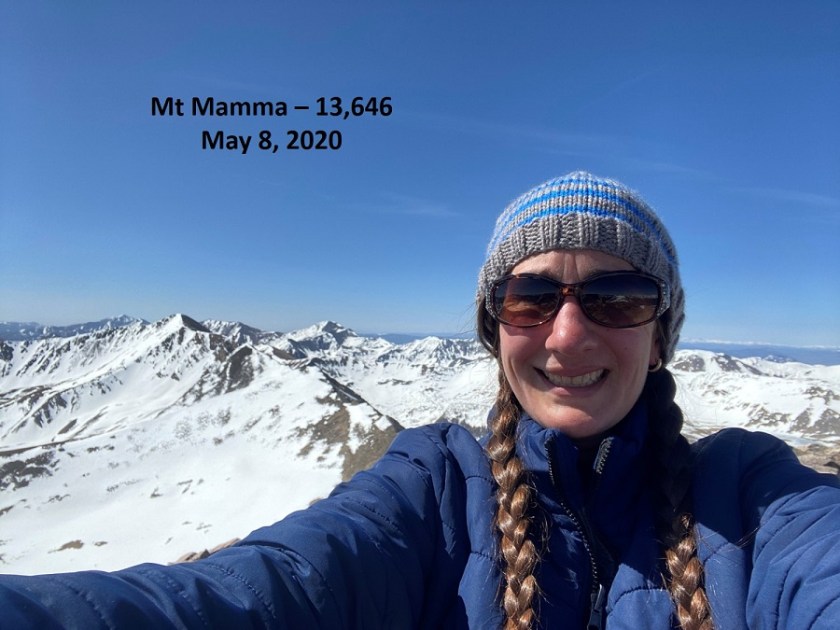
It was a straightforward hike to the summit. I summited at 8:15am. It was a little over 6 miles from where I parked my truck to the summit.  This summit gets a selfie because I left my camera at home…

12

Summit of Boulder Mountain:

Here’s the view of the ridge over to Mt Mamma

13

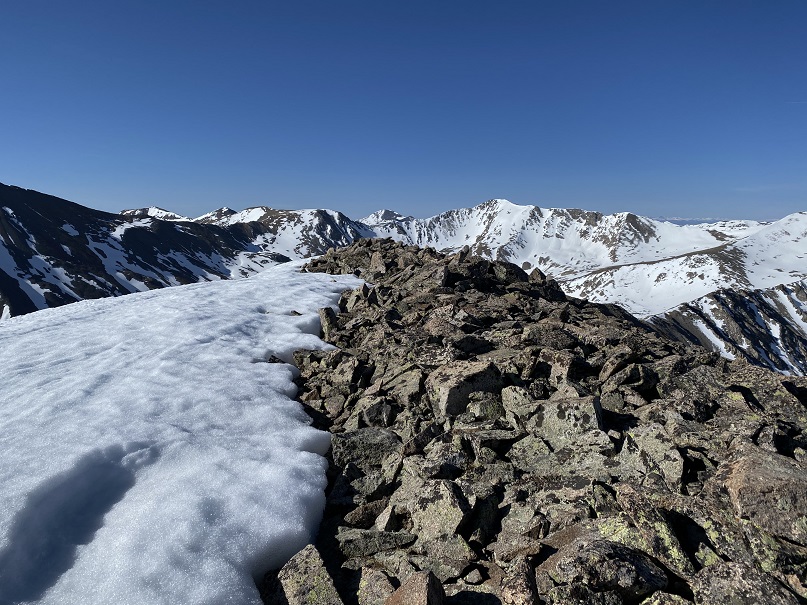
The traverse was straightforward. I stuck to the ridgeline as much as possible to avoid the snow

14

It looked like there was a trail to my right, but when I tried to take it I found it was full of very loose talus. One slip would send me tumbling, so I stuck to the ridge.

15

While on the ridge I got a good look at the basin below and Baldwin Lake. Nope, I didn’t want to descend that way, as it looked too similar to the conditions I’d experienced last week on 13,626: The basins looked the same, and last week I found the basin to be impassable due to punchy snow. I didn’t want to get all the way to this basin just to have to turn around because the snow was dangerous and re-summit the ridge.

16

17

There were a few cornices to contend with on the ridge, but the snow was firm so they weren’t a problem to traverse. Sticking to the ridge is the way to go.

18

19

20

There was a bit of a saddle before the final push to Mt Mamma. I was glad there was a seemingly straight snow free line to the summit.

21

There were a few areas of snow to contend with, but nothing that kept me from hiking straight up

22

The rocks here were loose and rolled, so watch your step

23

I summited Mt Mamma at 10am, after hiking for 8 miles. It took me about an hour and 45 minutes to complete the 1.8 mile traverse from Boulder to Mamma. Once again, no camera, so I got a selfie with my phone.

24

25

Summit of Mt Mamma:

The summit had a register, with the last person to sign being from October 13 of last year. Also, the register needs a new pencil, so if you go up there soon be sure to bring one with you. The day was perfect: no winds and lots of sunshine. This is probably the best weather day I’ve had on a mountain so far this year. I decided to head back over to Boulder Mountain, as I did not want to get stuck in the basin.

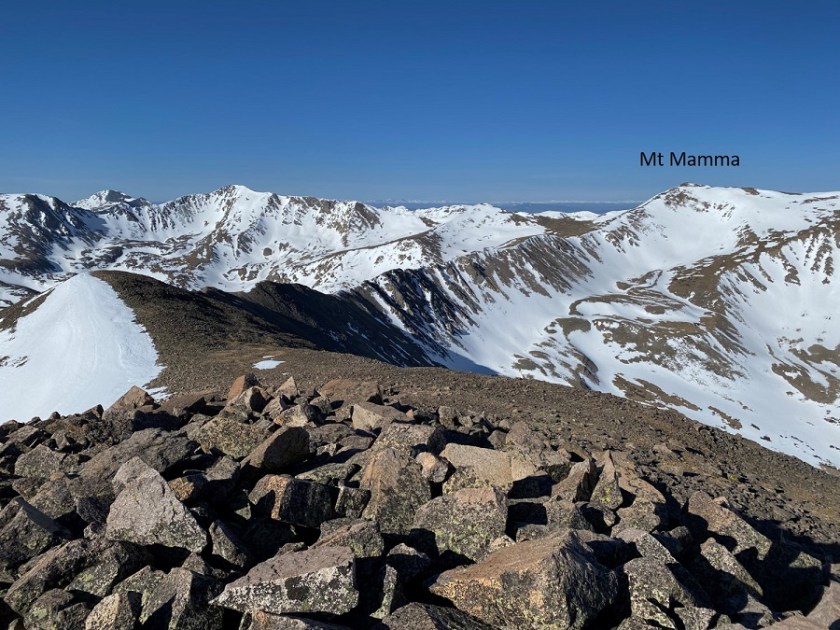
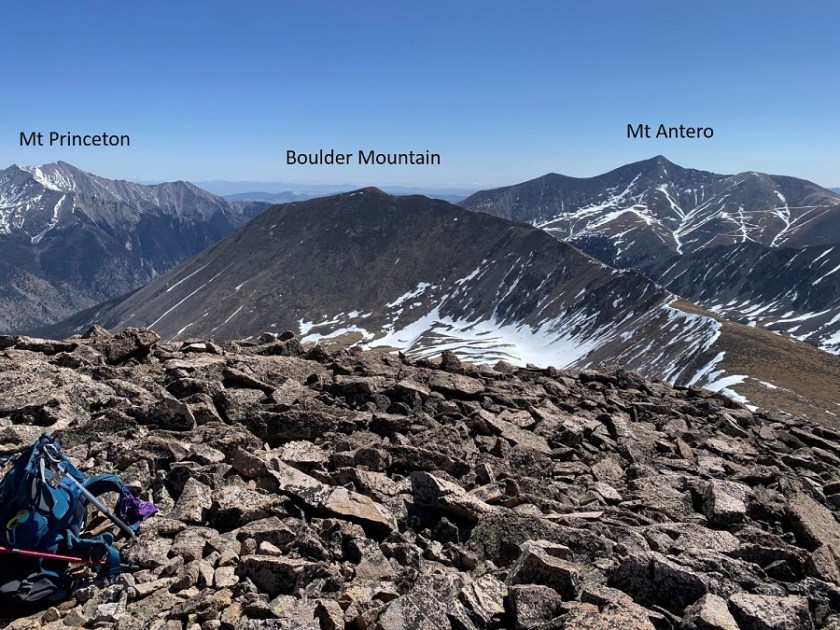
Here’s a look at some of the mountains visible from Mt Mamma on the route back

26

27

Time to head back towards Boulder Mountain

28

As you’re hiking down from Mt Mamma you can clearly see a trail on the west side of Boulder Mountain. Don’t take it: stick to the ridge. I’m pretty sure the trail is a goat trail, not a human trail. It’s very loose and a fall would send you a long way down the mountainside. I saw mountain goats grazing in Deer Canyon to my left.
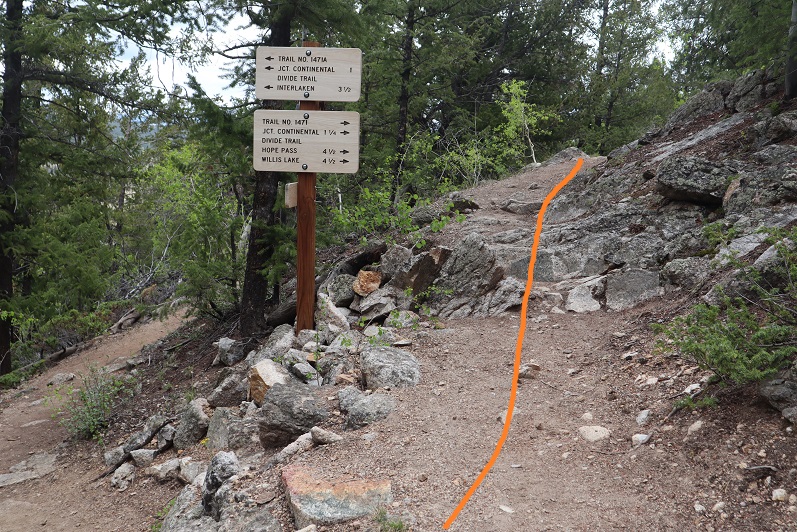
29

The ridge was still almost completely snow free, but the areas with snow were turning to mush quickly.

30

I re-summited Boulder Mountain

31

And decided to take the ridge as far as I could back down.

32

33

I passed a stone with some numbers engraved on it

34

And kept following the ridge, keeping to the left of the snow. From my view last week I knew the ridge would be dry all the way to treeline

35

Here’s a look back up at the ridge

36

There were cairns here (some not so traditional) so I knew I was on some sort of a trail

37

I looked over at the route I’d taken in and knew it had been a good idea not to take it back: I could tell by just looking at the snow it wasn’t stable. The ridge was indeed snow free/snow avoidable until treeline

38

But once I got to treeline I encountered unexpected deep, slushy snow. I knew I couldn’t go back the way I’d come and to be honest, this snow caught me off guard. I could tell I only had a couple hundred feet to deal with, so put on my snowshoes and zig-zagged my way carefully through the snow towards the road I knew would be below.

39

40

It was touch and go at times, and more than once I asked myself if this really was the safest way, but when I made it back to the road I knew I’d made the right decision. The snow stopped about 200 feet before the road (which is why I’d thought it would be snow free from the ridge to the road; thankfully I only had a couple hundred feet of snow to contend with).

41

42

Once on the road I breathed a sign of relief but kept on my snowshoes. I knew there would be just enough snow to need them for a while yet. Every time I encountered snow on the road I postholed. It was indeed a long slog back to the snow-free 277 4WD road. On a positive note, the pine trees smelled amazing!

43

44

From last week’s trek up 13,626/Mt Princeton here’s a view of Boulder Mountain and my route. My ascent is solid, my decent is dotted. You can clearly see the gully you want to avoid: the road traverses it and should be avoided in snow.

45

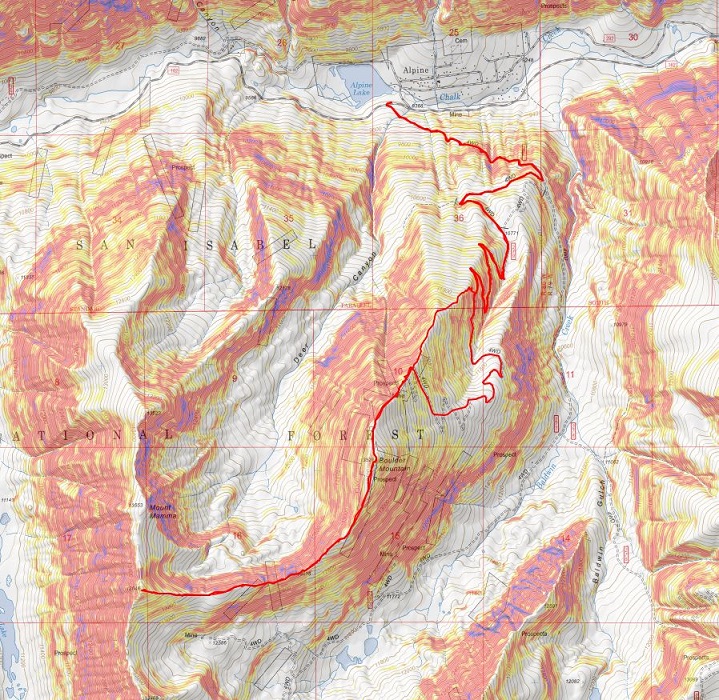
I made it back to my truck at 3:15pm, making this a 15 mile hike with 5607’ of elevation gain in 11 hours, 45 minutes. Here’s my topo

446

I picked the wrong time of year to do this hike. It’s definitely not a spring hike, and still needs a few weeks to melt out. If I were to do this again I’d take the ridge up from the beginning and only take the road if it were in summer conditions. I’d take the basin by Baldwin Lake in more winter-like conditions. Beware of the gully area if you take the road, as it’s full of snow and looks prone to avalanching. I’m a little upset I didn’t get a picture of it on my way in for a visual, but I’d avoid the area if possible if there’s any snow at all.